Holy, how'd you figure out which pins and screws went where??? It would have been nice if they had a size chart.
Trial and error. :lol The screws are grouped by button head sockets, flat head sockets, countersunk phillips and slot head machine screws. Follow the instructions which call these out by type, M number (mm diameter) and length. If metric isn't your thing have a metric ruler to hand. According to the instructions there are four M2 L4 phillips screws but I had two M2 L4s and two that were shorter; I used those to fix the Ejector Rod Block into the frame, part 35; they seem correct for that. (Note it is fitted from the INSIDE of the two flanges on the rear of the frame, but really there's only one way to do it).
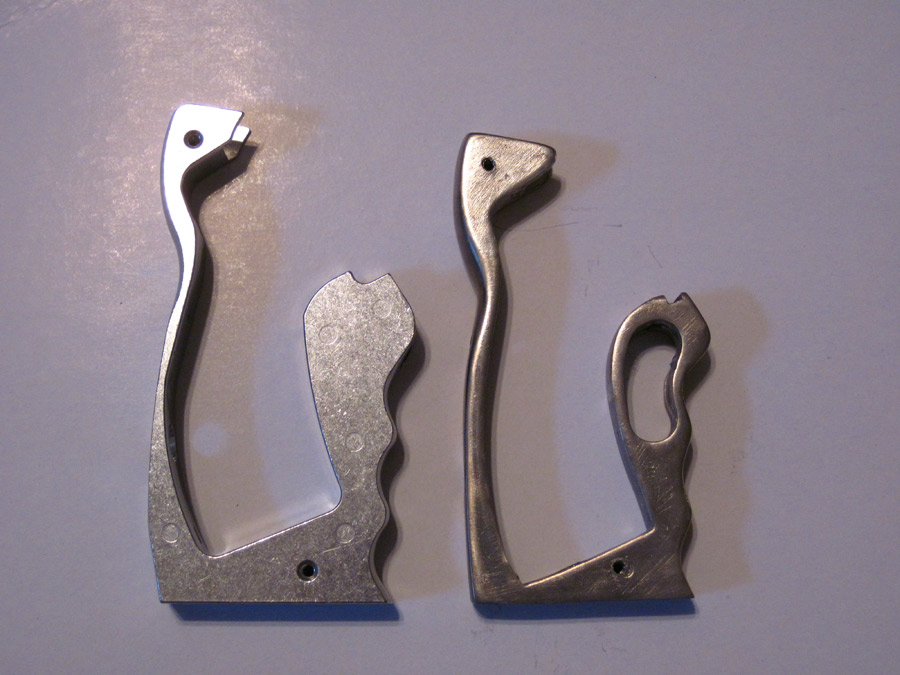
Yeah, I finally got it halfway figured out. Can you please show how to assemble the triggers? And the thumb switch assembly that releases the cylinder?
")
You should have seven pins with your kit. The three large pins are used for the two triggers and the lower attachment of the grip frame to the frame. They are all the same size. The others are all small, and different - they are for the ejector, the hammer, the thumb catch and the "hand" of the rear trigger.
First insert the brass tubes AKA part 61, 'trigger collar' into each trigger. These tubes each retain a spring of the same design but a different weight (and if someone can tell me which spring is which I'd be really grateful. Currently I have the heavier spring in the rear trigger but I'm not sure that's correct at all.)
For the front trigger, fit the Cylinder Stop part along with the spring by inserting the collar. For the rear trigger just fit the spring - you will need at least three hands for this. Then attach the Hand, part 39, to the rear trigger. Note the small pin for this has to be pressed into the Hand - you'll need grips for this and it works best done from the inside rather than the outside as suggested by the instructions. The Hand also retains a spring, no mistaking that one but get it the right way around. Now you can fit both triggers into the receiver using the pins. These need force to be pressed into place.
For the thumb switch the smallest pin (really tiny, has two diameters) and spring fit inside the small hole that faces the main screw which holds it onto the body of the gun and are retained by that screw. The whole deal attaches via, on the inside of the frame, a small brass collar which inserts into the ABS and on the outside the large washer. Then the screw and the smaller oval washer finish the job. Fit the pin and spring first. They're shown over on the right on diagram 4 - but it's really not clear where the hell they go till you look at the exploded view. Disclaimer; I haven't got all this right yet and it doesn't work properly. :lol
I was always under the impression that the Sid was quite a bit bigger than it should have been but looking at your pics, it seems generally that this not to be the case?
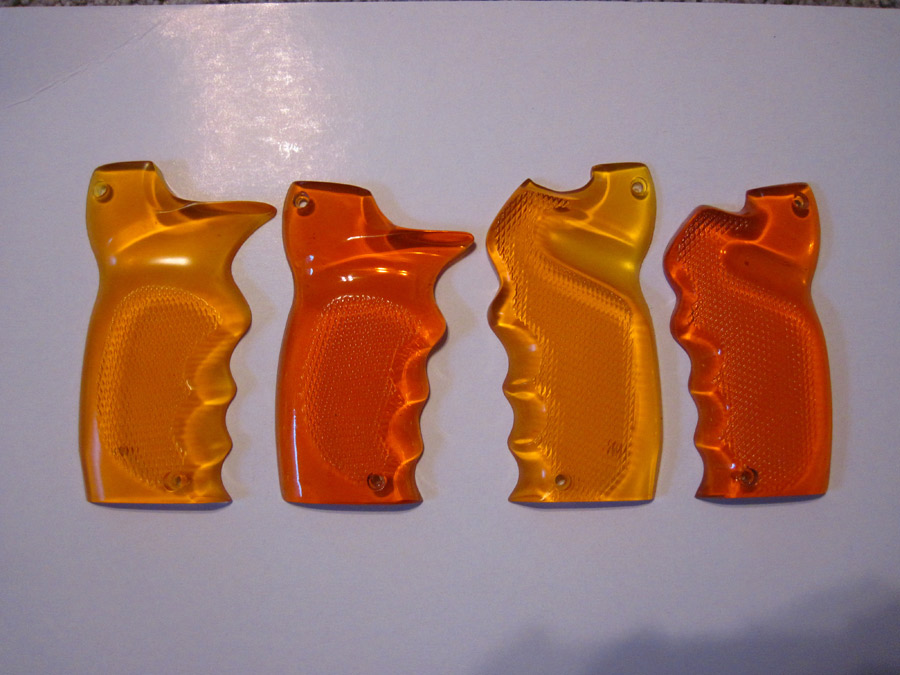
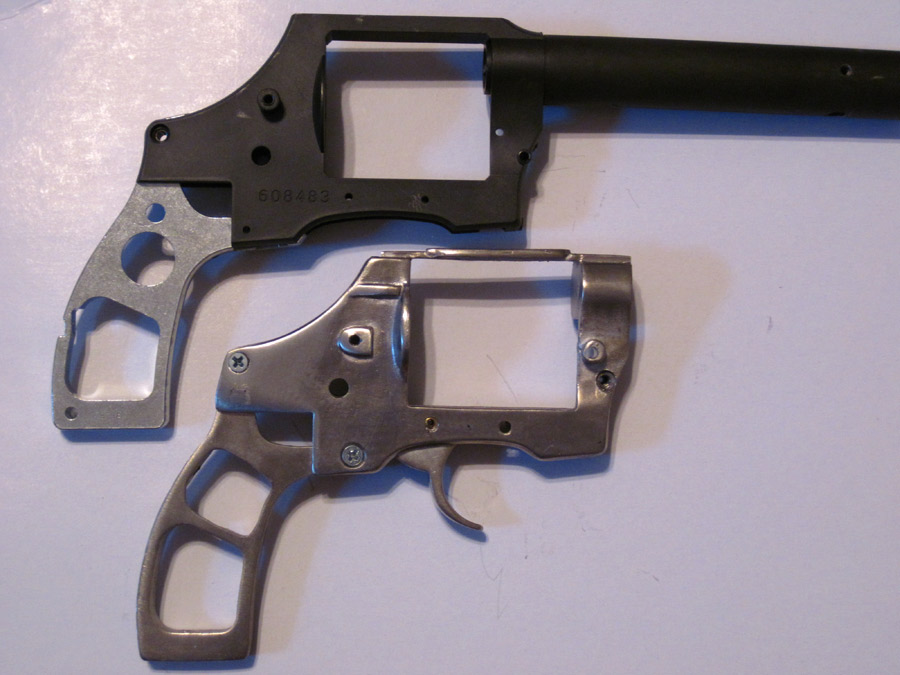
It's larger than I expected, too. I don't have a Sid but this is a bit bigger than a Rick Ross. Couple of mms taller, receiver is about 7mm longer, grips are bigger.