Another Zvezda Star Destroyer

Well done for this wonderful detailing work, I love it :love:

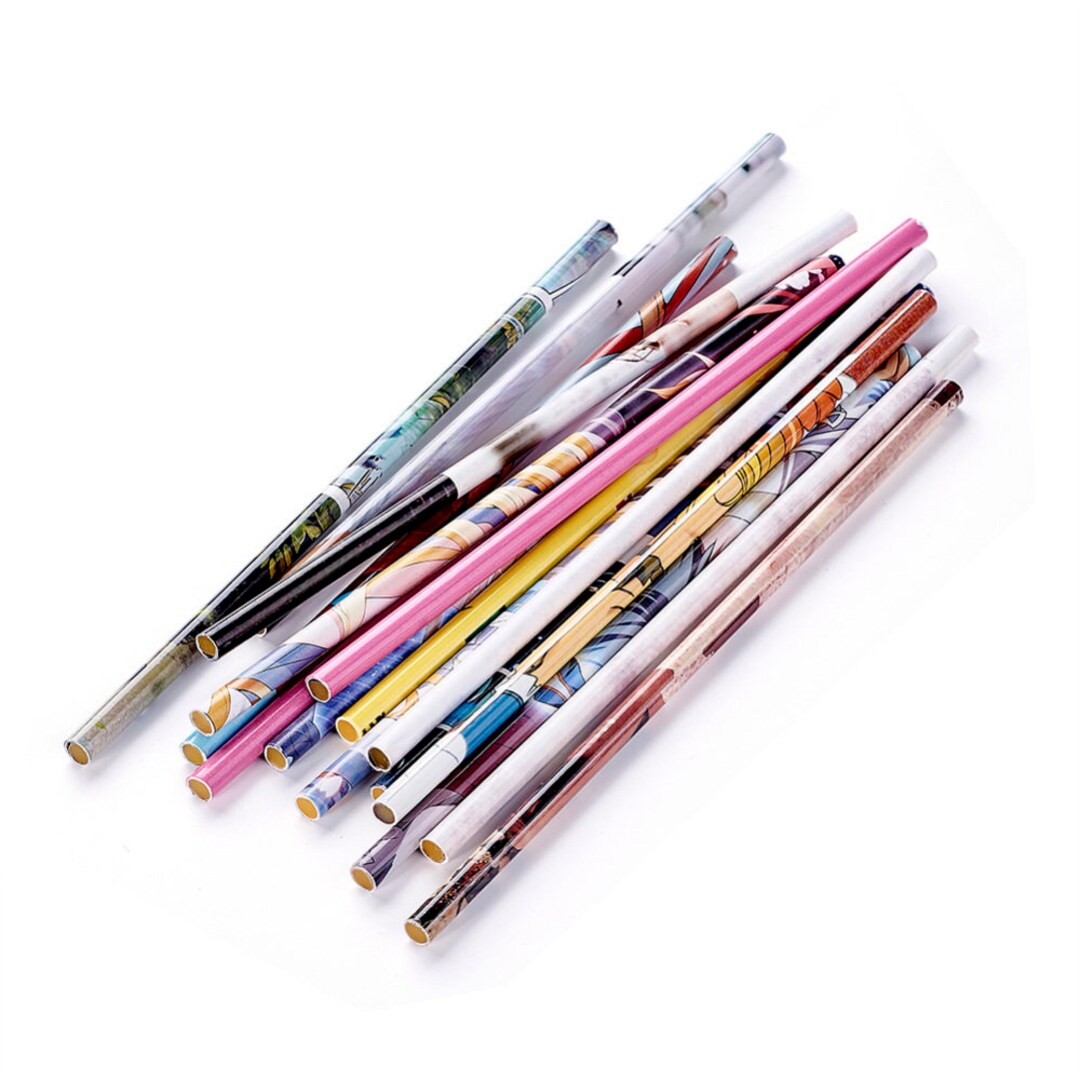
Concerning the tools allowing a precise bonding, I have these 2 tools, a wax pen which is very effective and which does not leave a deposit after use and a "pump" pen with suction cup which is rather effective for flat parts.

130763231_10221552833963952_2680679840223912614_n.jpg


131016043_10221552832883925_5522917260068596622_n.jpg


131038085_10221552833443939_3957085527207495299_n.jpg


131101766_10221552832323911_6600193171231538725_n.jpg
 
that wax pencil looks pretty nifty. Where did you get that from? I also quite like the pump pen although its probably a bit to big for the size of the bits I generally use, but not a bad idea though.
 
Haven't heard of that method before. Not even sure where I'd buy wax sticks from. I wonder if it would leave a residue that could prohibit paint adhesion?
Apparently the wax pencils don't leave residue. Here are links to two versions. (hope the links work)


Description:
This photo-etch placer is a re-usable wax based positioning stick that will help you to hold and place even the smallest piece of photo-etch or styrene. A real helping hand when dealing with the more fiddly side of modelling.
The tip is not too sticky so it’s easy to release the part when placed in position. Nor does the tip leave any residue on the model part. When the sharpened pencil loses its grip it can be sharpened as per any conventional pencil.
The pickup pencil is sharpened in a conventional pencil sharpener. A hobby knife or scalpel can also be used to shape the tip depending on the type of part you want to pick up with it.
Set includes 2 sticks and 1 sharpener.

Less expensive option but a different wax. This is what I remember seeing used in the demo.

 
Thanks mate, appreciate it
Thanks Hagoth as well for those links. I'll check them out more tomorrow morning. They look pretty useful
 
hey everyone

I took some time today to make use of the awesome daylight we've had here to get some more detailed shots of where I am up to right now. I'll have some more time to myself this week as the wife and child are heading off to see her family before Xmas before I go up to Brisbane to join them later. I hope to be able to use that time constructively

So yeah, the last set of photos didn't really convey what I'd actually done, and here's hoping these ones tell a better story


50717132838_c837ec2016_c.jpg


50717873126_9513890ff9_c.jpg


50717951012_d6c622c20c_c.jpg


50717873971_1bdfca3a37_c.jpg


50717133513_fc4347c2ae_c.jpg


50717133043_9c8919a7b6_c.jpg


50717133138_ec525c7185_c.jpg


50717133393_4a0cc41769_c.jpg


Well, that's it for now, but as always, thanks for stopping by and having a look

Till next time


Si
 
The intricacy of the detailing always amazes me knowing the actual size of this thing

Who would have ever guessed a Bandai subject need more detailing but it really does make a huge difference
 
Fantastic detailing mate,... and it’s very impressive that you’ve gone to so much work, along with several other members here with their incredible builds ( screen-accurate or not... it’s a matter of perspective after all ) , it’s a testament to how much an individual builder perceive’s , and want’s to achieve with their personal models .

Thank you for continuing to share :p
 
Well, it's been a long time since I last updated this and I still don't have an update as such as I am currently building a mojo restoration kit, but my steel strip and metal brackets arrived whilst I was away and after having it in my hands, I am again up in the air about which way to mount this ship.

I am torn between using A) the steel plate and then finding a way to create a connection between it and the ship or; B) using a tube which I'd bend to shape (and if it crushes, grind it all level etc and then use Milliput to reshape the bend).

There are benefits and disadvantages to both methods. The plate would by much more stable because the tube method would also require a support stand up front to prevent the ship from just pitching forward.

Using a tube, I would be limited to just 2 separate power plugs and therefore, less lighting options: 1) the engines and 2) the superstructure.

Whereas using the plate, I'd have more lighting options using 4 power pins:
1) the main engines
2) the sub-light engines
3) the superstructure and
4) the sidewall flood lights.

The biggest issue with the plate is that I am unsure on how to attach said 4 pin plug to the end of the plate as the pins are the exact same size as the plate.

The benefits of the tube is mainly aesthetic as I think it would look smarter and less industrial with a tube. Wires would also be easier to hide. The entry point int the ship would just be a round hole and would require less work to make it happen.

So, a bit of a conundrum really. I would be more than happy to hear anyone's thought's on this. What would you guys do?
 
I know I haven't given anyone a chance to answer my question but I have devised a way to utilise my preferred option which is the steel strips.
I'm making a styrene sleeve which will encase the metal strip and that will slide inside another styrene sleeve attached to the bottom hull piece of the ship.
In a burst of inspiration I've started making the plug. I've measured out and soldered in place 8 lengths of wire into the sockets and have measured out and cut the required styrene pieces and so far, I really think I can make this work.
 
Madhatter,

I have had good results with these connectors. The first is tiny. You can probably easily hide it amongst the model’s details. The second is a earplug connector. Also small. This one is tolerant to plugging and unplugging.


Letool30 Pairs JST 1.25mm 2 Pin Micro Male Female Connector Plug 80mm Wires Cables​

Karcy PJ-392 3.5mm Stereo Headphone Audio Socket Stereo Panel Mount Jack Connector Pack of 10​

Both can be found on amazon.

I used the second on my blockade runner. This frees me from using the support to house the wires.

B5150E3D-0EB9-4C63-ABCA-B5E014BC1AE5.jpeg
 
Well, it's been a long time since I last updated this and I still don't have an update as such as I am currently building a mojo restoration kit, but my steel strip and metal brackets arrived whilst I was away and after having it in my hands, I am again up in the air about which way to mount this ship.

I am torn between using A) the steel plate and then finding a way to create a connection between it and the ship or; B) using a tube which I'd bend to shape (and if it crushes, grind it all level etc and then use Milliput to reshape the bend).

There are benefits and disadvantages to both methods. The plate would by much more stable because the tube method would also require a support stand up front to prevent the ship from just pitching forward.

Using a tube, I would be limited to just 2 separate power plugs and therefore, less lighting options: 1) the engines and 2) the superstructure.

Whereas using the plate, I'd have more lighting options using 4 power pins:
1) the main engines
2) the sub-light engines
3) the superstructure and
4) the sidewall flood lights.

The biggest issue with the plate is that I am unsure on how to attach said 4 pin plug to the end of the plate as the pins are the exact same size as the plate.

The benefits of the tube is mainly aesthetic as I think it would look smarter and less industrial with a tube. Wires would also be easier to hide. The entry point int the ship would just be a round hole and would require less work to make it happen.

So, a bit of a conundrum really. I would be more than happy to hear anyone's thought's on this. What would you guys do?
I can advise you to use connectors for industrial sensors, such as these
Connectors
they come in different diameters and for different numbers of wires. there is a size M8 (outer diameter 12 mm) for five wires. if you connect the central "minus" and four contacts of your choice-different lighting systems.
 
I'll be damned, someone beat me to it. :lol:


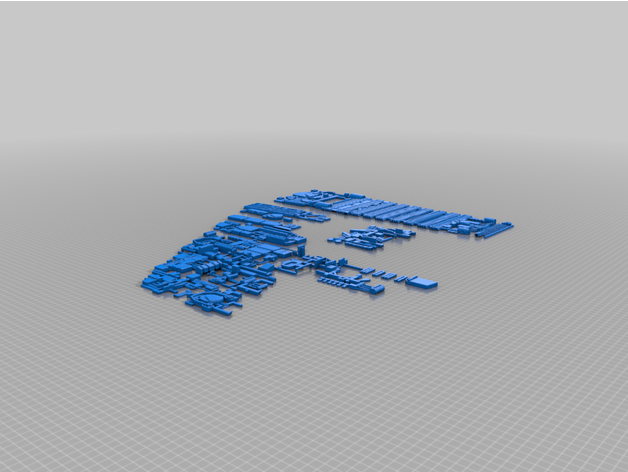
Of course someone would produce something like that well after I started. Still, that's pretty cool. Wish you could zoom in more on the details of the pieces though

Here is where I am with my armature and power connection:

50928373197_6e6f829bdc_c.jpg


50928246126_09886d2d37_c.jpg


I'm thinking I may rebuild the plug but it works all the same. The bottom bracket will screw into the base for added strength. Once it's all finished, I'll paint it matte black
 

Your message may be considered spam for the following reasons:

If you wish to reply despite these issues, check the box below before replying.
Be aware that malicious compliance may result in more severe penalties.
Back
Top