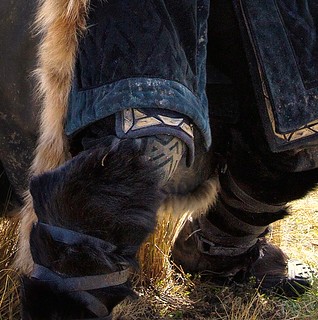
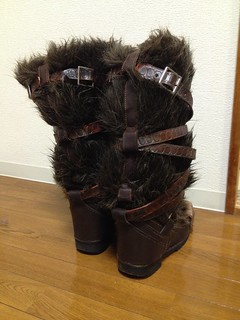
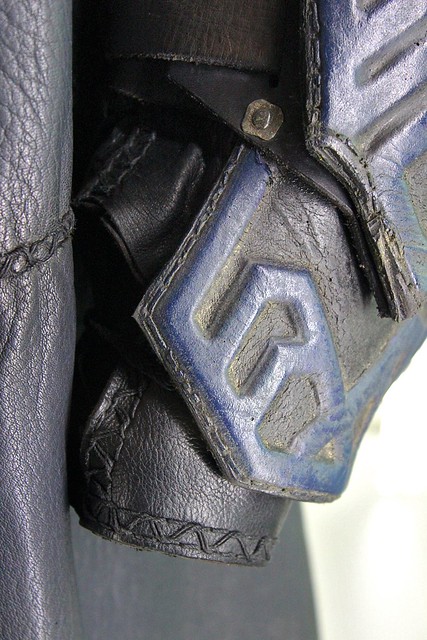
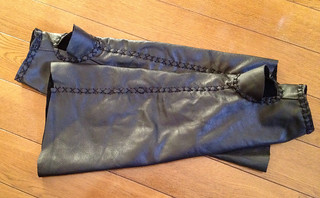
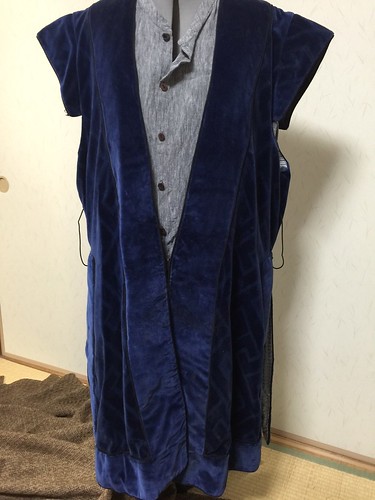
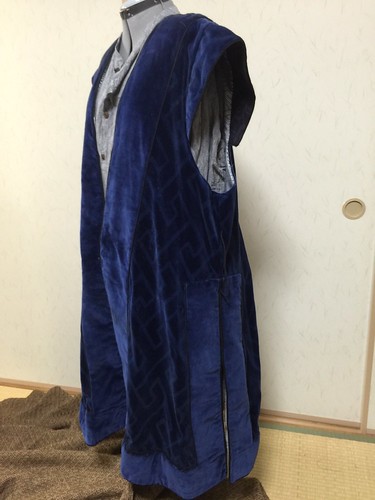
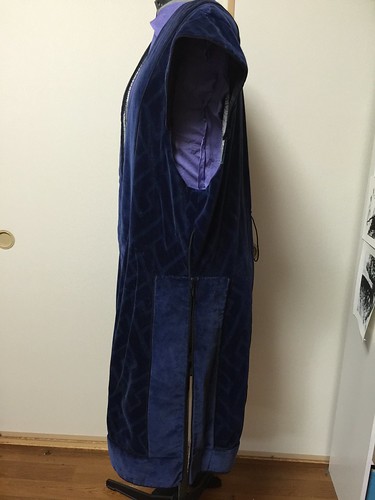
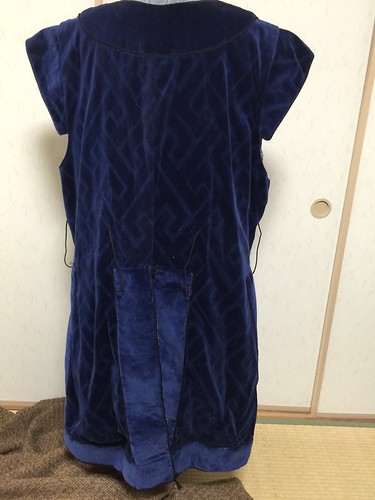
Blue Velvet robe
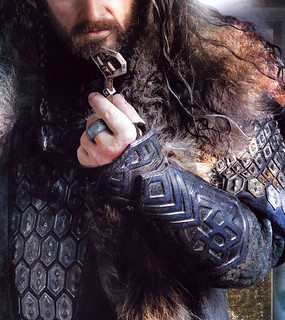
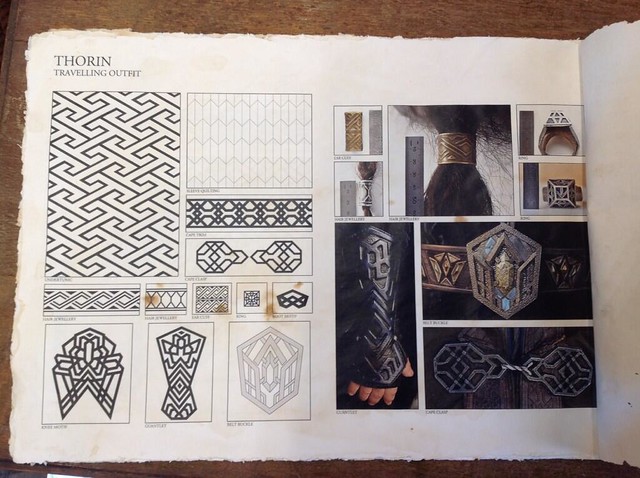
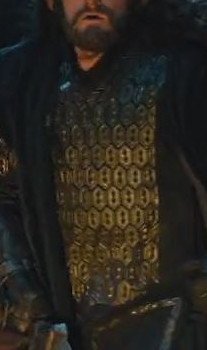
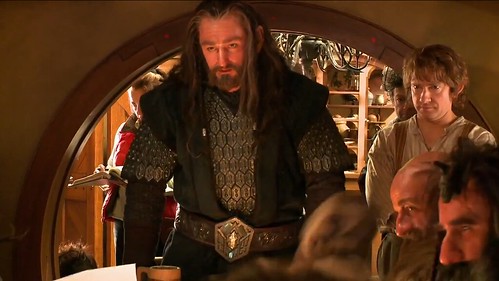
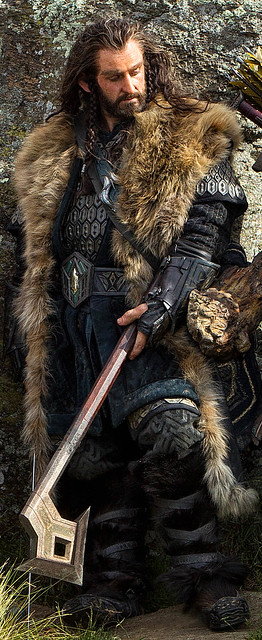
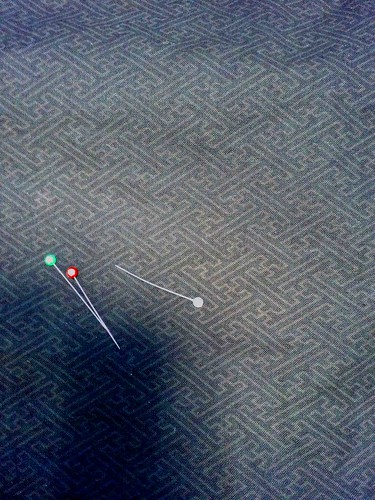
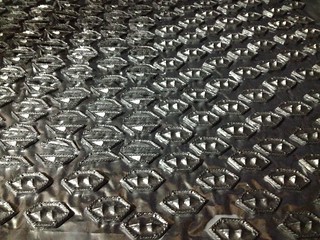
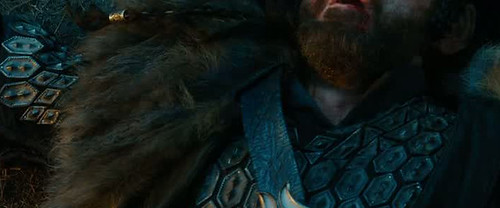
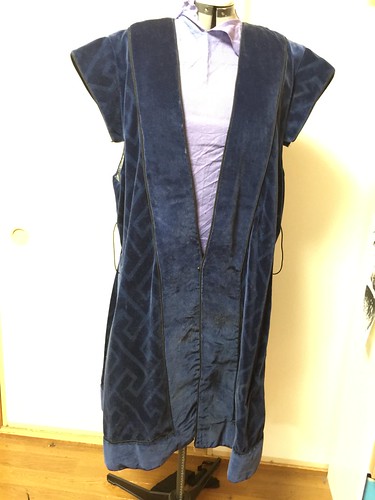
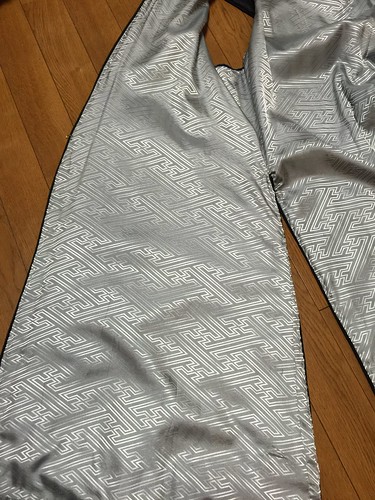
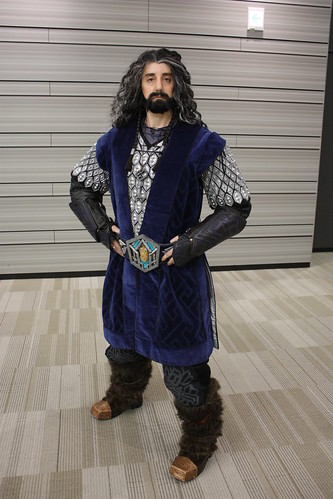
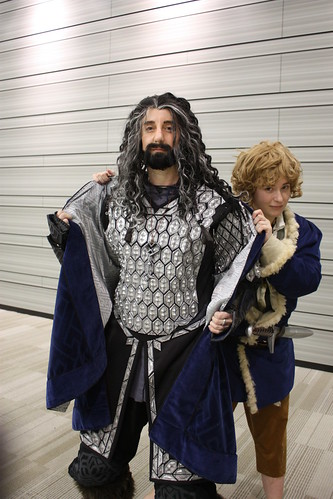
The one confusing part of this costume for me was the pattern on the velvet. The costume book said it was originally a grey velvet with a raised pattern that was dyed to blue. In the Sakai display book, the interlocking skewed Greek Key pattern is horizontal, but from what I could see of the costume pics from the movie, it was more vertical. I still haven't found any good shots of just the vest to tell me.
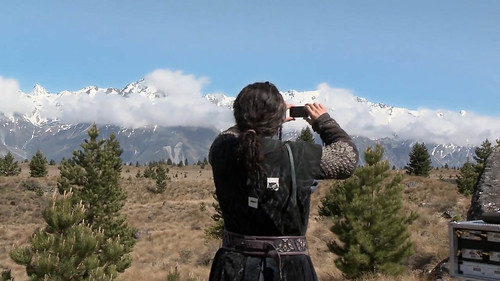
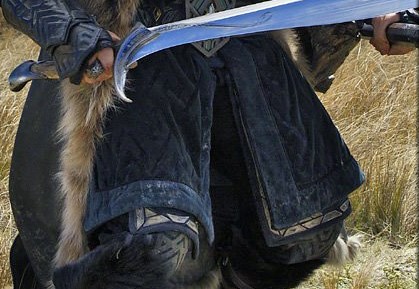
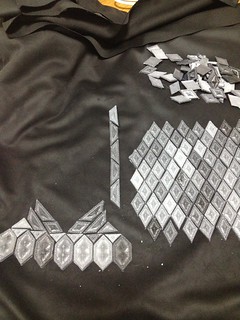
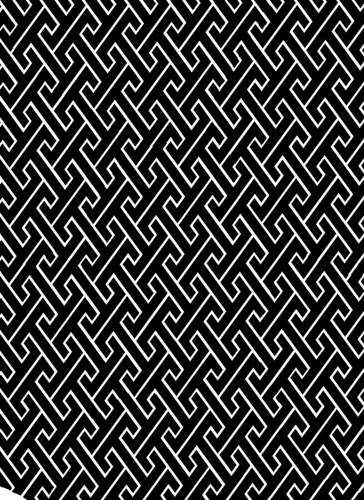
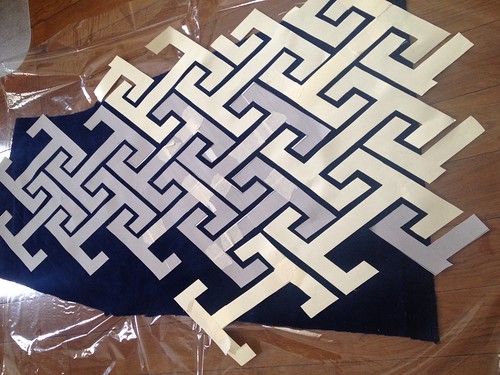
So I decided to heck with it and and went with a vertical orientation. Some work in Photoshop with online clip art of Greek Key quilt fabrics gave me the pattern below, the right hand one being the full page size I printed out on sticker paper with overlaps to apply to the velvet.
Also, please excuse if the pattern doesn't quite look the same as the Sakai city book's (the pic is way up in the pants post). I made mine before that was put on display. Just another example of working from screenshots and not quite getting the angles right.
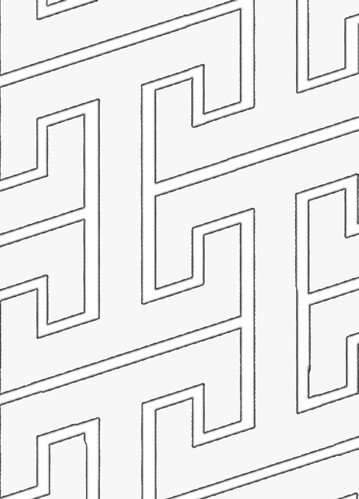
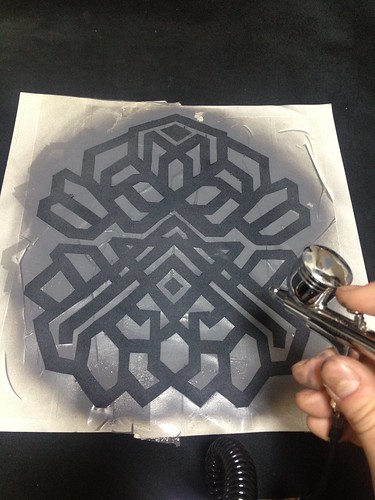
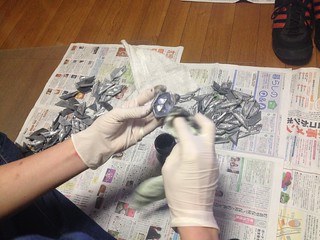
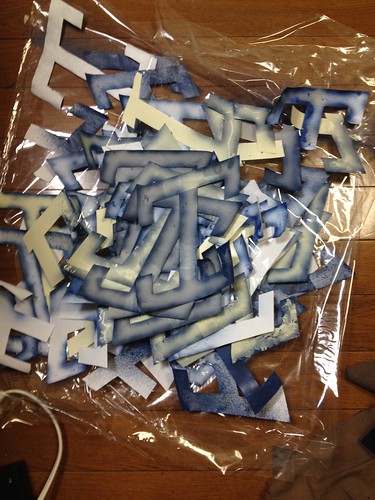
The brilliant thing about sticker paper is that it works really well for spray work. The not-brilliant part is that it can be pricey, and that the velvet pile fuzz will keep it from sticking more than twice. With the amount of stencils I needed, I was bally well going to re-use the pieces and thus 3M's Design Bond spray glue came into play. It's used for graphic designers etc who want something a bit like a Post-it note than can be lifted and moved and reattached. Presto - the velvet fuzz problem was vanquished with applications of Design Bond to the paper.
I'd put up the pattern design for the vest shape, but I forgot to take pics, unfortunately.
Fabric Tale
Way back when the first Hobbit movie came out, I said to myself, "That's something I want to make, that costume." And I actually had a gorgeous upholstery weight cotton velvet in the perfect shade, deep and luscious. But I lost my job, got a new job, quit that job for a much better one and also moved to a new place before I actually started the costume. Fabric being what it is, the huge stash came along and the velvet languished until my family decided that 12 years in Japan was quite long enough for them to not have come and visited me before.
And what does that have to do with the costume? Well, I had a new apartment, completely bare except with what I'd brought. And... curtainless. You see where this is going? My family was coming, it's a nice well lit apartment and besides neighbours looking in, there was the fact that I couldn't put up jet-lagged family in a sun-drenched place. Completely forgetting what I'd kept the velvet for, I pulled it out, said, "This will block the light nicely!" and made a nice set of curtains.
I hope they appreciated them. They were nice. And when the time came for the vest to be made and I was digging through the fabric hoard with puzzlement looking for blue velvet I suddenly remembered. Oh god. Oh... well.
They
were nice curtains. Down they came, and I hadn't cut the fabric too much not to get the Thorin vest from them. I have a new set in my room now. Made of winter fleece, actually. Keeps the room warm in winter and insulates it in summer to keep the air conditioning in.
Fabric Tip
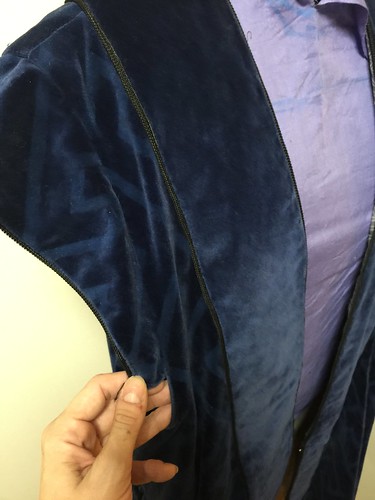
Anyway - the edging on Thorin's vest is a slightly lighter tone that sort of matches how the light catches the raised patterning of the rest of the vest. I wasn't about to get more fabric in that shade. Since velvet hanging properly has the nap facing up so it looks darker and richer, I merely laid the edging pattern so the nap of the velvet faced down and the light reflected from it, making it look lighter. There. That's a good tip for people unwilling to buy two kinds of velvet. Just cheat.
Spraying the Fabric
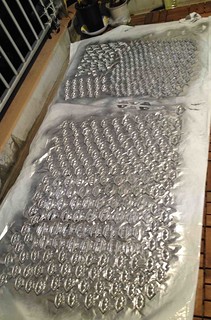
I matched the lighter look of the reversed nap velvet in acrylic paint and thinned it down for airbrushing. The stencil pieces were laid and the tedious process of spraying began.
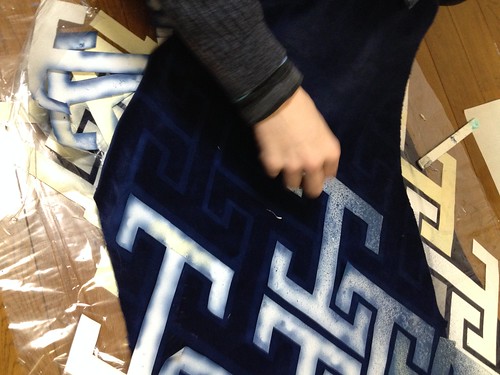
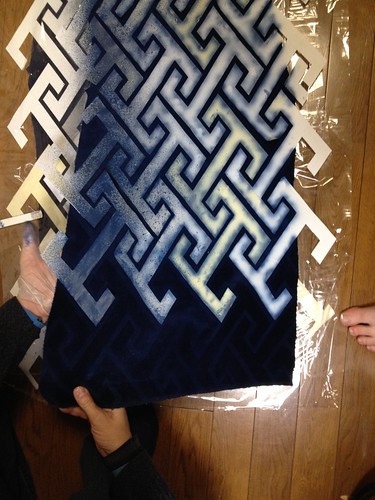
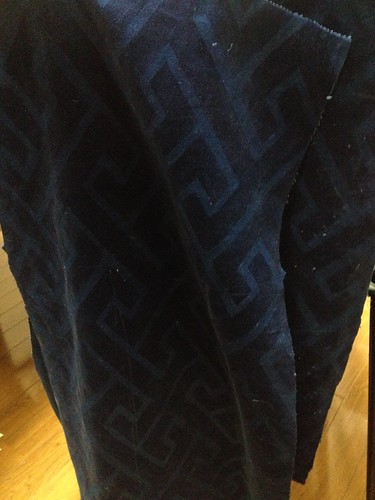
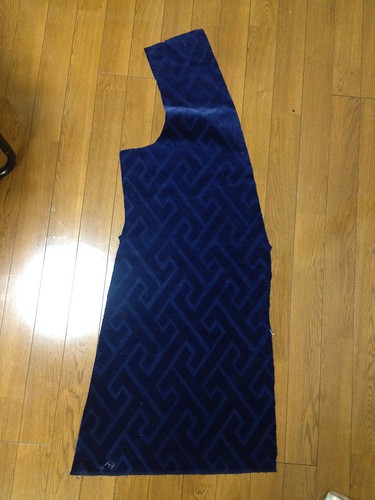
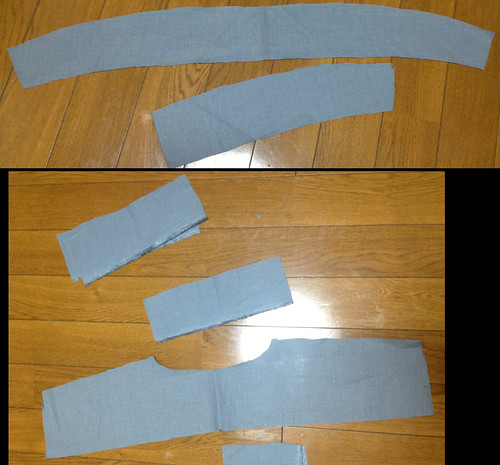
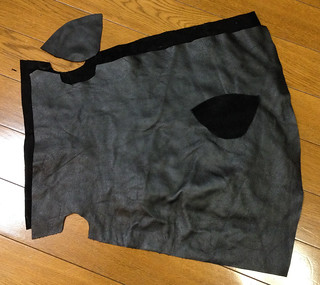
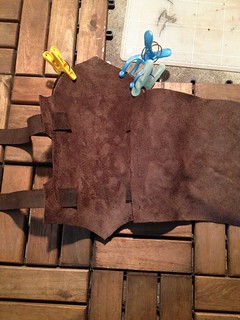
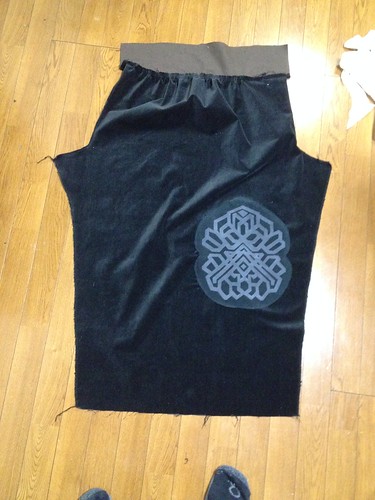
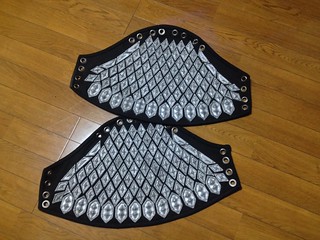
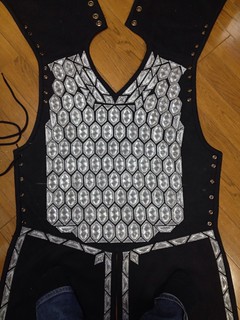
Ah, wait, I did have one pic of a pattern piece for the vest. The last one there - that's the side front before the edging was added. The notches indicate waist area and where the front hook and eye would be placed.
Stencilling like this is just about as tedious as quilting. And like making the armour plates, lord, it takes time.


