Another, Another, Another Tie Bomber scratch build

Guy Cowen

Sr Member
Well its about time I added one of these to my collection. had most of the parts for a while now but with the A wing & work taking over my life it was just too much.

Not any more.

I have been studying everyones threads on how to do this lil beast & the ref material is a plenty so aside from a few "please helps" I should be rocking pretty soon.

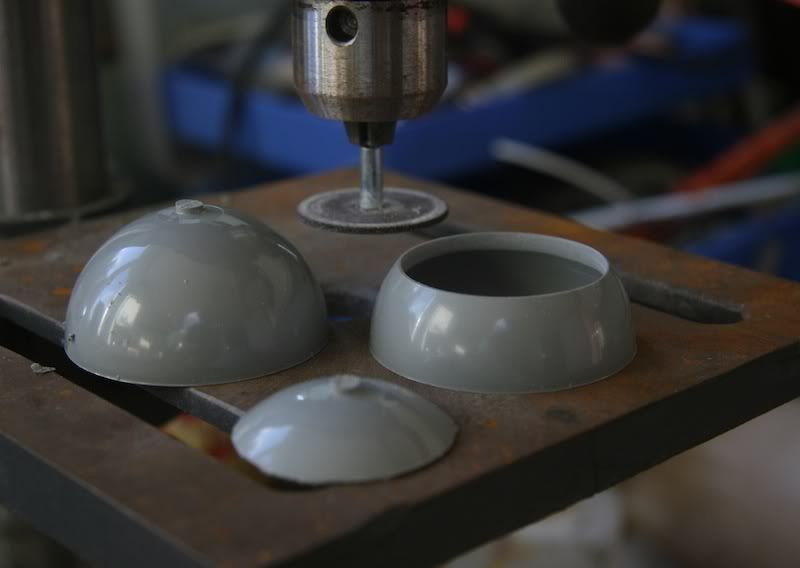
The first major hurdle for me is out the way now as well. Cutting the hole for the X1 cockpit front in the plastruct dome. Thanks to some very well received advice I attempted it about 10 mins ago & it worked perfectly. How ever I did choose to ignore all advice & tried an old trick I did with the B wing scribed lines on the cockpit.

Basically I chucked the dremel cutter in the bench drill & sliced the top off like a boiled egg. I cant believe how quick it was & even better it worked perfectly first time. I had the speed running quite slow so I didn't melt the ABS, all it needed was a large round file running round the inside to trim the thickness back & it fit like a glove straight out of the box. If it all goes this well I'll be amazed :lol

Pics to follow
 
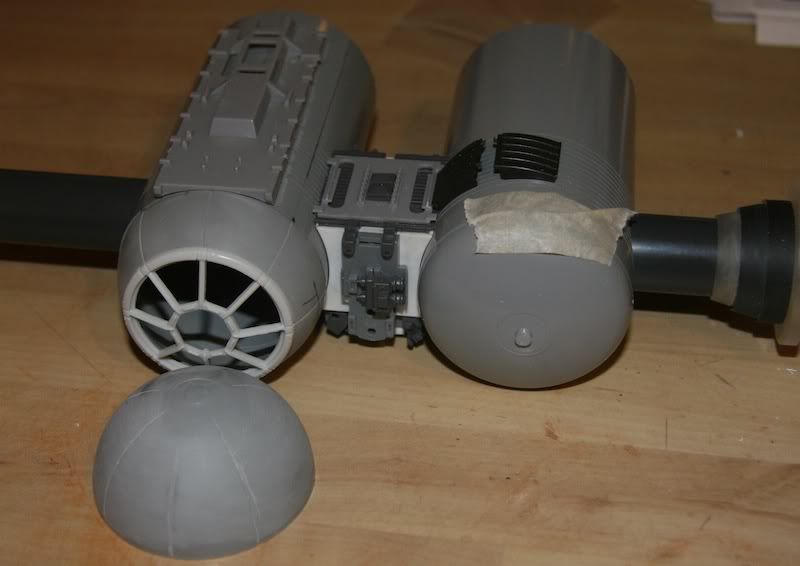
First hick up for me, the process of cutting the hole went really well but scribing the lines on the dome after the hole is cut may be the wrong thing to do!

Do most Tie Bomber builders scribe the lines before or after the hole is cut?

I got 3 domes & have been practicing the scribing, its just lining the the lot up that seems to allude me, if its mathematically correct it doesn't line up with the X1 part, if you go from the X1 part it really hard to get them even.

I new it was going to well :)

IMG_0001-12.jpg


IMG_0005.jpg
 
Very nice start Guy.Did you do the scibing on the tubes,there done very well.

Dave

Thanks Dave, sadly all neat & incredibly tidy scribing is down to our Tie Bomber Guru Stu (Eagle1), its one of the tie Bomber Runs he did so I had a great head start.

I just spent the last 2 hours scribing the Dome lined from the X1 part, very naff indeed...I'd give myself a 7 -10 just for sheer effort :lol.
 
My pleasure,


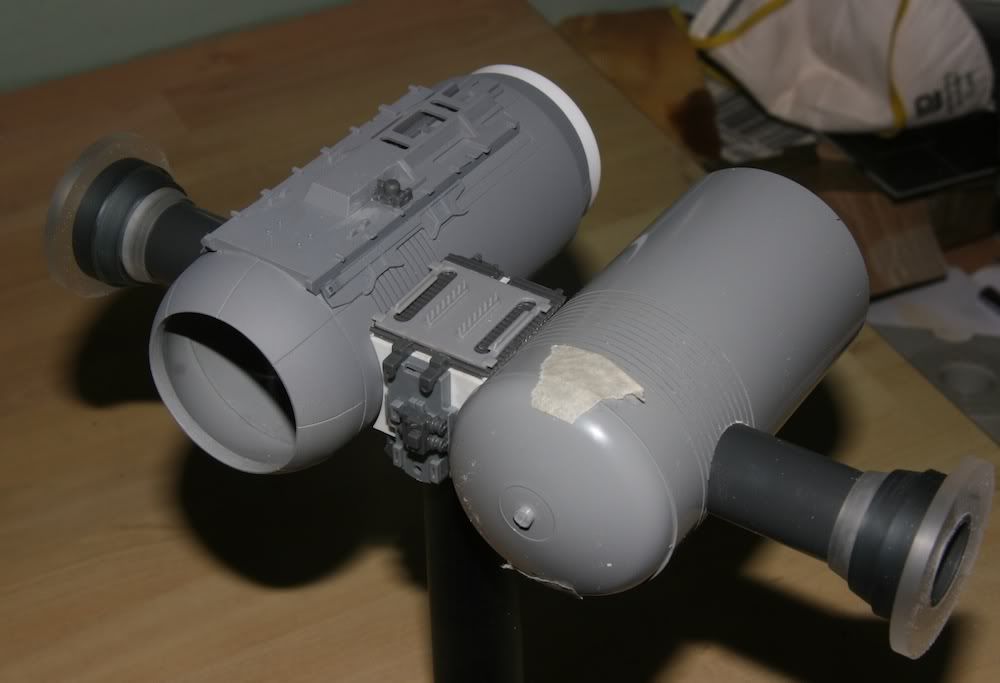
here's where I was at last night after the scribing hell
IMG_0009-7.jpg


some parts are still just placed & are not glued.
 
Awesome start Guy, the journey has begun my friend!.
Will be great to see you build this from start to finish using one of the starter sets mate, god knows how many were made & how many will actually be built & join the 'Empire'.

In regard to the scribing, I made a cardboard template for the bottom of the dome & then eyeballed the lines on the top (after the top as removed), checked the cockpit grill lined up, then scribed the lines, it worked perfectly!.

Any help you need mate just ask away, except the paint-job, you got that area covered lol!.
Stu
 
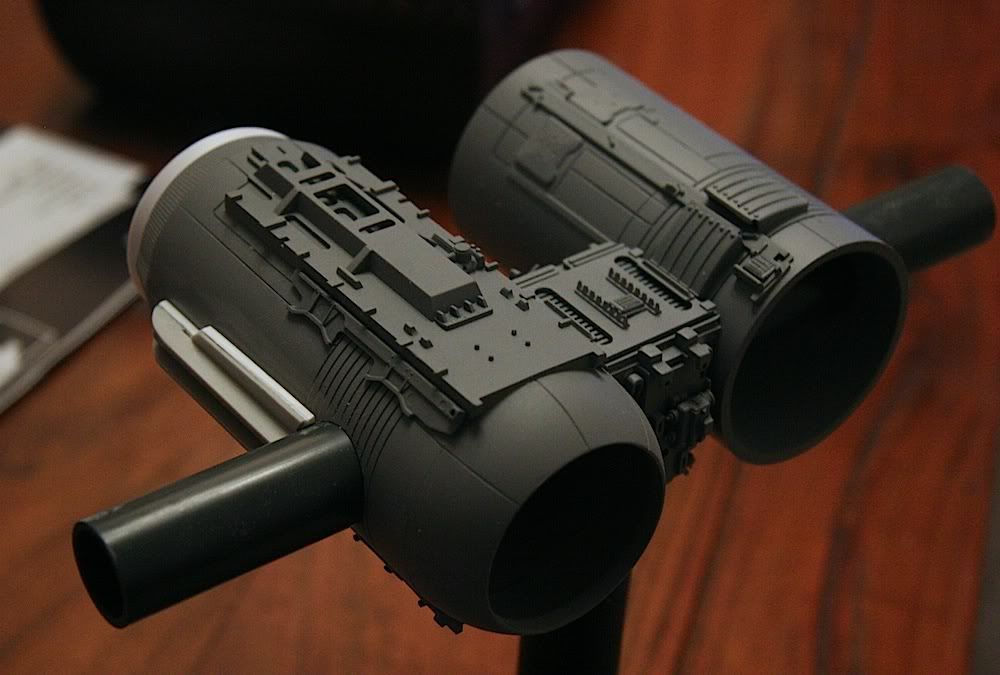
Cheers Stu, I managed to fumble them on last night, just shot some primer on it to see the damage & I think I'll stick with what I have (FOR NOW) :-0

IMG_0010-9.jpg
 
Guy,
great start :thumbsup

I'm a big fan of your models !
I hope one day i have the cash and the skills to build my own bomber.
 
Hey Guy,how did you cut the Saturn V part?The same way you cut the pilot dome?

Dave

Your half right :thumbsdown

I started but there was too much movement due to its height & the cutter broke. I finished it off with a hobby saw then just sanded it till it fit the 2 inch pipe.

I would suggest, one you've glued the saturn halves together add a small strip of styrene across the join on the inside, there is a lot of pressure when cutting & sanding & mine kept coming apart, kinda worked backwards but got there in the end.
 
Guy,
great start :thumbsup

I'm a big fan of your models !
I hope one day i have the cash and the skills to build my own bomber.

Thanks, You have more than the skills you need. :thumbsup

I was pretty lucky today also. Whist I was tidying up I spotted a few model kits I'd put on top of the kitchen cupboards, there untouched bar one piece was a Leopold that I didn't remember buying :lol

What a bonus.

I started to mess with the wing extensions this afternoon, I'm a bit miffed as my styrene has come from EMA but it feels really soft compared with other off the shelf brands I've bought. Does anyone know if this is a different material?
 
Just a small update today, I'm finding it tough to get the parts to bend to the curve of the tubs, used heat & boiling water to help, hmm!

ITs coming together slowly but Its not gonna win any prizes.

IMG_0014-8.jpg
 
Hi GHuy.

Fantastic project start :thumbsup, I hope you enjoy your bomber construction as much as I enjoyed mine.

To scribing the panel lines, I first draw the lines on the piece and then use Dymo tape as a rule for the scriber tool.

In this picture you can see how I made the dome of the second cylinder. I hope you find it useful.

Rafa

bomber1.jpg
 
Much appreciated Rafa, This is one of thse parts I keep putting off, well i did order the wrong domes as well but the the new Dishes are in hand so no excuses!

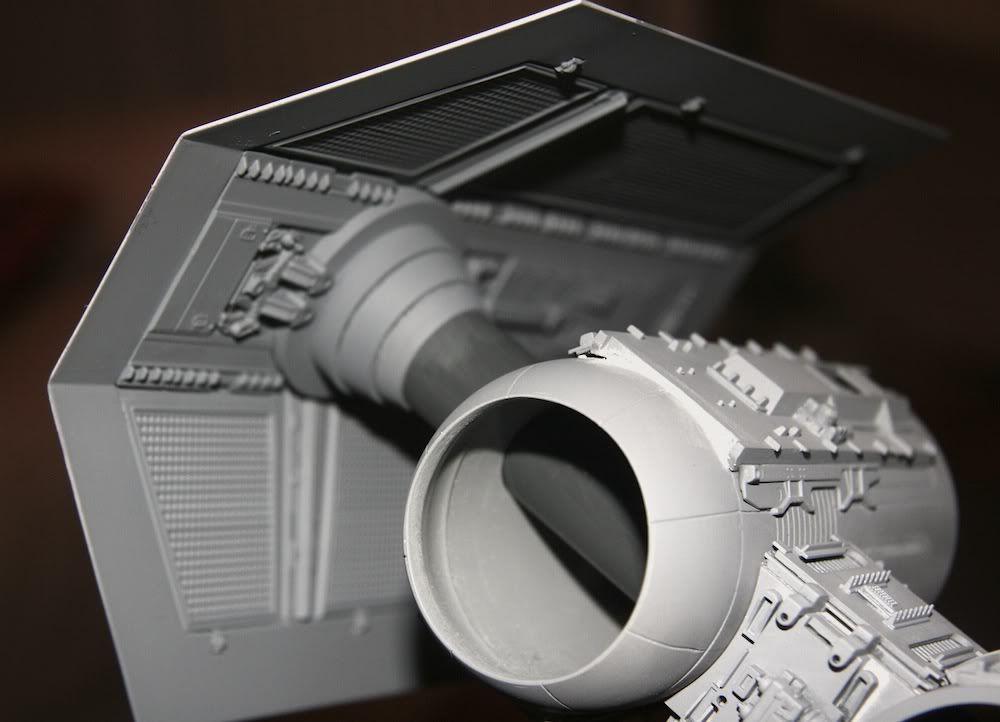
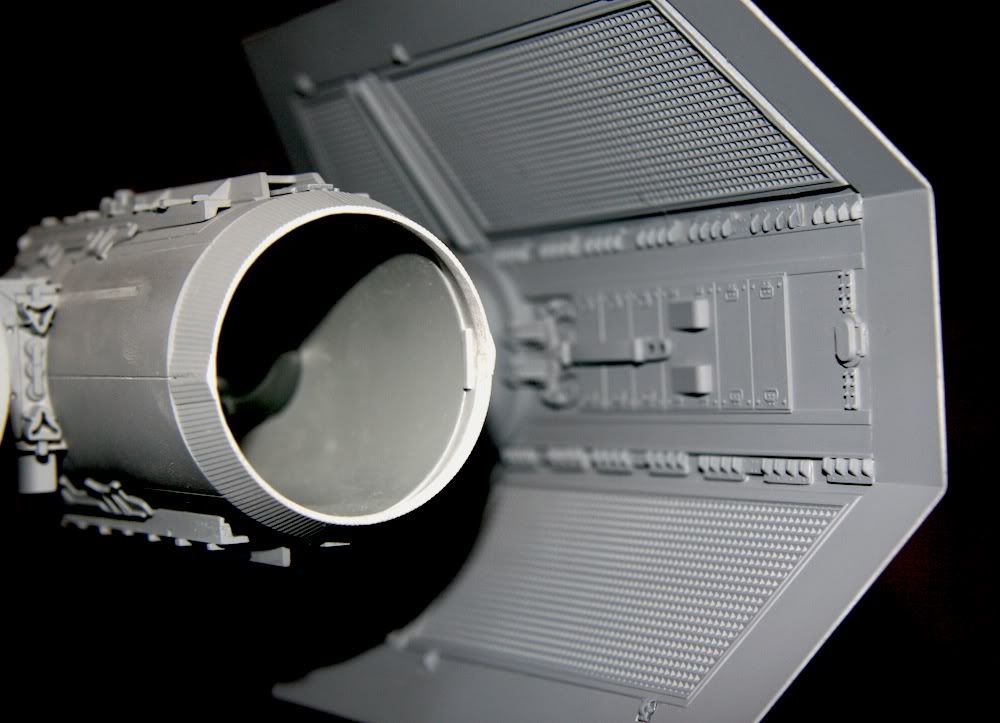
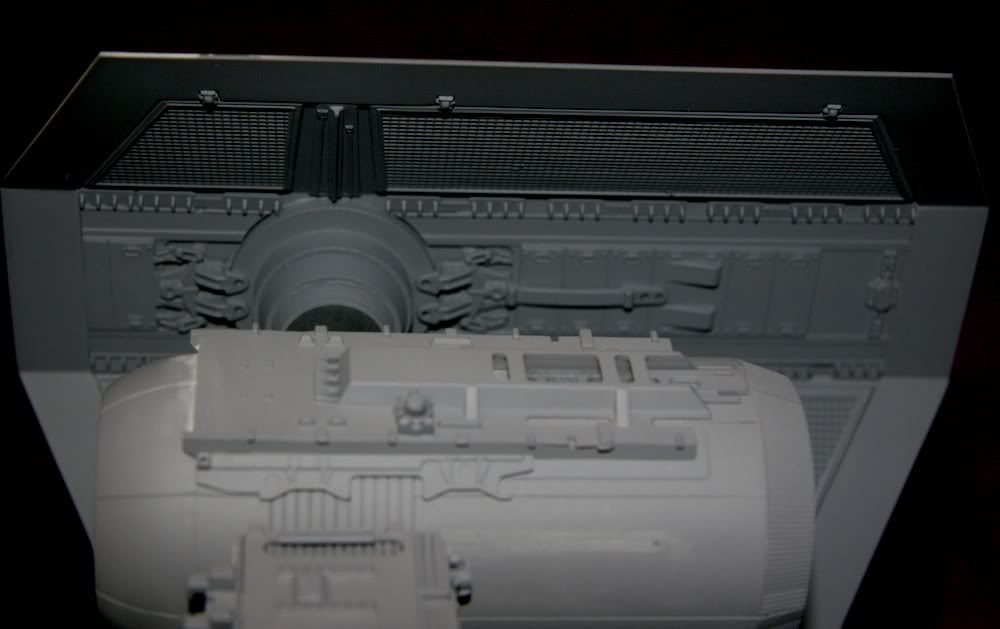
Got most of the first wing done, the extensions gave me a lot of trouble to start with but I think I was being over mathematical. My trimming wasn't as good as my maths so the results weren't too hot. I decided to do it more of an eye ball way with pencil & ruler( very low tech) the results were a ton better. However I do think I made them a tad too small, I aint starting again though as I just cant afford the Leopold kits.

I used 0.75mmm styrene for the extensions & i think this looks pretty close if not blob on?

What did you other guys use just out of curiosity????

IMG_0016-4.jpg


IMG_0018-3.jpg


IMG_0019-2.jpg
 
Back
Top