Nice start with the painting. It makes me want to get started on mine, but I'll have to wait for the weekend. After seeing your work I think I'll break out the oils just for the hell of it.
I'm glad I could be an inspiration.
")
Nice start with the painting. It makes me want to get started on mine, but I'll have to wait for the weekend. After seeing your work I think I'll break out the oils just for the hell of it.
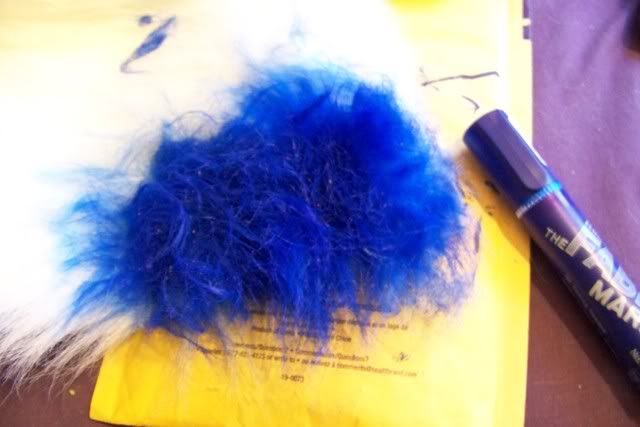
Here's my li'l dude as is.
Still need to feather the edges, add the fur... And am still considering dremelling the eyes concave, painting the iris, then filling with superglue for a more eye-ey effect
Awesome WIP guys, keep 'em comin'!
As for the eyes, I was thinking the same thing when I started painting, but I figured if I didn't place it correctly, then it would require more work. I used Mr. Clear for the clear coat since it's the best gloss coat I've found.
But if you guys try it, I'd love to know how it turns out.
One question on the painting. Why are some of you doing a solid blue stripe in the middle? It looks like there's a "fleshy" base over the whole thing, with just a concentration of blue stippling in the middle. Is this just an intermediary step?
That's what sucks with oils, it blends beautifully, but takes forever to dry.
I stick with acrylics nowadays and having an airbrush doesn't hurt either
That's what sucks with oils, it blends beautifully, but takes forever to dry.
I stick with acrylics nowadays and having an airbrush doesn't hurt either
i used oils quite a lot back in the day. try putting it under a lamp or on a heater, it dries it a lot quicker, thats what i did when i used to work with them. oils are far better than acrylics in my opinion.
-z
