Wow, I love this forum. It's so cool that someone can be building something, and then the person that originally made it just shows up and starts helping them out. Just amazing.
You are using an out of date browser. It may not display this or other websites correctly.
You should upgrade or use an alternative browser.
You should upgrade or use an alternative browser.
1:1 scale M-O from the film Wall-e
- Thread starter gooses2
- Start date
LOVE THIS!!
")


gooses2
Active Member
Gooses- your M-O build is coming out fantastic! This is the exact method I've been doing on mine for quite some time (although fiberglass, acrylic casting and pepakura for the body for lightweight electronics).
What dye are you planning on using for your vacuum form?
Ive got some teal Rit liquid dye, Ive never tried dying PETG before so I'm not sure how it will go. I've watched a few people do it on youtube though.
Thought I'd share a M-O I made while we're waiting for gooses. Still largely in beta mode, it was one of the earliest prototypes I made for the maker faire.
The WALL-E that's in front was made by my friend Mike Senna
View attachment 411945
Oh cool, is that M-O to scale? He looks pretty small to me, or perhaps the wall-e is massive.
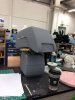
Not that you ever see the underside of the head, but this is what the attachment frame looks like for the head/Neck joint
cheers
Michael
Thanks thats really usefull. Quite a complicated shape for a part you don't see that much. Not sure if it's worth it to try and replicate that or not. But thanks anyway.
Gooses - Really excellent work!
I use SolidWorks, Rhino and Maya extensively at work. Of the three, Rhino is by far the most useful modeling software for props and models. It was originally designed by and for industrial product designers so it "thinks" like a fabricator does. It's a "direct modeler" unlike SolidWorks which is "parametric". While you loose the capability to go back and easily change features within the model, it is much faster and easier when creating surface models. Solidworks is really best for mechanical design and Maya for character animation.
You can download a 90 day fully functional copy of Rhino, which is great since it gives you enough time to really learn and evaluate the software. And it's priced under $1,000 which is a great value. Also it looked like you have a Mac? If so the beta version for Mac OS, which is fully functional and pretty solid (crash free) is available for free.
gooses2
Active Member
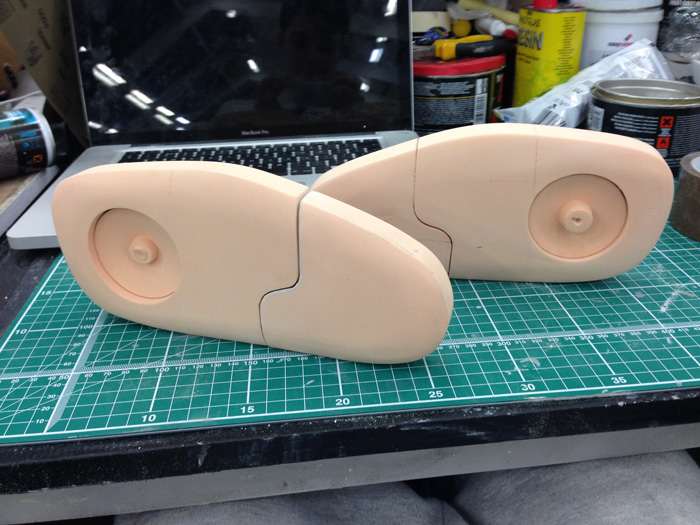
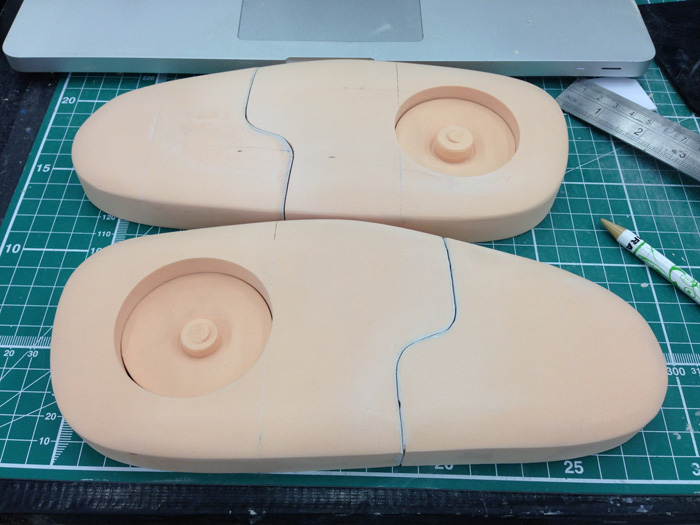
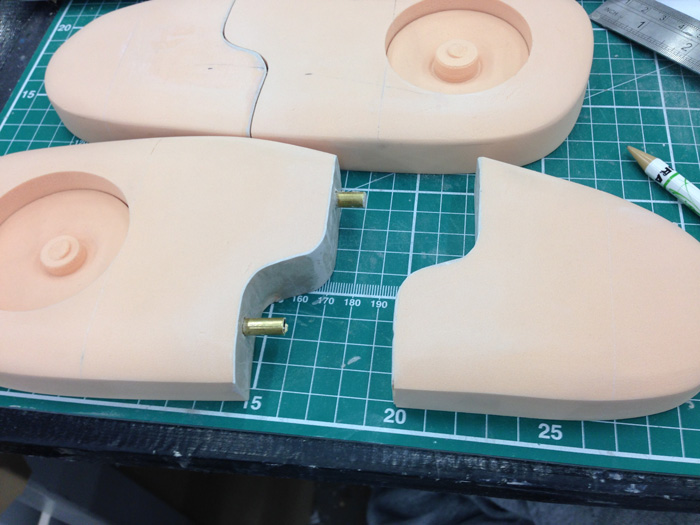
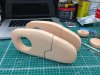
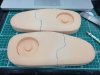
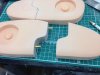
I've done some work on the arms. Went for the heavy orange chemiwood rather than the green like I did for the body.
Made them so it's two pieces. Later If want to build the bit which extends them I can.

Made them so it's two pieces. Later If want to build the bit which extends them I can.
Attachments

gooses2
Active Member
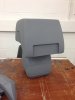
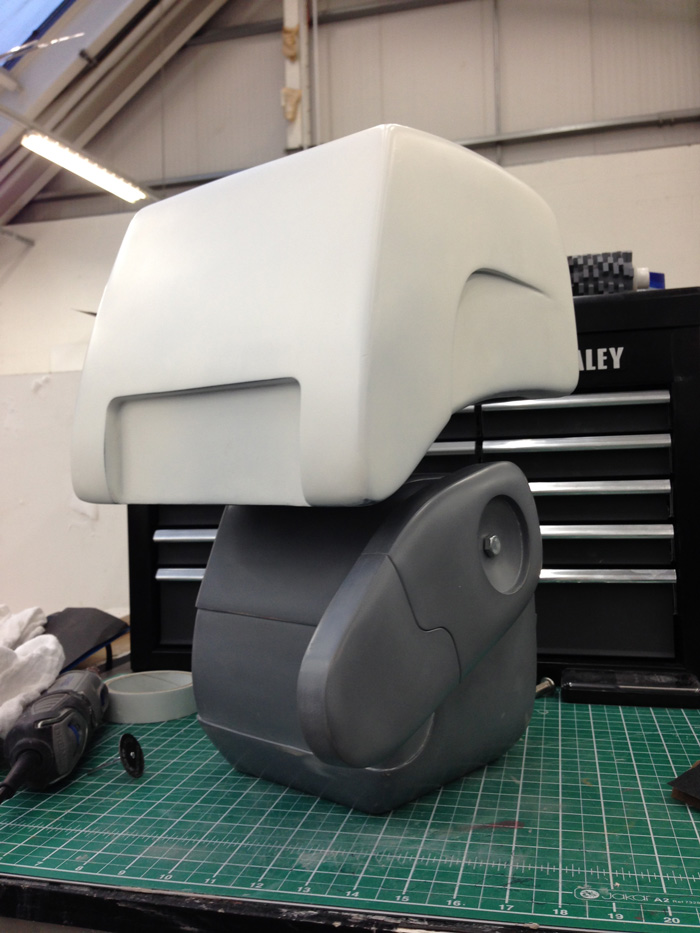
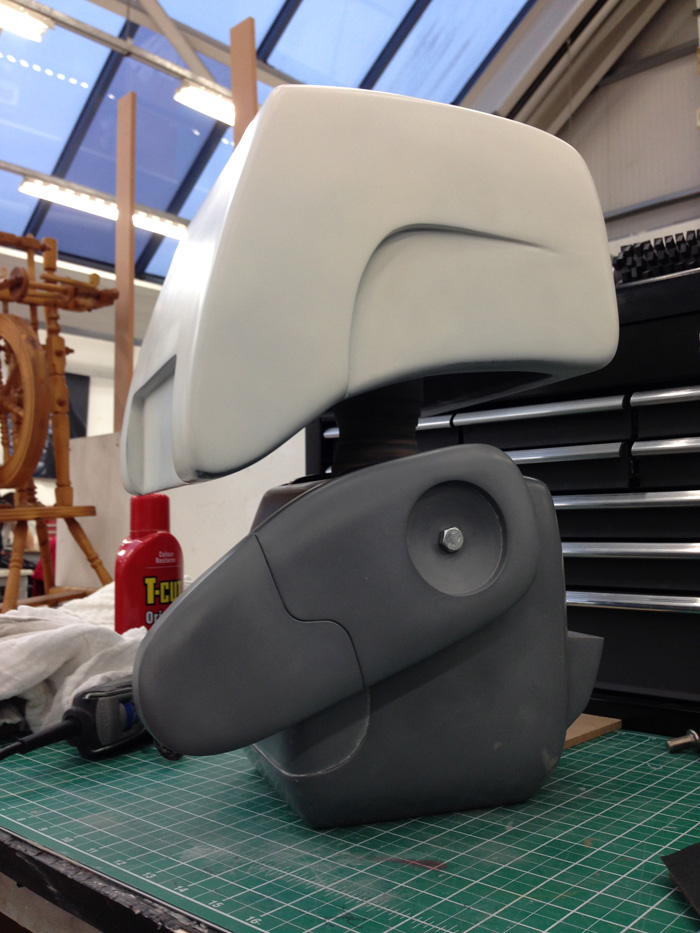
Been a while since I updated. I've made some good progress now. M-O now has a head, body and neck.
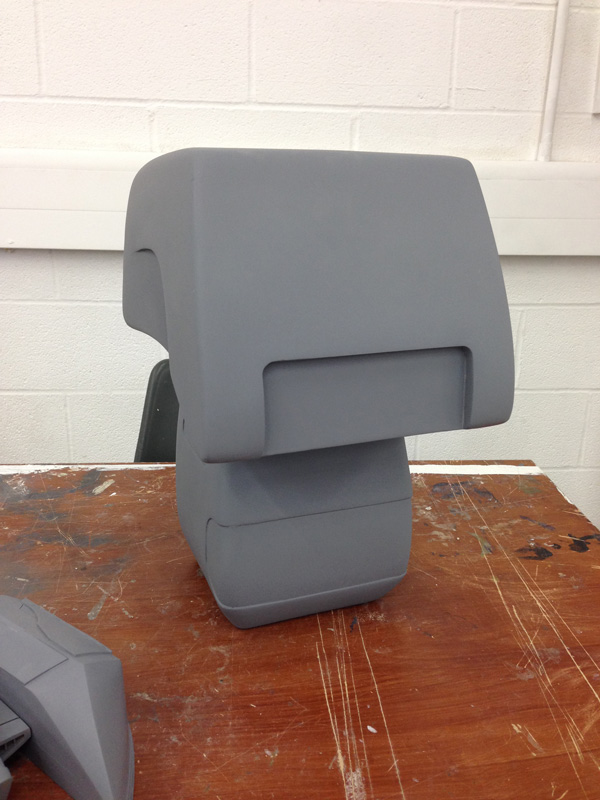
The designed a joint so the head can tilted and rotated, for posing and such.
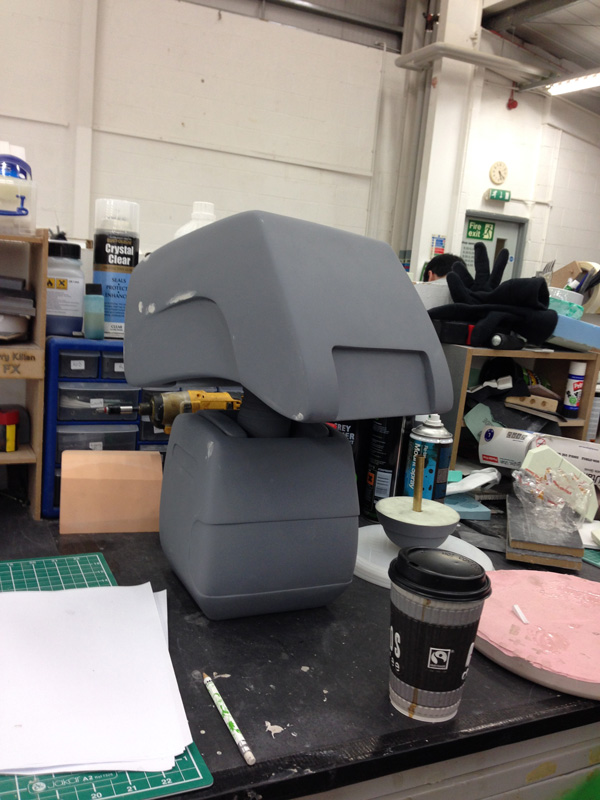

Next up is to fix the arms on and figure a way to affix his watertank/backpack thing.
The designed a joint so the head can tilted and rotated, for posing and such.
Next up is to fix the arms on and figure a way to affix his watertank/backpack thing.
Attachments
The Schlitzie
Sr Member
Aww man! That's coming along really well! That looks amazing.
Gorgeous work!
Eager to see this completed!
Eager to see this completed!
I love this project!!! I can't wait to see it complete!!!
gooses2
Active Member
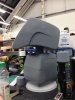
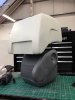
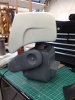
A little more progress. The head has had a coat of white primer and one of the arms has had it's final coat of grey. The other arm still needs quite a bit of work.
The little piece on his back here will be the water level in his backpack. So it will look about 35% full.

The little piece on his back here will be the water level in his backpack. So it will look about 35% full.
Attachments

gooses2
Active Member
Looking good! I bought some foam over the holidays to get back to work on Eve. Look for updates soon.
-Eric
Awesome, please do! I would love to see an Eve finished. My buddy is making a full size Wall-e, can't wait till there both finished and we can have them together.
Similar threads
- Replies
- 0
- Views
- 605
- Replies
- 247
- Views
- 38,483
- Replies
- 12
- Views
- 1,911
- Replies
- 47
- Views
- 22,379
- Replies
- 17
- Views
- 6,772