1:1 R2D2 building from scratch - Just about done!

Re: (PIC HEAVY) 1:1 R2D2 building from scratch - Skin & parts in progress

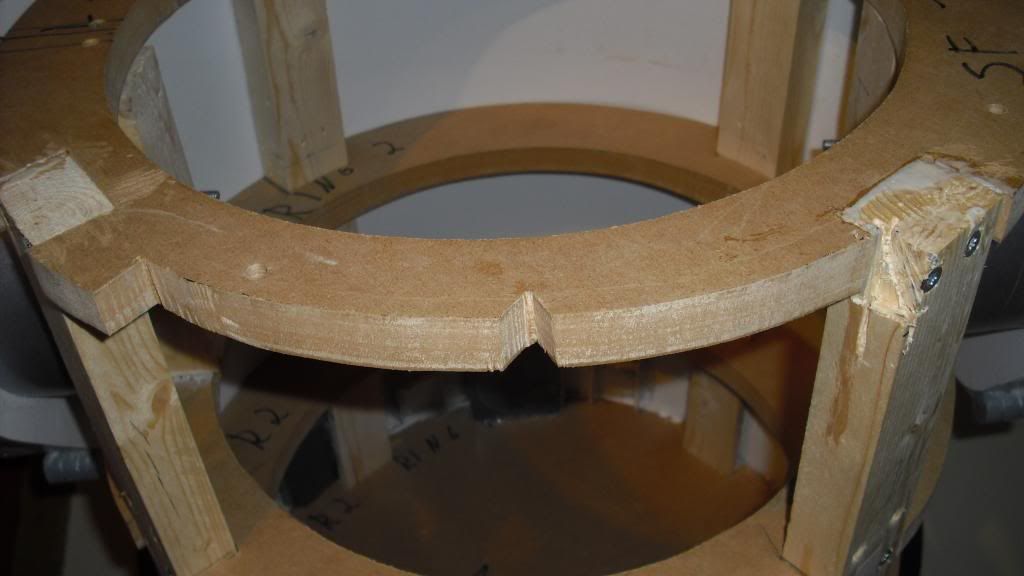
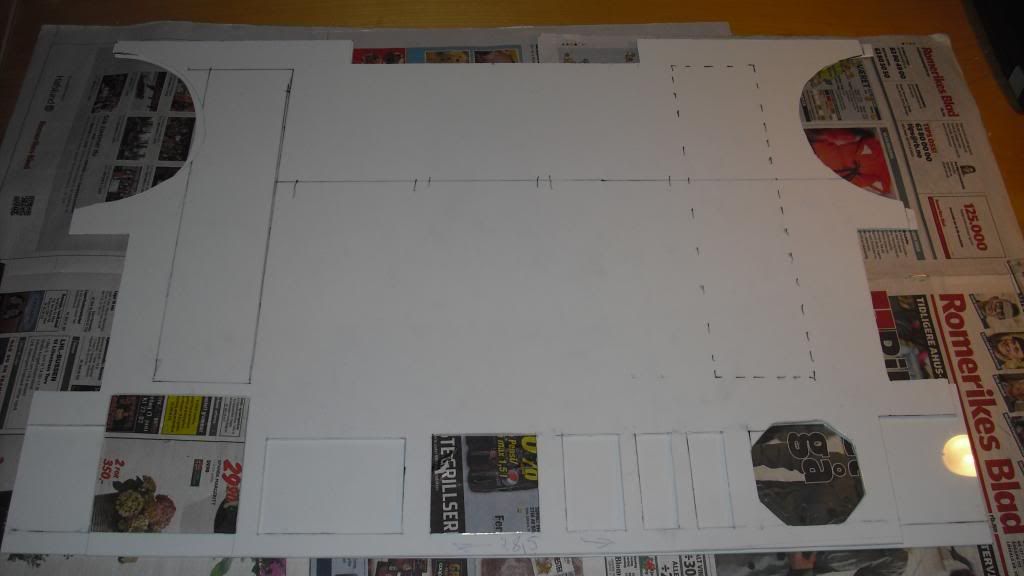
Now it's clear that it's off centre, sadly. I think it's best to go through with it as planned just like before this, uhm, discovery(?).


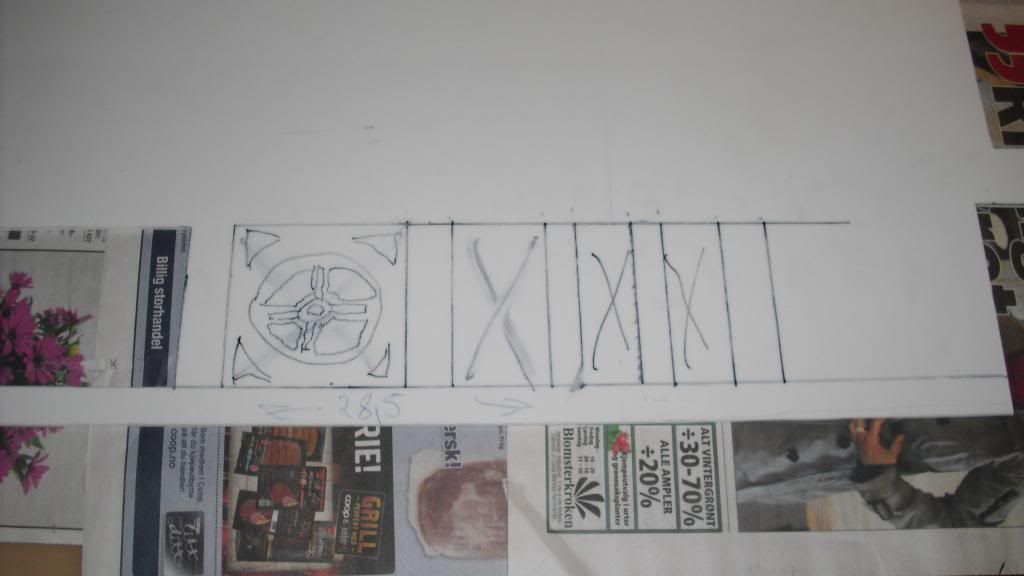
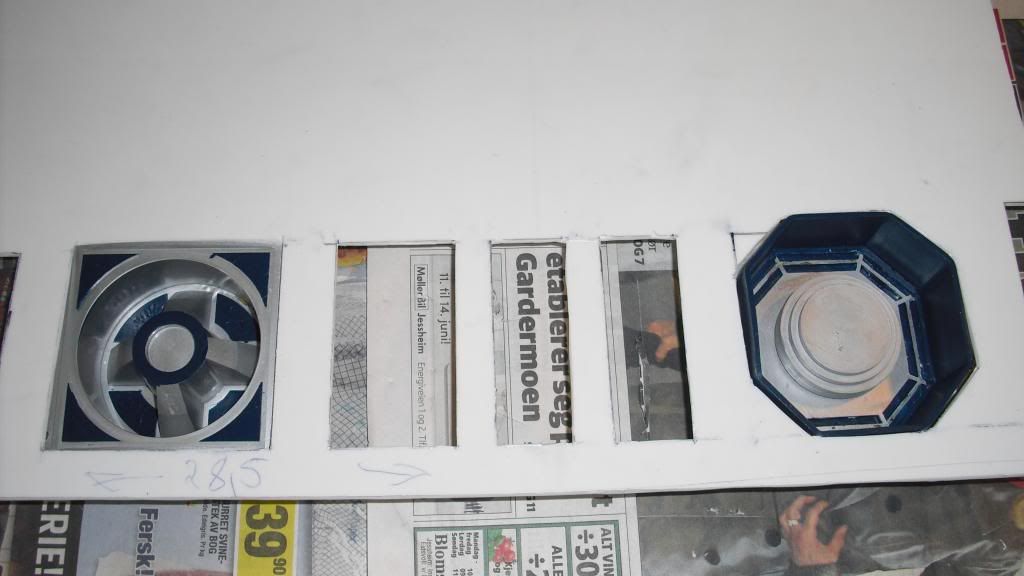
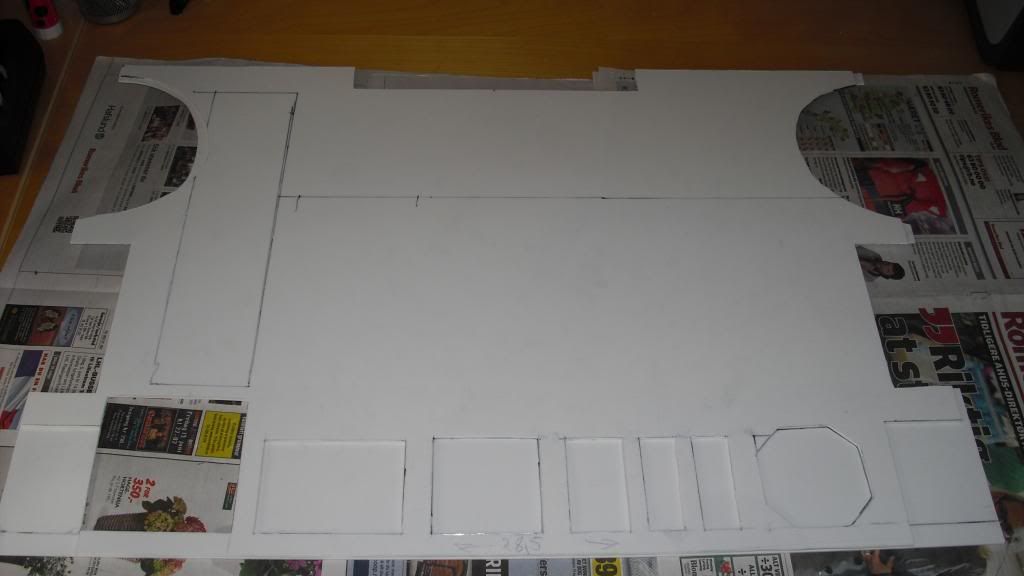
From the day after the previously post. I will try to remember to update this thread more frequently! :)


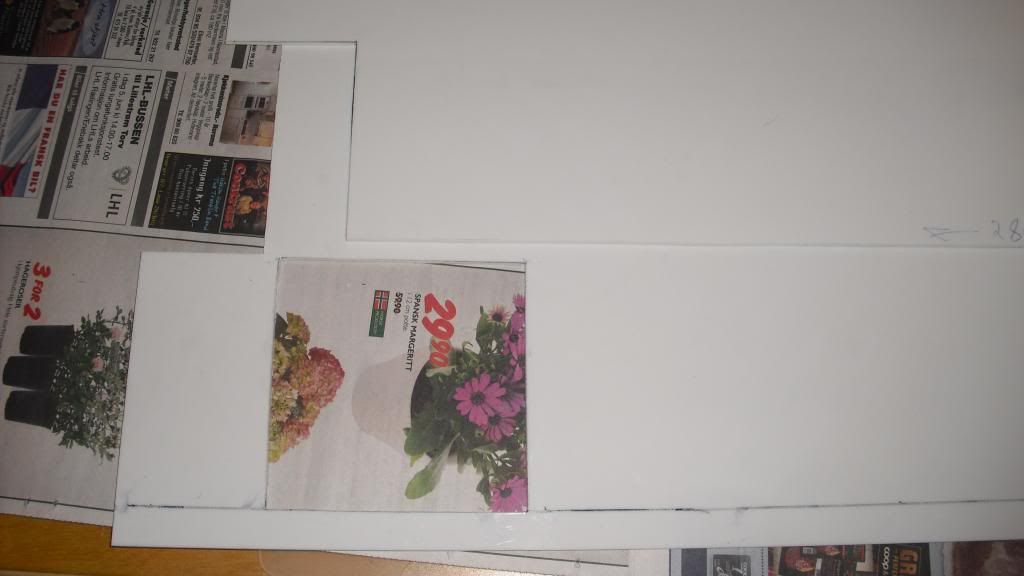
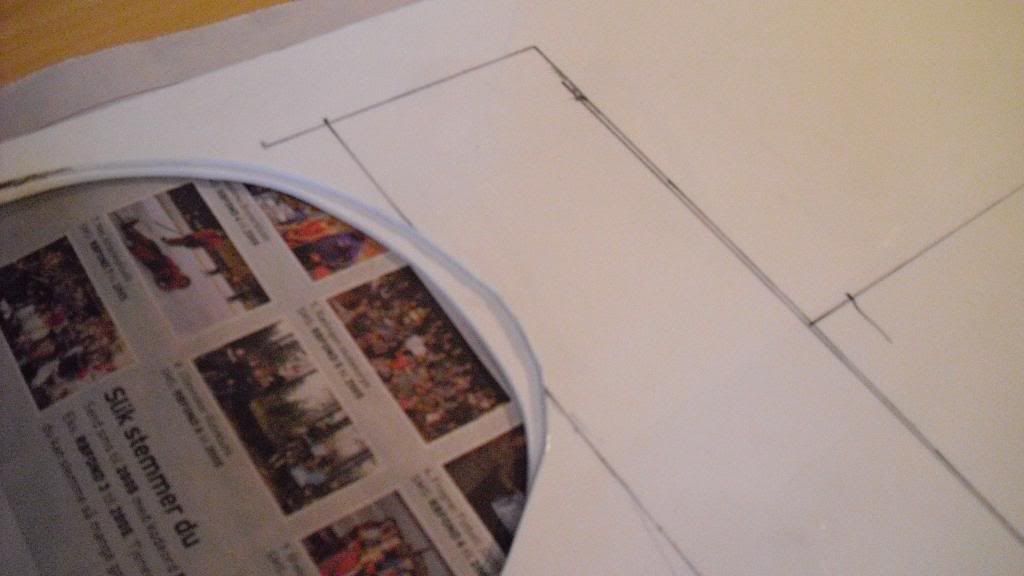
Gosh darn it.. Could be shortened, but then it would be worse at the other side if shortened there too, or the remaining symmetry would break up. What would you have done? :D
 
Re: (PIC HEAVY) 1:1 R2D2 building from scratch - Skin & parts in progress

hey kev,
hope things are good with you?
R2 is looking great young sir, the skin suddenly brings it to life!
have you worked out a way to solve the problem?
 
Re: (PIC HEAVY) 1:1 R2D2 building from scratch - Skin & parts in progress

Things are good, thank you! :)
I think the best solution is to go through with it, there's not enough room to move everything to the side and this is my last sheet of 1,5mm HIPS. Could have used 3mm, but that thing is impossible to both cut and bend.
Maybe take a look at it in the end, when mounted, to see if there's any attachments or so than could go on either side (it's hard to explain what i have in mind, lol).

If it looks REALLY bad while on I could worst-case scenario take it off and use more time to make a new skin out of the 3mm HIPS though, we will see :)
 
Re: (PIC HEAVY) 1:1 R2D2 building from scratch - Skin & parts in progress

-Today's progress:


Both skins


To do next:
- Cut out out some more holes, 1 more is just the outer skin - the others are for parts.
- Make the part that goes between the two holes at the bottom to the left (see the last picture).
- Bend both the parts for easier mounting (heat-bend, as it's proven the most efficient method).
- Mount both the skins, then mount the parts.


Can I finish the whole build by some time next week? I hope so! :)
 
Last edited:
Re: (PIC HEAVY) 1:1 R2D2 building from scratch - Skin & parts in progress

Crikey, I haven't been checking in as regularly as normal because i got well into my boba helmet paint up only to return and see that you are having trouble with the front skin.
What a pain.
not sure what to suggest, if you moved it all to the right could you use car filler to fill the left area and paint once its all on?
Why cant you get a new piece of sheet, is it cost ?
 
Re: (PIC HEAVY) 1:1 R2D2 building from scratch - Skin in progress

I guess my head was in the wrong place, I just found the middle on the body at the top and bottom, and lined it up with the center part at the bottom, but I will need to fill in on the sides. Now I have a gap of a few cm on the left side though, I will look at it closer once the skin is on - easier then than while taped on.

To make it look the same (color and glare) I figured it's better to just cut some HIPS to size? It's going to be interesting to mount the side vents! :D
If I were to get a new sheet from the same place I would had to buy 4 sheets (they sell big sheets like 950mm x 1600mm or something), and it's fairly expensive and would also take some time.

One thing at a time, the skin is done, finally (or, 1 square and done)! I have also cleaned both of the skins, therefore - mounting is very close. I just need to make one little part (coin return).

The front skin, with it's 12 parts to be mounted is quite the puzzle!


Glued together.


Glued together as well.


Sorry for the bad picture, but how convenient..


Not as smooth as the last time, unfortunately (I will finish this up tomorrow).


Will be cut out completely just before mounting (because I fear for the structural durability), for the center vents.


How random?


The center vents were tough to cut out, but the utility arms were even tougher, because of the weird shape.


Before cleaning.


After cleaning. I bent the outer skin before this picture, and I managed to bend it the wrong way... It's not that strong though, luckily!


I hope to get a lot done tomorrow as I will be away most of Sunday and in the upcoming week. :)
 
Re: (PIC HEAVY) 1:1 R2D2 building from scratch - Skin in progress

All the wood required to be removed is now removed, I also made the last part (coin return) to the front and painted it, and cut a hole in the inner skin to fit with the coin return part.
I was going to mount the skin yesterday, but time got short.

I will be back in about 1 week, and I hope to get the R2 done then! :)
 
Re: (PIC HEAVY) 1:1 R2D2 building from scratch - Skin in progress

If the skin fits, wear it. :lol I like how you are overcoming the challenges of fit and finish.
 
Re: (PIC HEAVY) 1:1 R2D2 building from scratch - Skin in progress

This build alone has inspired me to stop being such a lazy lurker and find some cash to do my own build of some kind. you sir are one talented builder and i salute you. All joking aside though this build has been really cool to see and I cannot wait to se the finished little guy, keep up the good work.
 
Re: (PIC HEAVY) 1:1 R2D2 building from scratch - Skin in progress

So cool to see it coming along, the question rises, what will you make when this is finished?
 
Re: (PIC HEAVY) 1:1 R2D2 building from scratch - Skin in progress

Thanks a lot, guys! I came back a couple of days ago, and tomorrow it's on. :)

I want to make an iron man suit, I don't know which type yet, though. Also, I'm going abroad to the US to study as a high school exchange student, therefore I won't build anything for a year. ;)
I have every part laid out and ready for assembly, it has to get done in a little more than a week or not done at all. Check back tomorrow!
 
Re: (PIC HEAVY) 1:1 R2D2 building from scratch - Skin in progress

This is awesome. have you an idea how much its cost you so far?
 
Re: (PIC HEAVY) 1:1 R2D2 building from scratch - Skin in progress

I have an idea, and I think somewhere around 700-1000 USD would be accurate.

I forgot to post the pictures yesterday, but here we go:
Both of the front skins are now mounted, few modifications were made (a couple of part's didn't fit smoothly), and after both the skins were on I cut out room for the side vents - wasn't too easy with the skin on :p


New part made


A very close fit, "yes!"


As the R2 stands now


I'm going away this weekend, again, but I will be back on Monday ready to get more done!
 
Re: (PIC HEAVY) 1:1 R2D2 building from scratch - Skin in progress

Thank you so much guys! :)

This update is with work done this Monday, it's so easy to forget to update this thread.. Didn't do anything on the R2 today as things were busy.

It's a challenge to get the side vents fitted as their location is hard to reach, anyways - that's next. I tried to remove the legs, but discarded the idea when I ran into spinning bolts and screws.


3 Parts were glued on (the "coin slot"-part was previously just taped on for fitting the outer skin)
 
Re: (PIC HEAVY) 1:1 R2D2 building from scratch - Skin in progress

Dude this is so bad-ass!

When I was 16 and had a garage full of all the tools I would need for something like this, and a father with the know-how to help me, yet I did NOTHING but sit in front of the TV...

Great work.
 
Re: (PIC HEAVY) 1:1 R2D2 building from scratch - Skin in progress

Kev,

A work of art! You have done an amazing job so far!
 
Re: (PIC HEAVY) 1:1 R2D2 building from scratch - Skin in progress

Thanks to the both of you!
NeoRutty, I'm sure that you were not alone! ;)


The pictures are from seperate days, but it's so easy to forget to upload them...


(Before gluing))


(After gluing)
Glued onto the frame (one re-glued because it suddenly popped off).


(After gluing)


A piece of the skin is still not in place. The side vents are not put in place, impossible with the legs blocking so I can't really access it, even less mount a part there. I think the best part to solve this problem is to take some time and unscrew the nuts, or maybe force off the legs where the shoulder rings are glued onto the legs and then glue them back on afterwards.


YAY!


I have to fix up the smaller problems at a later time - in about a year. I'm leaving for the US tomorrow, but I will try to drop in on the forum once in a while to check on you other guys and your builds!


I am really happy with the result I have now, even though I'm not completely done and thanks to all of you who have helped me along the way, both in wisdom and words. I really appreciate it! :)
 
Last edited:
Back
Top