Hi Gang,
Don't you think it's time for an update? Why not!
")
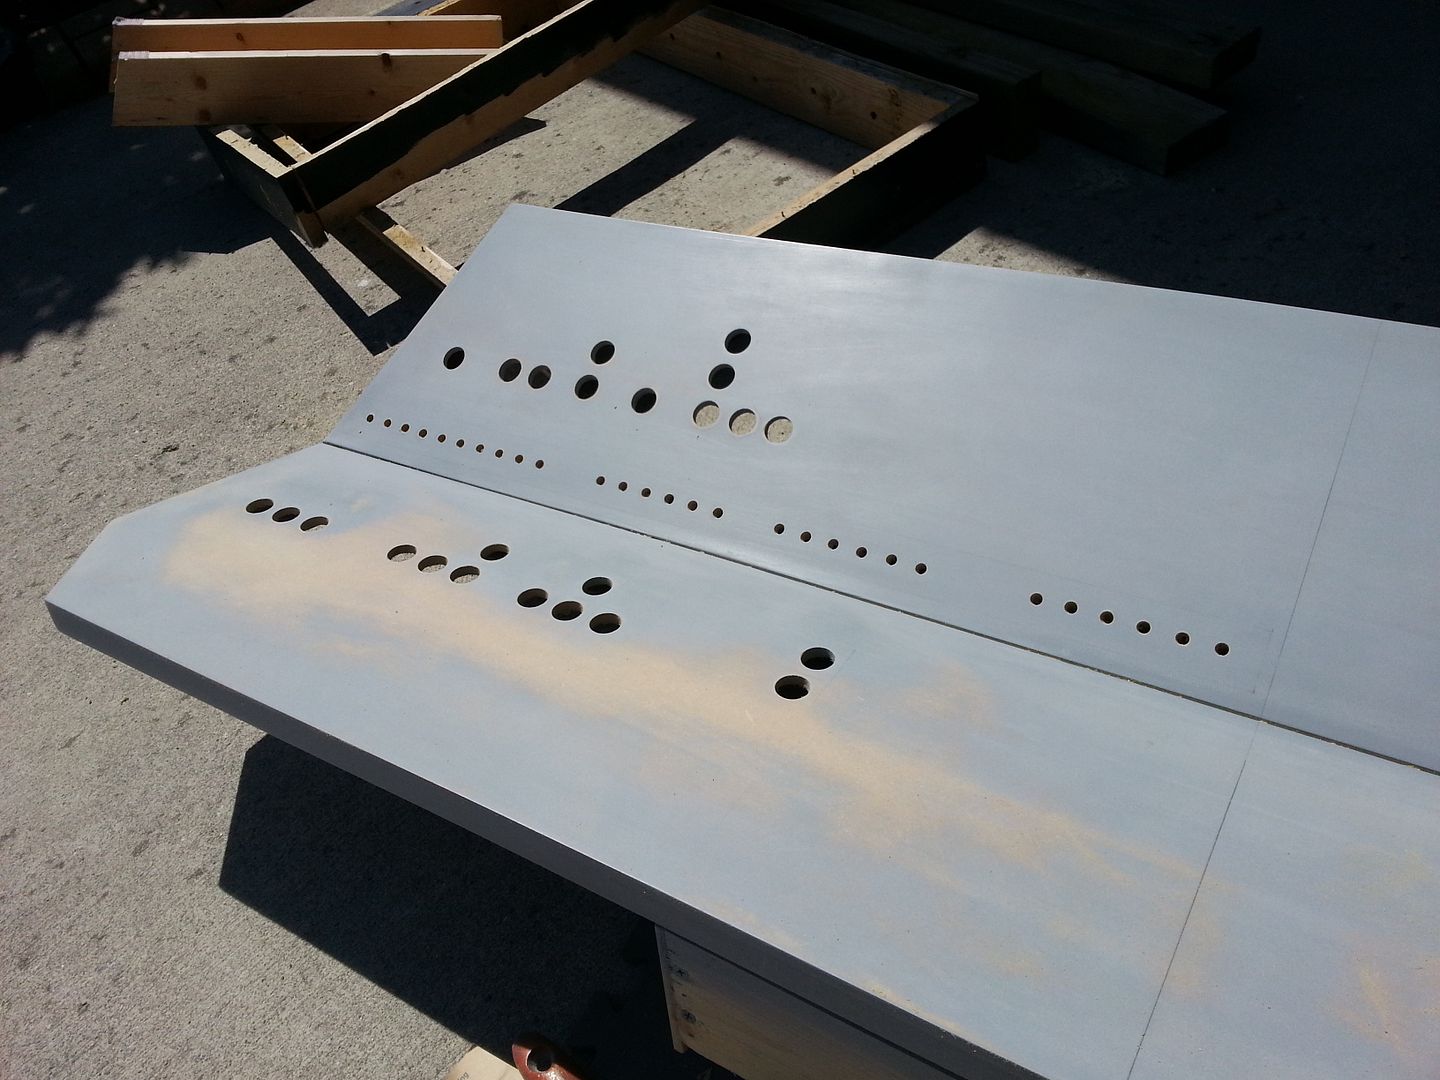
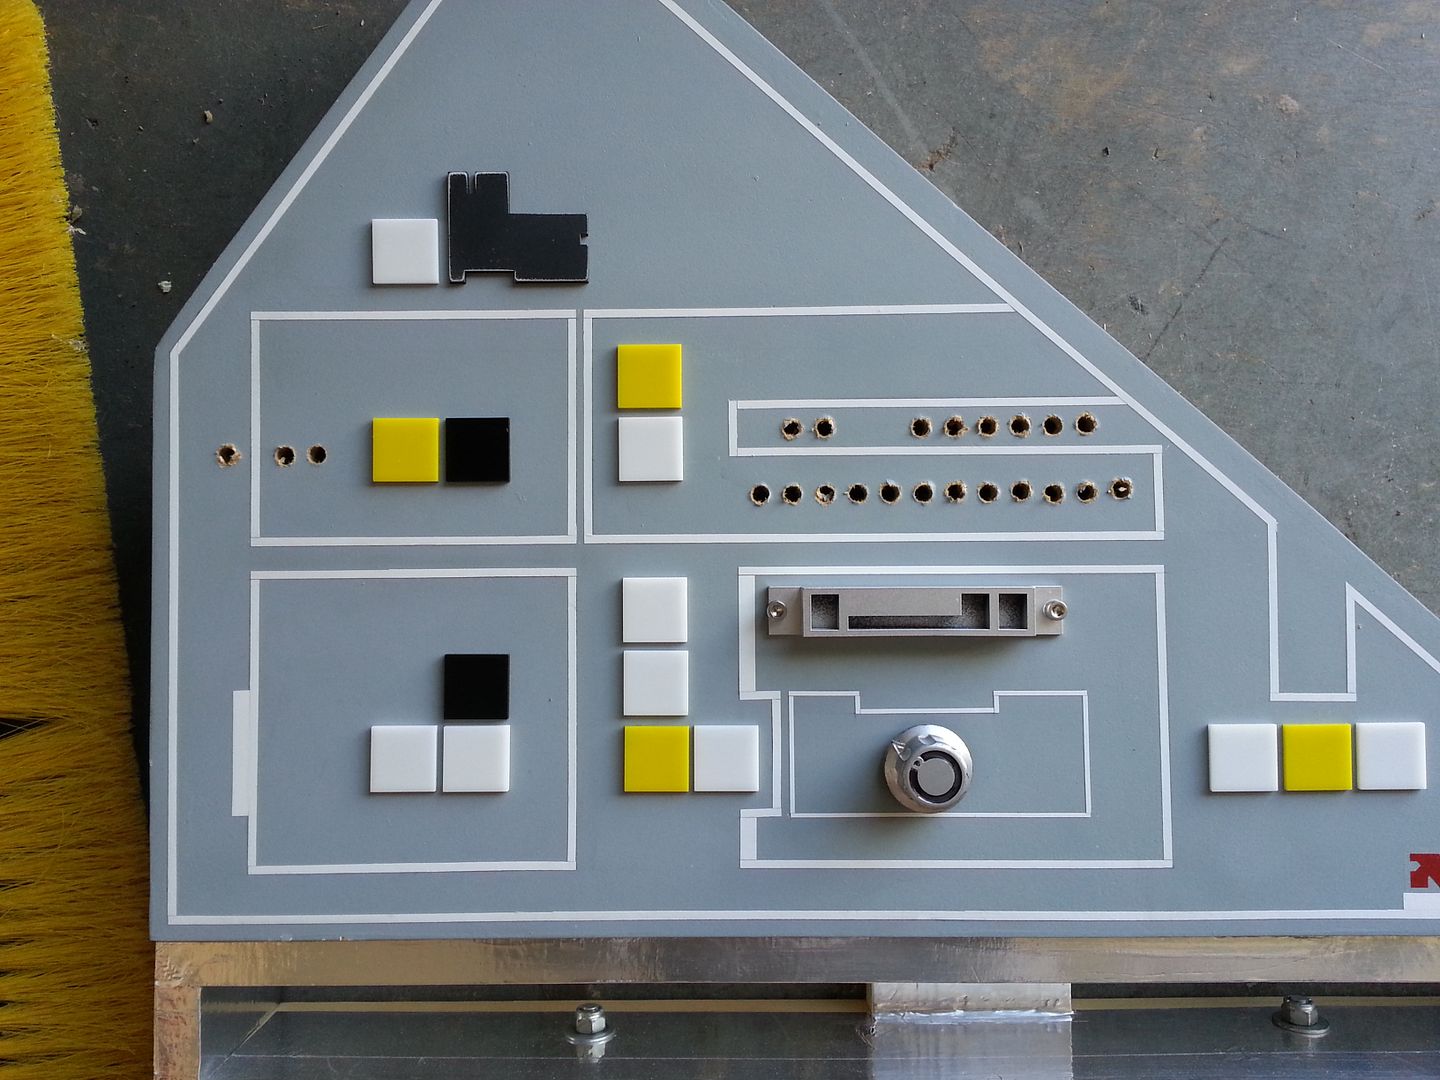
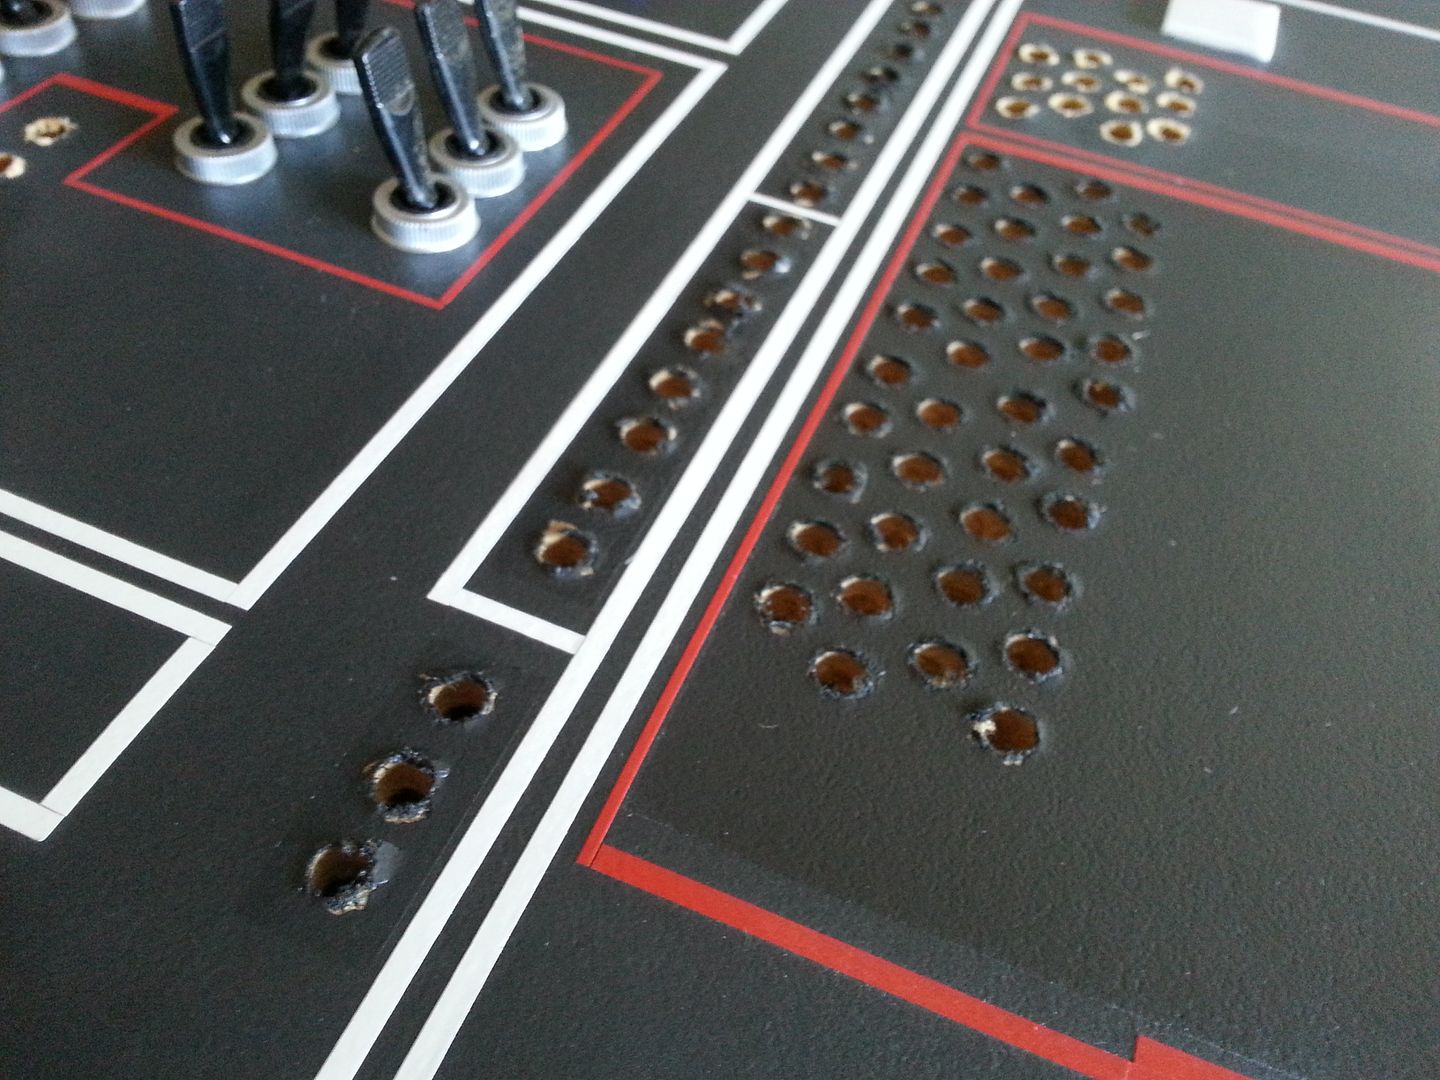
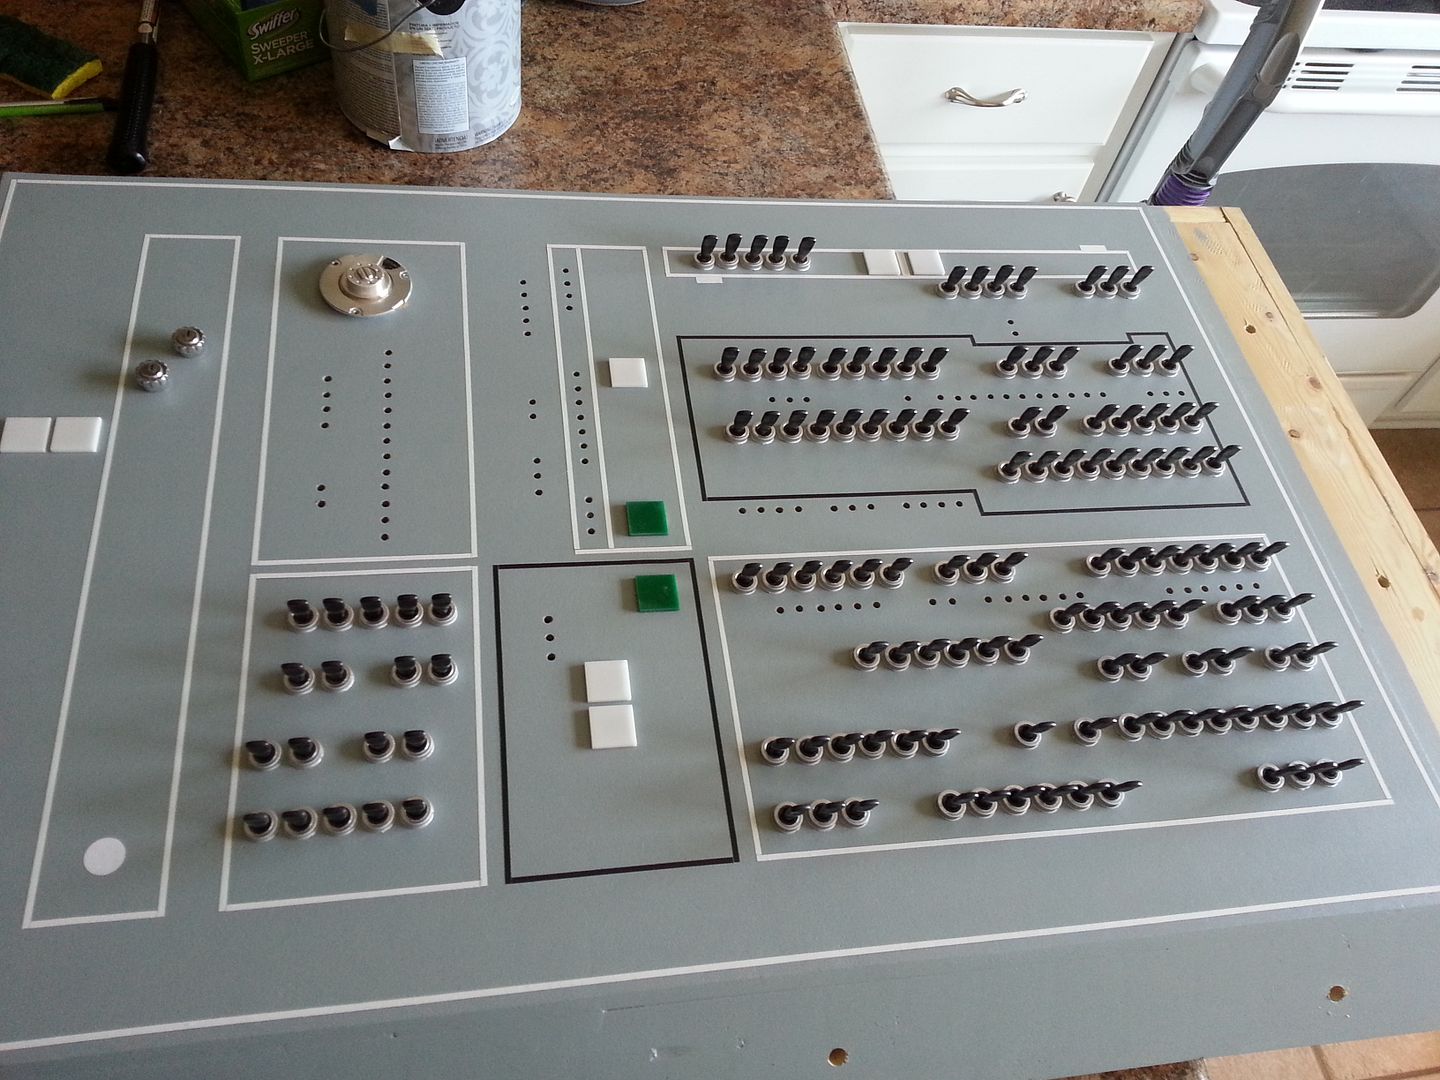
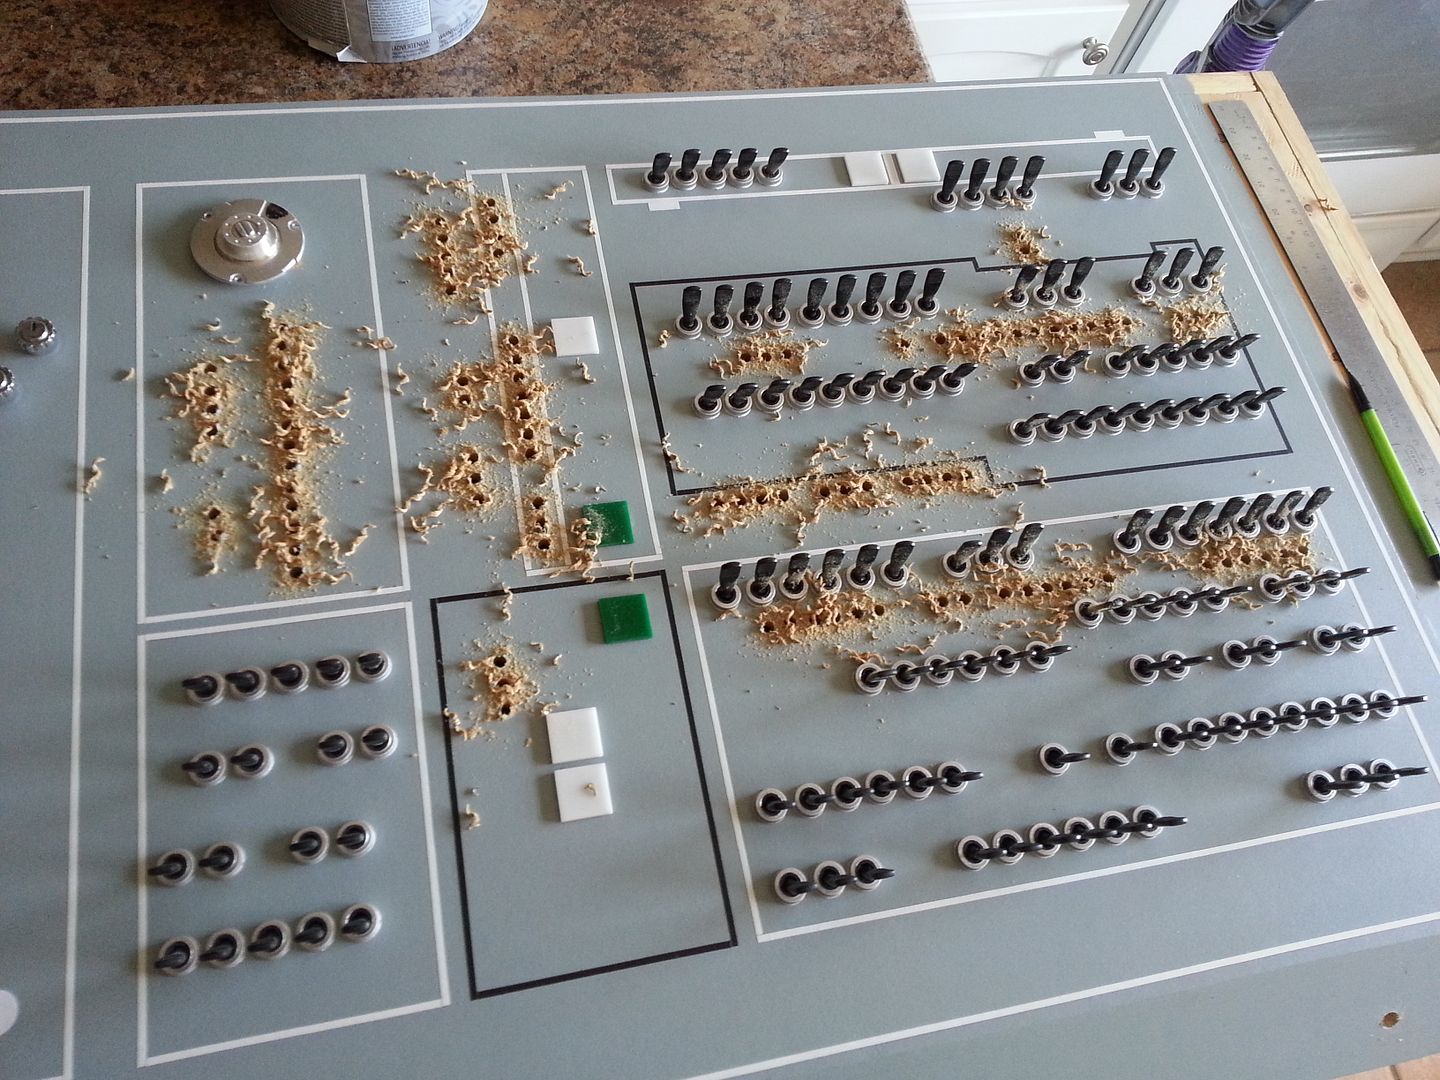
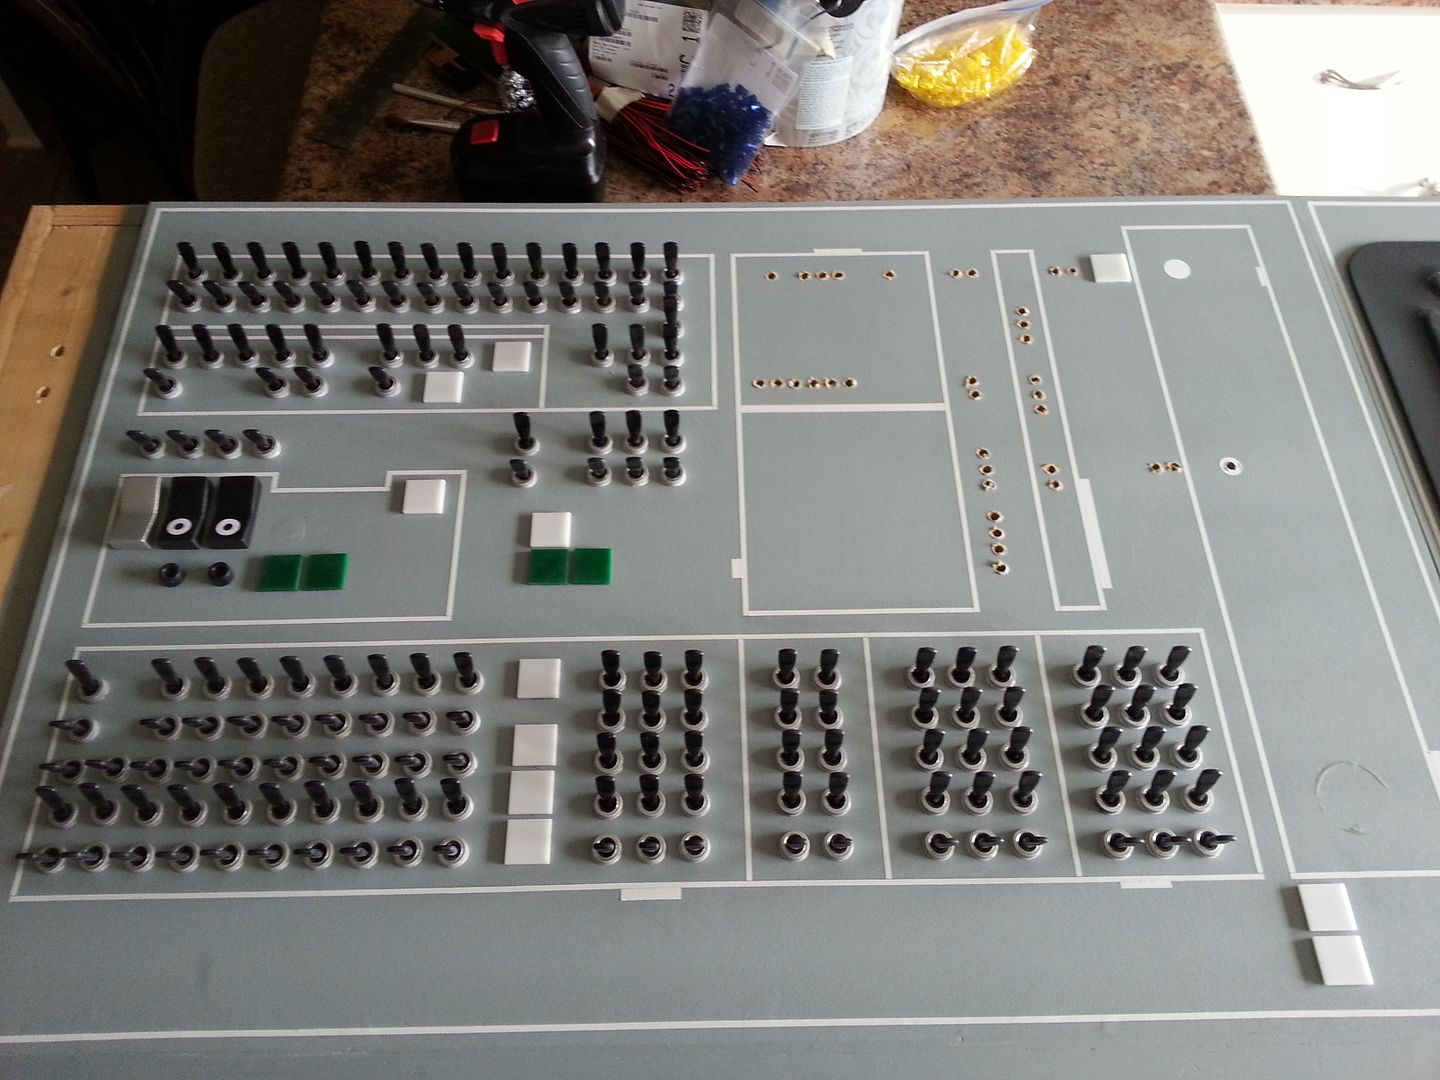
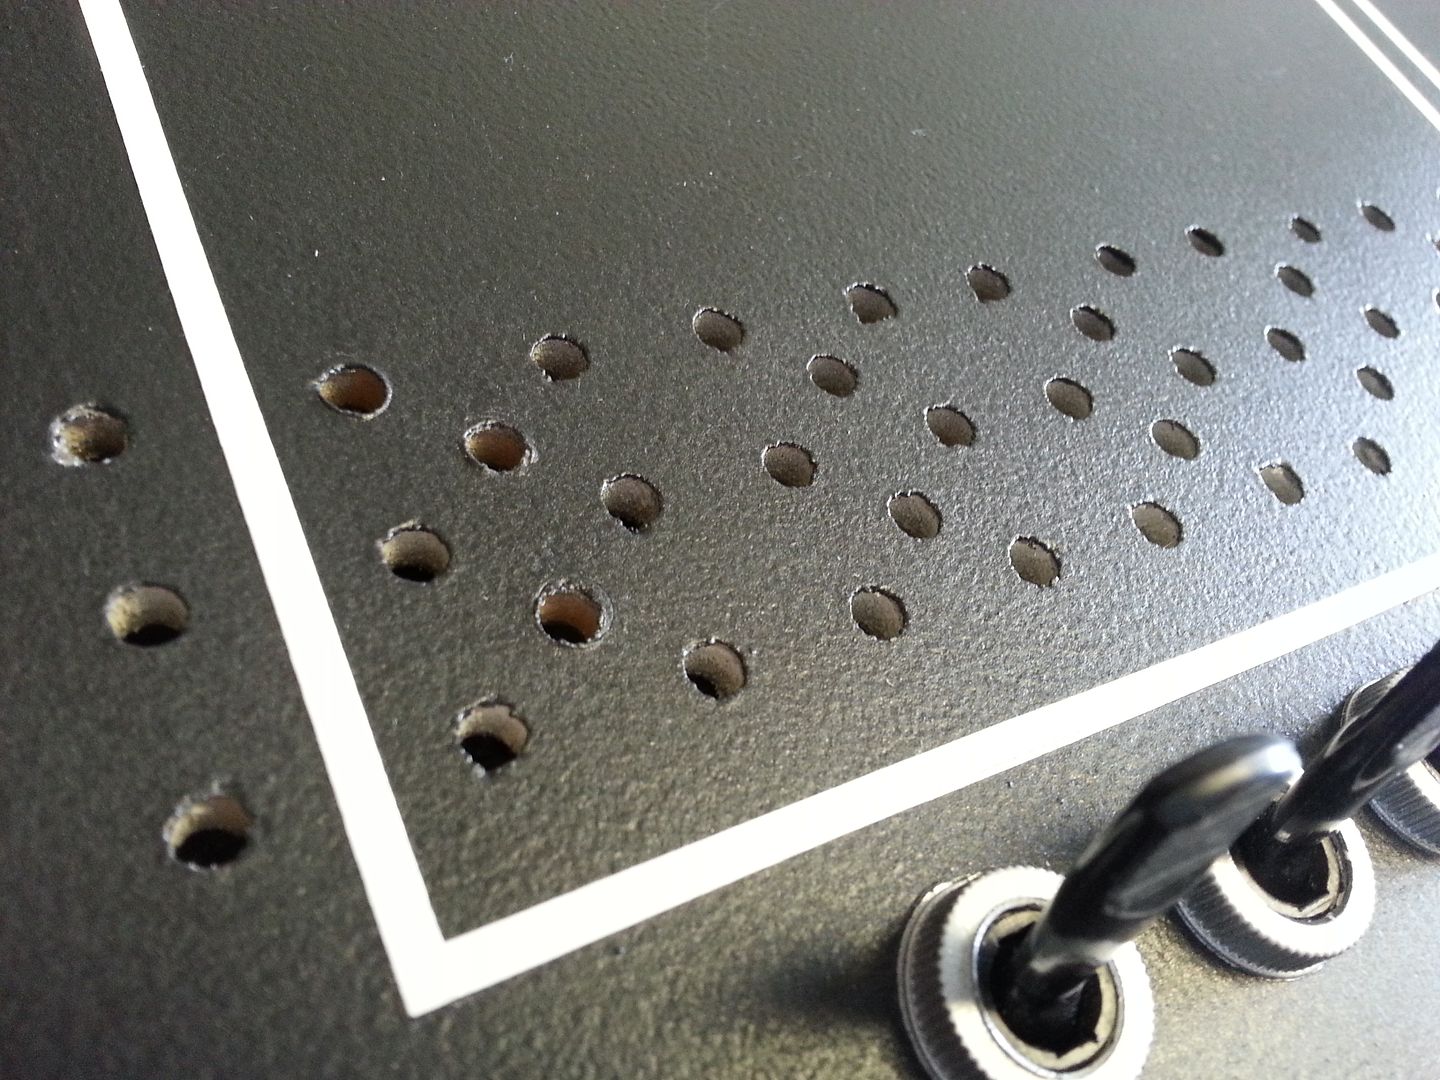
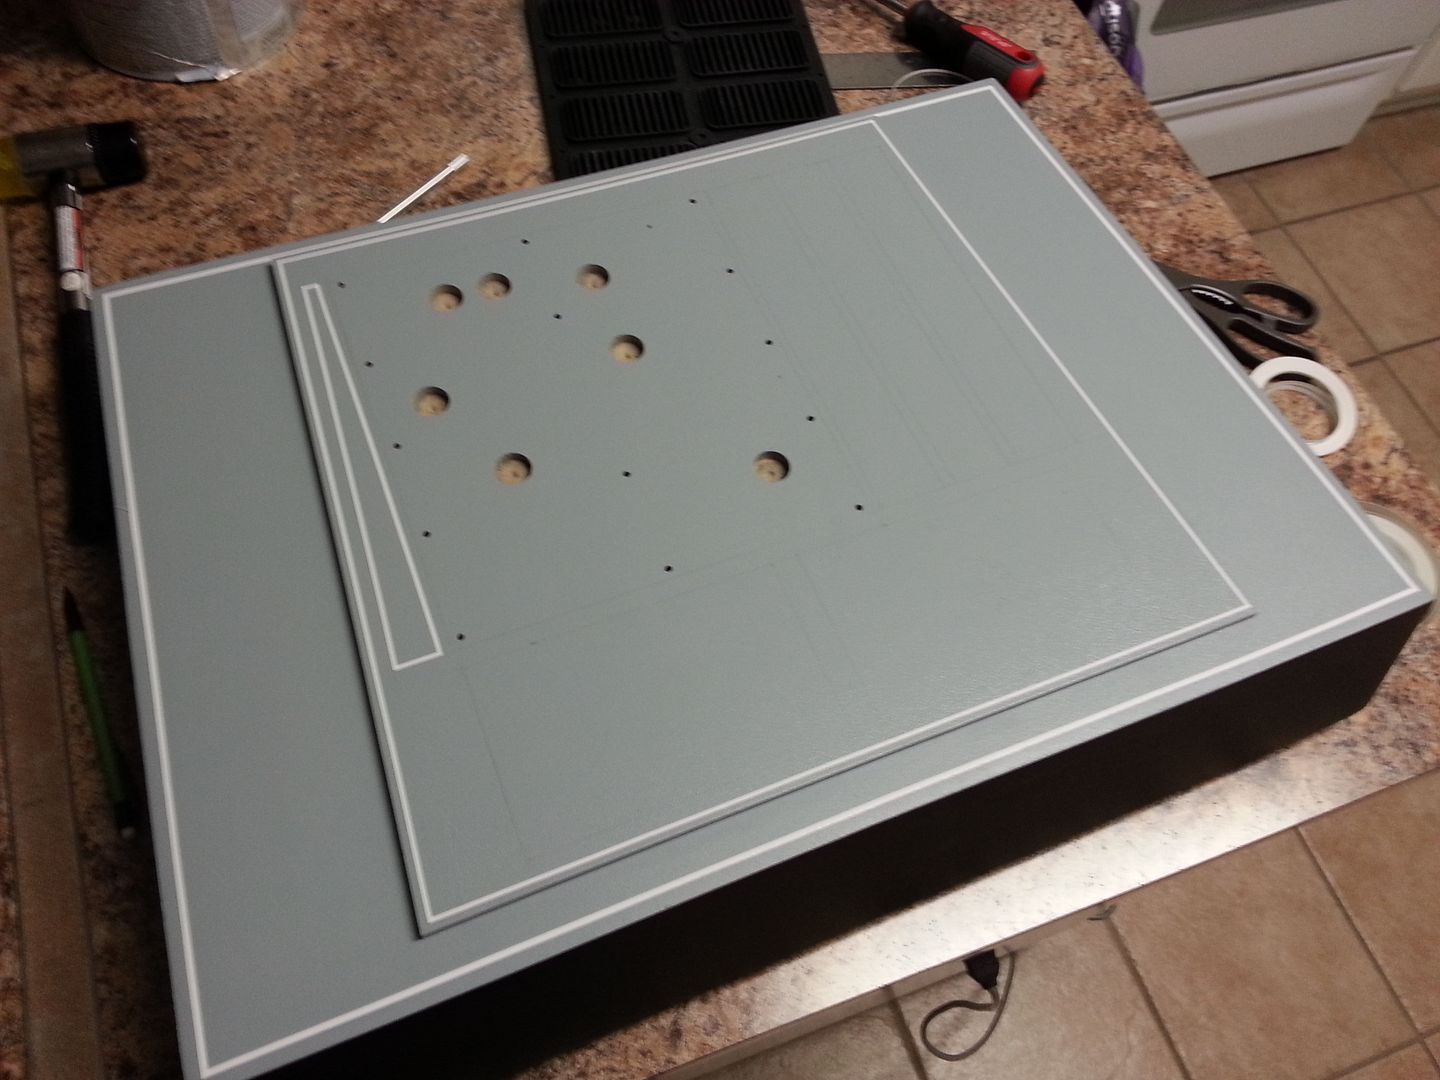
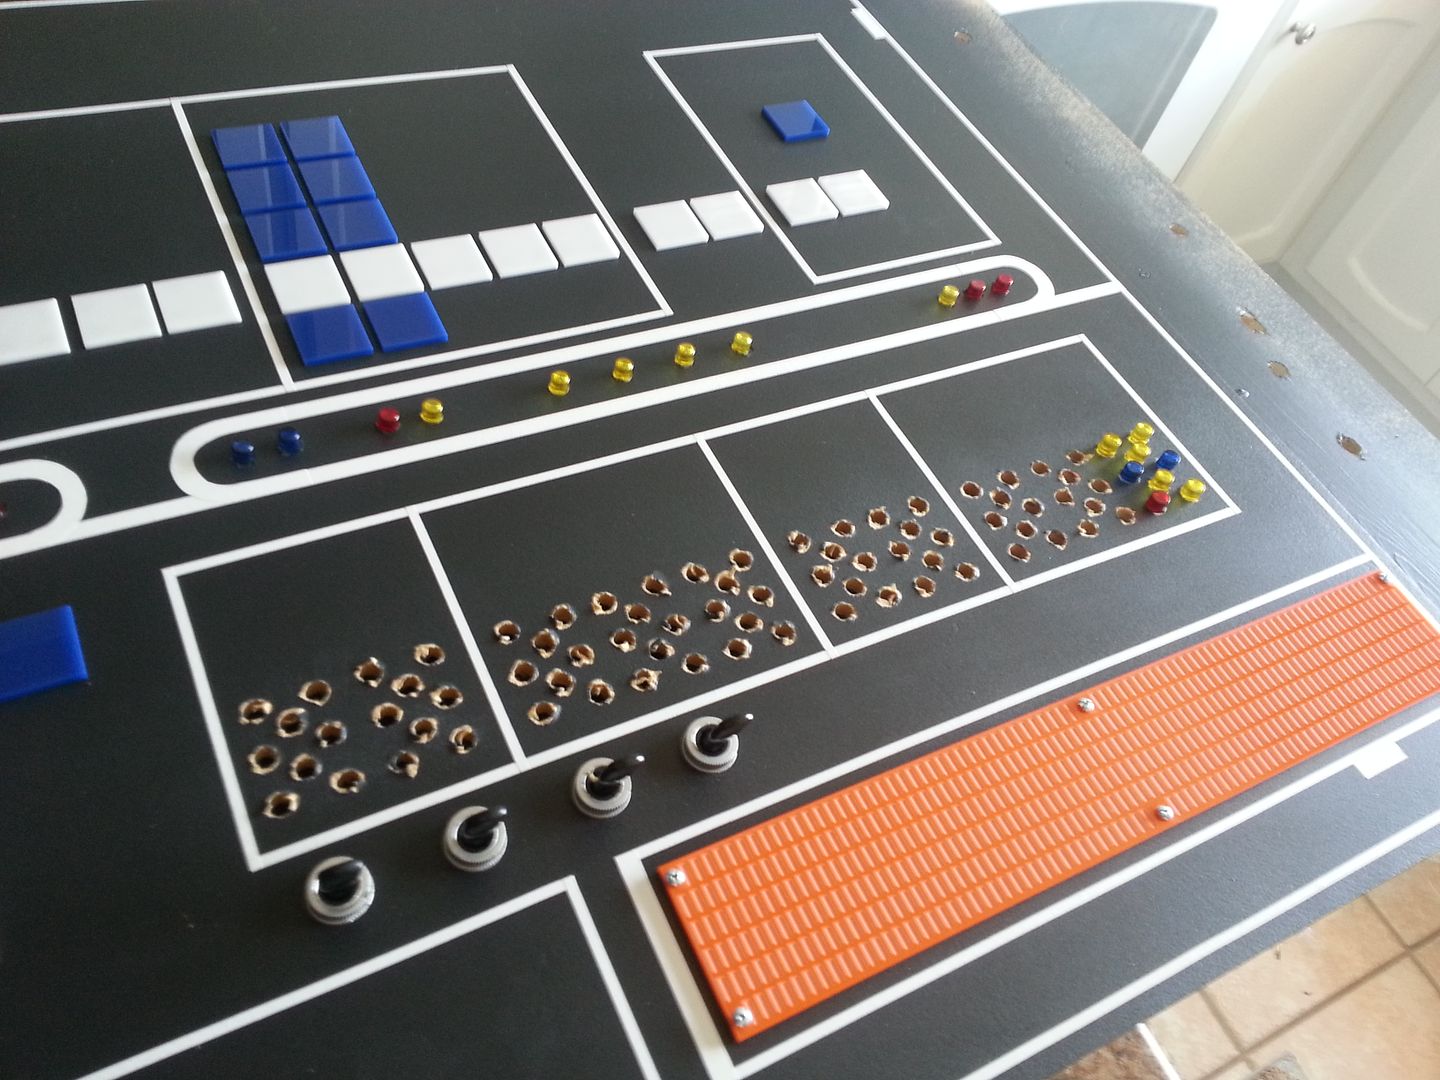
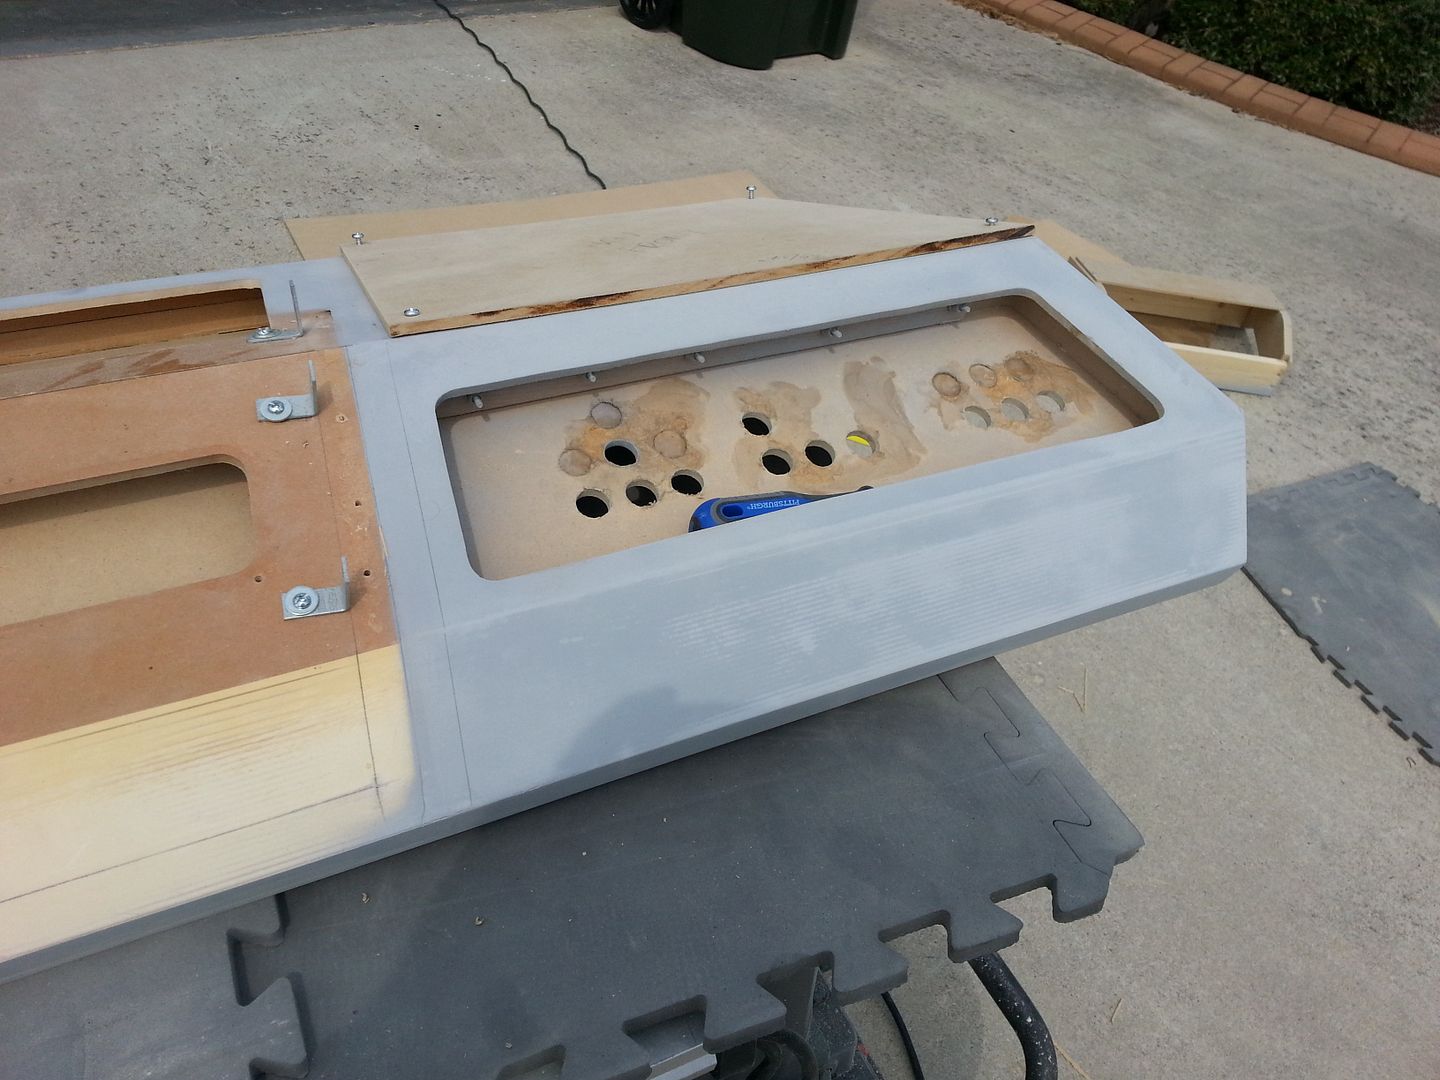
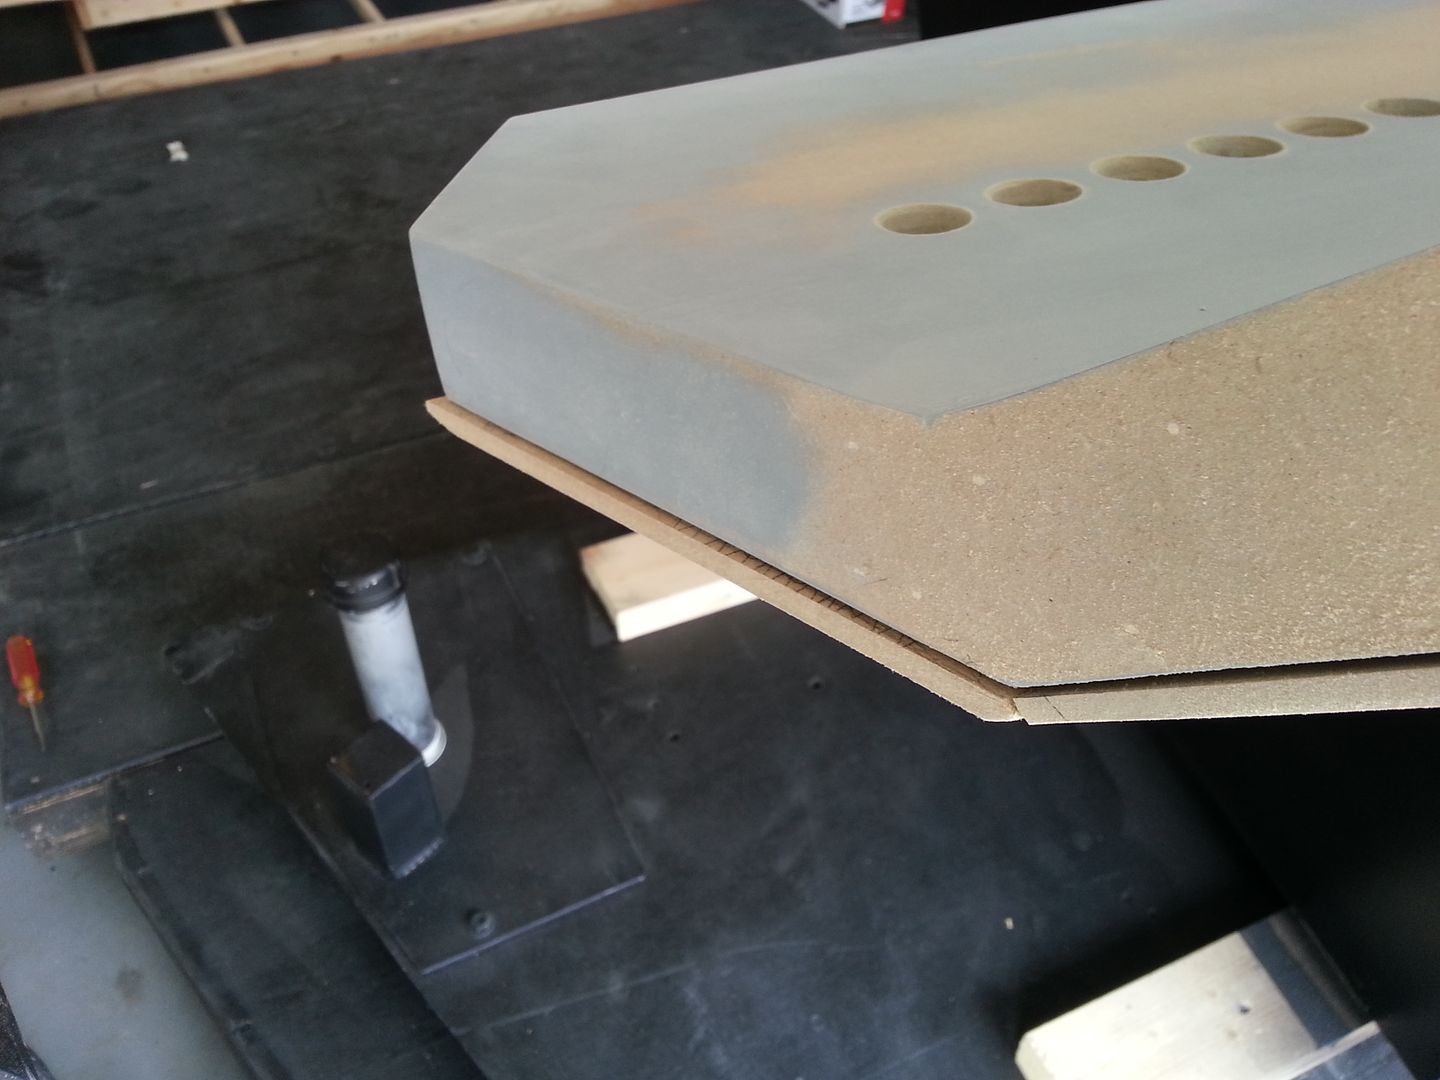
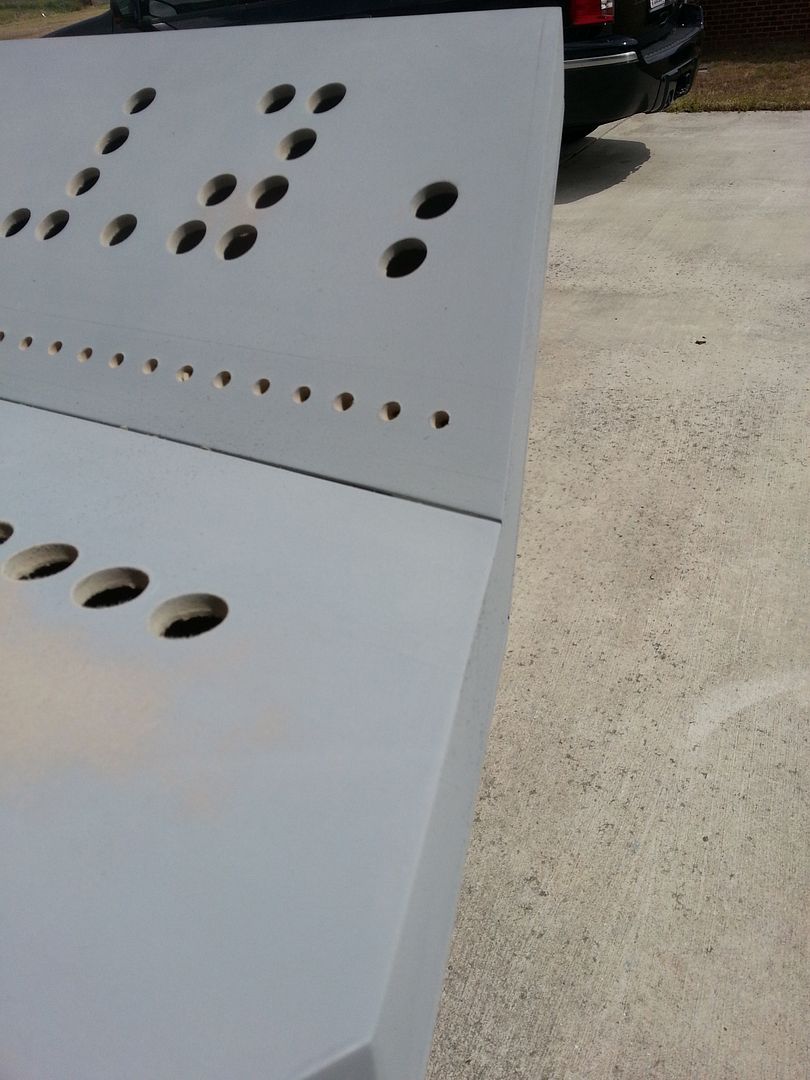
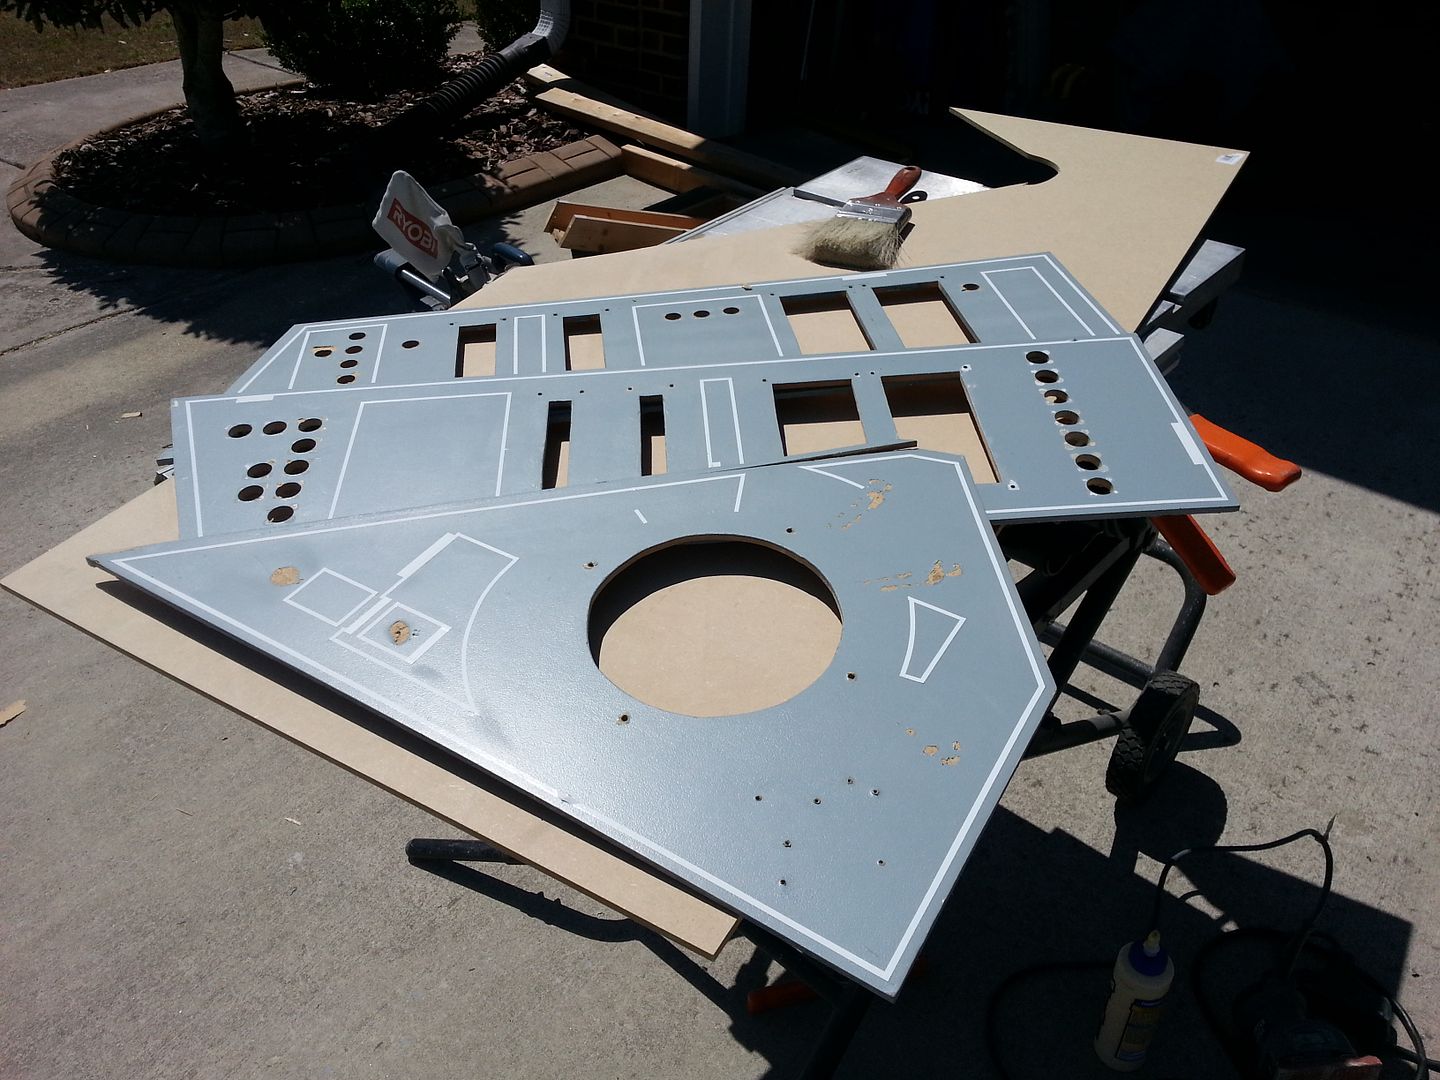
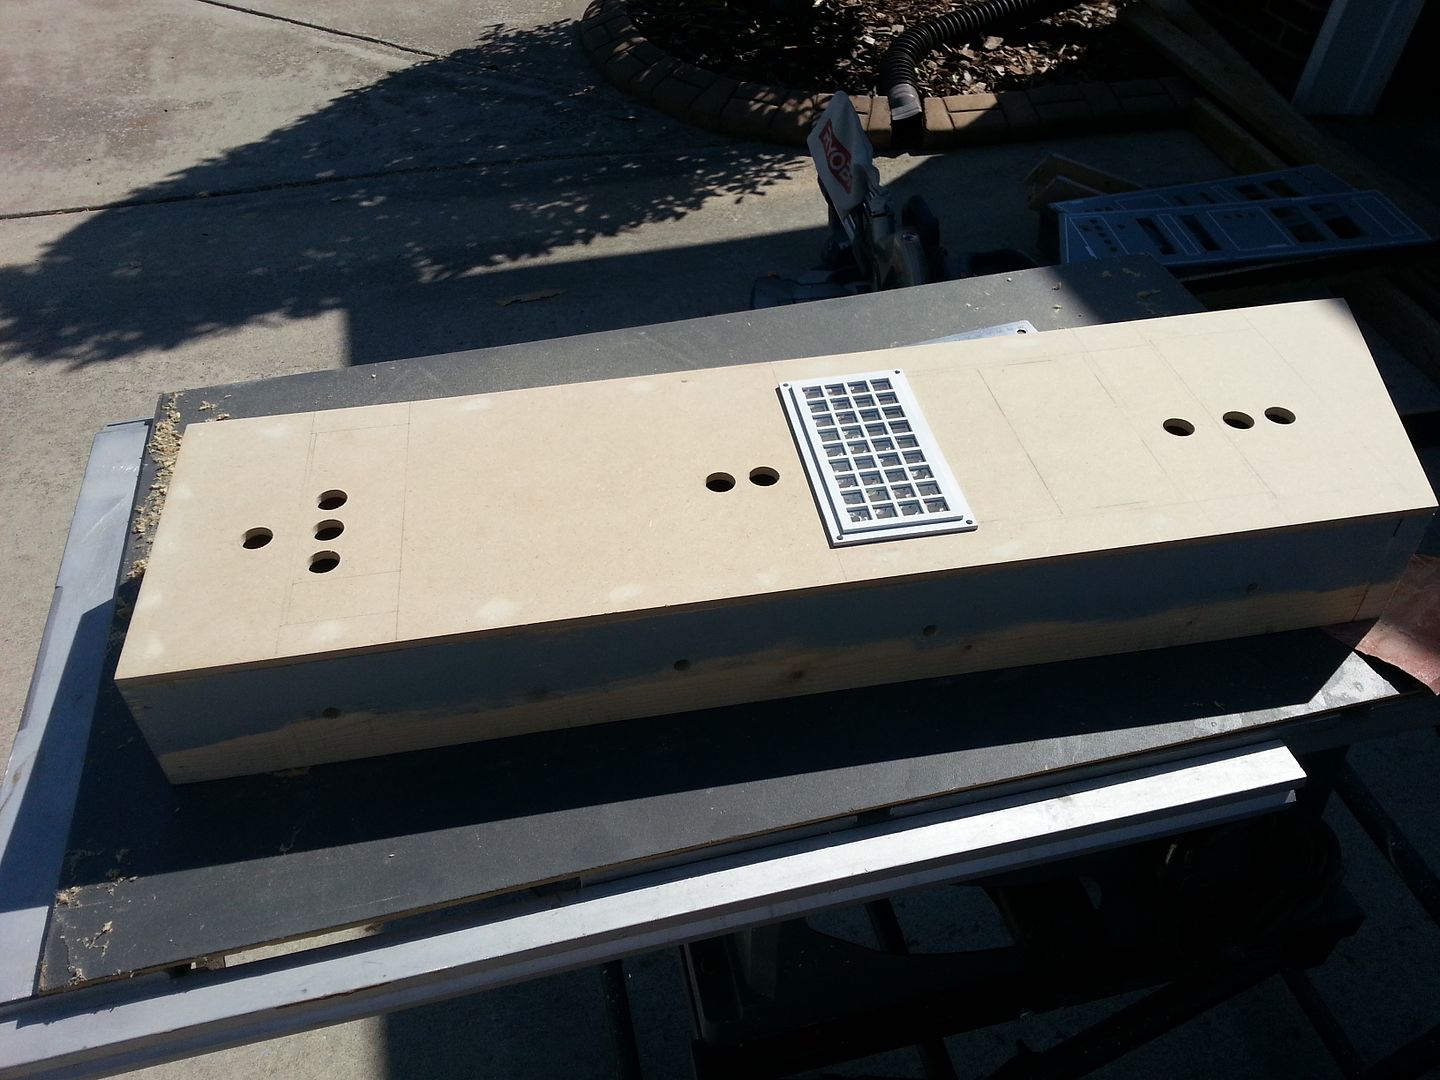
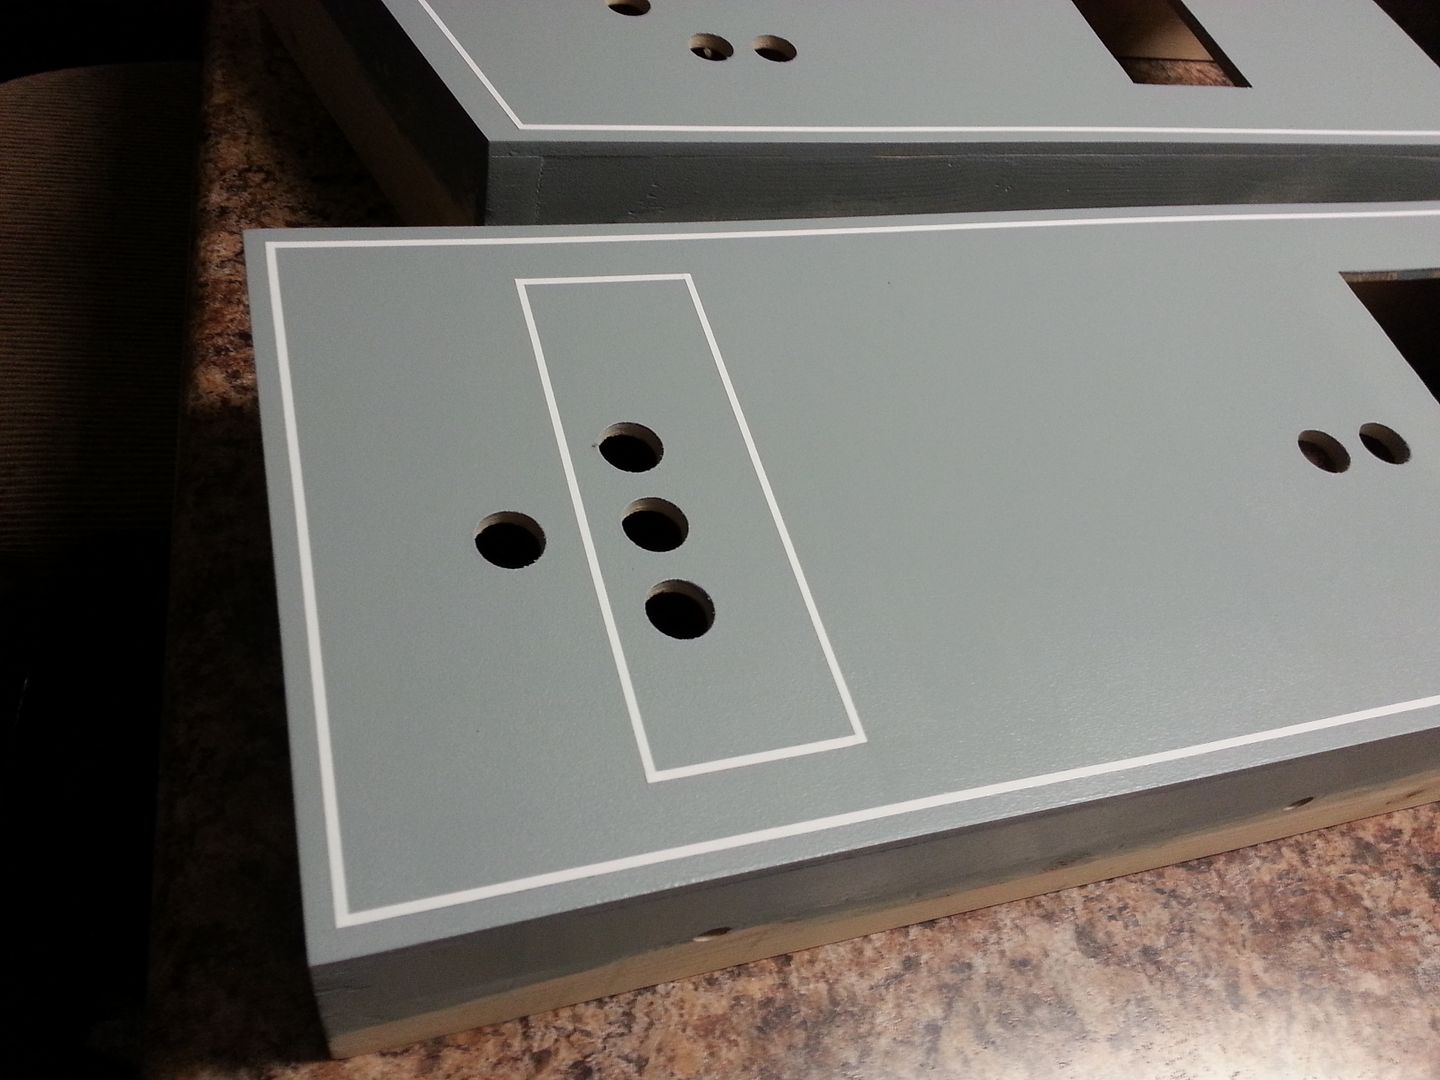
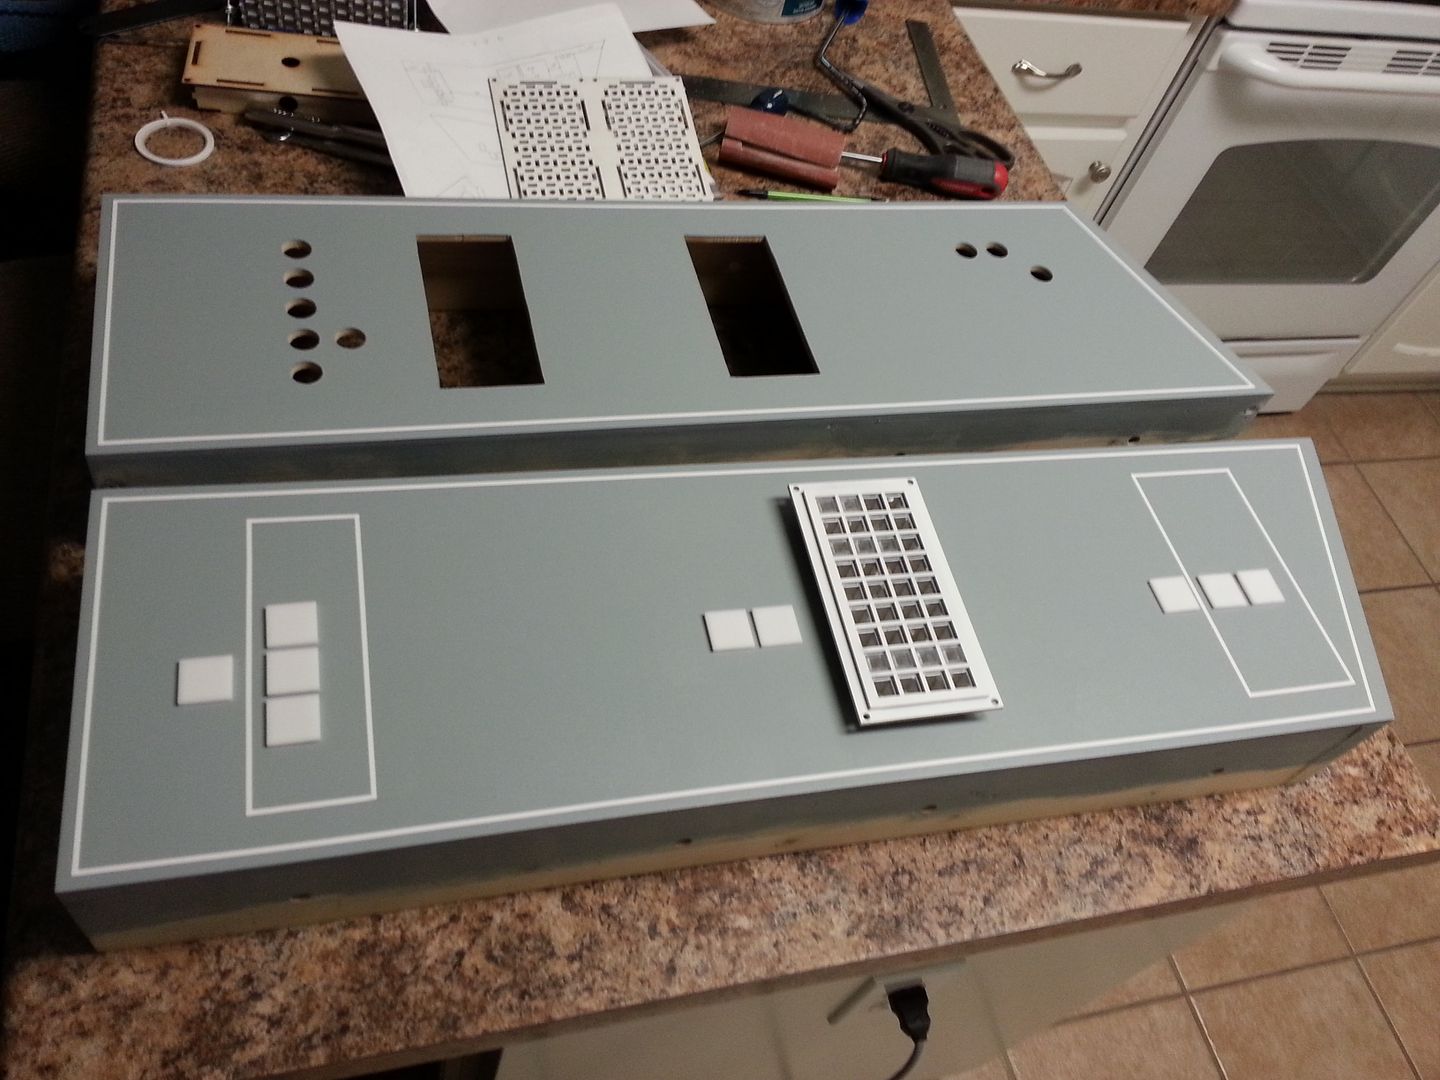
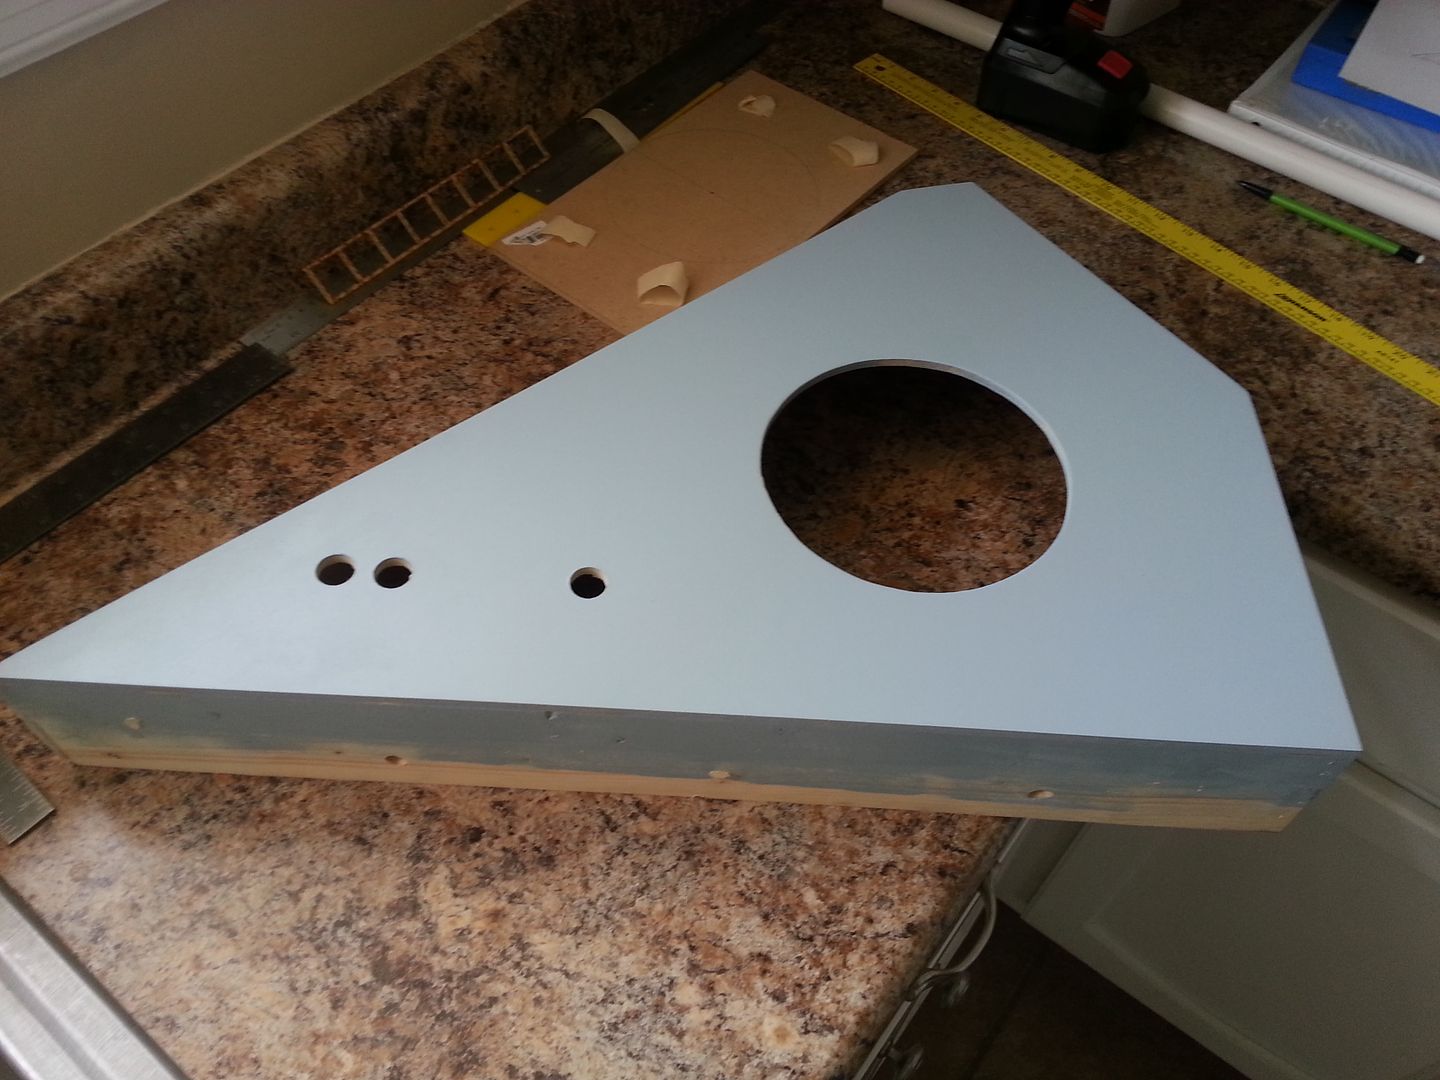
Cut more holes on the instrument panel
Still a long way to go before paint - have to figure out the monitor configuration and the new button panels on Han side
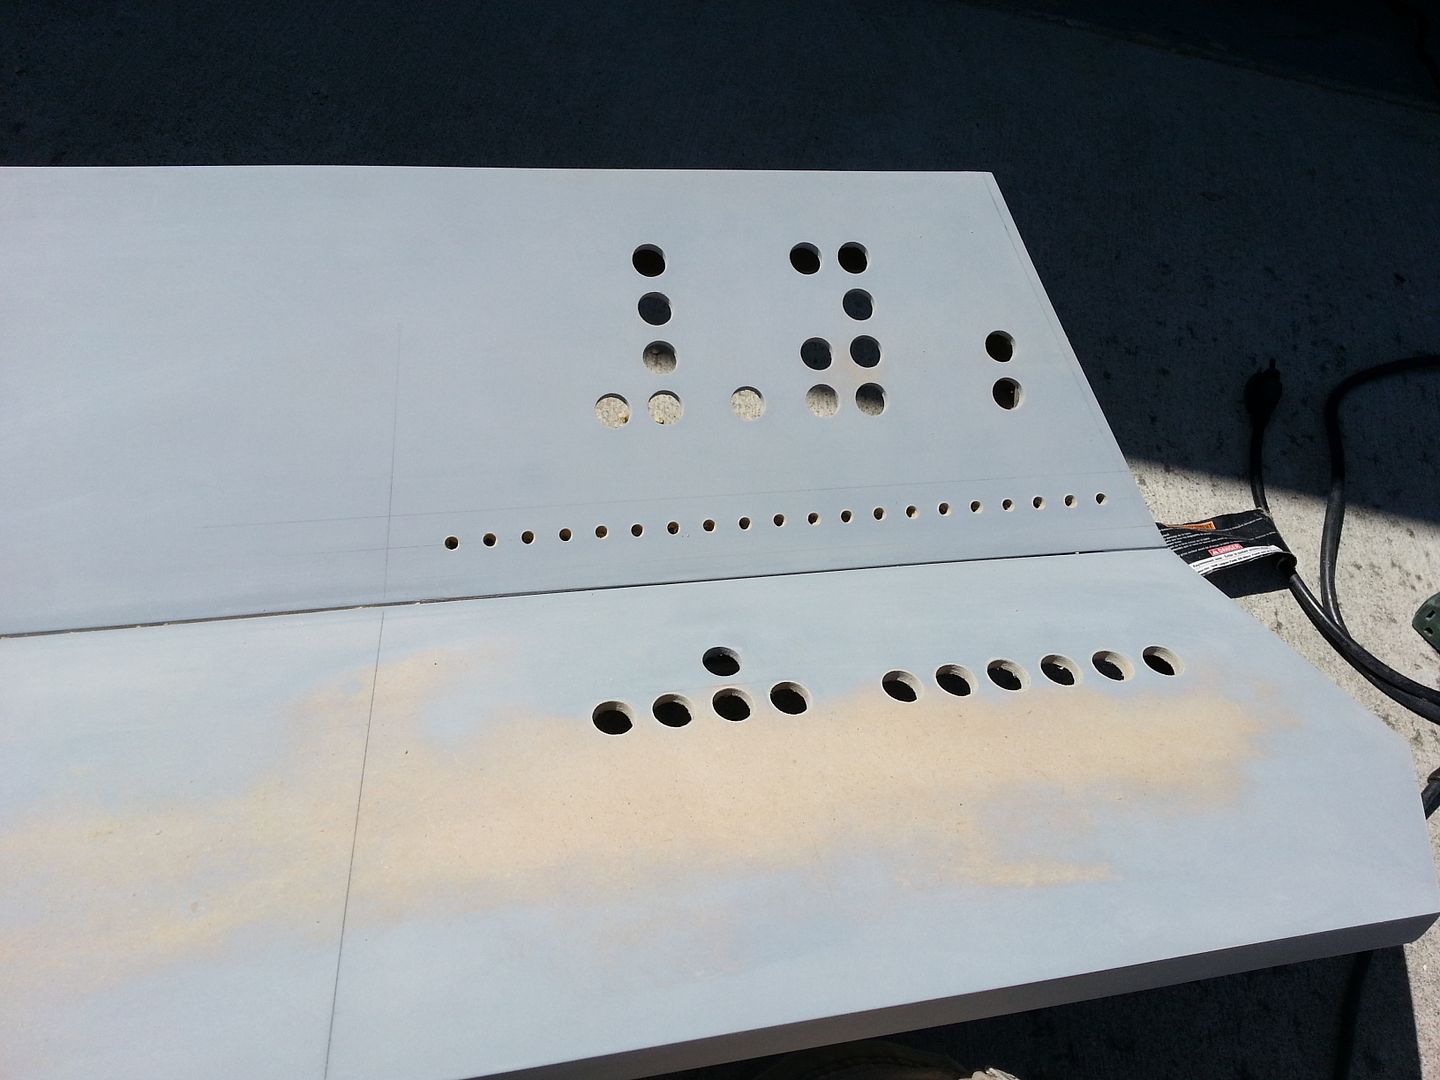
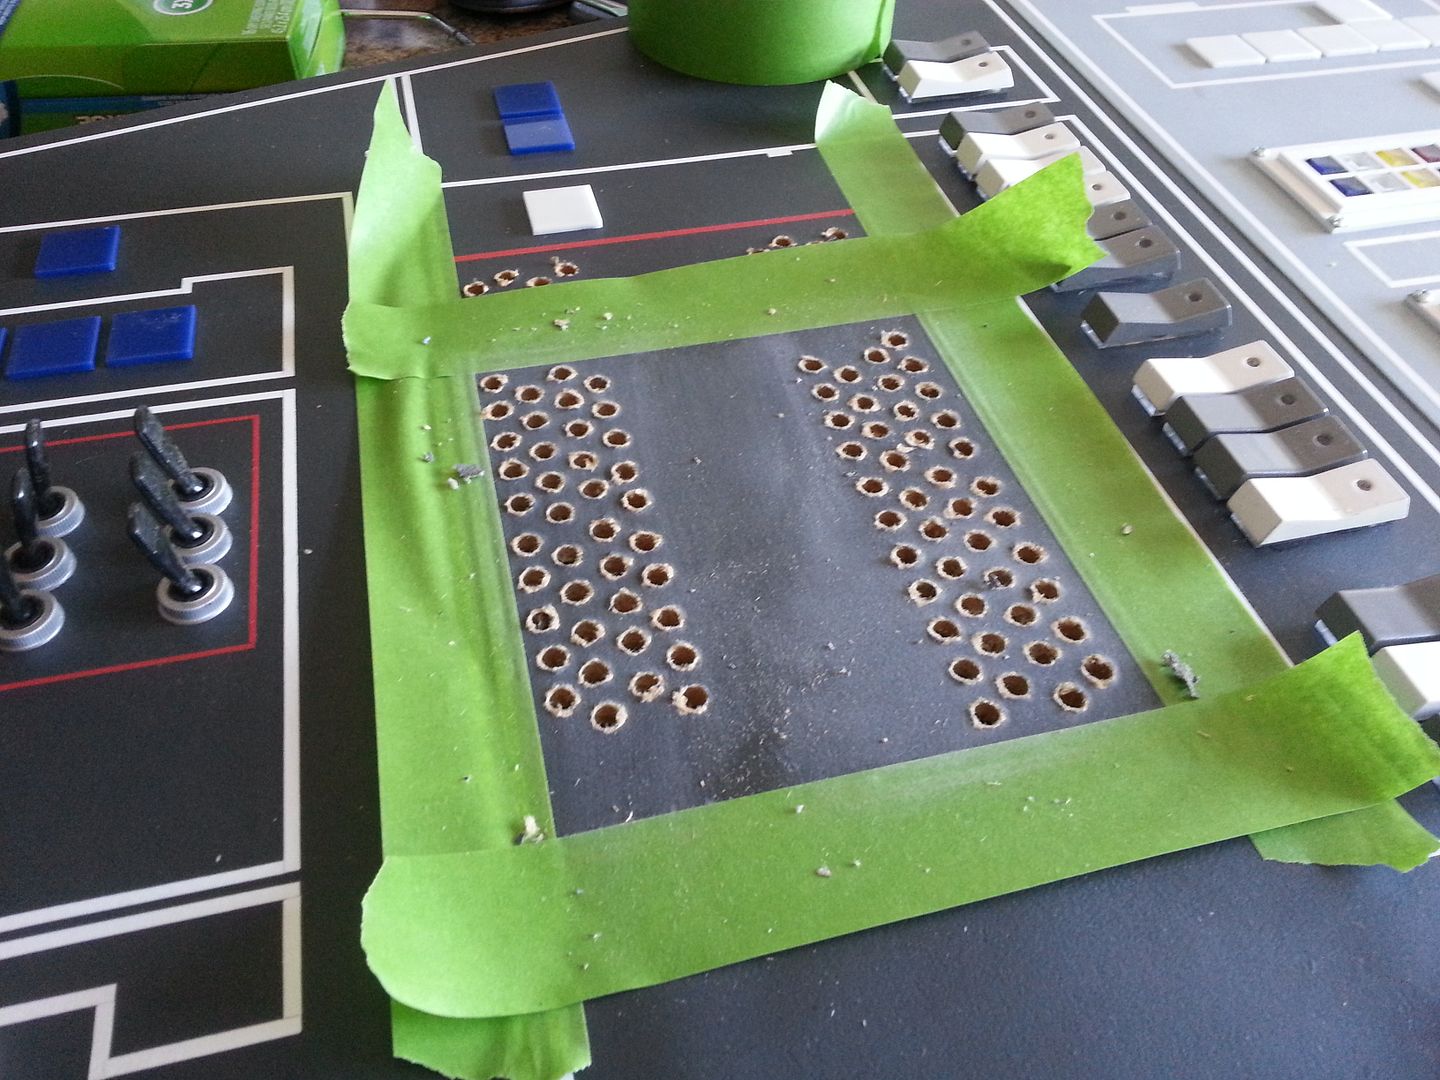
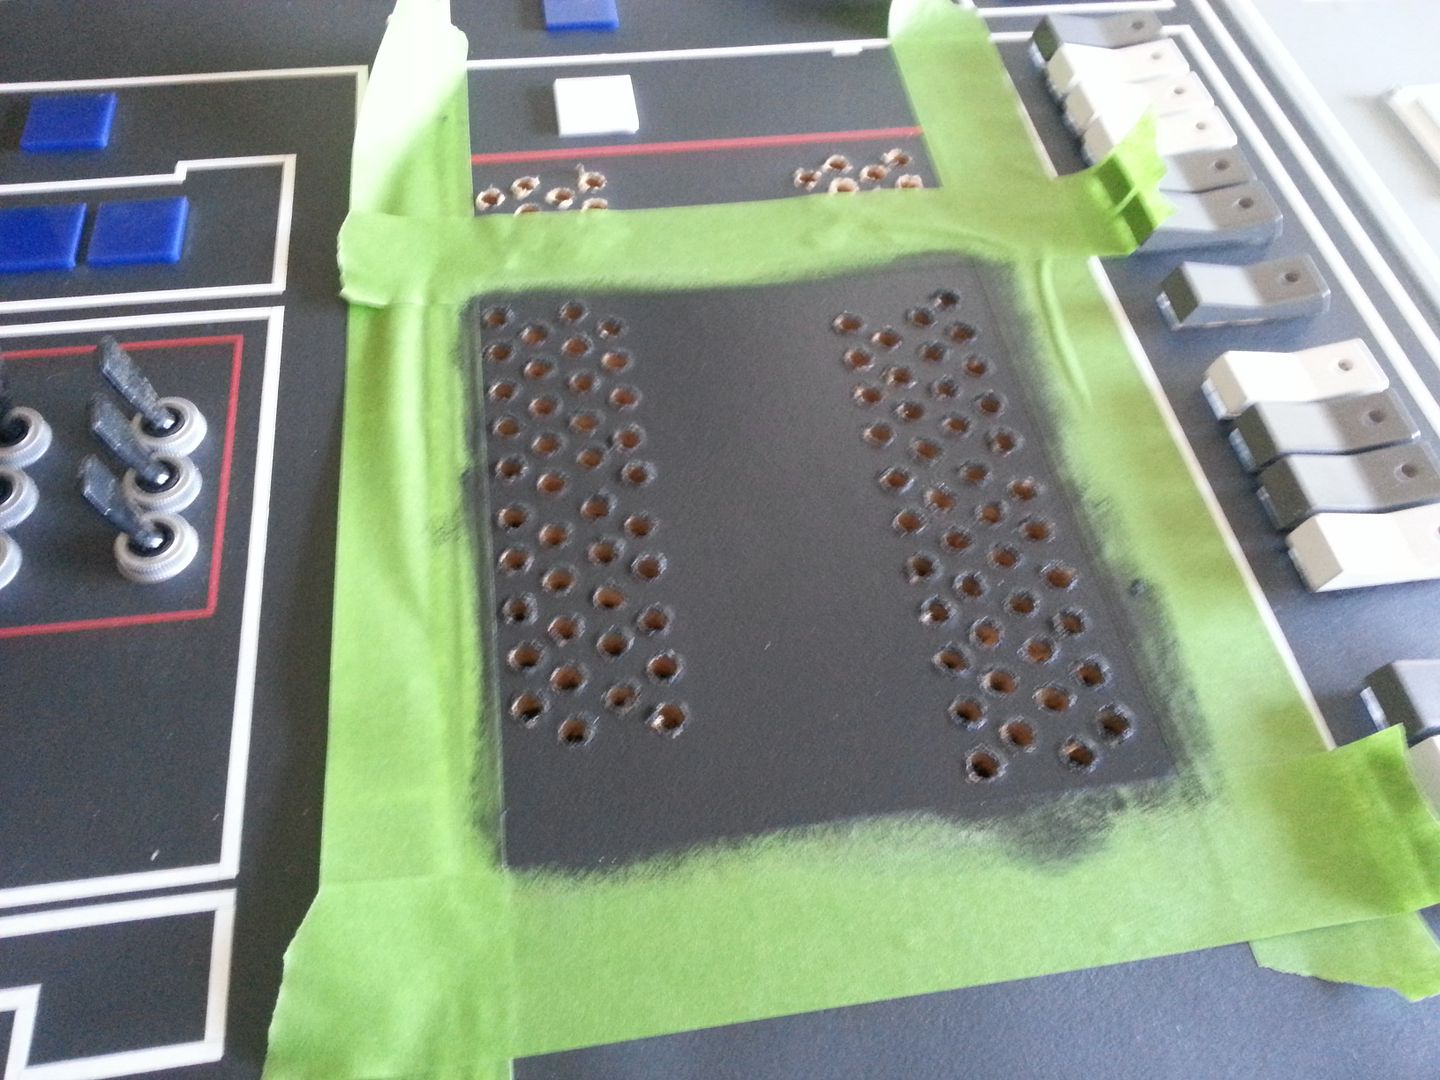
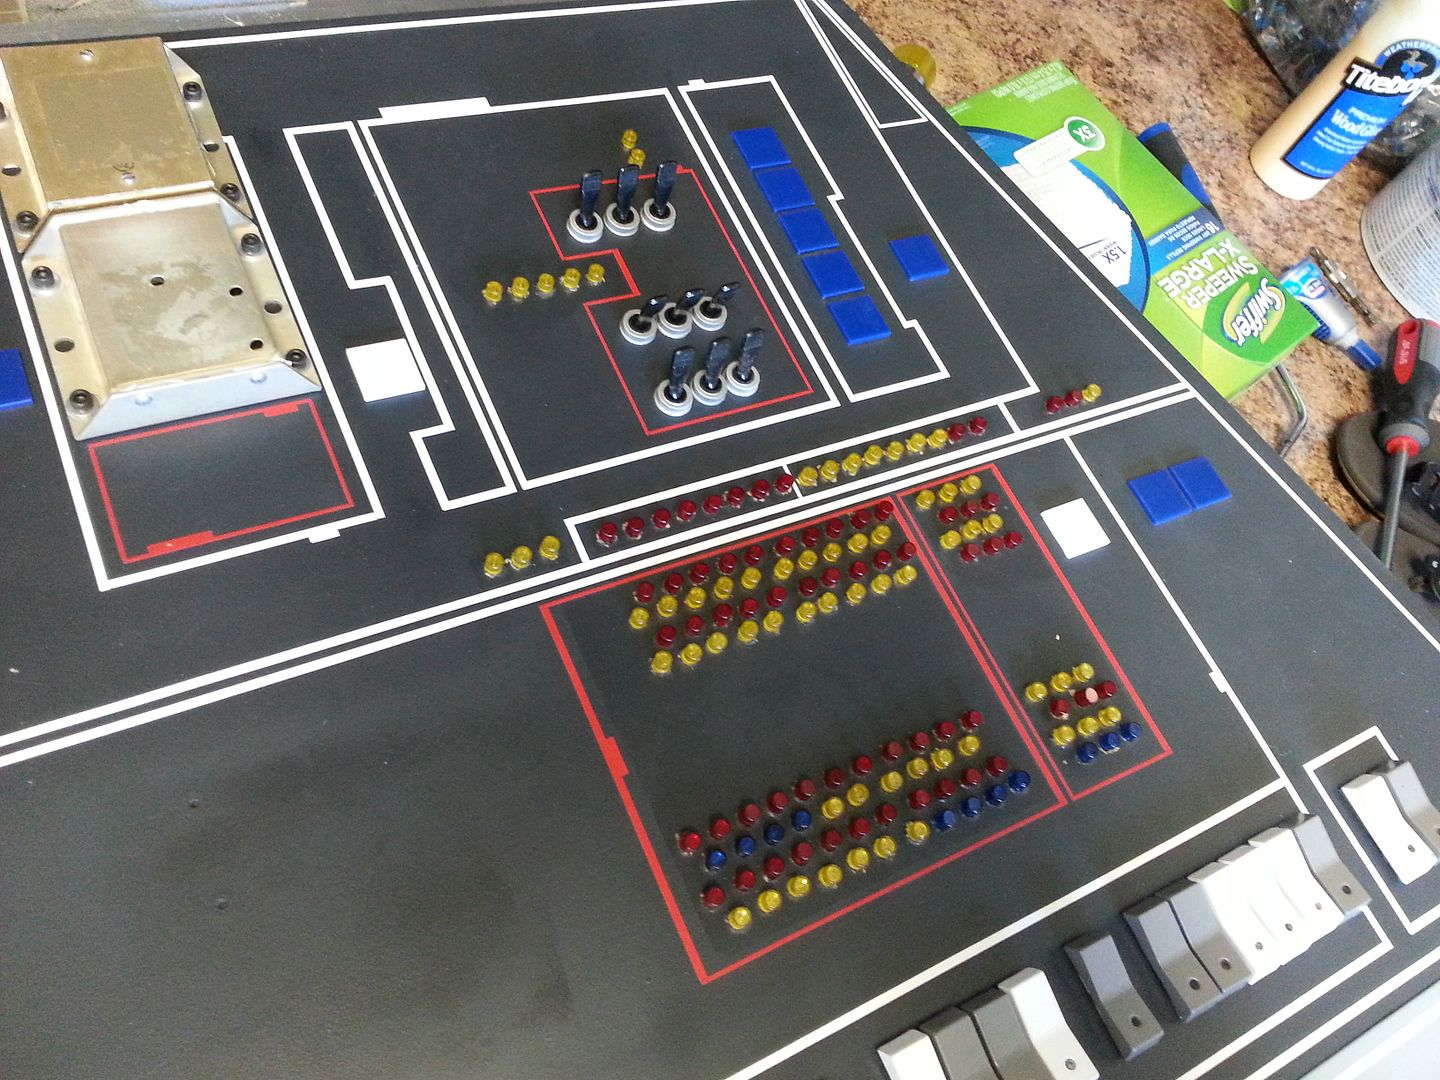
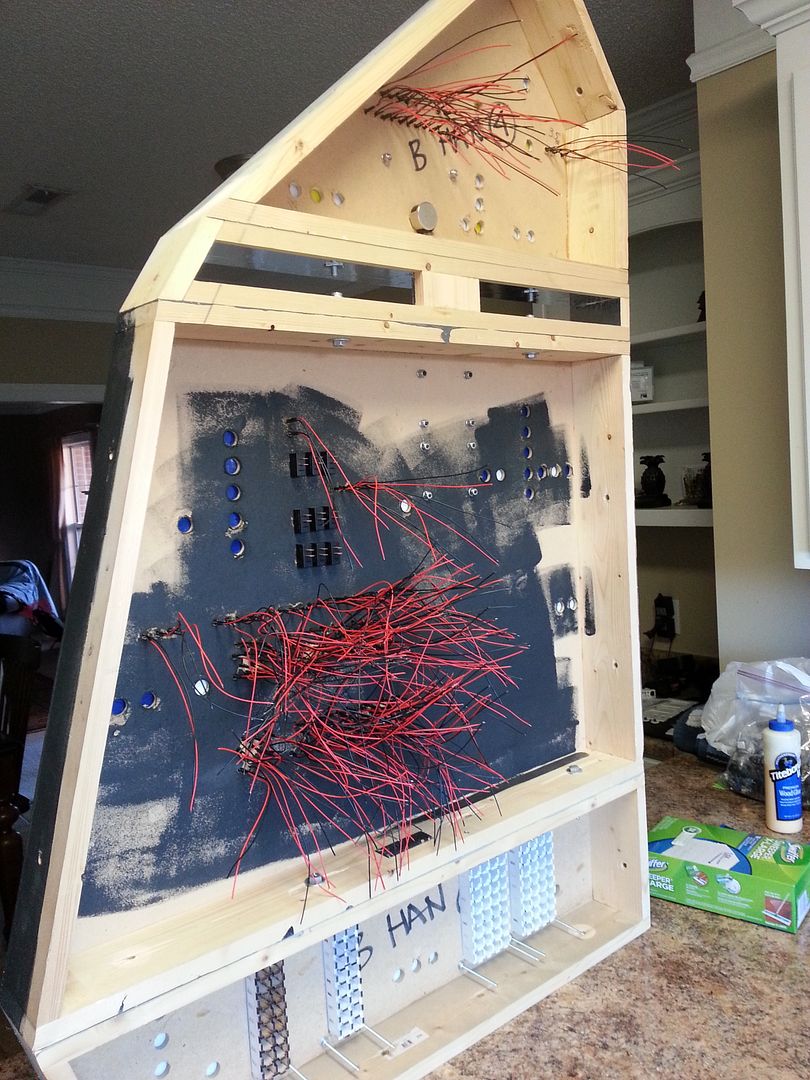
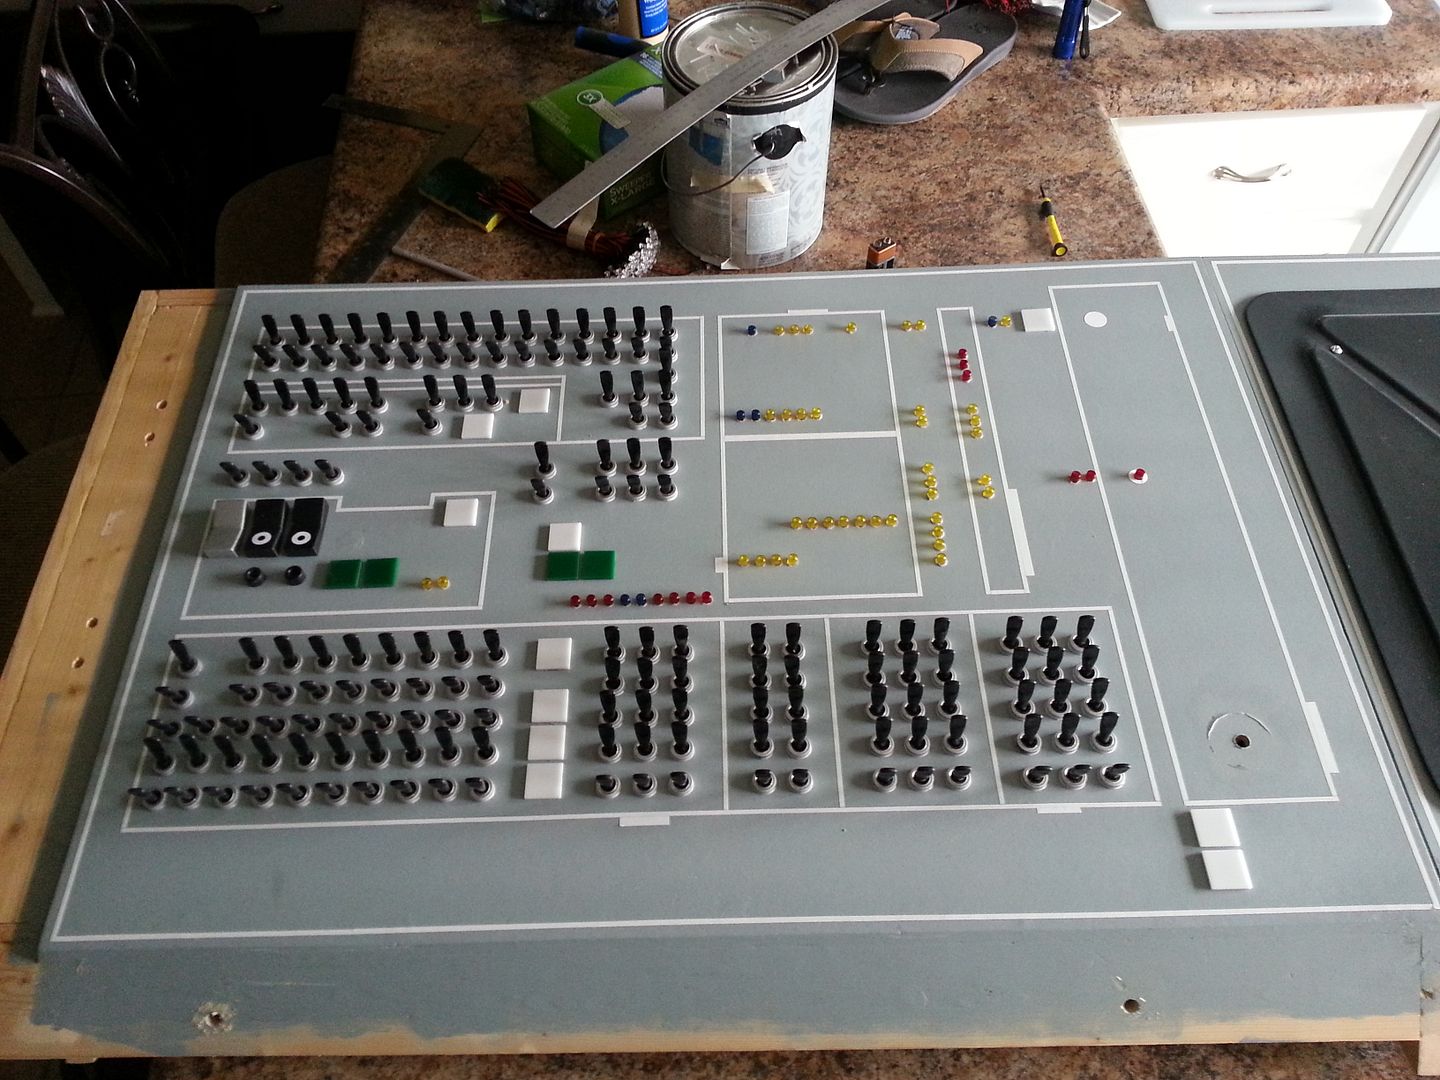
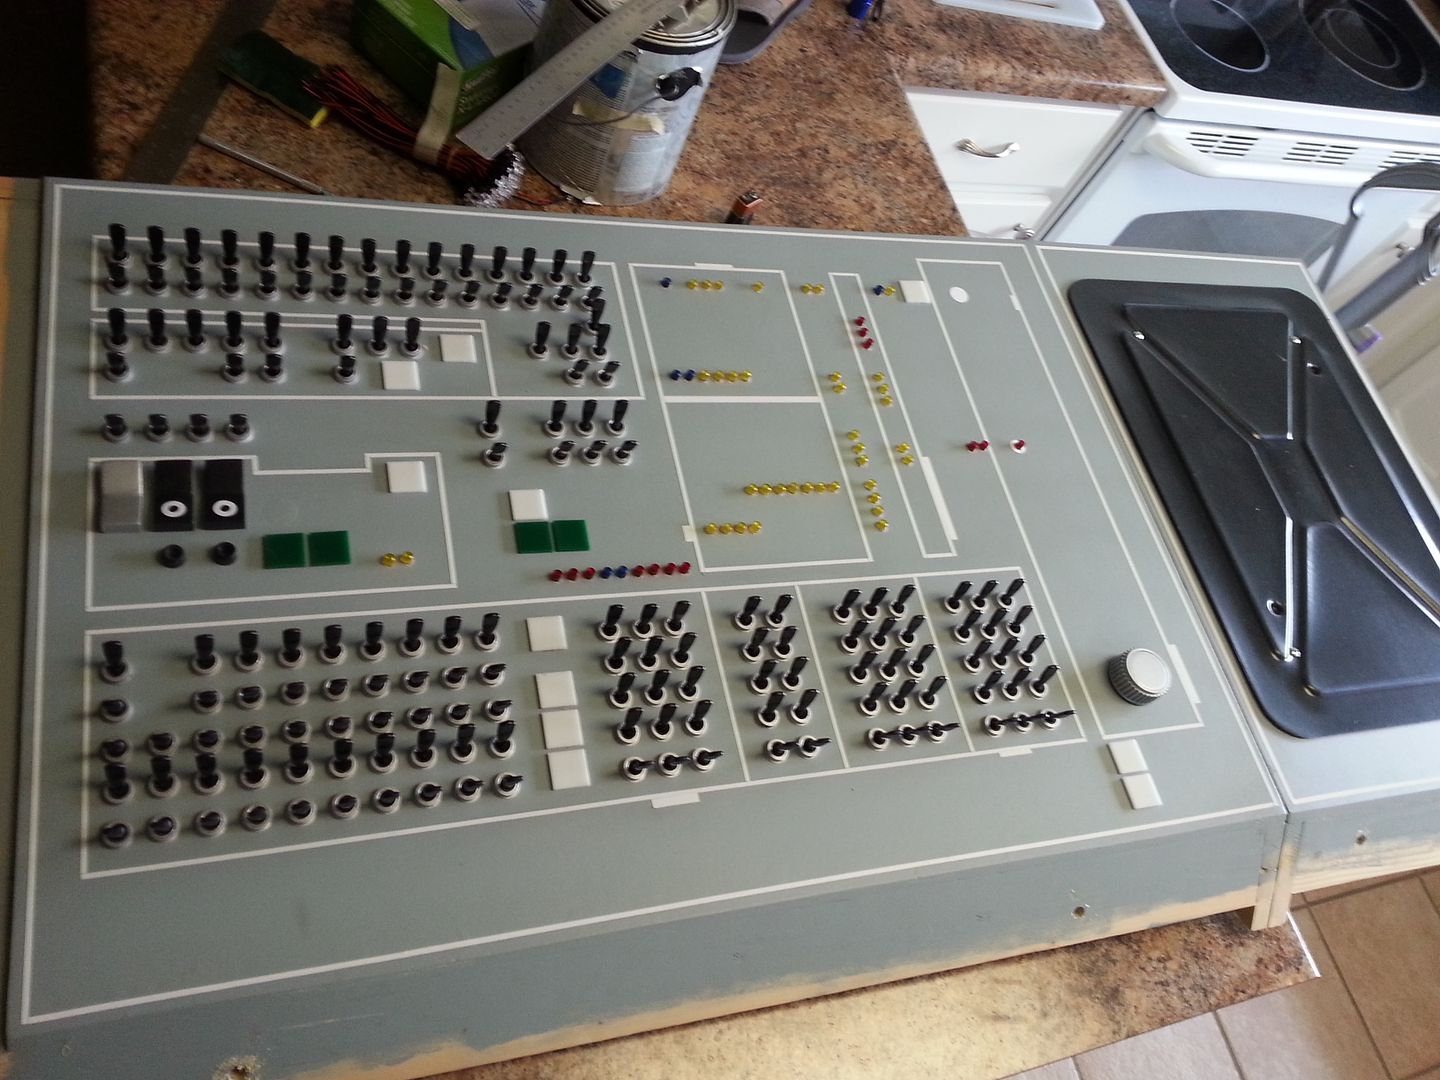
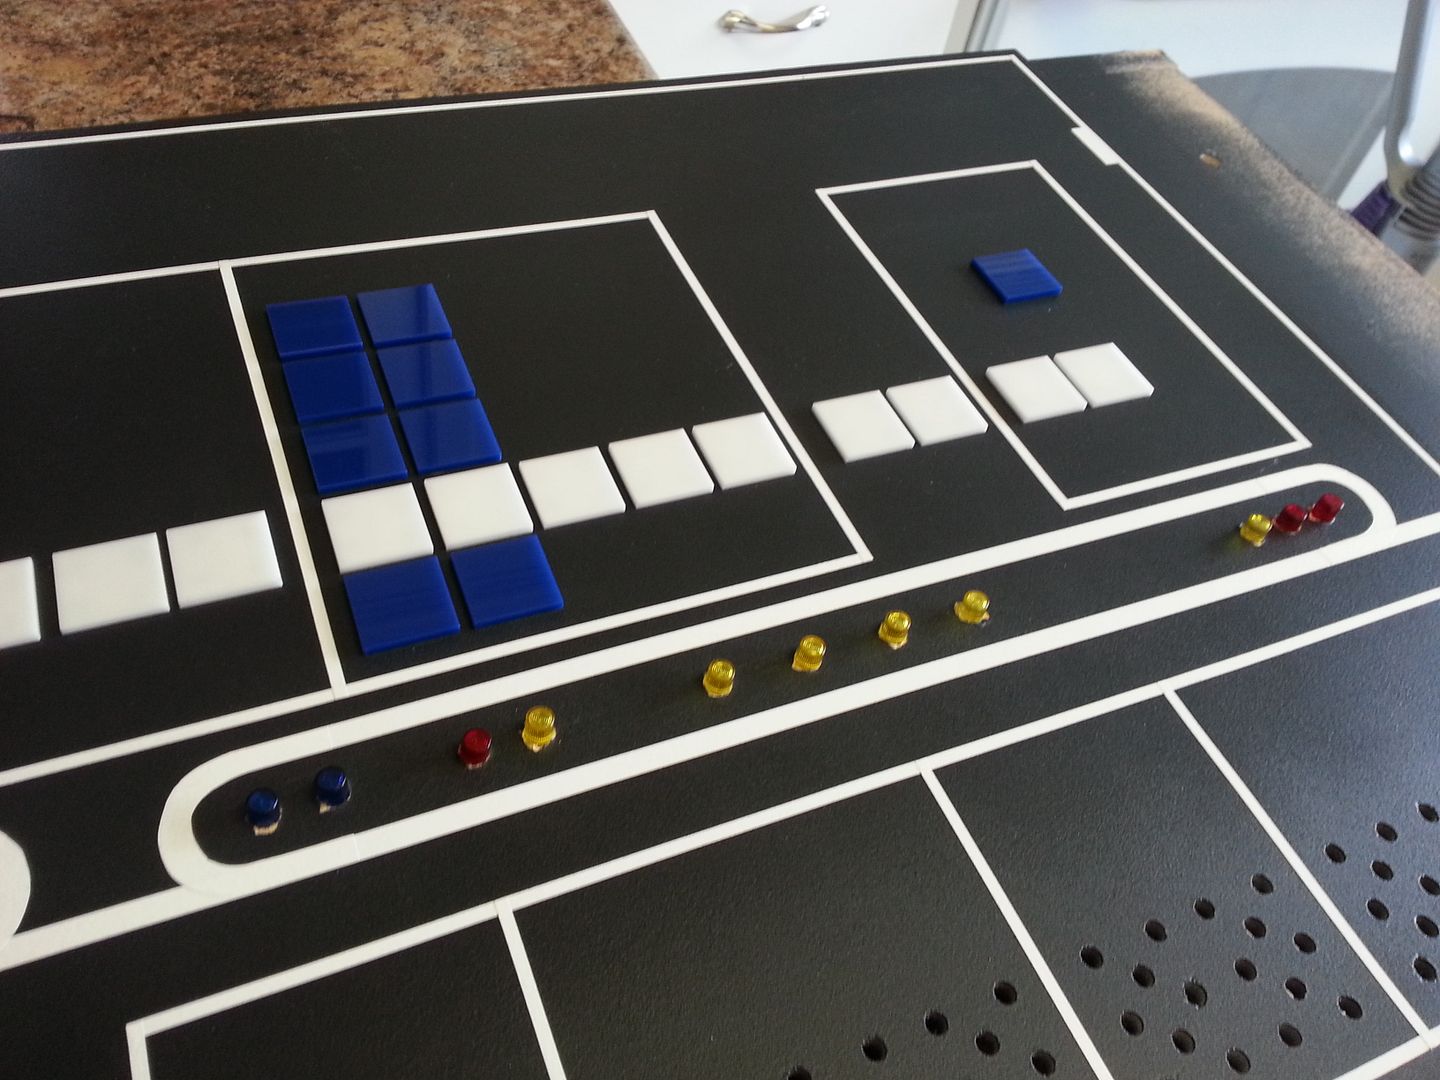
Now it was time to make the jump and get these LEDs in place... This was scary, fun and time consuming! I have to drill out ALL the holes to make the LEDs fit. The next cockpit will have everything done by CNC to make it MUCH easier. Anywho...
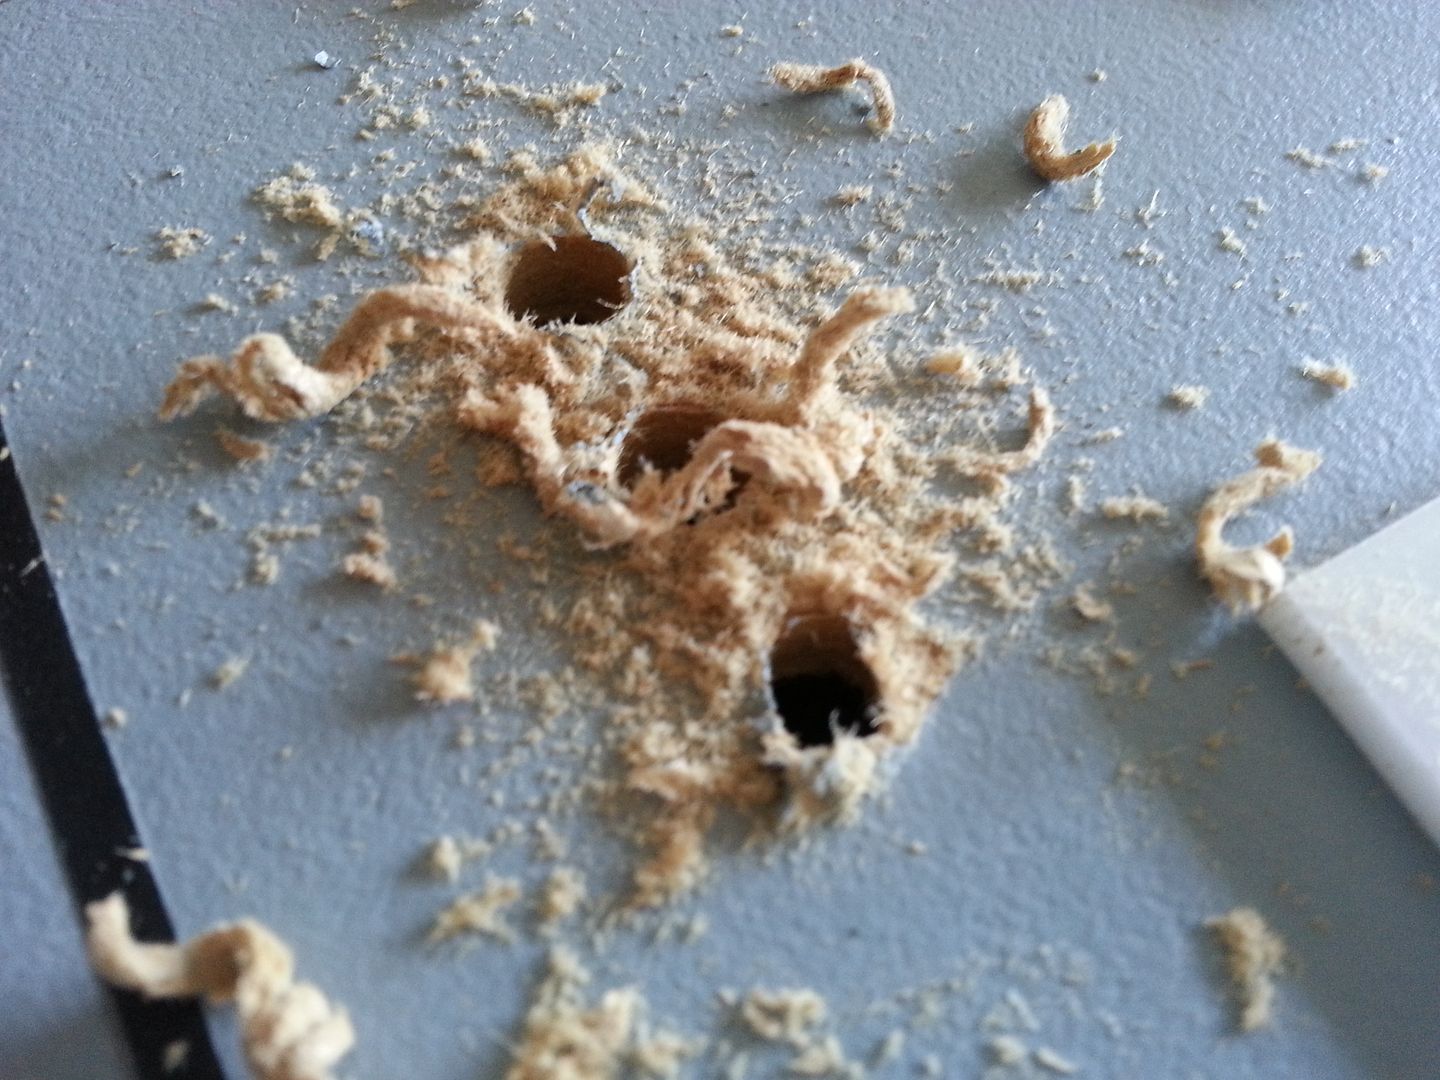
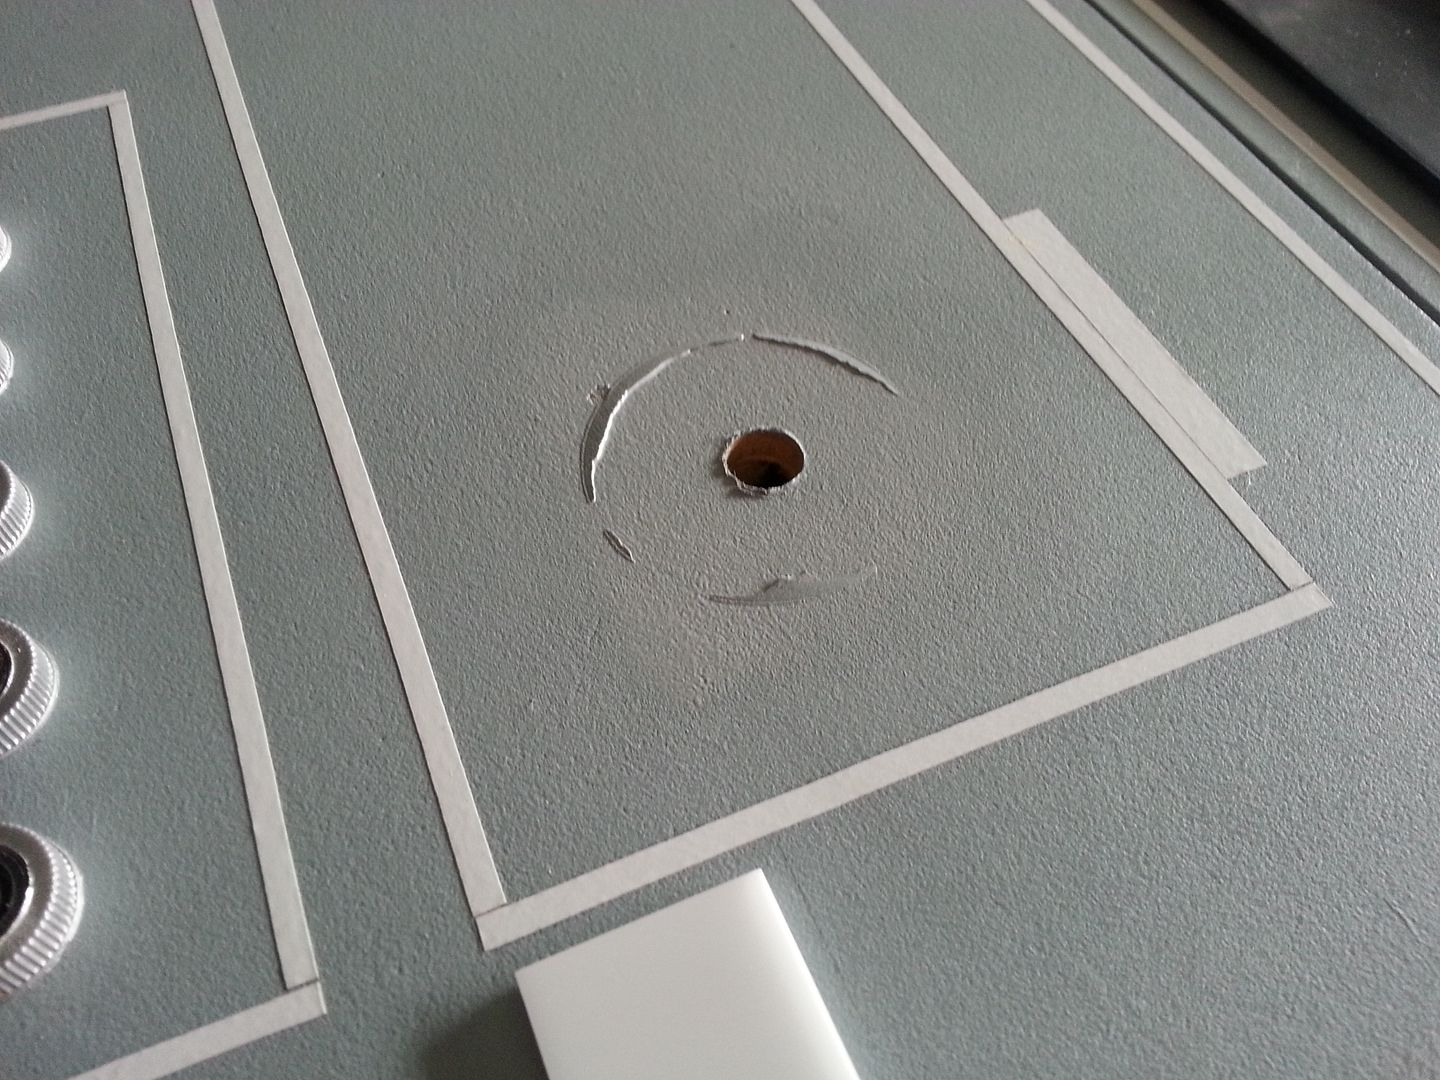
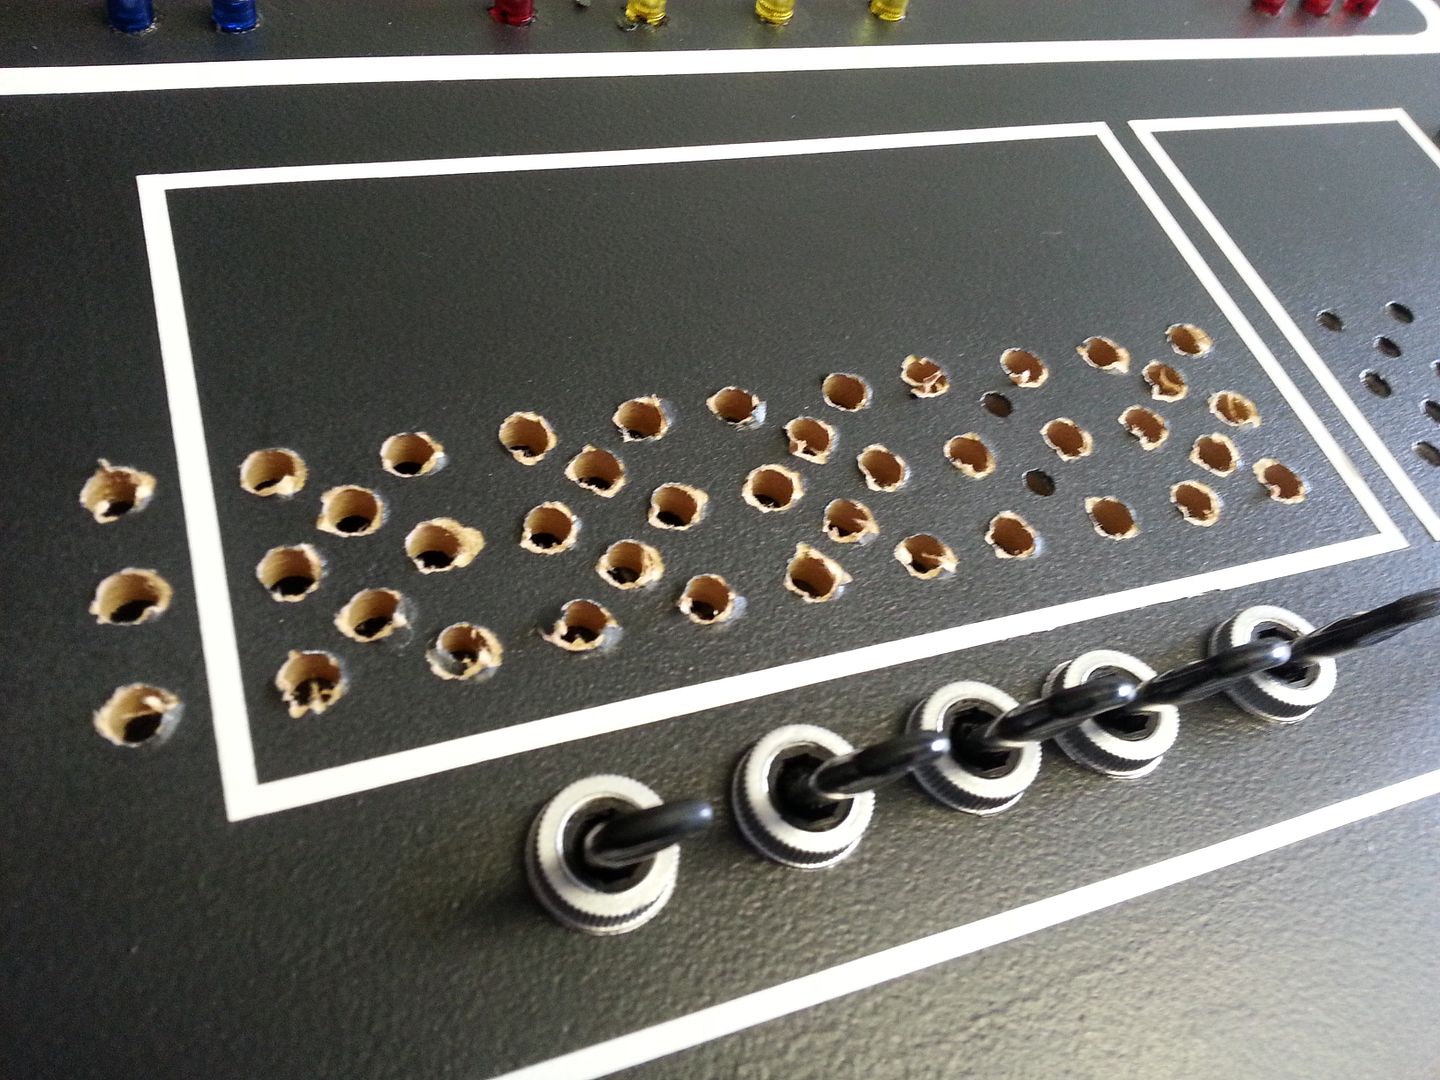
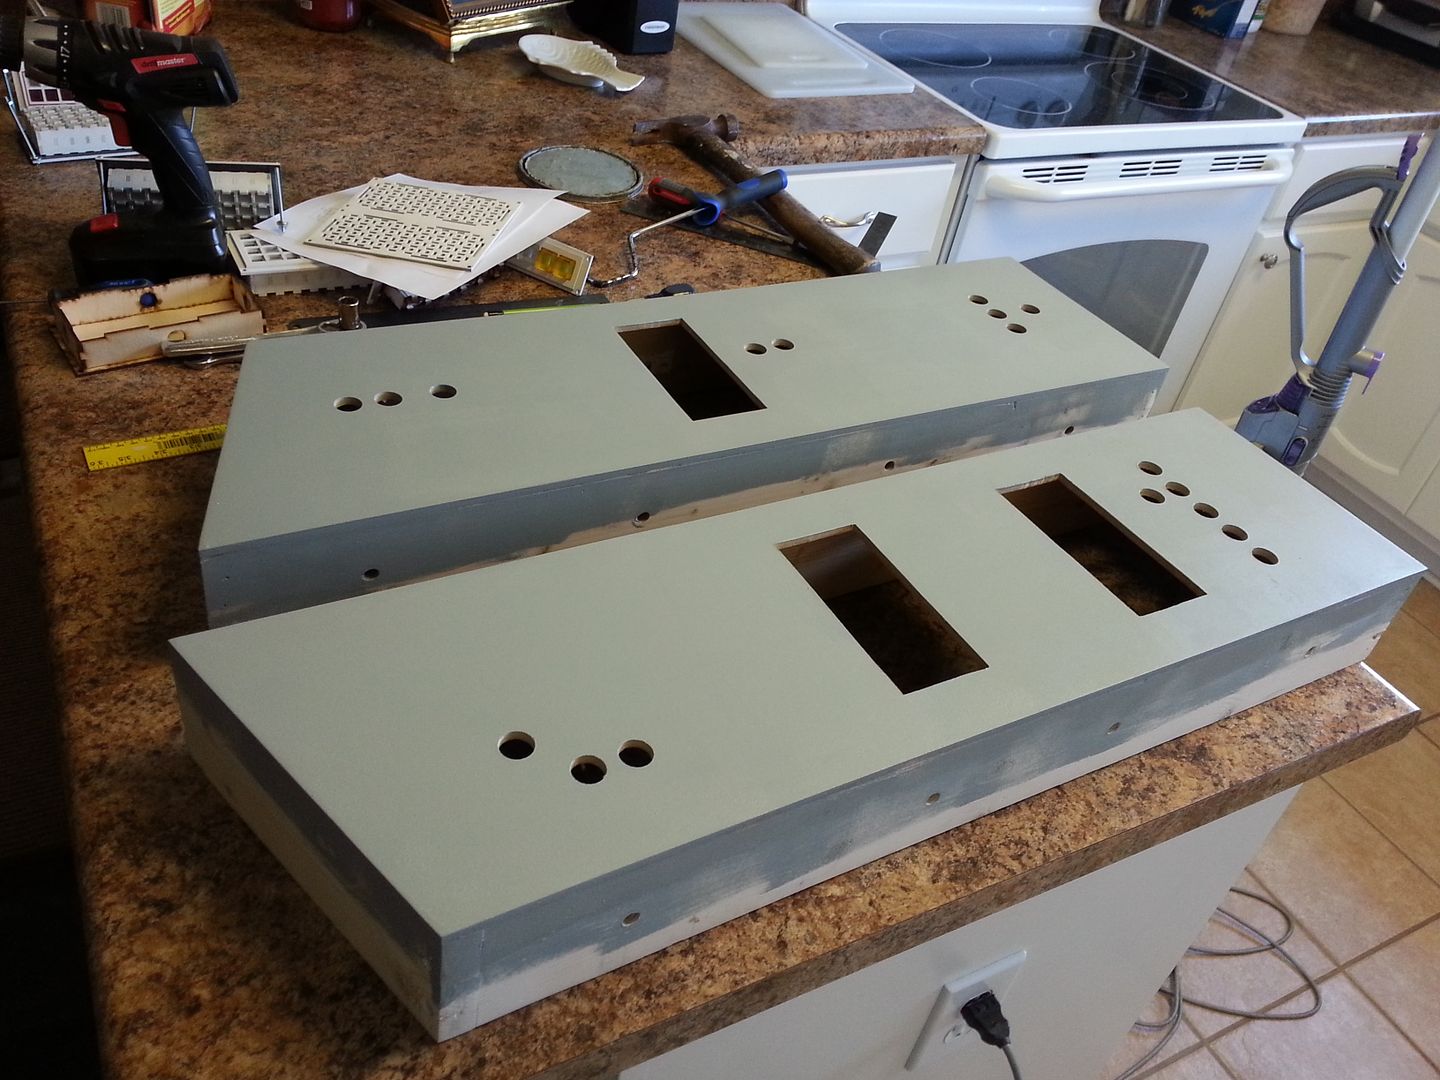
The drill pulled up A LOT of the paint and MDF so in some cases I had to sand these areas smooth and repaint - UGH
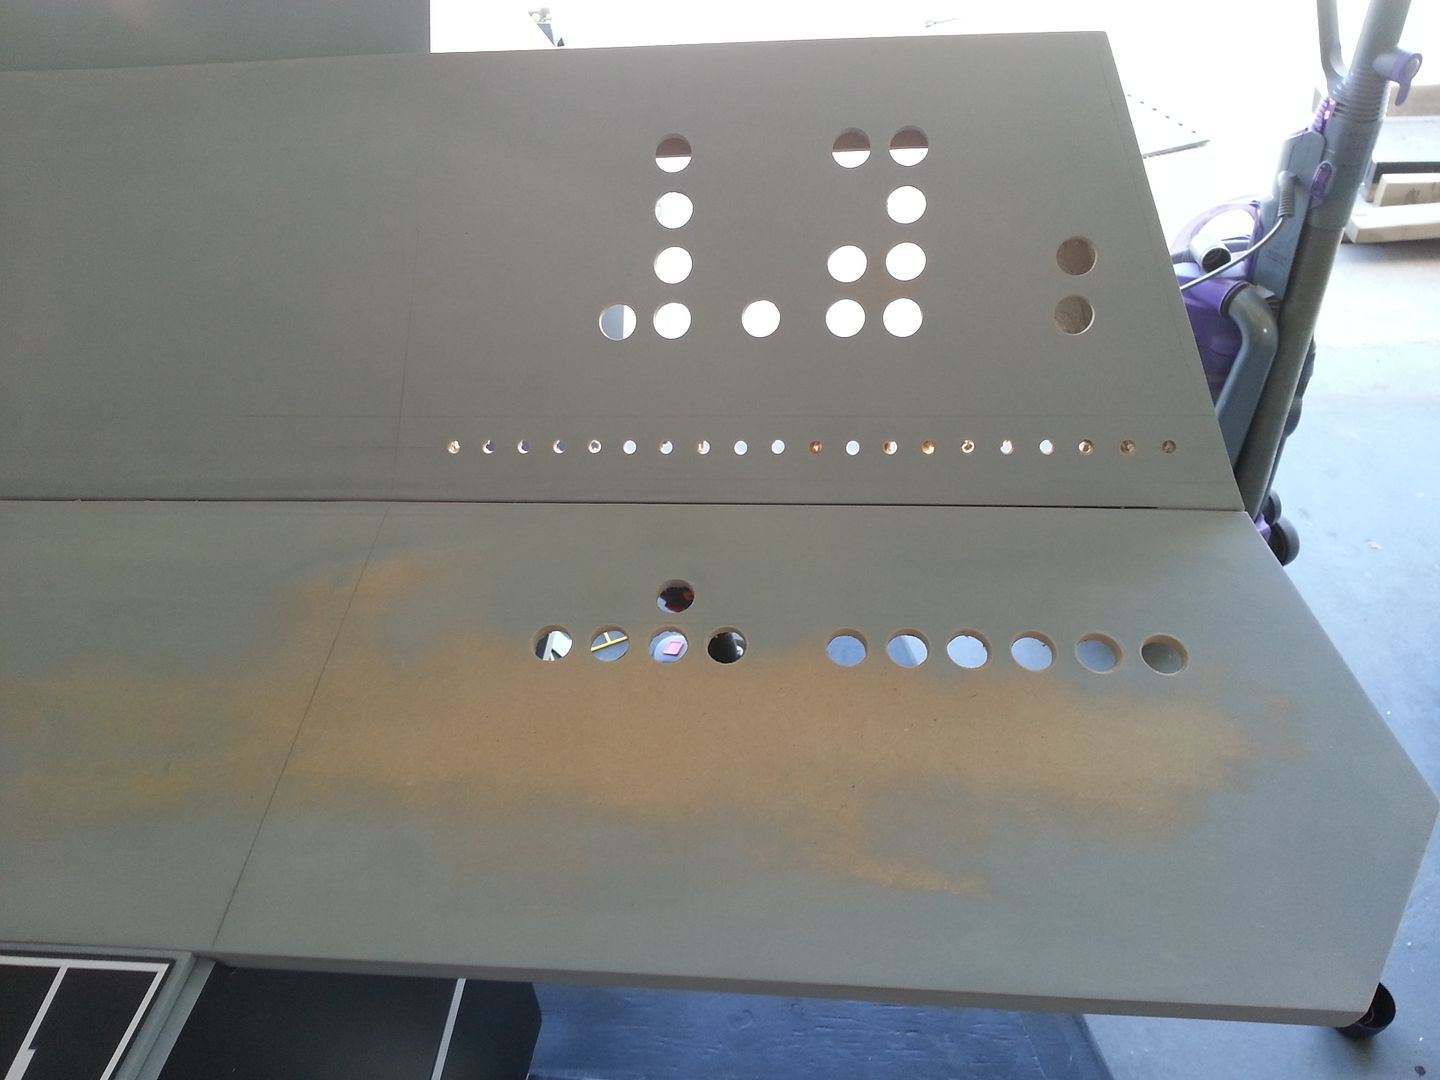
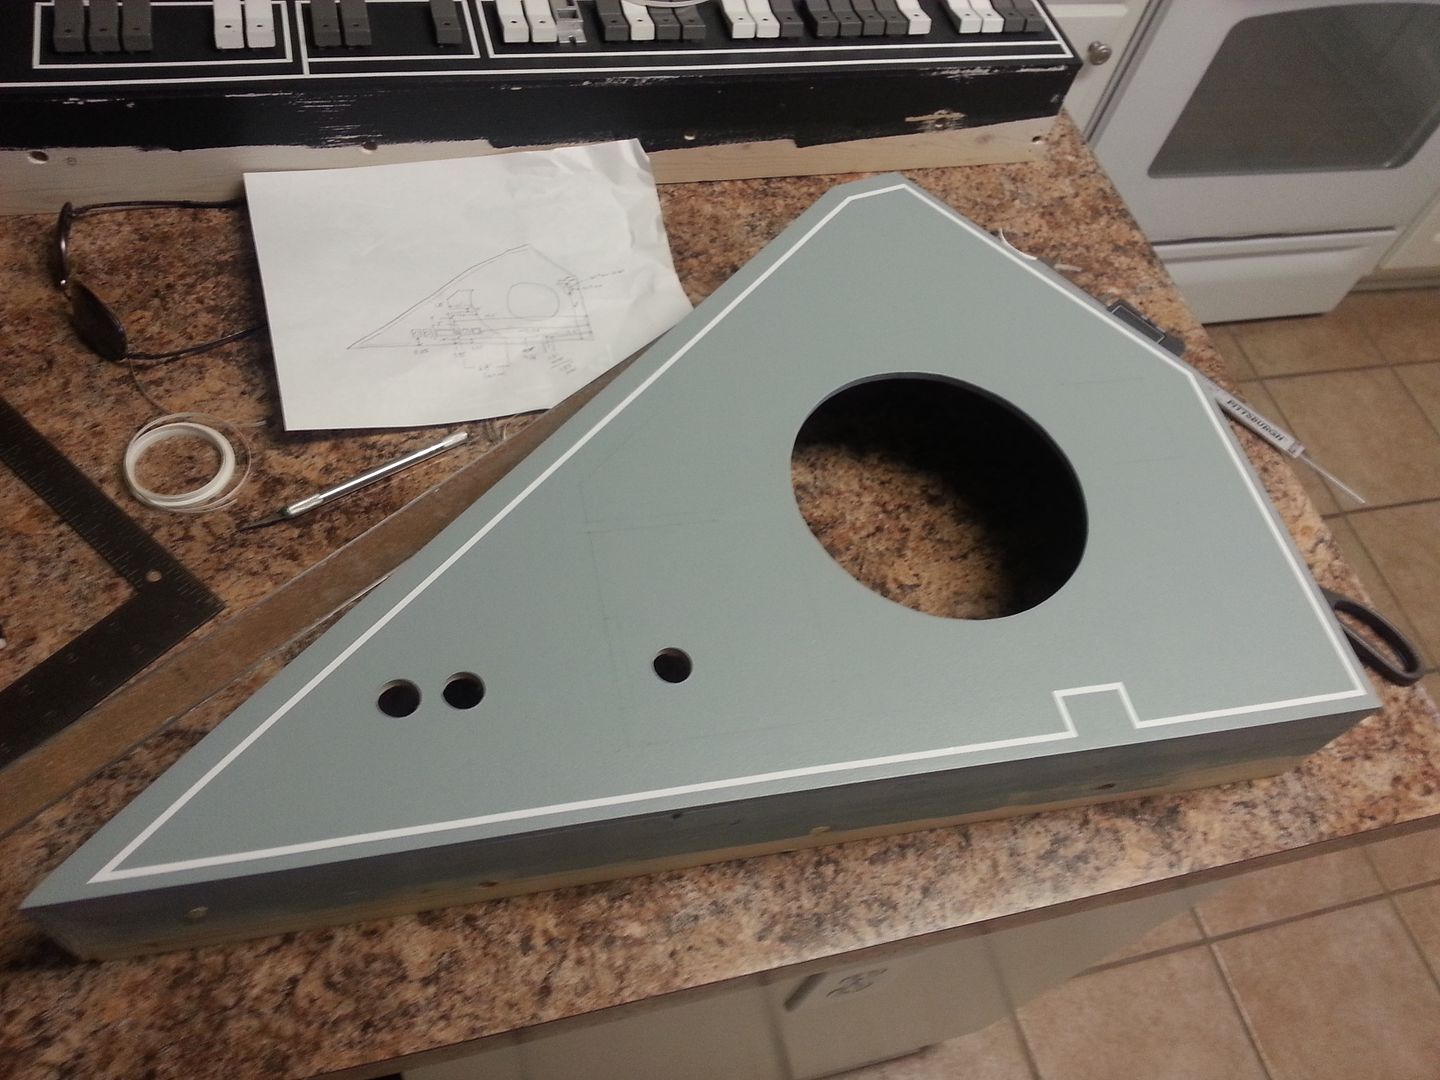
I'll blend the lines later
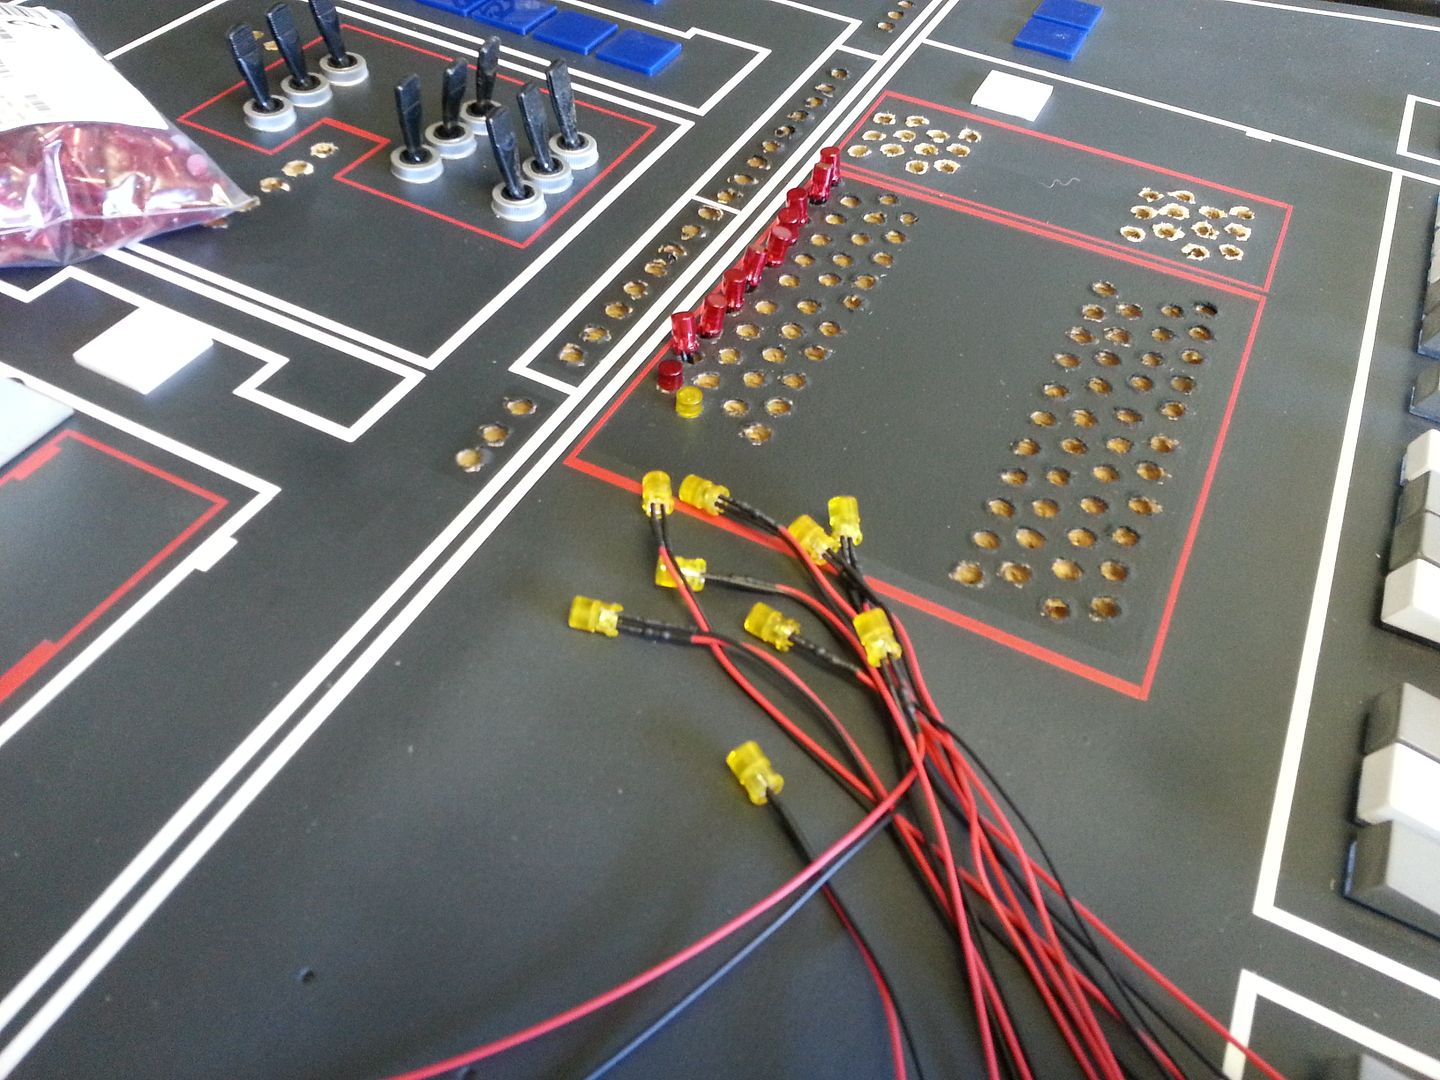
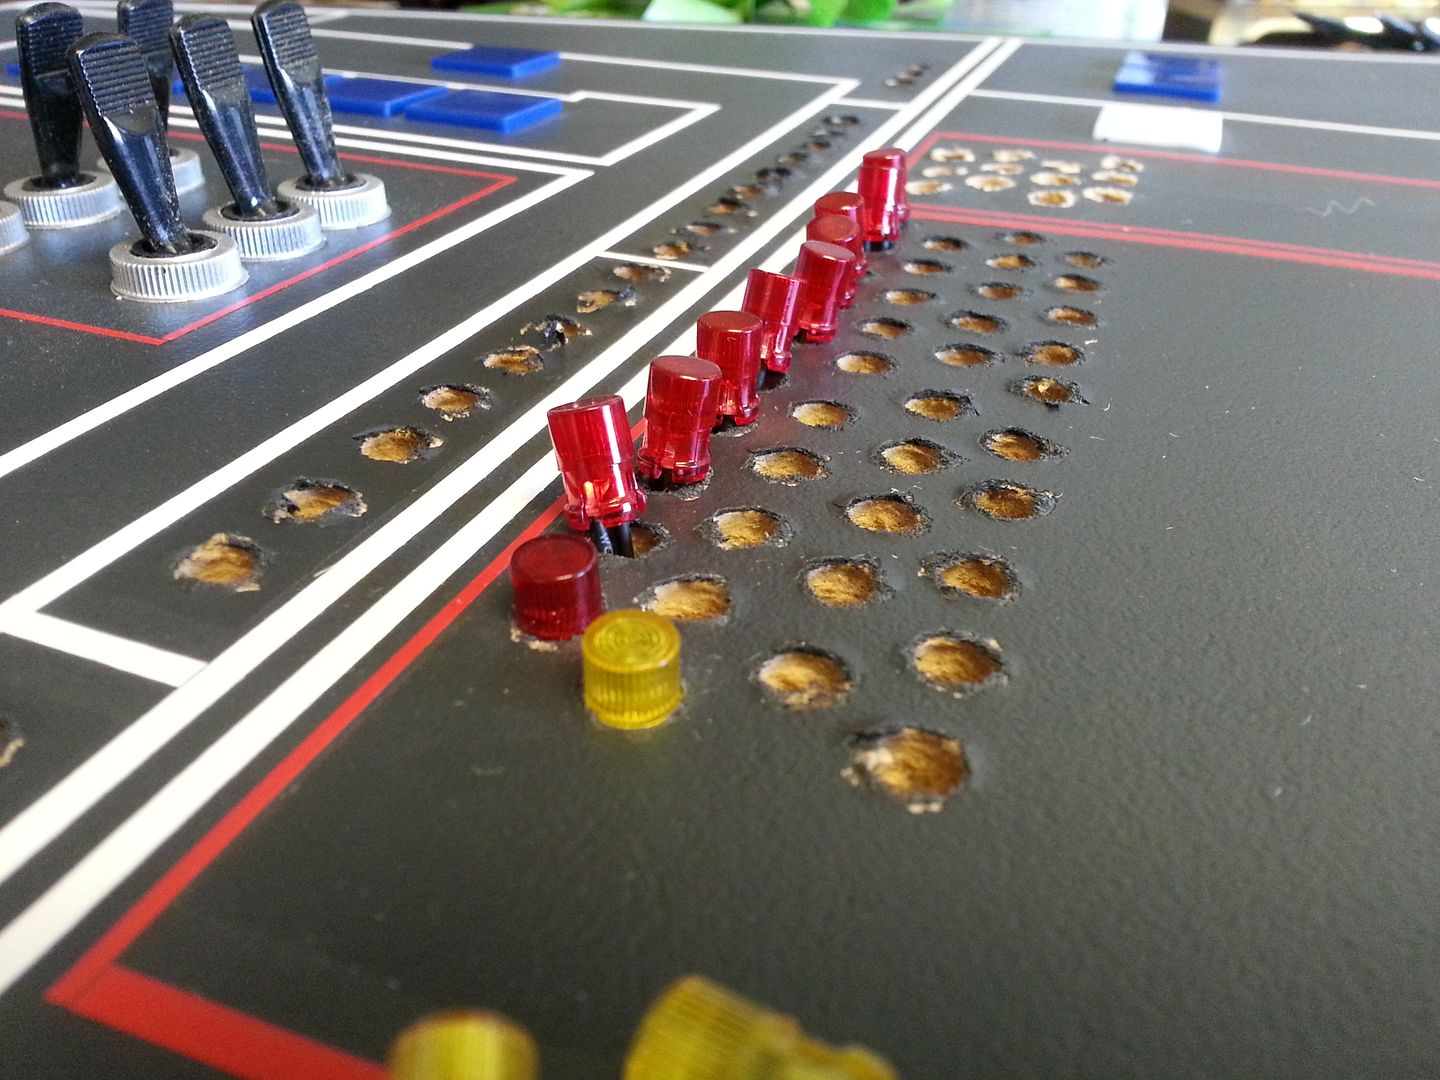
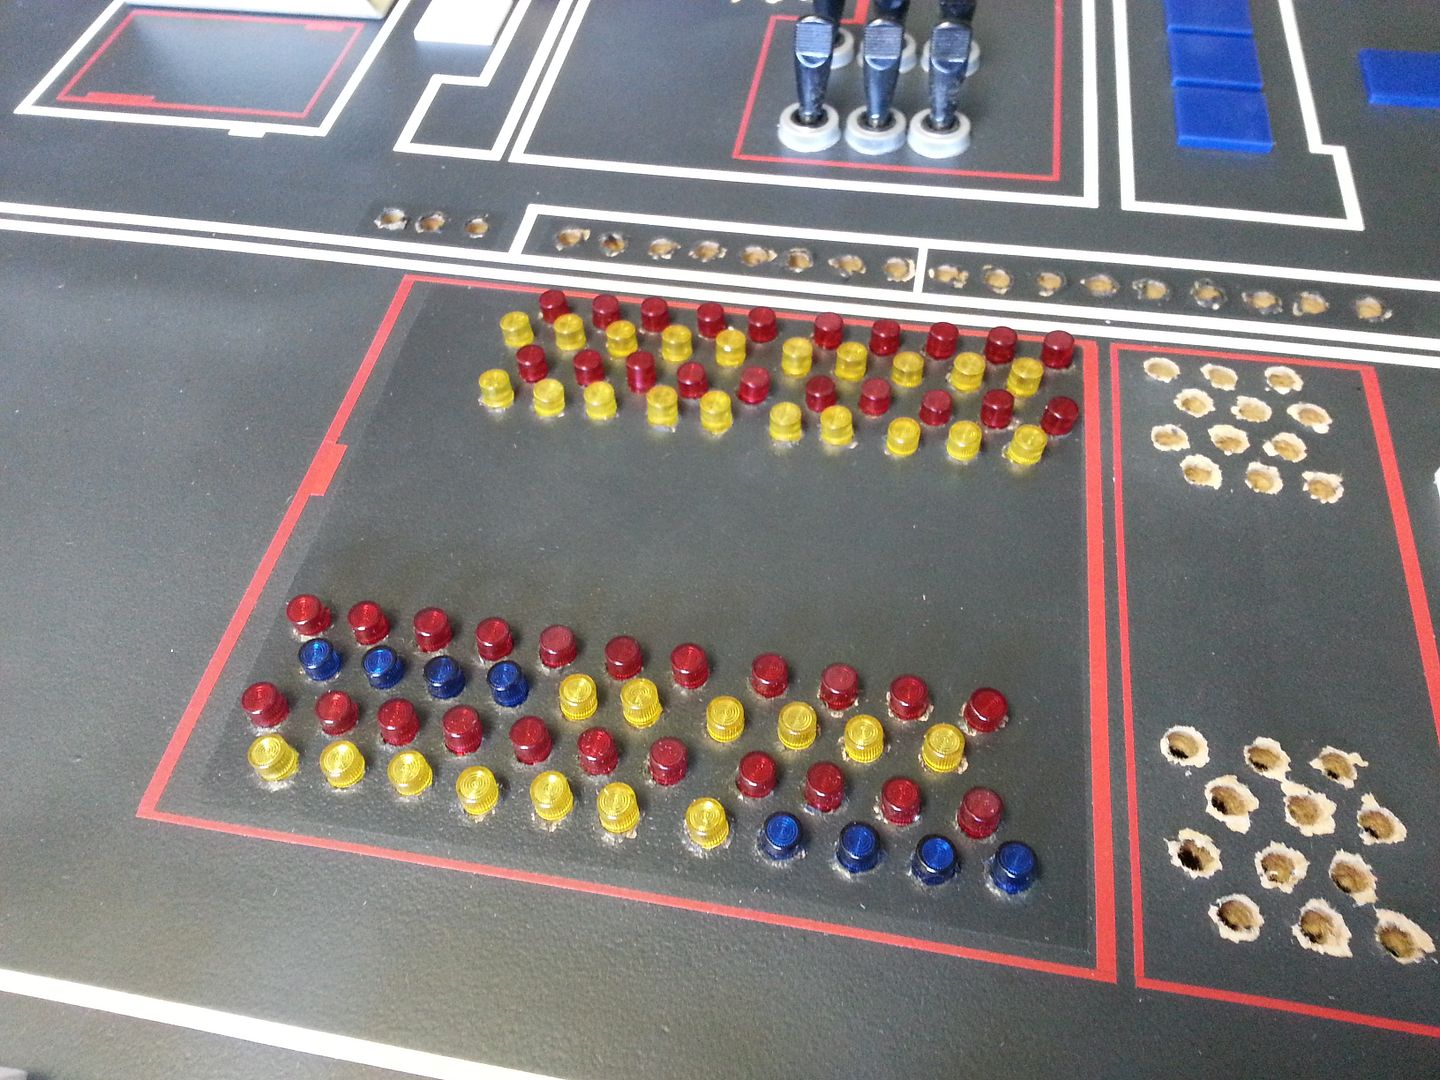
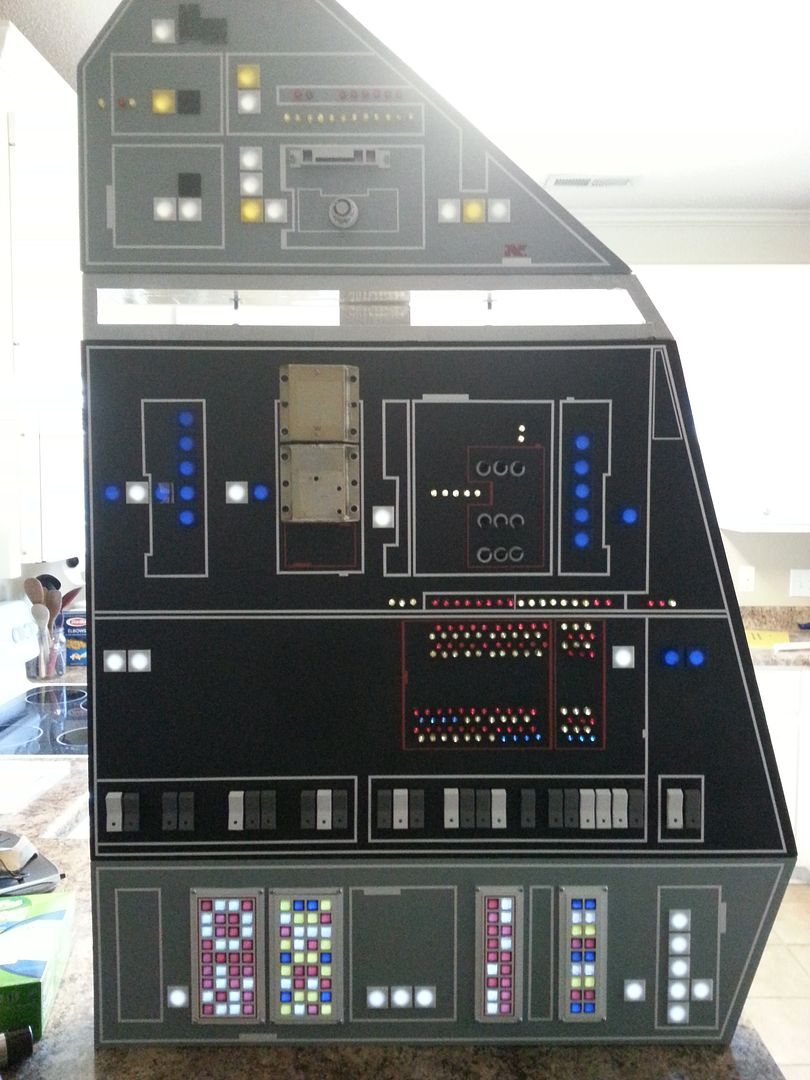
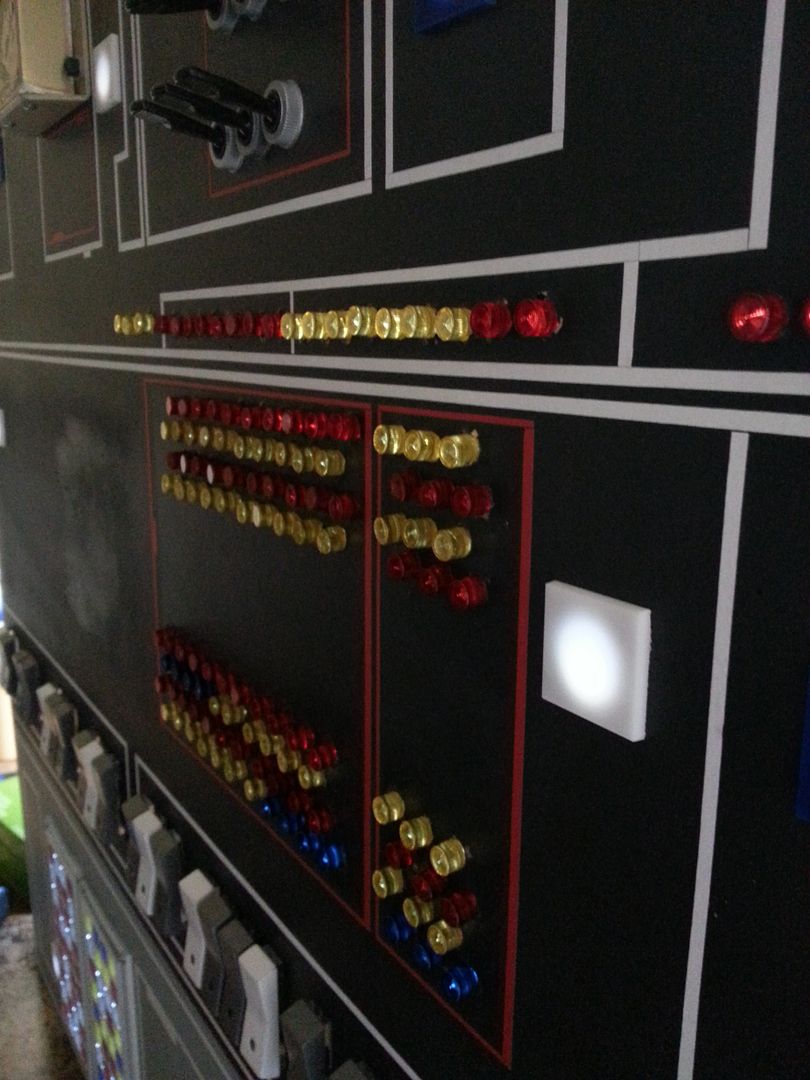
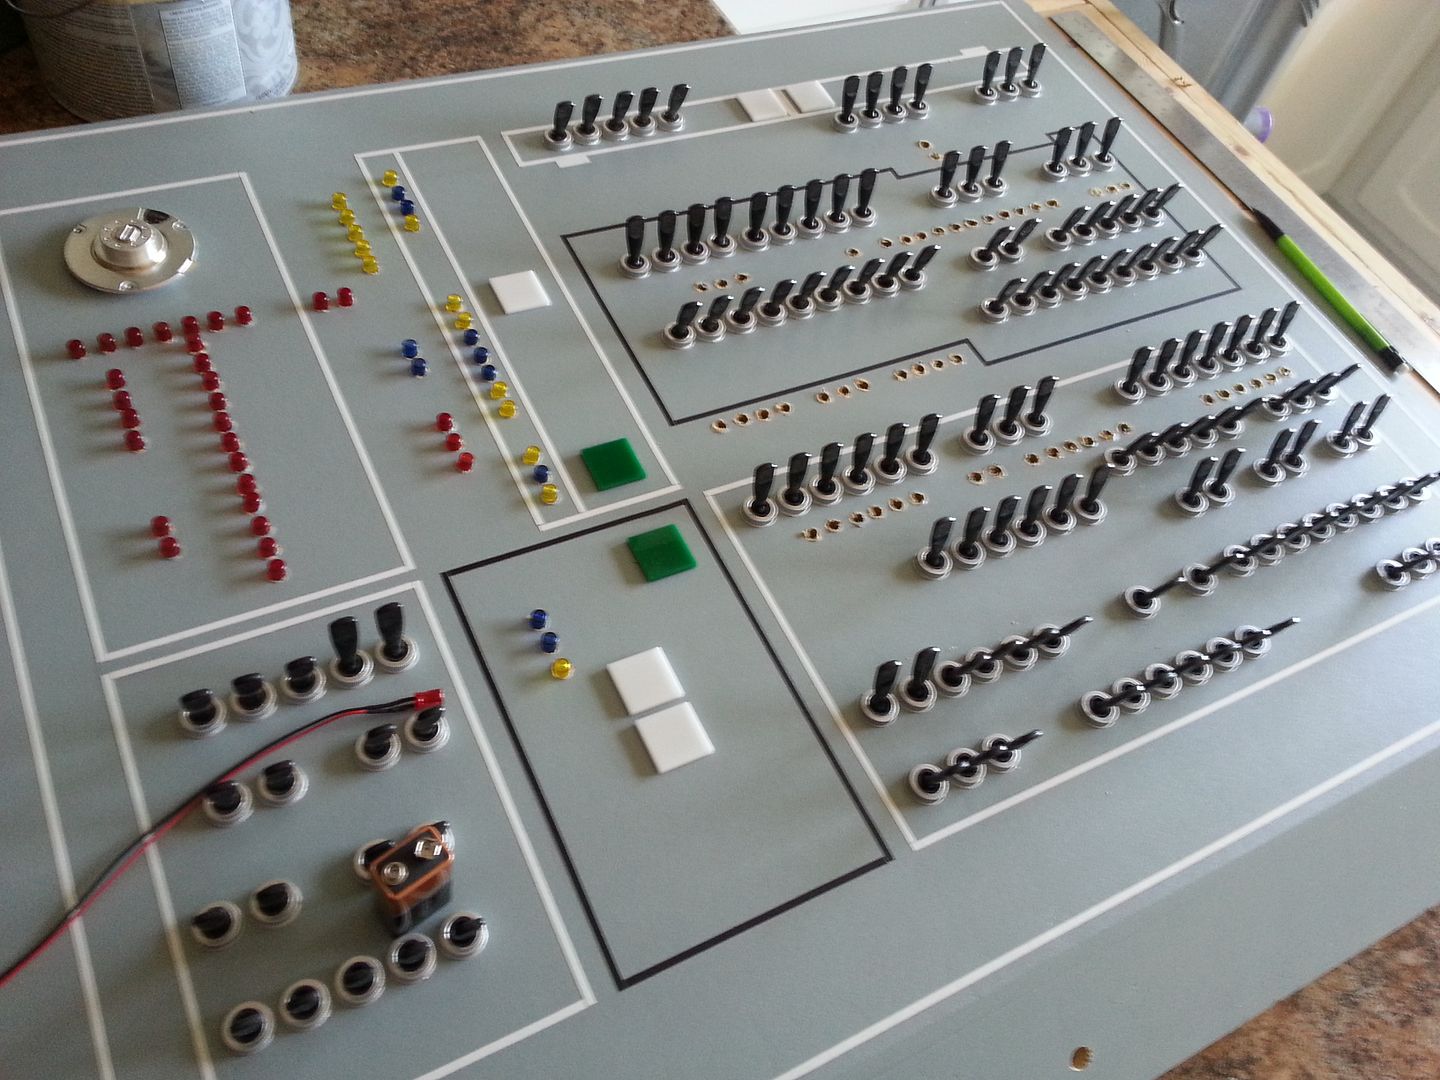
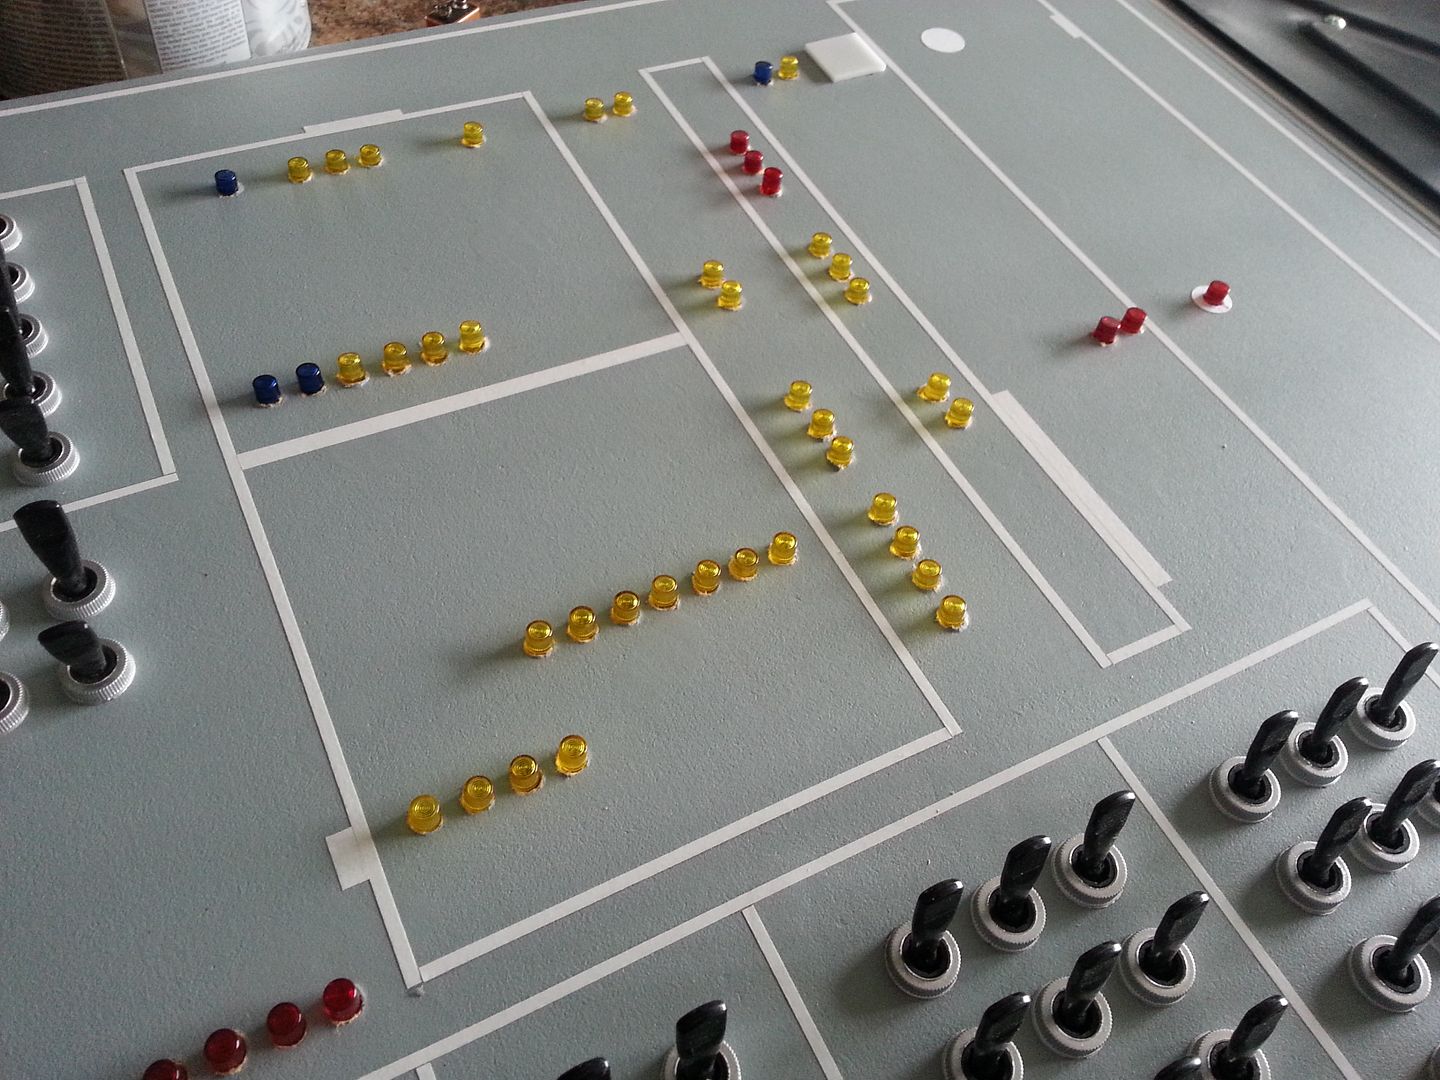
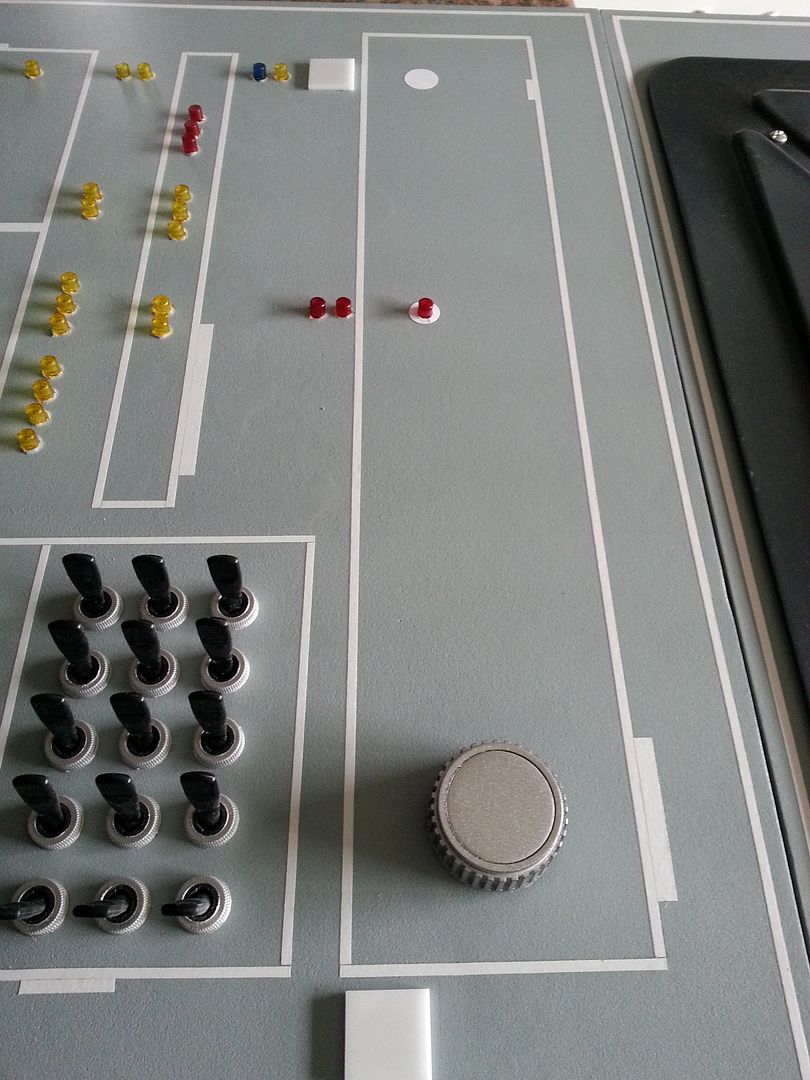
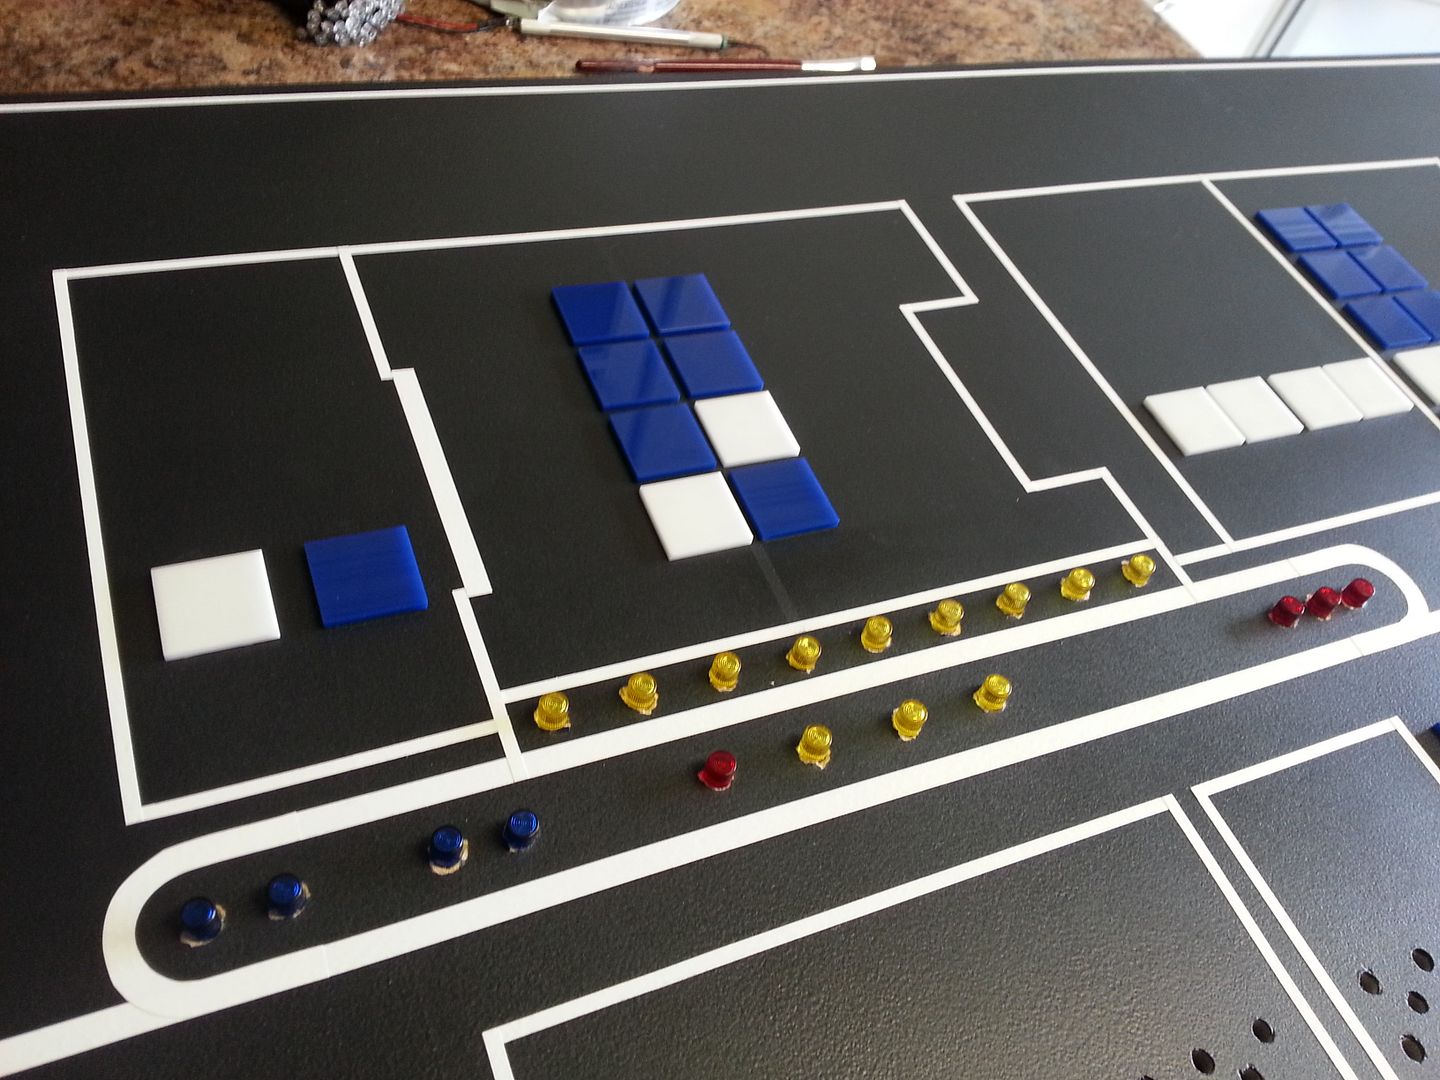
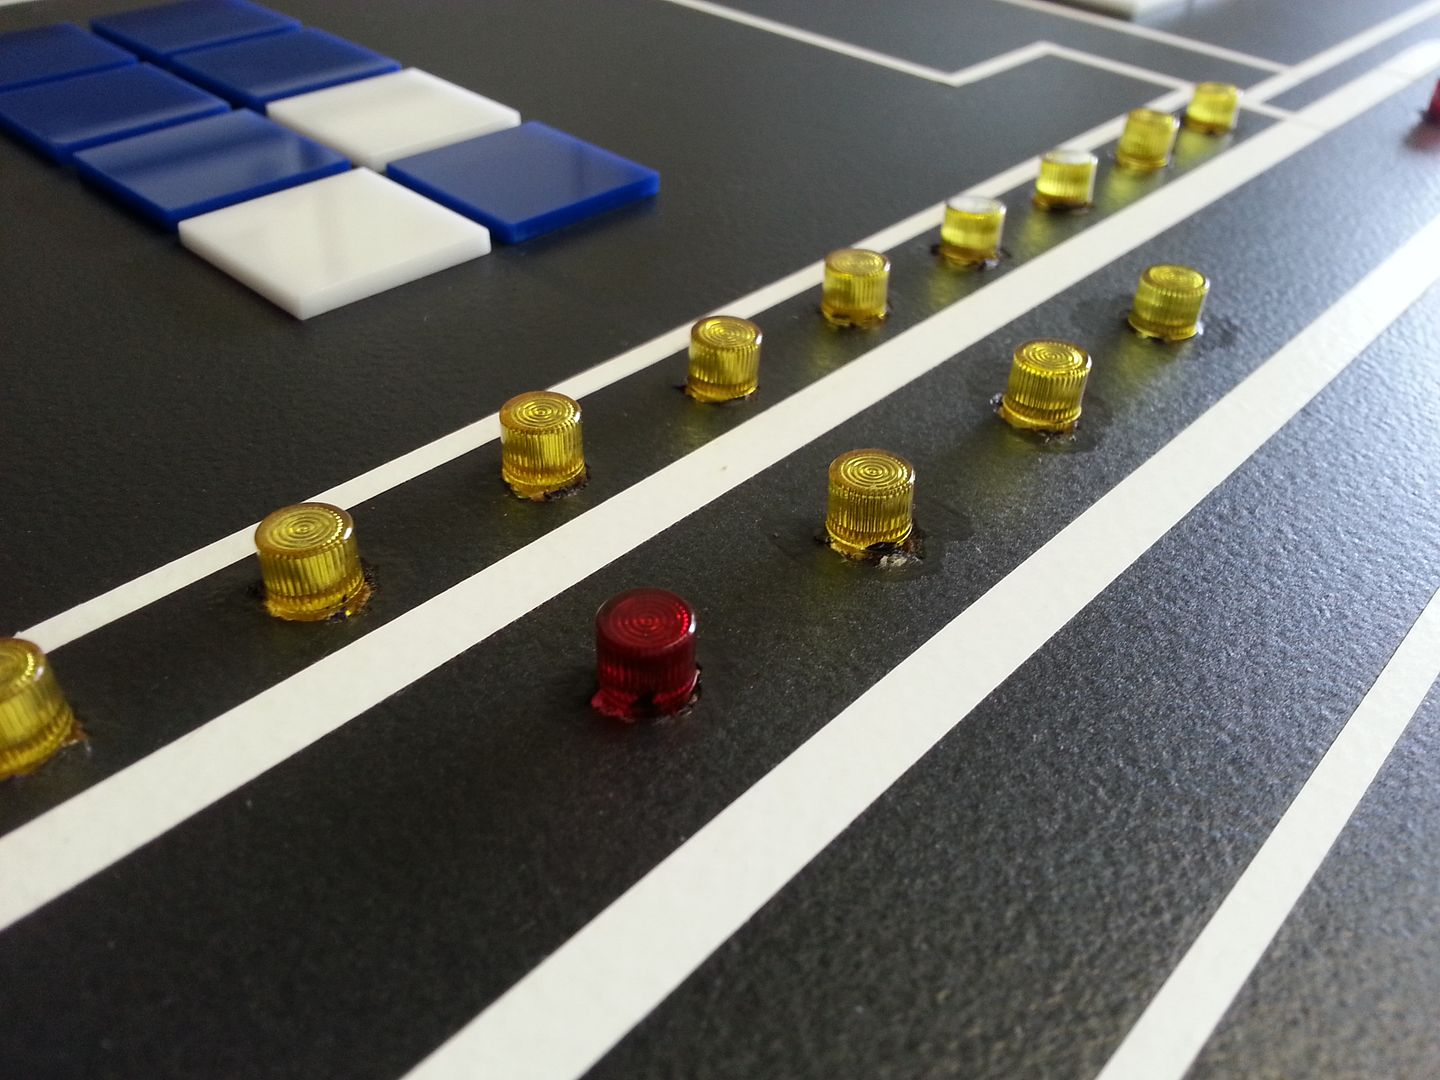
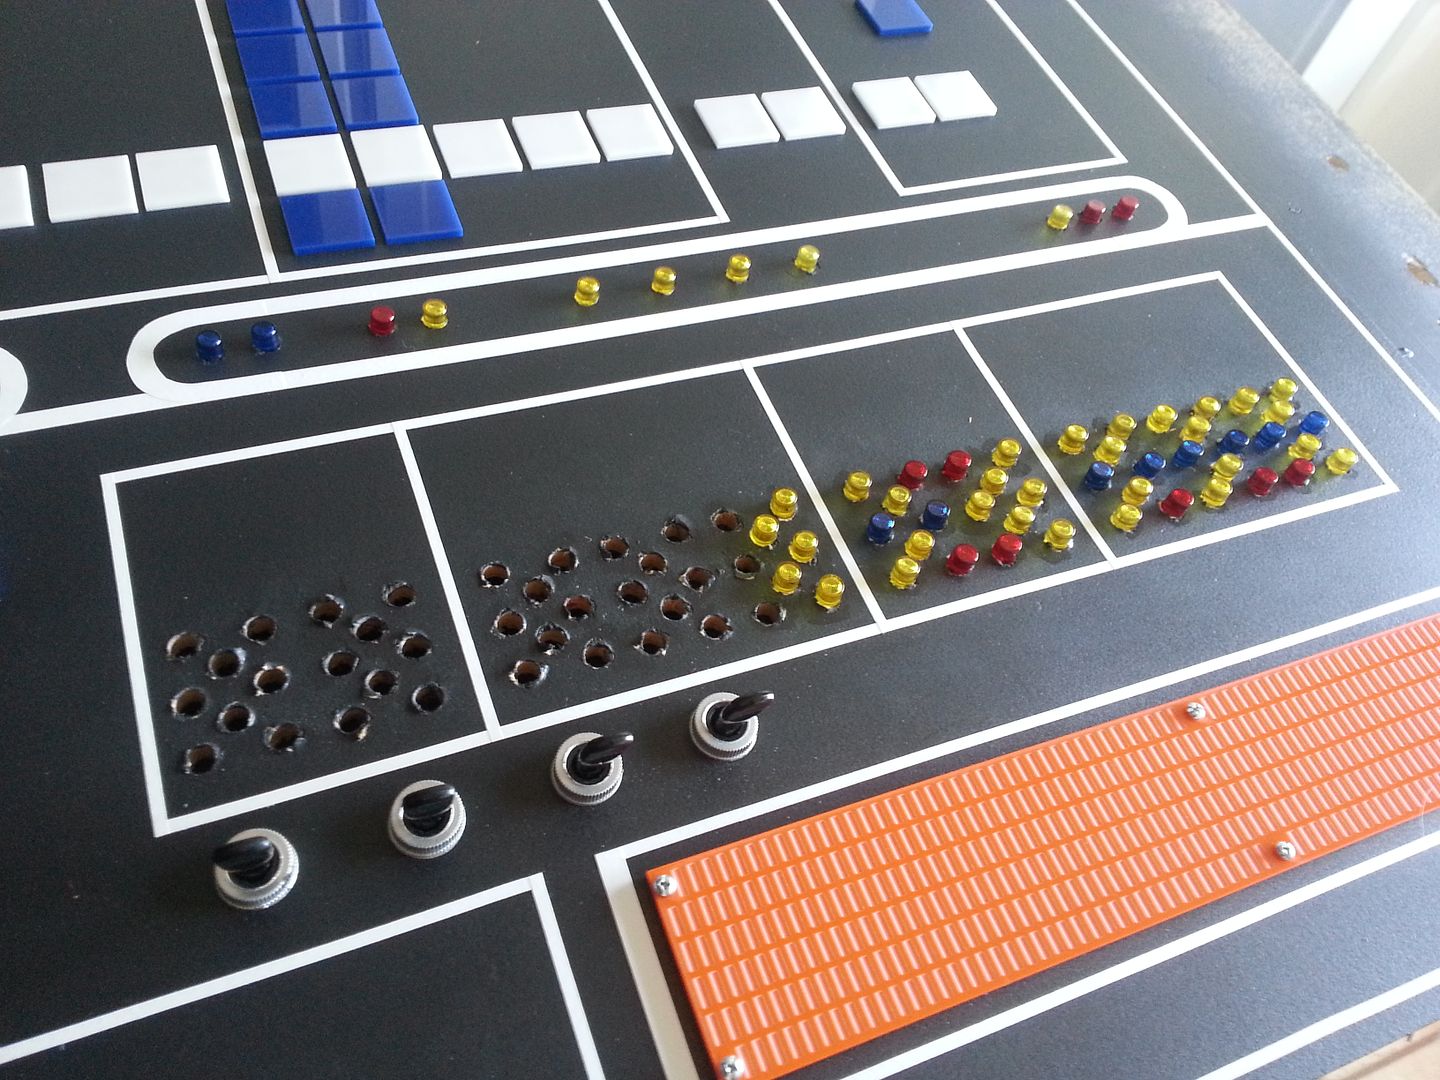
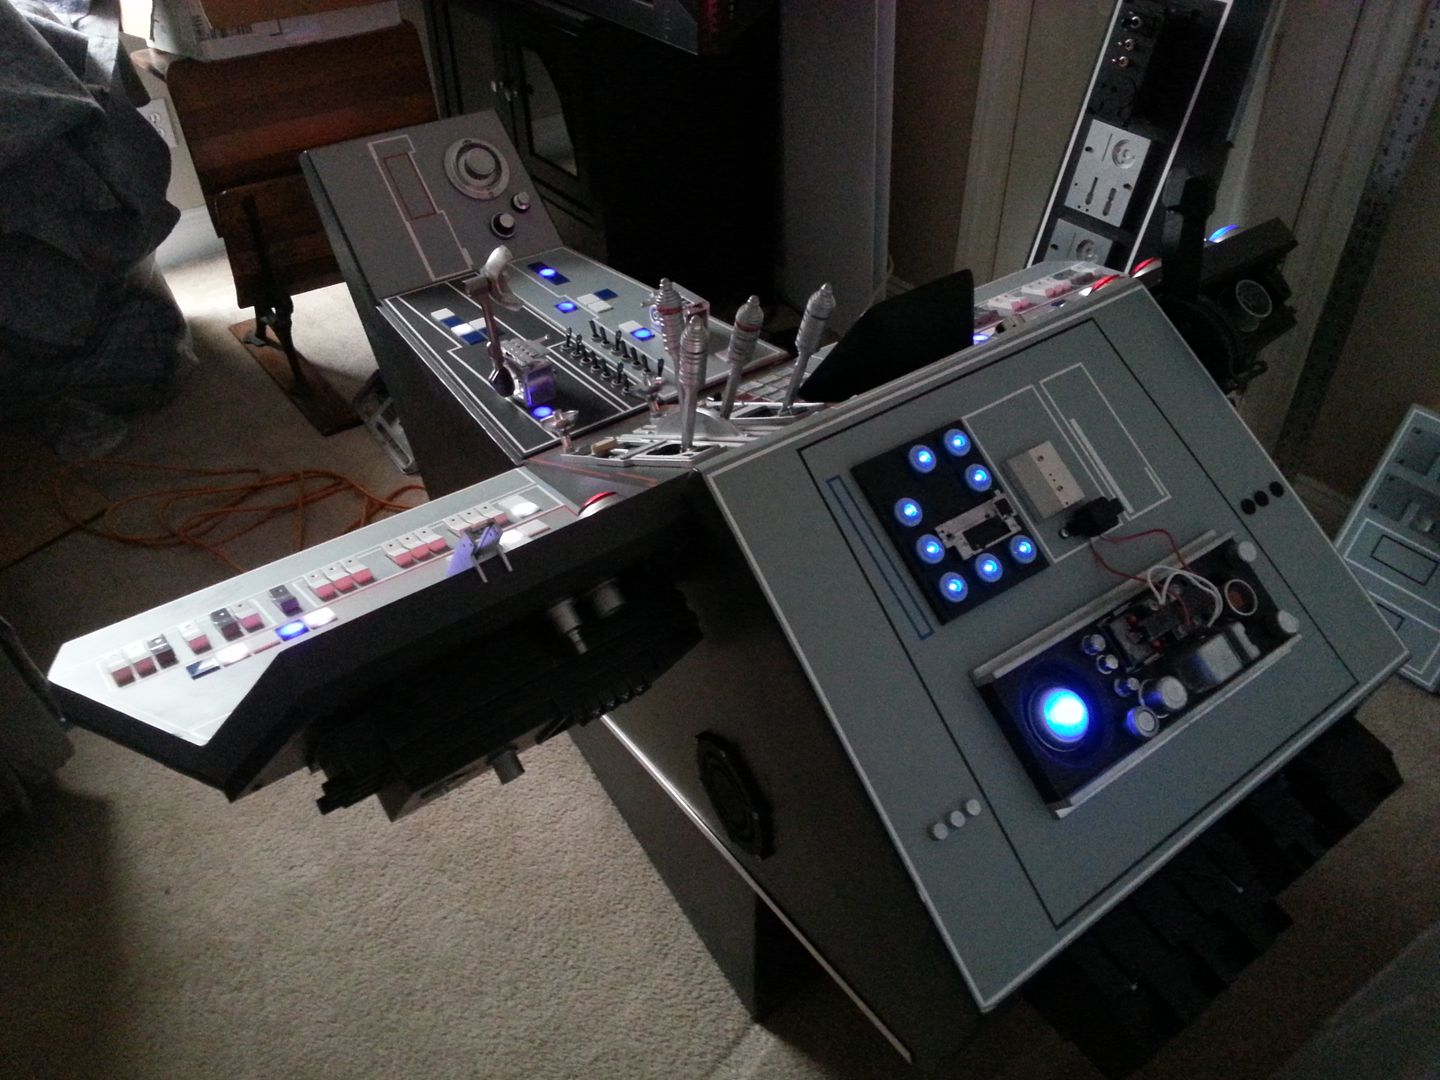
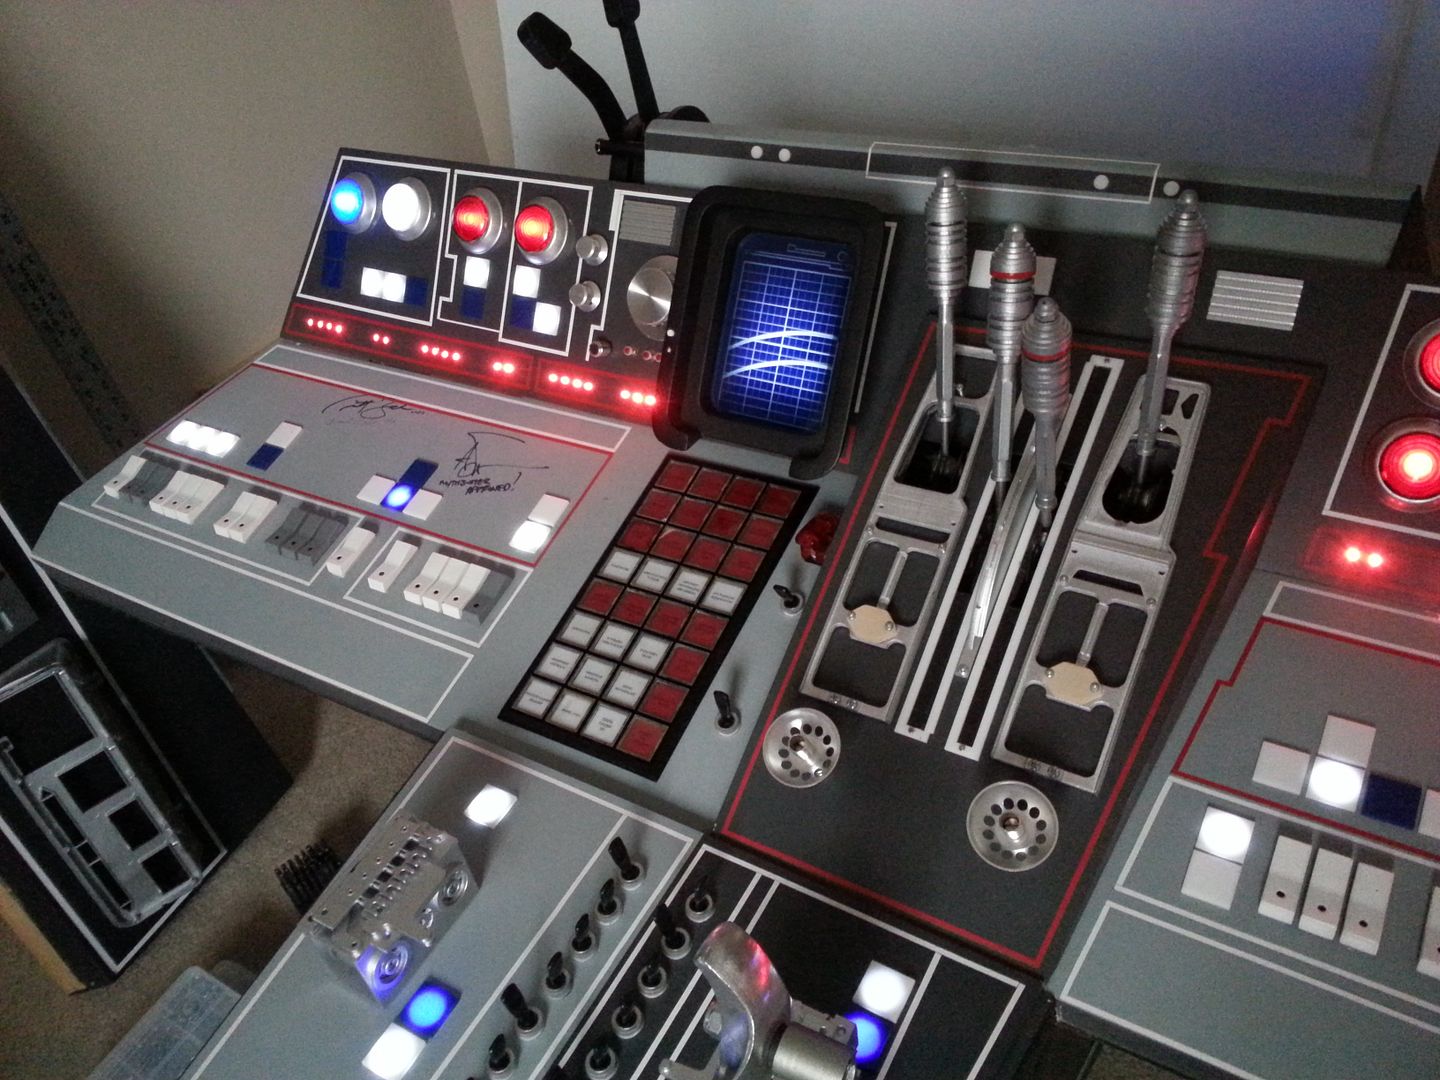
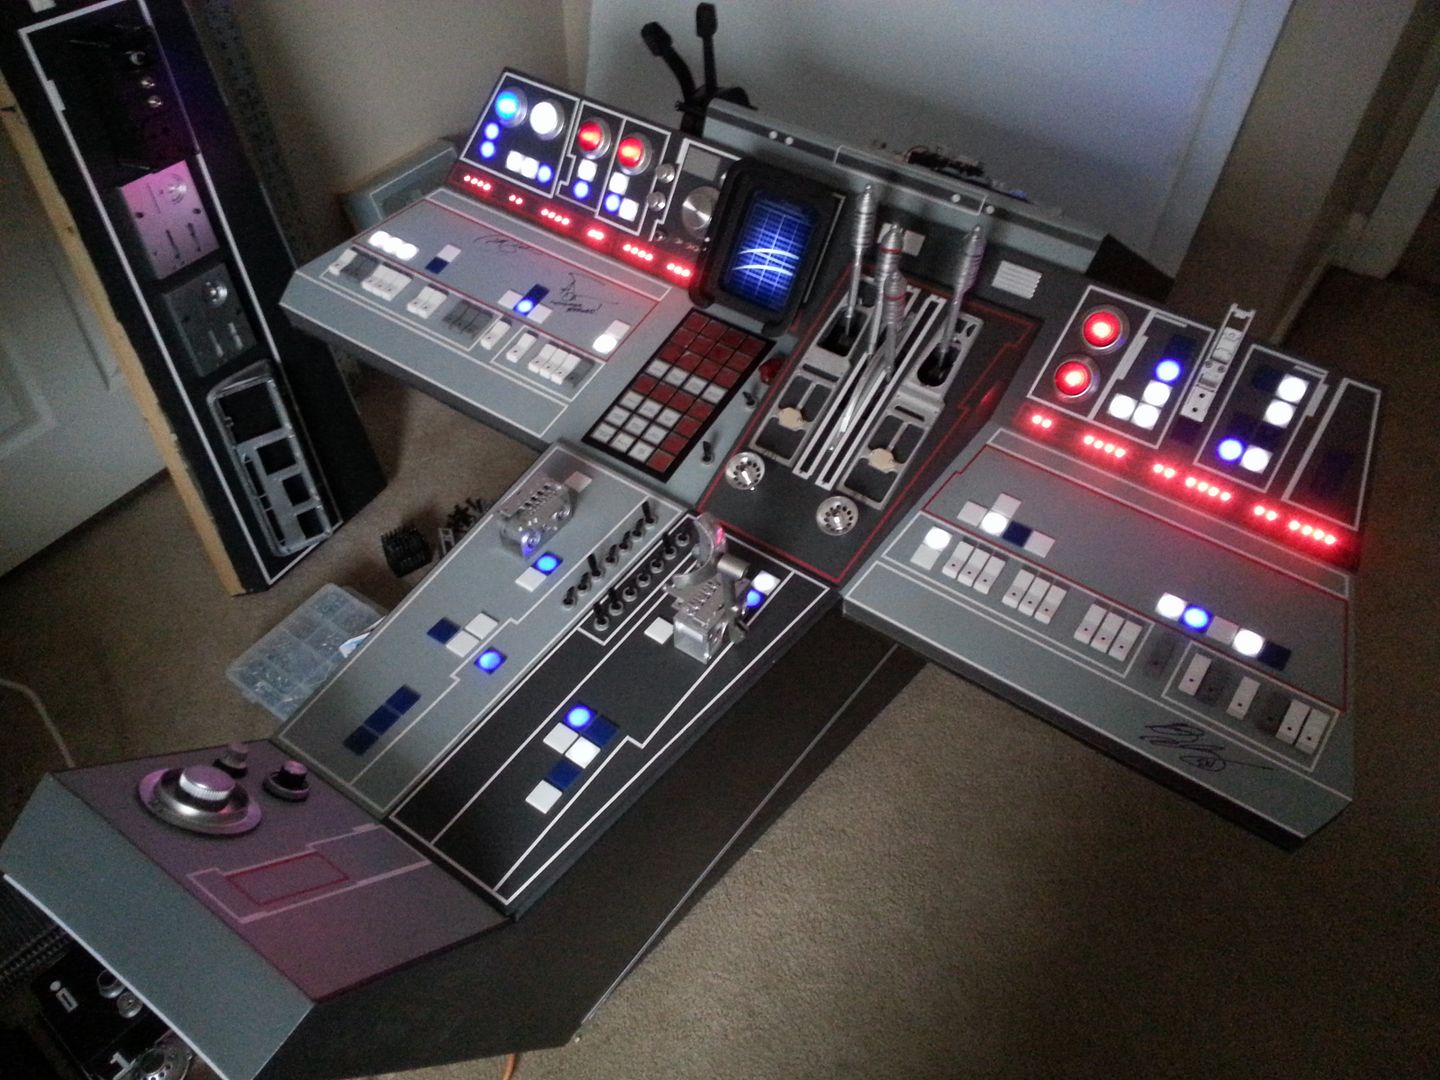
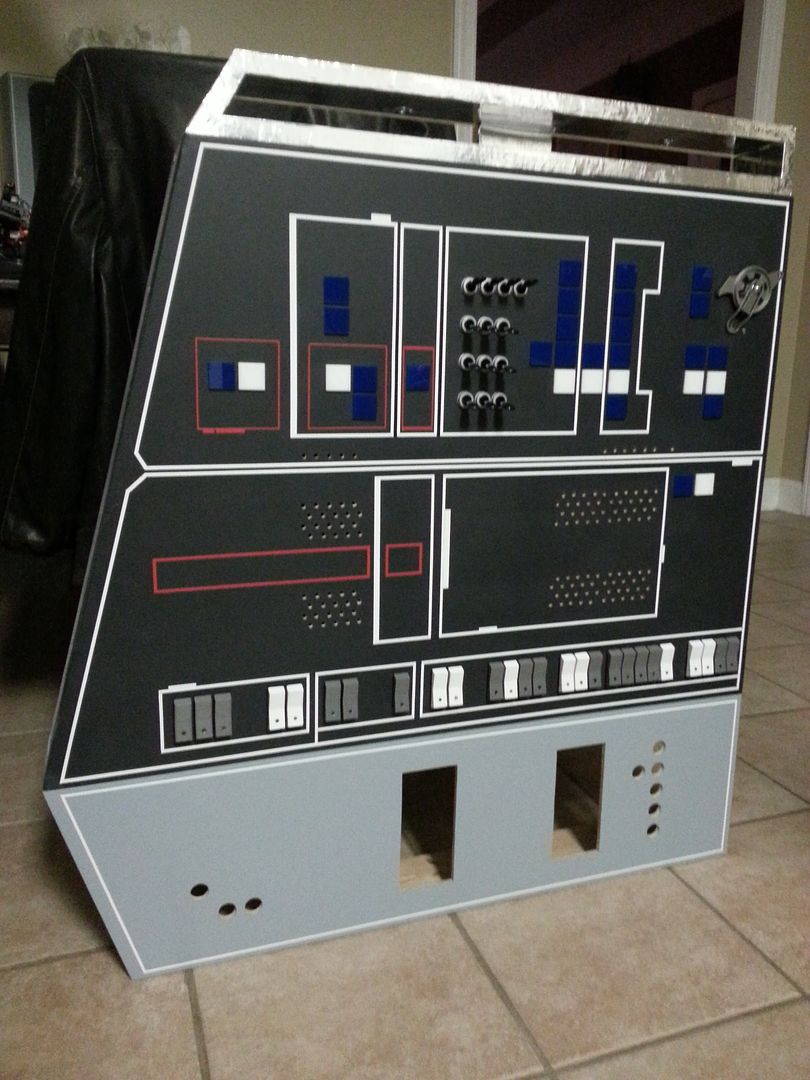
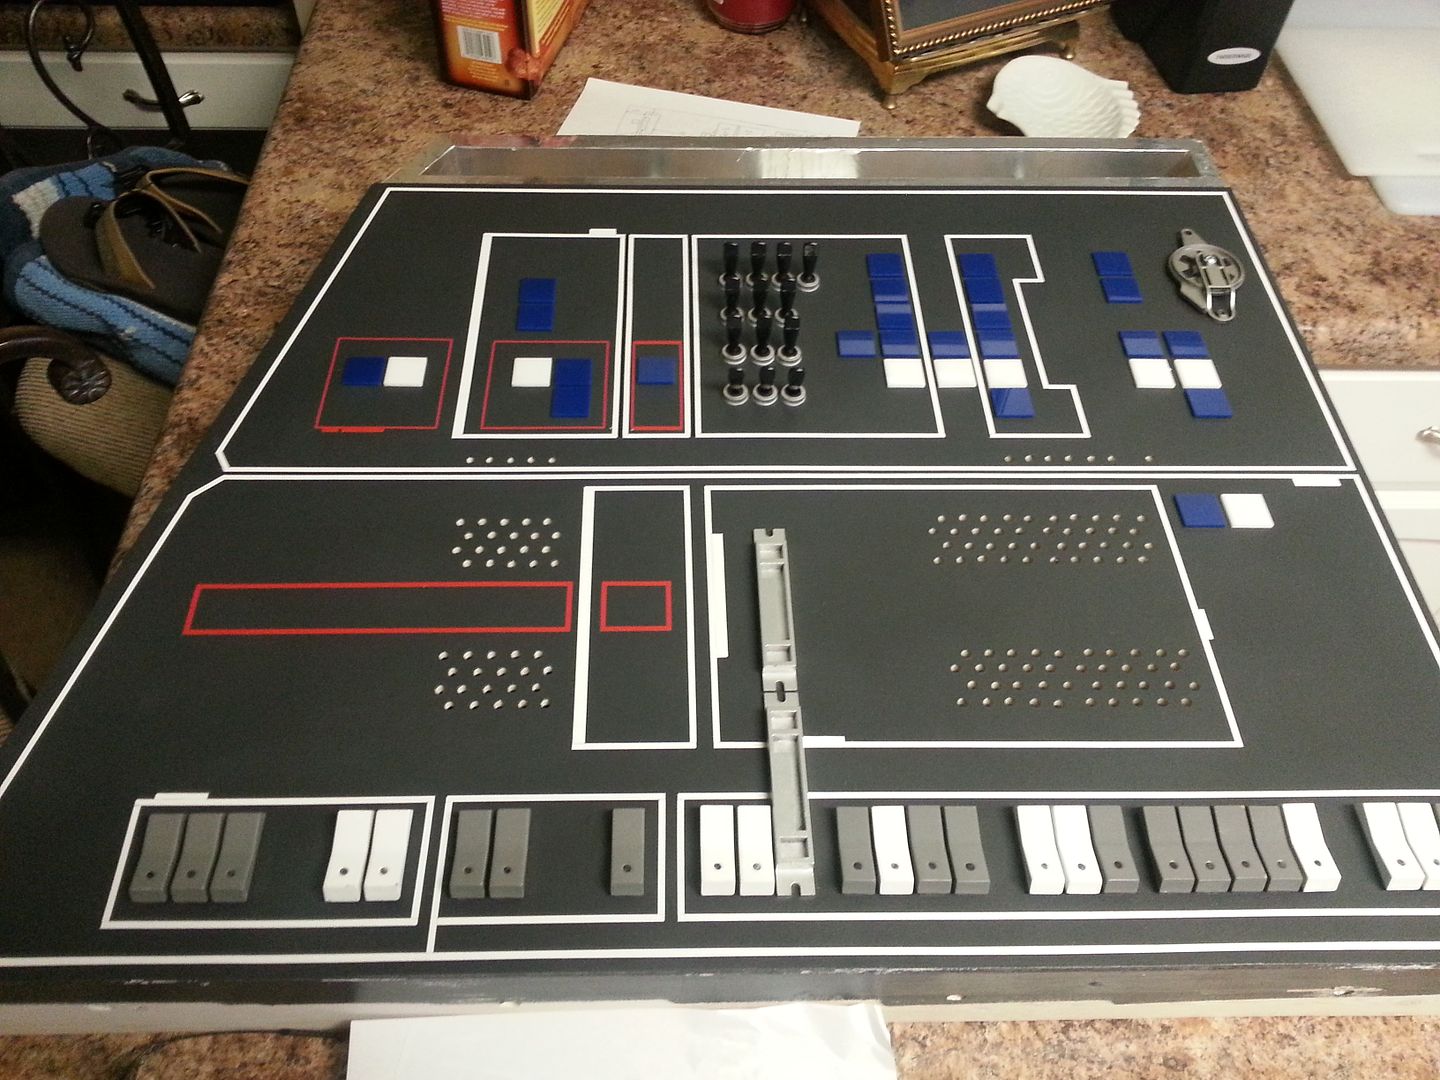
And away we go! Each colored lens got the same color LED for maximum effect
My poor little fingers.
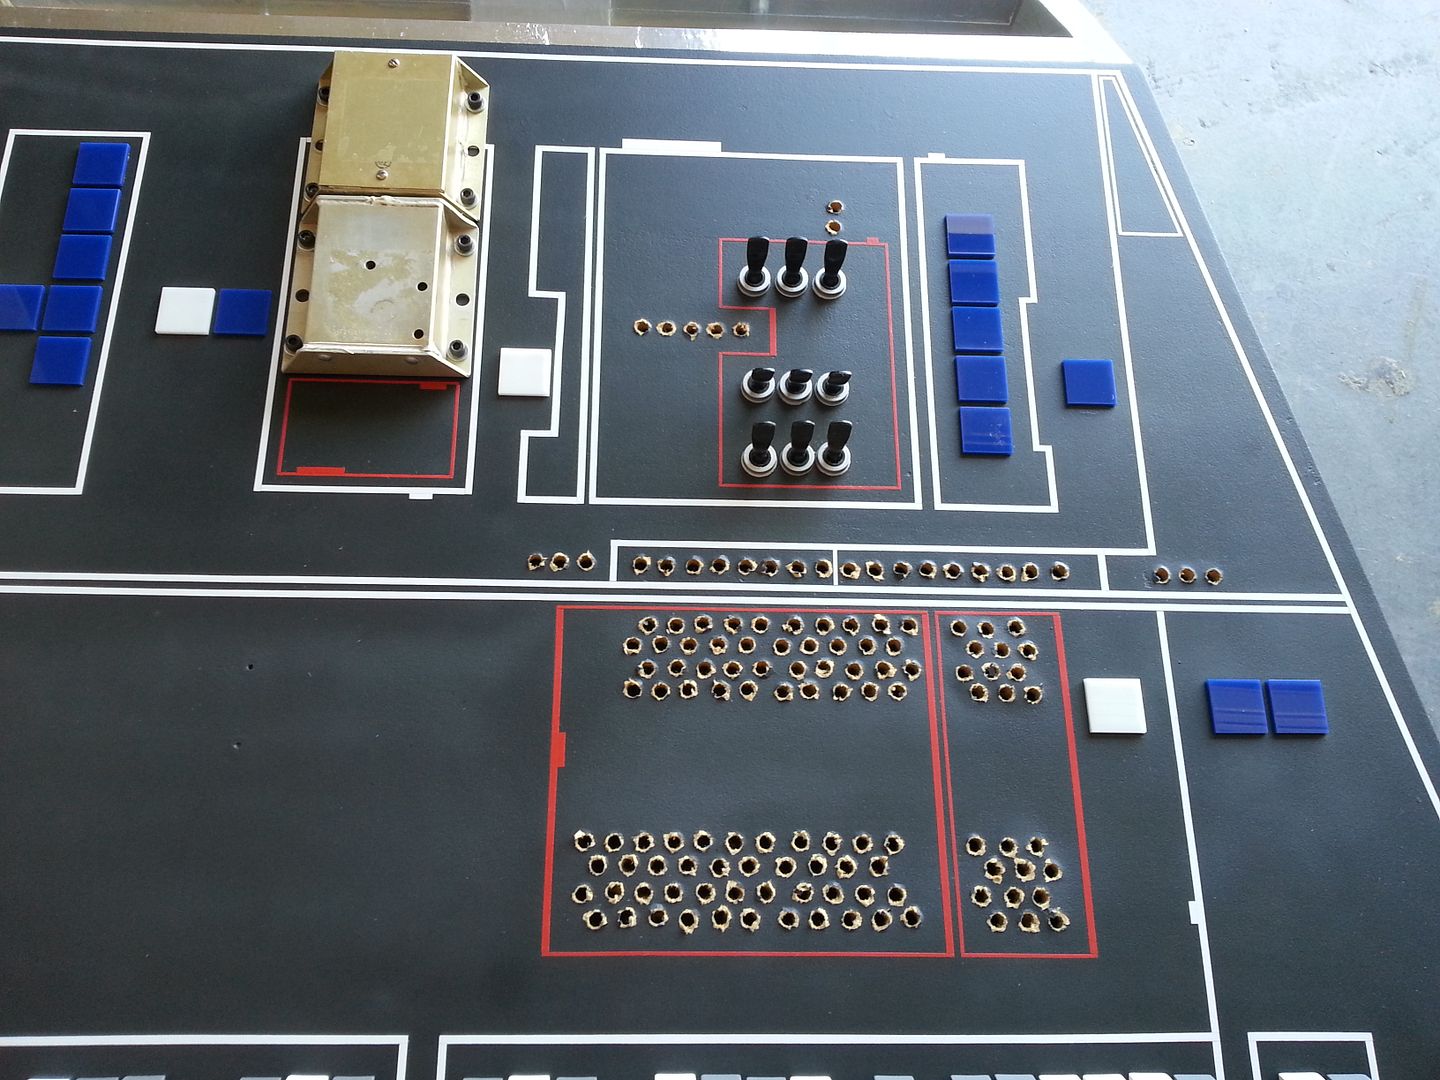
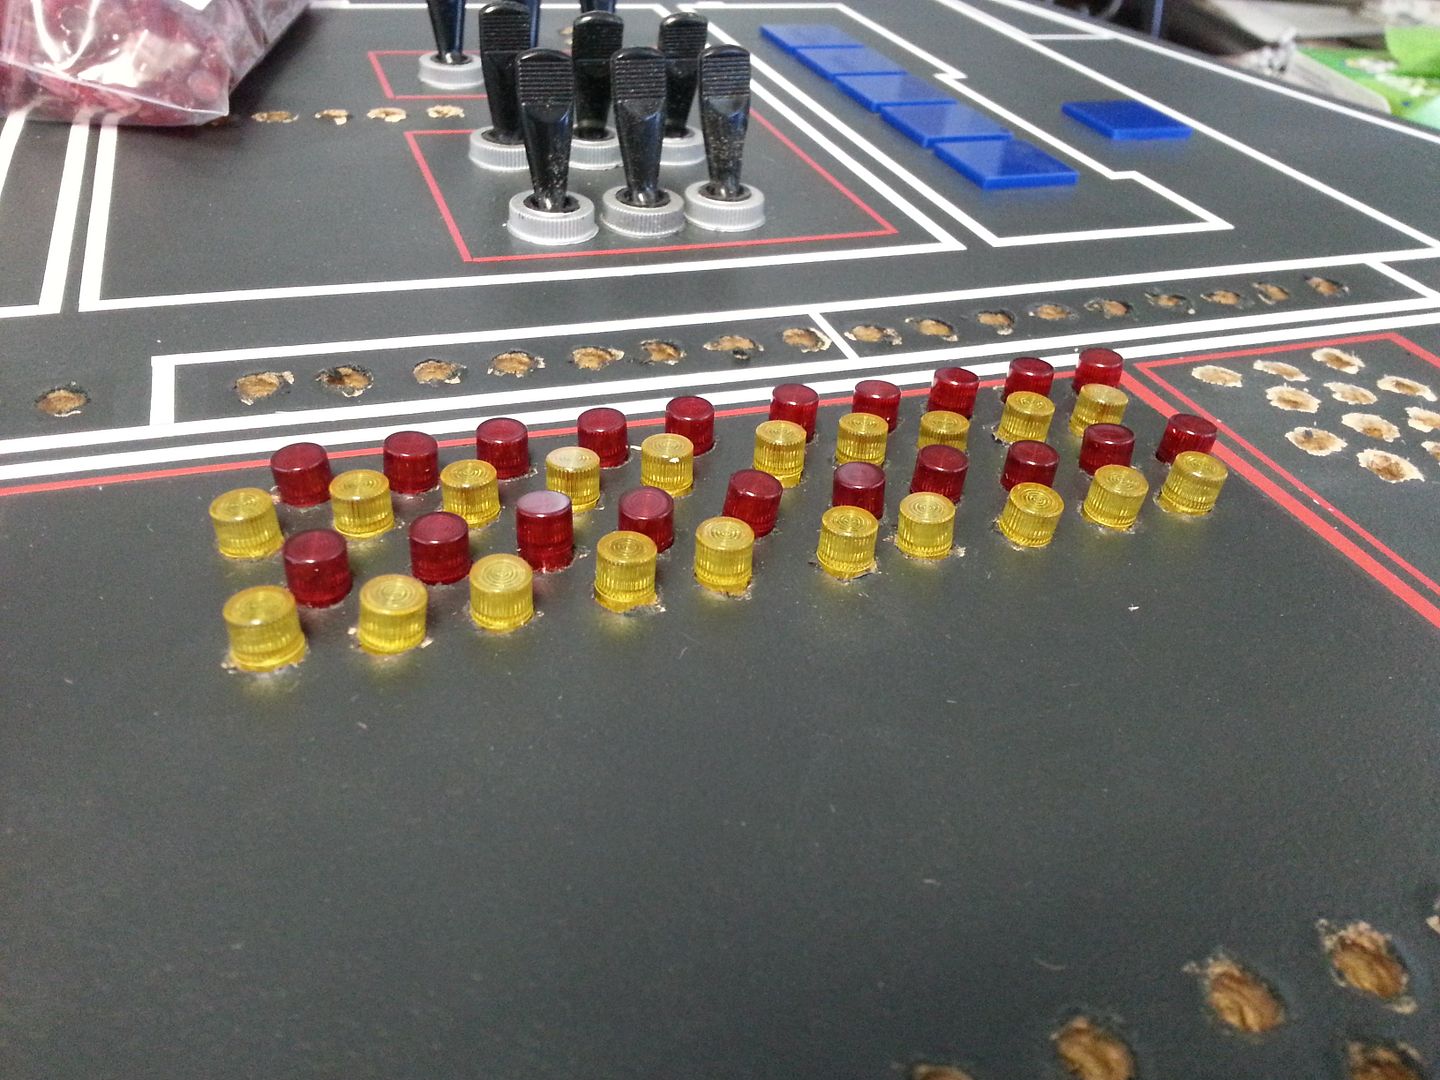
Done
Done - in some cases I even had to go in with a paint brush and clean around the edges. But we're also laser cutting 1200 little acrylic donuts to fit around the LEDs to help hide all the imperfections
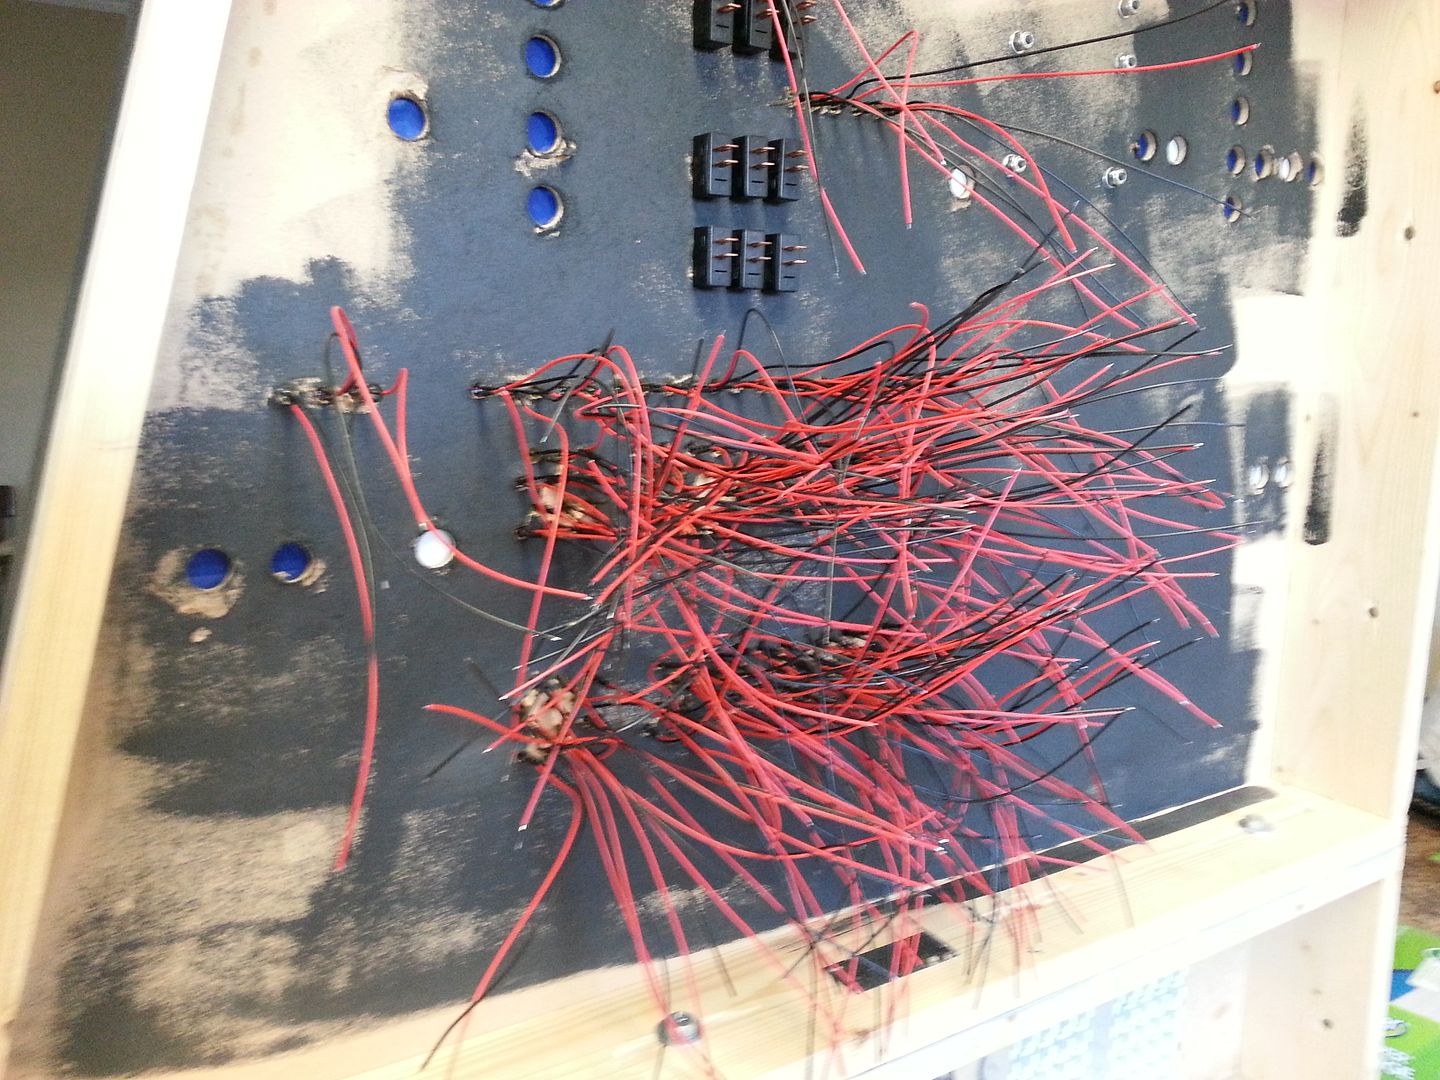
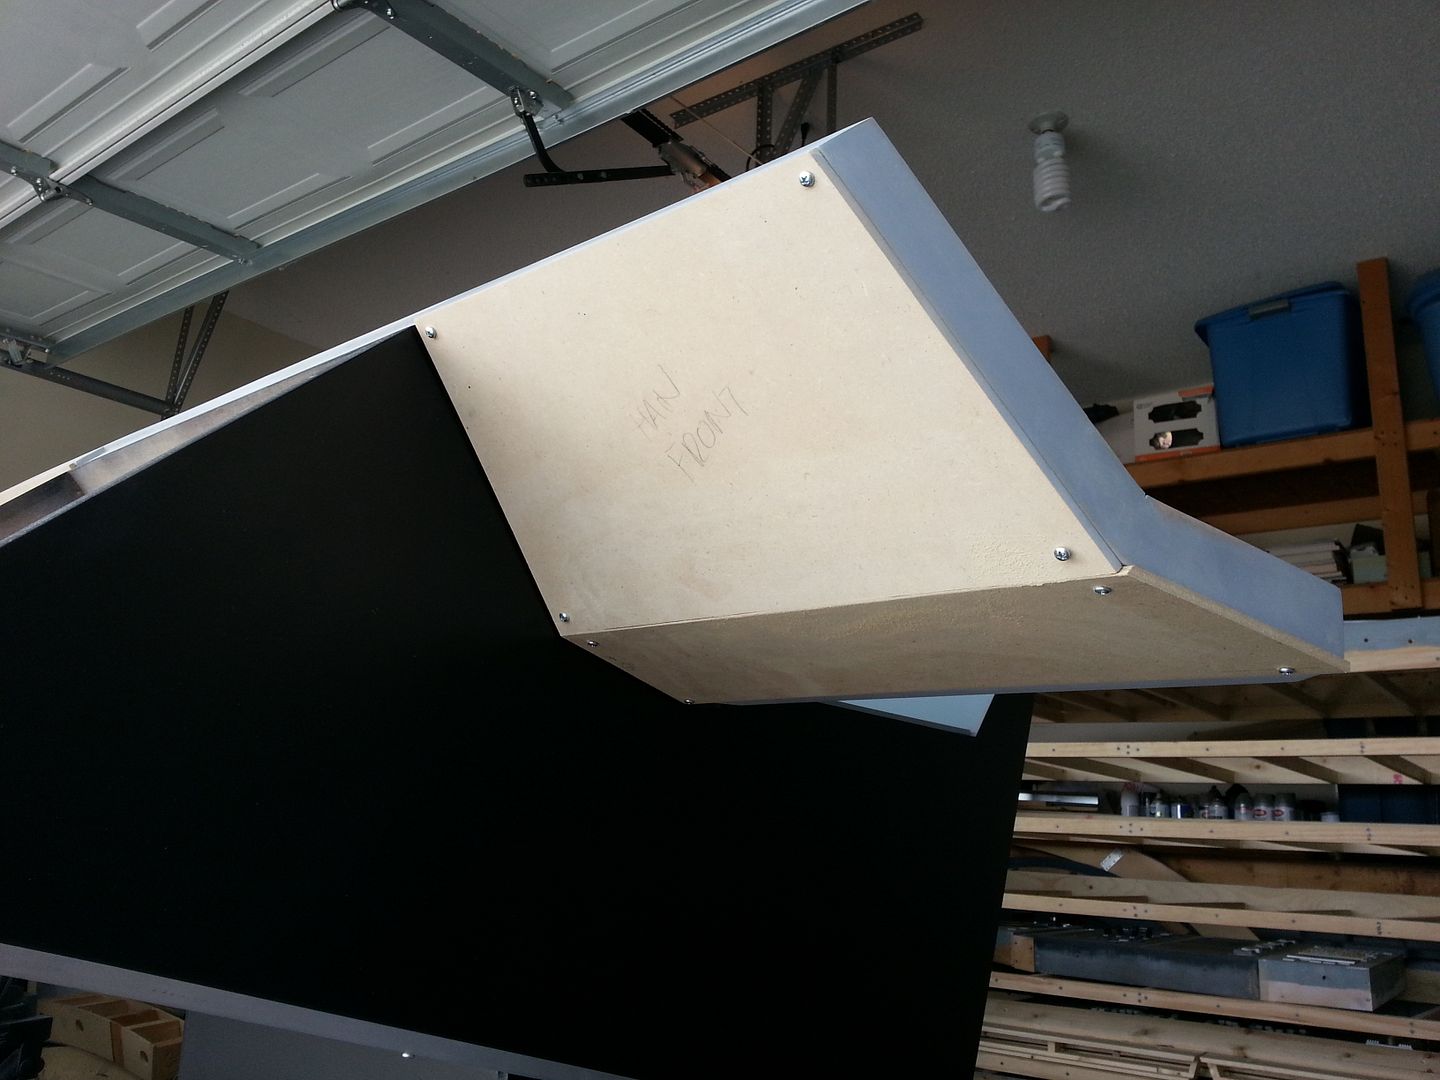
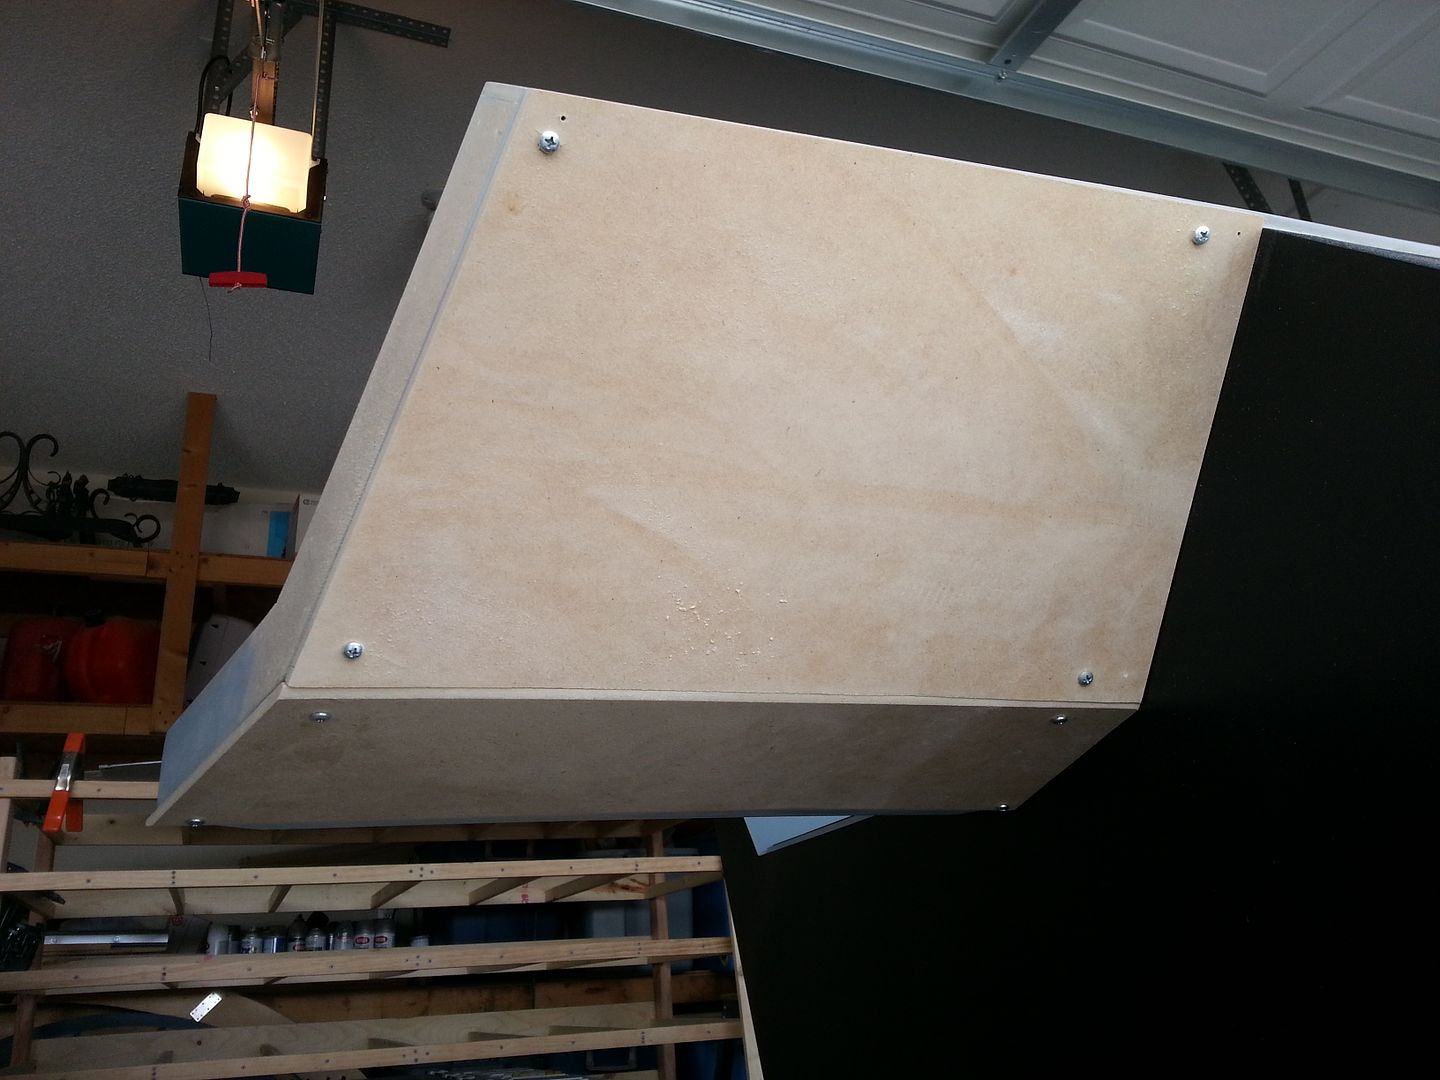
Backside
UGH... I wish I could have used the CNC
A little Iron Man coloring going here
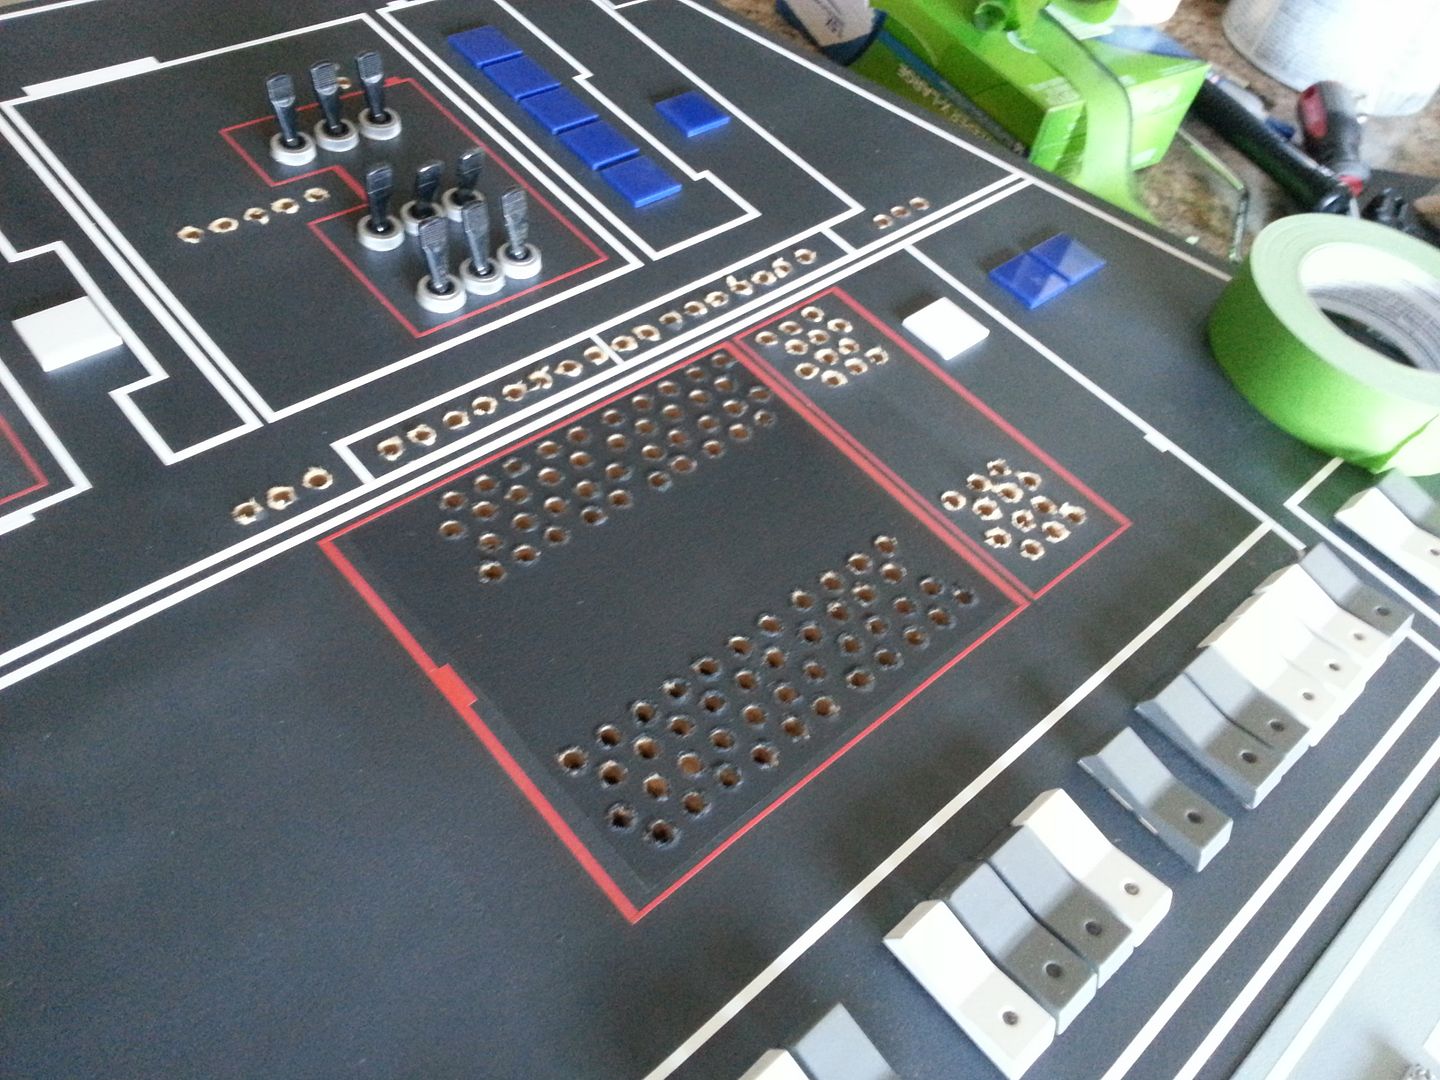
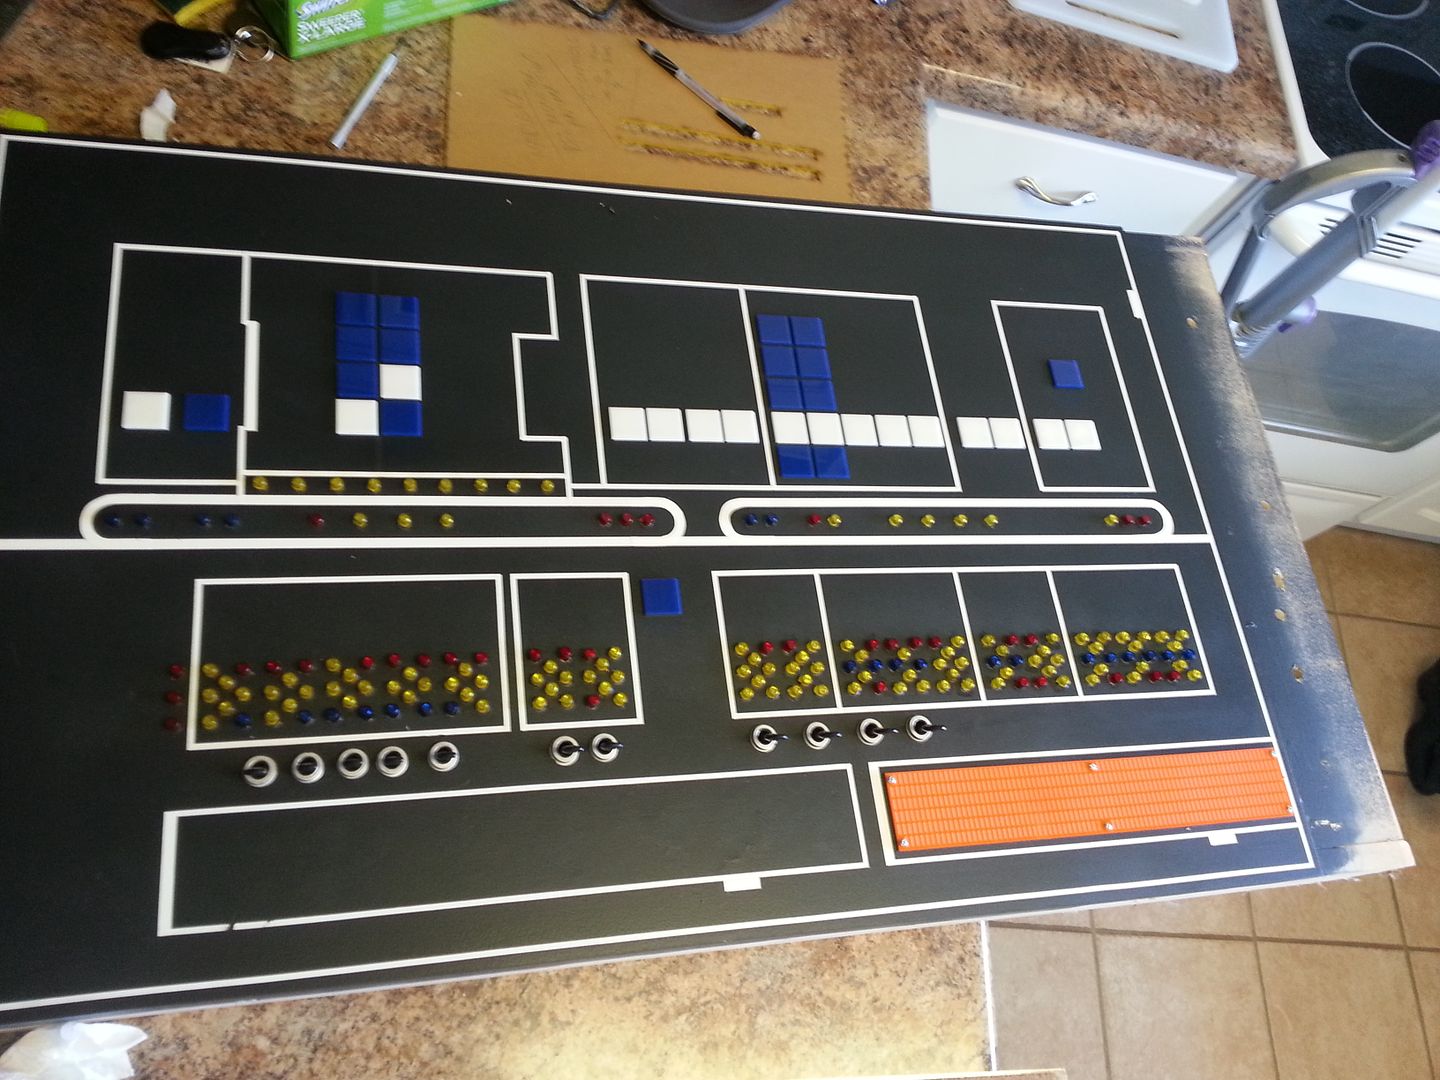
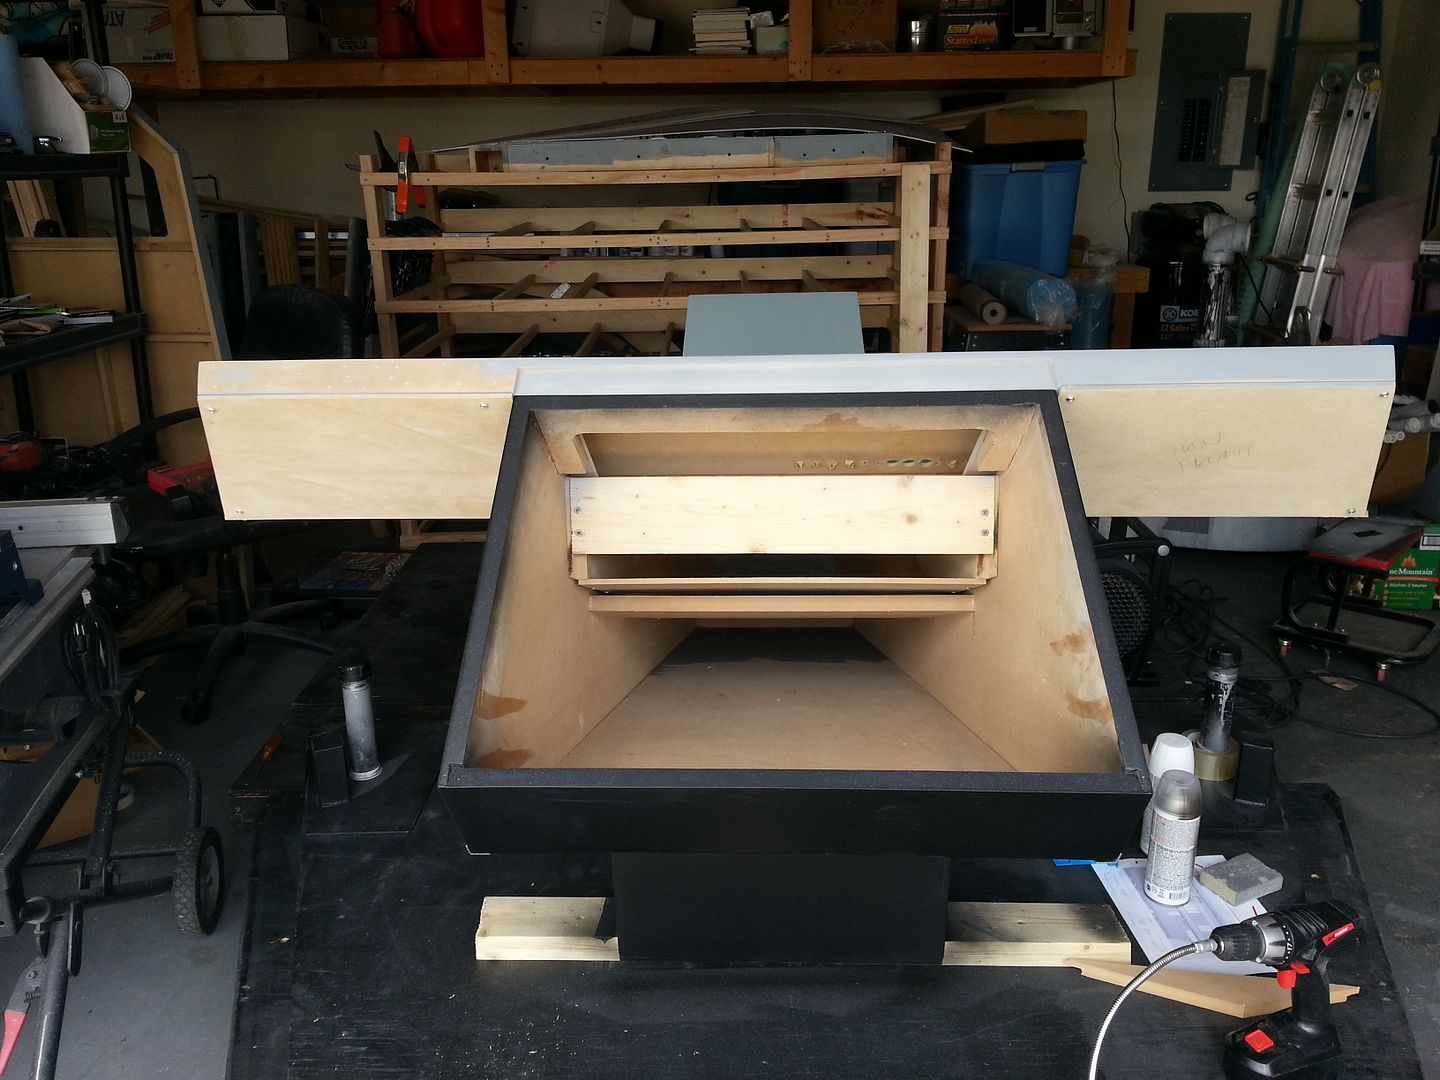
Moving on to another panel...
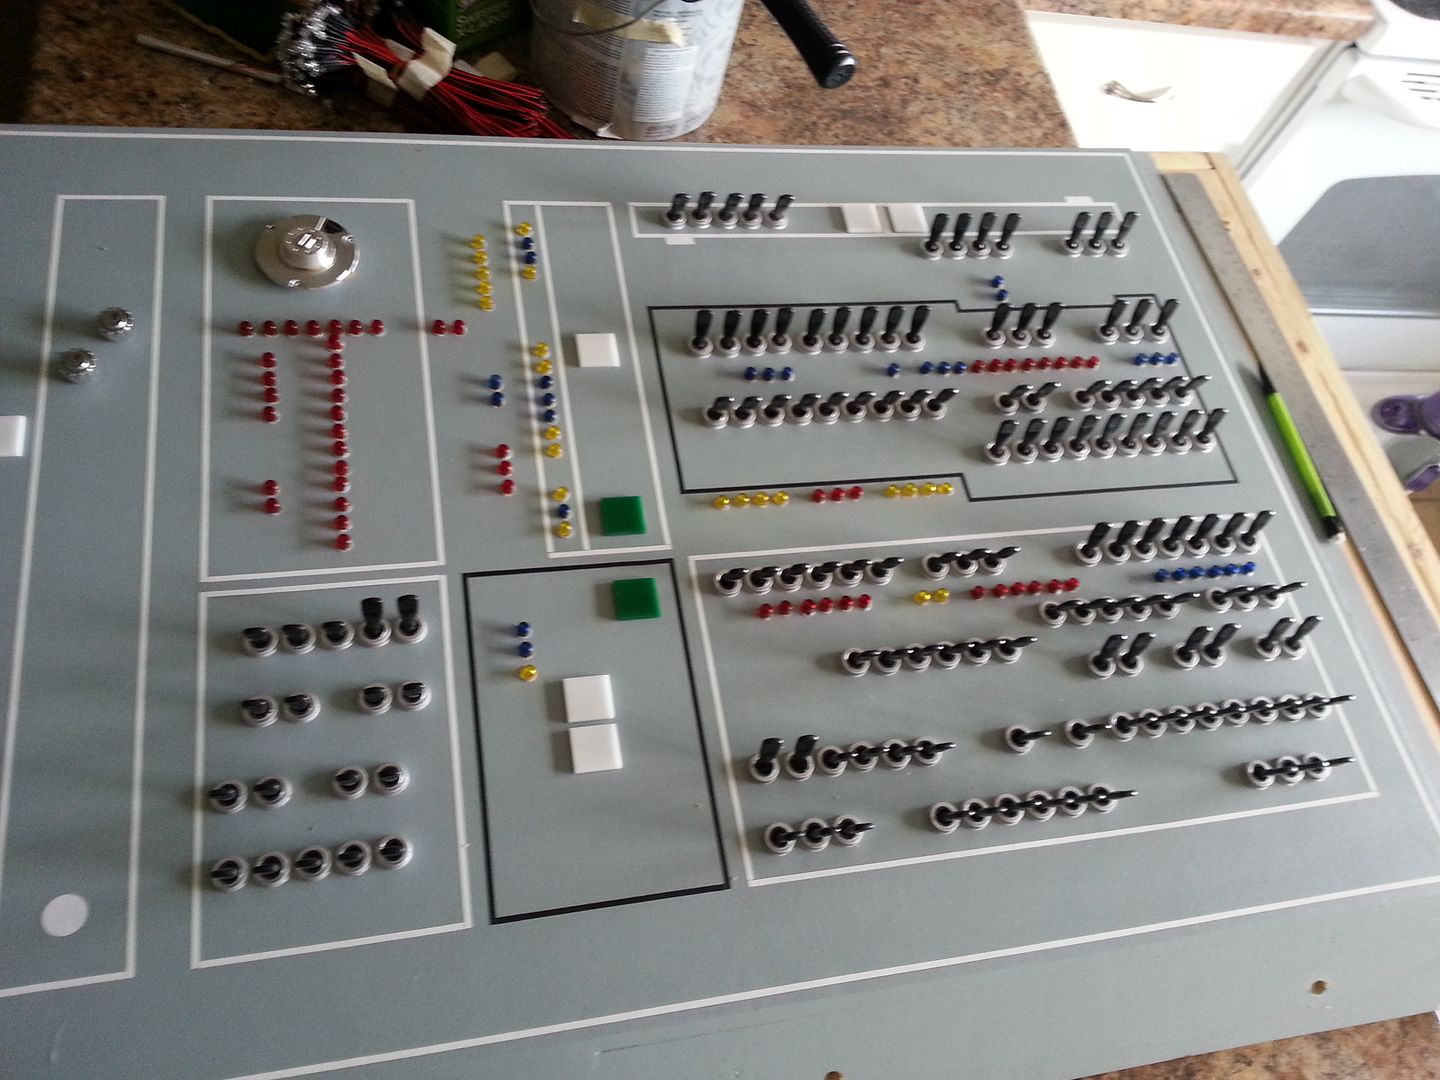
Once I drilled these holes I had to drill out new ones to match the ESB panel
What a mess!
I test each LED before installing it. Very time consuming
Done!
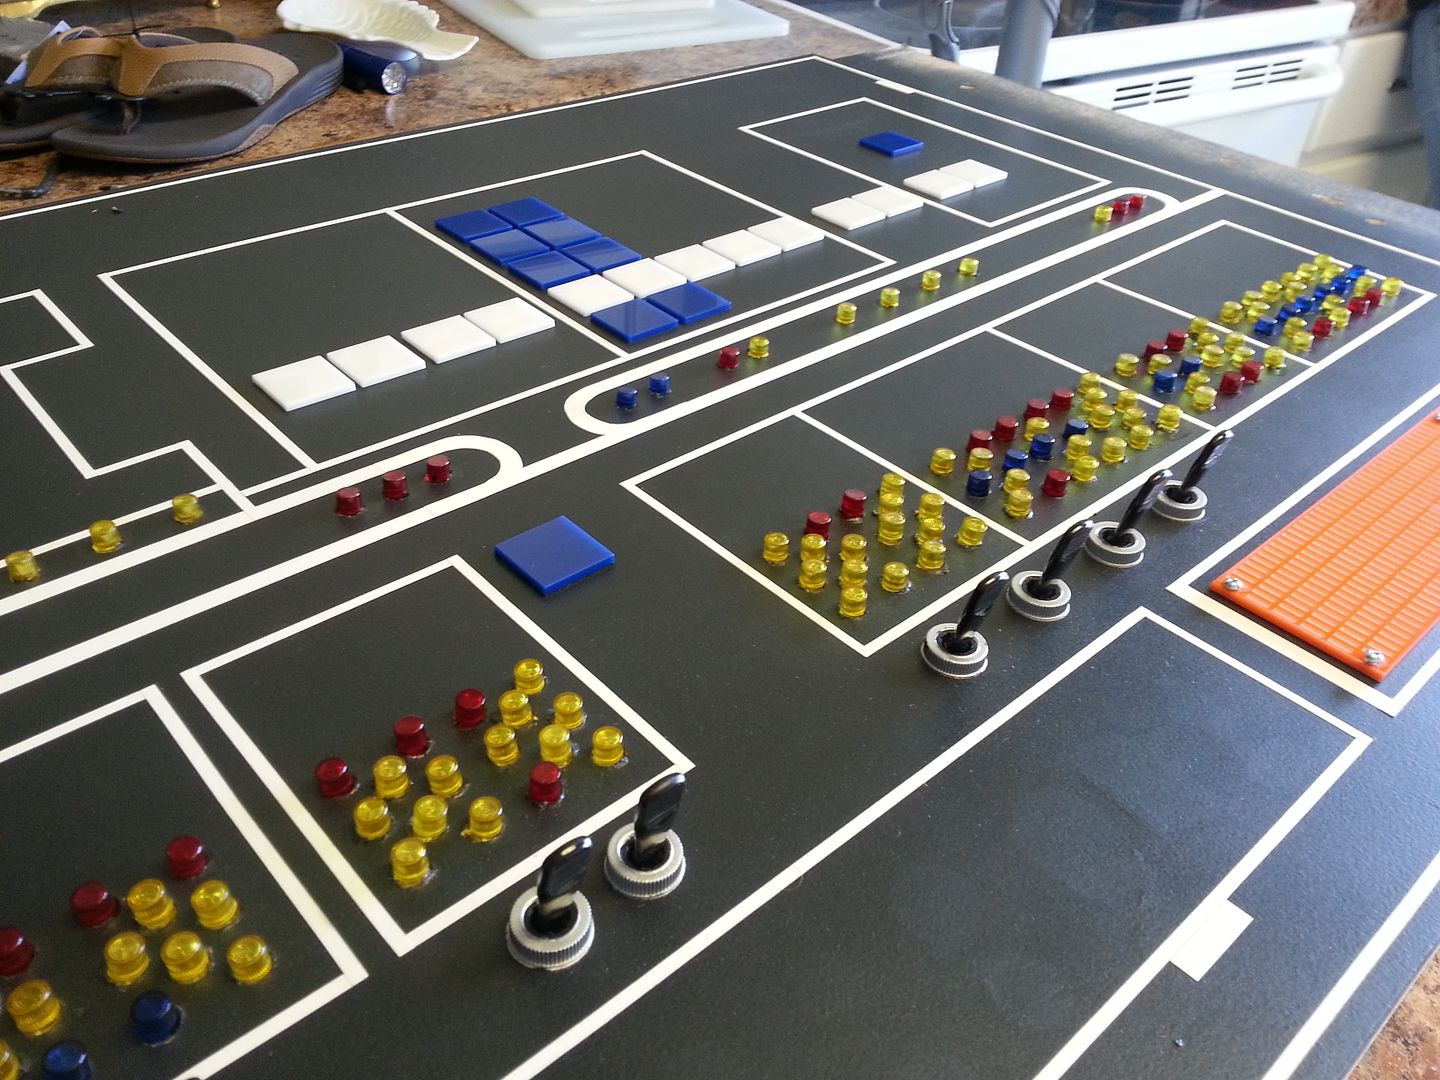
NEXT!
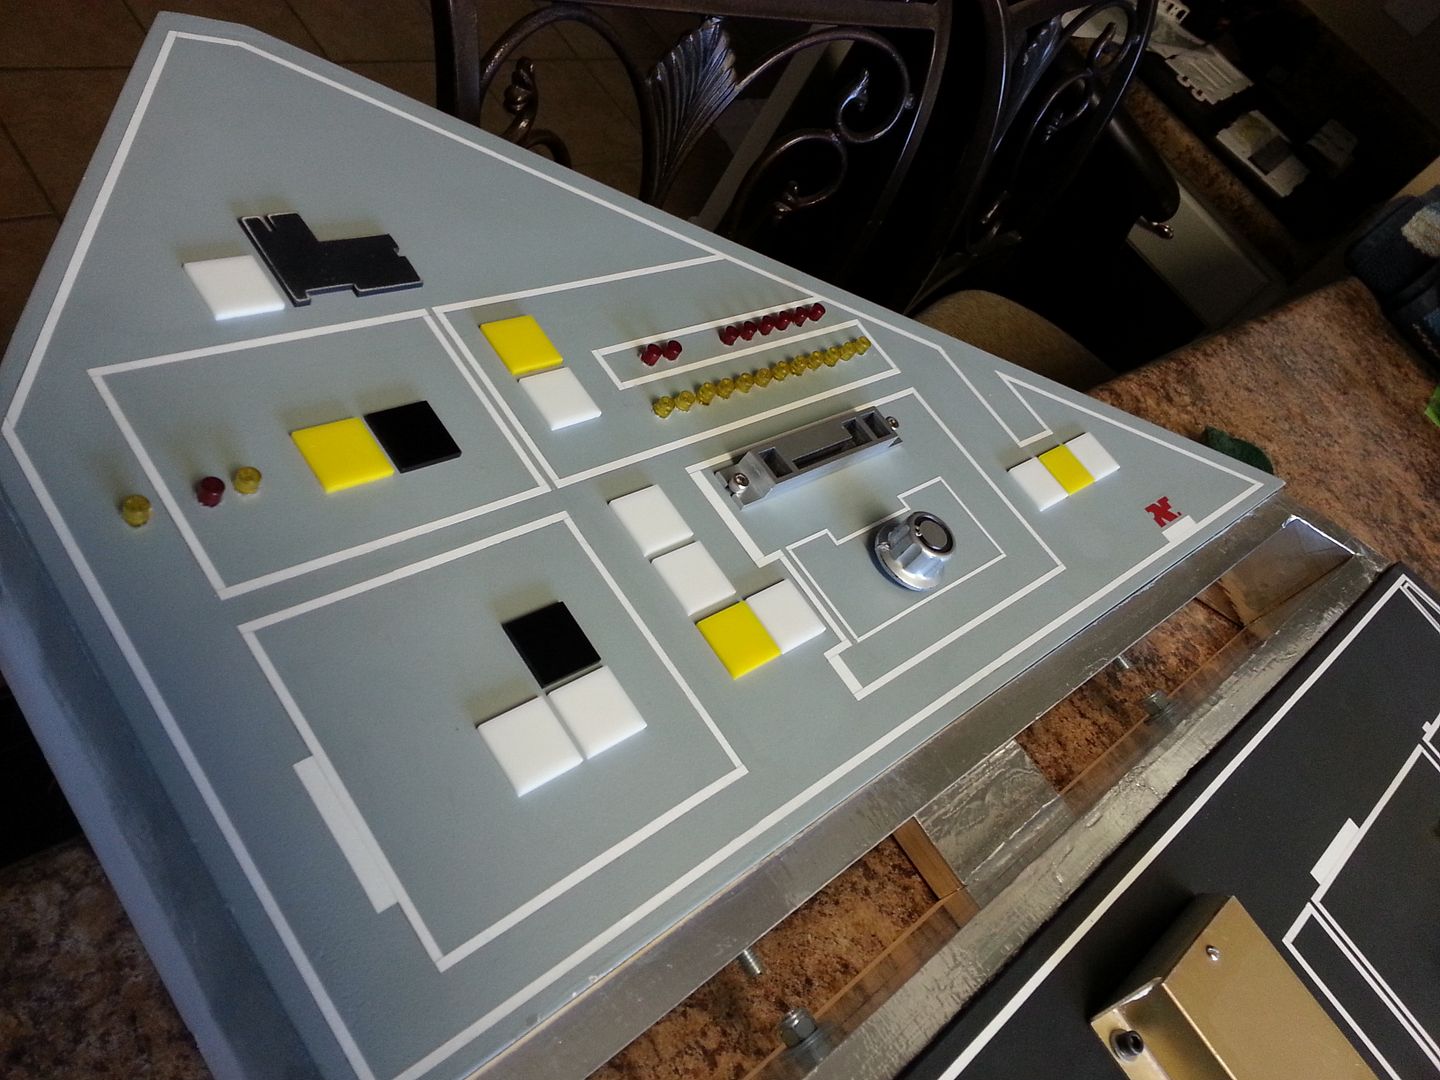
I then drilled a hole to install a rotary switch
All Done
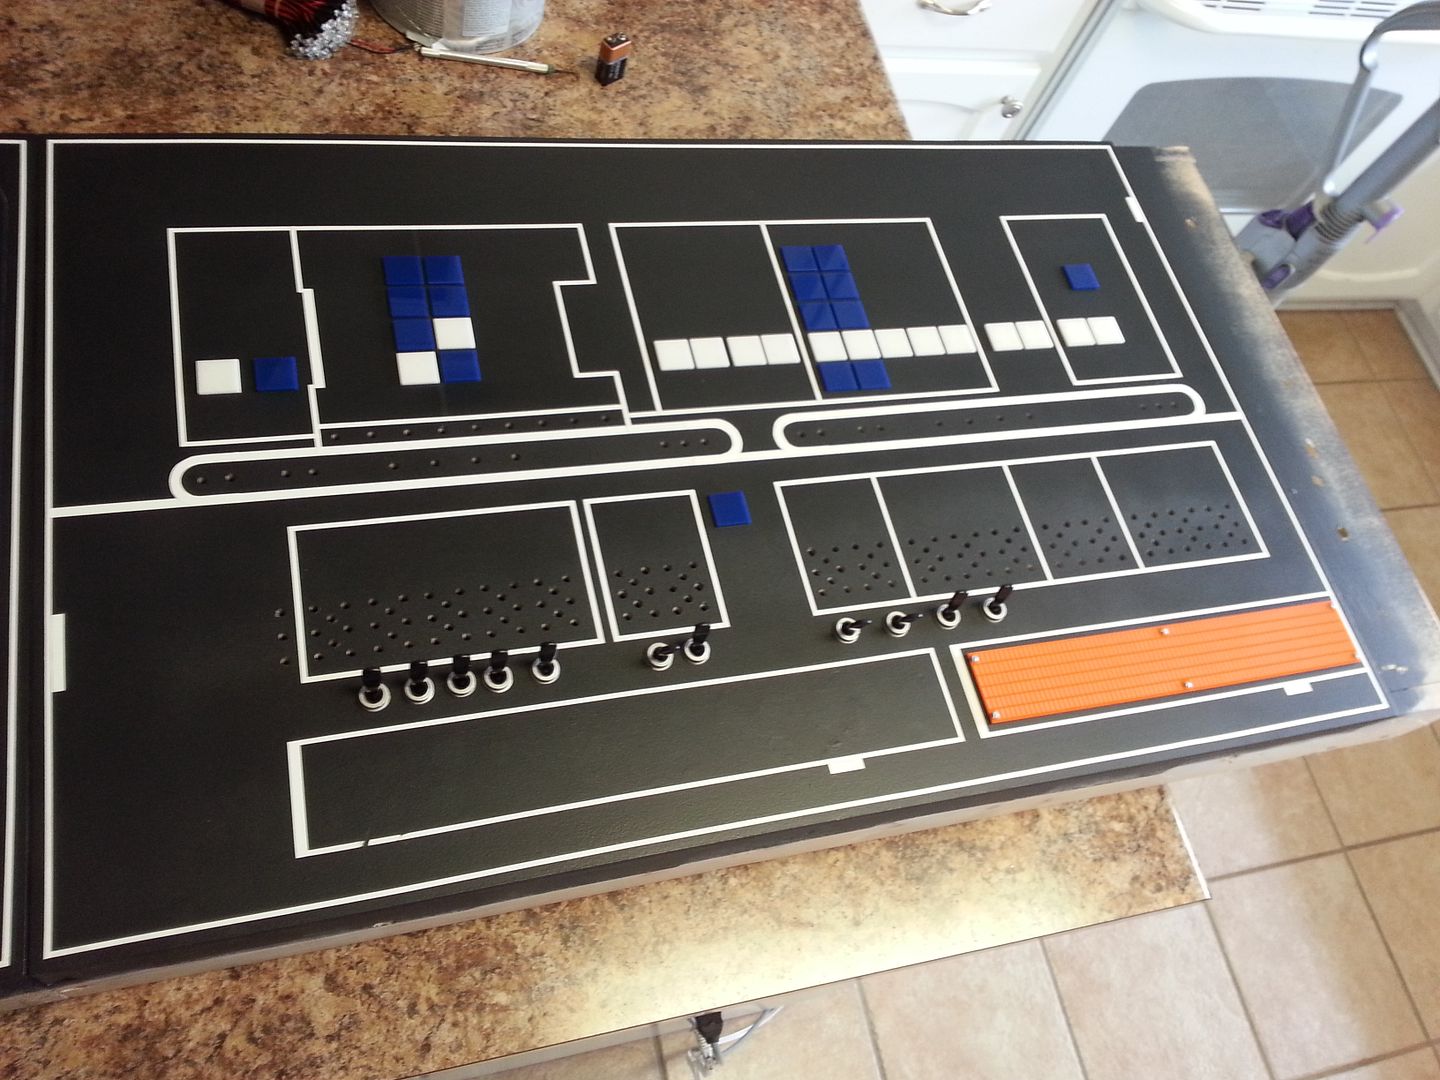
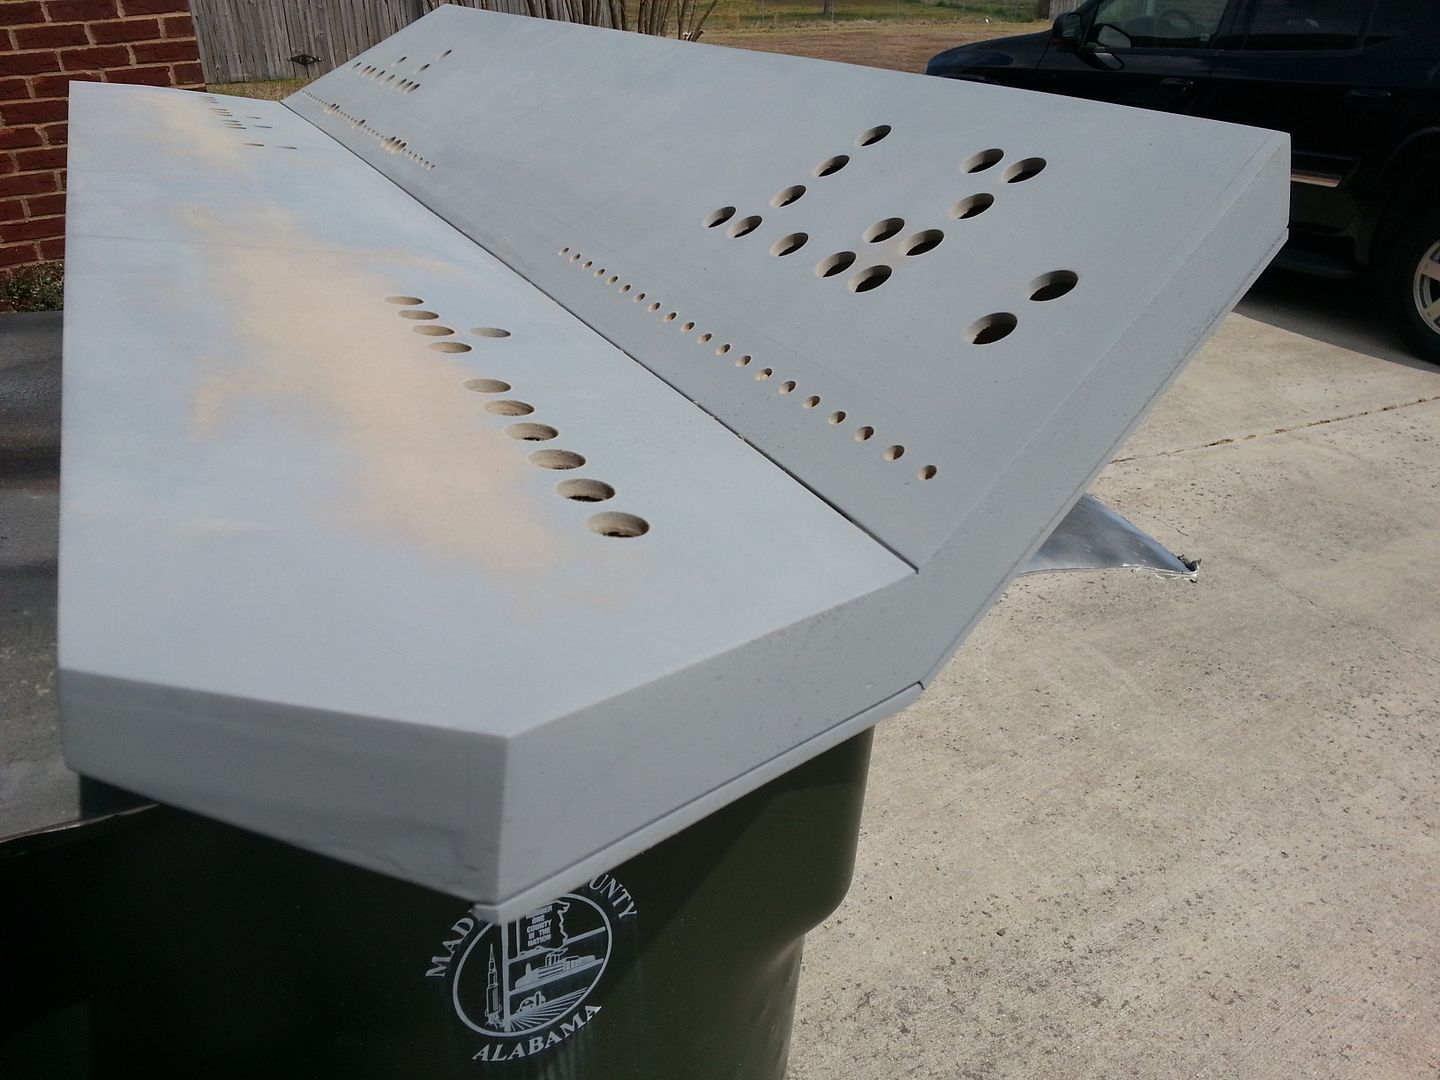
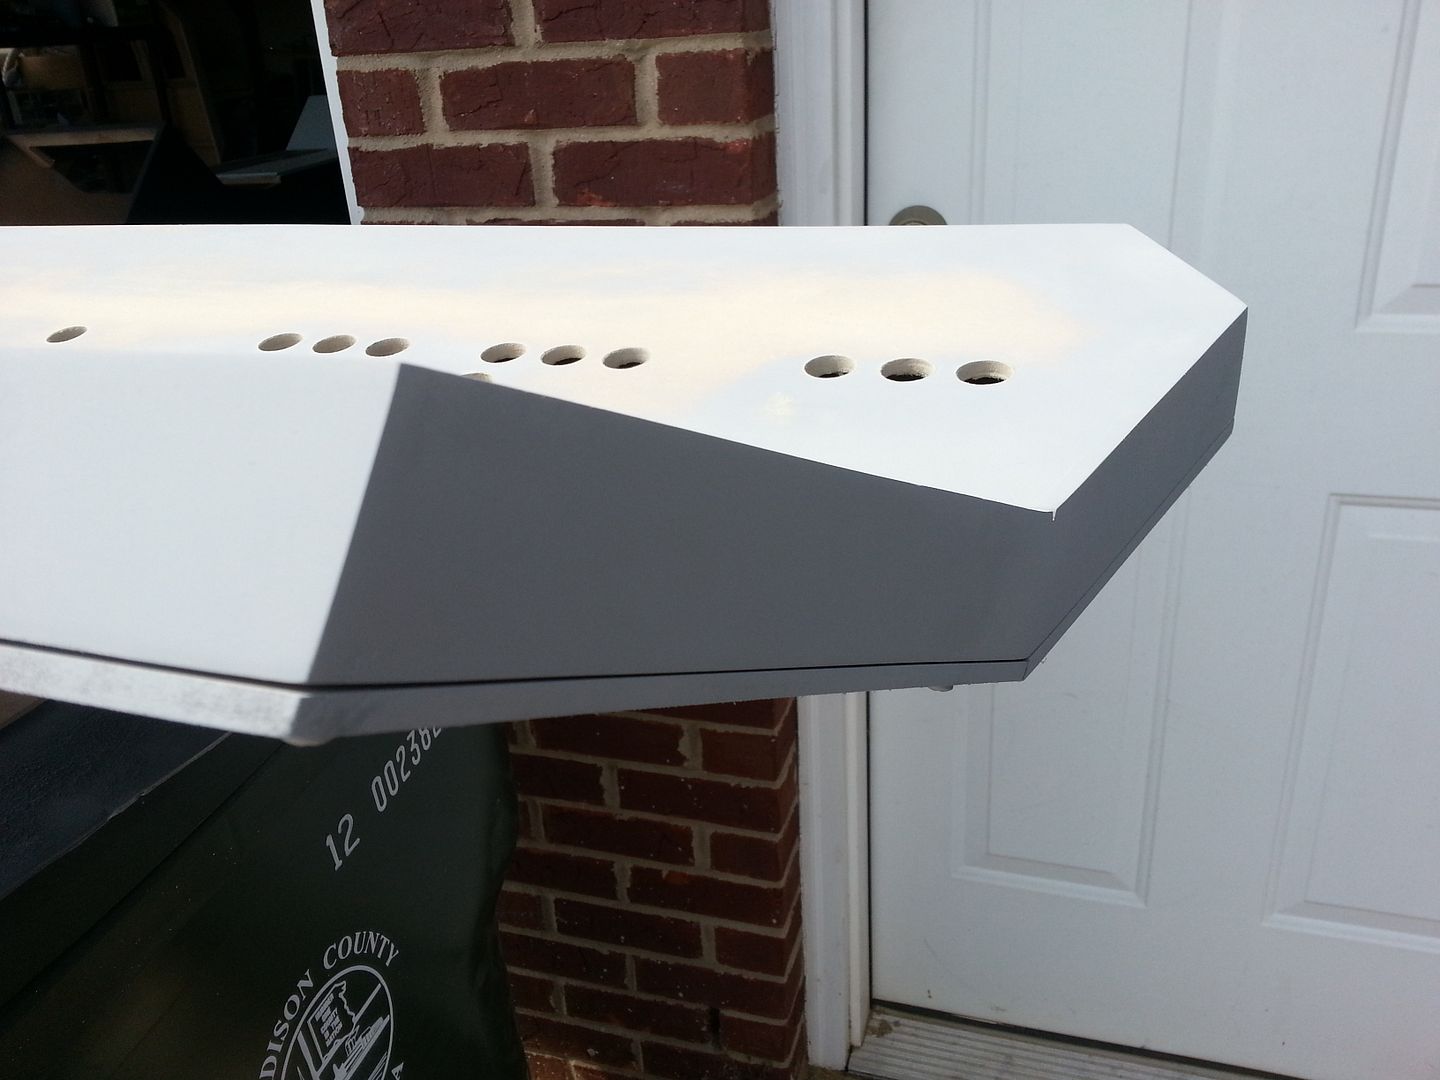
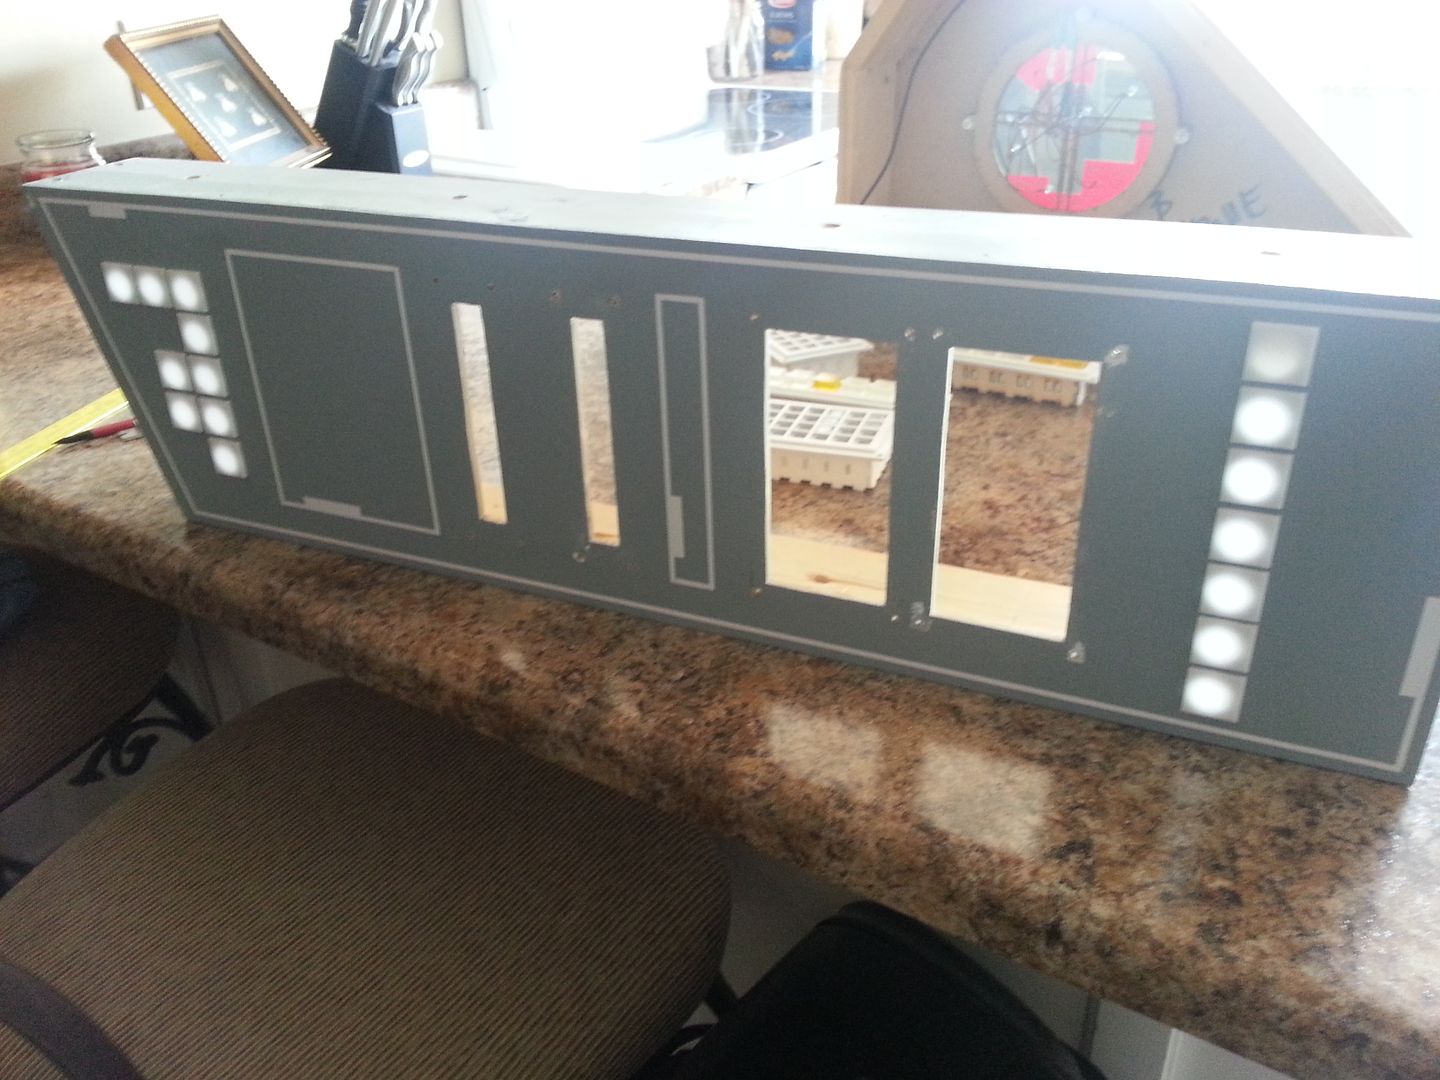
UGH... the panel I have been dreading!
Top Part - Done. You can see how the edges need to be cleaned up
Paint brush in hand
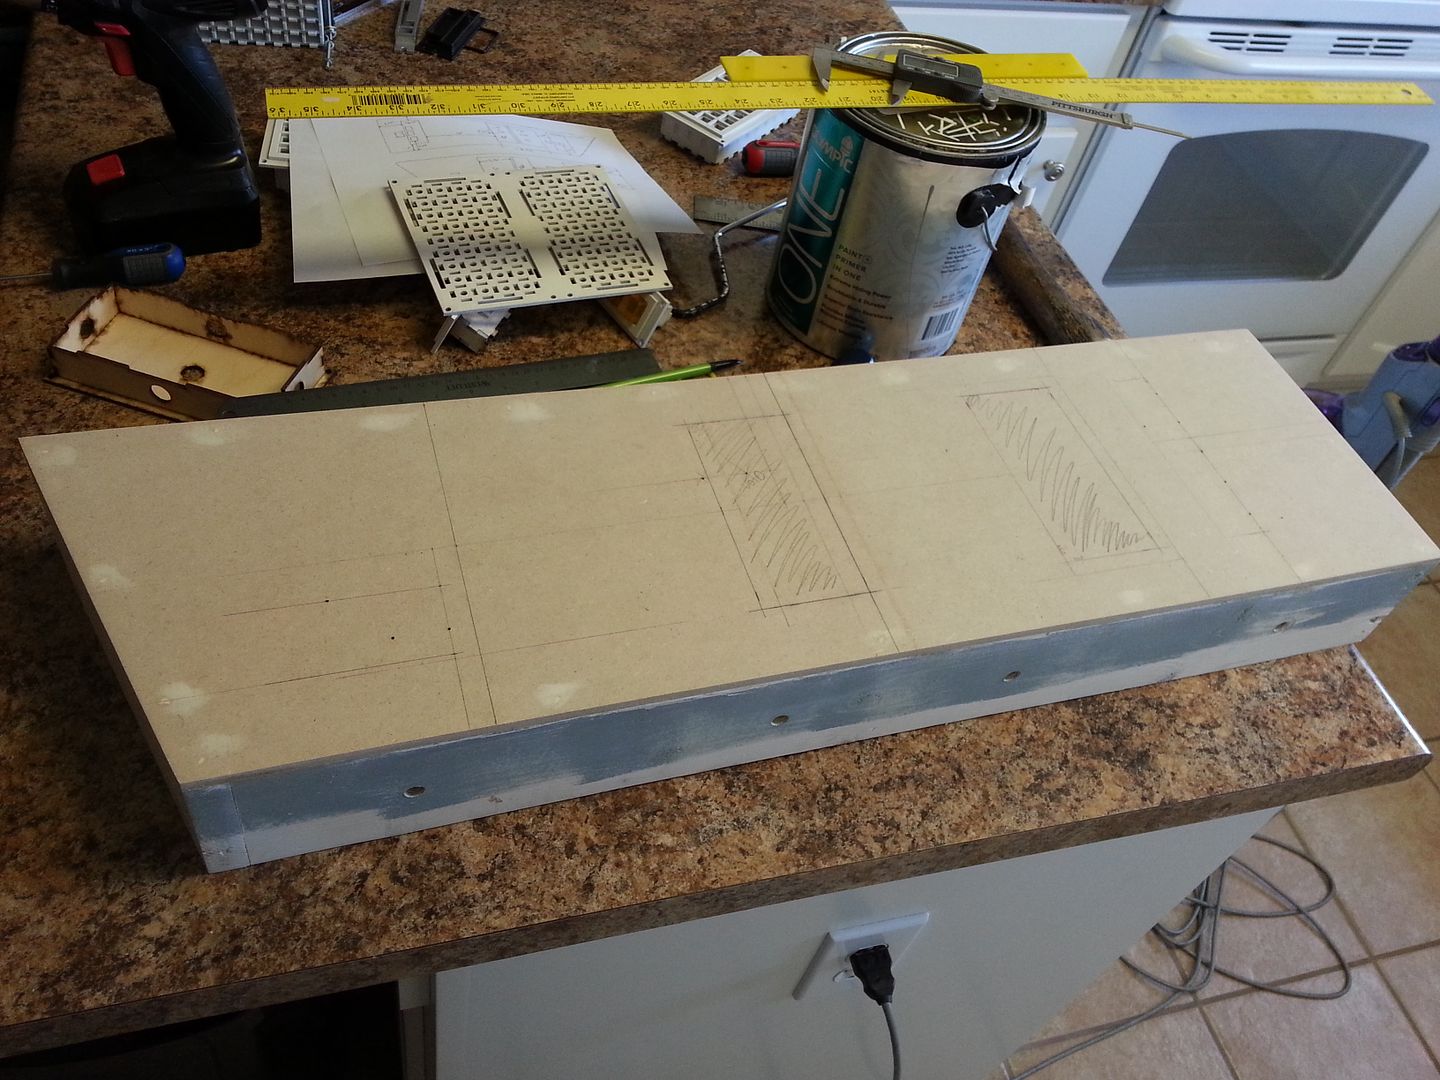
Before
After - I missed two holes in this section (insert comment here).
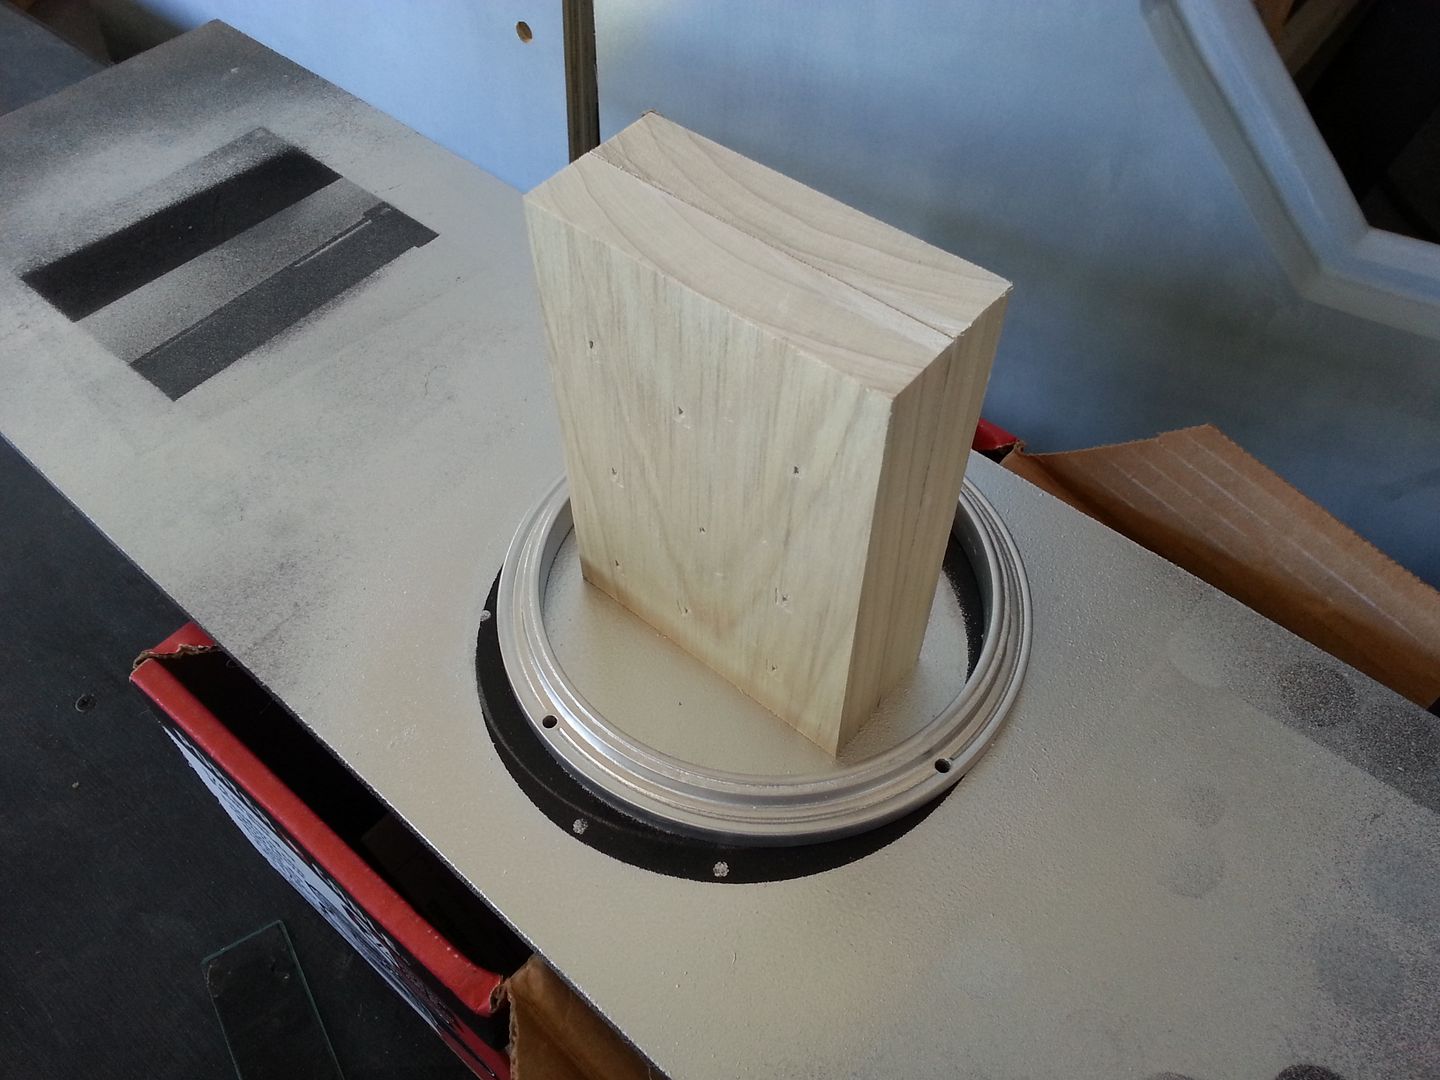
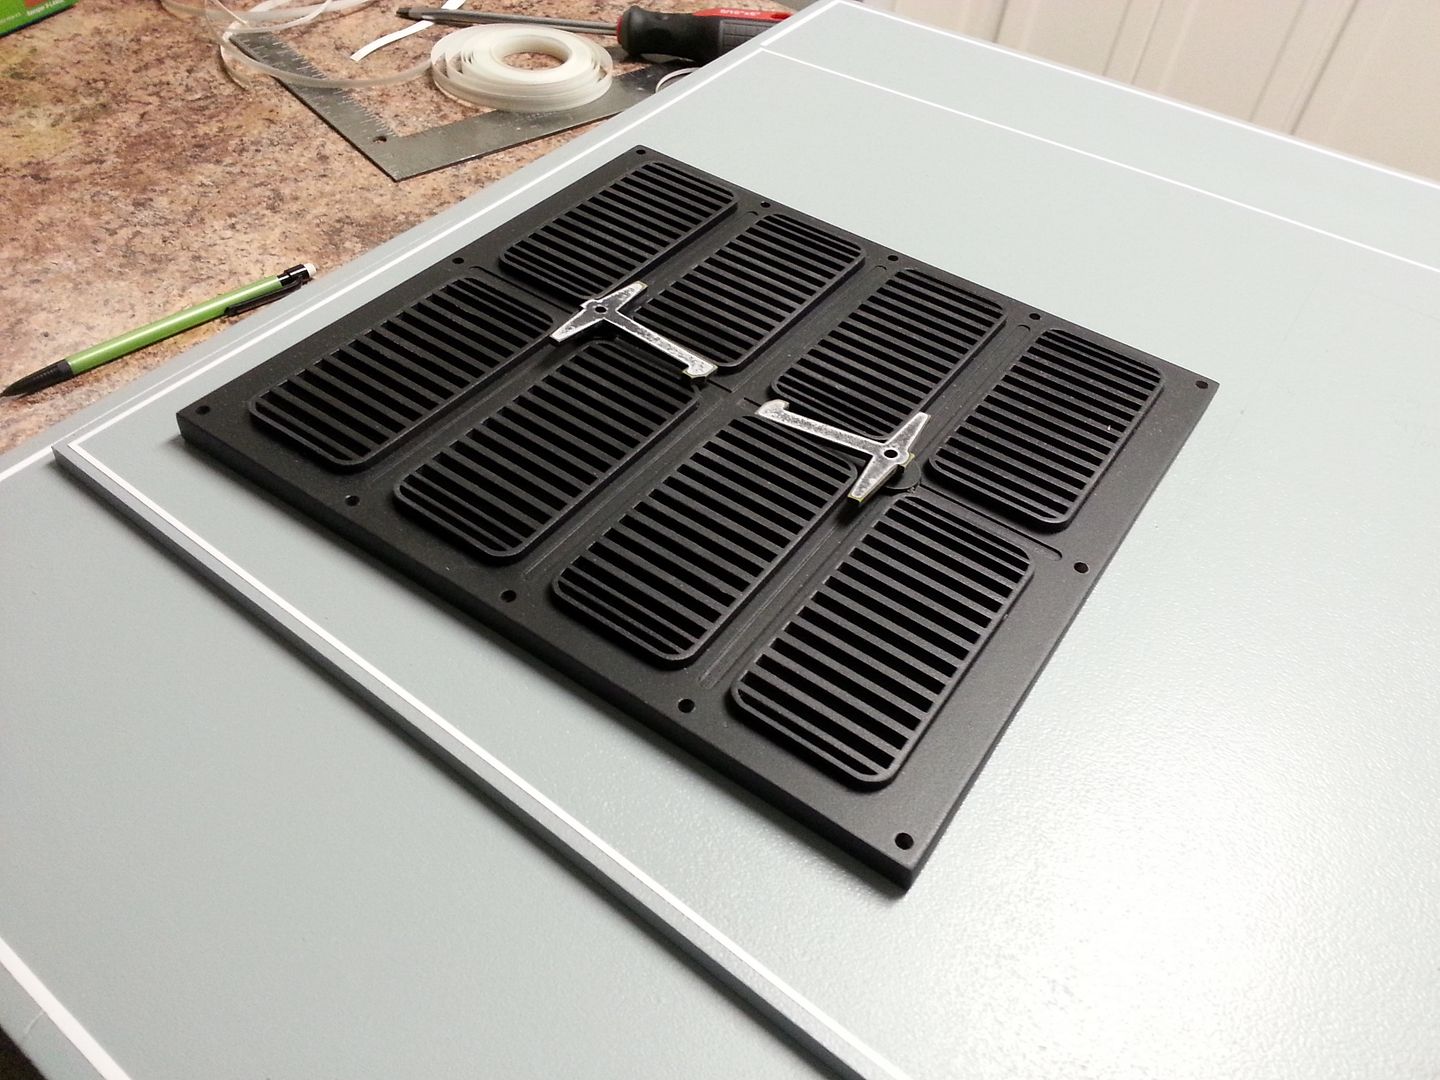
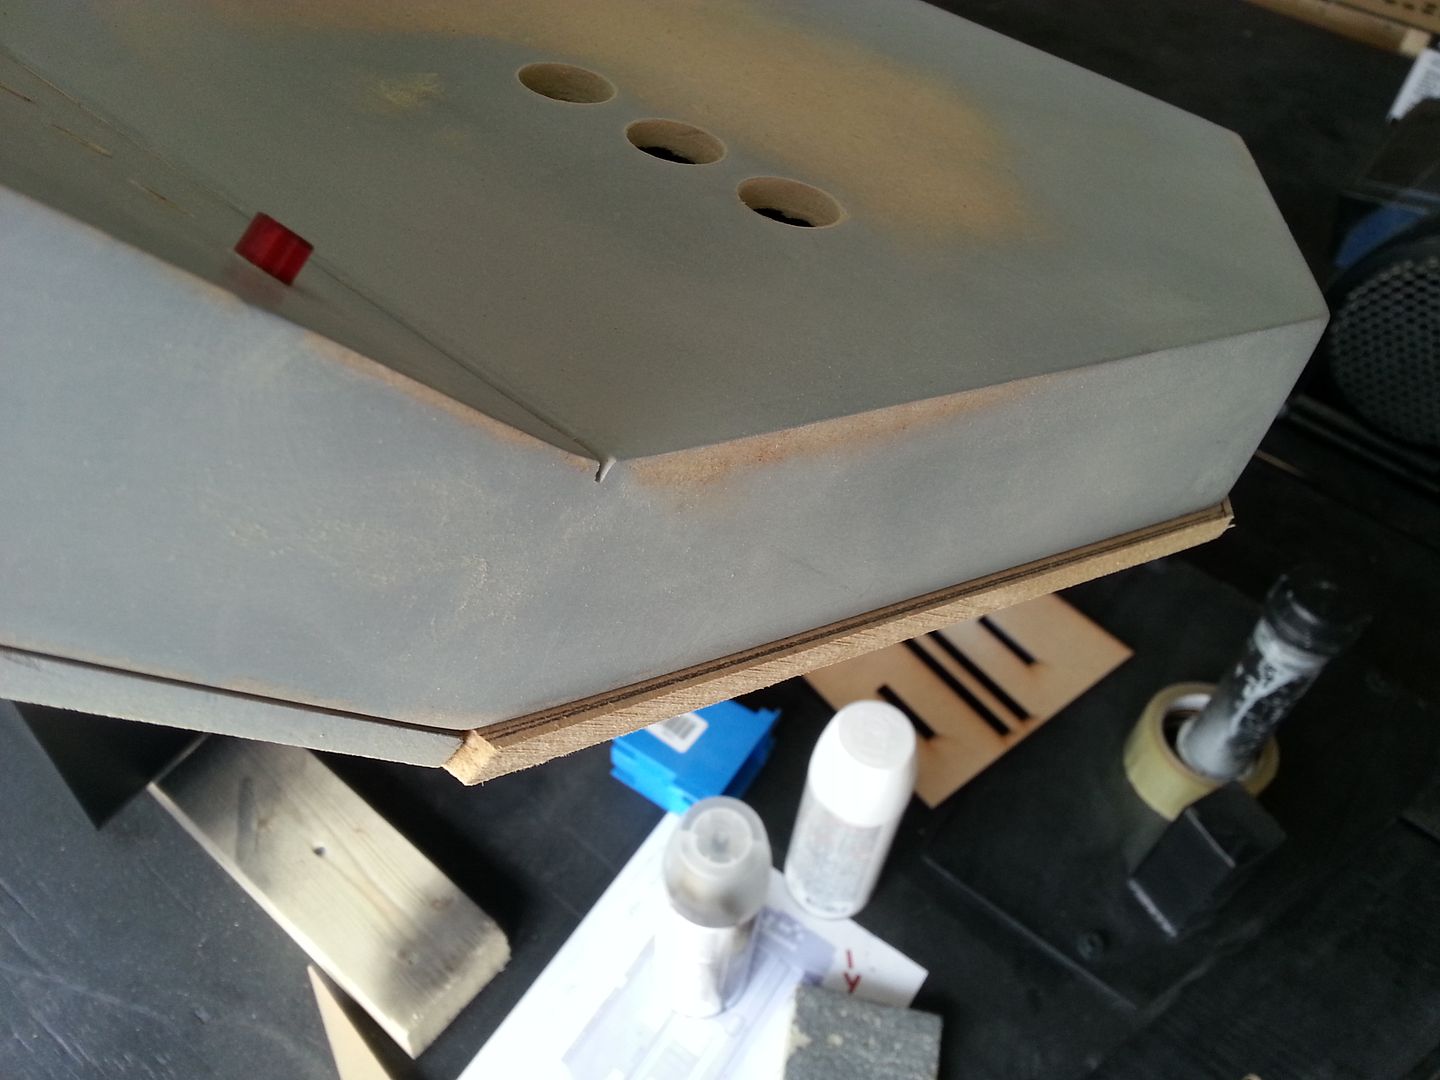
Switching gears... I'm working on this greeblie
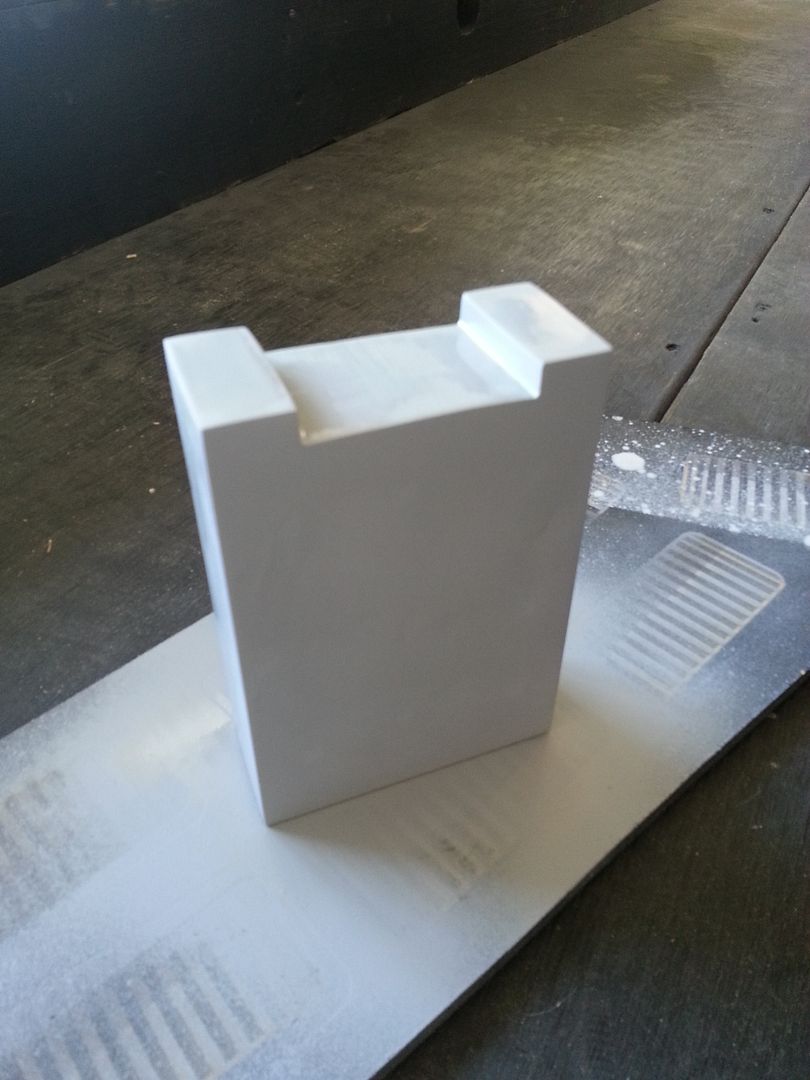
Primed
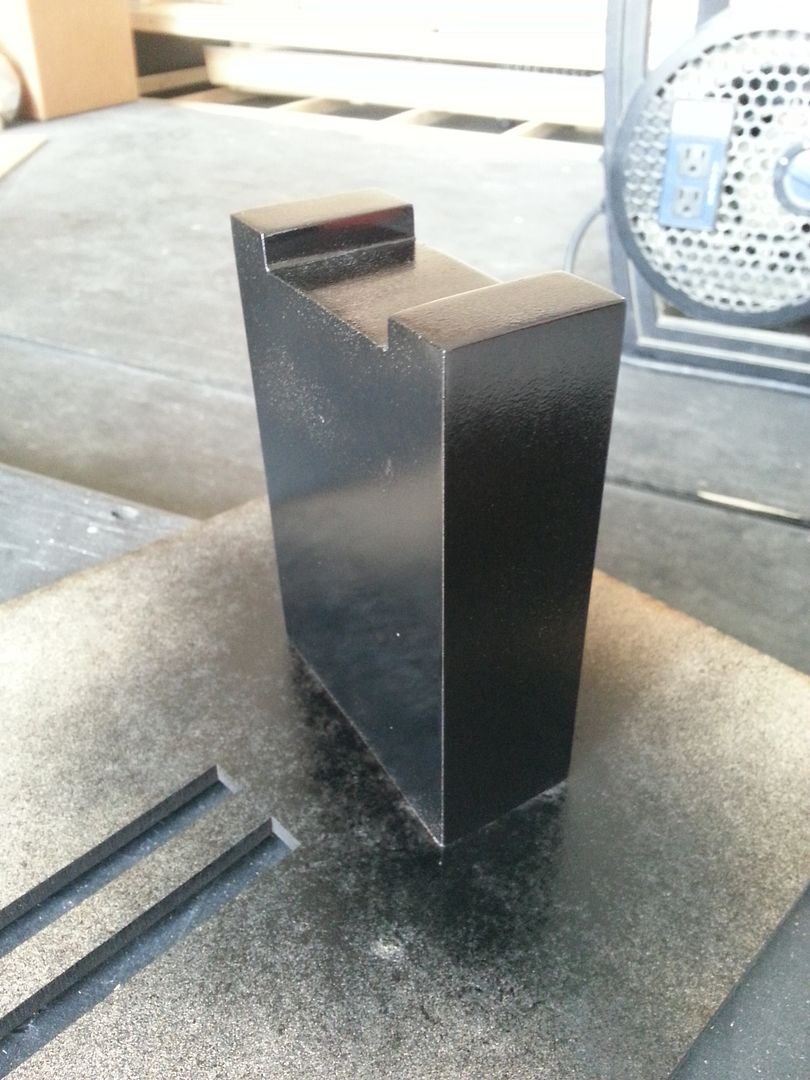
First coat of black. But I think I'm going to layer with acrylic. I can add more details. More to come!
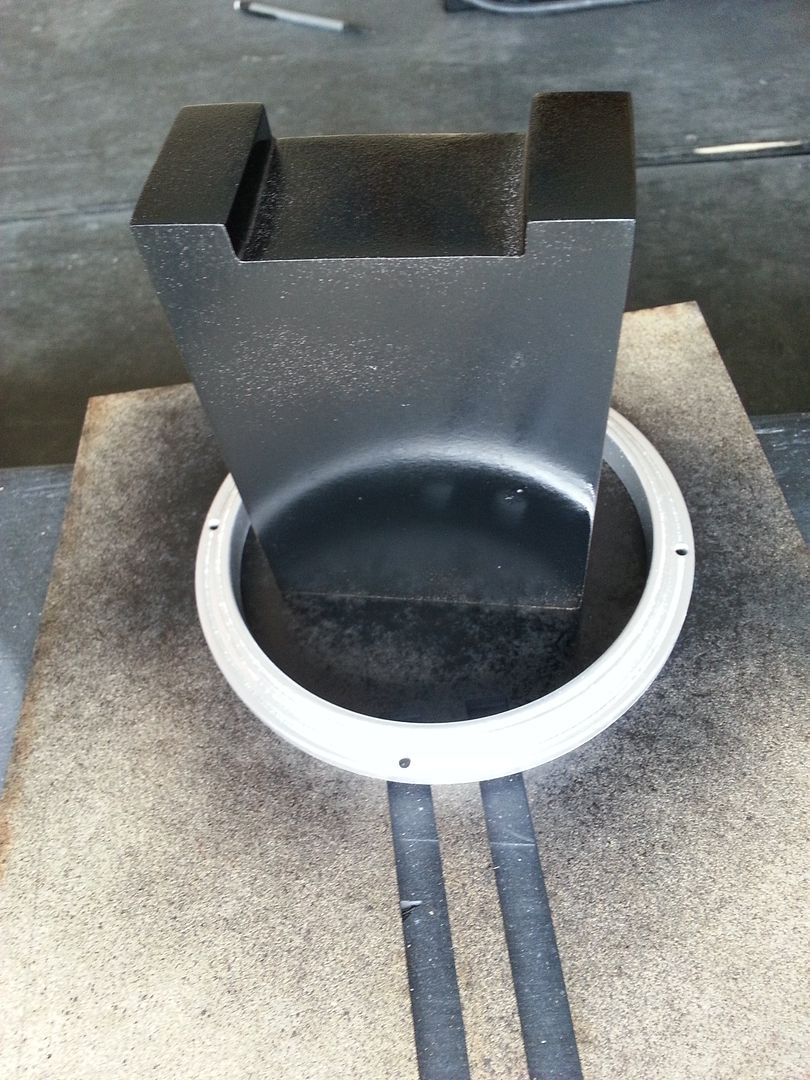
This greeblie mounts to the back panel of the armrest
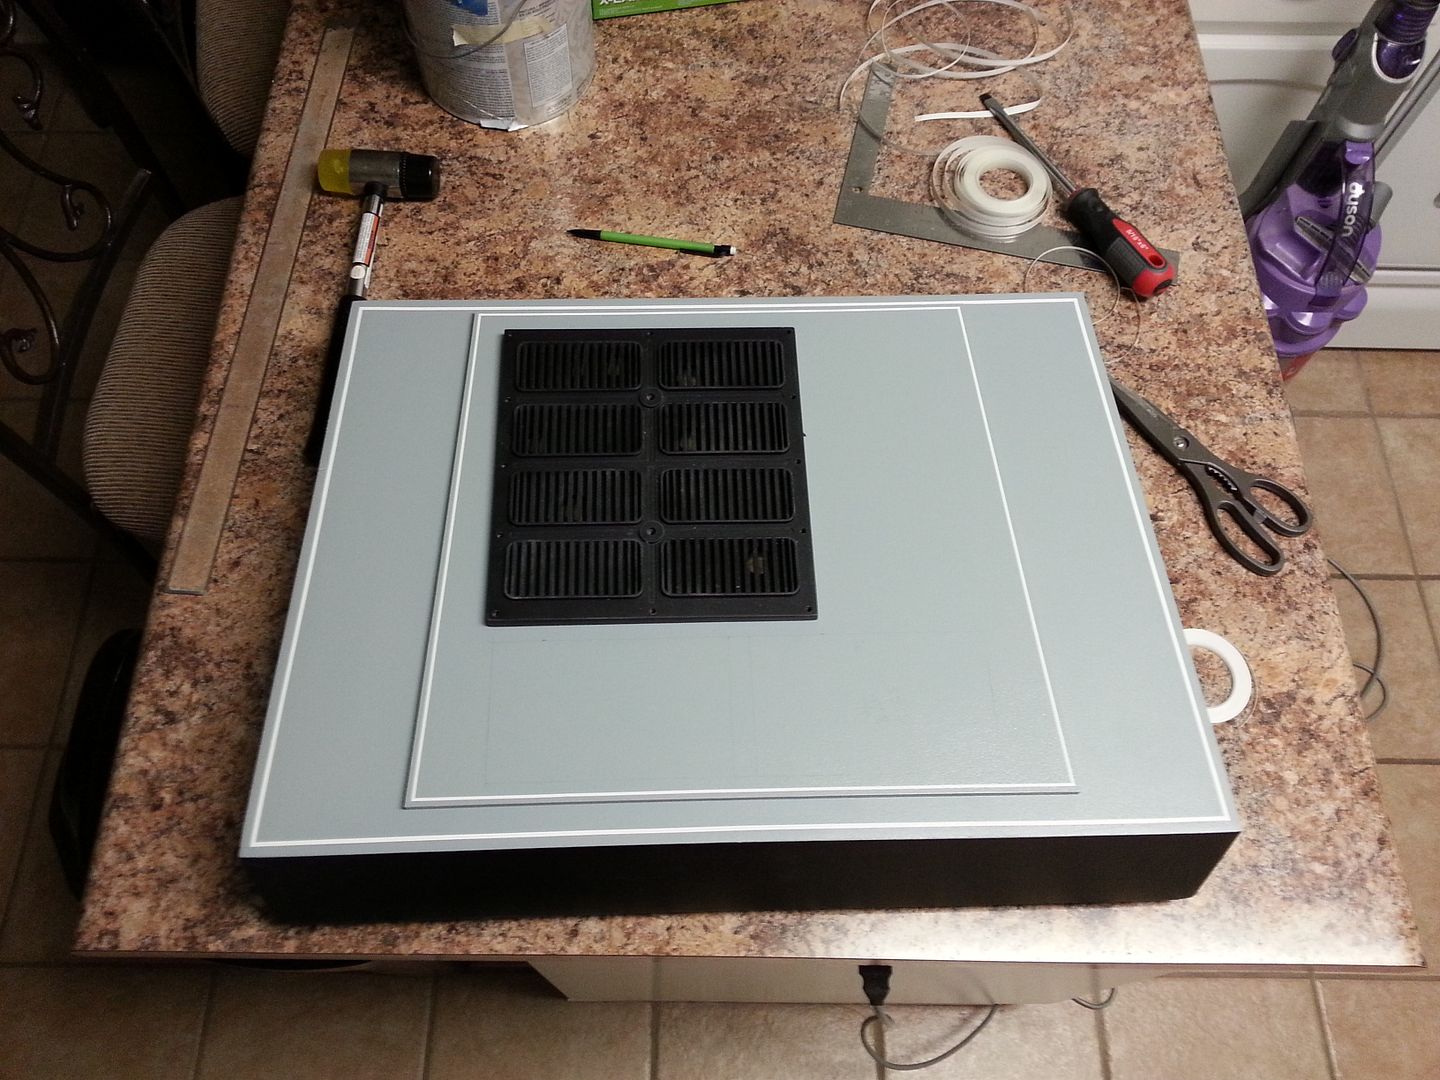
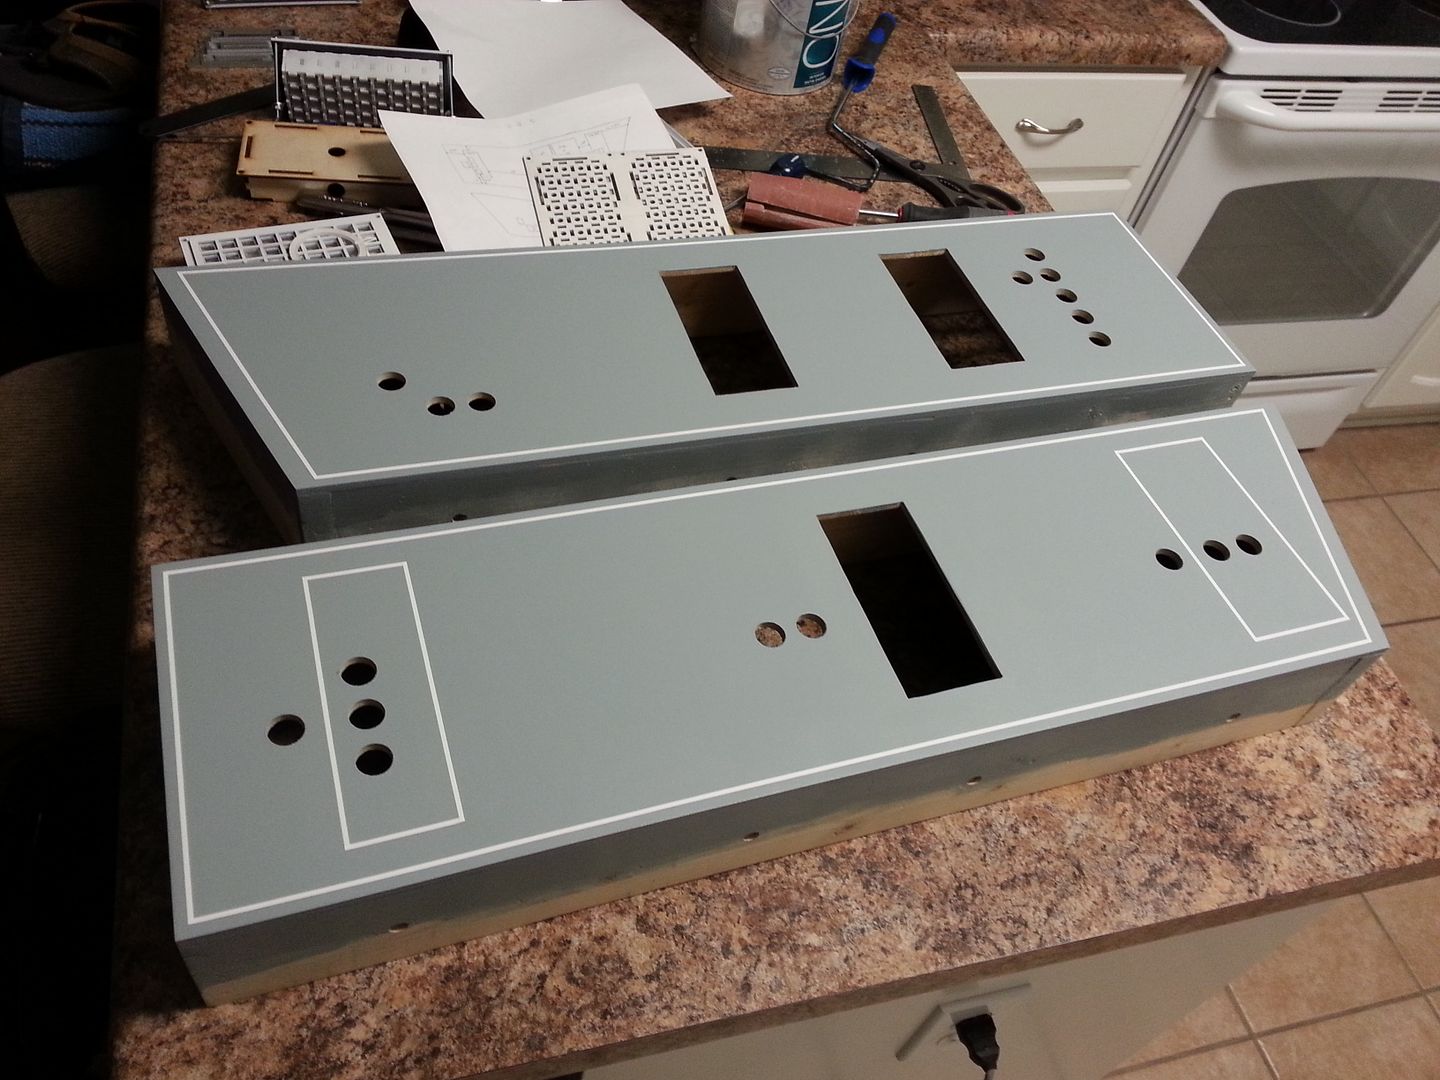
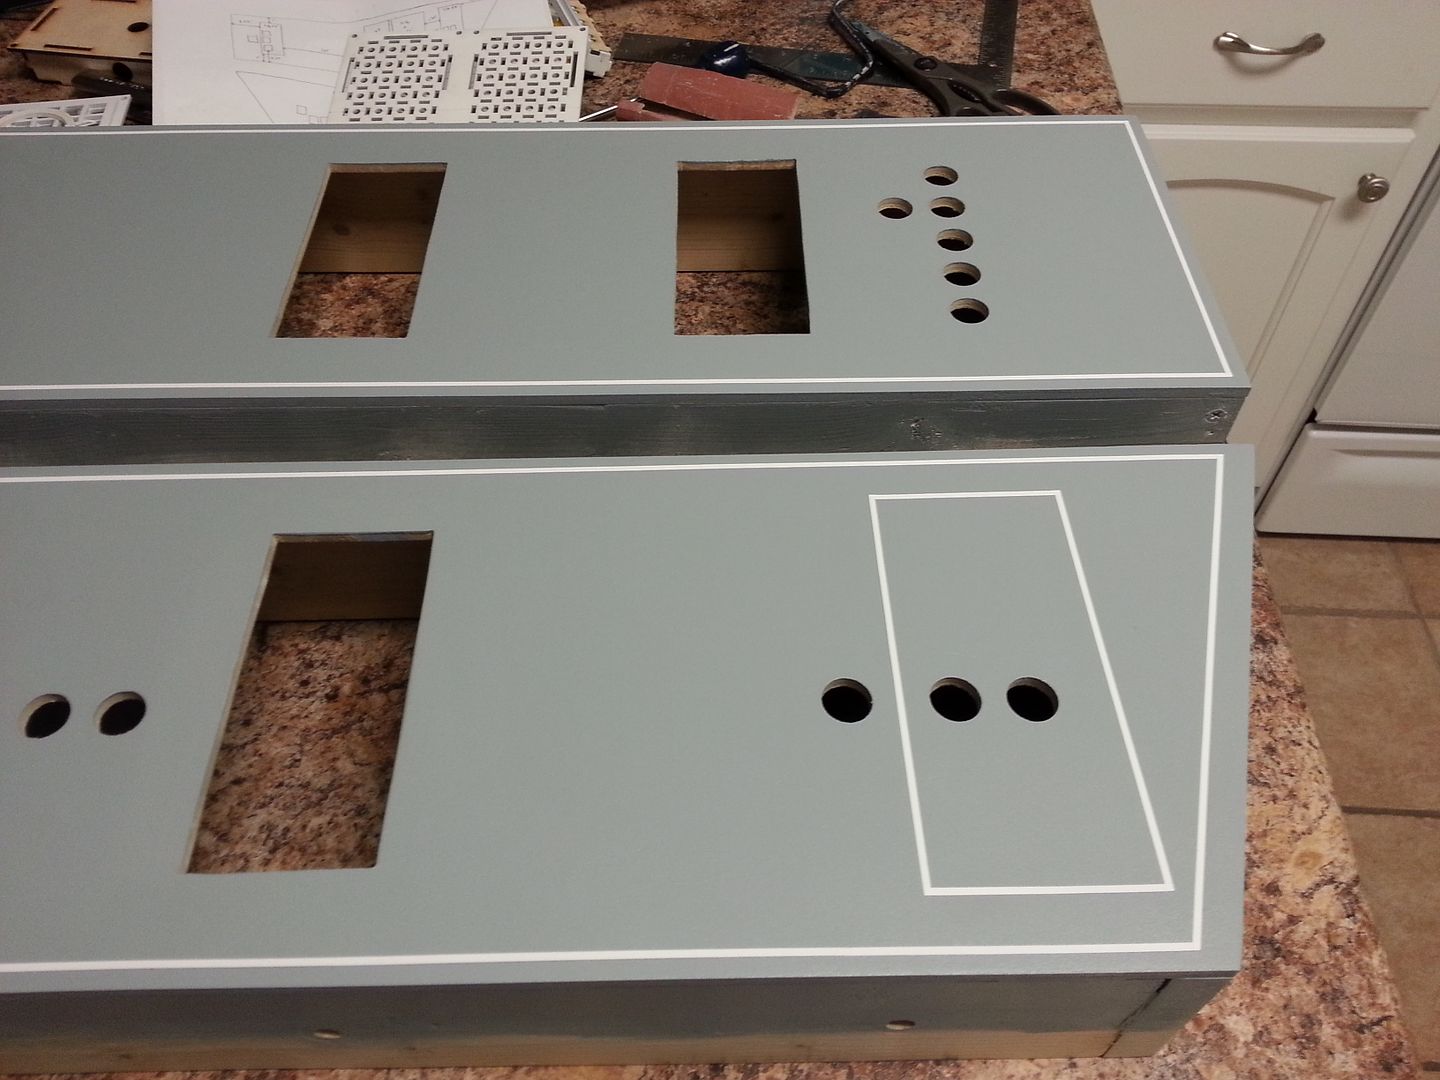
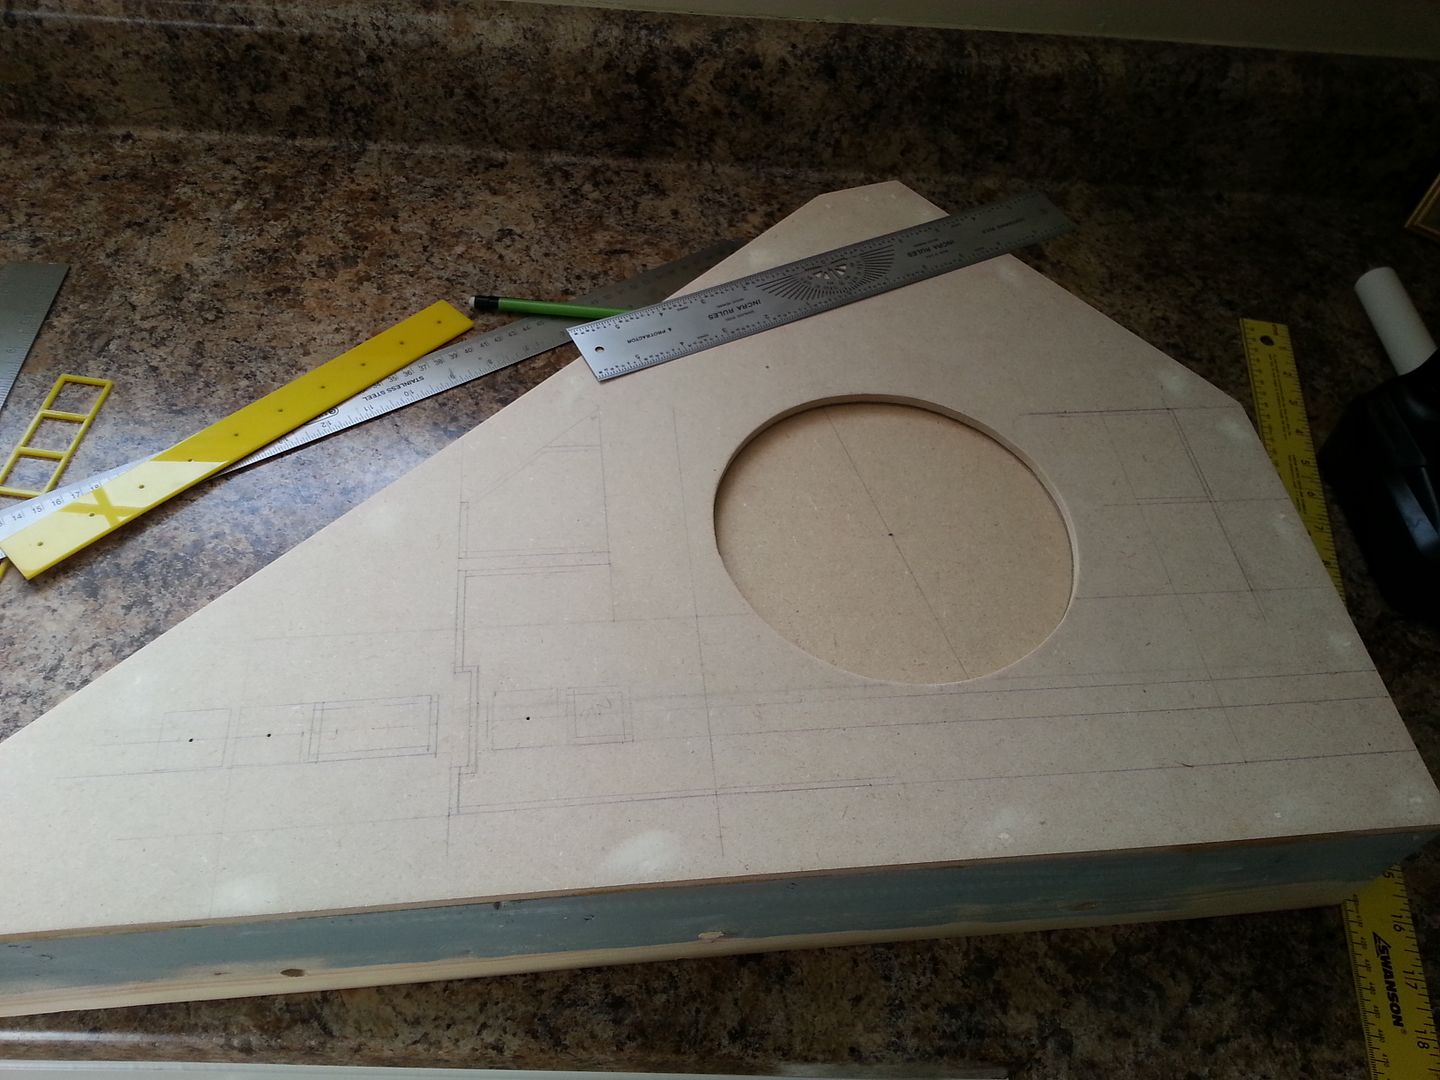
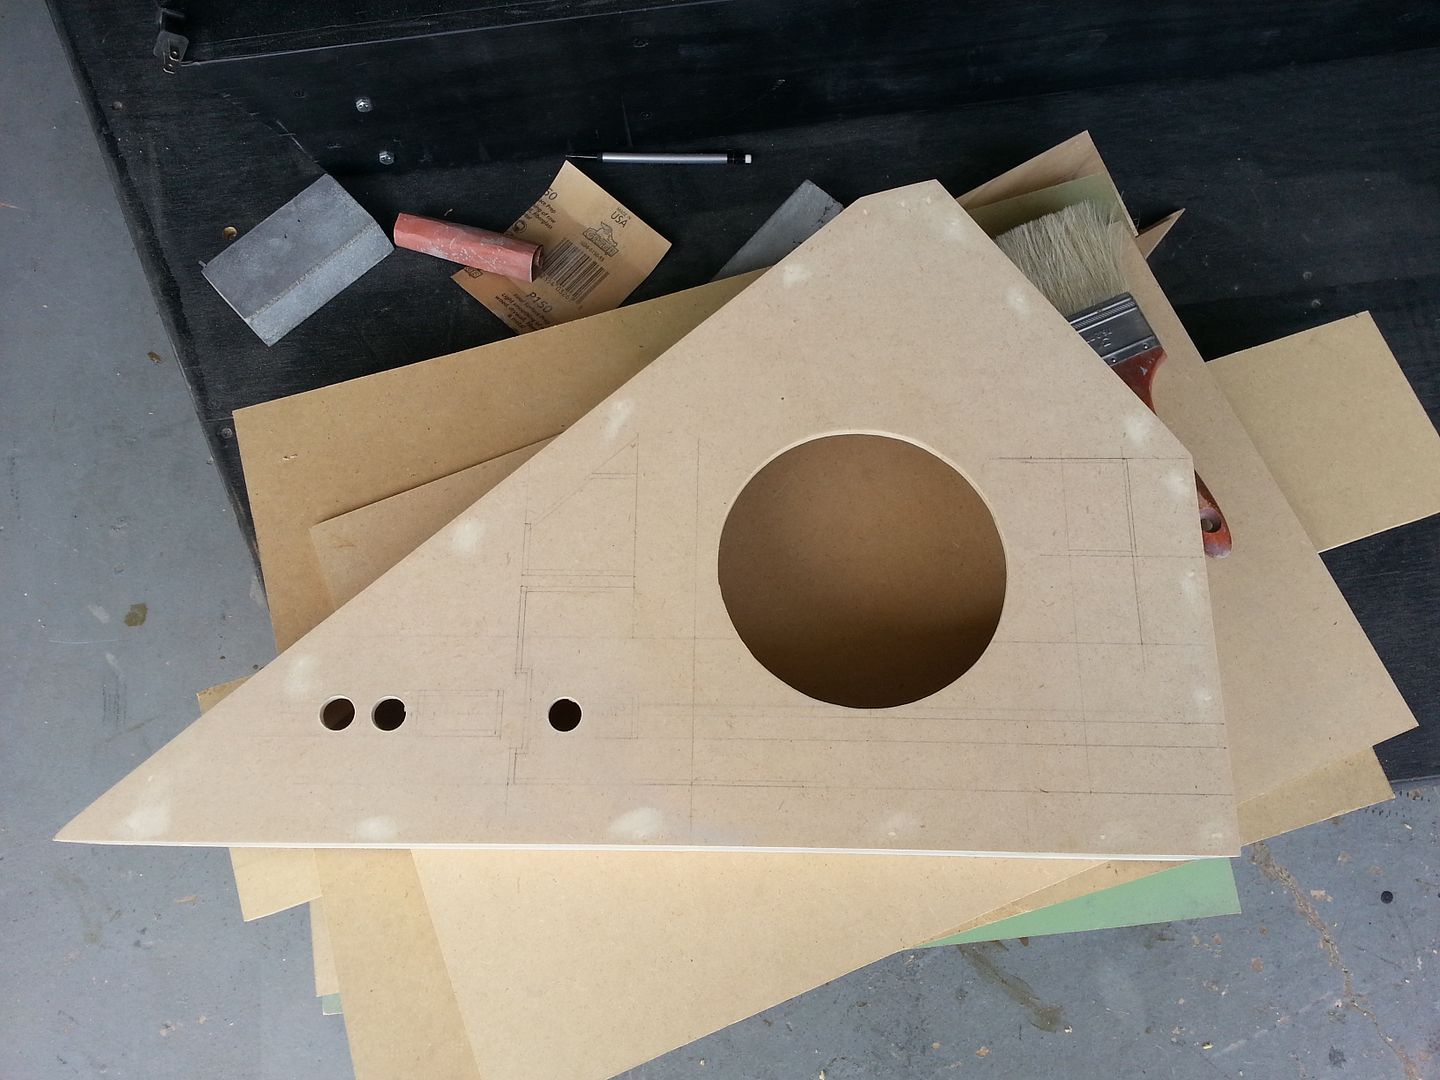
I then began to pinstripe the nose access panels
There is SO MUCH going on with these panels I can't wait to show you guys!
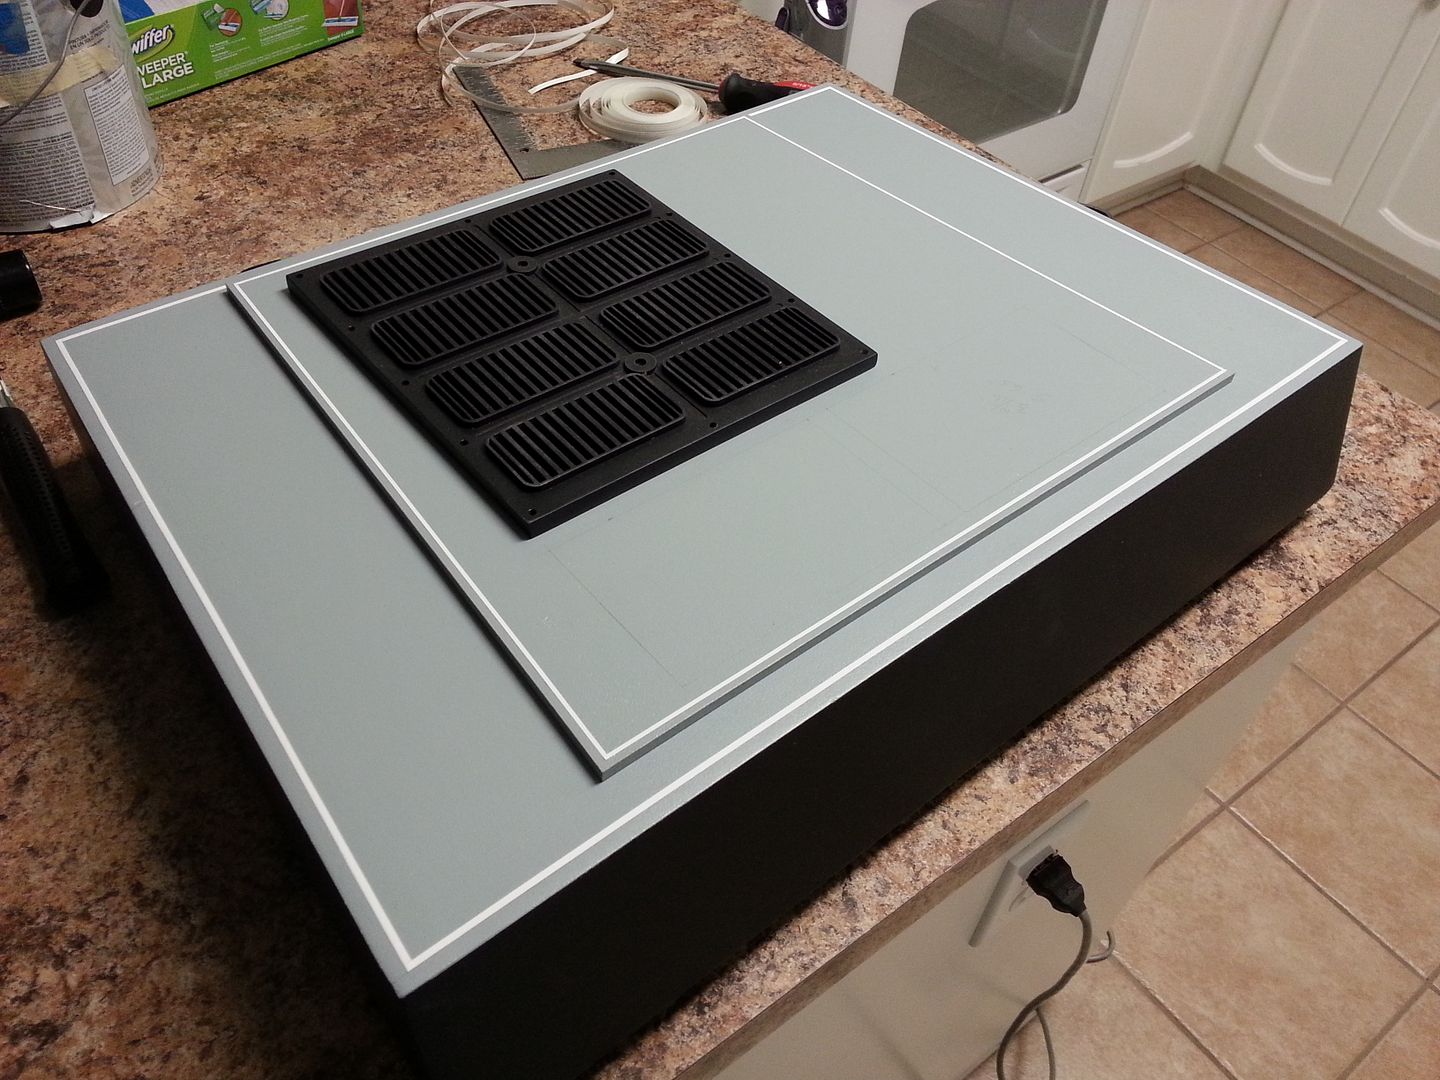
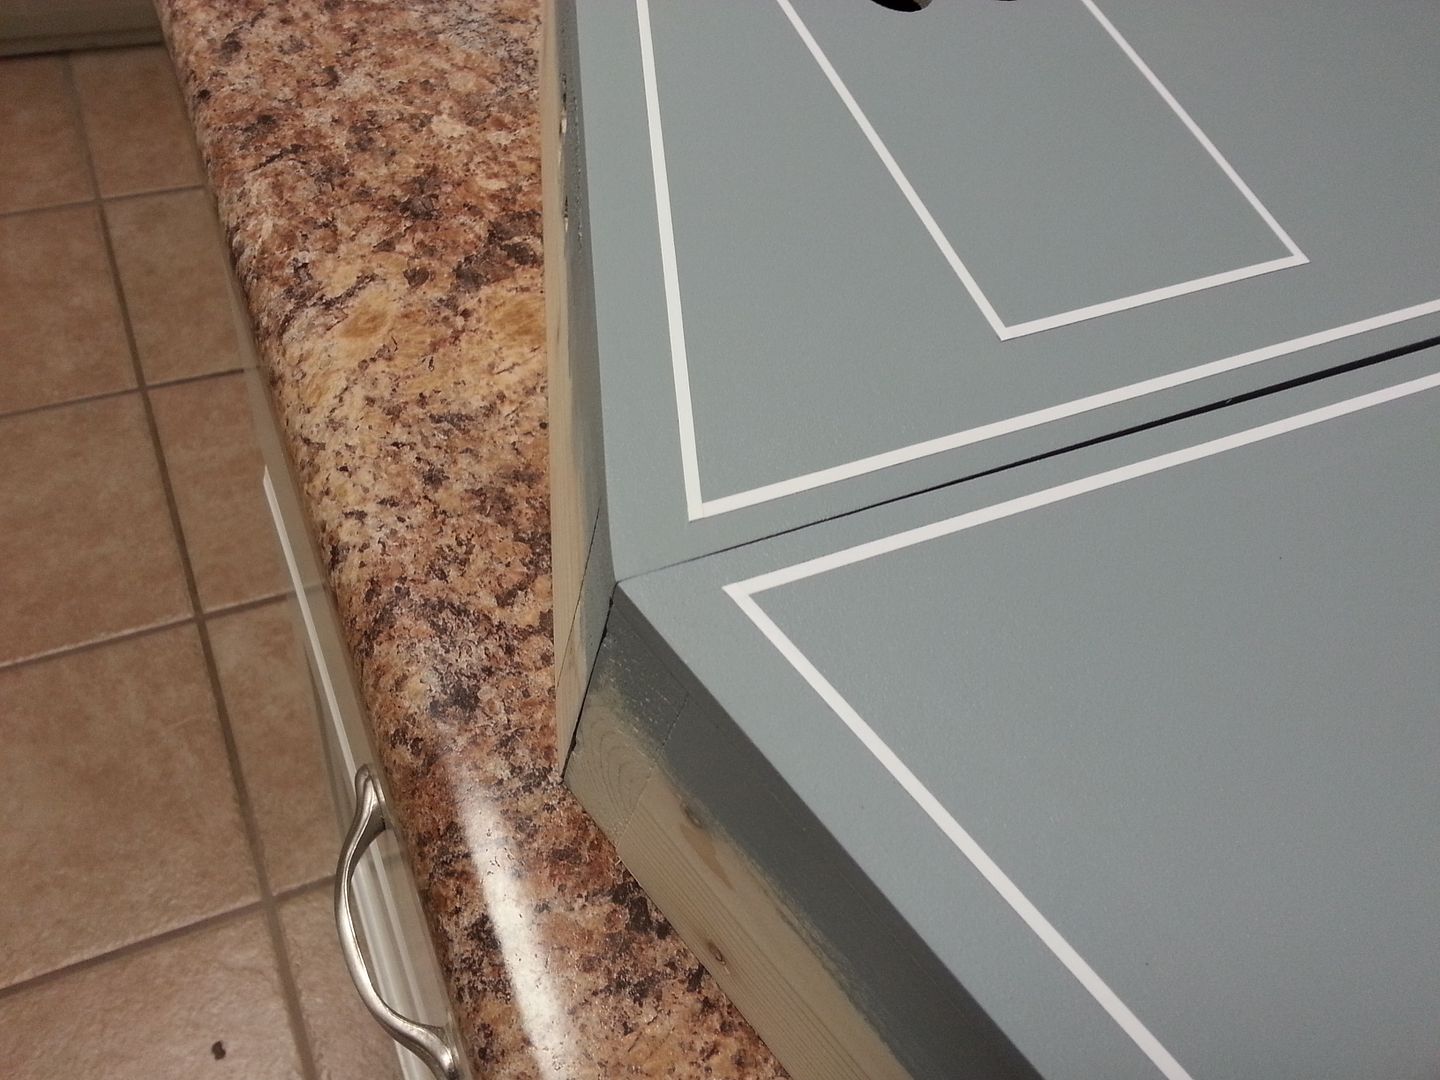
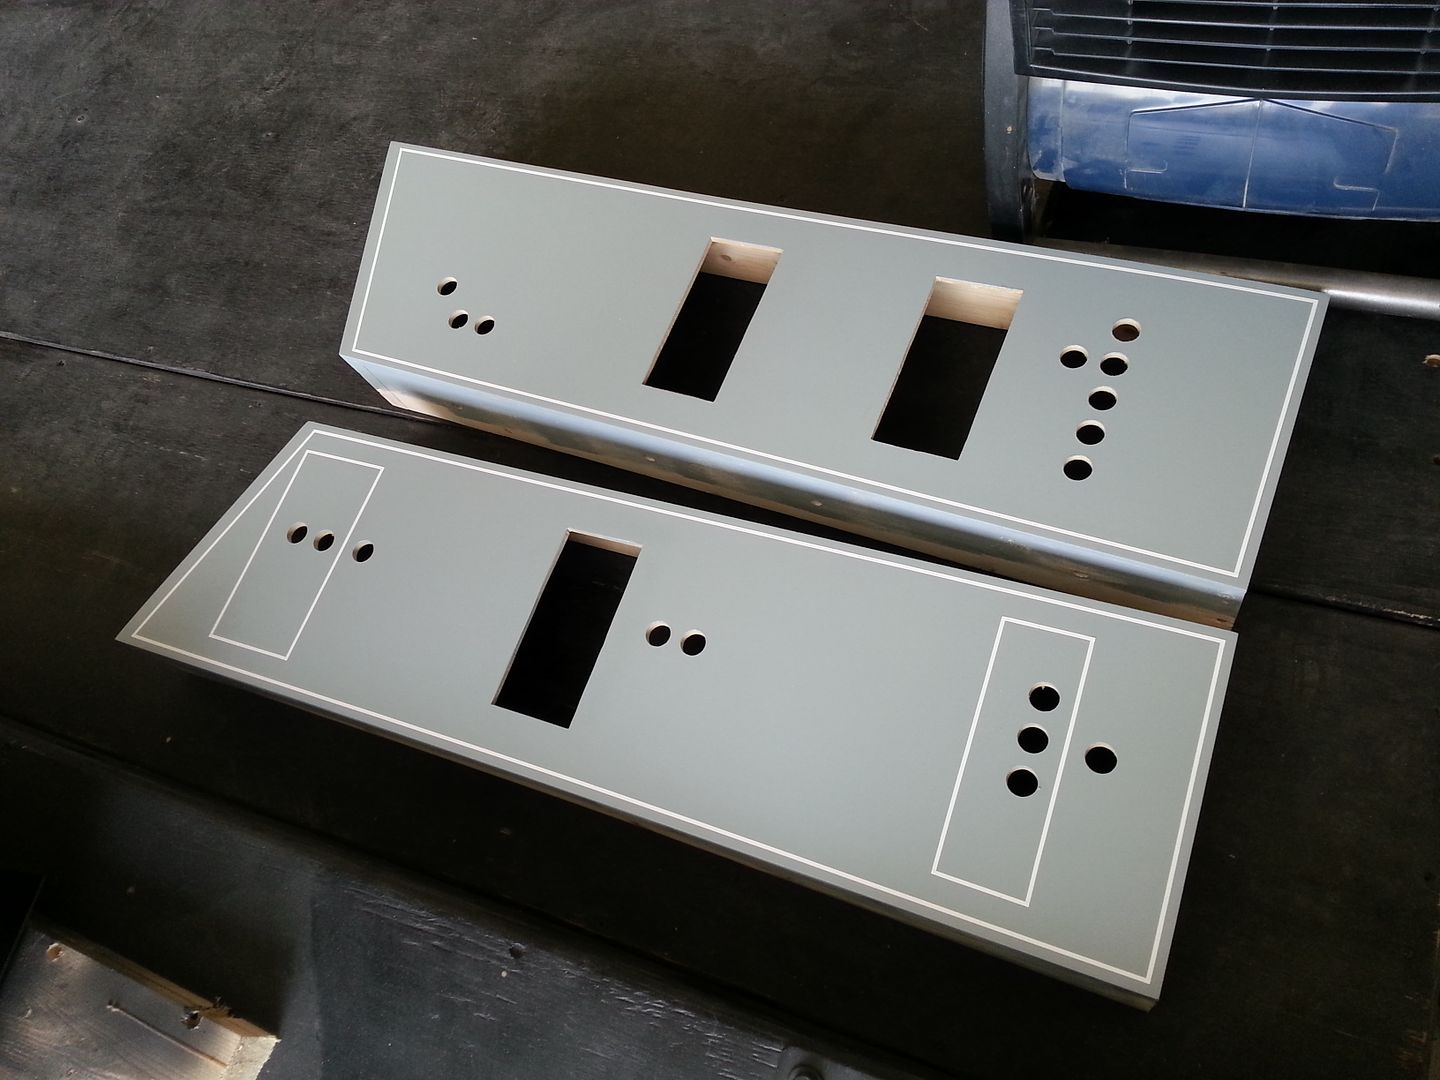
More pinstripes
More to Follow!