UPDATES!!!! FINALLY!!!!
Hi Gang... well... I finally got my new computer up and running! So let's jump right to it!
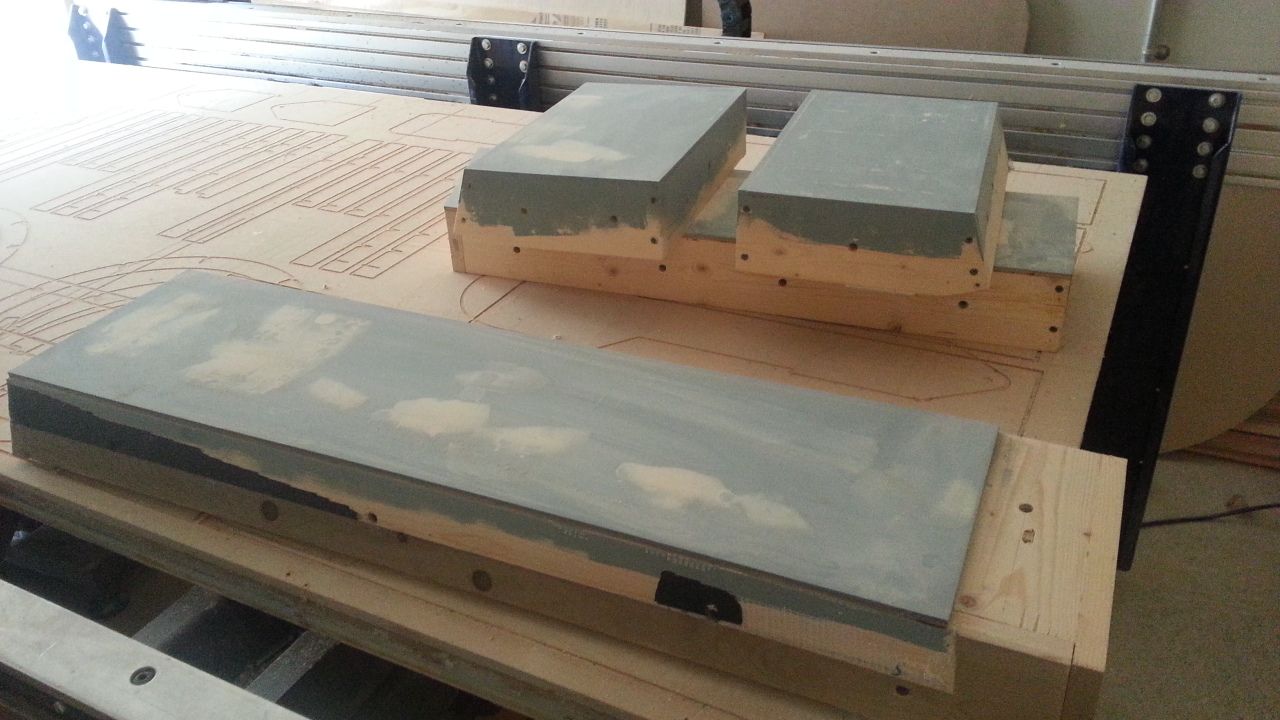
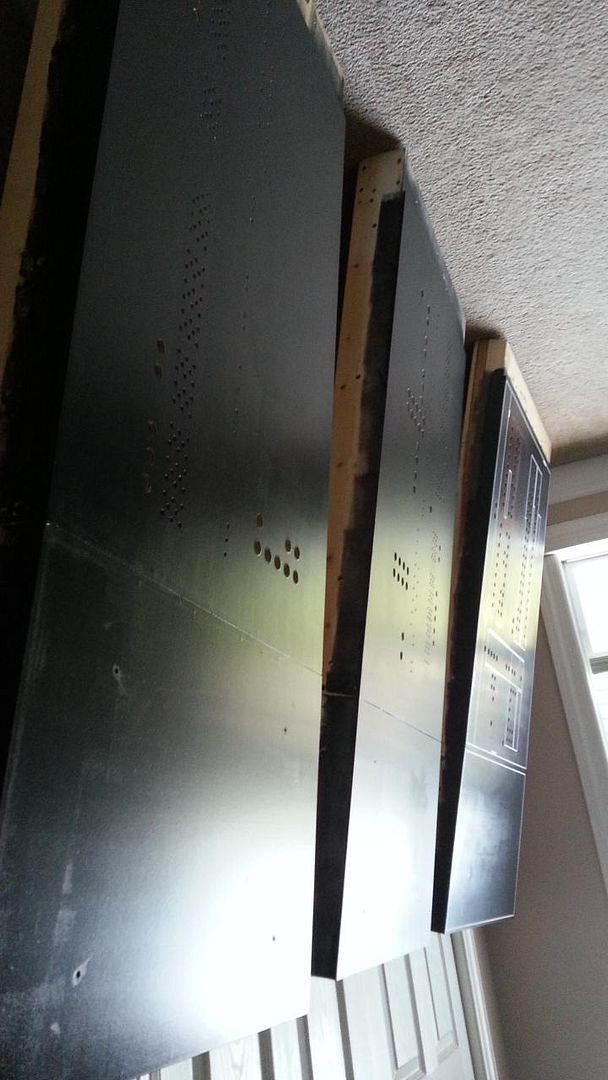
Adding filler and removing greeblies
Got to work on more pin striping (I once again cleaned out the local auto store of pin striping)
This panel had blue pin stripes but changed to red for ESB
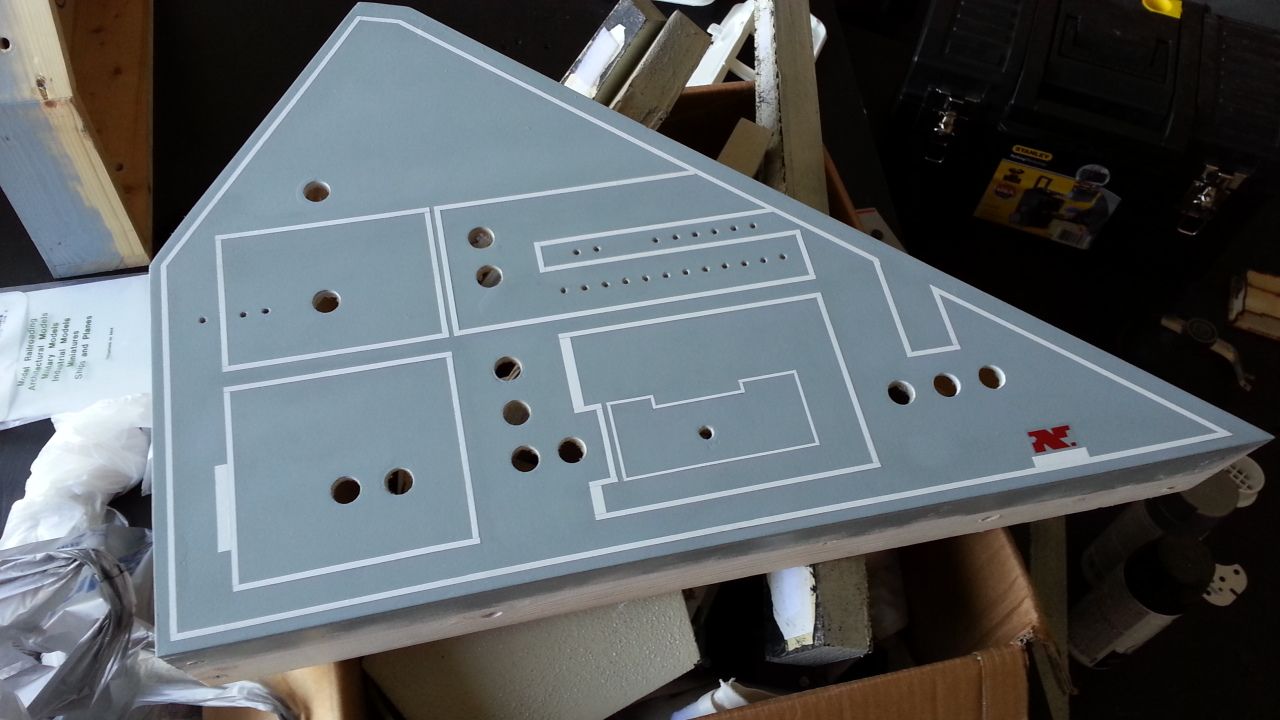
Finished up the archway panel
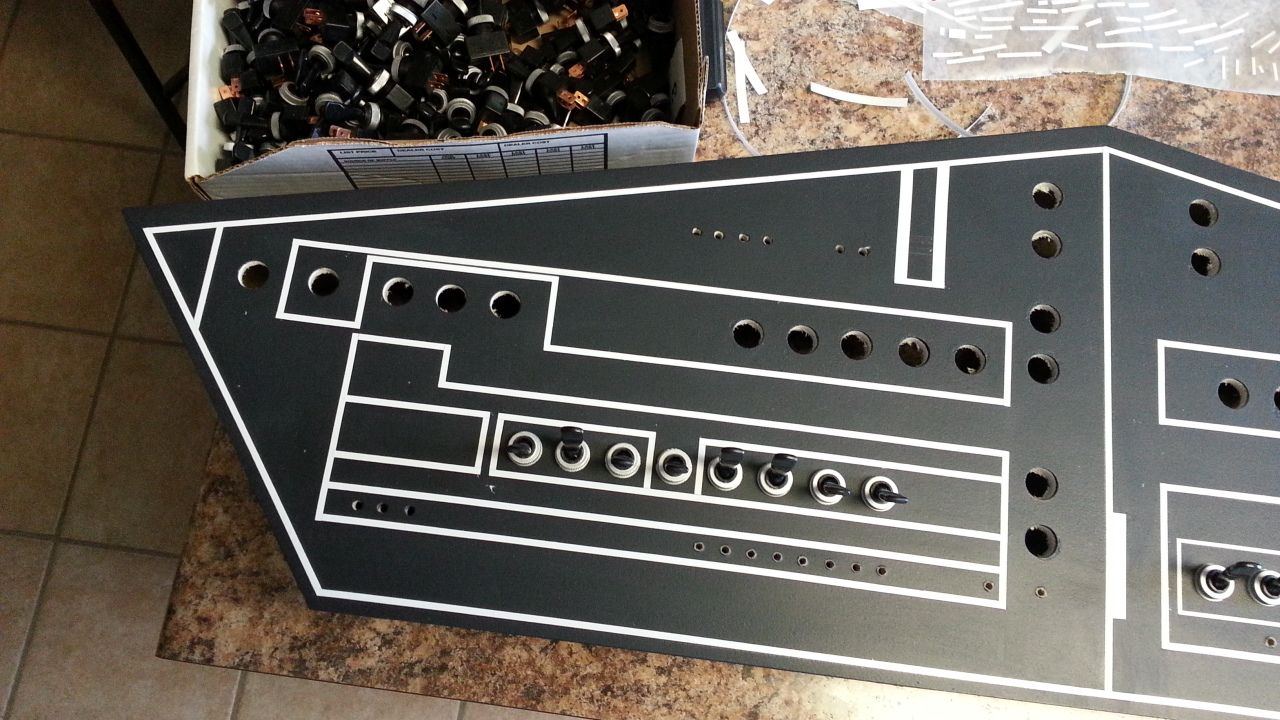
Added the switches for effect. Have to remove them to spray the satin clear
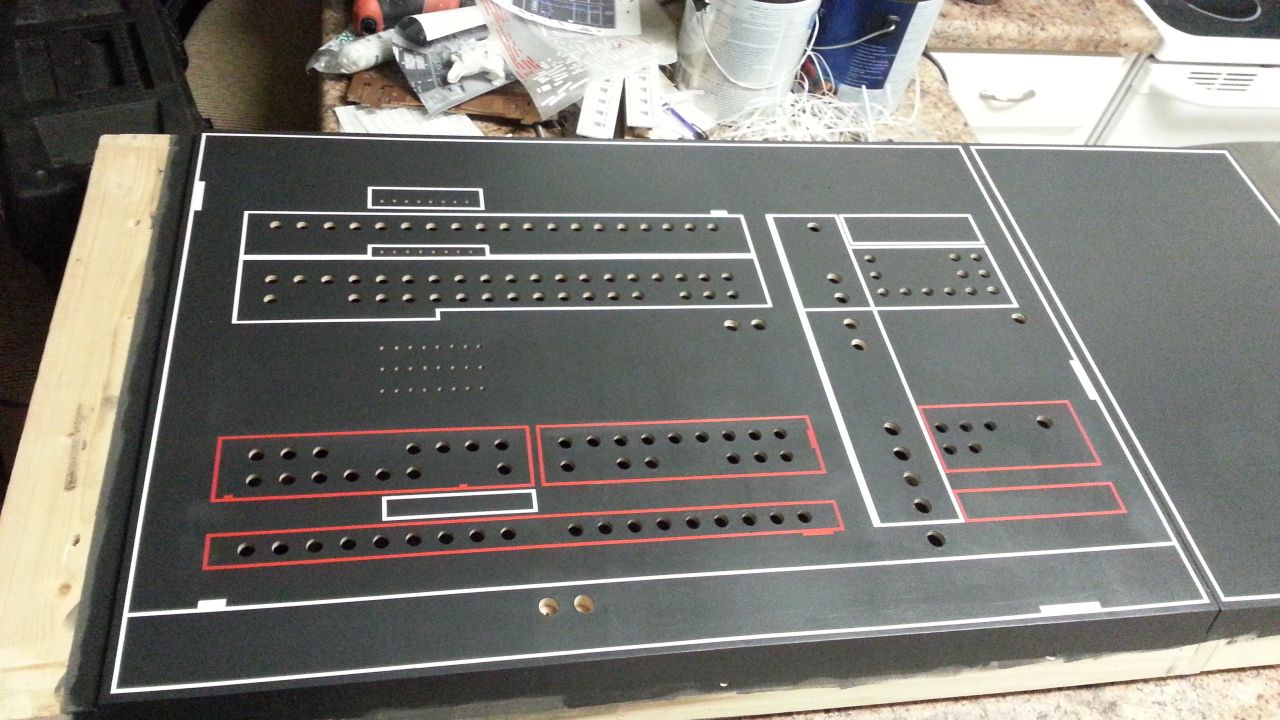
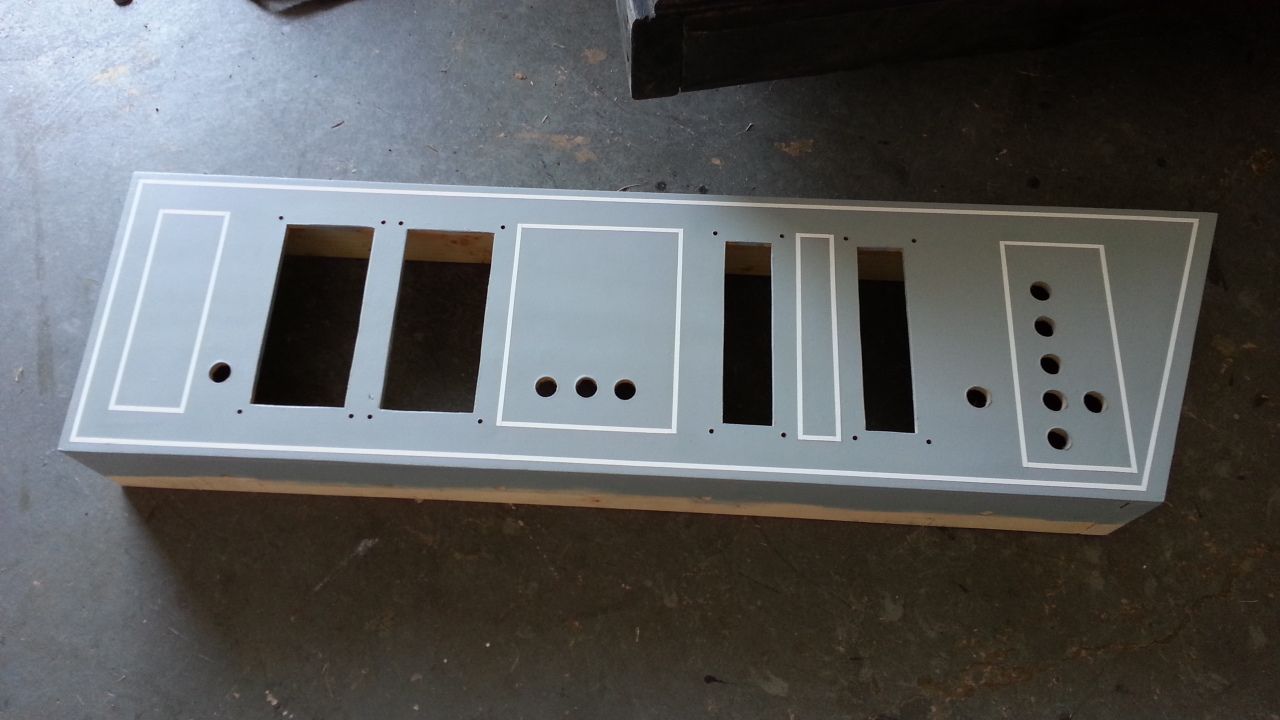
Finally finished this panel
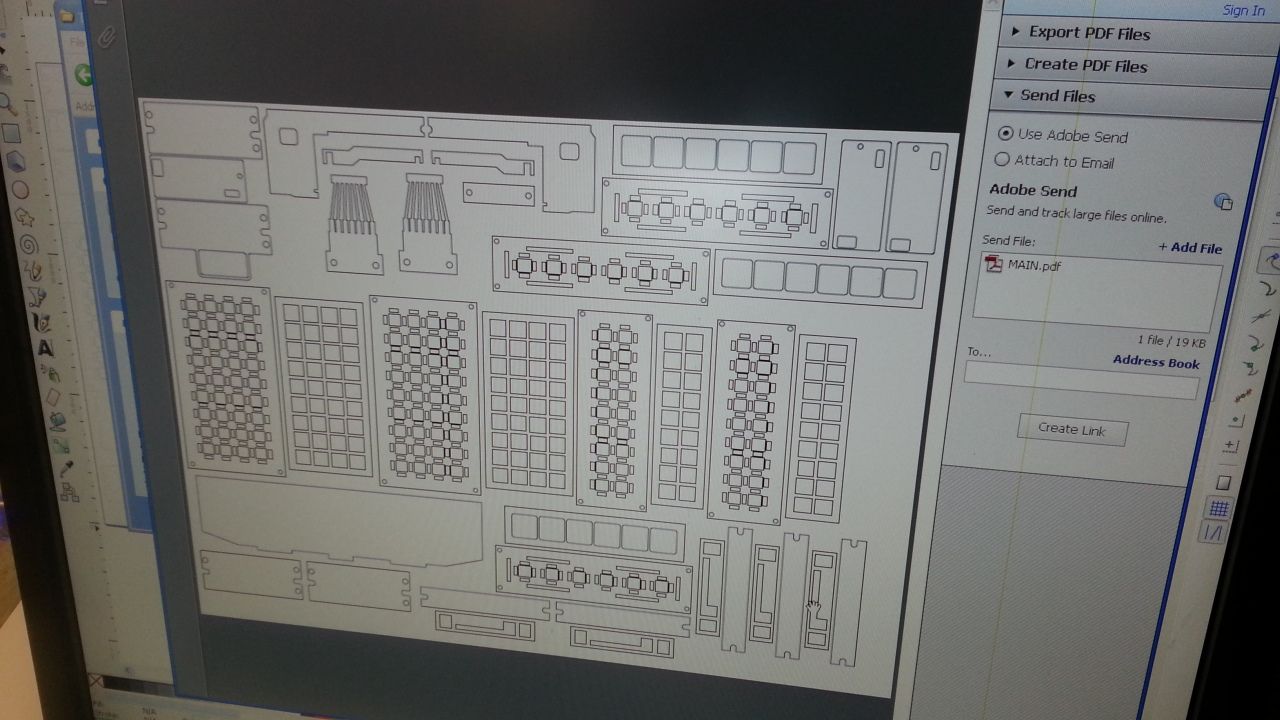
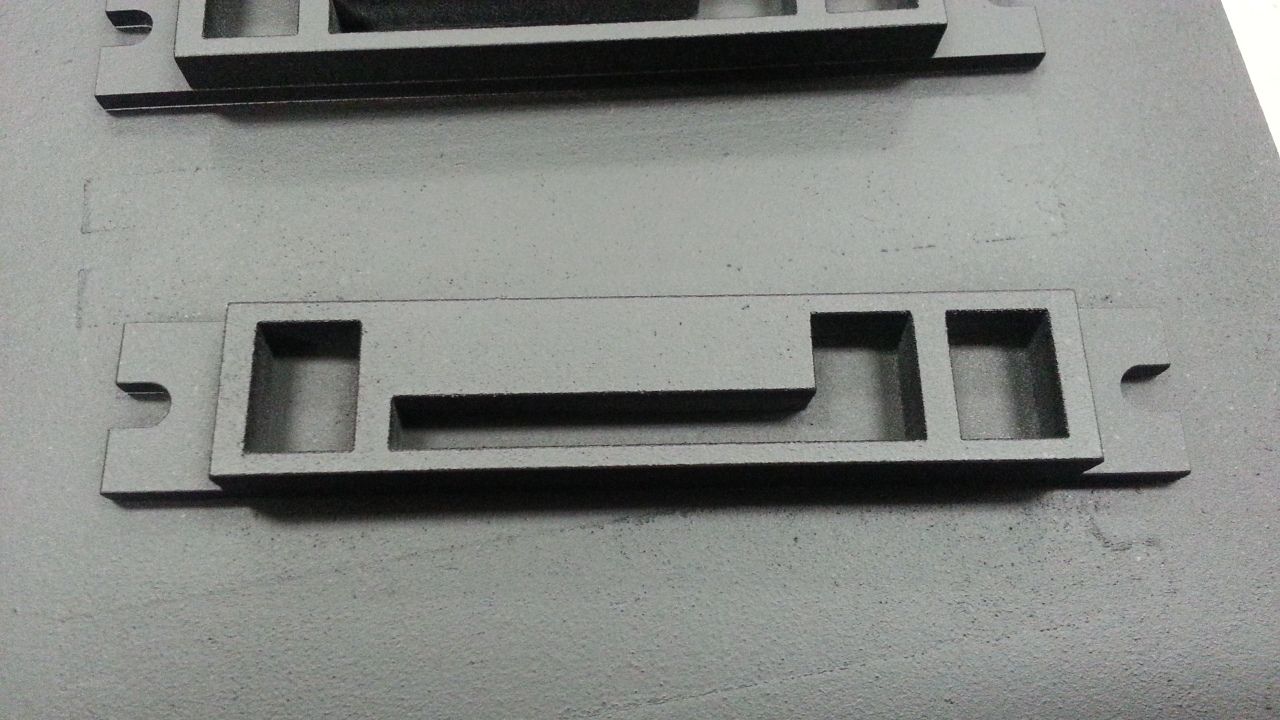
Now for some laser cutting!
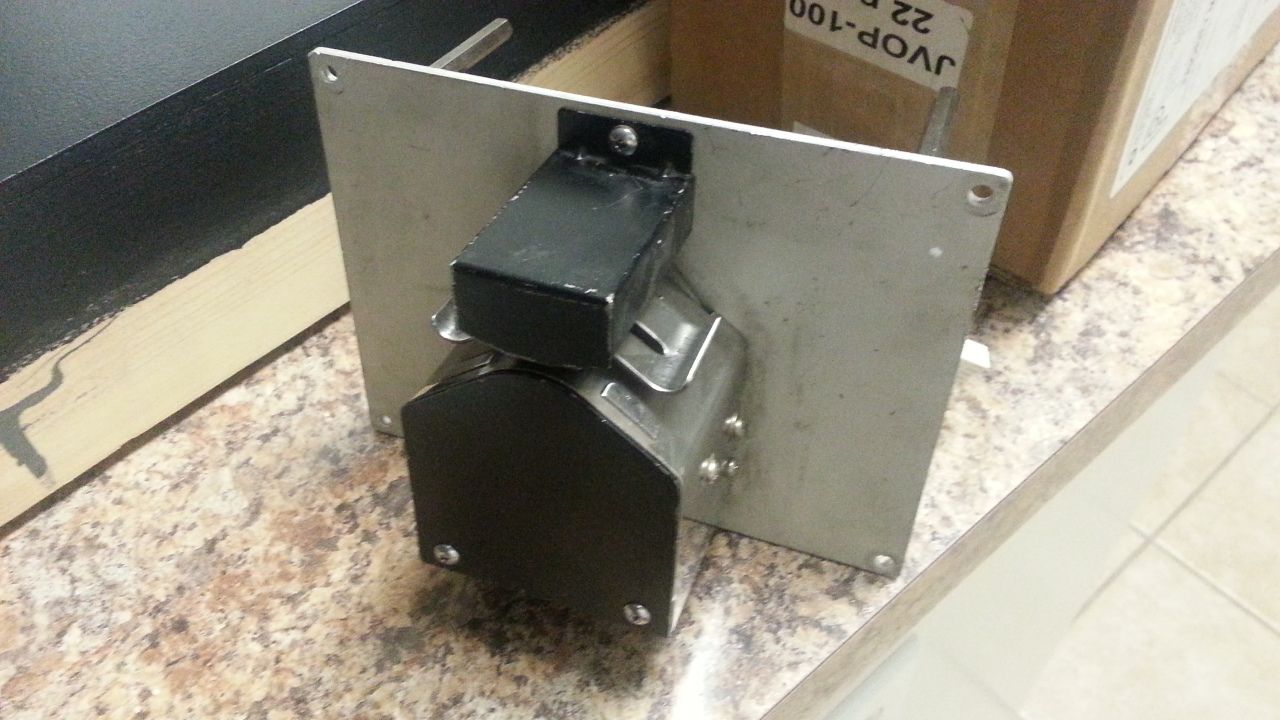
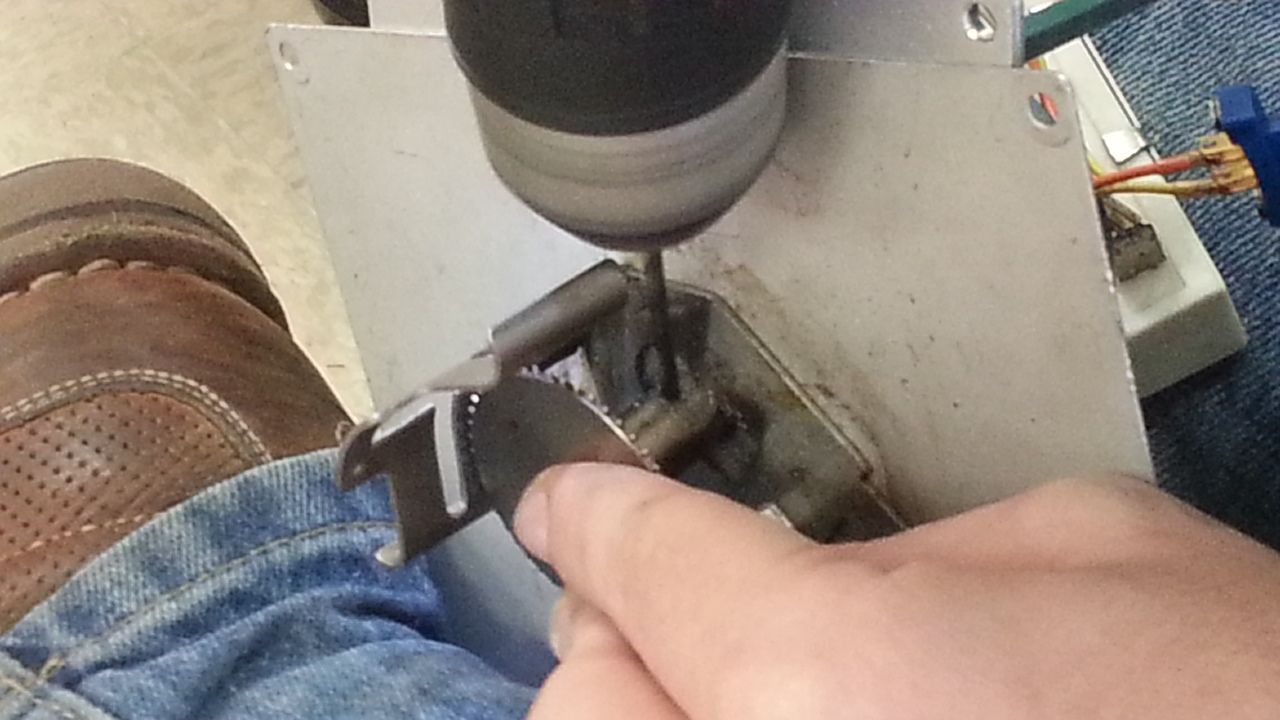
Starting/mod'ing a greeblie
Another
Ver 2
Another
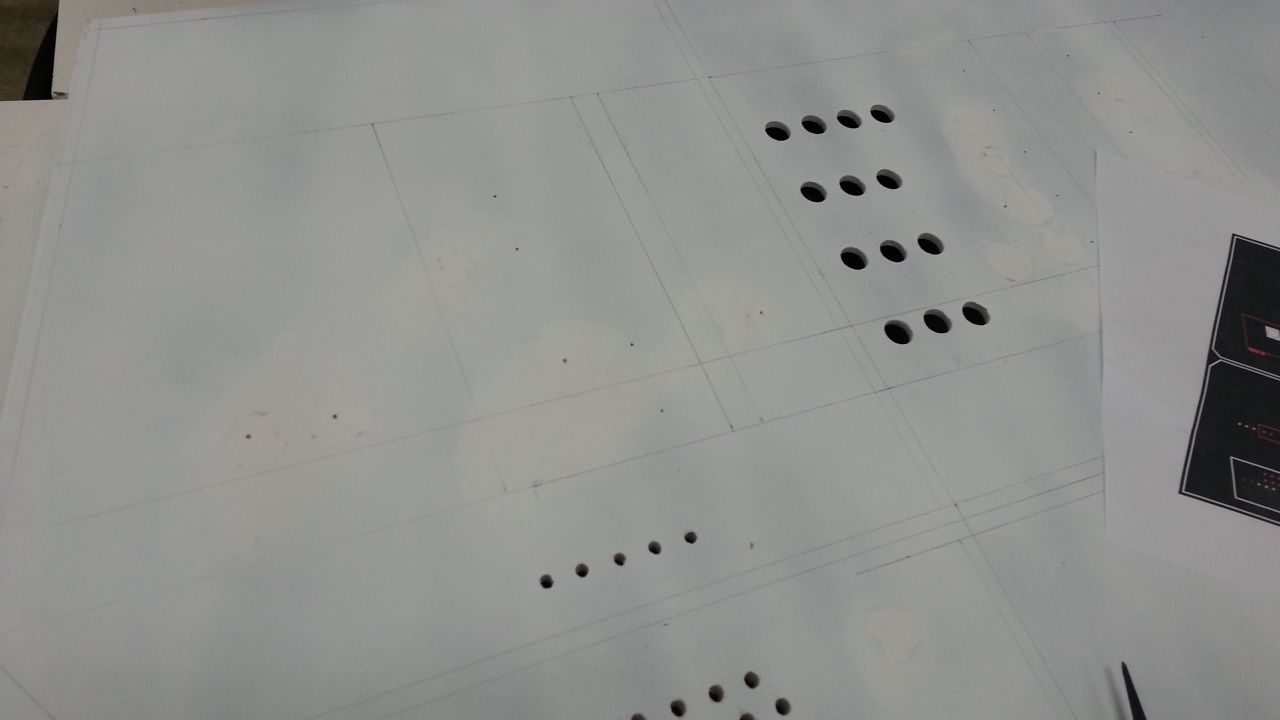
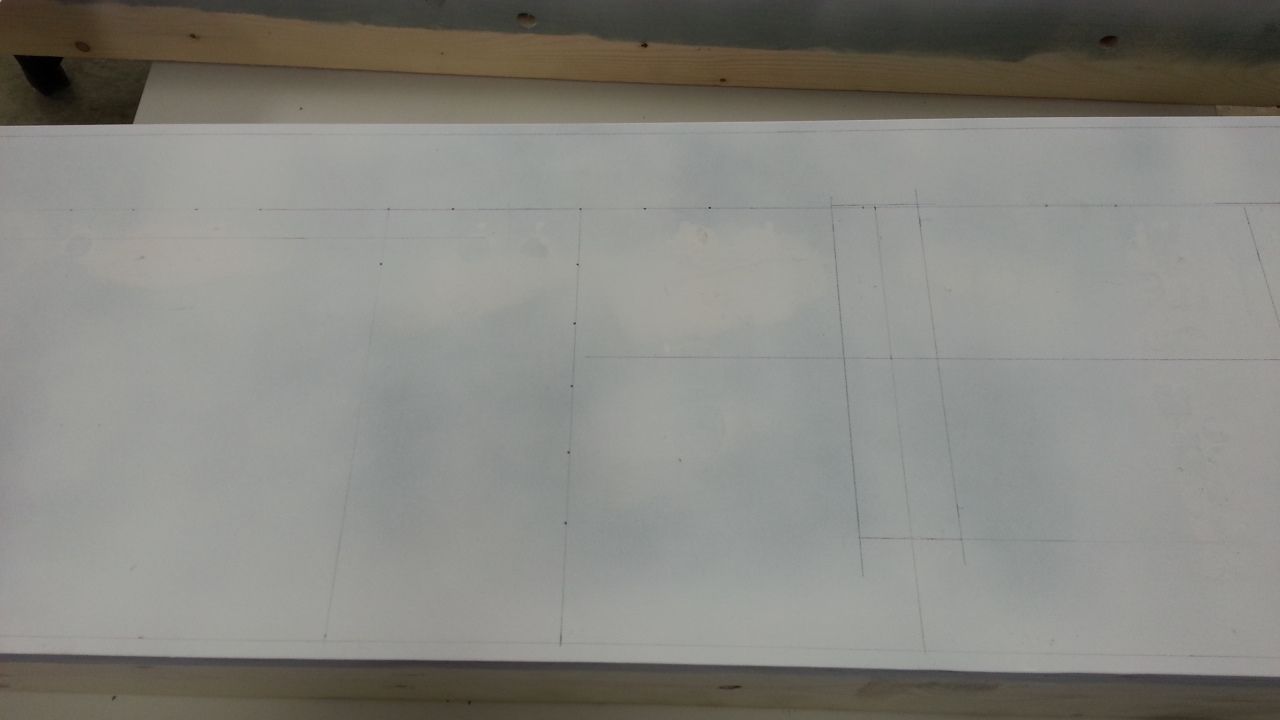
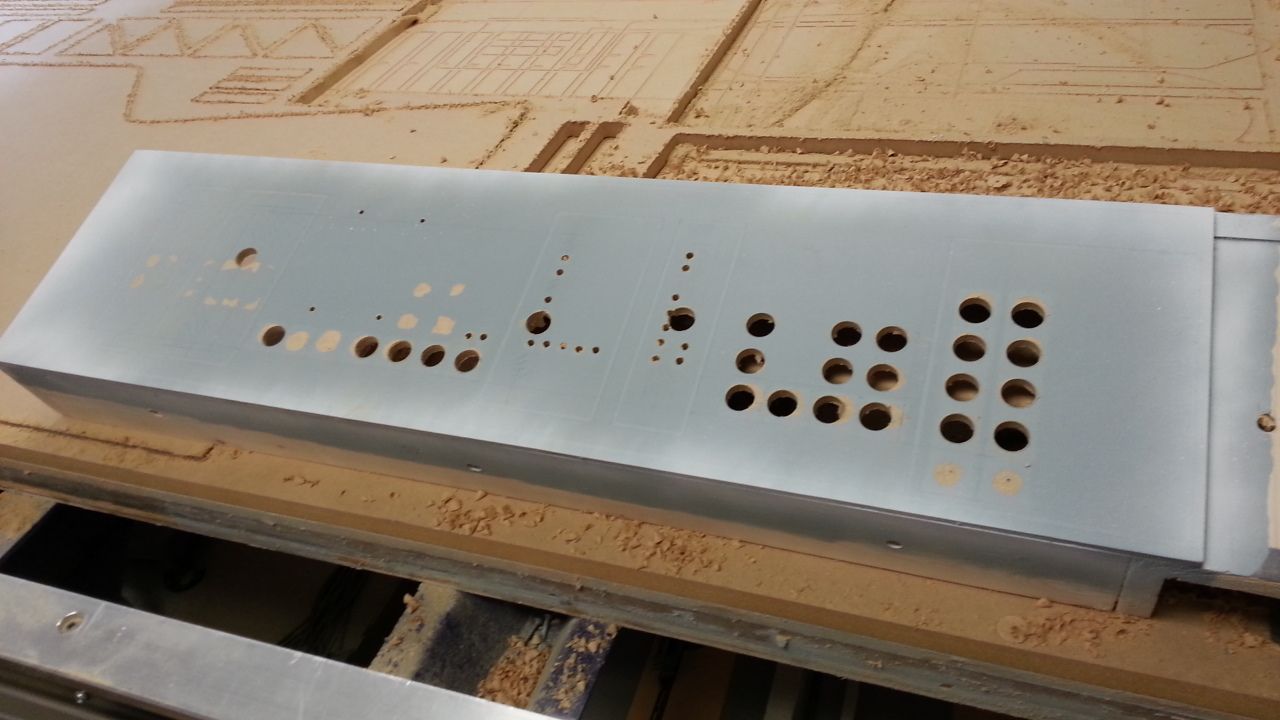
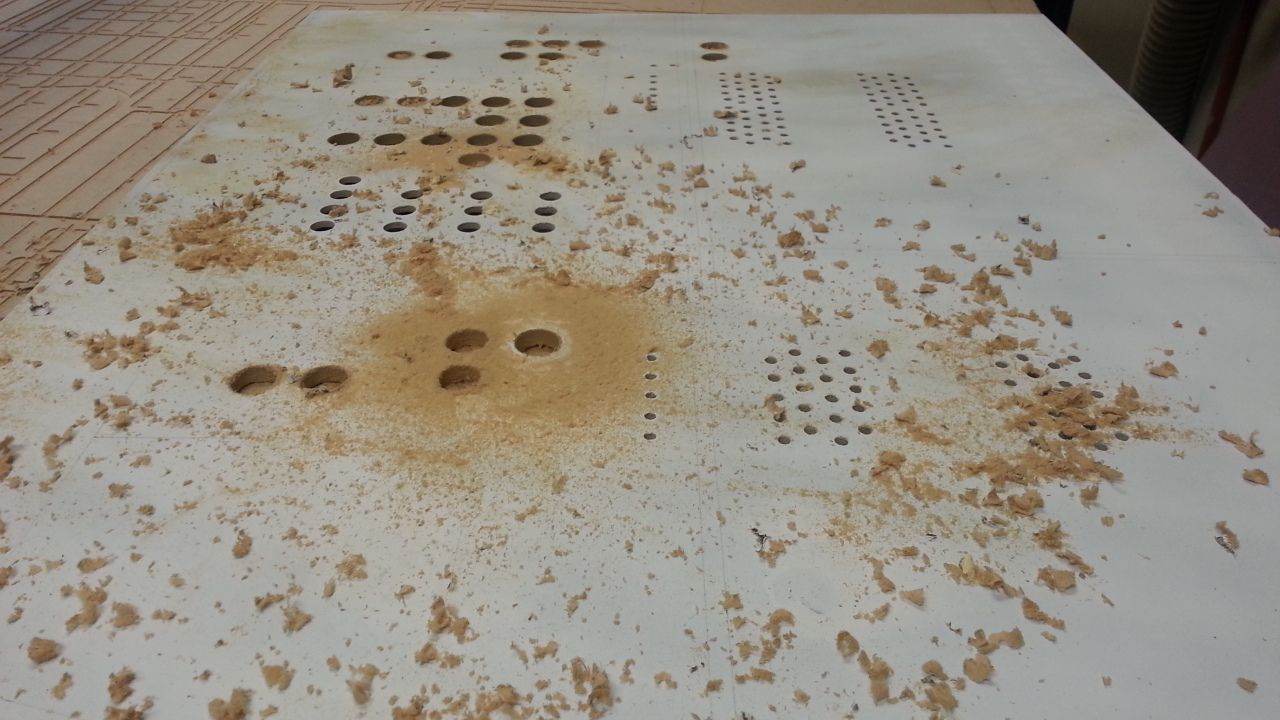
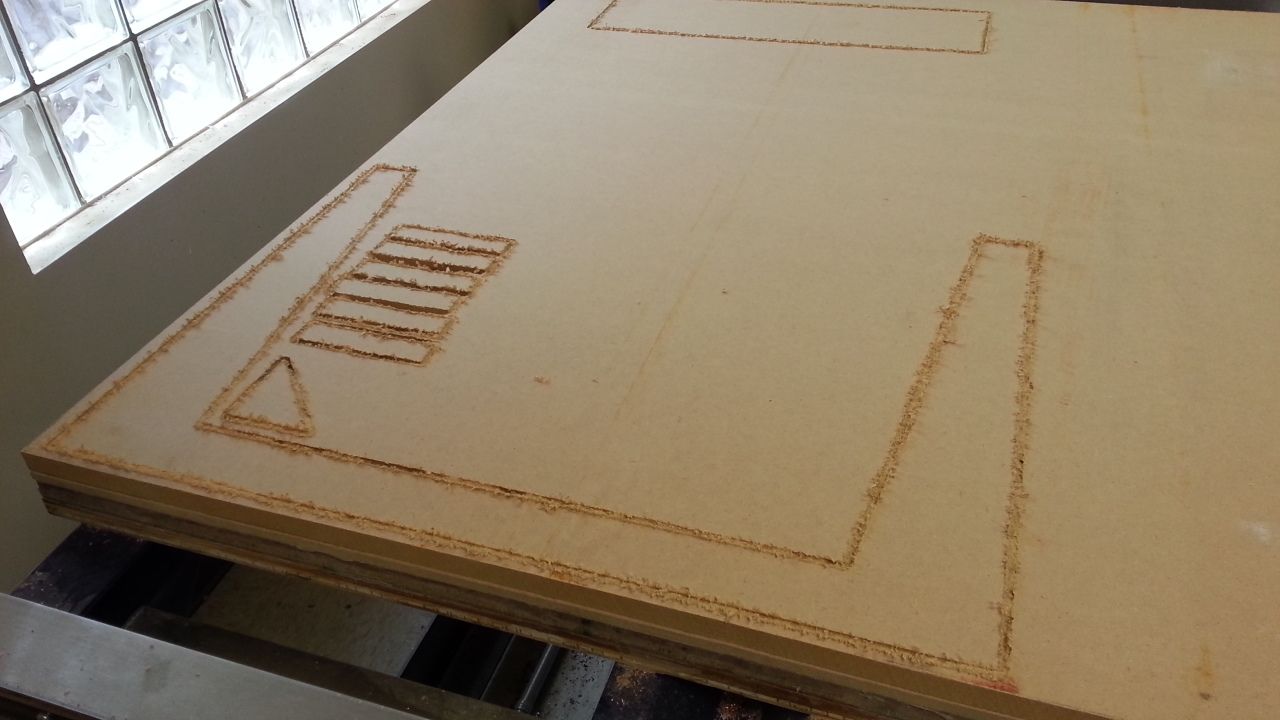
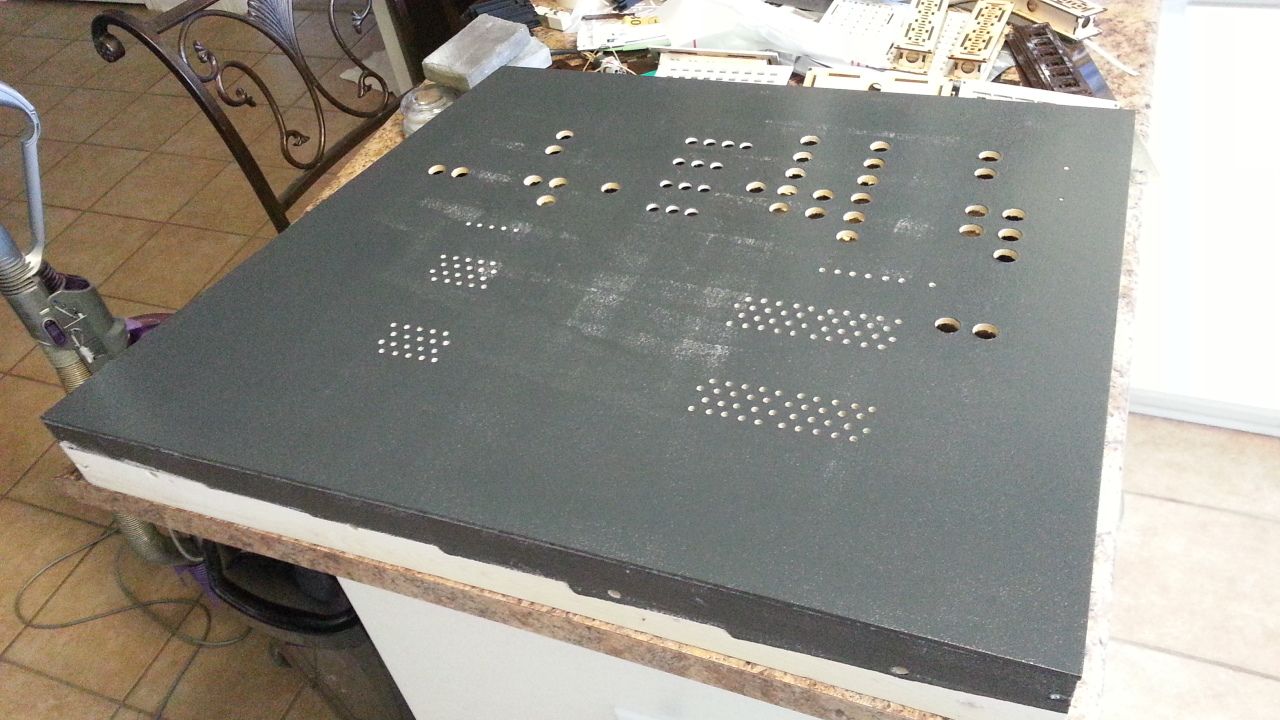
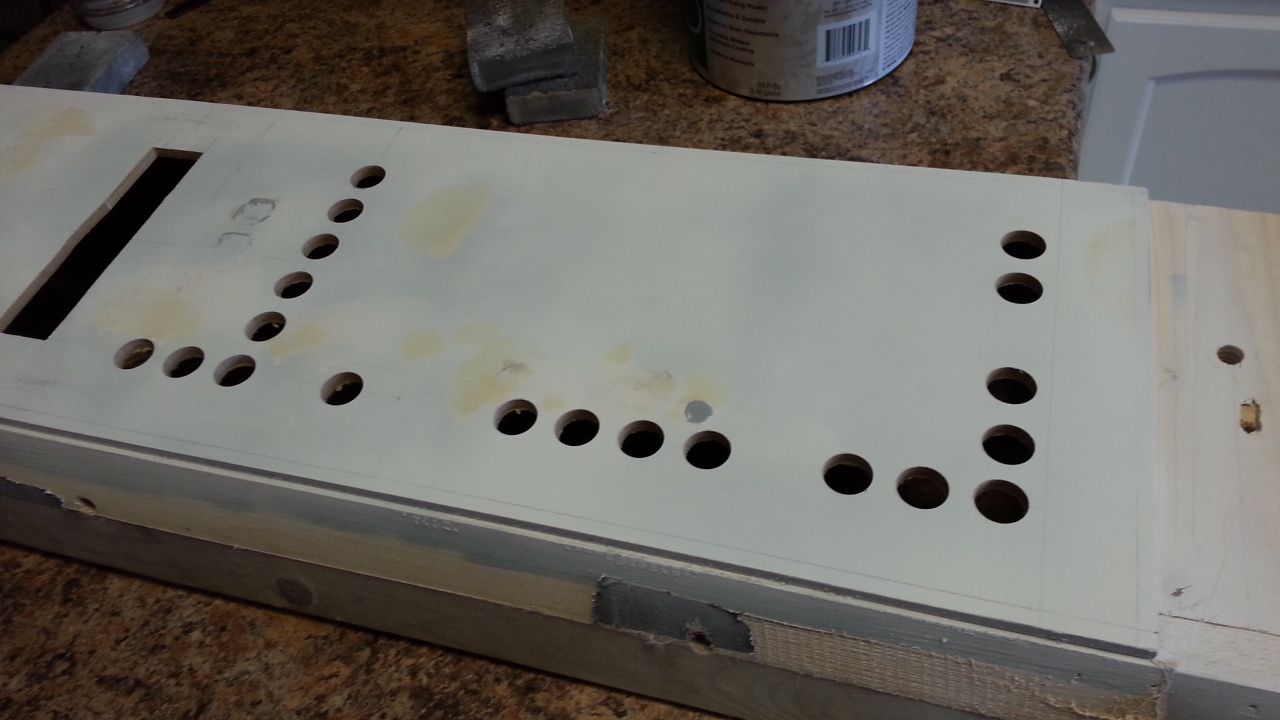
Drilling holes!
Sanding!
More sanding
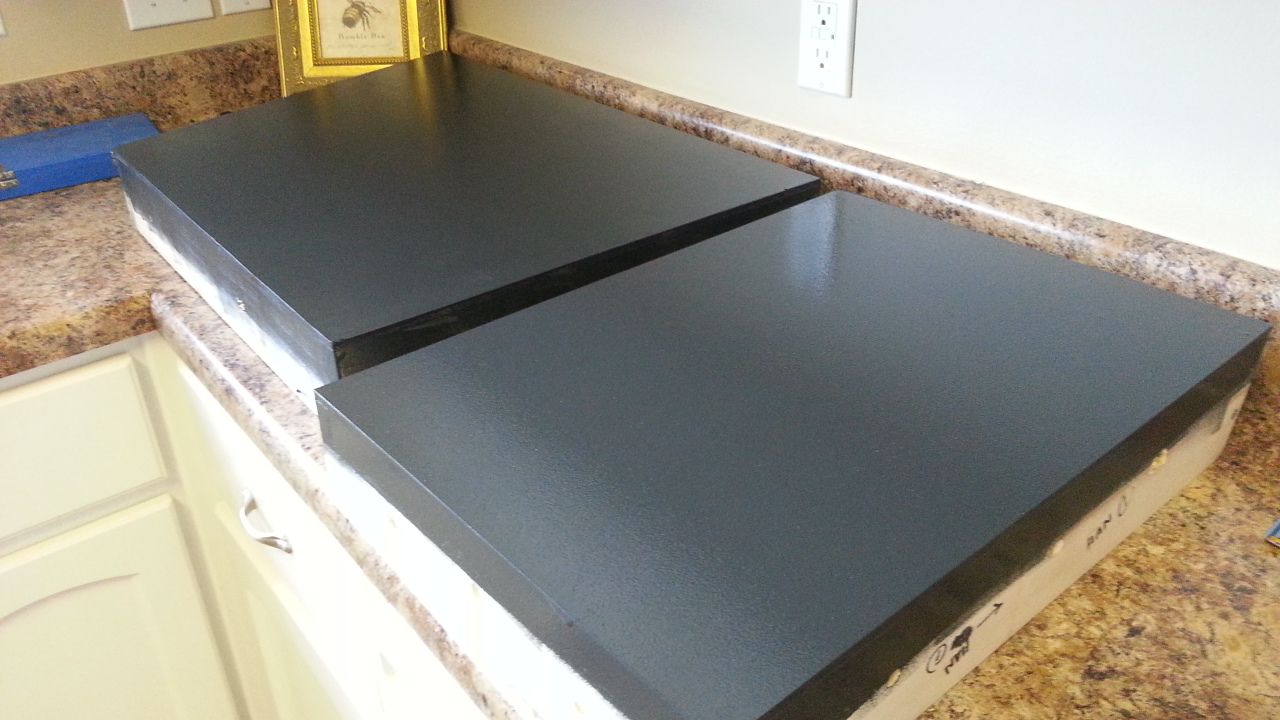
Primer
yuck!
Sealing the MDF edges with primer
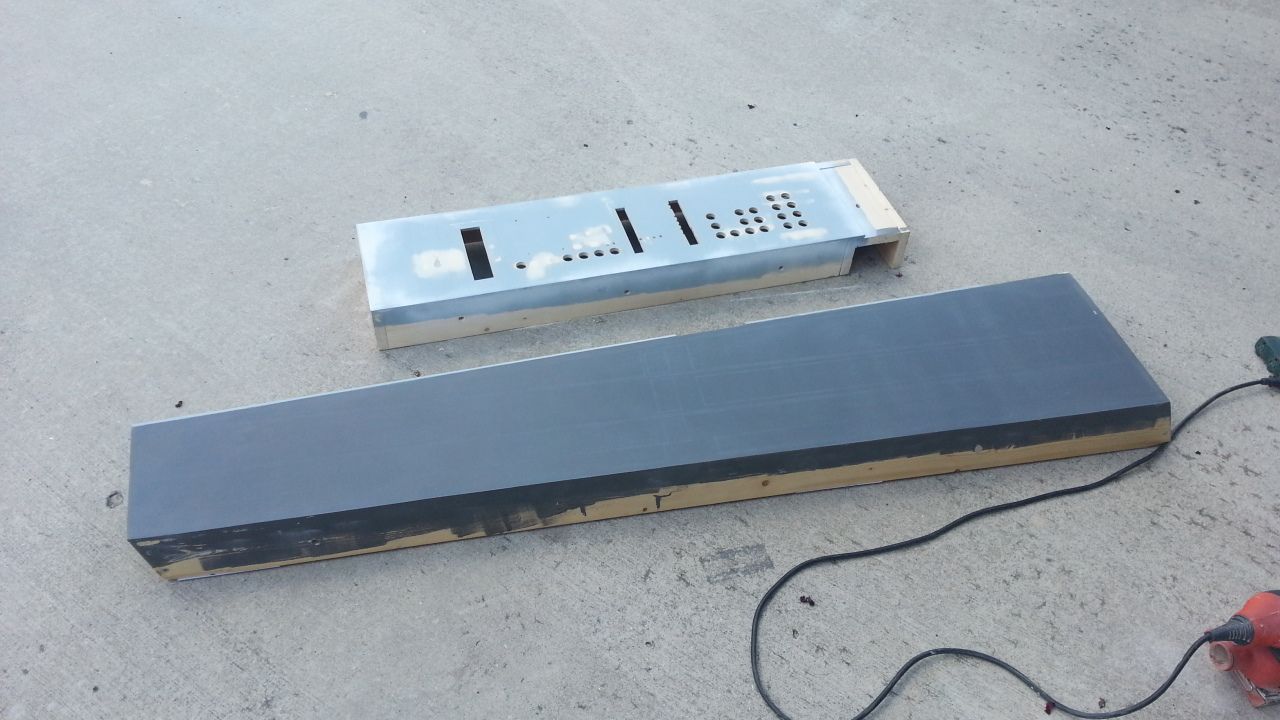
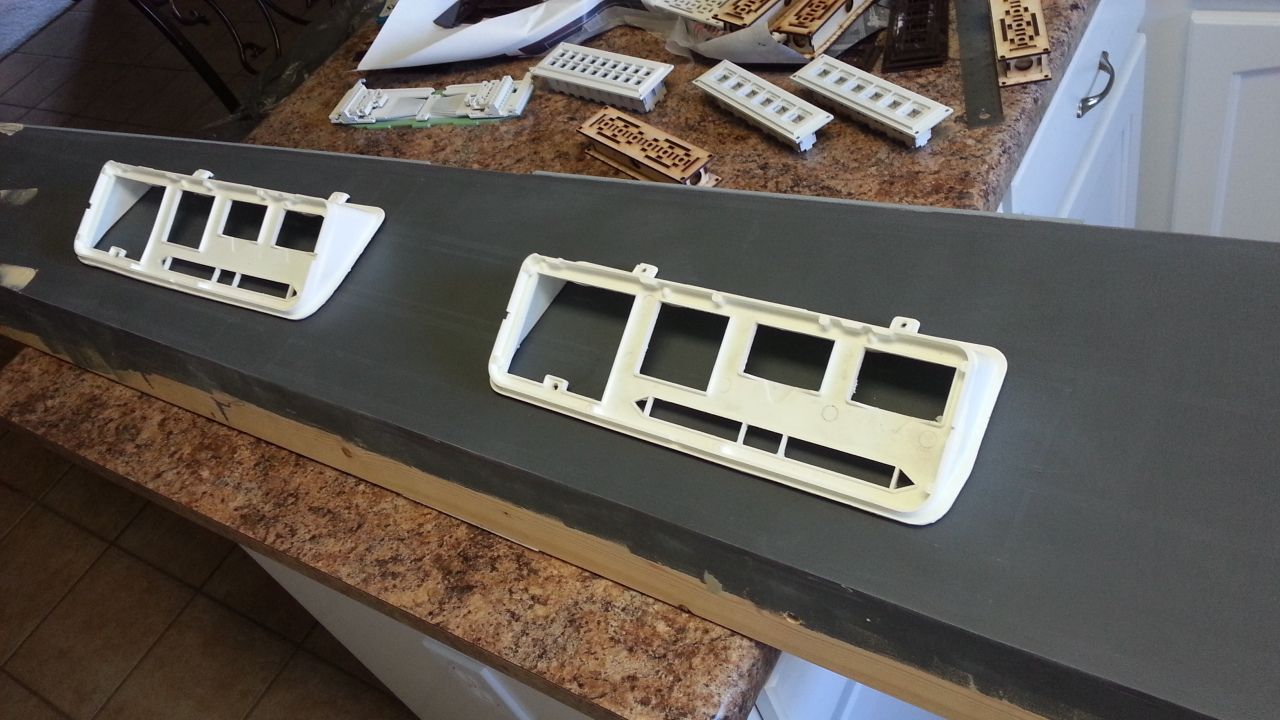
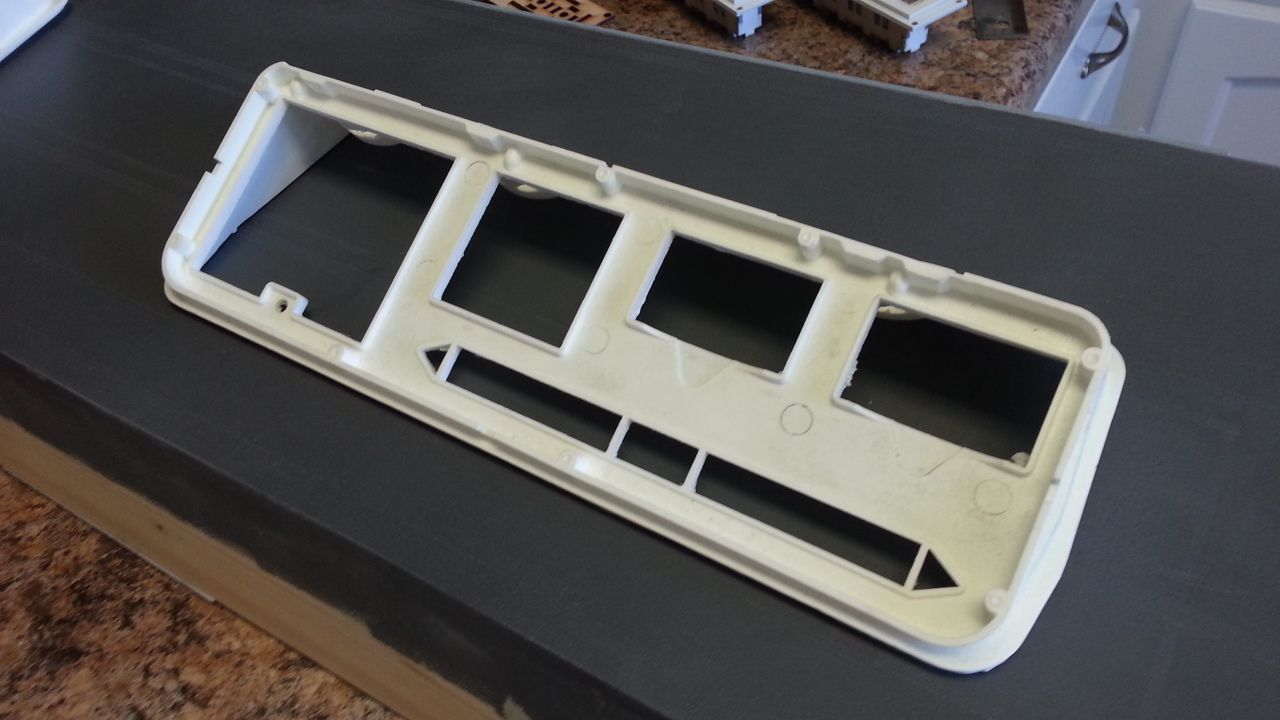
Casualty... After the last show the Volvo panels were placed at the bottom of a box where they sat until last week. I had NO IDEA they were there. They warped and cracked... BUT Darth Chromer is on the case!
")
UGH...
More Greeblies
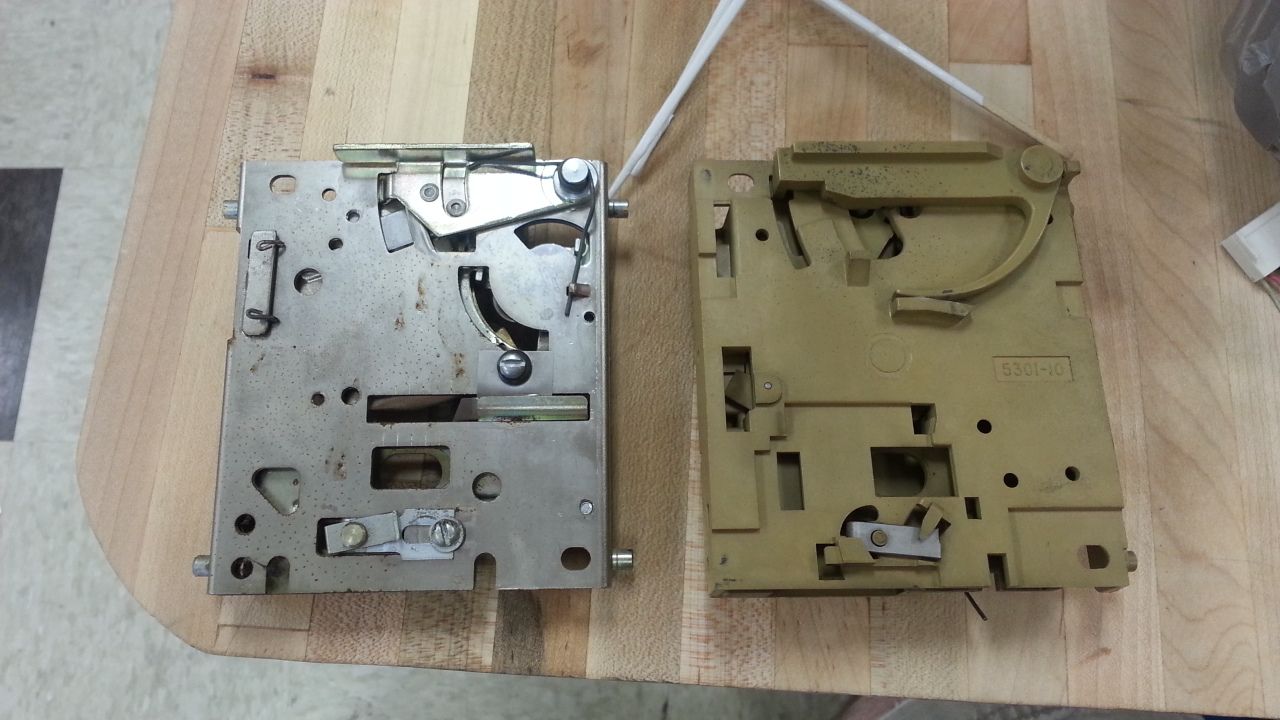
Old Meets New
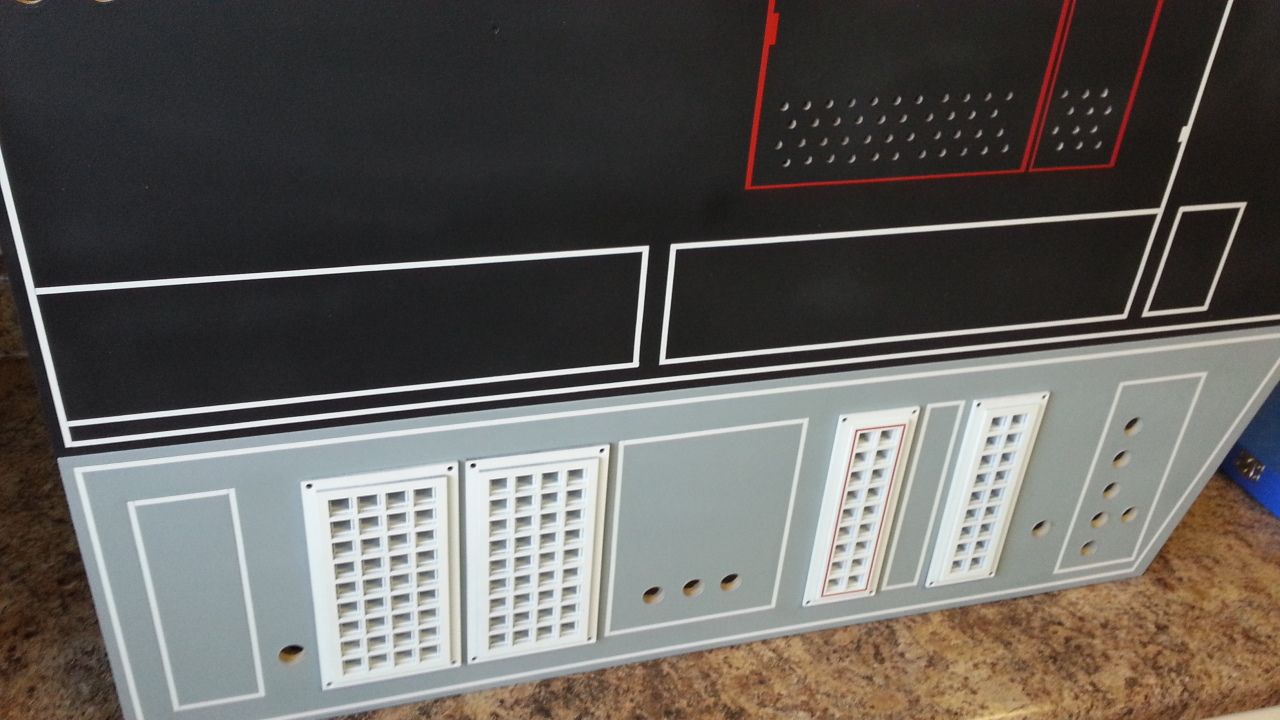
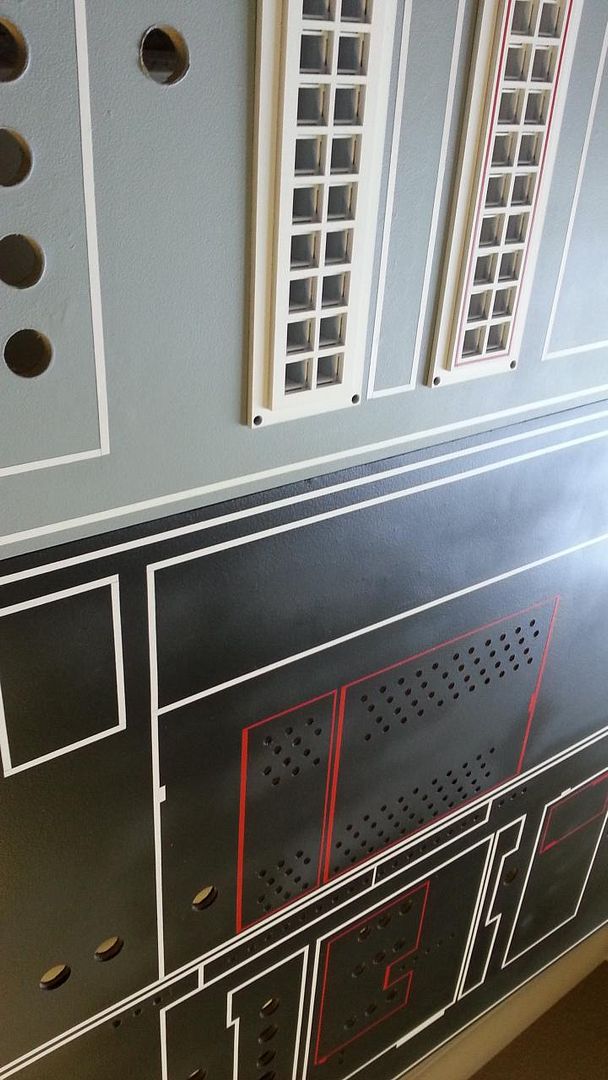
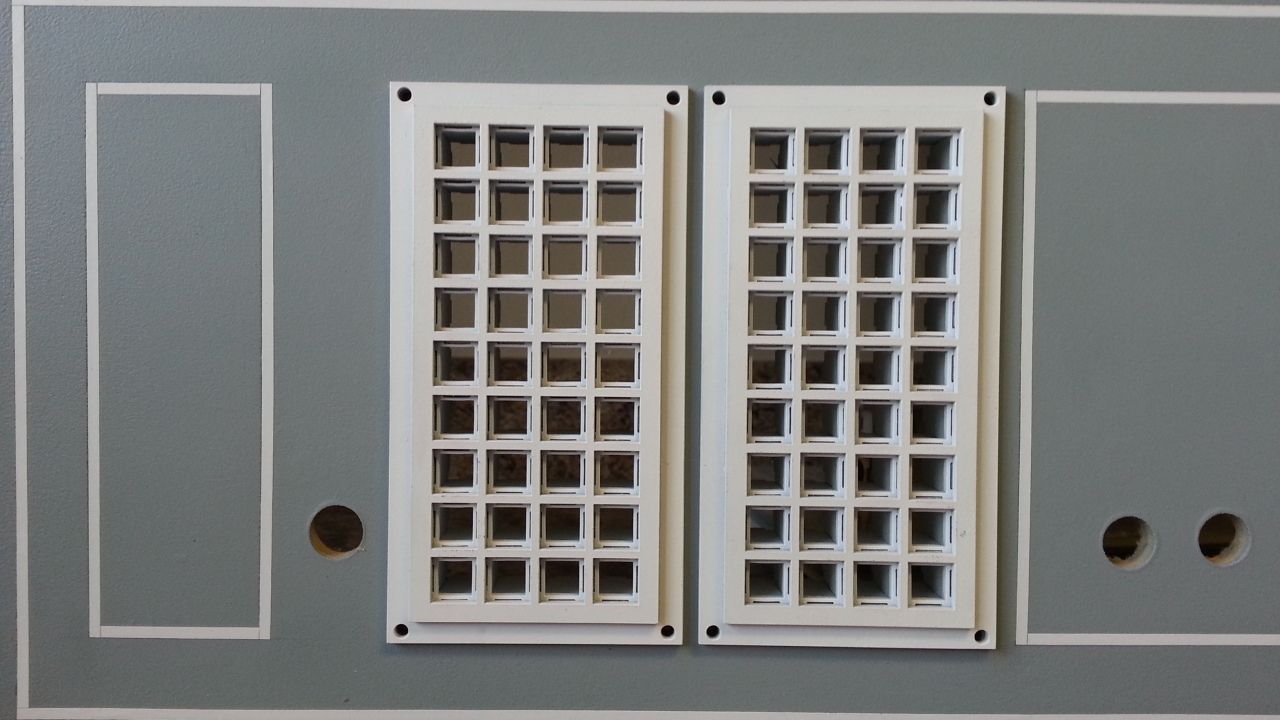
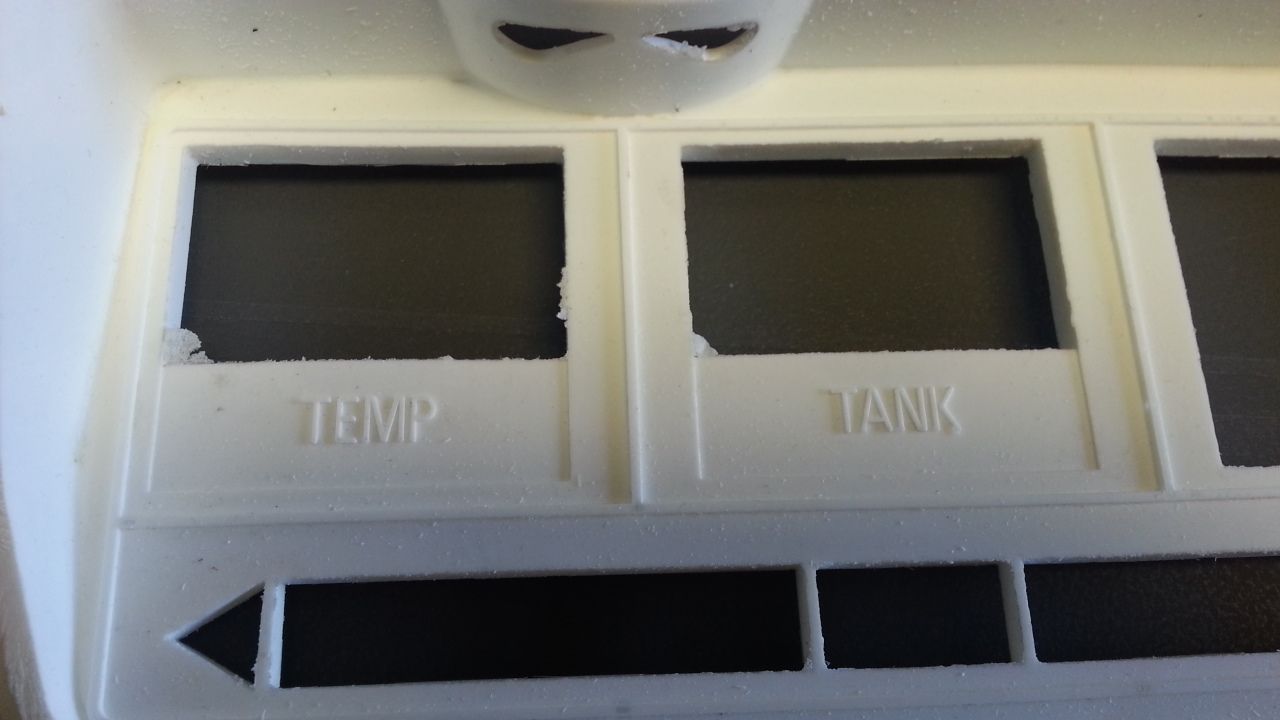
More Button Panels
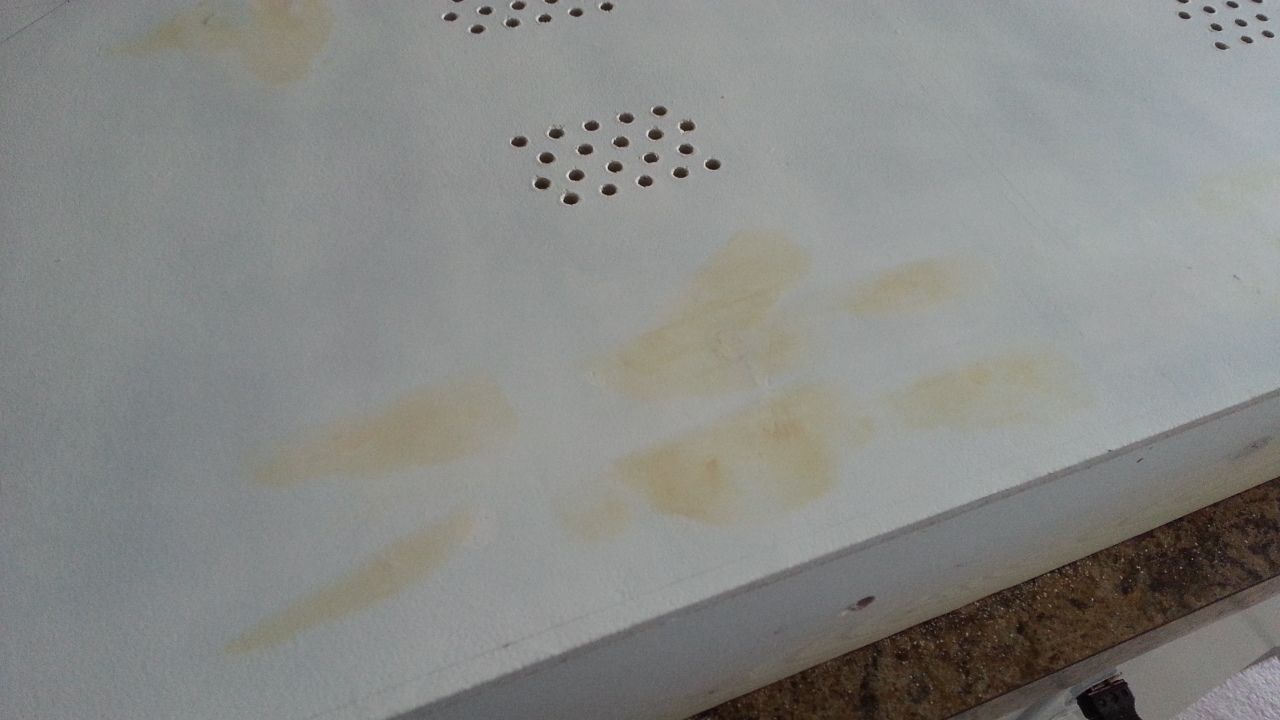
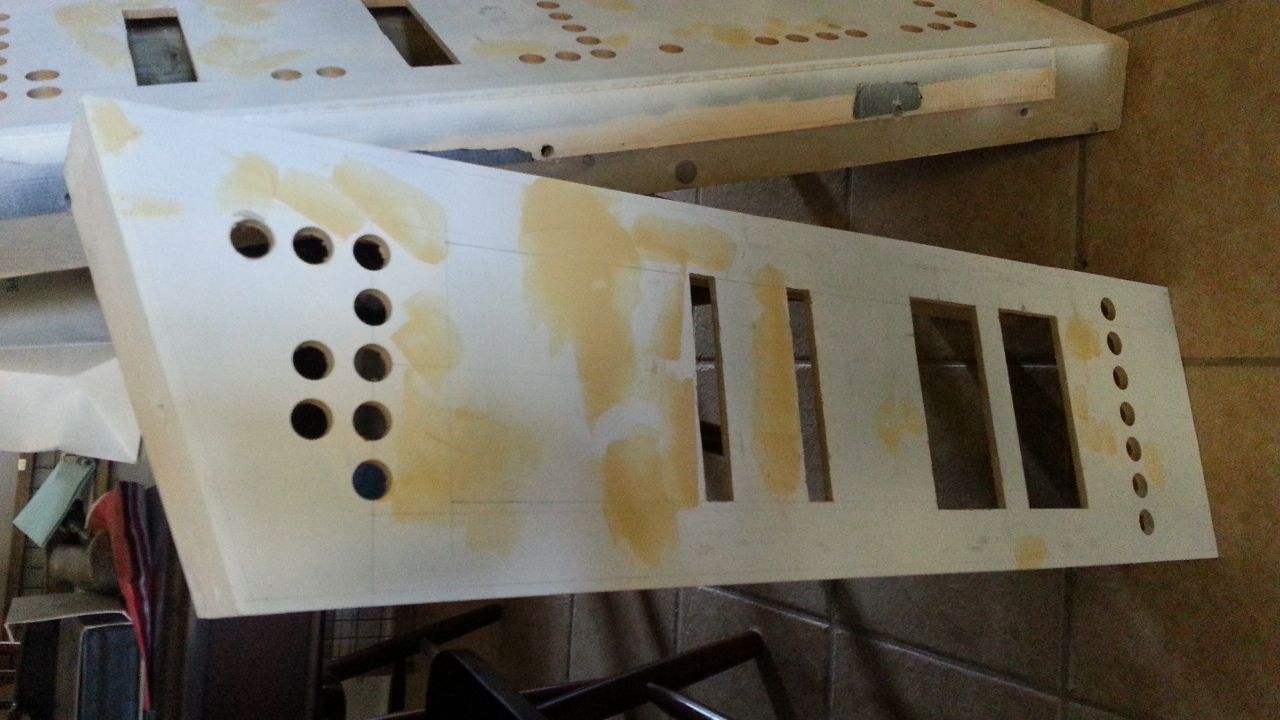
A little primer
What a MESS
Mod'ing again...
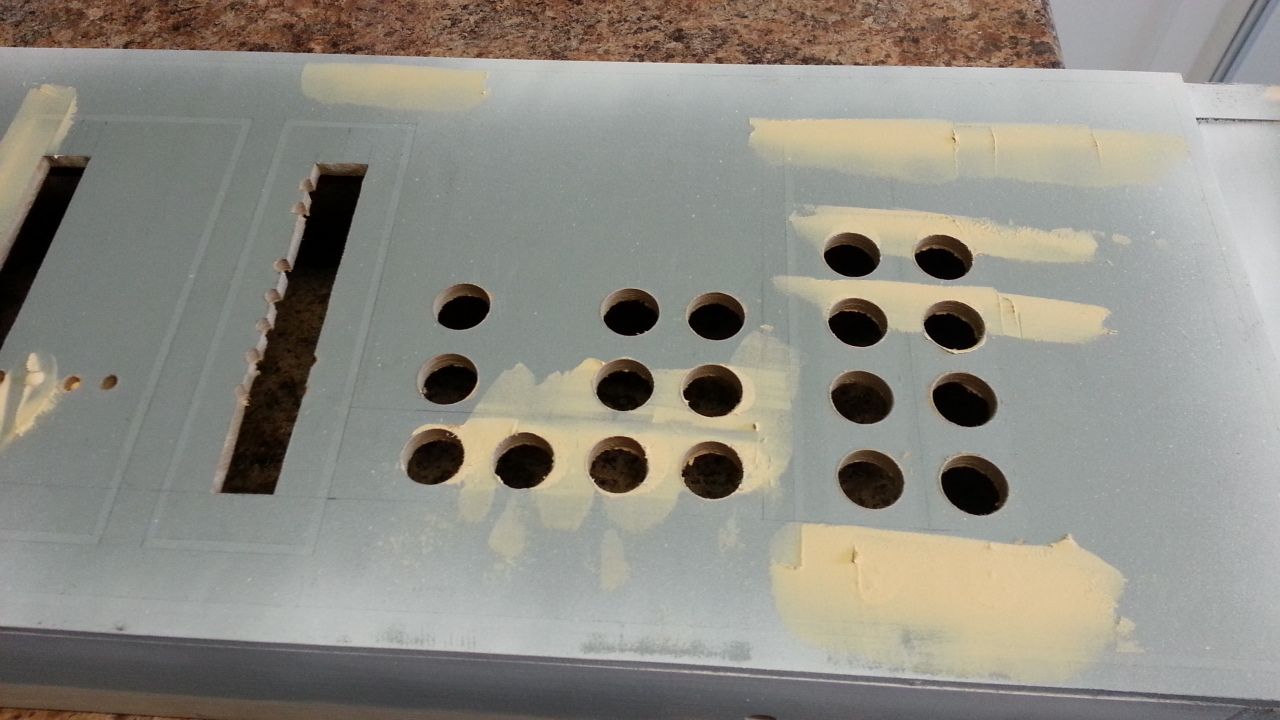
Prepping for more LED holes
YES!
I like it!
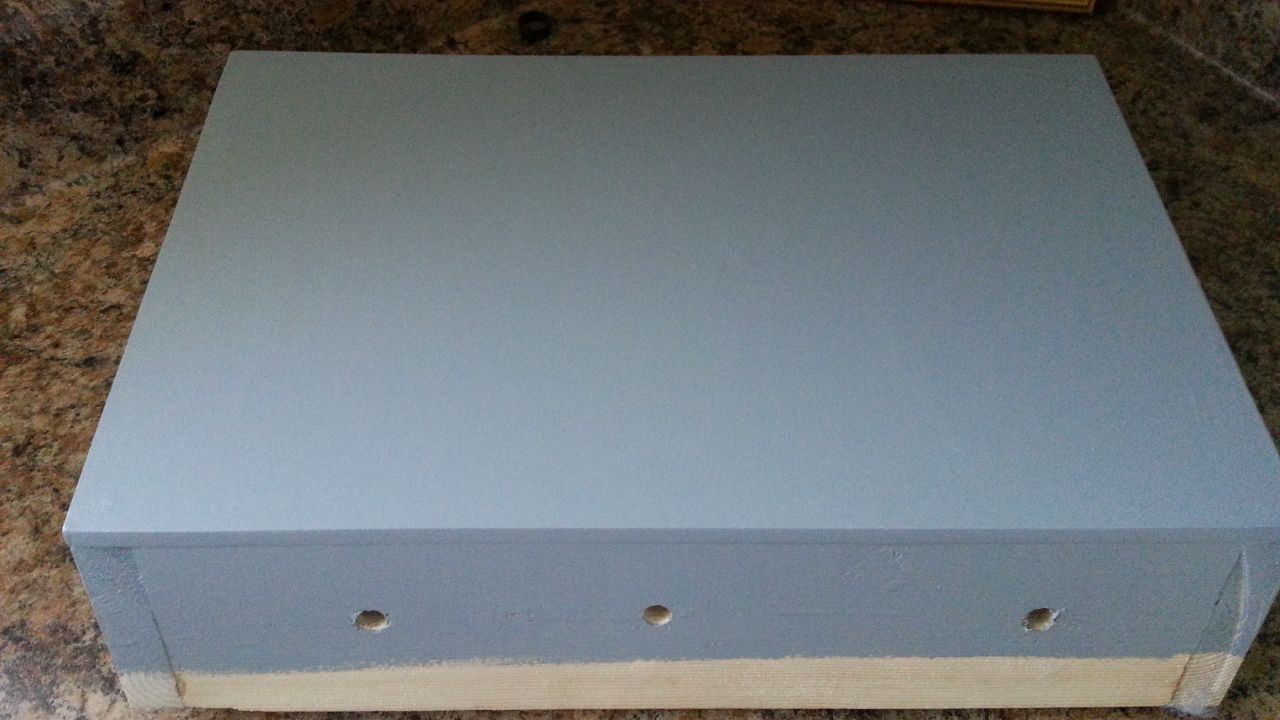
After a coat of clear satin - Done
With panels in place
Done
Done!
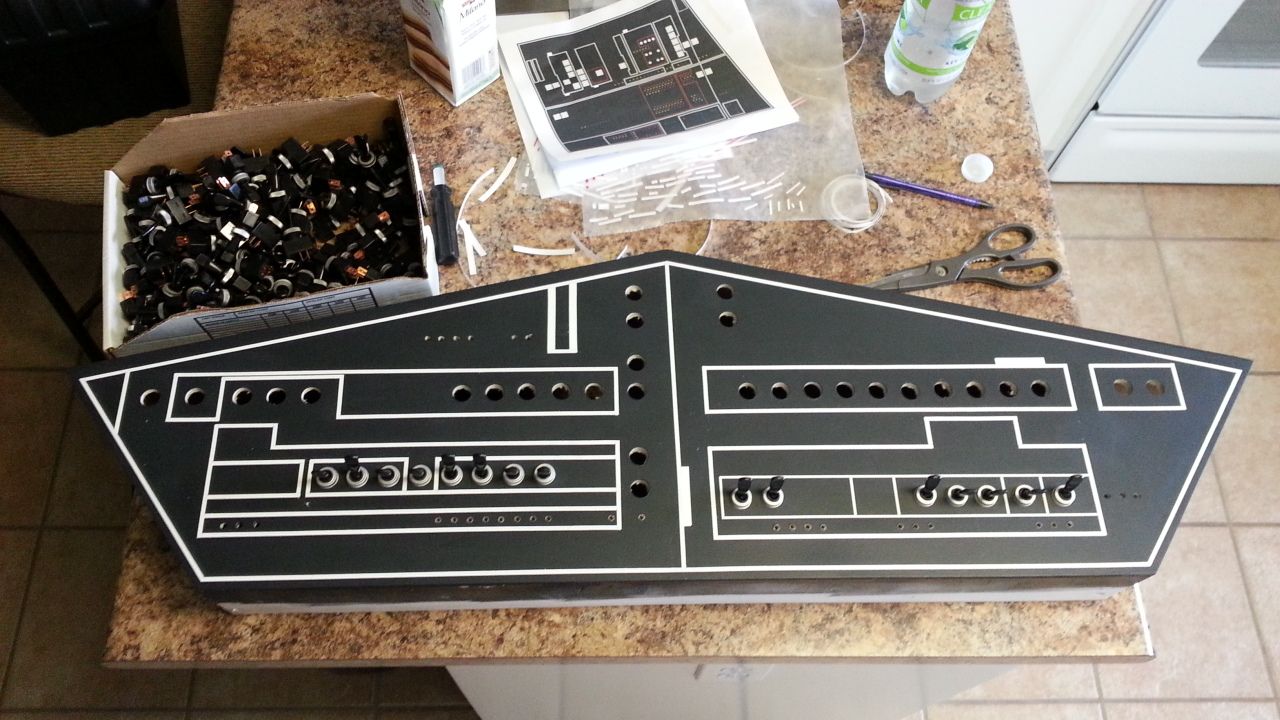
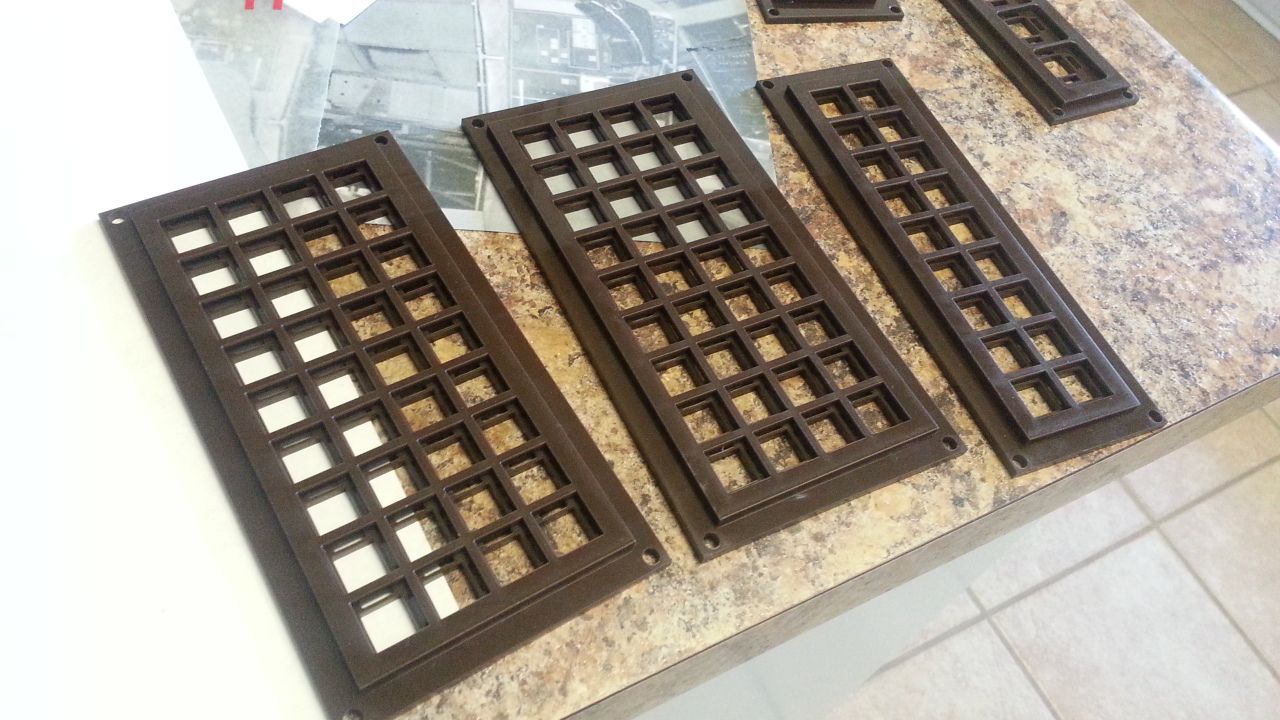
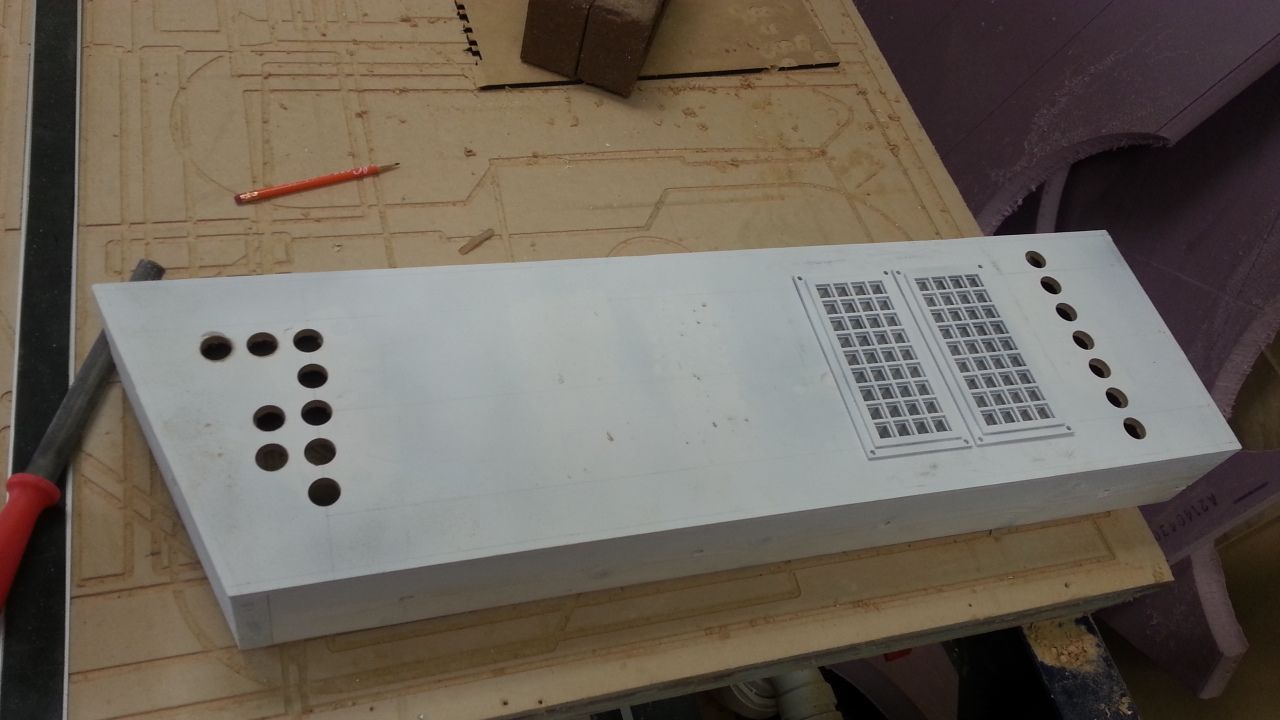
More button panels
Panels to paint black (this is IF we don't have time to make the 12" extensions)
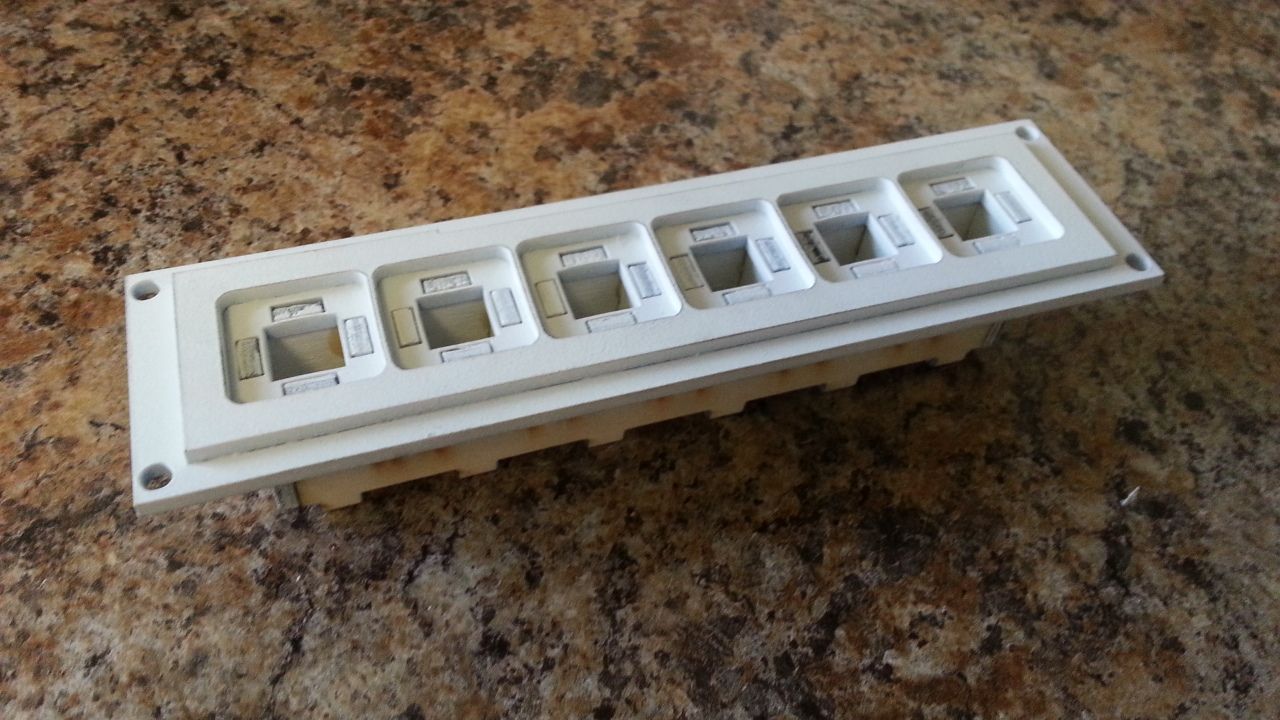
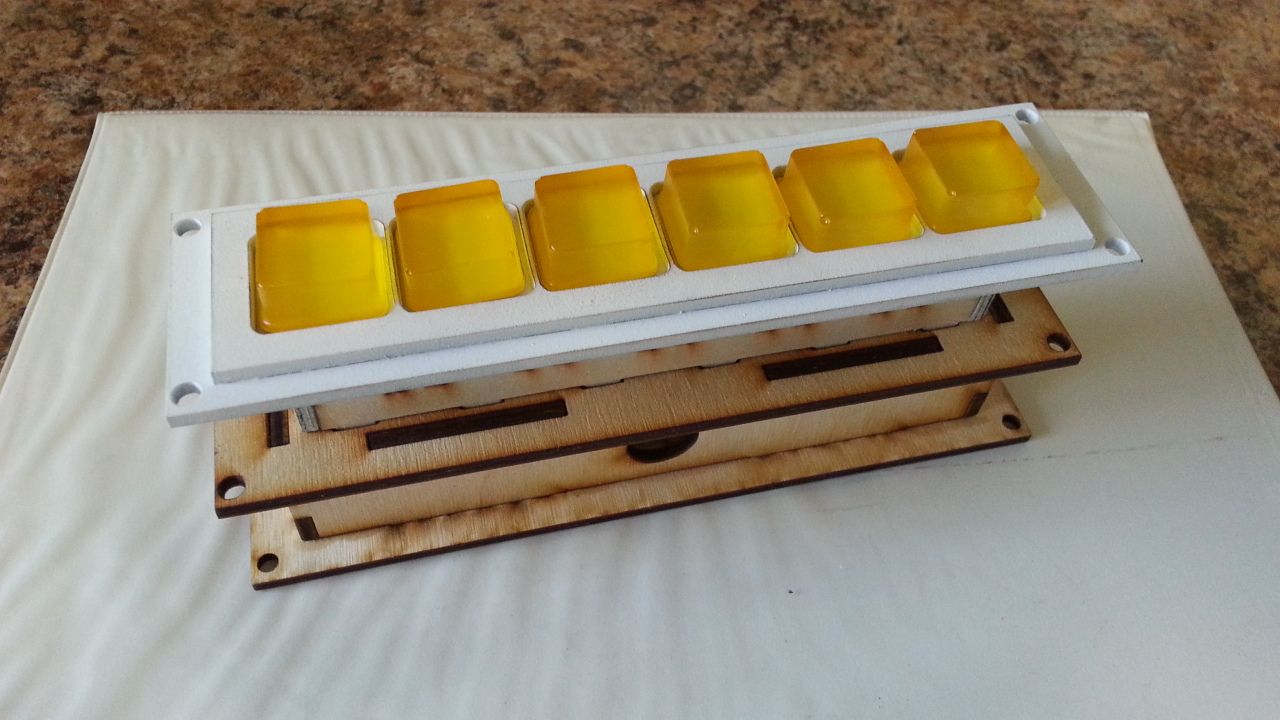
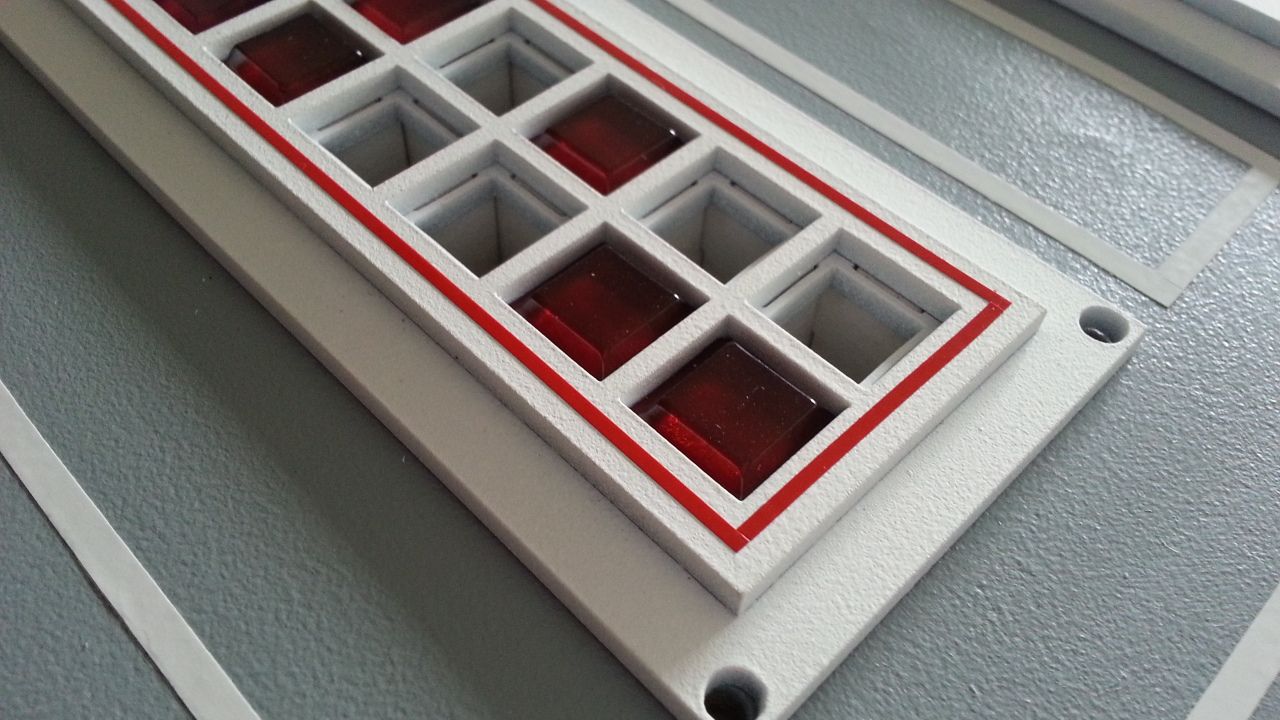
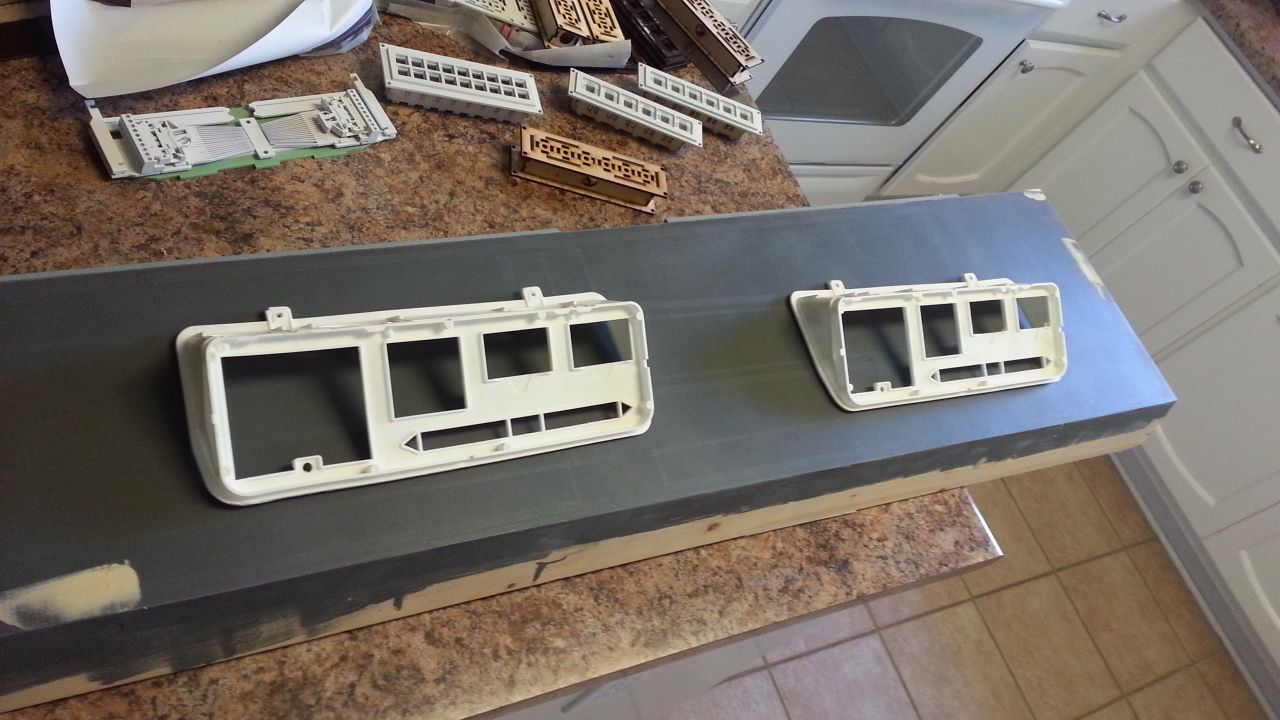
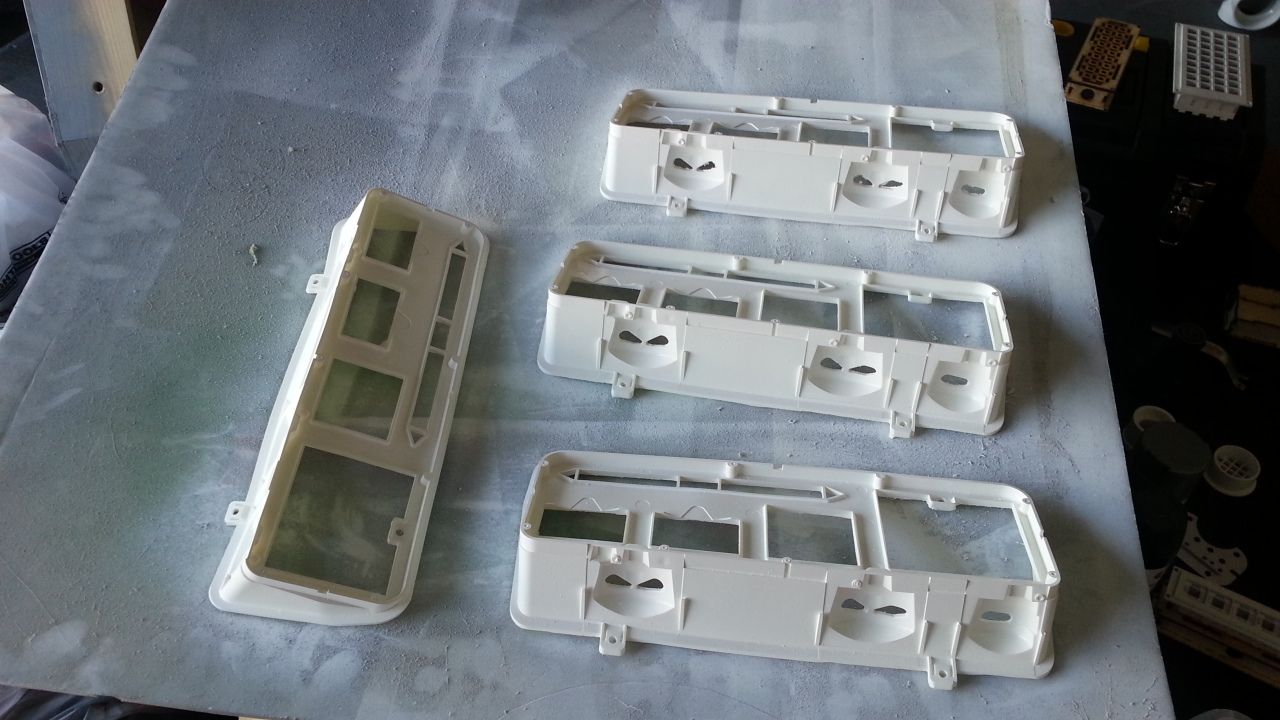
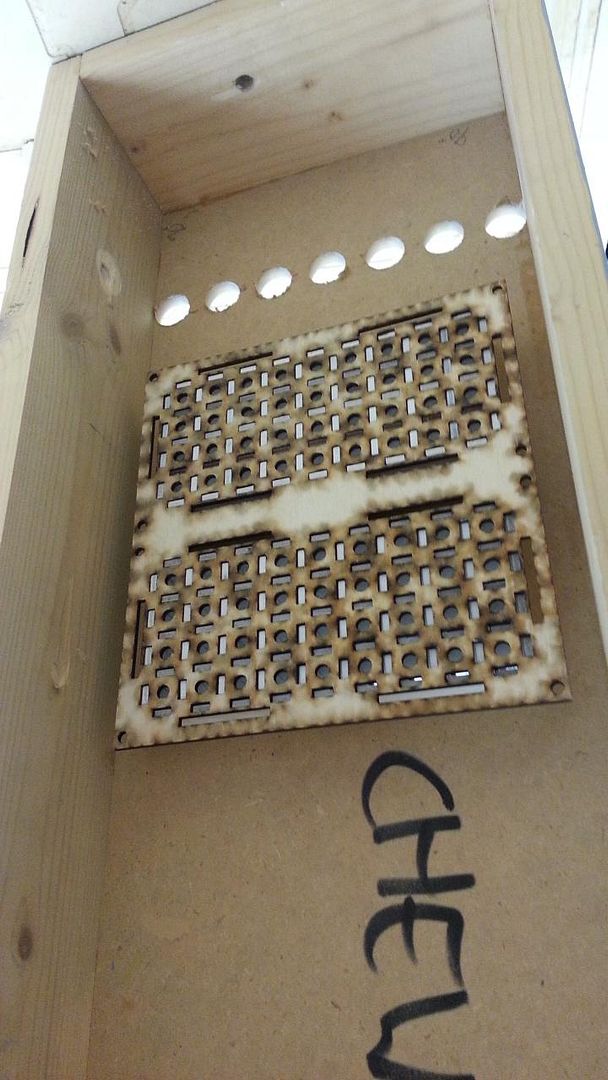
So how do these LED button panels work? First I create the panel face by laser cutting acrylic
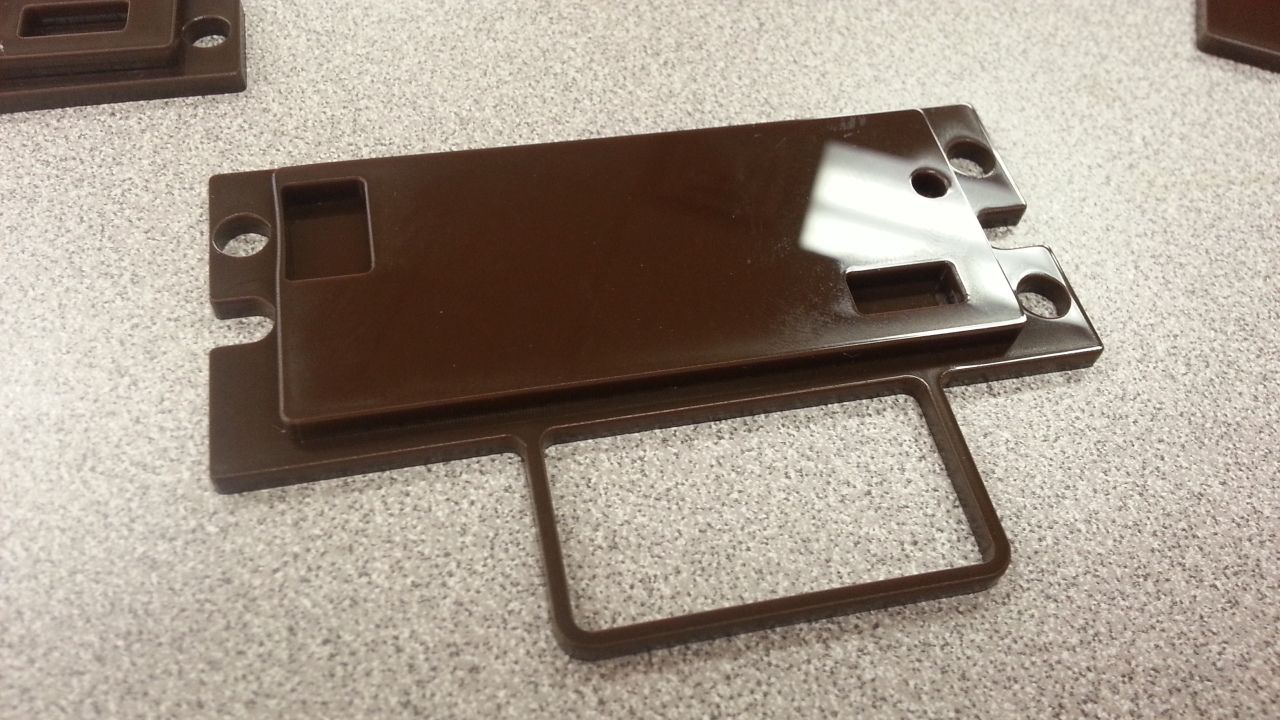
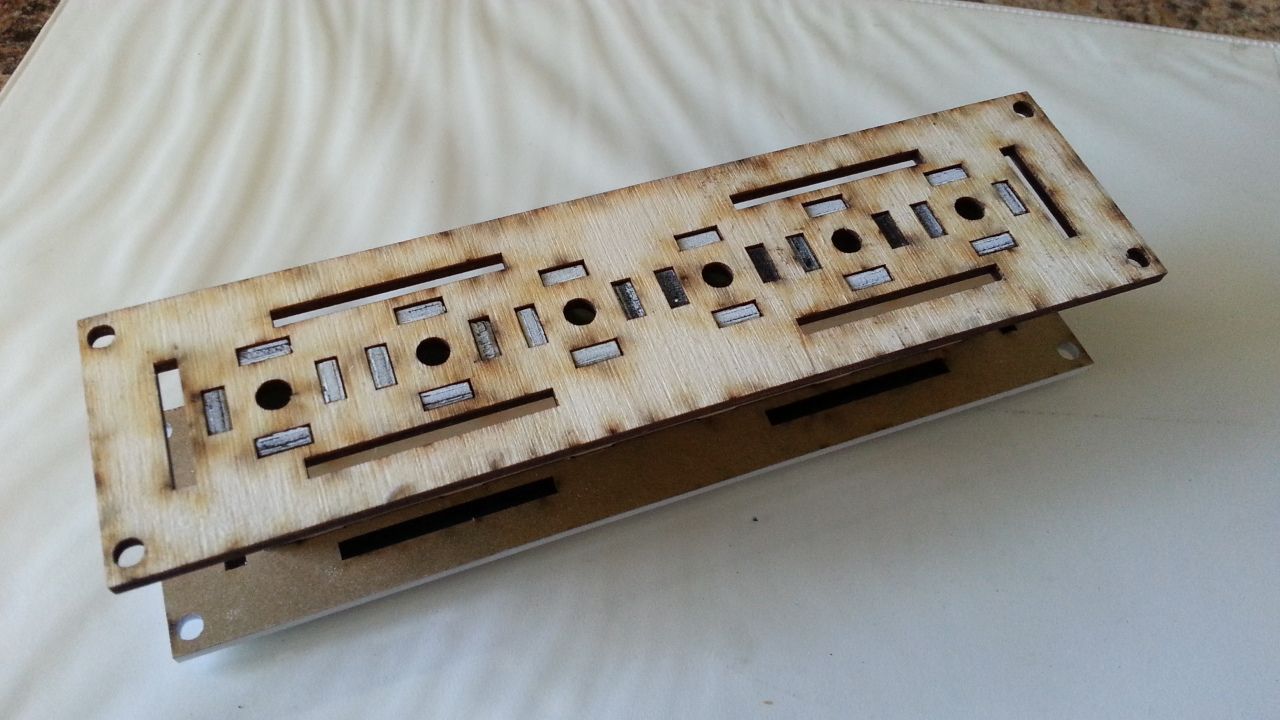
I then designed and laser cut a "puzzle" piece that is a type of "LED housing" for each individual LED. This is then attached to the acrylic panel using the same puzzle piece / tab method
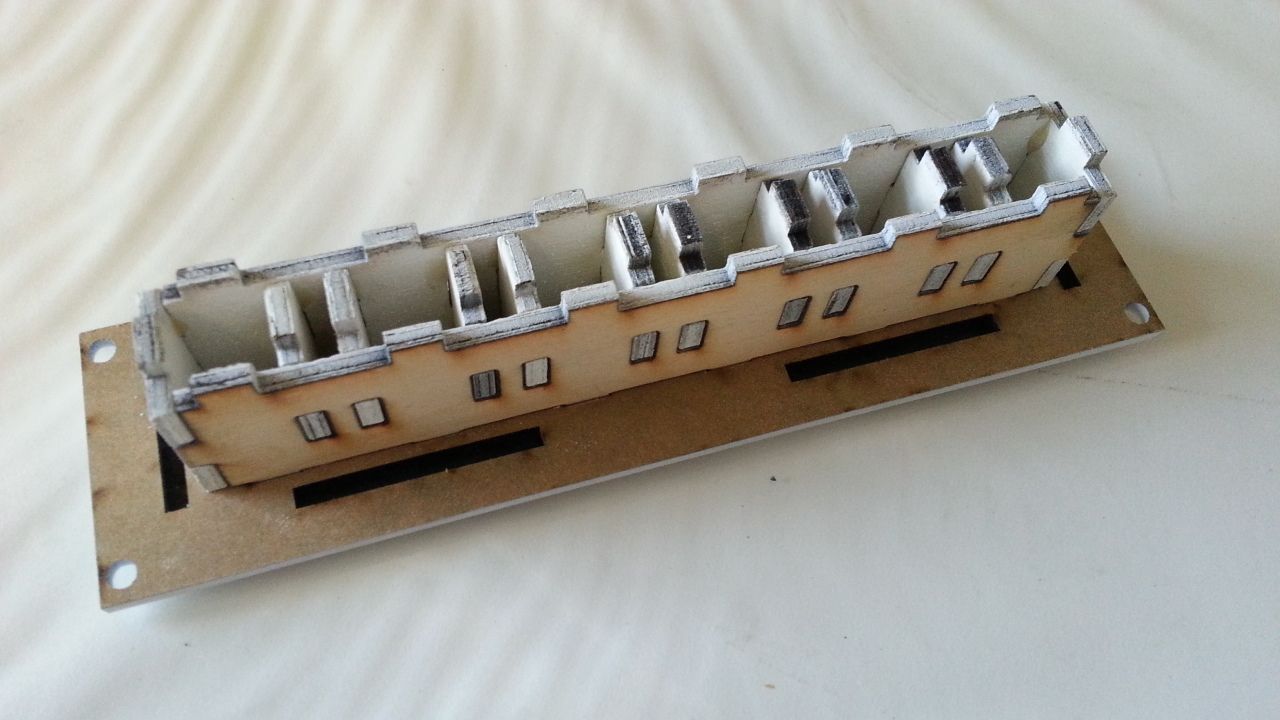
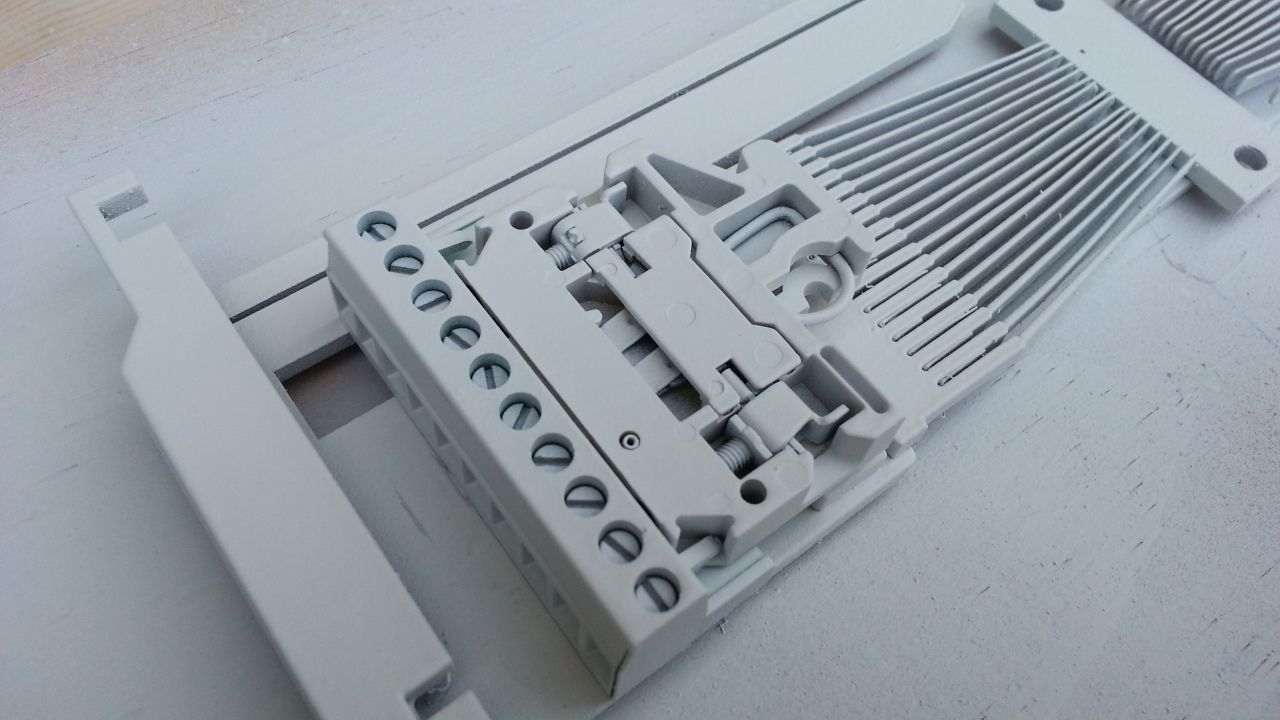
A second panel is laser cut that simply slips into place on top the LED housing. The small round 5mm holes will hold each LED in place - where hot glue is poured to keep them from slipping out of place. But what about all the wiring?
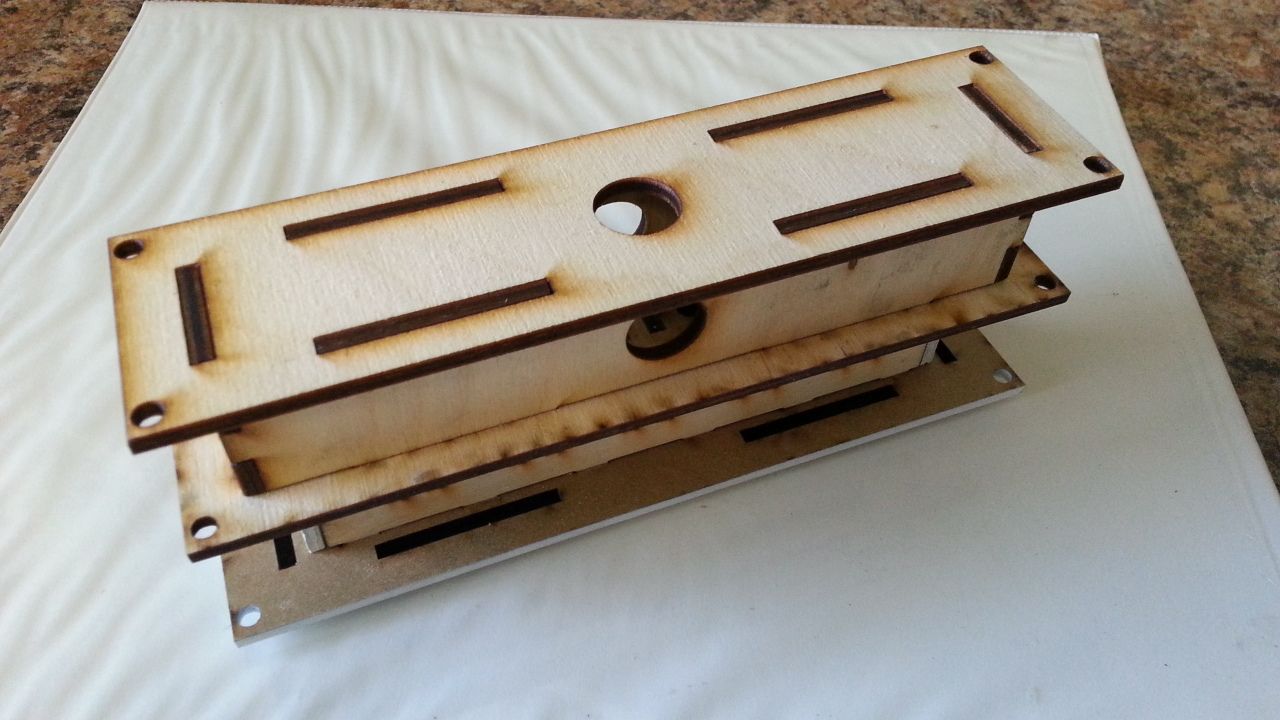
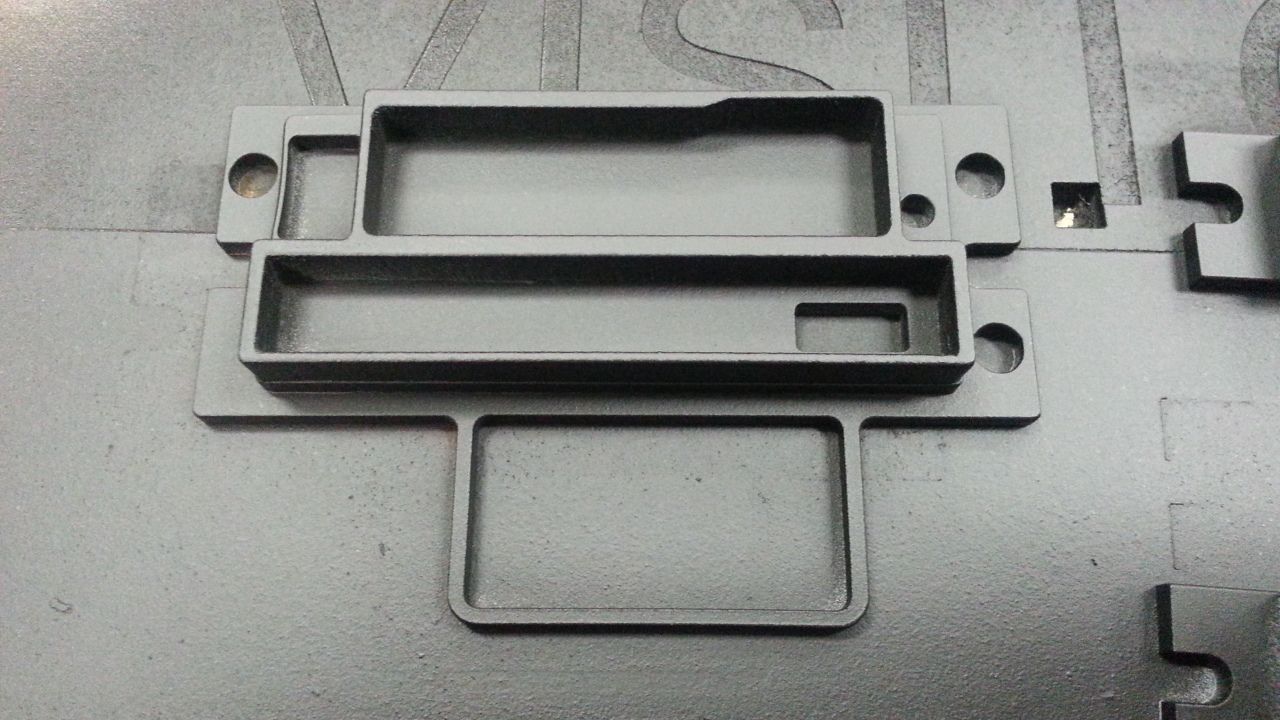
I then designed a box that fit over ALL the LED wiring coming out of the panel. Again, attaching to the panel using the same "tab" method
When in place, all the wiring is protected and the can be directed using any of the holes on the sides. If you note, each of the flat panels has a small holes in the corner. Everything will be bolted to the main panel keeping the entire unit in place (more pics later)
Whew... Side view (Note how the corner bolt holes line up perfectly)
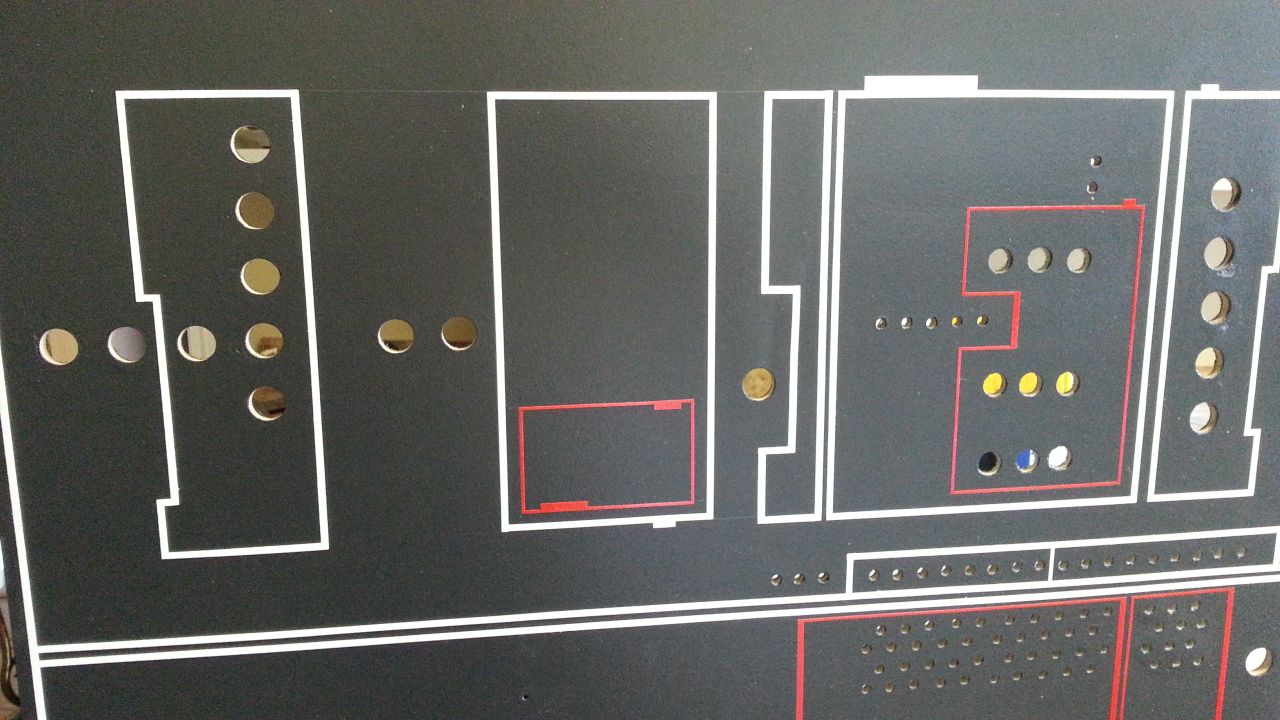
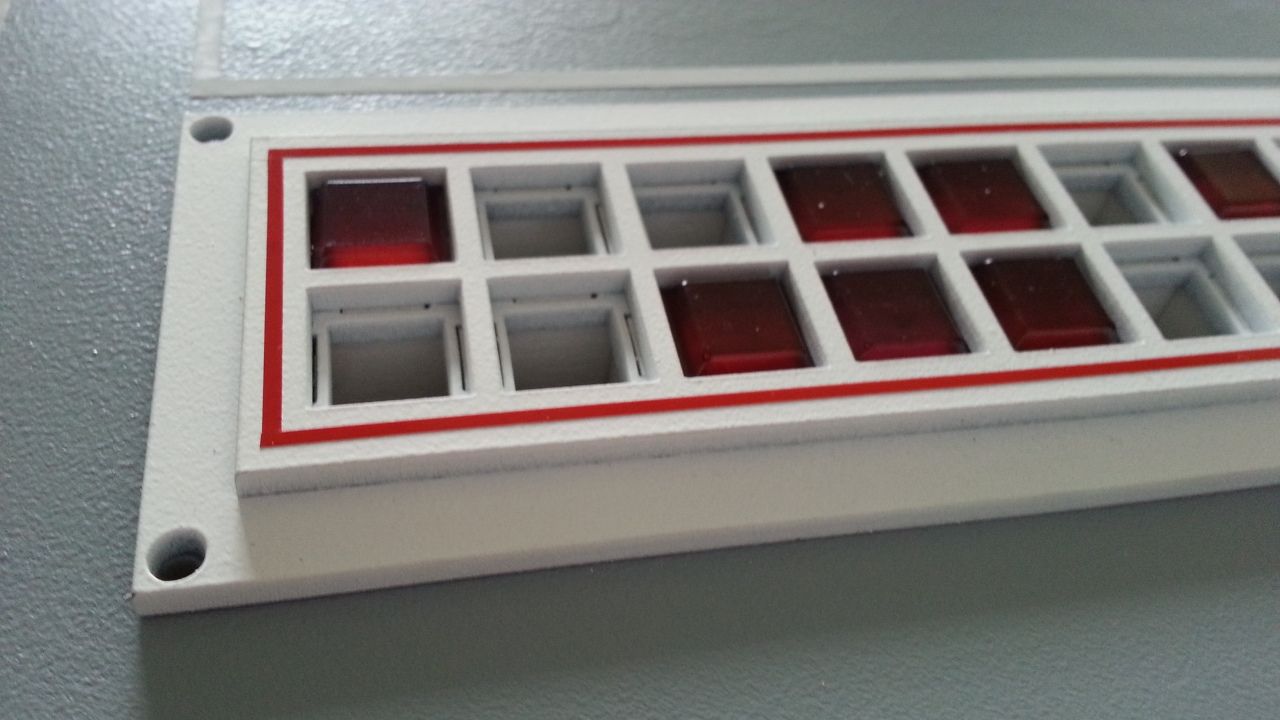
MMMMM Gummy Buttons. These will be back lit using a yellow LED to further enhance the yellow button - some will also flash
Panel Done!
Love the single red pin stripe
Waiting for pin stripes and greeblies
Greeblie panel
Primer added
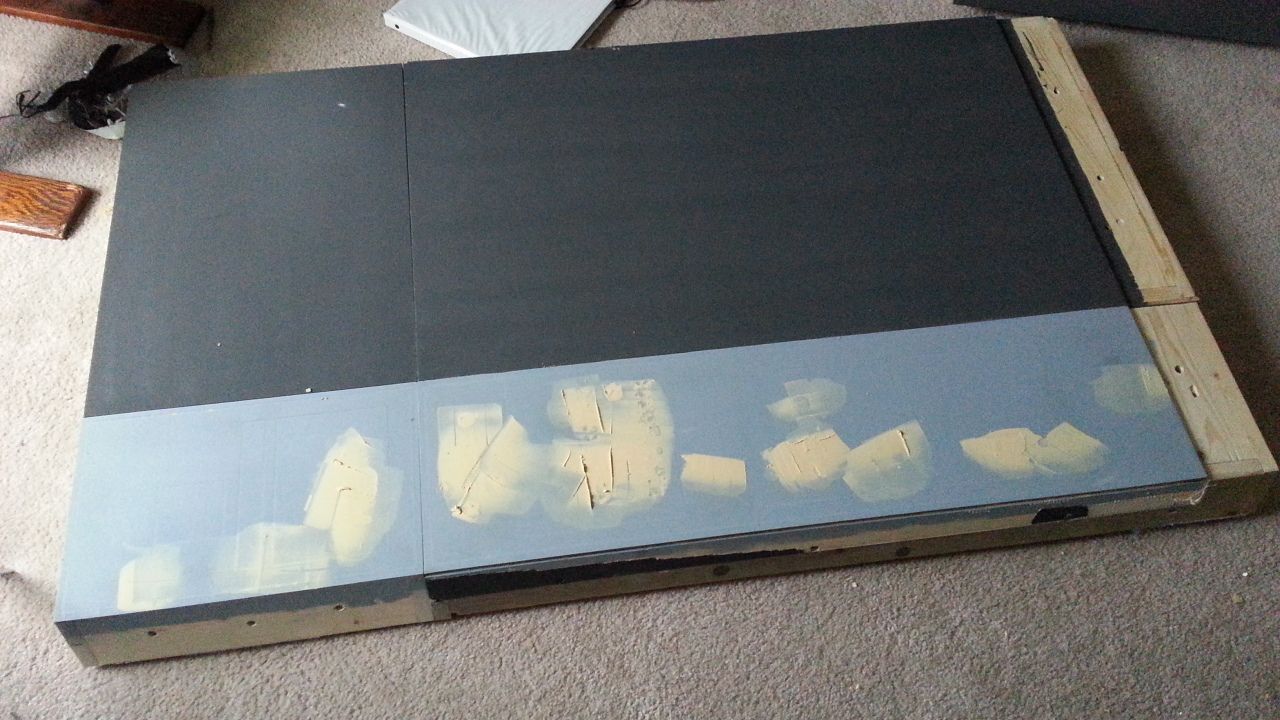
More filler
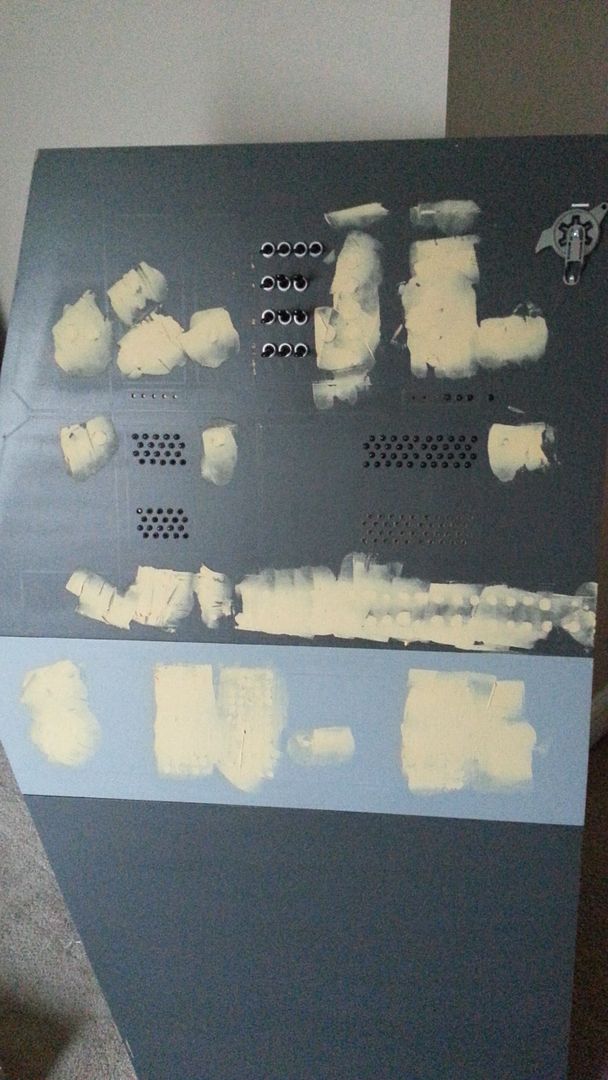
HMMMM... More Gummy Buttons!
Picked up this little greeblie for 45 bucks!
What's next you ask?
Sorry for the wait, Gang! It was killing me too!
More to Follow!