You are using an out of date browser. It may not display this or other websites correctly.
You should upgrade or use an alternative browser.
You should upgrade or use an alternative browser.
1:1 Millennium Falcon Cockpit Replica - Group Build
- Thread starter SteveStarkiller
- Start date

Isn't that awesome! And it looks the part as well!
- - - Updated - - -
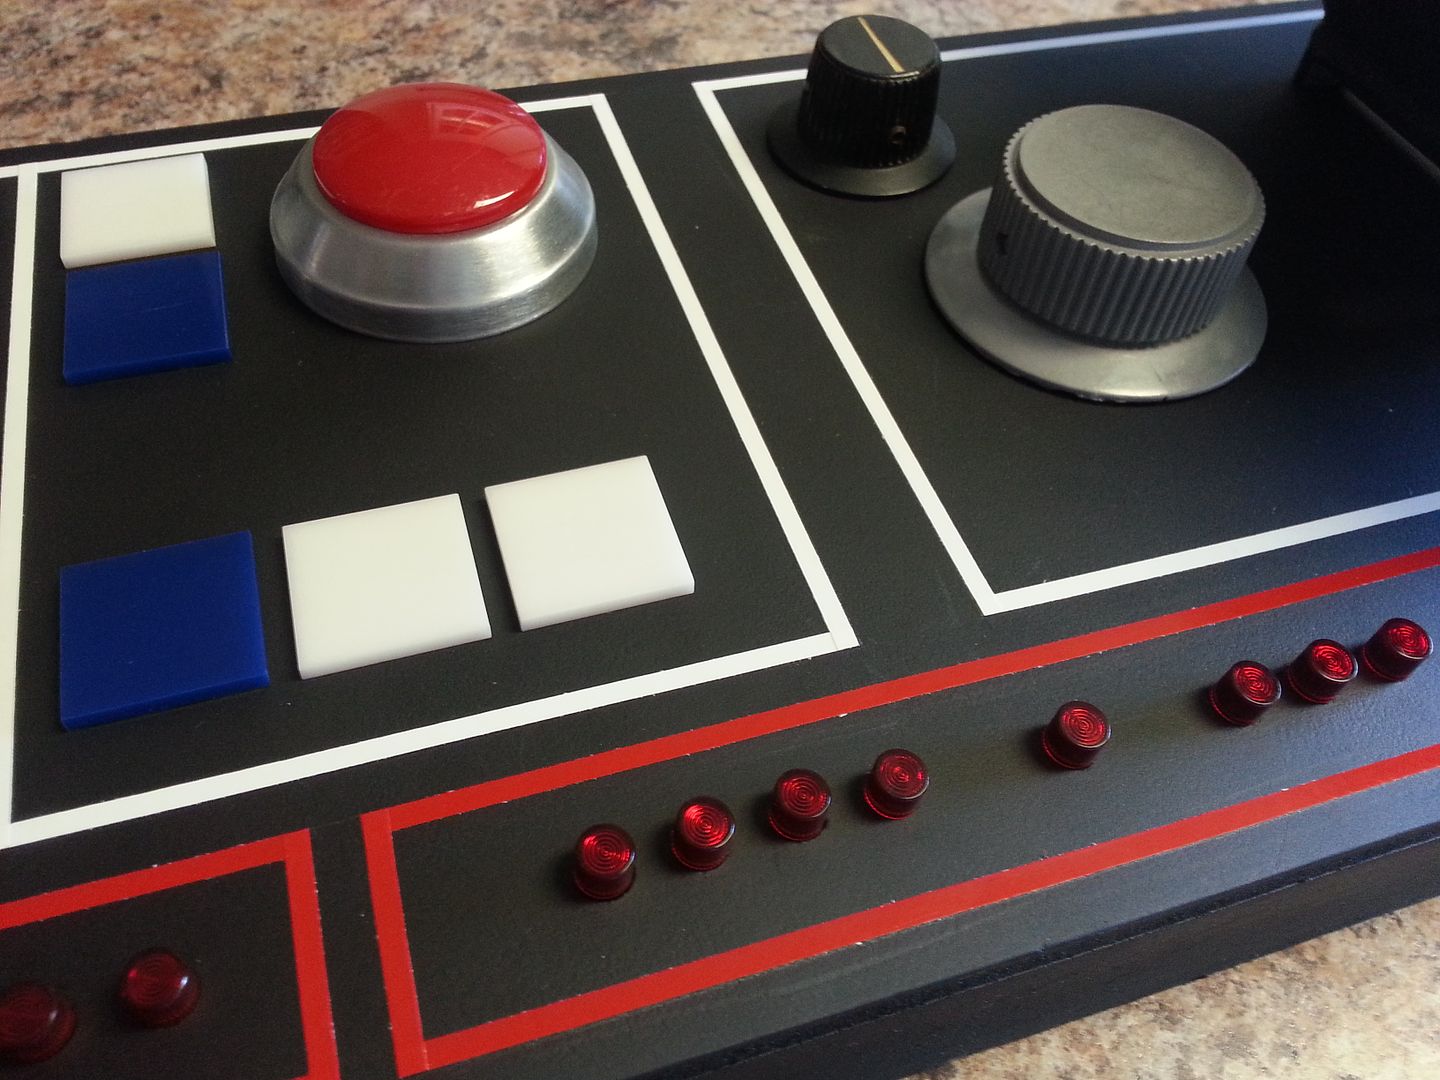
Those big red buttons really make you want to press them.
Yeah... kinda like a big arcade button or the "That Was Easy" button!
")
- - - Updated - - -
OH WOW! That is SO pretty! Are you going cast them?
Oh yes they are for casting! I've never tried a 2 part mold so it's a good excuse to get covered in silicone lol.
I can't agree more! Speaking of two part mold - we just cast our first matte box! It looks awesome! Pics coming!
Get to work!
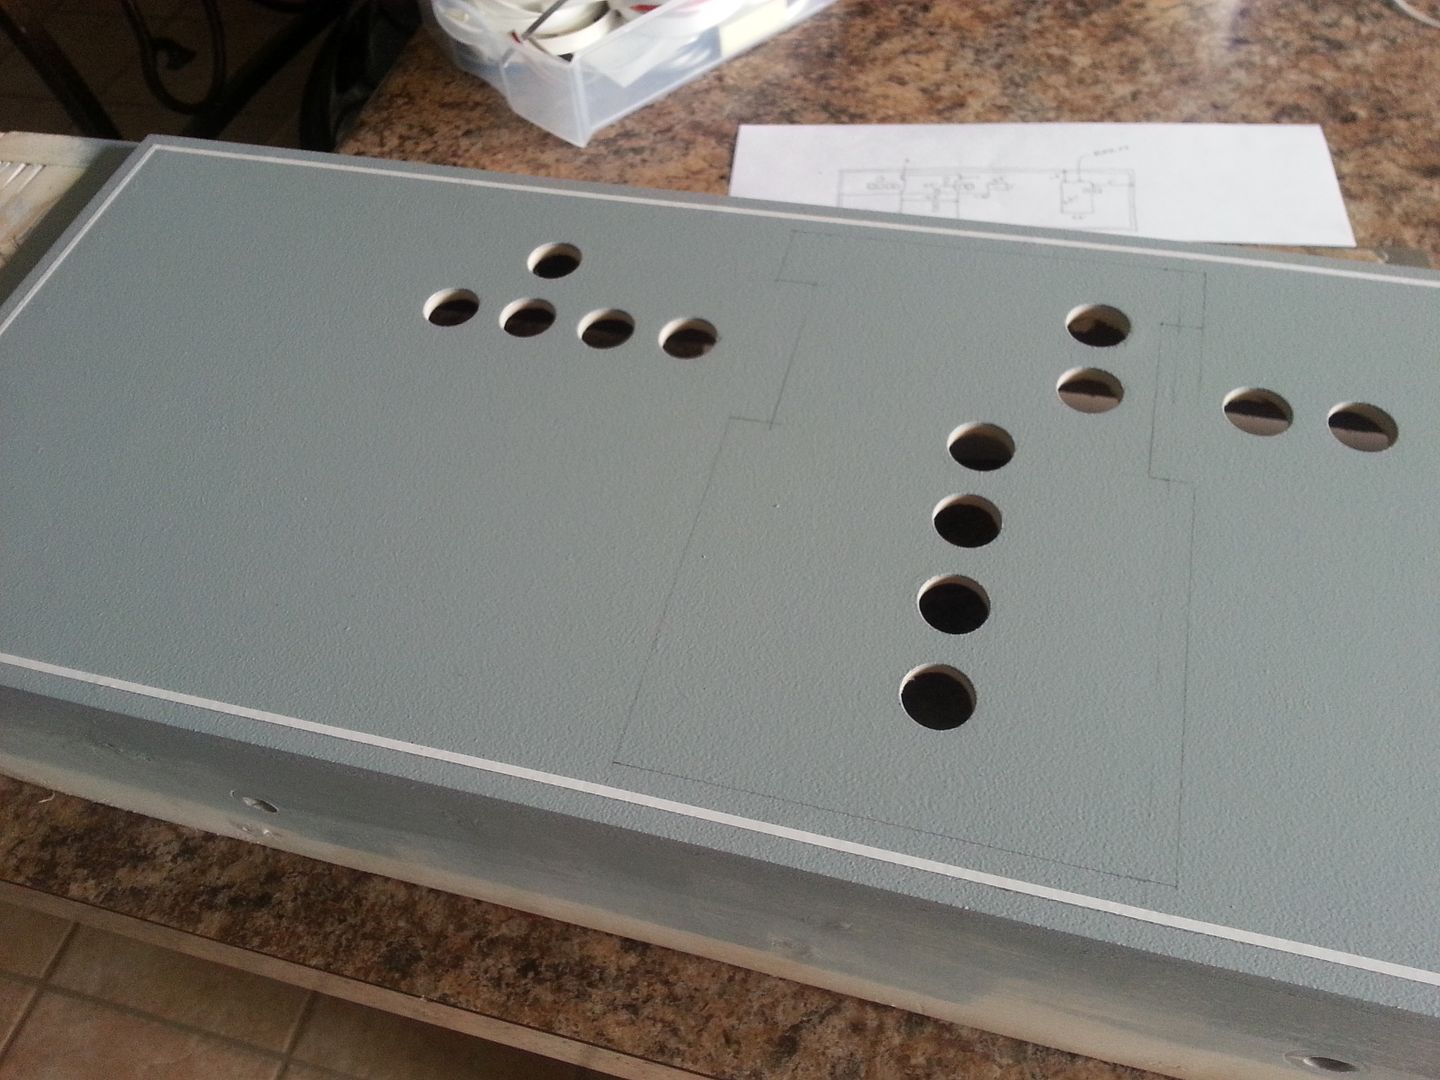
Hi Gang,
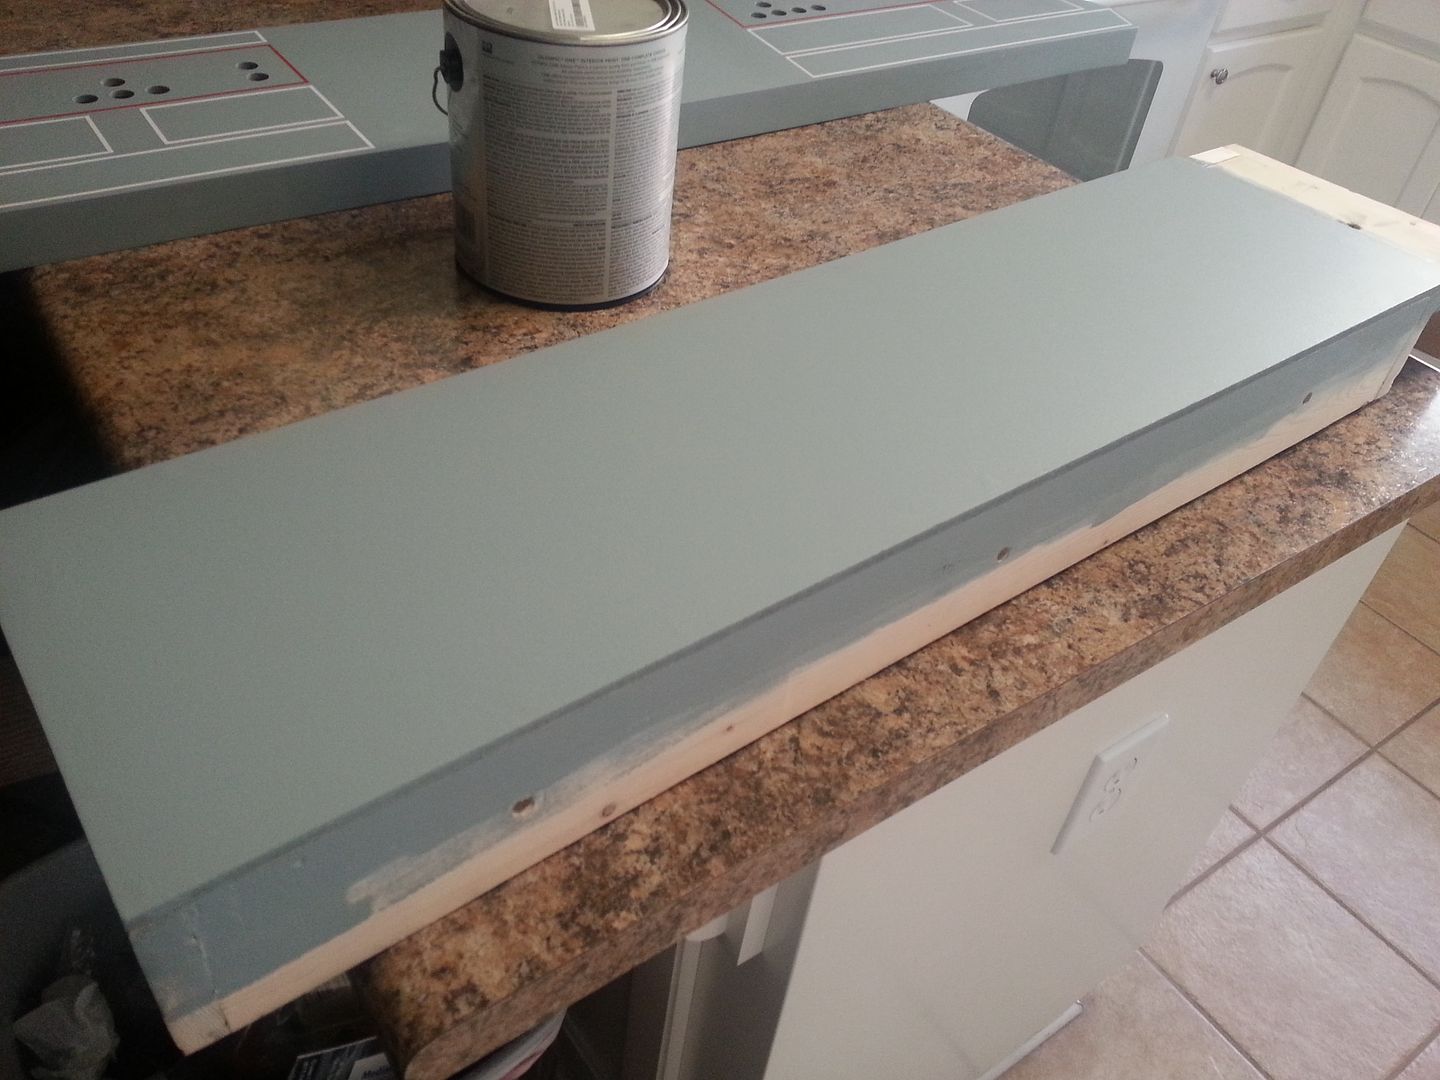
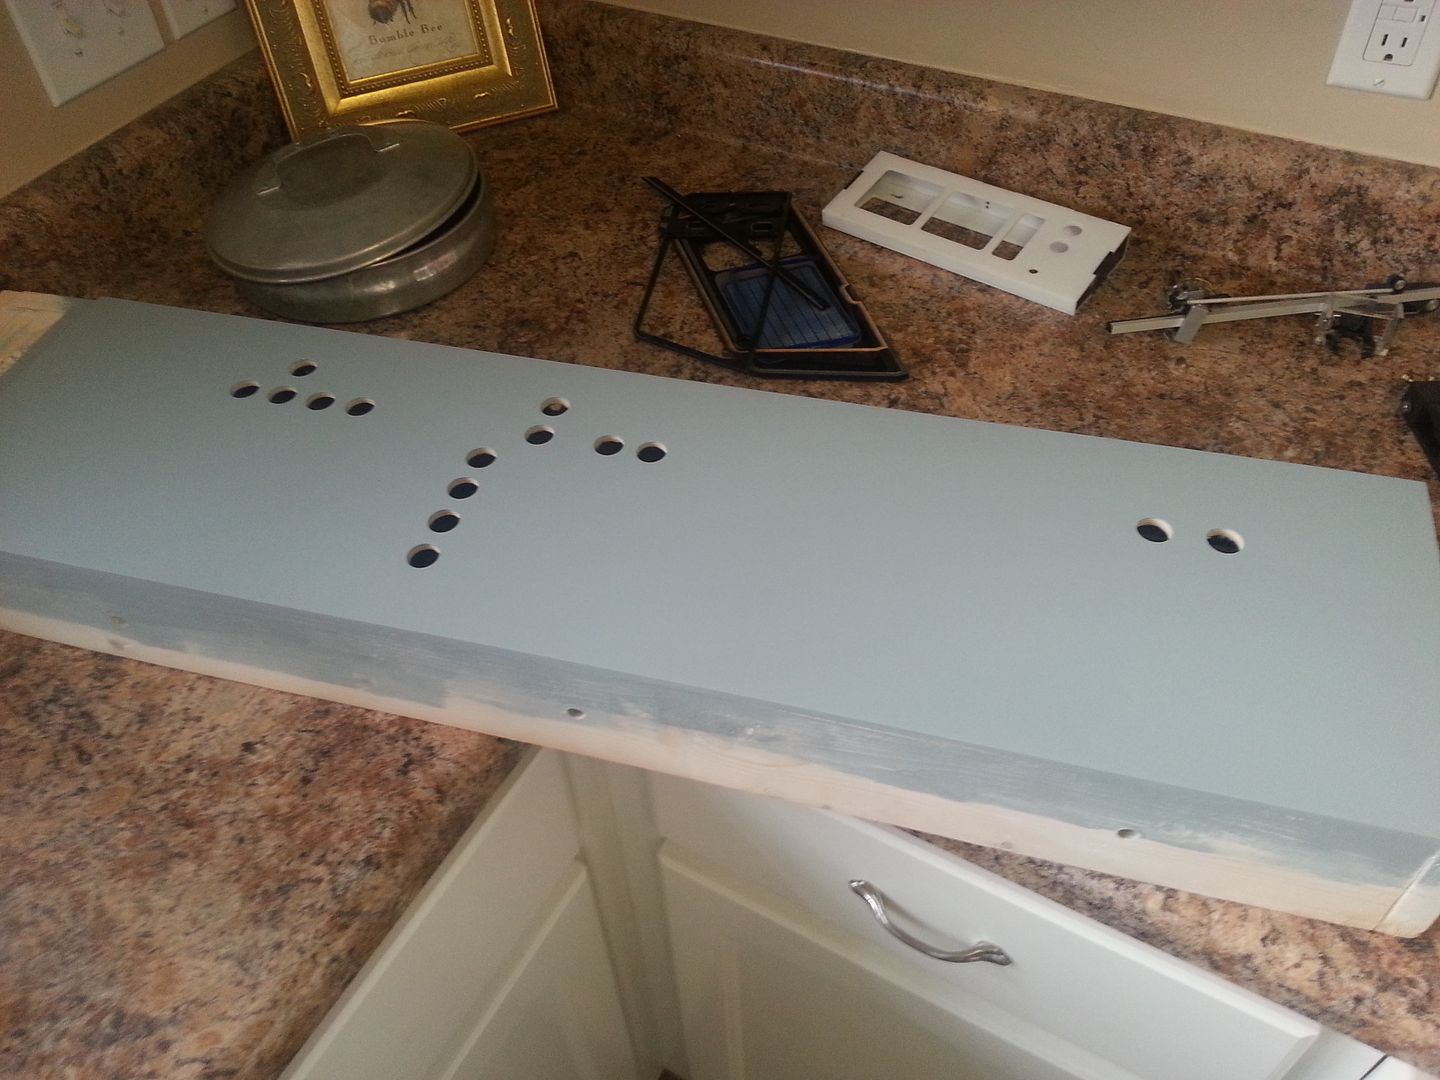
Just a simple update. I'm digging through all my greeblies for the perfect knobs and the correct matte box (nav screen) placement

LED Fresnel Lens
ESB Greeblie looks right at home
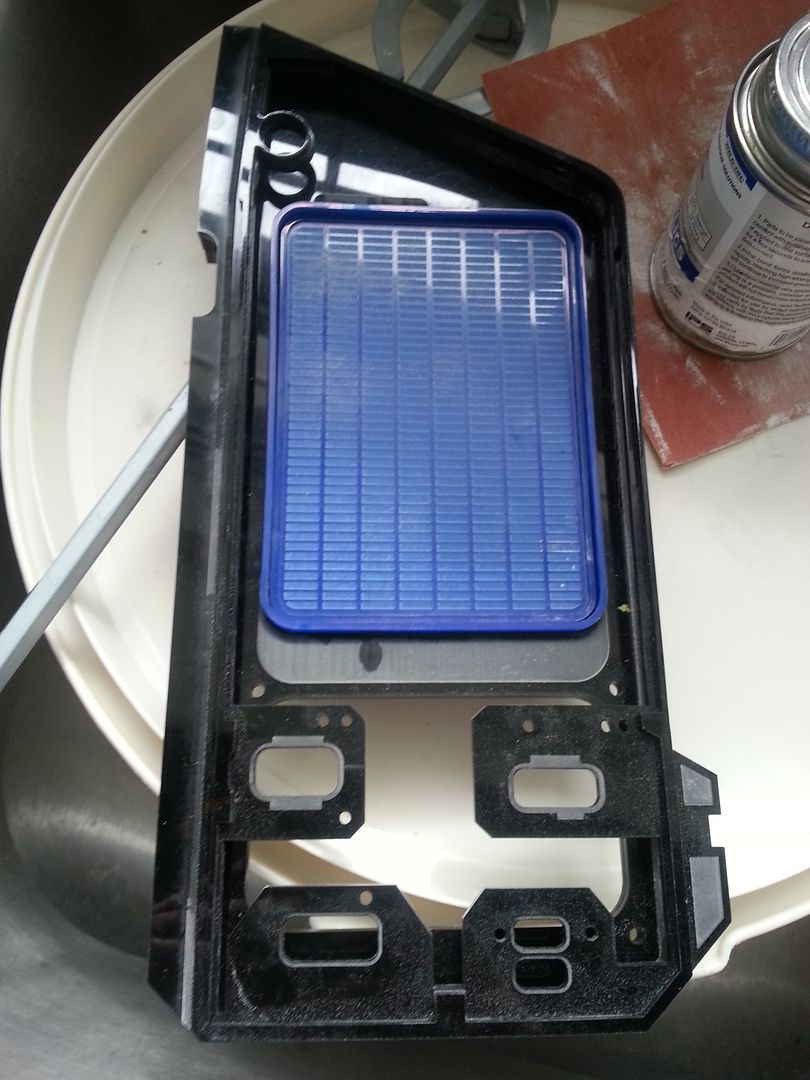
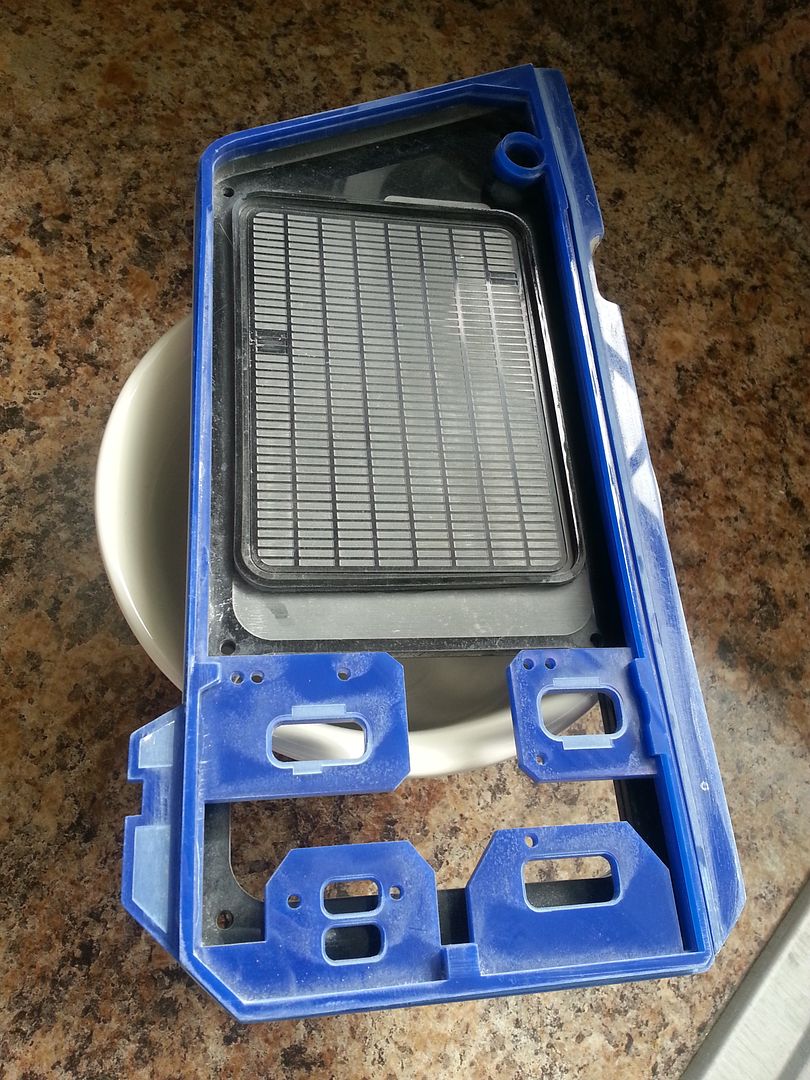
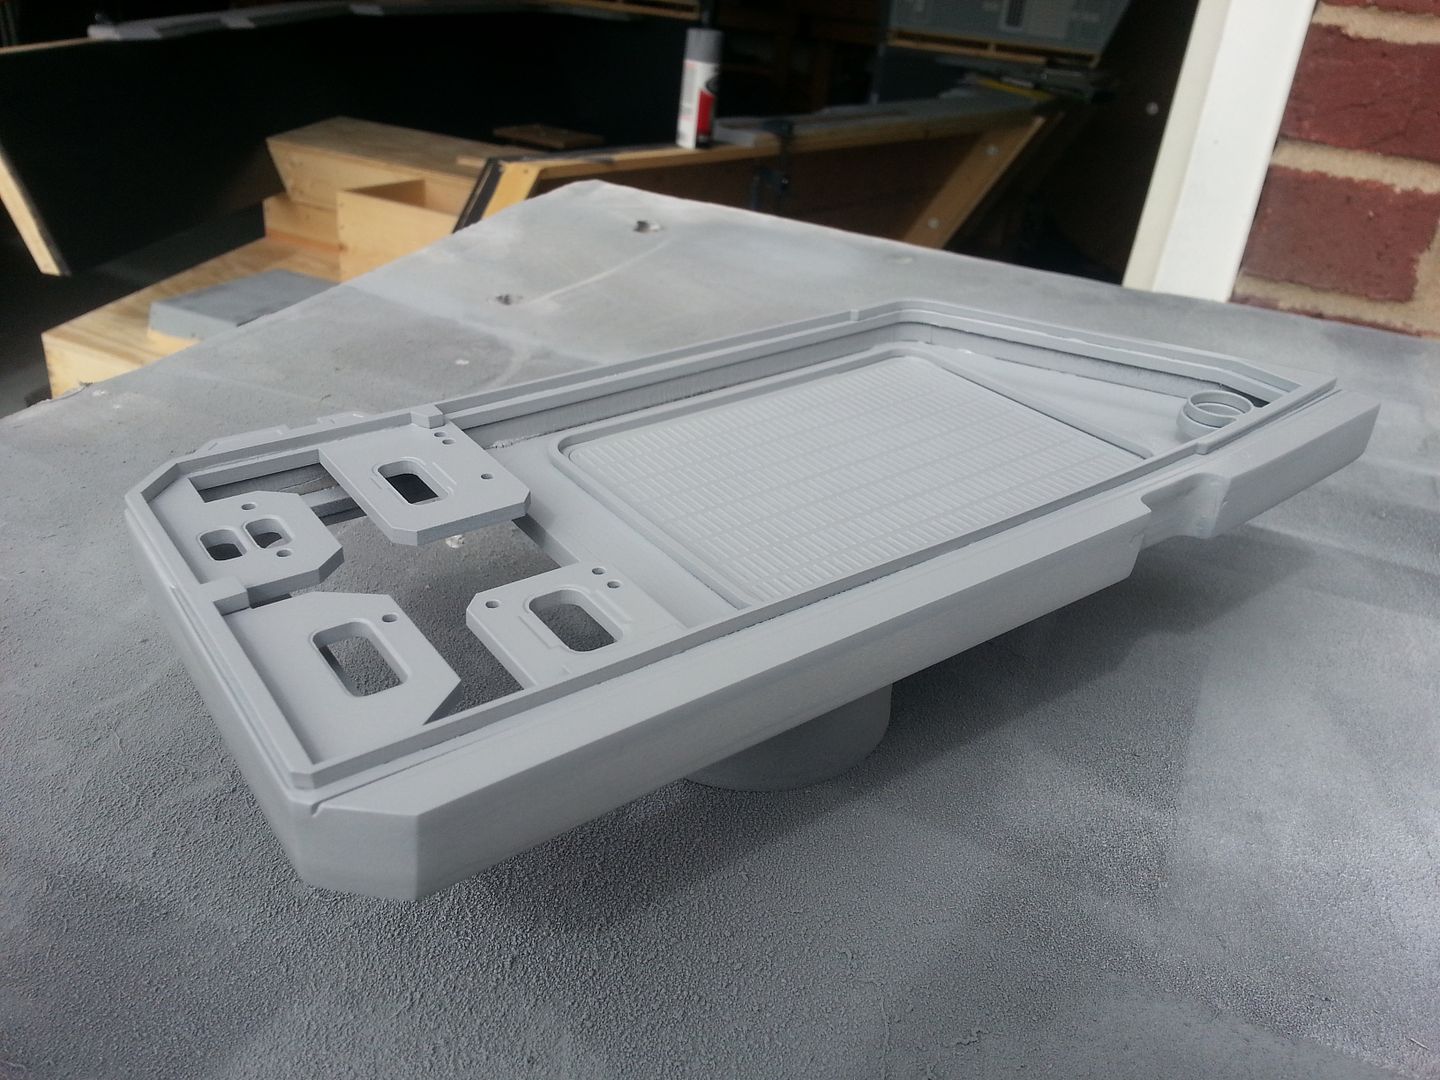
One of our buddies cast the matte box for us! This is the VERY first pull!
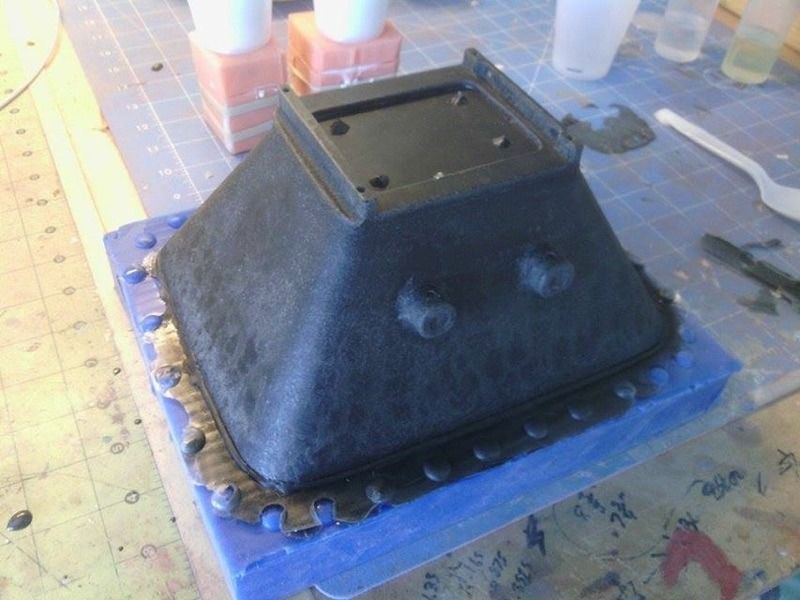
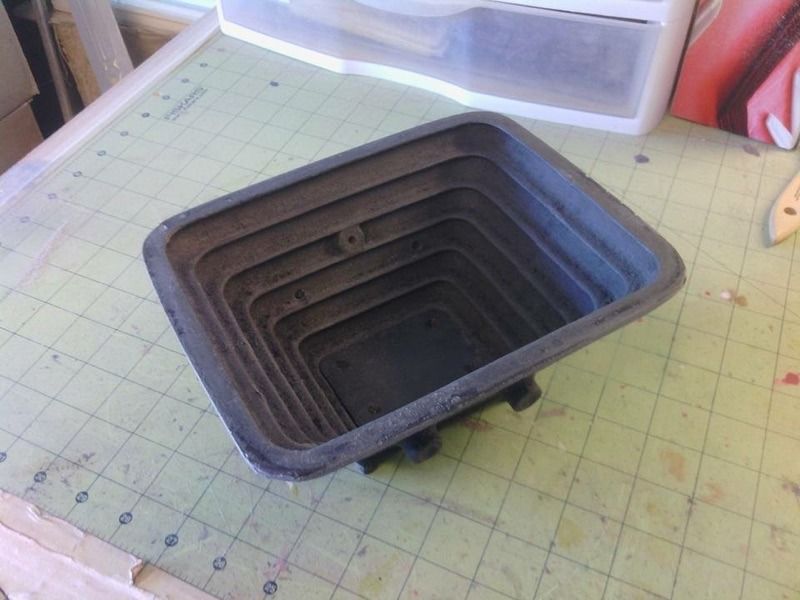
Again, we're going to make these matte boxes available - just shoot me a PM!
More to Follow!
Just a simple update. I'm digging through all my greeblies for the perfect knobs and the correct matte box (nav screen) placement
LED Fresnel Lens
ESB Greeblie looks right at home
One of our buddies cast the matte box for us! This is the VERY first pull!
Again, we're going to make these matte boxes available - just shoot me a PM!
More to Follow!
Wow! Great job on those panels Sofa. Keep up that Epic job alive:cool
Hey J,
Thanks so much! Even though these are going to be wall art panels, I still want the same level of details as if it was going into the cockpit or MF. I'm hoping to jump back onto the cockpit panels this afternoon. I REALLY need to get those two lower side panels knocked out so I can start on the new canopy. UGH... So much to do...
You are killing it bro! That shadow box looks awesome and I have to push those big red buttons! Cannot resist the urge much longer!!
Thank you, Sir!
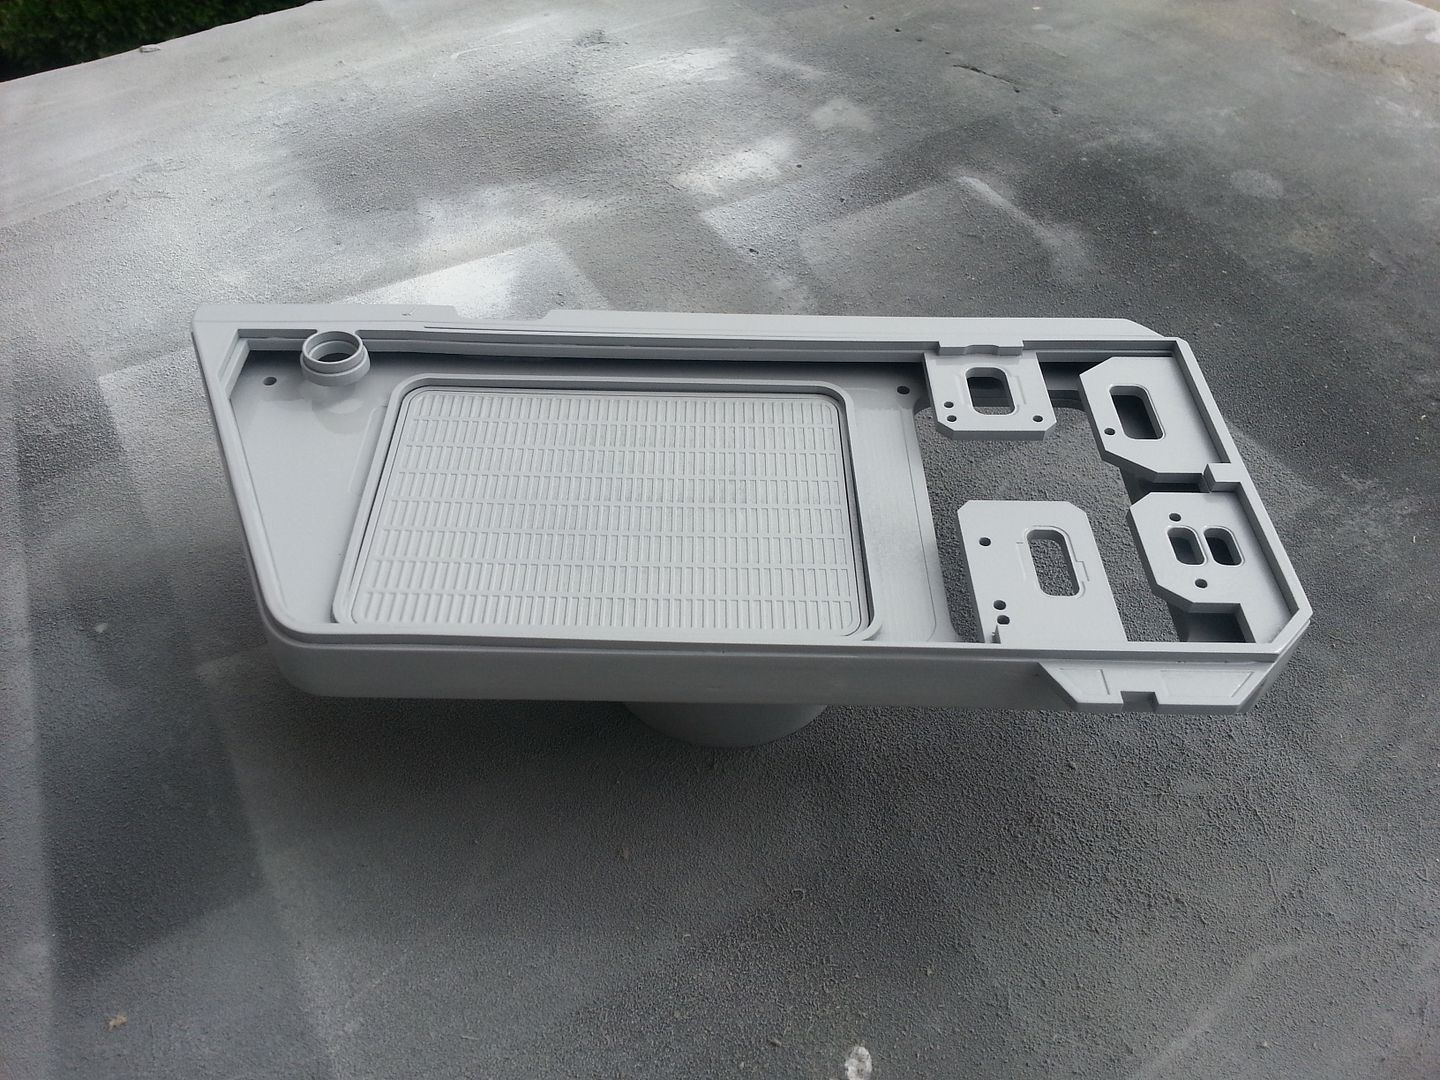
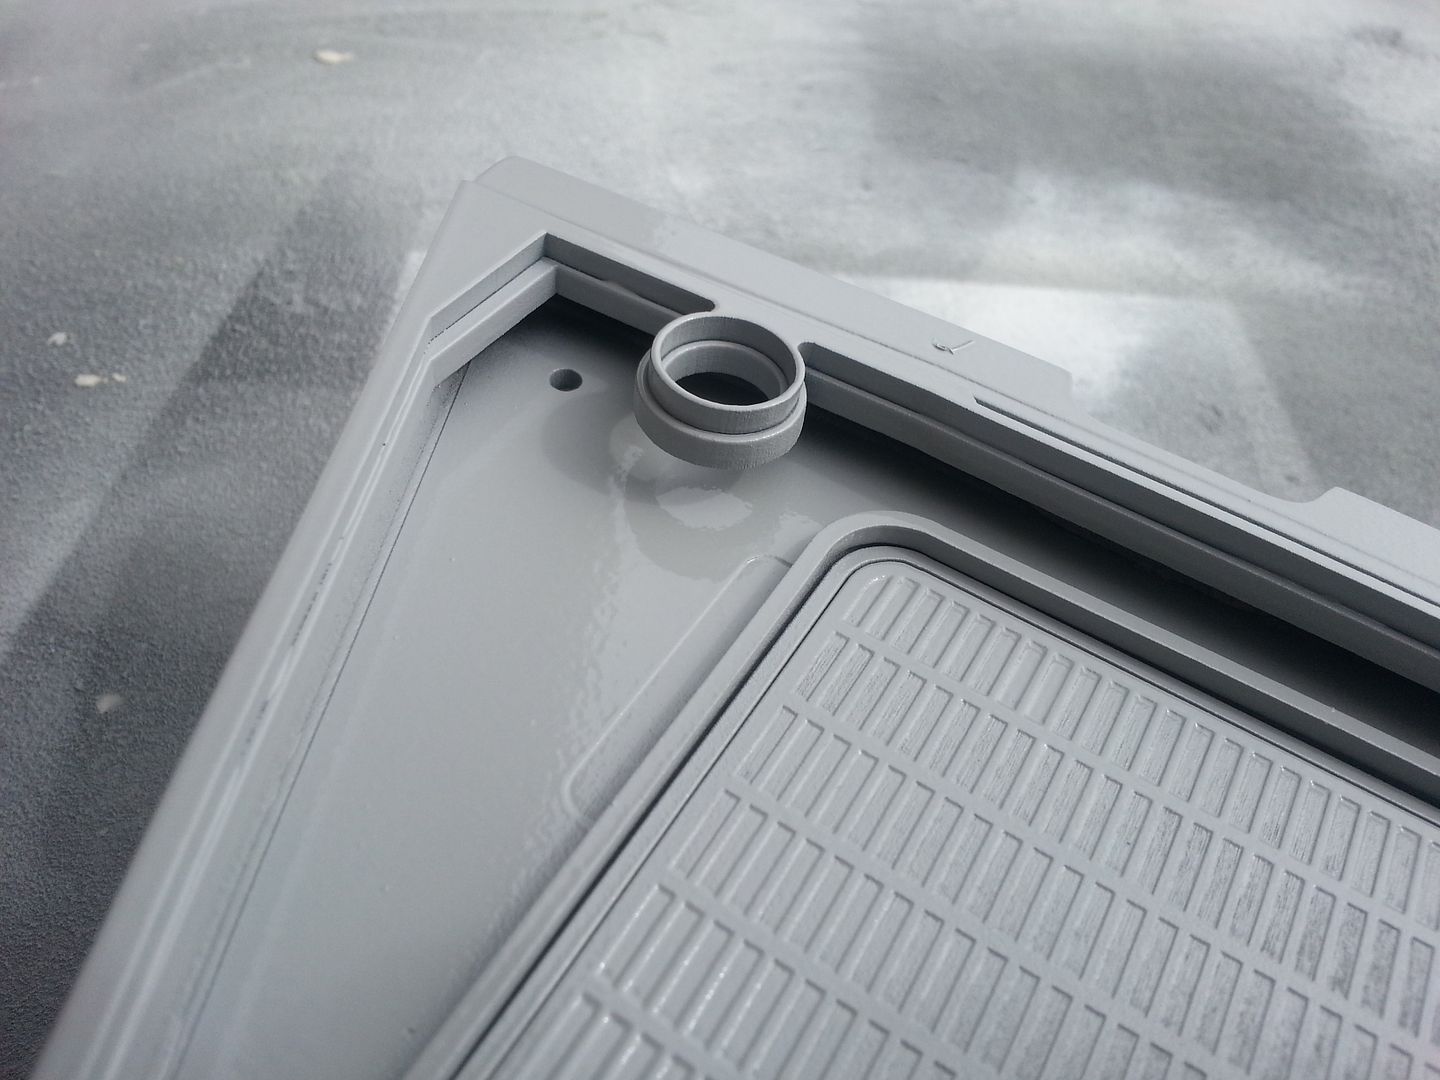
The matte box (nav screen) turned out AMAZING! Our friend, Dave, has already cast 2 of them and they look awesome! As far as the red buttons... they're supposed to represent dome panel lights / lenes not the big "Easy" button from Staples!
Might have to readdress the look of the plastic magnets I'm currently using as the lens.Thank you, Sir!
The matte box (nav screen) turned out AMAZING! Our friend, Dave, has already cast 2 of them and they look awesome! As far as the red buttons... they're supposed to represent dome panel lights / lenes not the big "Easy" button from Staples!
Don't you dare! They look perfect! I was thinking more along the lines of a Ren & Stimpy episode called "Space Cadet" when Stimpy was assigned to guard the big shiny red button and couldn't resist pressing it and blew the universe to pieces!
Don't you dare! They look perfect! I was thinking more along the lines of a Ren & Stimpy episode called "Space Cadet" when Stimpy was assigned to guard the big shiny red button and couldn't resist pressing it and blew the universe to pieces!
I only chose the magnets because they fit almost perfectly in the door stoopers. But they dont have the same look and feel as the originals - only because we cant find the original panel lights. So, I mod'd the original glass domes I found on ebay, painted them with a stainglass transparent paint and added little donuts to the back. The look is MUCH better, IMO, than the magnets. I might be able to darken them a little using transparent plastic paint...
Lens
http://www.therpf.com/showthread.php?t=147319&page=196&p=3256545&viewfull=1#post3256545
What do you guys think?
Dude... don't worry about it... they look perfect! I always thought they were either those push on plastic battery operated lights or those industrial warning lights above doors used on military bases or something. I think you nailed them!
Thanks! But I'm a stickler for details...
From what we know they were / are similar to the old Wild Barefield indicator lenses. What's so interesting is that they were EVERYWHERE in the 60s and 70s. They were even in some of the original "Supermarionation" Captain Scarlett and Thunderbirds sets. Now... we're lucky if ONE pops up. Nobody can find them! Very frustrating.
Fellow RPFer Andy19422 was able to find 2 of them for his Death Star Detention Block Camera prop
http://www.therpf.com/f79/pics-death-star-detention-block-camera-needed-182574/
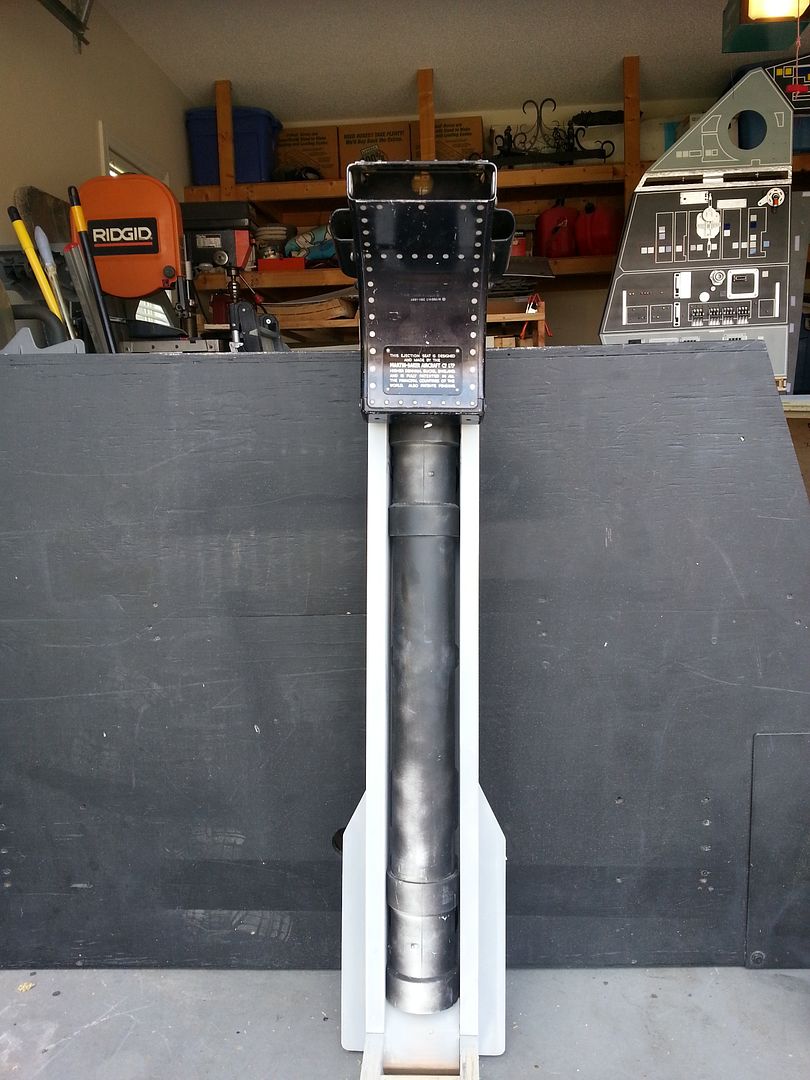
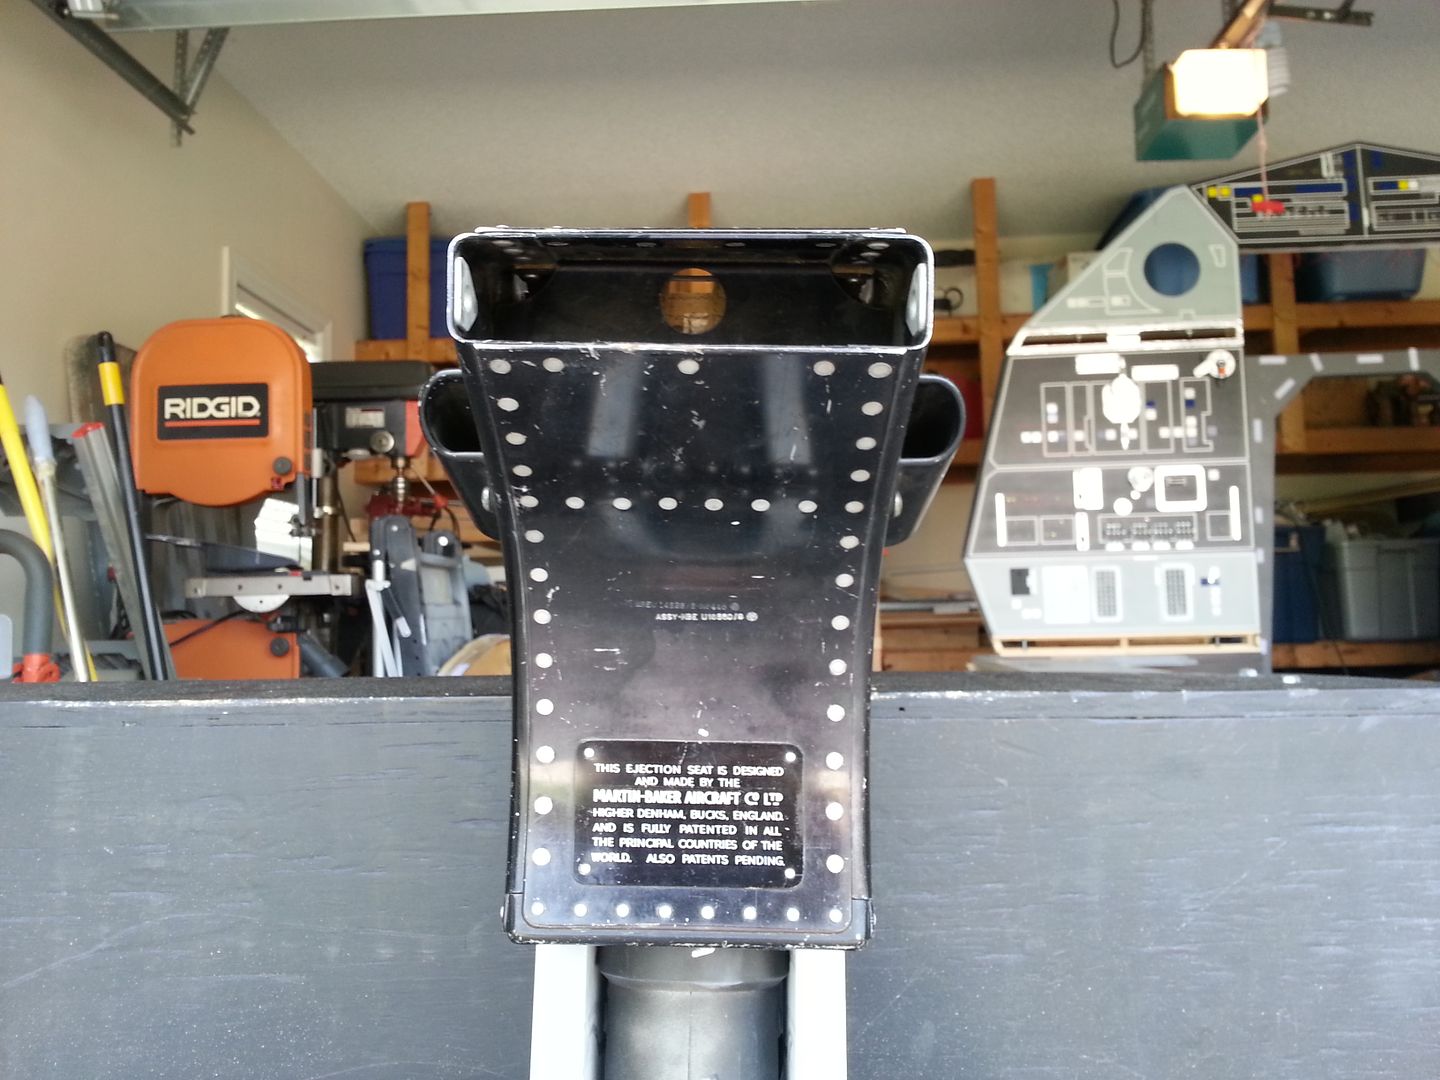
Hi Gang,
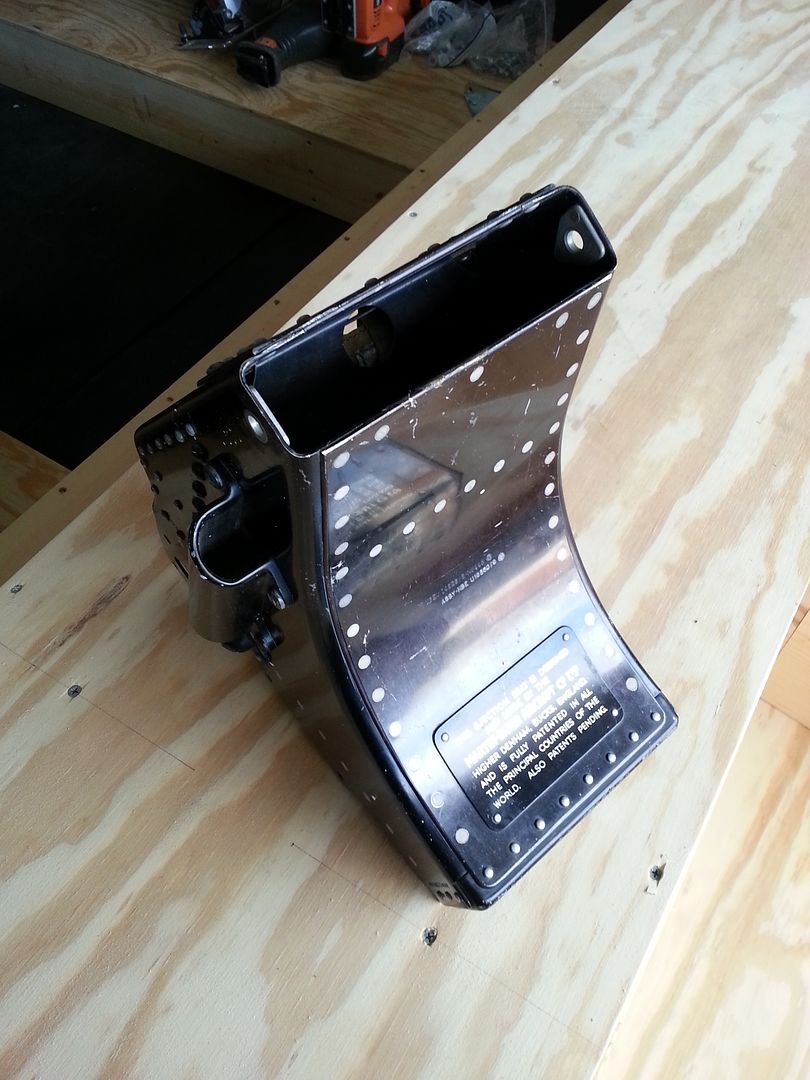
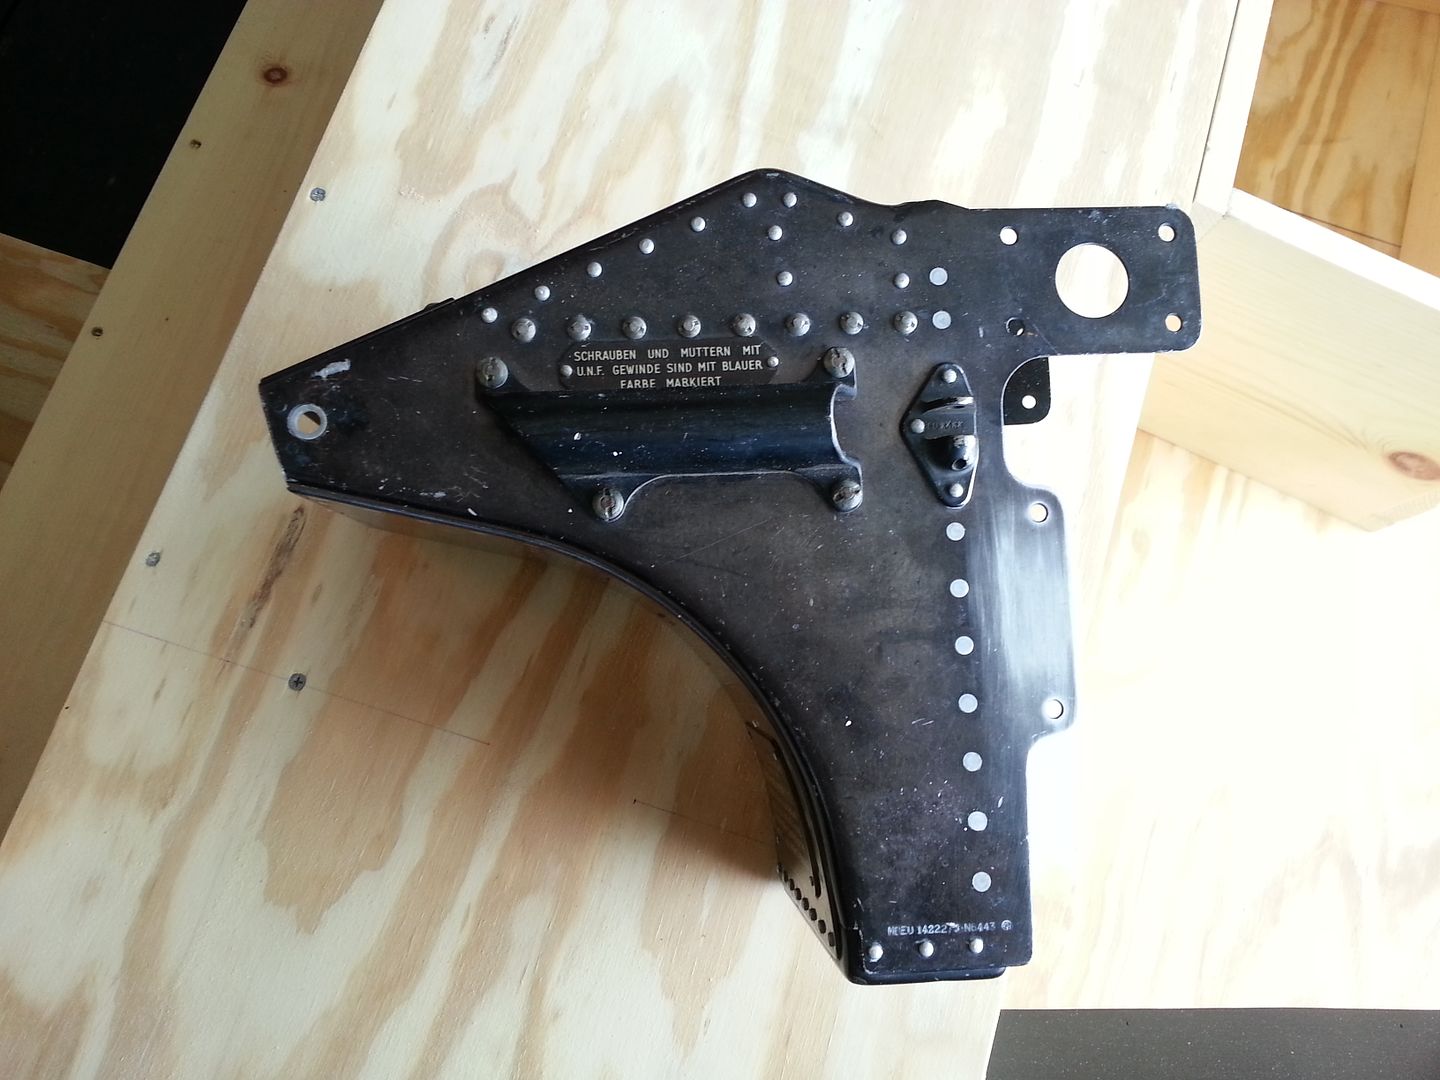
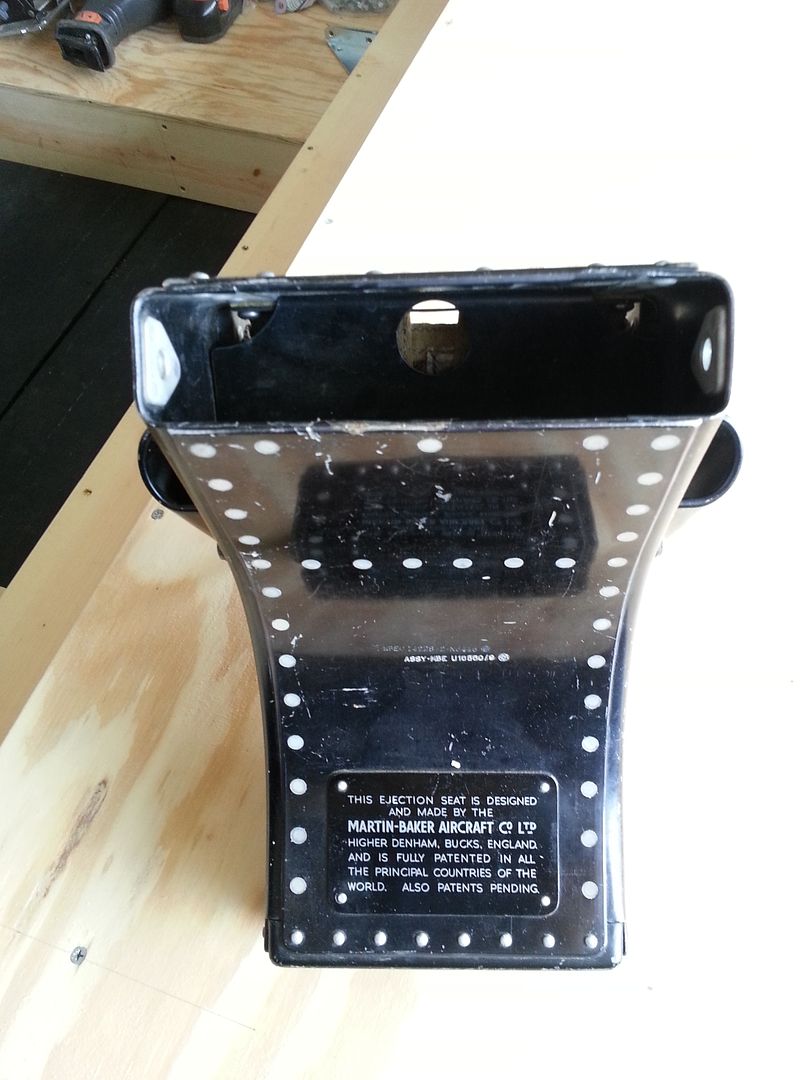
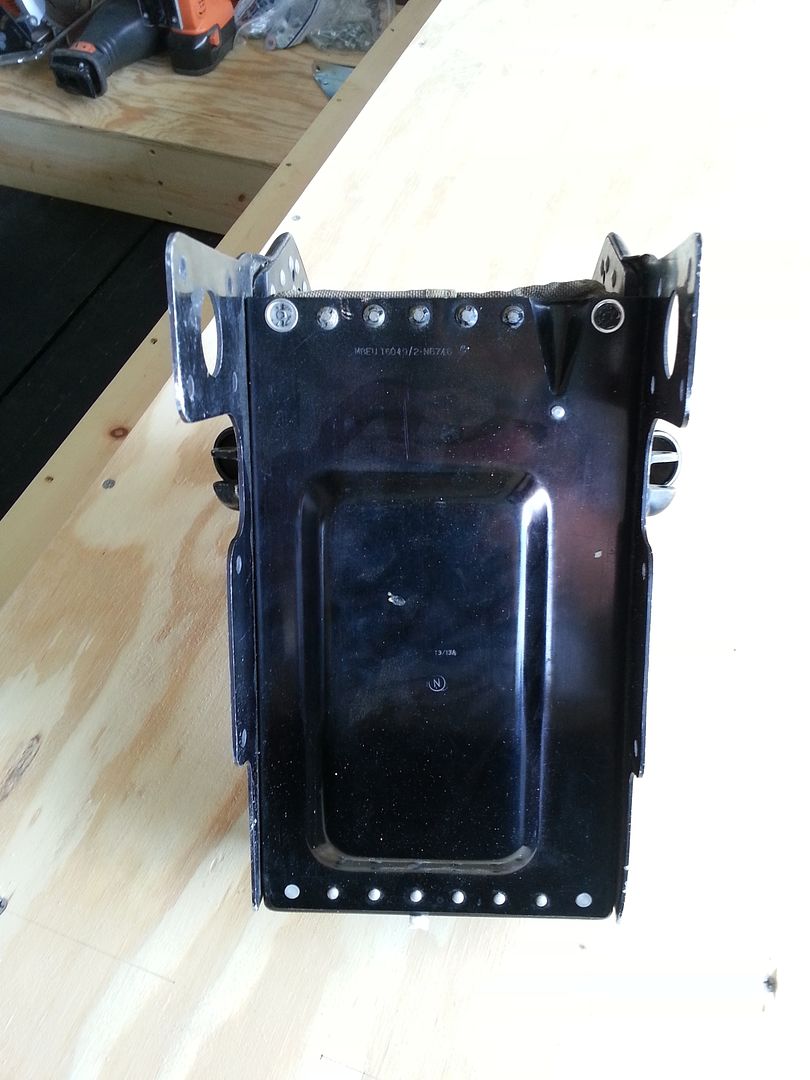
CHECK IT OUT!
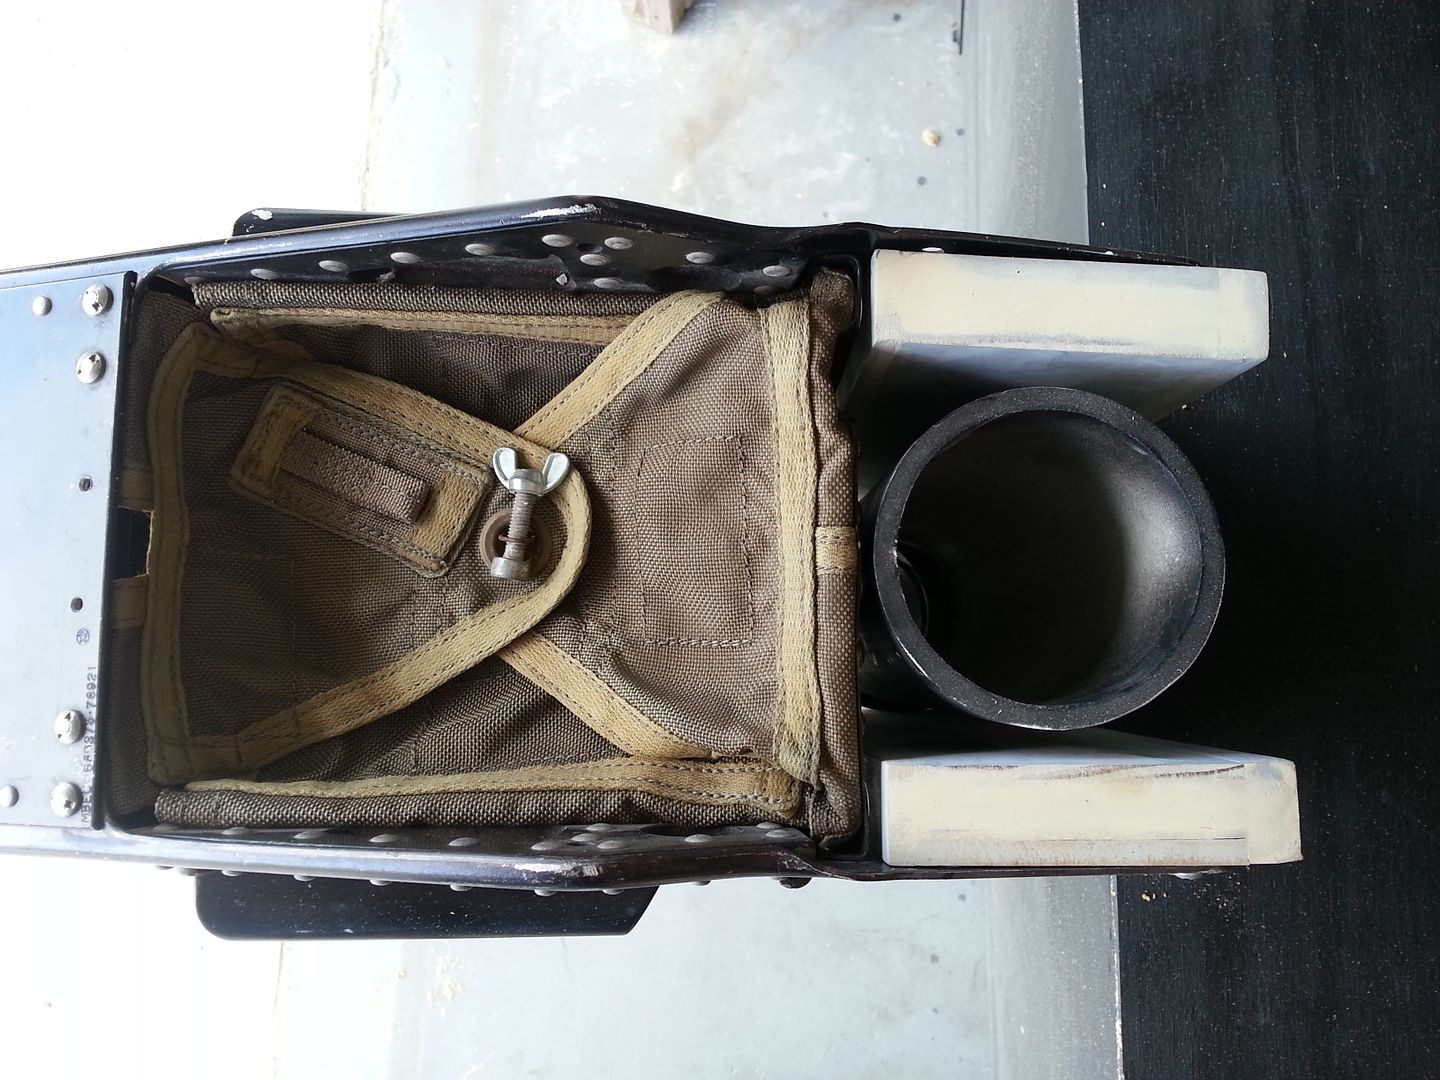
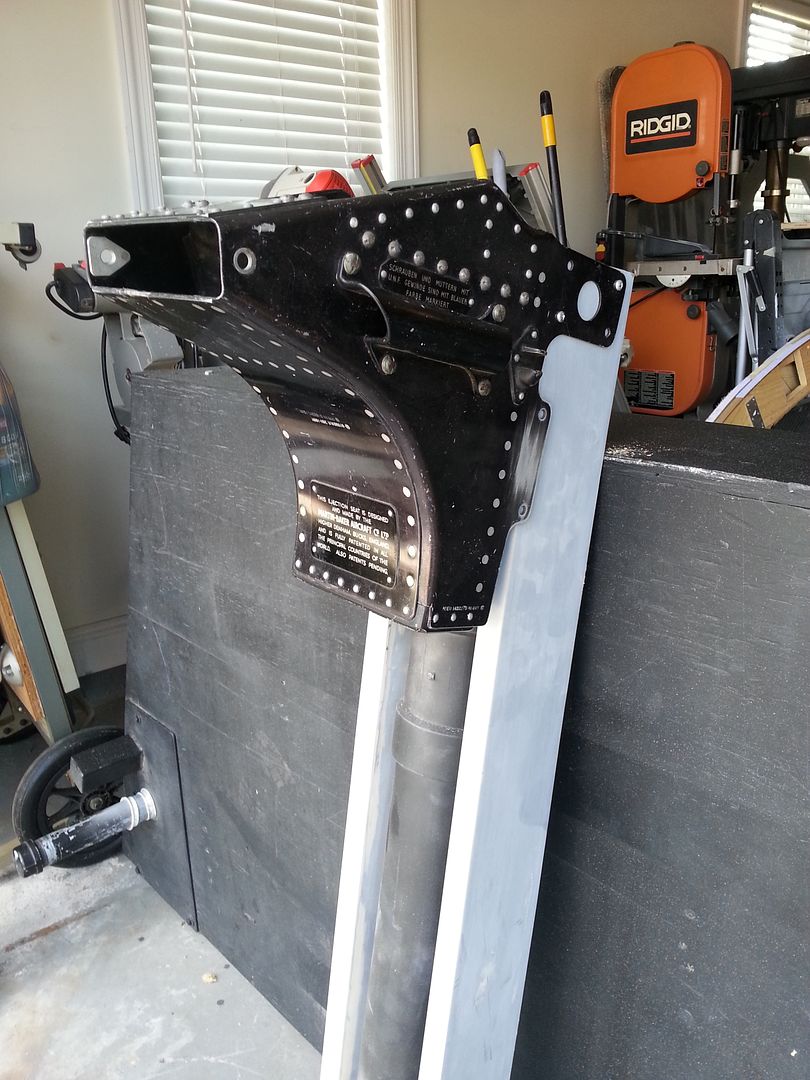
Fellow RPFer "Cameron" found an authentic Martin Baker ejection seat part and donated it to the build!
Top

Side - that is SO pretty!
Front
Back
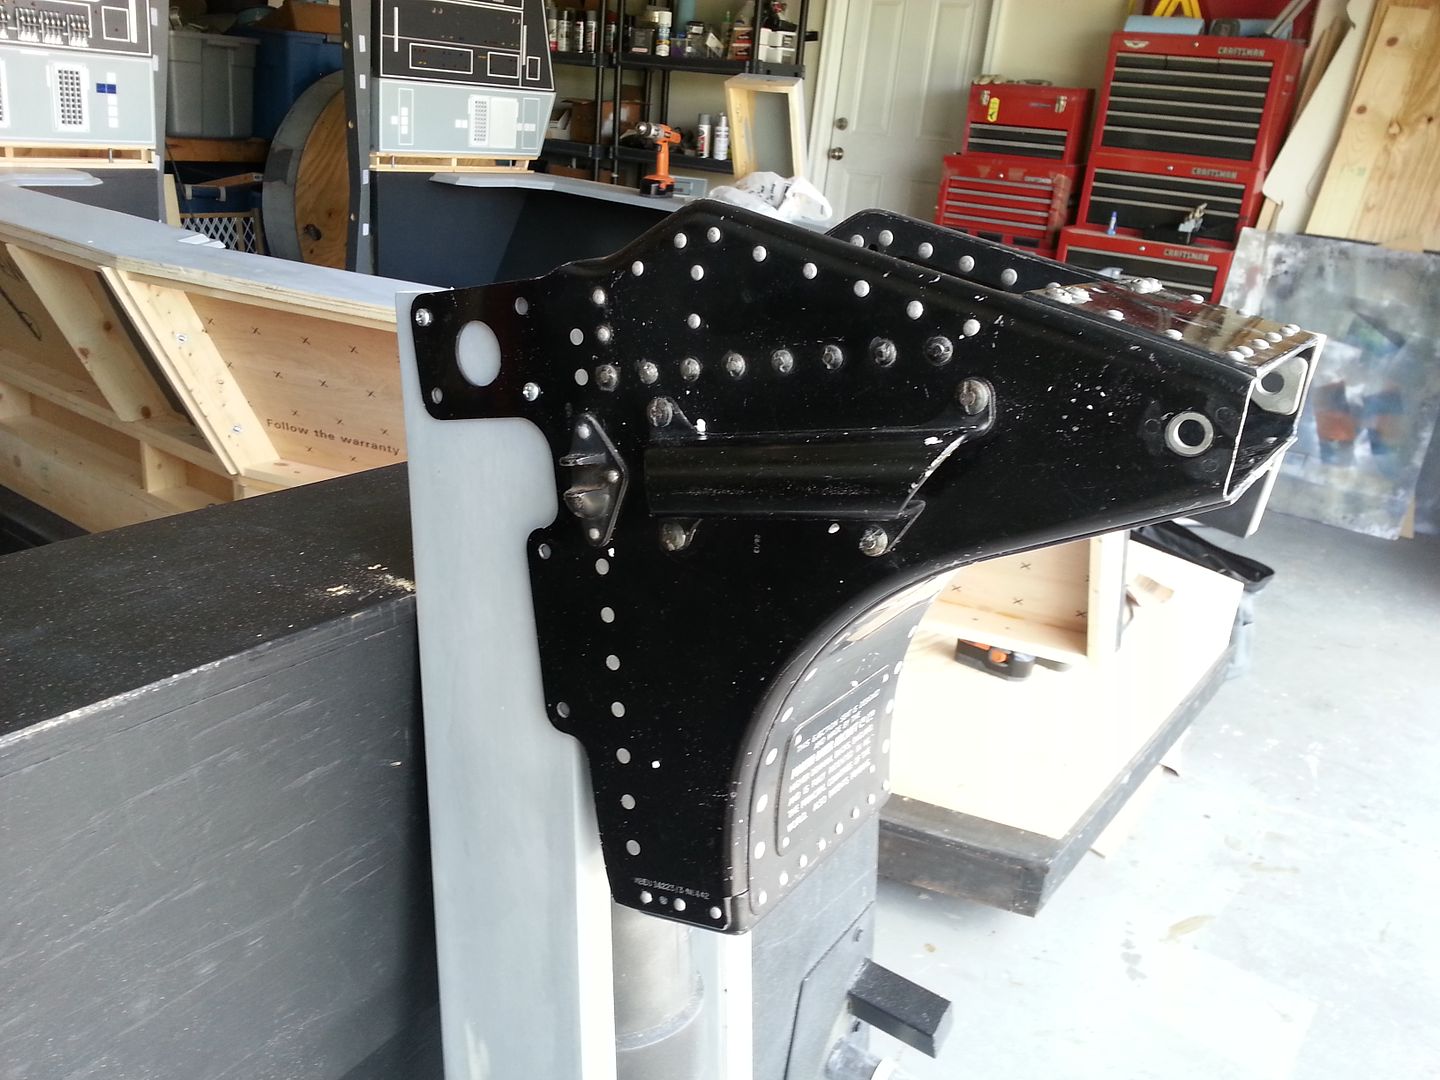
As many of you know I've been donking around with these Nav Chairs - do a little here, a little there... So, I dusted one of them off...
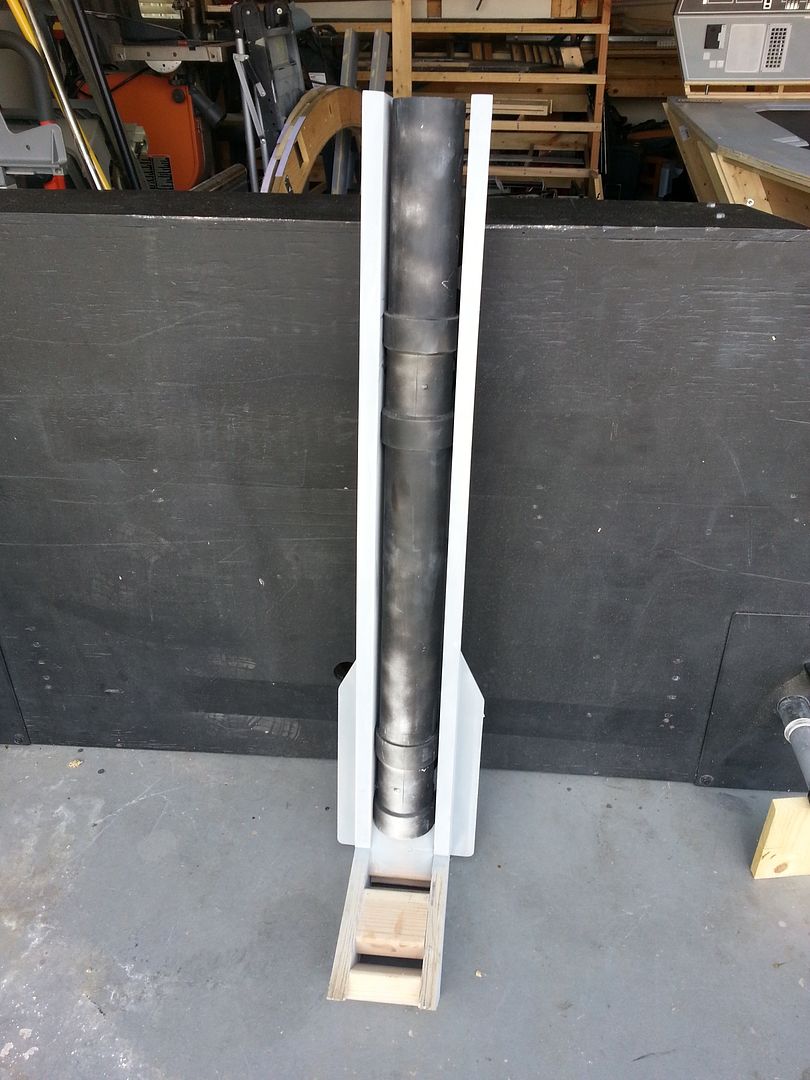
The part literally slid into place - a PERFECT fit
Added a few bolts
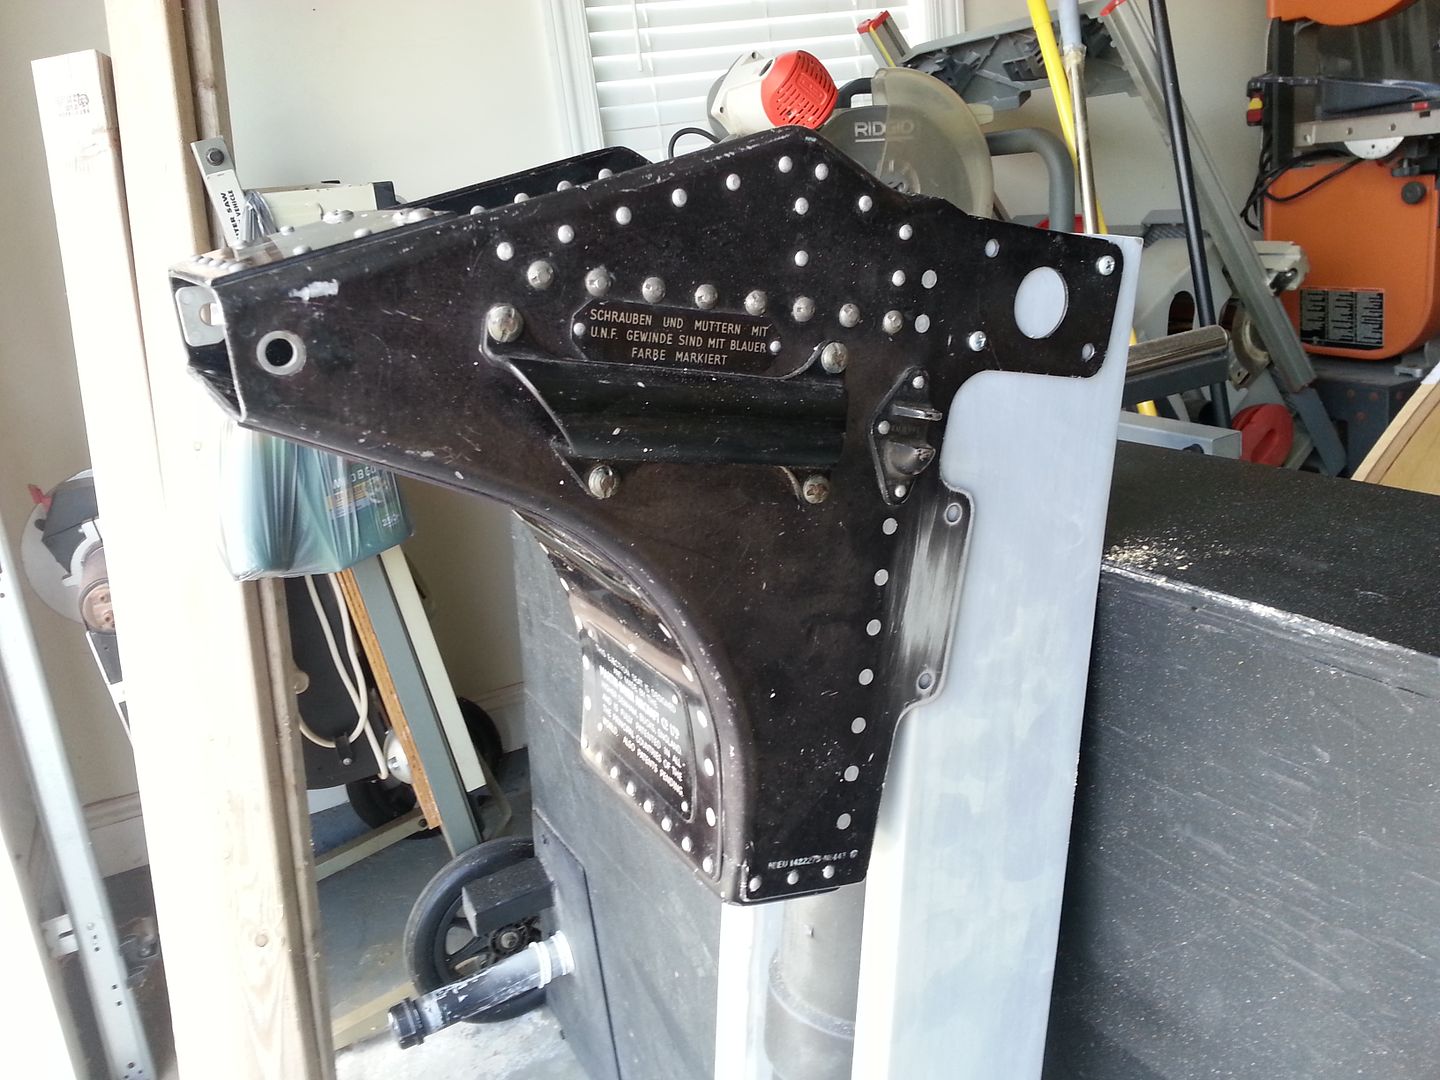
Cameron told me it's not the same part from the original MB chair - but MAN-O-MAN... she really looks the part! AWESOME! We may have found our Nav Computer Chair!
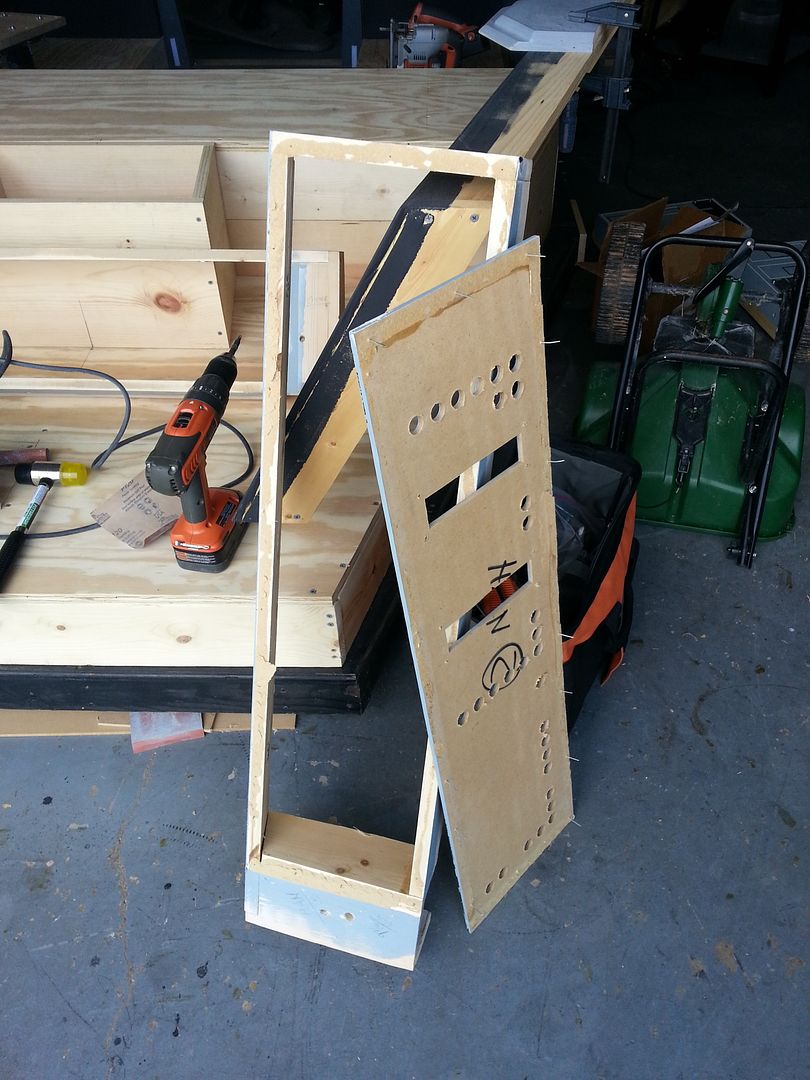
Looks like I'll be doing a little work on the chair this weekend!
A HUGE THANK YOU to Cameron!
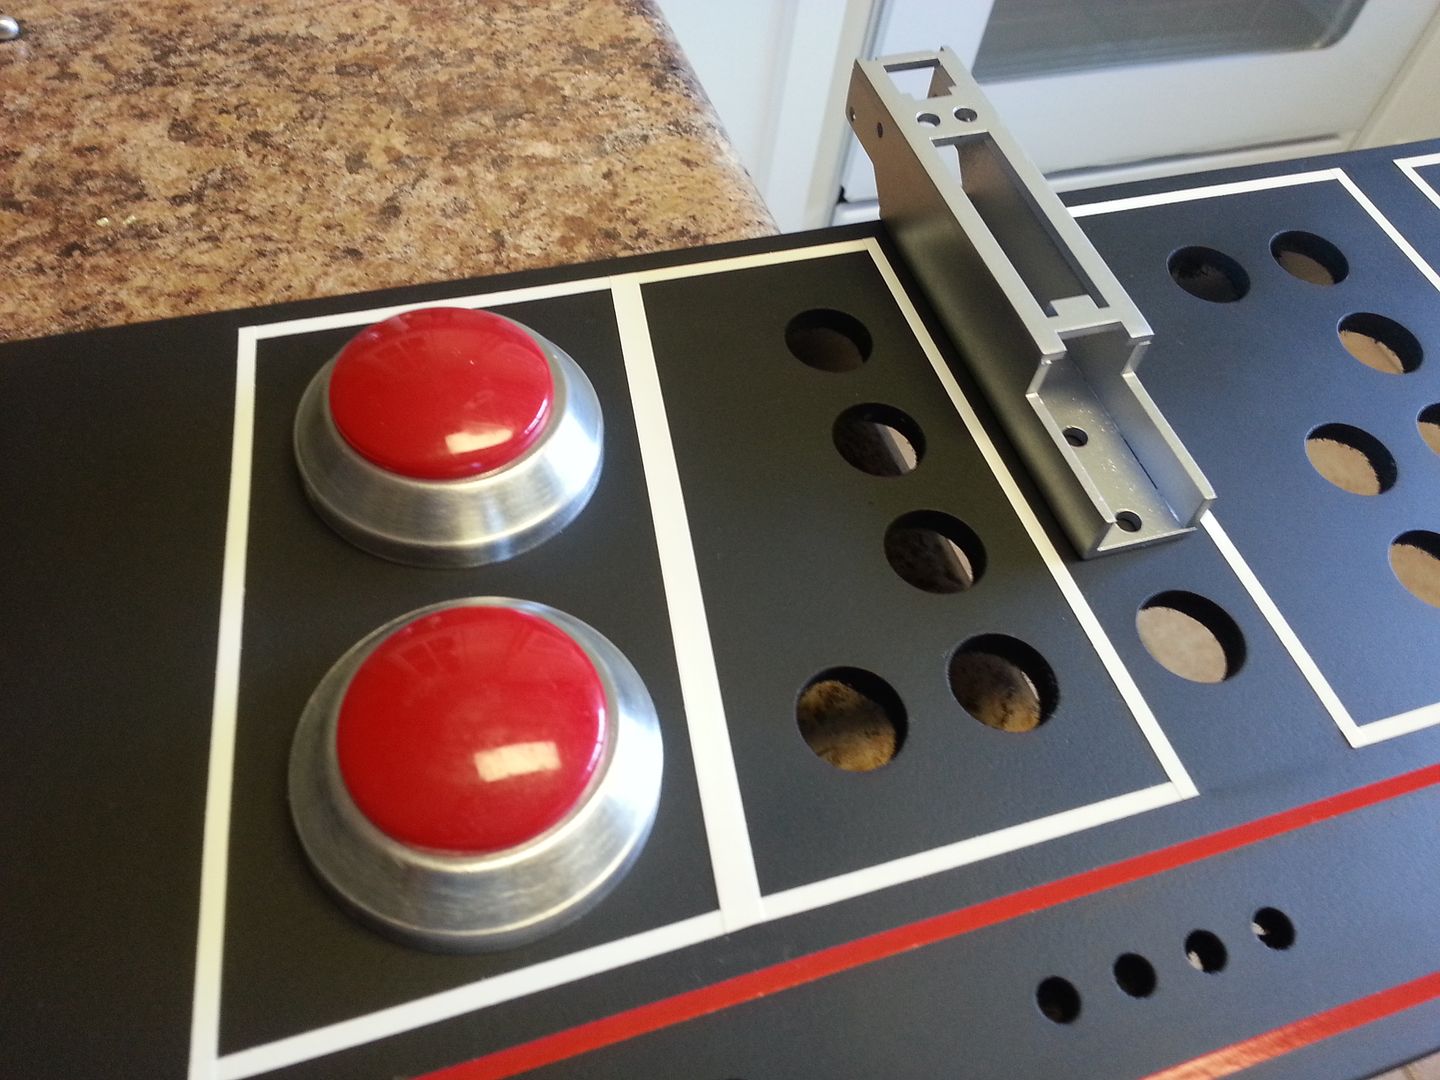
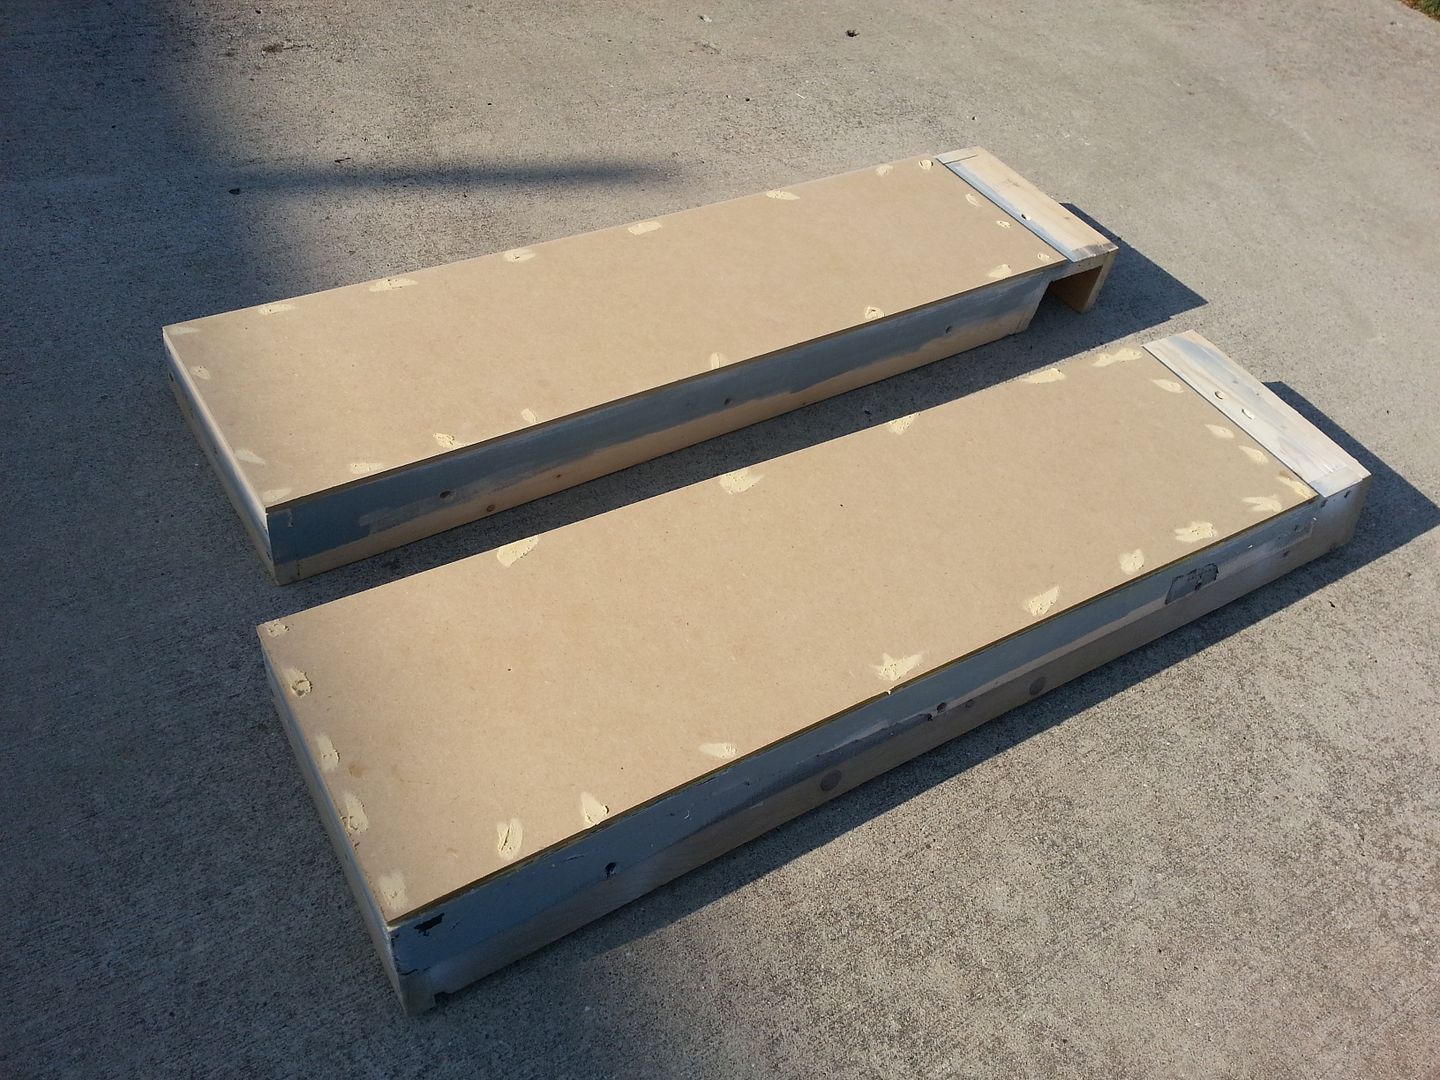
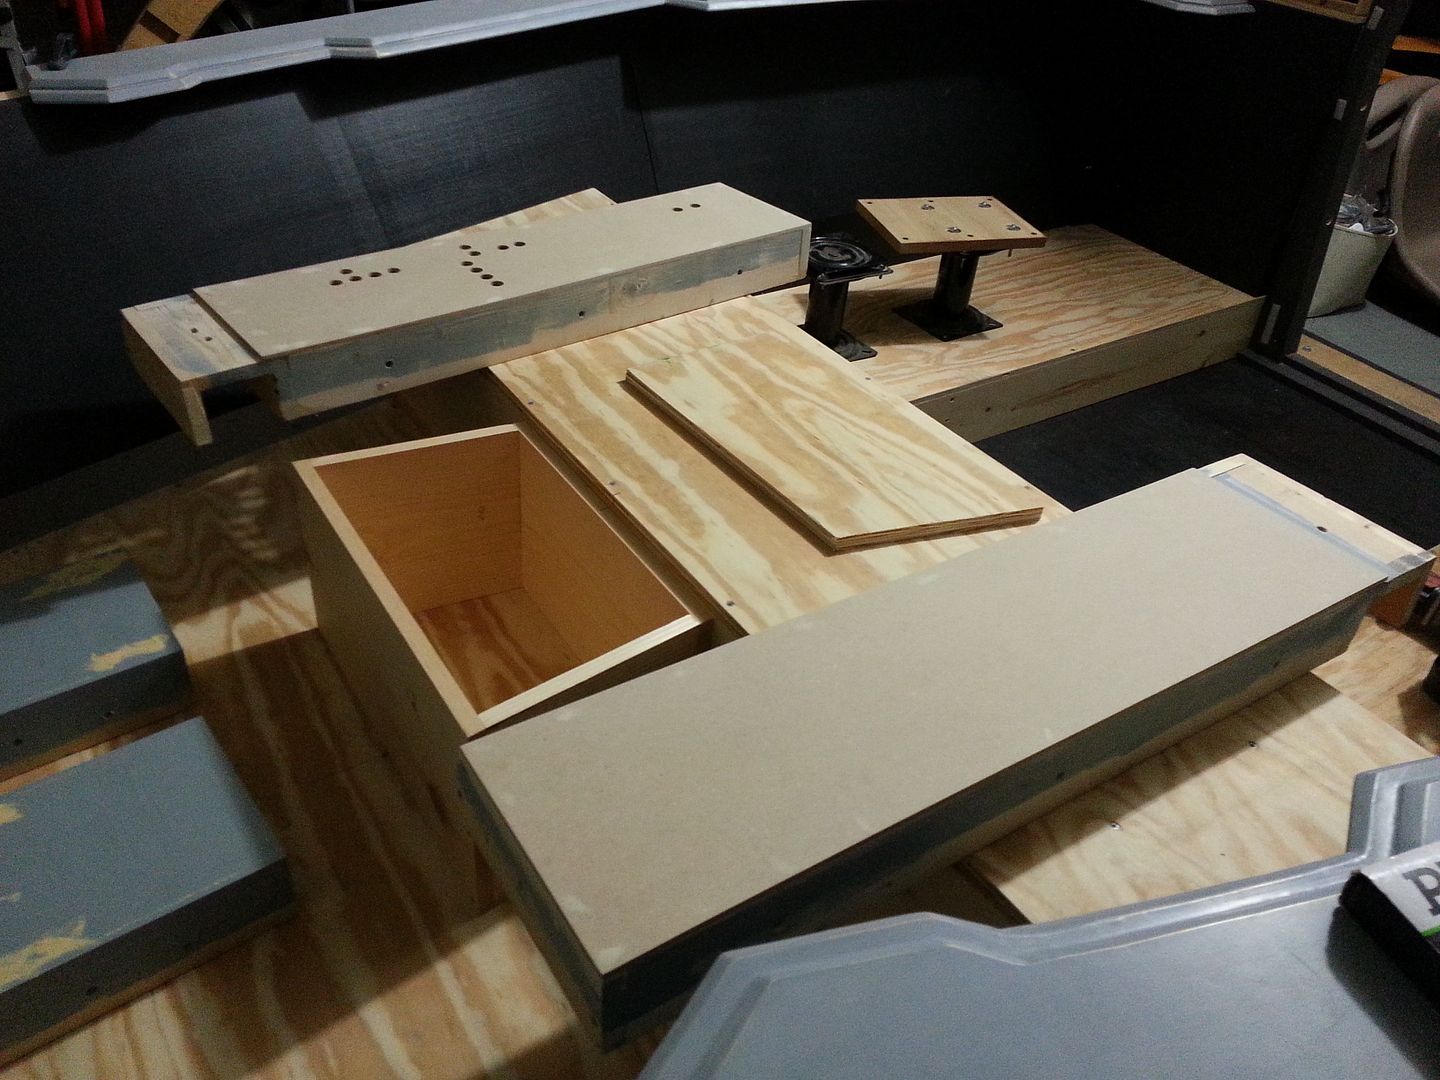
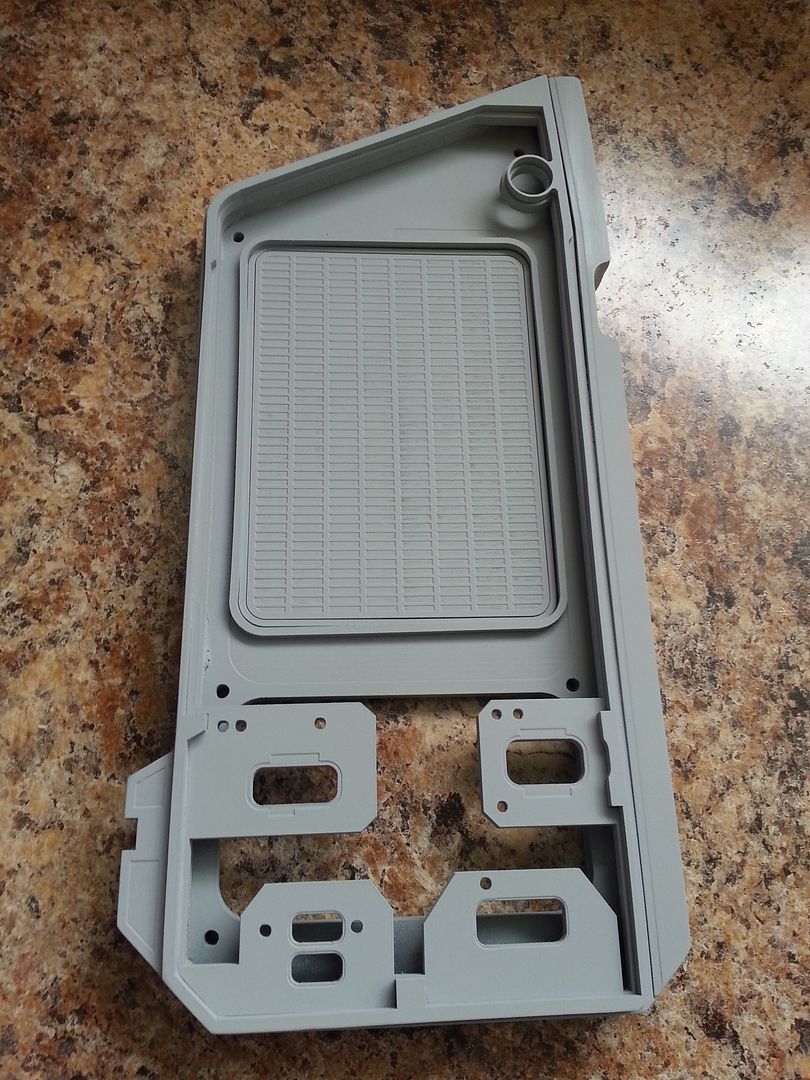
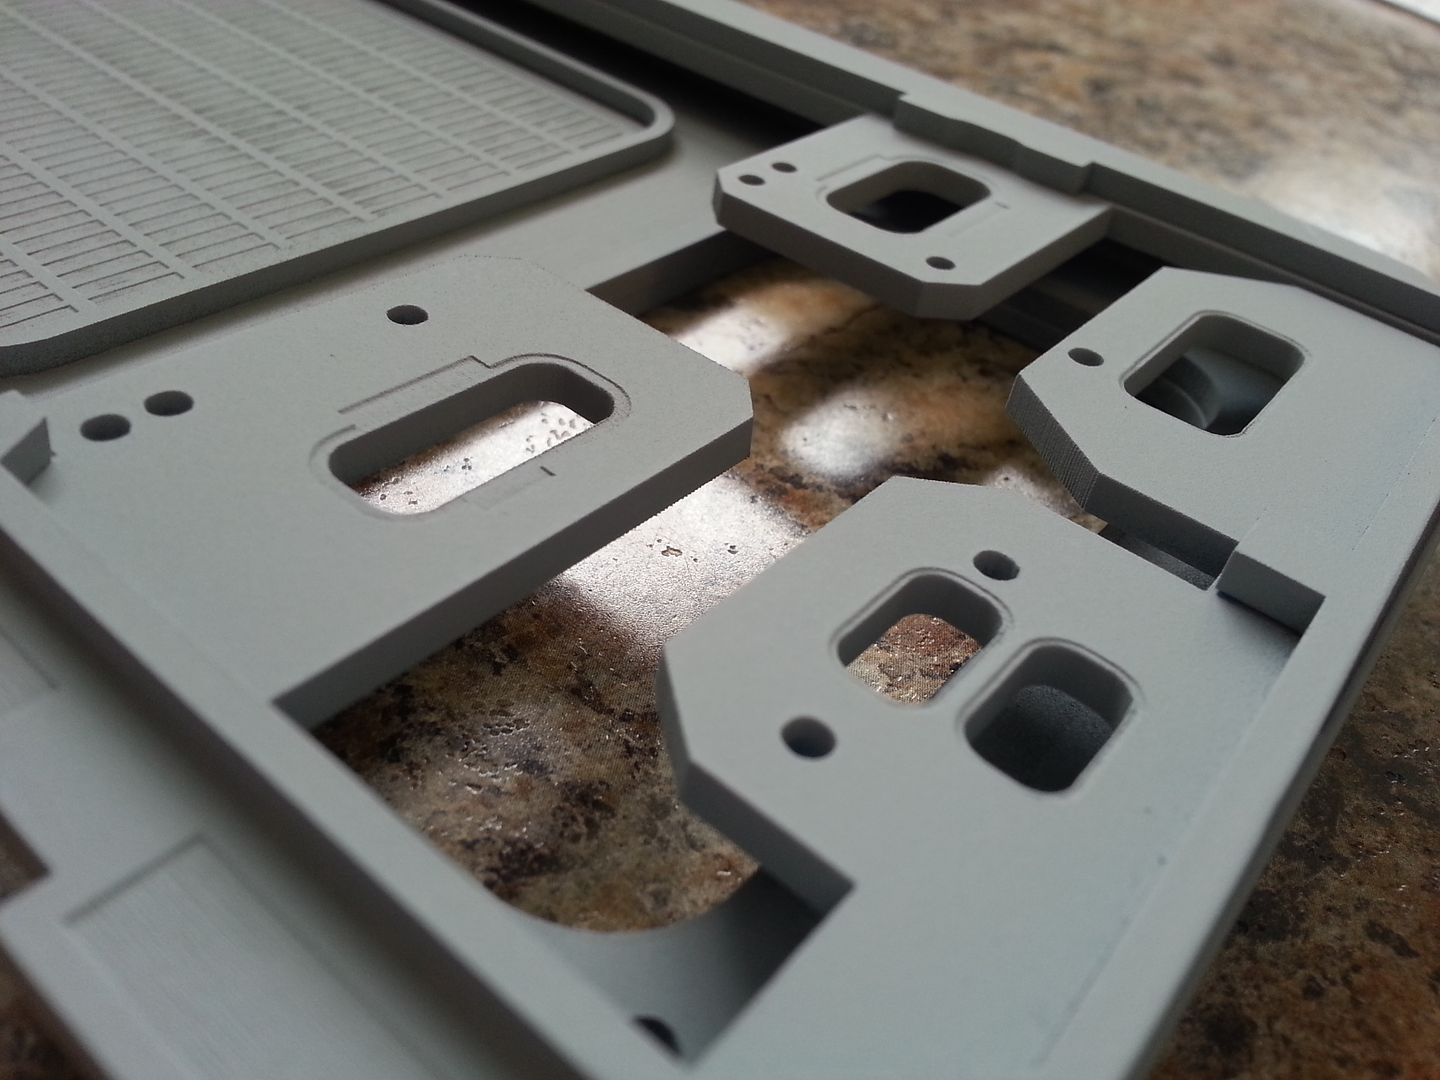
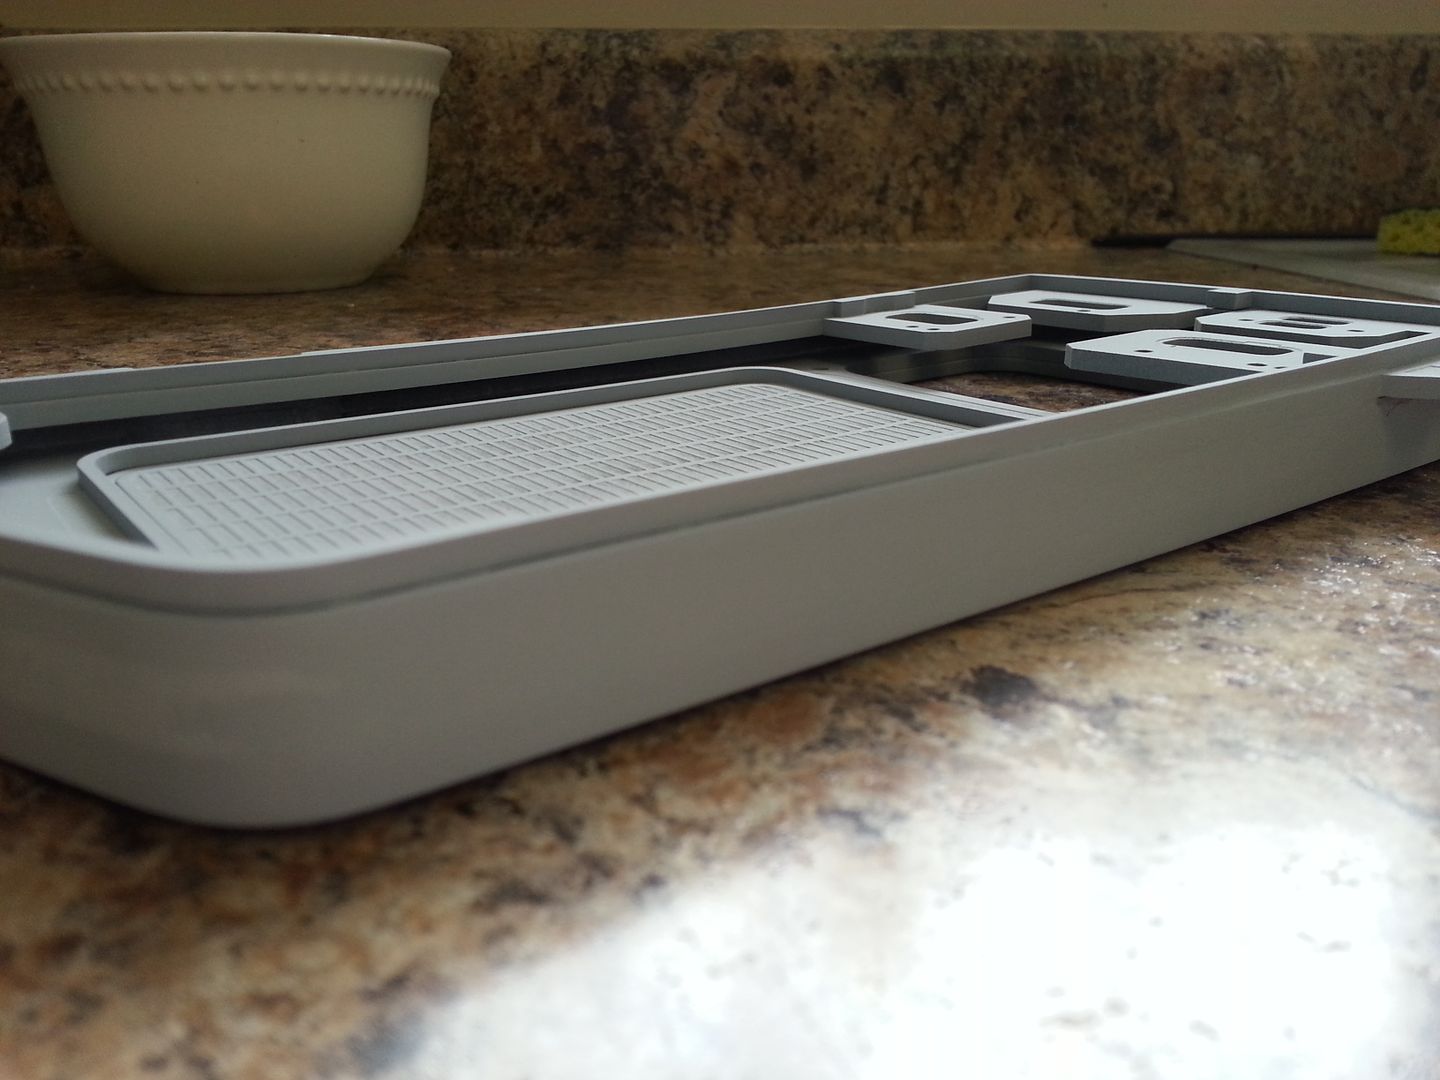
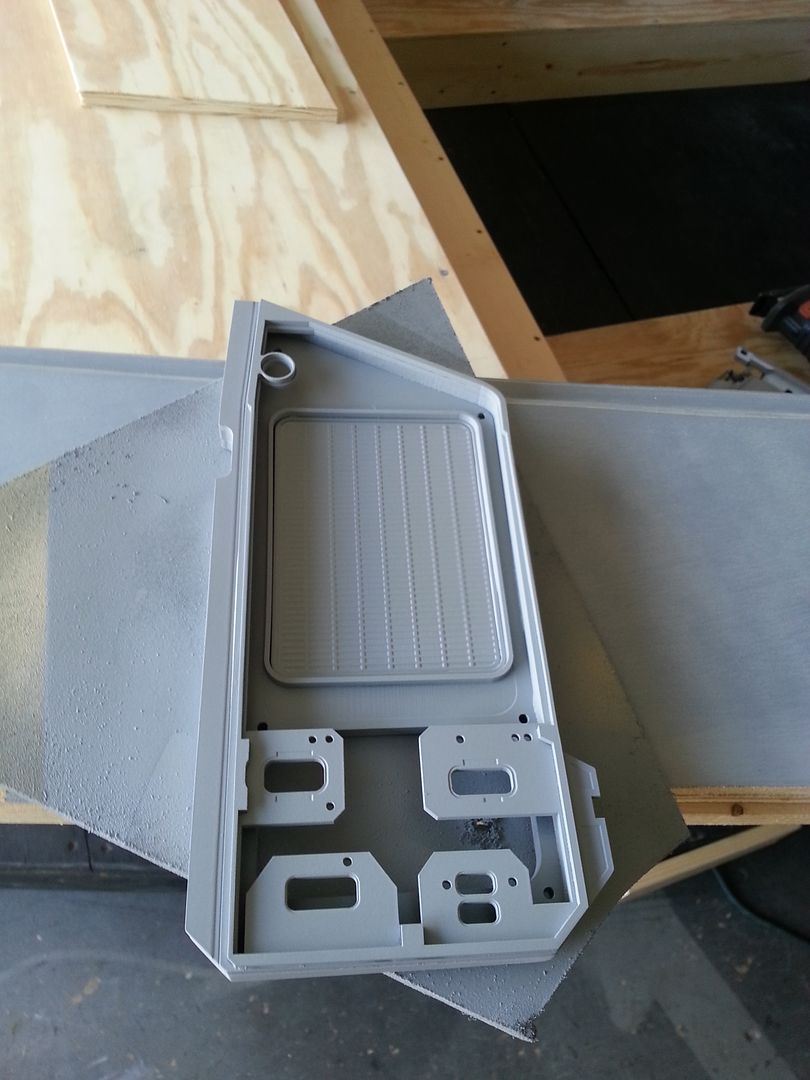
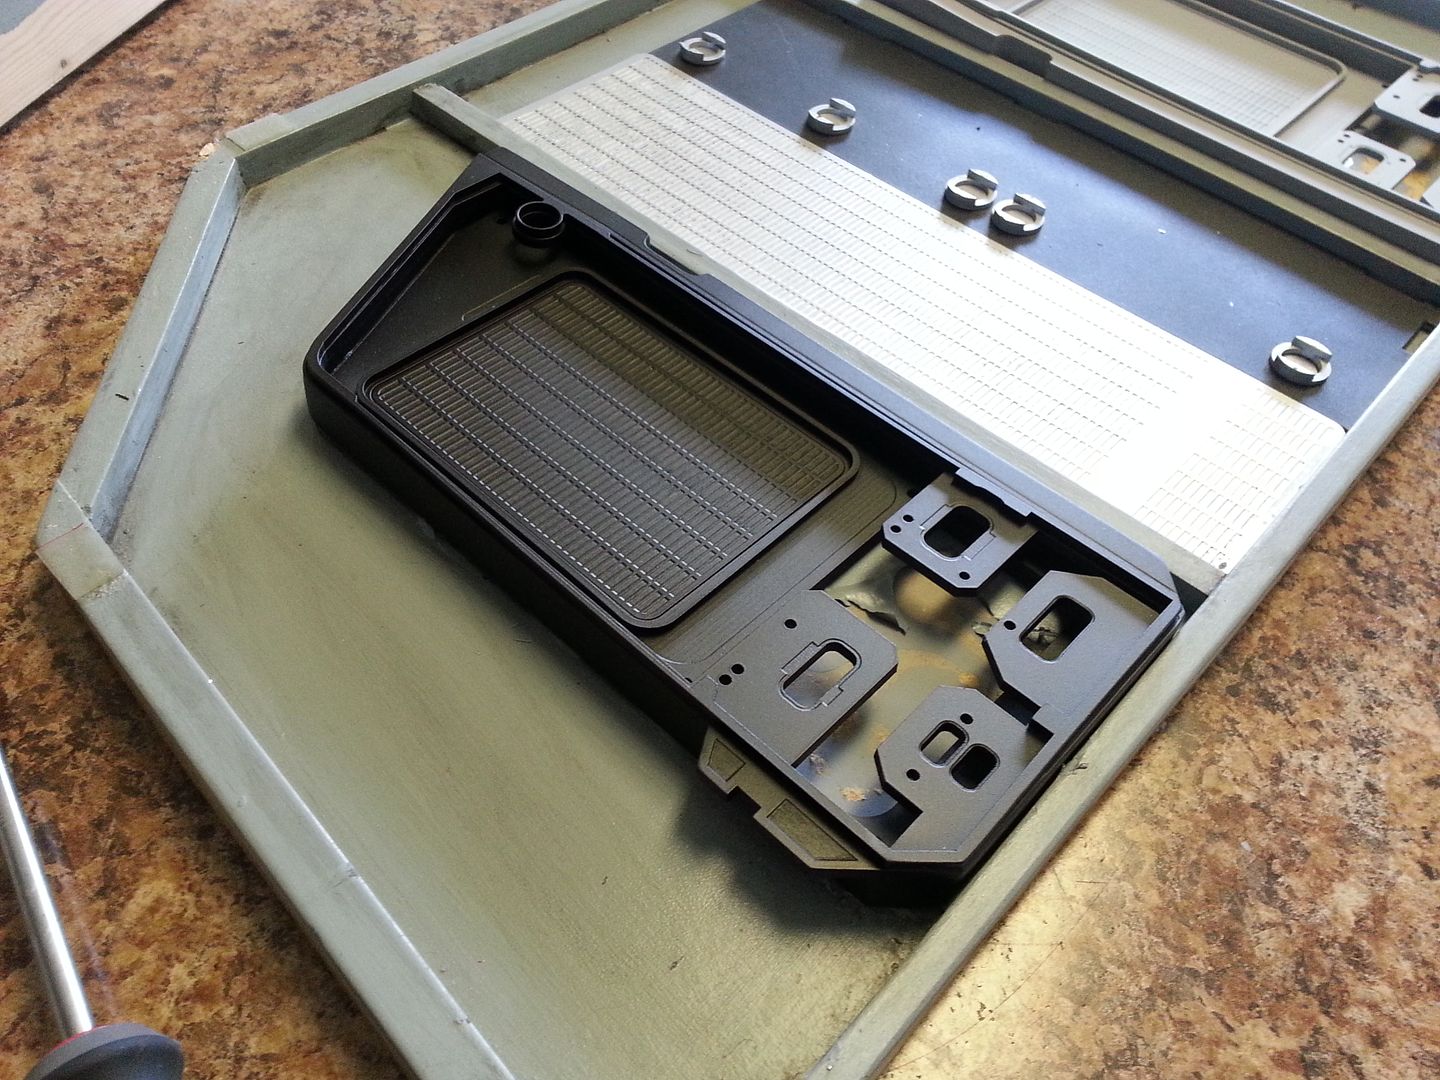
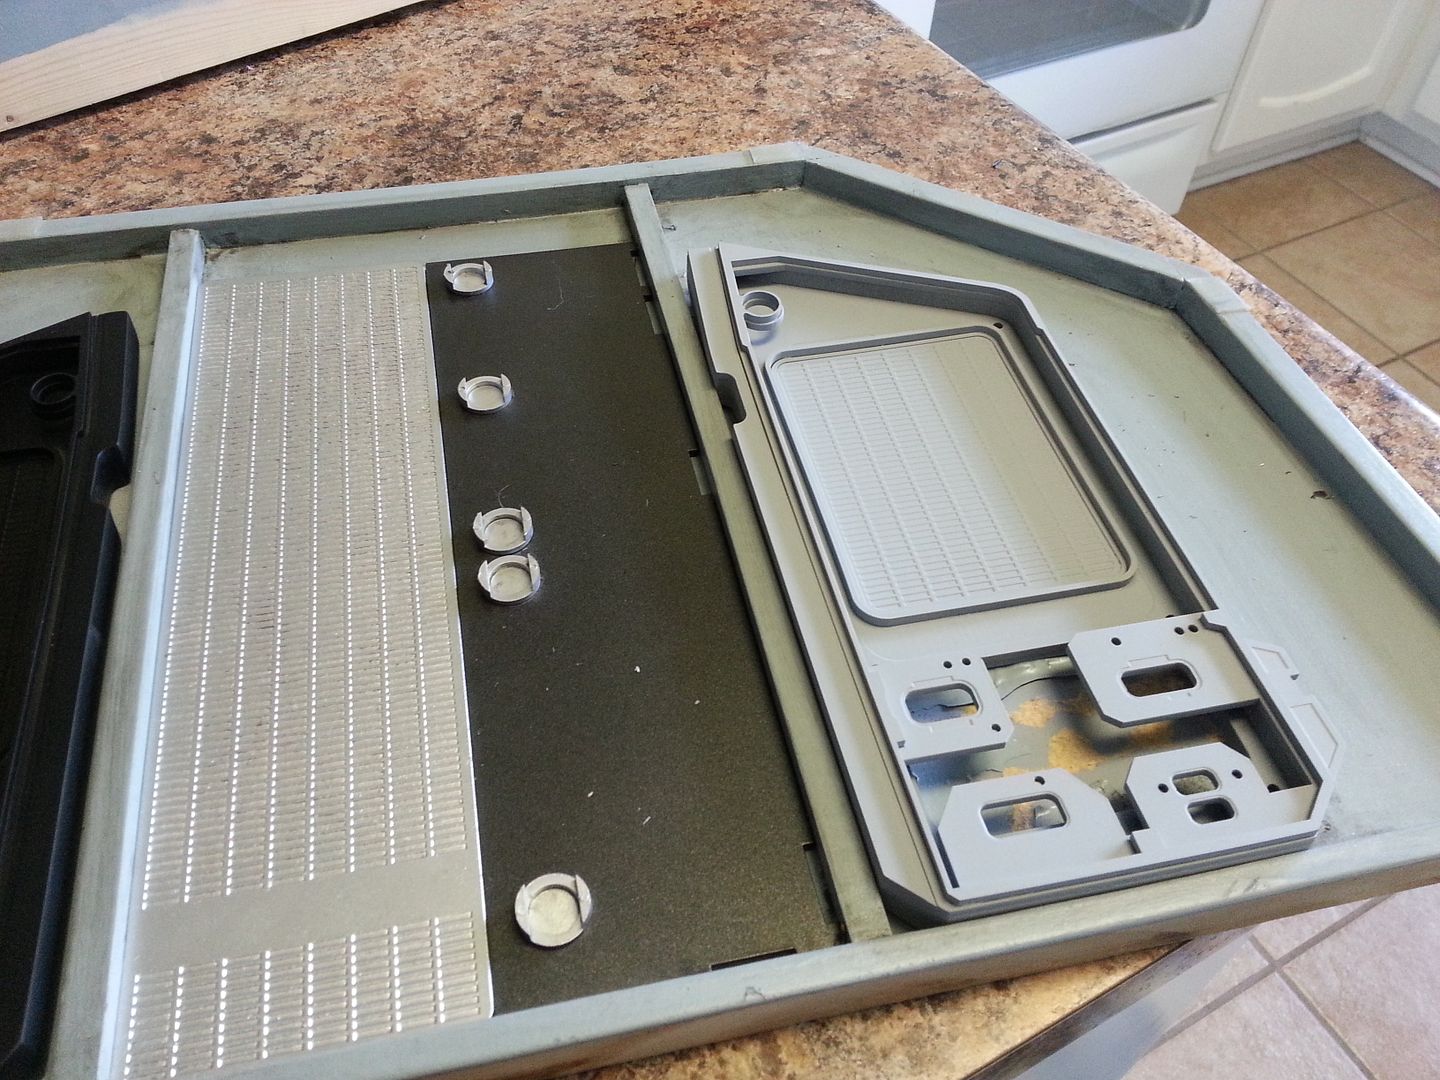
After I calmed down I jumped back into gear and knocked out those two lower side panels
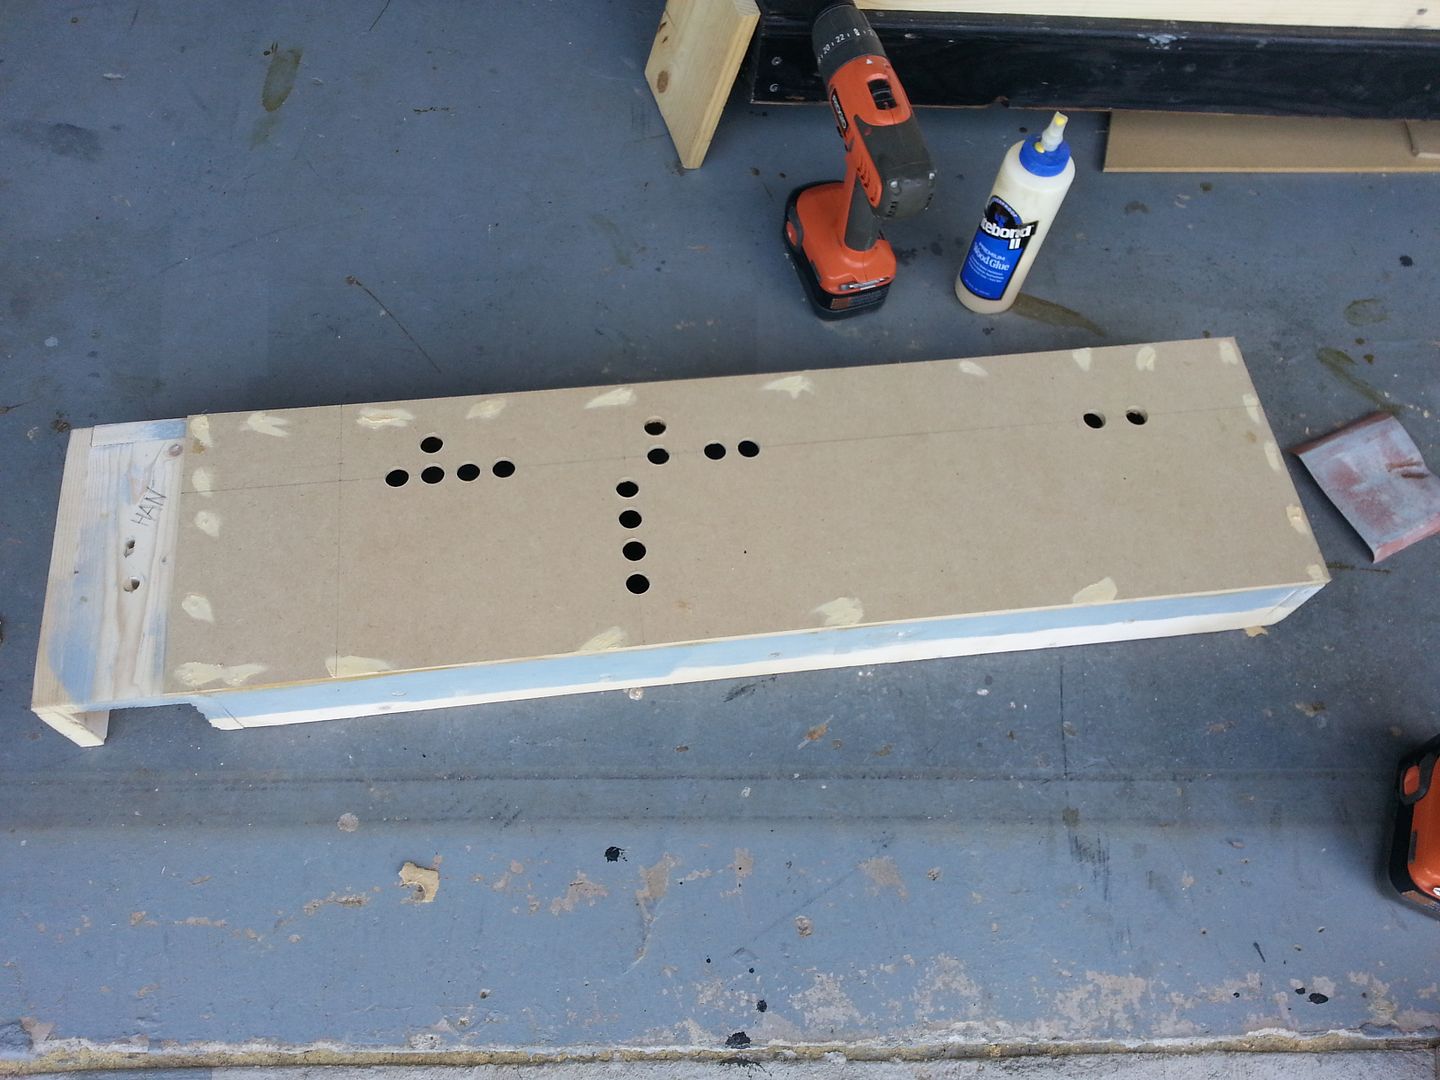
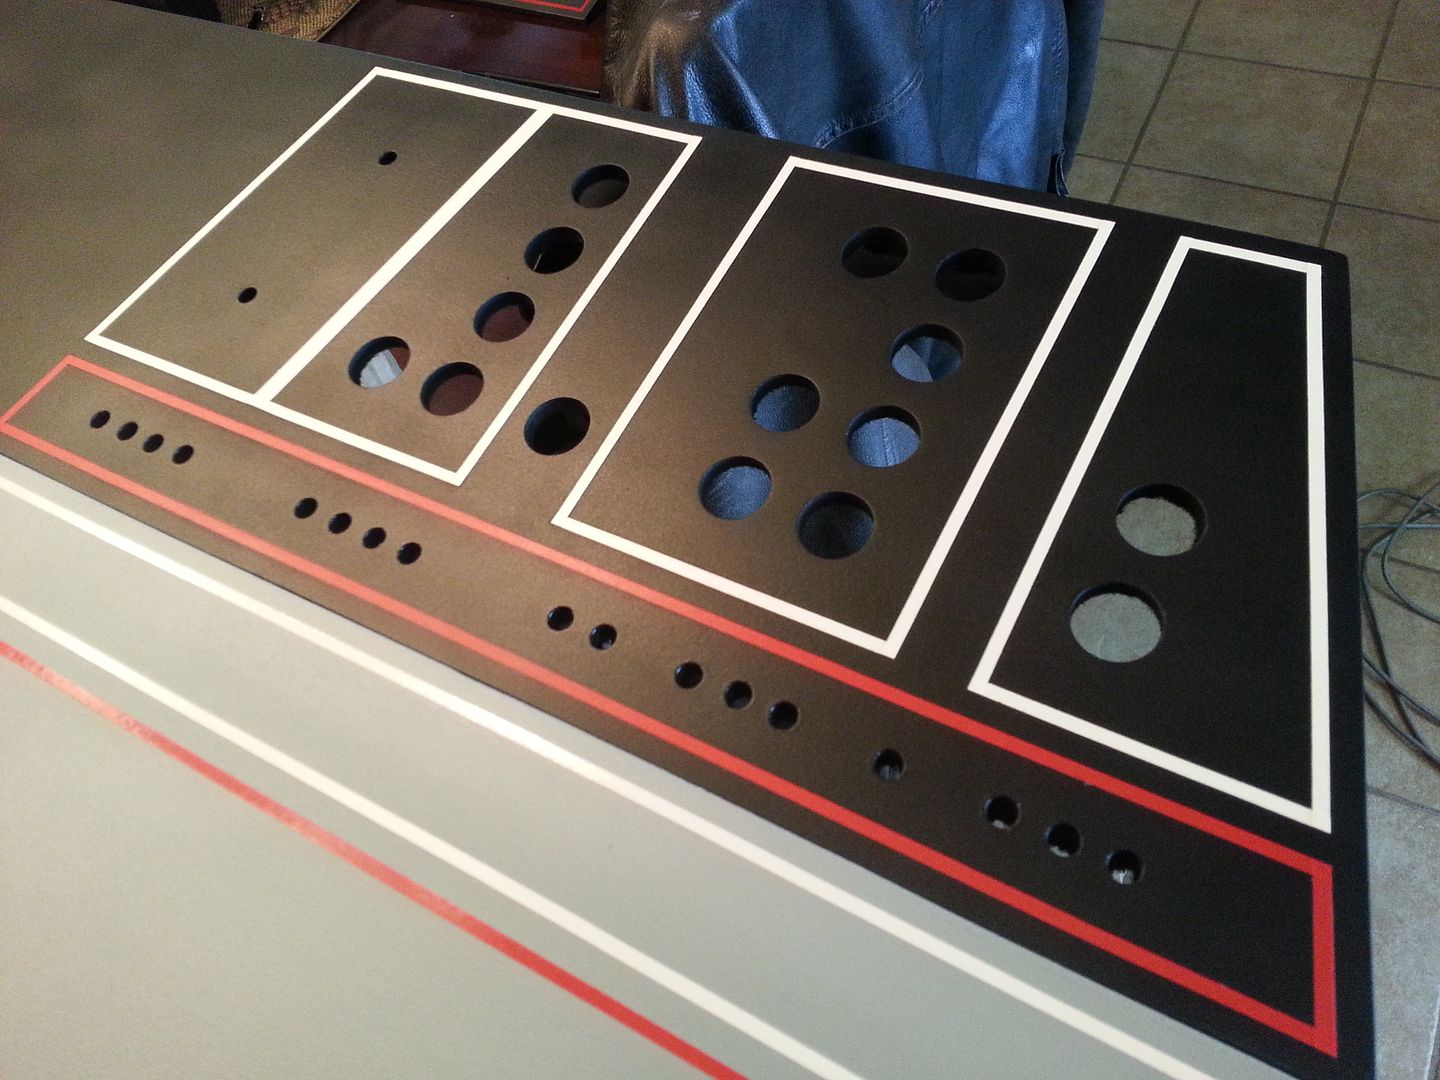
Heck... why not drill out the 1" tile holes as well
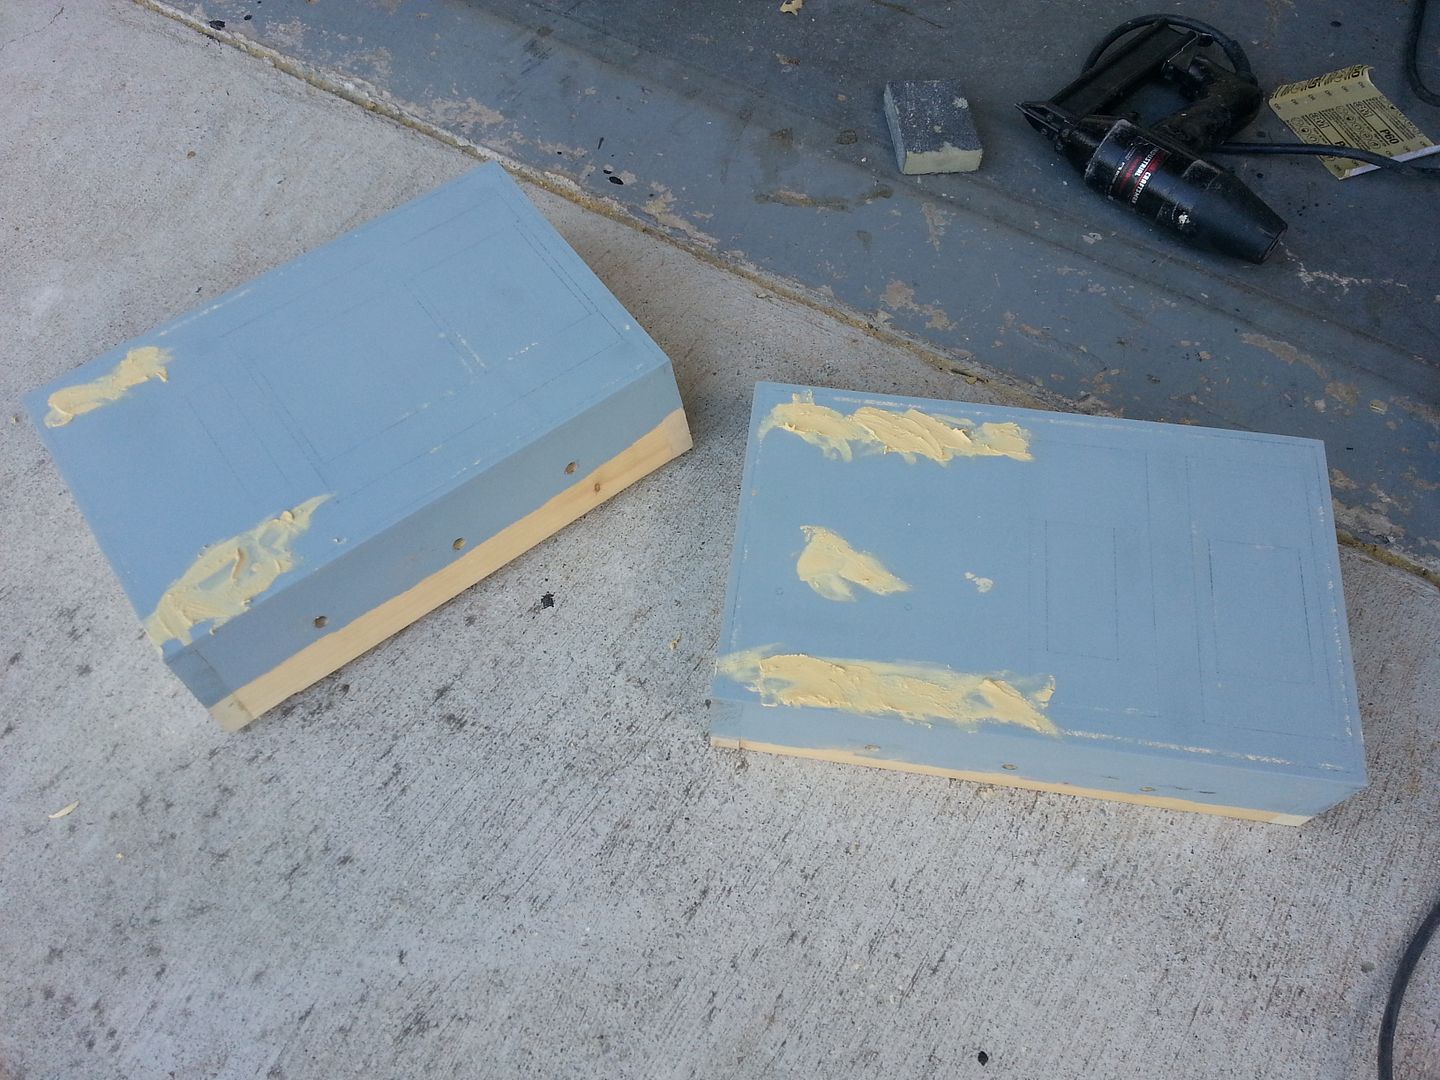
The 15" extension panels get a makeover as well
I also removed material from the center console platform
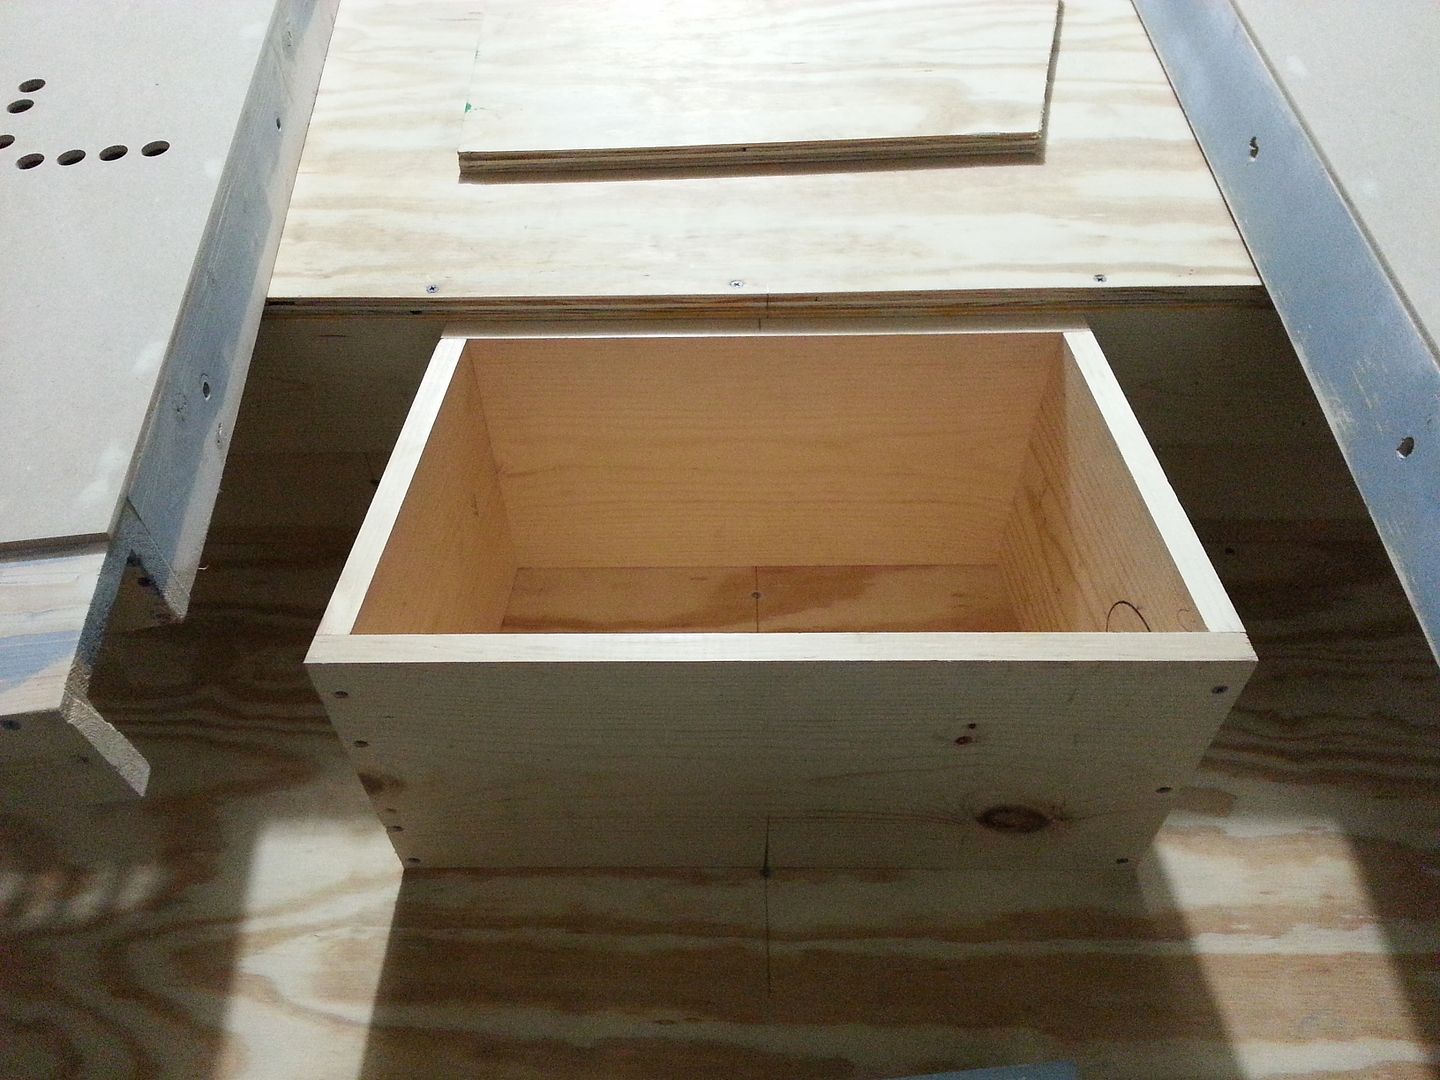
Needs some paint!
Thank you again Cameron! You are AWESOME!
Stay Tuned!
CHECK IT OUT!
Fellow RPFer "Cameron" found an authentic Martin Baker ejection seat part and donated it to the build!
Top
Side - that is SO pretty!
Front
Back
As many of you know I've been donking around with these Nav Chairs - do a little here, a little there... So, I dusted one of them off...
The part literally slid into place - a PERFECT fit
Added a few bolts
Cameron told me it's not the same part from the original MB chair - but MAN-O-MAN... she really looks the part! AWESOME! We may have found our Nav Computer Chair!
Looks like I'll be doing a little work on the chair this weekend!
A HUGE THANK YOU to Cameron!
After I calmed down I jumped back into gear and knocked out those two lower side panels
Heck... why not drill out the 1" tile holes as well
The 15" extension panels get a makeover as well
I also removed material from the center console platform
Needs some paint!
Thank you again Cameron! You are AWESOME!
Stay Tuned!
Last edited:
Very cool, I like a good headbox. Interesting with the German info on the side.
Isn't she awesome! I'm going to get a mock up of the chair done (try to) this weekend! The German info is VERY COOL! Ya Ya
- - - Updated - - -
Well hot damn!! Hopefully you can find another, or replicate without too much trouble.
Hey T,
Exactly! The plan right now is to make a mold and preserve the original. Anything like this, such as the matte box, needs to have a mold made. It would kill me to alter / mod an original find!
Hi Gang,
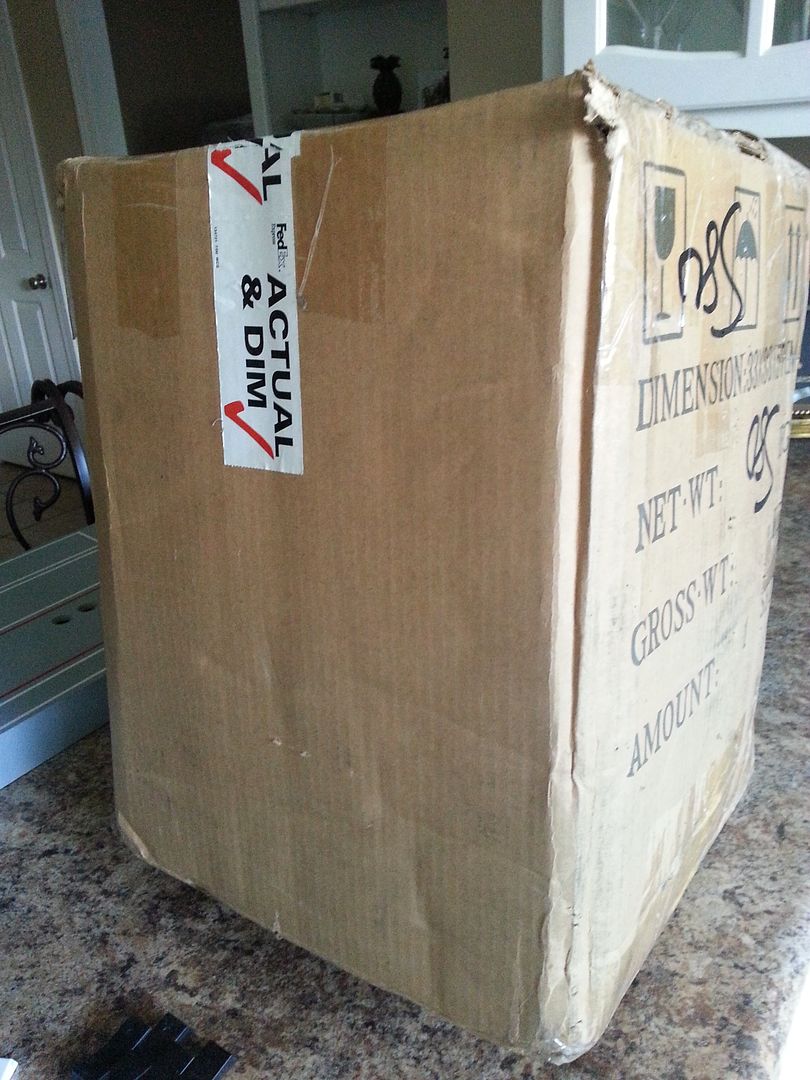
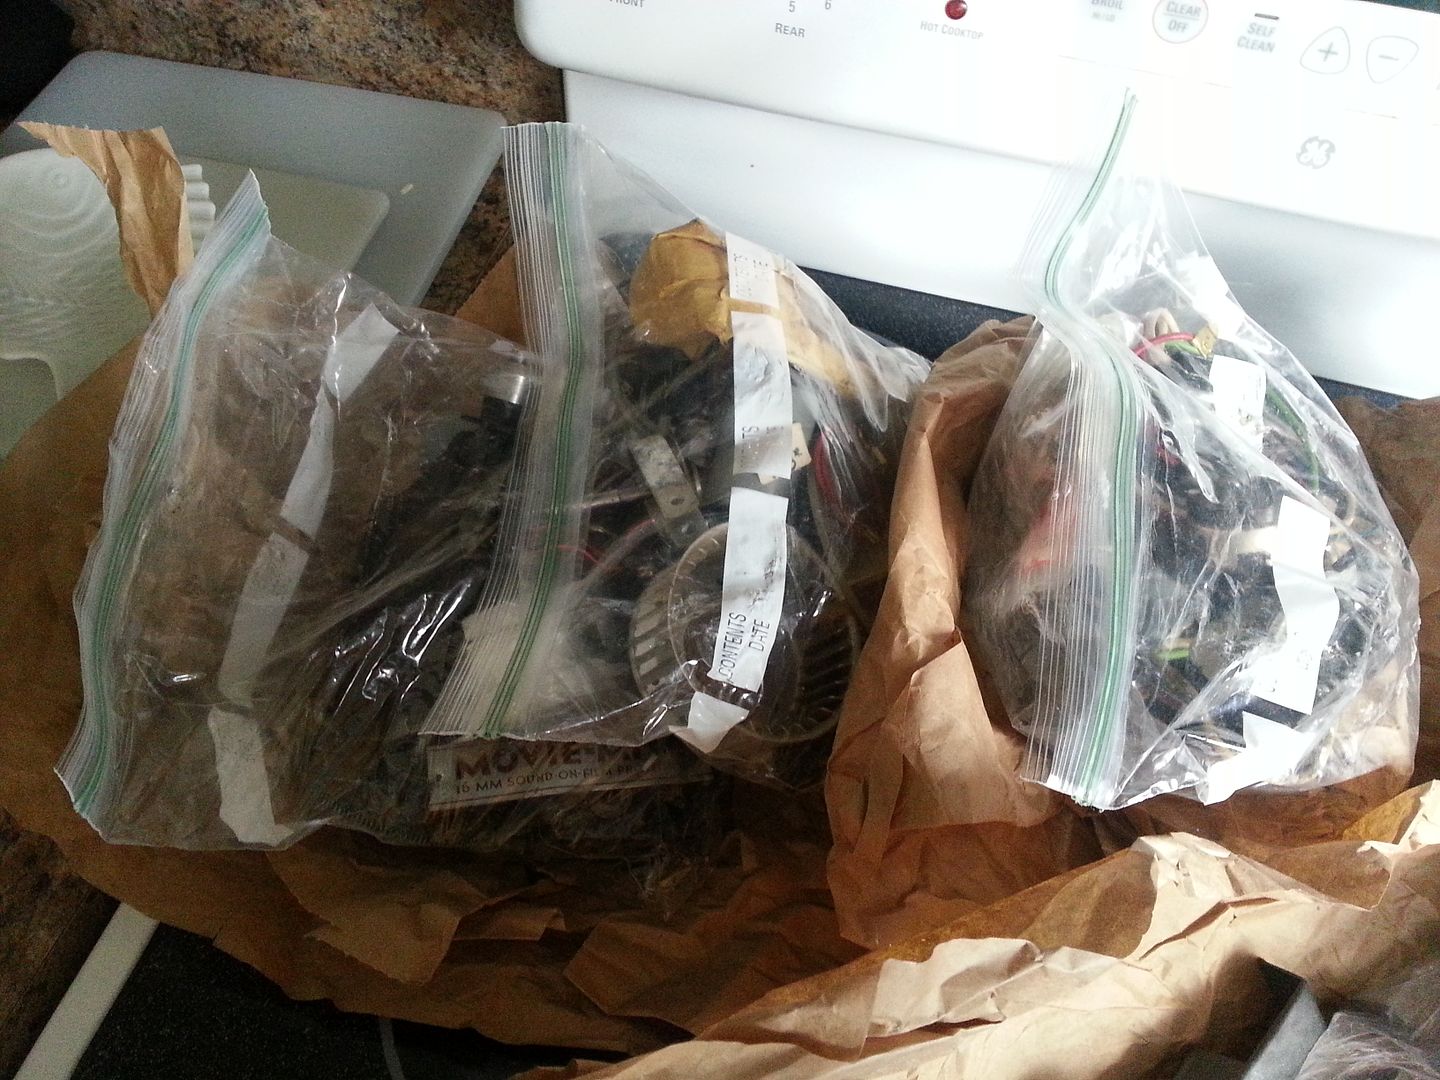
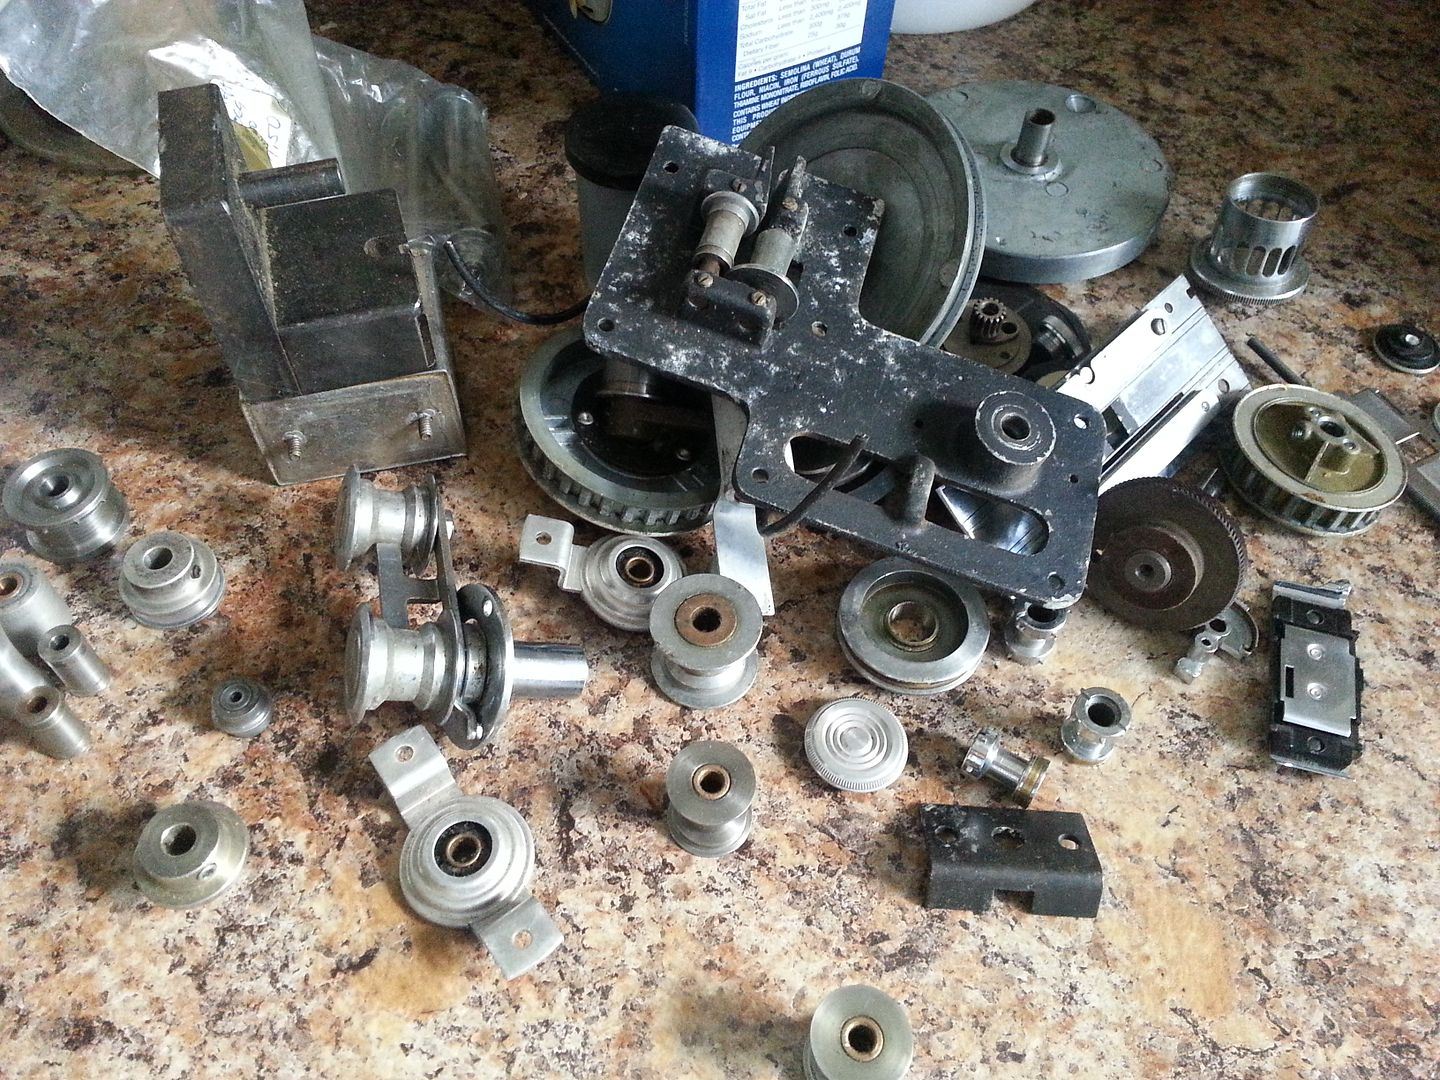
UPDATES! Fellow RPFer Fuzz and I purchased a HUGE lot of used film projector parts. If you're into the SW style greeblies this is the place to start looking!
This was one of two boxes that arrived
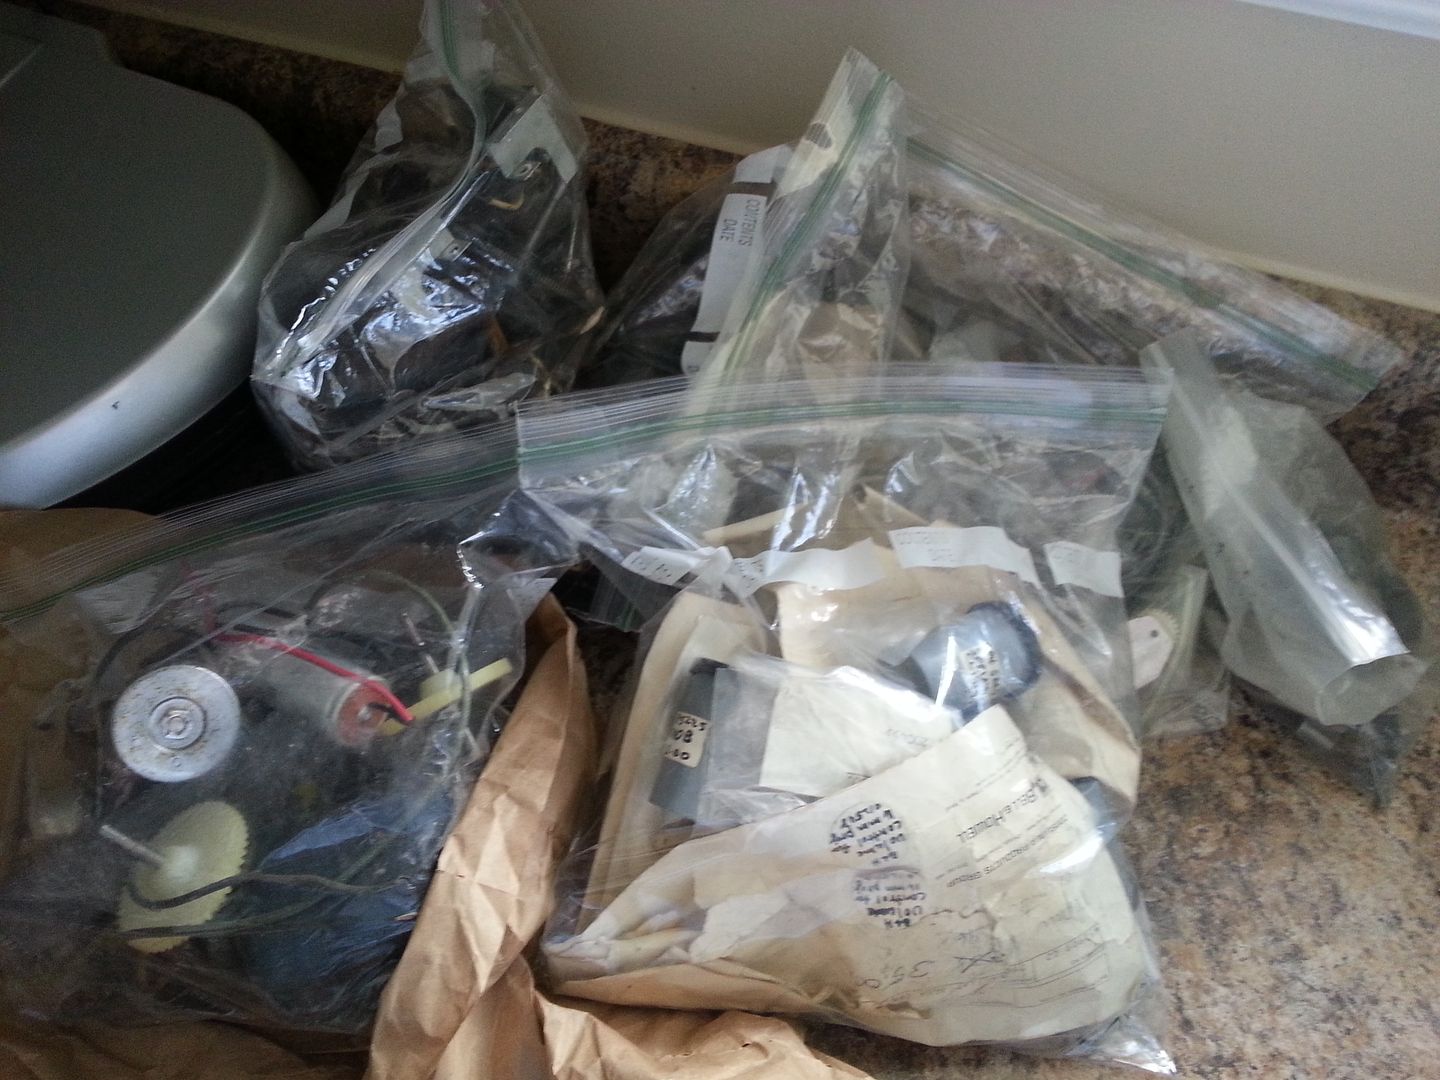
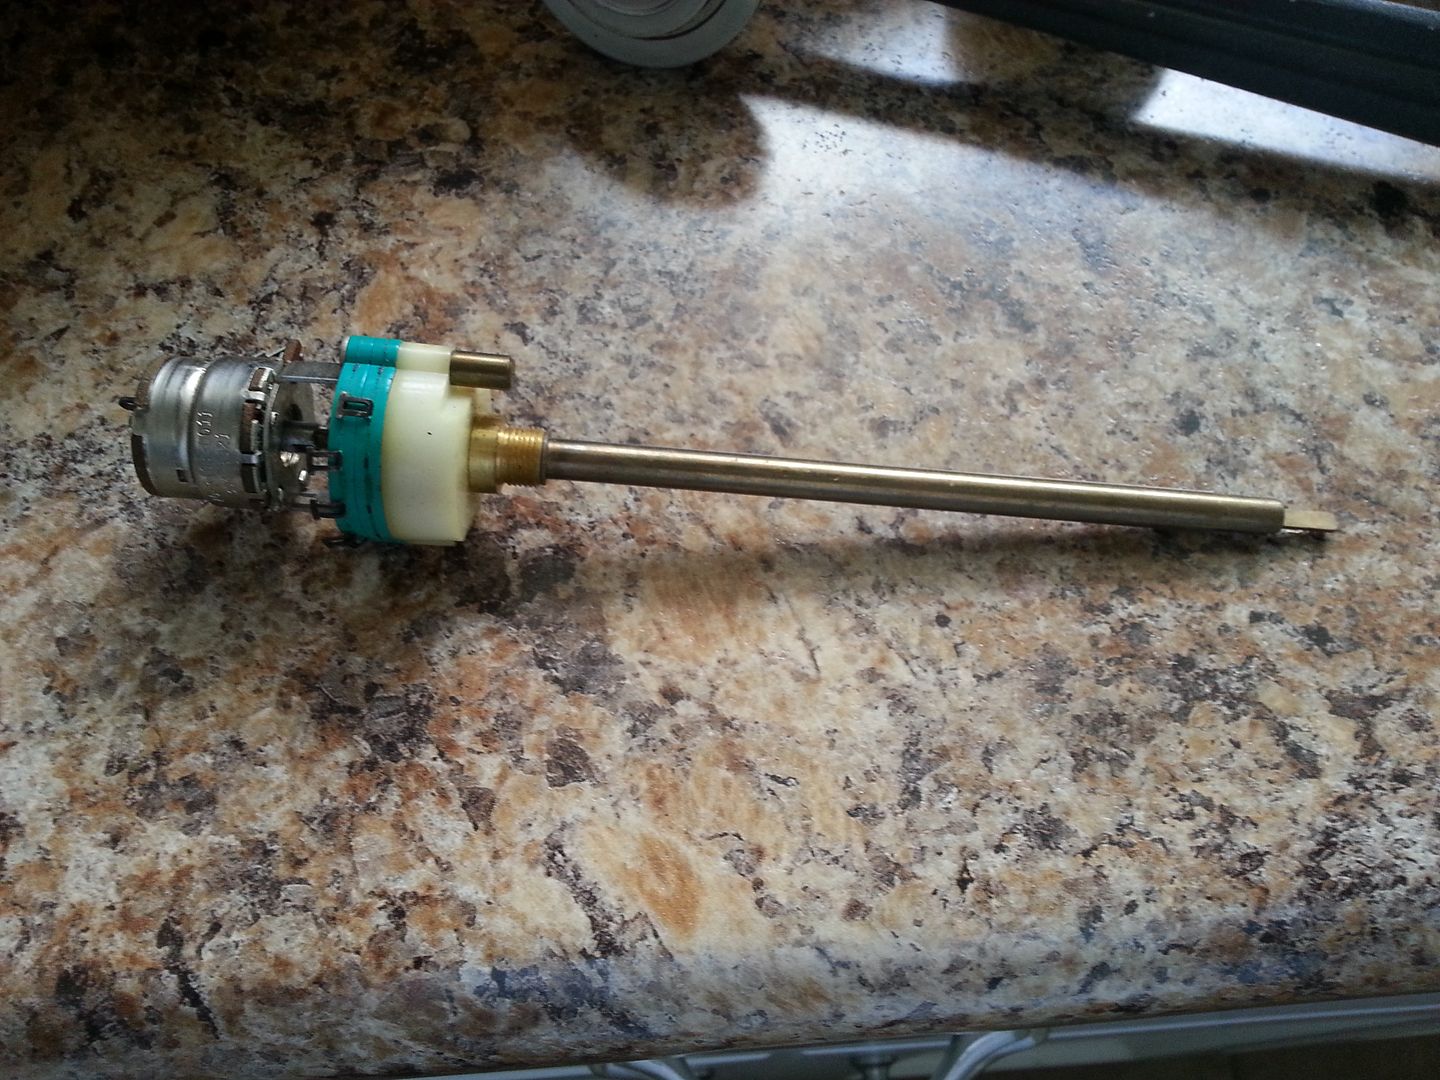
Within the box... bag and bags of greeblie goodness
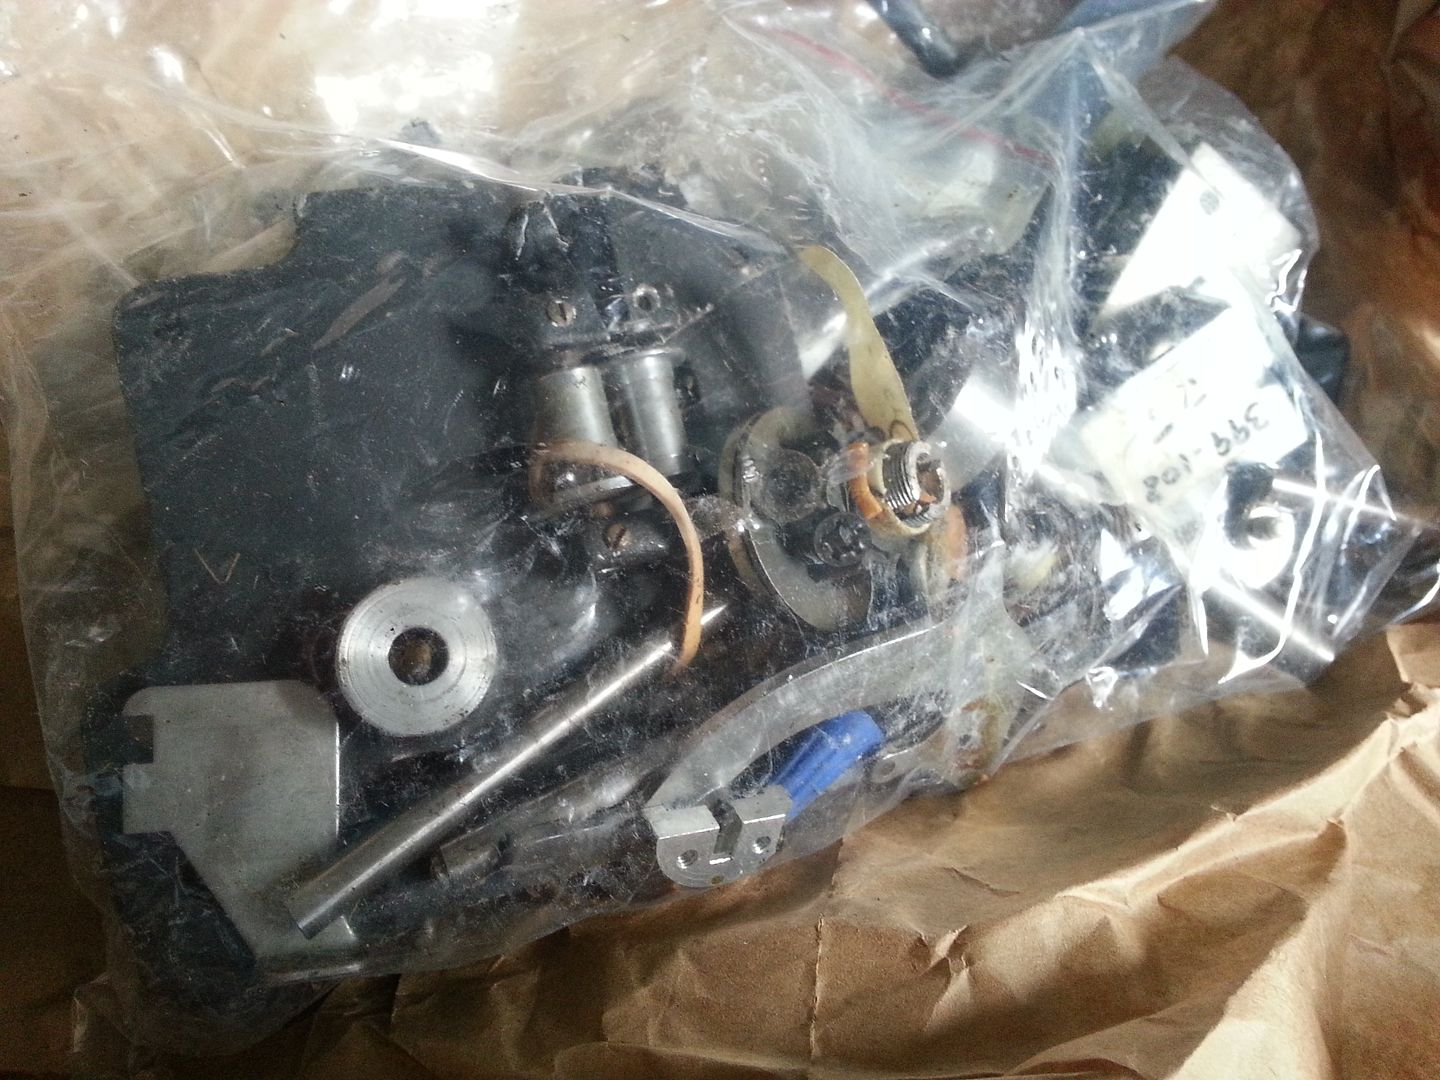
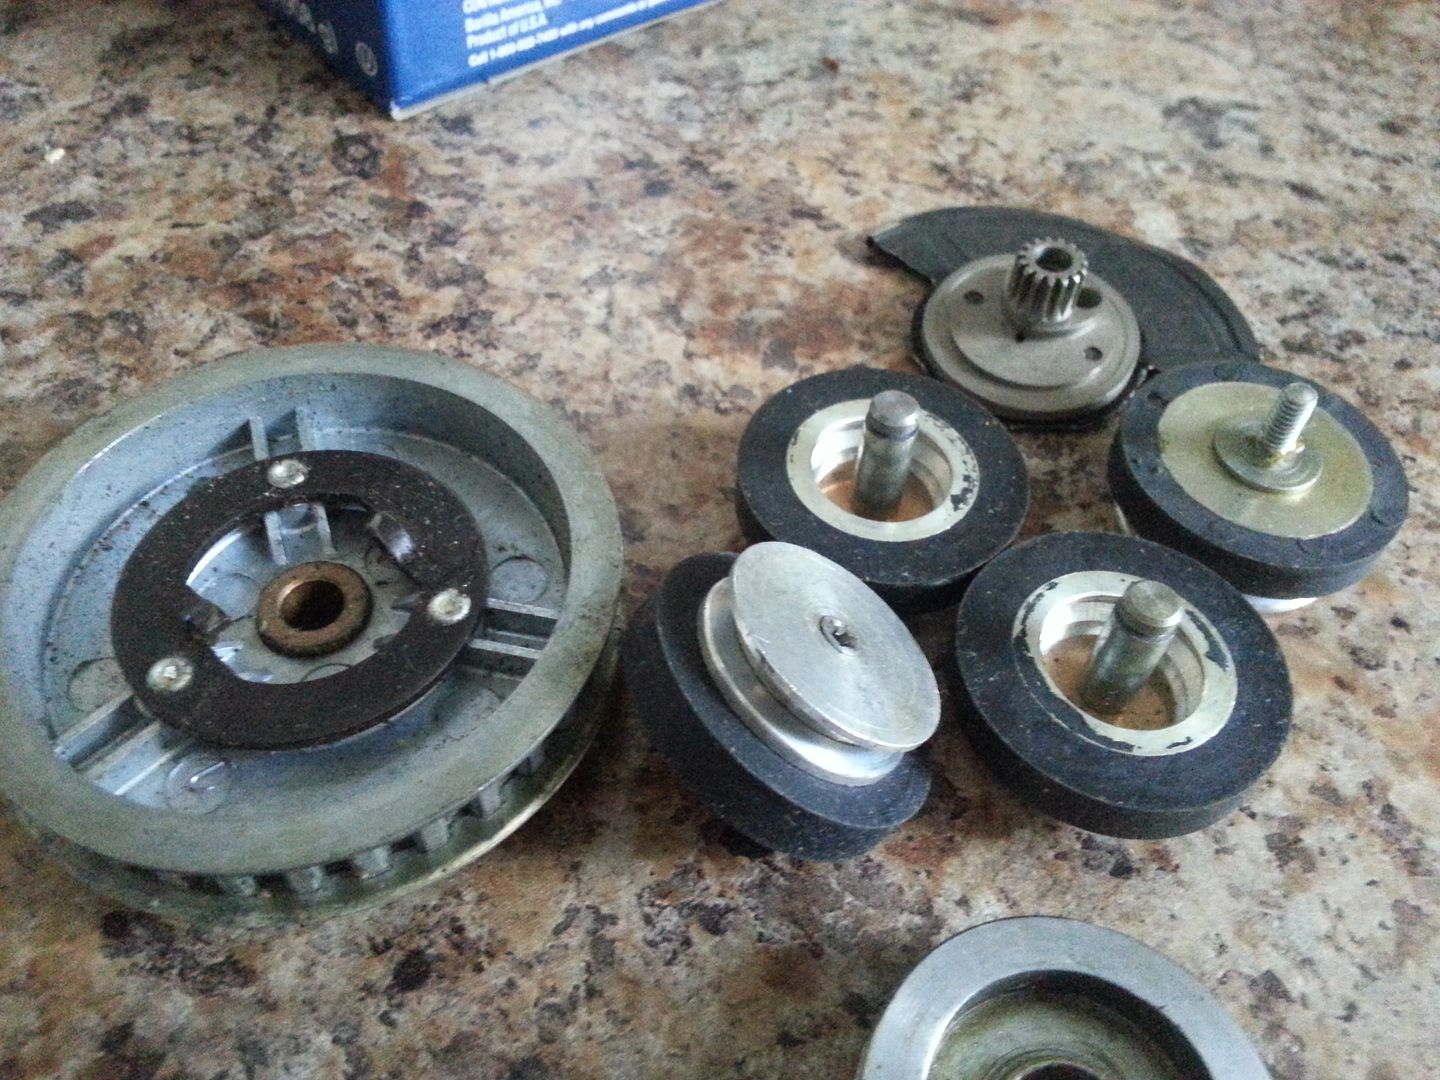
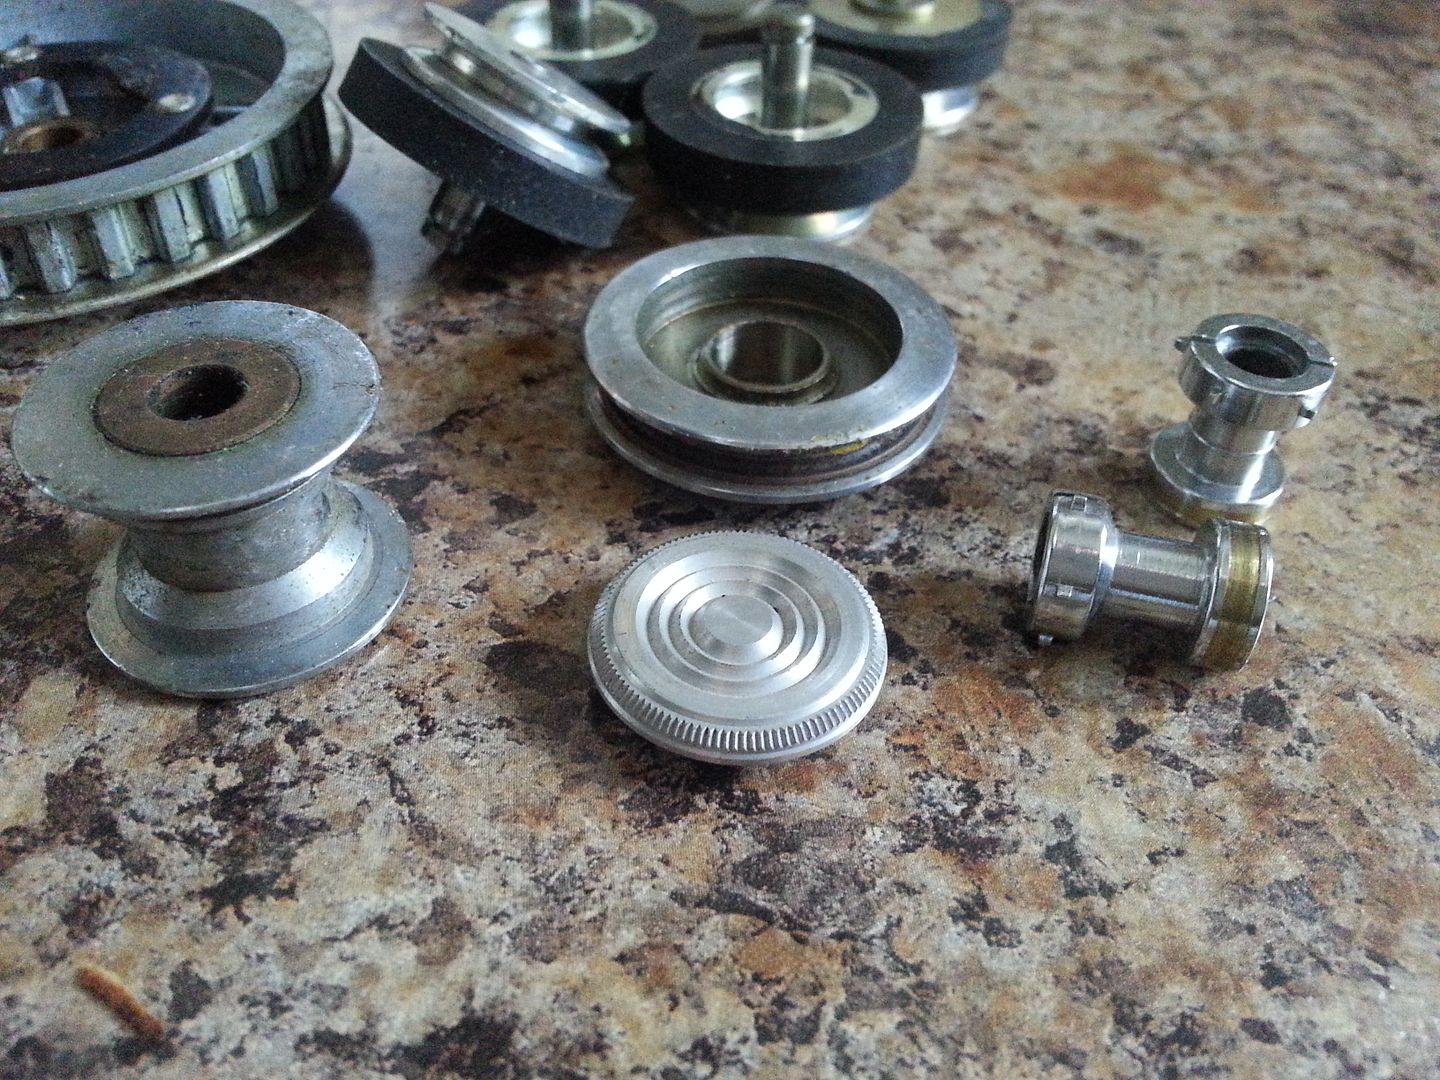
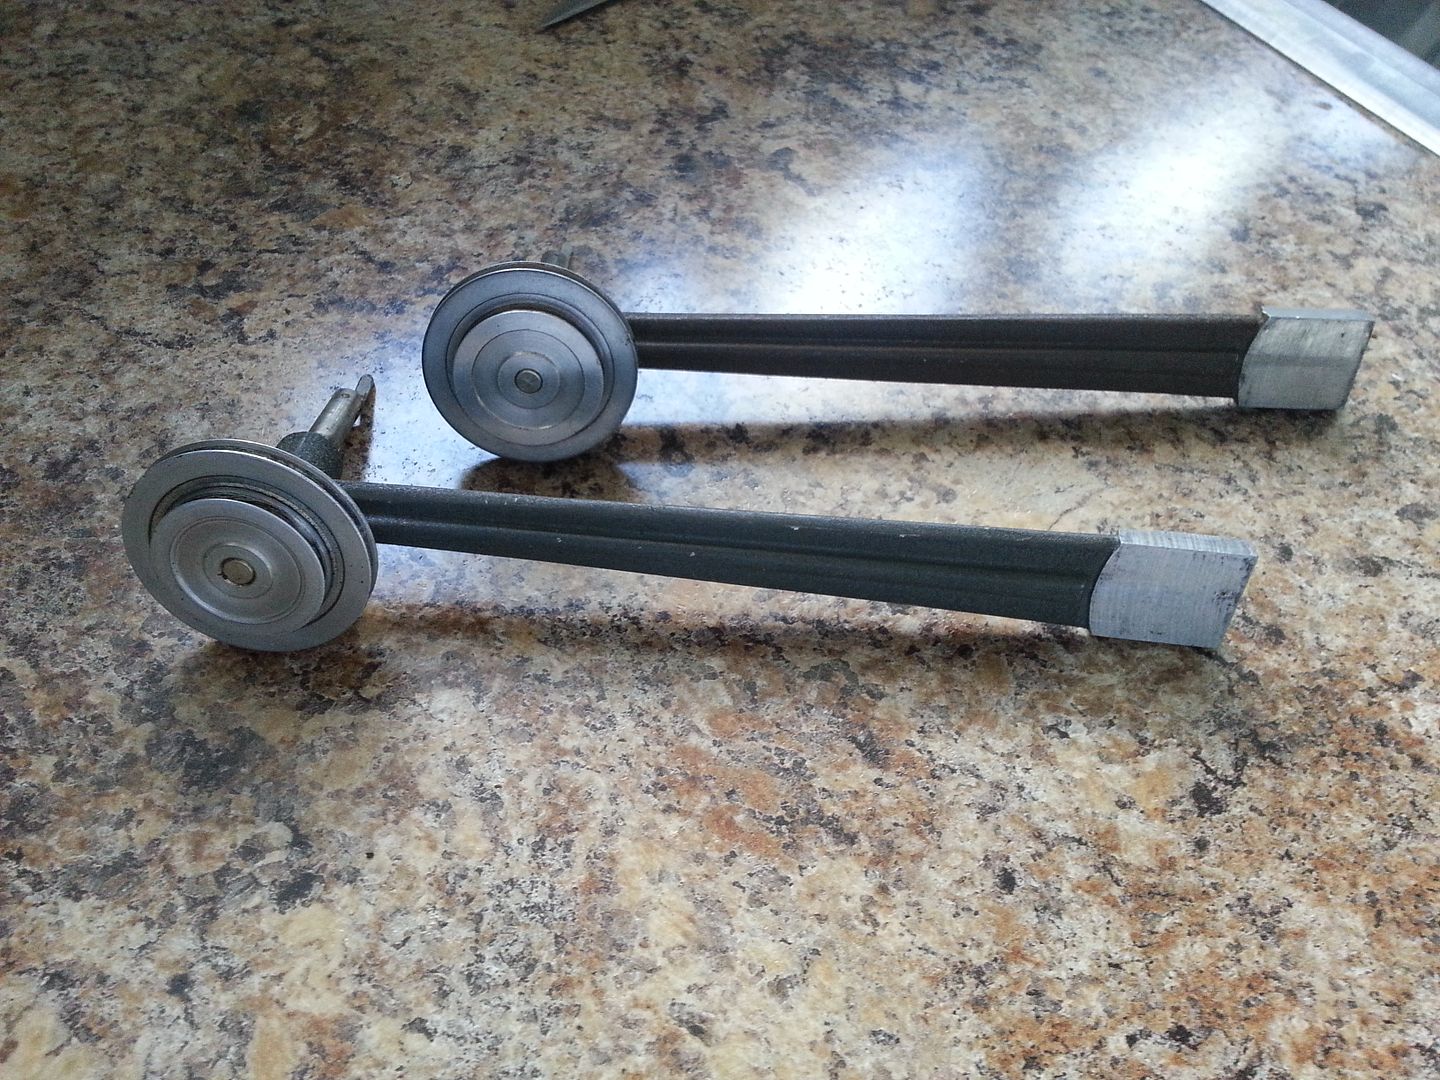
Remember those center console armrest levers that we couldn't figure out so we just modeled and printed? I am 95% certain that they were / are film projector / editing arms. Look at the resemblance!
MMMMM Greeblies
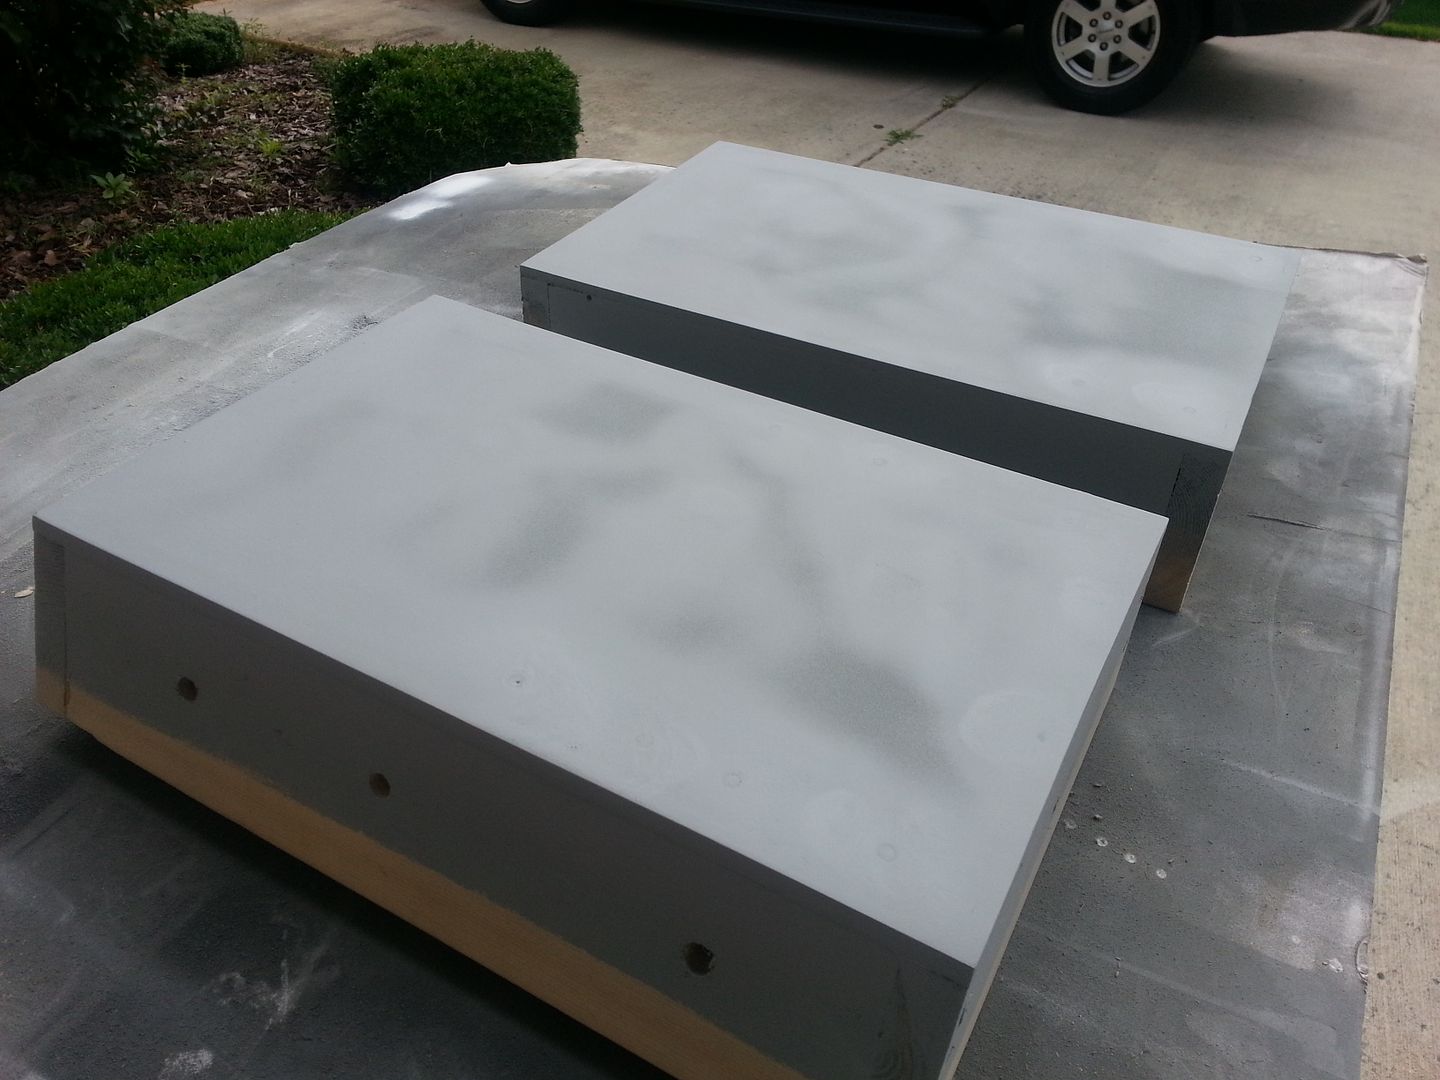
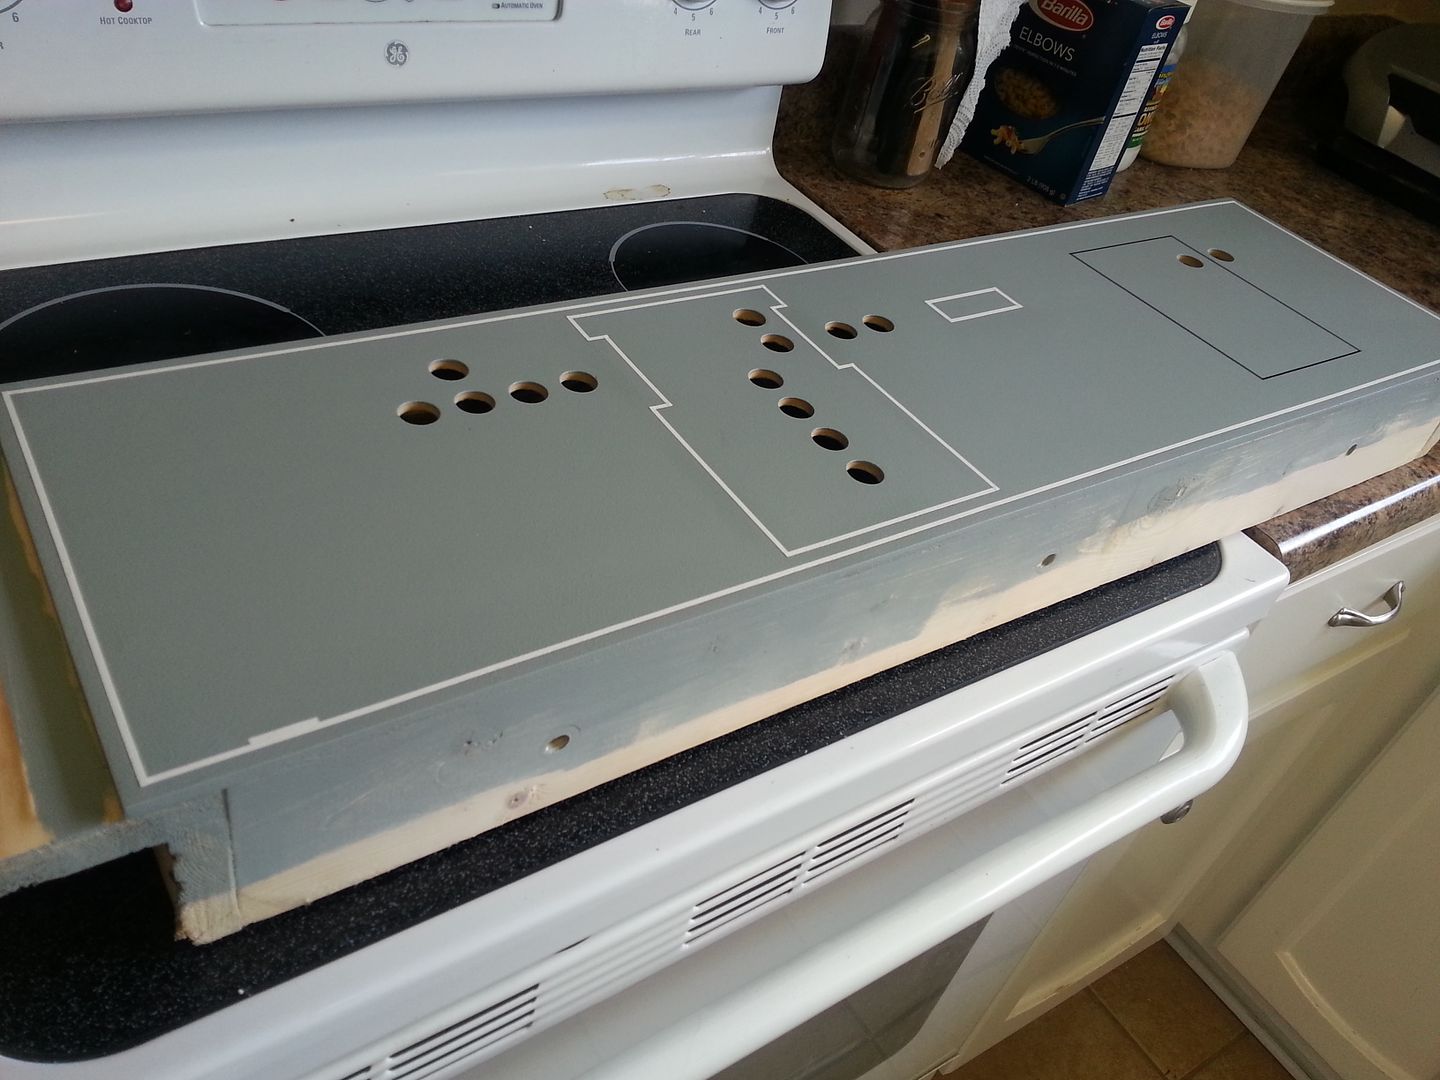
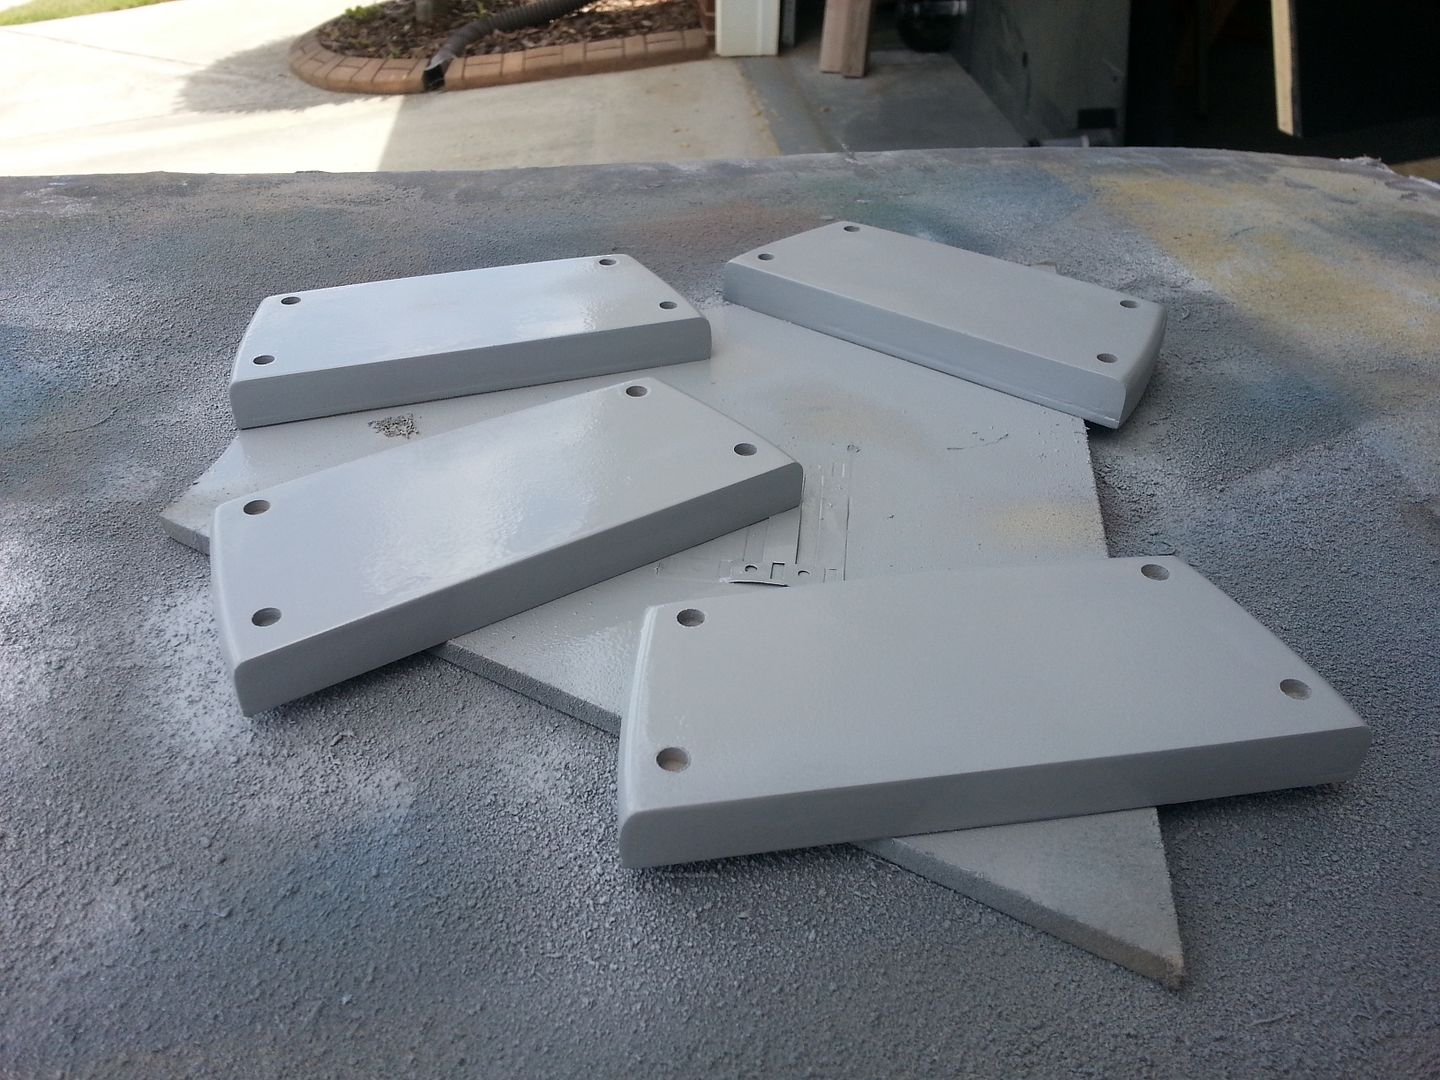
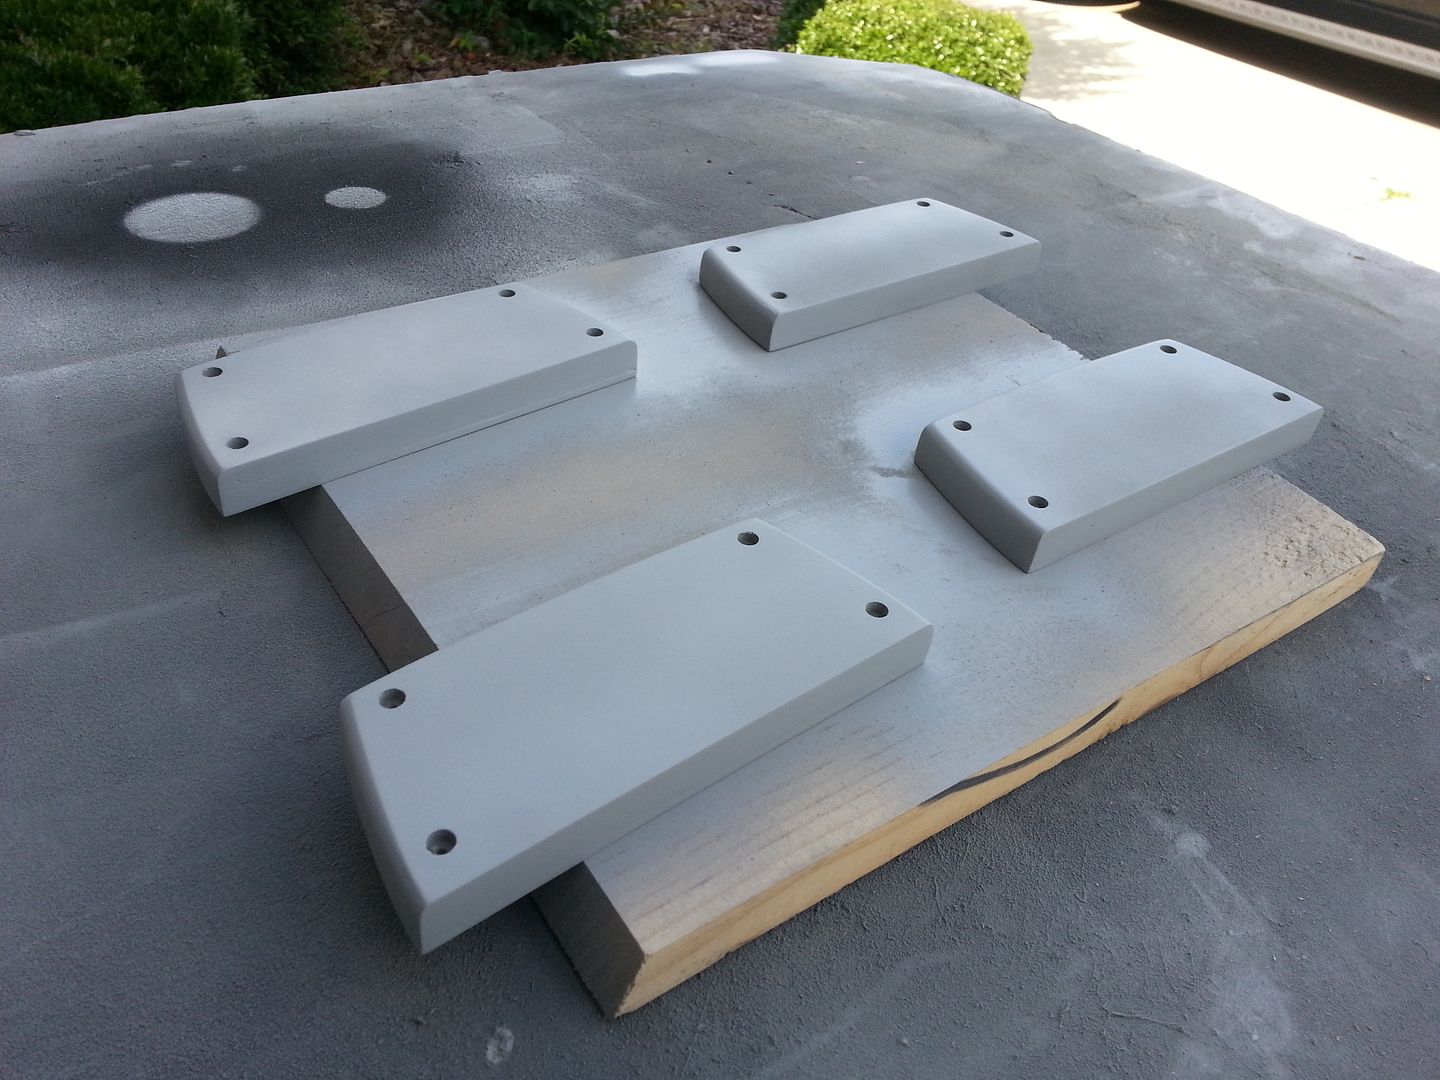
OK... enough gawking... time to get to work! The lower side panels are finally getting some attention
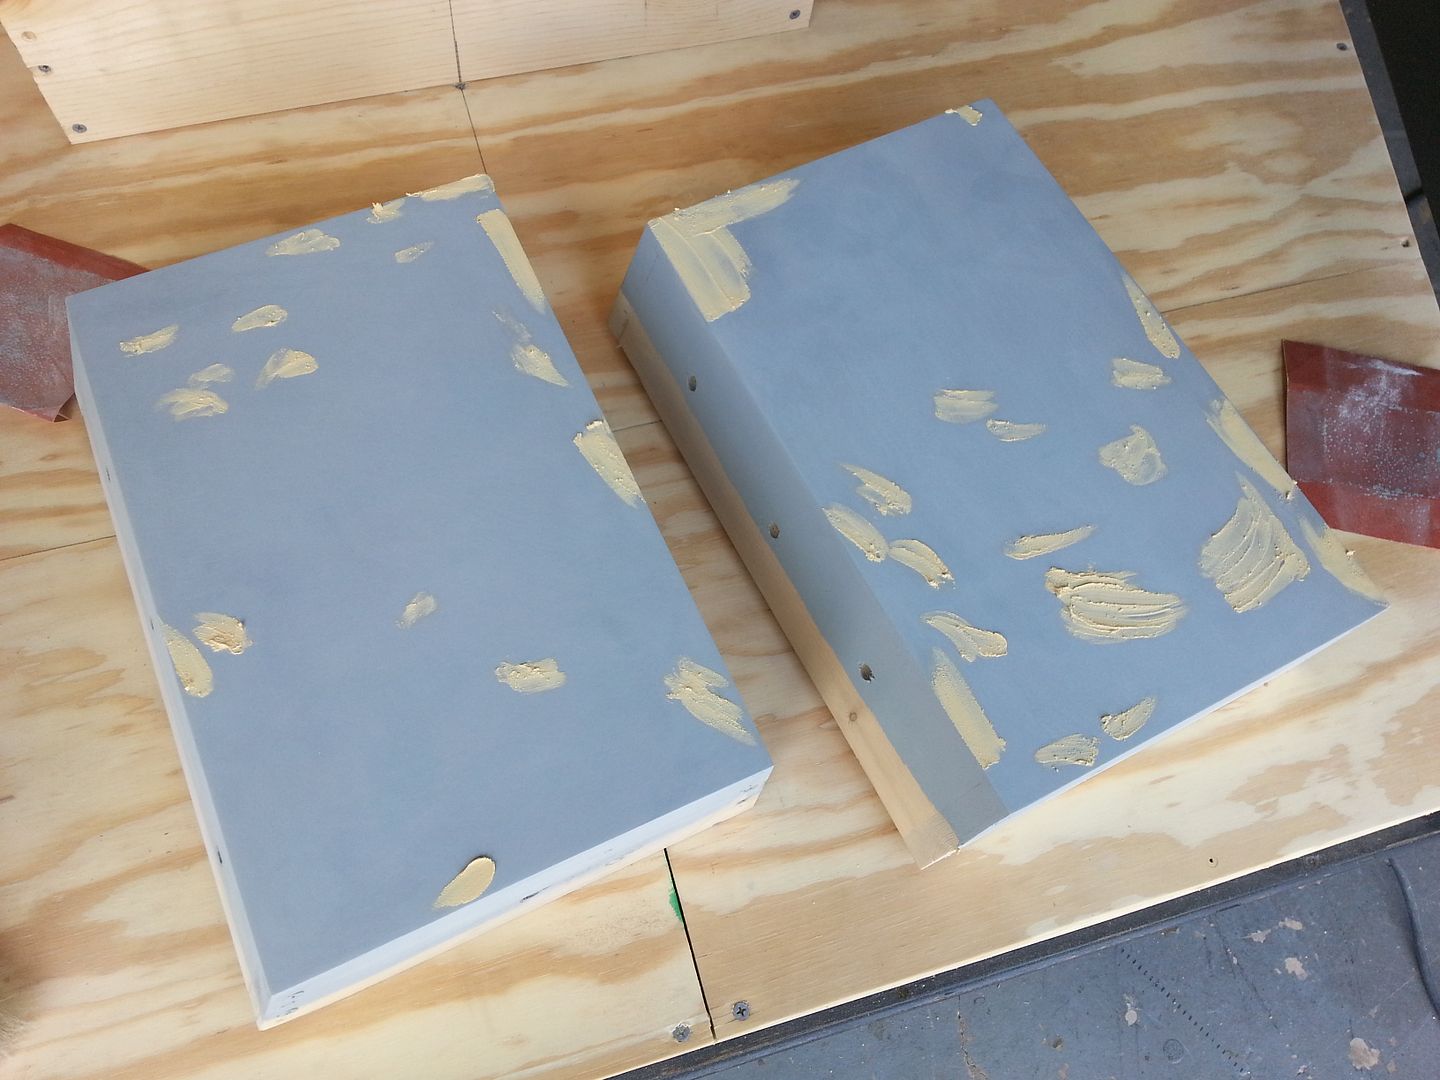
The 15" extension panels needed some significant attention after removing the pin stripes and greeblies
Time to get some pin stripes going!

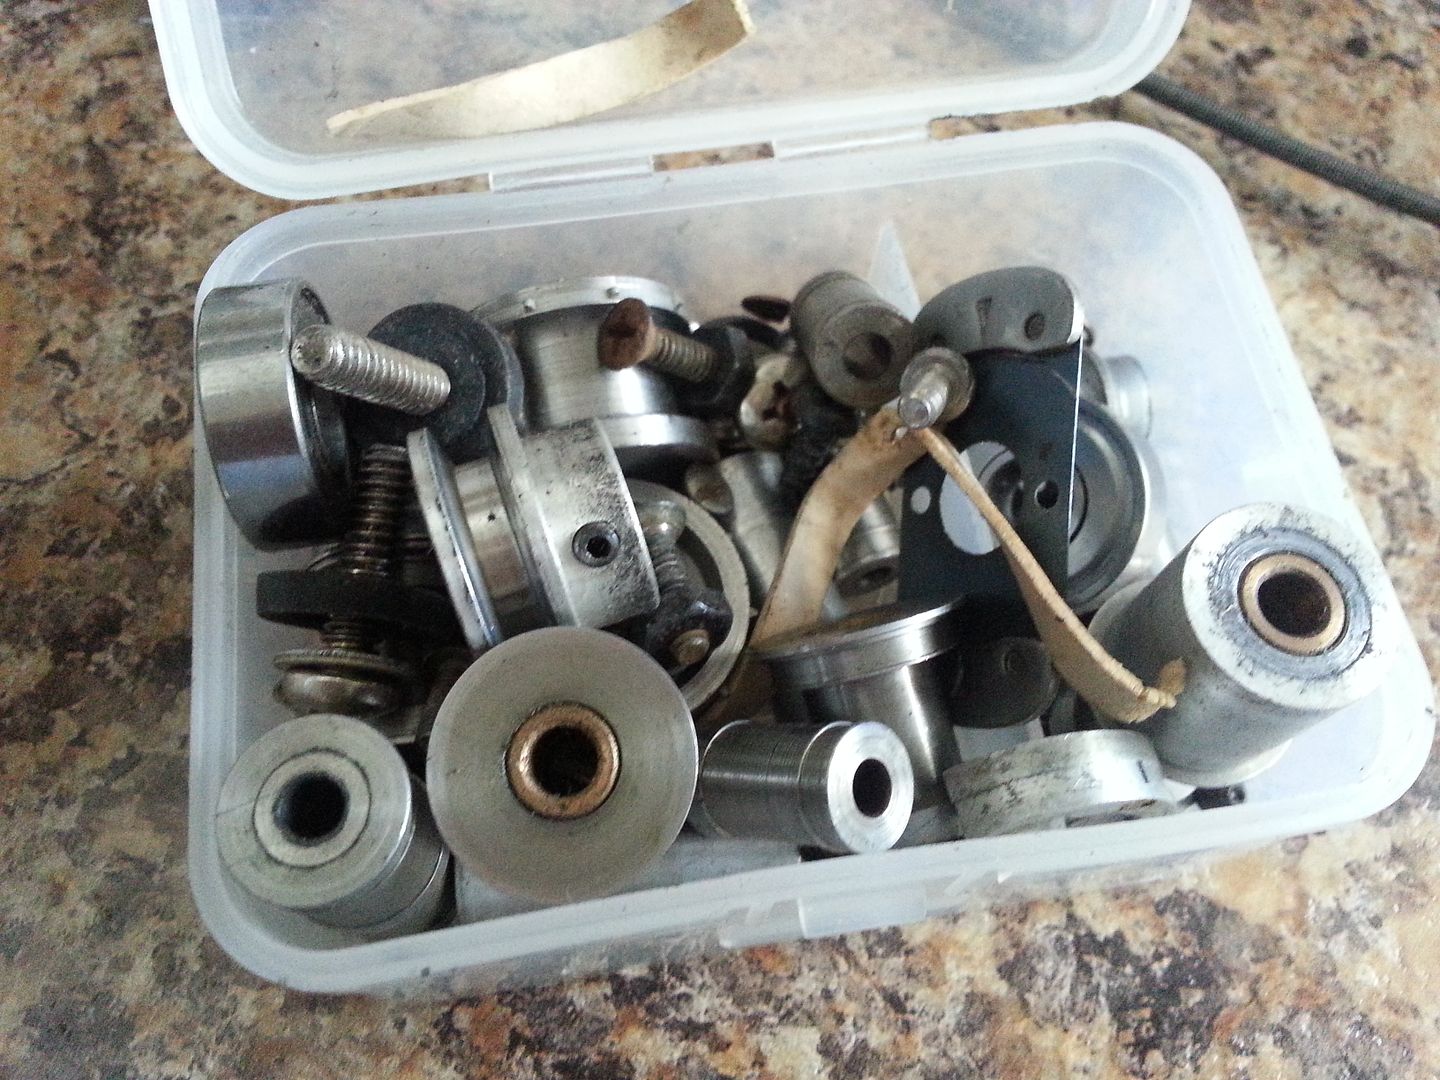
I have NO IDEA what these odd shaped greeblies are. Maybe a lid to something or a trim piece to a reel to reel player? I don't know...
They needed some work. Sanding and the holes drilled
Primer
This is the basic location - the original designers adhered the rockers to them as well.
Almost done
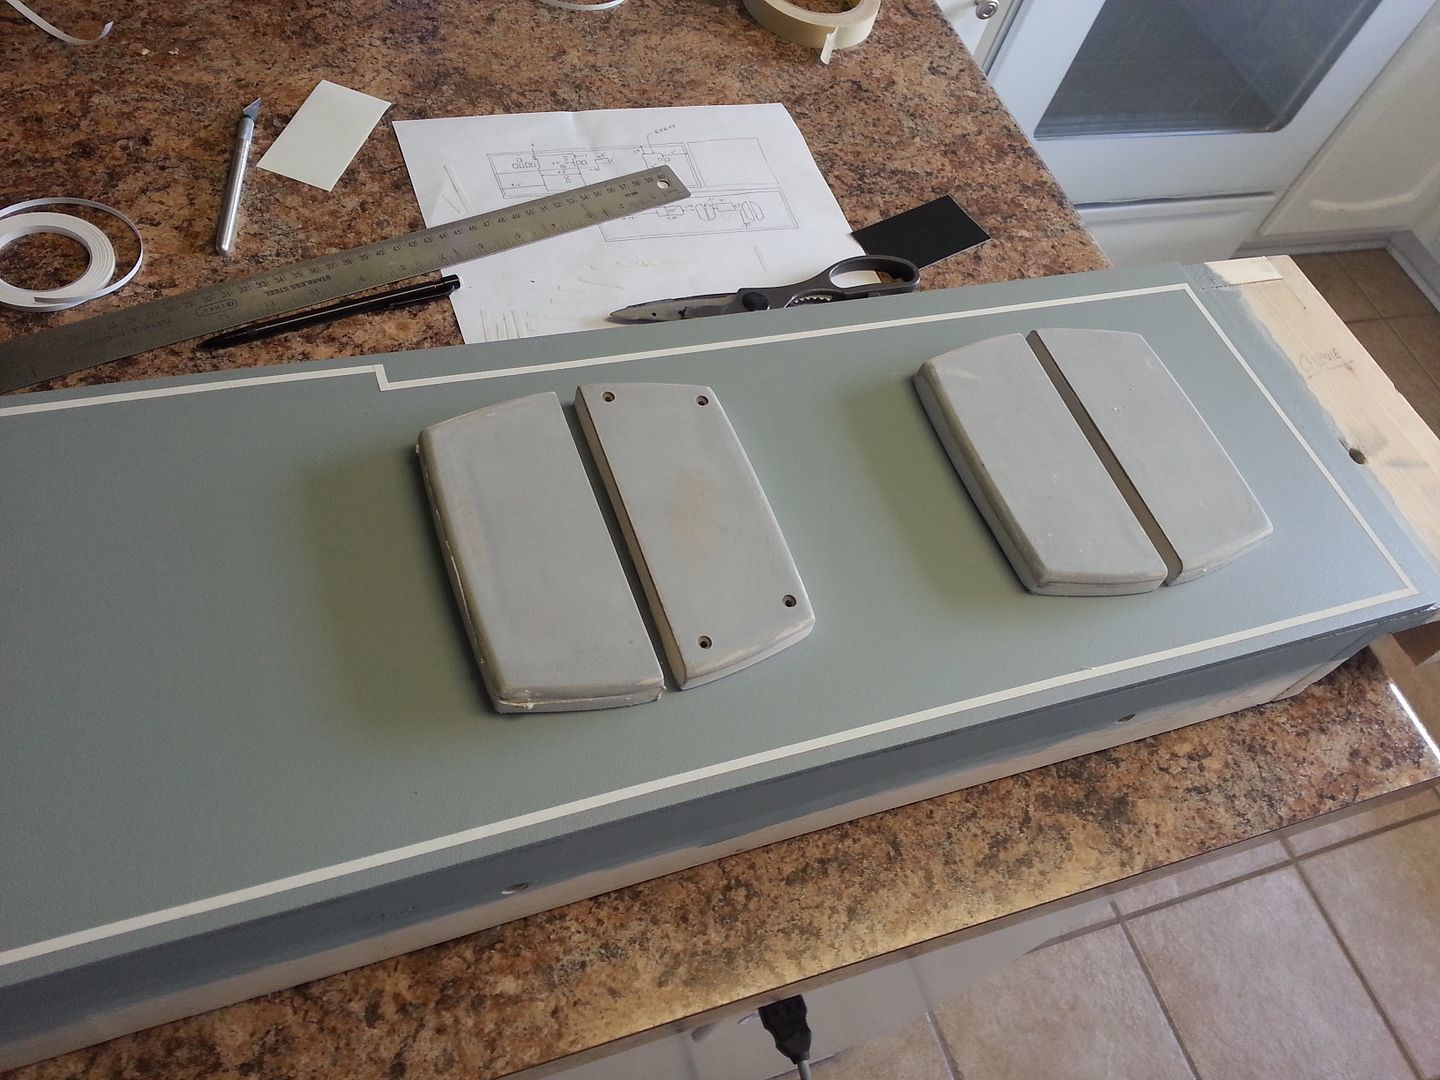
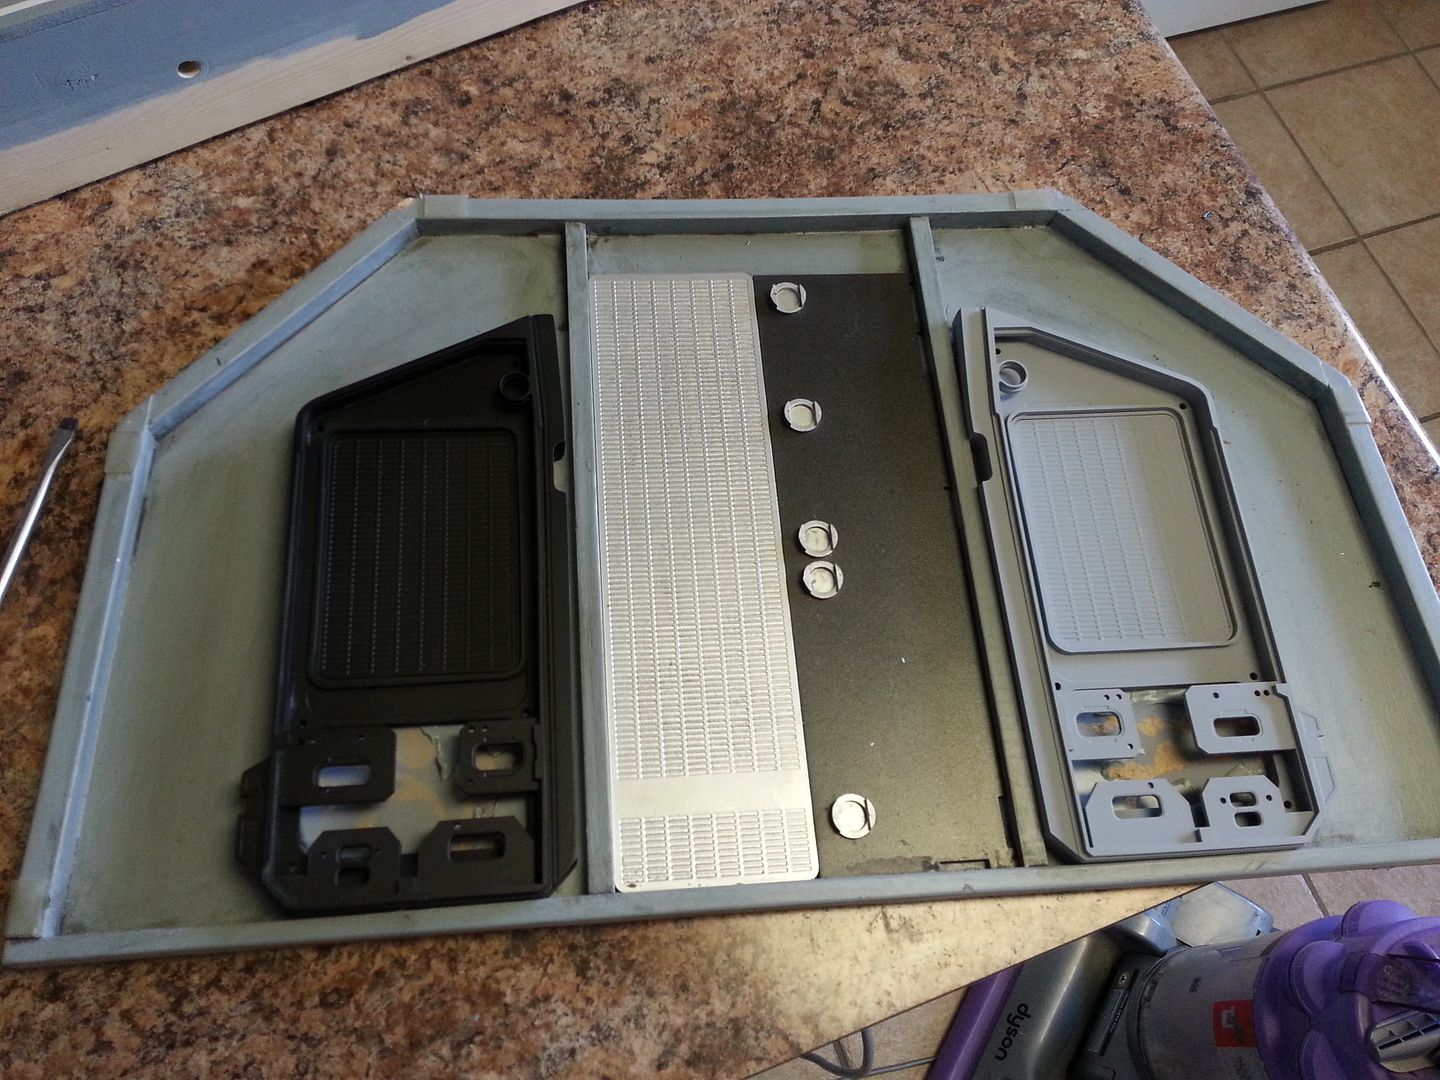
Onward... these door greeblies have been neglected for too long!
Primer!

Slight warping - ewe
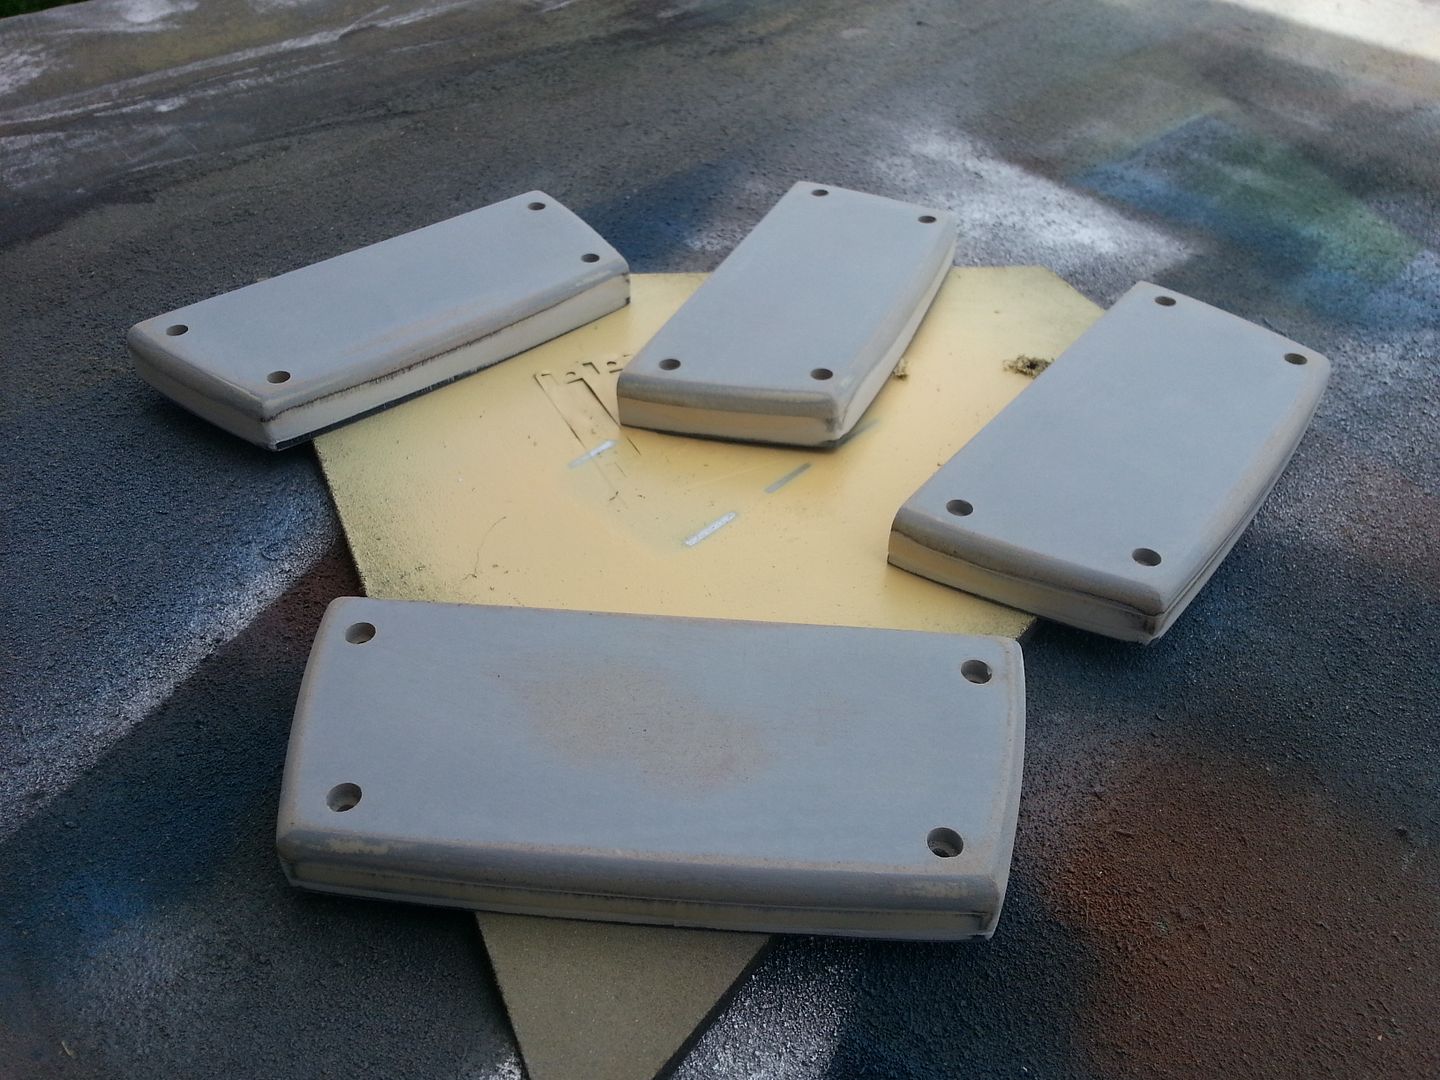
Second getting its primer
Let's do a side by side compare with the old...
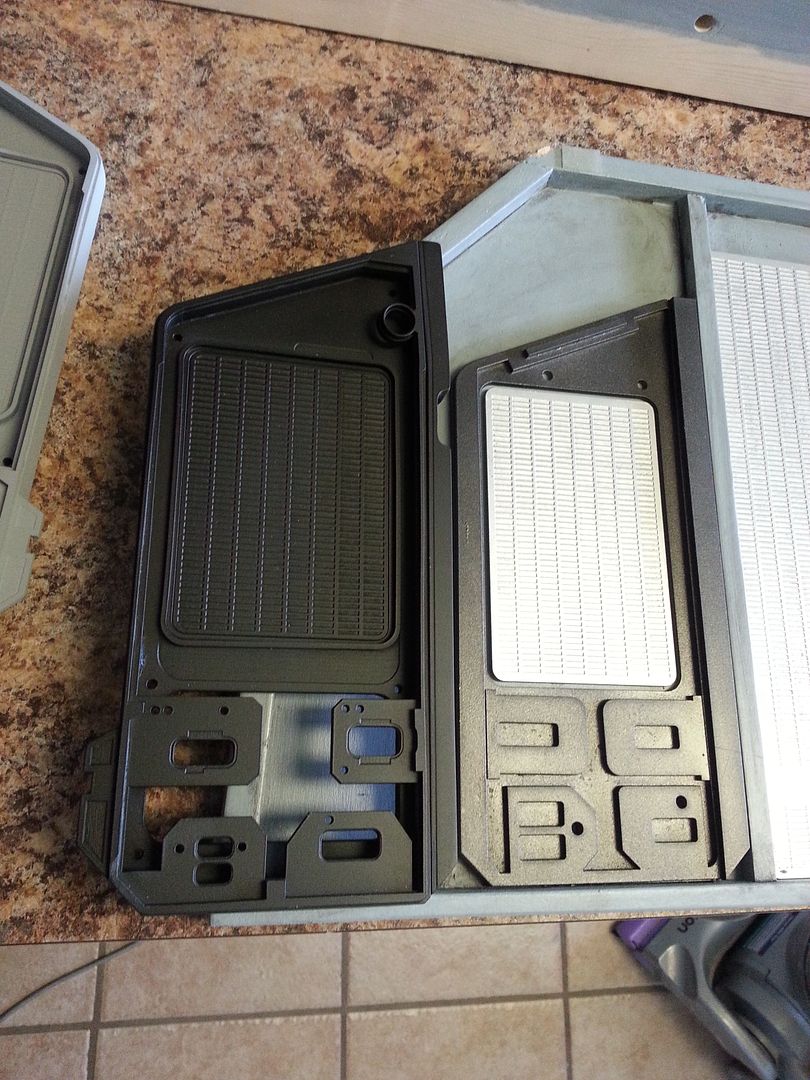
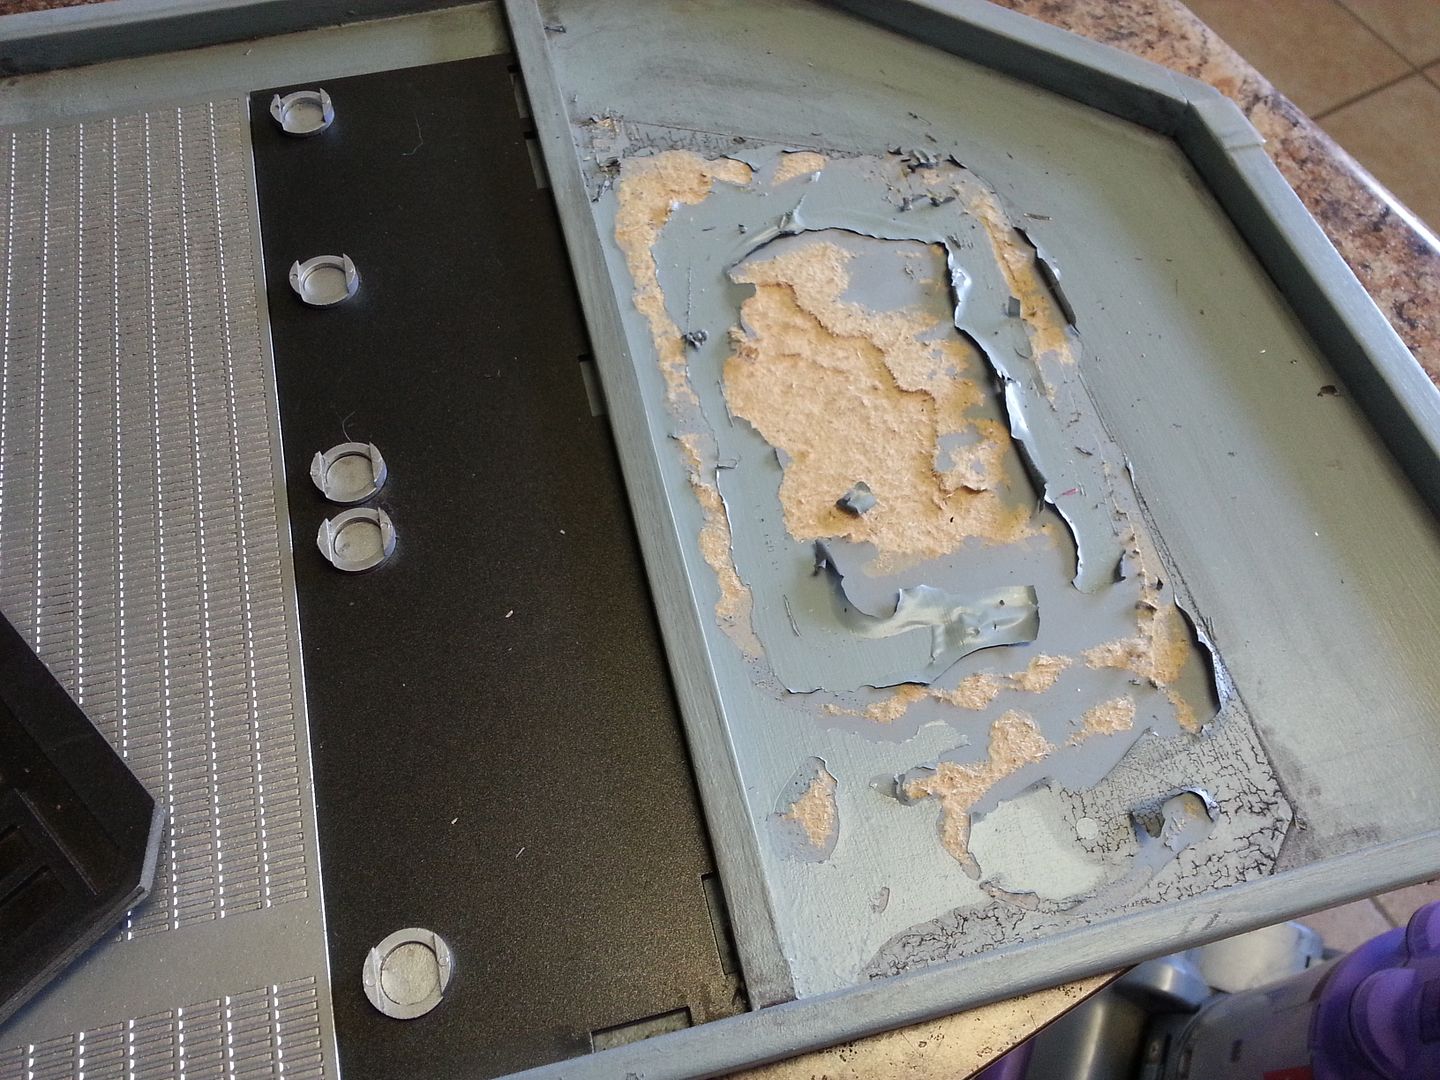
I then removed the old ones from the door panel - THIS is why I no longer simply adhere things in place anymore - YUCK
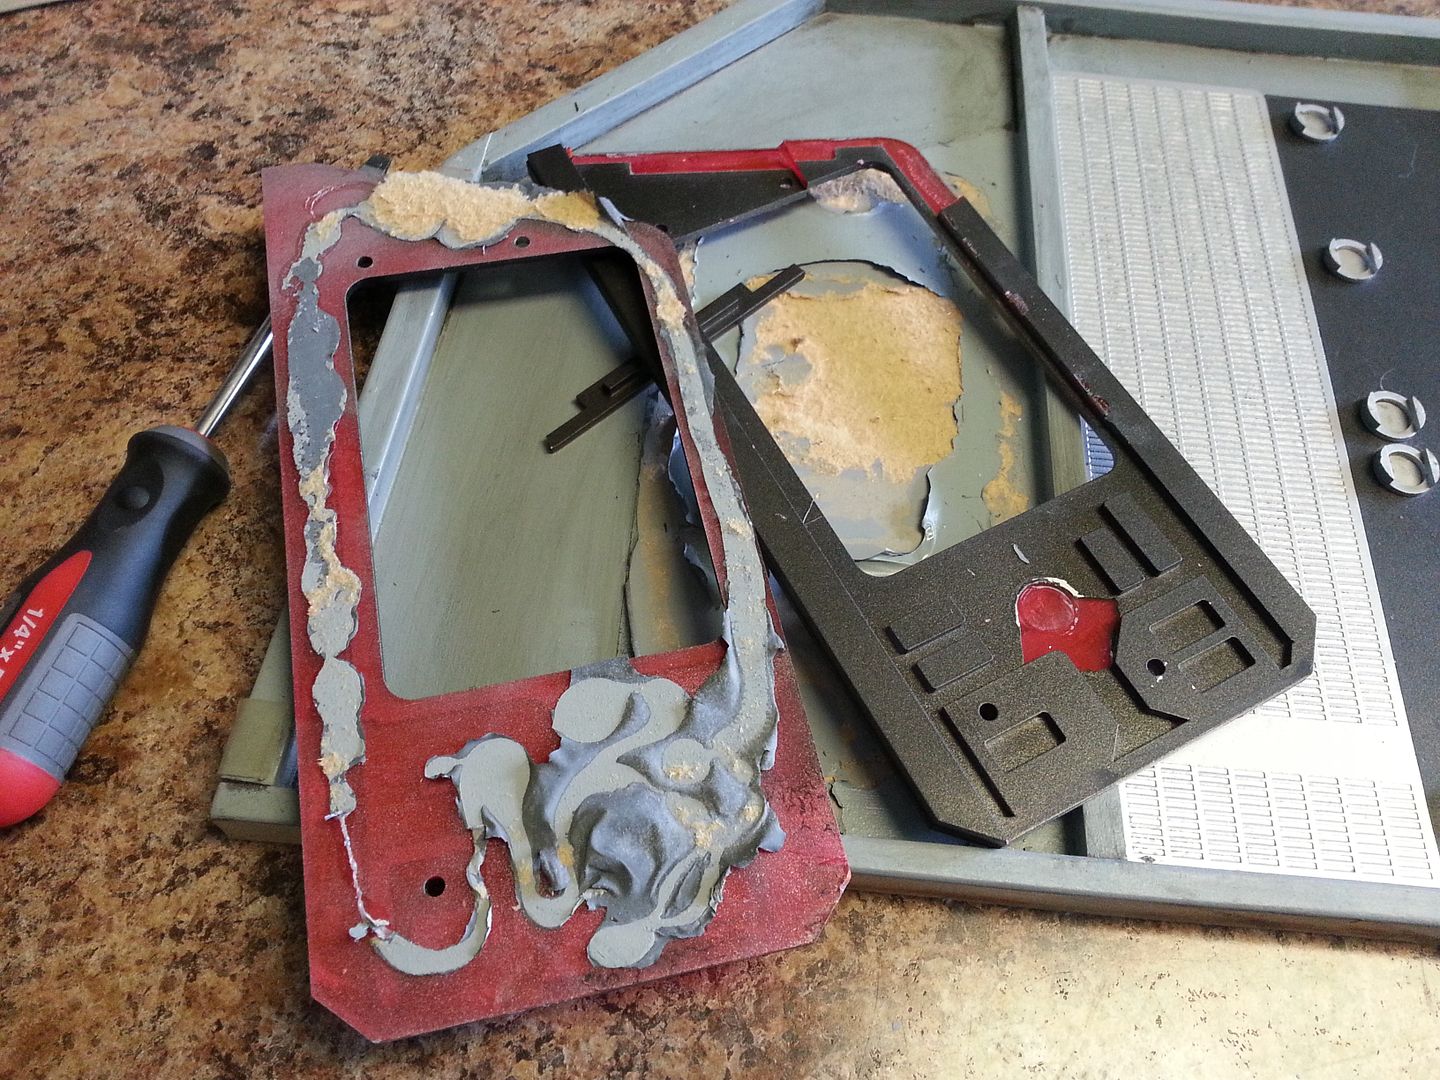
NICE... not worth even trying to salvage at this point
Those look SO MUCH better than the first versions - still needs paint
I wish I knew what color(s) they used
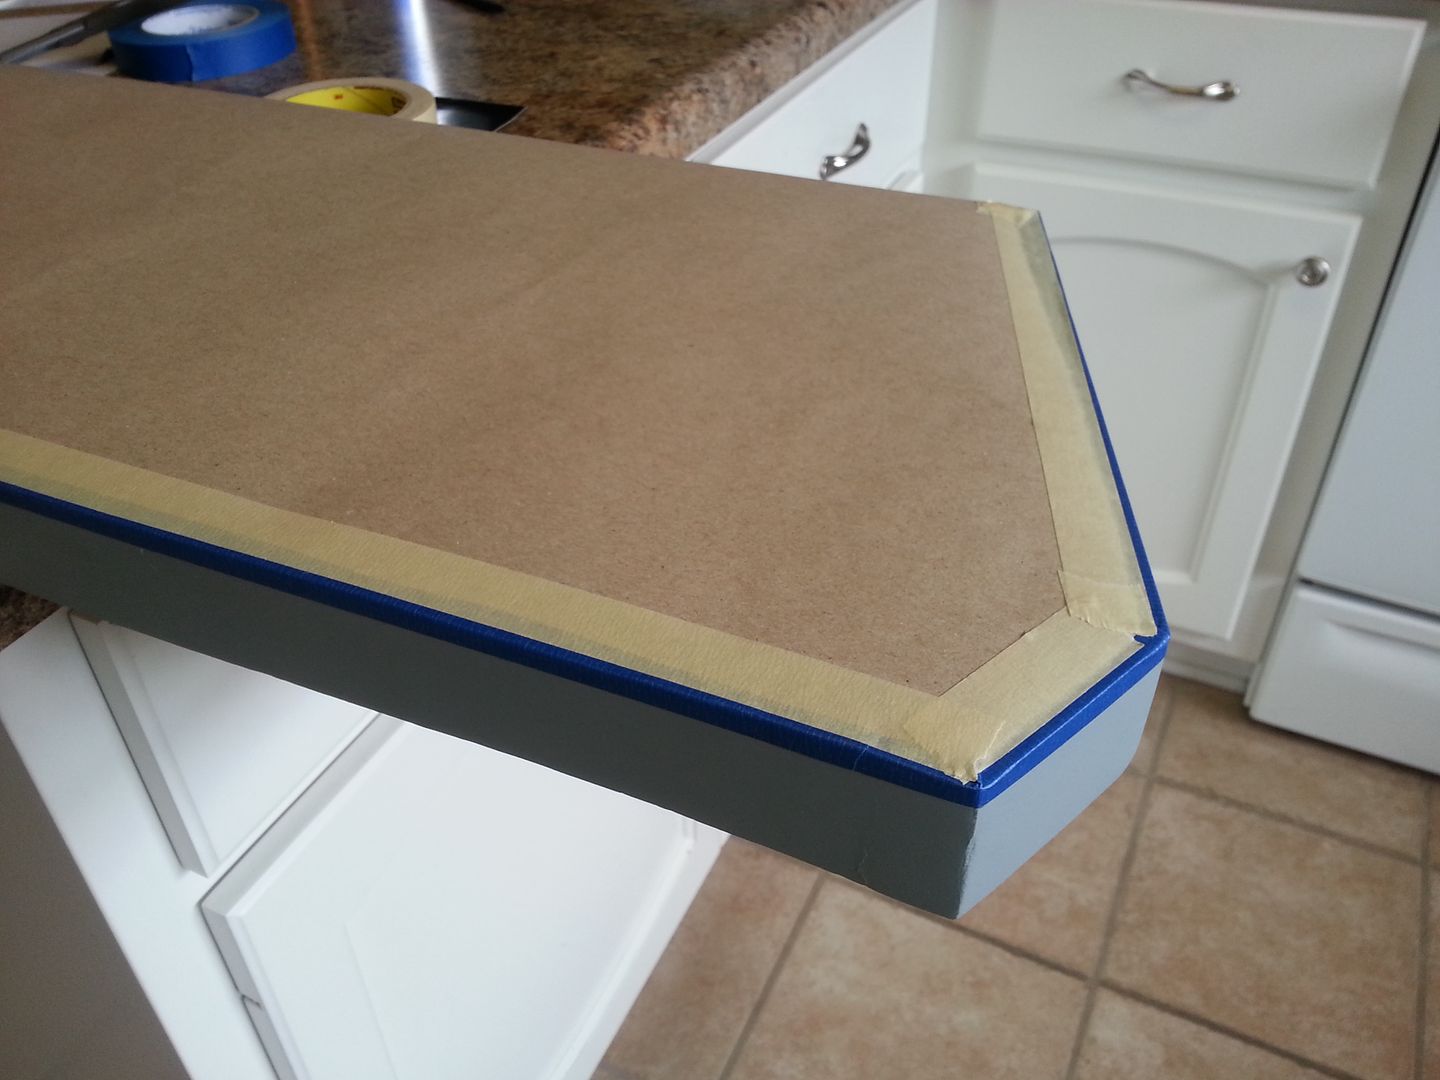
As primer and filler were drying I was also jumping back and forth on the wall art pieces. Another little detail that caught my eye was color variation(s) between the panel top and the console housing. We can't let that slip by again! Taping everything off
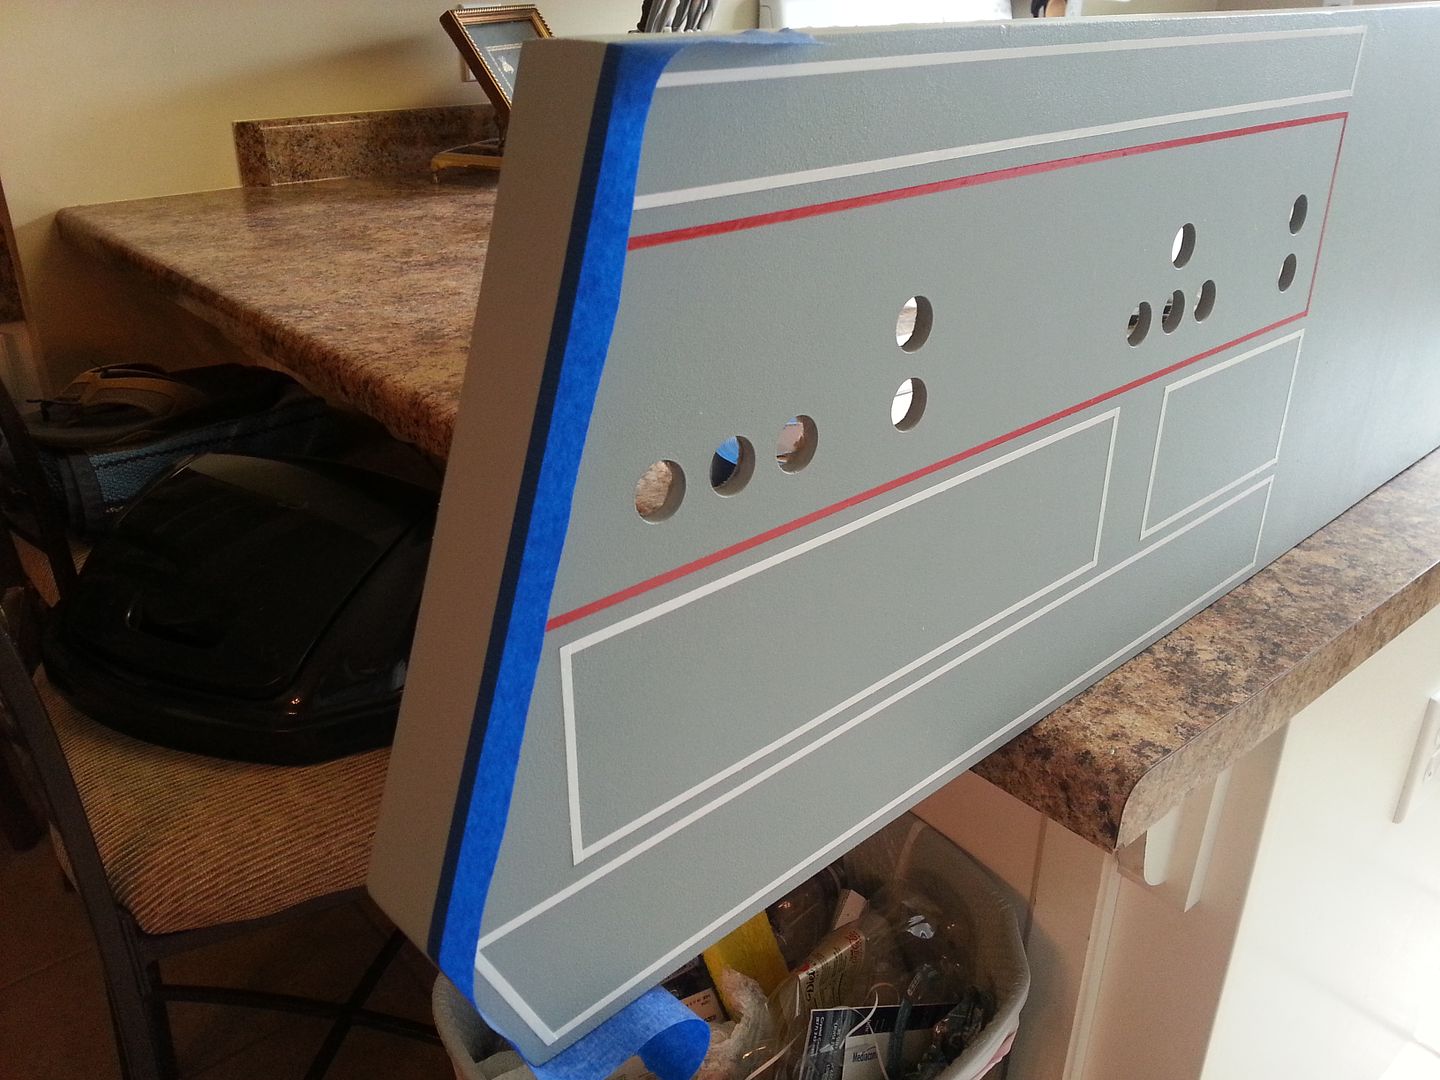
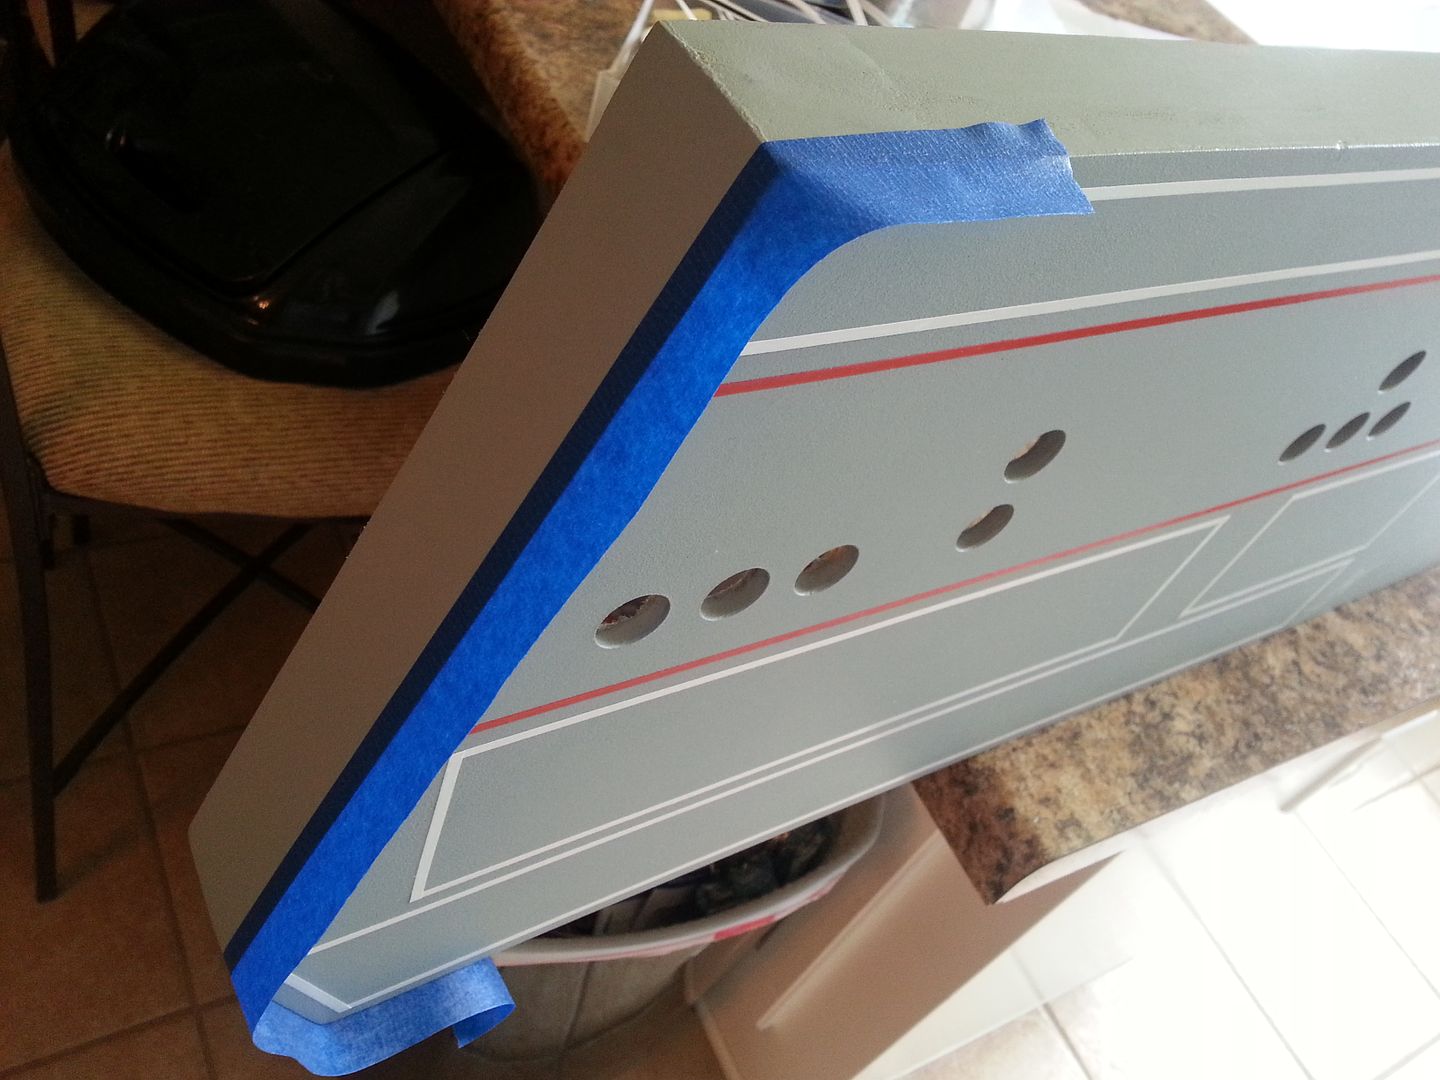
Gotta protect all that work, right?
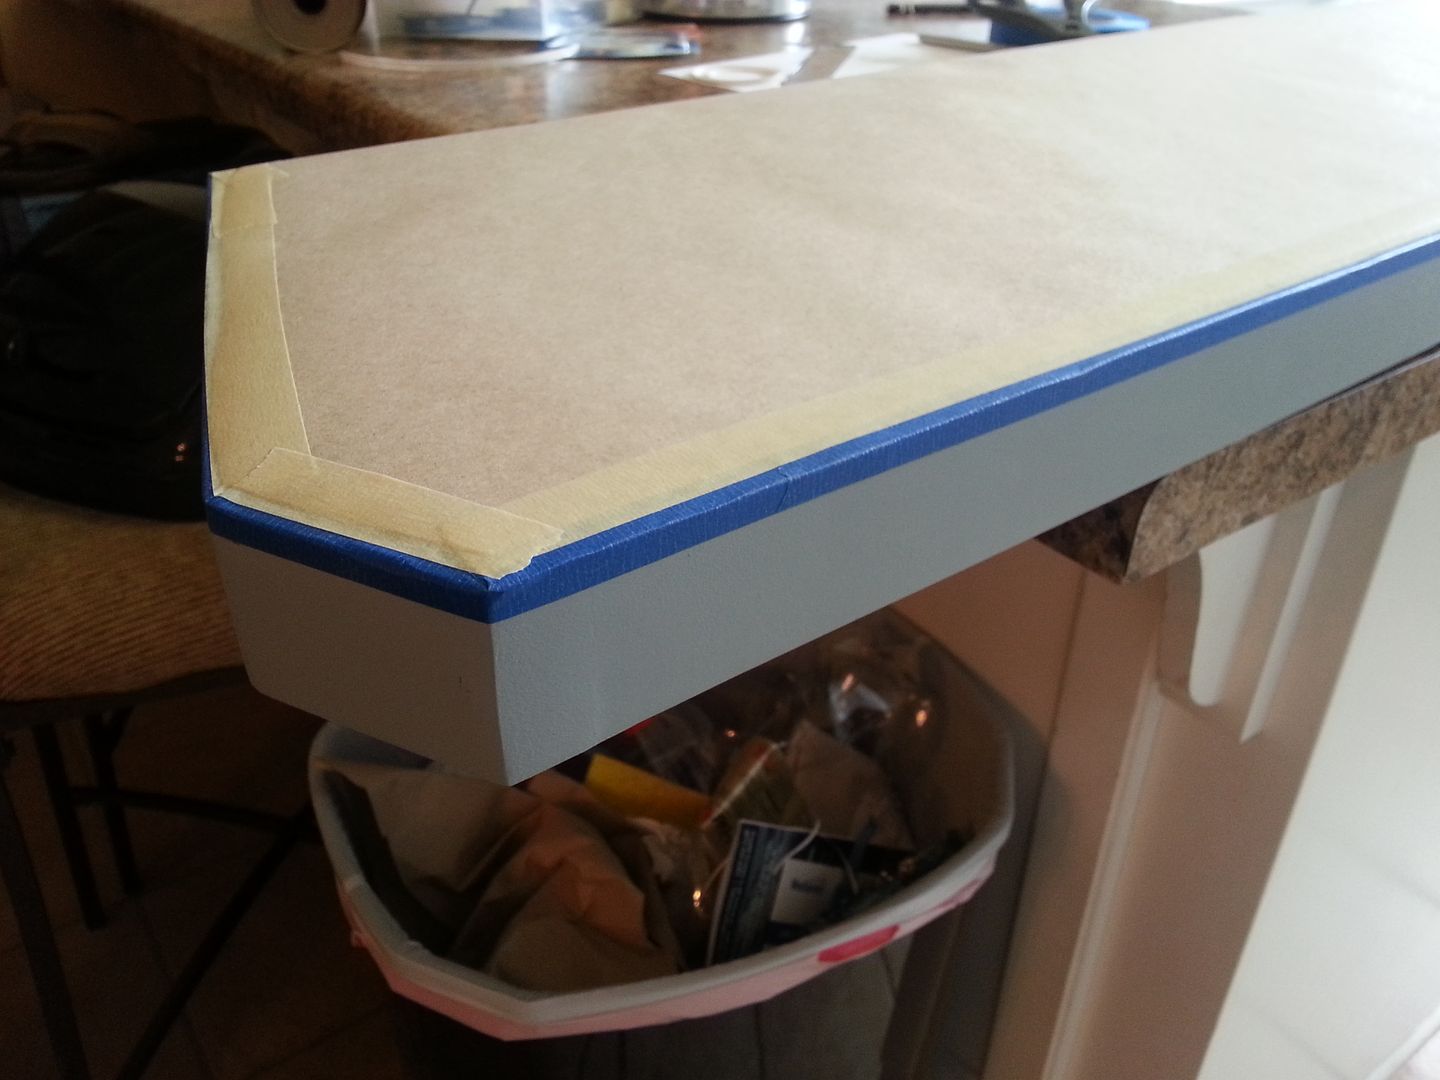
A little flat black and satin clear later
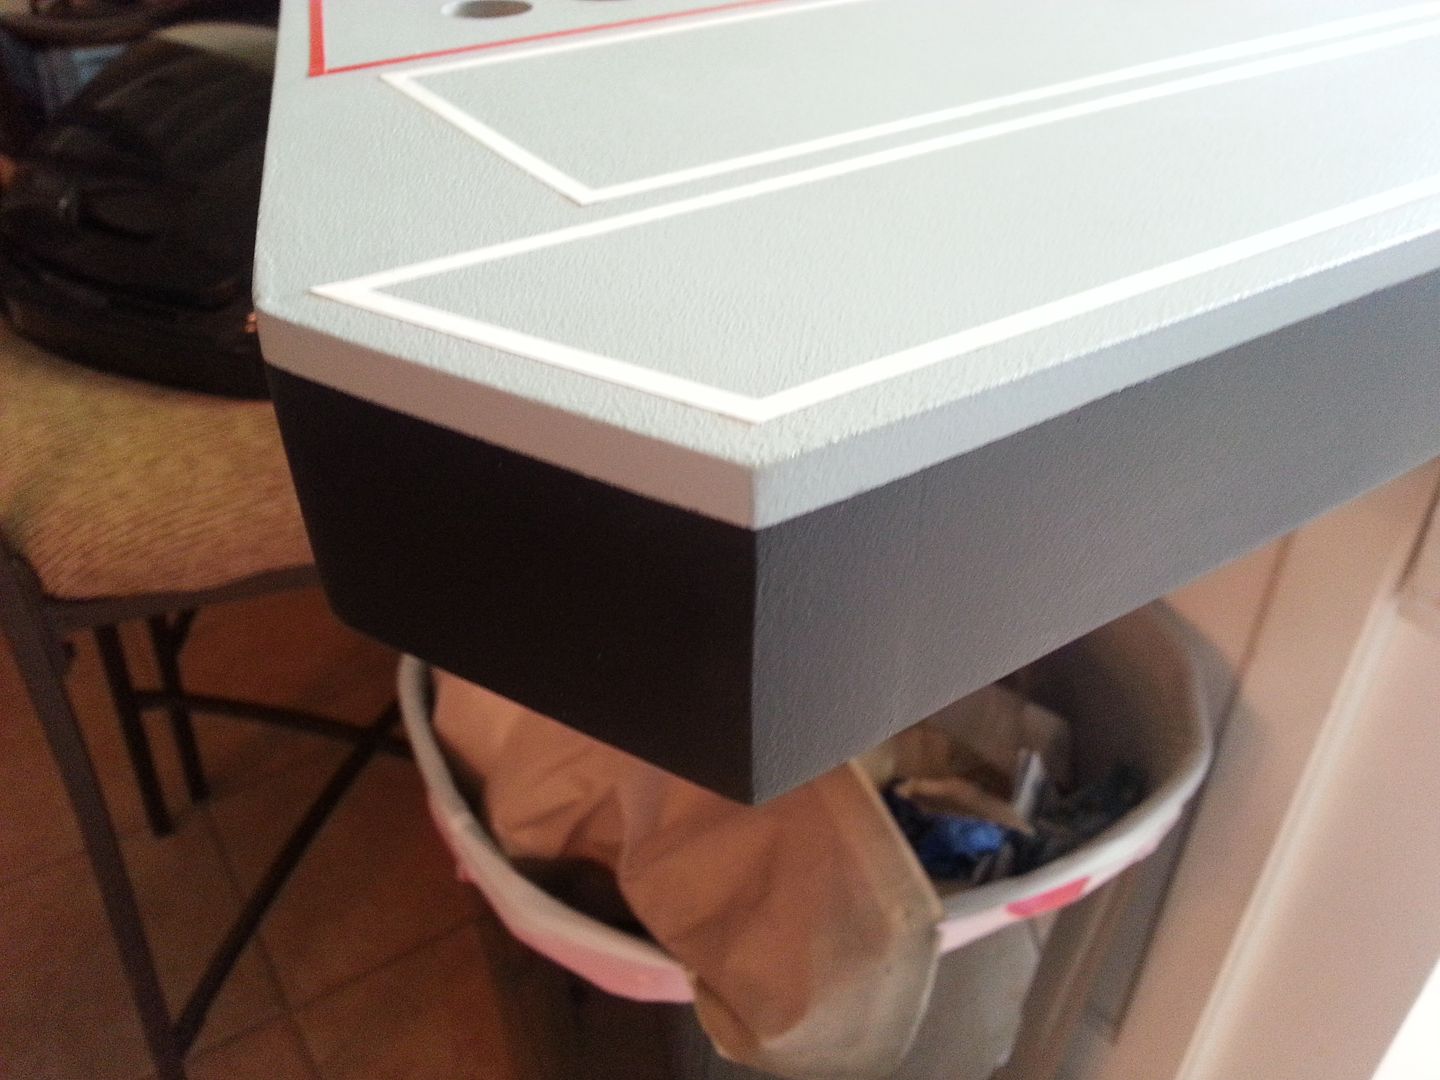
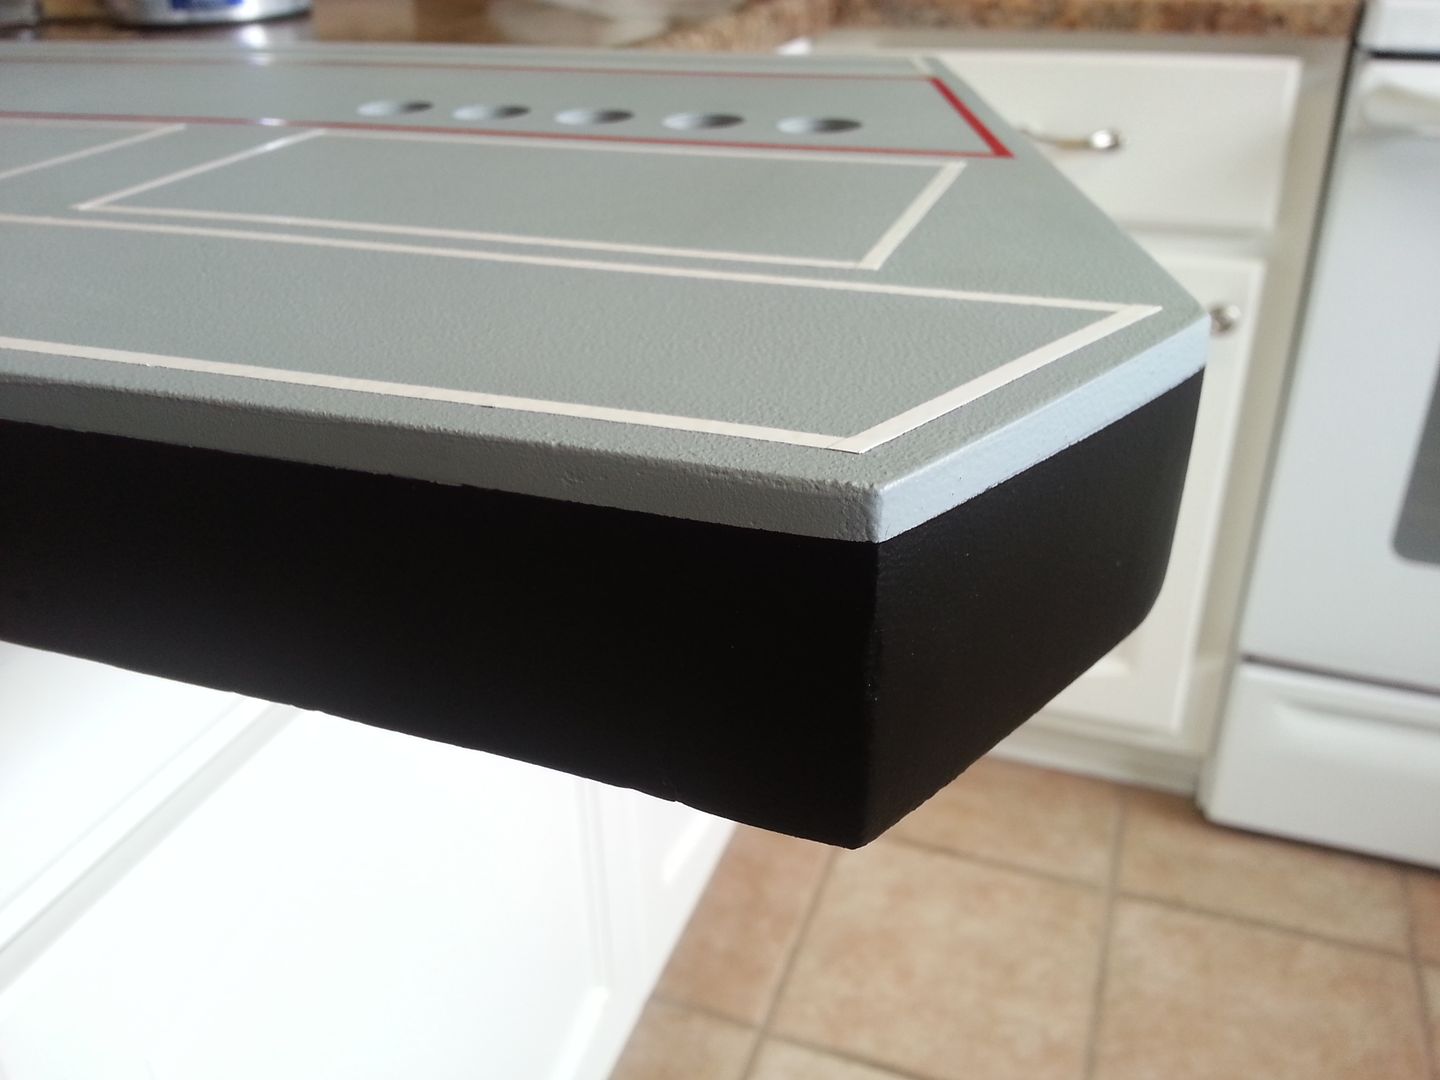
What a difference
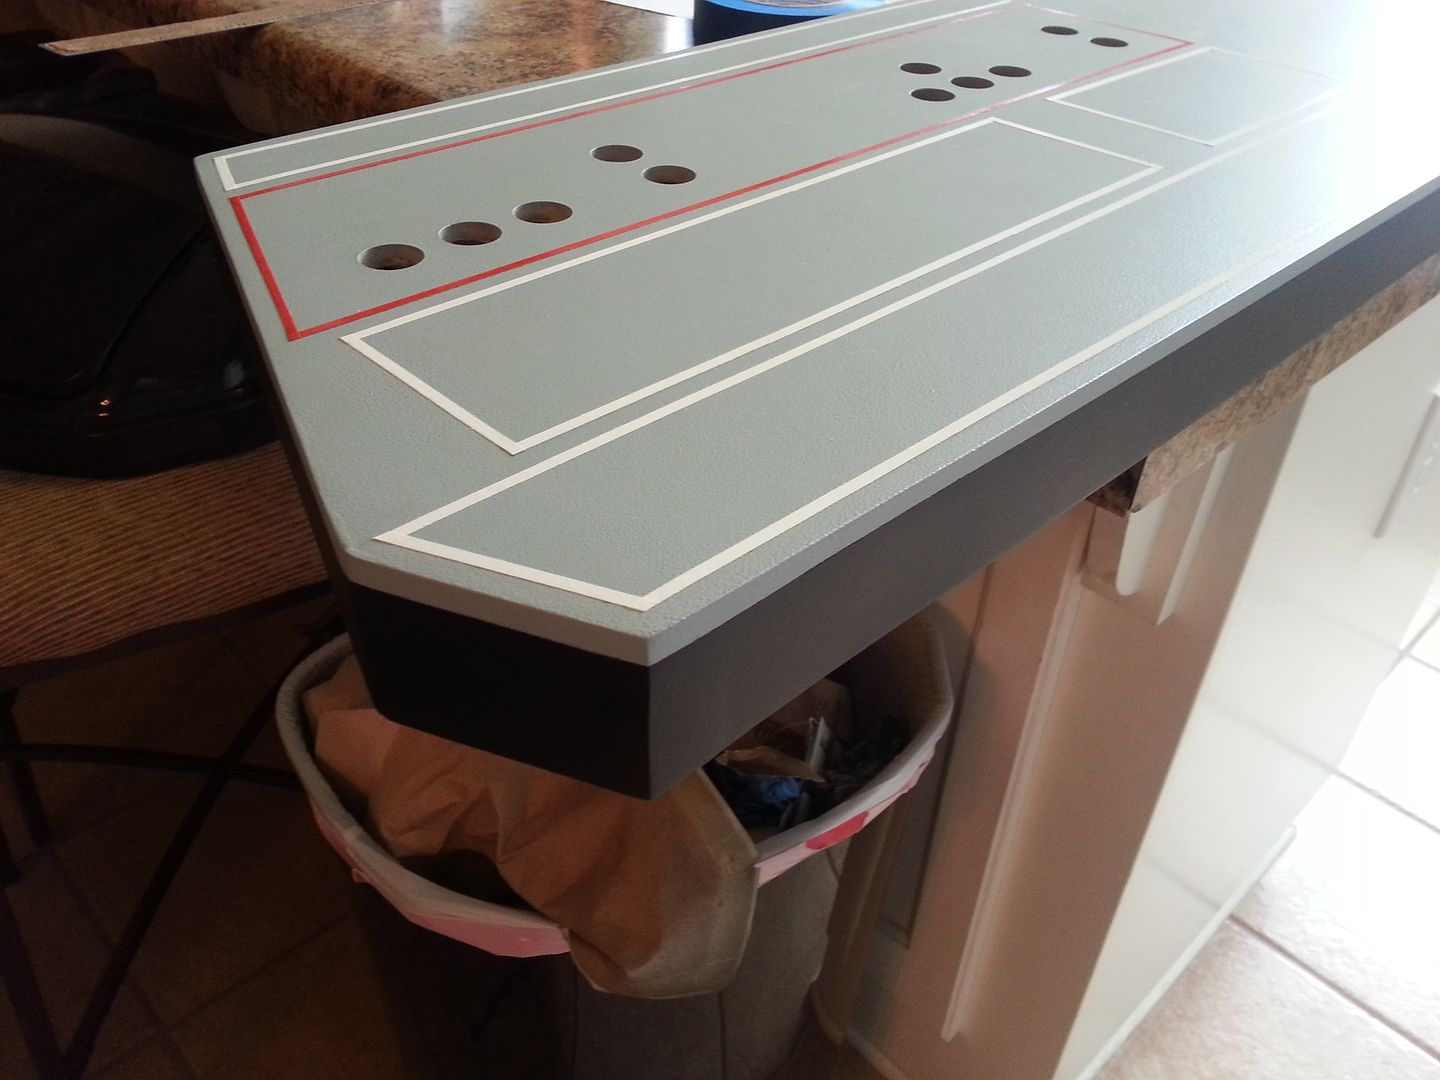

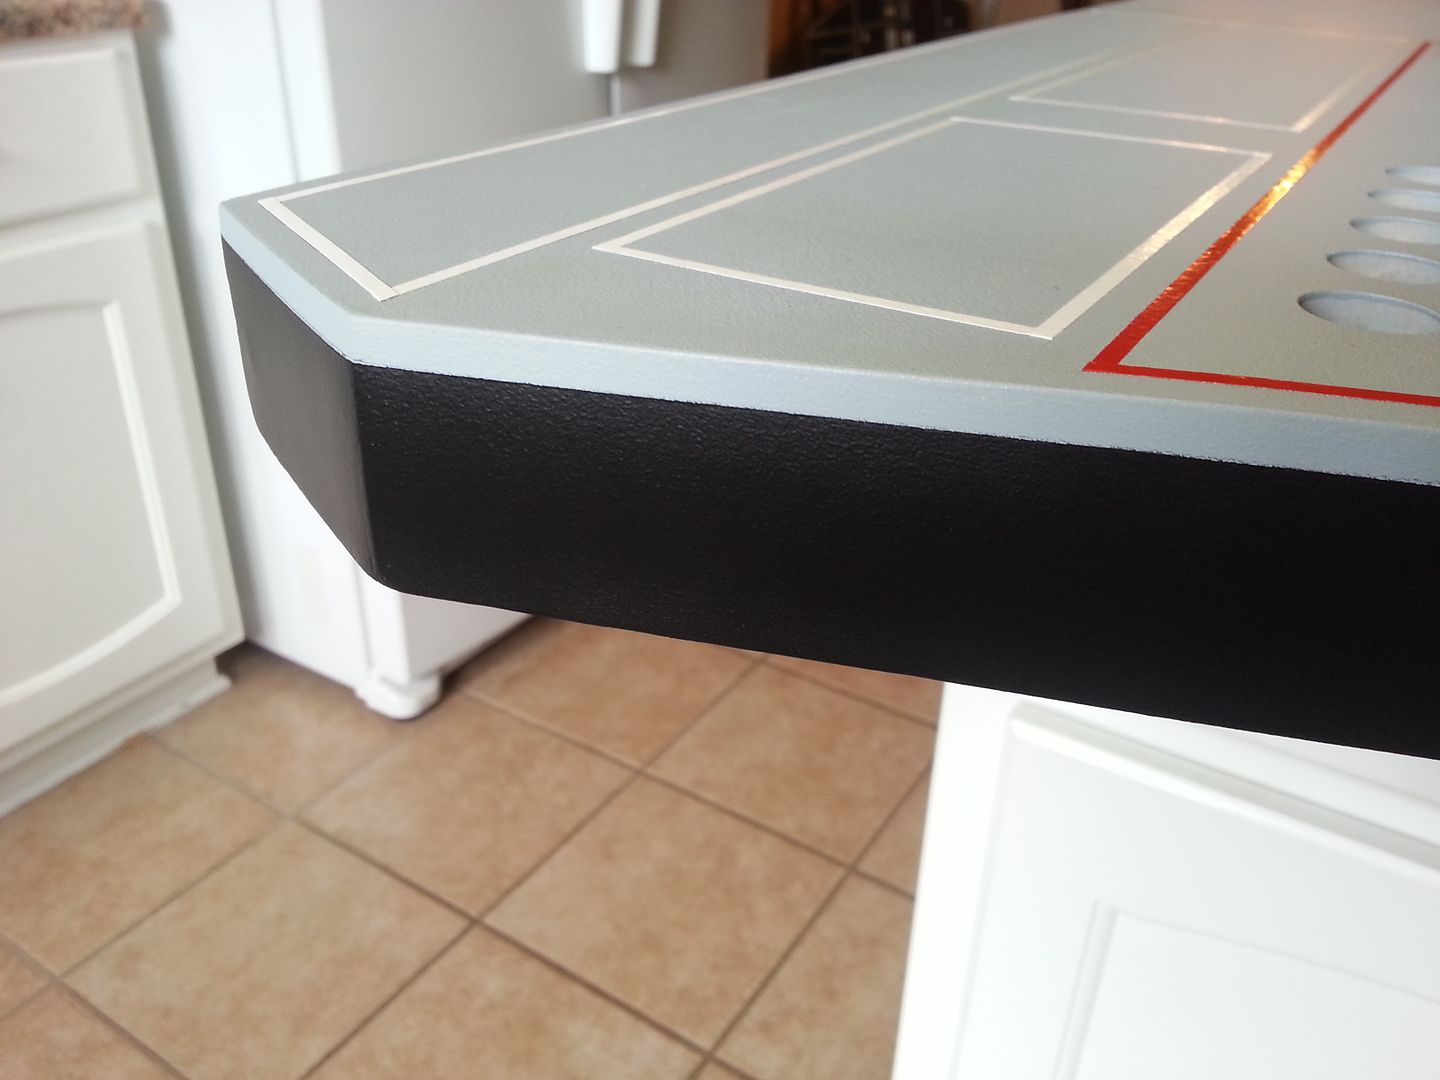
I then clear coated to the top panel
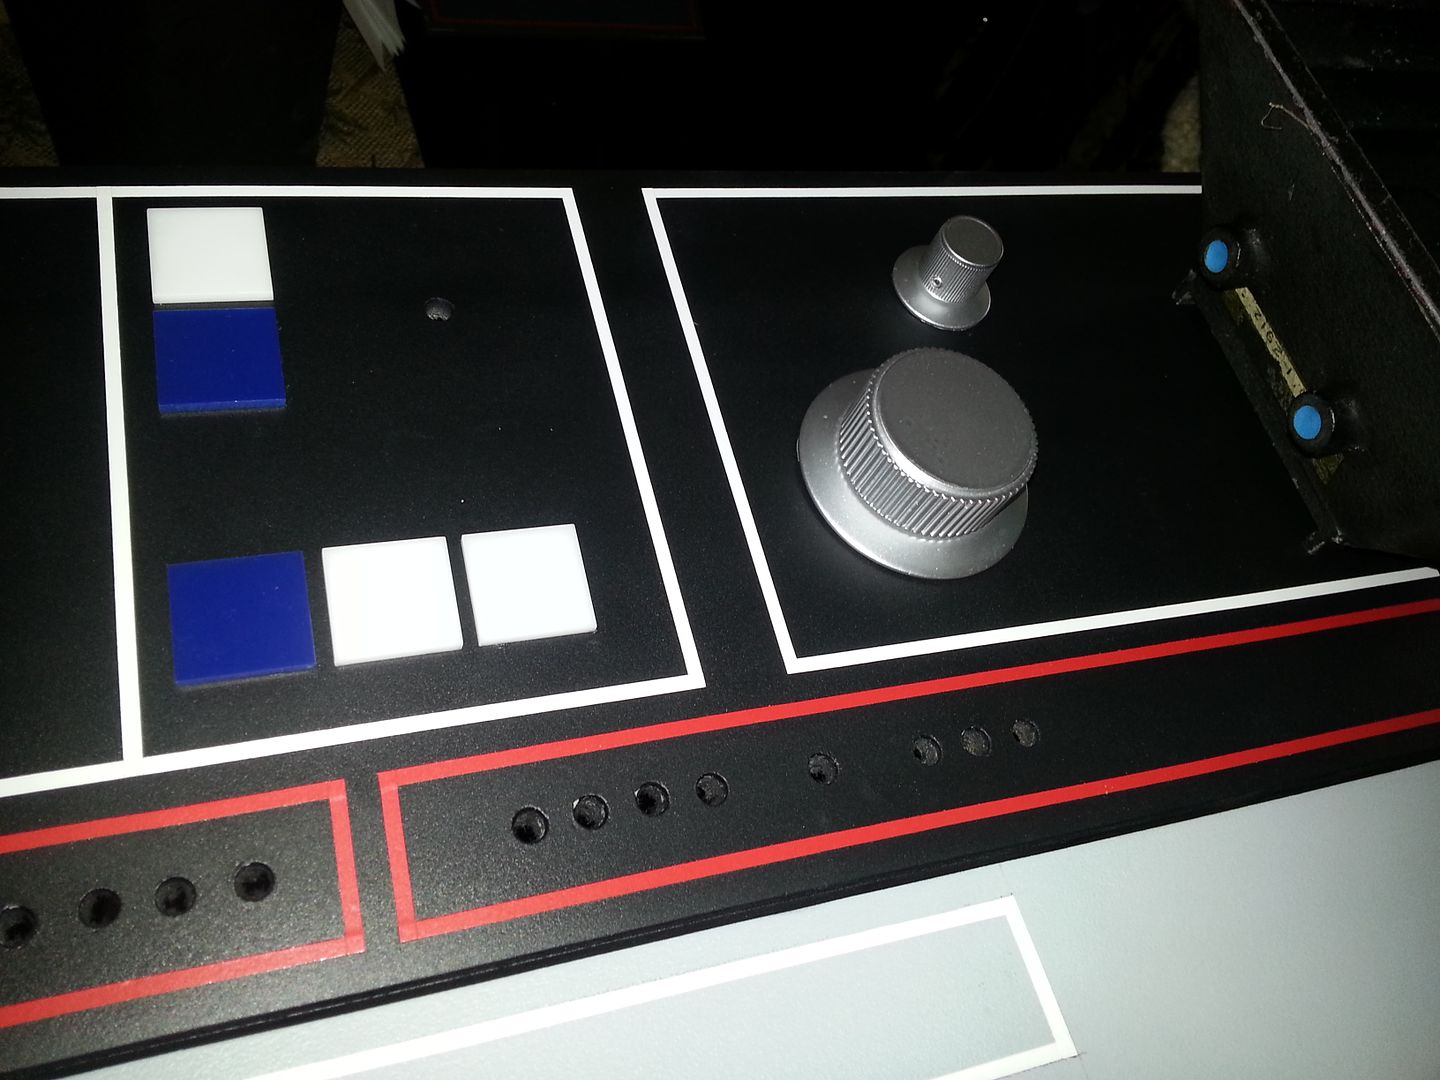
Once the clear coat dried I adhered the 1" tiles
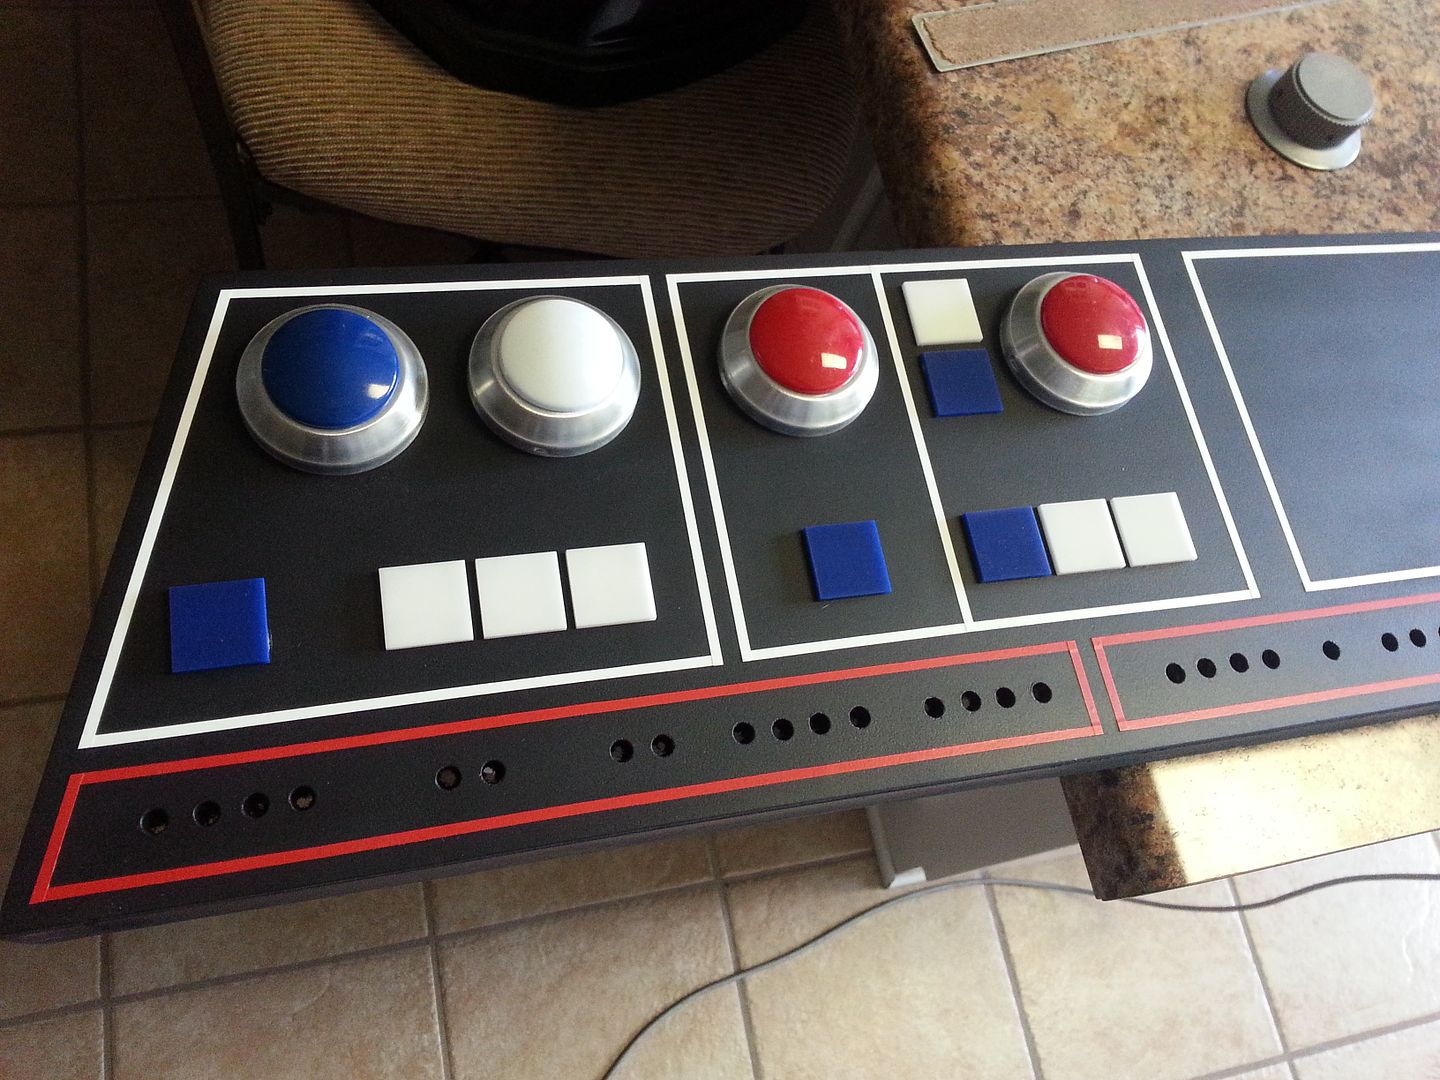

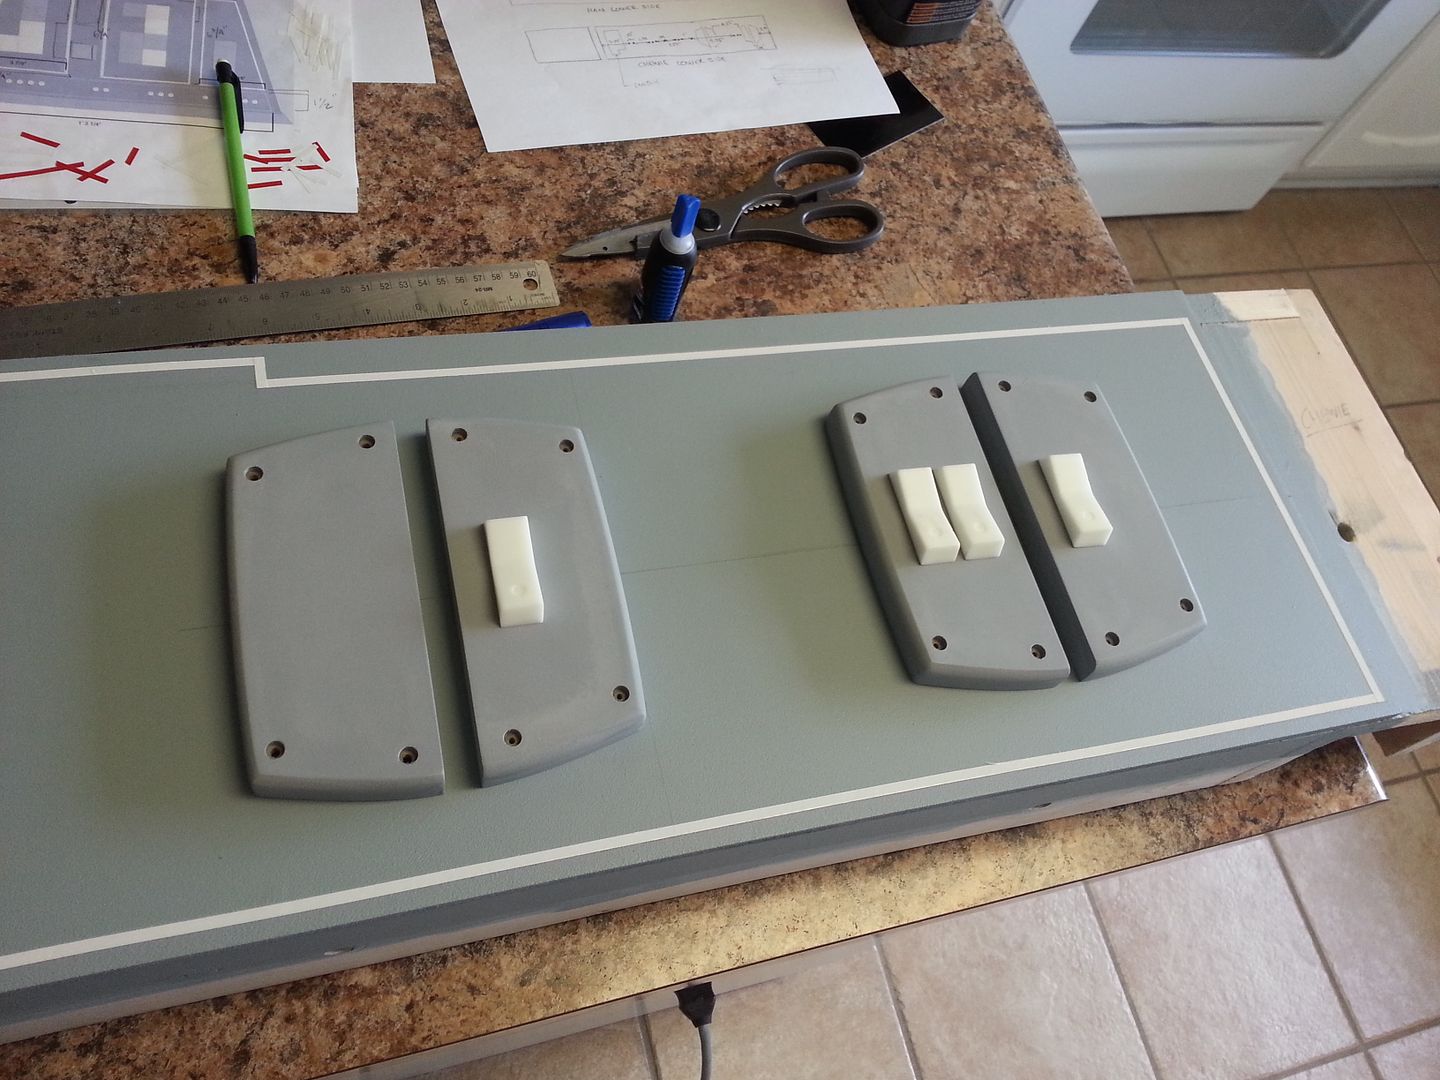
The knobs/dials that will go next to the nav screen - coat of black
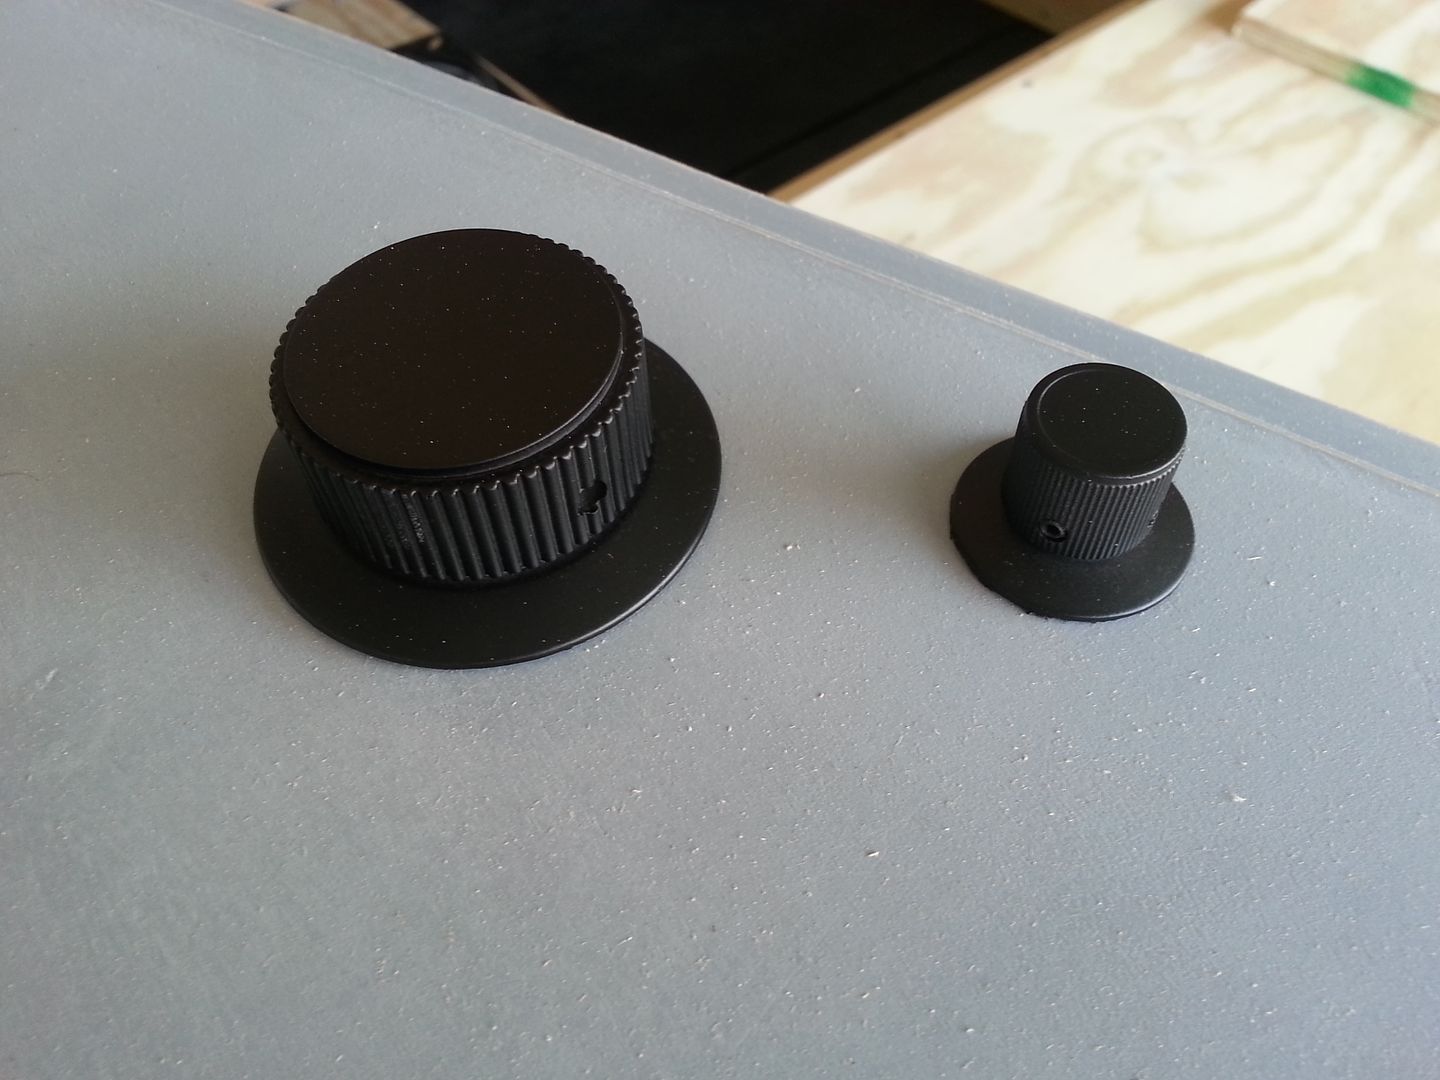
Then silver
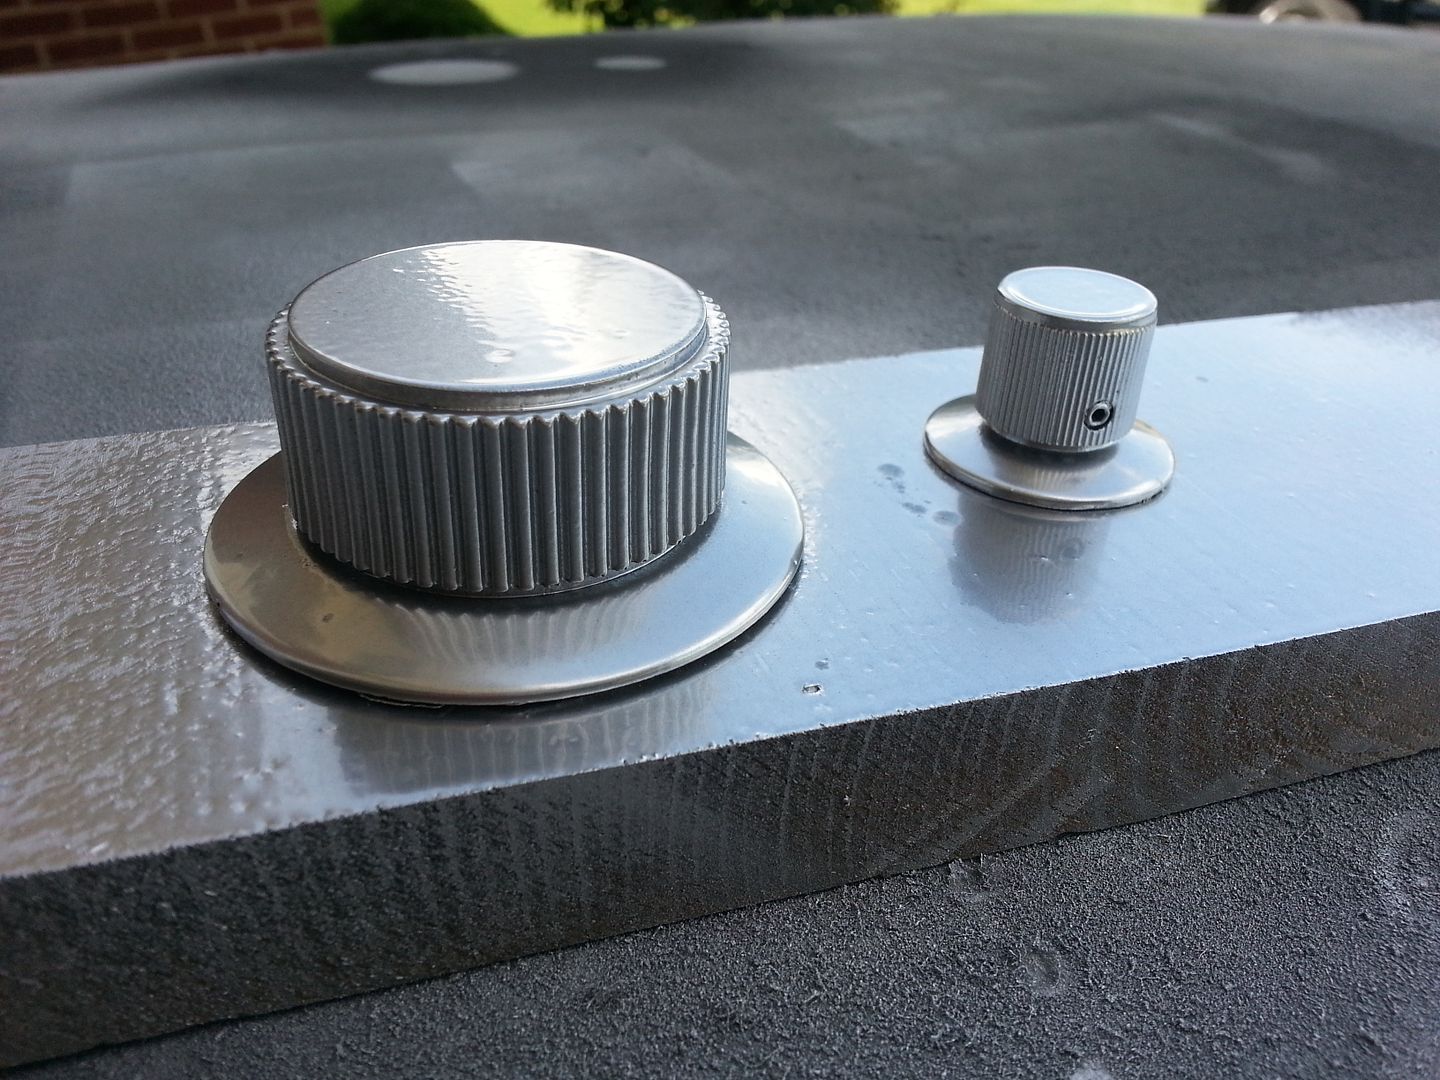
Basic position
Whew... still lots more to do!
UPDATES! Fellow RPFer Fuzz and I purchased a HUGE lot of used film projector parts. If you're into the SW style greeblies this is the place to start looking!
This was one of two boxes that arrived
Within the box... bag and bags of greeblie goodness
Remember those center console armrest levers that we couldn't figure out so we just modeled and printed? I am 95% certain that they were / are film projector / editing arms. Look at the resemblance!
MMMMM Greeblies
OK... enough gawking... time to get to work! The lower side panels are finally getting some attention
The 15" extension panels needed some significant attention after removing the pin stripes and greeblies
Time to get some pin stripes going!
I have NO IDEA what these odd shaped greeblies are. Maybe a lid to something or a trim piece to a reel to reel player? I don't know...
They needed some work. Sanding and the holes drilled
Primer
This is the basic location - the original designers adhered the rockers to them as well.
Almost done
Onward... these door greeblies have been neglected for too long!
Primer!
Slight warping - ewe
Second getting its primer
Let's do a side by side compare with the old...
I then removed the old ones from the door panel - THIS is why I no longer simply adhere things in place anymore - YUCK
NICE... not worth even trying to salvage at this point
Those look SO MUCH better than the first versions - still needs paint
I wish I knew what color(s) they used
As primer and filler were drying I was also jumping back and forth on the wall art pieces. Another little detail that caught my eye was color variation(s) between the panel top and the console housing. We can't let that slip by again! Taping everything off
Gotta protect all that work, right?
A little flat black and satin clear later
What a difference
I then clear coated to the top panel
Once the clear coat dried I adhered the 1" tiles
The knobs/dials that will go next to the nav screen - coat of black
Then silver
Basic position
Whew... still lots more to do!
Last edited:
Similar threads
- Replies
- 11
- Views
- 1,129
- Replies
- 2
- Views
- 942
- Replies
- 2
- Views
- 973
- Replies
- 13
- Views
- 2,279