You are using an out of date browser. It may not display this or other websites correctly.
You should upgrade or use an alternative browser.
You should upgrade or use an alternative browser.
1:1 Millennium Falcon Cockpit Replica - Group Build
- Thread starter SteveStarkiller
- Start date
Wow. Impressive dedication to do all this!
Hi Bolt!
Thanks! Sometimes I think "dedication" is another word for insanity!
") As I mentioned, I can't get over how tall the cockpit is having added all the new platforms. We're all really excited to get moving past the cockpit and into the actual MF!
As I mentioned, I can't get over how tall the cockpit is having added all the new platforms. We're all really excited to get moving past the cockpit and into the actual MF!There is a fine line between insanity and creativity, and I think you all have found the balance within the Force!... Keep going with this insanely magnificent build!:thumbsup
Hi ME,
Thanks so much! There are times when the dark side is too tempting. Not to worry... I have no plans of stopping anytime soon.
Hey Y,
It's funny you mention that. Daniel and I were JUST discussing the seat posts vs swing arms vs a track system. I'm in favor of a track system that would travel back and away from the center console allowing for easy access. We can control the travel, stopping point(s) and weight distribution. I'm still unsure how Harrison Ford got in and out of these seats. From what we can tell the seats were def on posts with a possible adjustable slider - probably out of a car of that era.
It's a VERY tricky setup. If anybody has any ideas... we're totally open!
Here's what I was thinking:
Mount the chair on the post so that it rotates, then mount the post on a slider so that people can scootch in and out of the console. Then you can restrict the rotation and range of motion as much as you need to.
Here's what I was thinking:
Mount the chair on the post so that it rotates, then mount the post on a slider so that people can scootch in and out of the console. Then you can restrict the rotation and range of motion as much as you need to.
Hi Y,
There are specific marine pedestal seats with sliders. If we dont fabricate our own I was thinking about something like this - It'll have to be mod'd to restrict a full range of motion. The price is a bit much though. I'm sure there are others out there. Example:
http://greatlakesskipper.com/gareli...-8-inch-boat-seat-pedestal-w-swivel-and-slide
Fab'ing our own base and then incorporating a simple car seat slider might be cheaper
Hi Gang,
A tiny update this morning...
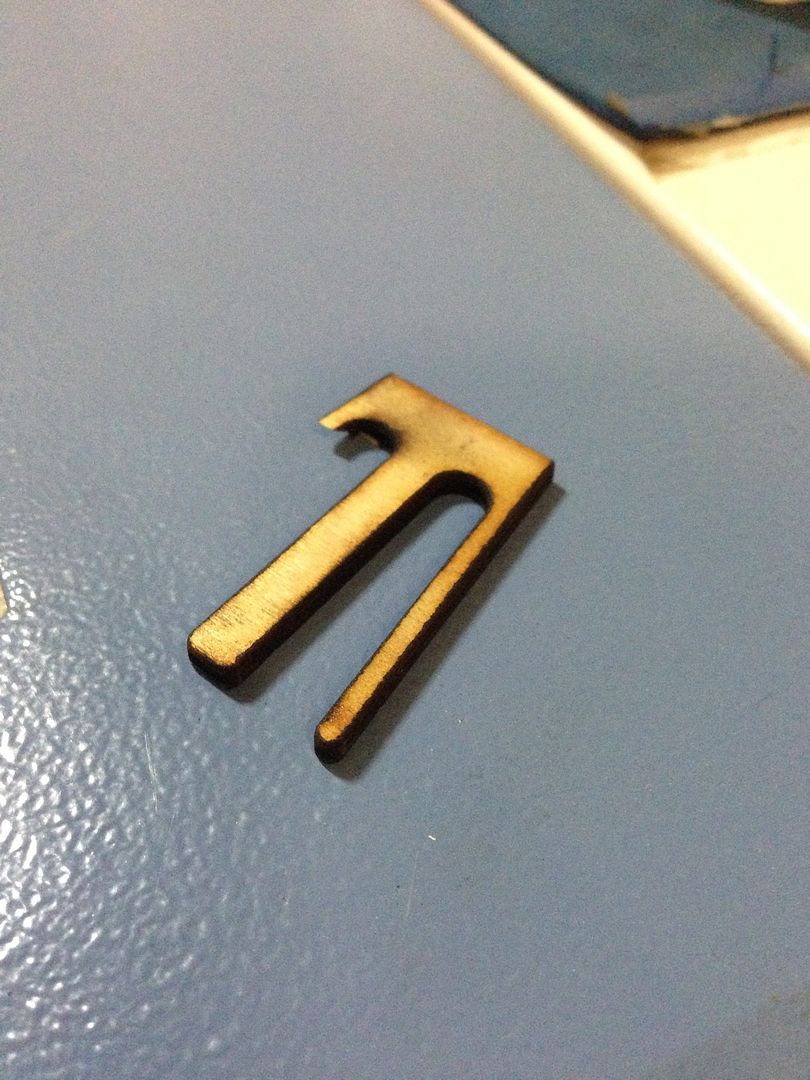
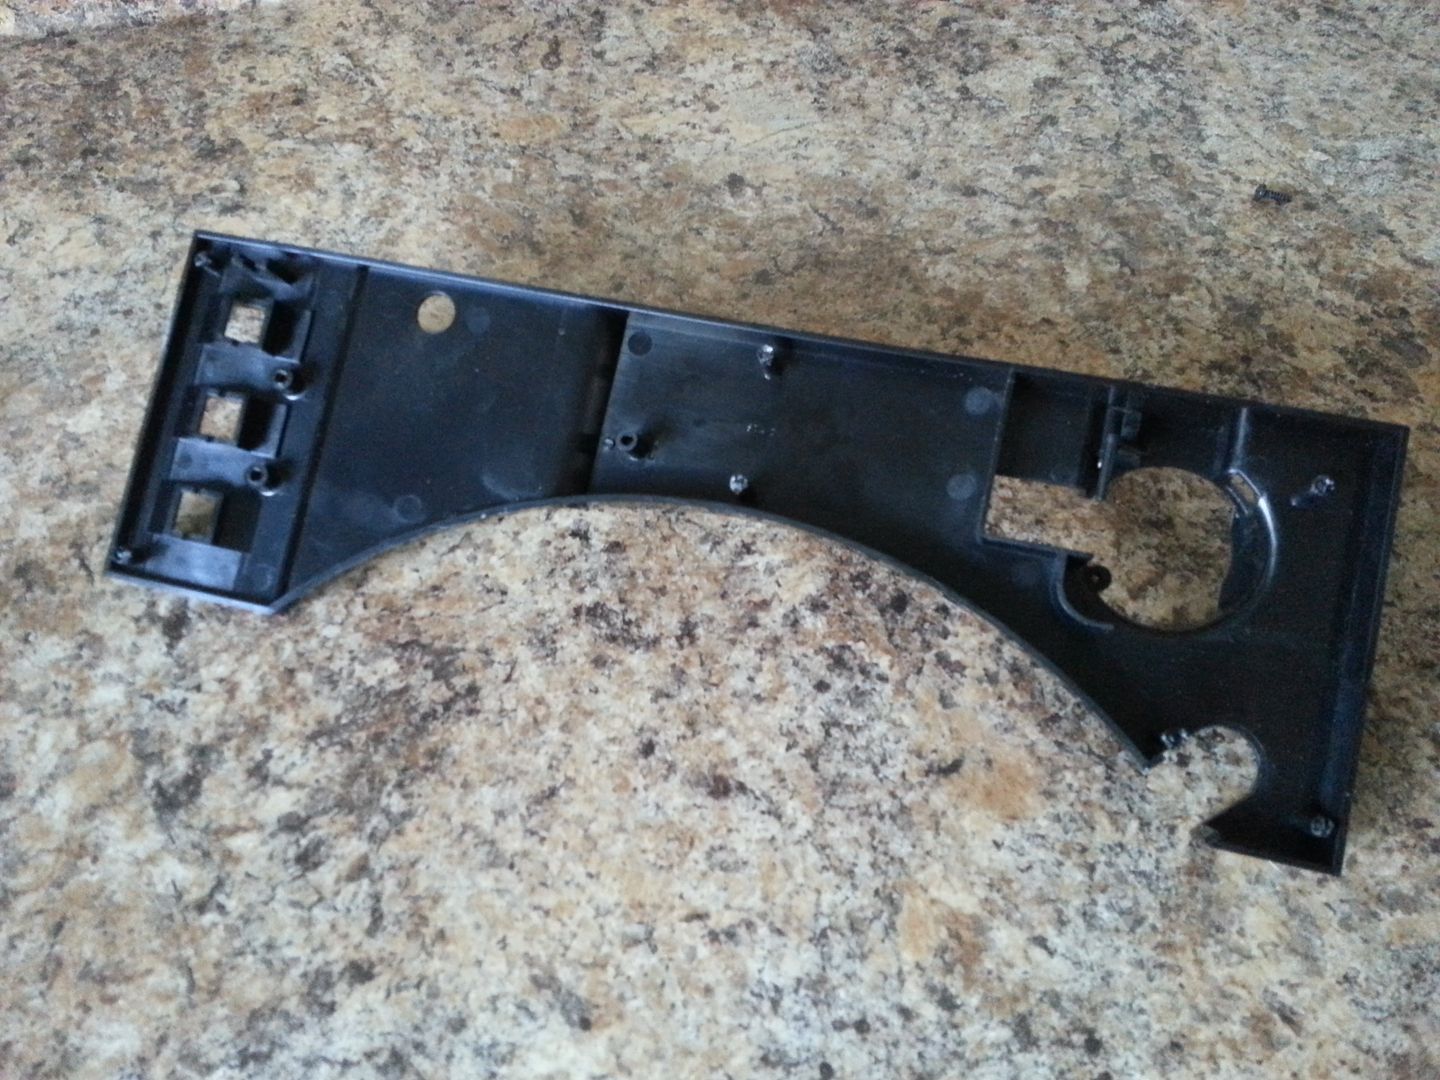
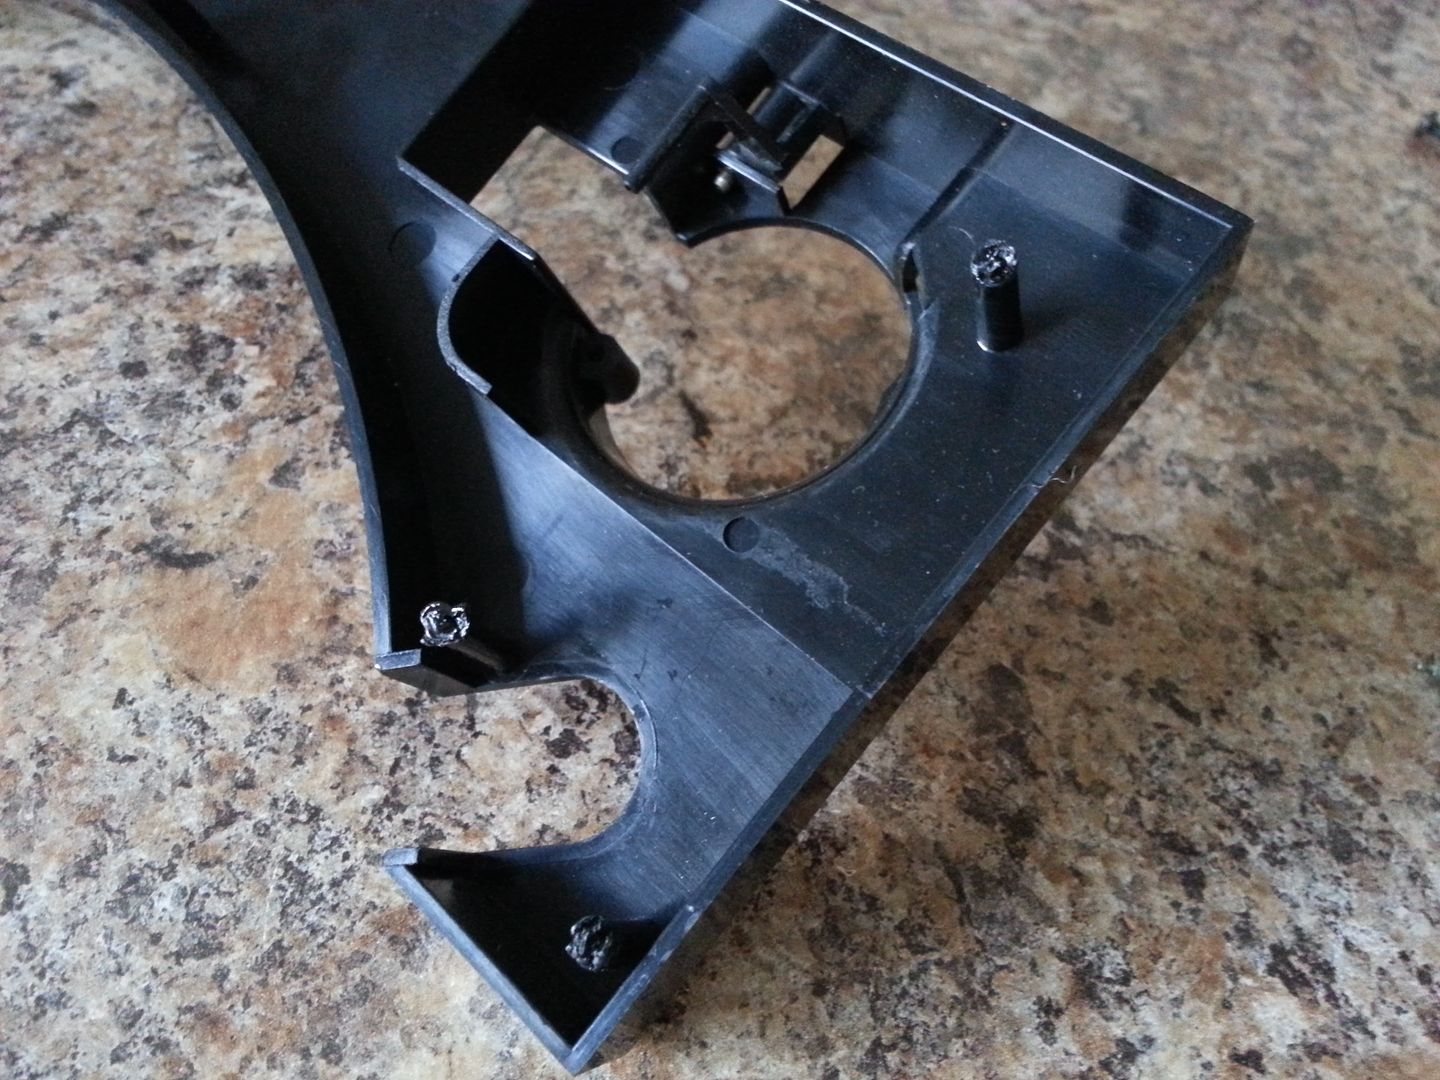
Finally got around to putting this greeblie together. After looking at a specific screen grab I realized that I either have to heavily mod the existing piece or recut a new one to screen match. I'll finish it and see how it looks. But... UGH
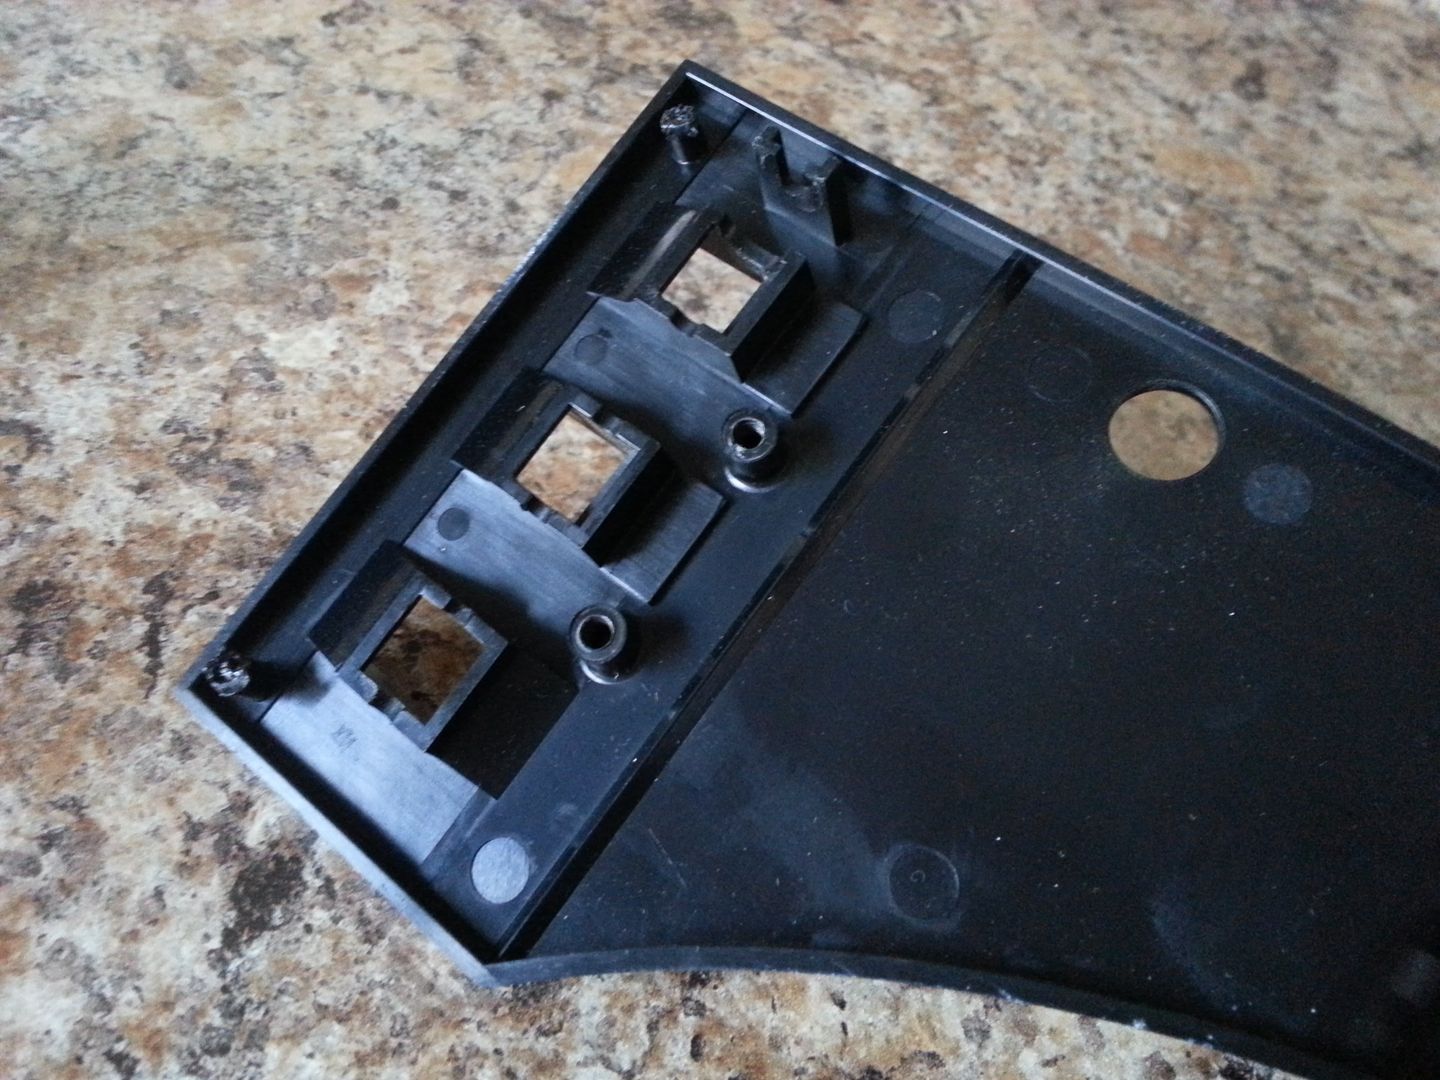
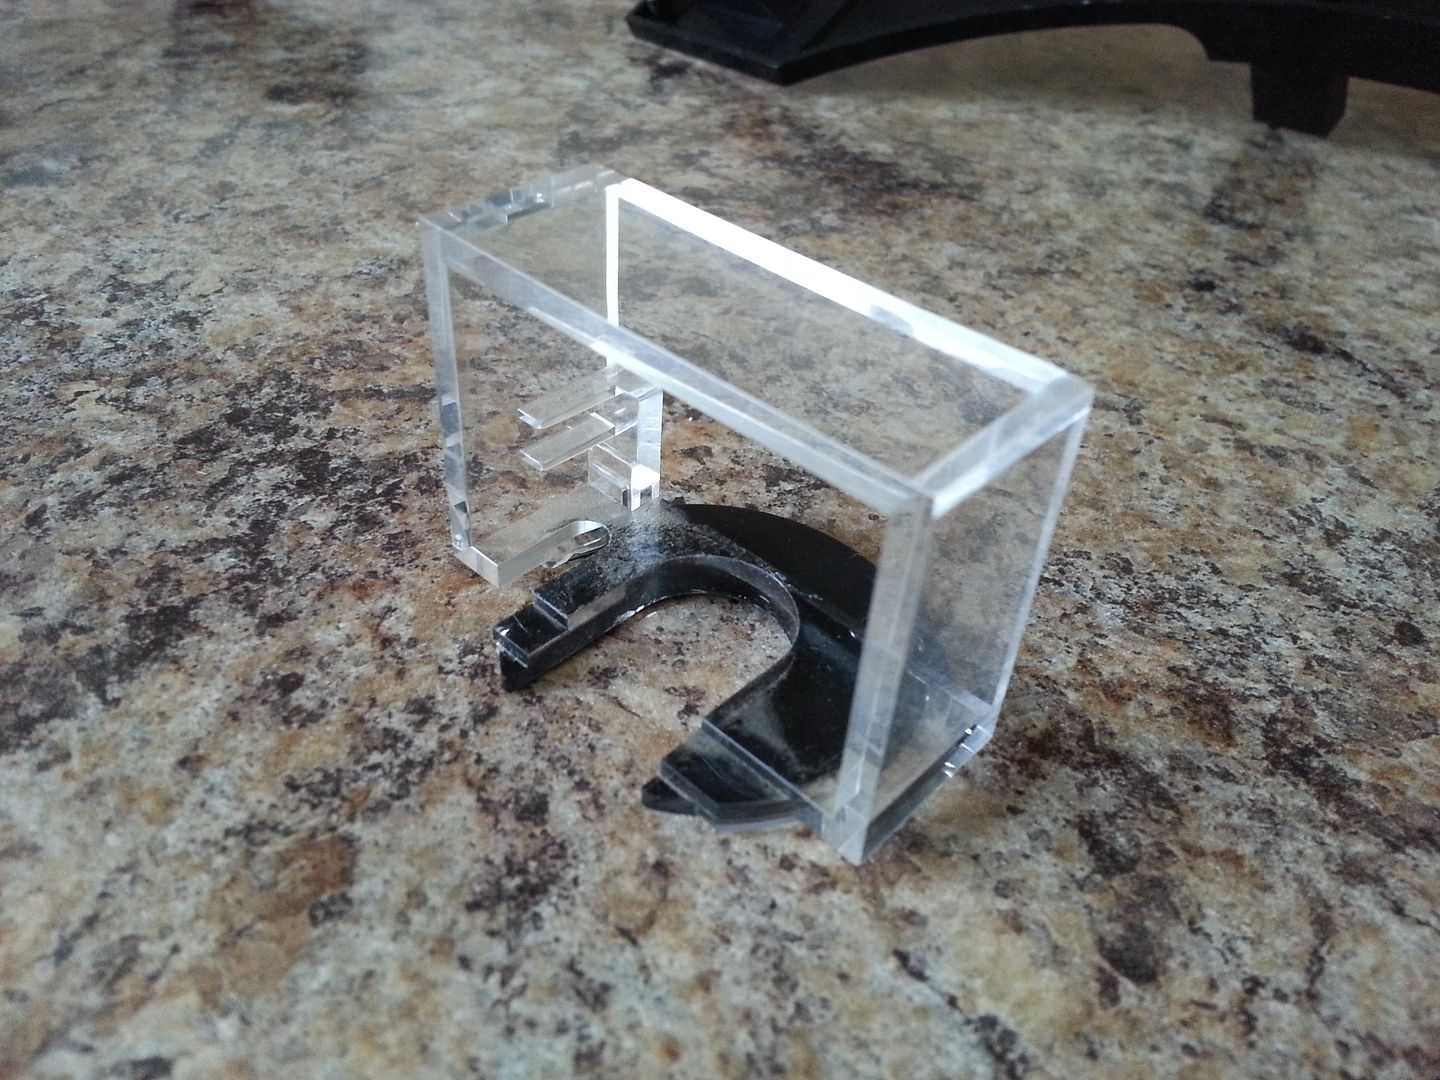
Basically... we're not supposed to see ANY of the backside through the openings. So I have to cut out most of the material from the back leaving limited areas to mount to the main panel
I then refocused my attention on the door panel greeblies
I'm really happy with how these are turning out

Lets add some filler!
Lots of sanding ahead
Stay Tuned for More!
A tiny update this morning...
Finally got around to putting this greeblie together. After looking at a specific screen grab I realized that I either have to heavily mod the existing piece or recut a new one to screen match. I'll finish it and see how it looks. But... UGH
Basically... we're not supposed to see ANY of the backside through the openings. So I have to cut out most of the material from the back leaving limited areas to mount to the main panel
I then refocused my attention on the door panel greeblies
I'm really happy with how these are turning out
Lets add some filler!
Lots of sanding ahead
Stay Tuned for More!
Hi Gang,
GREAT NEWS! Remember that huge behemoth of a laser cutter we picked up? She's now fully operational!
Power Supply arrived yesterday
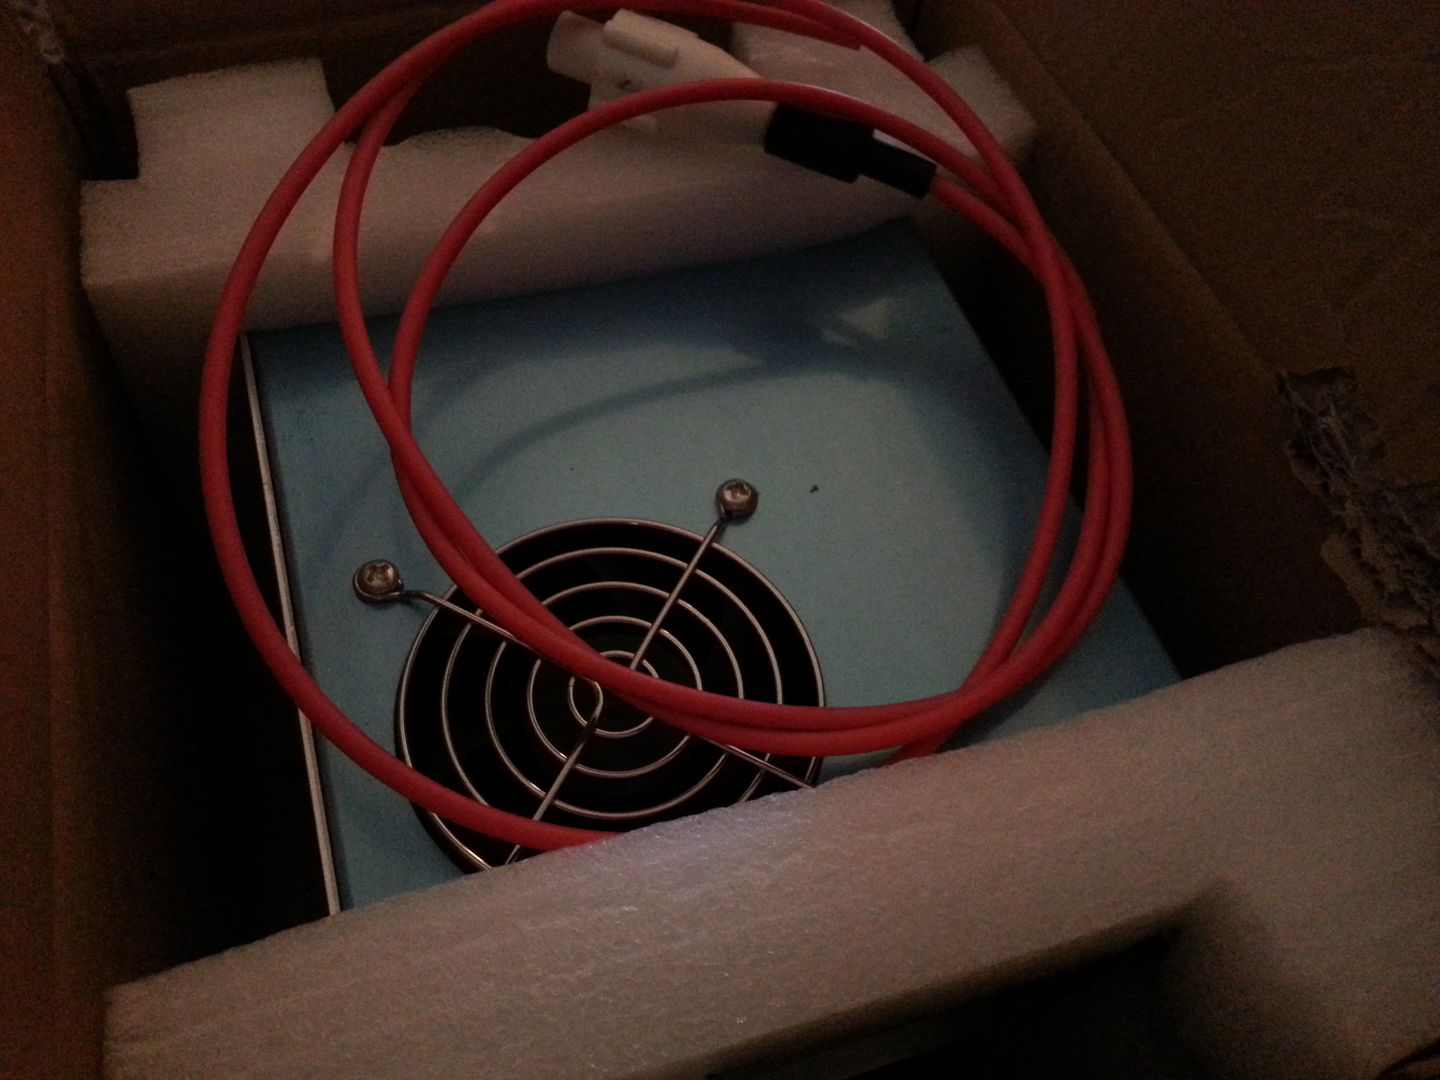
Installed
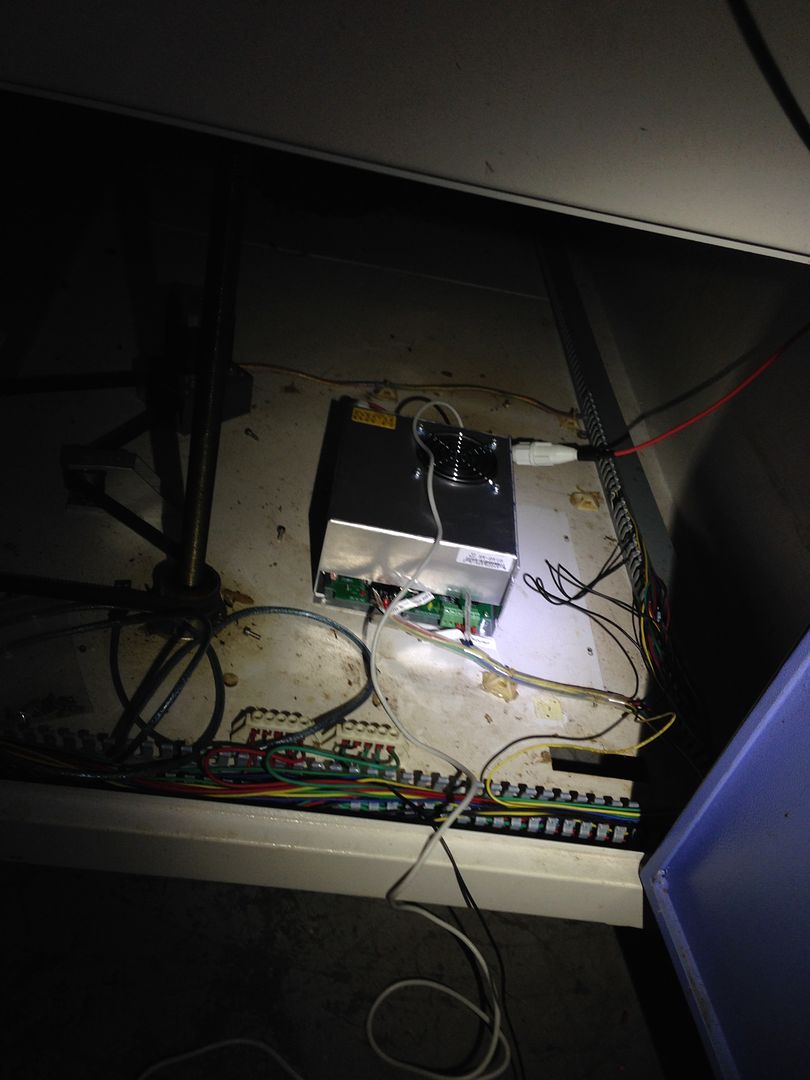
Successful firing
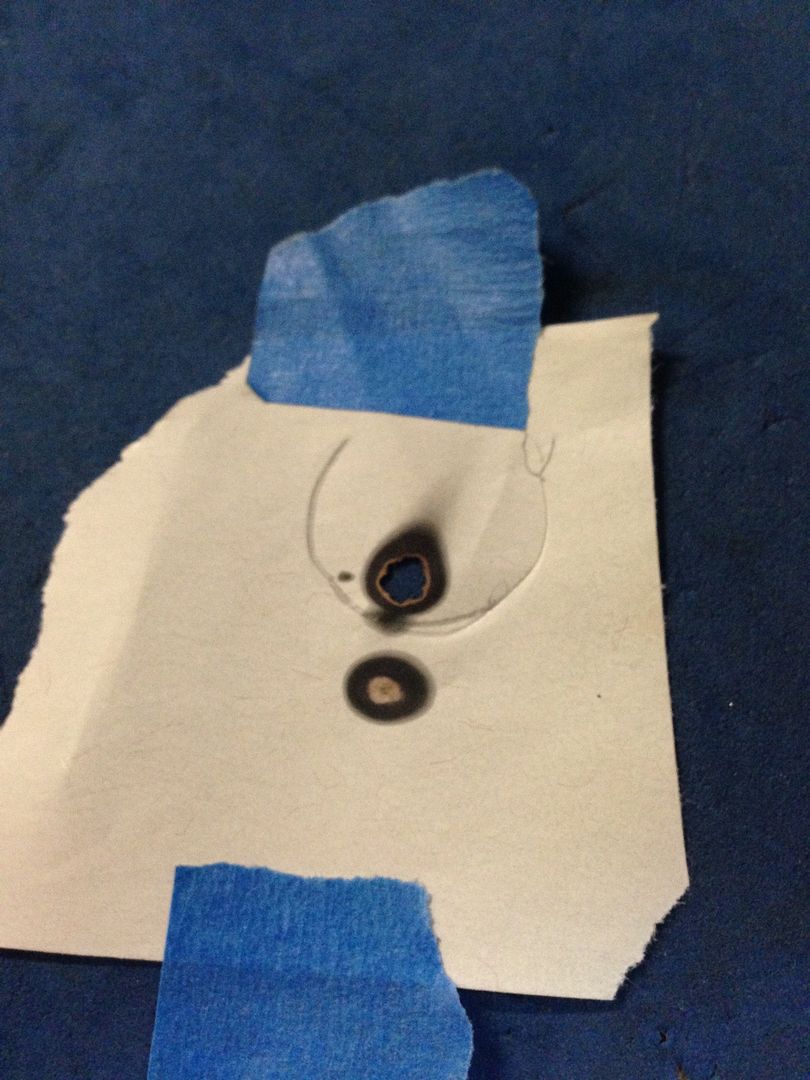
She works!
This laser cutter is now the ultimate power in the universe... I suggest we use it!
More to Follow
GREAT NEWS! Remember that huge behemoth of a laser cutter we picked up? She's now fully operational!
Power Supply arrived yesterday
Installed
Successful firing
She works!
This laser cutter is now the ultimate power in the universe... I suggest we use it!
More to Follow
Last edited:
Hi Gang,
GREAT NEWS! Remember that huge behemoth of a laser cutter we picked up? She's now fully operational!
Power Supply arrived yesterday
Now witness the fire power of this fully armed and operational battle station! Sorry... couldn't resist! LOL
crystaloftruth
Member
In this shot it looks like the Falcon has some wooden paneling going on
Hi Gang,
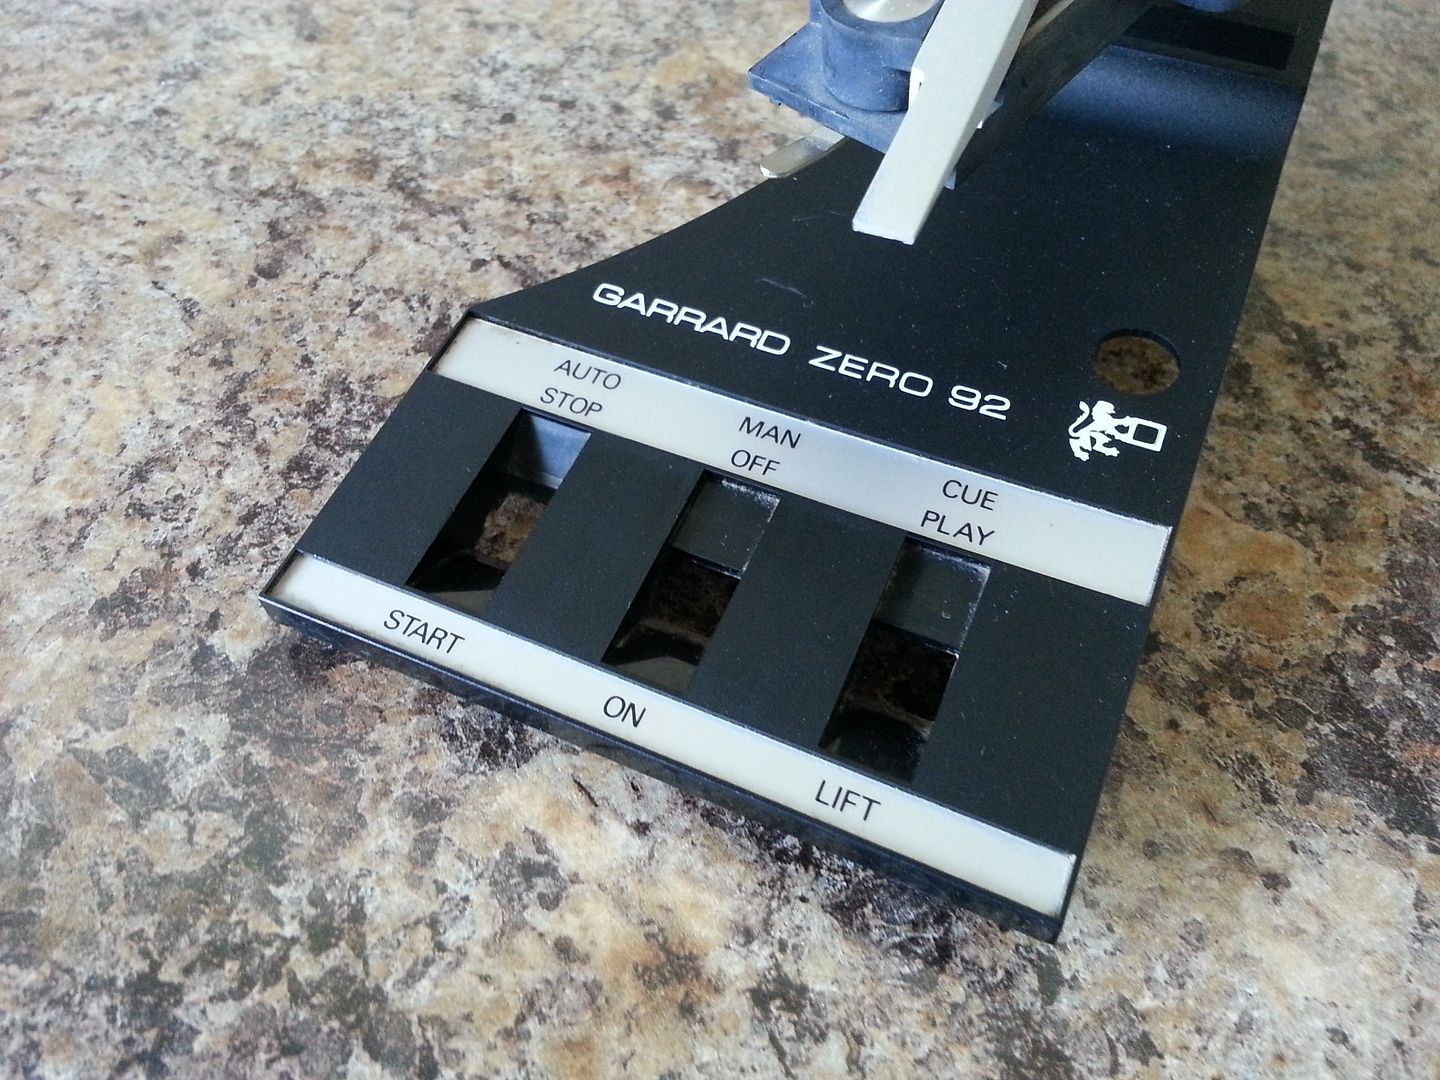
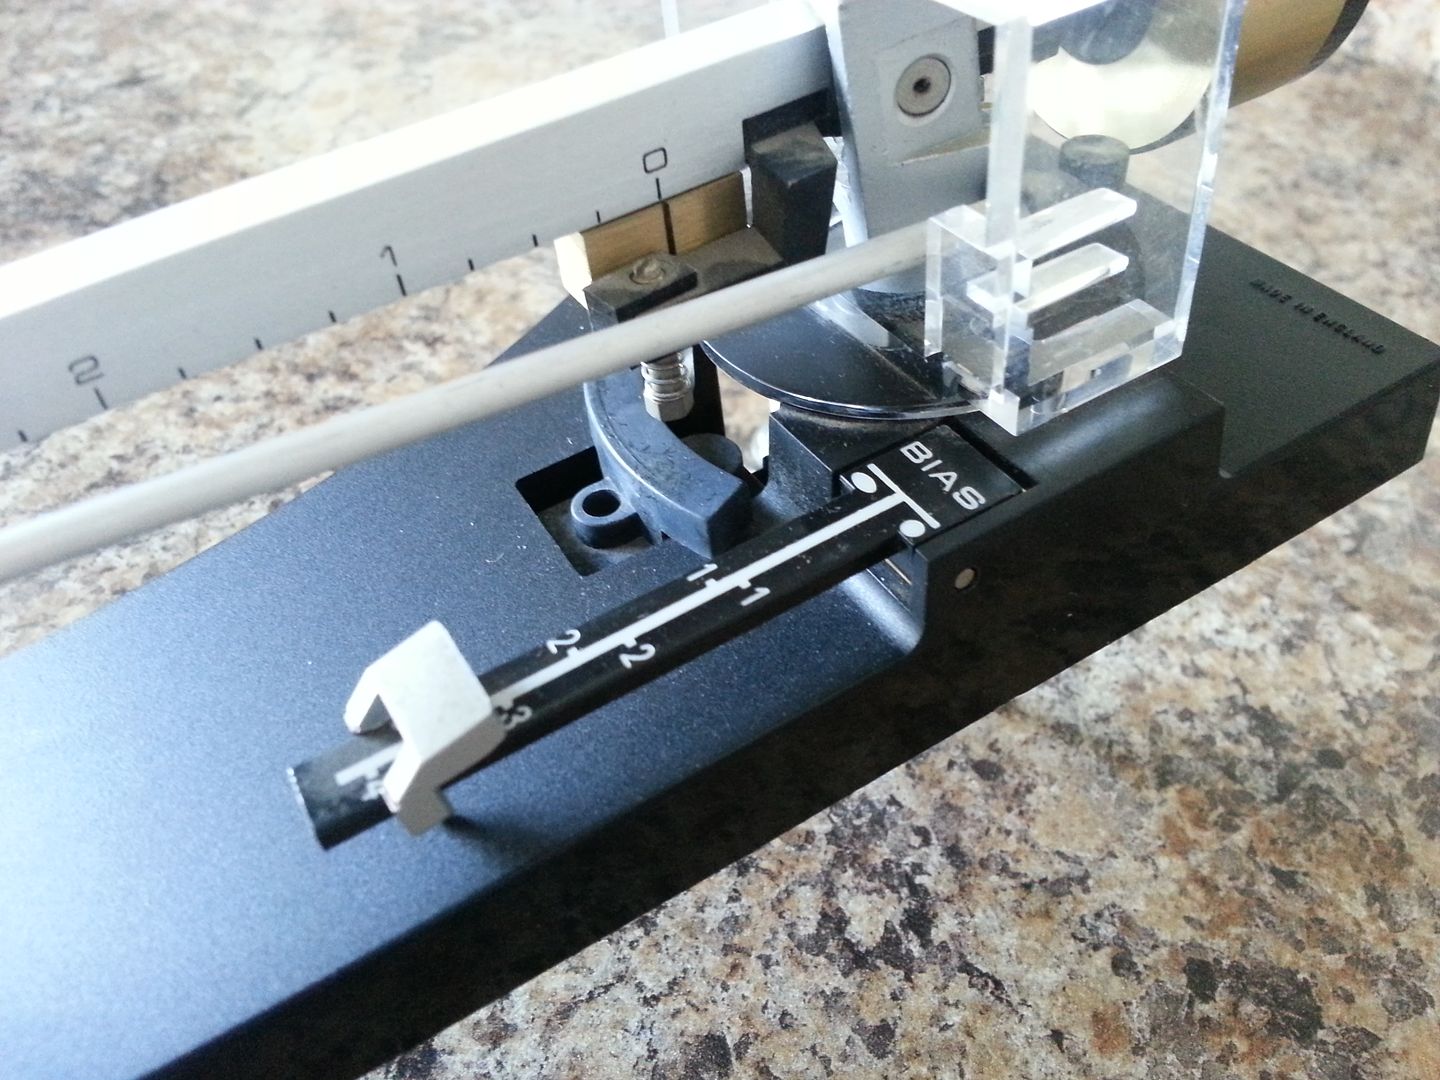
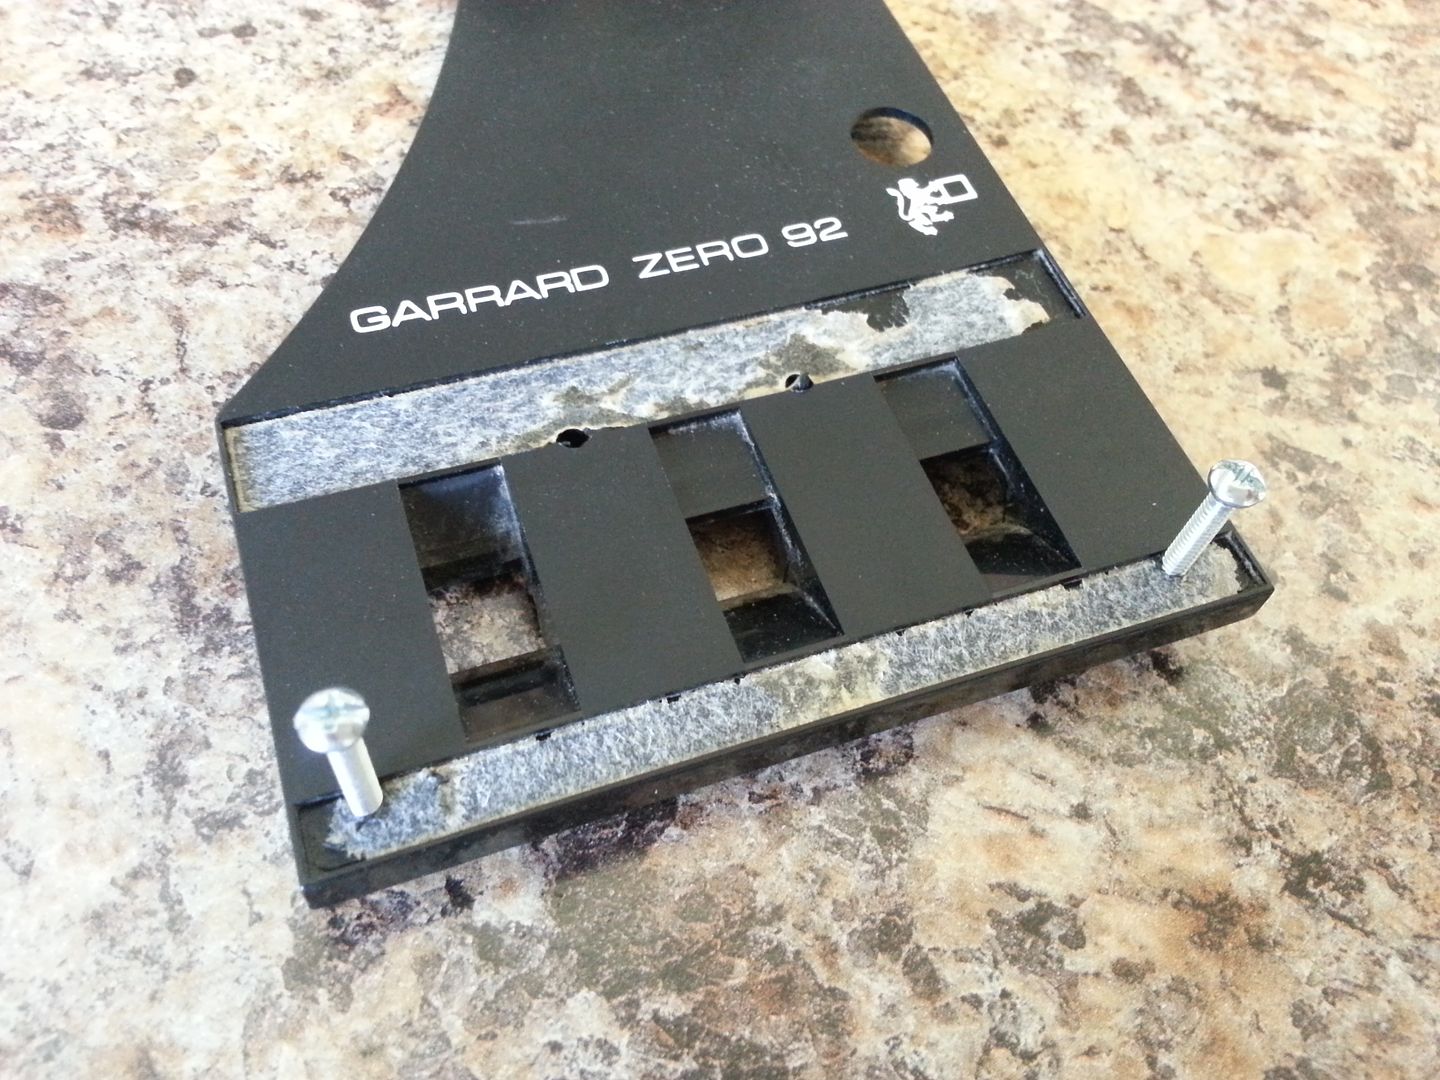
OK... So remember this vertical greeblie? Well, Wavey discovered it was a Garrard Record Player trim piece
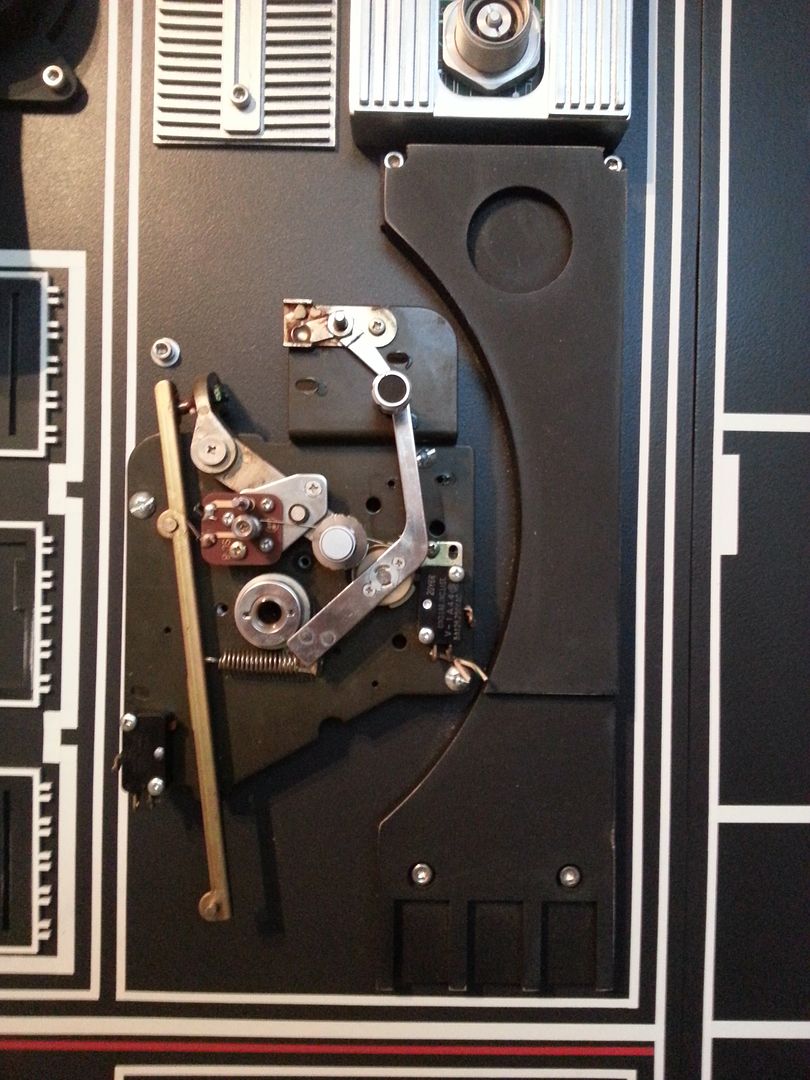
The other day... I found one on Ebay and... Here it is!
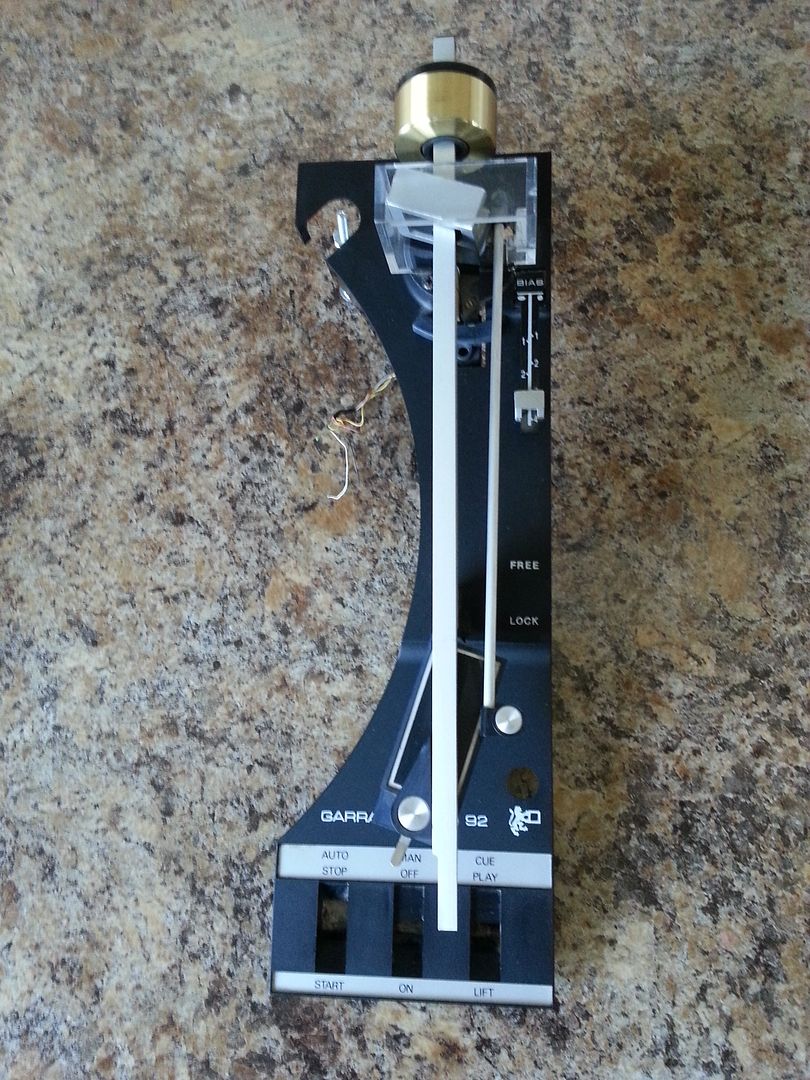
This might seem silly... but there's something cool about finding and holding a near original greeblie the original designers used

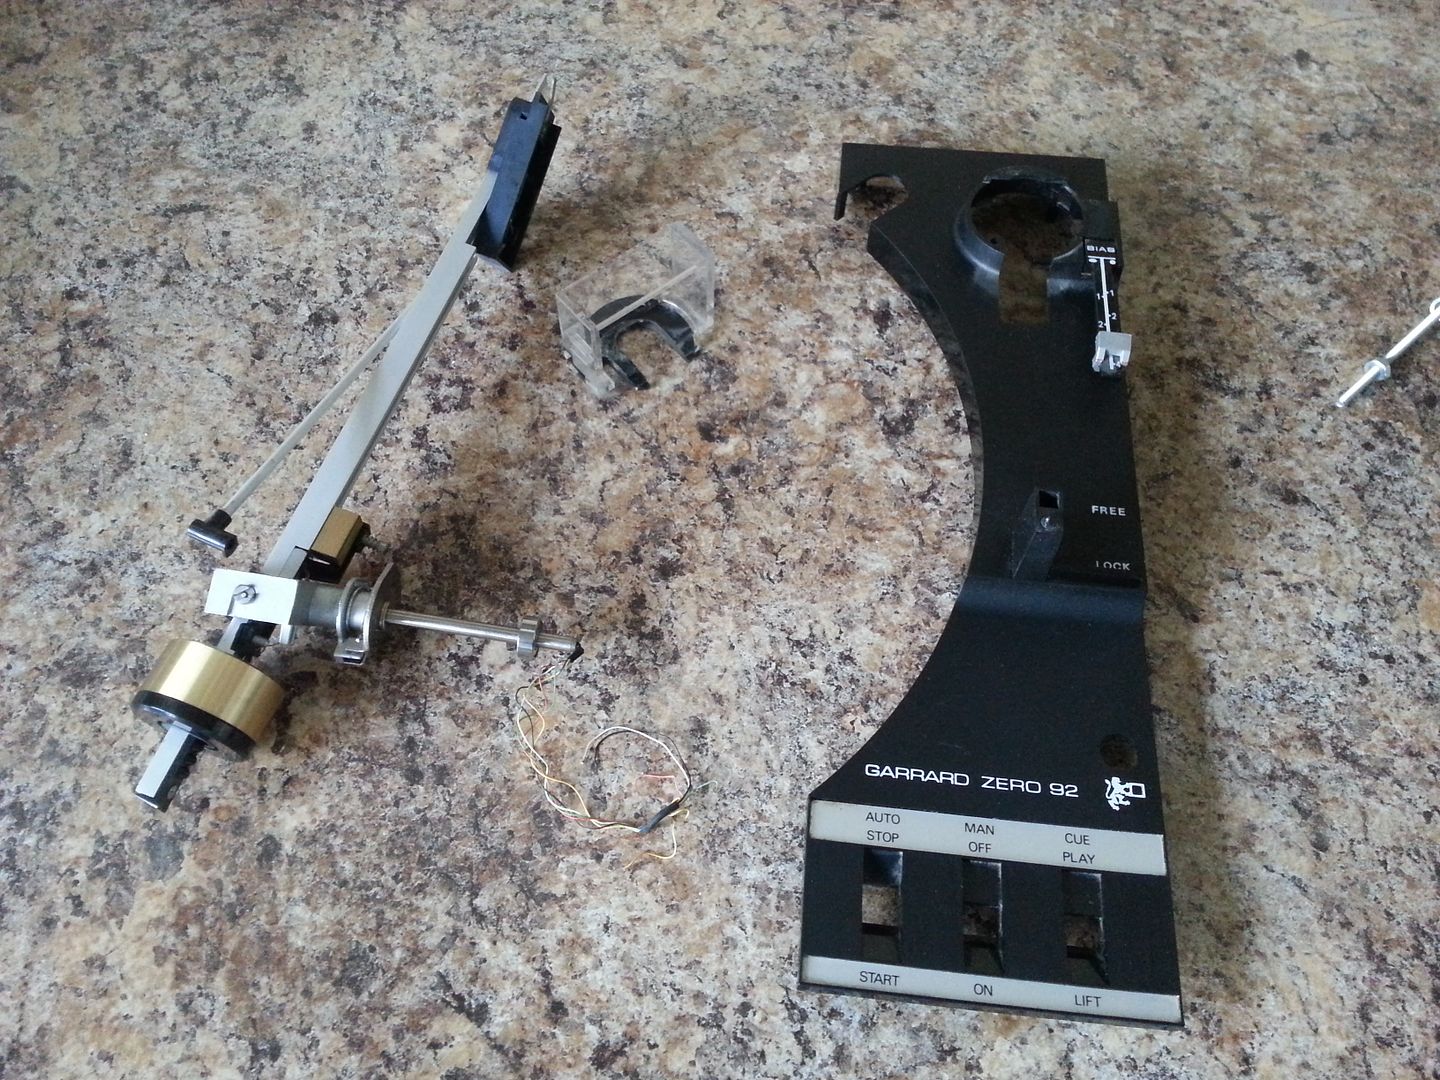
A near perfect match from the eyeballed greeblie we created long ago!
The question is... how do I mount it and do I paint it?
Also, I believe this piece is located on another panel opposite the trim plate
That's it for now! Awesome find! Thanks Wavey!
OK... So remember this vertical greeblie? Well, Wavey discovered it was a Garrard Record Player trim piece
The other day... I found one on Ebay and... Here it is!
This might seem silly... but there's something cool about finding and holding a near original greeblie the original designers used
A near perfect match from the eyeballed greeblie we created long ago!
The question is... how do I mount it and do I paint it?
Also, I believe this piece is located on another panel opposite the trim plate
That's it for now! Awesome find! Thanks Wavey!
BlobVanDam
Sr Member
That's got to be reassuring to accuracy of the whole thing to find that a piece you built from scratch matches that closely to the real deal!
That's got to be reassuring to accuracy of the whole thing to find that a piece you built from scratch matches that closely to the real deal!
Hi B,
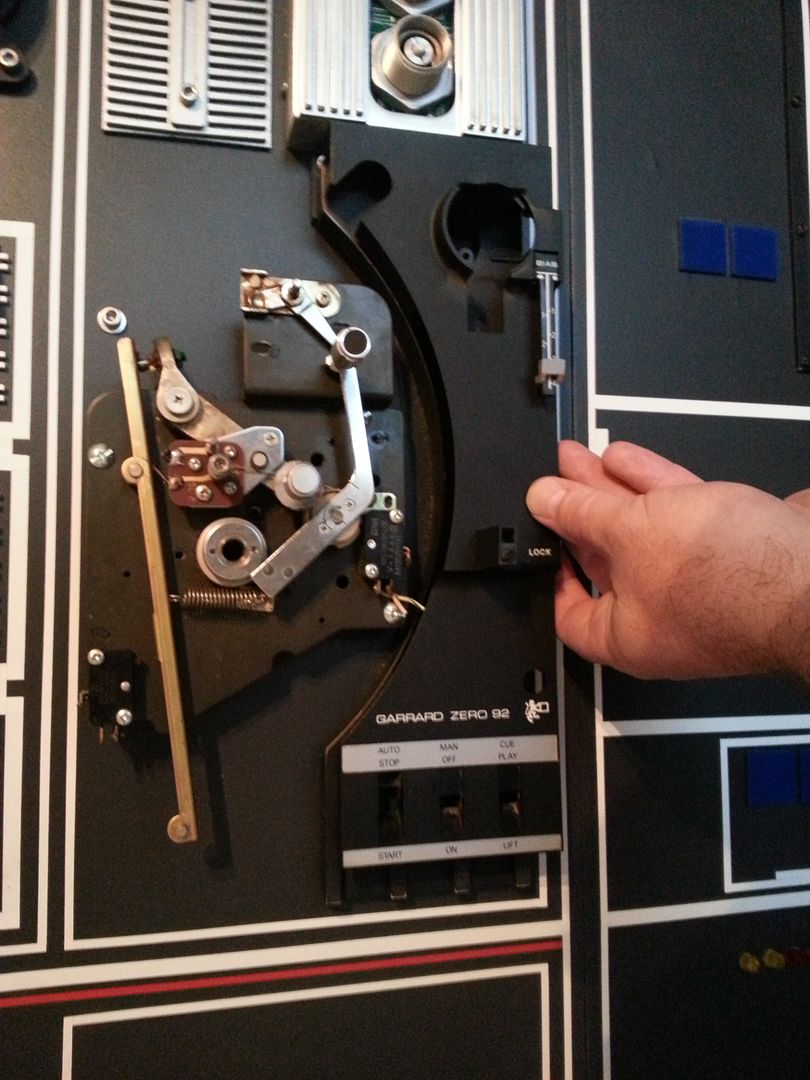
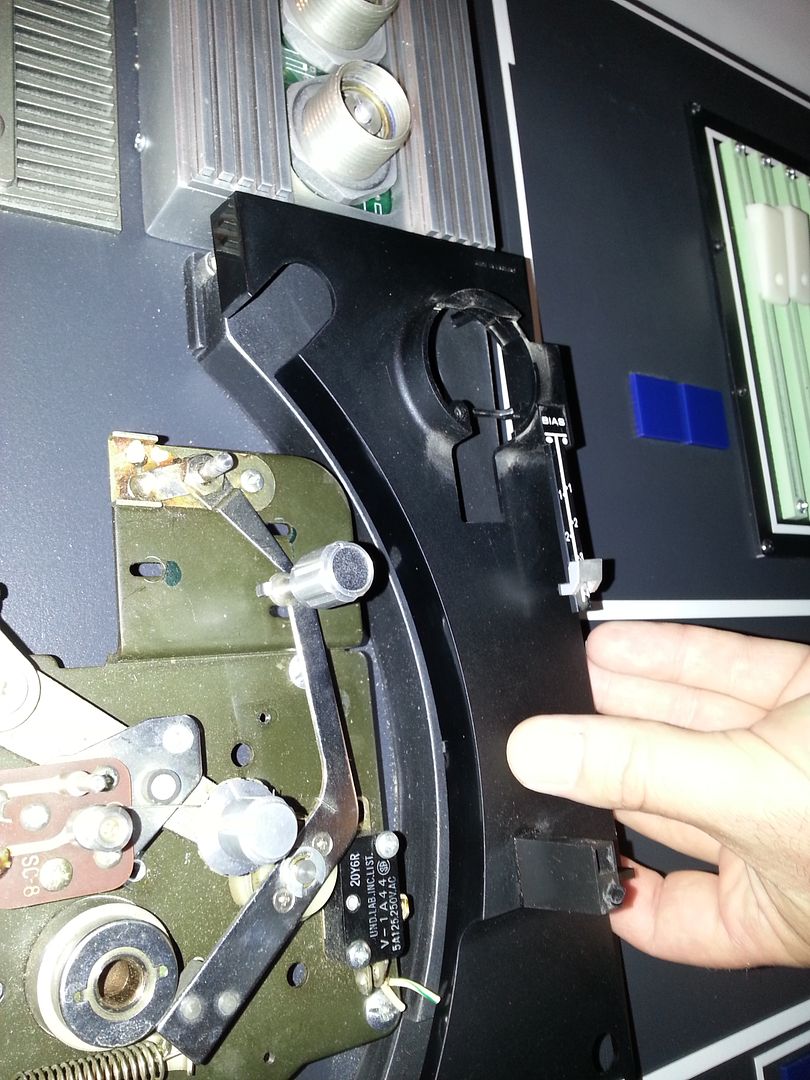
When I first pulled the part out I thought "oh no, it's WAY too small". When I held them side by side it was both a surprise and relief to be that close to the original part - thank the maker for screen grabs! What really surprised me was the inner curve of the trim plate.
And before Wavey, Starkiller, Fuzz or anybody else says it... "...I call it luck..."
Last edited:
I know the Outrider at SWCVII had the blessing of Lucasfilm. Are you all seeking this distinction out? Sorry if this has been discussed already.
Hi S,
We do have their blessing - it does come with some restrictions. But we are full steam ahead (more like chugging along)
Hi Gang,
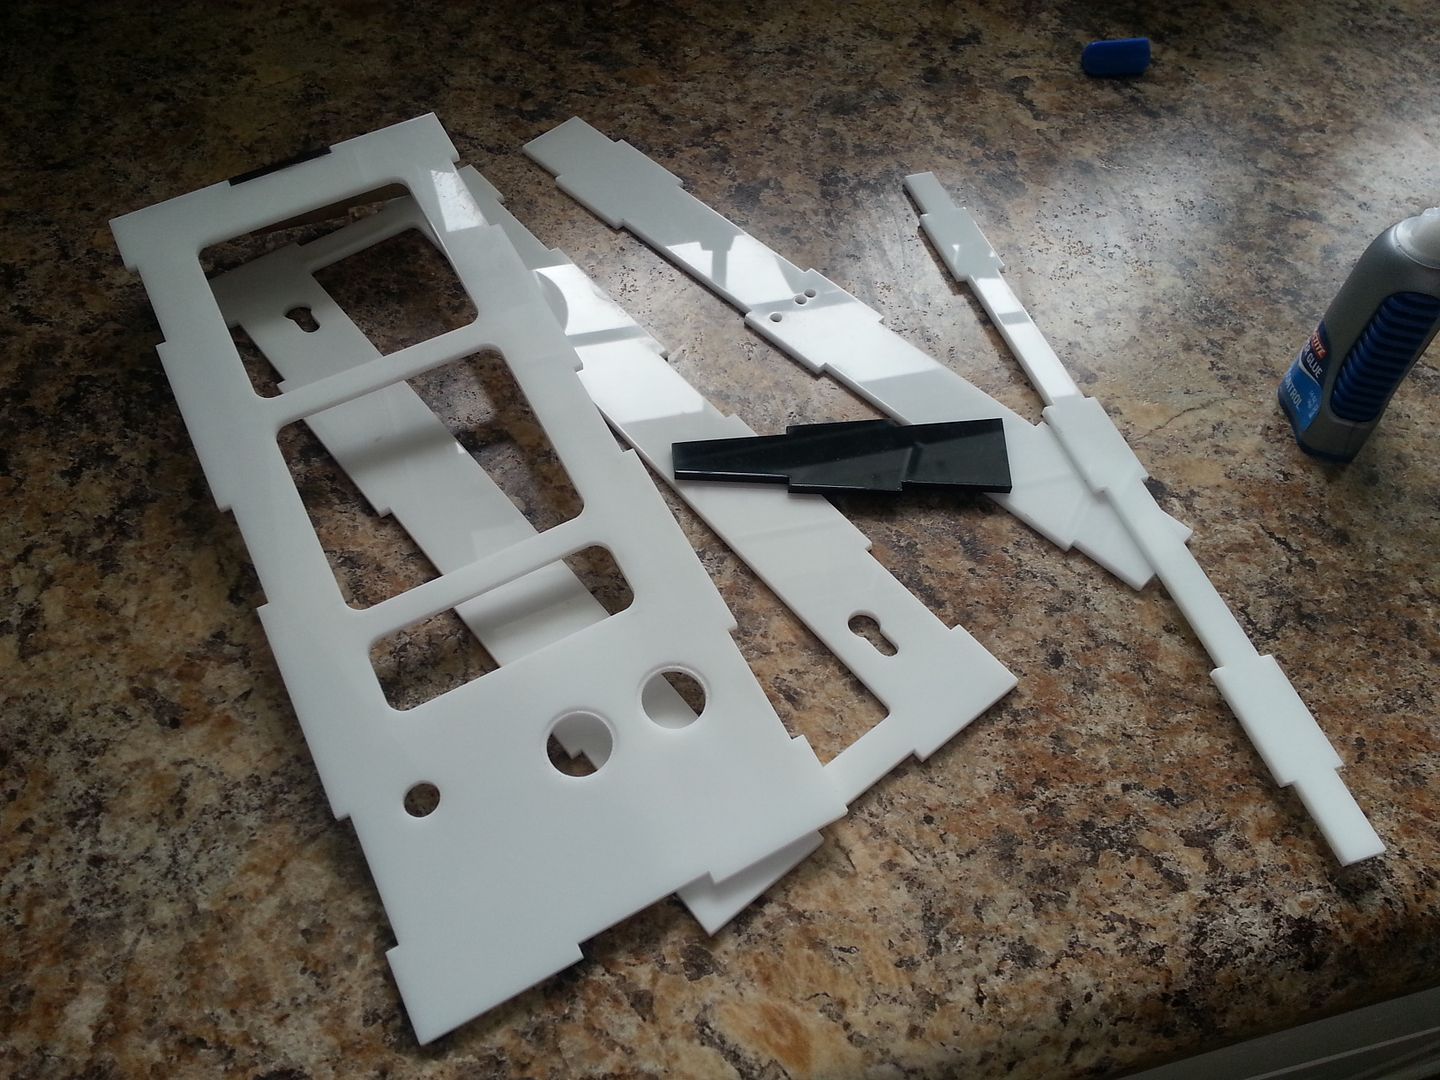
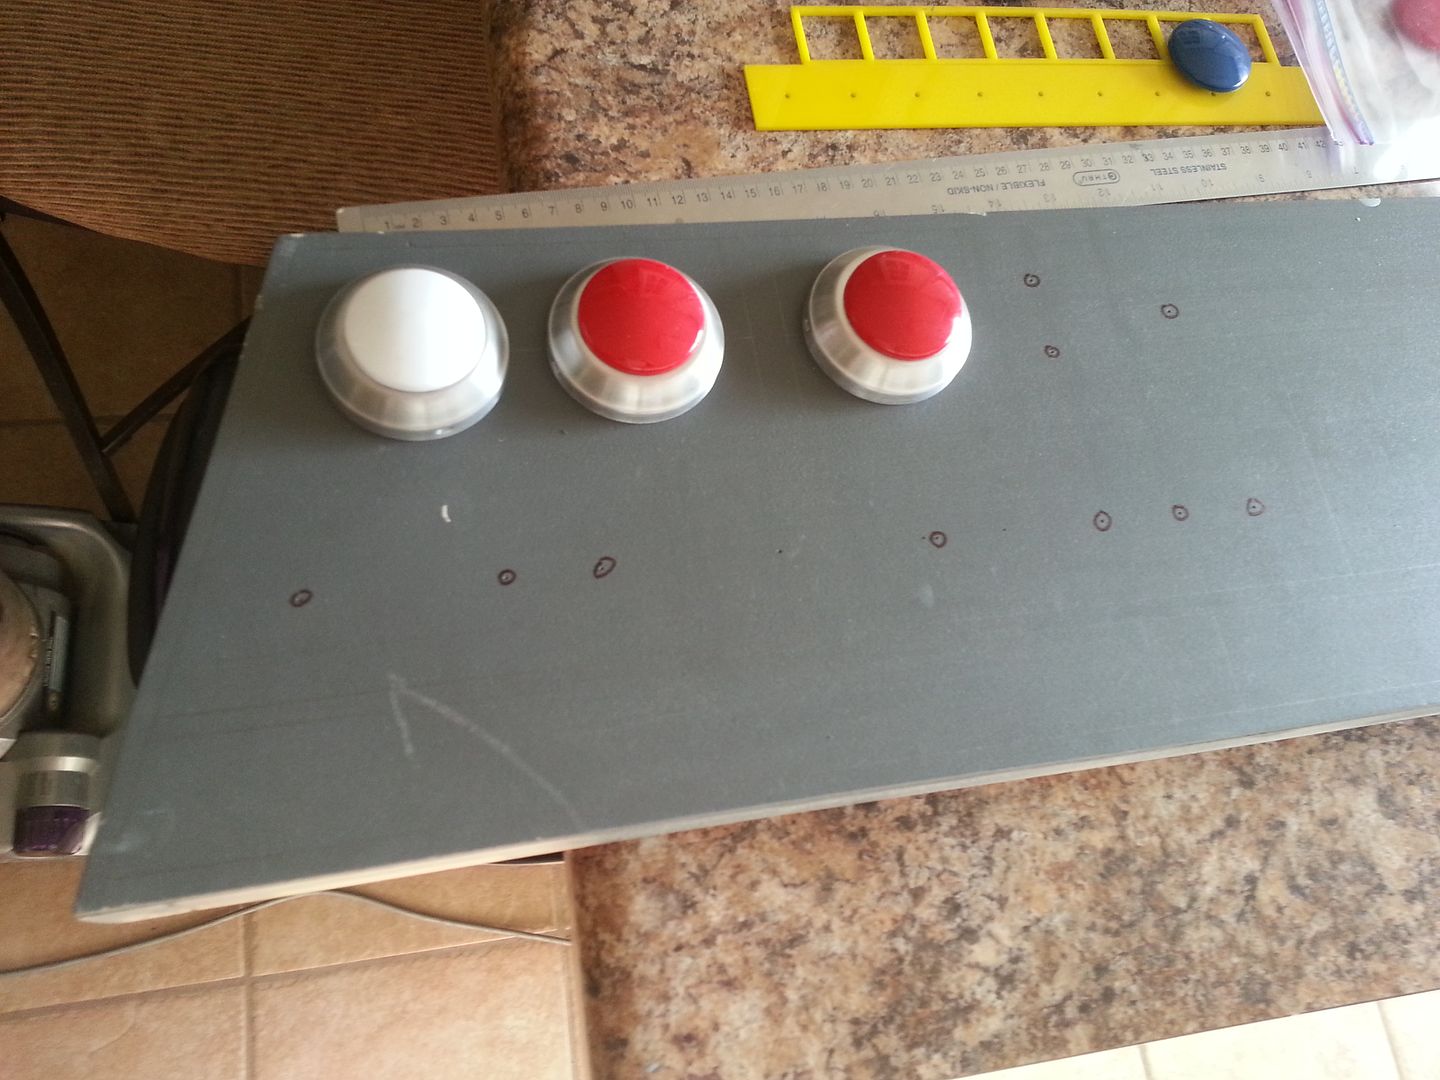
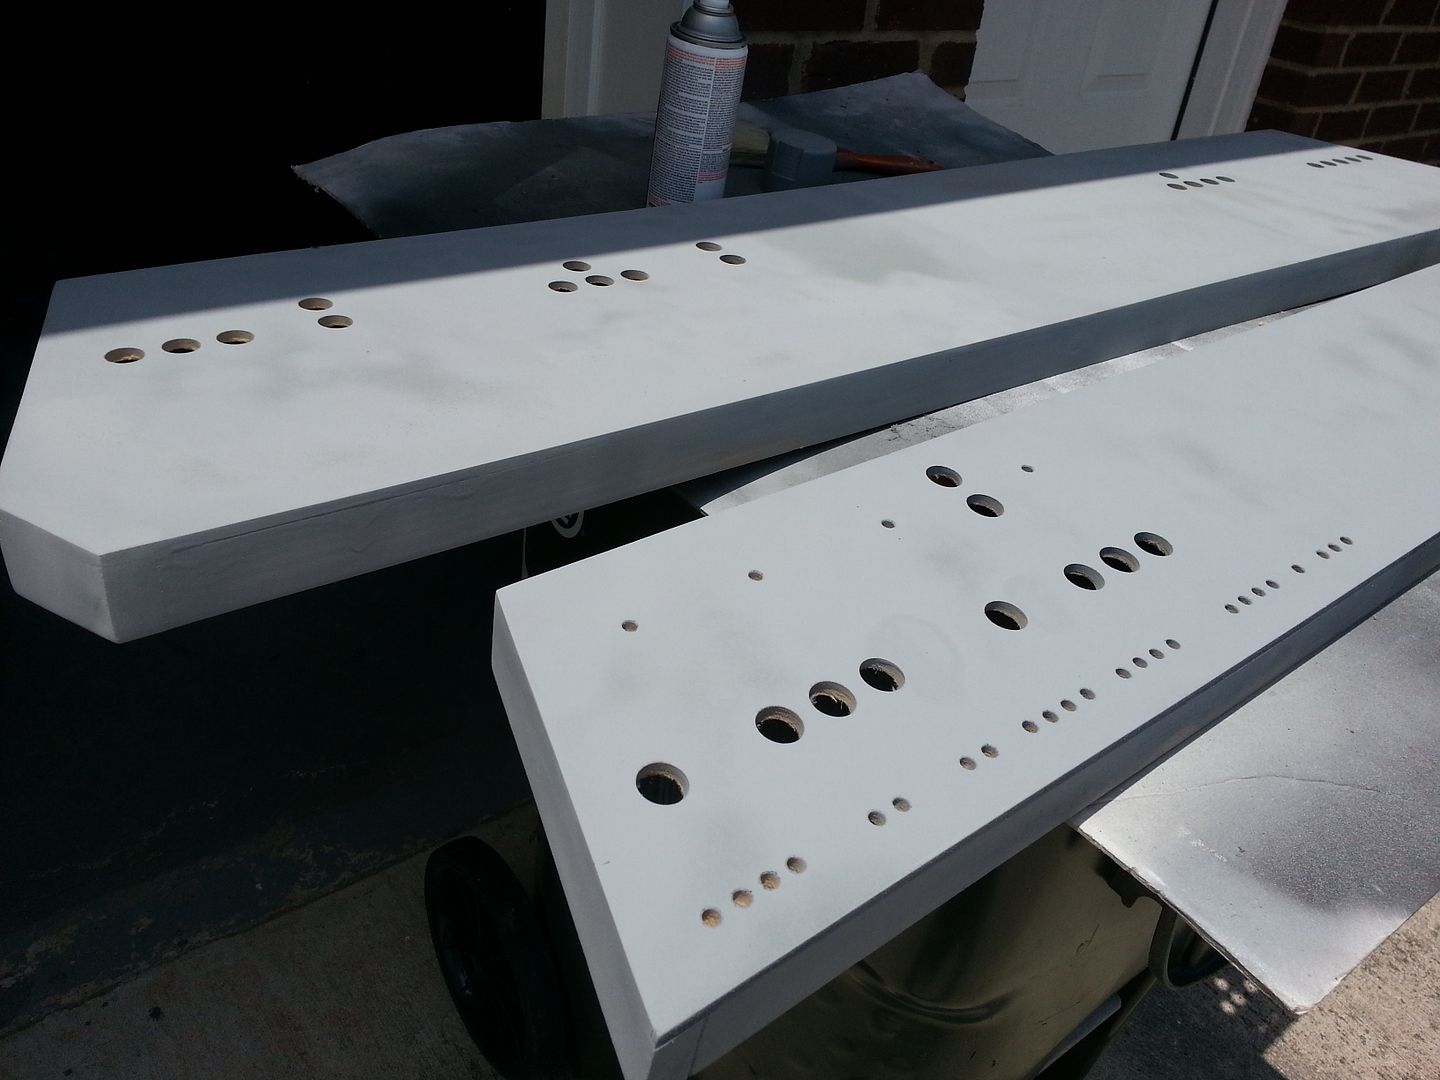
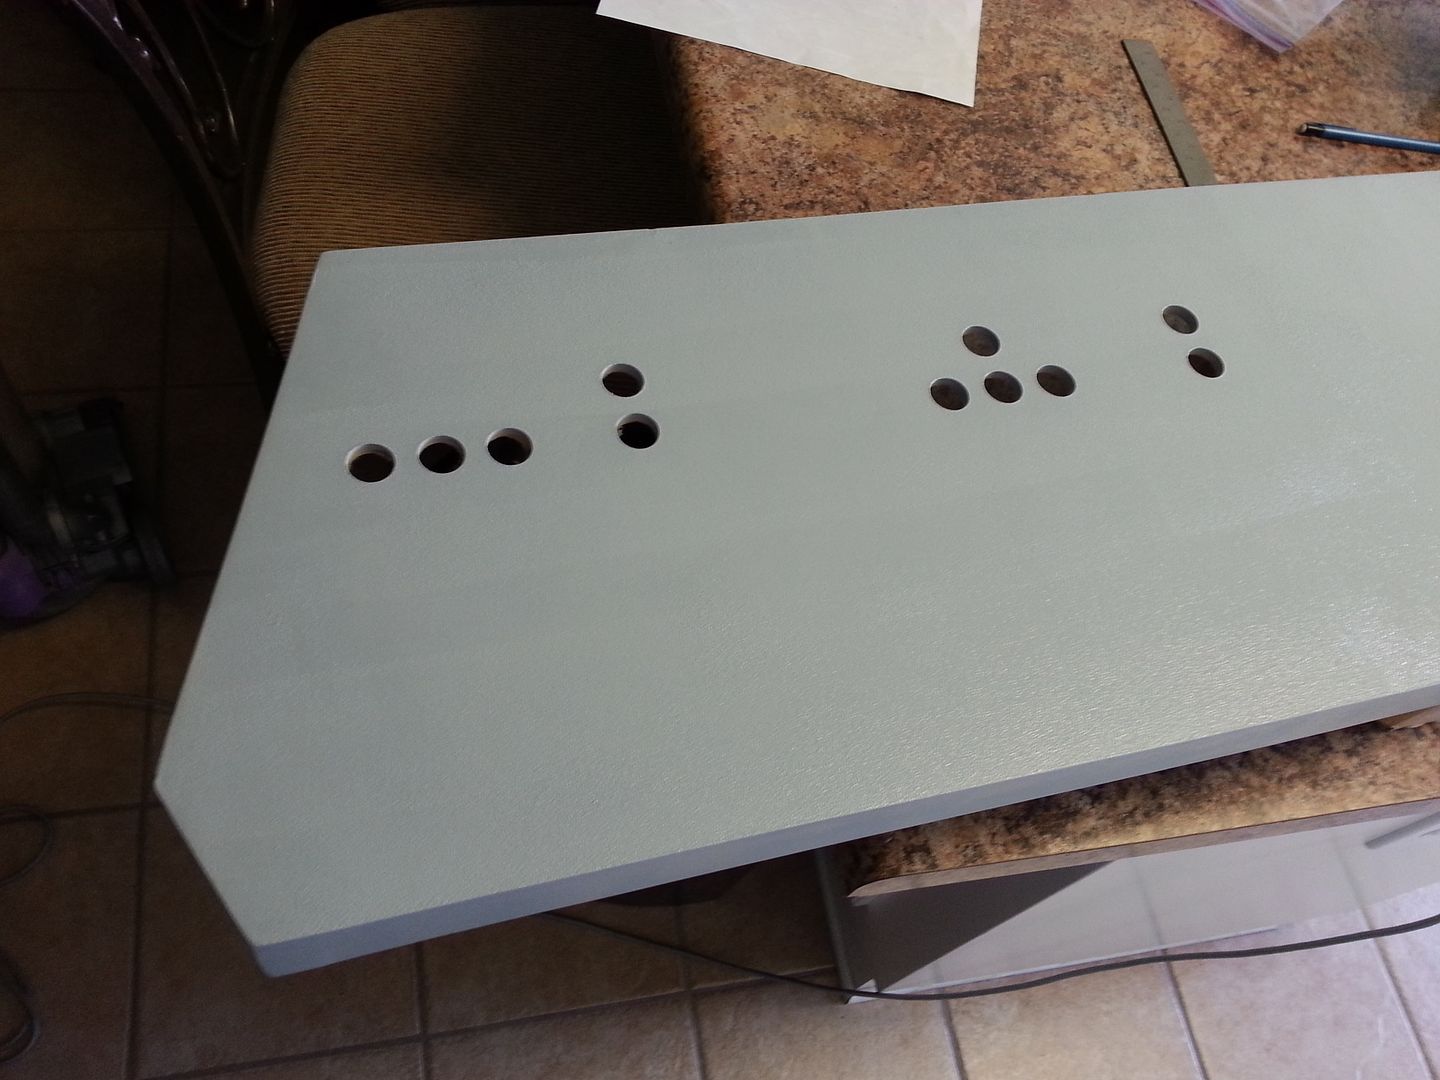
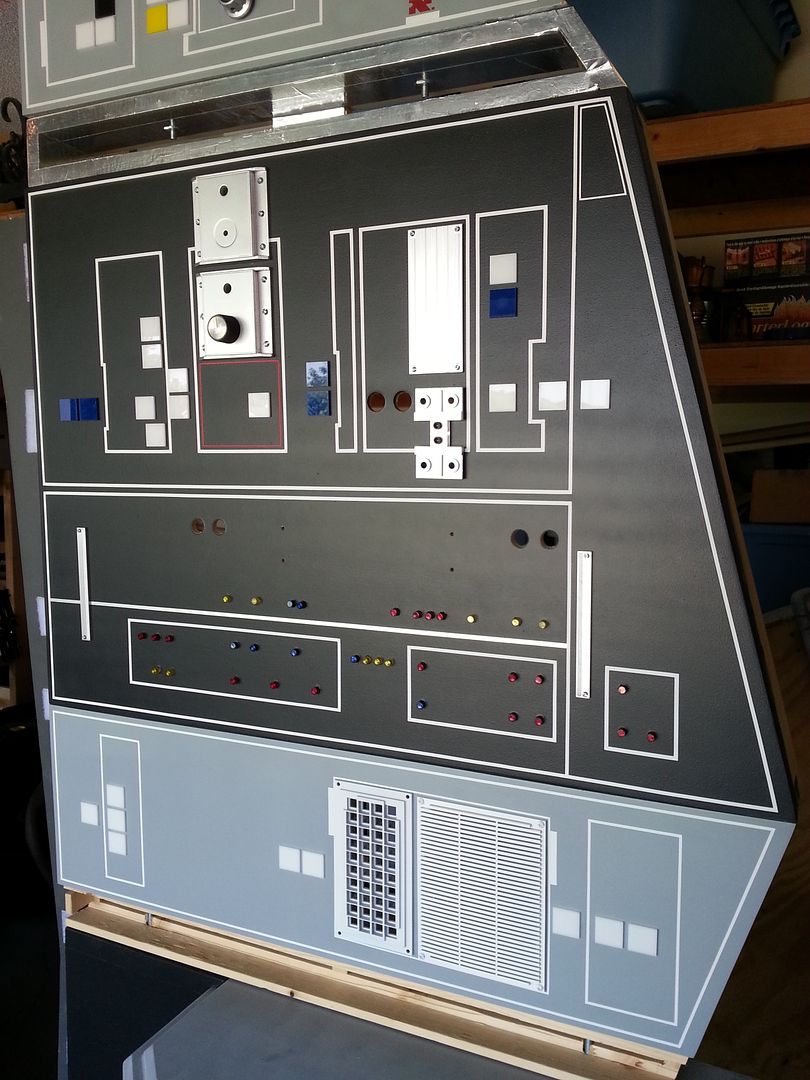
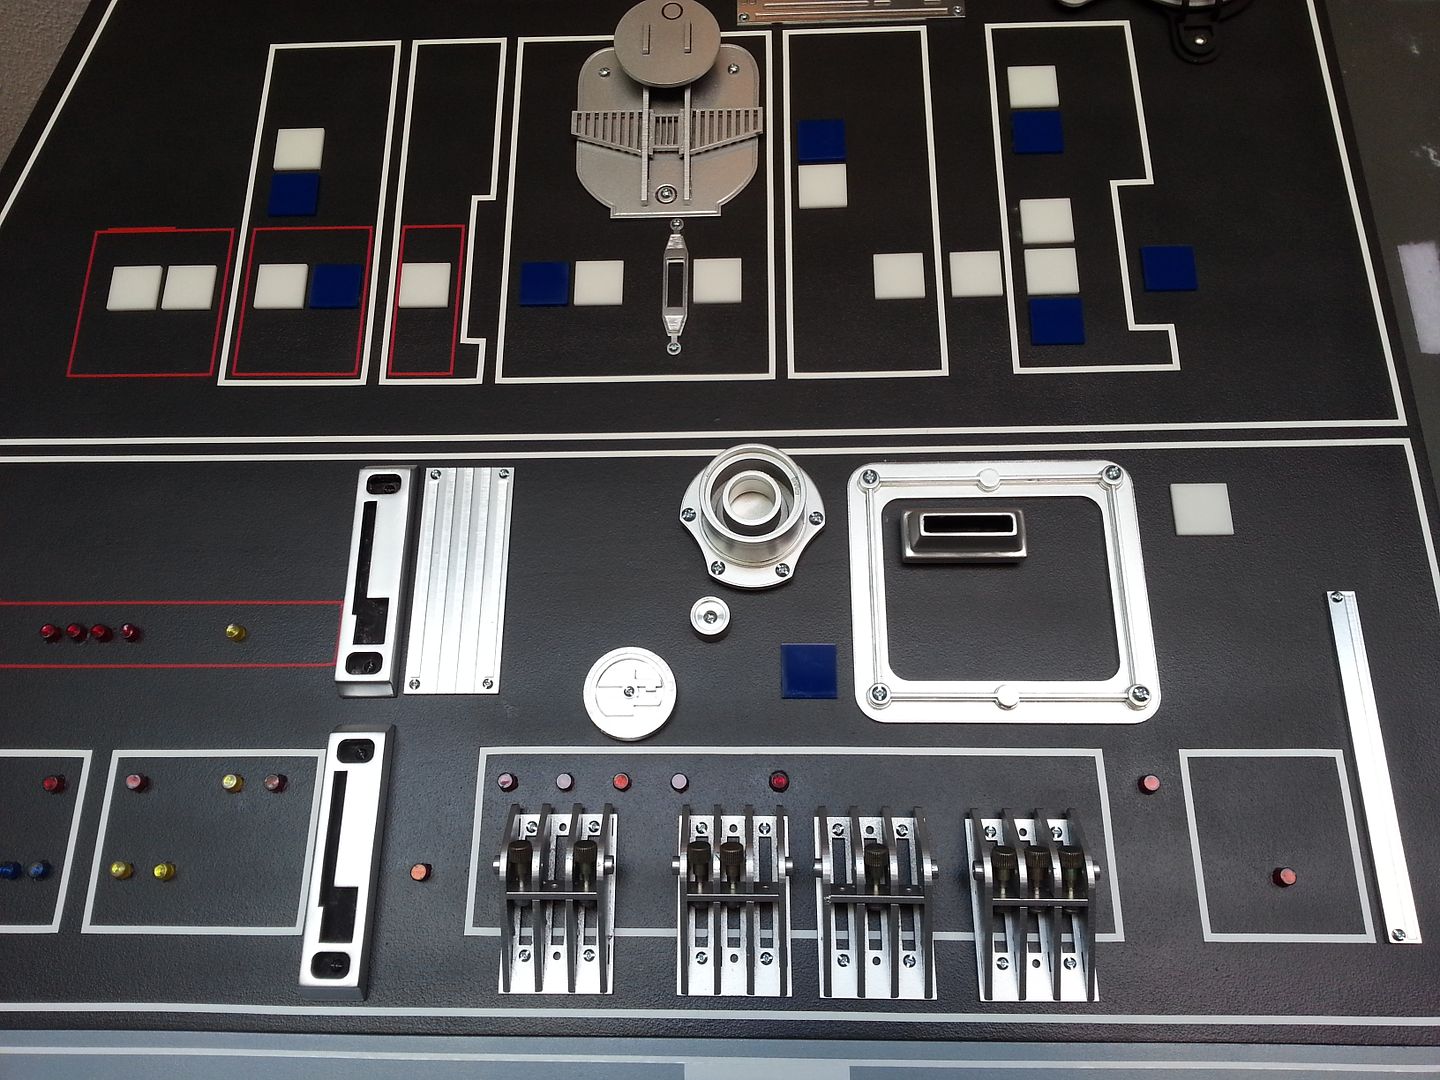
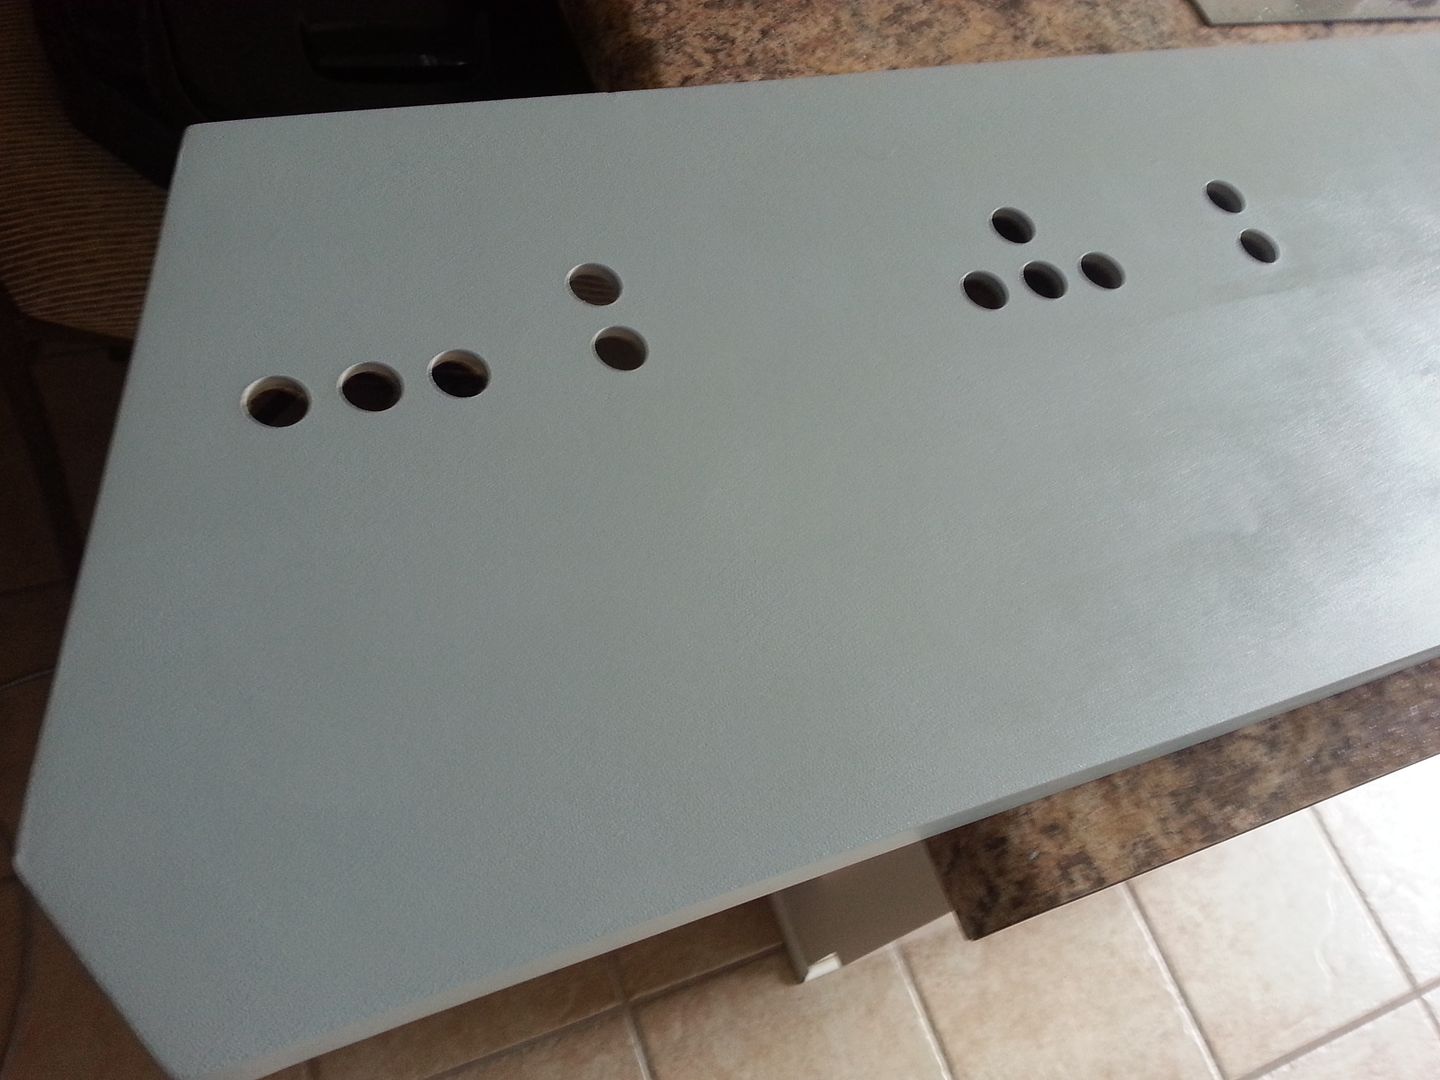
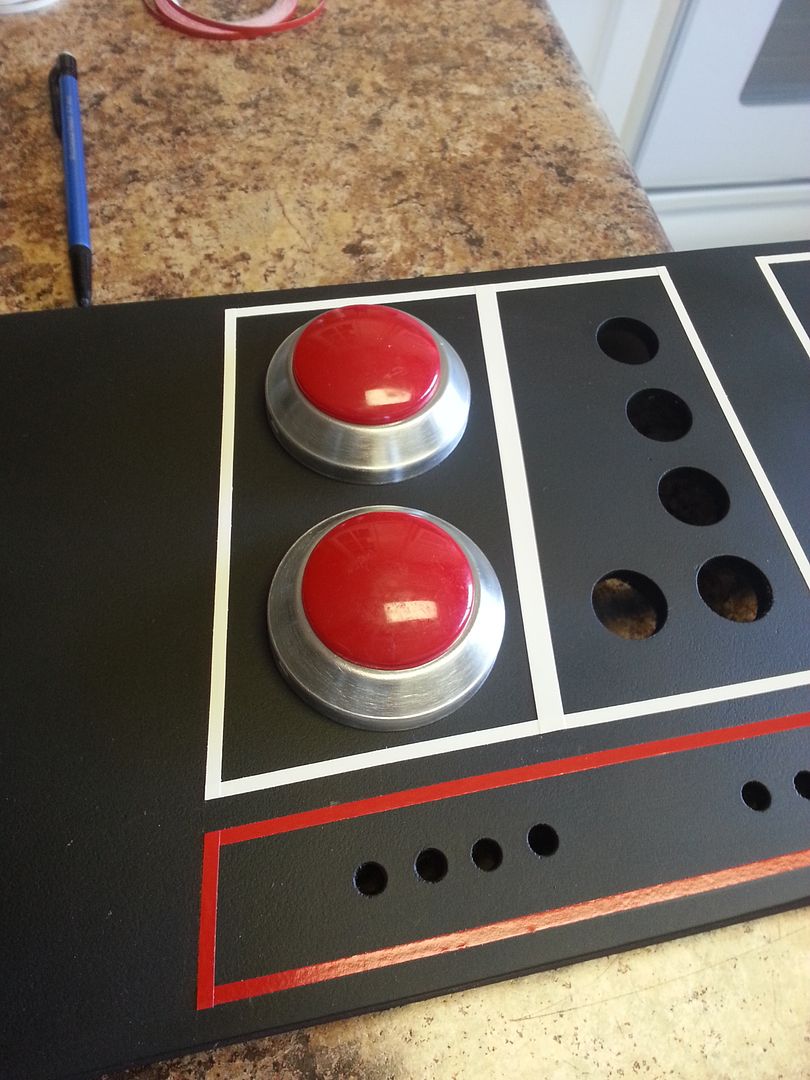
I decided to switch gears a little bit this weekend. Some of you may remember the extra set of instrument panels had just laying around. Well... I decided to finish them up and, like many of the other panels, turn them into pieces of wall art.
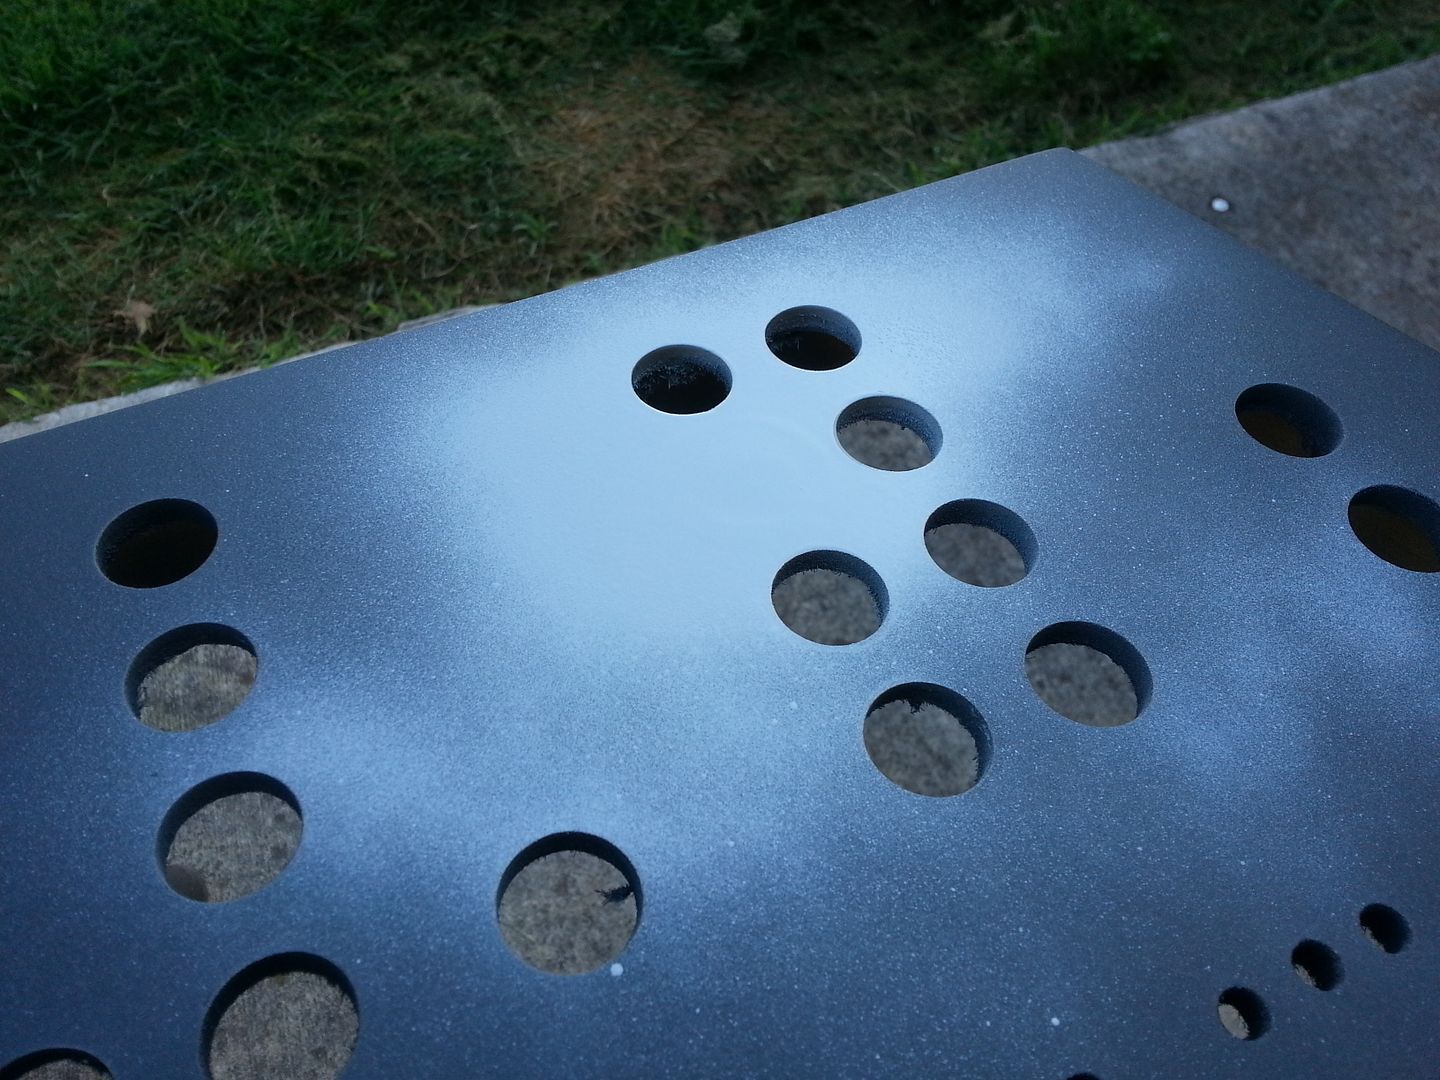
After removing all the dust and build up I began marking the holes
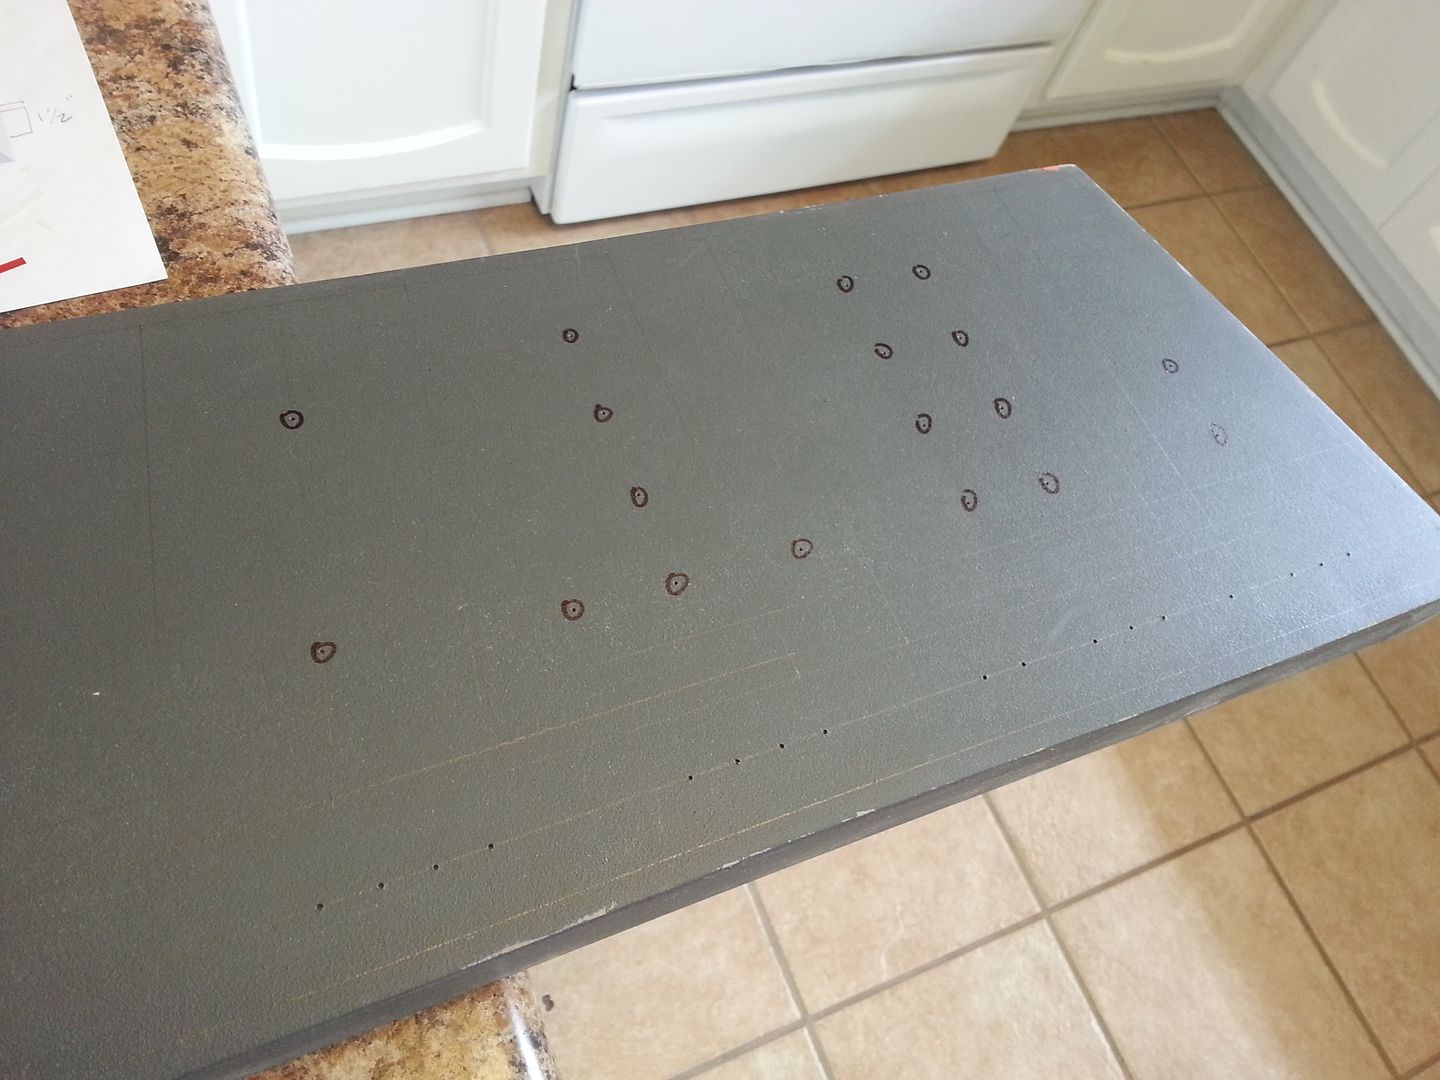
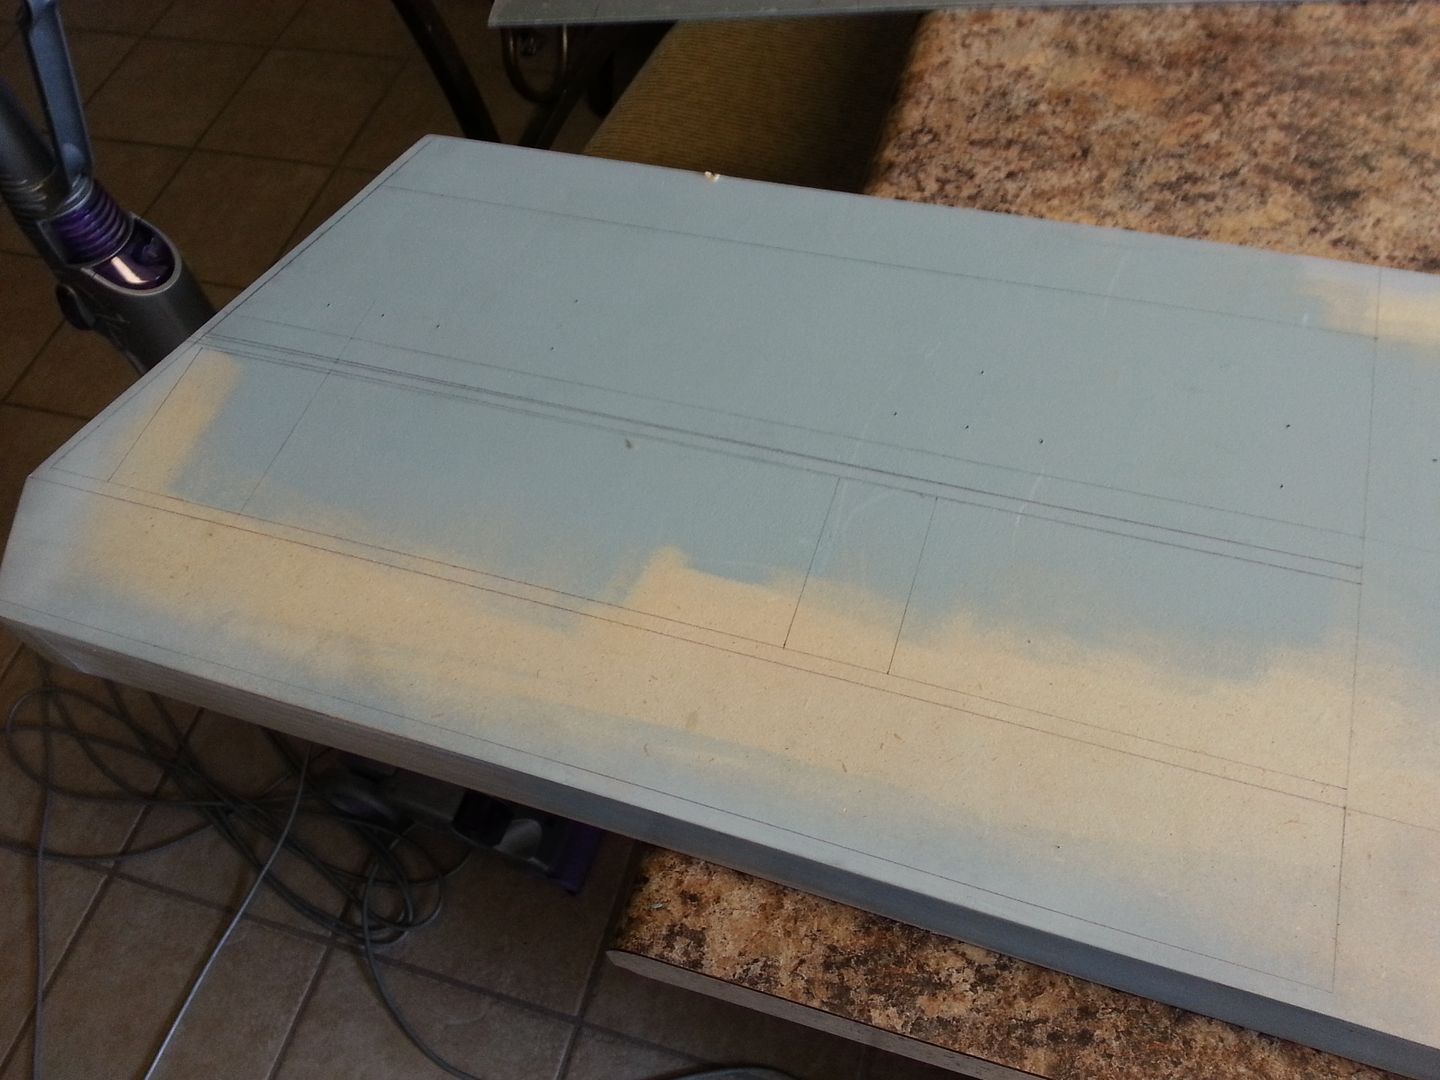
Primer / then sanding
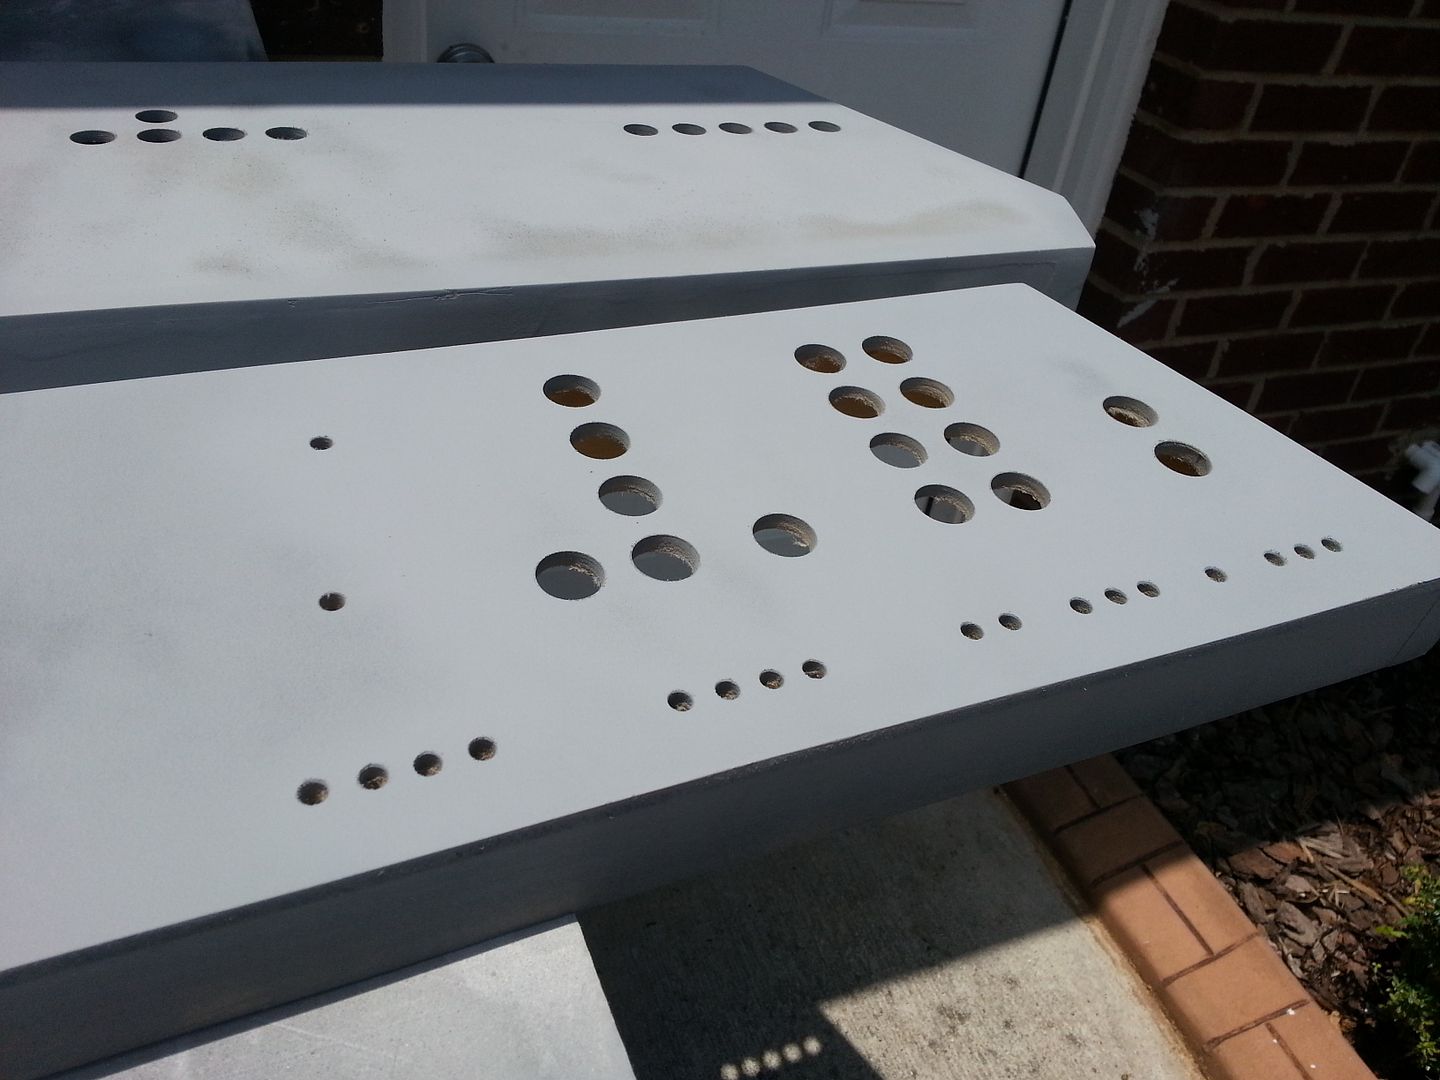
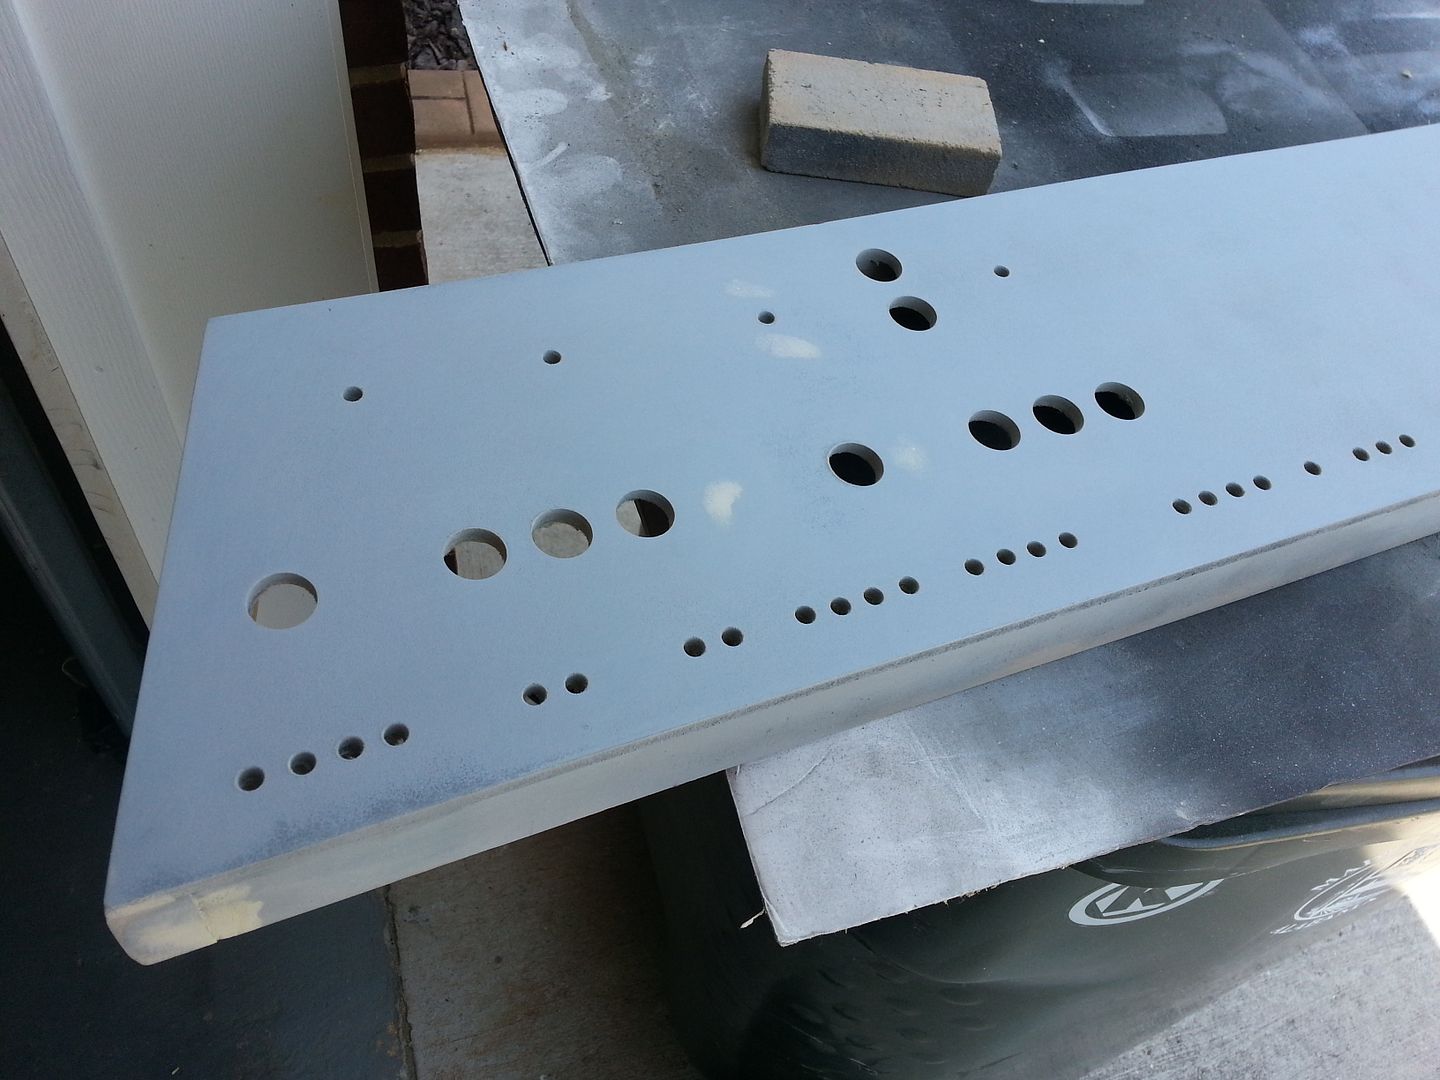
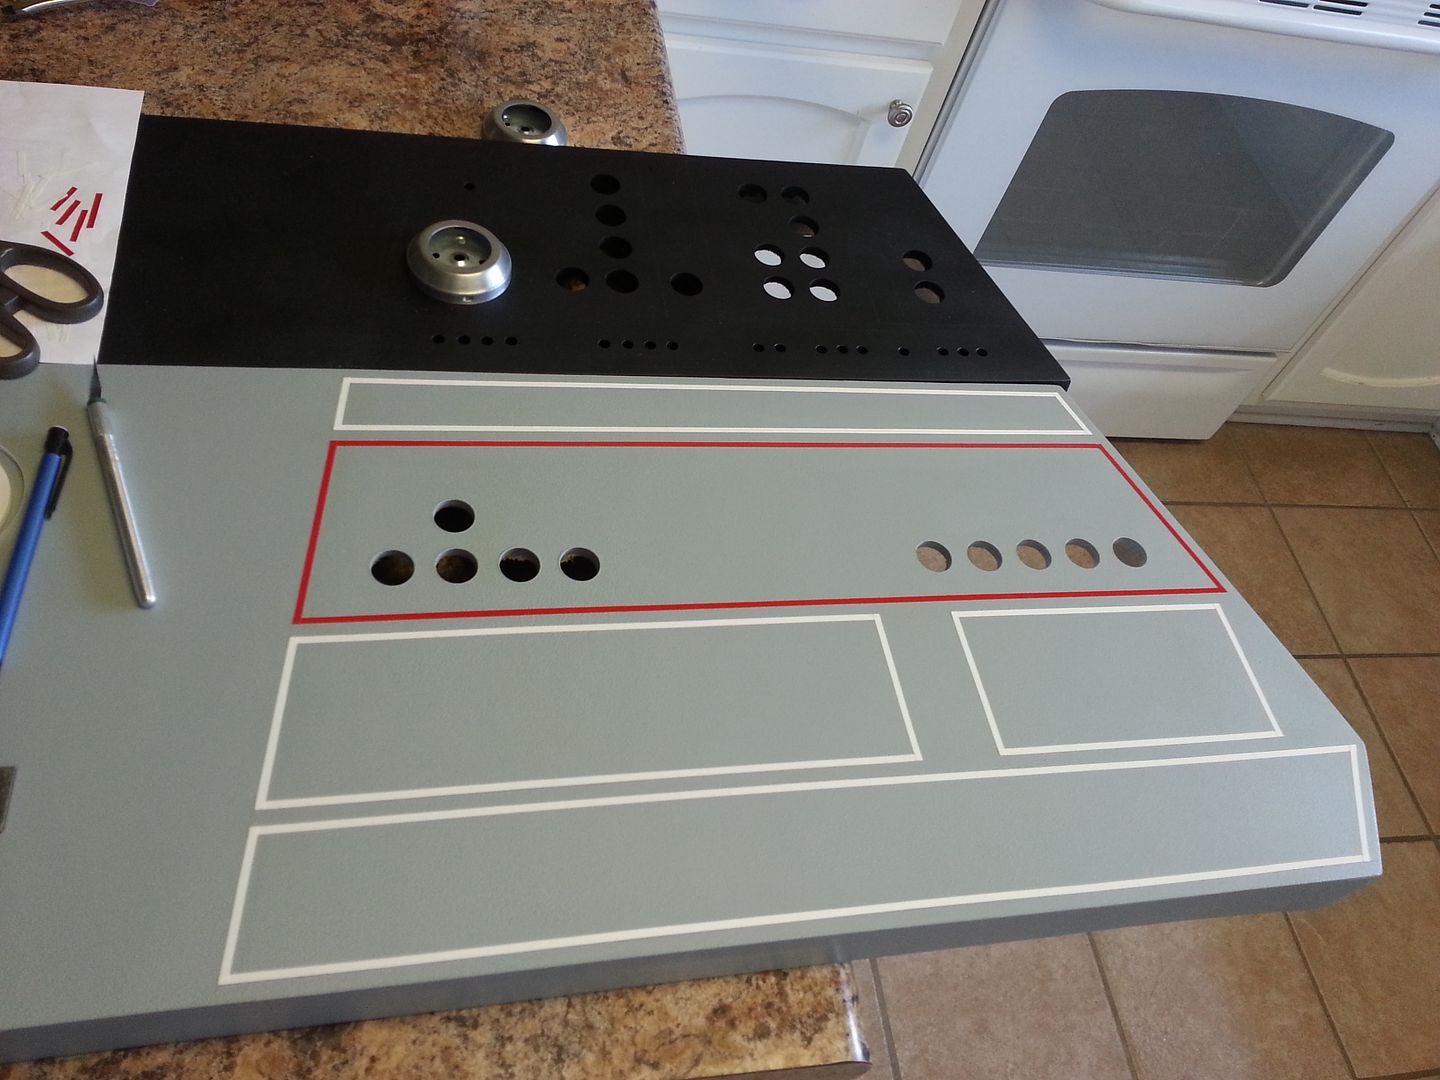
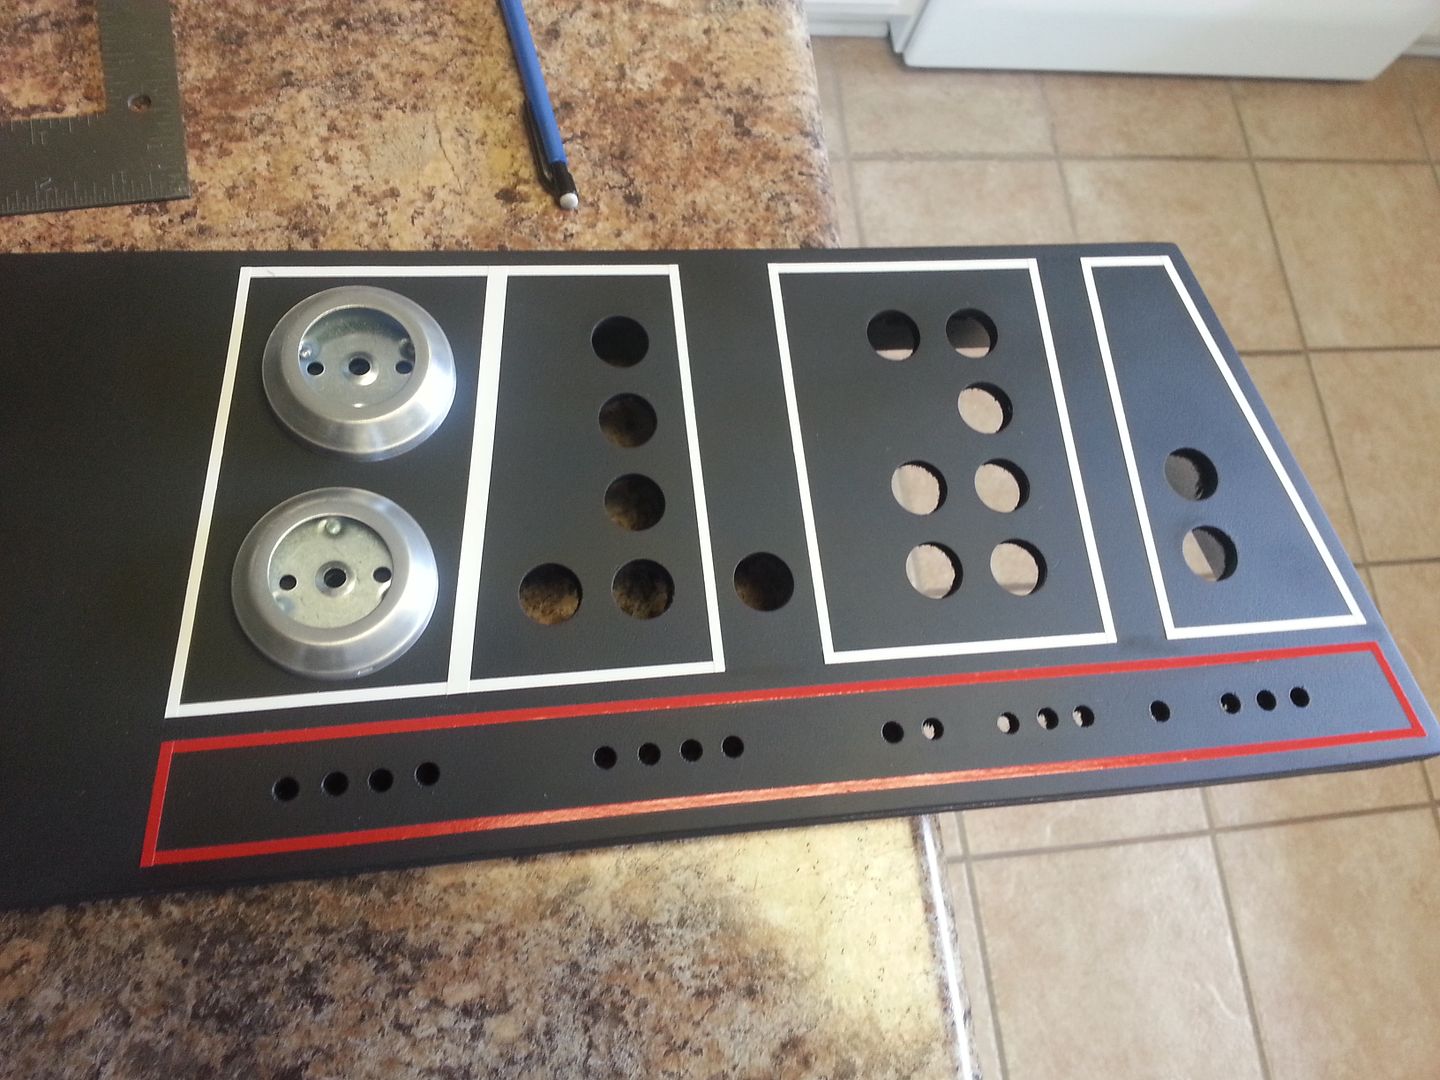
Paint!

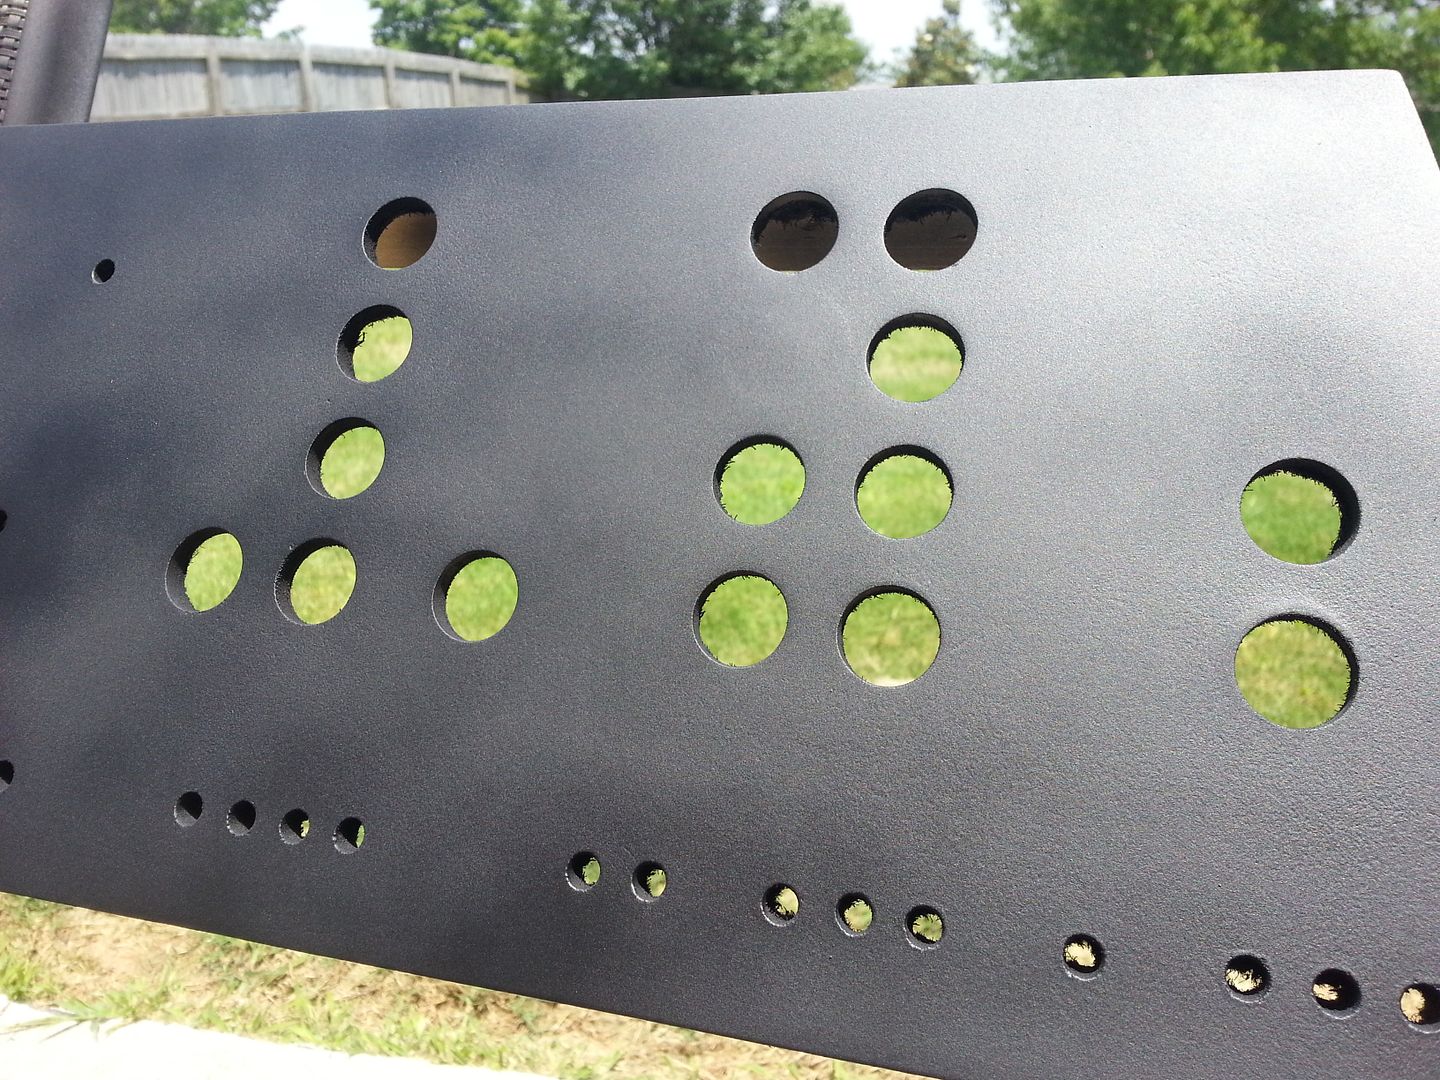
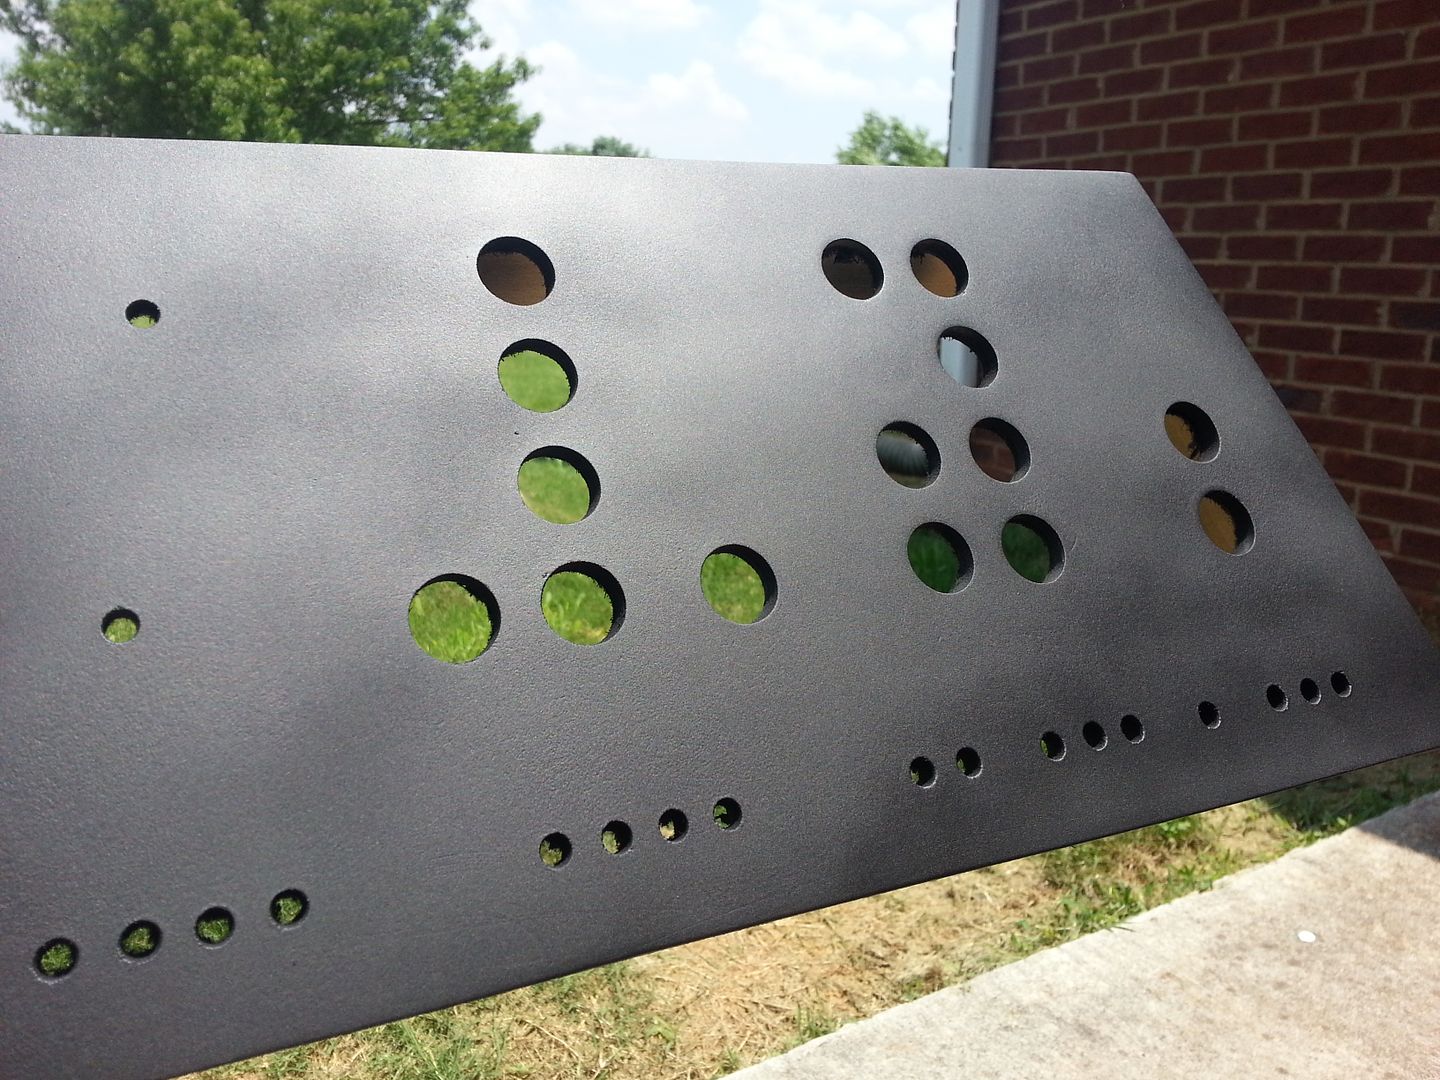
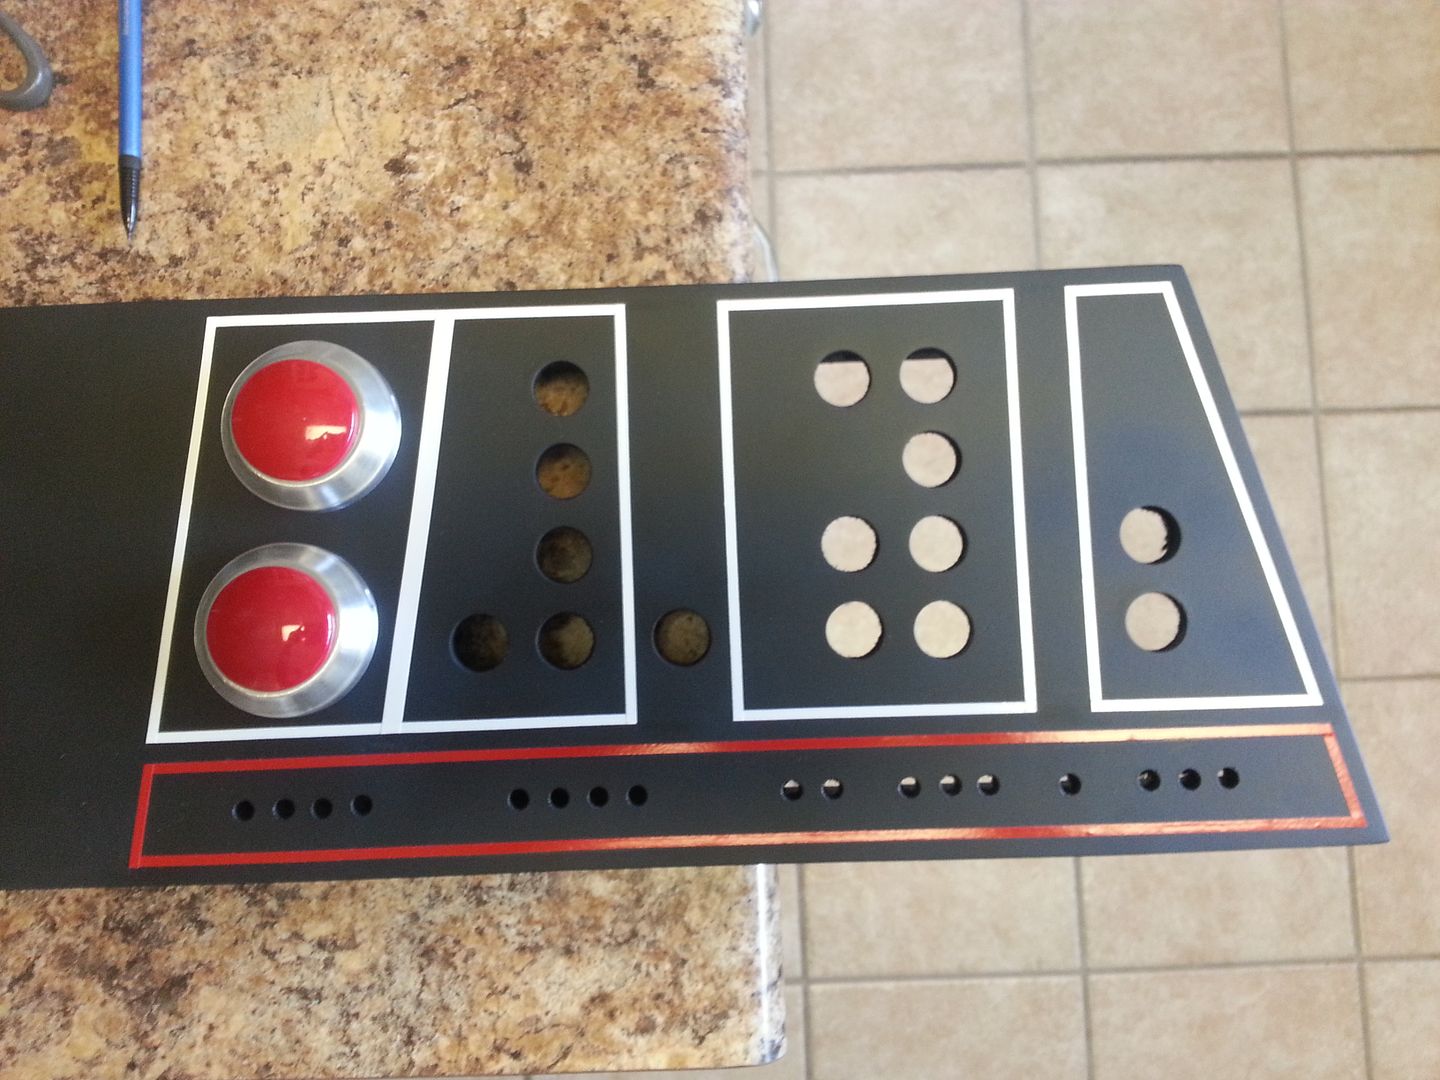
I love the look of the flat black! BUT WHOOPS
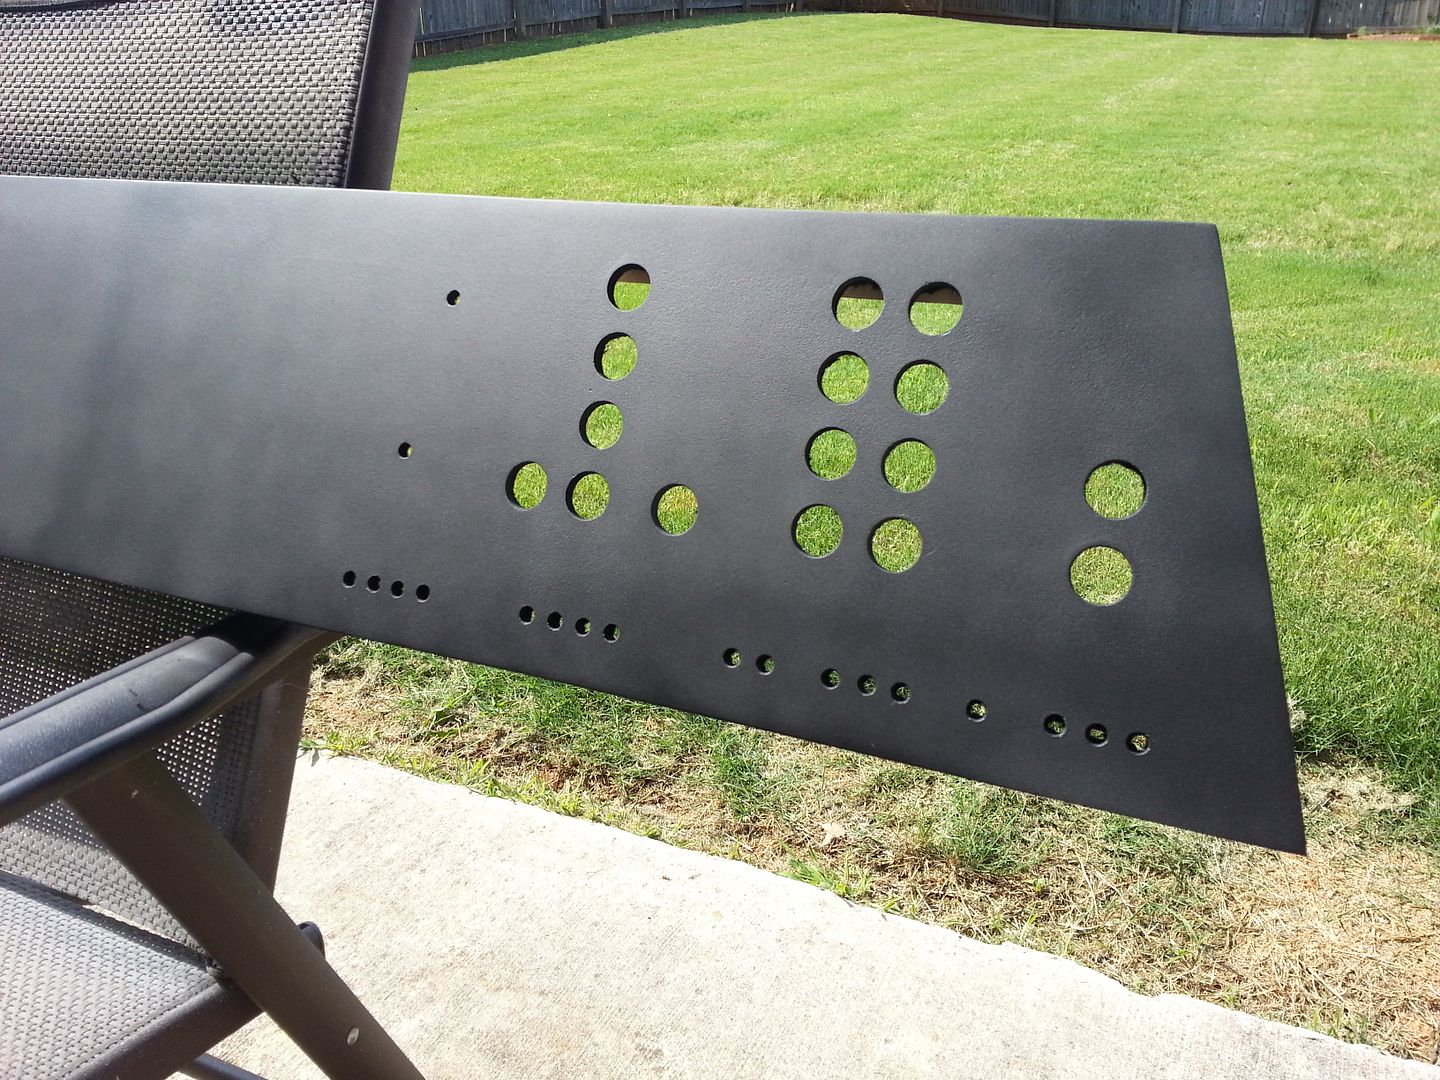
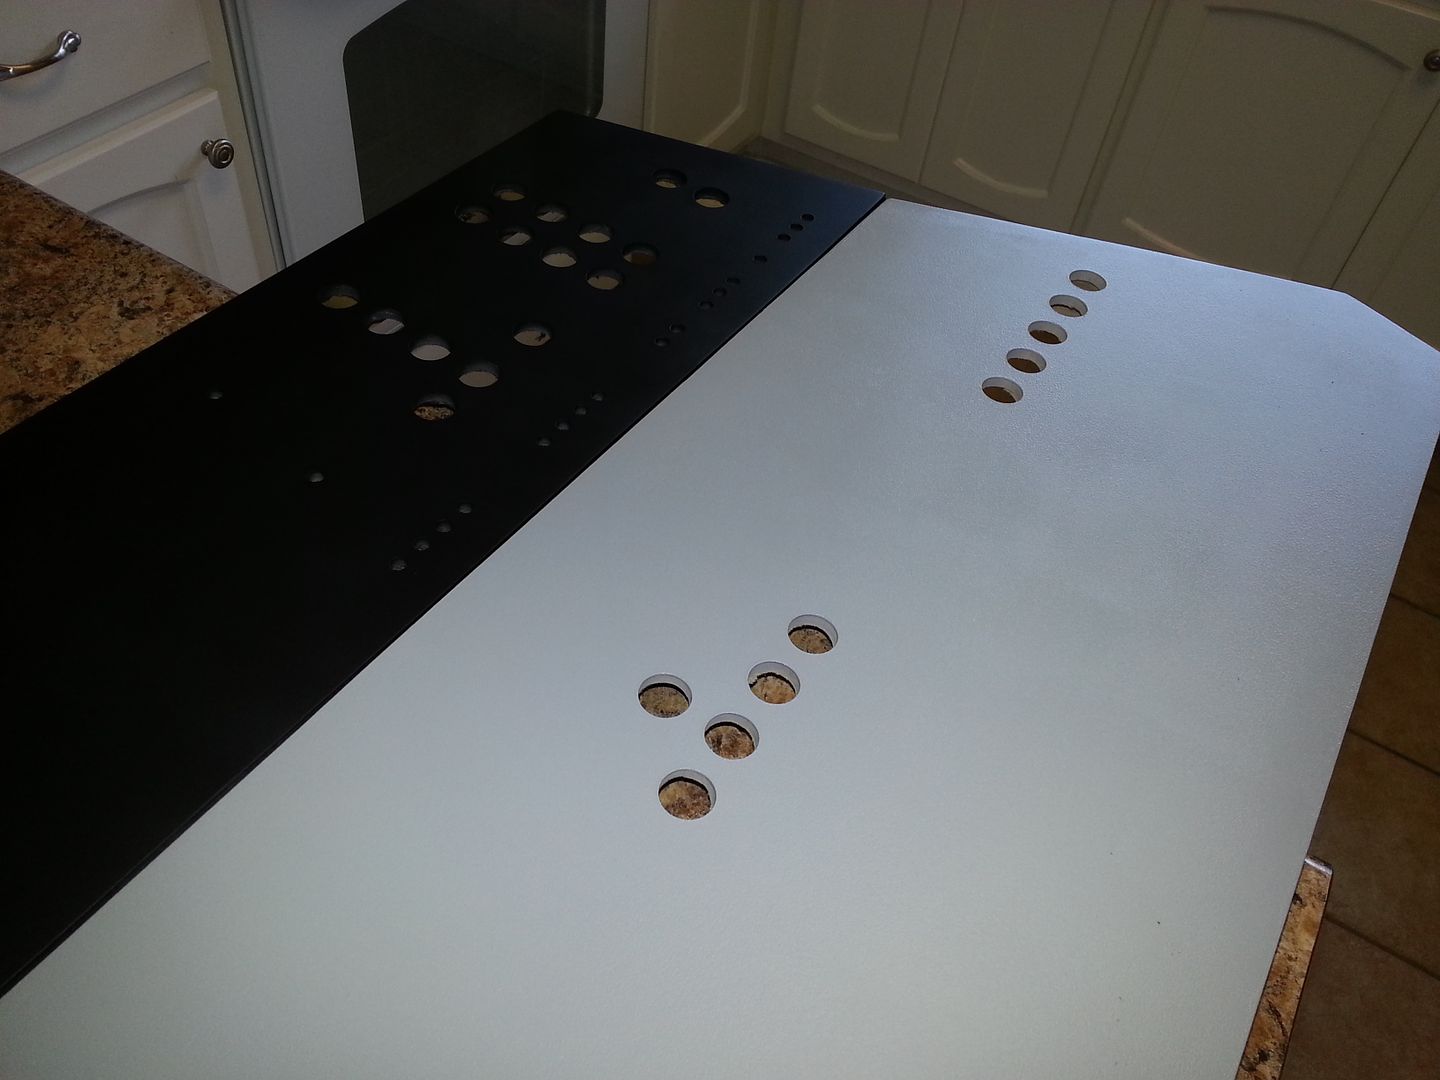
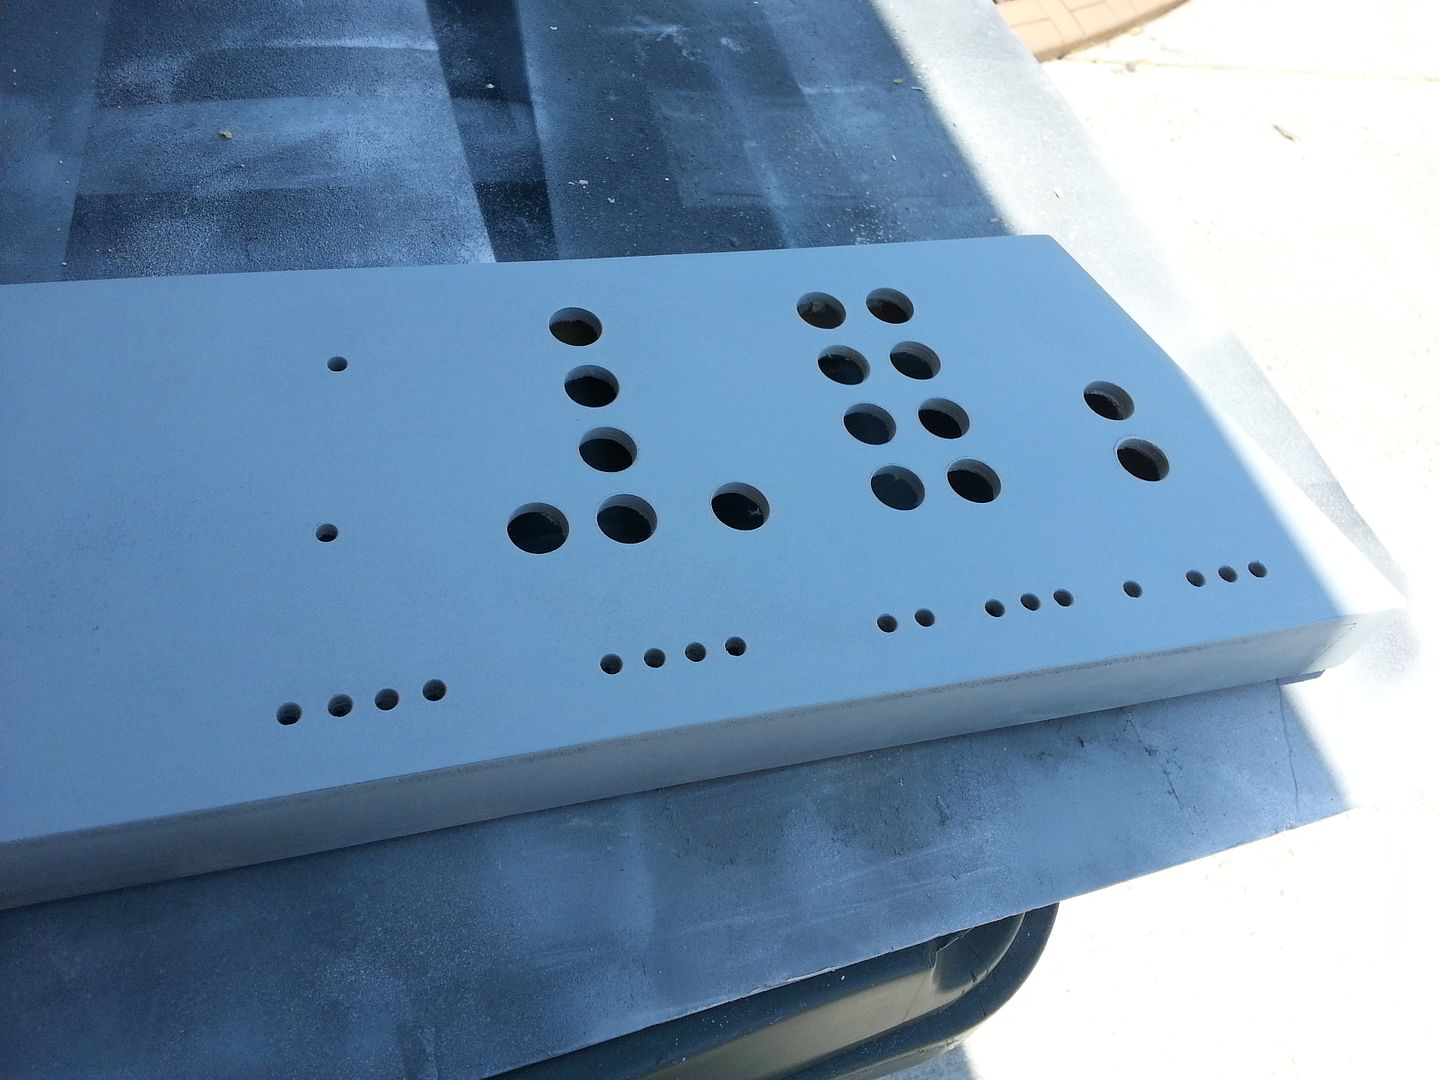
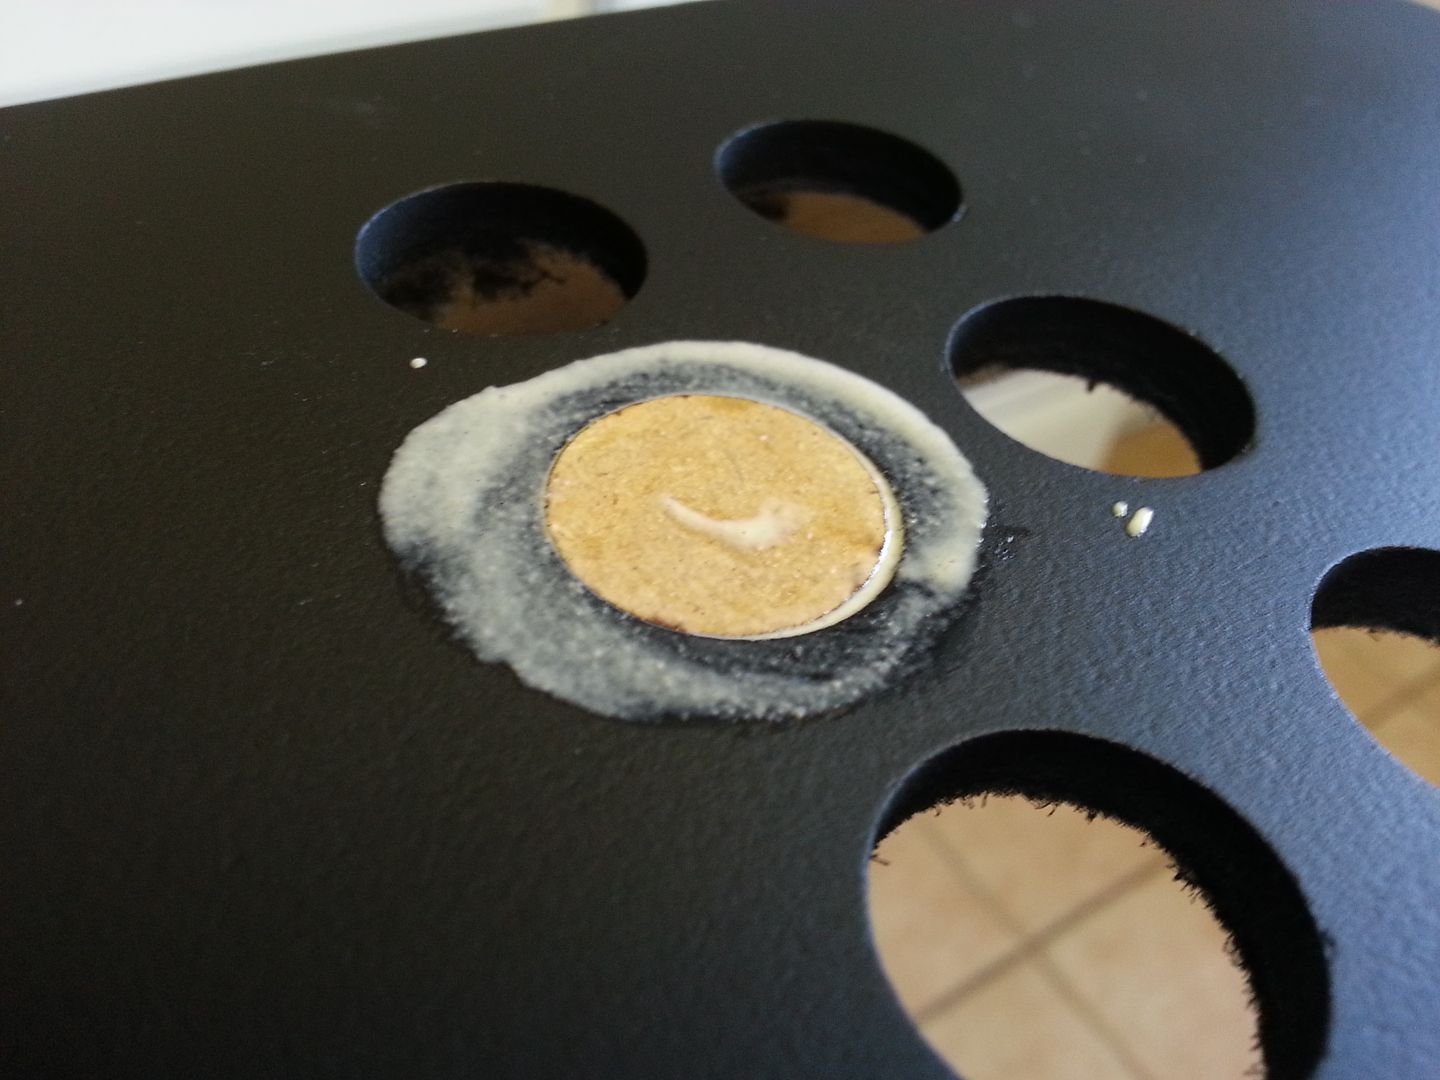
In all my excitement I drilled an extra hole... DANG IT!
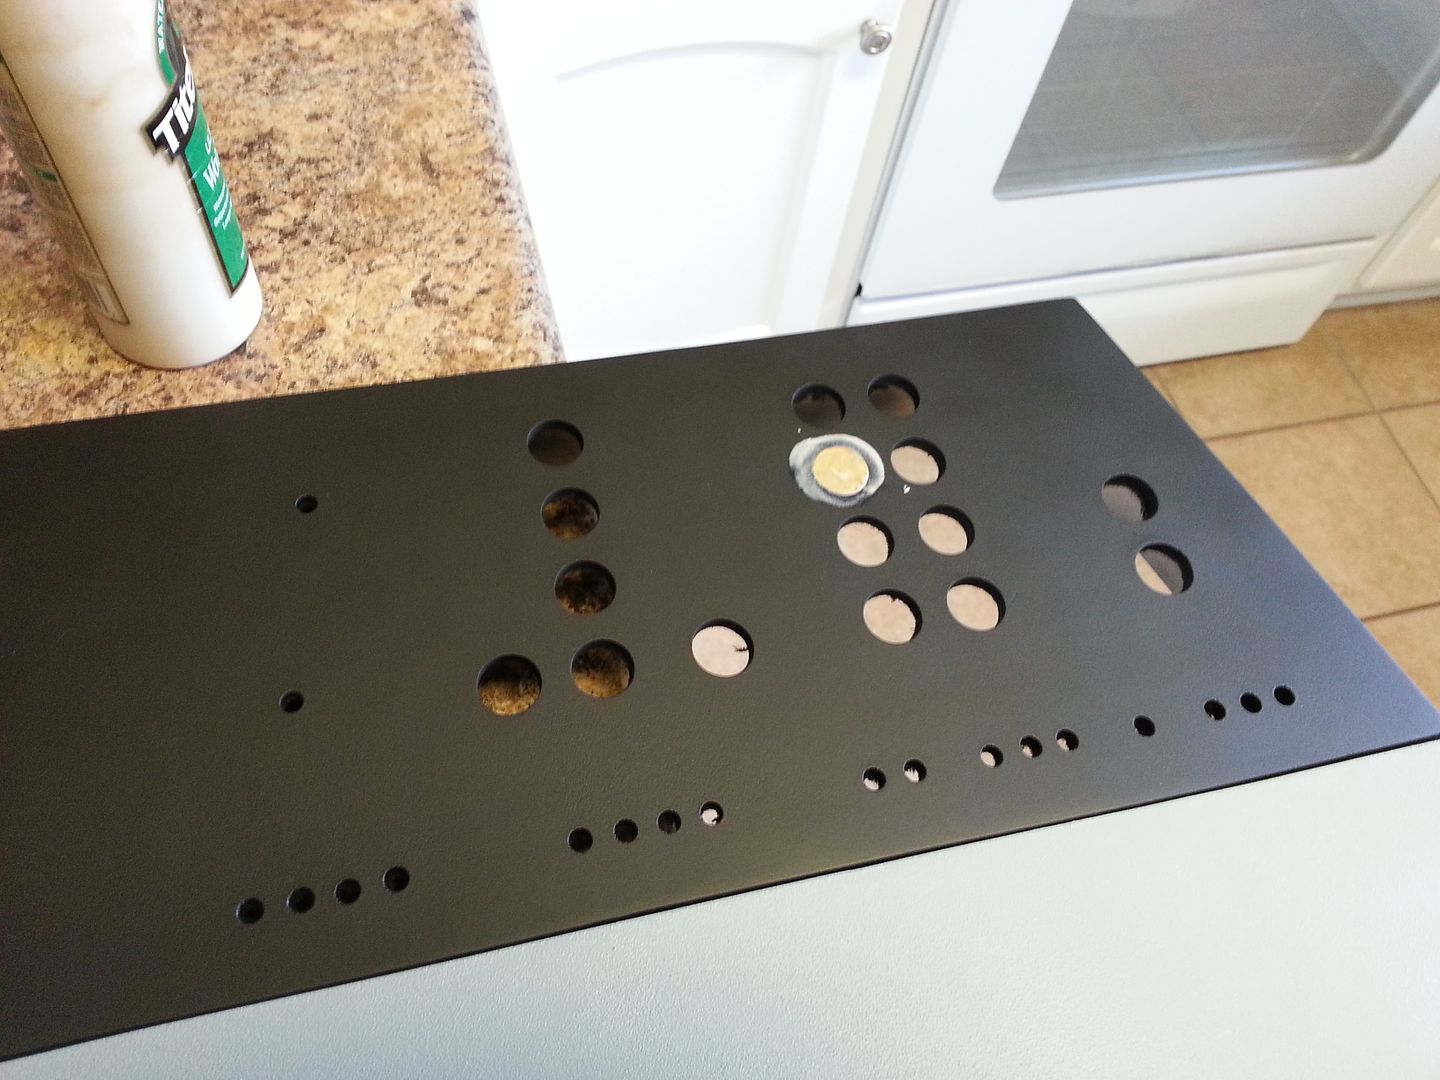
Sand, fill, sand, fill, etc
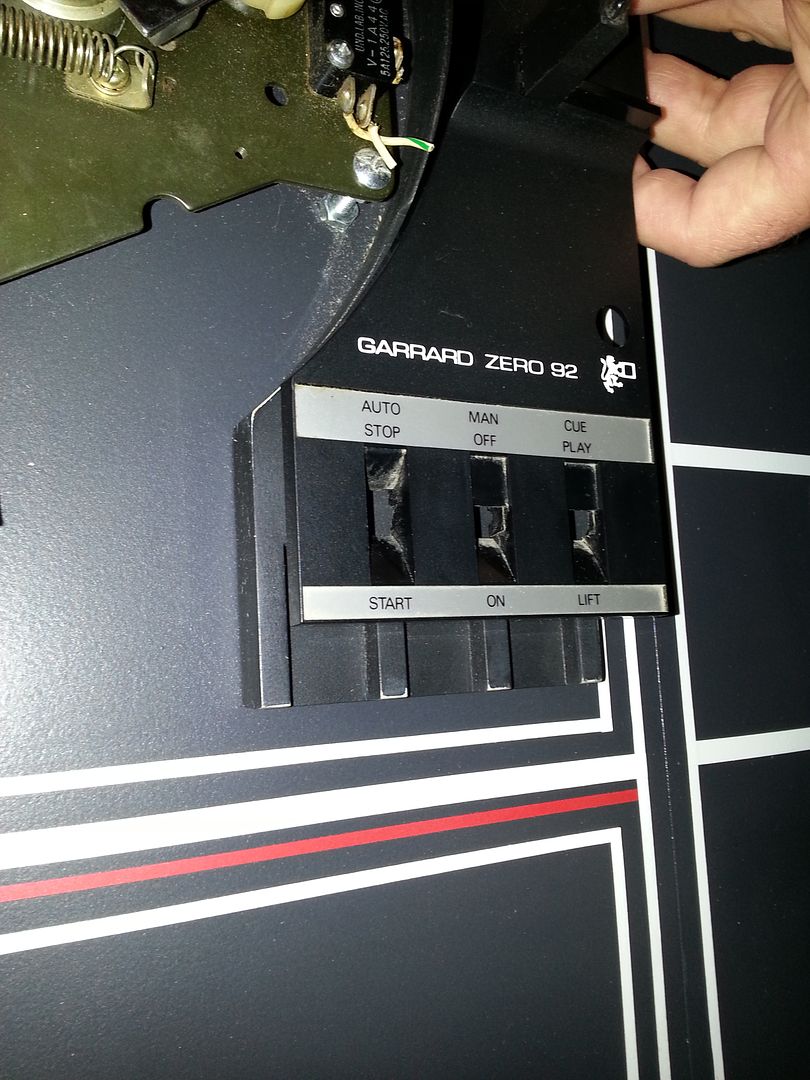
While paint was drying I used the existing holes in the backside of the Garrard trim plate to create the mounting points needed
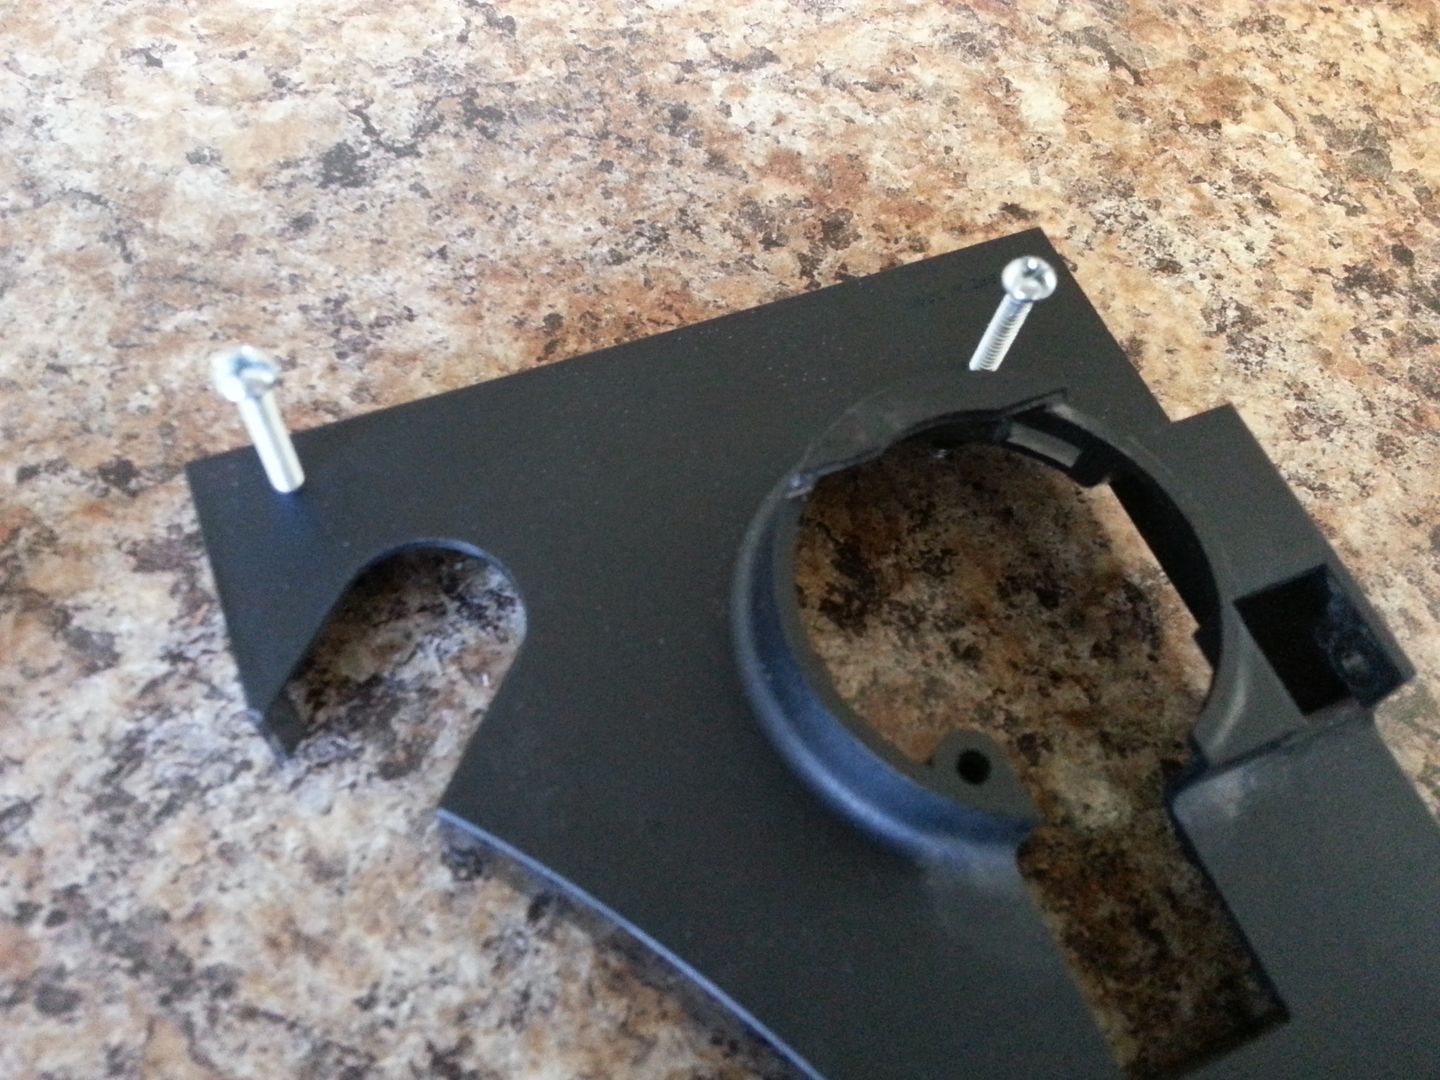
I'm going to laser cut a trim piece to hide all this ugliness
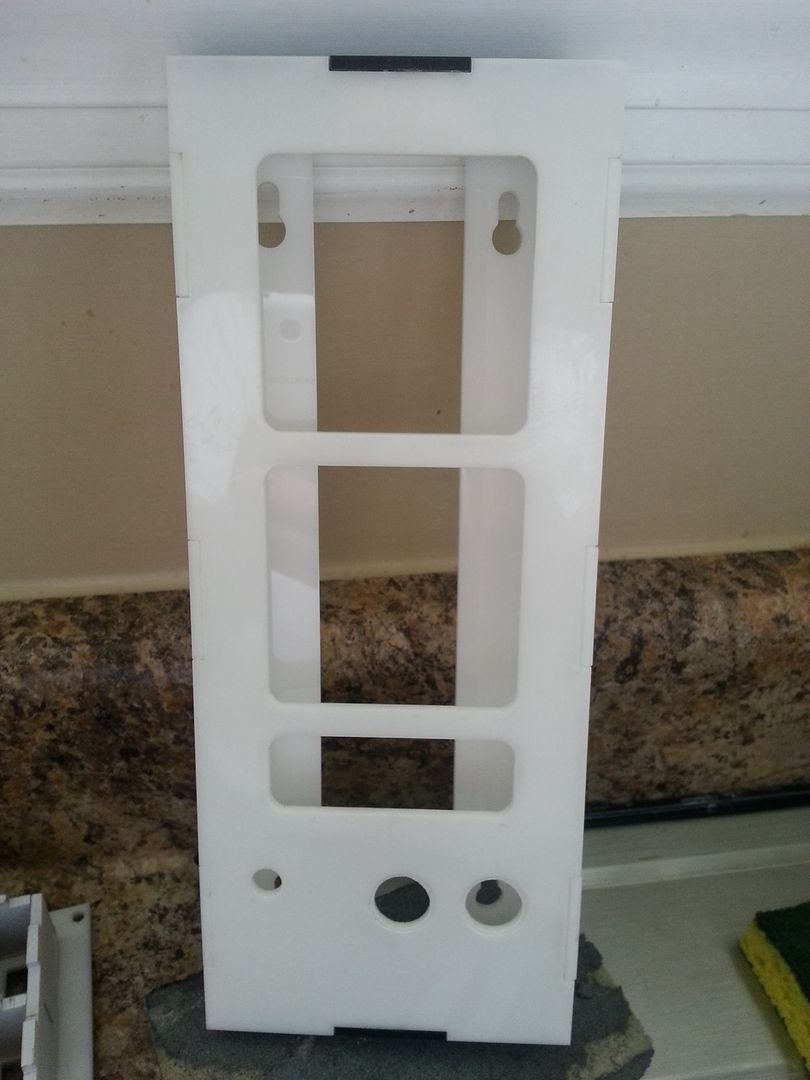
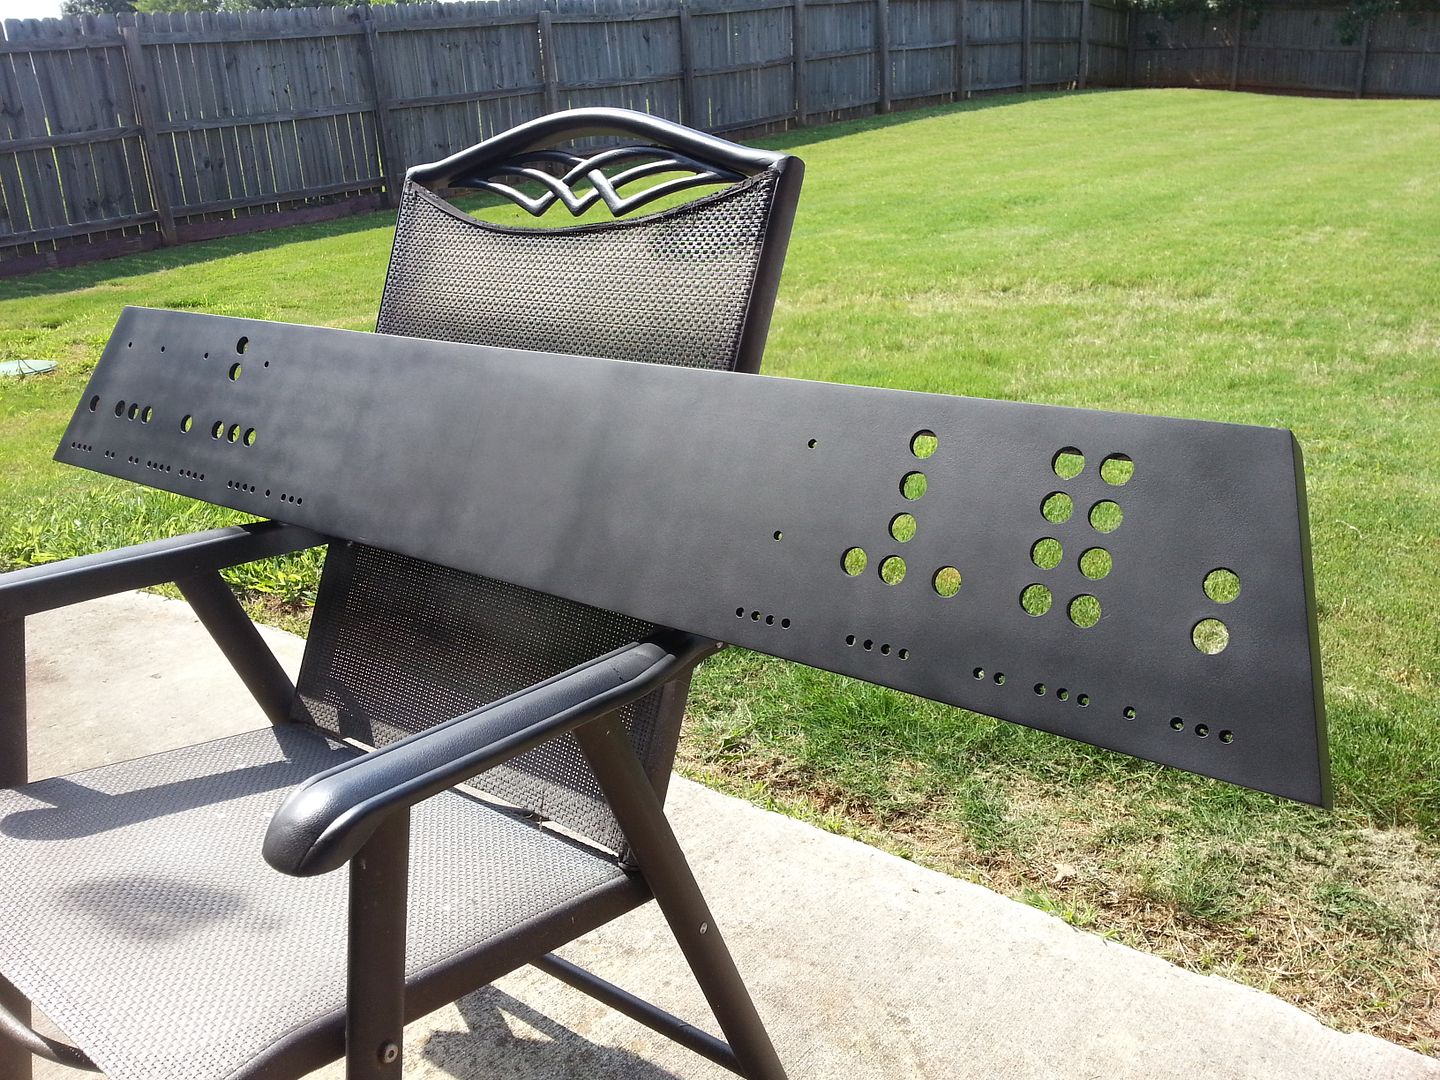
Another panel getting a makeover - save the frame

Another piece of wall art!

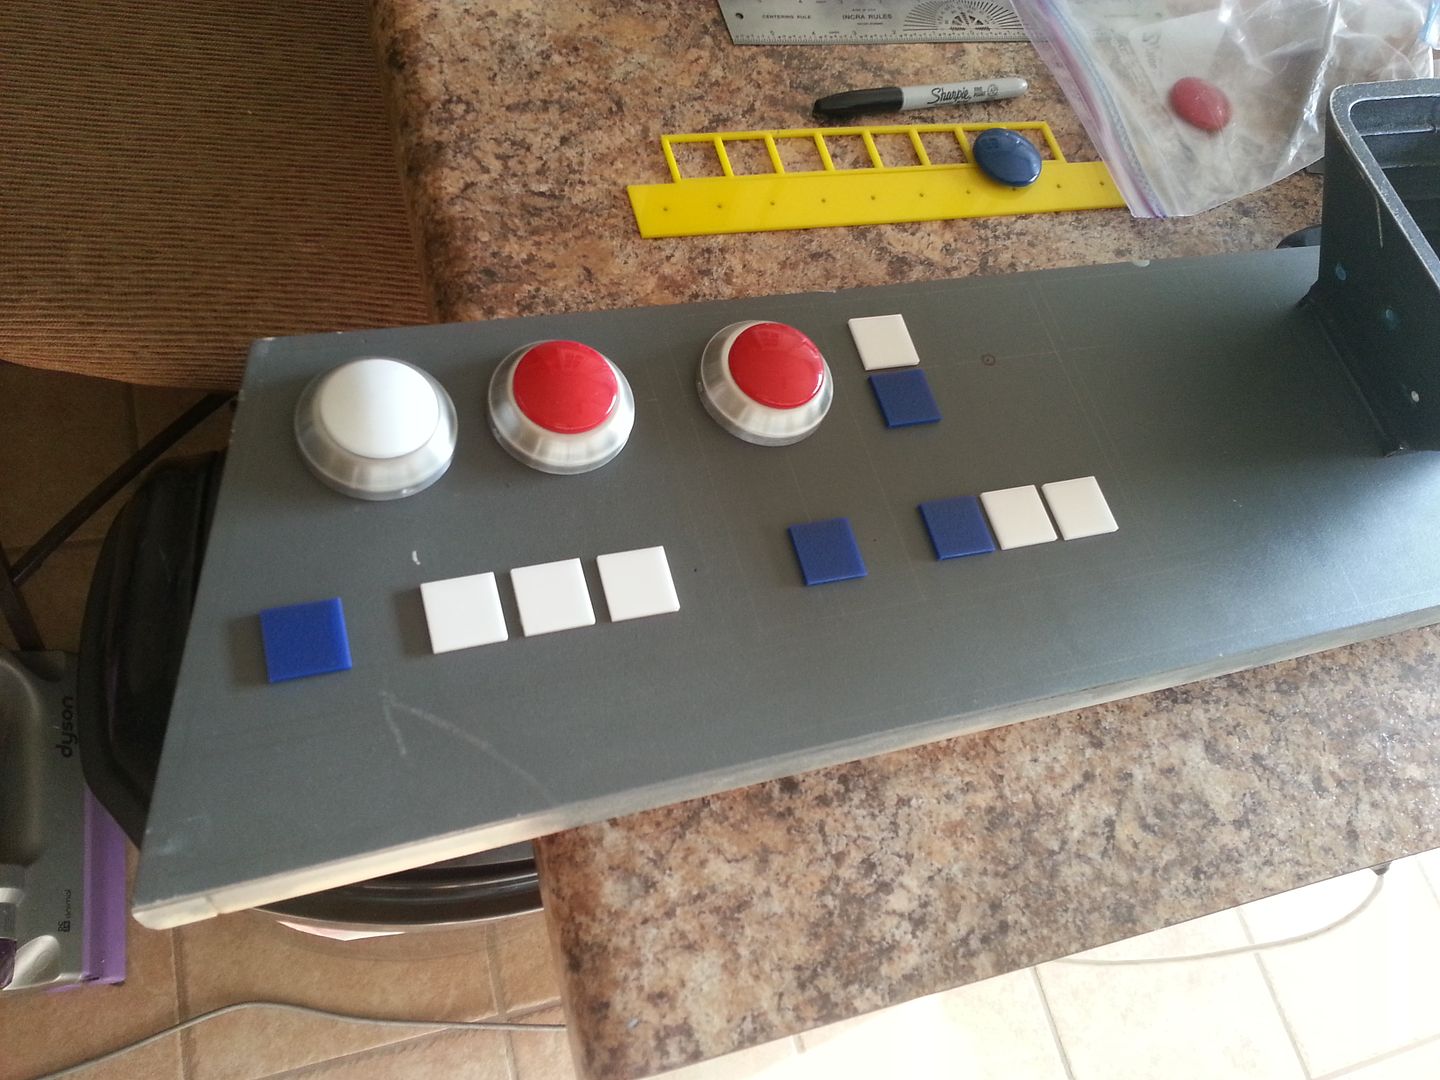
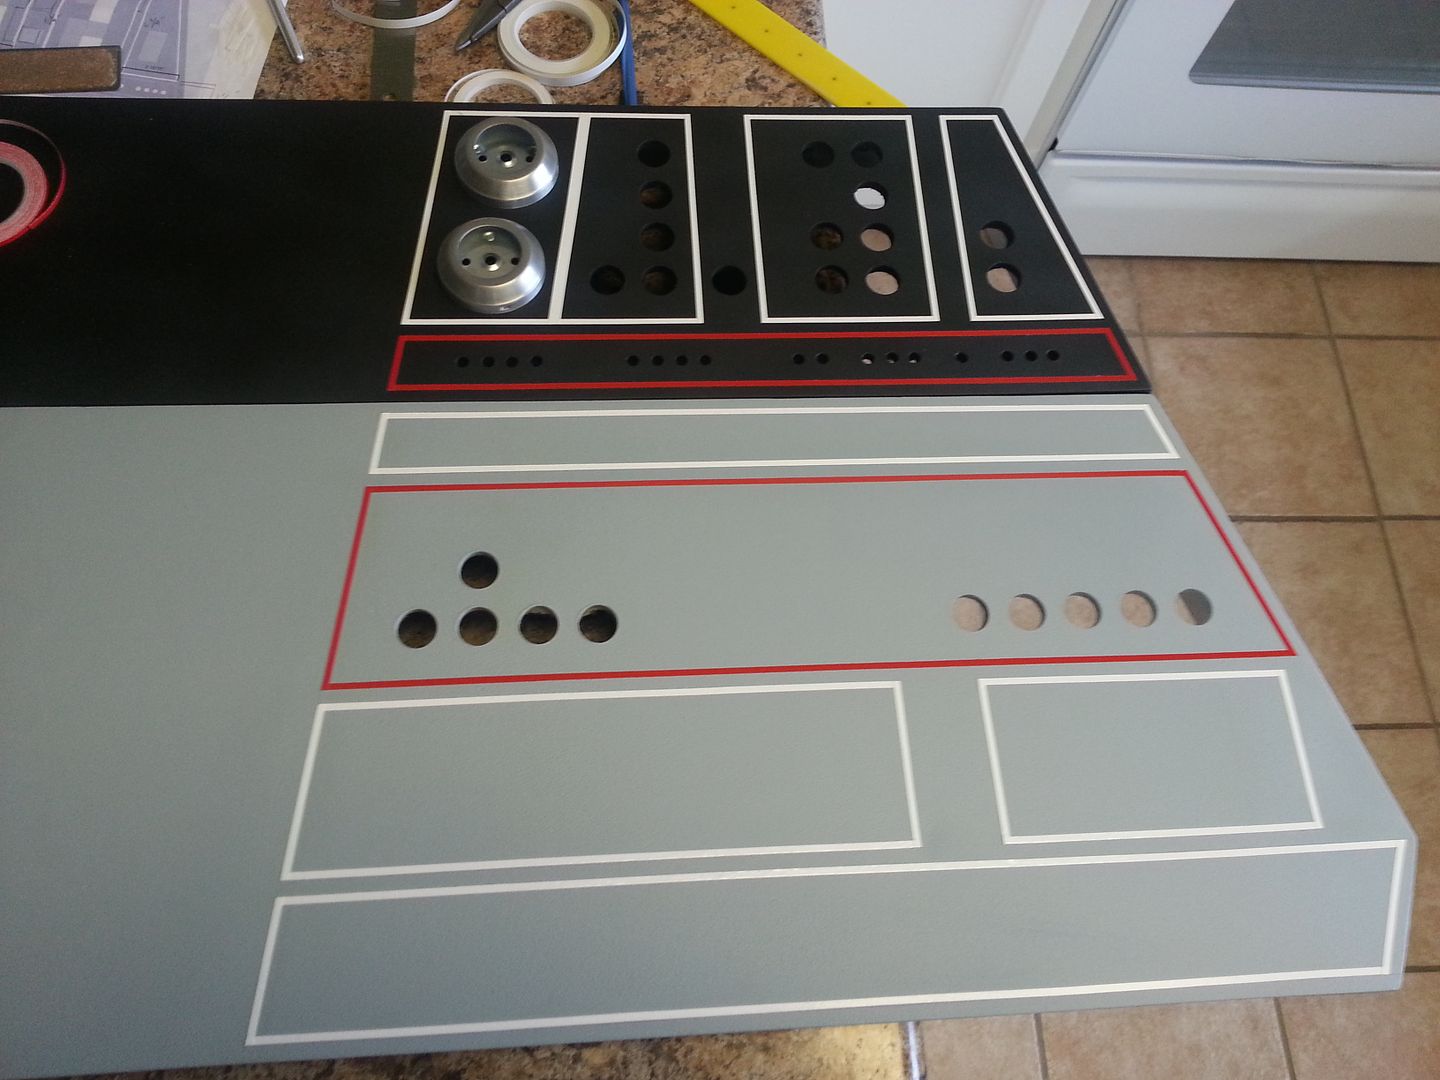
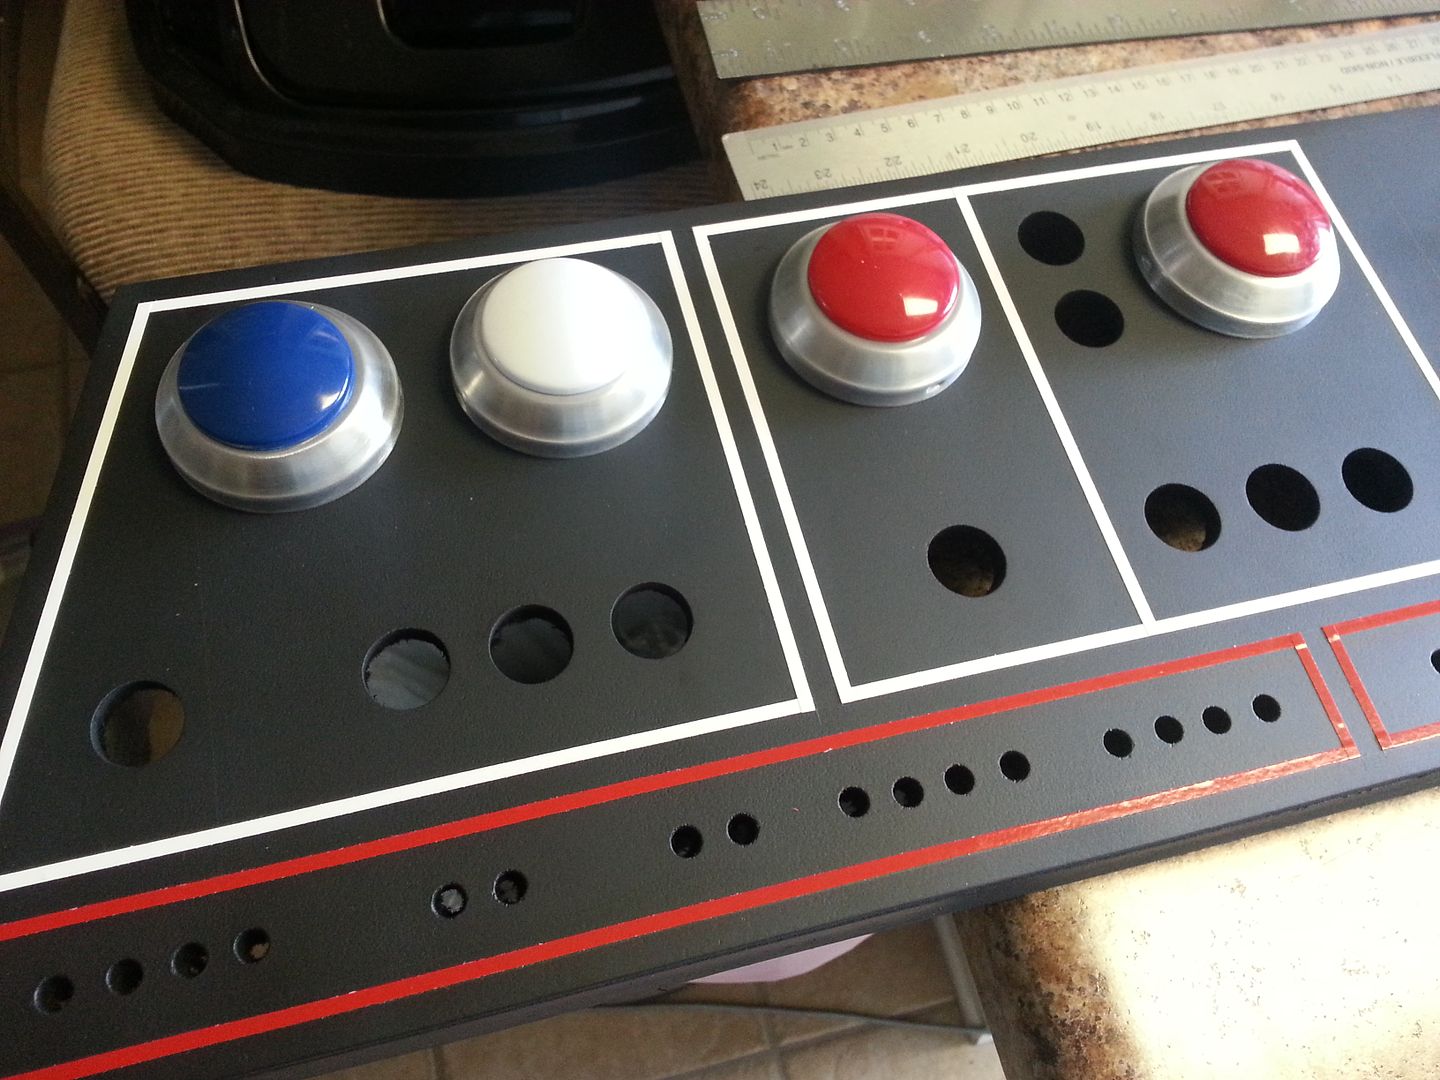
This greeblie (two of them) was painted silver and seemed to get lost in the light grey color of the panel. So, I decided to prime and paint it white
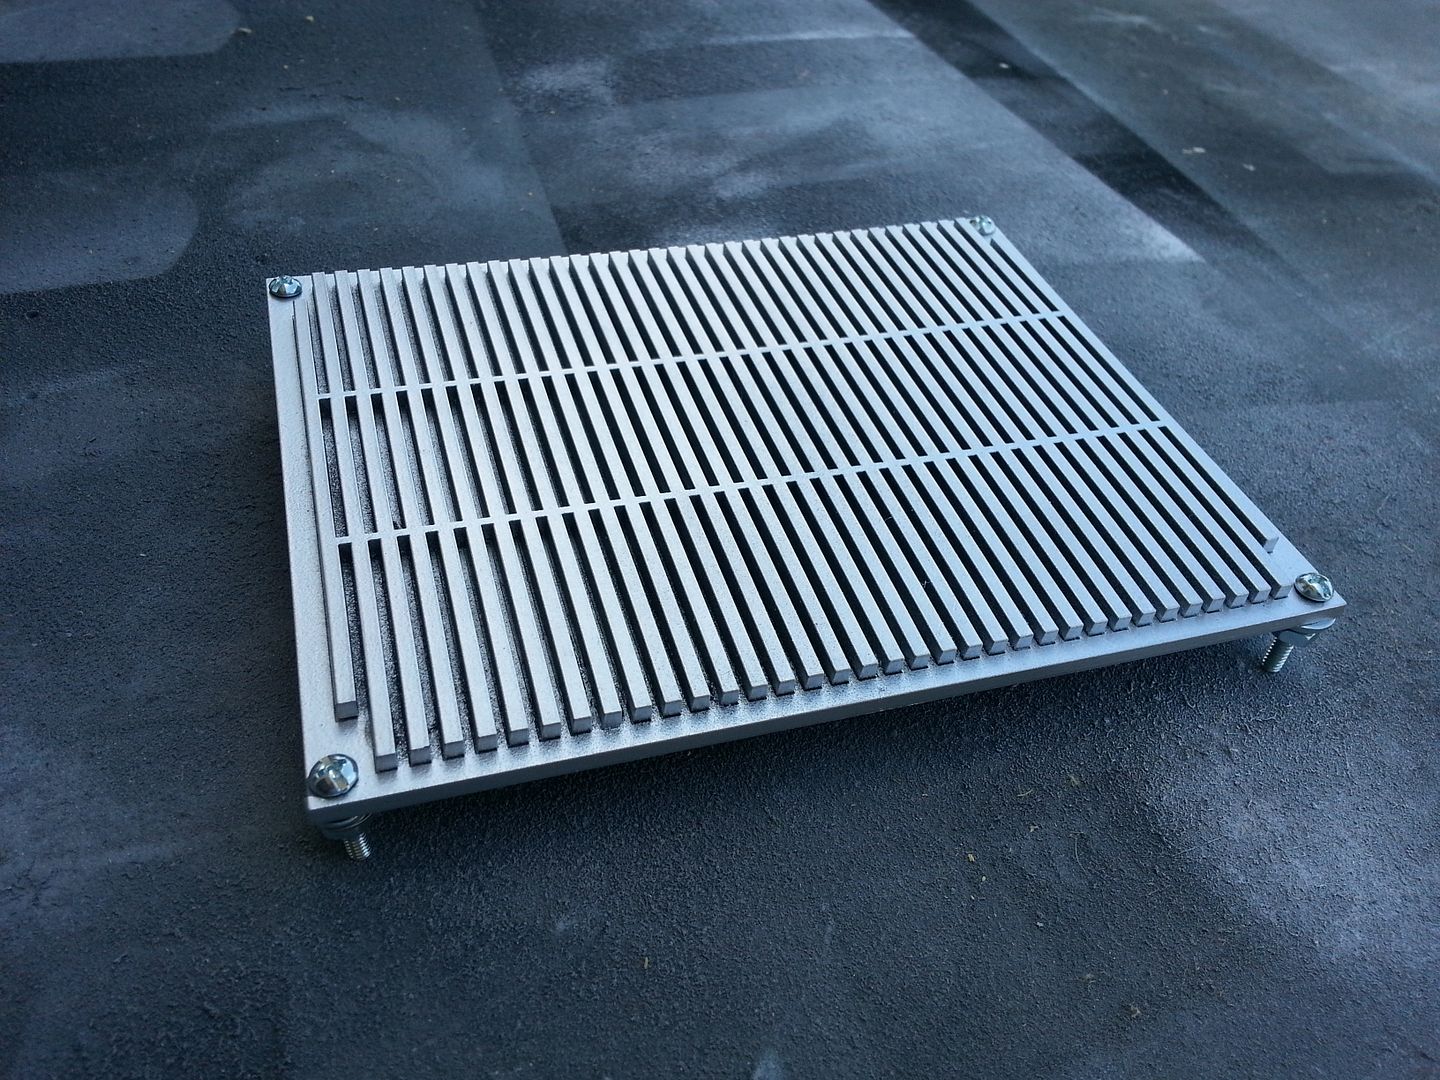
MUCH better!
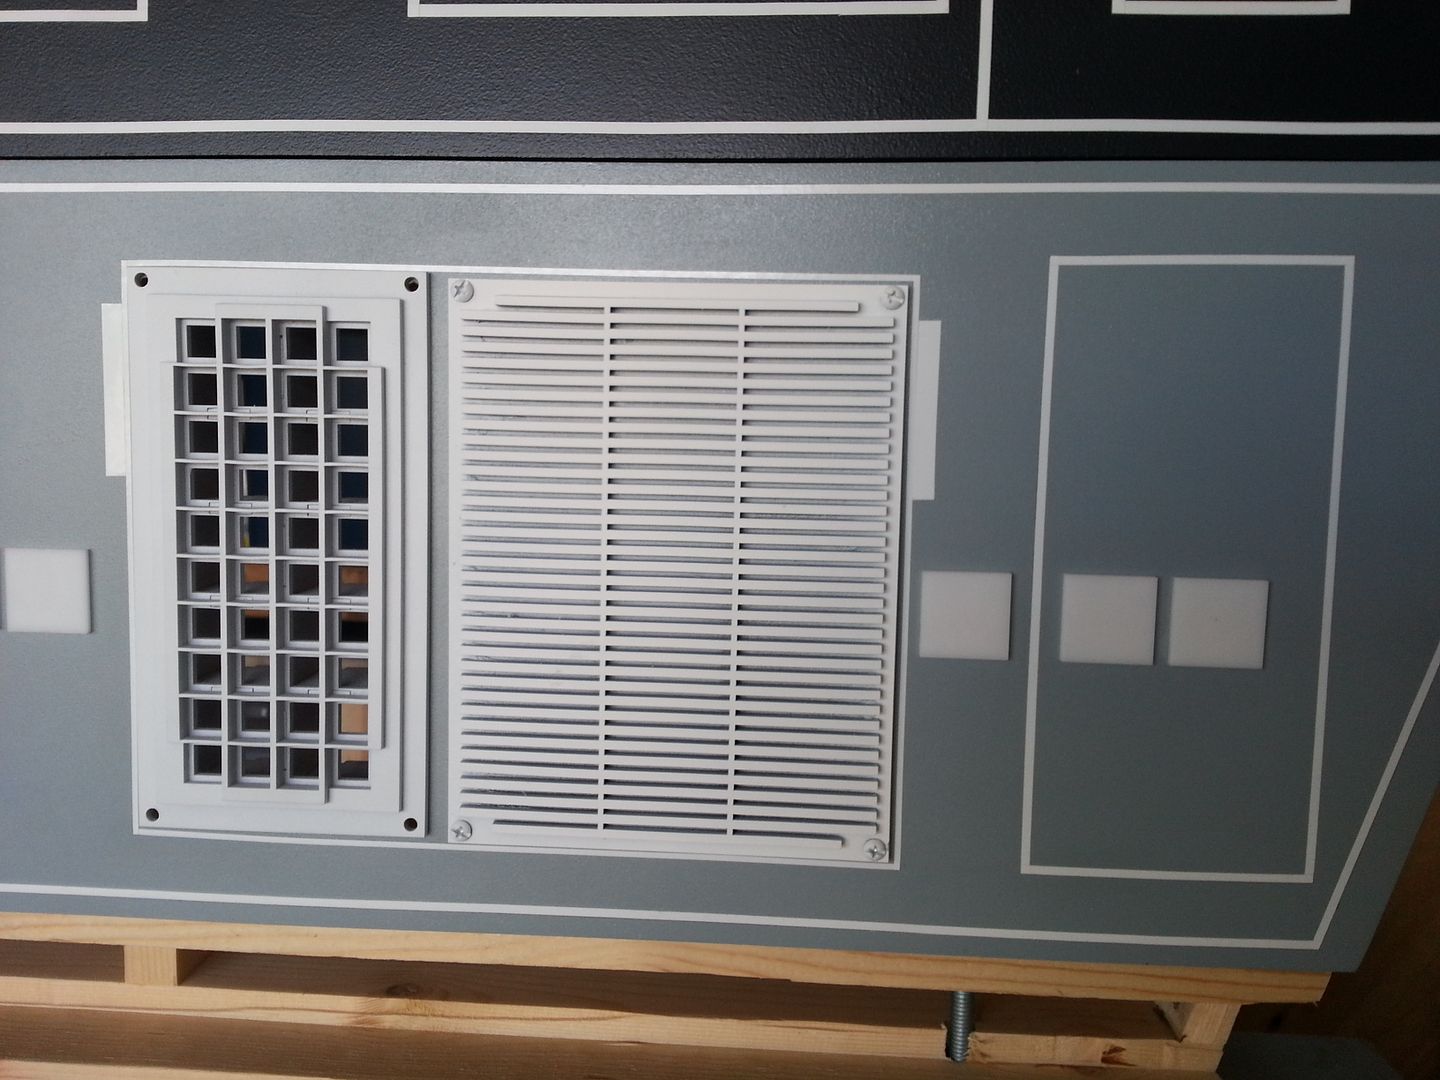
I then jumped over and painted the other side - the white really made it pop out
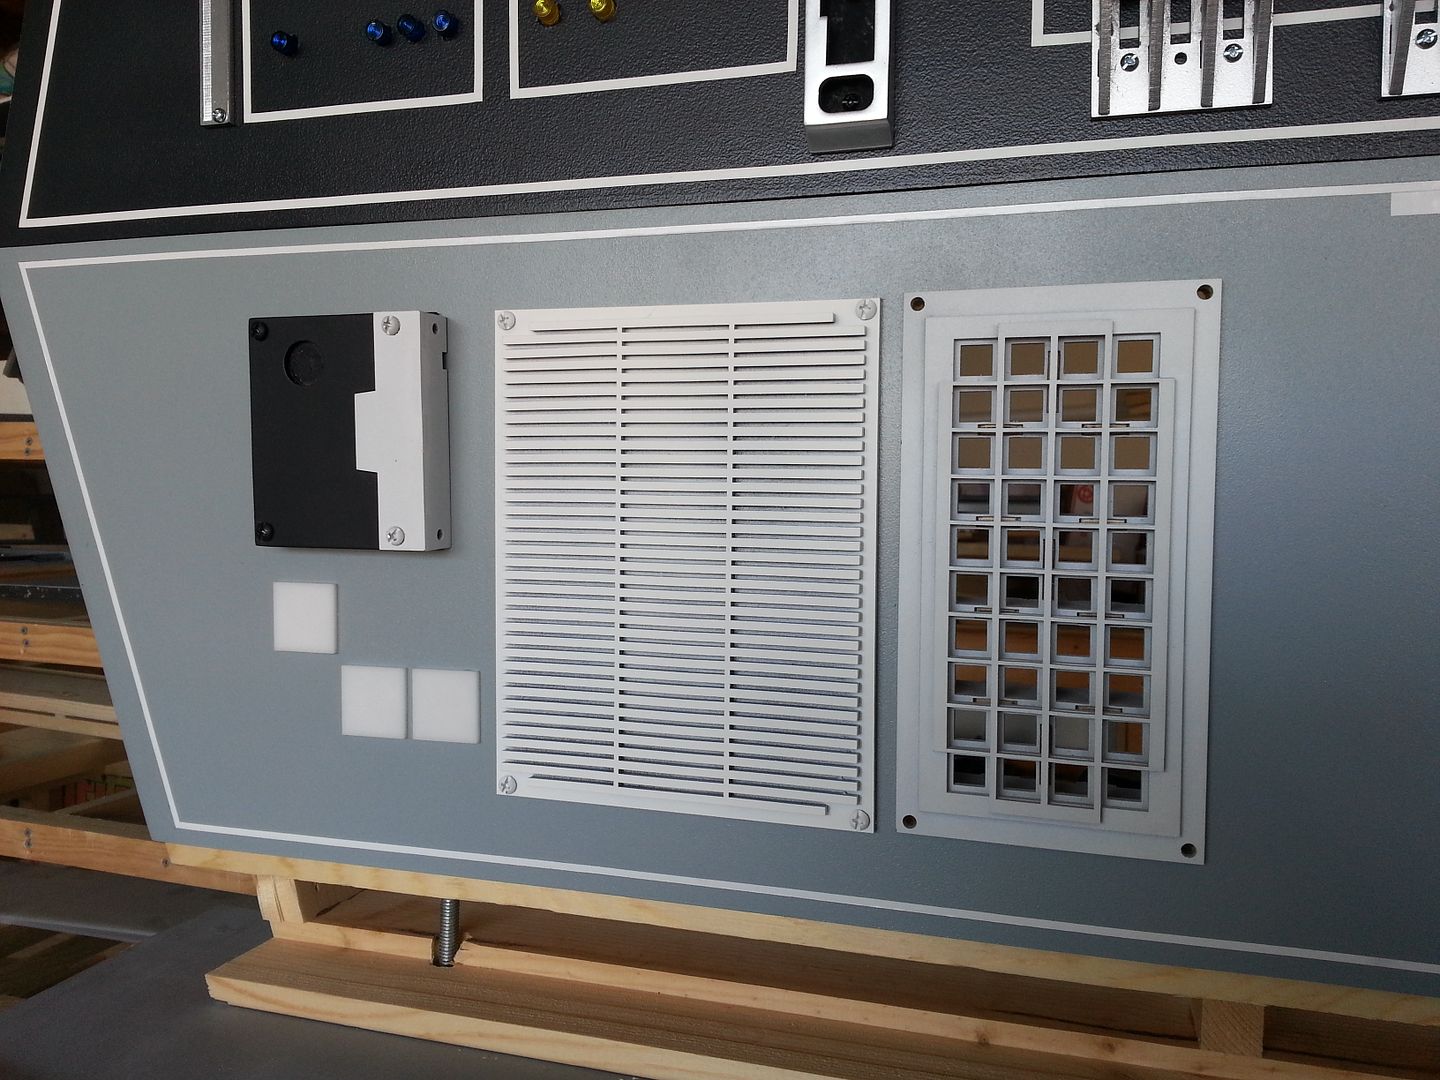
Getting closer and closer
While I was sitting in the humidity I looked up and saw this...
More to Follow!
I decided to switch gears a little bit this weekend. Some of you may remember the extra set of instrument panels had just laying around. Well... I decided to finish them up and, like many of the other panels, turn them into pieces of wall art.
After removing all the dust and build up I began marking the holes
Primer / then sanding
Paint!
I love the look of the flat black! BUT WHOOPS
In all my excitement I drilled an extra hole... DANG IT!
Sand, fill, sand, fill, etc
While paint was drying I used the existing holes in the backside of the Garrard trim plate to create the mounting points needed
I'm going to laser cut a trim piece to hide all this ugliness
Another panel getting a makeover - save the frame
Another piece of wall art!
This greeblie (two of them) was painted silver and seemed to get lost in the light grey color of the panel. So, I decided to prime and paint it white
MUCH better!
I then jumped over and painted the other side - the white really made it pop out
Getting closer and closer
While I was sitting in the humidity I looked up and saw this...
More to Follow!

Hi Gang,
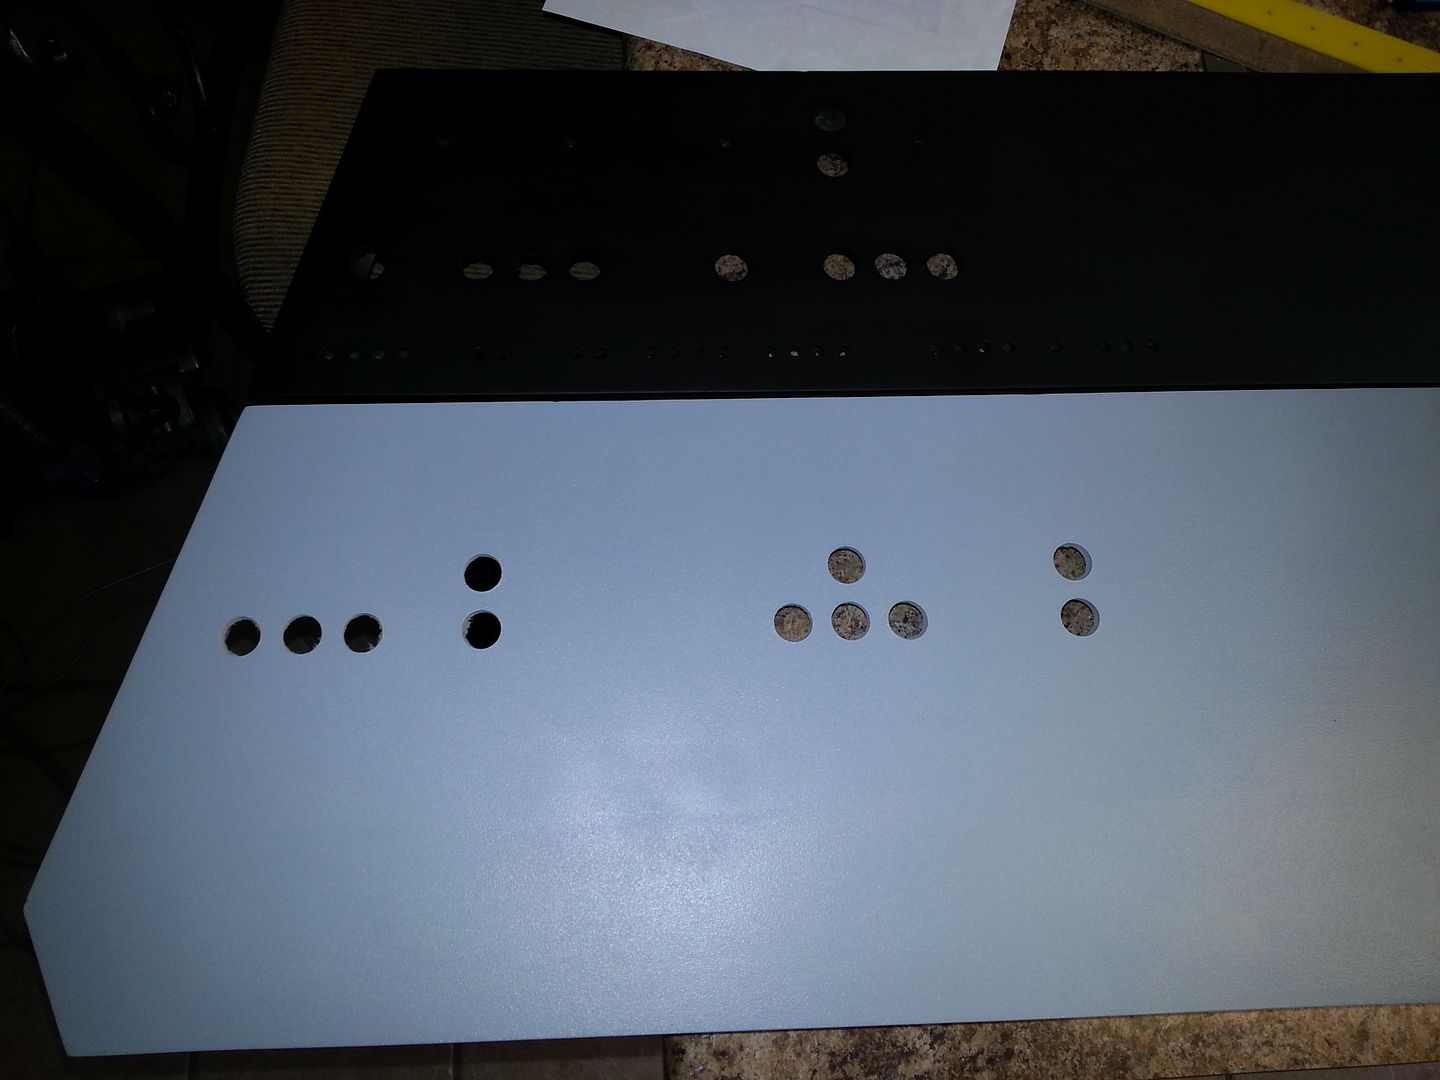
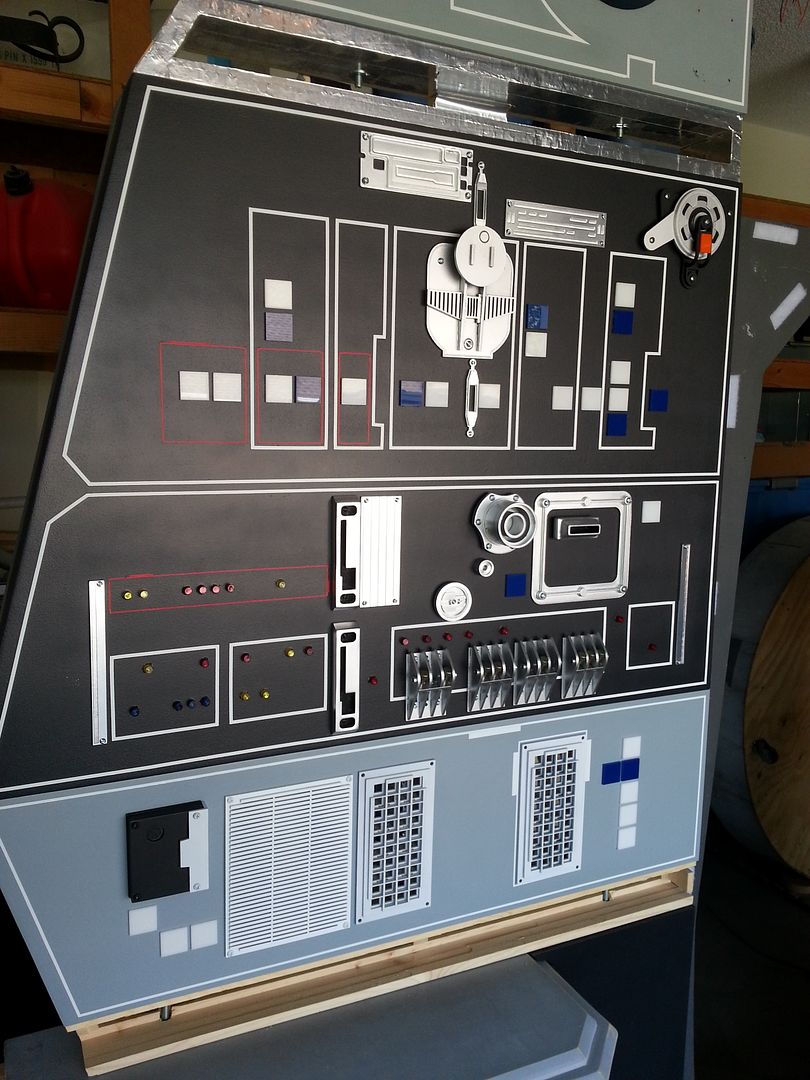
Well... the new / old wall art is almost finished!
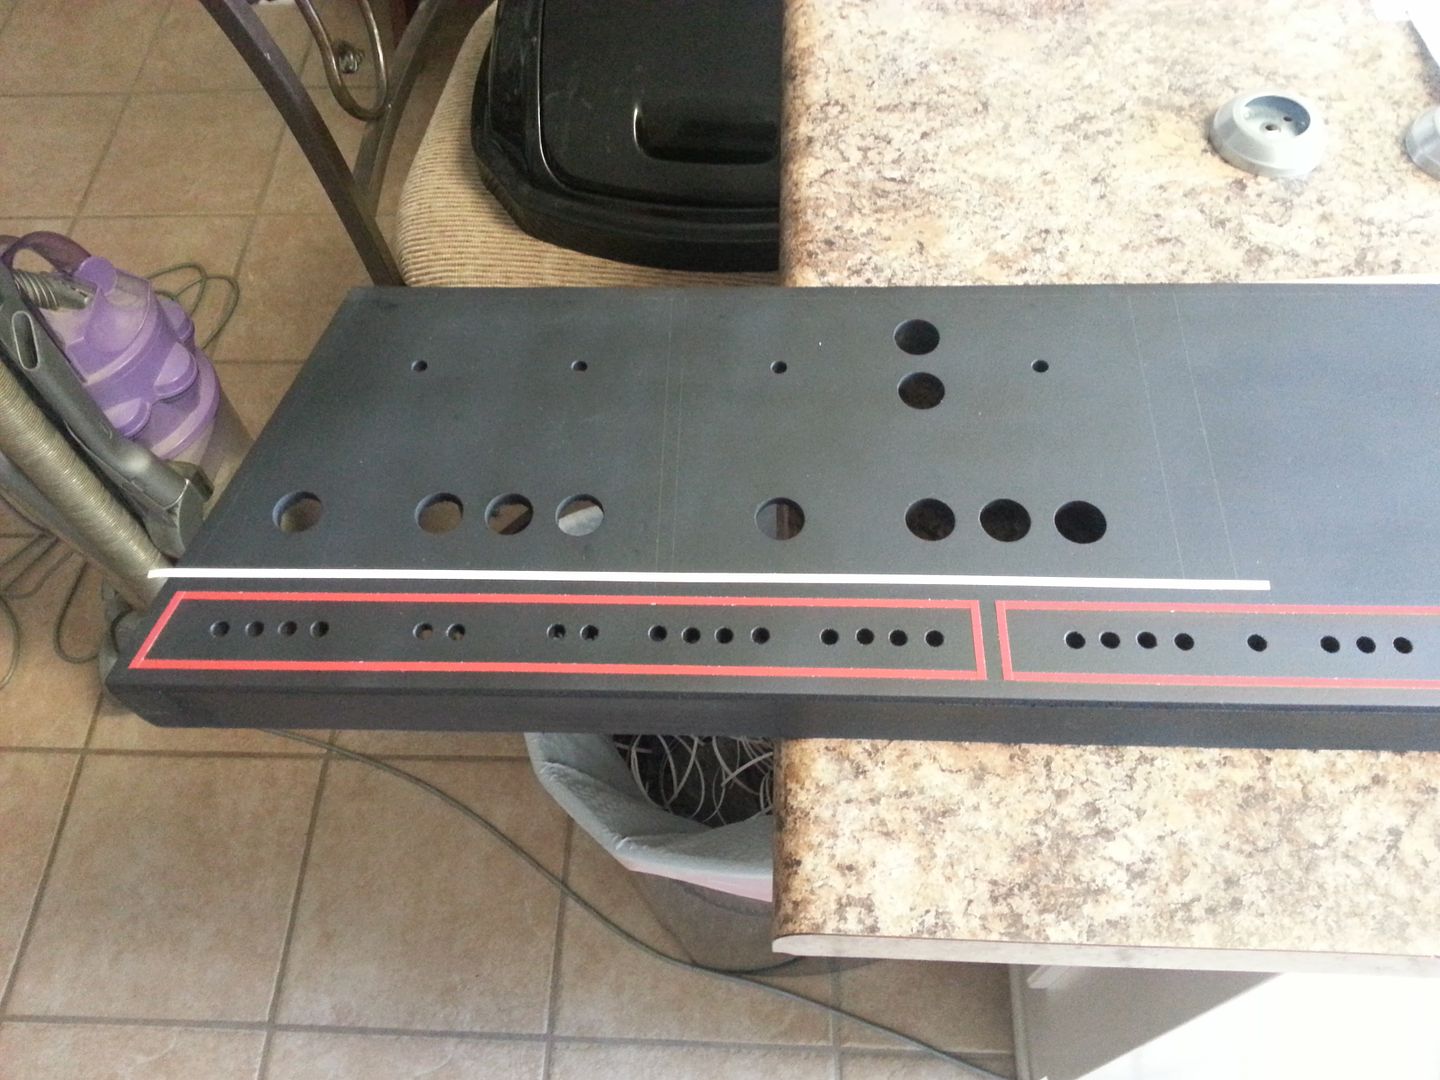
First thing I did this morning was finish sanding / filling the extra hole
After sanding smooth I could add some black!
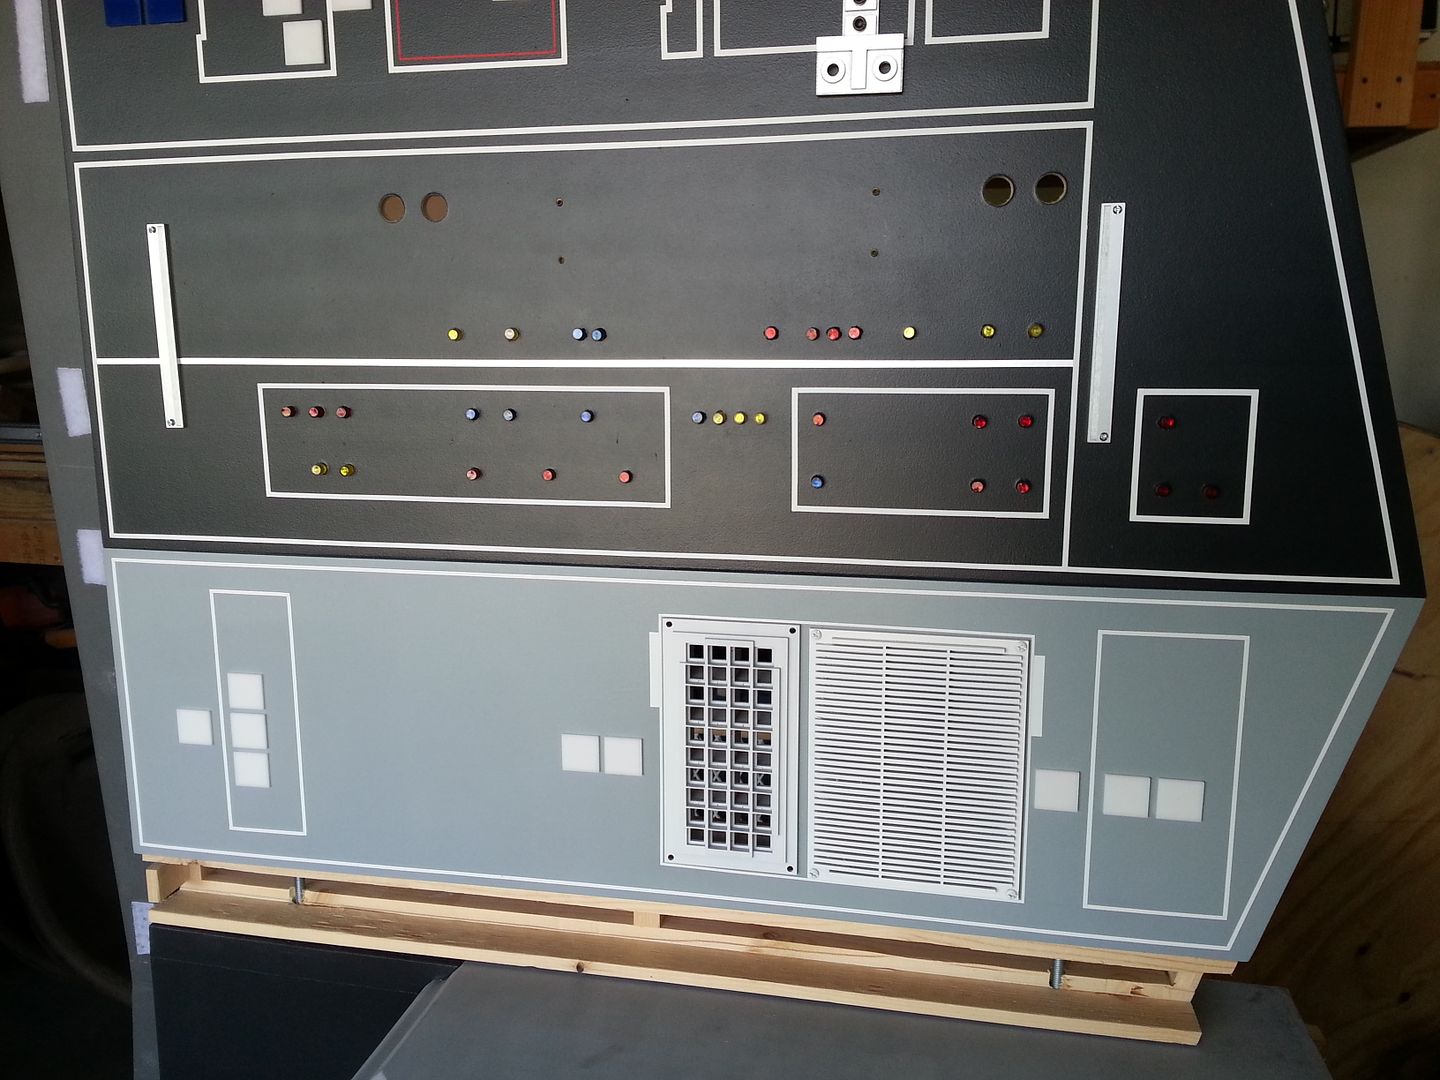
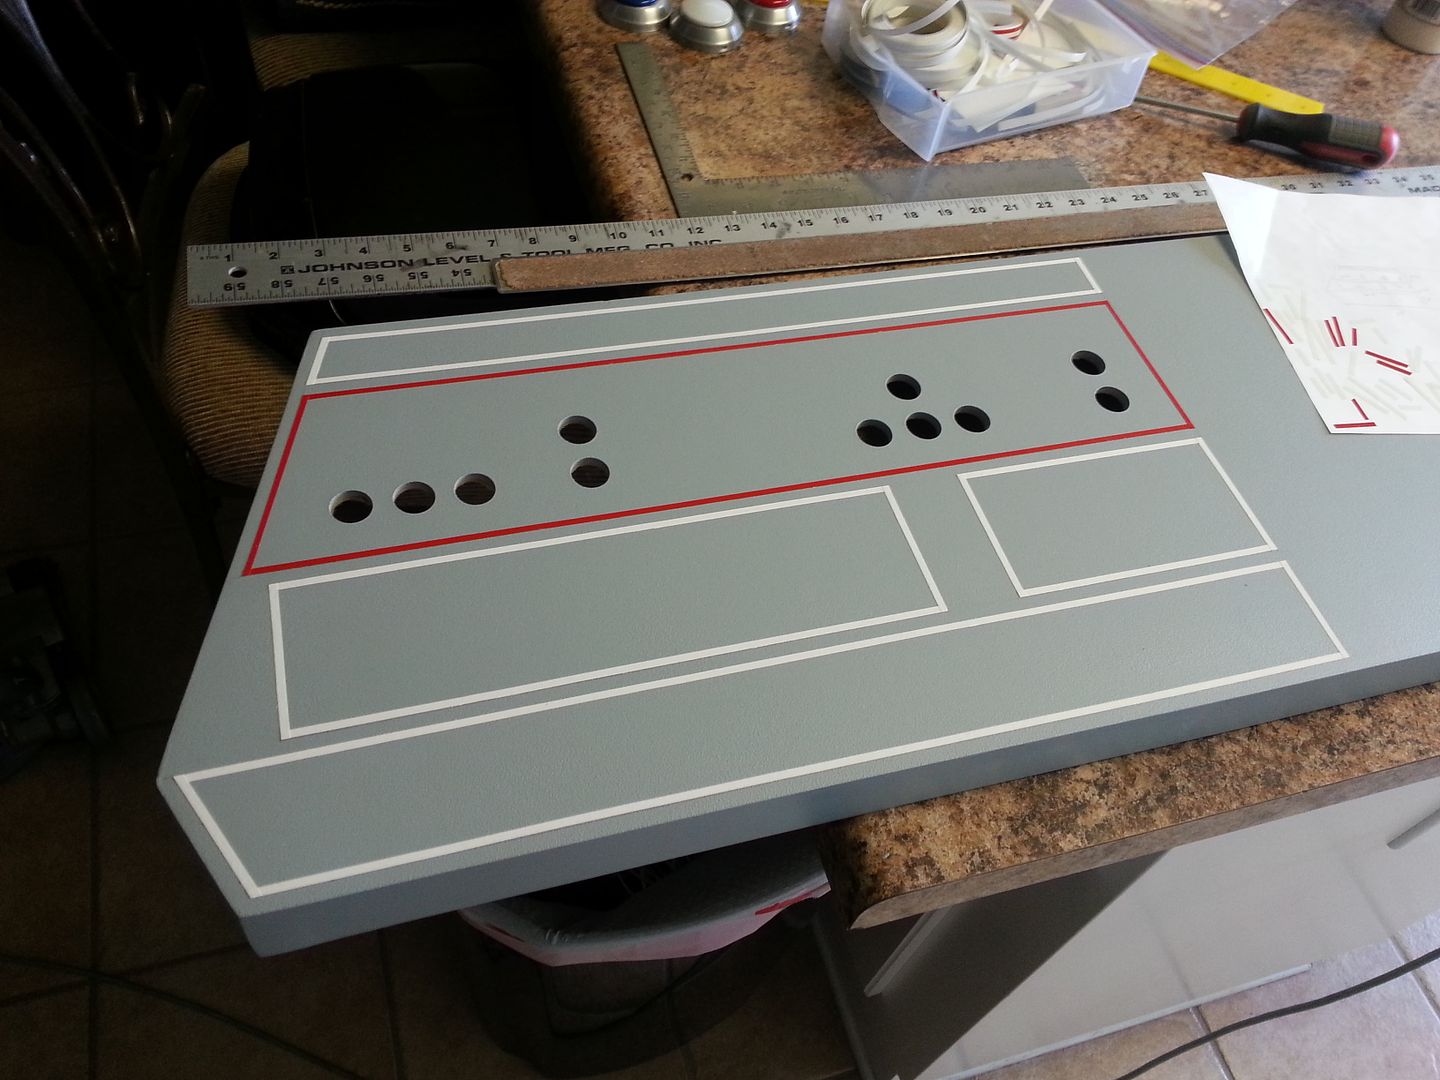
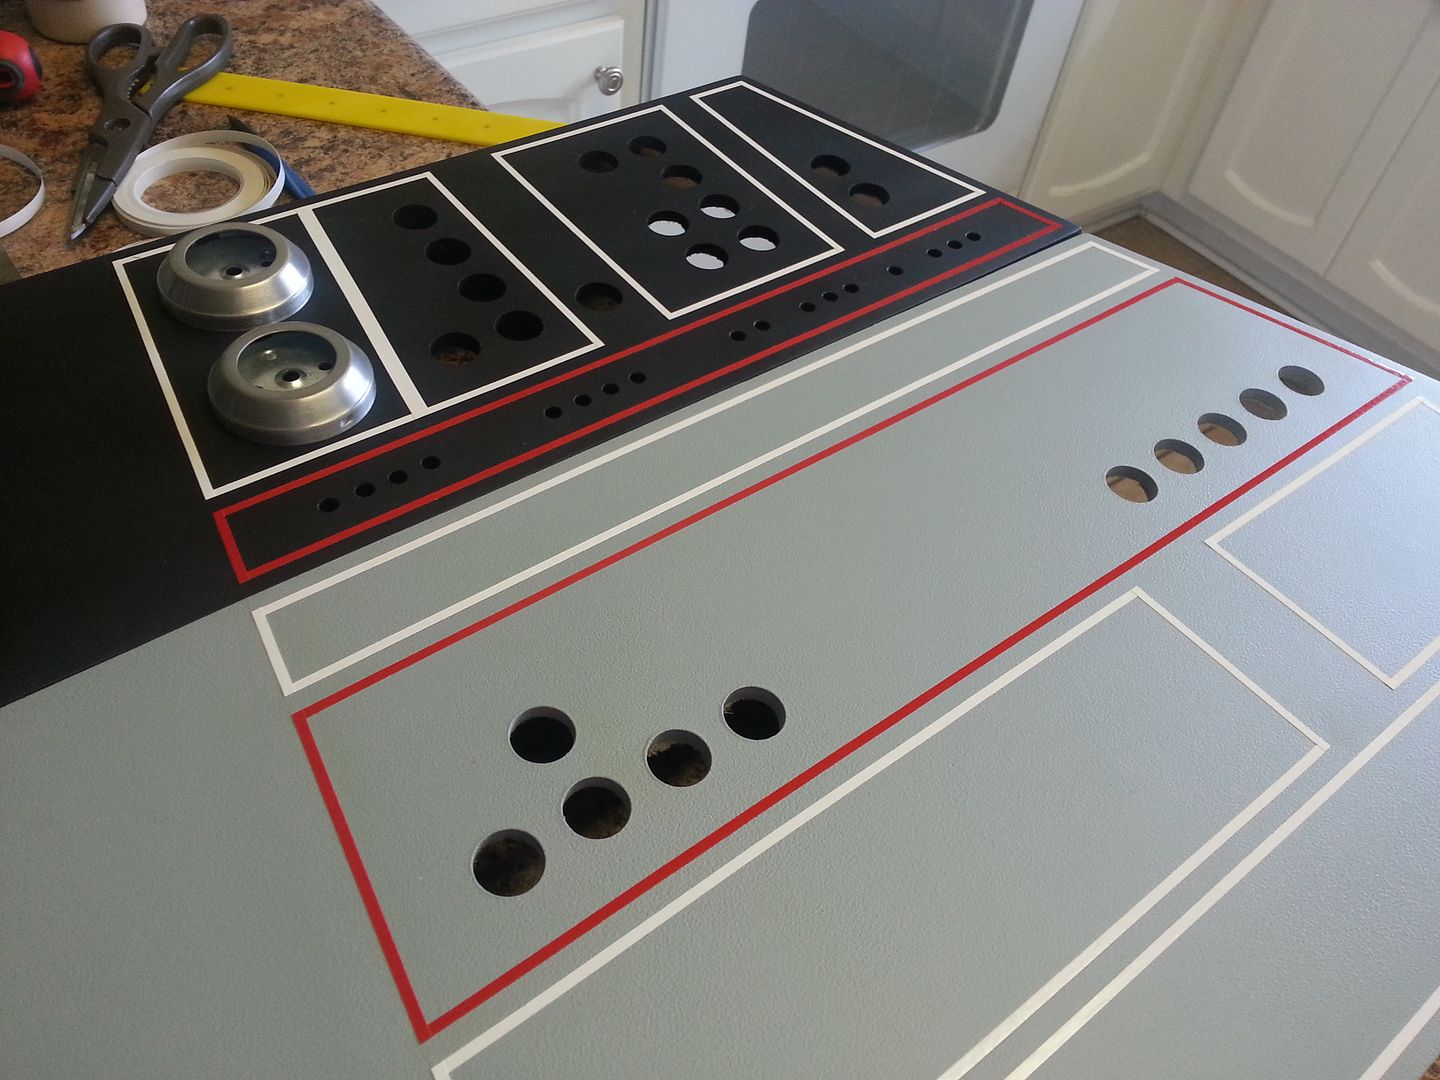
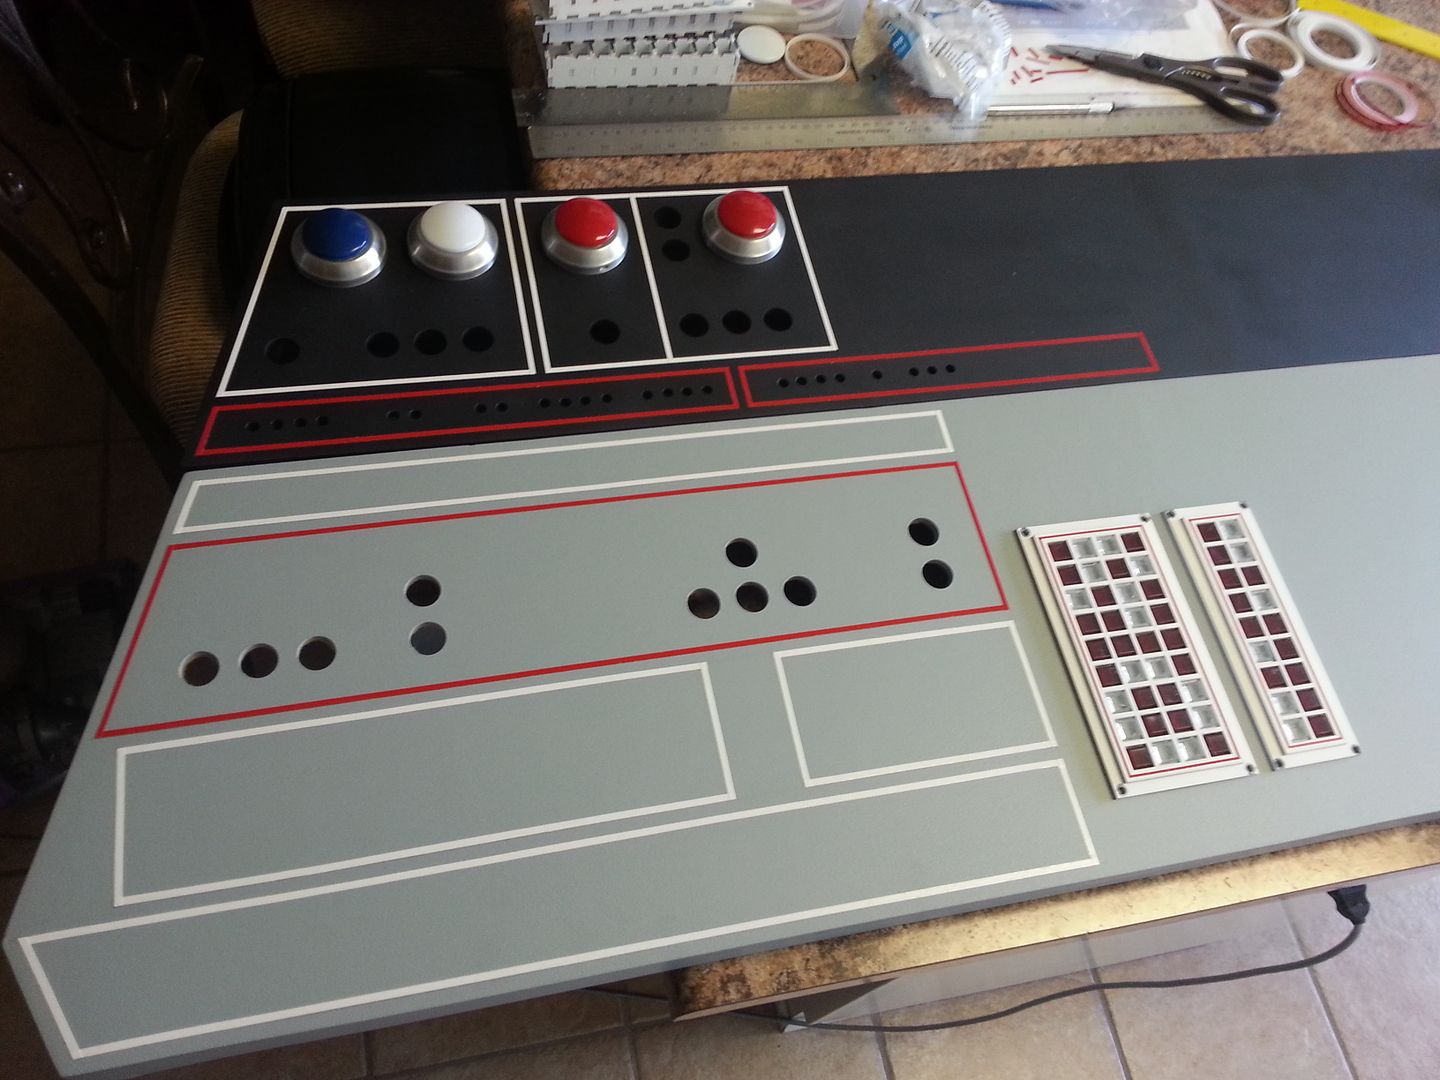
After 2.5 years the grey paint I've been using was getting bad. So, off to the home improvement store for a new gallon! This time I ordered "flat" and not satin. Made all the difference in the world!
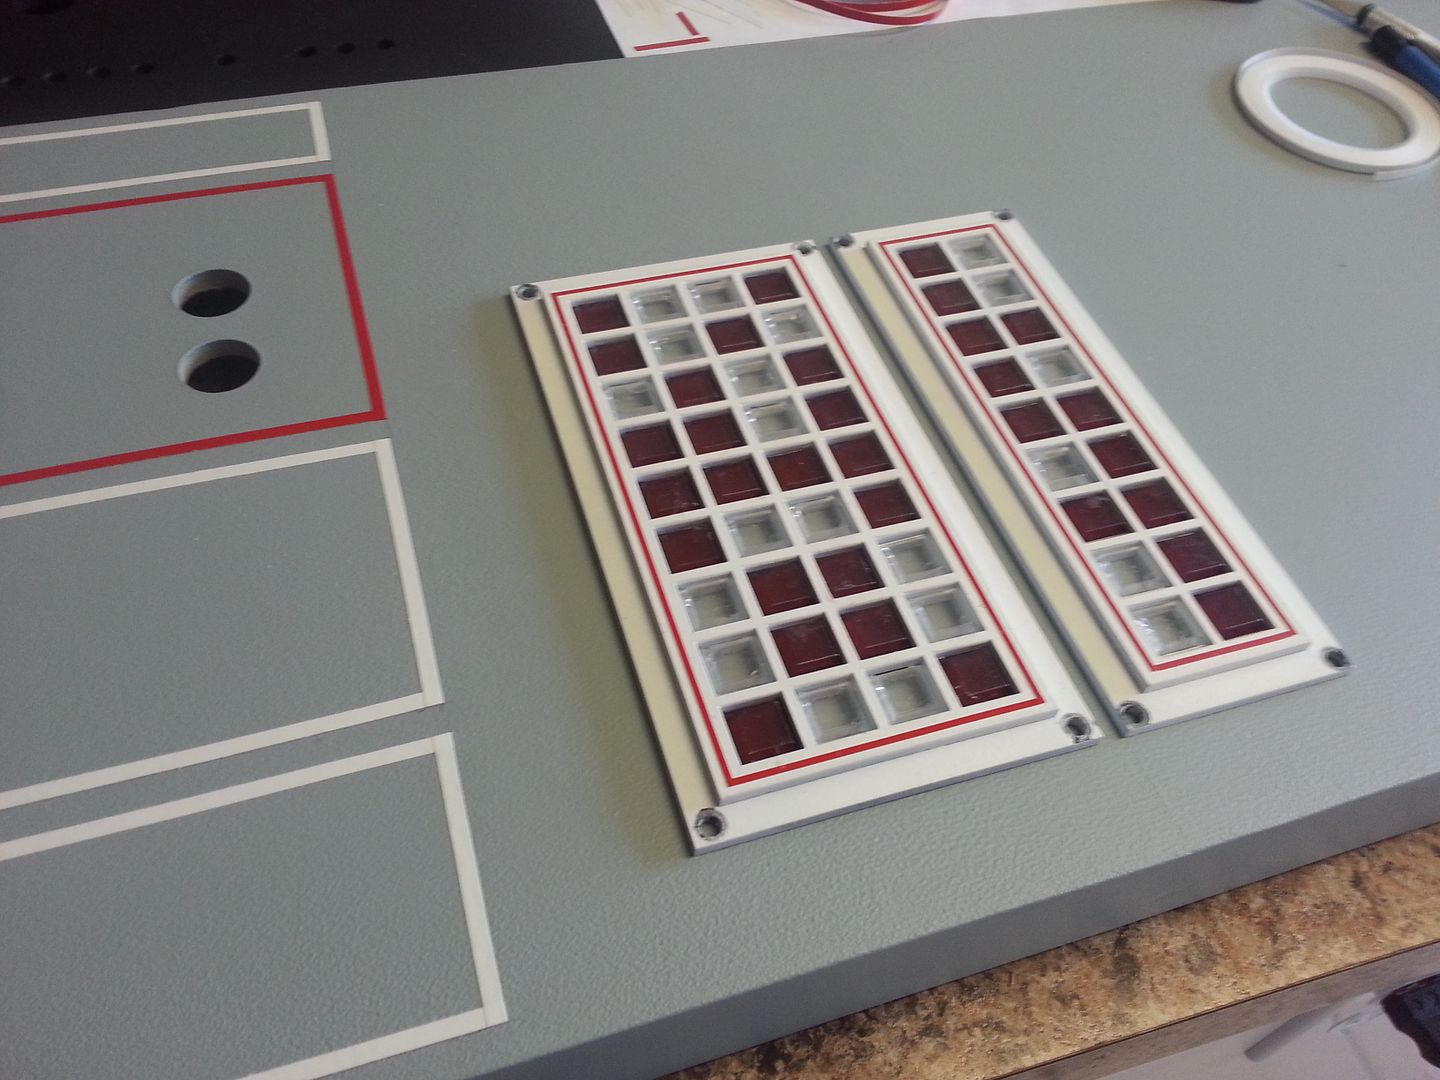
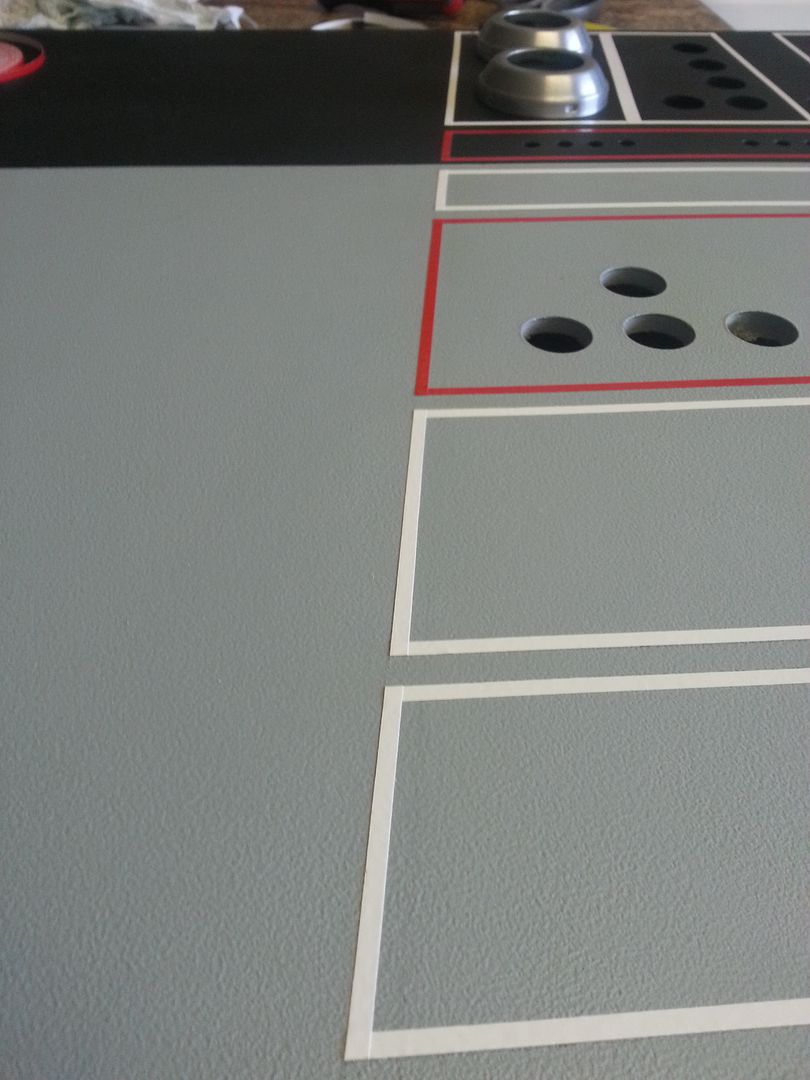
Once the paint had dried - add some pin stripes!
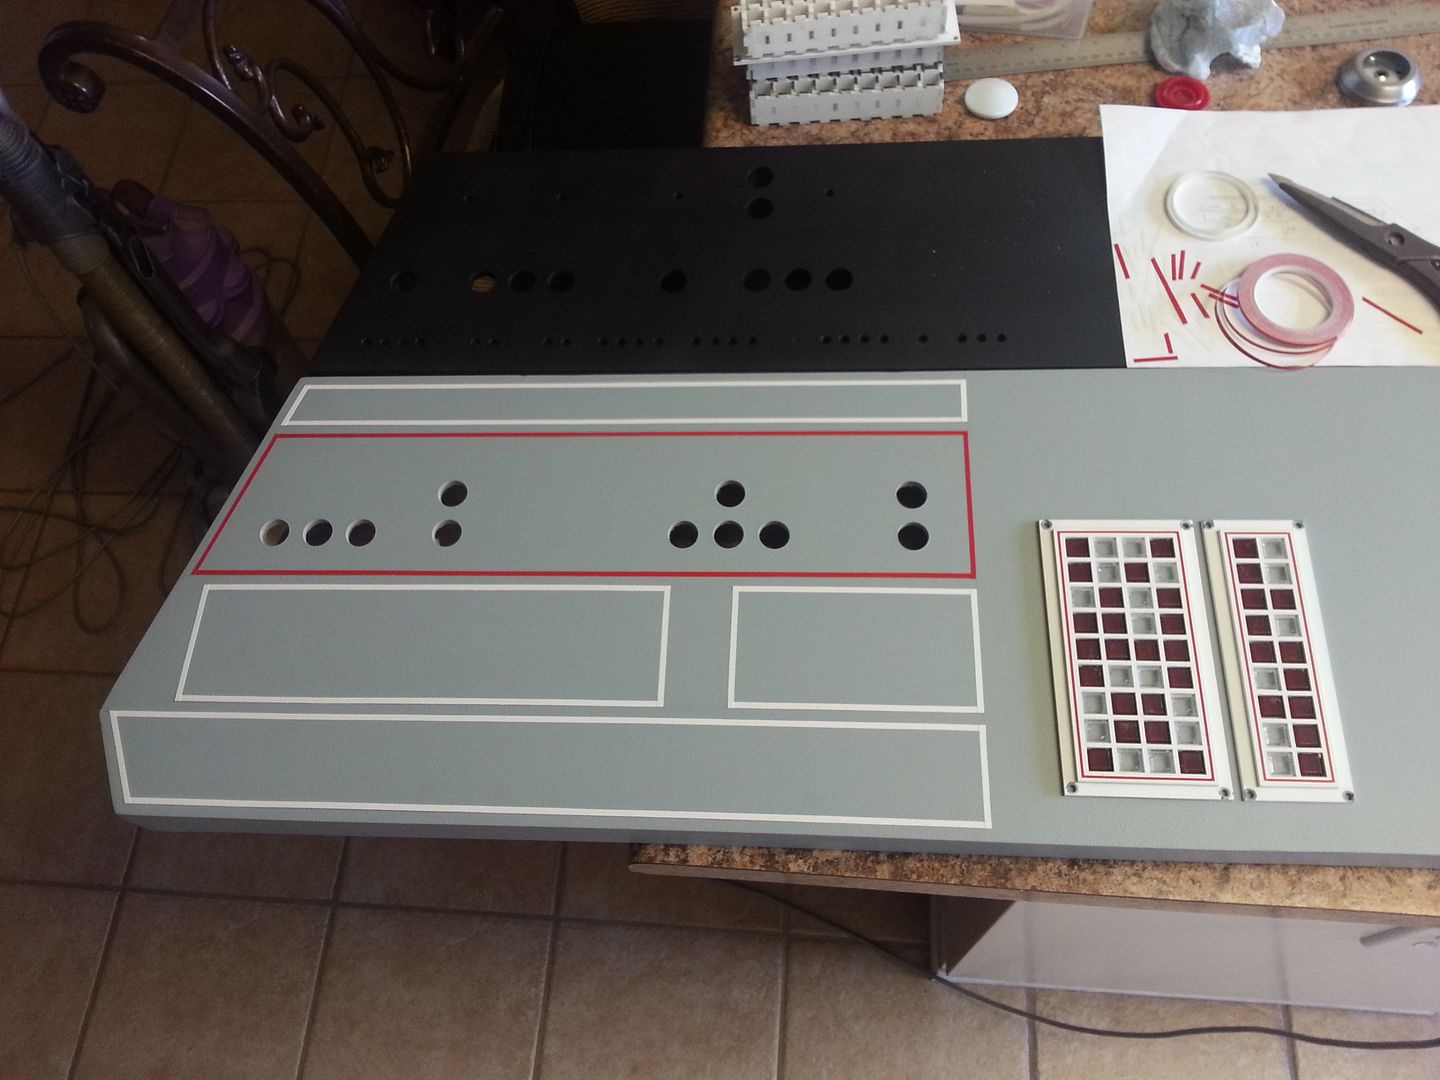
I think I'll use these 2 extra LED panels here
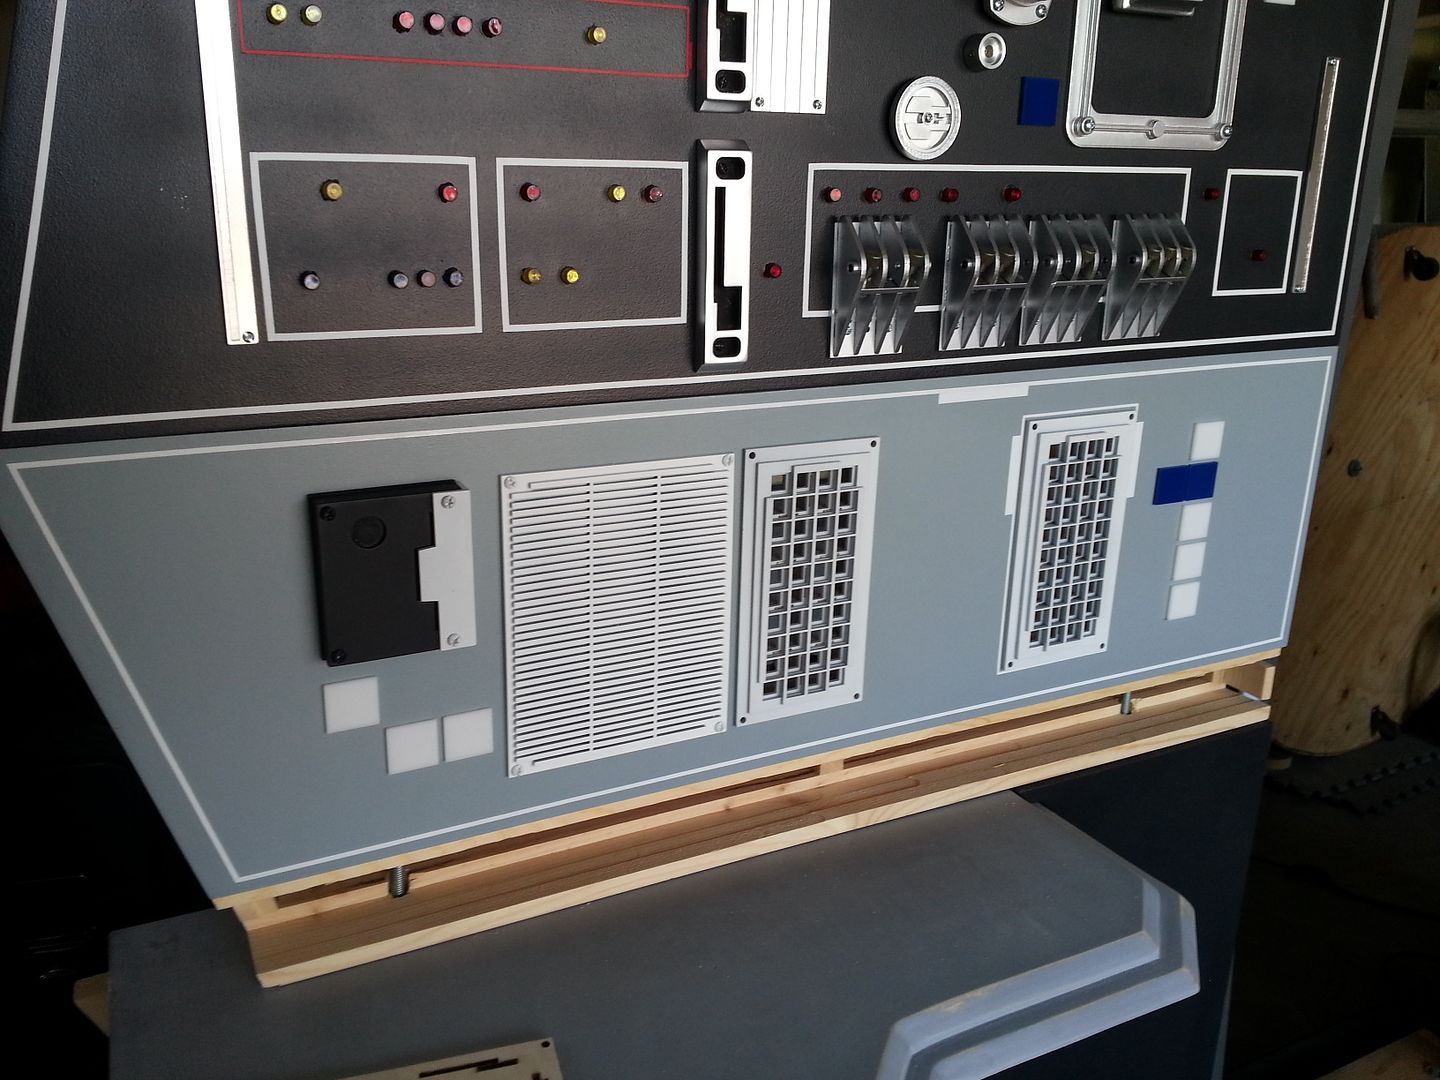
Time to move to the upper panel
Switch over to the other side!
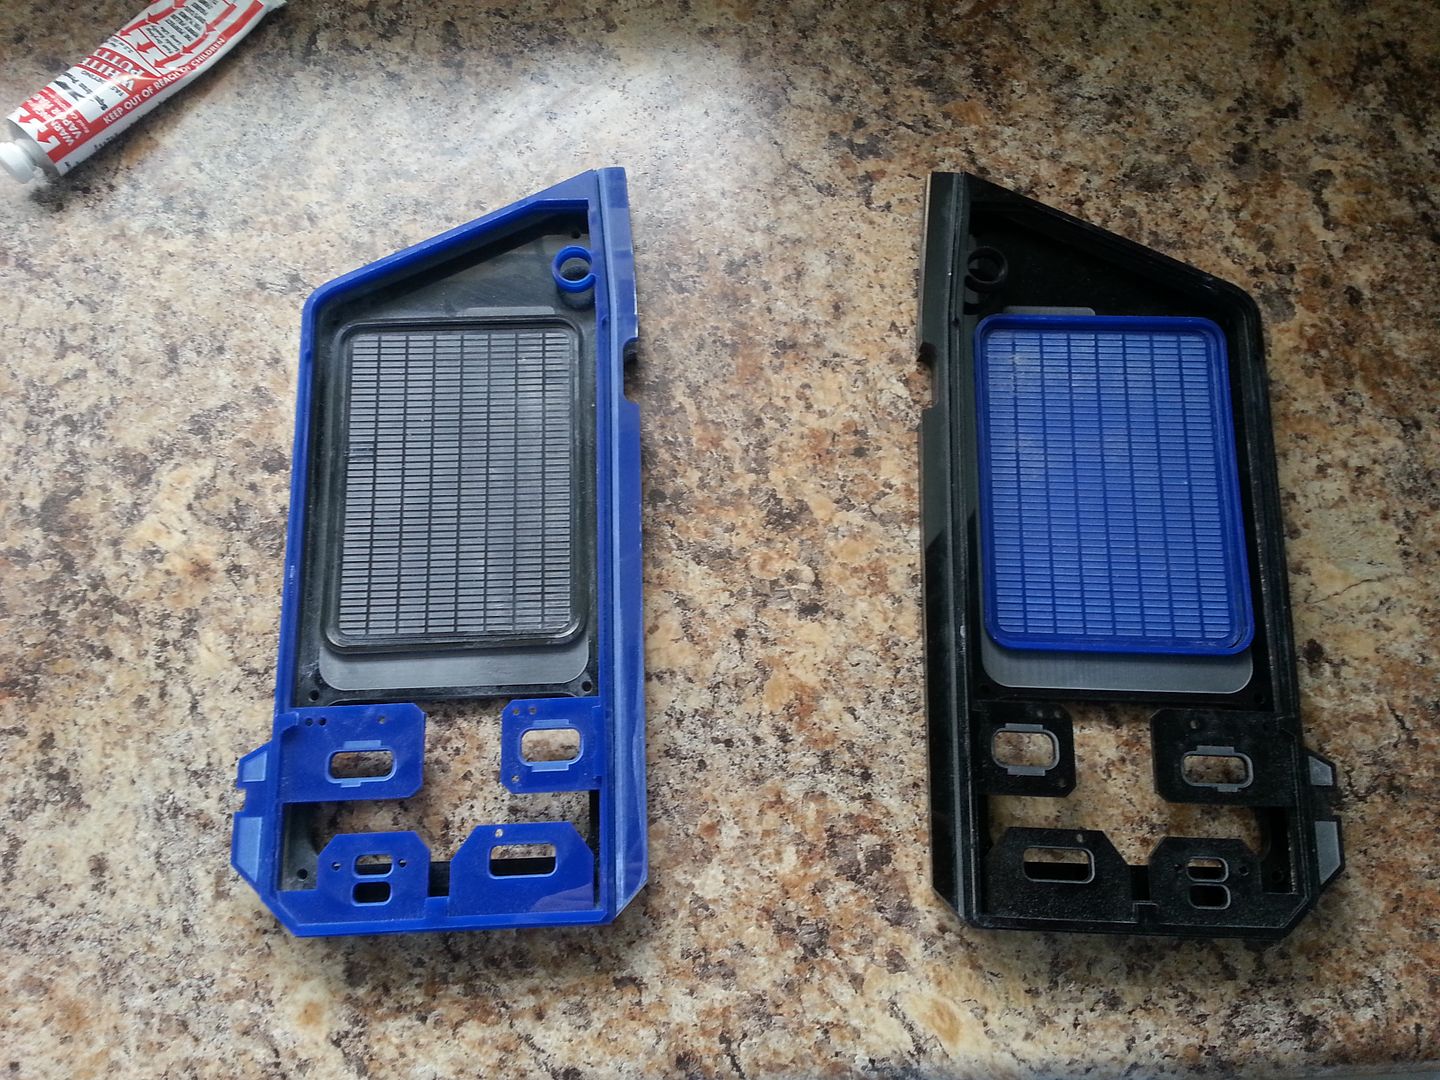
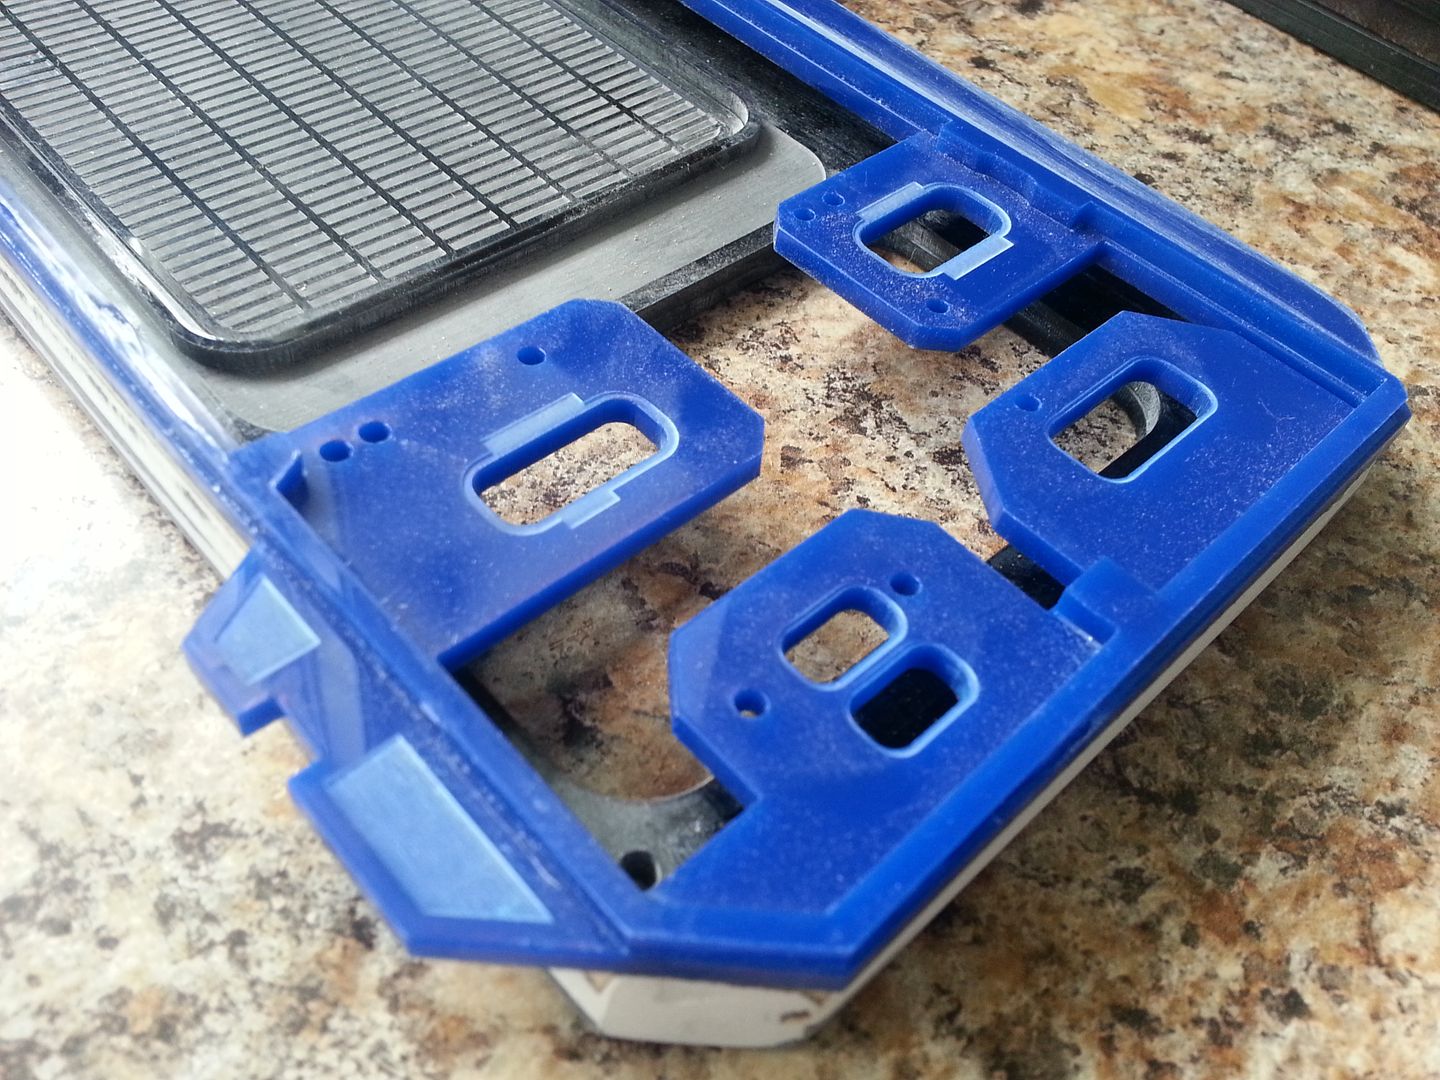
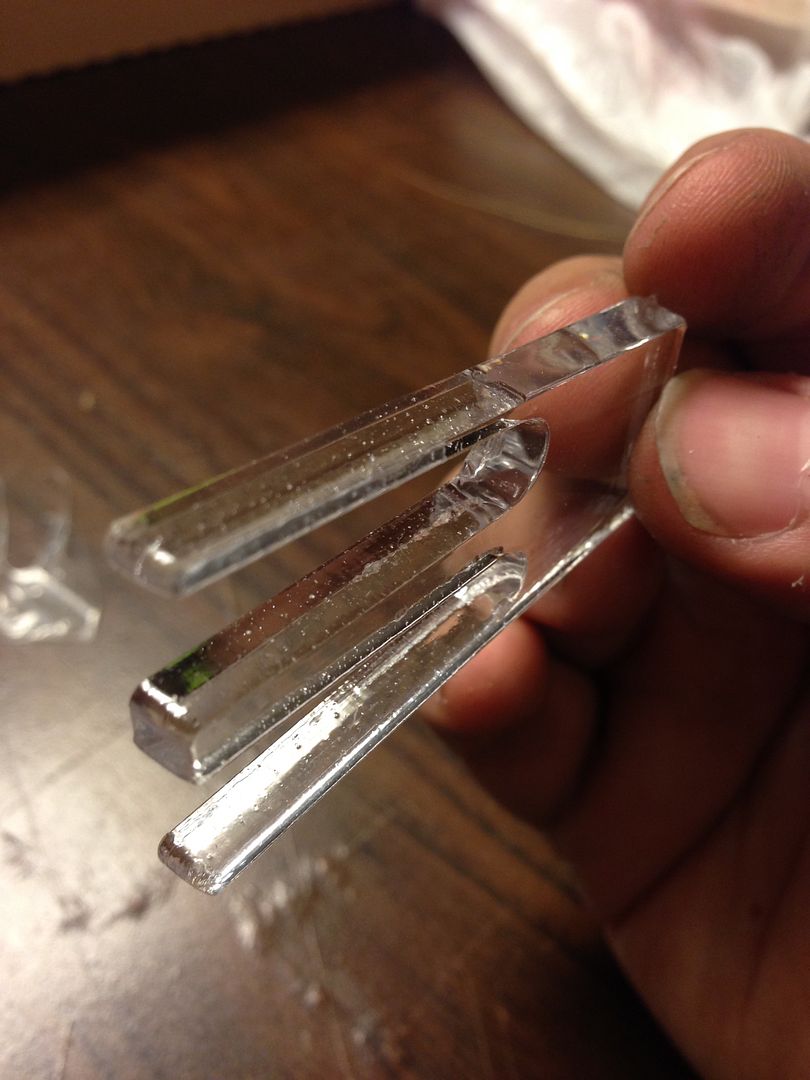
Done for now! Let's check out those lenses!
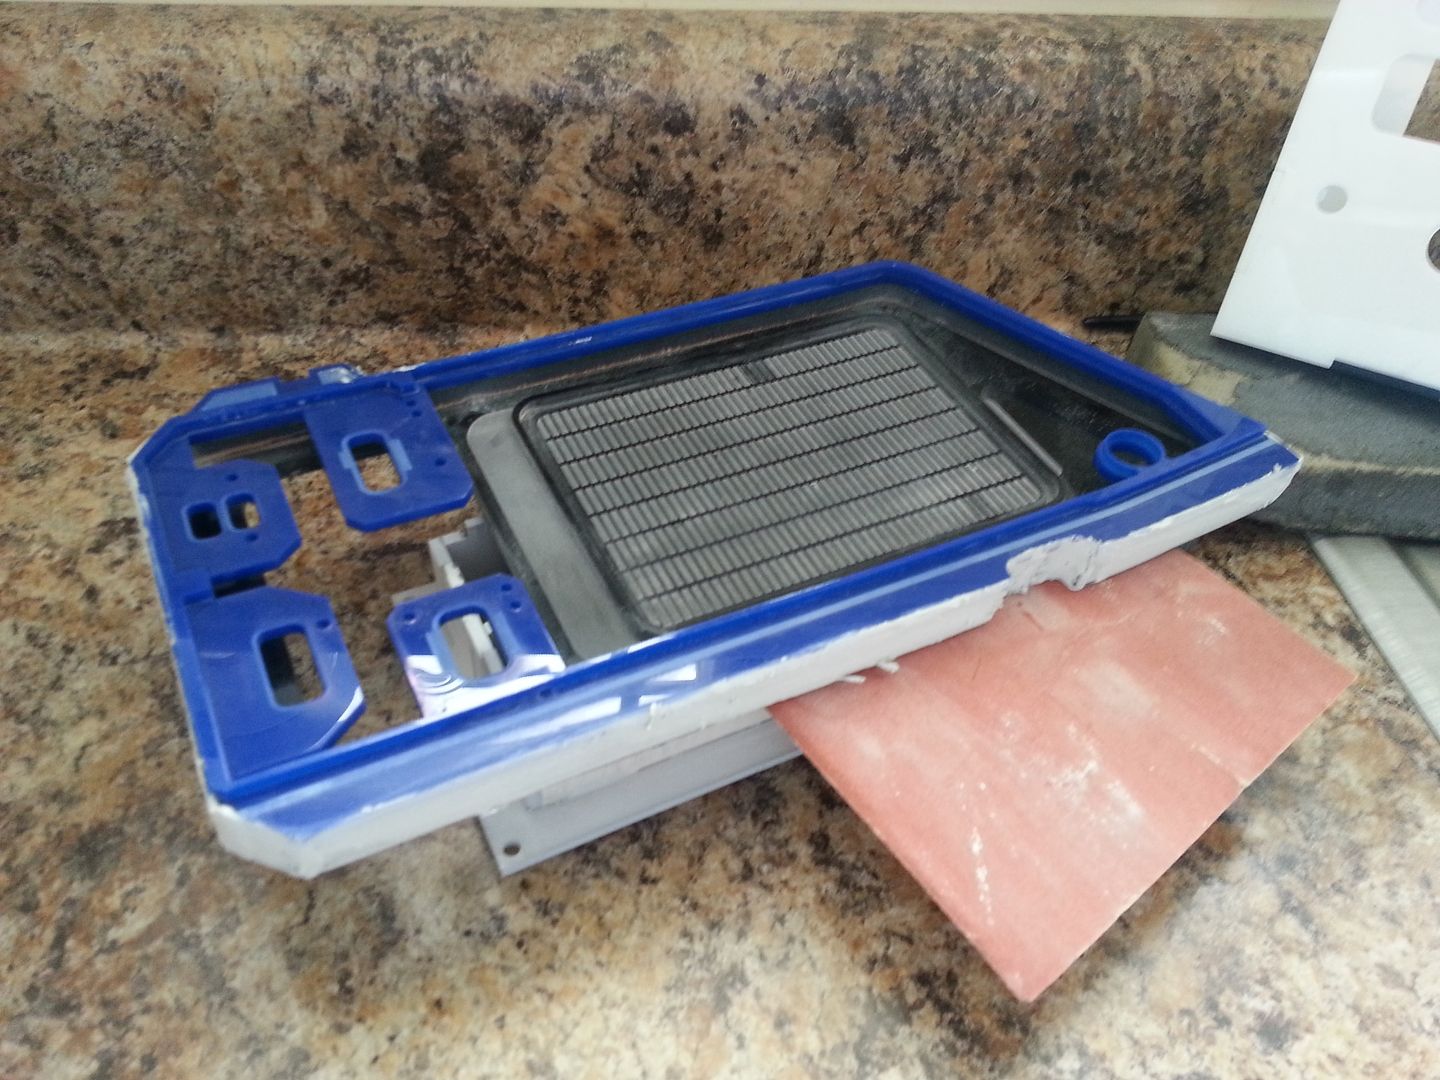
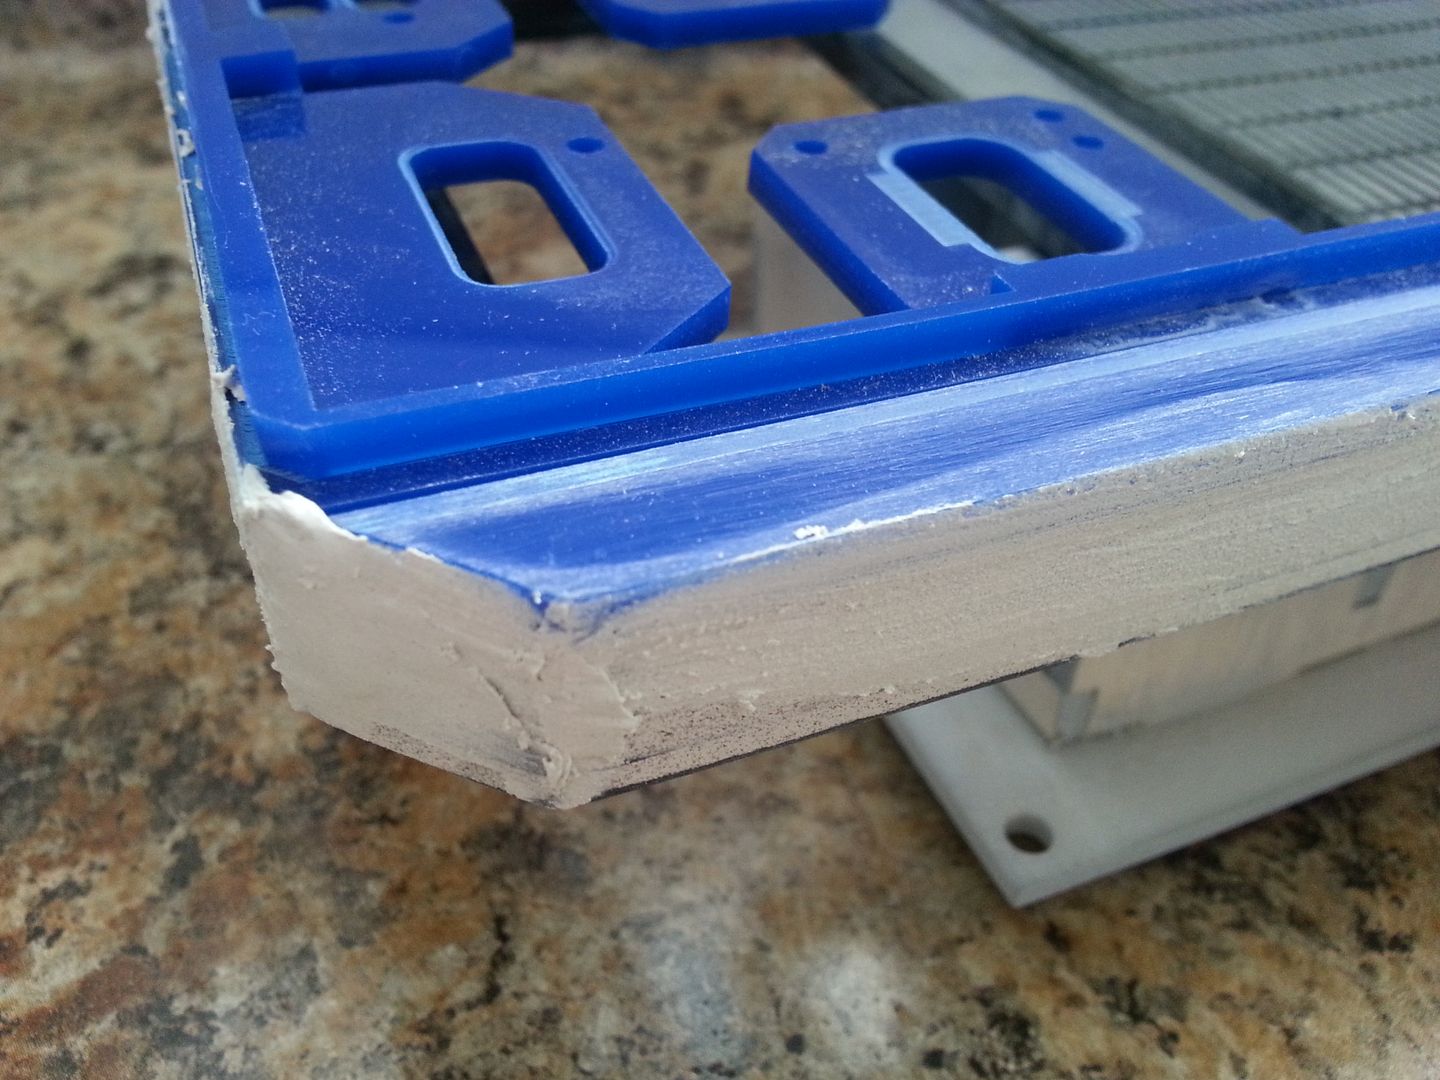
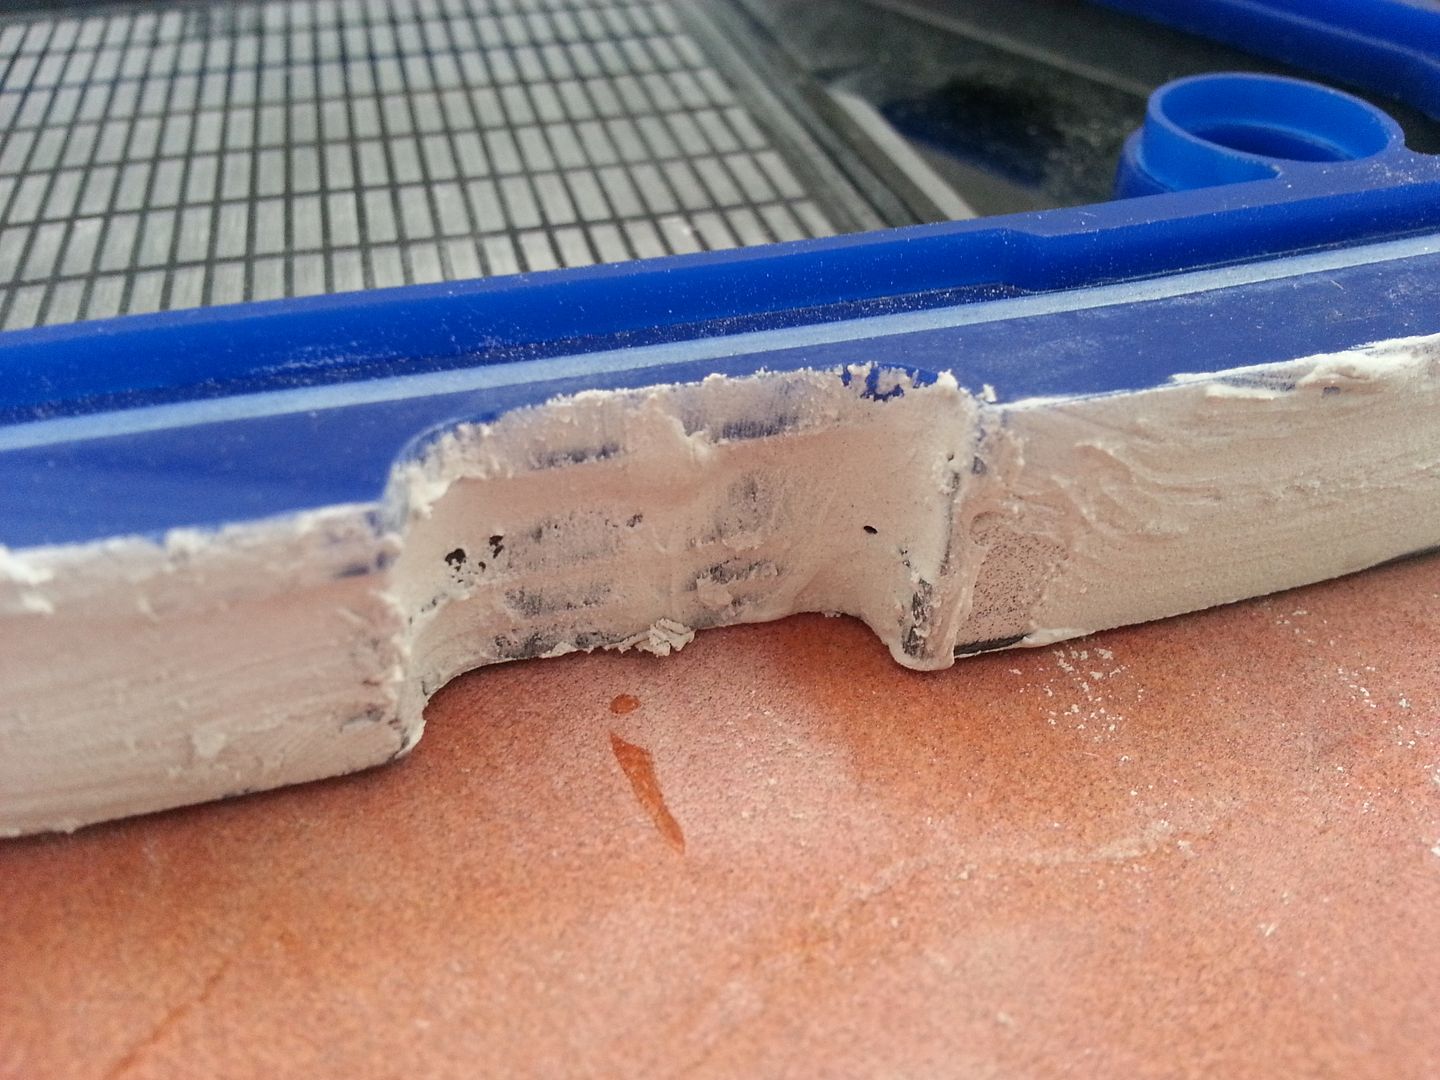
I'm somewhat in a holding pattern right now. Daniel is prepping to get the first mold of the matte box!
The matte box will be become available to those who want their own SW style nav screen! We're still working on a price but please let me know if you guys are interested!
More to Follow!
Well... the new / old wall art is almost finished!
First thing I did this morning was finish sanding / filling the extra hole
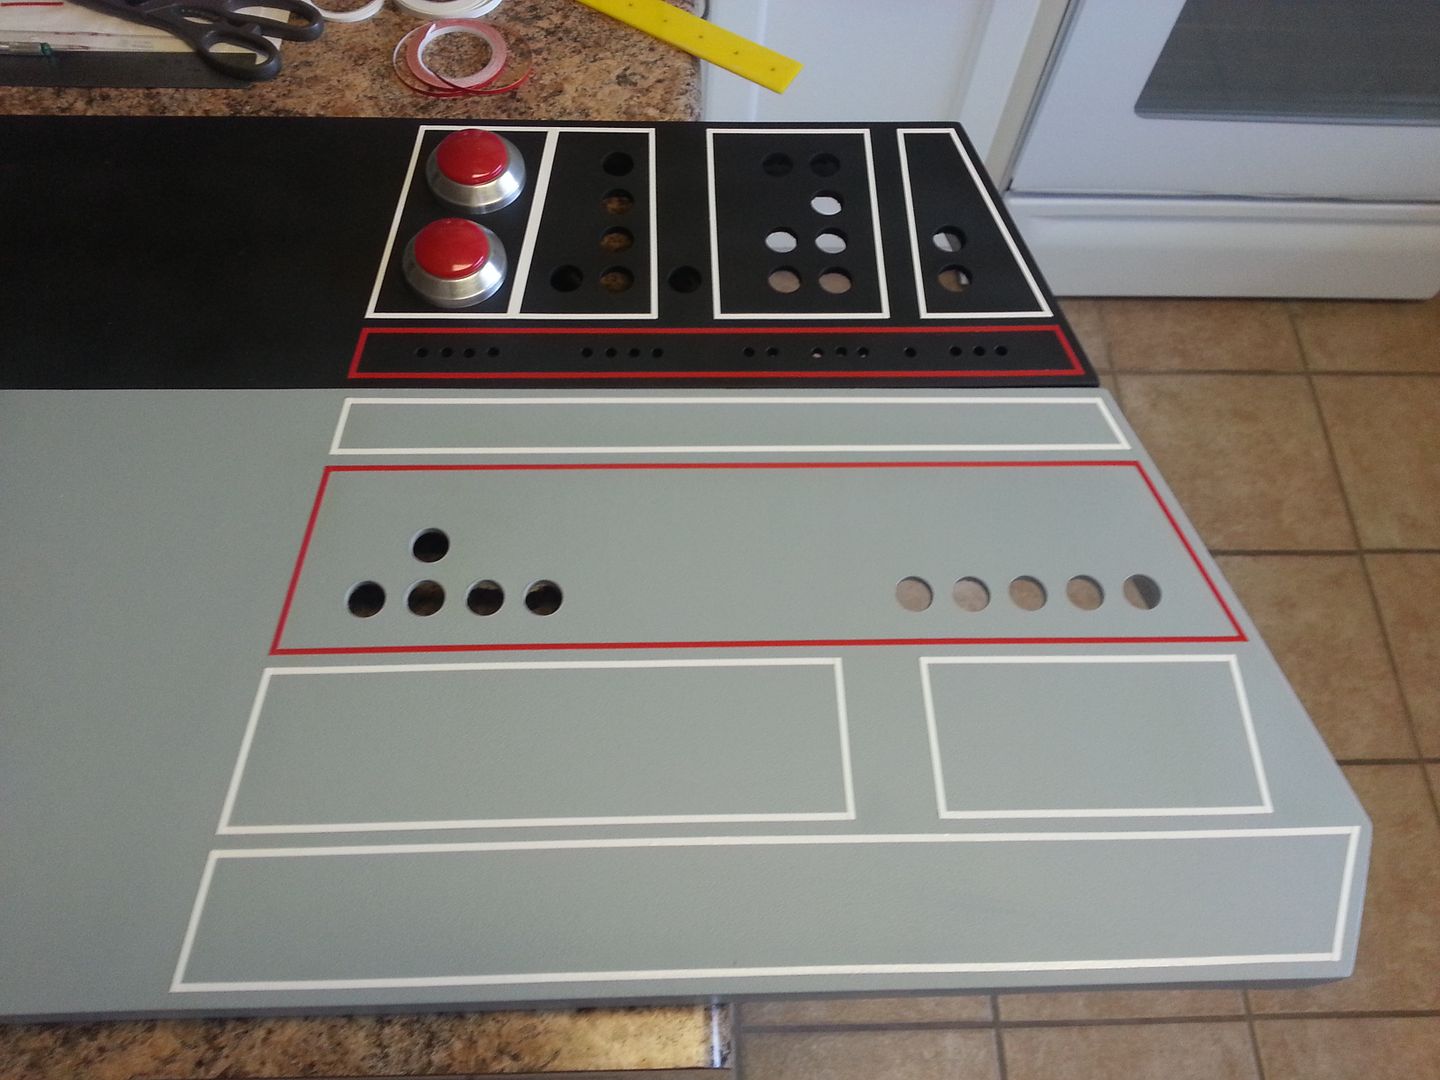
After sanding smooth I could add some black!
After 2.5 years the grey paint I've been using was getting bad. So, off to the home improvement store for a new gallon! This time I ordered "flat" and not satin. Made all the difference in the world!
Once the paint had dried - add some pin stripes!
I think I'll use these 2 extra LED panels here
Time to move to the upper panel
Switch over to the other side!
Done for now! Let's check out those lenses!
I'm somewhat in a holding pattern right now. Daniel is prepping to get the first mold of the matte box!
The matte box will be become available to those who want their own SW style nav screen! We're still working on a price but please let me know if you guys are interested!
More to Follow!
crystaloftruth
Member
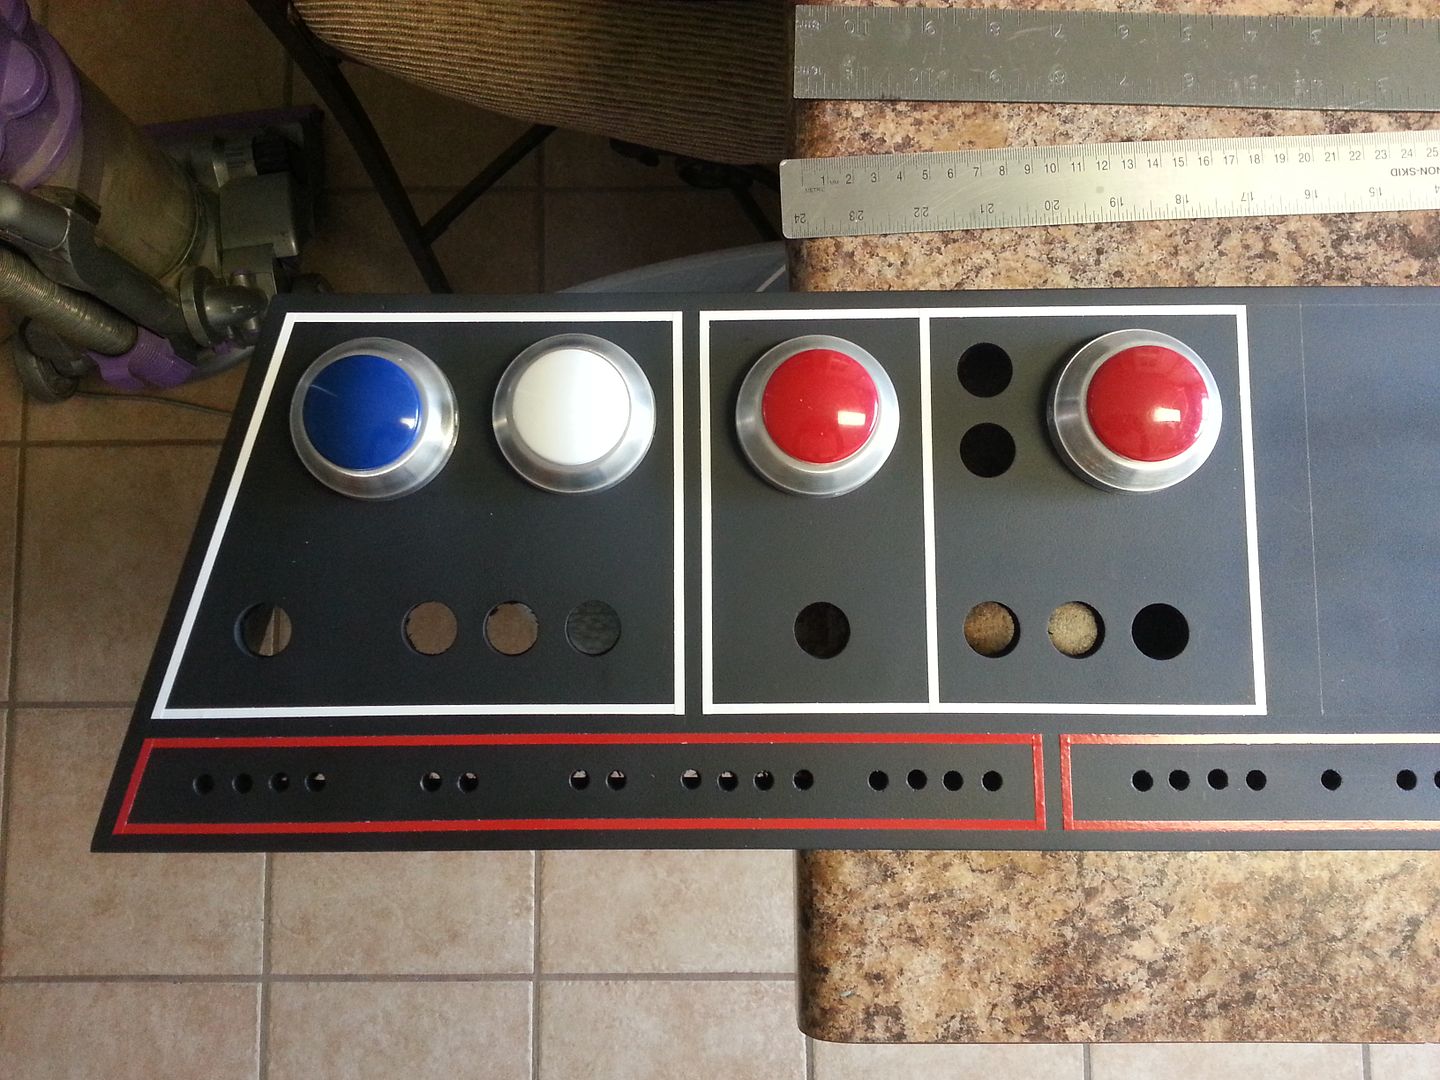
Those big red buttons really make you want to press them.
Similar threads
- Replies
- 11
- Views
- 1,127
- Replies
- 2
- Views
- 941
- Replies
- 2
- Views
- 973
- Replies
- 13
- Views
- 2,278