You are using an out of date browser. It may not display this or other websites correctly.
You should upgrade or use an alternative browser.
You should upgrade or use an alternative browser.
1:1 Millennium Falcon Cockpit Replica - Group Build
- Thread starter SteveStarkiller
- Start date
You sound like my wife! Next you'll be putting candles and ceramic gnomes on them...
No, no, no, no, no, no, no, no.
ceramic Ewoks.
Almost makes you wonder what the next photo will be? ")
crystaloftruth
Member
Shelves!
Operascot
Active Member
Hi from the quad v2 build again. I keep forgetting to post, but I've made a good chunck of progress, so here goes...
I started to skin the body back in early November. We had a good cold spell here in Seattle (yes, nothing like most of the rest of the US gets, but still) and I decided to bring the body into the apartment (after breaking a 10-24 tap off in the cold aluminum). When I set it on end I found the piston mounting bolts were still too long (had'nt paid much attention to them- they held the pistons in place and that was that), and needed to get shorter to start considering the ballast end of the gun


They needed to be inside the profile of the aluminum. Easy fix. Drive the nuts farther up the all thread, reset the jam nuts, and cut. Done
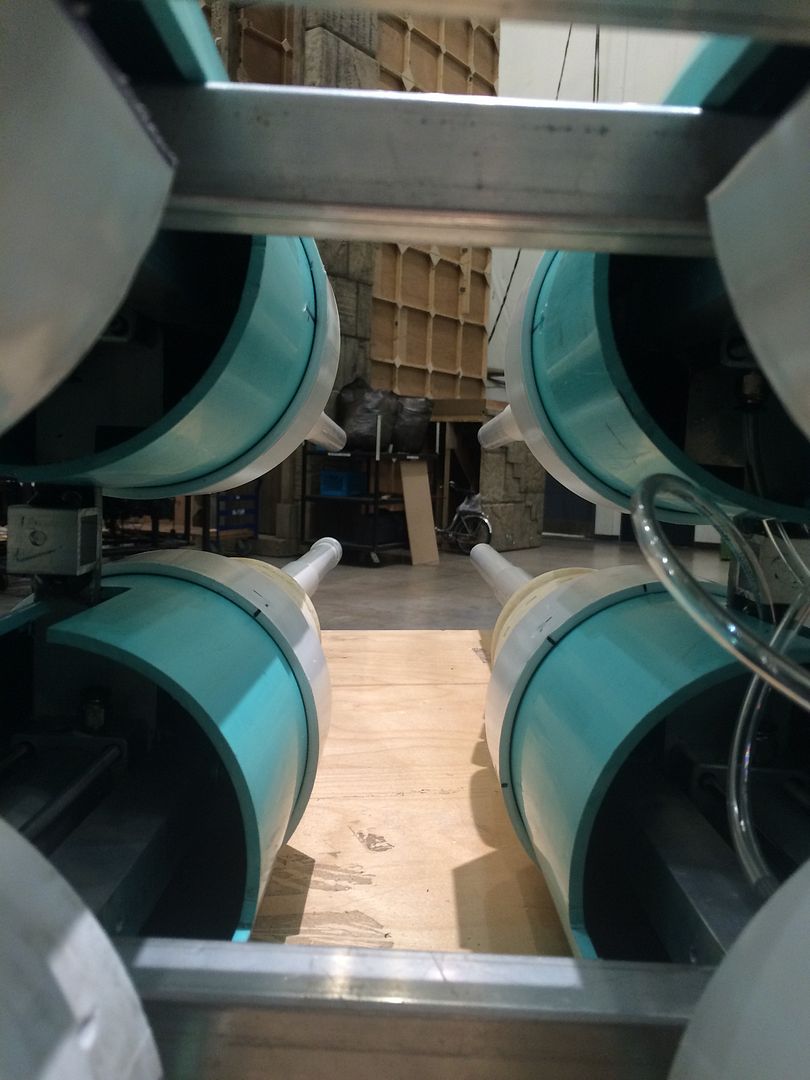
Then it was time to put the 6" PVC "blast chambers" in place


Add the reducers to the back ends

I'm considering changing the reducers to 6" couplers instead, it might look cleaner.
Adding the front reducers and the side wall frames, and...

or, with the plating taped on...

This was the sight walking in my door for the next day...

I started to skin the body back in early November. We had a good cold spell here in Seattle (yes, nothing like most of the rest of the US gets, but still) and I decided to bring the body into the apartment (after breaking a 10-24 tap off in the cold aluminum). When I set it on end I found the piston mounting bolts were still too long (had'nt paid much attention to them- they held the pistons in place and that was that), and needed to get shorter to start considering the ballast end of the gun
They needed to be inside the profile of the aluminum. Easy fix. Drive the nuts farther up the all thread, reset the jam nuts, and cut. Done
Then it was time to put the 6" PVC "blast chambers" in place
Add the reducers to the back ends
I'm considering changing the reducers to 6" couplers instead, it might look cleaner.
Adding the front reducers and the side wall frames, and...
or, with the plating taped on...
This was the sight walking in my door for the next day...
Attachments

Last edited:
Operascot
Active Member
Quad ctd
The side walls also got more attention. I worked on stabilizing the stand-offs for both, using 10-24 cap screws to anchor the fron one, and (most likely) tek-screws in back.


During the next week of rehearsals, my Taz 4 was busy churning out the panels for the port side wall, as well as the revised panels for starboard.

I also got the interior face skinned with aluminum. There is still some clean-up to do, but the valves mount nicely inside the frames.
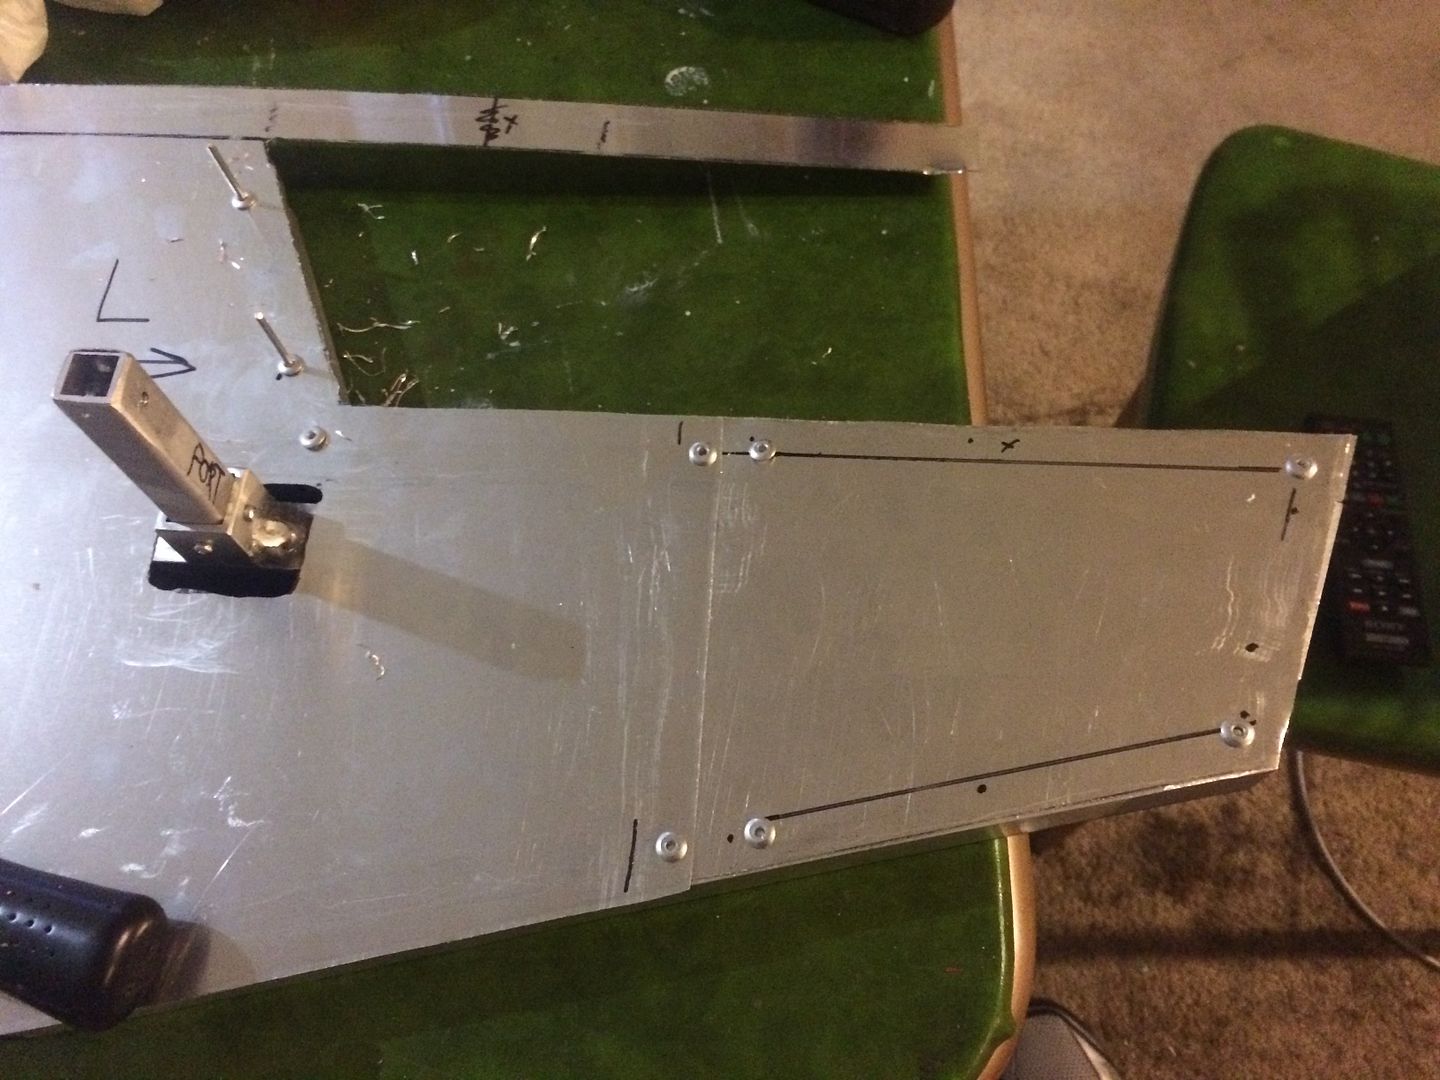


The side walls also got more attention. I worked on stabilizing the stand-offs for both, using 10-24 cap screws to anchor the fron one, and (most likely) tek-screws in back.
During the next week of rehearsals, my Taz 4 was busy churning out the panels for the port side wall, as well as the revised panels for starboard.
I also got the interior face skinned with aluminum. There is still some clean-up to do, but the valves mount nicely inside the frames.
Attachments

Last edited:
Operascot
Active Member
Quad v2 ctd
Between shows I was able to get some work done cleaning up the cast pieces for the front end of the blast chambers, turning them from this:

to this
 for times.
The cones still need this treatment, and both need the finer grit treatment, but having them together and aligned was a nice visual goal


I did try out the muzzle in the fully assembled barrel. Unfortunately, I learned it is a bit too heavy...
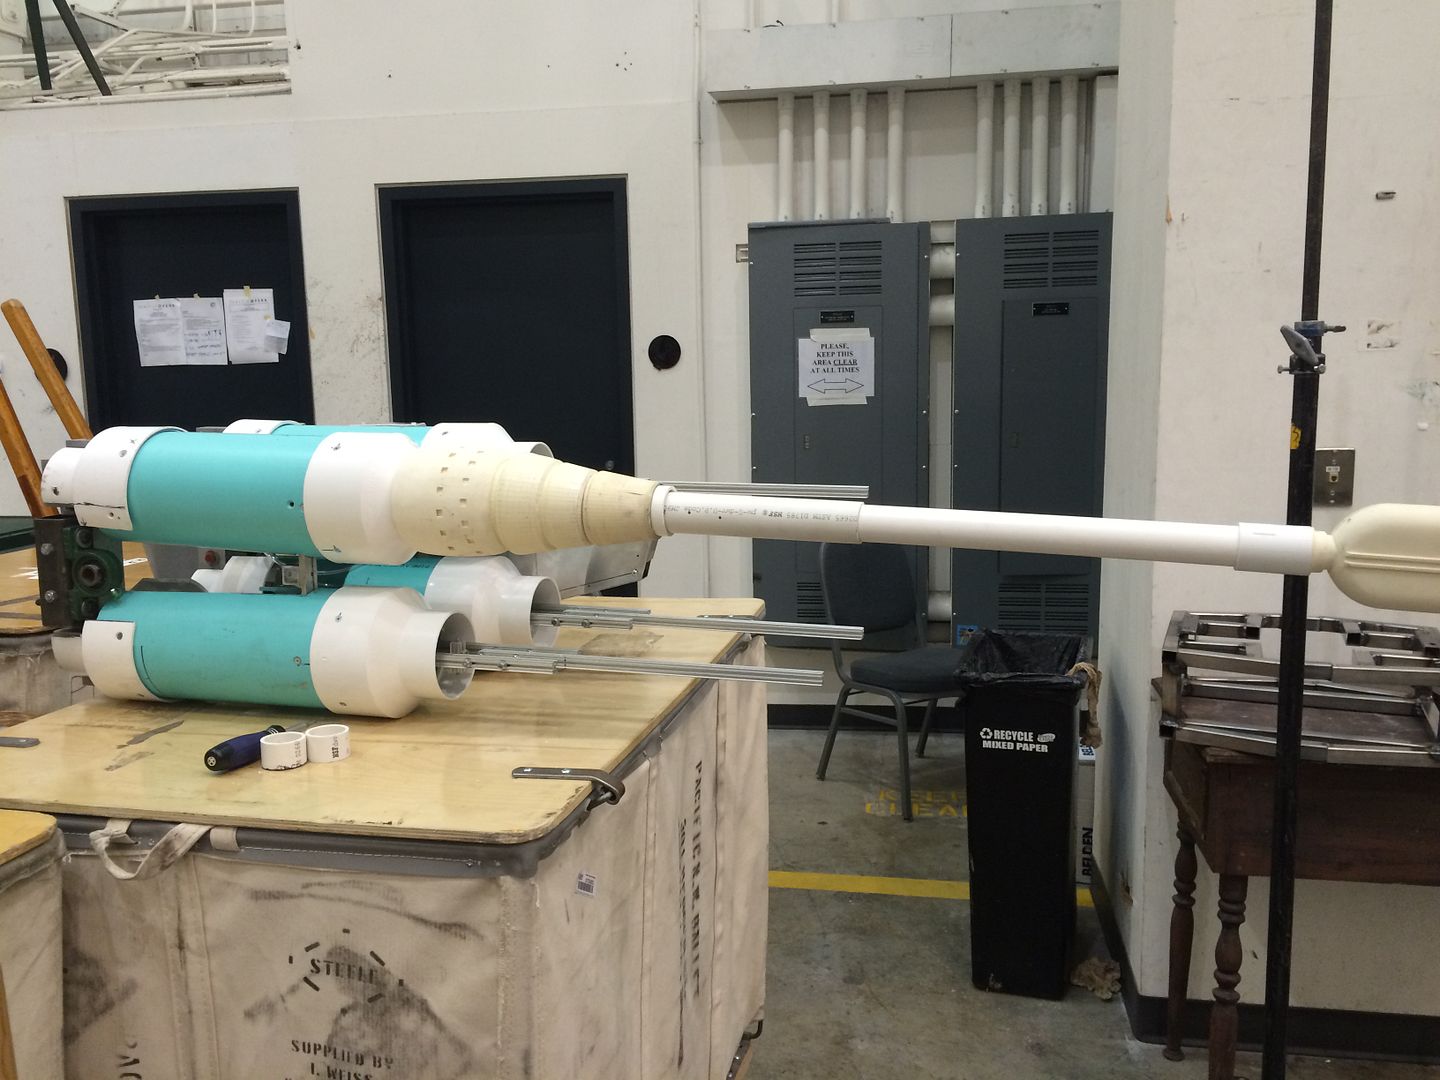
You can definitely see the droop compared to the other tracks. A new plan for that is in the works. Somewhere.
Between shows I was able to get some work done cleaning up the cast pieces for the front end of the blast chambers, turning them from this:
to this
The cones still need this treatment, and both need the finer grit treatment, but having them together and aligned was a nice visual goal
I did try out the muzzle in the fully assembled barrel. Unfortunately, I learned it is a bit too heavy...
You can definitely see the droop compared to the other tracks. A new plan for that is in the works. Somewhere.
Operascot
Active Member
Quad v2 ctd
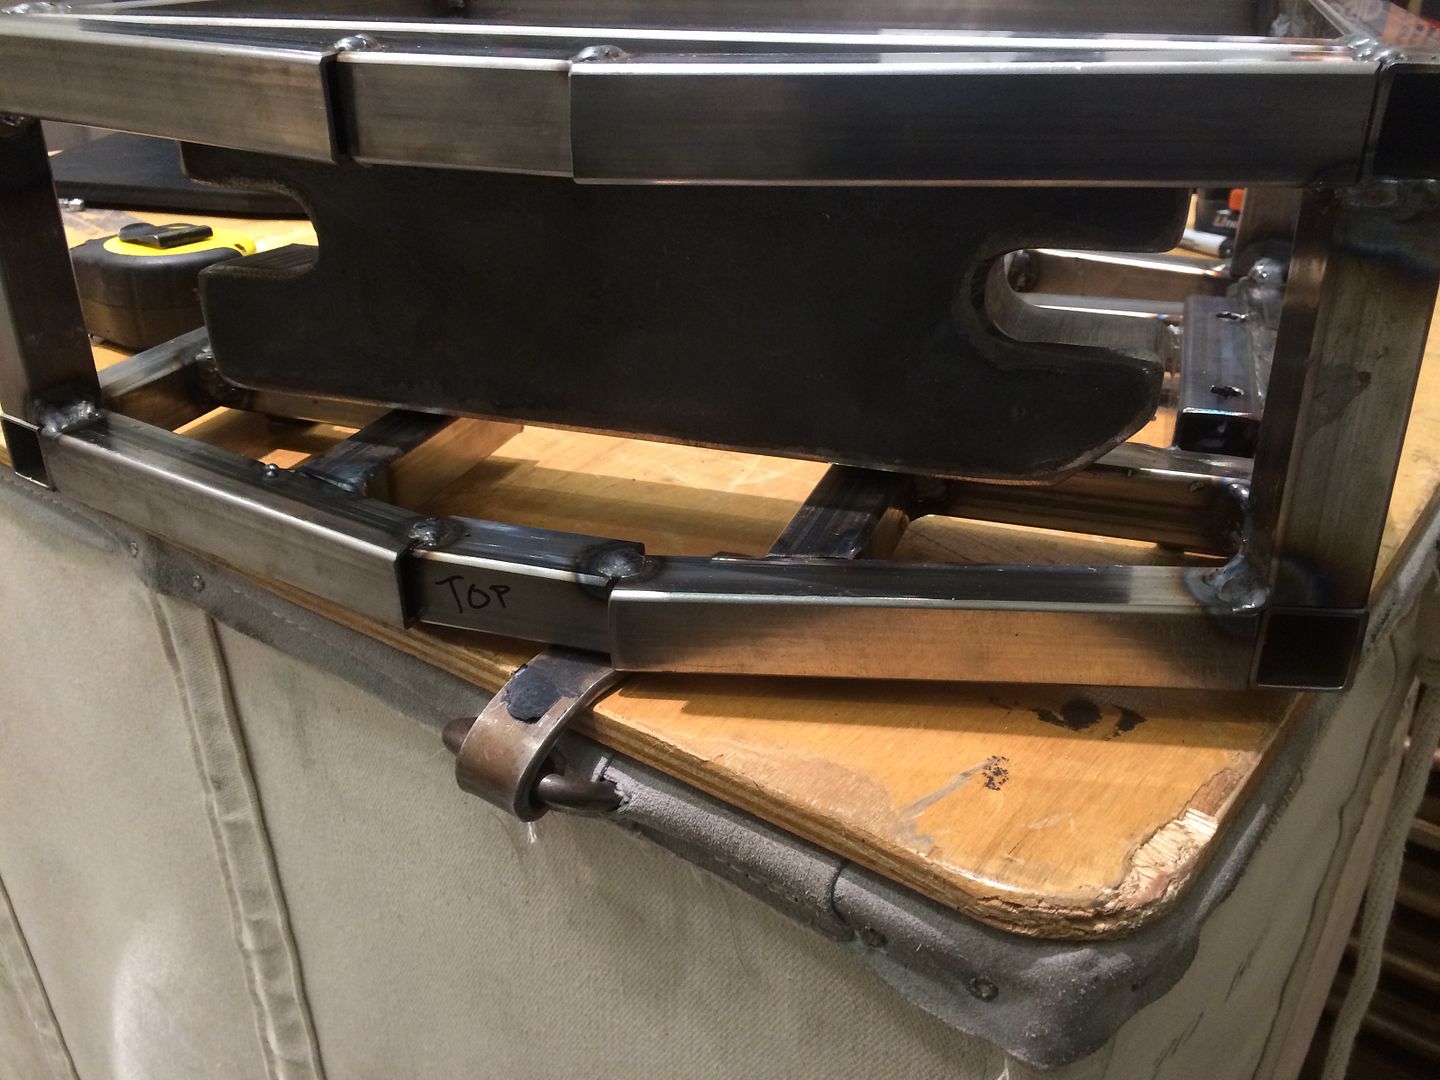
It was also time to start working on the back end of the gun. I put the body on a scale before the cast pieces and barrels were reattached, and at that point they weighed 53 pounds. (Glad I started over in aluminum). The back end will all be steel, contain the motor for the tilt motion, and counterweight for the front section so it balances out.
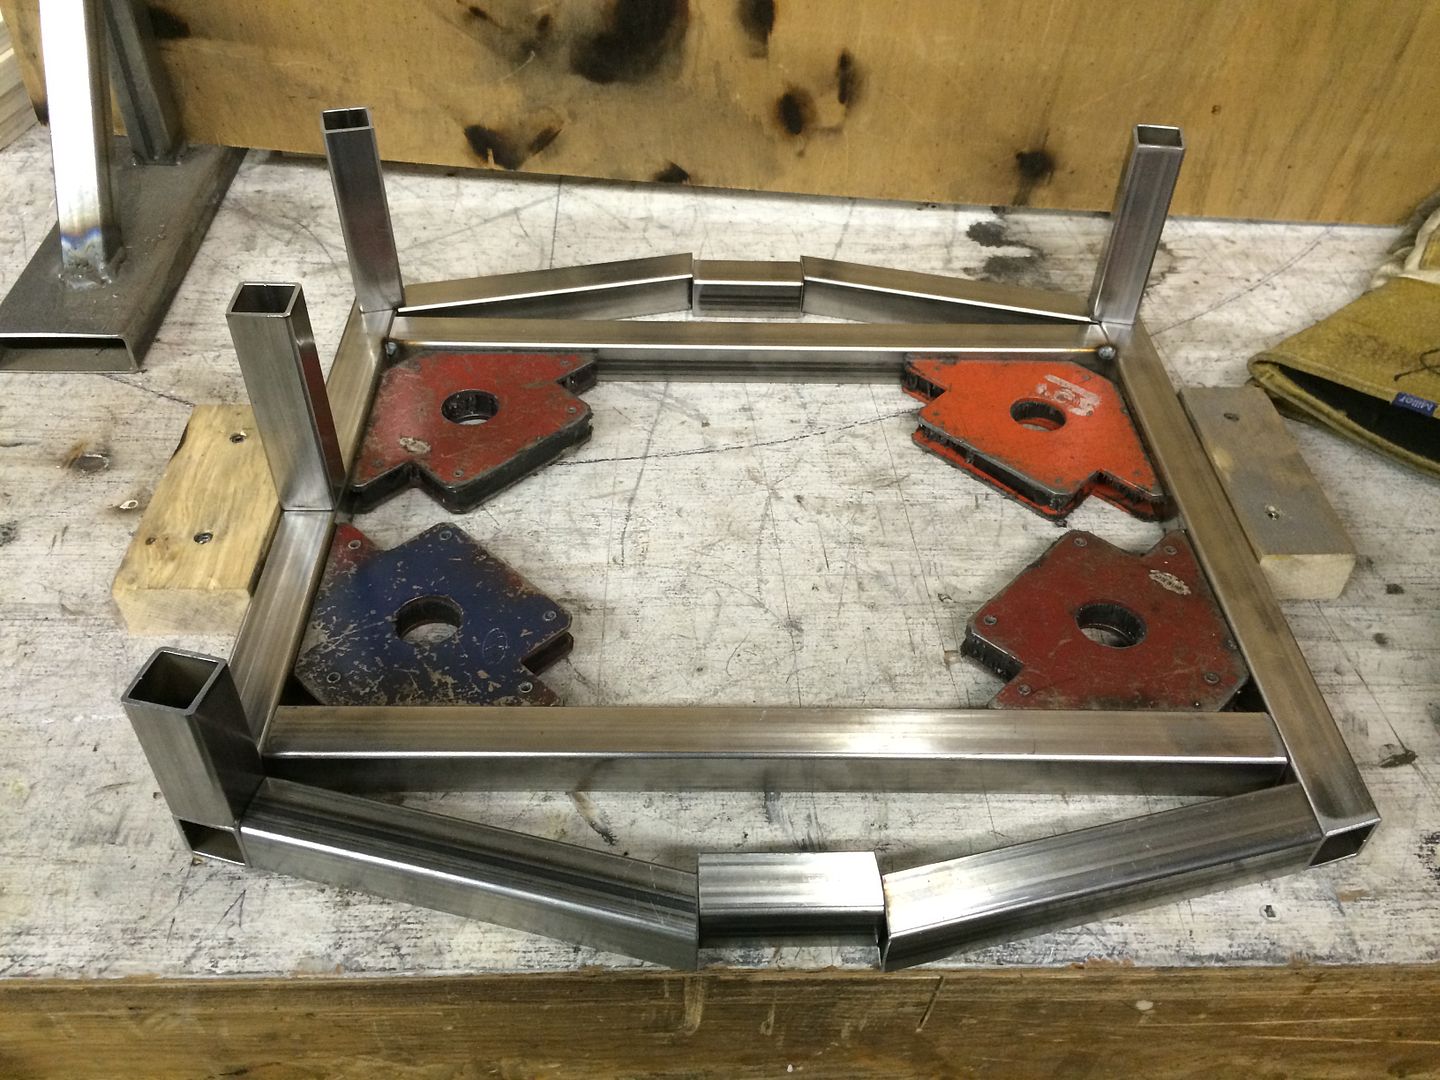
laying out the back portion of the frame

Checking the fit. I had a couple of two objects trying to occupy the same space moments, one which required the Undo button (grinder), the other which I got around with a minor adaptation.

Right under the 2X2 steel with the pillow block on it is a 1X2 tube which is drilled out for the bolts from the block. The bolts will become grade 8 3/8" x 6" all thread bolts, which will keep the blocks bolted to the body, but allow the back end to be removable for access (or installation)
It was also time to start working on the back end of the gun. I put the body on a scale before the cast pieces and barrels were reattached, and at that point they weighed 53 pounds. (Glad I started over in aluminum). The back end will all be steel, contain the motor for the tilt motion, and counterweight for the front section so it balances out.
laying out the back portion of the frame
Checking the fit. I had a couple of two objects trying to occupy the same space moments, one which required the Undo button (grinder), the other which I got around with a minor adaptation.
Right under the 2X2 steel with the pillow block on it is a 1X2 tube which is drilled out for the bolts from the block. The bolts will become grade 8 3/8" x 6" all thread bolts, which will keep the blocks bolted to the body, but allow the back end to be removable for access (or installation)
Operascot
Active Member
And of course, if you remember SK's quad build, you may remember the joys that were the mitre cuts for the shroud at the back.
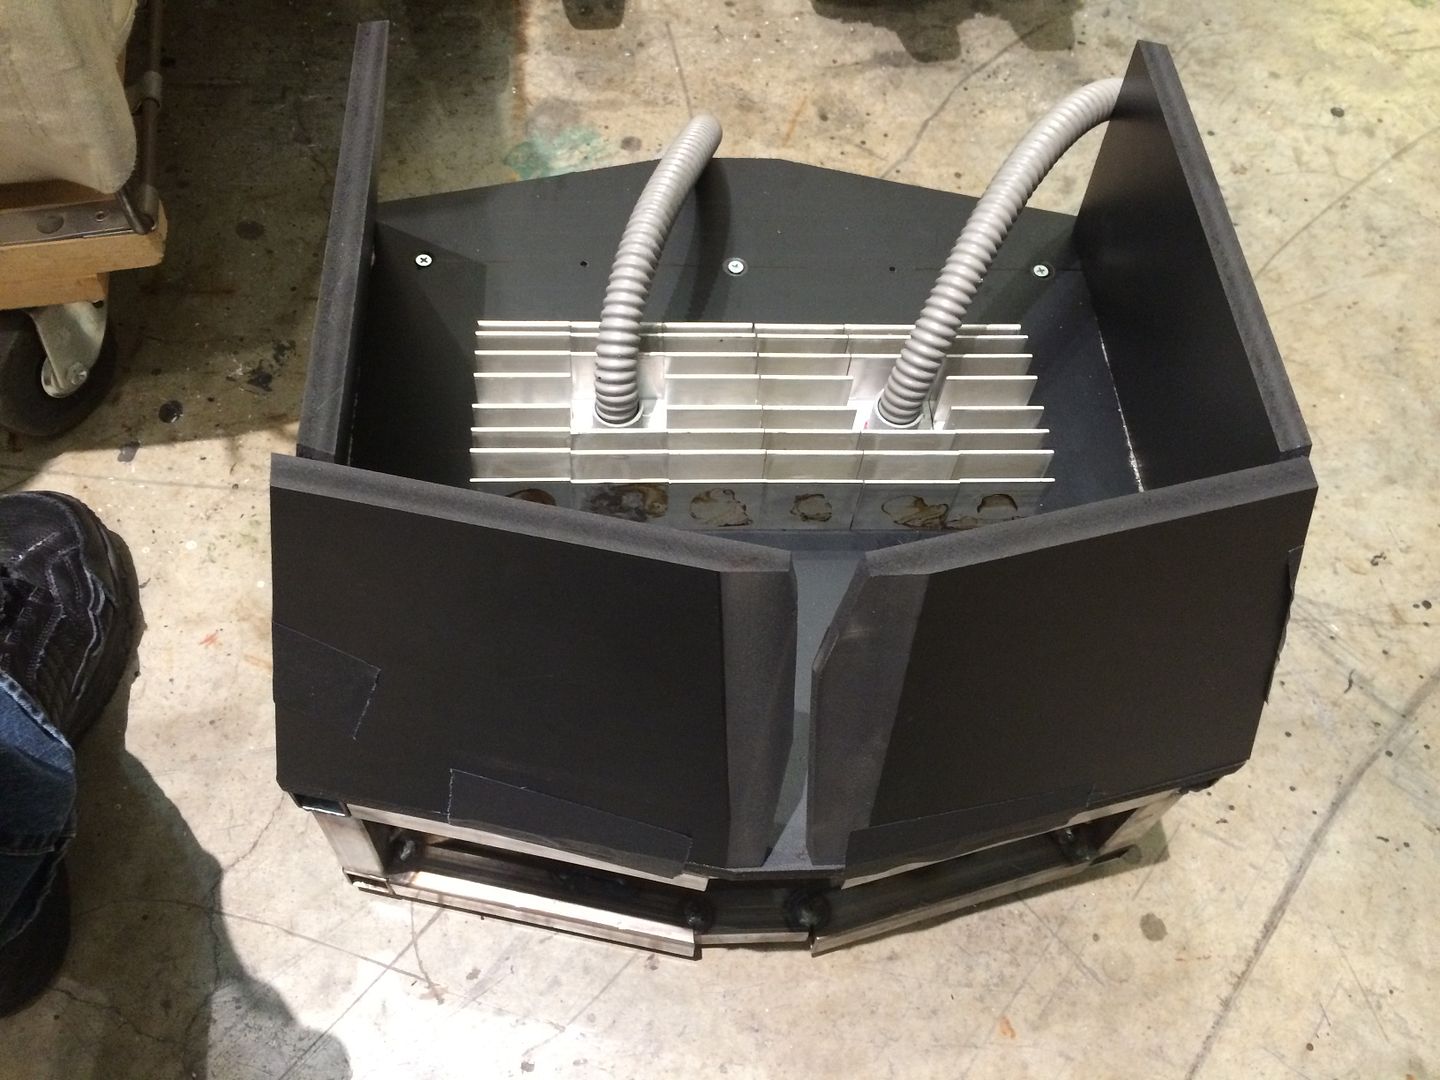
I'm reasonably sure I will be covering the surface (and the currently ugly seam area) with a printed part. I haven't figured that out completely.
More pictures of the steel frame

(Ok, maybe not my prettiest welds)
And, just because I could...
More to come.
I'm reasonably sure I will be covering the surface (and the currently ugly seam area) with a printed part. I haven't figured that out completely.
More pictures of the steel frame
(Ok, maybe not my prettiest welds)
And, just because I could...
More to come.
Operascot
Active Member
Yes Sir!! Lovely update on that quad (how I long to see it in action
You and me both, joberg
Hi Gang
Early morning updates! Not sure I'll be able to match Scot's AWESOME pics of his quad! DANG IT! I am beyond excited to see his quad brought to life!
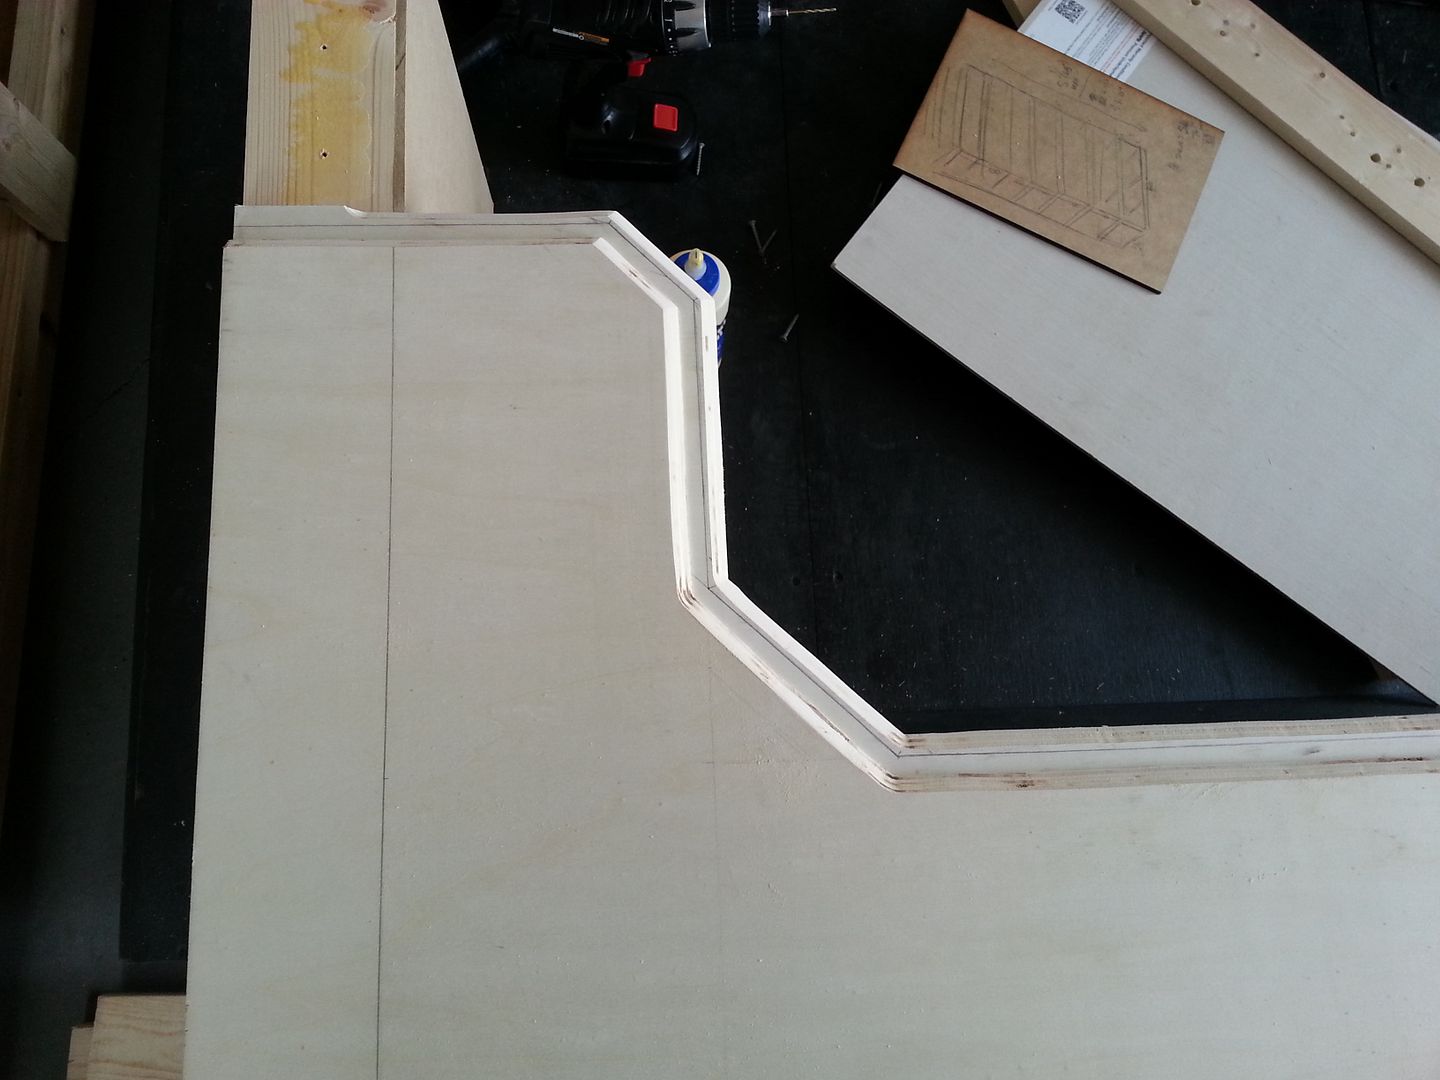
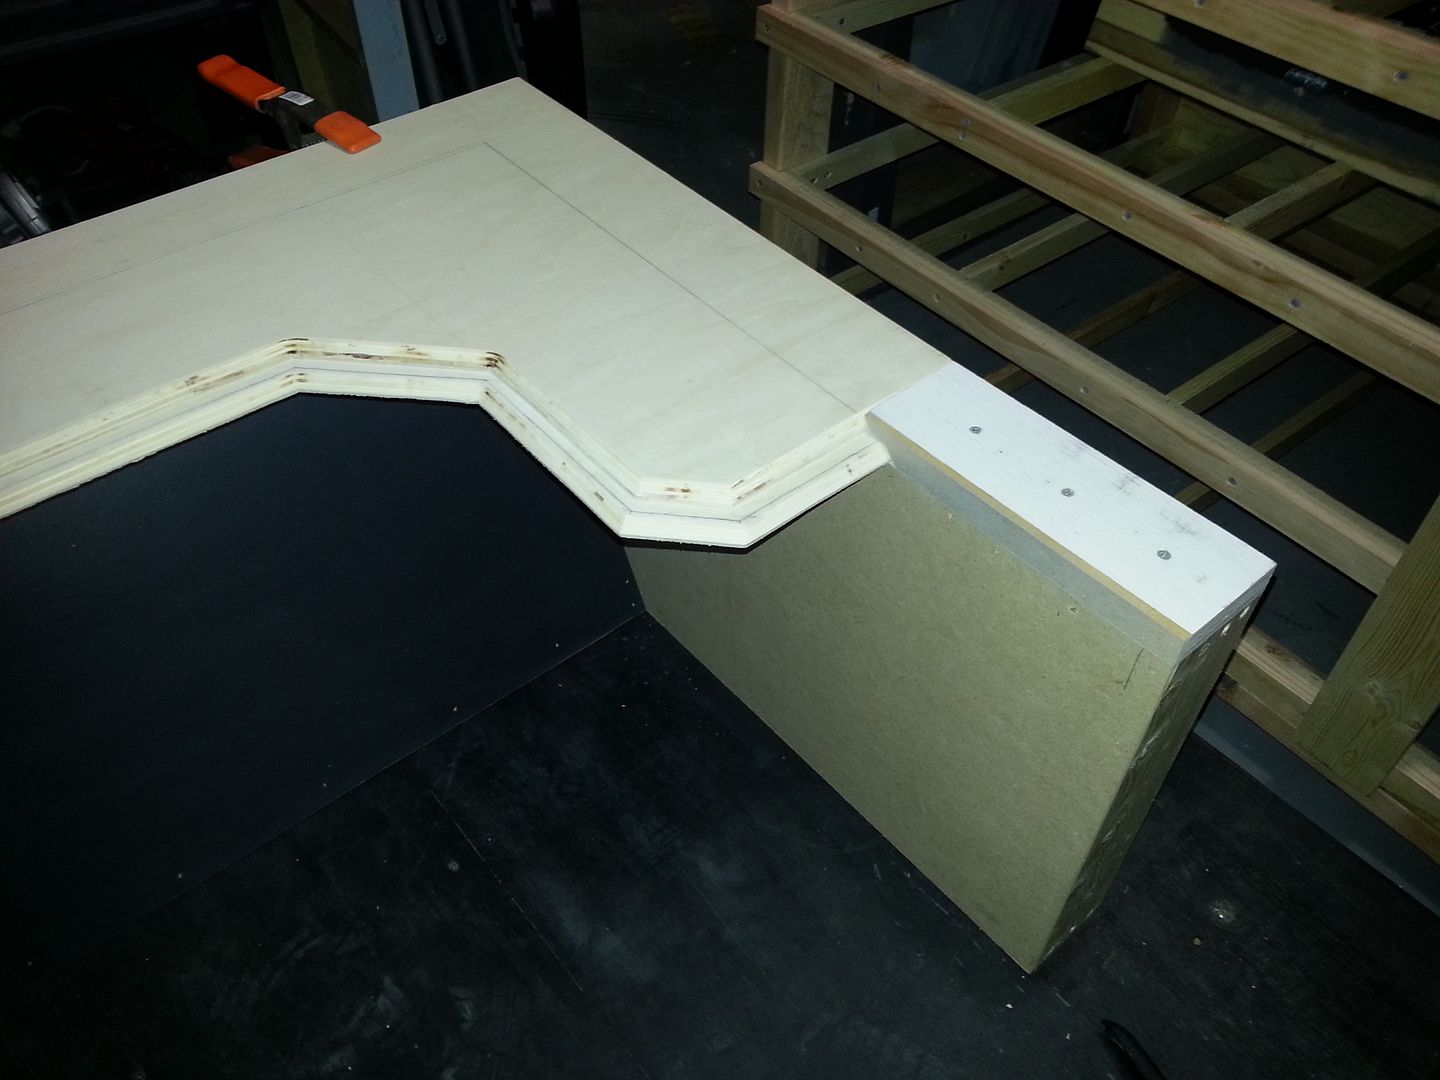
Spent much of the weekend doing little things... As always, I wanted to be MUCH further! After a unforeseeable set back, Jessie and I finished up the shelves. We broke out the router with a 45deg angle bit and...
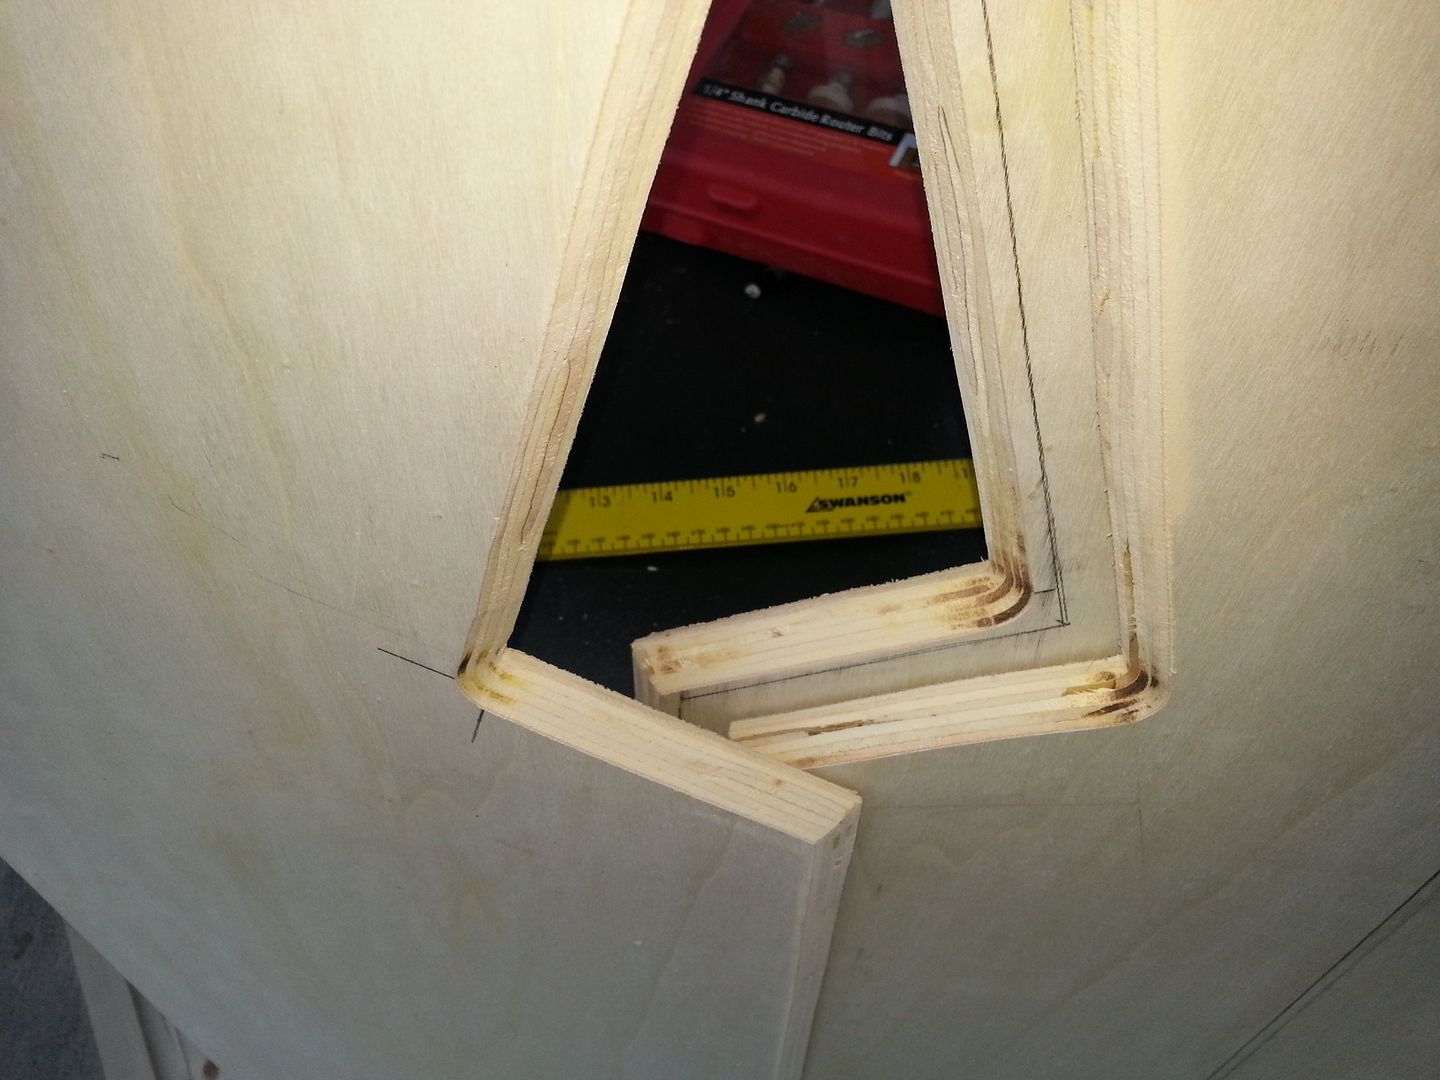


But when the dust cleared... the edges were too close together

So... it back to the cutting/routing table and...

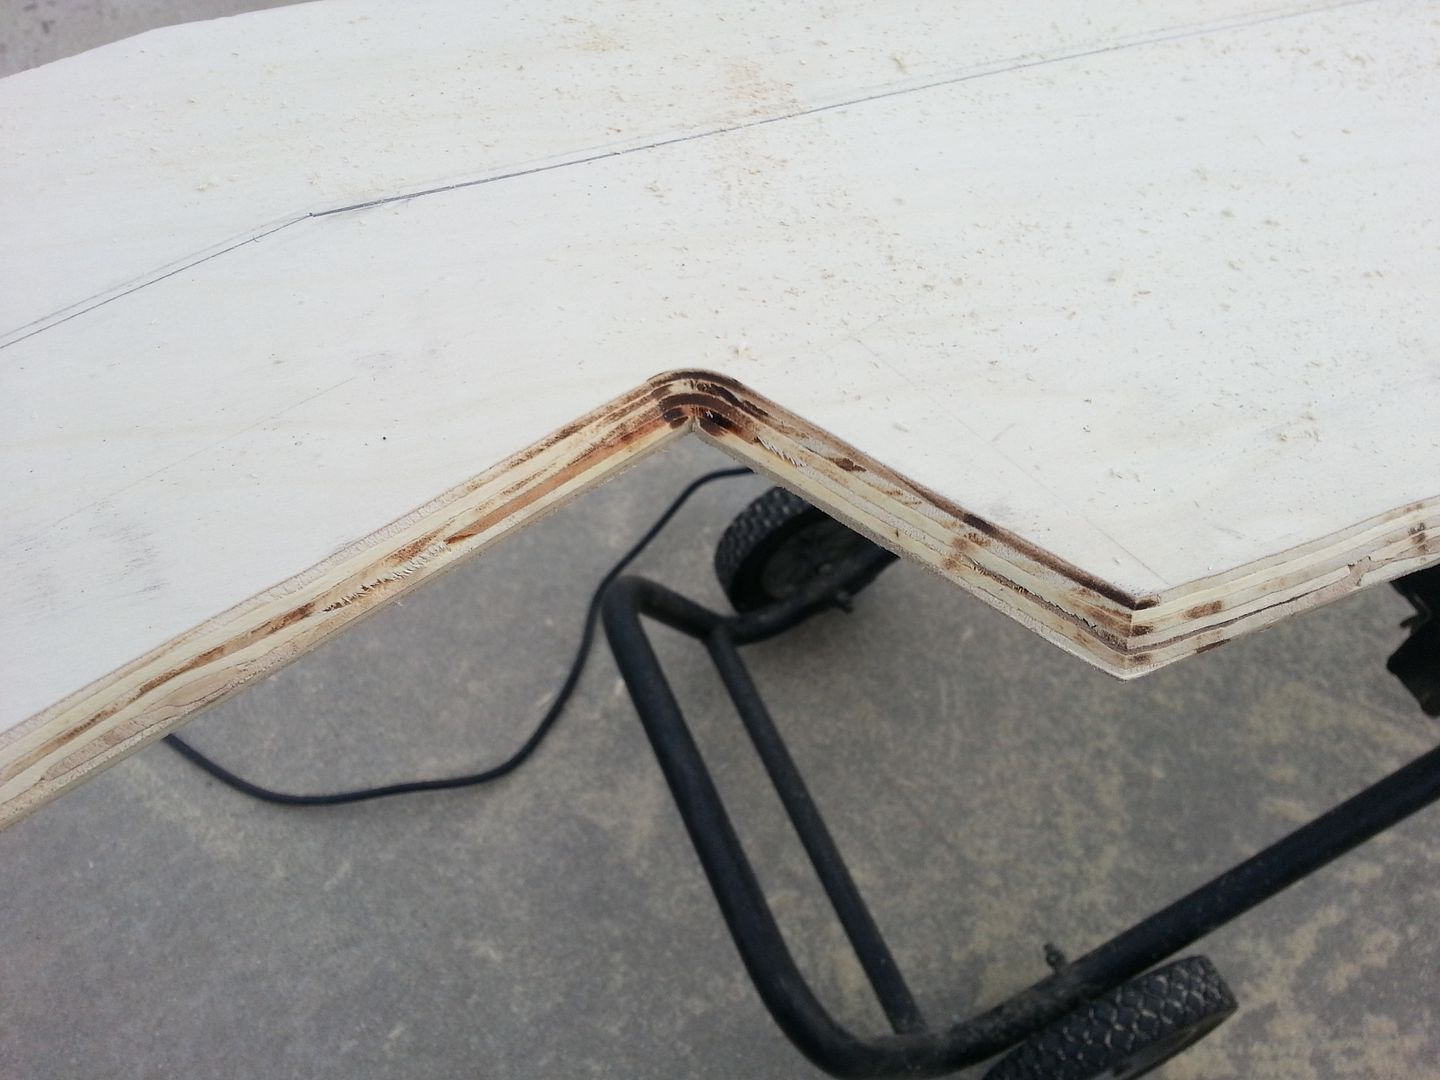
After some sanding... MUCH better

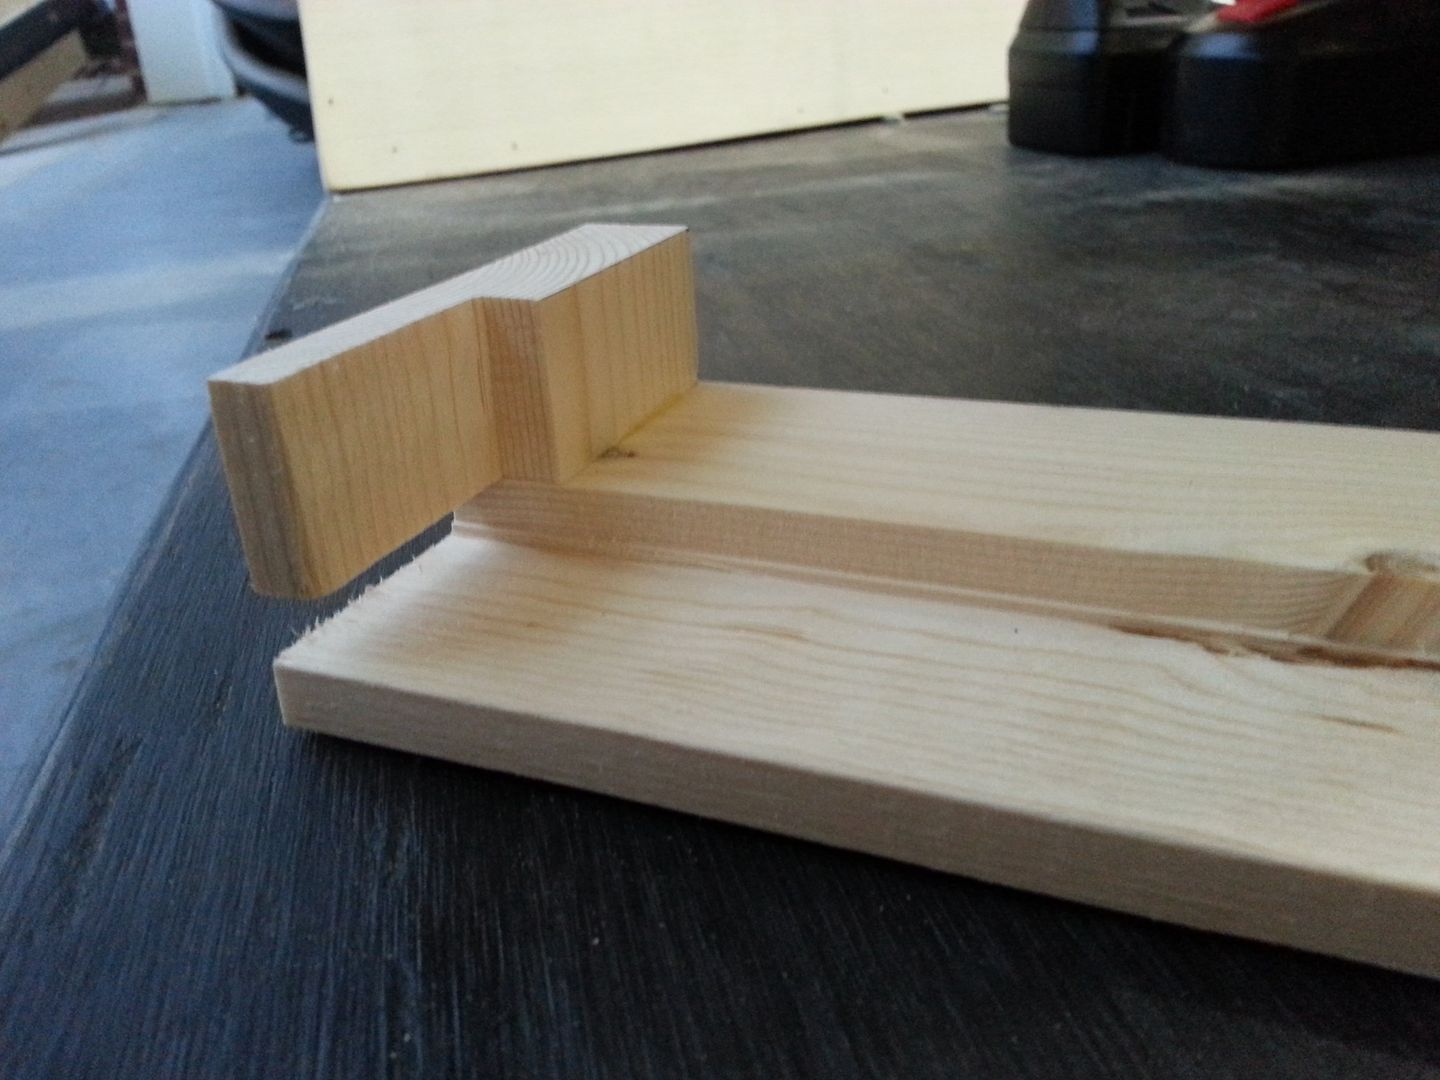
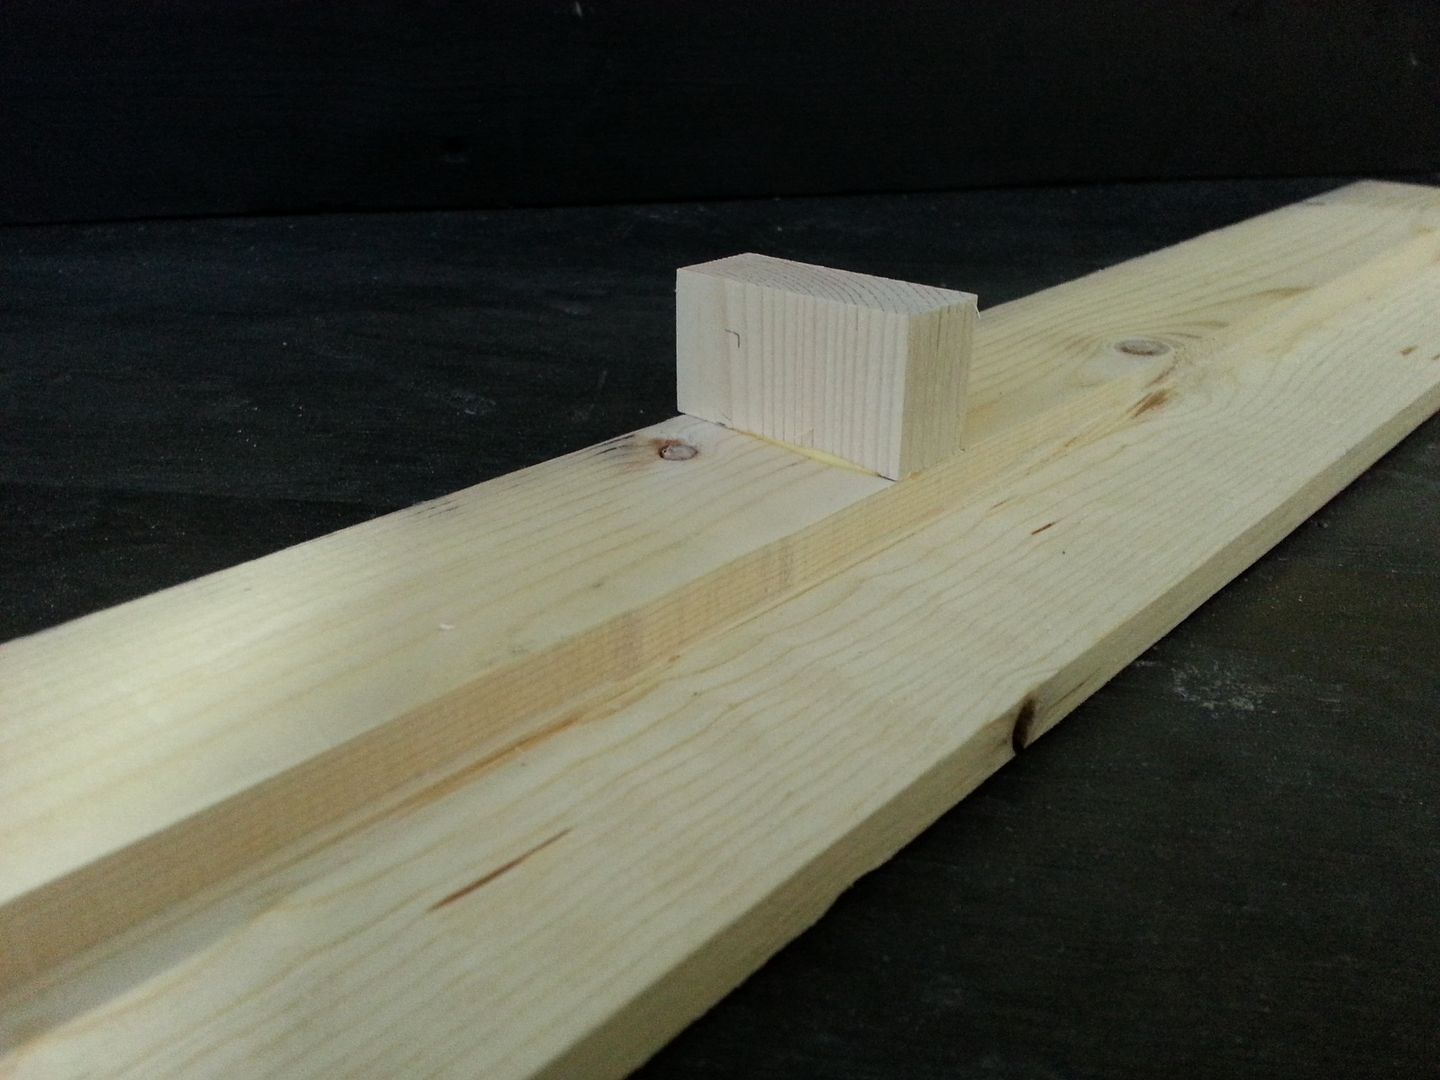
Jessie got started on these greeblies

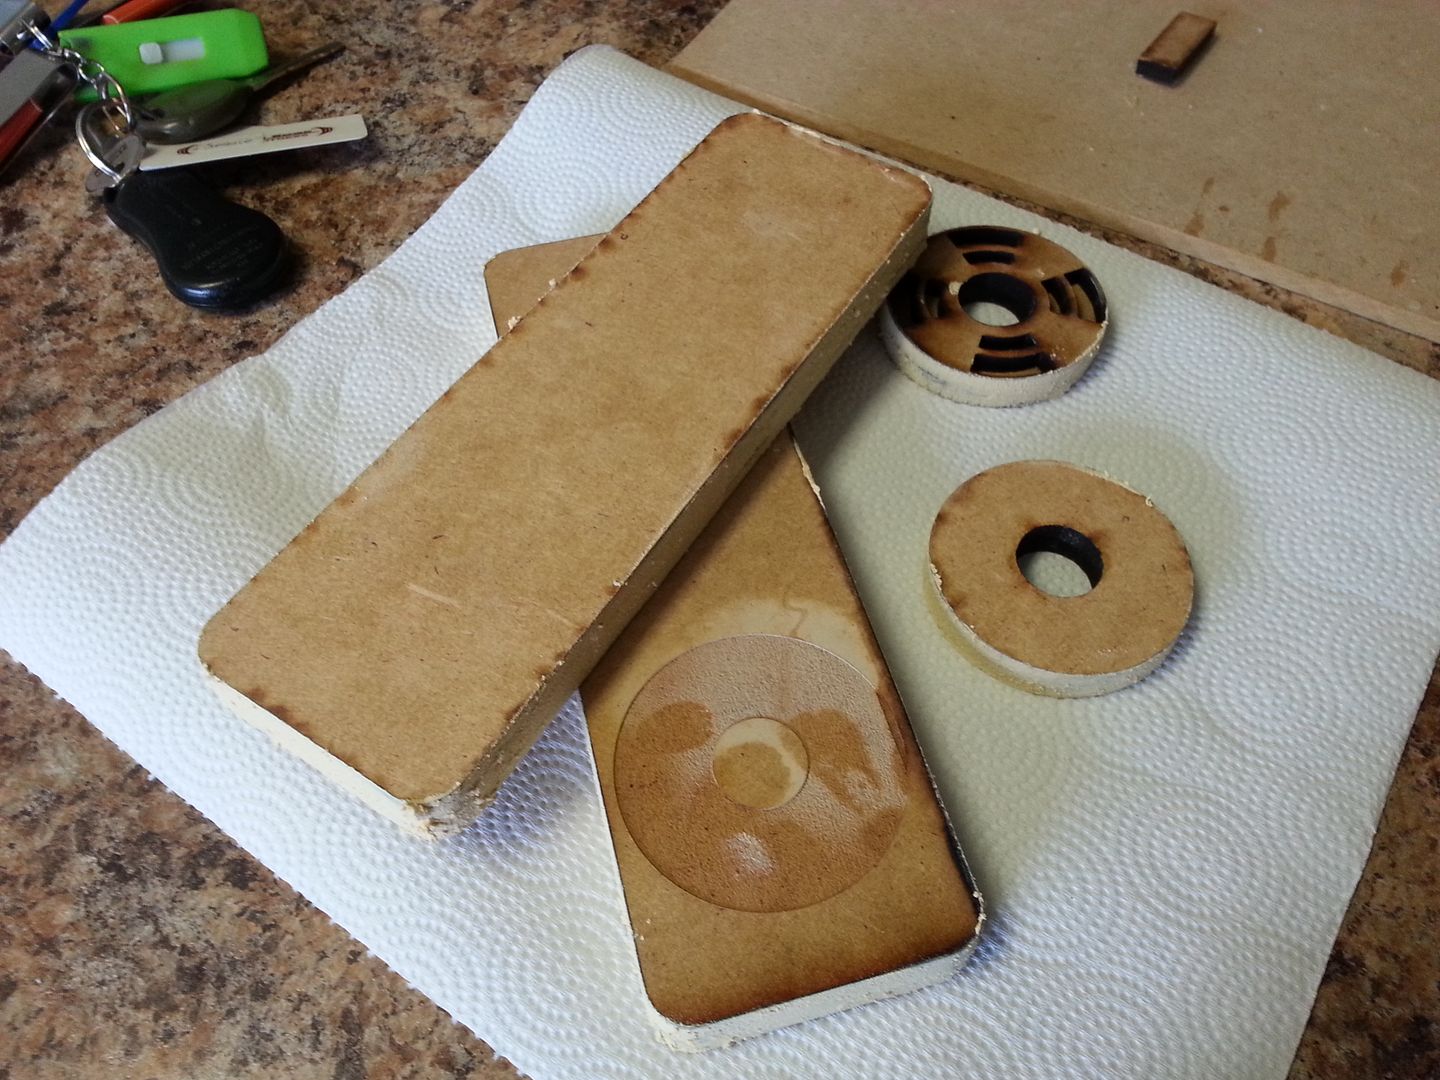

Since the shelves end at a certain point along the back wall I created these "risers" to fill in the blank space. 2 more "risers" need to be created for the front of the nose.


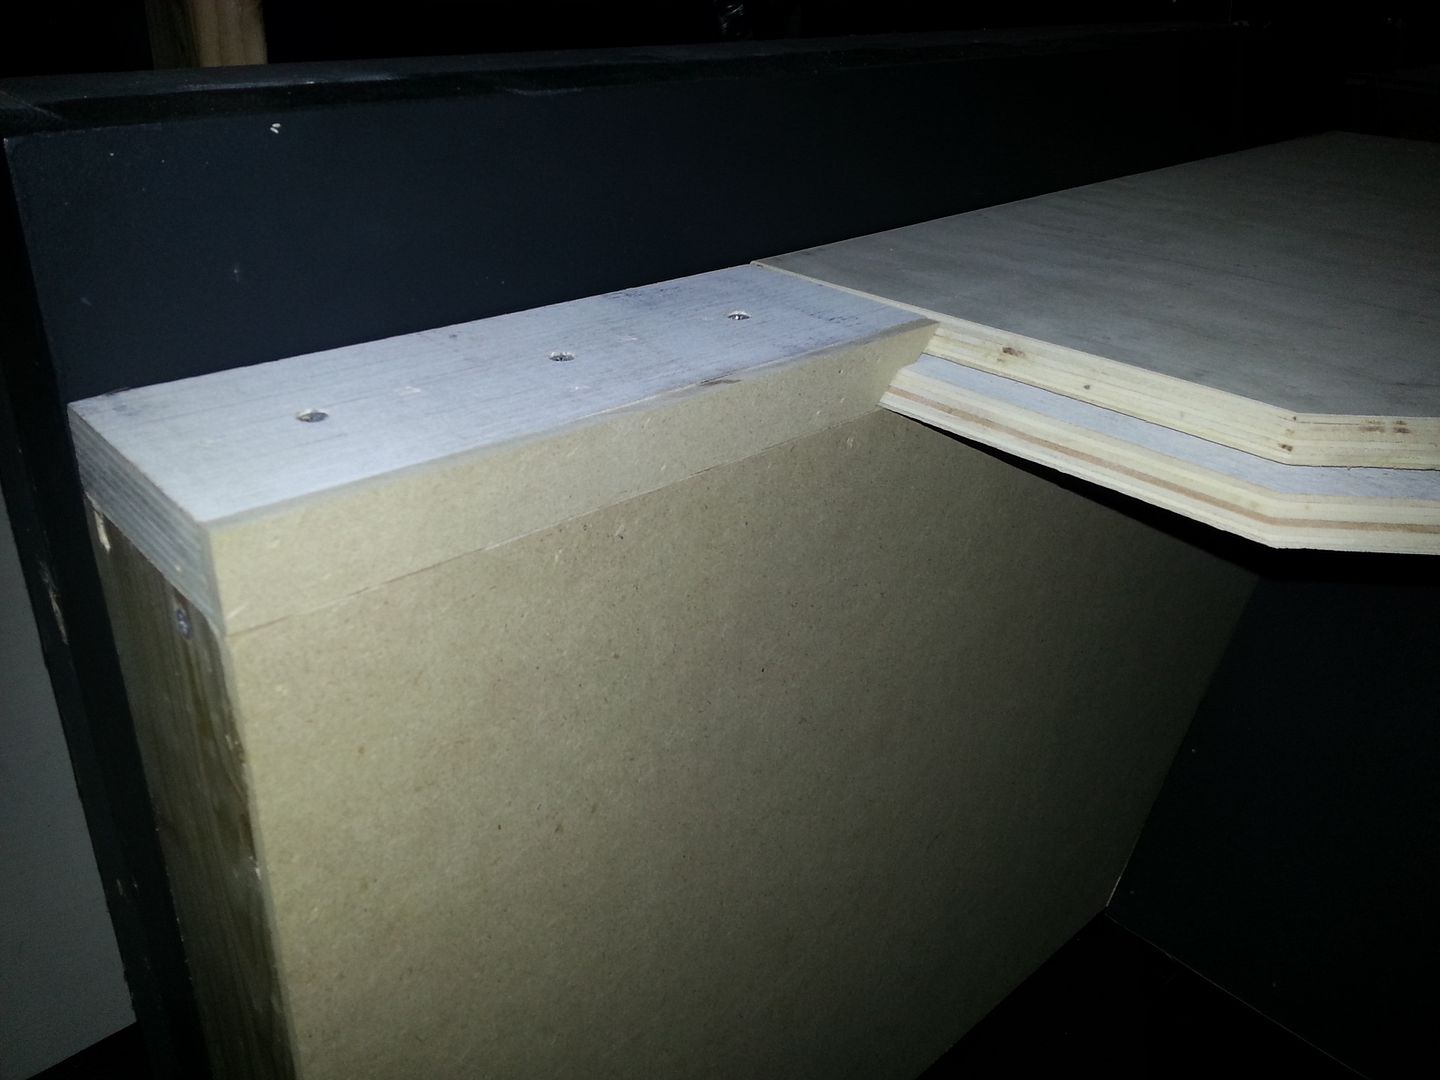
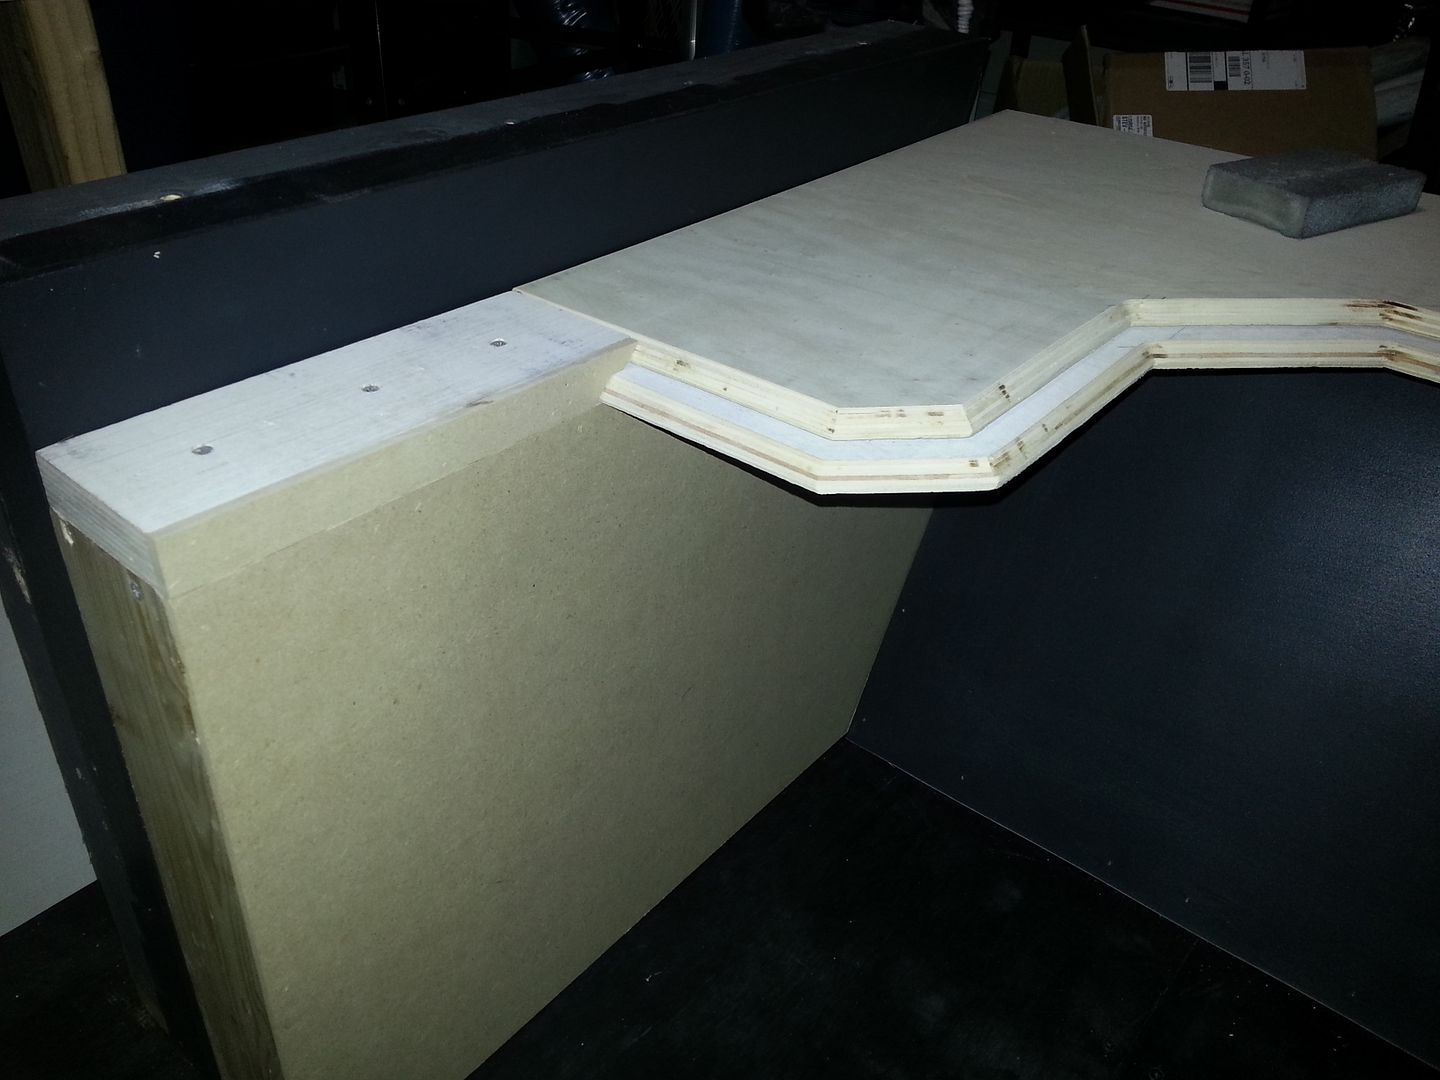
The new lightbars then rest on top of the shelves
Speaking of lightbars... I spent a fair amount of time routing the new lightbar housing(s).


Unfortunately I ran out of time... I never get as far as I would have liked... This where we are...

More to Follow!
Early morning updates! Not sure I'll be able to match Scot's AWESOME pics of his quad! DANG IT! I am beyond excited to see his quad brought to life!
Spent much of the weekend doing little things... As always, I wanted to be MUCH further! After a unforeseeable set back, Jessie and I finished up the shelves. We broke out the router with a 45deg angle bit and...
But when the dust cleared... the edges were too close together
So... it back to the cutting/routing table and...
After some sanding... MUCH better
Jessie got started on these greeblies
Since the shelves end at a certain point along the back wall I created these "risers" to fill in the blank space. 2 more "risers" need to be created for the front of the nose.
The new lightbars then rest on top of the shelves
Speaking of lightbars... I spent a fair amount of time routing the new lightbar housing(s).
Unfortunately I ran out of time... I never get as far as I would have liked... This where we are...
More to Follow!
You sound like my wife! Next you'll be putting candles and ceramic gnomes on them...
Great! Now there's a place to put your coffee and Egg McMuffin!
Had a busy weekend... Now it's time to relax...

<Like>Had a busy weekend... Now it's time to relax...
http://i778.photobucket.com/albums/...sole Build157/20141221_122231_zpse40cfa8c.jpg
Another great update SK -every single piece looks like it erupted from thin air fully formed.
maruska
Sr Member
Had a busy weekend... Now it's time to relax...
http://i778.photobucket.com/albums/...sole Build157/20141221_122231_zpse40cfa8c.jpg
That is friggin' funny!!! : D
Operascot
Active Member
Had a busy weekend... Now it's time to relax...
http://i778.photobucket.com/albums/...sole Build157/20141221_122231_zpse40cfa8c.jpg
You had to see that was coming. Great job, SK!
crystaloftruth
Member
I don't think I'd ever noticed the shelves in the movies, or the lower light strips, but I love them and it's great to see them taking shape. It's one of the details that makes the falcon cockpit such a livable, welcoming space.
Thank you for building all of this. You've made me notice things from my favorite films that were there all along, hiding in plain sight. It's like seeing details from my childhood that, although I had seen it, I'd never been consciously aware of.
Also, those shelves would be a perfect place to rest a glass of blue milk
Similar threads
- Replies
- 11
- Views
- 1,115
- Replies
- 2
- Views
- 932
- Replies
- 2
- Views
- 967
- Replies
- 13
- Views
- 2,265