Hi Gang,
UPDATES!!! This weekend, a 3 day weekend, has been filled with accidents, coolness, frustration and everything in between! It rained for most of it limiting my time outside - which is a very bad thing, but we were able to get A LOT finished...
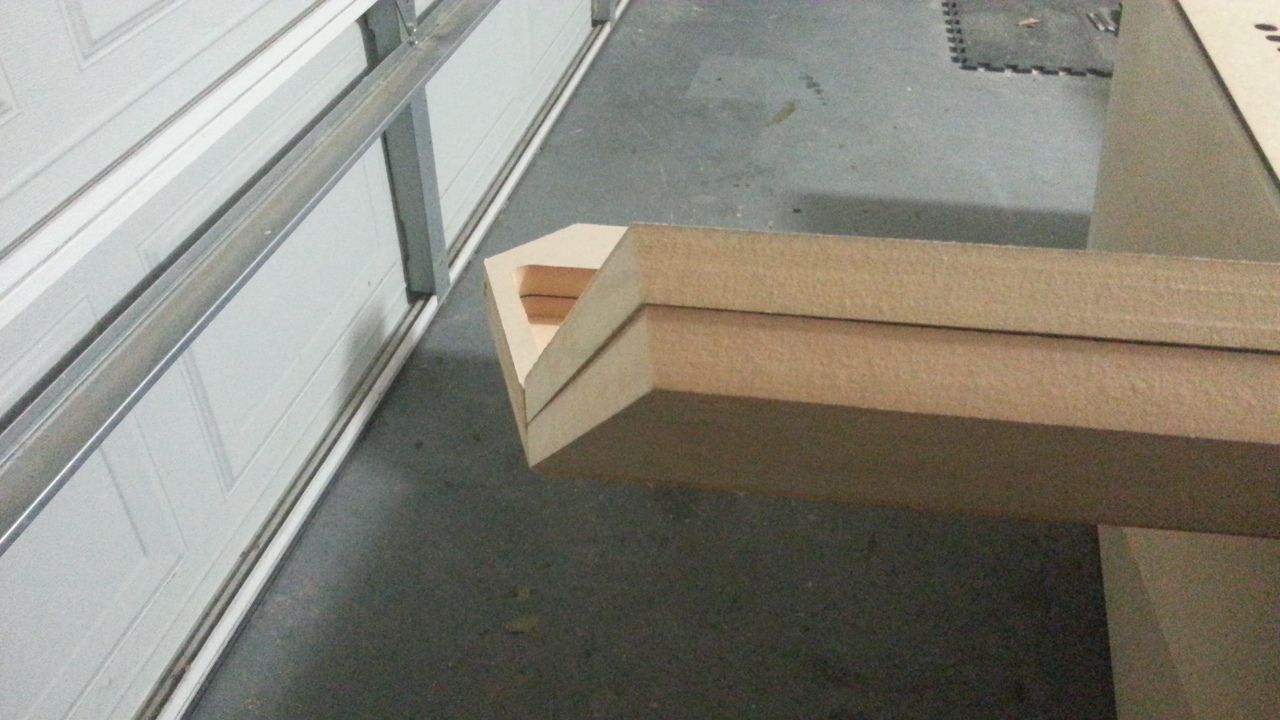
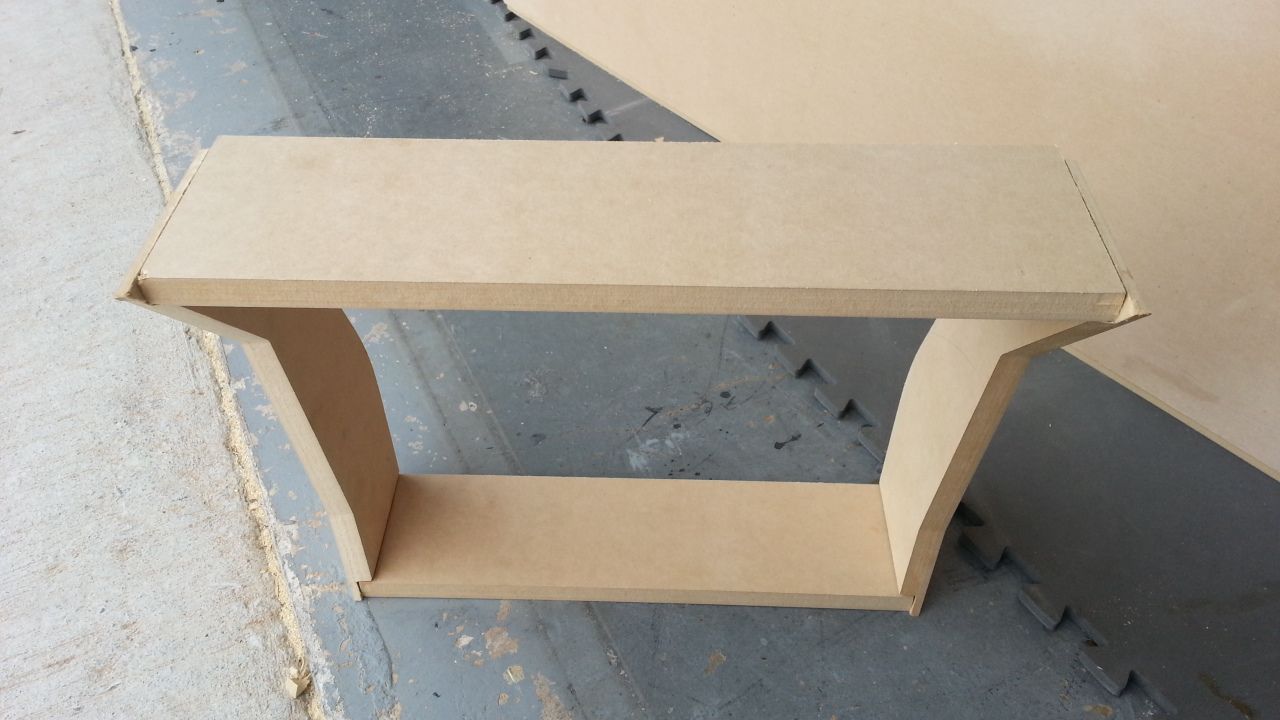
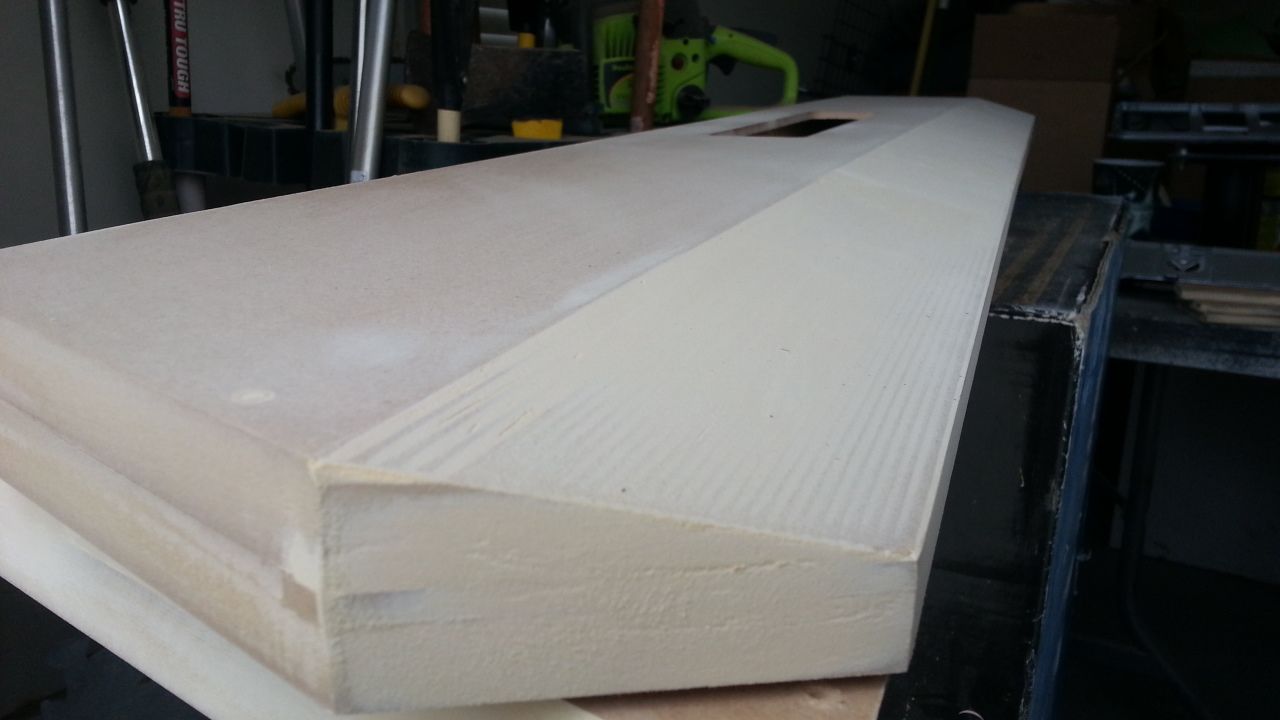
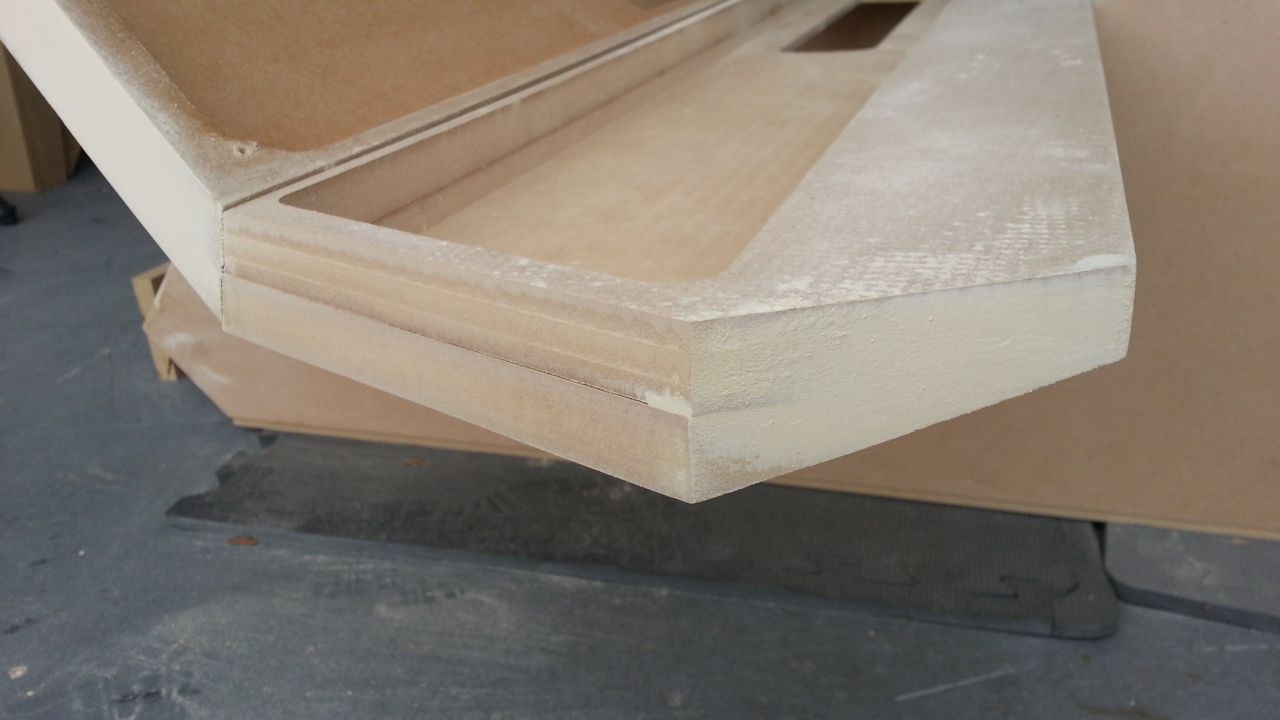
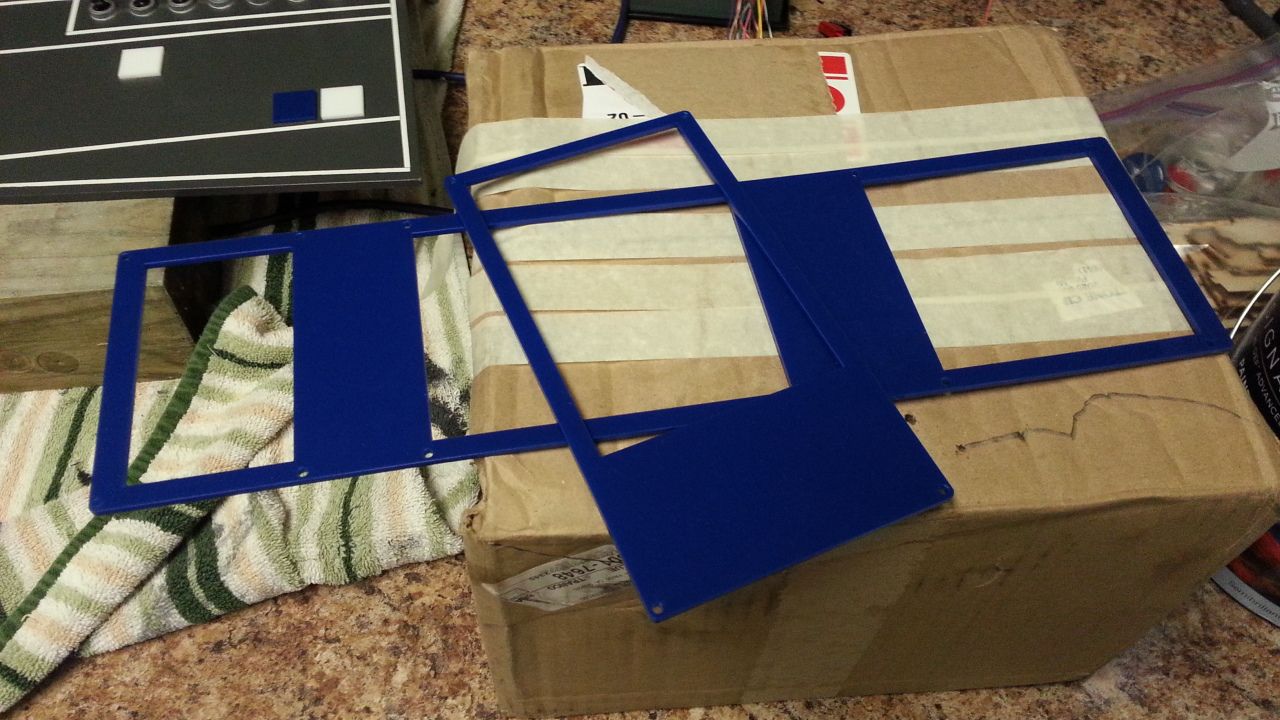
Friday started out finally finishing the nose panels
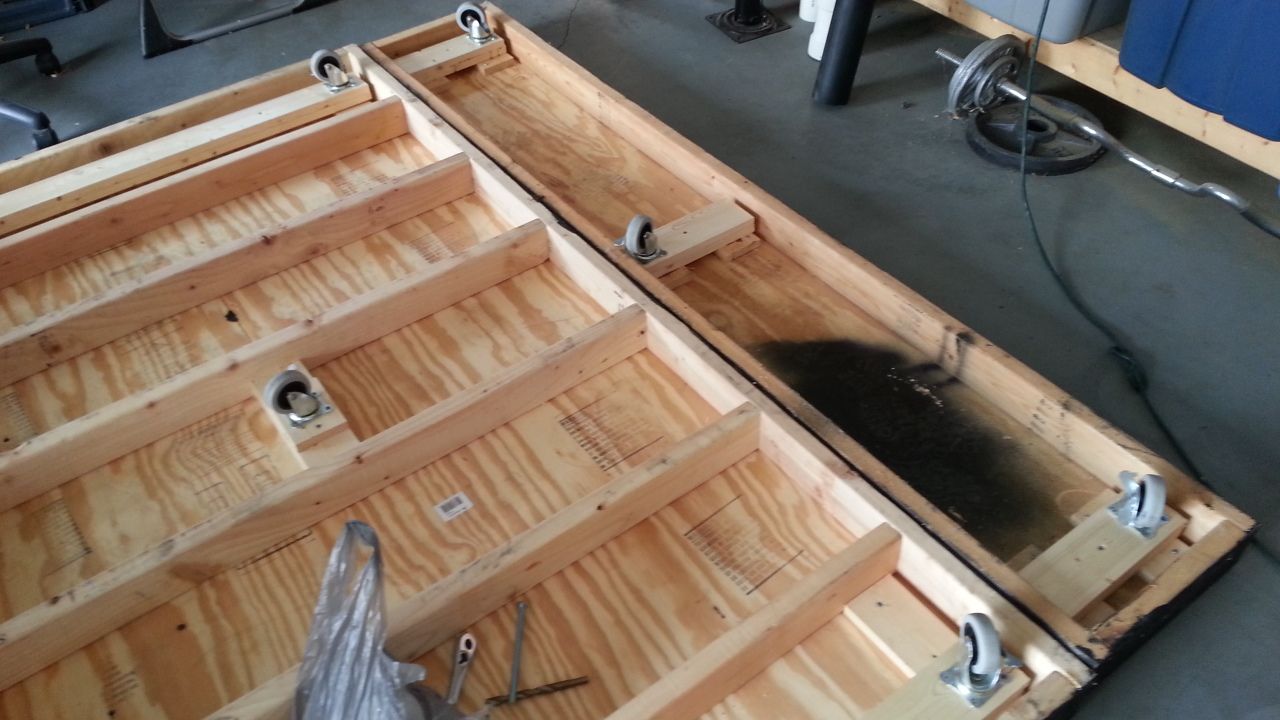
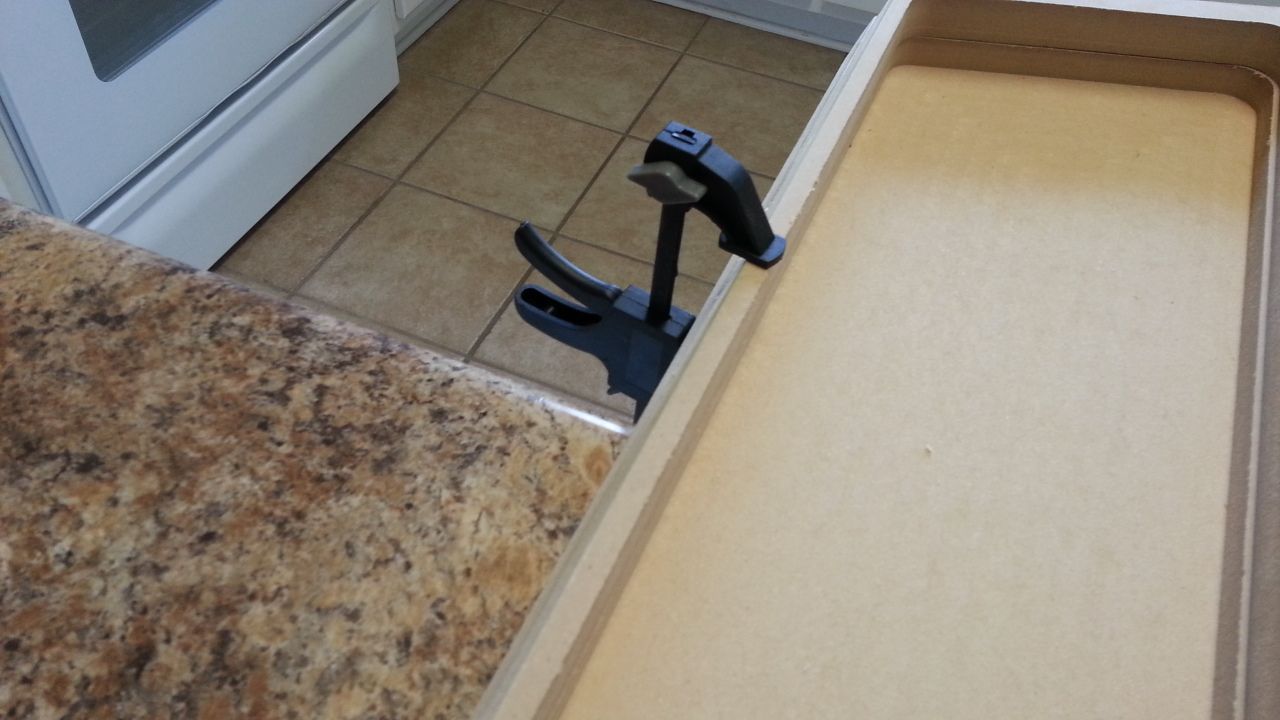
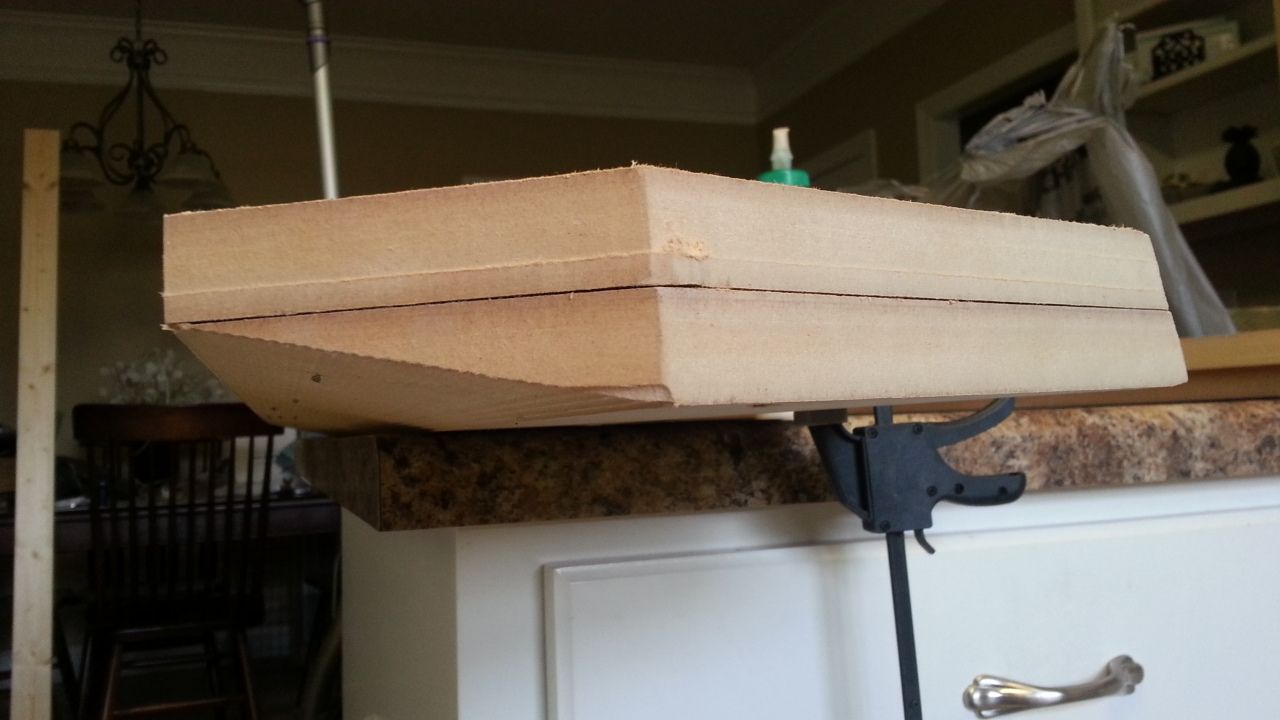
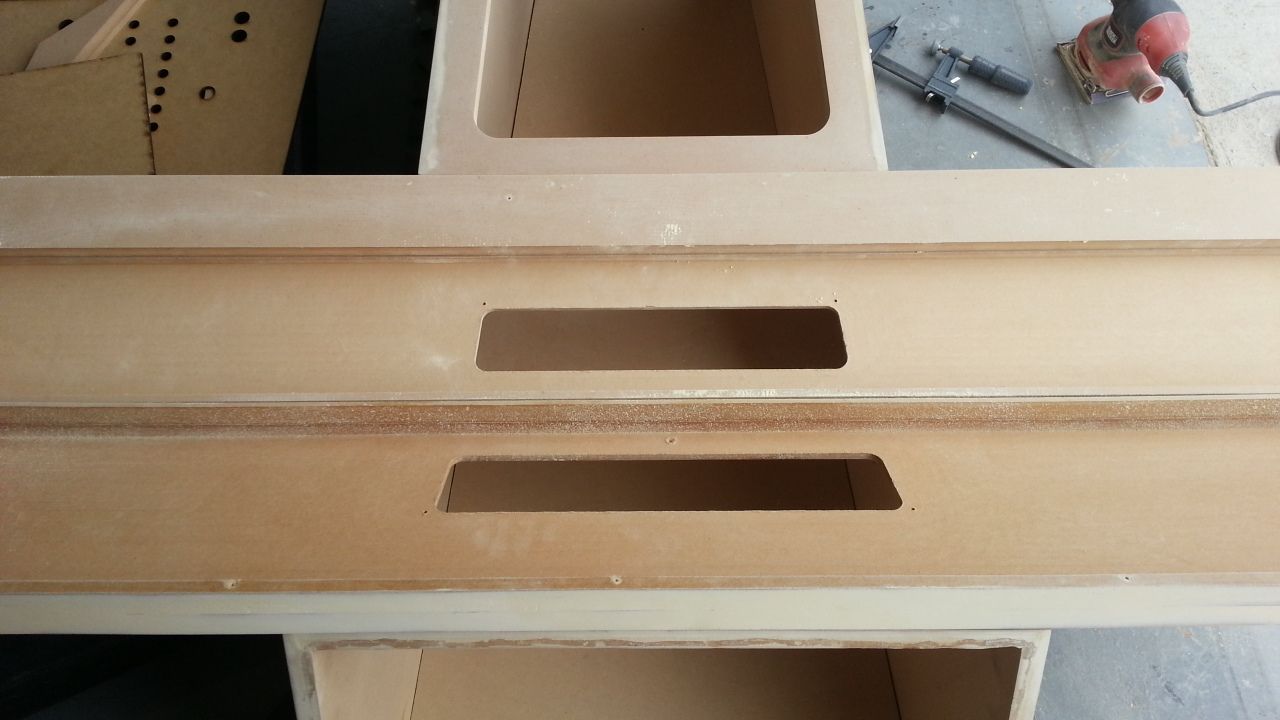
I then moved onto attaching the 15" extension platform to the main platform - didn't get to the nose platform because of the rain
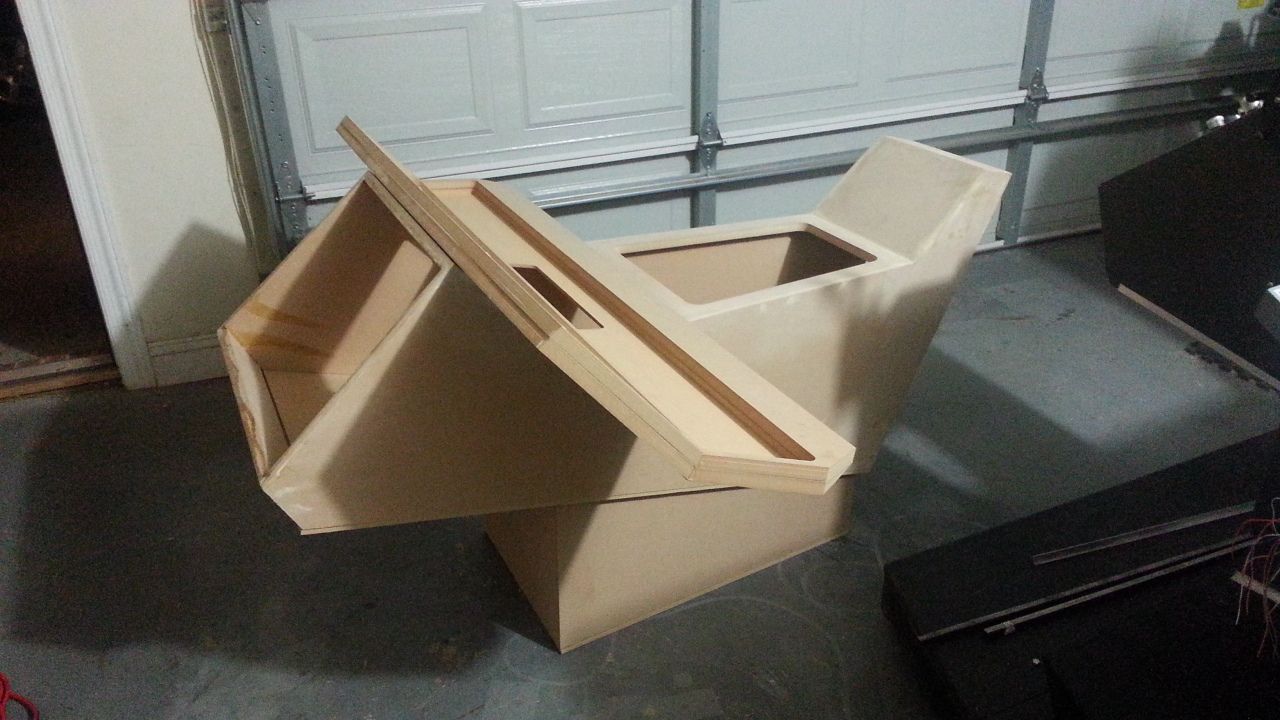
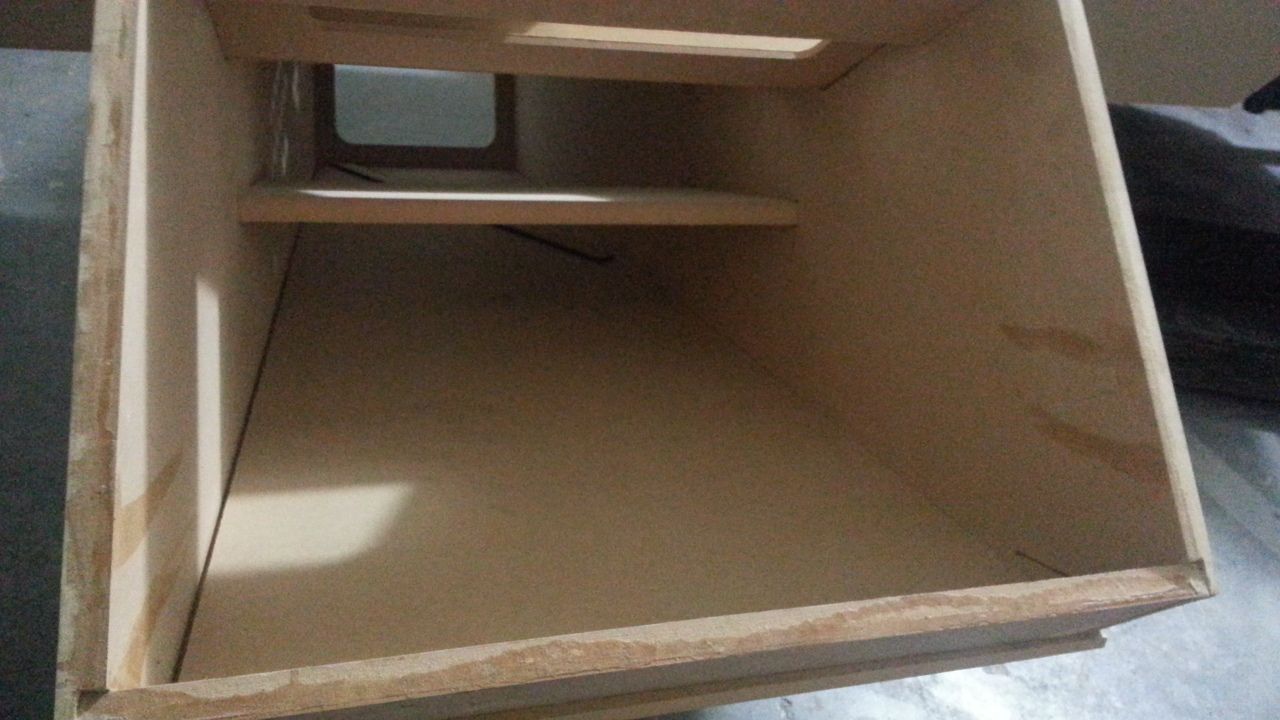
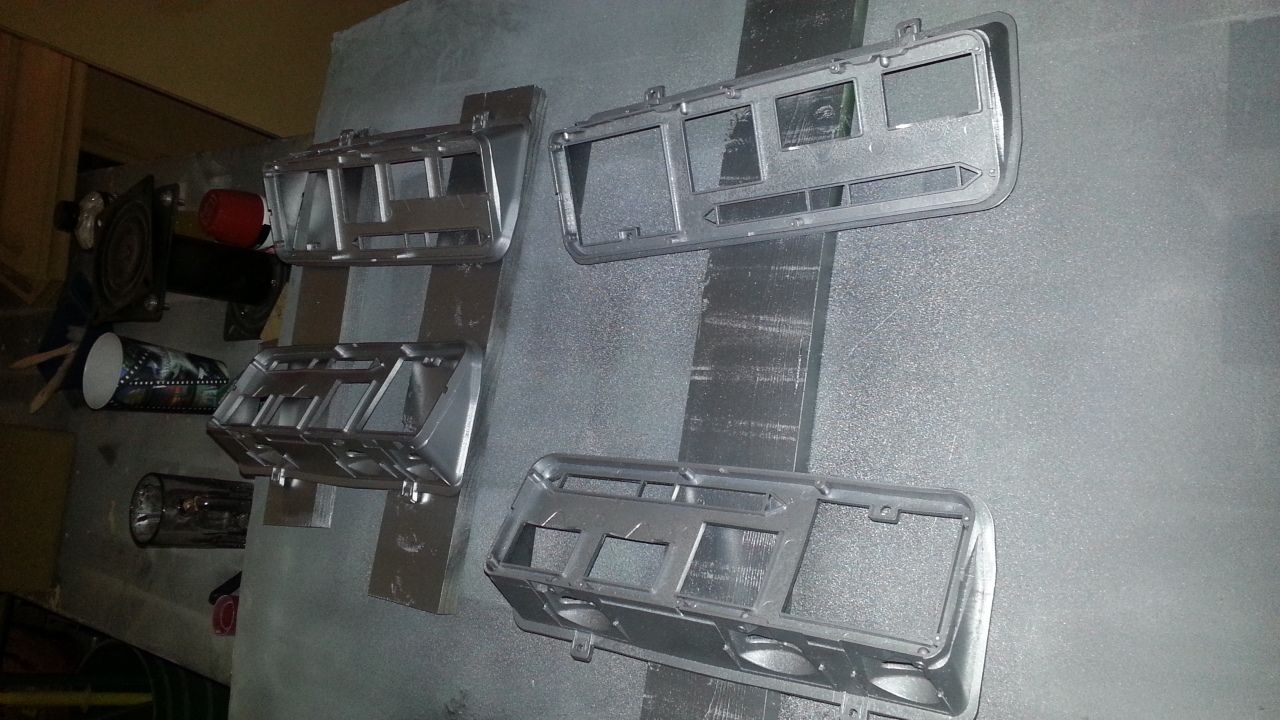
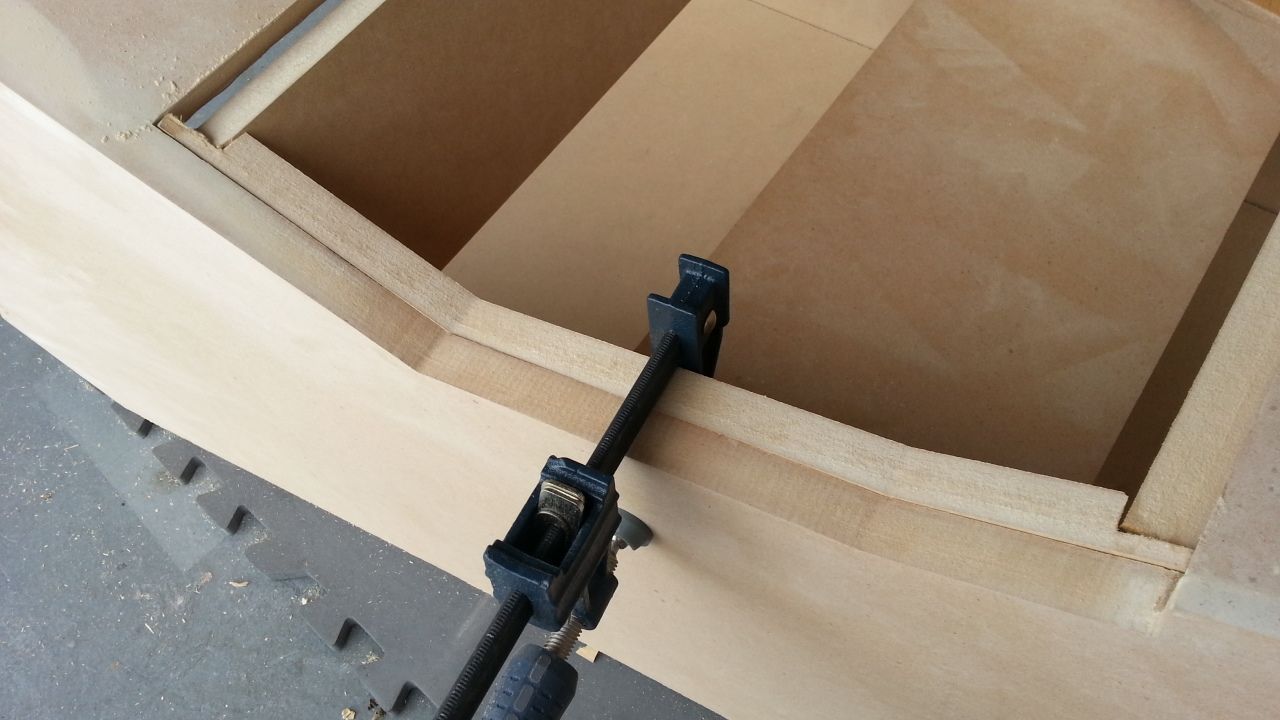
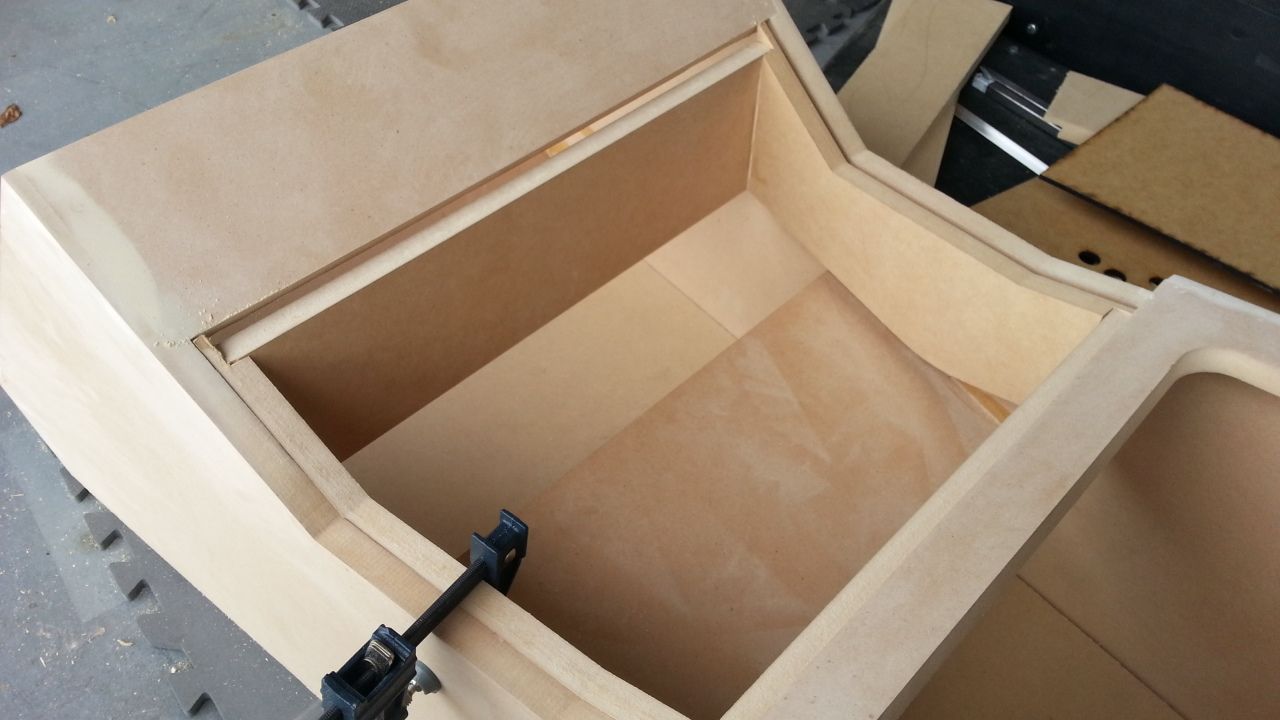
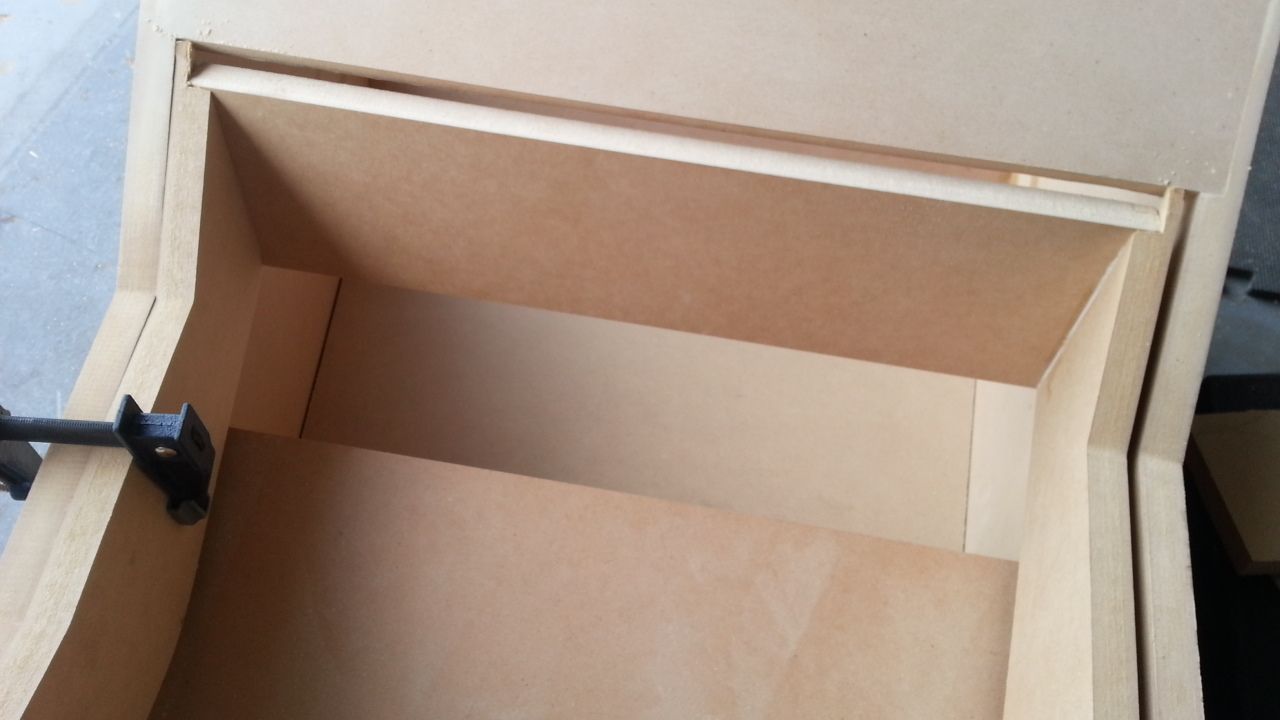
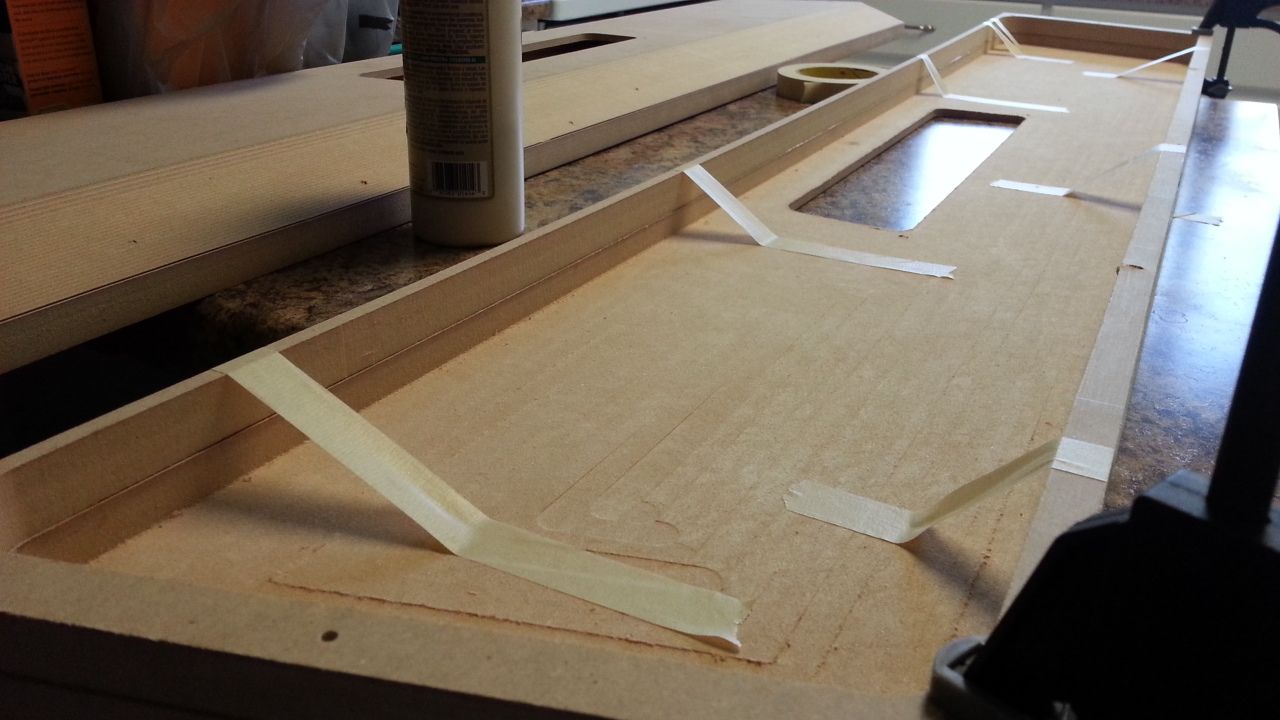
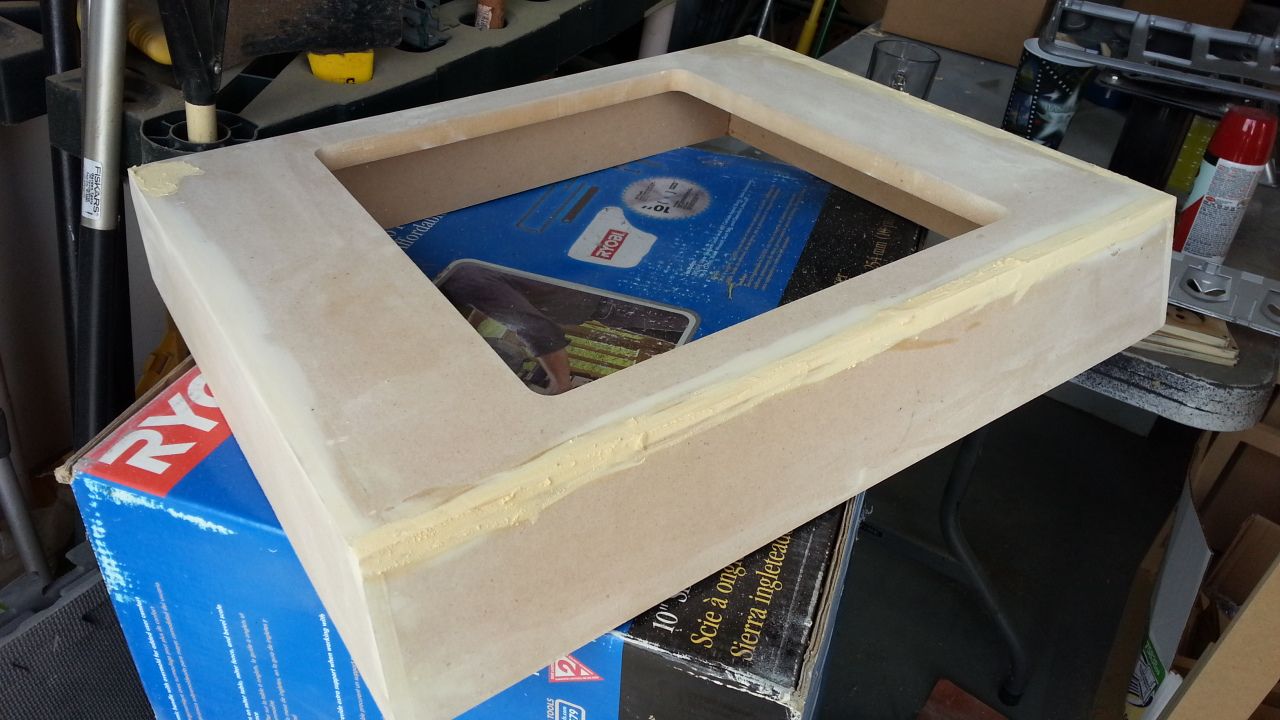
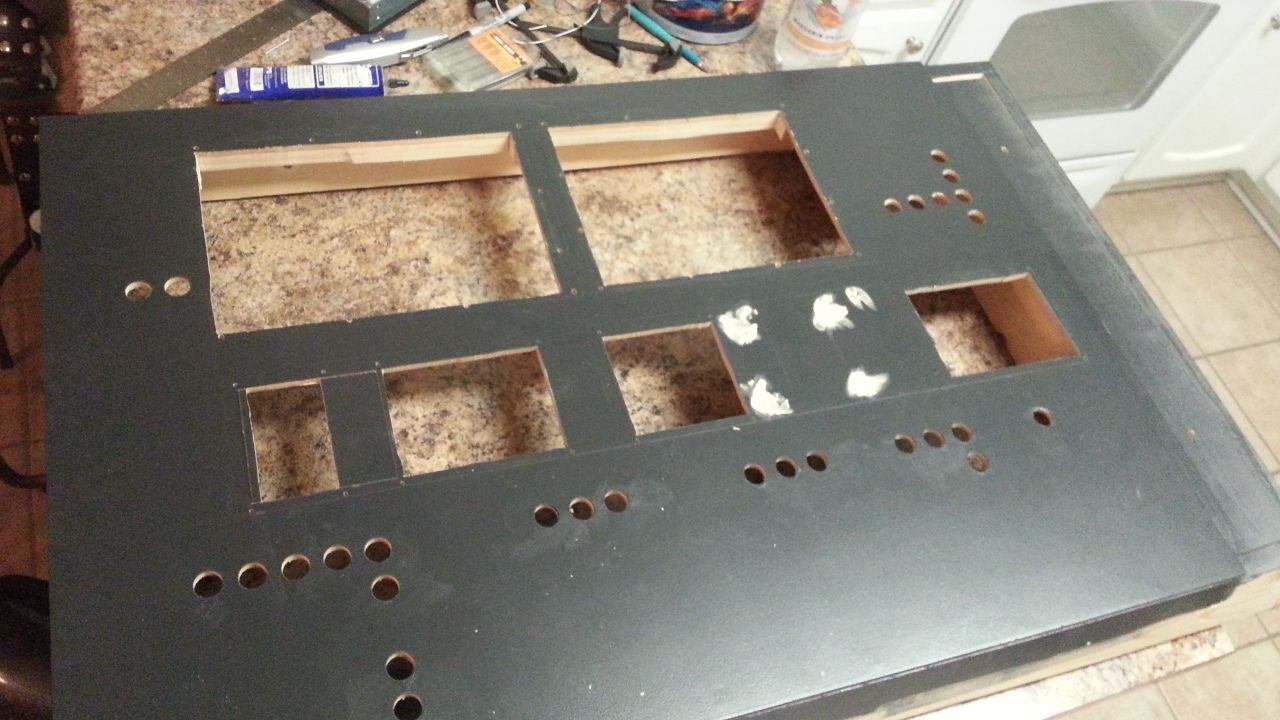
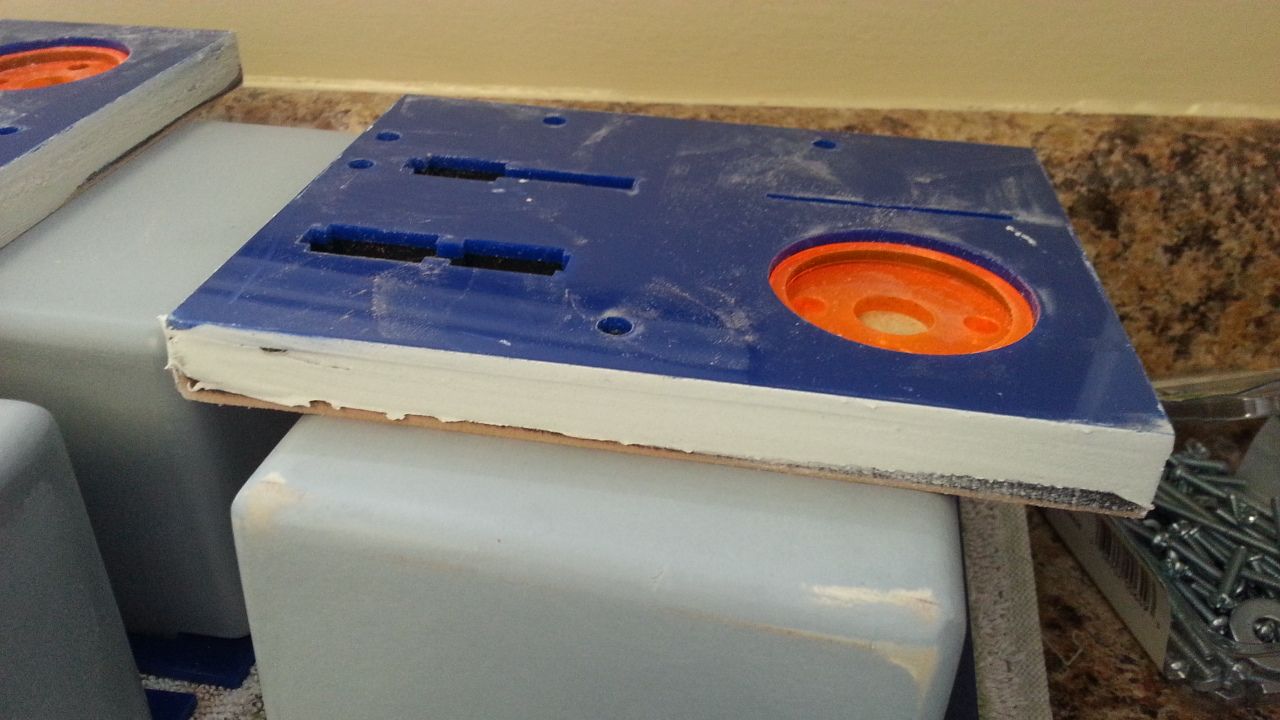
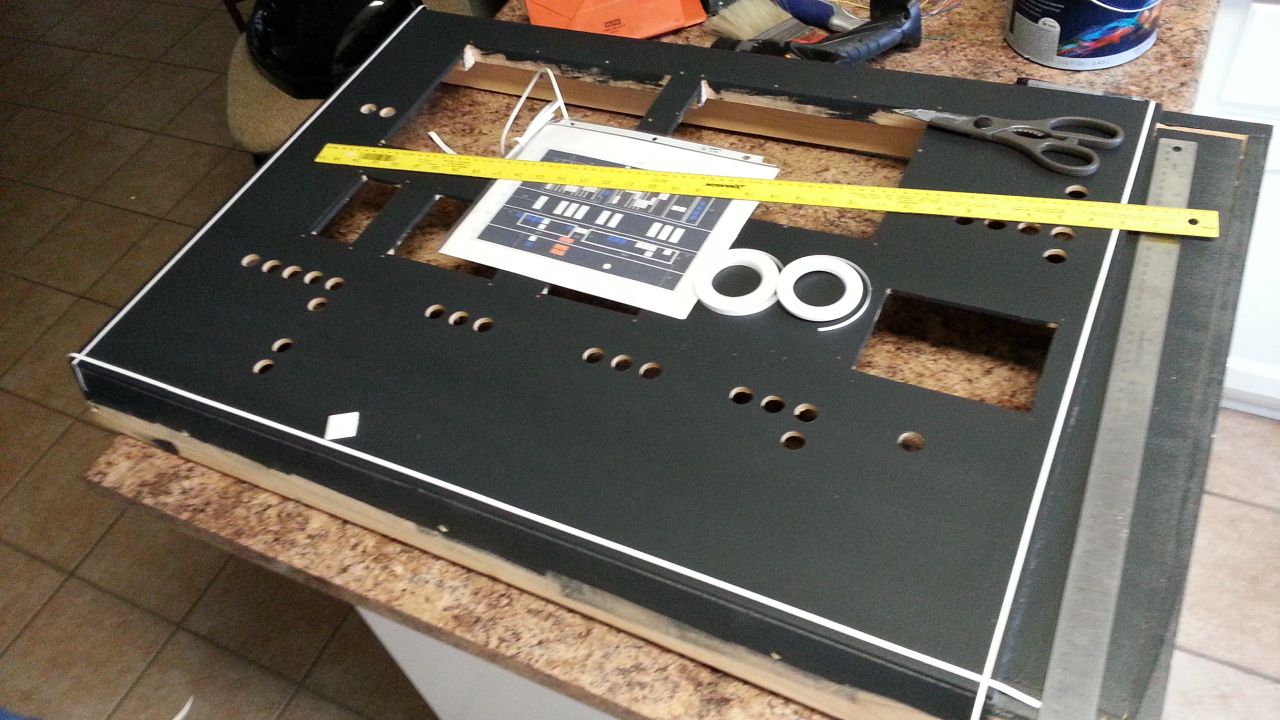
It was then time to dive in and work on the center console - clamping the instrument panels together
LOTS of sanding
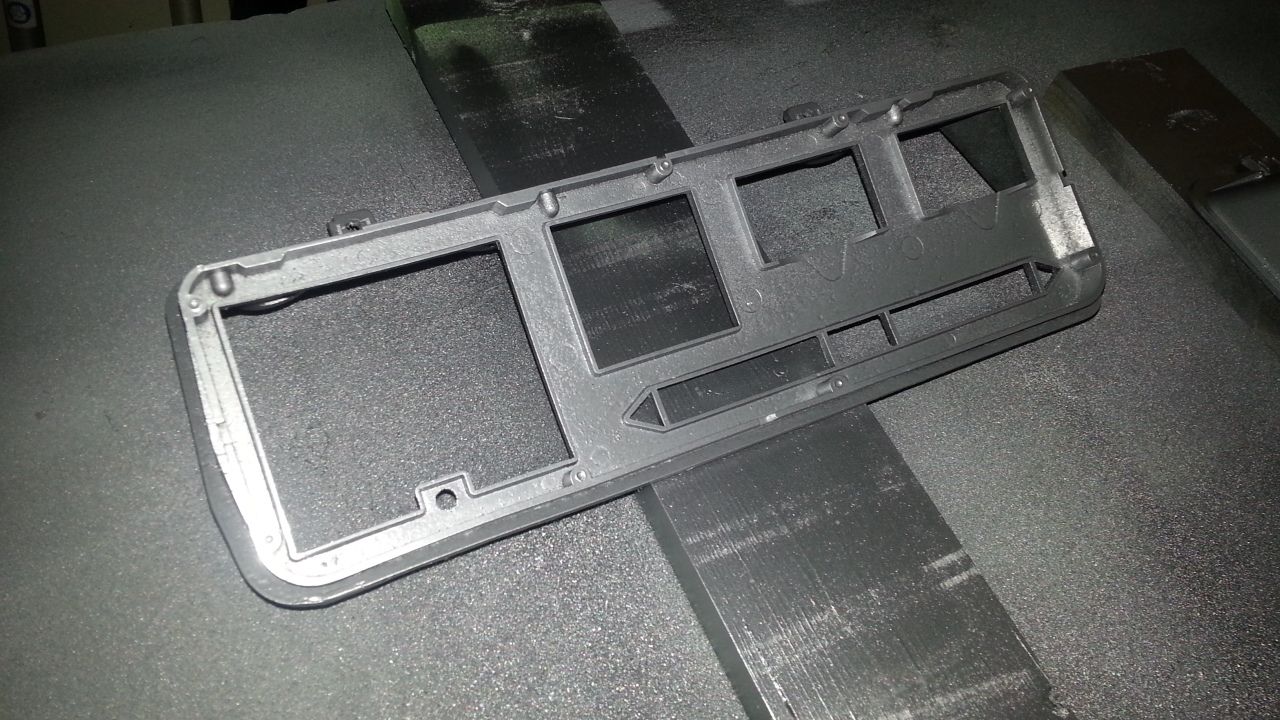
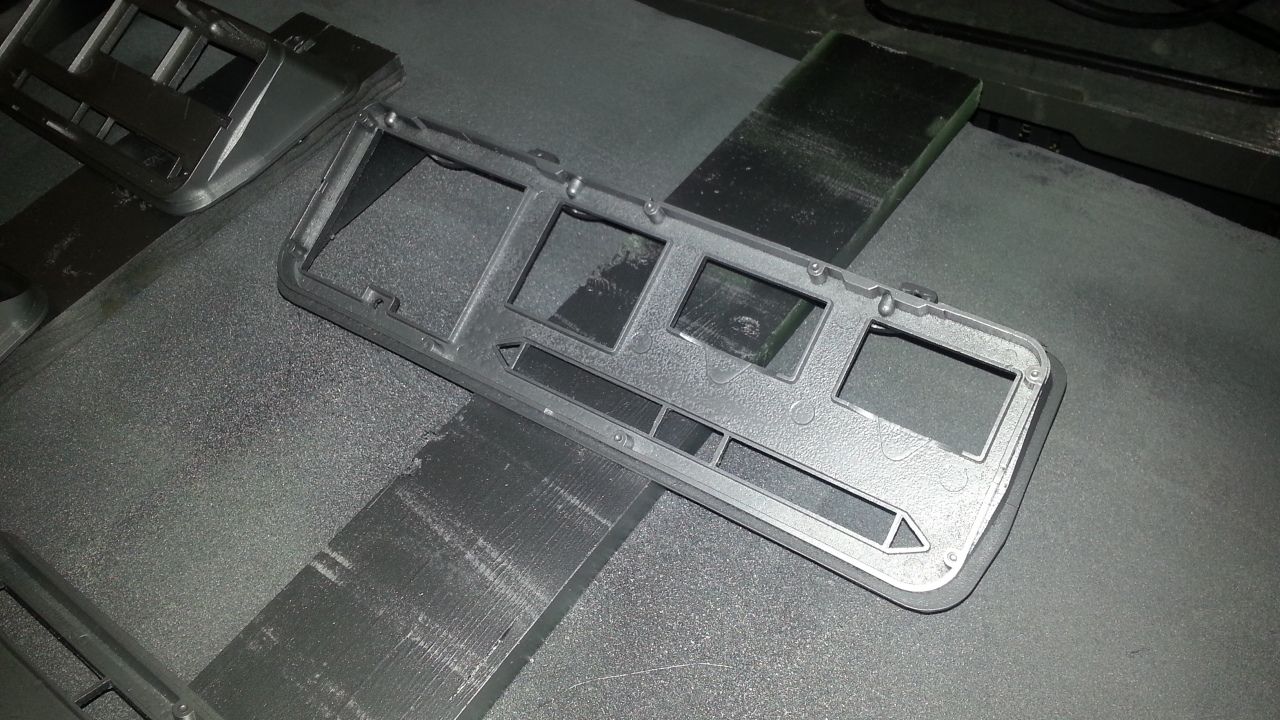
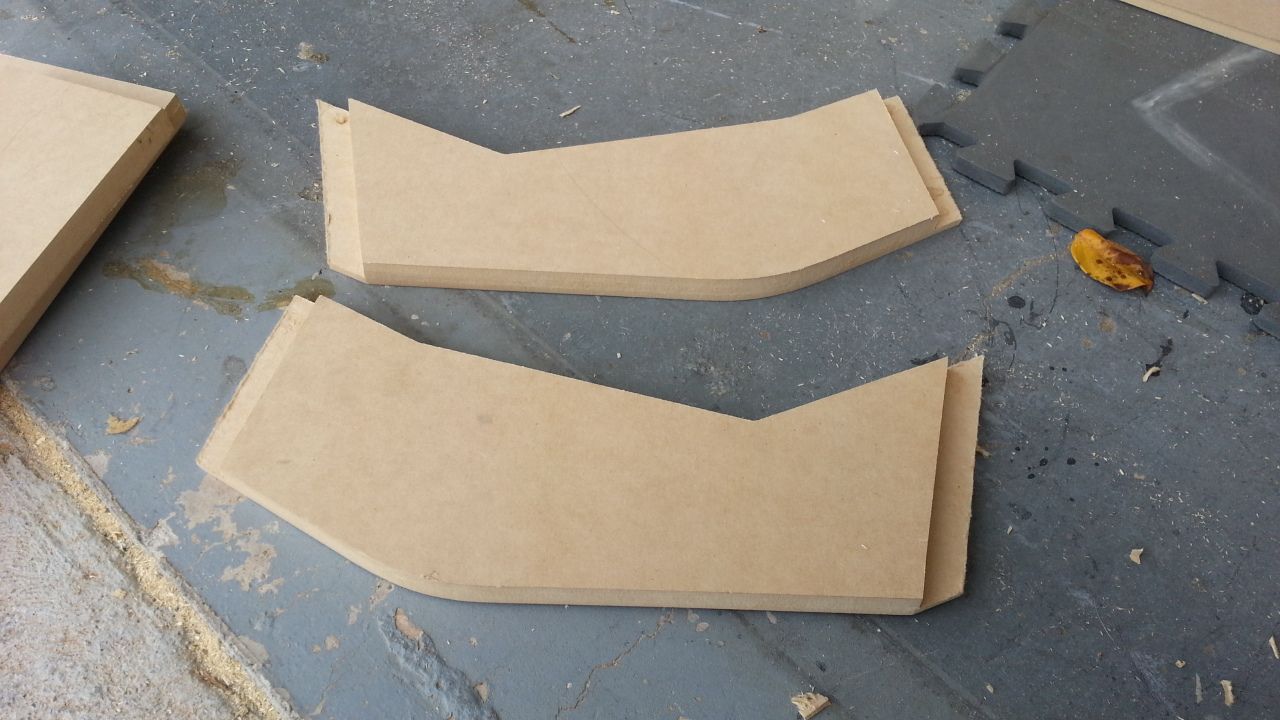
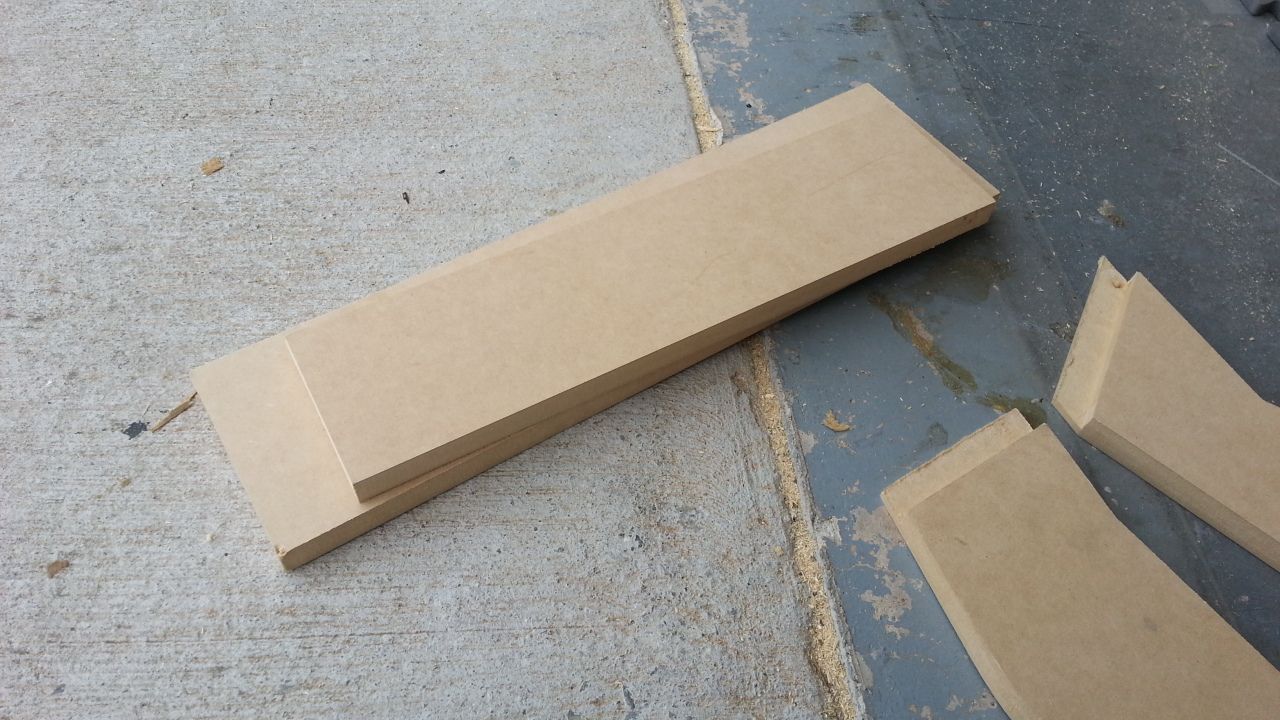
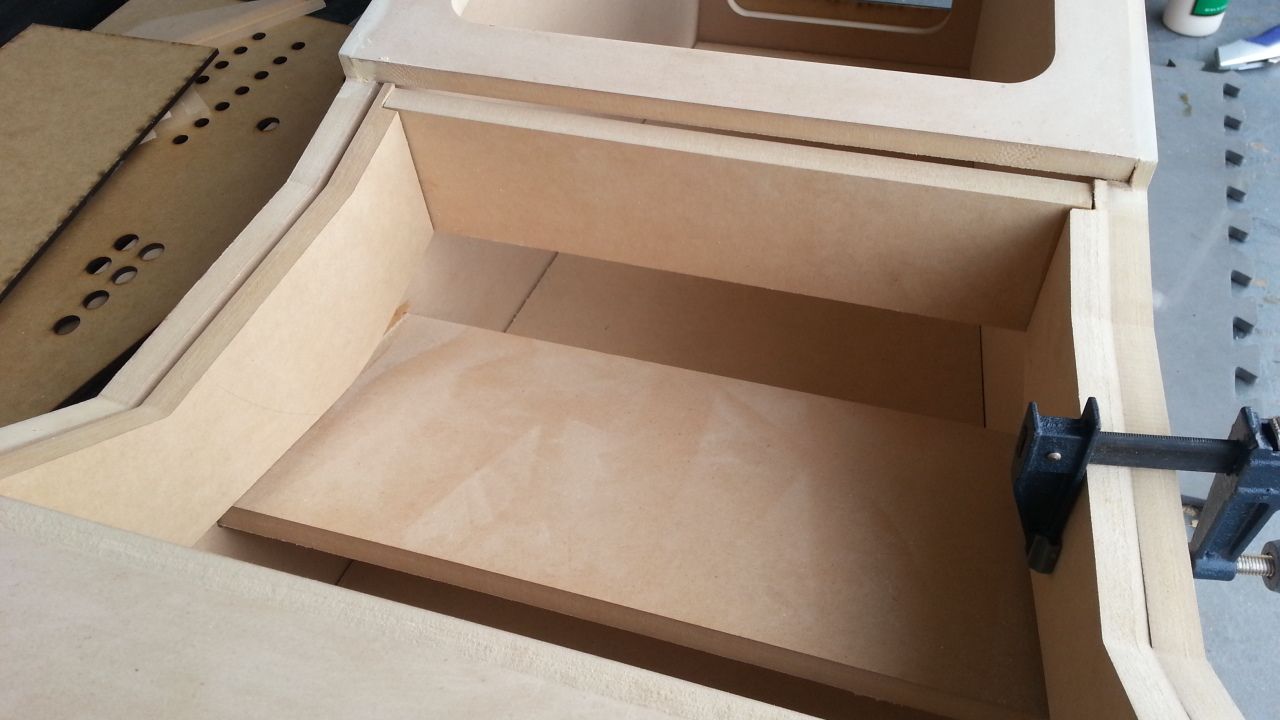
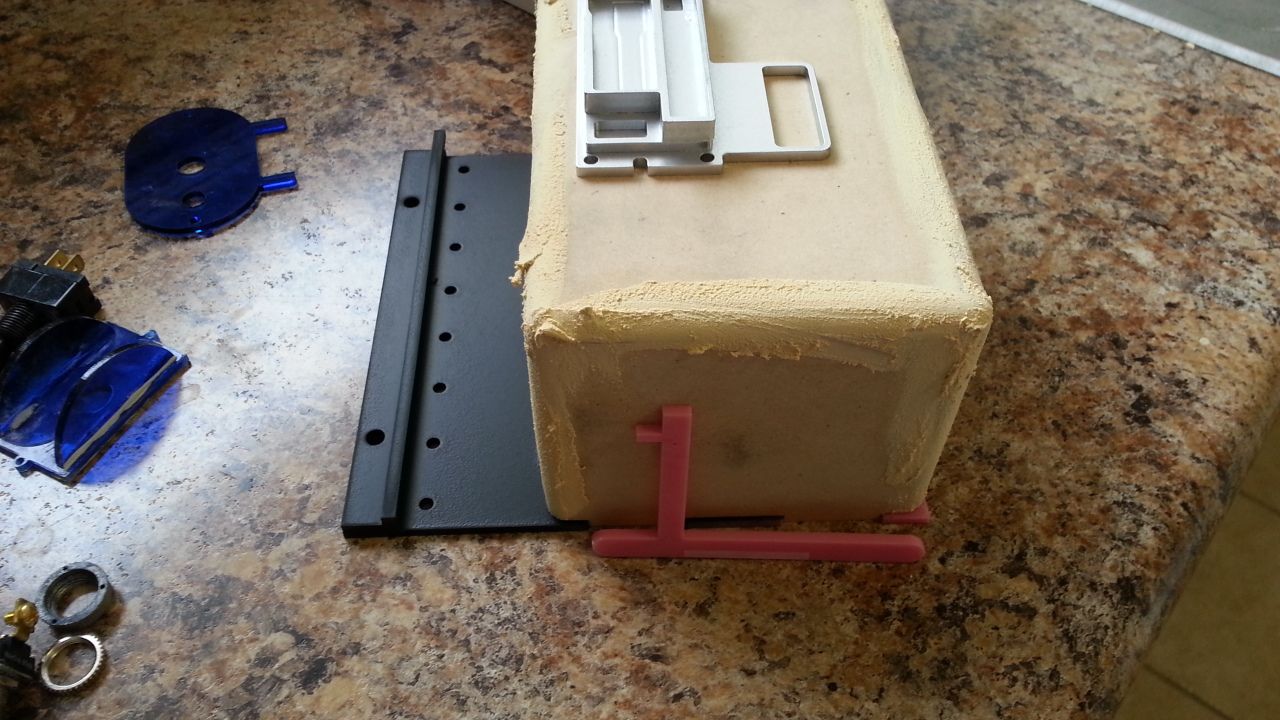
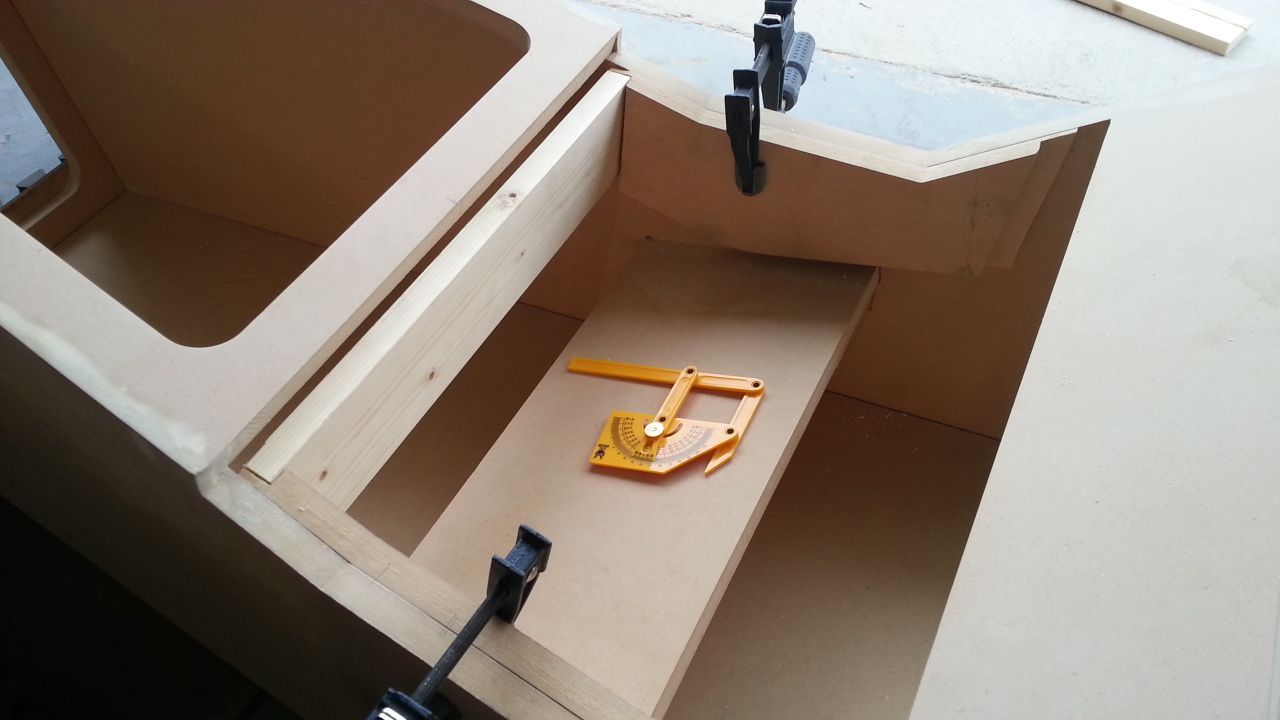
These parts are the sides that act as the inner mounts for the instrument panels - more to come
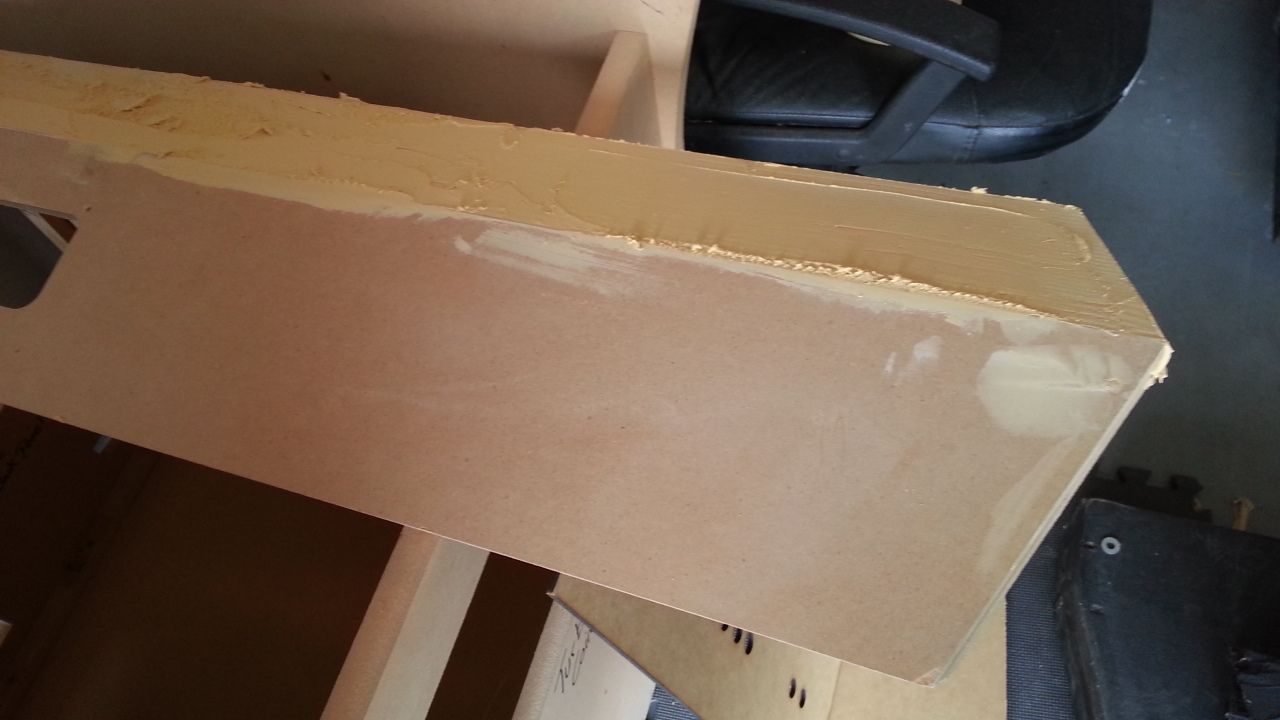
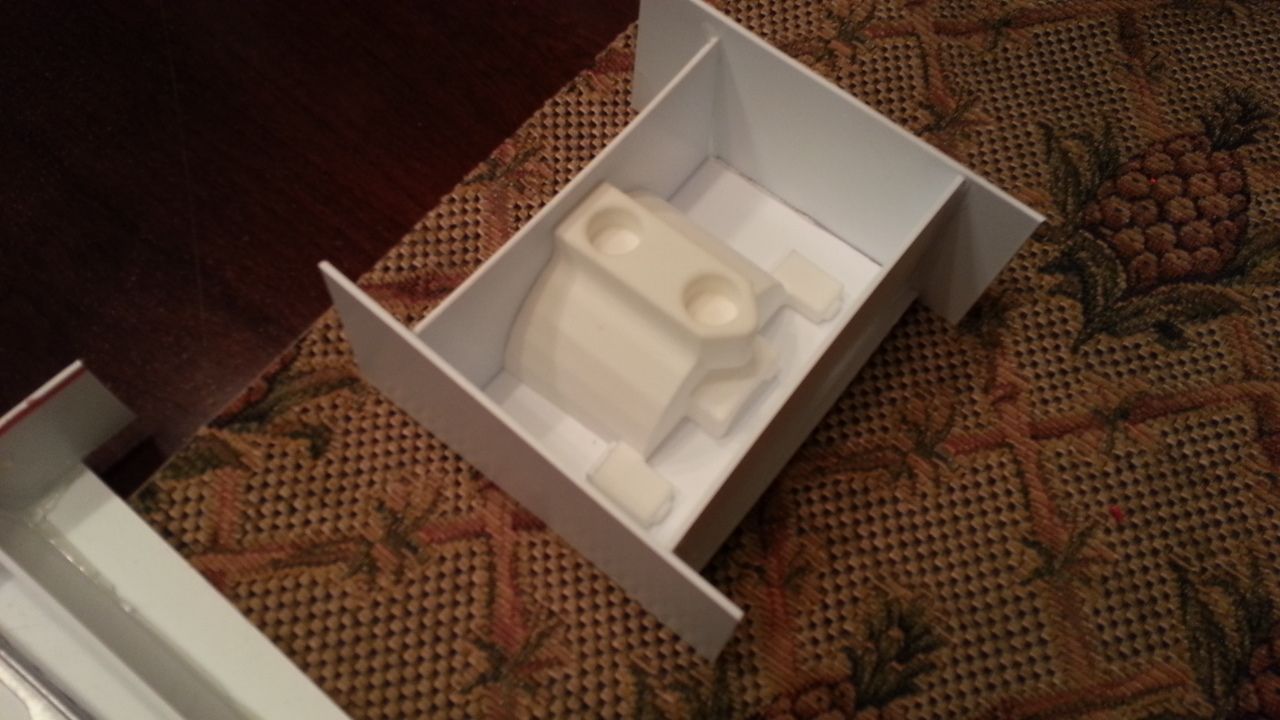
This slips into the center console then the instrument panels will bolt directly to the this frame
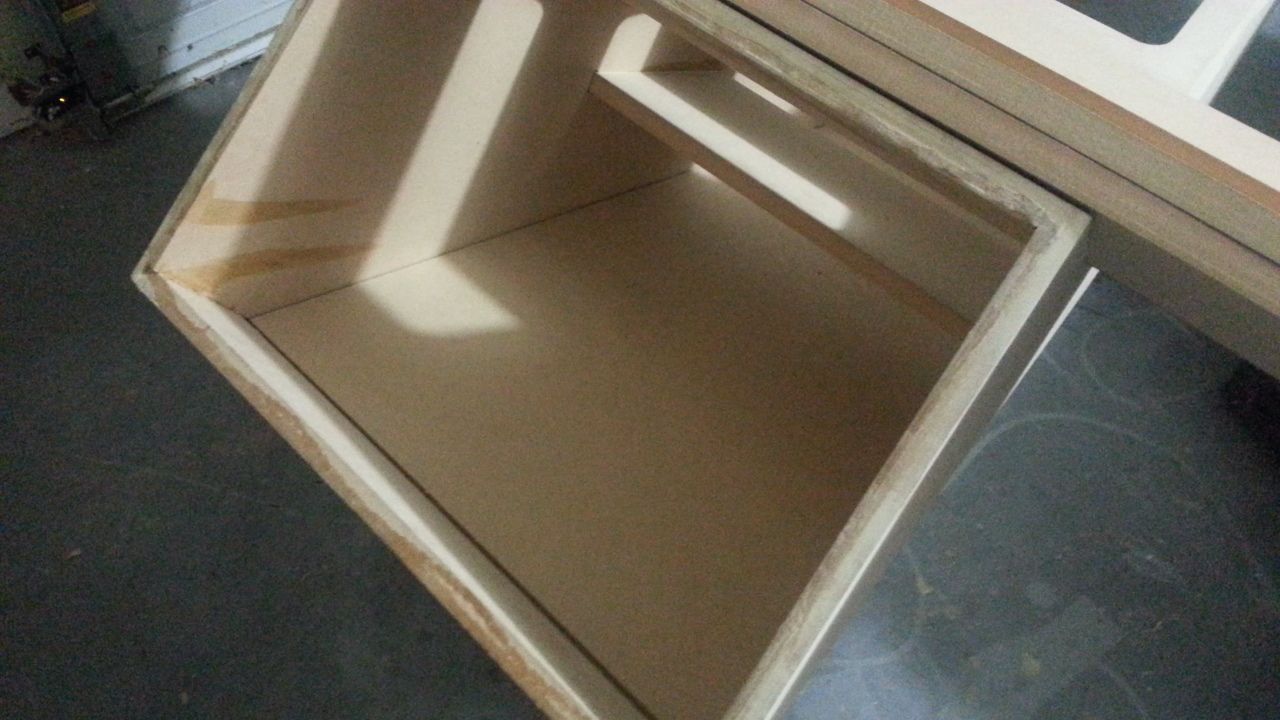
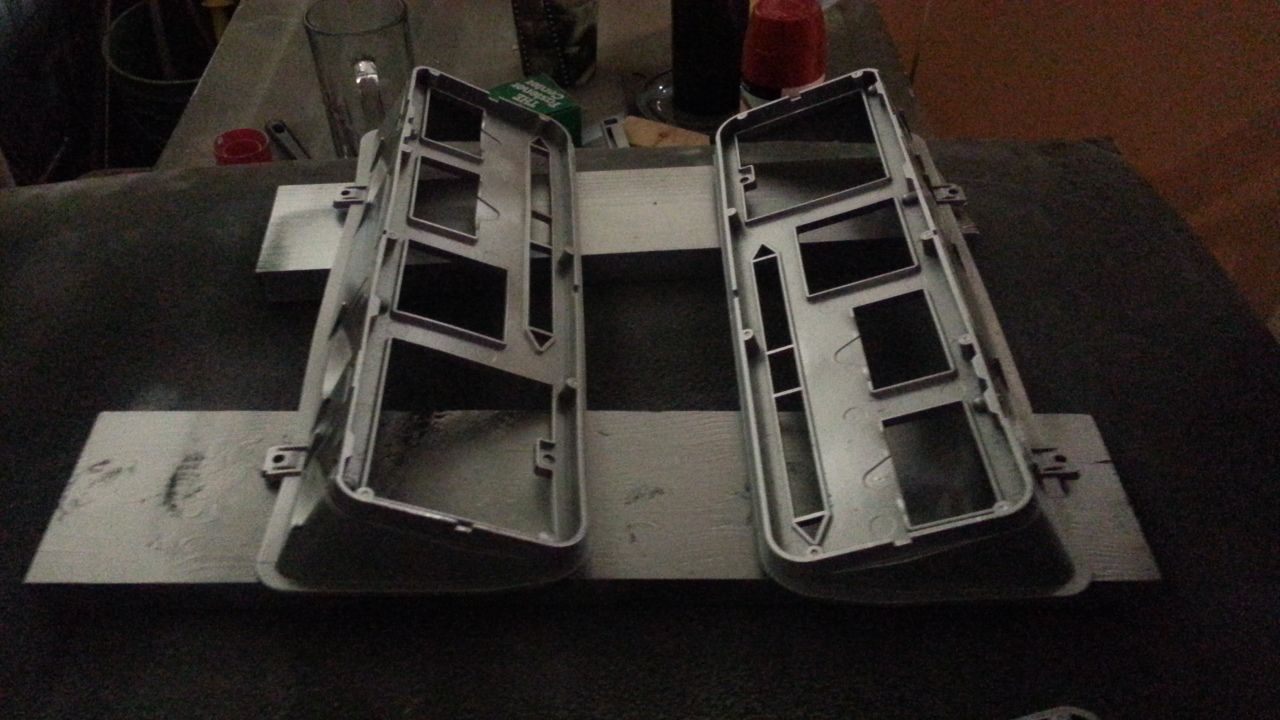
Temp fitting
It was a very tight fit and required some trimming
Toward the back
Finished up sanding the great beast!
Back to the instrument panels
Time for a run to the local home improvement store
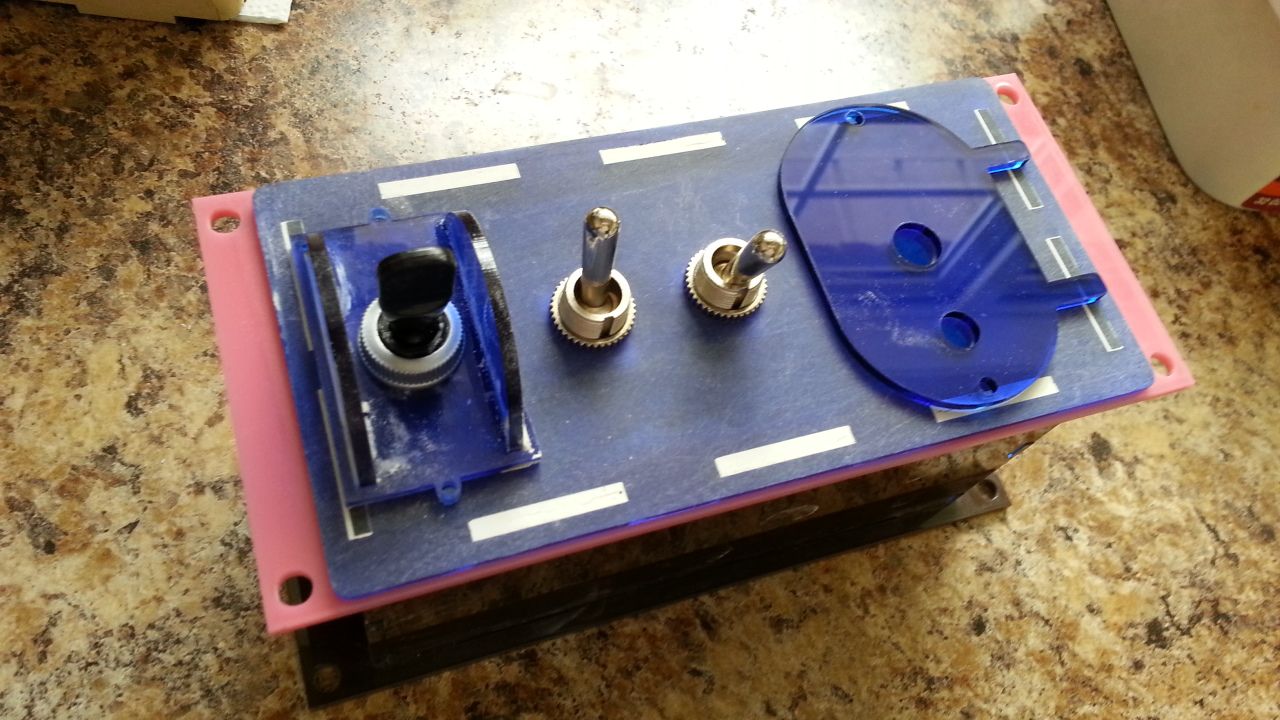
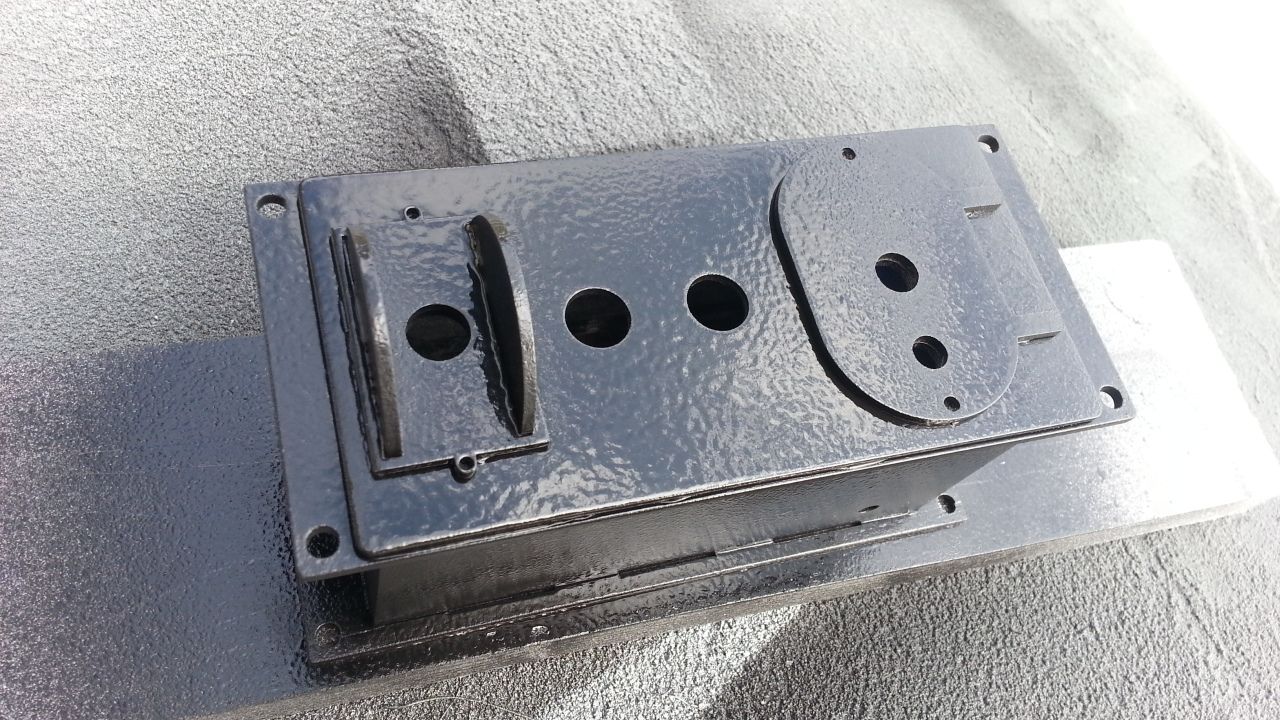
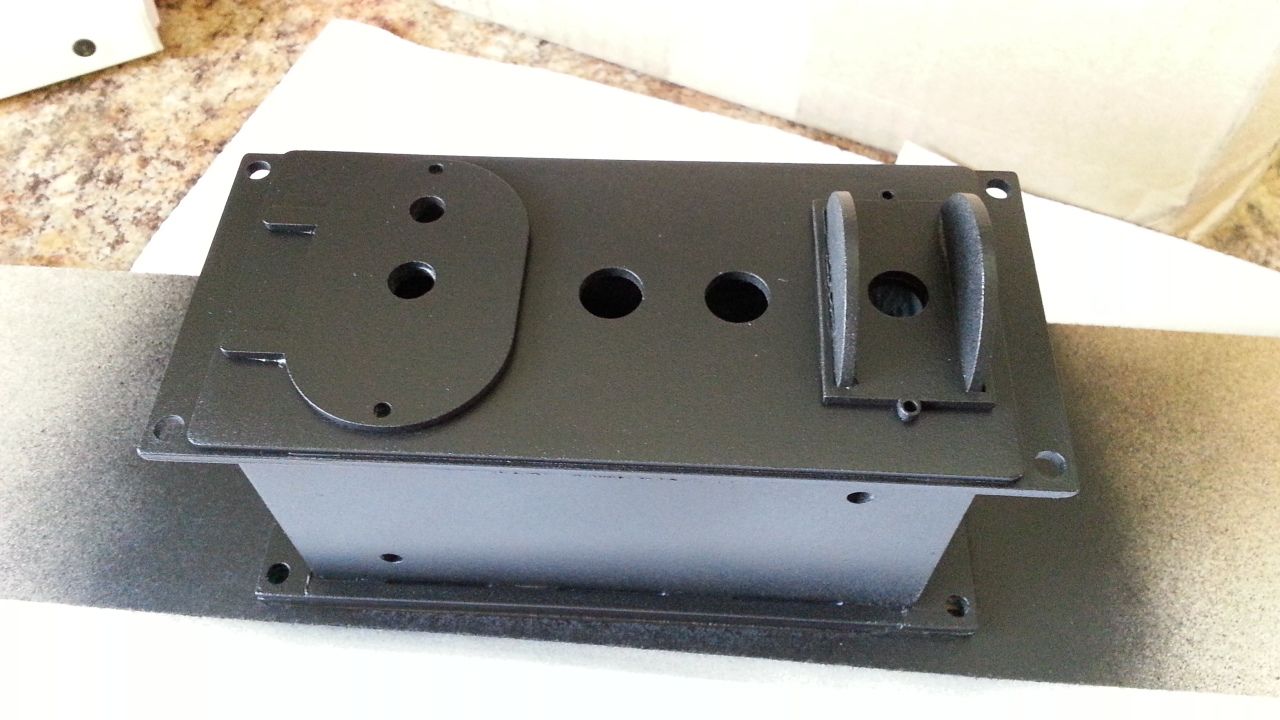
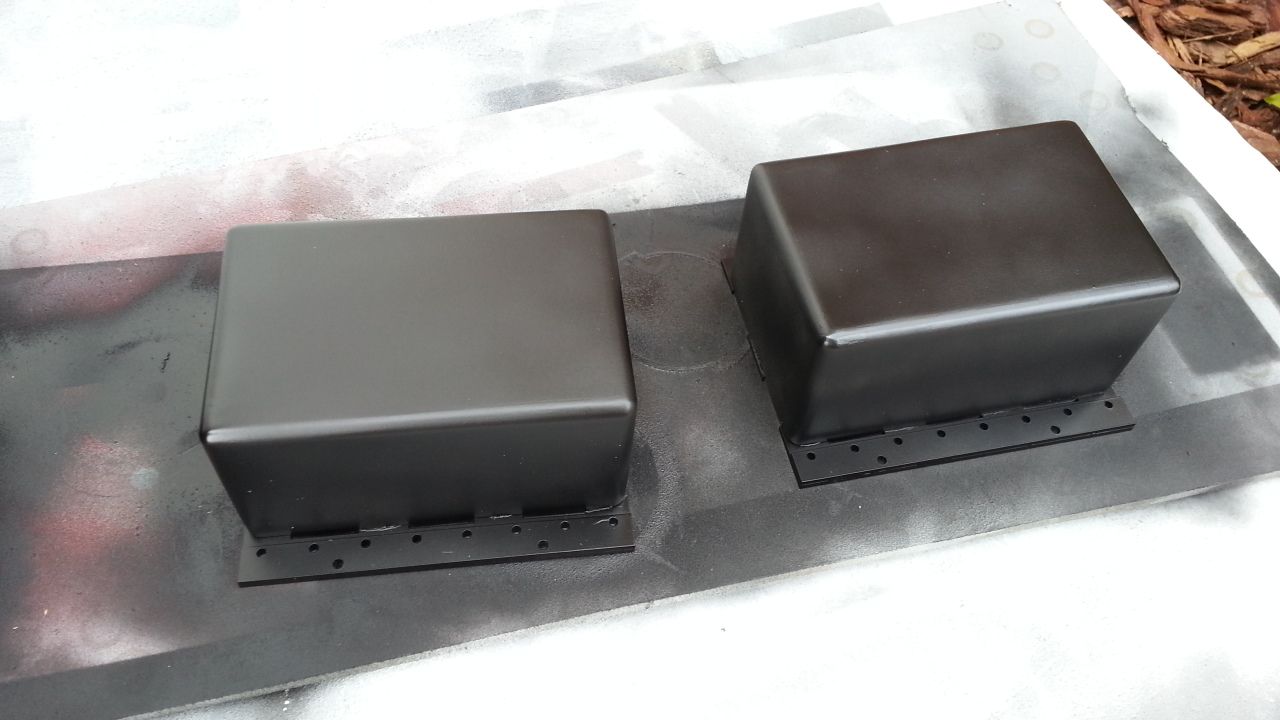
This greeblie is FINALLY FINISHED! Watch this transformation...
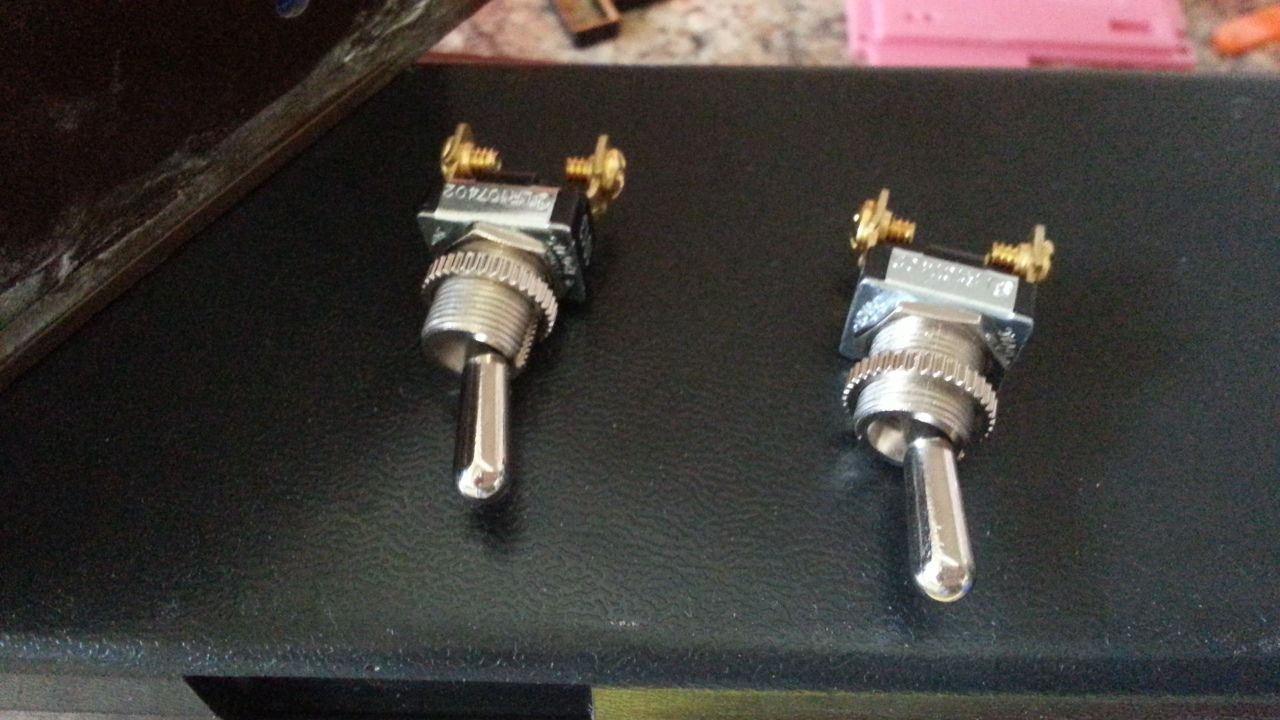
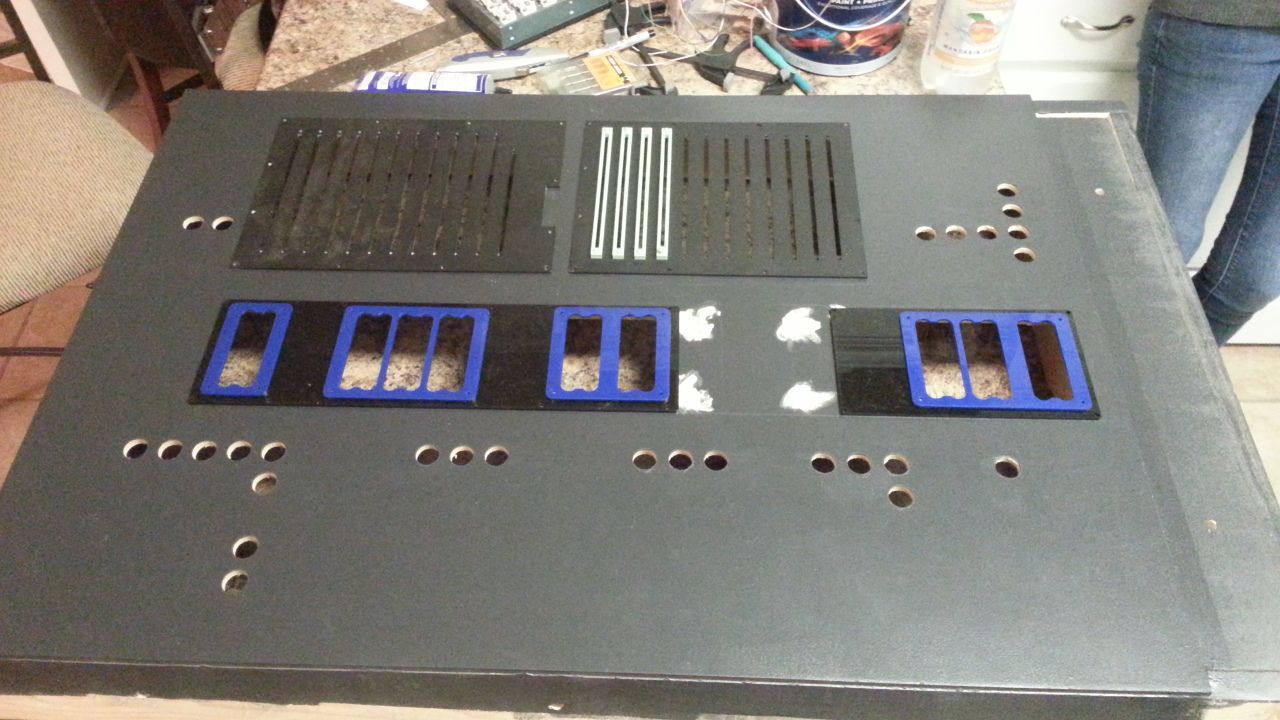
Test fitting the switches
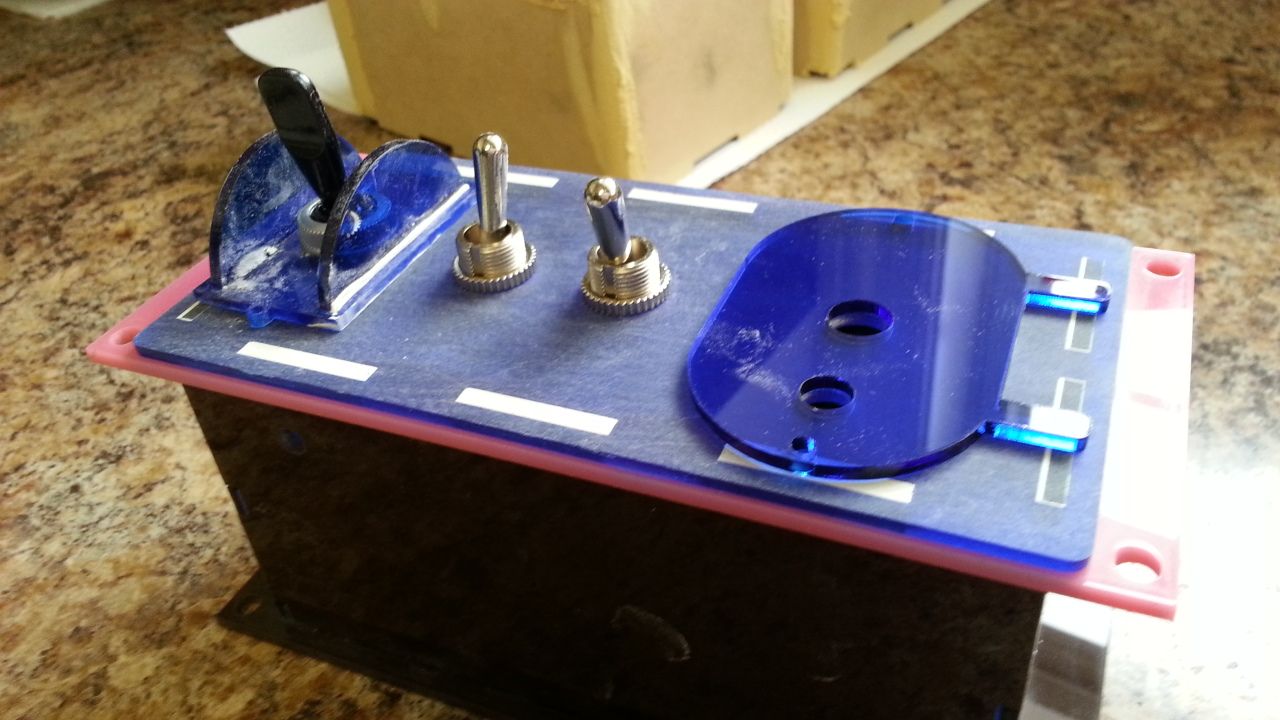
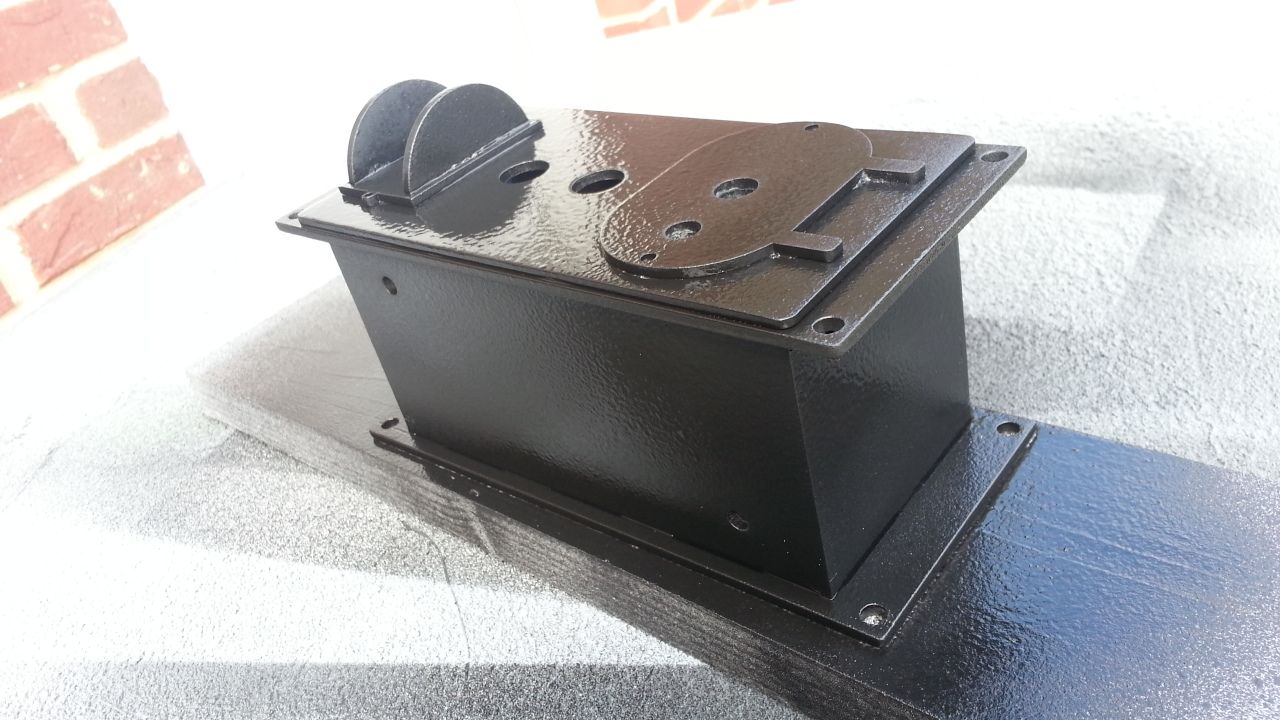
From the back
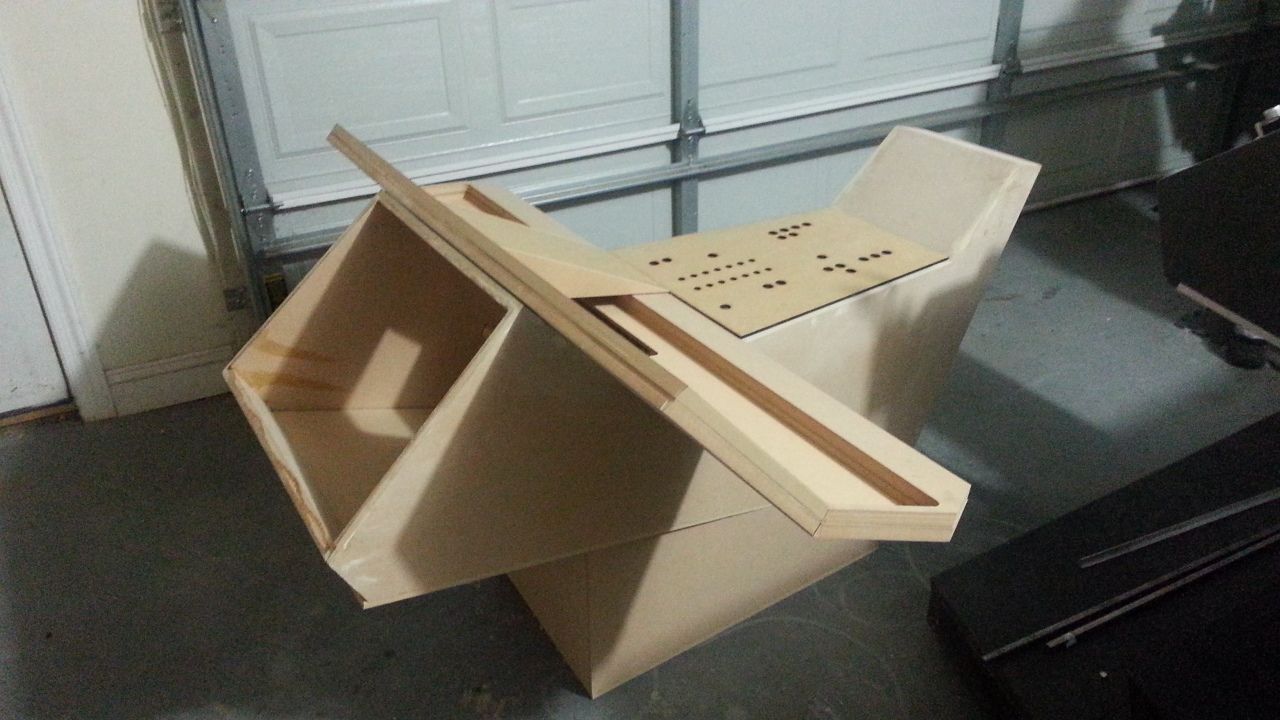
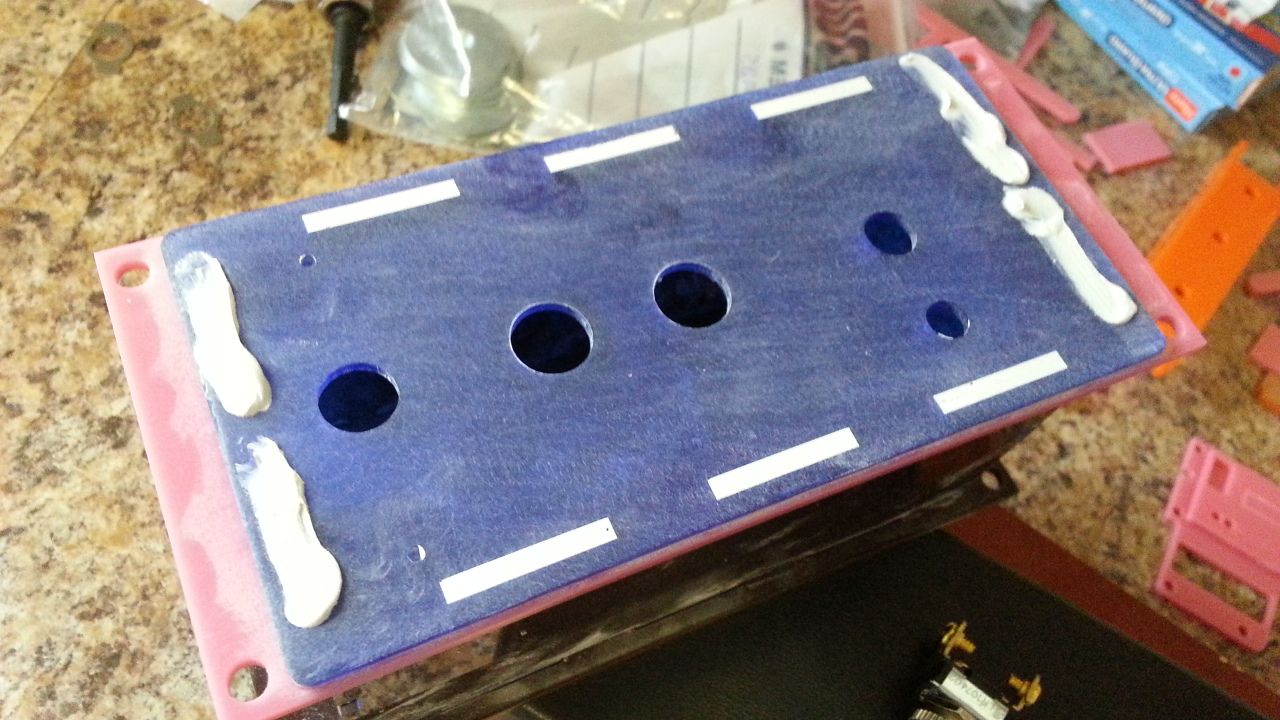
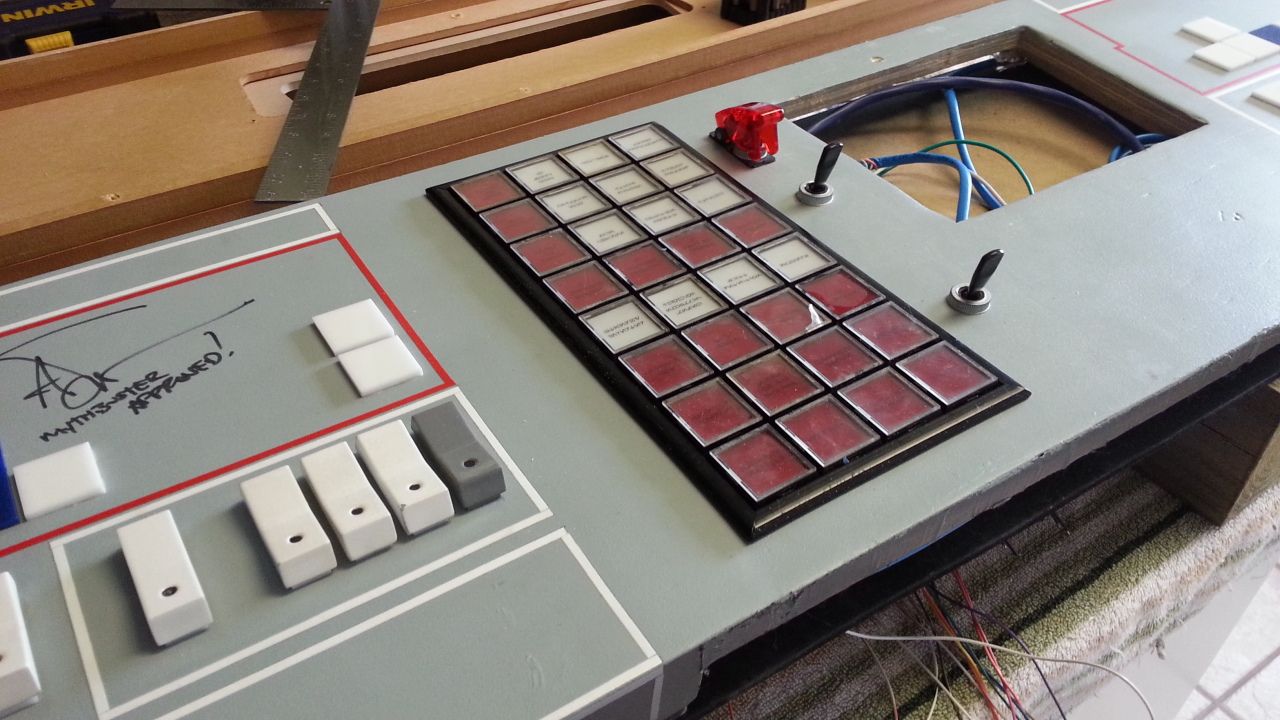
Putting everything together...
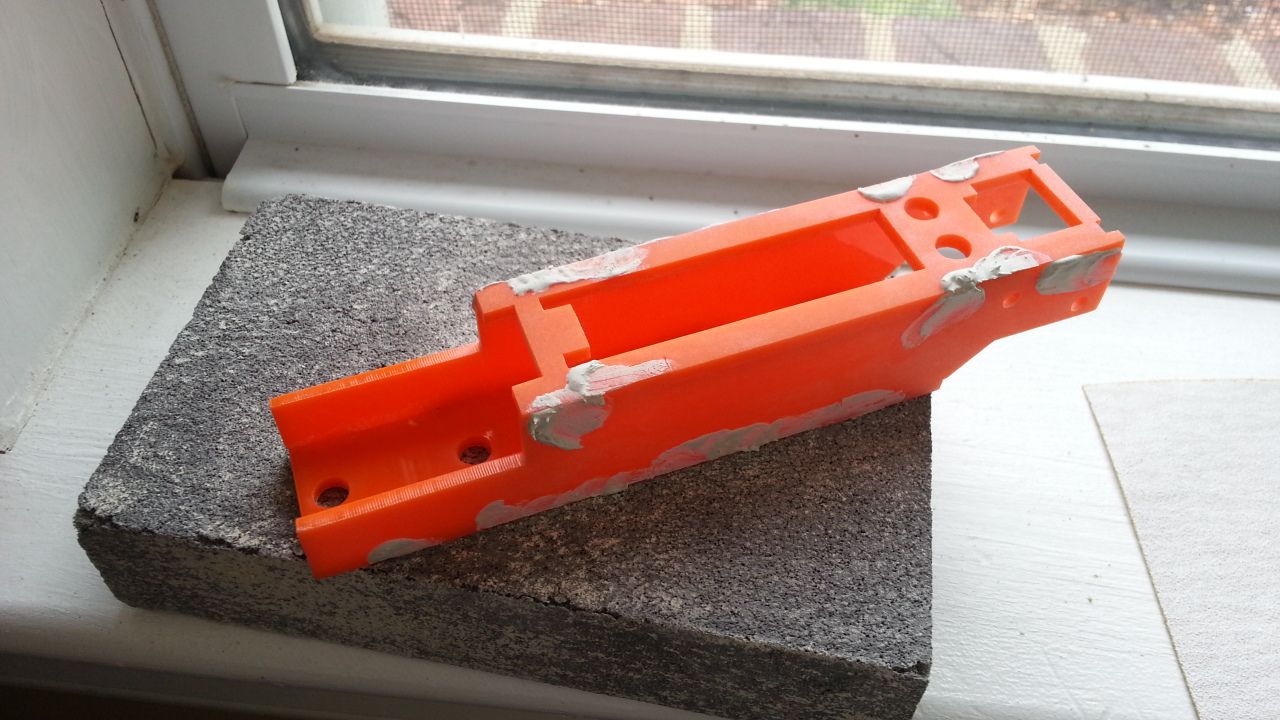
Primer and Color - FINALLY!
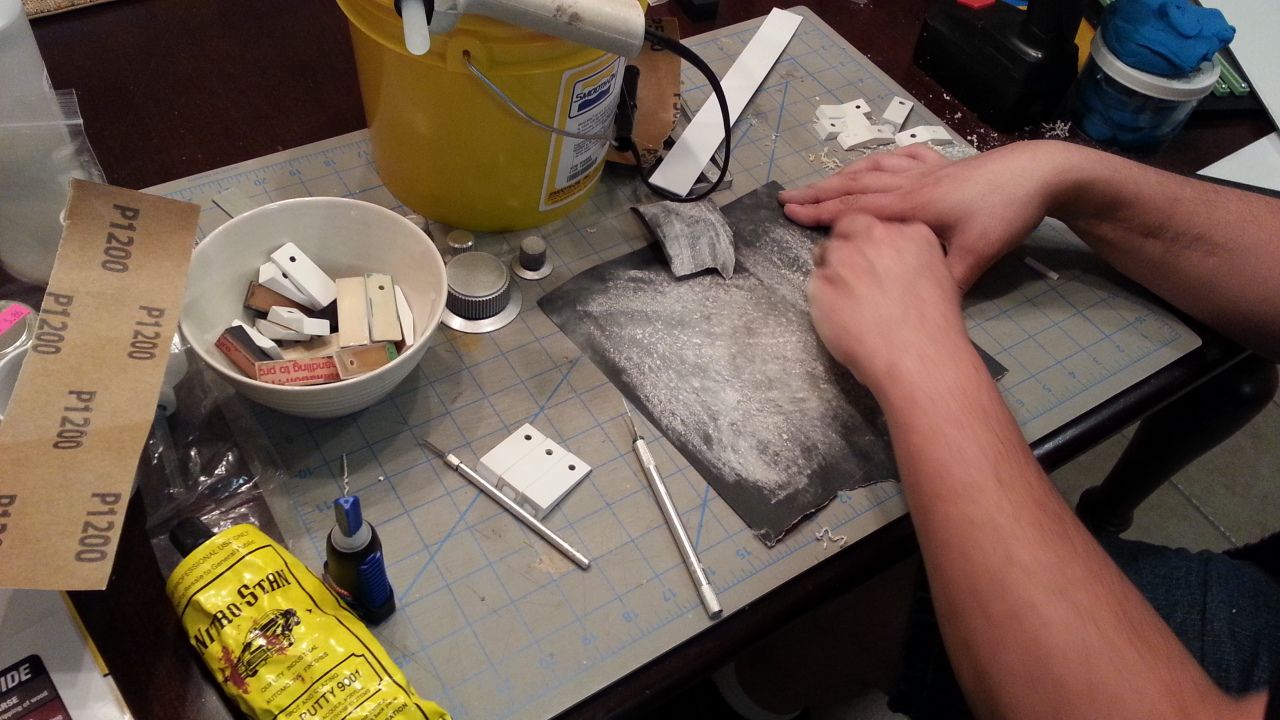
Sanding
Texture paint
I was ALMOST finished... and then I dropped it...
UGH...
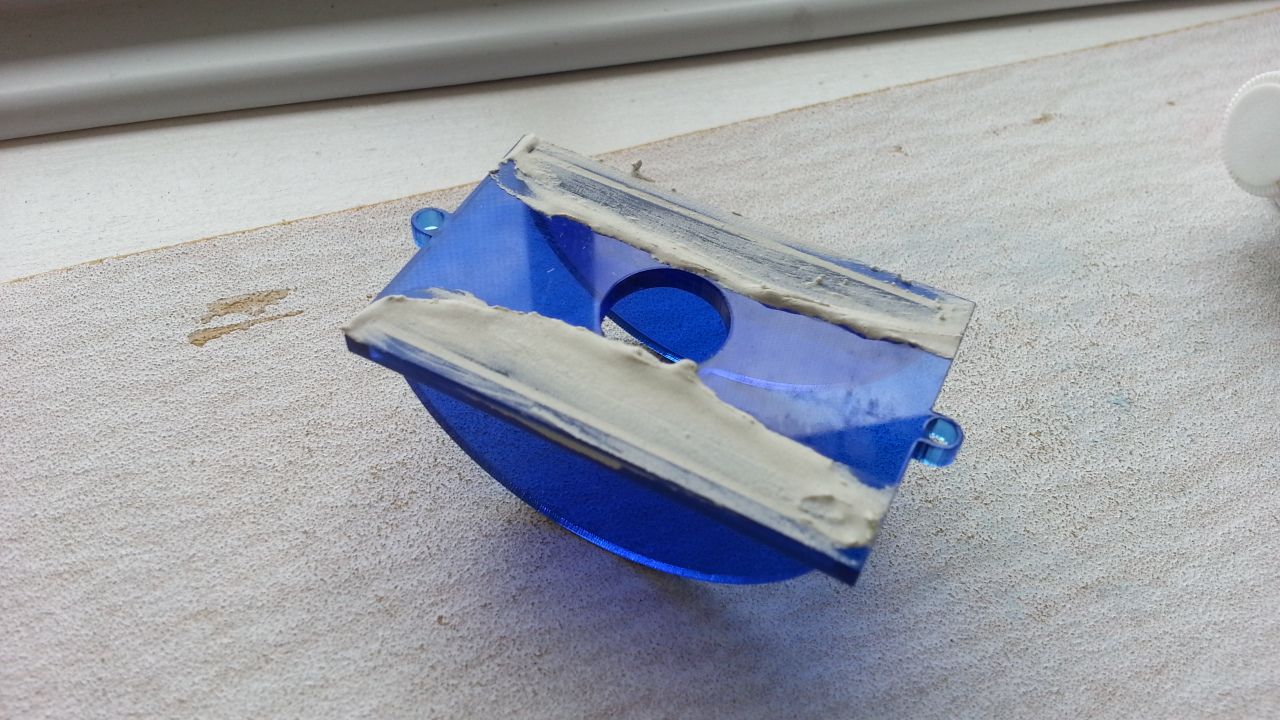
After fixing the breaks and adding an extra acrylic base... I moved forward and added paint - waiting for it to dry!
WHEW....
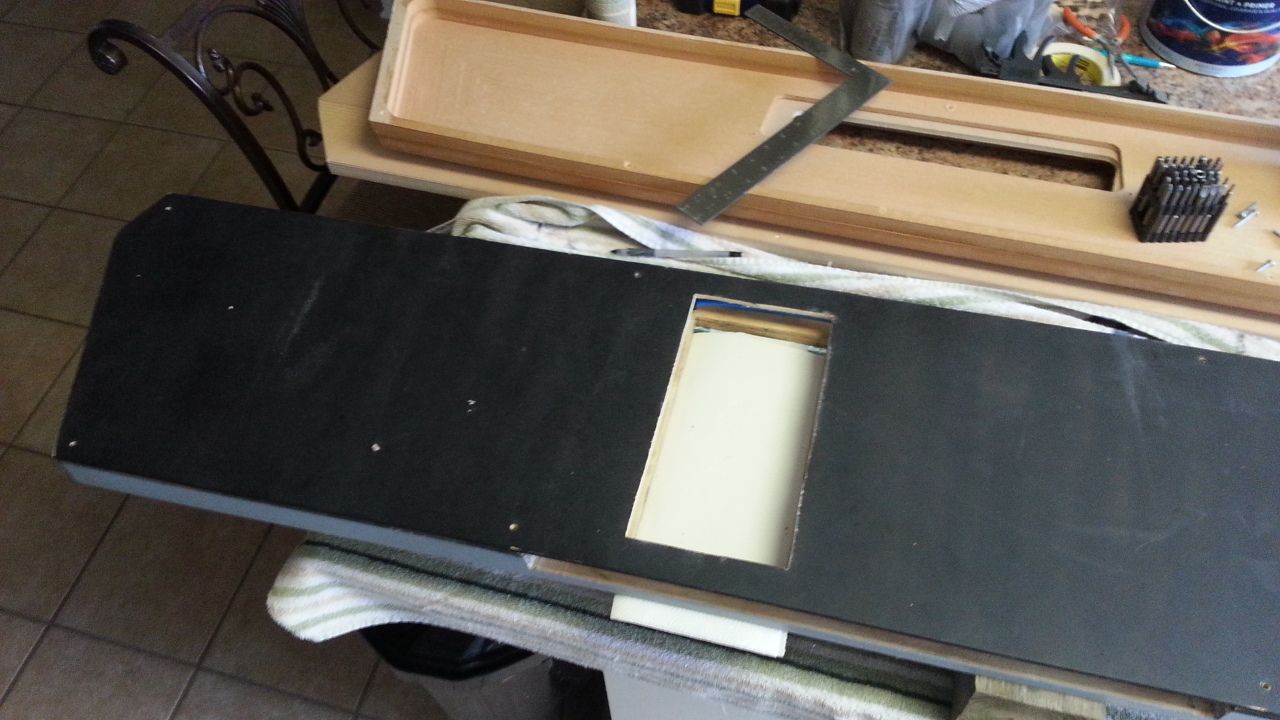
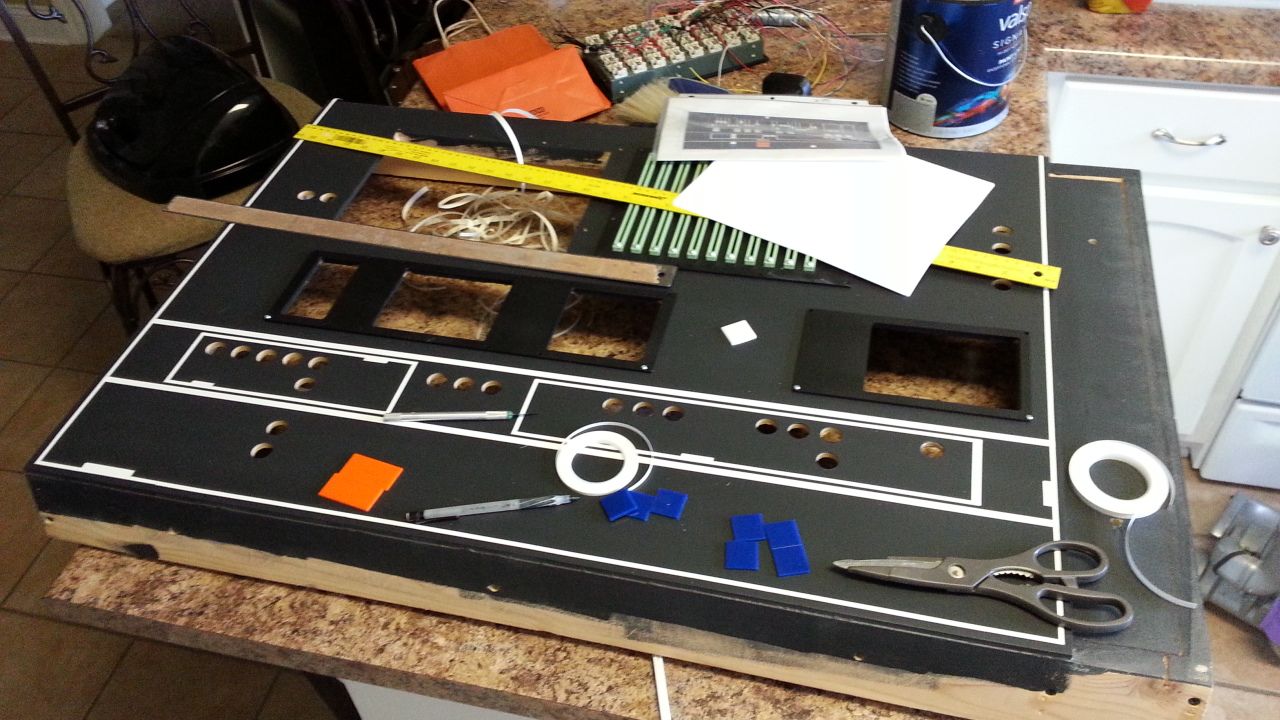
More random goodness! More work on the old console
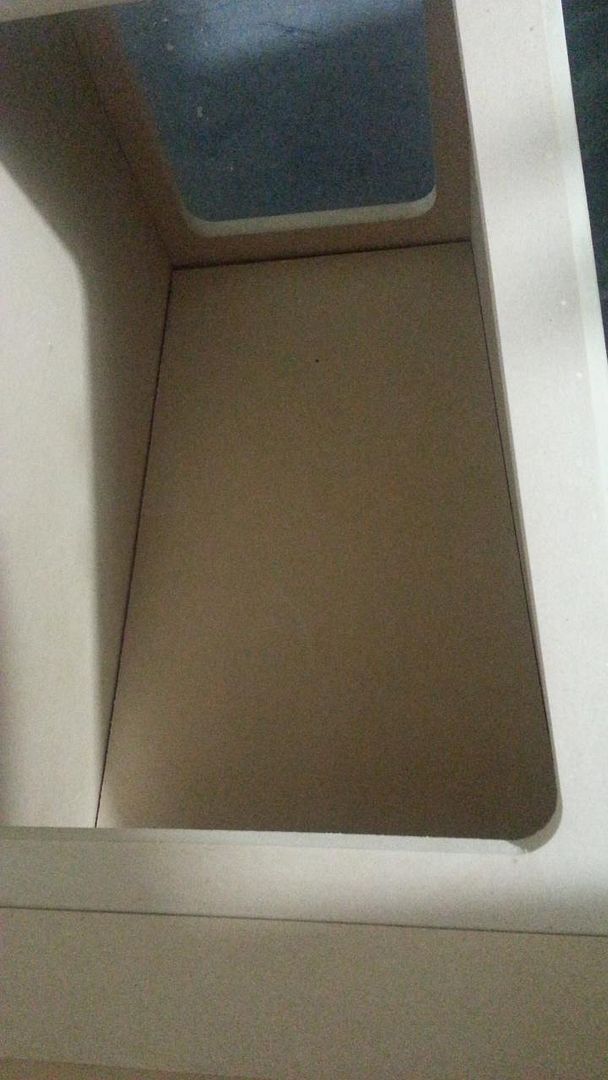
The hole allowed the existing panel to slip into place
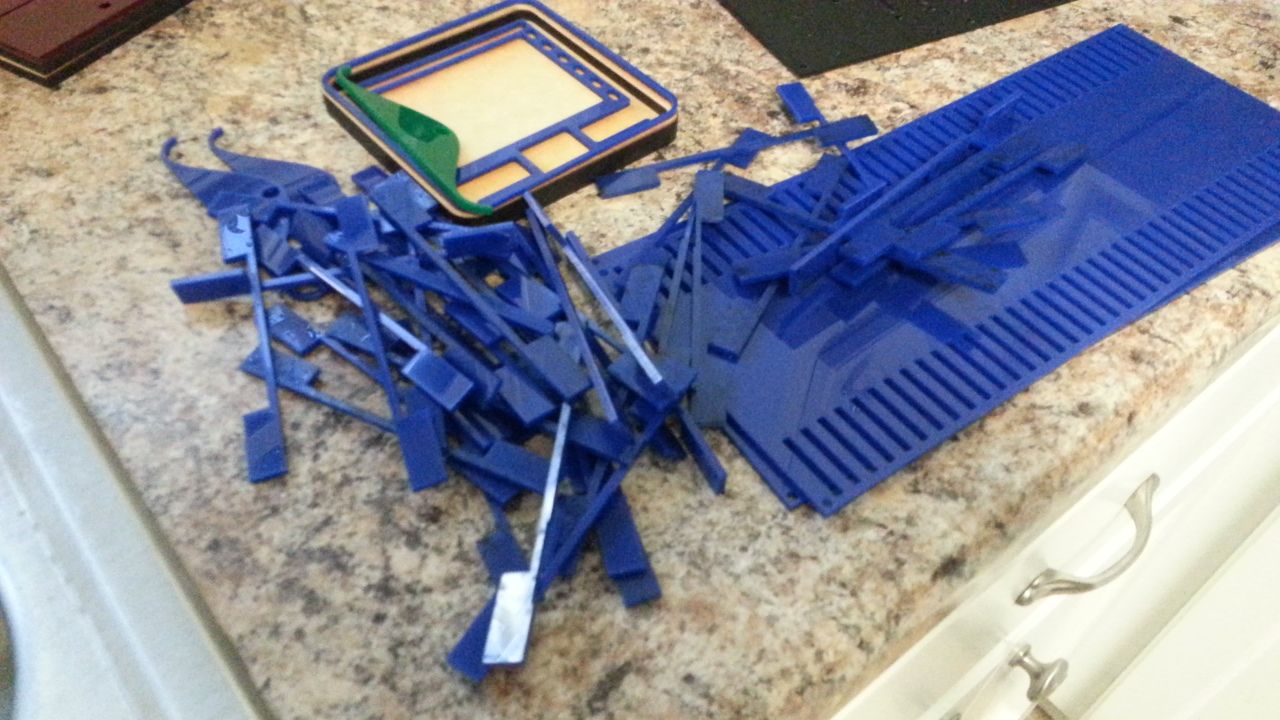
What a mess
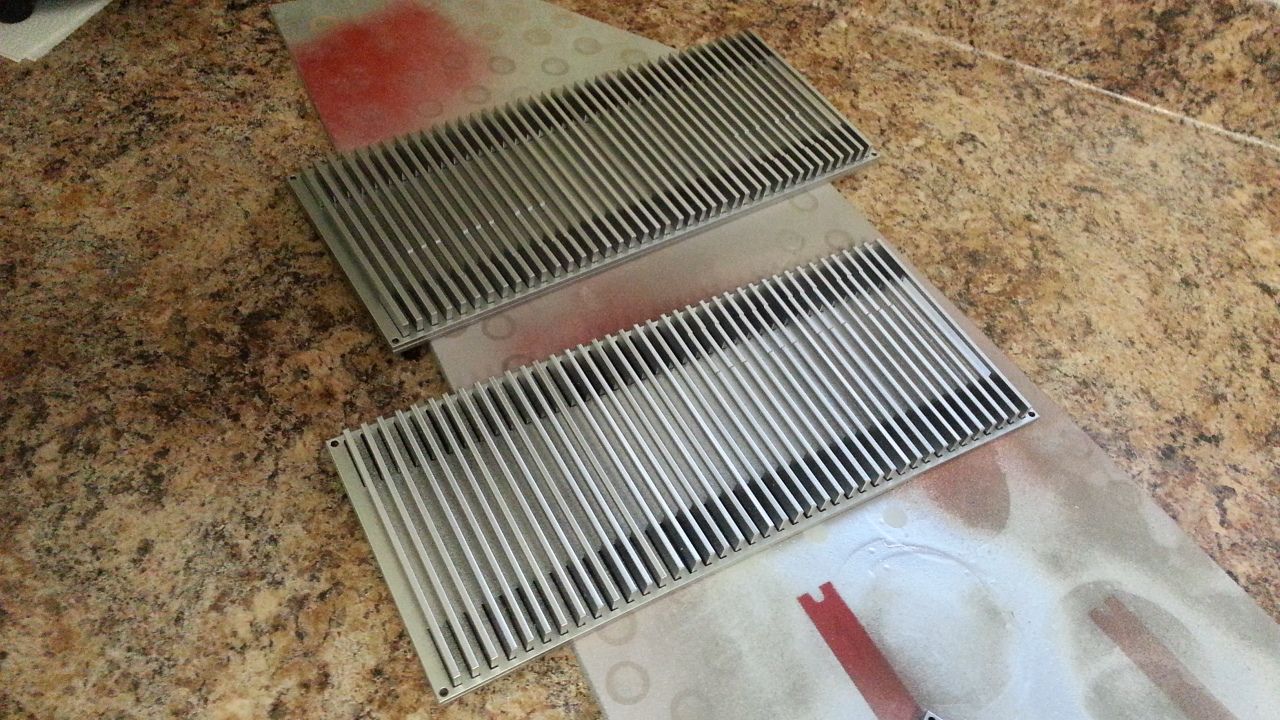
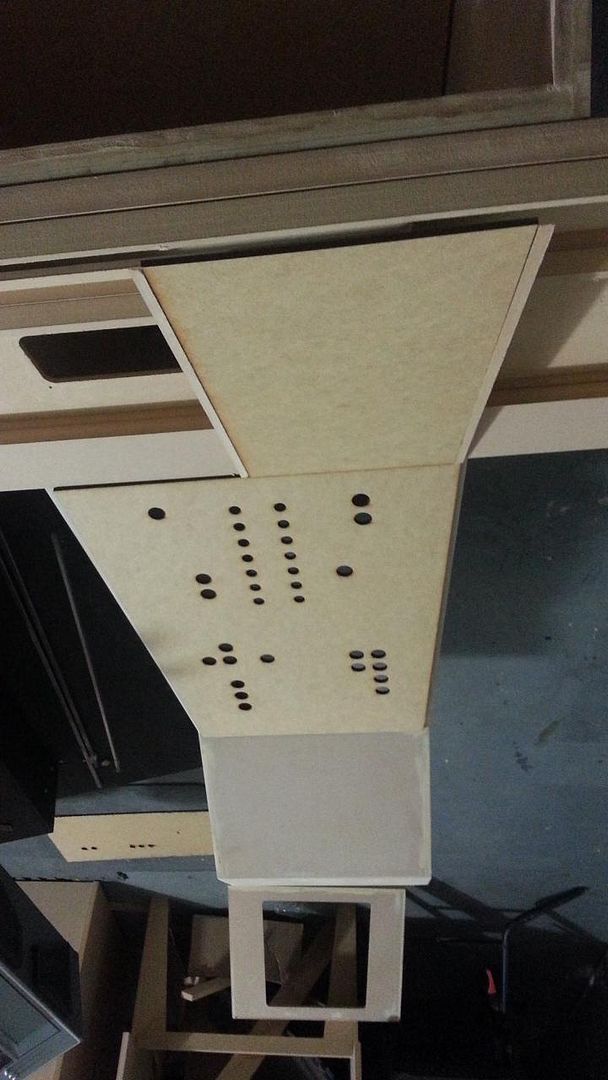
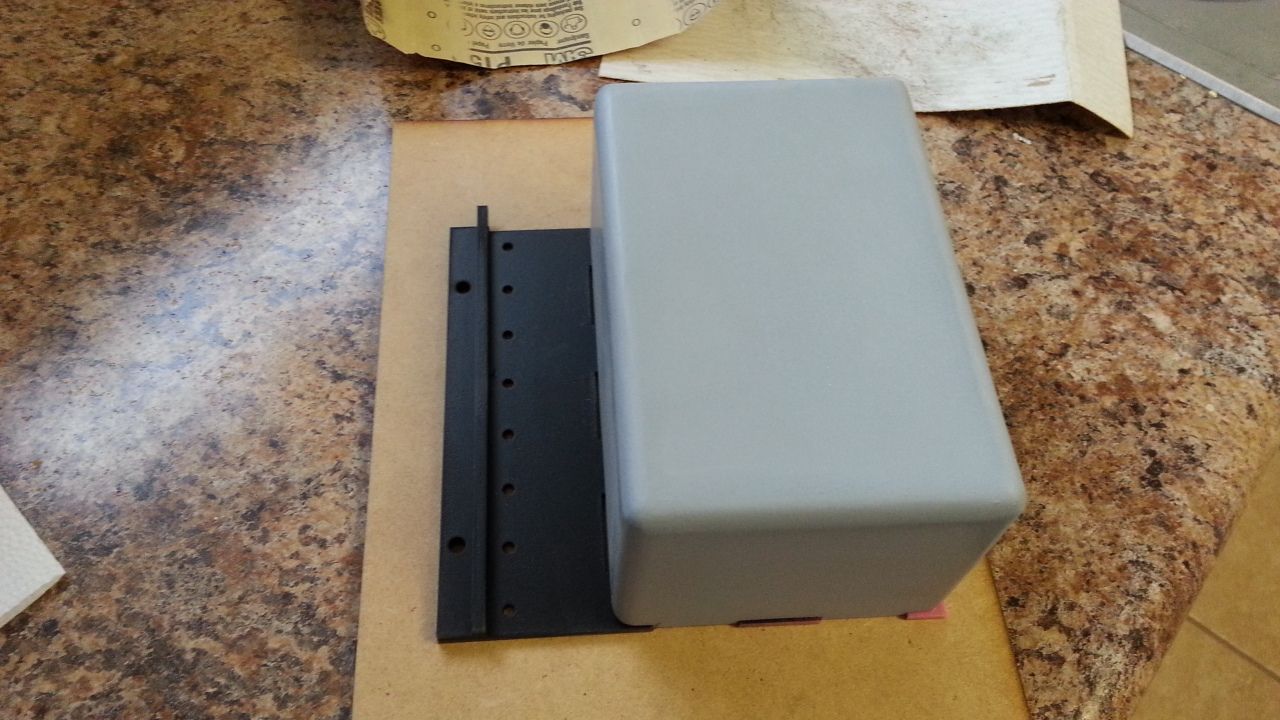
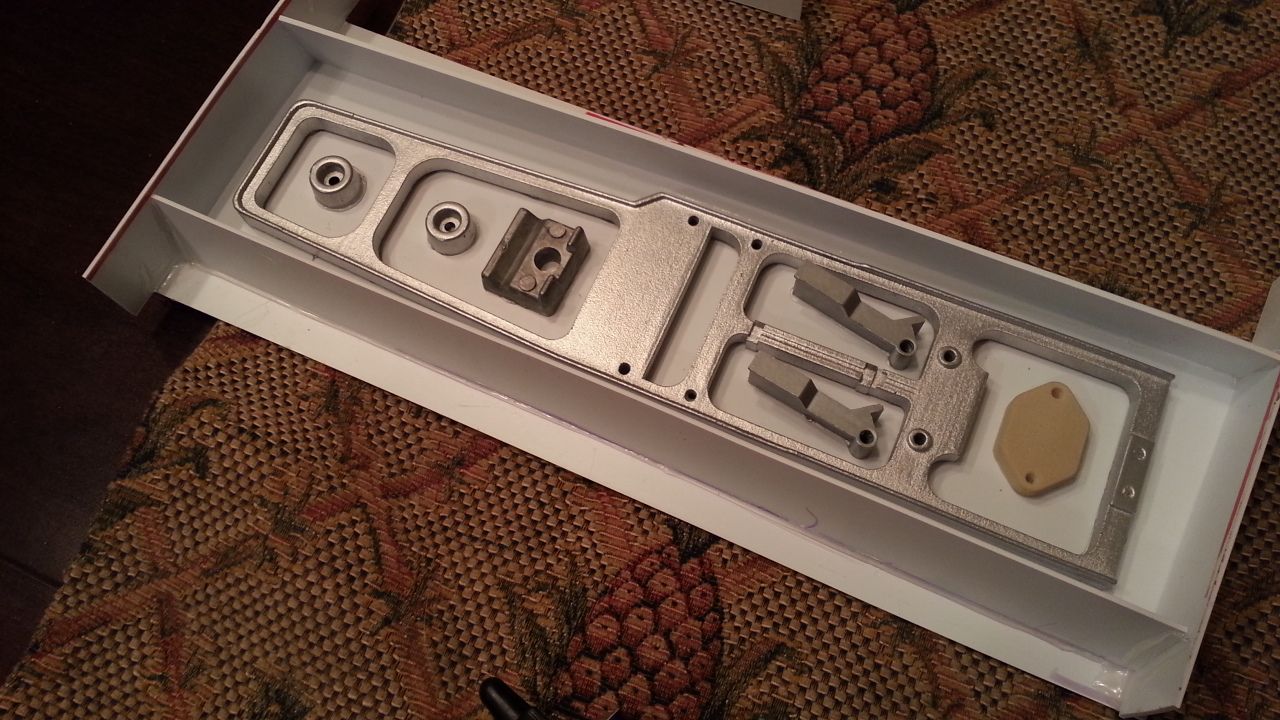
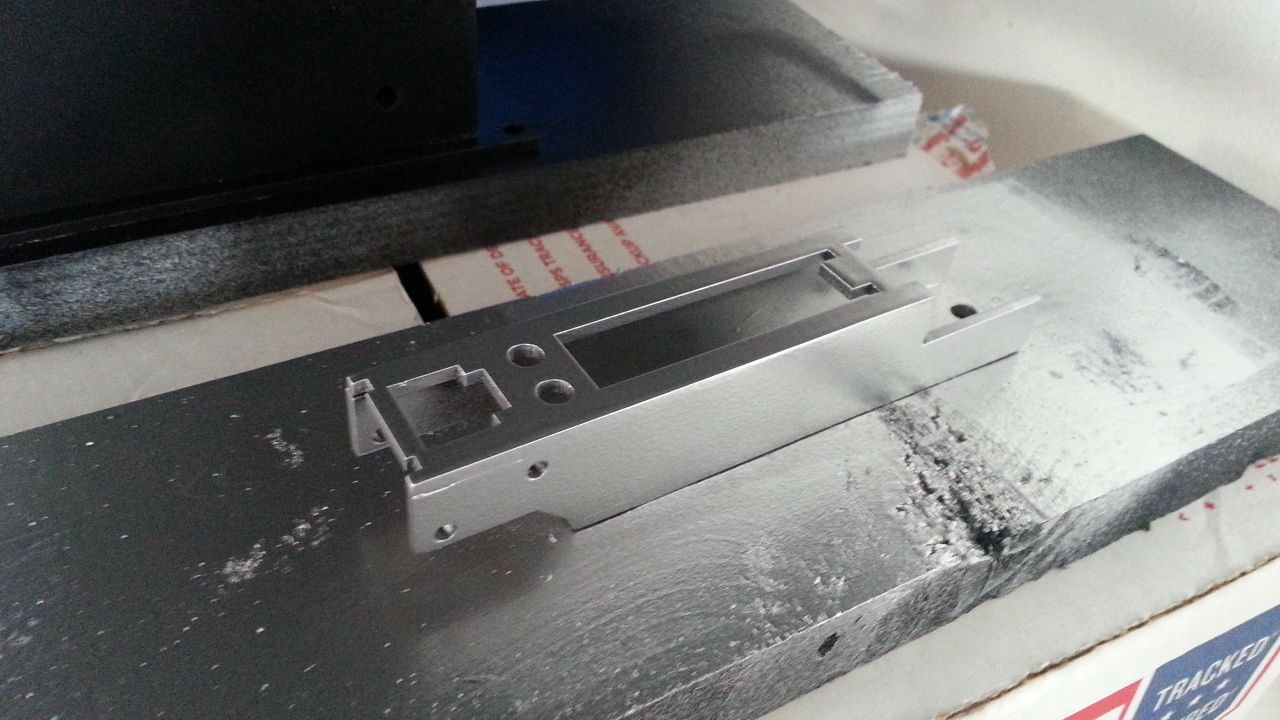
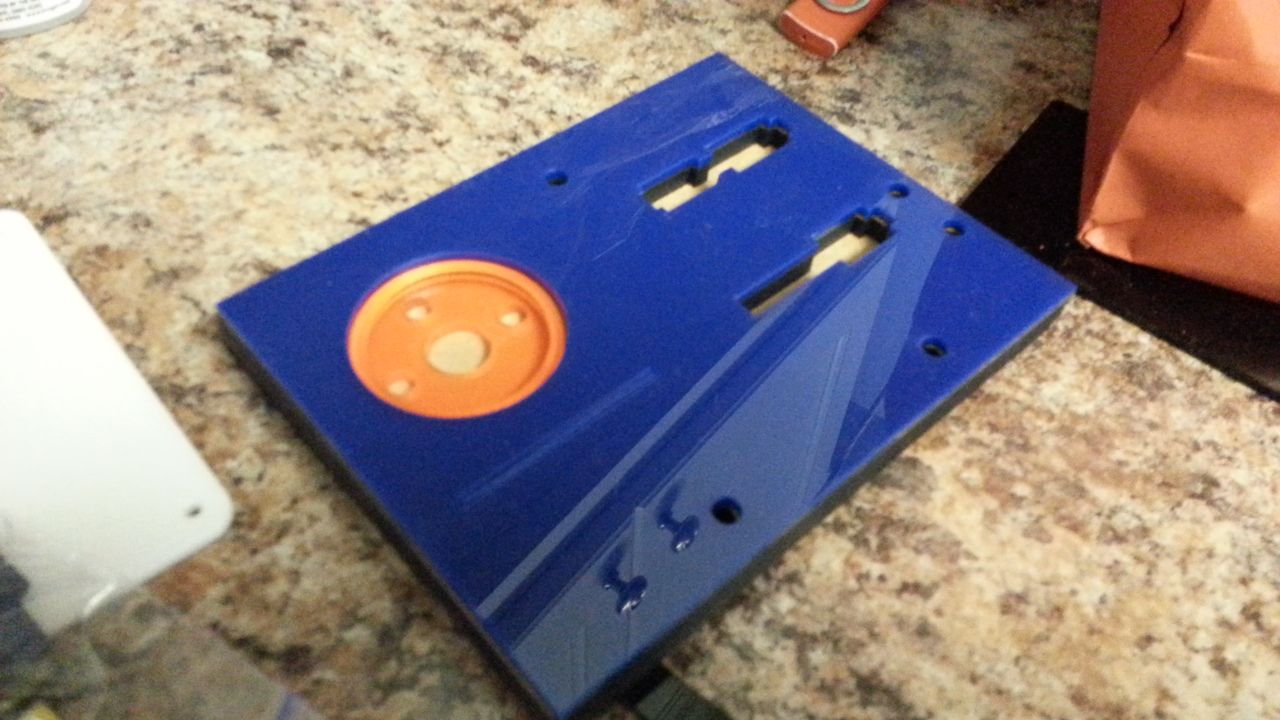
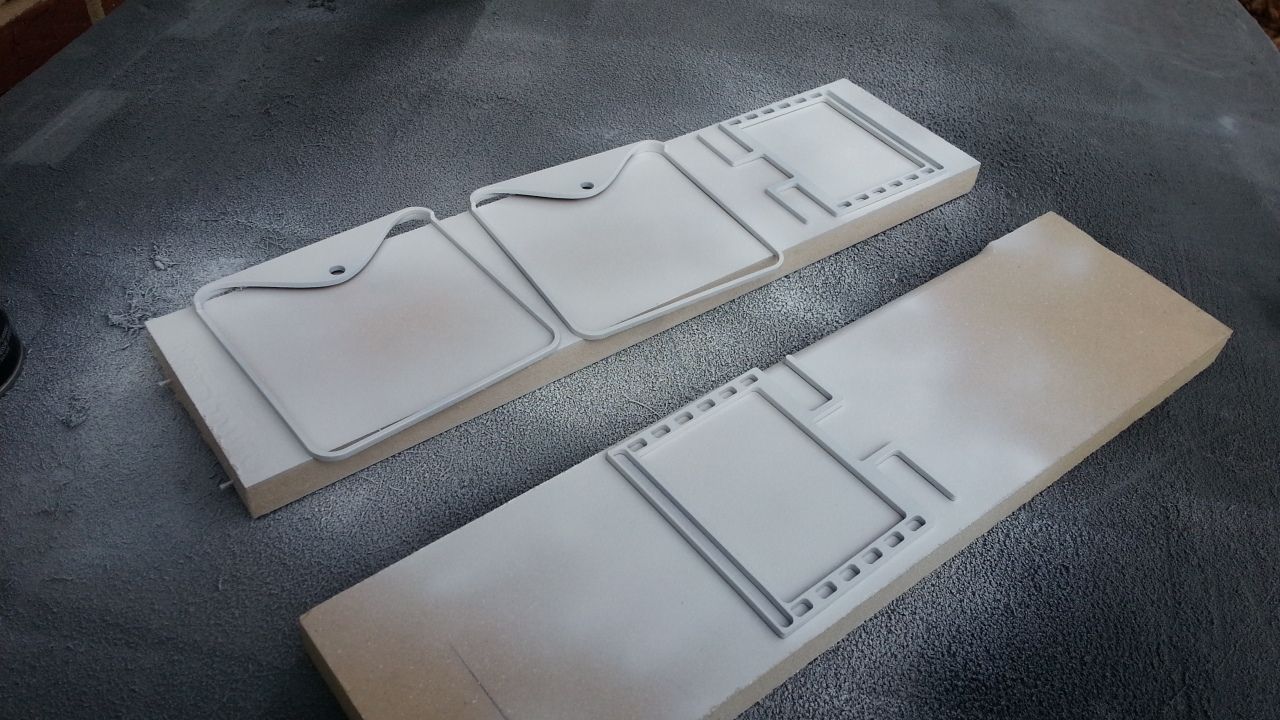
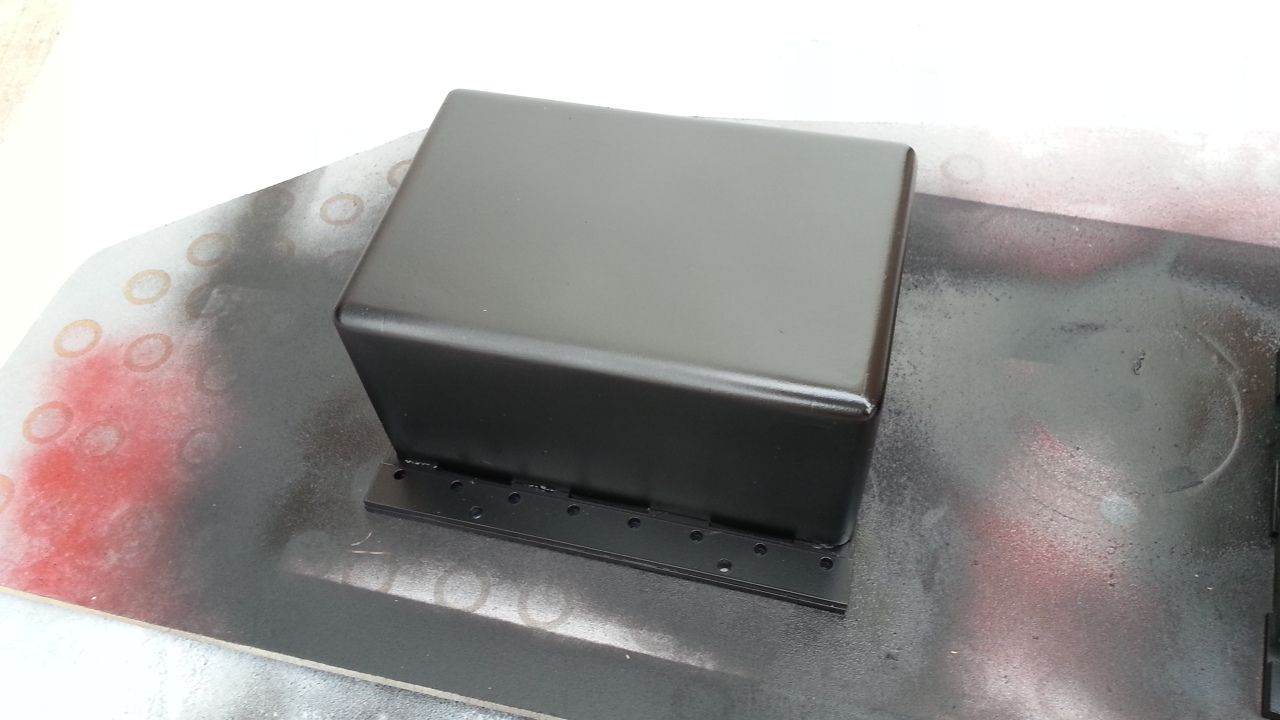
One of MANY greeblies
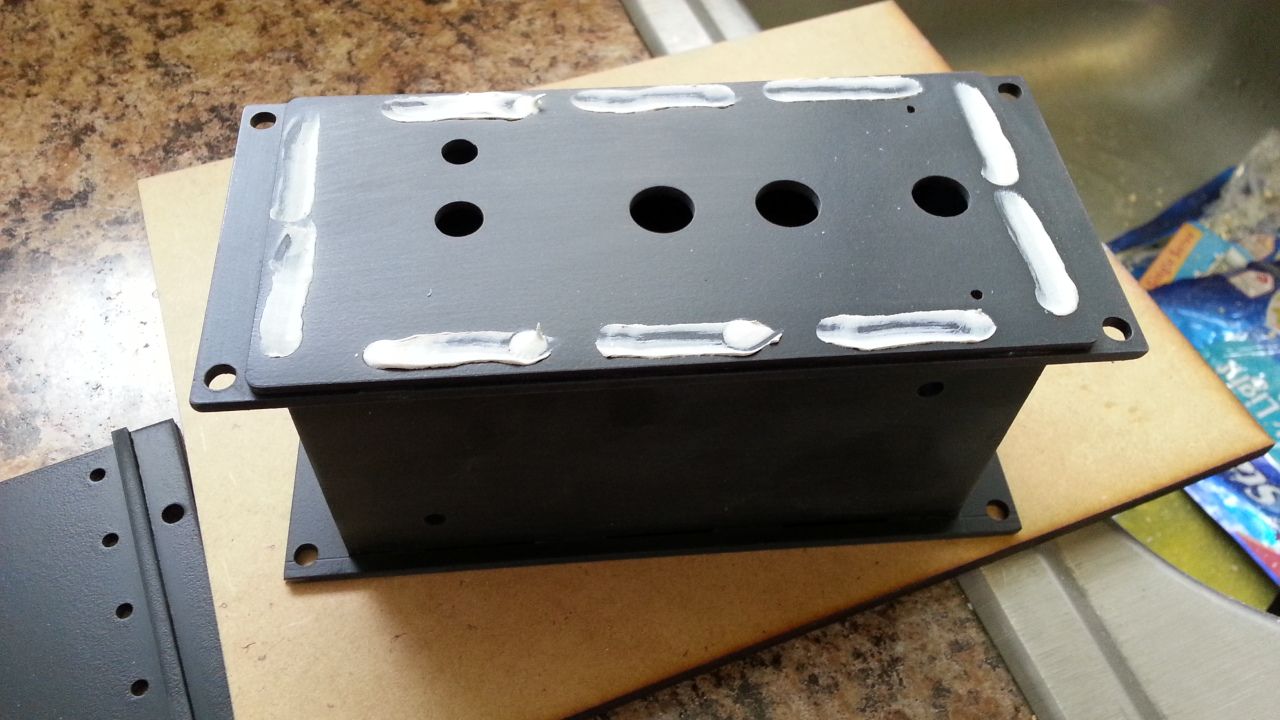
Routing, Filling and Sanding... OH MY!
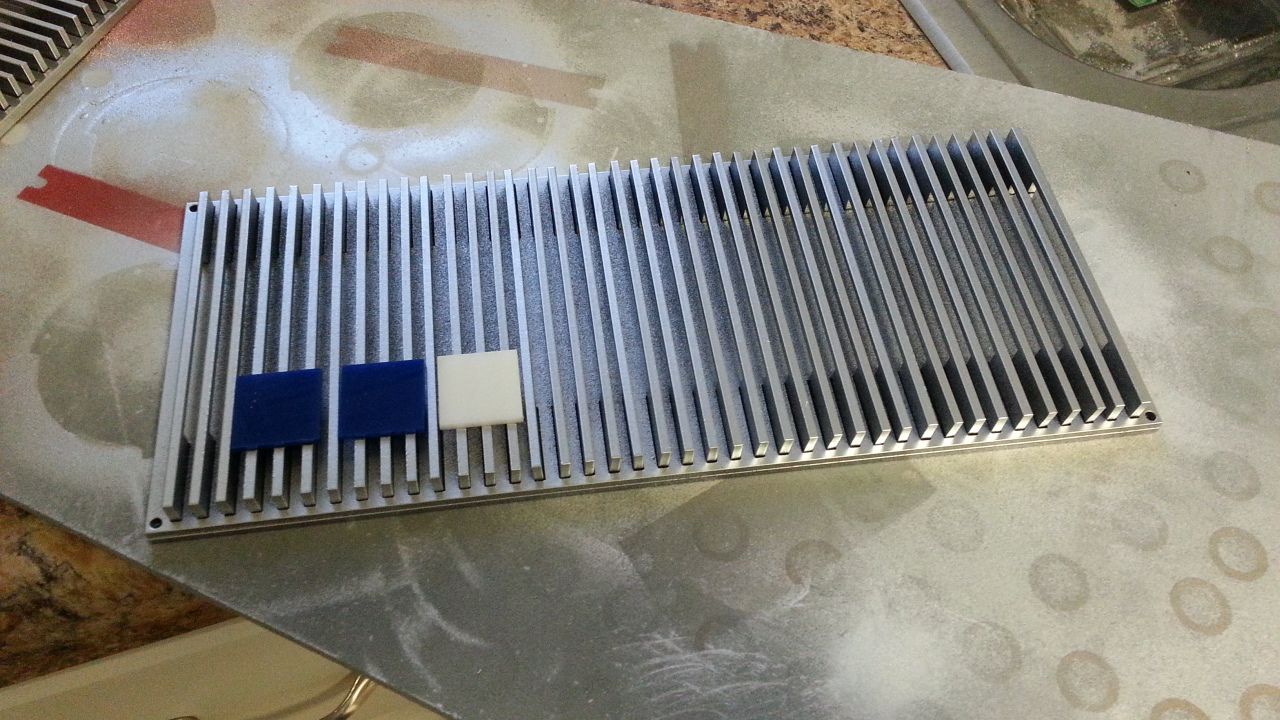
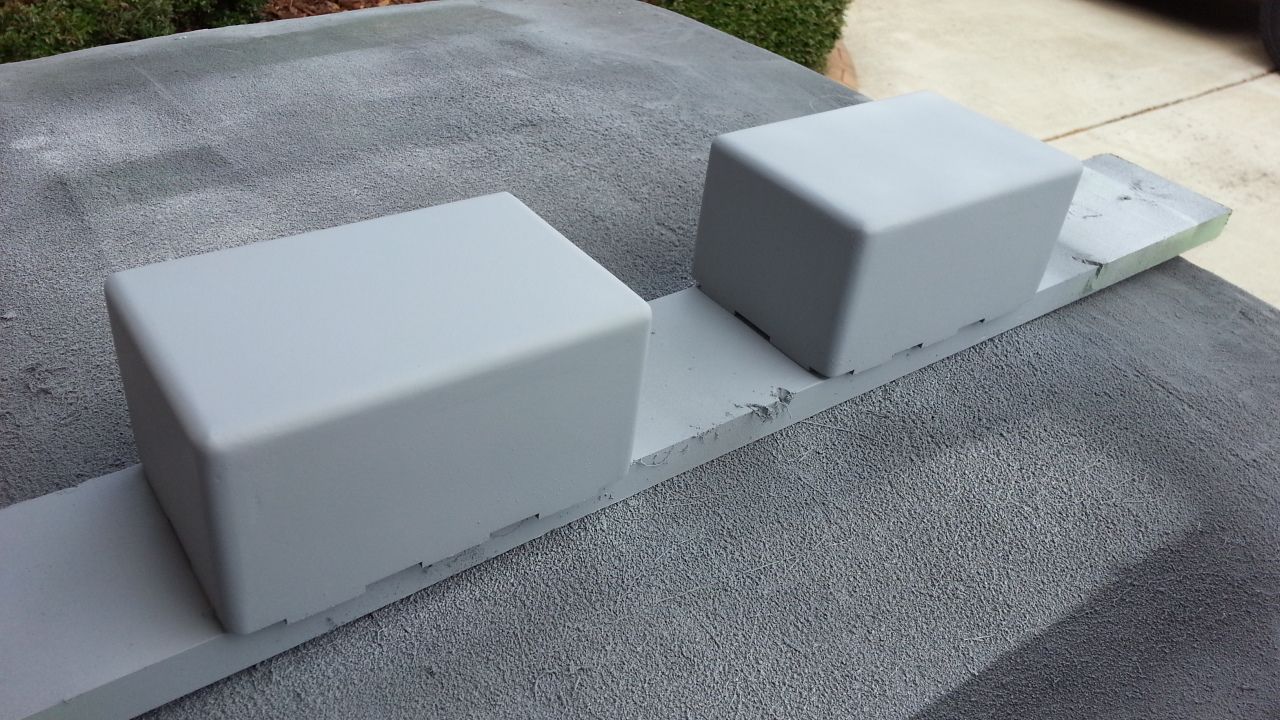
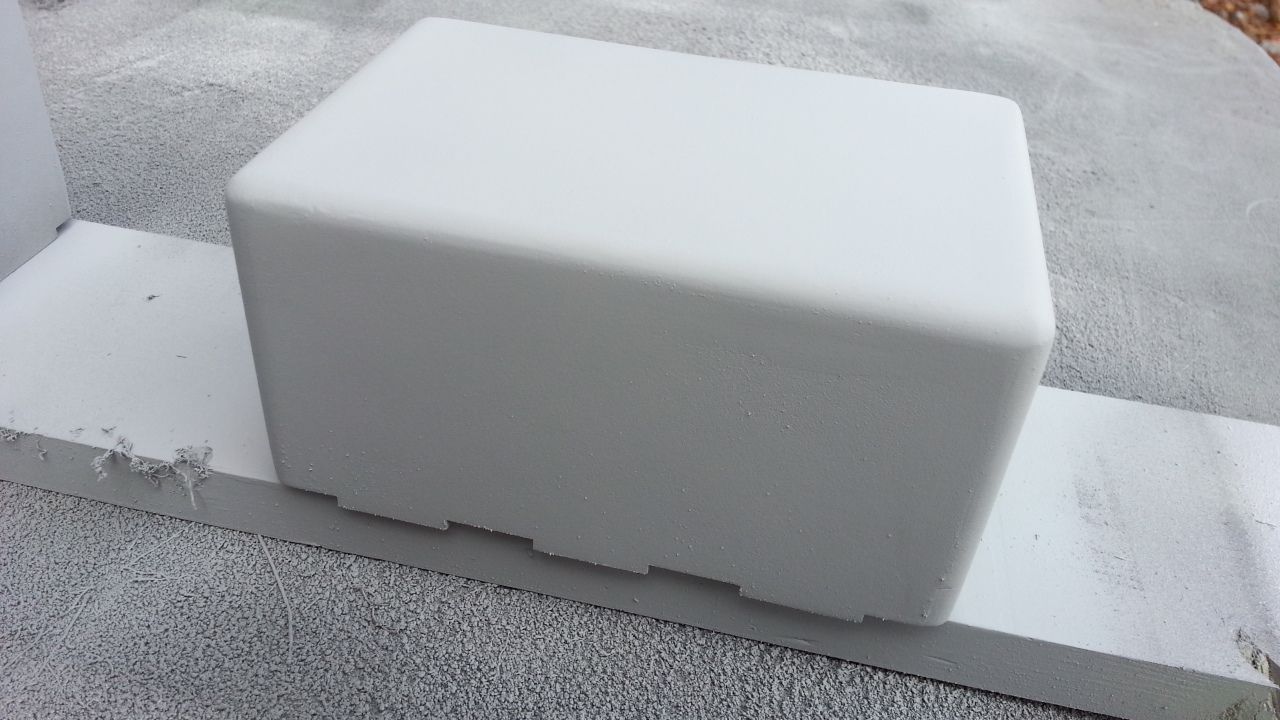
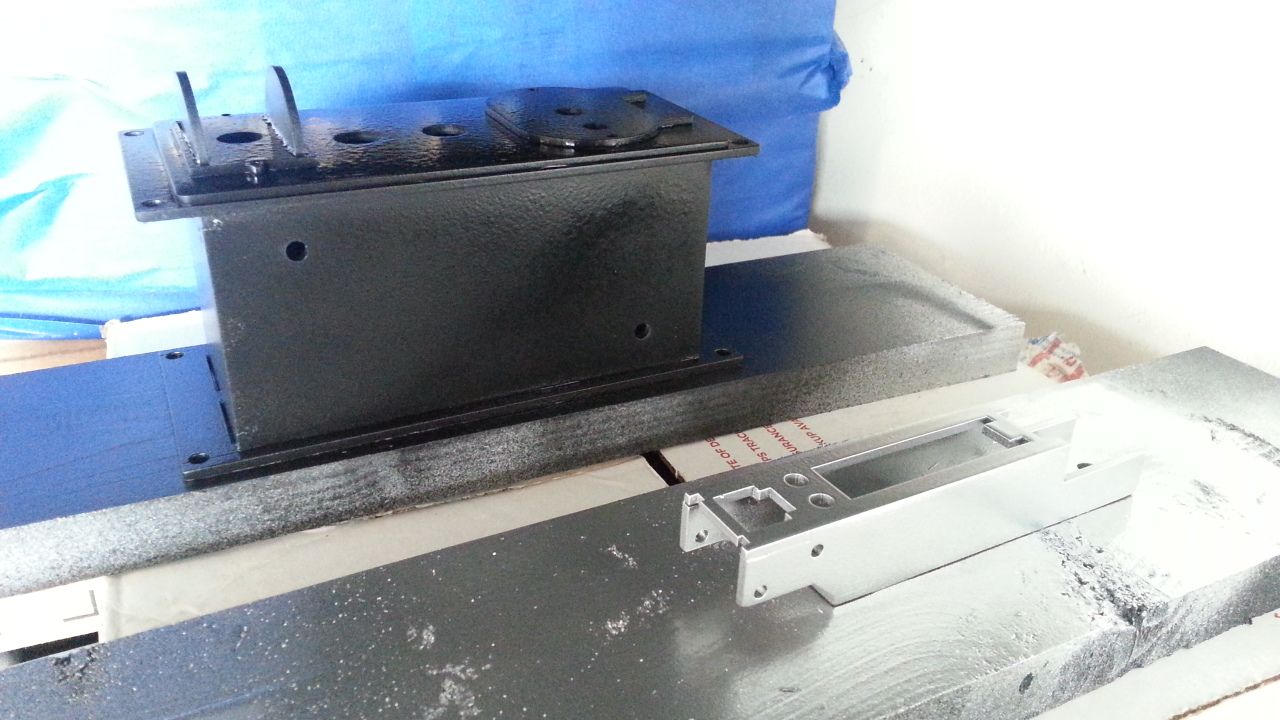
This gives you an idea of what this greeblie will look like when finished
The box will be black with a white greeblie on the side and silver "cassette" player greeblie on the top of the box
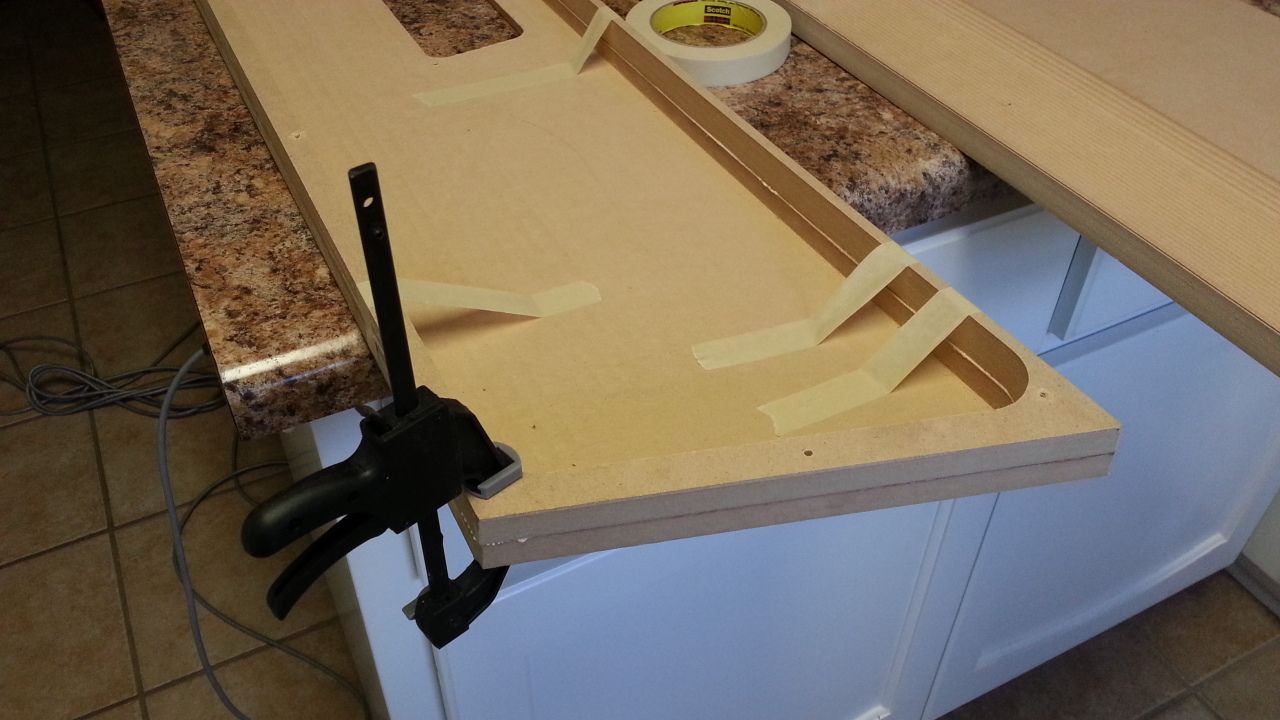
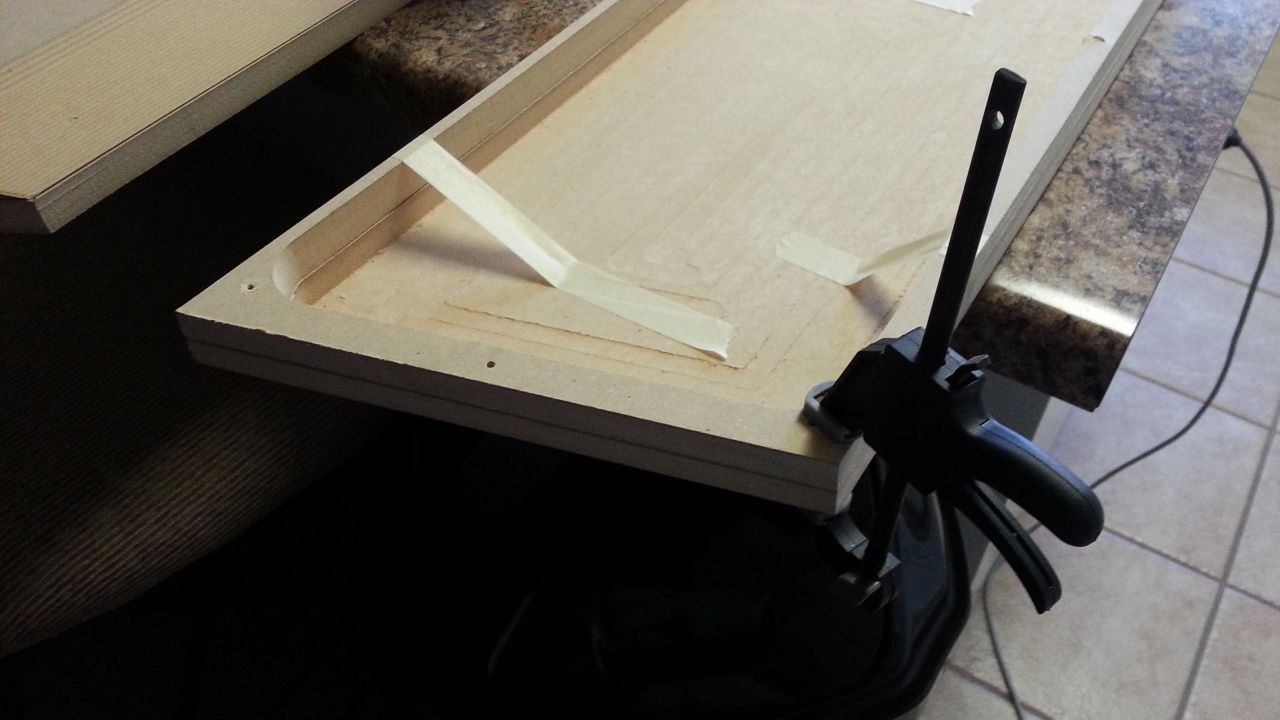
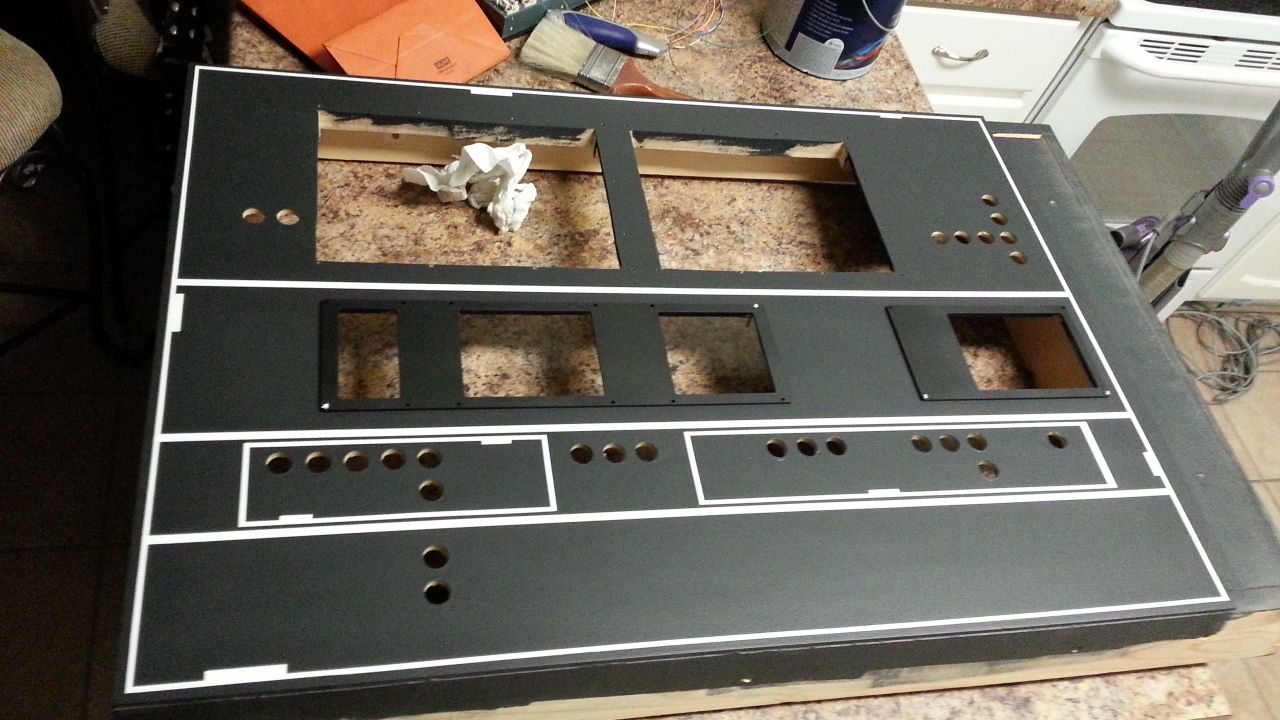
Adding filler to the new instrument panels (it's sitting on the old console)
Primer!
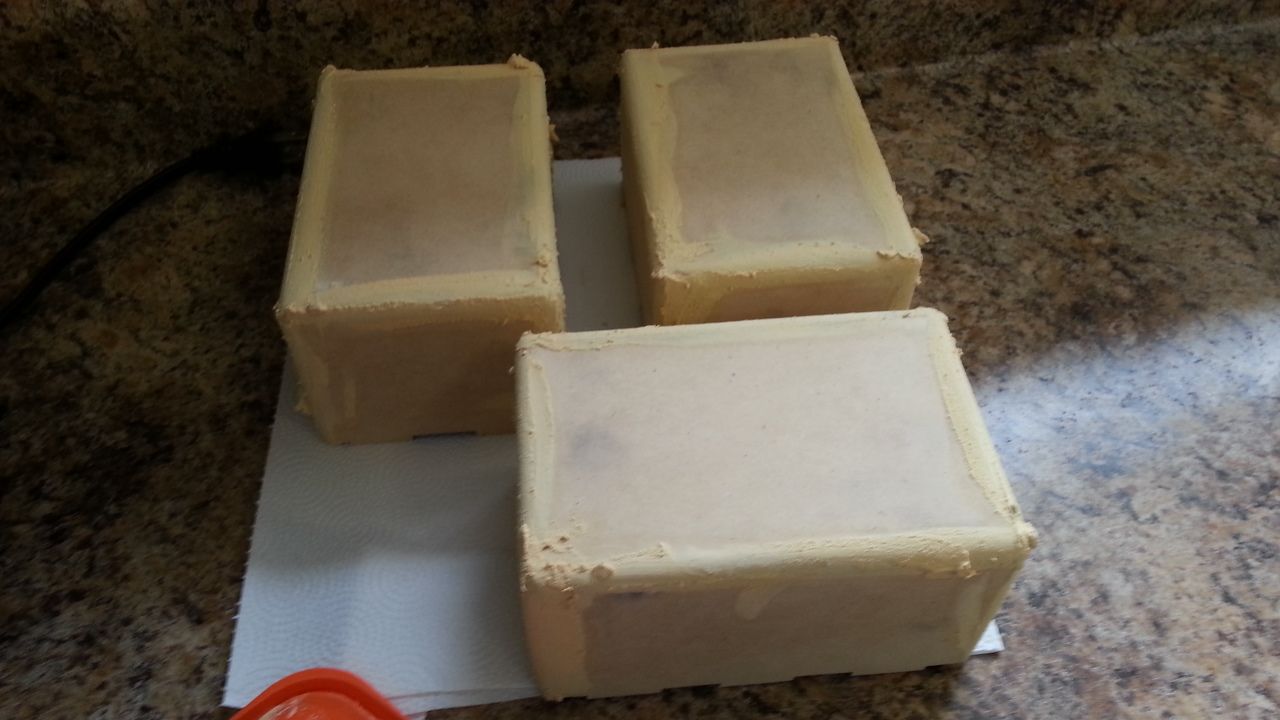
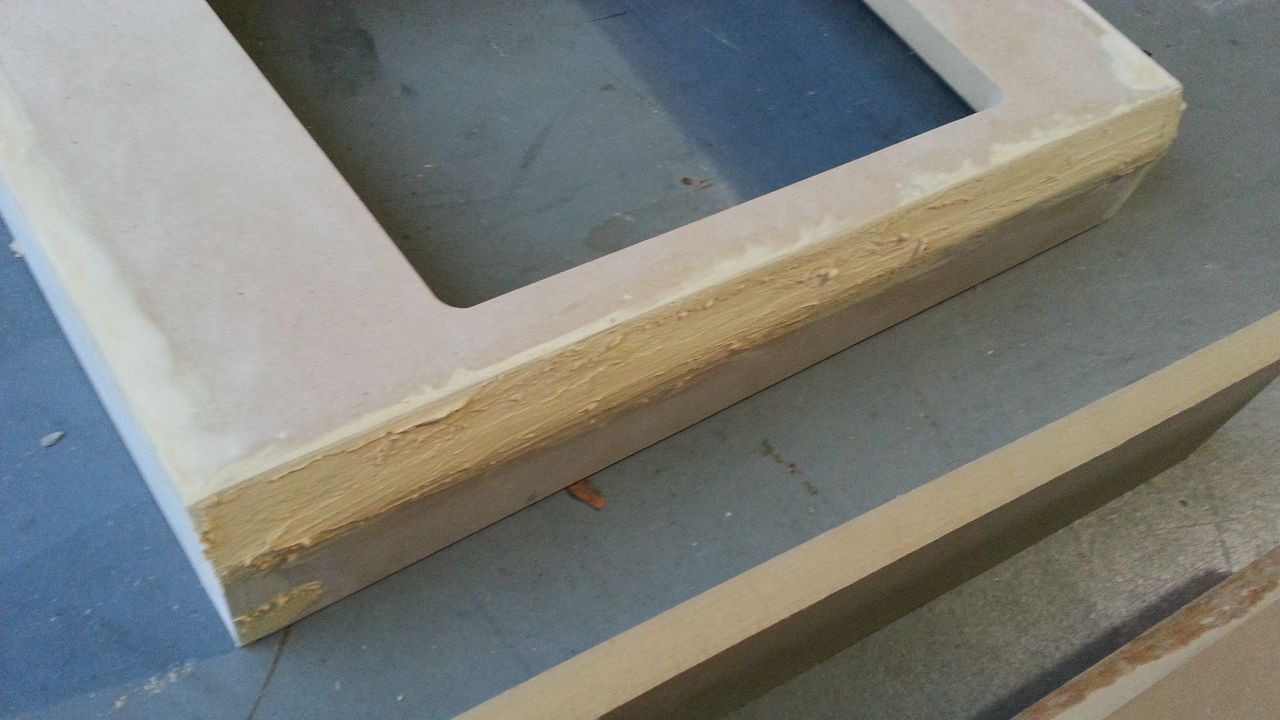
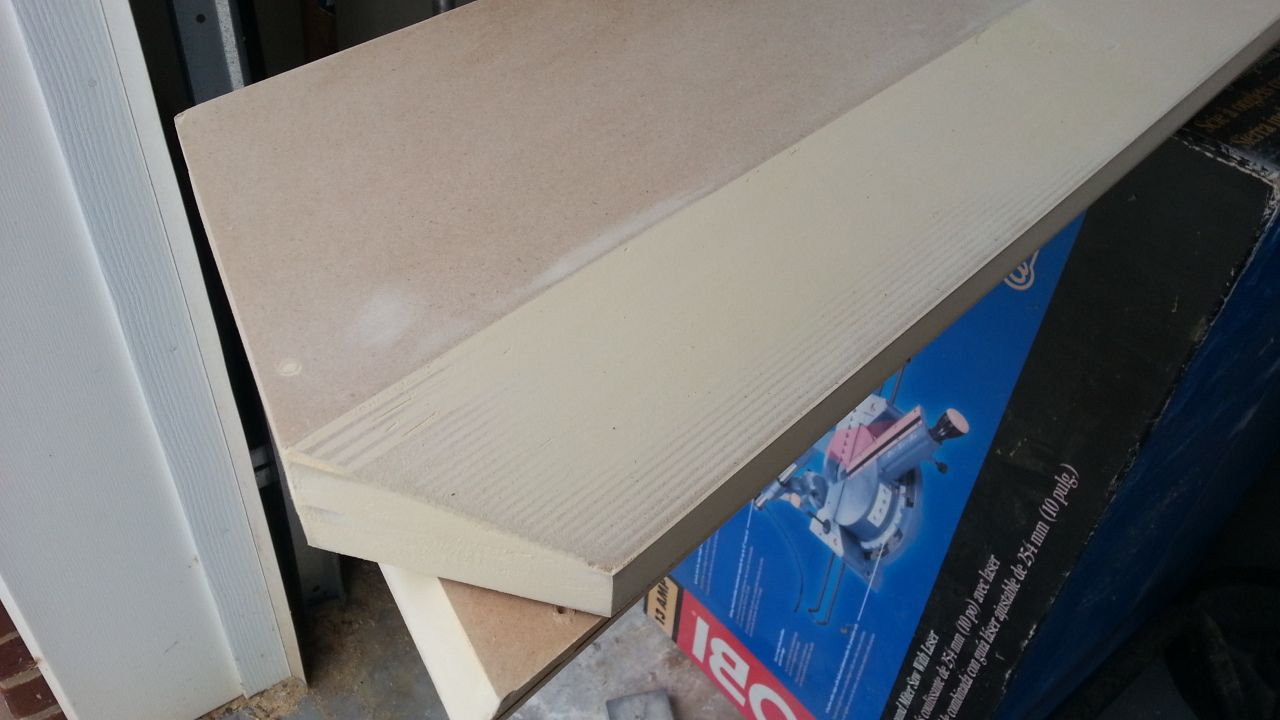
After LOTS of sanding
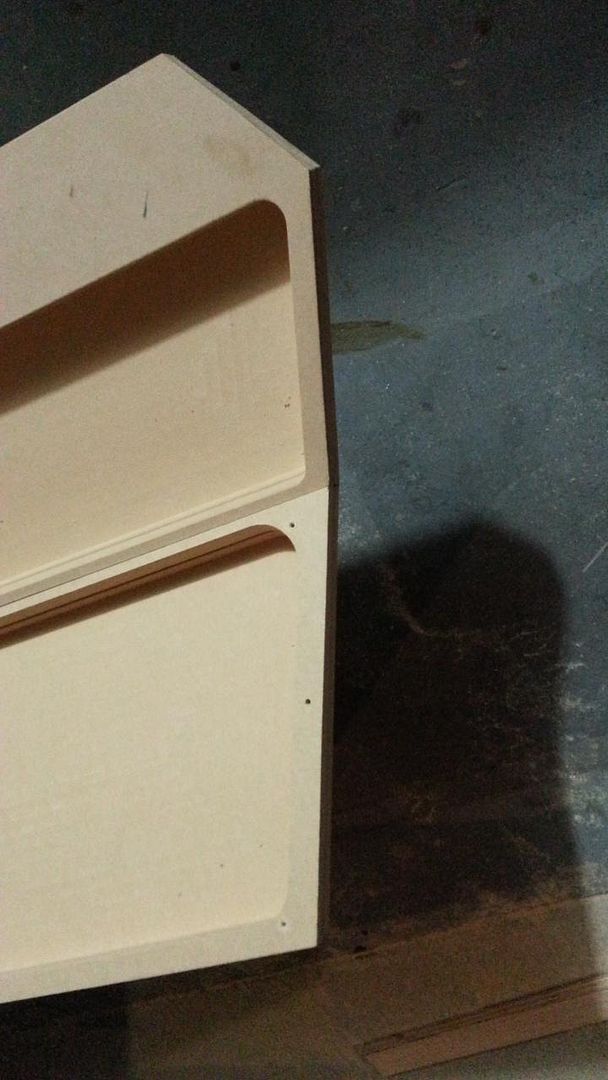
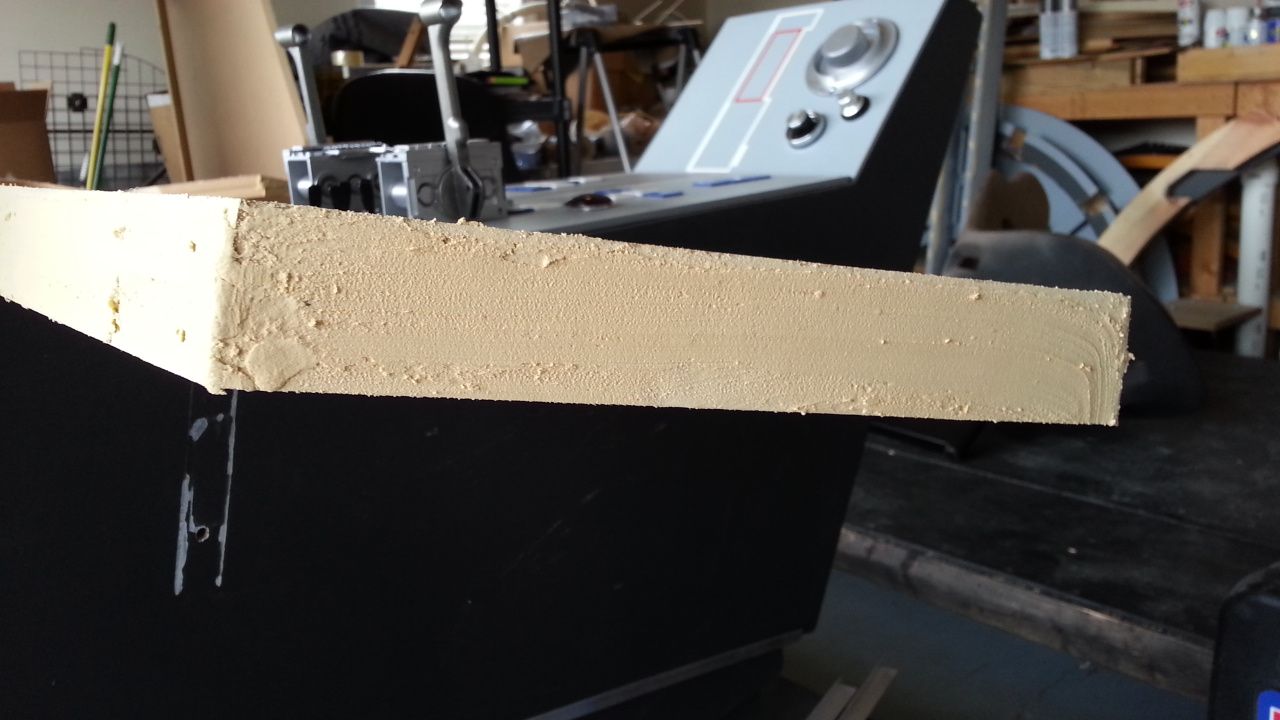
I then jumped to the console - which required a LOT of filler and sanding
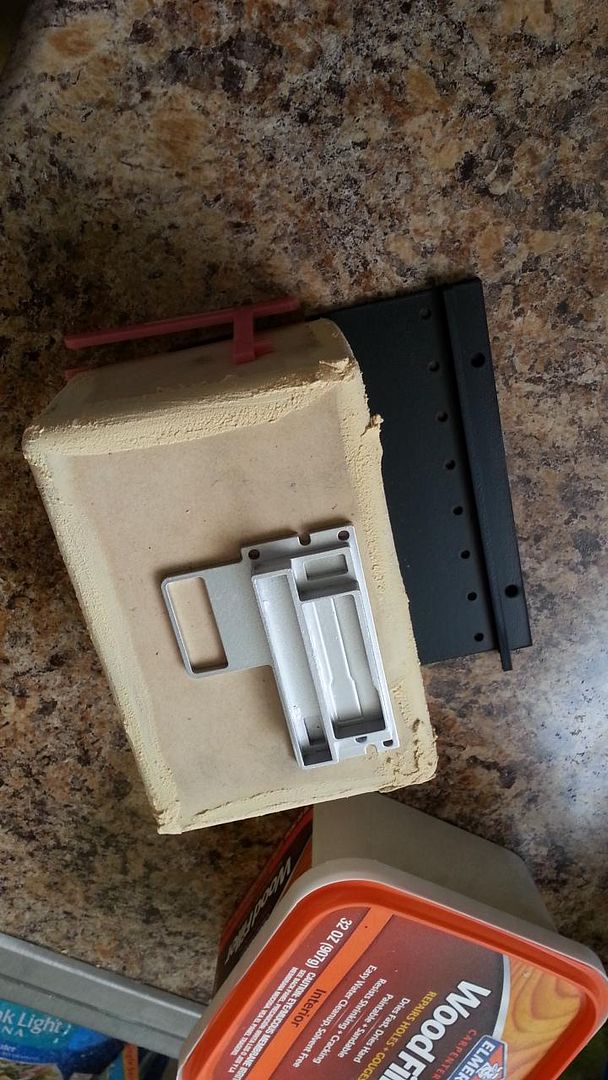
Filler added to the bottom on the lower instrument panel
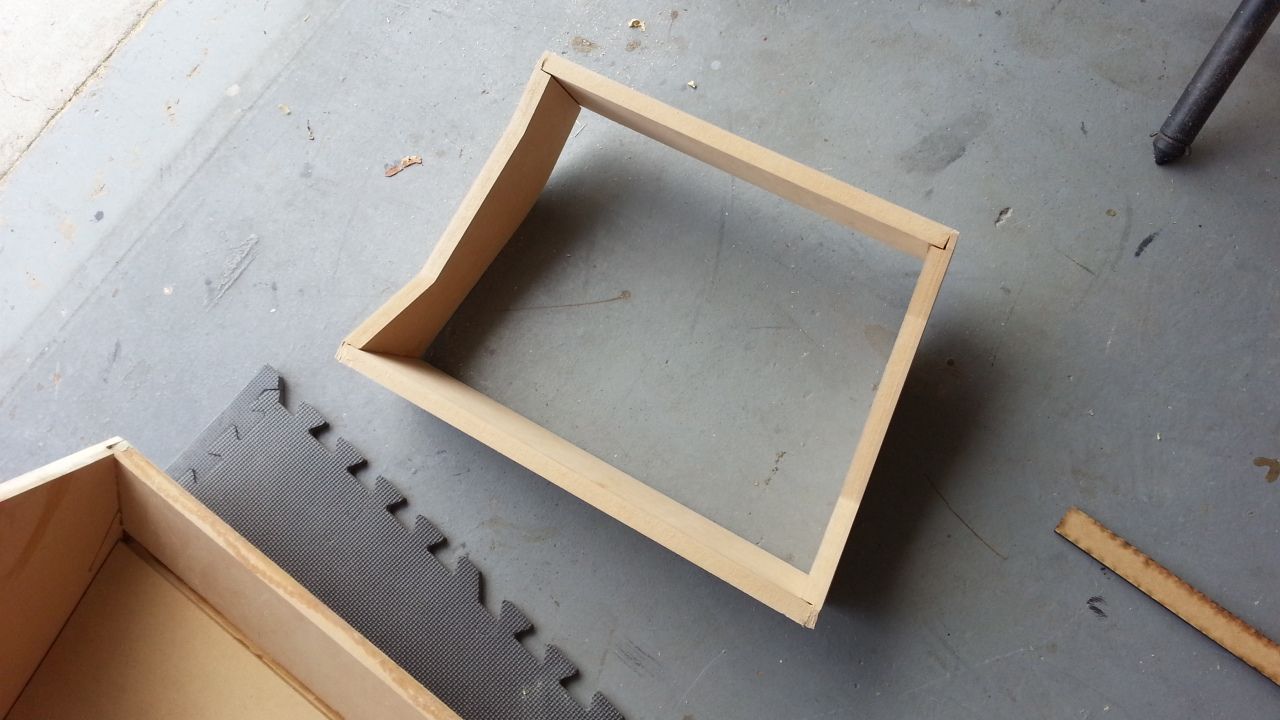
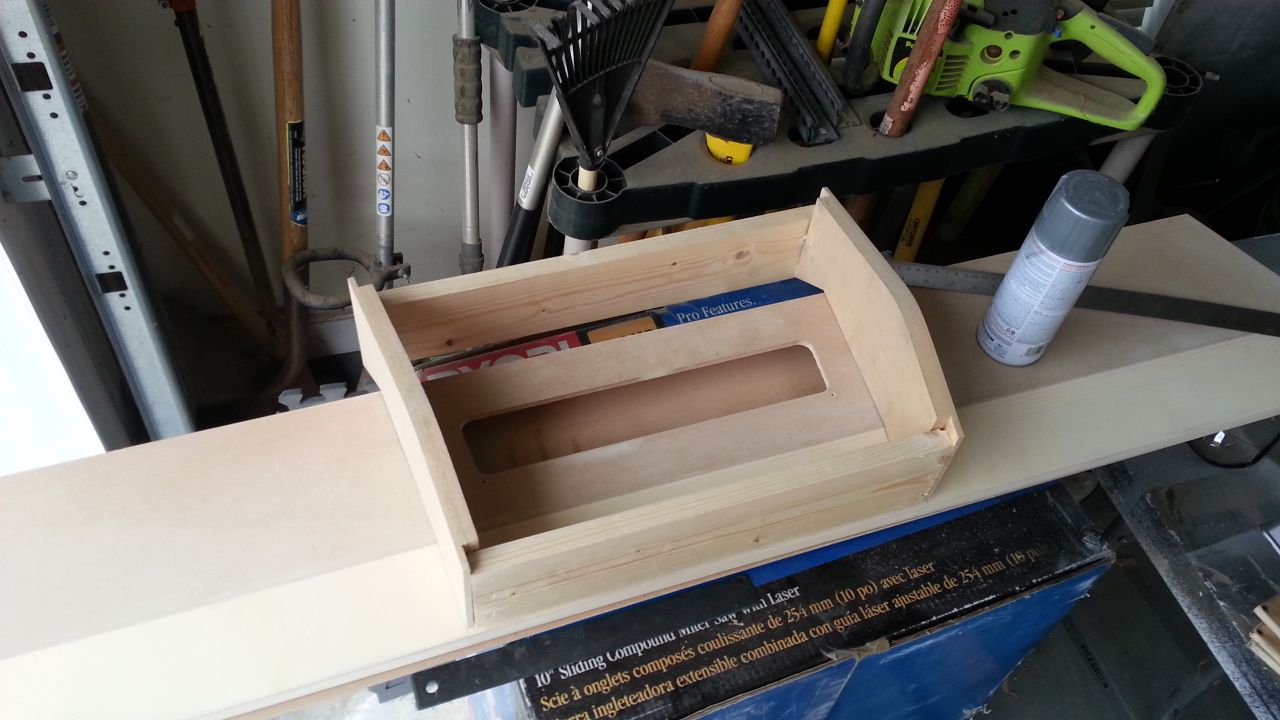
Instrument panel frame/cradle
Back to the greeblie
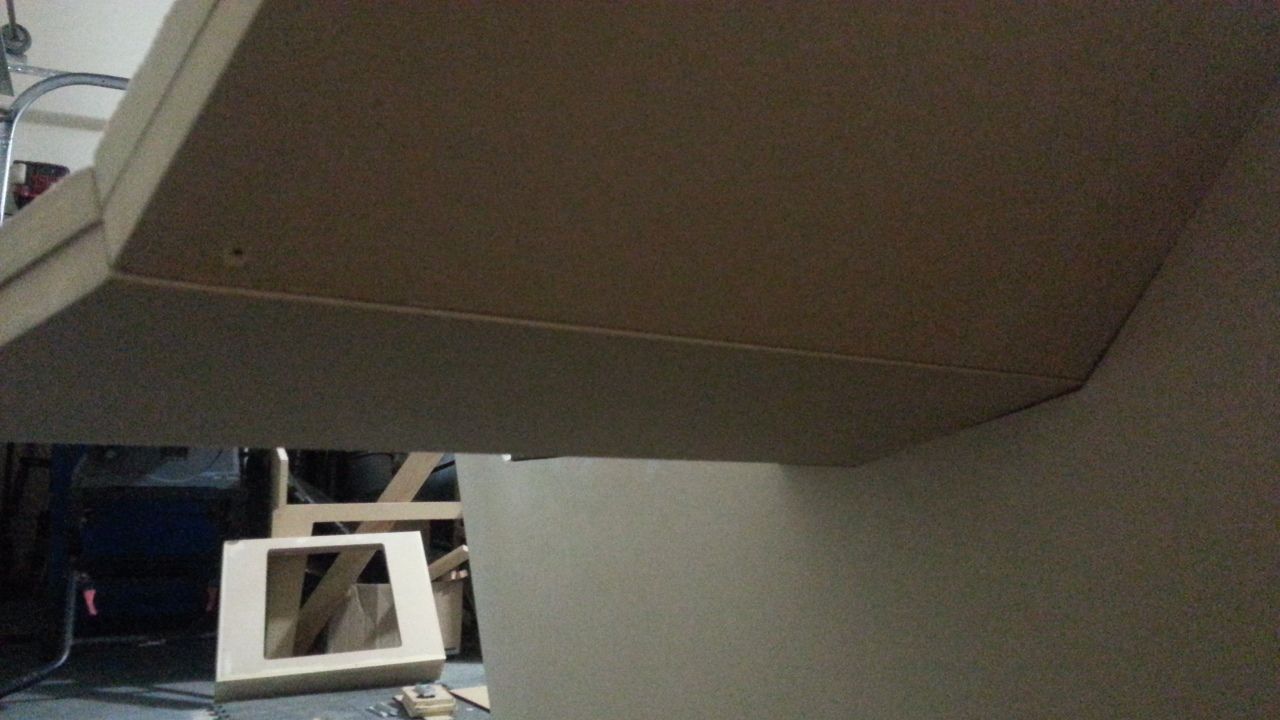
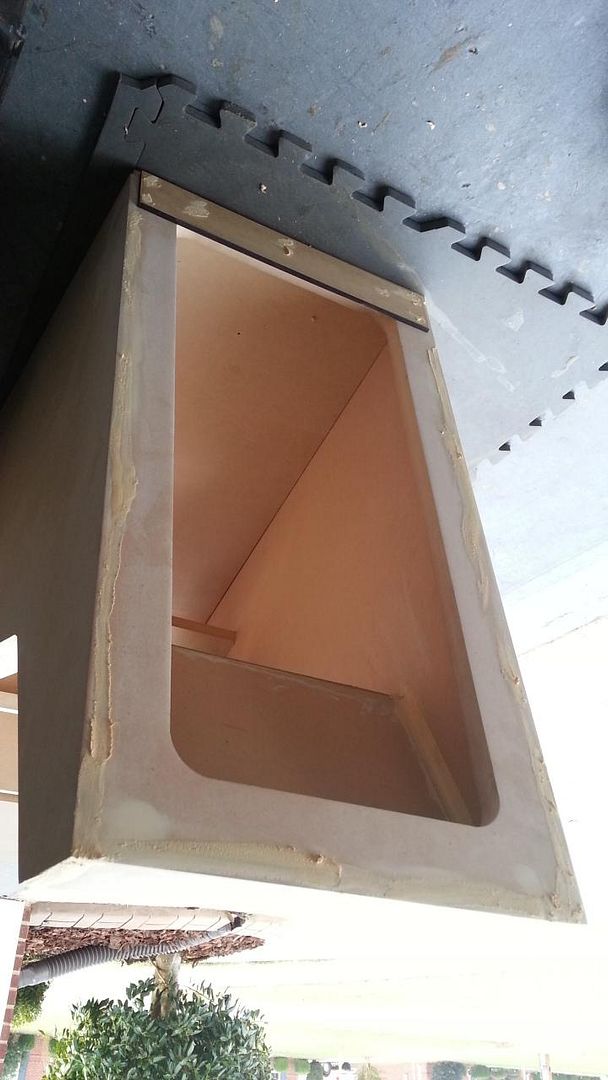
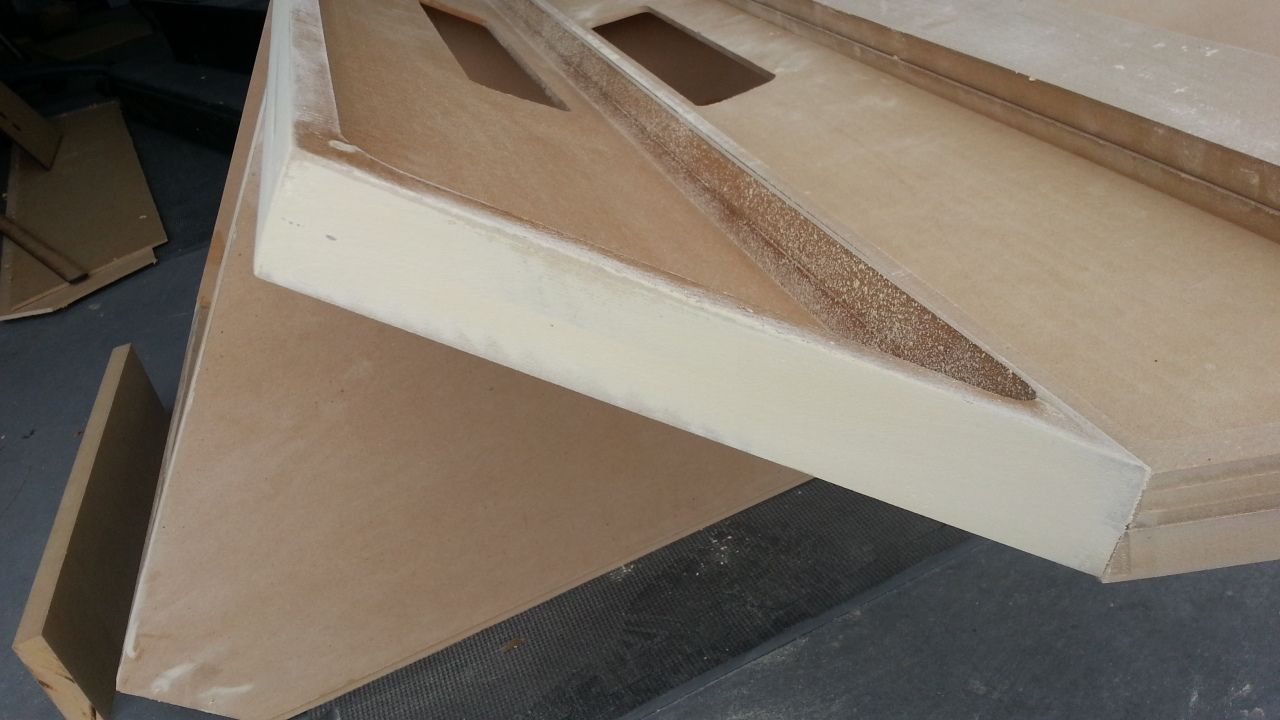
Back to the nose... whew...
Had to rip this little piece to fill in the front part of the console nose
PERFECT!
Filler will hide all the little imperfections
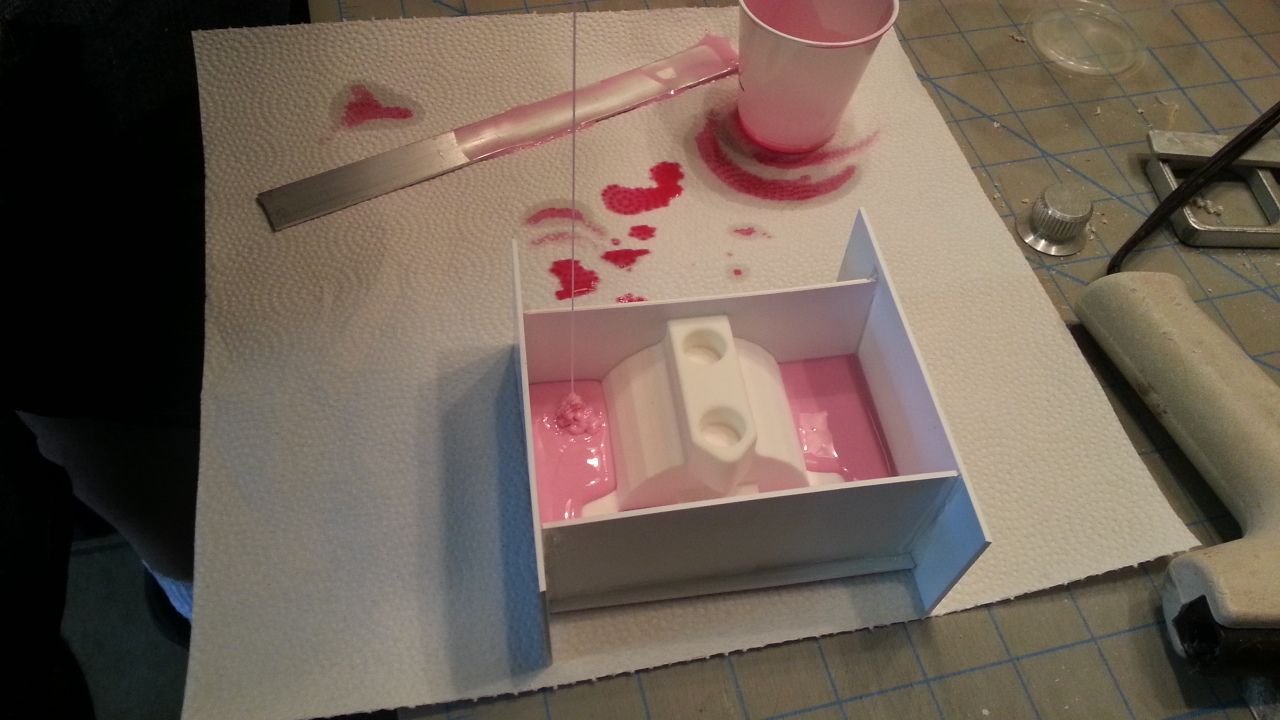
Daniel and Jessie stopped by to help! Daniel working of making molds
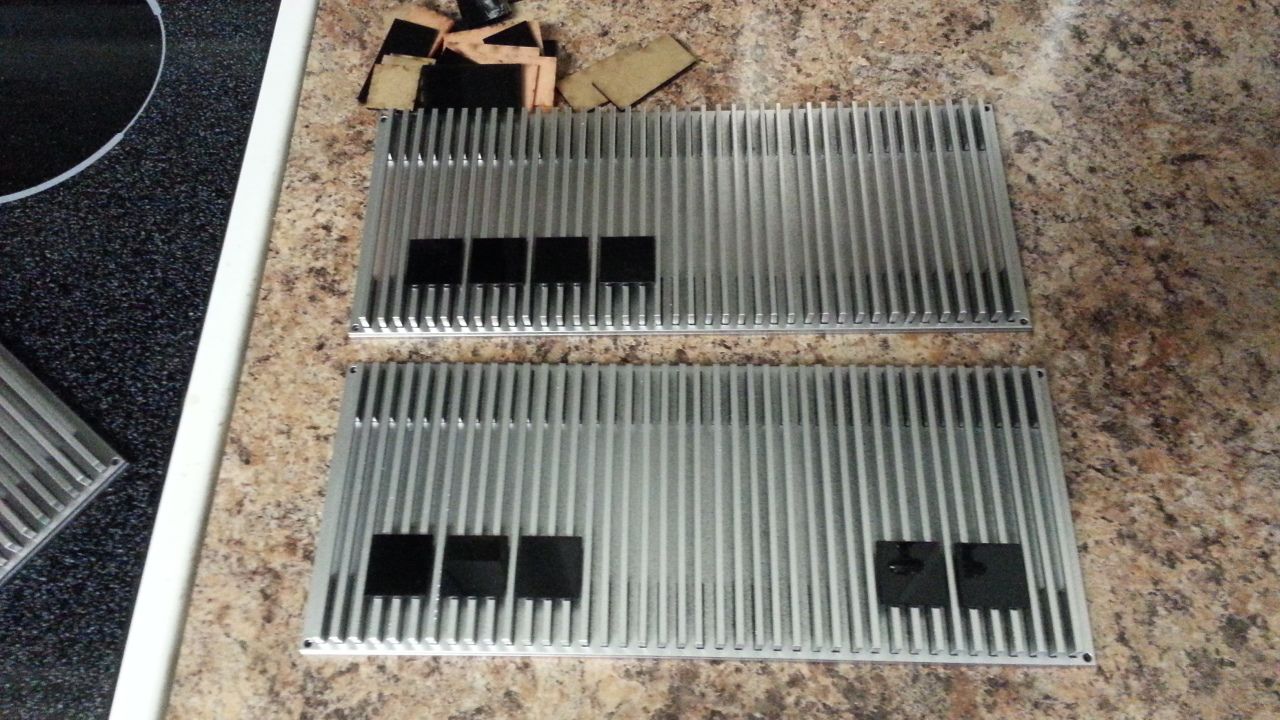
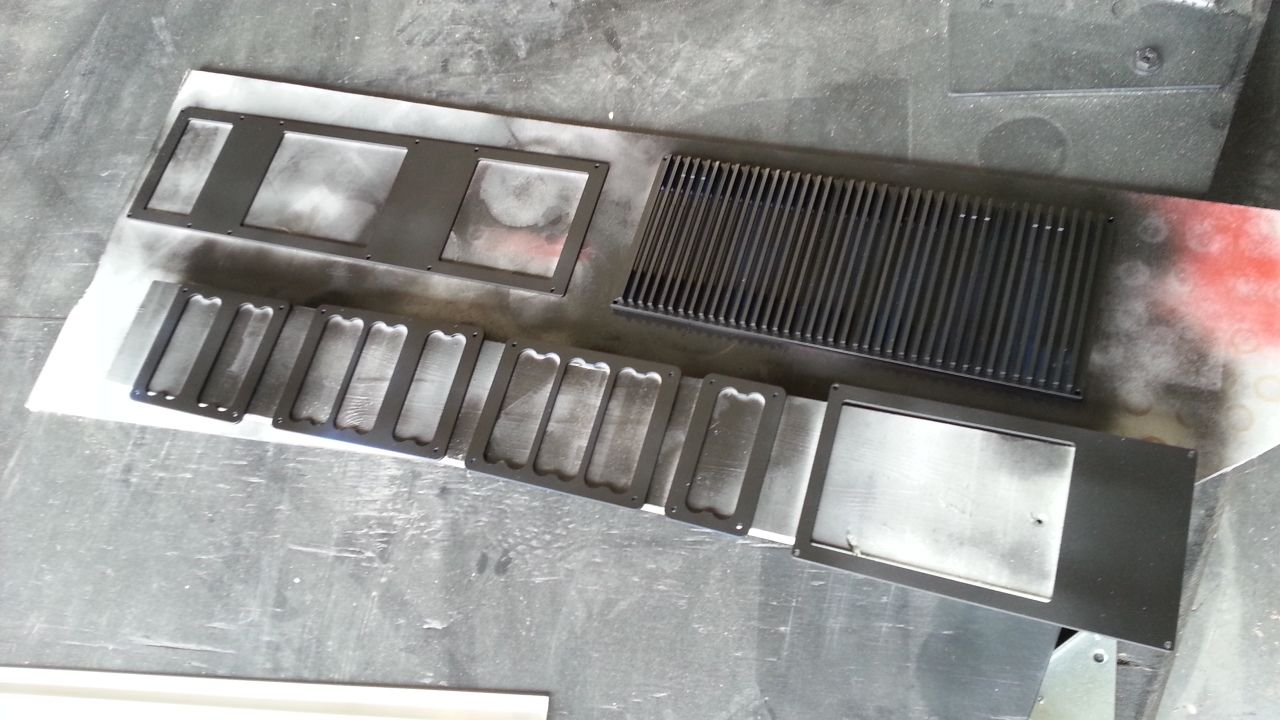
Back to more greeblies!
Back to sanding...
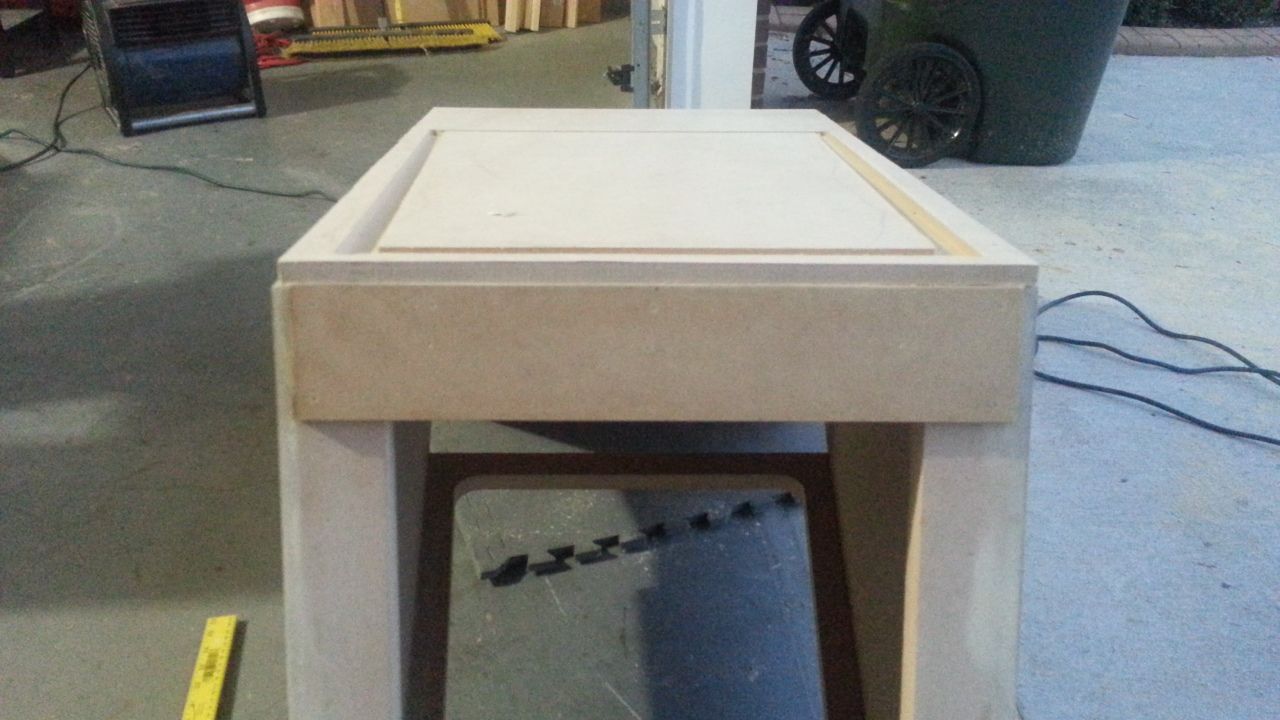
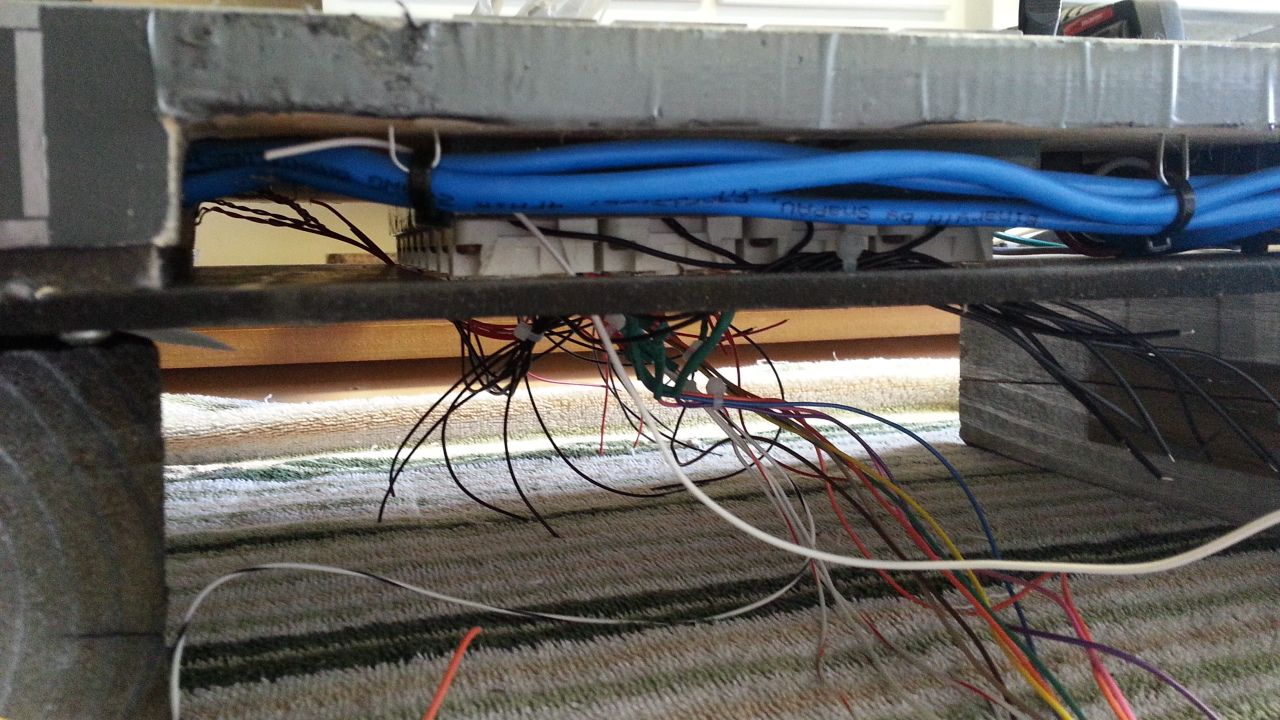
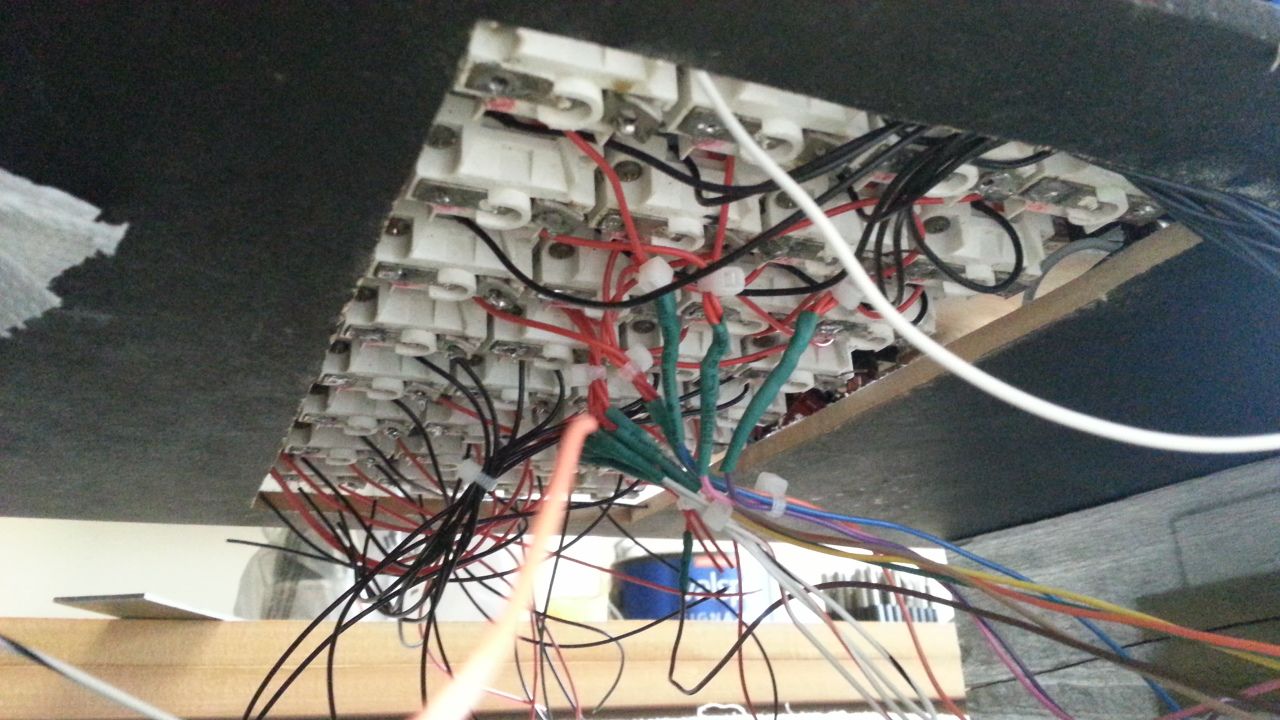
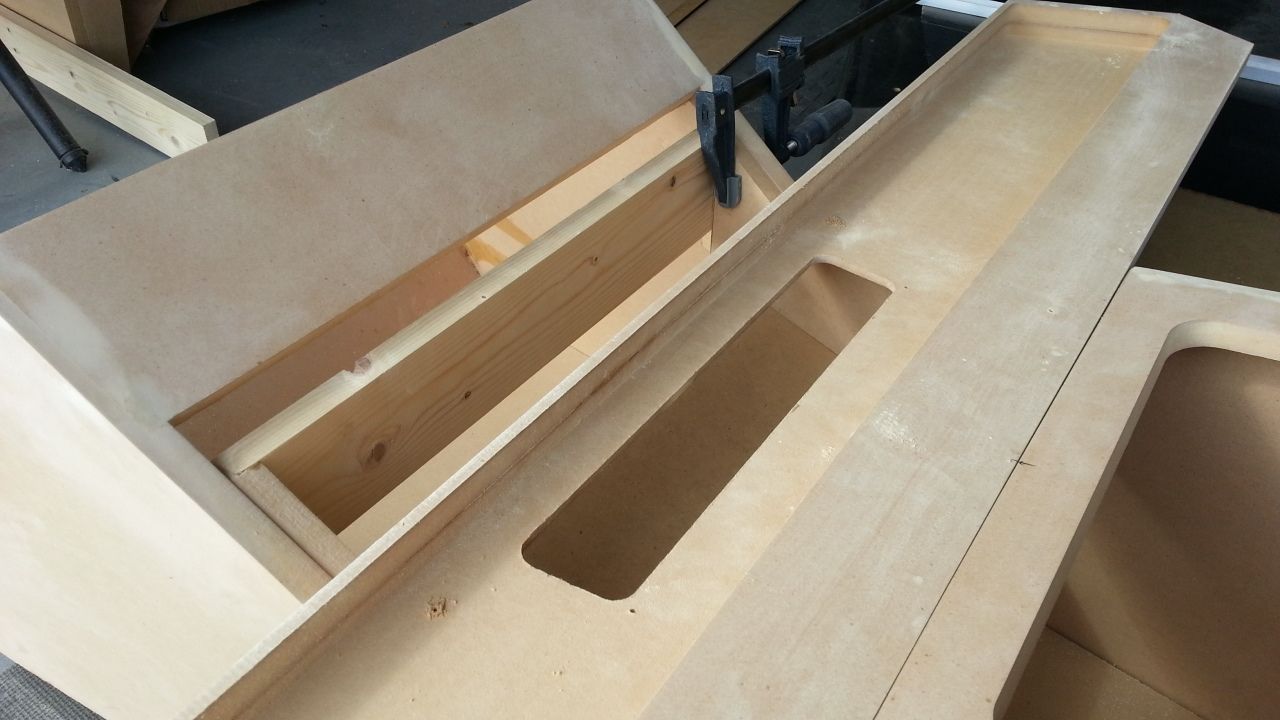
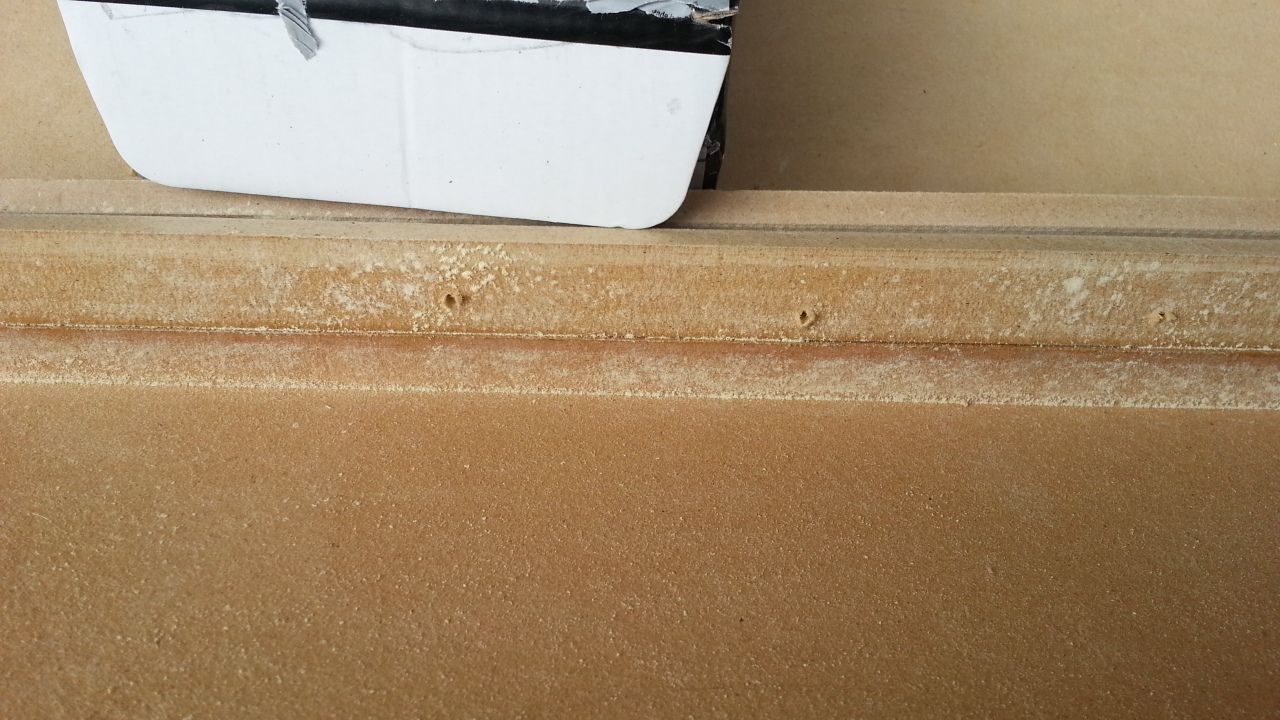
Now it was time to get down and dirty... how are we going to mount everything?
New cradle looks good - as I mentioned I had to adjust a few things - now it fits perfect and slides in and out perfectly!
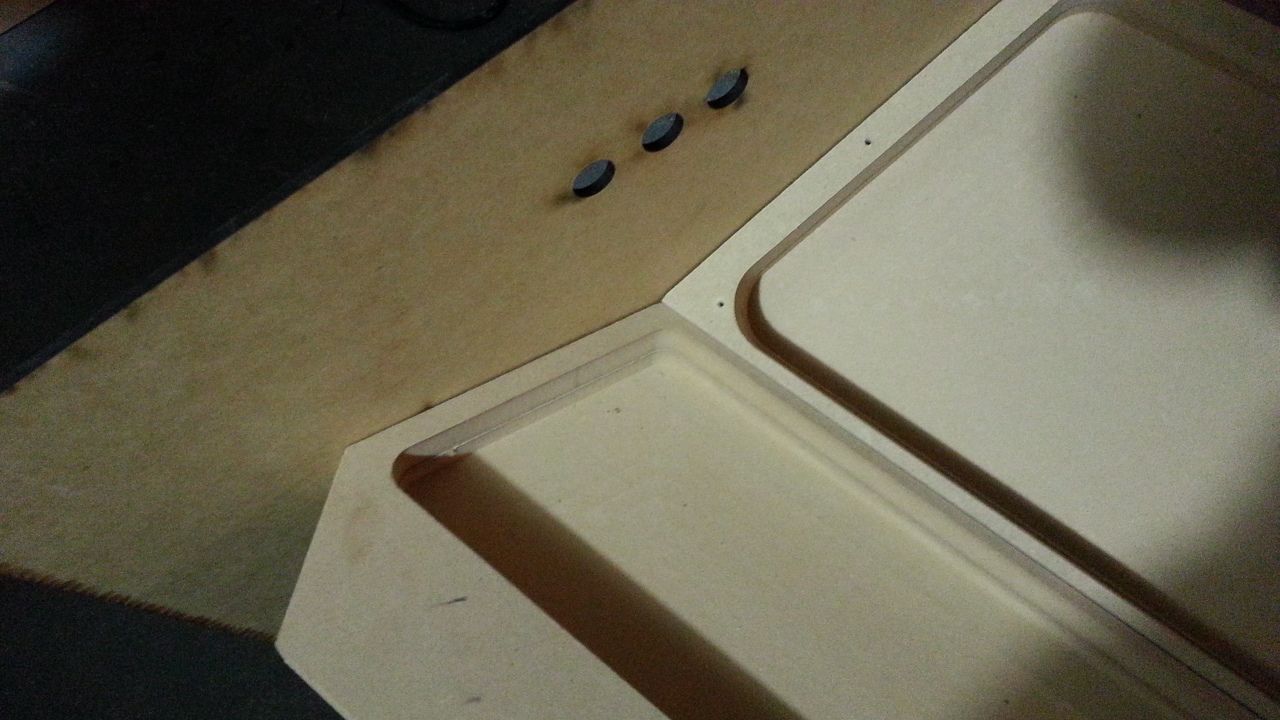
Aligning the cradle
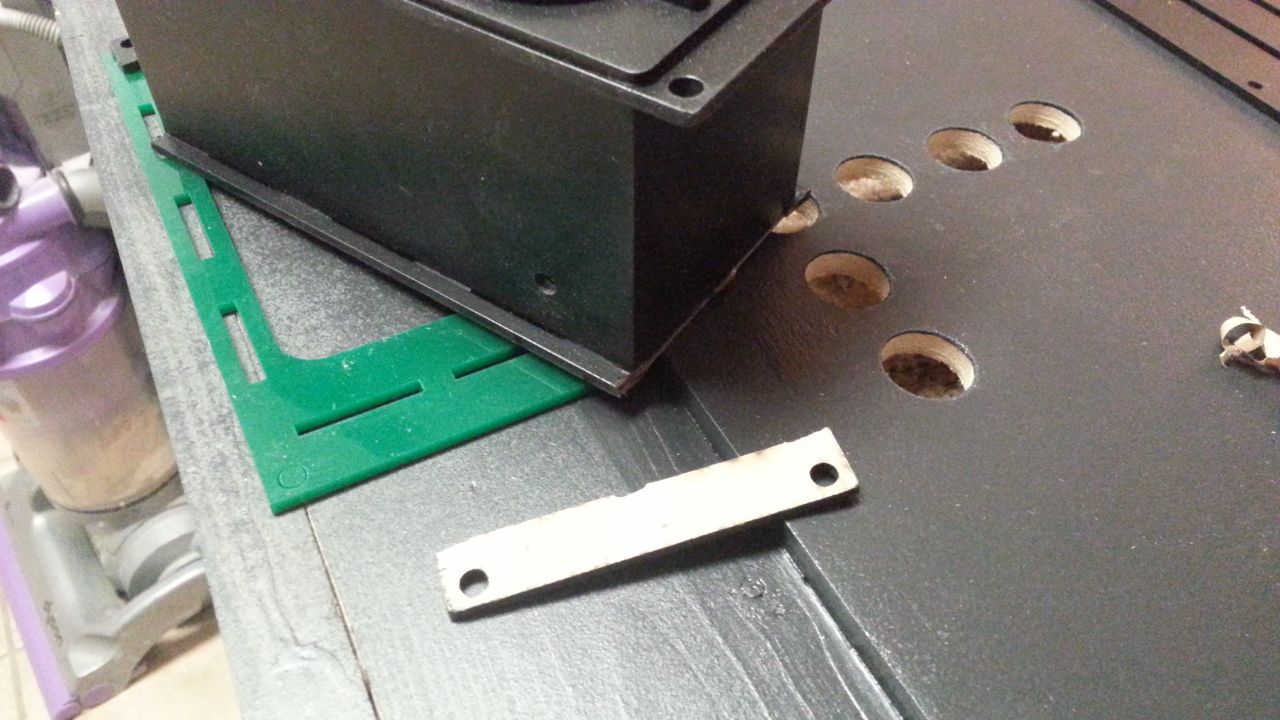
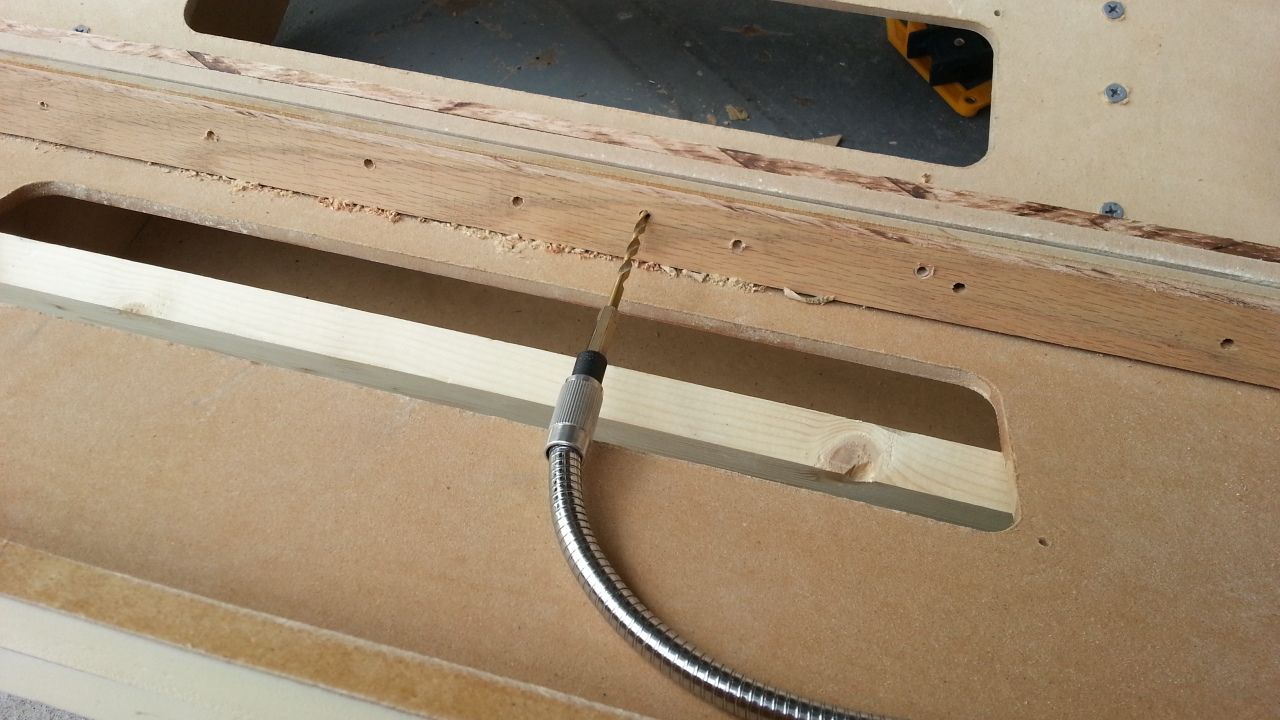
Drilling holes...
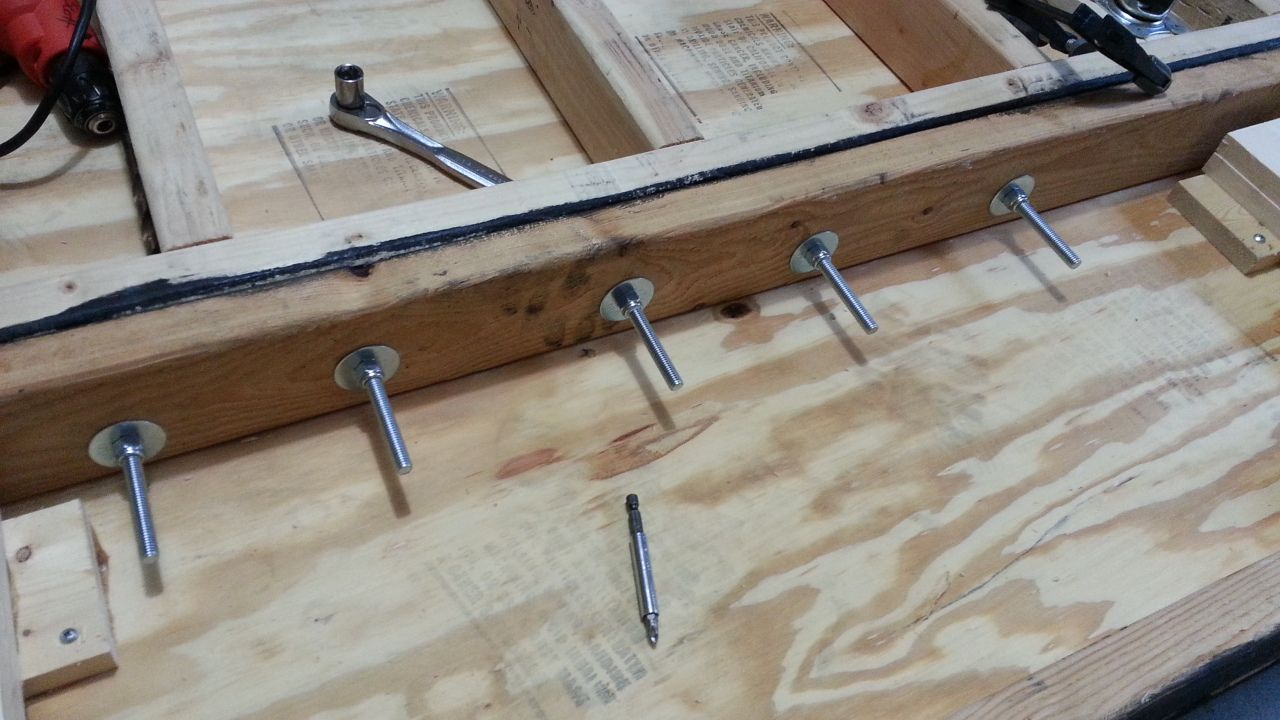
I quickly realized the bolting/screwing these thin MDF edges was NOT going to work. Had to come up with a better solution
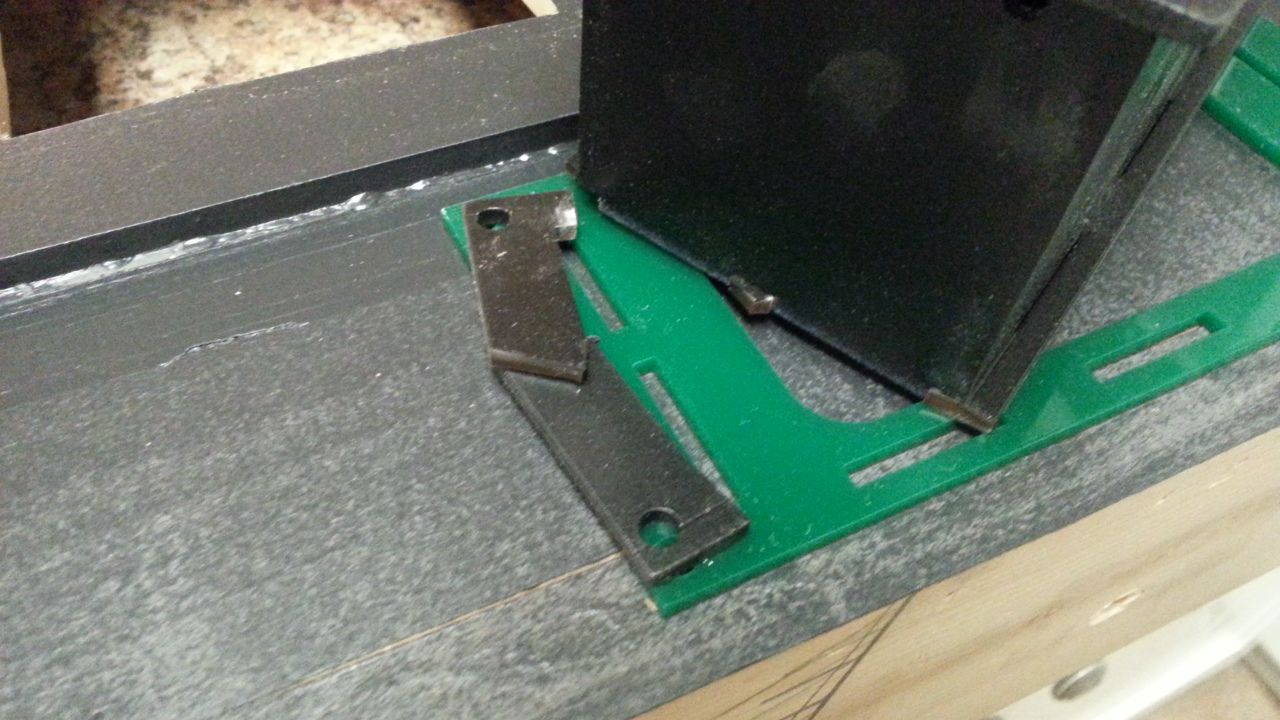
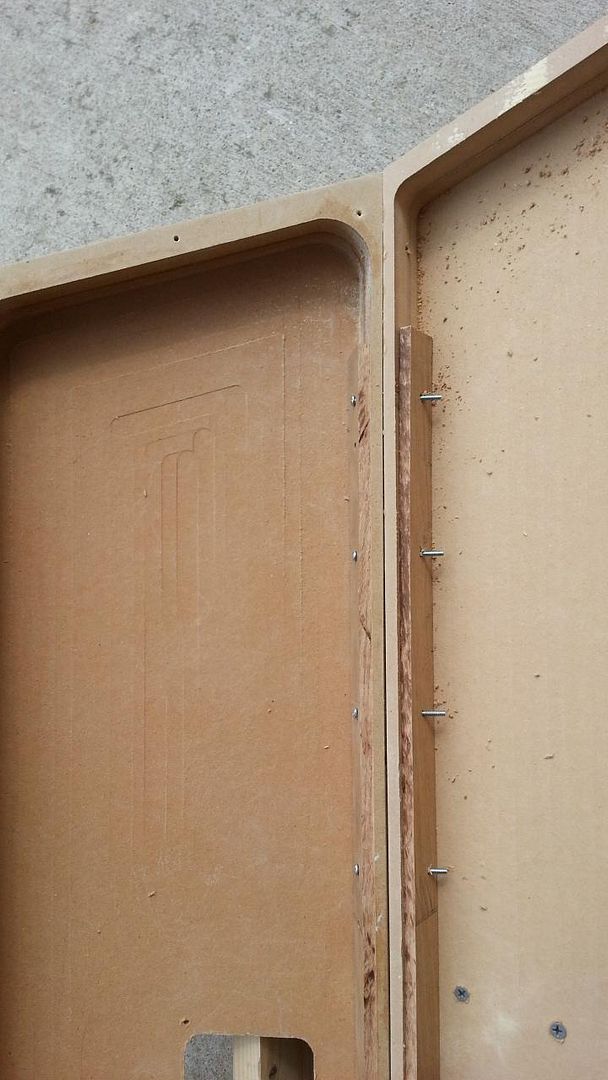
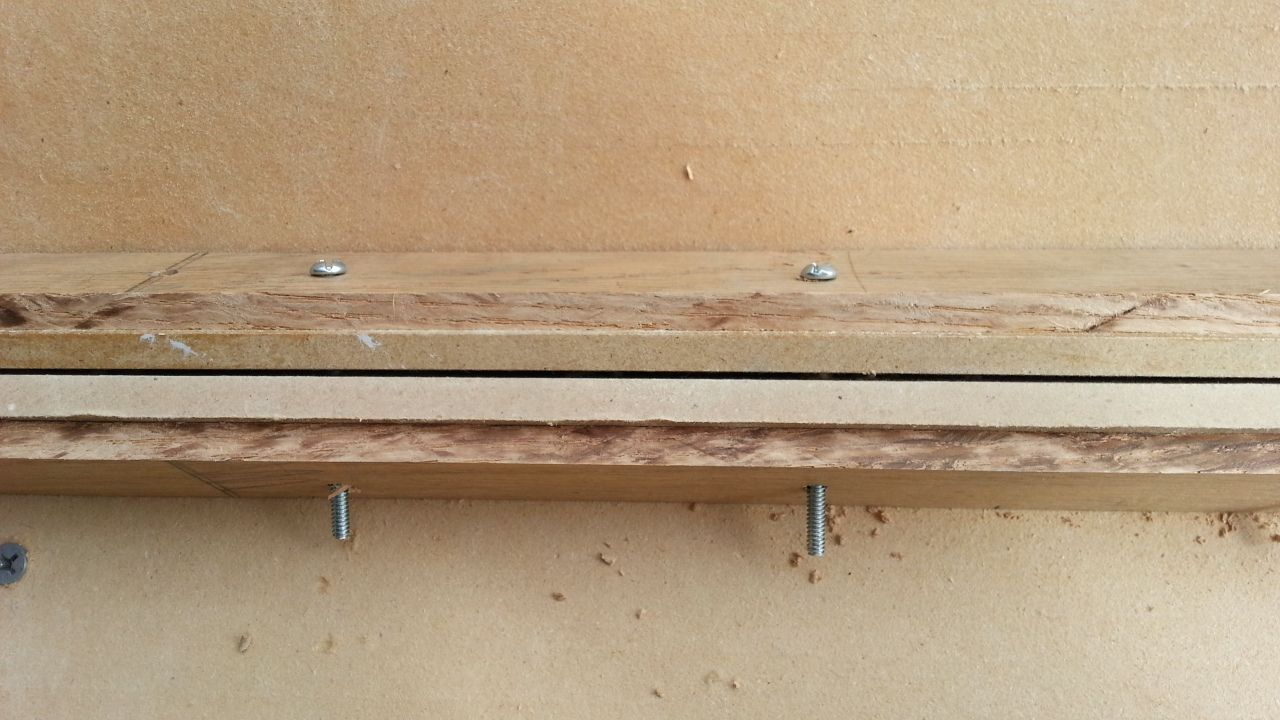
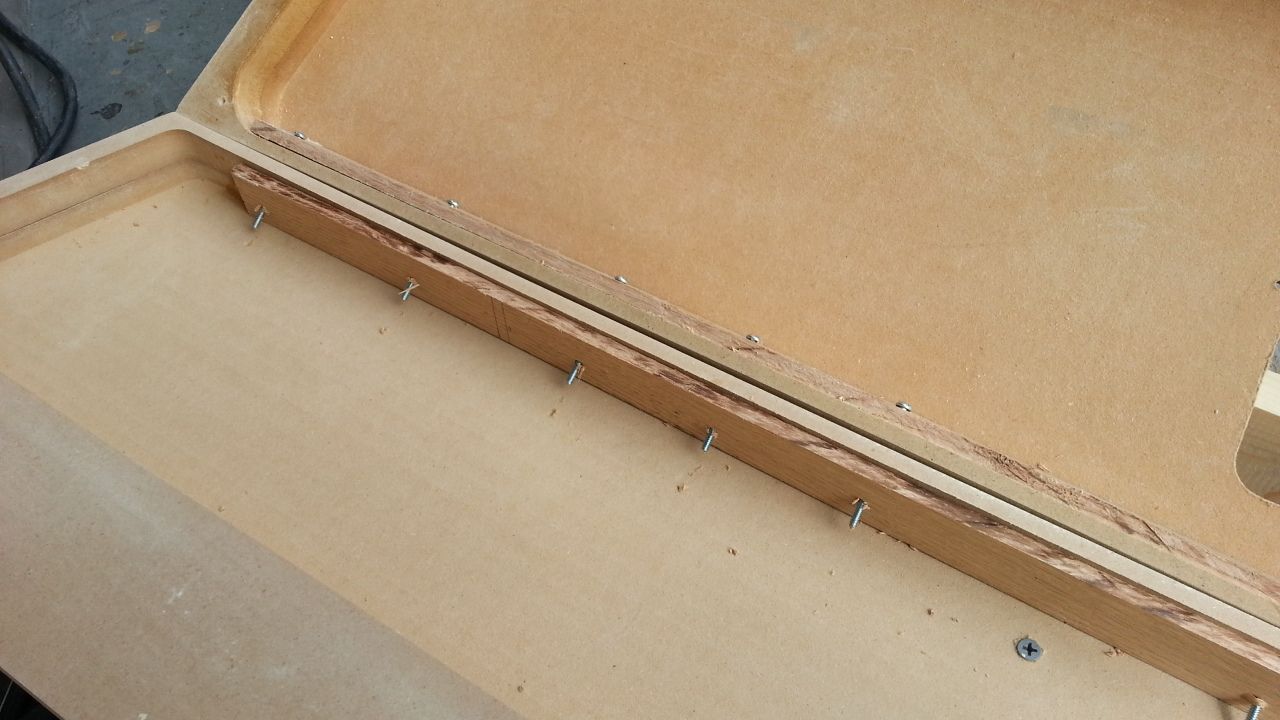
I drilled the holes a little bit bigger
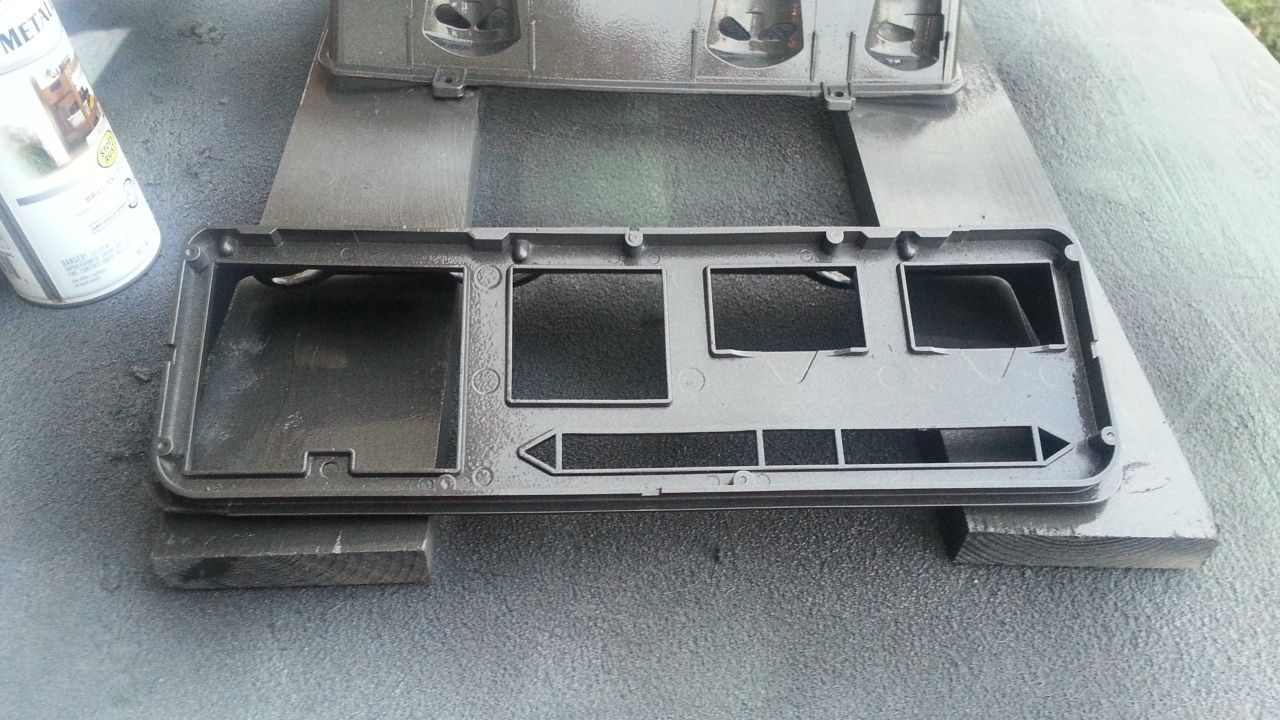
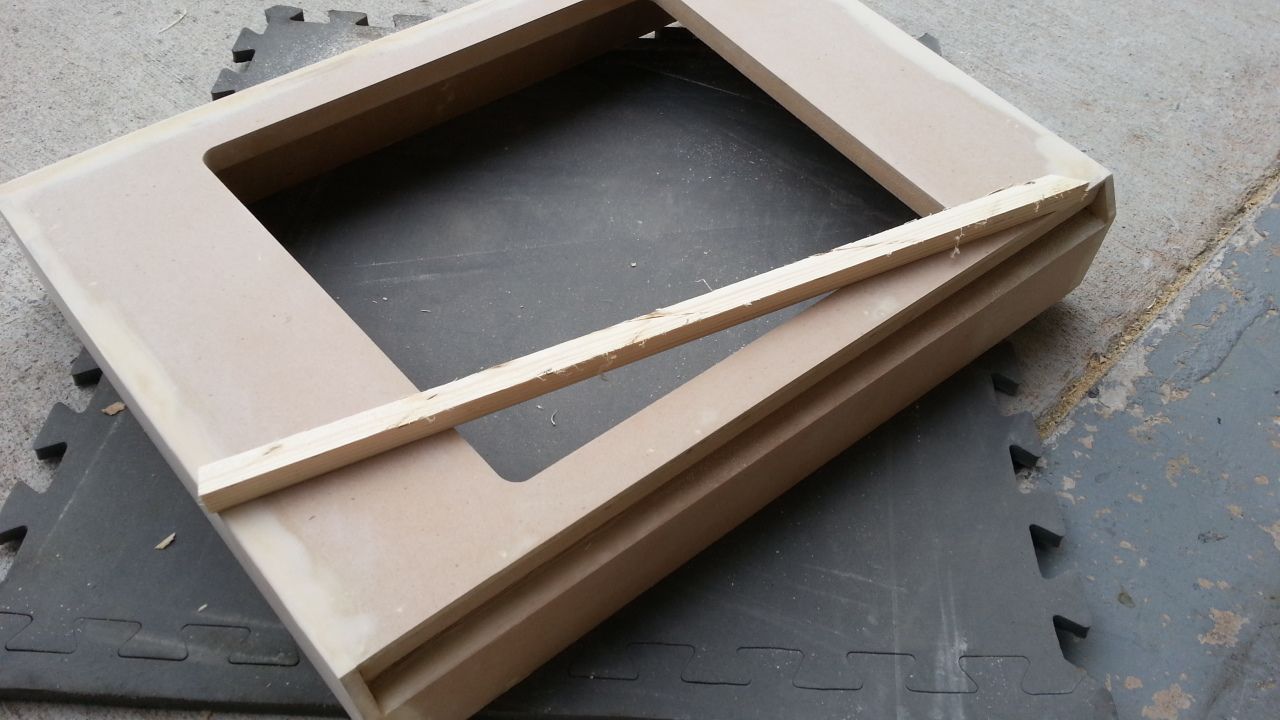
Ripped two pieces of wood and bolted the panels together - the two pieces of wood pressed the panels tightly - PERFECT!
This made drilling in tight spaces MUCH easier
There is some warping but nothing I can't fix
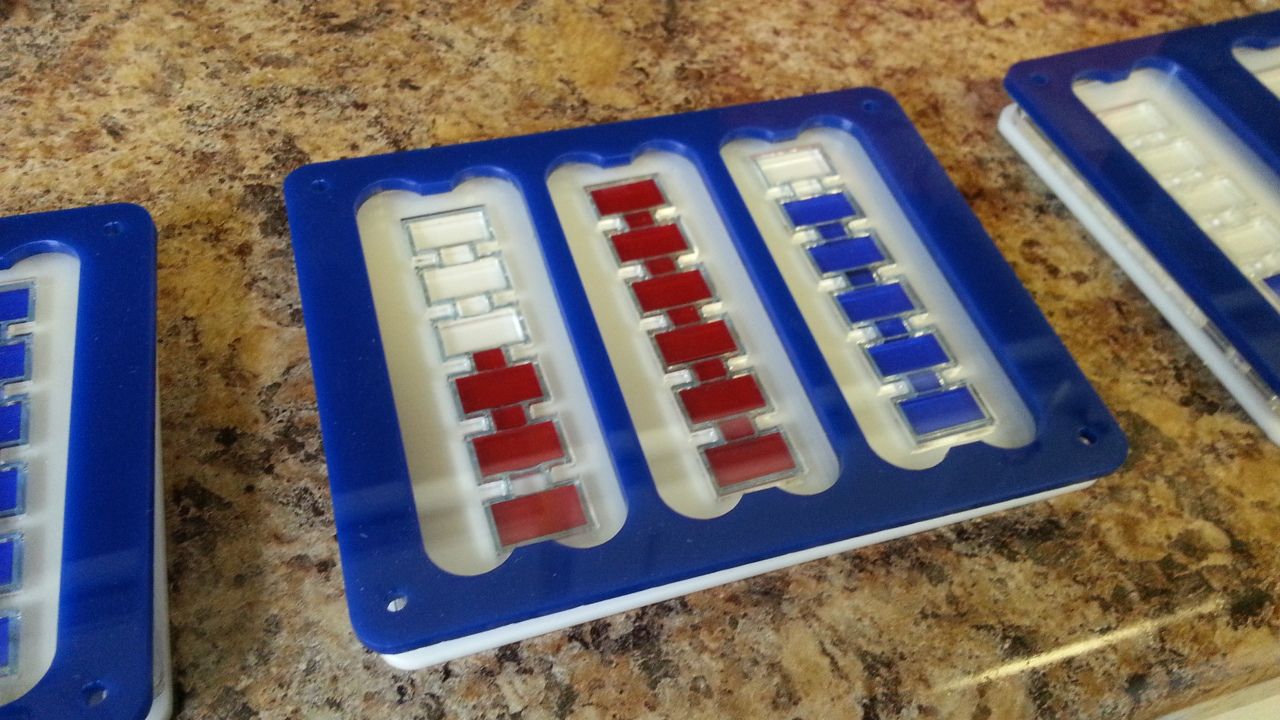
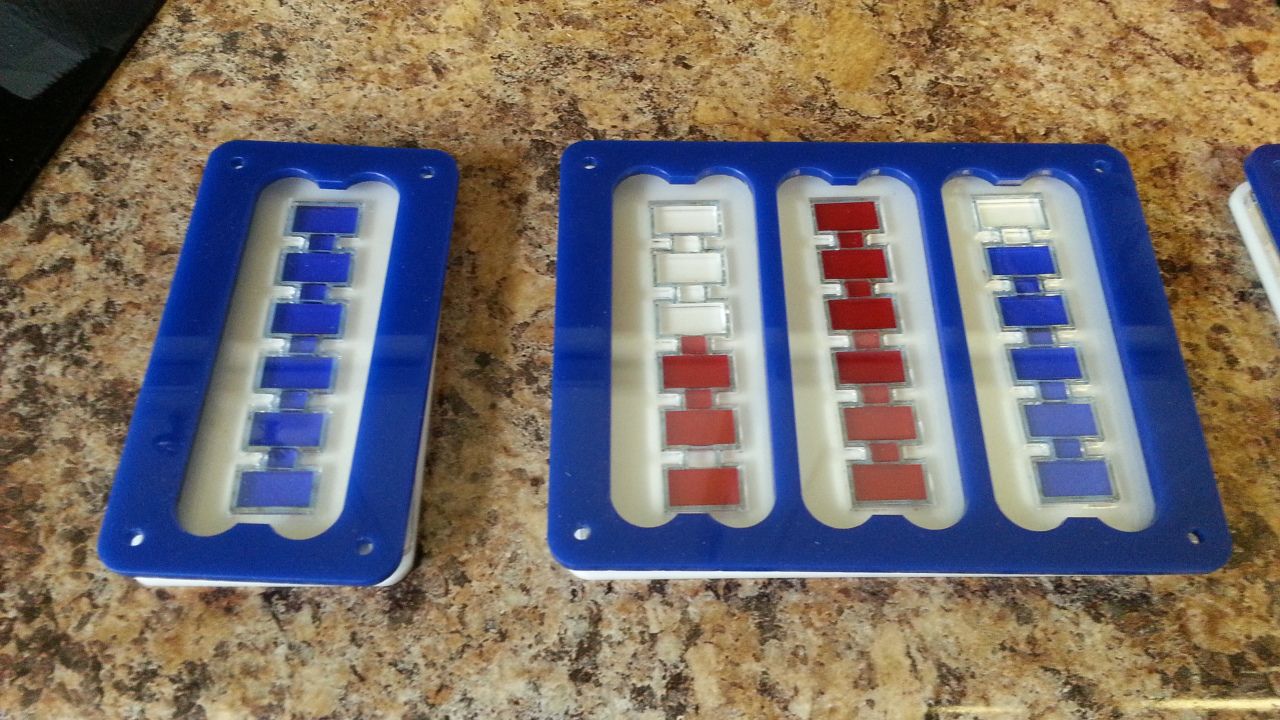
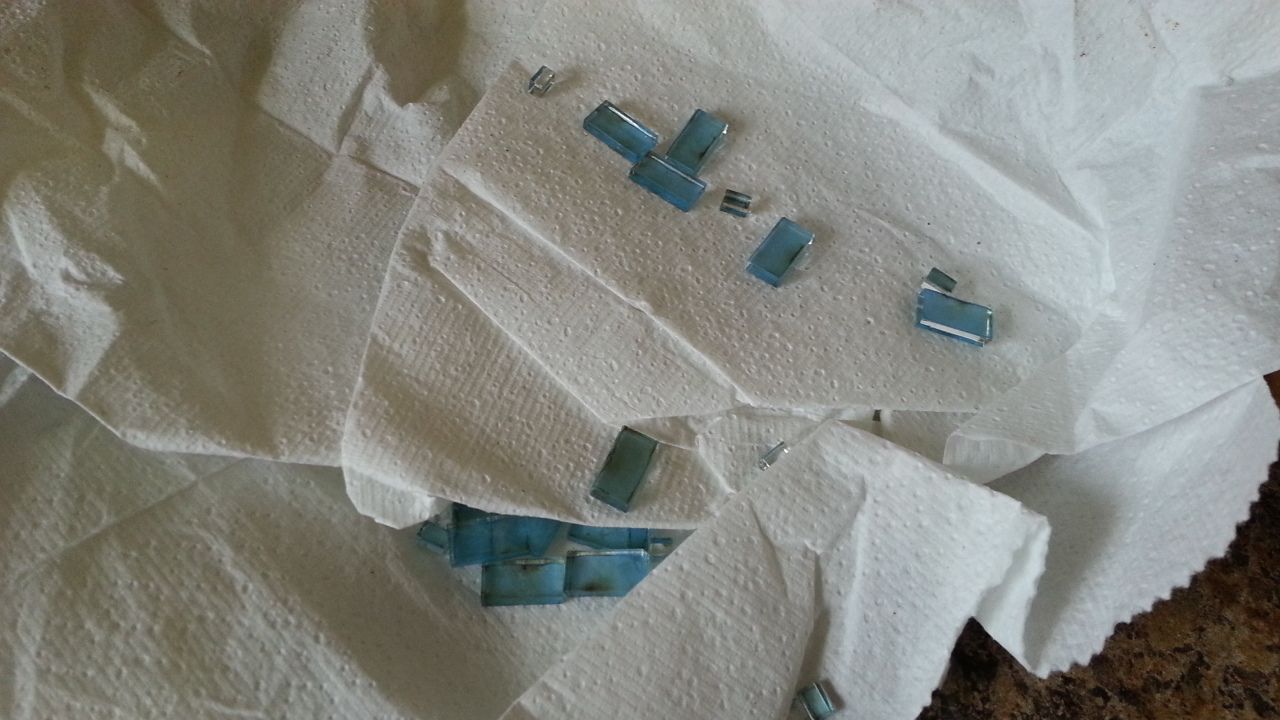
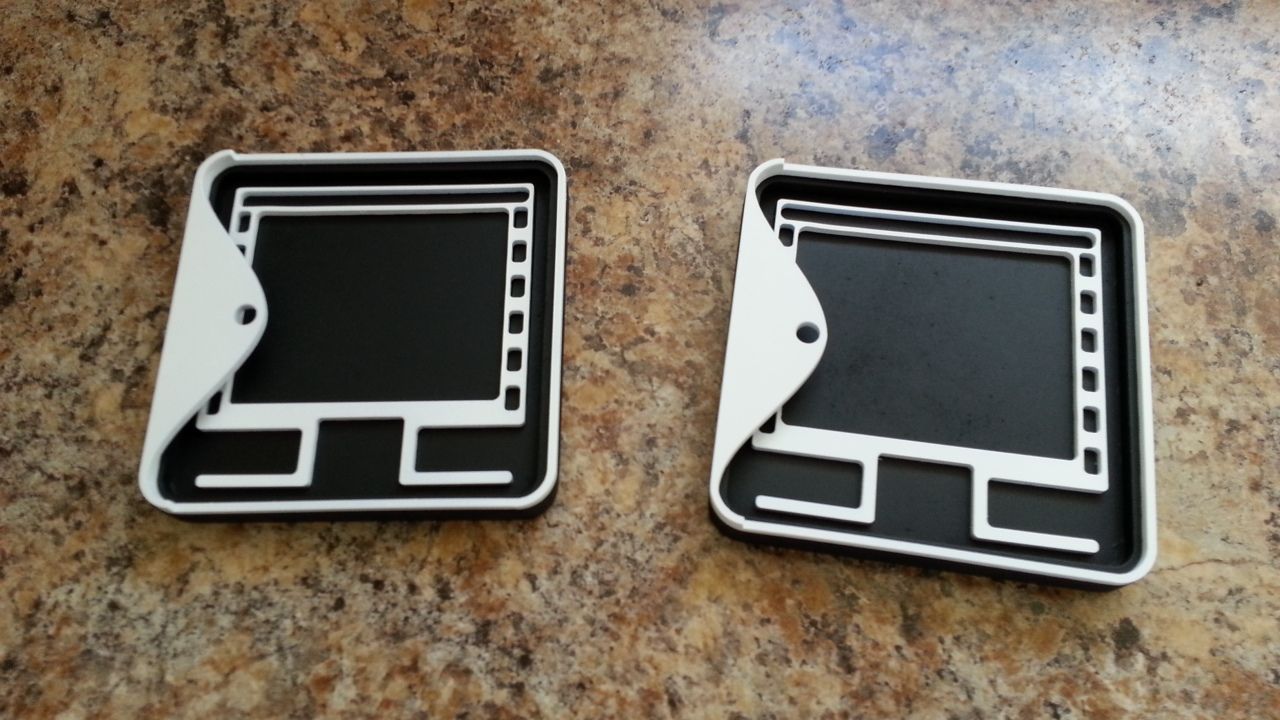
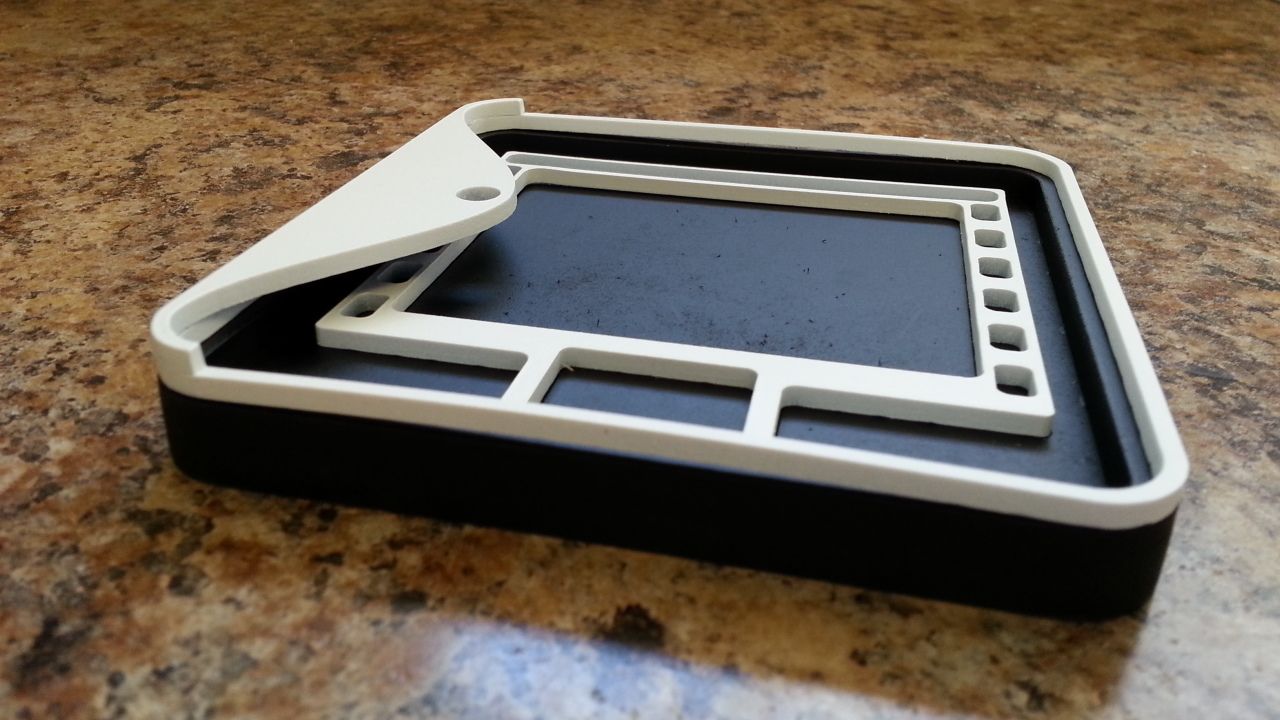
BACK to the greeblies! Jessie cut all the acrylic over the weekend! She's my hero! Here we're starting on the NEW vertical gauge display
Another nose panel greeblie
And more and more and more
DONE
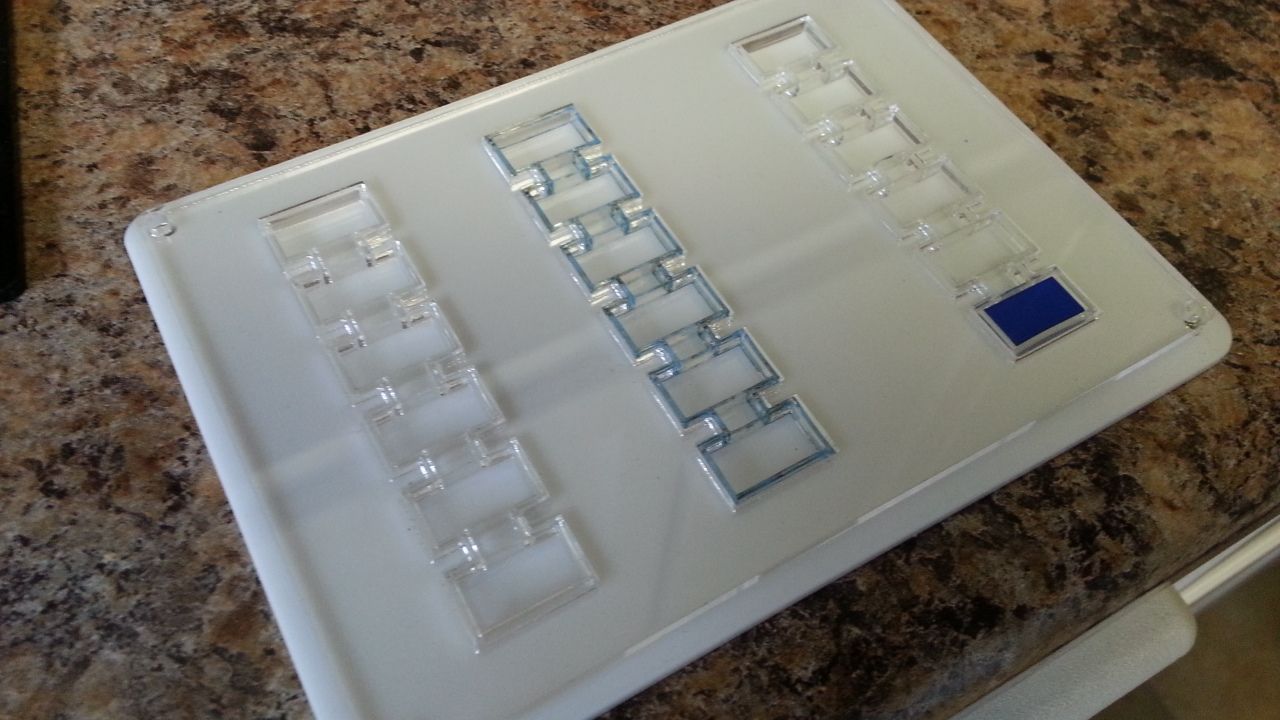
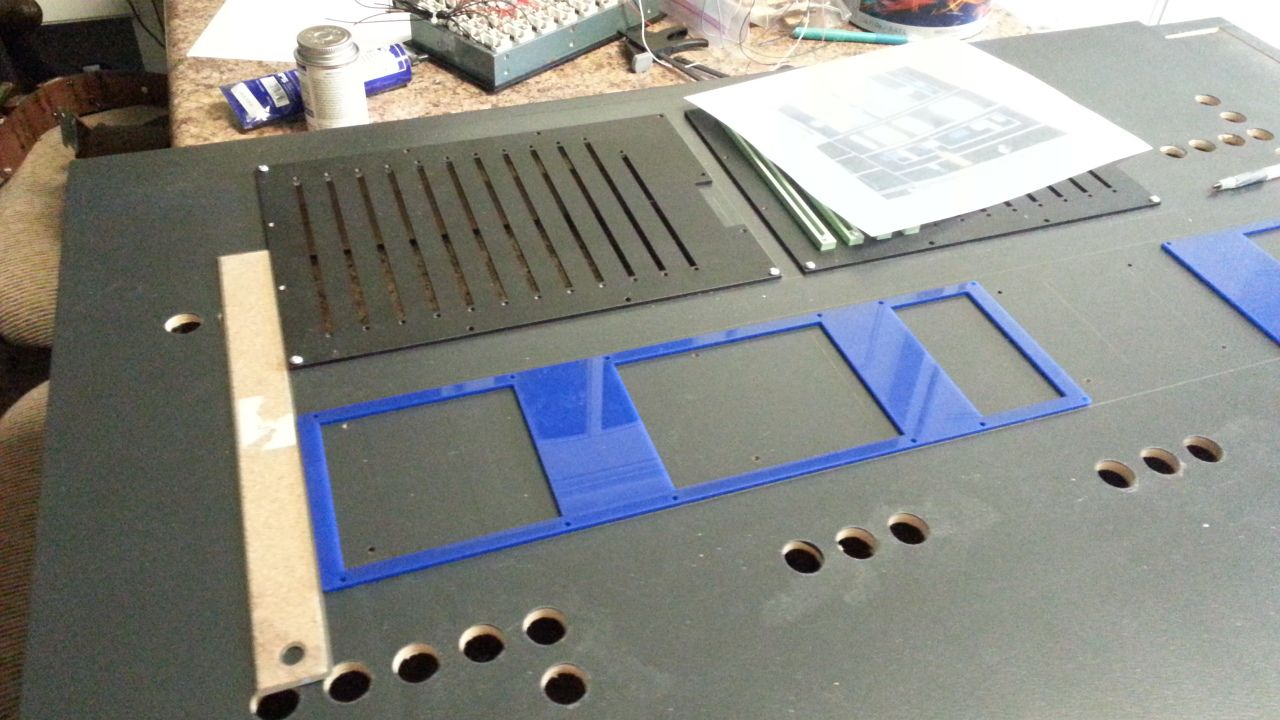
The cutting template for the vertical gauges
The vertical gauges themselves... this I several layers of acrylic sandwiched together
A later version will be back lit
Getting ready to cut the holes!
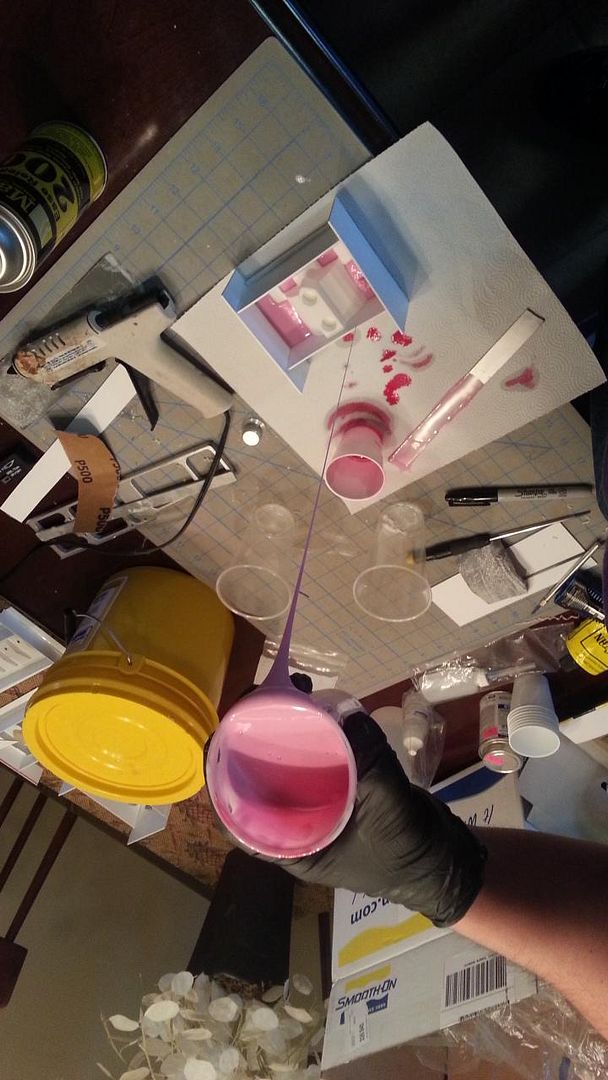
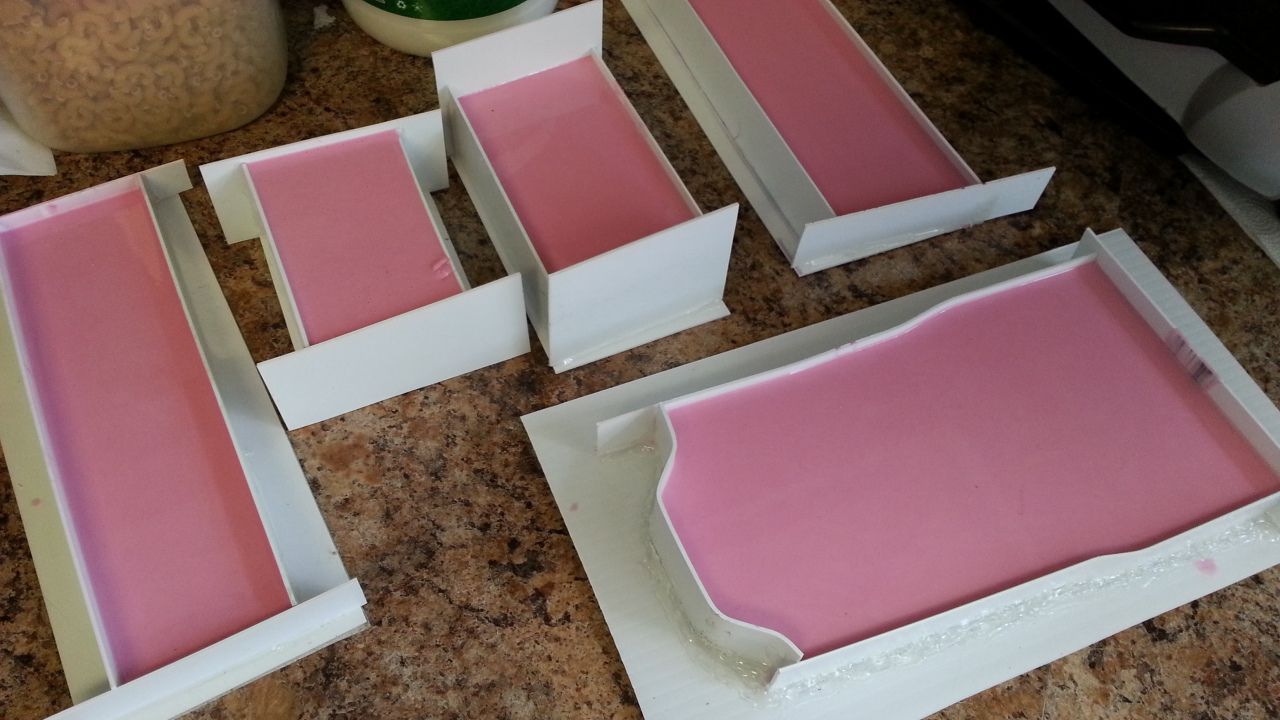
BUT WAIT! Here's Daniel pouring silicone
VERY VERY slowly...
HOLES CUT!
Let's see how it looks...
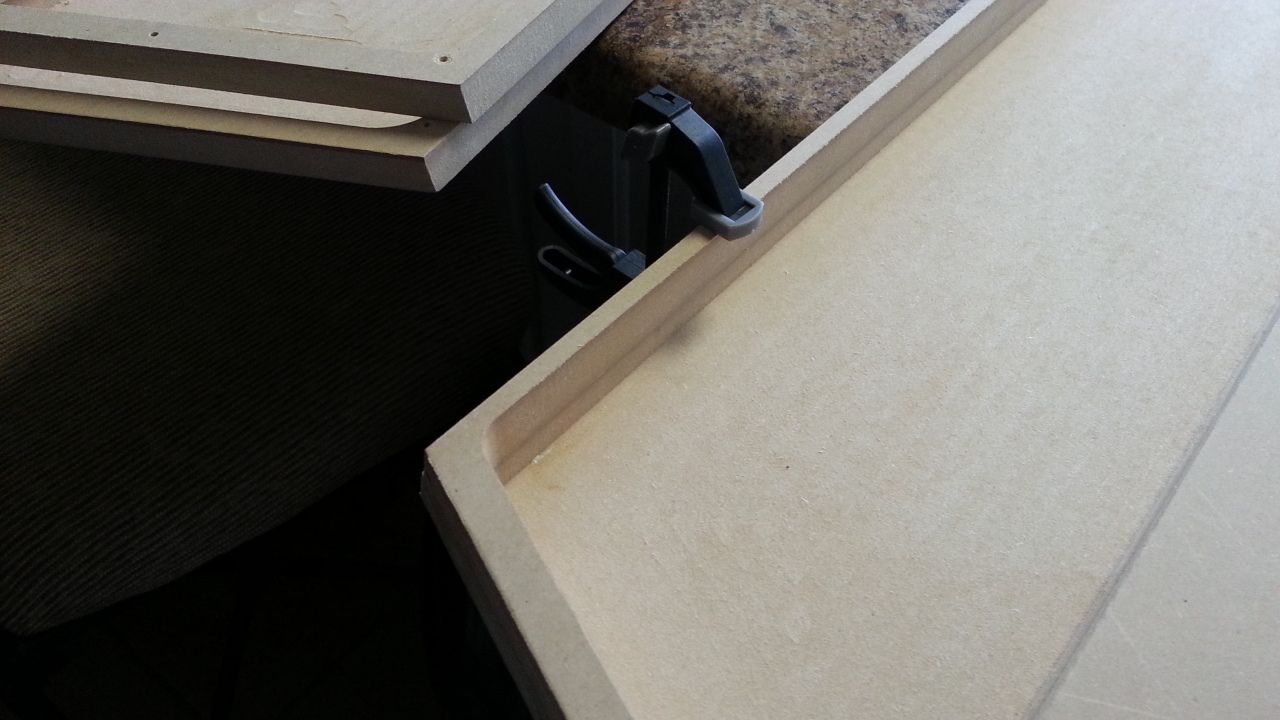
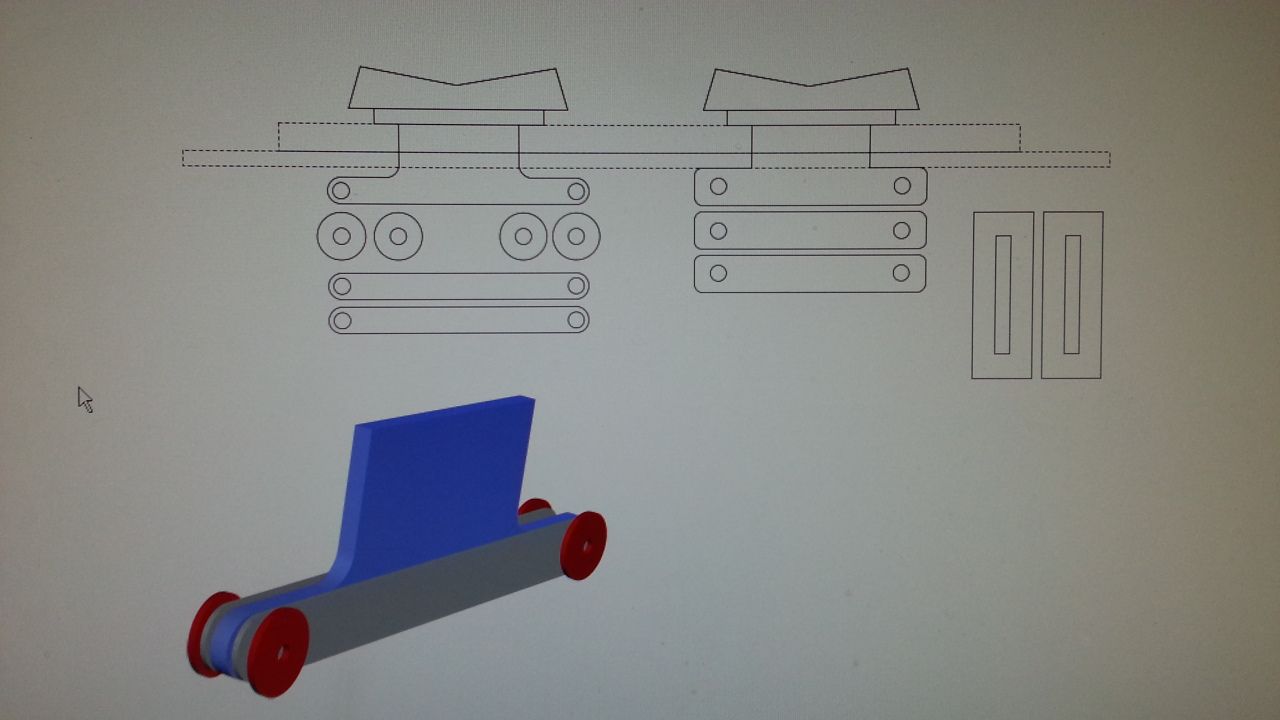
Planning out the slider mechanism
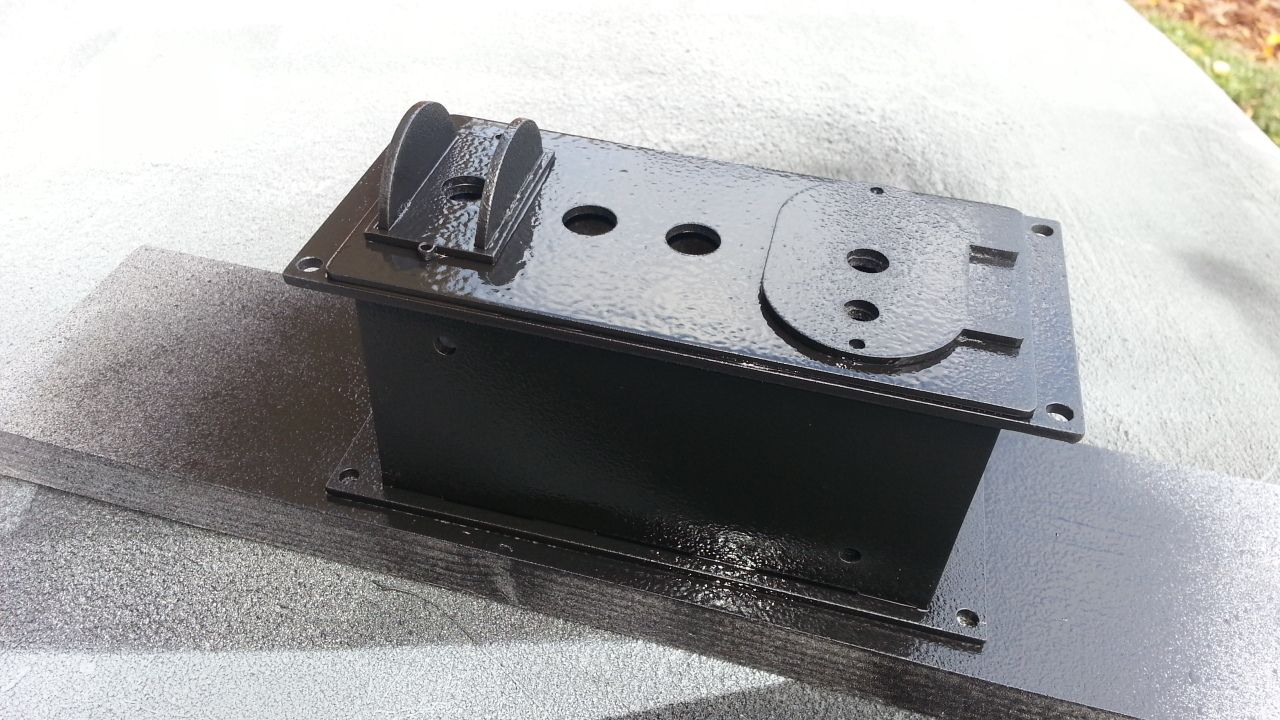
PAINT - FINALLY!
More nose panel greeblies
PAINT!
I had finished this greeblie... the wind took right out of my hand and SMASH!
I'll paint over it and call it "Character"
PAINT!
Nearing completion - need to drill mounting holes
Lots of molds!
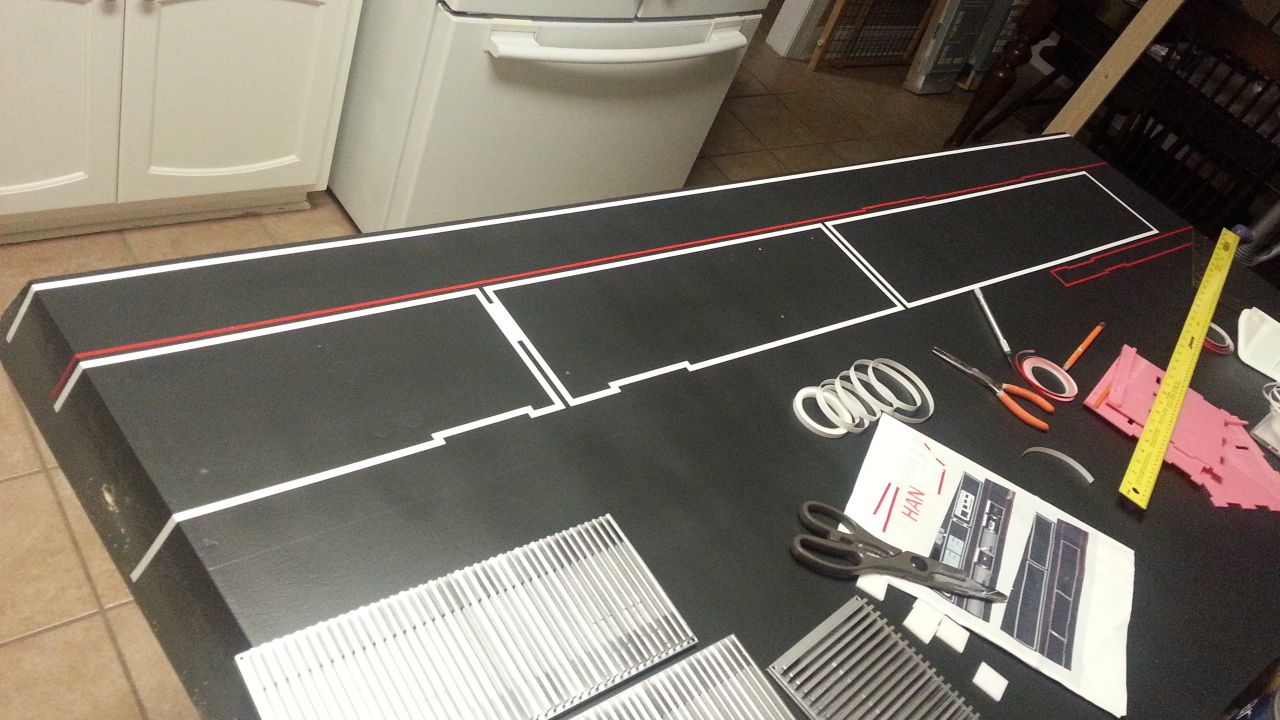
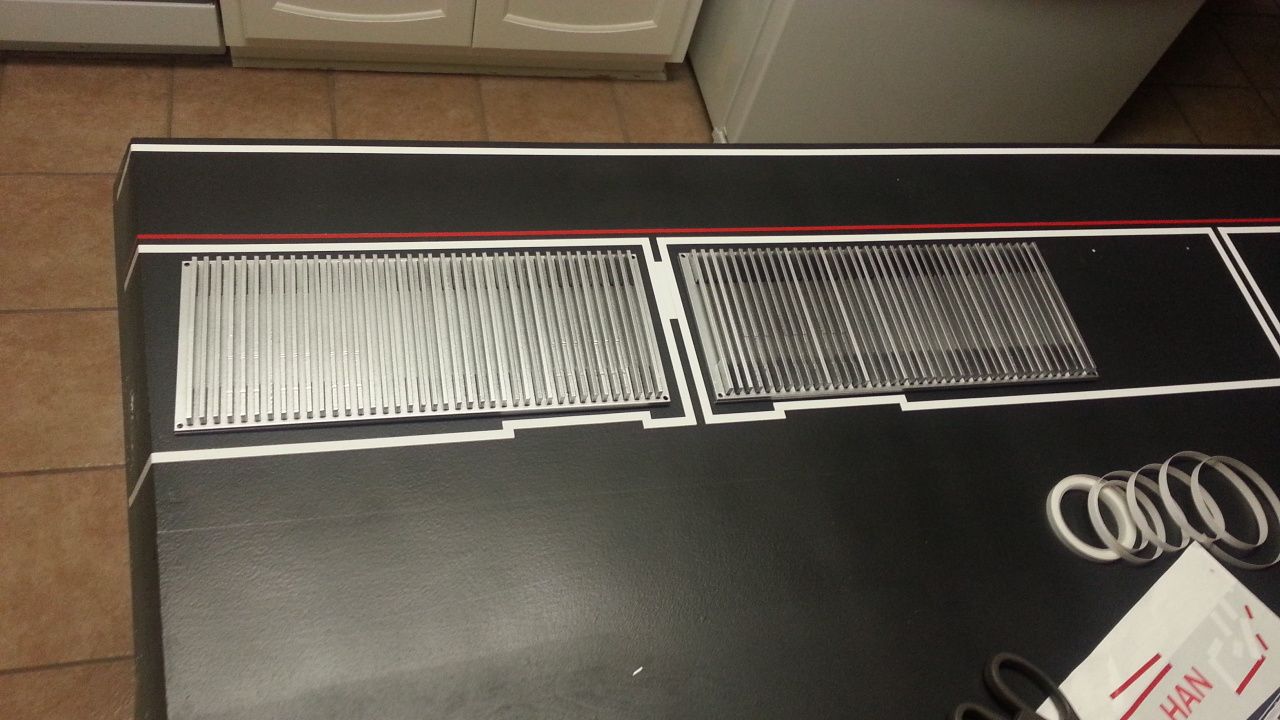
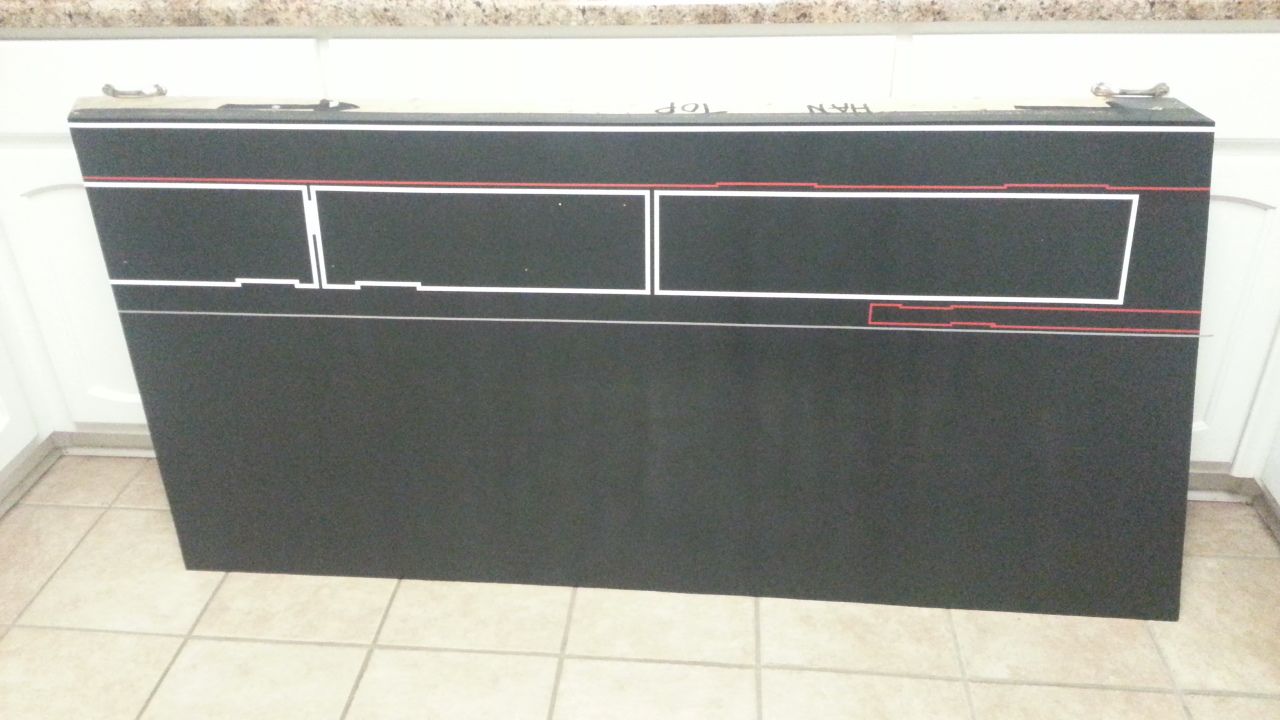
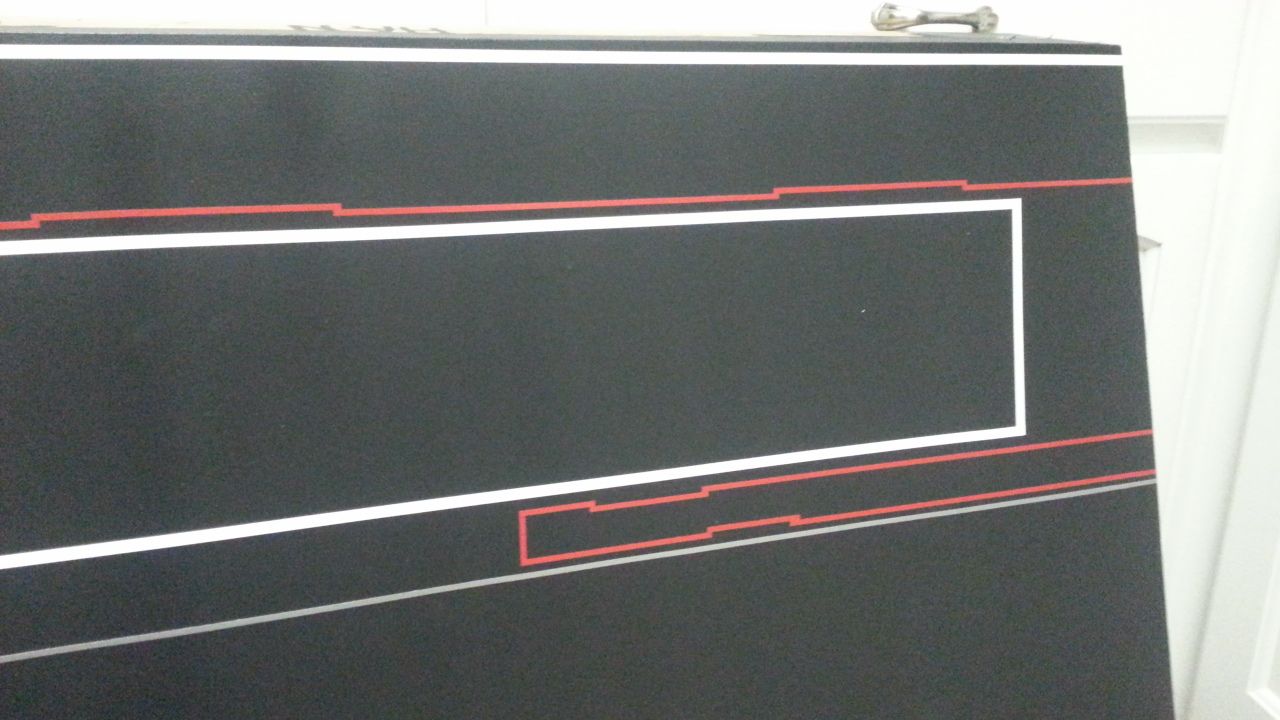
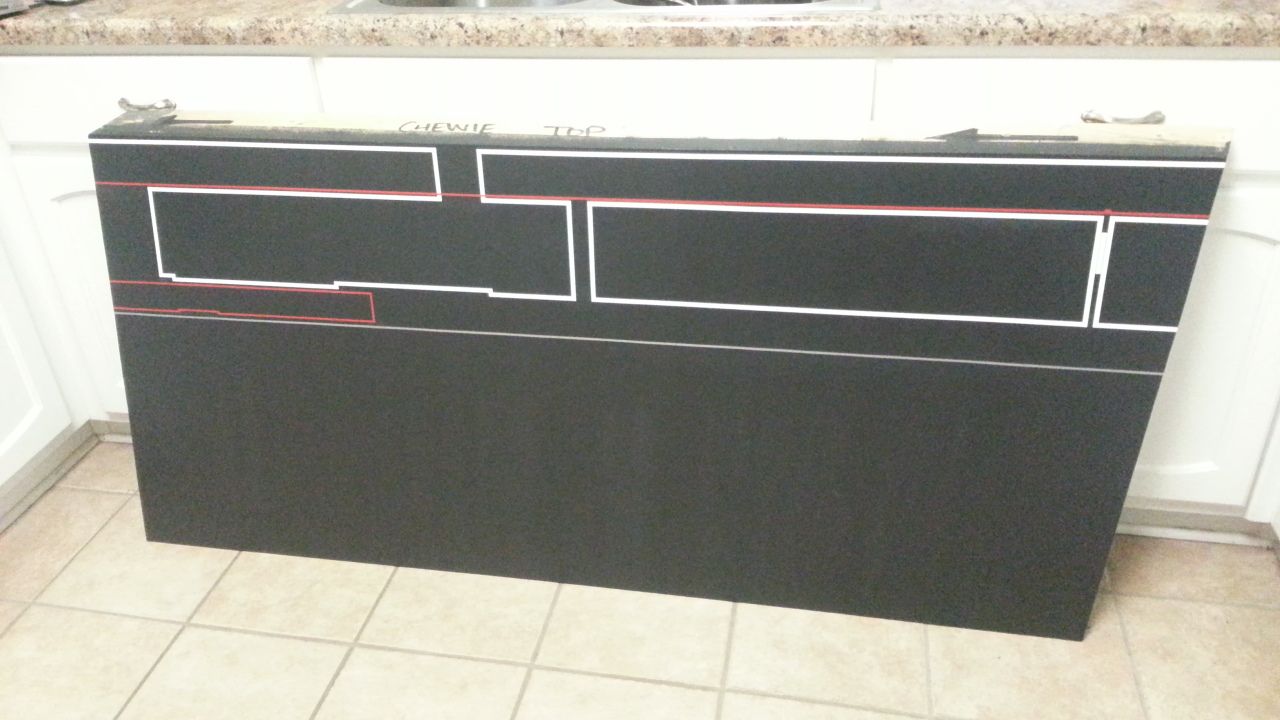
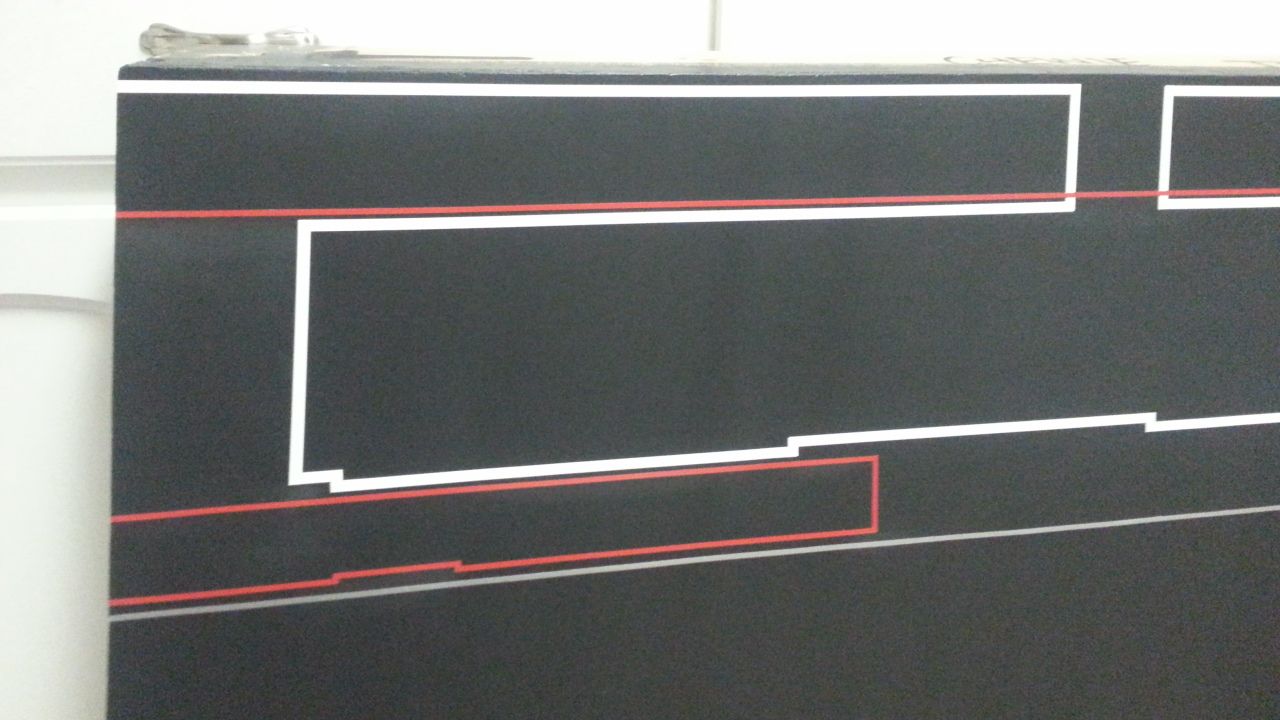
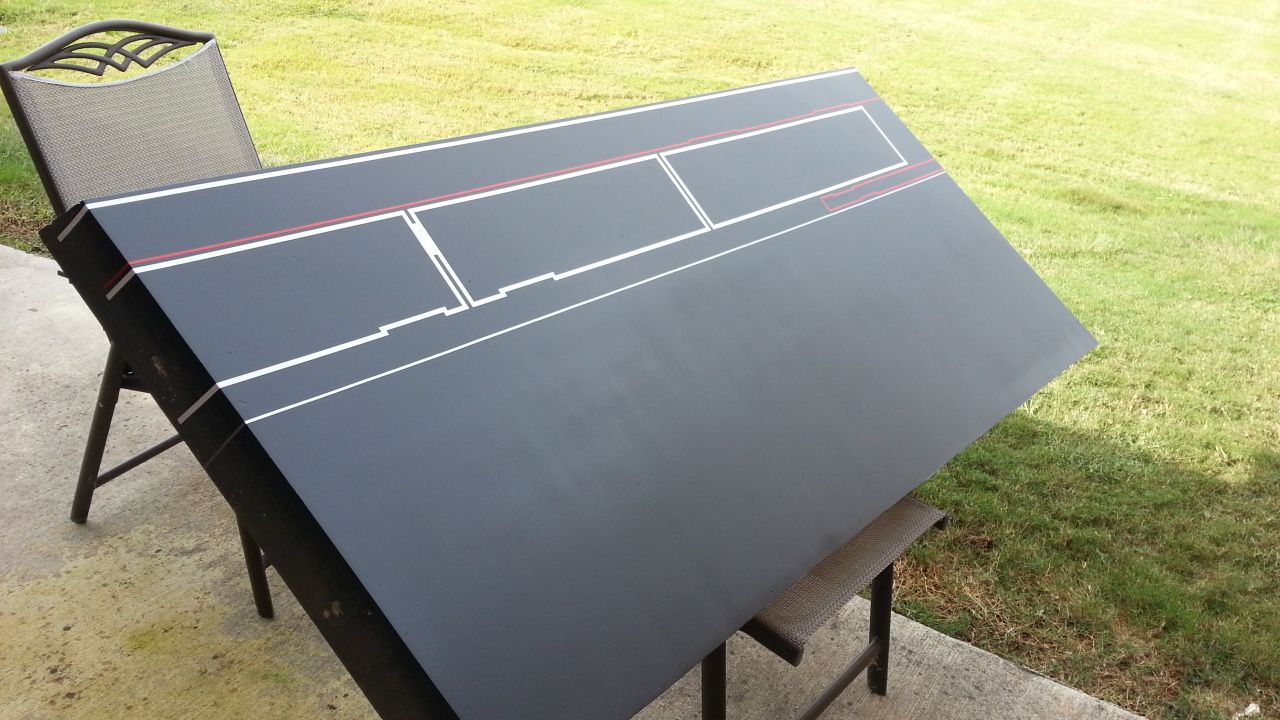
Jessie and I started pin striping! WOW... there is an end in sight!
About time this panel was given a little love
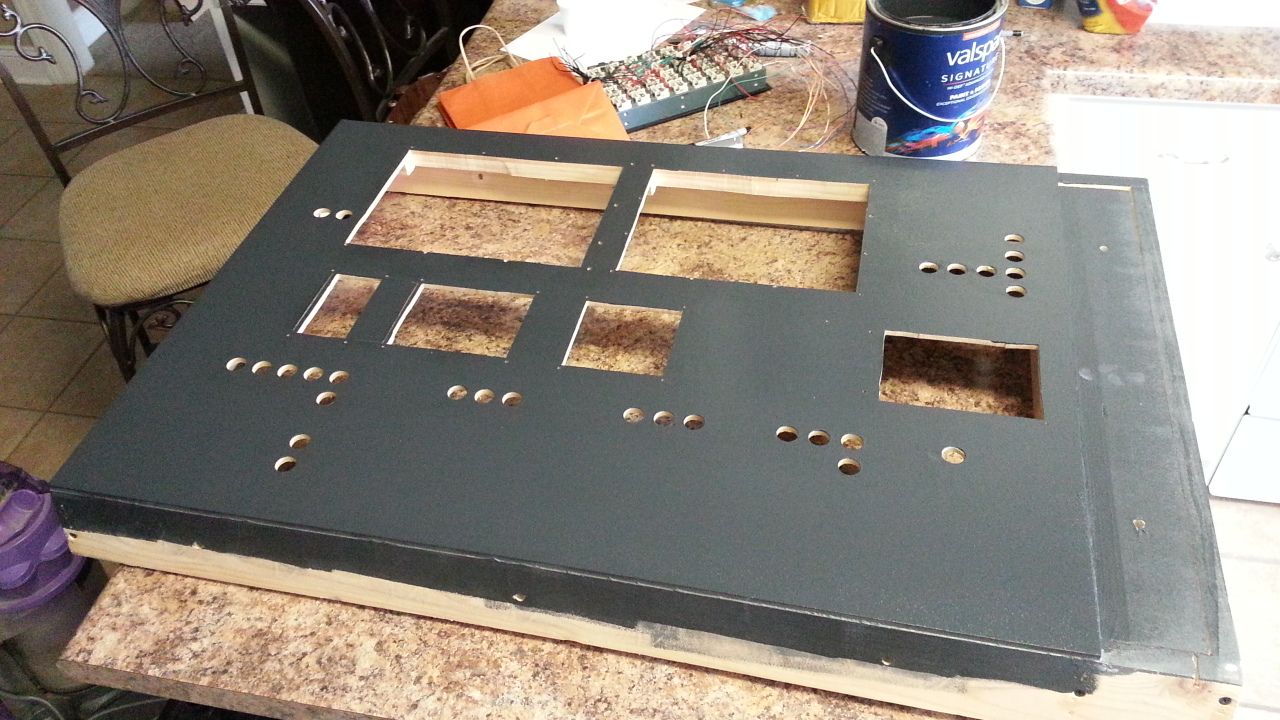
And this is where we are...
Most of the weekend was spent waiting for paint, filler, primer, silicone, putty and glue to dry... And the rain didn't help either!
WHEW...
")