Solos blaster
Sr Member
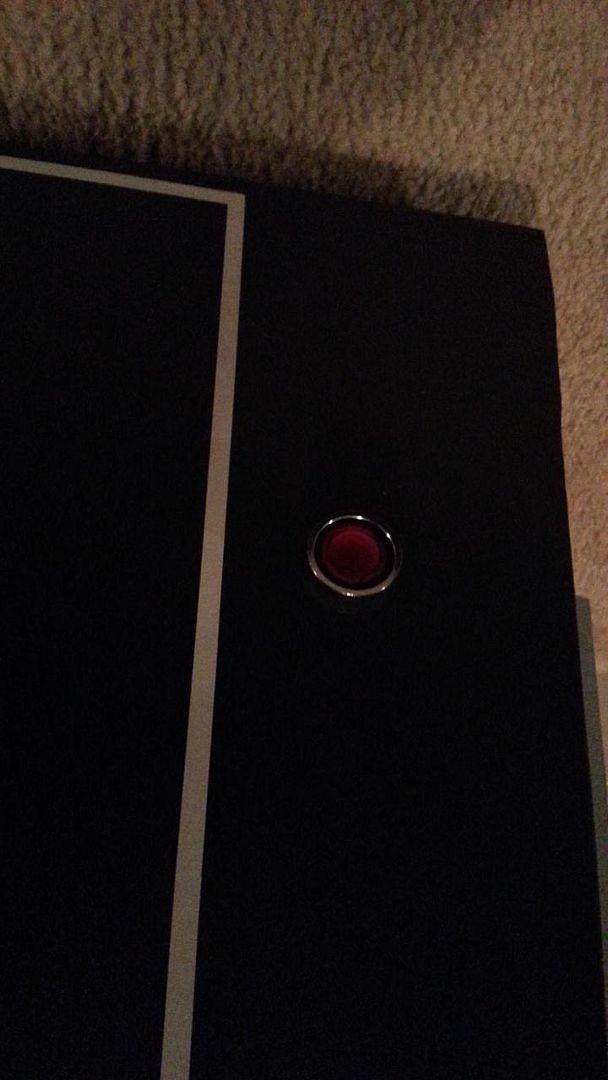
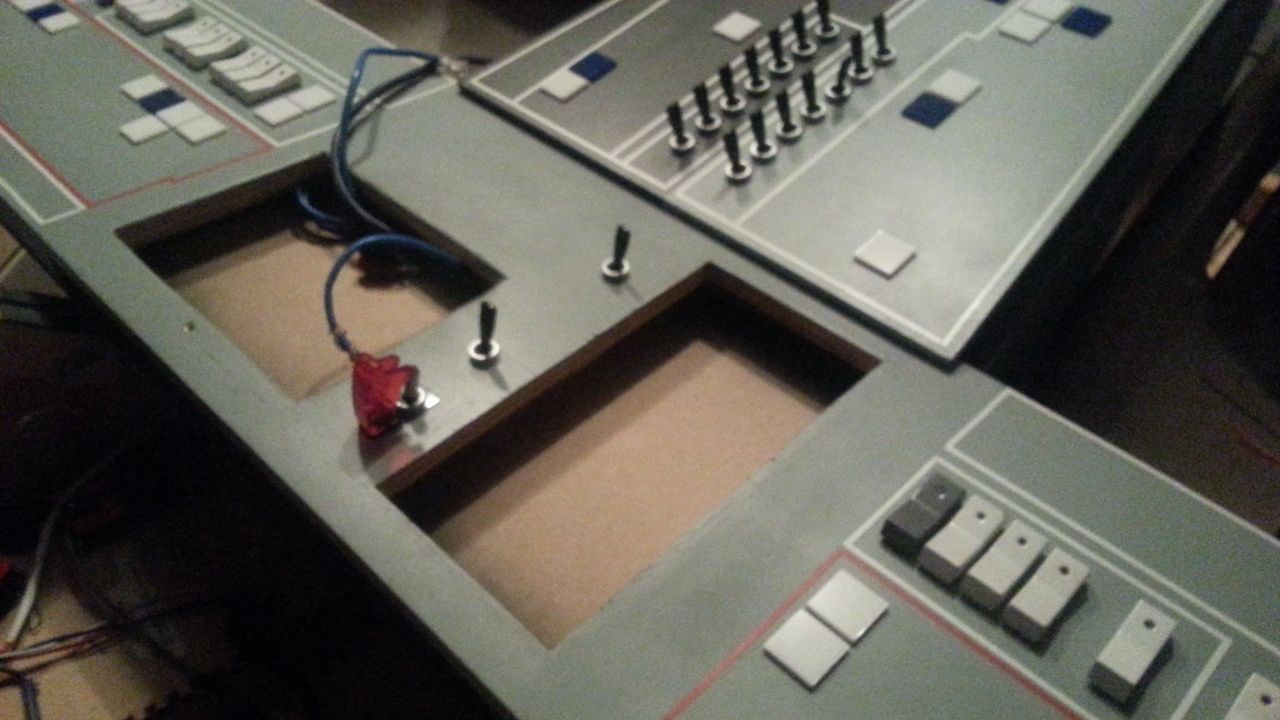
Could that knob be the knob on the scope mount from Han/Luke ESB blaster?


")


Did you mill through a screw? Lol.
Looking great, P.!
J.
whoa!!! Awesome find!
SAY WHAT??????? So awesome!!
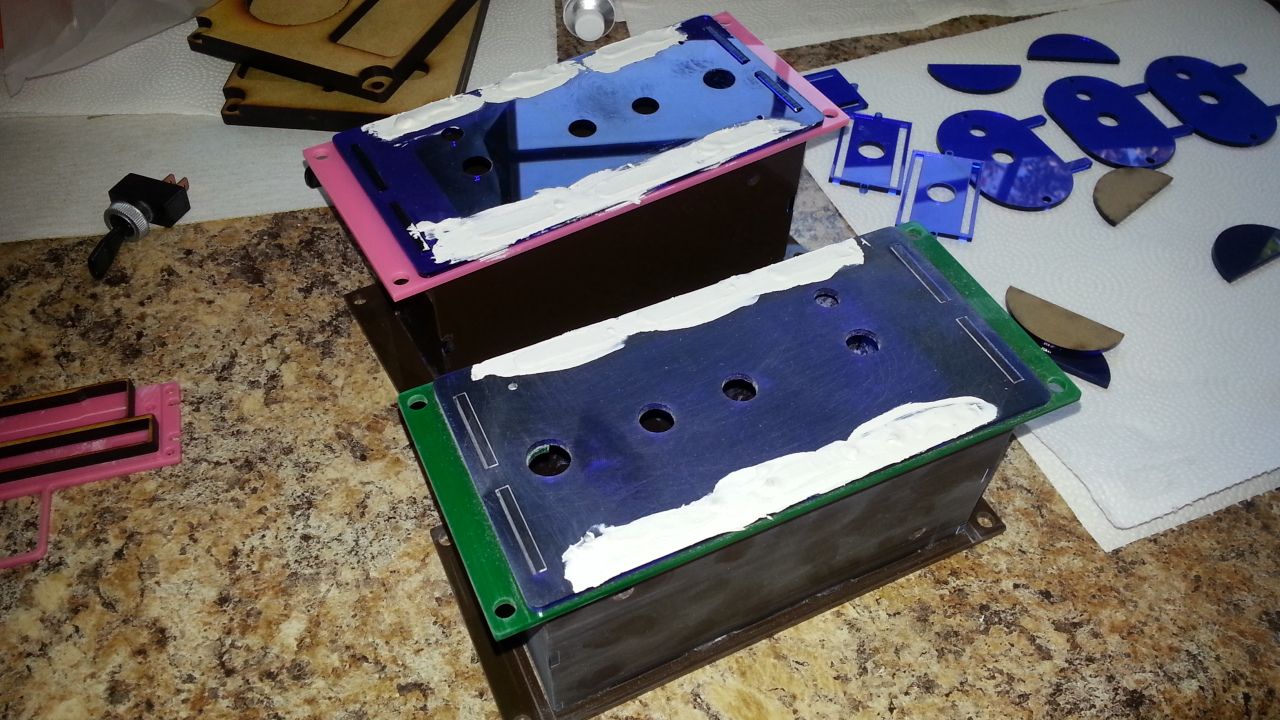
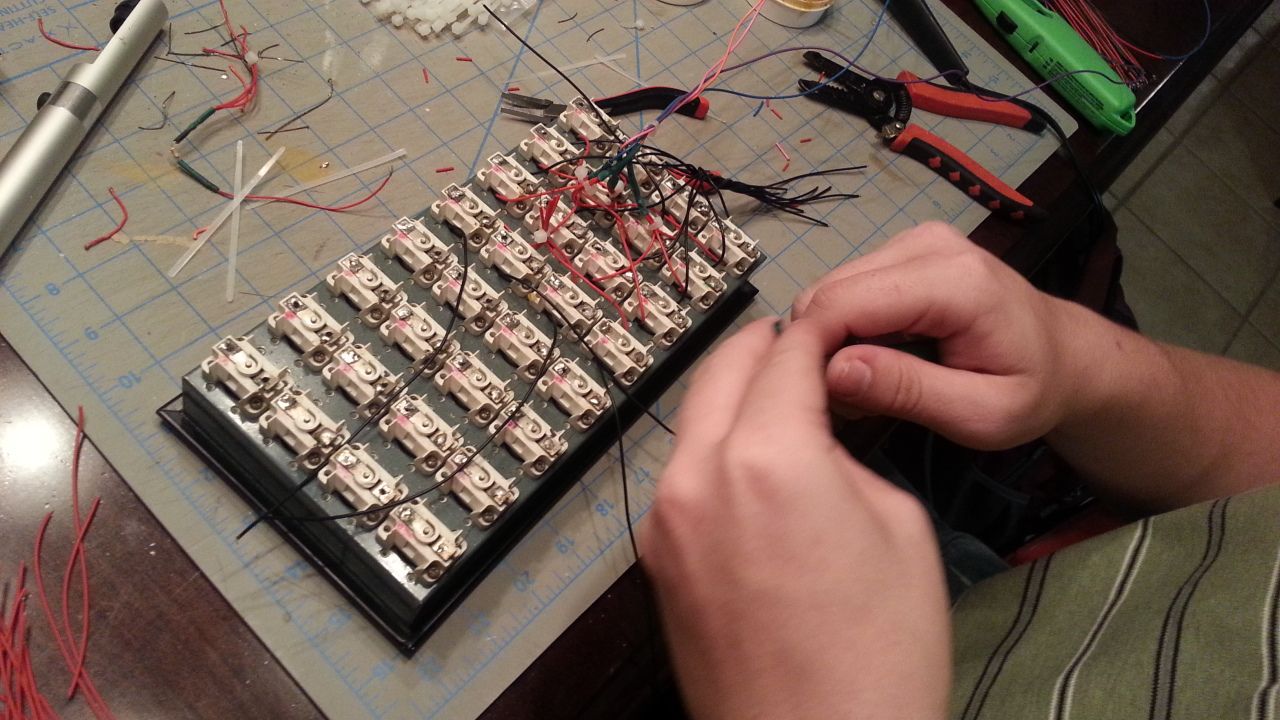
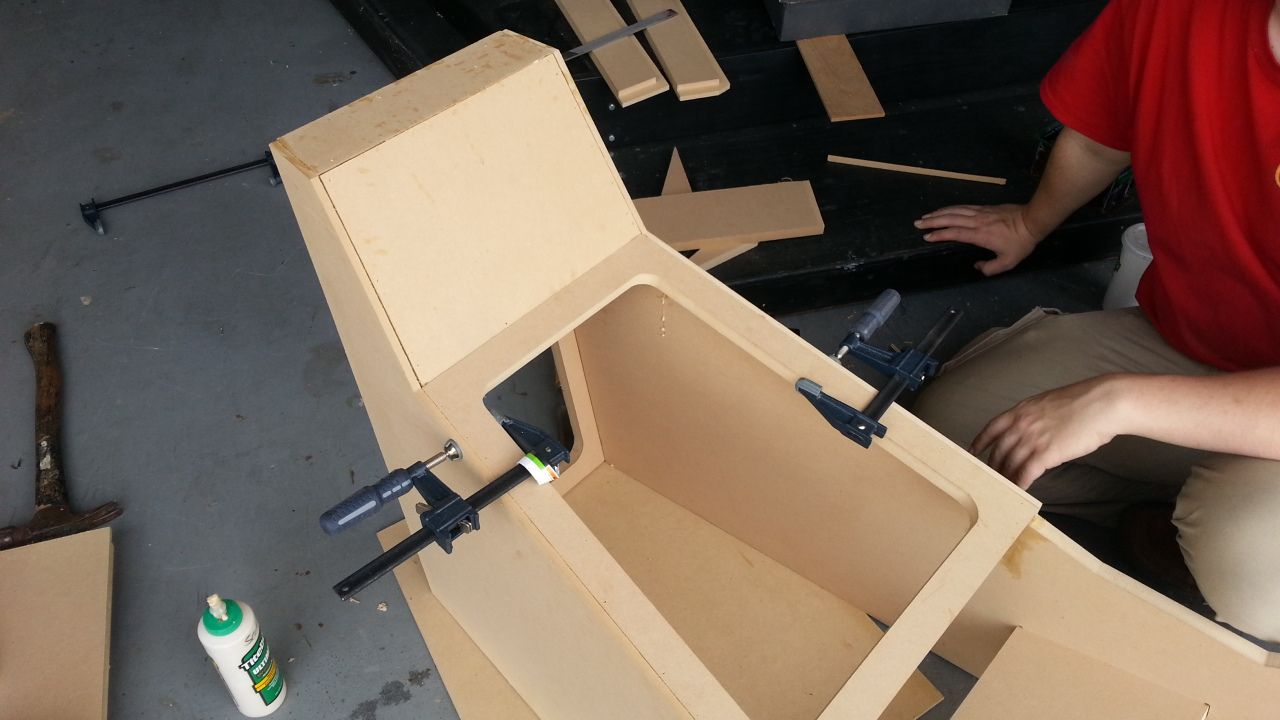
Hey mate, with all the glue You're using I suggest to invest some money in Loctite company, for sure they're gonna raise their value LOL!!
Regards,
Alberto
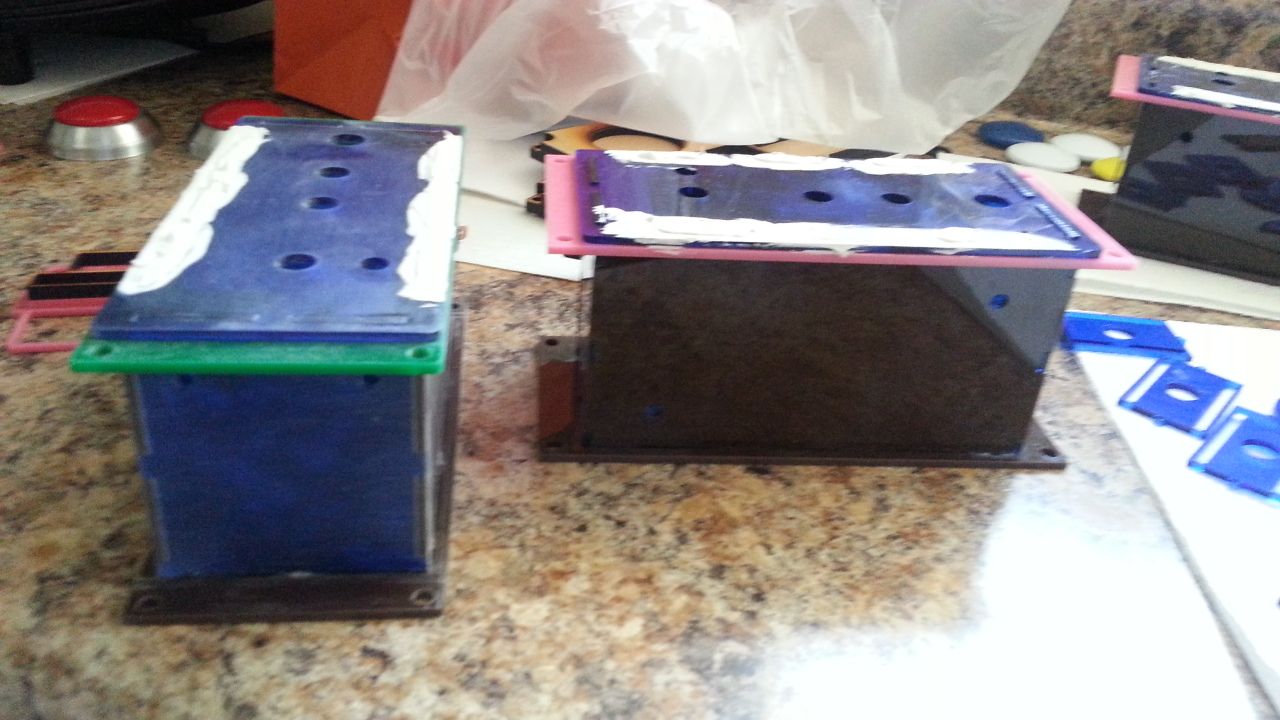
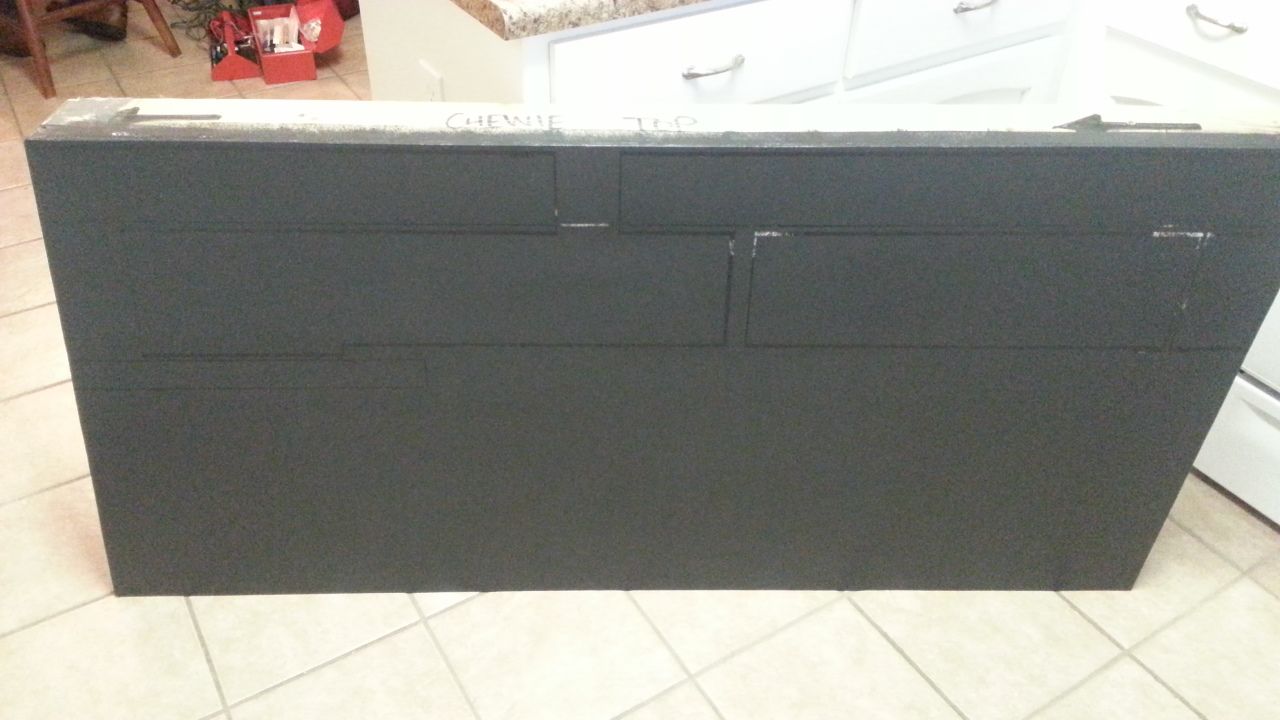
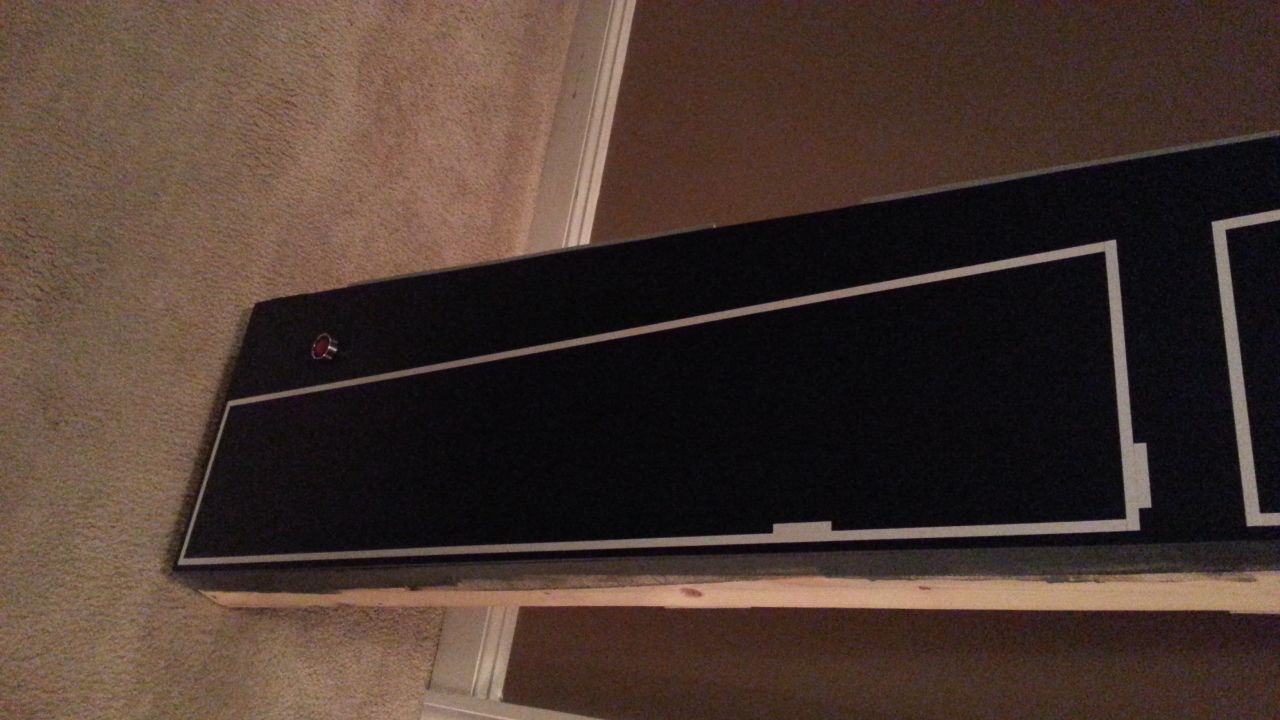
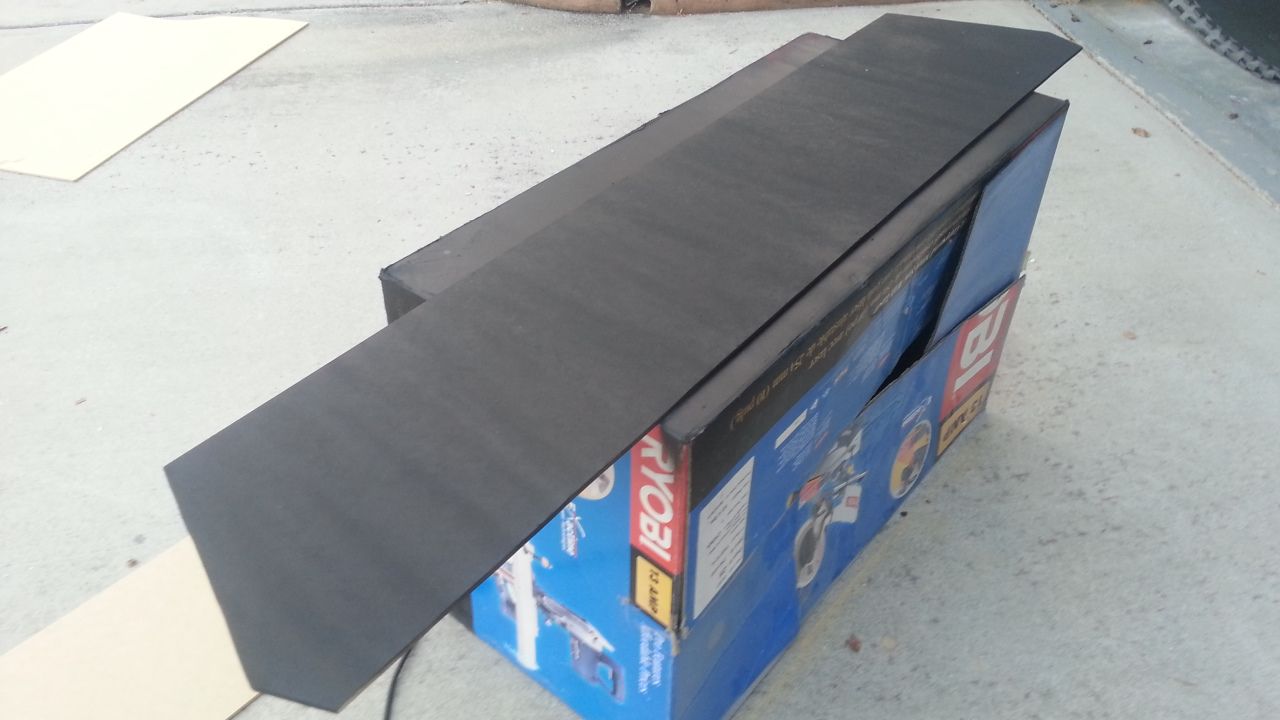
You better drop that matt box in some rubber dude! You never know when you're gonna need another.
The box is perfectly weathered already, great score.
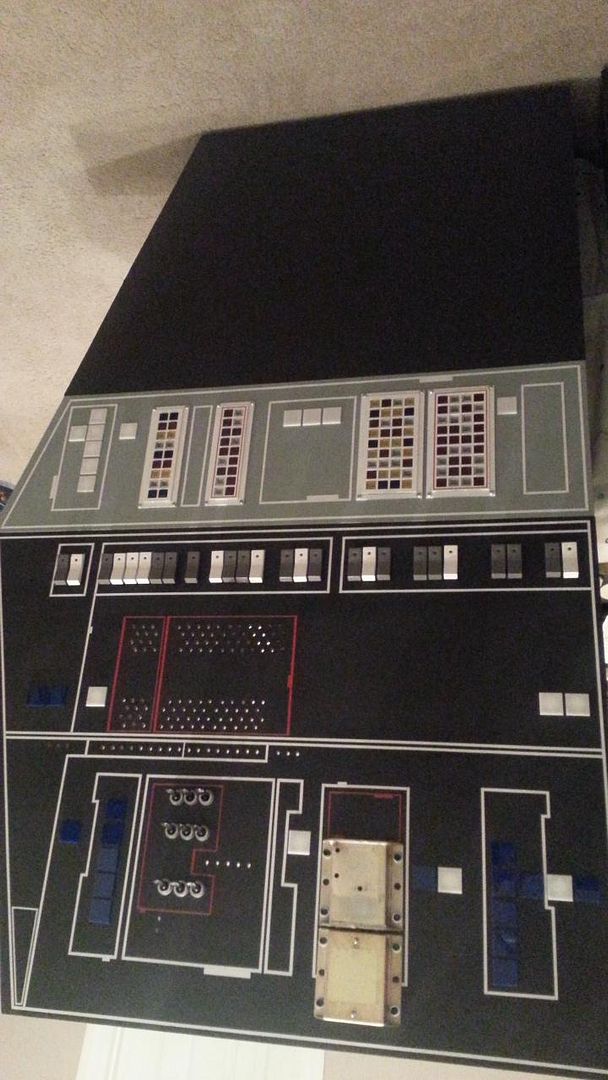
Beautiful work as always and that Mitchell box is the perfect find:cool
Could that knob be the knob on the scope mount from Han/Luke ESB blaster?
I'm weeping. Great work guys!!!
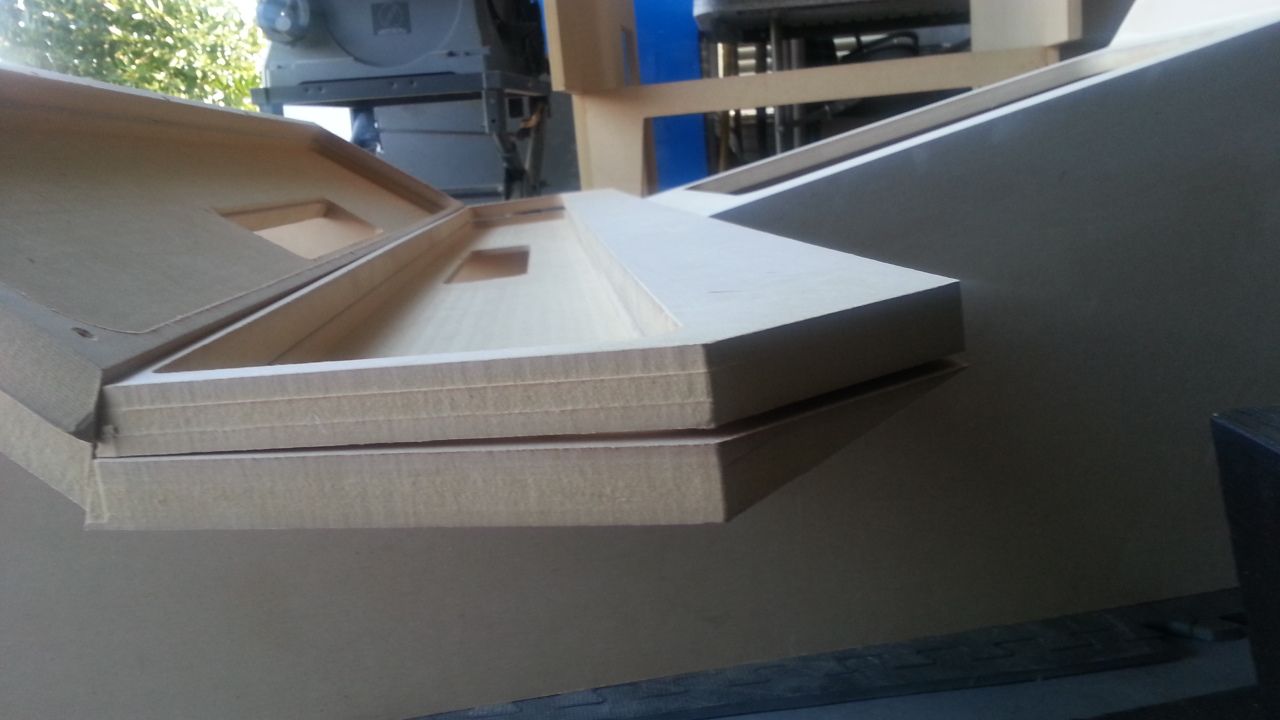
Jeez, these updates are fast and furious! Looking so good!
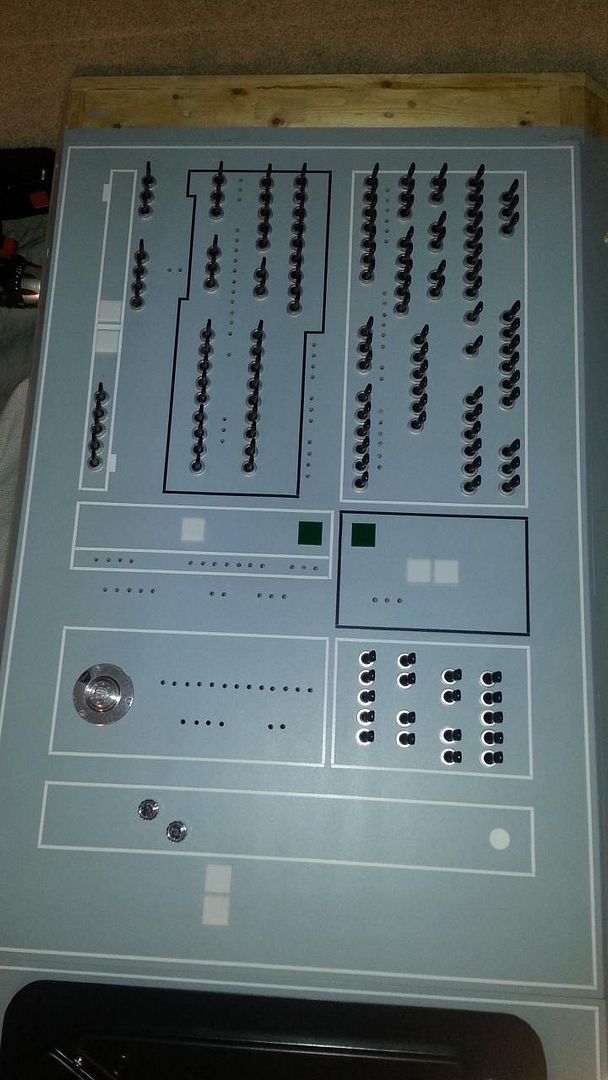
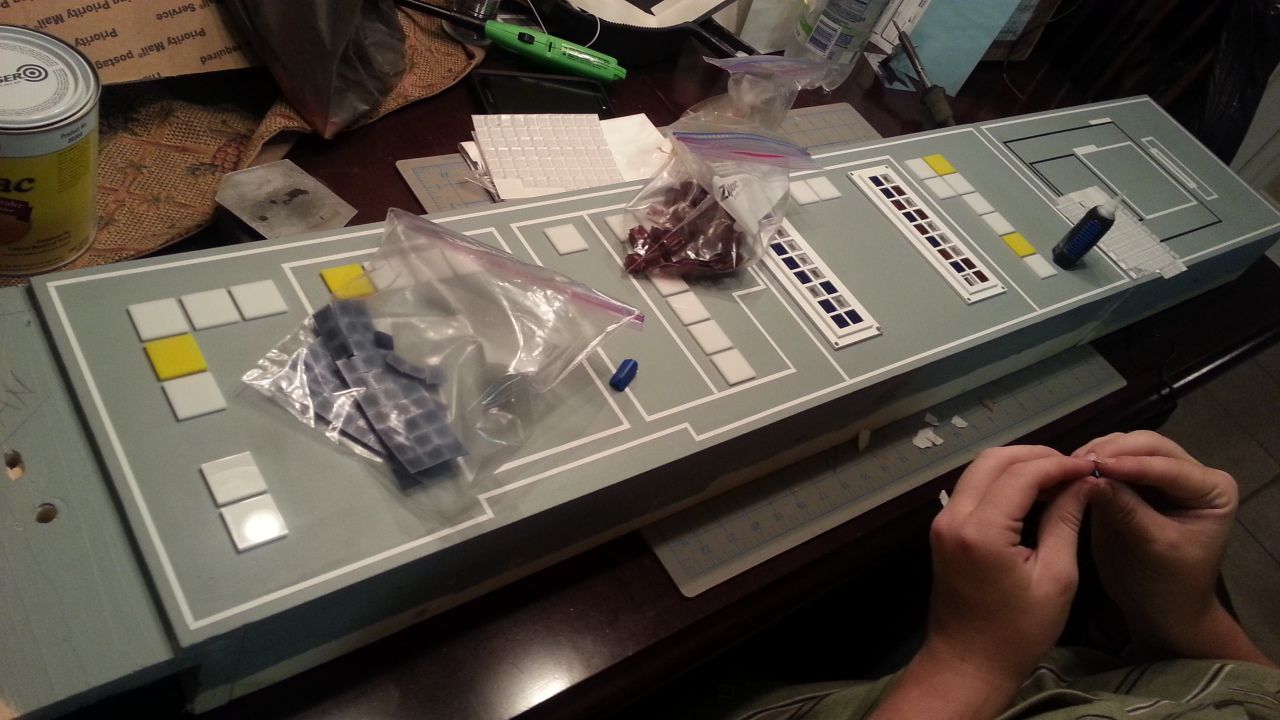
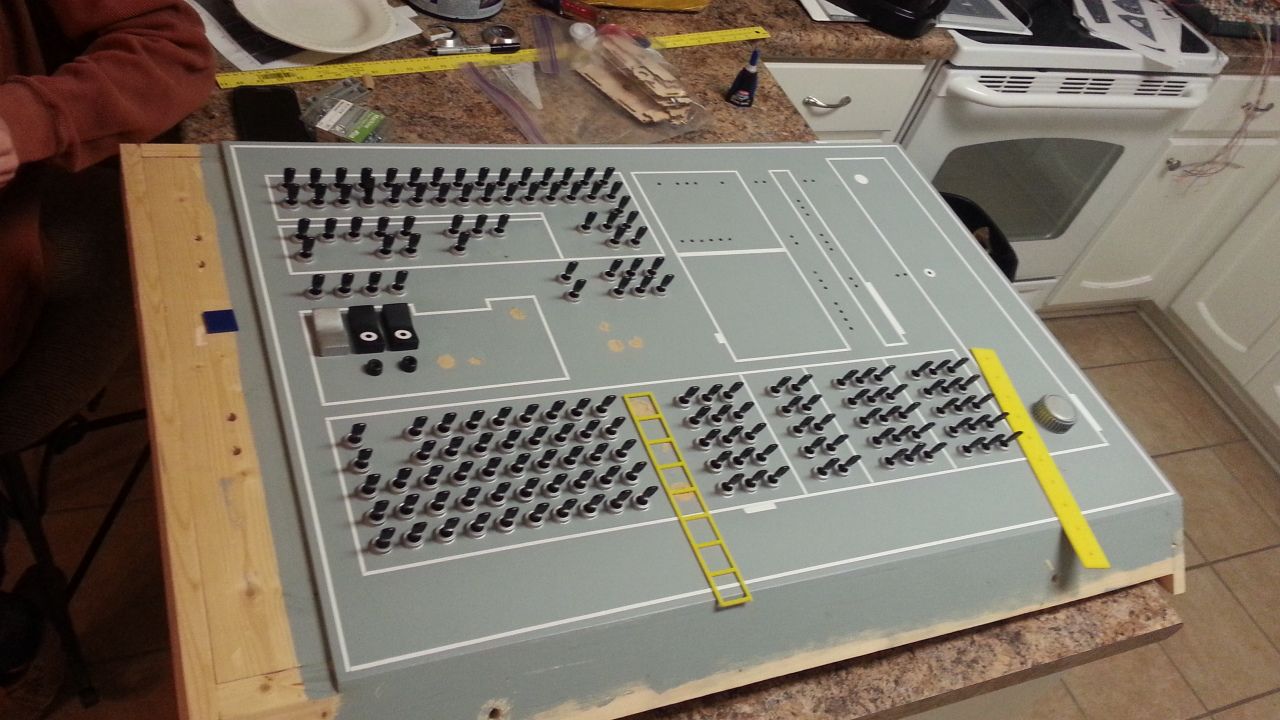
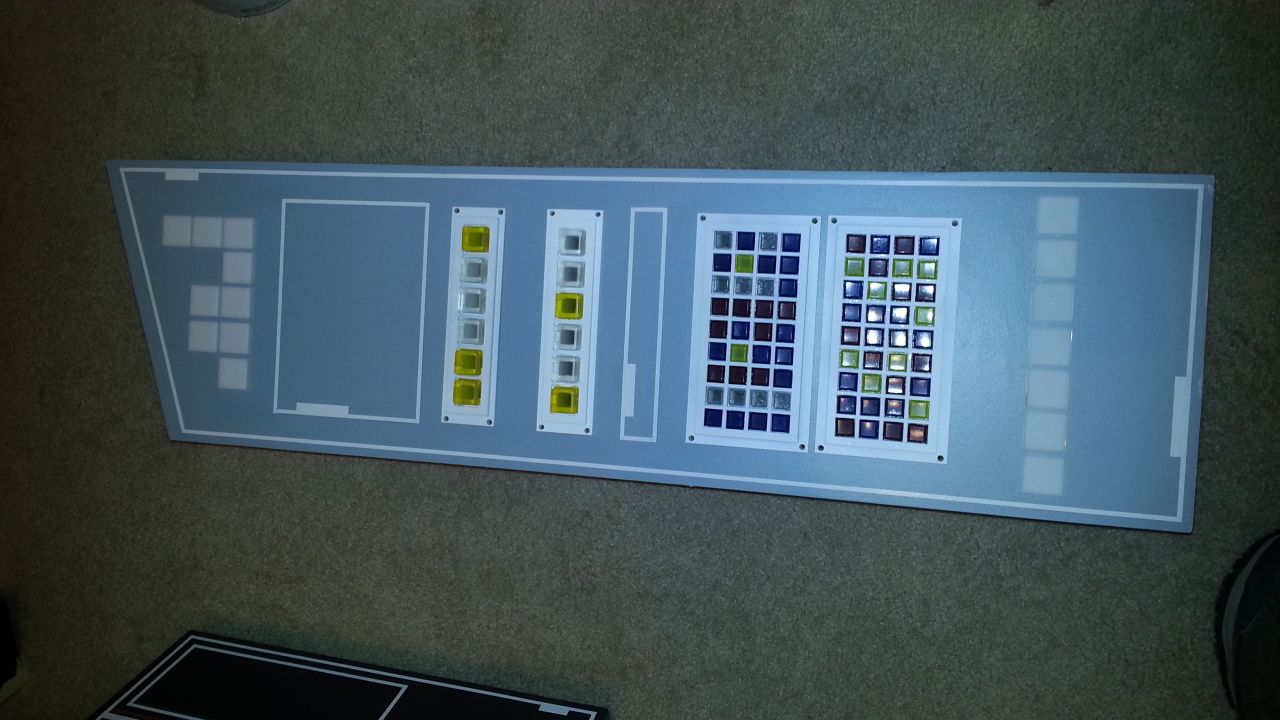
Long time lurker, first time posting. I love this group build & look forward to updates. It has been very inspirational for me so much that I've been building a MF Console of my own since May. I'm building just the console, not the whole cockpit. I'll use the prop for my local 501st/Rebel Legion events in Oregon. Keep up the awesome work gang. Thanks Greg and crew & Chris Lee.
-Eric
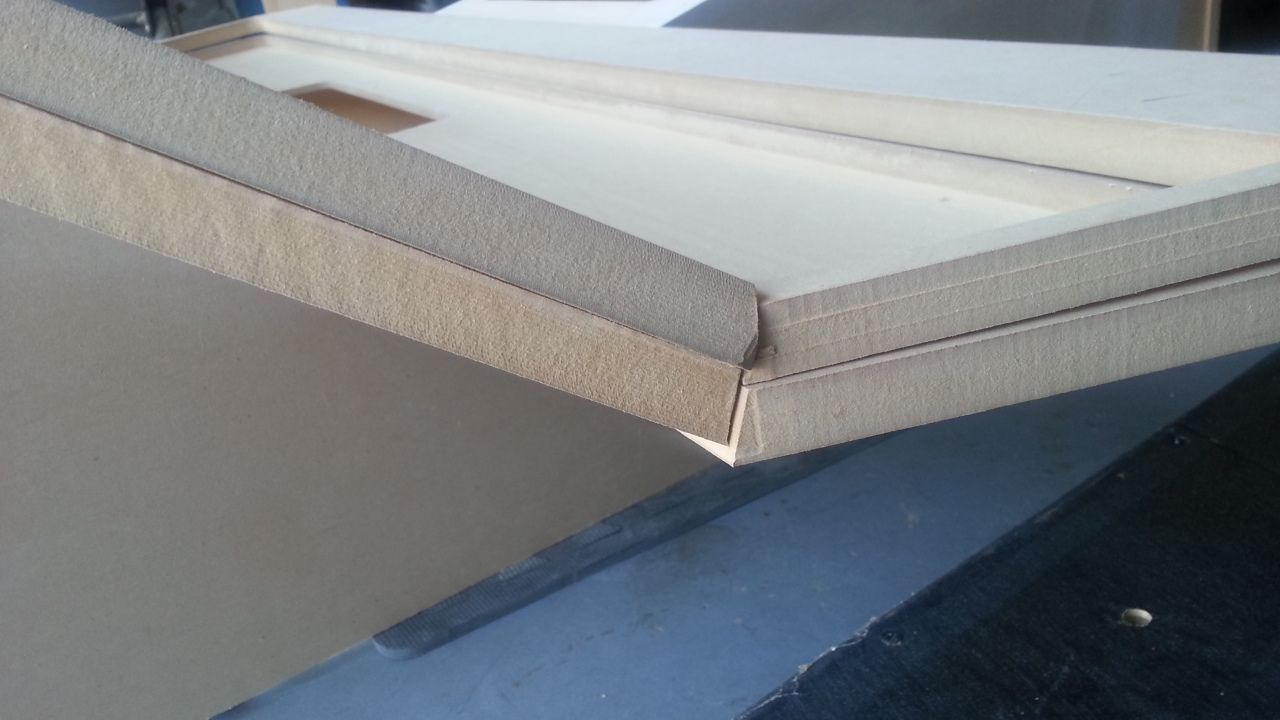
Incredible work all round. The speed of putting the new parts together is fantastic, great teamwork.
It's cool to see this coming together!
Hi Gang,
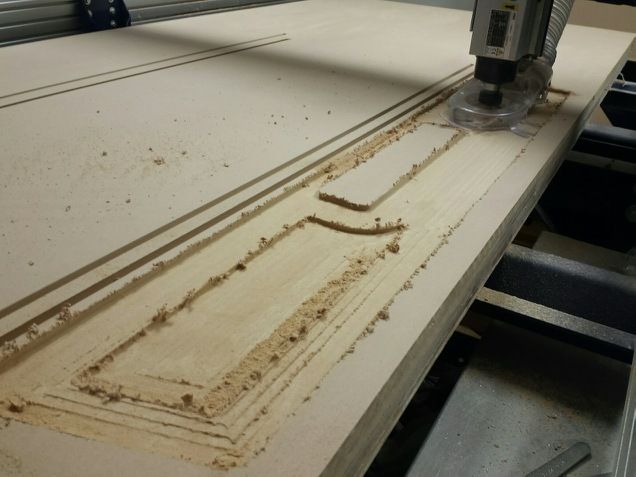
No pictoral updates this morning. But that doesn't mean there isn't anything going on. We have 23 days left until GMX and a local show called NerdCon. We're actually attempting to be in two places at the same time. Fingers crossed. Still lots to do between now and then... hang on!