Hi Gang,
UPDATES! Lots of laser cutting and several more panels ready for pinstripes!
First... an AWESOME find. I was chatting with a co-worker when I noticed on her bulletin board she had these magnets
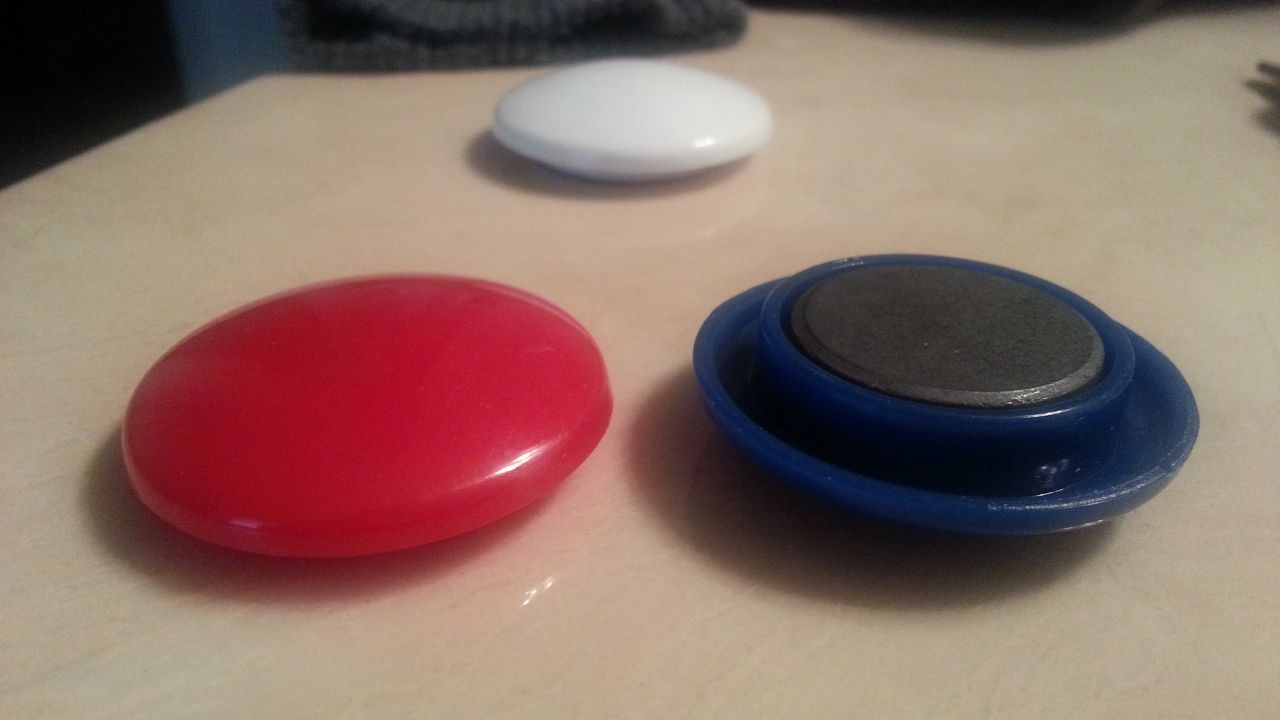
YUP...
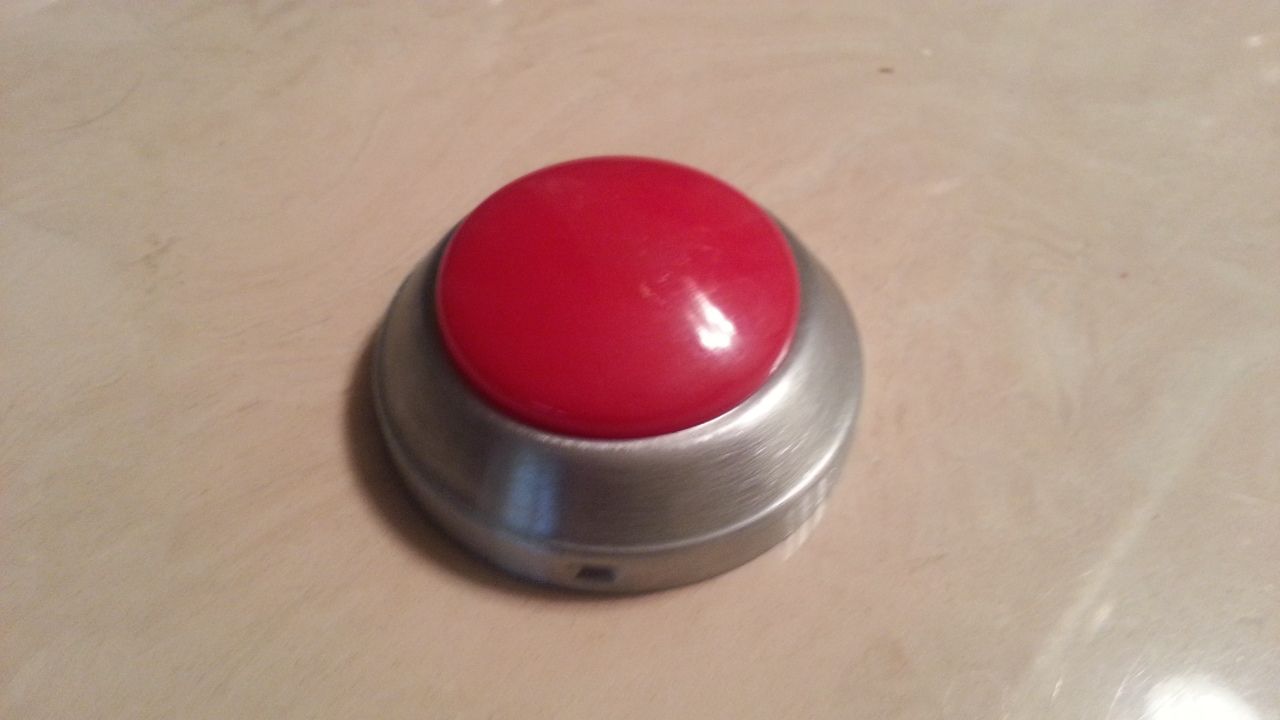
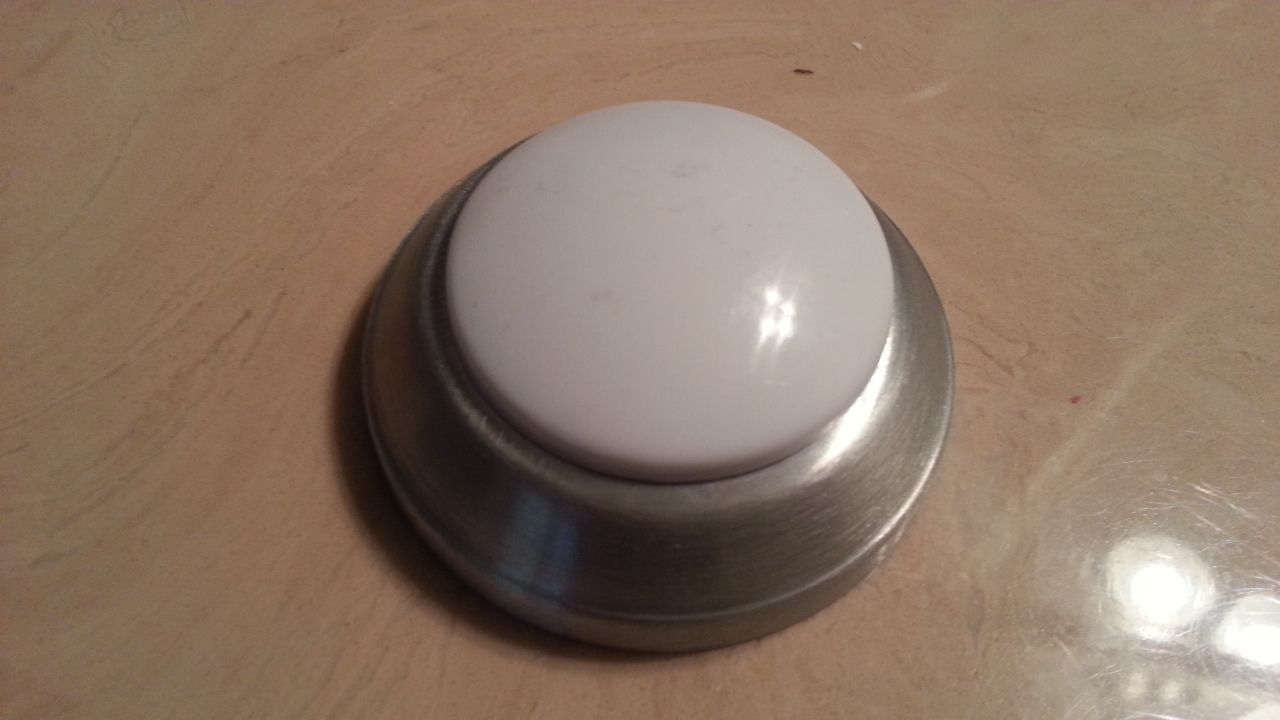
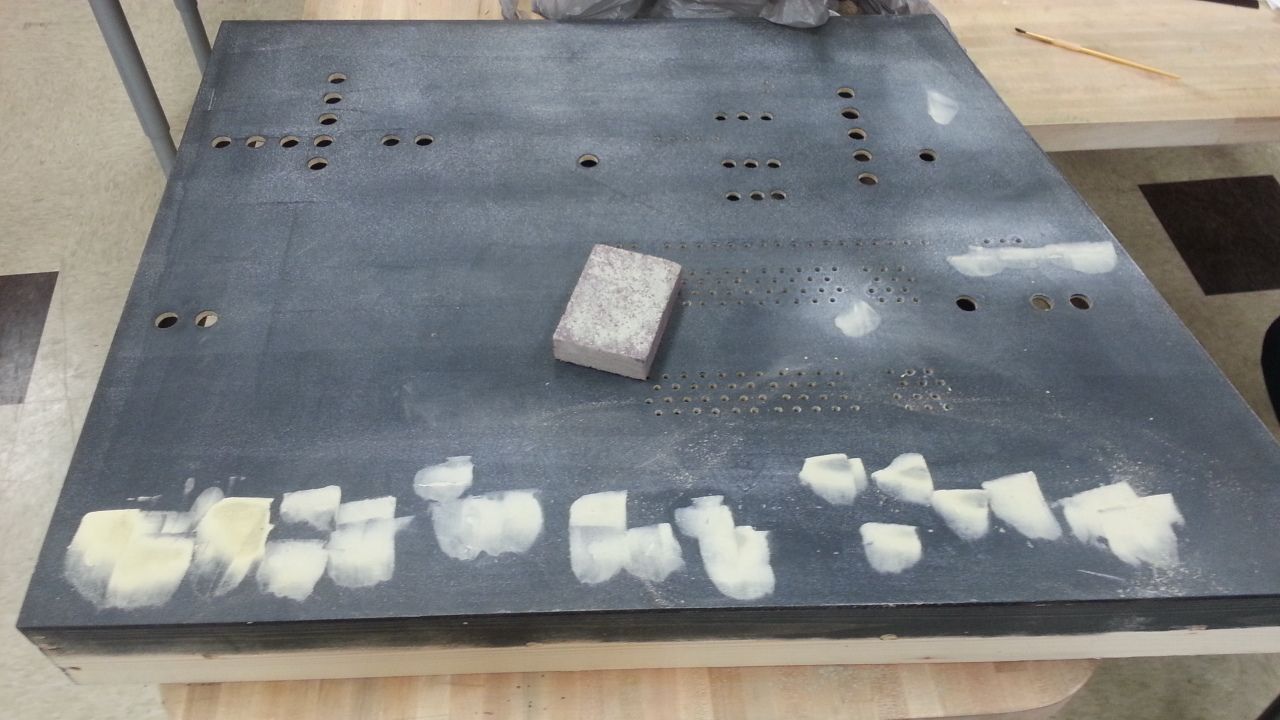
Pop the magnet out of the back and we might have a new winner

One panel down
Makeover cont'd
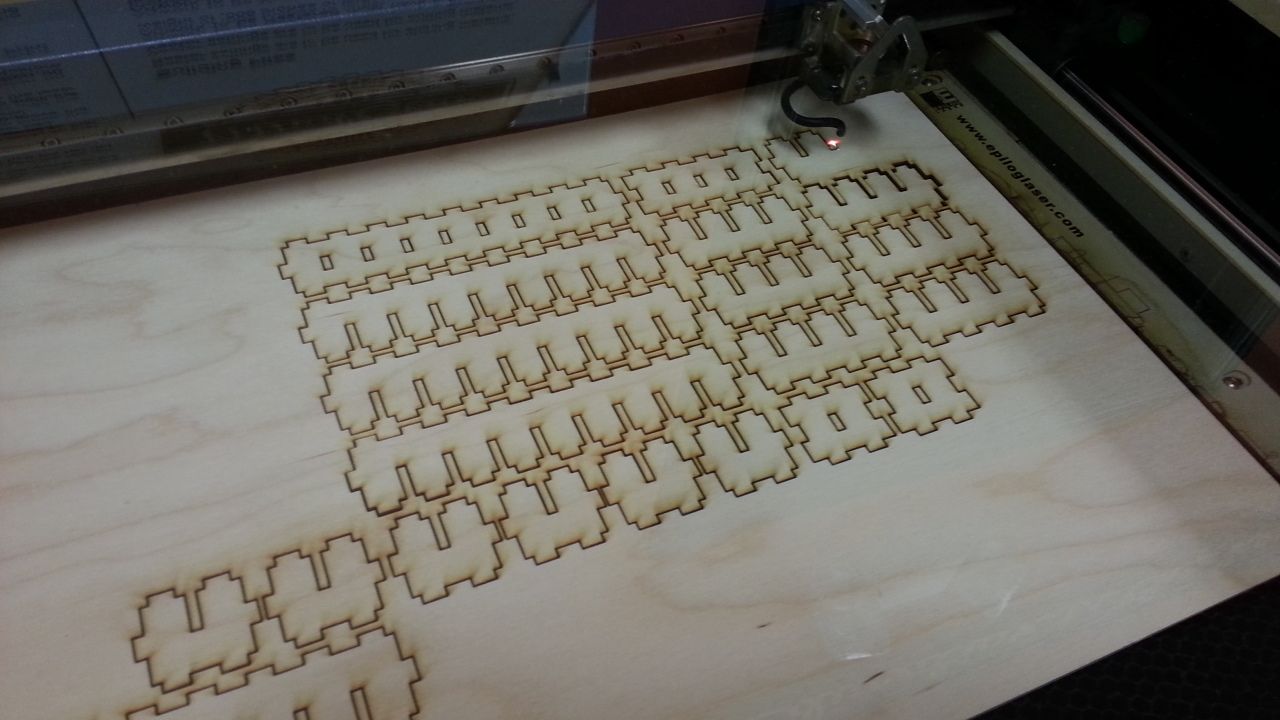
Lots of Laser cutting this weekend!

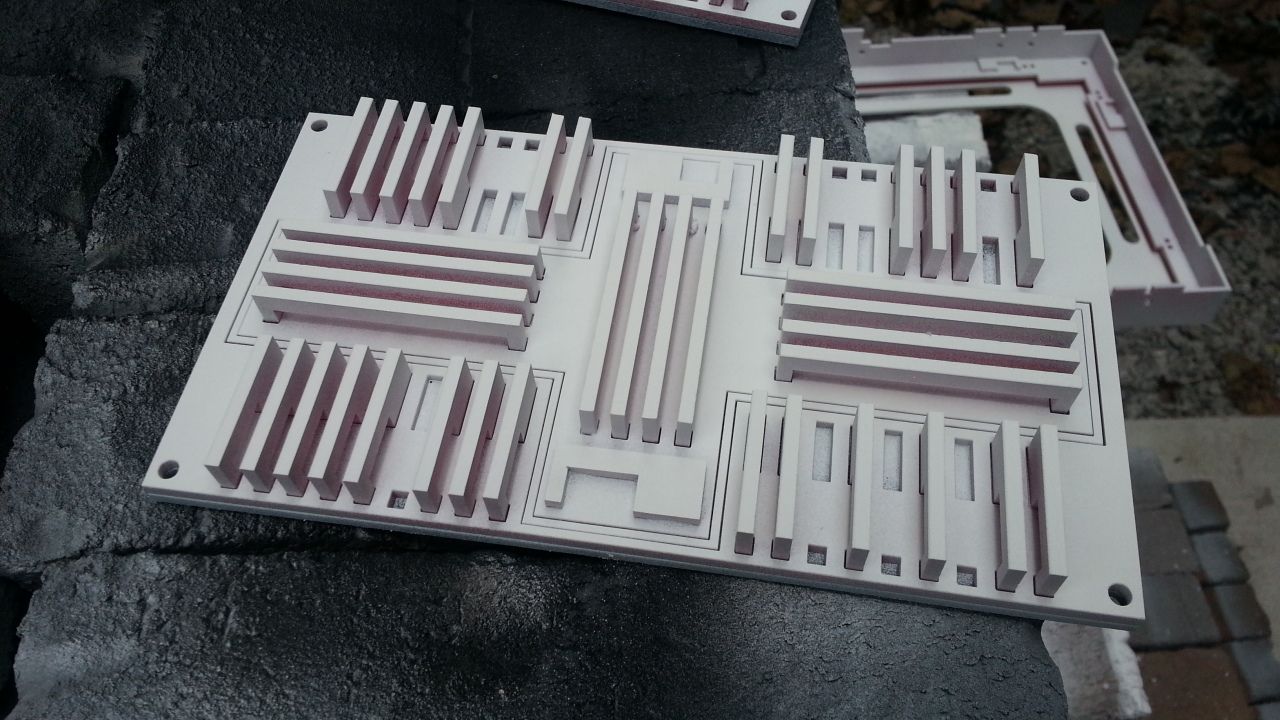
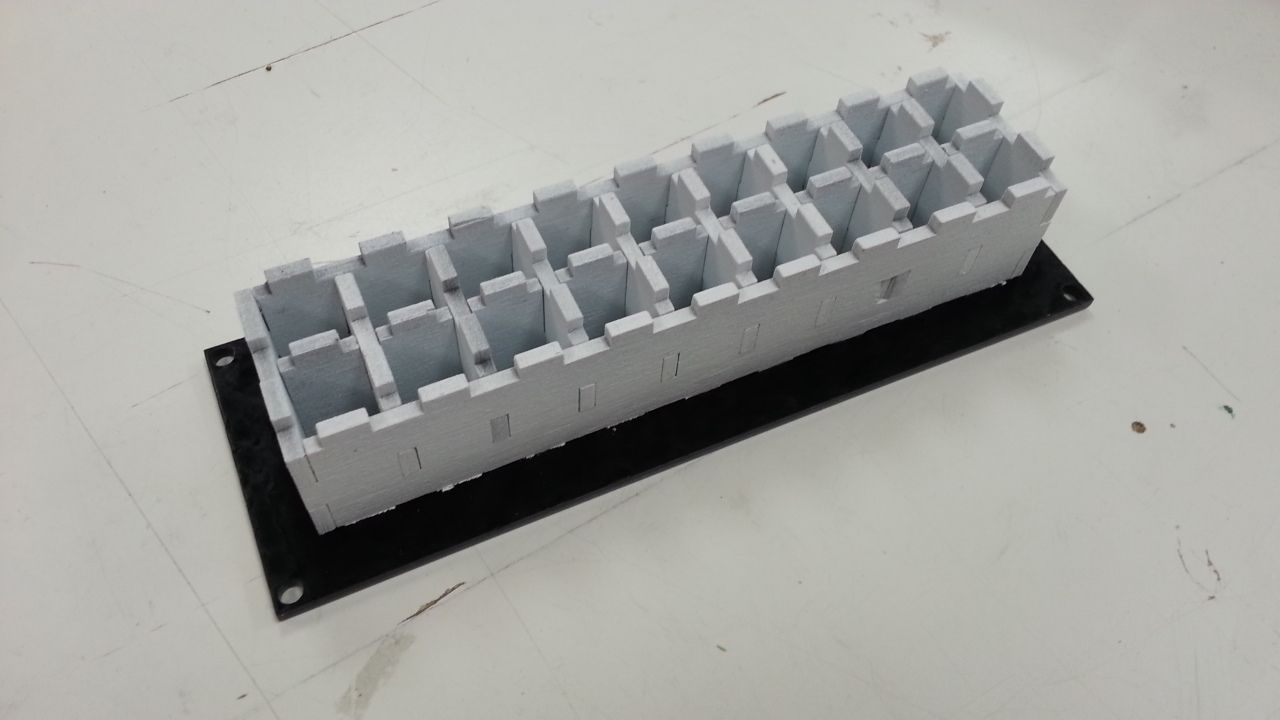
Upper panel greeblie
Part 2

I love how these turned out
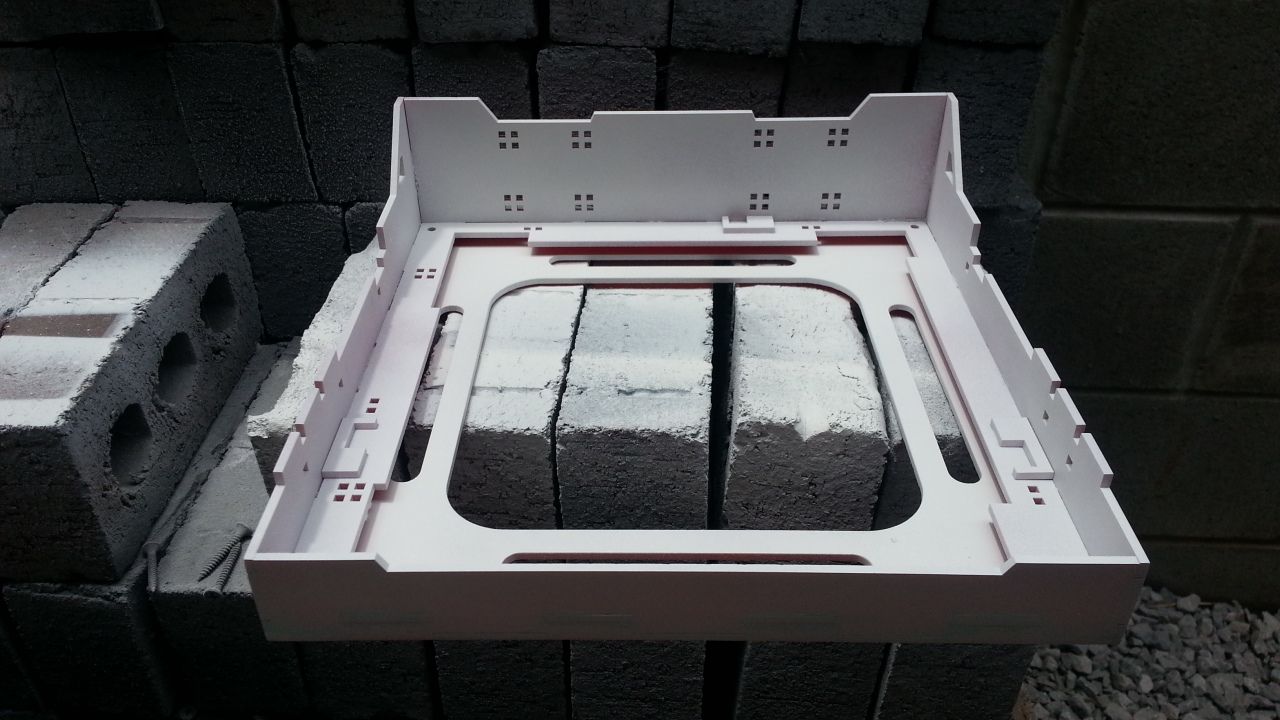
Primer

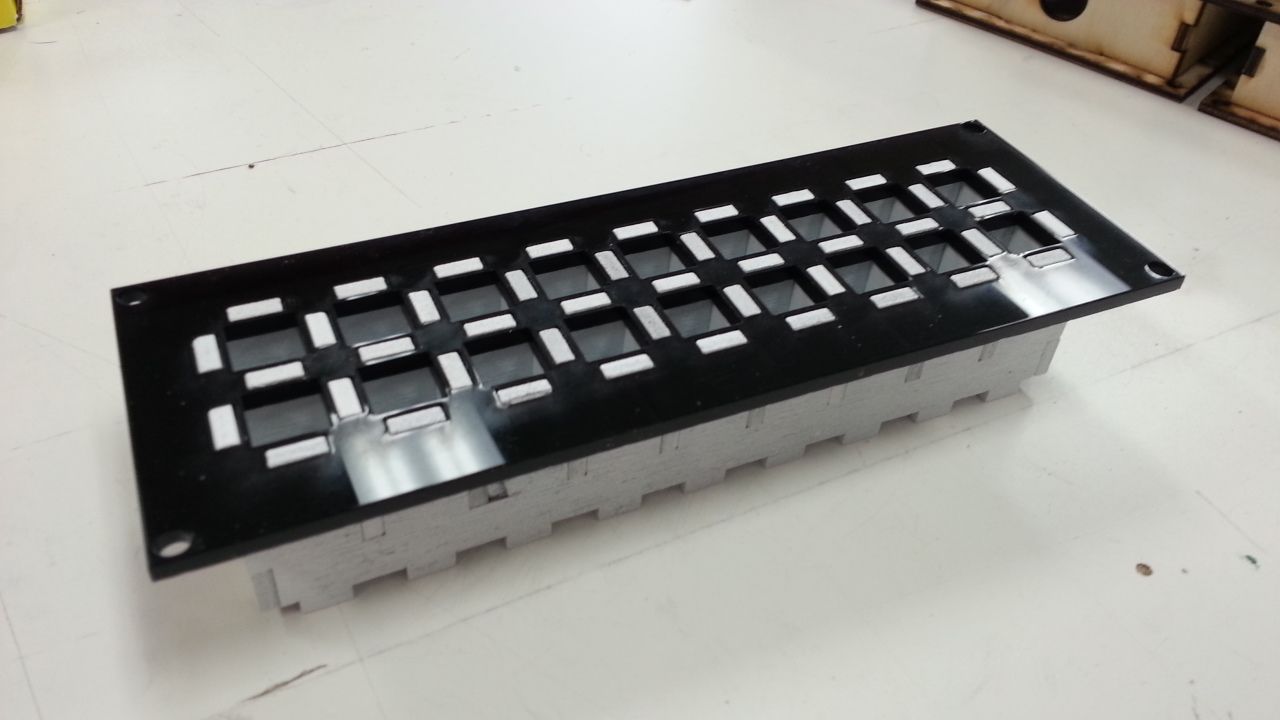
There are 2 of these that sit on one of the upper panels
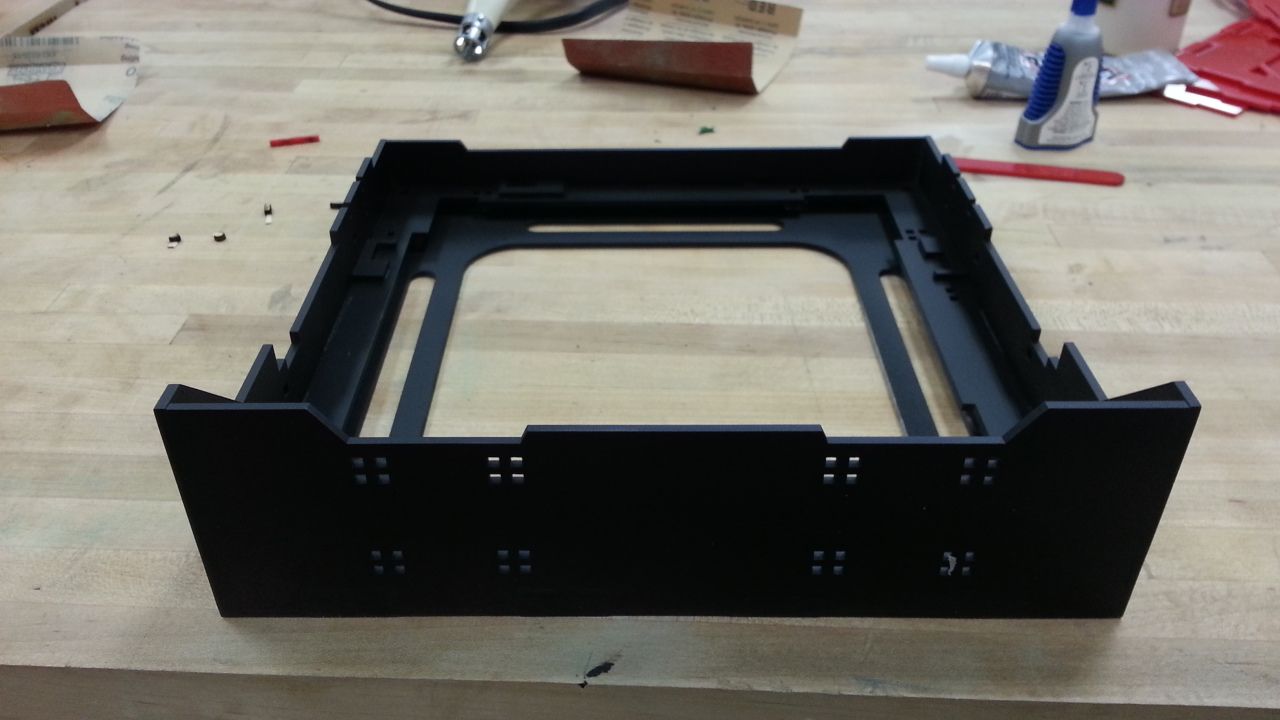
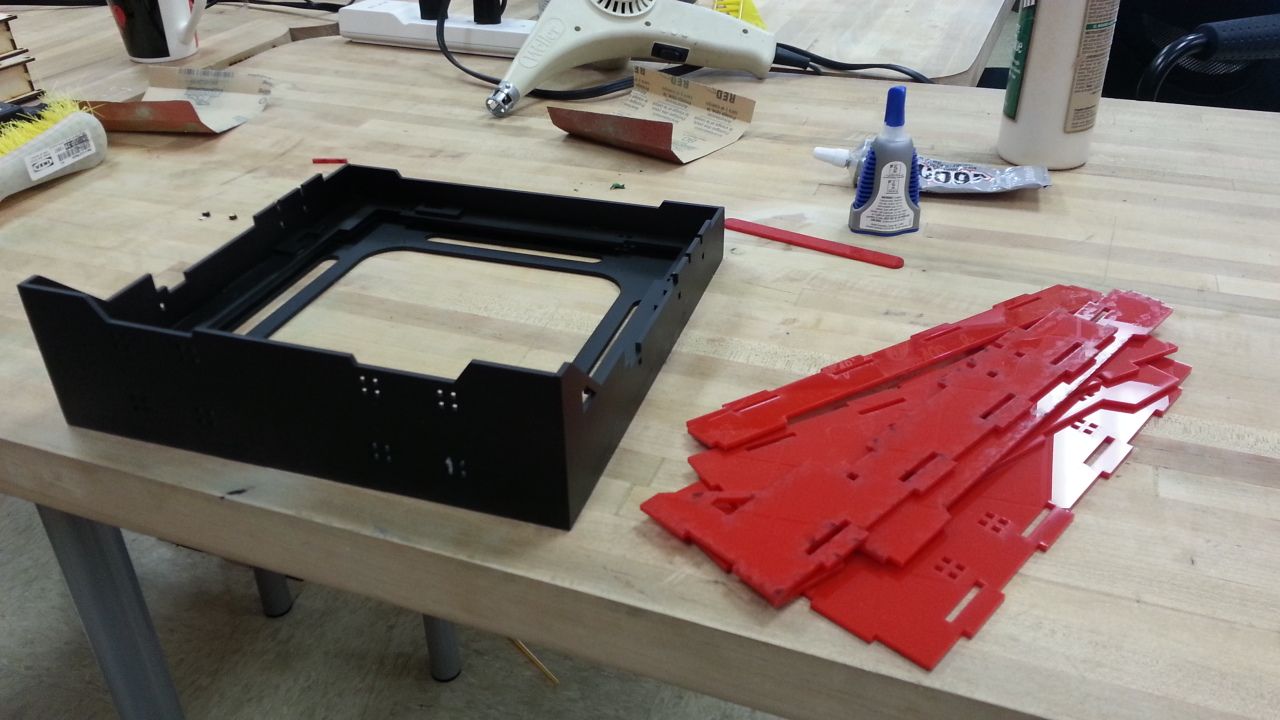
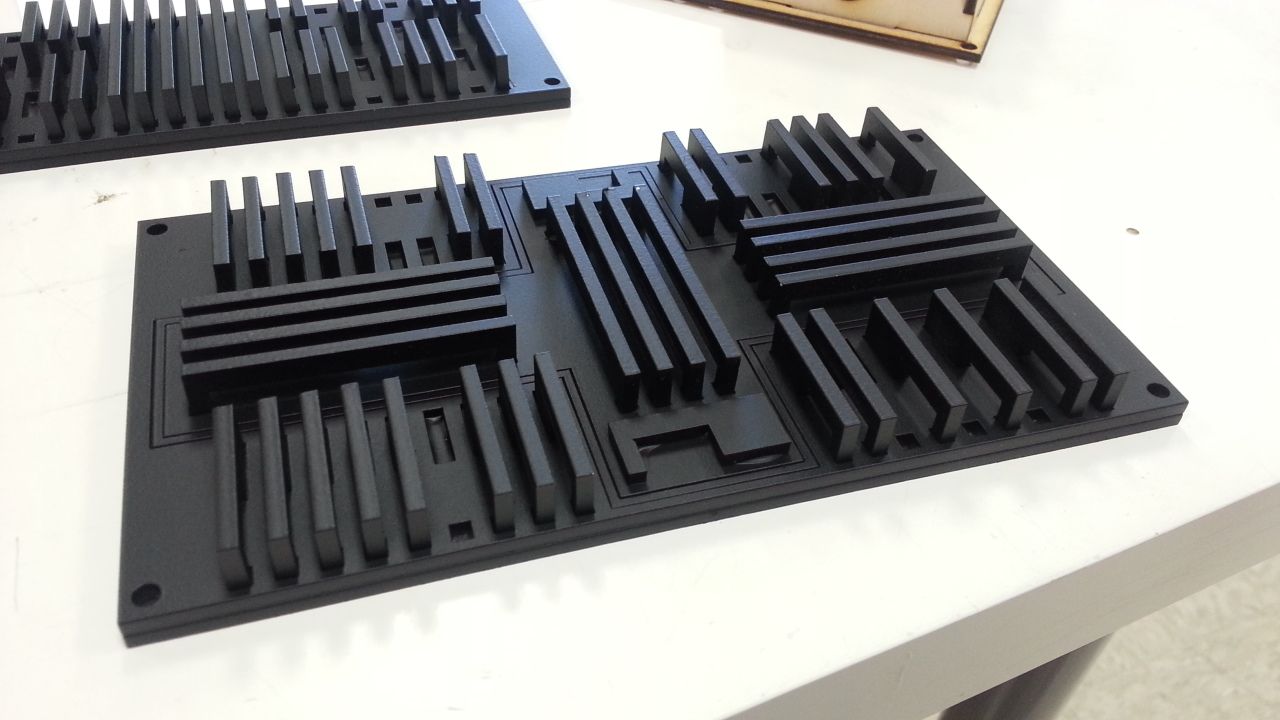
Black

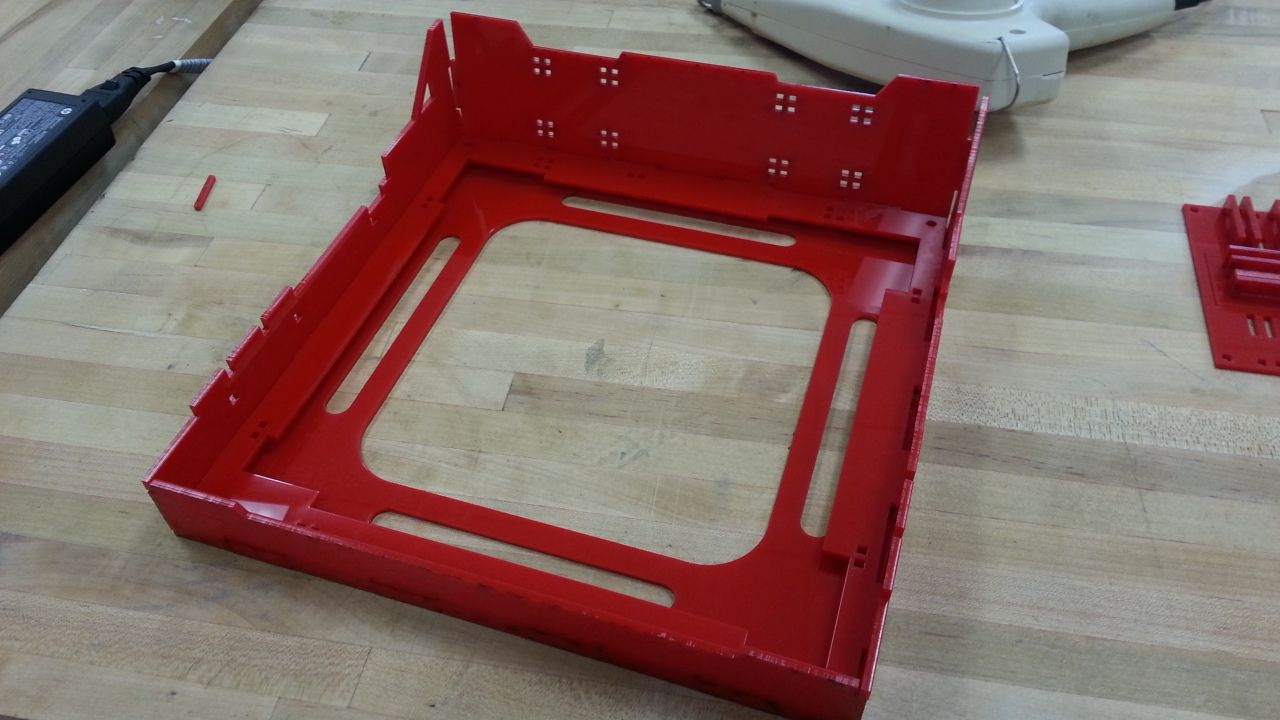
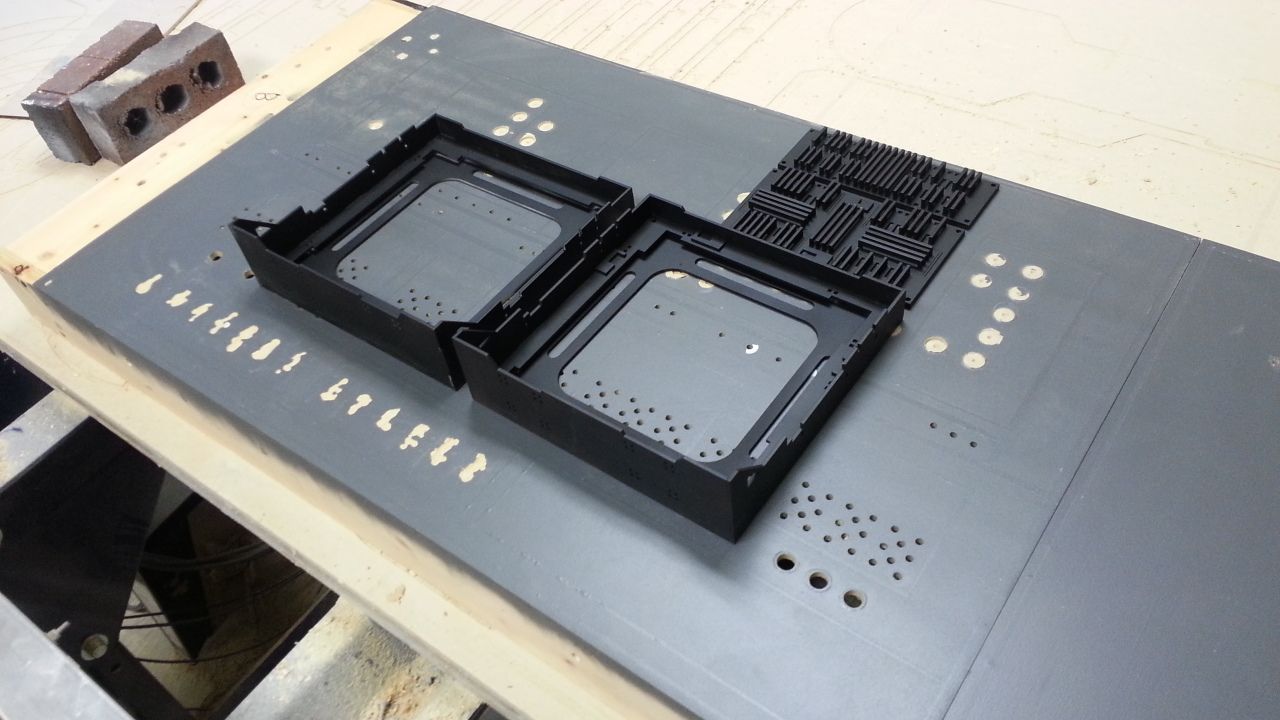
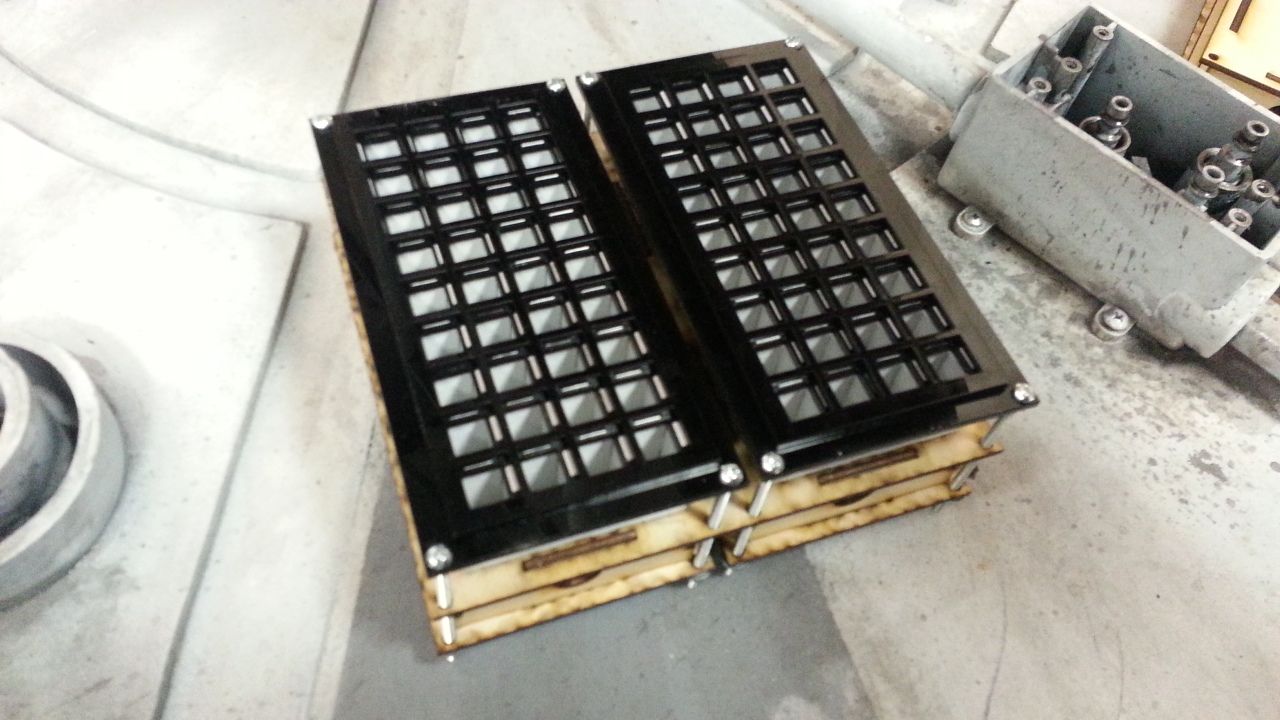
Getting ready to build Number 2
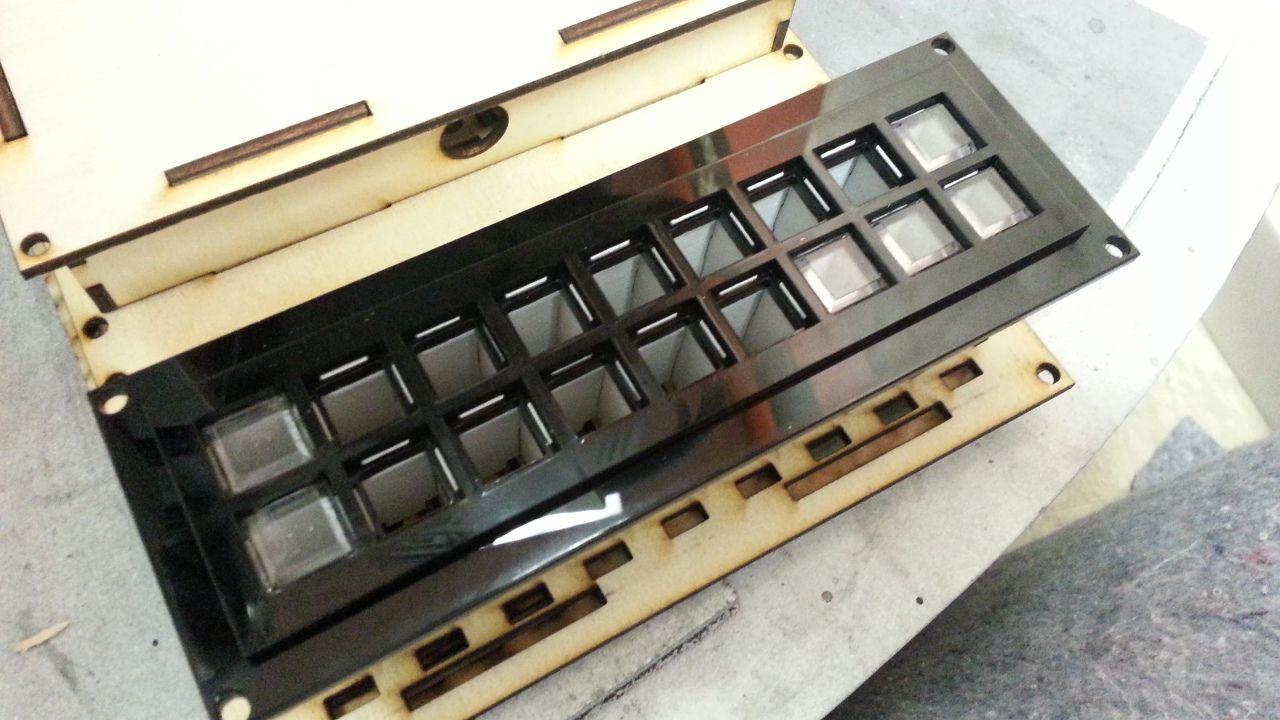
There are 2 Allen Bradley buttons that will mount inside the "trays"
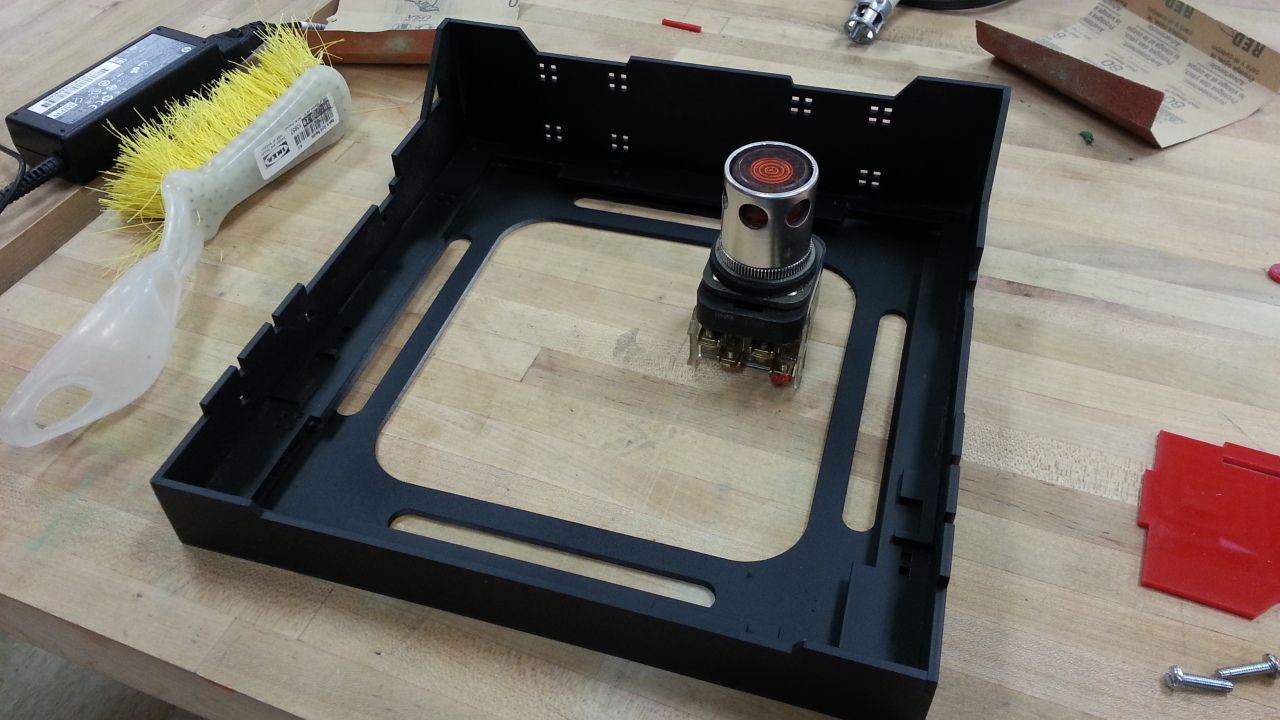
This is where they go
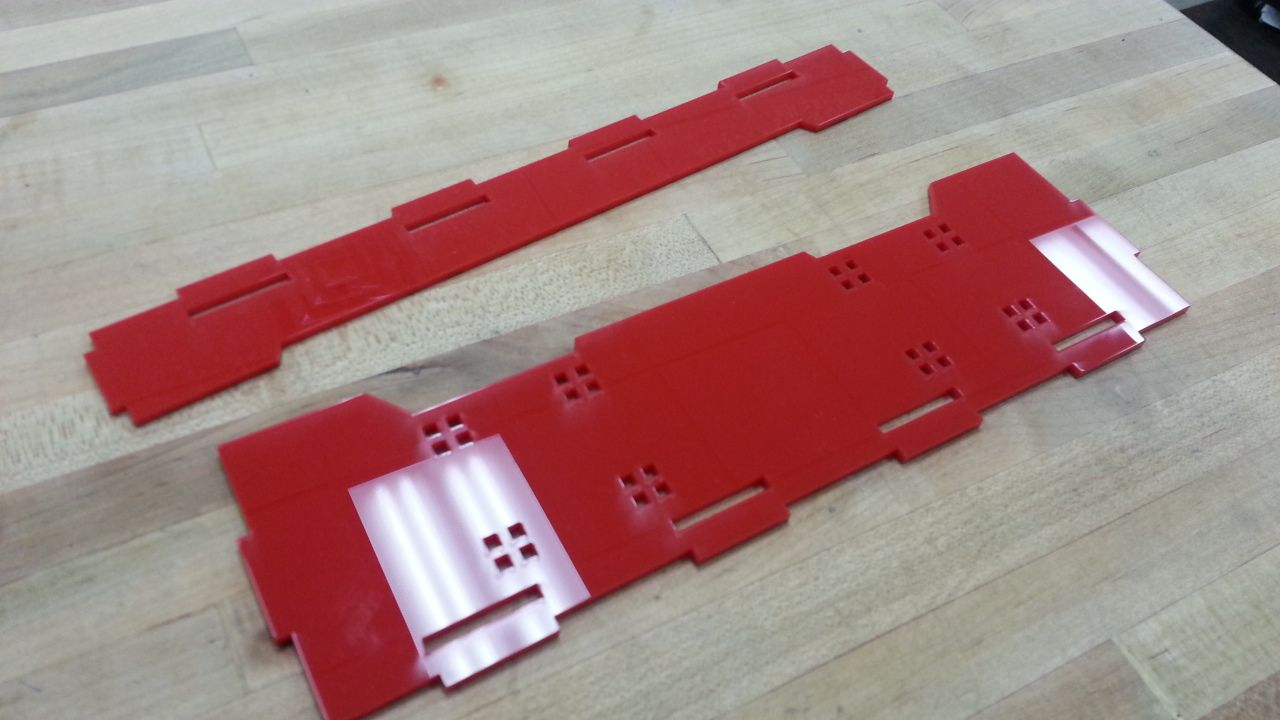
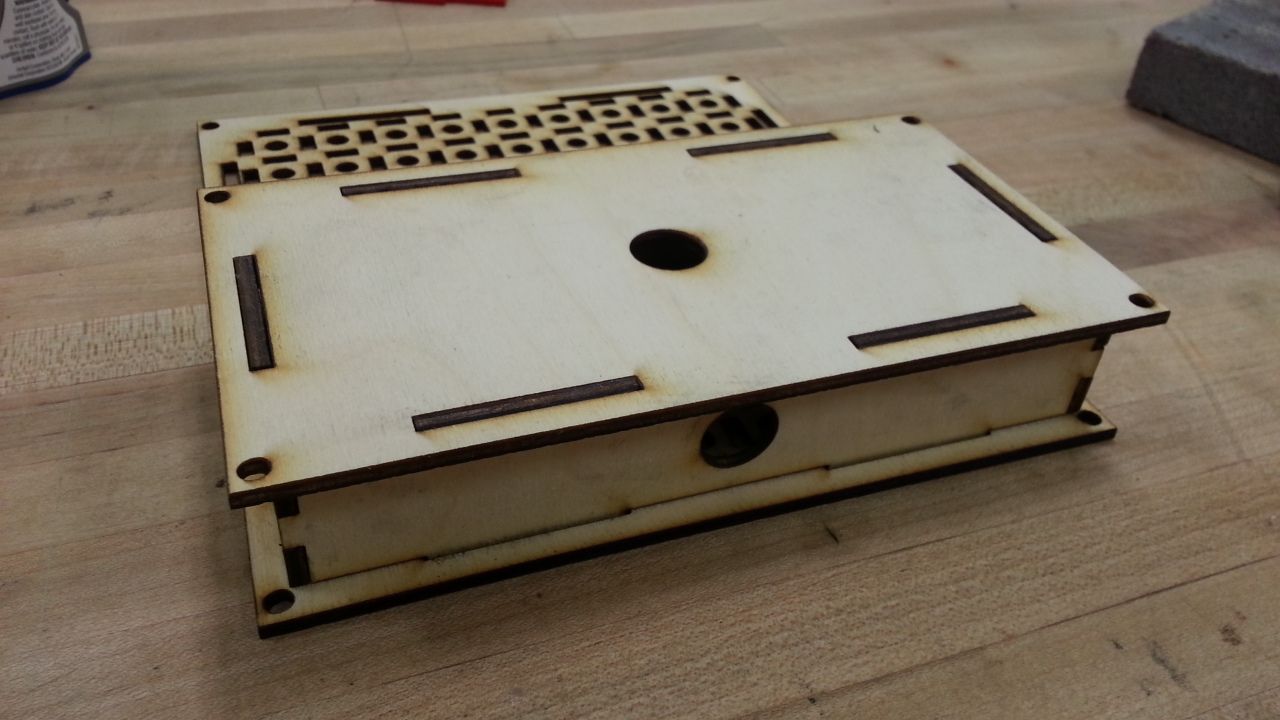
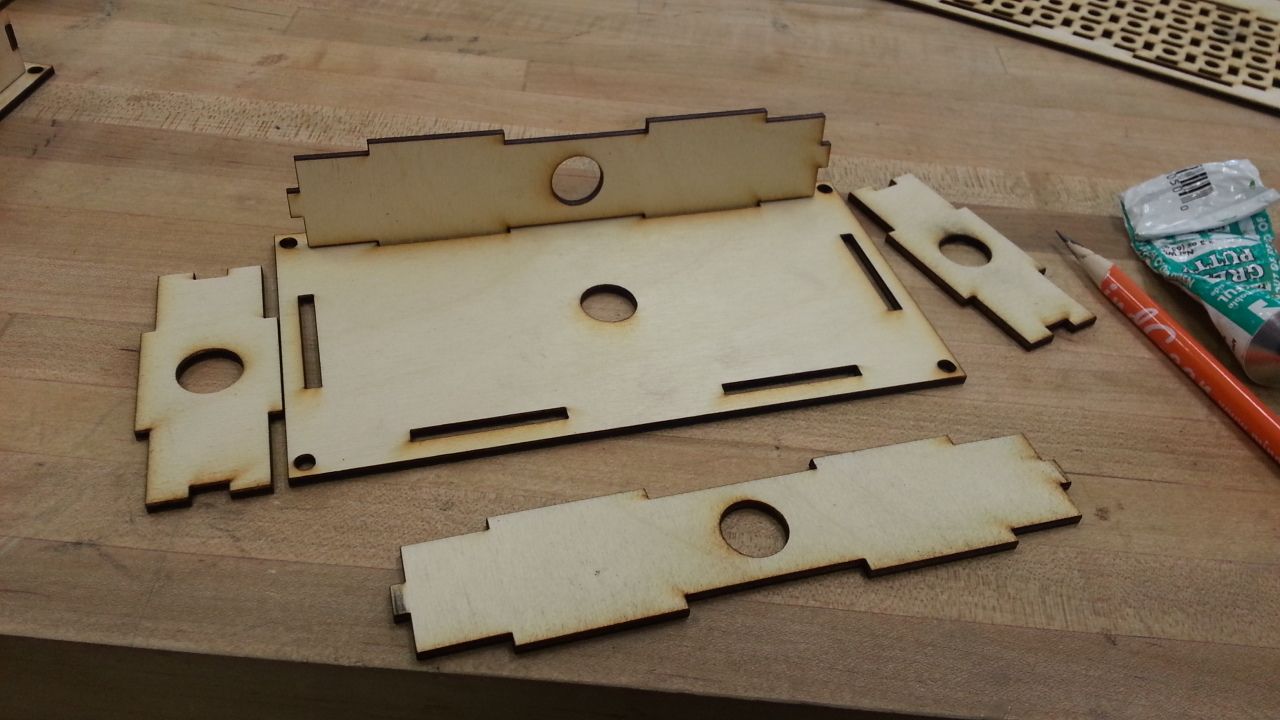
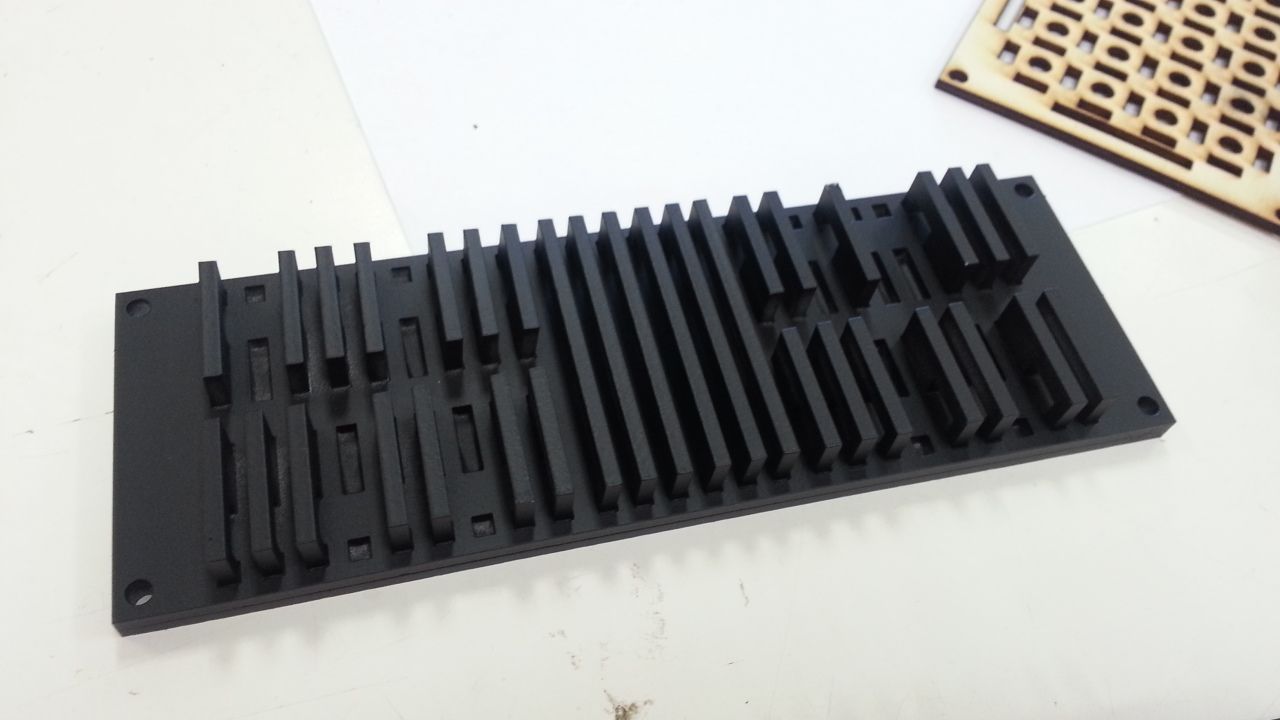
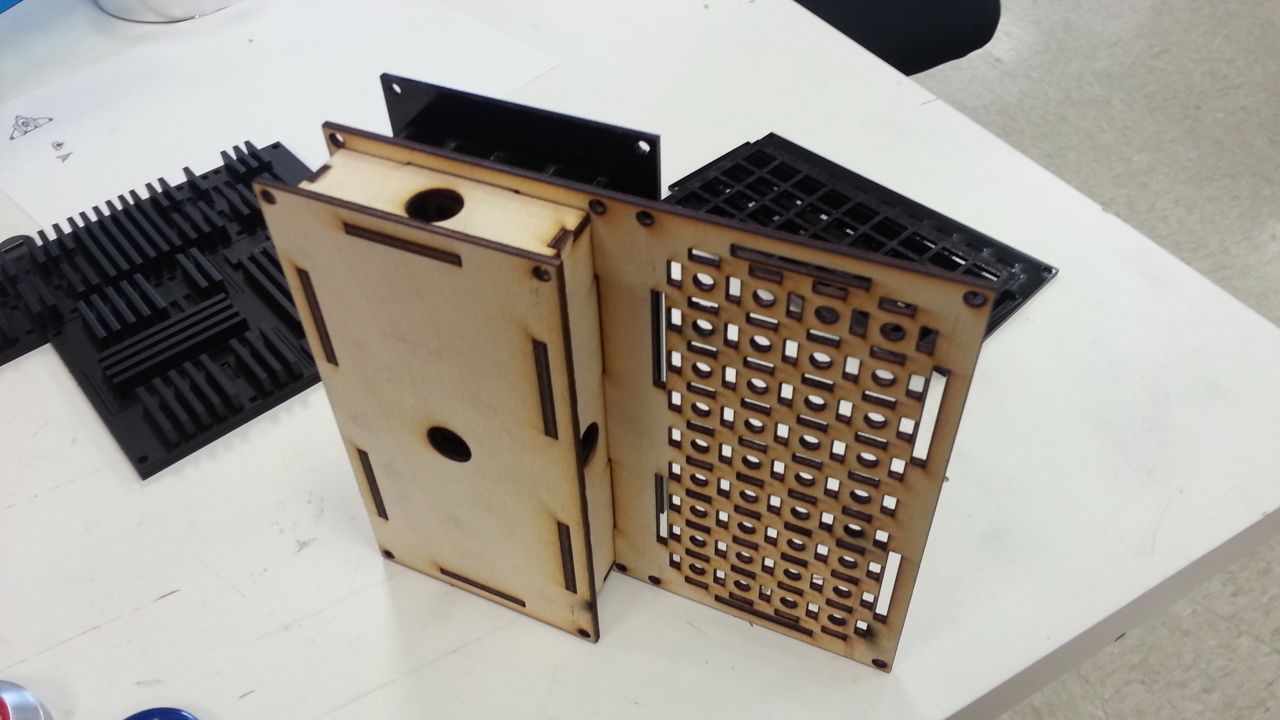
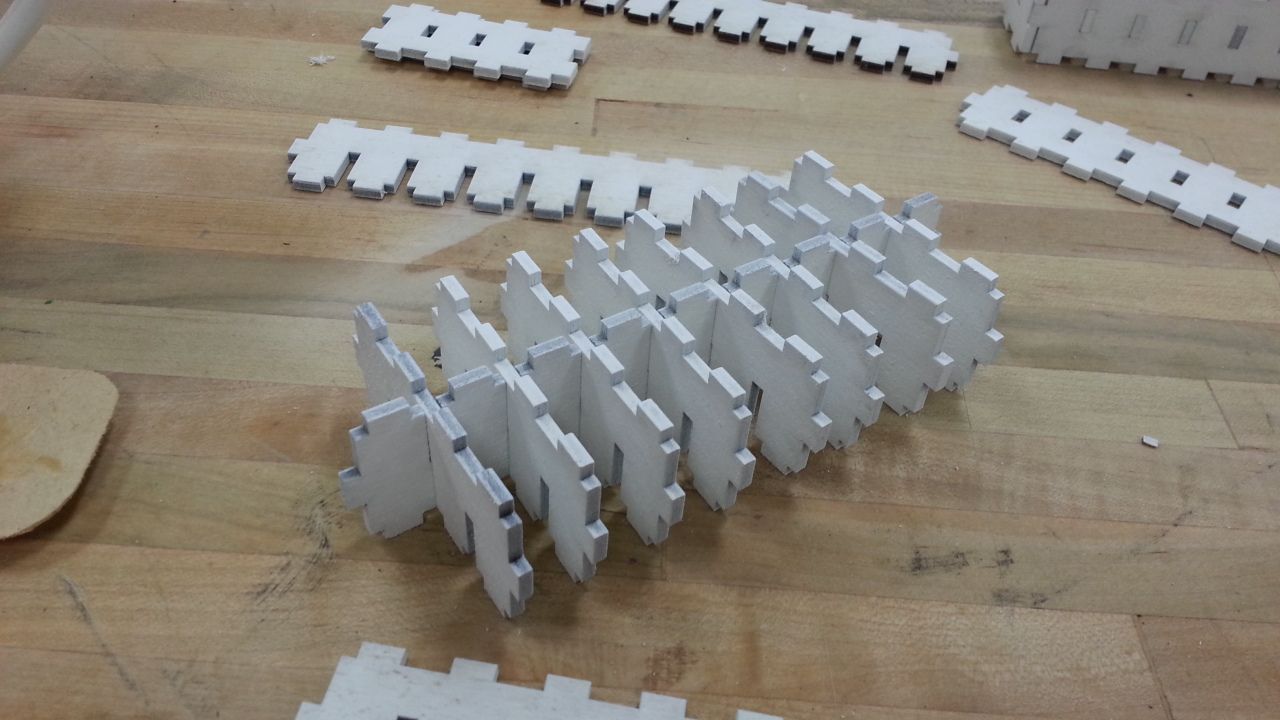
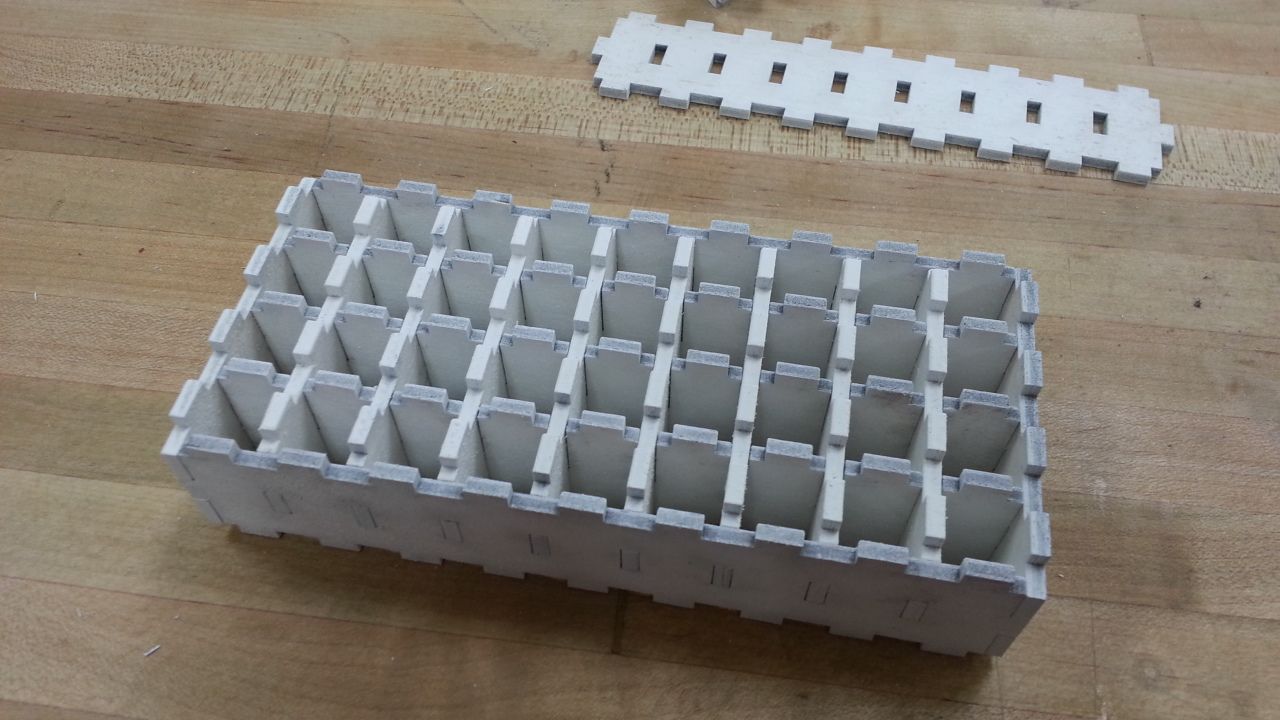
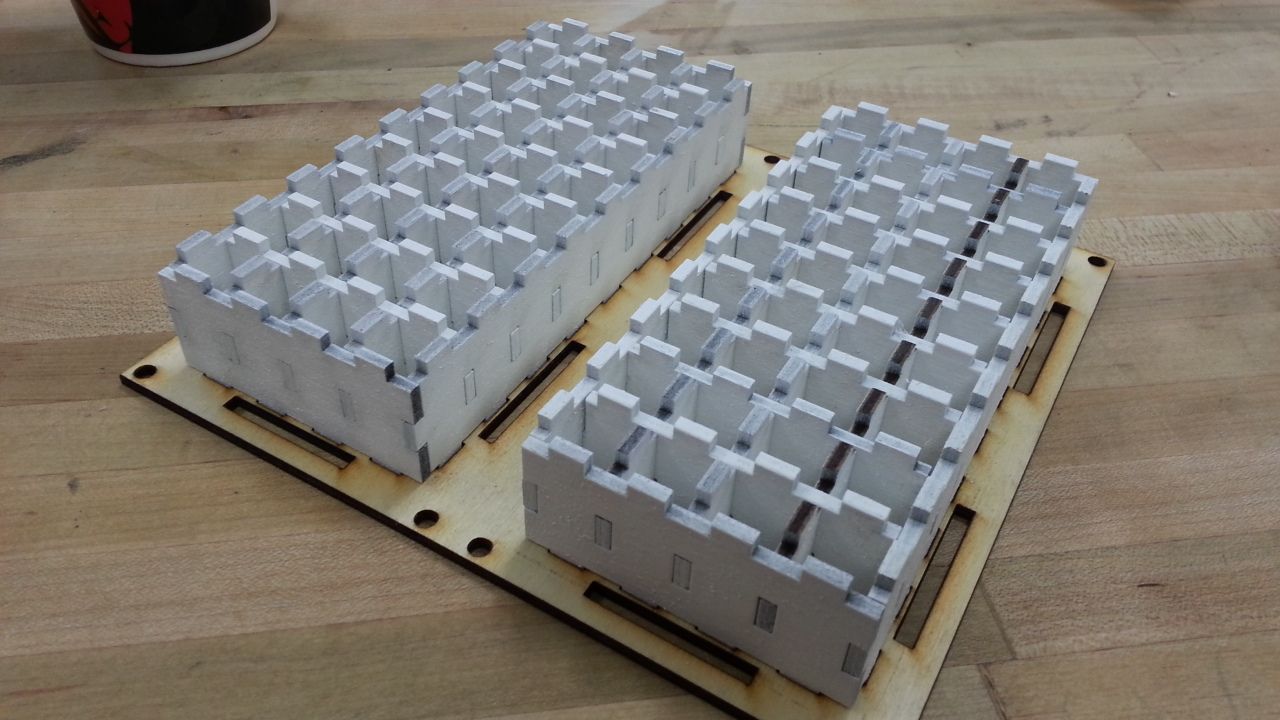
I also created these LED wire boxes. Basically, these boxes attach to the back of the LED holders to protect all the wiring. The holes are for the guys to direct the wires...
Primed another greeblie(s)

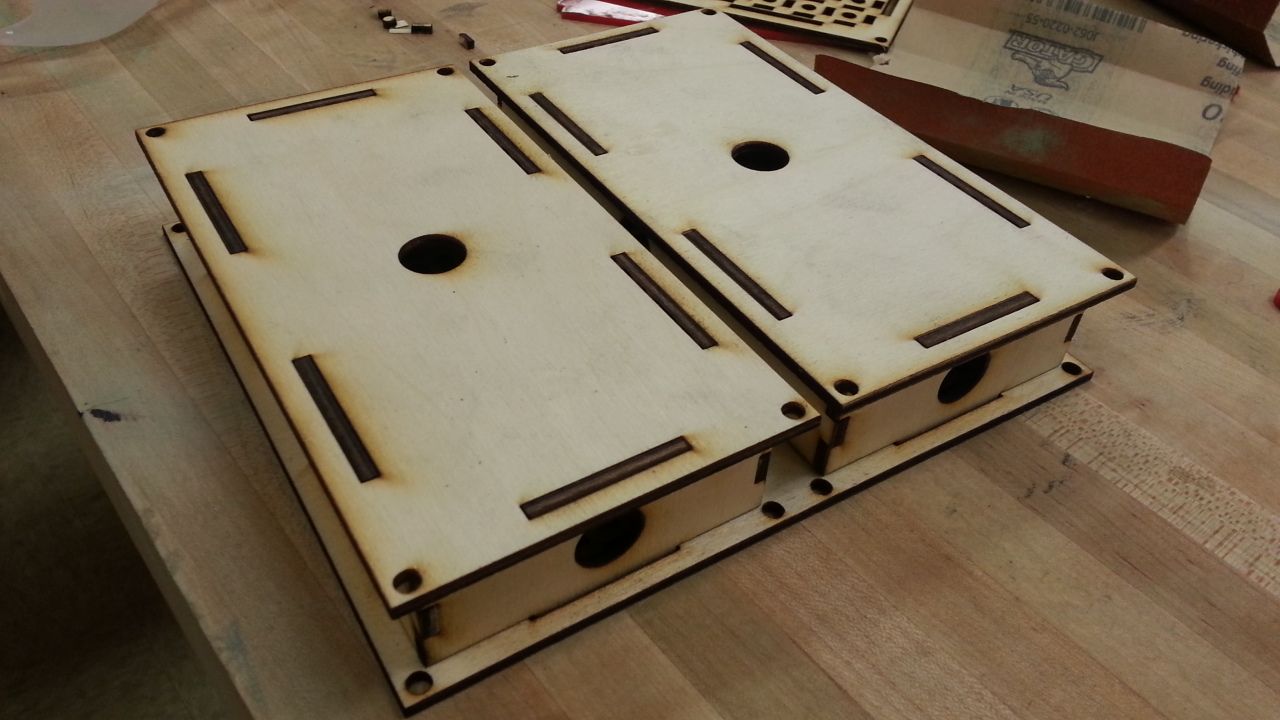
More LED wire boxes
There are a TON of these just on 4 panels
Added black - these will eventually be painted silver
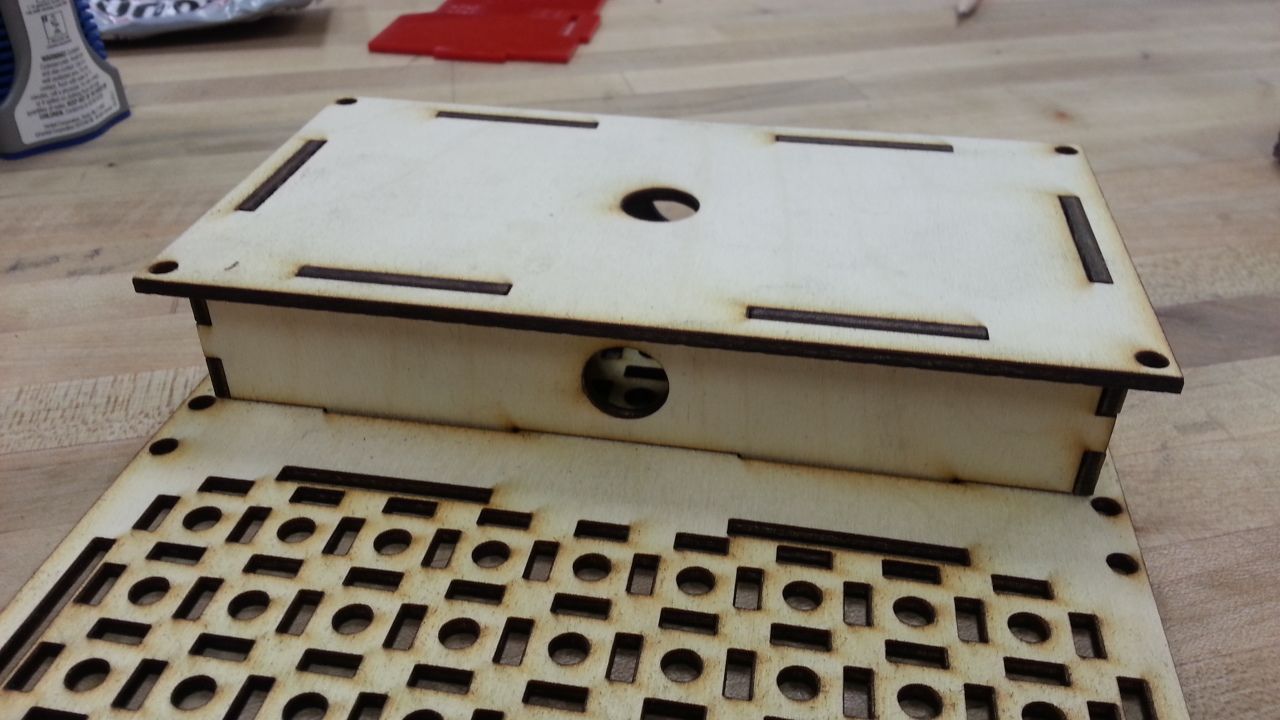
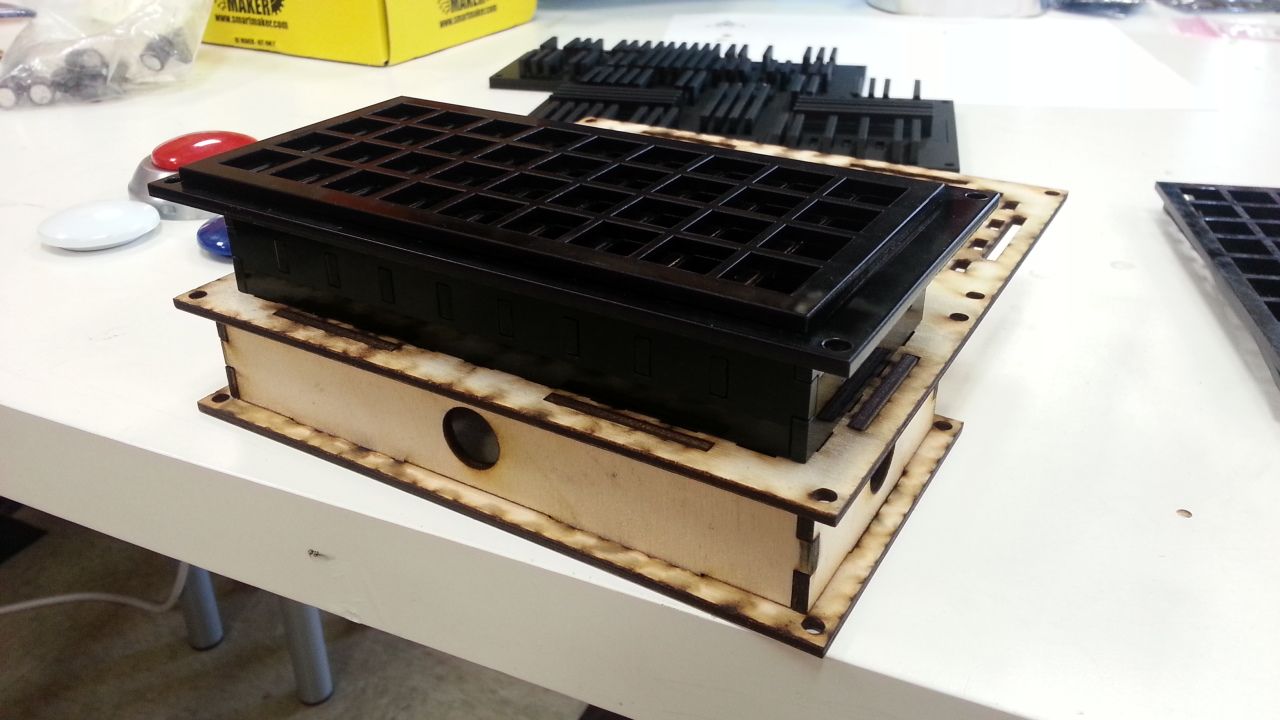
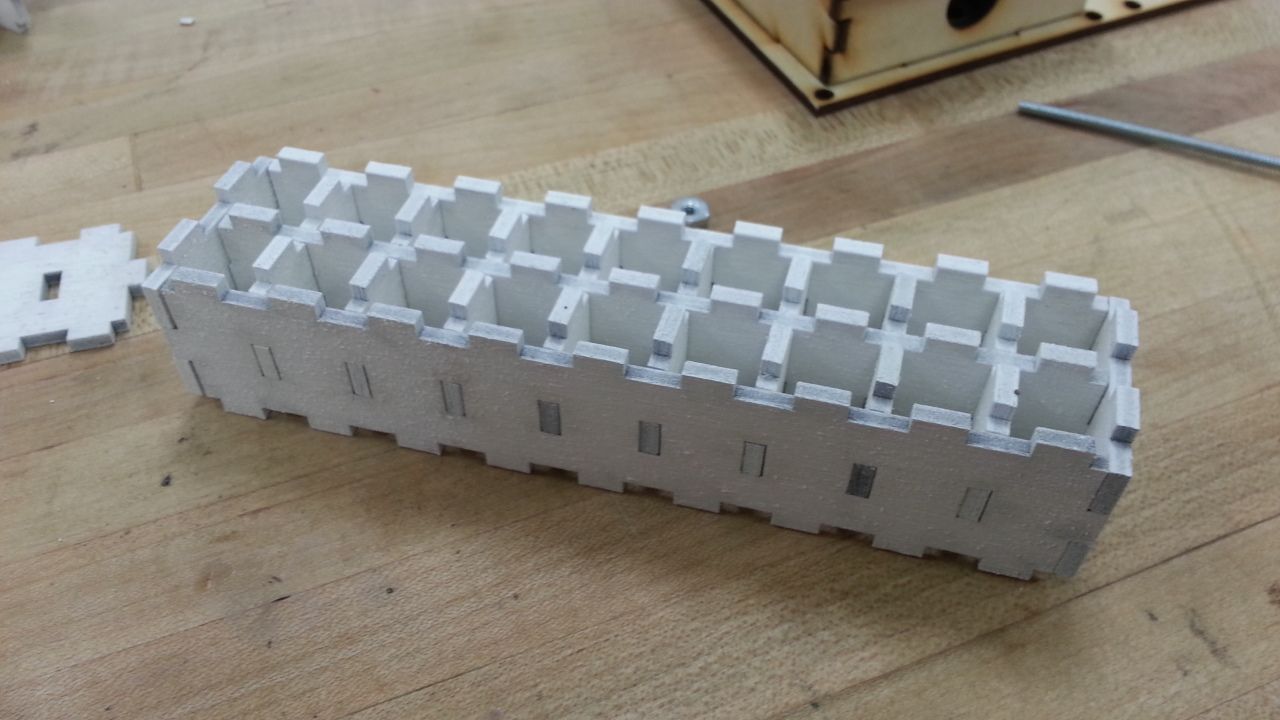
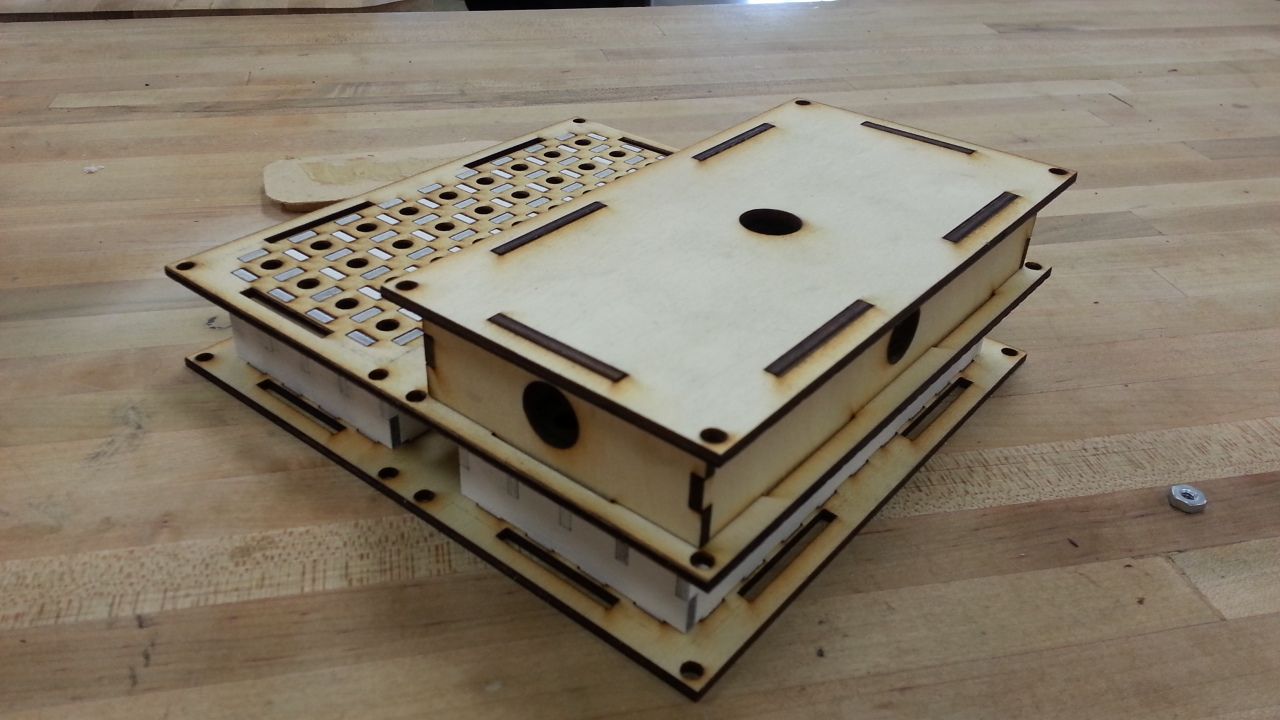
Mounting the LED holder to the LED wire box - this was a tough design to figure out!
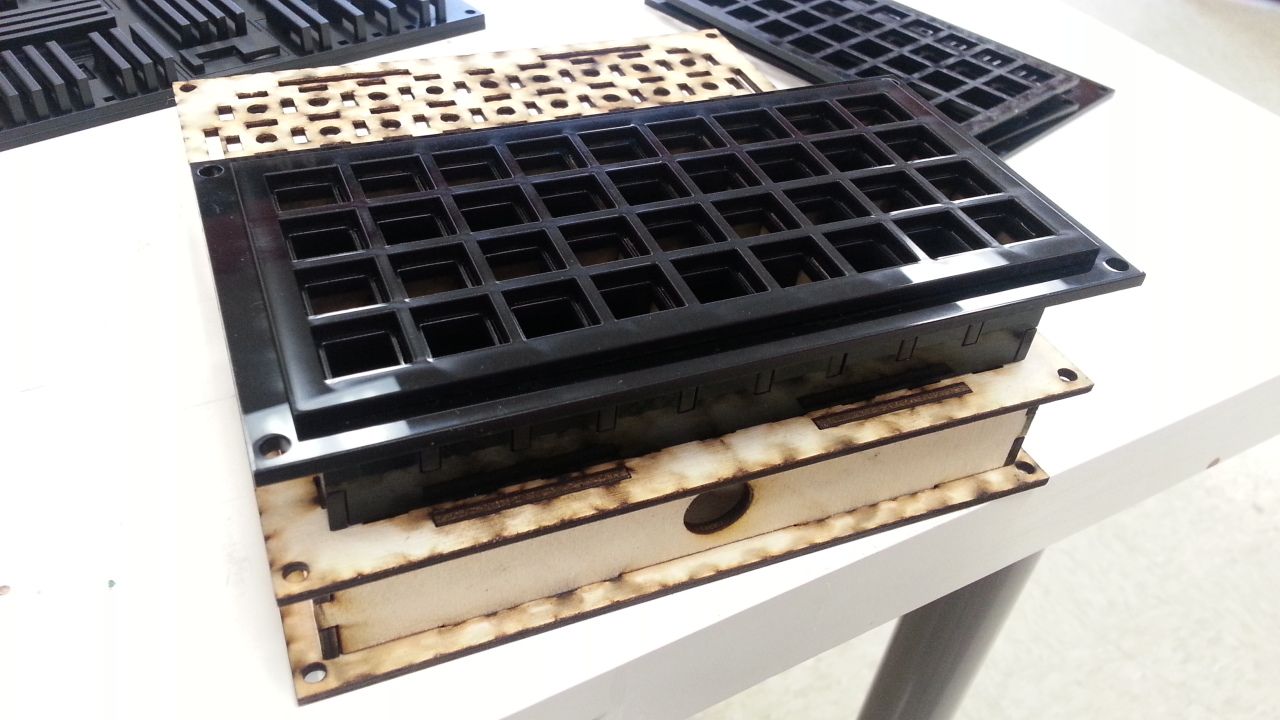
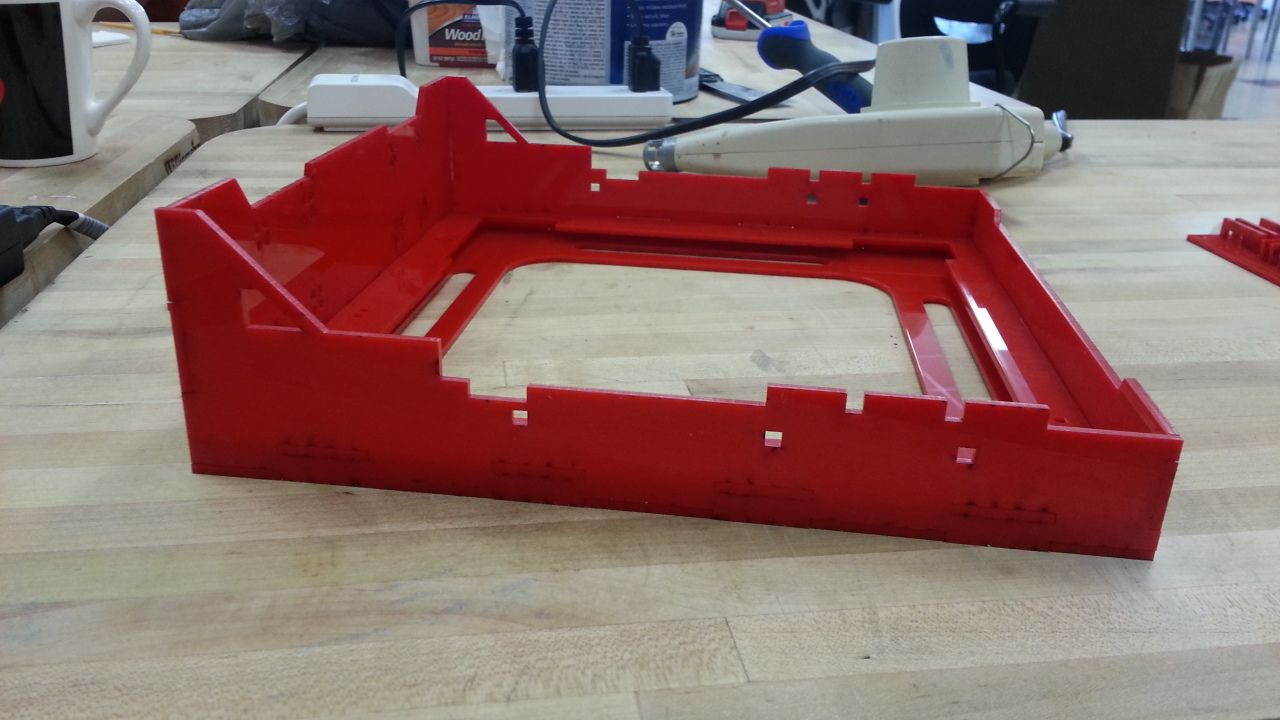
Side view

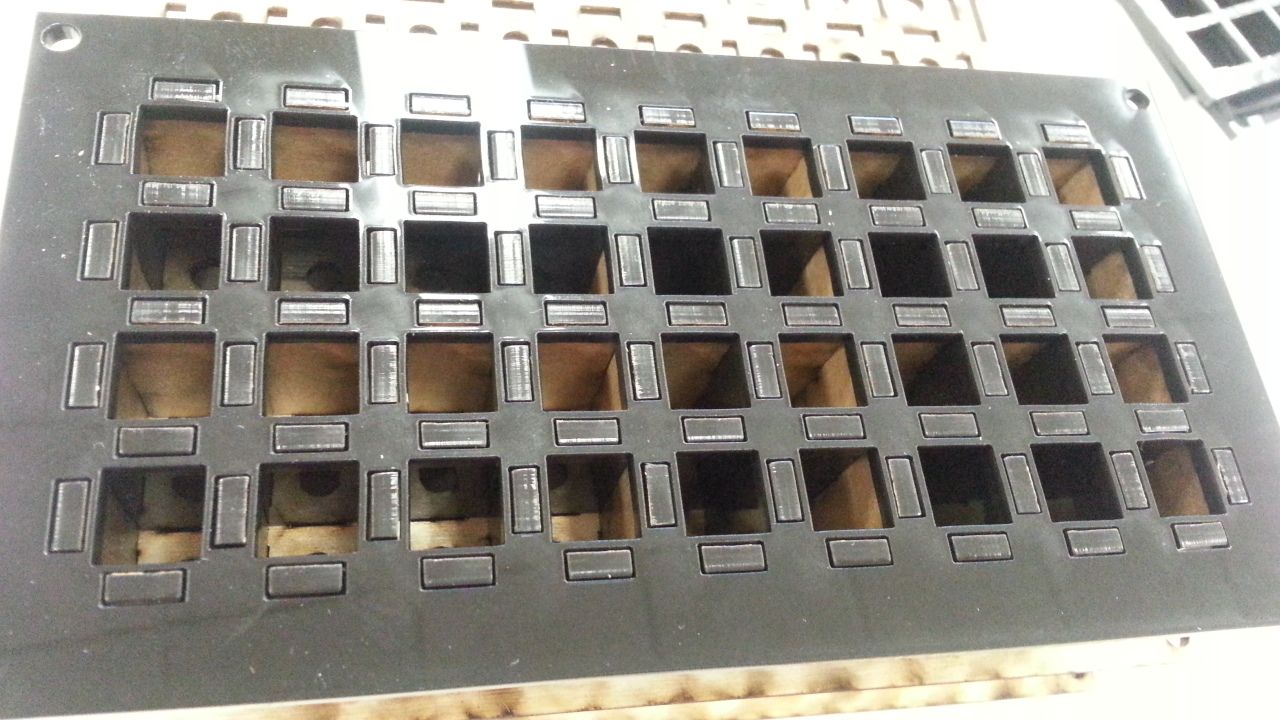
All those "round" holes are for the 5mm LEDs
Laser Cutting the LED spacers
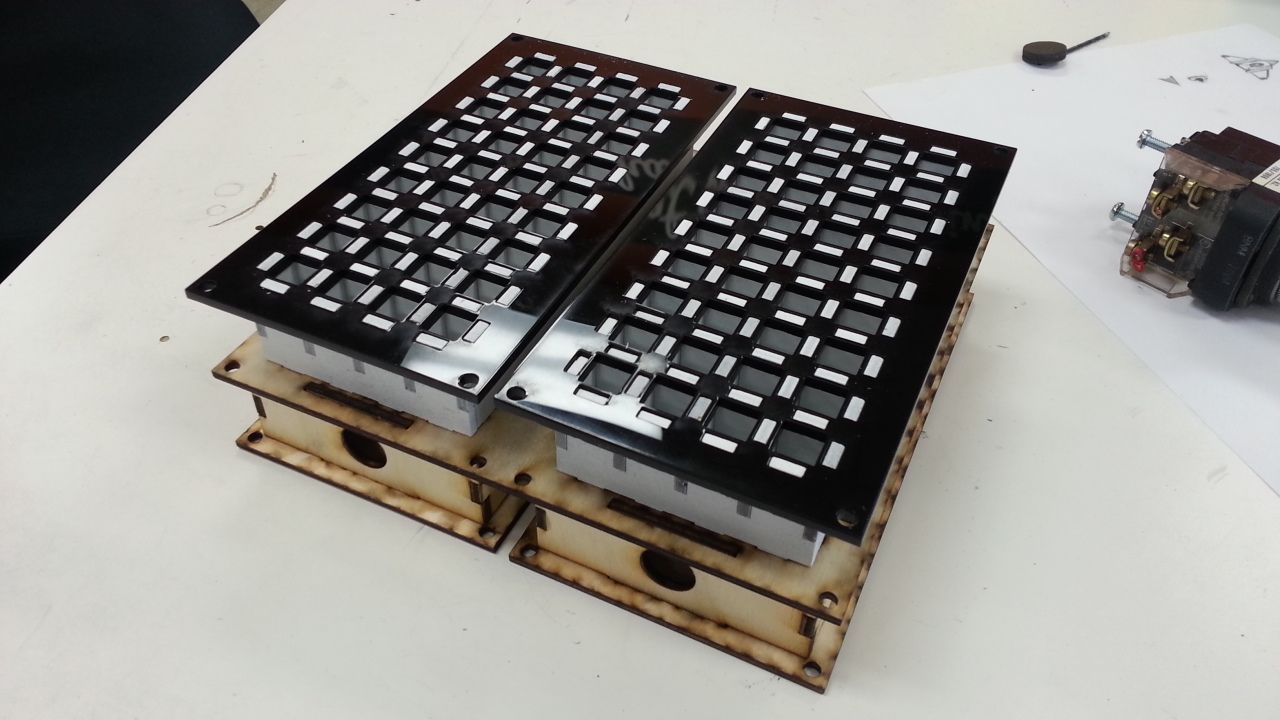
One double panel finished - two more to go...

I then got started on the double and single column button panels
The bolts fit perfectly
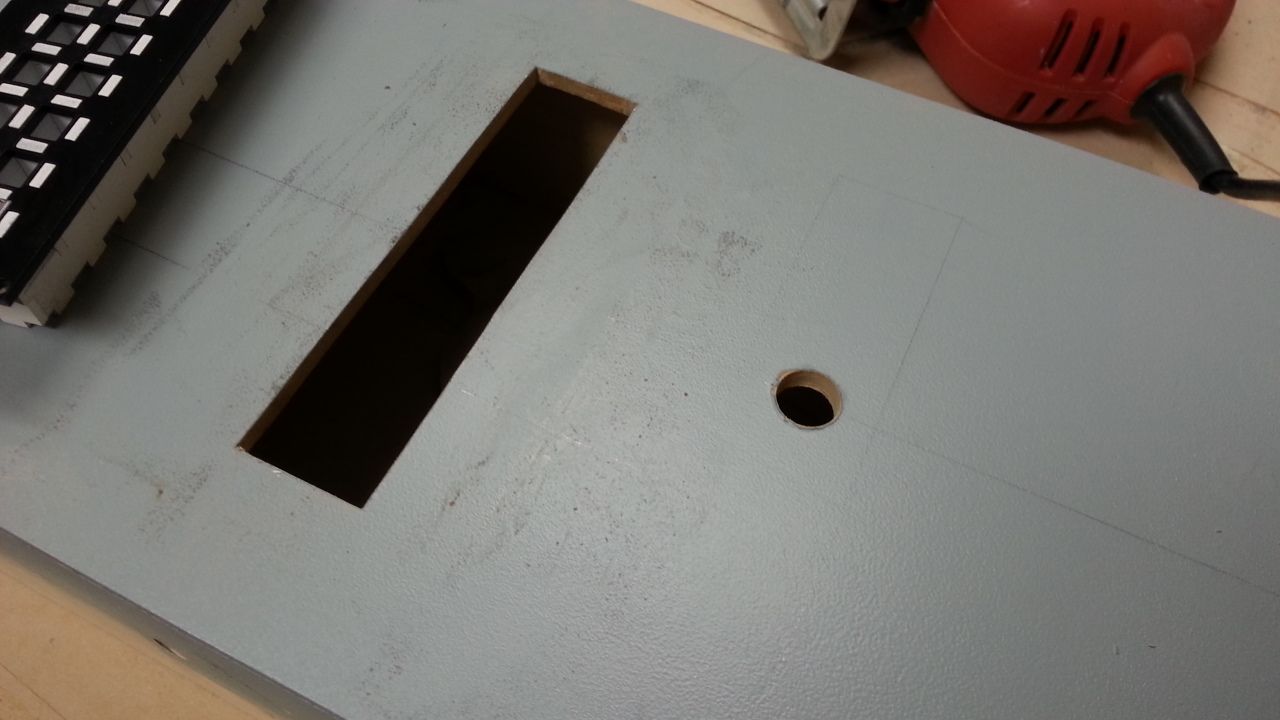
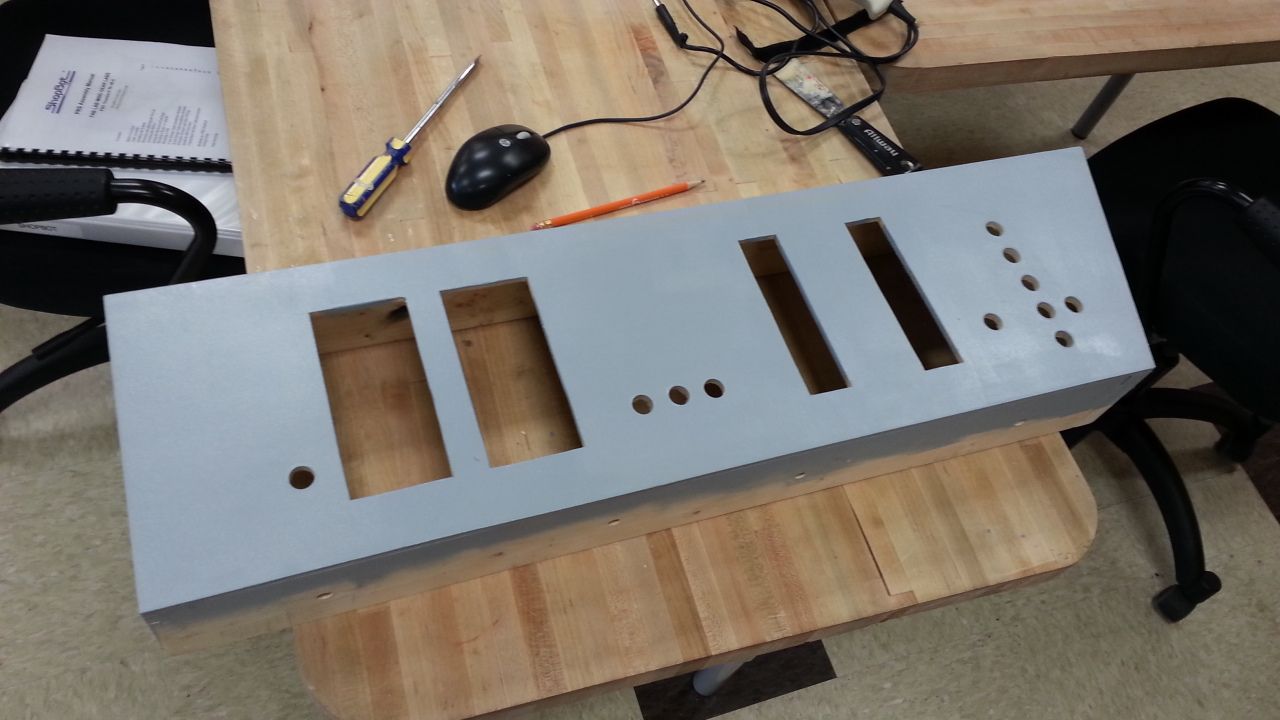
Then it was time to cut the holes in the panel and make all this effort a reality!

Will it fit?
Slowly...
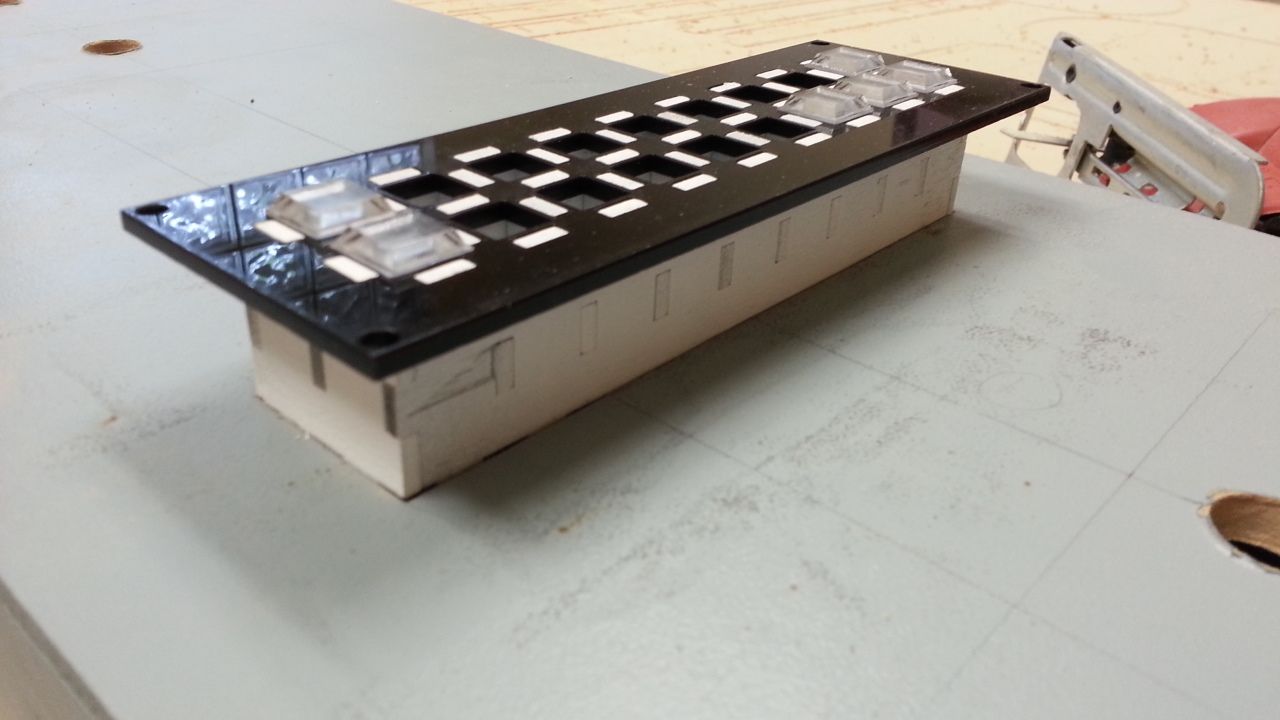
Bingo
Double Panel
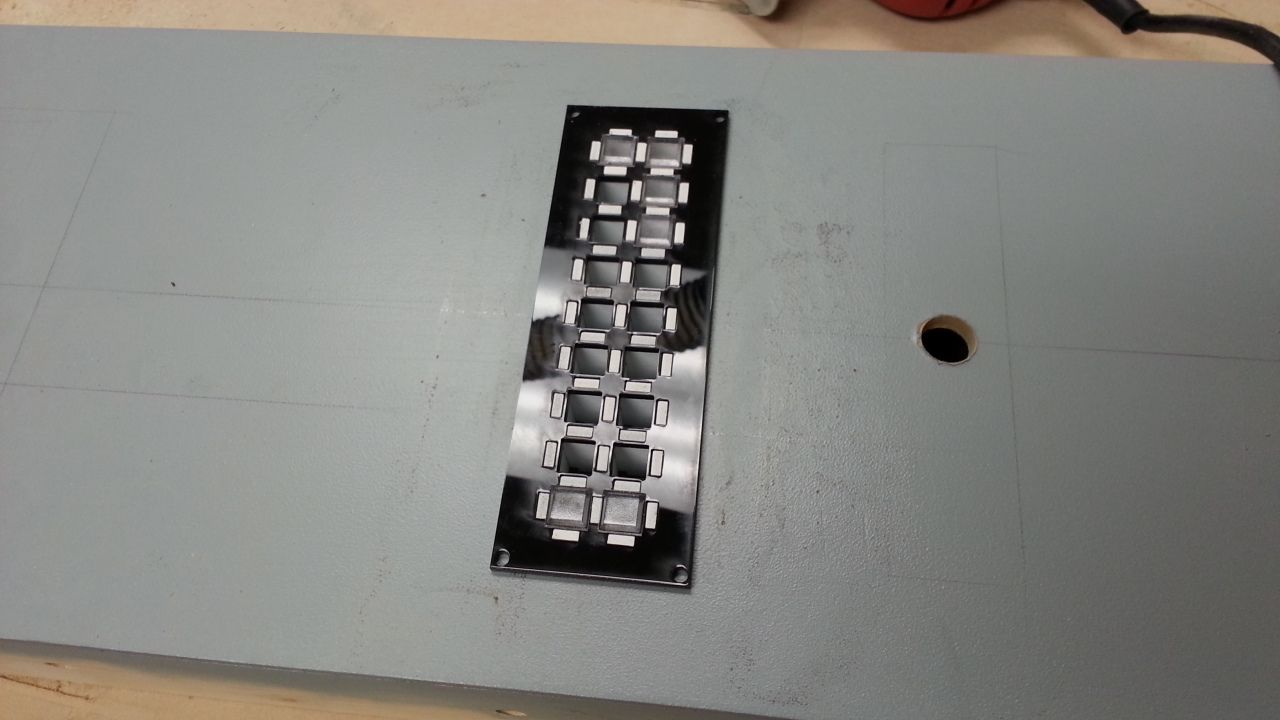
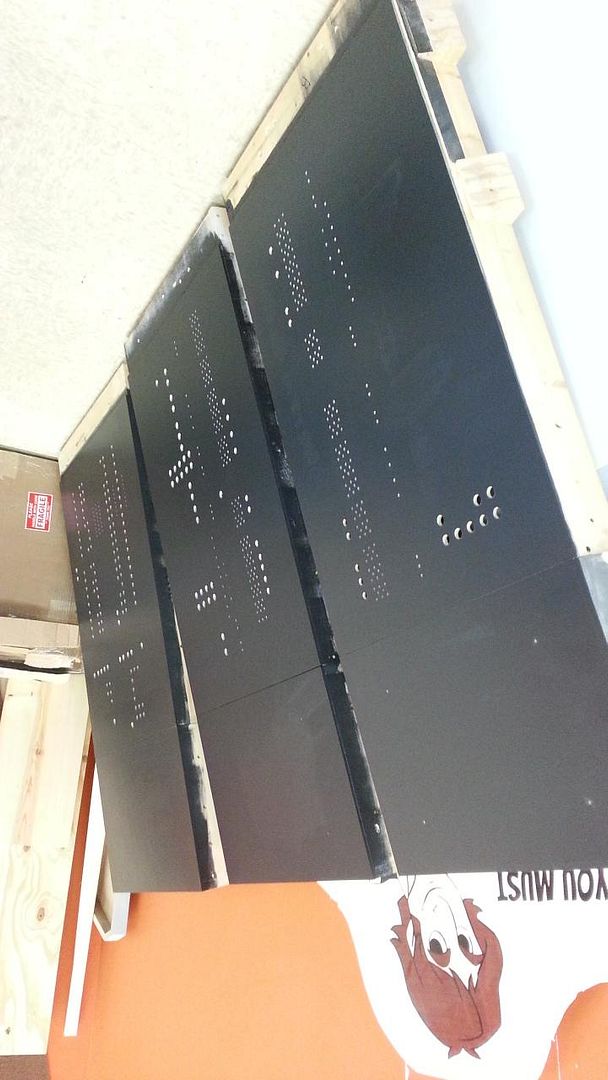
Holes cut!


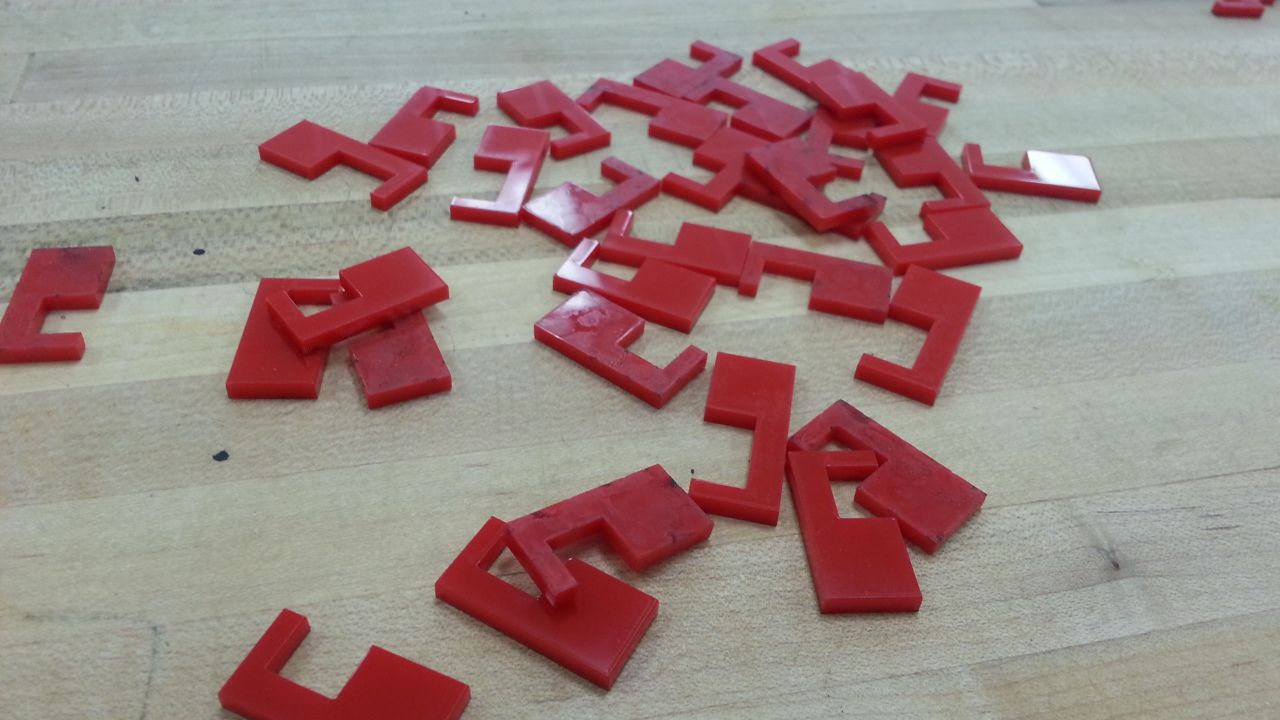
LED spacers - its like a HUGE puzzle piece
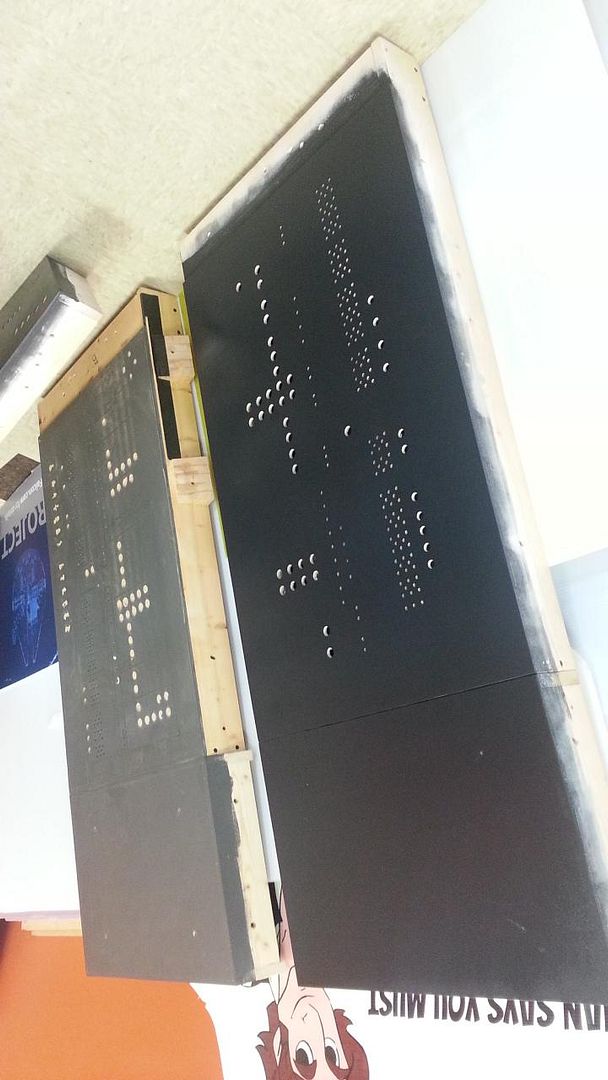
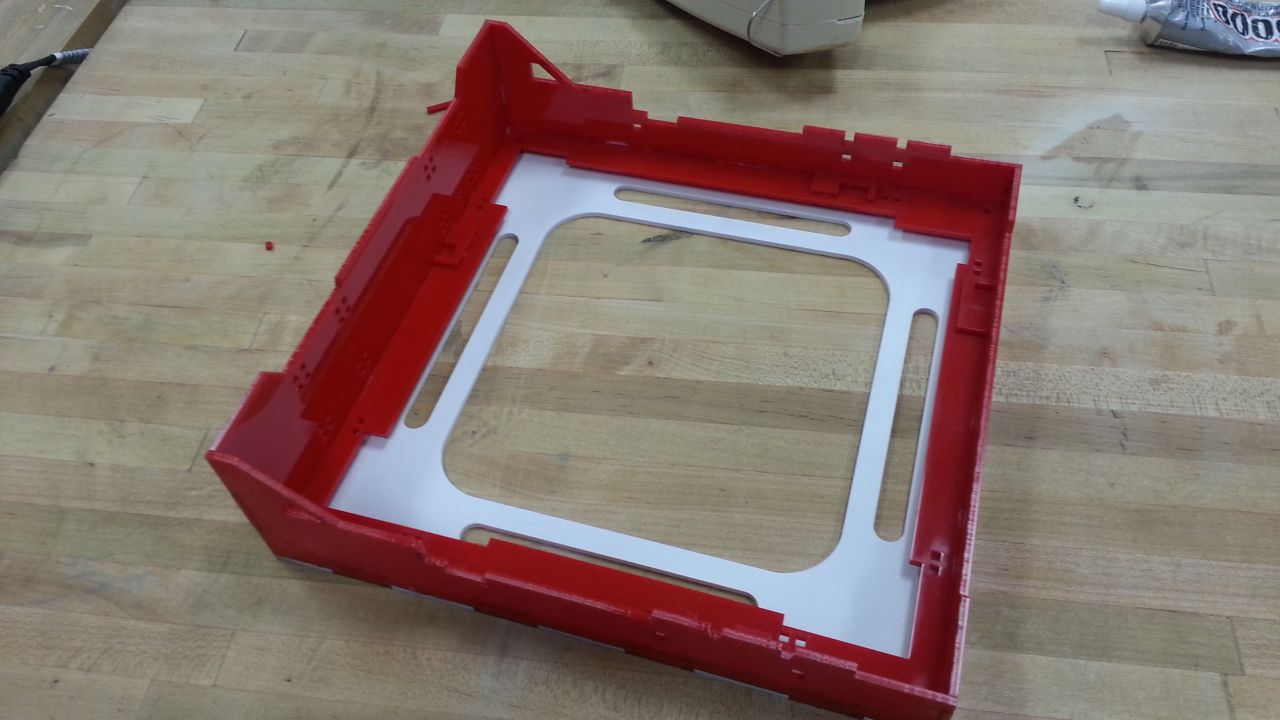
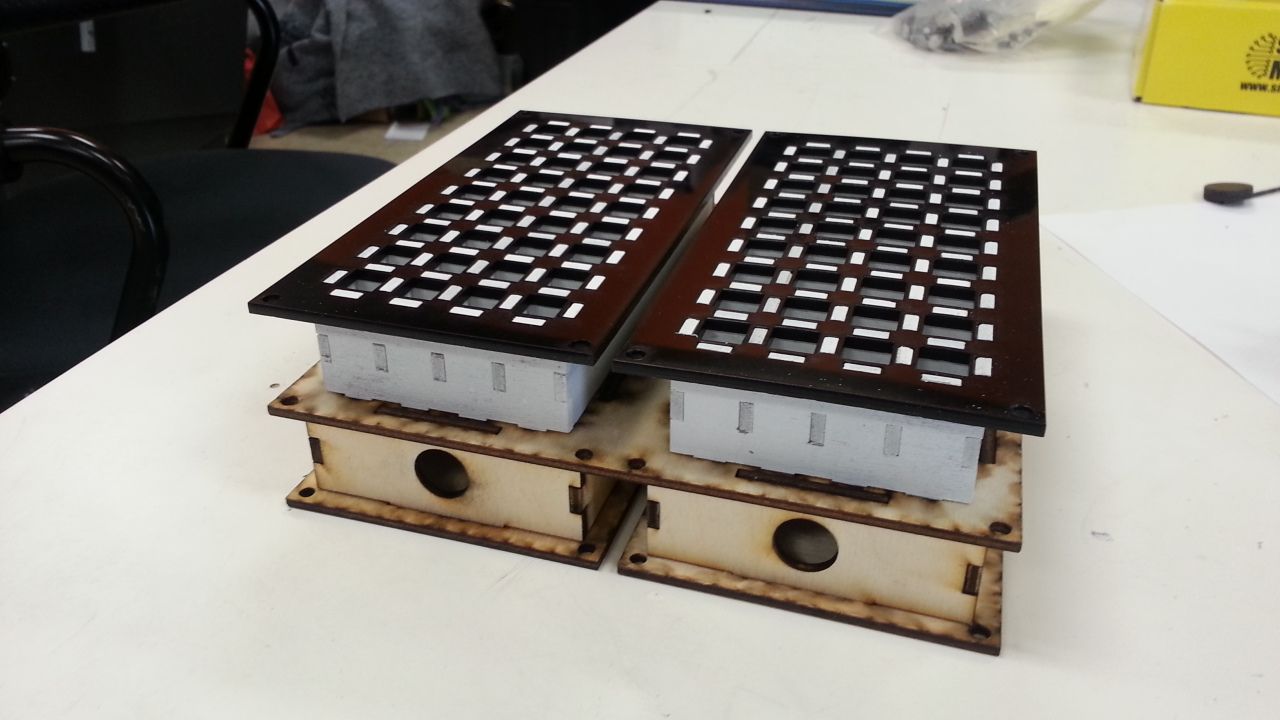
This is where we are!
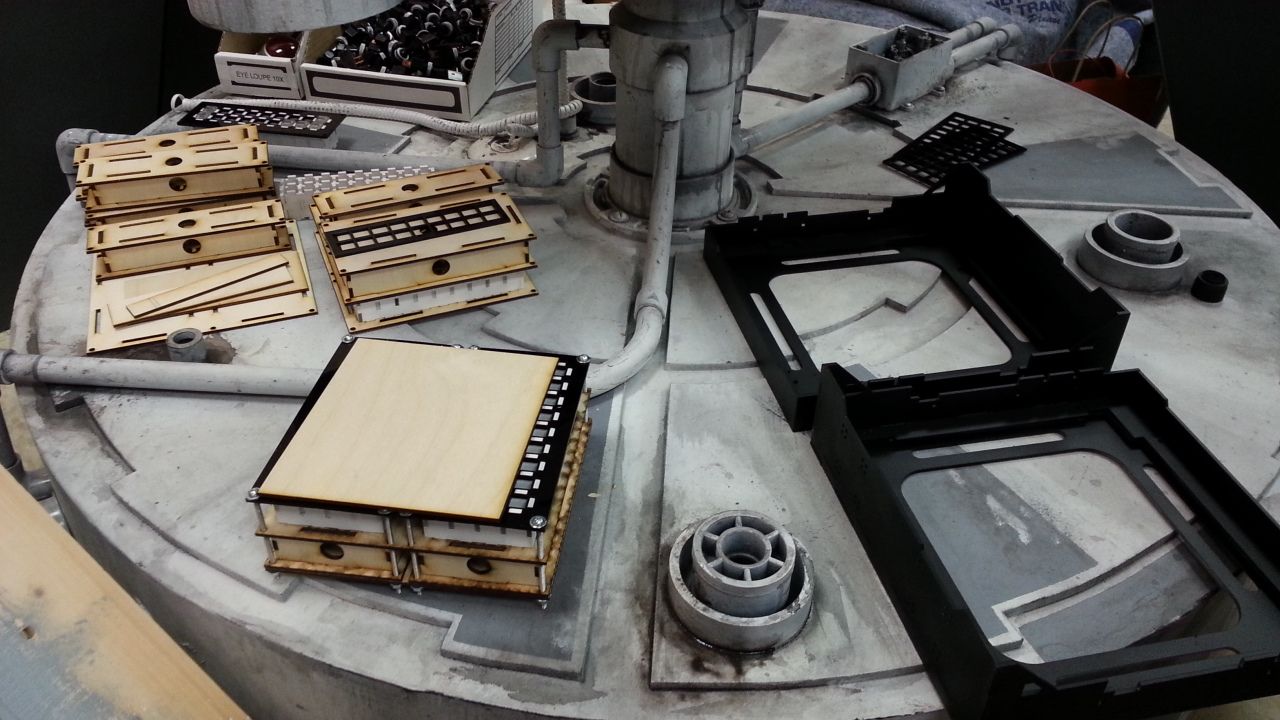
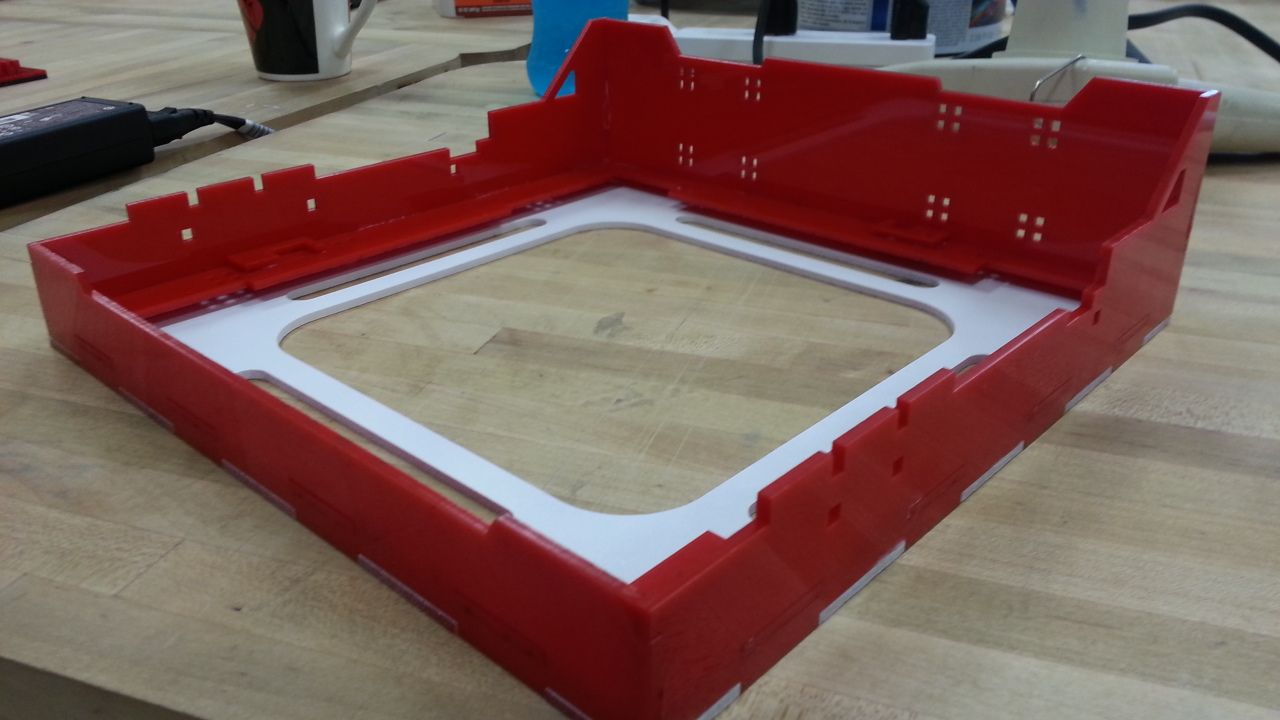
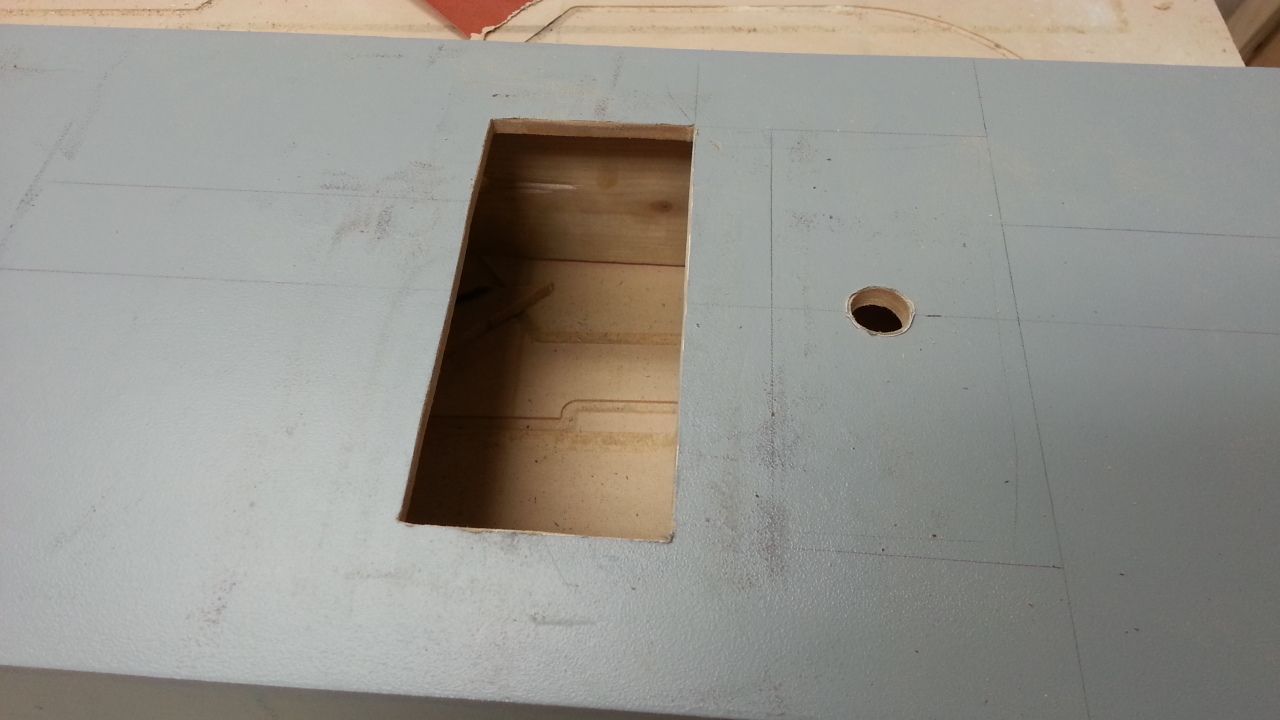
Getting ready for pinstripes!
Whew... I'm getting these LED boxes out of the way now so it will be easier for the lighting guys. There is no need for these to be attached to the panels while wiring.")
More to follow!
UPDATES! Lots of laser cutting and several more panels ready for pinstripes!
First... an AWESOME find. I was chatting with a co-worker when I noticed on her bulletin board she had these magnets
YUP...
Pop the magnet out of the back and we might have a new winner
One panel down
Makeover cont'd
Lots of Laser cutting this weekend!
Upper panel greeblie
Part 2
I love how these turned out
Primer
There are 2 of these that sit on one of the upper panels
Black
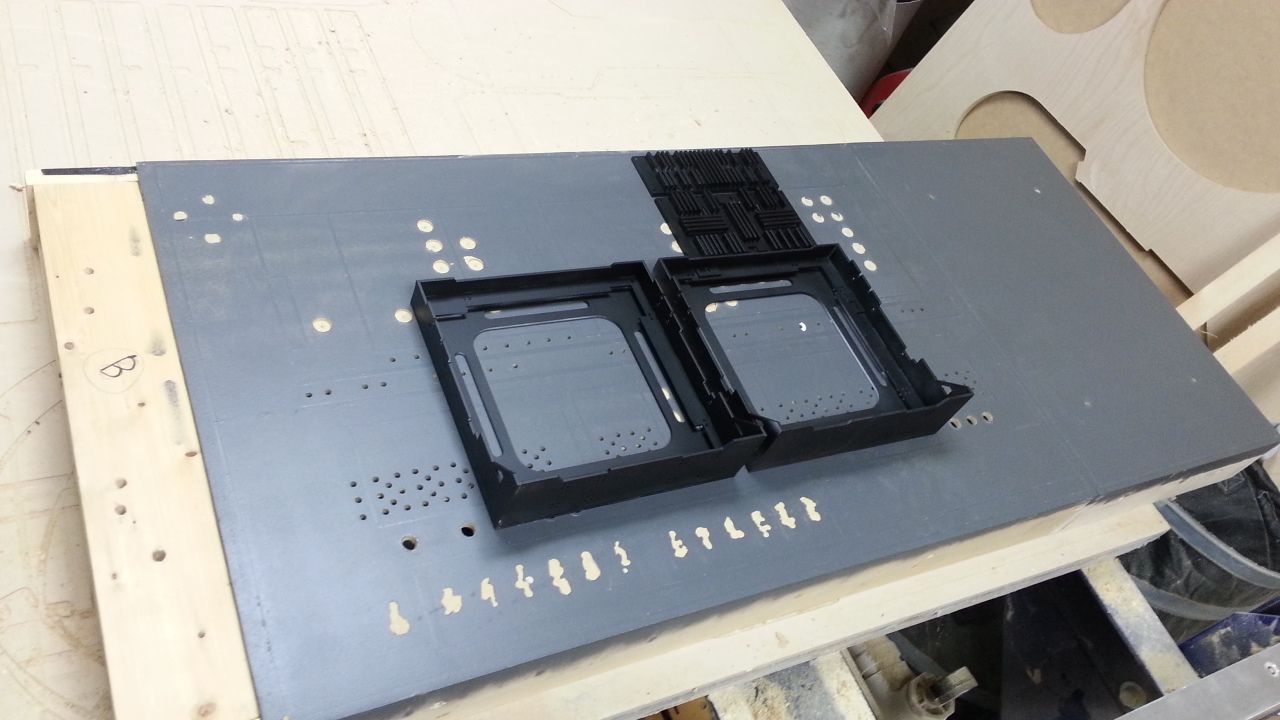
Getting ready to build Number 2
There are 2 Allen Bradley buttons that will mount inside the "trays"
This is where they go
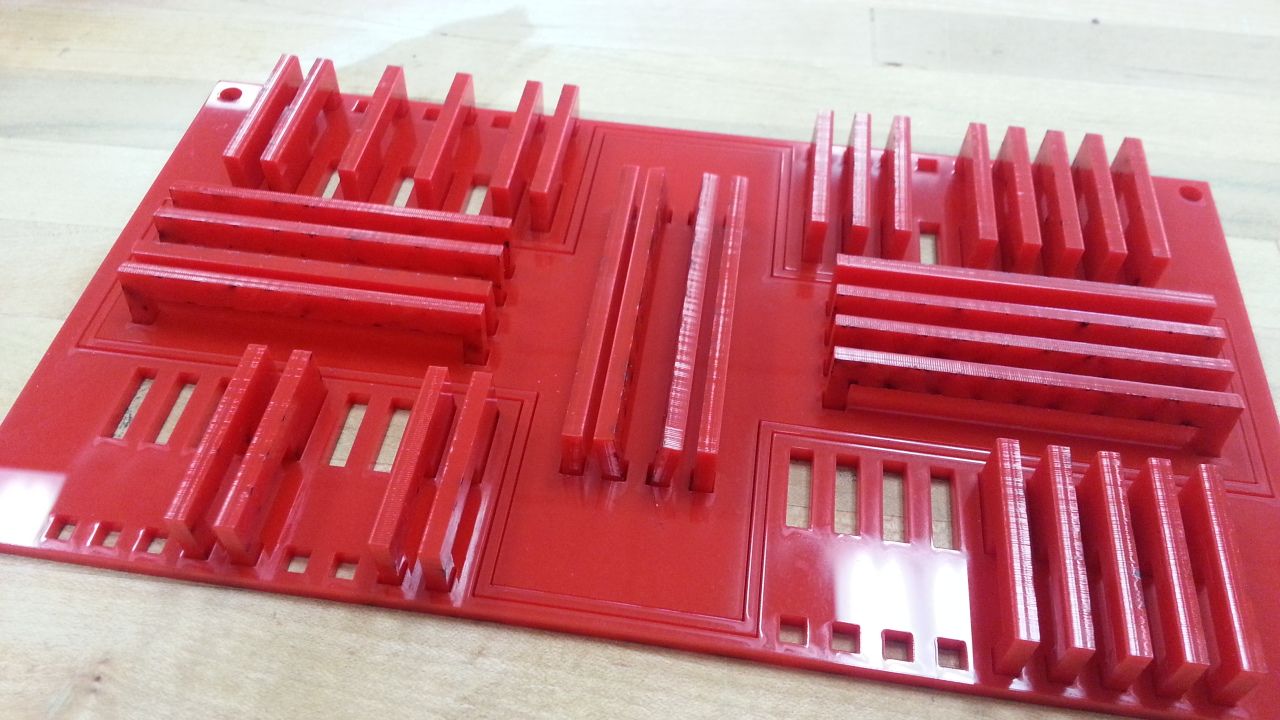
I also created these LED wire boxes. Basically, these boxes attach to the back of the LED holders to protect all the wiring. The holes are for the guys to direct the wires...
Primed another greeblie(s)
More LED wire boxes
There are a TON of these just on 4 panels
Added black - these will eventually be painted silver
Mounting the LED holder to the LED wire box - this was a tough design to figure out!
Side view
All those "round" holes are for the 5mm LEDs
Laser Cutting the LED spacers
One double panel finished - two more to go...
I then got started on the double and single column button panels
The bolts fit perfectly
Then it was time to cut the holes in the panel and make all this effort a reality!
Will it fit?
Slowly...
Bingo
Double Panel
Holes cut!
LED spacers - its like a HUGE puzzle piece
This is where we are!
Getting ready for pinstripes!
Whew... I'm getting these LED boxes out of the way now so it will be easier for the lighting guys. There is no need for these to be attached to the panels while wiring.
More to follow!