You are using an out of date browser. It may not display this or other websites correctly.
You should upgrade or use an alternative browser.
You should upgrade or use an alternative browser.
1:1 Millennium Falcon Cockpit Replica - Group Build
- Thread starter SteveStarkiller
- Start date
MasterT1984
New Member
1:1 scale...  that sounds something for our Belgian costume division, we make big props for conventions and such but this thing must be huge..
that sounds something for our Belgian costume division, we make big props for conventions and such but this thing must be huge..Great work with the quad and headsets and the new greblies. This Falcon has gone industrial.
Mike has done a fantastic job on the headset. I'm working him as much as I can before he tires out.
And Scot is... what can I say? When I see those quad barrels recip... I'll have another hero to add to my list!- - - Updated - - -
1:1 scale...
Hi M,
Check out the www.FullScaleFalcon.com site for more info. And yes... she's going to be big - very big.
- - - Updated - - -
Great pics - I just saw those a few weeks back! I have the Blue Ray collection and still haven't bothered to check out the extras... bad me!
MasterT1984
New Member
ok, thanks for the link... it's looking verry good and detailed already congratz!
Hi Gang,
Scot just forwarded a quick vid of the quad barrel in action! I LIKE IT!
Scot just forwarded a quick vid of the quad barrel in action! I LIKE IT!
retrogarde
Well-Known Member
Yes yes yes! That's damned cool!
ok, thanks for the link... it's looking verry good and detailed already congratz!
Hi M,
Thanks so much. It's been a long 2 years but we're getting there.
Operascot
Active Member
That there has the potential to become the coolest T-shirt cannon ever
Oh, if only.
Hi folks,
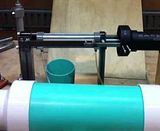
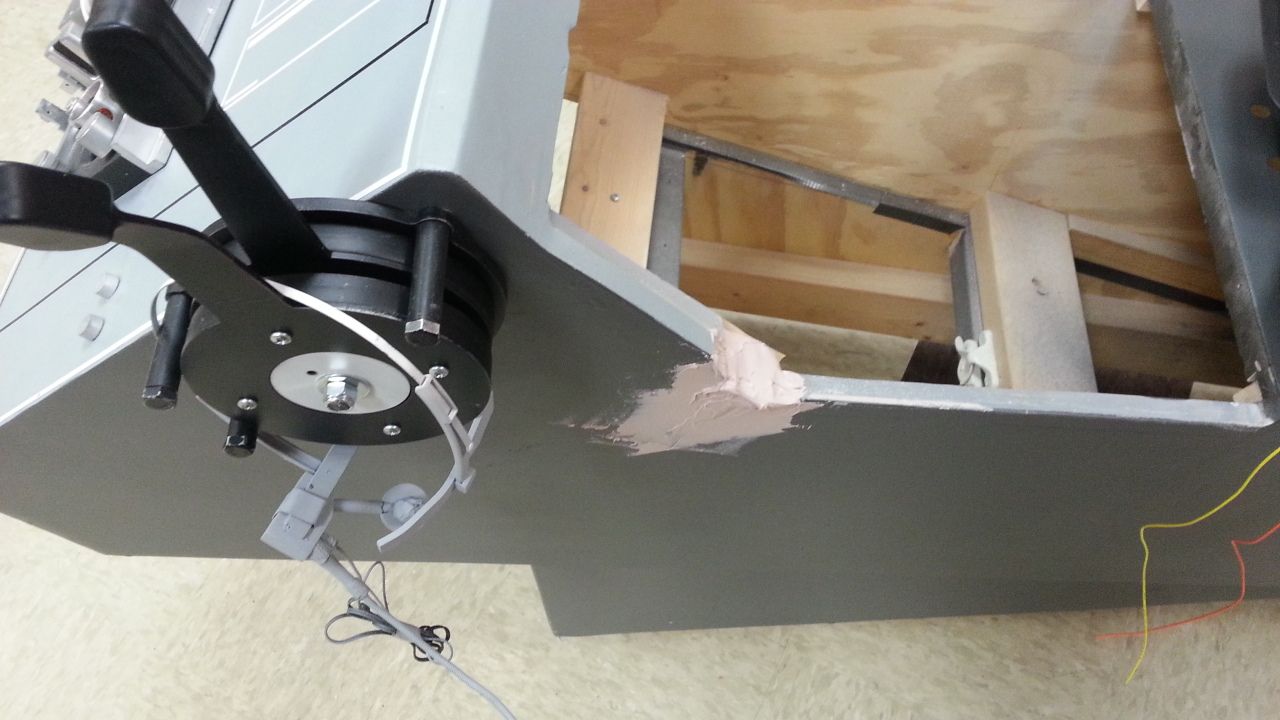
Yesterday I learned a valuable lesson about materials choice. (it fell, I swear) The 1" strap that was tying the uprights together got a little bent.
So after cutting them off and grinding down the welds, I replaced them with 1" square tube, then added arms to support the 3" reducerfrom the outside rather than using the 10-24 bolts threaded through the reducer. I am pleased with the outcome- much more stable, sturdy, (heavier, but that won't be a problem to face til step 37, while I'm on prologue B)
Here are a couple of pics- first with the barrel "at rest" or extended

and with it in the "recoil" position. The throw is about 8"

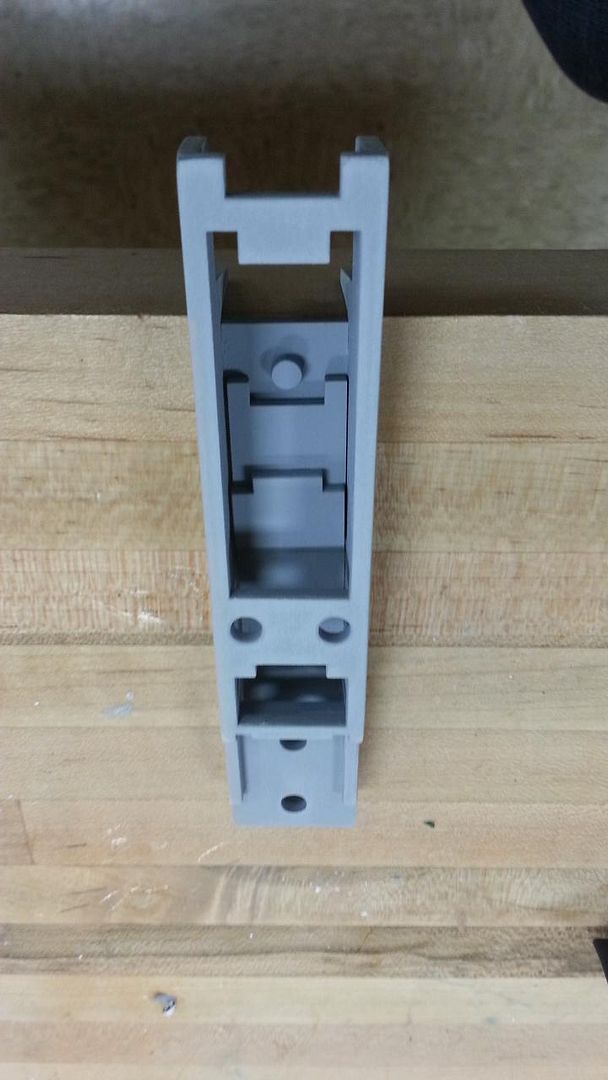
And here is a close up of the support for the reducer holding the 2" pvc "slide" for the barrel

I've got some more parts coming this evening. Can't wait until Saturday when I can get back to playing with it.
Don't you just love those little mishaps? EXCELLENT work so far.
micheal1191
Active Member
just a few more finishing touches and the first of the minilite headsets will be done thank you SK for the help


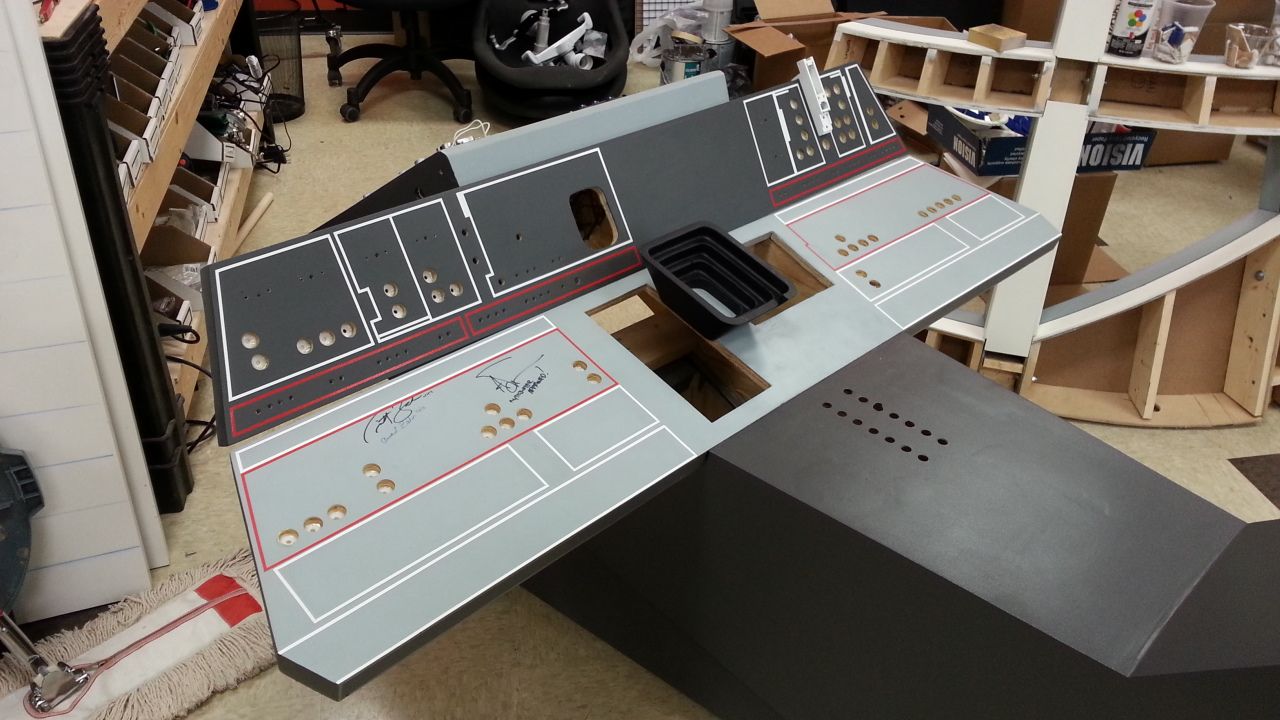
Hi Gang,
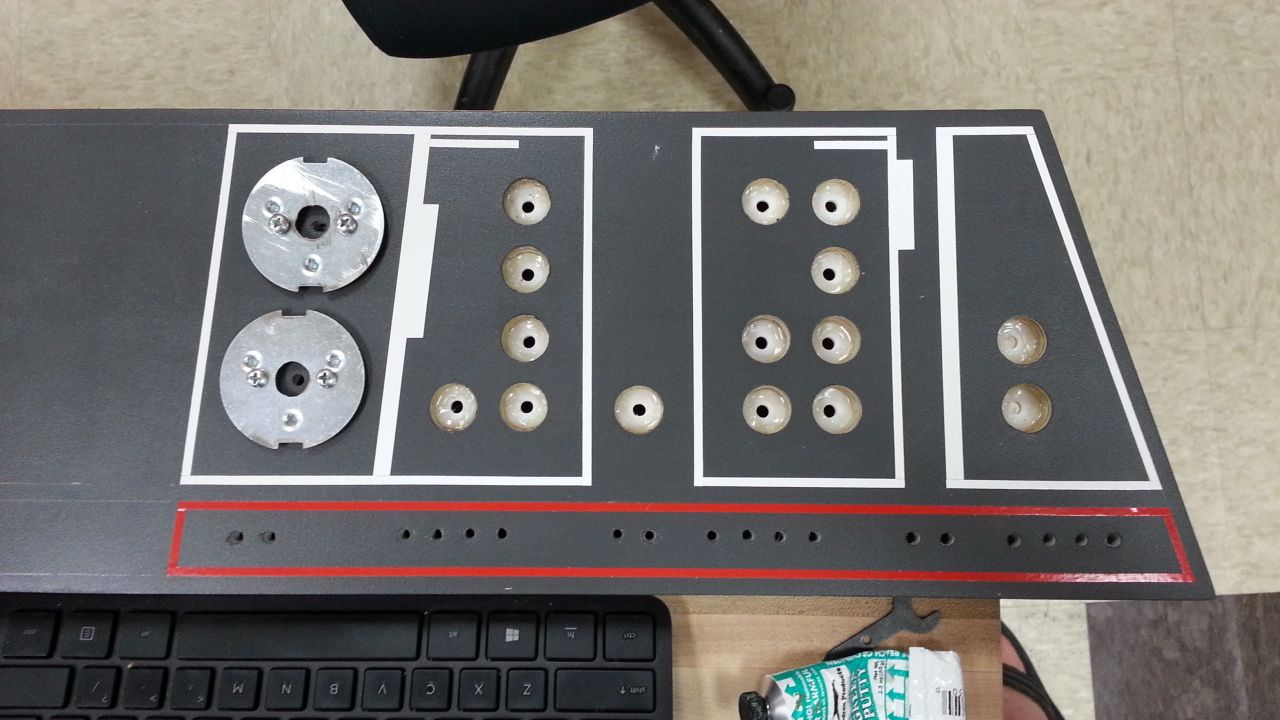
Yesterday was a good day... While Mike was busy working on the headset I was able to make some forward progress...
I Bondo'd several more holes I had made


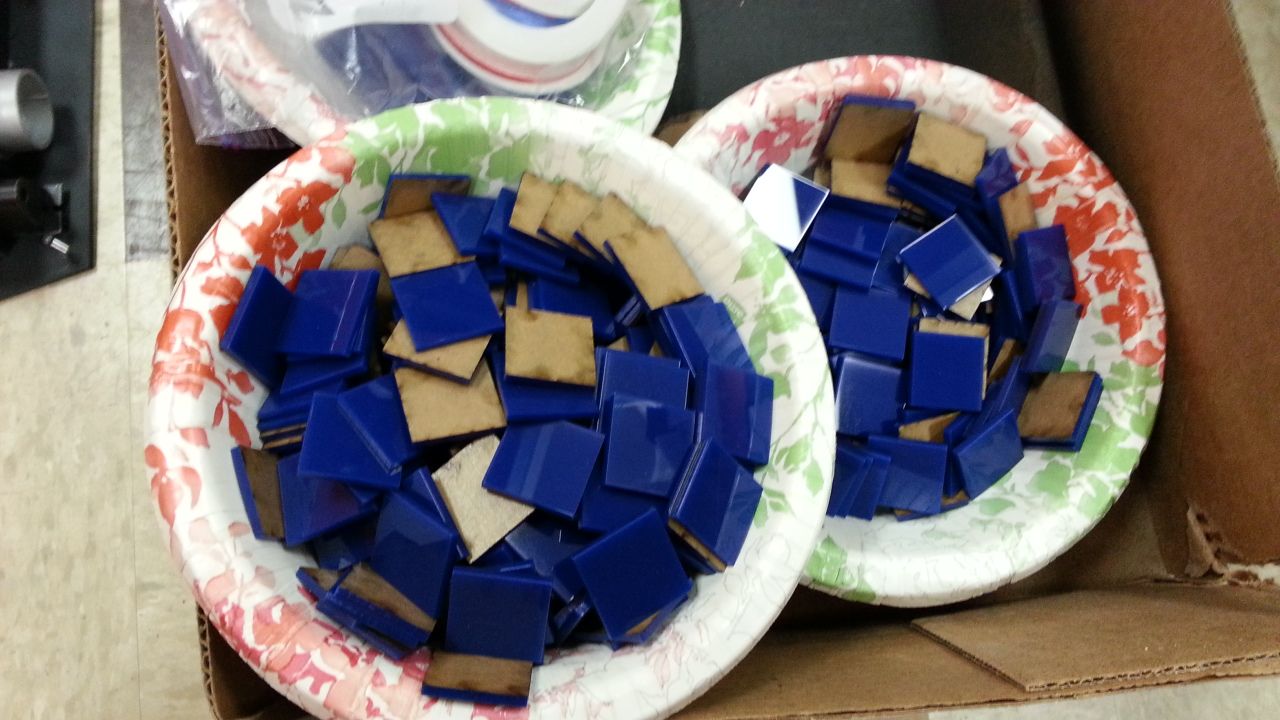
The blue acrylic finally arrived!

And we laser cut a few 1in tiles

Just a few tiles

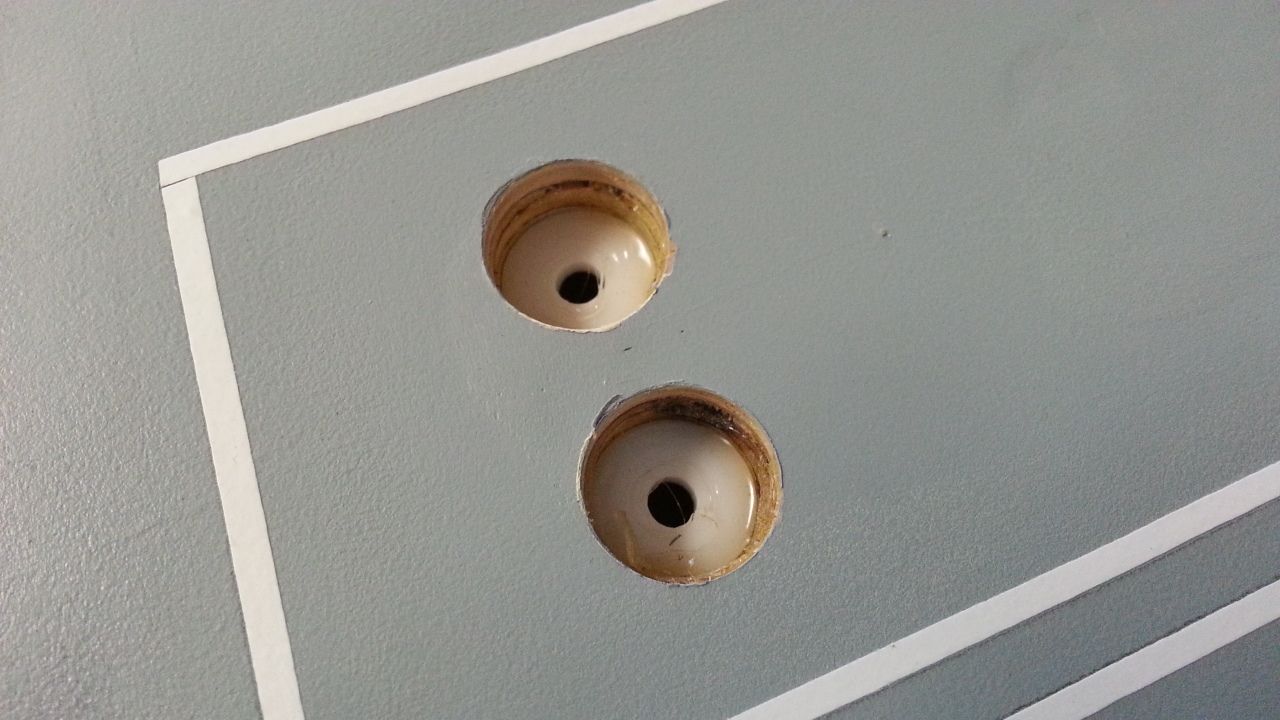
Jessie, another MGL tech was nice enough to help out by gluing the 3/4 inch LED holder into the instrument panel holes. Thanks, Jessie!

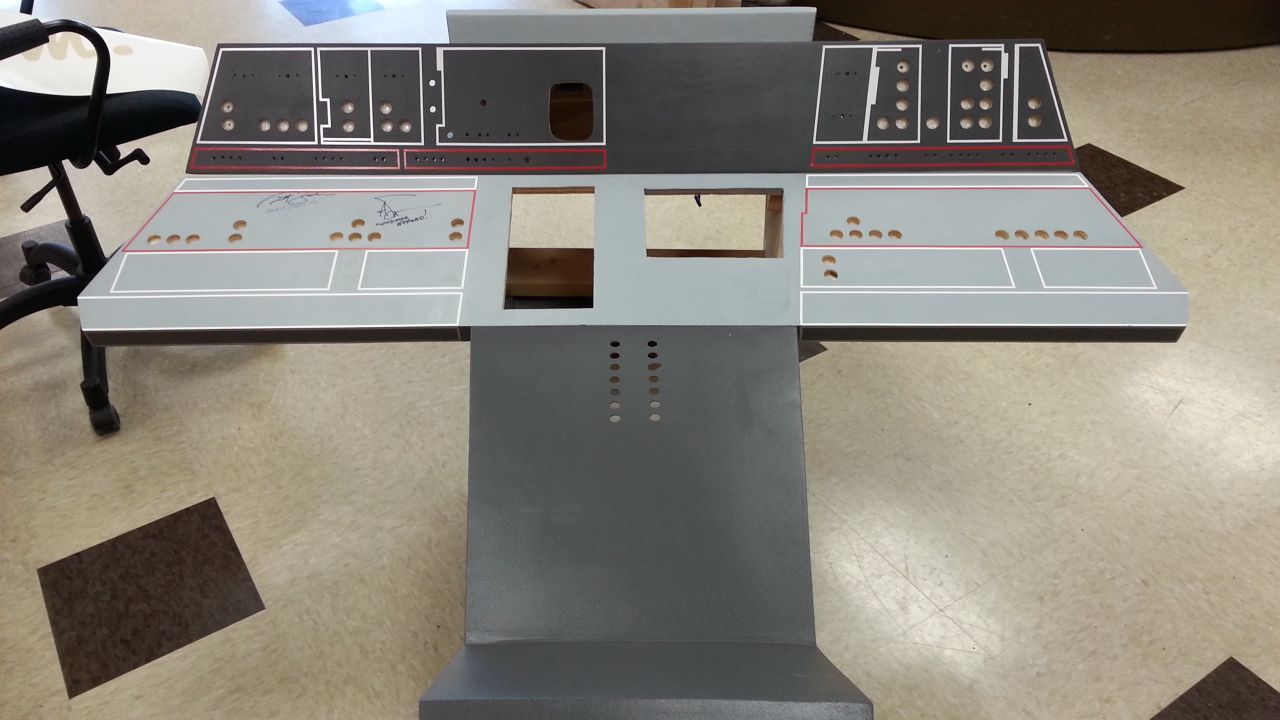
Then there was time for a change
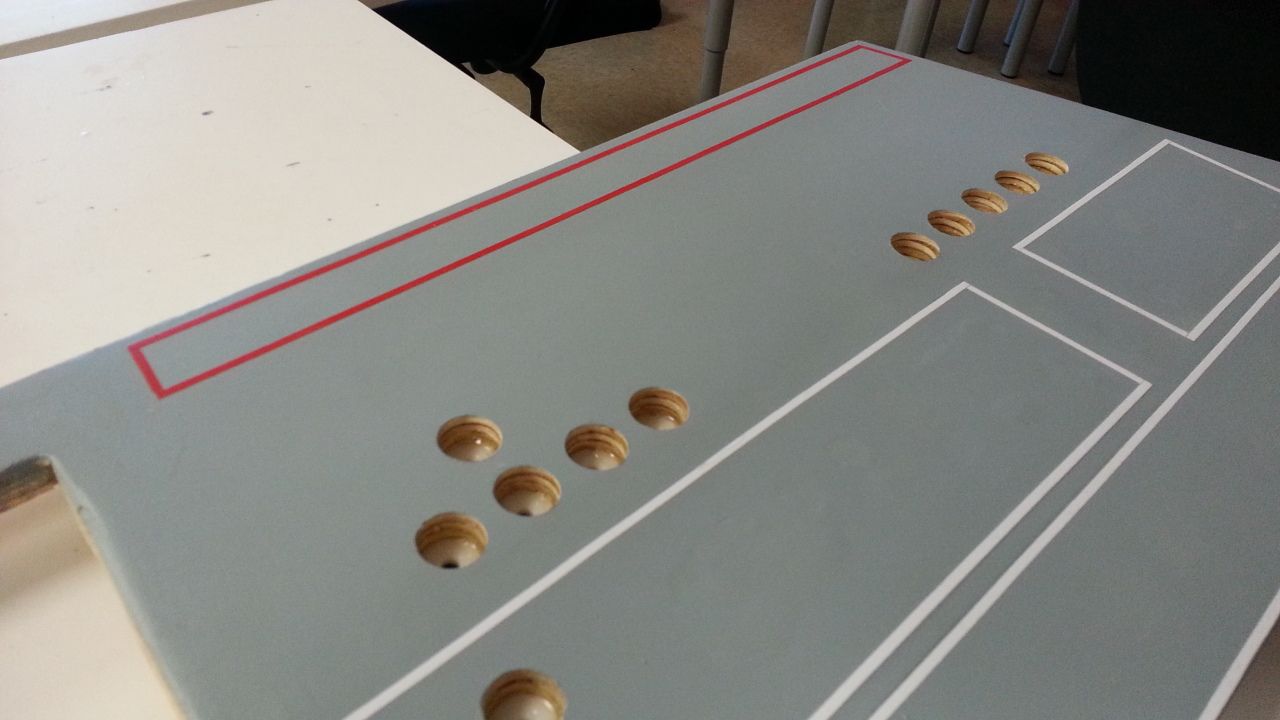
I removed the red pin stripe

Replaced with white then added a new red pin stripe


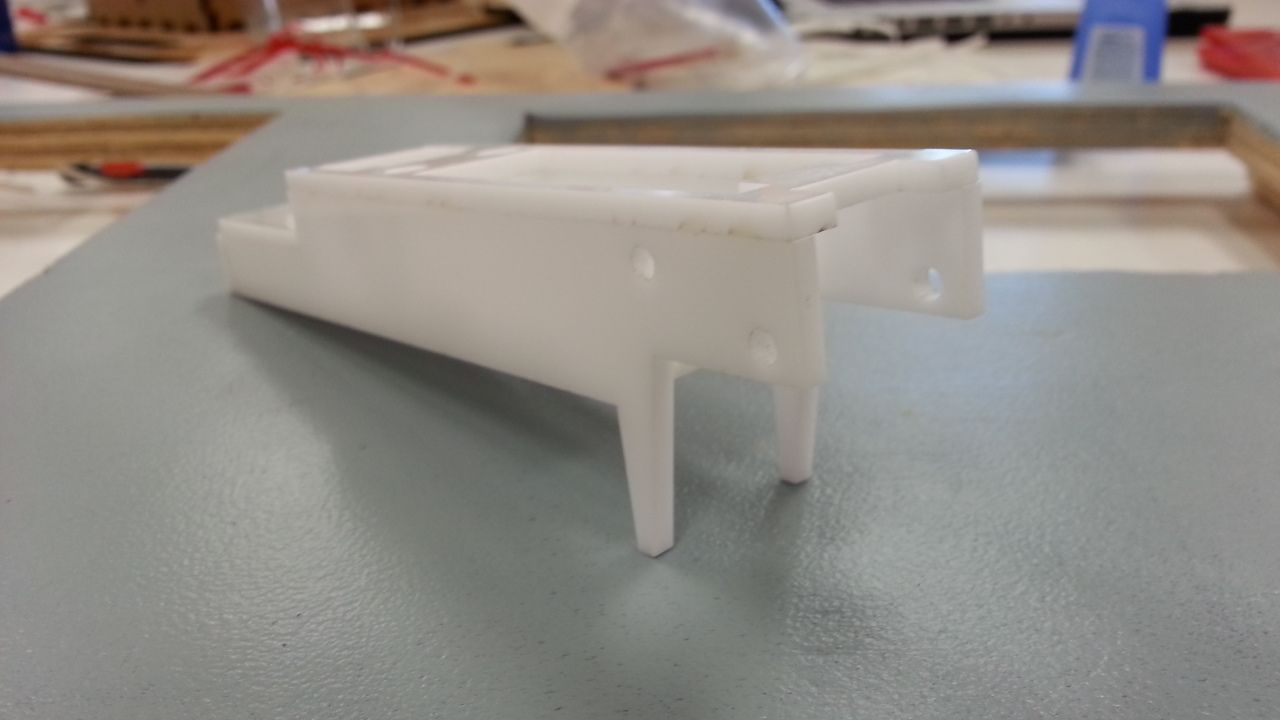
I then laser cut some acrylic to create this instrument panel greeblie based on Starkiller's 3D model(s)


Primer filler added
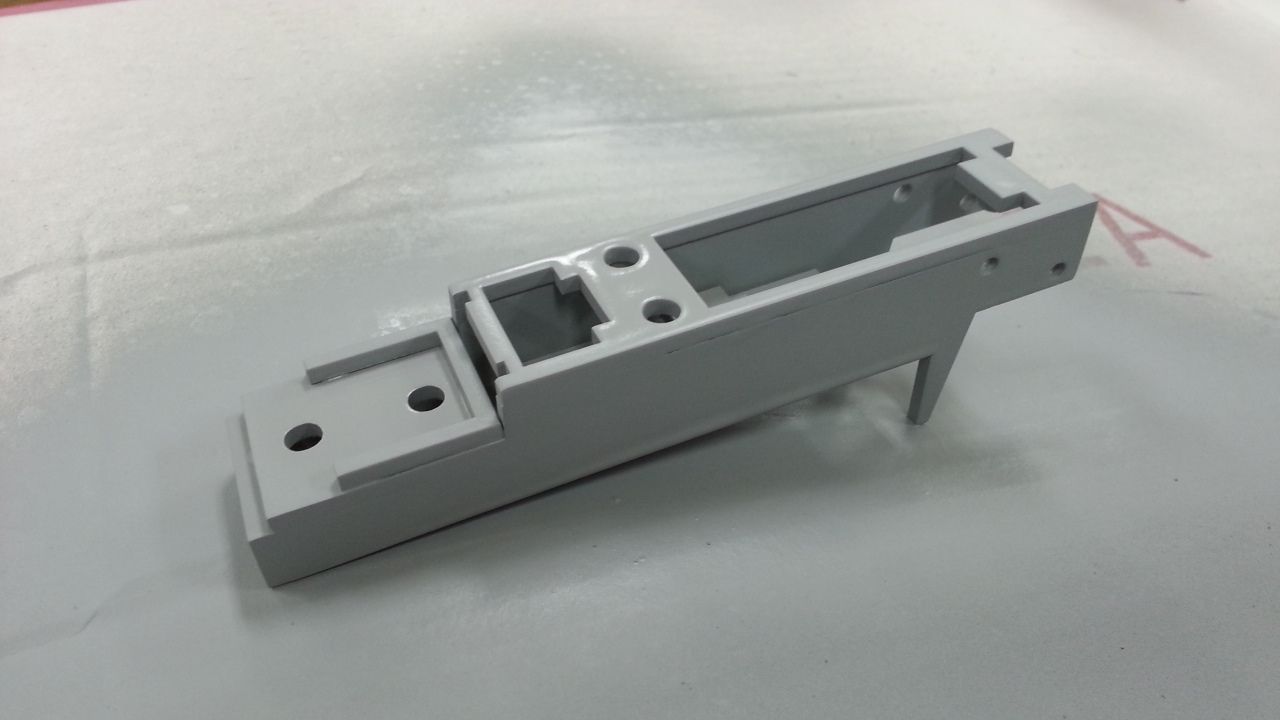
More filler

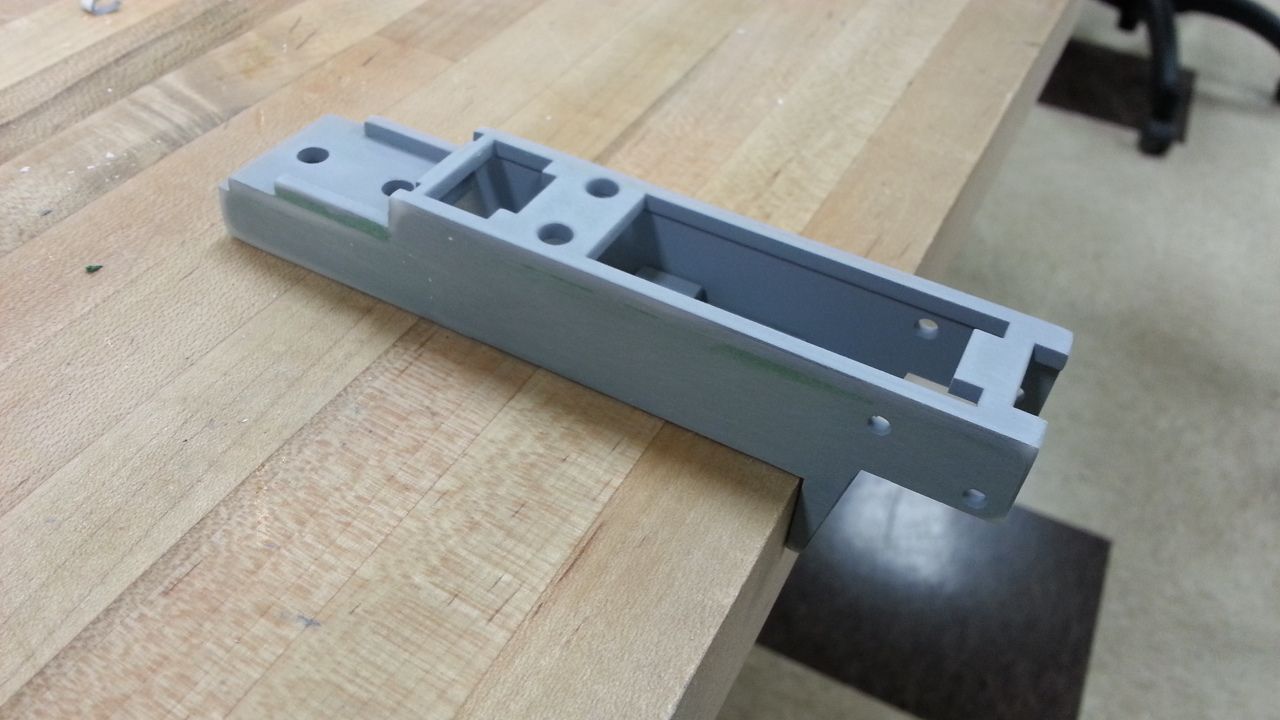

Quick layer of black before the silver is added


I then added the darker color to the console - I like this much better


With tiles


I then cut these rectangles

Applied them to the back of the rocker knobs

This lifted the rocker away from the panel and added depth


Stay Tuned!
Yesterday was a good day... While Mike was busy working on the headset I was able to make some forward progress...
I Bondo'd several more holes I had made
The blue acrylic finally arrived!
And we laser cut a few 1in tiles
Just a few tiles
Jessie, another MGL tech was nice enough to help out by gluing the 3/4 inch LED holder into the instrument panel holes. Thanks, Jessie!
Then there was time for a change
I removed the red pin stripe
Replaced with white then added a new red pin stripe
I then laser cut some acrylic to create this instrument panel greeblie based on Starkiller's 3D model(s)
Primer filler added
More filler
Quick layer of black before the silver is added
I then added the darker color to the console - I like this much better
With tiles
I then cut these rectangles
Applied them to the back of the rocker knobs
This lifted the rocker away from the panel and added depth
Stay Tuned!
Last edited:
ataru72ita
Sr Member
Hi Gang,
Yesterday was a good day... While Mike was busy working on the headset I was able to make some forward progress...
I then cut these rectangles
.................................
Applied them to the back of the rocker knobs
........................................
This lifted the rocker away from the panel and added depth
http://i778.photobucket.com/albums/...Console Build/20140222_154126_zpsb0cb7484.jpg
Stay Tuned!
Such a good idea! They really got depth!
regards
Alberto
Luke the Belter
Well-Known Member
Oh wow what a project.
Awesome.
Will look forward on any progress.
Awesome.
Will look forward on any progress.
Hi Gang,
UPDATES! Enjoy!
Laid the template for the pinstripes on the upper panel

And away we go...

One side done

Then the other


I then attempted to drill a hole in the new greeblie but the drill bit caught the acrylic and it cracked... Nothing a little super glue and filler can't fix


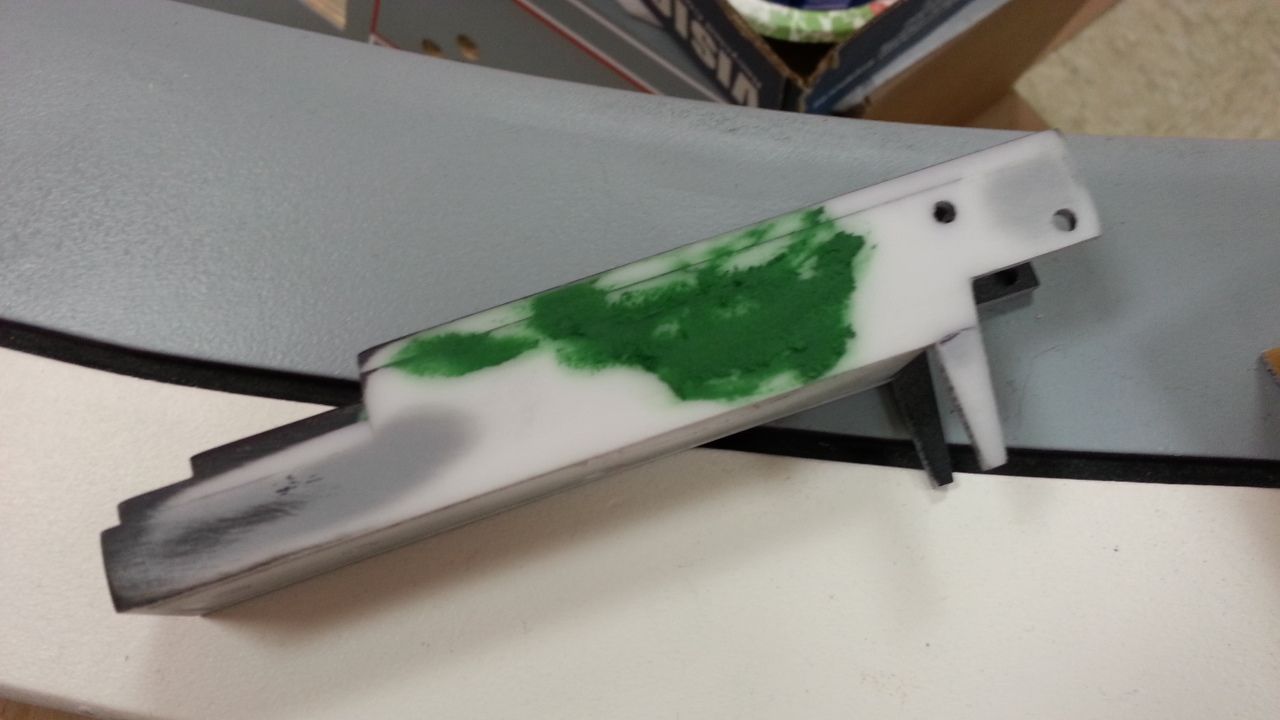
After sanding smooth I added some primer to the greeblie
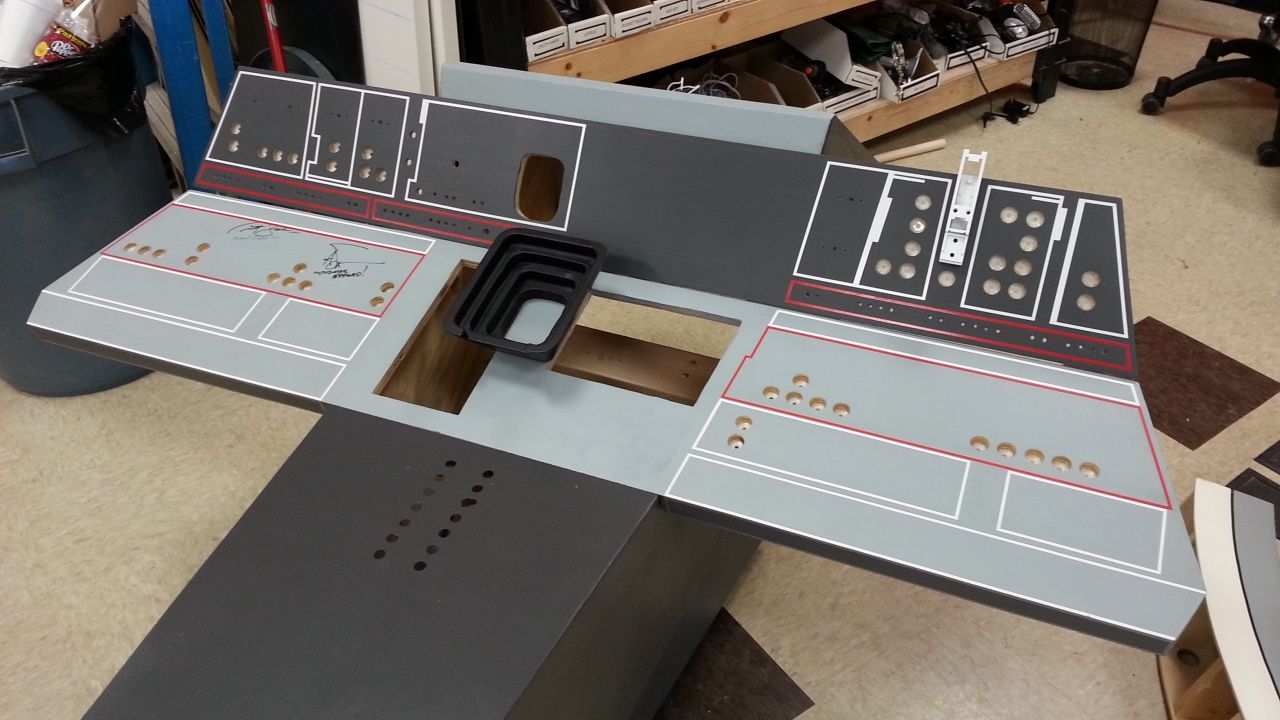
This will be its final position when painted silver


Still a bit more work to do on the greeblie...


Next stop... the back...
UPDATES! Enjoy!
Laid the template for the pinstripes on the upper panel
And away we go...
One side done
Then the other
I then attempted to drill a hole in the new greeblie but the drill bit caught the acrylic and it cracked... Nothing a little super glue and filler can't fix
After sanding smooth I added some primer to the greeblie
This will be its final position when painted silver
Still a bit more work to do on the greeblie...
Next stop... the back...
I like the darker color as well. Looking good!
Hey T,
Thanks. I really think darker color helps the lighter grey pop along with the pin stripes... It will be interesting to see how it all comes together with the lighting.
- - - Updated - - -
Such a good idea! They really got depth!
regards
Alberto
Hi A,
Thanks. There are several screen grabs that show the rockers with that little spacer. It just made sense to do it. I think the results will be fantastic - I hope!
- - - Updated - - -
The new darker colour really works :thumbsup
Hi L,
I think so too. The only thing left is the back side of the console. They completely changed the design and color from ANH to ESB. I'm going to use the ESB colors but keep the basic greeblies in place along with the addition of some new ones. I hope I can pull it off!
- - - Updated - - -
Oh wow what a project.
Awesome.
Will look forward on any progress.
Hi L,
Thank you for the kind words. Things are really starting to pick up now. I can't until the light/sound team get their hands on the console!
Jundland Raider
New Member
Exciting stuff for sure, thank you for sharing all these build shots, SK!
To me the dings and repairs and the layering of paint add that extra layer of Star Wars realism - the console truly feels like part of a "used universe".
Will you be weathering the final piece as well?
To me the dings and repairs and the layering of paint add that extra layer of Star Wars realism - the console truly feels like part of a "used universe".
Will you be weathering the final piece as well?
Similar threads
- Replies
- 11
- Views
- 1,058
- Replies
- 2
- Views
- 900
- Replies
- 2
- Views
- 938
- Replies
- 13
- Views
- 2,198