Hi T,
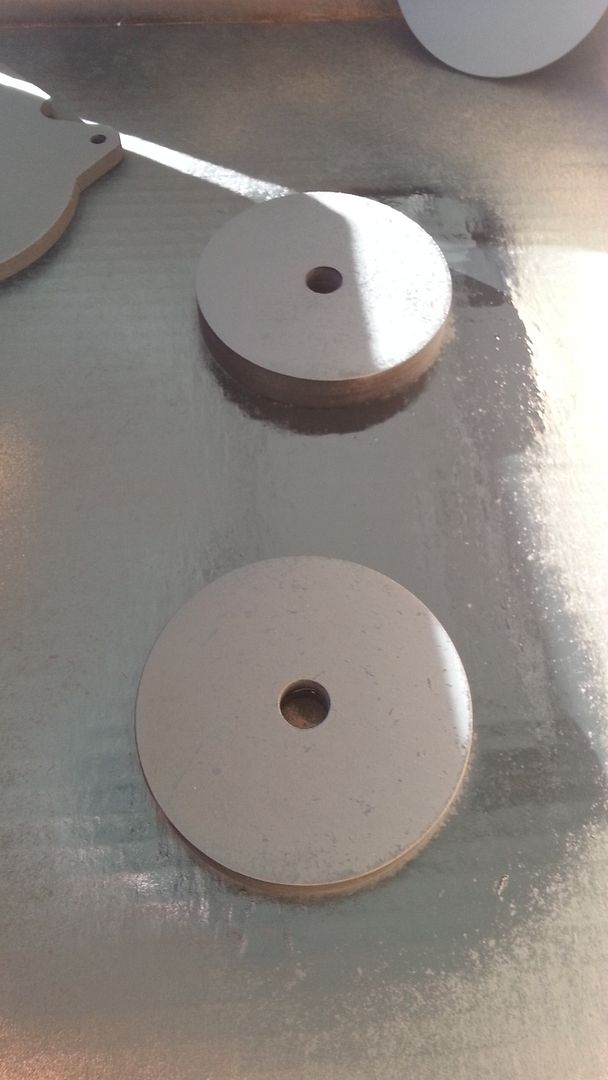
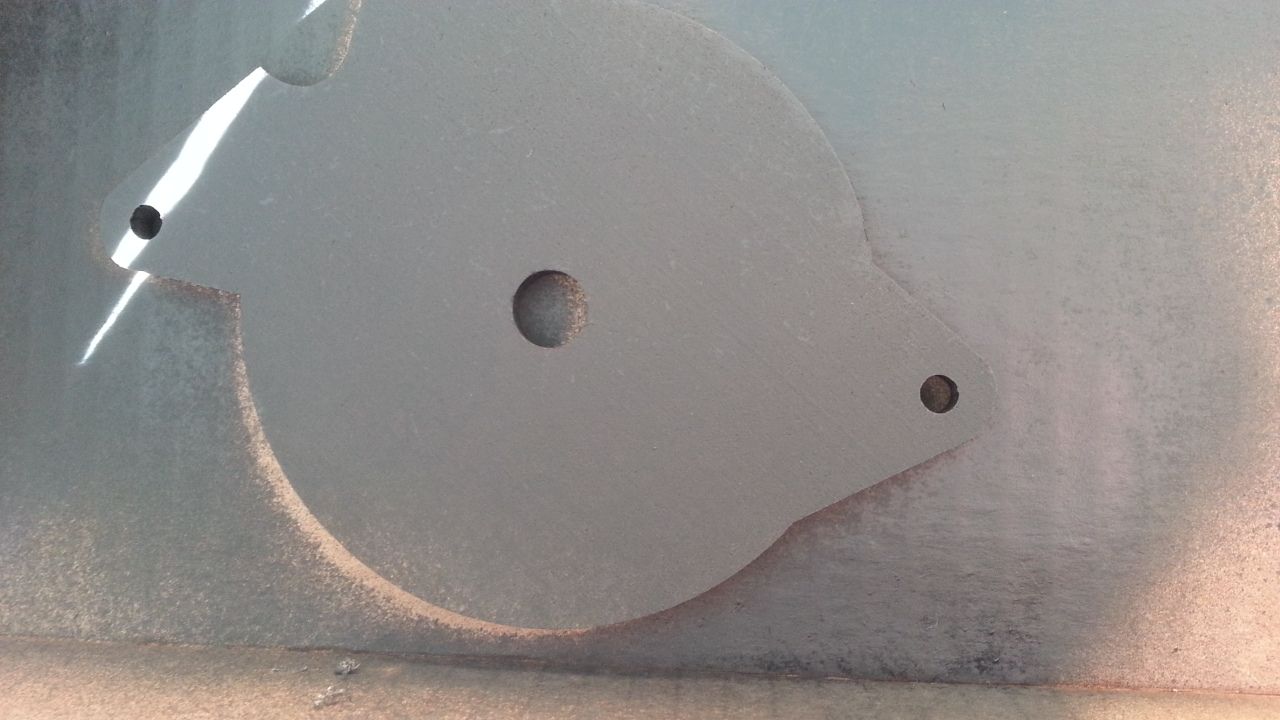
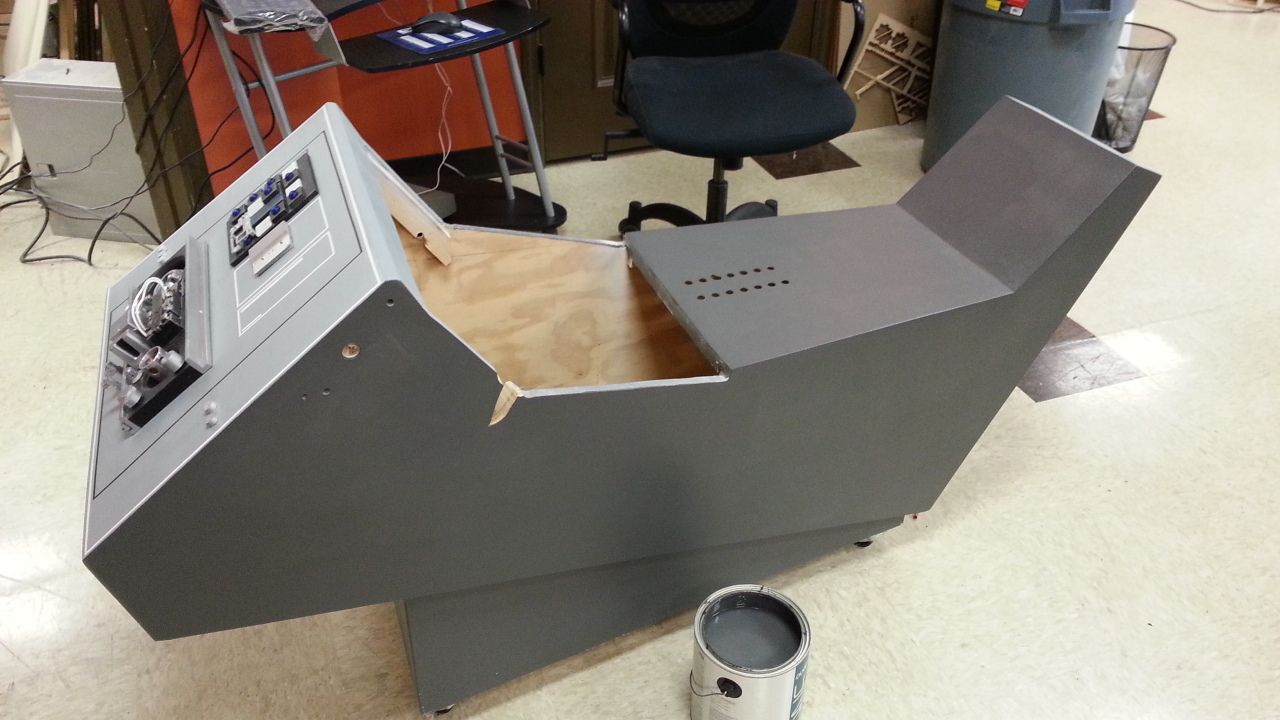
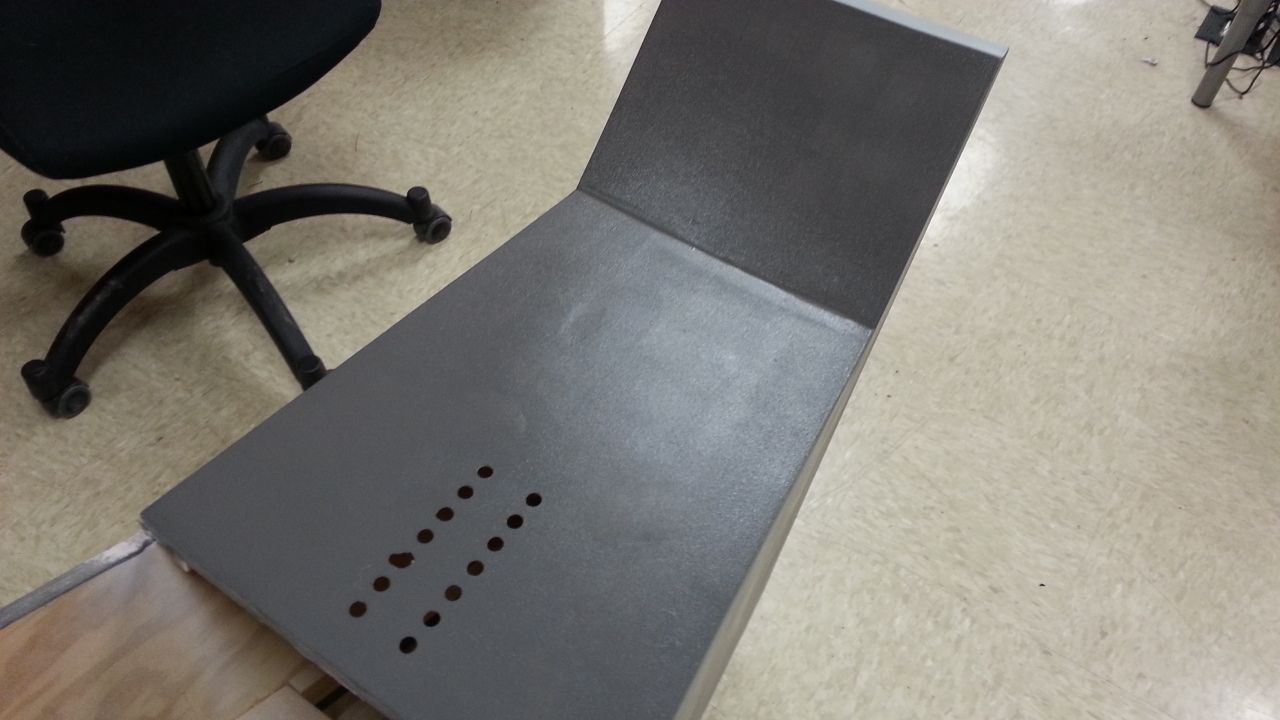
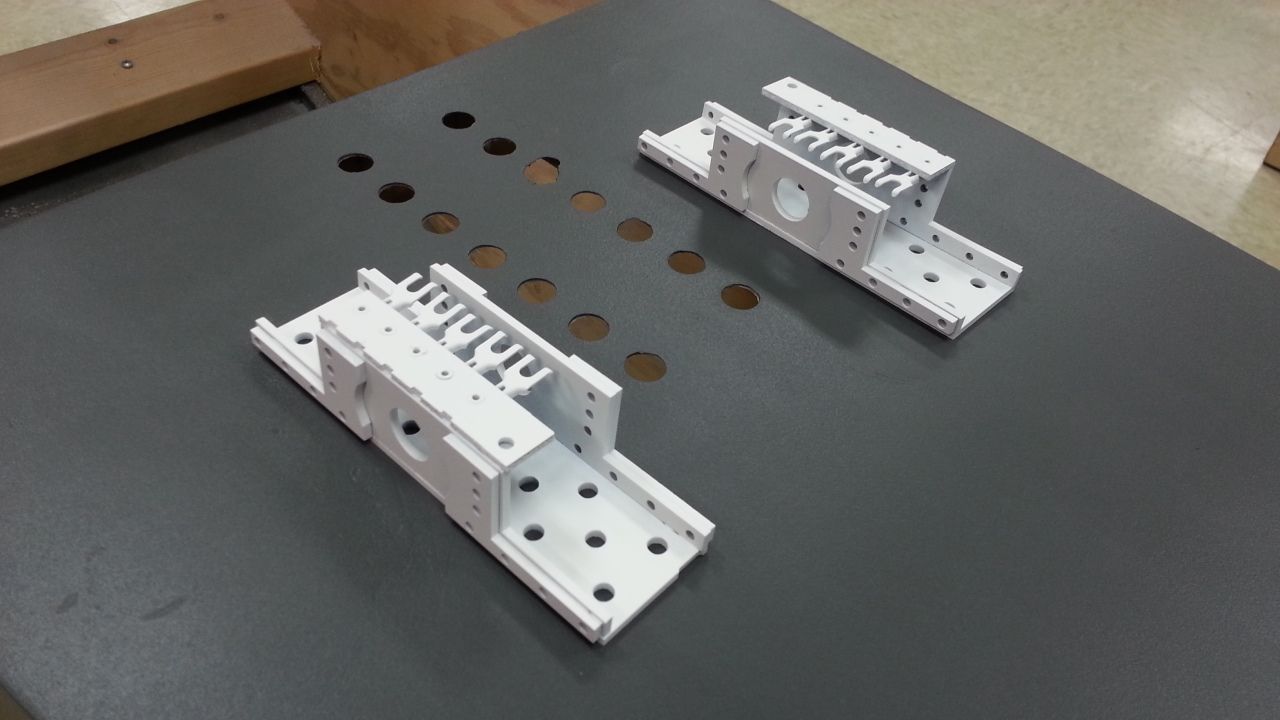
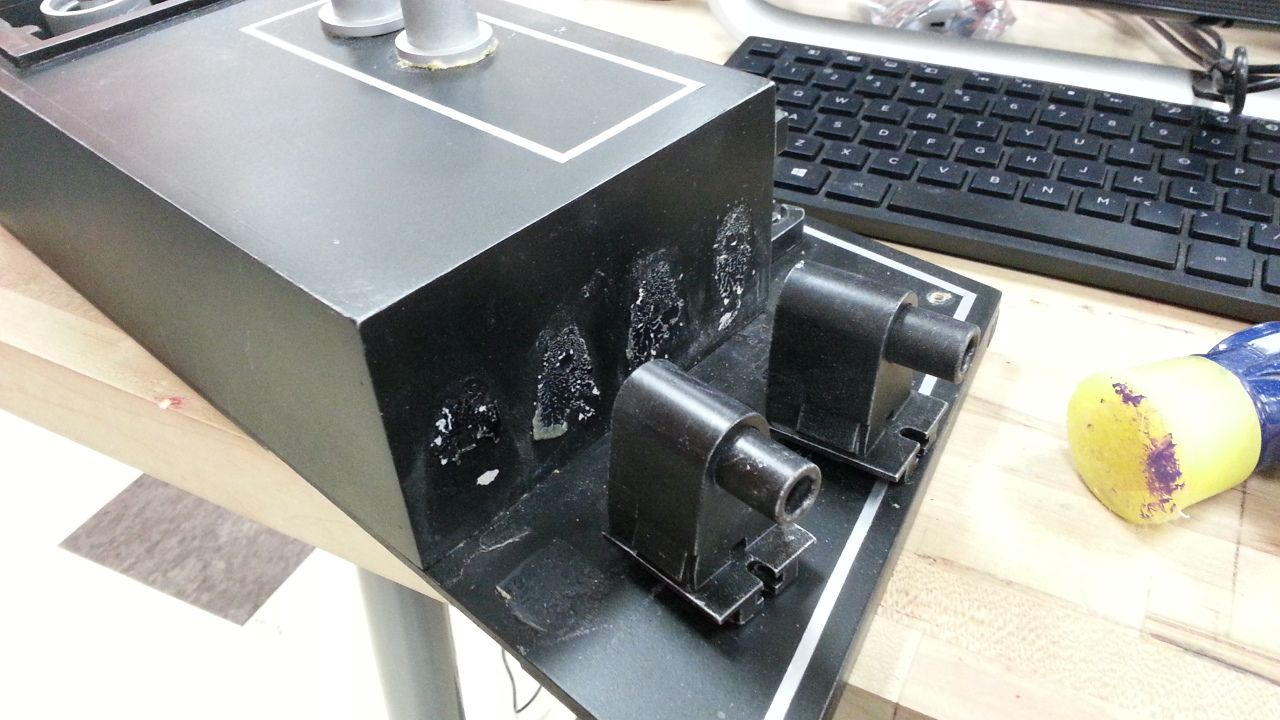
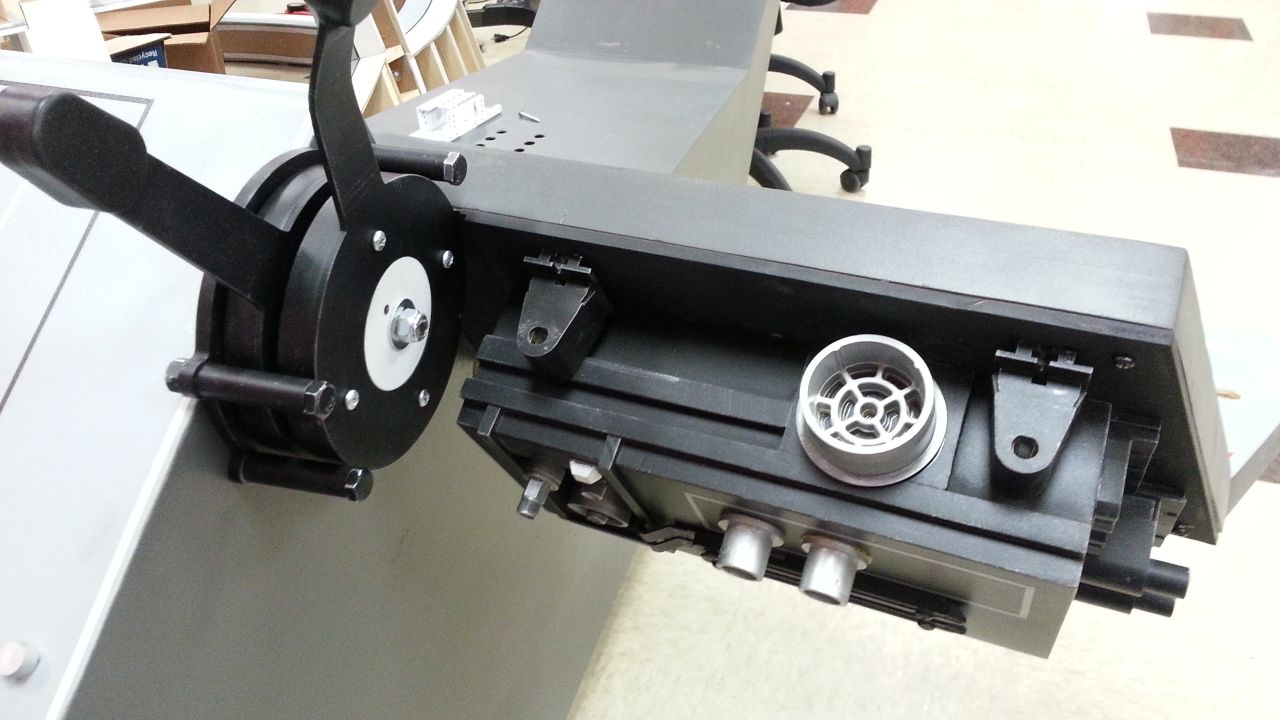
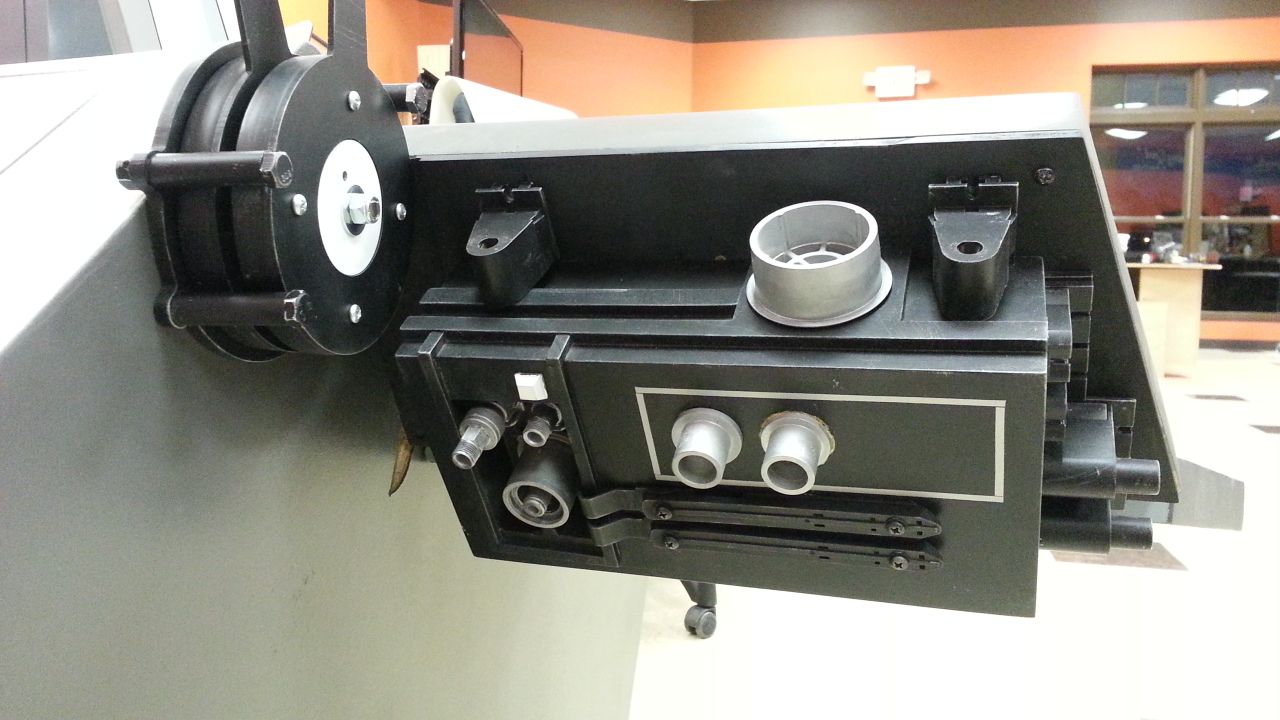
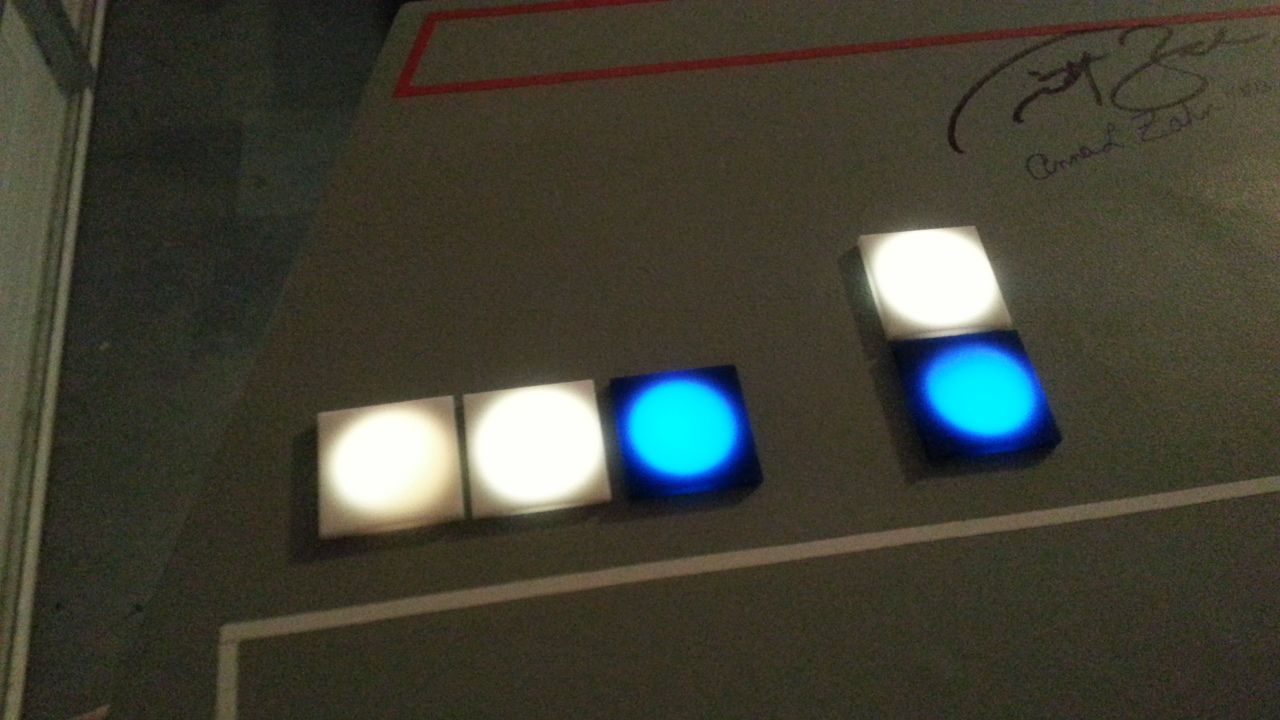
Actually, we are back lighting all the tiles for this build. We've ordered the acrylic necessary to laser cut hundreds of 1" 3mm semi opaque acrylic tiles and we'll be backlighting them the same way the original prop designers did. The holes I've already cut in the instrument panels are 3/4" so the 1" tile will sit perfectly over top the hole. The center console AND all the panels will receive the same treatment (I'm not looking forward to removing all those tiles but it has to be done). Example:
I'm really excited. The team is meeting this Wed to discuss the lighting and sound options and I hope to have the acrylic by weeks end.
Hope this helps?
")