ataru72ita
Sr Member
Really stunning! this matches!!


 thumbsup
Amazing!! Coming more and more alive every day! Can't wait to see it finished.
This look very close if I might!


Amazing!! Coming more and more alive every day! Can't wait to see it finished.
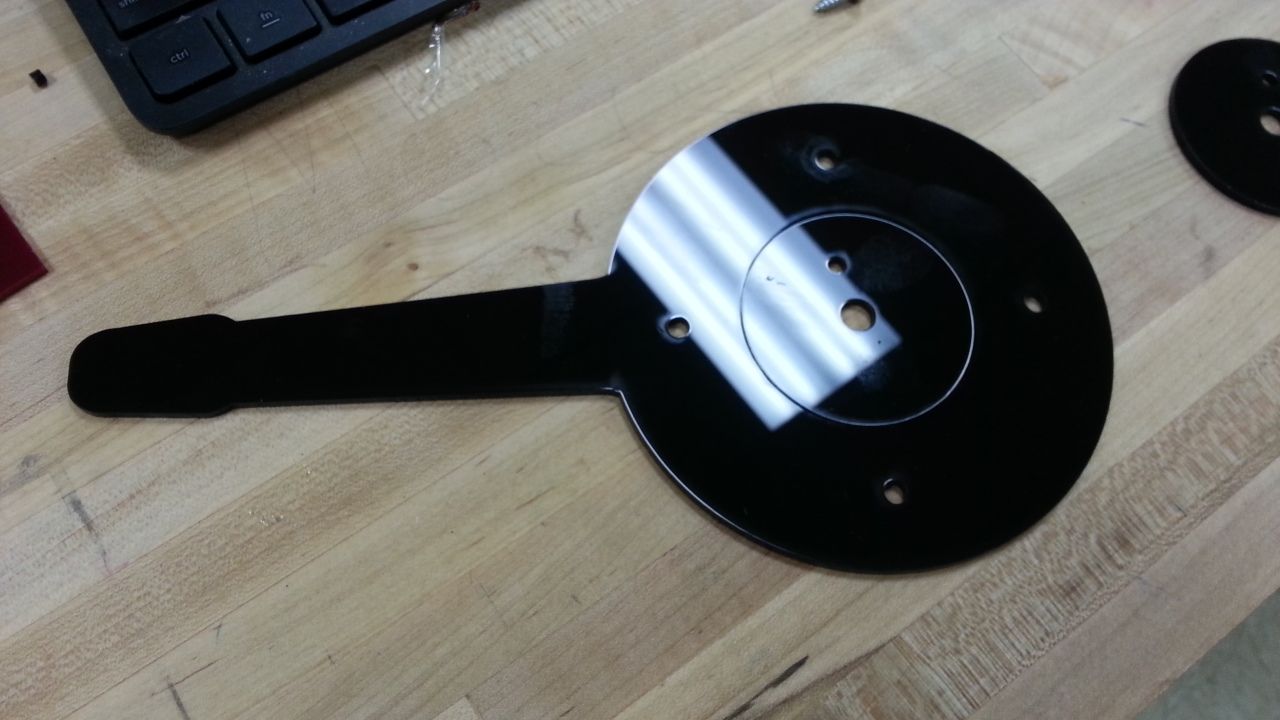
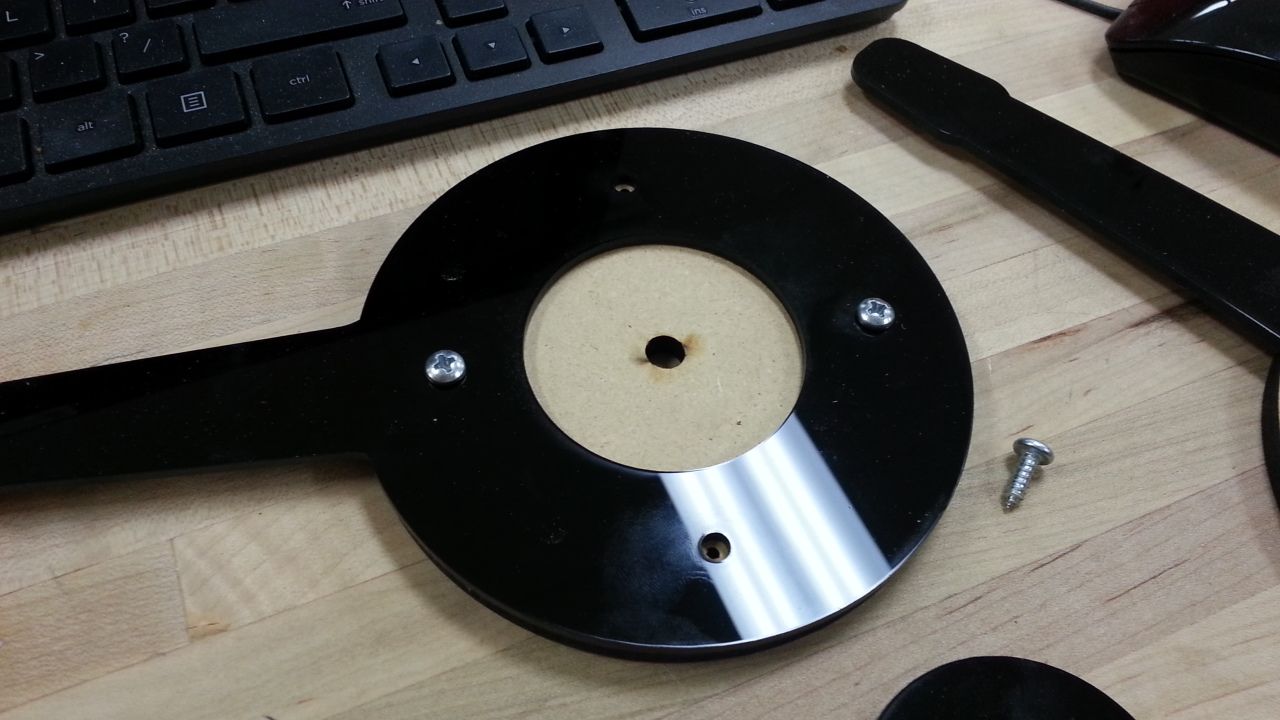
Looks like you've got the wrong screws in there... :lol
DAMN!!!
Any day now, that thing is gonna fly! :love
Finished? This is like a project car... It never ends, cause the fun would too!
This look very close if I might!
Used Vintage 2 Lever Remote Control Side Mount Outboard Motor Boat | eBay
sure looks like a vintage boat engine remote control!
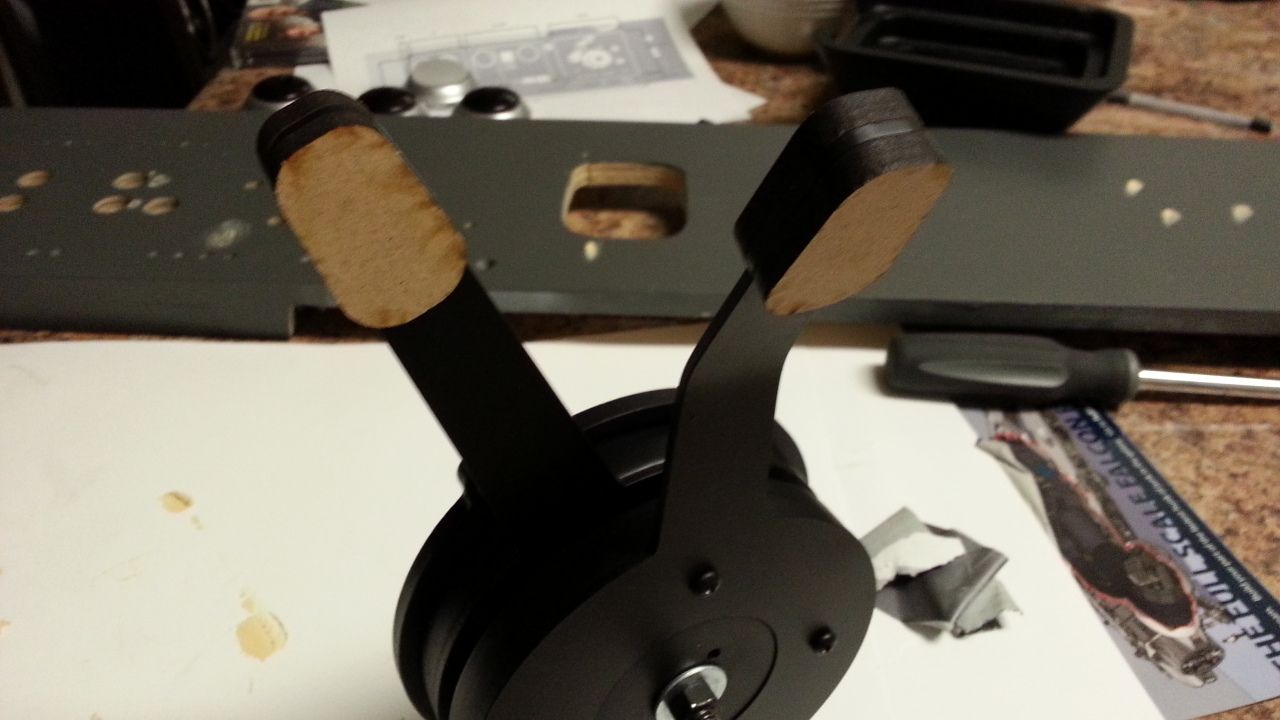
Four flatheads and a castle nut and that's your high/low pressure valve taken care of, very cool replica greeb!
That thrust lever is fantastic. You've been earning the good result of your reseach effort.
Banzai!
katsu
Simply amazing! This build is getting better by the day now:cool
Soooo nice and cool, I can't even begin to think what the future will bring with all those tools at your disposal:cool
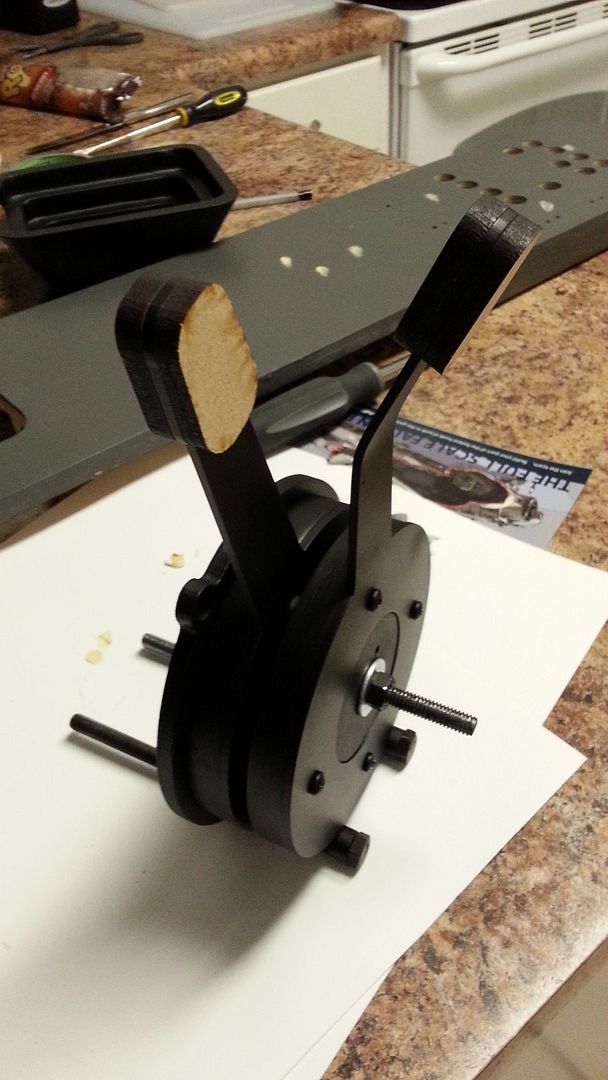
Use Plastidip of the pads.