The Sebring and Nurburgring models are fairly close except for the headrest...But the thing that caught my eye was the fact that they do custom work.
While custom seats might be out of budget for this particular project, I think Chris should definitely call these guys for the FSF build, as their work looks pretty top notch. I don't think they would have any issues replicating what is shown in Maruska's renders...
Heck, I would even be interested in a pair of these on a custom swivel base for guest chairs in my office...Maybe we should ask them about bulk pricing.
That JAZ seat has been my favorite in terms of close facsimile for a while now. A good upholstery job is all it would need to look practically dead on.
That JAZ seat has been my favorite in terms of close facsimile for a while now. A good upholstery job is all it would need to look practically dead on.
I like this one. Now if you can just find a way to add a horizontal padded-striped area to the back, it would be pretty close. Maybe even have the changes done by a professional if affordable.
I also like the Sebring seat. Both are good in different ways.
The seat cover would have to be reupholstered to match color and material.
The seat is $80 and the black seat cover is approx $75. It would be a good idea to have a seat cover to use for the pattern. But one problem... I can't sew...
VW highback seats from the early 70's look pretty close at the headrest end...But you lose that wrap-around "bucket" portion at the bottom...
TMI Products also makes seat covers for that era, and you can pick the material and color...For an idea of a falcon like seat cover in a different color, check this...
My curiosity got the best of me, so I went ahead and contacted classiccarseats.com just to see what they would charge to make the exact seat we want...I sent them Maruska's render pic...
I'm sure the price will probably be outlandish...But I just HAD to know what a perfectly accurate set of seats would cost...
Some quick updates... It has been raining for almost 2 weeks straight. This weekend is supposed to be nice so I should have more major updates! In the meantime...
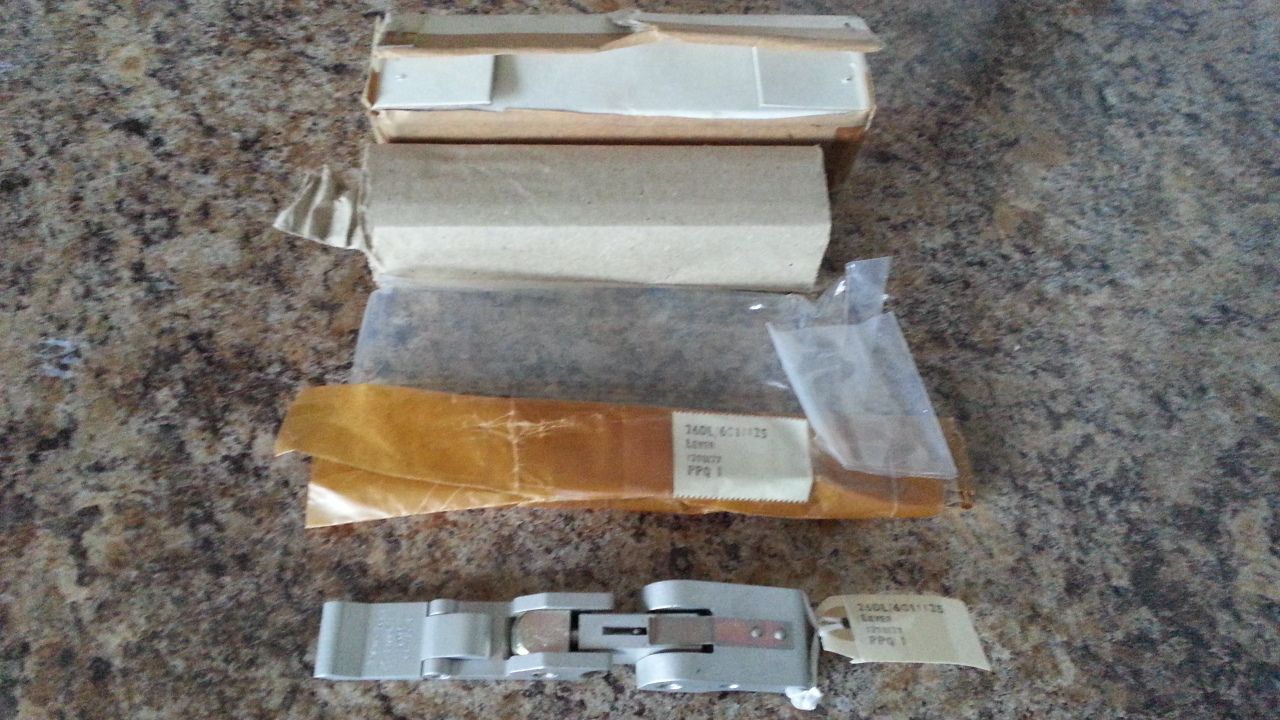
The hinges found on the slider panel behind Chewie arrived - I don't think they are the exact same but they look really cool and in the original package
Also, just a sneak peak...
I'm hoping to get the alignment issue taken care of on Han's side along with some "new" panel getting built!
Here's a better view of them latch parts, they are painted to prevent reflections in the MF. The only difference with the ebay parts maybe that the end part has a swively section built in but apart from that the make, dimentions and shape are the same.
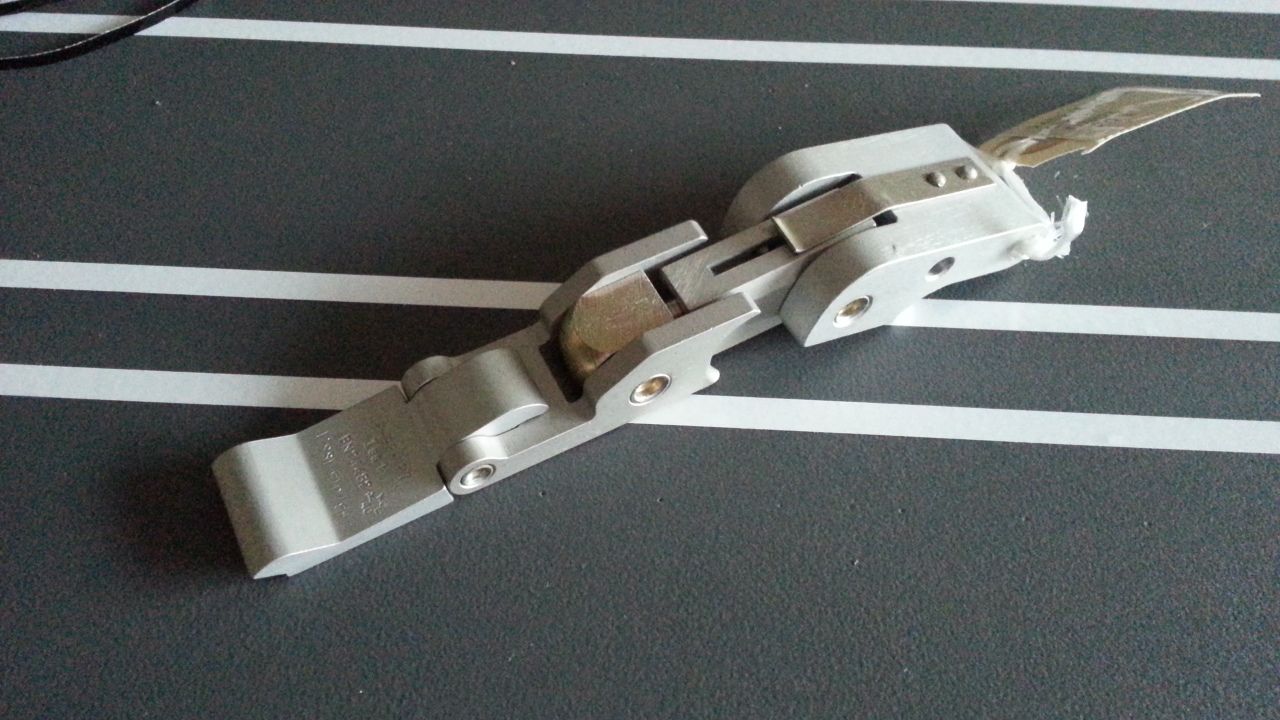
The MF latches have had holes drilled in the end part to attach to the box and as the holes/screws are off centre I would say this was modified by the set dressers. However, it seems that the holes are drilled in the only two places that they could be on the end section, at the furthest apart points on the flat side (if that makes sense). So maybe there is the extra swively part on the MF latch.
The part that is attached to the box looks a bit longer and flater that the part we have now. But I'm not worried. It's a great piece. We'll make it work.
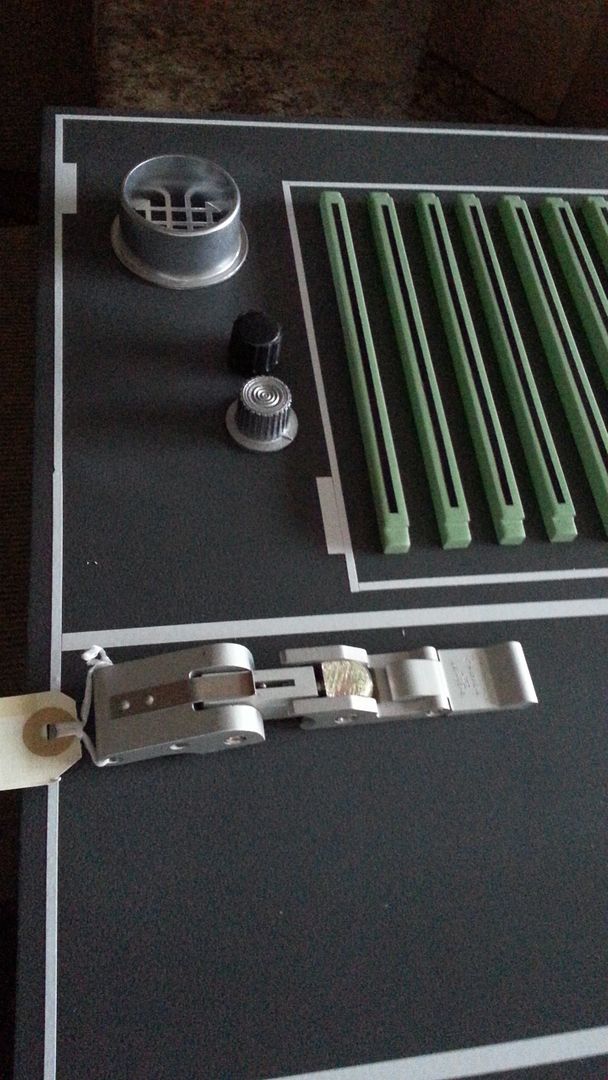
I think the latch was also used on Chewie's side of the console above the instrument panel. Again... I "think" it was used. I'll have to look at screen grabs.
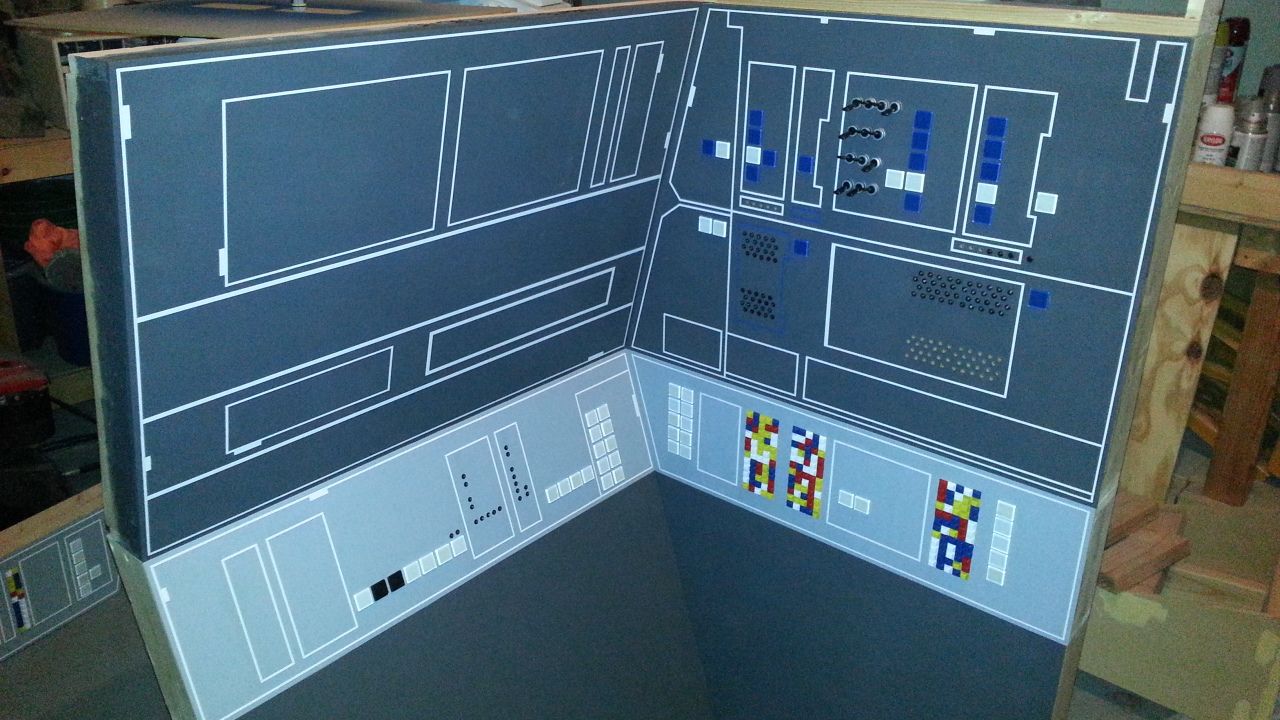
Need some advice, guidance, help, etc... As most of you know I used Formica to cover the main body of the console. While it leaves a nice clean flat surface, it was an utter nightmare to paint despite getting all the material necessary to paint.
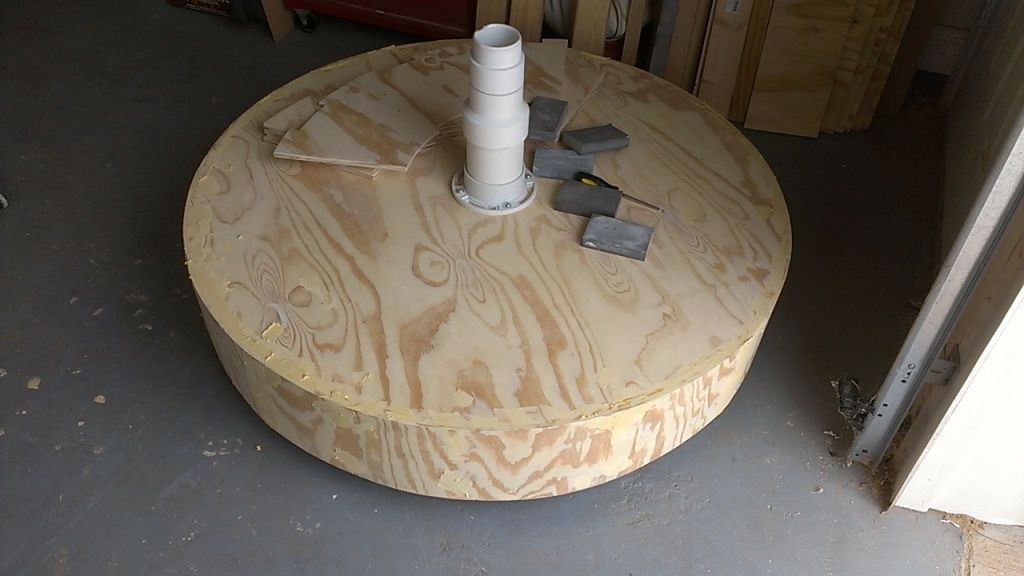
I would like to get the quad laser finished and the base, made of plywood, needs to be painted and weathered. I would really like to get the same smooth flat finish I had with the Formica but I DO NOT want to work with that material again. Is there another material I can use or do I have to use filler and sand smooth?
Can you brush on a fiberglass resin then sand that smooth?
I have done this in the past. Actualy mixed in a fair amount of baby
powder into the resin which makes it easier to sand. Kind of a home
made gel coat if you will. You can even ad a bit of coloring to it so you
can see where you have brushed it out.

")