DTLSchiller
Active Member
Weird, I have a slightly larger melon and had gobs of space behind my head.
Well I guess its more room for electronics and padding.
Weird, I have a slightly larger melon and had gobs of space behind my head.
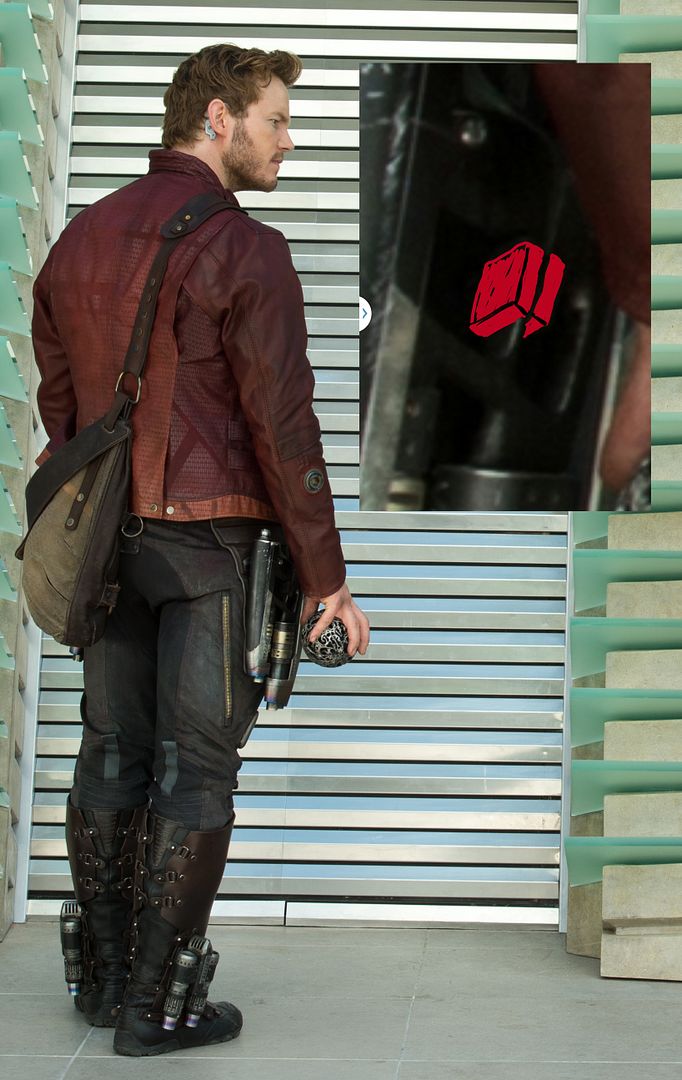

Well, I deciphered the code of the "holster" part that actually holds the guns.
I blew this image way up, then colored in the clips for illustration purposes:
http://i60.photobucket.com/albums/h33/wkevingossett/holsterillustration_zpsdeb6b7f1.jpg
Basically it's vertically clip that the crossbar of the grip snaps into. You can also see it here in this render:
http://i60.photobucket.com/albums/h33/wkevingossett/IQoIu8g_zps0f991647.png
I'm going to see about getting this modeled for printing. Just wanted to share!


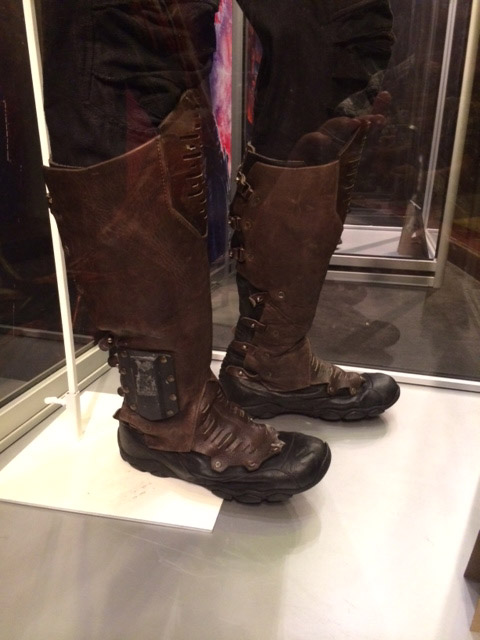
 These things were a pain! I wondered why davy sent 2 sets of these small parts and I now understand why. I broke like three different ones. And I still had to use ca glue to fill cracks and gaps on the good ones.


 Did touch up and detail painting.

 I also used a dremel to round the edges to give a nicer appearance.

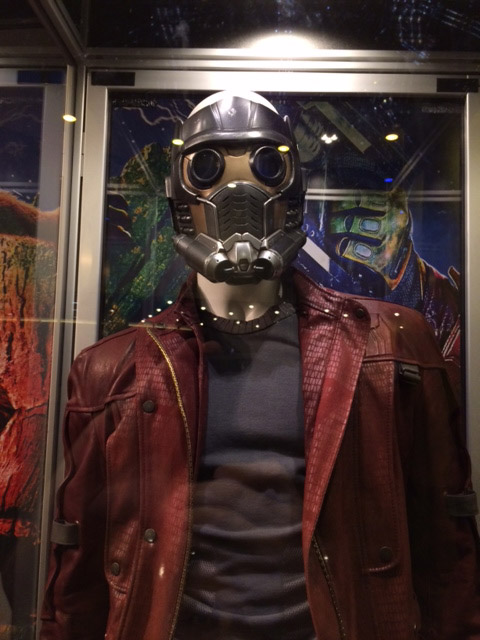
 The helmet got a coat of clear automotive enamel about an hour ago and is now in my garage drying. I'll levee it over night and put the lenses in tomorrow.
very nice work..almost as good as the movie..what colors did you wind up using...and what for the lenses.....

 Well as much as i can do before the movie on thursday night.


 They are simple and work great.
 Punch hole.
 Hammer ing rivet things.
  Repeat.


