Hey guys! Long time lurker, here.
Just wanted to drop by and say “thanks” for all of the info on the site, especially to those who have contributed here in this thread on the Blade Runner tile.
I am a commercial photographer in Tunisia, and we don’t have anything but the most basic supplies…so I’m doing my best to build a couple tiles for a personal project photo shoot (no revenue generated, paid, or given. Just for fun).
Some lessons learned:
1) You shouldn’t do this in your wife’s kitchen.
2) Wear gloves.
3) Vaseline substitute here is very strange.
4) Neighbors think this is very weird.
So, the parameters.
Two kinds of tiles seem to be present in the movie. 1) Area by the elevator has a Lower Left Square, and Groove Right (LLGR) and 2) in most of the other areas, Lower Left Square Groove Top (LLGT). I am choosing to replicate LLGT.
I know the thickness of the tile at the square (lower left corner) is 4cm.
The width is 40.6cm square.
I can only get these supplies:
1) Foam board.
2) Silicone sealant.
3) Cement.
4) Bondo.
5) Chicken wire.
6) Sugar.
7) Olive oil.
8) Weird Vaseline substitute.
9) Construction adhesive.
10) Plaster.
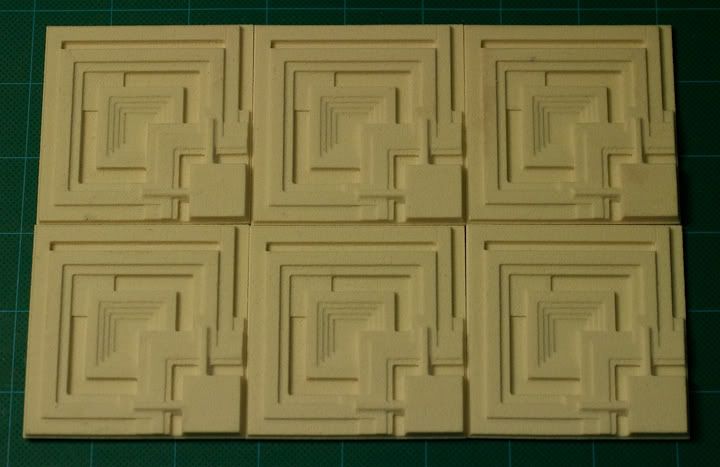
I want one cement tile to start; just, well, because.
")
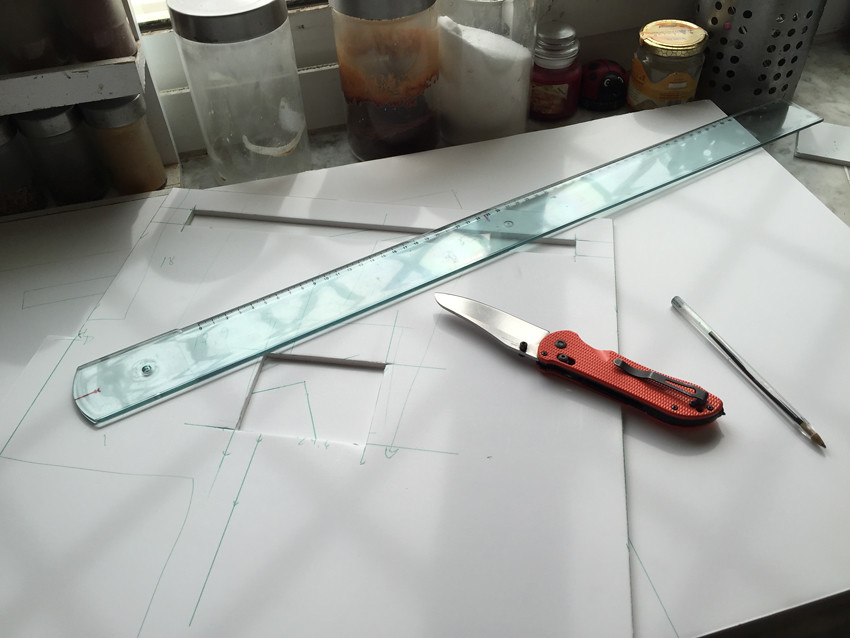
So, I started with a piece of foam board, and measured out the 40.6cm. Then I added a layer below it, 3cm bigger. Here’s why. Here we have two industries that I *may* be able to tap into to make these: 1) Paper Mache egg cartons and 2) Yogurt containers (which are vacuformed). If that happens; to put them quickly on the wall, I could place one tile, put a thumbtack in the center of each flange, then put the next tile over the flange…covering the thumbtacks.
 IMG_2481
 by
Robert Jewett, on Flickr
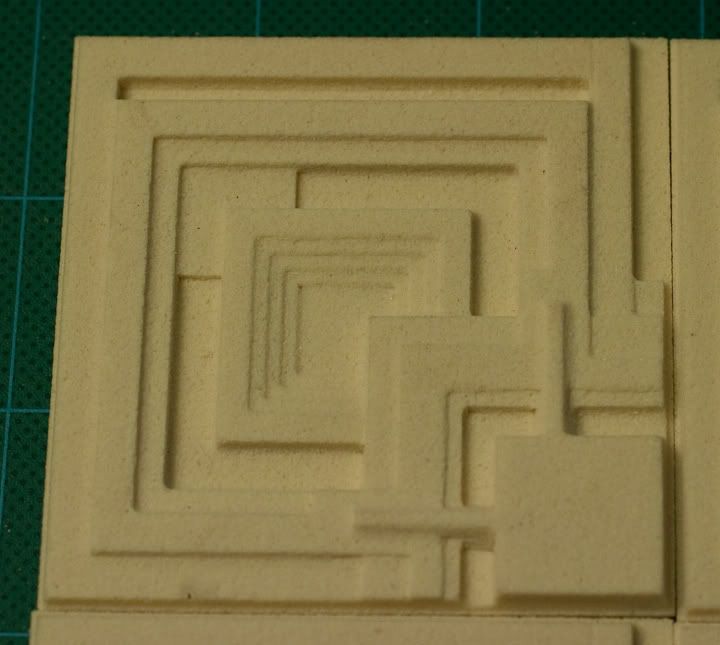
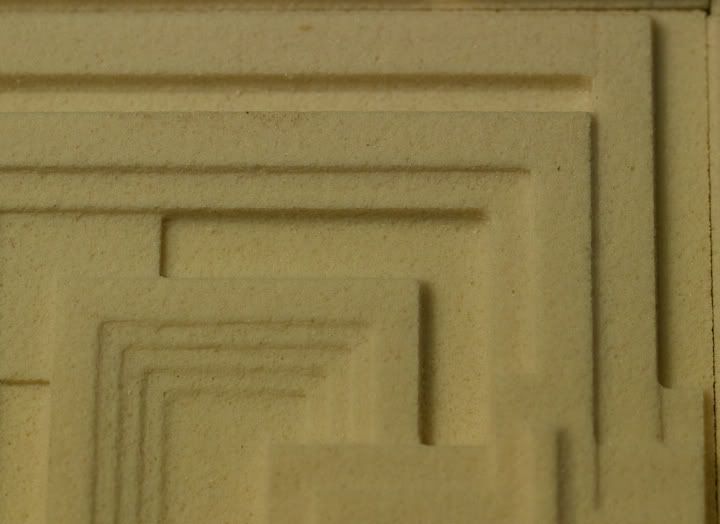
Anyhooo. I found a picture of an actual tile from Screenused and just measured everything out from the same corner in Photoshop. Once I divided everything into layers (this was tough because I couldn’t tell if the center of the inner square was the lowest level or layer two)…
 IMG_2482
 by
Robert Jewett, on Flickr
 IMG_2483
 by
Robert Jewett, on Flickr
 IMG_2485
 by
Robert Jewett, on Flickr
Of course, I had help.
 IMG_2487
 by
Robert Jewett, on Flickr
 IMG_2488
 by
Robert Jewett, on Flickr
 IMG_2490
 by
Robert Jewett, on Flickr
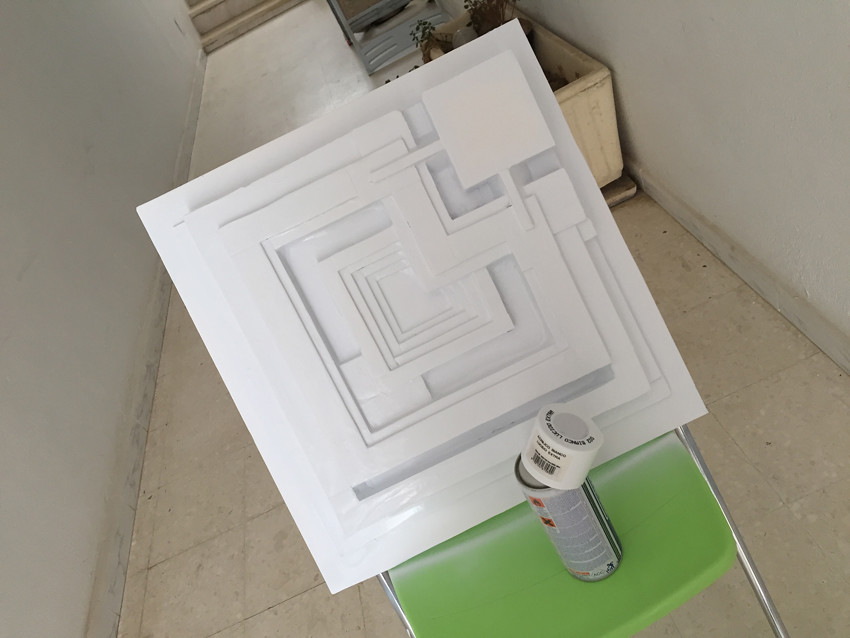
Once this was done, I used Bondo to cover all of the seams, and lightly sanded it with a drywall sanding block. I lightly rounded all the transitions from one layer to the next with something like acrylic caulk (they don’t have that actual product here, so I found some acrylic construction adhesive…which dried waaaay to fast, and basically was a nightmare).
 IMG_2501
 by
Robert Jewett, on Flickr
Then I spray painted everything to seal it.
 IMG_2493
 by
Robert Jewett, on Flickr
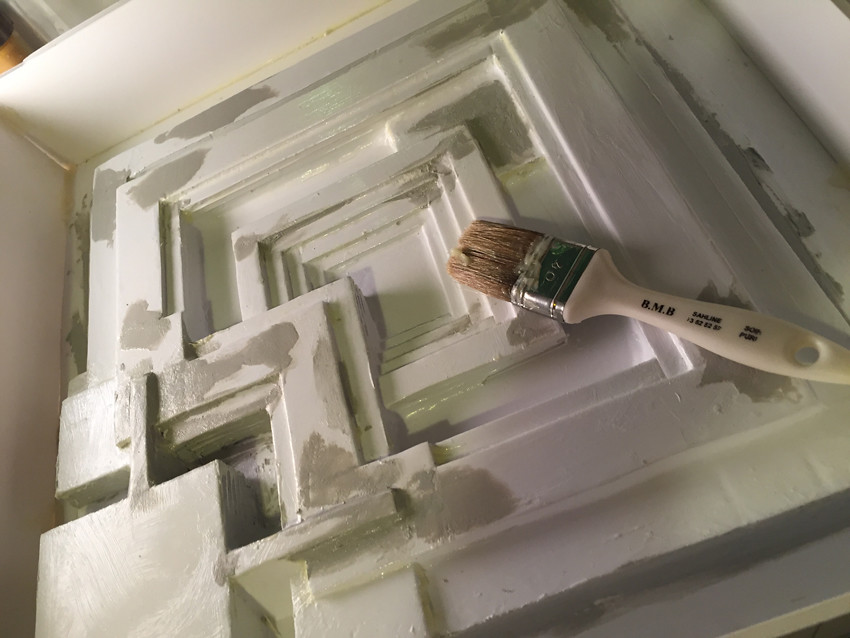
Then, I built the mold form.
 IMG_2504
 by
Robert Jewett, on Flickr
 IMG_2505
 by
Robert Jewett, on Flickr
 IMG_2506
 by
Robert Jewett, on Flickr
I brushed on some weird fake Vaseline that seemed to just be wax. It was way too thick, so I added olive oil to thin it. I then sprinkled coarse sugar on top, to give the final tile more of a weathered sandstone texture.
 IMG_2508
 by
Robert Jewett, on Flickr
After that, I tried the “silicone in a bucket of dish soap water” trick. Bad idea, lots of work. In the end, I just cut the entire end of the tube off and kneaded it with cornstarch. For two reasons 1) the cornstarch helps the silicone harden quickly and evenly and 2) it makes it possible to actually handle the stuff.
 IMG_2518
 by
Robert Jewett, on Flickr
 IMG_2512
 by
Robert Jewett, on Flickr
 IMG_2509
 by
Robert Jewett, on Flickr
The problem is we bought 15 tubes of the stuff, and basically that was every tube in town…which means I ran out (of course) ¾ of the way through. But, I did get all of the important stuff…so I just plastered the back to support it, and let it dry.
 IMG_2521
 by
Robert Jewett, on Flickr
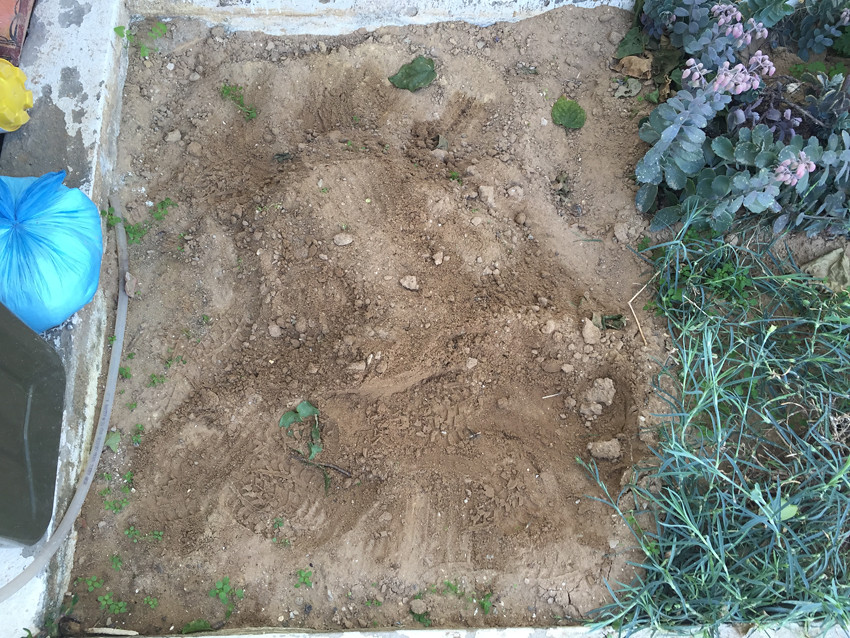
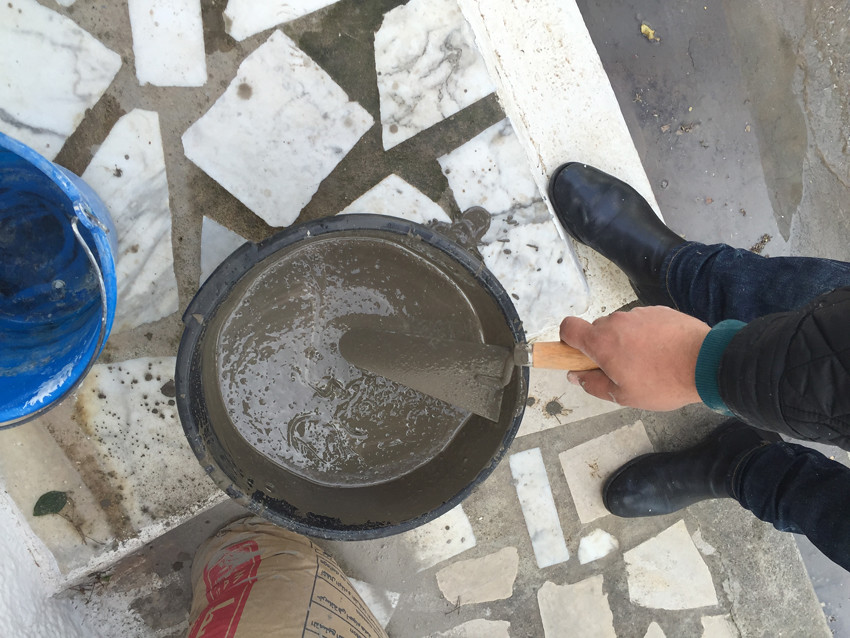
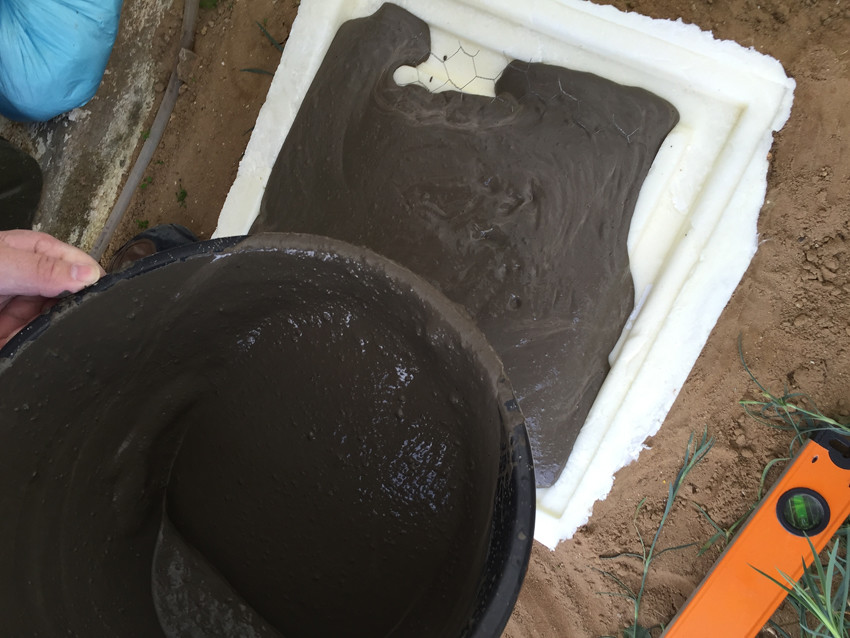
Since it wasn’t level on the back, I used loose sand to level it as best as I could…mixed up some concrete, and poured it in. Adding chicken wire, for support, of course.
 IMG_2522
 by
Robert Jewett, on Flickr
 IMG_2524
 by
Robert Jewett, on Flickr
 IMG_2526
 by
Robert Jewett, on Flickr
 IMG_2527
 by
Robert Jewett, on Flickr
 IMG_2528
 by
Robert Jewett, on Flickr
 IMG_2530
 by
Robert Jewett, on Flickr
 IMG_2532
 by
Robert Jewett, on Flickr
It’s drying now. I’ll add a post when I crack the mold...