You are using an out of date browser. It may not display this or other websites correctly.
You should upgrade or use an alternative browser.
You should upgrade or use an alternative browser.
Boushh Helmet build
- Thread starter merkava74
- Start date
Always loved this design, you are doing MAJOR justice to it
Thanks! I'm enjoying the build very much! Yes absolutely love the Boushh helmet!
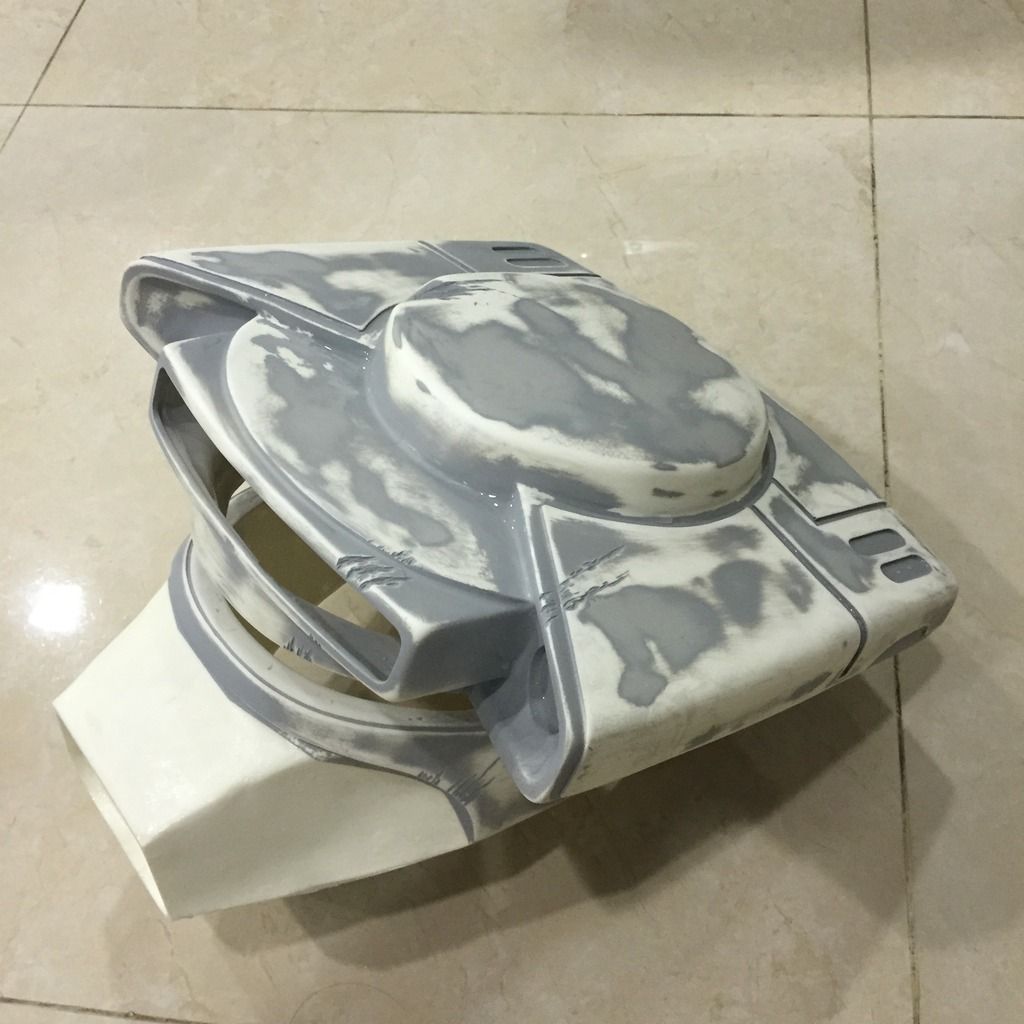
Sanded down again, washed with mild soap and letting dry. Looks like a step back, but it's really a step forward. You want to get the surface free of imperfections so that the paintwork will be nice and smooth later. Now we are ready for priming, and painting of this beautiful bucket!
Before you do any more painting I would either glue the top piece on the bucket or temporary secure it to the top so that you dont have to sand away the paint to glue it on later.
Yes I intend to do that! Thanks for the reminder, though!
So this is going to be a long post.
I started painting today, and got quite good progress. I used Tamiya Enamel paints, and don't really have a sequence of painting, using both topical and layering, as well as toning and misting, dry brushing and oil washes.
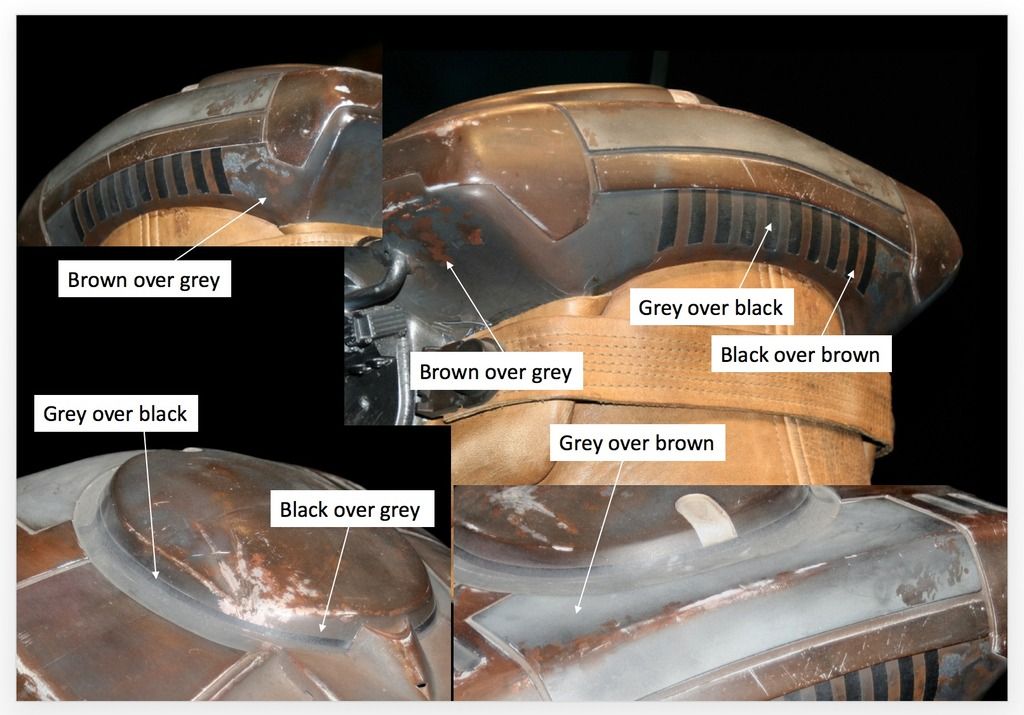
For this helmet, I'm not trying to get every scratch replicated, but more the feel of the original bounty hunter: weathered, unkept, and functional.
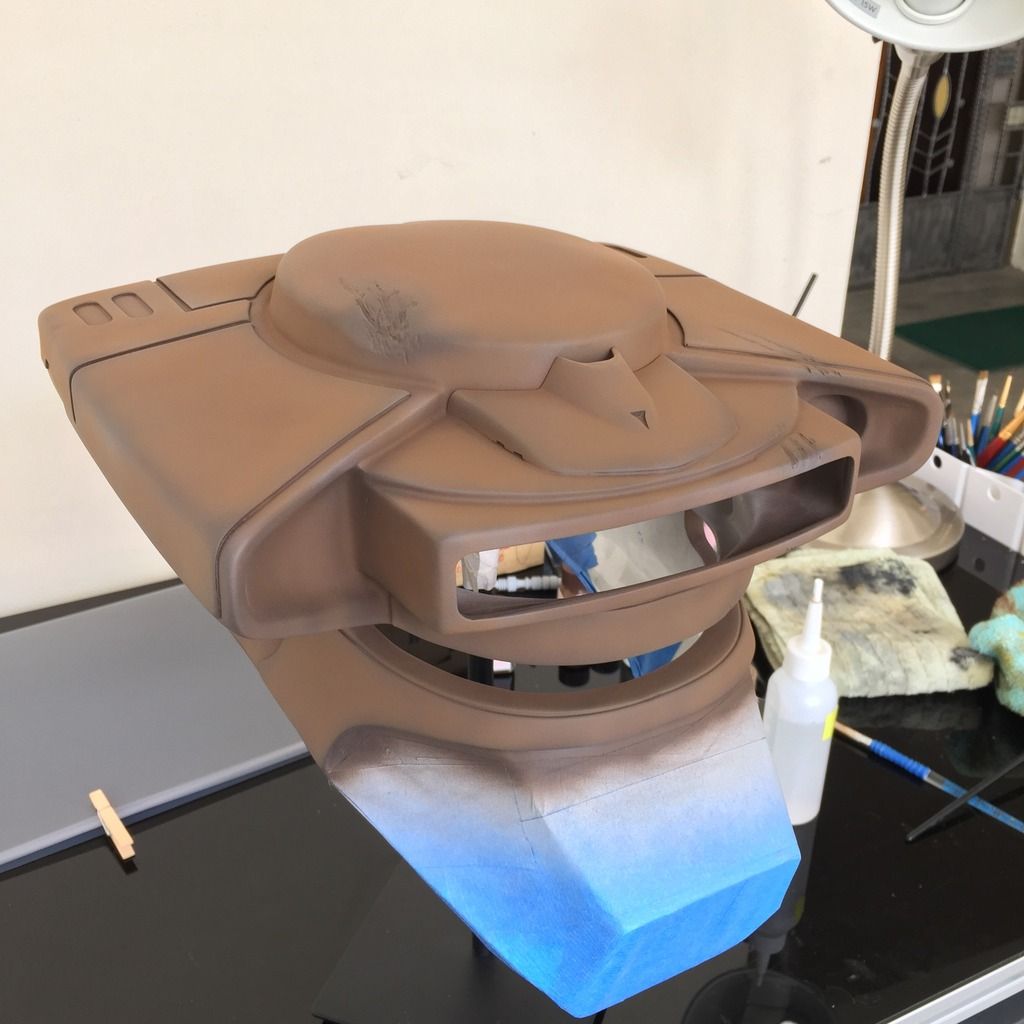
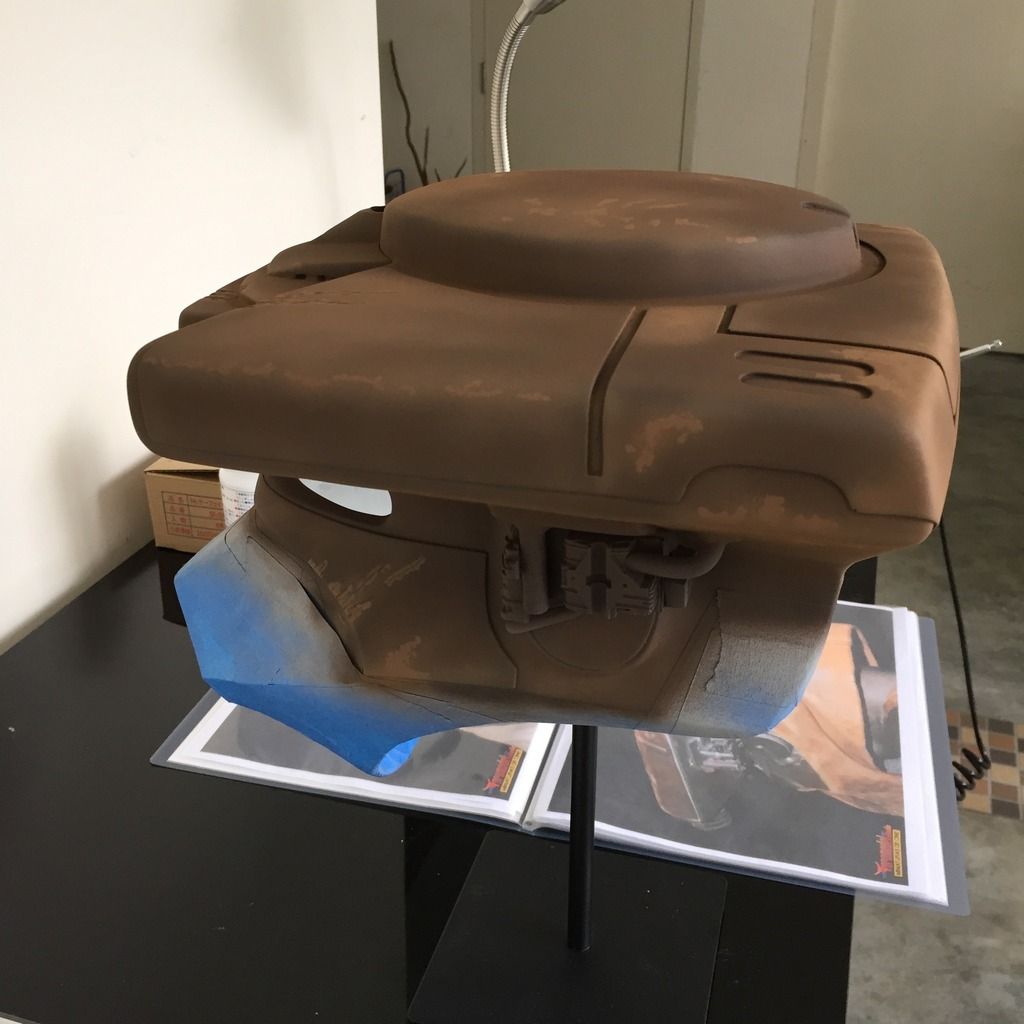
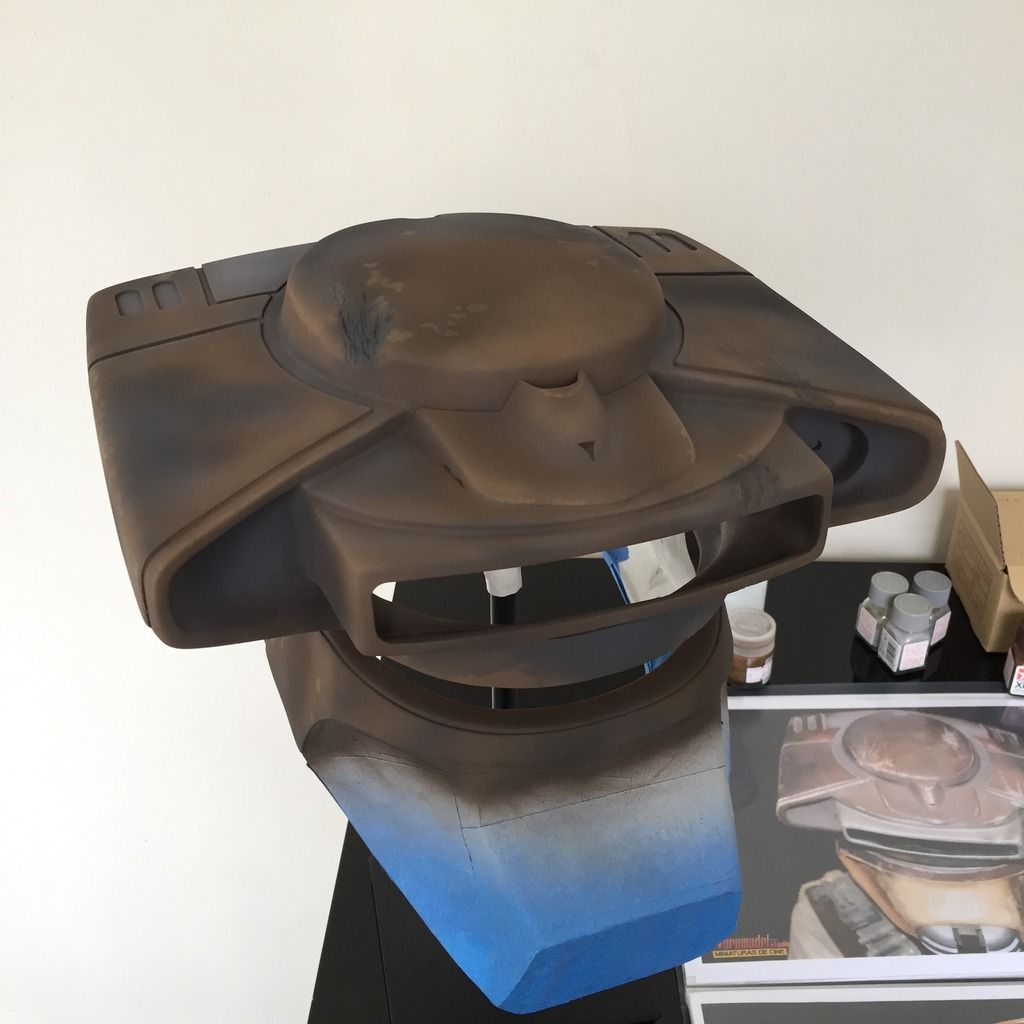
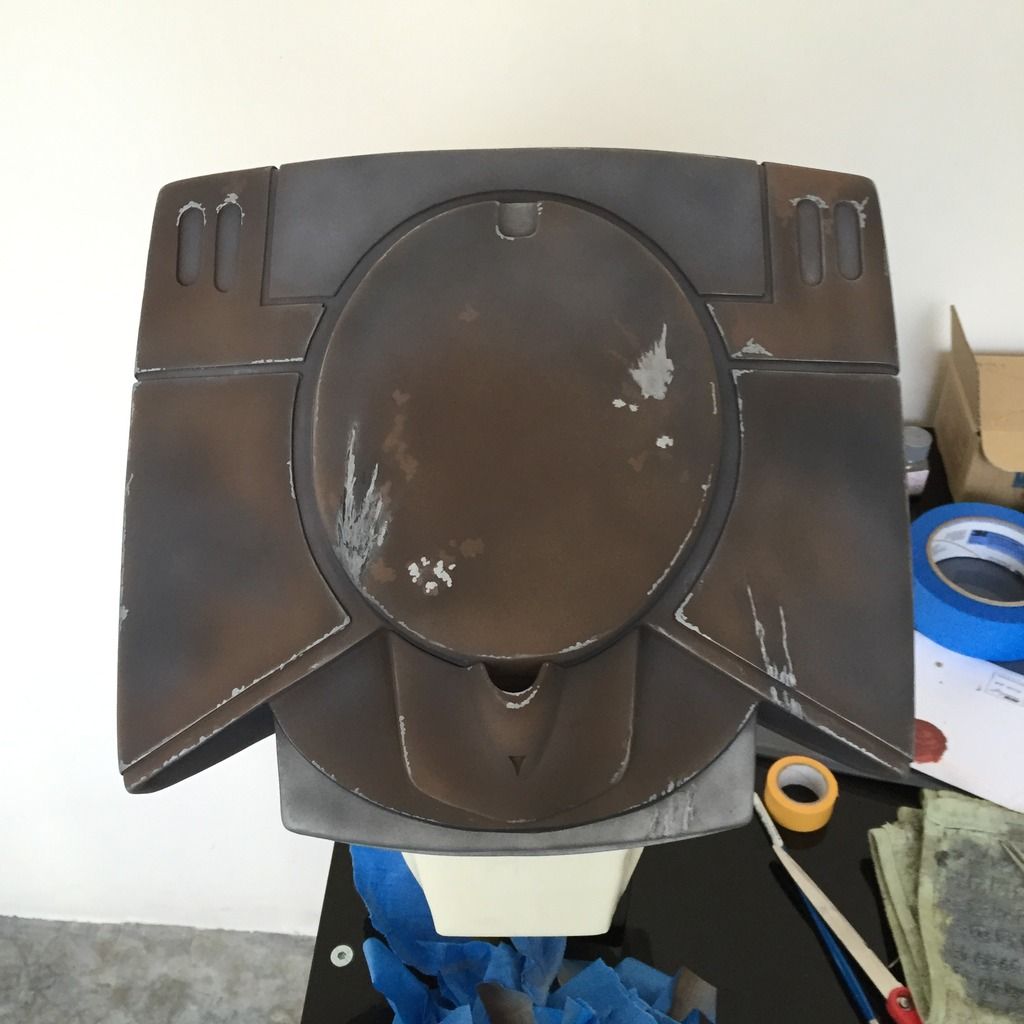
So on with the painting. After a final primer and sanding down and primer again, I applied the base coat of Flat Brown with about 40% black. I like a very dark base to give me the depth later:
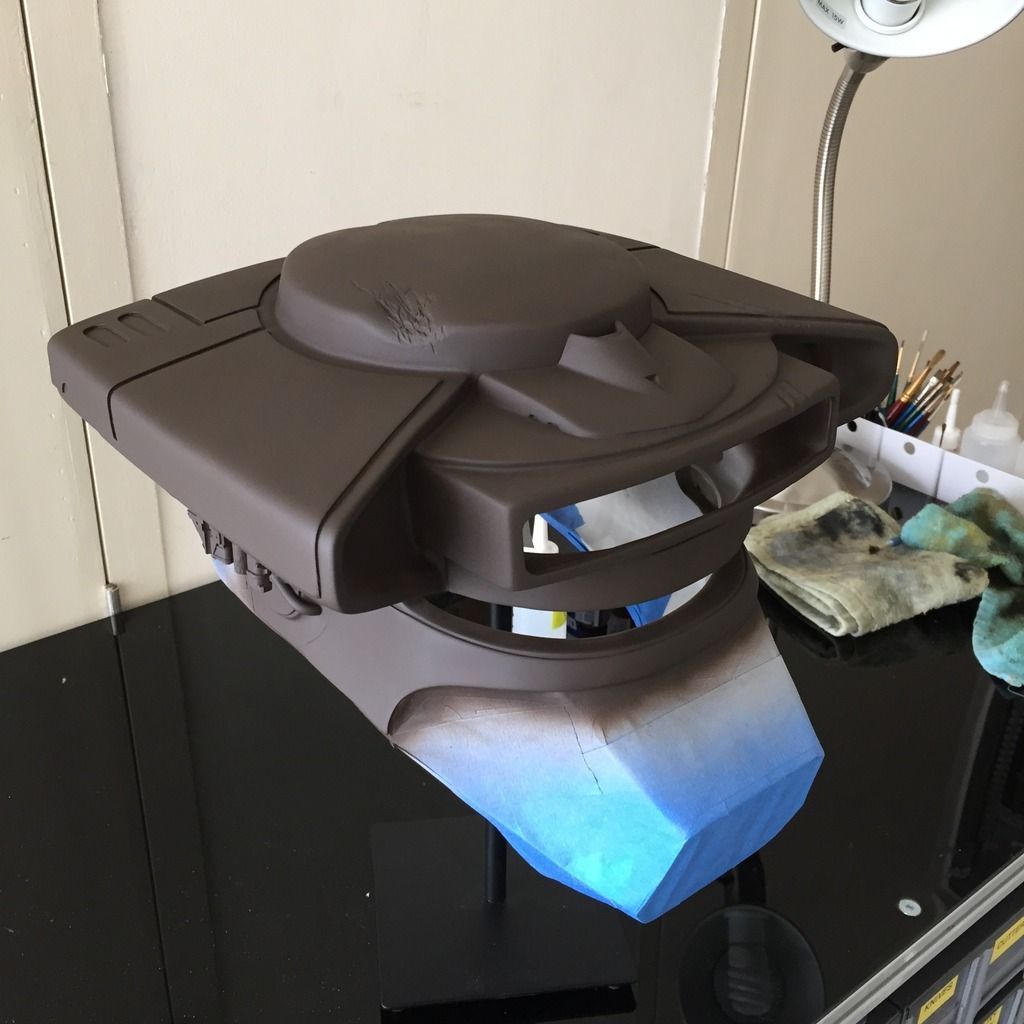
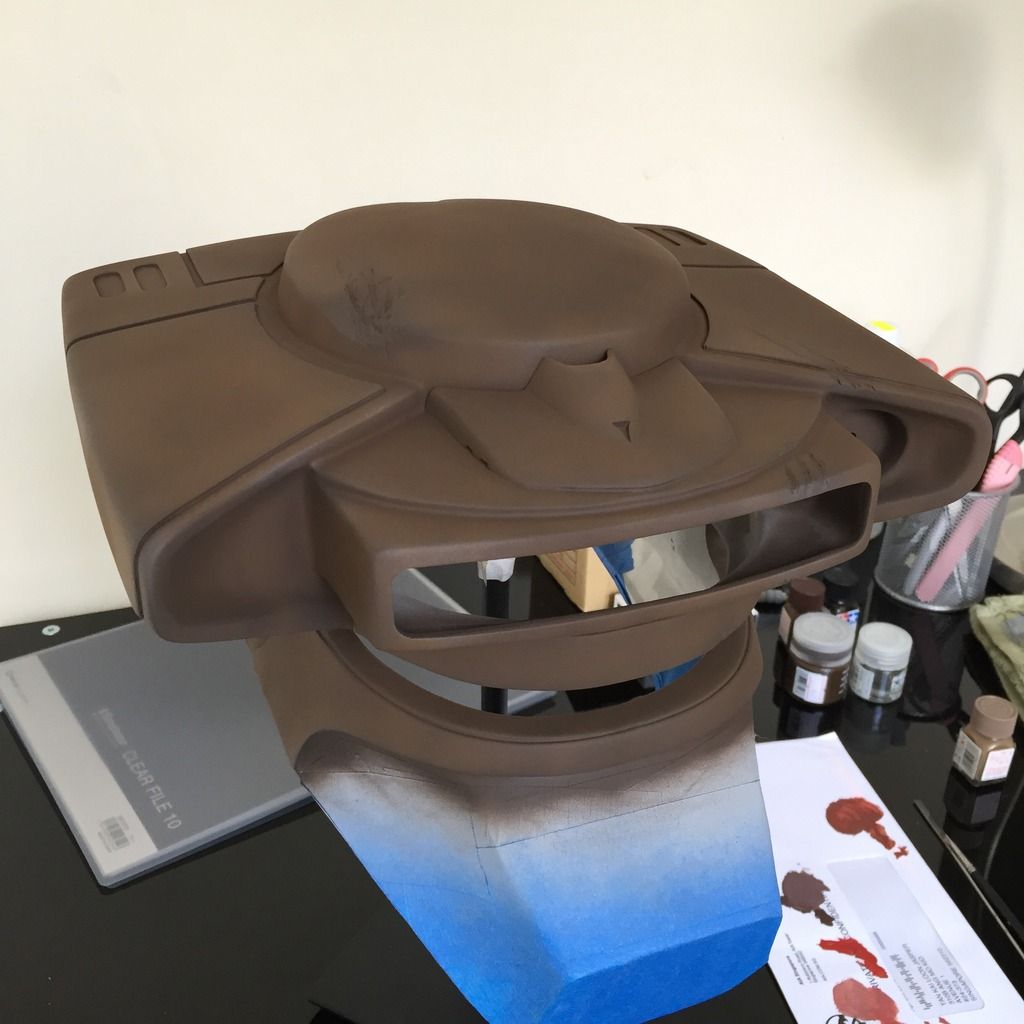
After the base was applied, I toned it with Flat brown (without Black) to give it some depth. It will turn out much lighter at this stage, but I know I will be toning it with various darker layers later. This is a shot of the toning in progress, showing the top half with the base coat and the lower half toned:
This is after the first toning. As I said, it is light, but I wanted to make sure there was the greatest contrast between this and the base coat:
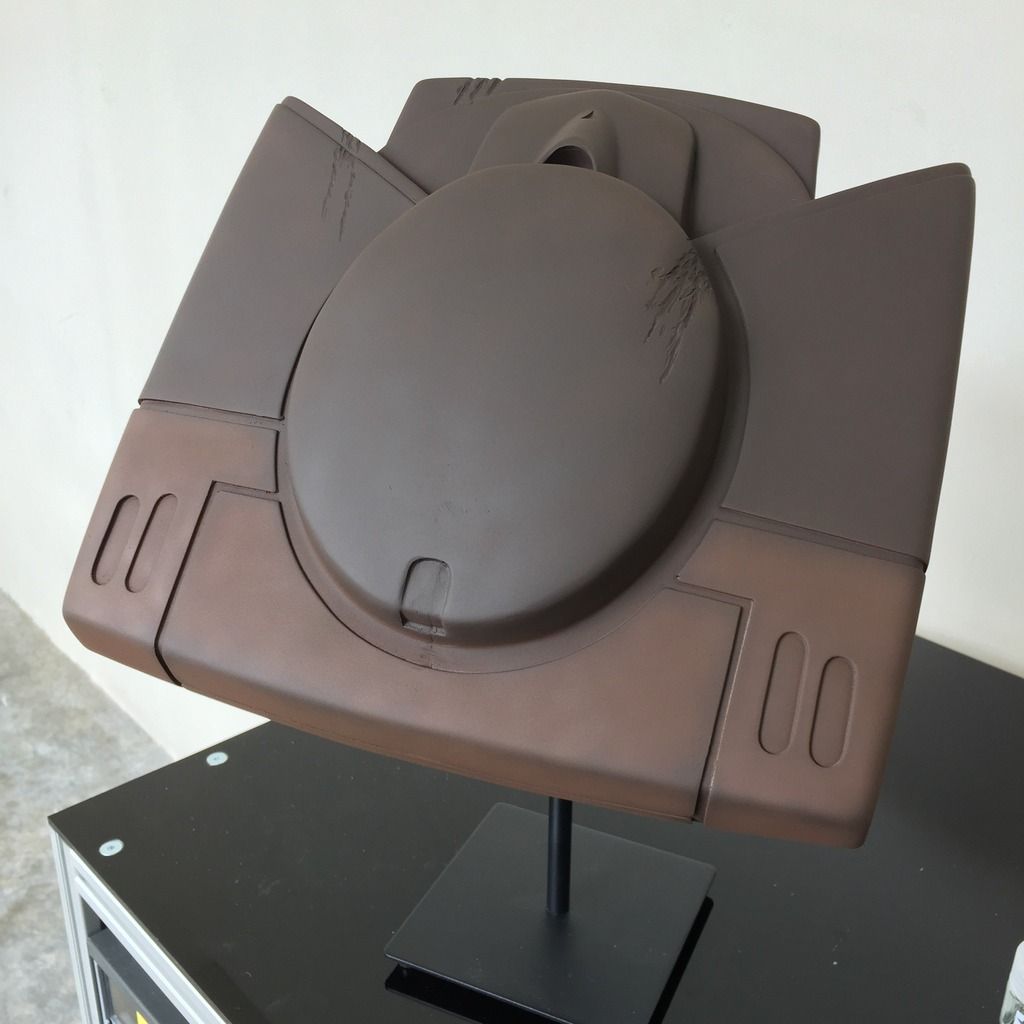
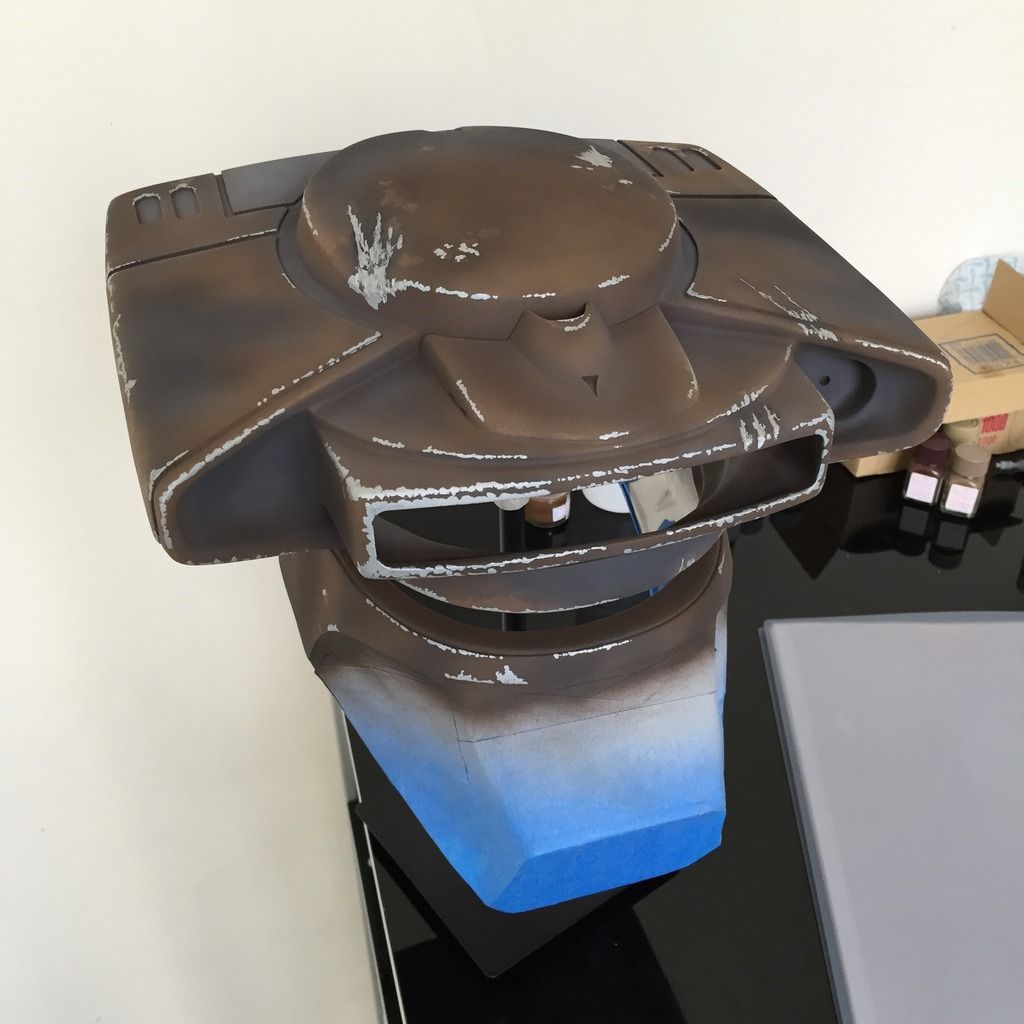
The next toning layer was Red Brown, now bringing the colour back up, but also showing hints of the lighter tone underneath:
The paint chips were hand painted using Red Brown with 40% white added:
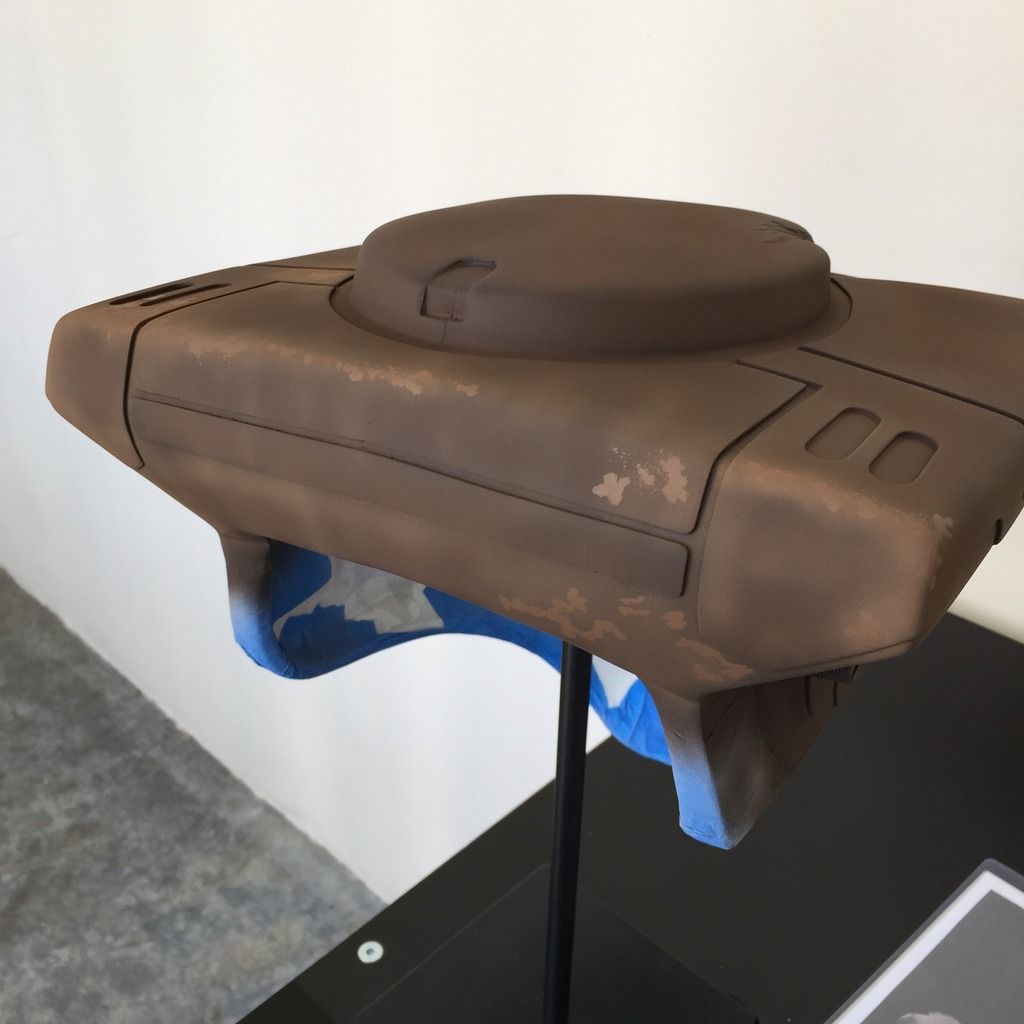
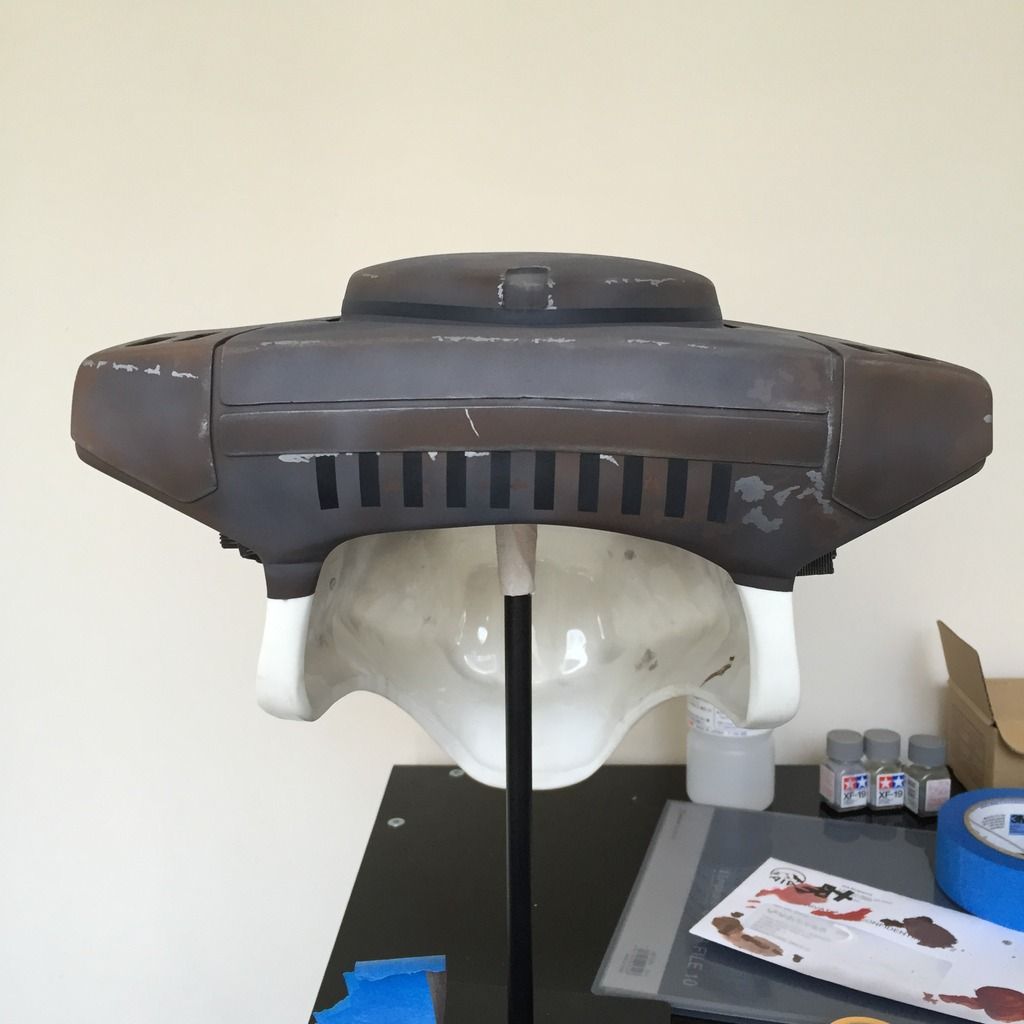
Next, Sky Grey was used to mist the back portion of the helmet:
After Sky Grey, I used German Grey to further tone the dark areas:
Then Black was used directly to mist certain areas of the helmet to give it a little of that burnt / charred effect:
When that was completed, it was time to hand paint the silver paint chips and scratches. I used Flat Aluminium for this:
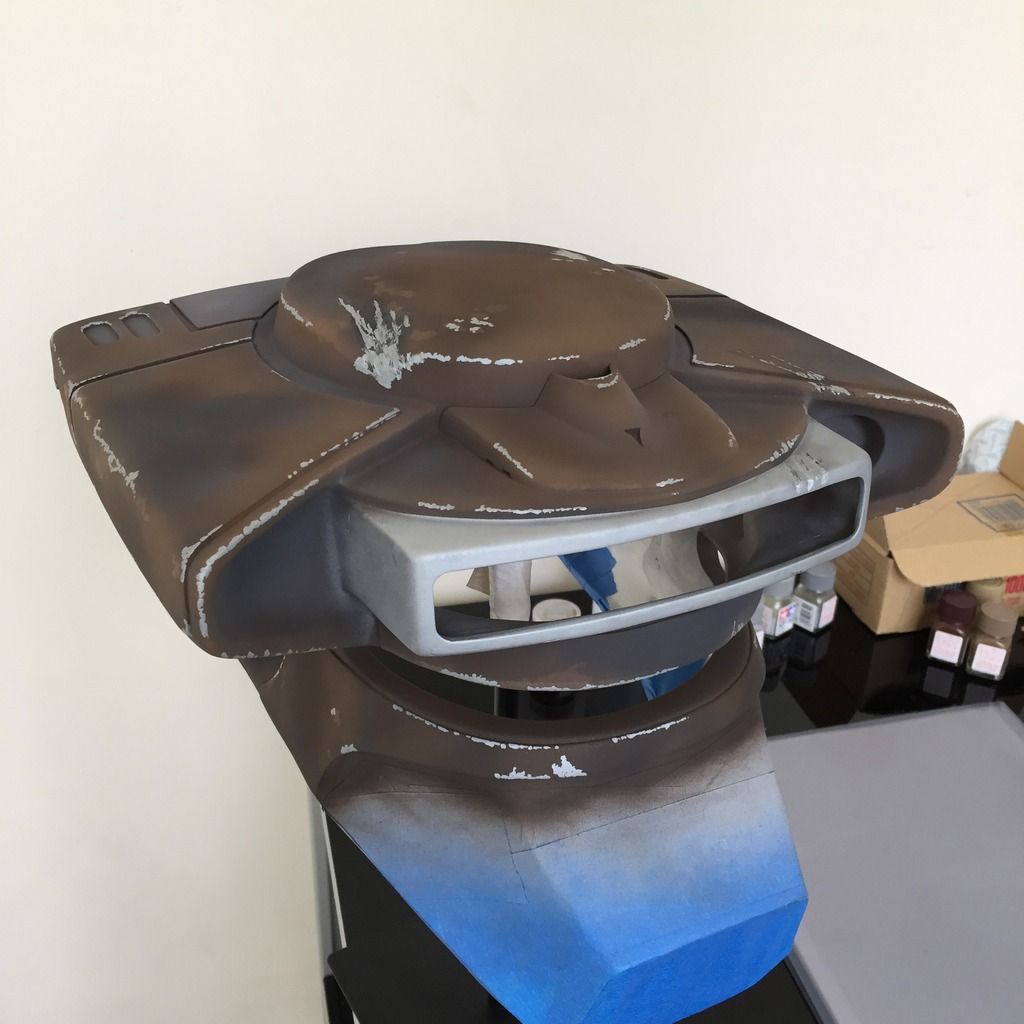
The top rim was also sprayed with Flat Aluminium:
The ears were also sprayed with Black, and dry-brushed with Flat Aluminium:
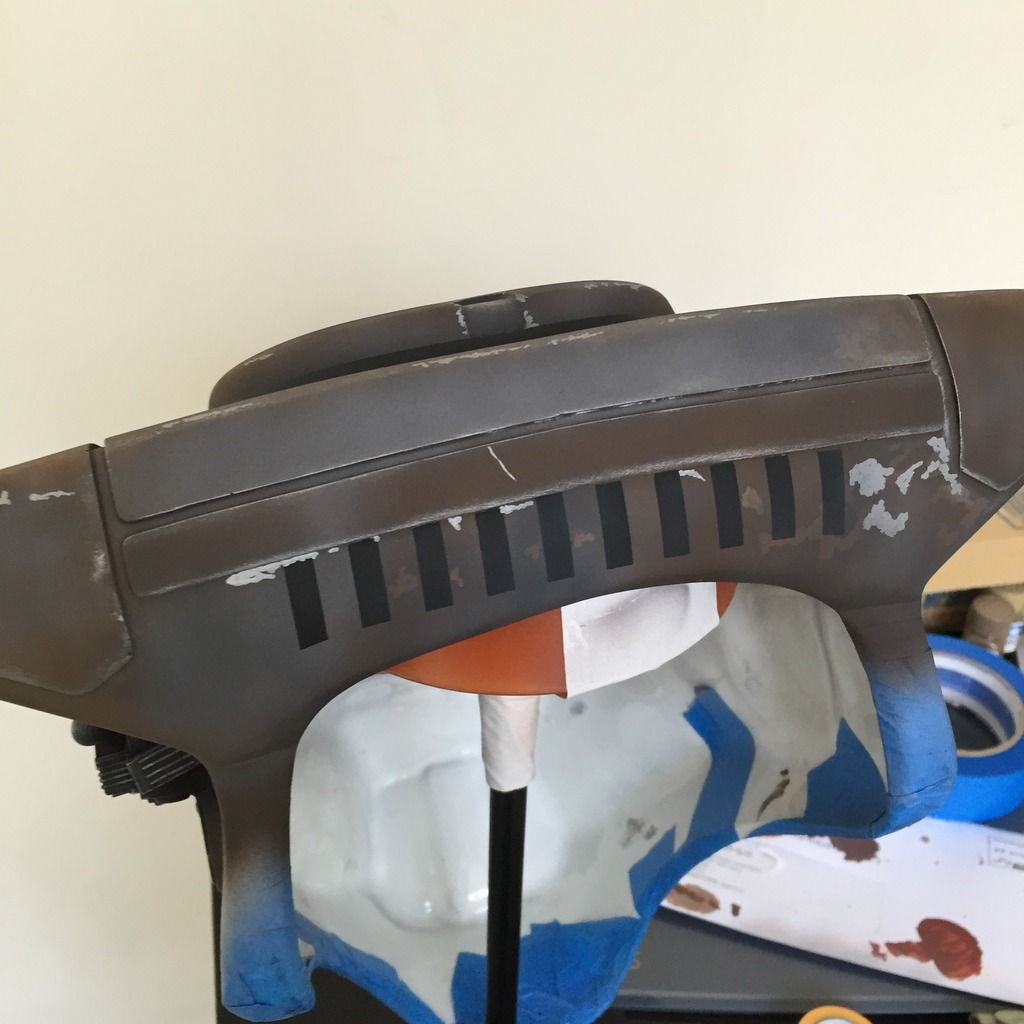
Now the whole helmet was dry-brushed with Flat Aluminium, and then misted with German Grey to dull down the bright silver colours. The 2 black vinyl strips were also added:
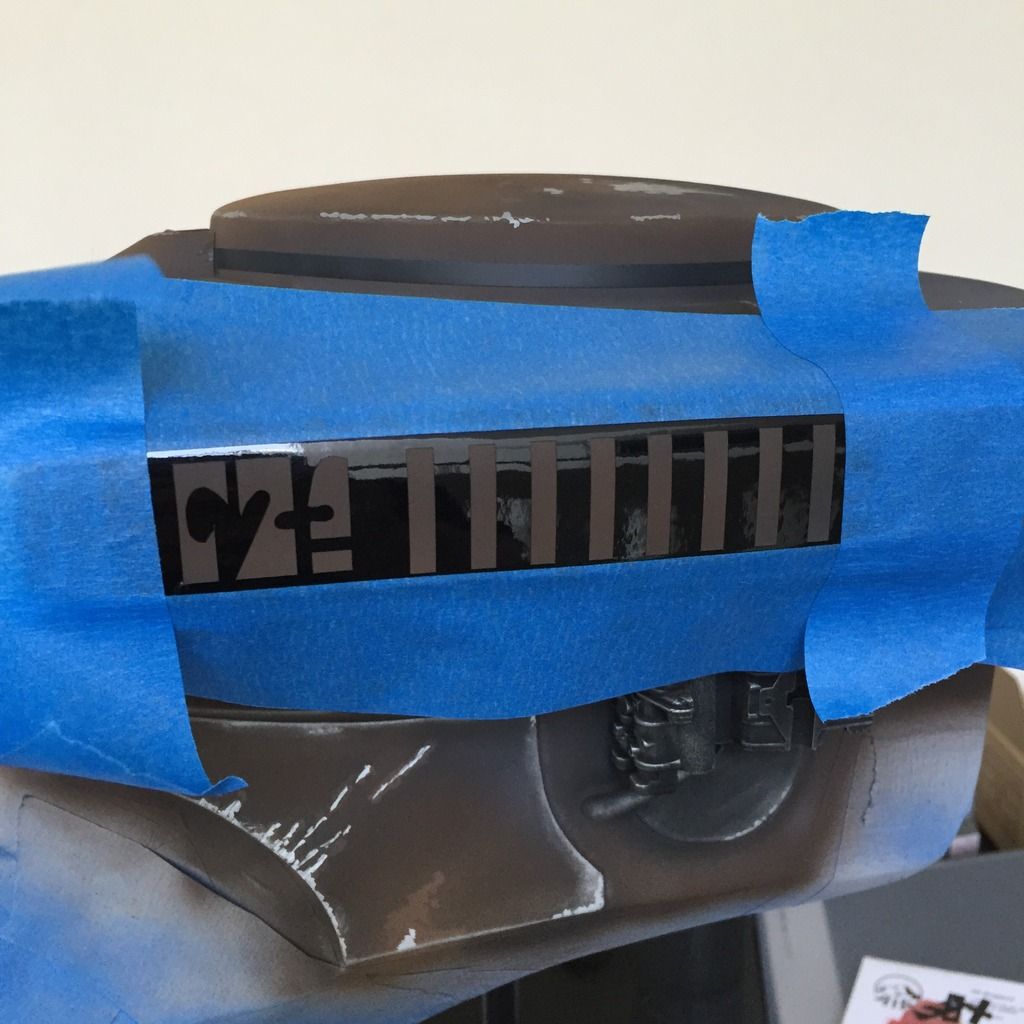
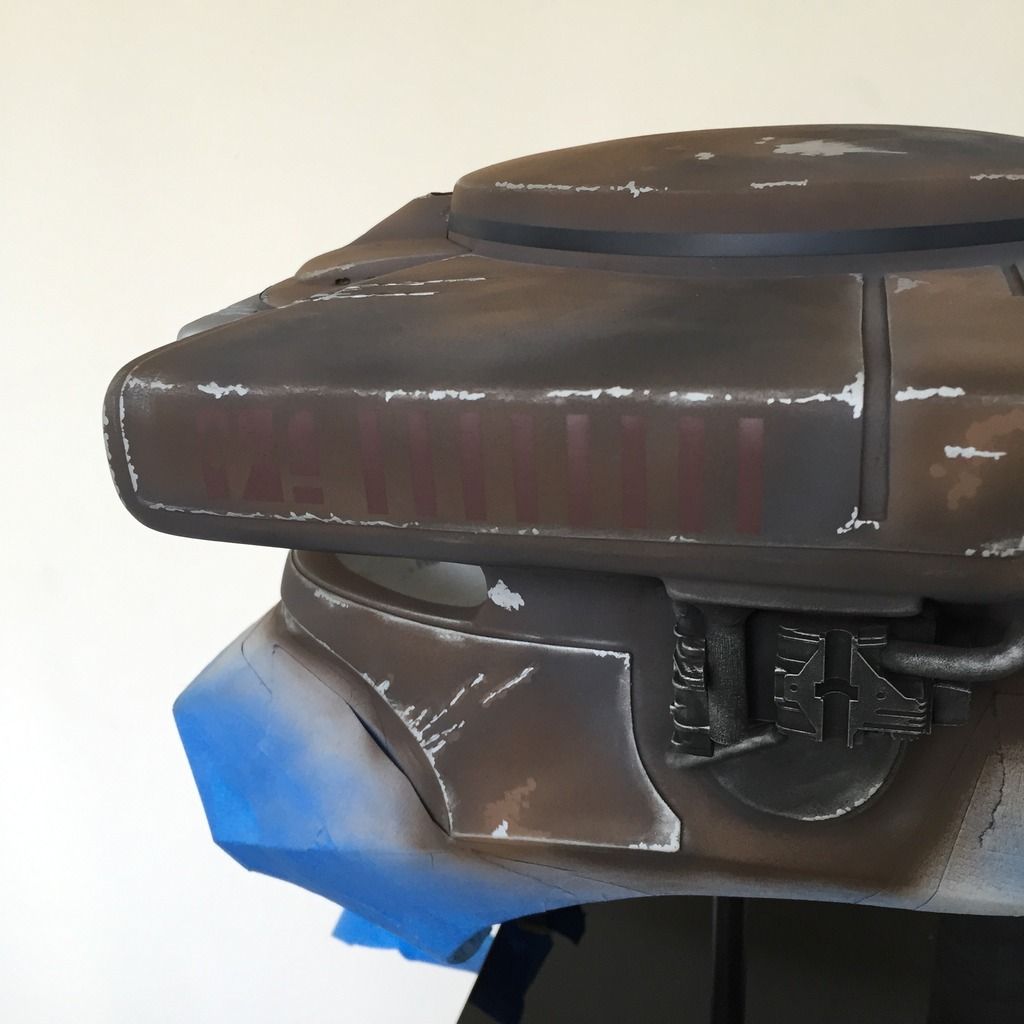
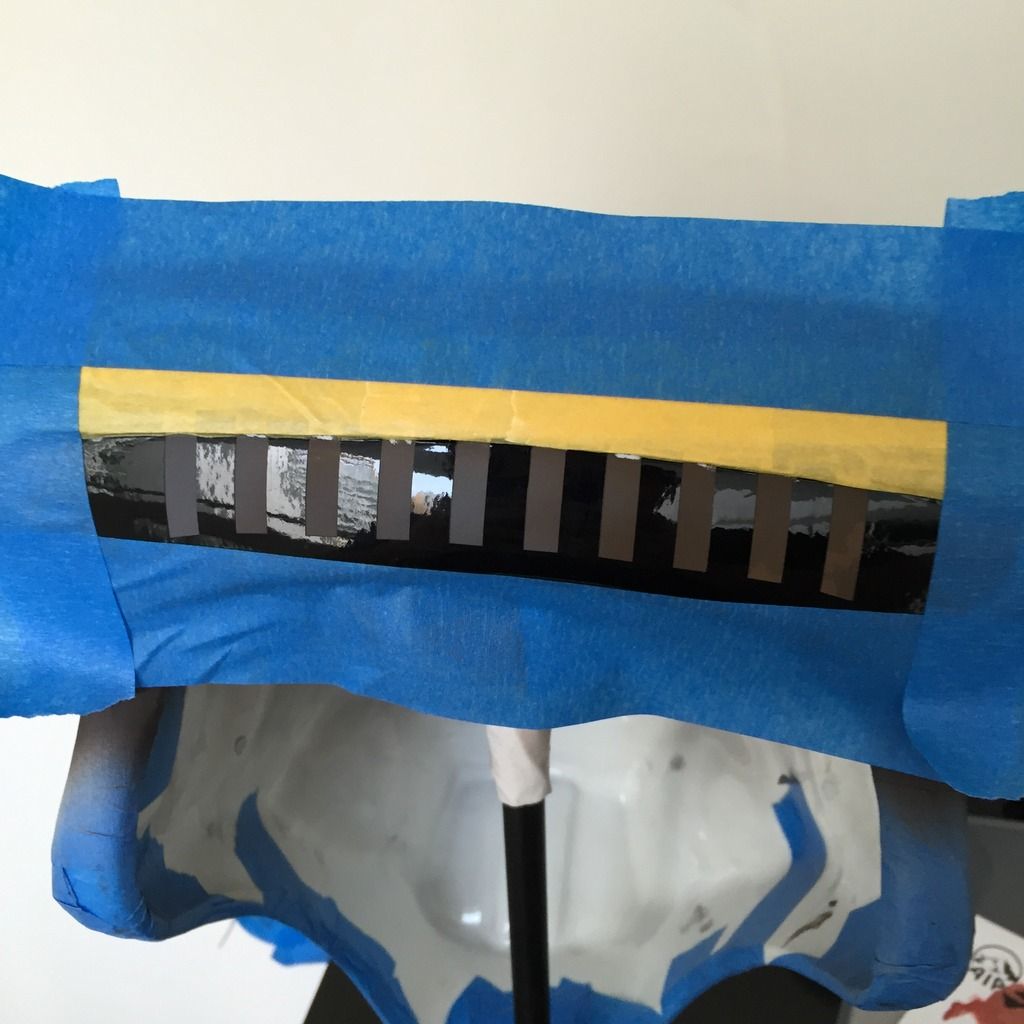
Using my Silhouette Cameo, the stencil mask for the right of the helmet was cut and positioned for spraying with Hull Red:
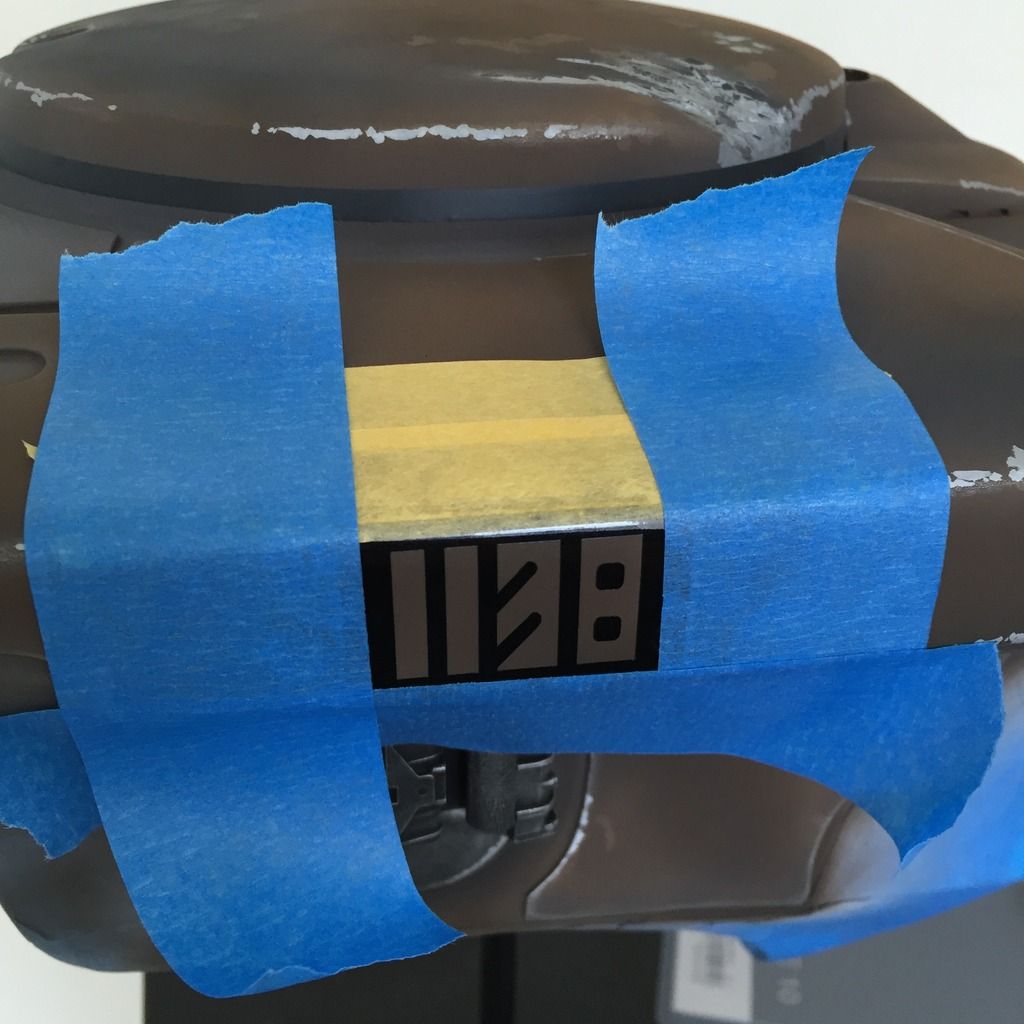
I chose this very dull colour intentionally to have a worn and faded effect:
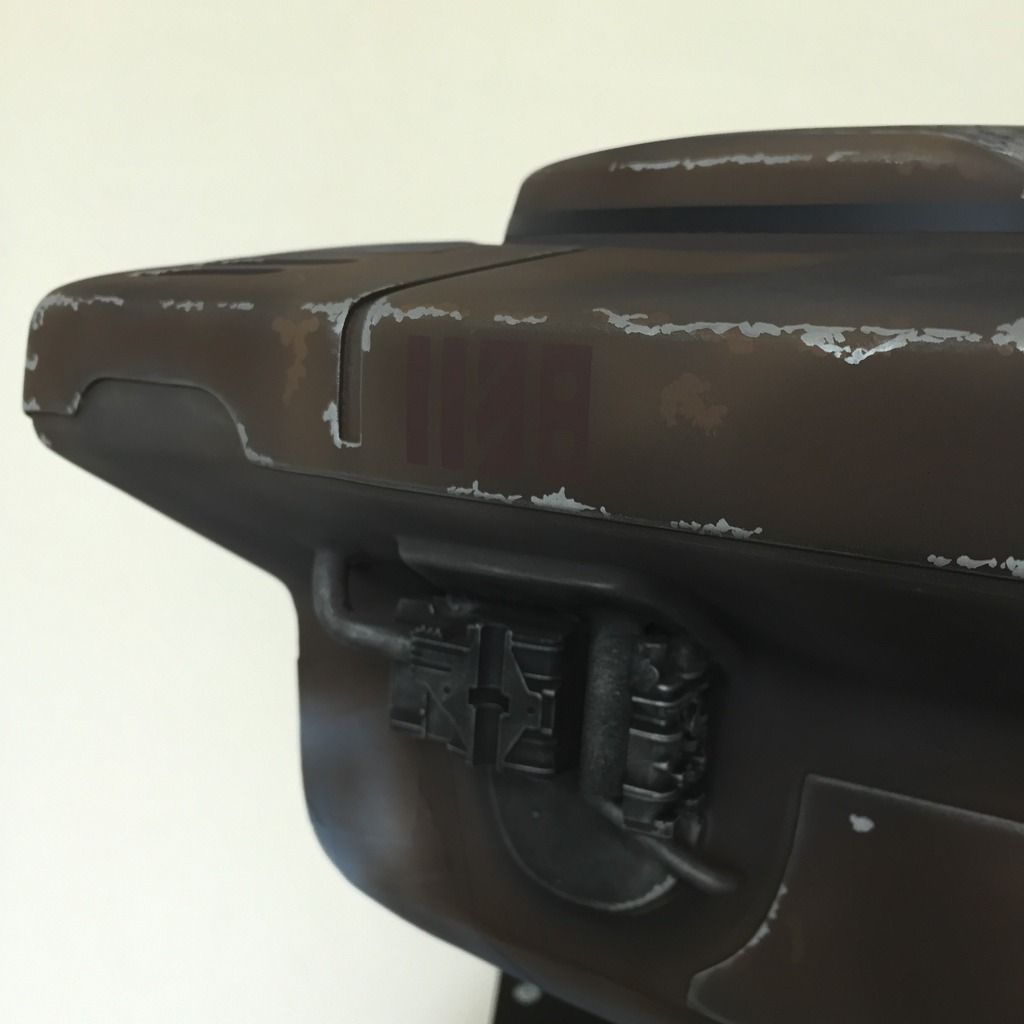
The left side done too:
The back was a little more tricky as the line is not straight:
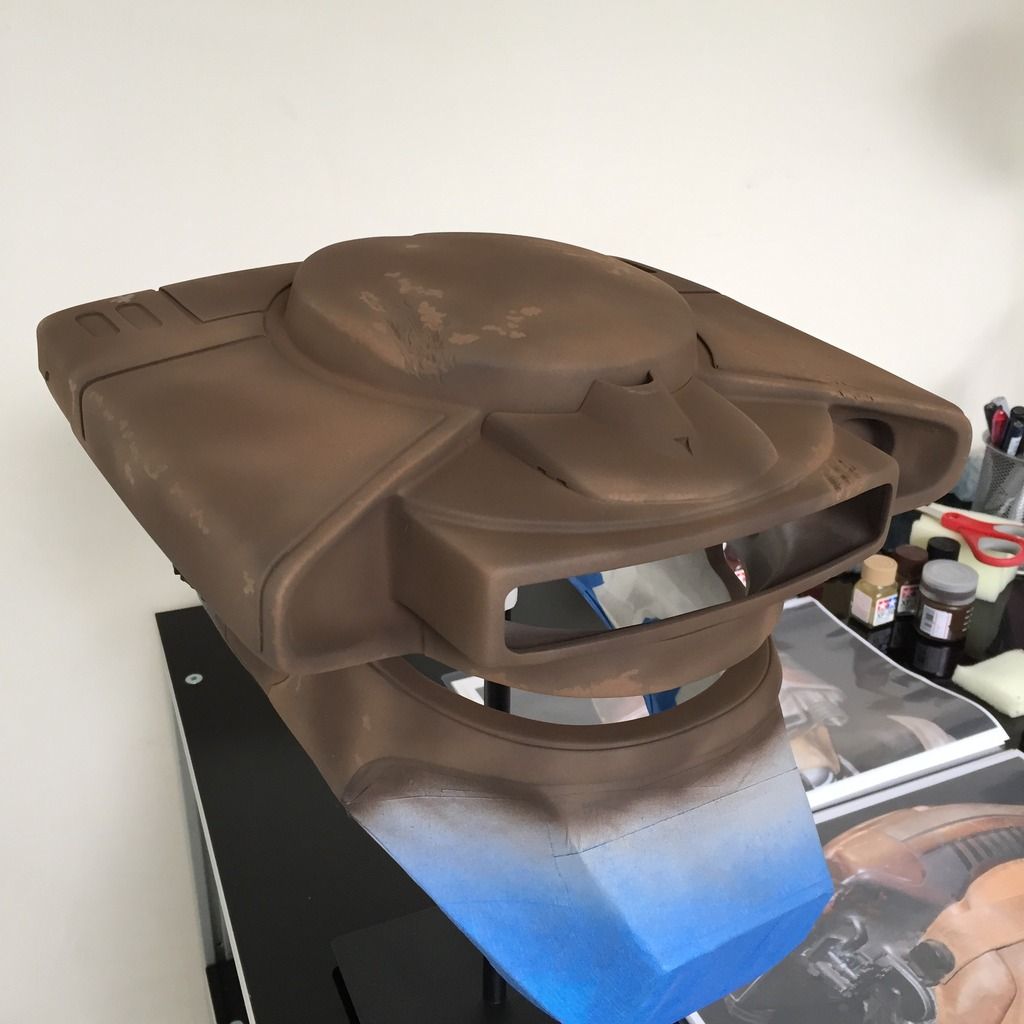
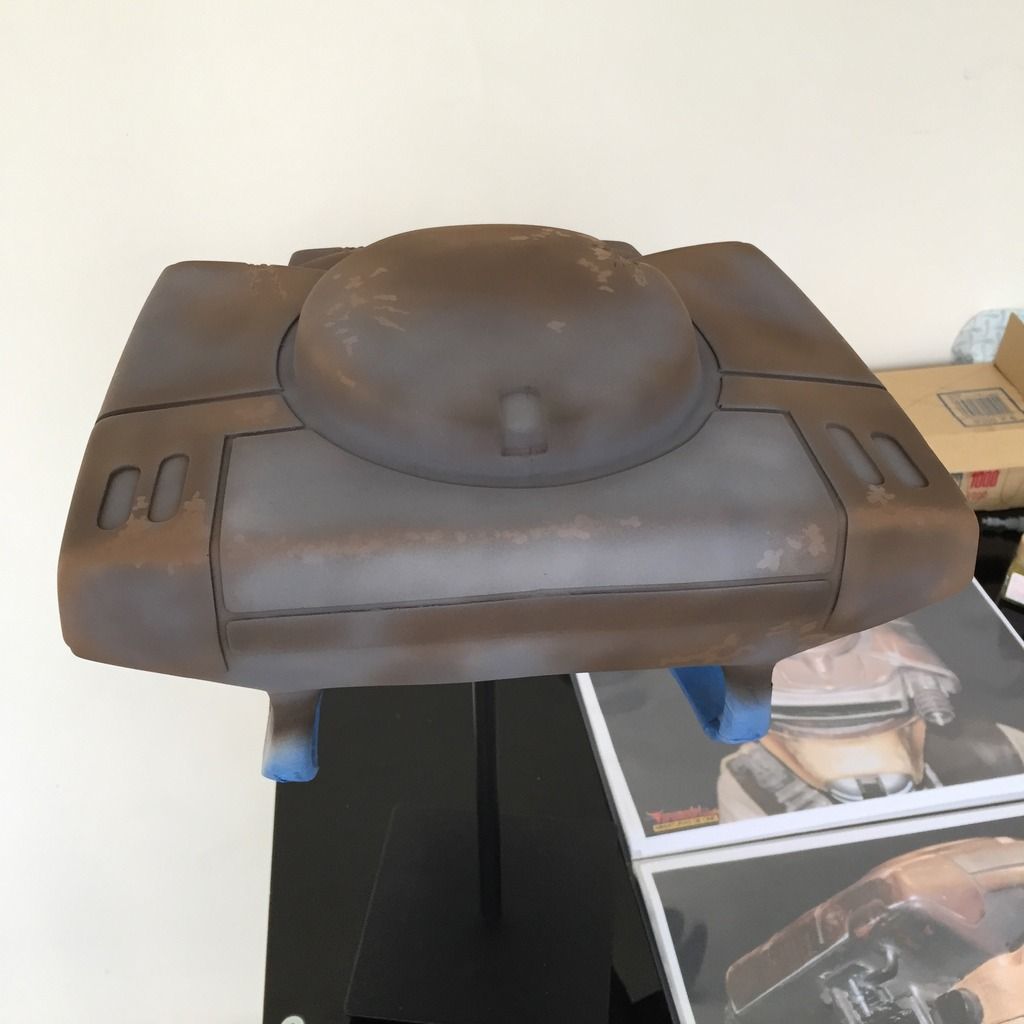
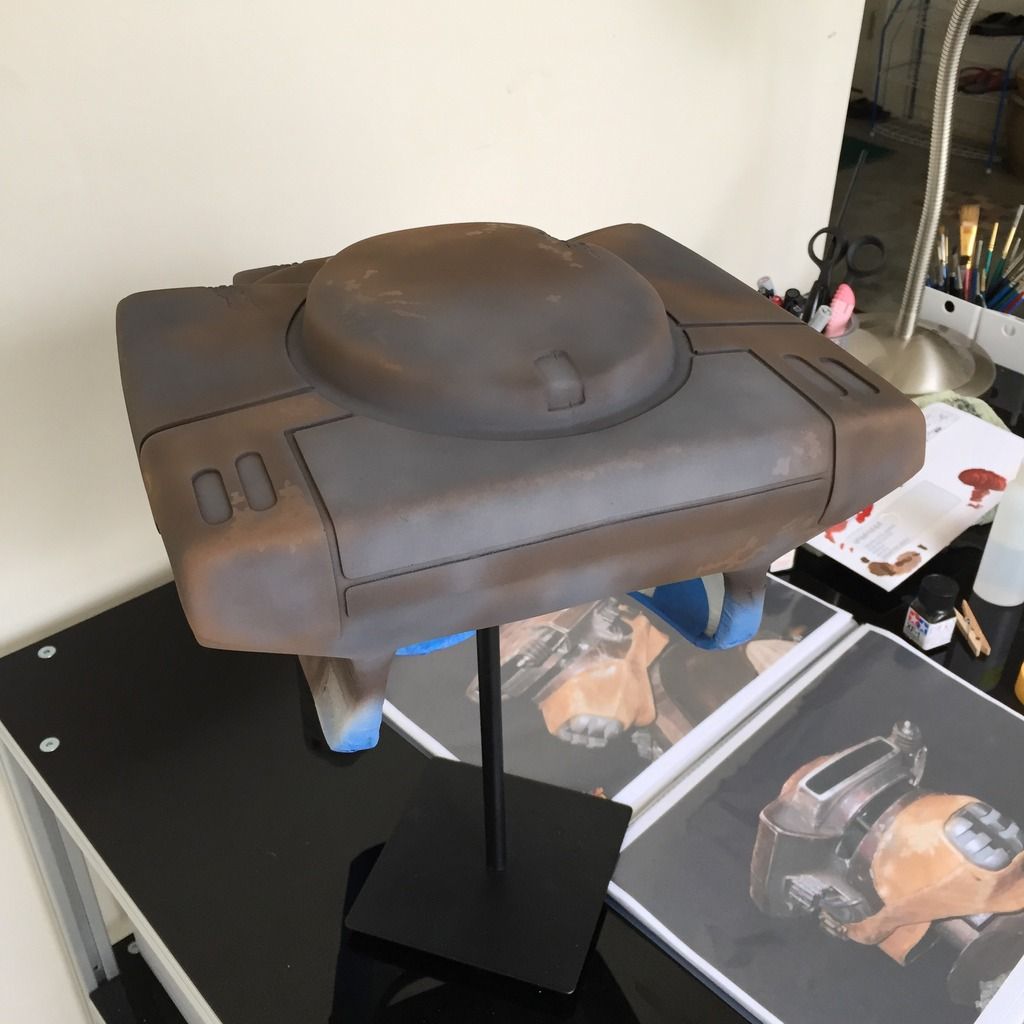
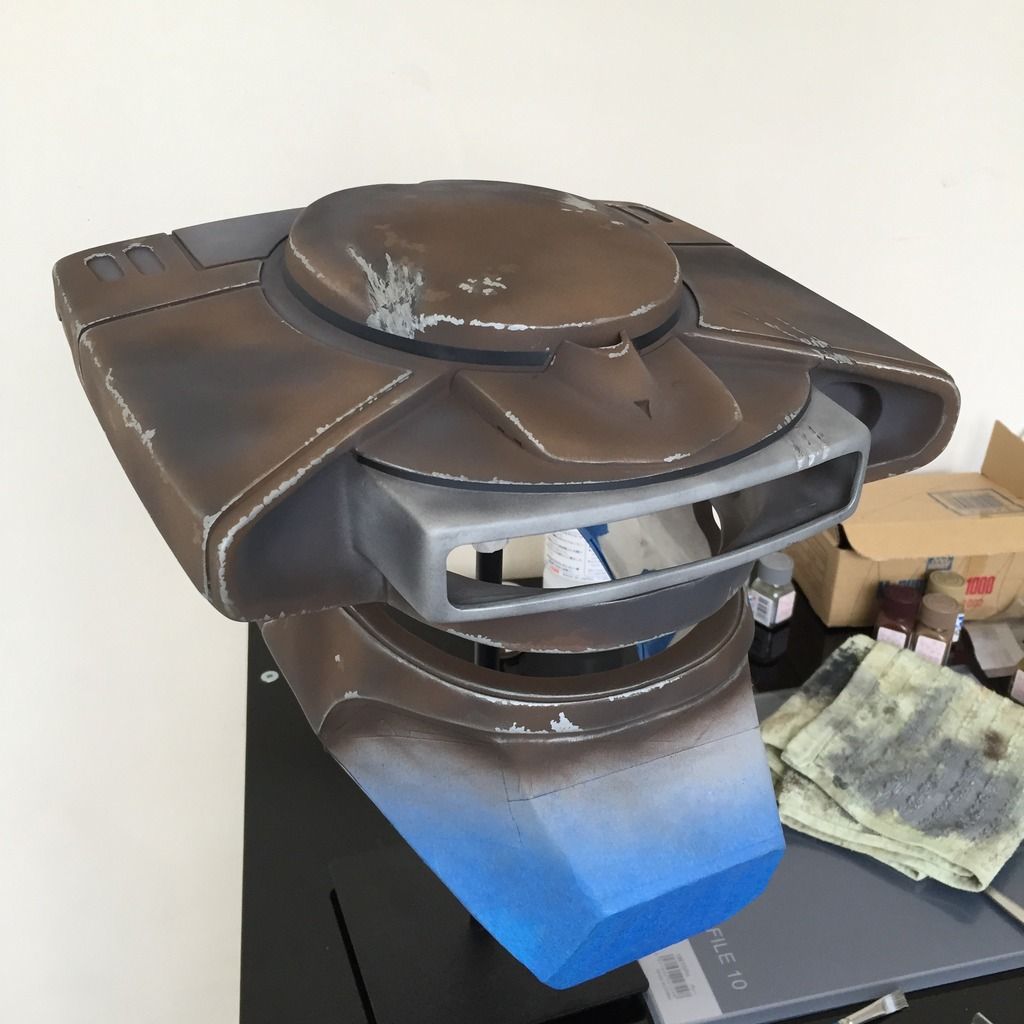
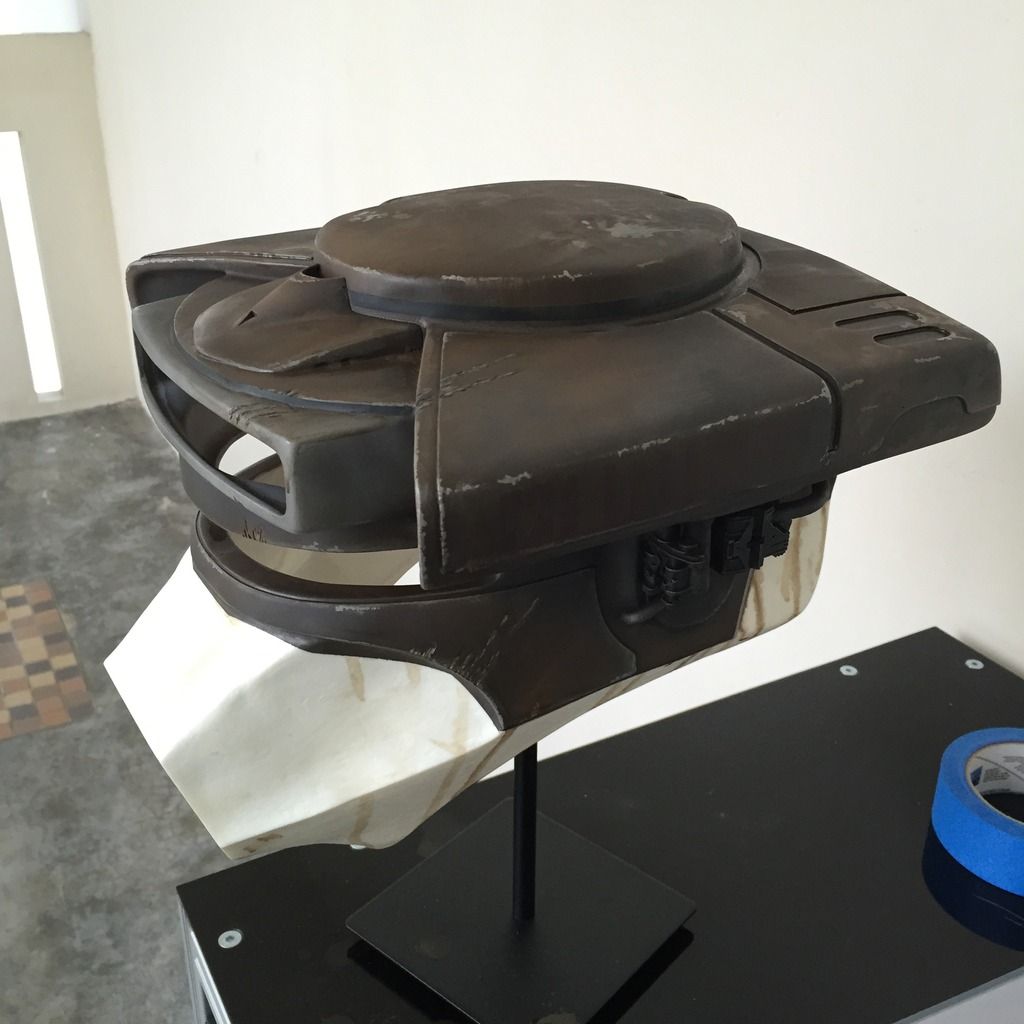
I am pretty satisfied with the progress today. Here are the photos so far, after they were sealed with a matt Clear Coat:
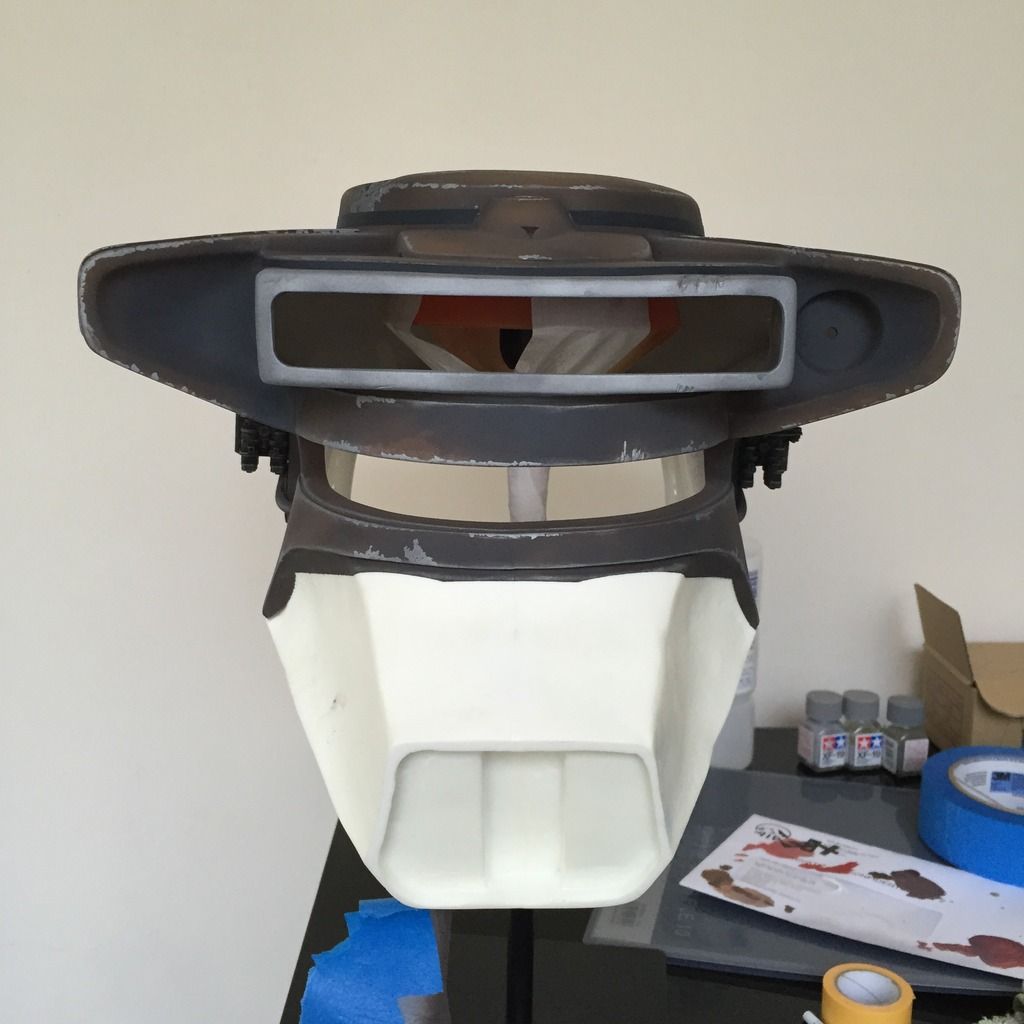
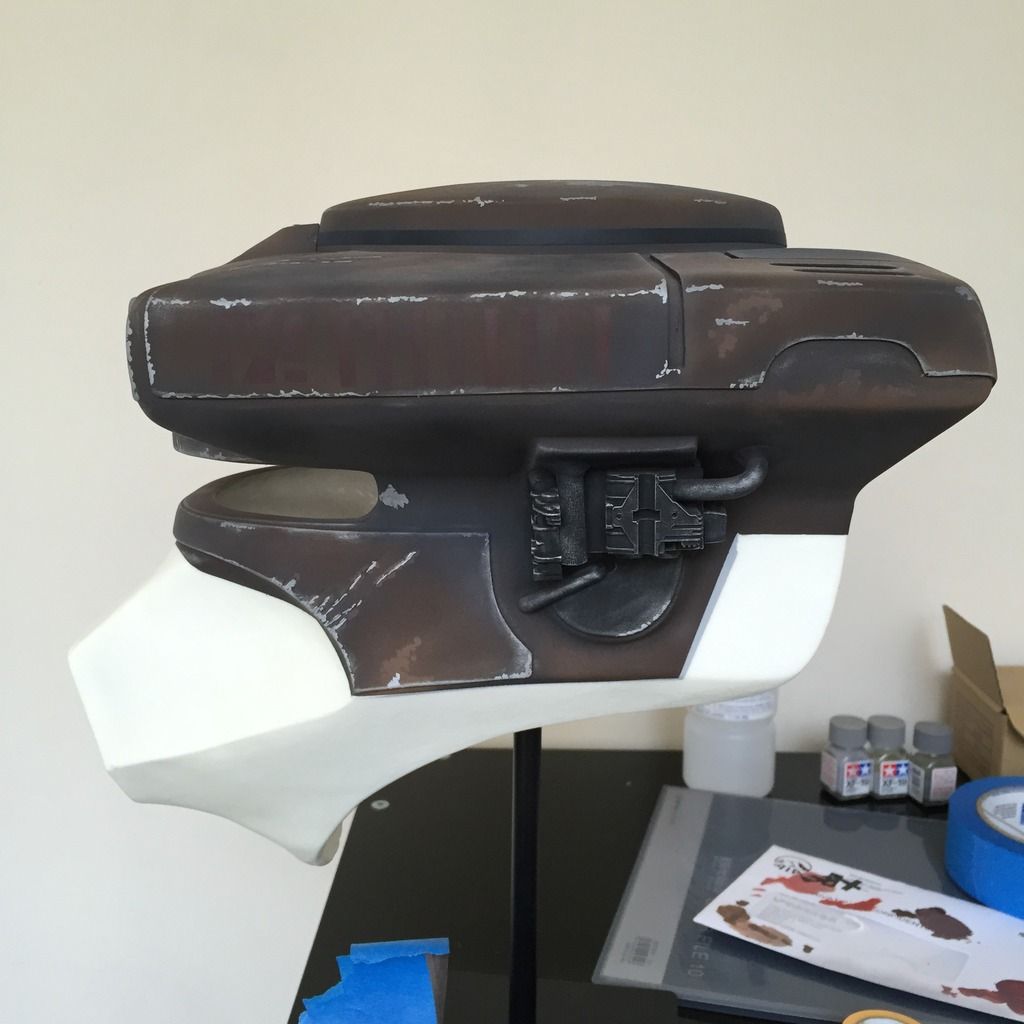
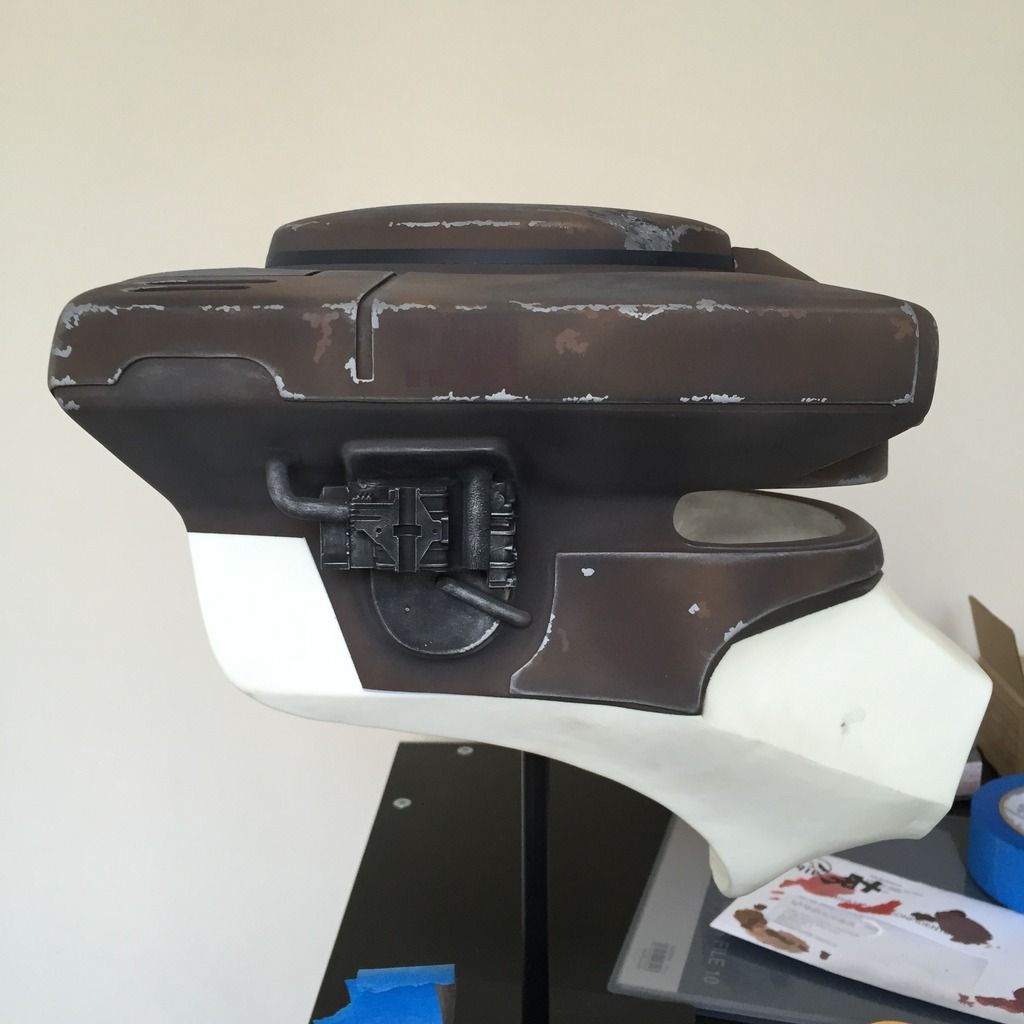
The next step will be to apply washes to give it even more depth, and more dry-brushing and toning before I call it complete for this part of the helmet.
I started painting today, and got quite good progress. I used Tamiya Enamel paints, and don't really have a sequence of painting, using both topical and layering, as well as toning and misting, dry brushing and oil washes.
For this helmet, I'm not trying to get every scratch replicated, but more the feel of the original bounty hunter: weathered, unkept, and functional.
So on with the painting. After a final primer and sanding down and primer again, I applied the base coat of Flat Brown with about 40% black. I like a very dark base to give me the depth later:
After the base was applied, I toned it with Flat brown (without Black) to give it some depth. It will turn out much lighter at this stage, but I know I will be toning it with various darker layers later. This is a shot of the toning in progress, showing the top half with the base coat and the lower half toned:
This is after the first toning. As I said, it is light, but I wanted to make sure there was the greatest contrast between this and the base coat:
The next toning layer was Red Brown, now bringing the colour back up, but also showing hints of the lighter tone underneath:
The paint chips were hand painted using Red Brown with 40% white added:
Next, Sky Grey was used to mist the back portion of the helmet:
After Sky Grey, I used German Grey to further tone the dark areas:
Then Black was used directly to mist certain areas of the helmet to give it a little of that burnt / charred effect:
When that was completed, it was time to hand paint the silver paint chips and scratches. I used Flat Aluminium for this:
The top rim was also sprayed with Flat Aluminium:
The ears were also sprayed with Black, and dry-brushed with Flat Aluminium:
Now the whole helmet was dry-brushed with Flat Aluminium, and then misted with German Grey to dull down the bright silver colours. The 2 black vinyl strips were also added:
Using my Silhouette Cameo, the stencil mask for the right of the helmet was cut and positioned for spraying with Hull Red:
I chose this very dull colour intentionally to have a worn and faded effect:
The left side done too:
The back was a little more tricky as the line is not straight:
I am pretty satisfied with the progress today. Here are the photos so far, after they were sealed with a matt Clear Coat:
The next step will be to apply washes to give it even more depth, and more dry-brushing and toning before I call it complete for this part of the helmet.
Last edited:
Mean Obiwan
Well-Known Member
Damn that's a sick paint job! Really killer build, and doing great justice to the original prop.
Damn that's a sick paint job! Really killer build, and doing great justice to the original prop.
Thanks!
ywingfighter
Sr Member
Man, very fantastic job! :thumbsup
Last edited:
Impressive! I always loved the look of Boushh, to see it all coming together is fantastic! Great work!
Man, very fanstaic job! :thumbsup
Thanks guys!
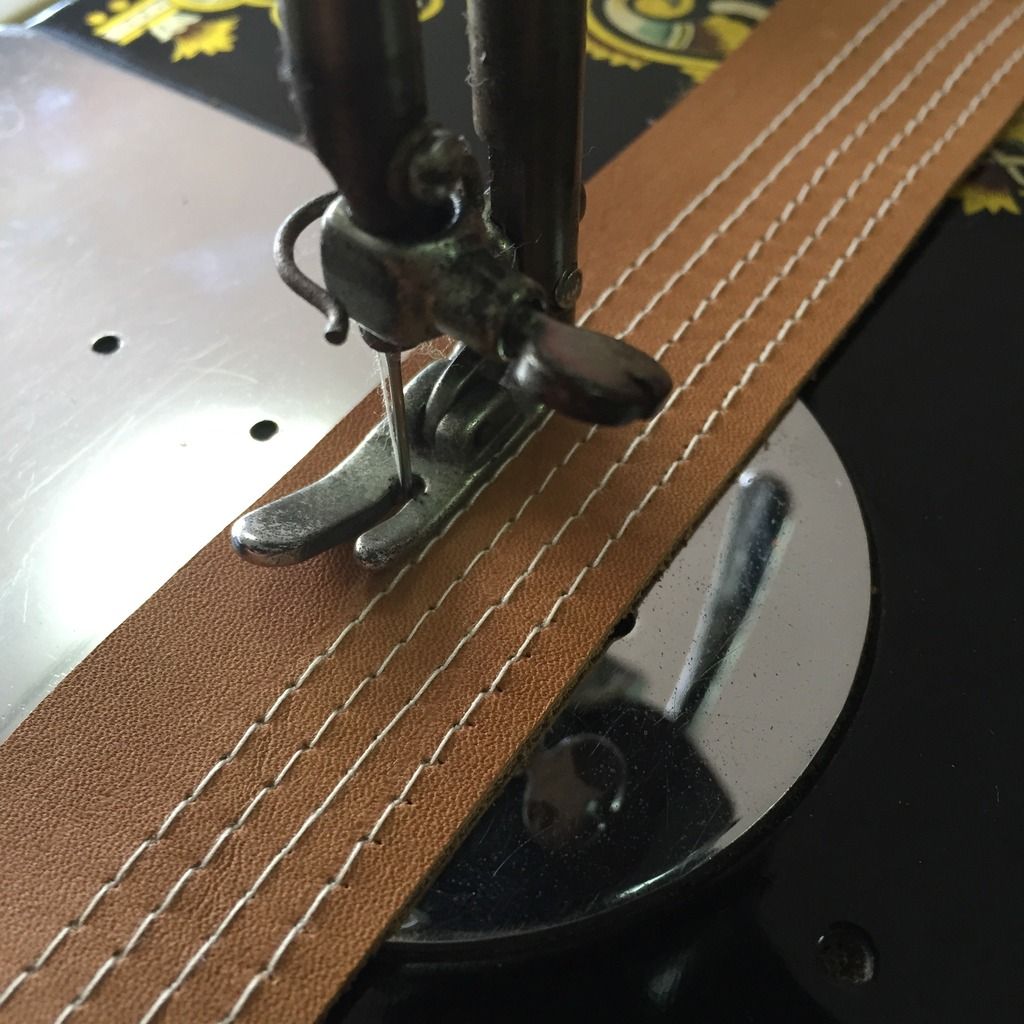
Tackled the leather parts this morning. The strap with 6 sew lines being done:
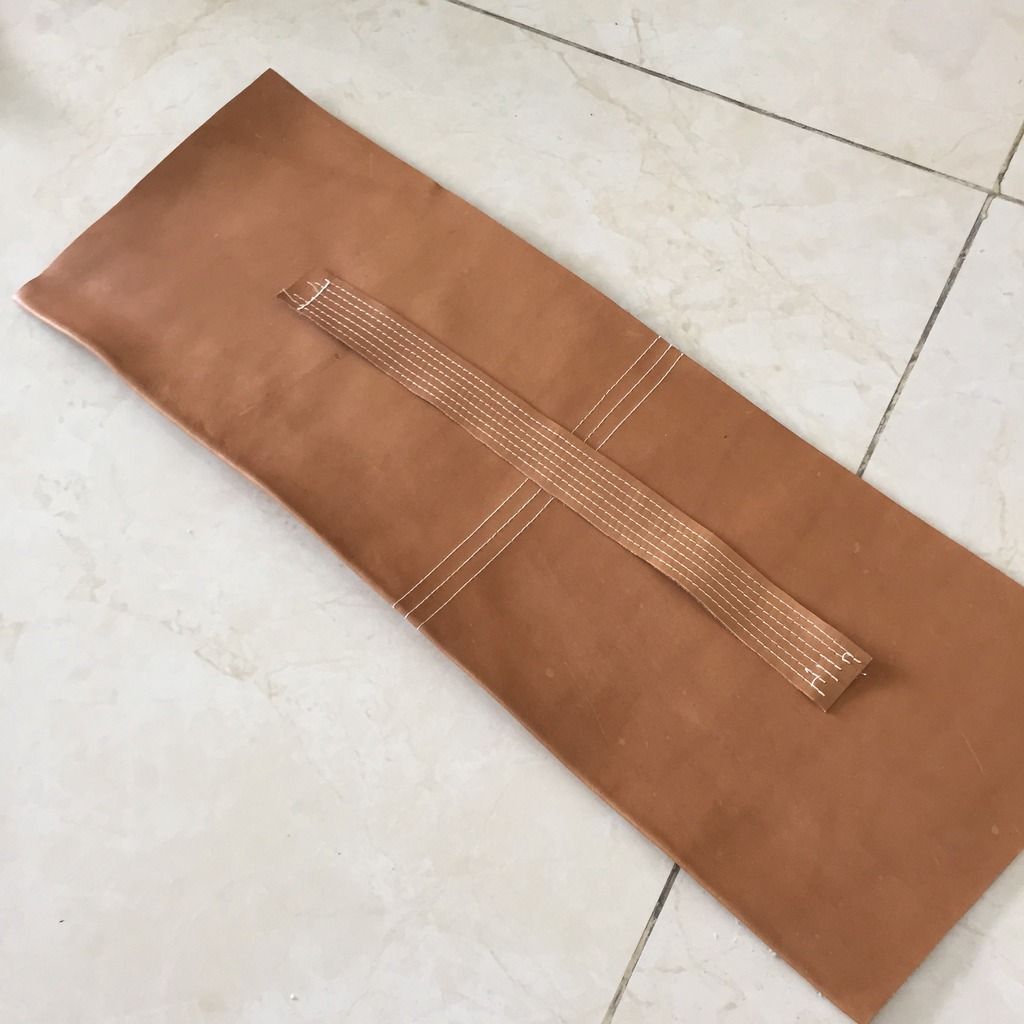
The back flap with the 3 sew lines:
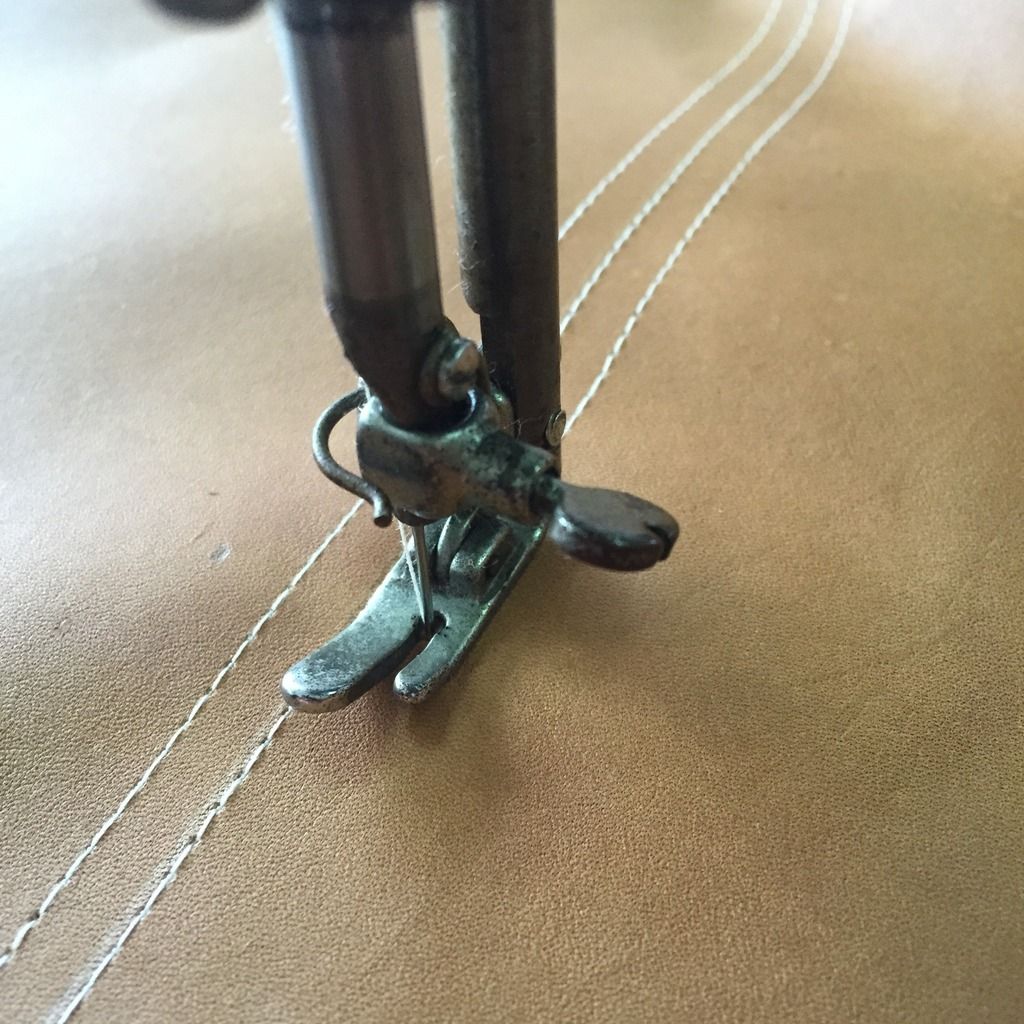
Completed! Note that the back flap was folded over and glued as the leather I have is thin (so that I can stretch it for the snout). The screen used is thick at the back.
The back flap with the 3 sew lines:
Completed! Note that the back flap was folded over and glued as the leather I have is thin (so that I can stretch it for the snout). The screen used is thick at the back.
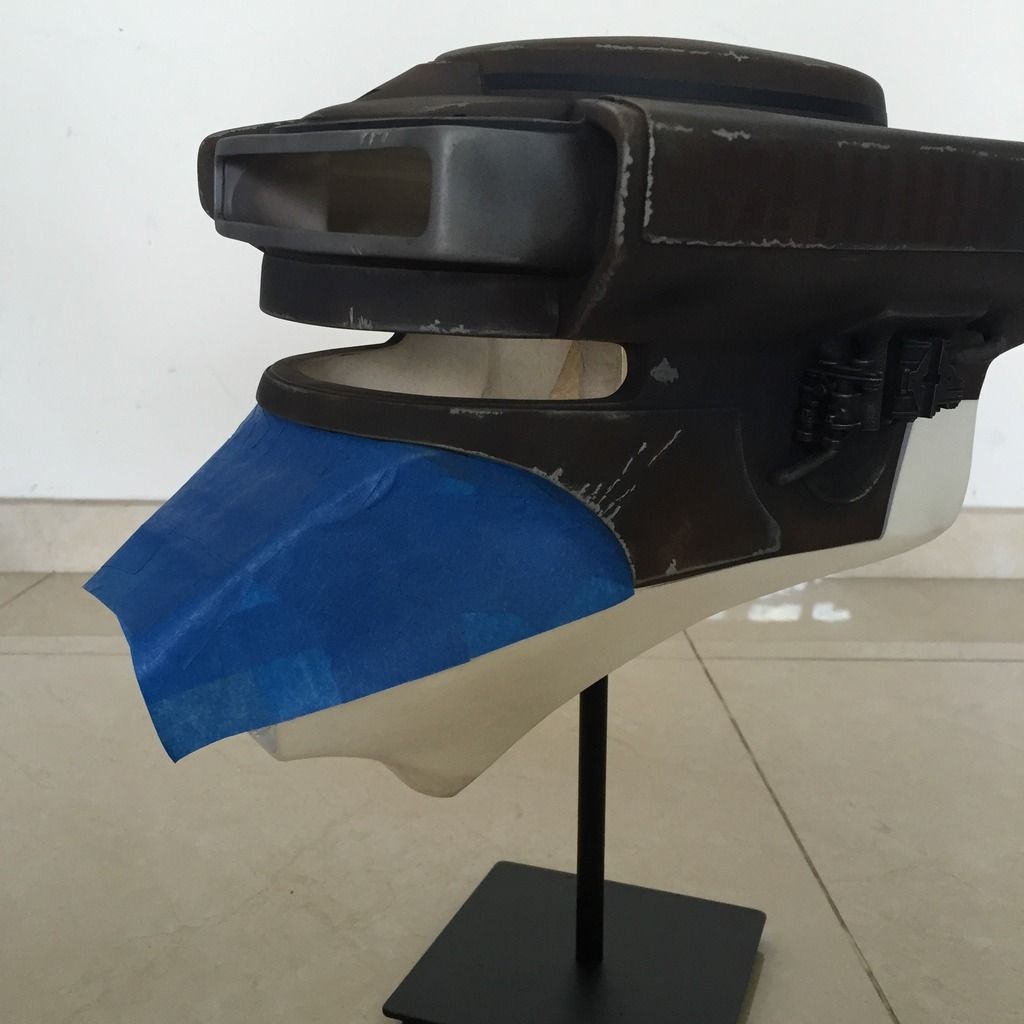
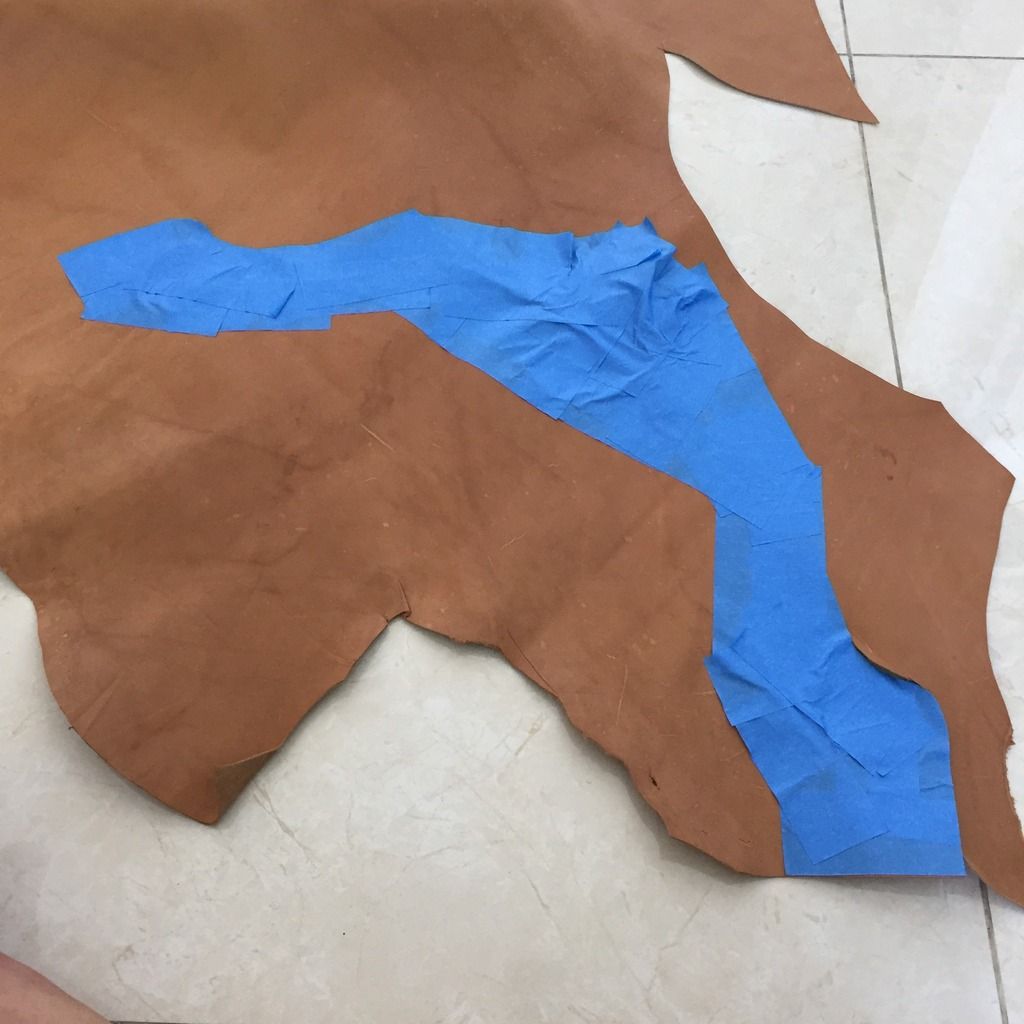
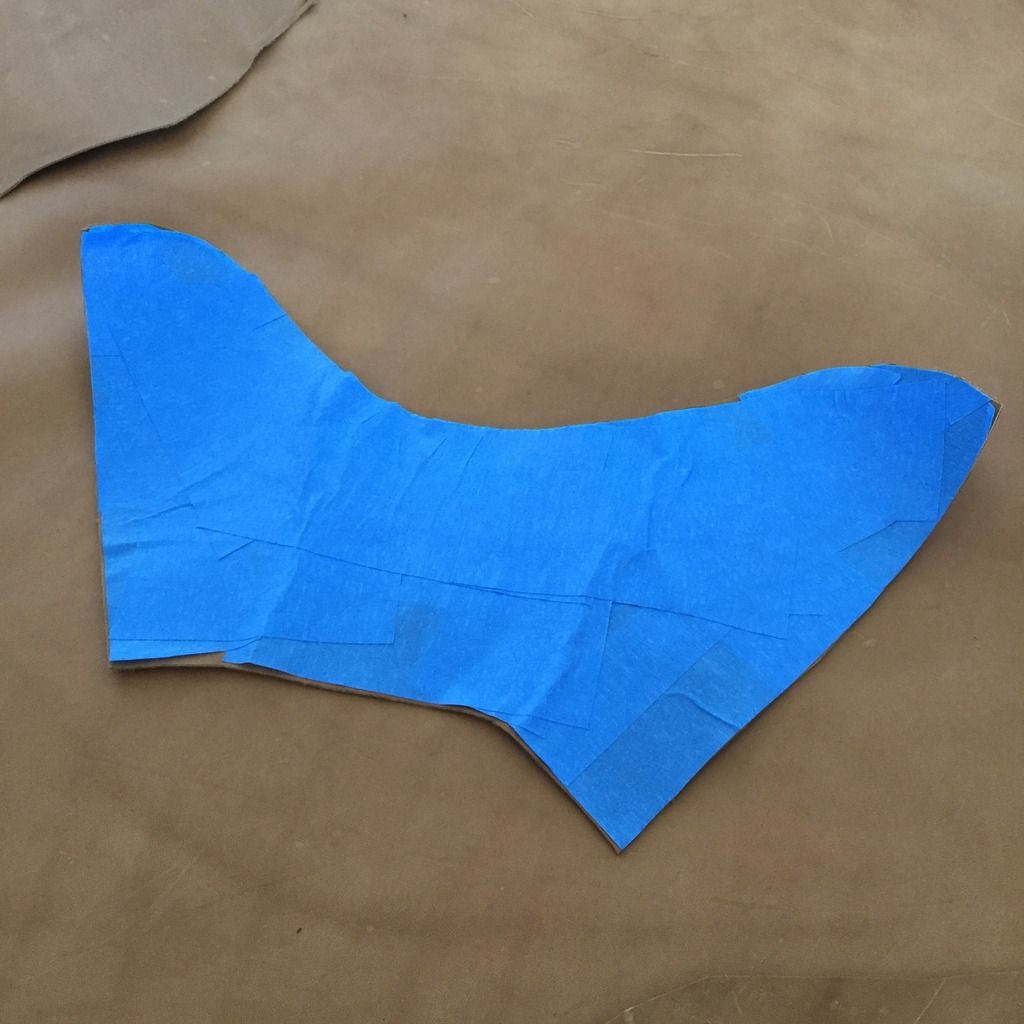
The templates of the leather parts on the snout and bottom extending to the back were next. I taped exactly the pieces using masking tape, and then transferred the templates over to the leather, which I cut. I found that this method gives me a near perfect cut as the leather could conform to the bends on the tape.
Bottom leather:

Top leather:
Templates transferred to the leather and cut:
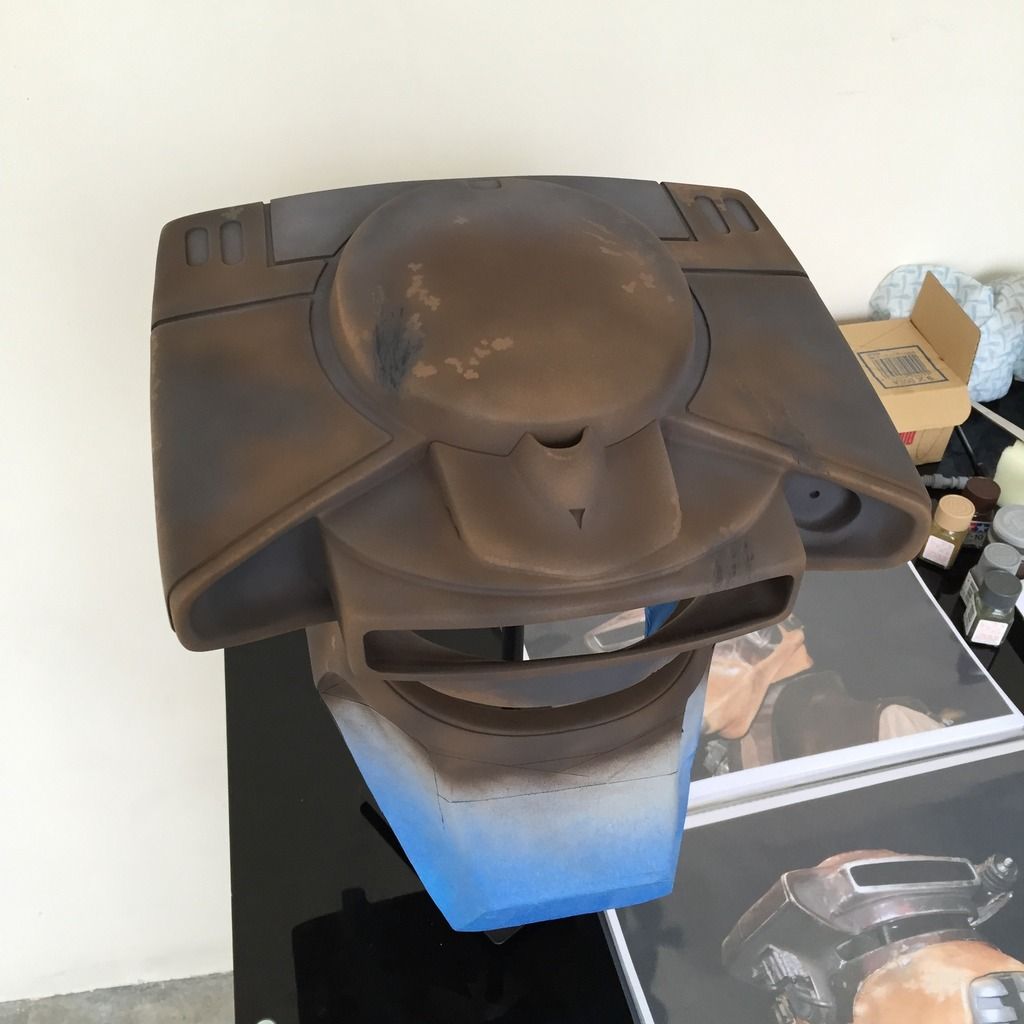
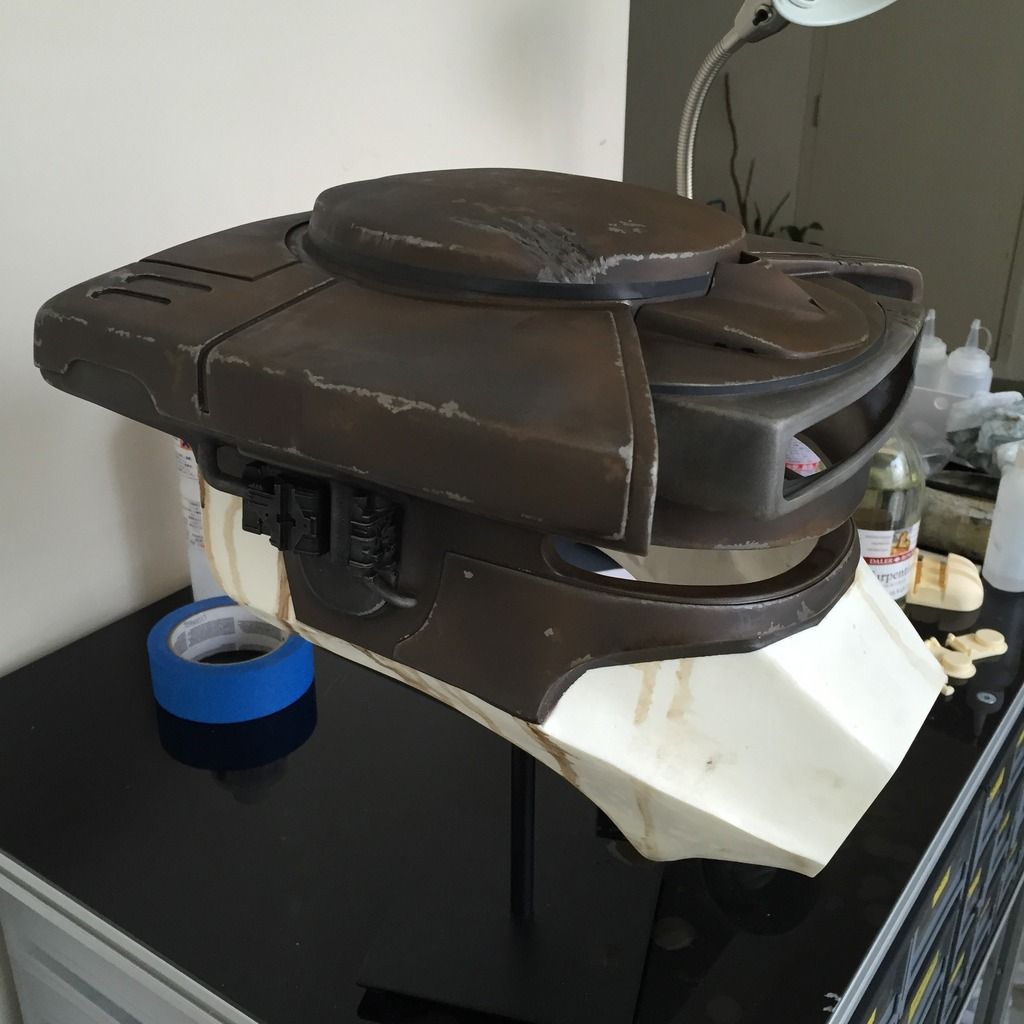
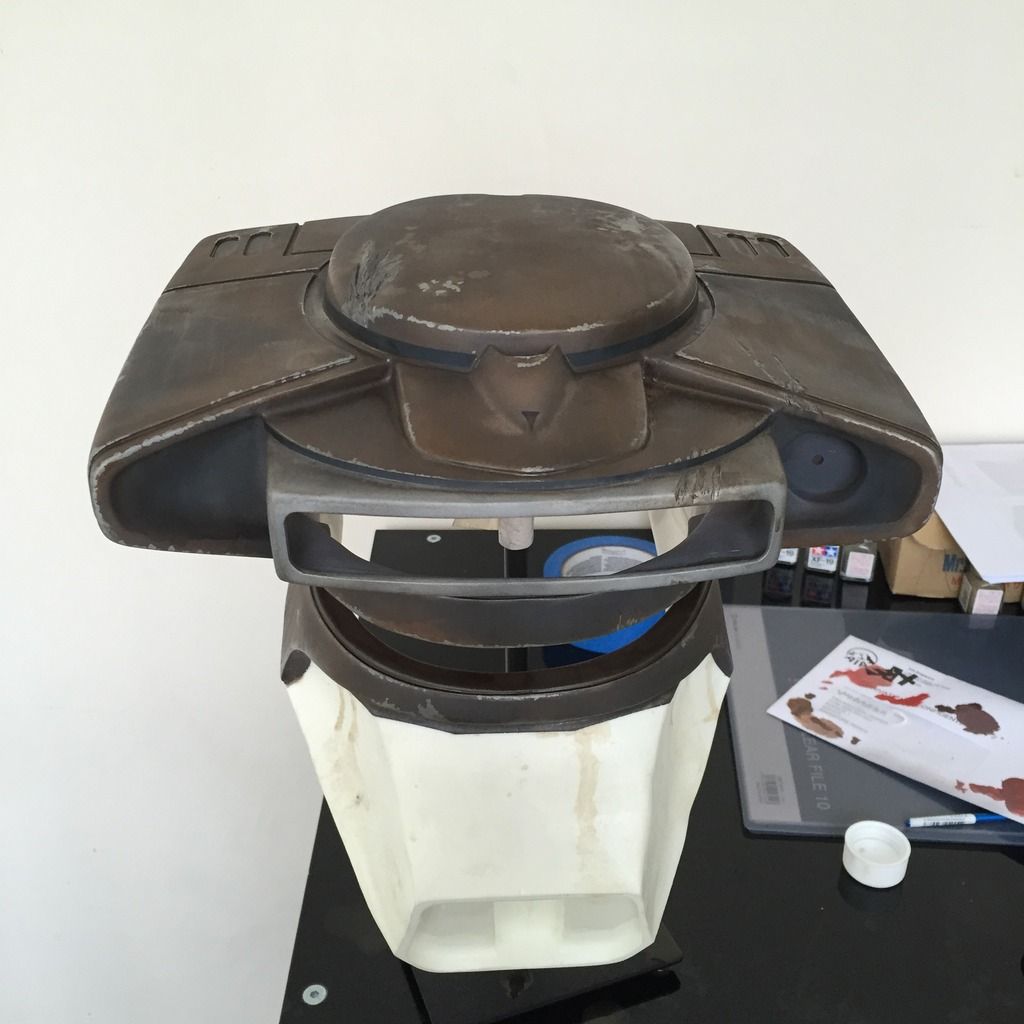
I won't be attaching the cut leather just yet, as the helmet would have to go through a very heavy wash of Raw Umber oils. This wash will bring everything together, and truly give it a weathered look.
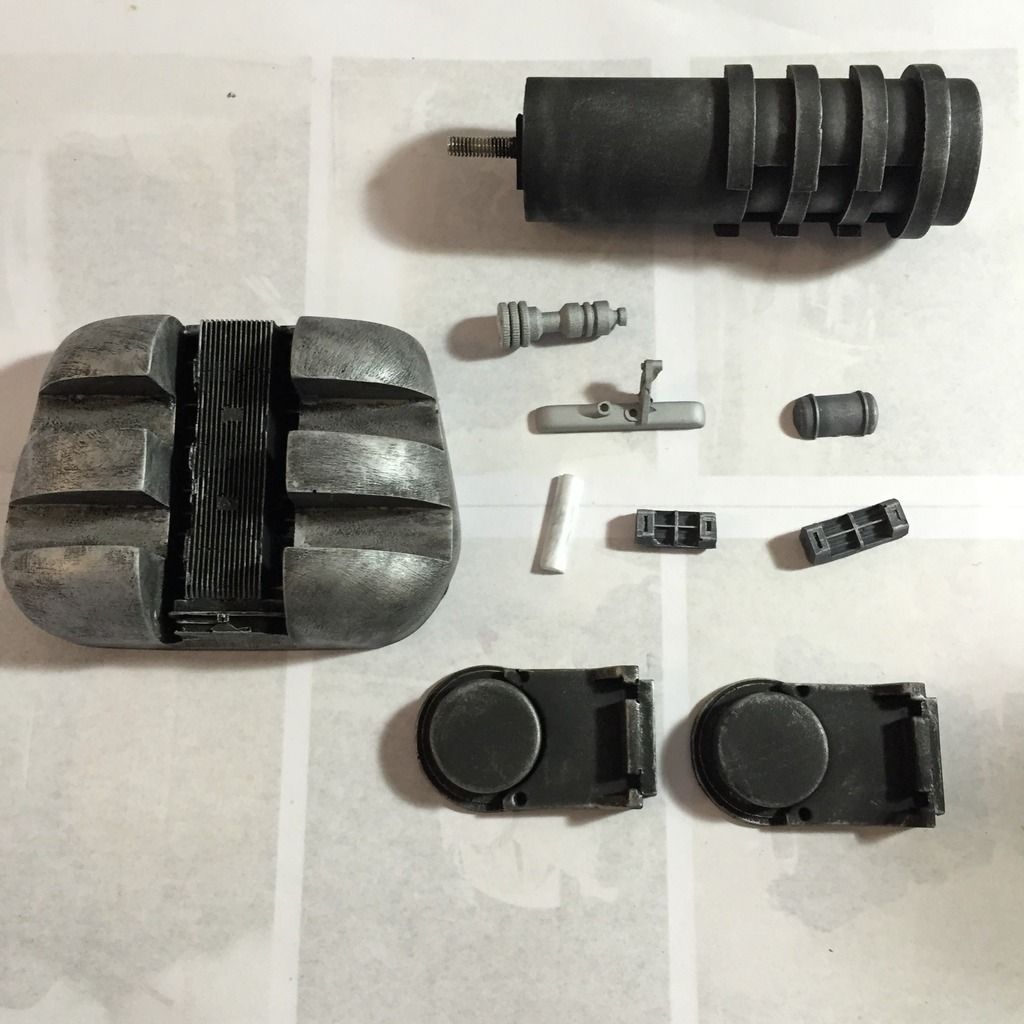
The next photo show the helmet immediately after the wash. I would have to let this dry thoroughly before I blend it down with some steel wool, toned further with pastels and maybe some dry-brushing.
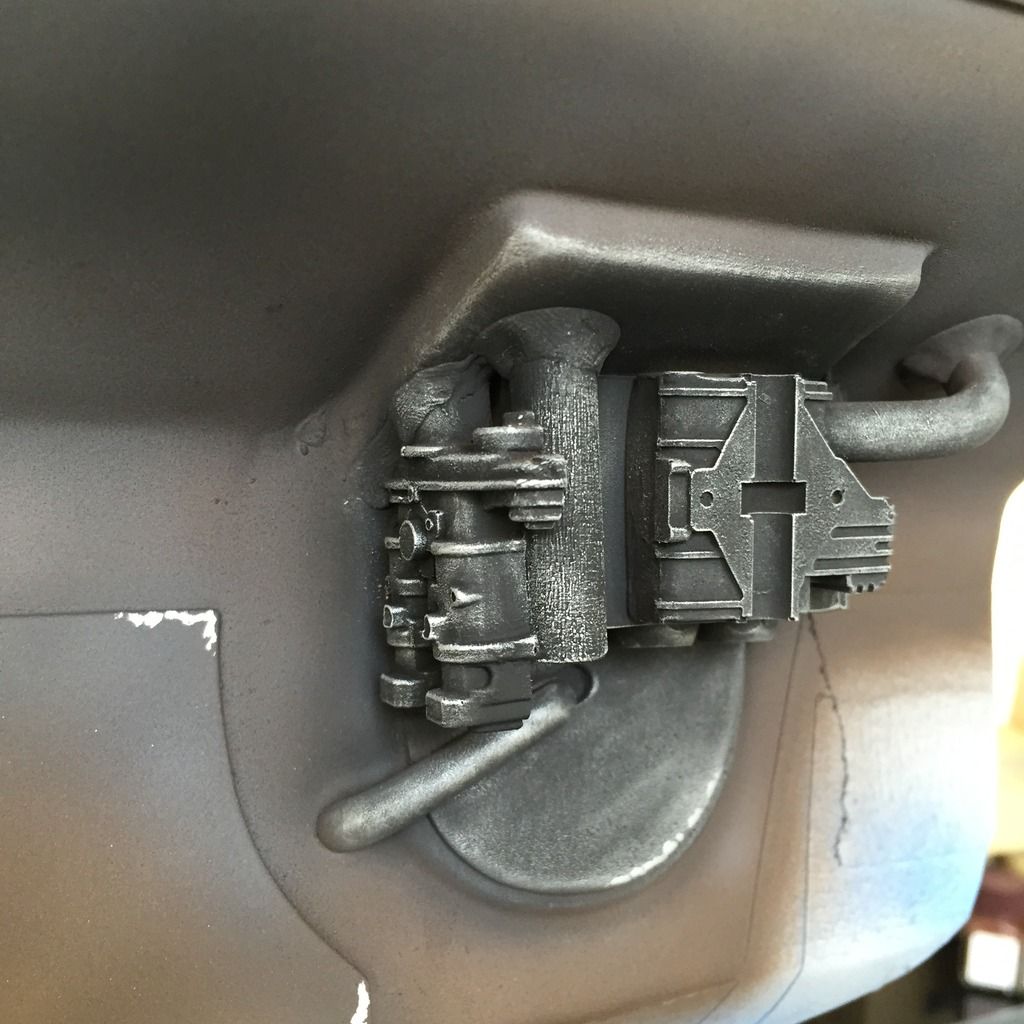
While letting the helmet dry, I did the rest of the greeblies:
Bottom leather:
Top leather:
Templates transferred to the leather and cut:
I won't be attaching the cut leather just yet, as the helmet would have to go through a very heavy wash of Raw Umber oils. This wash will bring everything together, and truly give it a weathered look.
The next photo show the helmet immediately after the wash. I would have to let this dry thoroughly before I blend it down with some steel wool, toned further with pastels and maybe some dry-brushing.
While letting the helmet dry, I did the rest of the greeblies:
This is turning out amazing...would you consider commissions if someone where to send you a blank helmet?
nice build so far,
are these parts below a found part or a scratch built fan copy?
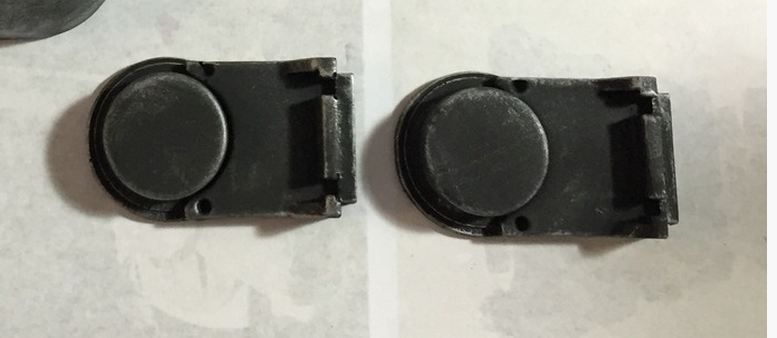
also i don't know if you will care but the 3 stitches at the back look like 2 stitches with the 2 pieces joining together forming that "3rd" stitch in the middle.
are these parts below a found part or a scratch built fan copy?

also i don't know if you will care but the 3 stitches at the back look like 2 stitches with the 2 pieces joining together forming that "3rd" stitch in the middle.

Last edited:
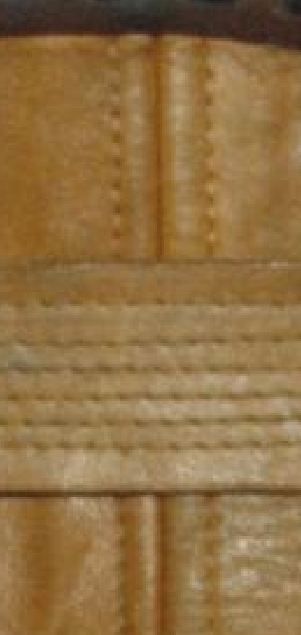
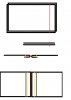
Looking great man! That's correct Zorg. This back leather piece is actually two pieces. They should be placed face to face and sewn together with a bit of clearance. Then they should be separated and the clearance layers folded back so that the seam is now holding two folded ends together. Hit this with a mallet to flatten it out and then stitch each flap down next to the original seam to give you the three lines.
The first diagram shows stacking the two panels and sewing them together (red line)
The second is a profile of the same thing.
The third shows folding the ends back and separating the two halves, then sewing the ends down (yellow line)
The first diagram shows stacking the two panels and sewing them together (red line)
The second is a profile of the same thing.
The third shows folding the ends back and separating the two halves, then sewing the ends down (yellow line)
Attachments
Last edited:
This is turning out amazing...would you consider commissions if someone where to send you a blank helmet?
Thanks warren! I'm honoured, but I'm not sure if I am "commission" quality! As I said, this helmet is my interpretation, and is definitely far from replicating the screen-used one. I just tried to follow as much as I can.
nice build so far,
are these parts below a found part or a scratch built fan copy?
http://img.photobucket.com/albums/v689/zorg-industries/found_zpszl3rscud.jpg
also i don't know if you will care but the 3 stitches at the back look like 2 stitches with the 2 pieces joining together forming that "3rd" stitch in the middle.
http://img.photobucket.com/albums/v689/zorg-industries/stiches_zpswswq8px5.jpg
Zorg, from Todd's thread, he mentioned that "The leather strap greeblies and the scope are both scratch built. We are almost there Steveo!
Todd"
You're right about the 3rd stitch... damn... I got caught... Lol.. actually I tried to replicate that, but due to my leather being too thin, I had to fold it over and glue it down, which resulted in the center seam being way too thick. So I decided to cheat on this part.
")
Looking great man! That's correct Zorg. This back leather piece is actually two pieces. They should be placed face to face and sewn together with a bit of clearance. Then they should be separated and the clearance layers folded back so that the seam is now holding two folded ends together. Hit this with a mallet to flatten it out and then stitch each flap down next to the original seam to give you the three lines.
The first diagram shows stacking the two panels and sewing them together (red line)
The second is a profile of the same thing.
The third shows folding the ends back and separating the two halves, then sewing the ends down (yellow line)
Thanks for the detailed explanation, Trent! Good to clarify here for future readers to follow your way if they intend to replicate this part accurately!
Similar threads
- Replies
- 12
- Views
- 1,422
- Replies
- 109
- Views
- 10,318
- Replies
- 1
- Views
- 565
- Replies
- 11
- Views
- 1,186
- Replies
- 1
- Views
- 1,205