Studio Half Scale TOS Enterprise Scratch build

Status
Not open for further replies.
Nope this process or technique does make it easy. The other way is to wire cut many pis sections, glues them together and sand. A good example of this method is located here on my web site. Welcome To My Website Works very well. I've been selling a book for awhile that documents these techniques: Welcome To My Website

Thanks,

Steve
 
I just browsed your website. So vast the model, prop and CGI experience you have under your belt. I've actually seen some of your works on the big screen and on TV so it's great to who's behind them. I wonder how it feels to have worked with Gene Roddenberry and Leonard Nimoy - and the A-Team too! Wow!!! And those fiberglass submarine hulls - so gorgeous - I wish I had the talent to just make any hull shape I wanted. And you build them for customers, too....hmmmm.....I'm thinking about that Falcon hull again....:)
 
Cracker I'm turning red here. Thanks so much for the kind words. I'm not gong to kid you but working with Gene, Wise, Fred Phillips and the rest was a dream job come true and I have Fred to thank for it. I was a fan then and I am now. It was heaven!

Moving on here.

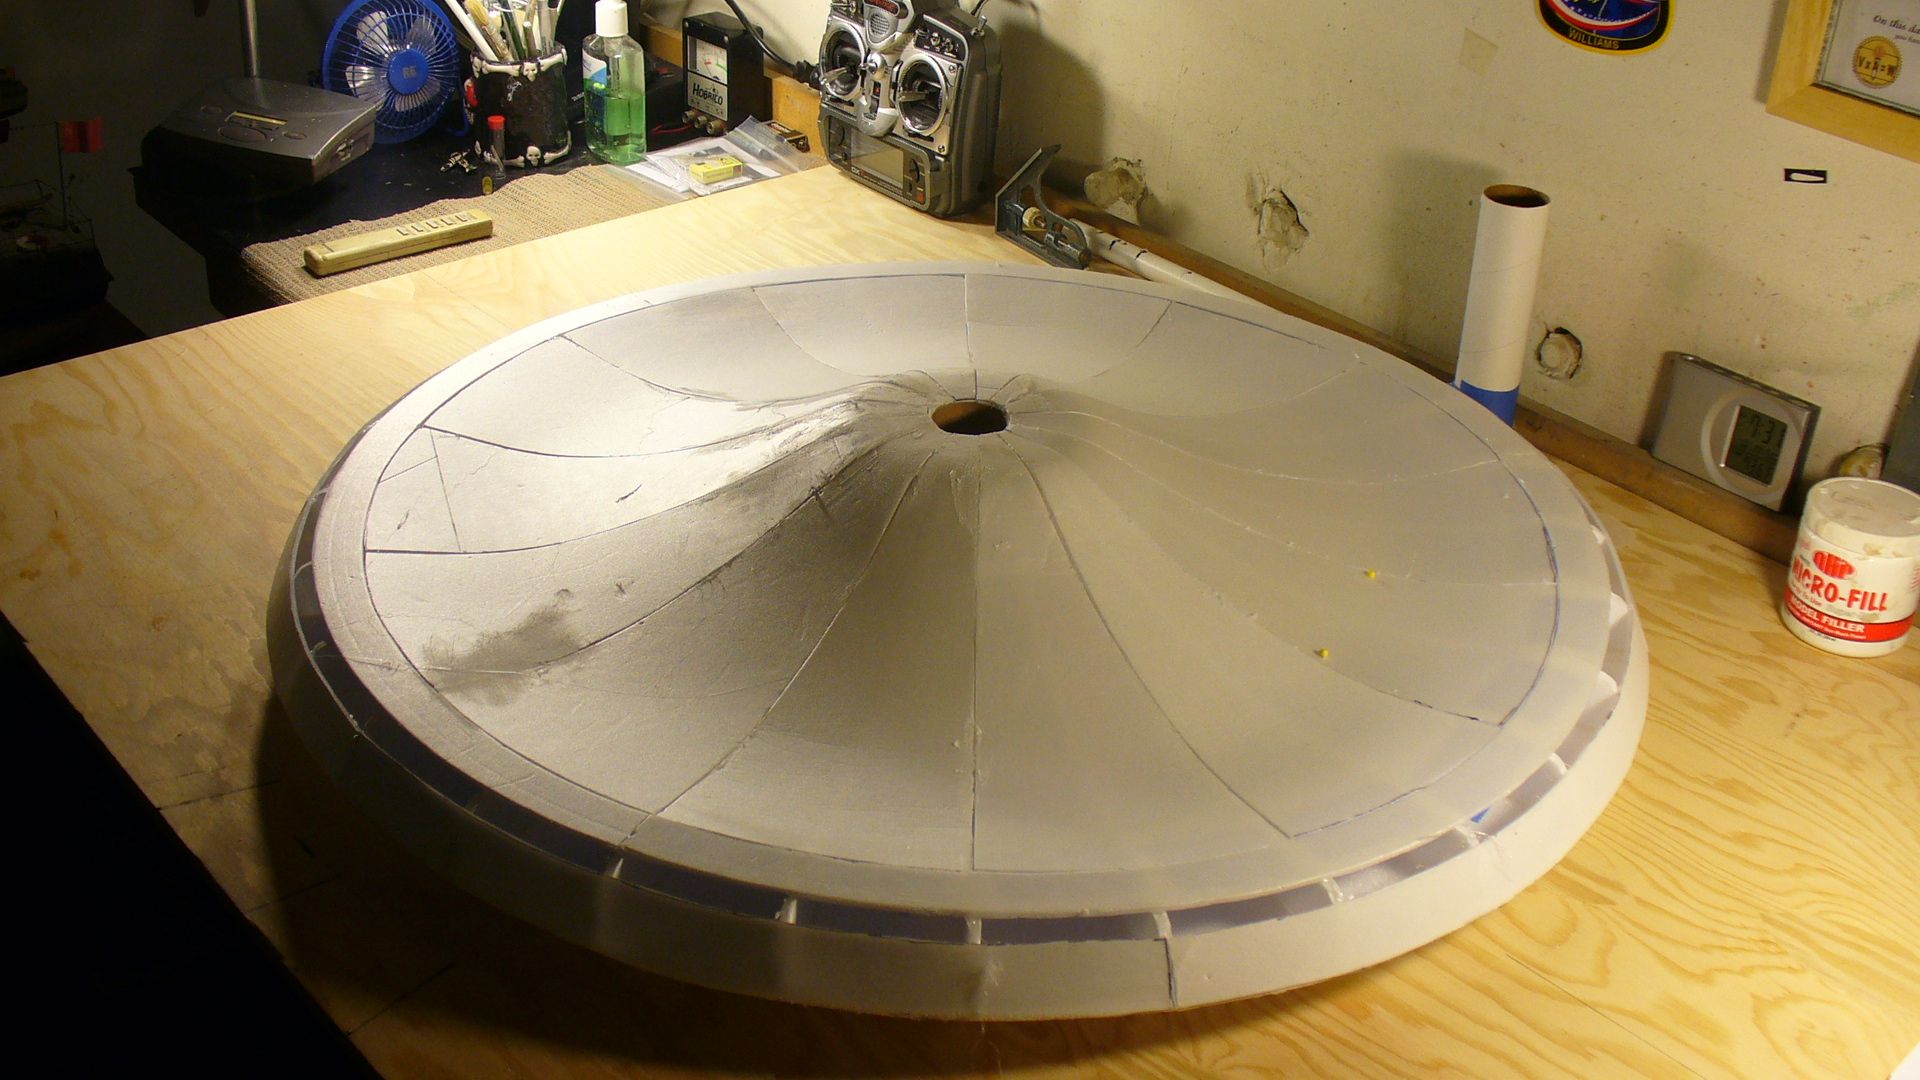
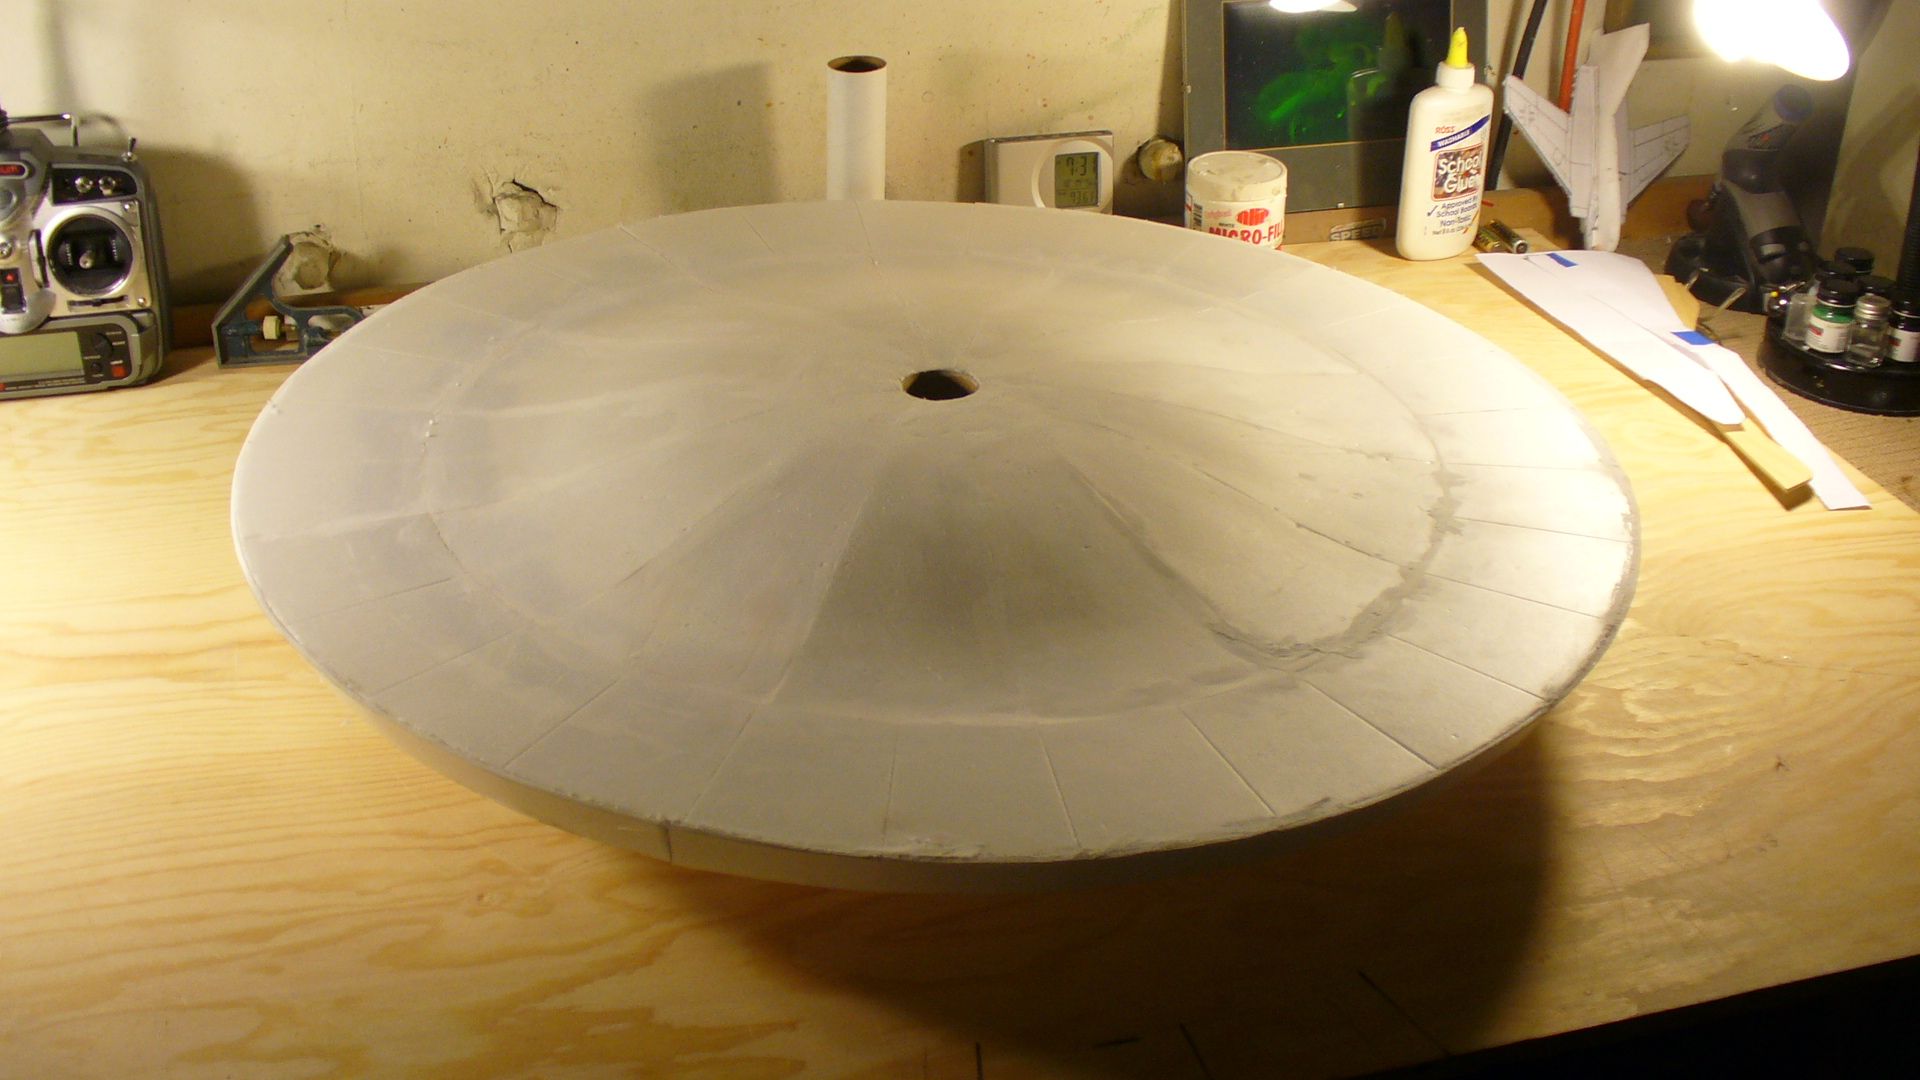
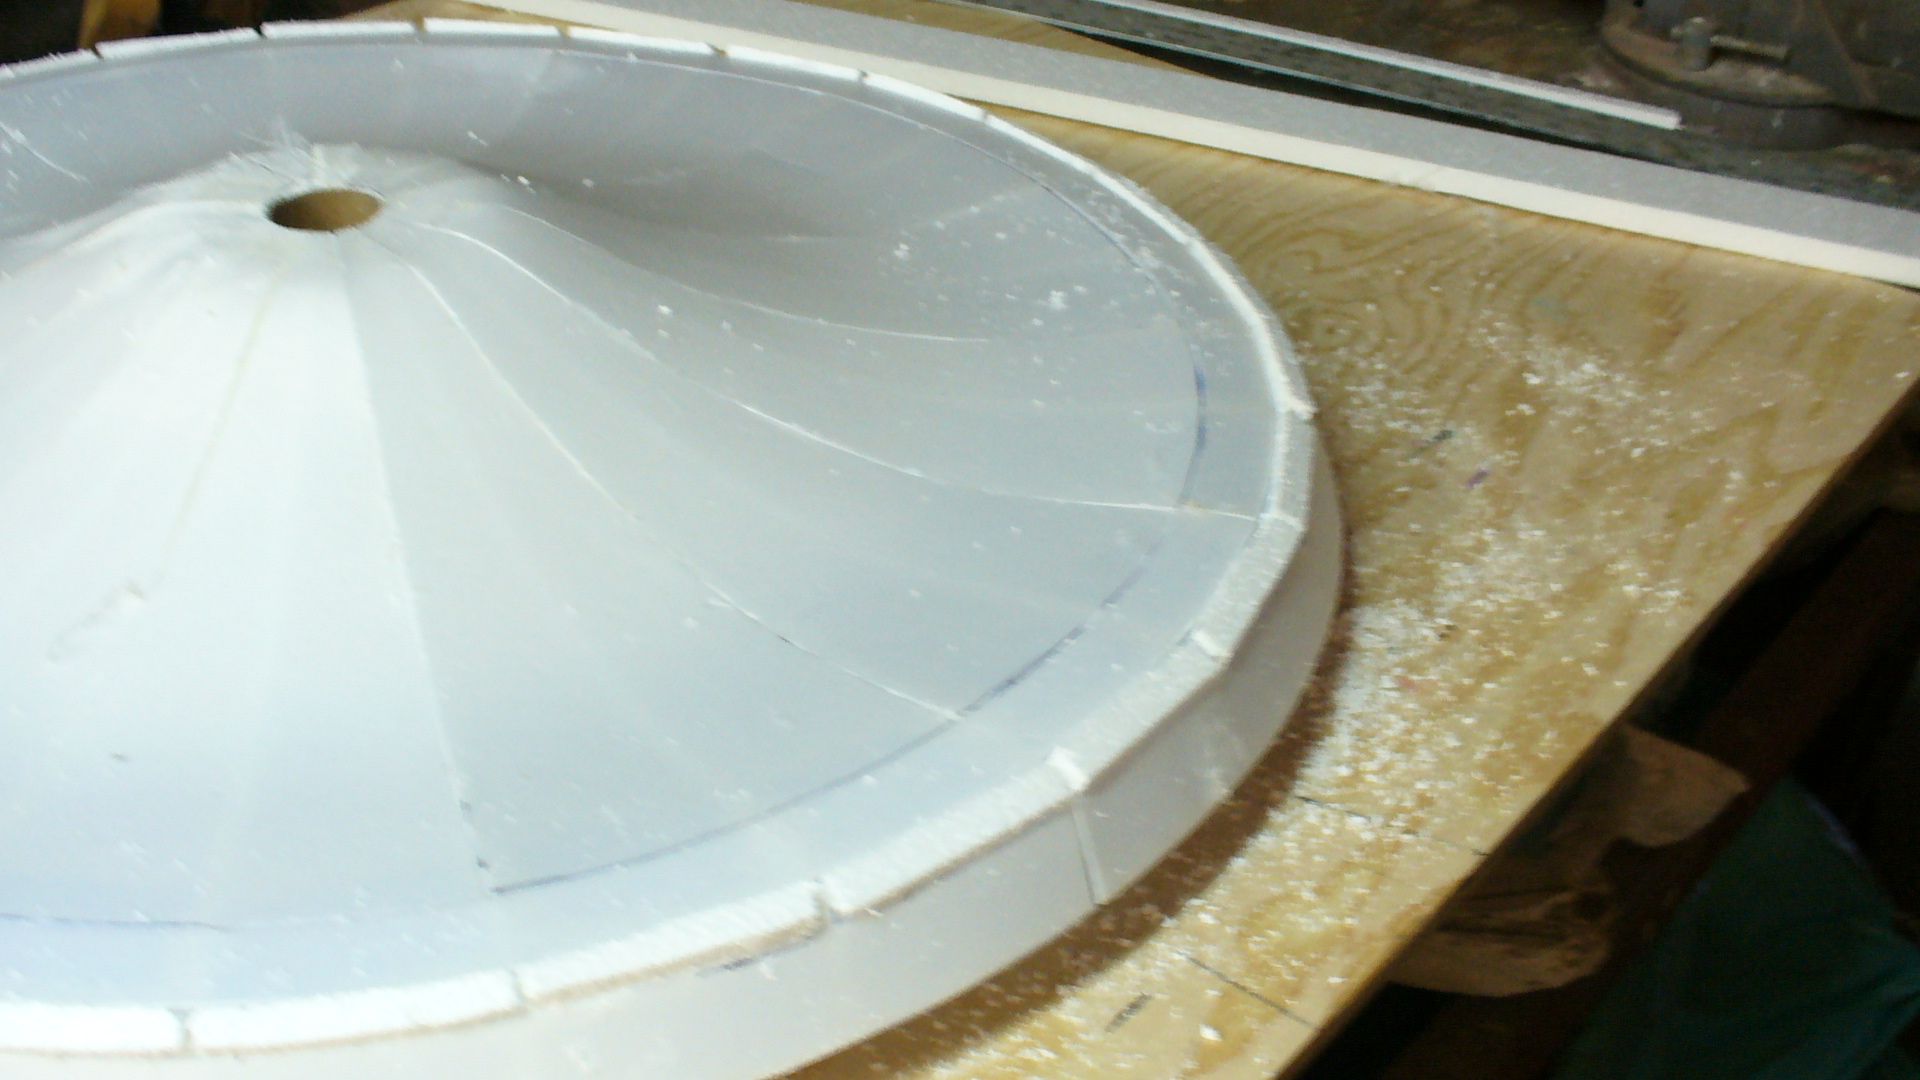
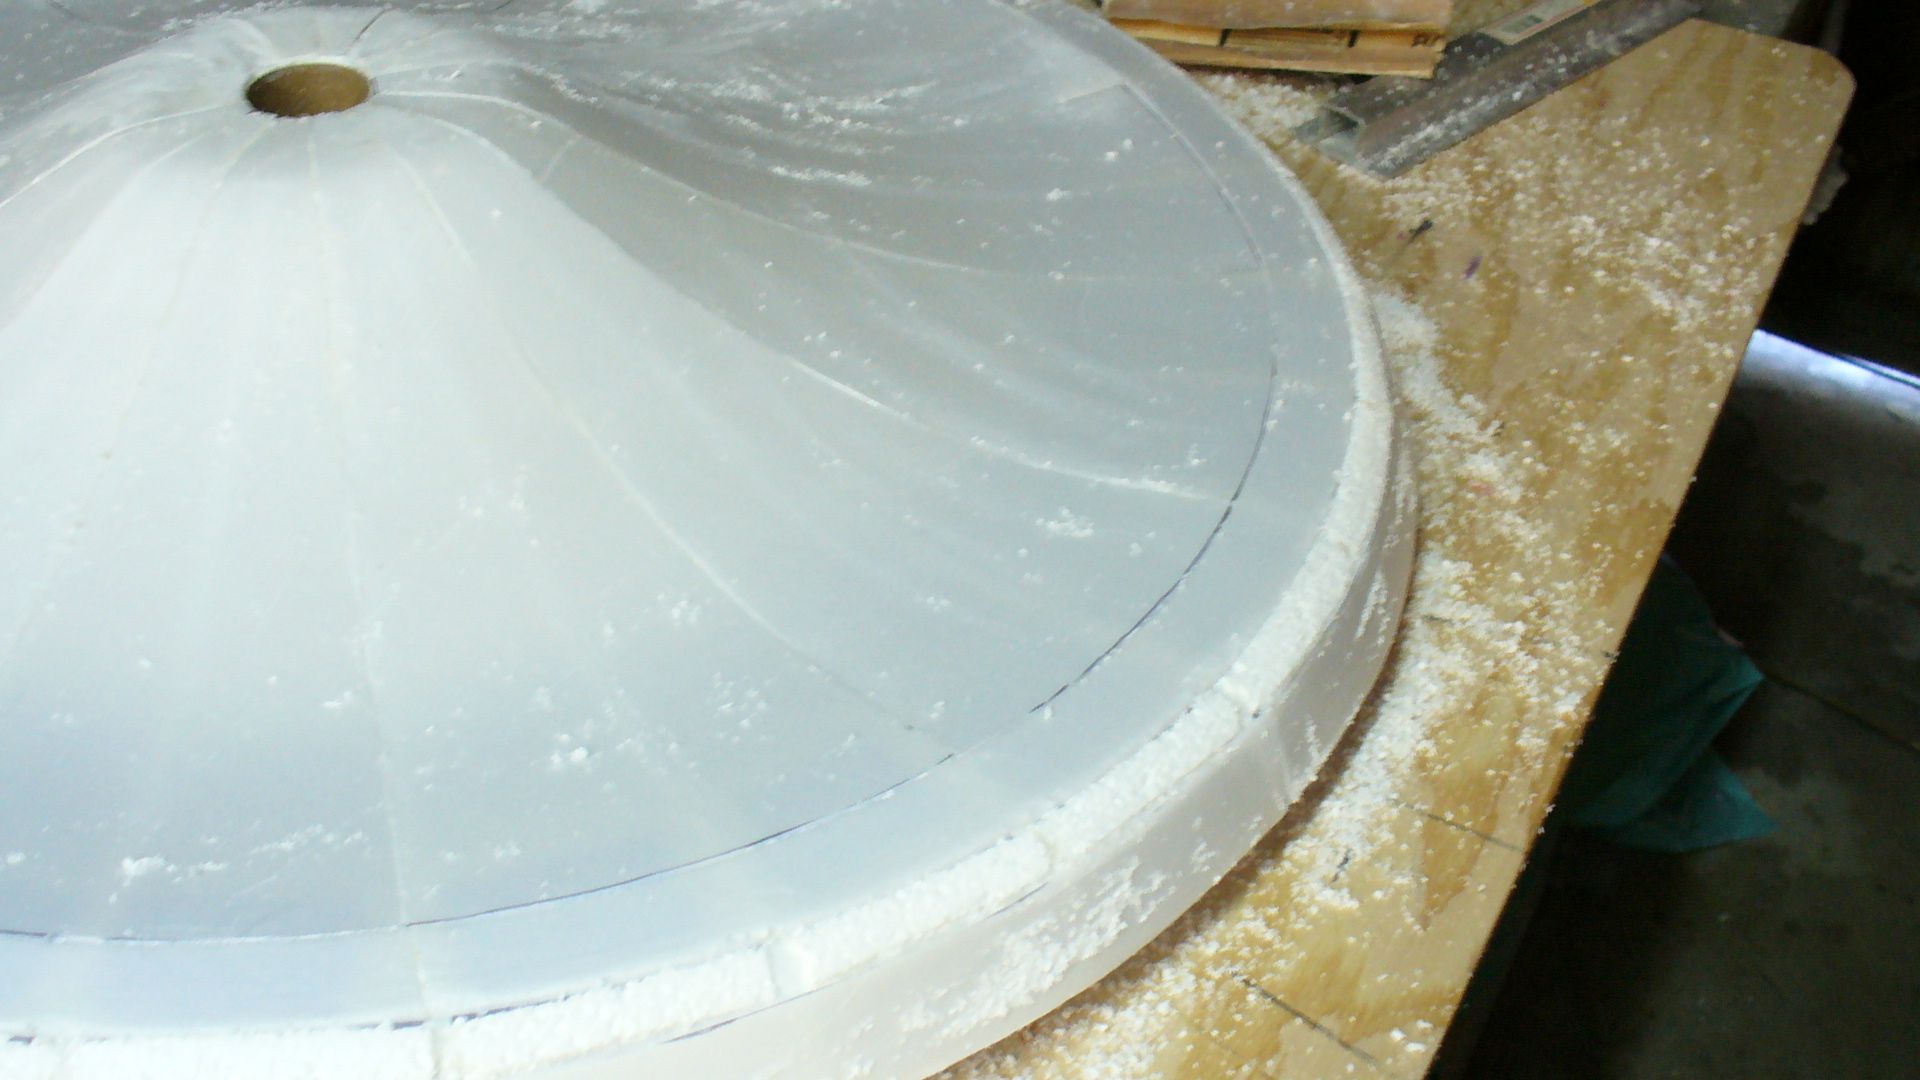
So the main shape to the saucer is all done. Except for the gap you see going around the underside rim. This gets filled with a thick white foam and sanded to shape.

Starting tomorrow and through the week I have radio controlled model work to do for two customers. I have a refit on a 7 foot long WW2 British S-Class sub and a small sport sub to refit and re paint. Got to get these done this week before I go back to the Enterprise this coming weekend. Next weekend I’ll be epoxy glassing the saucer with West Systems epoxy and some medium and light glass cloths. Then the real work can begin.

Steve

P1050087.jpg


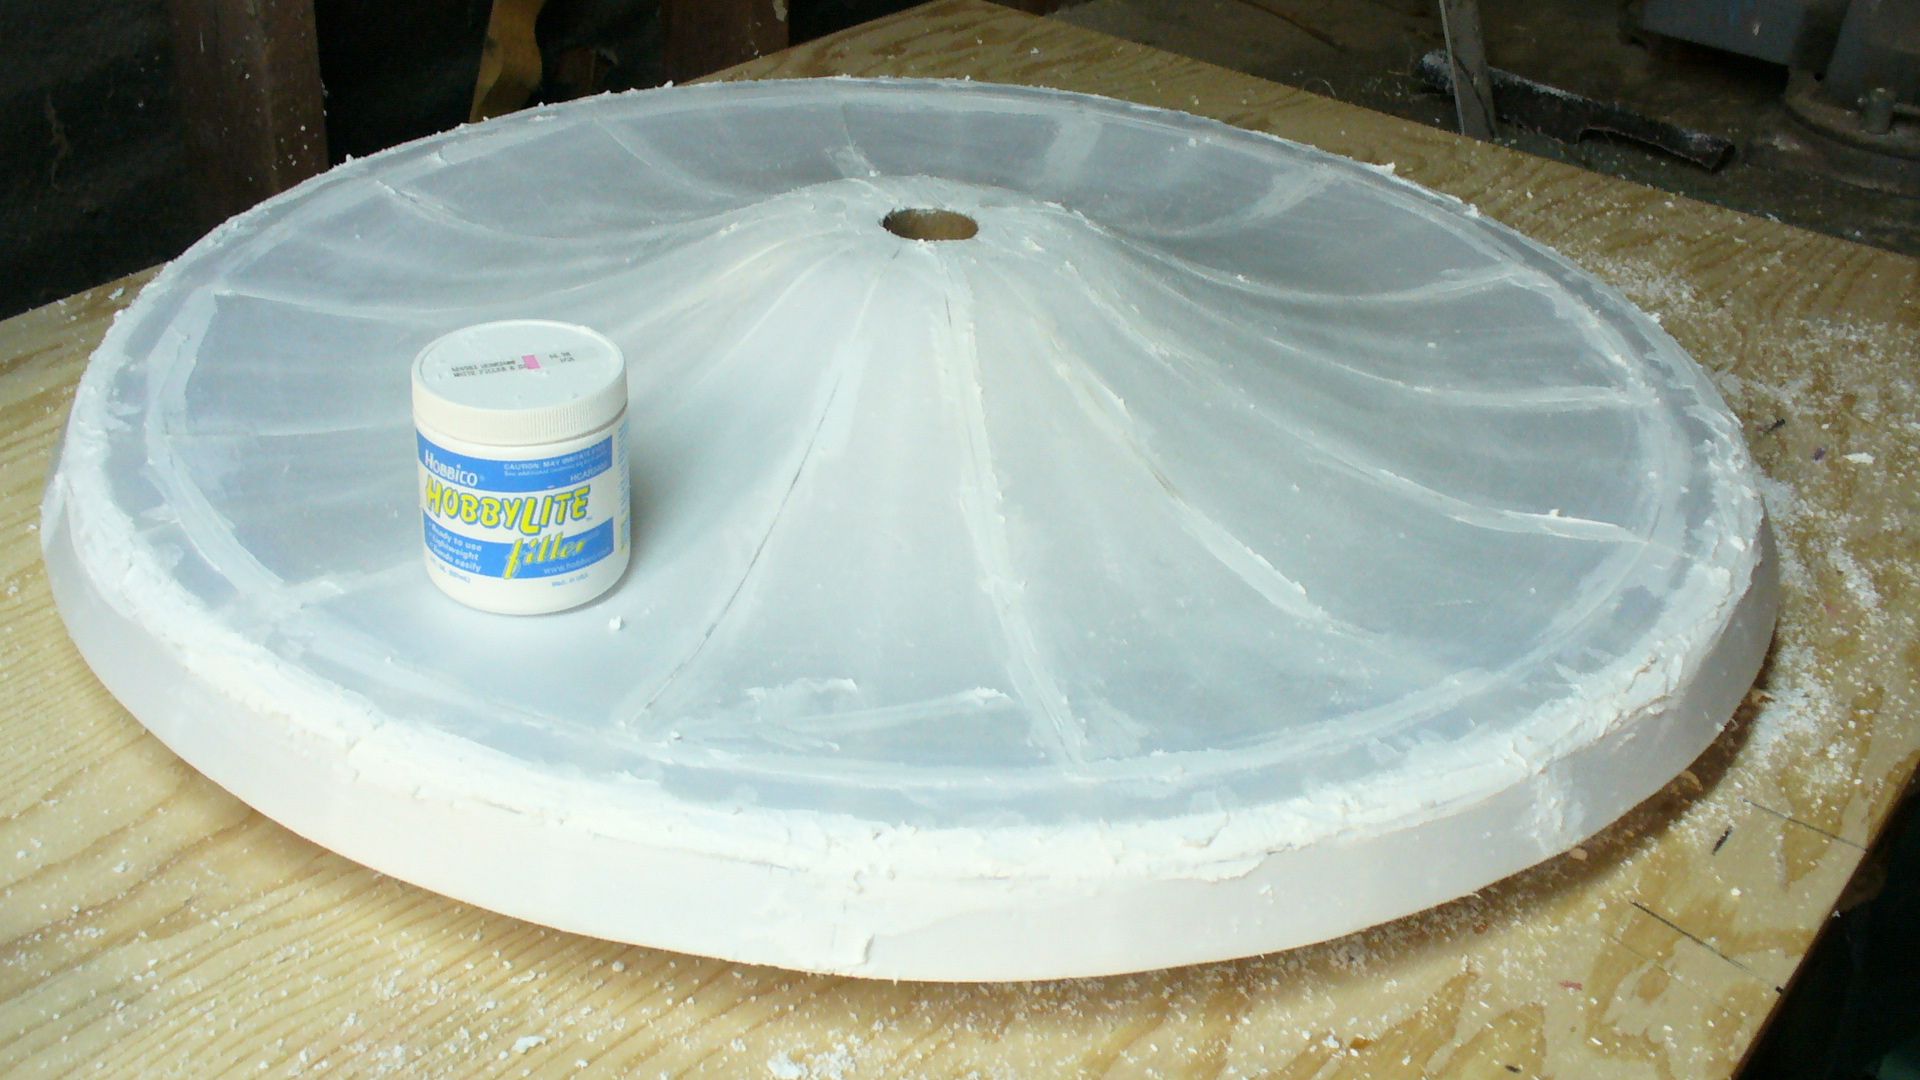
The underside sheeting. Ran out of filler today so it looks a bit messy but will tiddy up easy. Looks like the Day the Earth Stood Still ship upside down. Never caught that before now.

P1050089.jpg
 
Thanks for the info on Ever Coat glaze. Any problems with fumes?

Then I'll be able to continue on smoothing it with Ever Coat Metal glaze. Much better than Bondo. I never use it anymore. With Ever coat you can point up the shape perfectly and sands easy and smooth. Unlike Bondo. Yuck!
 
Just to let you guys know I have fallen off the face of the Earth I've been a bit busy finishing up customer RC sub models. I'll be back at the saucer section tomorrow. Got the glass and the resin. Time to glass it and do the real work.

Steve
 
Damn.

And I thought I was something when I glued my first AMT Enterprise together without fingerprints....:)

Excellent work, Steve....and congrats on having the provenance of knowing those Trek Gods. I'll be watching your build with interest....I've been a TOS fan since I watched it in syndication back in the 70's....SciFi comes and SciFi goes, but there will be only one TOS, and one Enterprise...:thumbsup

Rob
 
It looks great so far! Looking forward to your progress. The original Enterprise has always been my favorite!
 
Still in the boring stage for me, but progress.

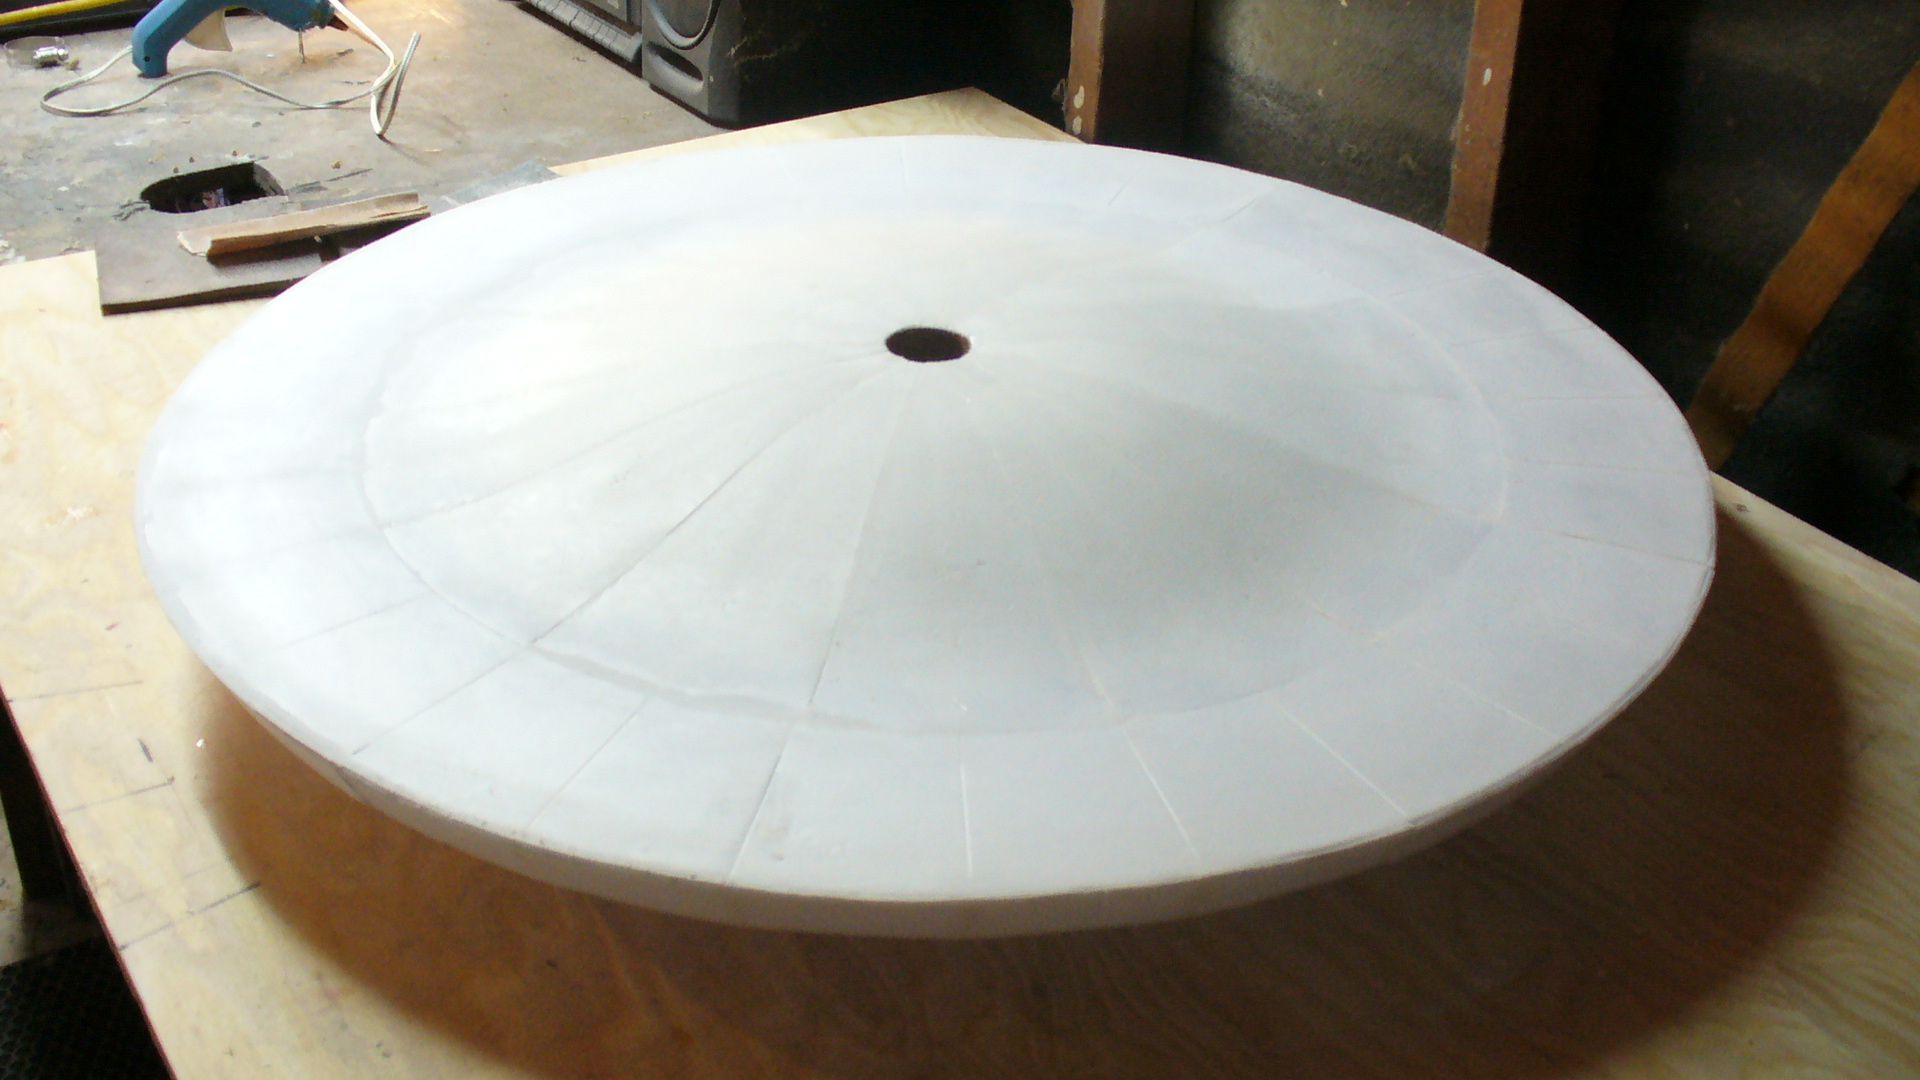
Sanded the top smooth. Added the foam to the saucer edge gaps and rounded them out. Filled the bottom with more balsa filler and the round saucer edge. Once all this dries tomorrow I can sand it down.

P1050131.jpg


P1050134.jpg


P1050137.jpg


P1050138.jpg


P1050140.jpg


P1050142.jpg


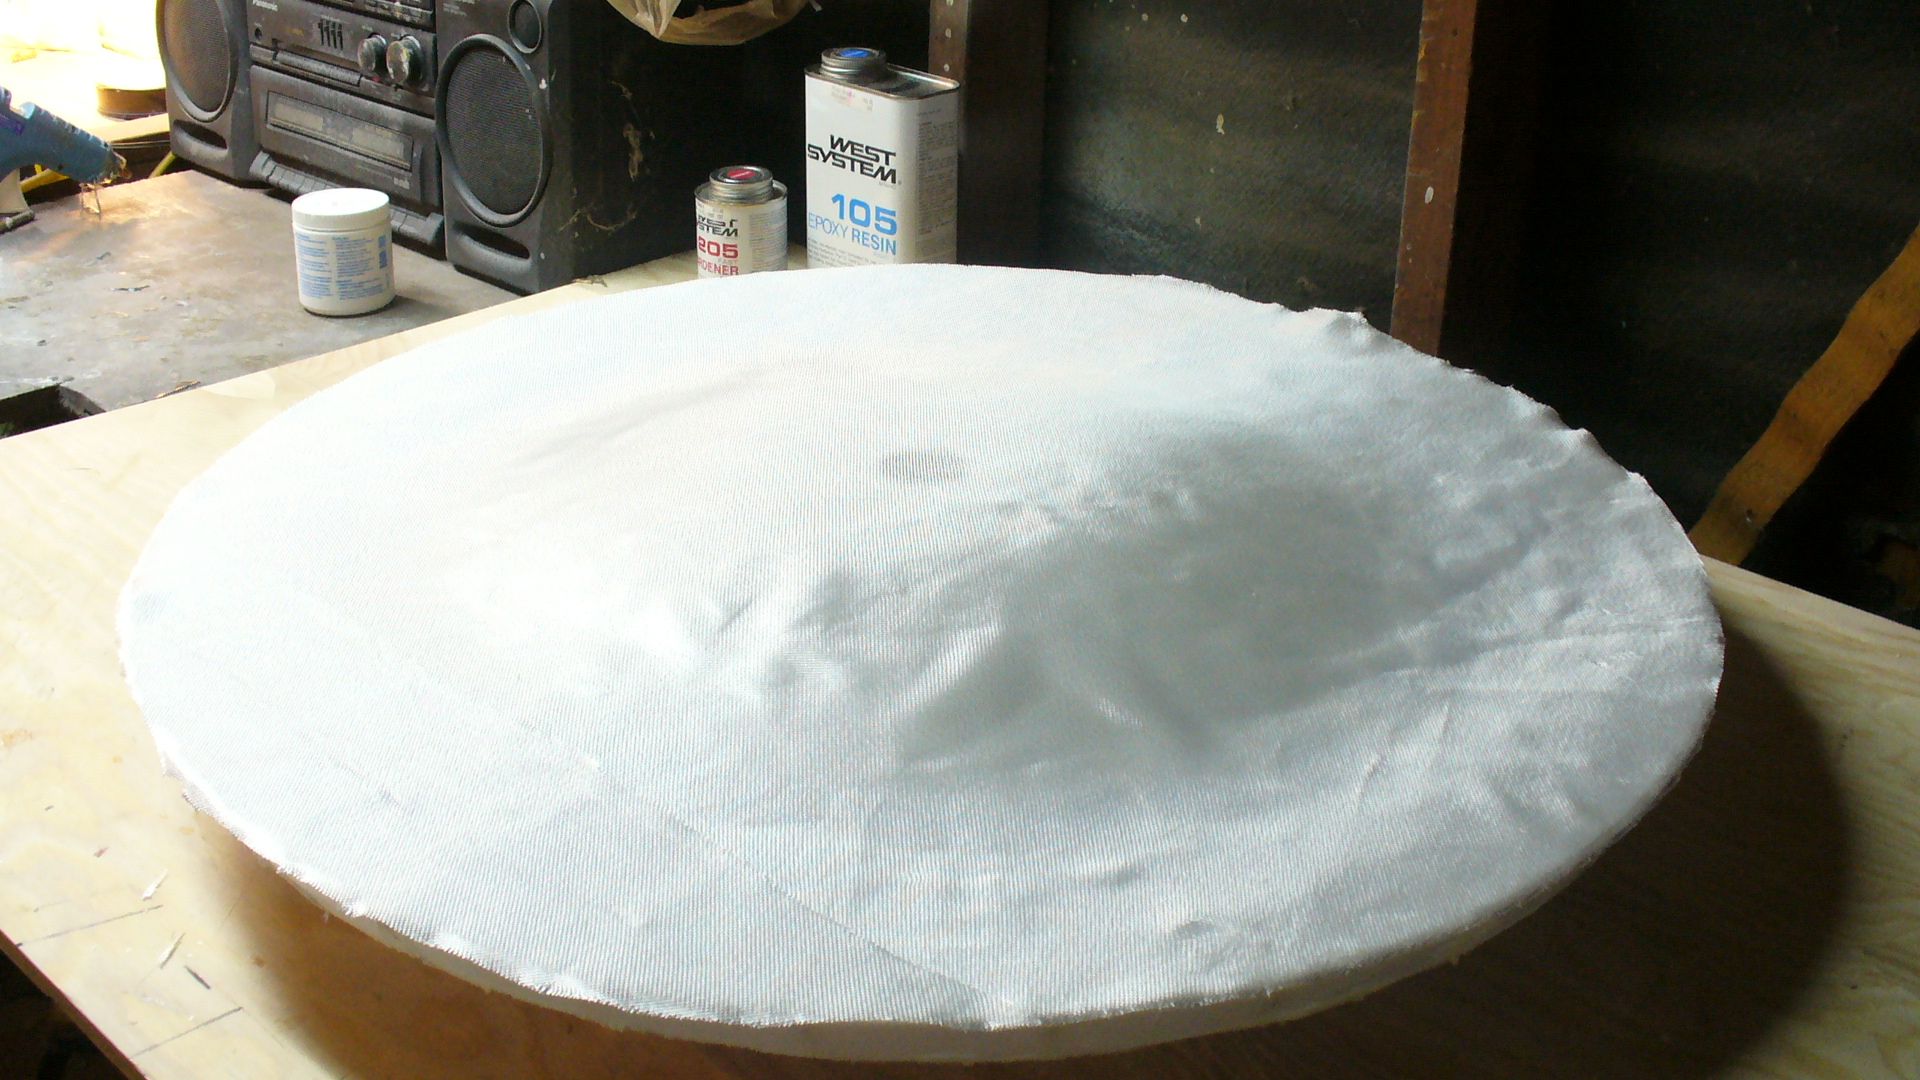
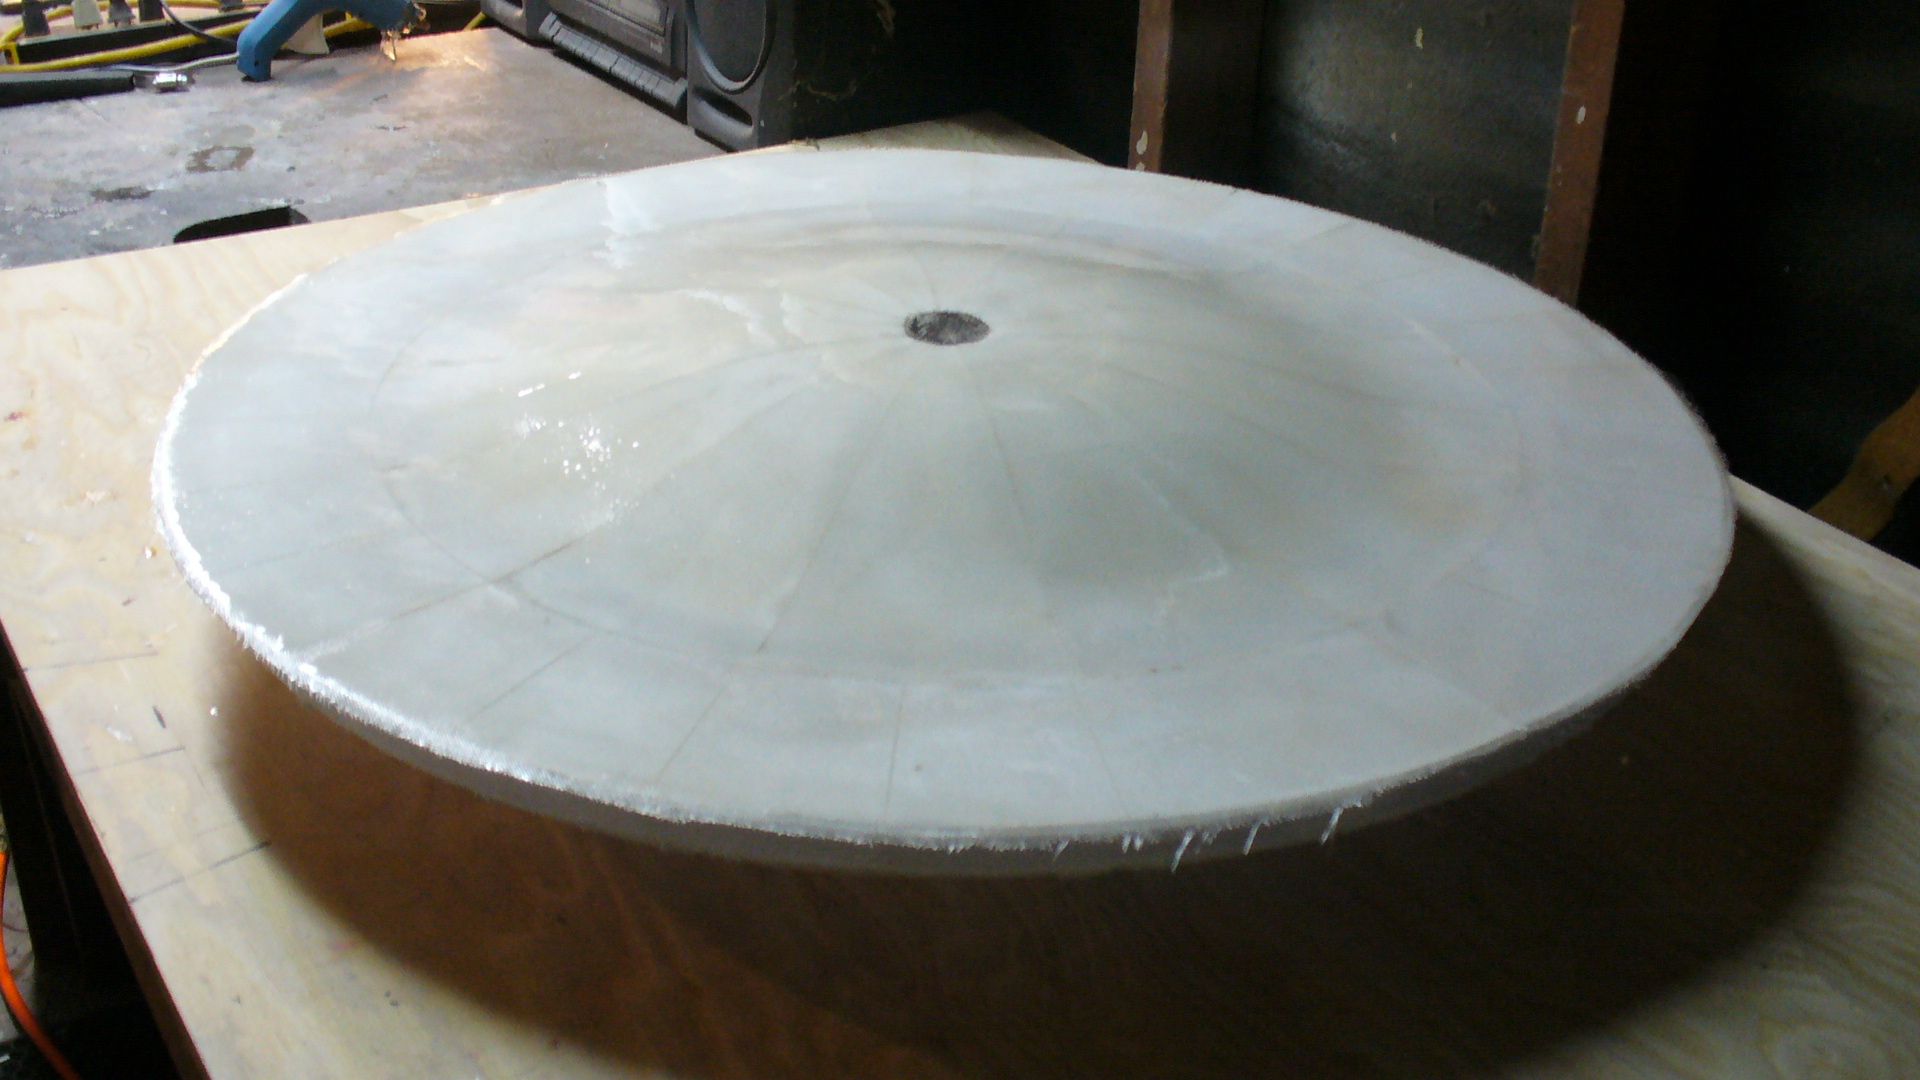
Finally I glassed the top with a layer of glass and West Systems epoxy.

Tomorrow I plan to glass the bottom and then on Saturday the rim.

Now once this is all nice and strong from glassing I can man handle the foam, fill it, point it up, correct the geometry and primer it. Most likely several time pointing it up with red spot putty until the primer starts to reveal a smooth surface I can start scribing details into.

More tomorrow.

Steve
 
Awesome job! Thank you for providing a step-by-step detailed status report on your progress. I love the approach you are taking (and picking-up some nice technique as well) and can't wait to see the next step. This has become my favorite thread!


Will
 
Will I'm glad to hear all this. It will take time but I'll go through all the steps. Molding, casting and finished models. This technique comes from building RC airplanes. A lot of guys now use the foam and sheet it with Balsa and then glass it for extra strength. In the past I used wire cutting a bunch but now that Depron is so readily available I've been wanting to try it on this type of model.

For these of you not familiar with wire cutting it's a great way to do things as well. Pictures are worth a thousand words so go here to see them: Welcome To My Website

The templates are made out of cardboard and the edges are hardened with thin CA. Then sanded smooth so that the hot wire can travel easily. Cut all your sections and remove the templates and glue the sections together. Sand to final shape.

I may use this on the engineering section.

Steve
 
I went to your site (and signed up to your blog), Steve, and the animation you made of the Big E leaving drydock just blew me away...that video is awesome! :thumbsup

I can't wait to see more...when you get around to it! :cool

Rob
 
Status
Not open for further replies.
Back
Top