PHArchivist
Master Member
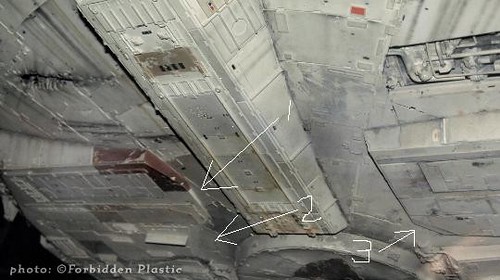
The head-on shot sure highlights the over-sized turret window.


")
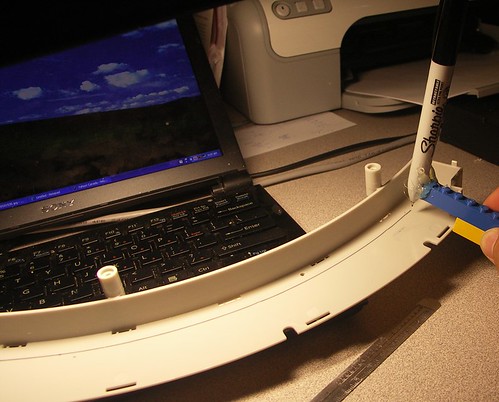
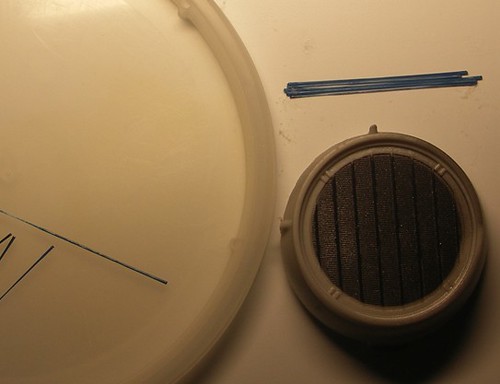
As to the cockpit tunnel, the entire tunnel will have to be scratchbuilt. I'm looking at making styrene bulkheads of varying sizes that will form the shape and covering that with styrene sheet - semi-monocoque airplane fuselage-style.
And don't give me too much credit - I'd really rather not do it either since I get frustrated myself as I go along and discover things that stump me:cry But I've already started the work - no turning back sort of thing. The key I guess is to take it slowly. At least I look forward to more hobby time. But one day, who knows, Hasbro could to release a same-sized "5-footer" - and I'll probably find myself being shuffled off to the asylum in a straight-jacket.Looking good, man!
This was exactly how I did the tunnel on my 32" 5-footer. :thumbsup It didn't come out absolutely perfect, but it looks pretty good I think.
Construction tip: when you get to the point where you're ready to do the tunnel, do some templates in construction paper until you get the shape you want, then cut your final piece in styrene. I'd recommend doing the bulkheads/ribs in .020 or .030 styrene to keep the tunnel nice and stiff. (That's what she said. :lol)
BMF - almost forgot what Hasbro calls it. Just like the "big" in BAT-AT. Yeah, I've seen some selling really cheap - usually when missiles, figures, cannons and even the canopy are missing as they pop off easily. You won't be needing any of them, anyway. Mike's a record-breaker scoring one at $20. Nice Viper Mark IV build by the way! (Brings back memories of the viper launch sequence which always got me holding my breath - my eyes were always glued to that artificial horizon indicator bobbing to level).