Bandai 1/144 Millennium Falcon GROUP build awakens! OPEN TO EVERYONE! :)

Cheers! I actually really enjoy doing detailed painting. I couldn't find the right base colour for the Falcon so I decided to make a base instead. It's not a specific screen location - more an amalgam of the Freighter cargo bay and the resistance base. I made the concrete blocks irregular sizes for visual interest.


I began with Plasticard and scored the block lines and battered it a bit. I sprayed different areas in different shades of grey for variation and added some black swirls and details. This was all buried under many coats of Tamiya Light grey built up with a flat brush. Added some more, subtle details and scars. I then pigmented/weathered with pastel dust and painted more grey in places. Finally, the white lines are decal paper that's been attacked with a scalpel. This is the first time I've done anything close to a diorama! I must get some little cargo crates from somewhere and maybe add a fuel line.
 
Last edited:
Lighting tests with white LEDs. They will be colored LEDs in the end.
 

Attachments

  • wiajcg.jpg
    wiajcg.jpg
    47 KB · Views: 243
  • 21mvn6b.jpg
    21mvn6b.jpg
    40.9 KB · Views: 182
falcon_grilles.jpg
Look what arrived! Beautiful parts.

These are going to take some careful lining up... Will gently cleaning with acetone to get rid of grease and then brushing on some Tamiya clear be enough to stick these together? I fancy using something with a bit more wriggle room and easier to handle than superglue.
 
View attachment 573310
Look what arrived! Beautiful parts.

These are going to take some careful lining up... Will gently cleaning with acetone to get rid of grease and then brushing on some Tamiya clear be enough to stick these together? I fancy using something with a bit more wriggle room and easier to handle than superglue.

Very nice.....

Yep something to wiggle the parts on,....when happy,...then a small weld of superglue

J
 
I just did my first successful "decant" of AS-20. I'm pretty excited now.

As soon as Tony has the cockpit up, I'll pick that up. As well as the gunwell window frames. and I need to get the new photoetch grills, too.

I still haven't decided what to do about the back since I don't plan on lighting this
 
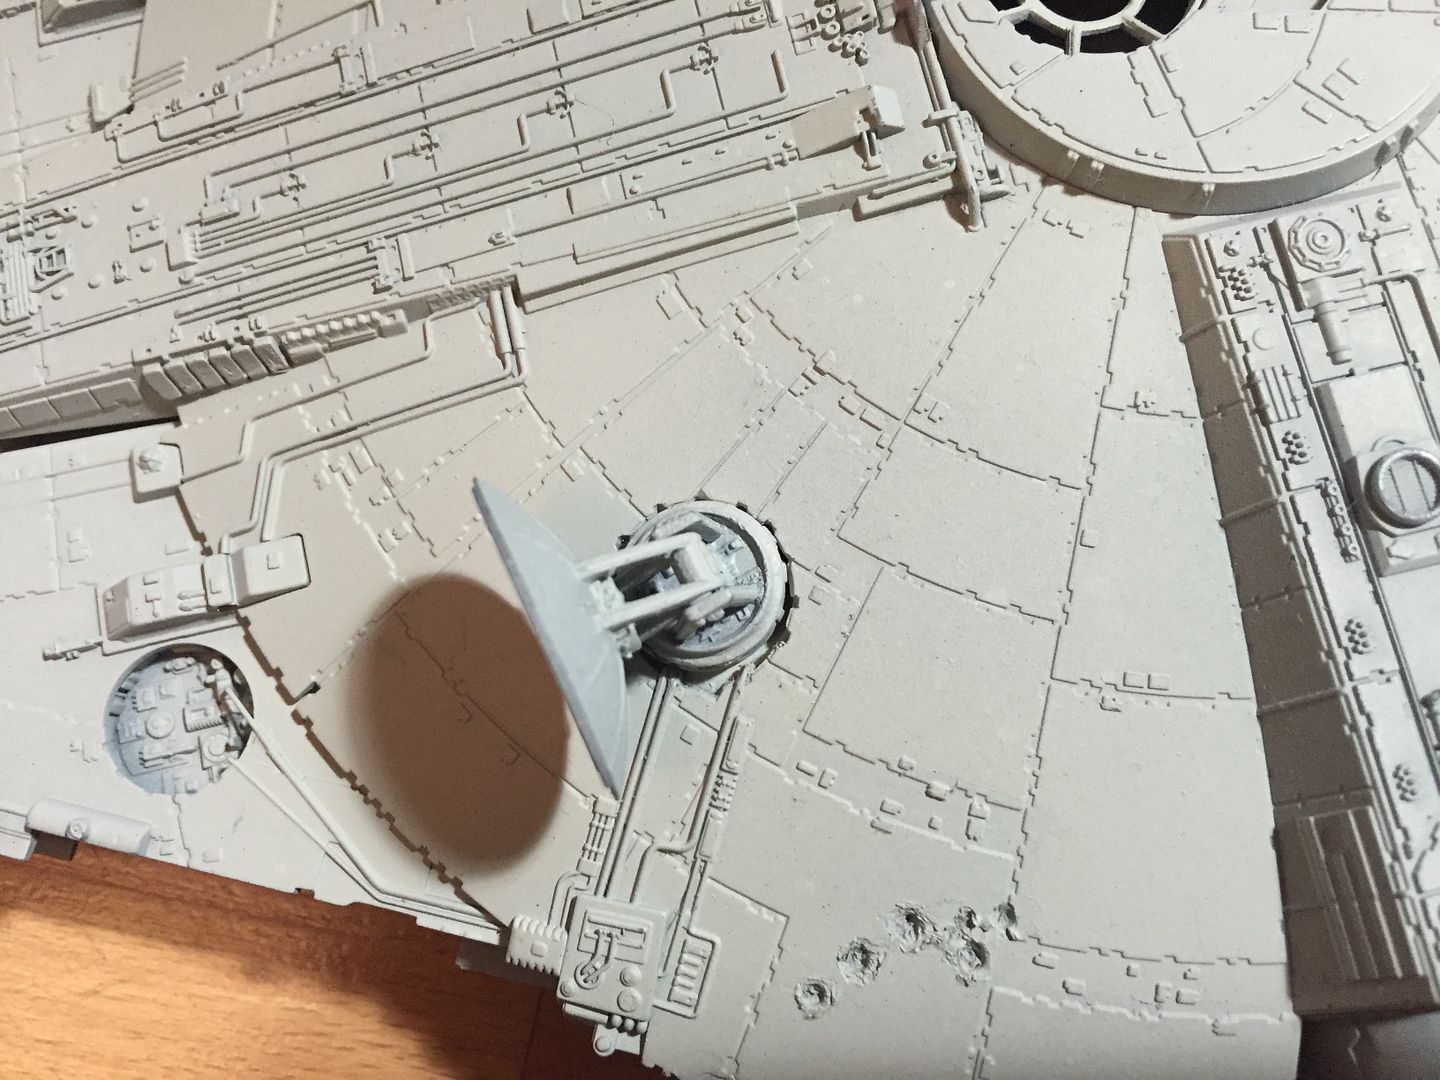
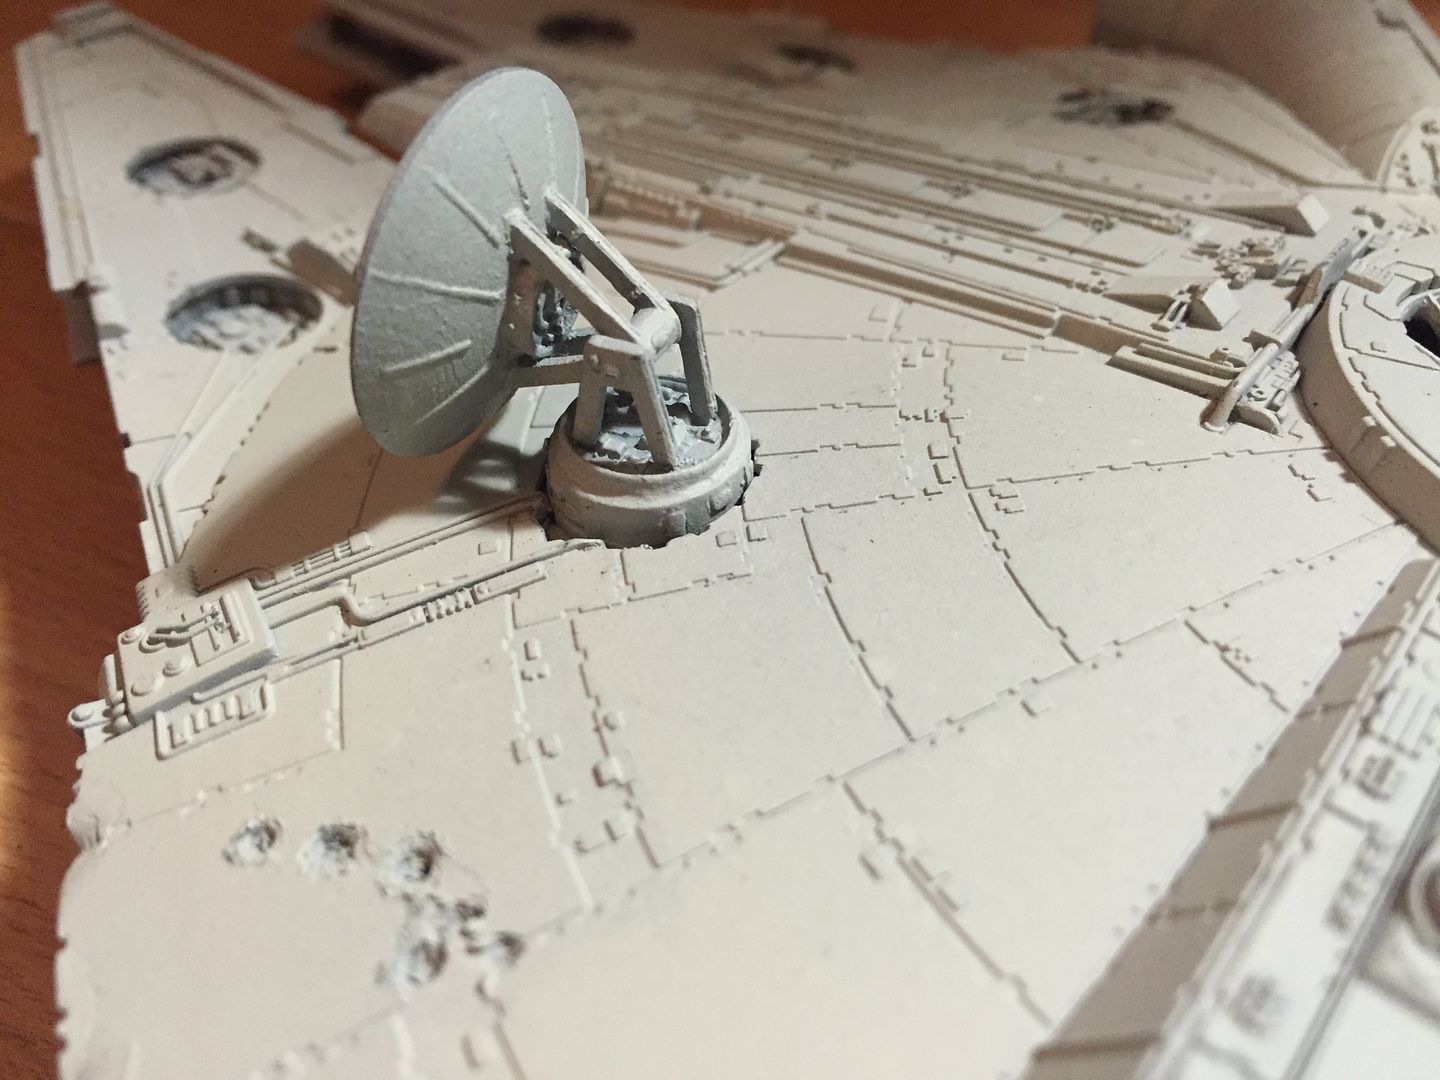
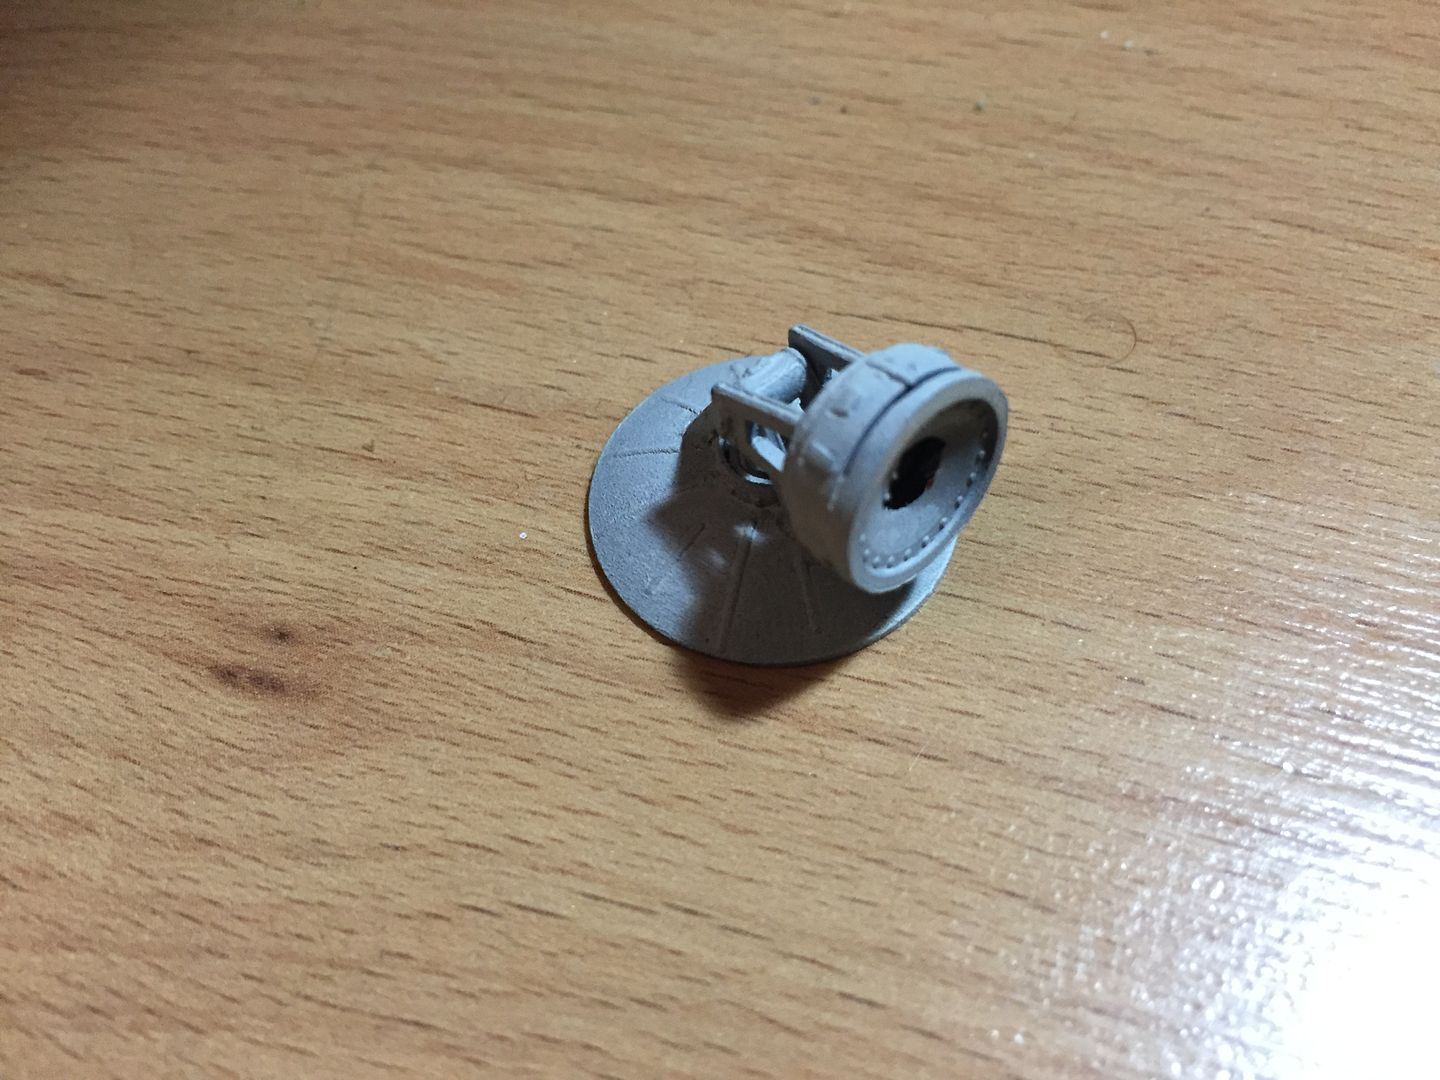
is it just me or does this OT dish base seem a bit small? It's from shapeways but if I tear away to the panel lines, there's gonna be a pretty large gap there.


Very nice.....

Yep something to wiggle the parts on,....when happy,...then a small weld of superglue

J

Cheers! The clear was enough to stick the lower three layers, but the top one is harder to sit flush so needed superglue. Here's a shot of two of the grills next to the stock parts. Night and day!

attachment.php


These things take a lot of concentration. I reckon I'll do them in pairs over the next couple of days to avoid mistakes.

Astroboy - interesting to hear that Tony's doing a cockpit. I might replace mine too, eventually. Or I might just thin out the frames in the stock one.
 

Attachments

  • falcon_grills_2.jpg
    falcon_grills_2.jpg
    109.3 KB · Views: 1,459
Those grilles really look terrific! Hi Astro that's interesting. Can it be made a bit bigger by wrapping some styrene strip around it? Let FZ6 know too as the diameter might need adjusting. A word of caution about AS-20. It takes a bluish hue when sprayed over black and loses its light tan AS-20-ishness.
 
Last thing for today... I plucked up the courage to thin the window frames on the cockpit. You can actually see inside the cockpit now! I can't believe how much of a difference this and the grills make.
 
Last edited:
Those grilles really look terrific! Hi Astro that's interesting. Can it be made a bit bigger by wrapping some styrene strip around it? Let FZ6 know too as the diameter might need adjusting. A word of caution about AS-20. It takes a bluish hue when sprayed over black and loses its light tan AS-20-ishness.
So I'm not crazy?

Good to know about the colour. I will certainly warm it up with weathering. Maybe even some tan overspray

Sent from my SM-N910W8 using Tapatalk
 
Those grills are amazing. This kit is half the size of the MPC ROTJ kit right?

Approximately. This is 1/144 and the MPC is *in the region of* 1/72, so it's about 9" long. A really good size, actually.

I've continued to slowly make my way through the grills, but mainly thinned the cockpit some more as well as that goofy thick pipe in the starboard cavity. That was a rather nerve-racking operation! I don't think there are any others that are a) so obvious or b) easy to get to, so I think that's the on;y one I'm thinning.

I also ordered some paint and added some of the landing gear baffles to my Shapeways order. I'm in a detailing spiral...

I can't imagine trying to add the fine detail on such a small scale...those vents must be less than half an inch wide and paper thin!
 
I can't imagine trying to add the fine detail on such a small scale...those vents must be less than half an inch wide and paper thin!

They're about that! They're layered up from four parts so they're actually quite easy to handle once constructed. Working on this scale is a challenge to the eyesight if nothing else. This is the most customisation I've done to a kit so it's all new to me... and good practice!
 
They're about that! They're layered up from four parts so they're actually quite easy to handle once constructed. Working on this scale is a challenge to the eyesight if nothing else. This is the most customisation I've done to a kit so it's all new to me... and good practice!

I am doing a 1/72 MPC ROTJ kit (not to the full customization extent as many do) but I am changing out some piping and I want to do my engine vents and the vent around the cockpit. Can you tell me where I might find those same parts for my kit? And I can definitely relate to the eye strain and mine is even easier to see. I got a headlamp, glasses and a magnifier =D

Looking great Automaton!

Lee

Cheers! I'm enjoying the build. I haven't seen the cockpit ring (if that's the one you mean), but on my travels I did spot these on Starship Modeler: https://starshipmodeler.biz/shop/in...s-millennium-falcon-pe-grille-detail-set.html
 
I've realised I've missed an opportunity in planning with the photo etch - it may have been better to assemble the bottom three elements, paint those a grey, then paint the top rings separately in the body colour and super glue them on prior to weathering the lot.

Nothing I can't work around... just more work! I think I'll dirty up the grills then clean the top rings before weathering the rest.
 
okay...I'm trying an experiment. Because I have a really hard time holding tiny pits of styrene together, I'm gonna see if Plasticine can do the job. I highly doubt that the modeling glue will stick to the Plasticine


Your message may be considered spam for the following reasons:

If you wish to reply despite these issues, check the box below before replying.
Be aware that malicious compliance may result in more severe penalties.
Back
Top