You are using an out of date browser. It may not display this or other websites correctly.
You should upgrade or use an alternative browser.
You should upgrade or use an alternative browser.
1:1 Millennium Falcon Cockpit Replica - Group Build
- Thread starter SteveStarkiller
- Start date

Hi Gang,
Didn't get much done this weekend. Car battery went dead early Sat and then had to replace / repair a leaky kitchen faucet. Fun Fun Fun... That took up the entire morning and ate well into the afternoon. BUT! I was able to jump back to the maint console and nav chairs, Best part, I was able to jump another critical hurdle! Enjoy!
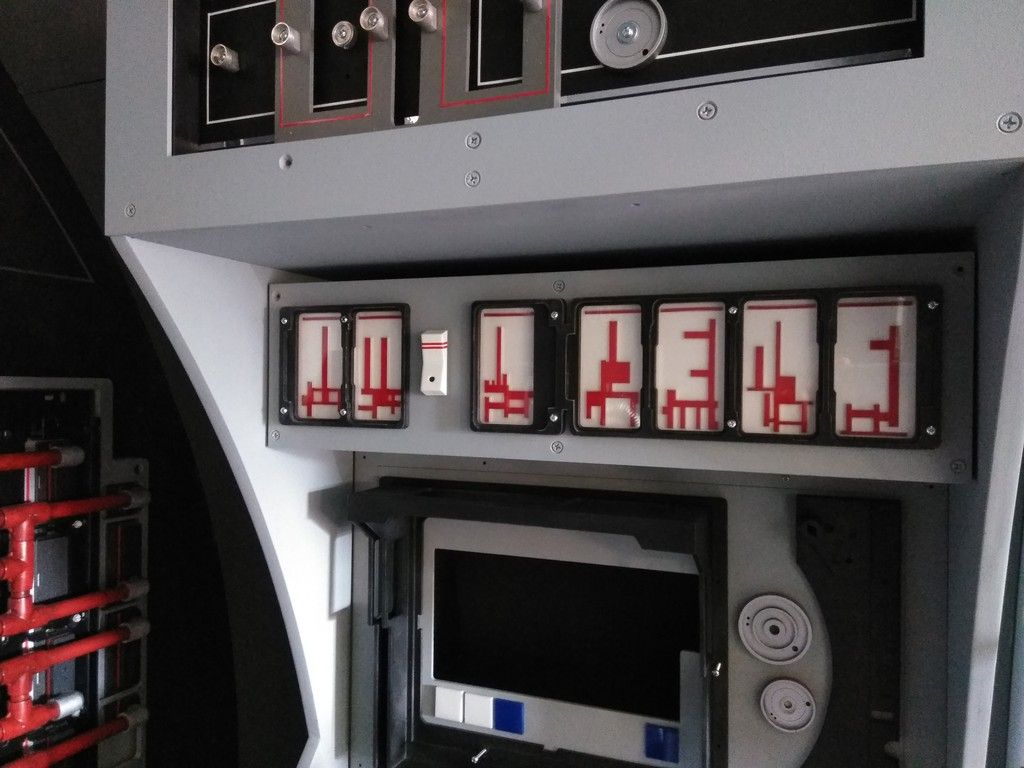
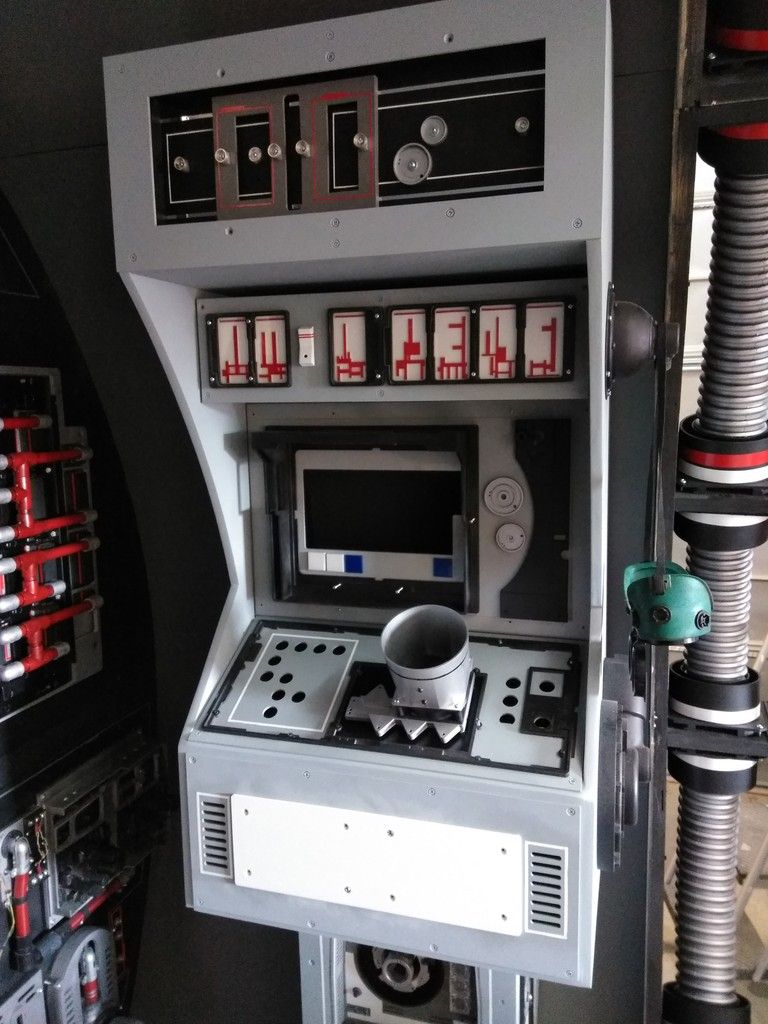
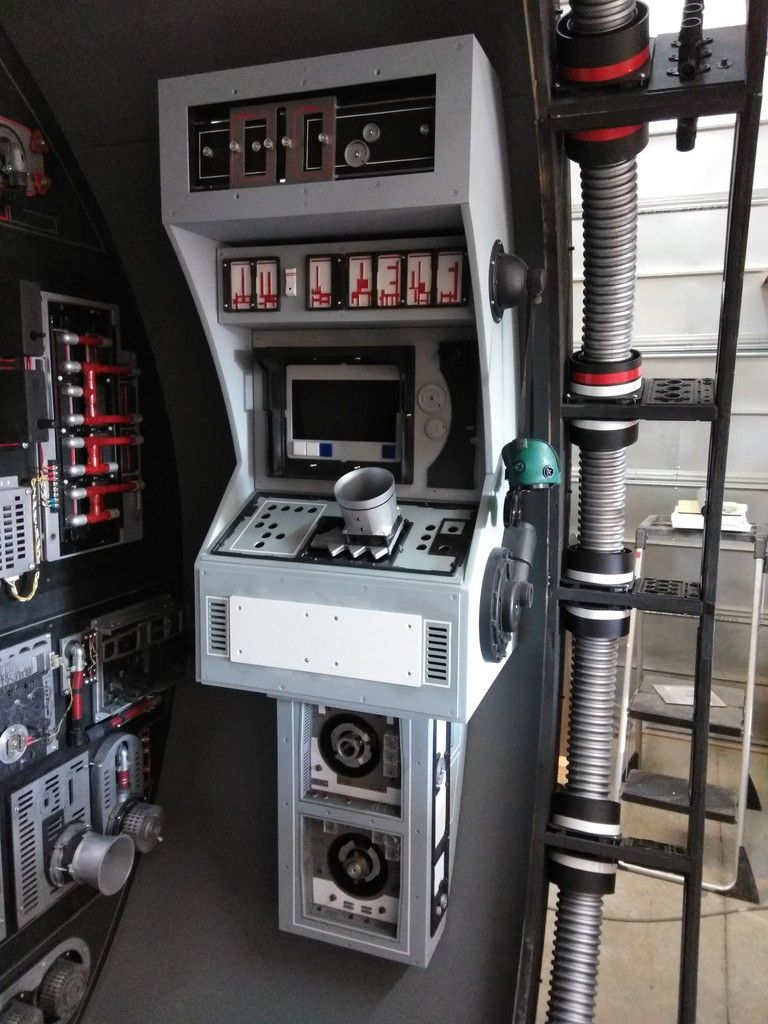
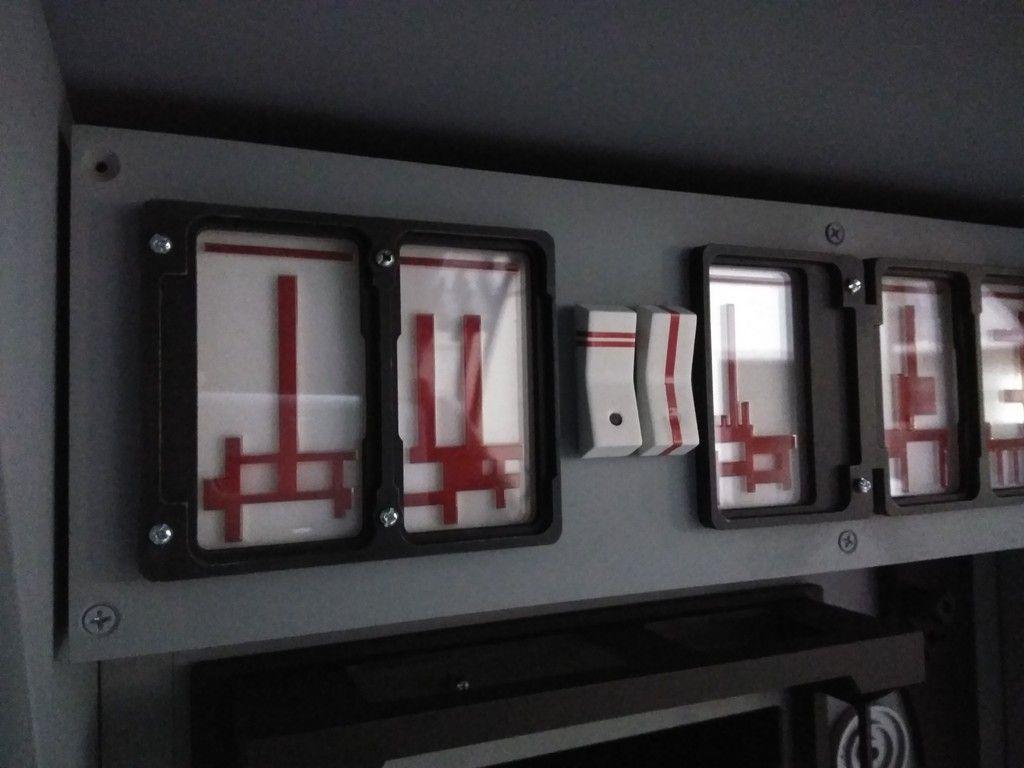
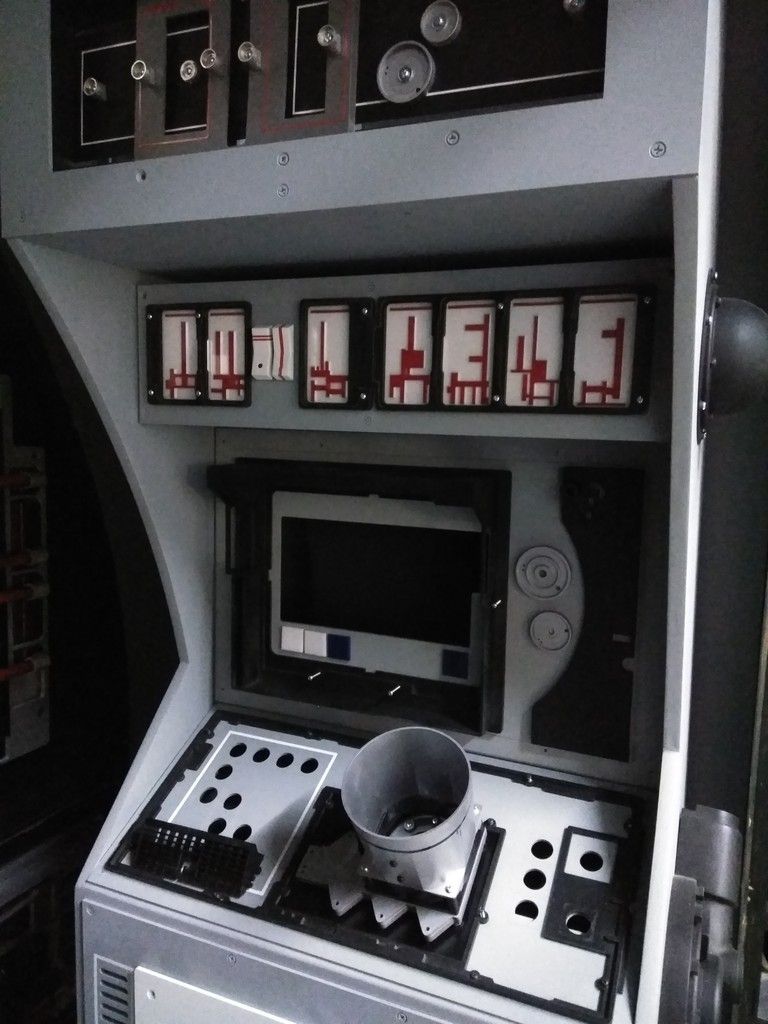
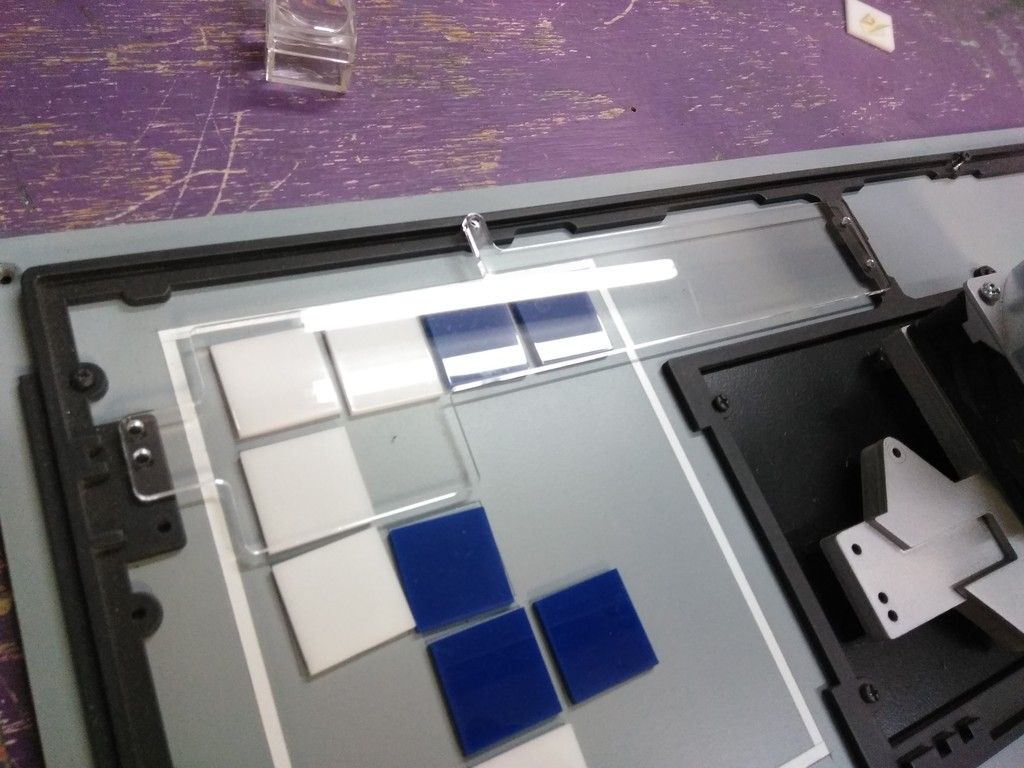
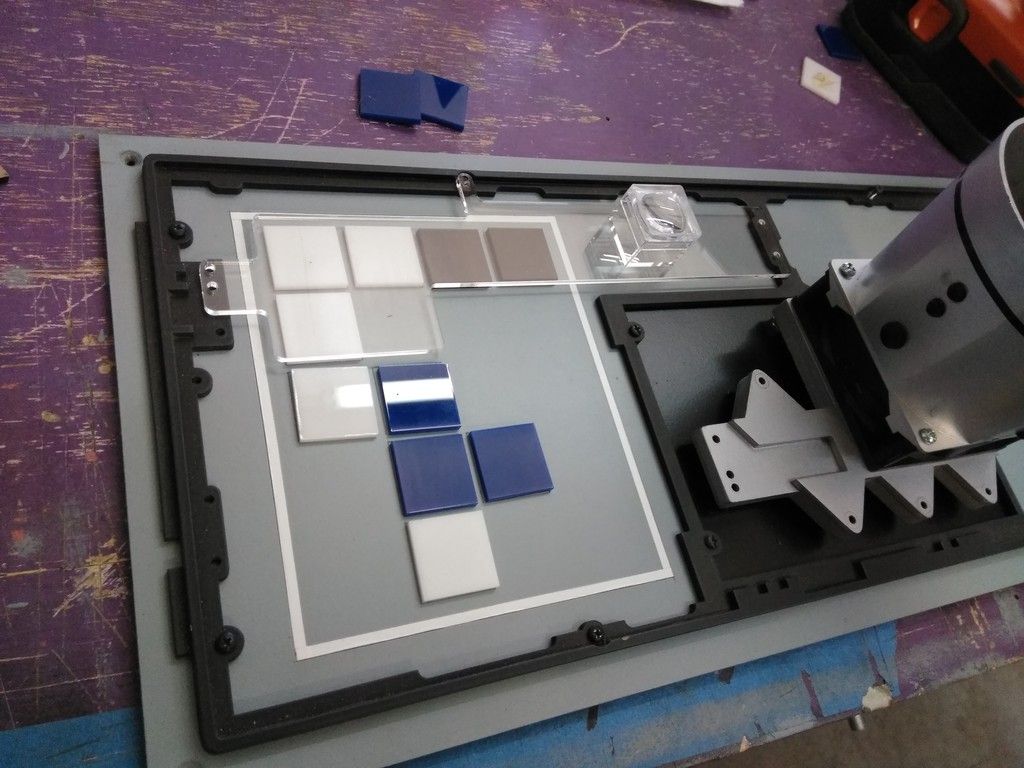
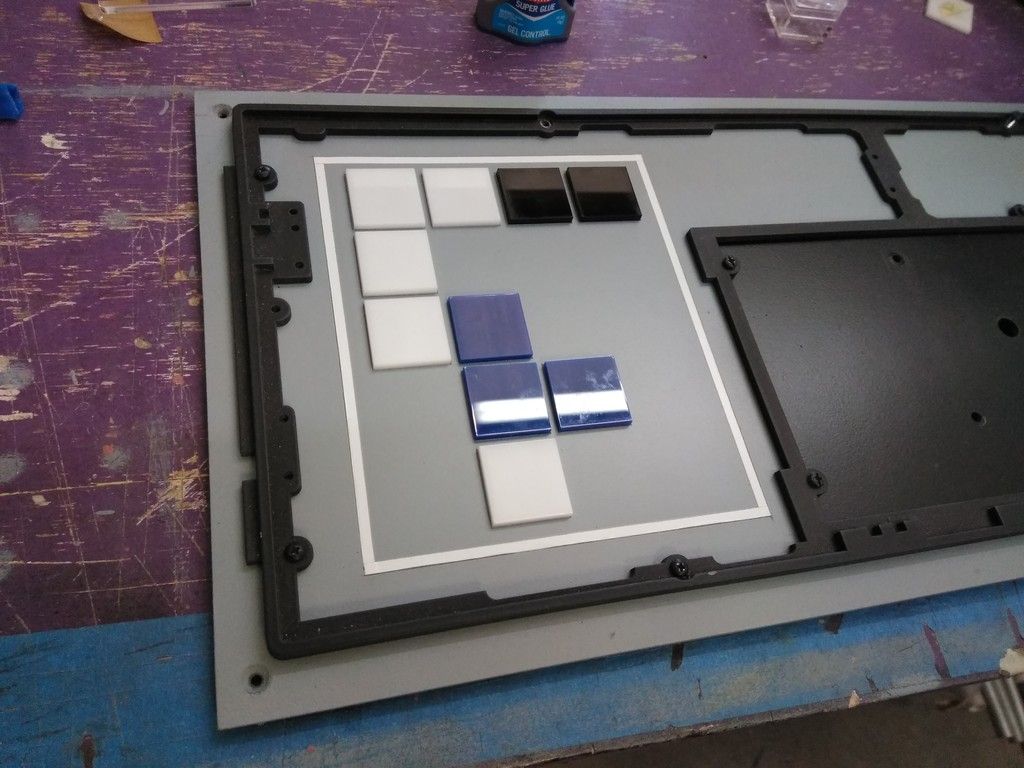
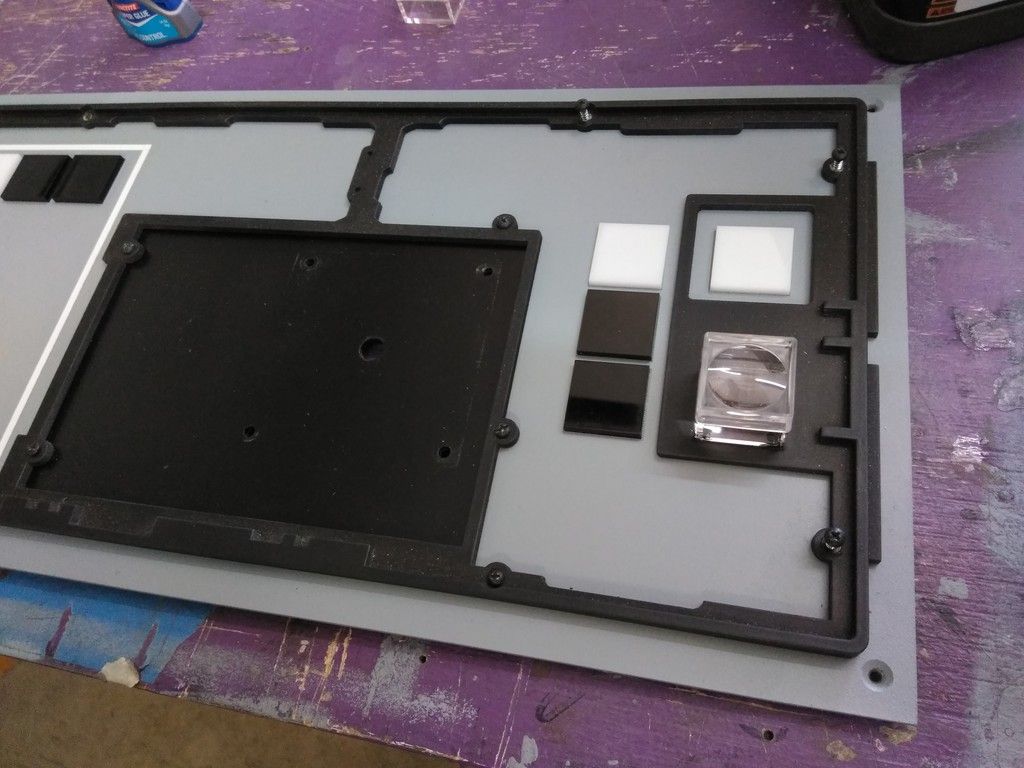
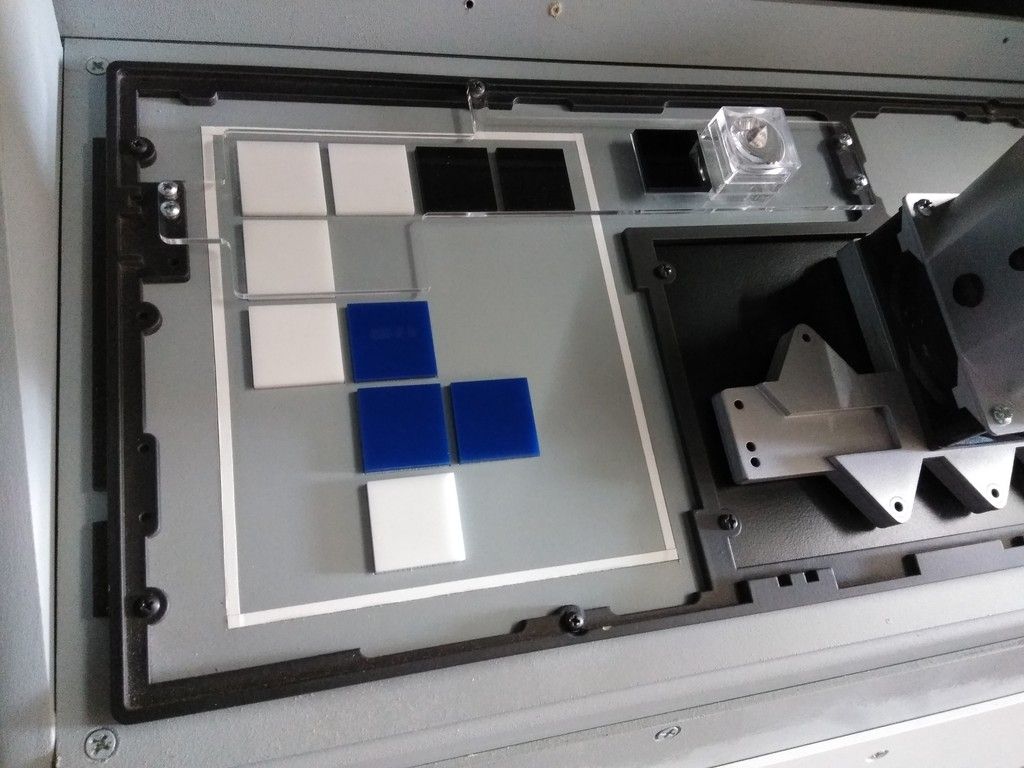
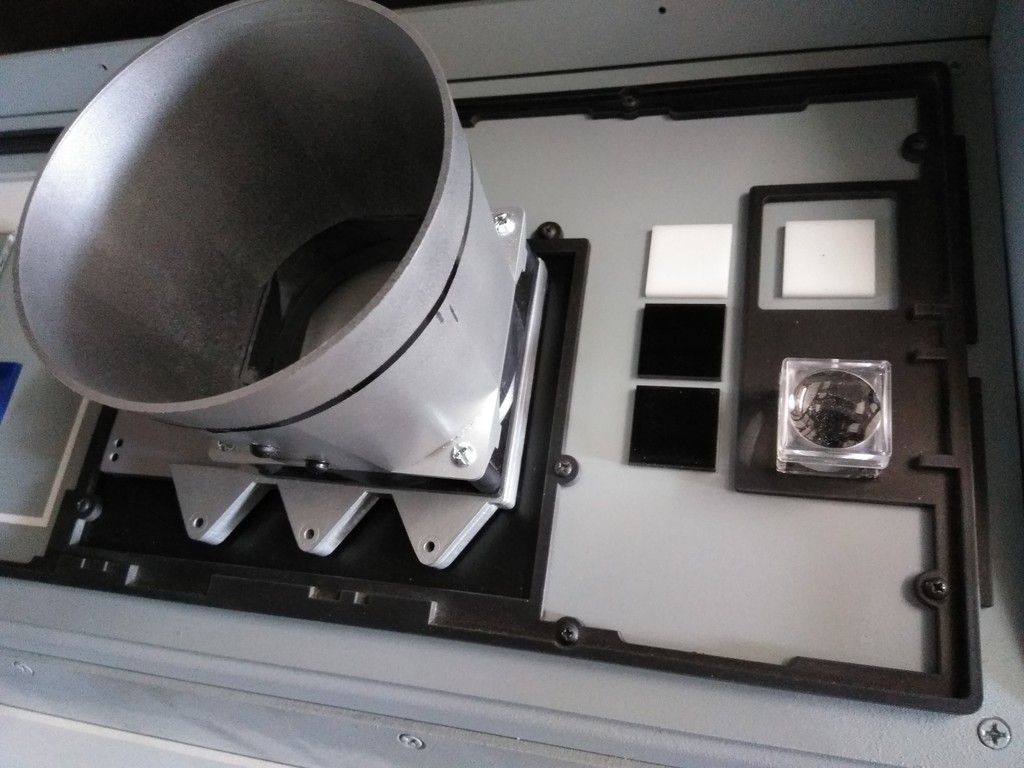
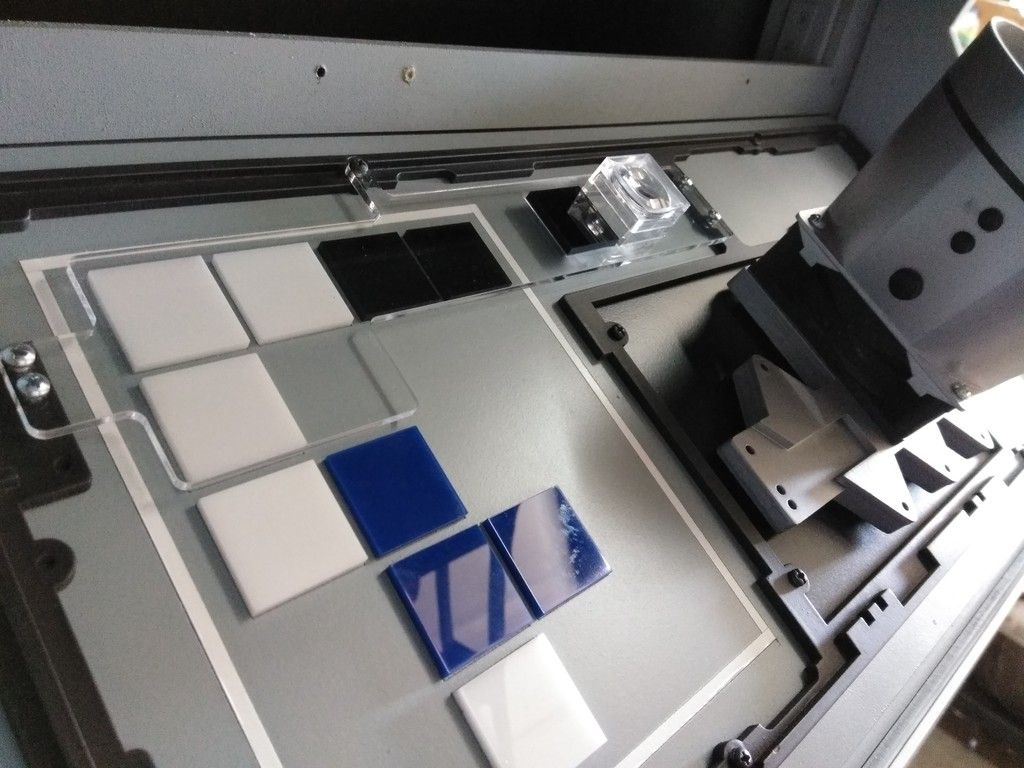
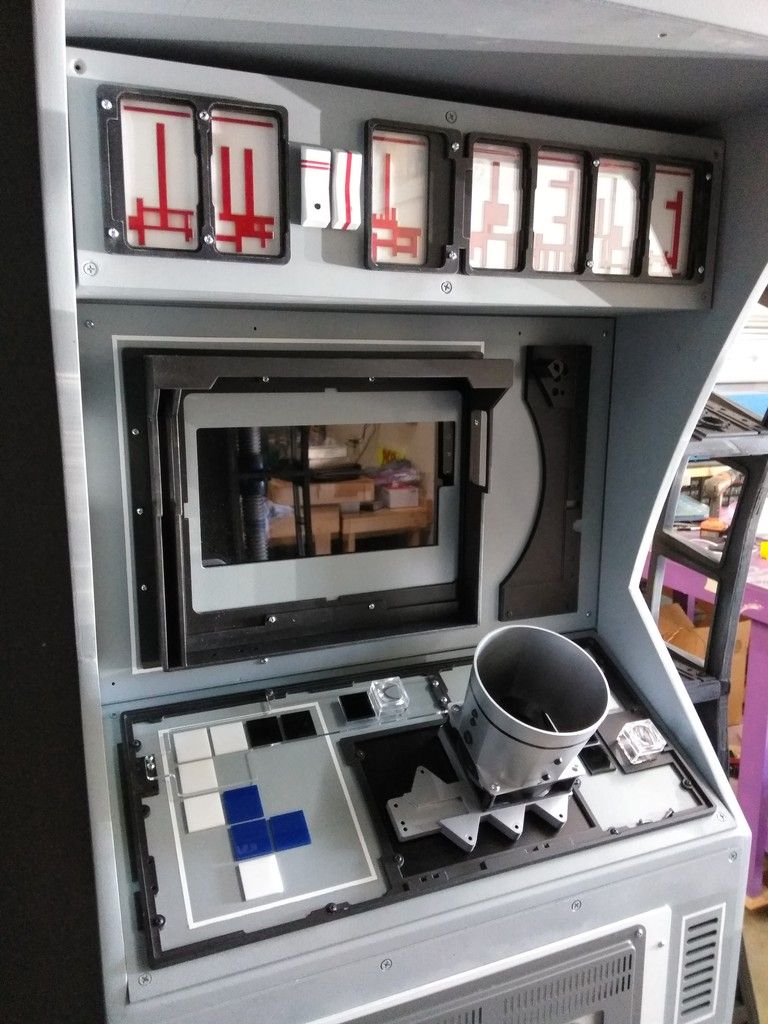
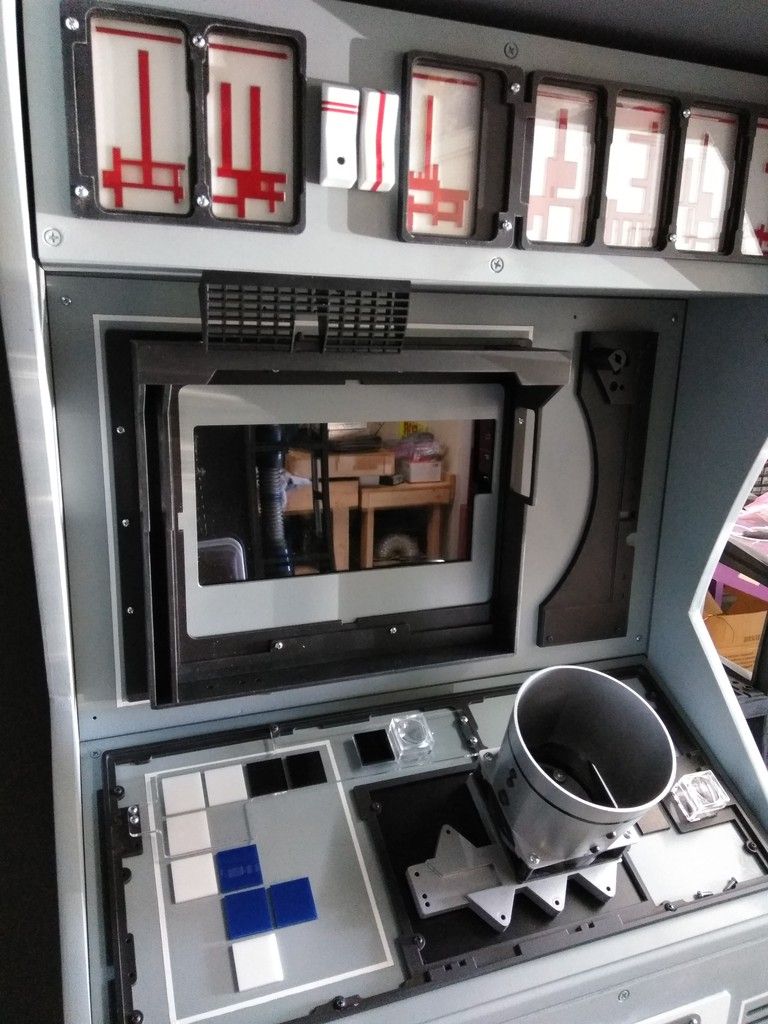
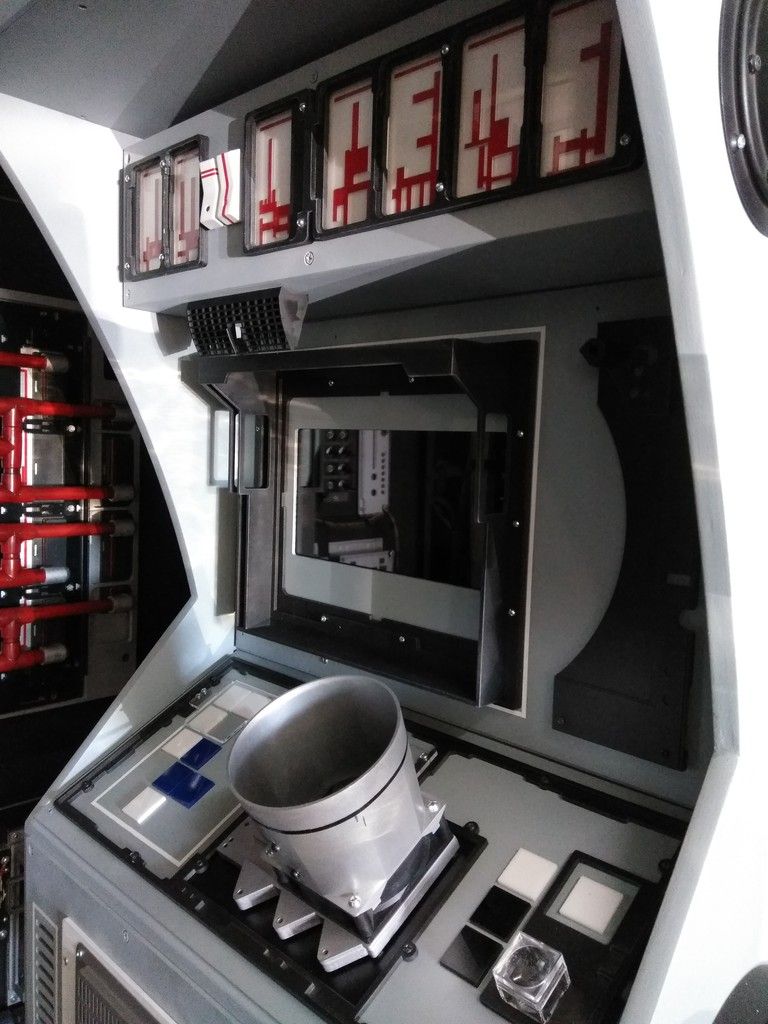
Not much on the console but I temp added these 1" blue and white tiles to the monitor panel to see if I like. These would not be rear illuminated as the iPad is mounted directly behind
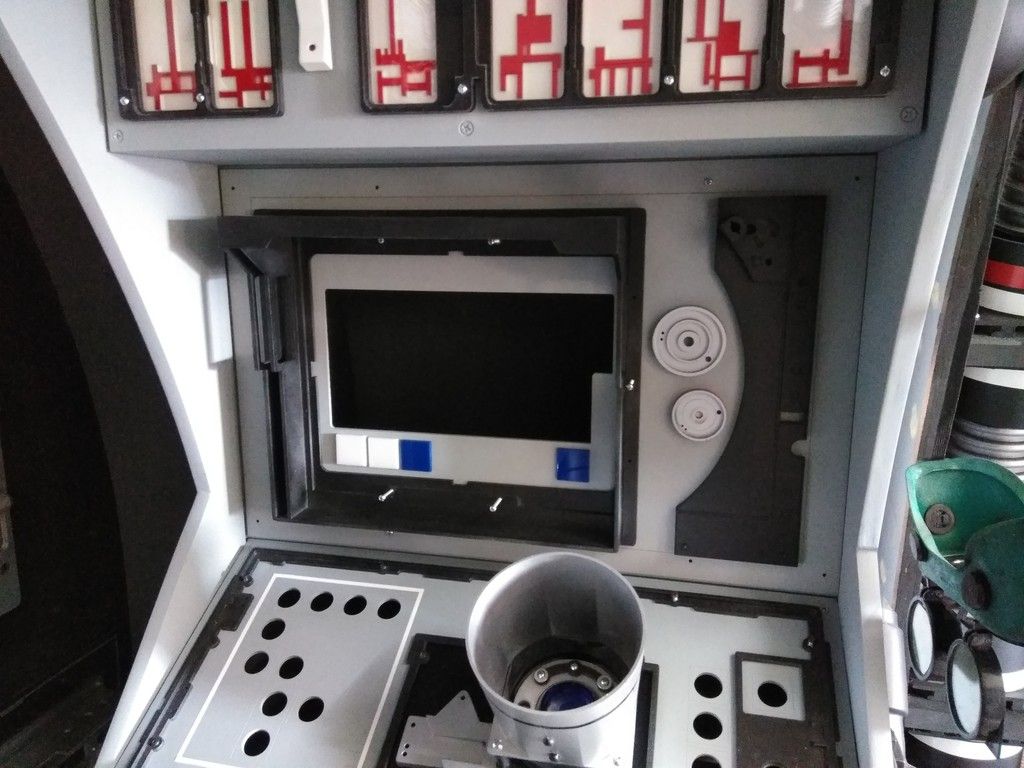
Still debating whether they work or not but I do like them
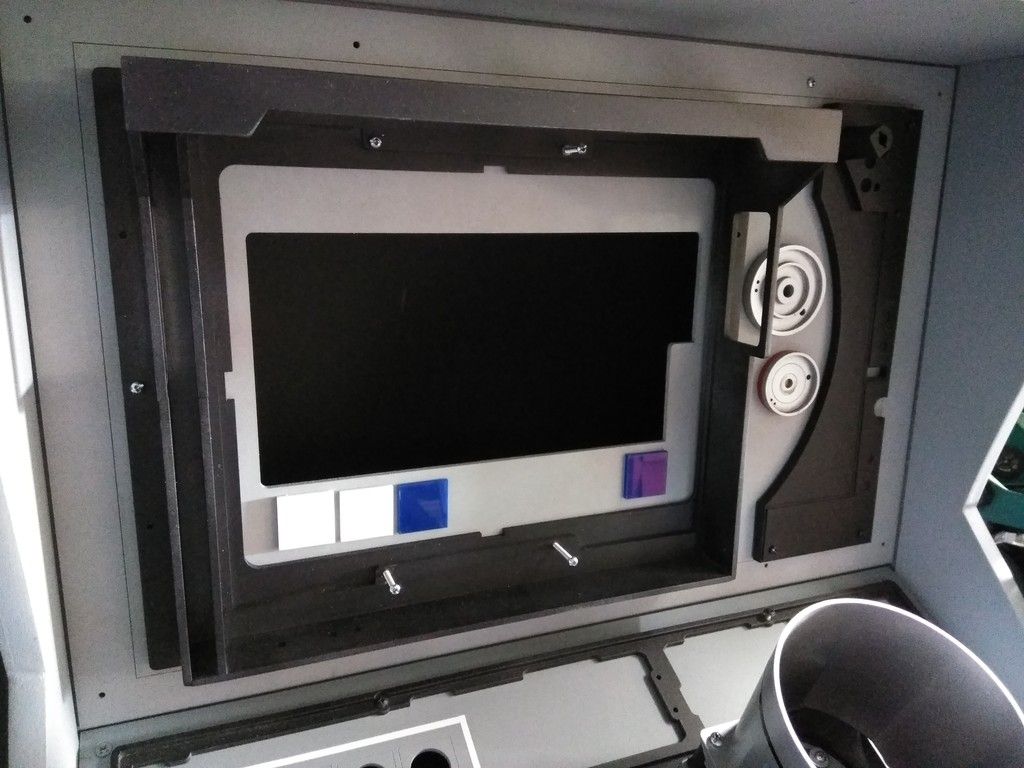
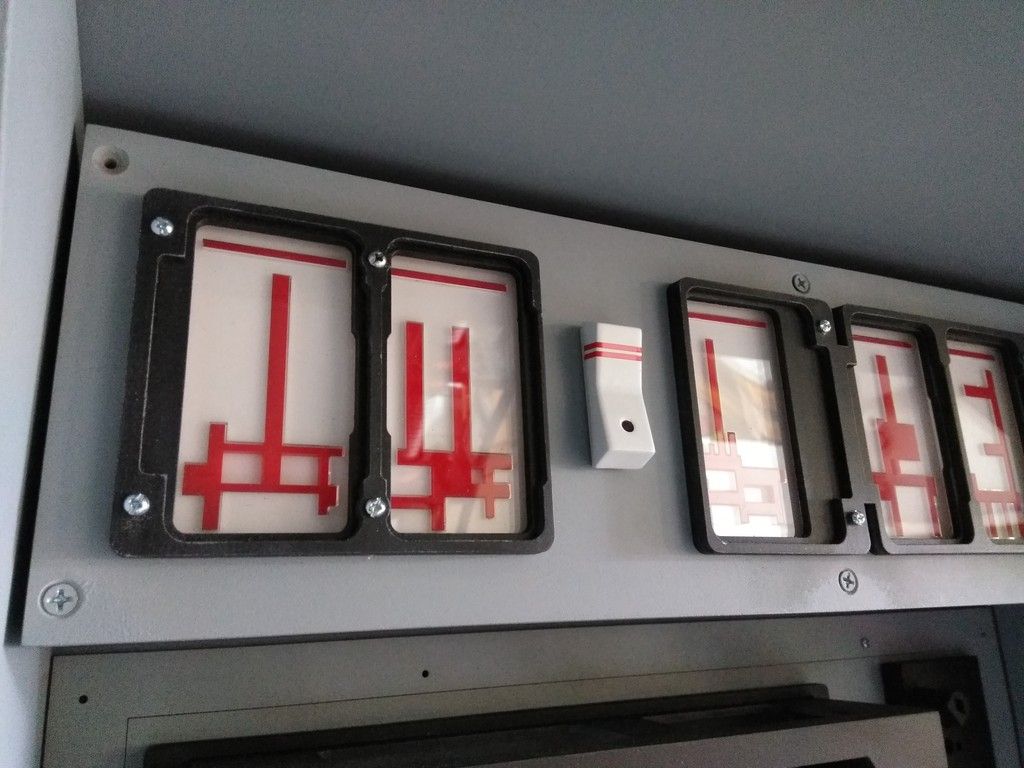
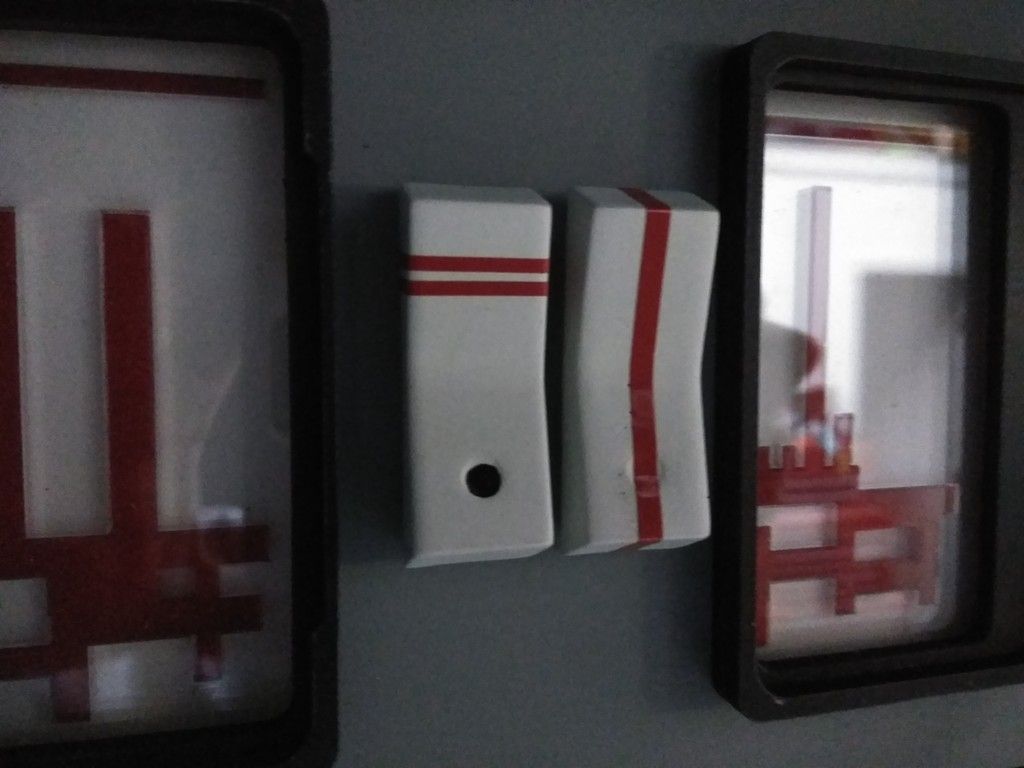
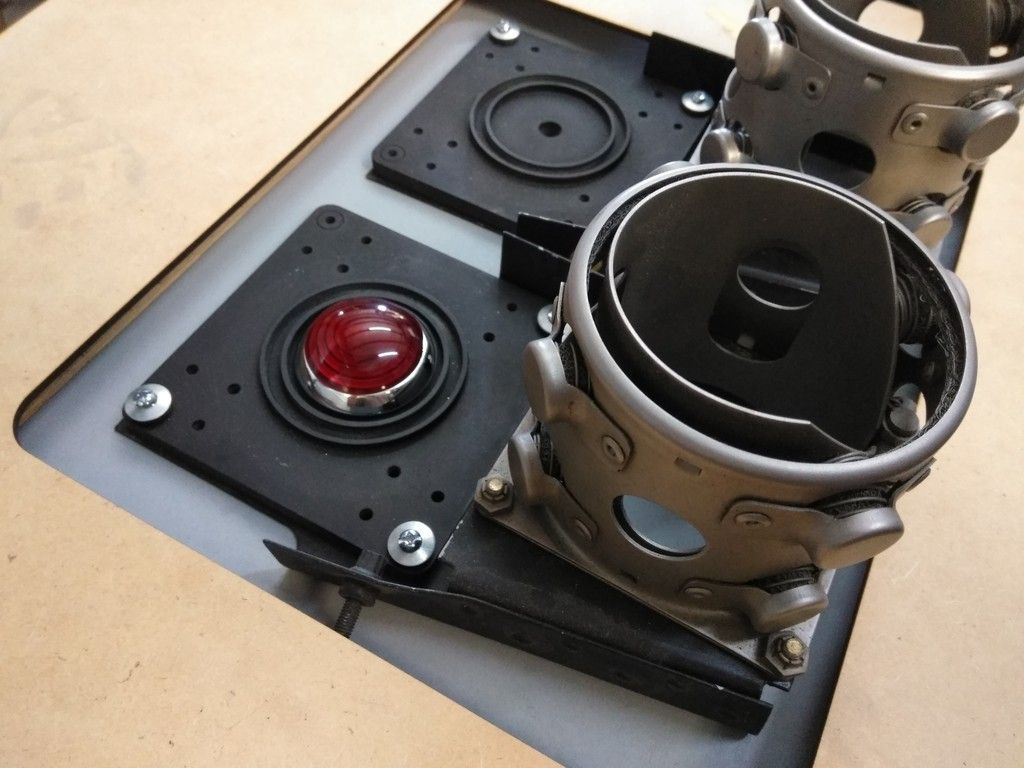
I then added these red stripes to a rocker switch
I really like this! But I think two rockers might work better?
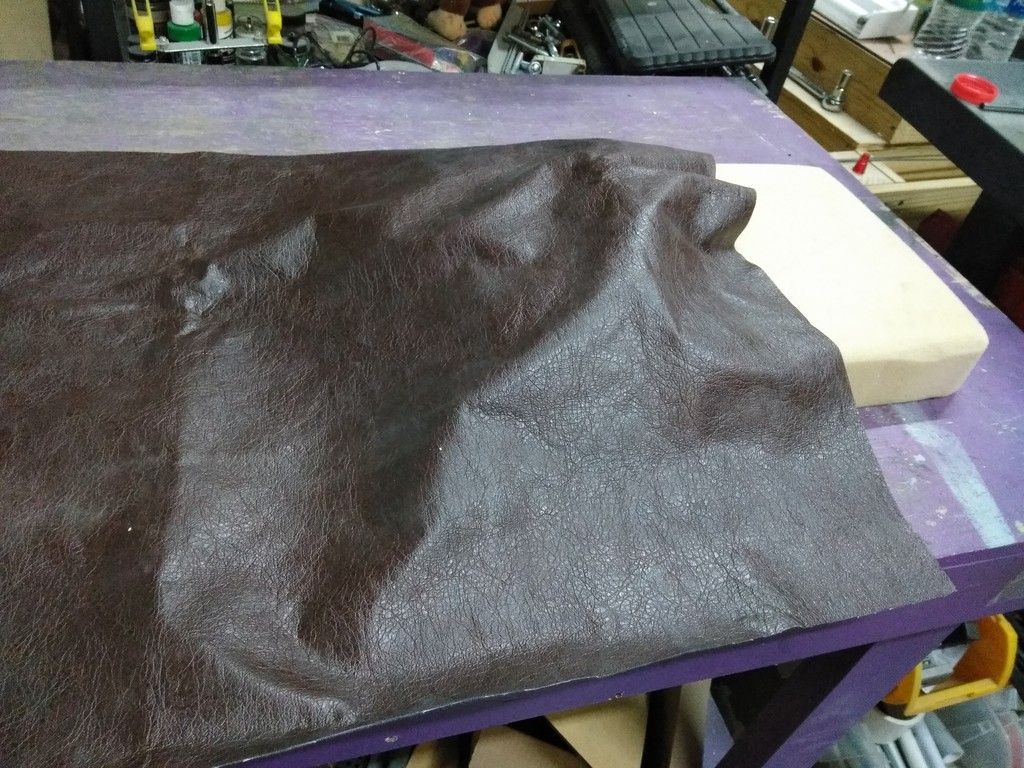
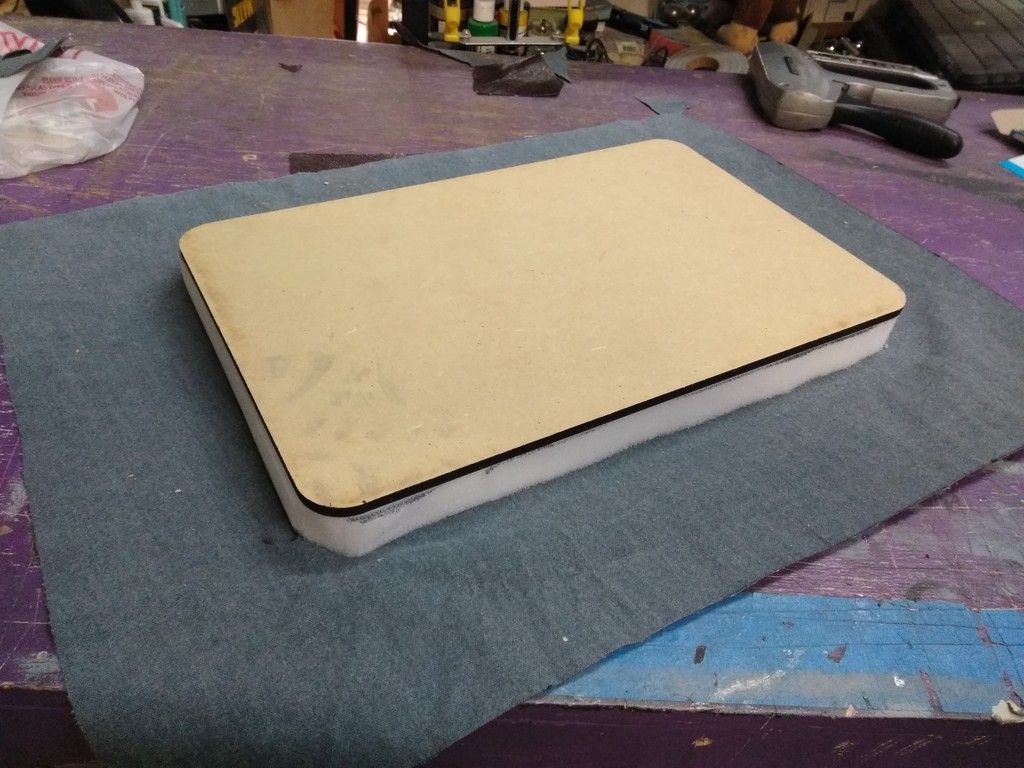
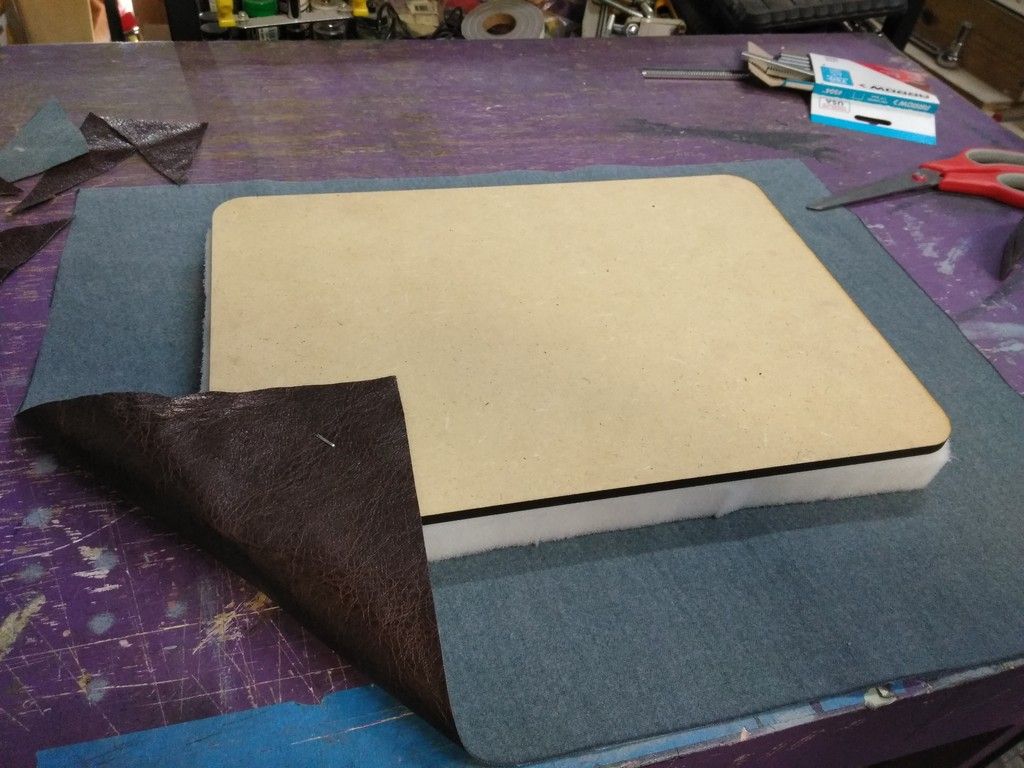
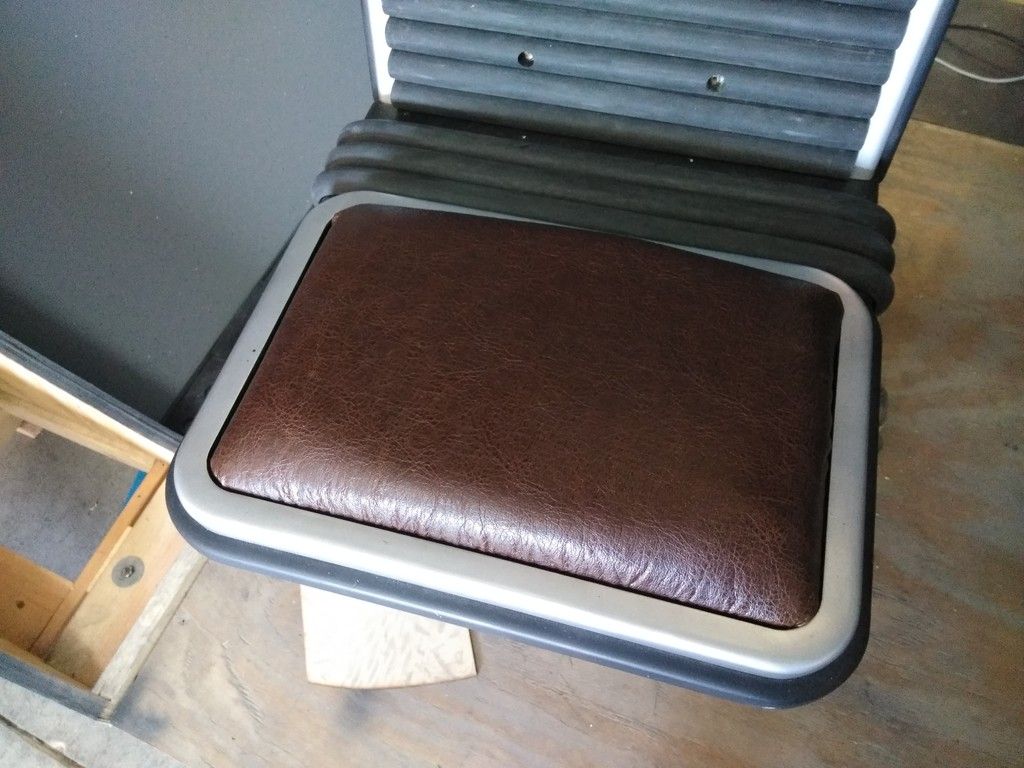
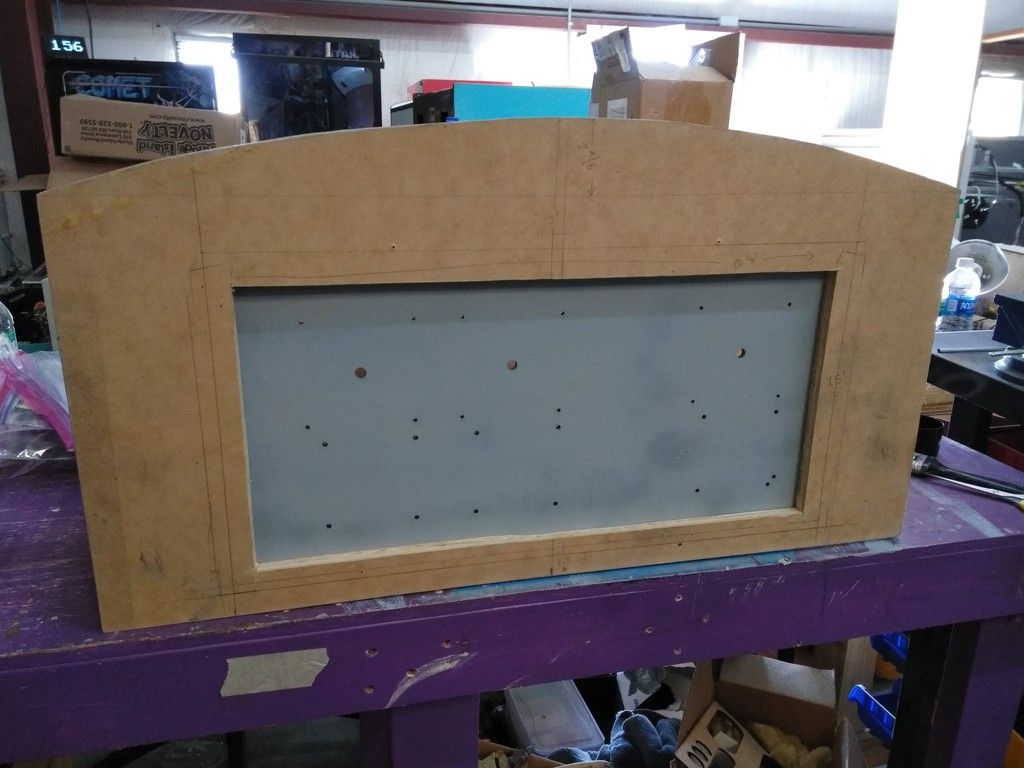
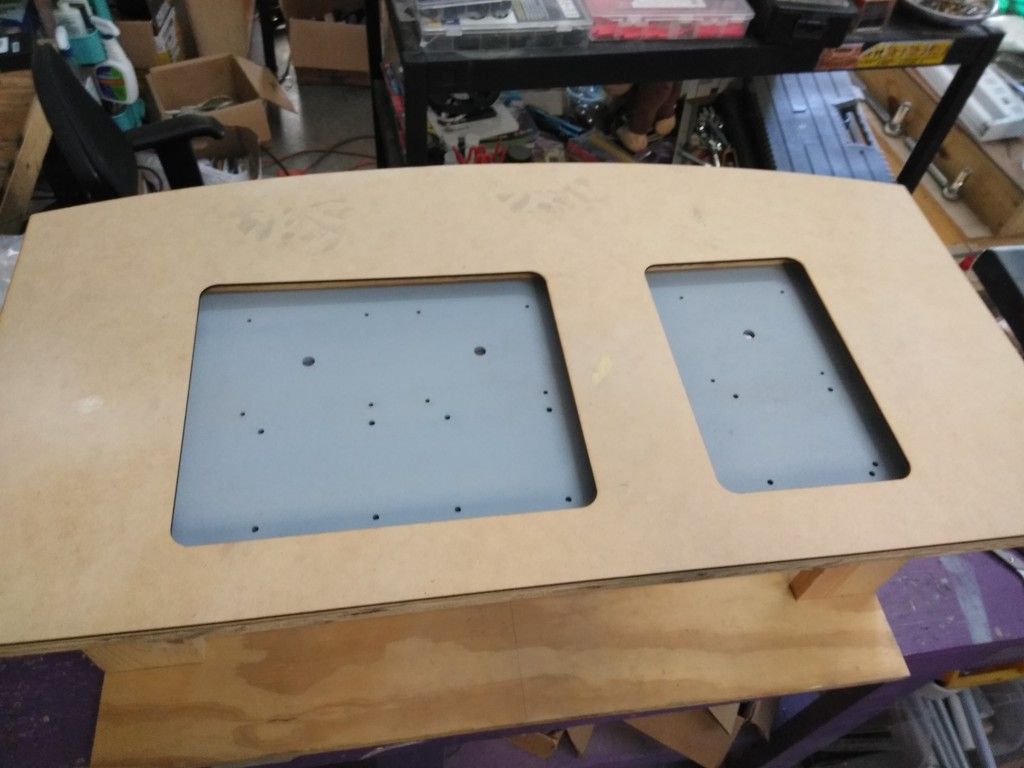
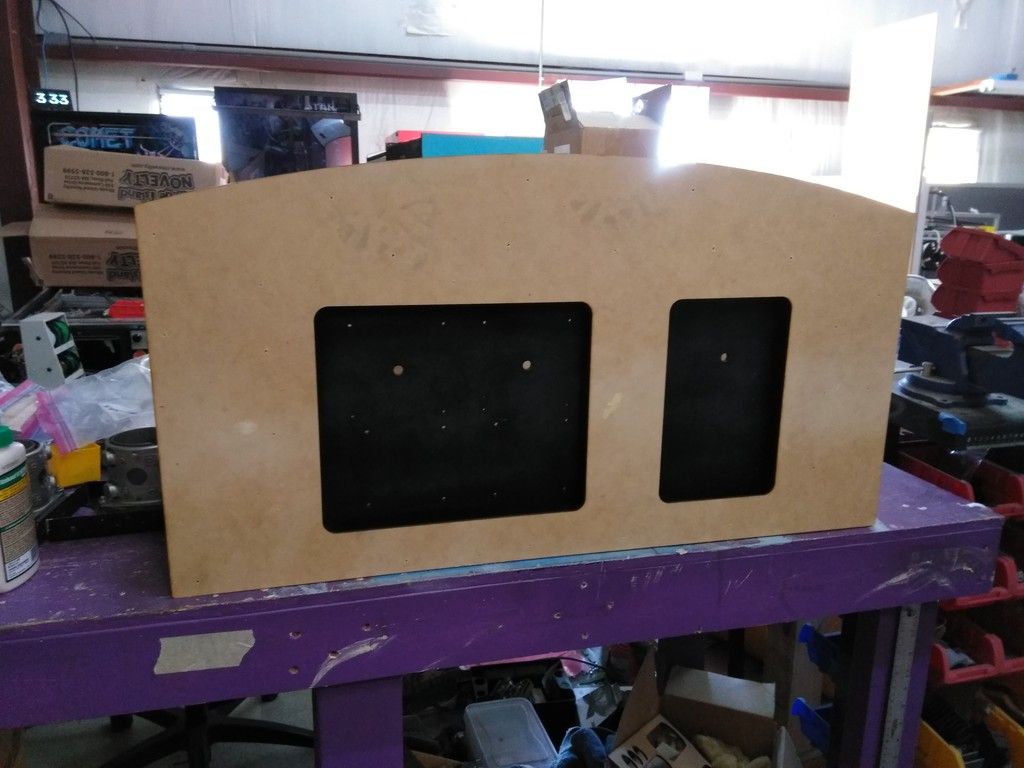
A while back I picked up some leather-like material and 2" seat foam. I finally cut both the foam (using the band saw) and material to match the MDF bottom!
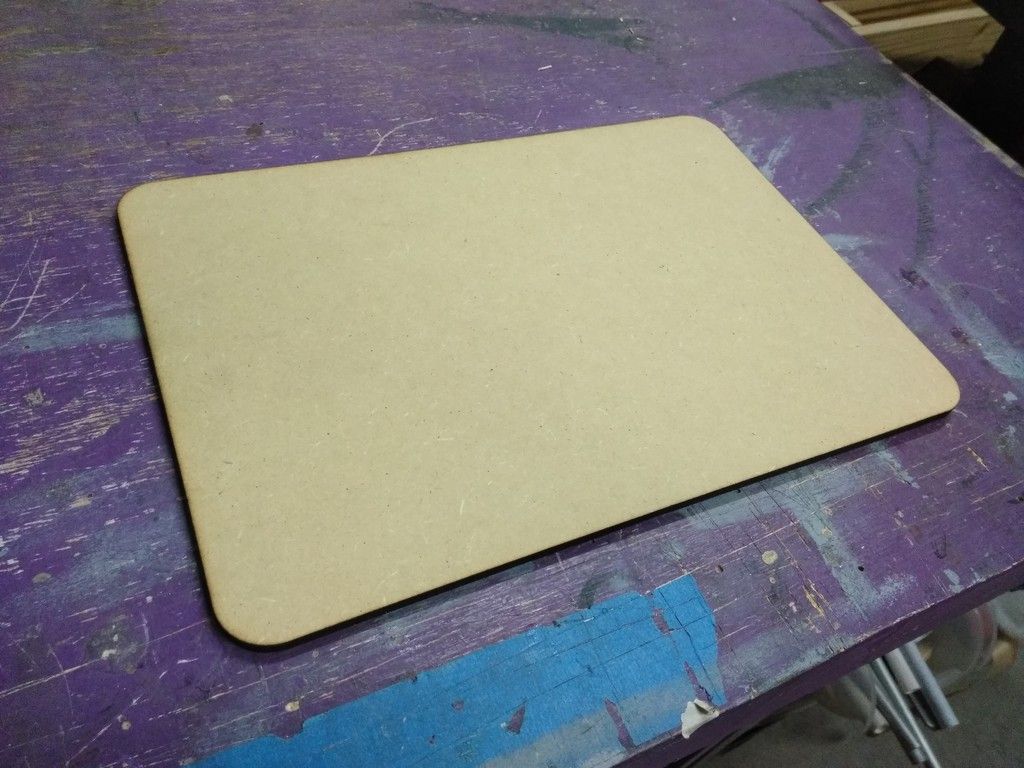
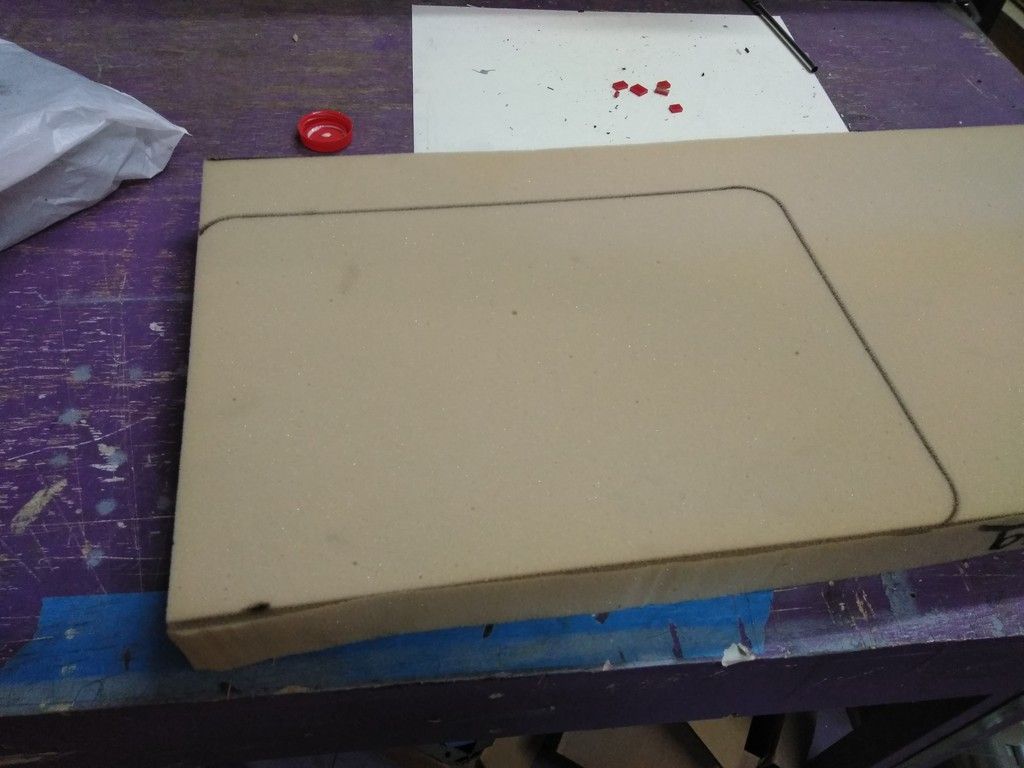

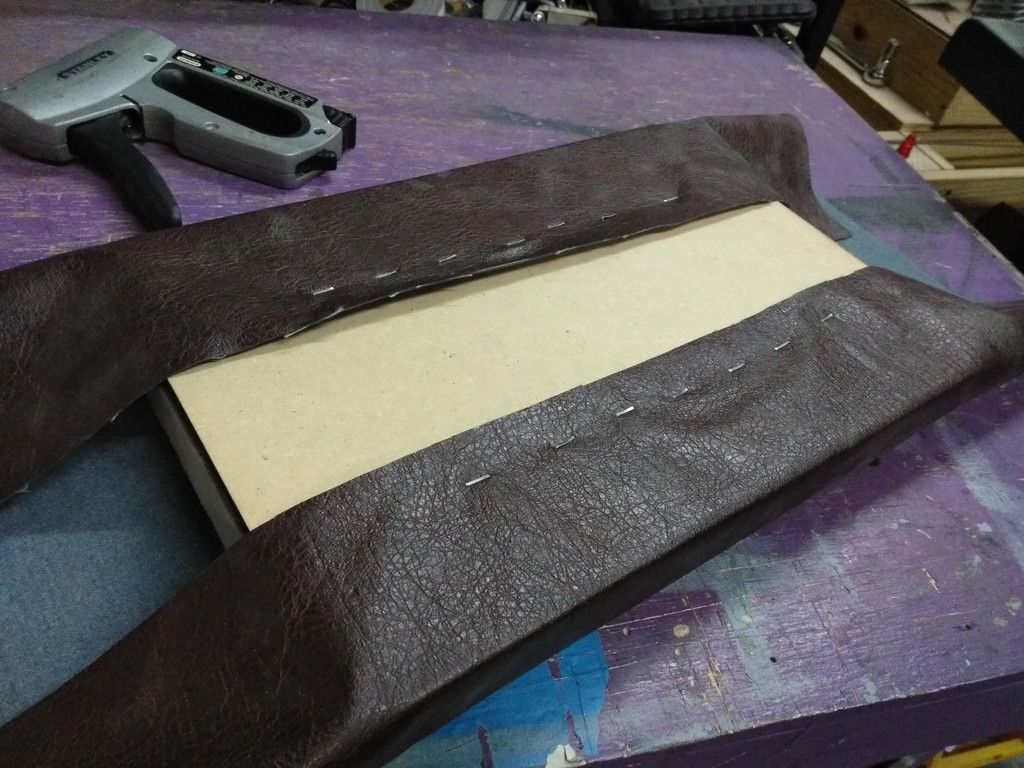
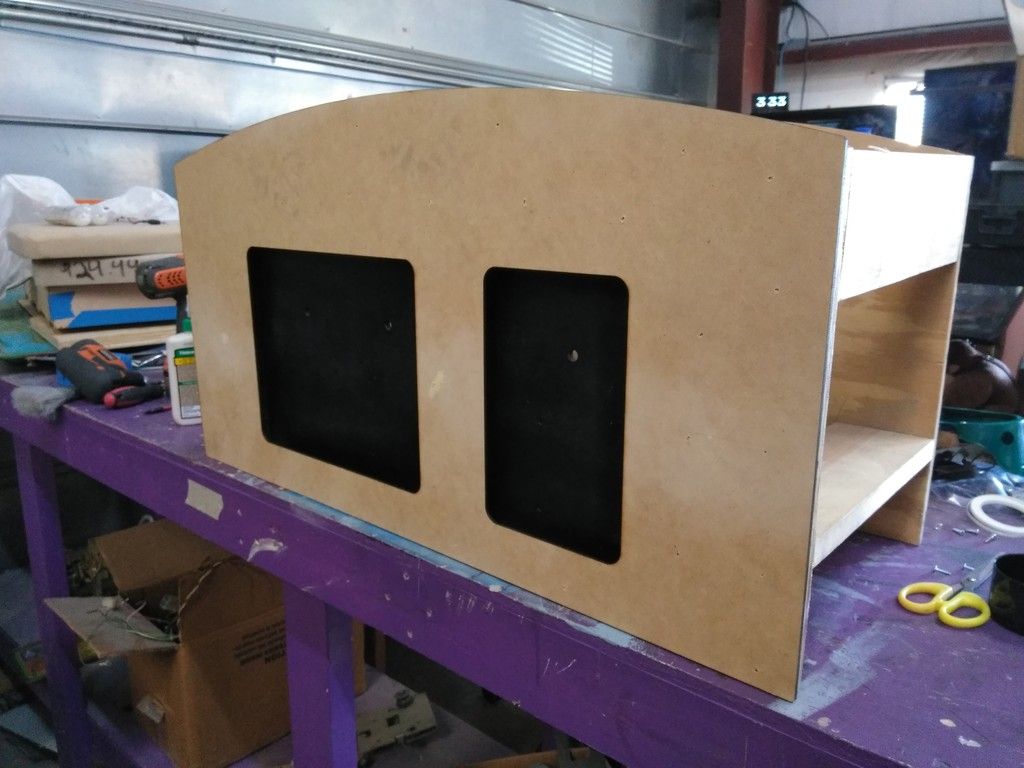
Basic layout
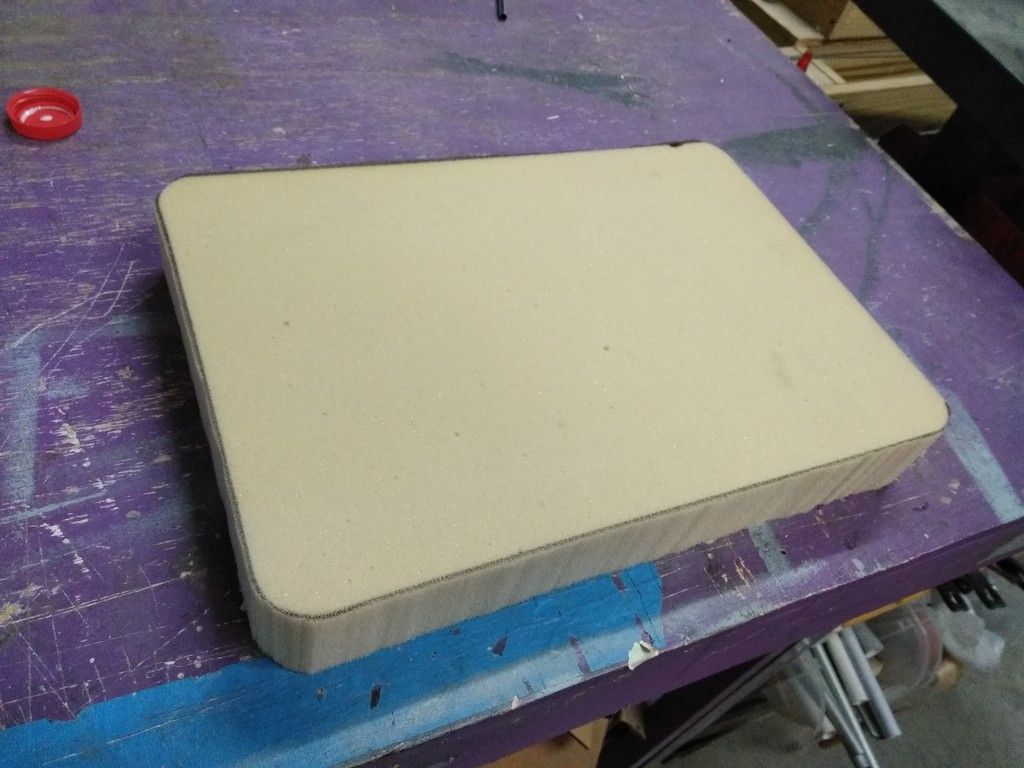
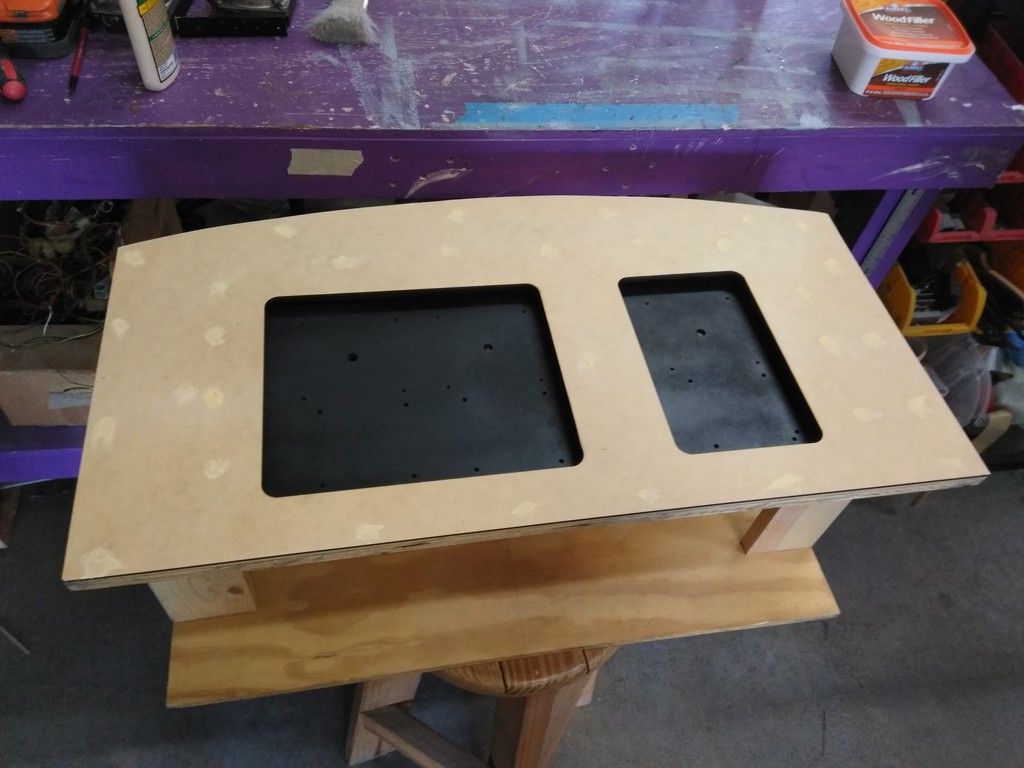
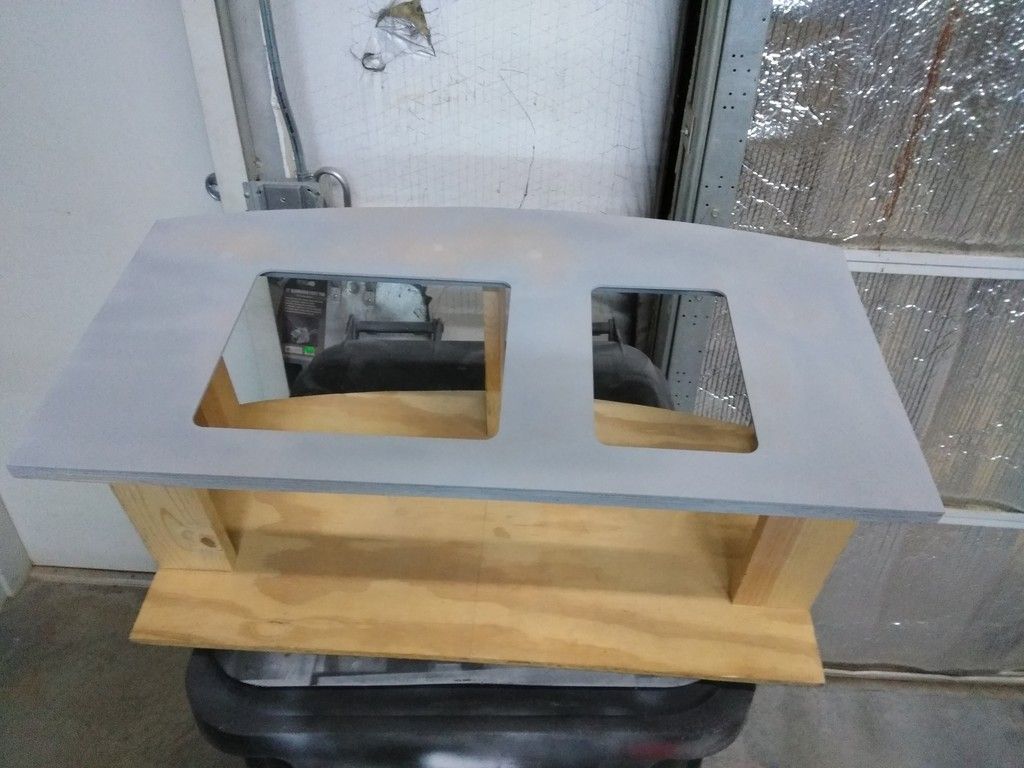
I then rounded the edges using the belt sander. A huge Thanks to Daniel for guiding me through the upholstery process.
I picked up 3' x 8' of material for 9 bucks! Couldn't pass that up!
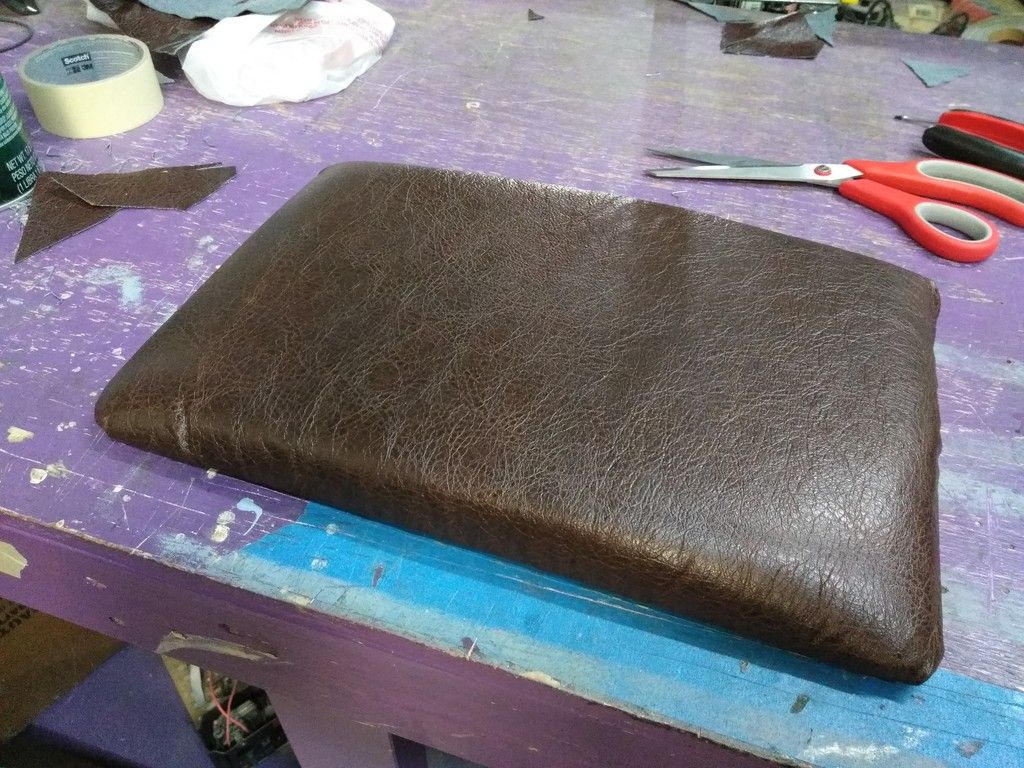
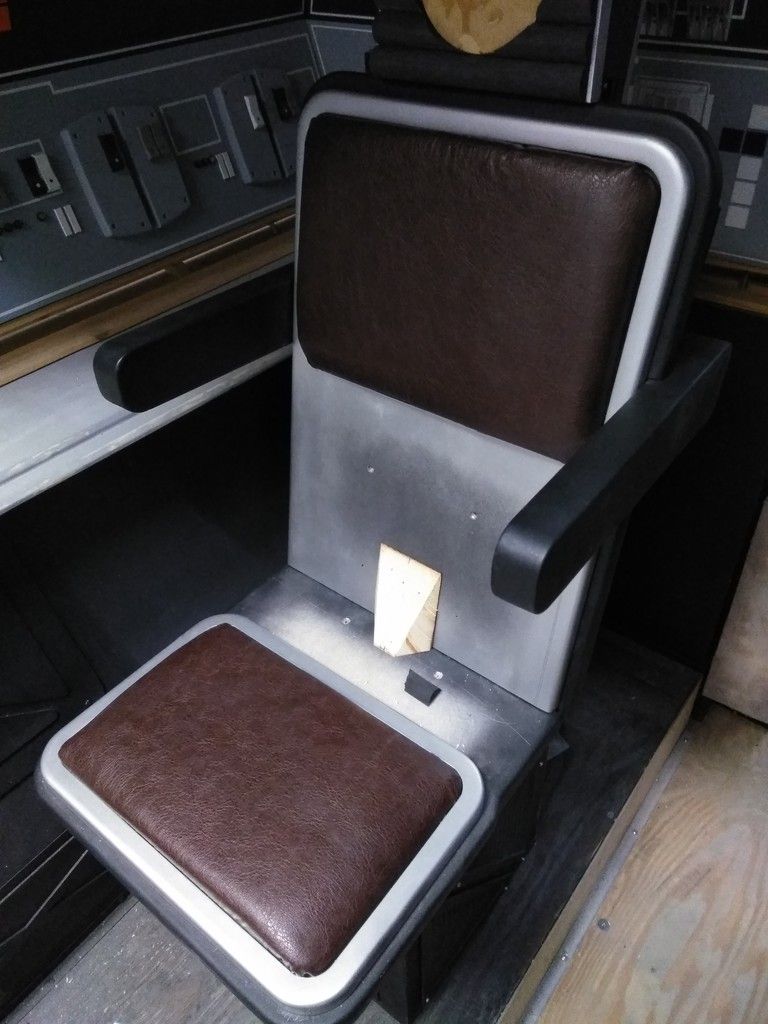
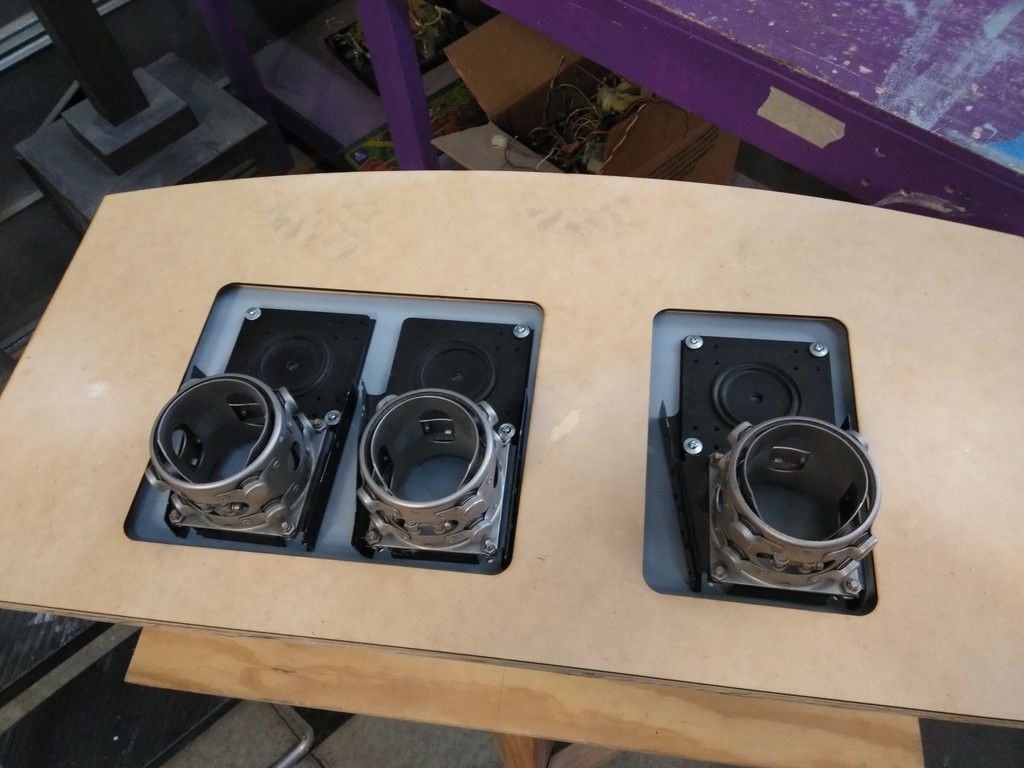
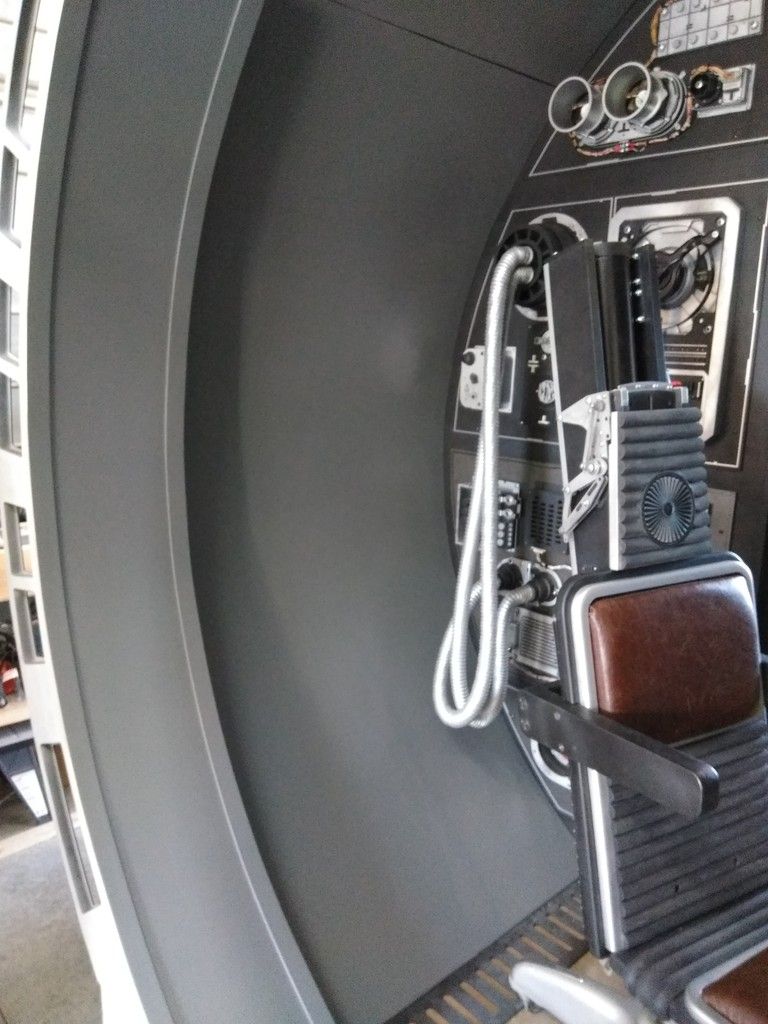
Started to upholster the nav chairs!
Getting those round corners perfect is almost next to impossible with the material I had
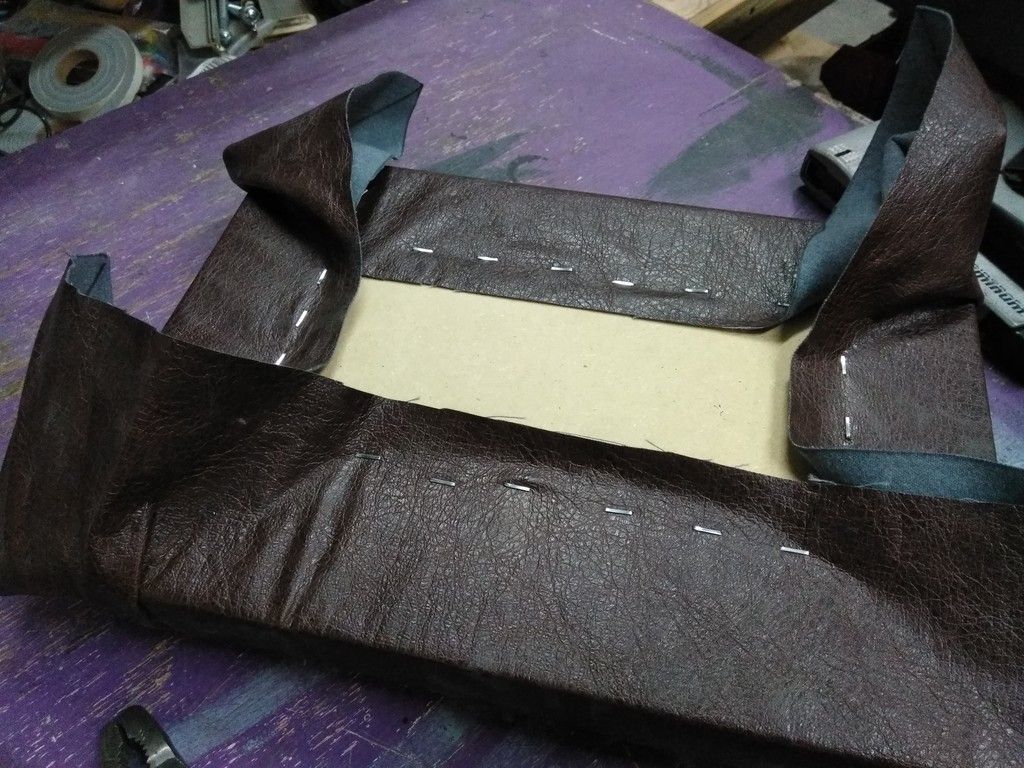
If that doesn't put the "UGH" in UGLY! Thankfully that will never be seen again!
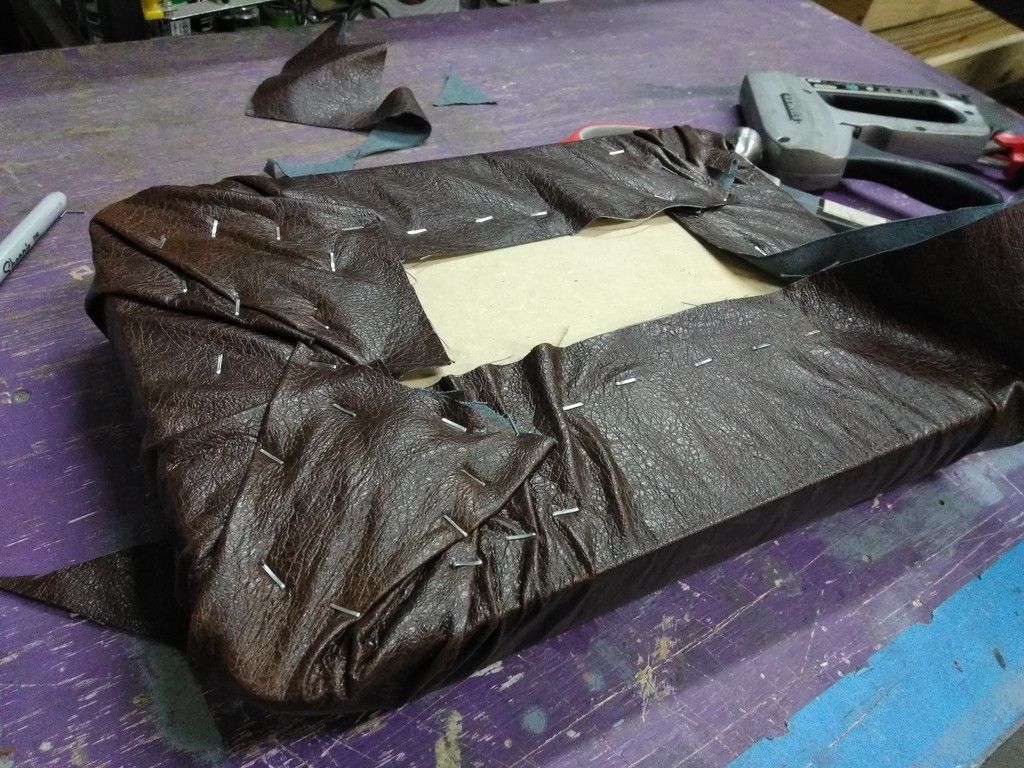
Basic look

YUCK!
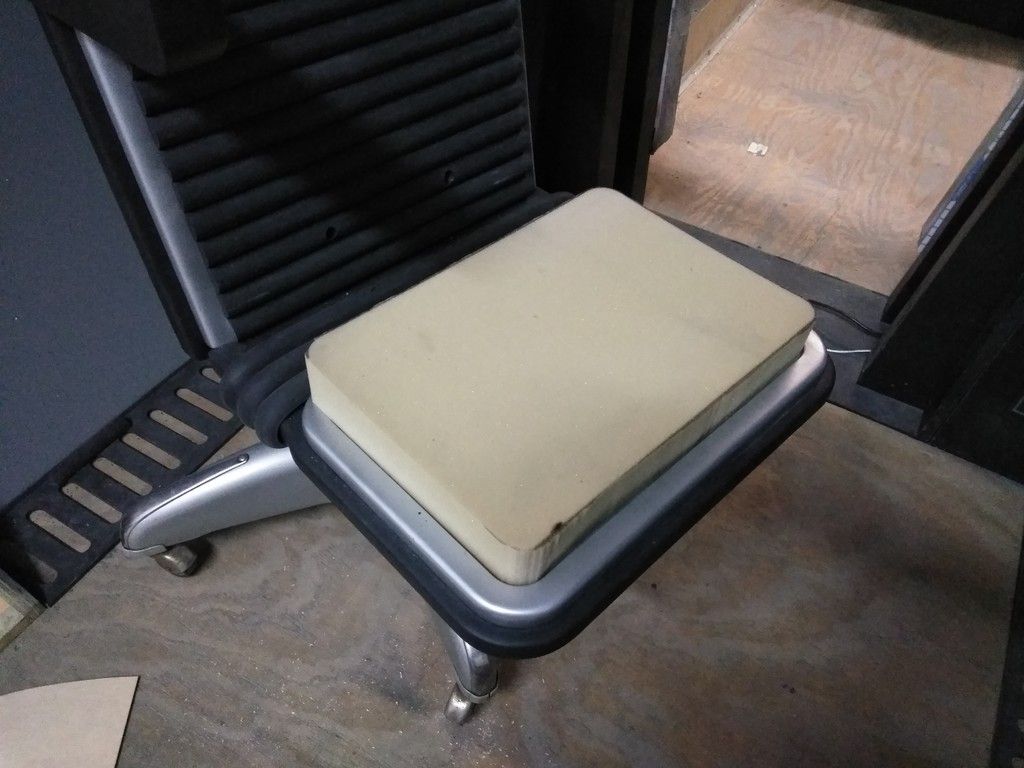
The 2" foam is too thick. It just doesn't look right
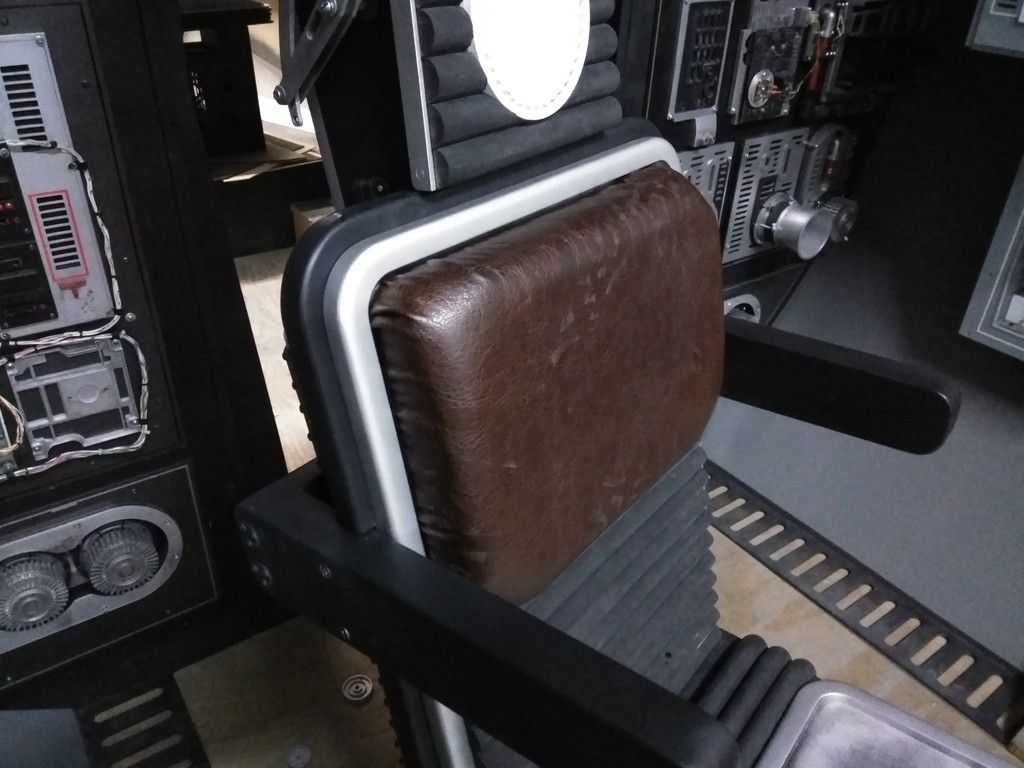
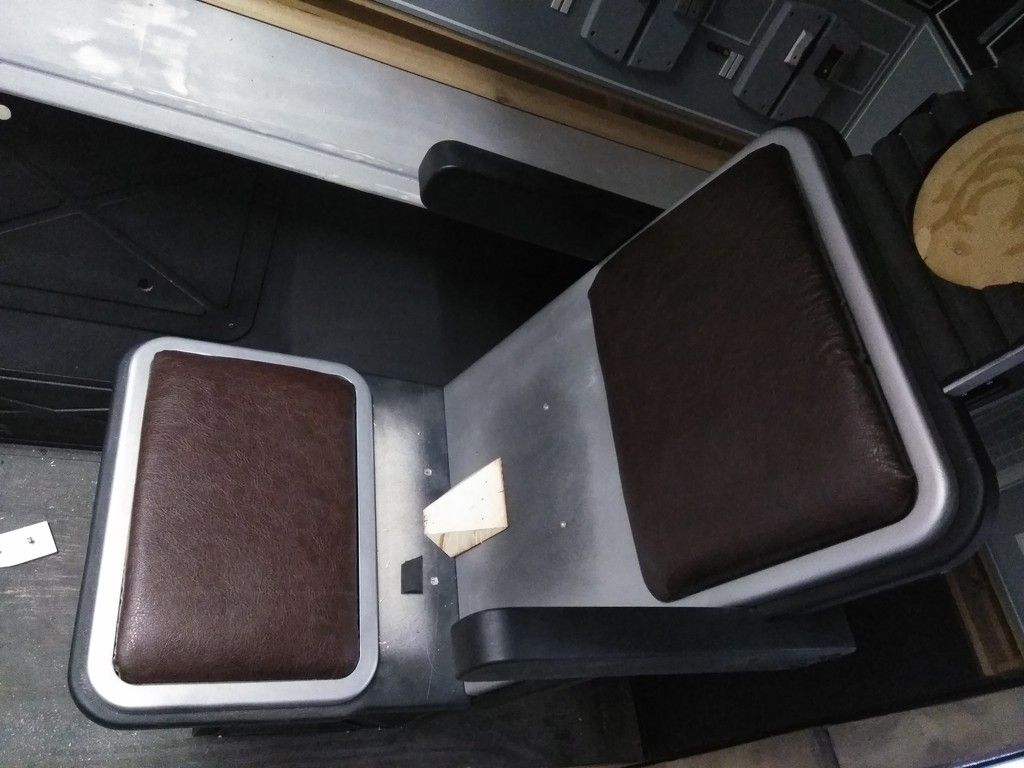
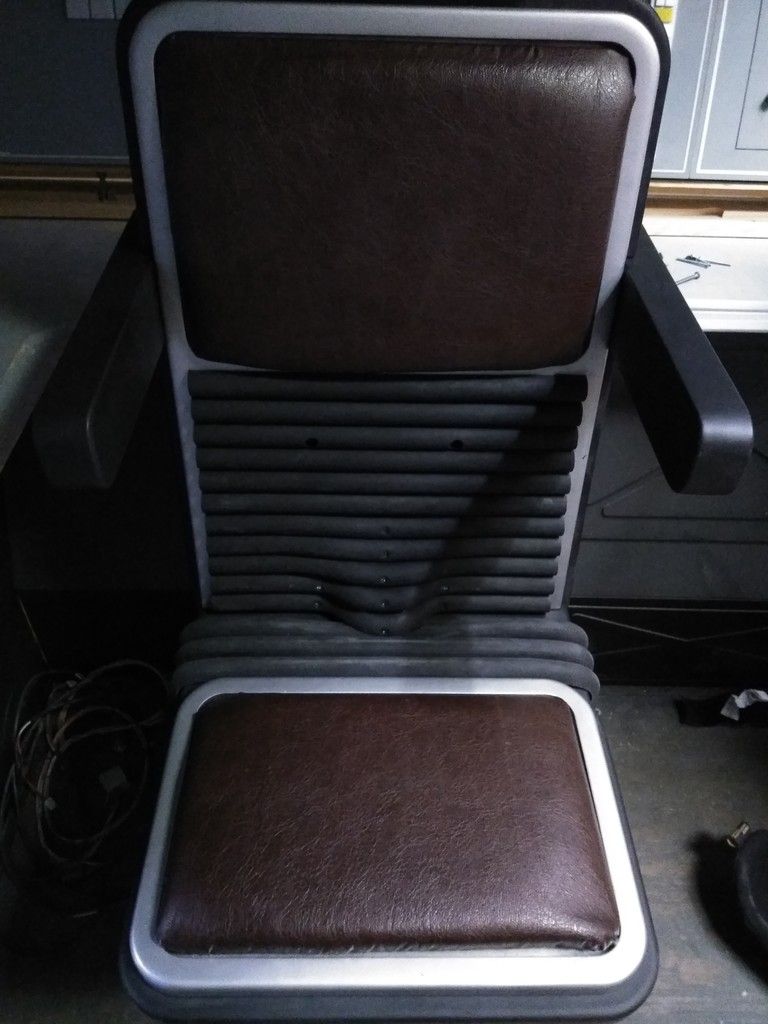
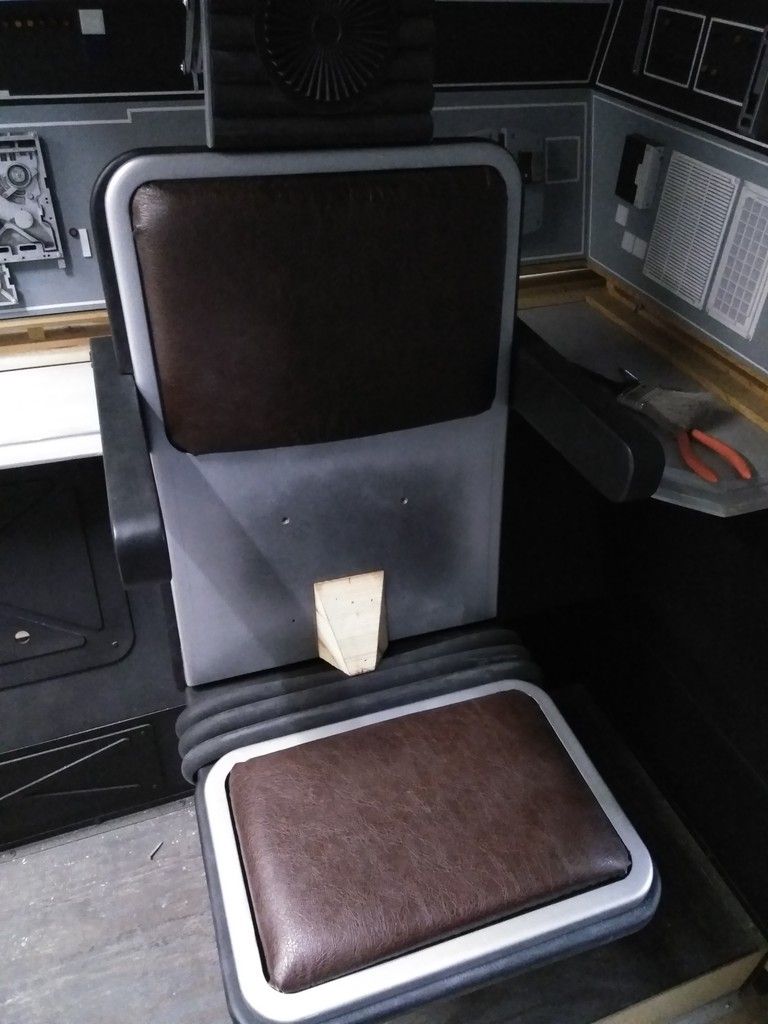
So early Sun morning I picked up some 1" foam and started the process all over again
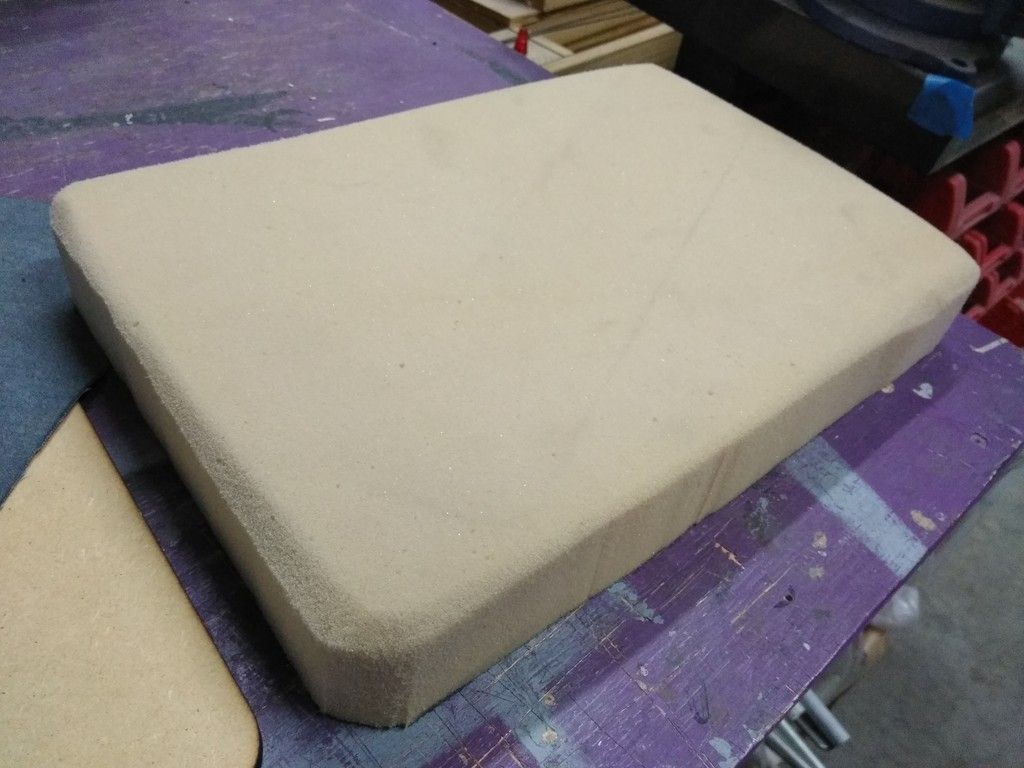
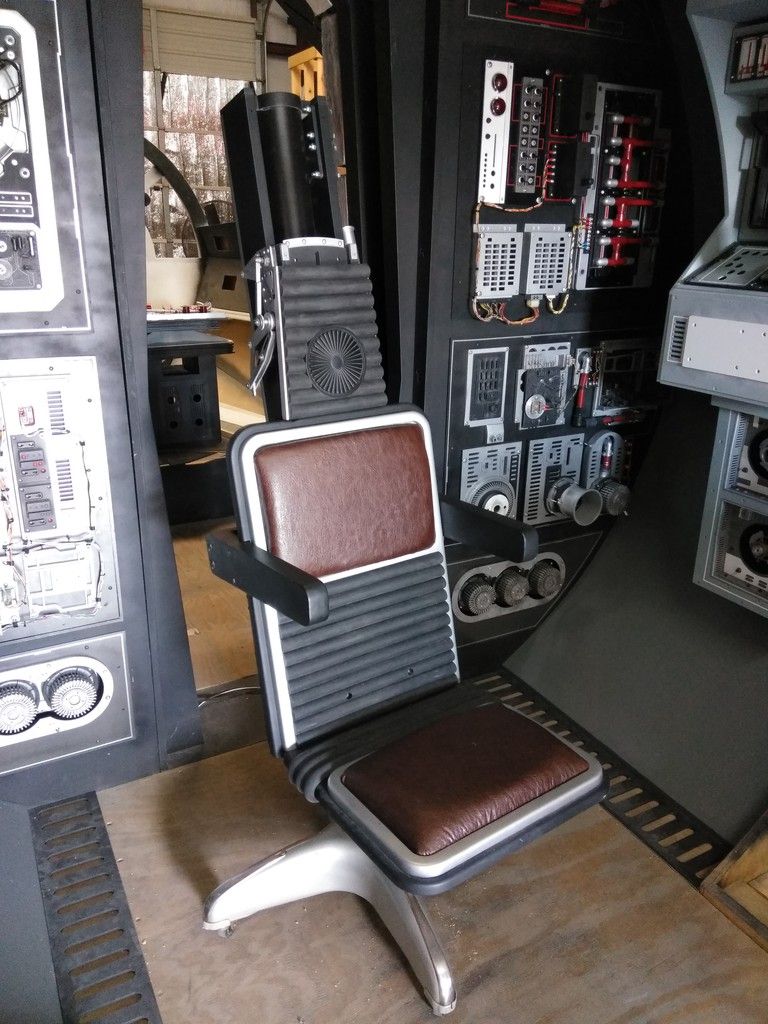
MUCH better!
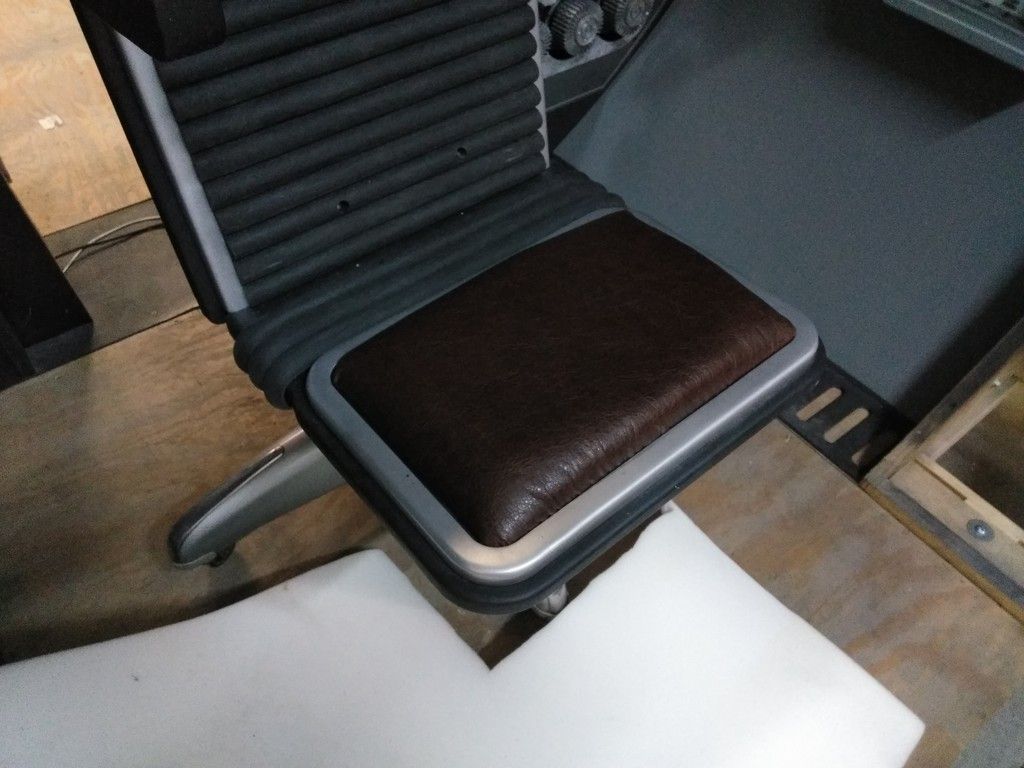
I love it! A bit too new looking but the thickness is perfect!
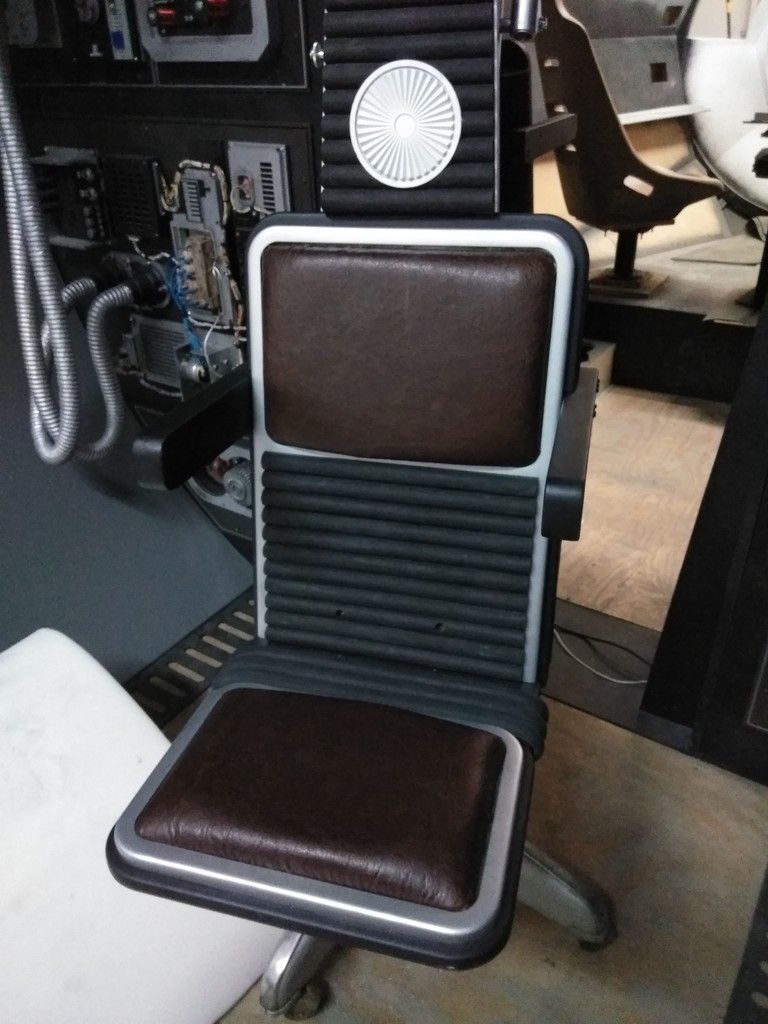
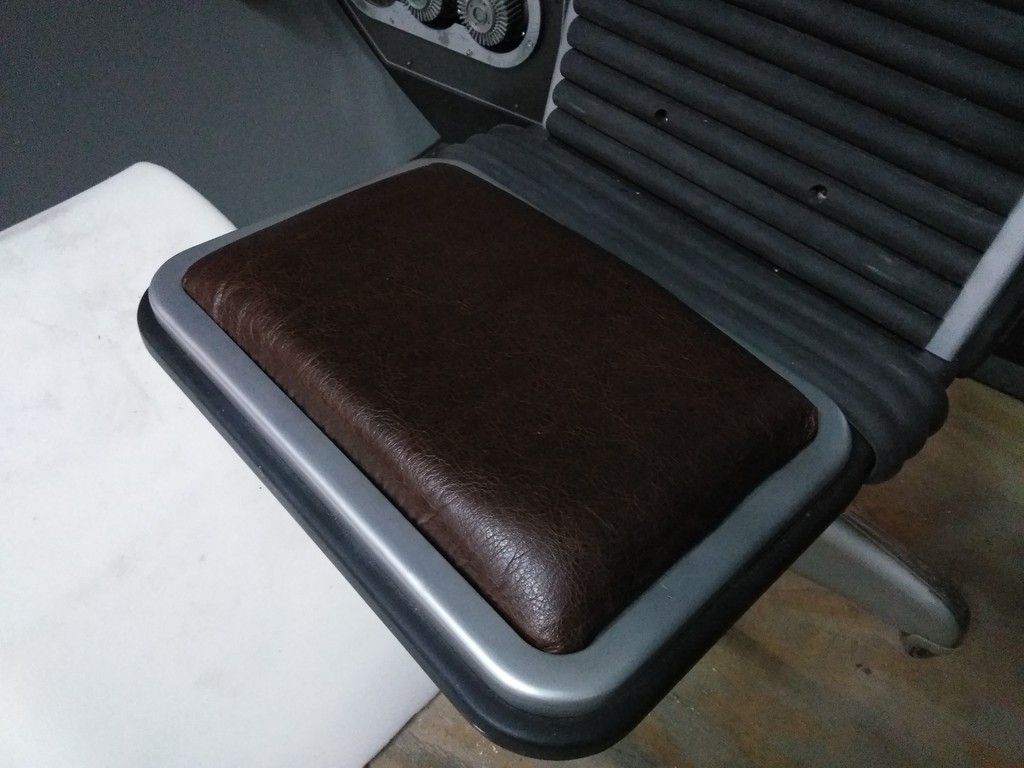
I'll try distressing the material later on
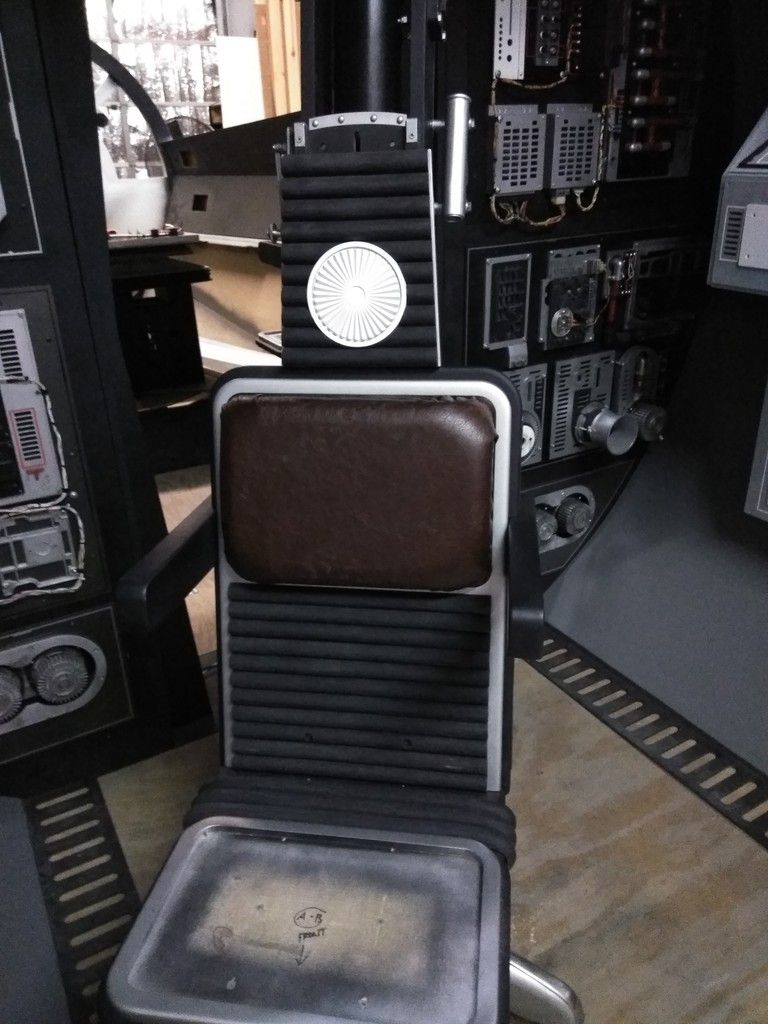
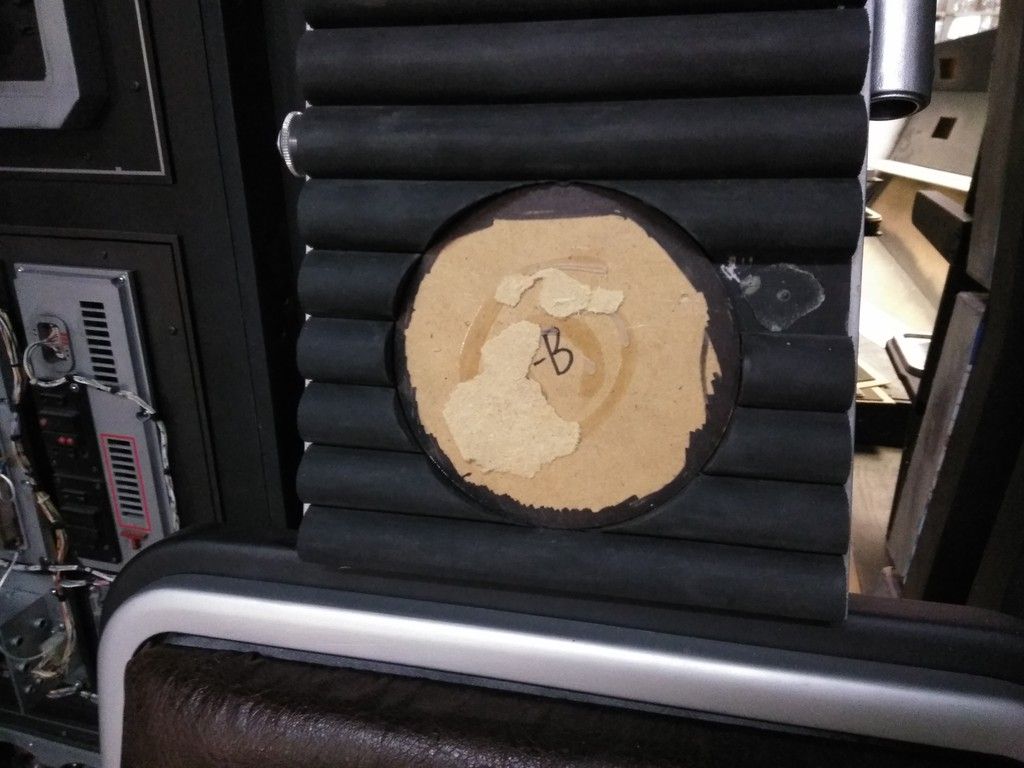
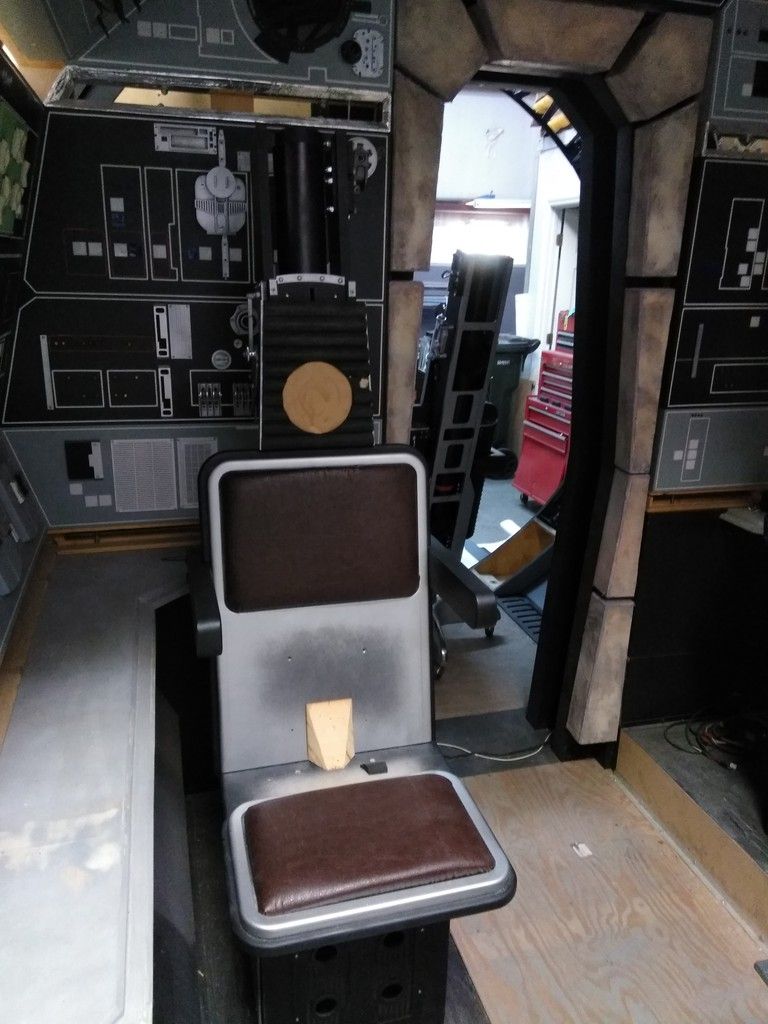
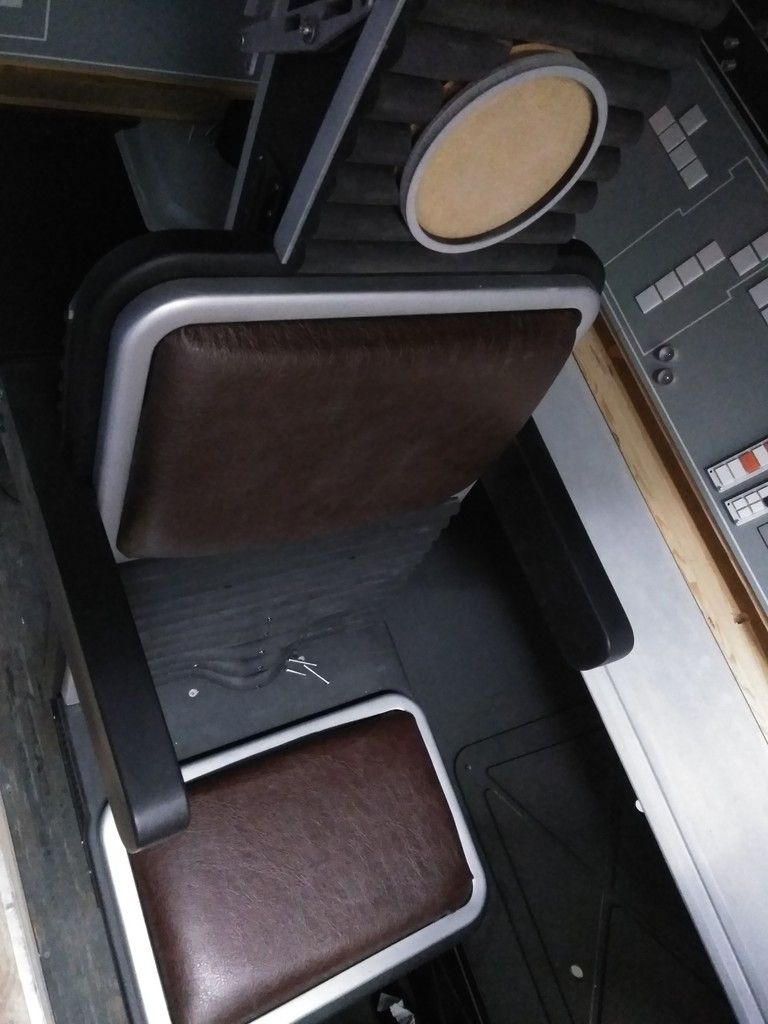
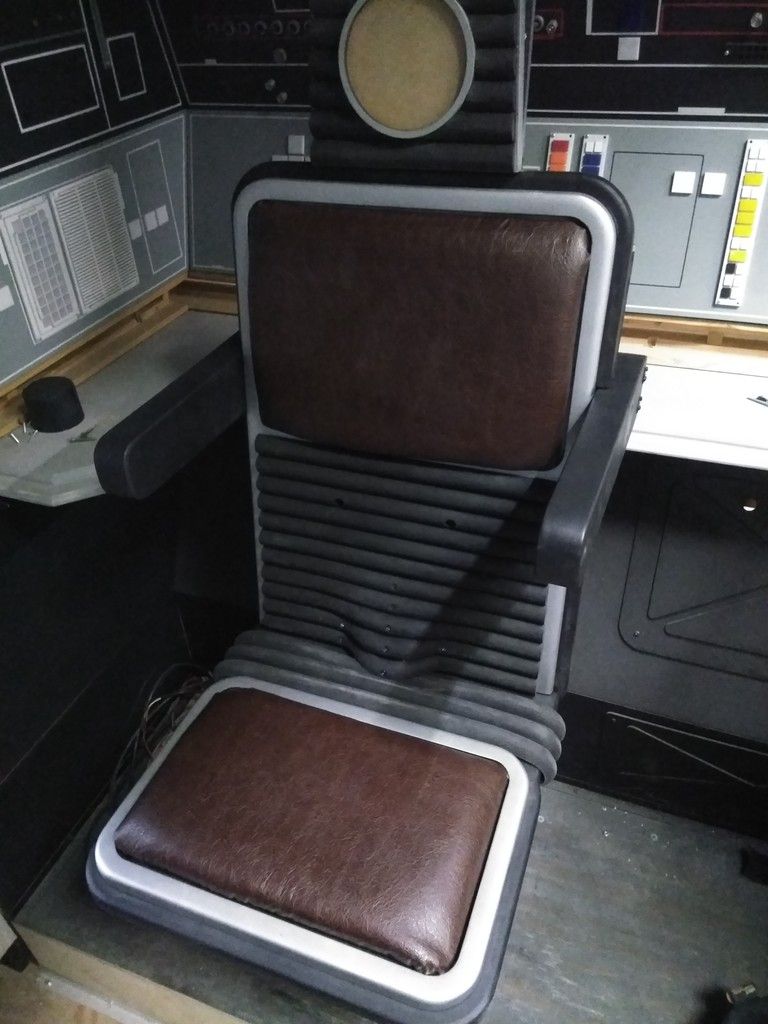
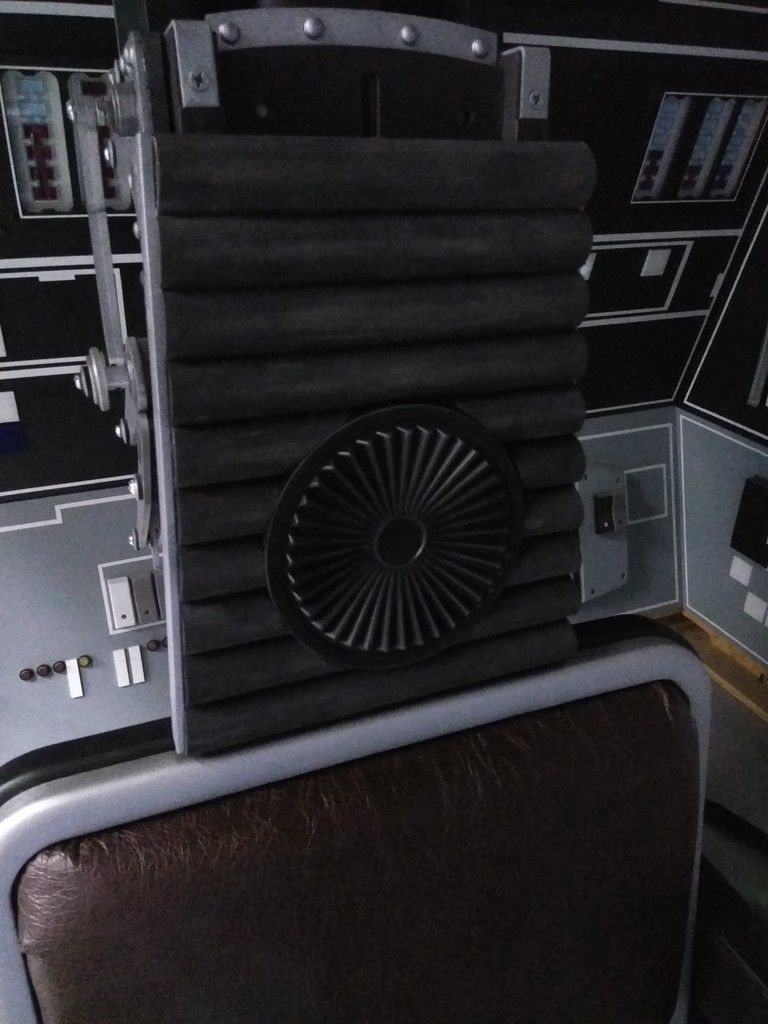
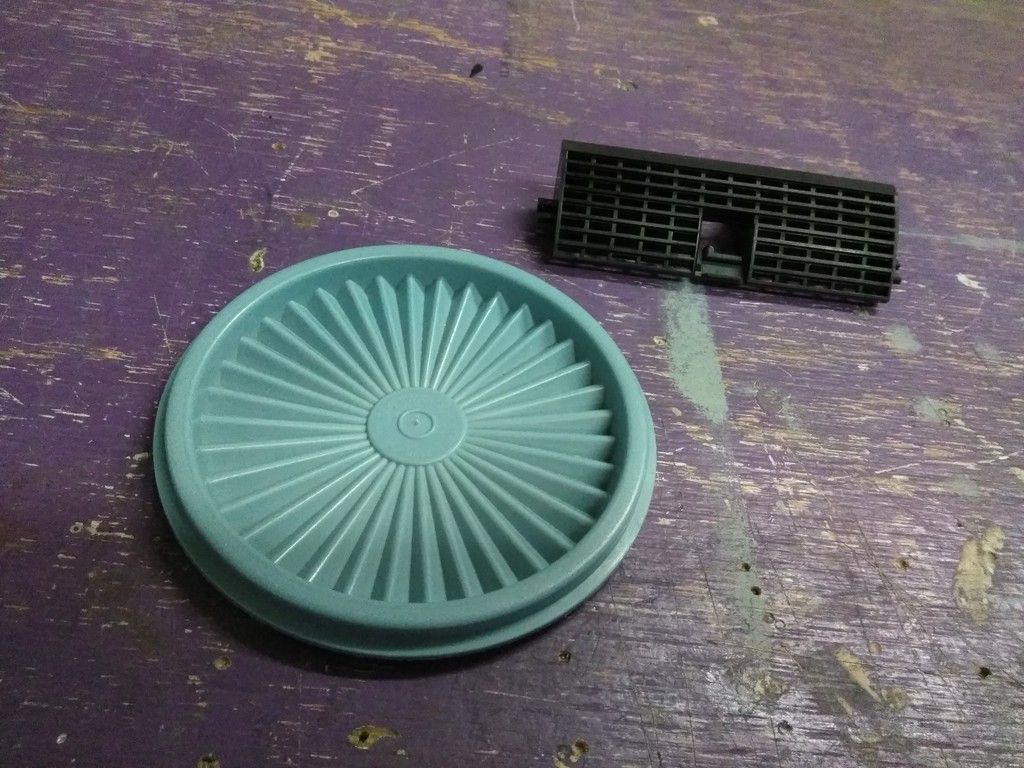
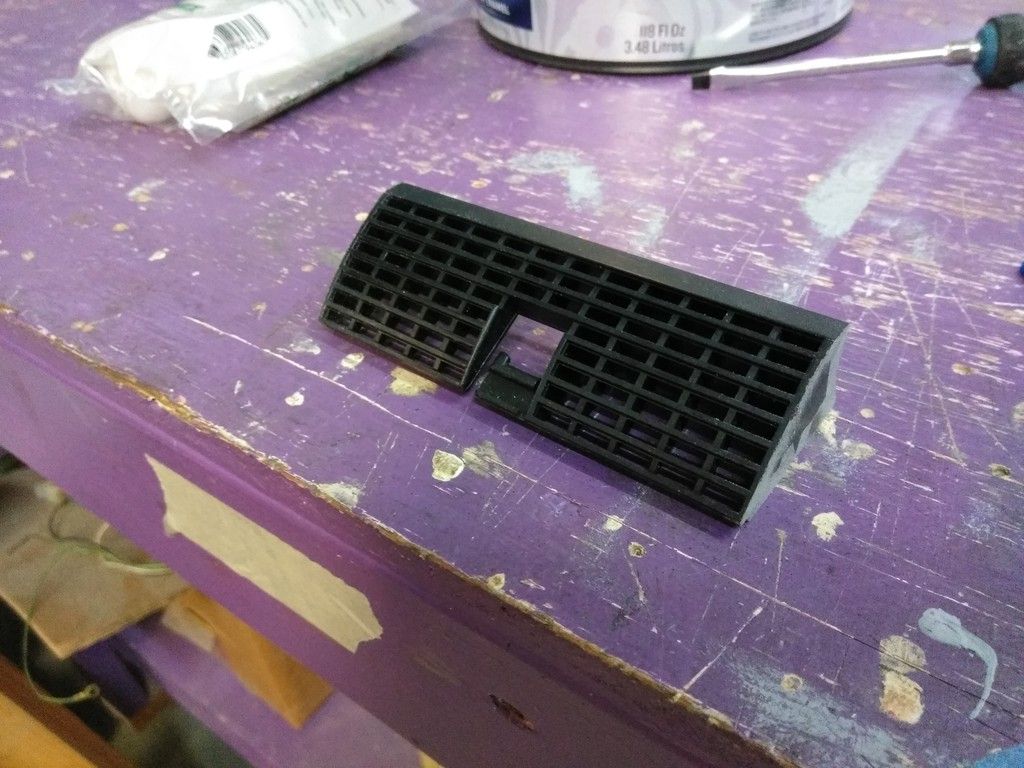
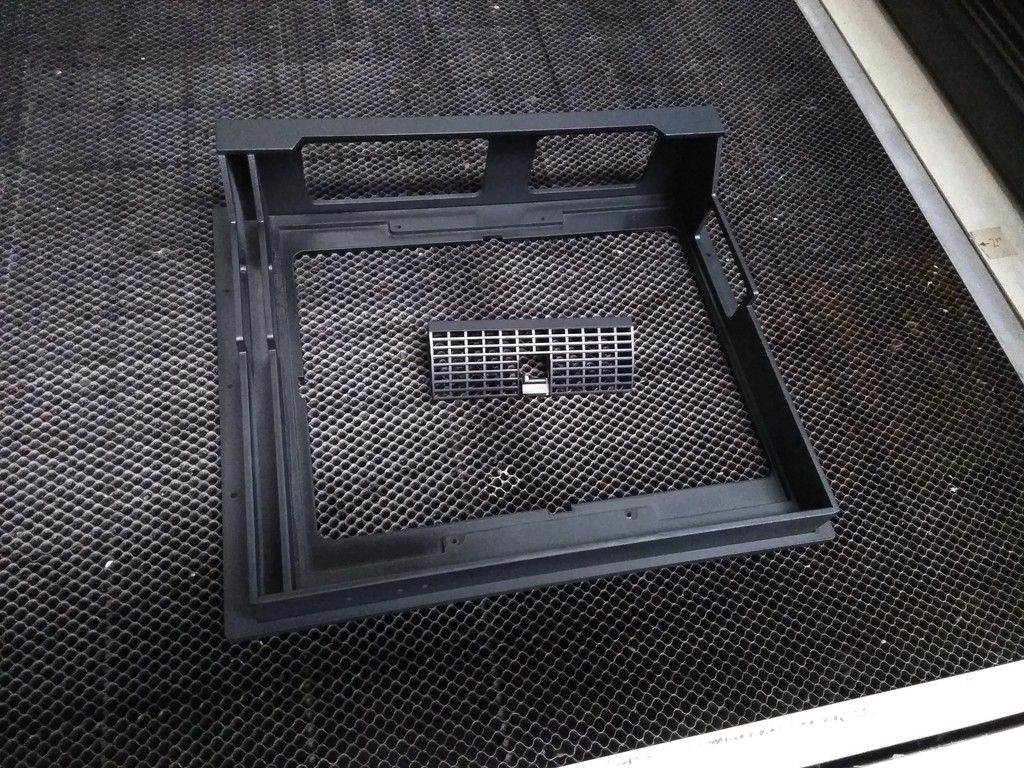
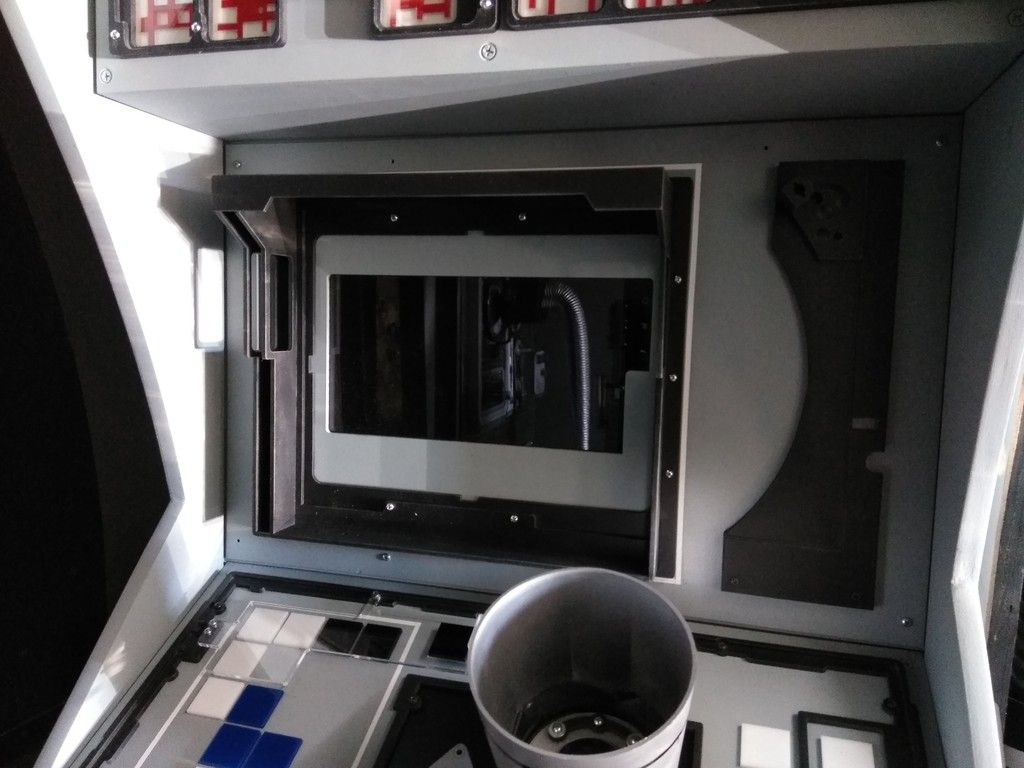
I was going through some screen grabs and noticed that the Tupperware lid is actually black. I had to remove and repaint
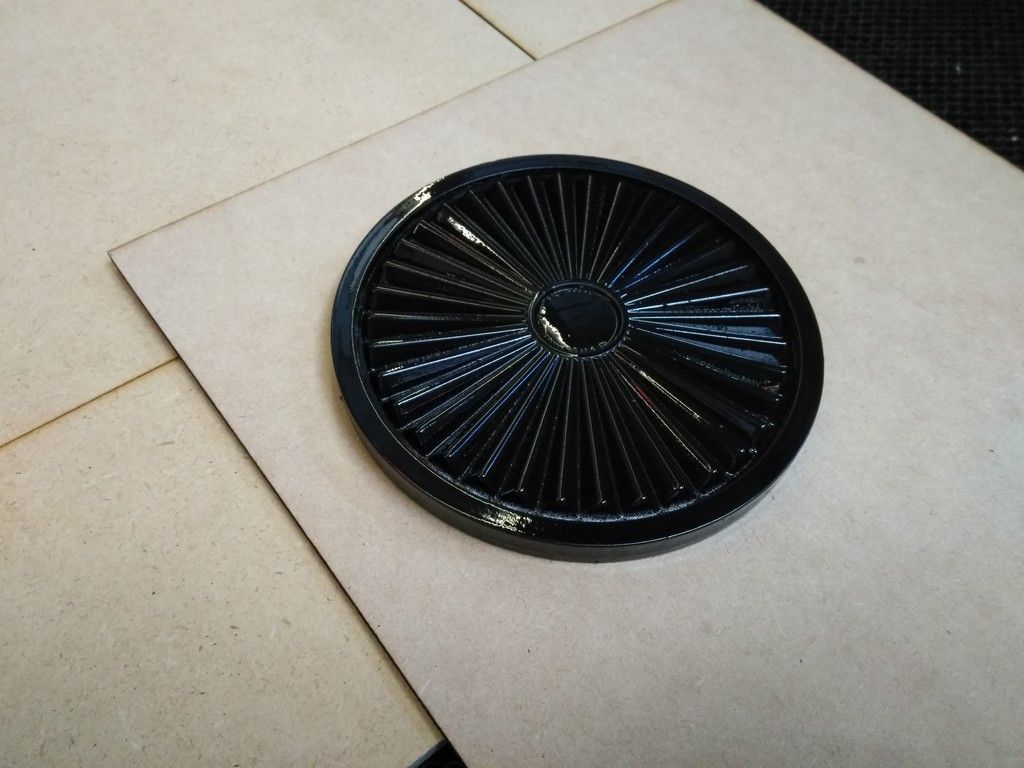
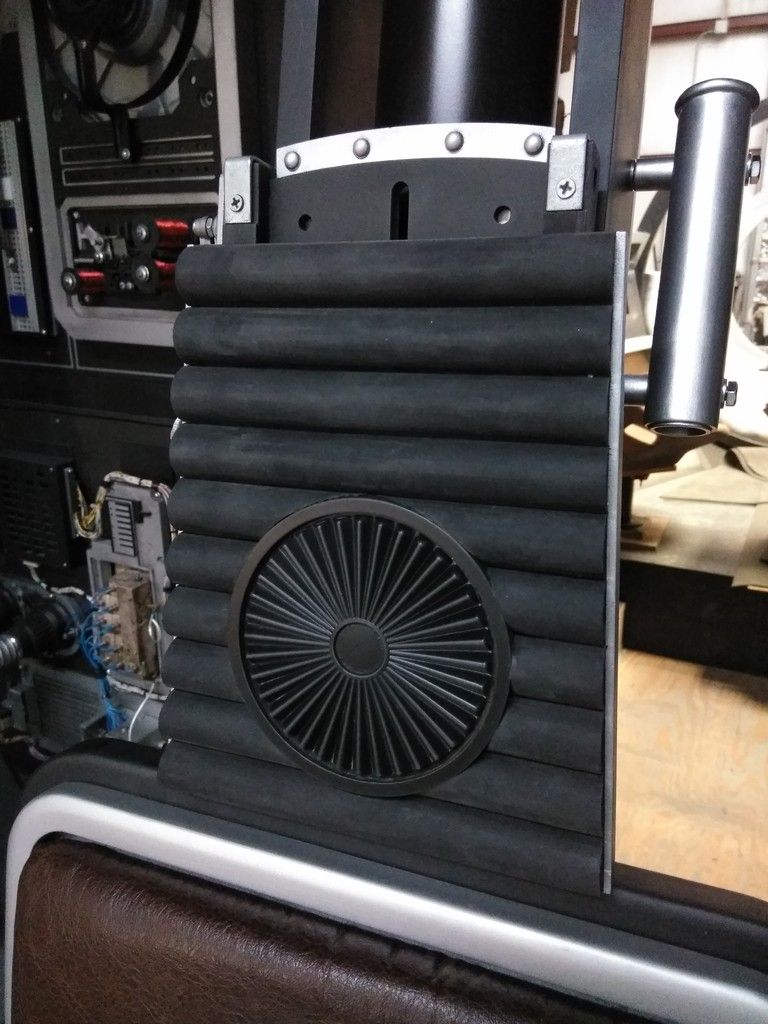
Burped the lid and now back in place! MUCH BETTER!
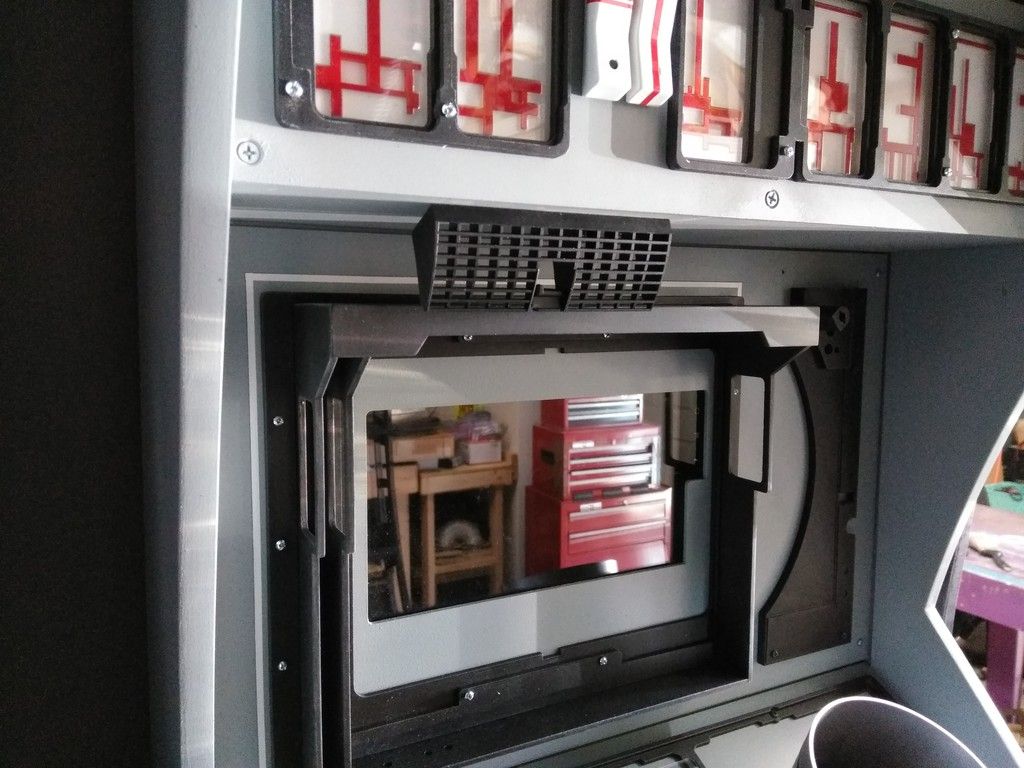
We are almost there!
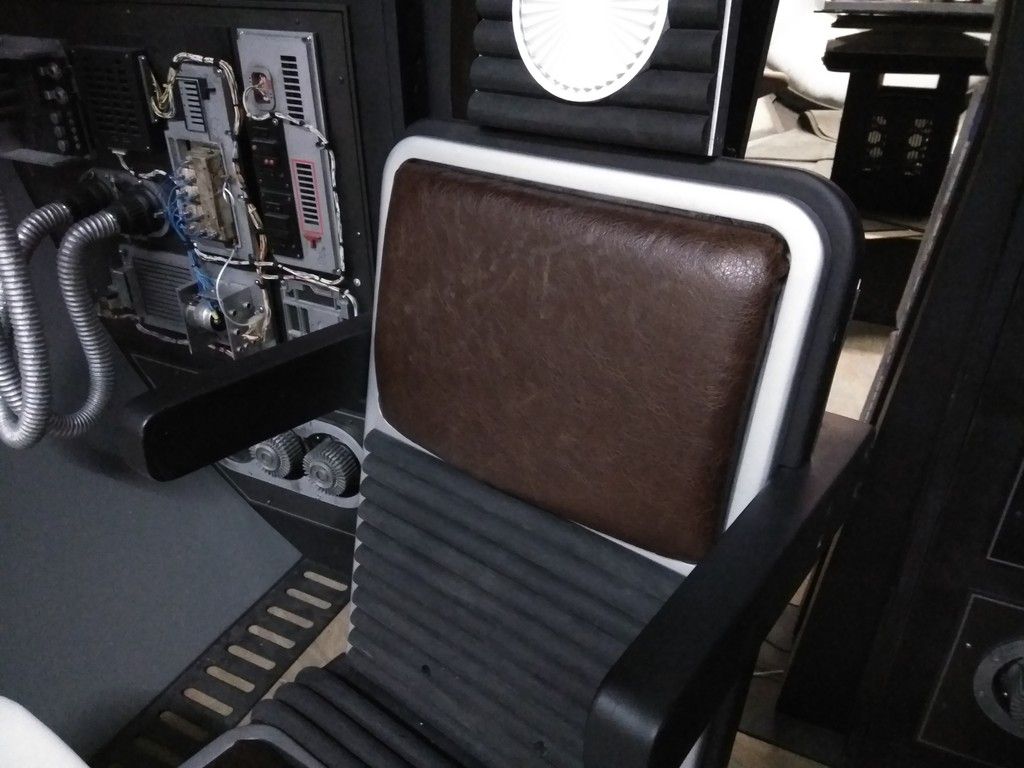
Let's get the other chairs finished up!
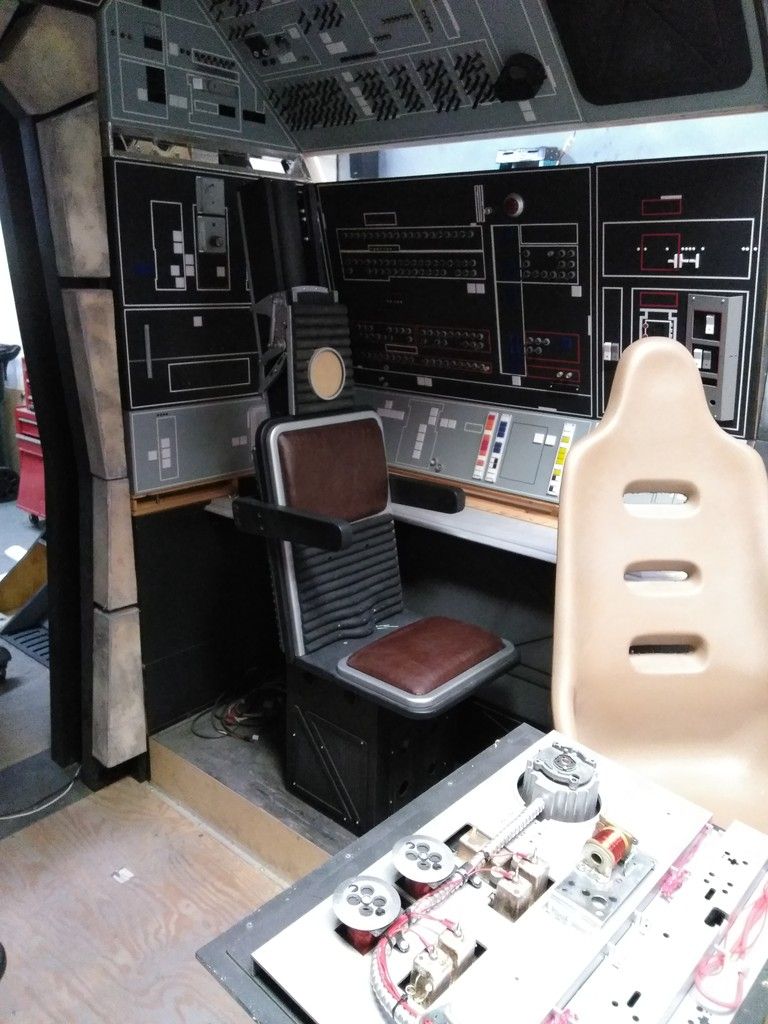
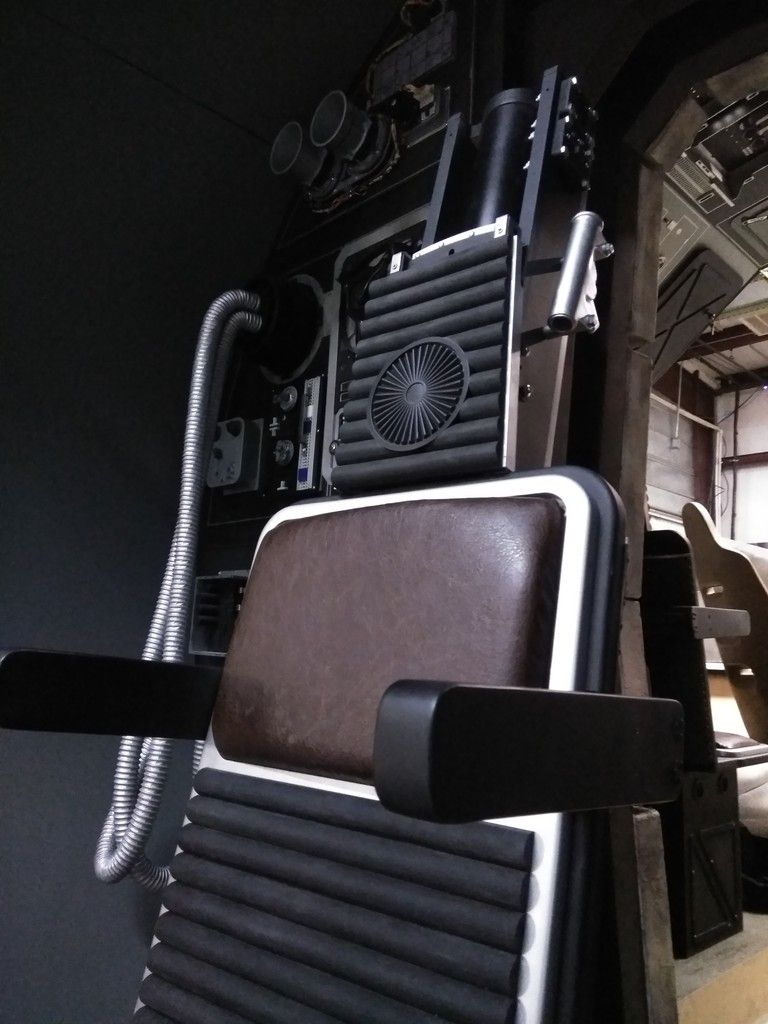
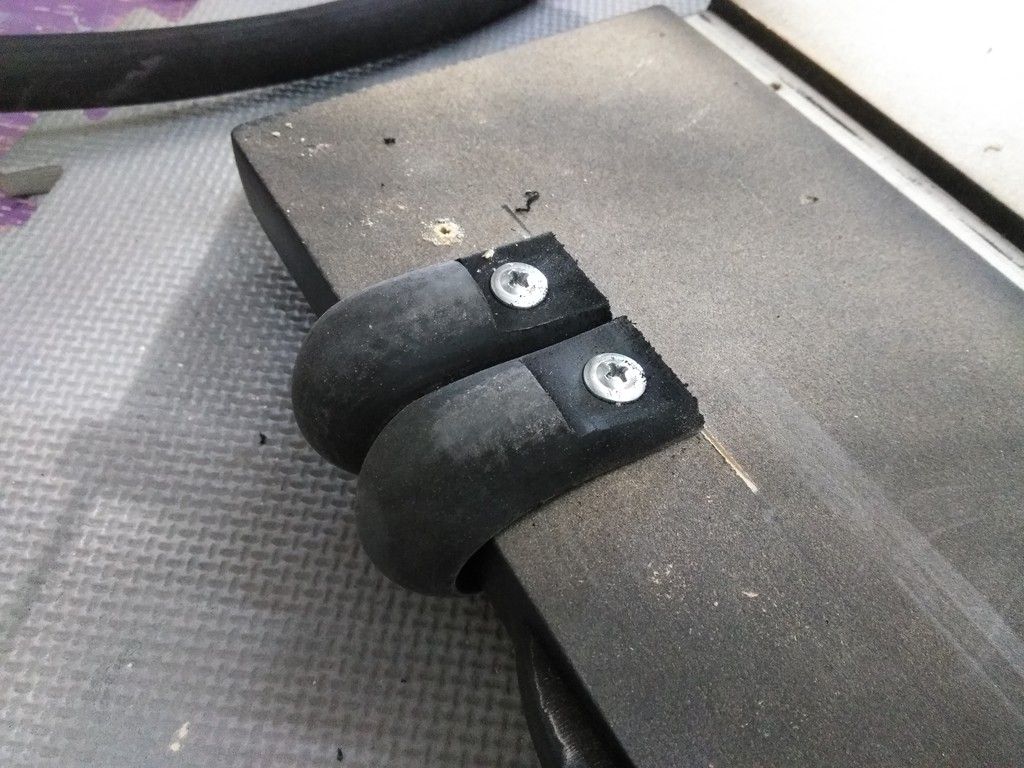
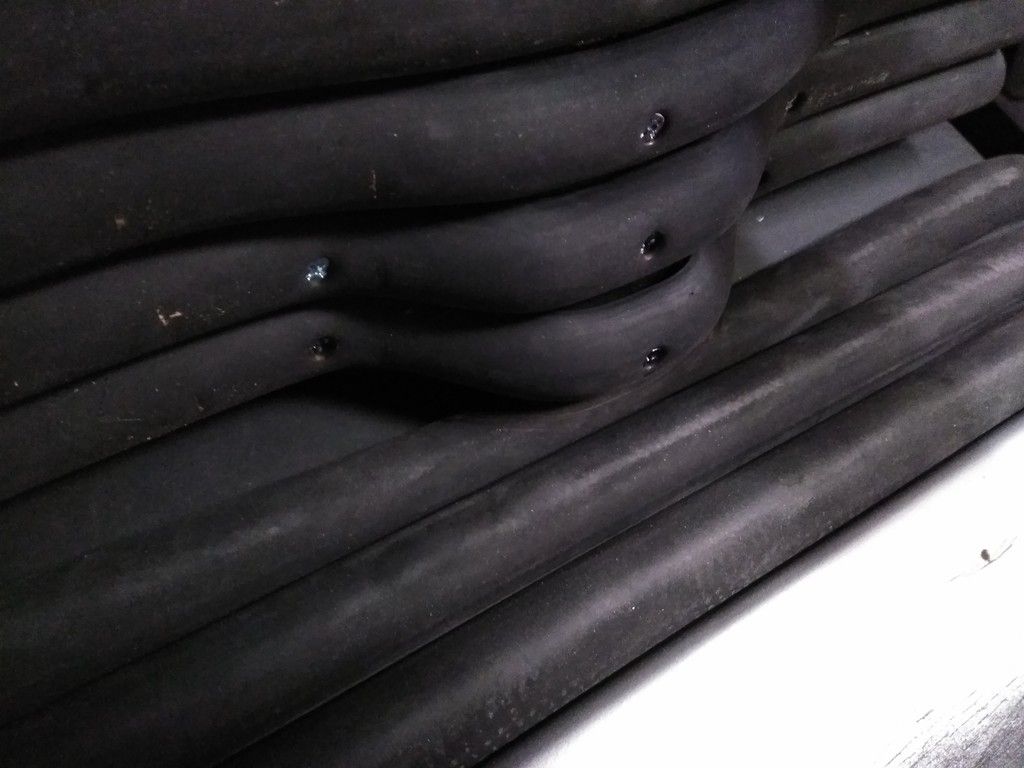
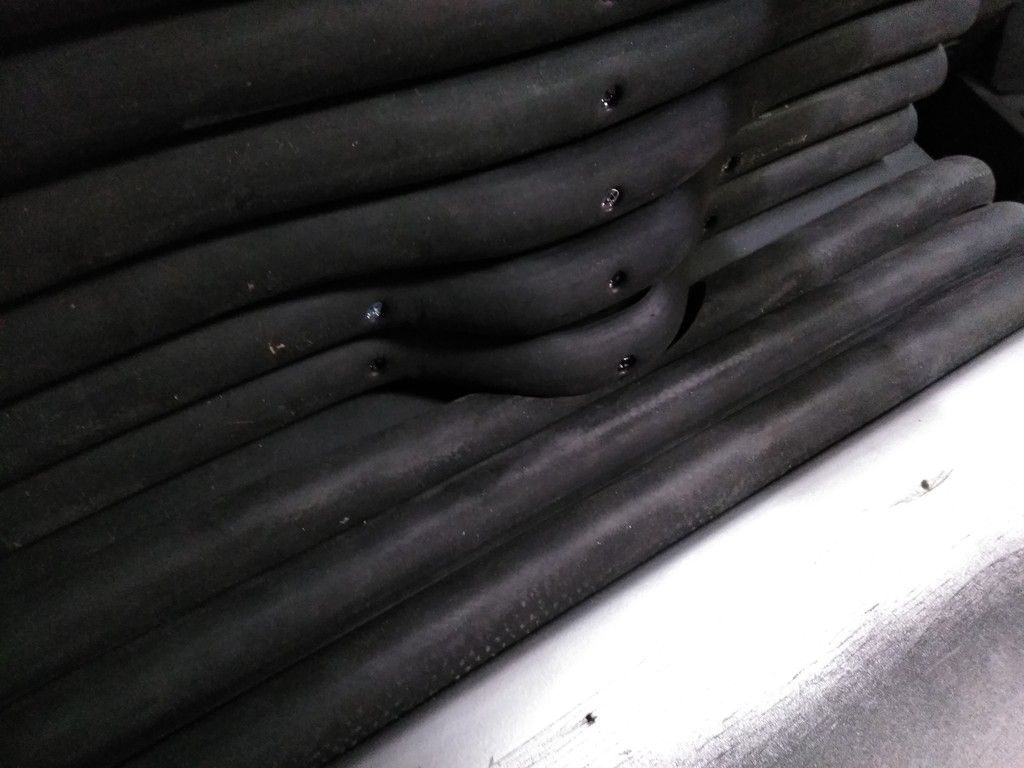
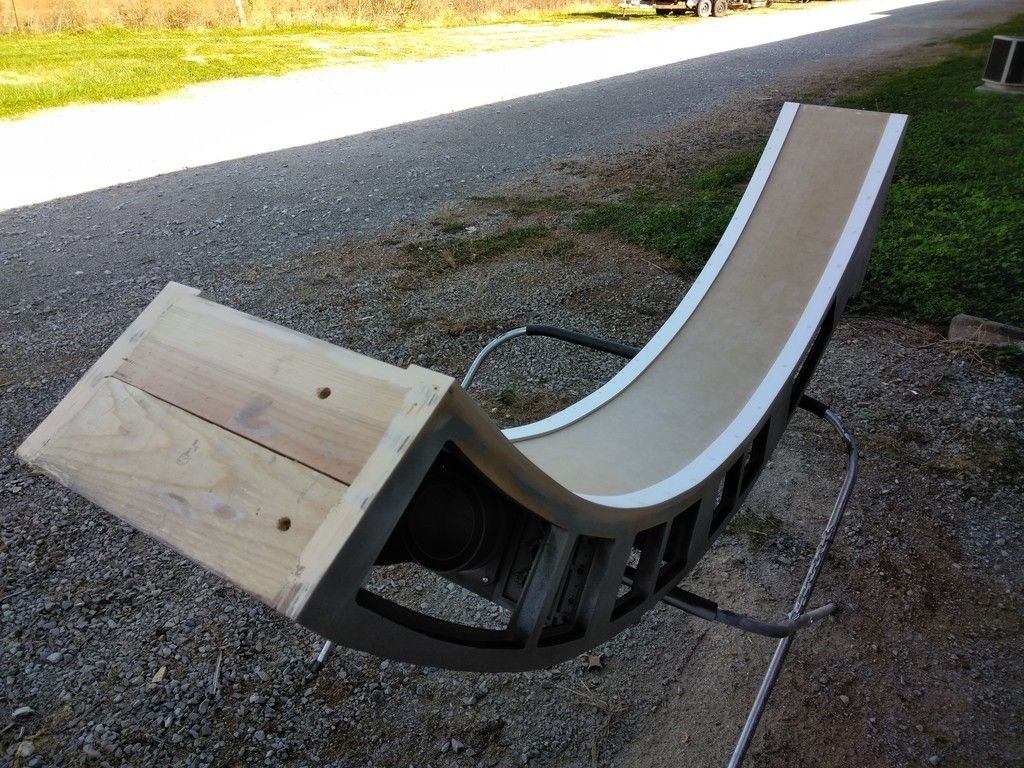
I then installed the 1" rubber half-round to the seat panels
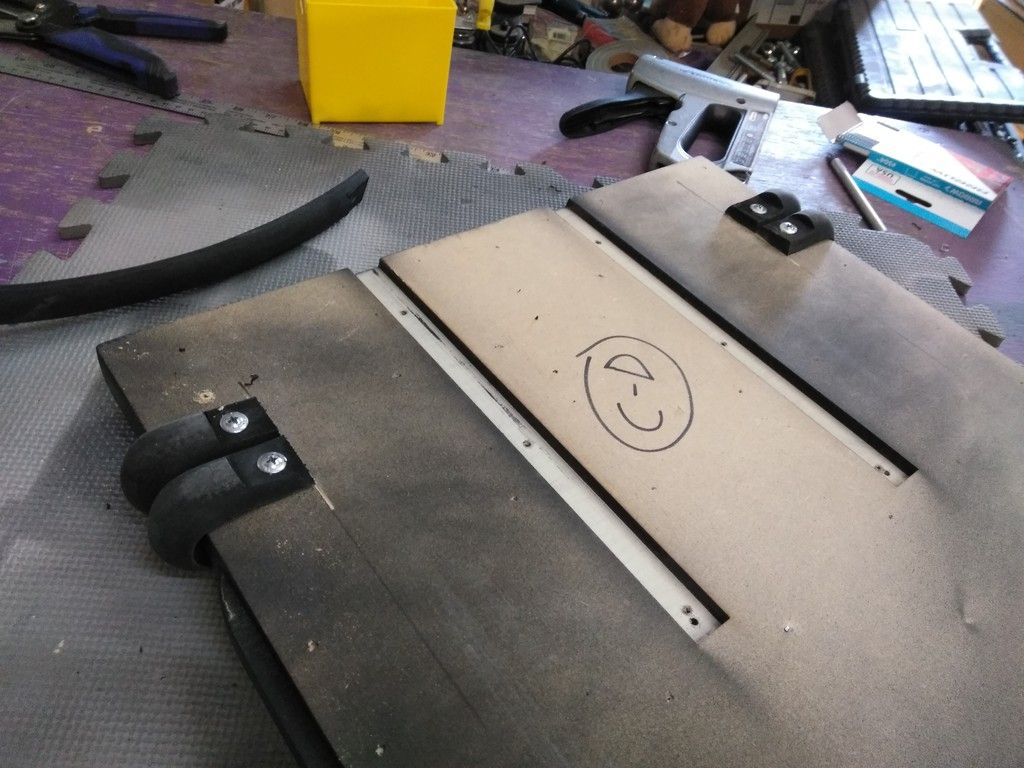
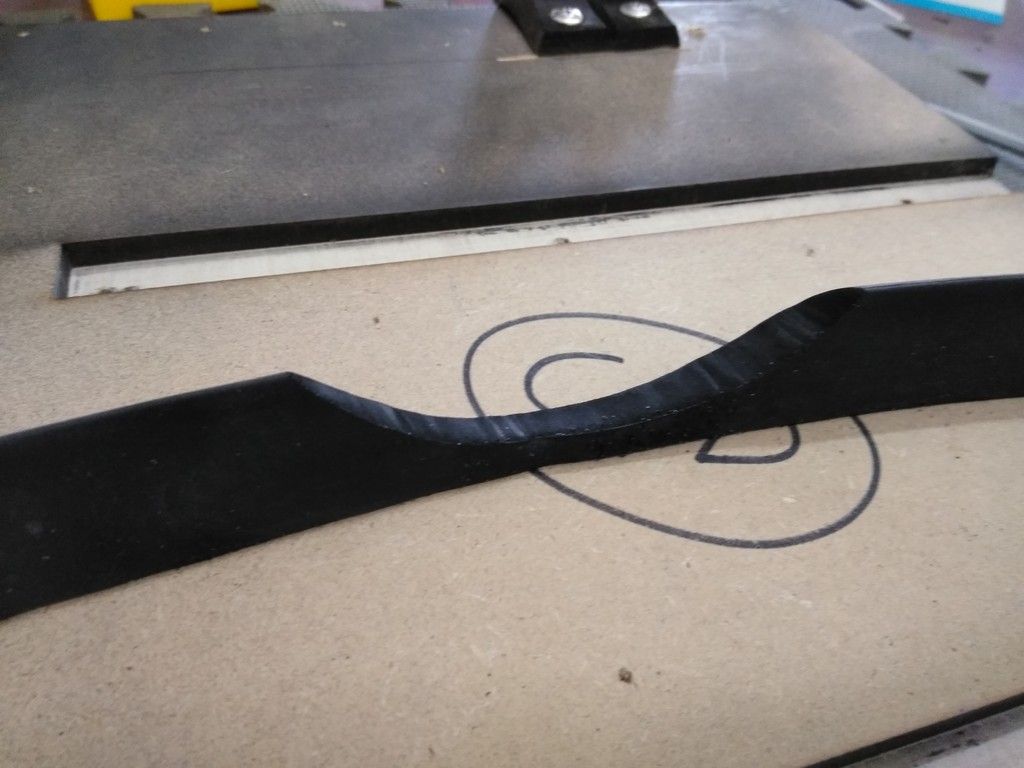
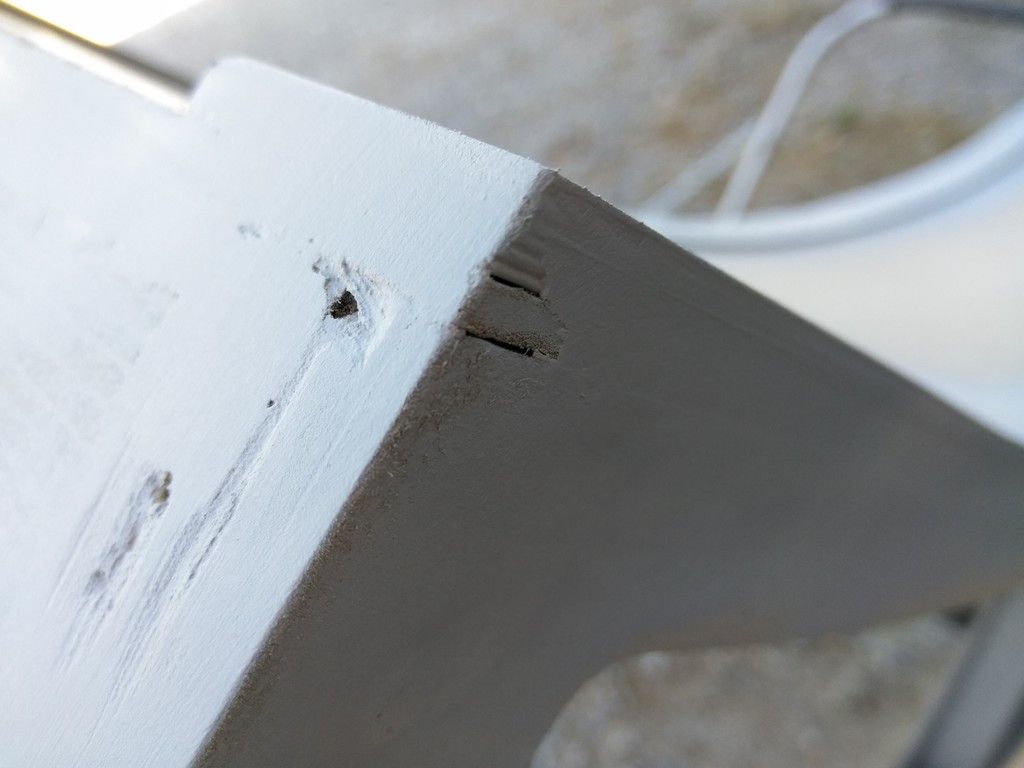
This bump caused a bit or a problem so I marked the area to be removed
Slowly followed the line on the band saw
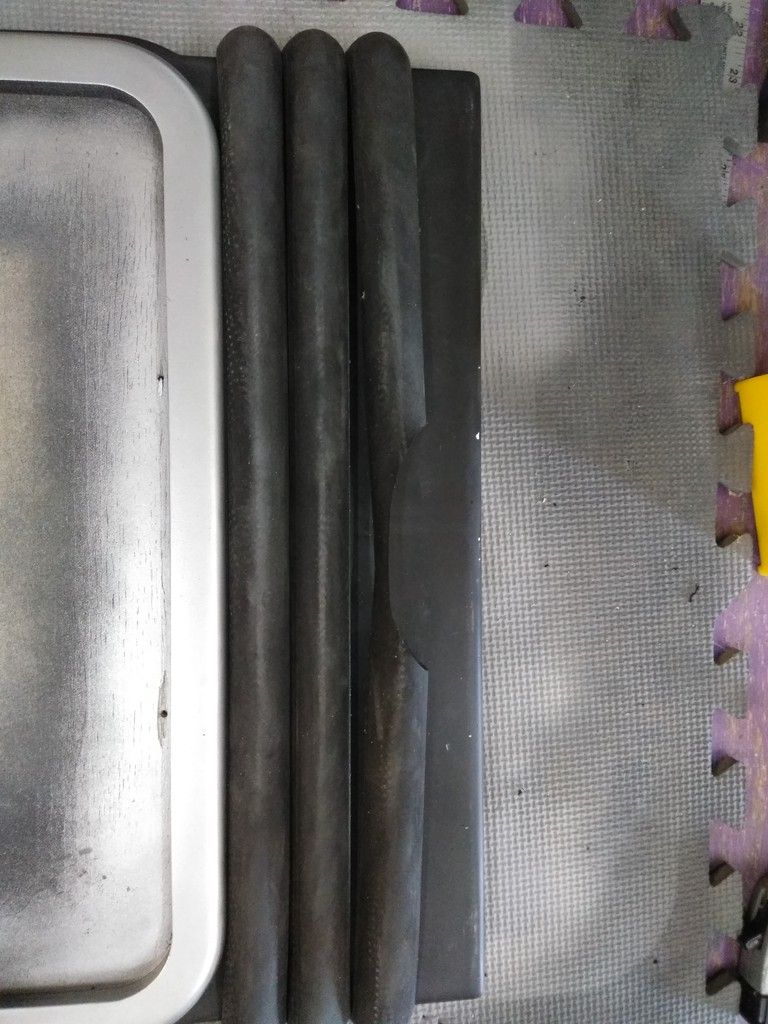
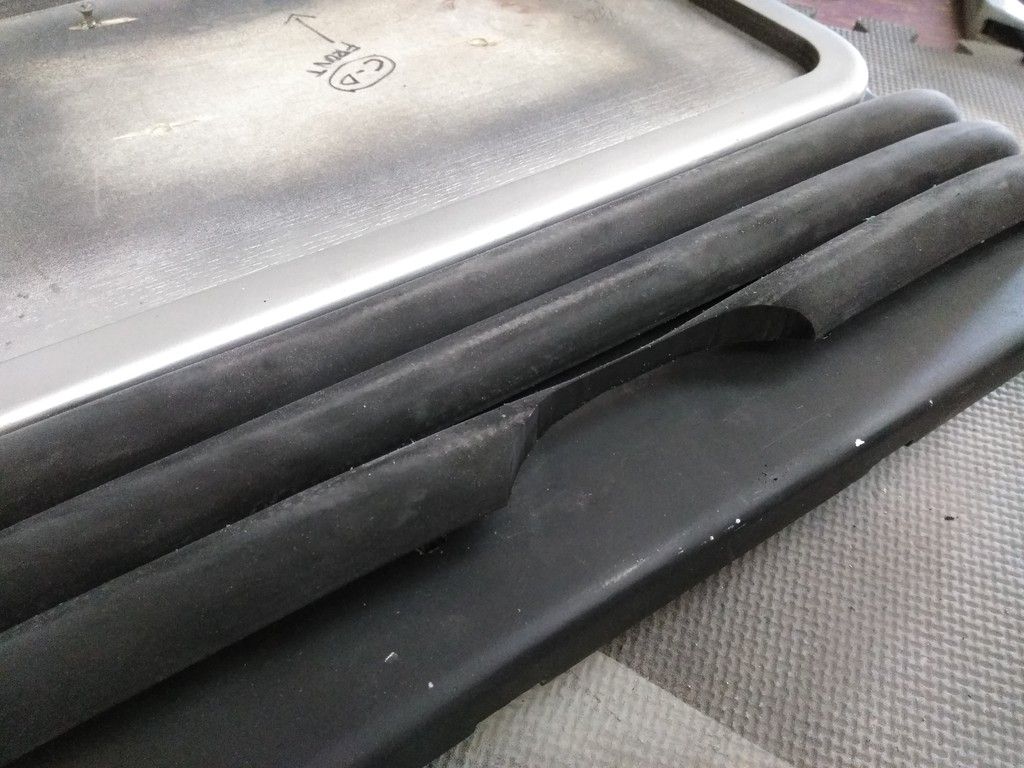
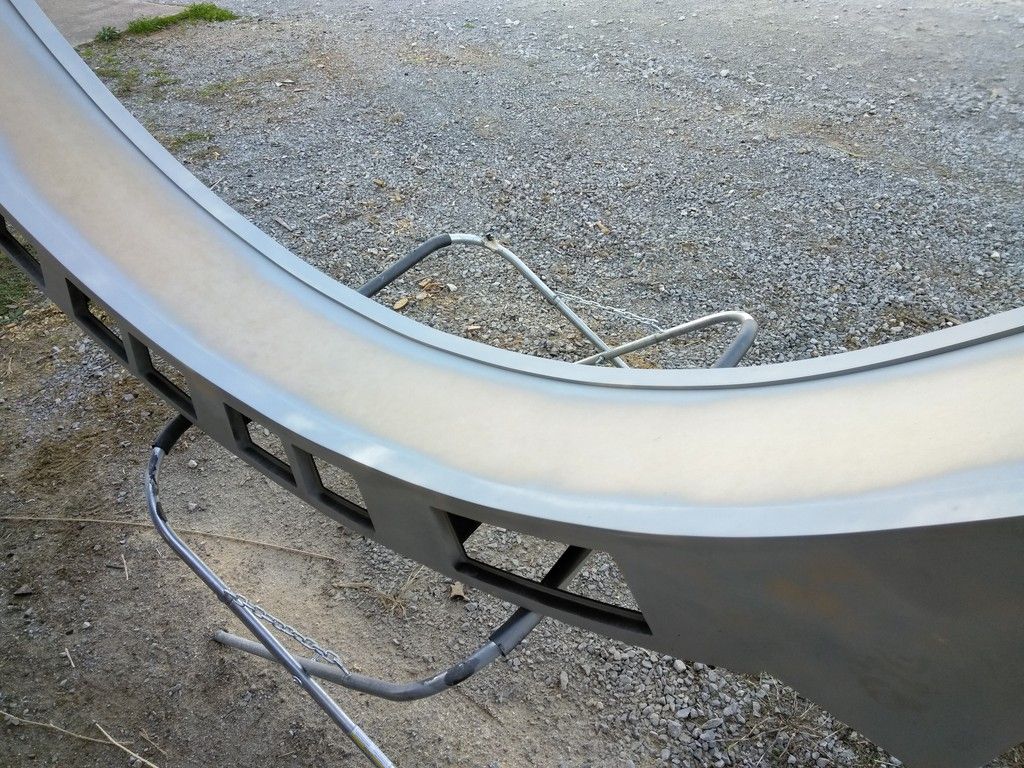
Perfect fit!
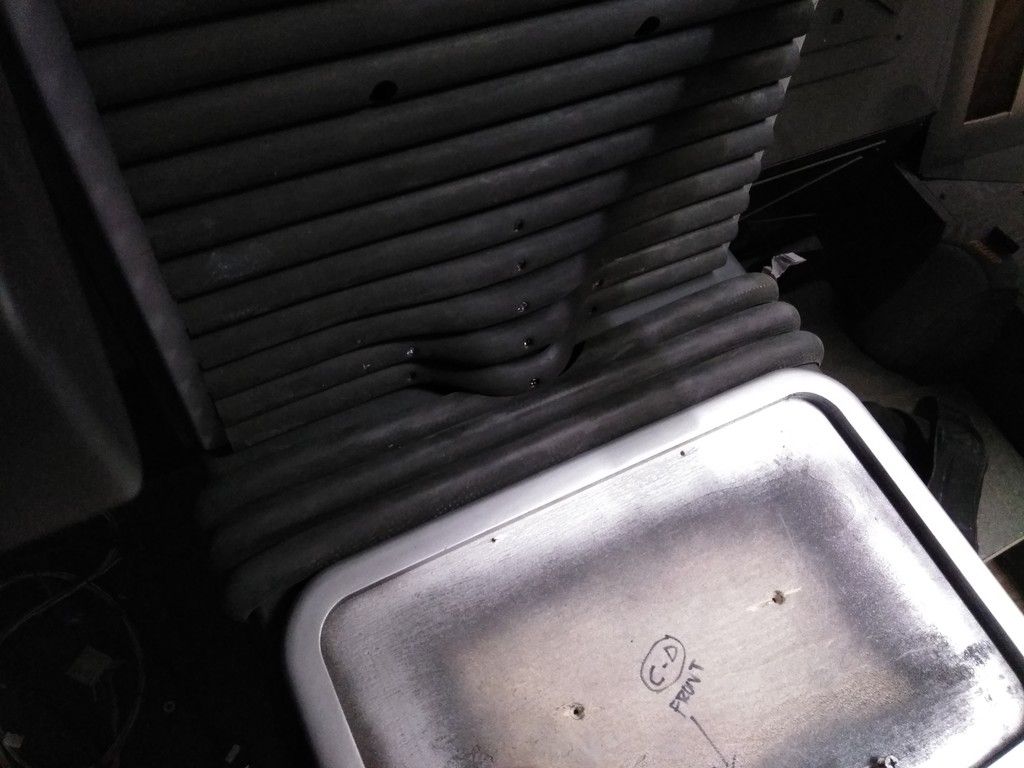
It just occurred to me that replacing these specific thick rubber strips with a bicycle inner tube might work MUCH better than the thick 1" rubber strip. Inner tubes are very inexpensive, they will lay flat, take the curve with ease and still have the same look! Plus I'll have more leftover rubber strips for another chair!
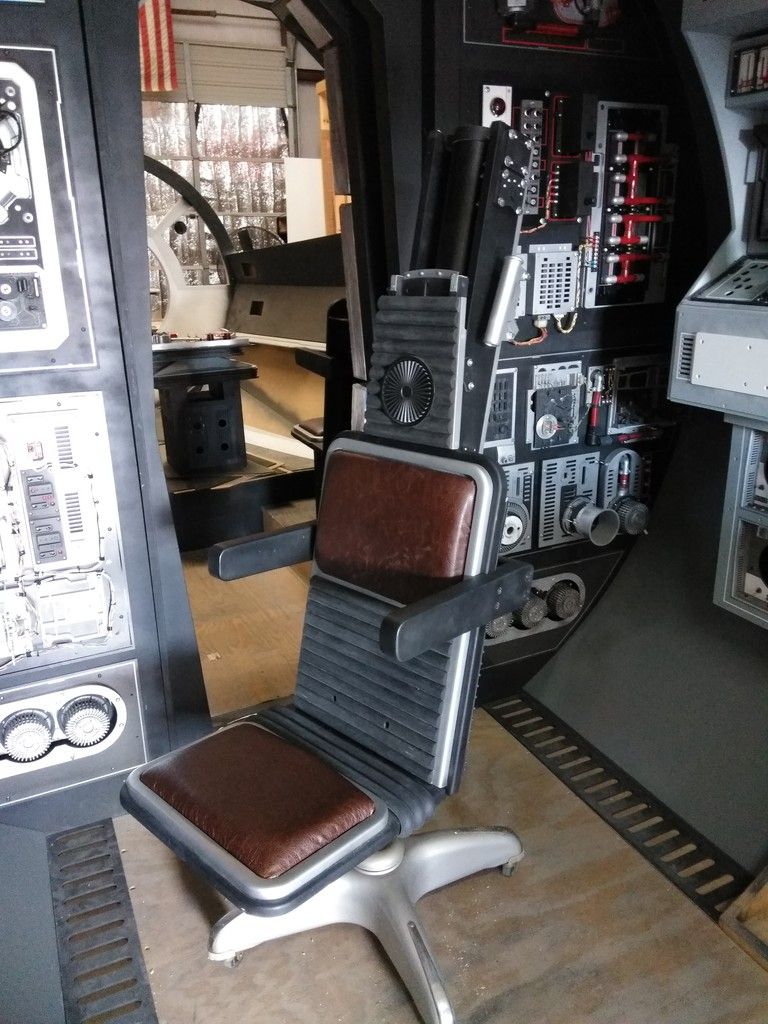
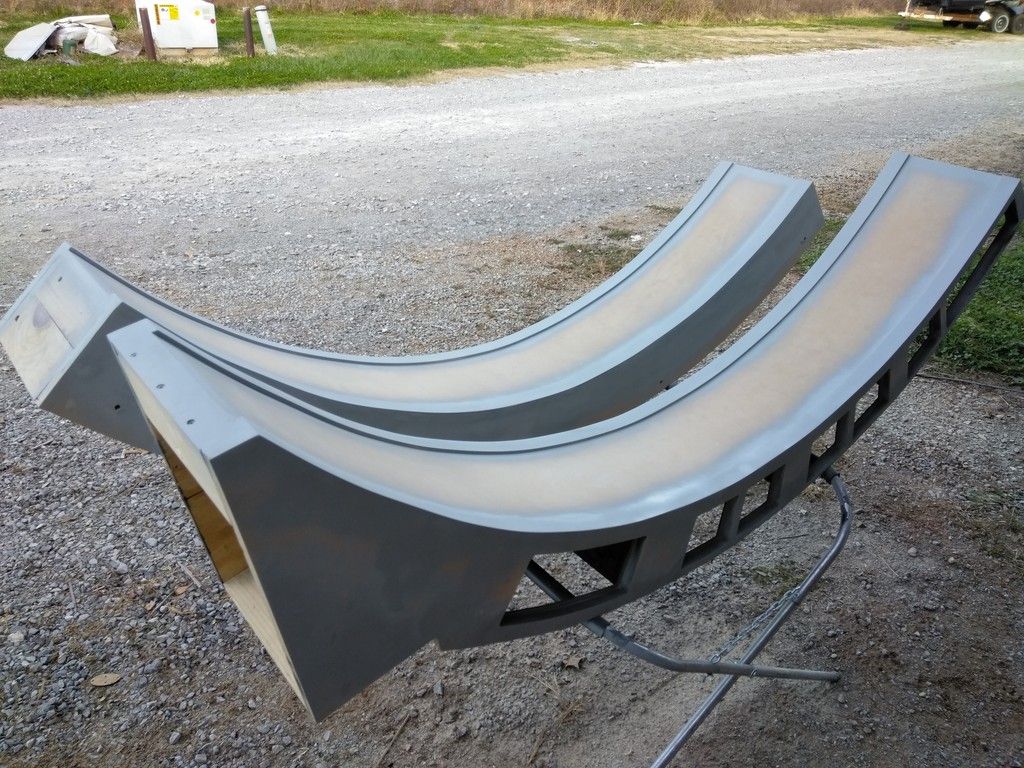
This chair is almost finished!
One more set of rubber strips to go!
I then painted the interior part of the seat pad panels black - masked off the silver

Sprayed and removed the tape

The black helps hide the wood when the pad is in place
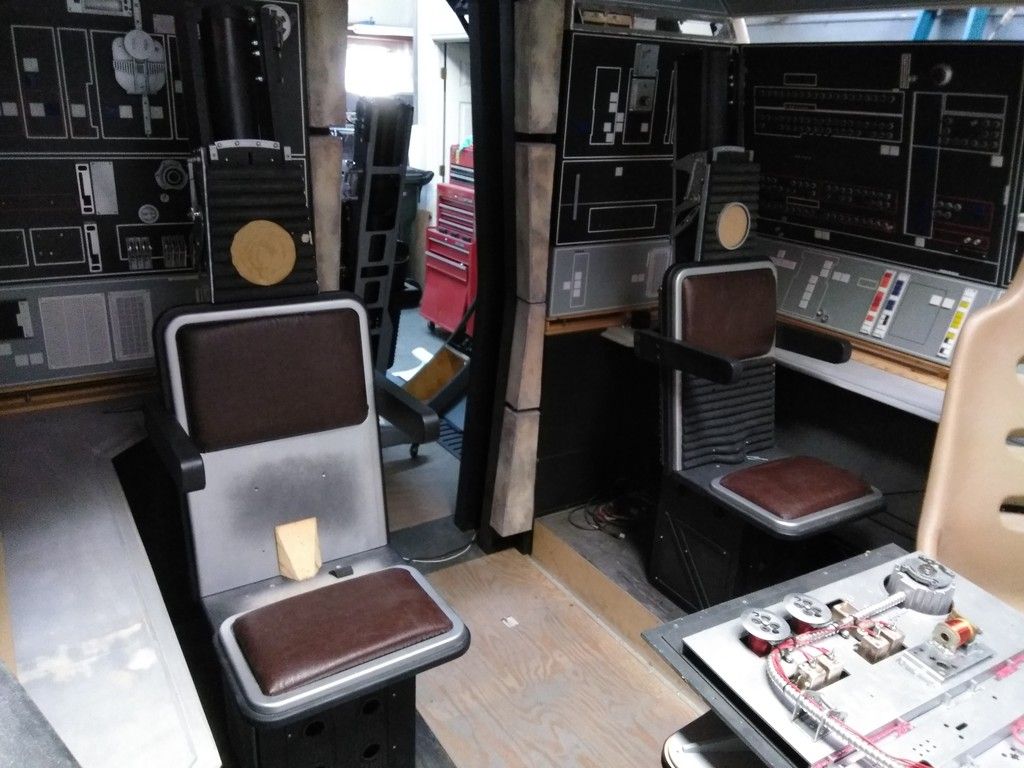
I'll have to paint the areas behind the back support pads as well
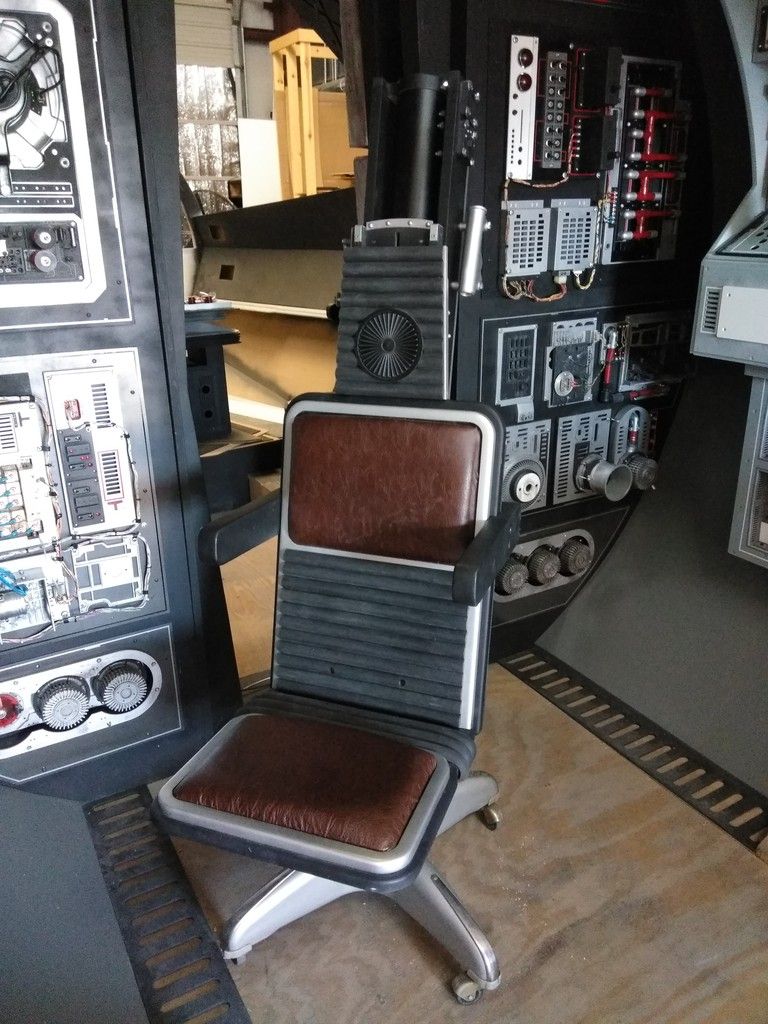
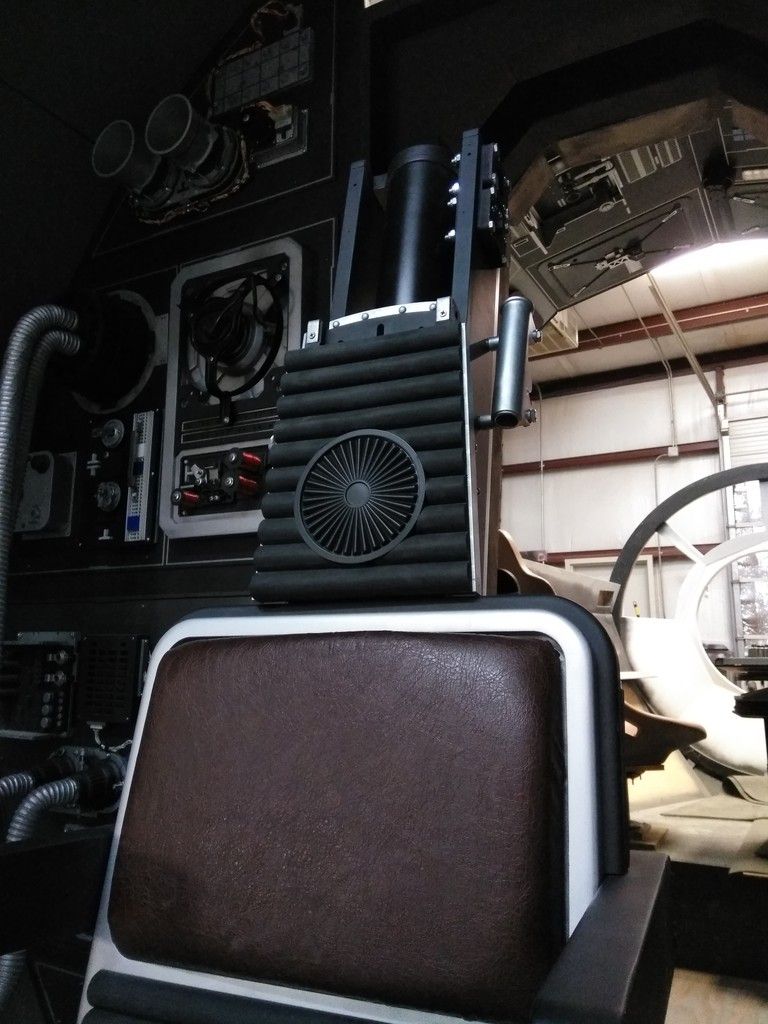
And this...
... is where we are!
Just want to say thank you to everybody who has supported us and this project throughout the years! You guys/gals are the best!")
More to follow so please stay tuned!
Didn't get much done this weekend. Car battery went dead early Sat and then had to replace / repair a leaky kitchen faucet. Fun Fun Fun... That took up the entire morning and ate well into the afternoon. BUT! I was able to jump back to the maint console and nav chairs, Best part, I was able to jump another critical hurdle! Enjoy!
Not much on the console but I temp added these 1" blue and white tiles to the monitor panel to see if I like. These would not be rear illuminated as the iPad is mounted directly behind
Still debating whether they work or not but I do like them
I then added these red stripes to a rocker switch
I really like this! But I think two rockers might work better?
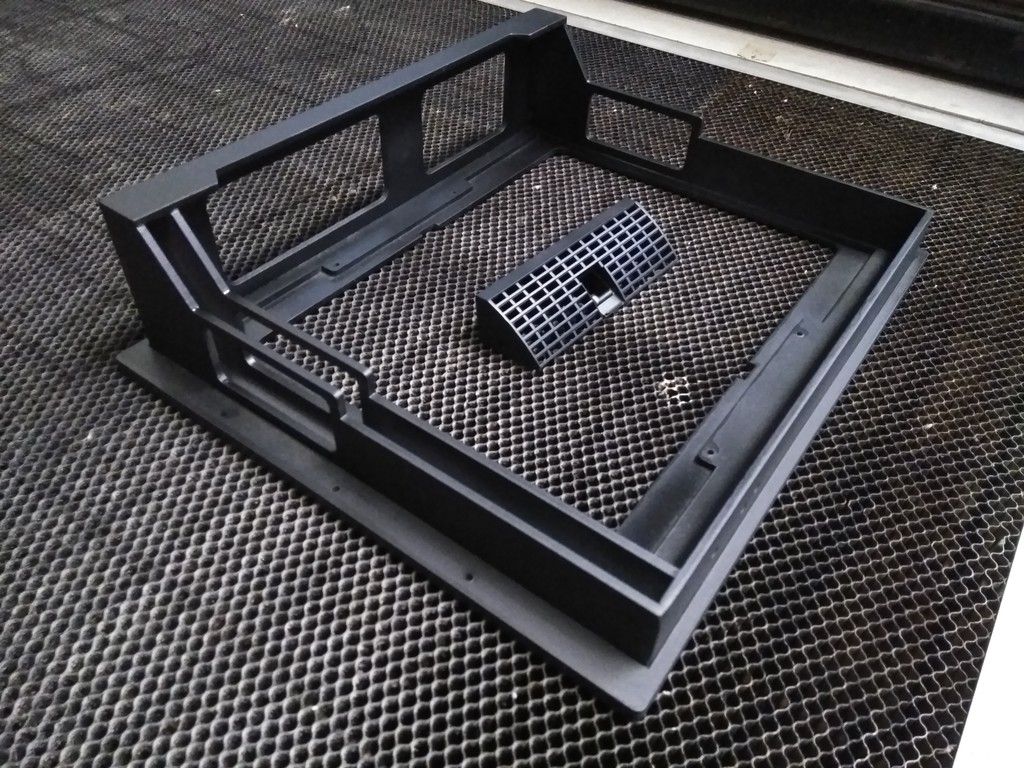
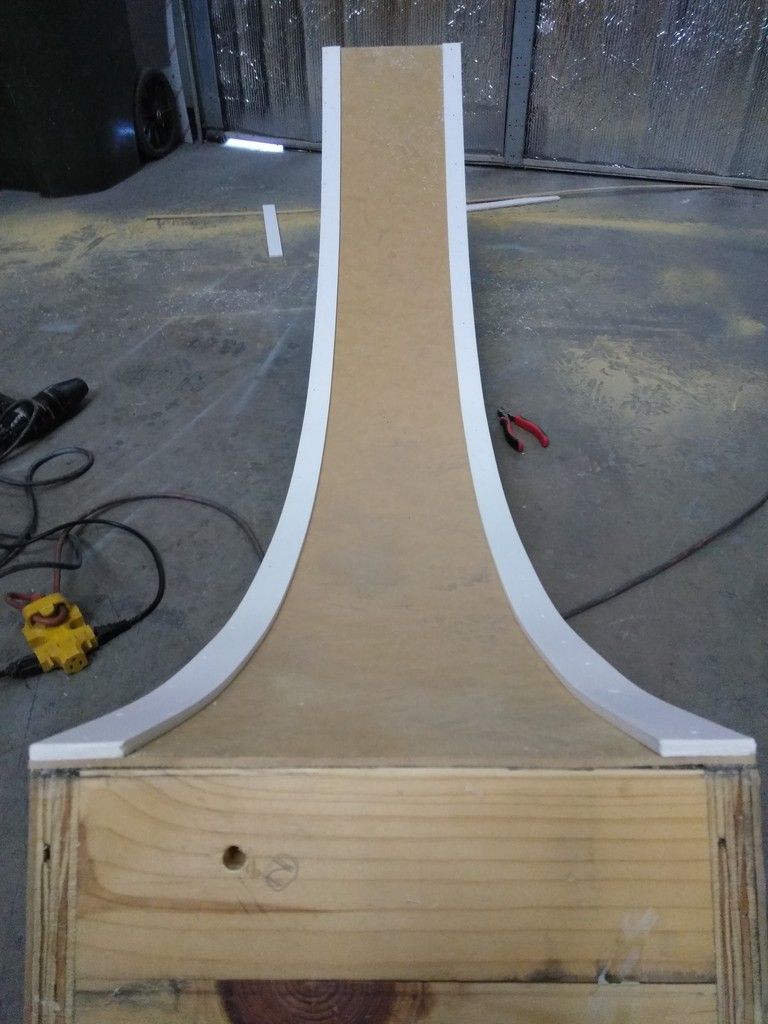
A while back I picked up some leather-like material and 2" seat foam. I finally cut both the foam (using the band saw) and material to match the MDF bottom!
Basic layout
I then rounded the edges using the belt sander. A huge Thanks to Daniel for guiding me through the upholstery process.
I picked up 3' x 8' of material for 9 bucks! Couldn't pass that up!
Started to upholster the nav chairs!
Getting those round corners perfect is almost next to impossible with the material I had
If that doesn't put the "UGH" in UGLY! Thankfully that will never be seen again!
Basic look
YUCK!
The 2" foam is too thick. It just doesn't look right
So early Sun morning I picked up some 1" foam and started the process all over again
MUCH better!
I love it! A bit too new looking but the thickness is perfect!
I'll try distressing the material later on
I was going through some screen grabs and noticed that the Tupperware lid is actually black. I had to remove and repaint
Burped the lid and now back in place! MUCH BETTER!
We are almost there!
Let's get the other chairs finished up!
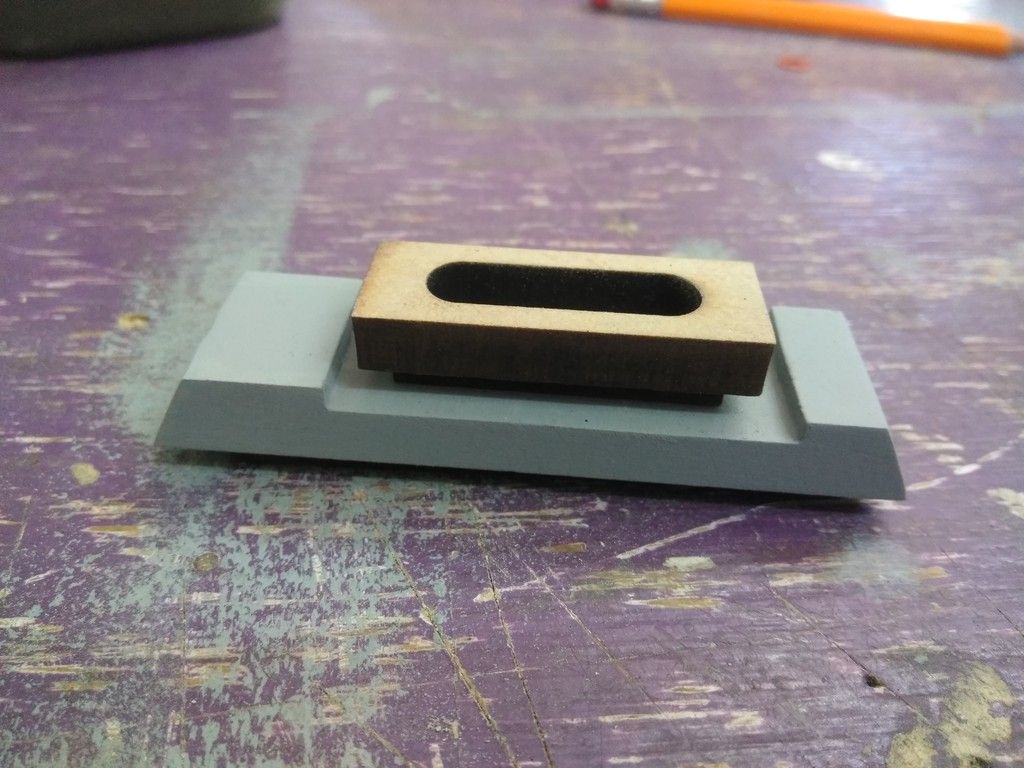
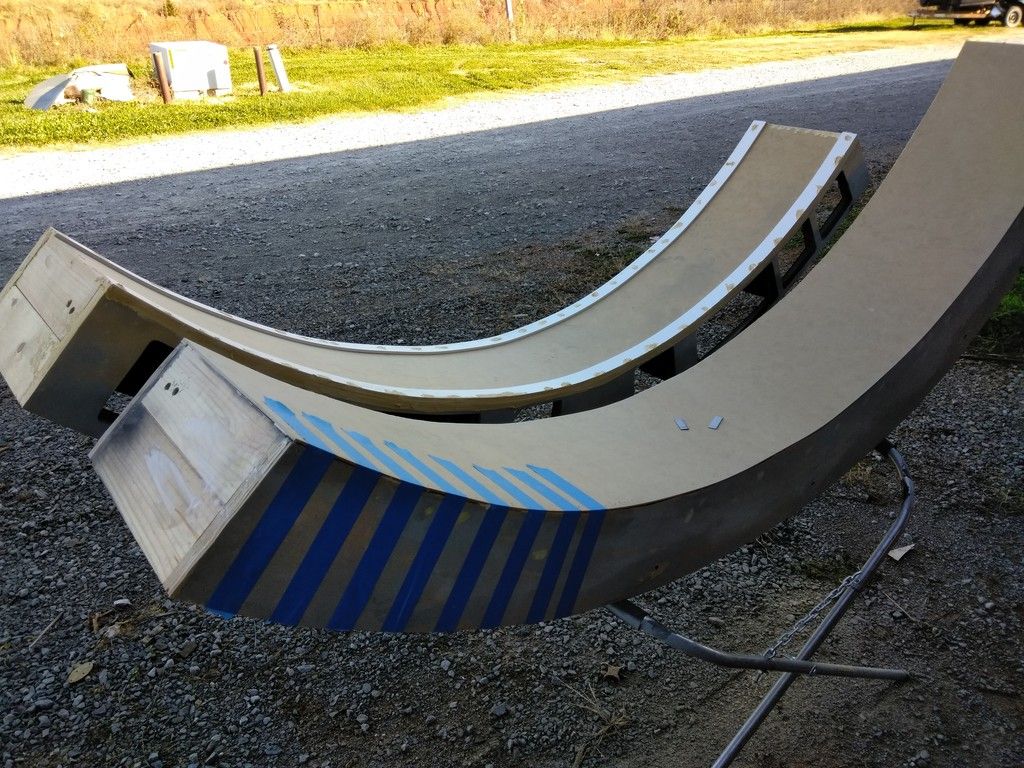
I then installed the 1" rubber half-round to the seat panels
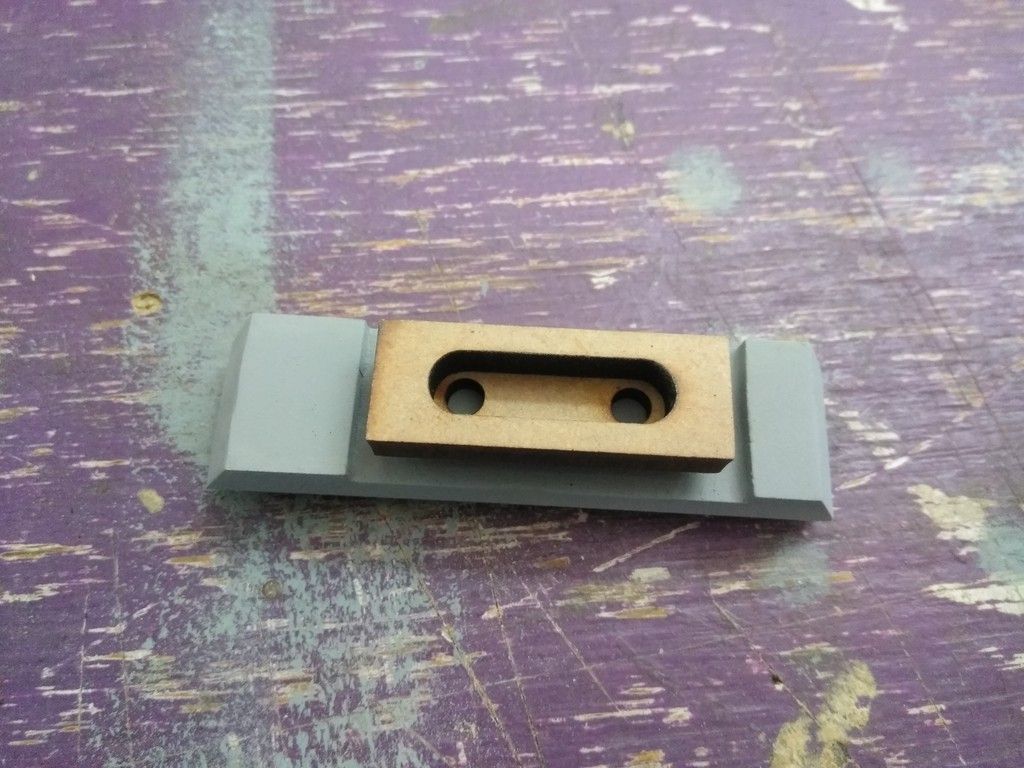
This bump caused a bit or a problem so I marked the area to be removed
Slowly followed the line on the band saw
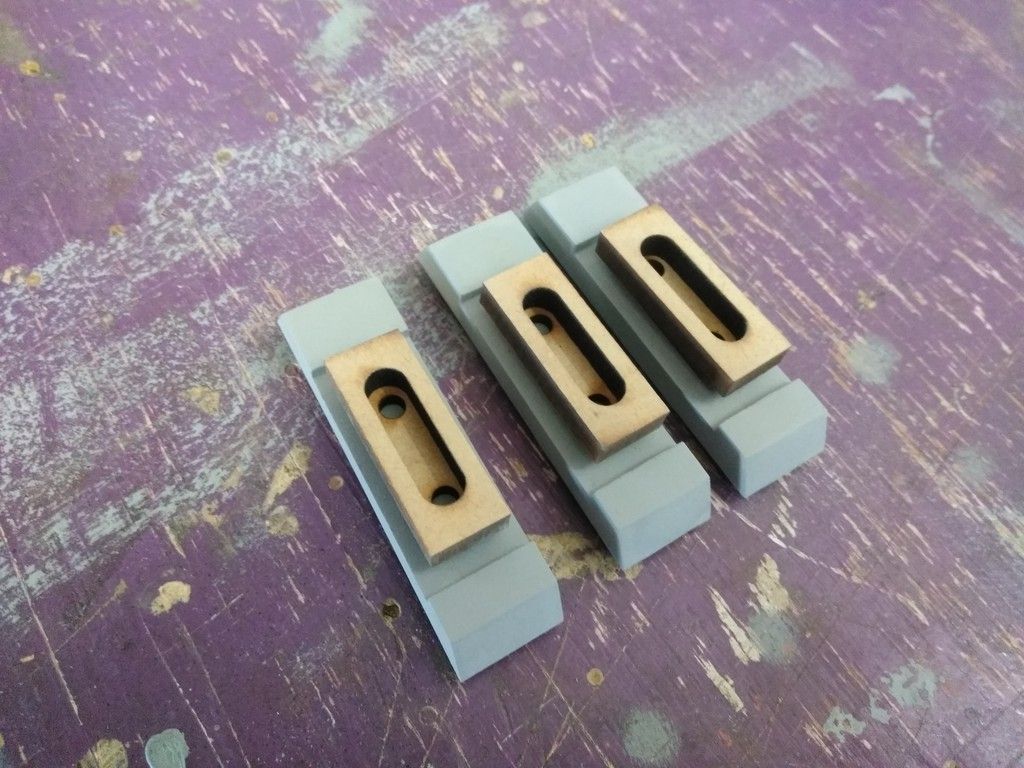
Perfect fit!
It just occurred to me that replacing these specific thick rubber strips with a bicycle inner tube might work MUCH better than the thick 1" rubber strip. Inner tubes are very inexpensive, they will lay flat, take the curve with ease and still have the same look! Plus I'll have more leftover rubber strips for another chair!
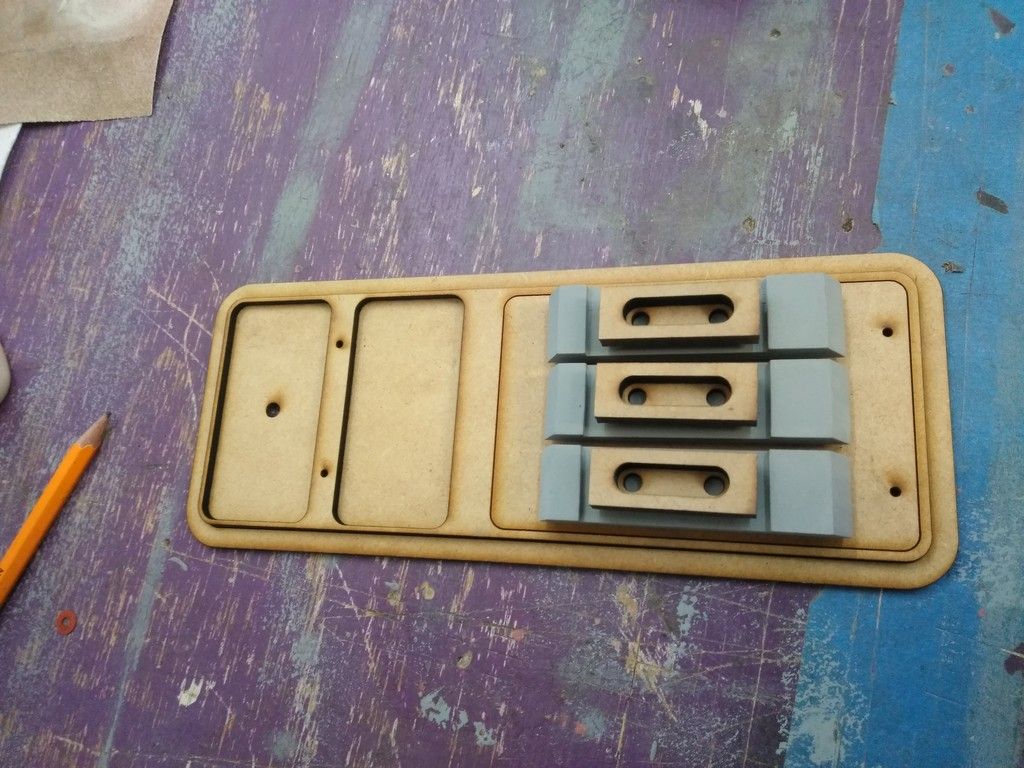
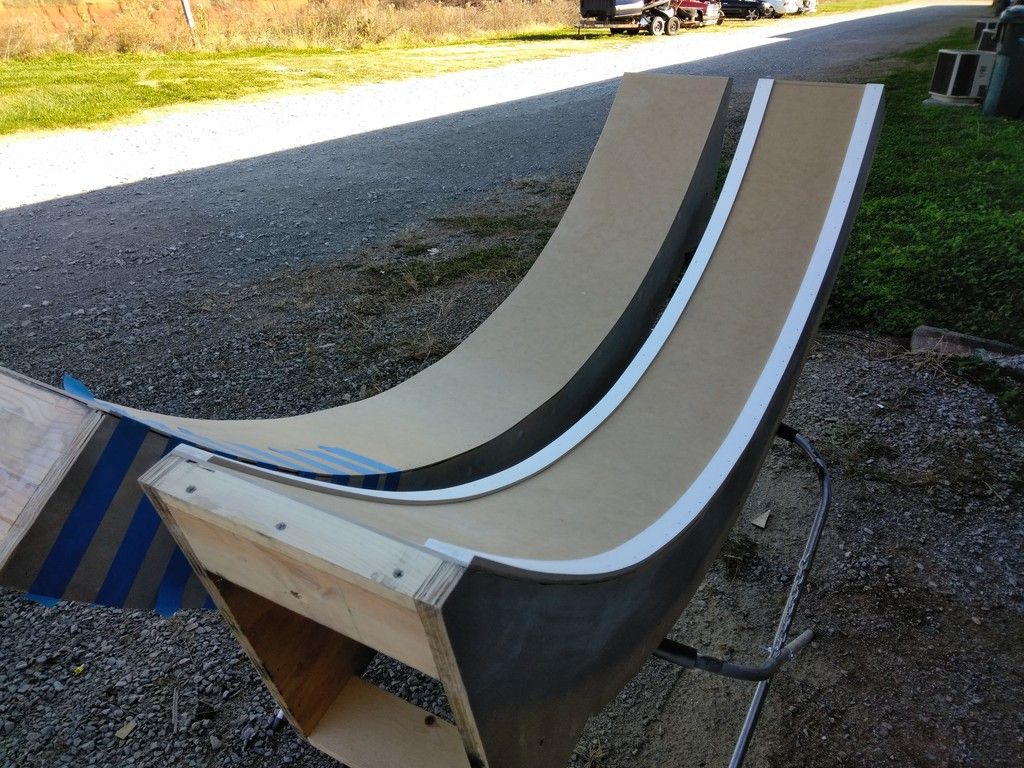
This chair is almost finished!
One more set of rubber strips to go!
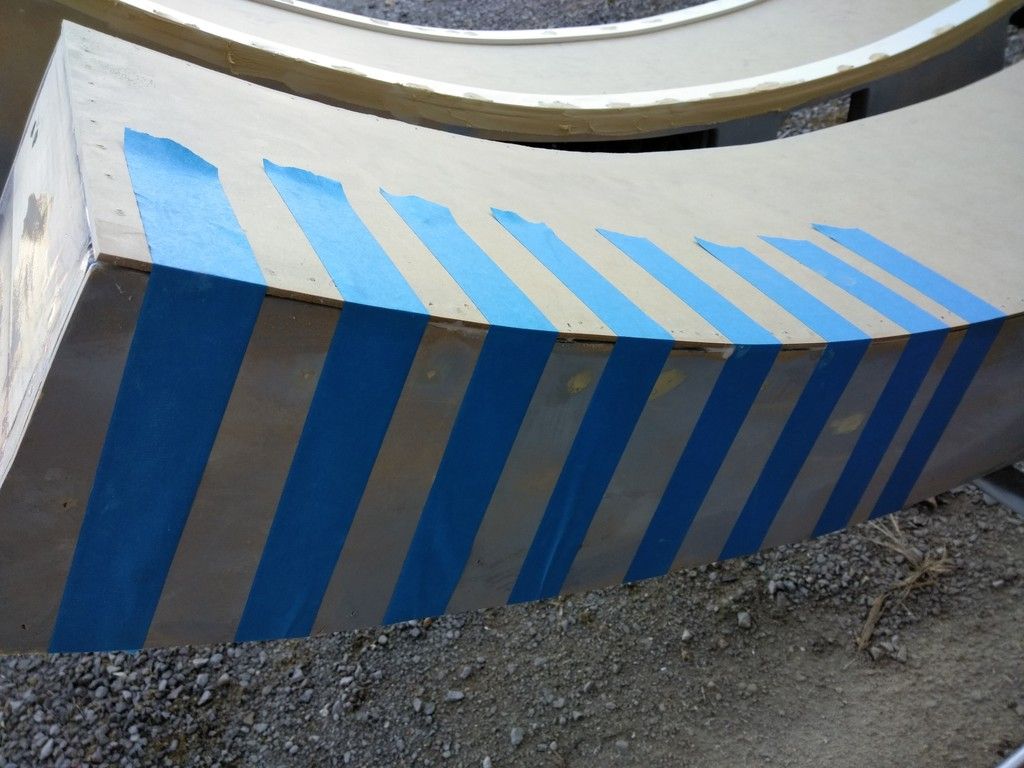
I then painted the interior part of the seat pad panels black - masked off the silver
Sprayed and removed the tape
The black helps hide the wood when the pad is in place
I'll have to paint the areas behind the back support pads as well
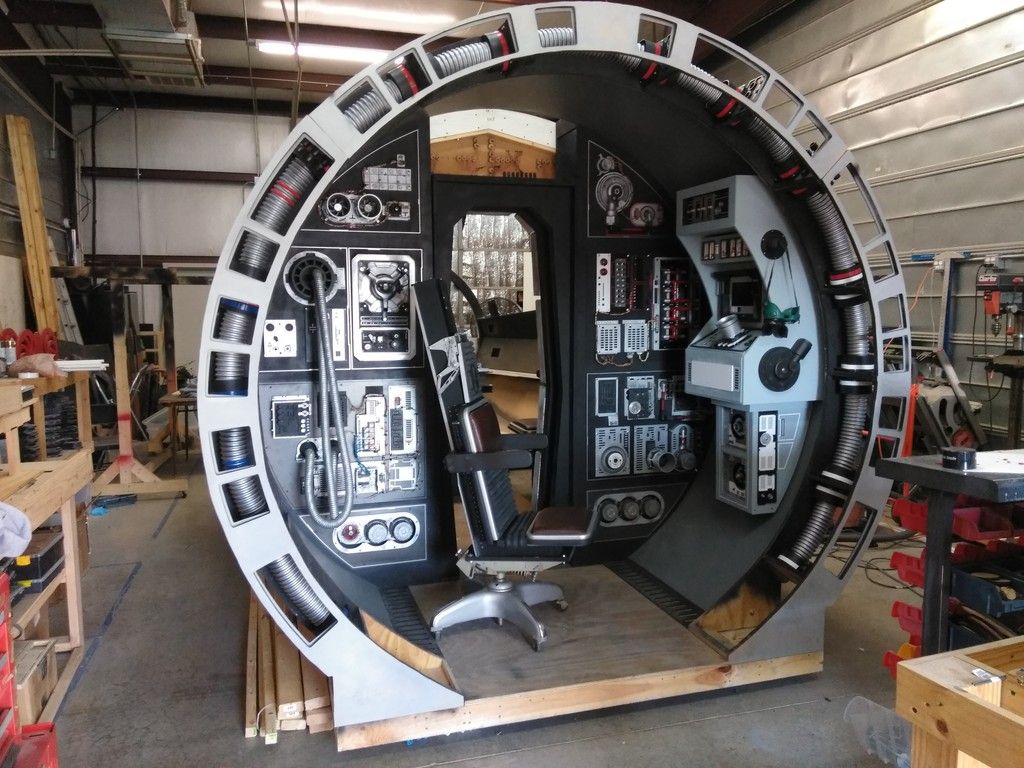
And this...
... is where we are!
Just want to say thank you to everybody who has supported us and this project throughout the years! You guys/gals are the best!
More to follow so please stay tuned!
Last edited:
Katuna
Member
That padding looks great. Funny how painting that lid black just seems to tie the whole thing together. It just didn't seem right when it was gray. Seemed something was off (like screen accuracy ).
Glad to see some blue and white tile BEHIND the cockpit. They just have to be squeezed in somewhere, even if they're not lit.
Now that the Nav chairs are nearly done, is it time to move back to the cockpit area? It's been so long I can't even remember, did the Volvo panels ever get completed?
).Glad to see some blue and white tile BEHIND the cockpit. They just have to be squeezed in somewhere, even if they're not lit.
Now that the Nav chairs are nearly done, is it time to move back to the cockpit area? It's been so long I can't even remember, did the Volvo panels ever get completed?
In the close-ups, there's a greeblie screwed into the pad, behind Luke. It looks like it presses into the surface.
Hey LtW,
Again... its just another mystery added to the increasing pile. I don't think we'll ever know the material used unless we talk to an actual person who was instrumental in their design and fabrication. Mostly...
- - - Updated - - -
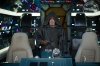
GREAT SHOT! It's amazing the color differences between the TFA/TLJ set and the OT sets.
Maybe dab some light-colored watered-down whitewash or something on the seat covers to dirty them up. The covers look great! Can't wait to see the chairs finished!
Hey T,
Thanks so much! We're so close to getting this part of the build on the "completed" list! I'm going to create a test pad and try some different methods/techniques to aging the material. Should be fun!
That padding looks great. Funny how painting that lid black just seems to tie the whole thing together. It just didn't seem right when it was gray. Seemed something was off (like screen accuracy
Glad to see some blue and white tile BEHIND the cockpit. They just have to be squeezed in somewhere, even if they're not lit.
Now that the Nav chairs are nearly done, is it time to move back to the cockpit area? It's been so long I can't even remember, did the Volvo panels ever get completed?
Hey K,
Thanks so much! I had done some upholstery in the past but I just wasn't sure how to get those curved corners to look just right. I think they can be a little better but I'm really happy with how they turned out and they DEF raise the visual interest line on the chairs all together.
As you may know I've been working from several different version of the nav chair. I got the white Tupperware lid from a 3D model done by fellow RPFer Maruska. When I went back to look at screen grabs I had that "whoops" moment!
I really wanted to add some of the 1" tiles to the monitor panel. The panel just below that has the CPU fan cone gets a few tiles as well. I just have to figure out what looks best. DEF going to include a few black tiles as well.
The Volvo panels are still a blank canvas. I can't really do anything on the Volvo panels until we get a basic canopy in place. I'm waiting to start the canopy until we have access to the CNC. Unfortunately, this last part of the build has to wait.
Last edited:
Katuna
Member
Wow, I went back to see how long you have been working on the cockpit bulkhead and corridor. I didn't look at every page but a year ago this week the bulkhead was pretty sparse and you were cutting the rings. That's a big chunk of time for a relatively small area. Shows how much detail and thought has been put into something that's never been seen on screen.
Any nervousness on TLJ showing the bulkhead as completely different than your vision? Regardless of what it may look like (if it's ever shown) your design is brilliant and fits the ESB timeline perfectly.
- - - Updated - - -
Wow, I went back to see how long you have been working on the cockpit bulkhead and corridor. I didn't look at every page but a year ago this week the bulkhead was pretty sparse and you were cutting the rings. That's a big chunk of time for a relatively small area. Shows how much detail and thought has been put into something that's never been seen on screen.
Any nervousness on TLJ showing the bulkhead as completely different than your vision? Regardless of what it may look like (if it's ever shown) your design is brilliant and fits the ESB timeline perfectly.
Any nervousness on TLJ showing the bulkhead as completely different than your vision? Regardless of what it may look like (if it's ever shown) your design is brilliant and fits the ESB timeline perfectly.
- - - Updated - - -
Wow, I went back to see how long you have been working on the cockpit bulkhead and corridor. I didn't look at every page but a year ago this week the bulkhead was pretty sparse and you were cutting the rings. That's a big chunk of time for a relatively small area. Shows how much detail and thought has been put into something that's never been seen on screen.
Any nervousness on TLJ showing the bulkhead as completely different than your vision? Regardless of what it may look like (if it's ever shown) your design is brilliant and fits the ESB timeline perfectly.
Hi K,
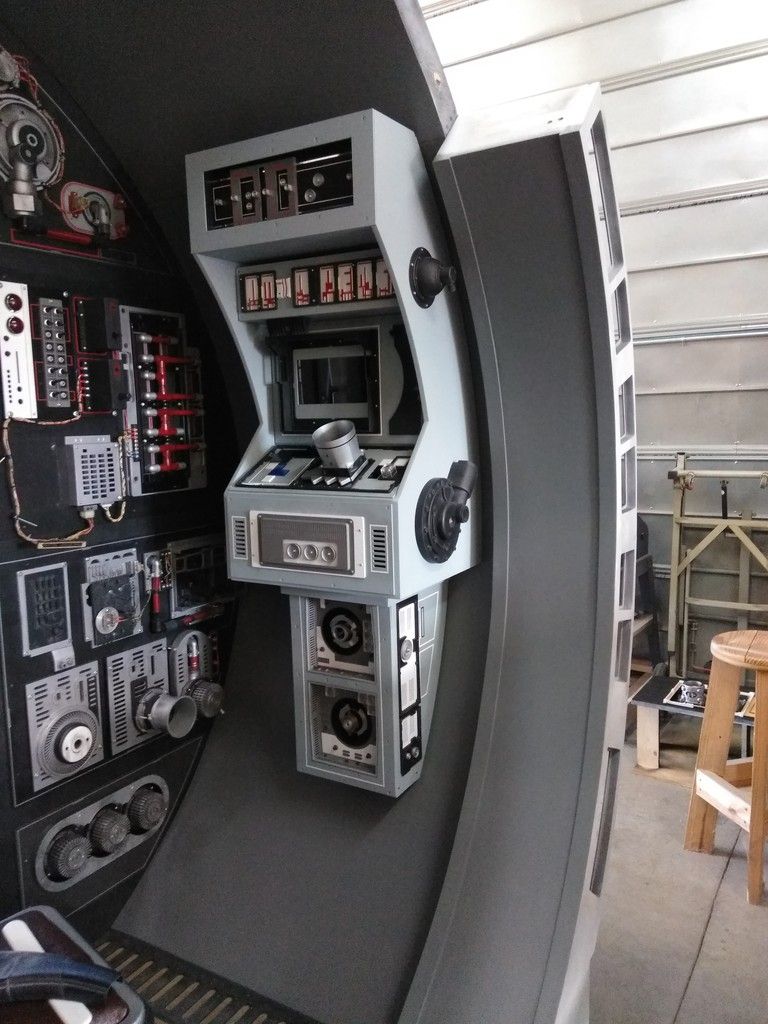
Thanks so much! I'm sure you already know that the entrance is based very heavily on the TFA version. Once I finished the basic look of the entrance I stood back and thought it needed some ESB influence. So I decided to modify the TFA design using as many ESB related elements and greeblies as I could - taking design cues from various screen grabs and of course having fun with artistic liberty.
WOW I can't believe its already been a year since I started work on the corridor ring! With that, the basic build is just me. From design to laser cutting to primer and paint to mounting... its mostly been me. I get help from time to time but people have lives and their own projects so I get and certainly appreciate the help when it comes.
There is no real nervousness for TLJ entrance. TFA proved there were a LOT of changes in the 30 yrs since RotJ. Unless it's a lighting issue, the TLJ cockpit appears to have changed the white 1" square tiles to yellow. So it will be interesting to see what other changes were made. However, since my version is based on the never before seen ESB version I'm actually more worried what the designers did for the upcoming "Solo" movie. I have no doubt the MF will play a significant role and we're going to see areas of the ship yet to appear on screen. My thought is the entrance will be cleaner looking than TFA only with more greeblies and less hoses.
But the biggest visual change we've seen is the ANH version to ESB. So either way I think we'll be ok. I just want see her on screen again
Last edited:
Lt Washburn
Sr Member
No matter how long you work on it, it's better than a lot of people who just think about doing something for years and never do. You actually build it. You'll be like those crazy old coots they always make tourism videos about, "Yep, he just worked on this thing for 50 years. Slowly adding and building as it got bigger and bigger, until one day he died...right over there, by the Falcon ramp. Make sure to stop by the gift shop at the Hoth Base exit!"

That tupperware lid definitely doesn't seem to be just straight black ...
Hi Gang,
I hope all those celebrating had a very wonderful and safe Thanksgiving.
Time for the "End of the Weekend Update". Let's get to it!
New parts arrived!
I'm slowly finishing up the maint console. Added another rocker with a more unusual pinstripe

I sanded the edges off the IBM type writer part
Paint
Designed and laser cut this unusual shape
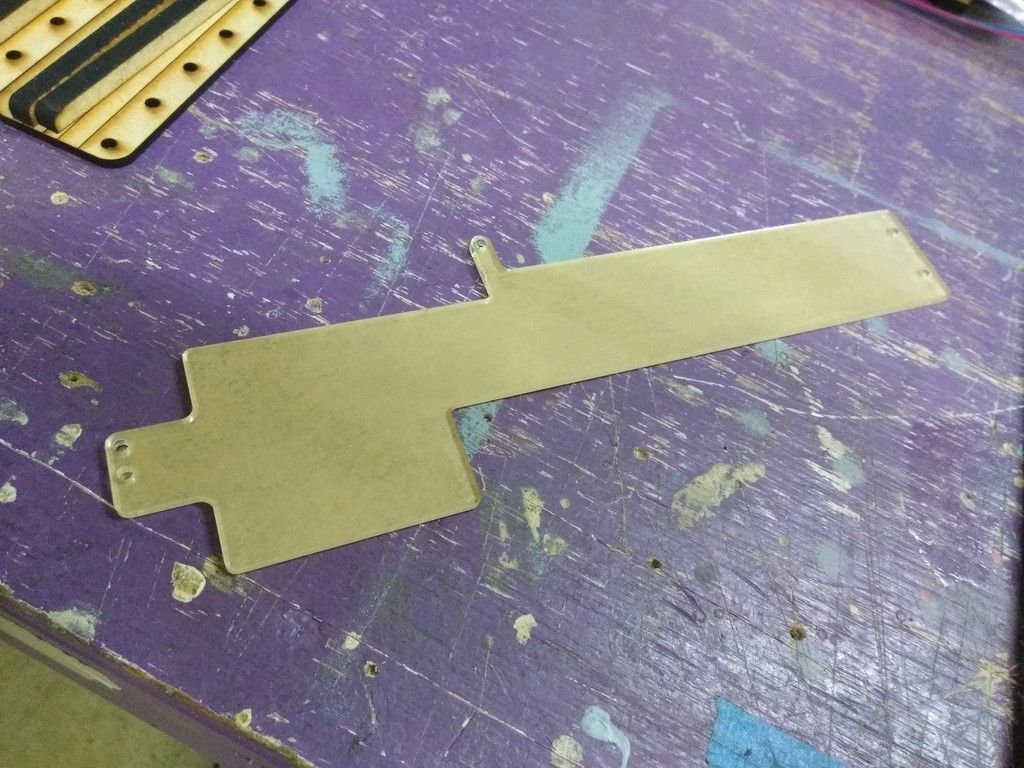
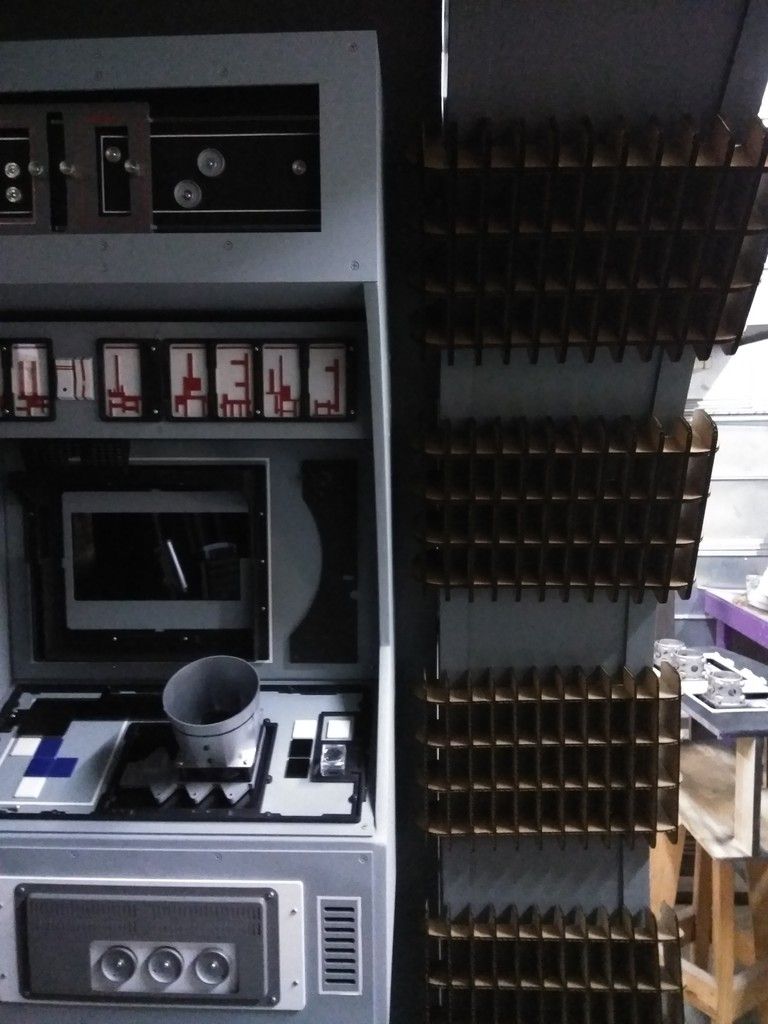
In place over top some of the 1" tiles
Trying out different tile placement / color combos
Near final
Adhered
The black will not be back lit
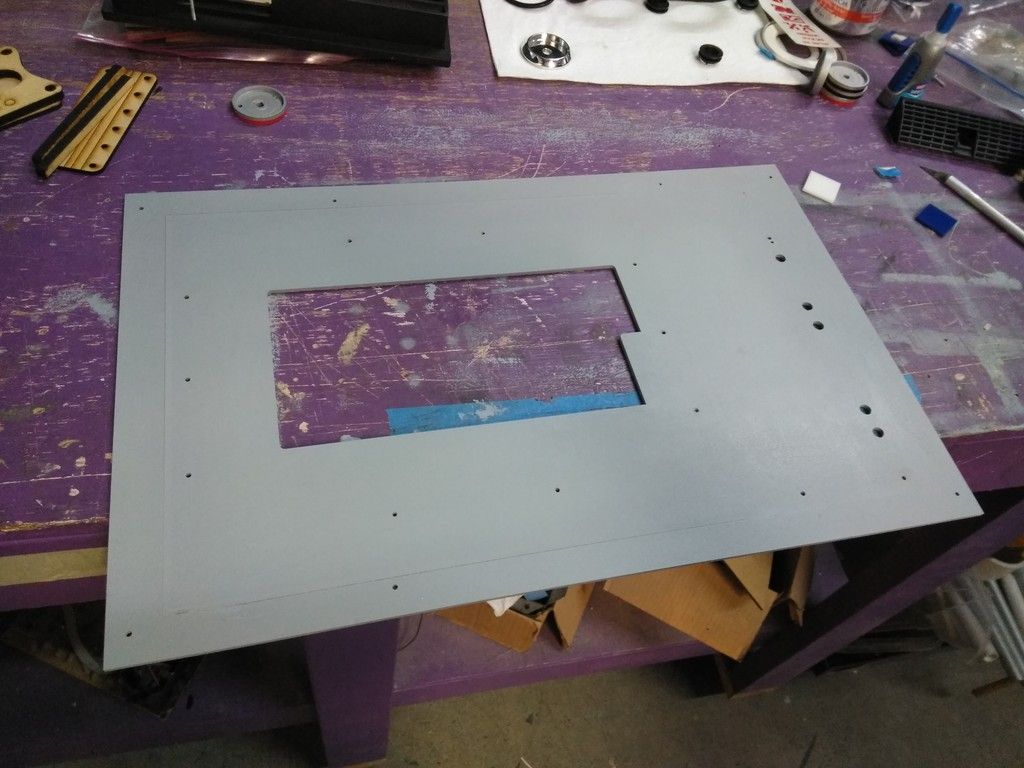
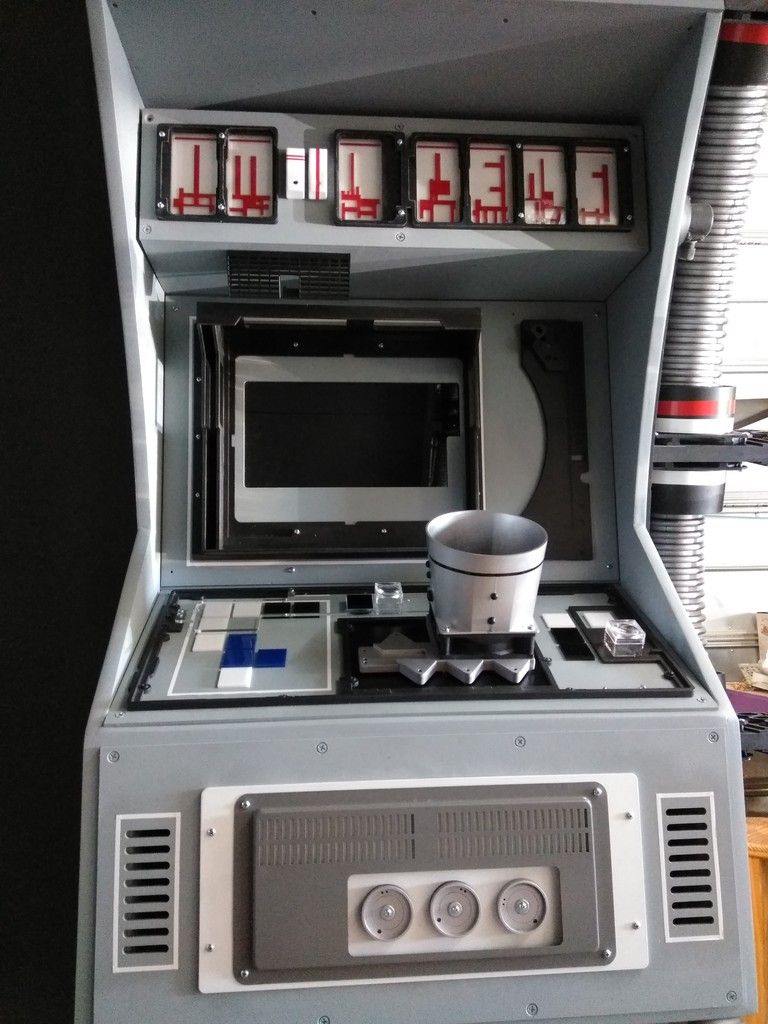
I then jumped to the monitor panel - repainted

Pin stripe
OH NO!
UGH... :facepalm

Used filler to fix
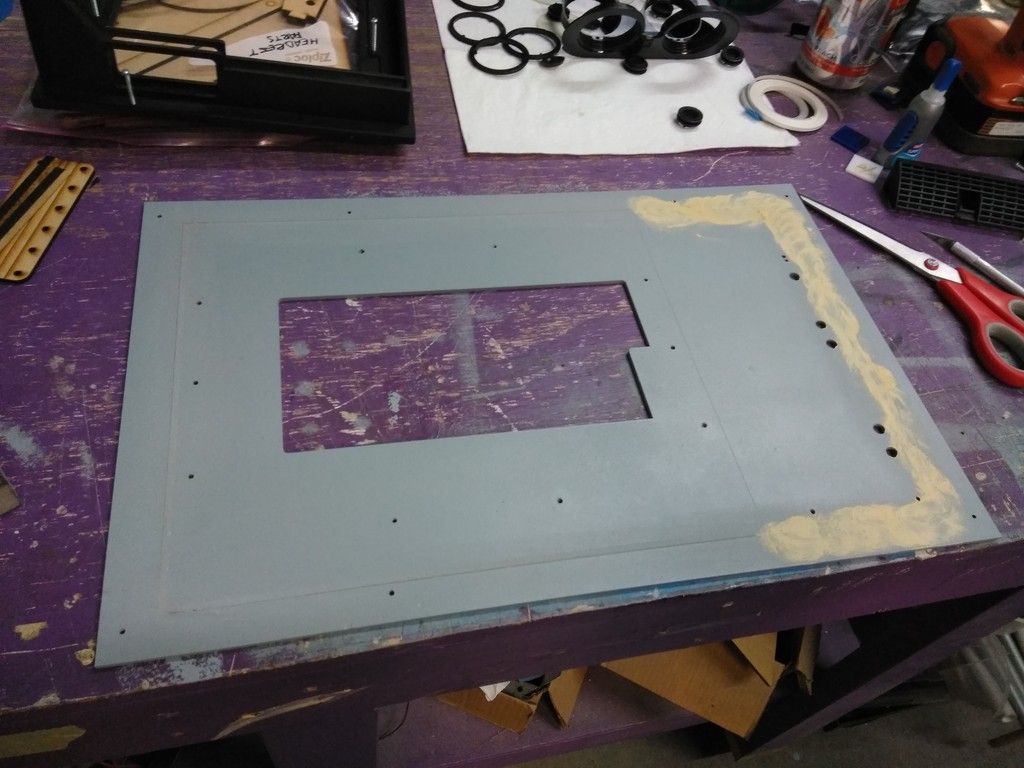
All better
Added the type write part
I then designed and cut this
Found this old screen in my greeblie box
New front panel
All painted and waiting to be mounted

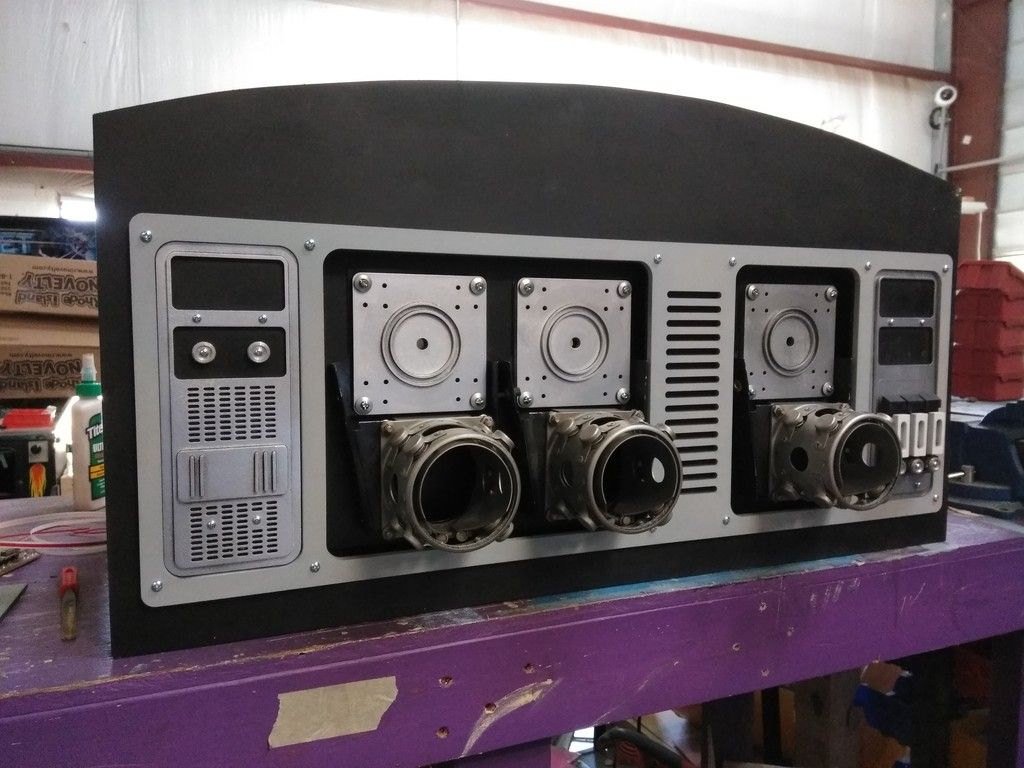
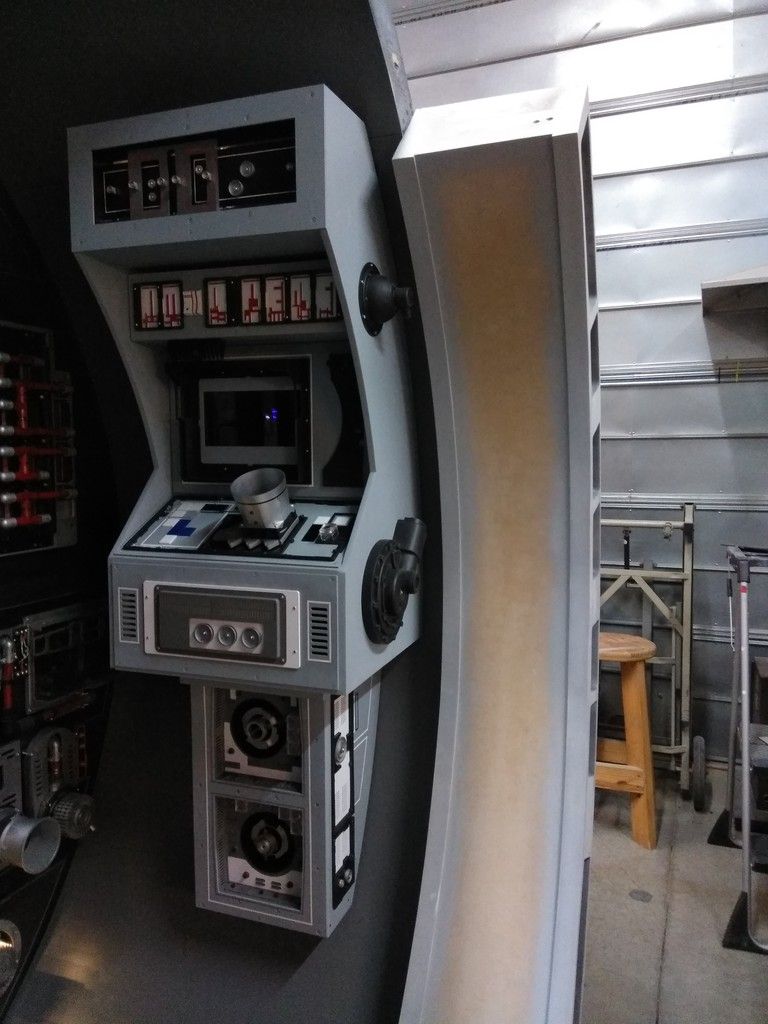
Everything all together
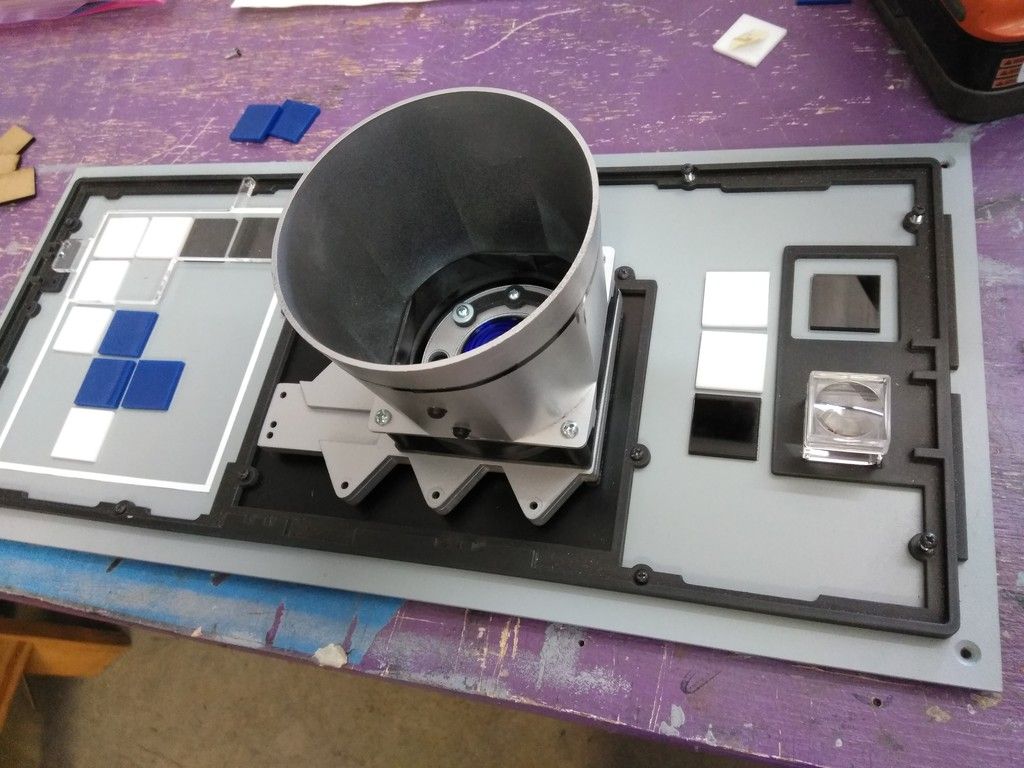
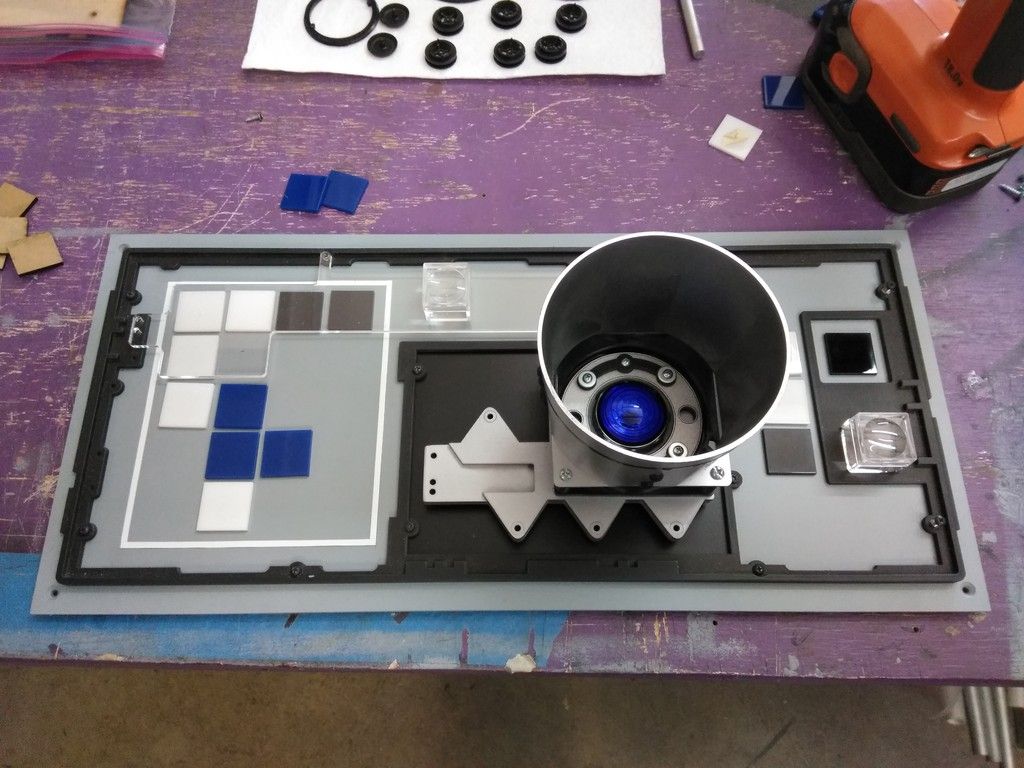
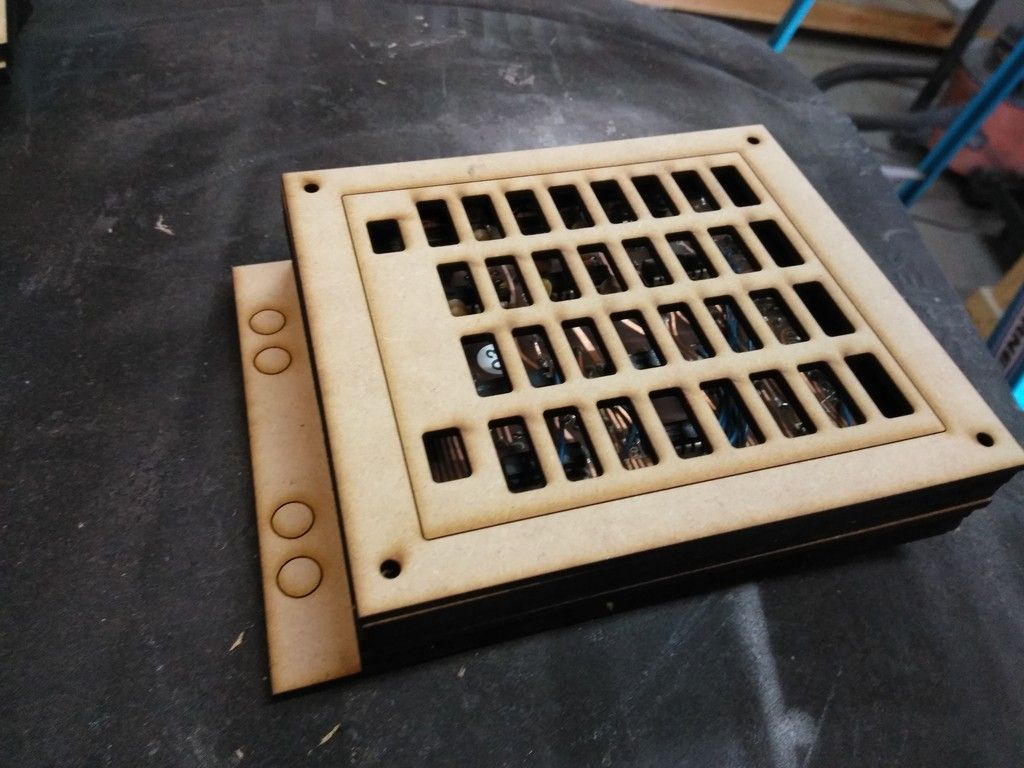
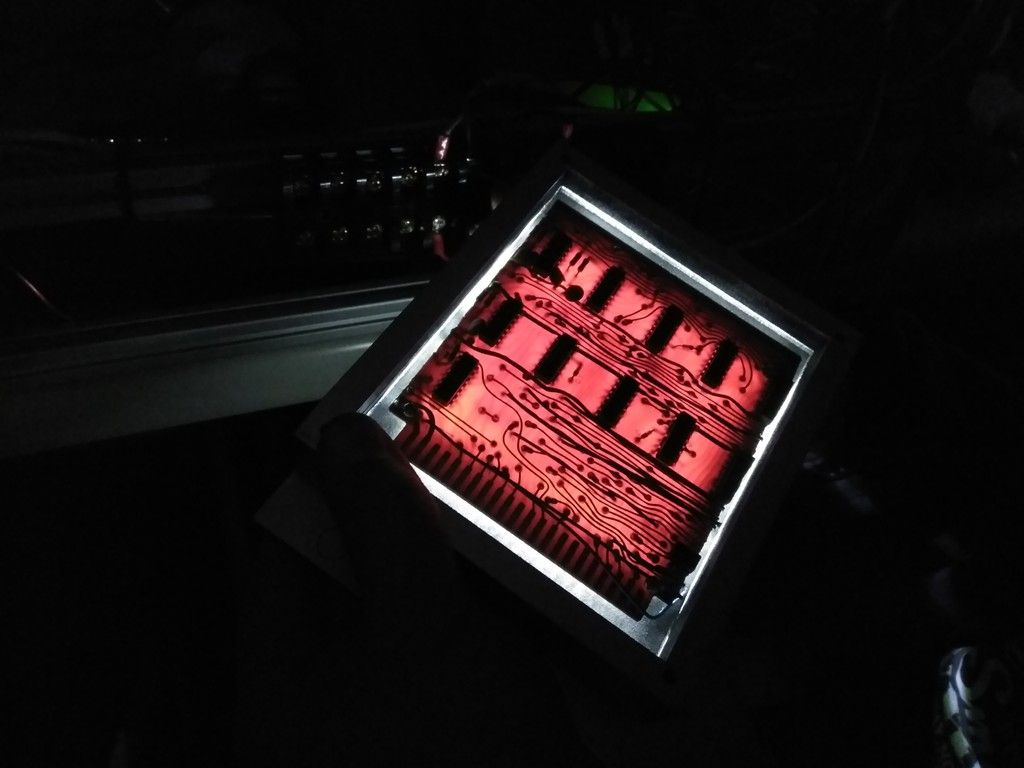
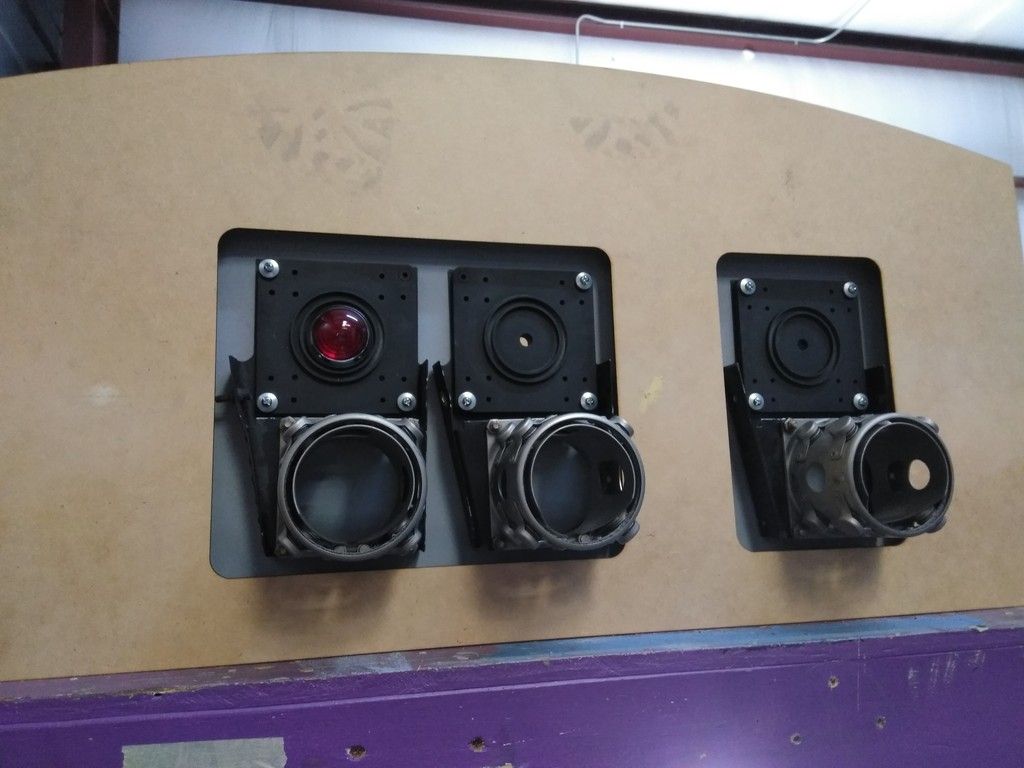
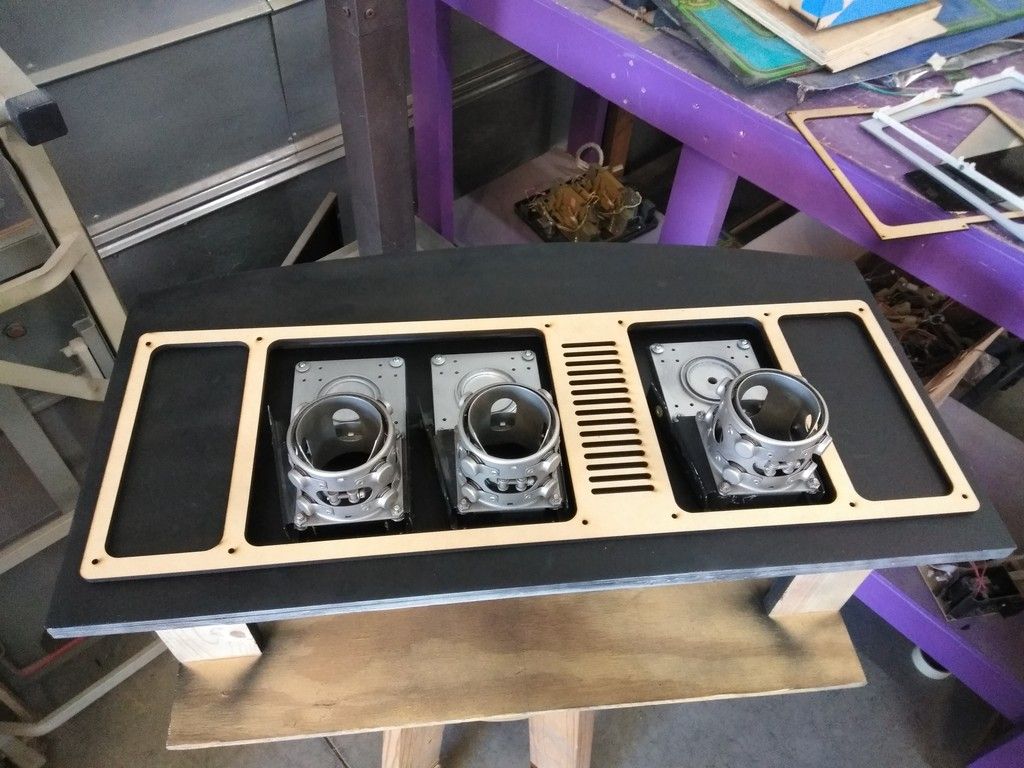
Daniel and I have been playing around with different lighting options and we both really liked the idea to add LEDs to the inside of these silver boxes

I removed the back panel
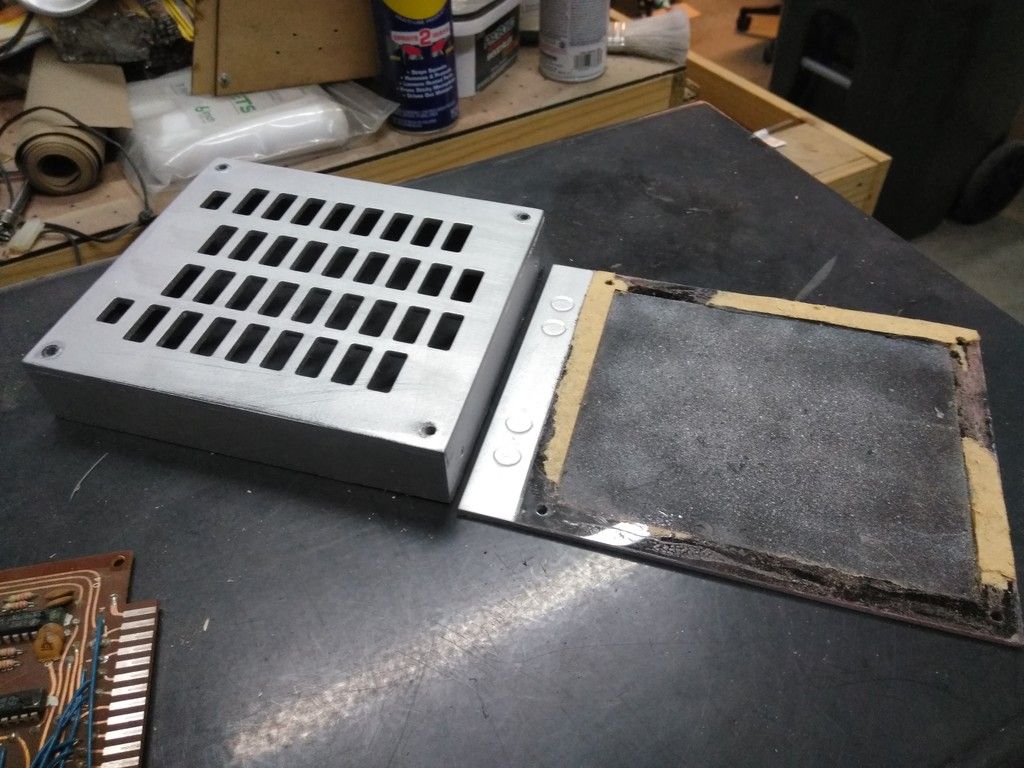
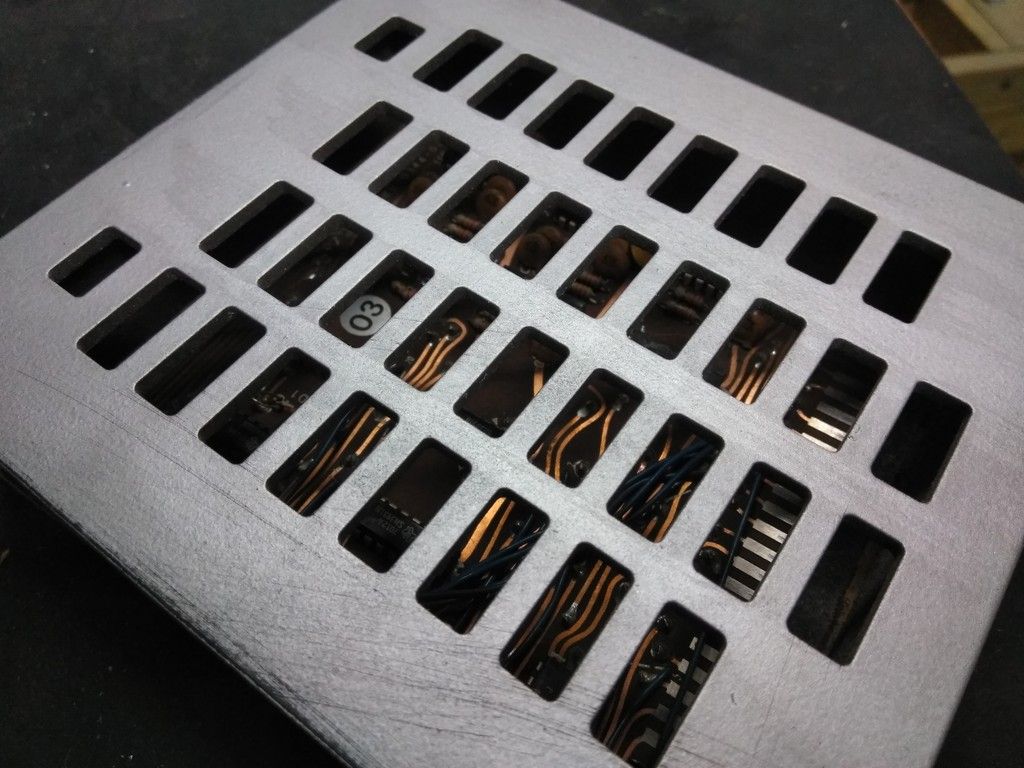
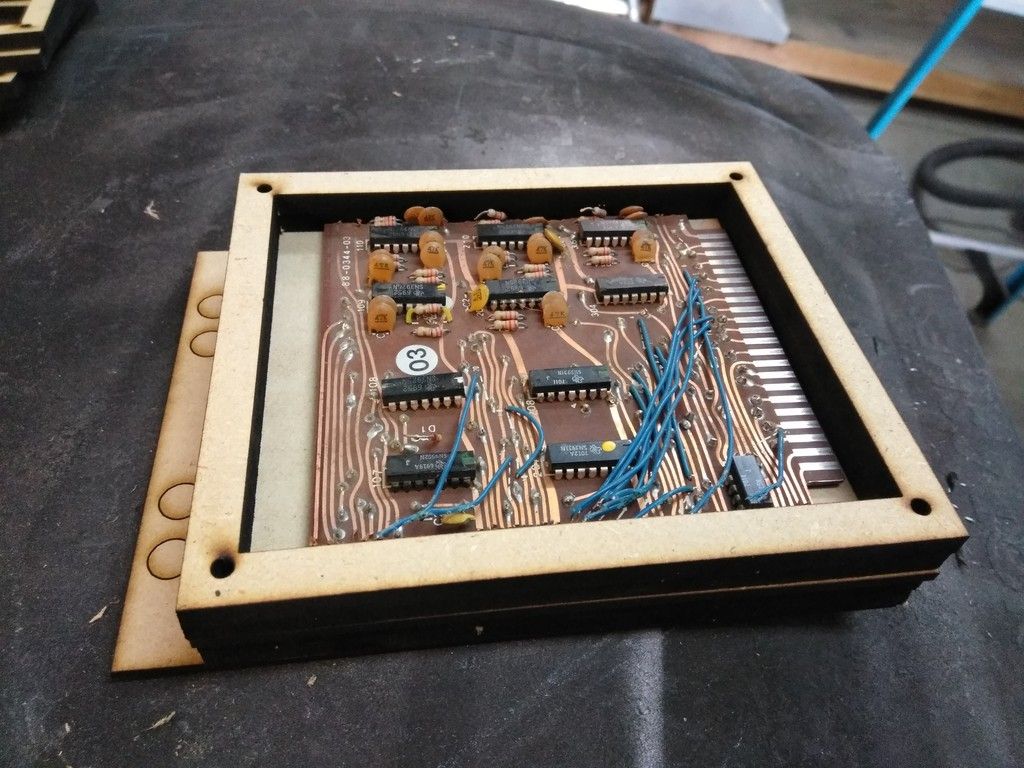
Cut up an old circuit board
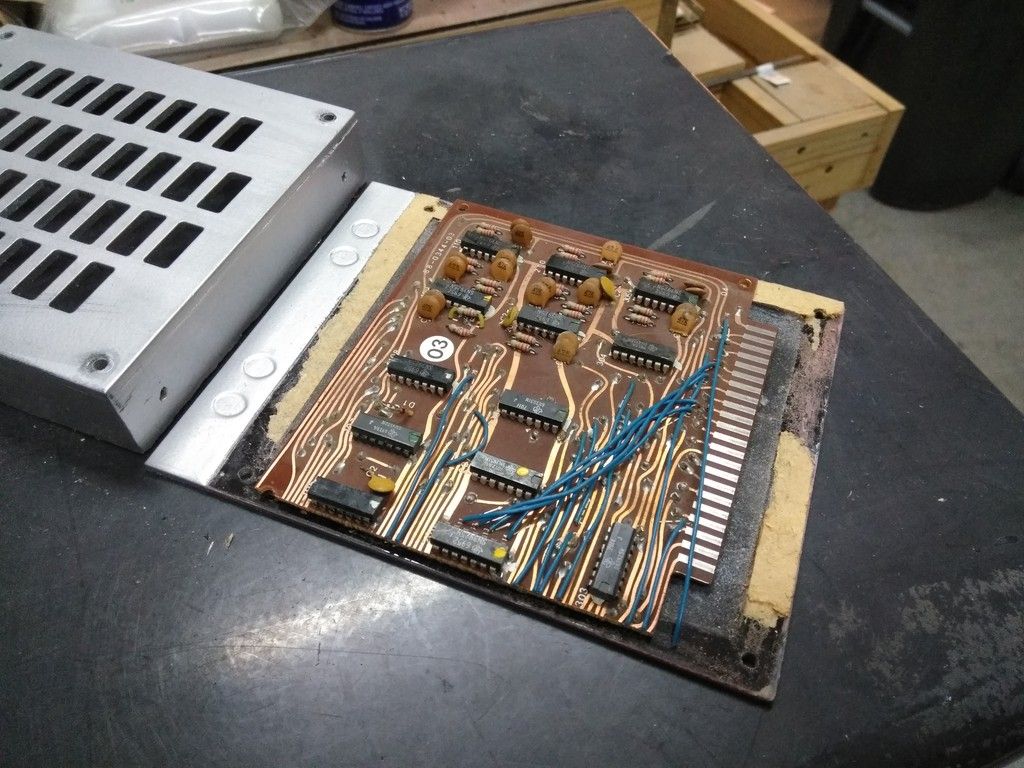
Imagine this illuminated from the back
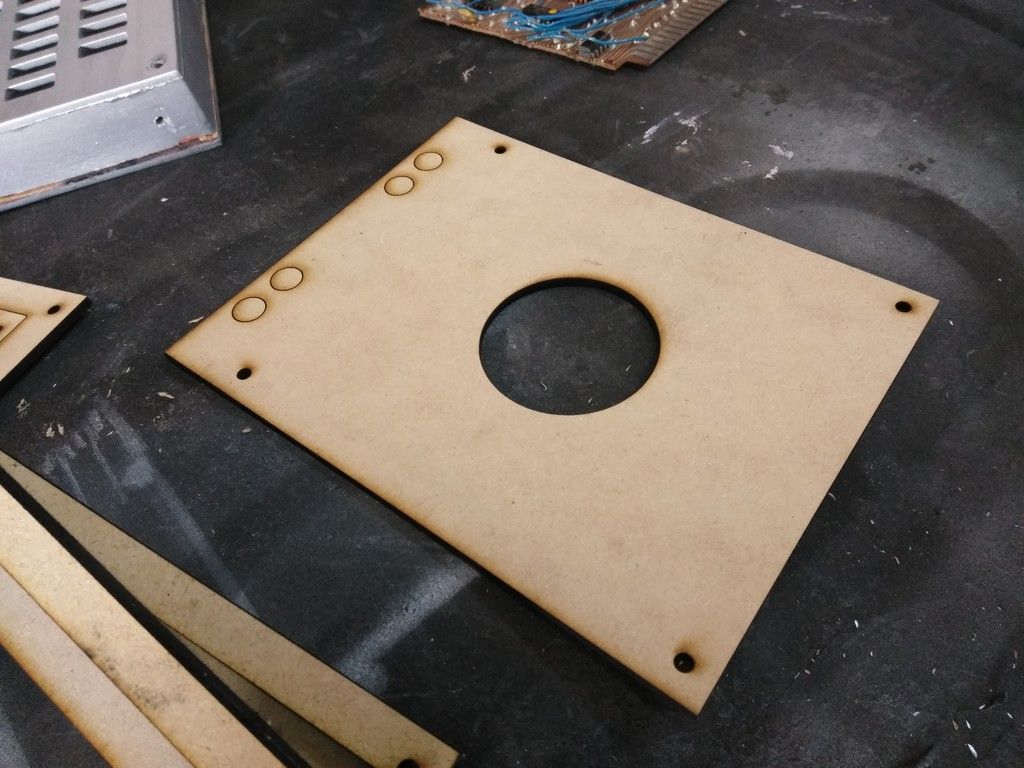
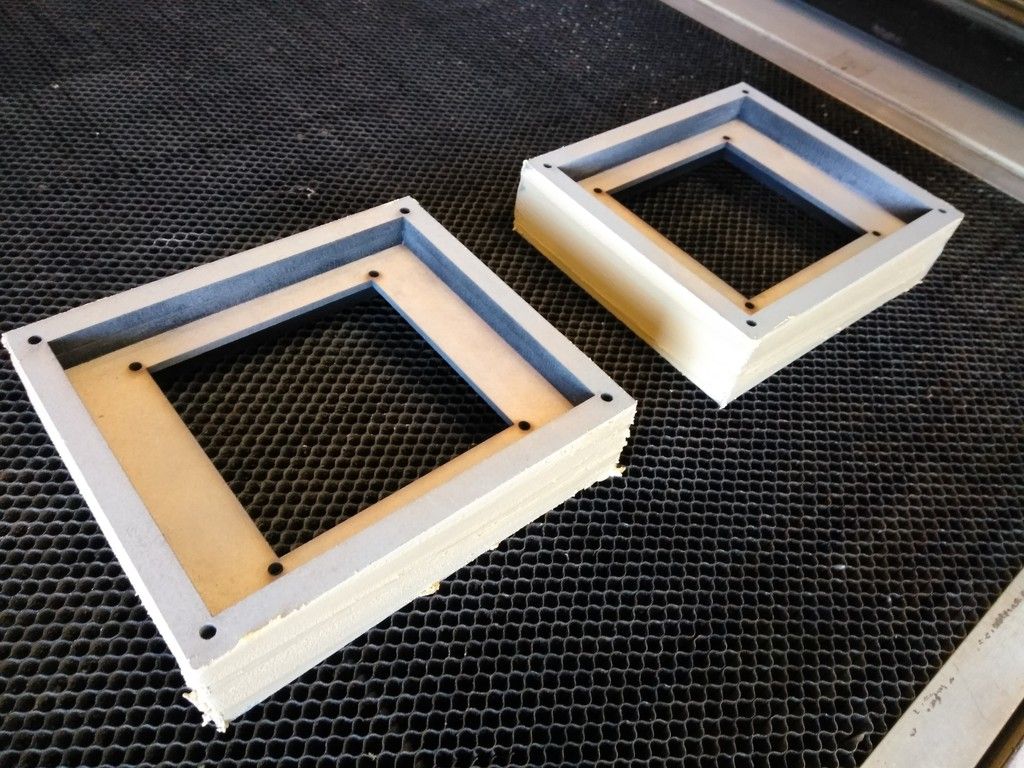
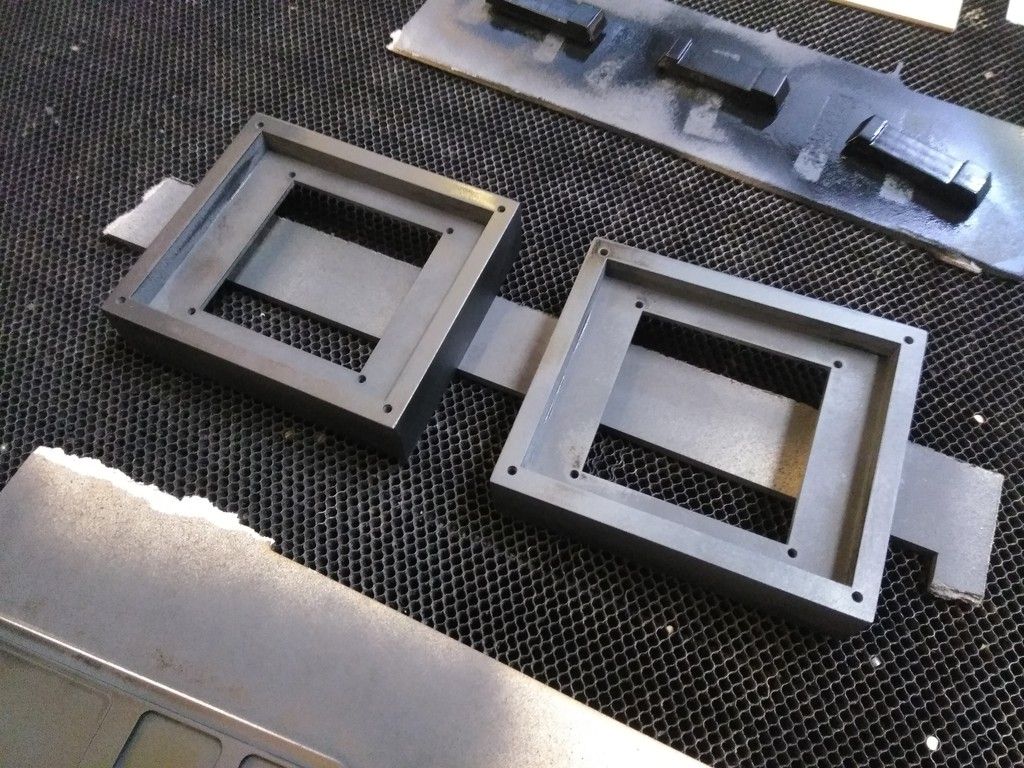
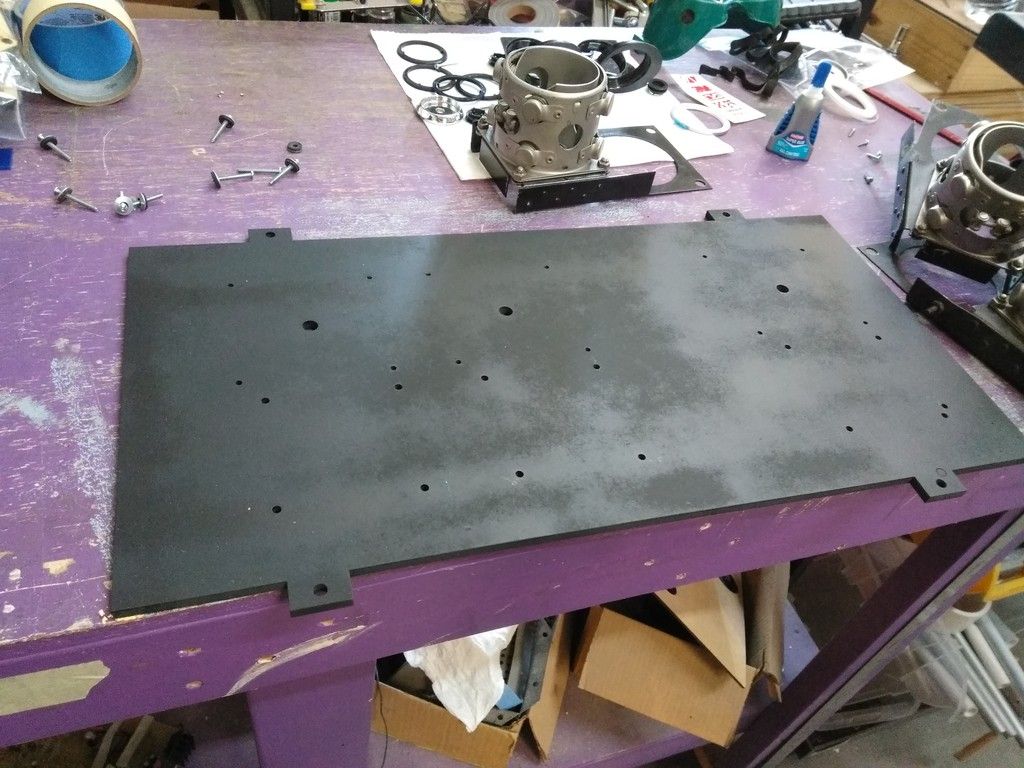
The existing box wasn't deep enough for both the board and LEDs so I designed a new box
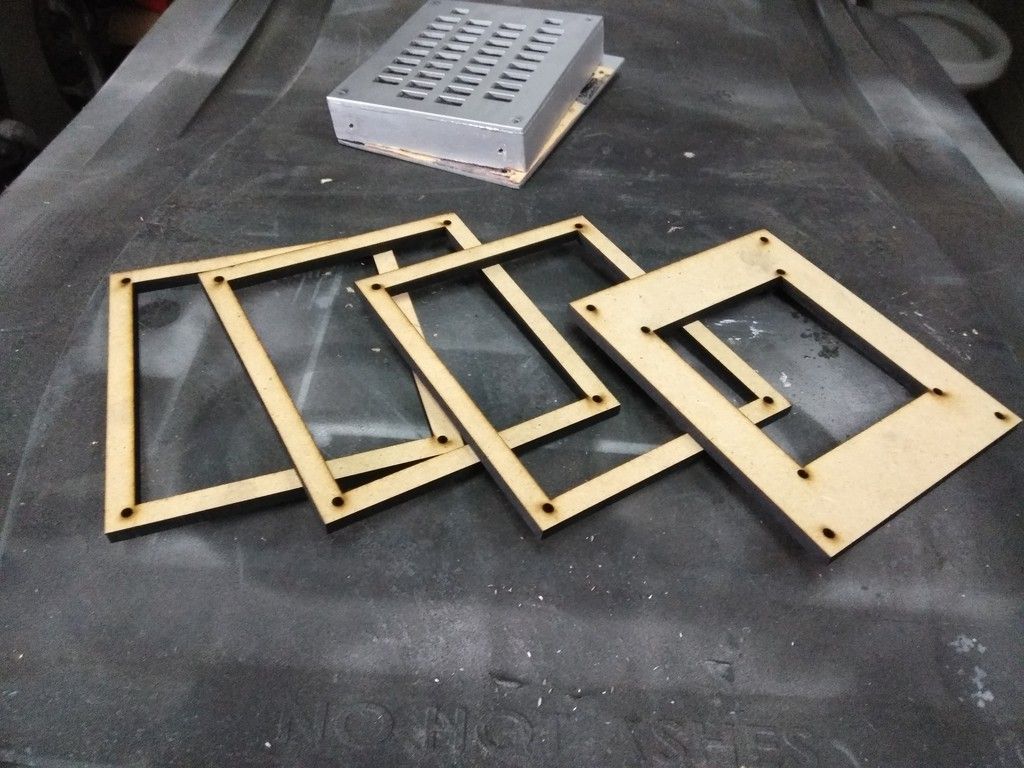
Backplate with hole for wiring
1st Layer
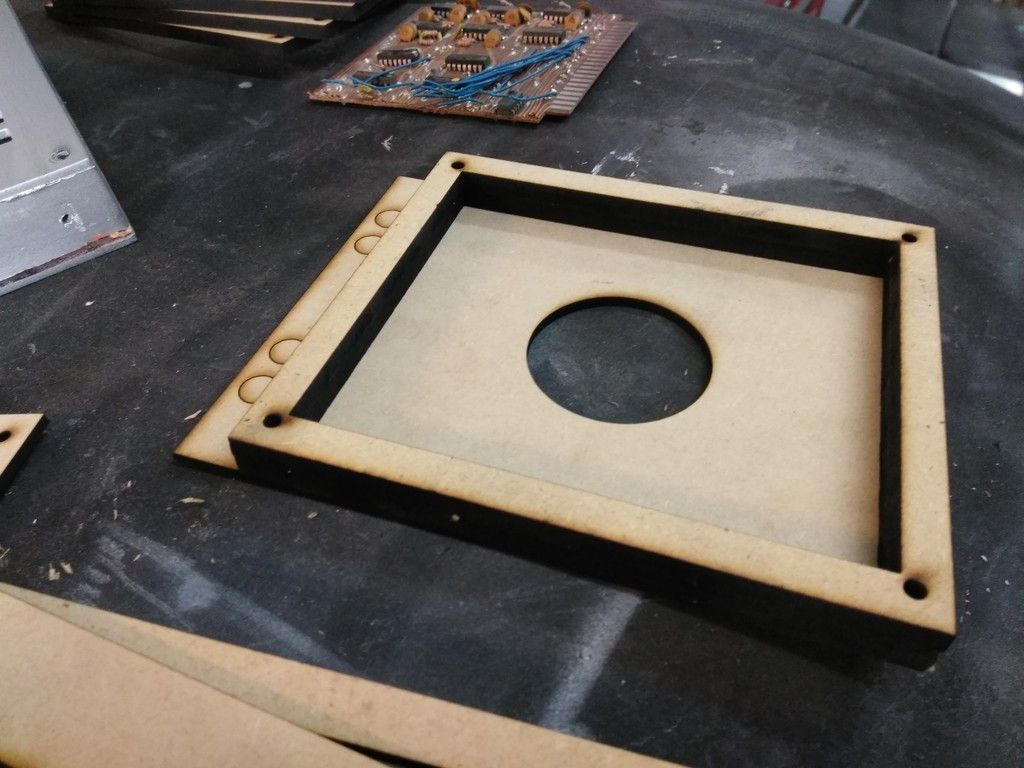
Circuit Board mounting plate
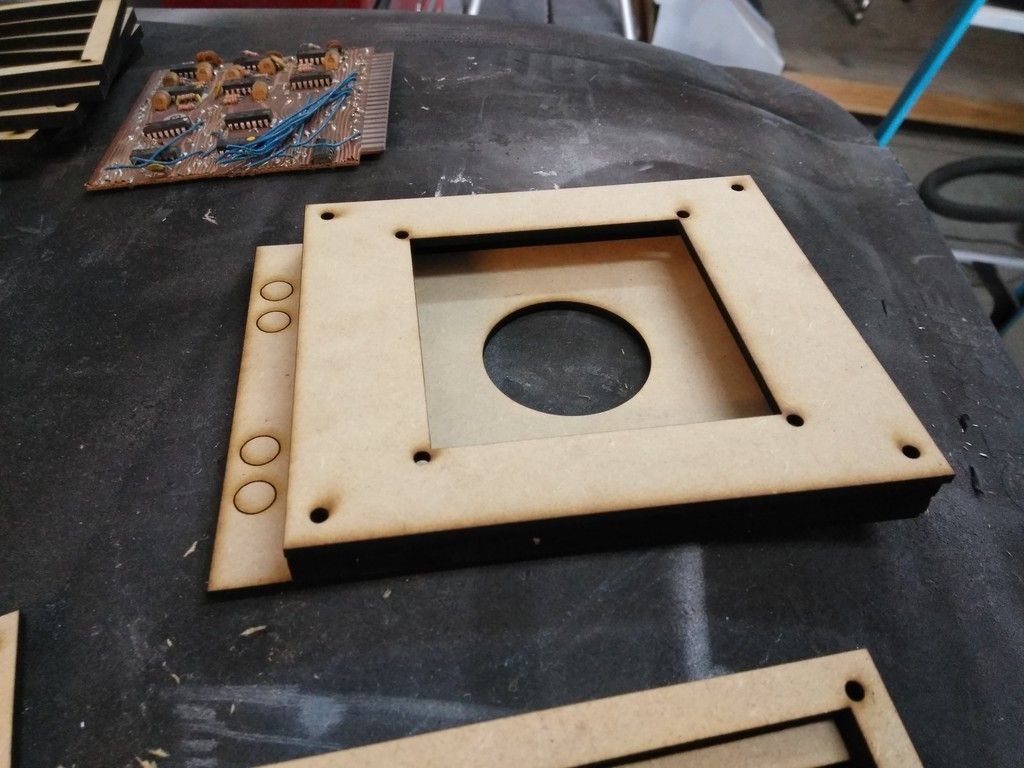
Next Layer
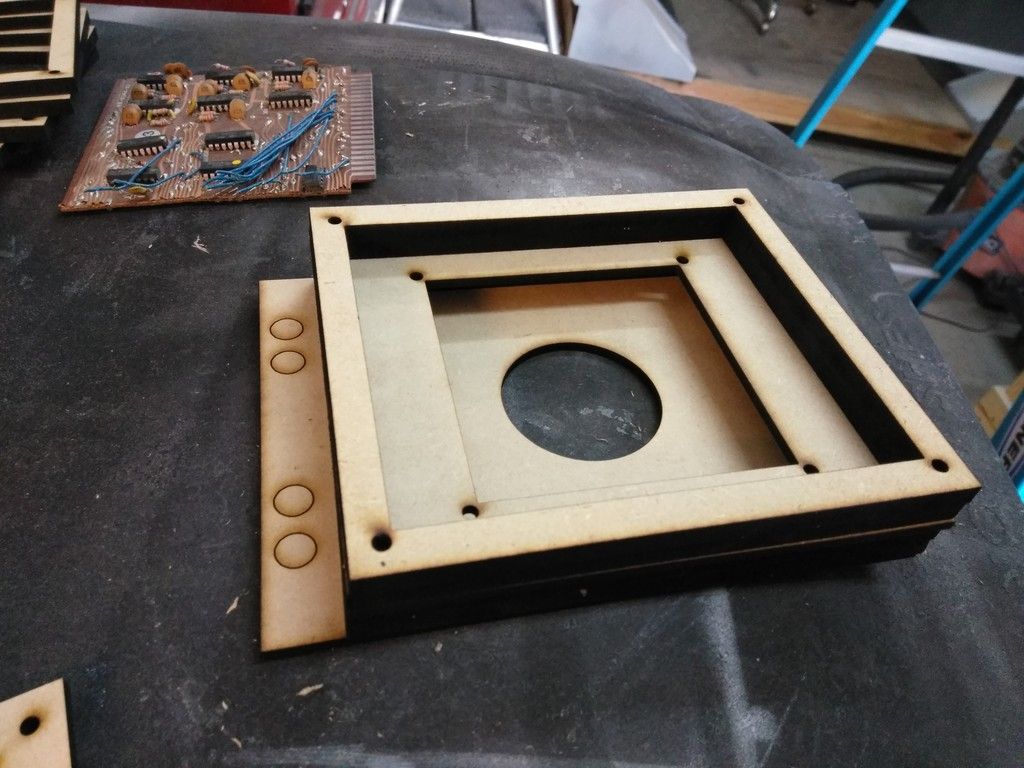
Lid
Boxes getting sanded and primed
Primer
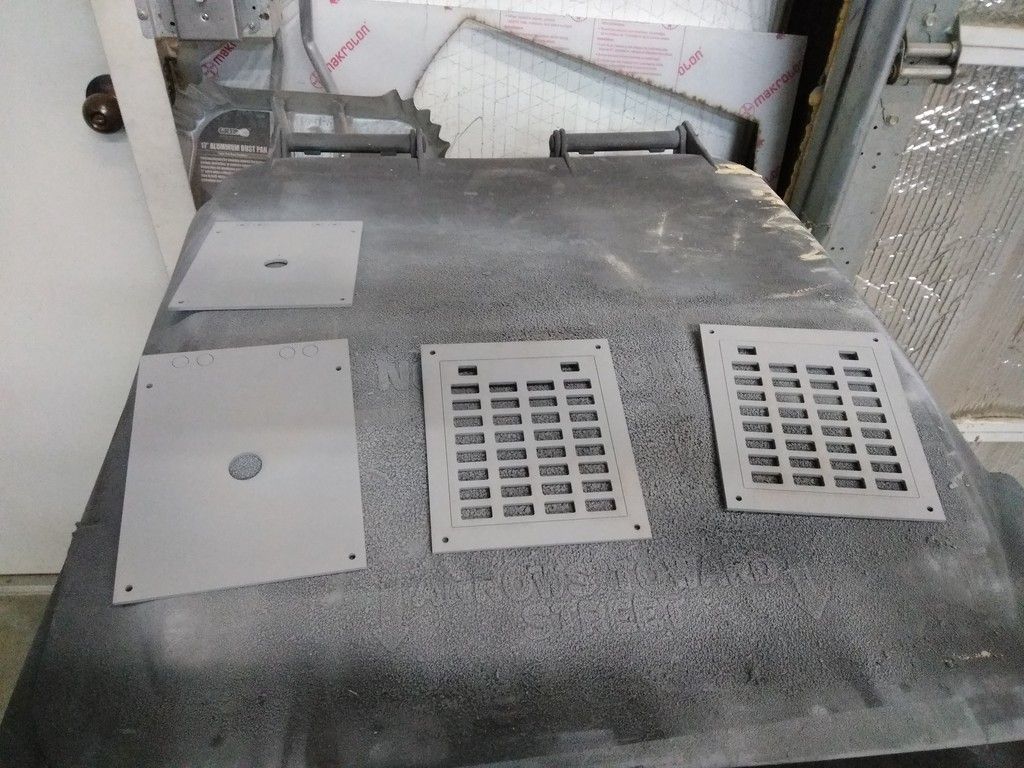
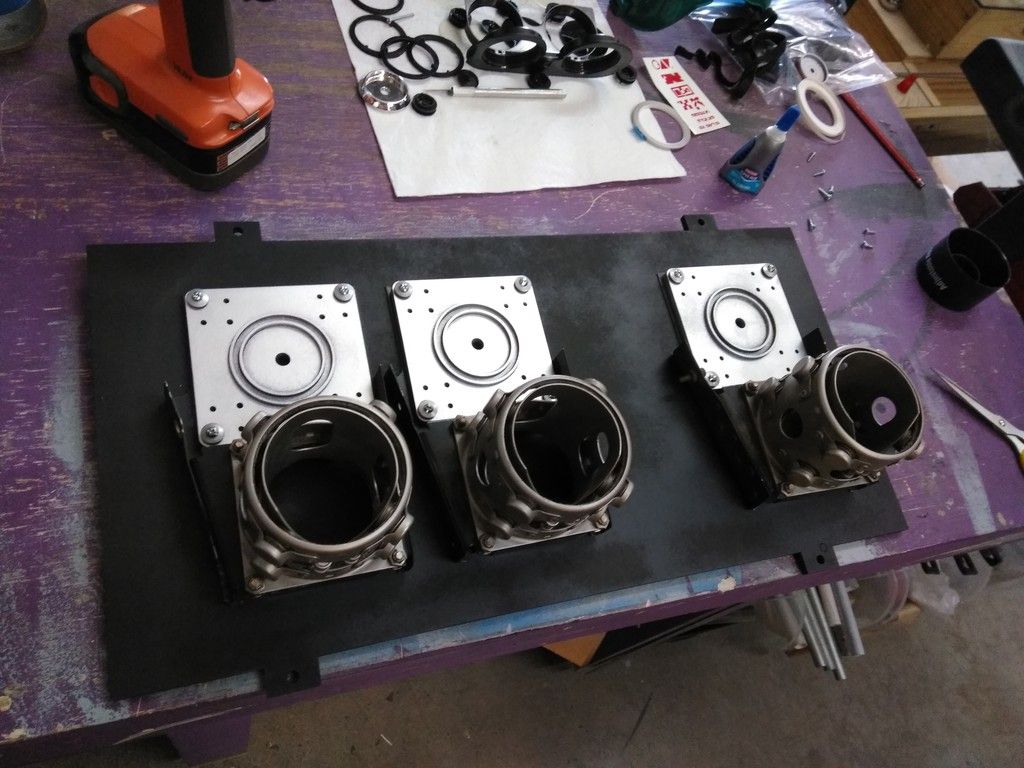
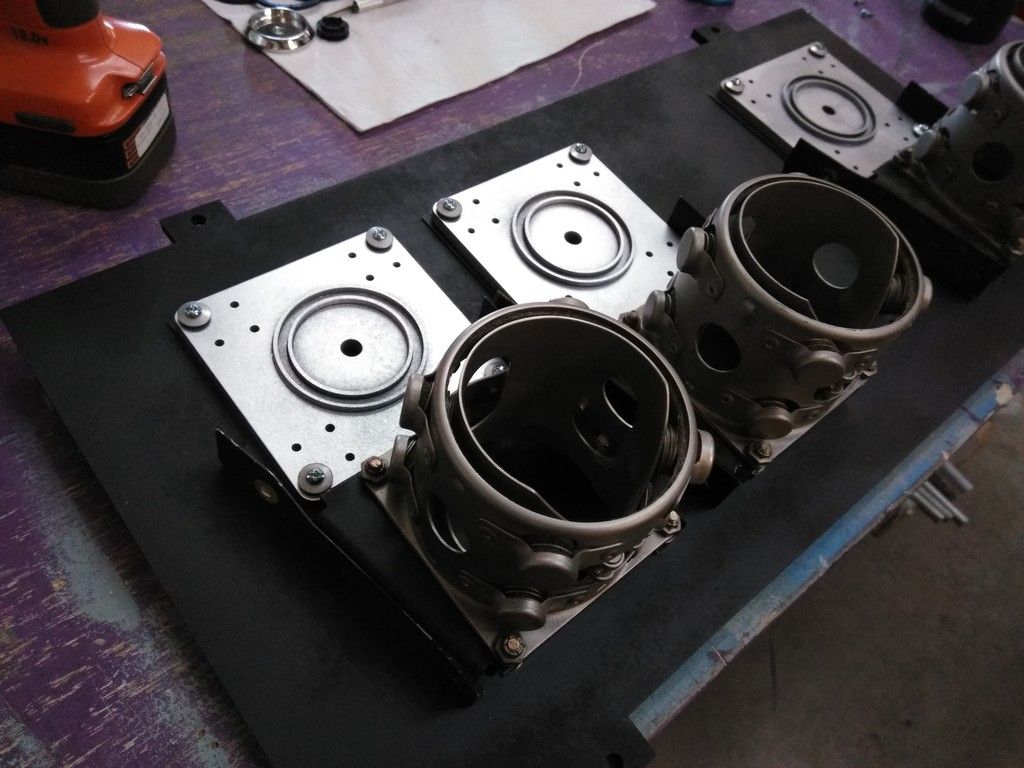
Second round of sanding
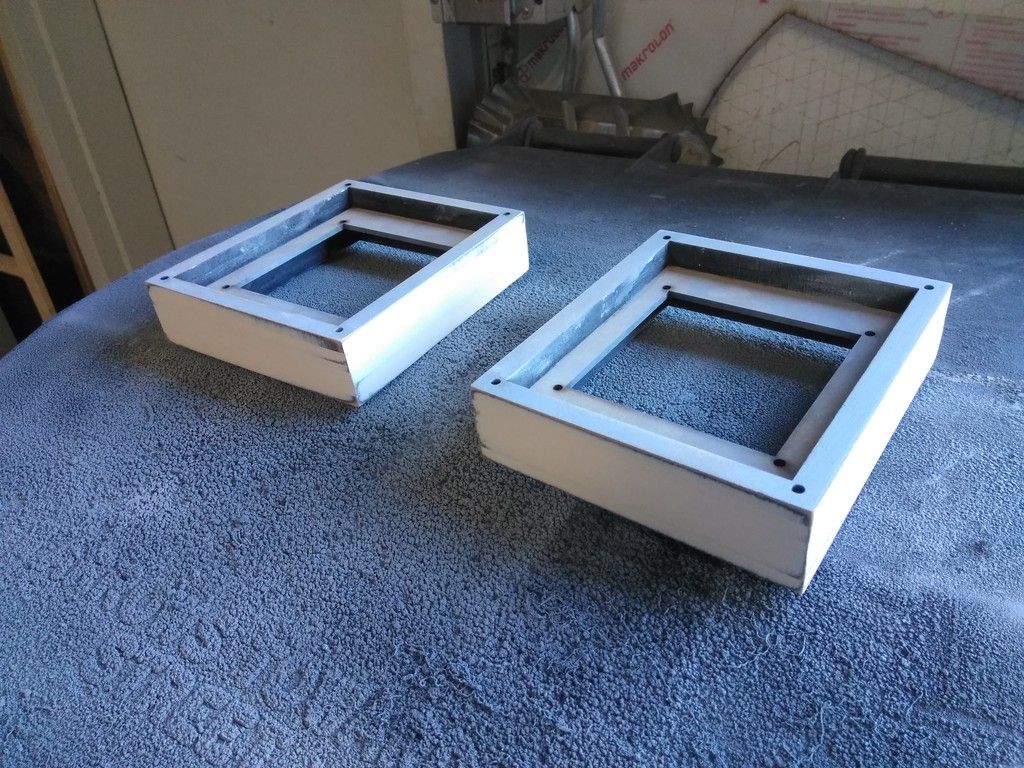
Paint
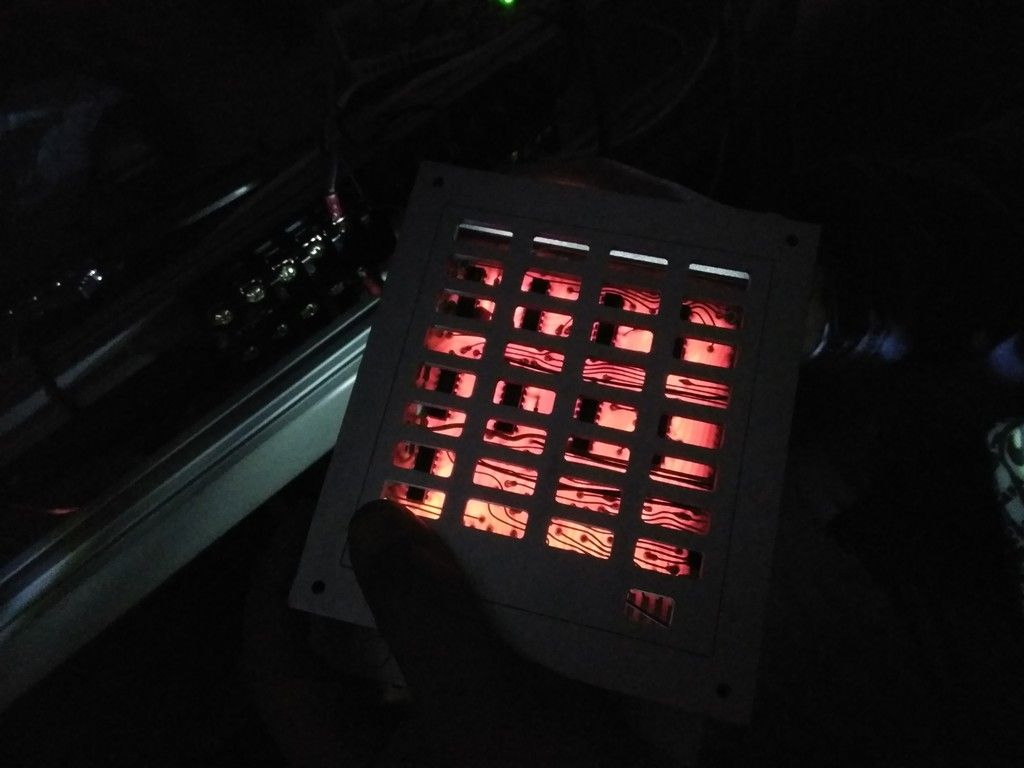
All of this work to get to this point!
Still a bit more work to do but that's COOL!
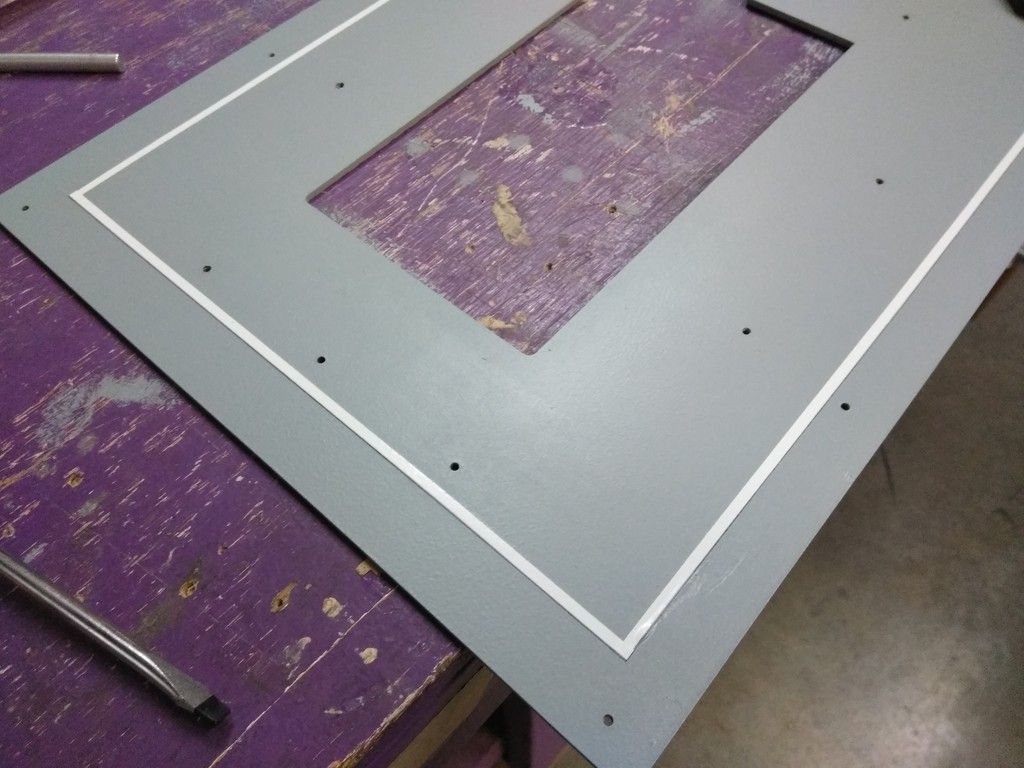
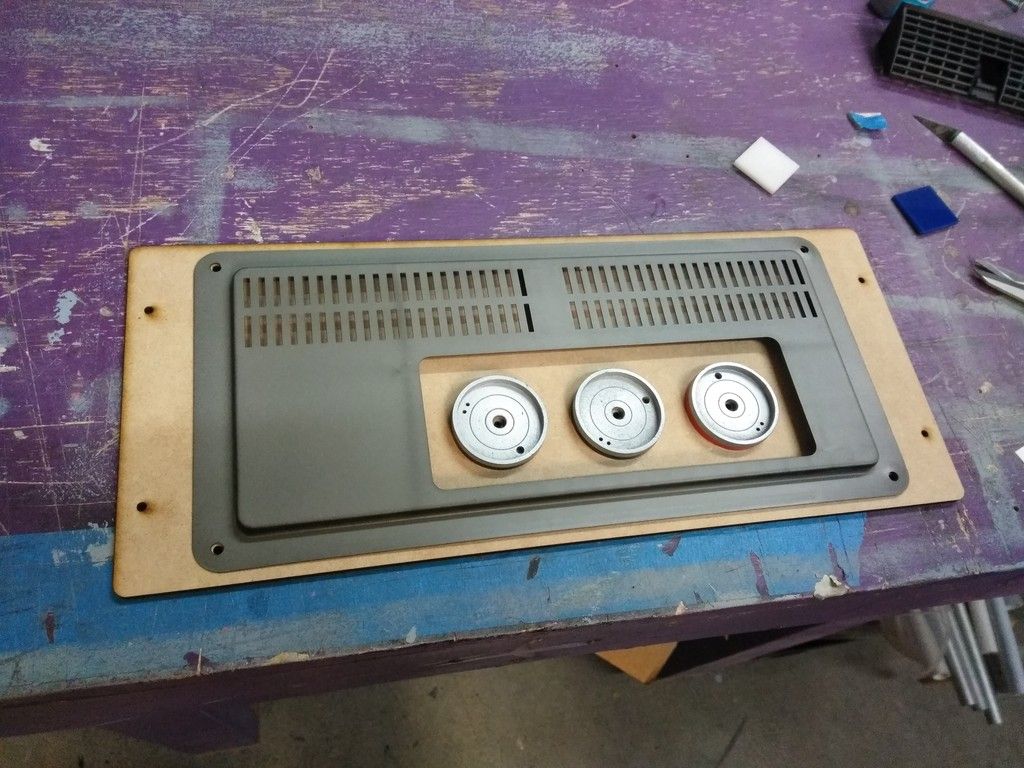
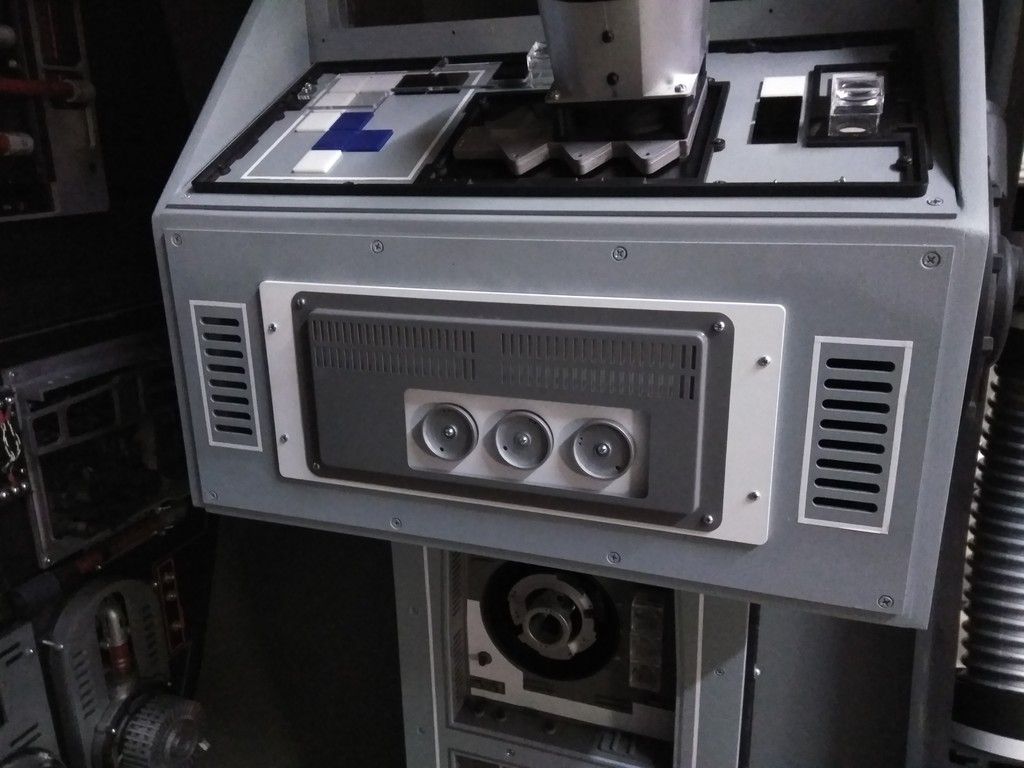
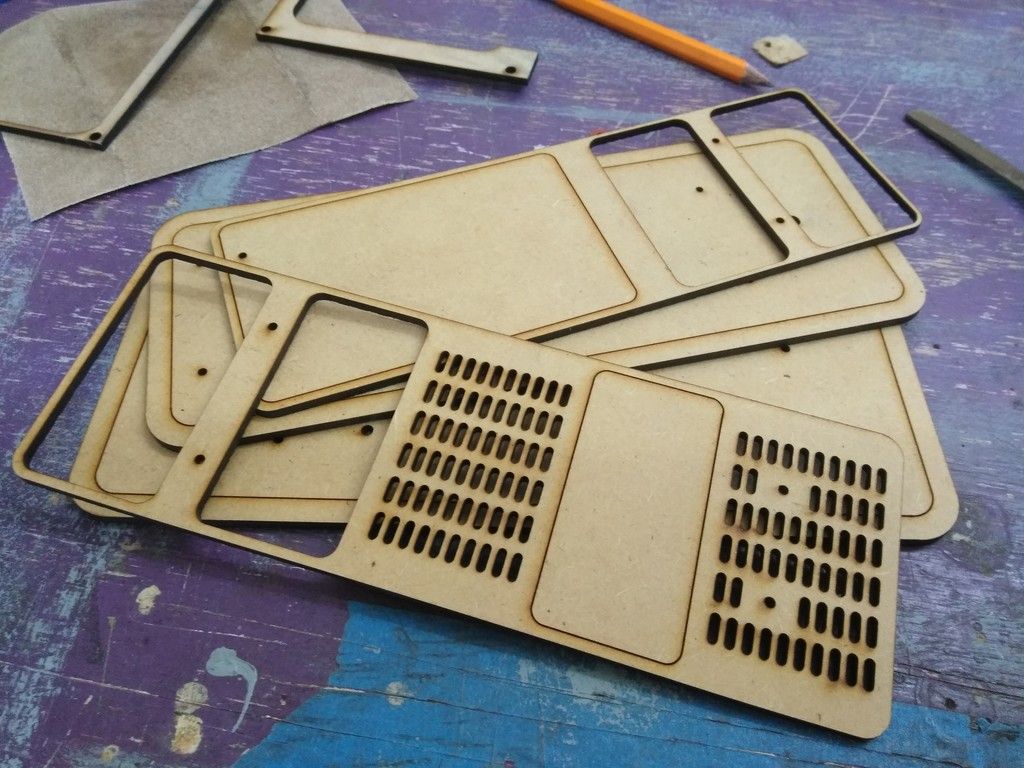
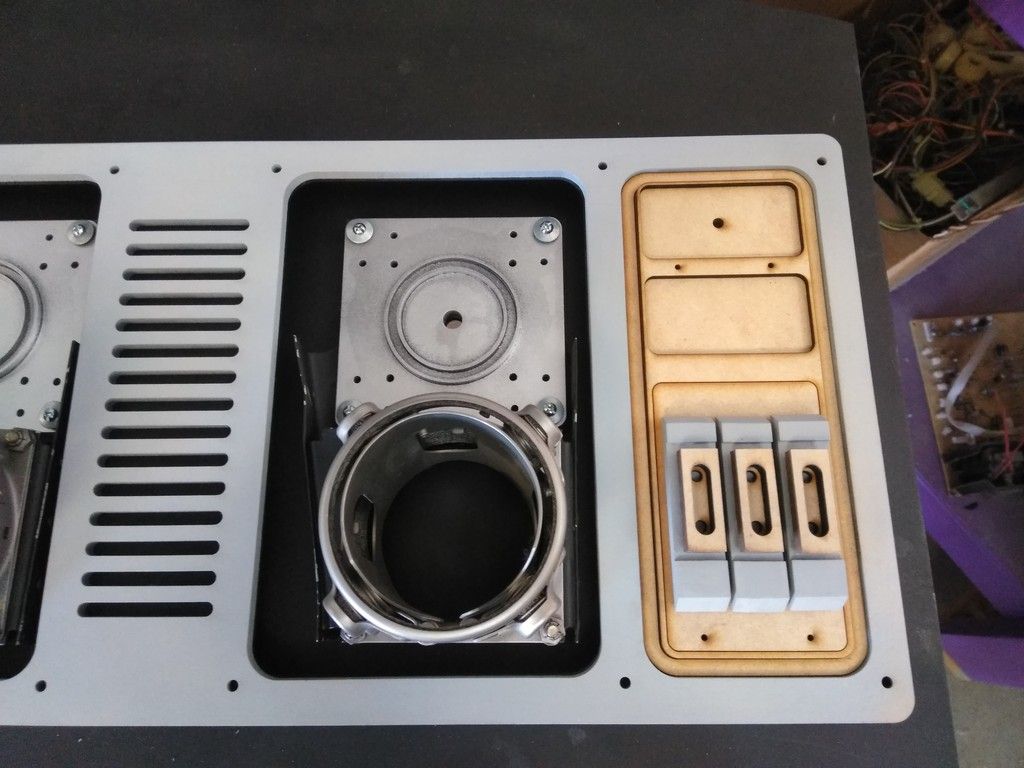
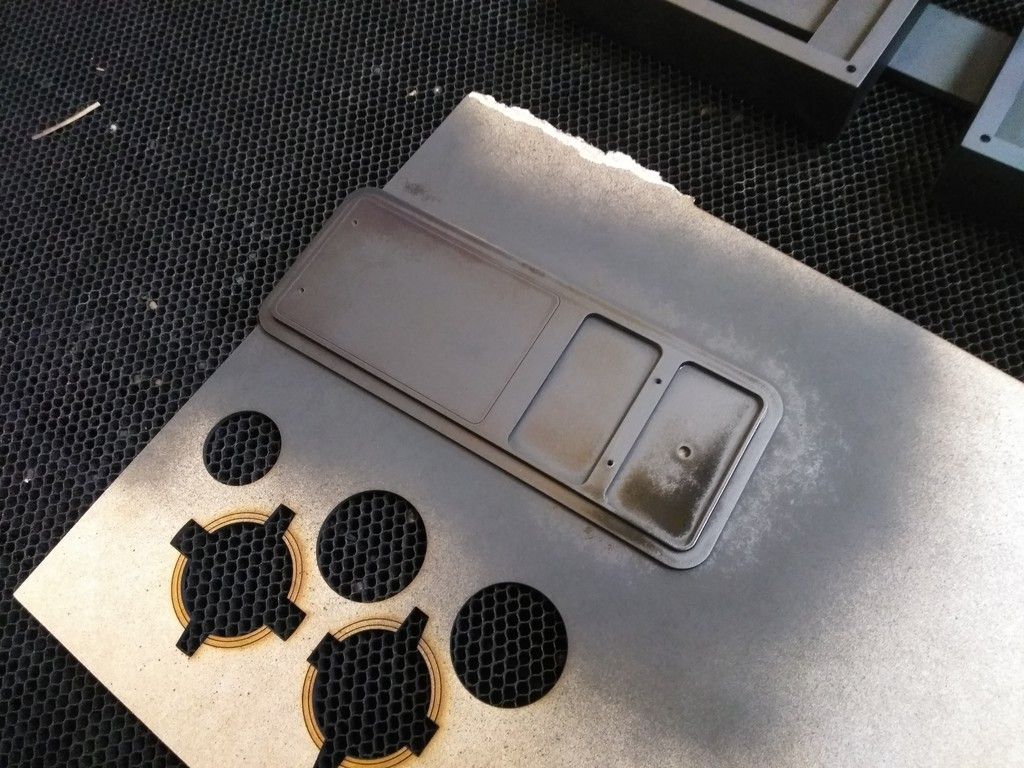
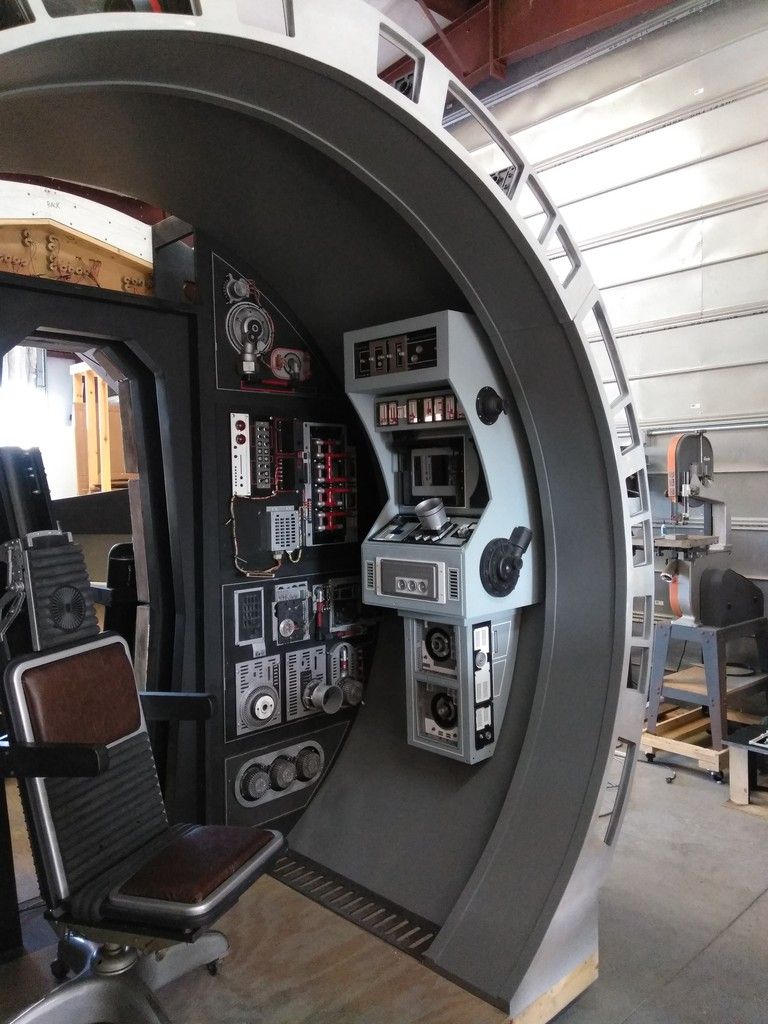
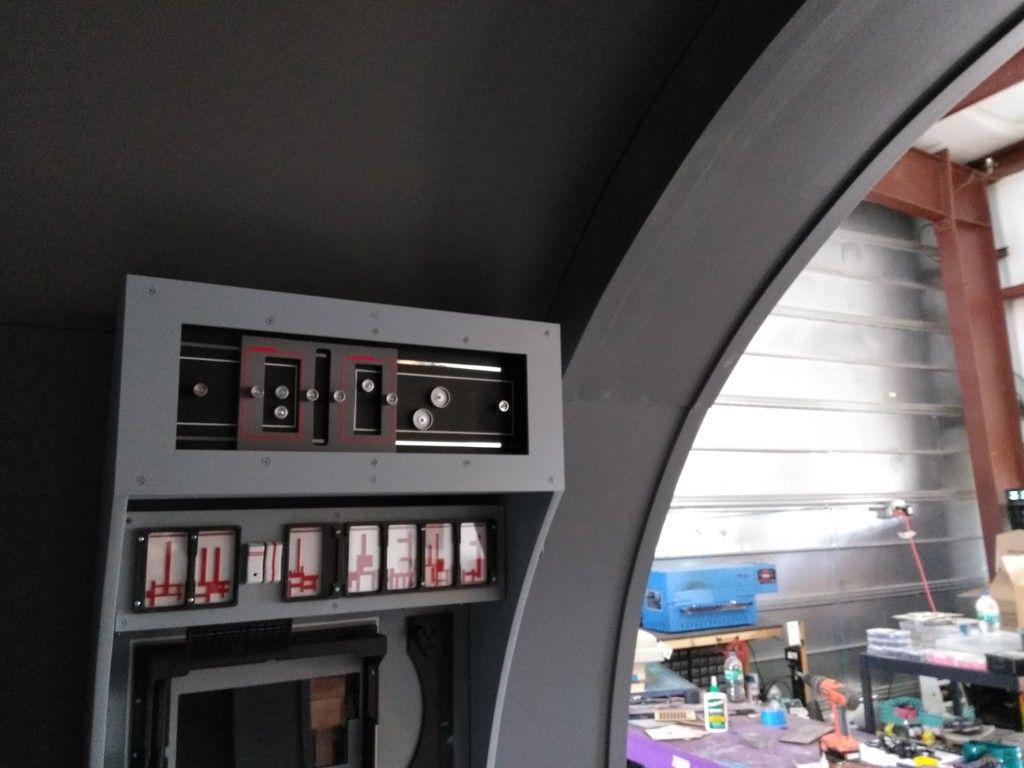
On to the Capstone Panel! This panel has bugged me for months! I couldn't get a design I was really happy with
I ditched the deep panel box for a more simple design
I designed and laser cut a new face

These panel lights will be yellow
Basic look. But it needs something...
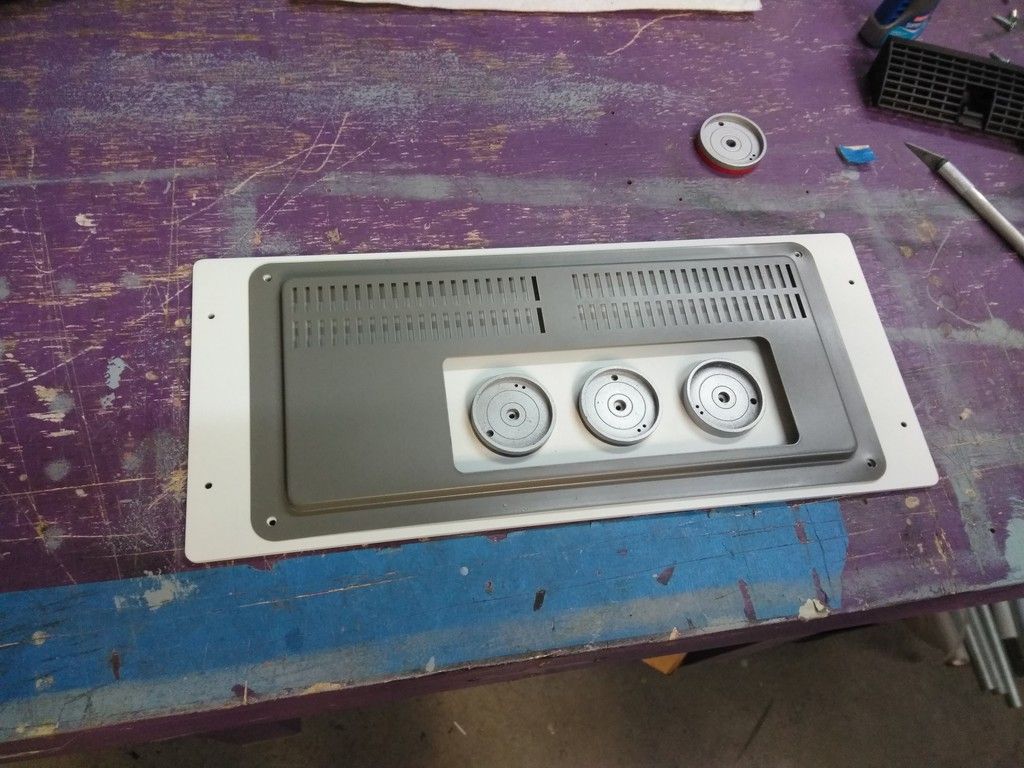
Painted the interior mounting plate
Painted the top squares silver - not sure about the color
Mounted the back plate
Adhered the new cover piece
Primer
Paint
I then went ROUND and ROUND trying to find a workable design
EH
Wasn't working for me
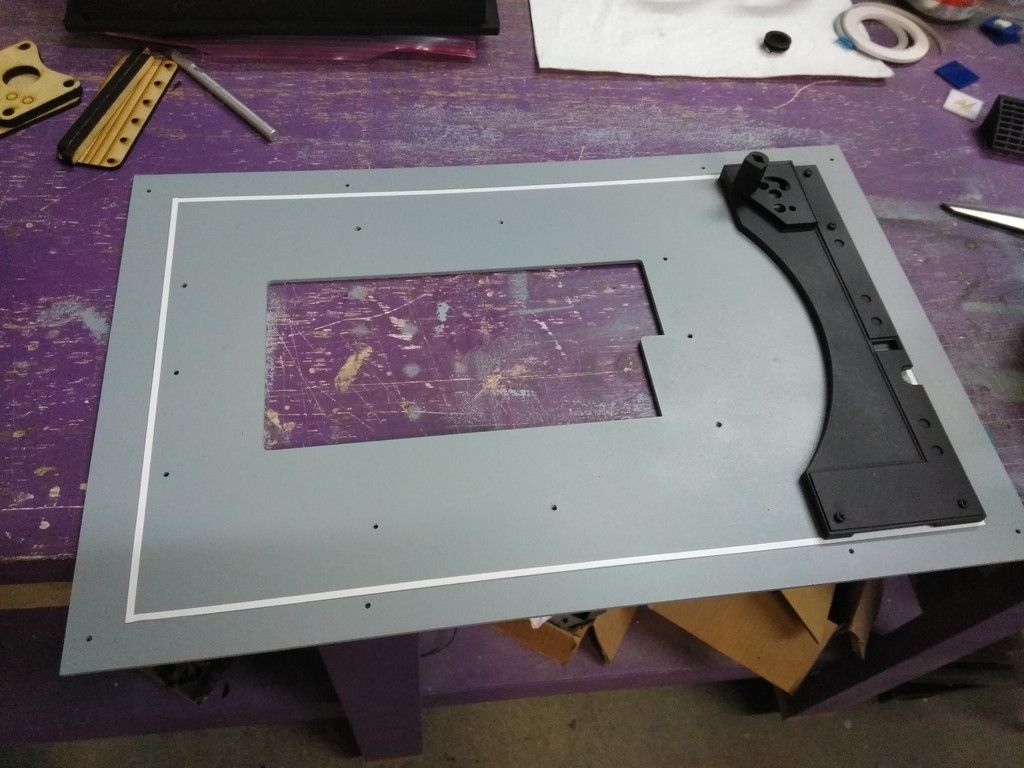
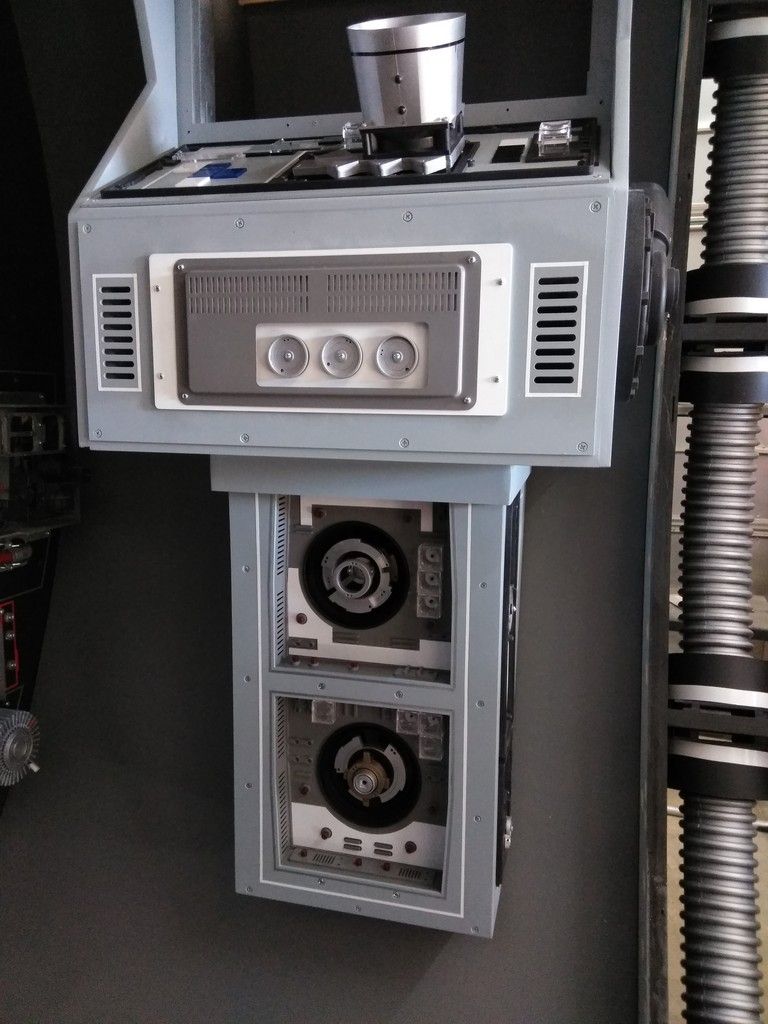
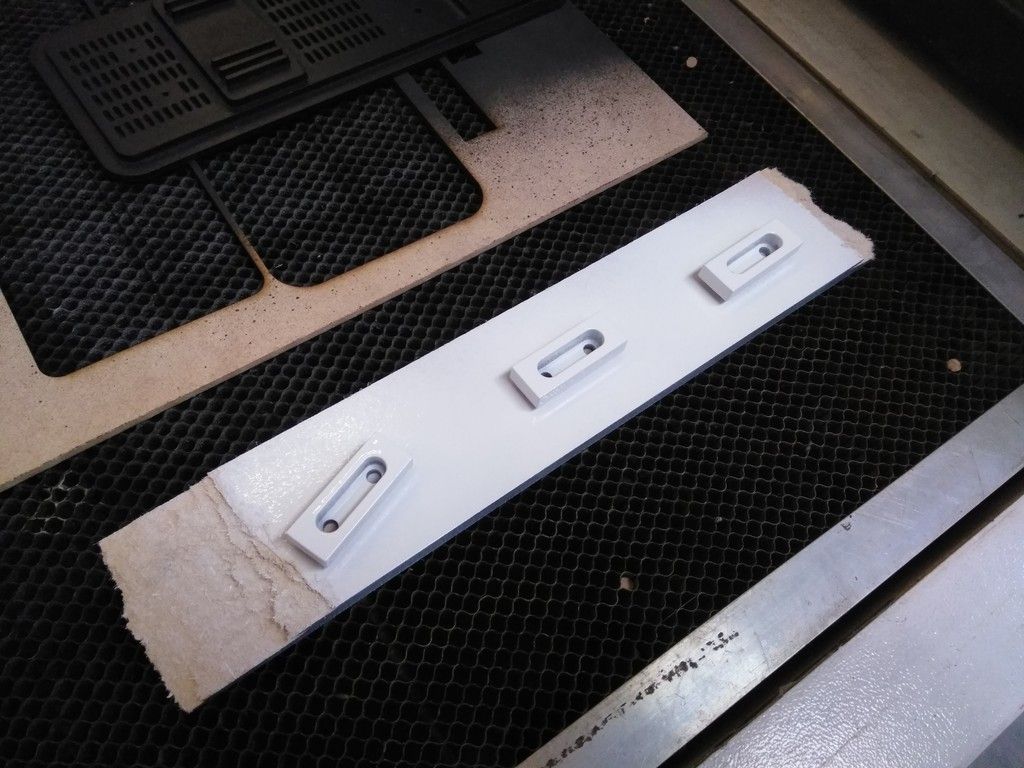
After looking through more ESB and RotJ screen grabs I came up with this idea
Laser cut these
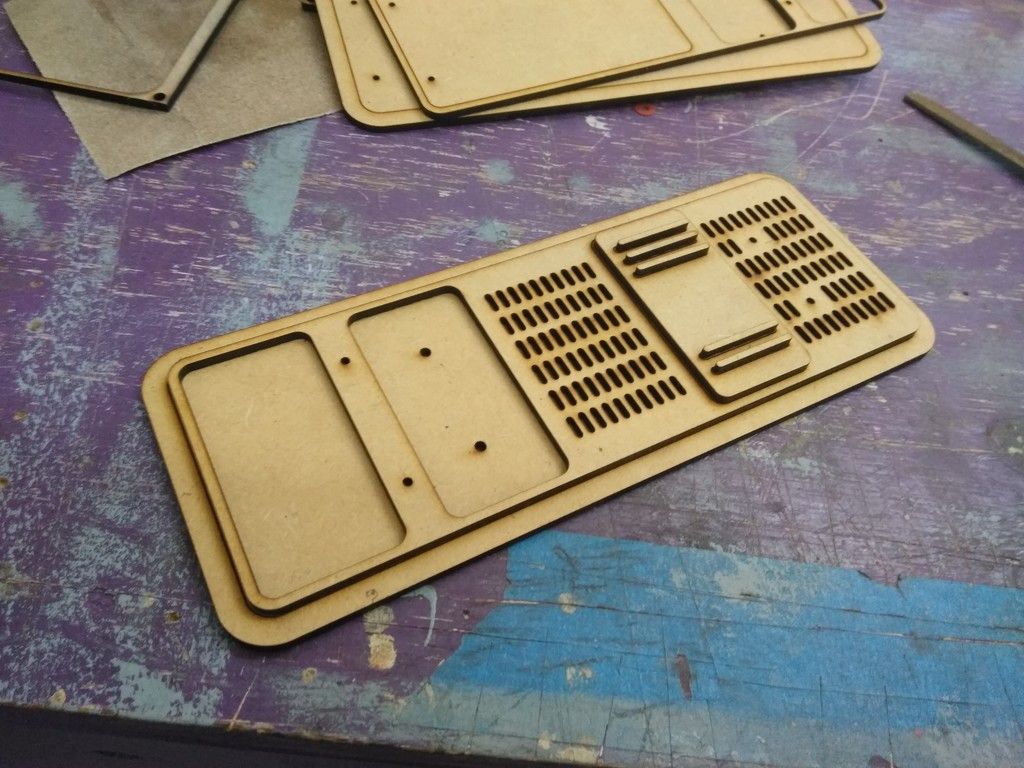
Basic layout
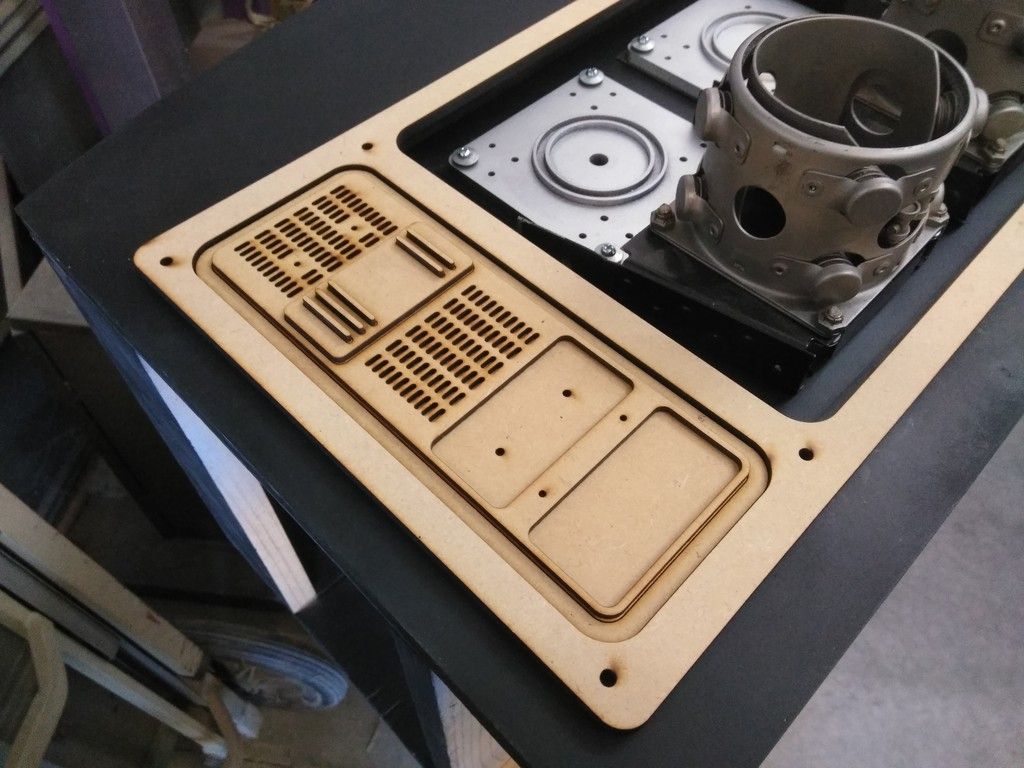
I laser cut these 1/4" details

Adhered together and sanded
They will sit here

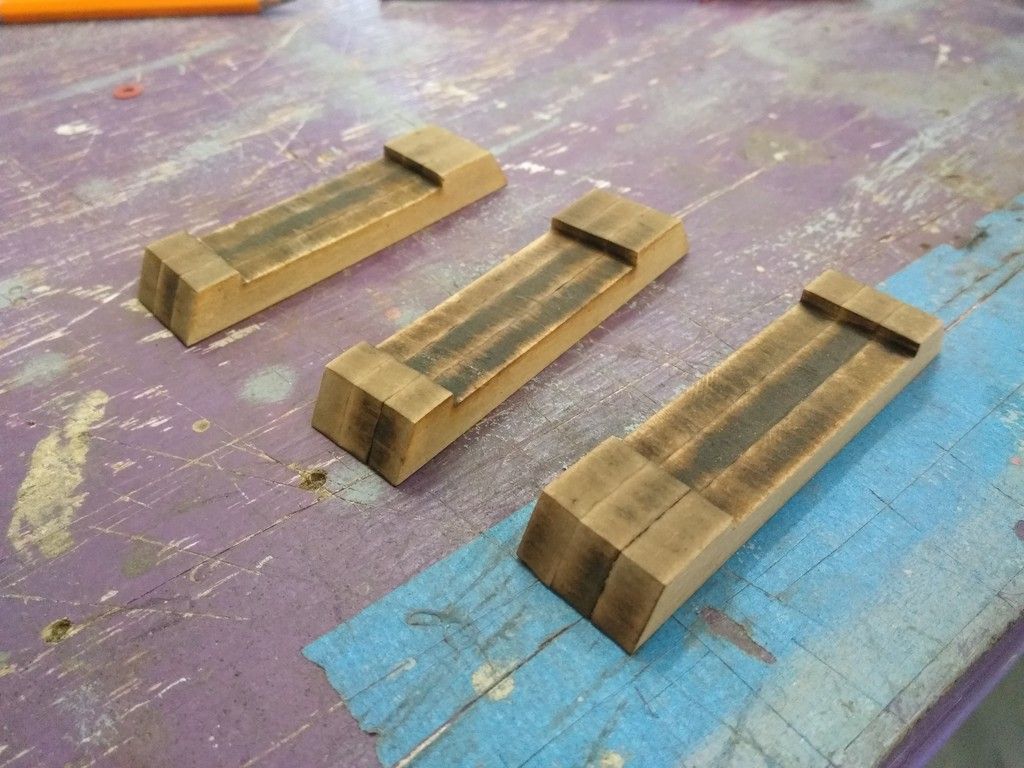
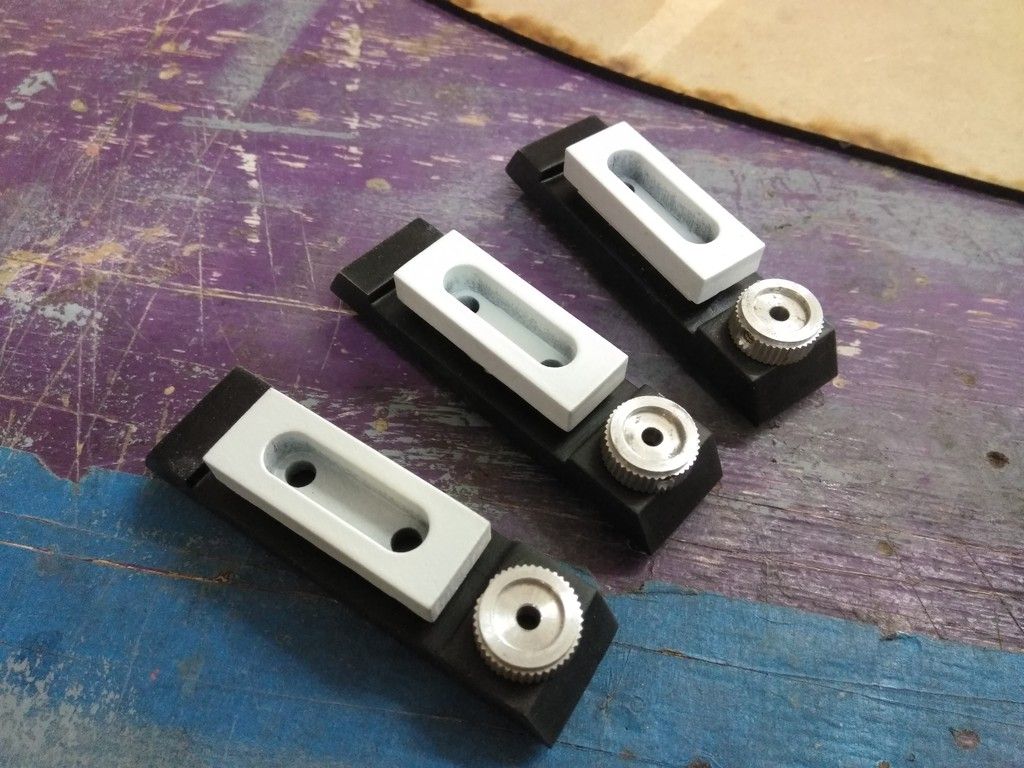
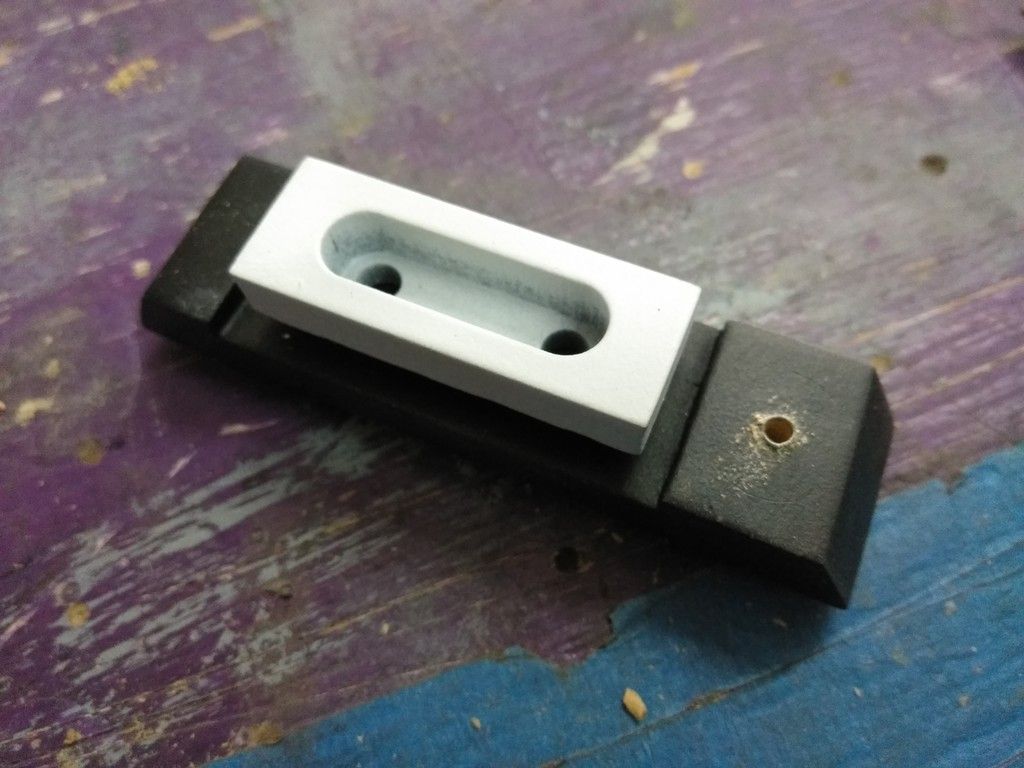
Those little details include these pieces
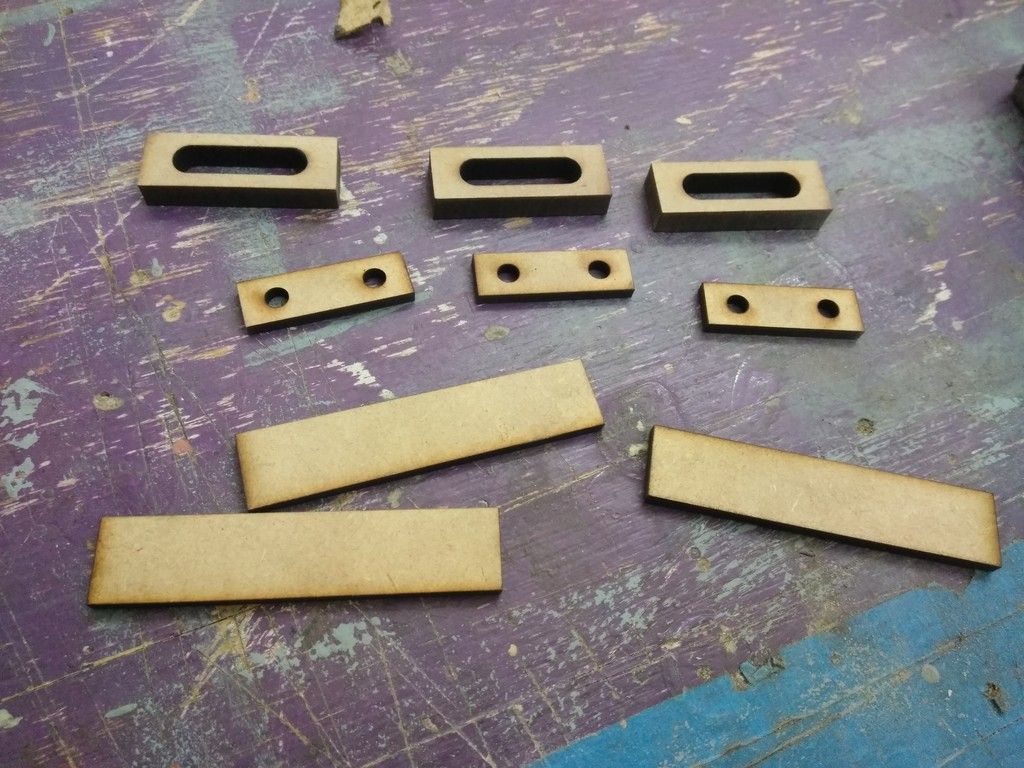
Riser
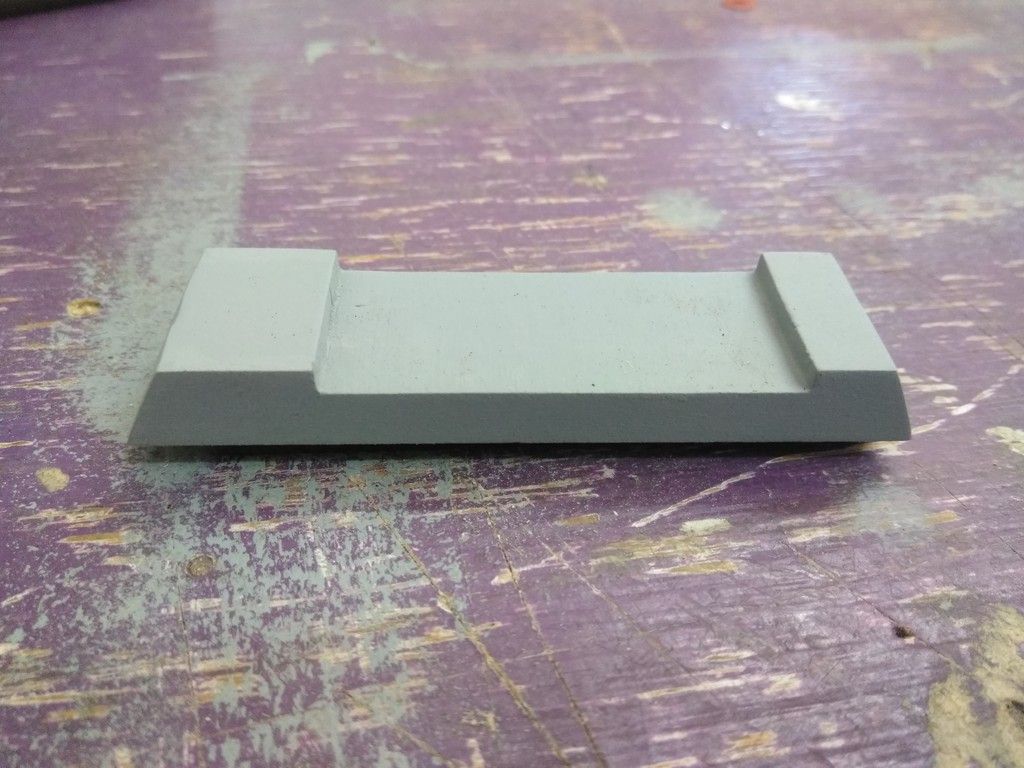
Upper detail
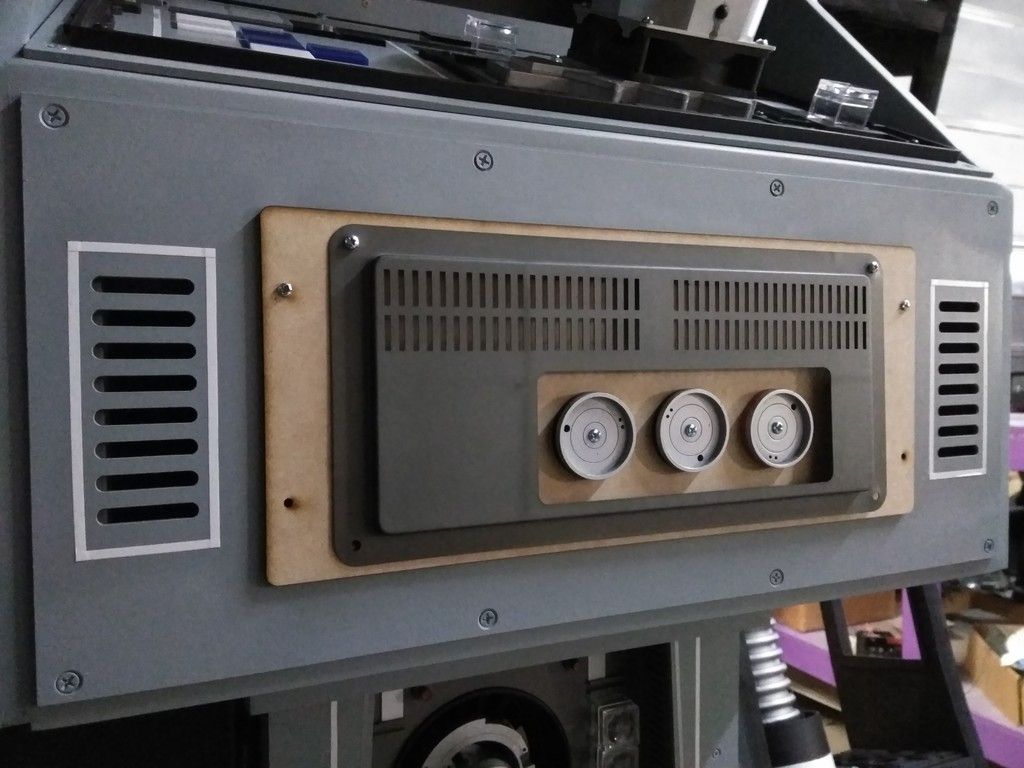
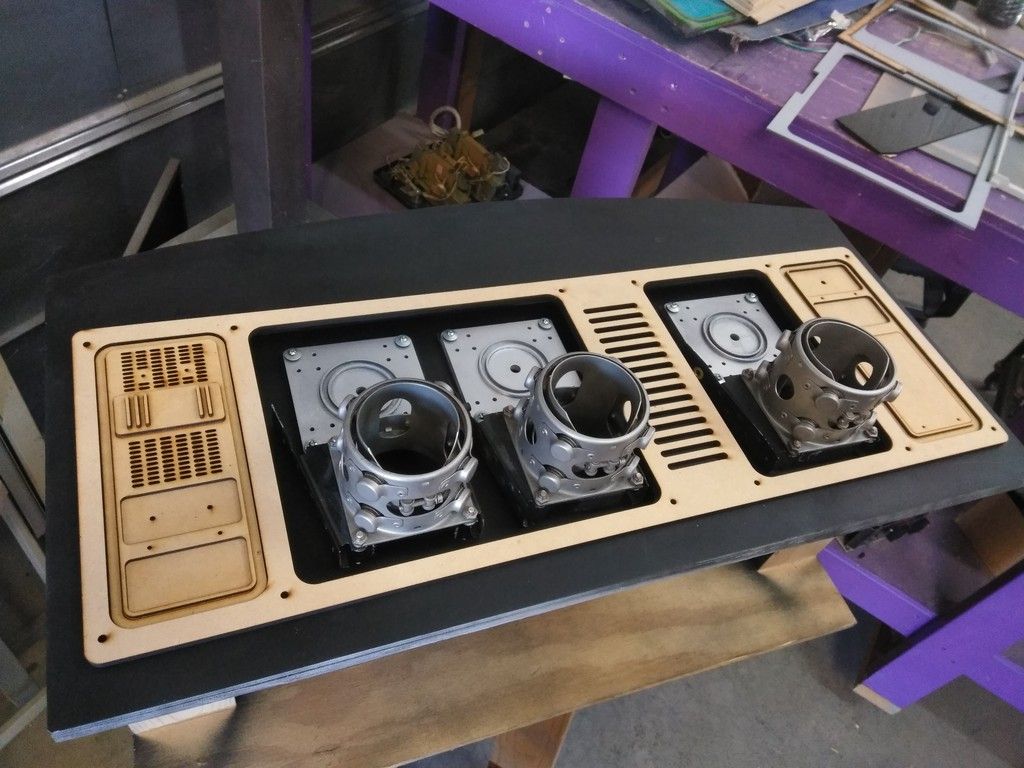
Let's put it all together - not sure what color to paint the new trim piece
White
Black
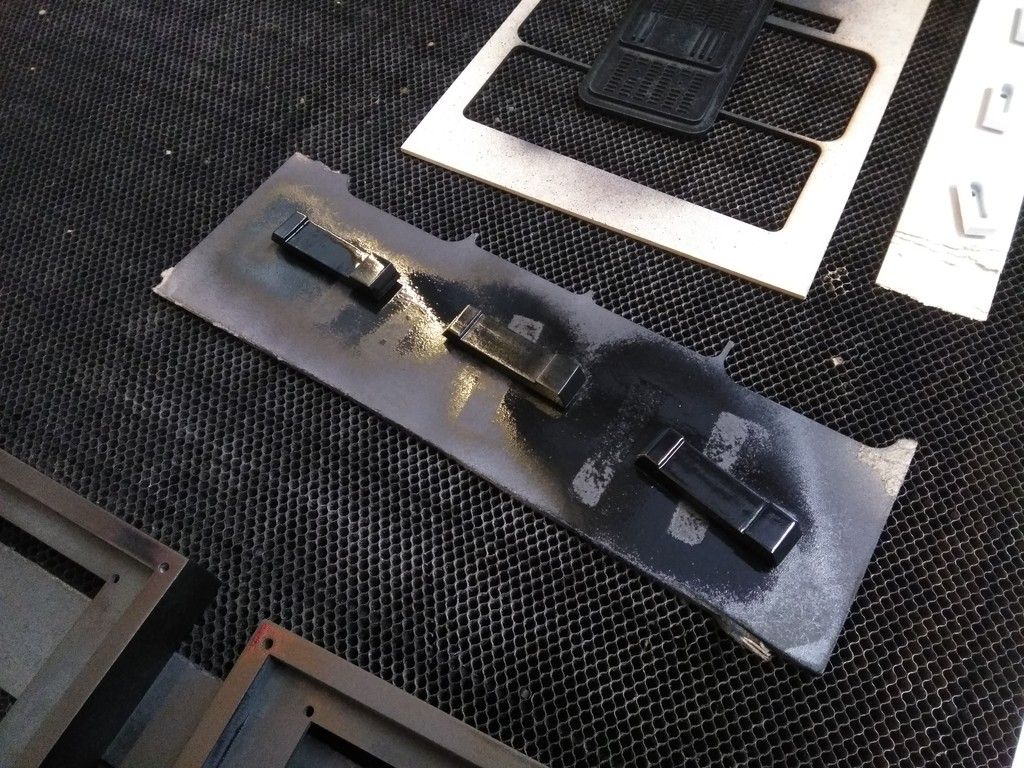
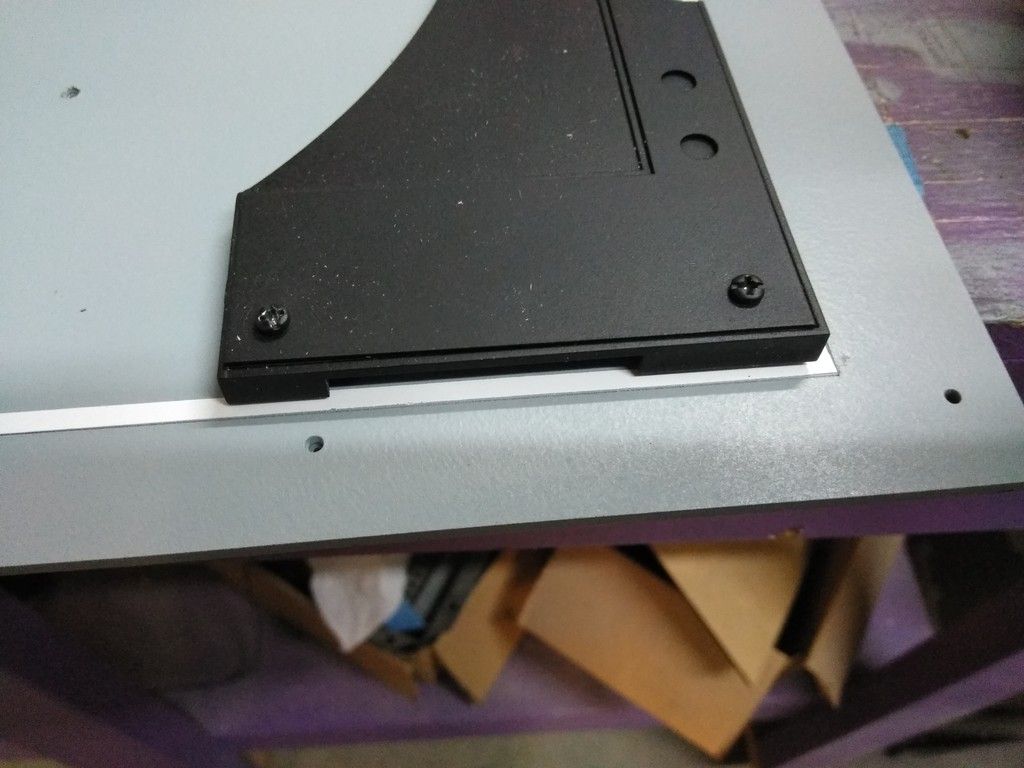
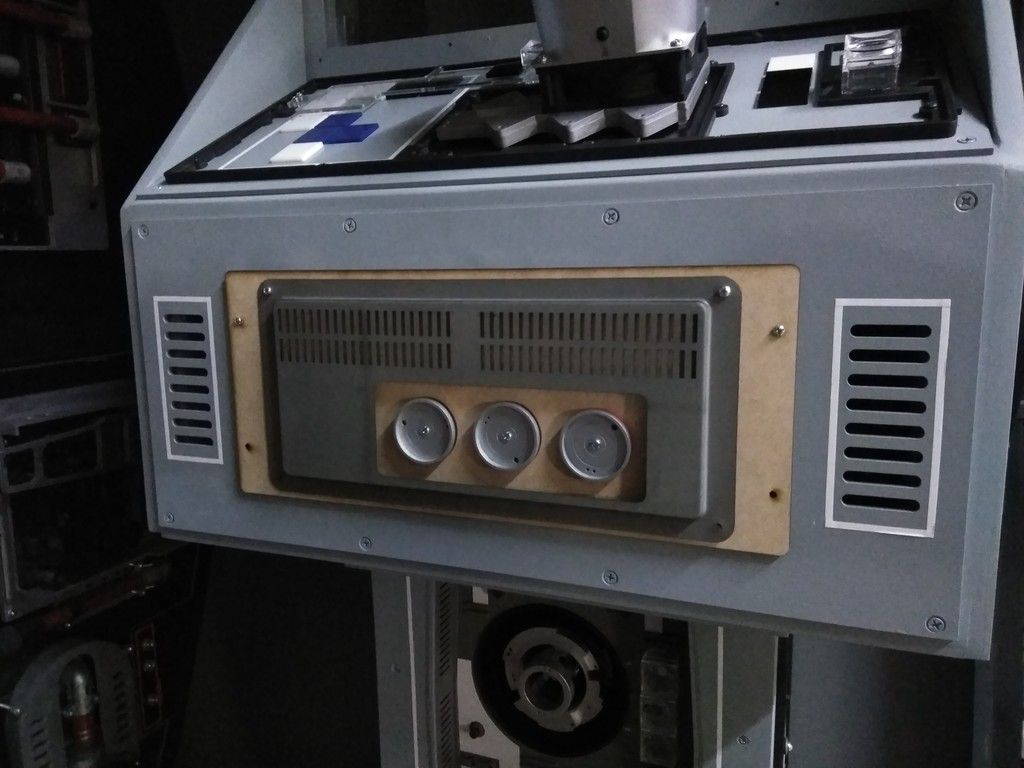
Putting it all together
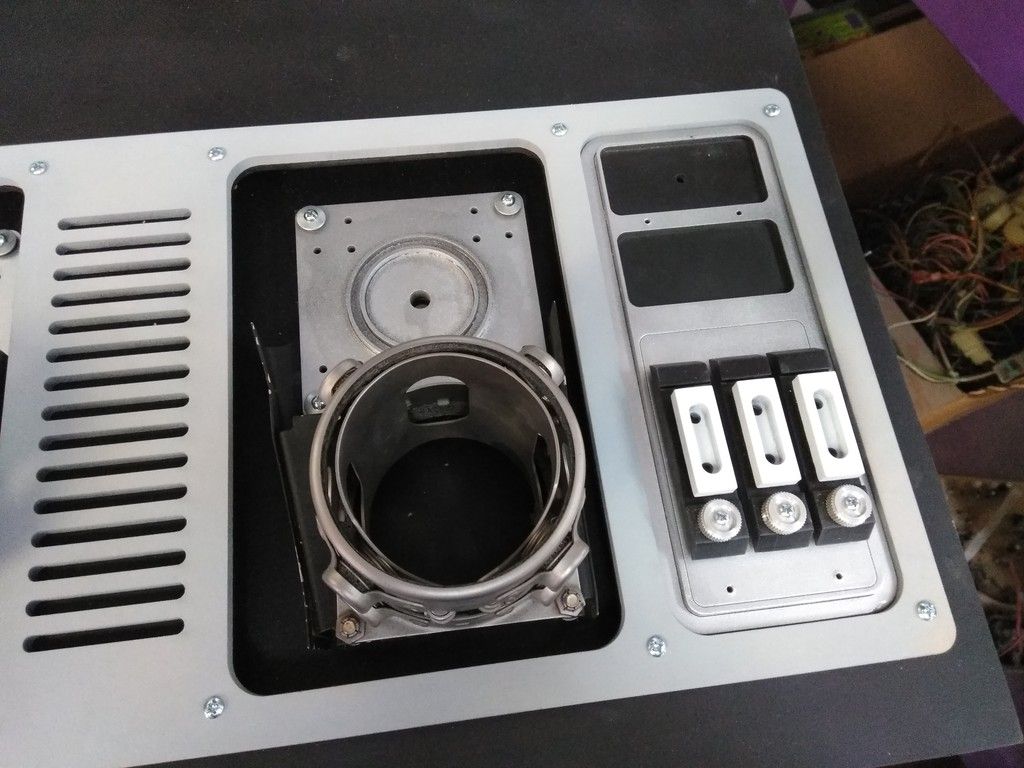
I really like this little greeblie patch
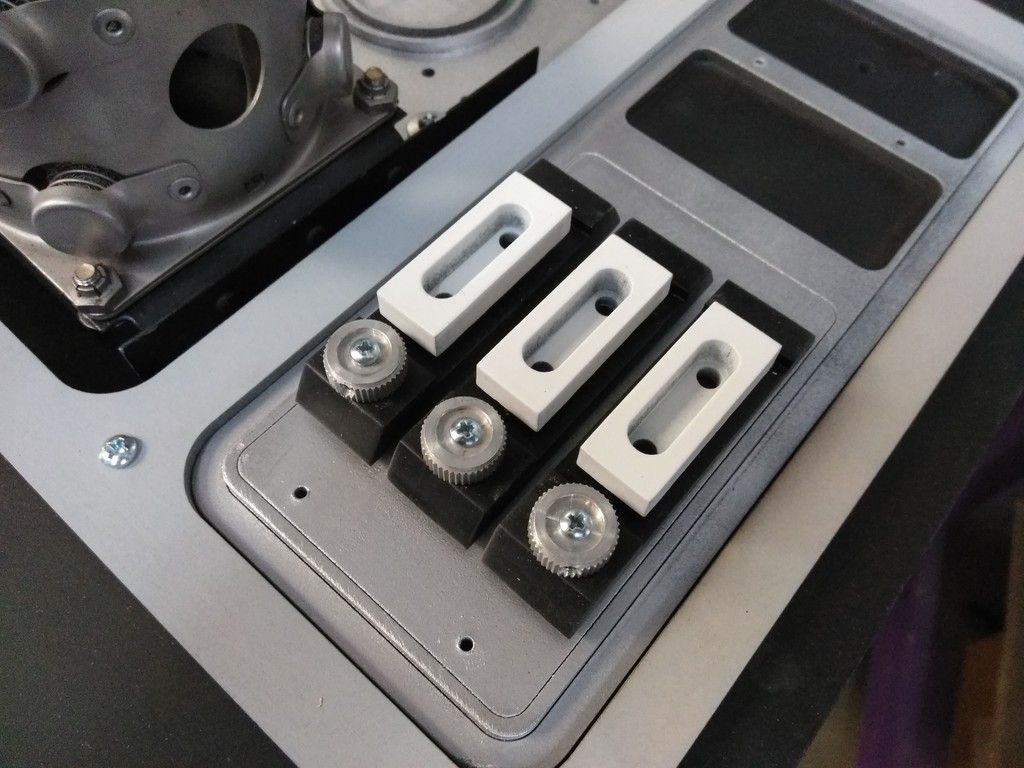
What do you guys think? I'm not sold on it yet but I do like it. Unfortunately, I can't mount in place just yet without heavily mod'ing the back side of the panel - more on that later
DEF needs to be weathered

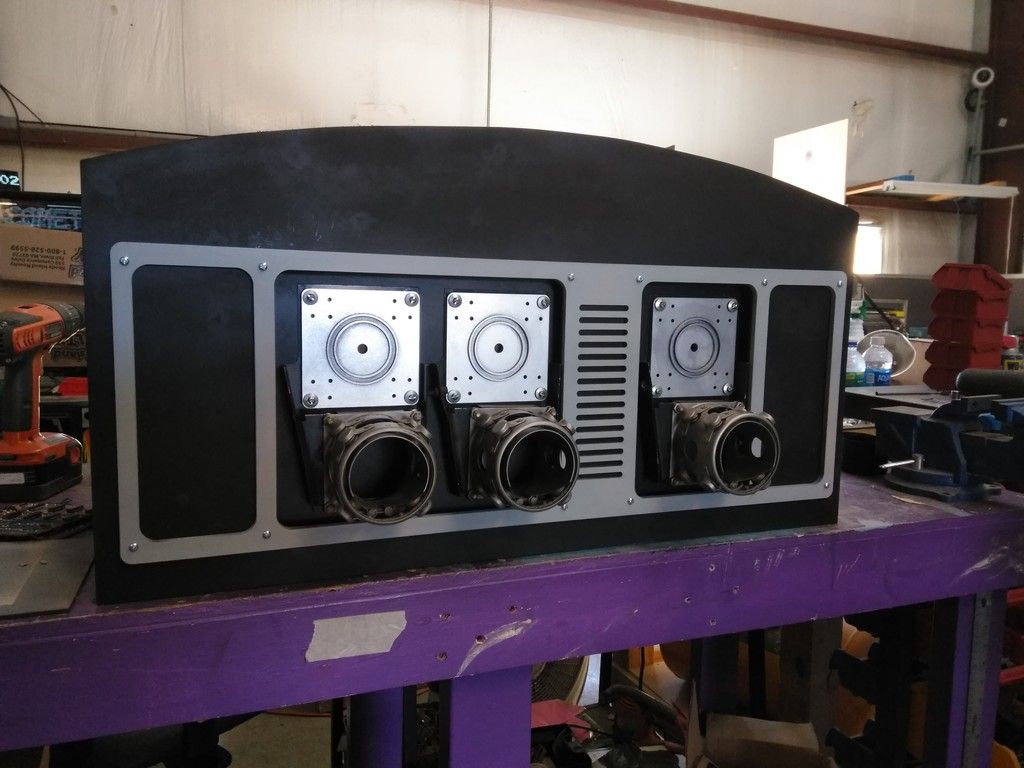
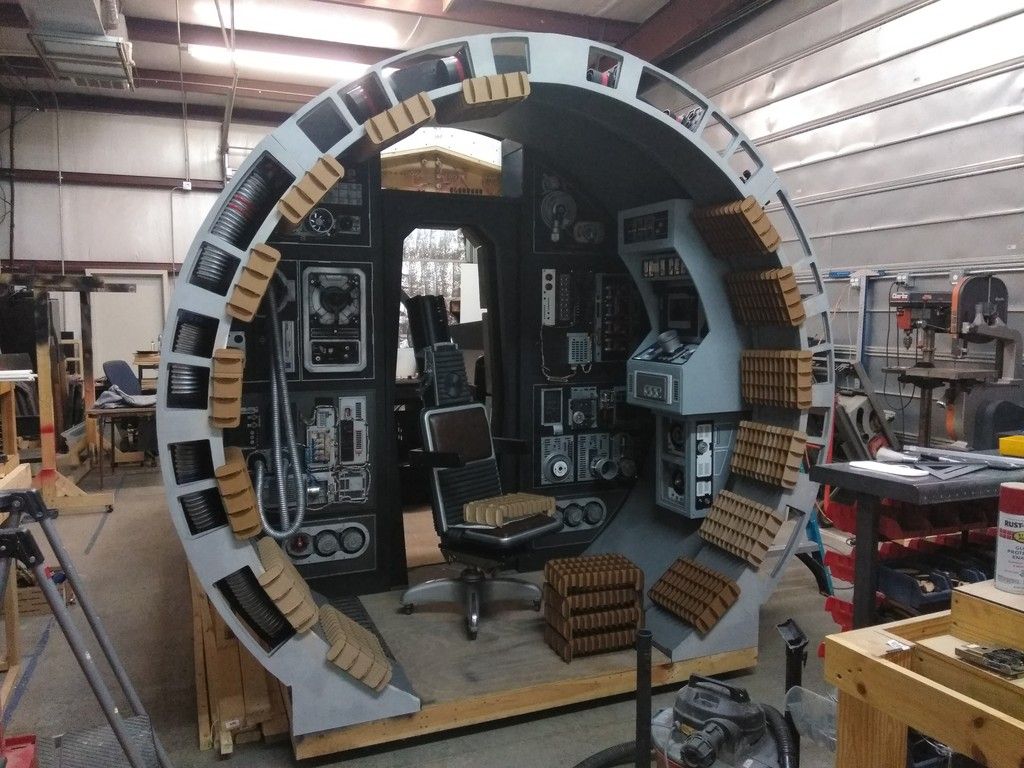
And finally...
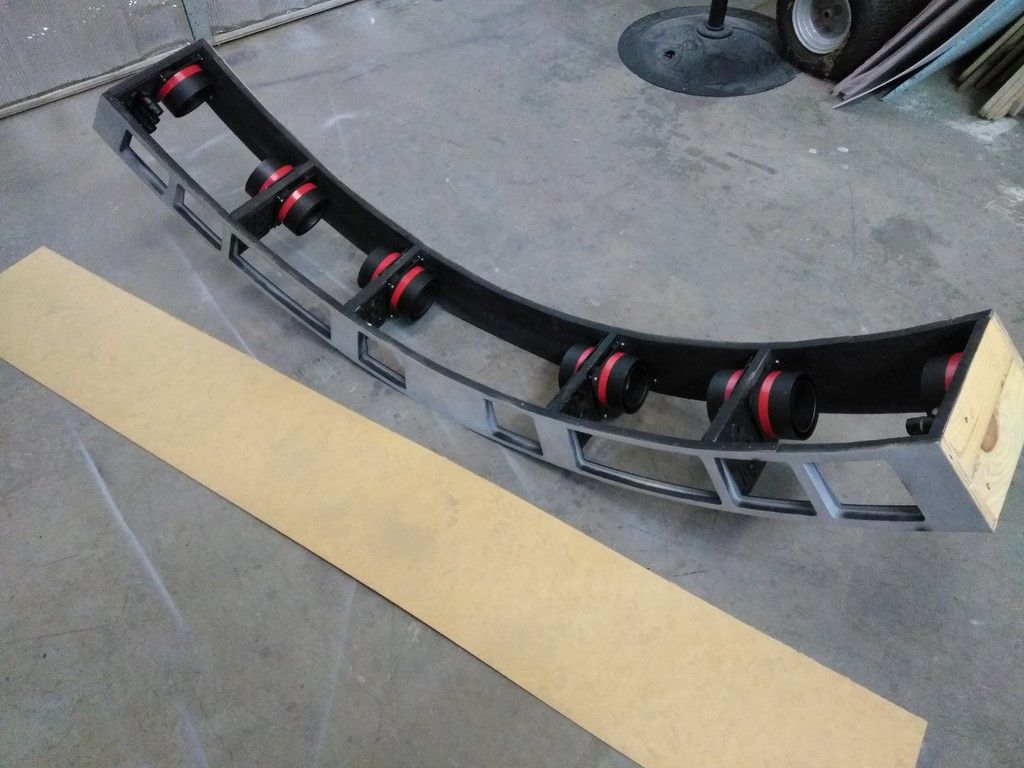
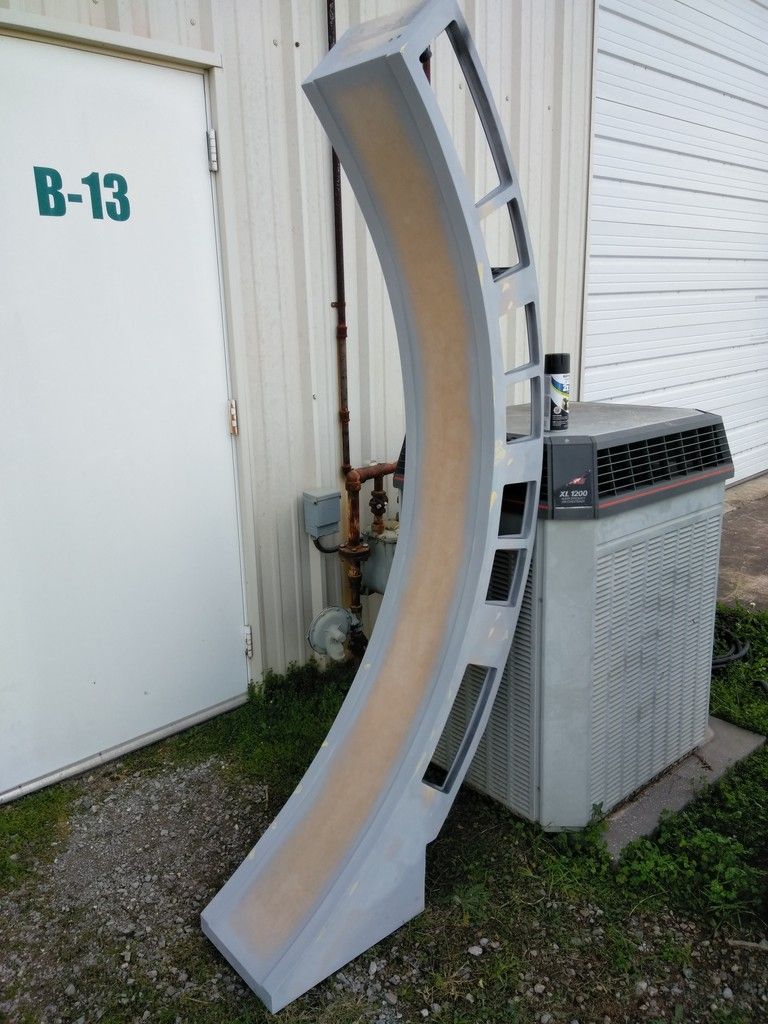
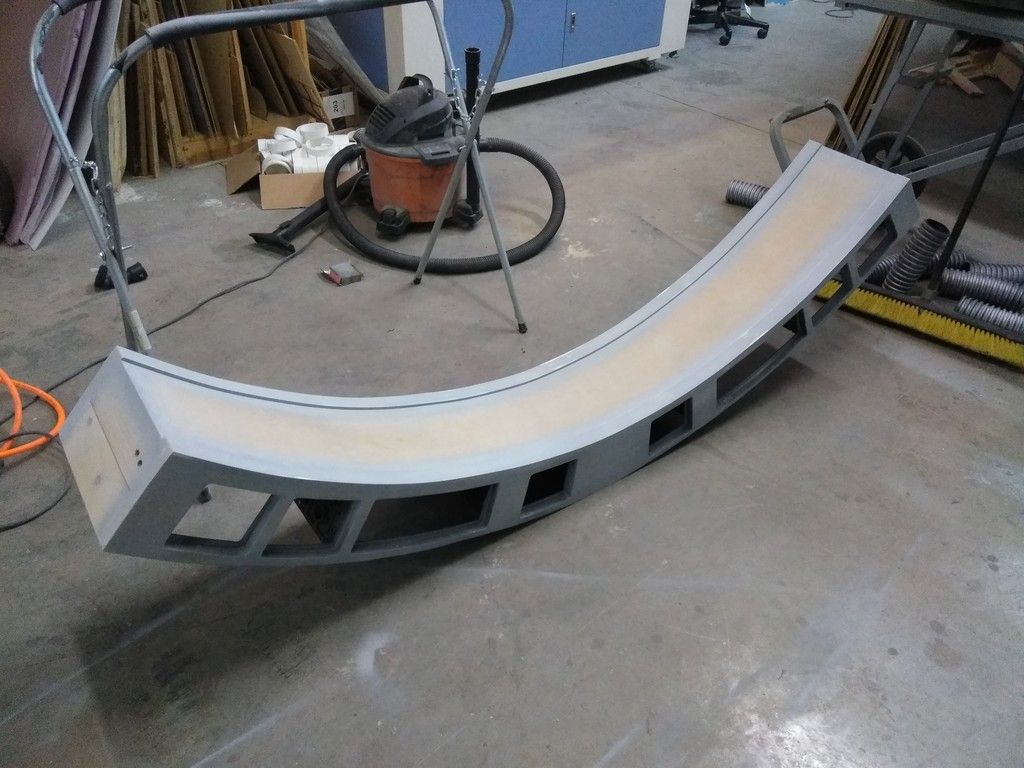
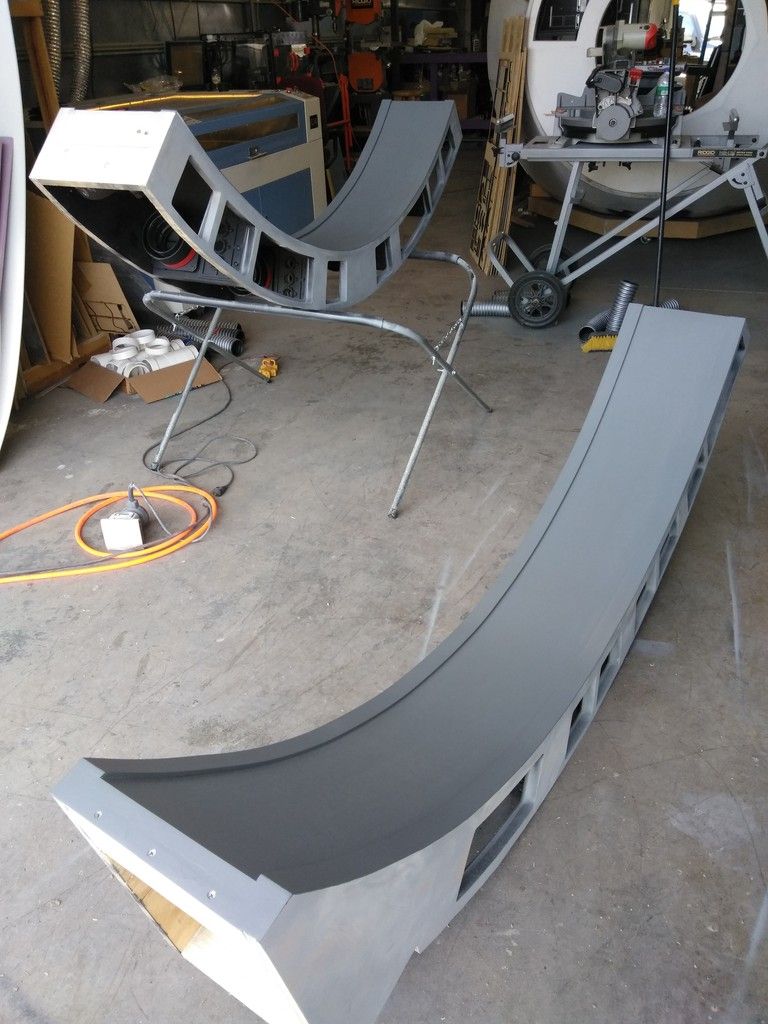
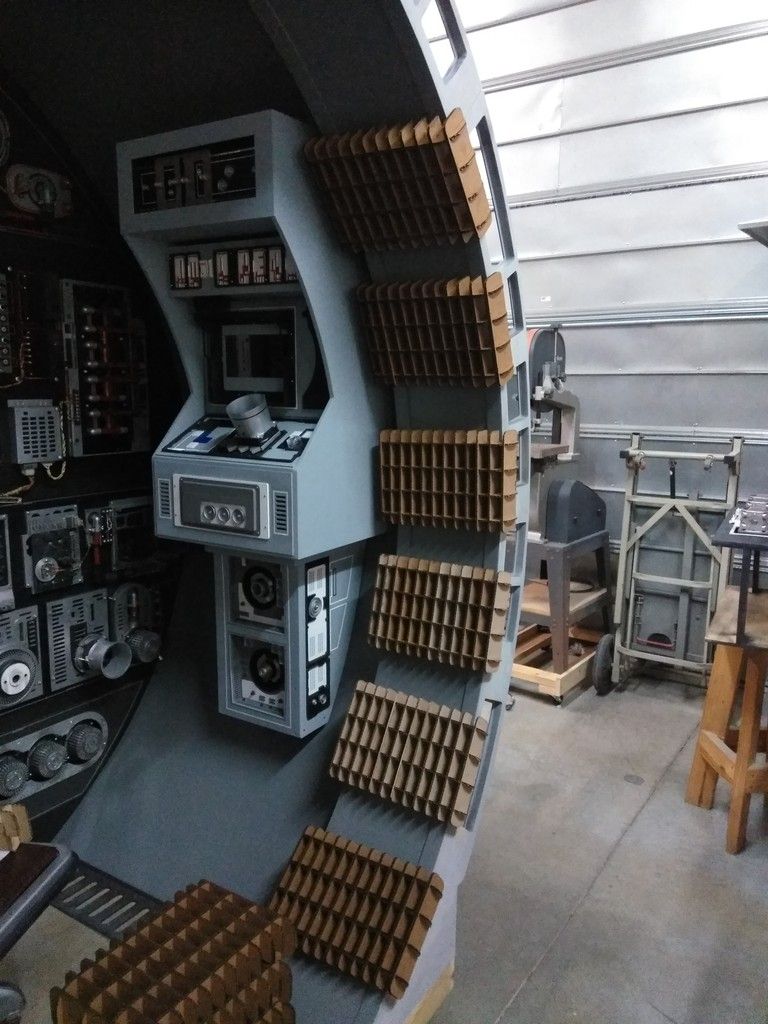
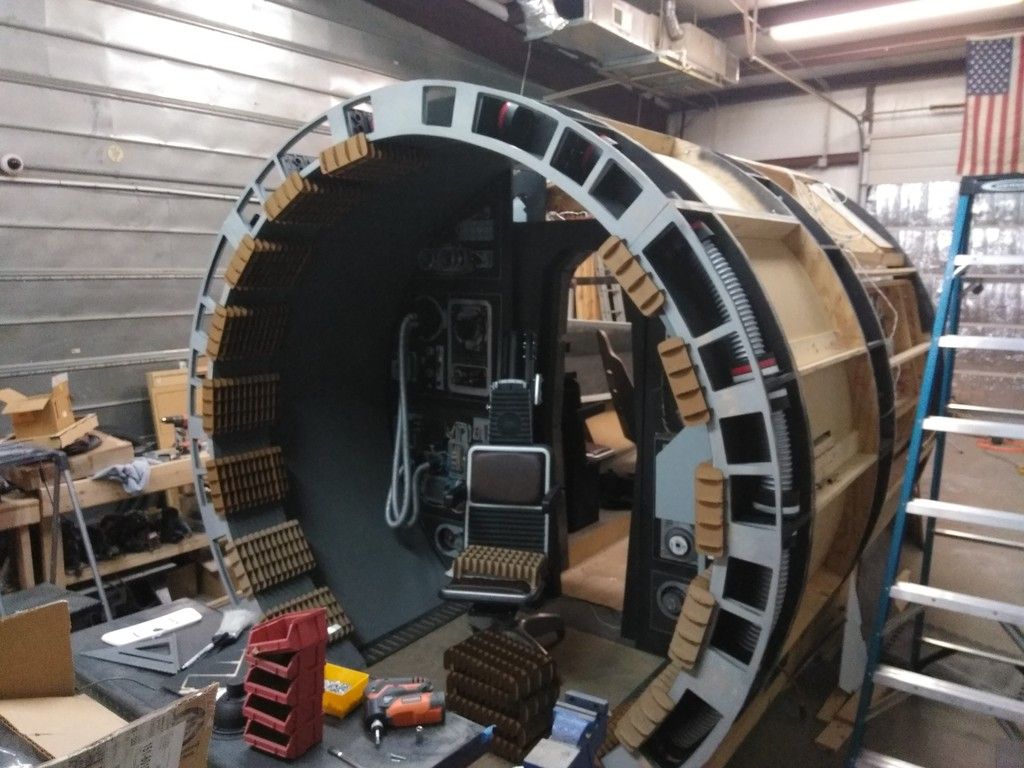
Let's get the interior side of these rings dressed!
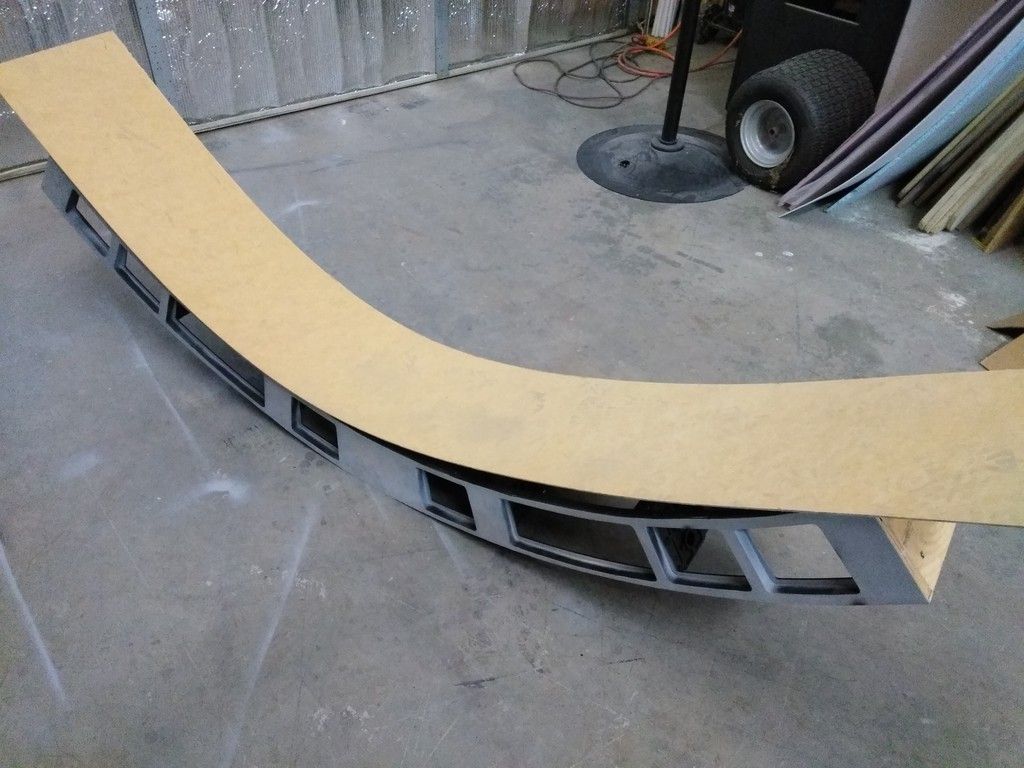
Cut to shape, adhered and edges trimmed
Trim pieces added
I suddenly feel the need to "Breakout" the old Atari 2600
Stubborn piece of MDF
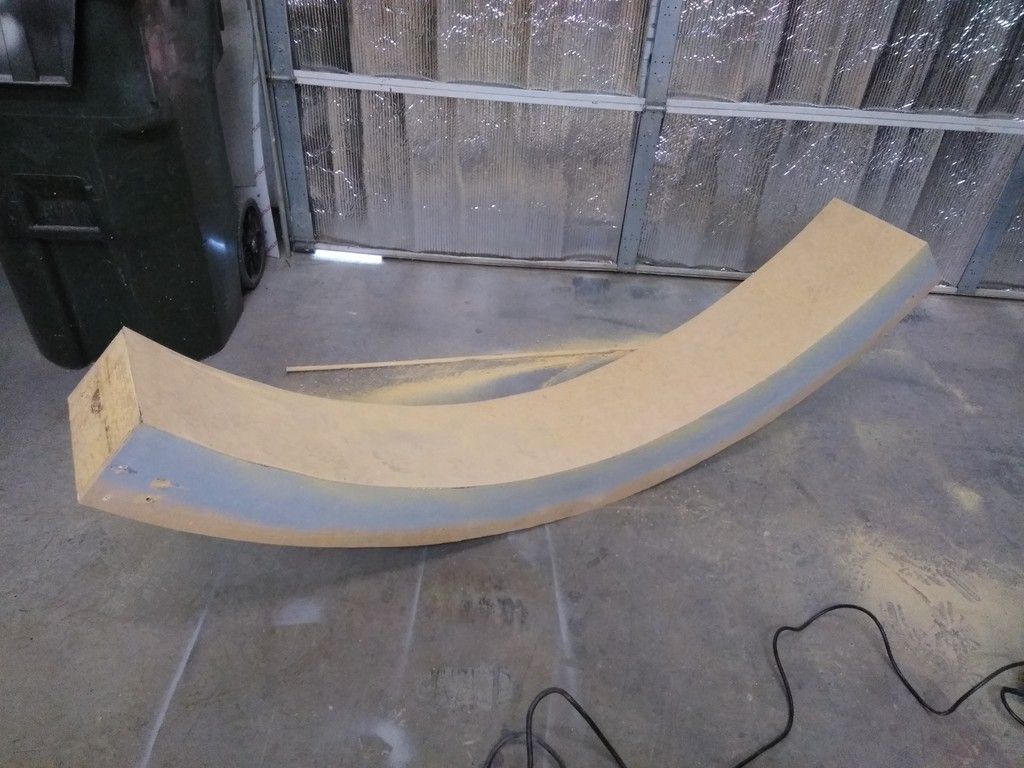
Primer, Filler and Sanding took an entire day
Because of little finds like this
More filler
Dry fit
Final round of filler and sanding
WOW! What a difference it makes
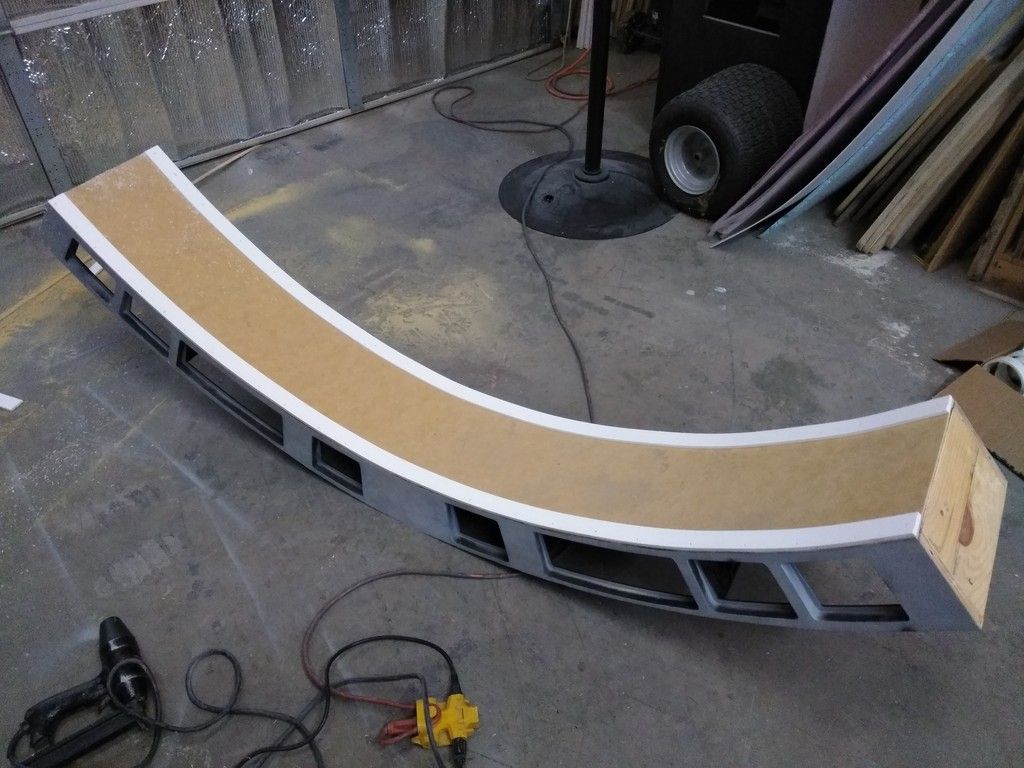
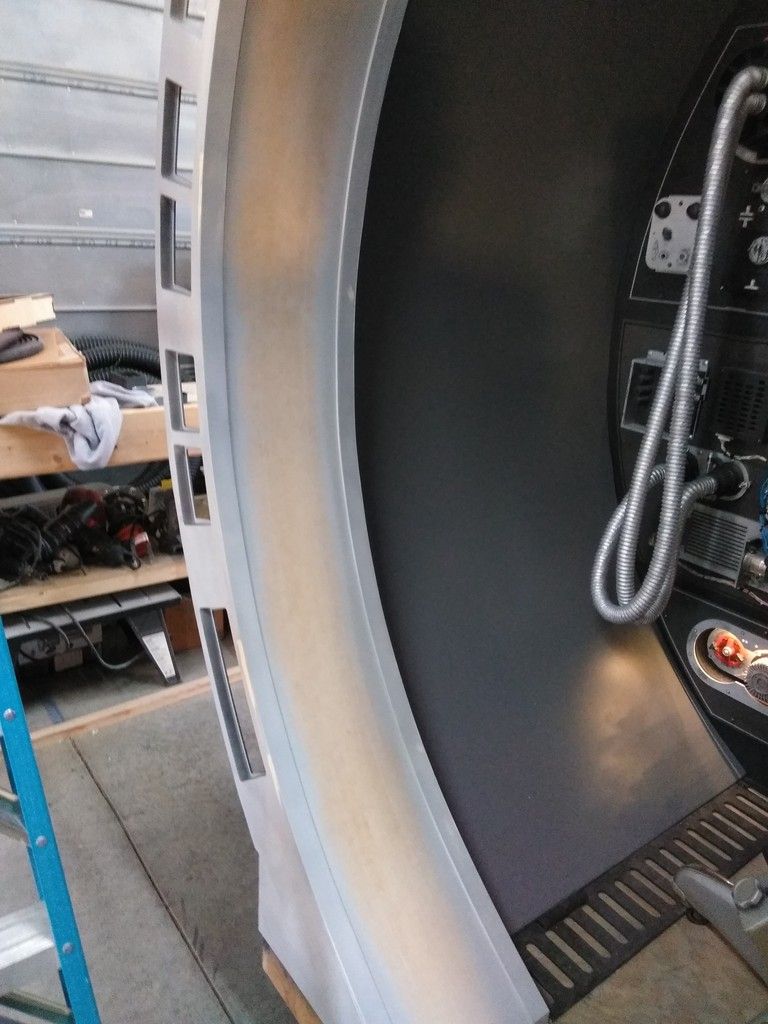
The interior needs to be painted black
Taped off
Done
Paint!
Lots and lots of paint
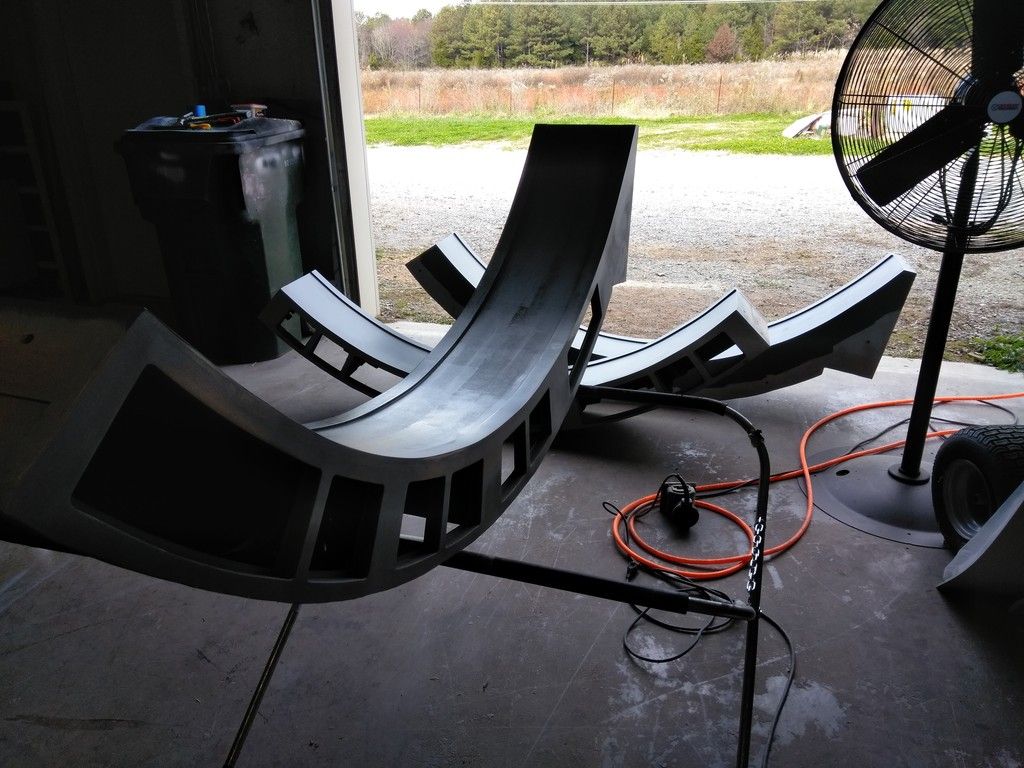
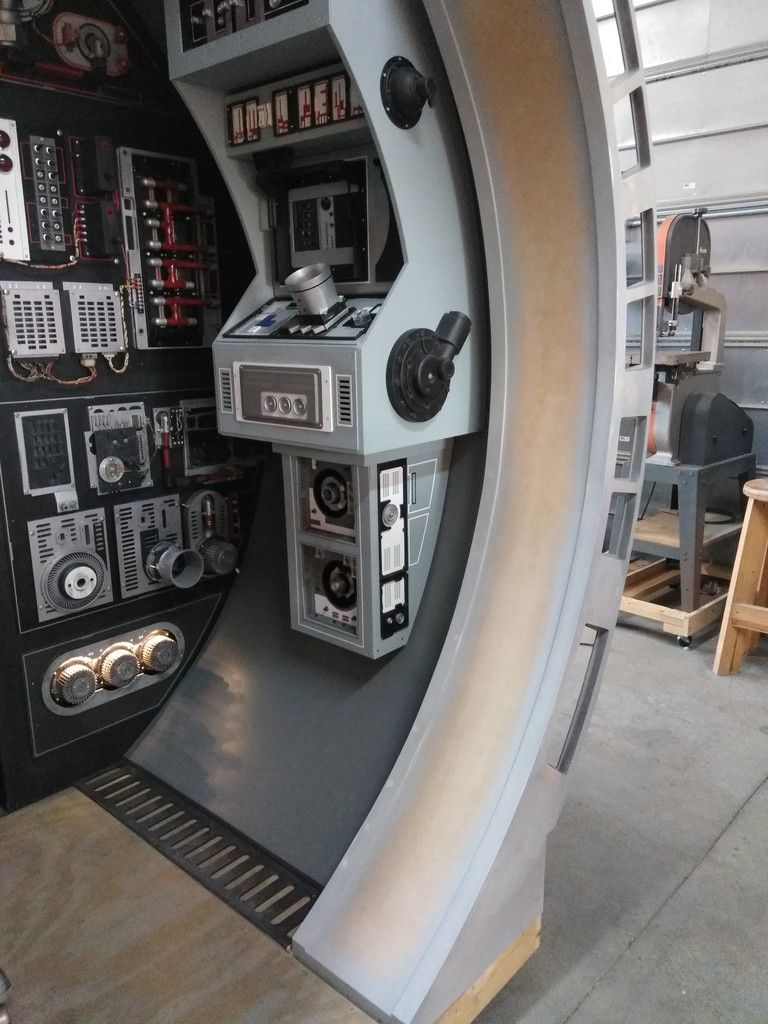
WOW
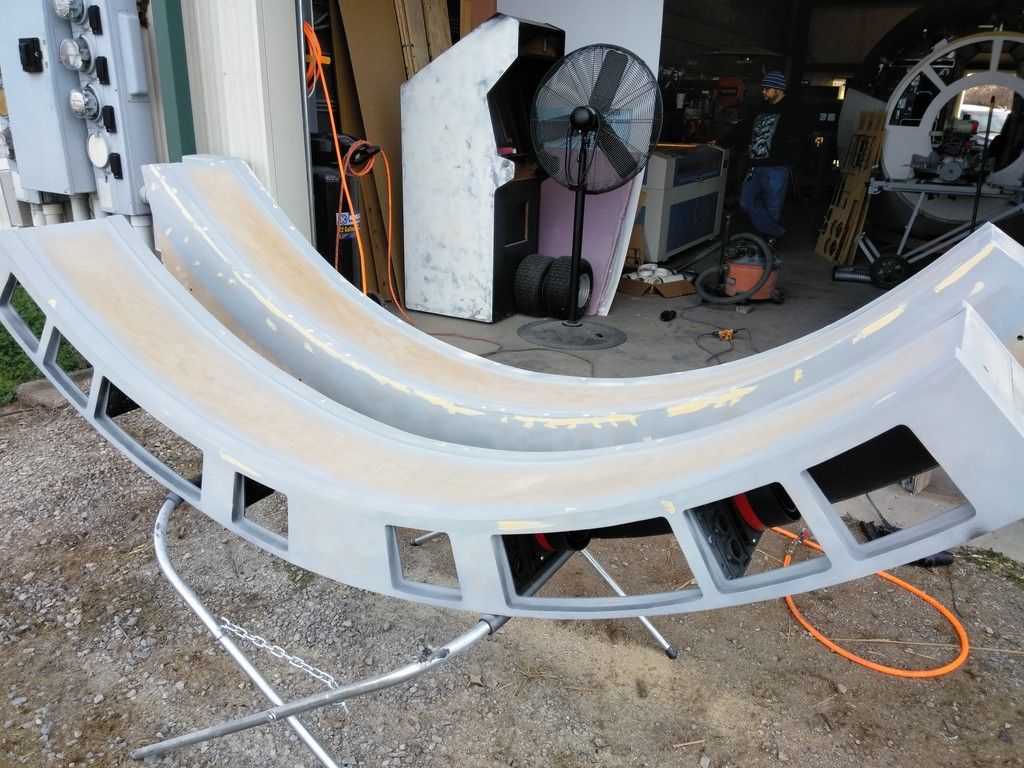
Adding those 3 pieces of skin made the rings seem so much bigger
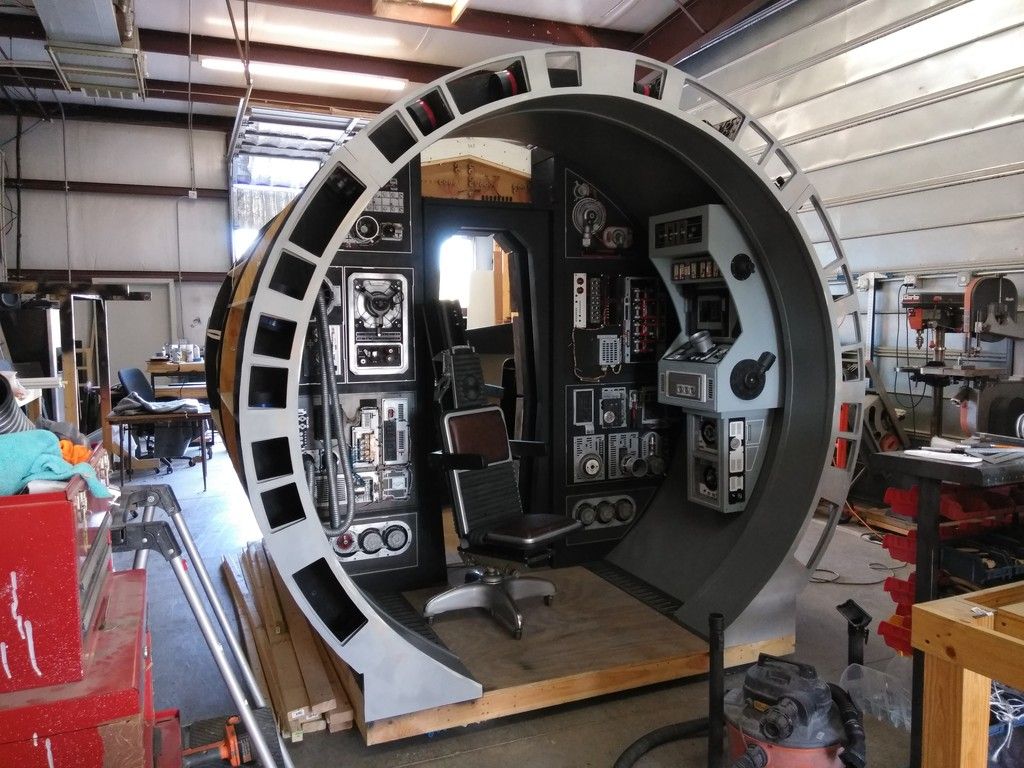
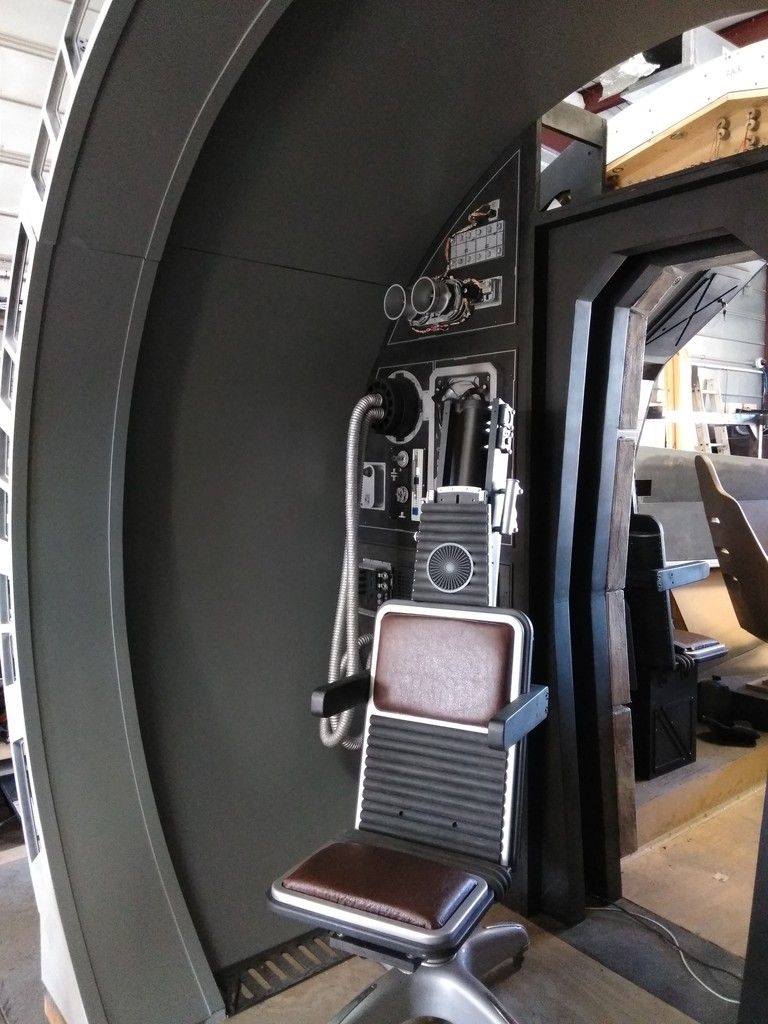
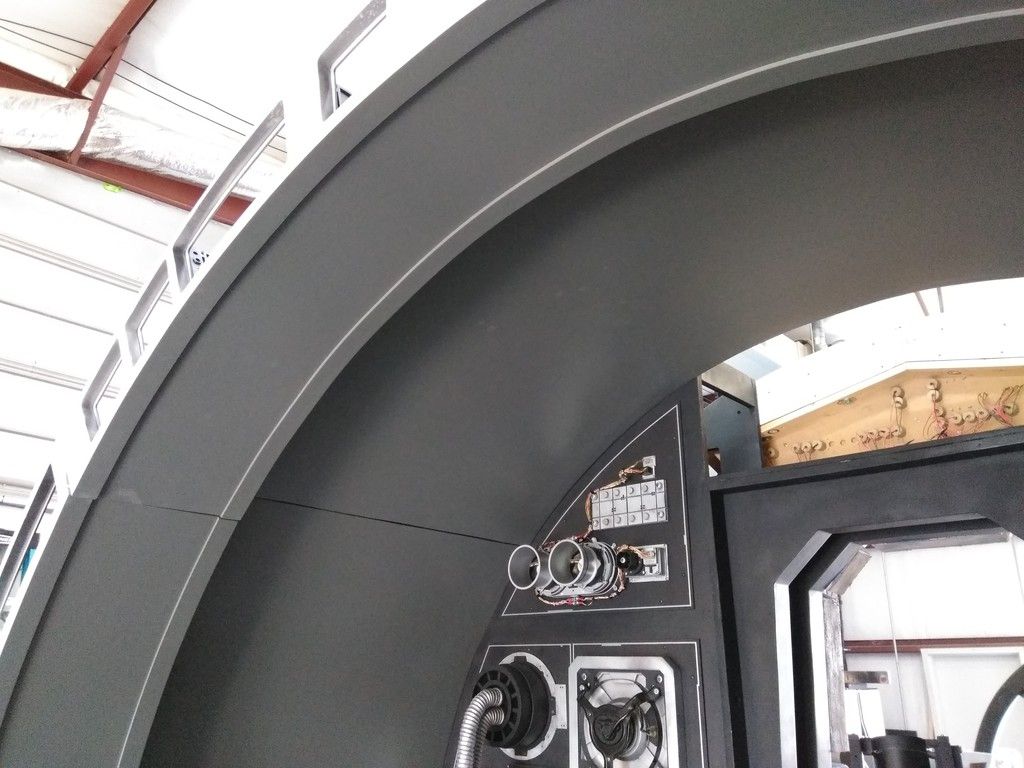
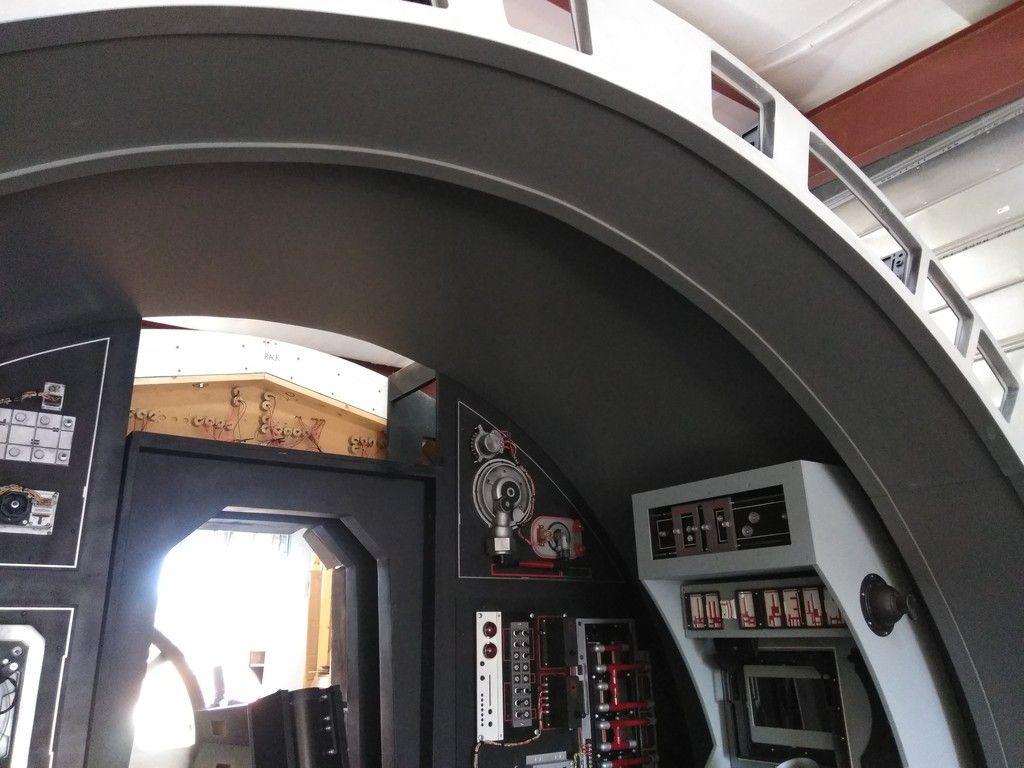
You really have to stand here to get the full effect
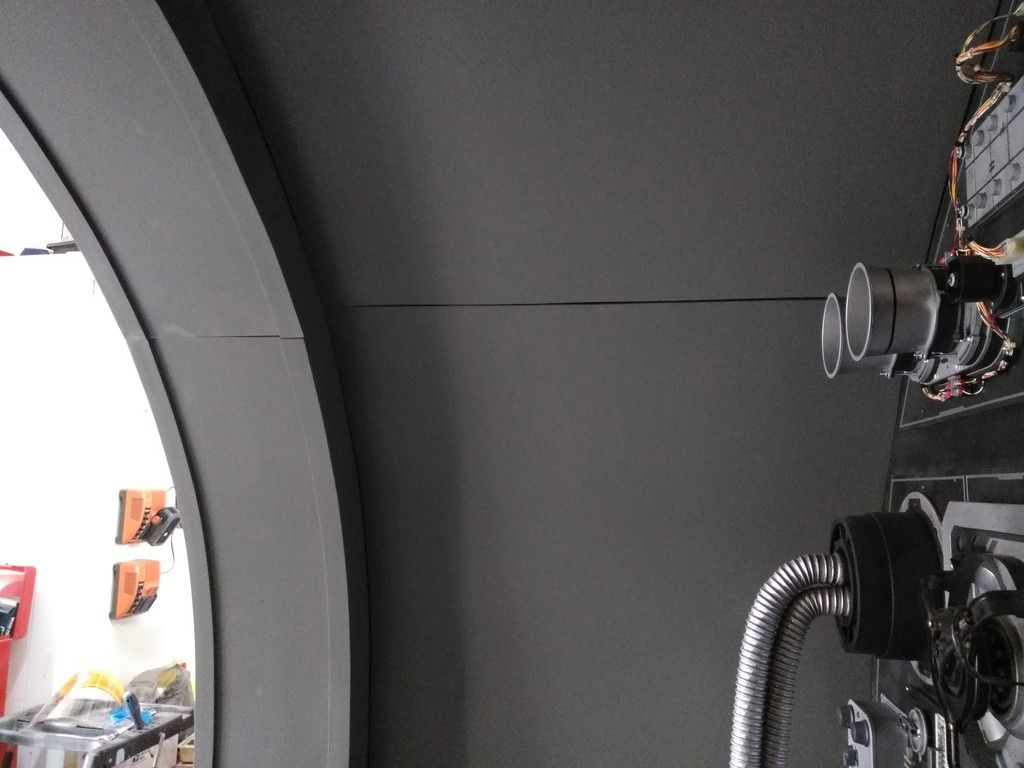
Daniel worked late into Saturday night to create this mess
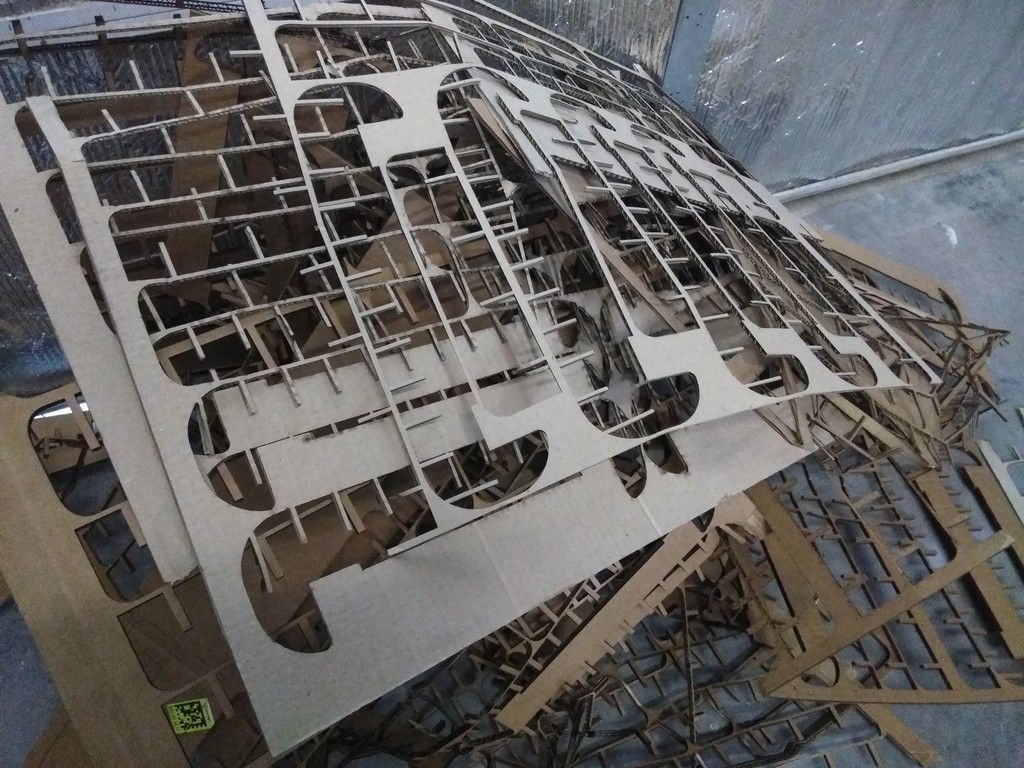
There was a HUGE stack of these waiting for me in the morning
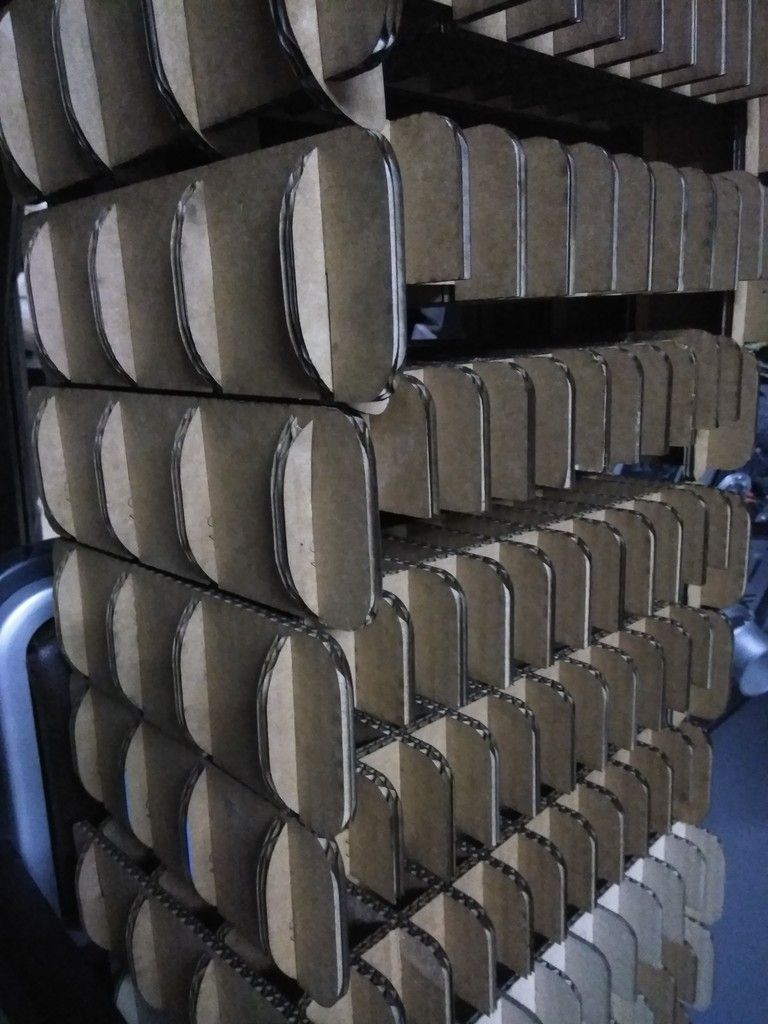
HMMMM
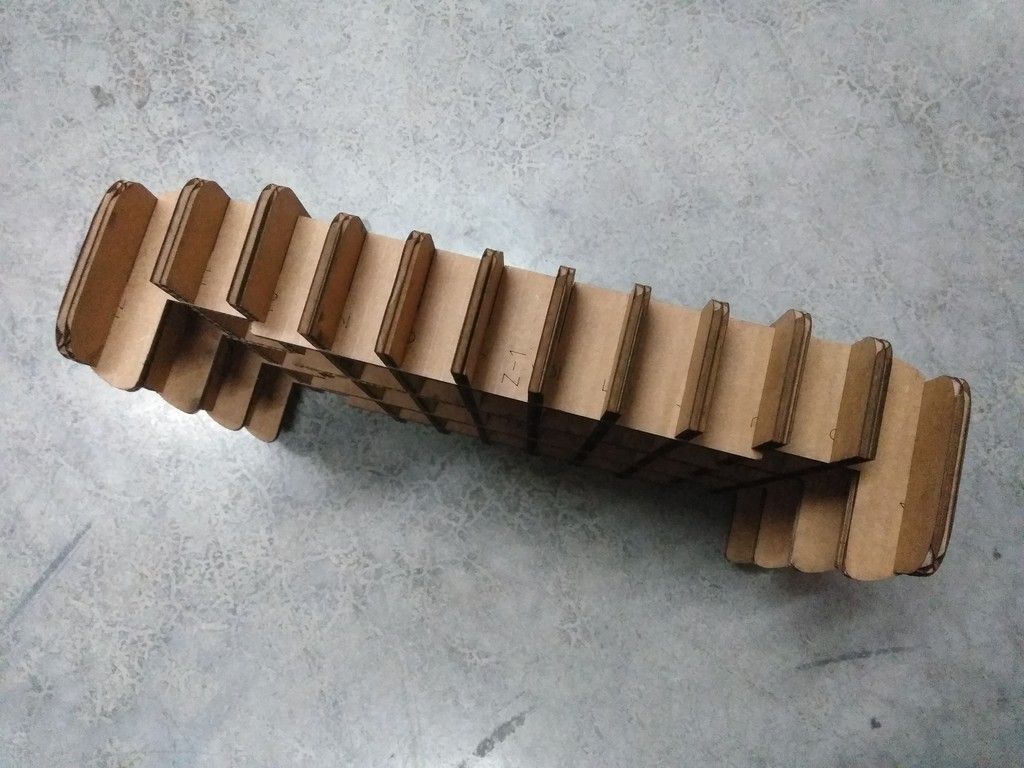
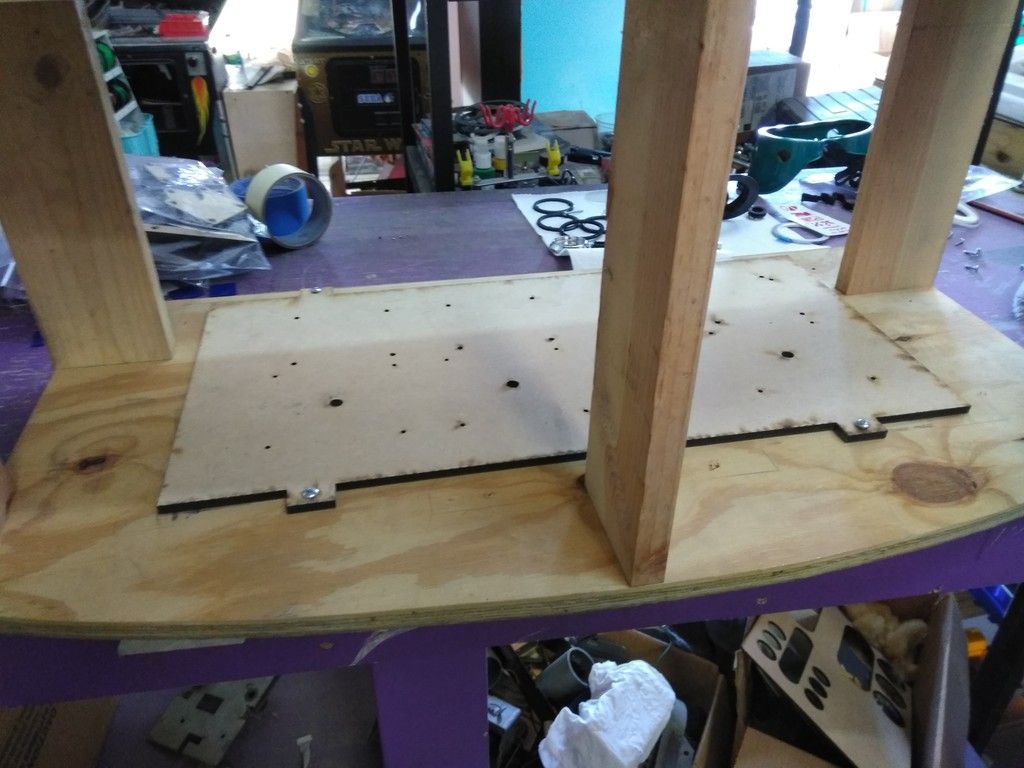
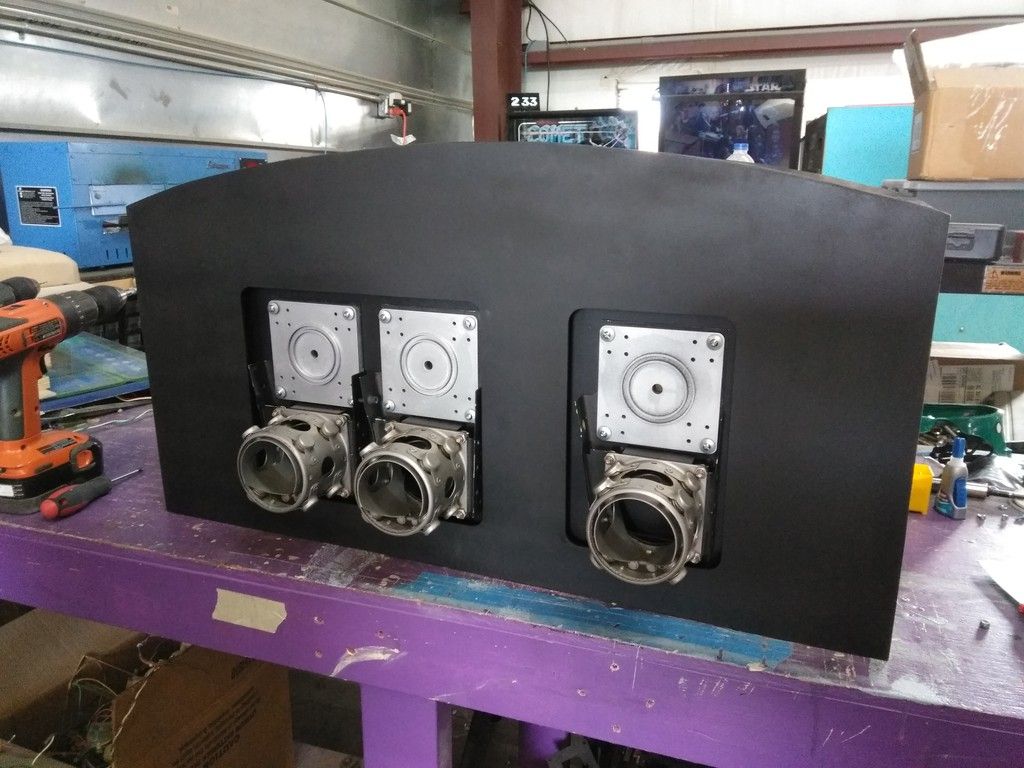
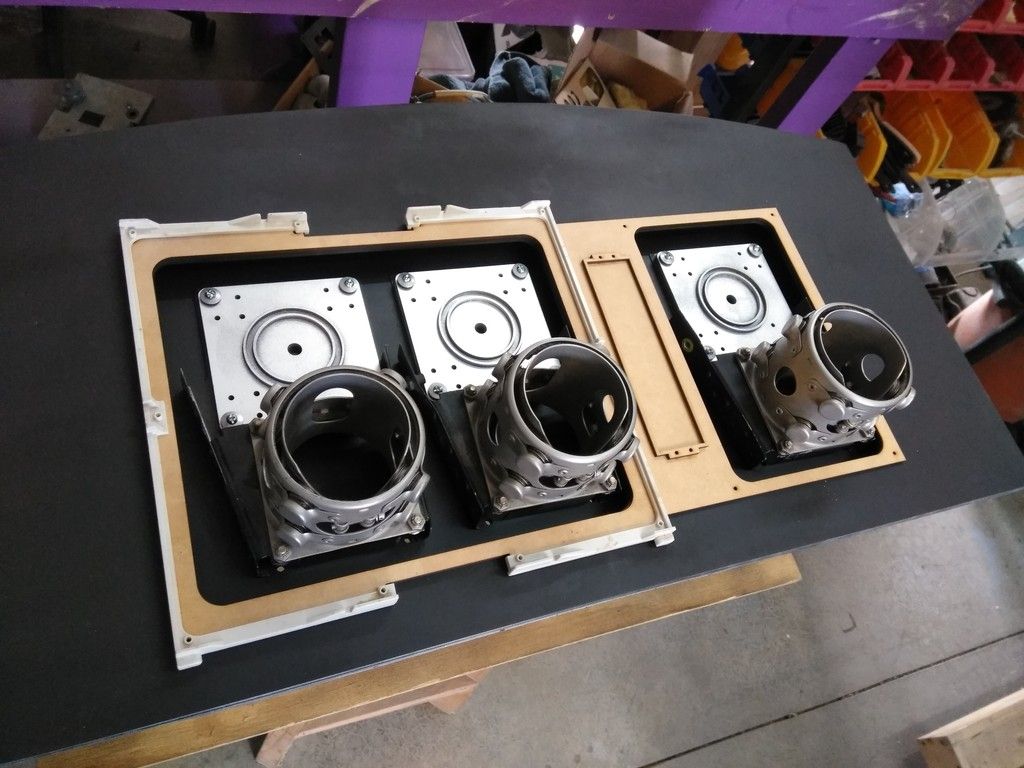
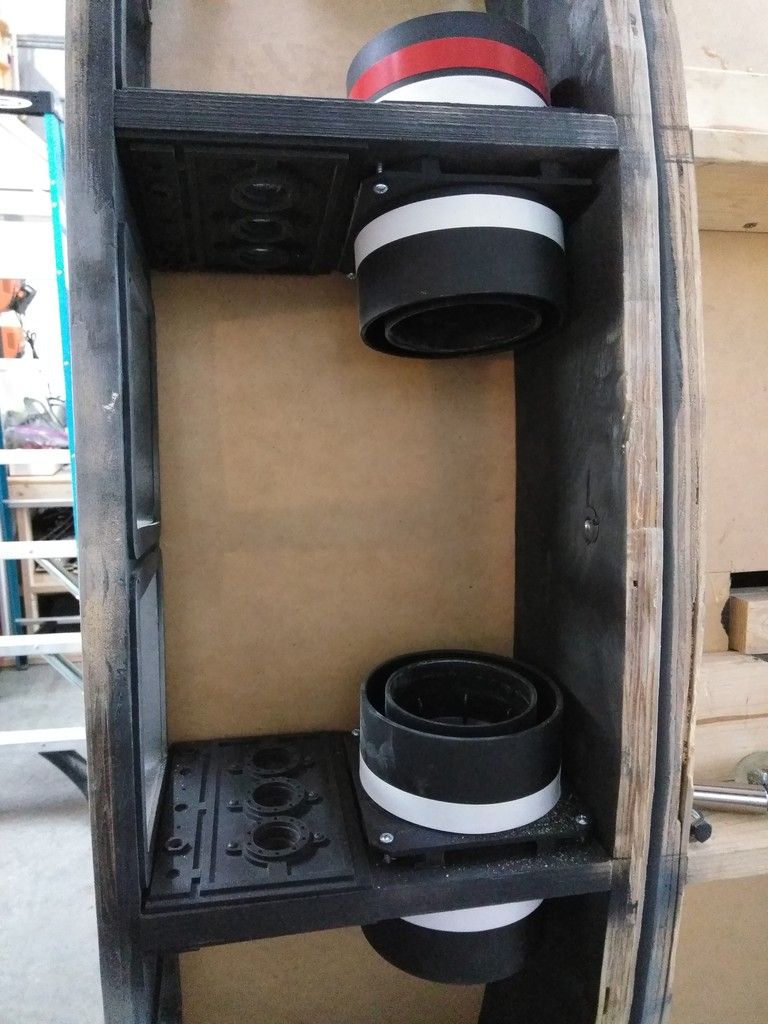
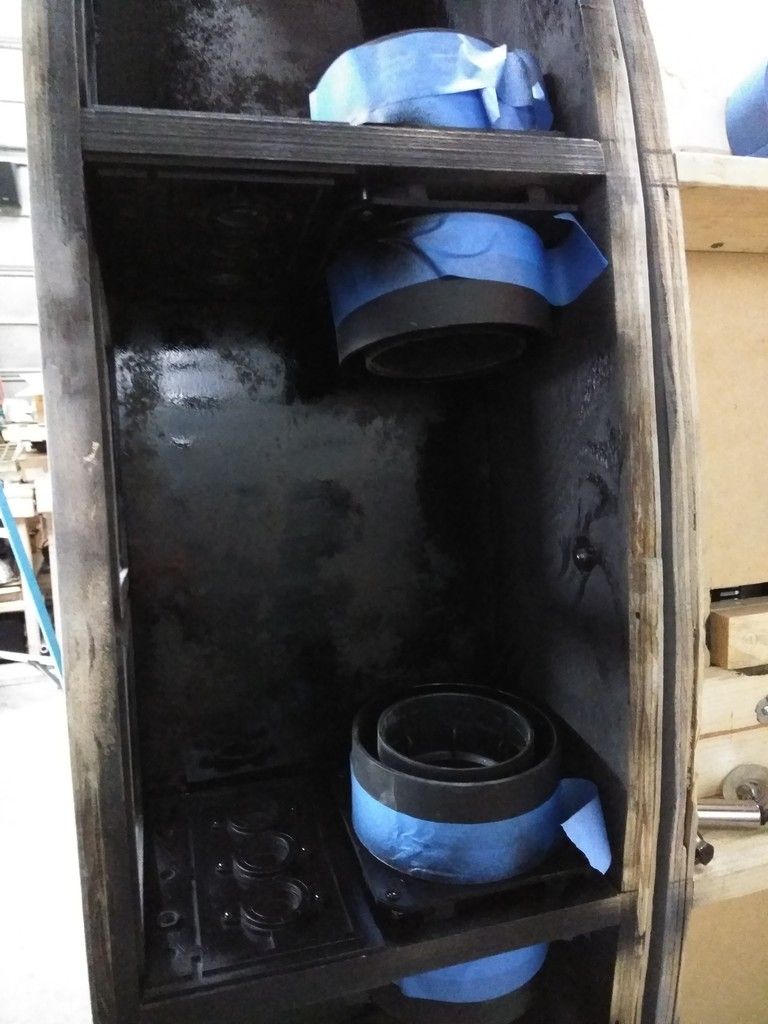
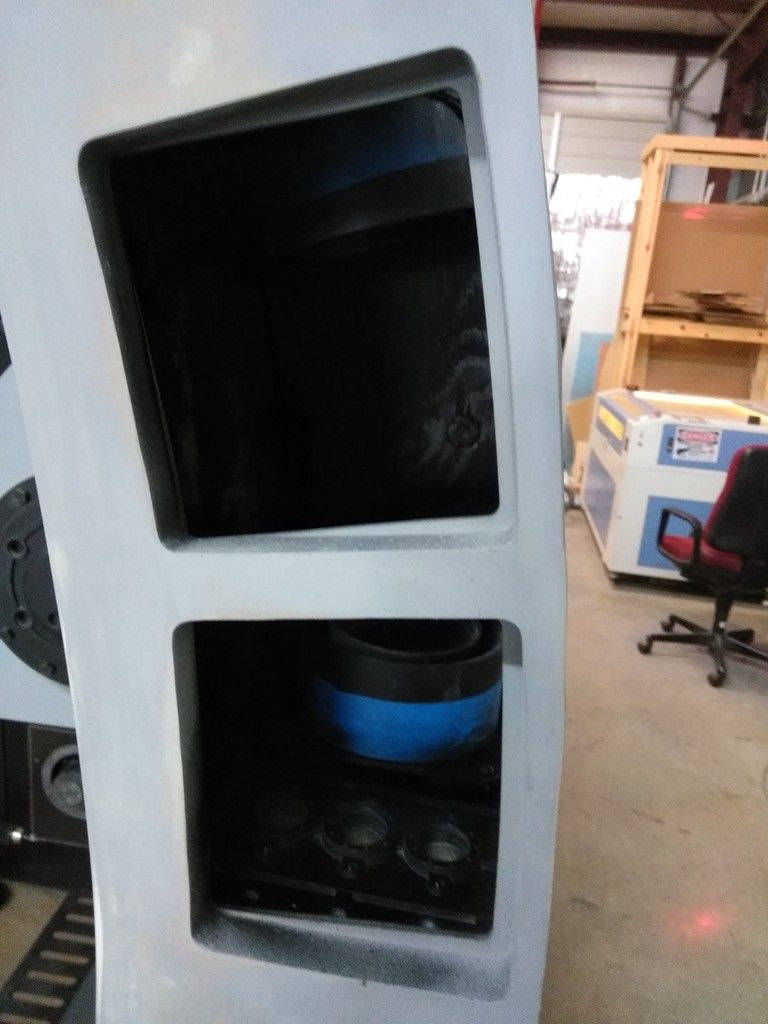
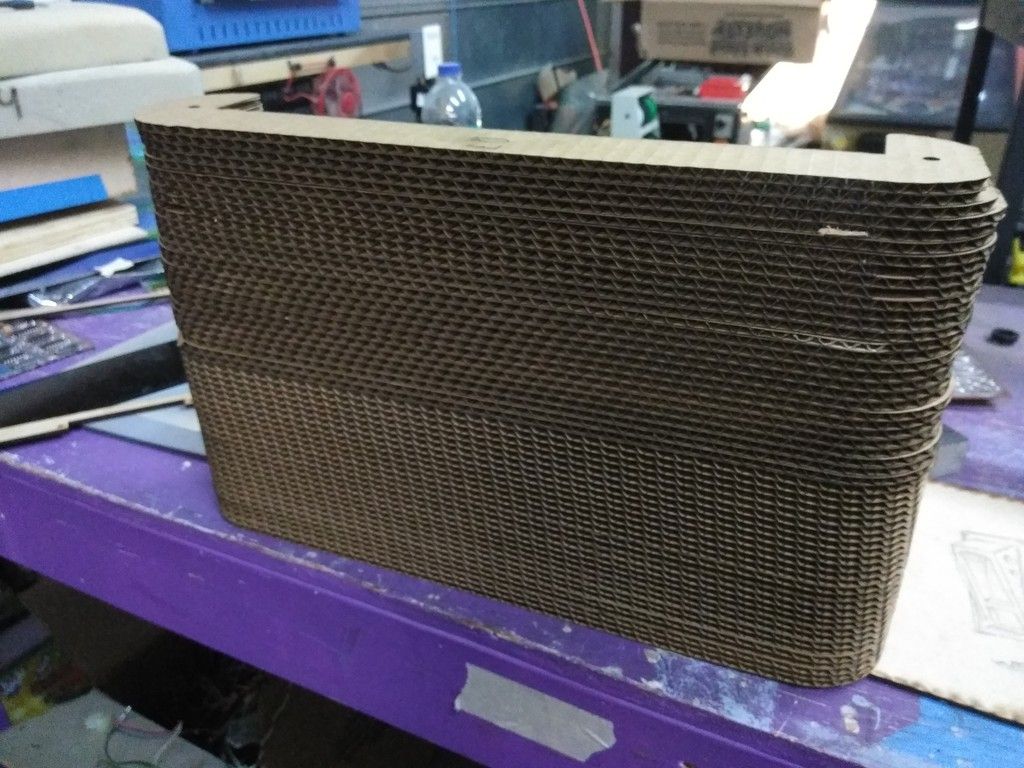
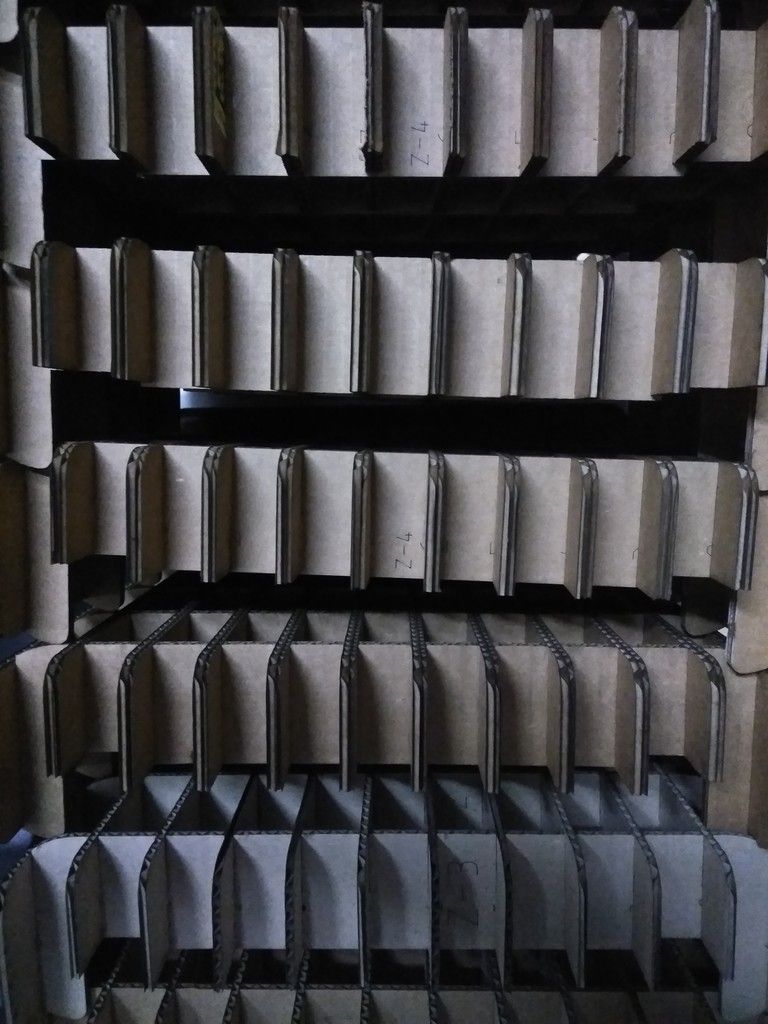
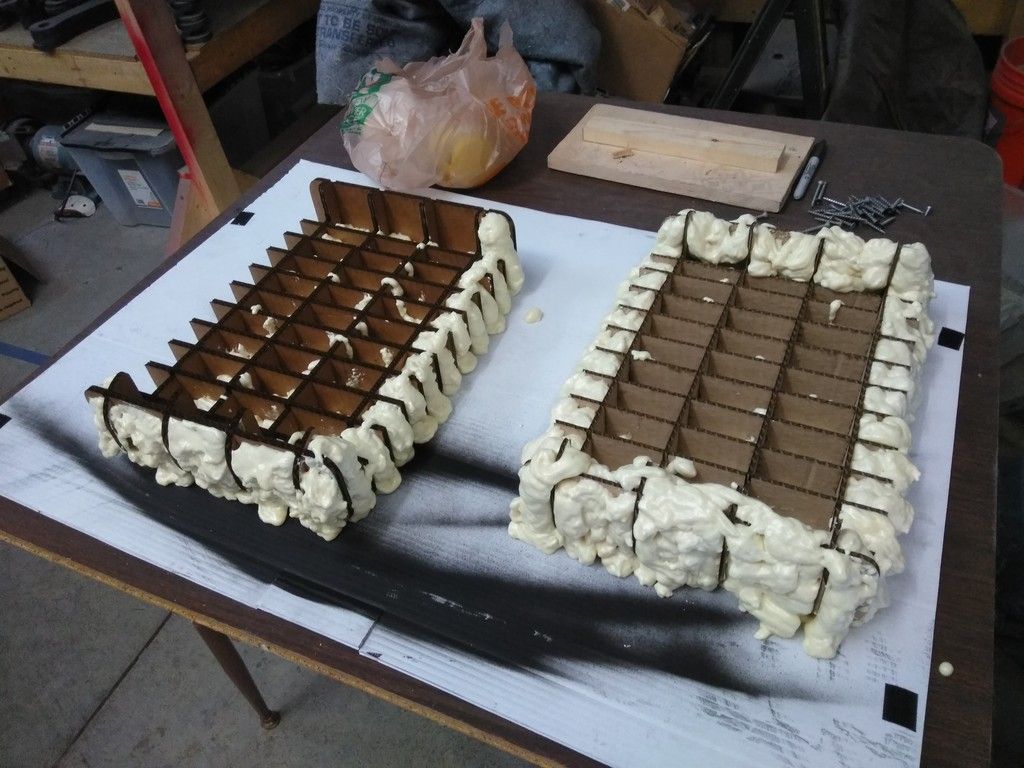
The corridor ring pads!
They are cut from simple cardboard
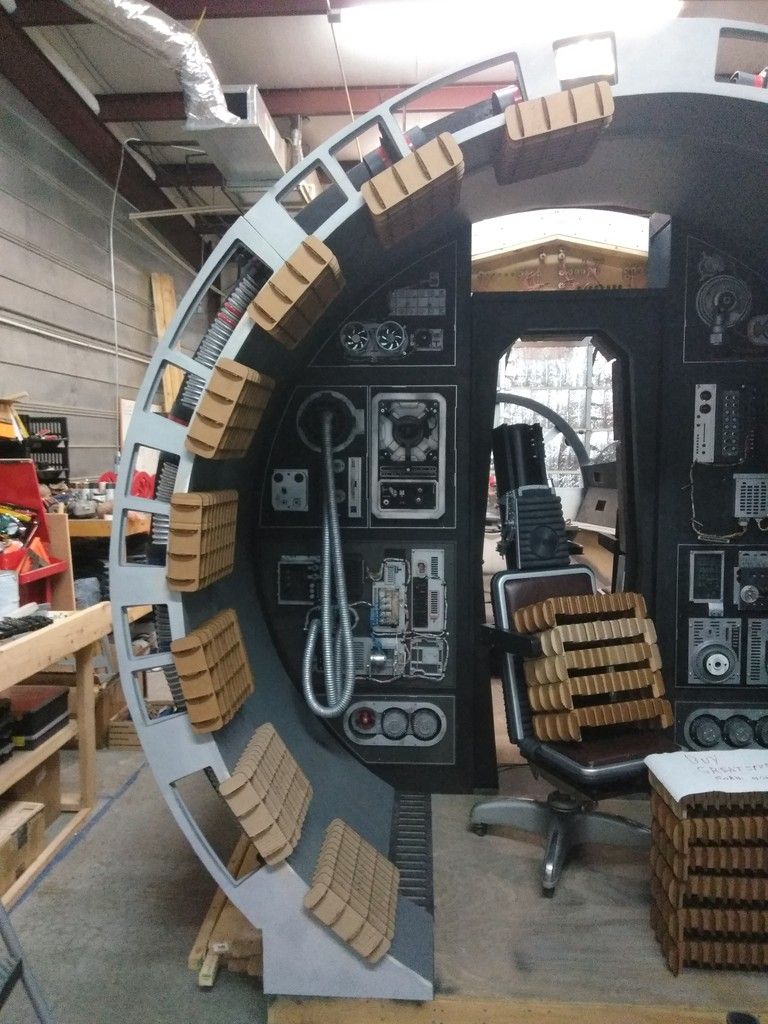
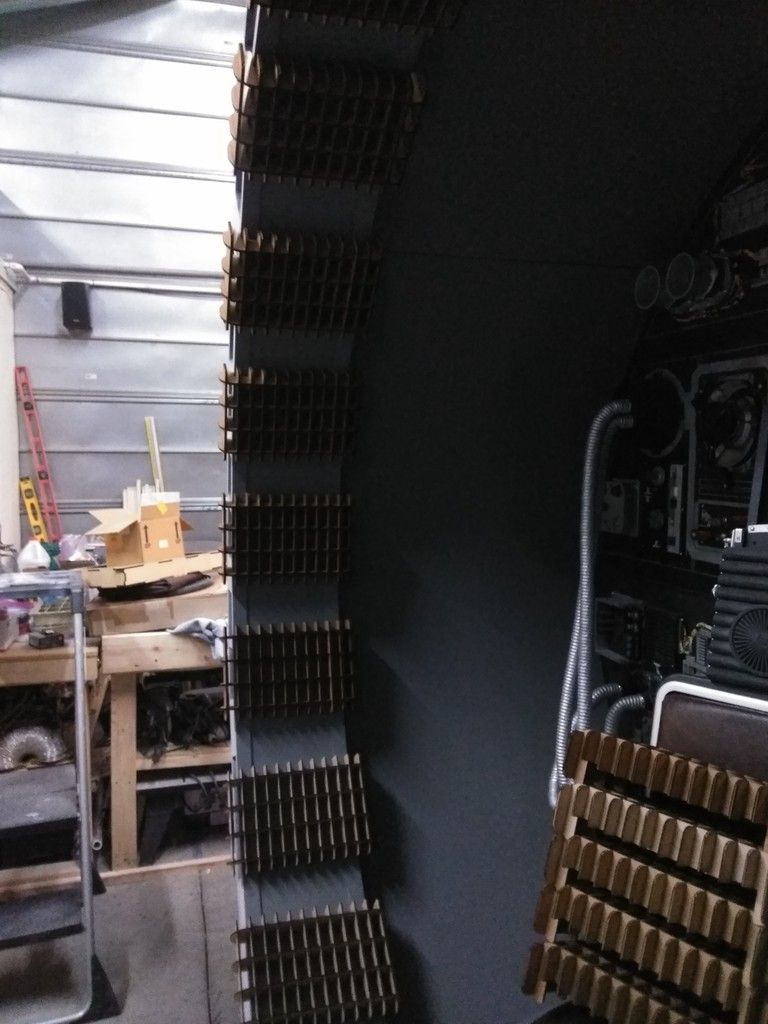
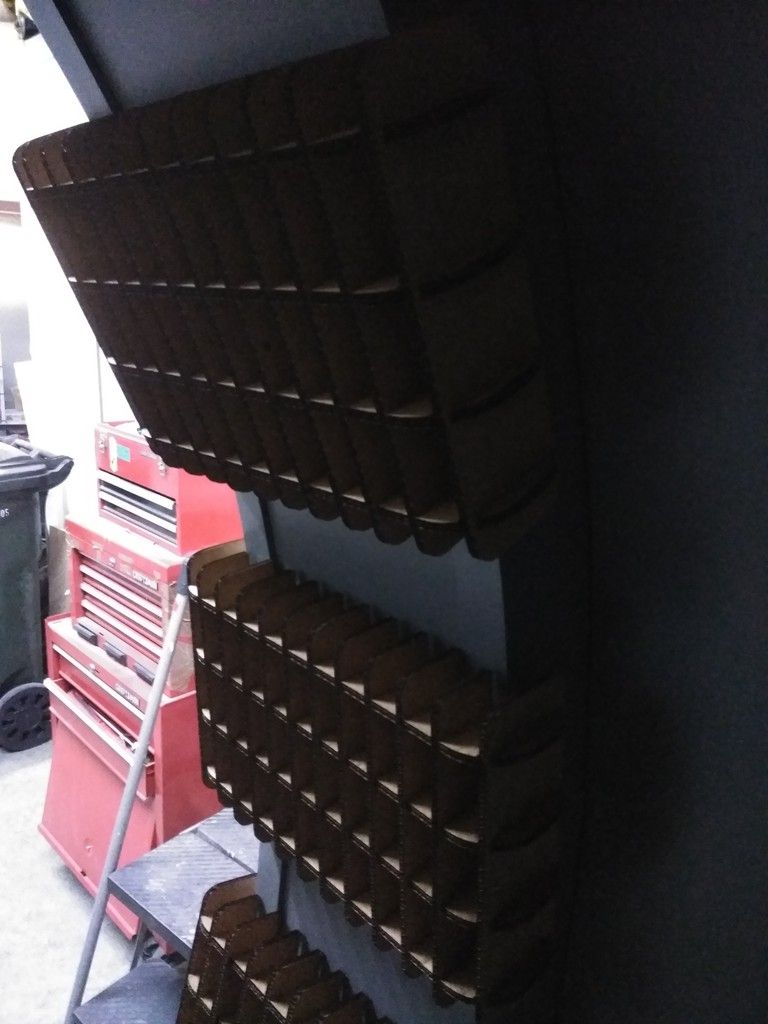
These greeblies will have to be removed
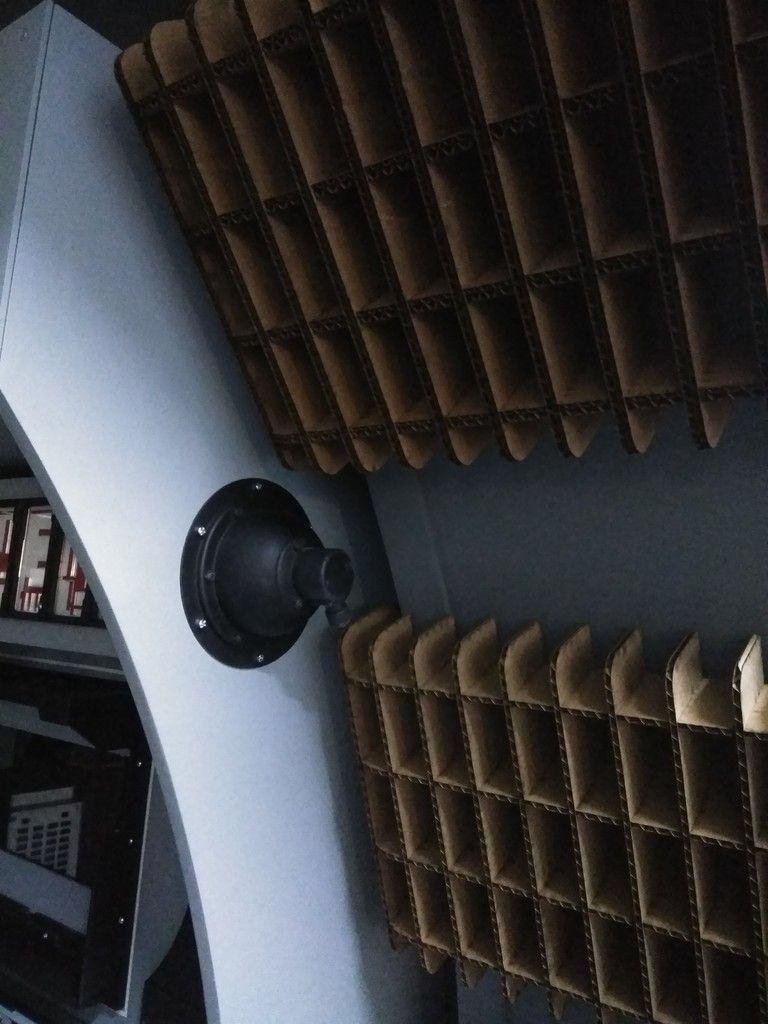
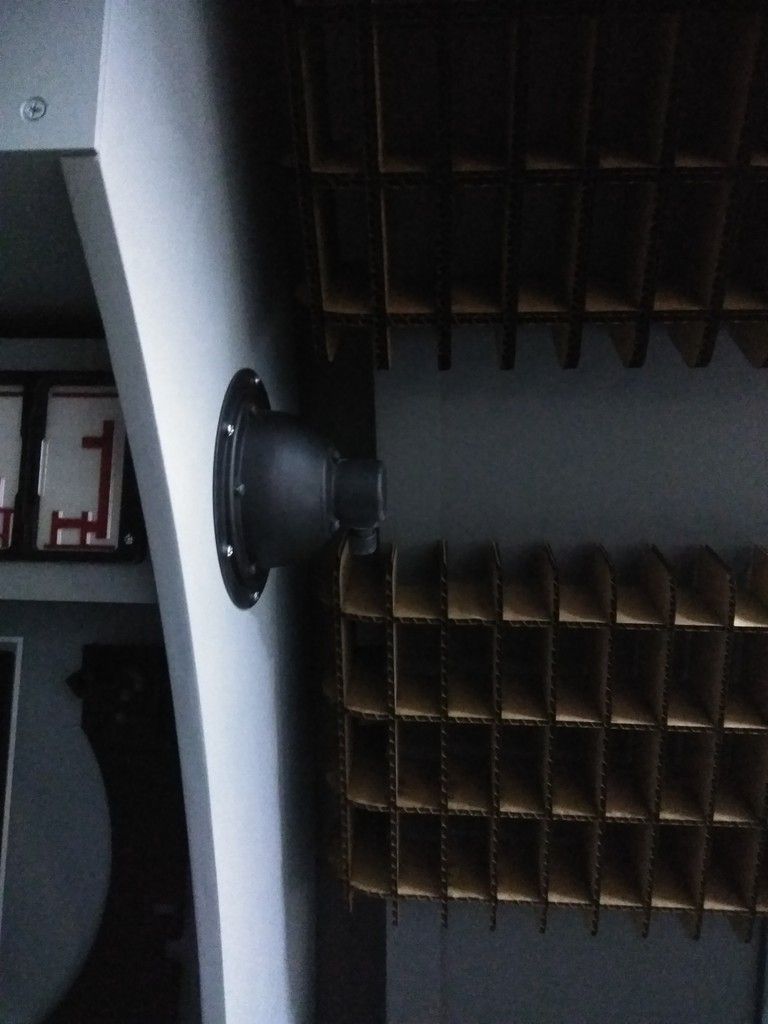
Or we move the maint panel back toward the entrance wall
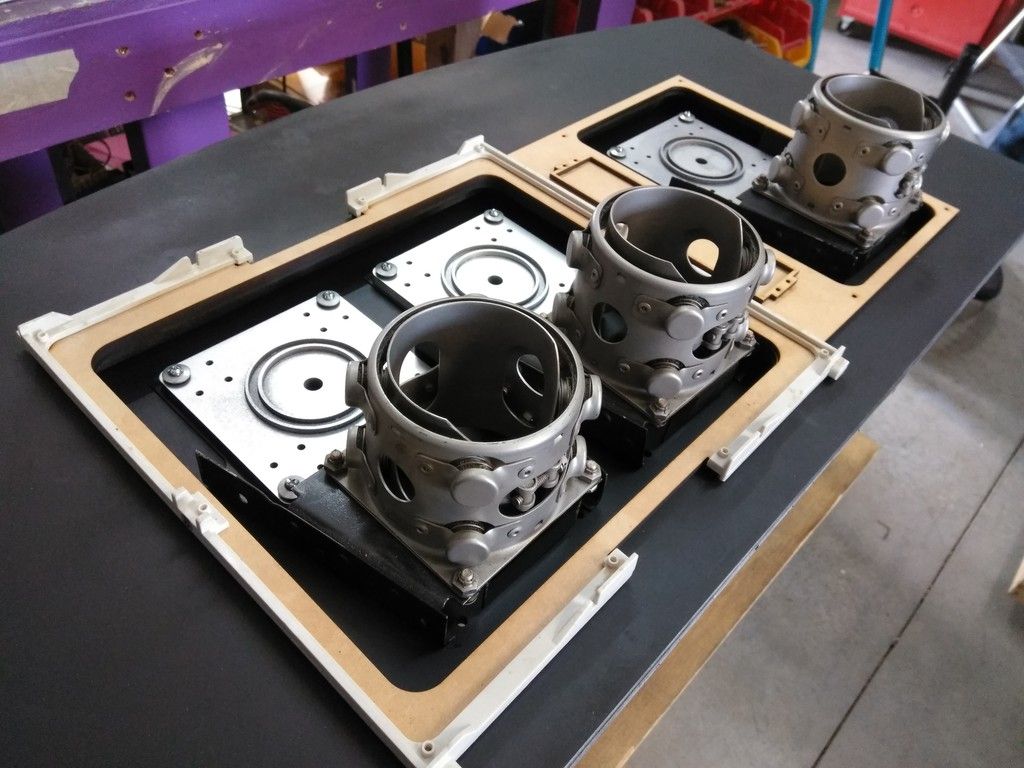
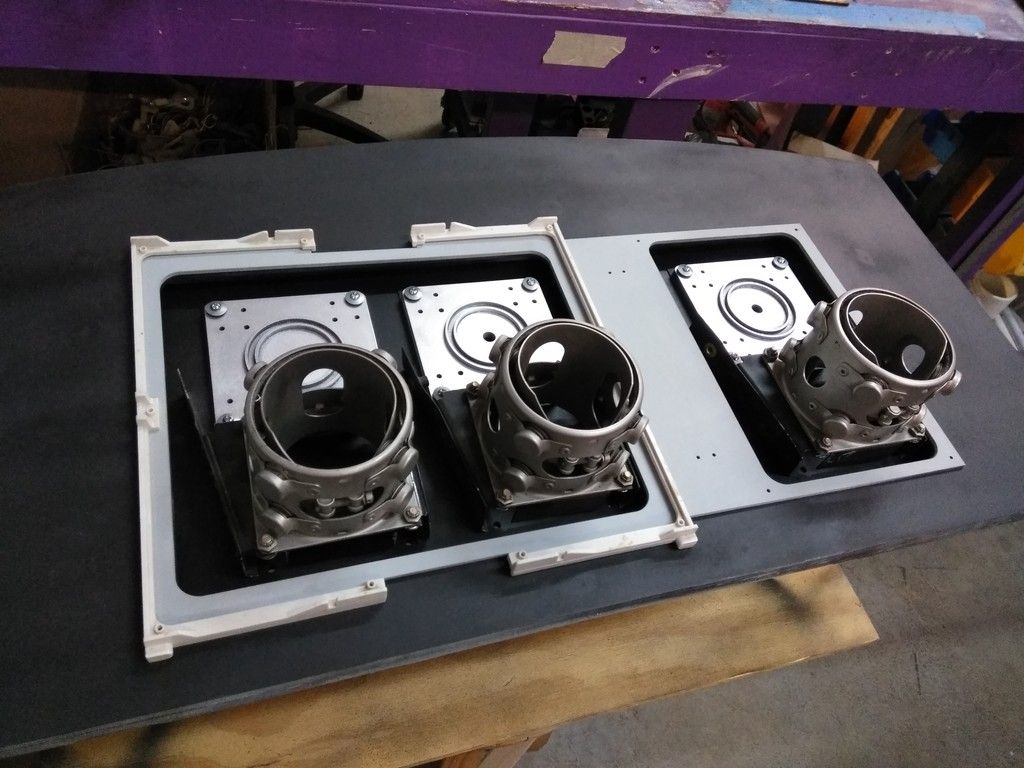
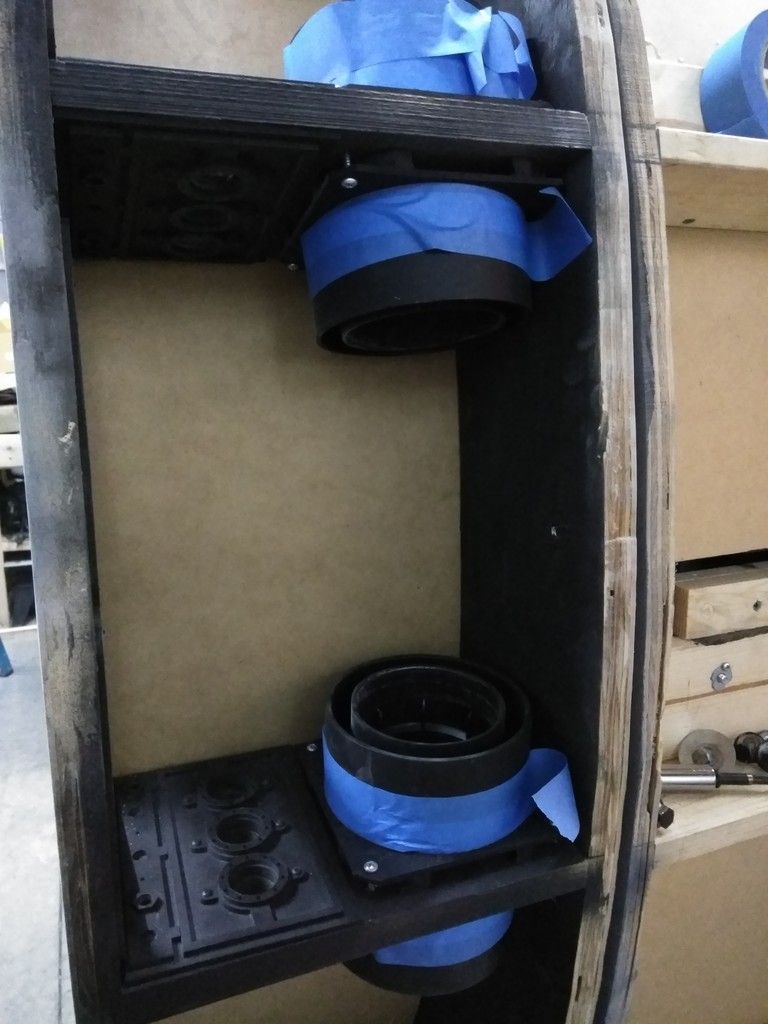
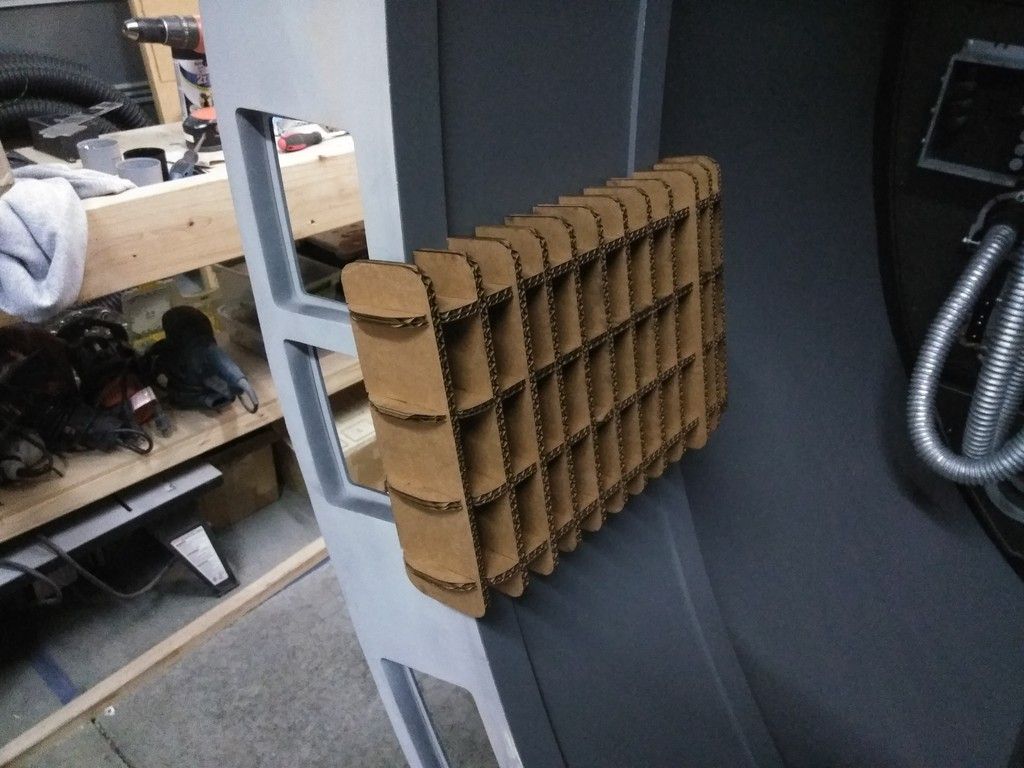
The idea is to add expandable foam into all of the openings
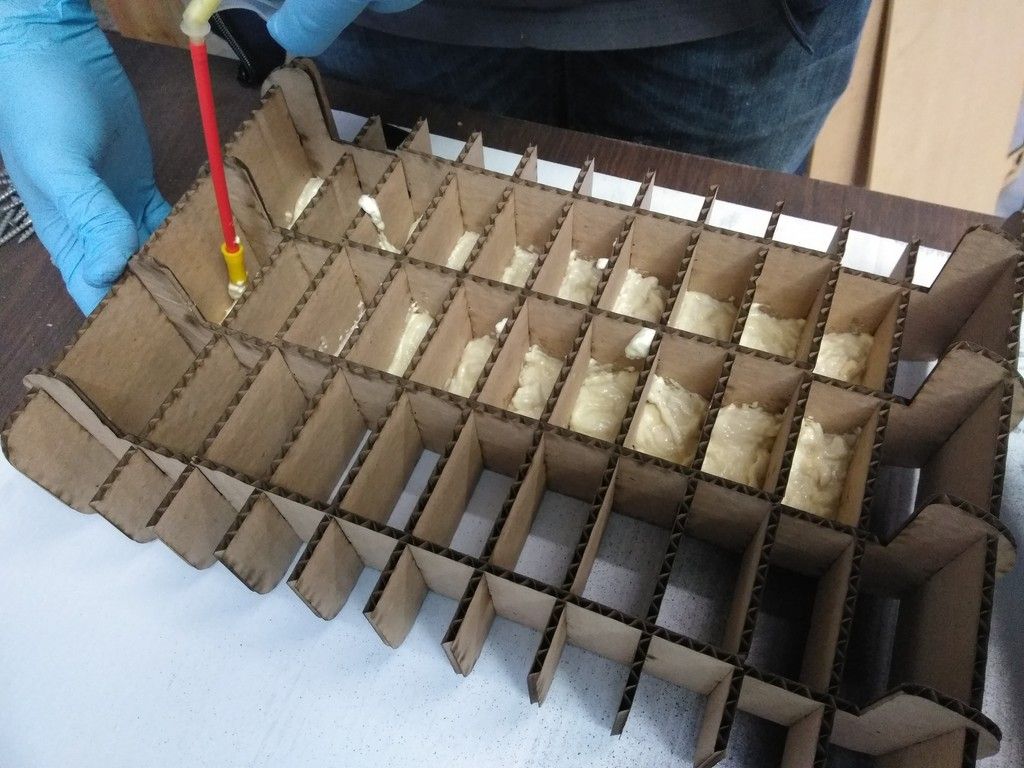
Shave off the extra foam, sand smooth then possibly fiberglass over top giving each pad a VERY unique and individual look and feel
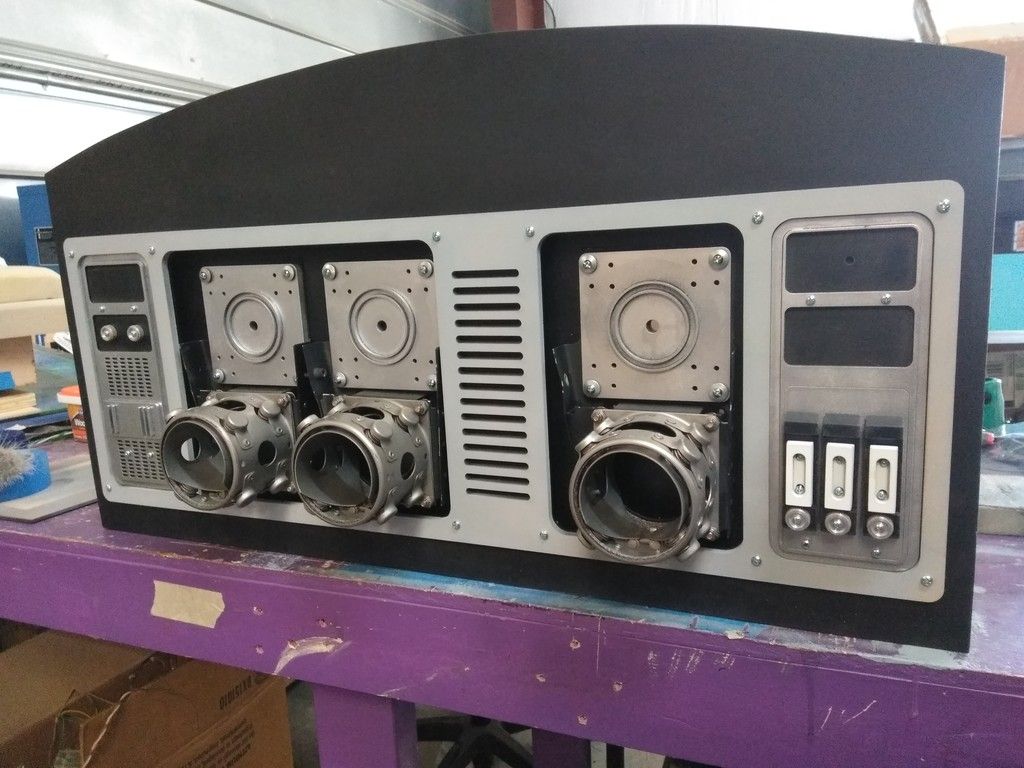
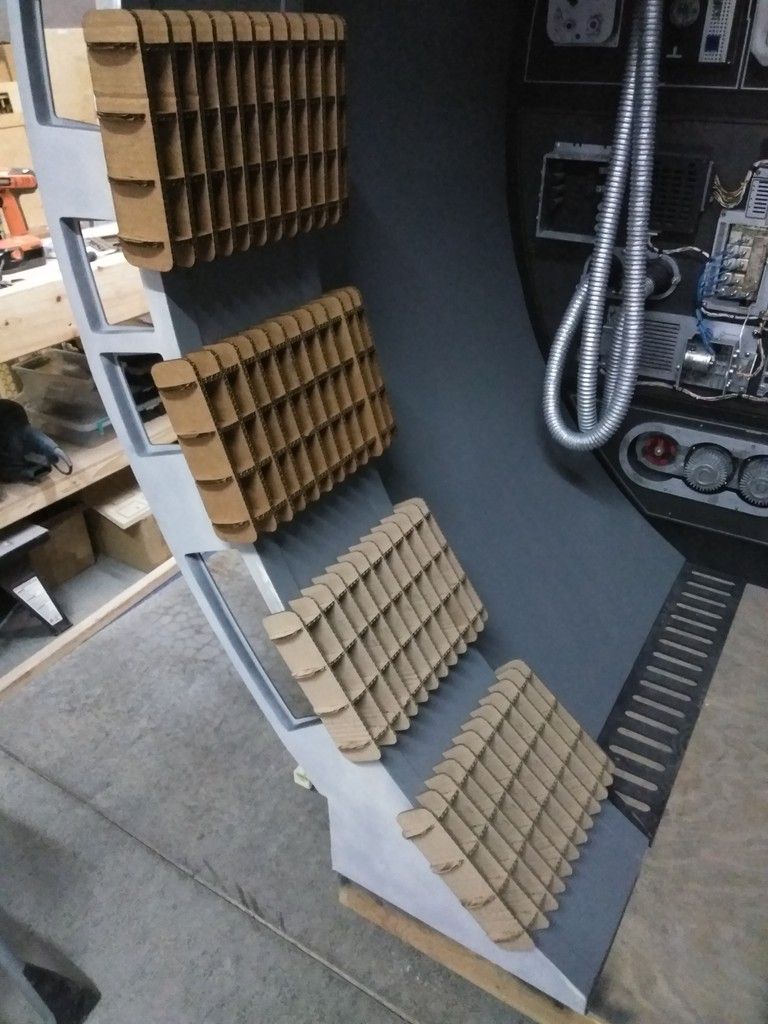
And this...
... Is where we are!
WHEW! A very productive weekend. More to follow so stay tuned!
I hope all those celebrating had a very wonderful and safe Thanksgiving.
Time for the "End of the Weekend Update". Let's get to it!
New parts arrived!
I'm slowly finishing up the maint console. Added another rocker with a more unusual pinstripe
I sanded the edges off the IBM type writer part
Paint
Designed and laser cut this unusual shape
In place over top some of the 1" tiles
Trying out different tile placement / color combos
Near final
Adhered
The black will not be back lit
I then jumped to the monitor panel - repainted
Pin stripe
OH NO!
UGH... :facepalm
Used filler to fix
All better
Added the type write part
I then designed and cut this
Found this old screen in my greeblie box
New front panel
All painted and waiting to be mounted
Everything all together
Daniel and I have been playing around with different lighting options and we both really liked the idea to add LEDs to the inside of these silver boxes
I removed the back panel
Cut up an old circuit board
Imagine this illuminated from the back
The existing box wasn't deep enough for both the board and LEDs so I designed a new box
Backplate with hole for wiring
1st Layer
Circuit Board mounting plate
Next Layer
Lid
Boxes getting sanded and primed
Primer
Second round of sanding
Paint
All of this work to get to this point!
Still a bit more work to do but that's COOL!
On to the Capstone Panel! This panel has bugged me for months! I couldn't get a design I was really happy with
I ditched the deep panel box for a more simple design
I designed and laser cut a new face
These panel lights will be yellow
Basic look. But it needs something...
Painted the interior mounting plate
Painted the top squares silver - not sure about the color
Mounted the back plate
Adhered the new cover piece
Primer
Paint
I then went ROUND and ROUND trying to find a workable design
EH
Wasn't working for me
After looking through more ESB and RotJ screen grabs I came up with this idea
Laser cut these
Basic layout
I laser cut these 1/4" details
Adhered together and sanded
They will sit here
Those little details include these pieces
Riser
Upper detail
Let's put it all together - not sure what color to paint the new trim piece
White
Black
Putting it all together
I really like this little greeblie patch
What do you guys think? I'm not sold on it yet but I do like it. Unfortunately, I can't mount in place just yet without heavily mod'ing the back side of the panel - more on that later
DEF needs to be weathered
And finally...
Let's get the interior side of these rings dressed!
Cut to shape, adhered and edges trimmed
Trim pieces added
I suddenly feel the need to "Breakout" the old Atari 2600
Stubborn piece of MDF
Primer, Filler and Sanding took an entire day
Because of little finds like this
More filler
Dry fit
Final round of filler and sanding
WOW! What a difference it makes
The interior needs to be painted black
Taped off
Done
Paint!
Lots and lots of paint
WOW
Adding those 3 pieces of skin made the rings seem so much bigger
You really have to stand here to get the full effect
Daniel worked late into Saturday night to create this mess
There was a HUGE stack of these waiting for me in the morning
HMMMM
The corridor ring pads!
They are cut from simple cardboard
These greeblies will have to be removed
Or we move the maint panel back toward the entrance wall
The idea is to add expandable foam into all of the openings
Shave off the extra foam, sand smooth then possibly fiberglass over top giving each pad a VERY unique and individual look and feel
And this...
... Is where we are!
WHEW! A very productive weekend. More to follow so stay tuned!
Katuna
Member
Holy crap! What a weekend! I don't know how the heck you do it.
First, love the console. Especially the new front panel. Perfect fit in that spot. It looks fine without the side greeblies too. So much for all the worry that went into making those work visually.
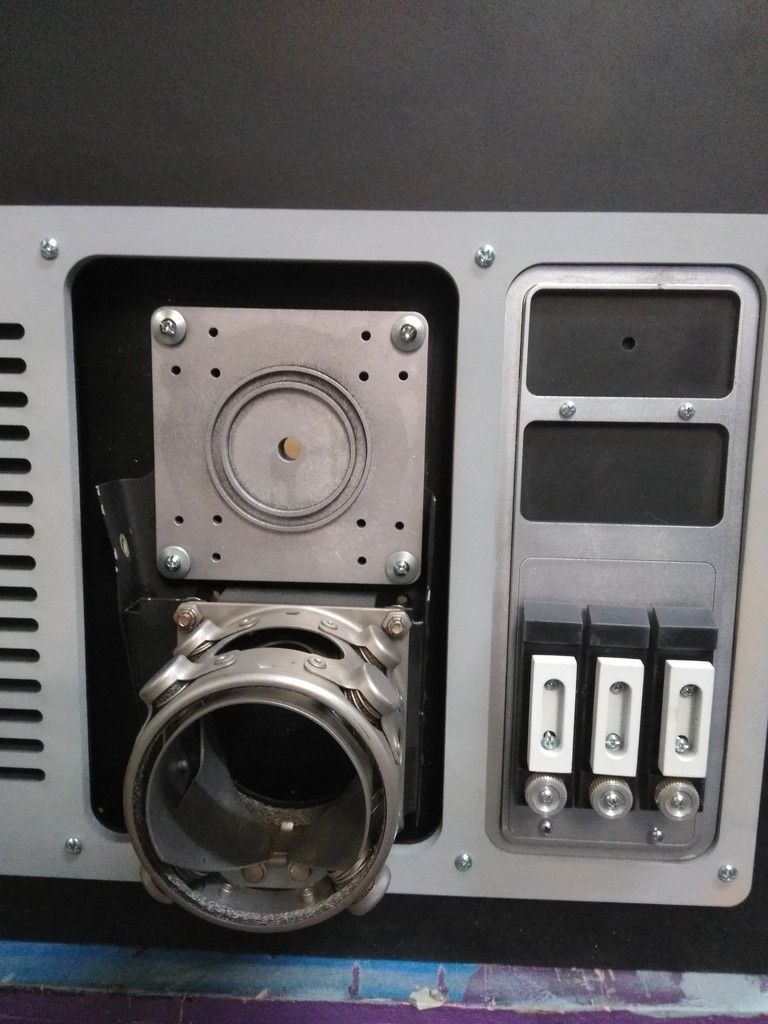
Second, the capstone looks great. Those outer little detail panel are spot on. When I see those 3 sockets though, one of them just screams out for a hose with a 90 deg. fitting. Don't know where it would go. Up into the overhead? Those 3 little white greebs on the right look like they need a colored insert with some blinking backlight.
Lastly, that ring just pulls everything together. That one item just says Falcon all on its own. That is such a cool idea to use the interlocked cardboard for the core. Cheap, light and strong. Just can't wait to see them finished off.
What a grand slam weekend SK.
First, love the console. Especially the new front panel. Perfect fit in that spot. It looks fine without the side greeblies too. So much for all the worry that went into making those work visually.
Second, the capstone looks great. Those outer little detail panel are spot on. When I see those 3 sockets though, one of them just screams out for a hose with a 90 deg. fitting. Don't know where it would go. Up into the overhead? Those 3 little white greebs on the right look like they need a colored insert with some blinking backlight.
Lastly, that ring just pulls everything together. That one item just says Falcon all on its own. That is such a cool idea to use the interlocked cardboard for the core. Cheap, light and strong. Just can't wait to see them finished off.
What a grand slam weekend SK.
I know I've said it before, but it bares repeating: Out-freaking-standing.
Very productive weekend SK.
Very productive weekend SK.
No matter how long you work on it, it's better than a lot of people who just think about doing something for years and never do. You actually build it. You'll be like those crazy old coots they always make tourism videos about, "Yep, he just worked on this thing for 50 years. Slowly adding and building as it got bigger and bigger, until one day he died...right over there, by the Falcon ramp. Make sure to stop by the gift shop at the Hoth Base exit!"
Hey Lt
LOL! That's my fear! Being that "Crazy Ol Coot"
No matter how long it takes as long so long as we're all having fun that's what matters most.
- - - Updated - - -
Hey Sofa.
Have just seen this pic on Pinterest. Have you seen it before? Is it a replica or one of the originals?
Steve
https://uploads.tapatalk-cdn.com/20171121/4fcd9efbd4103fc474bf735c65ad0721.jpg
Sent from my iPad using Tapatalk
Hi S,
Great photo! I was going to post that Stormy is the resident Nav Chair expert. Low and behold.
- - - Updated - - -
That tupperware lid definitely doesn't seem to be just straight black ...
Hey MB,
I'm going off of several images (ANH, ESB, RotJ, etc) so its really difficult to tell exactly what color the lid is especially with all the different set lighting.
- - - Updated - - -
Correct. It's clear but has a plastic haze quality. I think they painted it from behind.
Hey S,
Do you know this info is fact? If so, I'll locate 3 clear/frosted lids and redo. Any ideas?
- - - Updated - - -
Can’t wait to see the corridor ring panels come together, very clever idea using cardboard, a very iconic piece of the falcon, it’s going to make the corridor look complete
Hey B,
I was really surprised how quickly Daniel was able to design and cut all 19 pads. We're both really excited to see how the foam works out. If it works, I'll be investing a small fortune in the expandable foam.
Holy crap! What a weekend! I don't know how the heck you do it.
First, love the console. Especially the new front panel. Perfect fit in that spot. It looks fine without the side greeblies too. So much for all the worry that went into making those work visually.
Second, the capstone looks great. Those outer little detail panel are spot on. When I see those 3 sockets though, one of them just screams out for a hose with a 90 deg. fitting. Don't know where it would go. Up into the overhead? Those 3 little white greeblies on the right look like they need a colored insert with some blinking backlight.
Lastly, that ring just pulls everything together. That one item just says Falcon all on its own. That is such a cool idea to use the interlocked cardboard for the core. Cheap, light and strong. Just can't wait to see them finished off.
What a grand slam weekend SK.
Hey K,
Thanks! I have to reach down from time to time and just push forward.
I'm really happy with the new front panel as well. I liked the simplicity of the old one but it didn't capture that ESB look I was going for. I think this version is very close but I have to be careful not to overdo the greeblies.
The capstone panel. UGH... what a journey that one has been. I really wanted to use those 3 odd shaped real world greeblies I found. I just hope I was able to balance the use of real world and designed greeblies. I didn't post 15-20 images of the other various designs I went through. I thought the exact same thing about having a hose connecting to one of the silver cylinders. I think it would work but again, I have to be careful to overloading the entrance with too many greeblies.
Daniel and I discussed adding some LEDs to the panel. It's already getting the 3 yellow panel lights so I'm not sure if we'll include anymore. It's always a work in progress.
Daniel did an amazing job with those pads. As I mentioned above, we're excited to see them finished. And we still have the other set of door pads and the actual corridor wall pads as well. Should be fun!
Thanks again!
- - - Updated - - -
I know I've said it before, but it bares repeating: Out-freaking-standing.
Very productive weekend SK.
Hey SB,
Thanks so much! I appreciate everybody's kind words and support.
Similar threads
- Replies
- 2
- Views
- 952
- Replies
- 6
- Views
- 724
- Replies
- 8
- Views
- 697
- Replies
- 20
- Views
- 1,614
- Replies
- 4
- Views
- 2,412