May the Forth Be With Everybody! ")
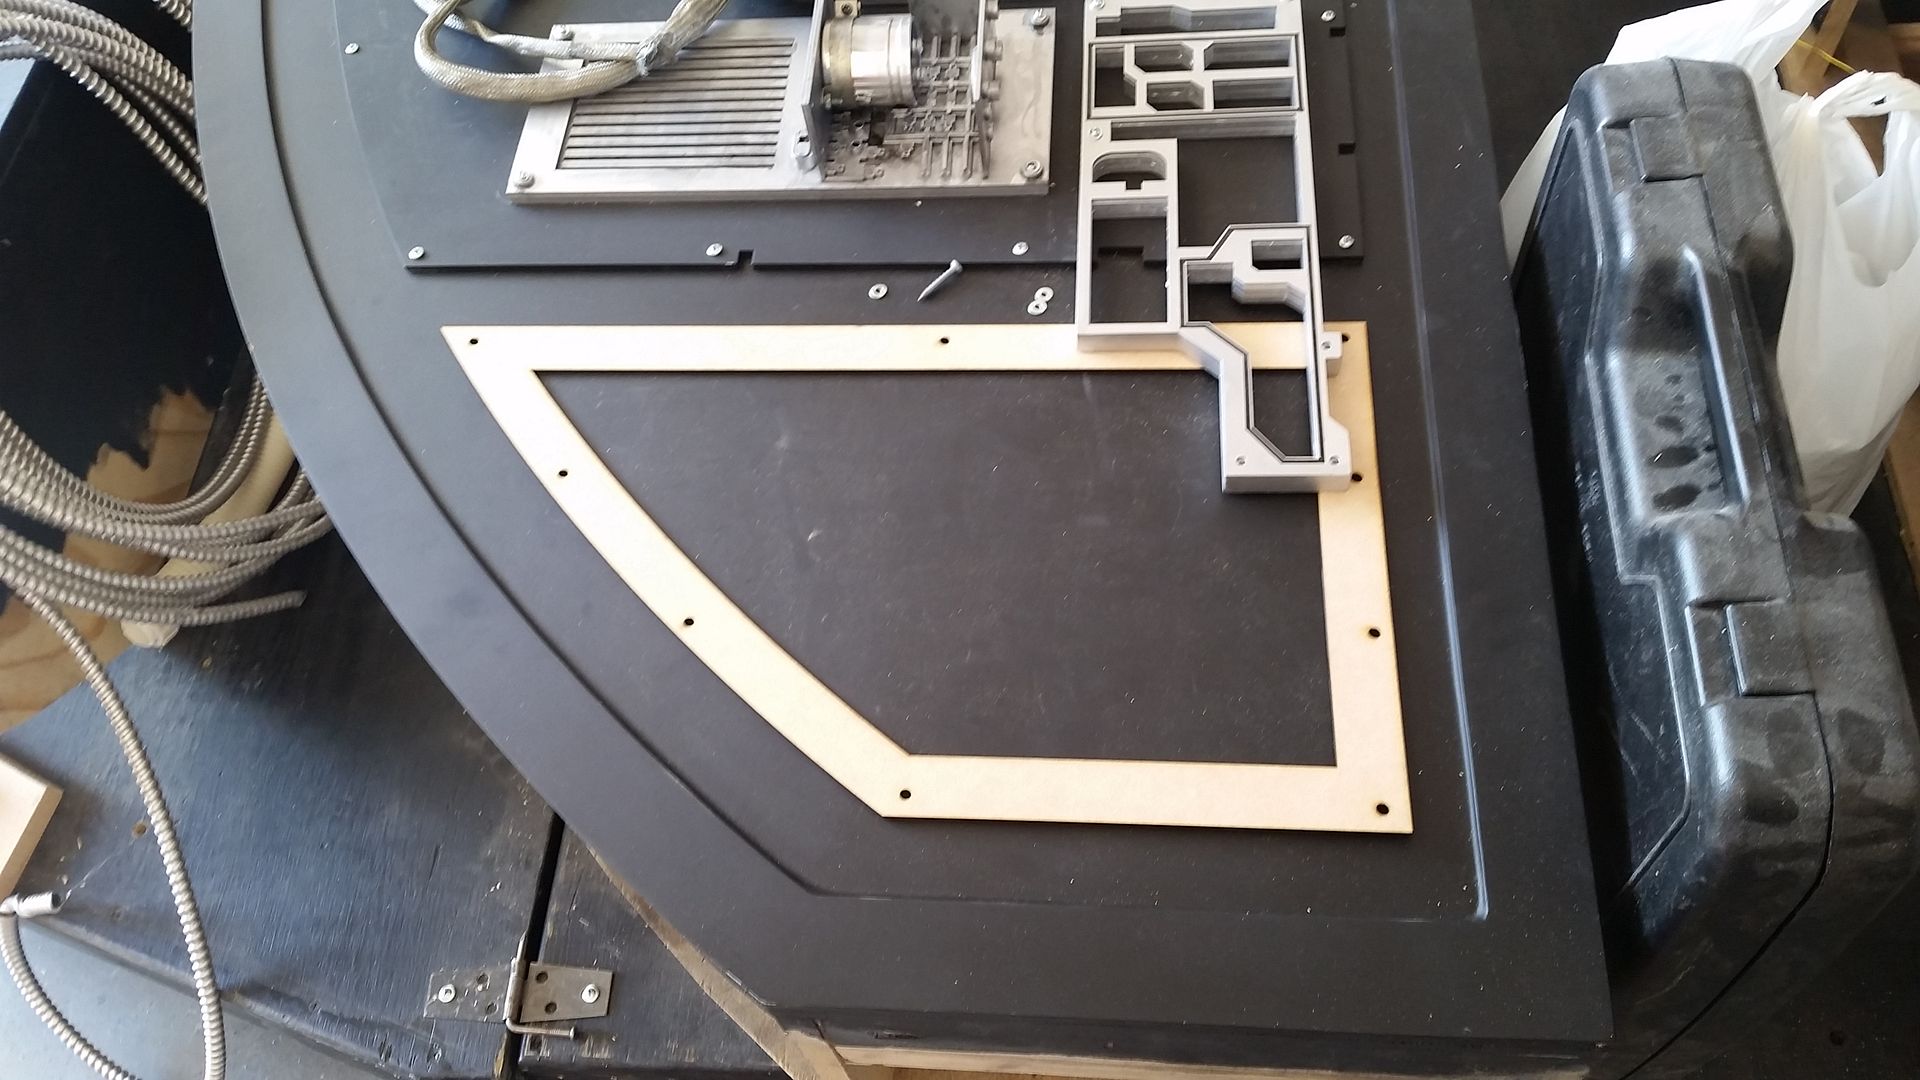
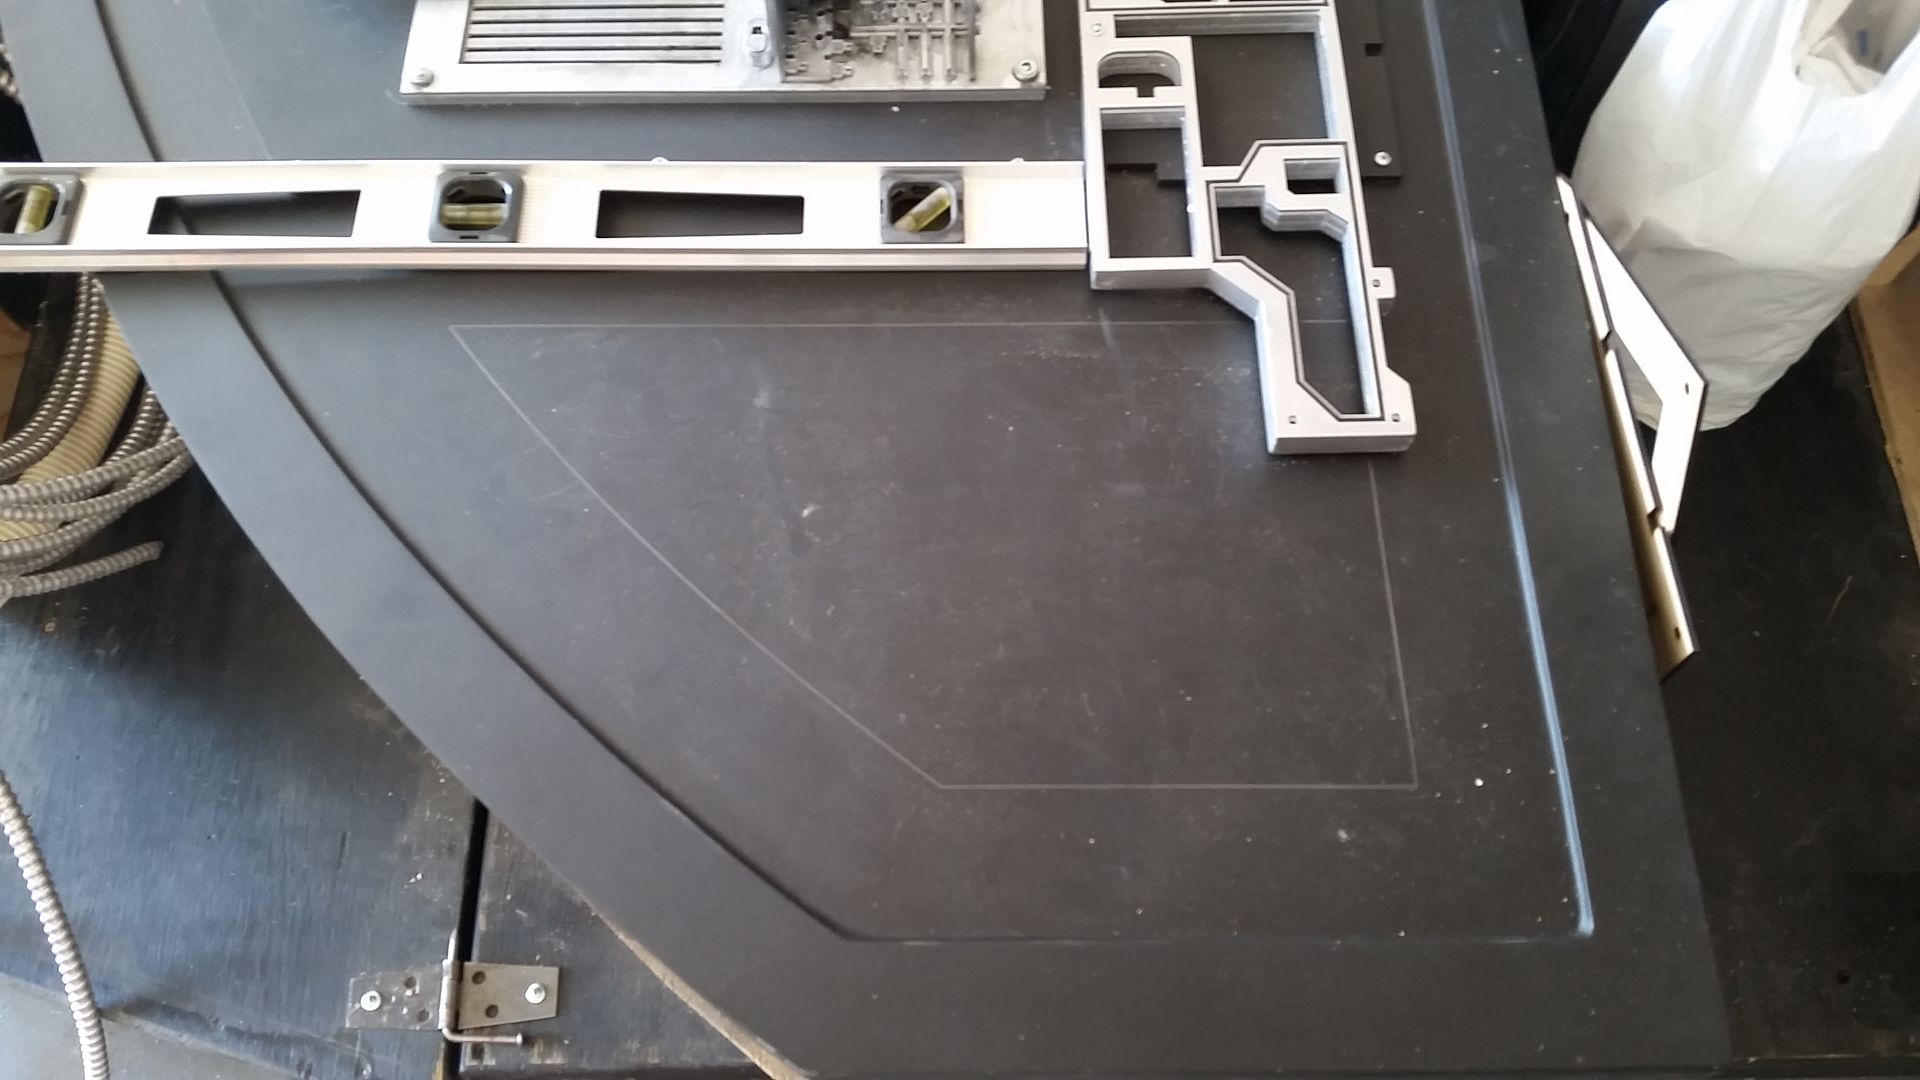
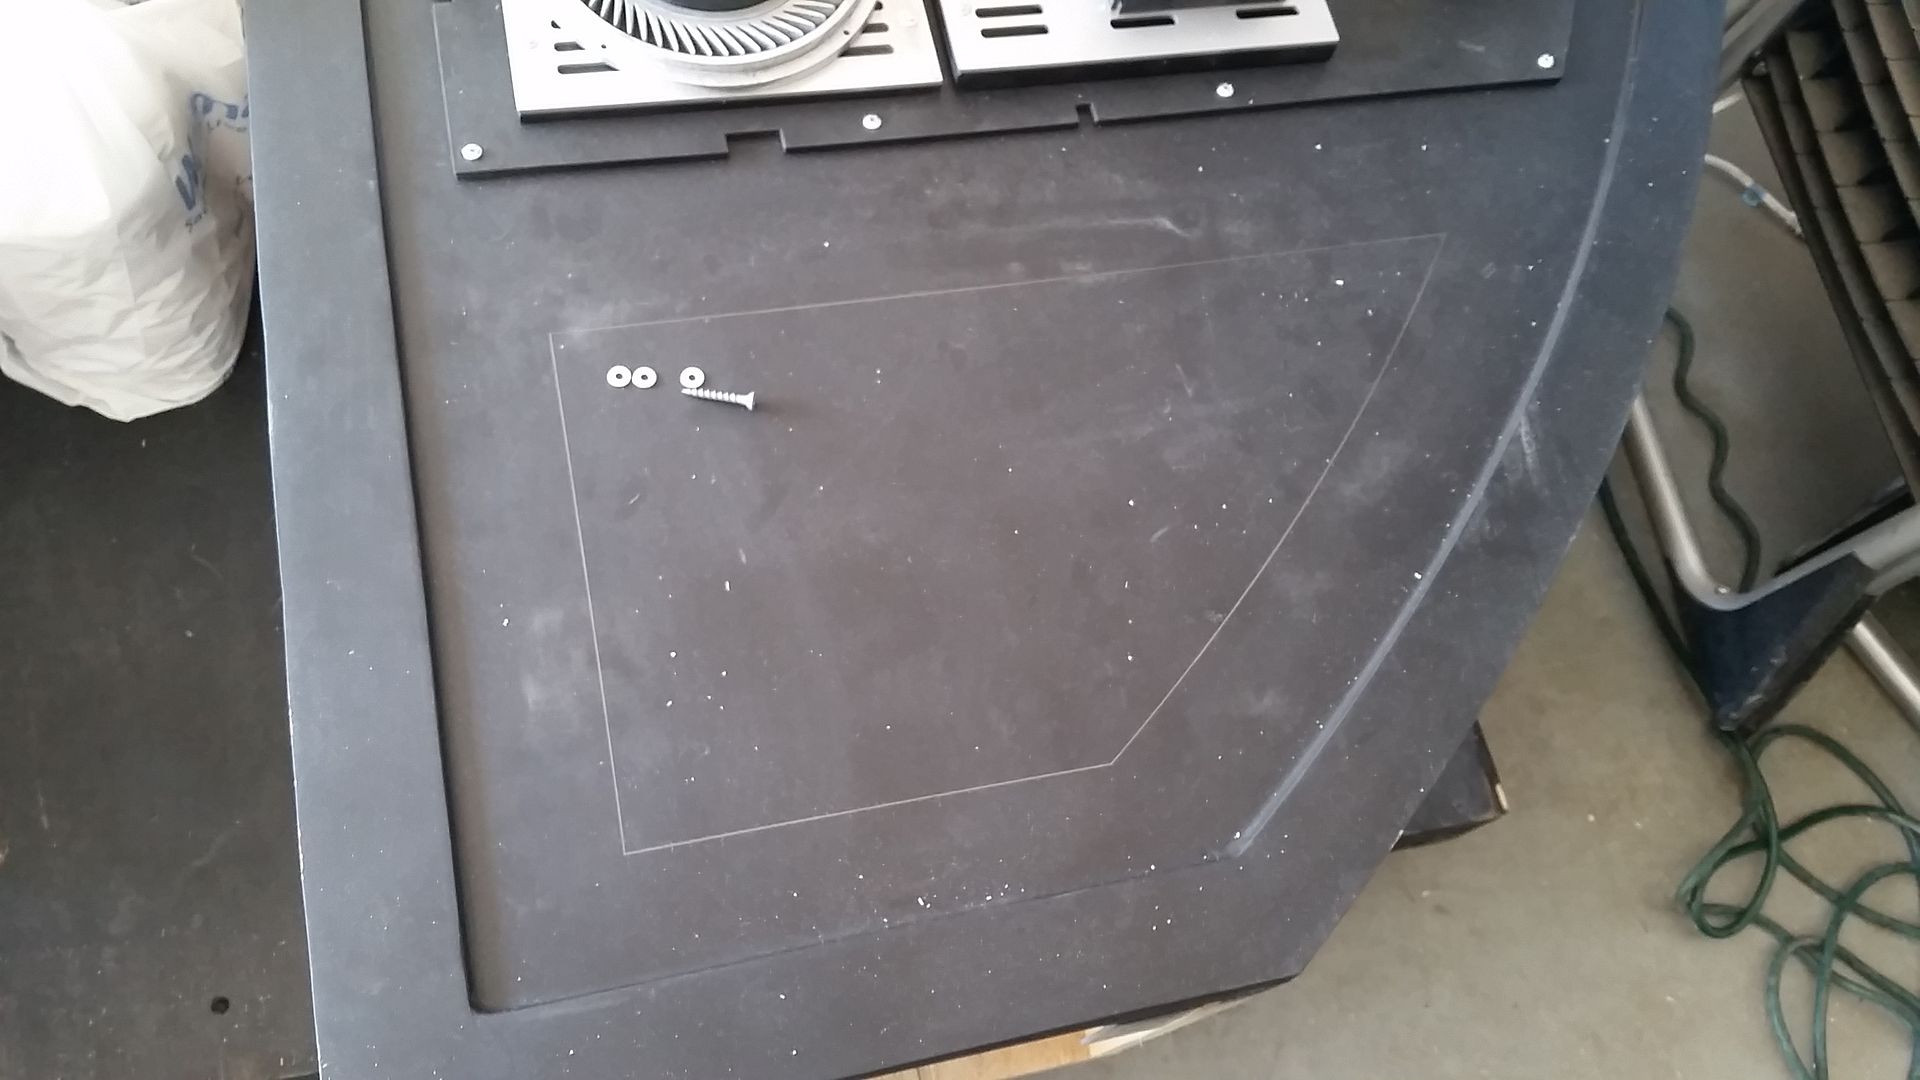
It will be DEF assembled but will still be modular for easy transport.
I'm so happy to hear that! Every time you guys post pictures of the assembled thing it puts a big grin on my face!
Can I request on behalf of everyone that you have a pc and camera permanently in the new home so pics can be uploaded quickly and easily.
Can I request on behalf of everyone that you have a pc and camera permanently in the new home so pics can be uploaded quickly and easily.


I thought for a second you meant a live webcam, then I understood what you actually meant.
Then I thought, "LIVE WEBCAM - YEAH!!" Just think - being able to look in on the project 24-7, on demand! Instantly being able to get our MF fix at a moment's notice! Being able to make instant, snap judgements about the ratio of cockpit work time to the time spent in actual real-life, and gripe if Sofa and crew aren't in there enough to satisfy our own personal, uninvolved opinions of .... Yeah, that's a terrible idea. Sorry, Sofa.
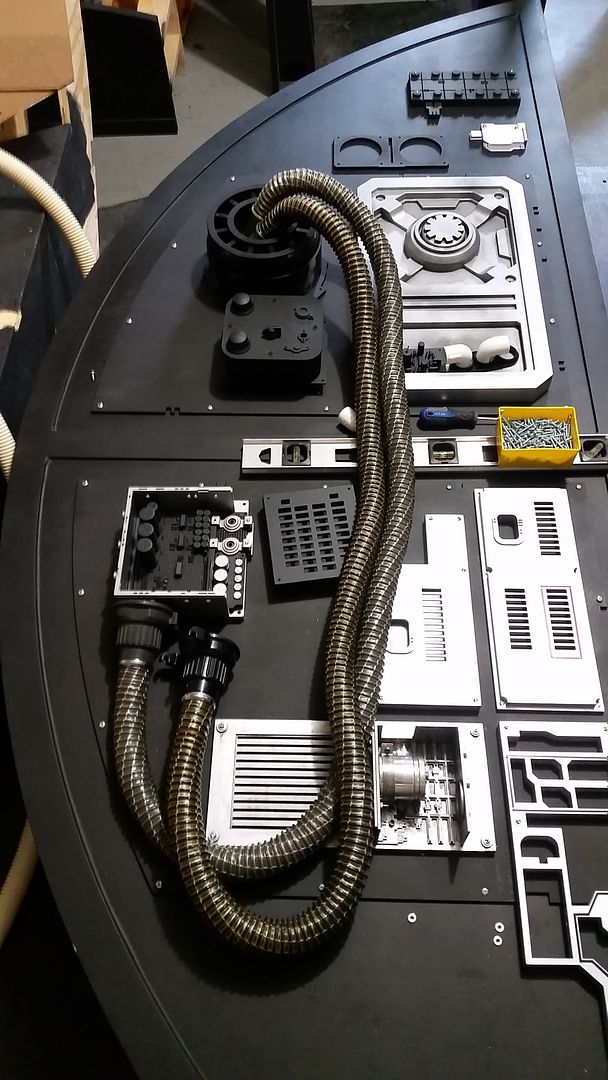
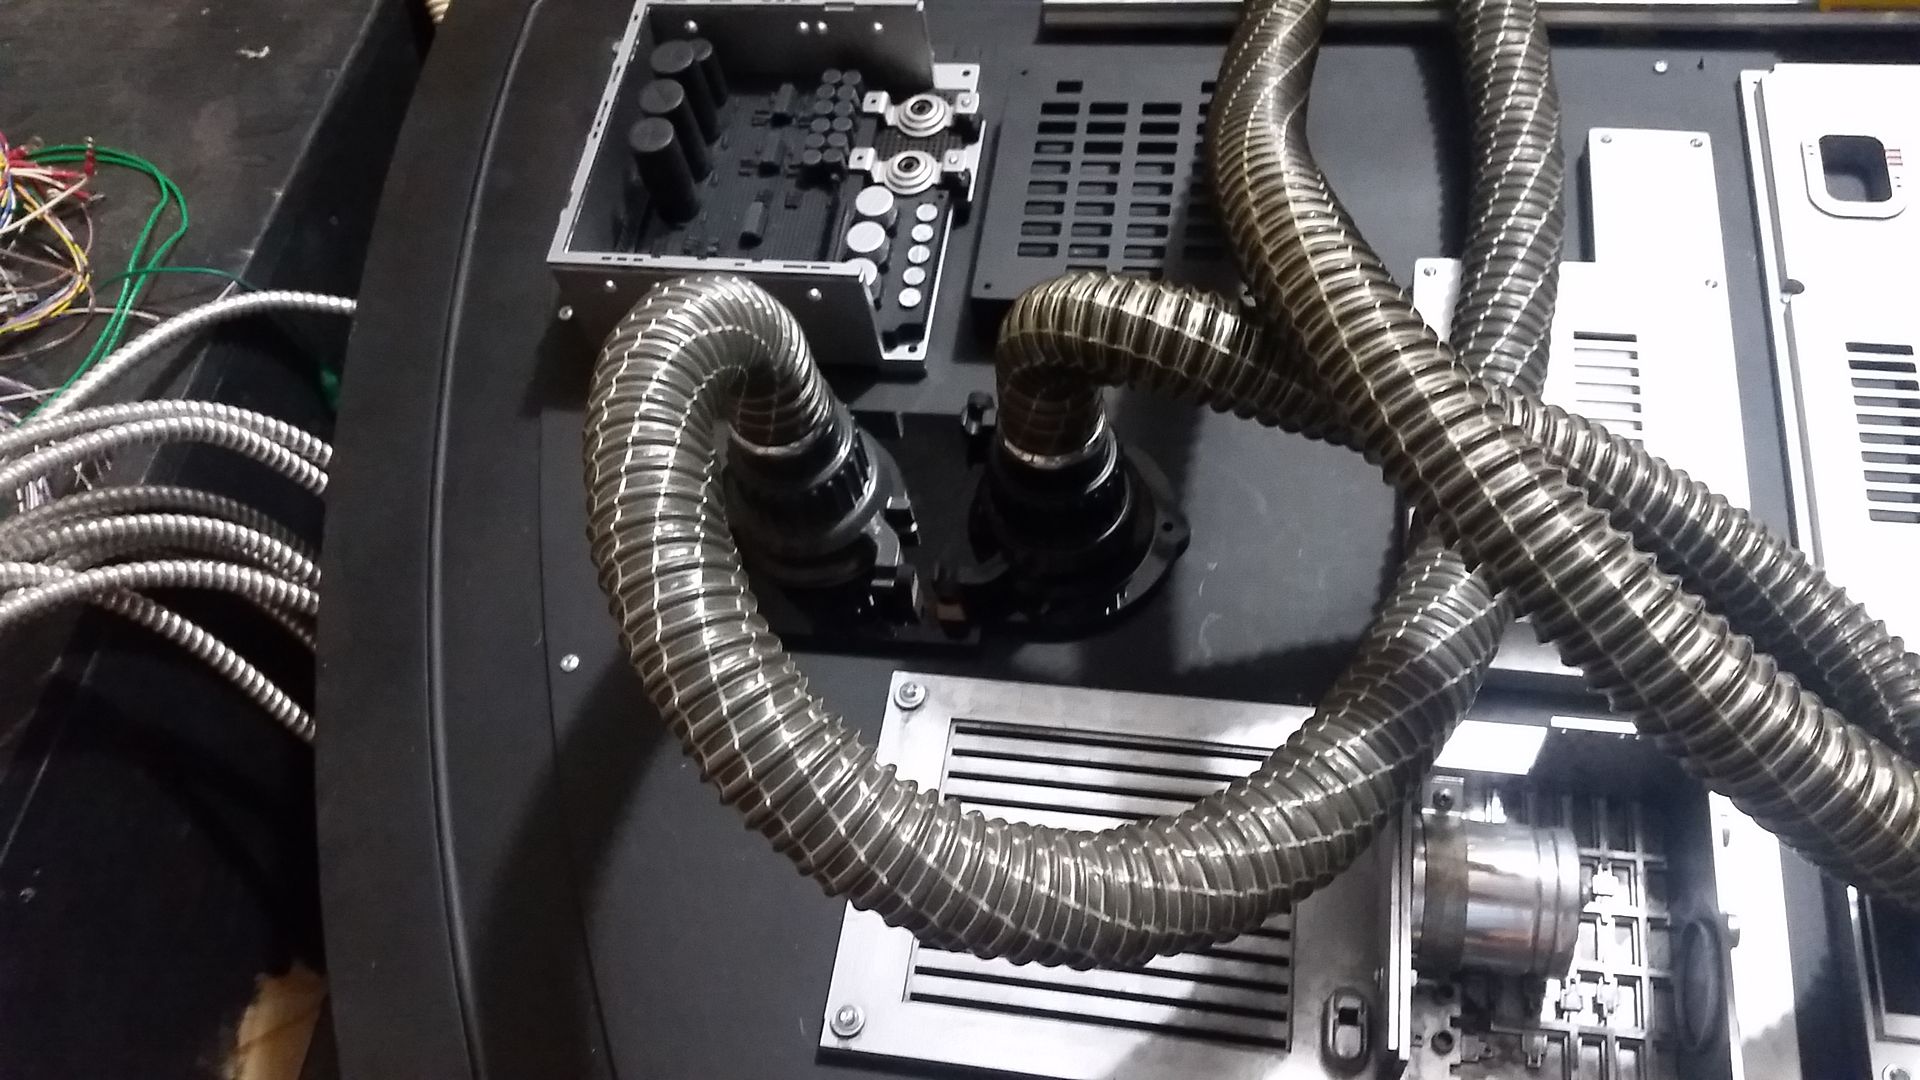
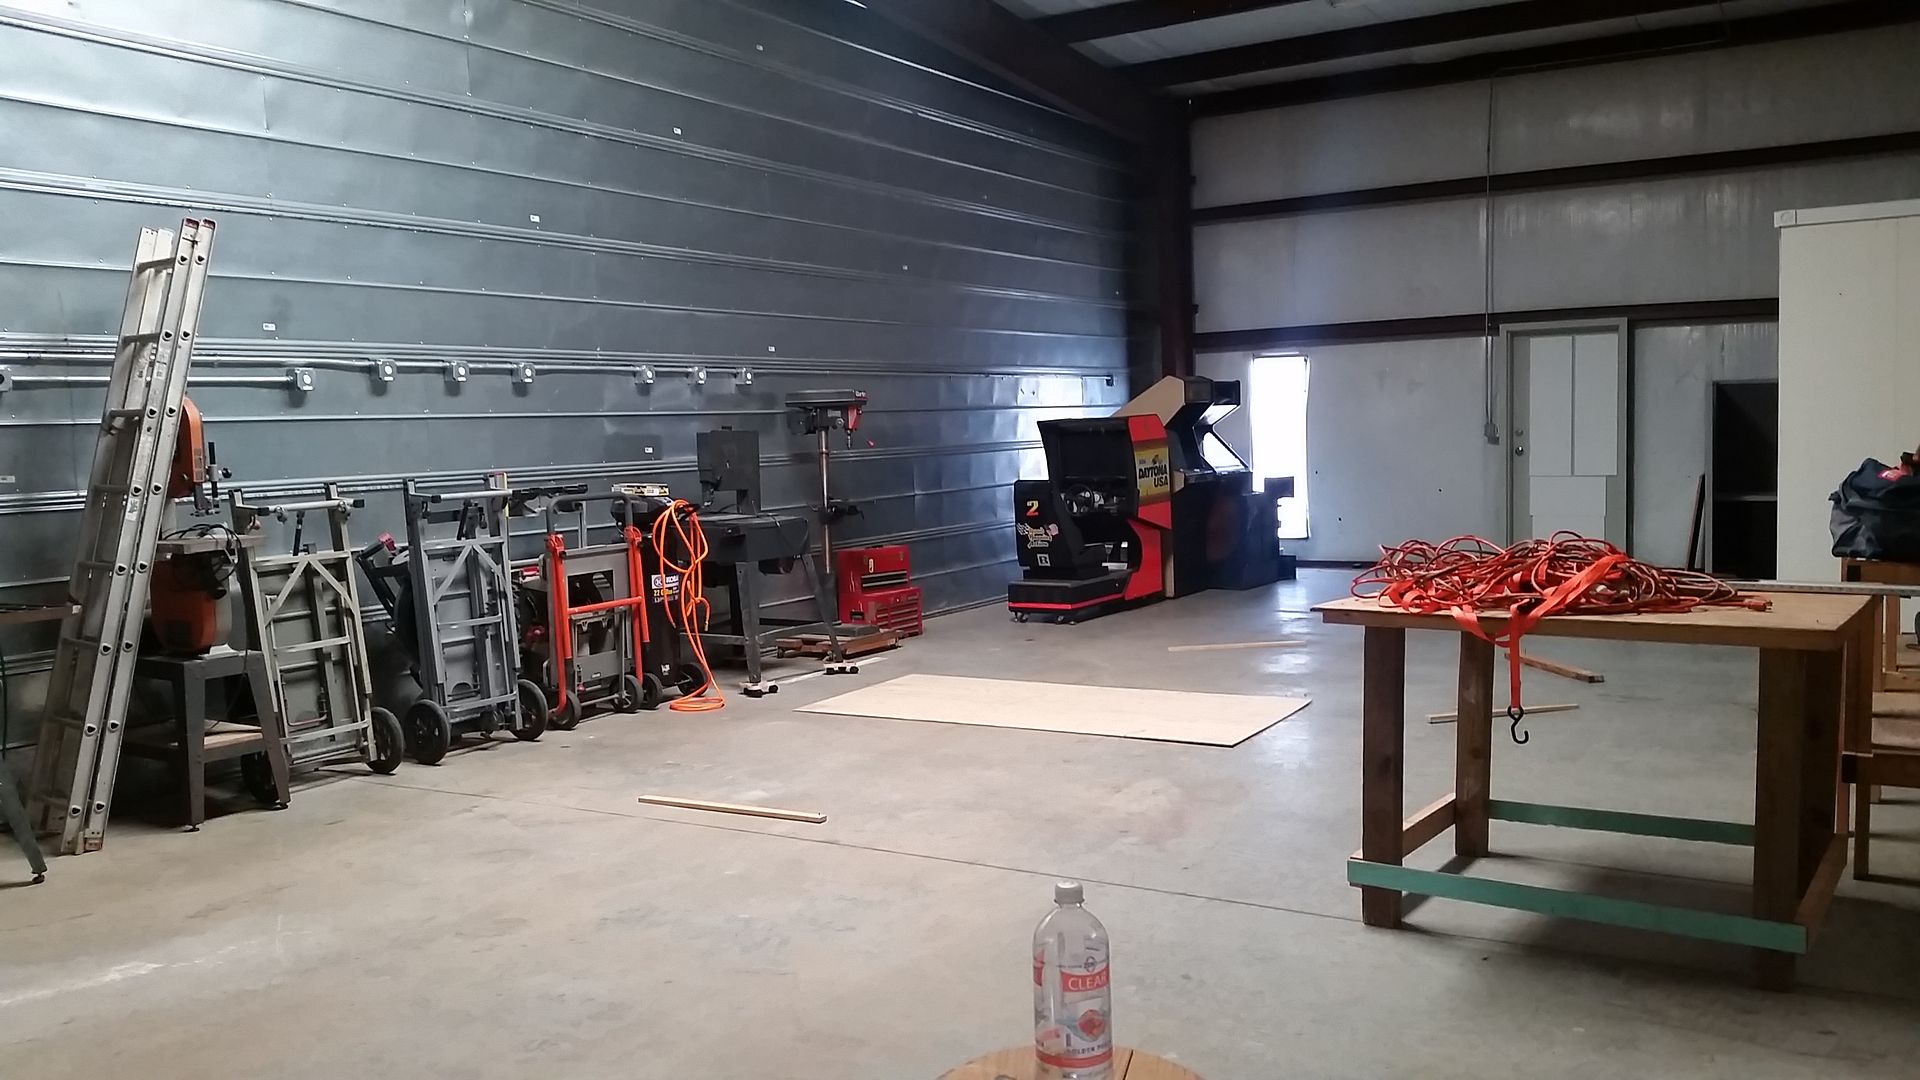
Great update SK. Looks like it was a VERY productive weekend.
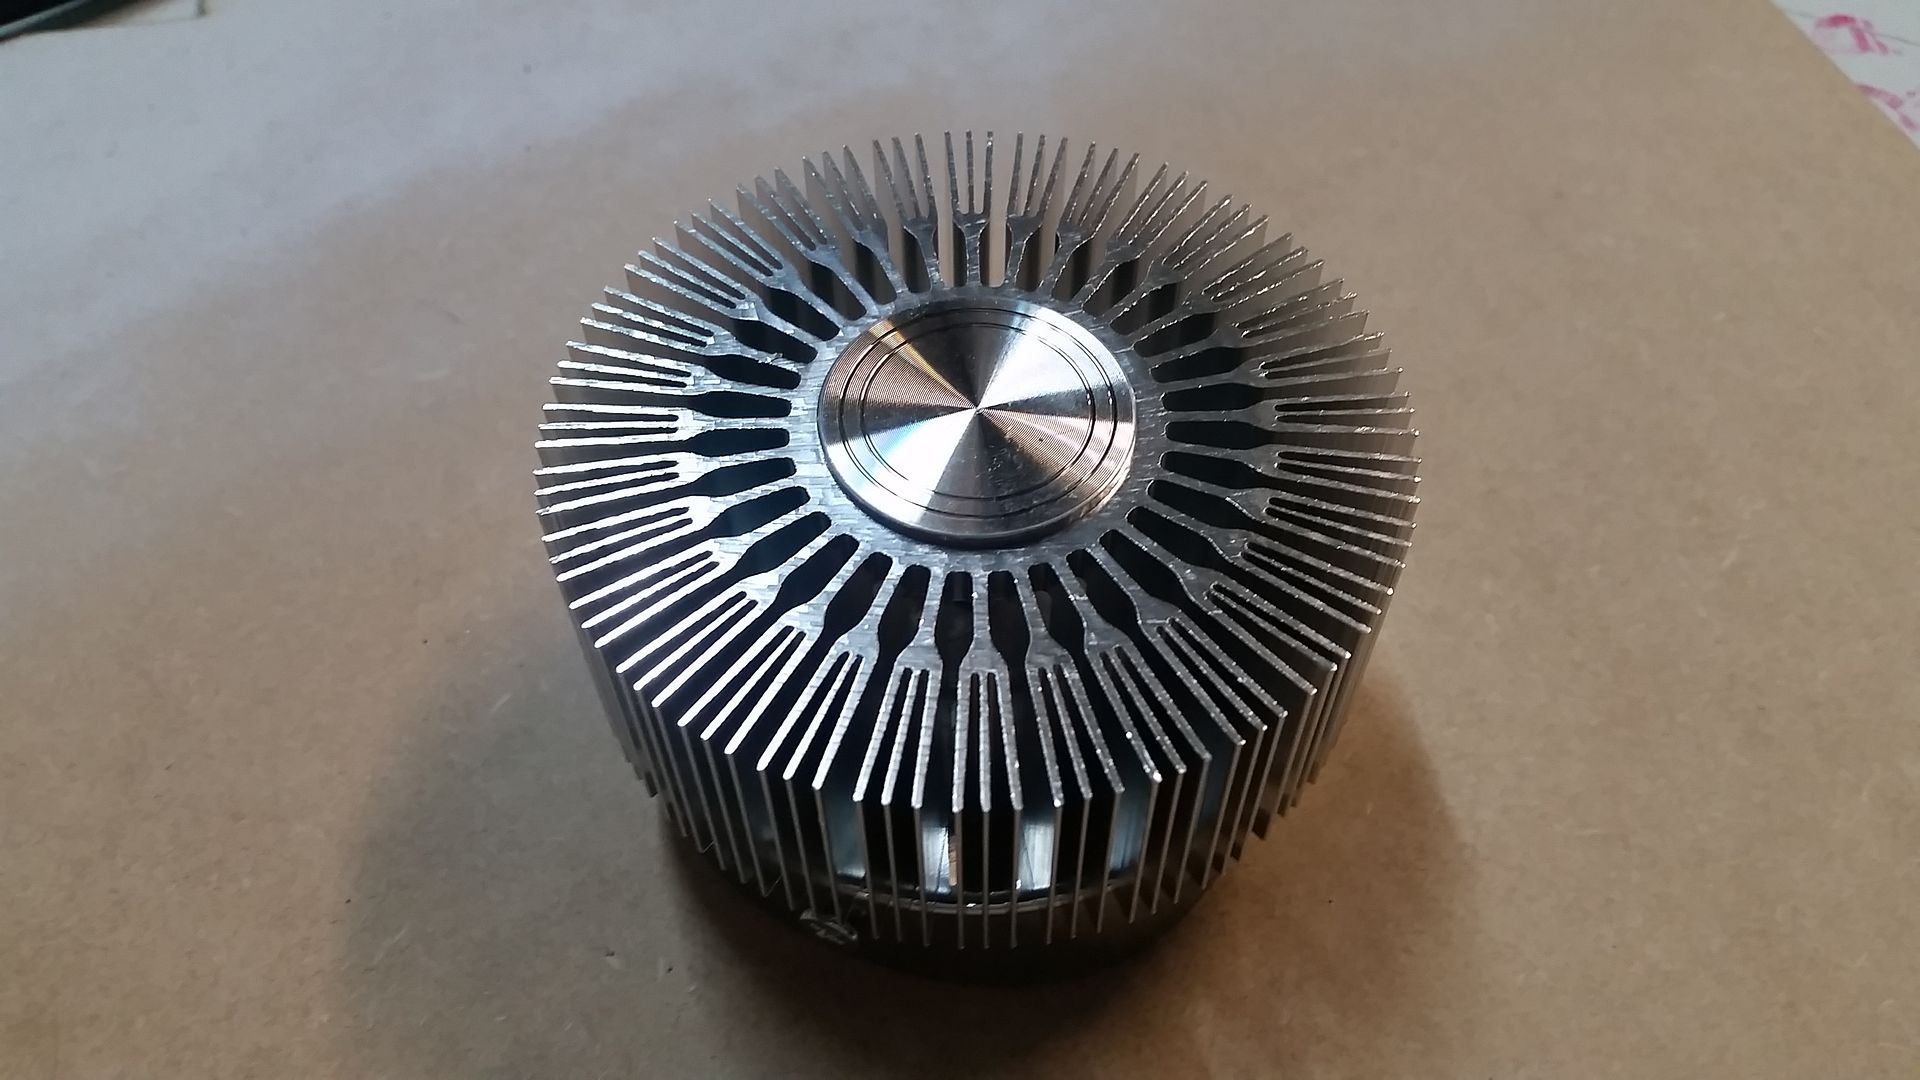
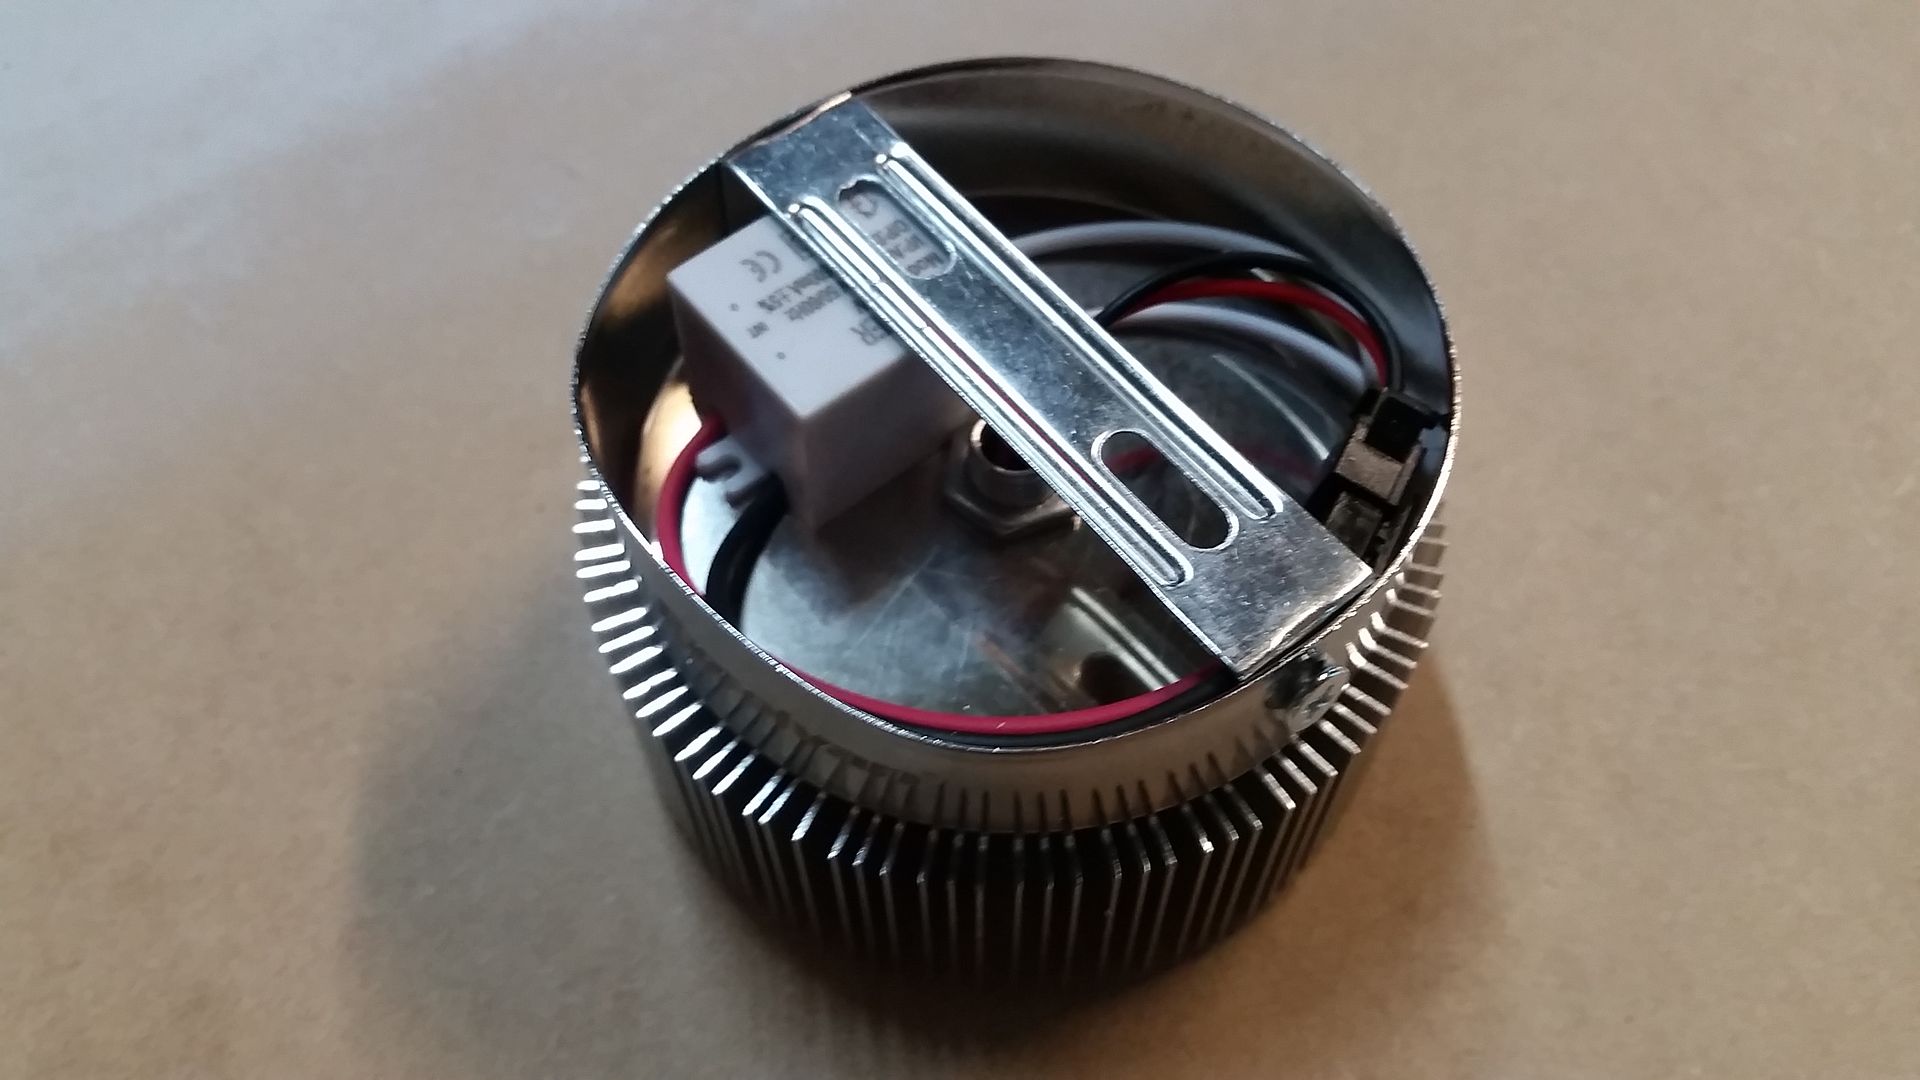
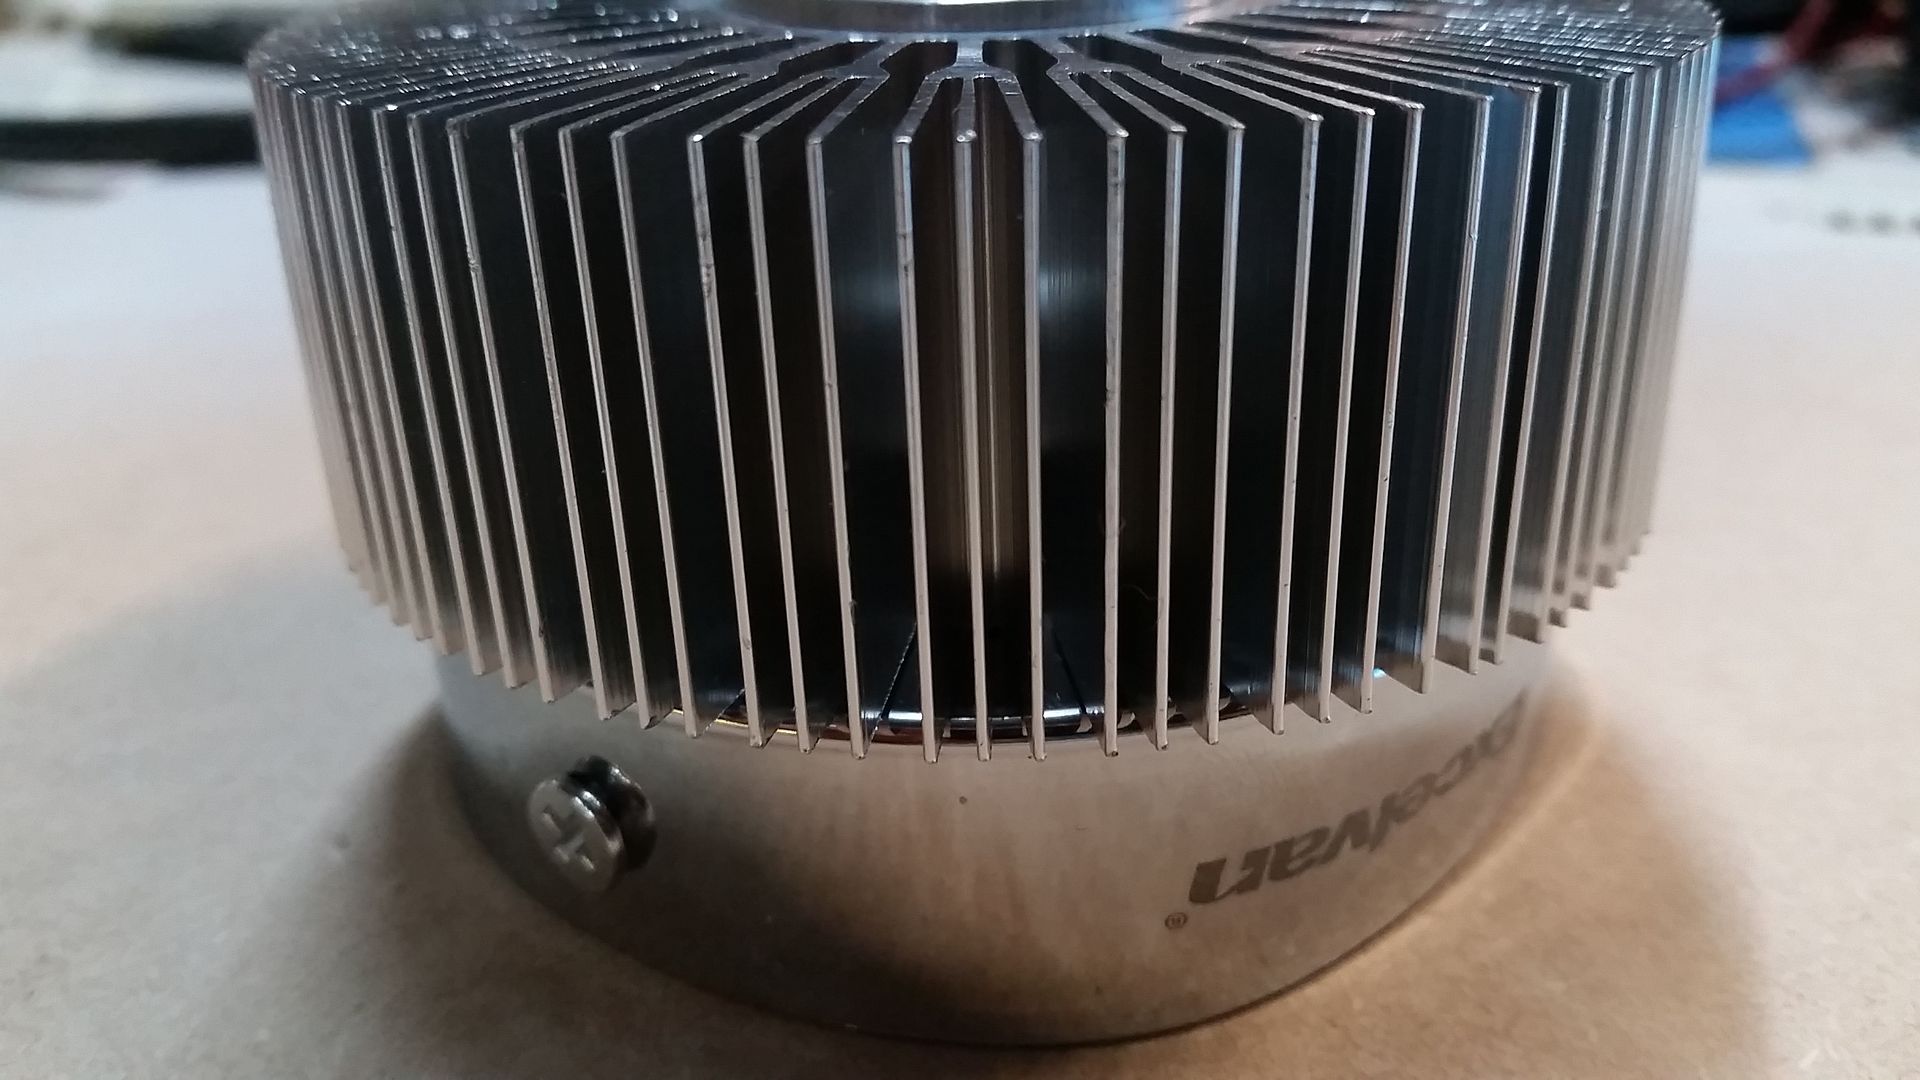
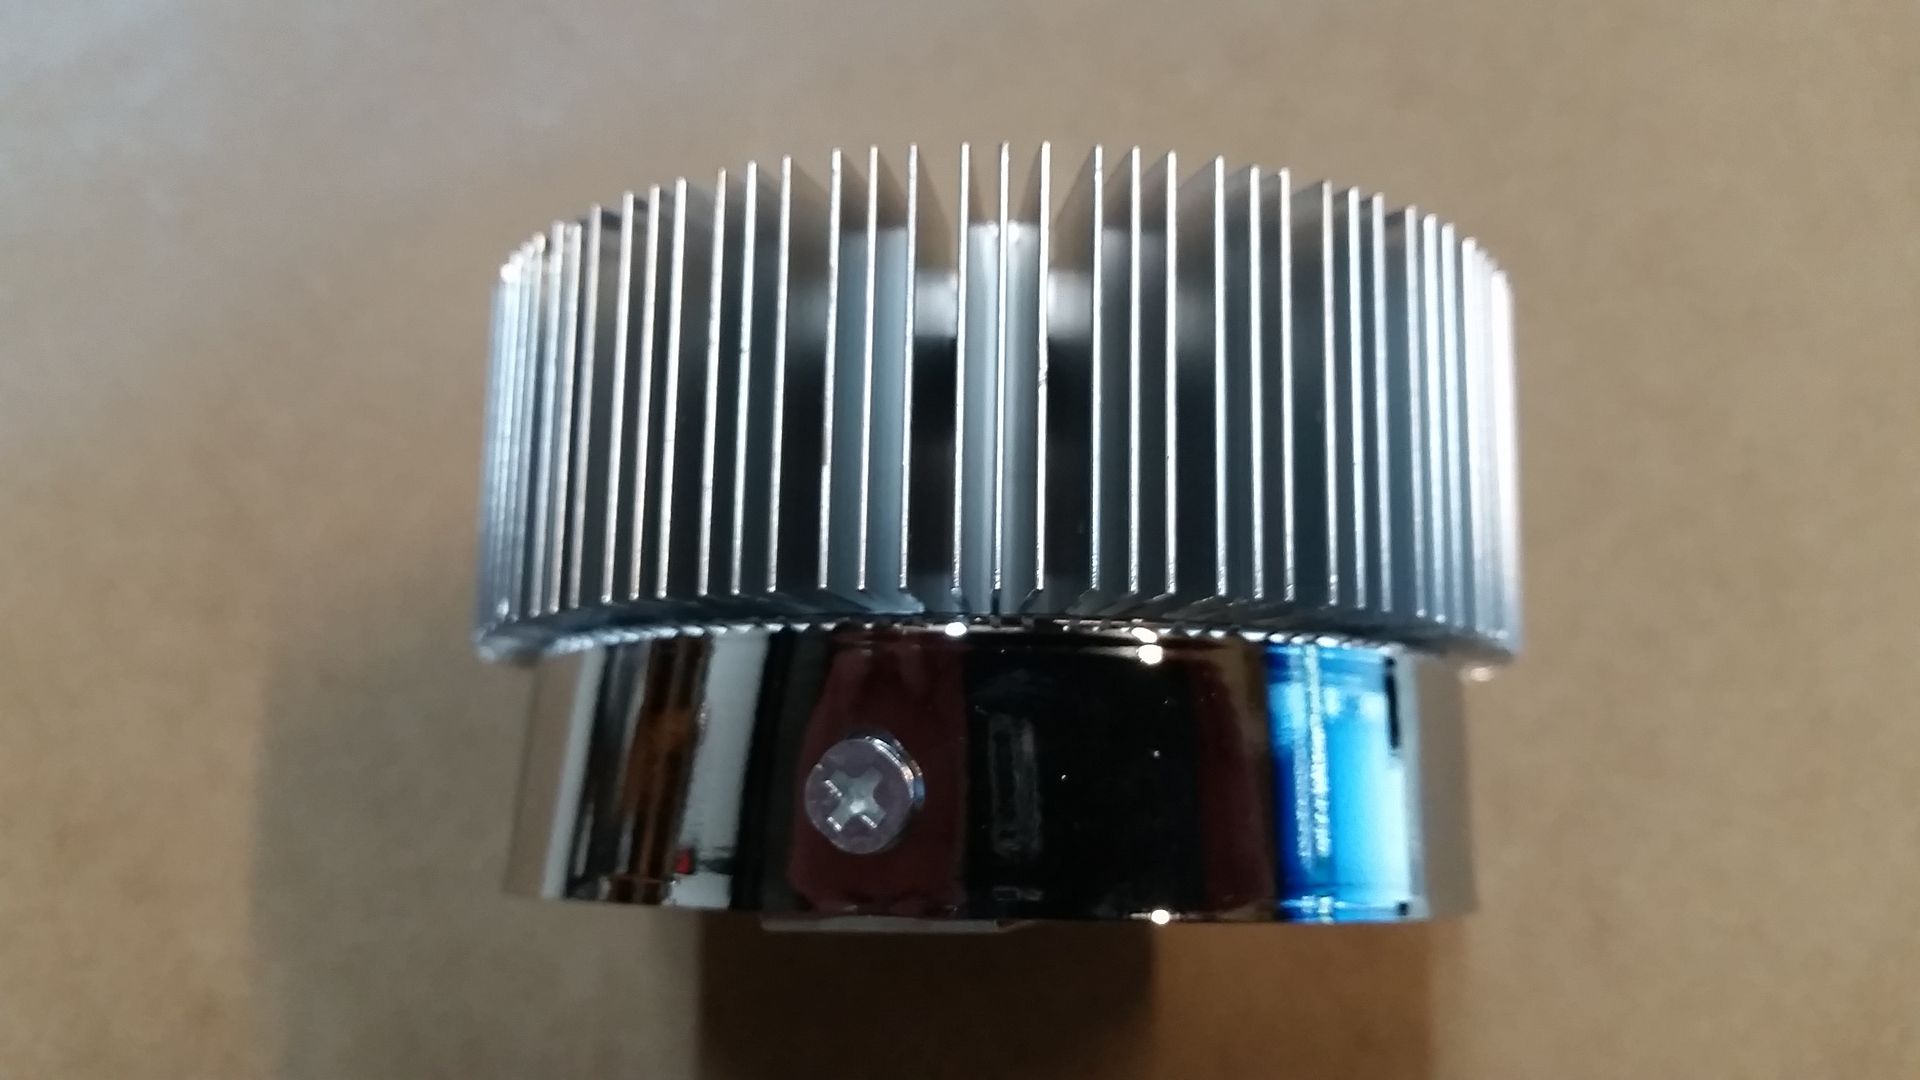
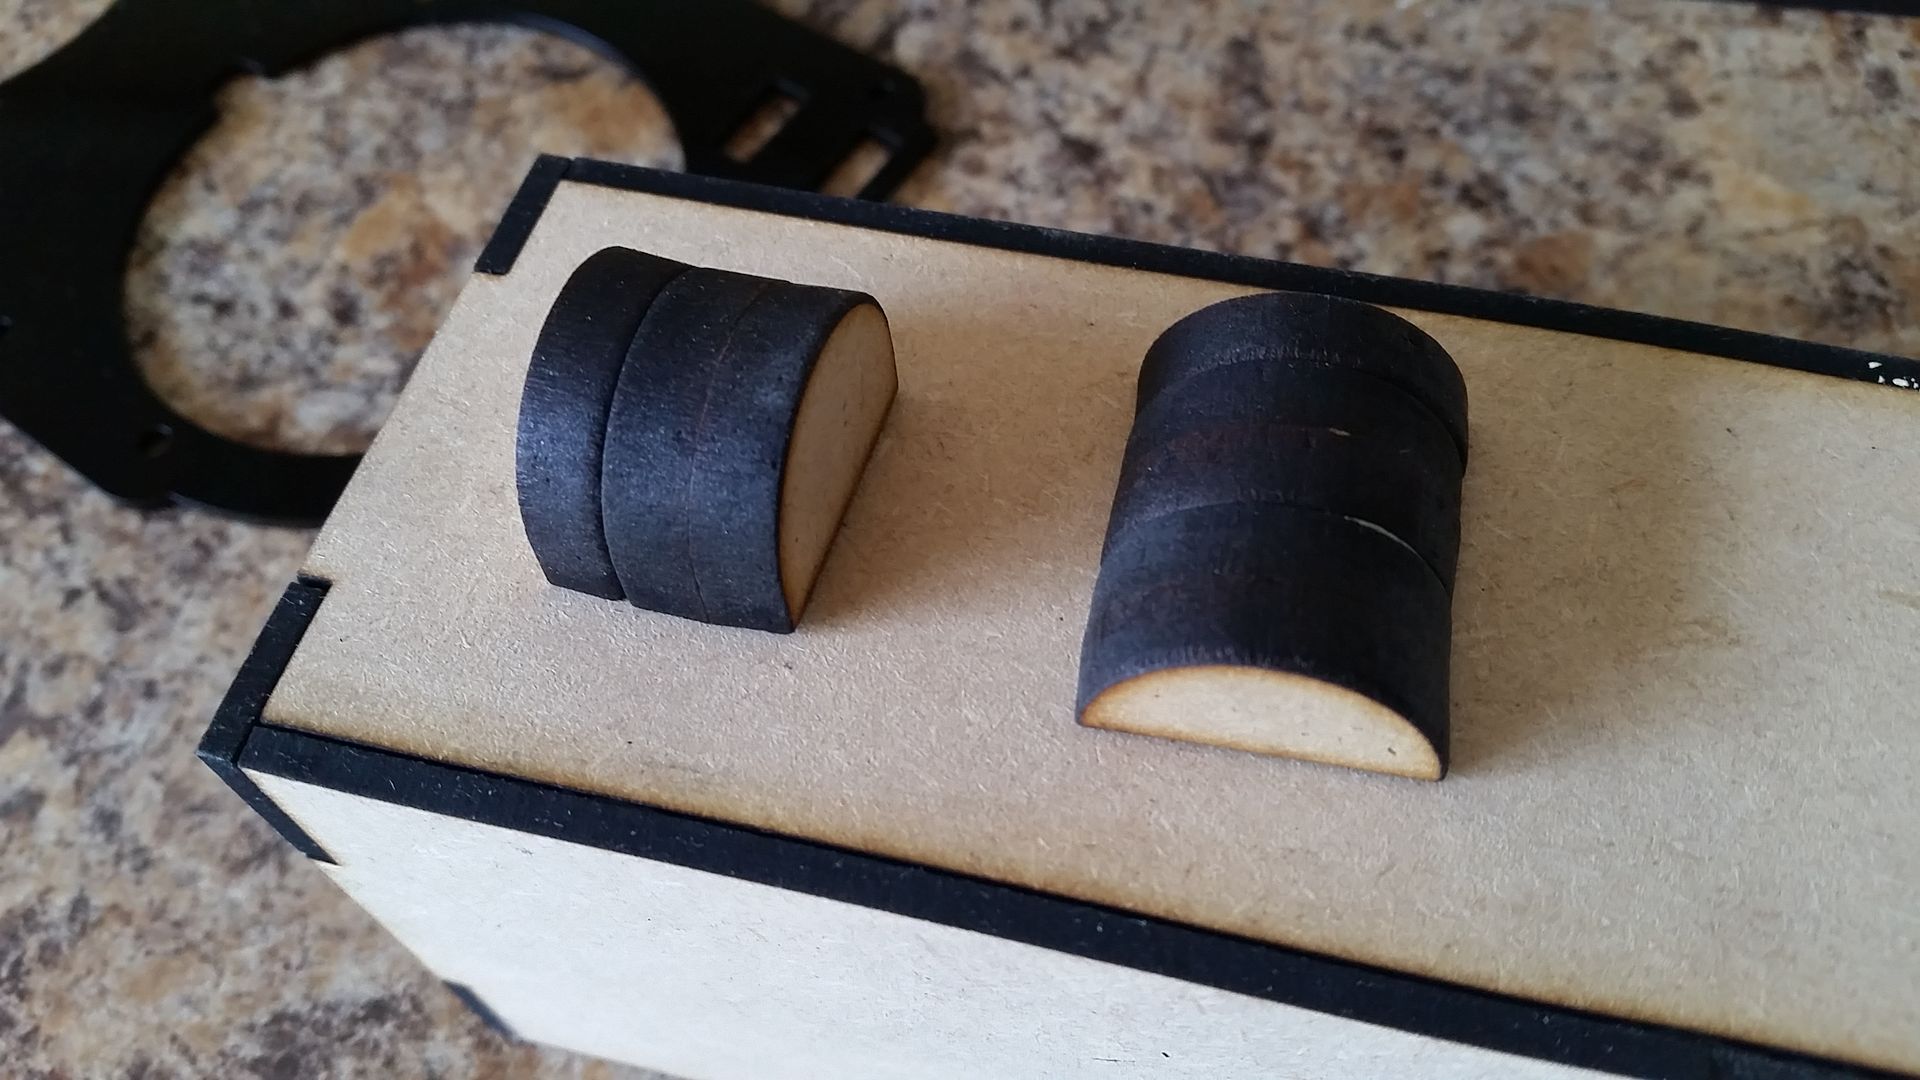
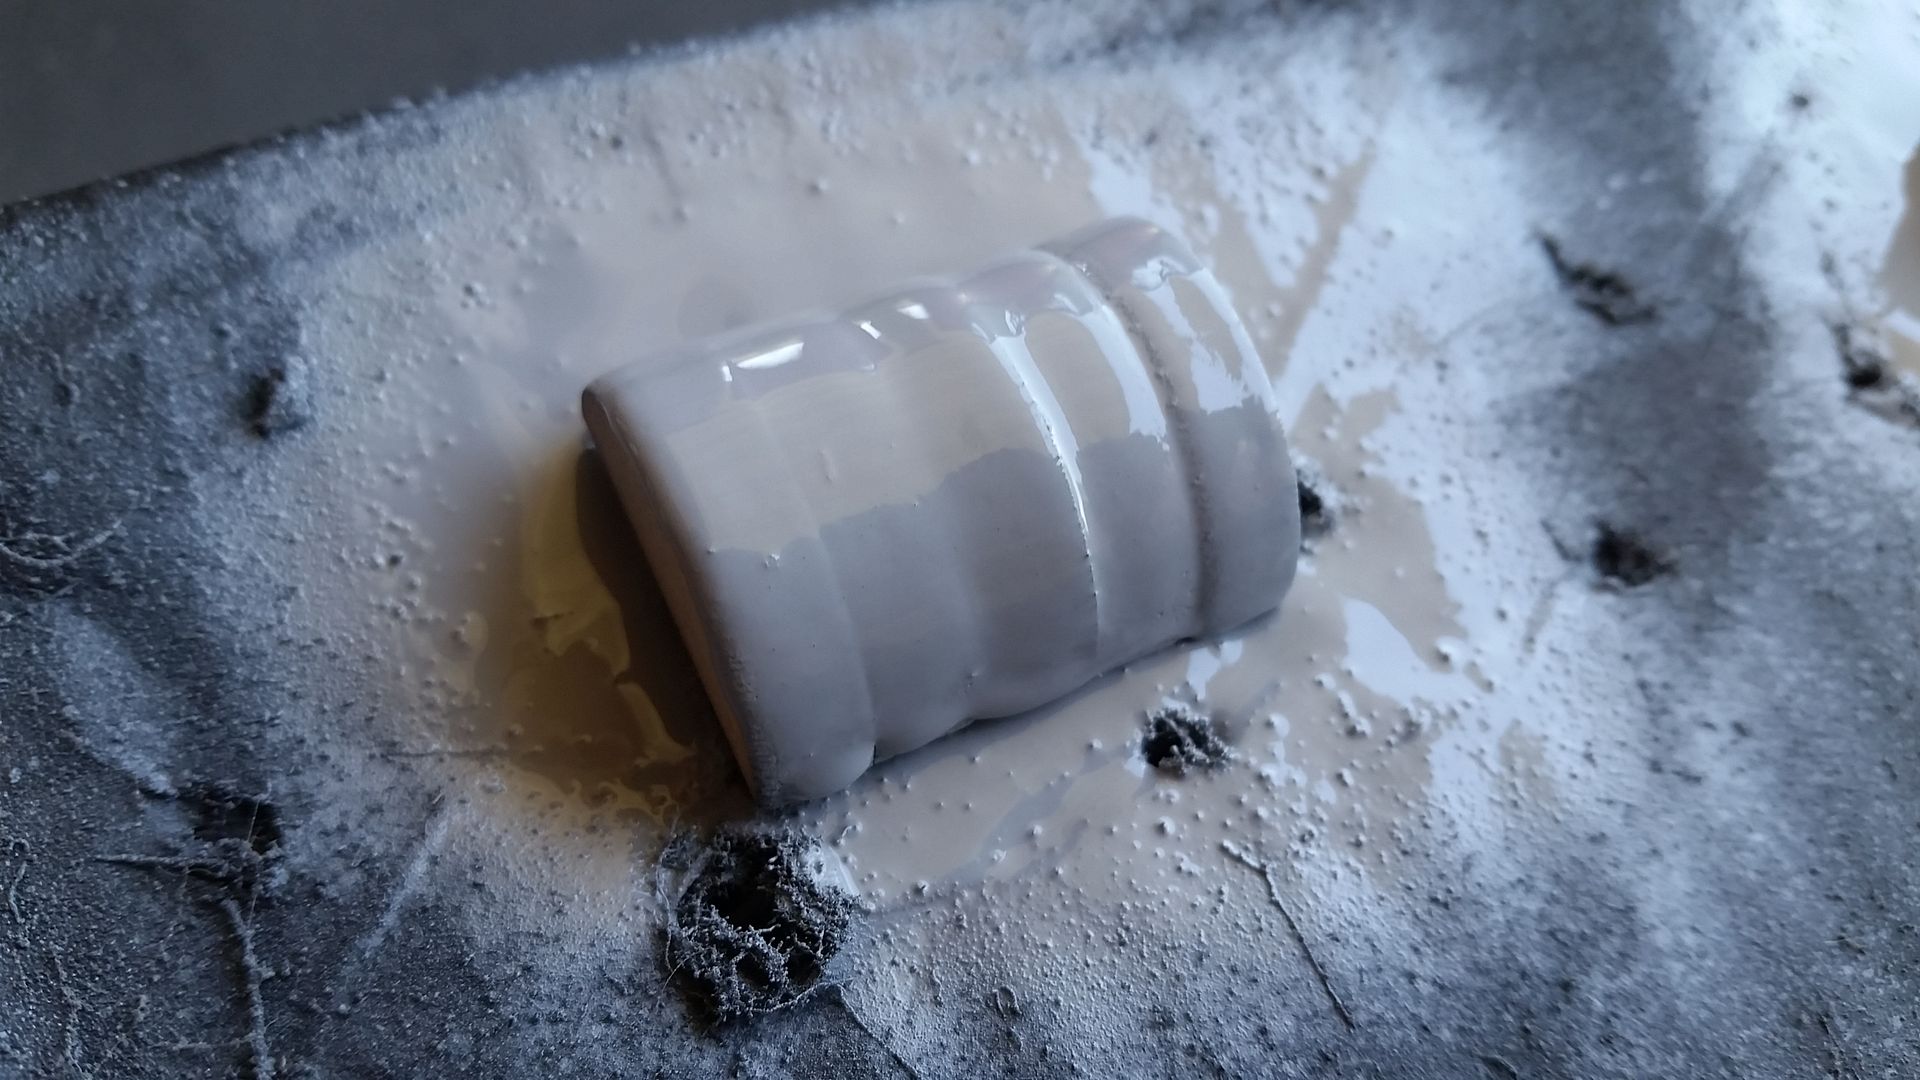
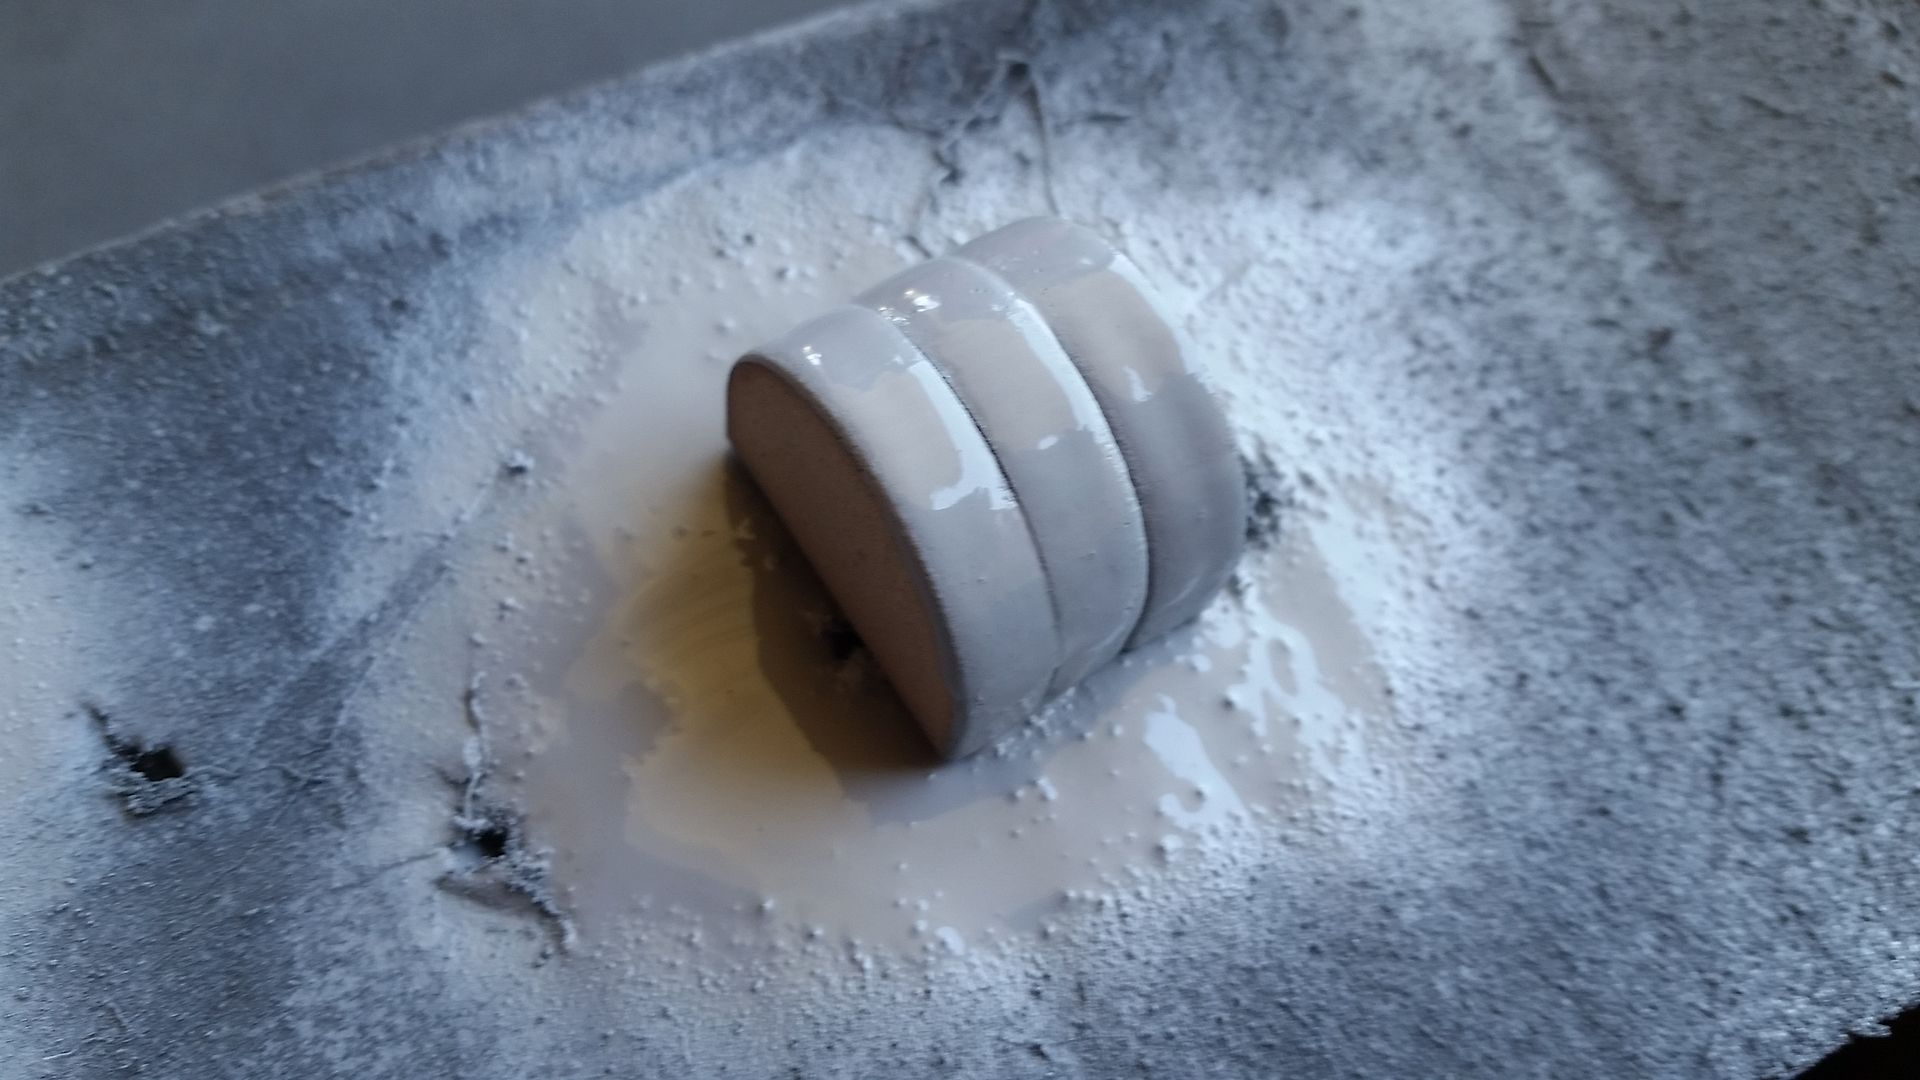
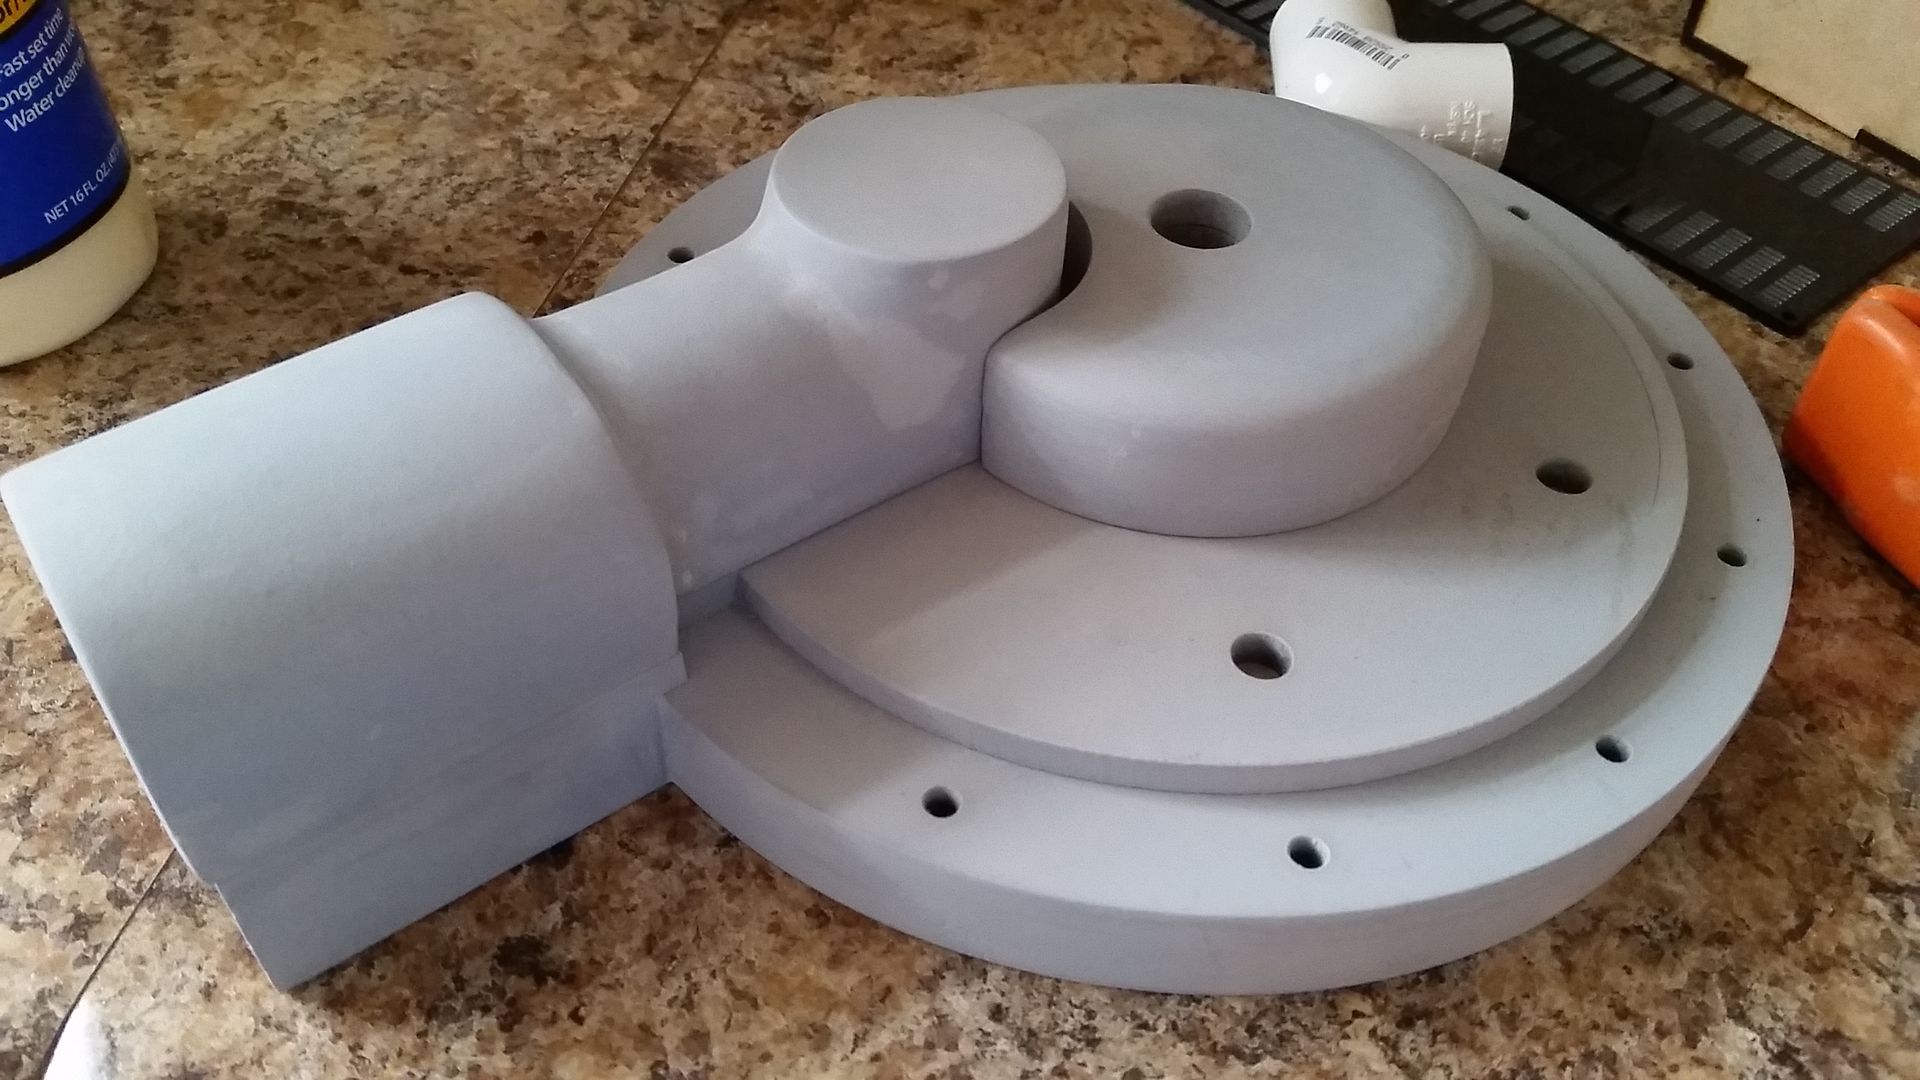
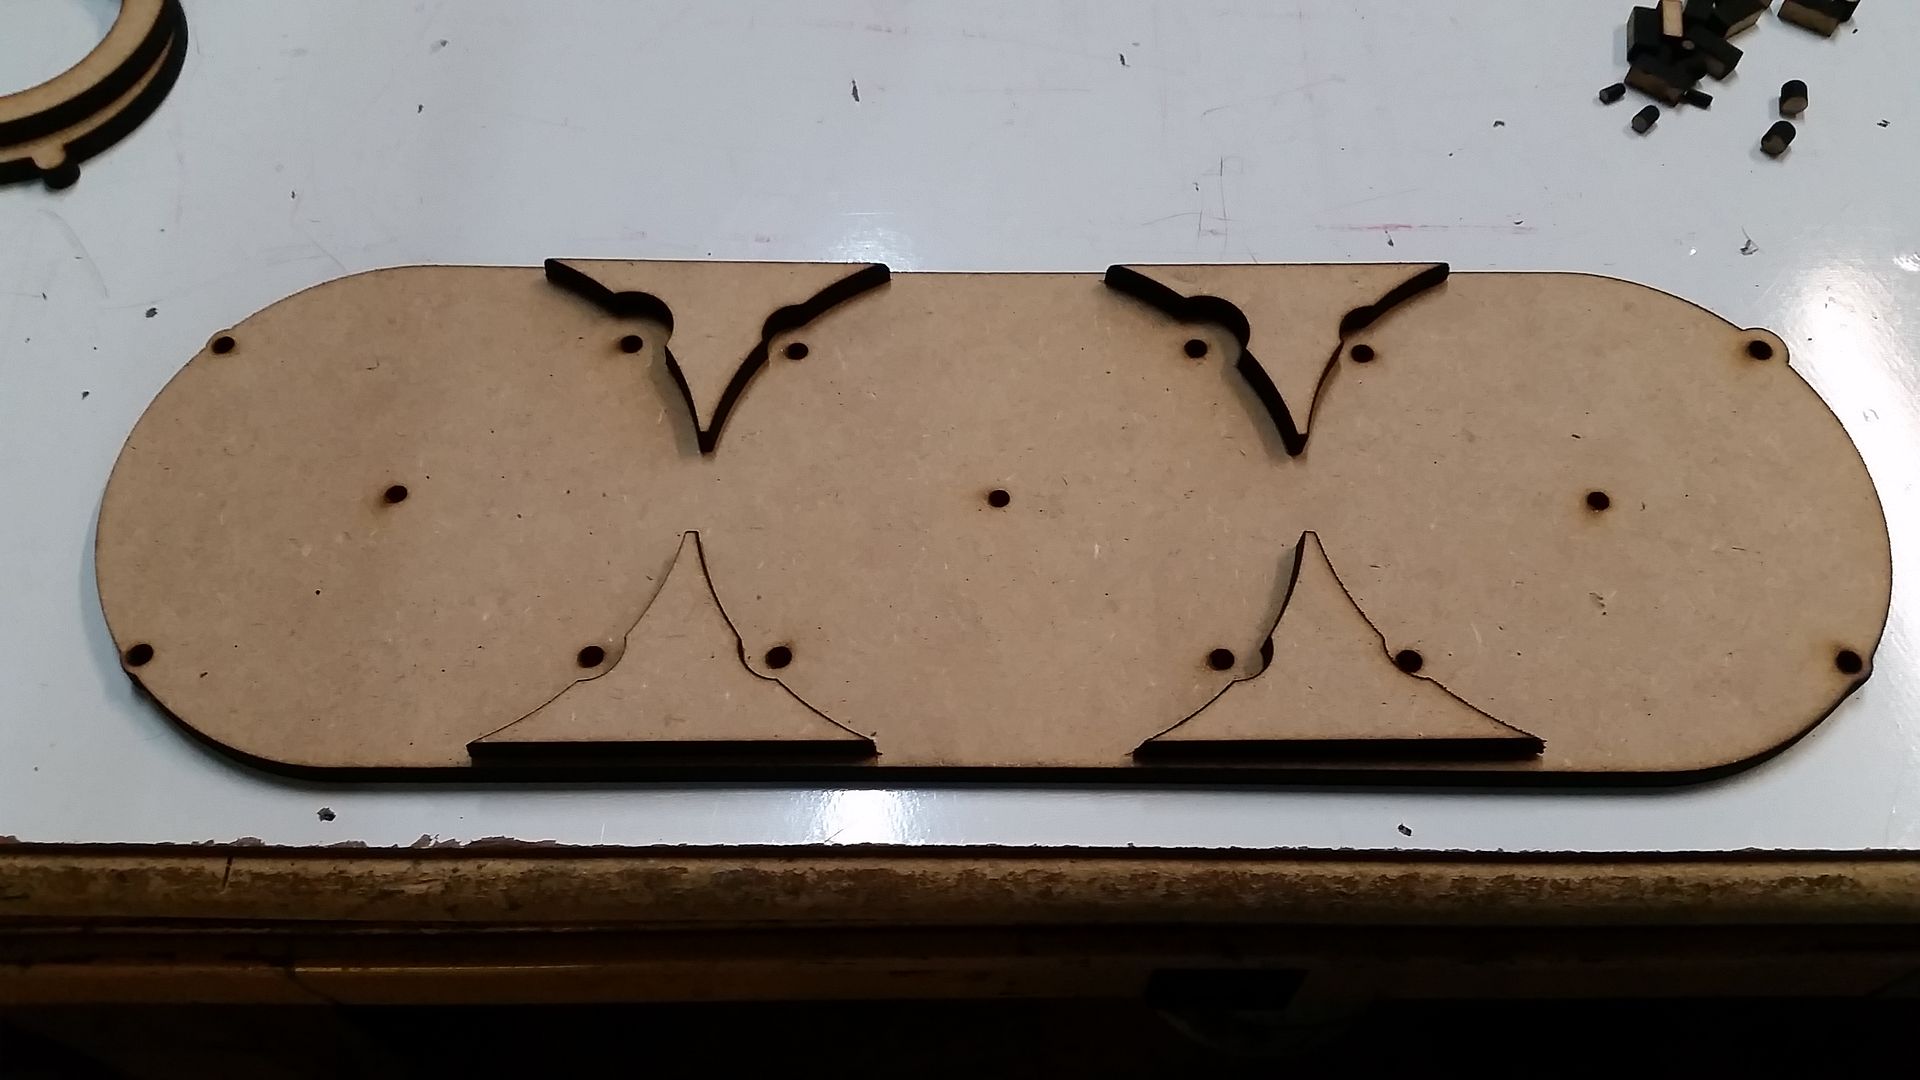
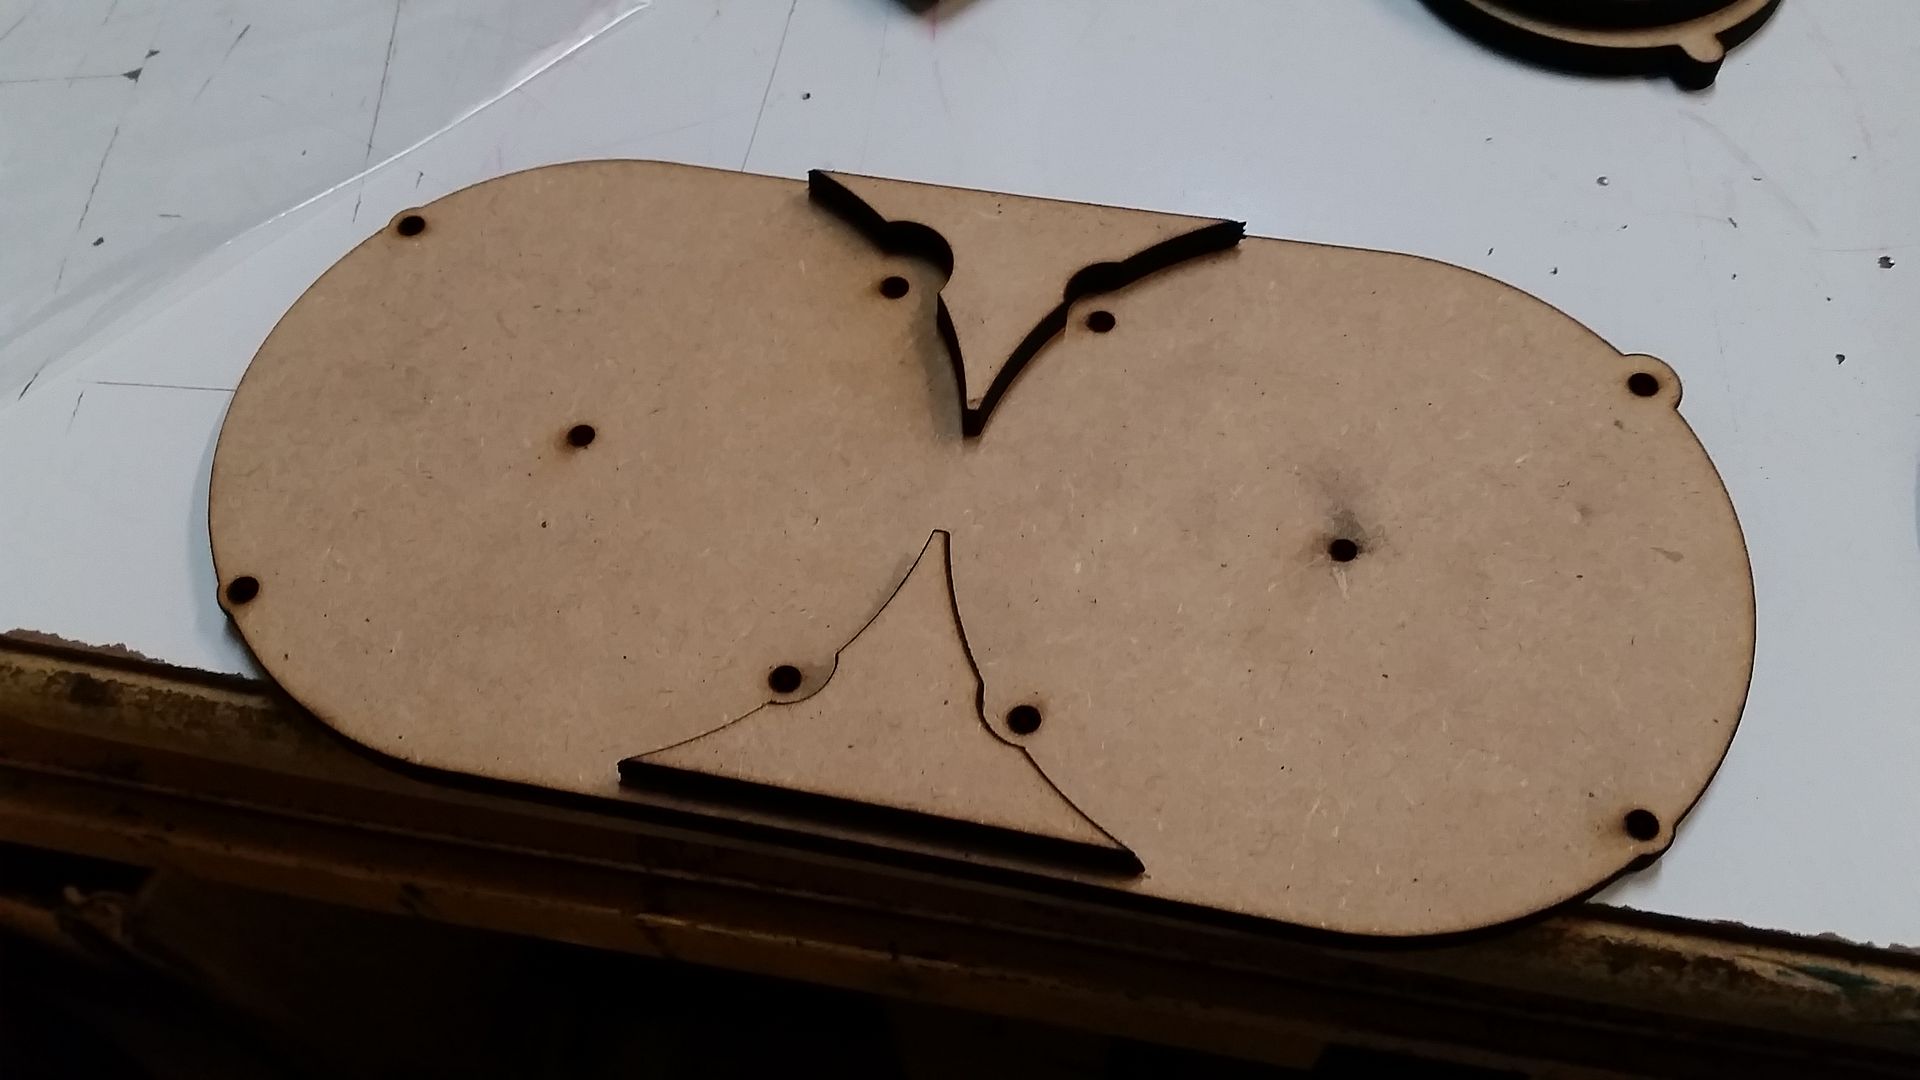
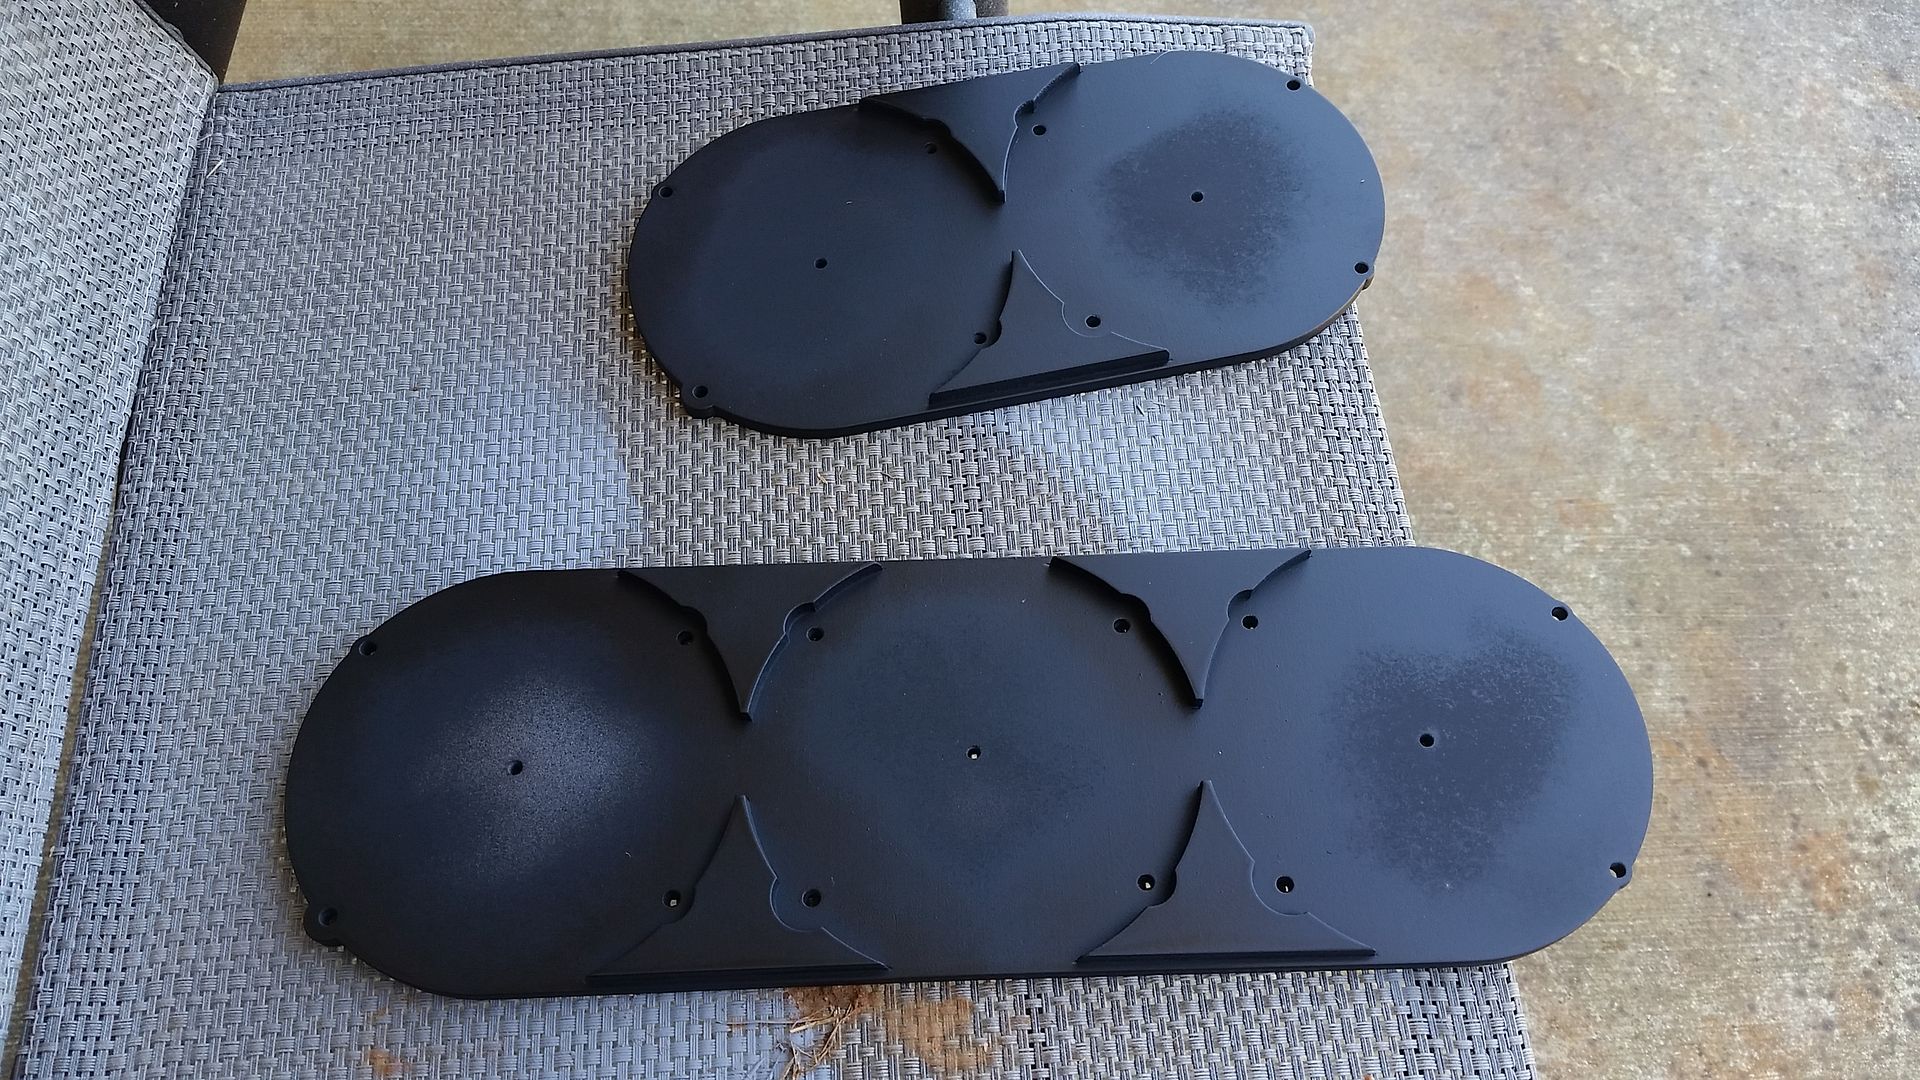
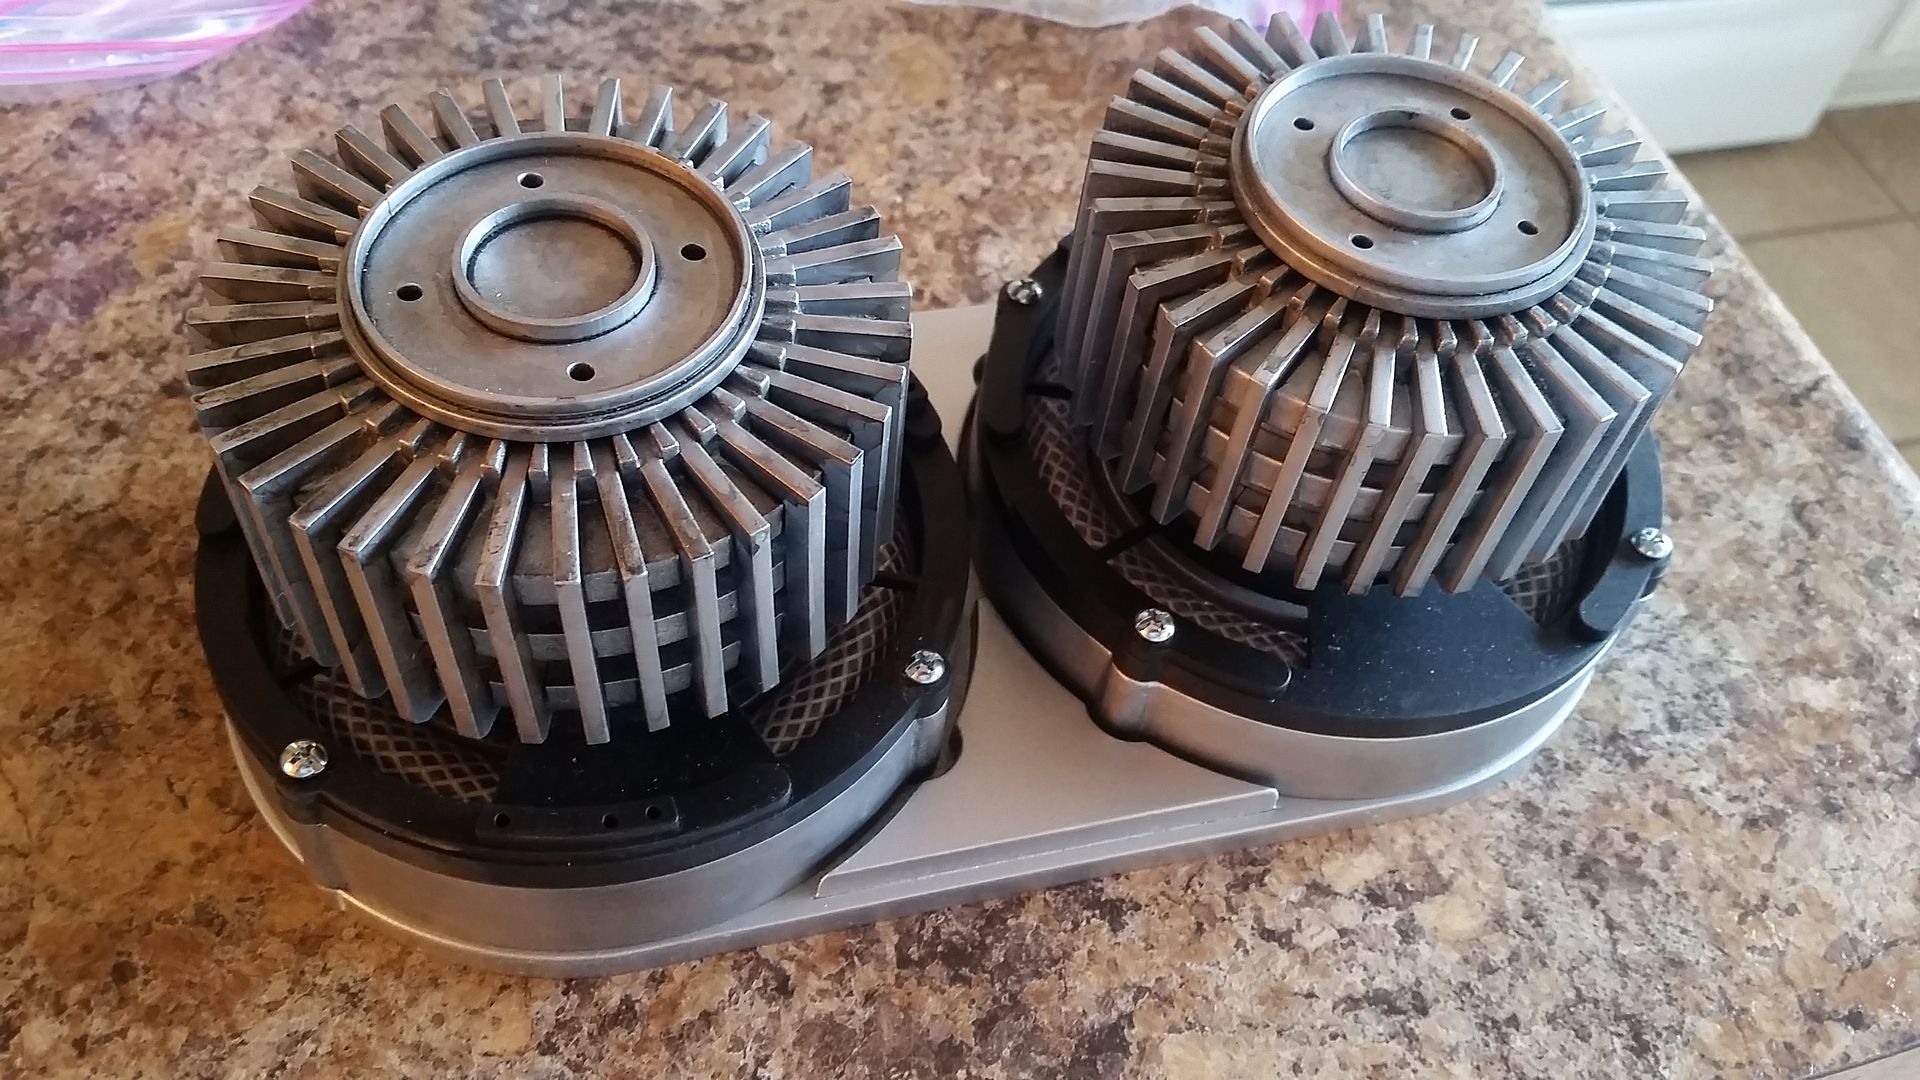
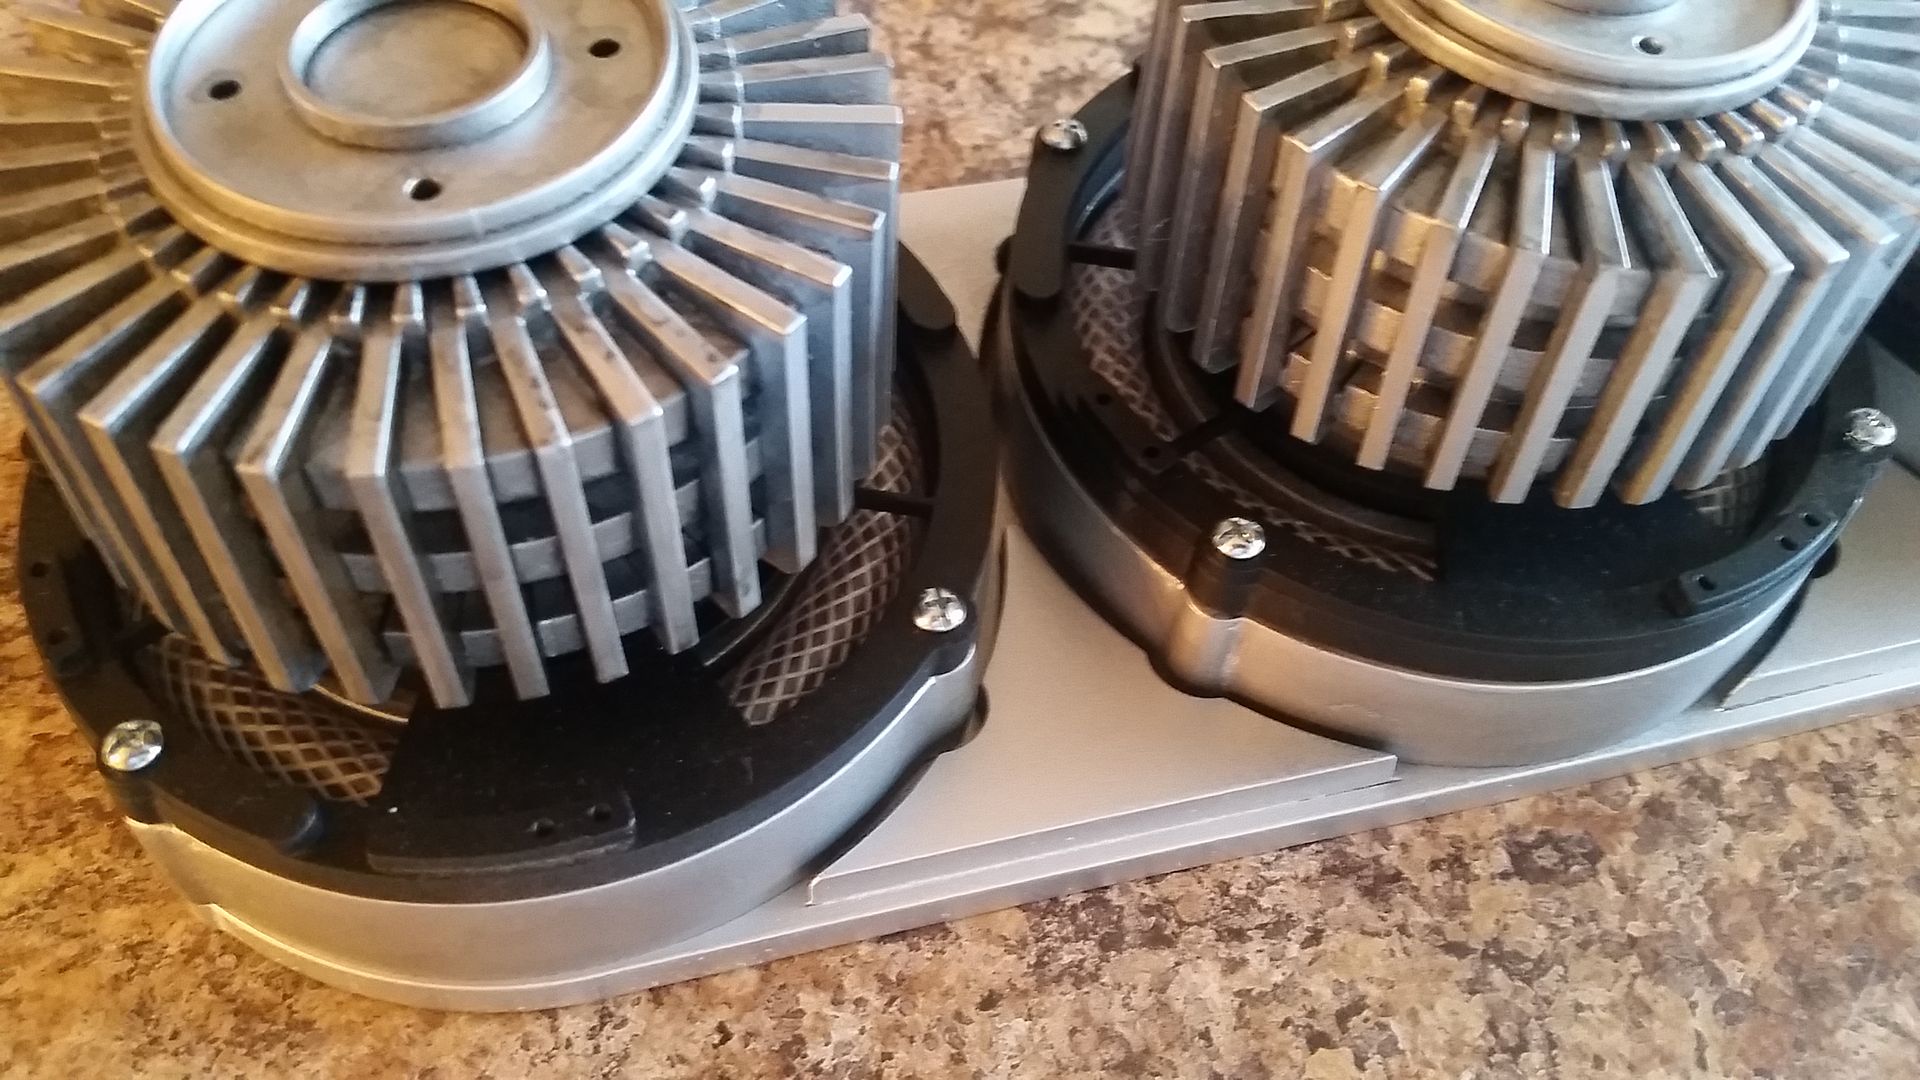
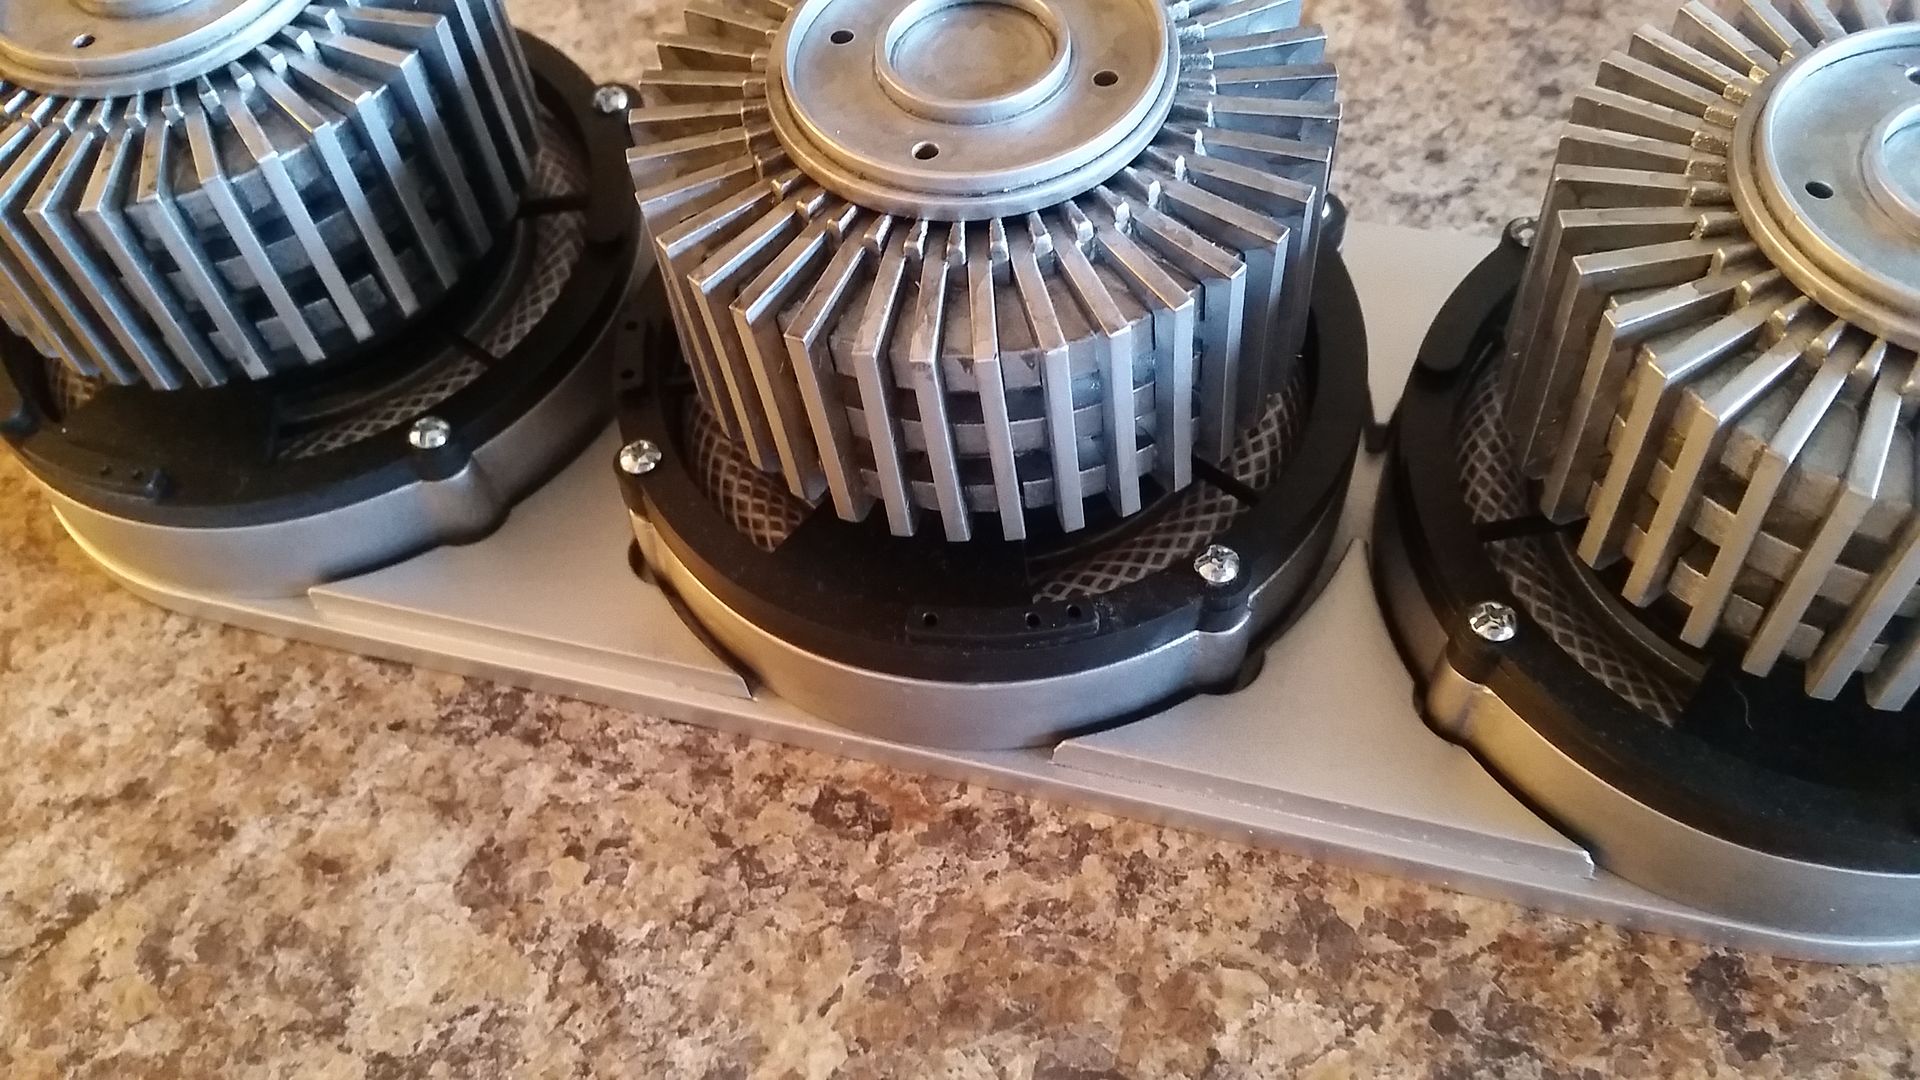
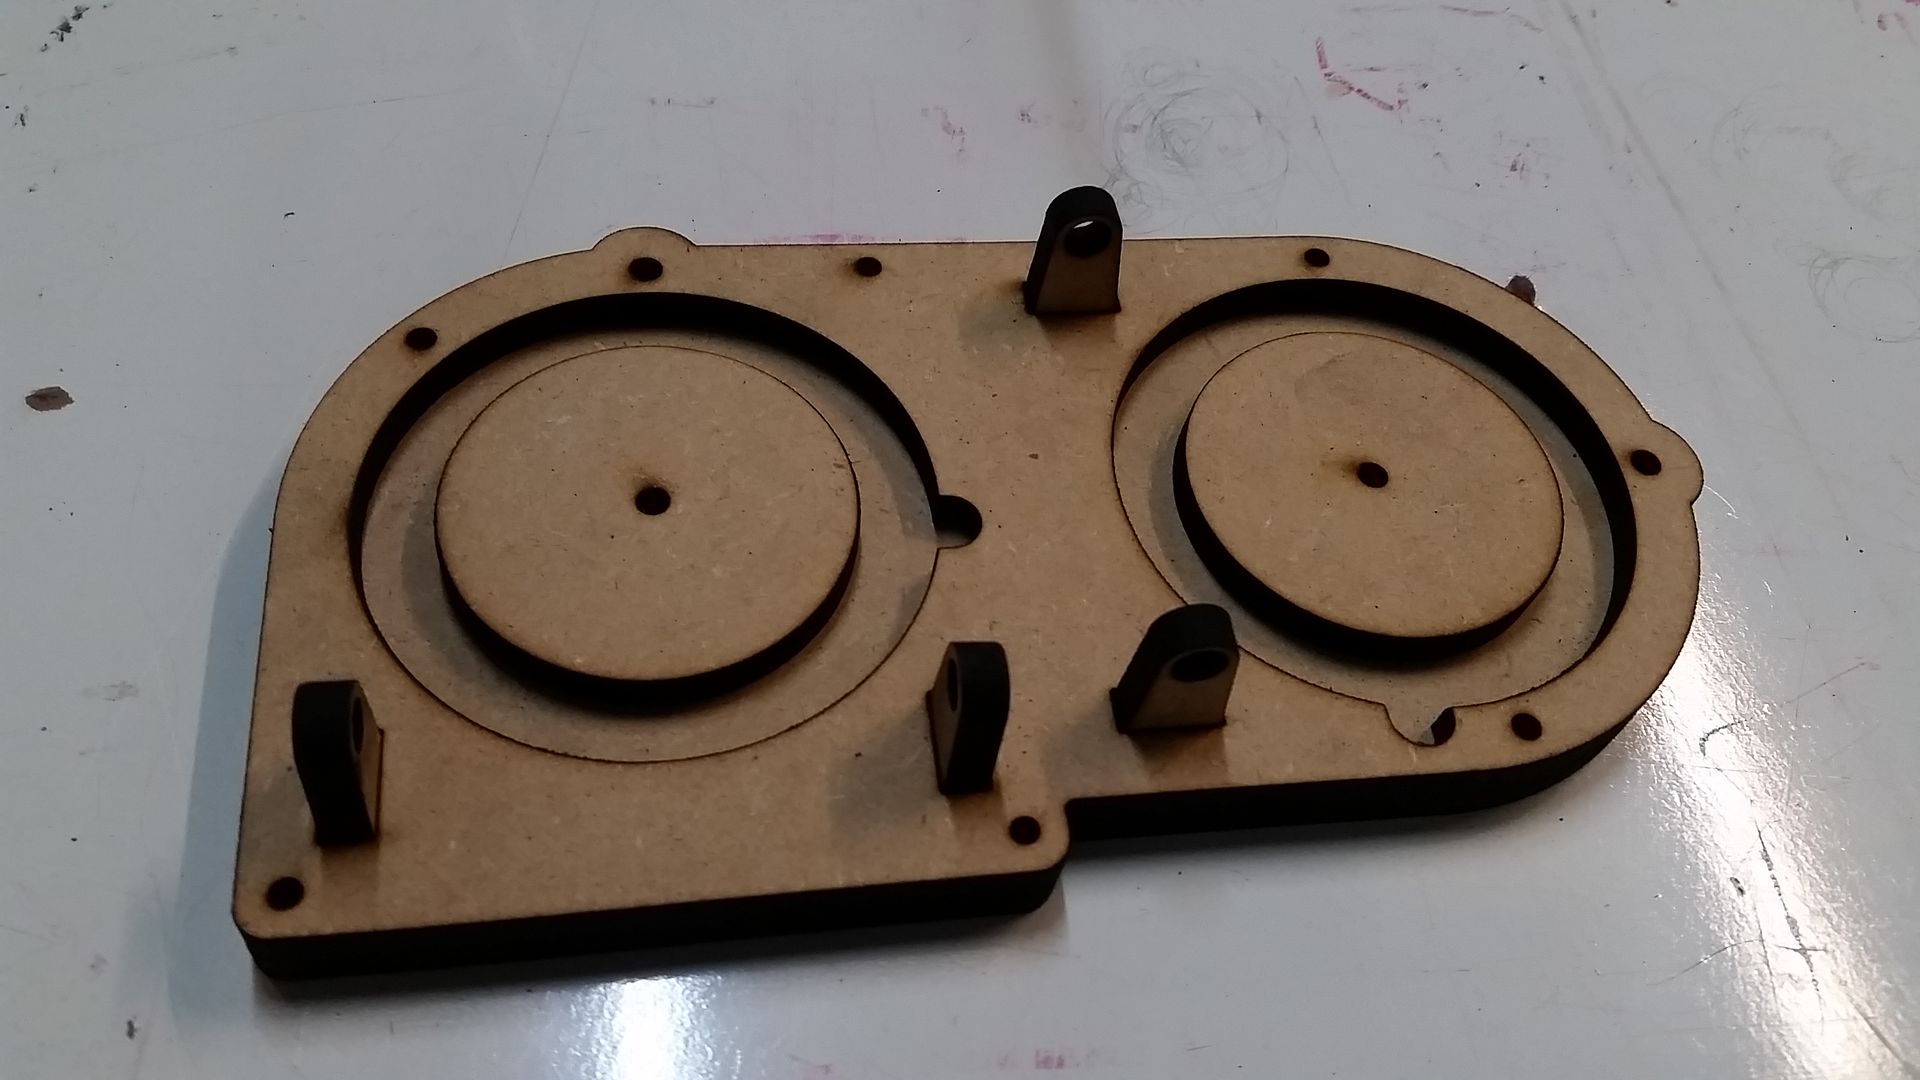
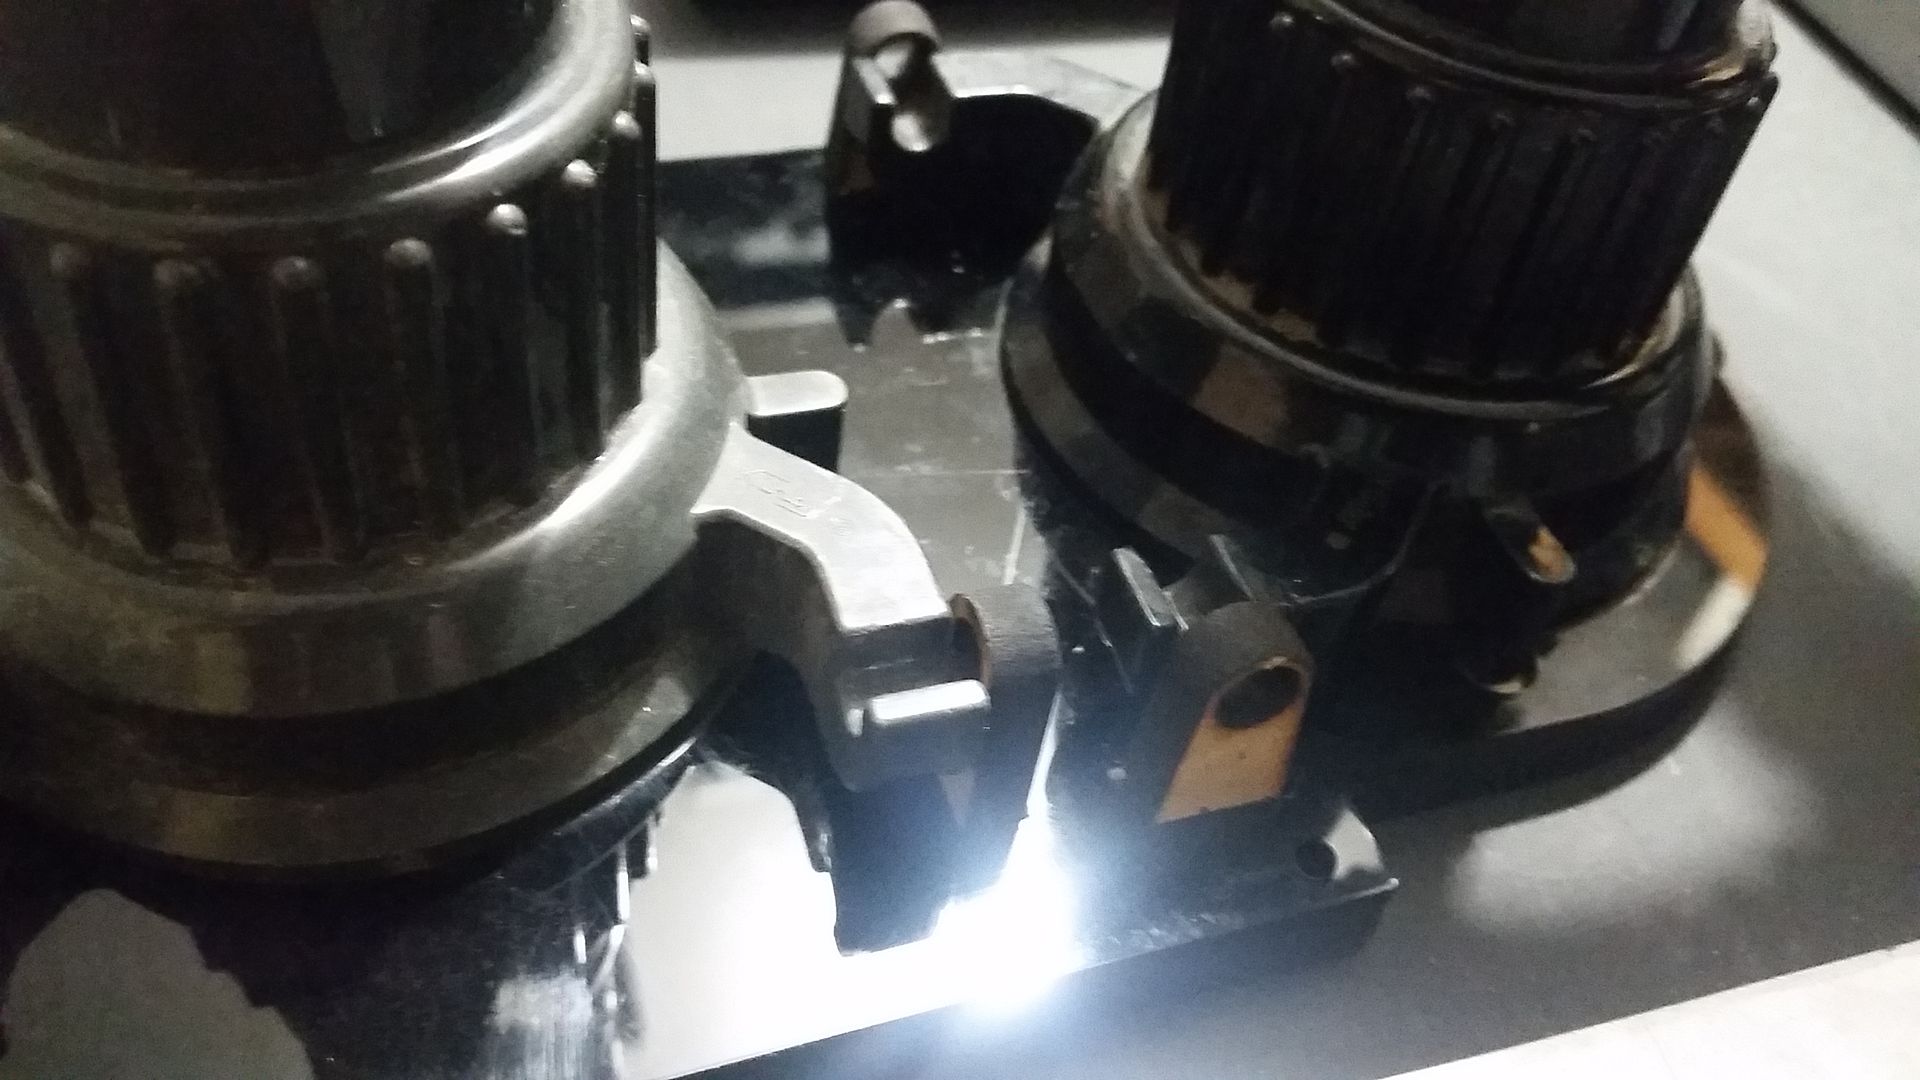
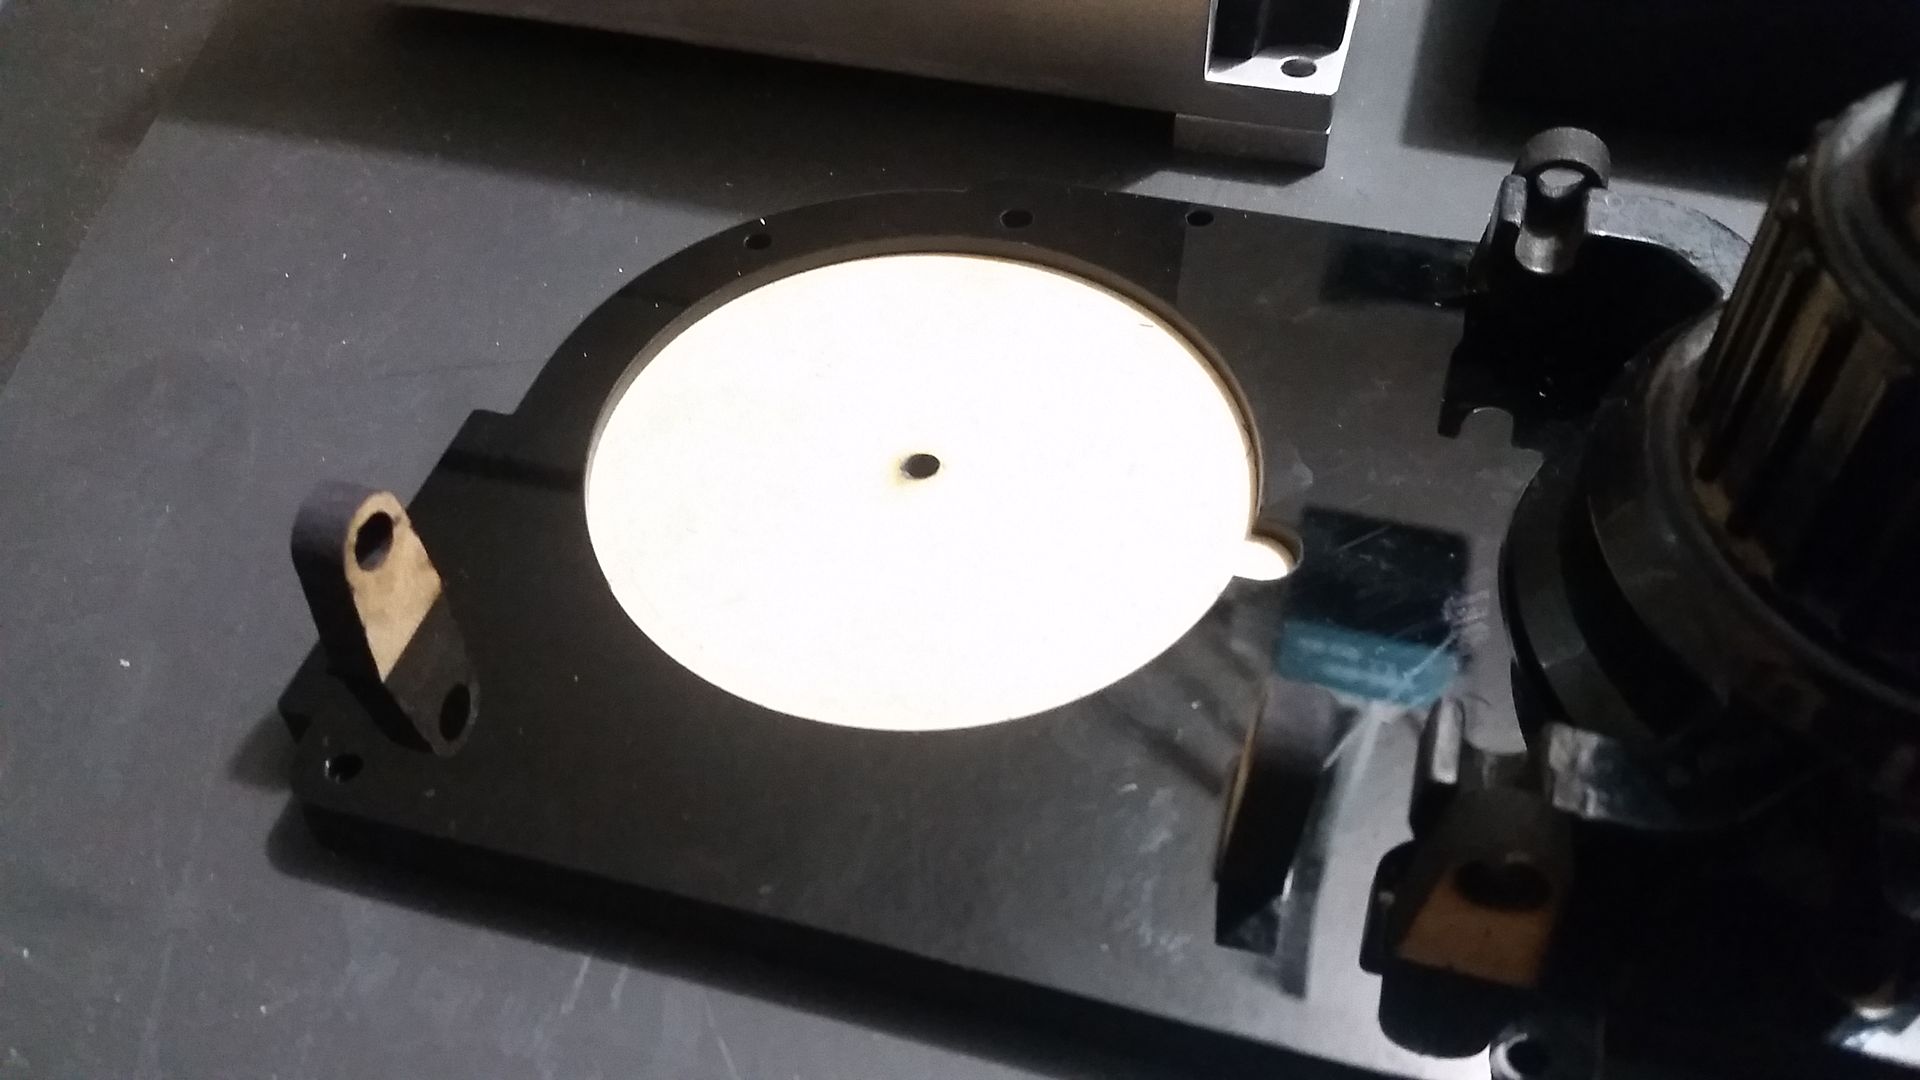
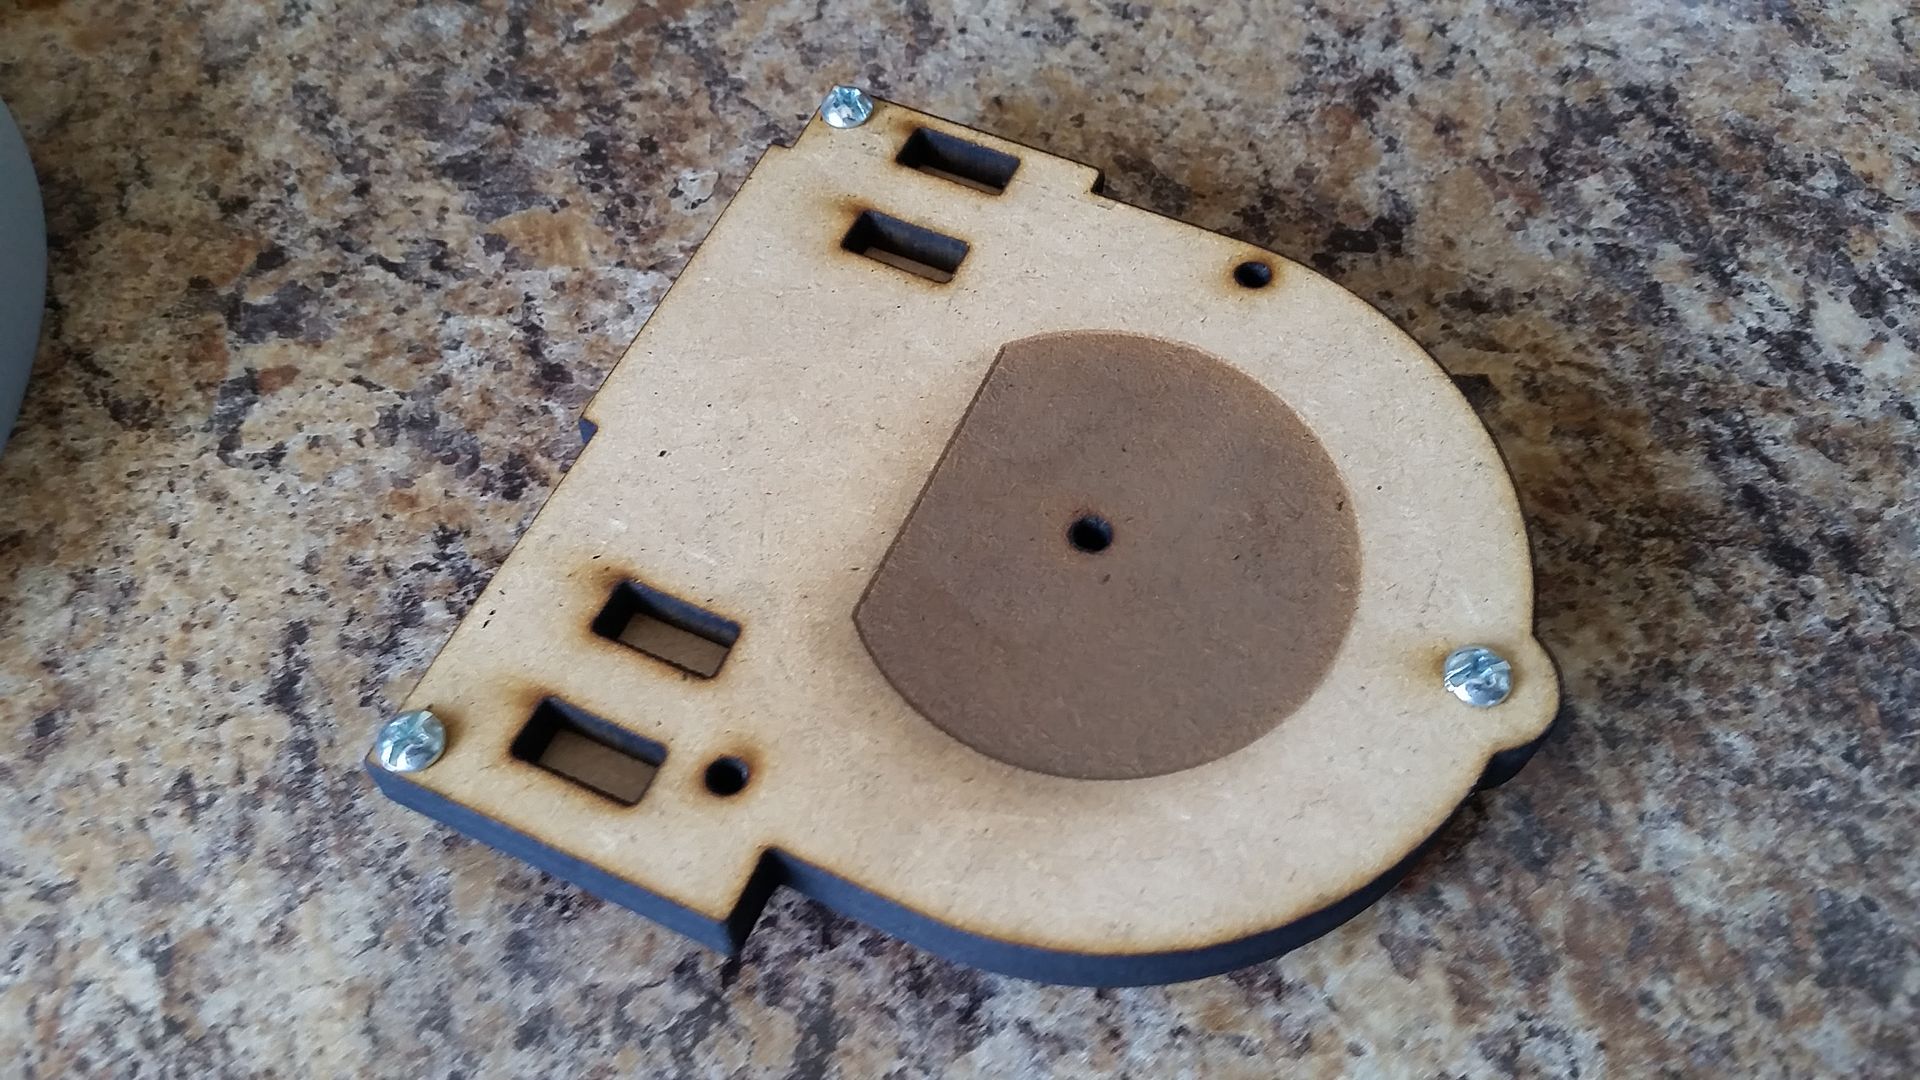
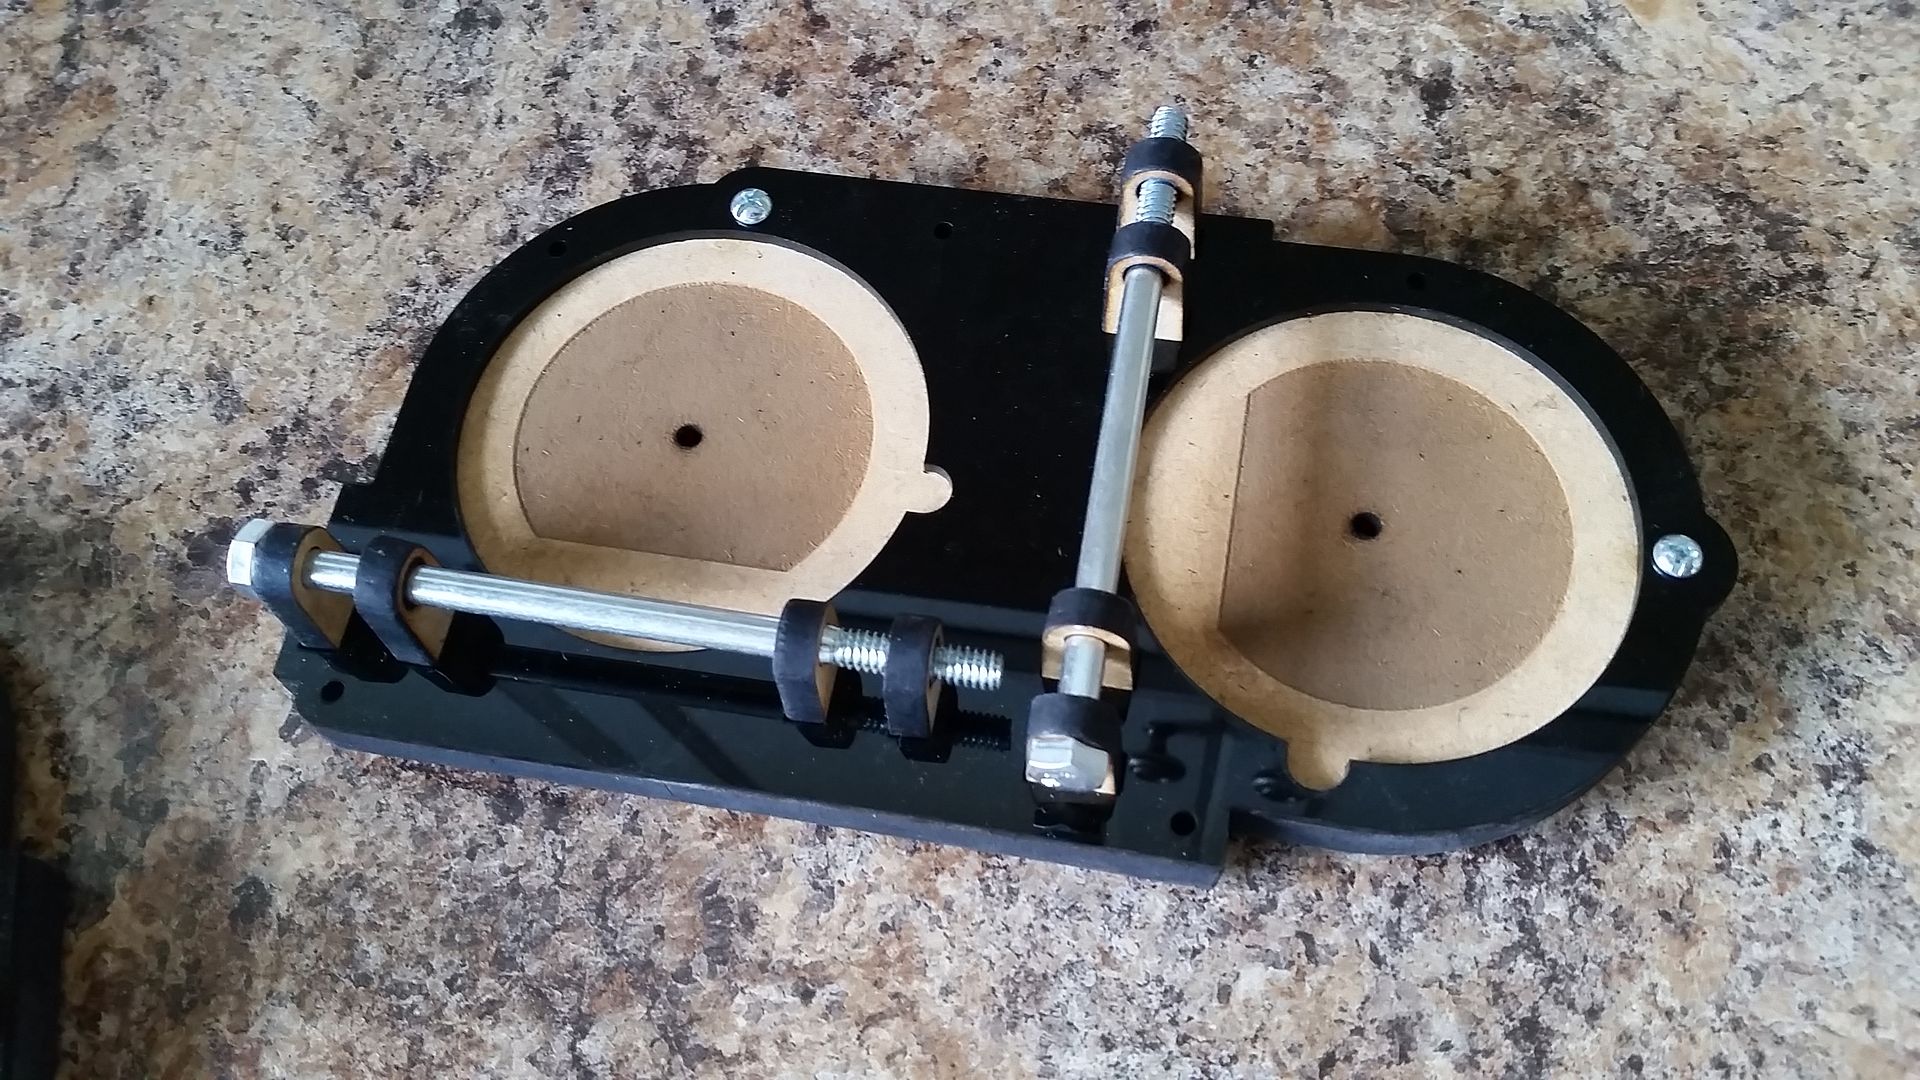
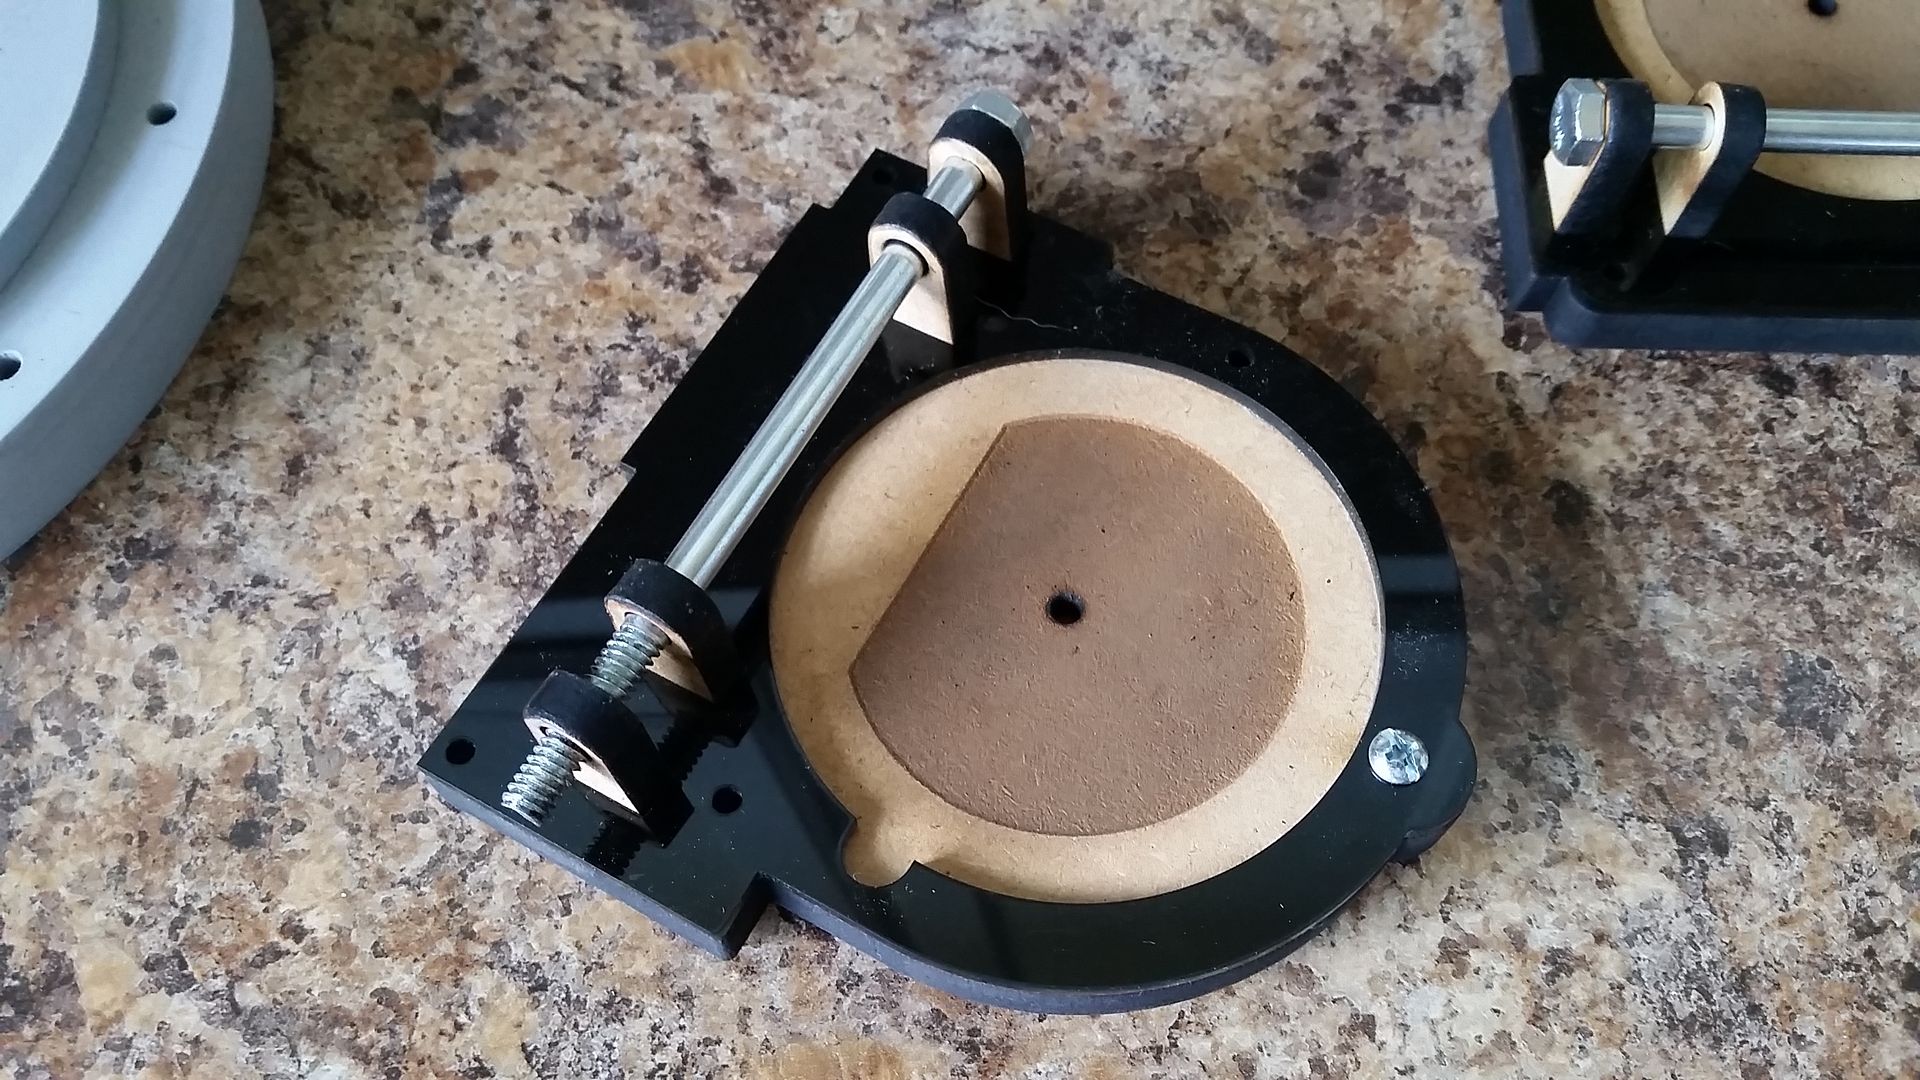
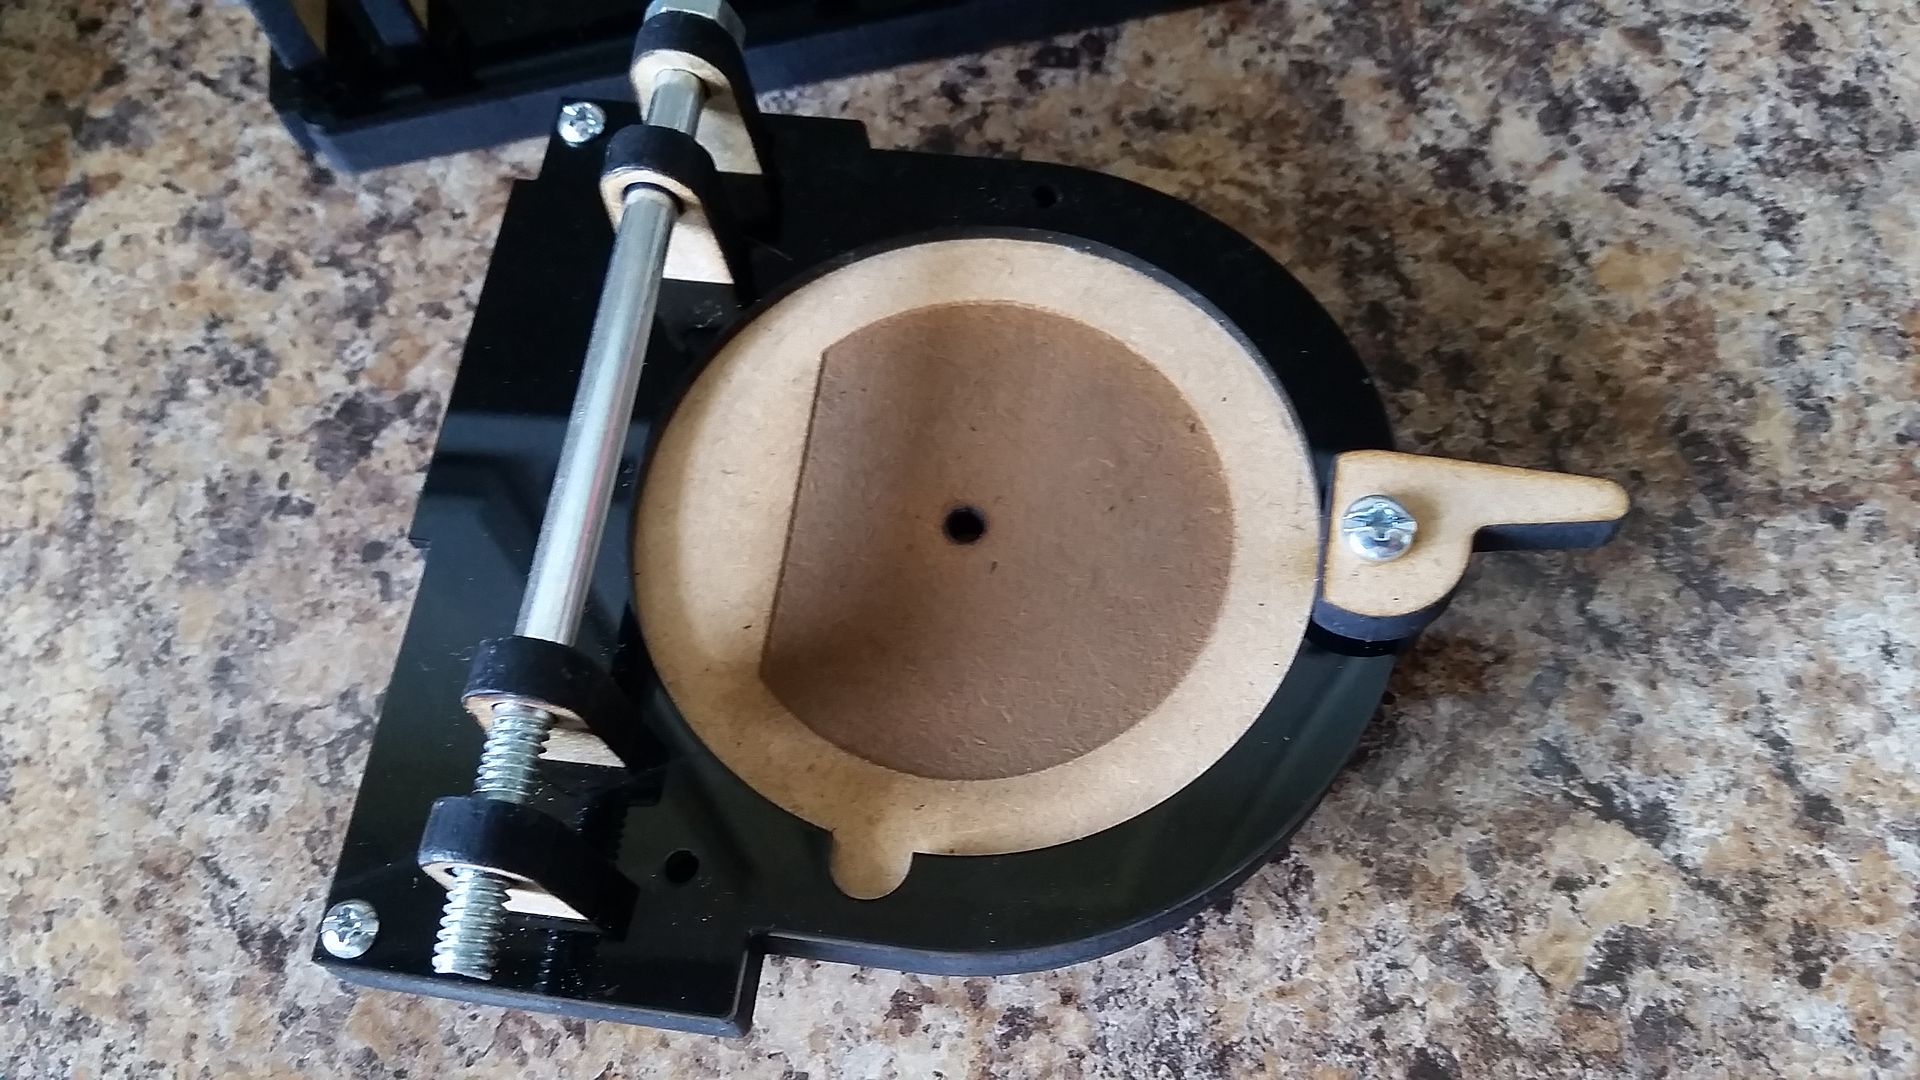
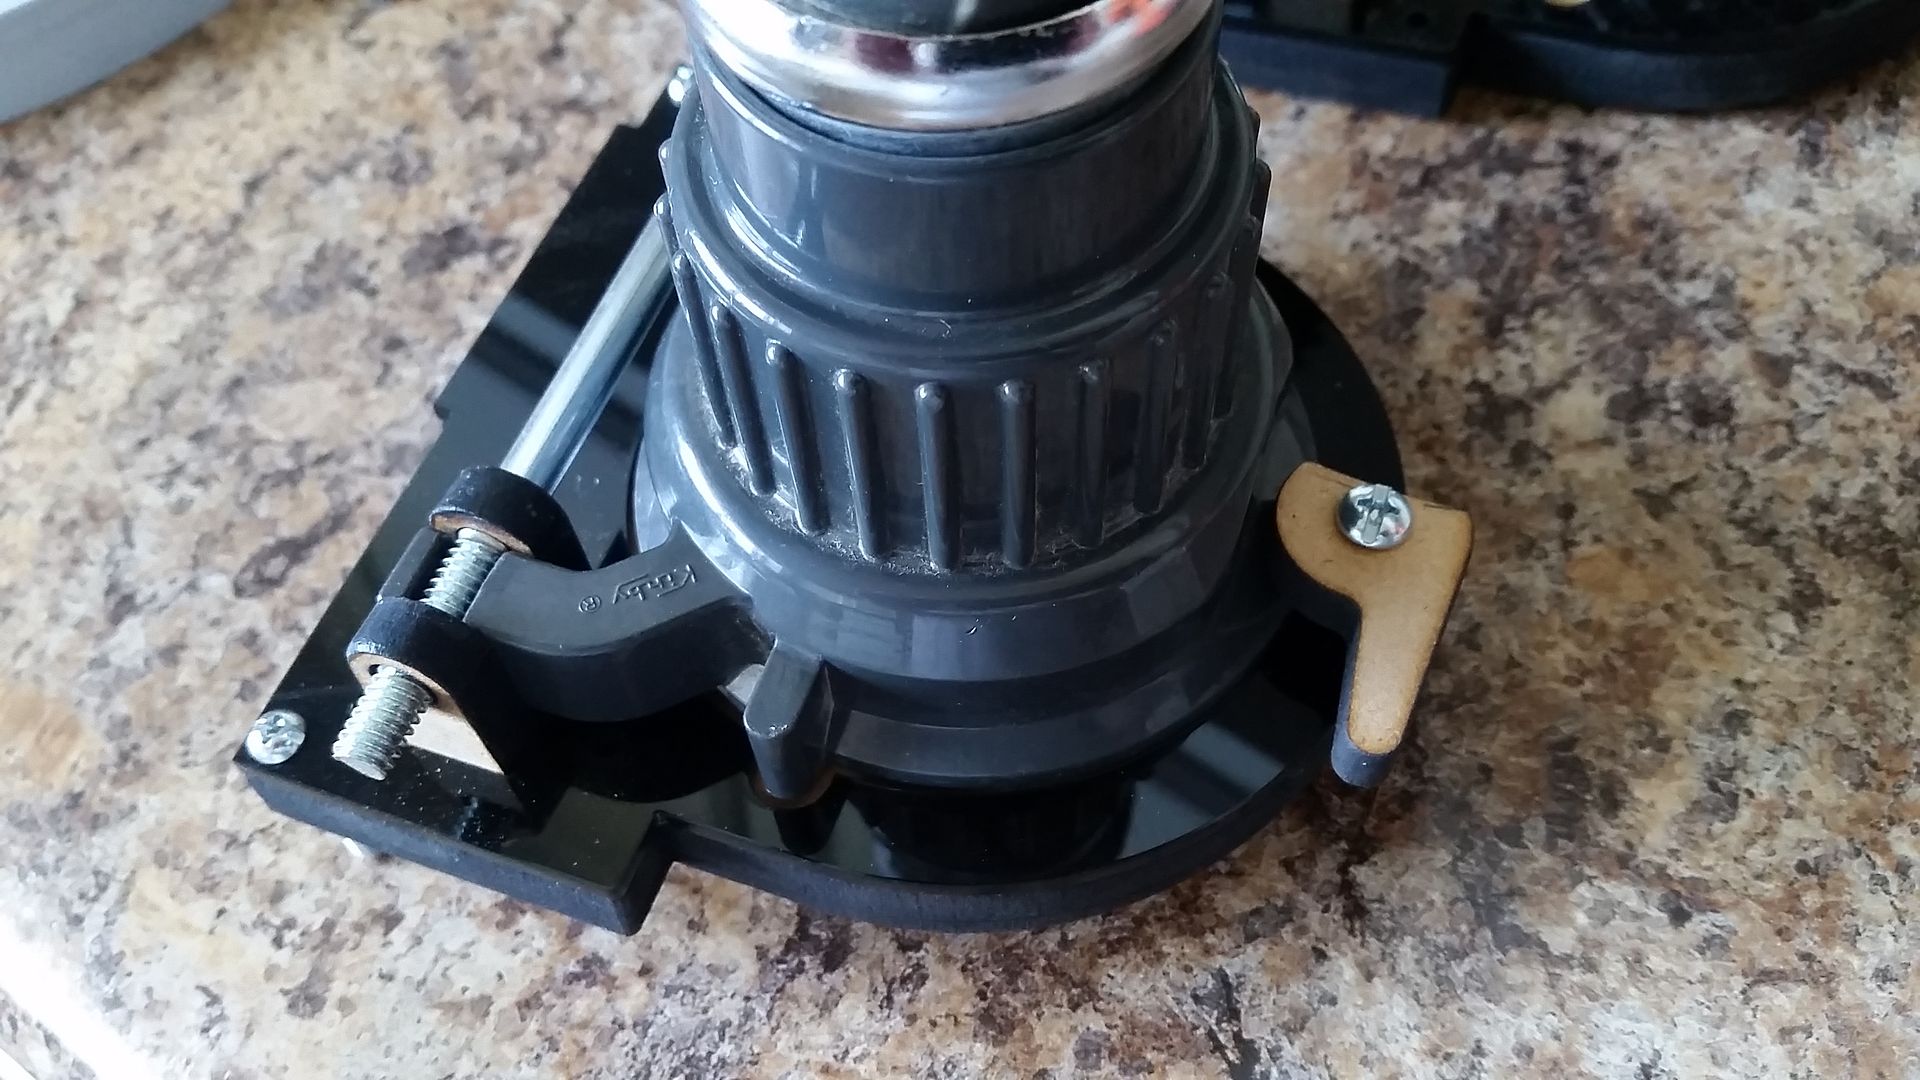
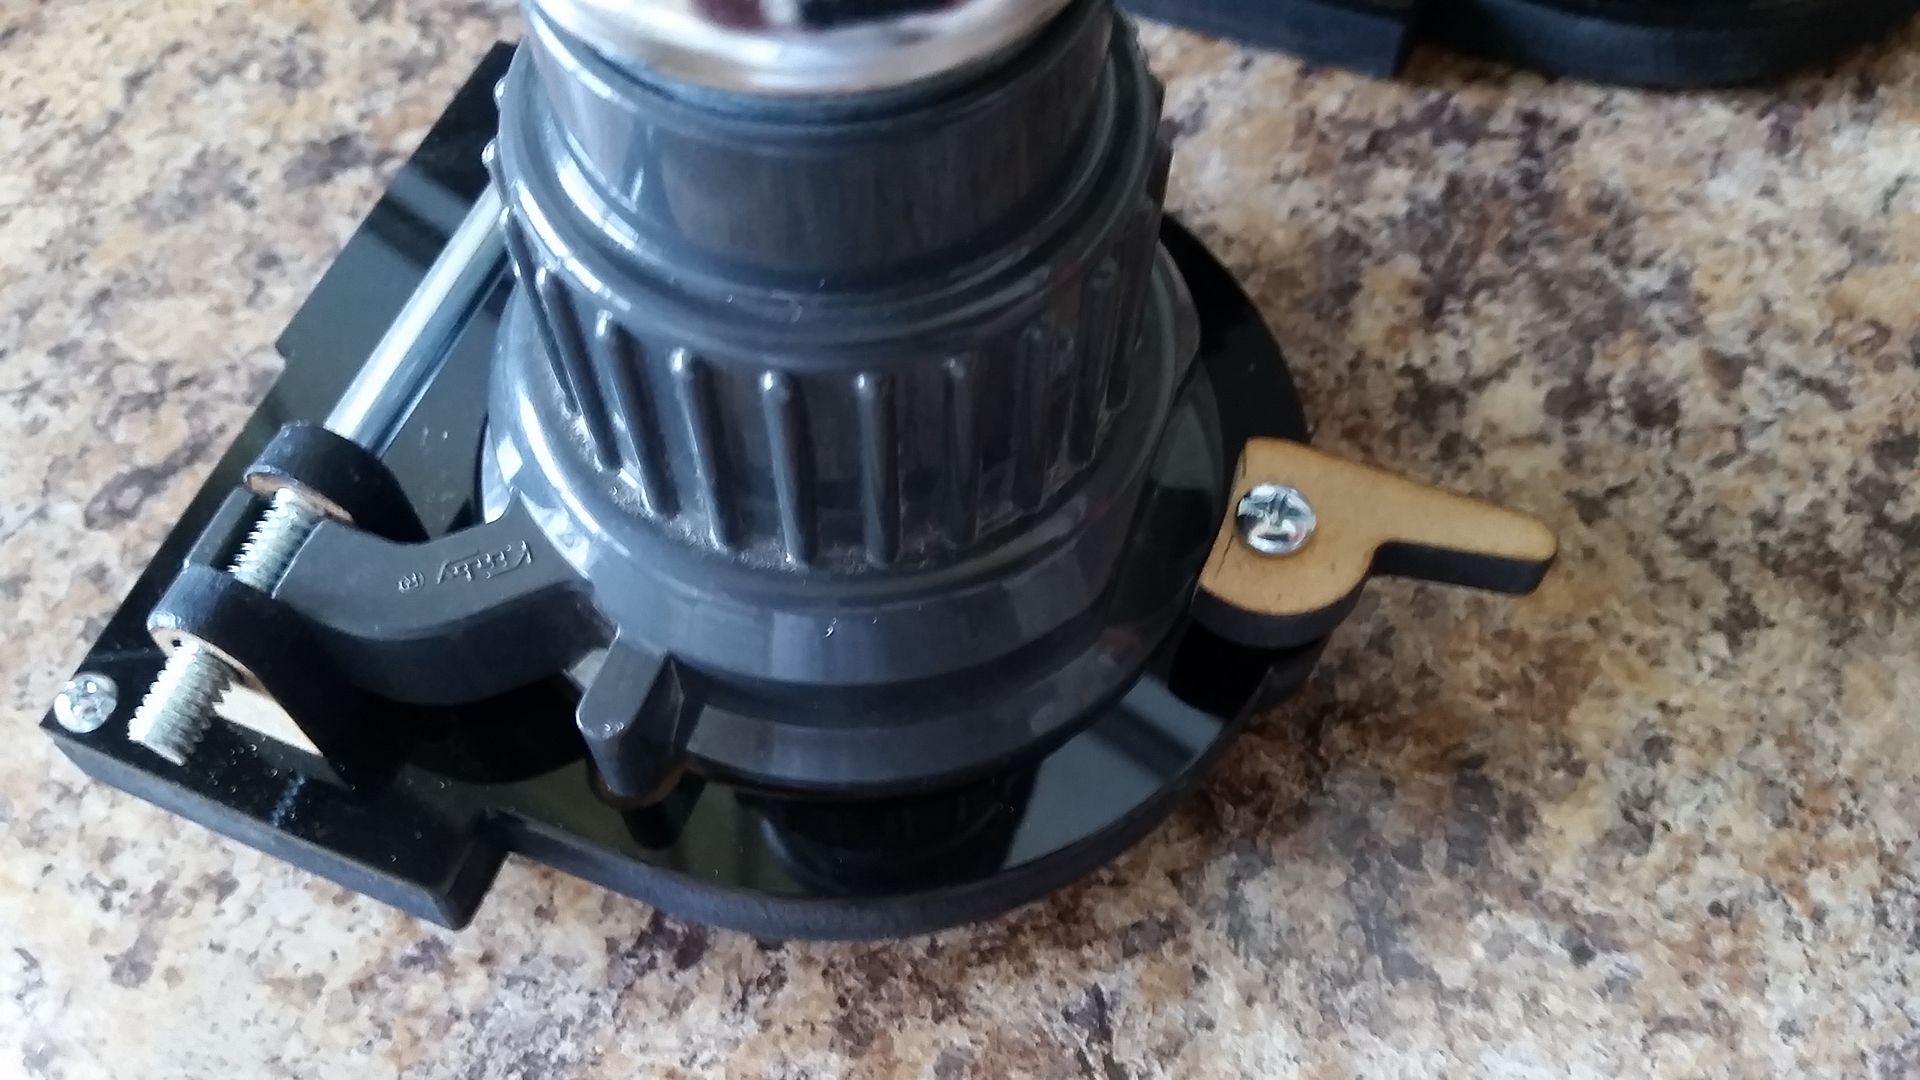
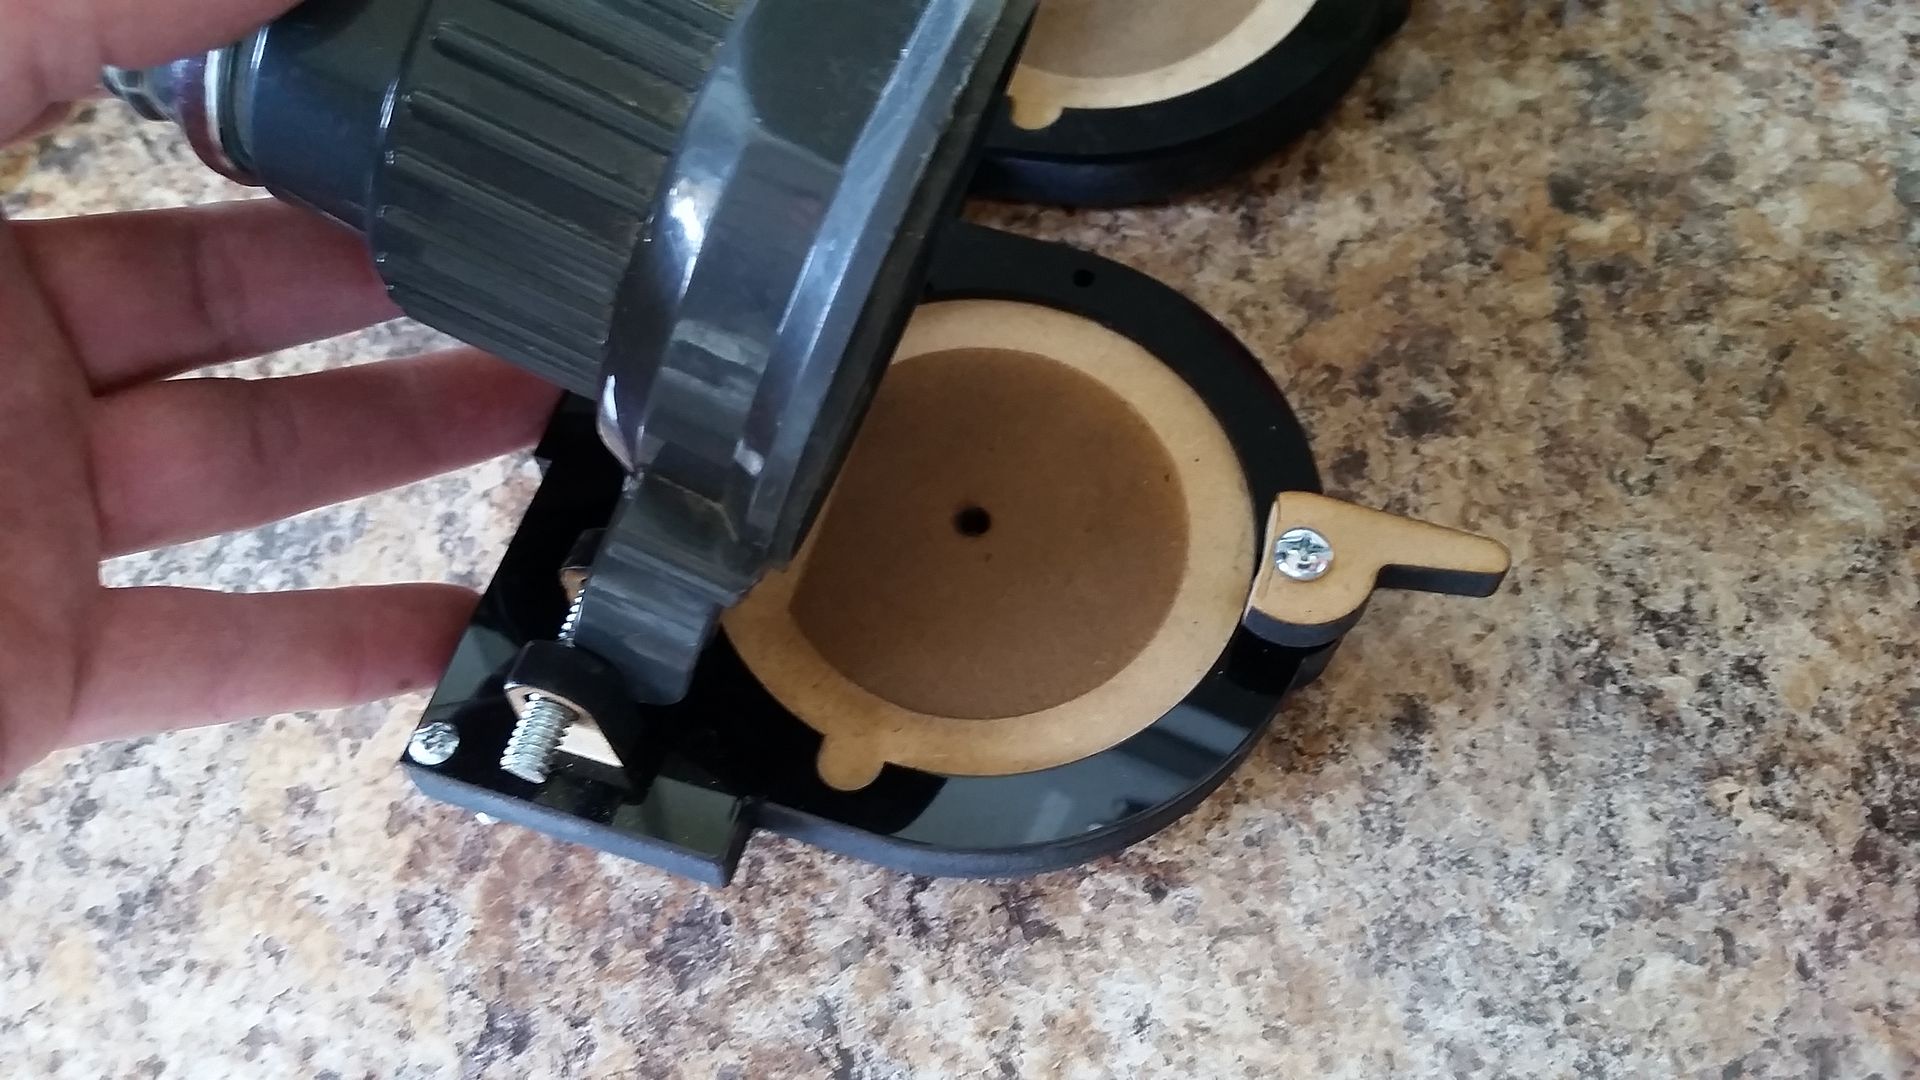
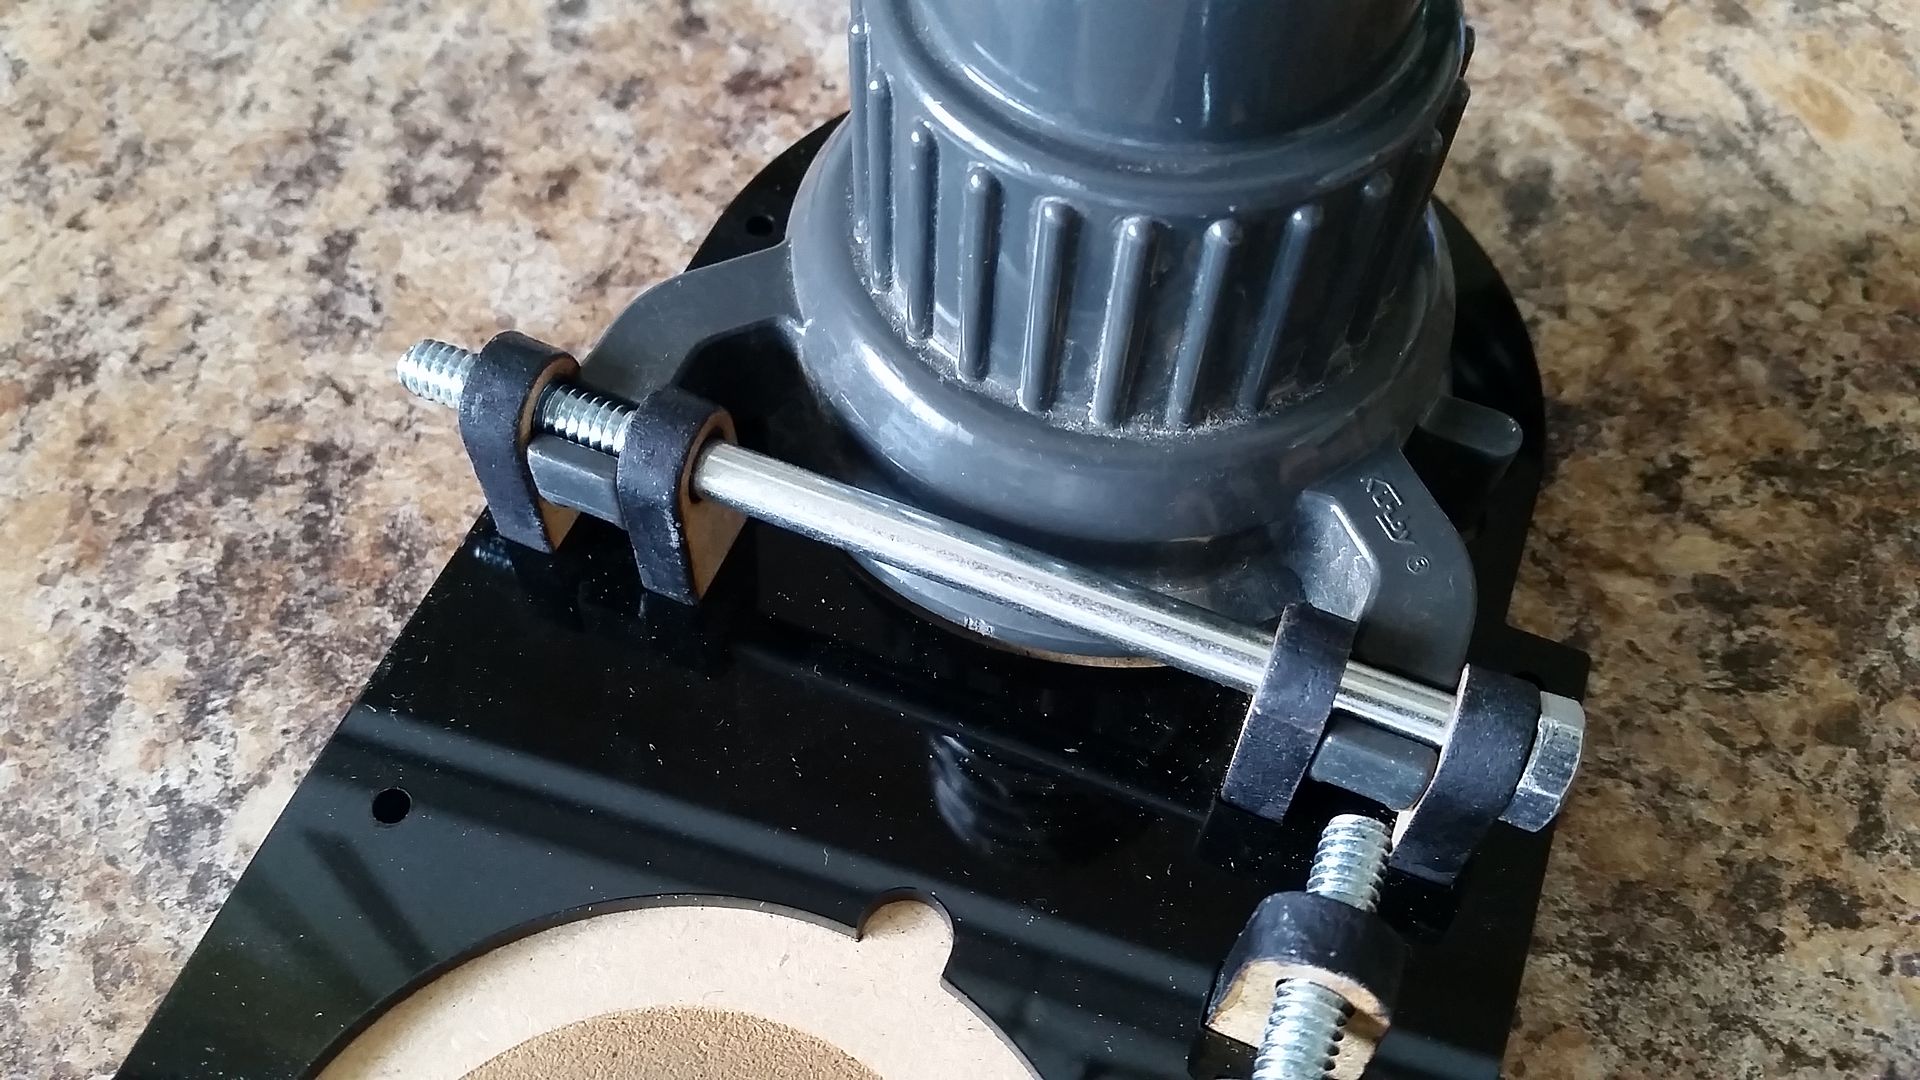
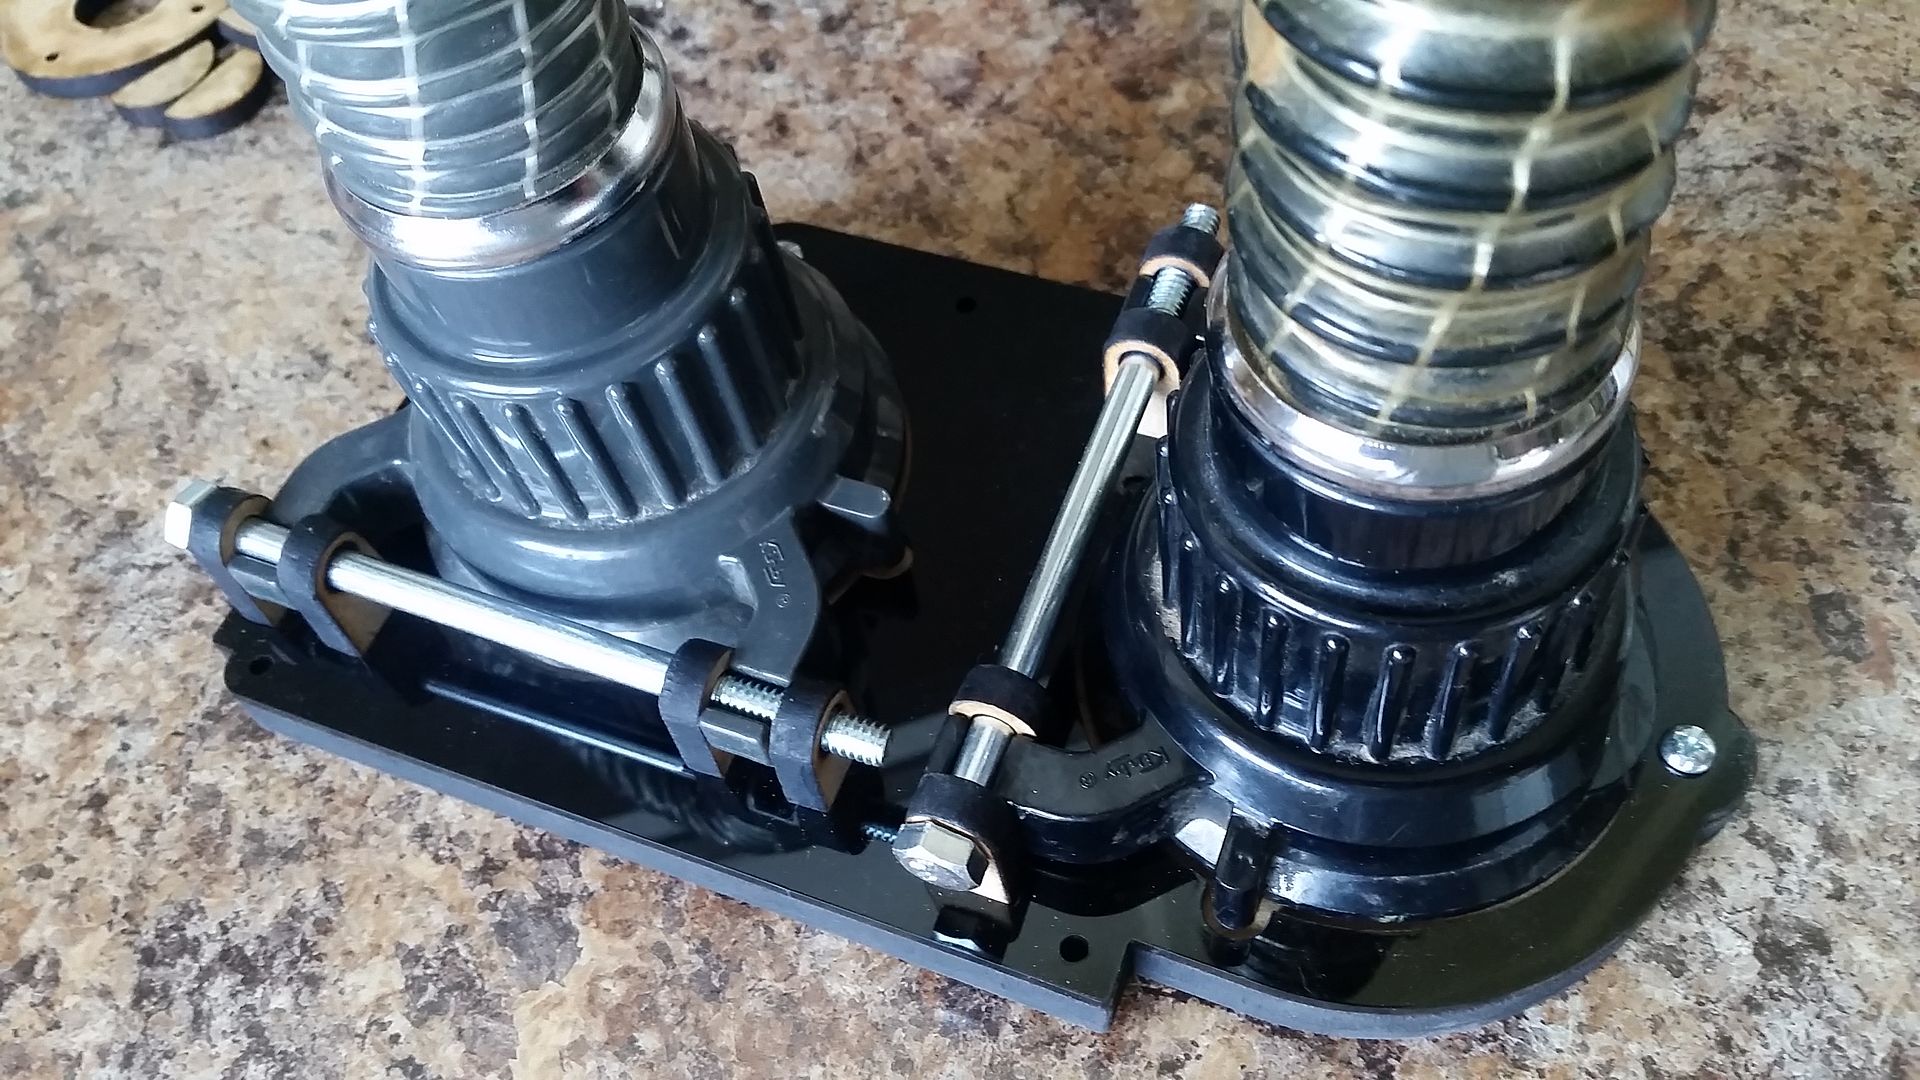
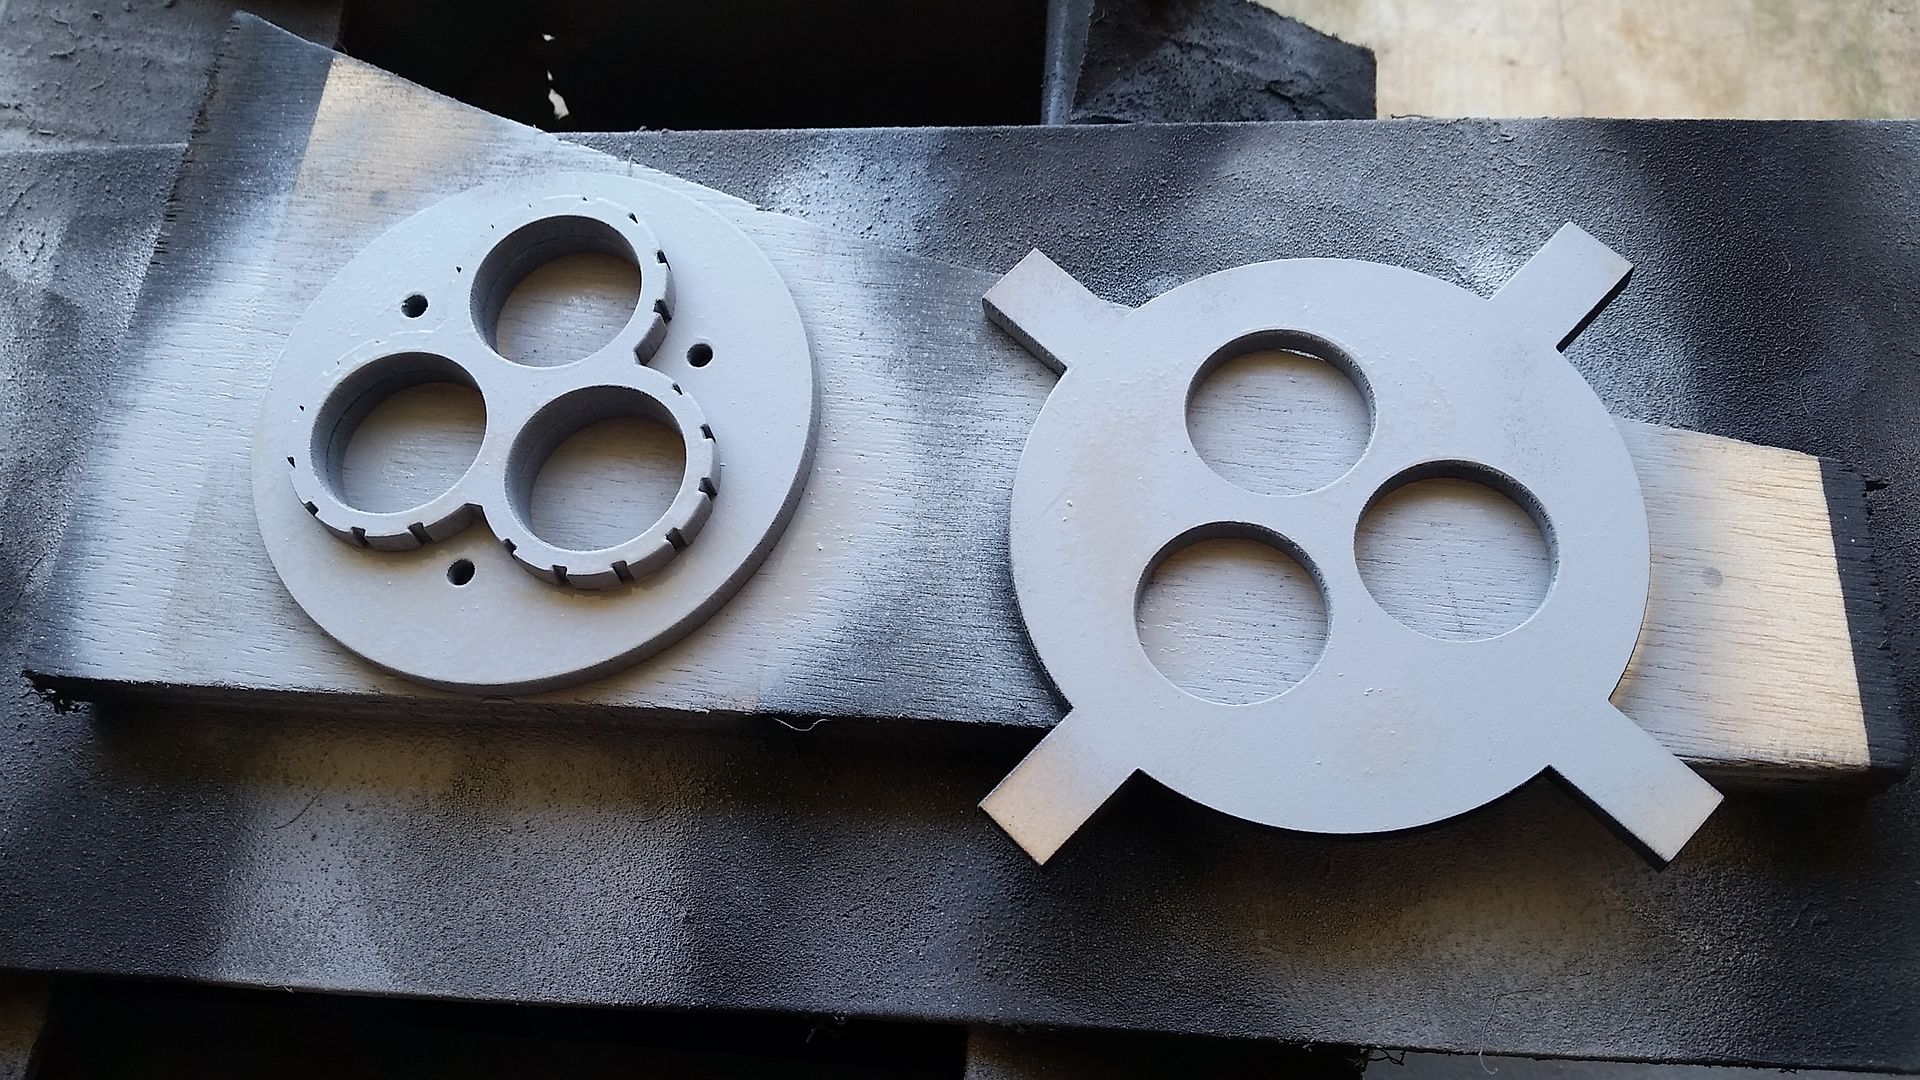
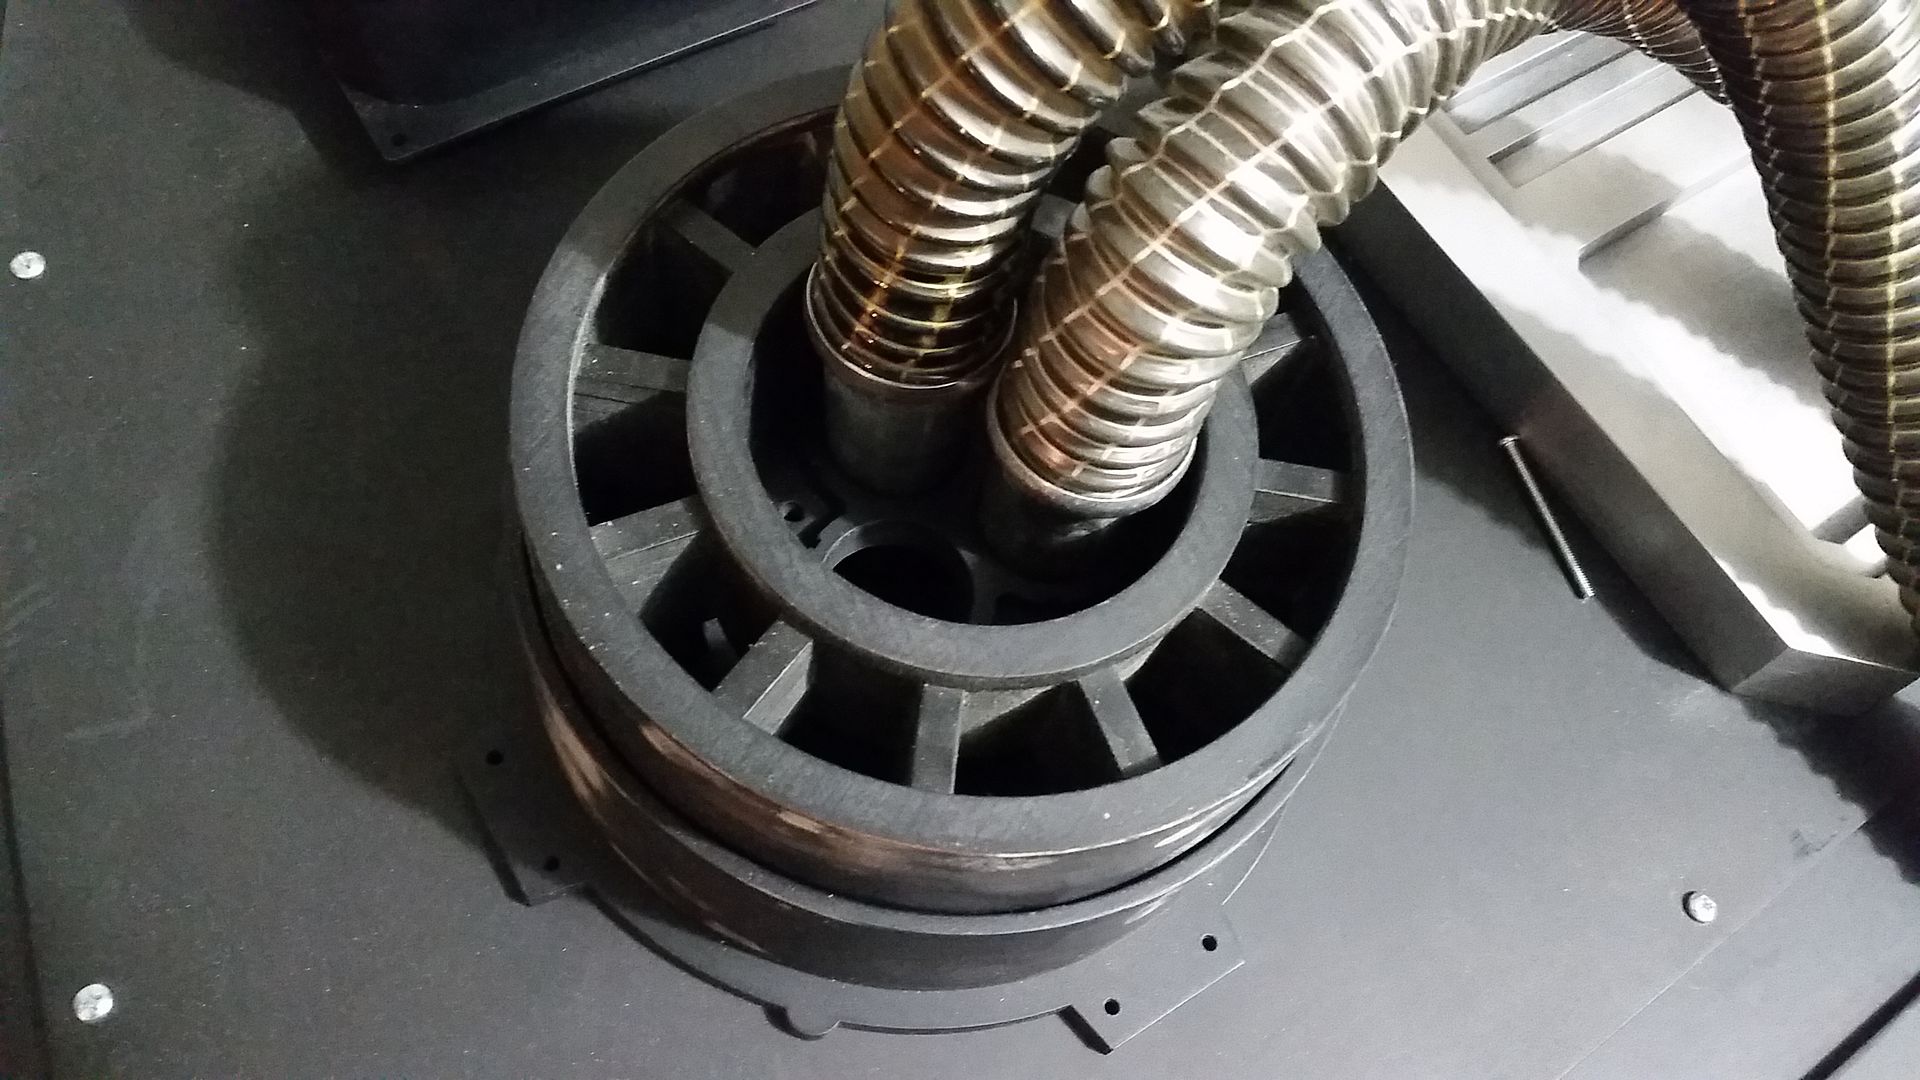
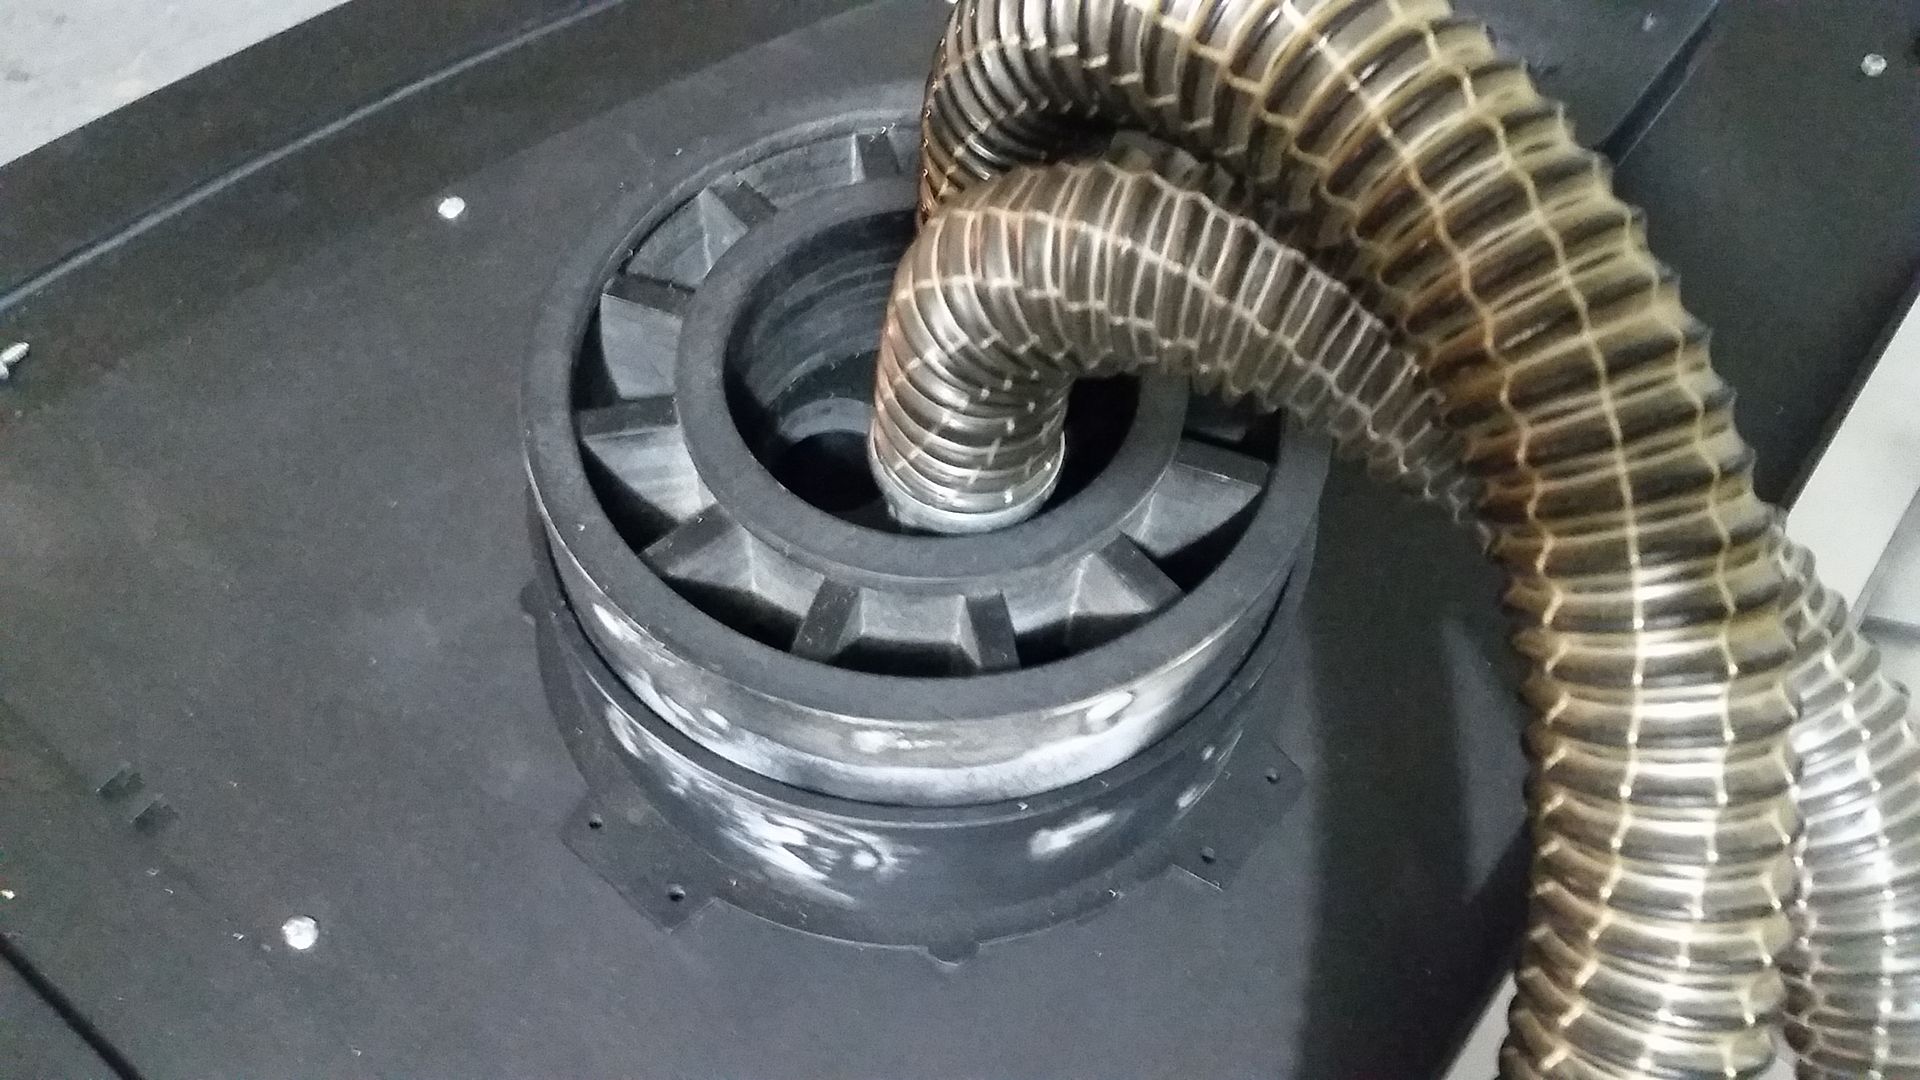
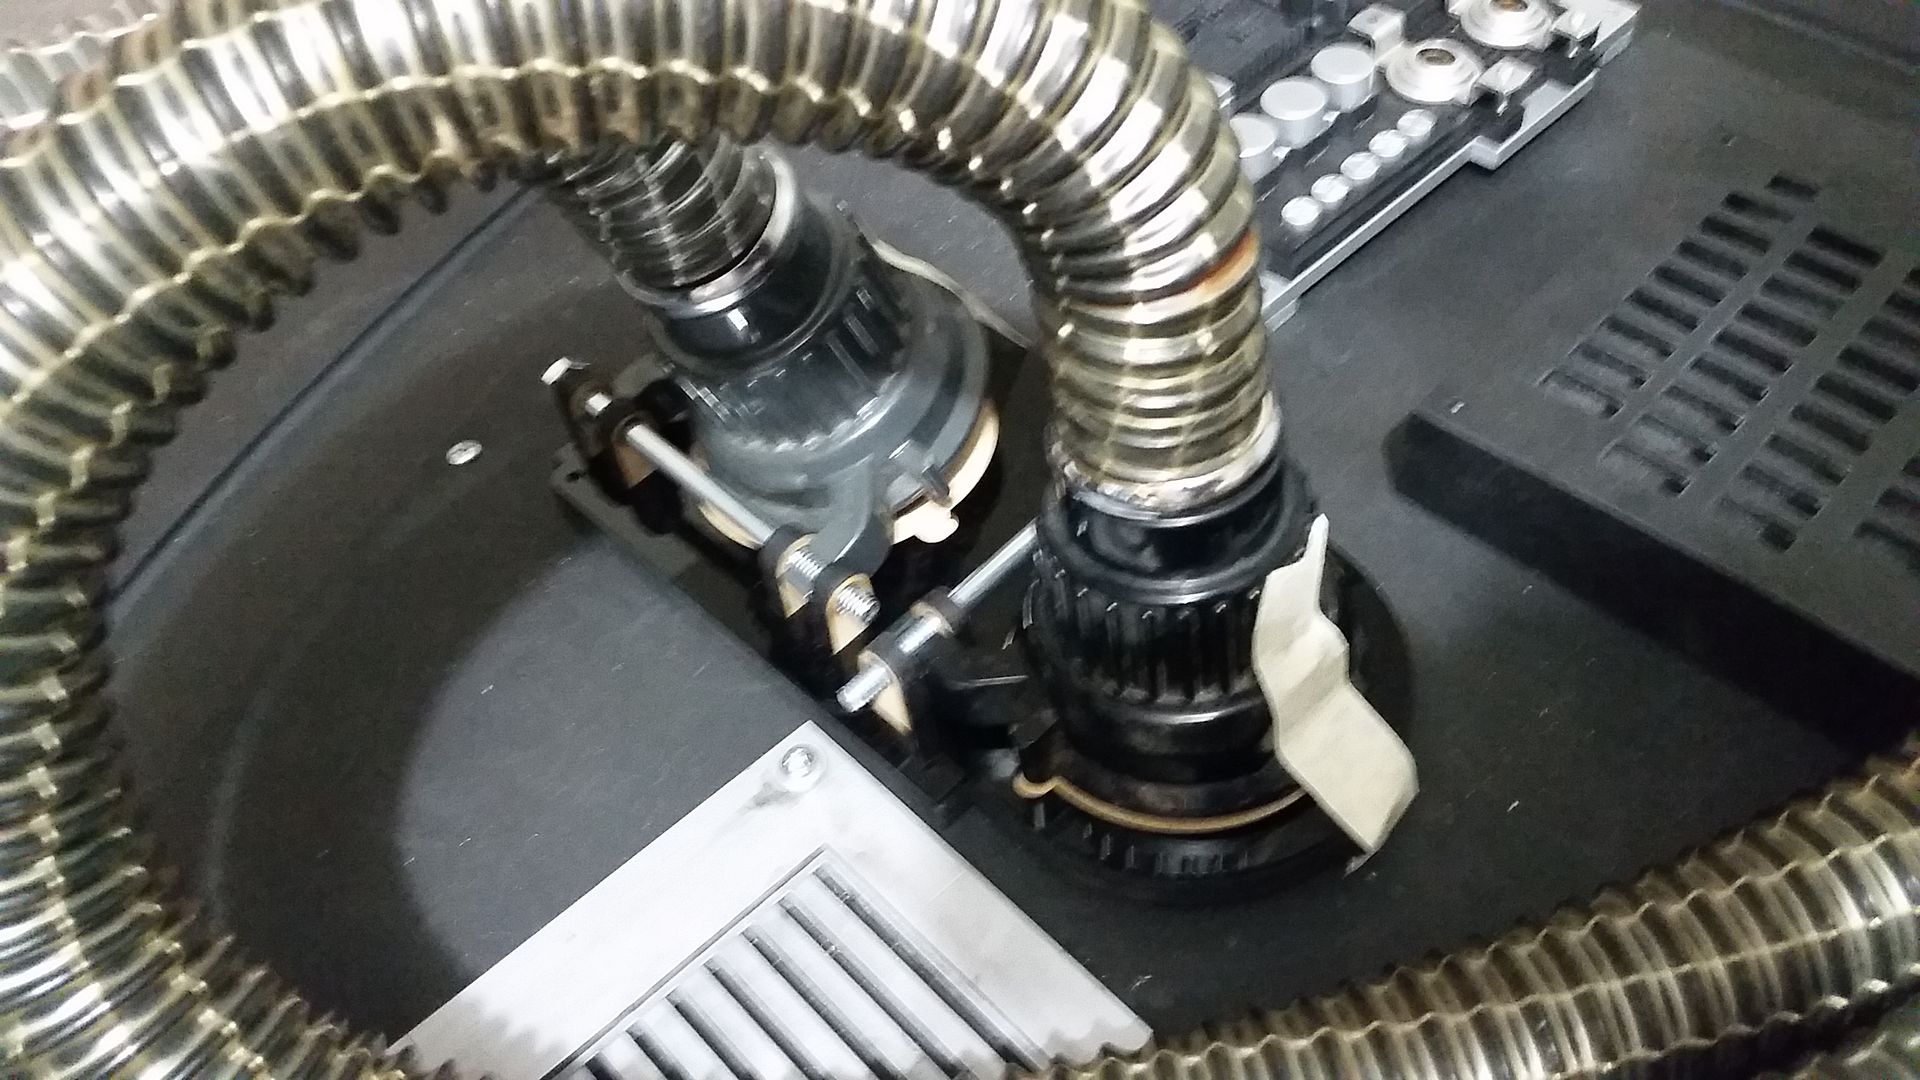
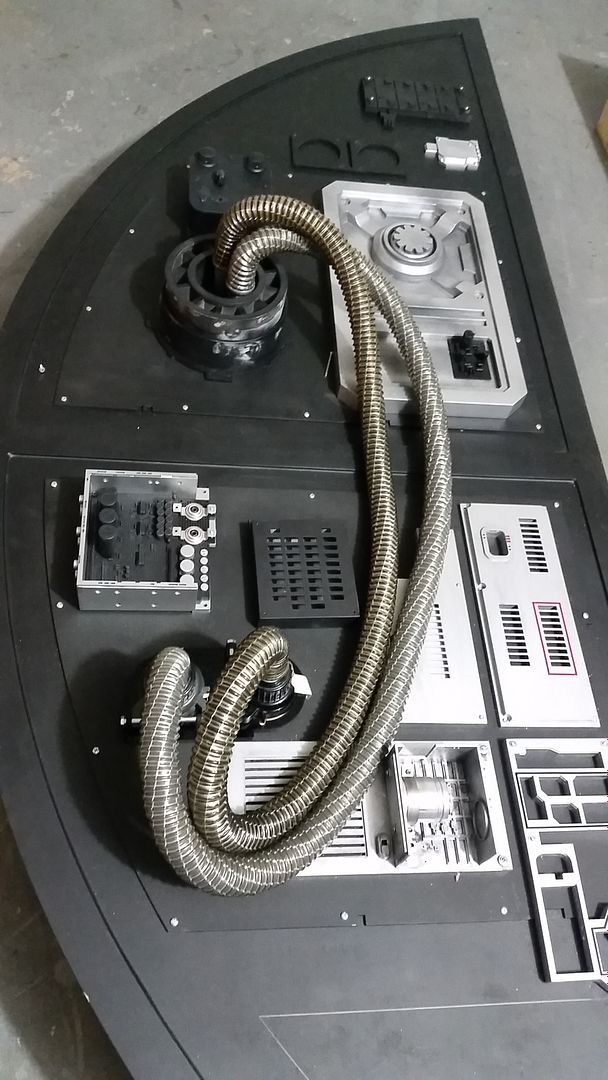
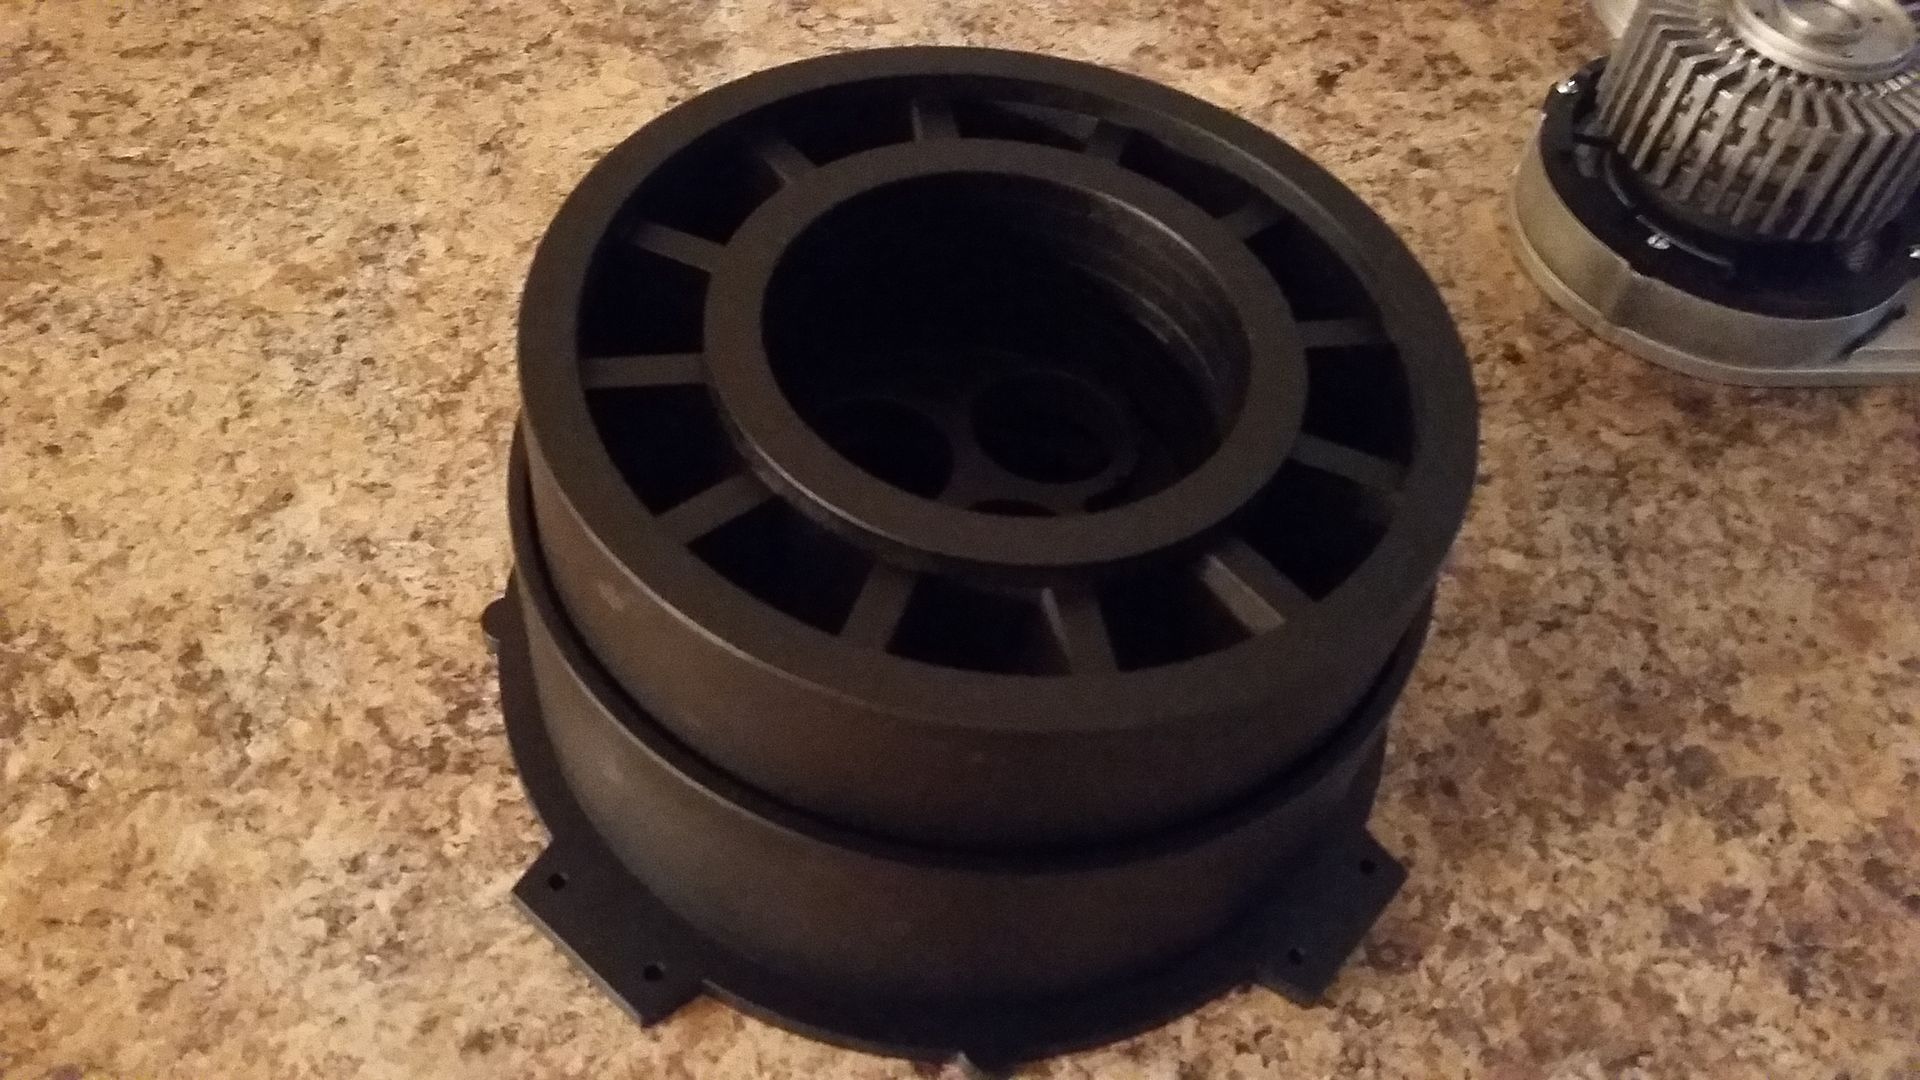
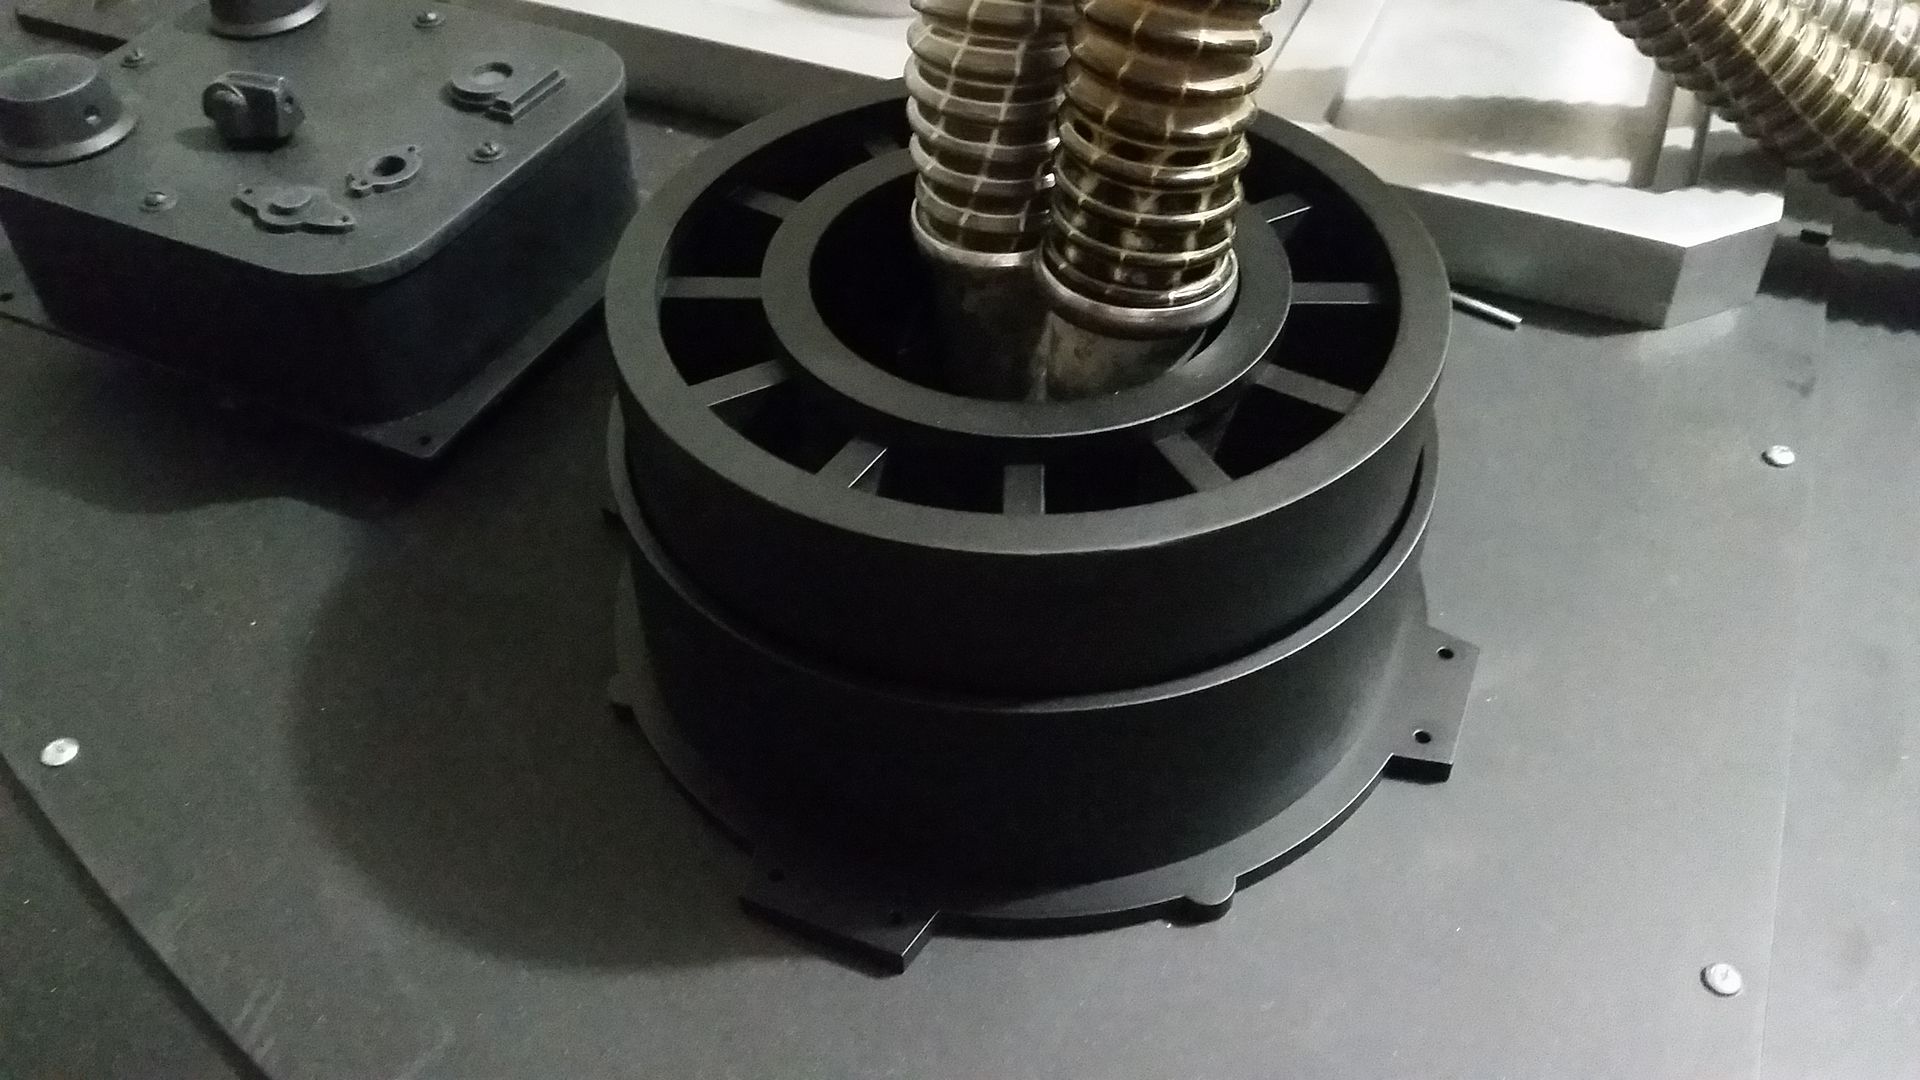
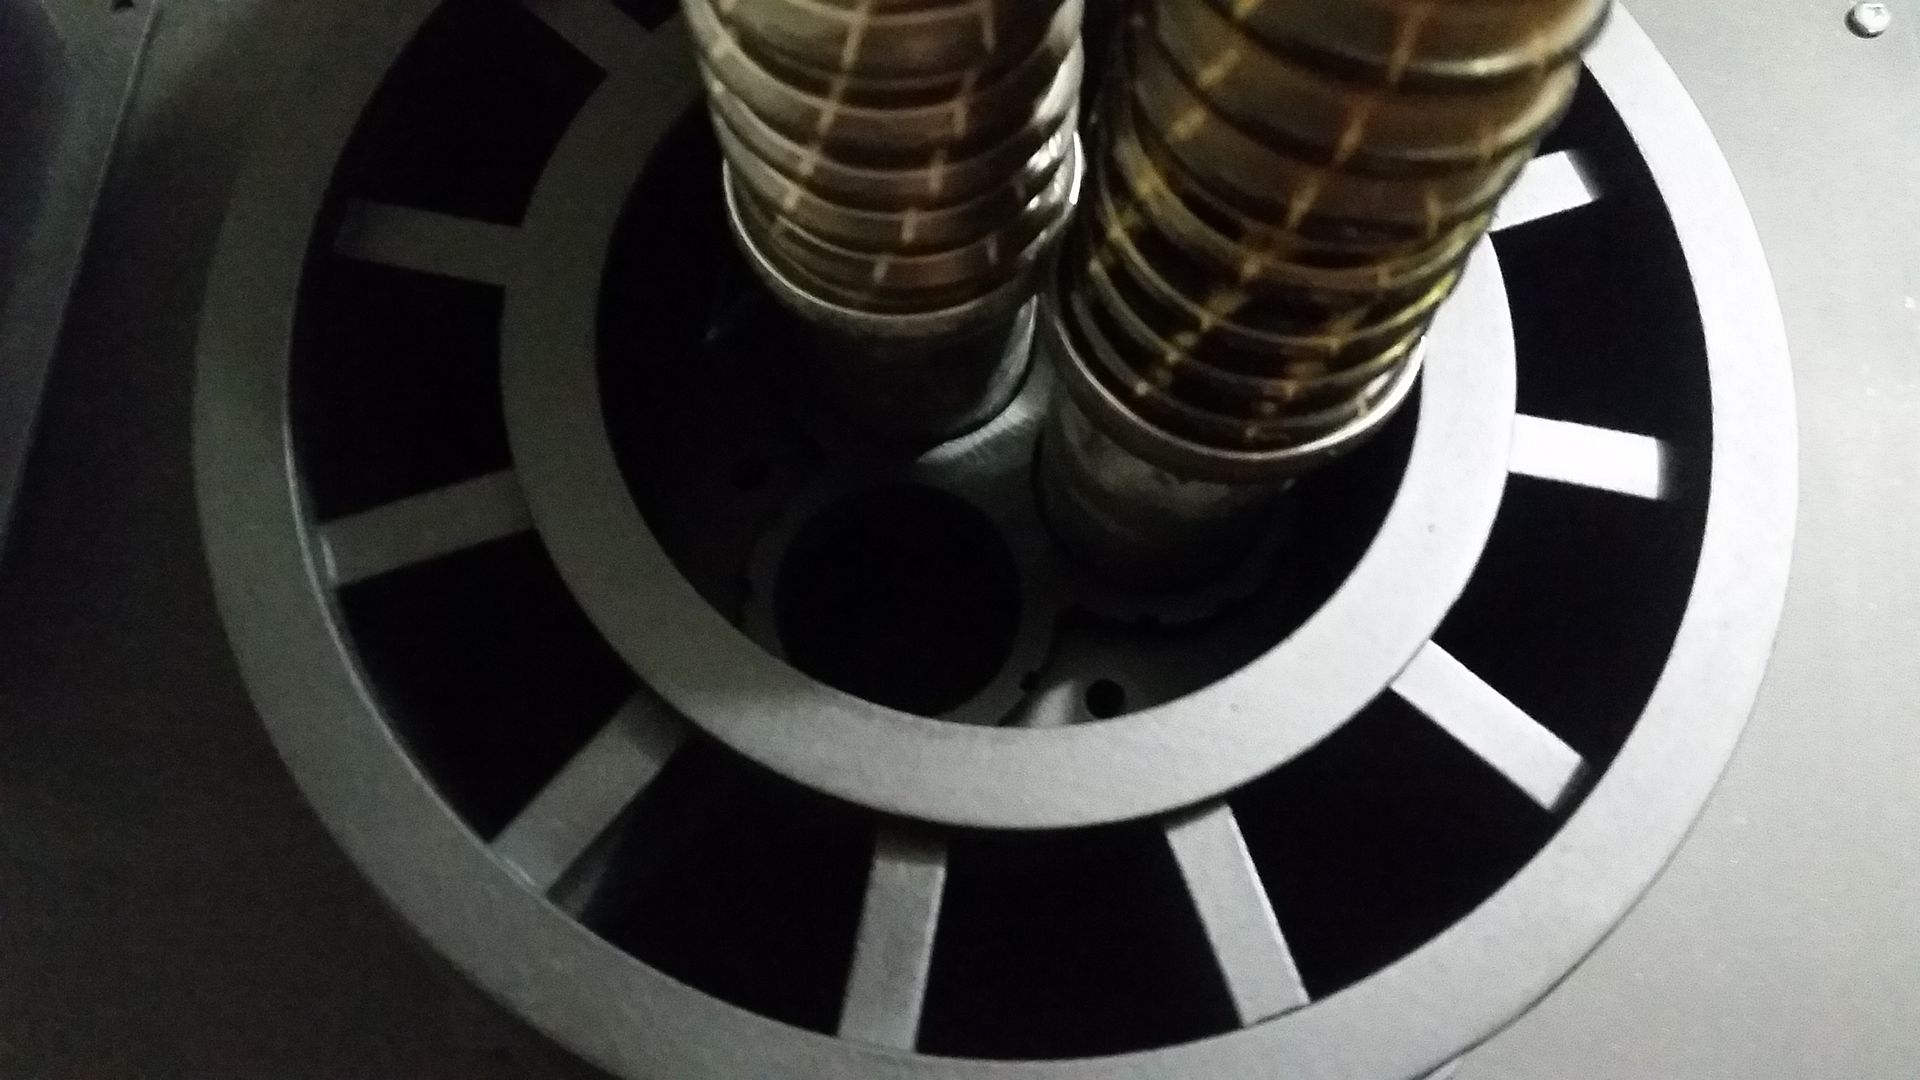
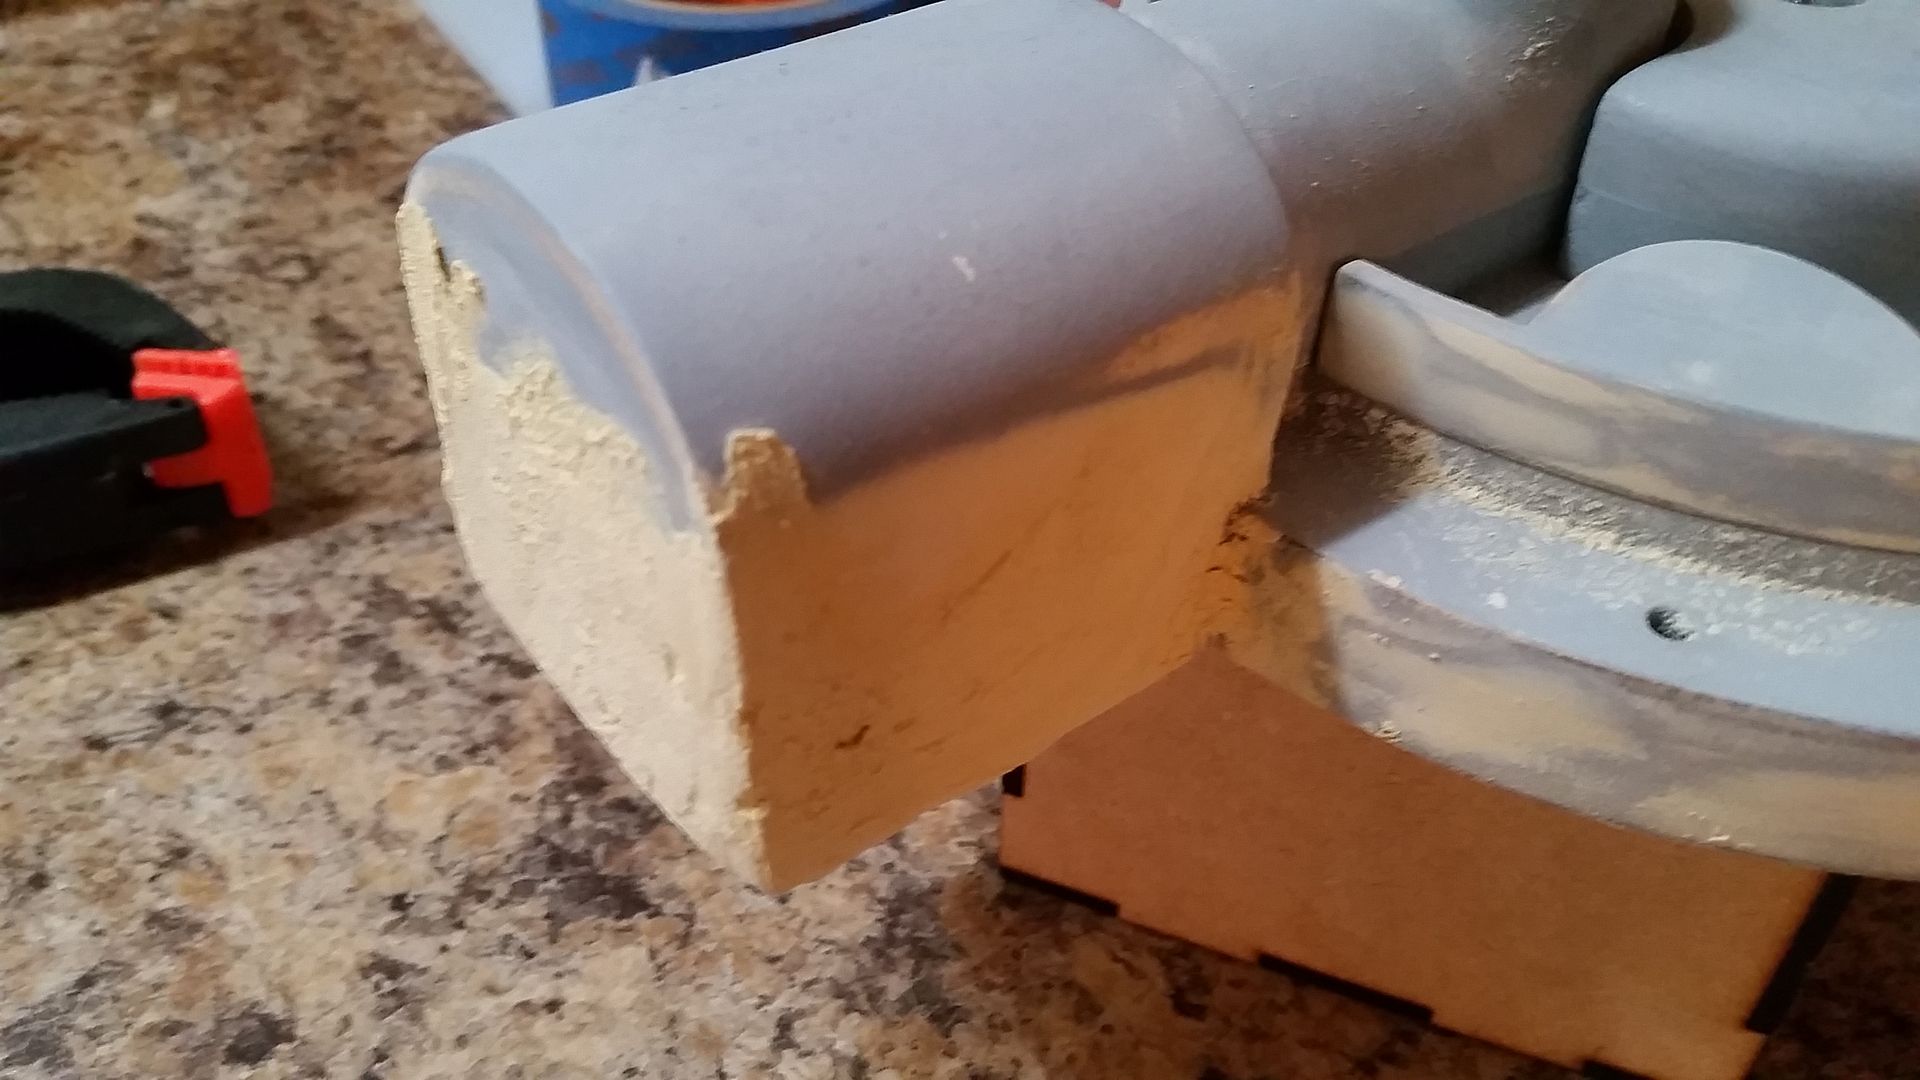
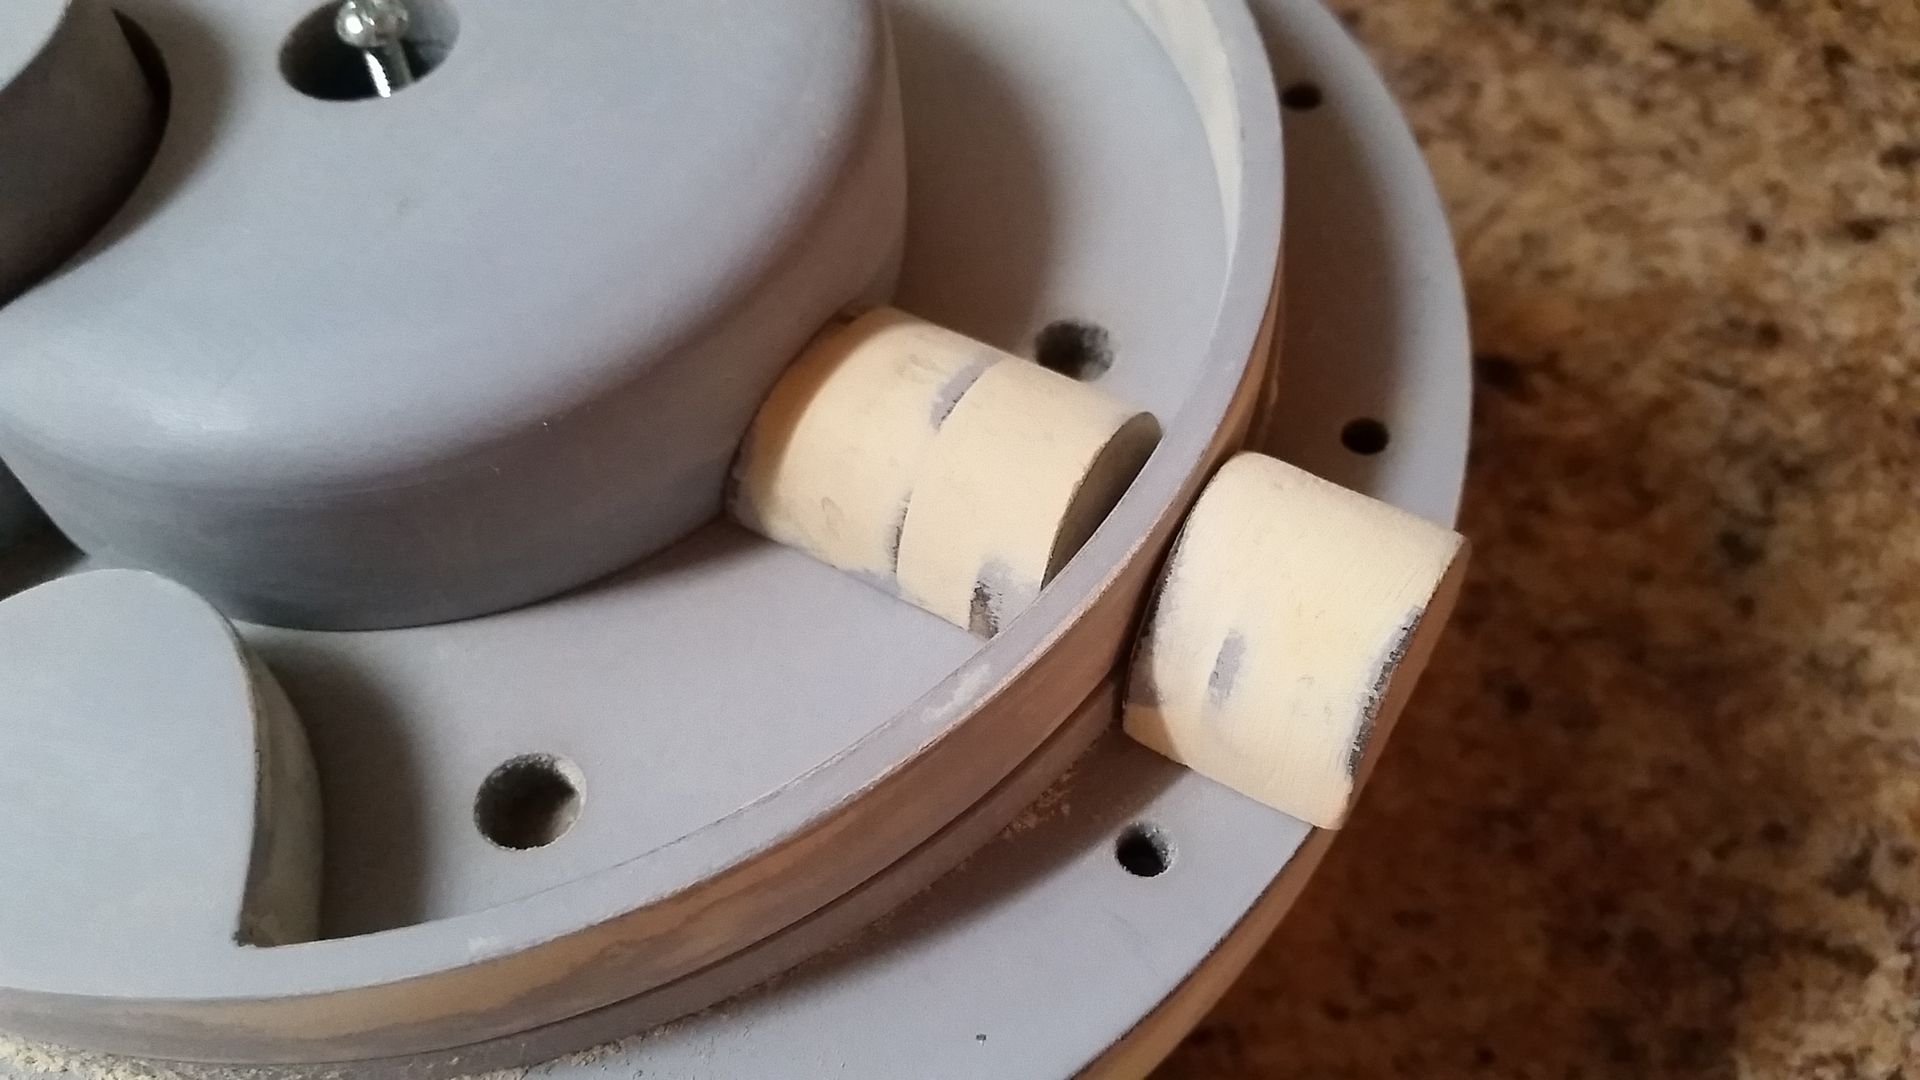
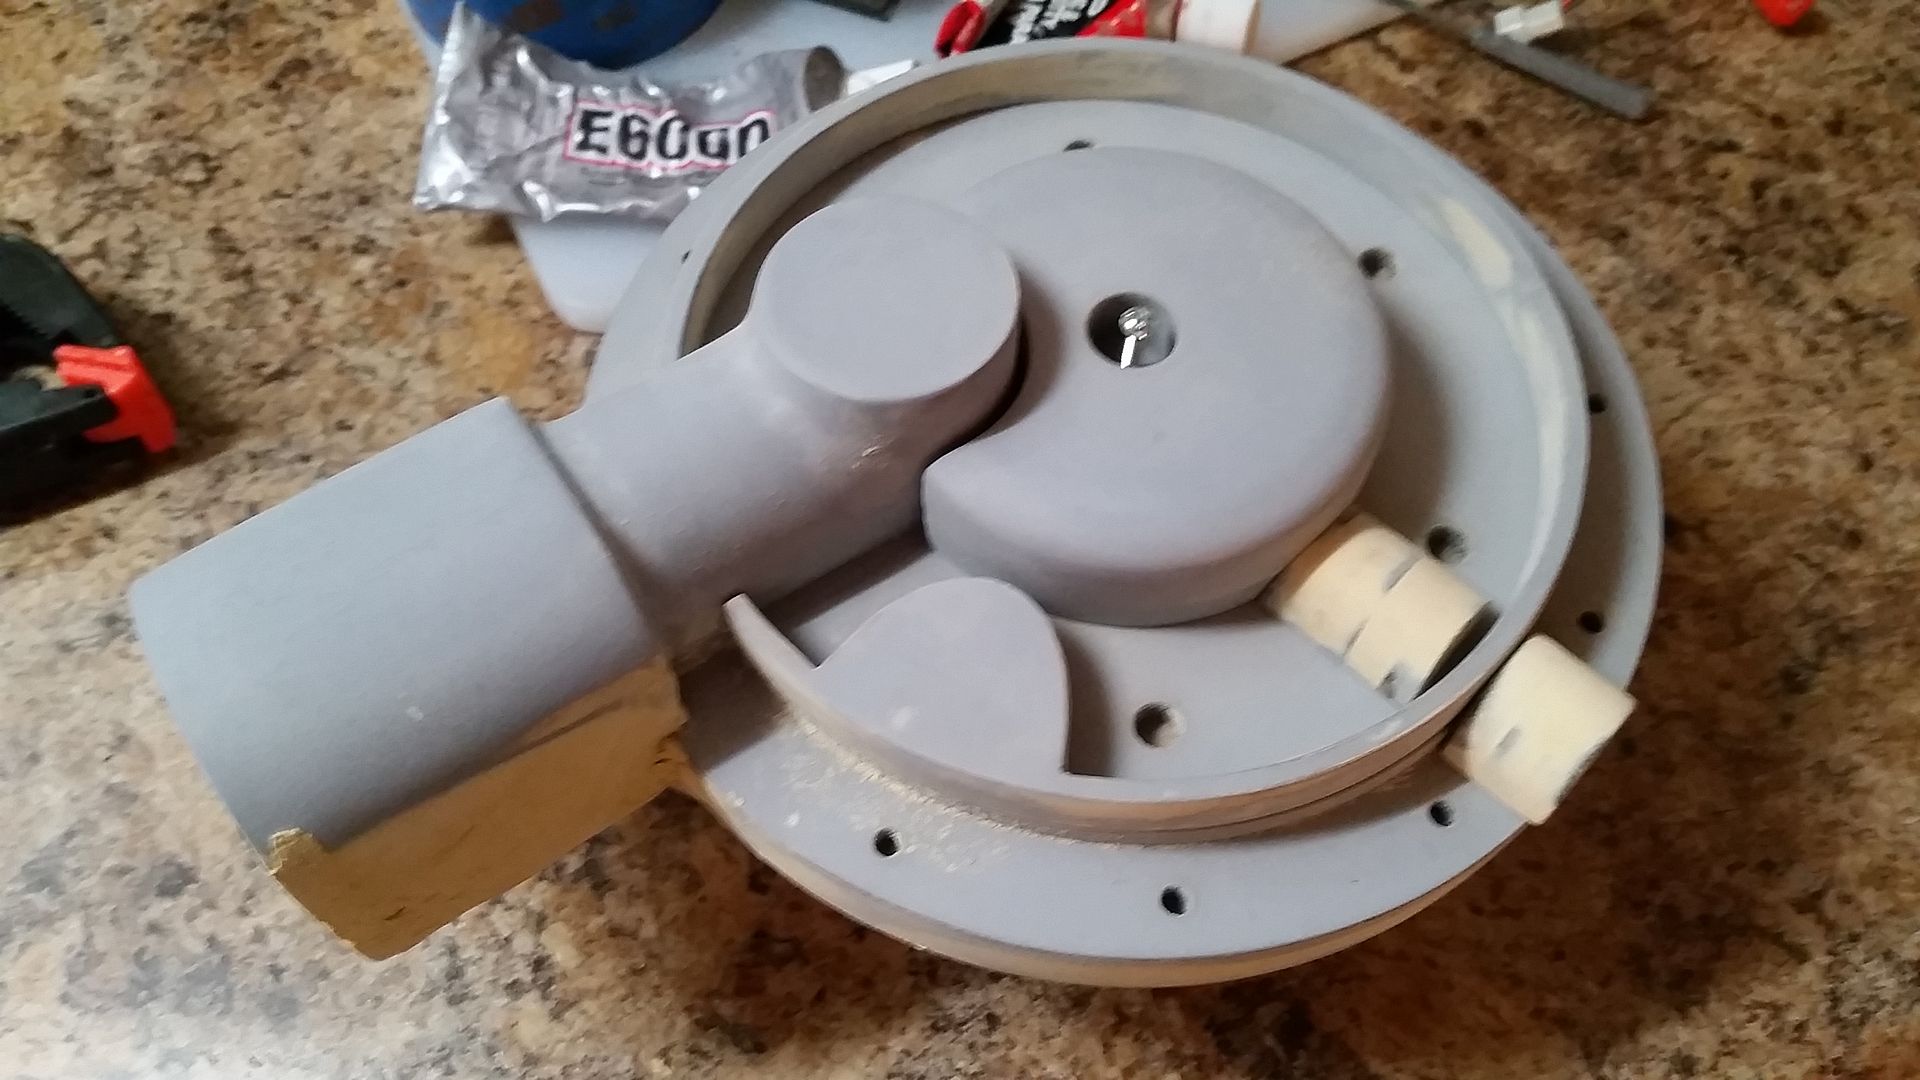
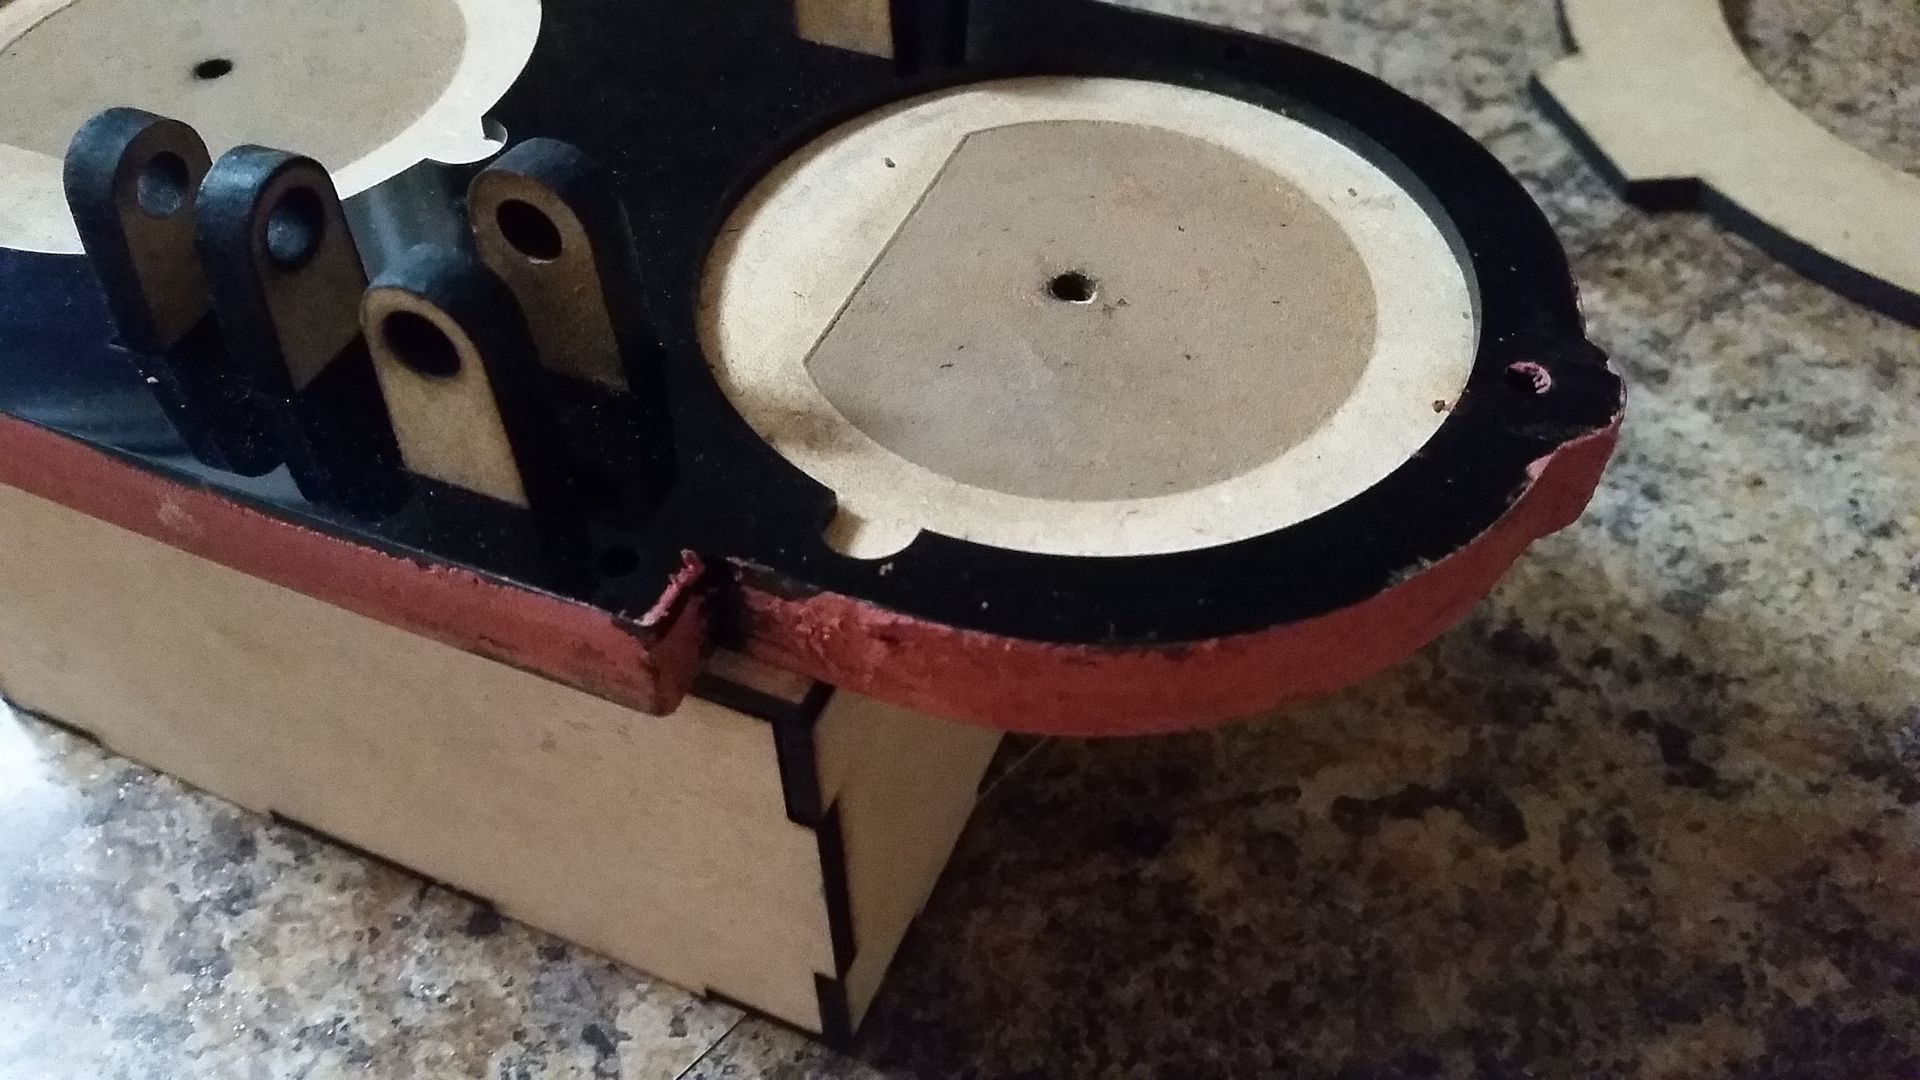
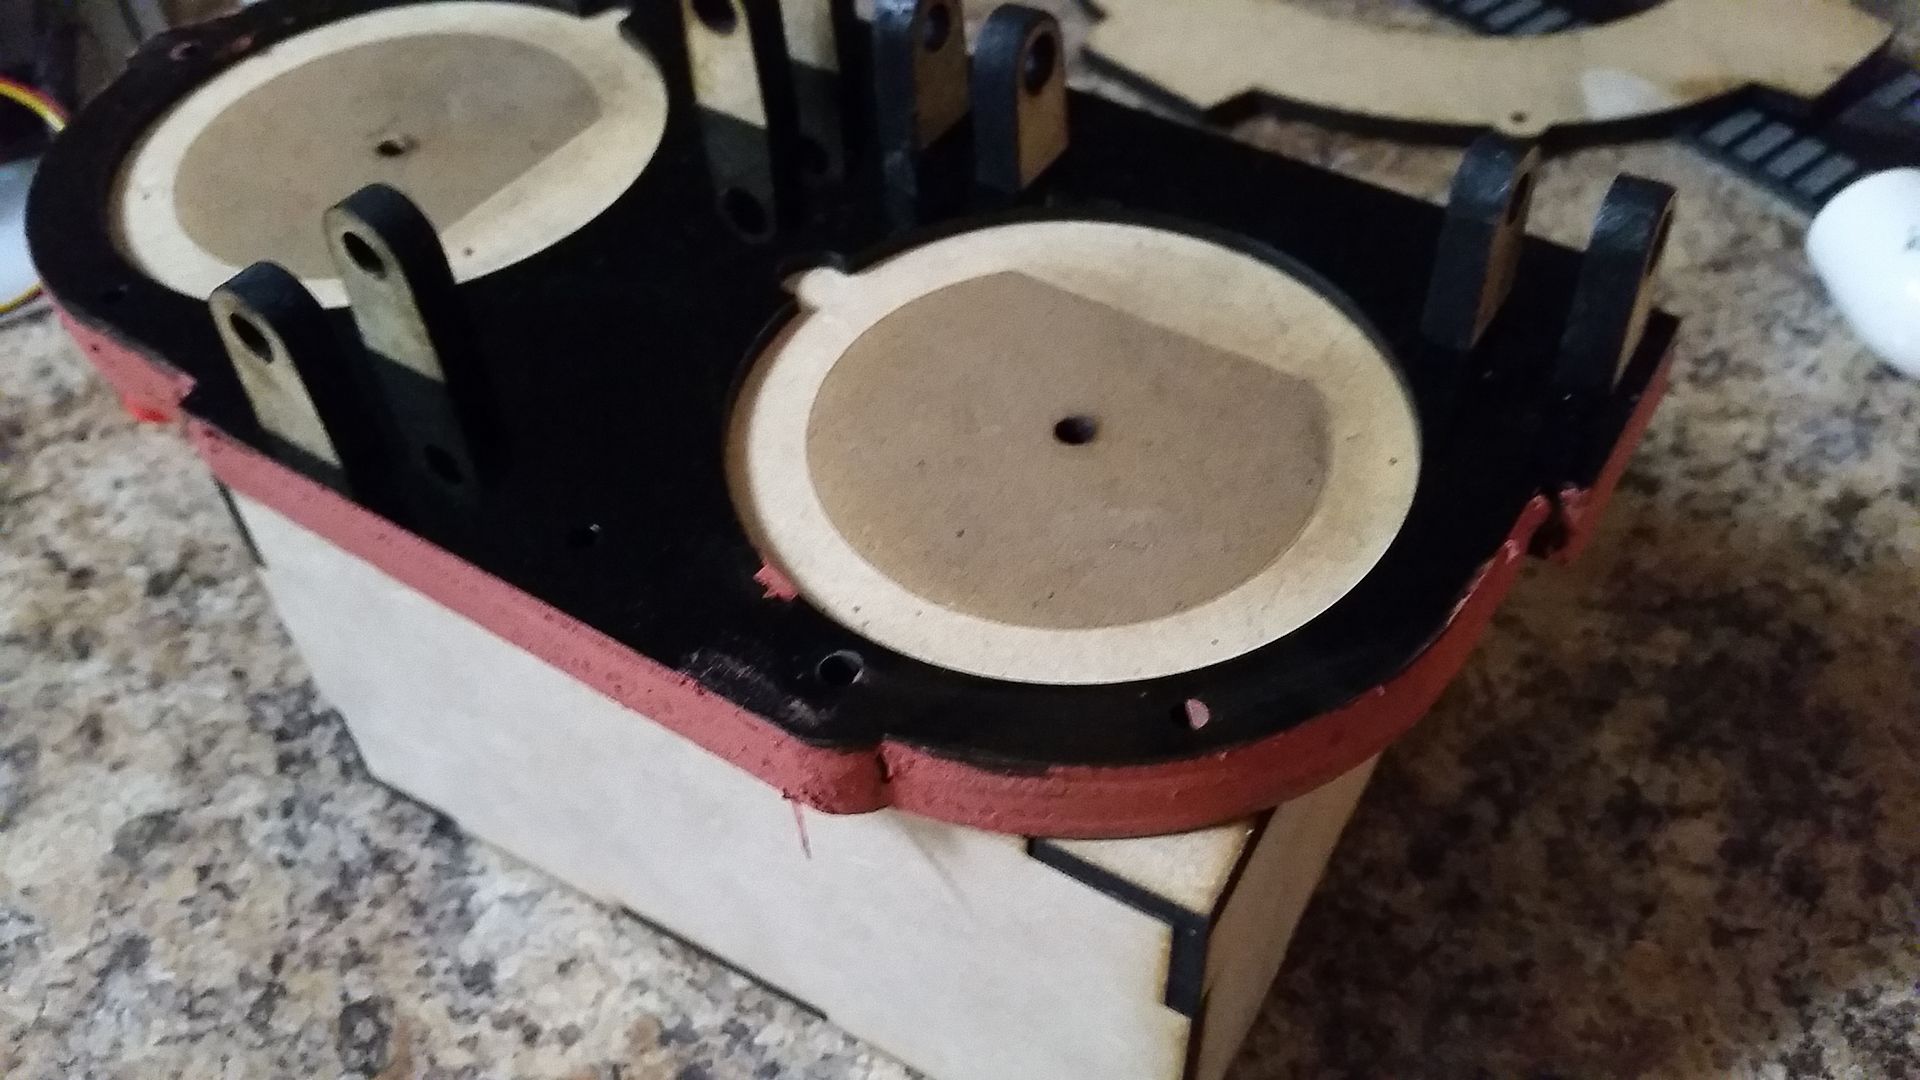
Those greeblies look incredible! Man, do I envy you your access to a laser cutter....
The laser cutter changed everything for me. I can't live without it.
If you ever decide to redo the coil greeblies and want to unload the ones you built, hit me up. I'll pay for them.
It must cost a fortune replacing all those worn laser bits from all the cutting you do.
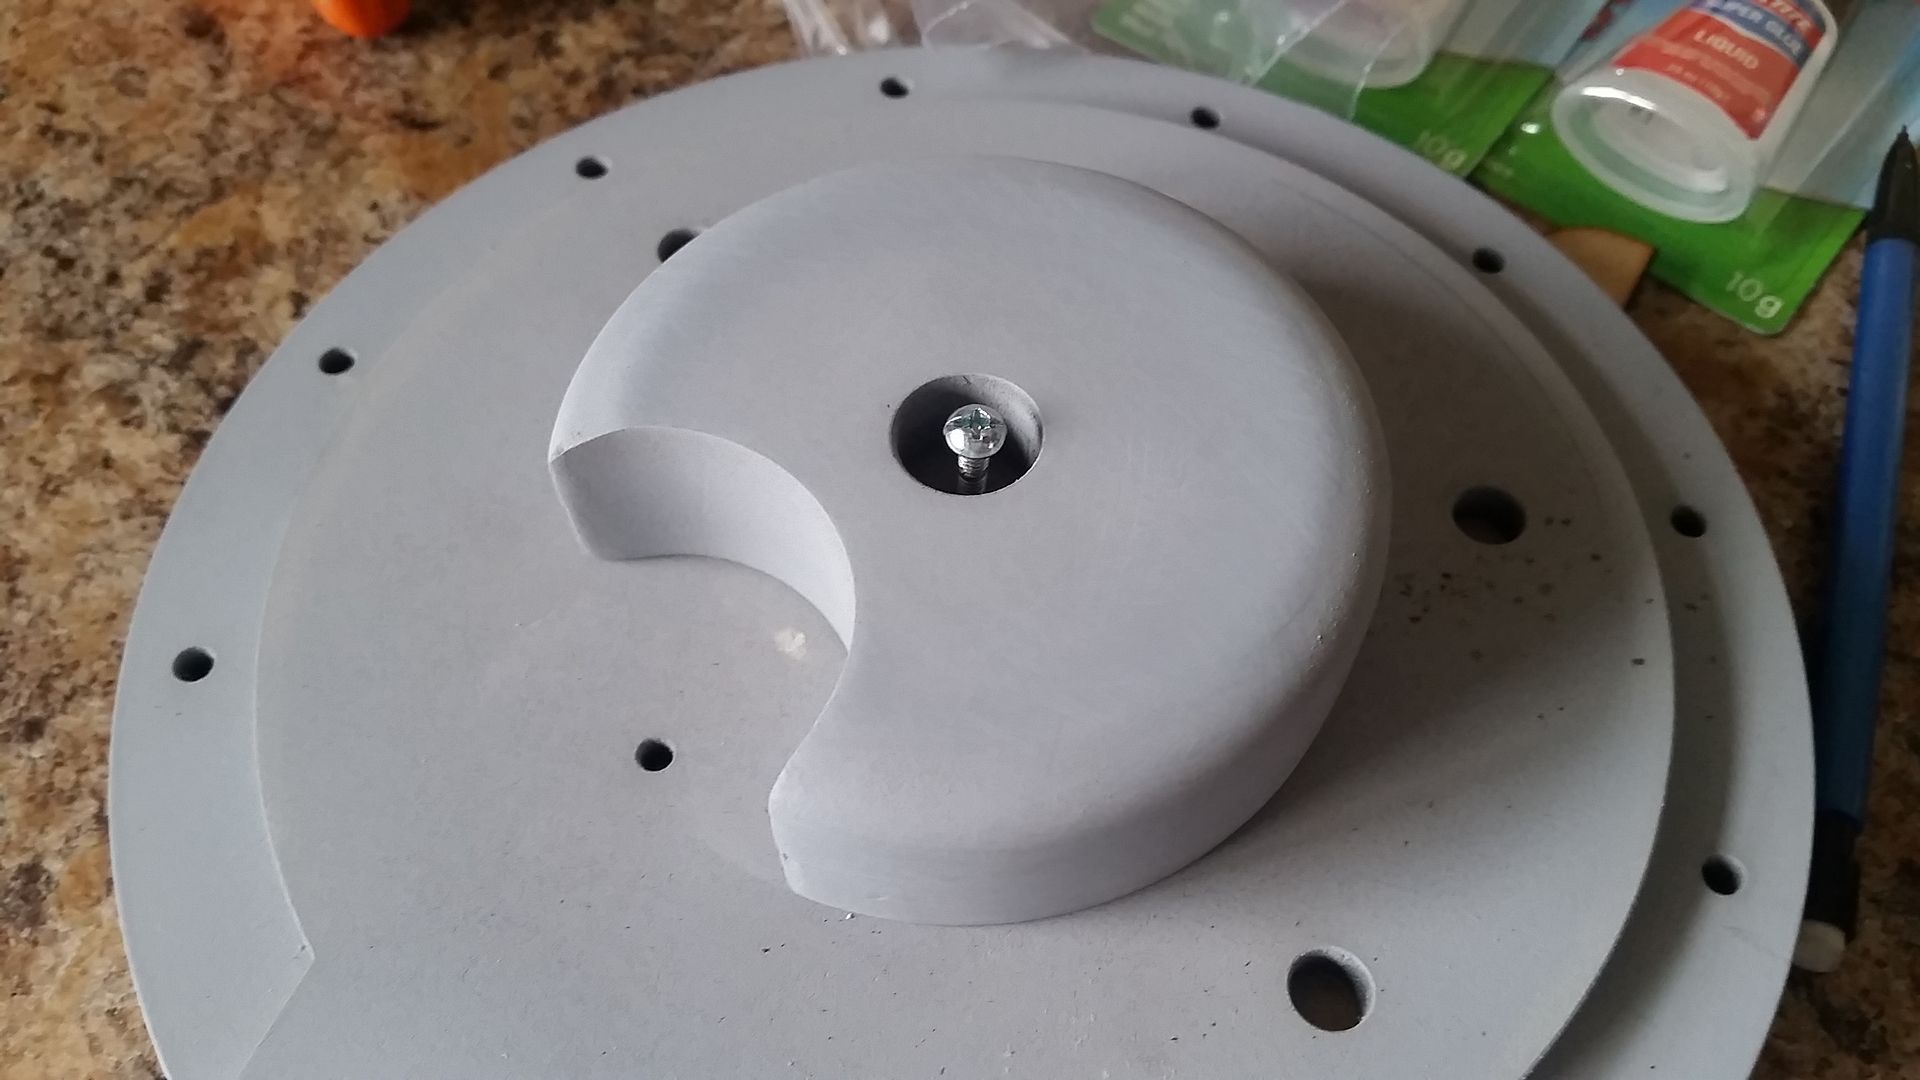
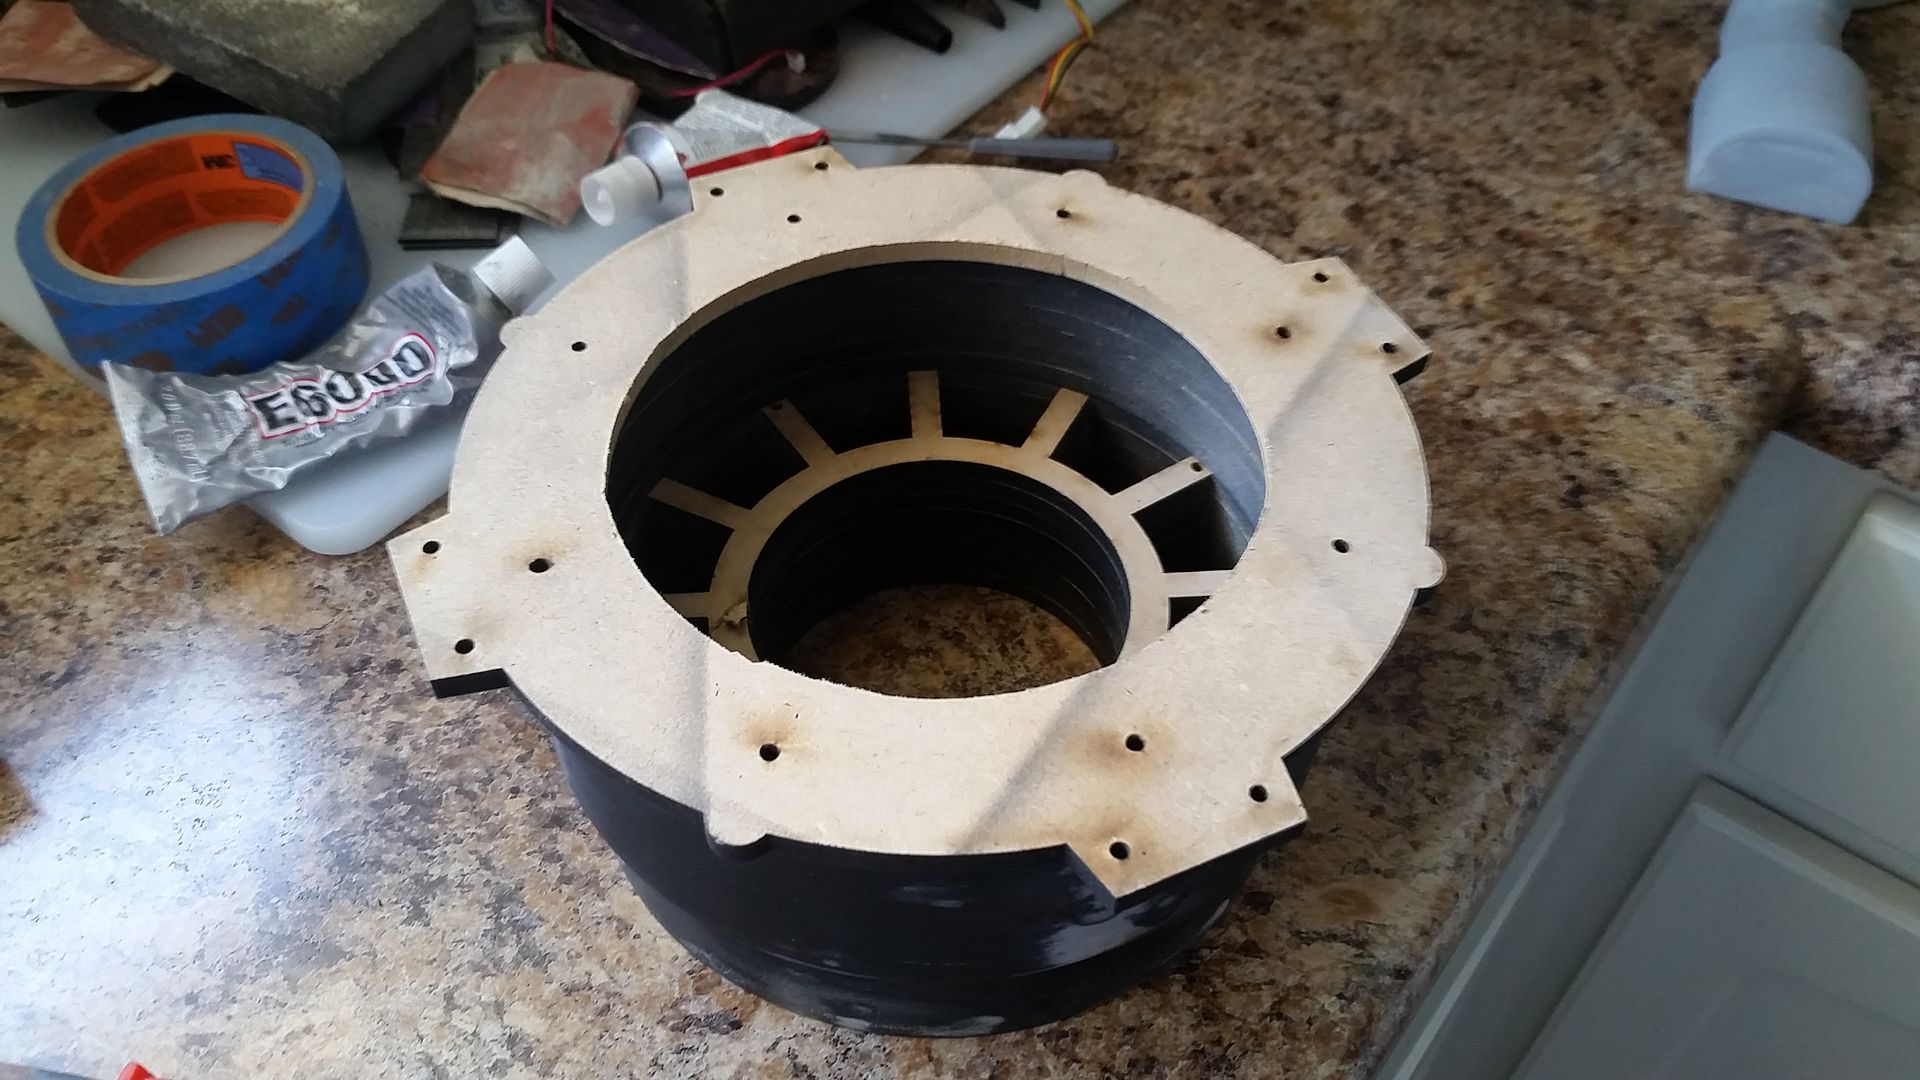
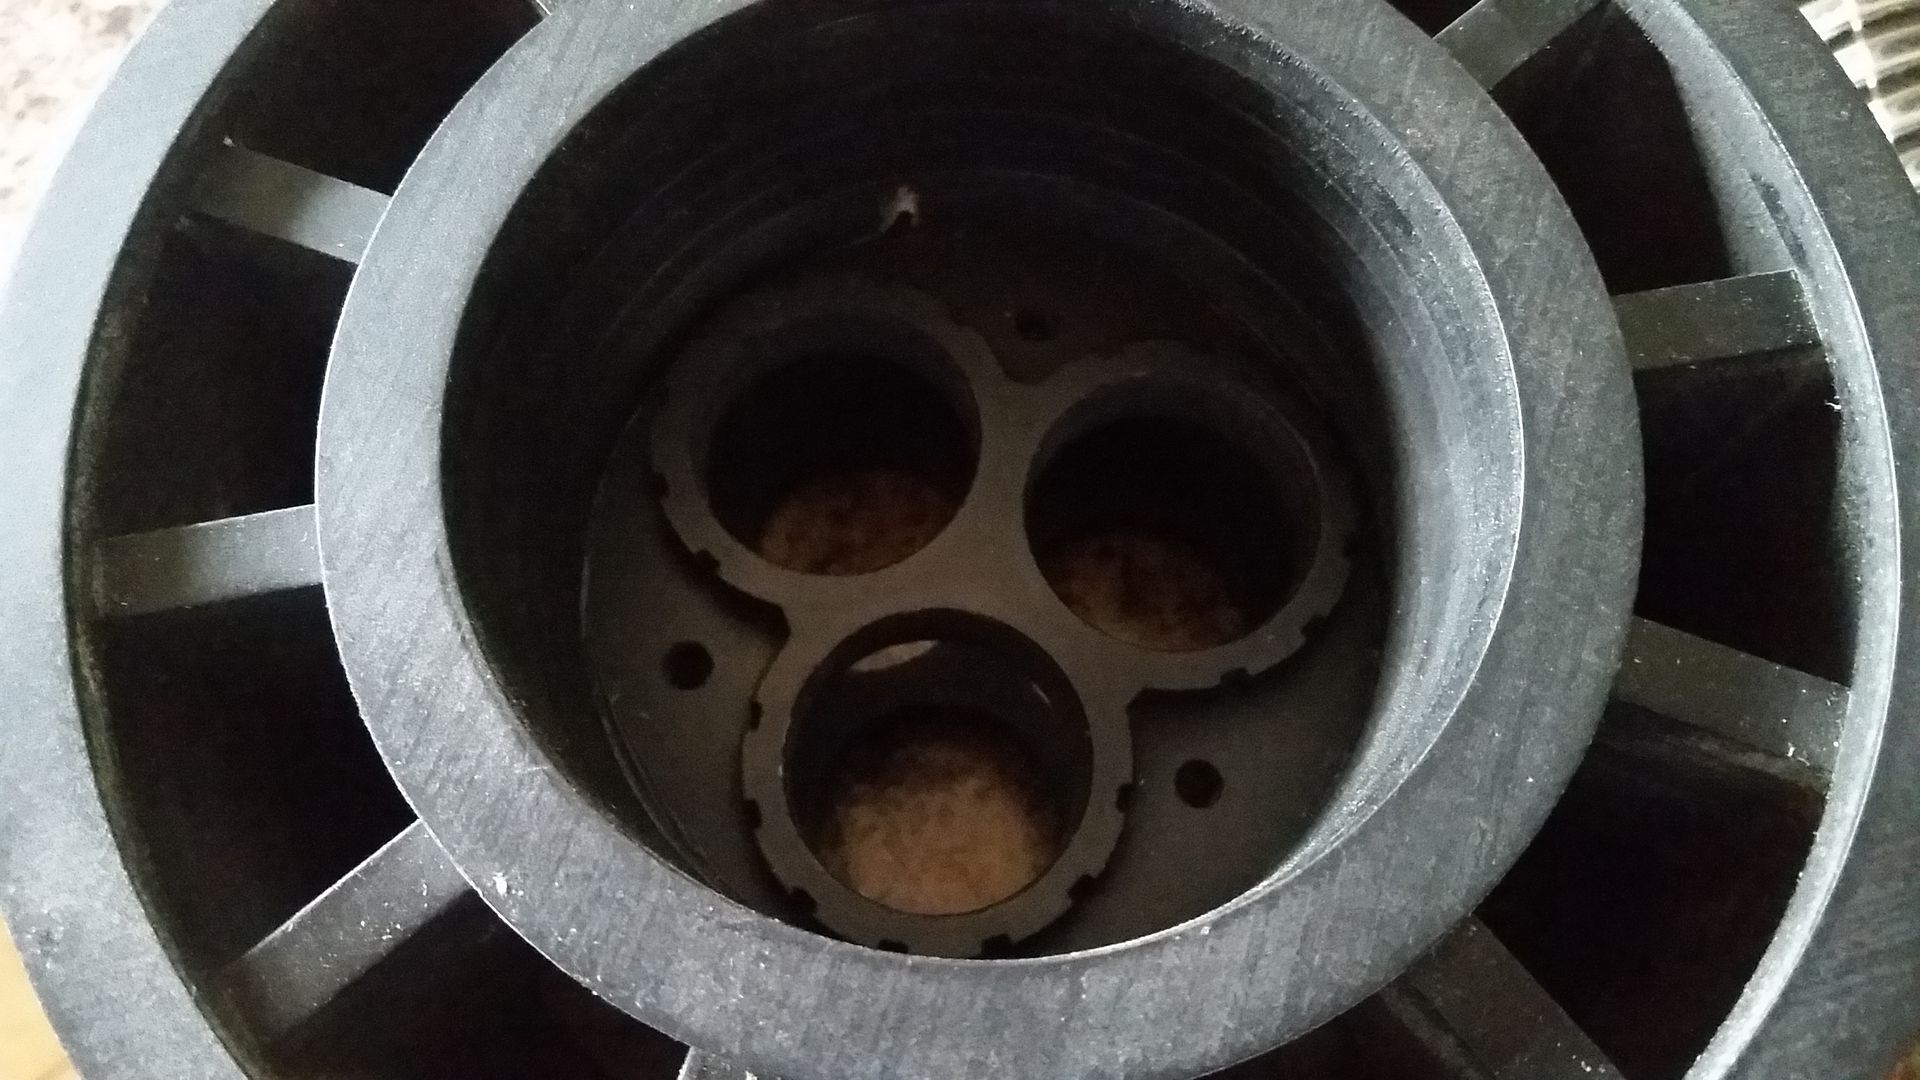
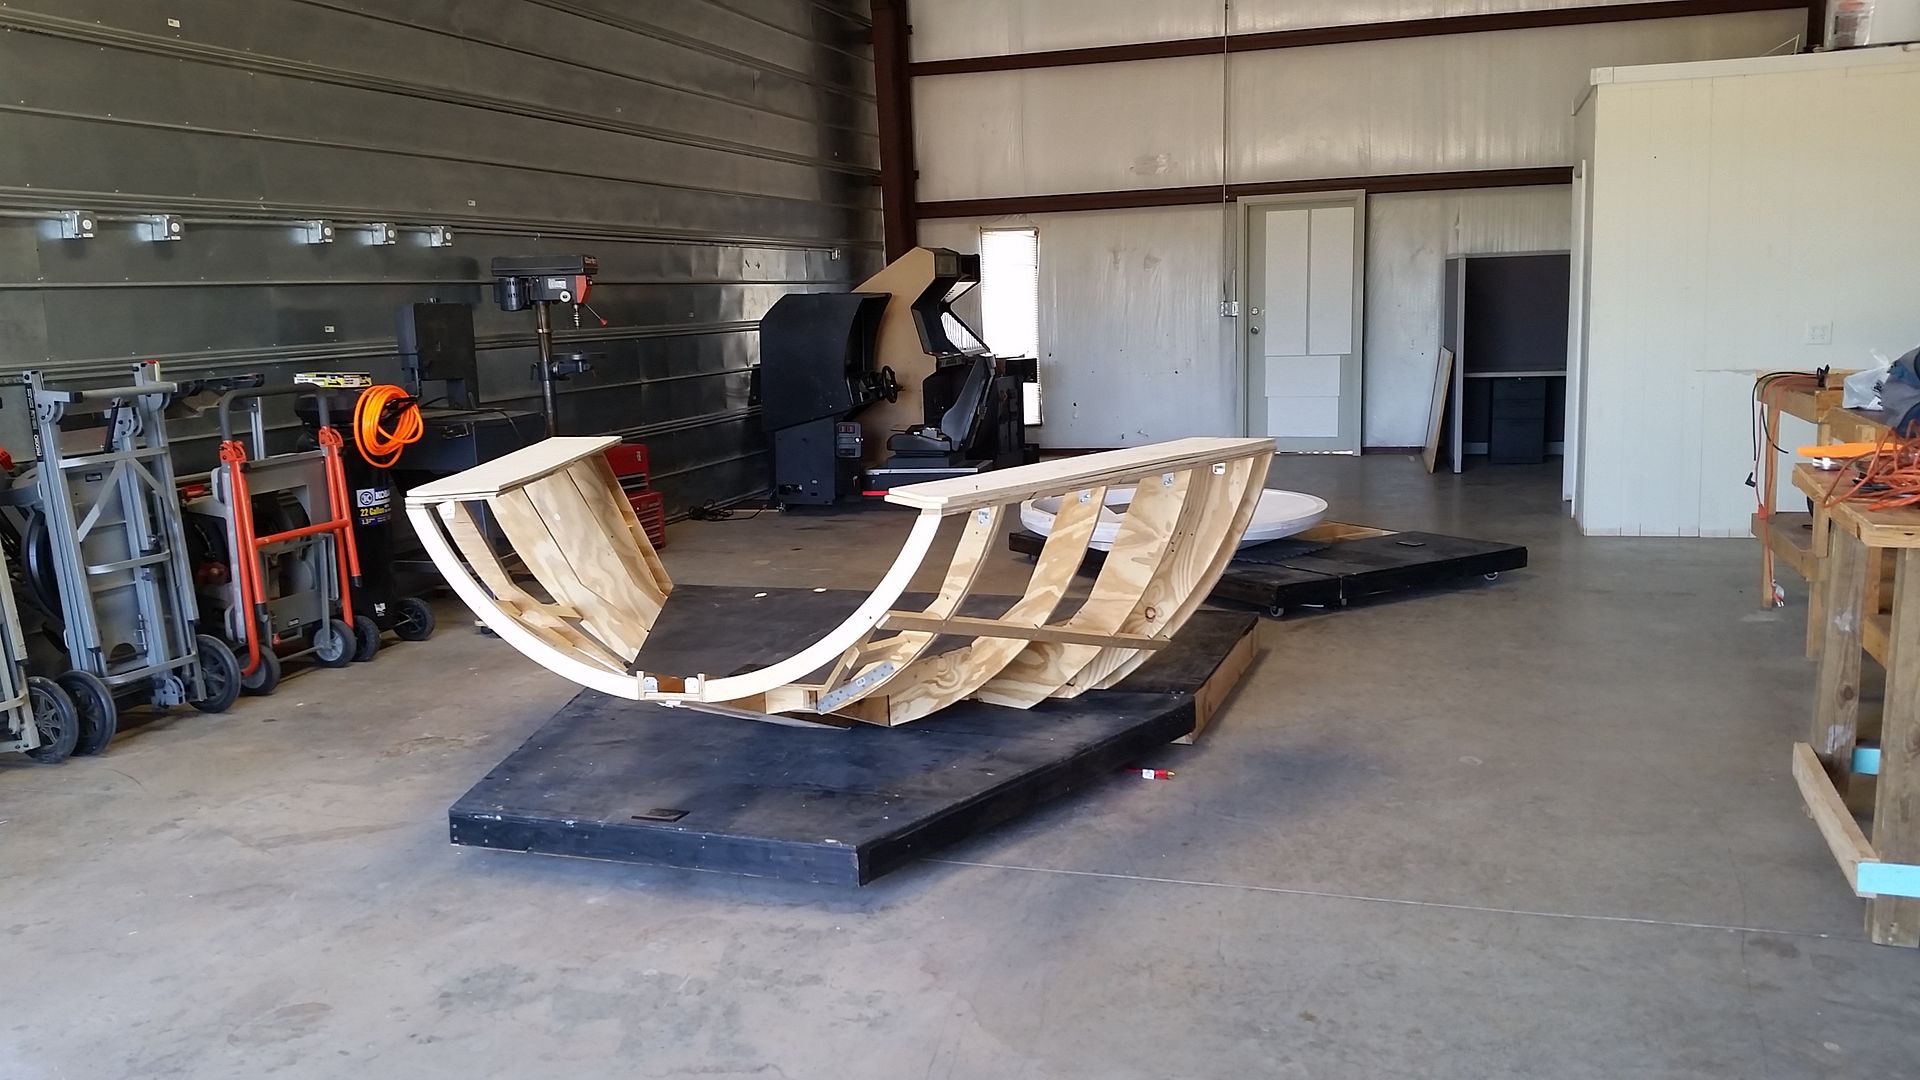
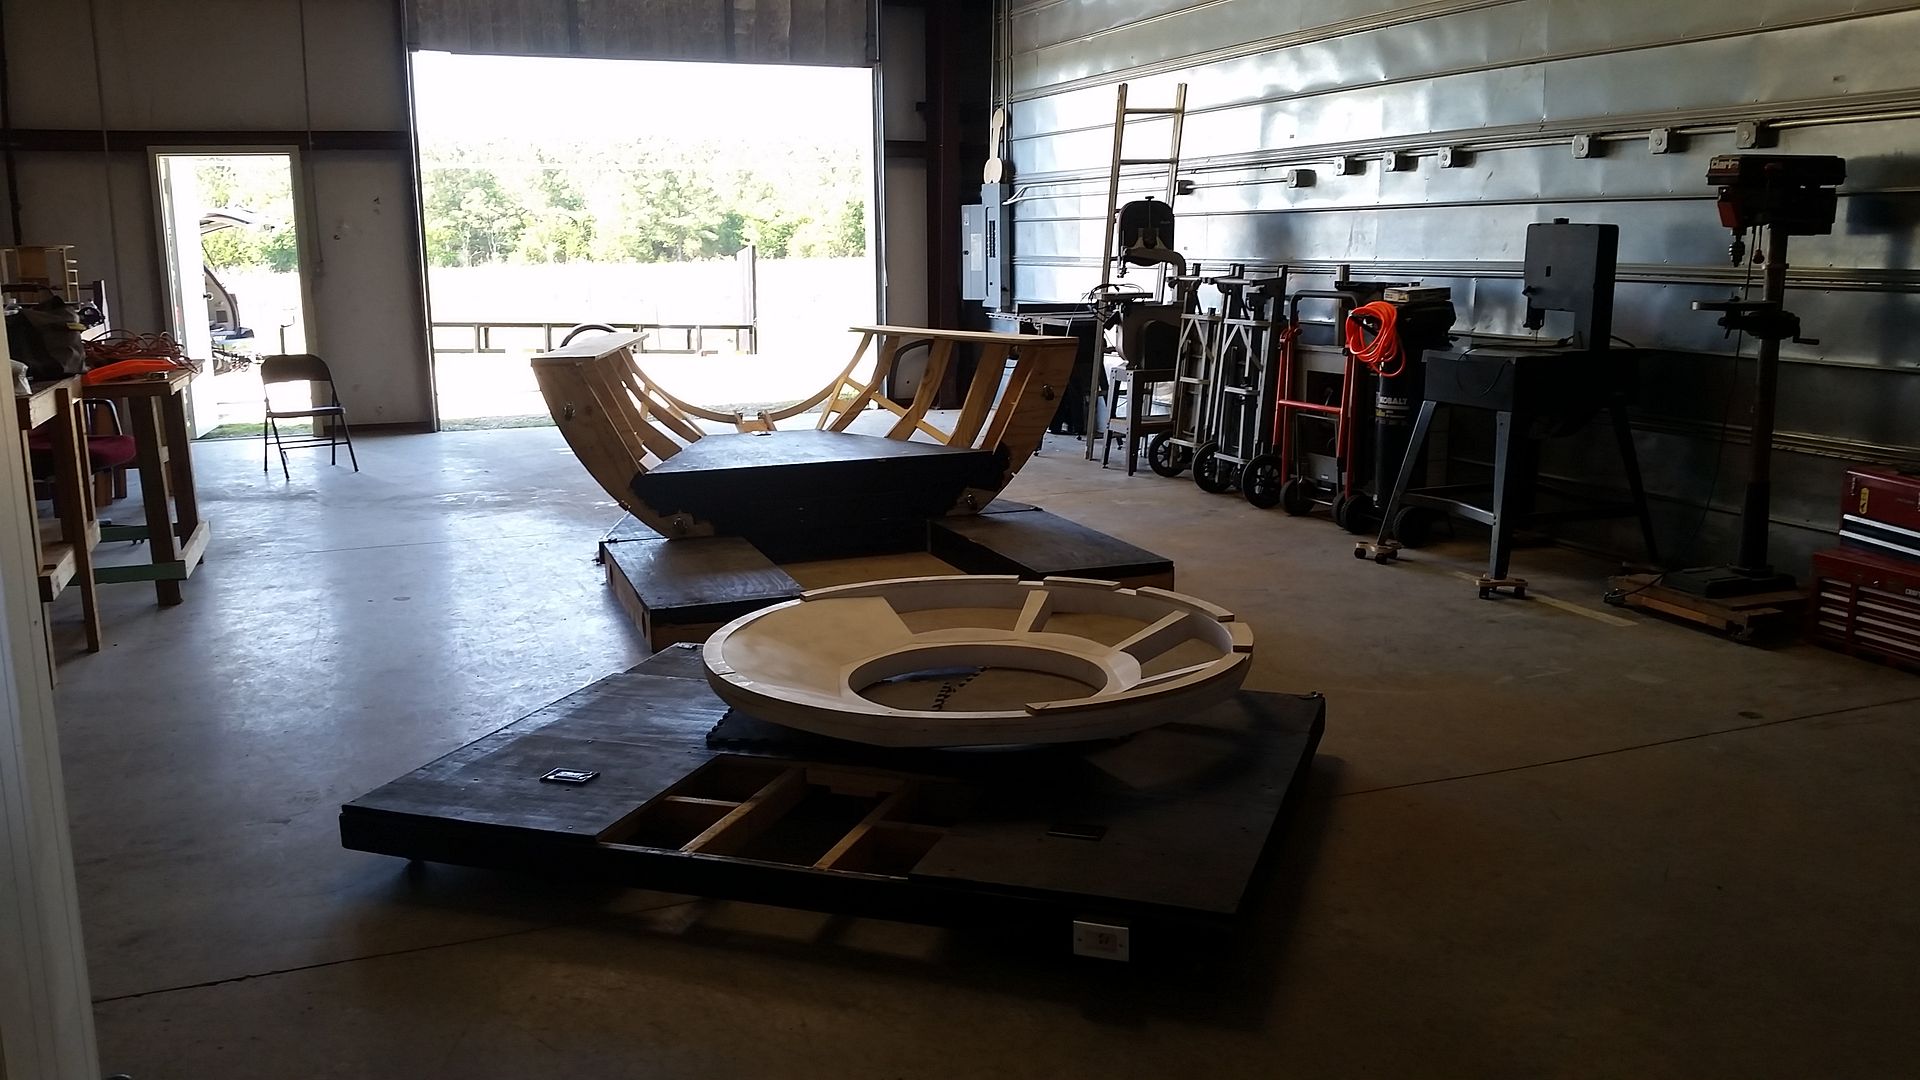
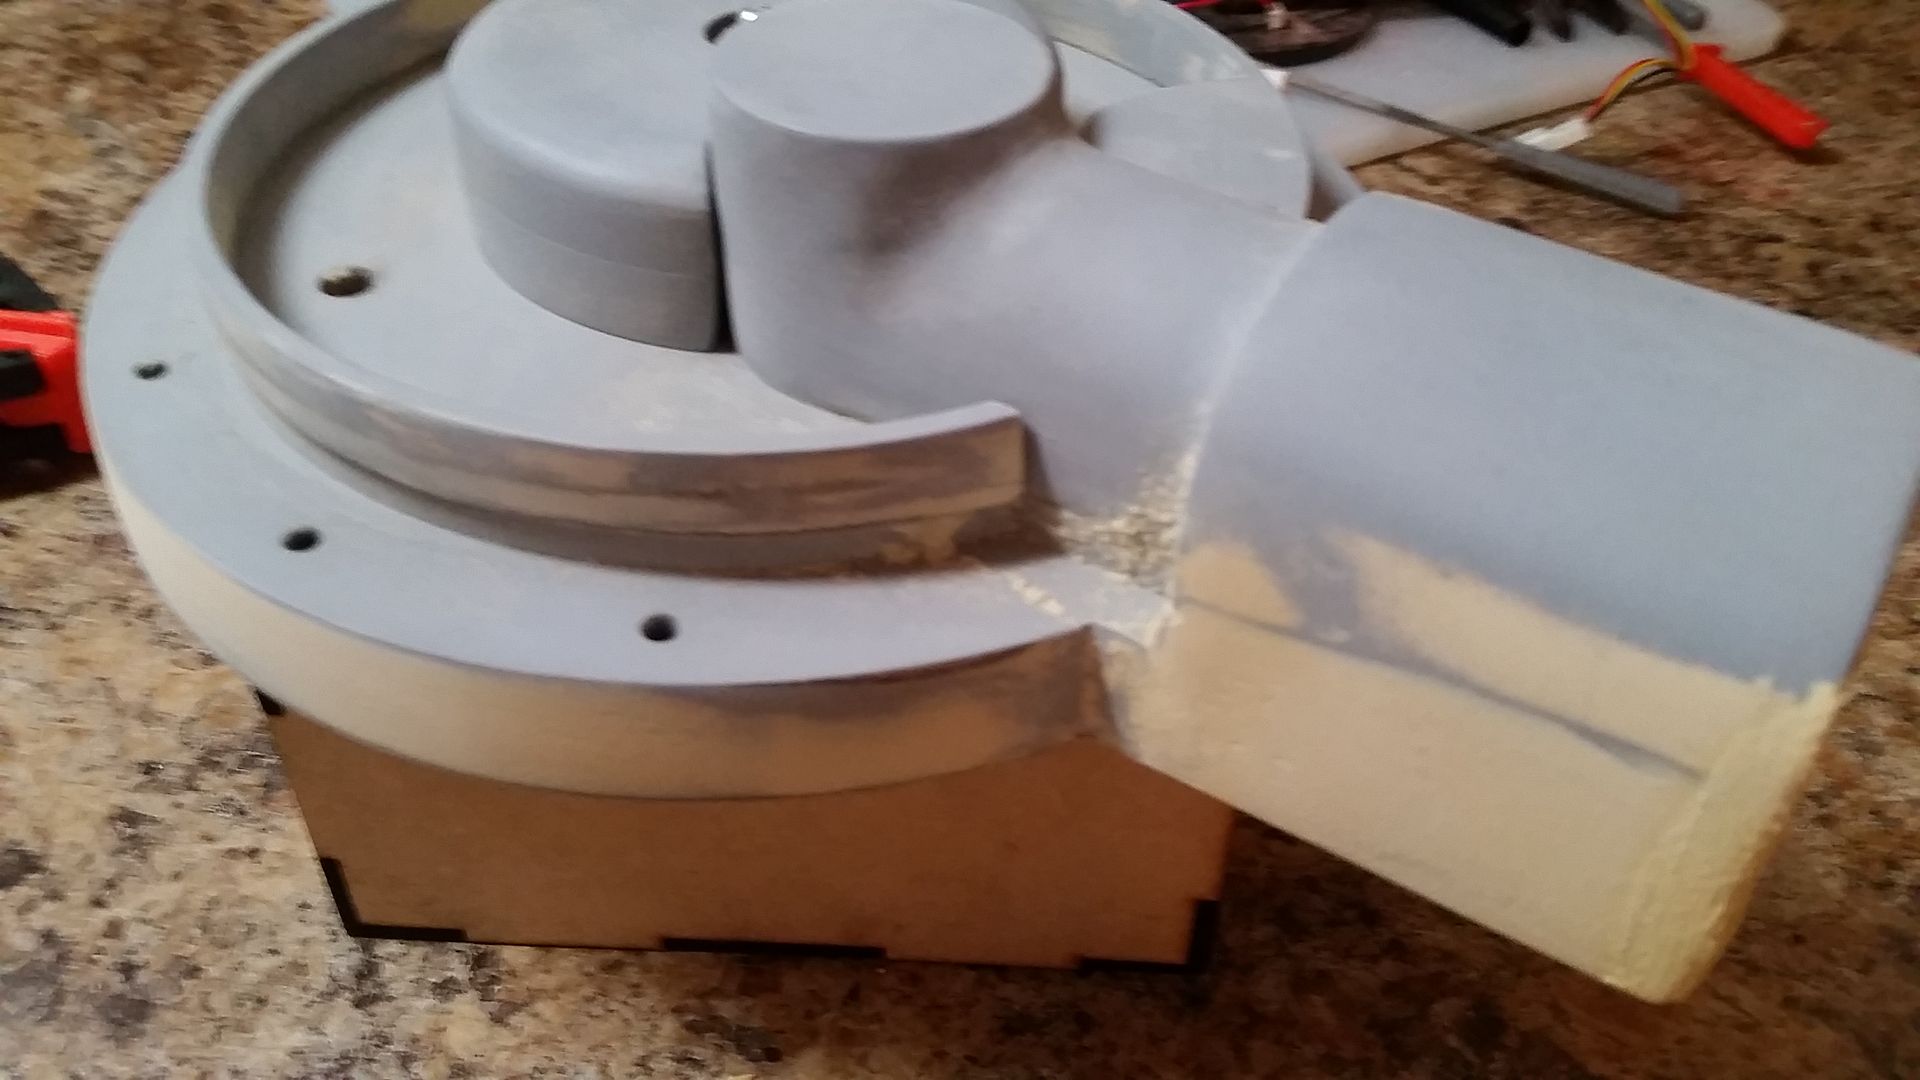
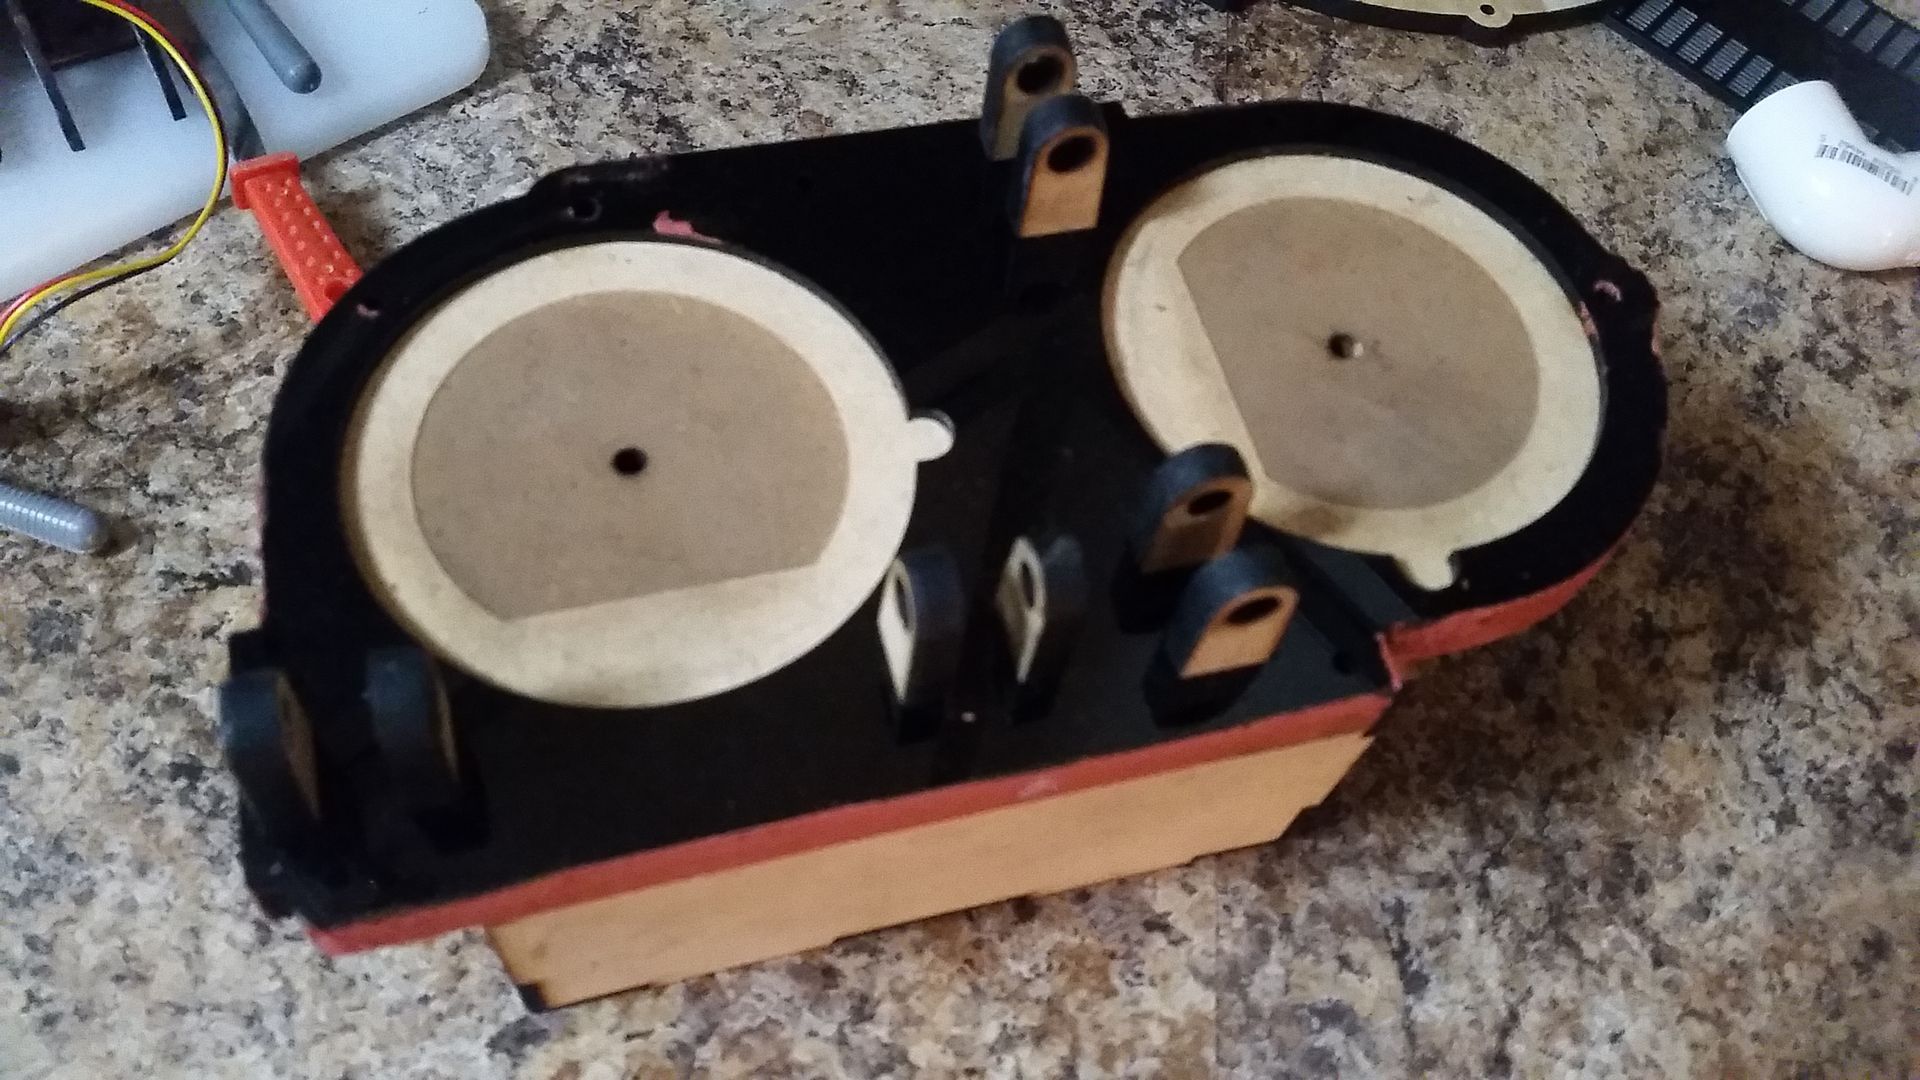
I'm looking forward to the pieces being assembled again. Those are always my favorite updates.
Any thought on longer term plans for what comes after the cockpit/corridor? Are you going to try build the hold's structure first, or work on the elements that can be transported and displayed easily on their own, like the booth/holo-chess area and the Nav console?
Also, what about droids and costumes for display on the sets? You could even dress as Solo during appearances.
If you ever decide to redo the coil greeblies and want to unload the ones you built, hit me up. I'll pay for them.
If SK ever decides to sell anything, expect a bidding war!
In all seriousness, Sofa, I was just thinking with the amount of time and materials in this thing, it's gotta be worth well over $100k. Have you thought about insurance and other real world concerns?

As some of you know, I am doing the Millineum Falcon cargo hold replica for my display room. I need help with the buttons and lights that go behind the couch and on the sides. They look similar to the buttons used in the cockpit and Death Star control panels. Does anyone know where they come from or how to duplicate them? Please PM or email directly.
Thanks,
Rick