You are using an out of date browser. It may not display this or other websites correctly.
You should upgrade or use an alternative browser.
You should upgrade or use an alternative browser.
1:1 Millennium Falcon Cockpit Replica - Group Build
- Thread starter SteveStarkiller
- Start date
DarthDerf
Member
Everything is amazing and your attention to detail is very impressive... I am also envious of the amount of reference photos you have. I've seen when you post on other builds different photos and I use those all the time as well for inspiration. That being said, is this the 1:1 scale Falcon that was being built in TN? I've heard about one and I think you guys are the same ones. If so, I'd love to come visit. I'm sure a small road trip wouldn't hurt. I'd love to see what all has been made in person and just take it all in. Just staring at the simple things I've built still makes me grin, so I can only imagine how you guys get when you just stare and take it all in..
Keep up that great job Sofa...and Co! It sure will look good with that rear all done and painted. Looking forward to your other MF projects!
Hey J,
Thanks so much! I'm really looking forward to seeing the cockpit entrance all finished up and in place as well. It will look even better with a corridor surrounding it!
")
Everything is amazing and your attention to detail is very impressive... I am also envious of the amount of reference photos you have. I've seen when you post on other builds different photos and I use those all the time as well for inspiration. That being said, is this the 1:1 scale Falcon that was being built in TN? I've heard about one and I think you guys are the same ones. If so, I'd love to come visit. I'm sure a small road trip wouldn't hurt. I'd love to see what all has been made in person and just take it all in. Just staring at the simple things I've built still makes me grin, so I can only imagine how you guys get when you just stare and take it all in..
Hi DD,
Thanks for the kind words.
This is the same Full Scale Falcon Project that you've heard about. The project is moving at a snail's pace right now until I get the new platforms in place. Once we get the cockpit back up and the new nose and corridors begin PLEASE contact me and we'll DEF set up a time for you to come visit and get your hands dirty. We're always excited to have new folks join the fun!
Whether a big or small project... having fun, learning new skills and being/staying productive are the main things! Look forward to meeting ya!
Loosebruce704
Member
I've had a thought about what the new premises allows.
Because it's bigger can allow for groups from schools/ colleges, scout groups and other youth groups to come along learn how to do stuff see what stuff does help paint stuff etc.
Be really good for publicity spreading word etc.
Because it's bigger can allow for groups from schools/ colleges, scout groups and other youth groups to come along learn how to do stuff see what stuff does help paint stuff etc.
Be really good for publicity spreading word etc.
Hi Gang,
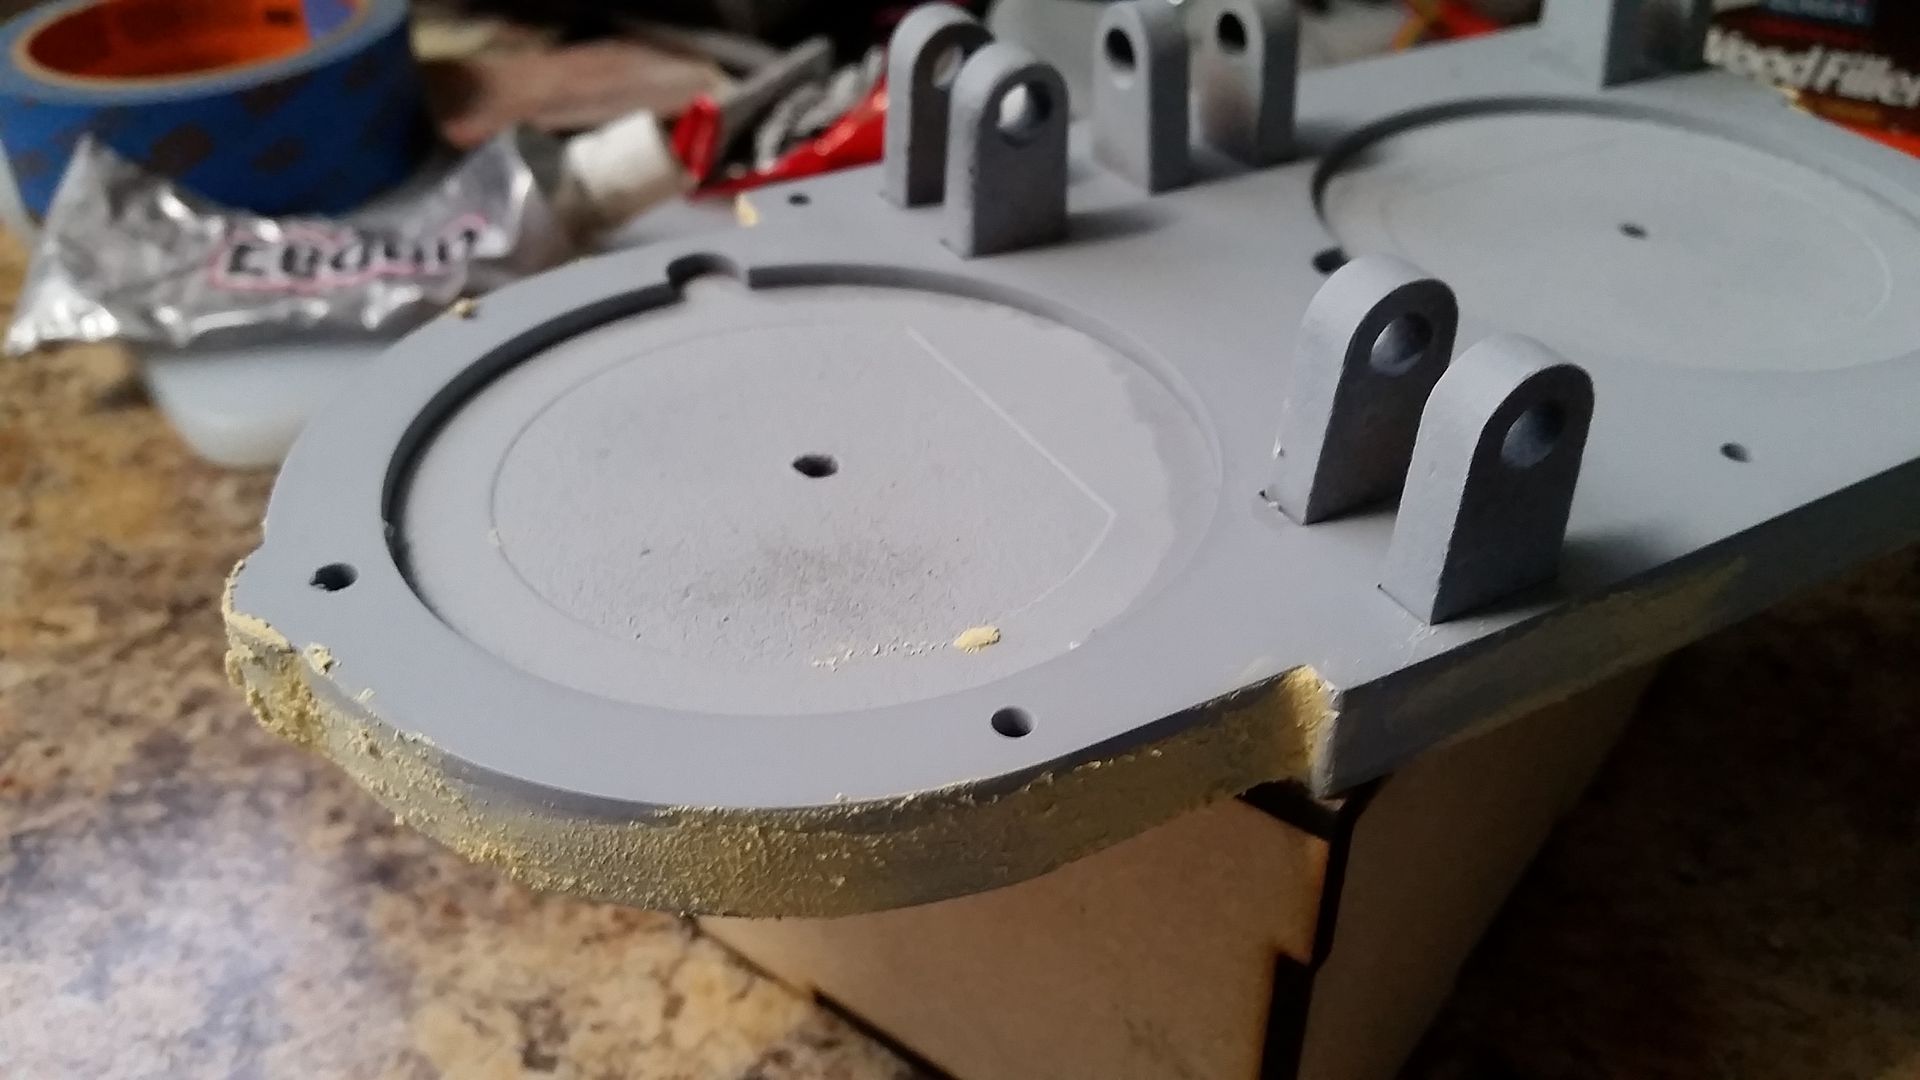
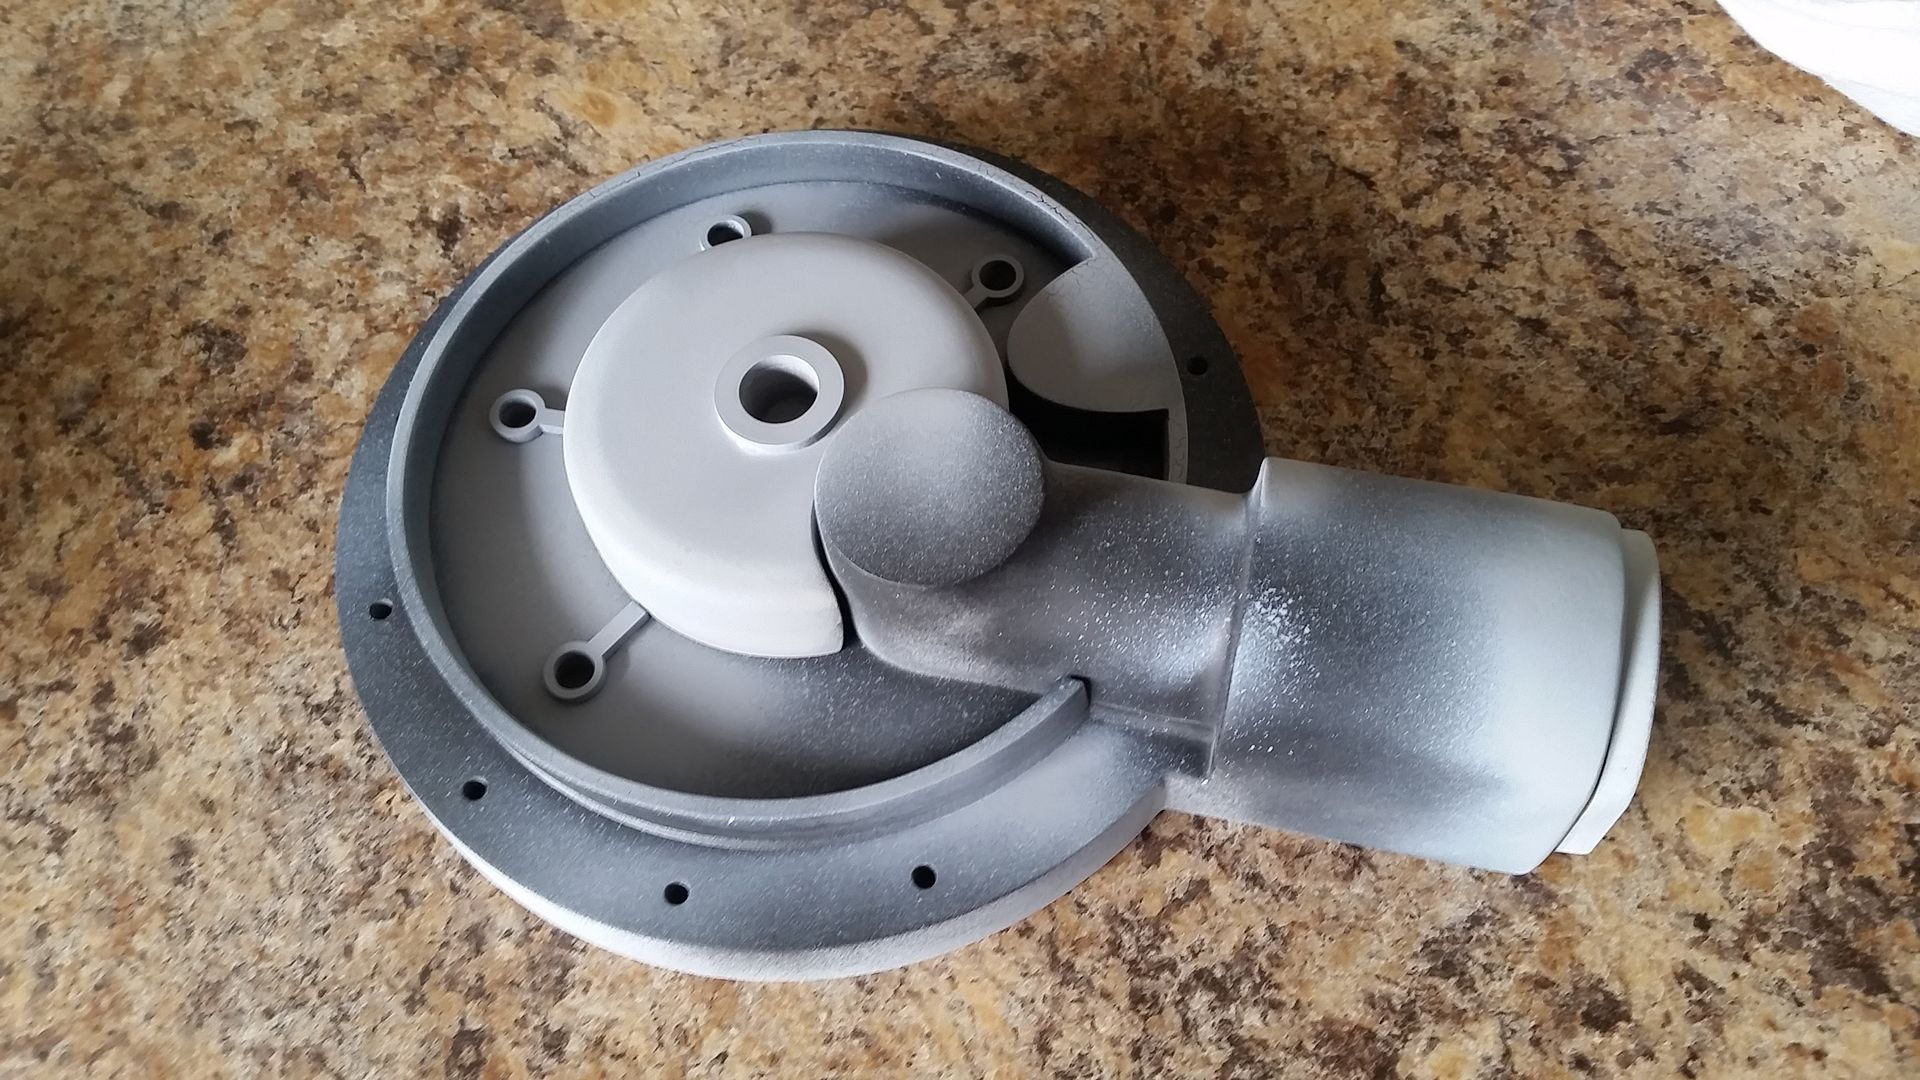
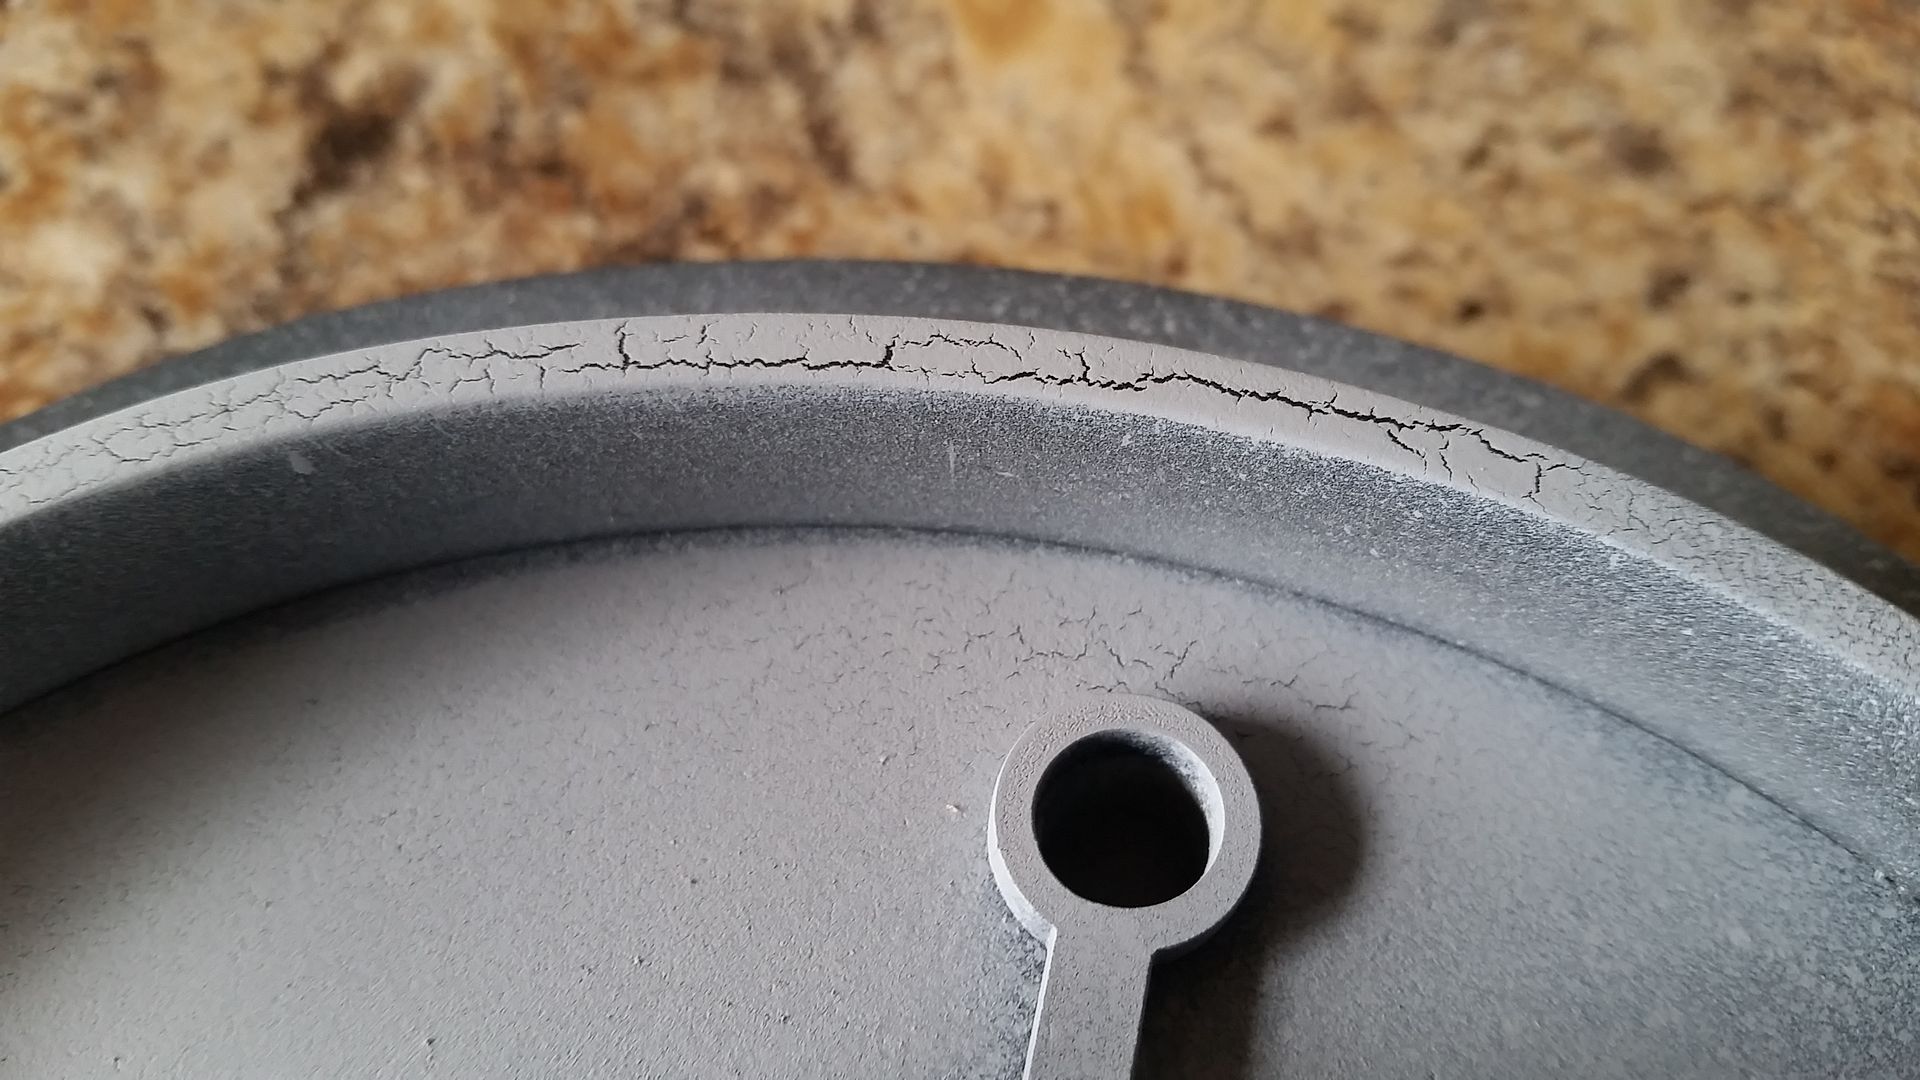
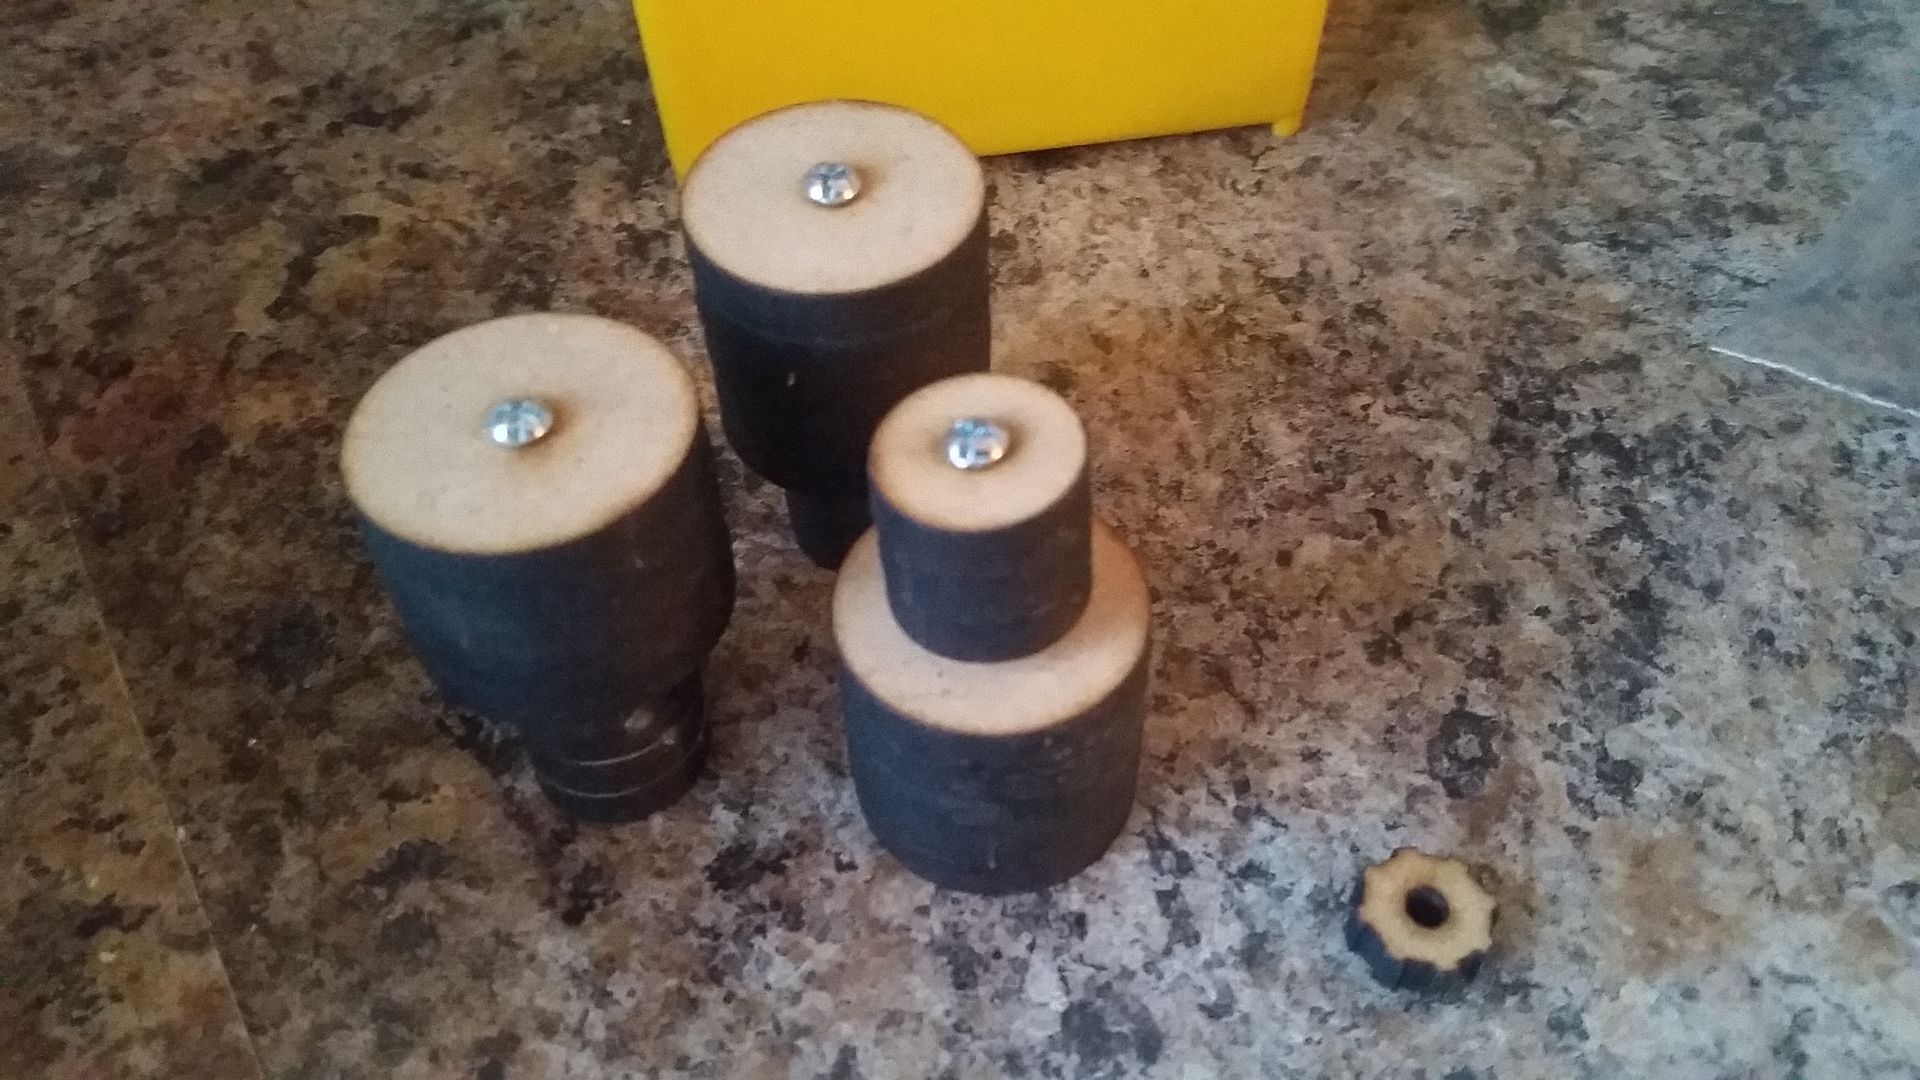
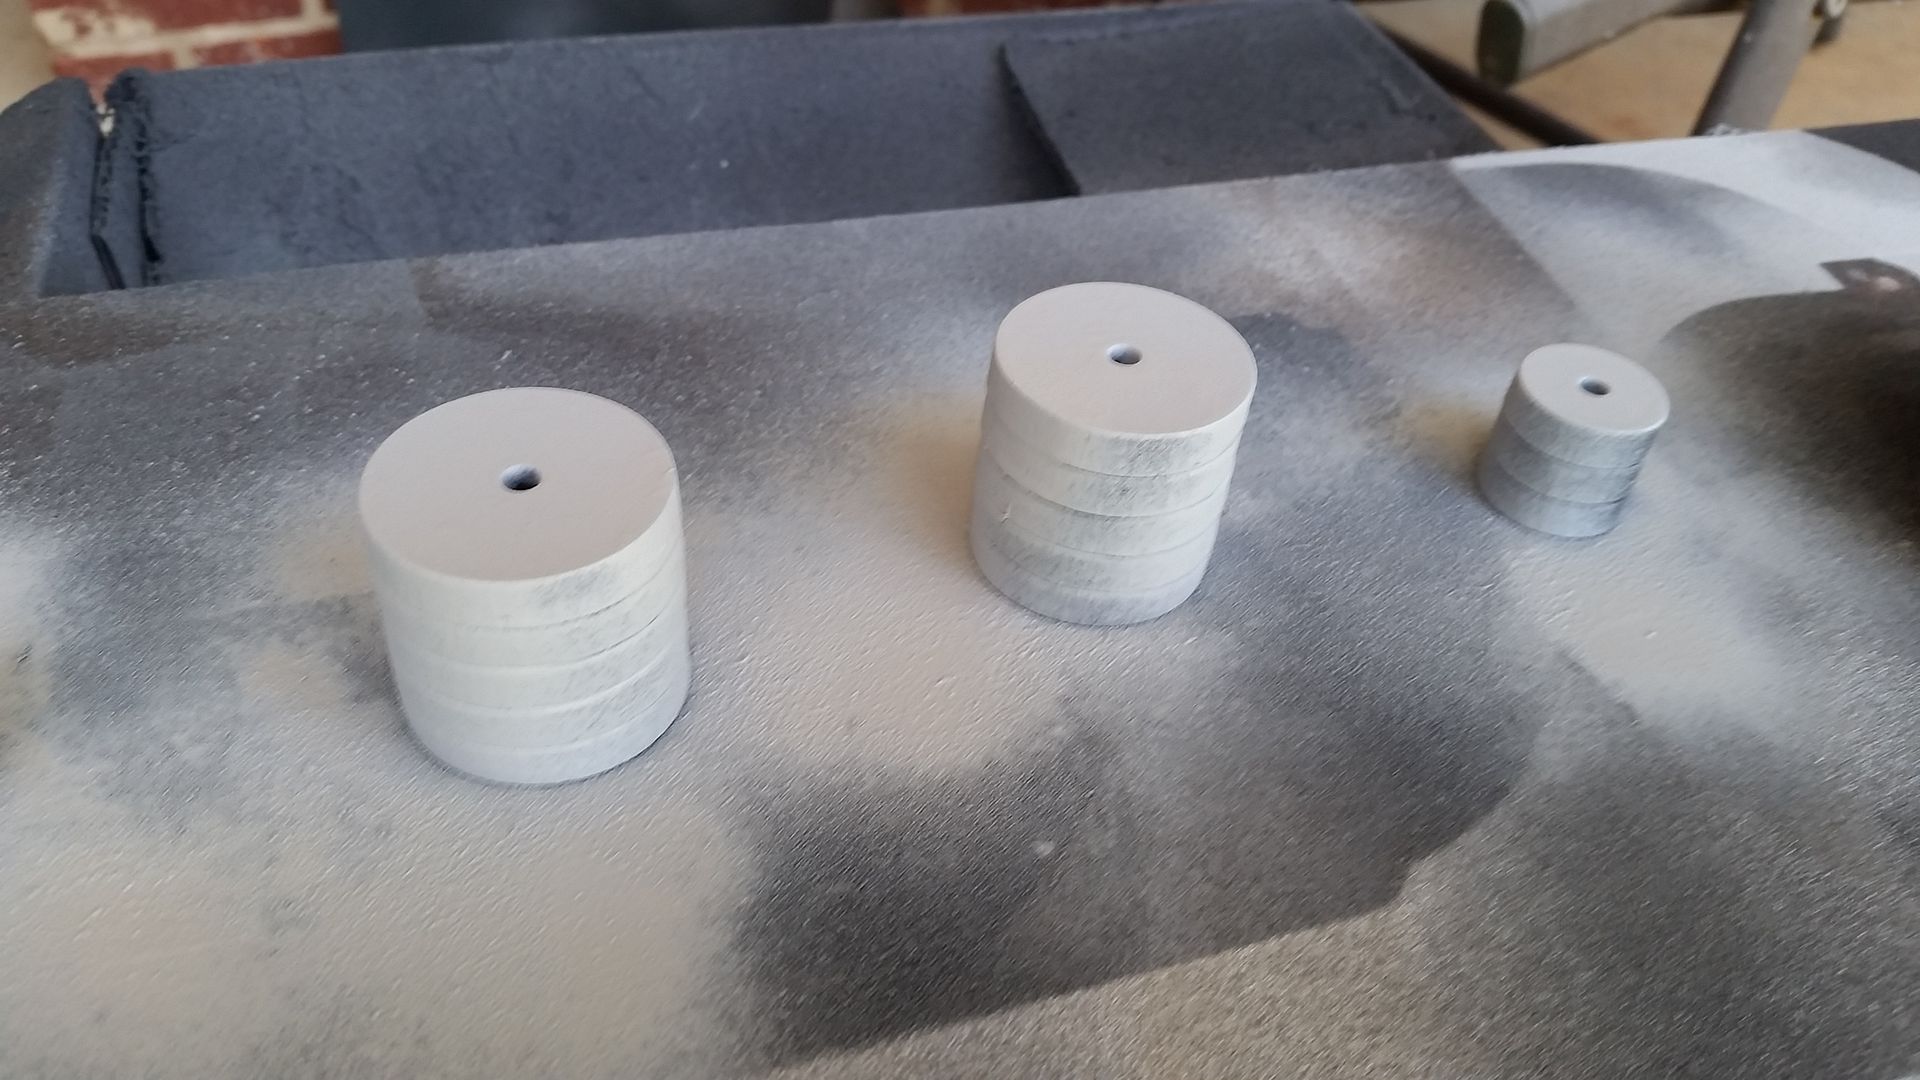
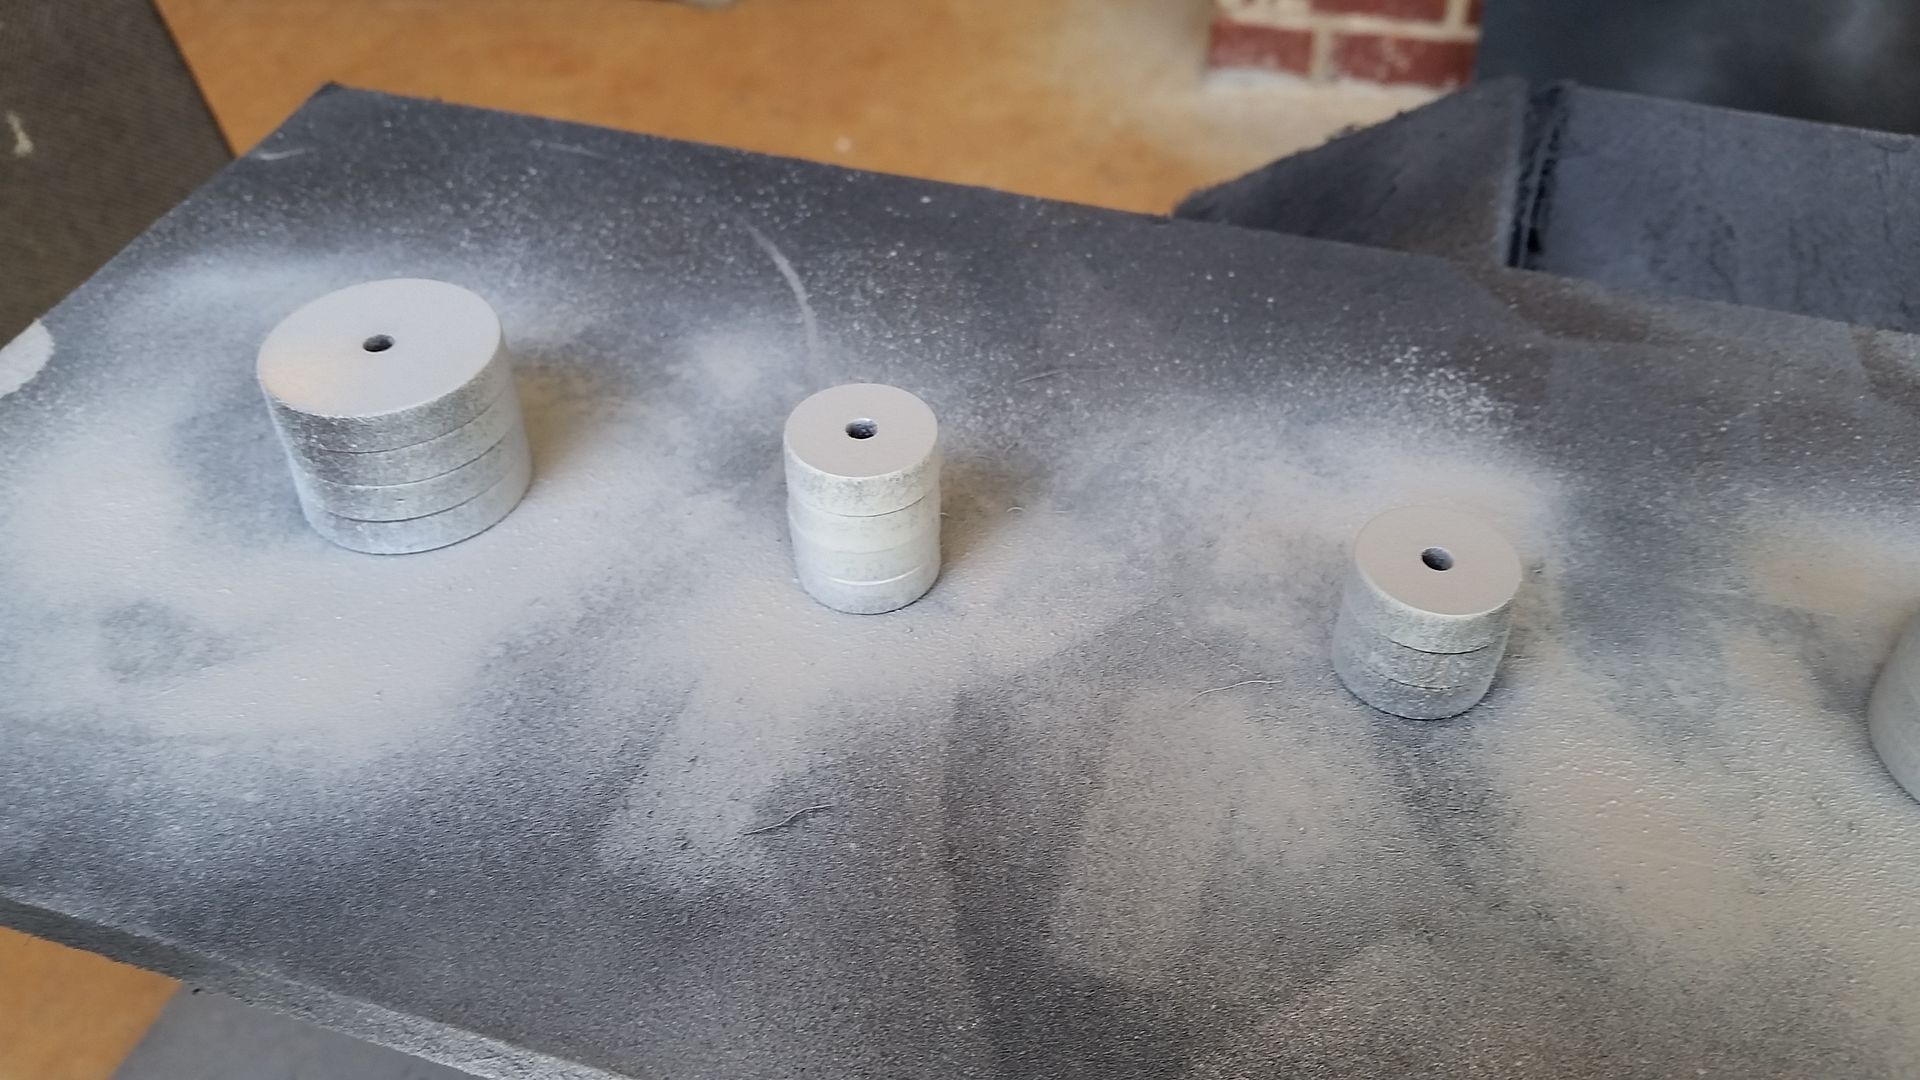
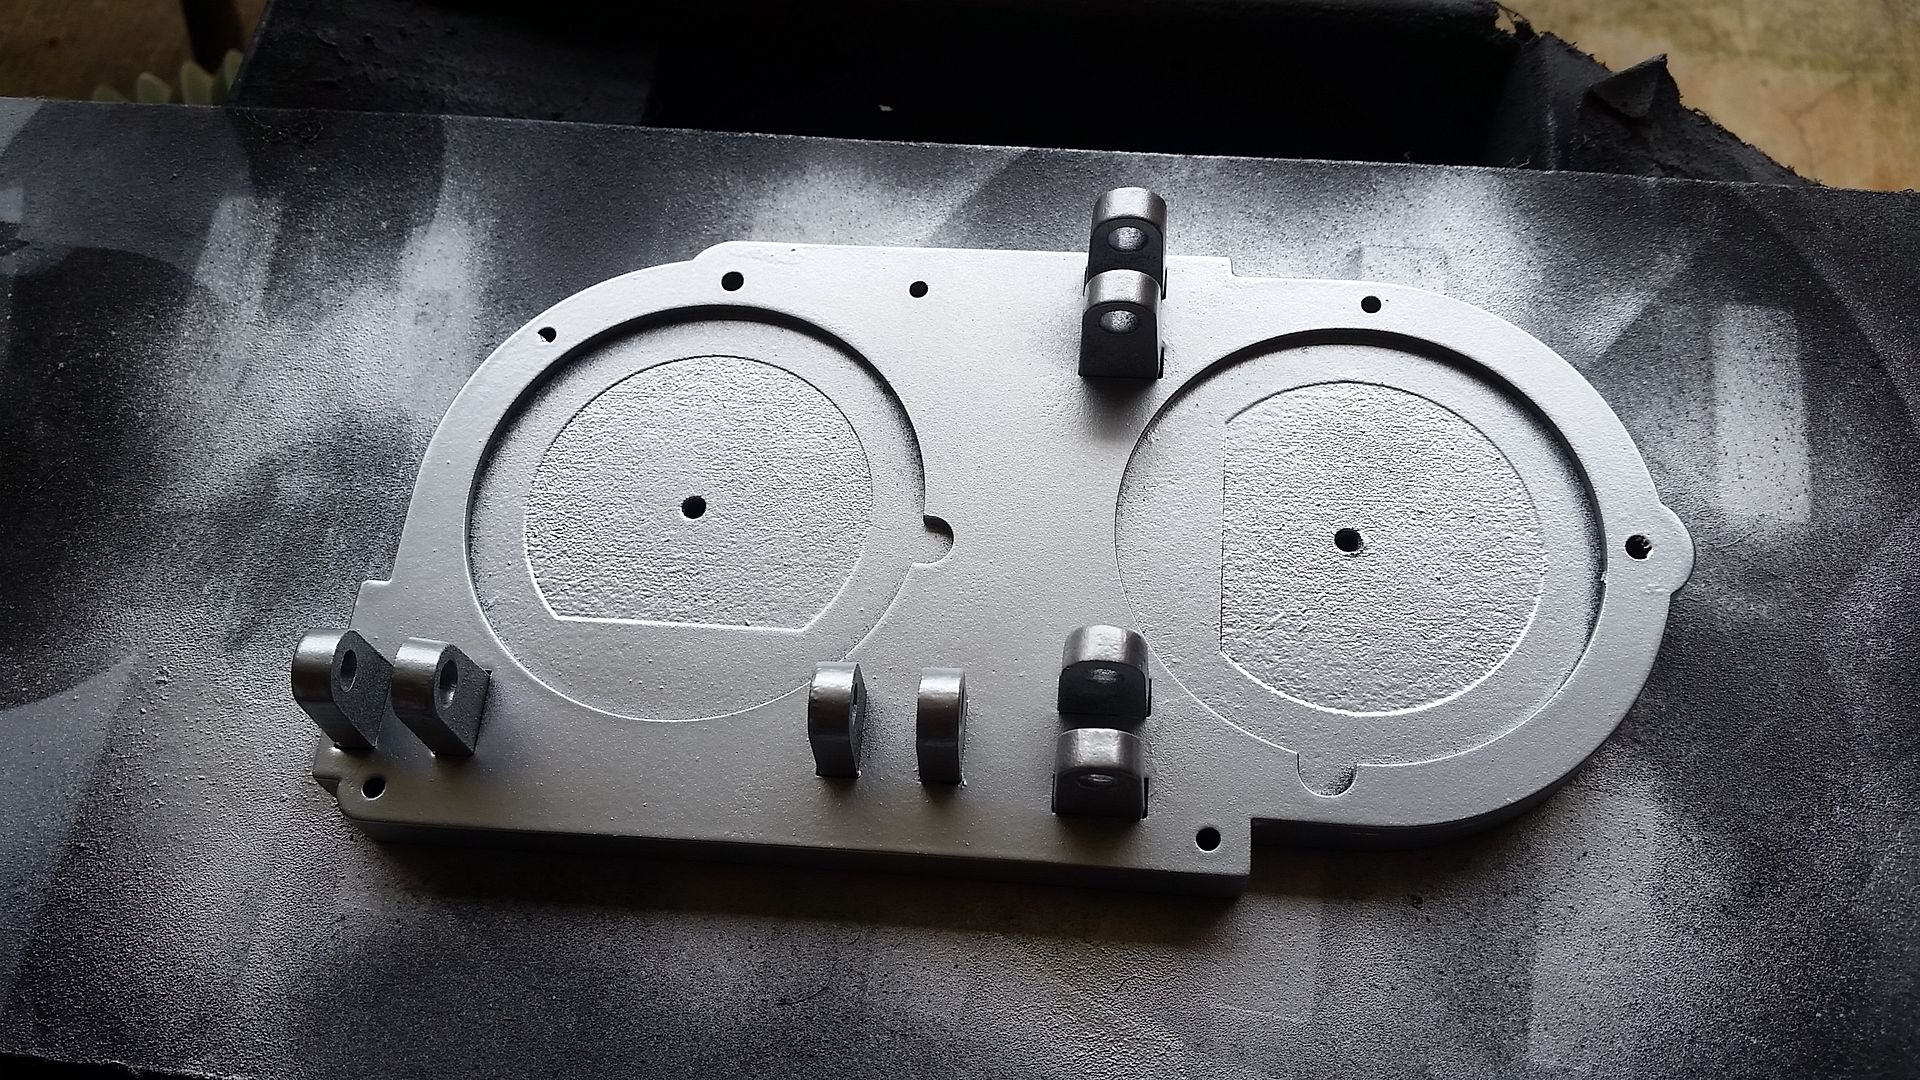
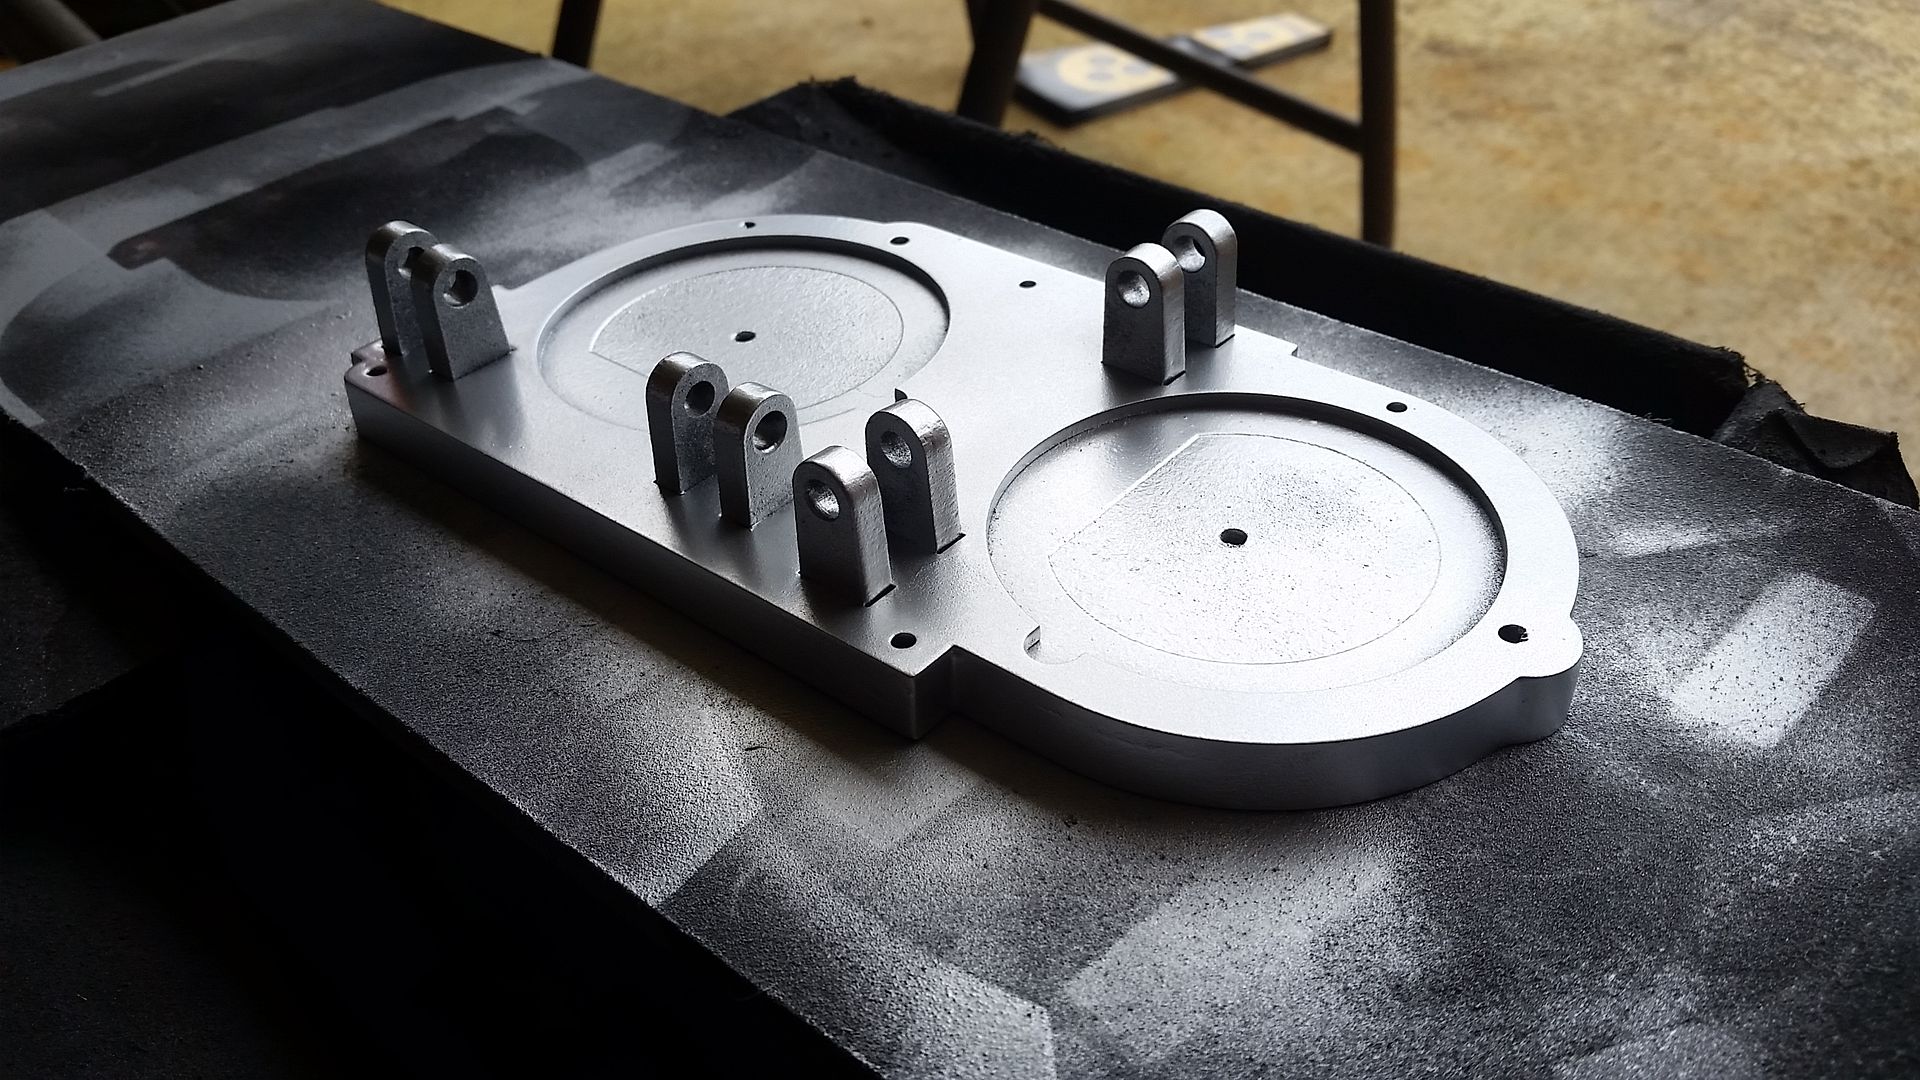
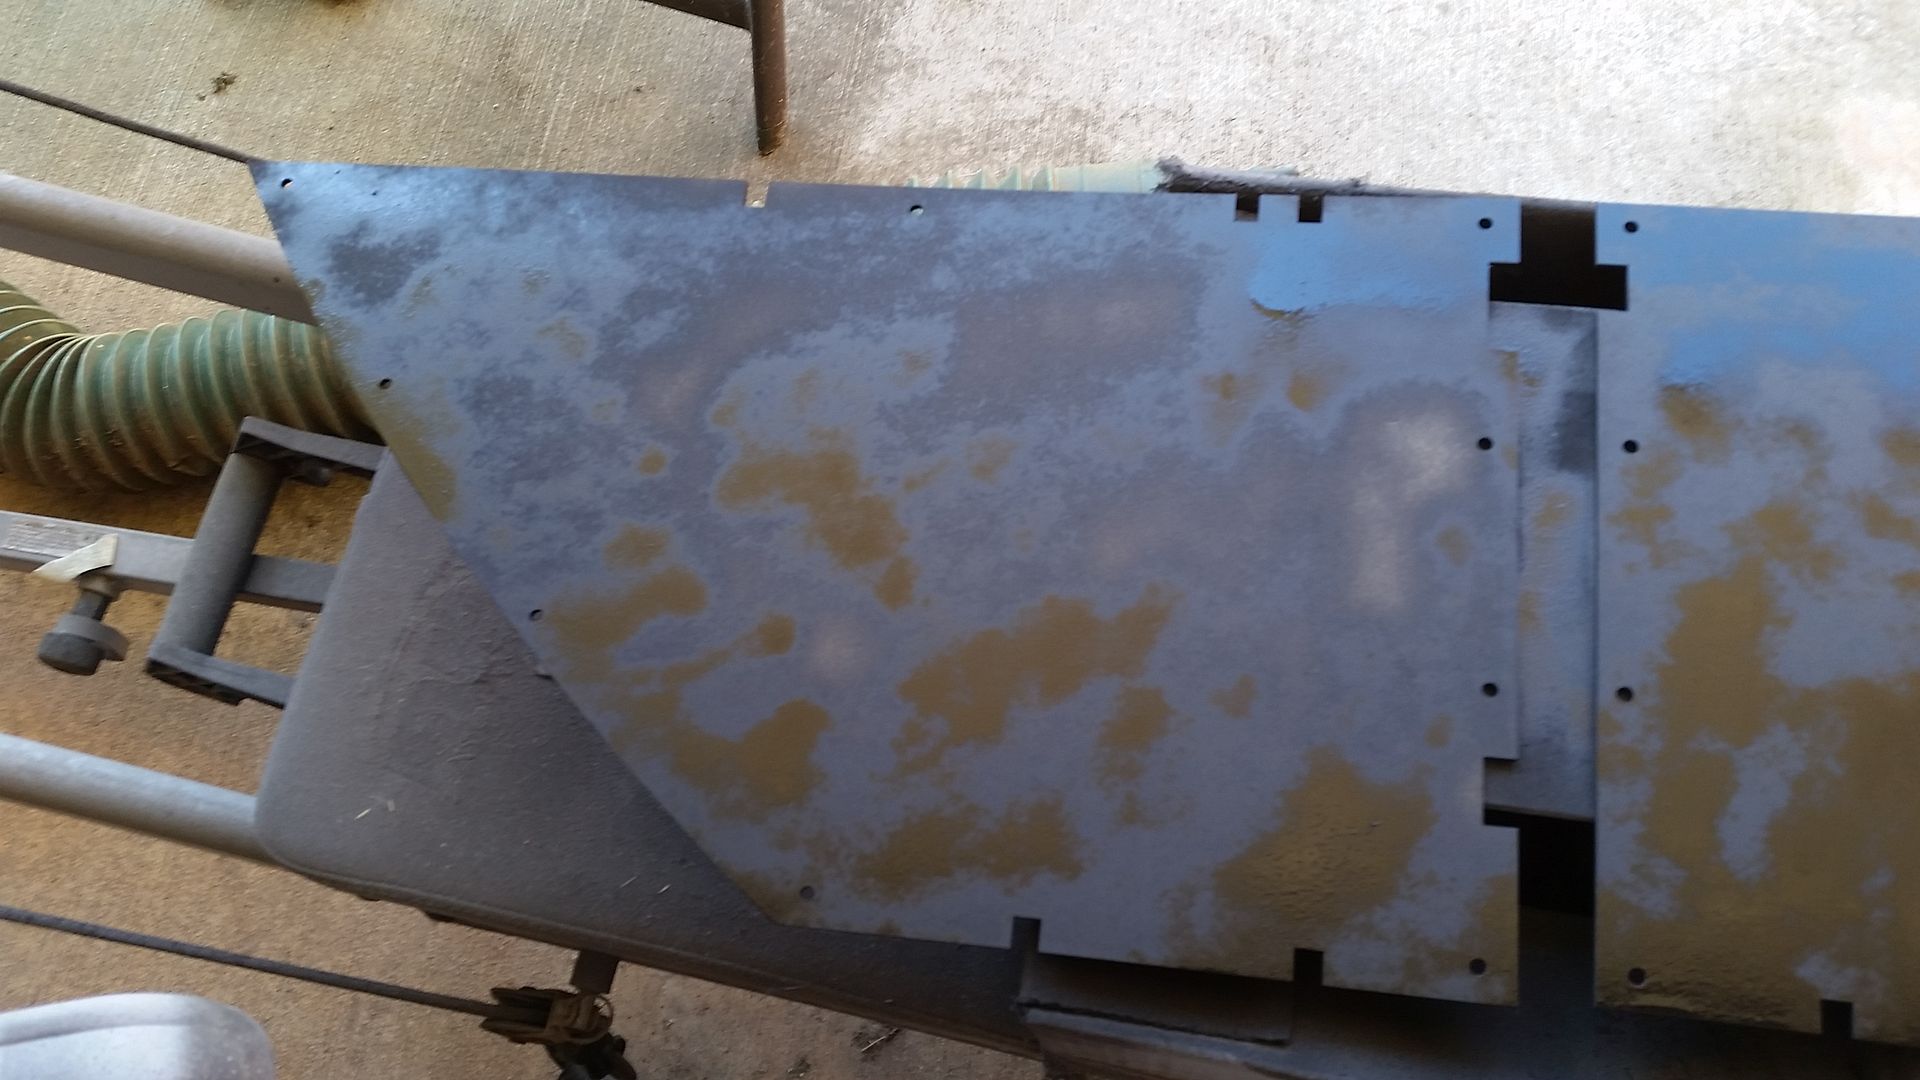
One of the more boring updates... But sanding and primer continues on several greeblies
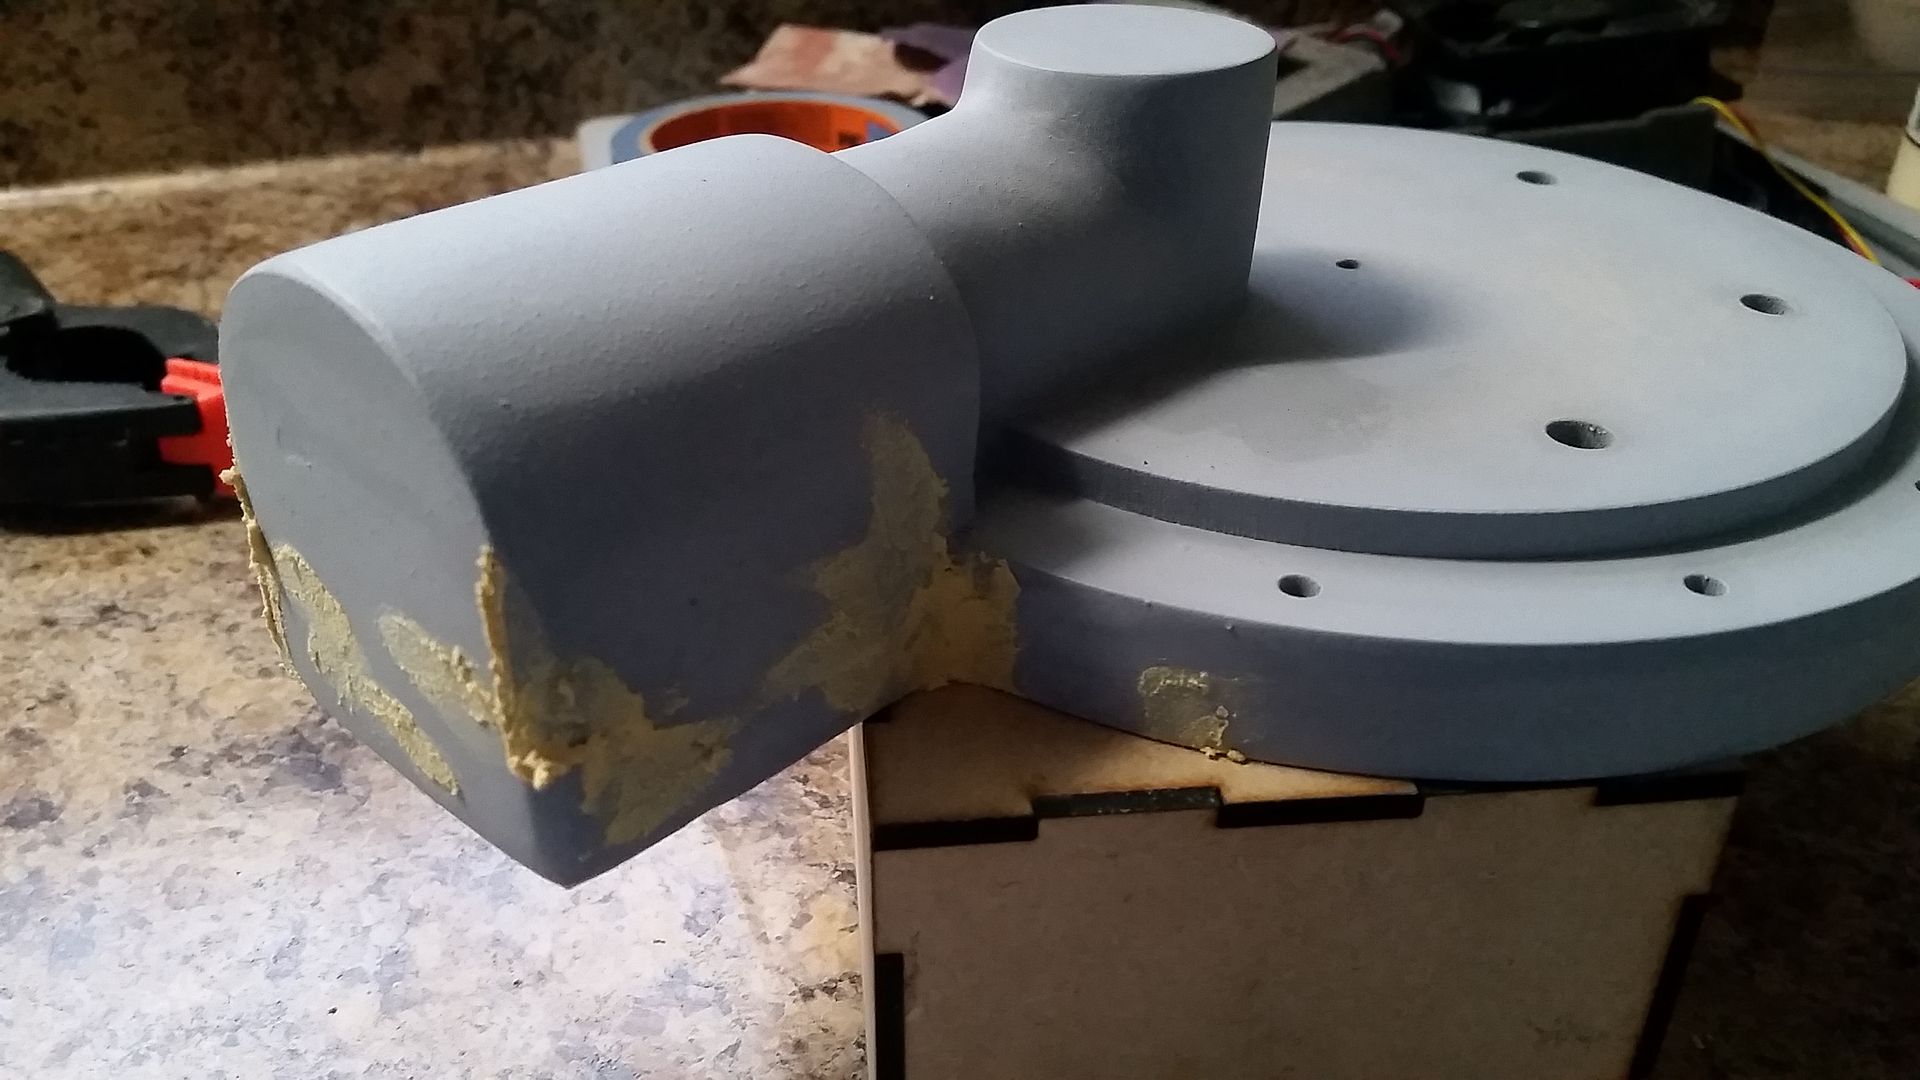

Primer
Needs more filler
Should be done with these by the end of the weekend
Stay Tuned!
One of the more boring updates... But sanding and primer continues on several greeblies
Primer
Needs more filler
Should be done with these by the end of the weekend
Stay Tuned!
I've had a thought about what the new premises allows.
Because it's bigger can allow for groups from schools/ colleges, scout groups and other youth groups to come along learn how to do stuff see what stuff does help paint stuff etc.
Be really good for publicity spreading word etc.
Hi L,
That's a great idea! As we get further into the build, we might open the unit up to those interested hanging out for a day and being part of the build! Thanks for the input!
Hi Gang,
One of the more boring updates... But sanding and primer continues on several greeblies
http://i778.photobucket.com/albums/...n Build 01075/20160512_180143_zpslmxsurbu.jpg
http://i778.photobucket.com/albums/...n Build 01075/20160512_180157_zpspblexryi.jpg
http://i778.photobucket.com/albums/...n Build 01075/20160512_180211_zpsqxv3exjg.jpg
http://i778.photobucket.com/albums/...n Build 01075/20160512_180222_zps5arsk1p2.jpg
Primer
http://i778.photobucket.com/albums/...n Build 01075/20160513_053245_zps6leebpcd.jpg
Needs more filler
http://i778.photobucket.com/albums/...n Build 01075/20160513_053312_zpsj7t035qg.jpg
http://i778.photobucket.com/albums/...n Build 01075/20160513_053323_zpsr3nm3oki.jpg
http://i778.photobucket.com/albums/...n Build 01075/20160513_054434_zpsxflkzoru.jpg
Should be done with these by the end of the weekend
http://i778.photobucket.com/albums/...n Build 01075/20160513_054459_zpssttggf9b.jpg
Stay Tuned!
Seeing all the acrylic, wood and filler makes me wonder if you all are considering casting some of this in metal for the eventual static prop so that it would hold up to more scrutiny?
Seeing all the acrylic, wood and filler makes me wonder if you all are considering casting some of this in metal for the eventual static prop so that it would hold up to more scrutiny?
Hey S,
As we move forward with each greeblie we DEF think about durability and how well it will hold up against real world wear and tear. Casting in resin is probably the cheapest. Although not as strong as metal, we would be able to cast a new part should something happen.
My concern isn't the greeblies... it's the material the greeblies are mounted to. We've been using 3-5mm ply and MDF. One good tug and most of those greeblies would pull away from the MDF leaving a HUGE hole! The entire panel would have to be redone. Since cost is ALWAYS a factor, we're just not sure what material is best.
Hope that made sense.
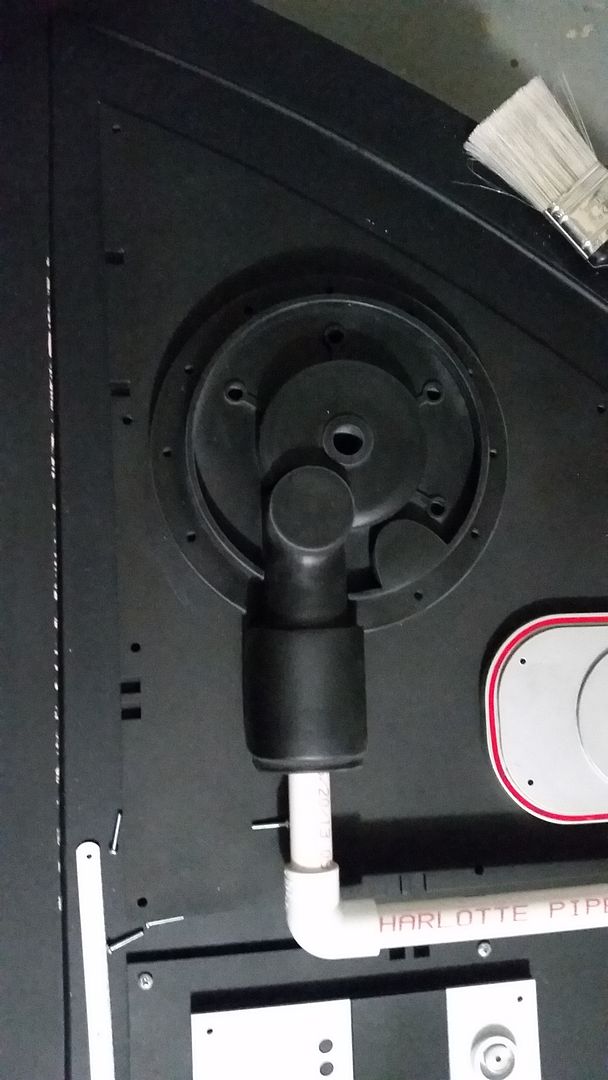
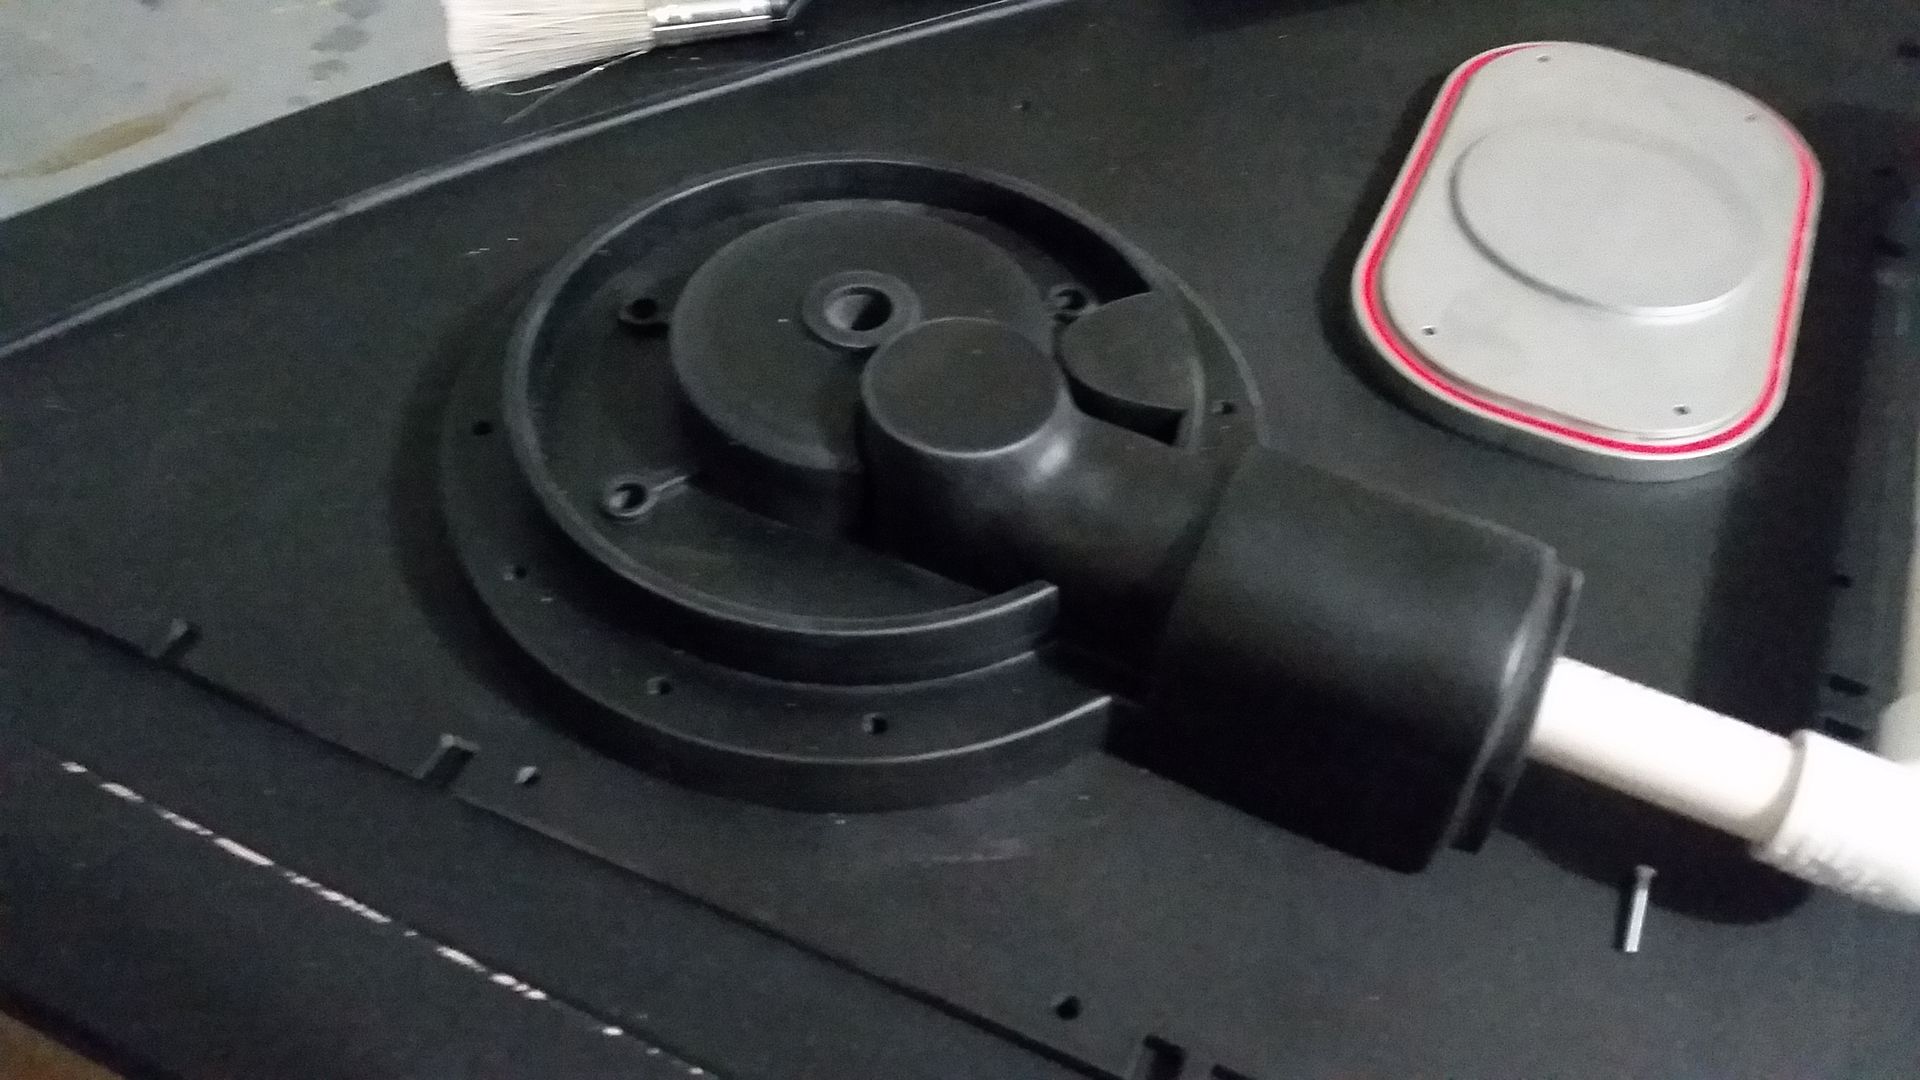
Hi Gang,
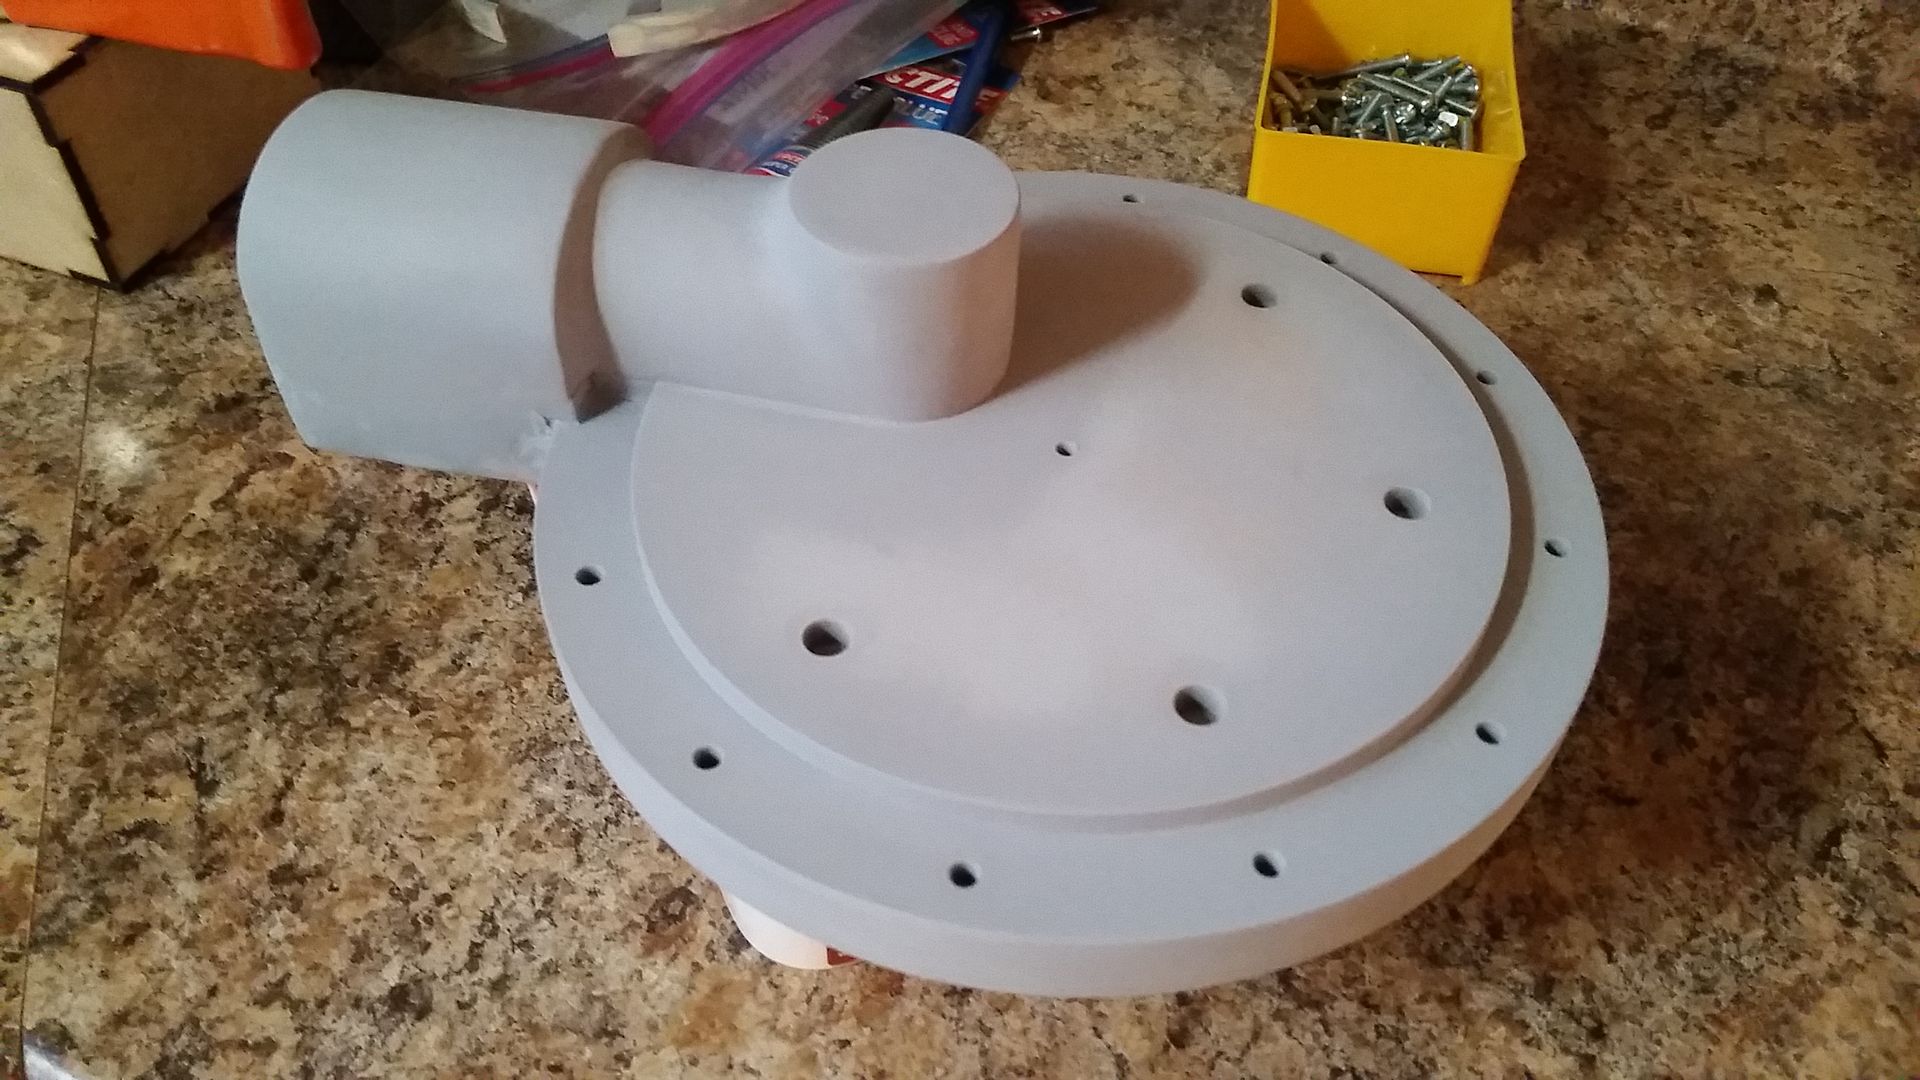
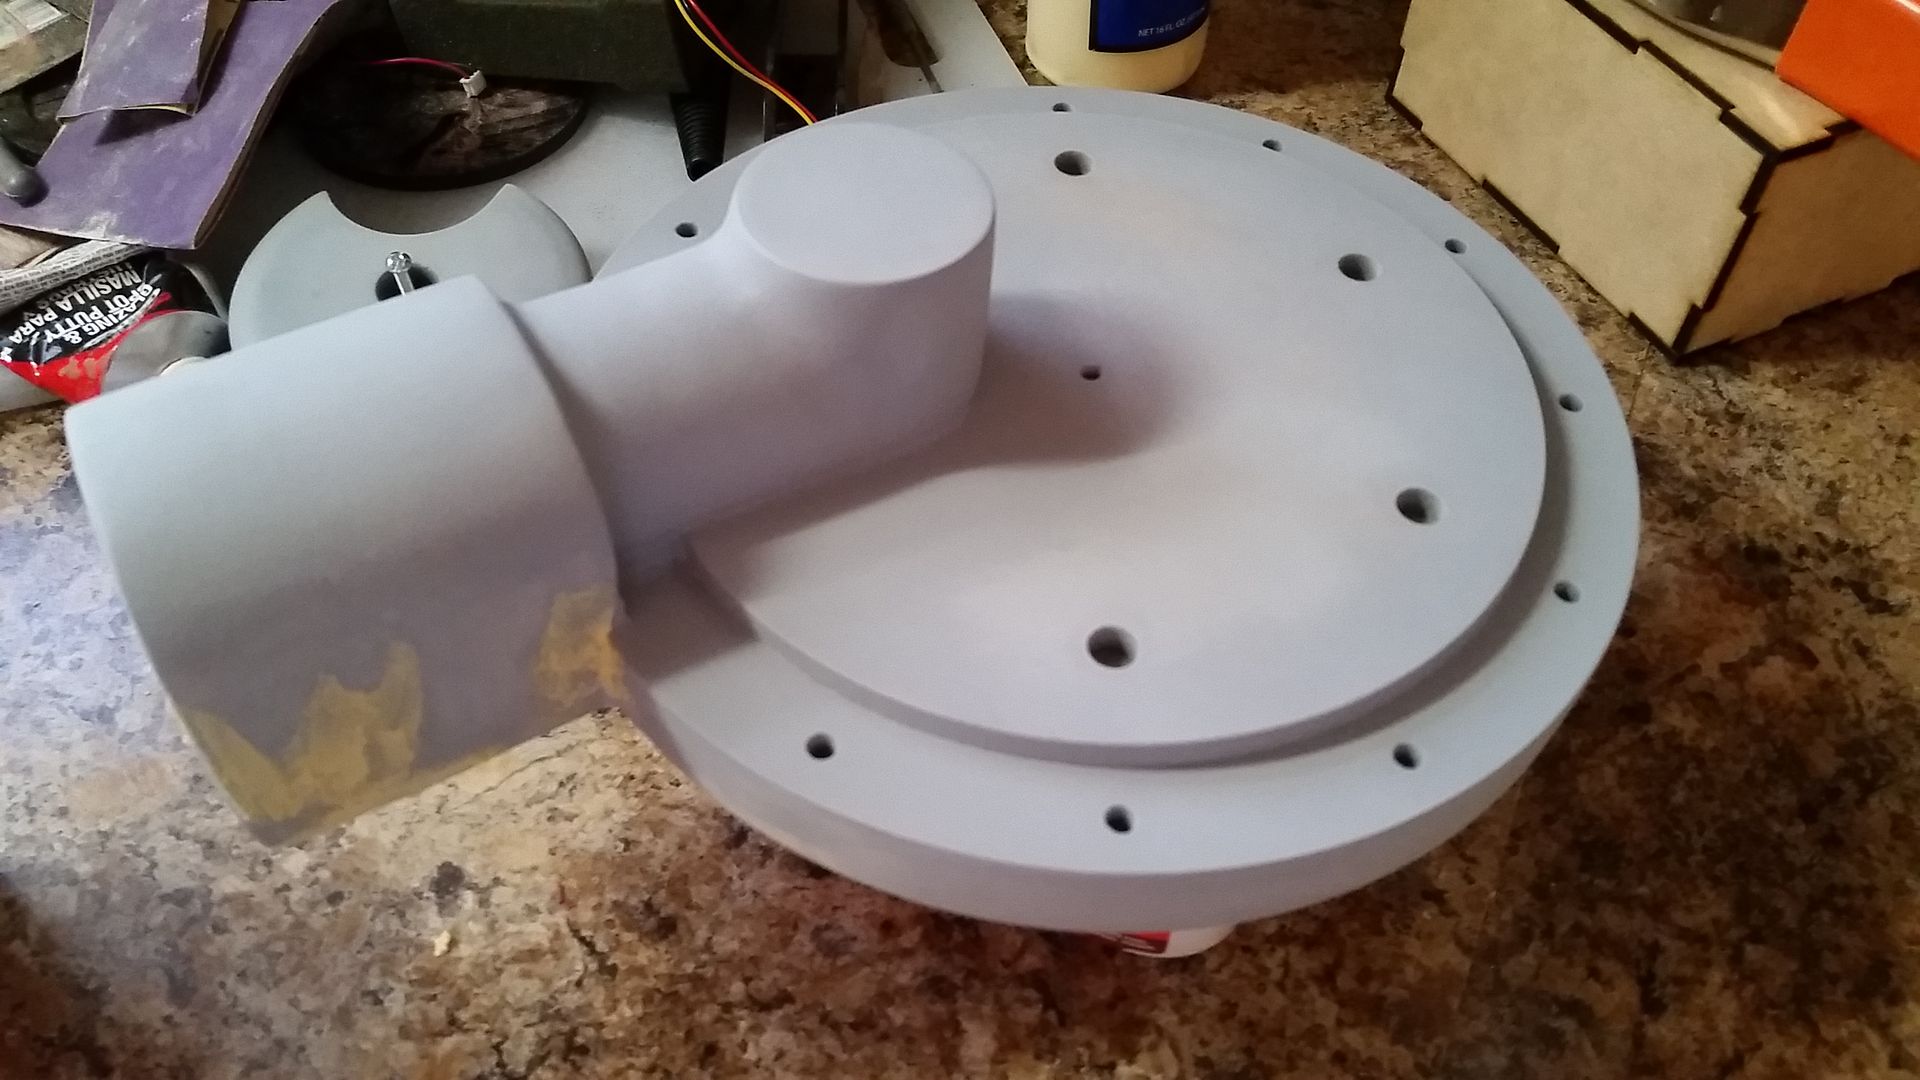
An early morning update! I spent the weekend ALL over the map... I finally finished this guy
UGH
More Filler
Old and New
In place... Unfortunately I didn't get around to sanding/painting the PVC pipe... I was a little preoccupied!
I was at the warehouse over the weekend and I saw this. I thought to myself... man that looks familiar. I wonder?
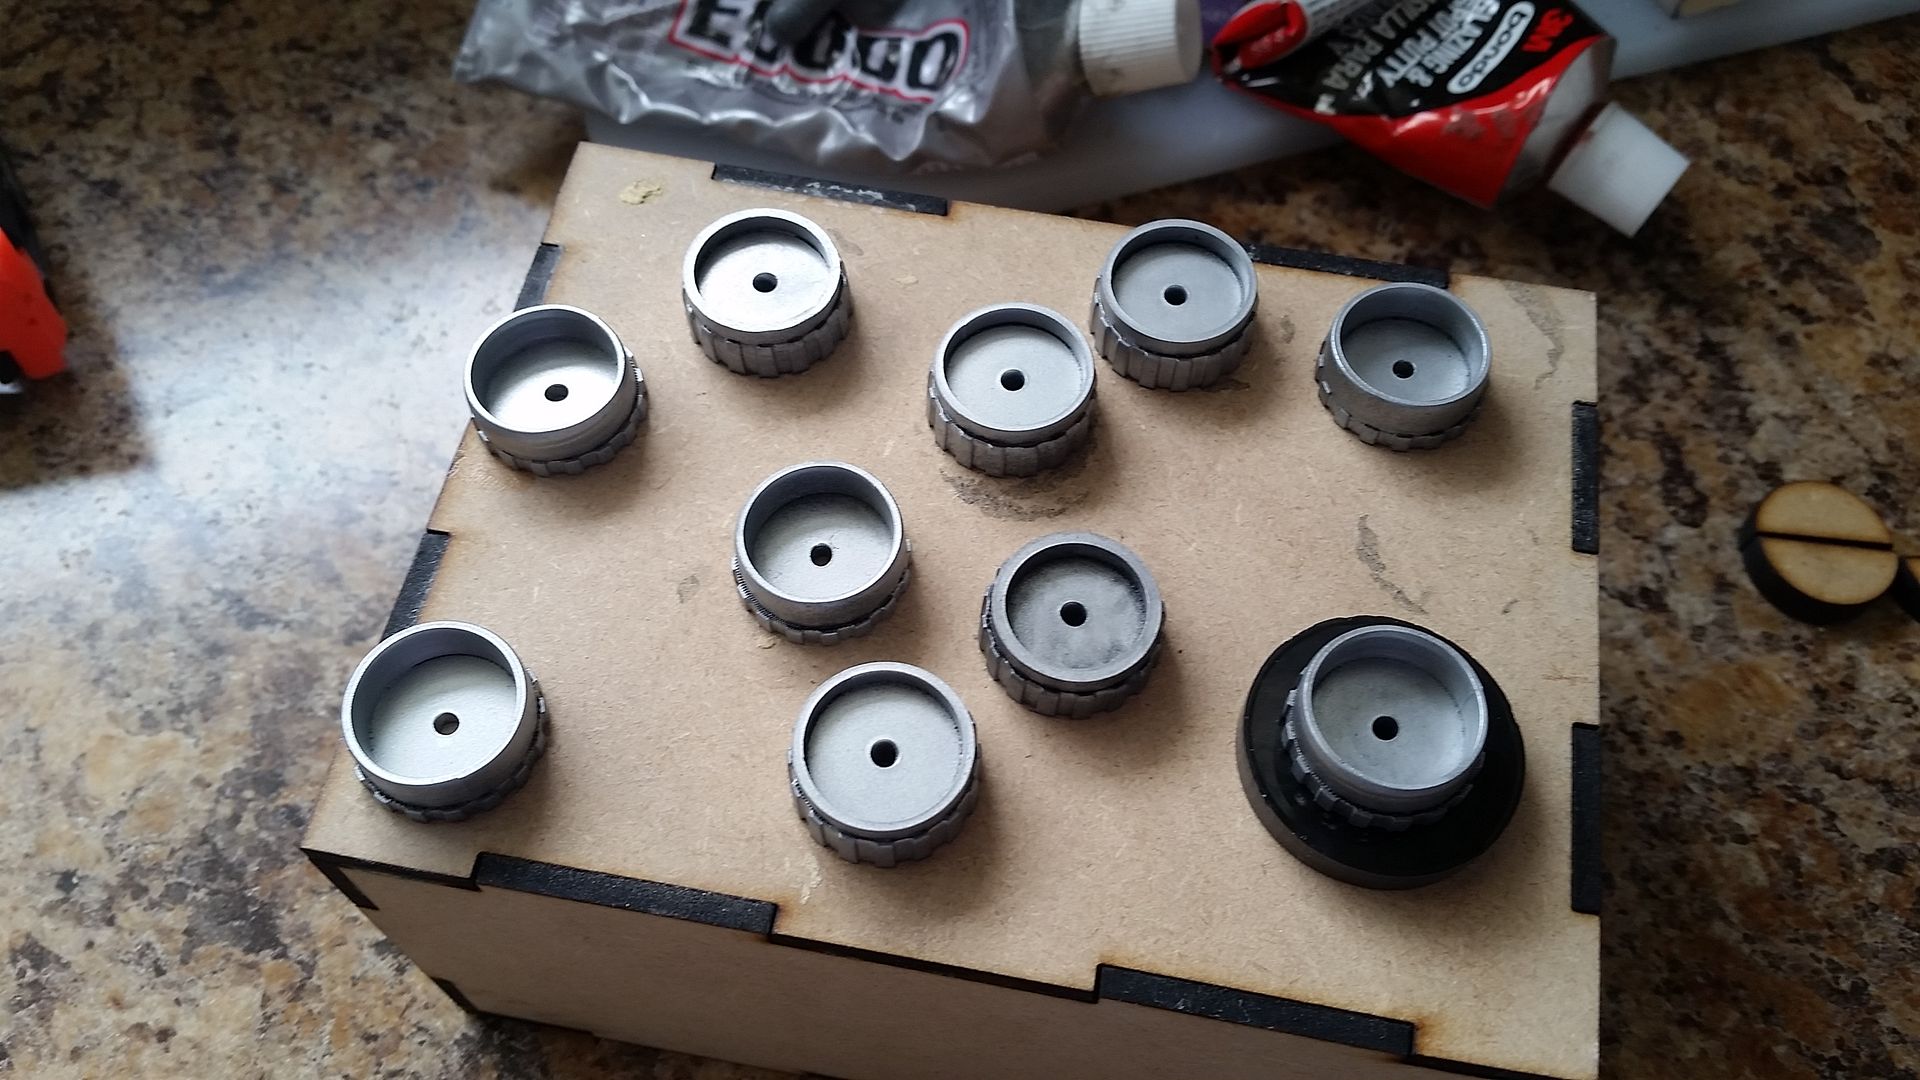
I weathered the small knob style greeblies
I laser cut some new greeblies for the large pipe connector greeblie
More on these later...
I painted the Kirby hose connector base
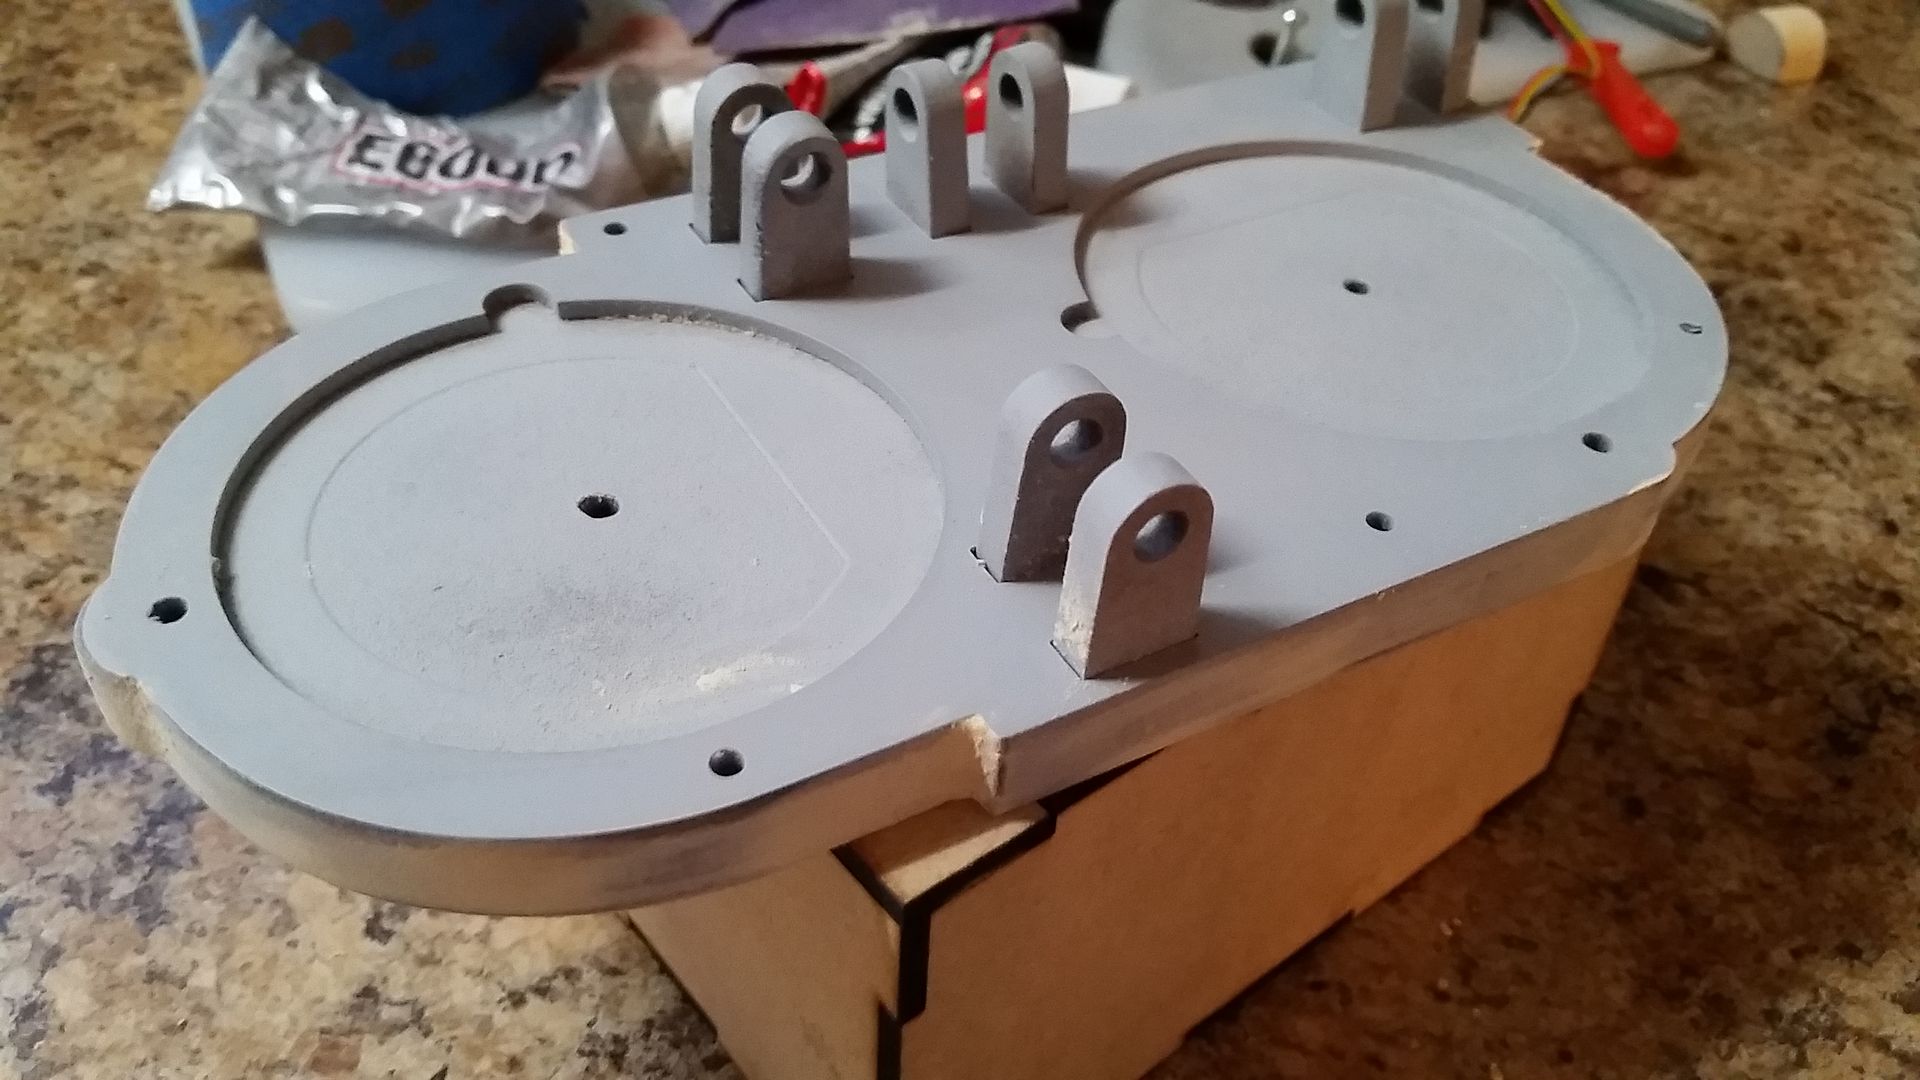
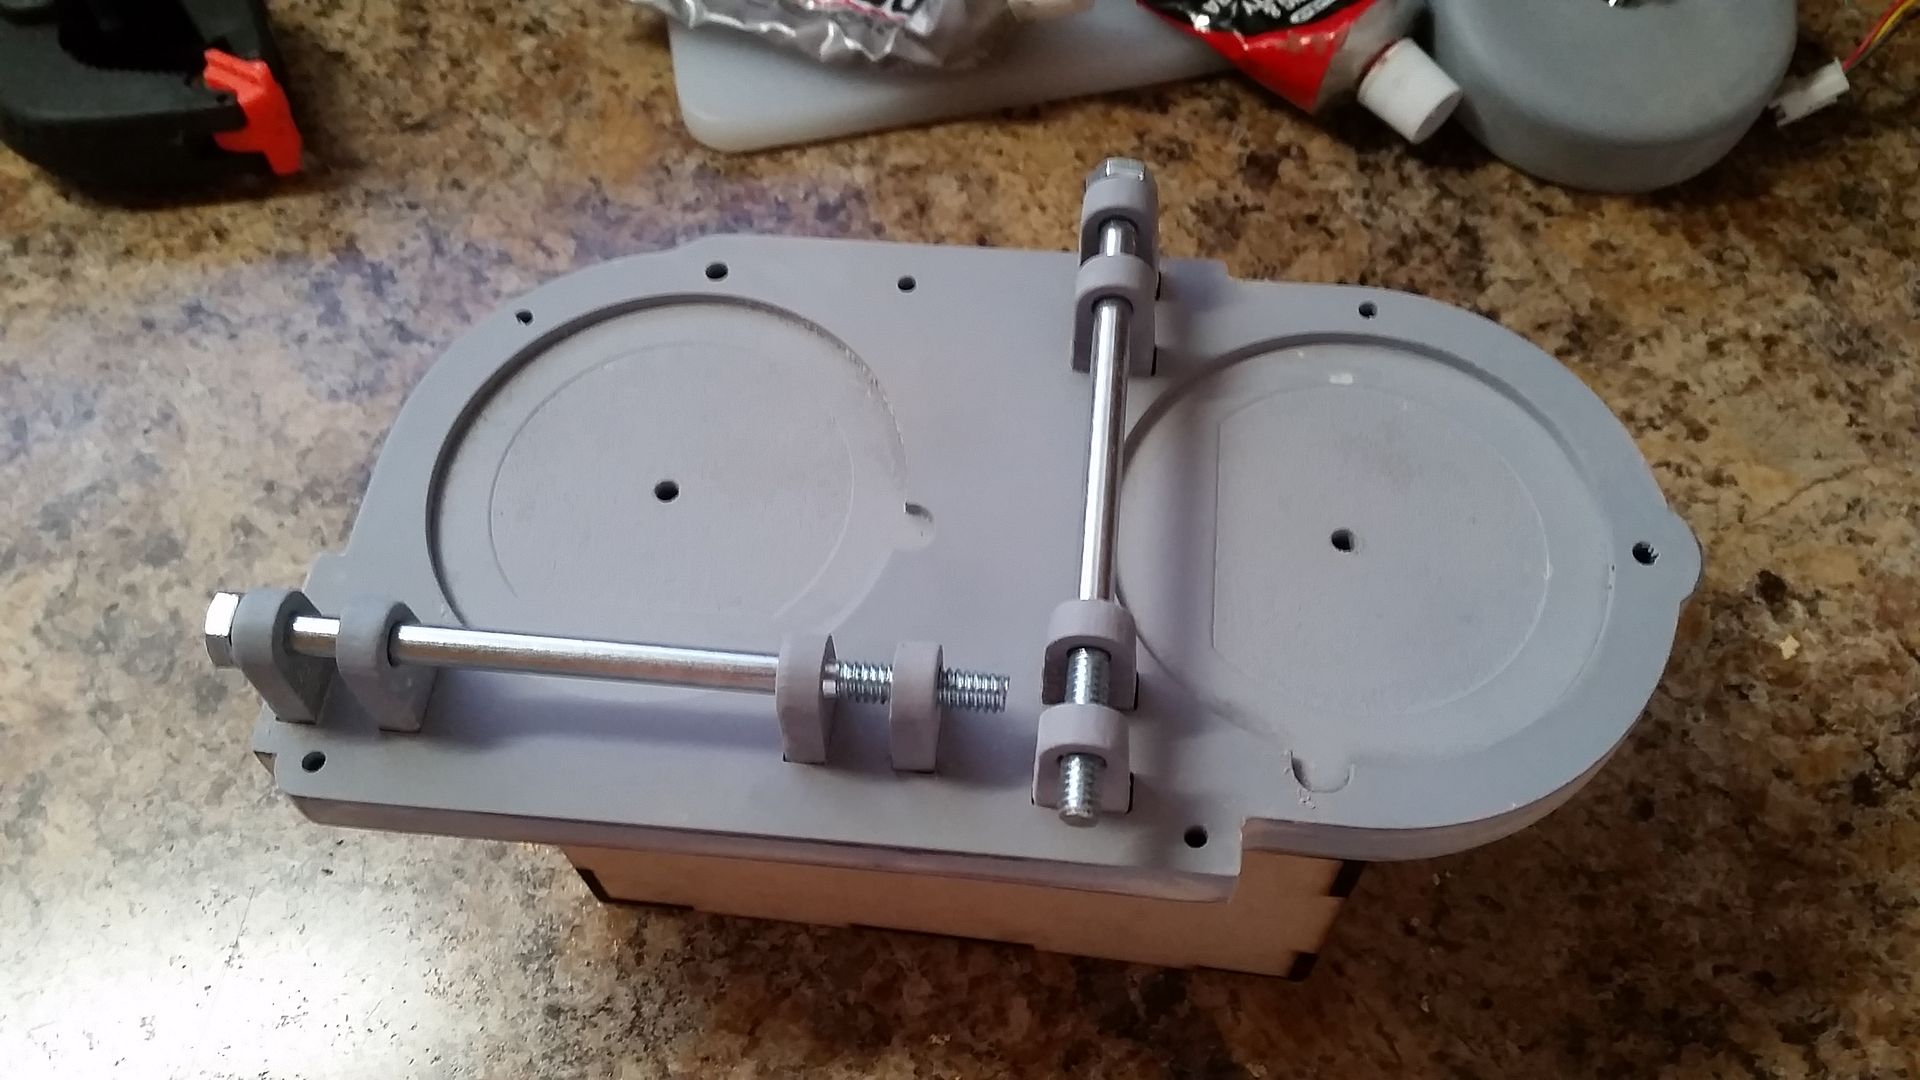
I designed and laser cut the new extension panel housings!
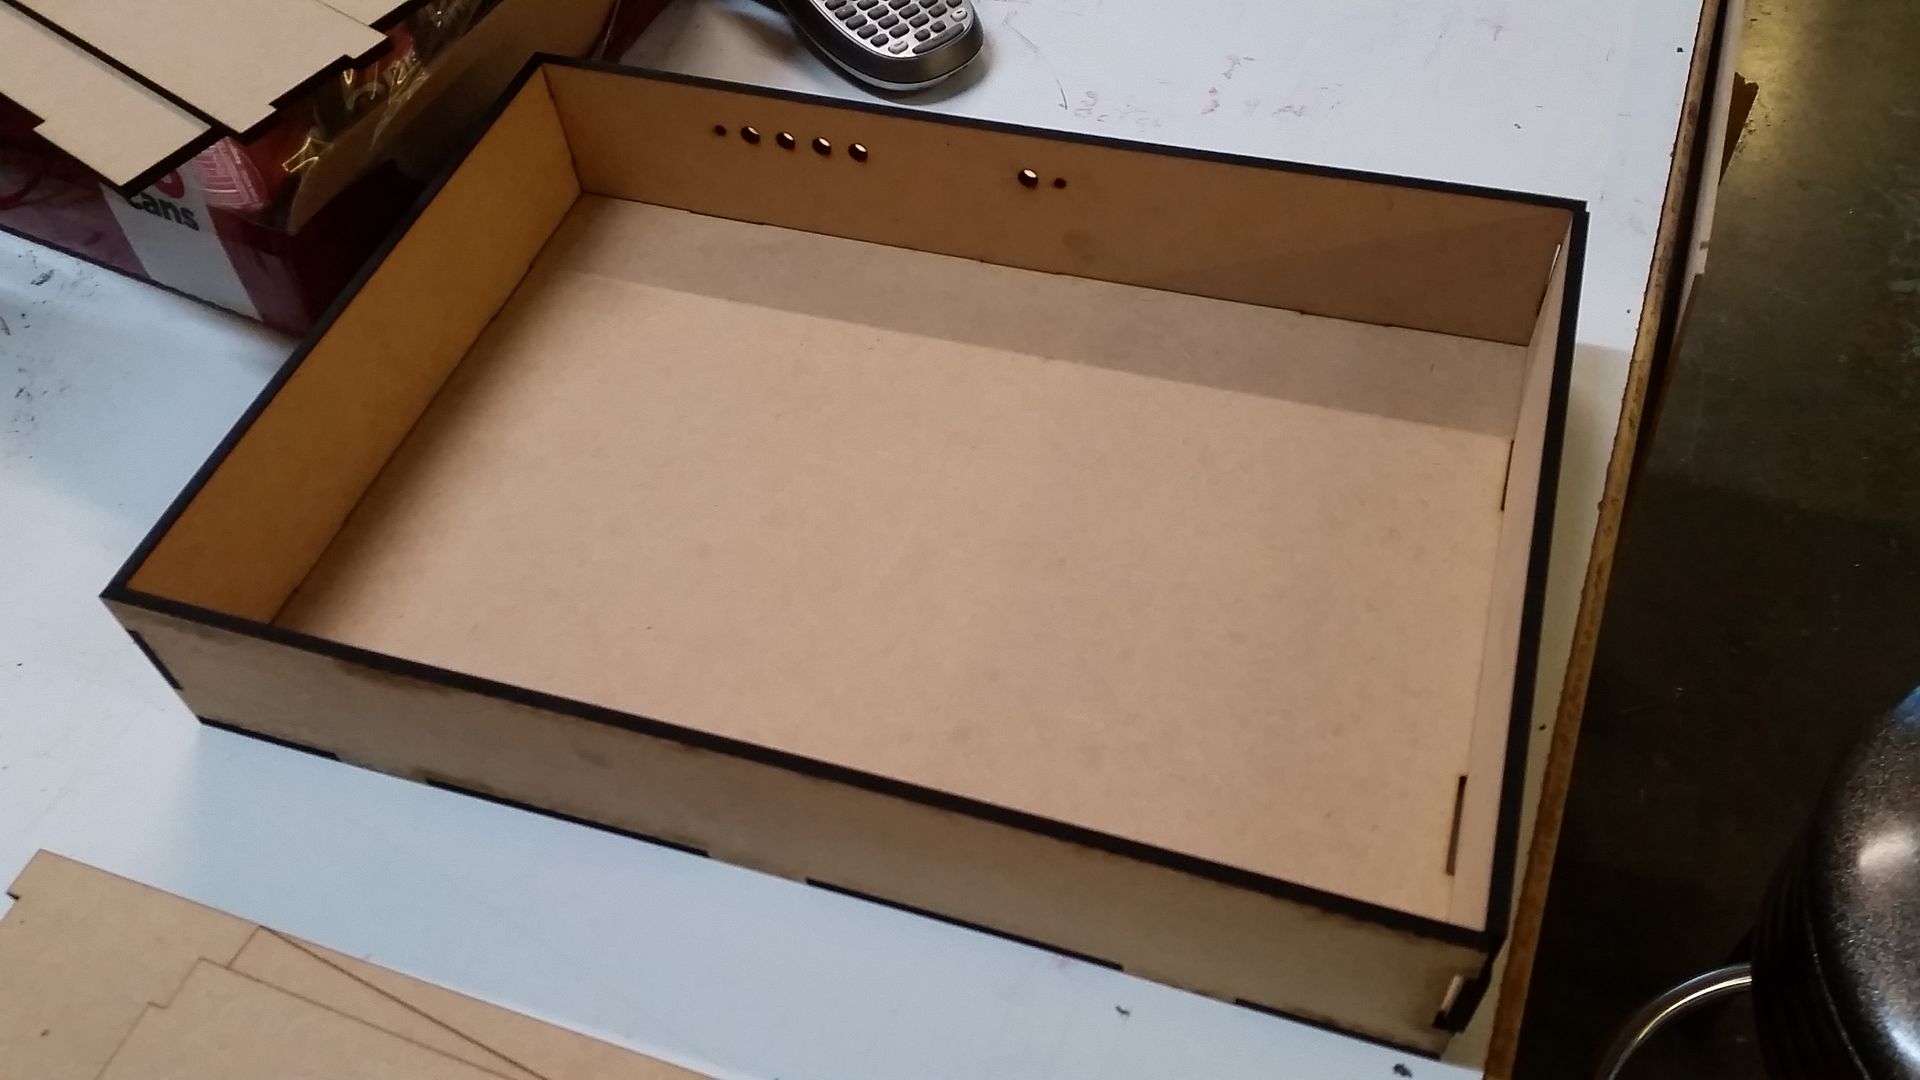
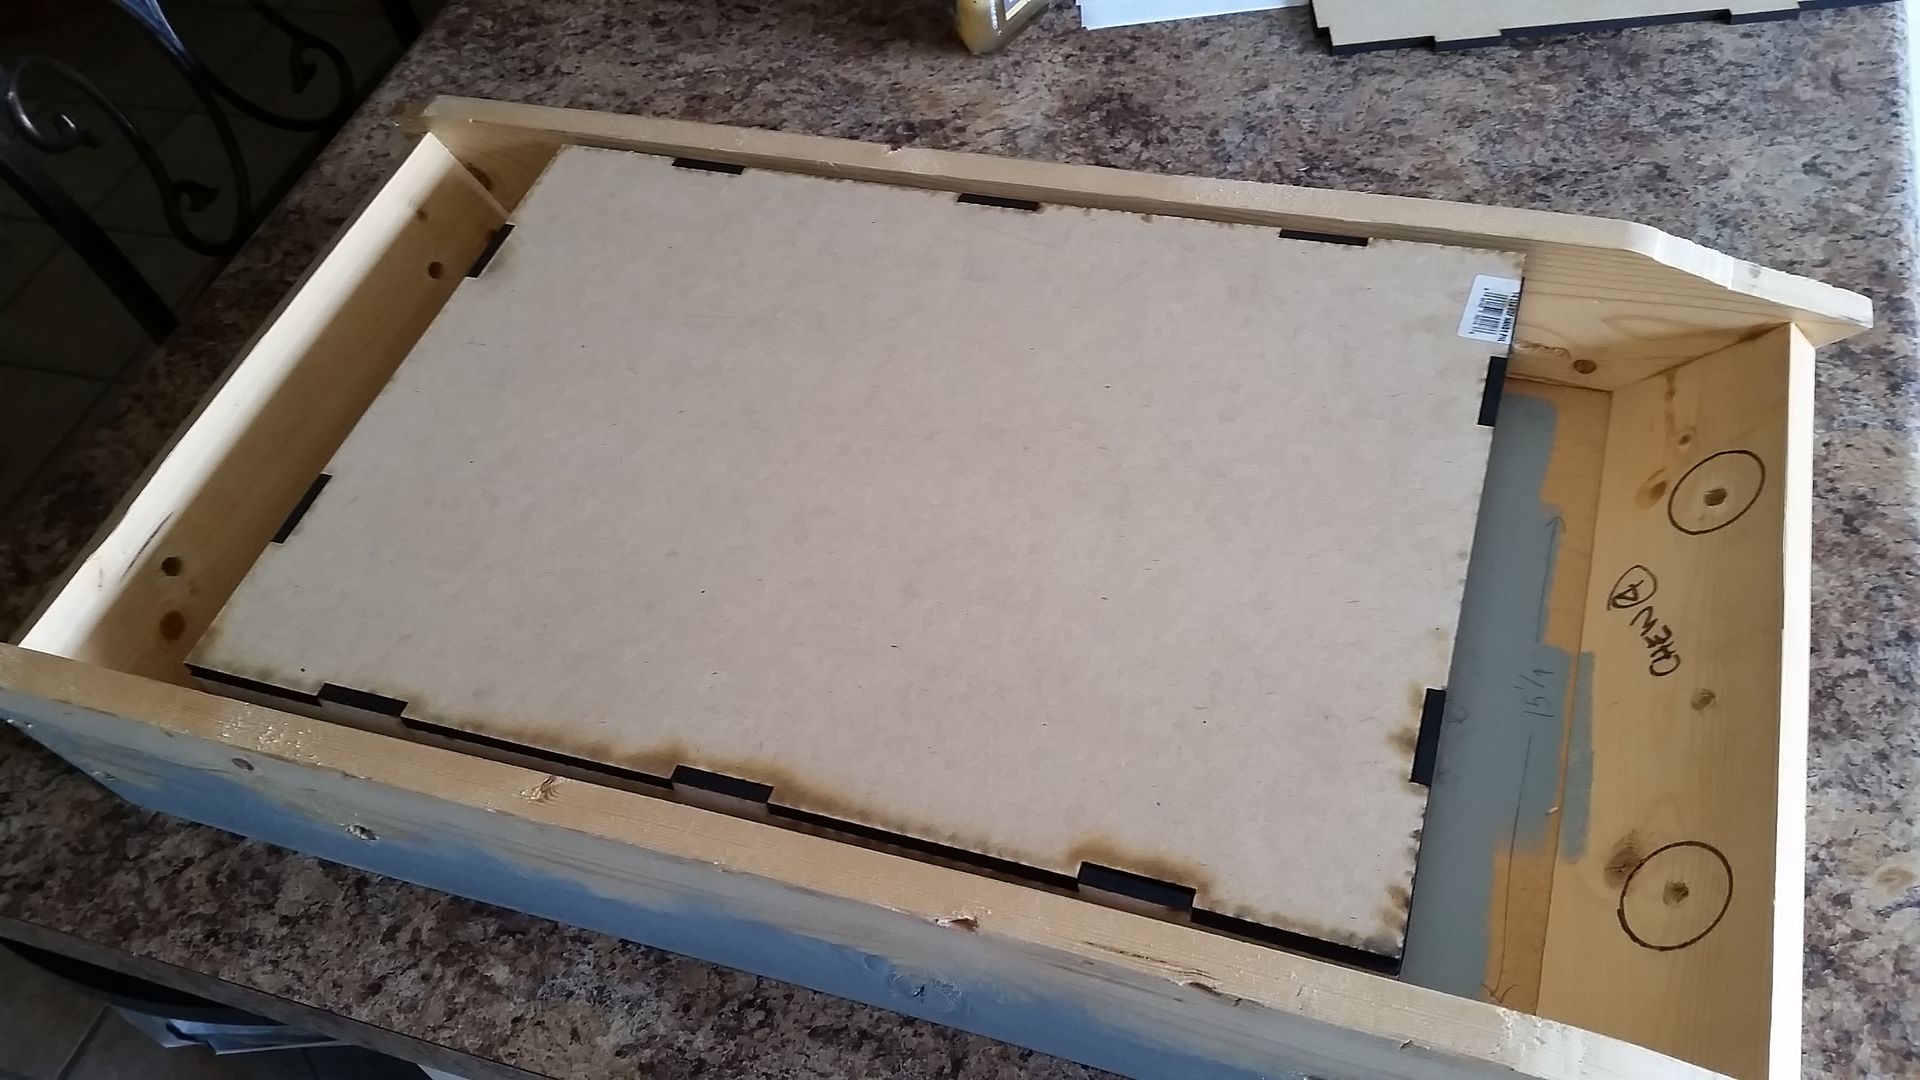
It's going to be so much fun adding greeblies and LEDs to these two areas!
More cockpit parts headed over to the warehouse
We found a perfect spot for our R2 / droids
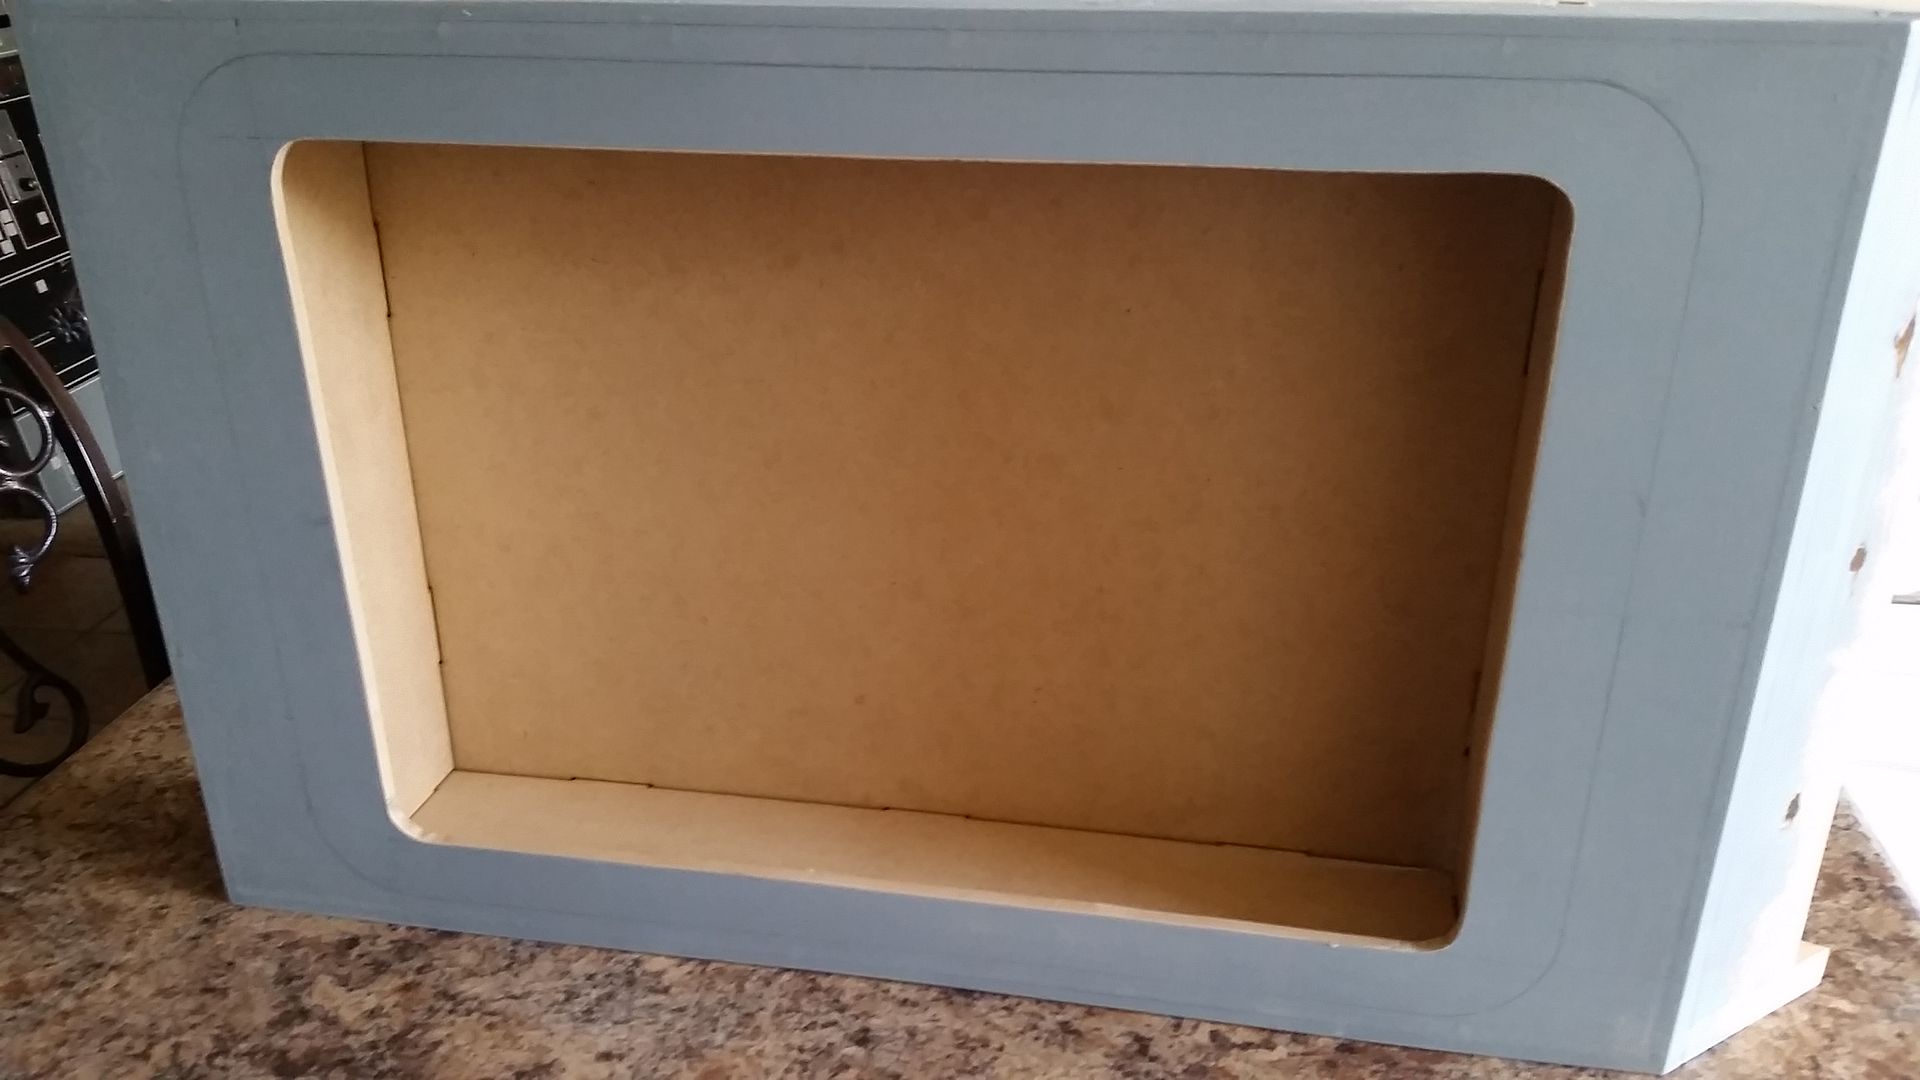
I cut the holes in the lower cockpit entrance walls - note the cut/hole templates
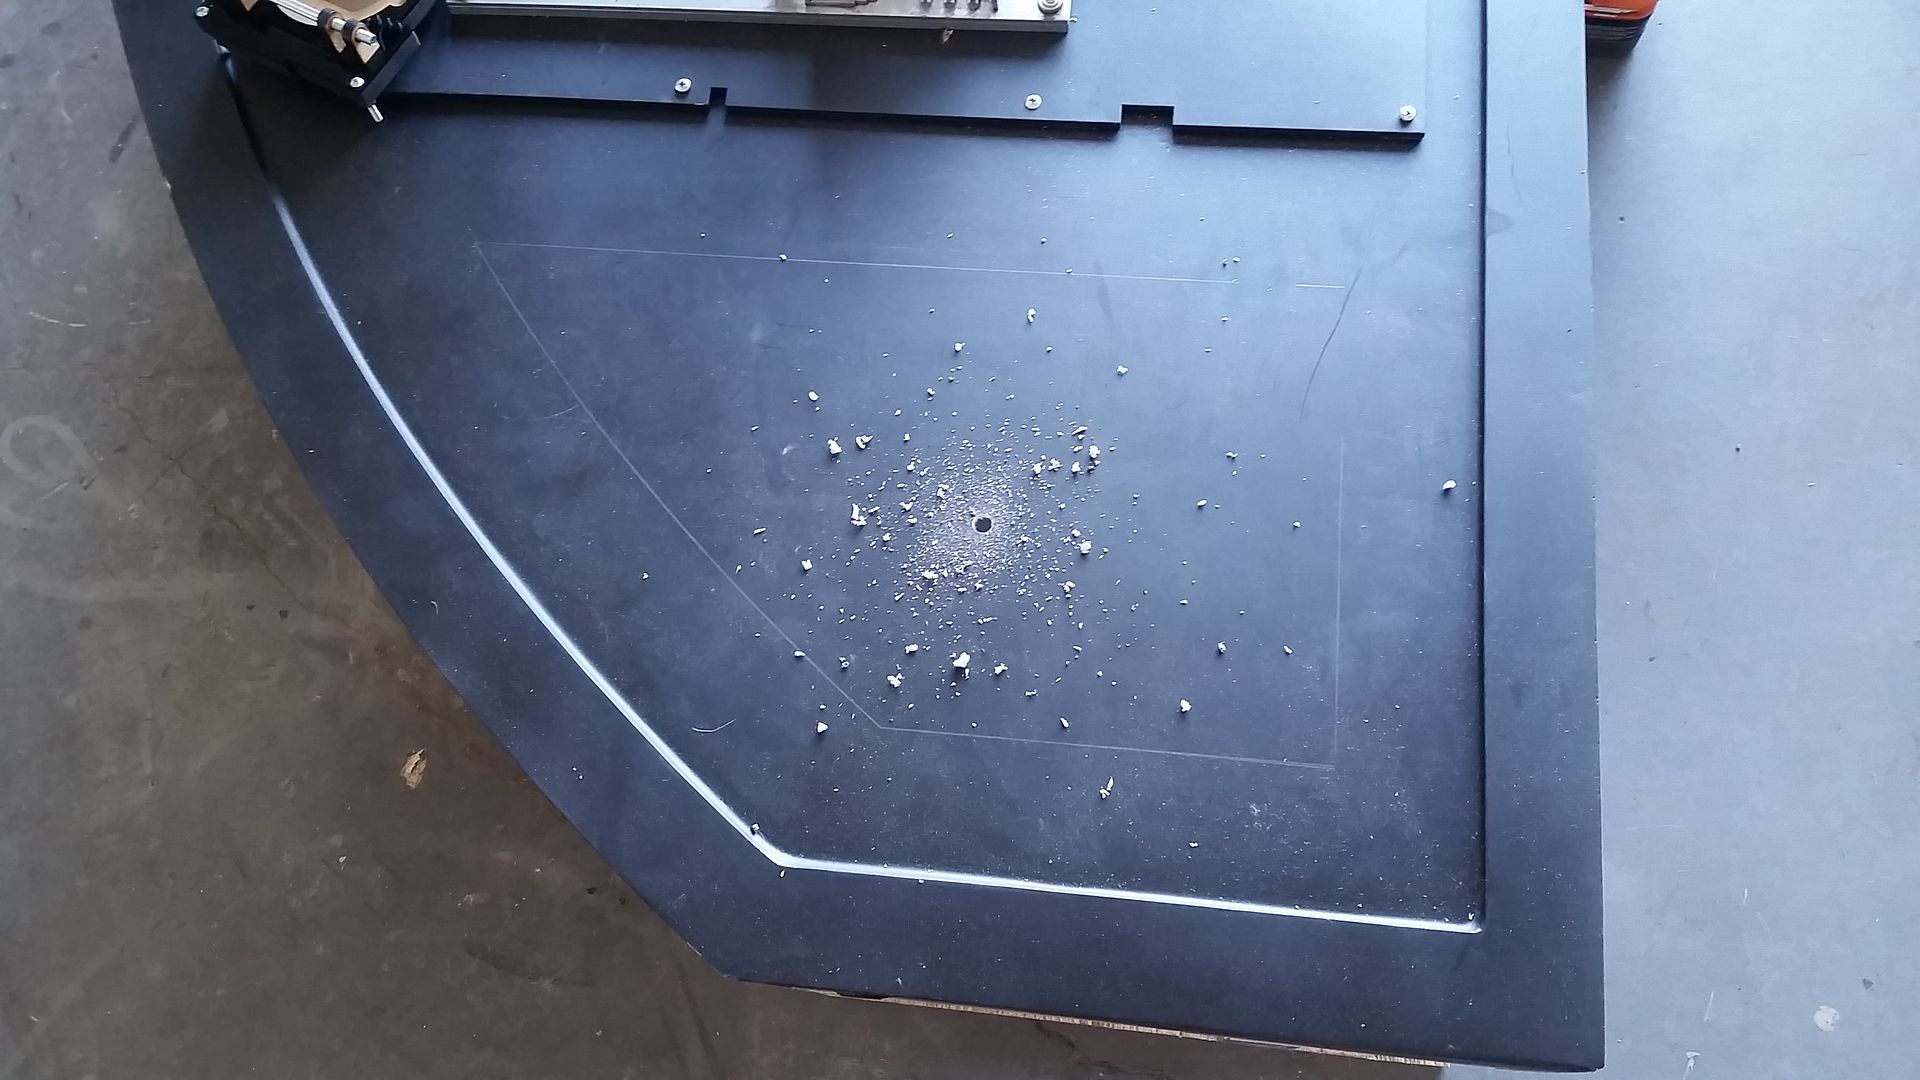
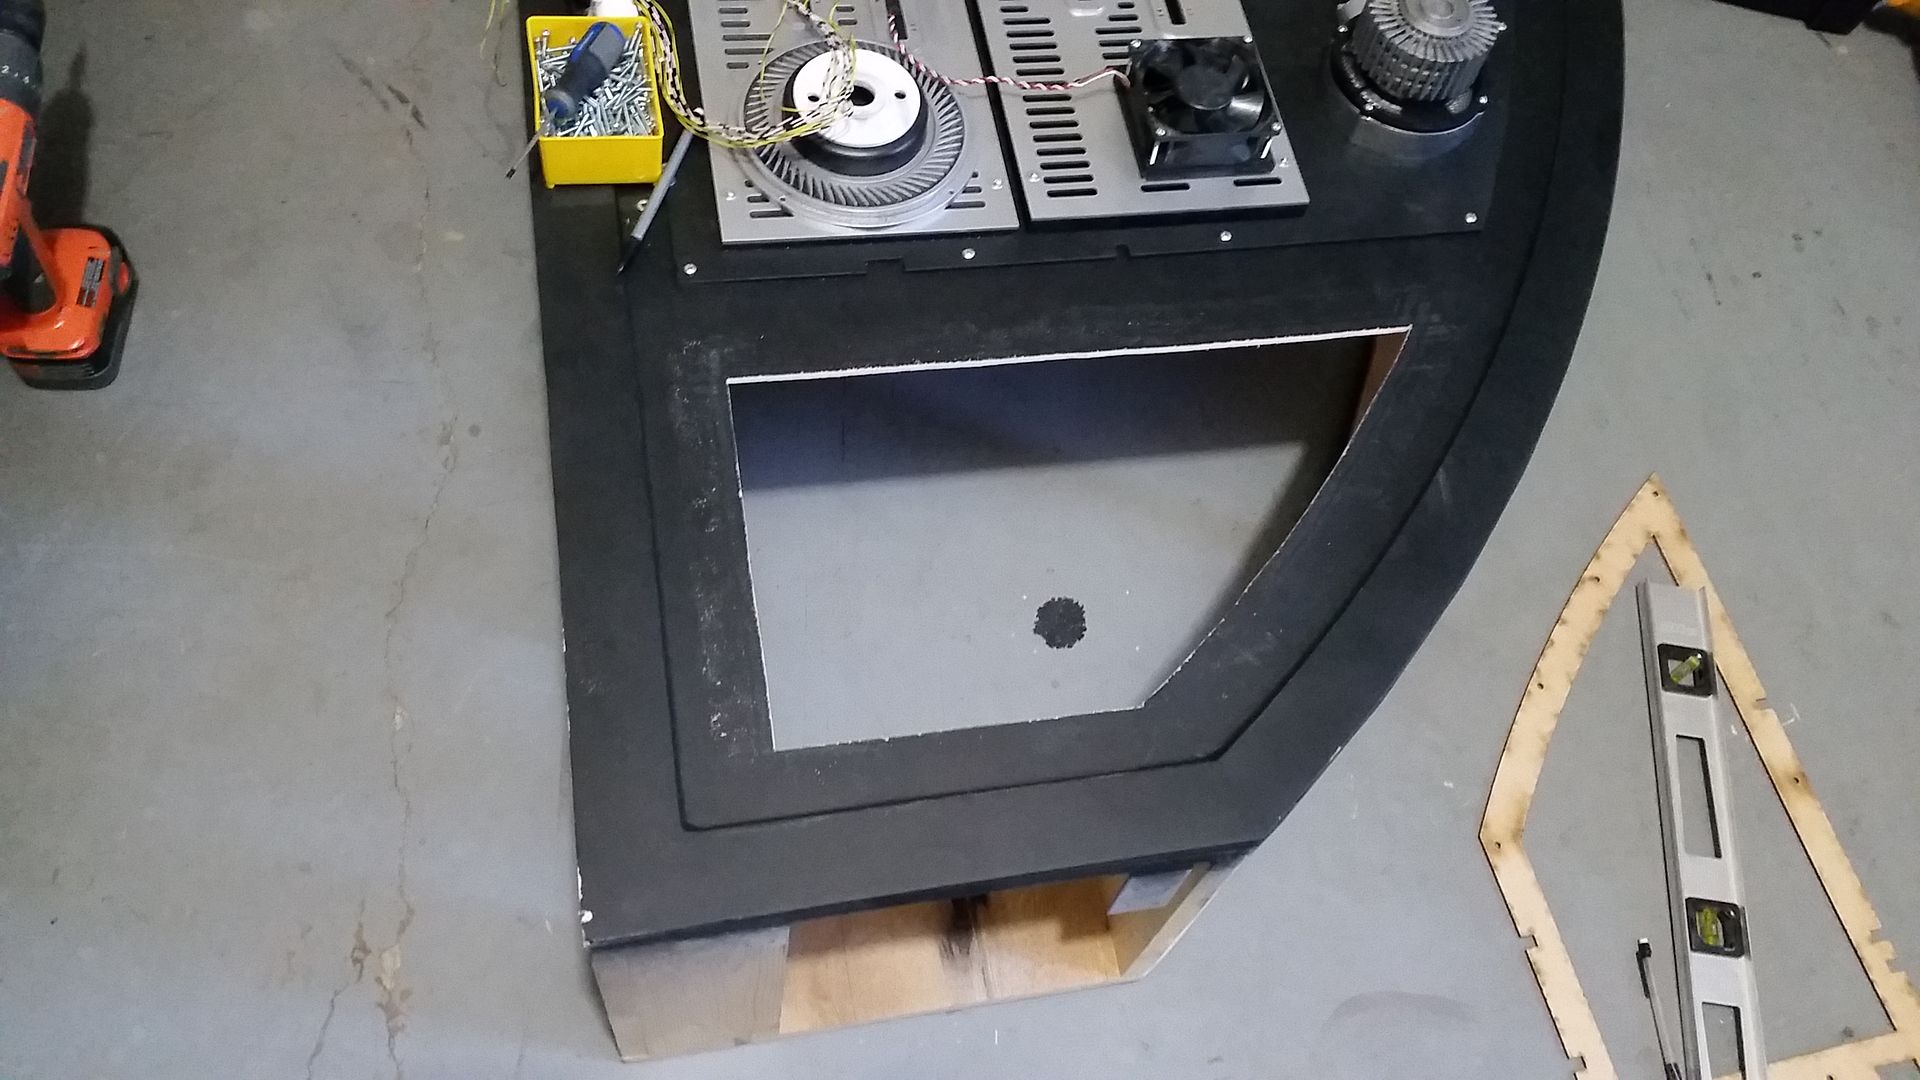
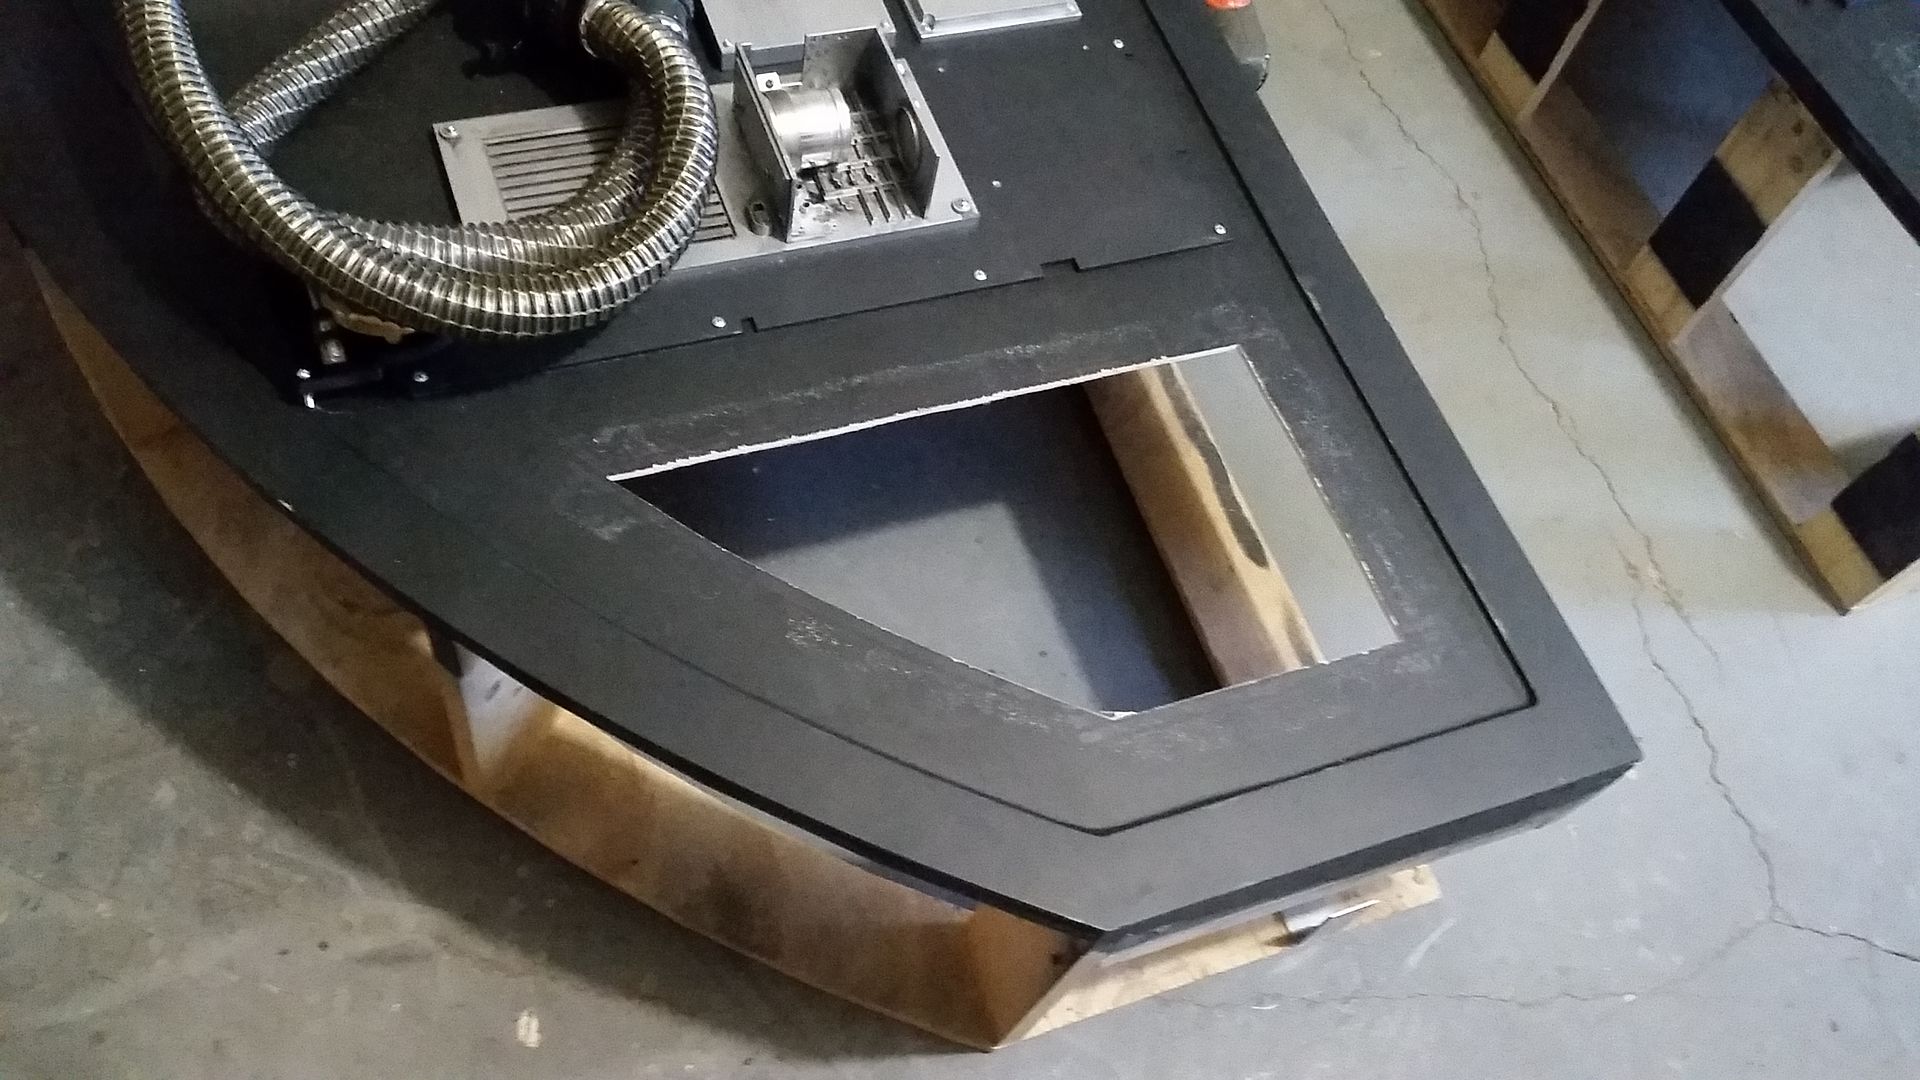
I laser cut and painted two new covers - we now have a fresh supply of 1/8th inch MDF! Saves me from filling and sanding the 3 ply!
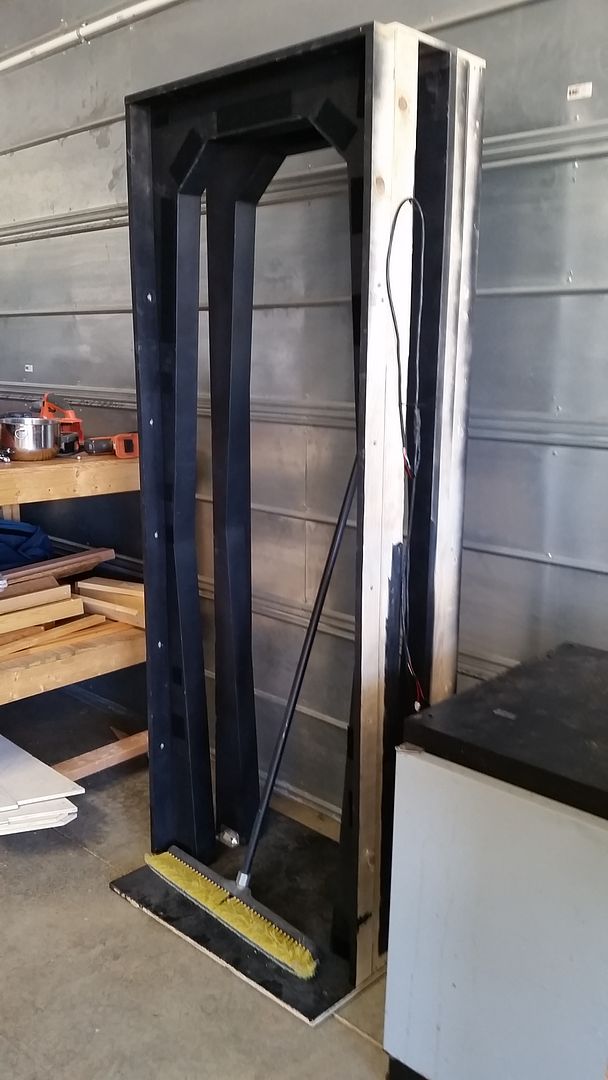
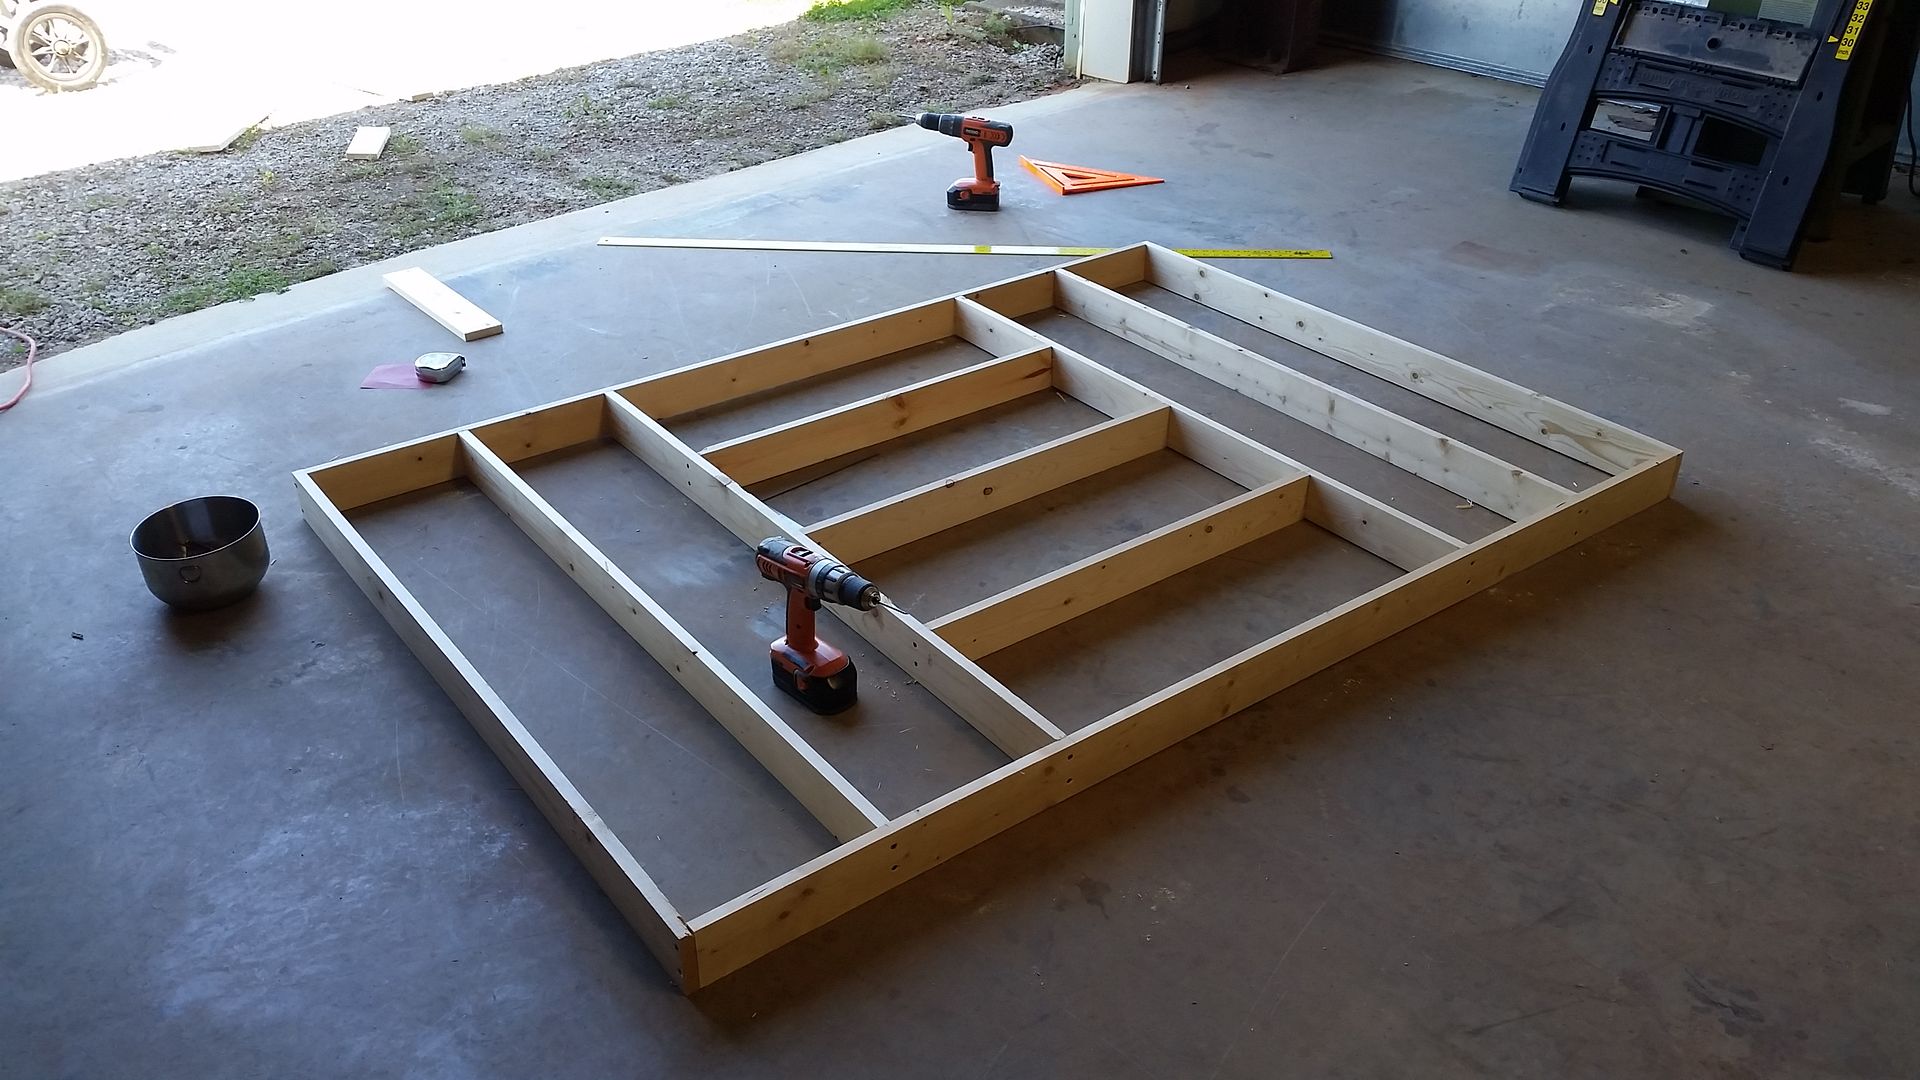
I built the first of 4 or 5 new platforms!
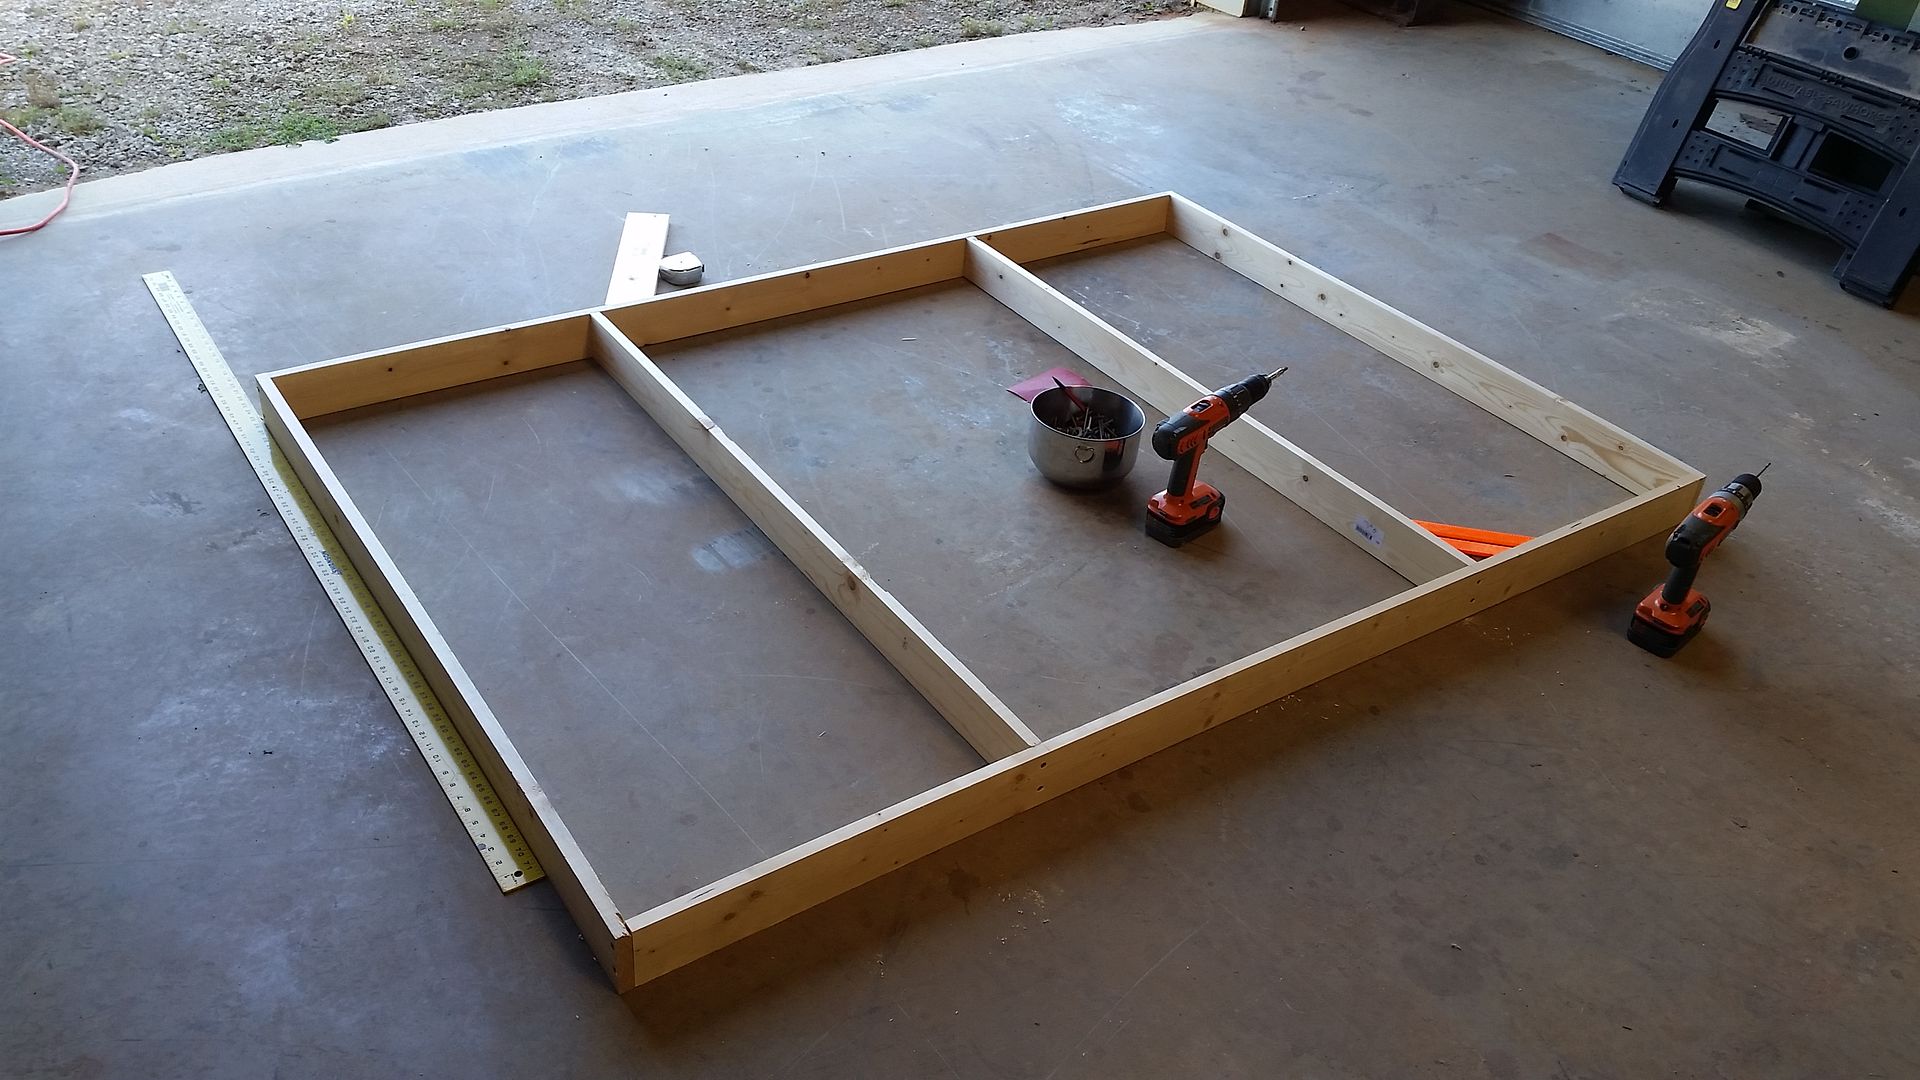
Main body platform
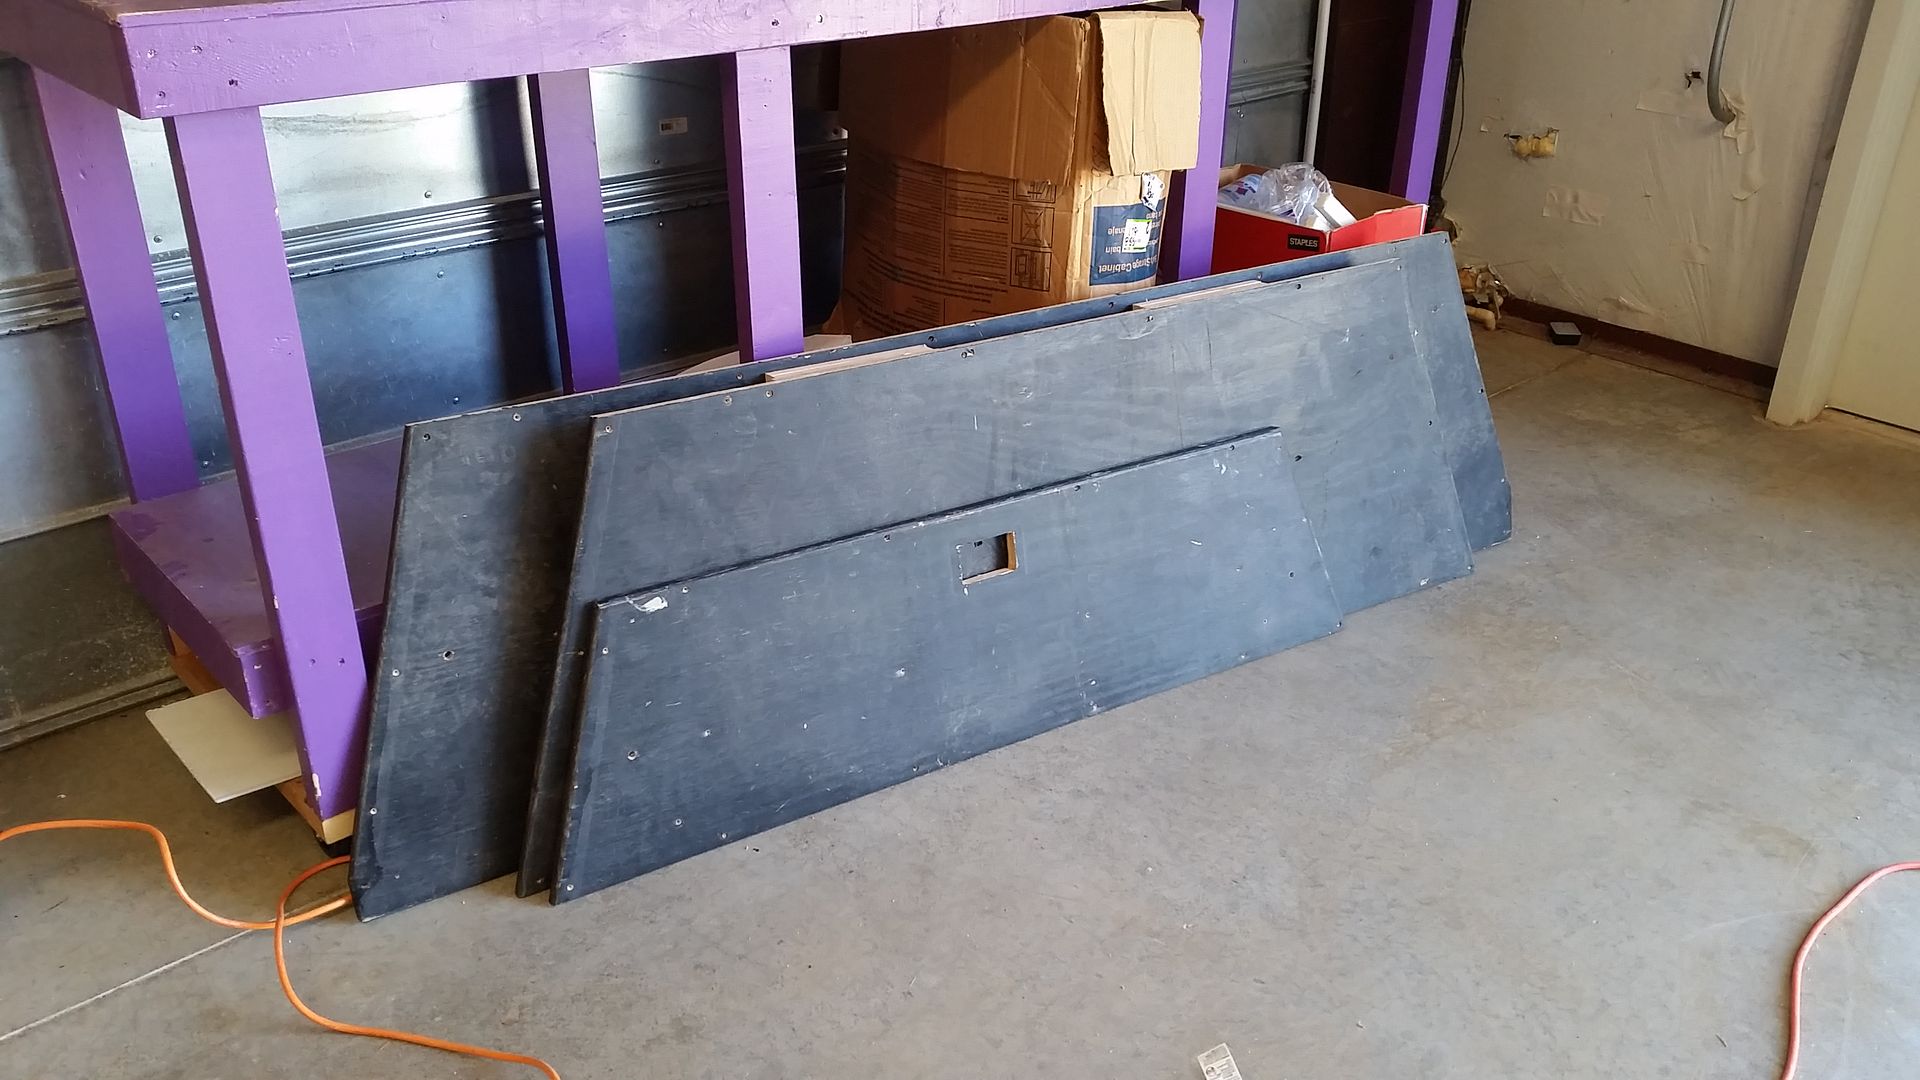
I then tore down the existing platforms - gotta salvage material!
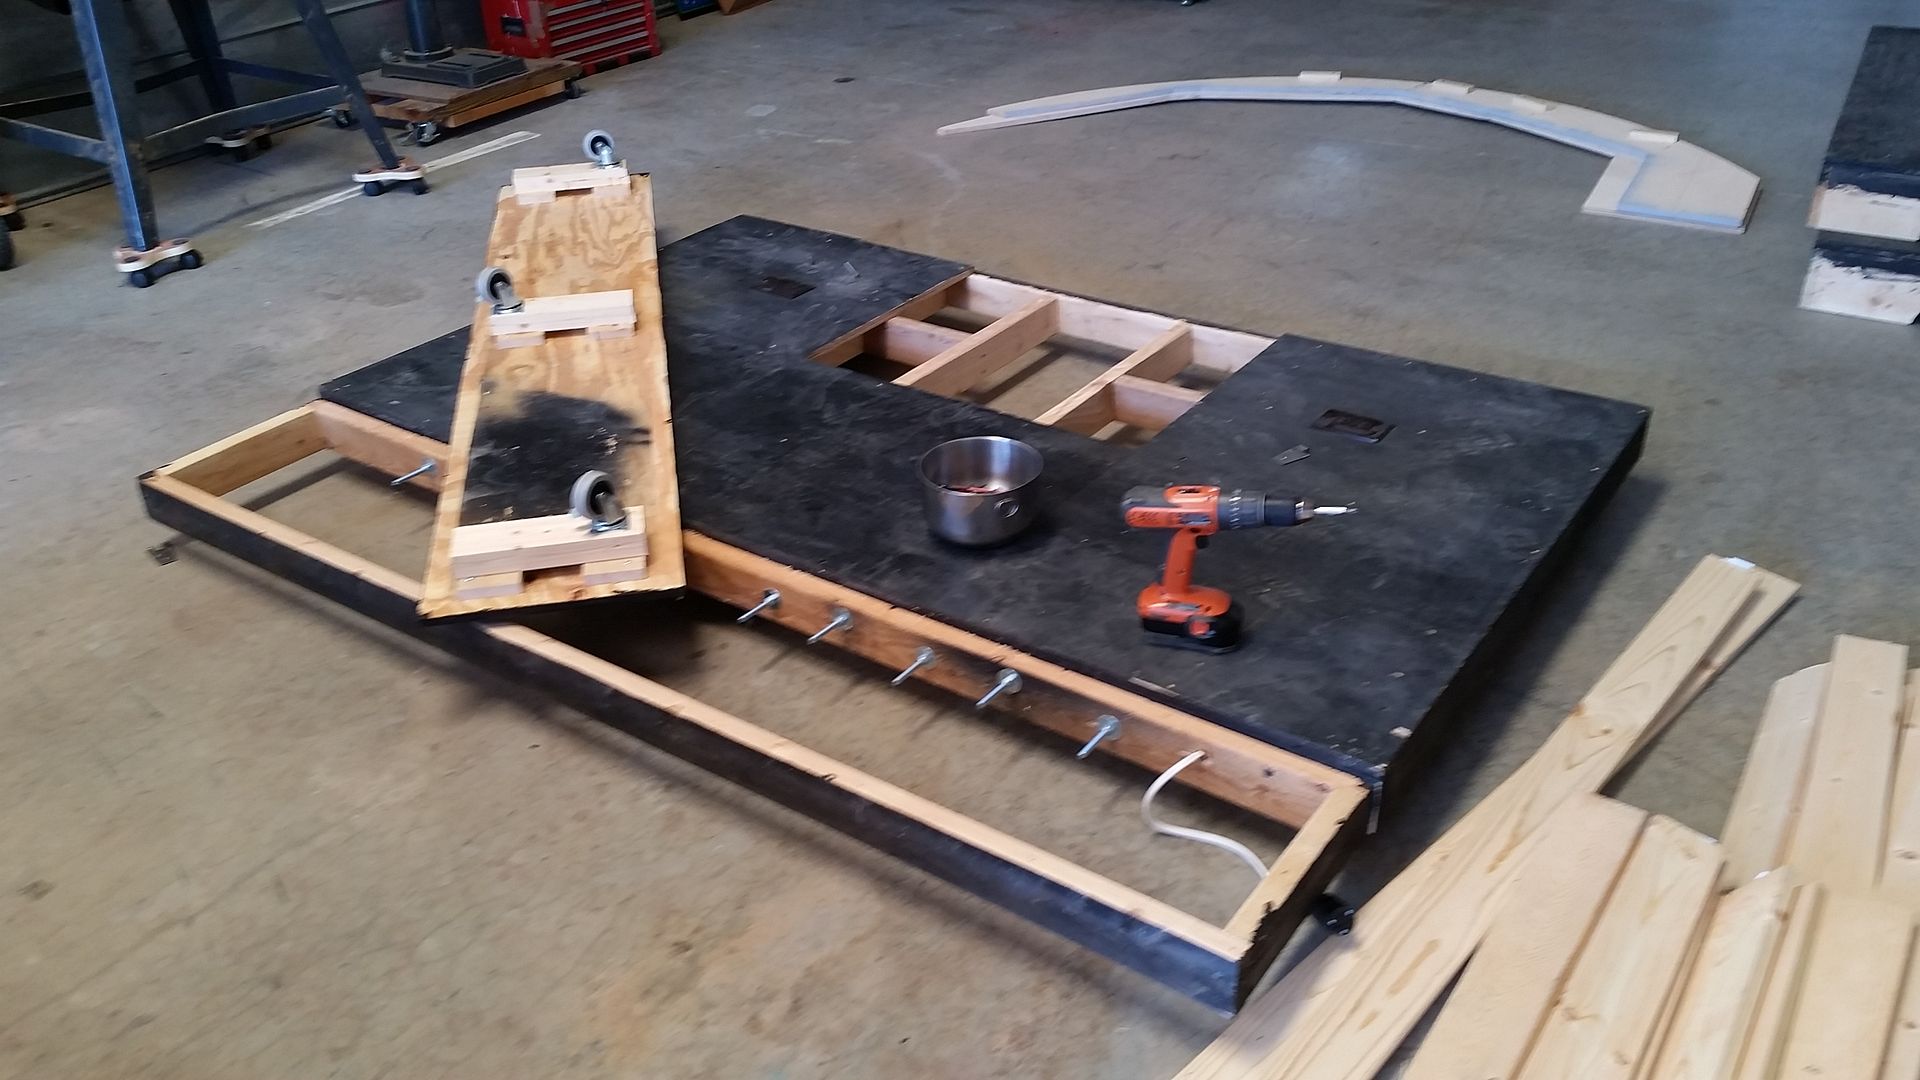
Old nose platform
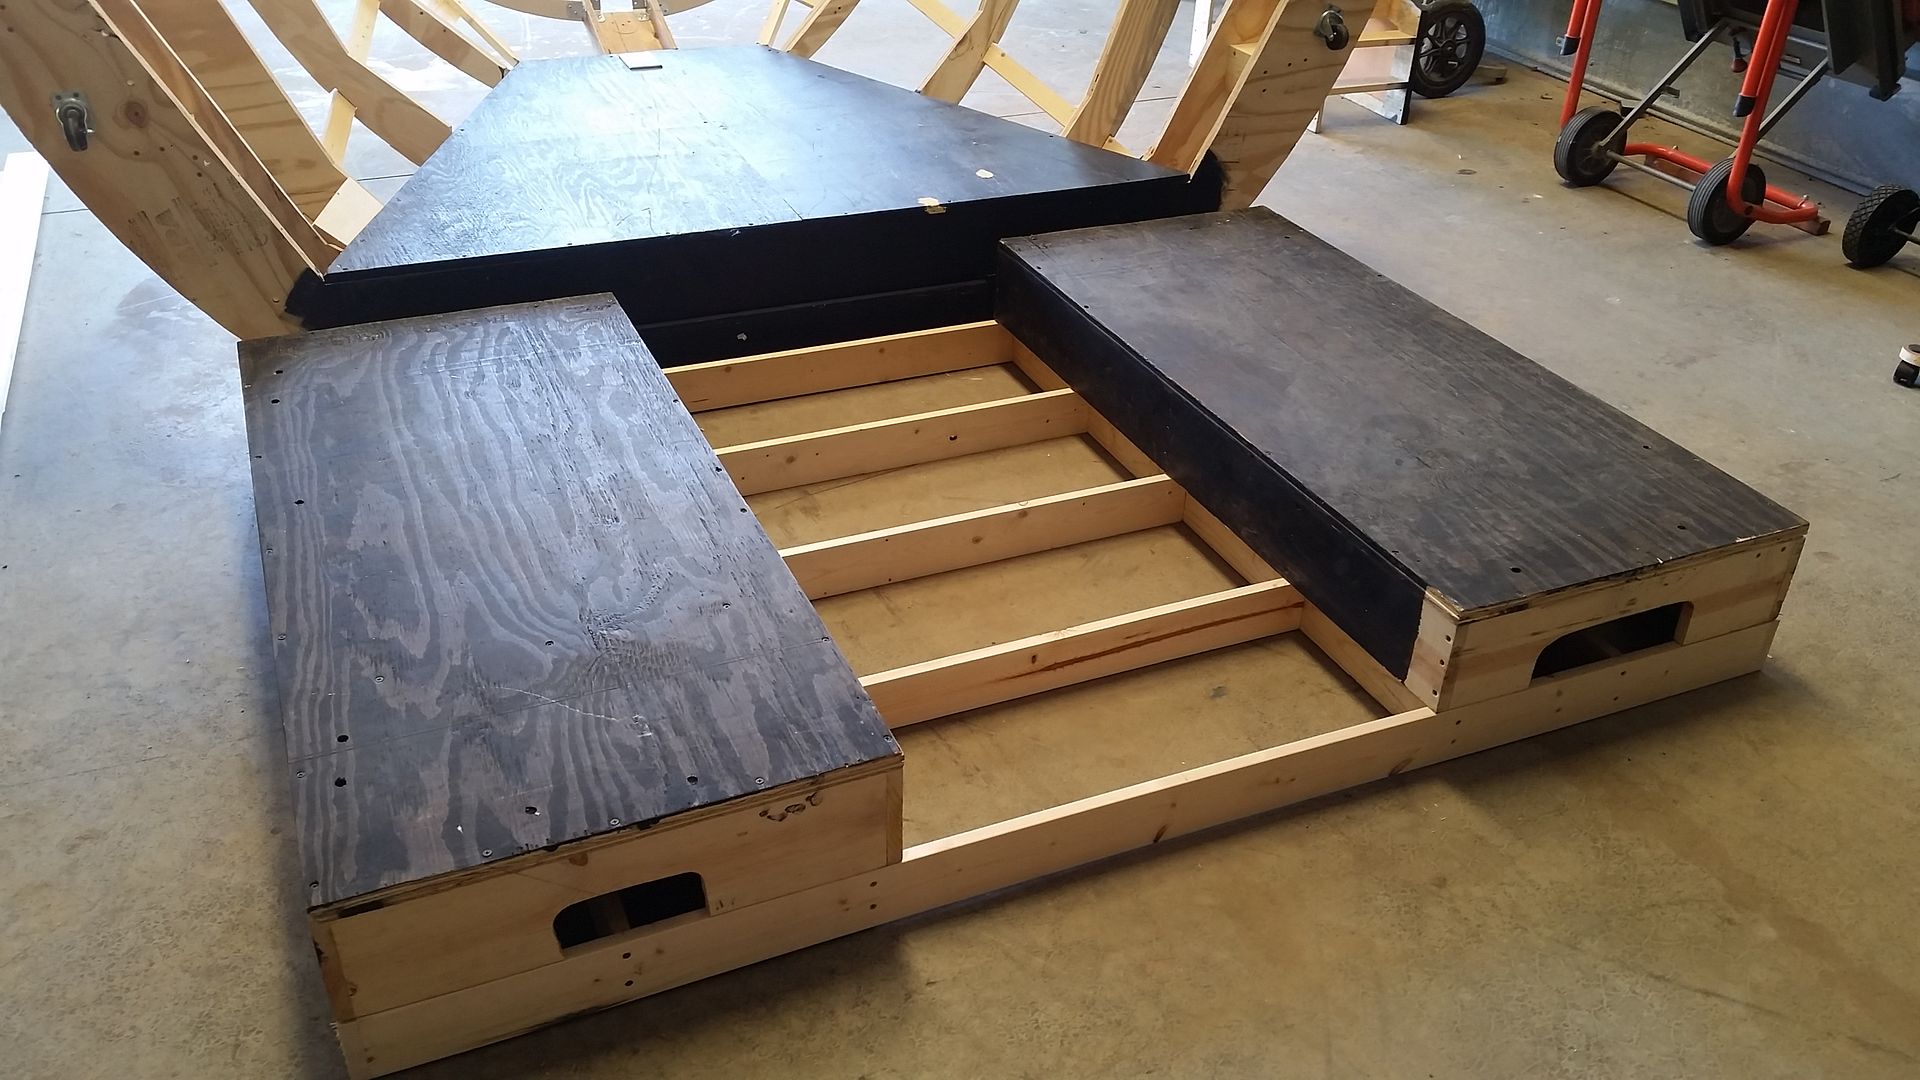
New platform is place with Nav Chair Platforms
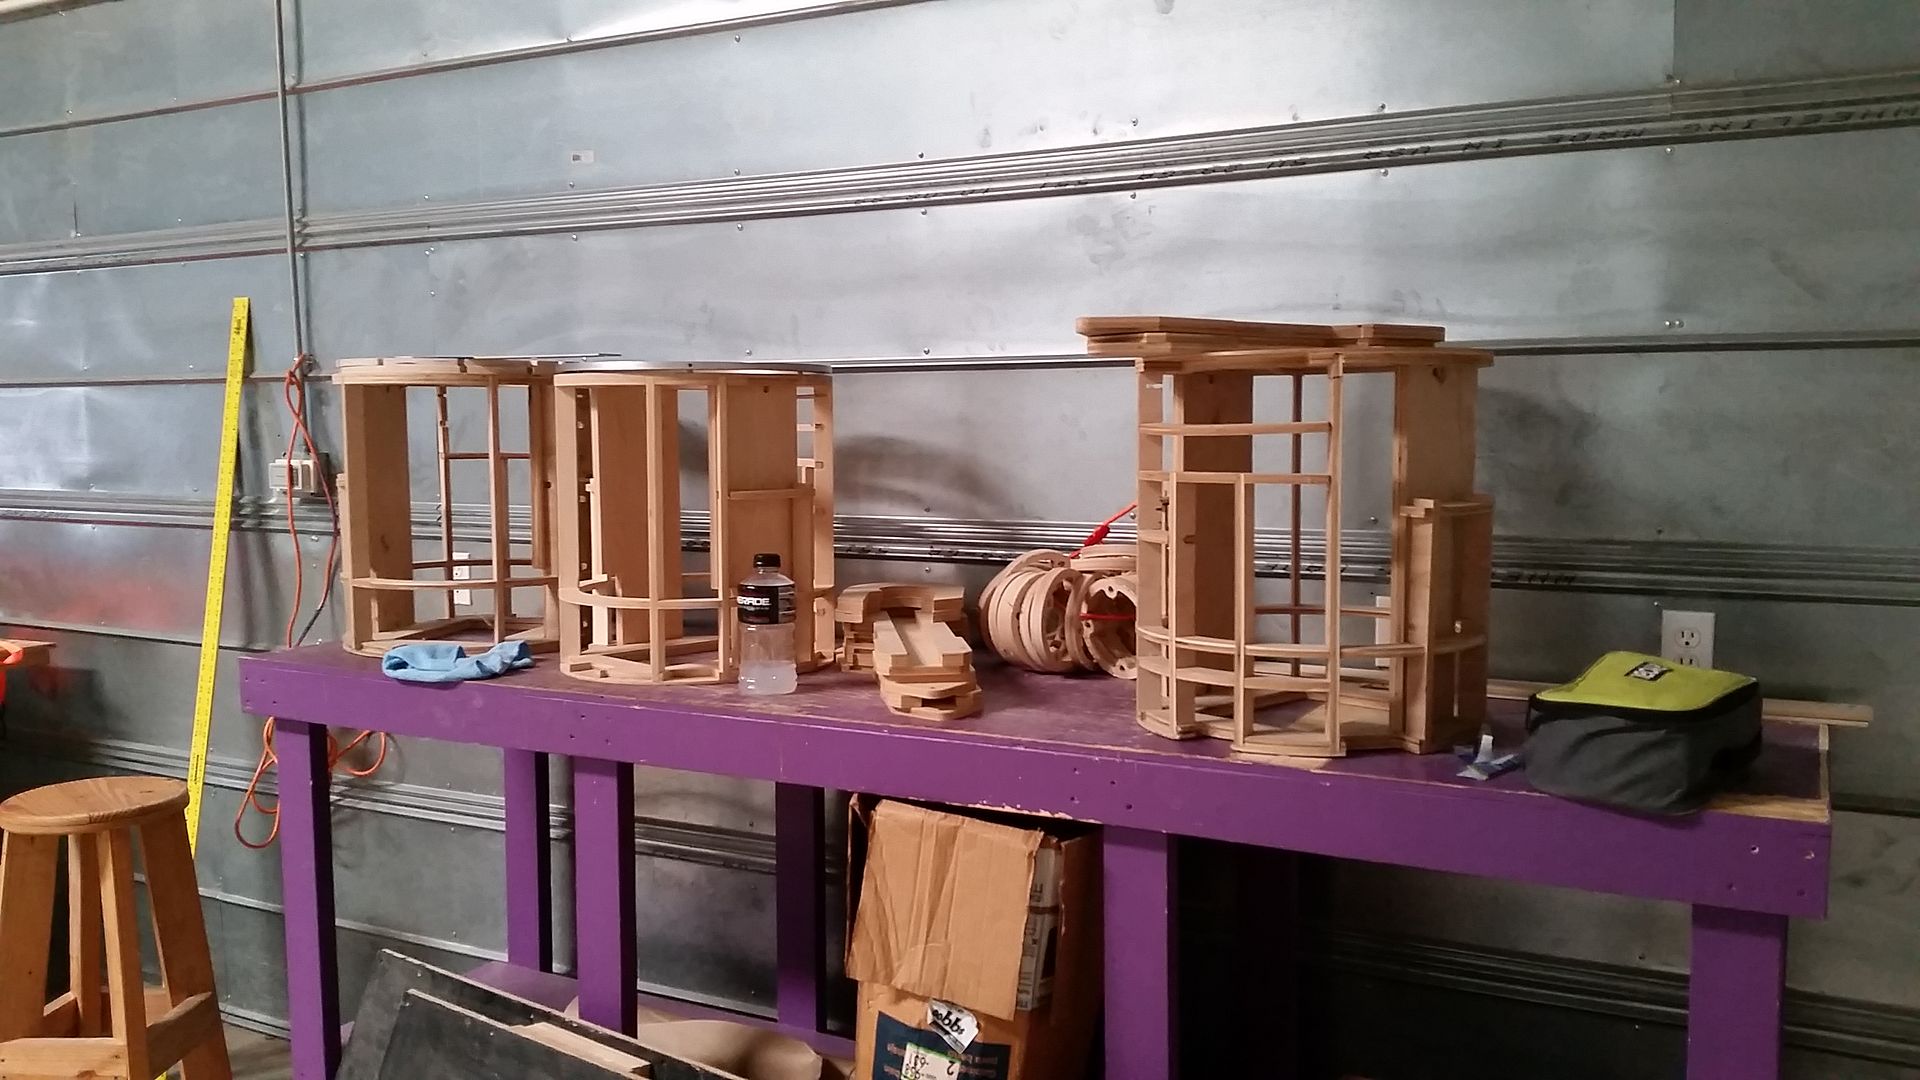
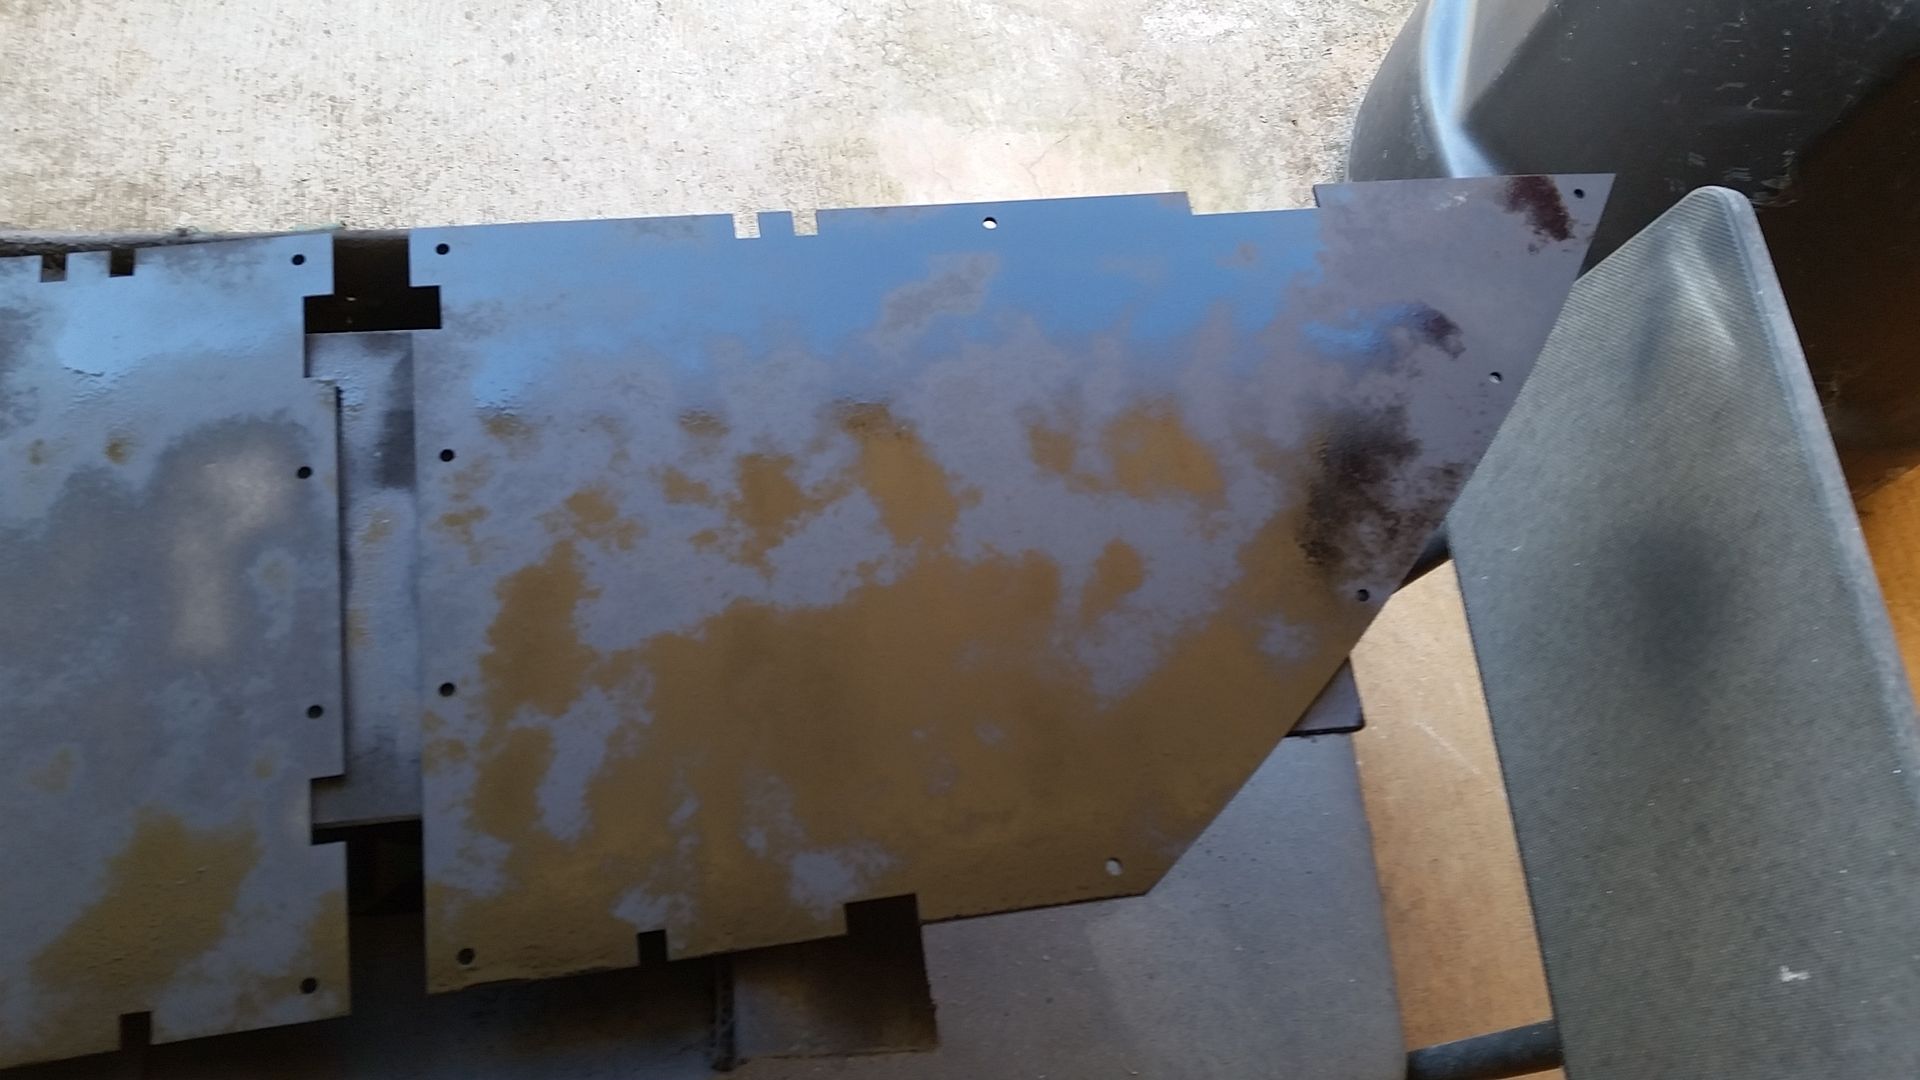
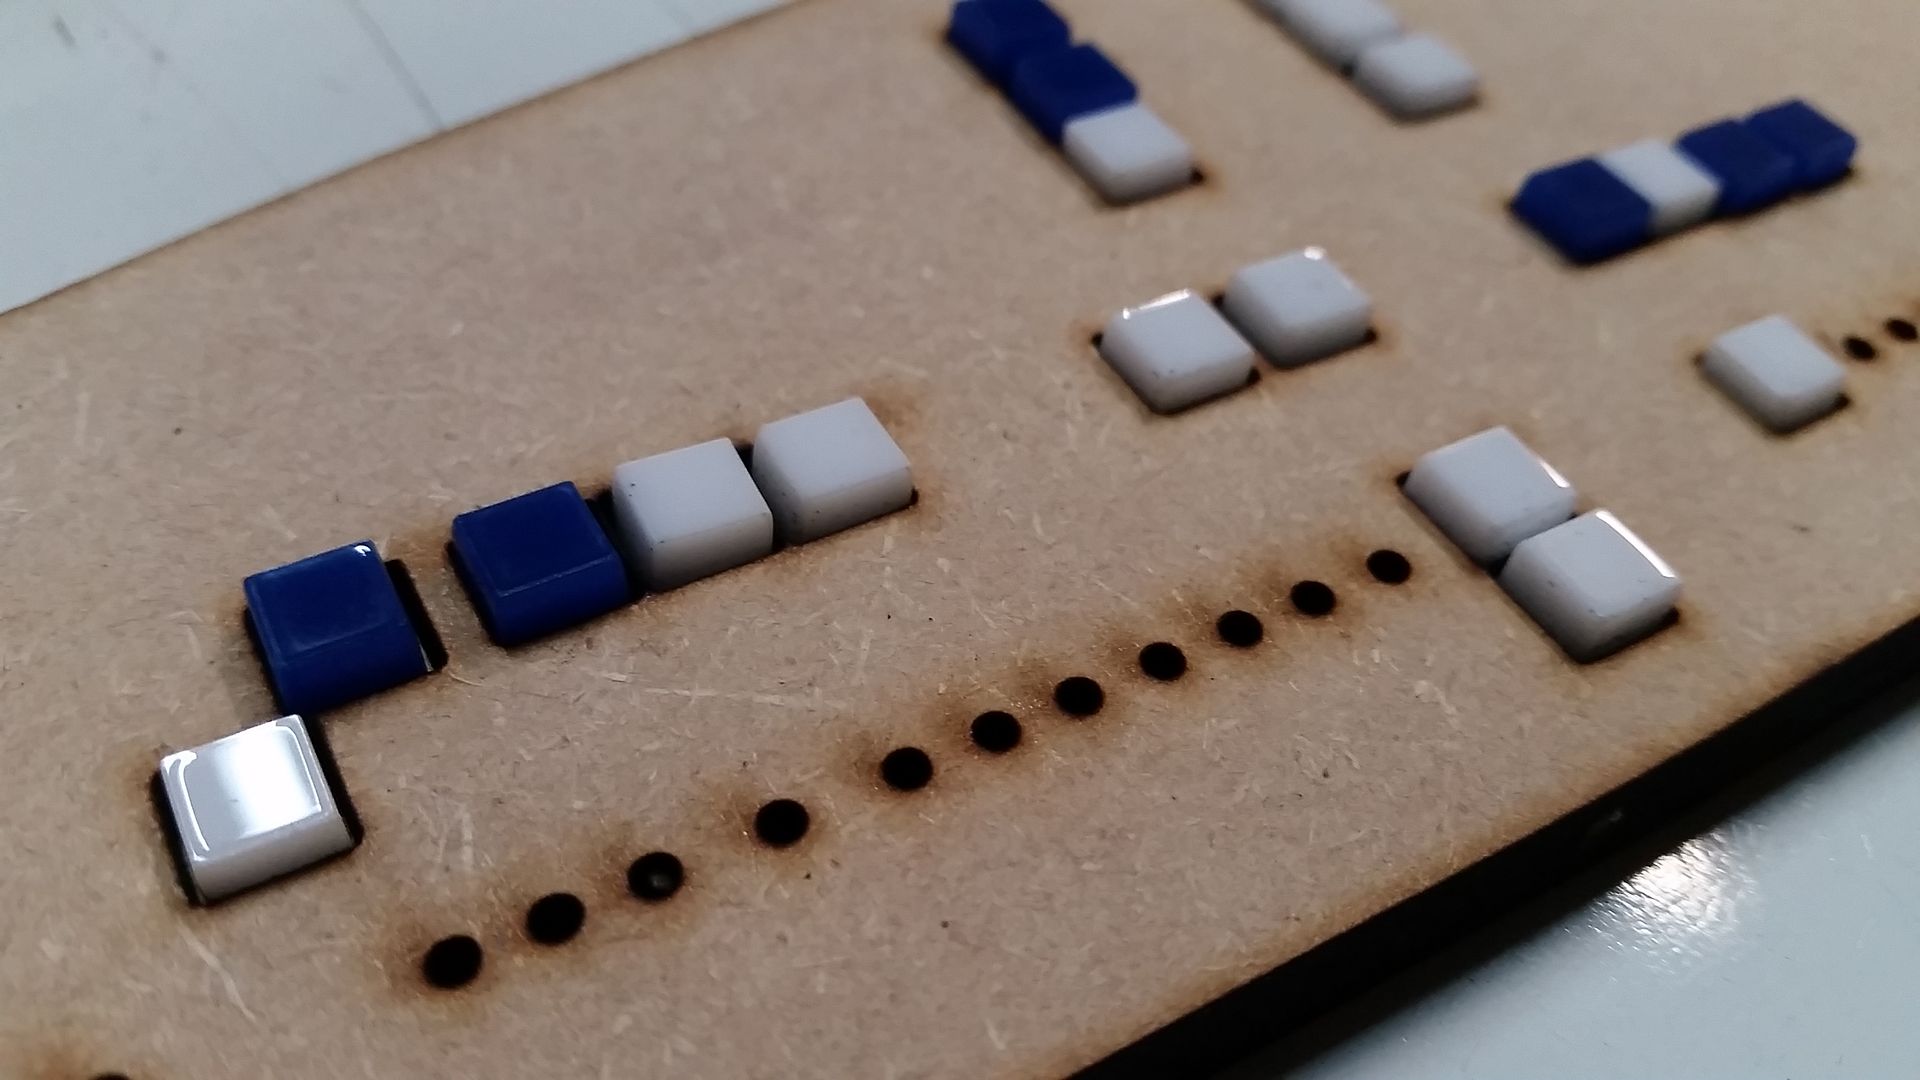
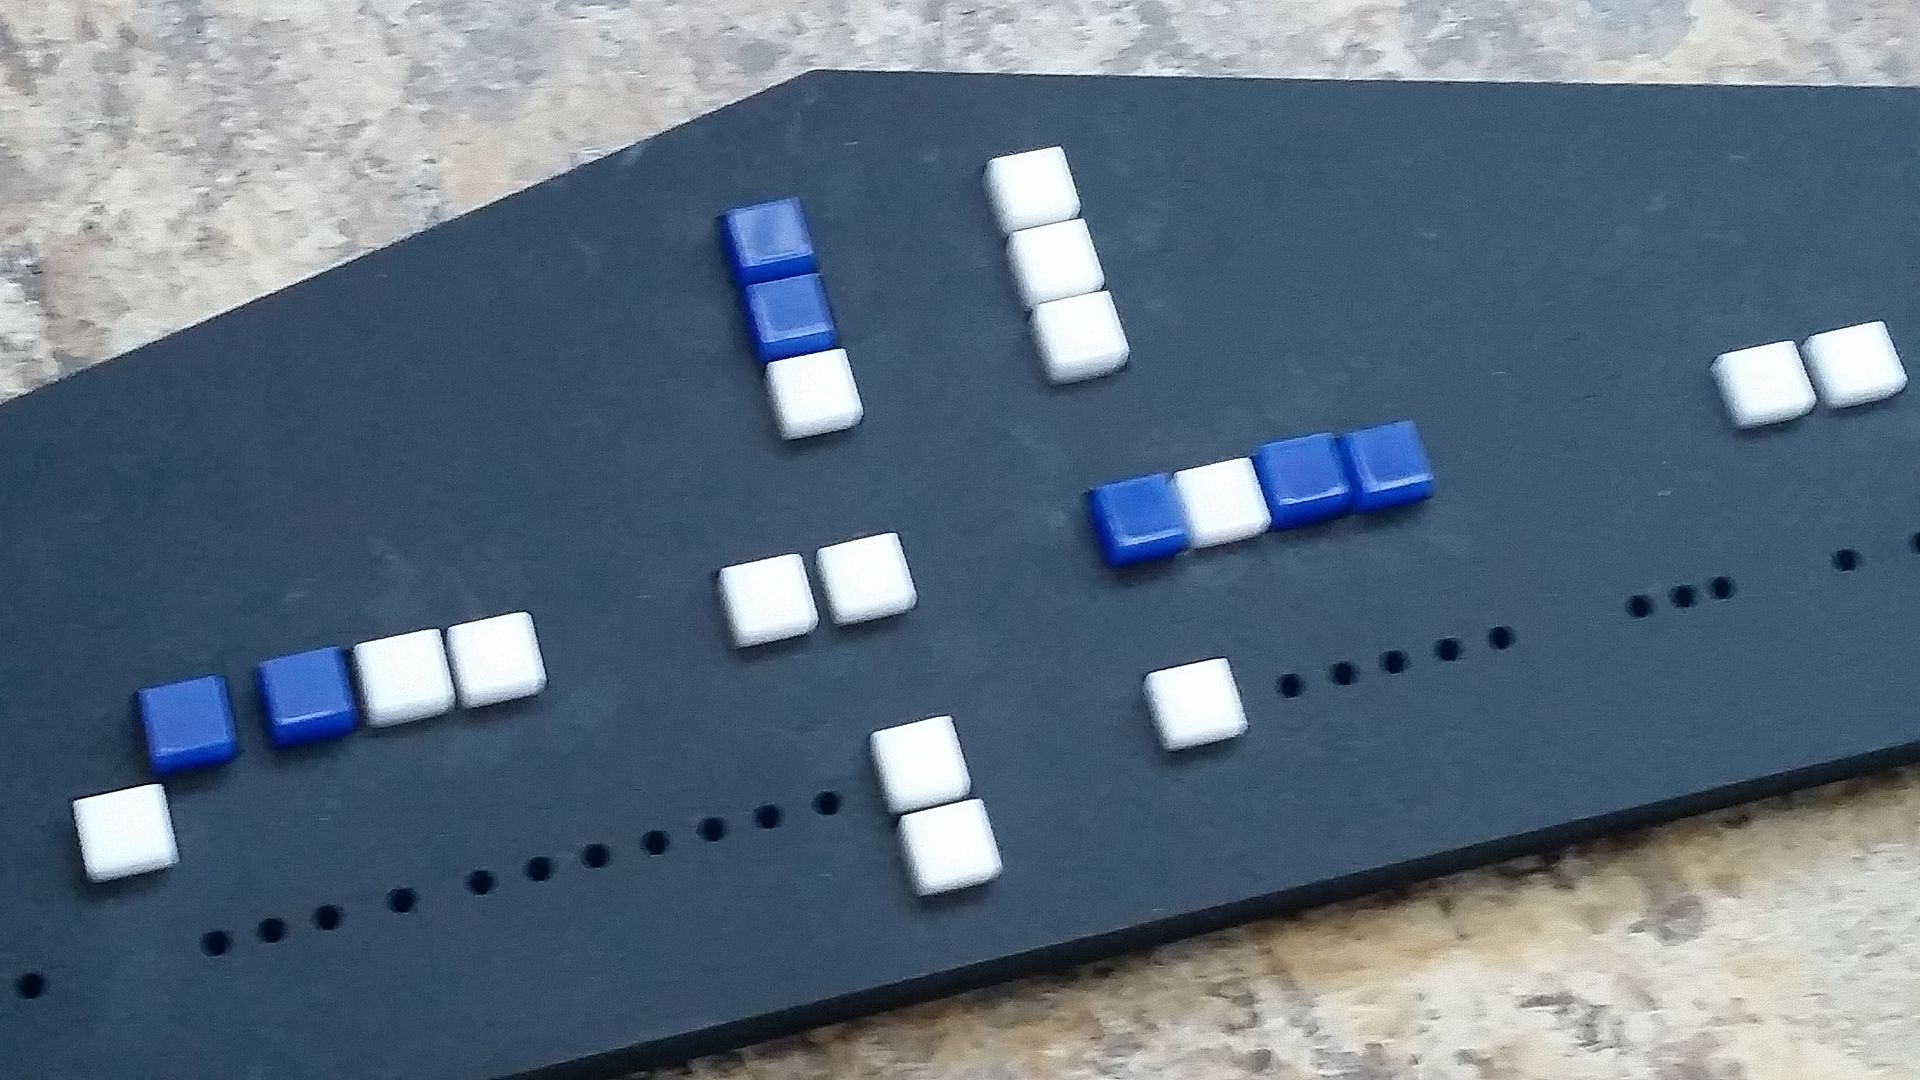
Just for fun I decided to cut a practice 1/4 scale arch panel in prep for when we redo ALL the 1:1 scale panels using 1/8th inch MDF. The plan is cut each panel twice, with all the LED holes pre-cut, and then the two panels adhere together (the current panels used 1/4 inch MDF). The back panel would have the round holes cut for the LED light to pass through while the top panel has the corresponding square hole for the blue and white tiles. Because of the round hole in the back panel, the tile simply adheres to the corner edges while the square hole acts as the guide... It worked perfectly! And looks cool too!
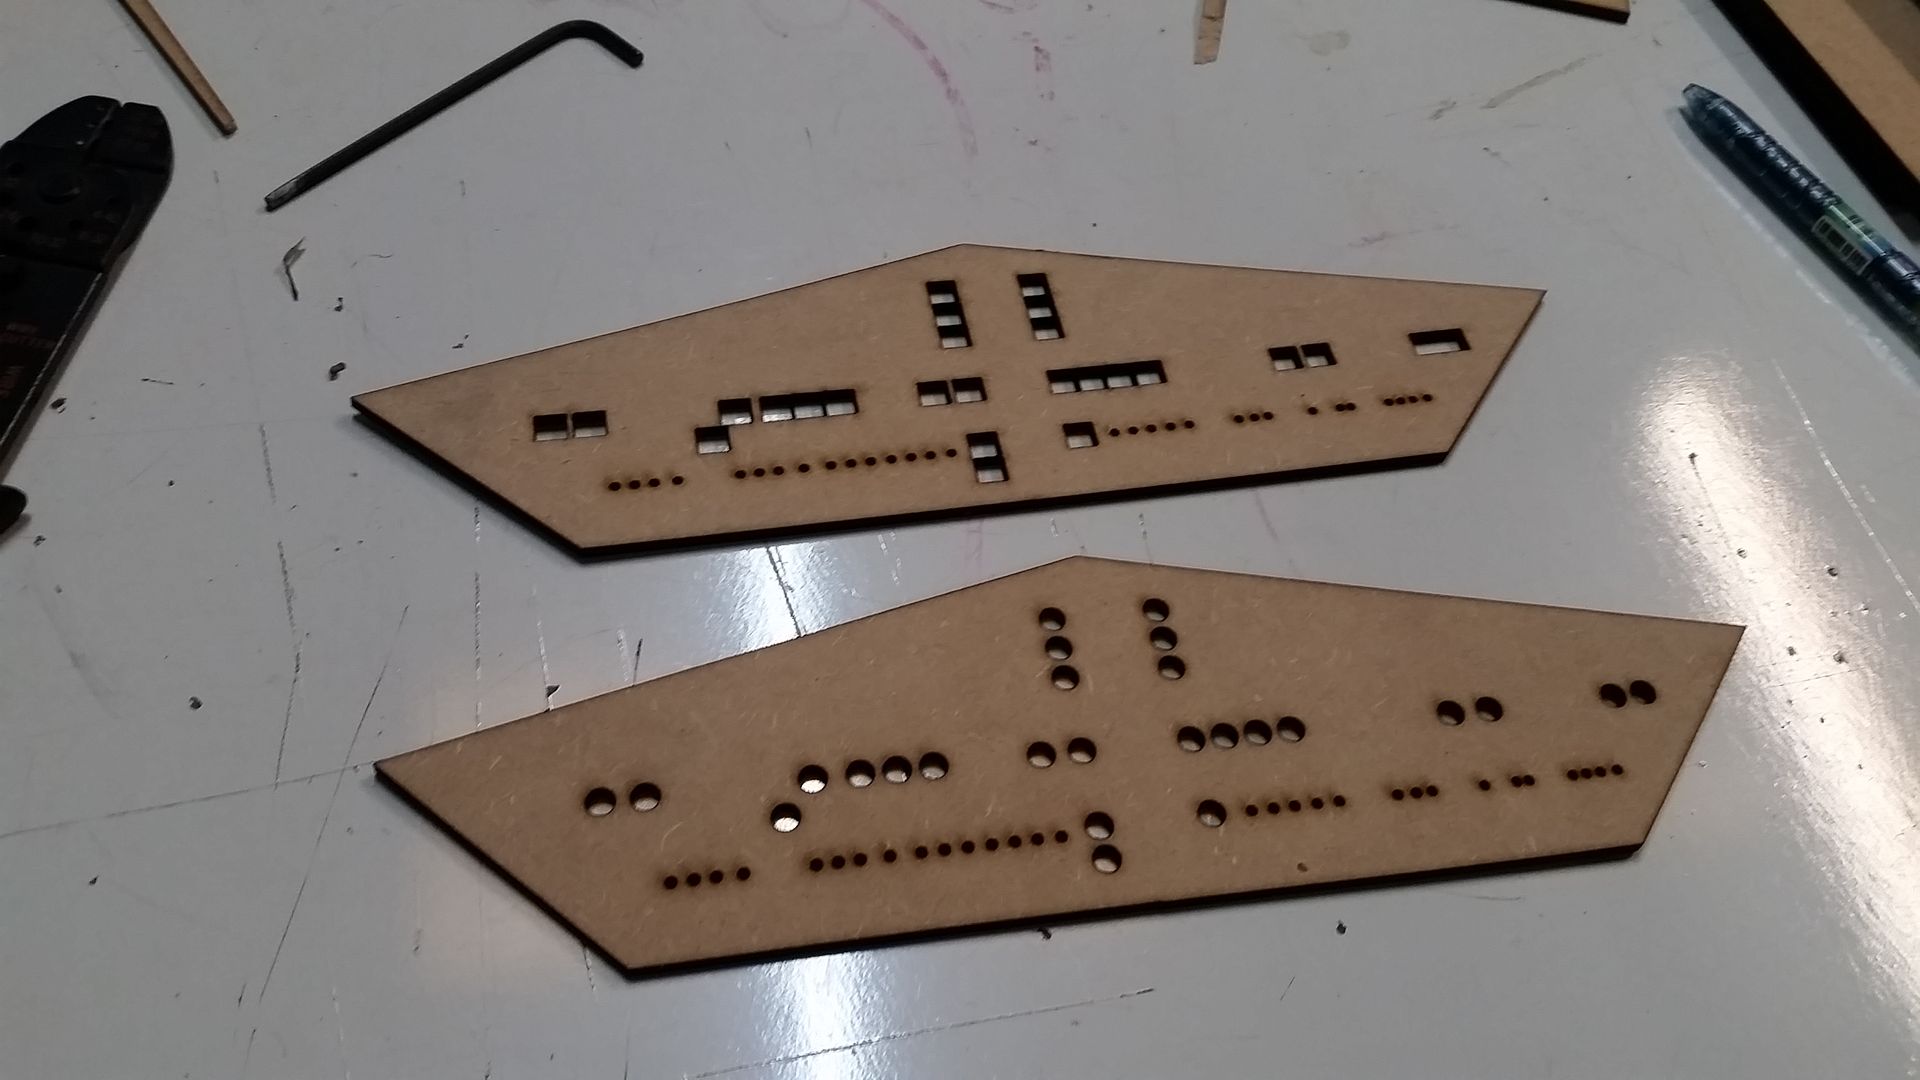
Two 1/8th inch MDF adhered togther
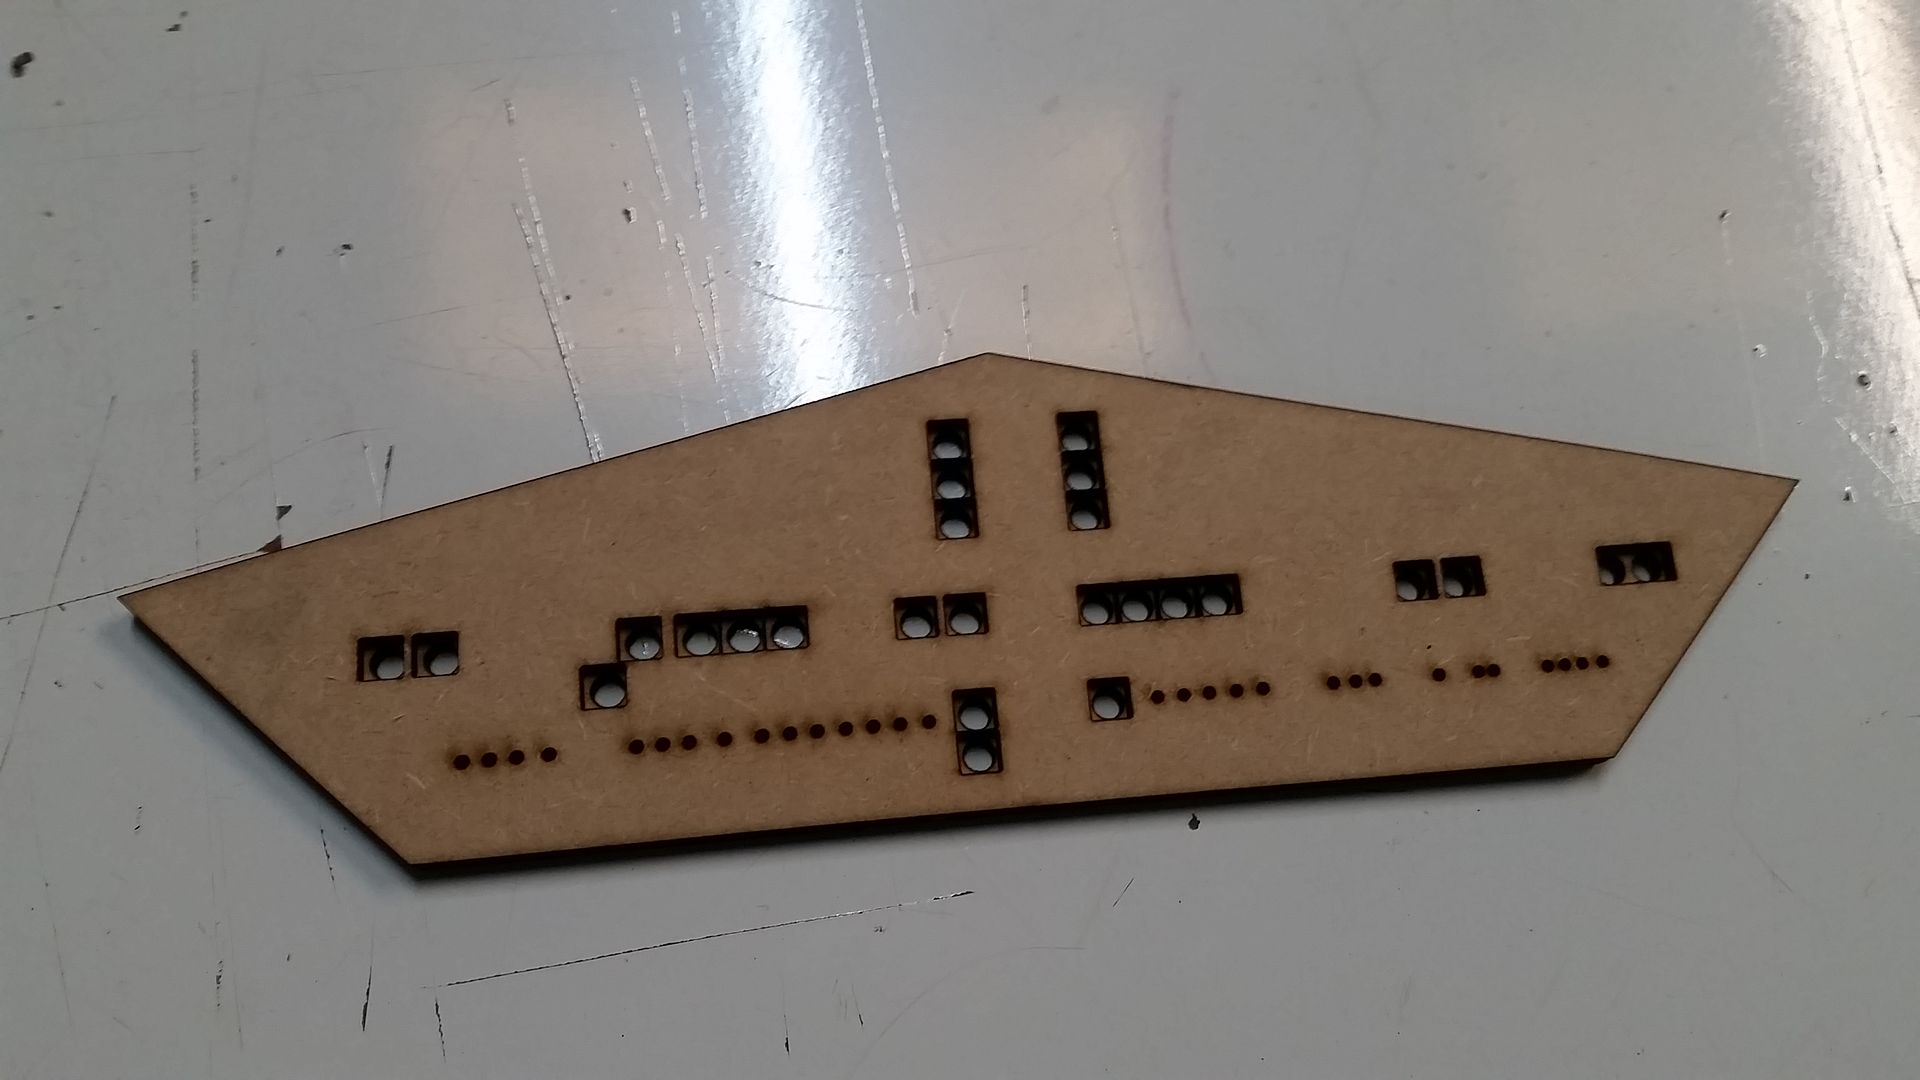
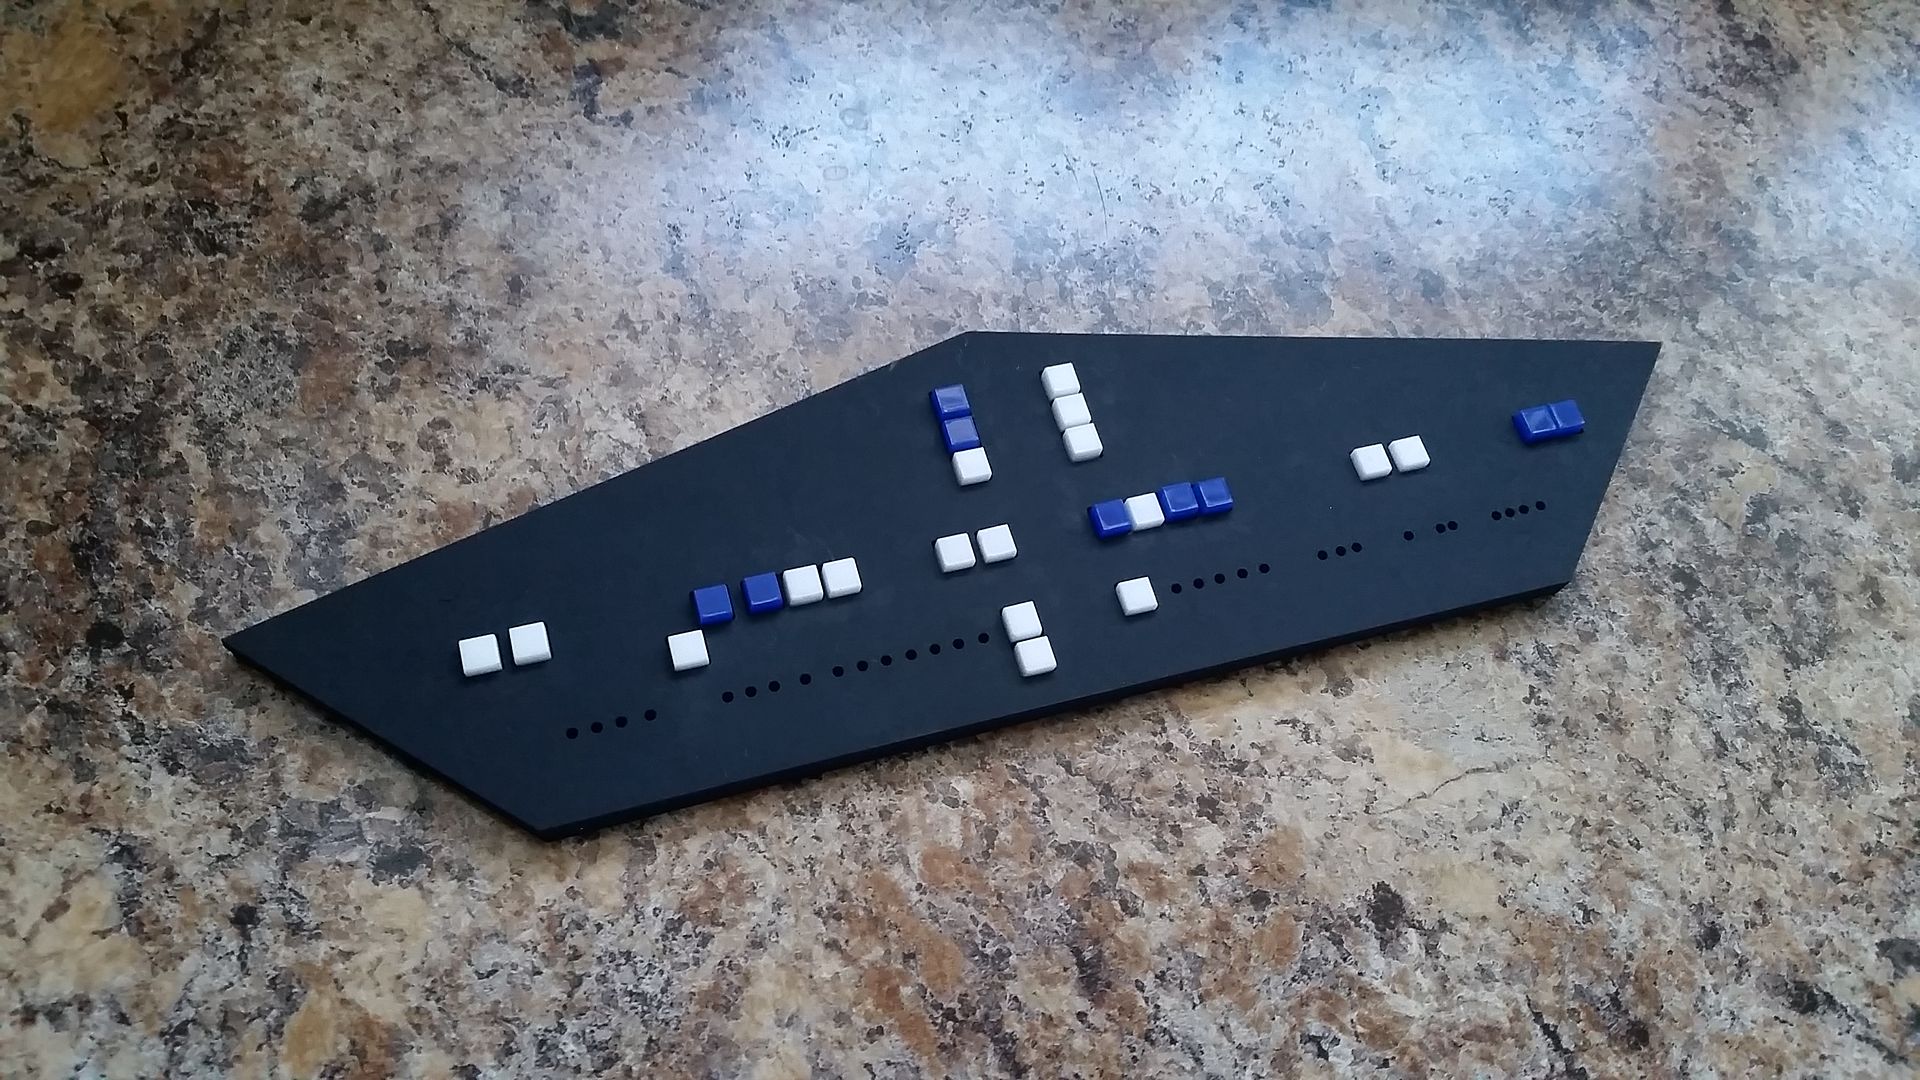
For Scale... it's pretty big!

And then of course I had to cut all of these little guys! I had some extra 1/4" blue and white acrylic (the 1:1 scale tiles are 1/8th inch)
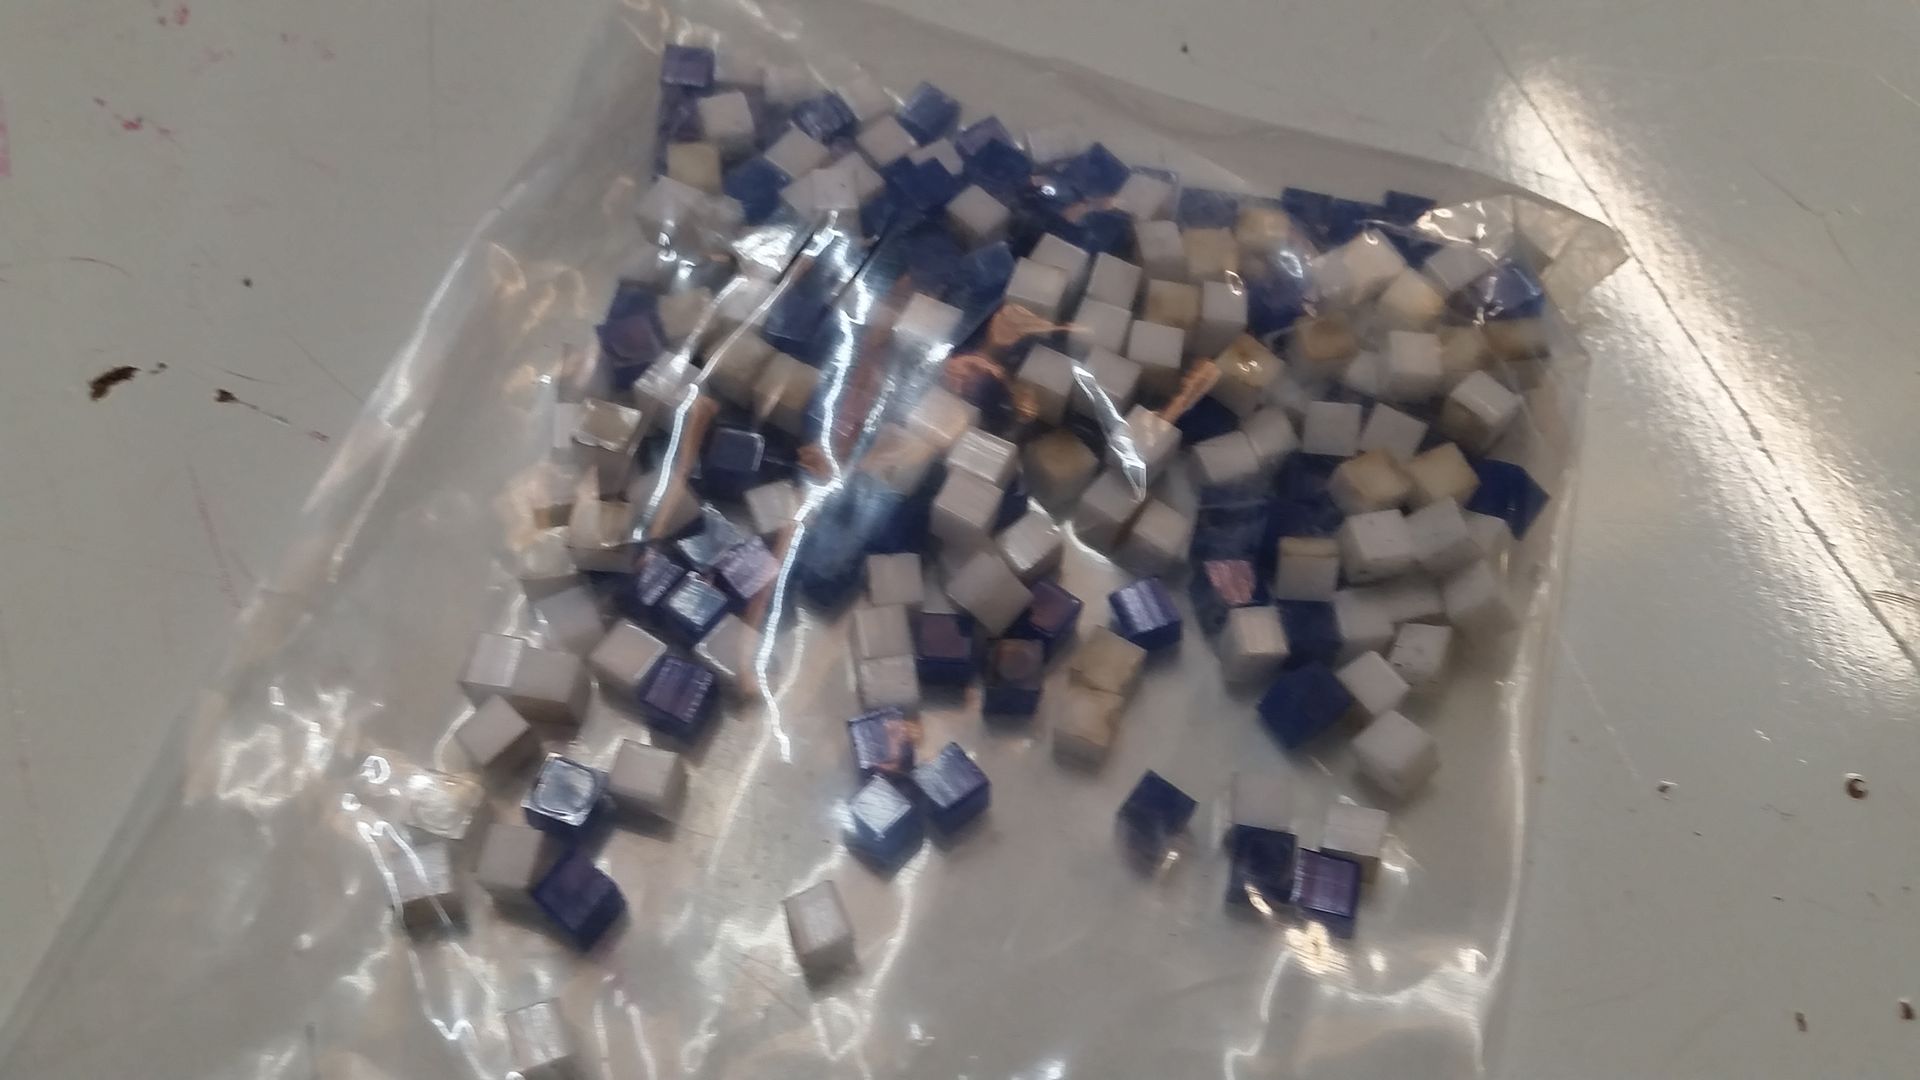
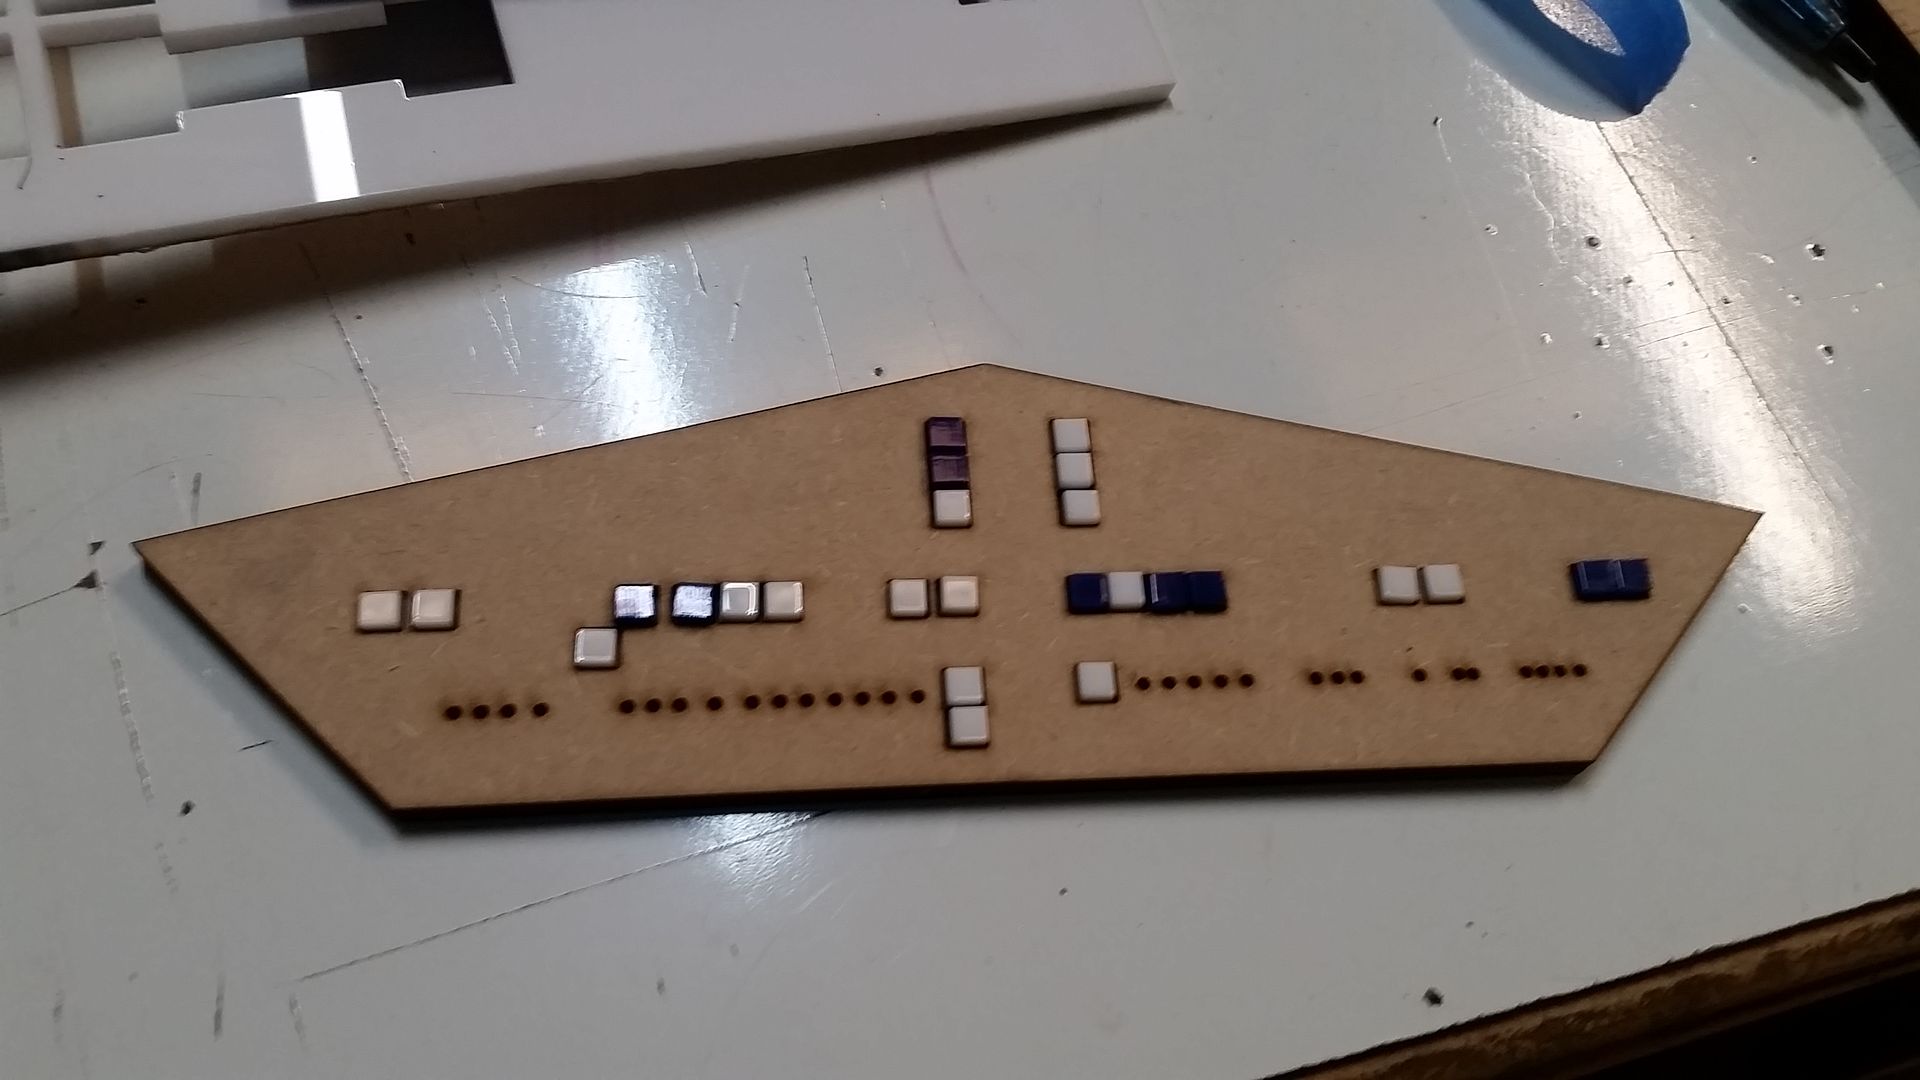
The tiles do stand a little high off the surface (BUT they stand the correct 1/8th" off the surface - the same as the full scale height). But the results... the next round of panels will be MUCH easier!
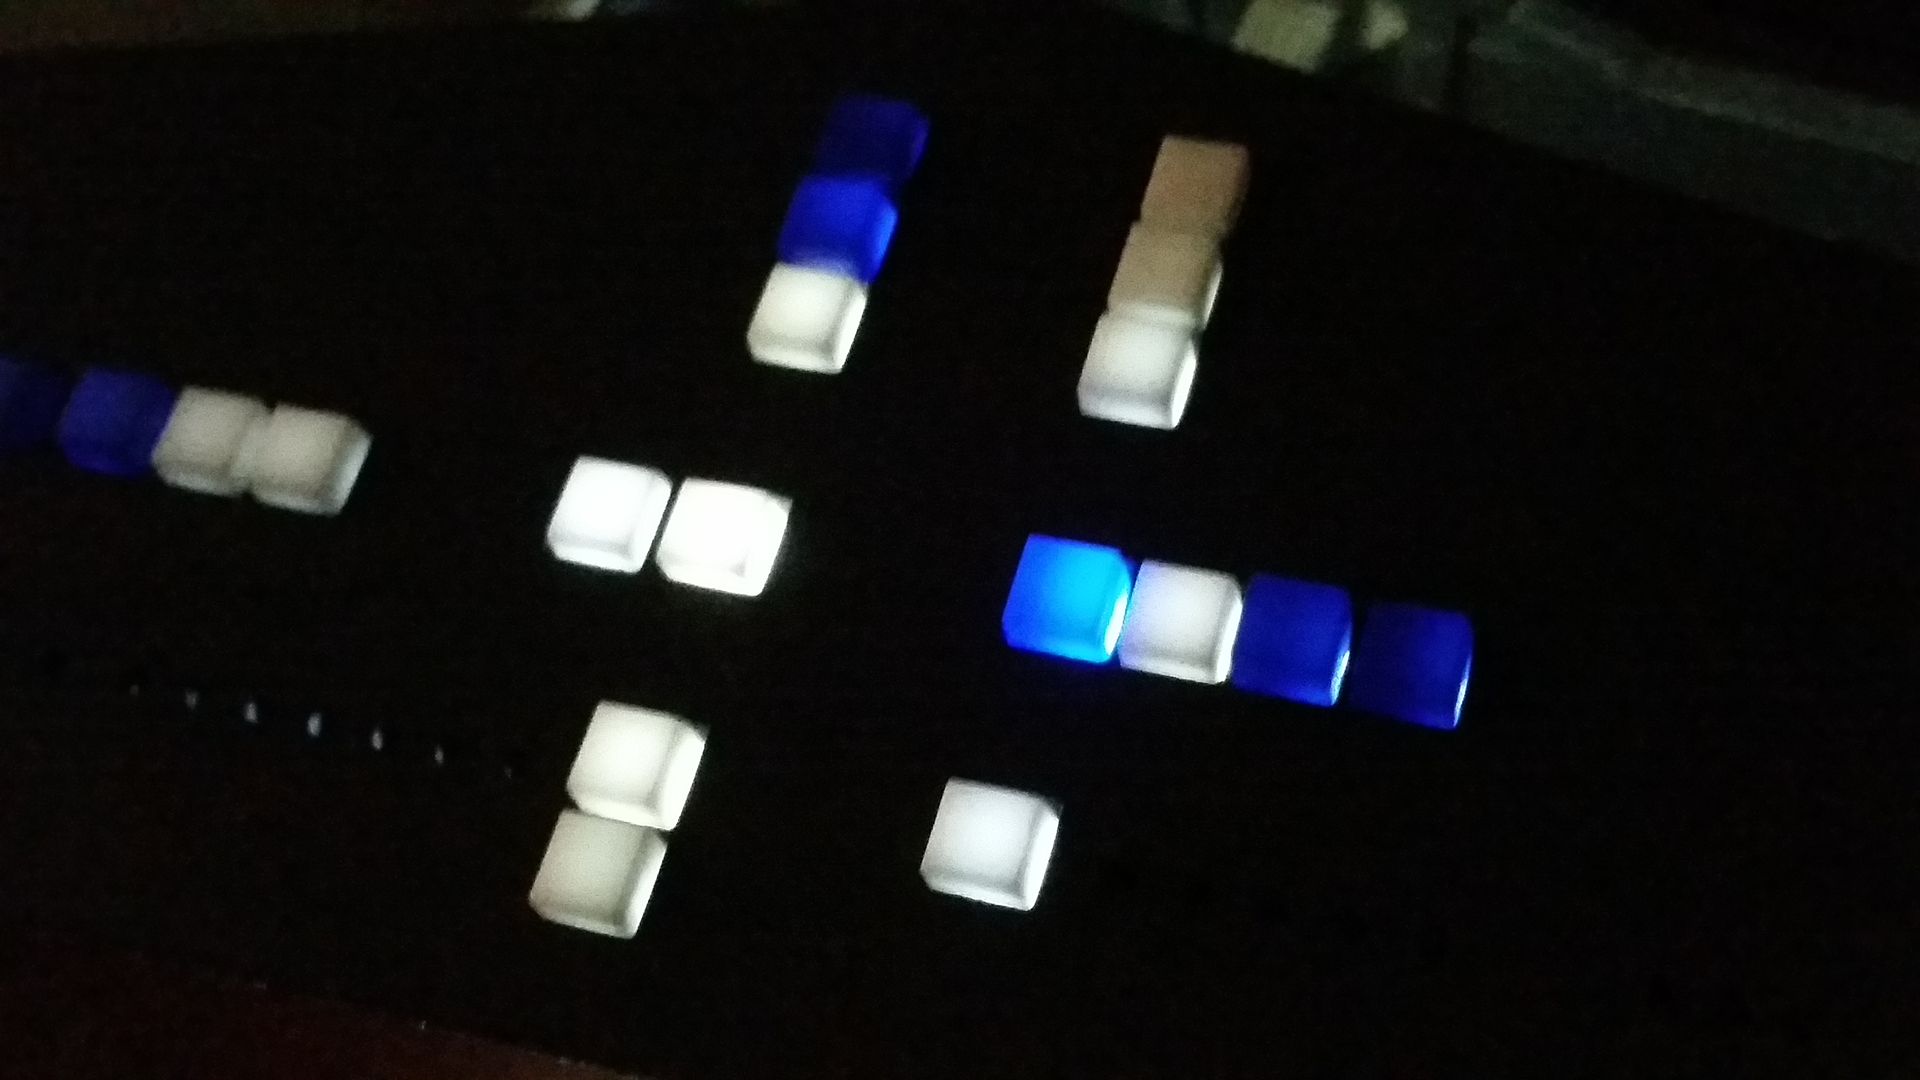
Gotta have some fun with it...
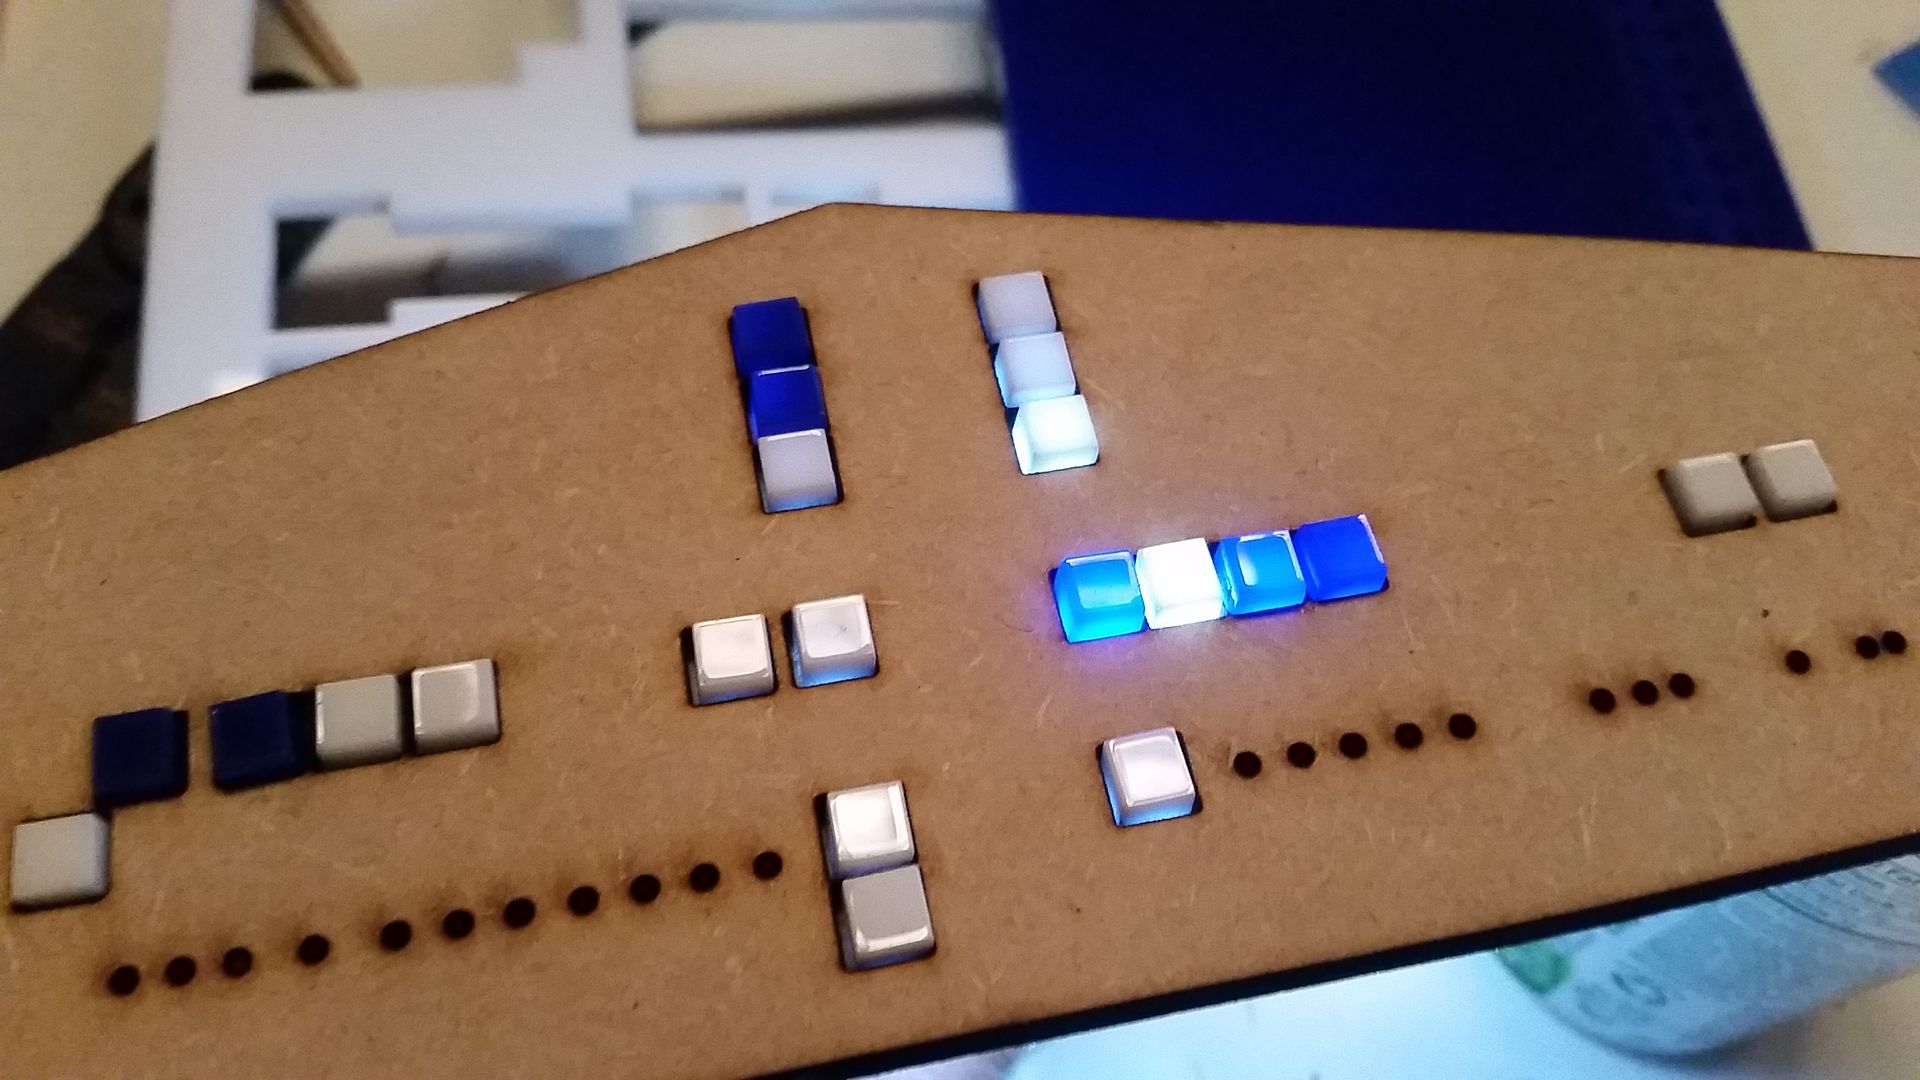
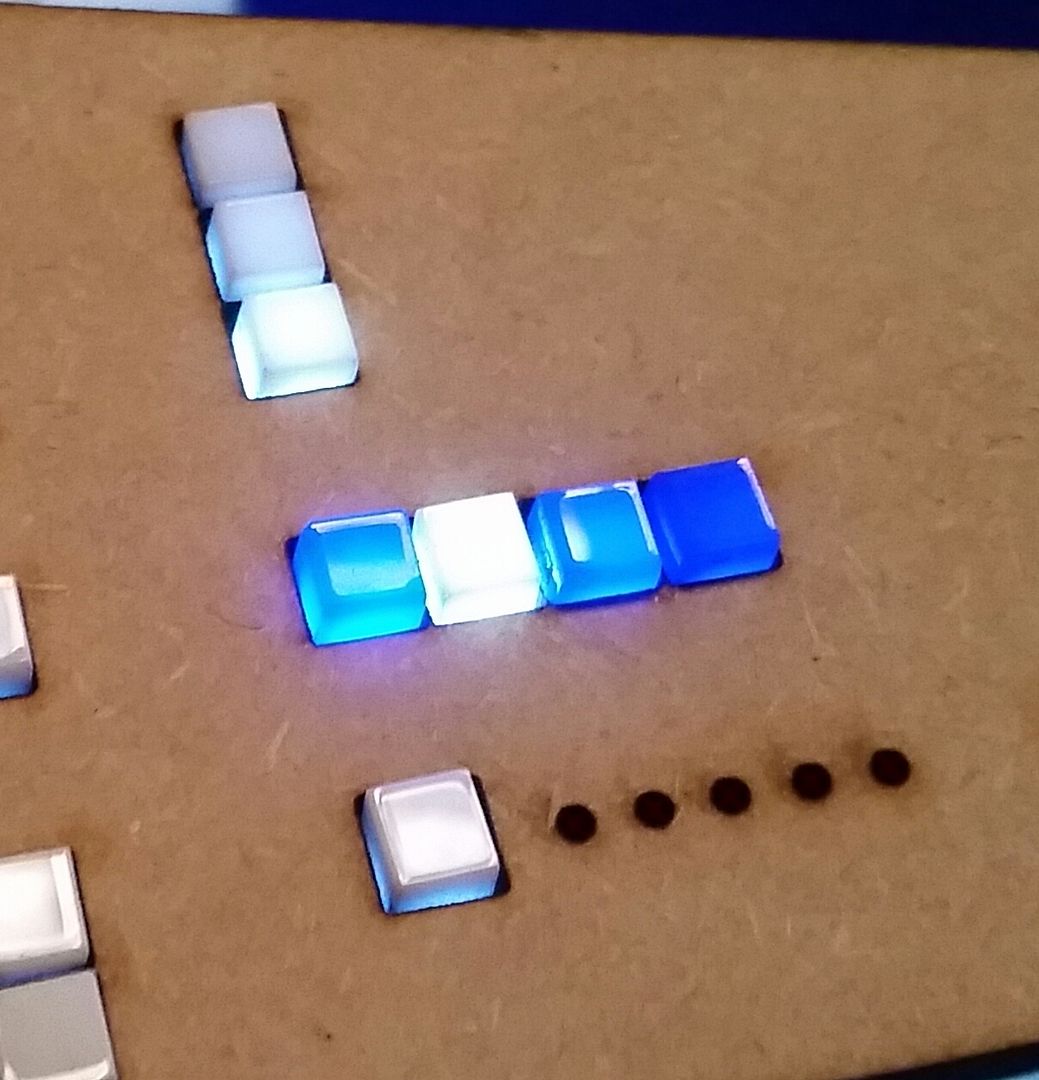
OK... let's have some real fun!
Yes... I am seriously considering a 1/4" scale cockpit!
More to Follow!
An early morning update! I spent the weekend ALL over the map... I finally finished this guy
UGH
More Filler
Old and New
In place... Unfortunately I didn't get around to sanding/painting the PVC pipe... I was a little preoccupied!
I was at the warehouse over the weekend and I saw this. I thought to myself... man that looks familiar. I wonder?
I weathered the small knob style greeblies
I laser cut some new greeblies for the large pipe connector greeblie
More on these later...
I painted the Kirby hose connector base
I designed and laser cut the new extension panel housings!
It's going to be so much fun adding greeblies and LEDs to these two areas!
More cockpit parts headed over to the warehouse
We found a perfect spot for our R2 / droids
I cut the holes in the lower cockpit entrance walls - note the cut/hole templates
I laser cut and painted two new covers - we now have a fresh supply of 1/8th inch MDF! Saves me from filling and sanding the 3 ply!
I built the first of 4 or 5 new platforms!
Main body platform
I then tore down the existing platforms - gotta salvage material!
Old nose platform
New platform is place with Nav Chair Platforms
Just for fun I decided to cut a practice 1/4 scale arch panel in prep for when we redo ALL the 1:1 scale panels using 1/8th inch MDF. The plan is cut each panel twice, with all the LED holes pre-cut, and then the two panels adhere together (the current panels used 1/4 inch MDF). The back panel would have the round holes cut for the LED light to pass through while the top panel has the corresponding square hole for the blue and white tiles. Because of the round hole in the back panel, the tile simply adheres to the corner edges while the square hole acts as the guide... It worked perfectly! And looks cool too!
Two 1/8th inch MDF adhered togther
For Scale... it's pretty big!
And then of course I had to cut all of these little guys! I had some extra 1/4" blue and white acrylic (the 1:1 scale tiles are 1/8th inch)
The tiles do stand a little high off the surface (BUT they stand the correct 1/8th" off the surface - the same as the full scale height). But the results... the next round of panels will be MUCH easier!
Gotta have some fun with it...
OK... let's have some real fun!
Yes... I am seriously considering a 1/4" scale cockpit!
More to Follow!
Last edited:
Roughneckone
Sr Member
Awesome work as always SK. I'm loving the 1/4 scale panel, however I think lining at that scale will be fun, lol!
What is it like having enough room to work in finally?
Roughneckone:cool
What is it like having enough room to work in finally?
Roughneckone:cool
Awesome work as always SK. I'm loving the 1/4 scale panel, however I think lining at that scale will be fun, lol!
What is it like having enough room to work in finally?
Roughneckone:cool
Hey R,
Thanks so much! I'm enjoying the possibilities of a 1/4 scale. Not only is it a change from the full scale but it also give me idea on how to move forward with the full scale. Layering the panels with all the holes cut is / was a total face palm moment but it makes SO MUCH sense and alleviates the need to guess or measure/align where all the tiles go. As far as any pinstripes... I'm think large decal with ALL the little details - still working that though.
The warehouse... oh man... the room to work is awesome. i didn't bump into anything, trip over anything, feel crowded, etc... I'm a little sore this morning but it's totally worth it!
- - - Updated - - -
Looking good Sofaking01. Beautiful work as always.
Hey Iz,
Thank you, my friend! As I explained above the idea to layer up the panel makes so much sense. The basic idea/concept should transfer to all the other panels. I'm thinking fiber optics for the smaller holes. There should be enough room behind the panel.
Hi Gang,
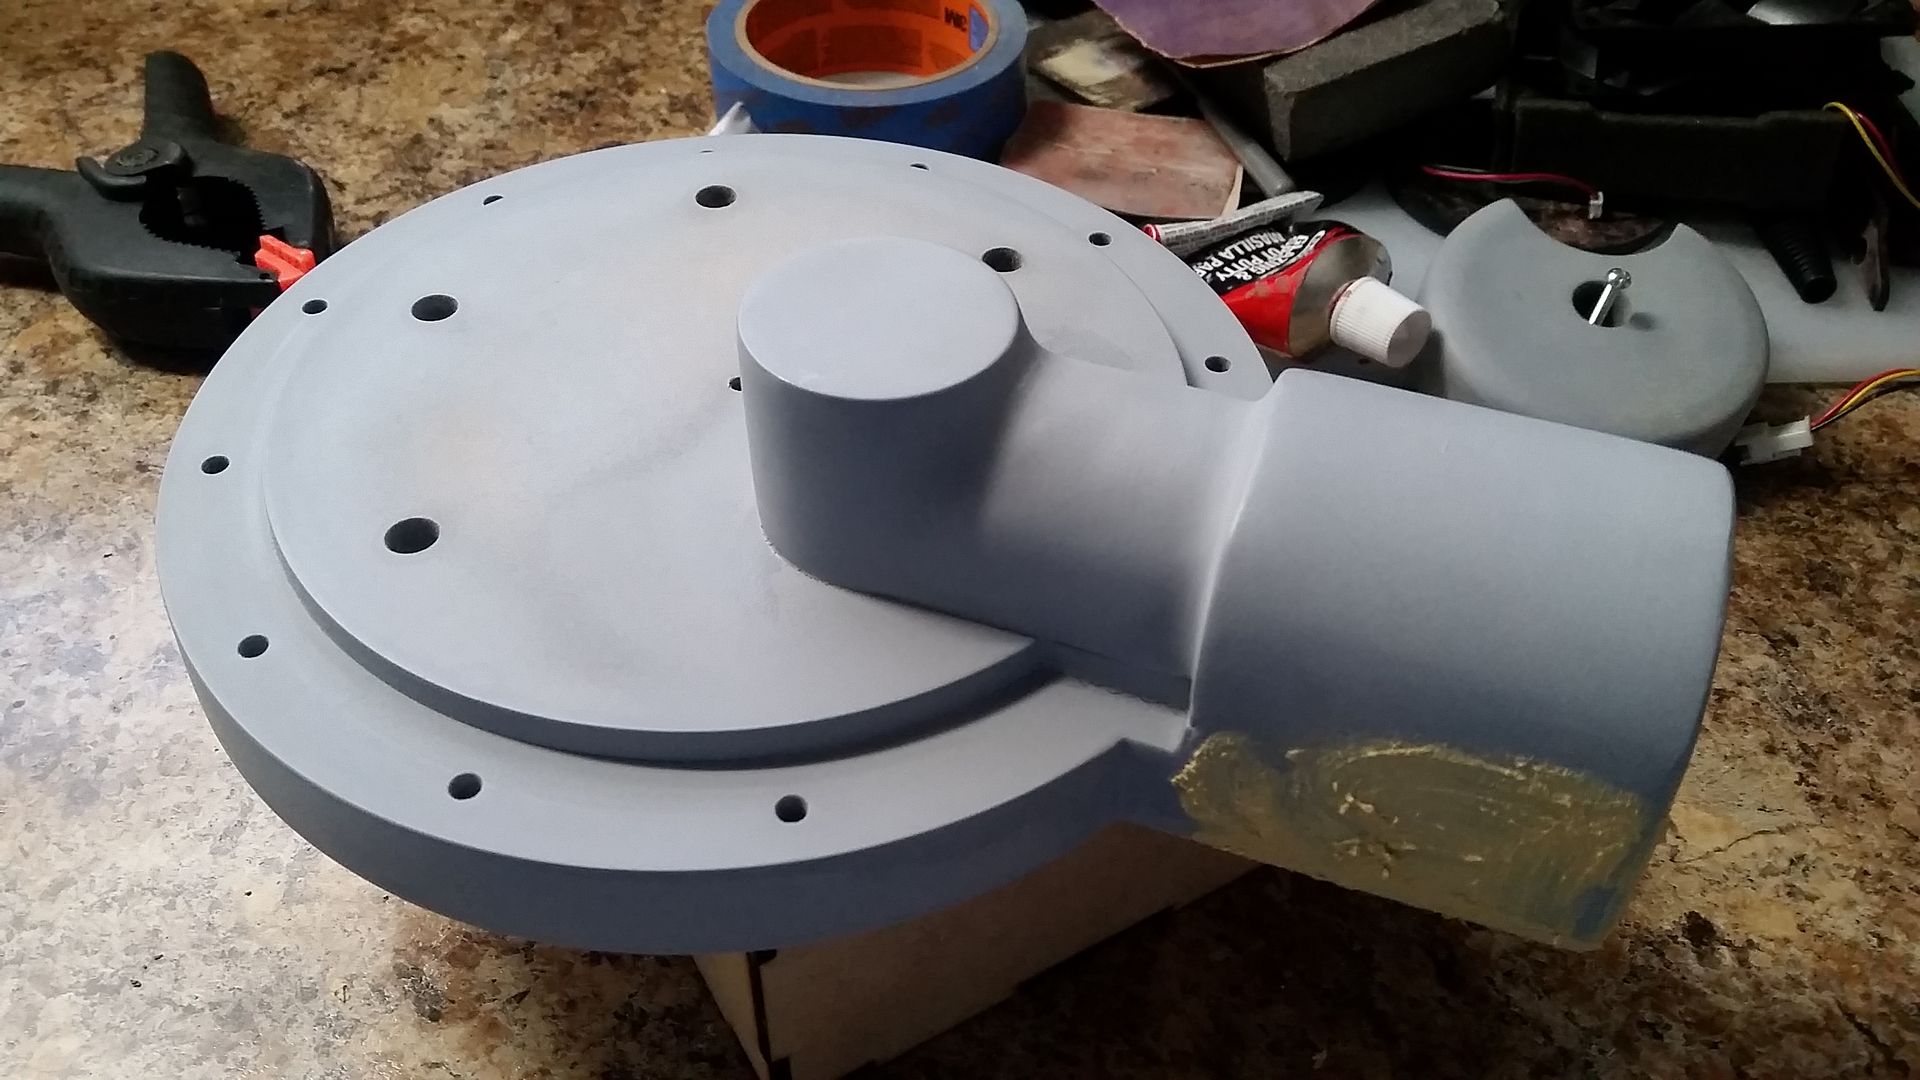
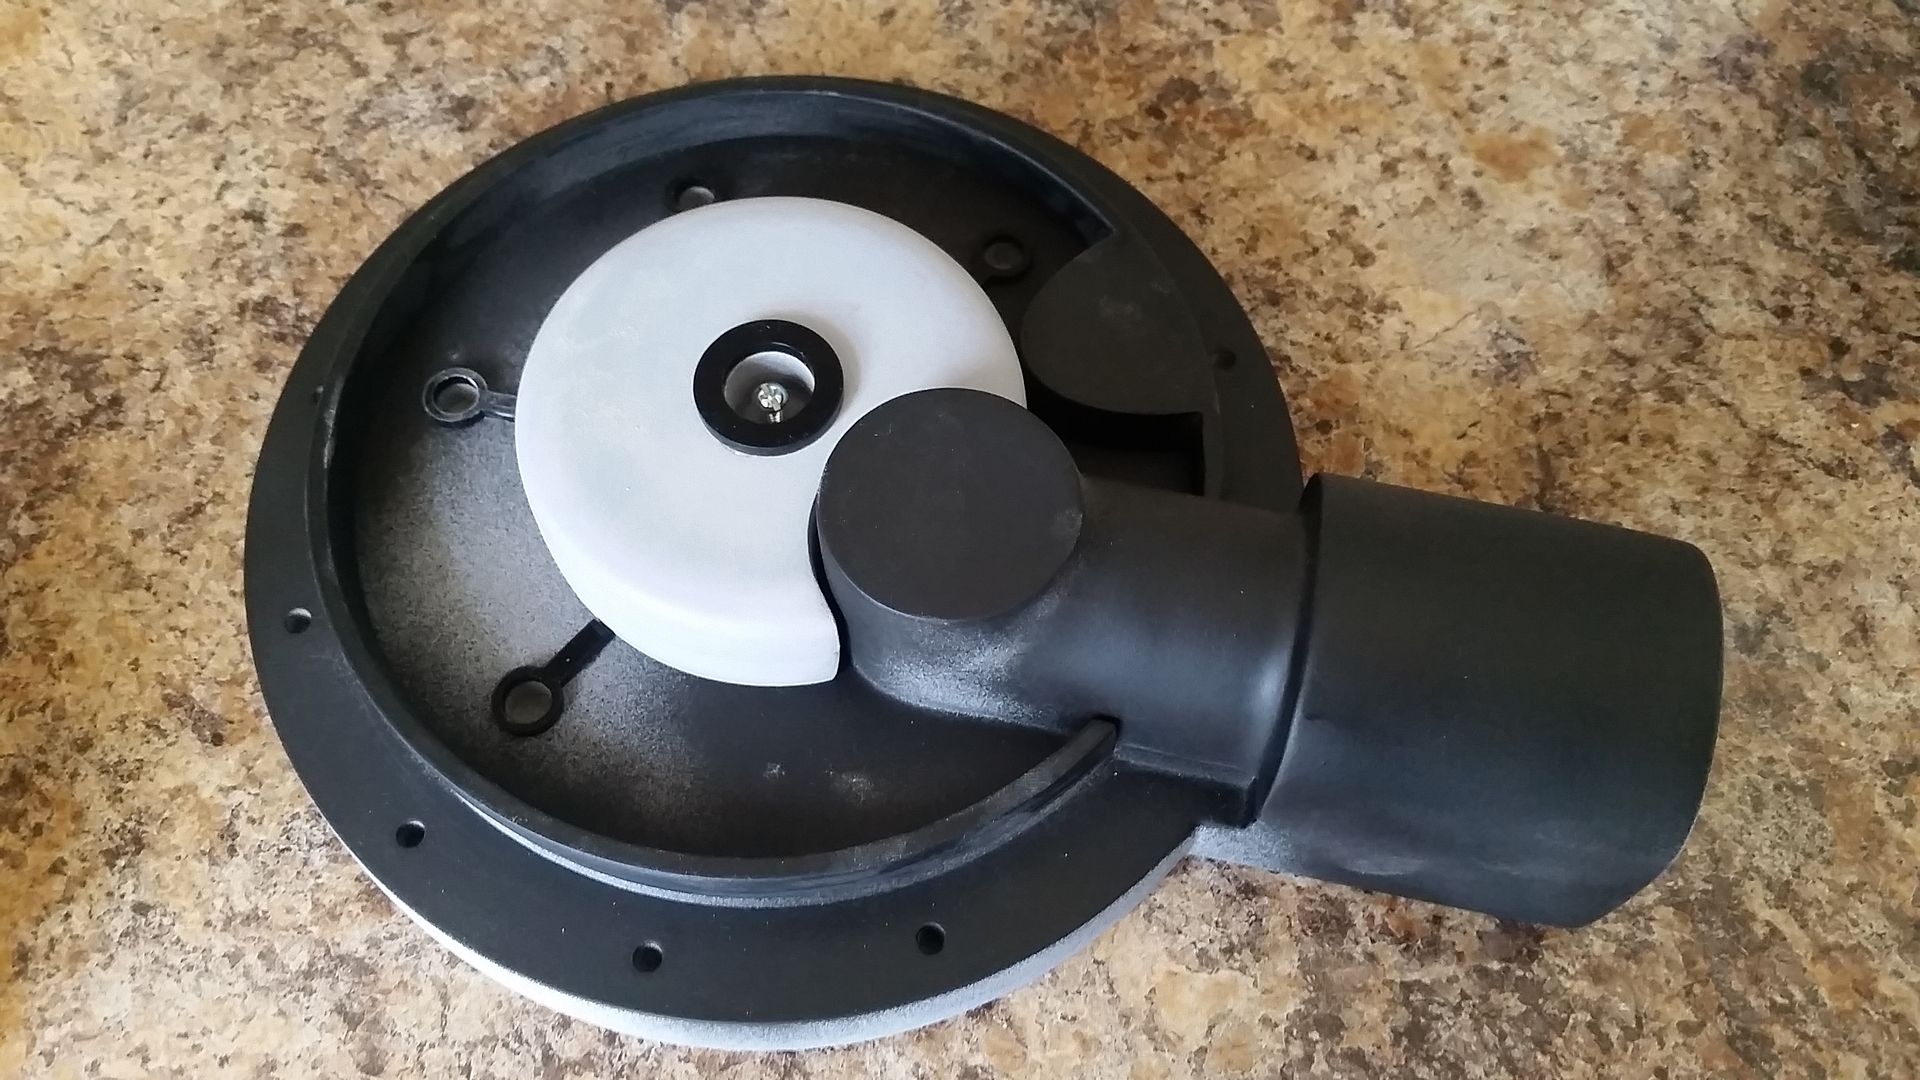
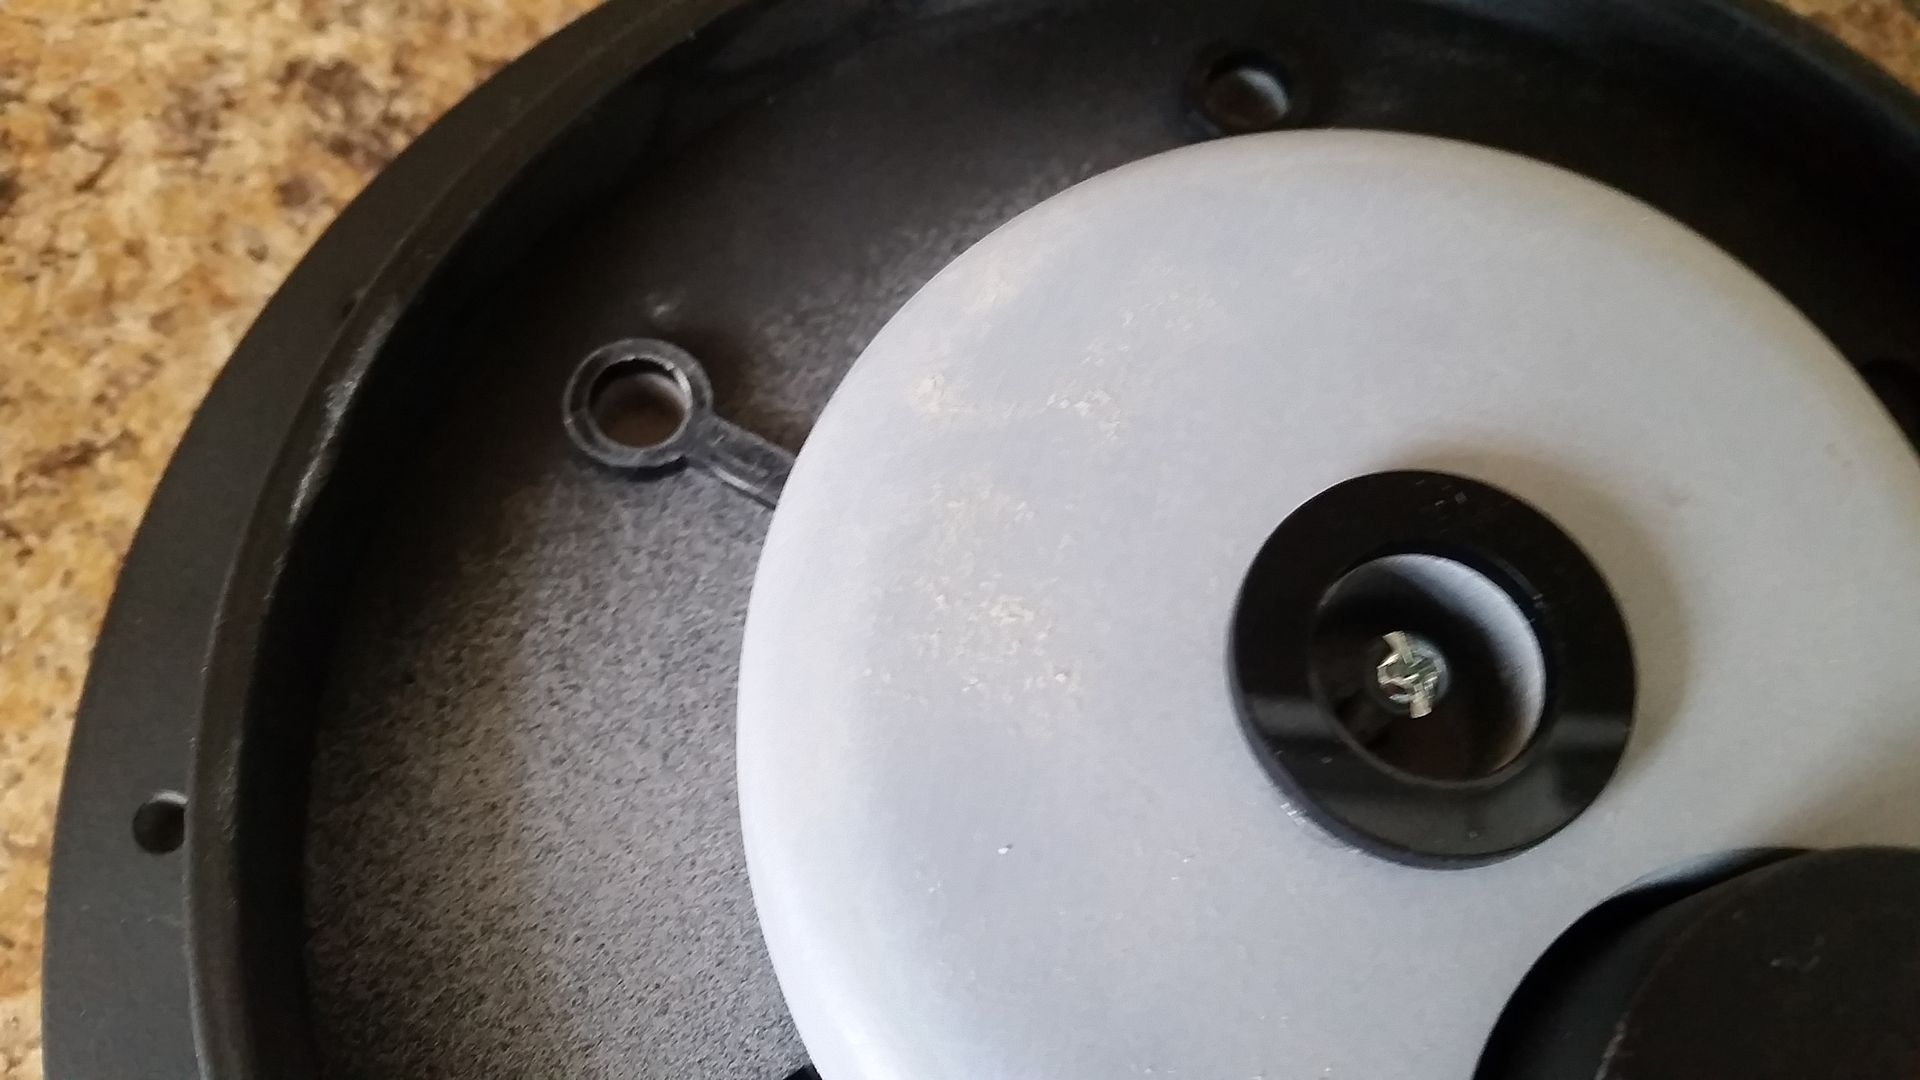
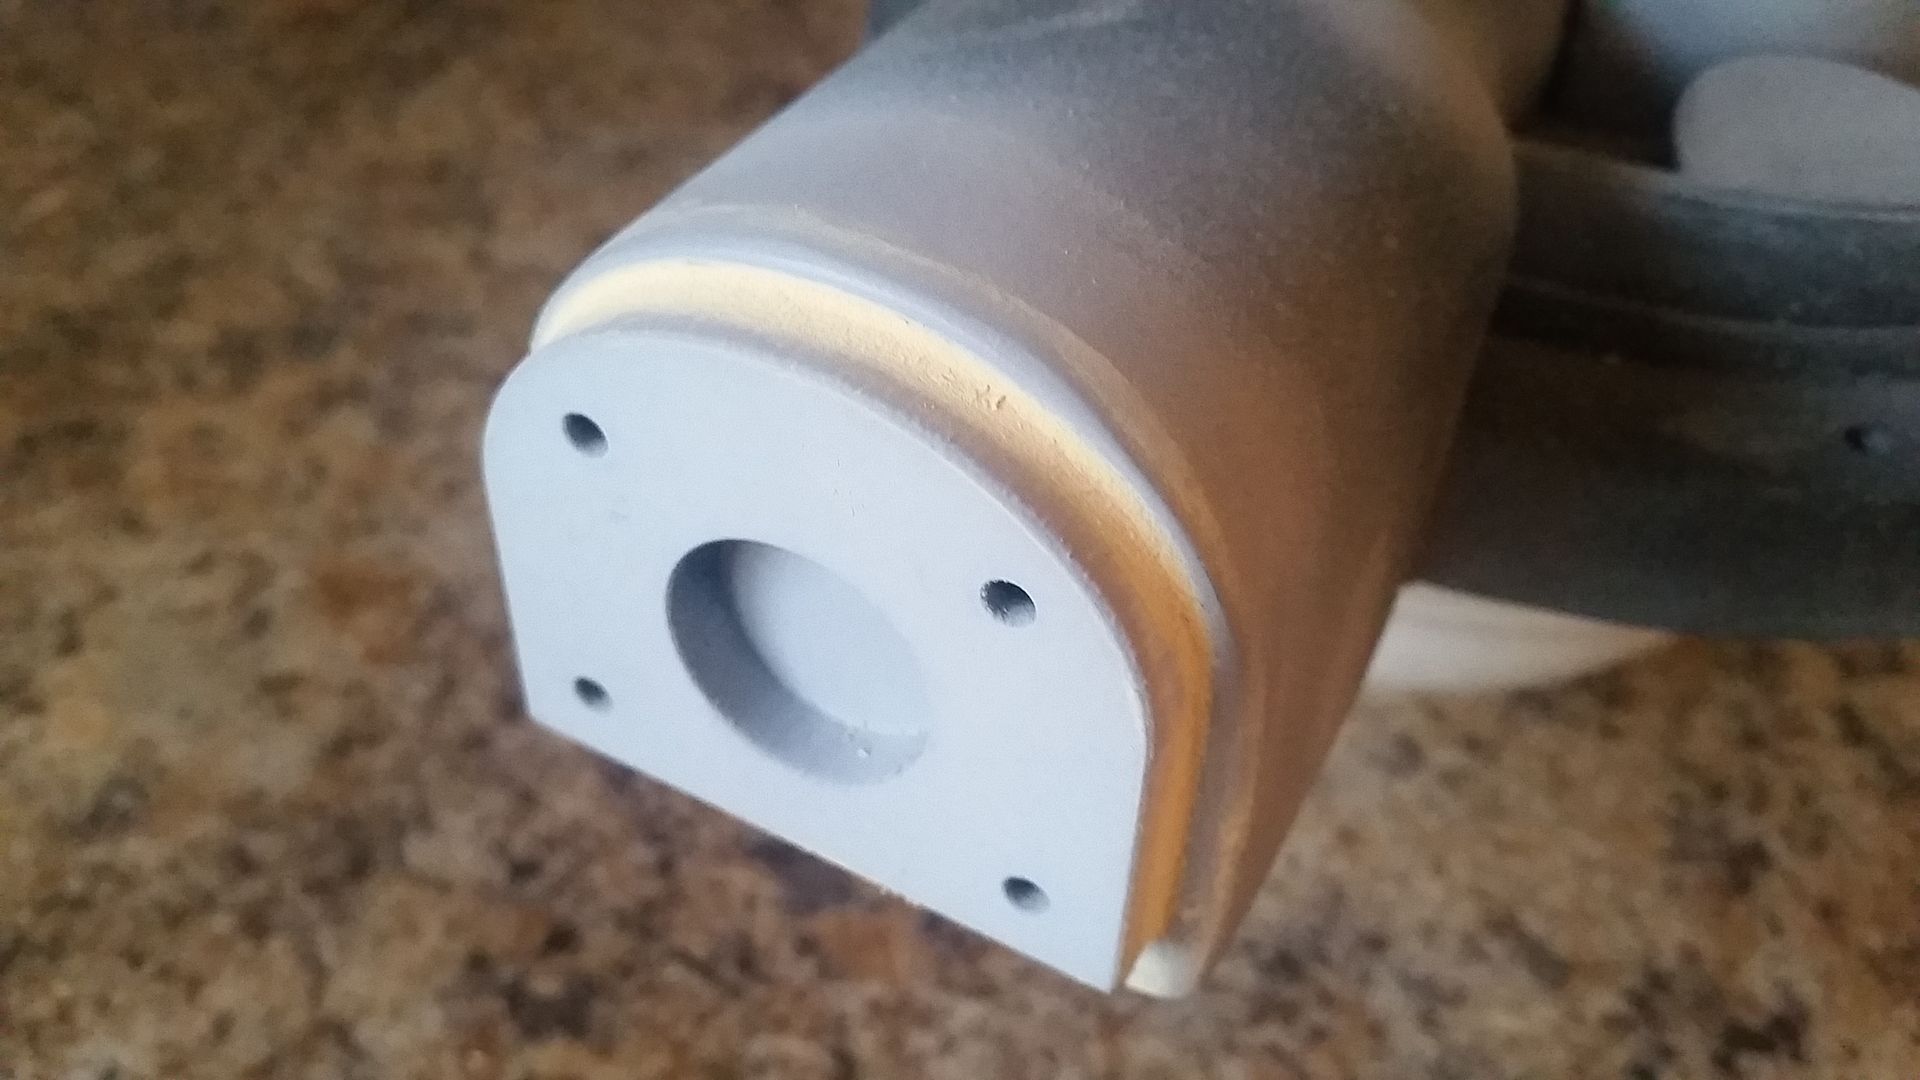
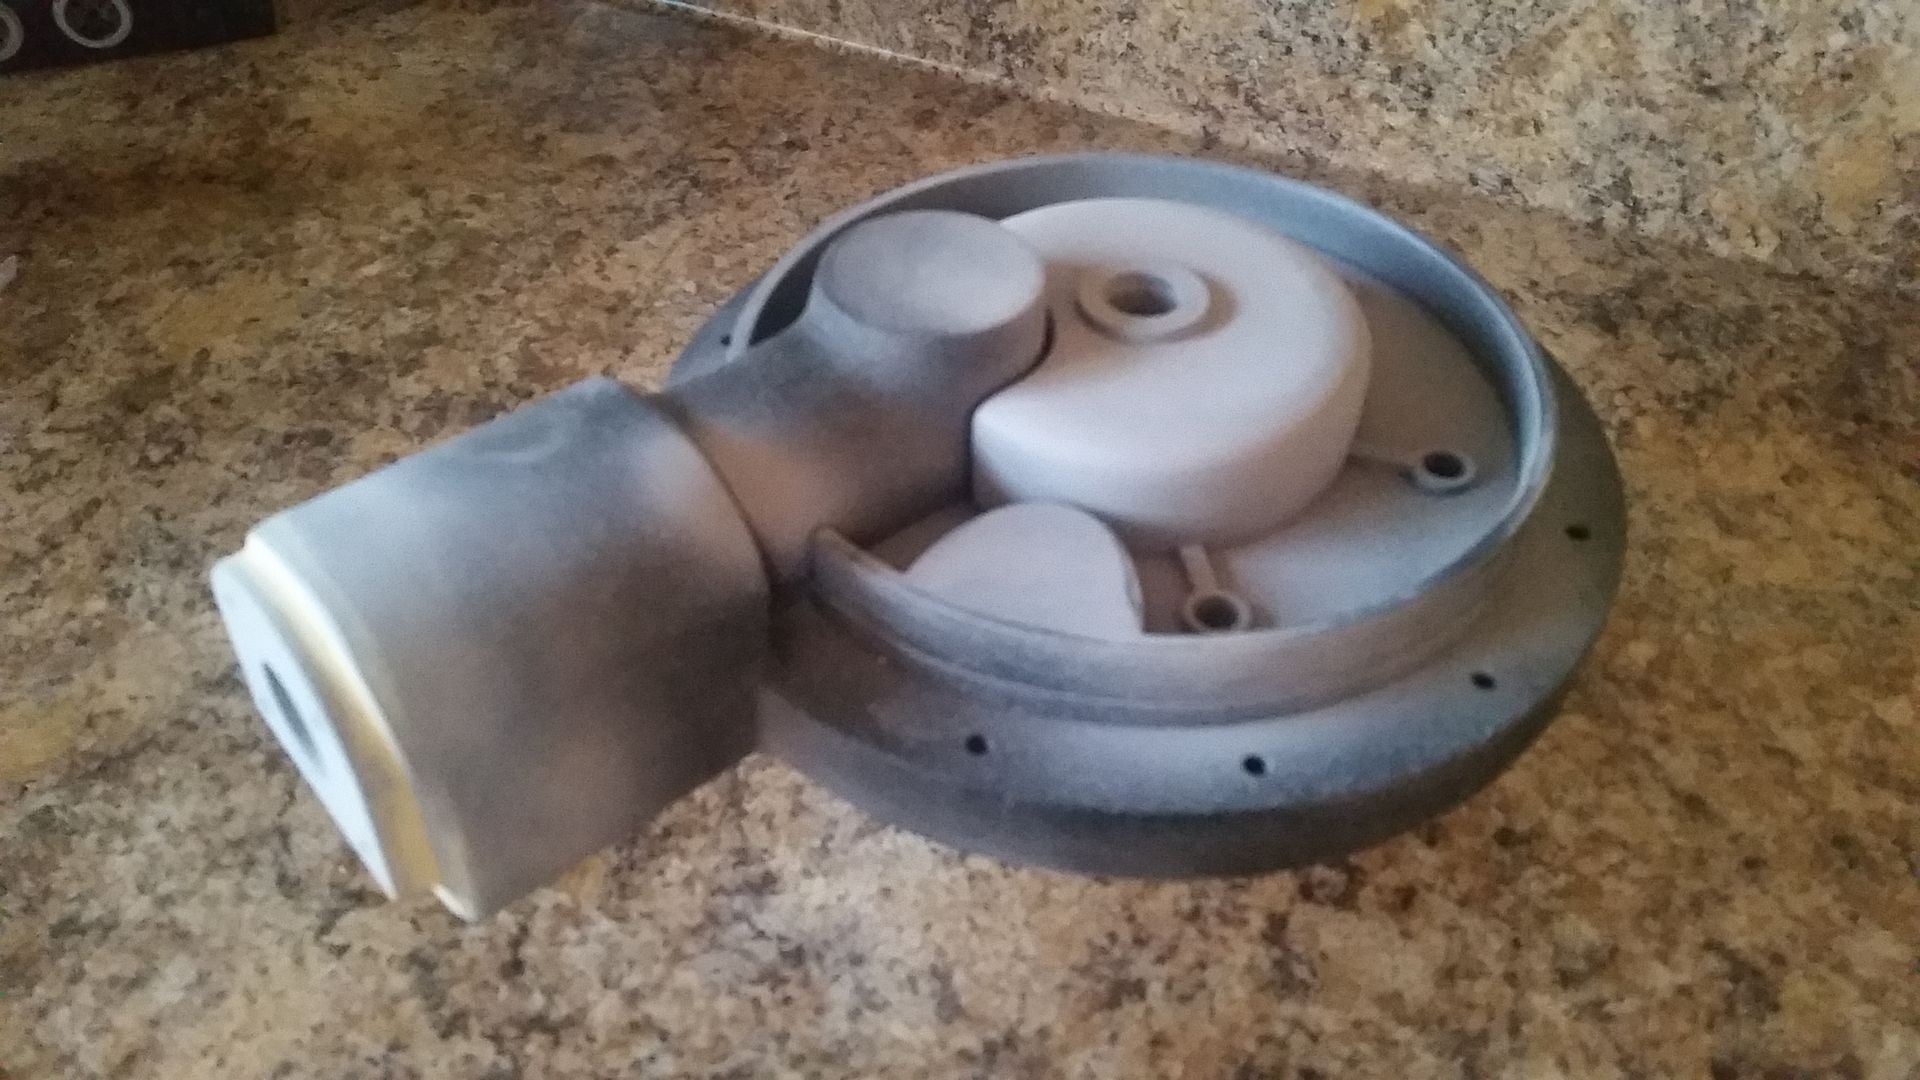
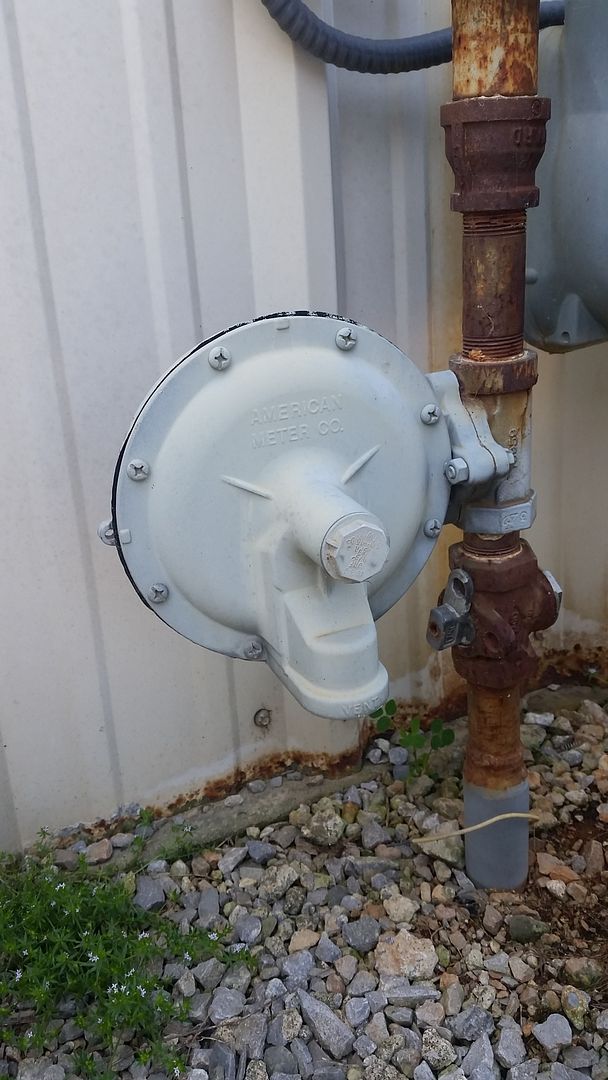
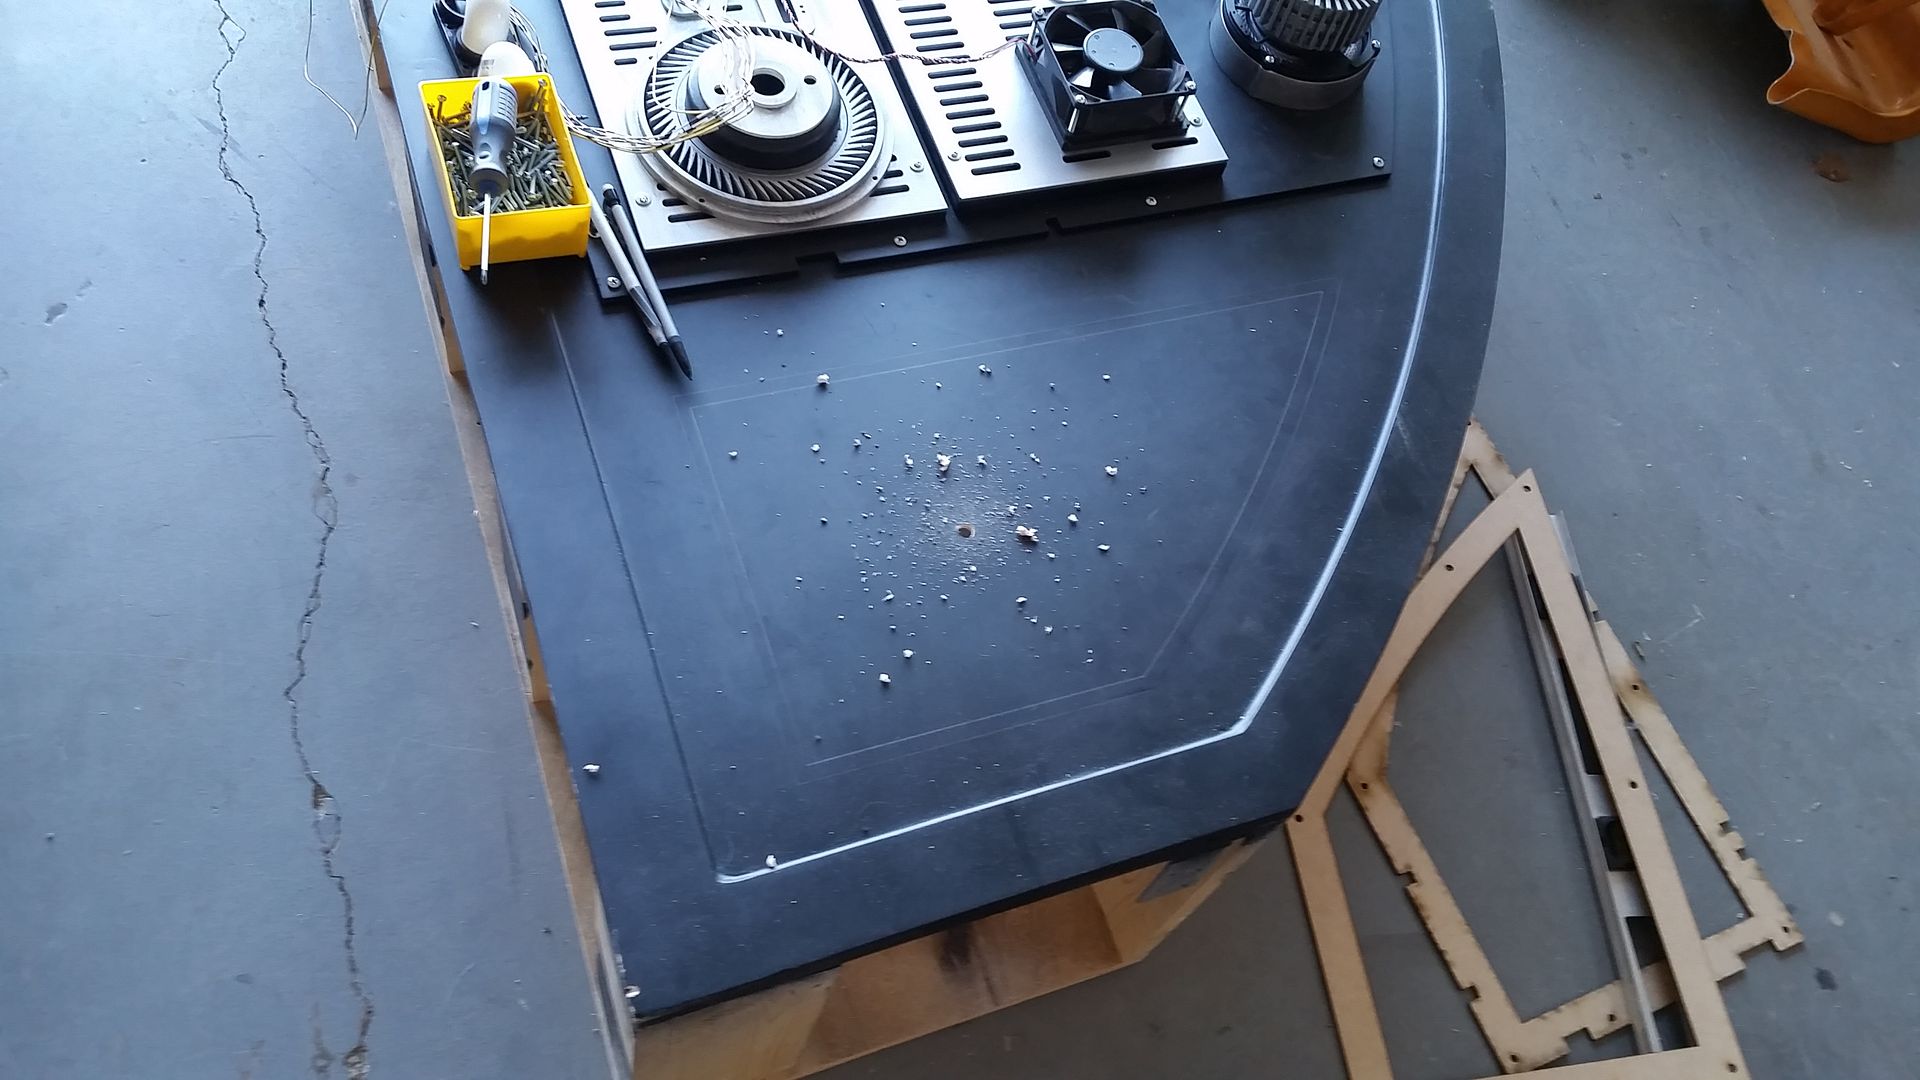
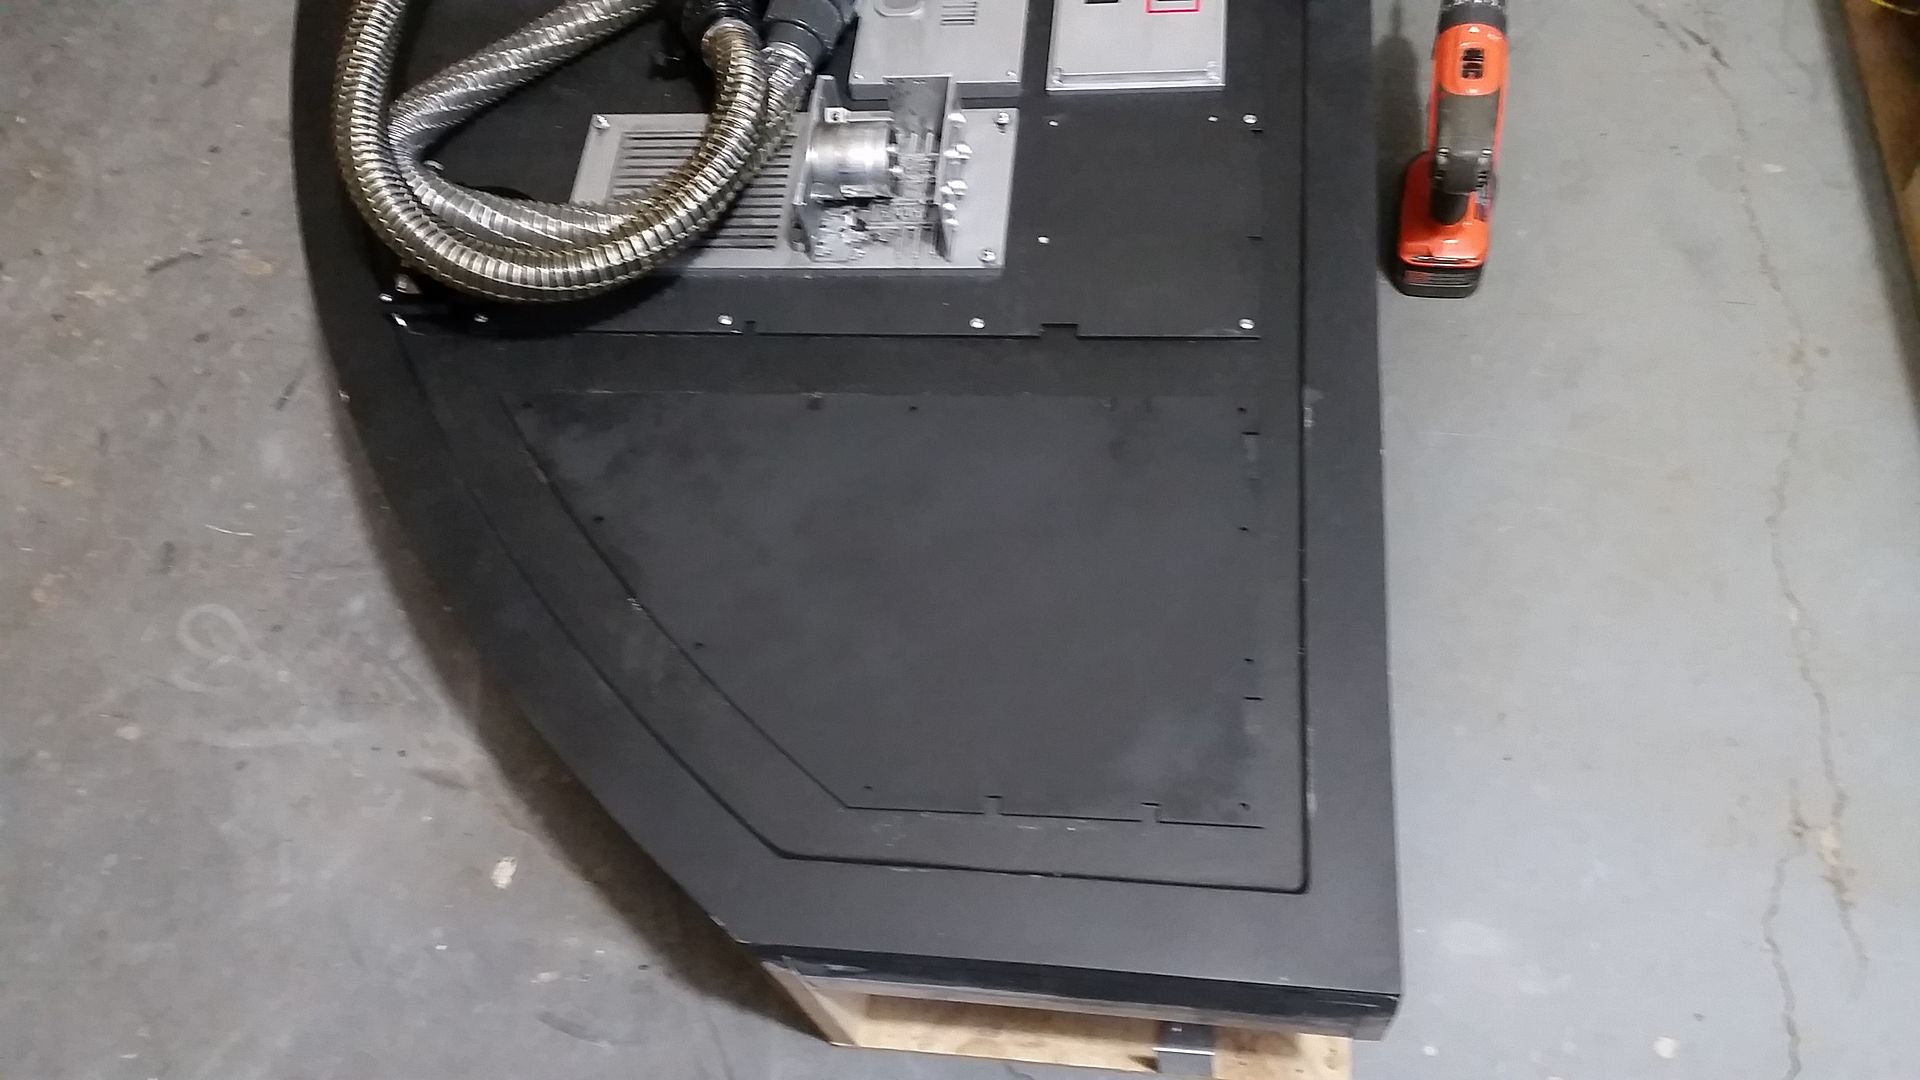
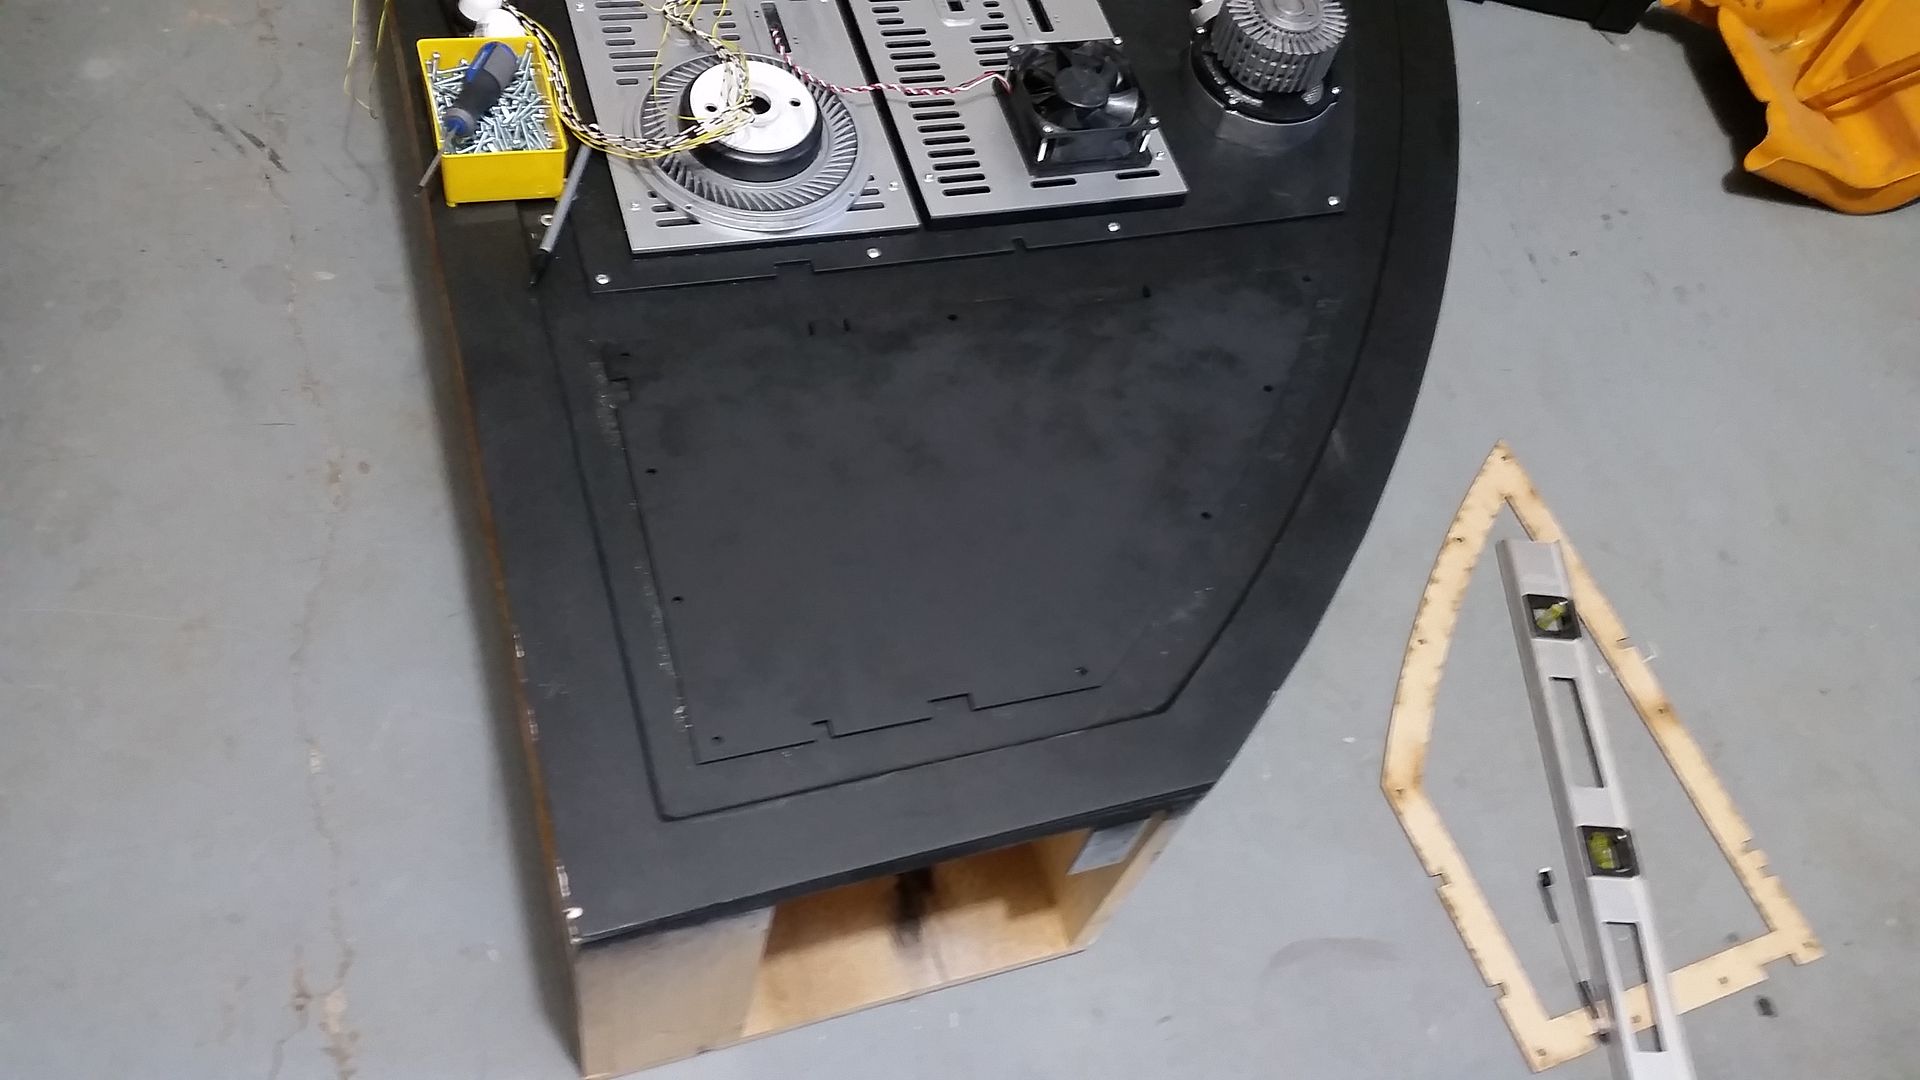
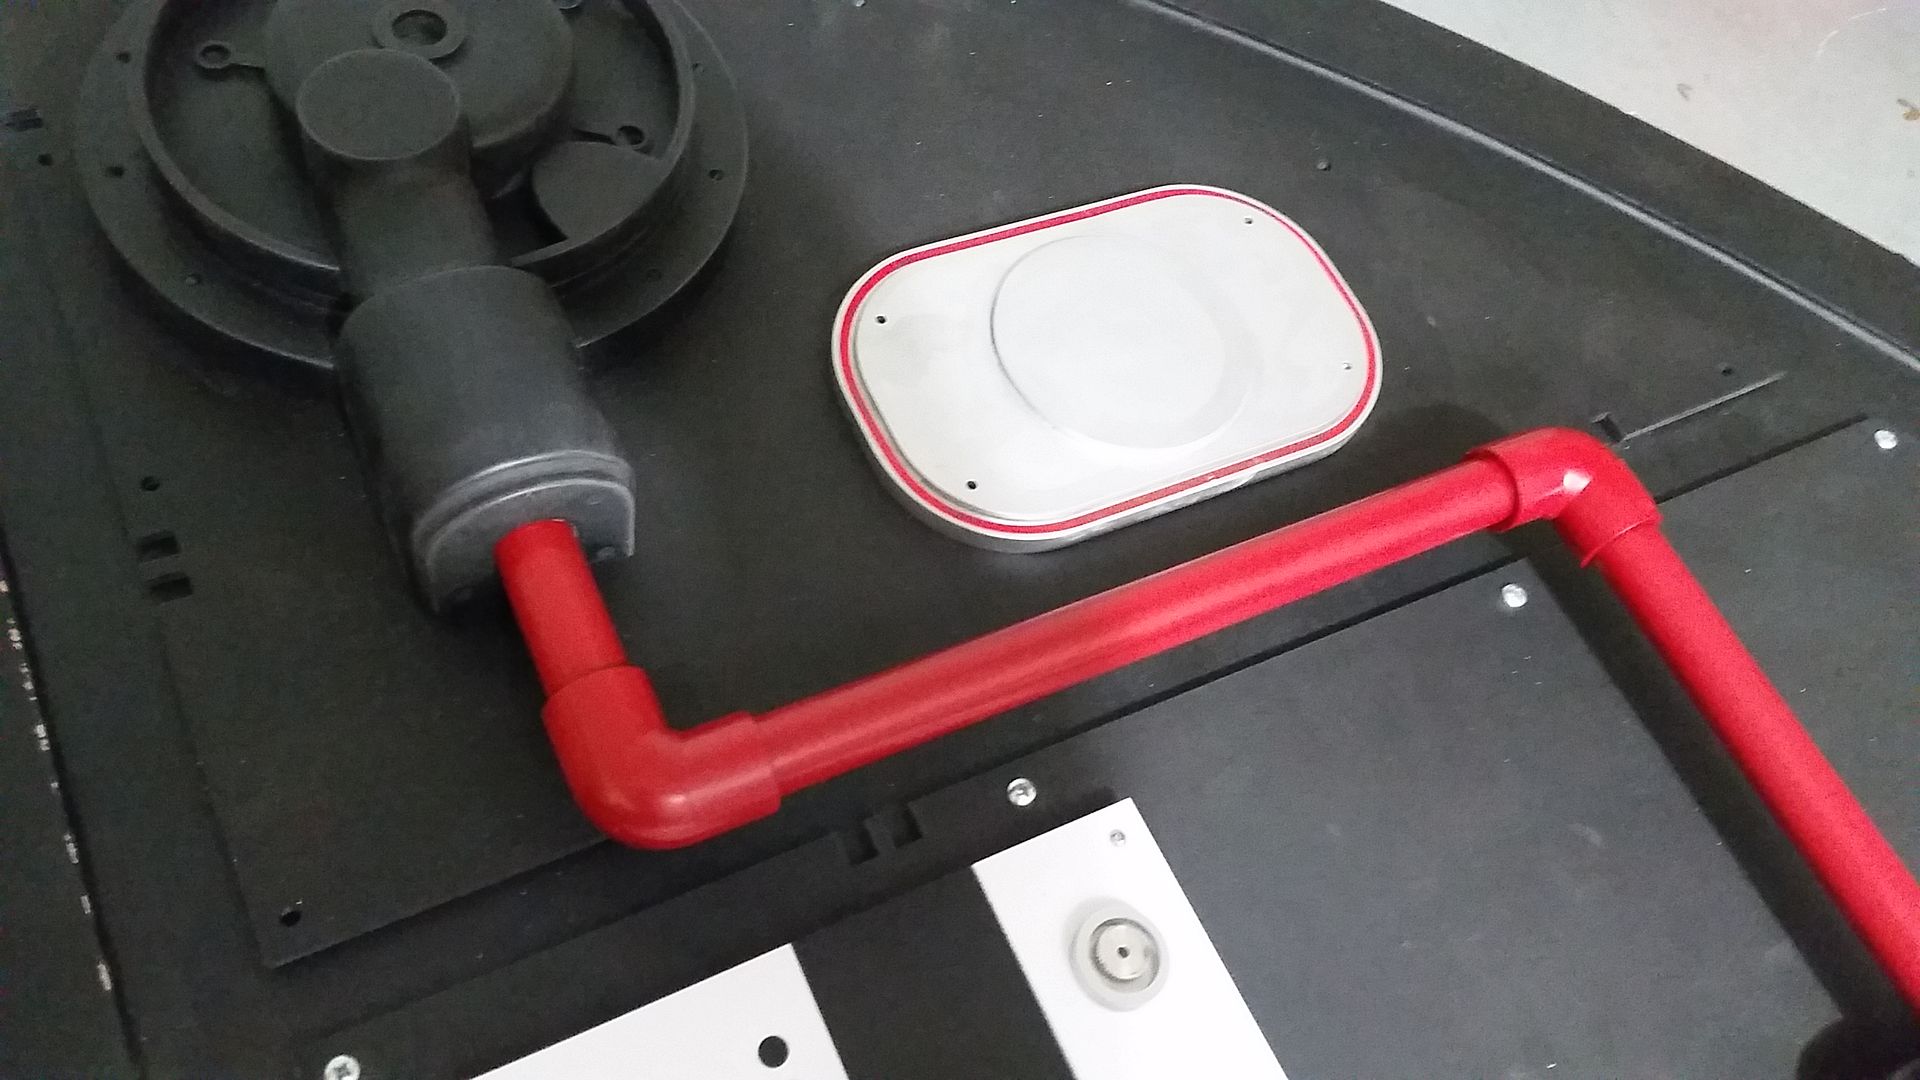
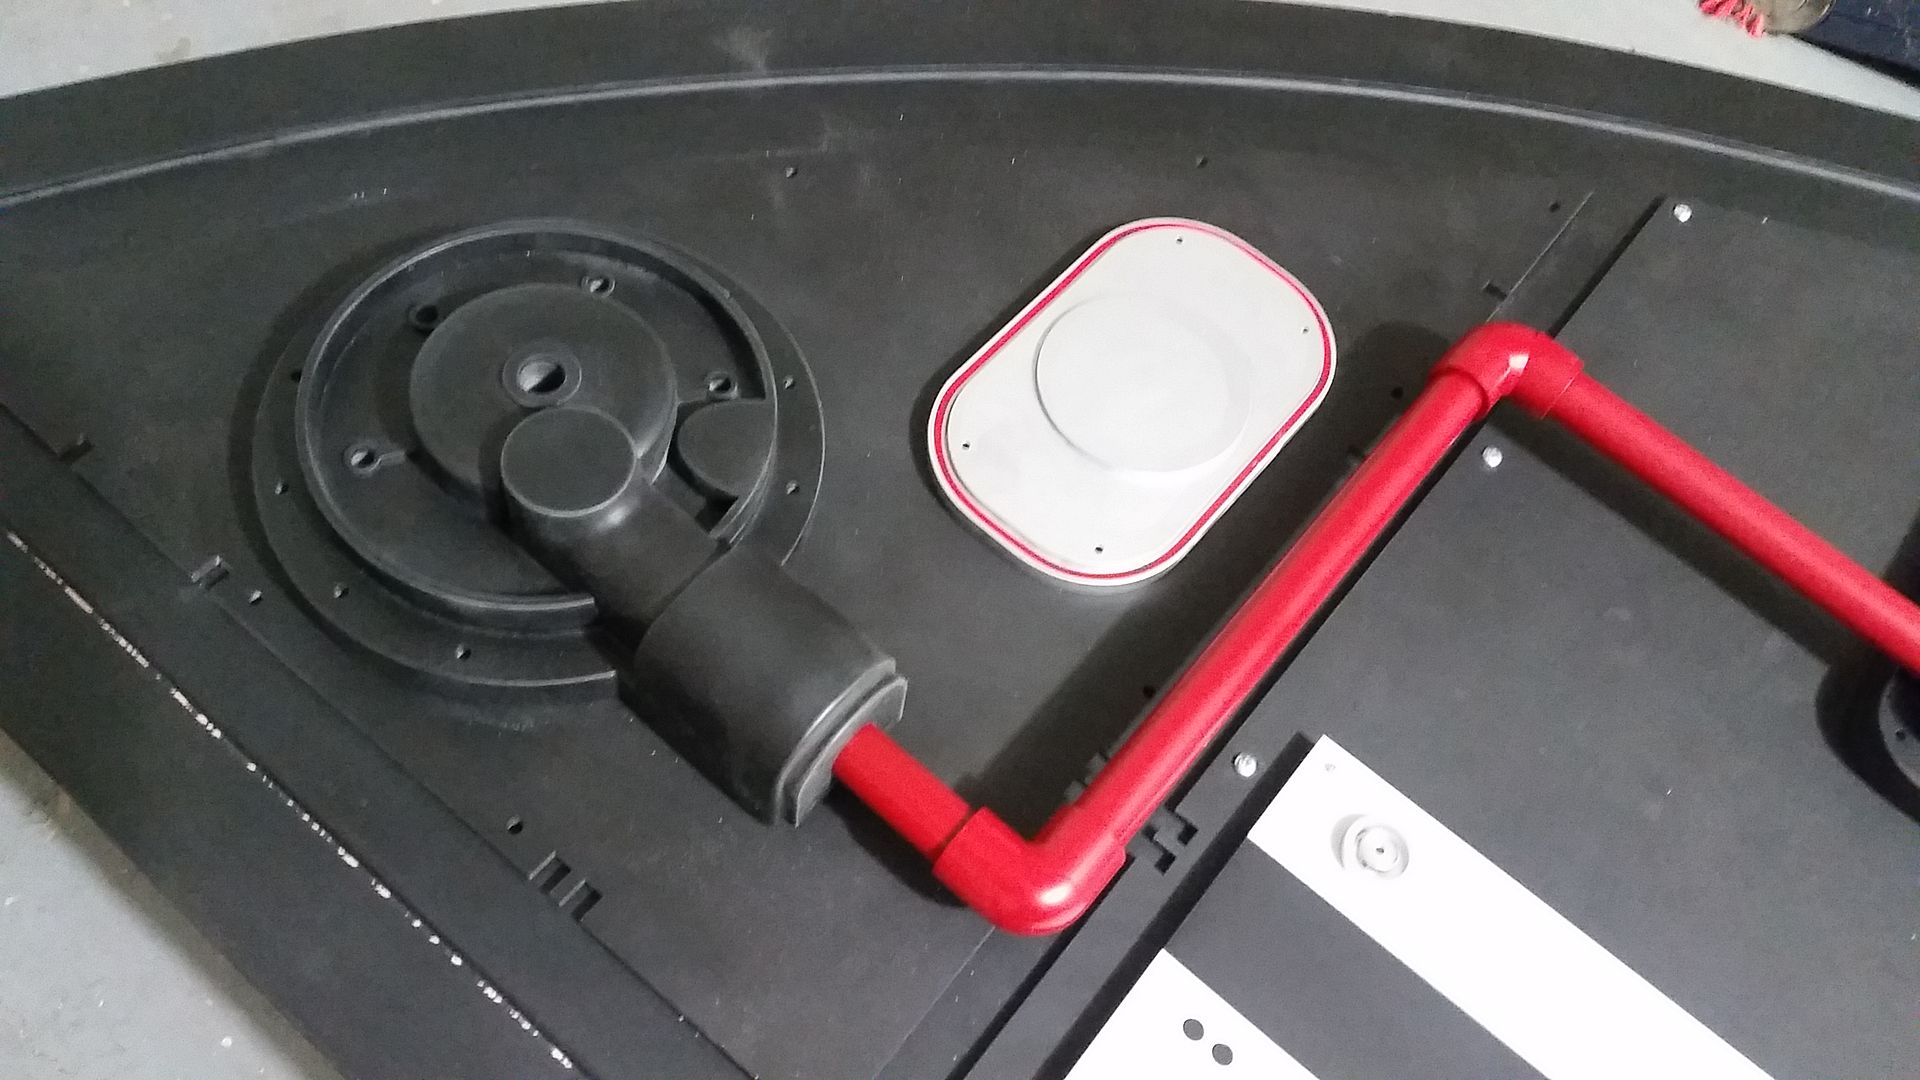
I was digging around and it would appear that this greeblie might be a gas meter regulator! Any ideas? Wavey?
I was digging around and it would appear that this greeblie might be a gas meter regulator! Any ideas? Wavey?
Last edited:
Friendly flyer
Well-Known Member
Interesting ideas with the sandwiched panels!
I know you started off using mica, but abandoned it since it broke where it overhang the MDF. Now that you have access to the laser-cutter, would it be an idea to laminate plywood with mica, and then cut on the lasercutter? It would leave you with a hard surface that takes natural patina from use well, allow you to fasten your greeblies in plywood (which is much stronger than MDF) and make all those nights of sanding and filling a thing of the past.
You probably have already thought about it and I should slink back to my cave.
doctorDWwho
Sr Member
Hi Gang,
I was digging around and it would appear that this greeblie might be a gas meter regulator! Any ideas? Wavey?
http://i778.photobucket.com/albums/...n Build 01076/20160516_045919_zpsvwizxkiq.jpg
http://i778.photobucket.com/albums/...n Build 01076/20160514_094321_zpspdzoafra.jpg
Hmm, interesting. What does the back look like? Panels are looking fantastic btw!
Lt Washburn
Sr Member
Do you have reference for the original part that you are replicating?
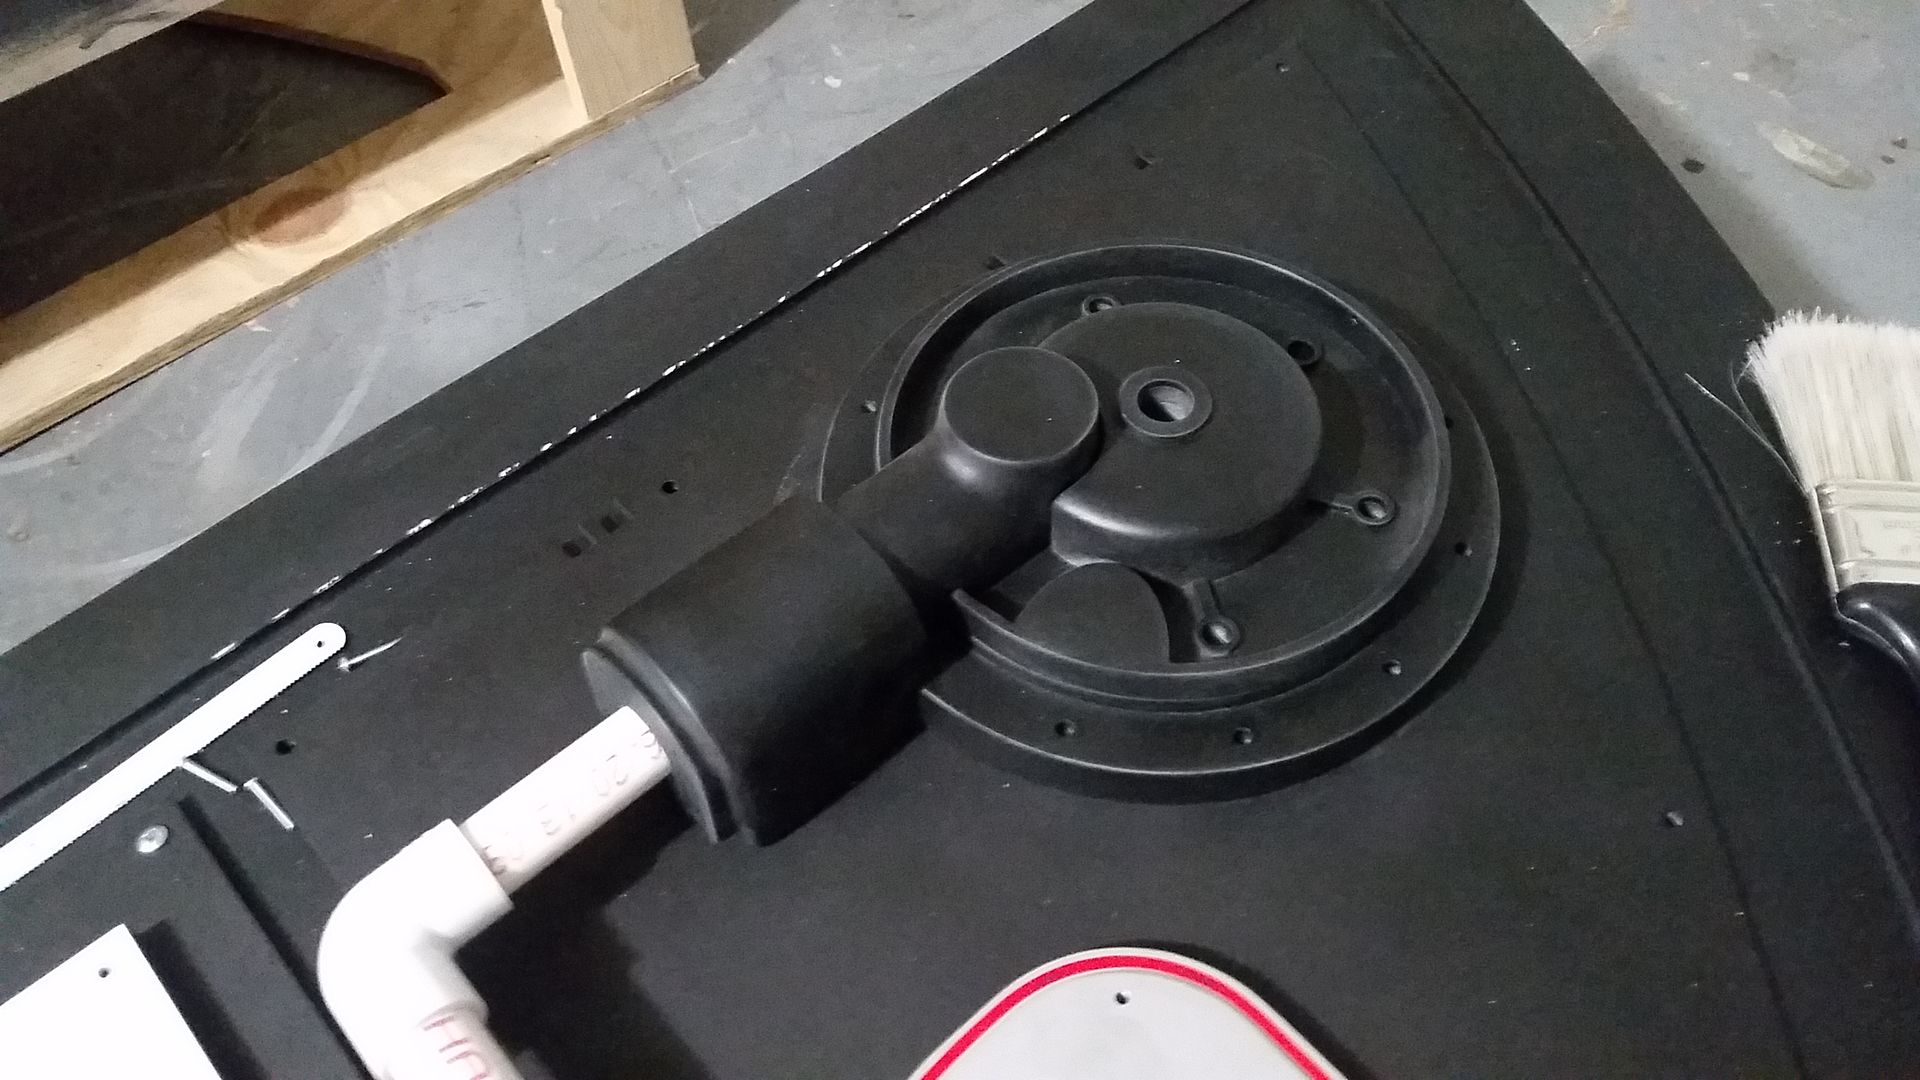
Hi Gang,
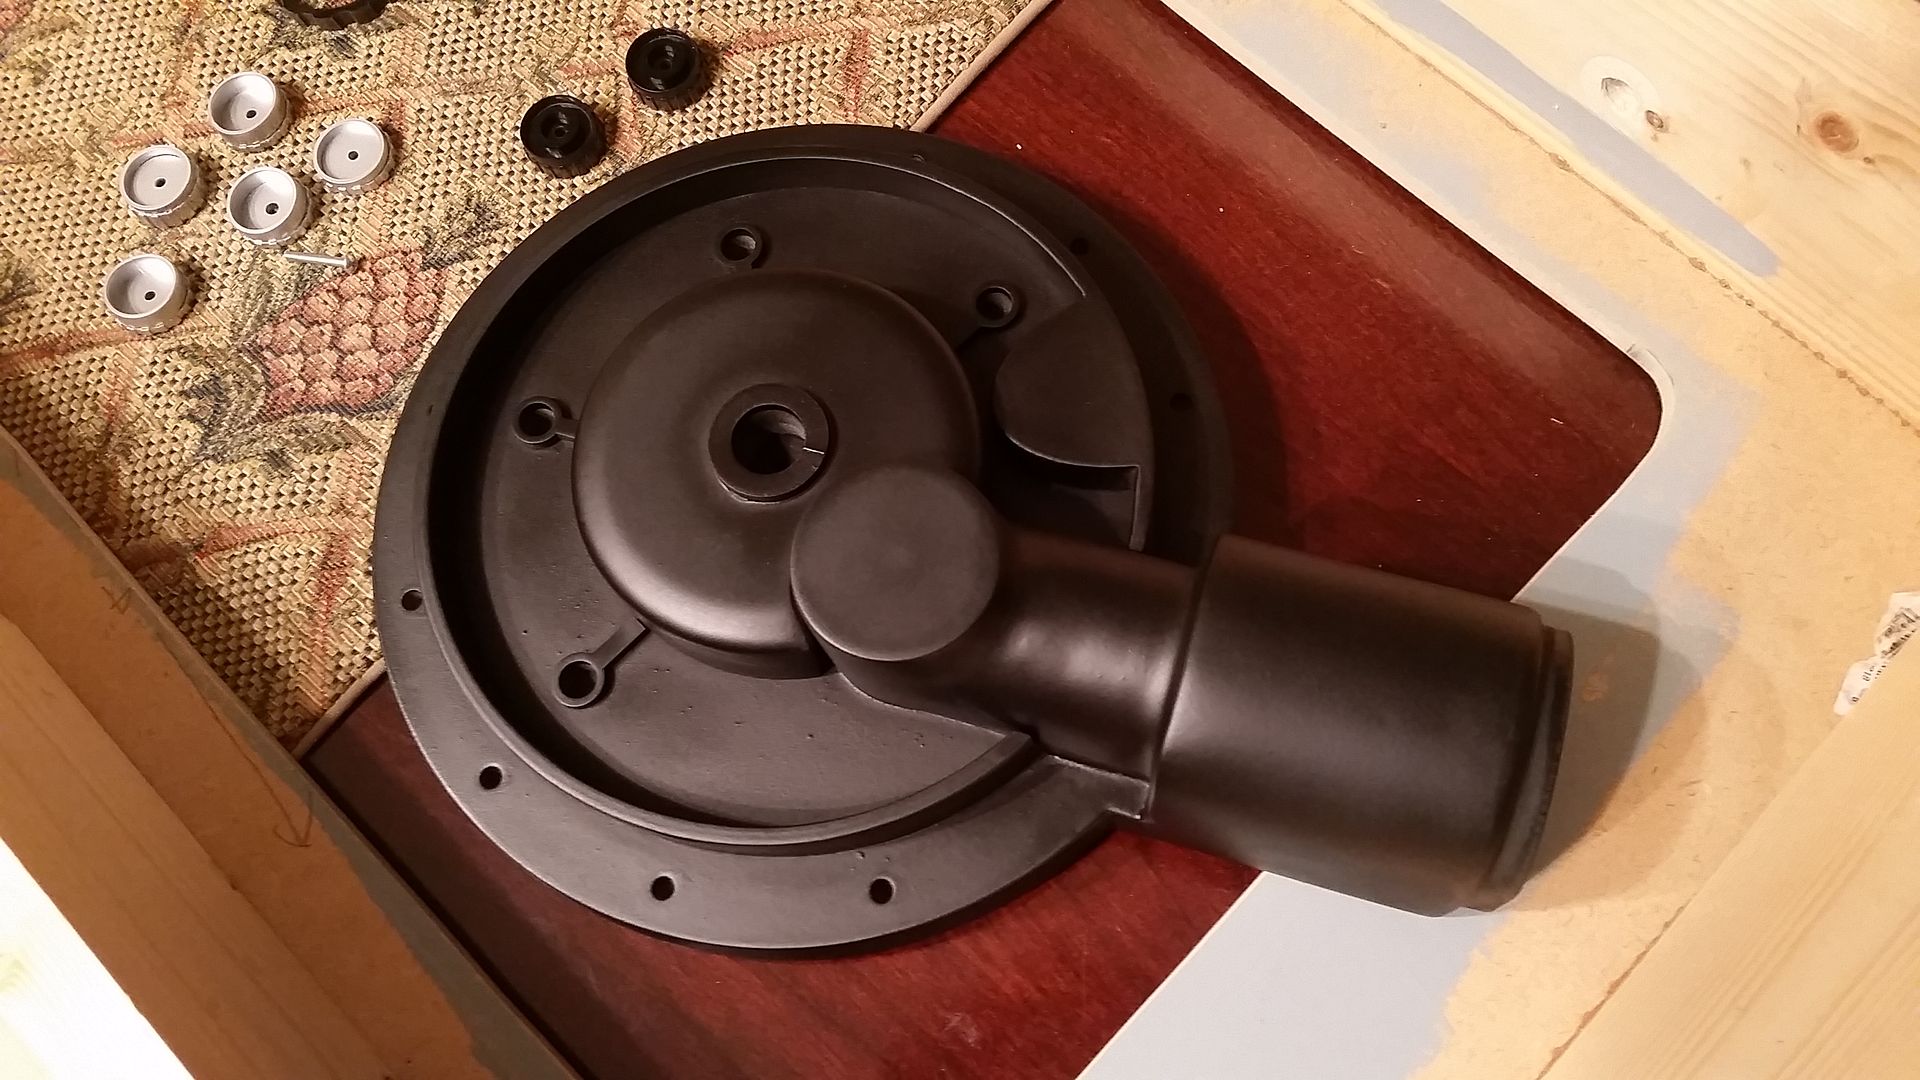
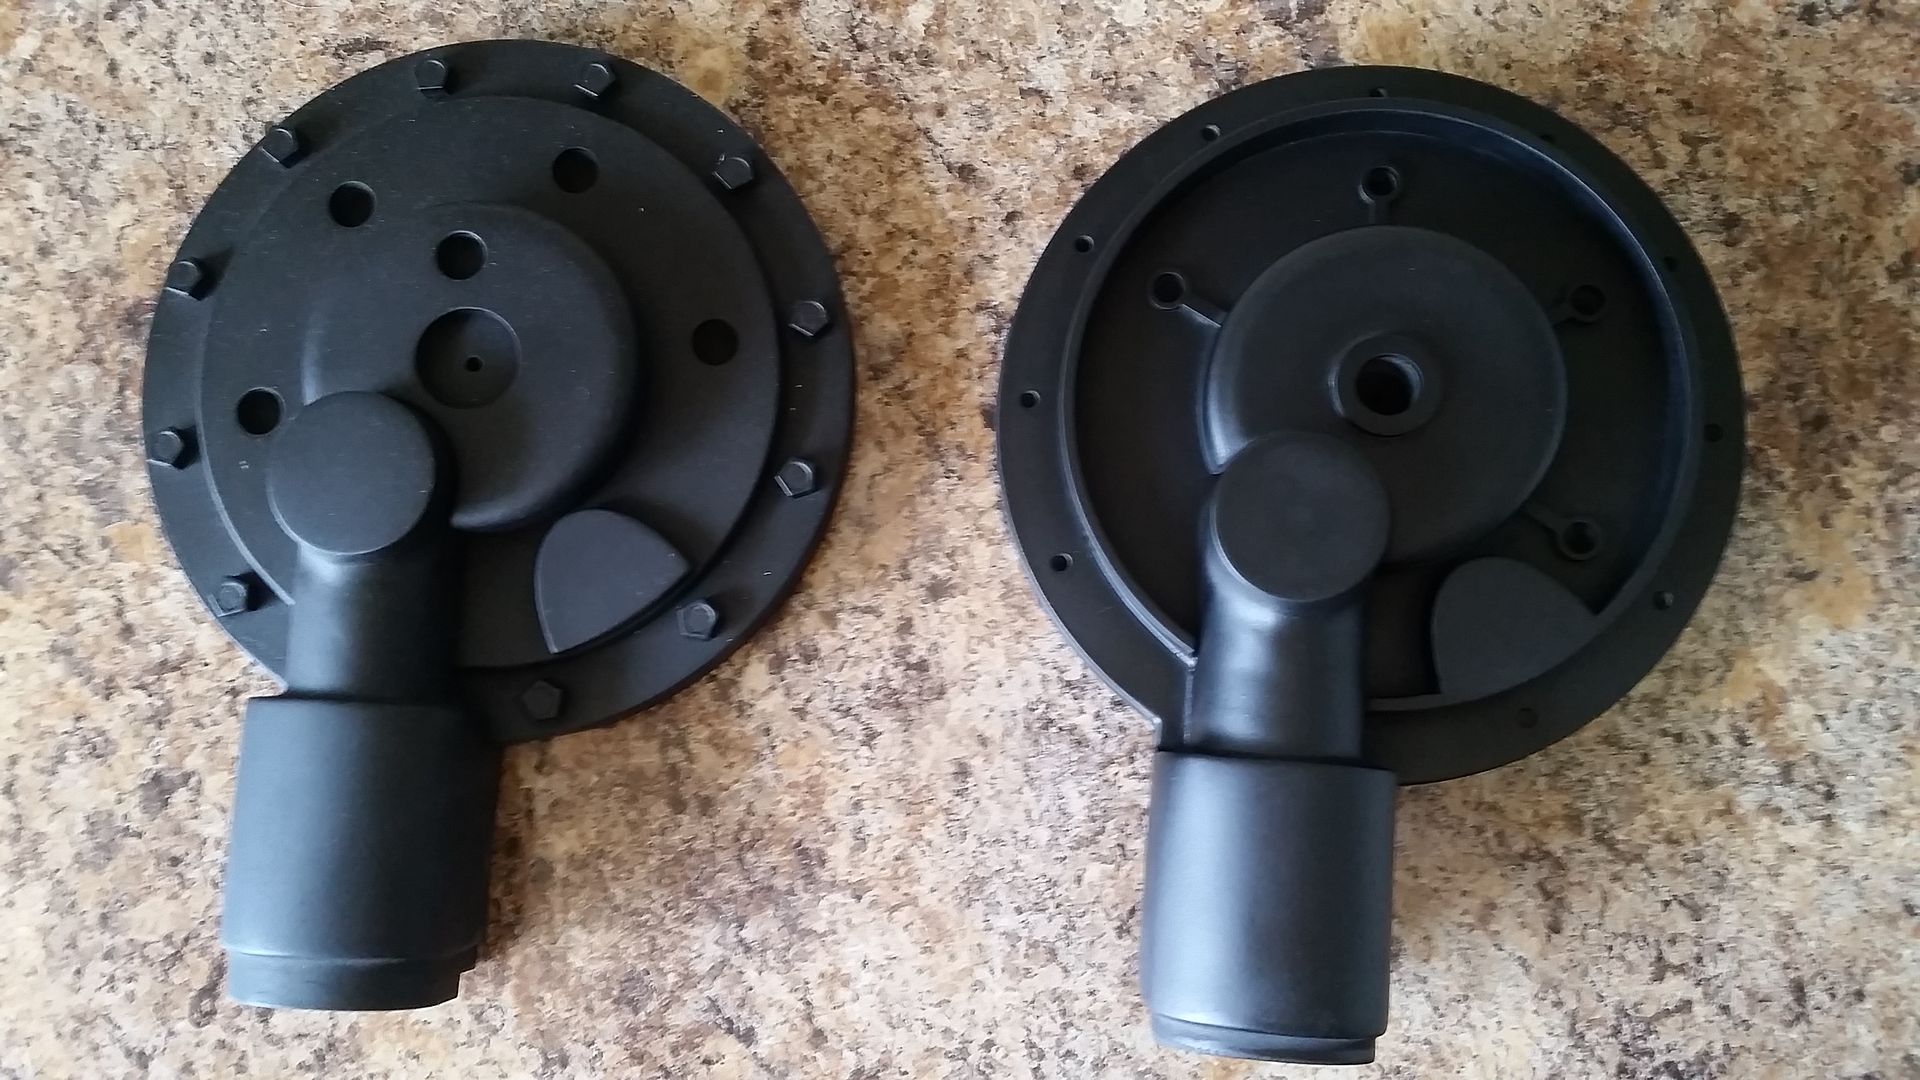
Another early morning quick update! I finally got around to sanding and painting the PVC pipe! After a quick shot of black I added the red...
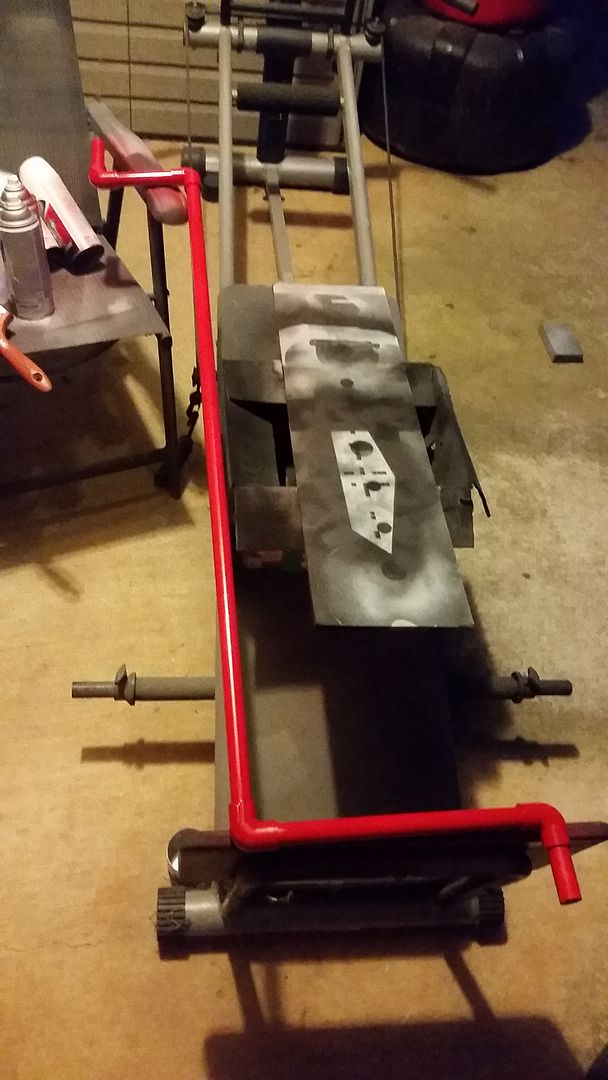
Let that dry over night and then set into place
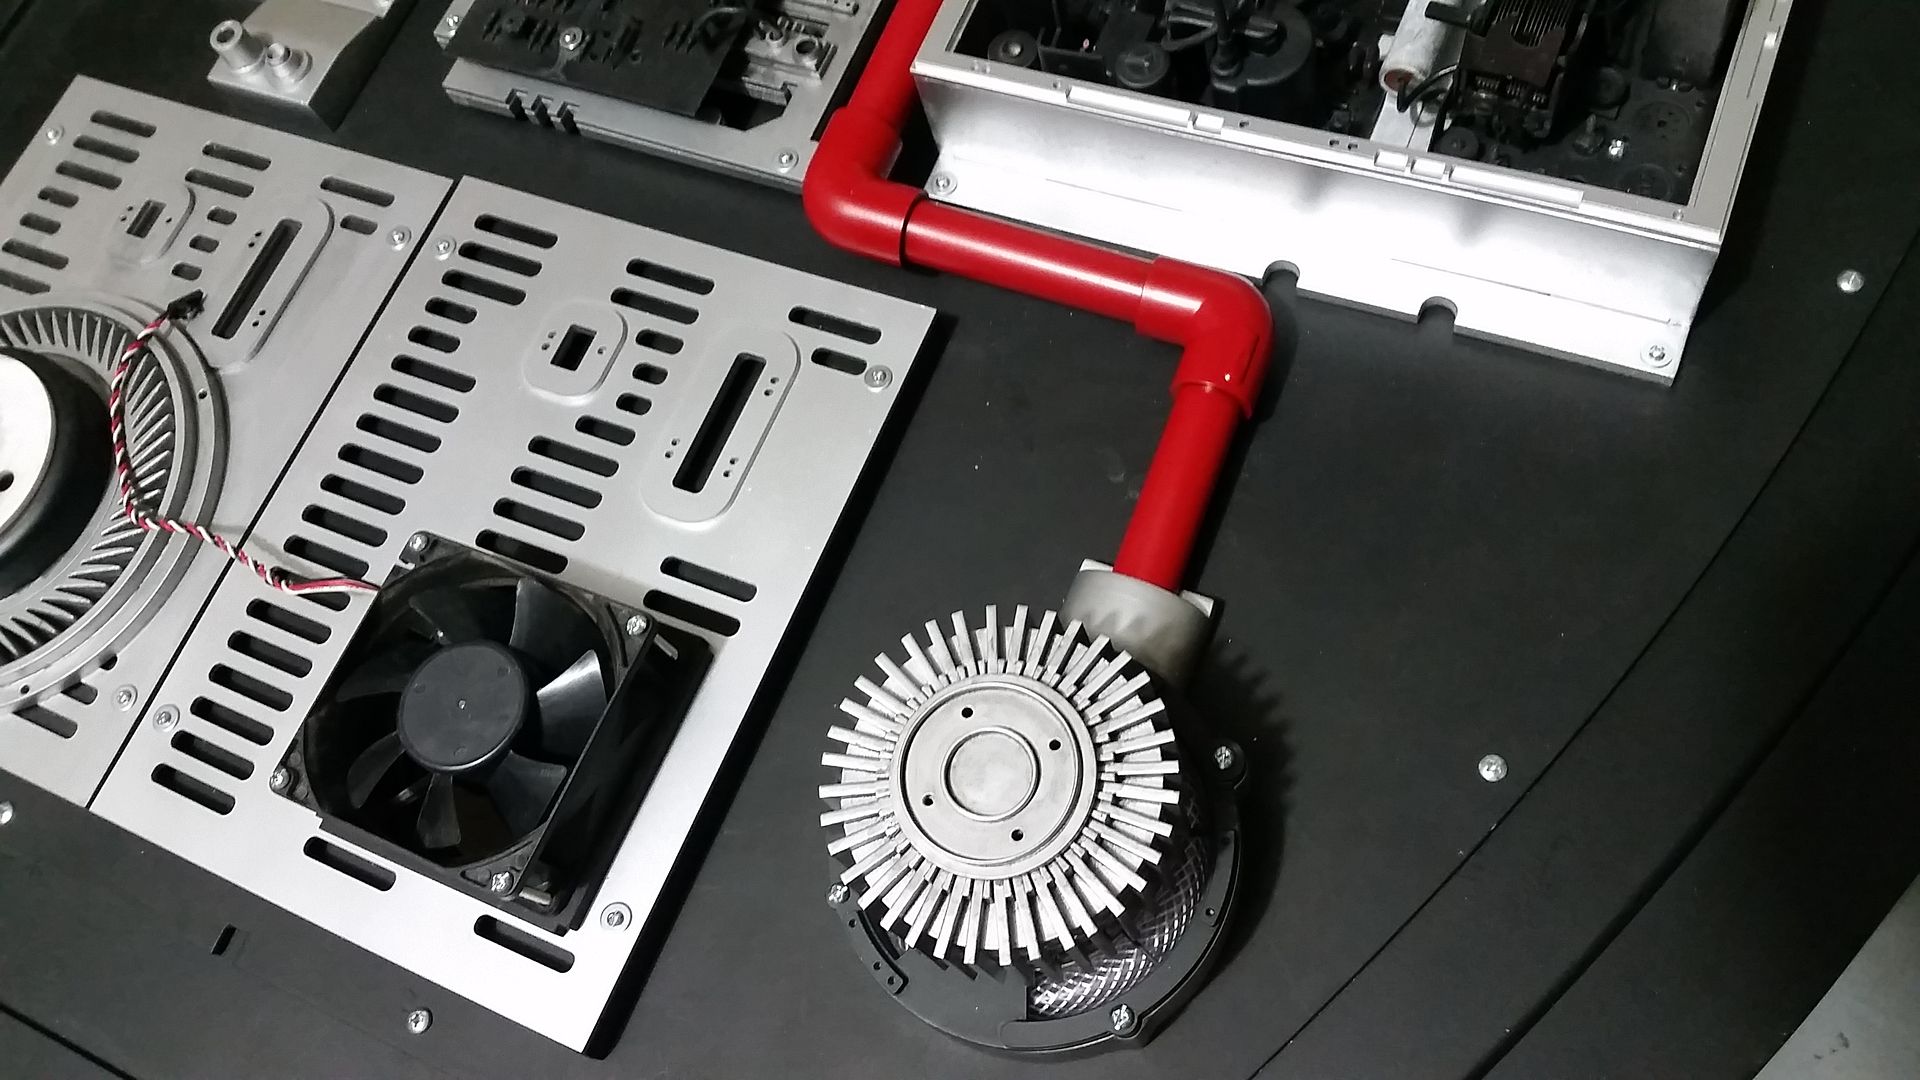

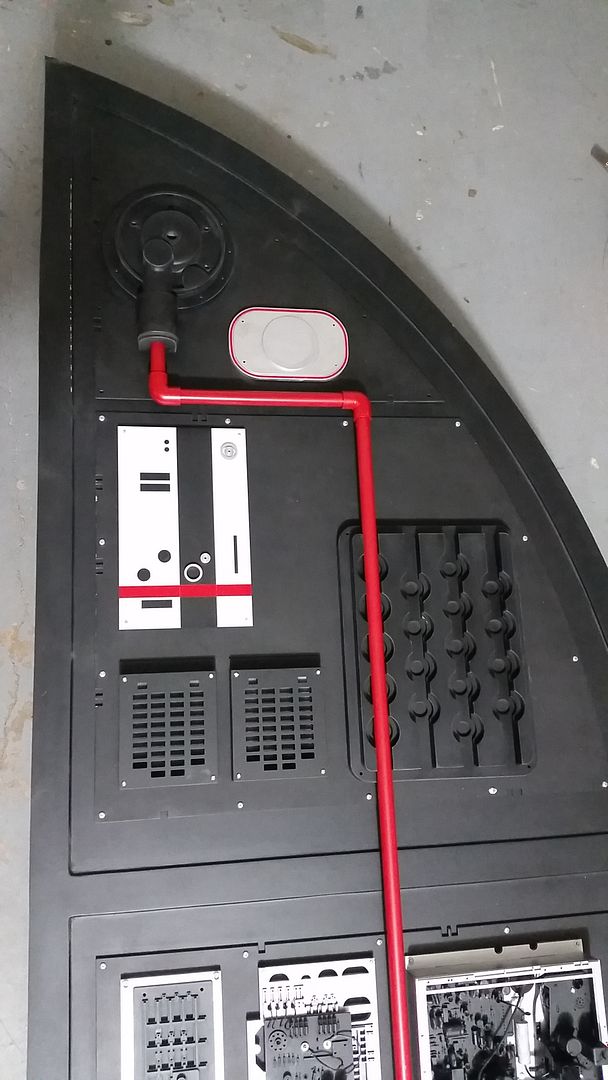
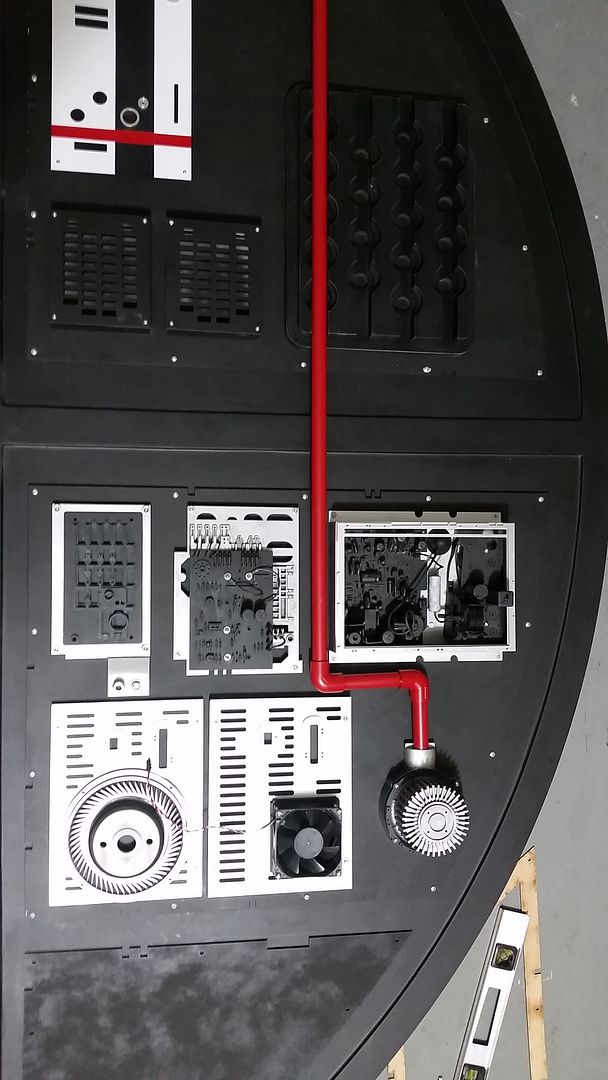
I'm going to add some black pinstripes and weathering and then we can mark this off as done!
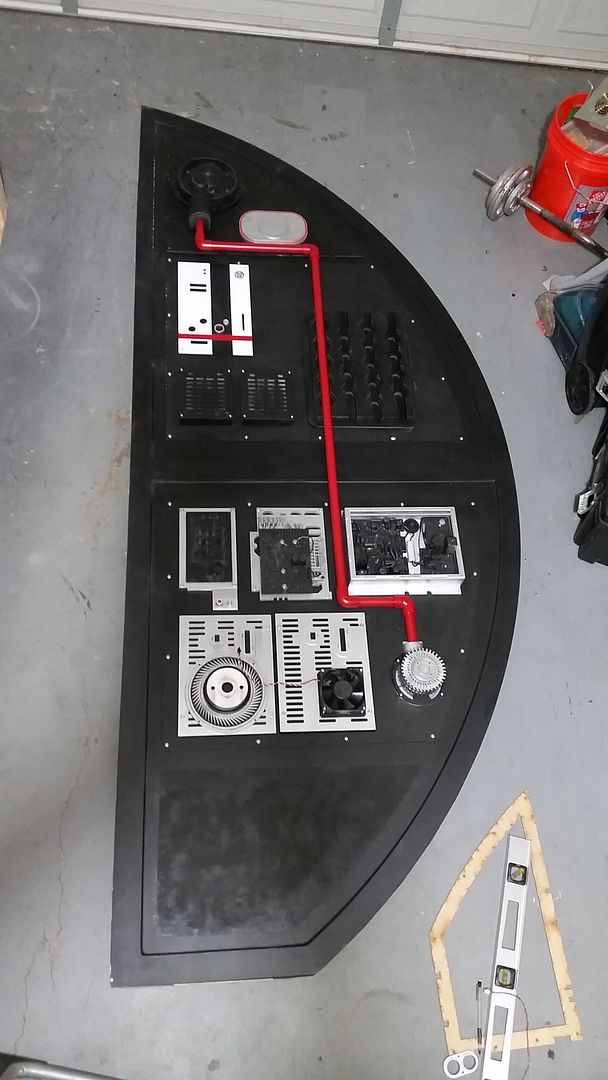
More to Follow!
Another early morning quick update! I finally got around to sanding and painting the PVC pipe! After a quick shot of black I added the red...
Let that dry over night and then set into place
I'm going to add some black pinstripes and weathering and then we can mark this off as done!
More to Follow!
Interesting ideas with the sandwiched panels!
I know you started off using mica, but abandoned it since it broke where it overhang the MDF. Now that you have access to the laser-cutter, would it be an idea to laminate plywood with mica, and then cut on the lasercutter? It would leave you with a hard surface that takes natural patina from use well, allow you to fasten your greeblies in plywood (which is much stronger than MDF) and make all those nights of sanding and filling a thing of the past.
You probably have already thought about it and I should slink back to my cave.
Hi FF,
Mica is fairly expensive... maybe $45 for a 4x8 sheet. I'm pretty sure the laser cutter could do it (unless there is a chemical reaction - any experts?) It would lend to a smooth finish and being as thin as it is would give it that finished off look and feel we're going for. My experience with Mica is that doesn't take paint very well unless the surface is correctly prepped. Maybe a self etching primer would help? Again, anybody?
I'll def look into it!
- - - Updated - - -
Hmm, interesting. What does the back look like? Panels are looking fantastic btw!
Hey D,
Thanks so much! Didn't think to take a pic of the back of the meter. I'm almost convinced that what it is OR something similar but aircraft related.
- - - Updated - - -
Do you have reference for the original part that you are replicating?
Hey Lt,
The image/part in question was from the EPVII TFA Blue Ray "Extras" disc. It was mounted to the side of the Nav Computer. I'll see if I can post a few images this evening.
Friendly flyer
Well-Known Member
Mica is fairly expensive... maybe $45 for a 4x8 sheet. I'm pretty sure the laser cutter could do it (unless there is a chemical reaction - any experts?
If by mica you mean formica (a plastic, mica is a natural mineral), then yes, cutting it with laser is a straight forward process. It should be no different than cutting acrylic. There's also melamine, which have similar properties.
My experience with Mica is that doesn't take paint very well unless the surface is correctly prepped.
Formica comes in all kinds of colours. If you have the funds, you could check out if they come in a colour you can use directly. That would save a lot of work.
Similar threads
- Replies
- 11
- Views
- 1,146
- Replies
- 2
- Views
- 951
- Replies
- 2
- Views
- 978
- Replies
- 13
- Views
- 2,283