Hi Gang,
Updates! It was a LONG weekend with the laser cutter! Lots of errors, recuts, do overs, etc... But we have some a great forward progress.
")
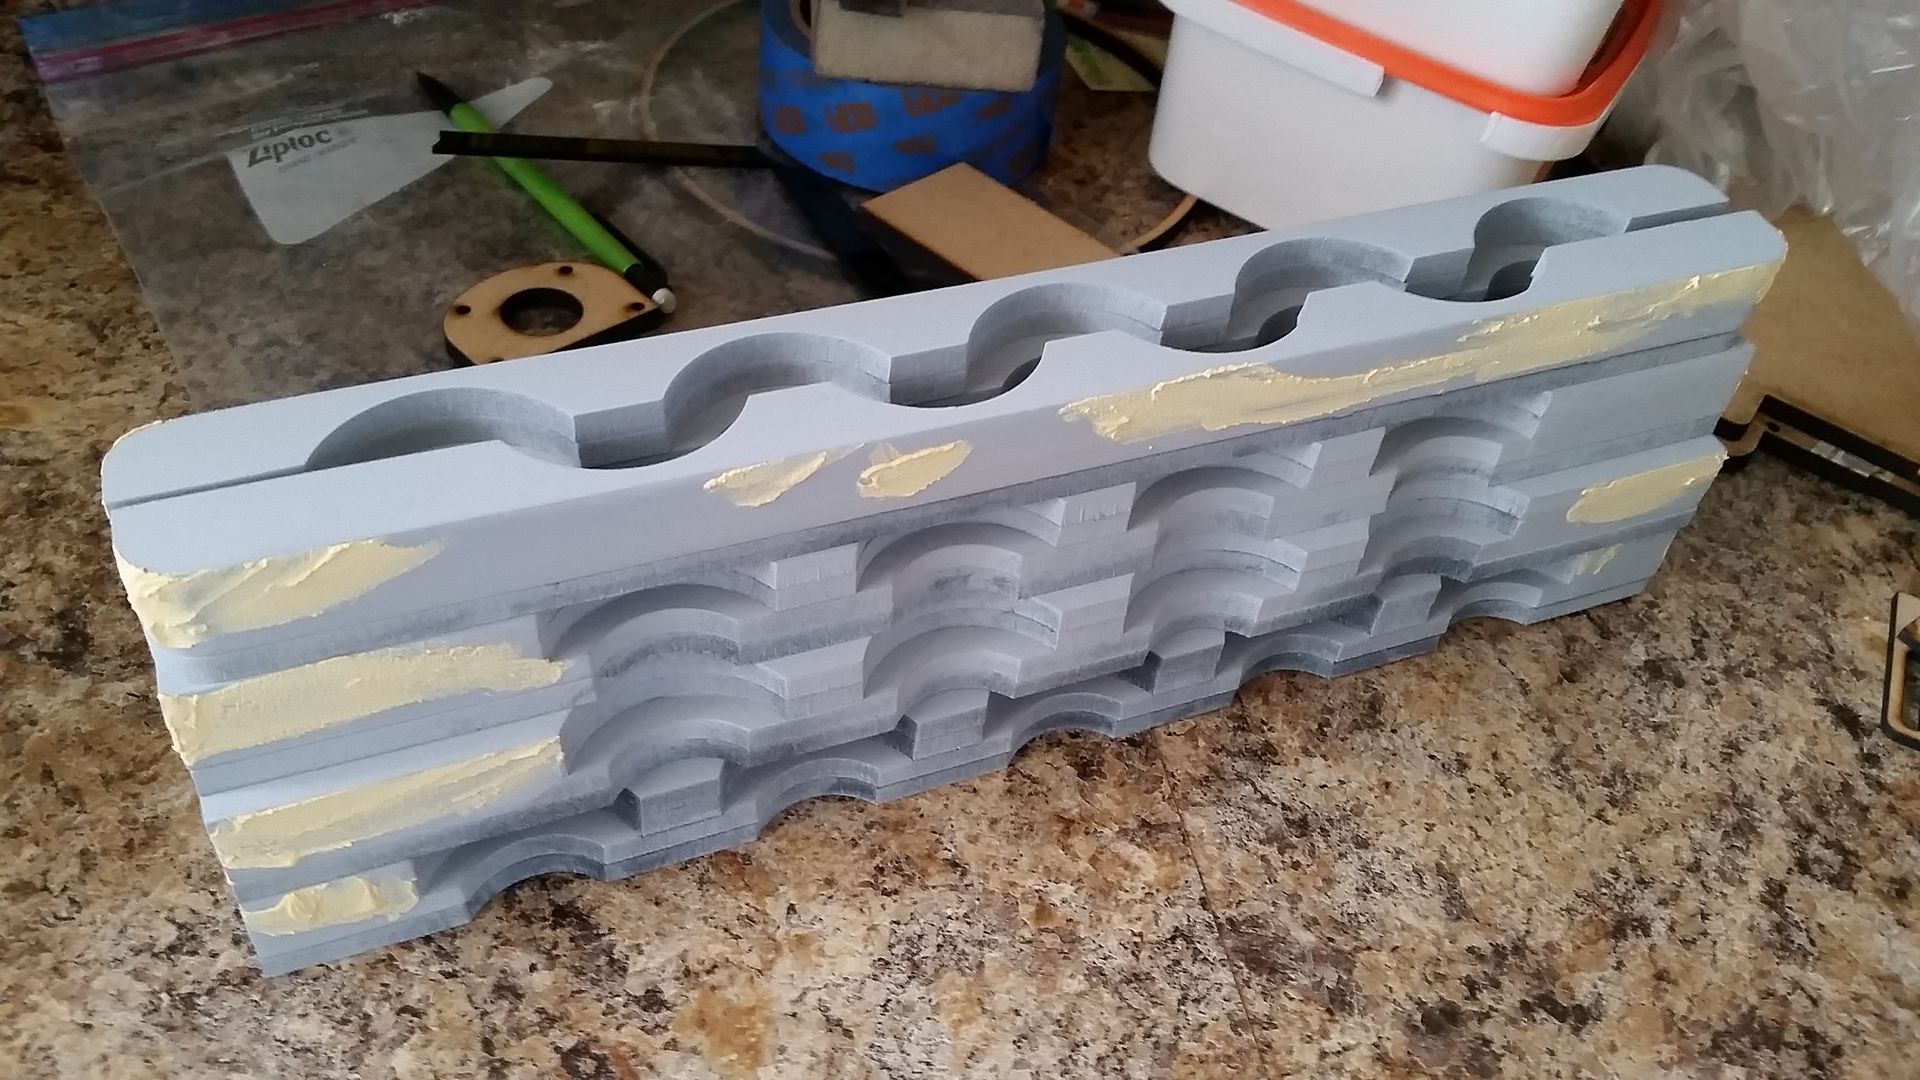
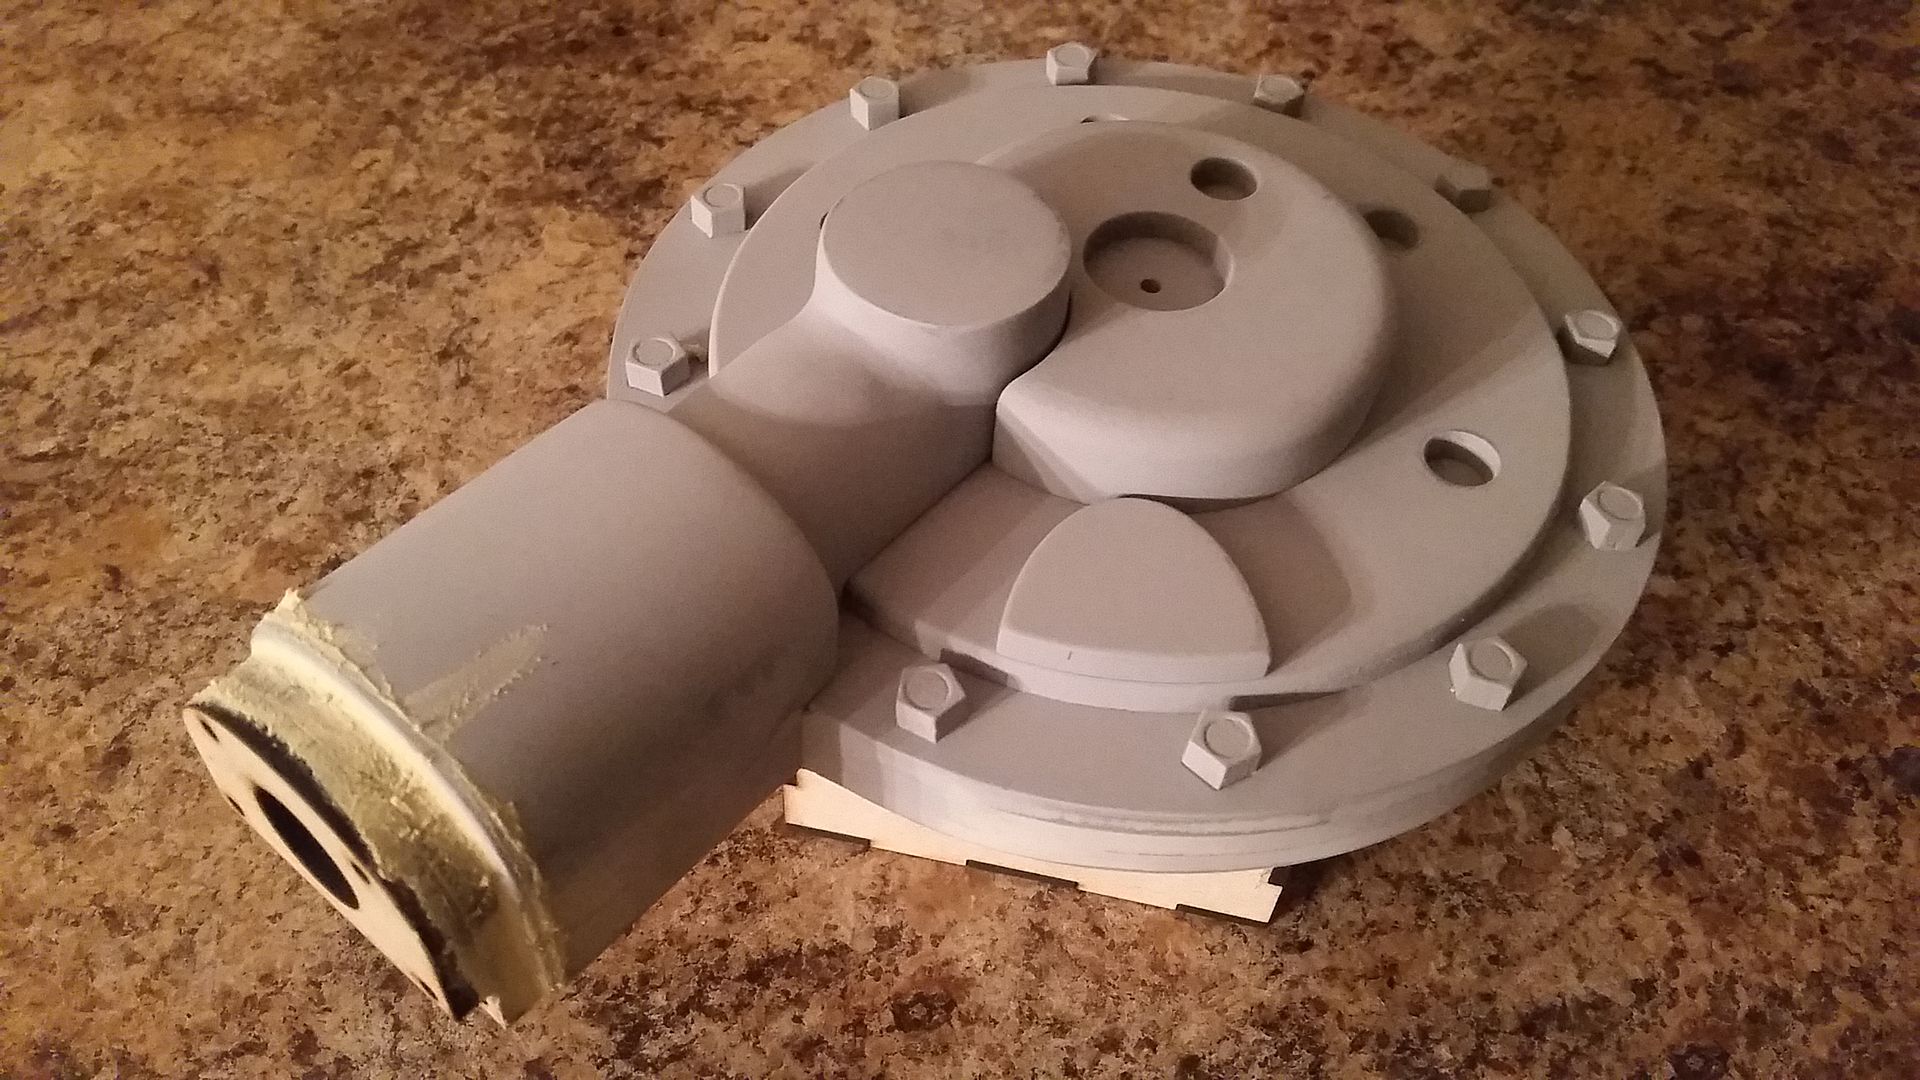
The weekend started off with my finally getting to the pipe housing!
Lots of sanding, filling and sanding to do
Still more sanding
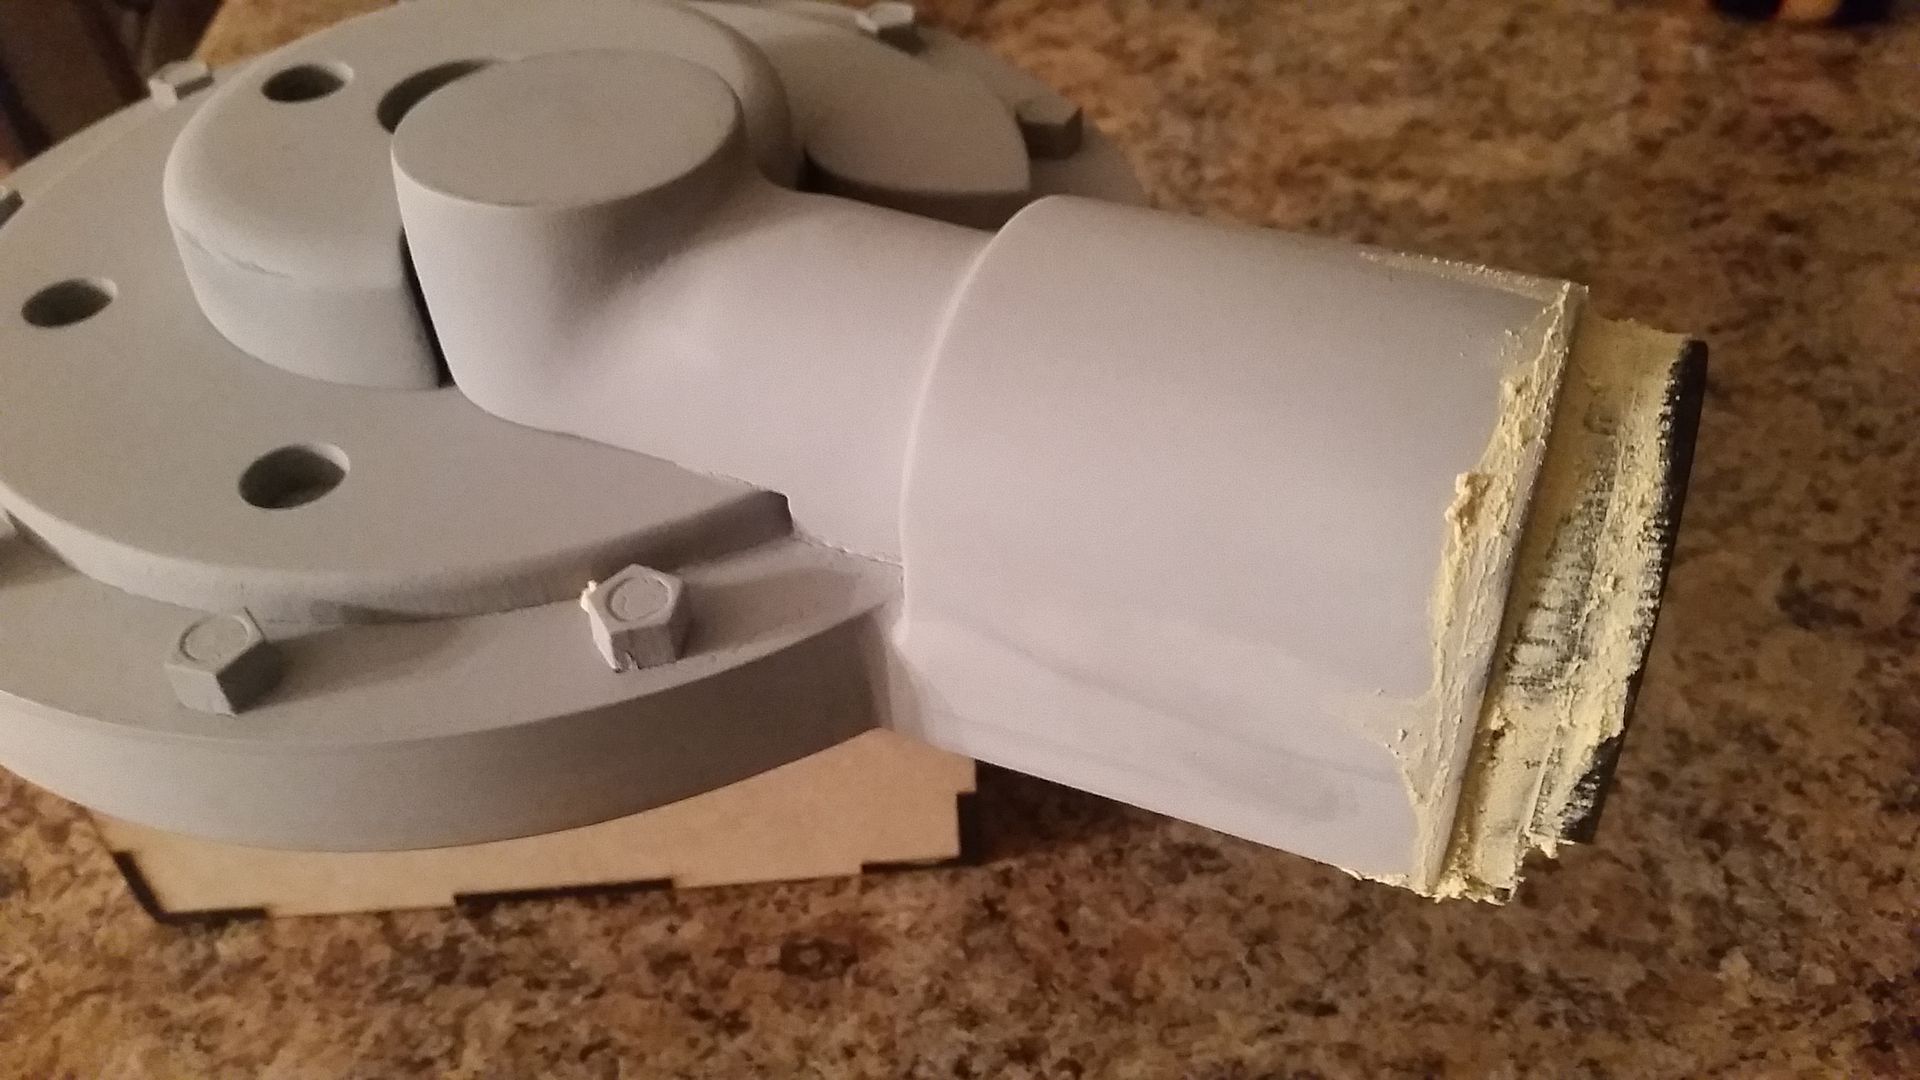
This guy is getting closer
With the release of the TFA on Blue Ray there is a great shot of the cockpit entrance. Not as clear an image as I would like, but it gave me a very good idea how the lower part of this greeblie is detailed - lots of LEDs and different colors.
Jessie got back into the groove and helped me out early Saturday by sanding down the edges
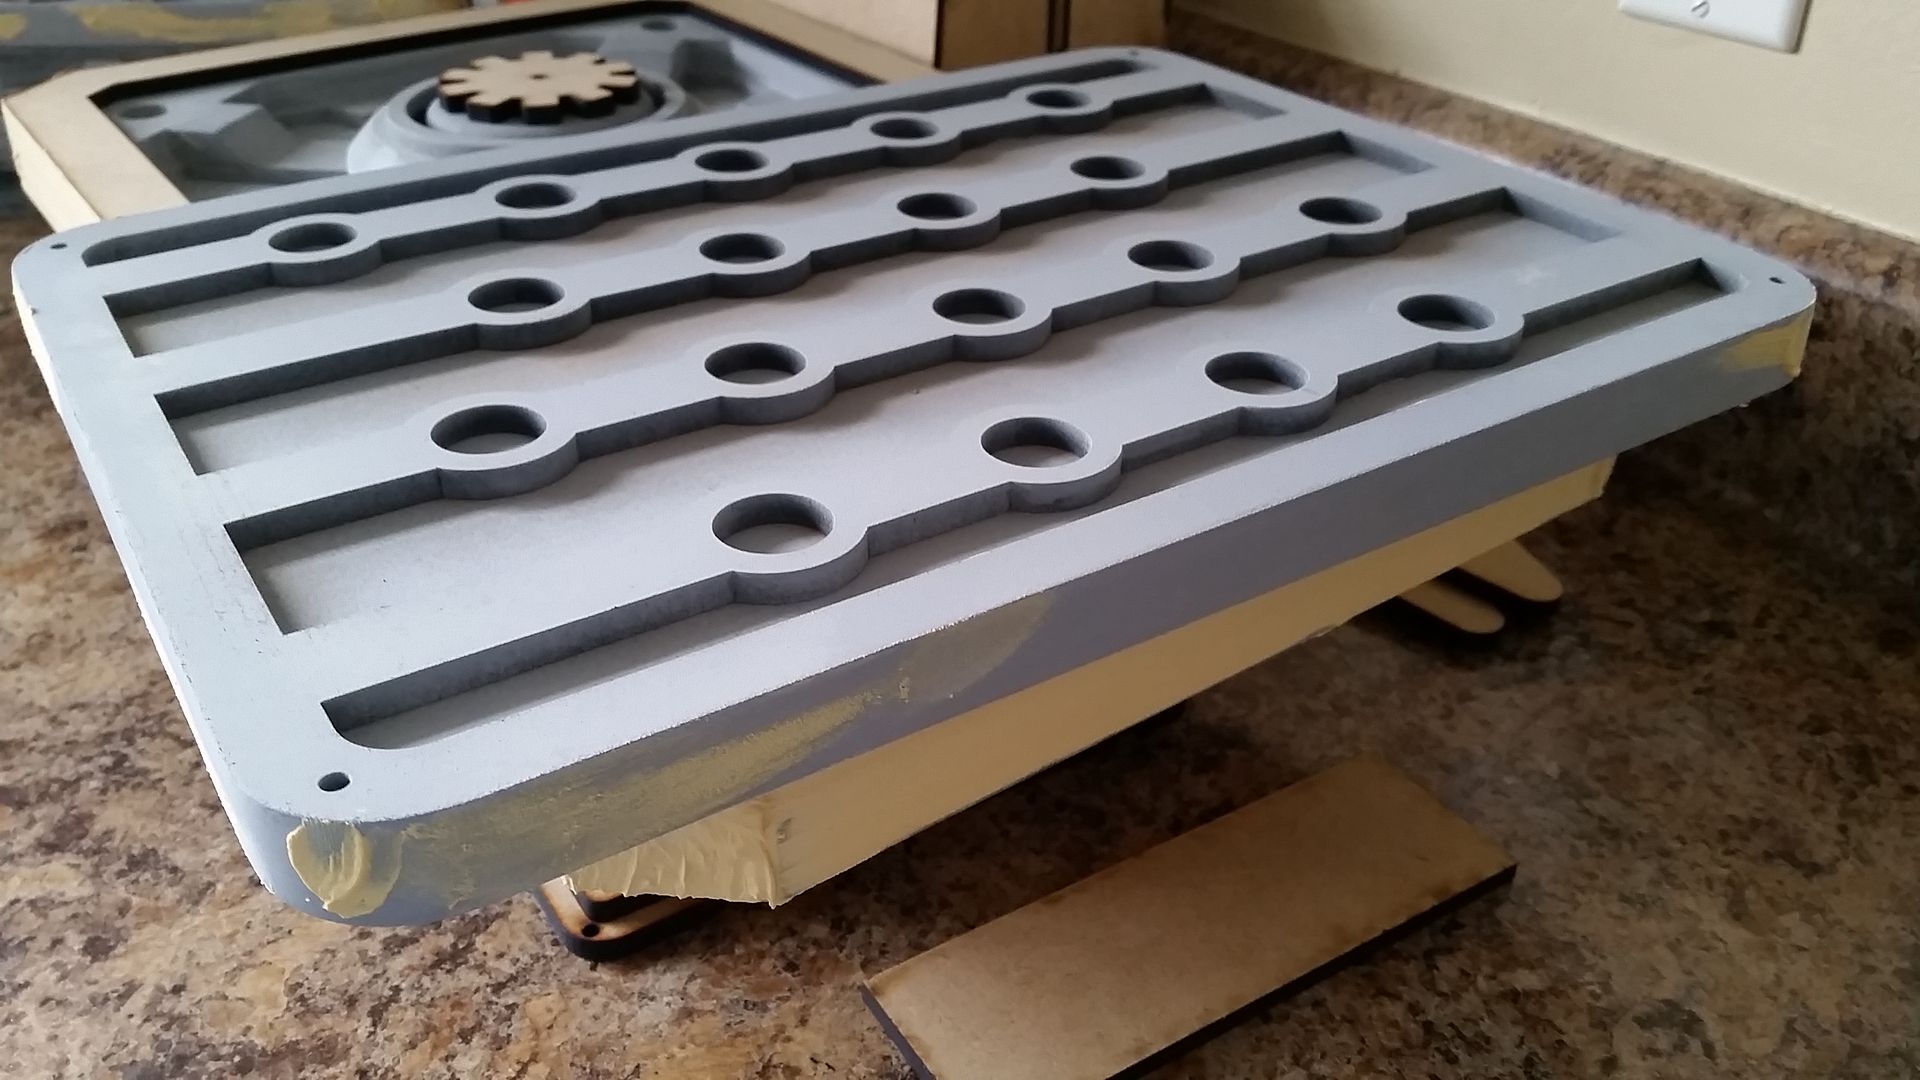
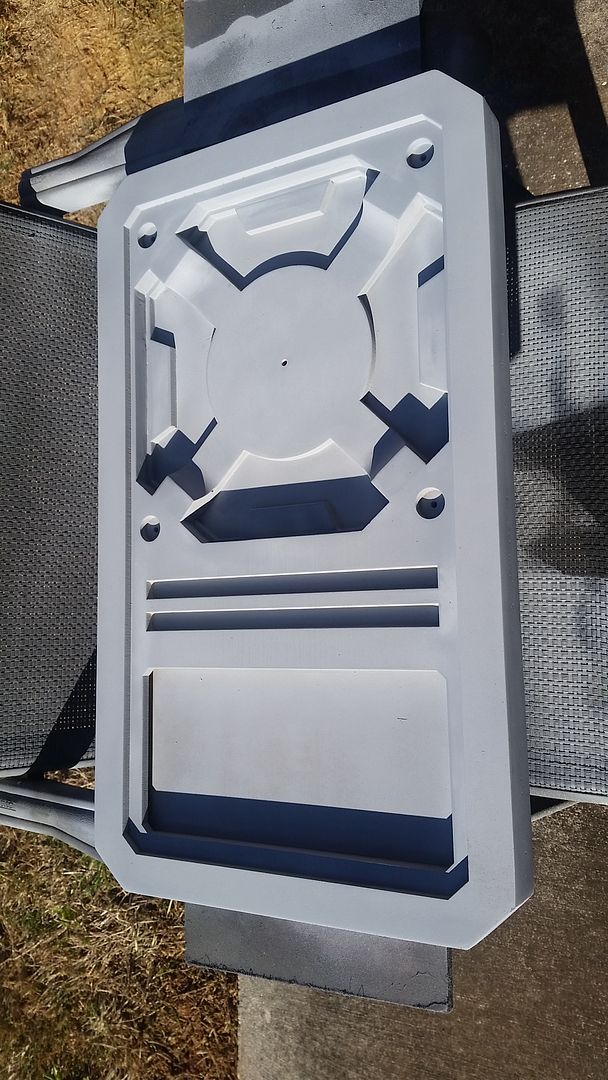
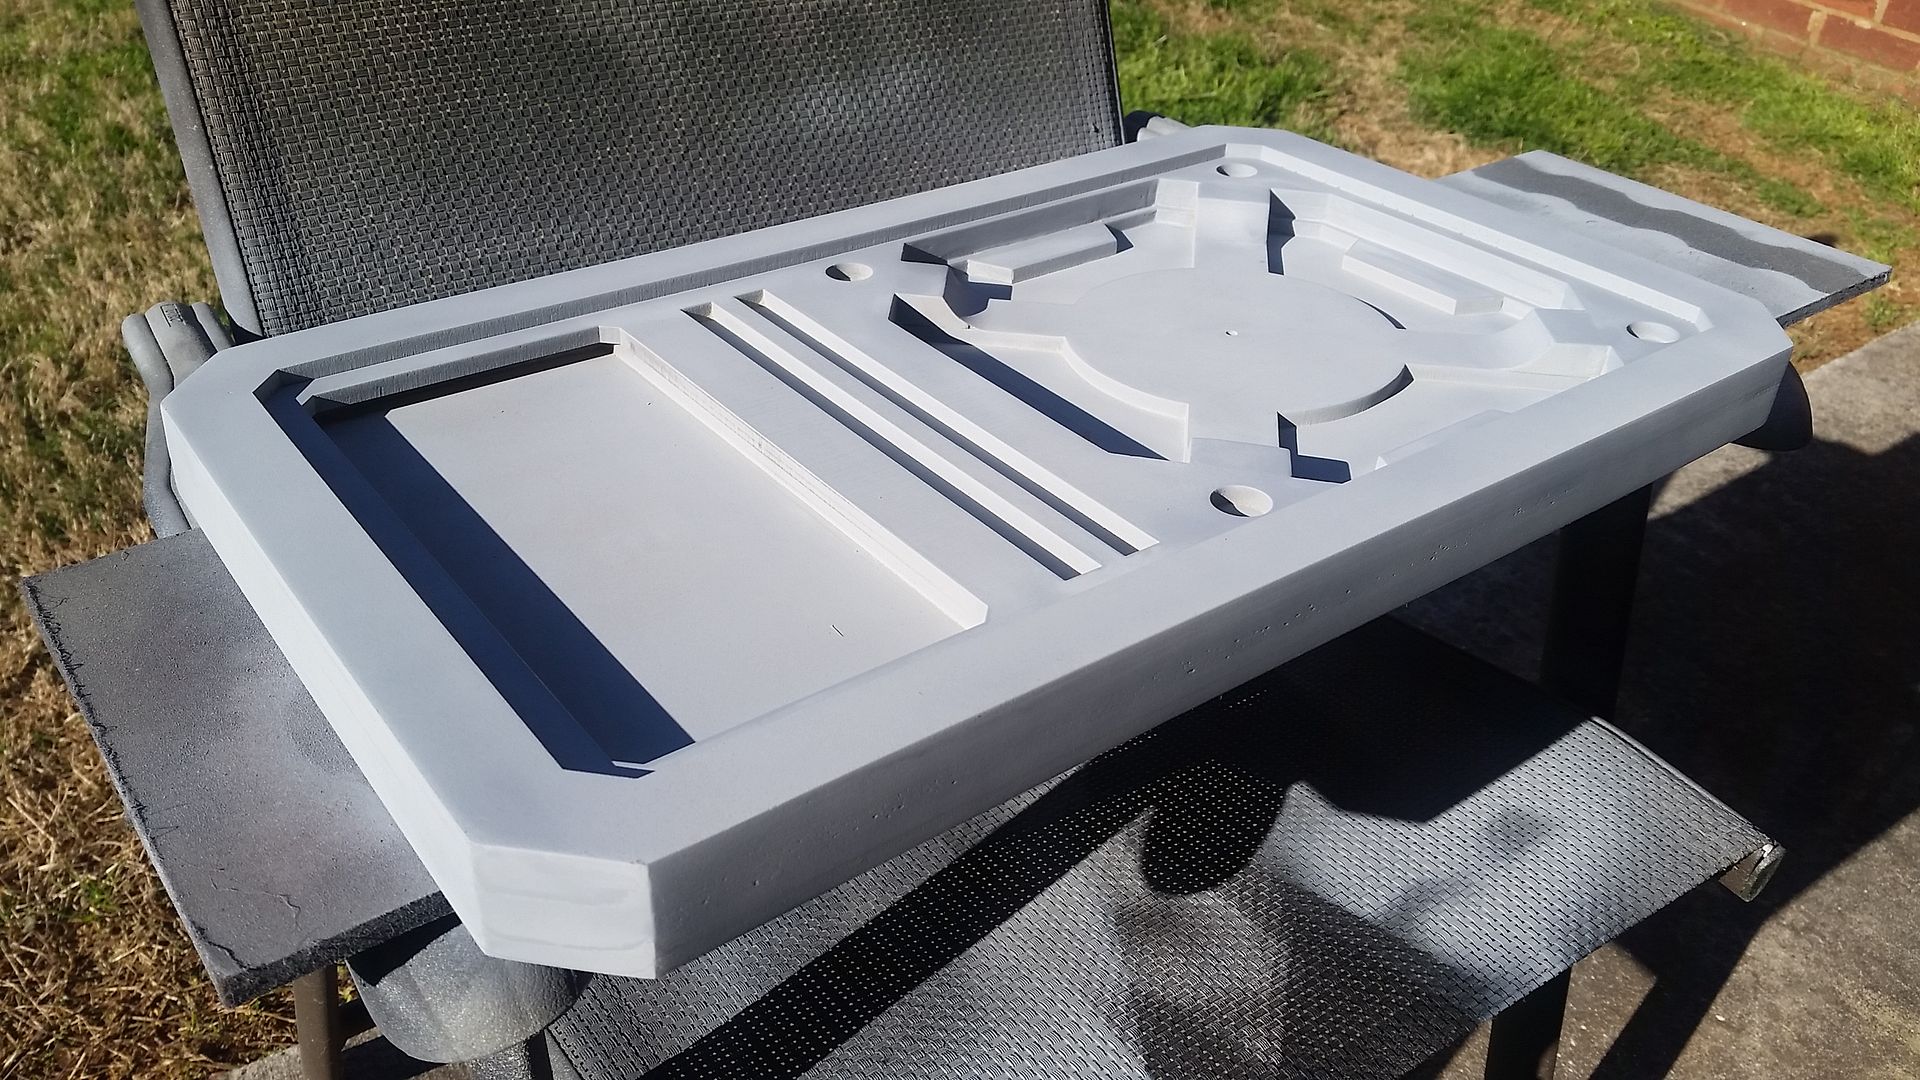
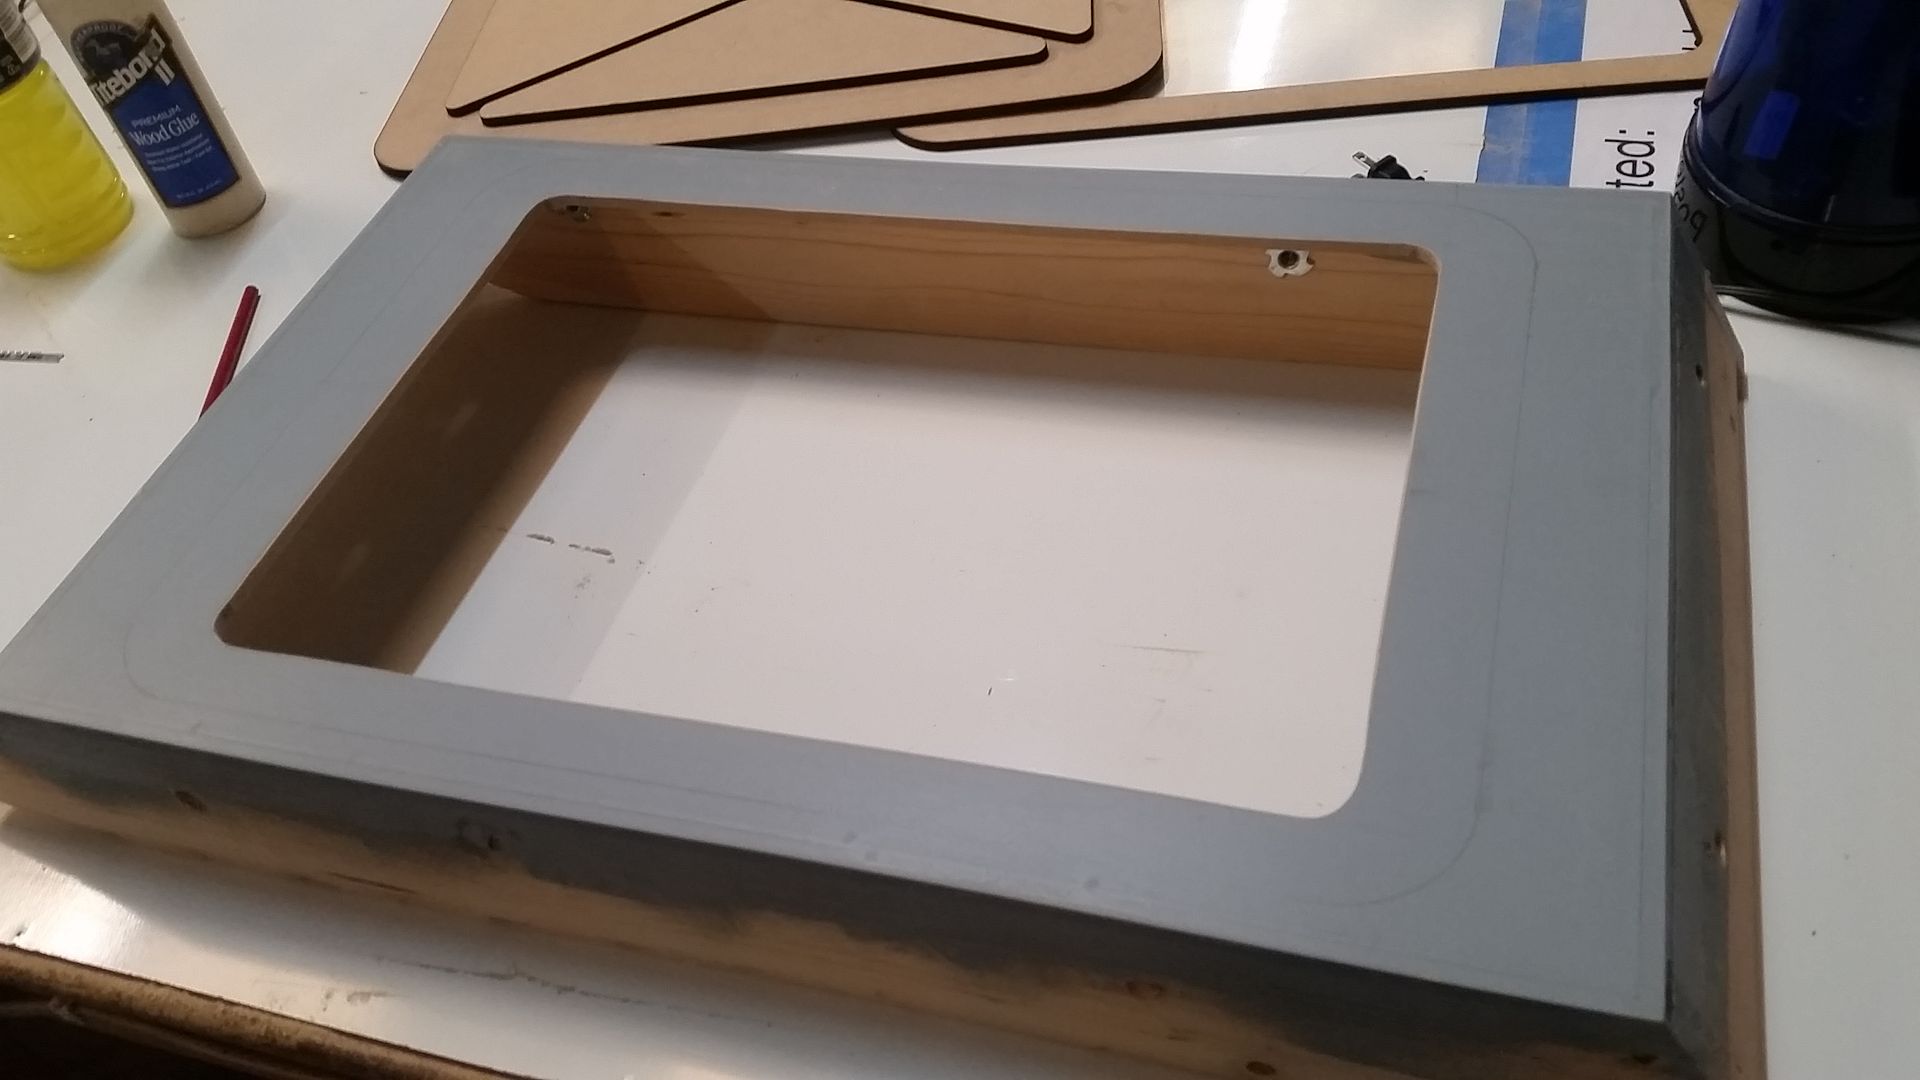
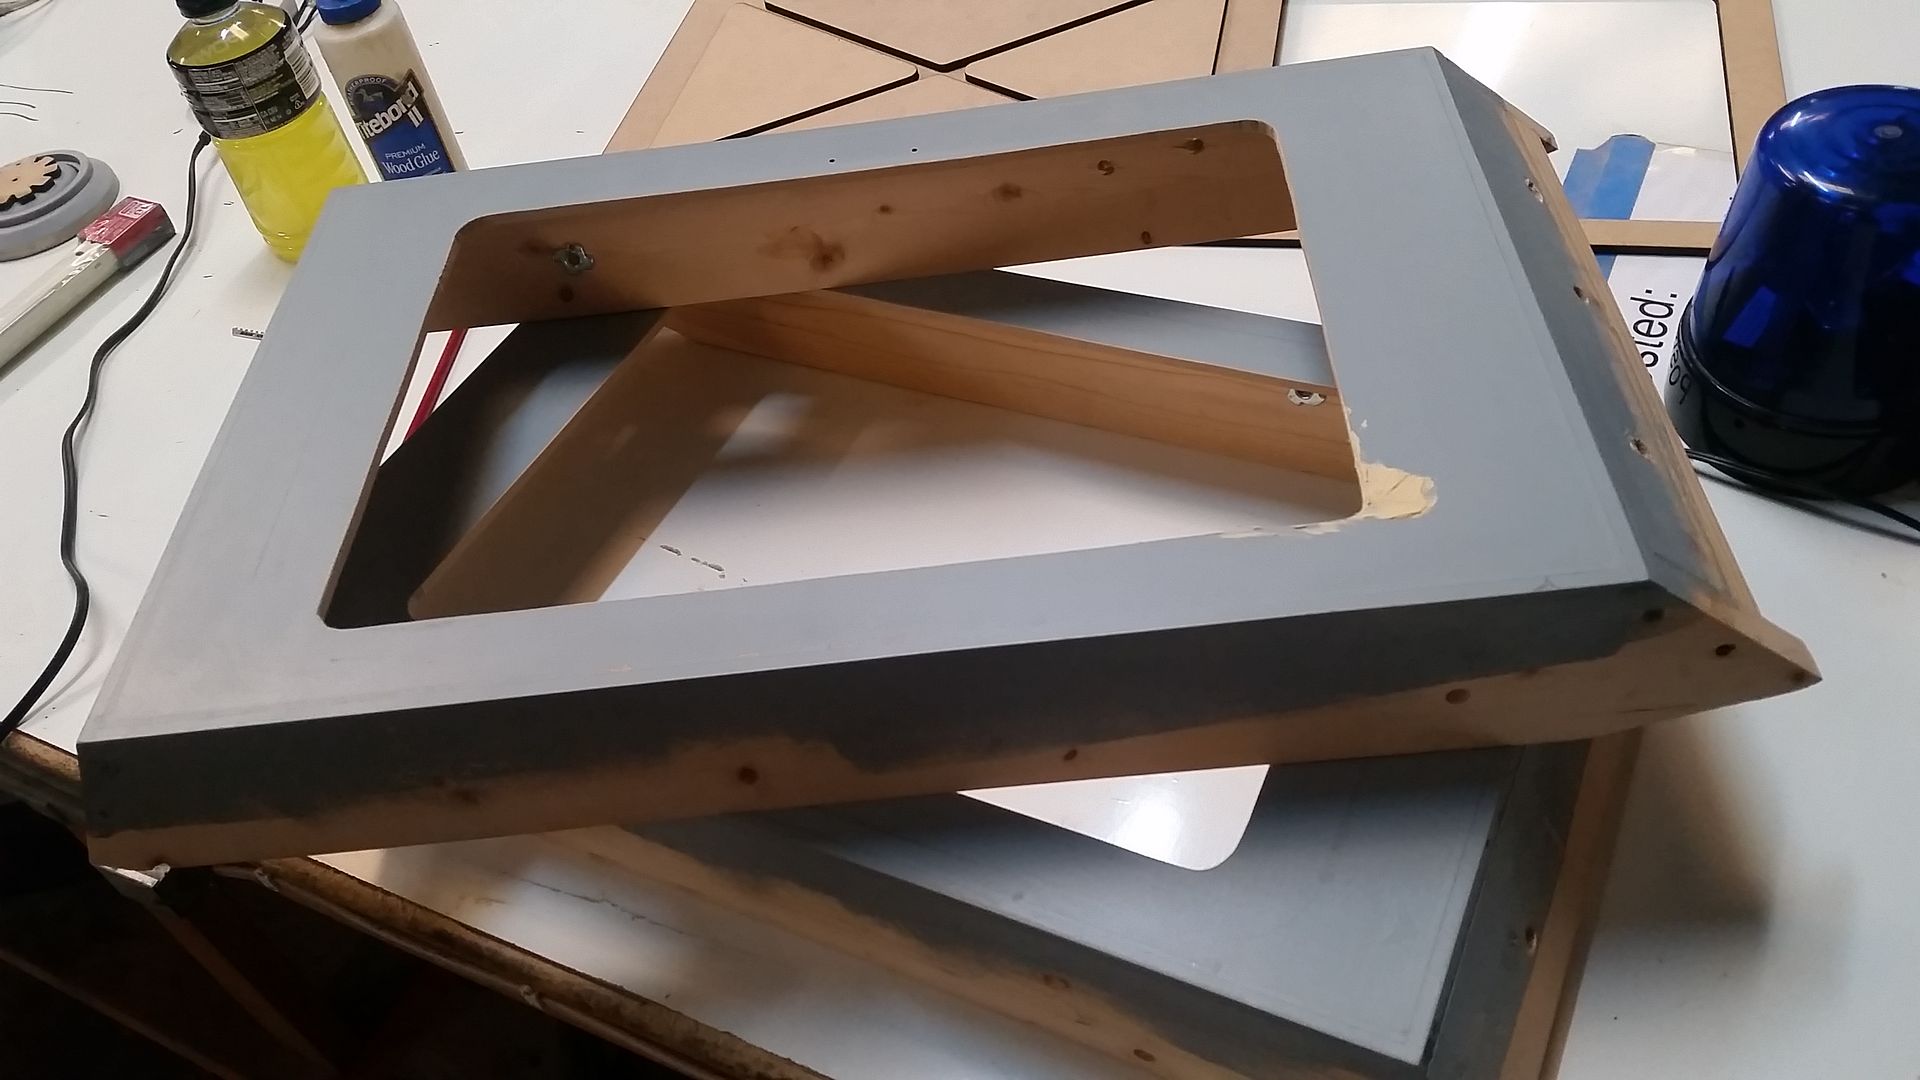
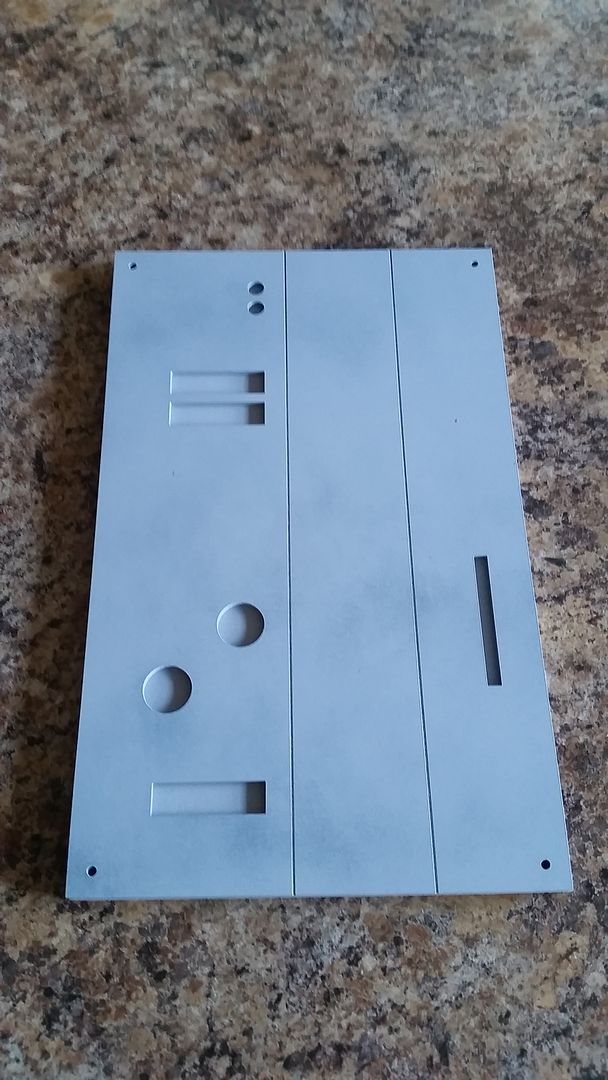
I cut the holes for the new access panels
I'm still debating whether to cut the holes inn the 2 upper panels - not very confident of the amount of weight/stress that would be applied
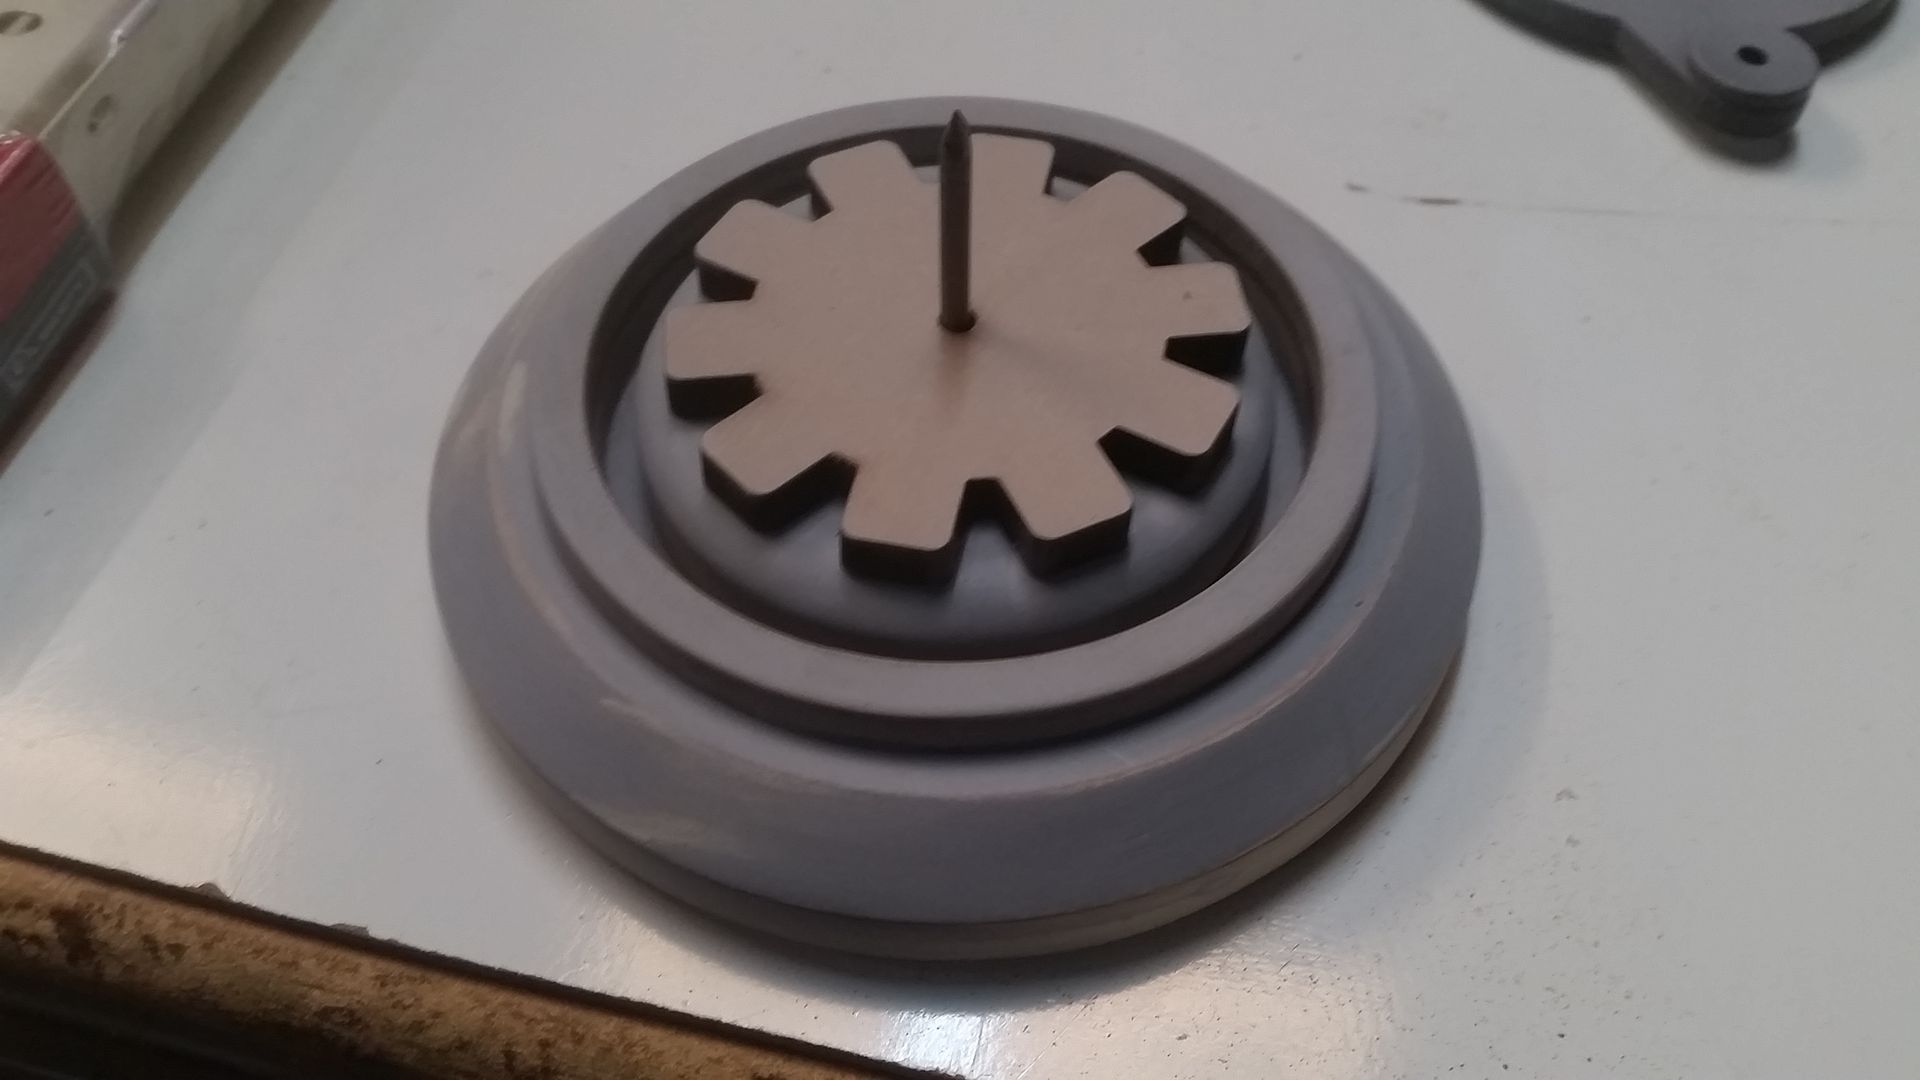
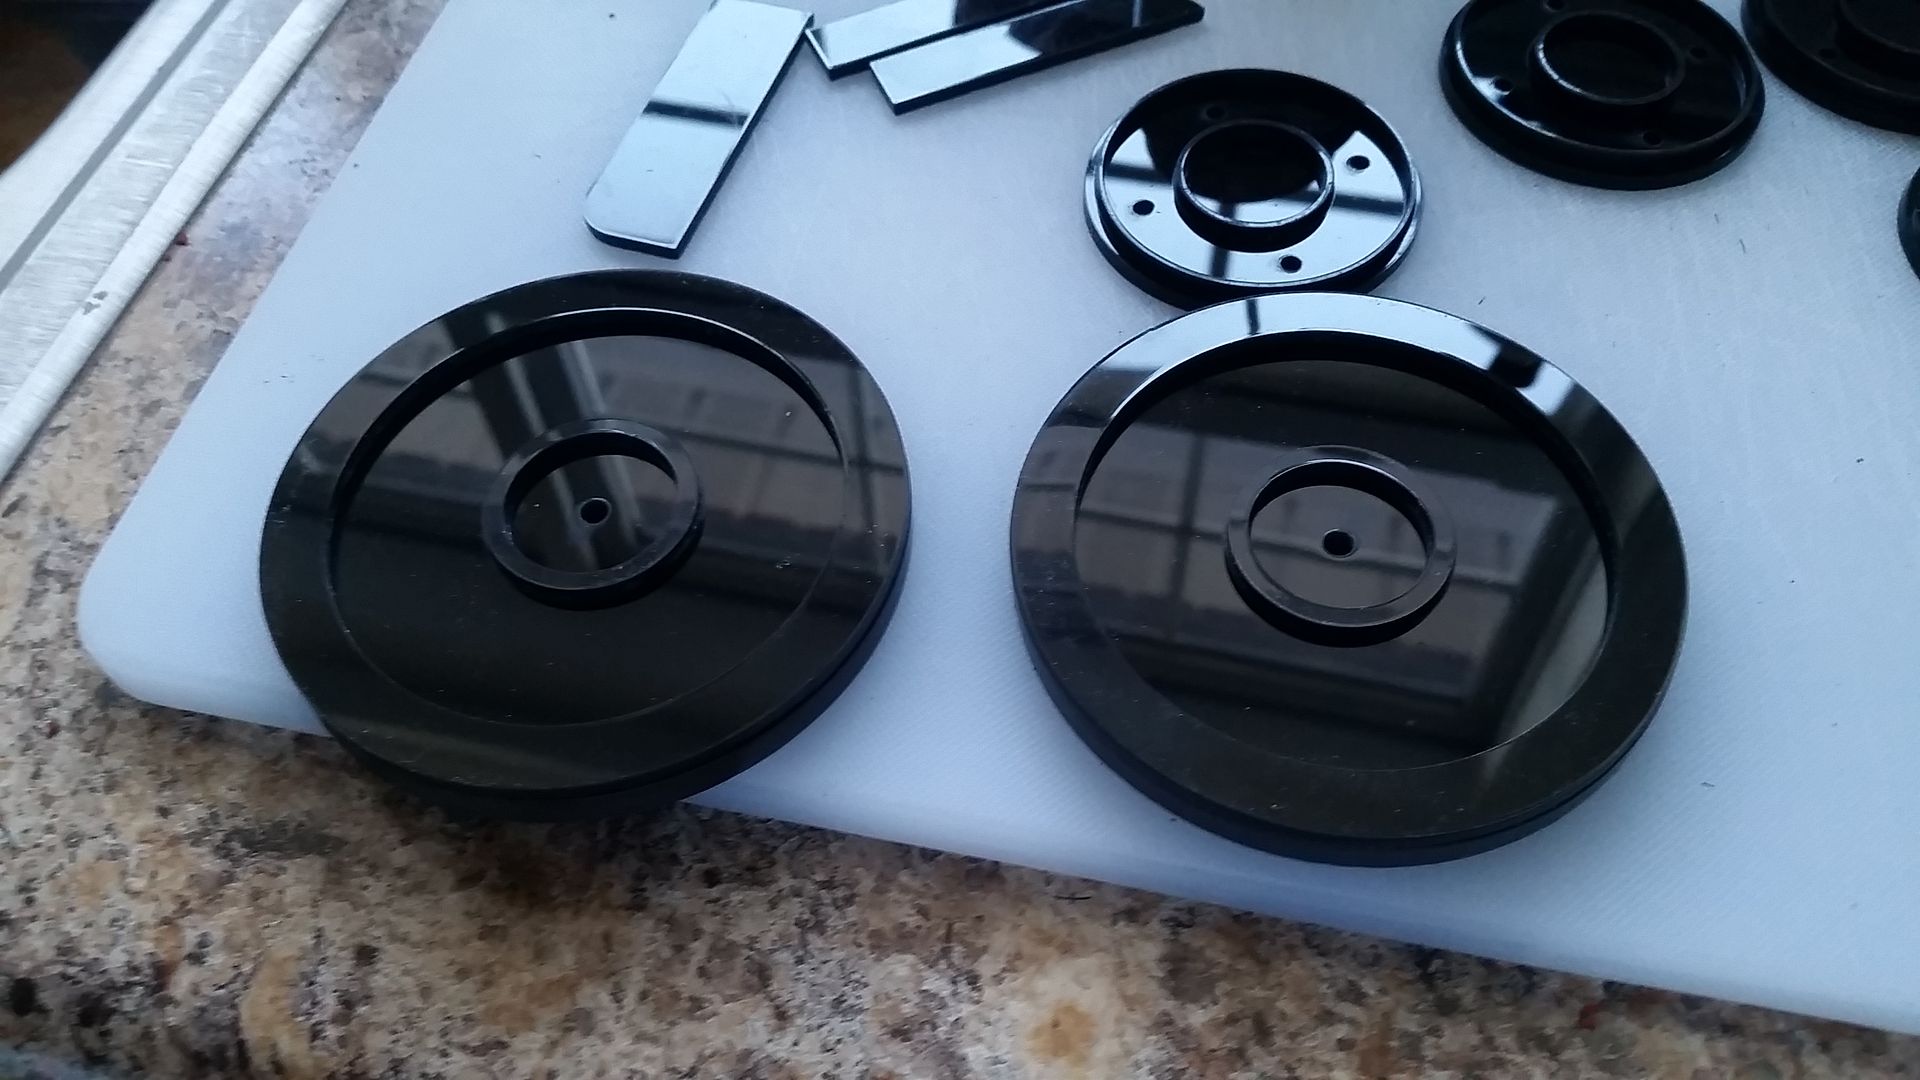
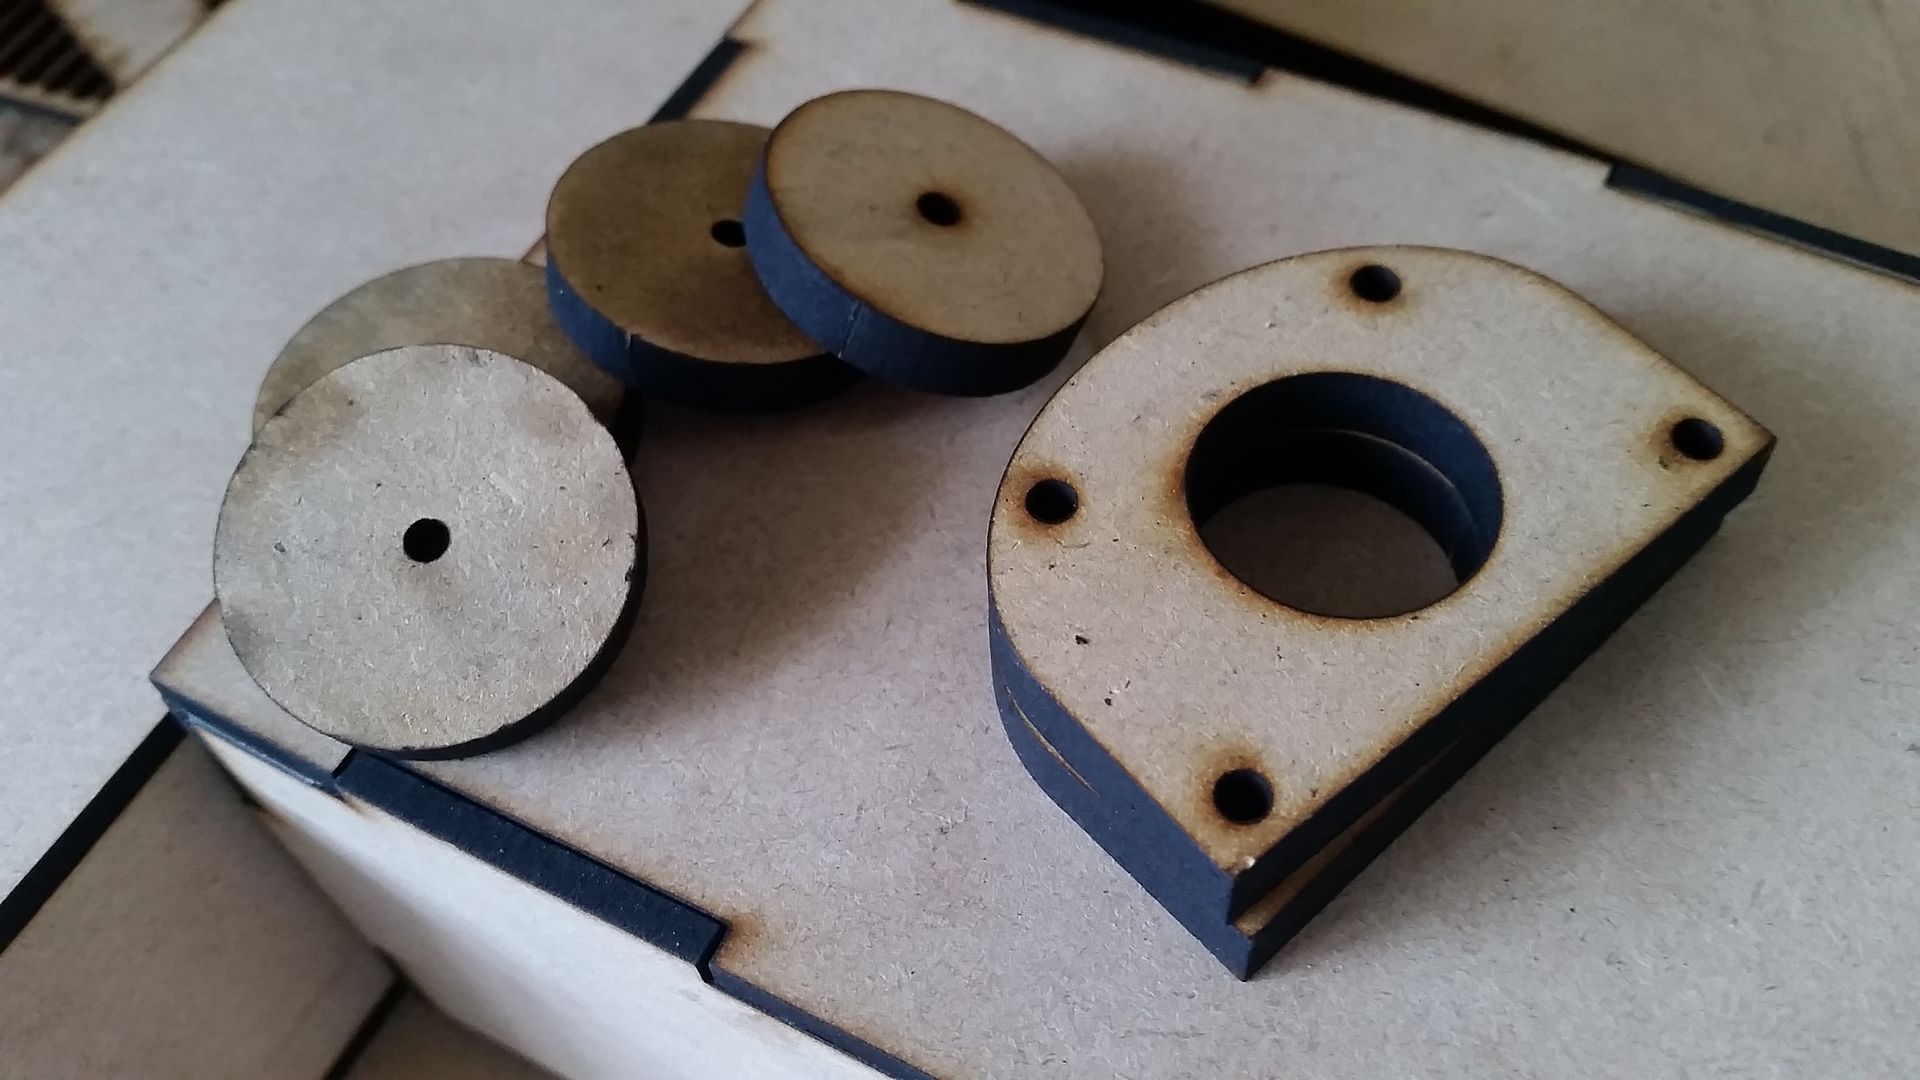
Turns out that the designers used (what we think) 3-5 point selector switches in the corners of the access panels. Instead of paying 3-6 dollars per switch I went ahead and laser cut some near exact copies
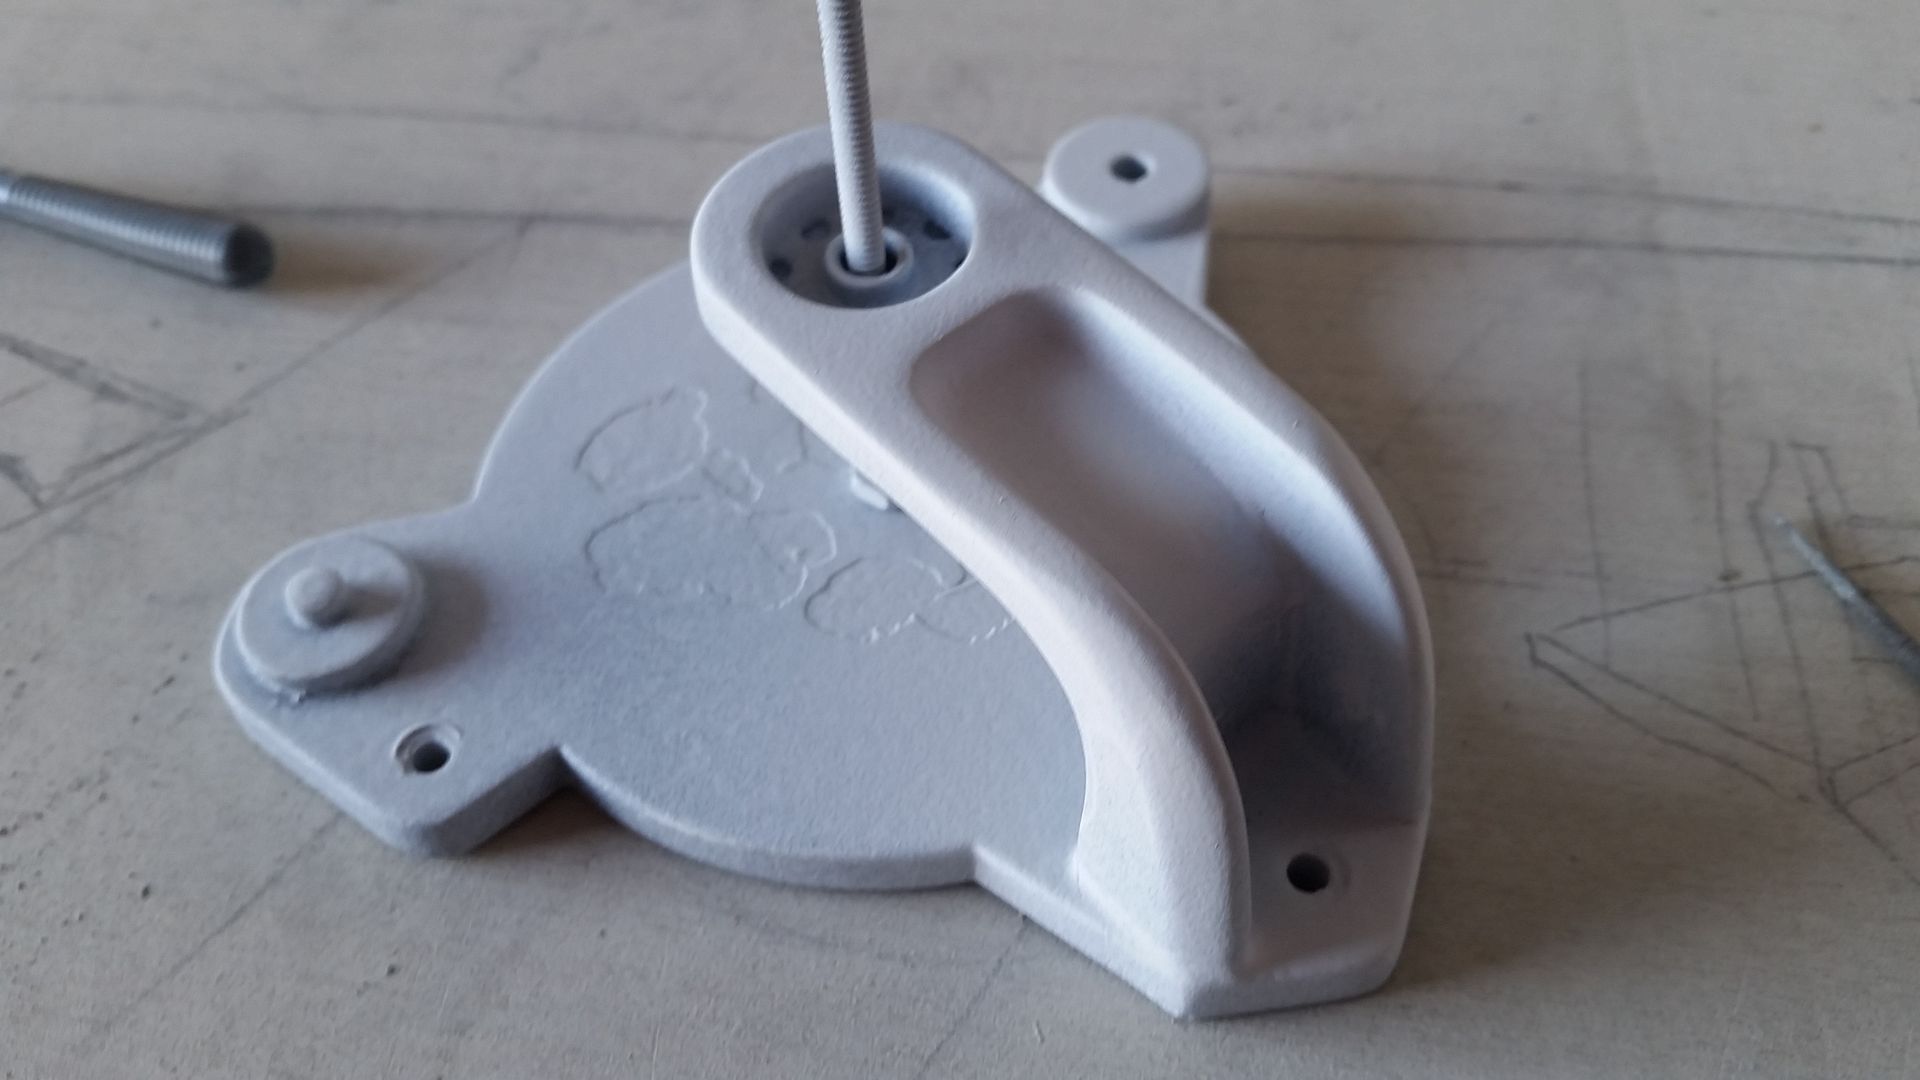
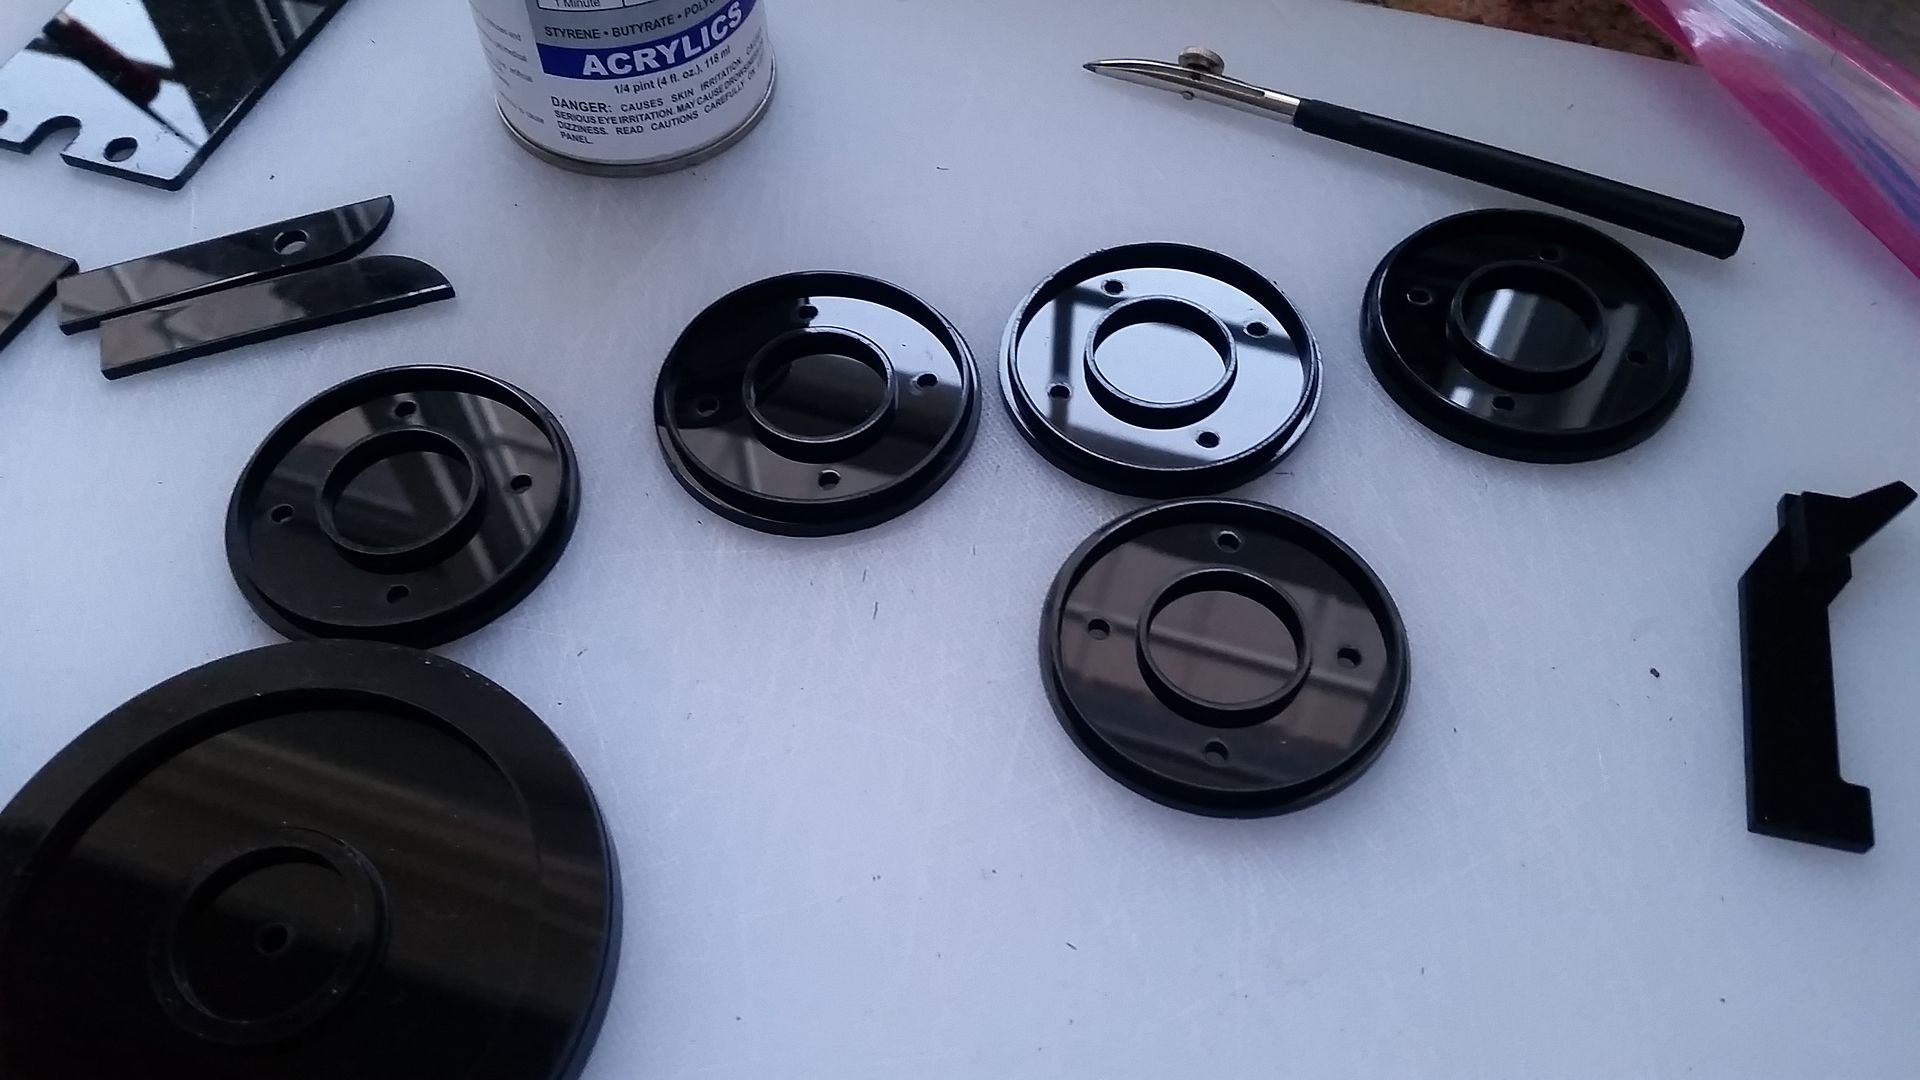
Still needs primer and paint
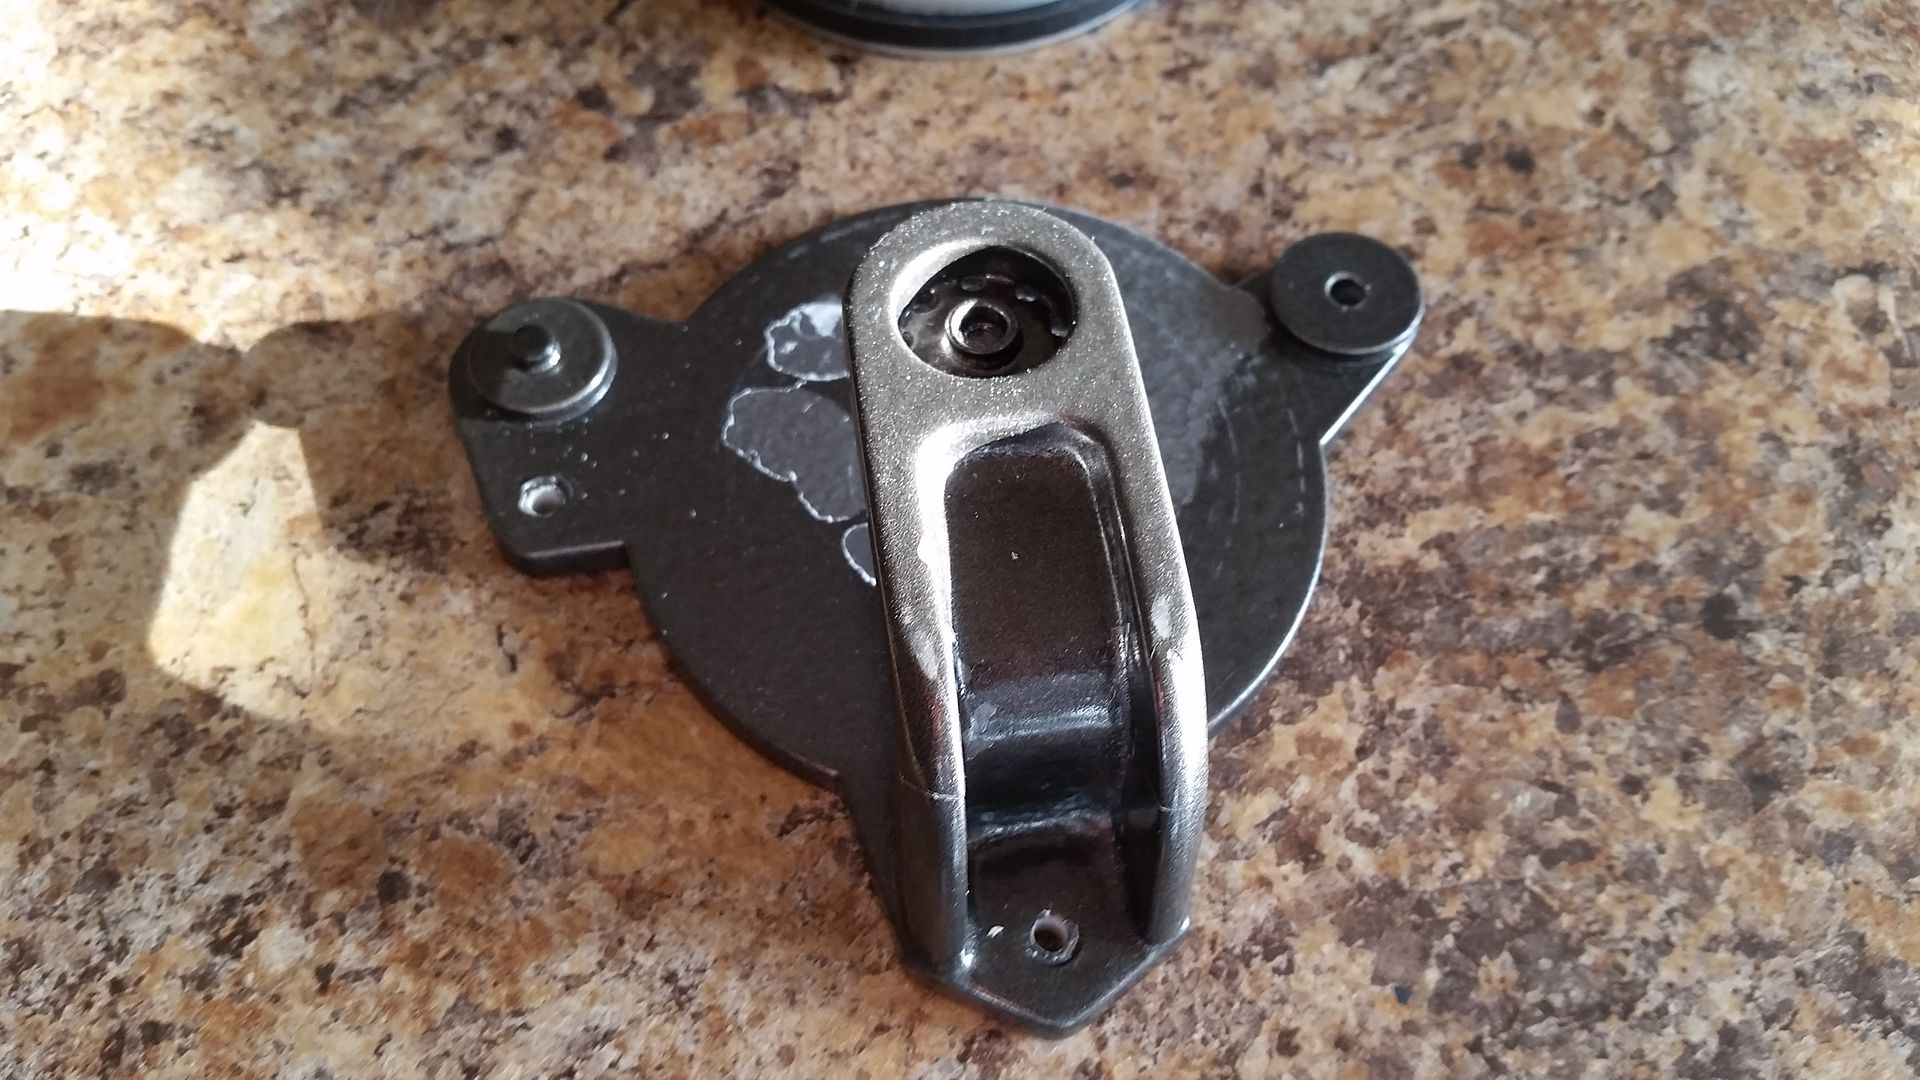
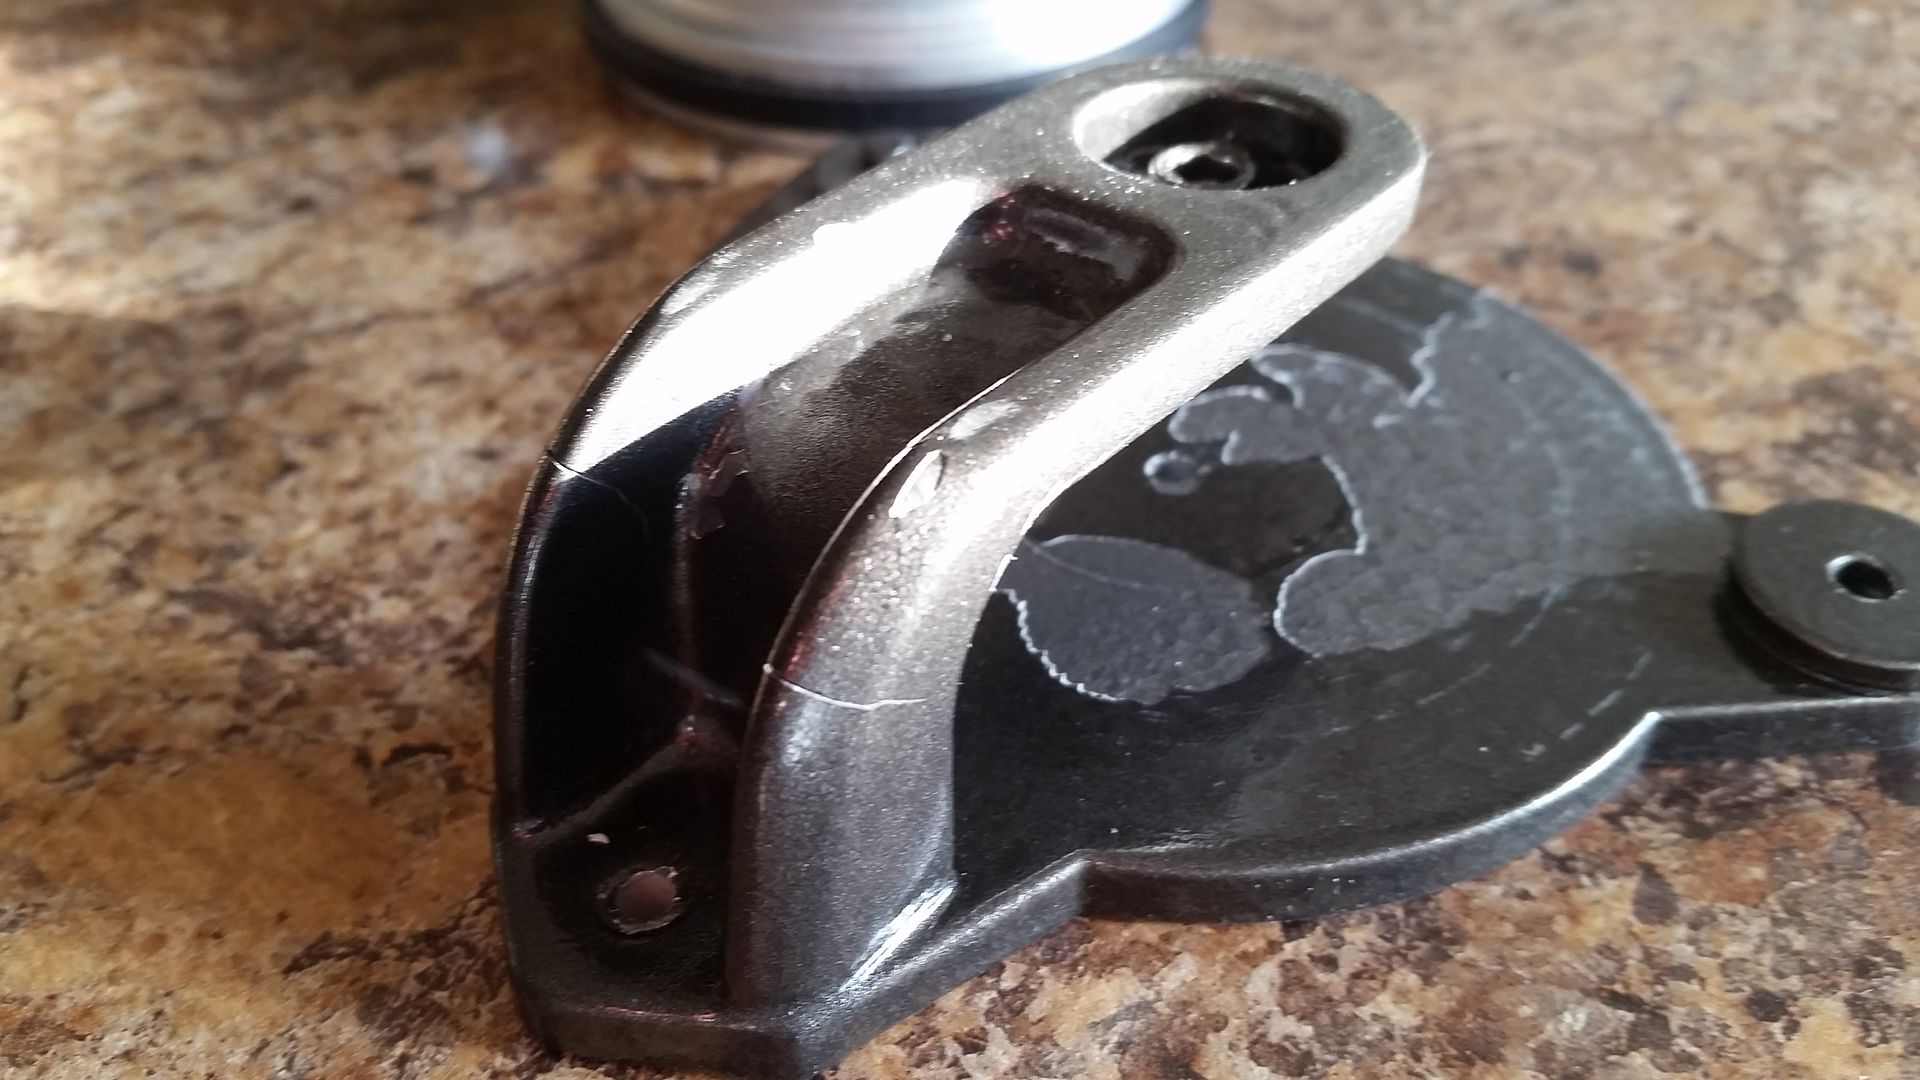
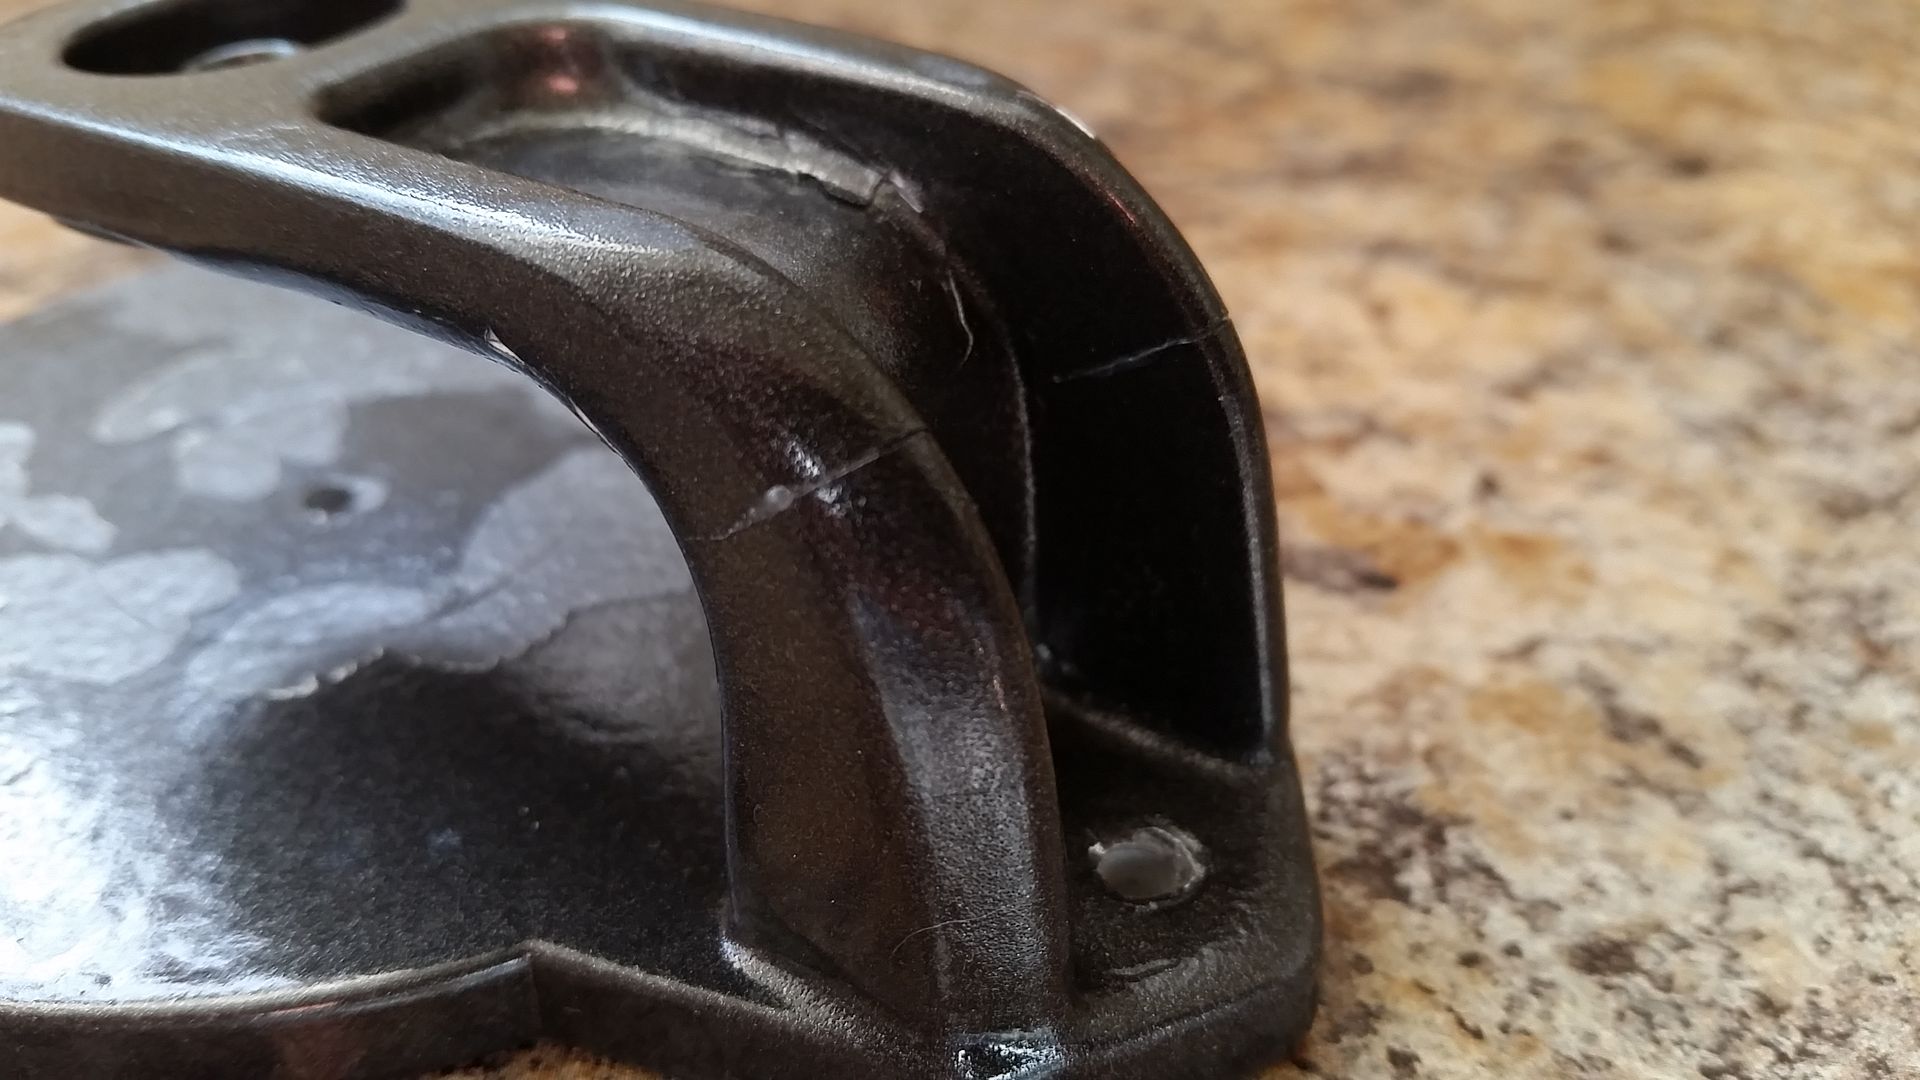
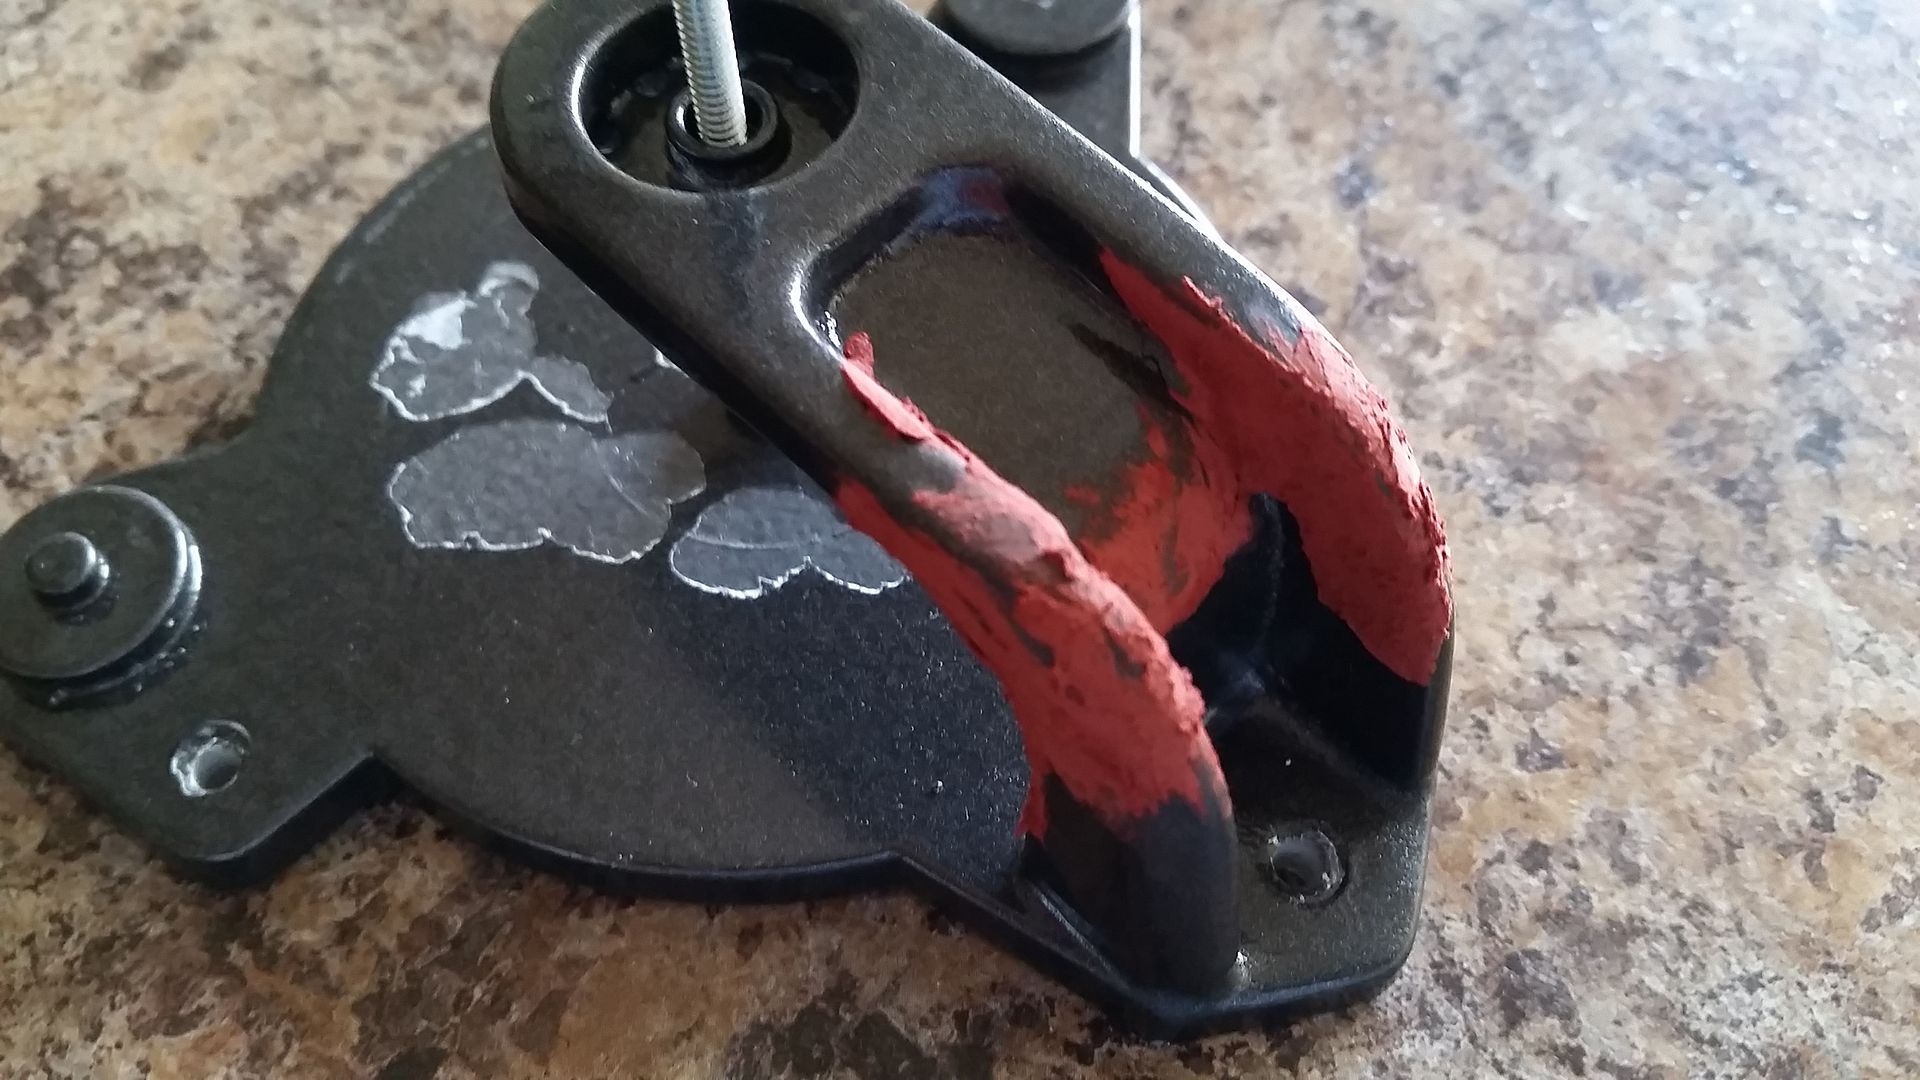
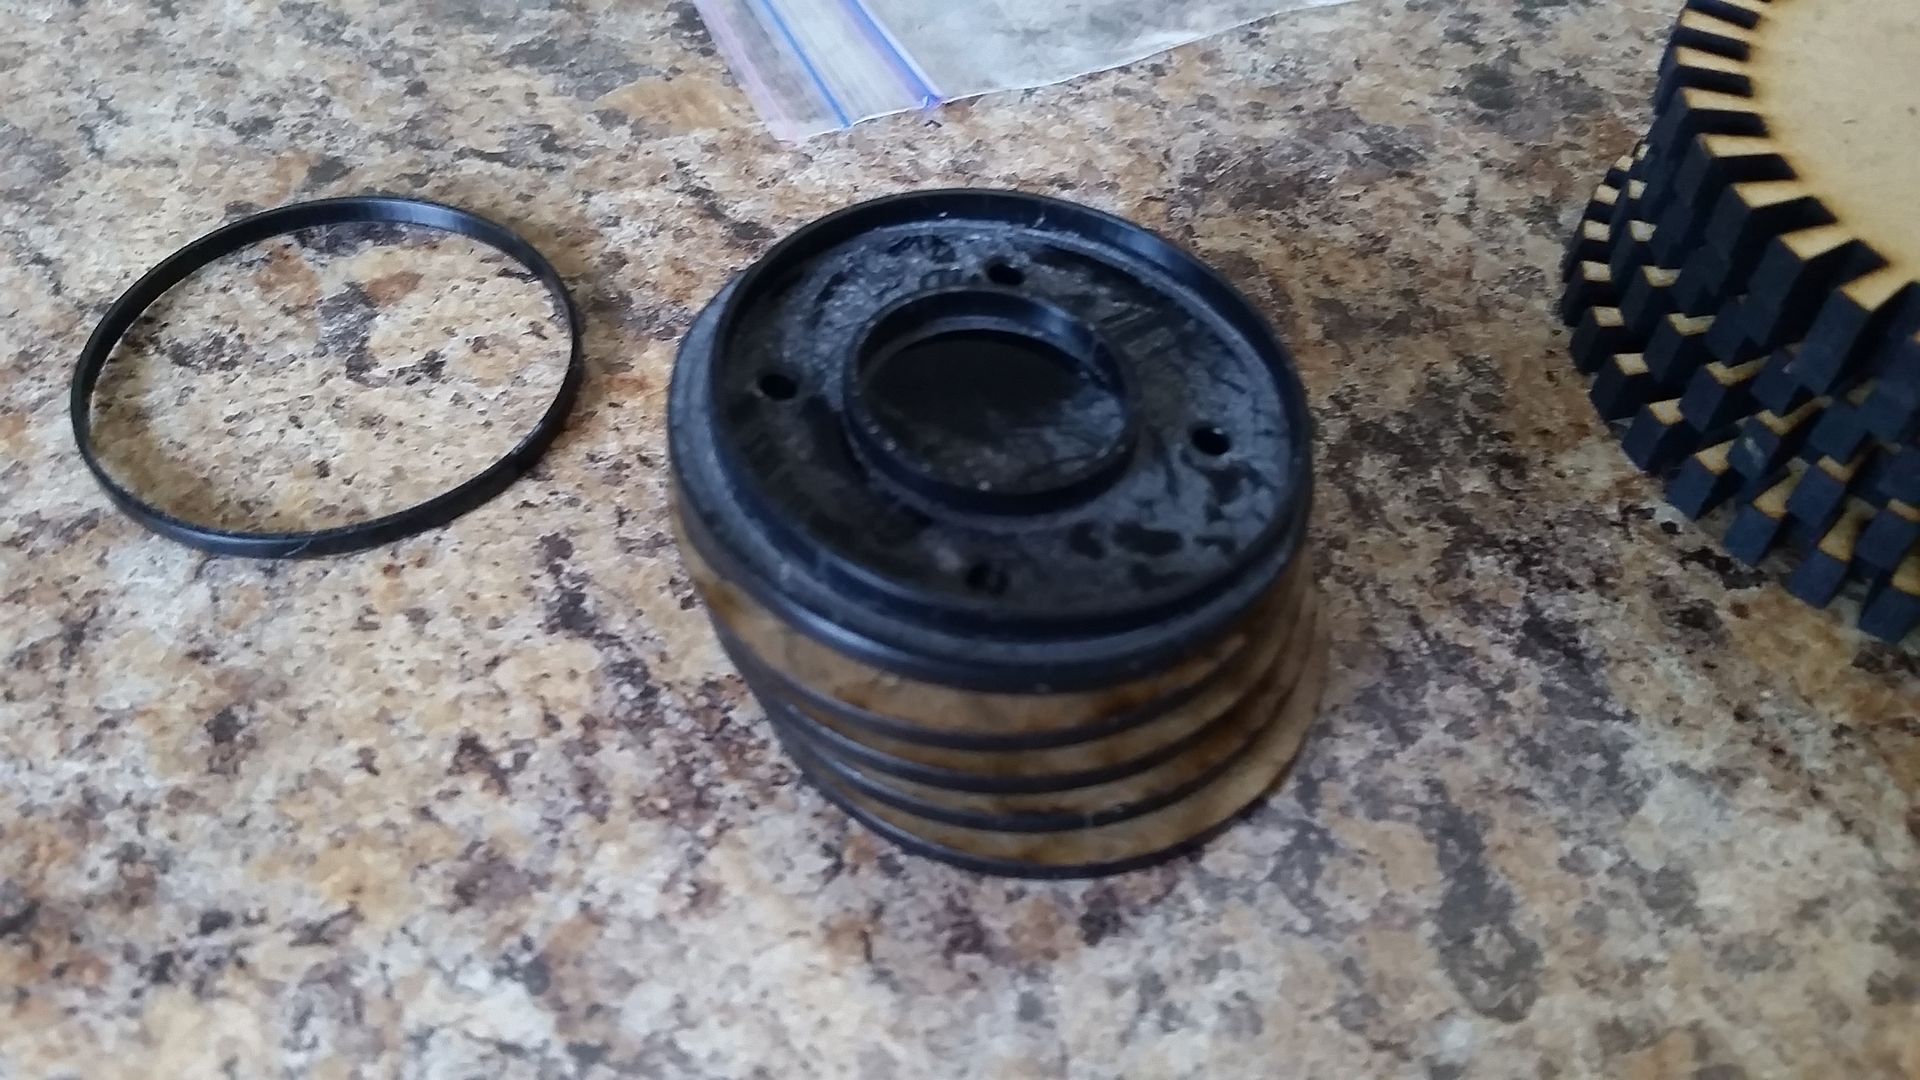
The auto pilot clutch took a real beating during our last show so it was time to give her a facelift
YUCK!
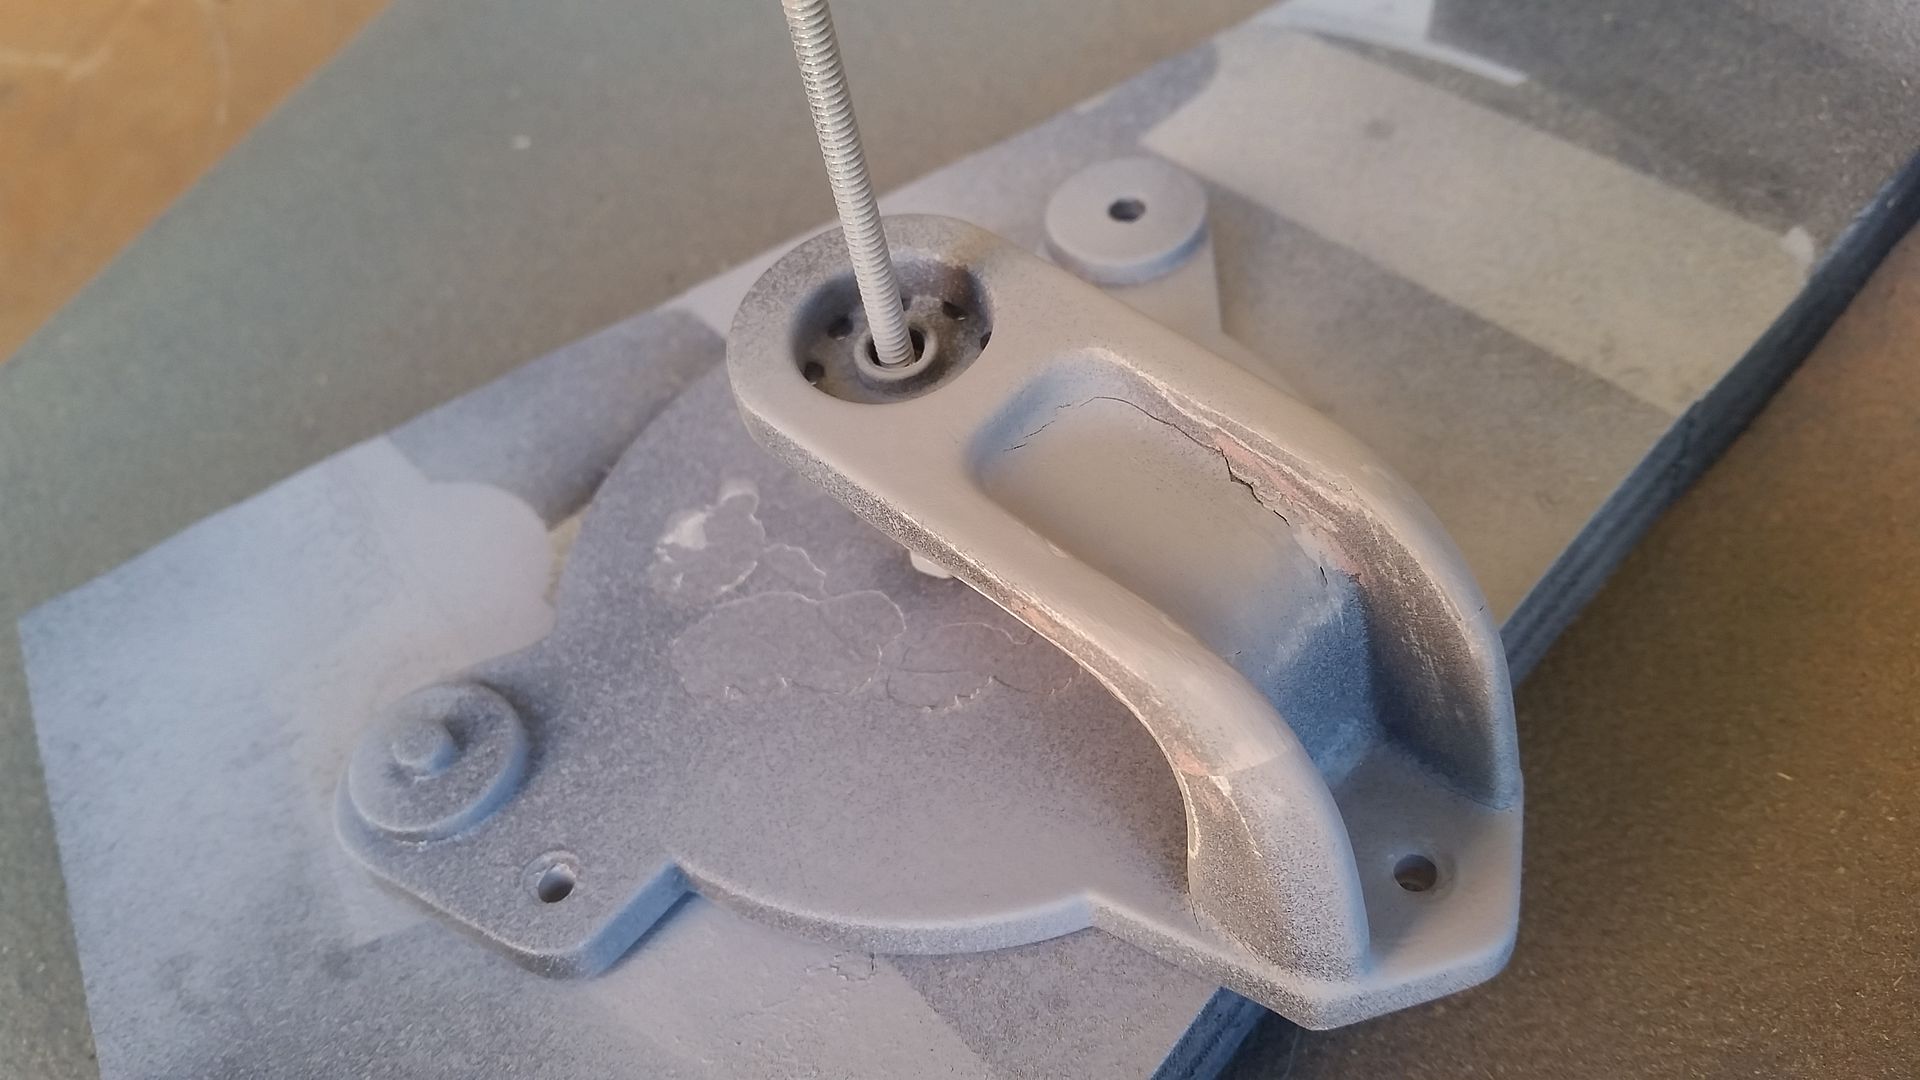
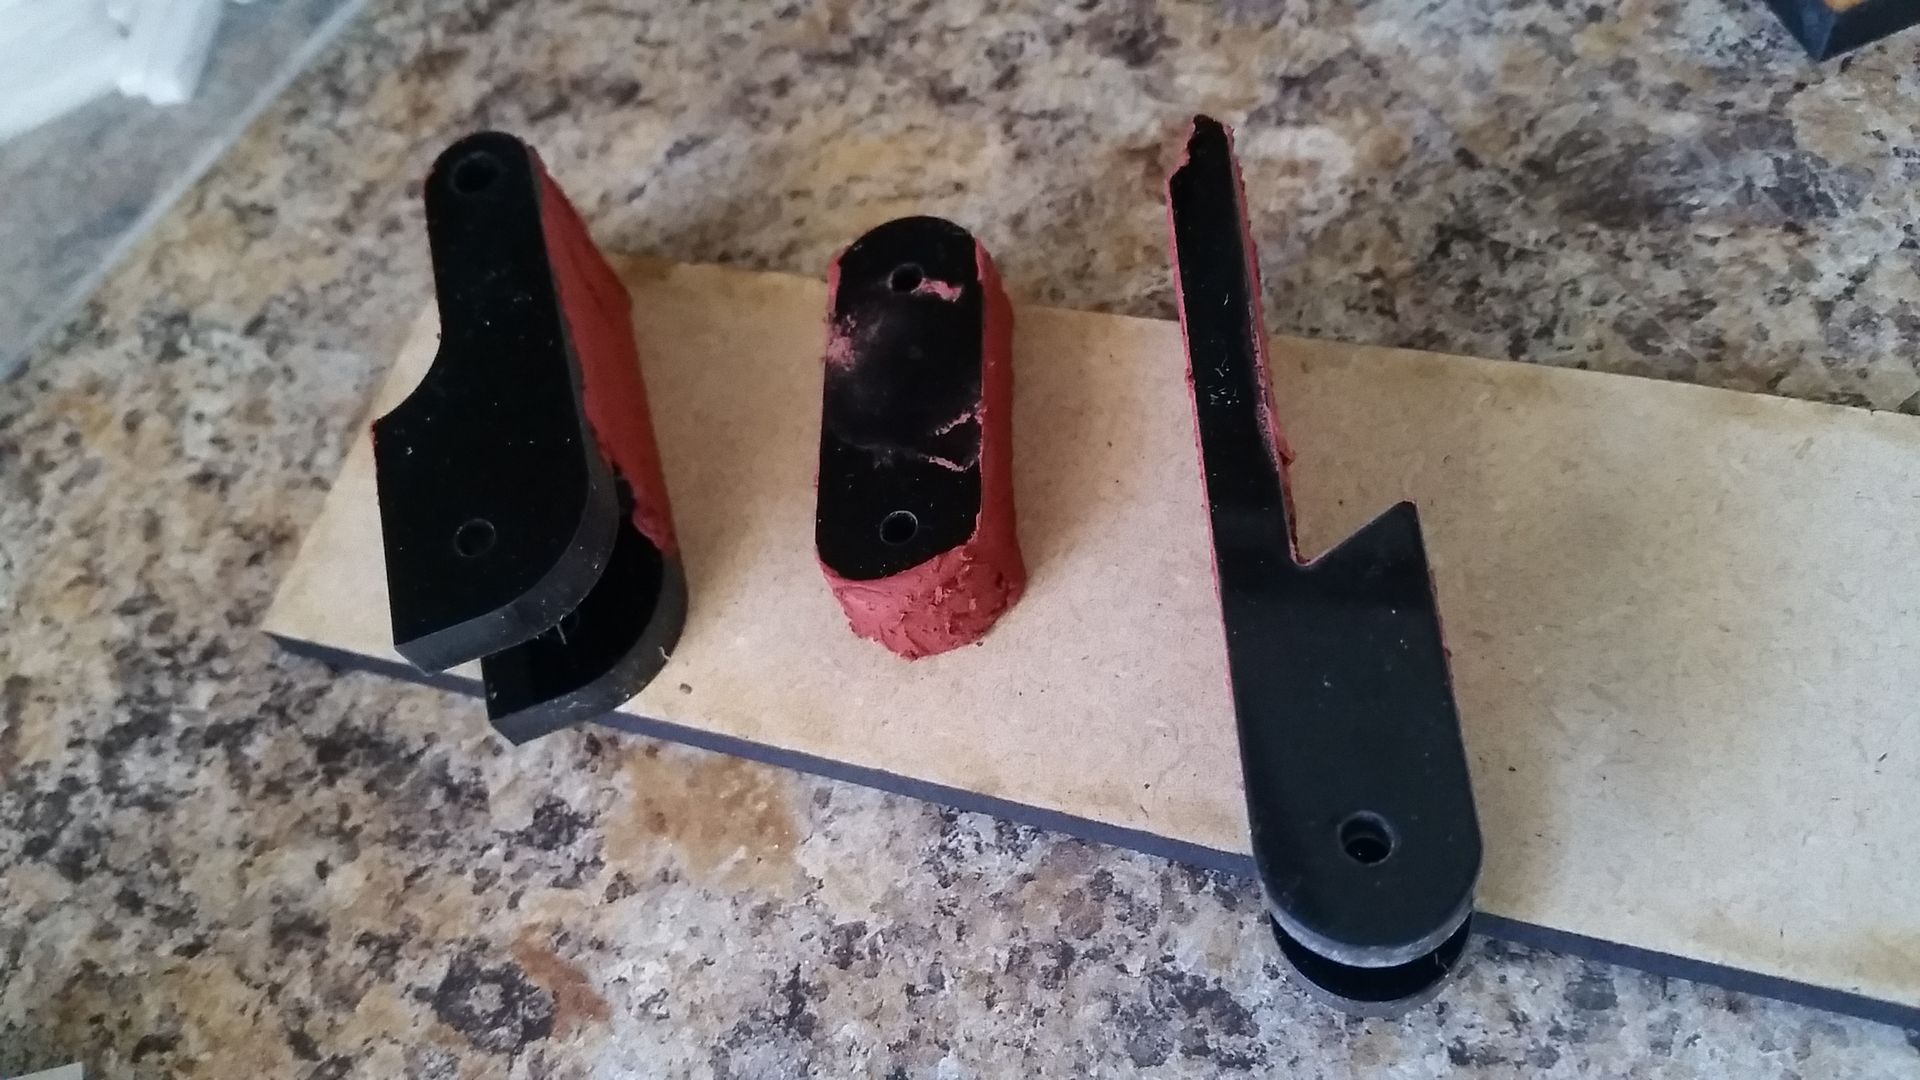
Filler
Sanded and primer added - needs more filler
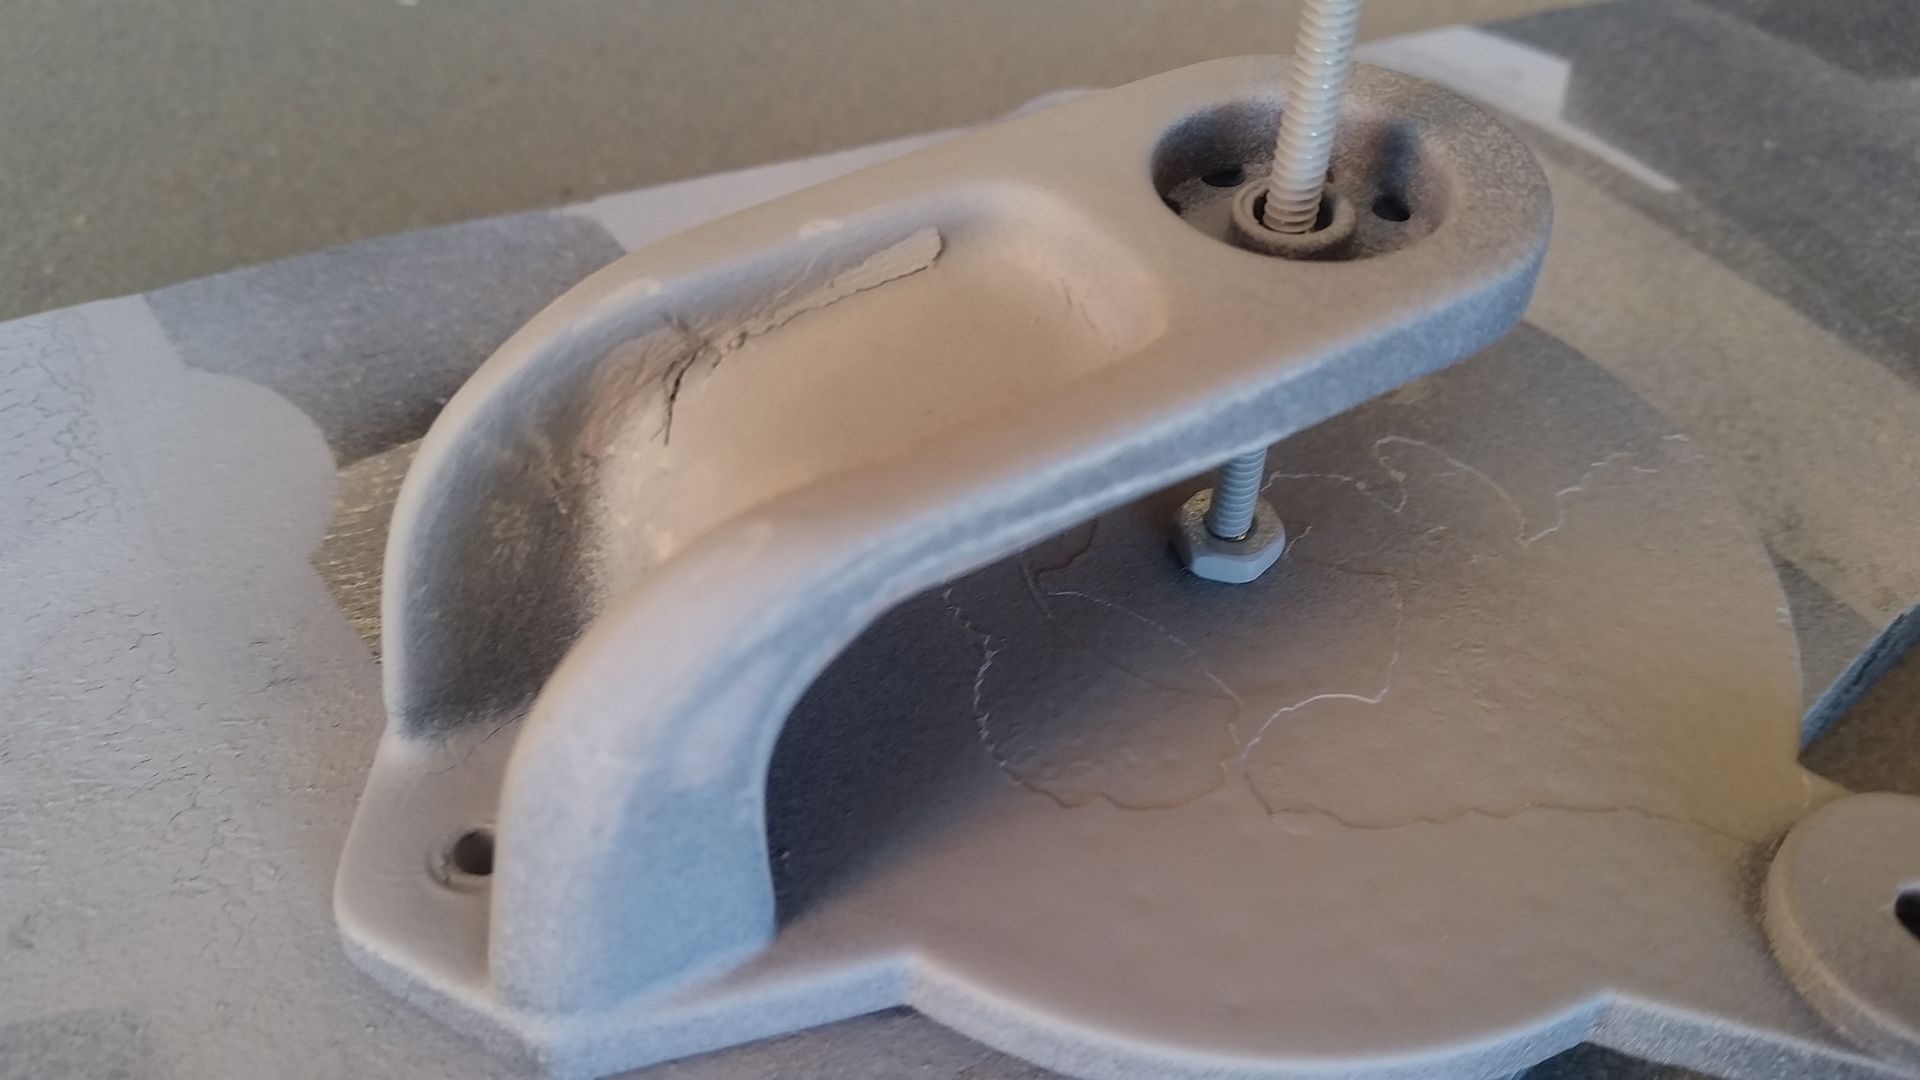
Jessie did a great job at sanding her smooth
First coat of primer
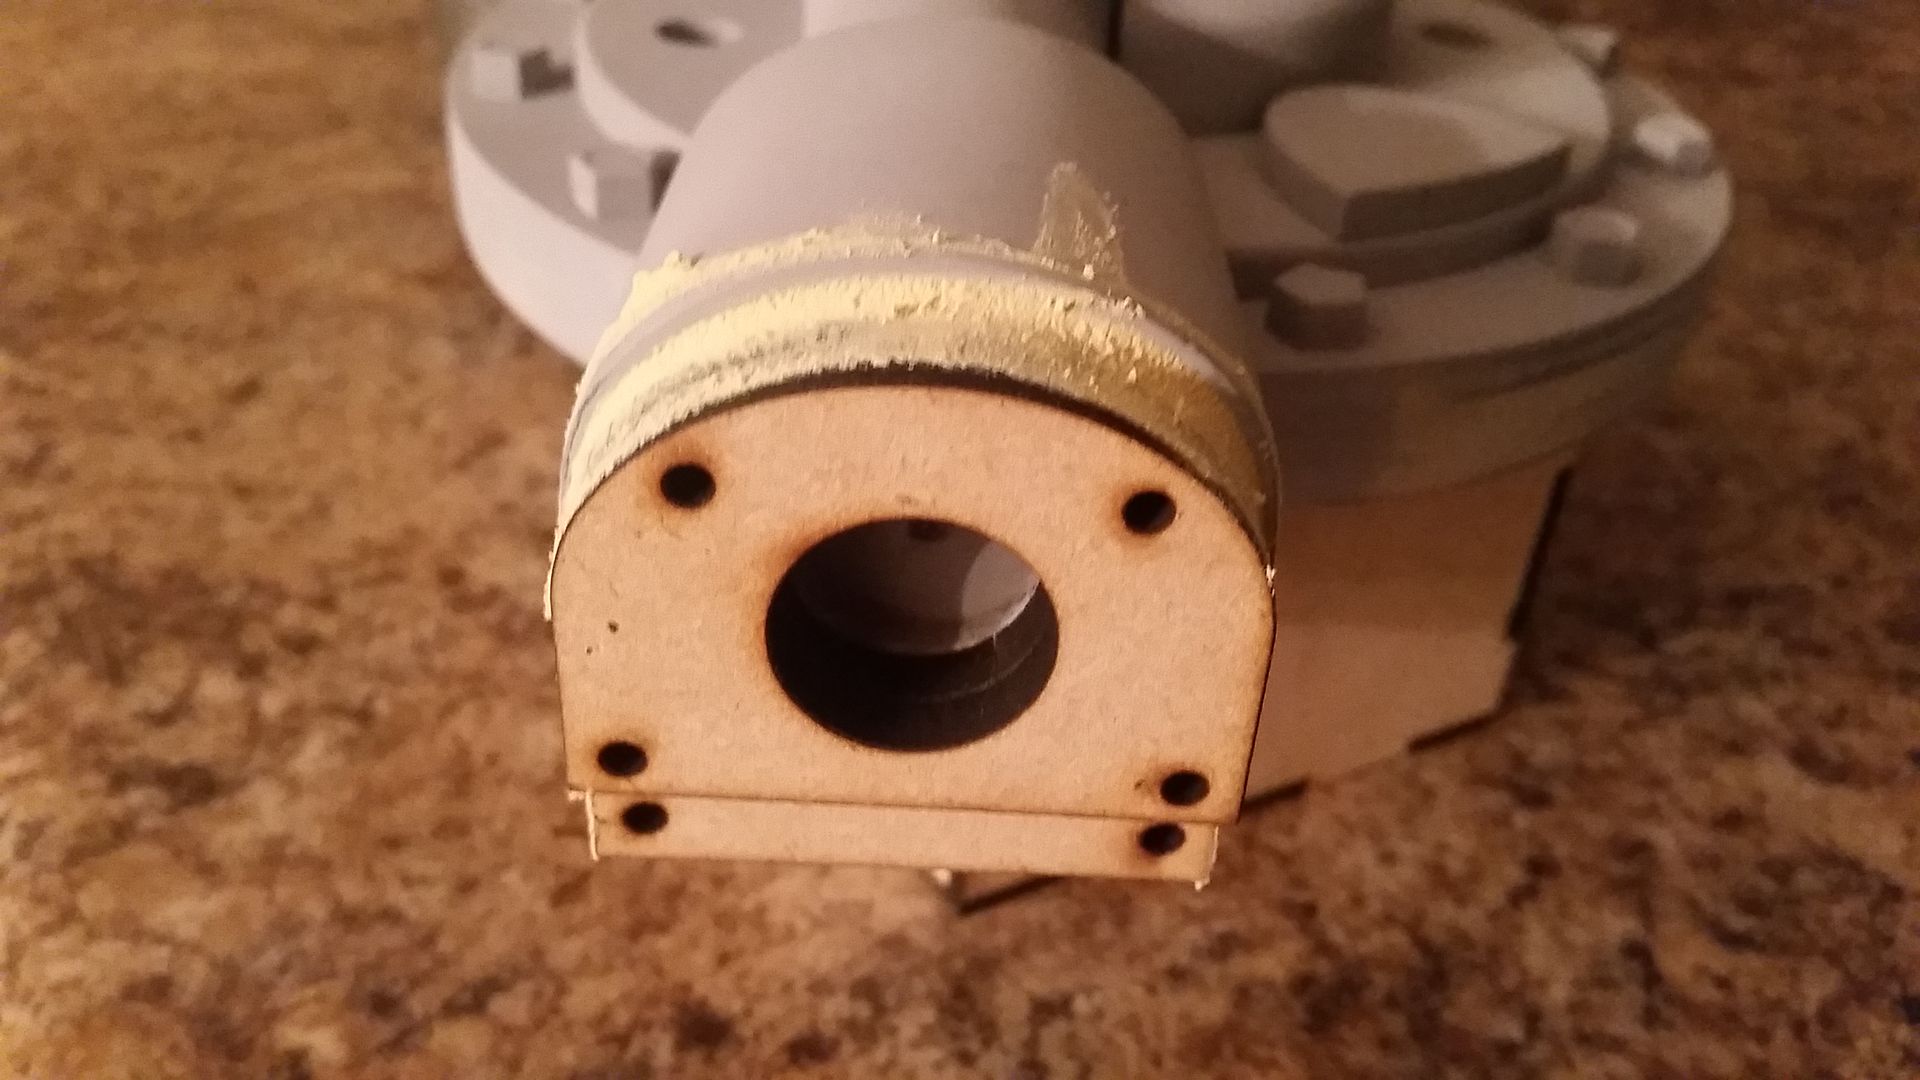
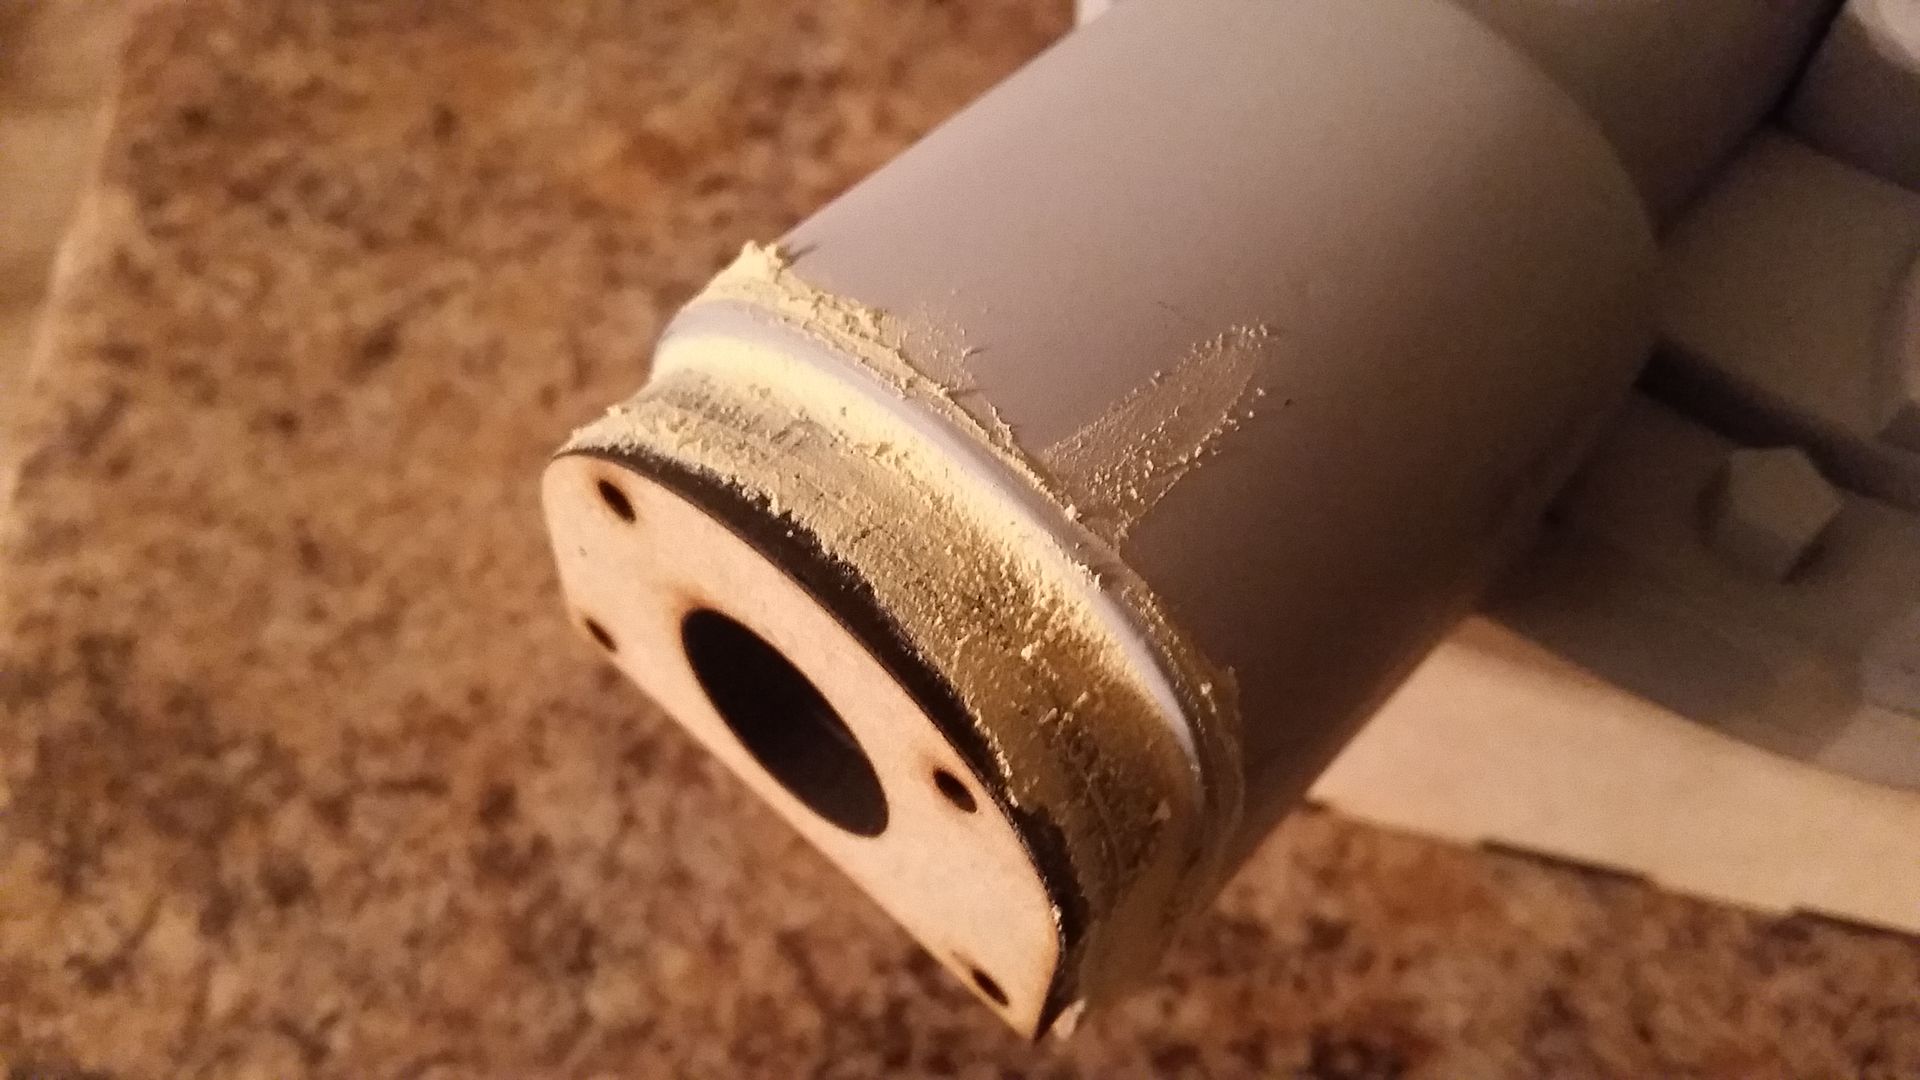
I wound up having to recut cut this greeblie
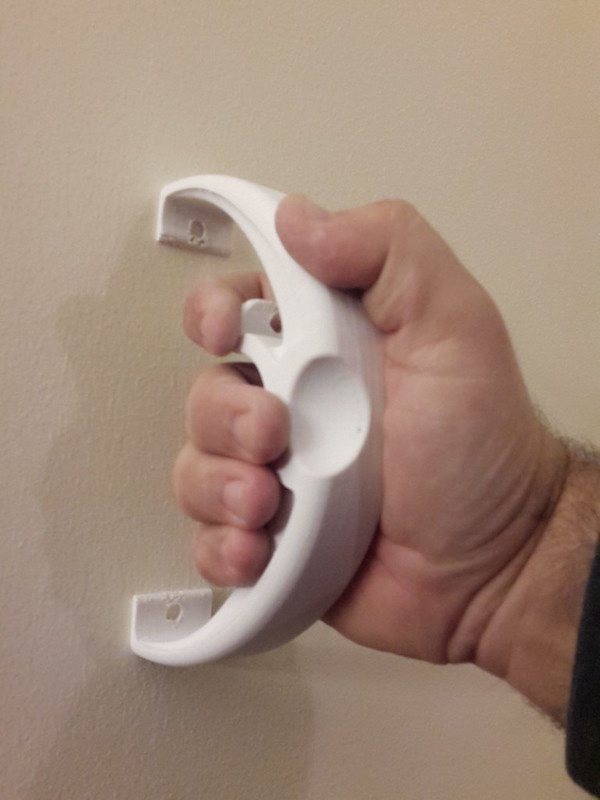
New I Bolts - with googly eyes of course!
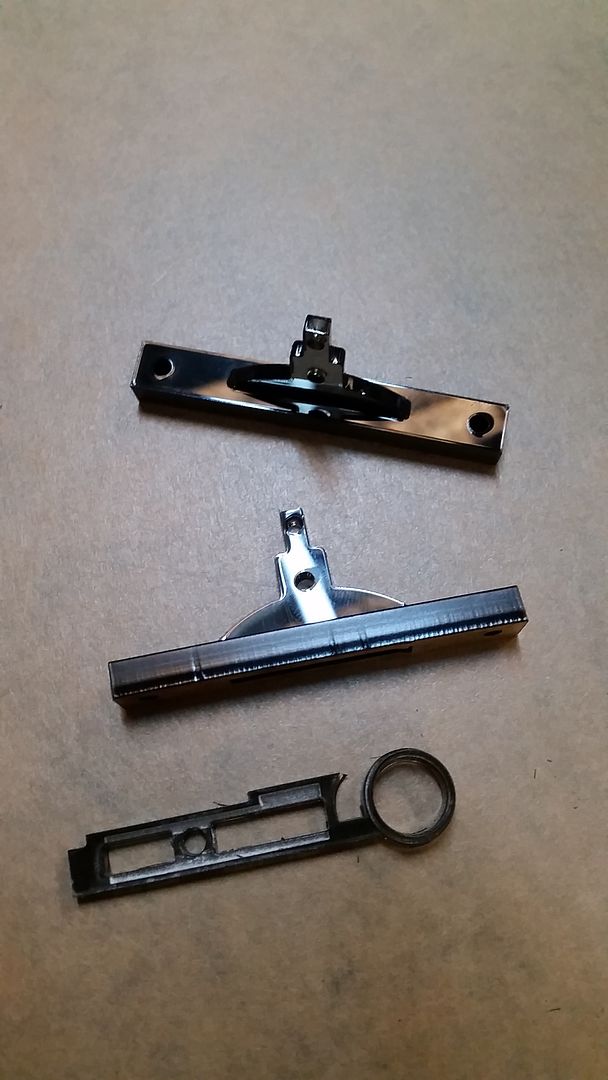
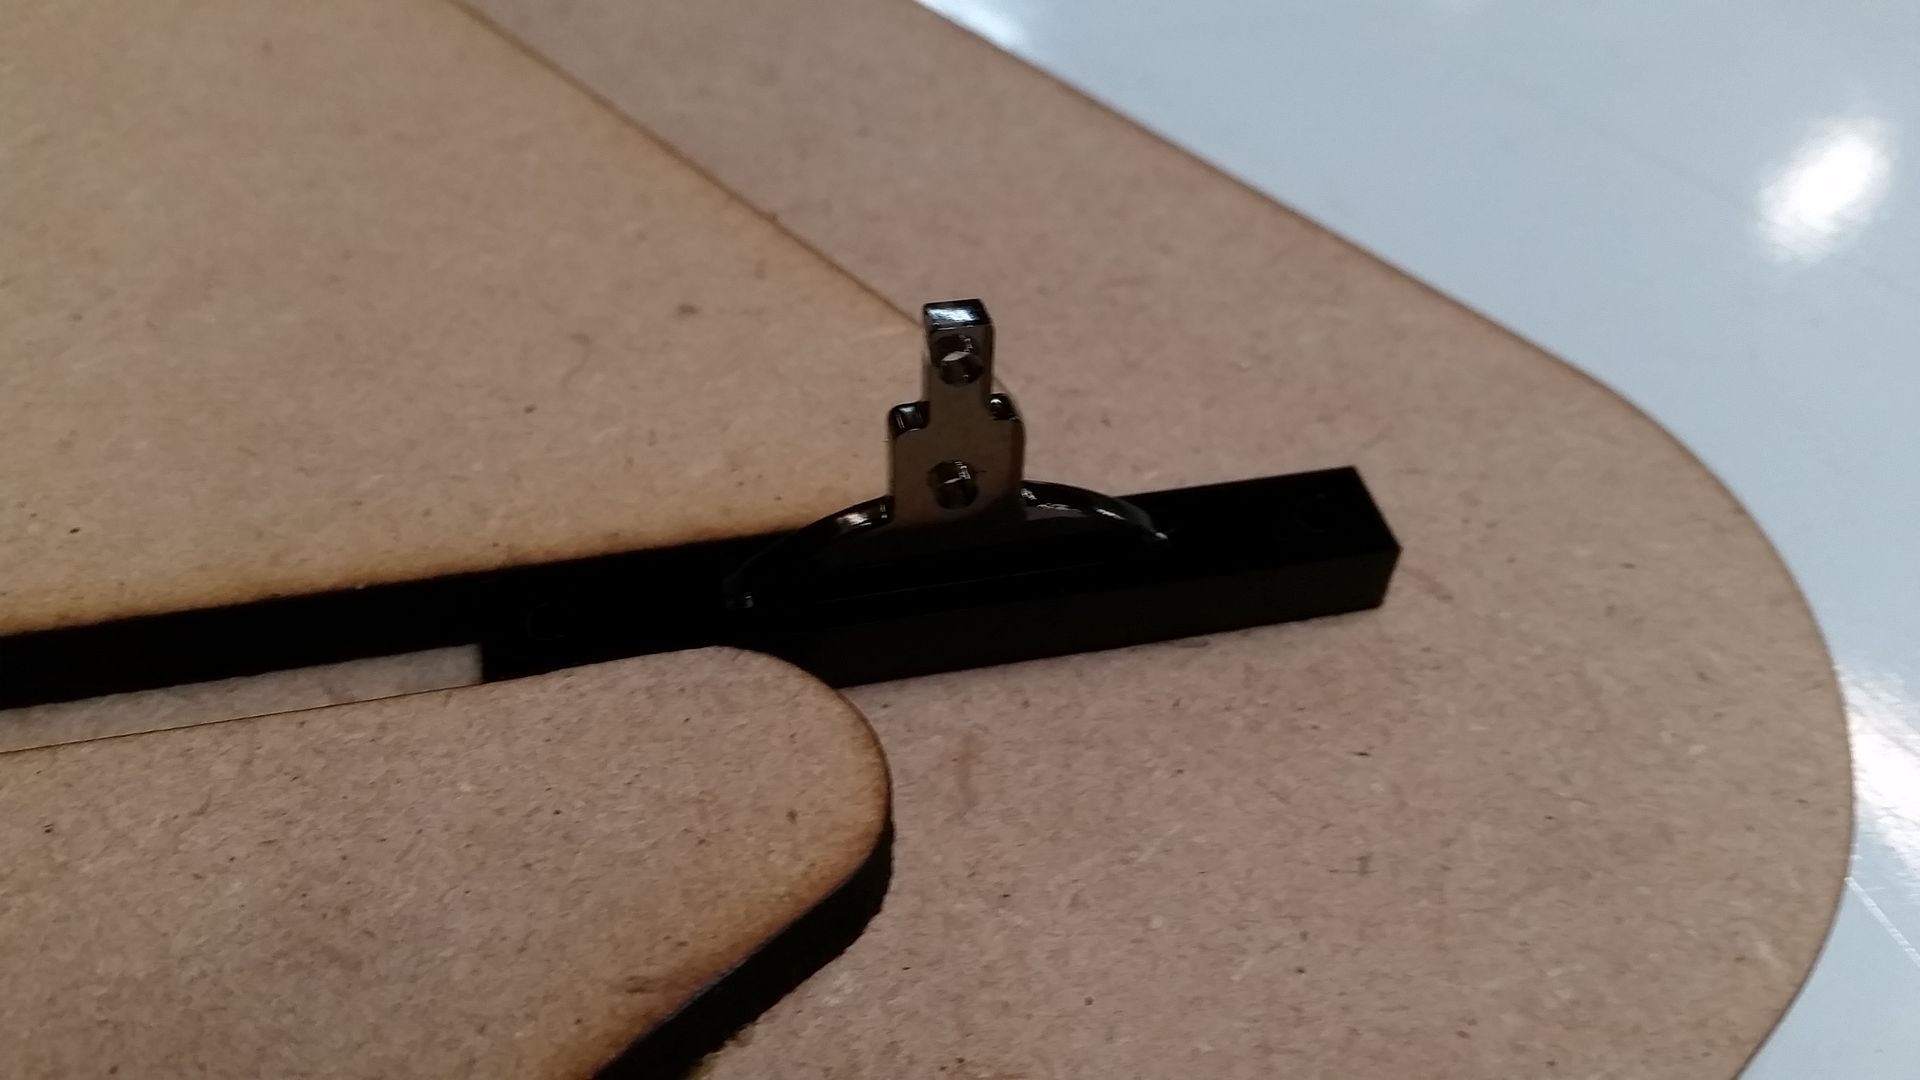
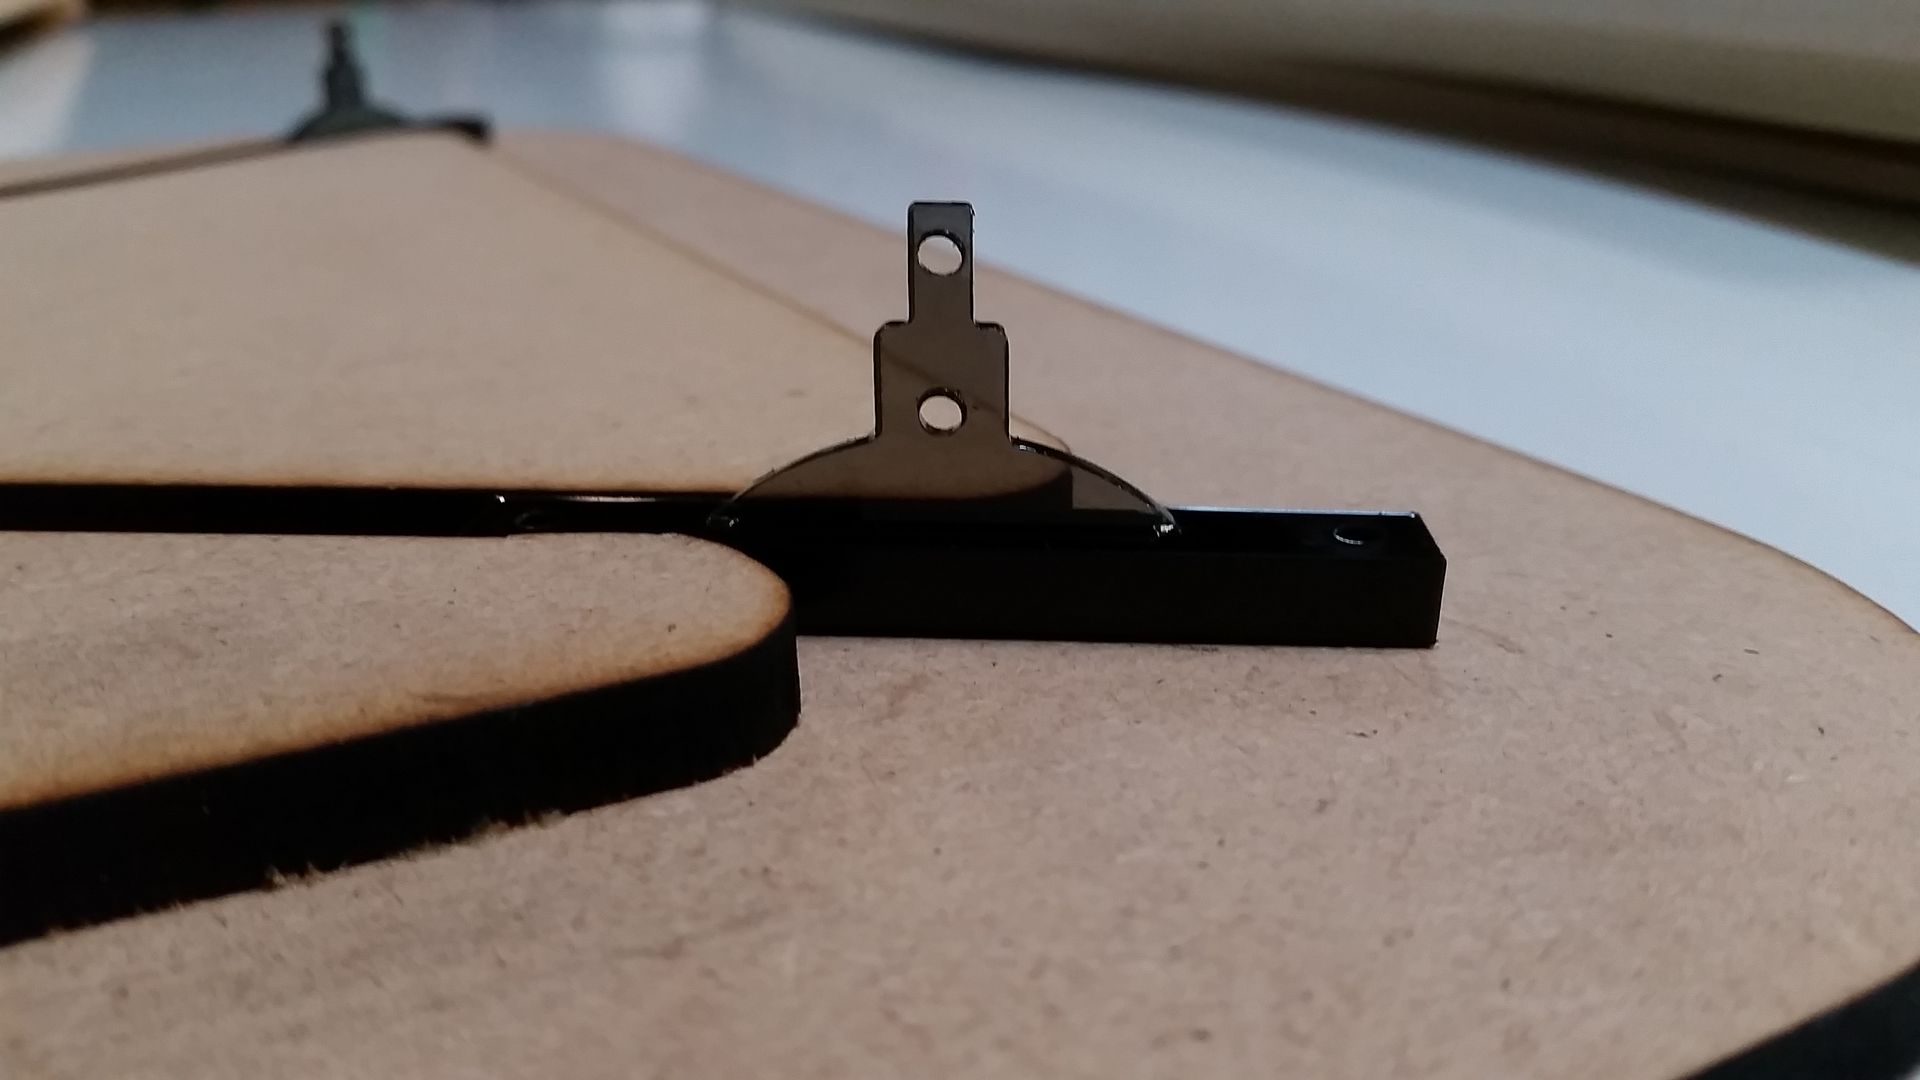
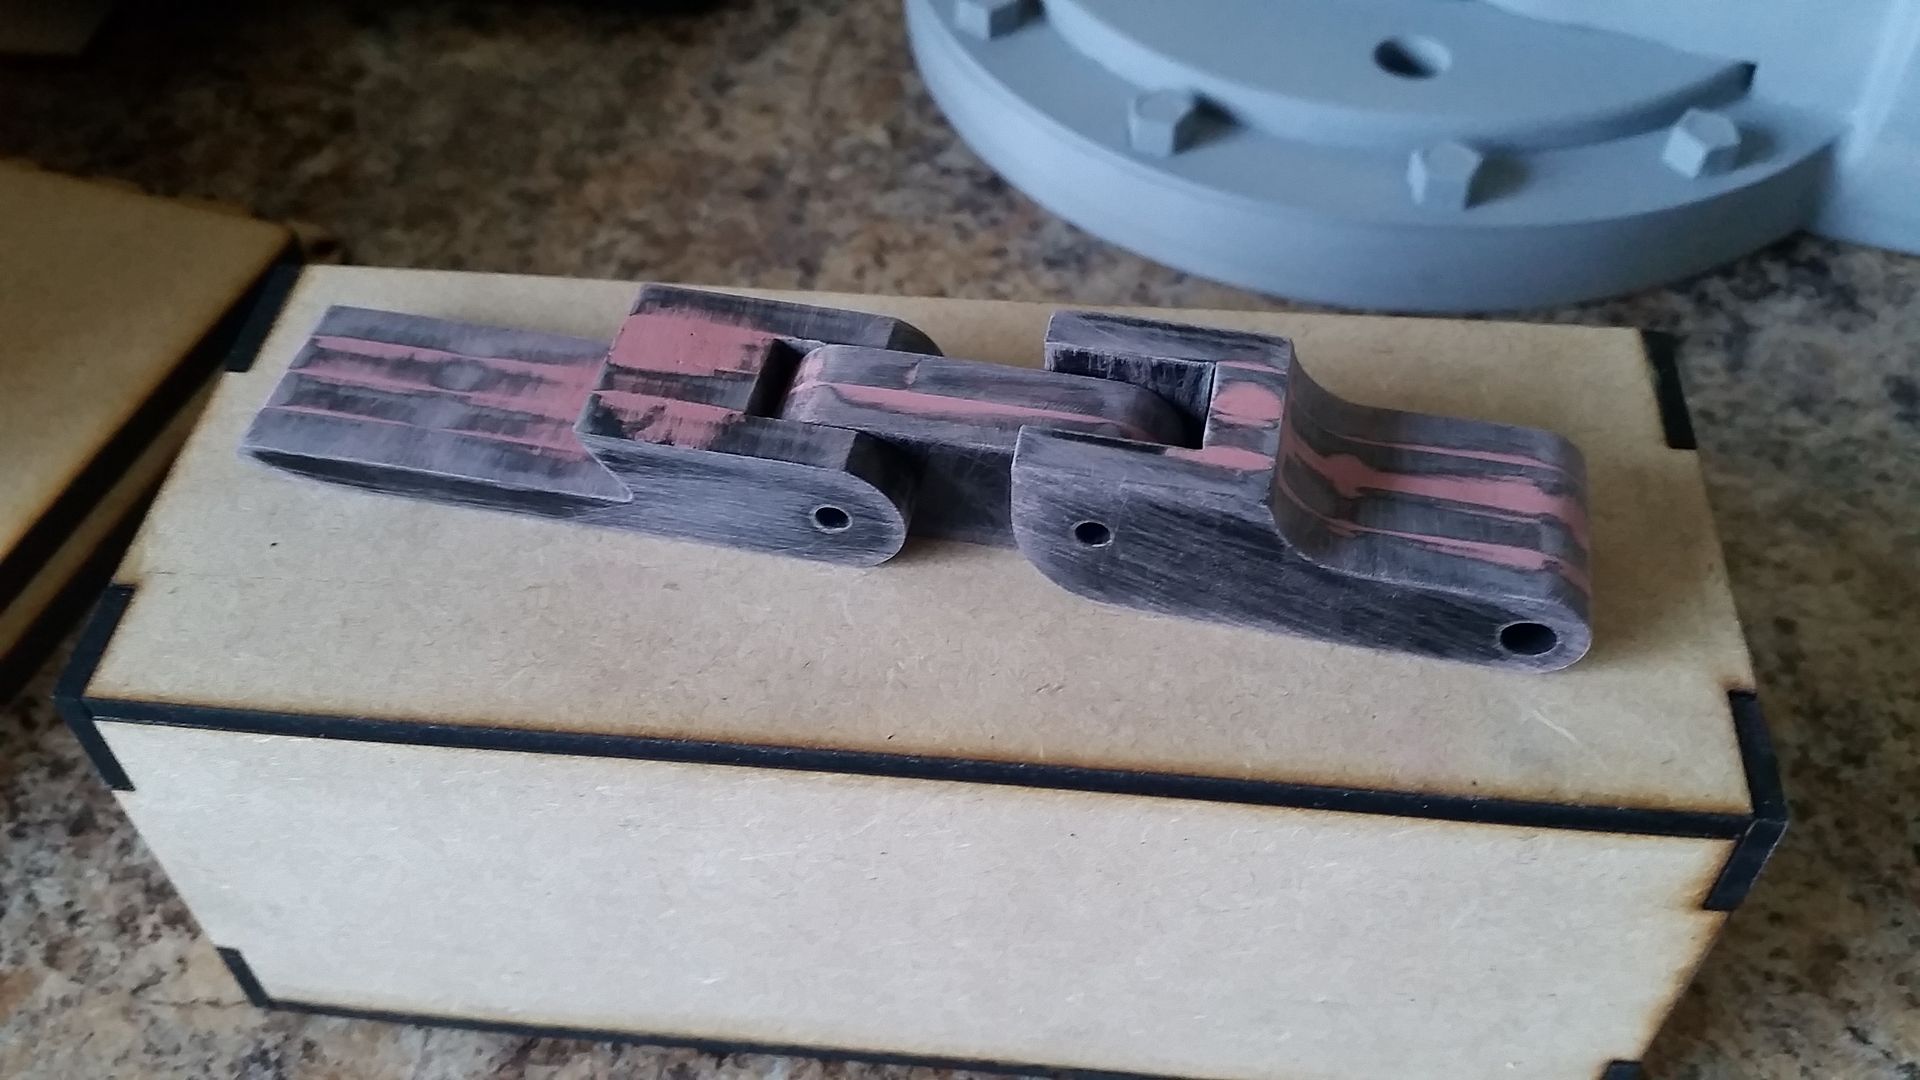
I laser cut a new latch for another greeblie. I've started work on the... wait for it...
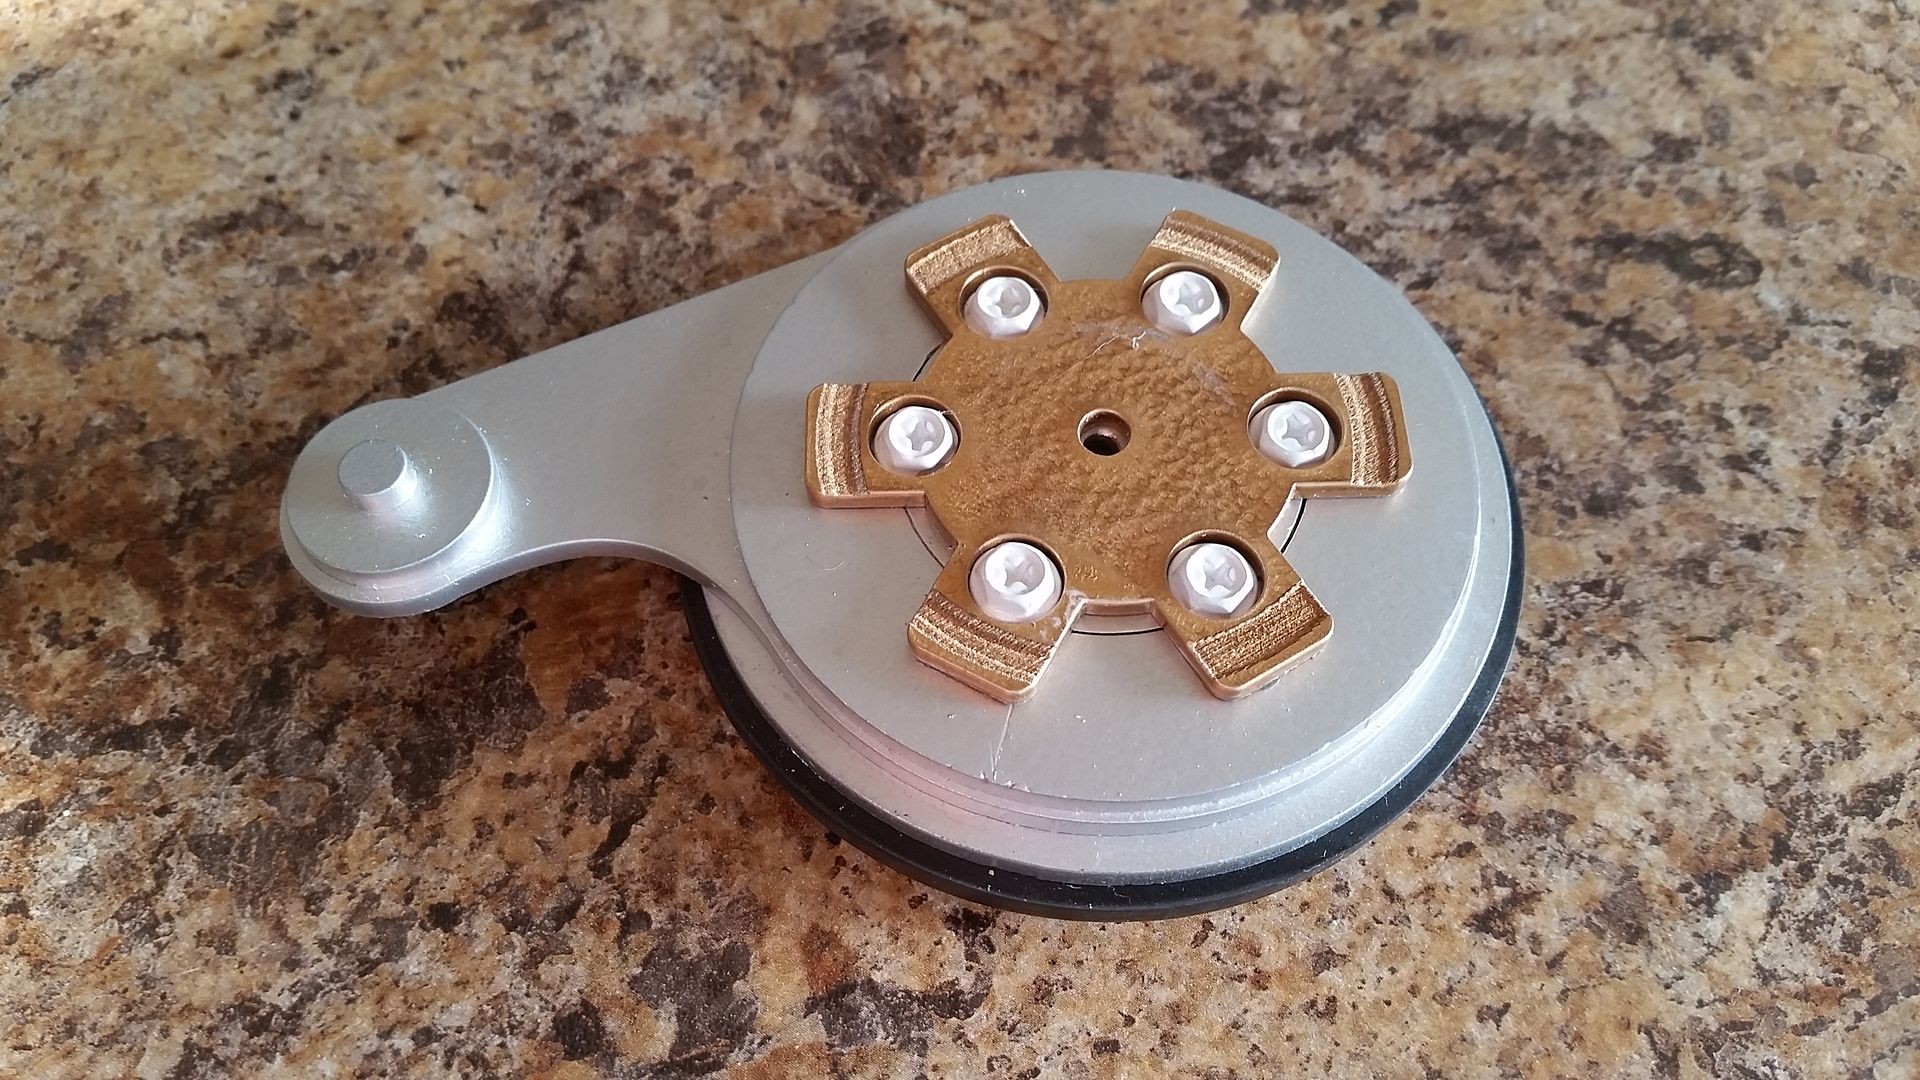
This new latch will be mounted to a pulley which in turn will be mounted to... The New Navigation Computer!
Pulley! More to Come on this ever evolving project!
Added more filler and the pipe connection to this greeblie
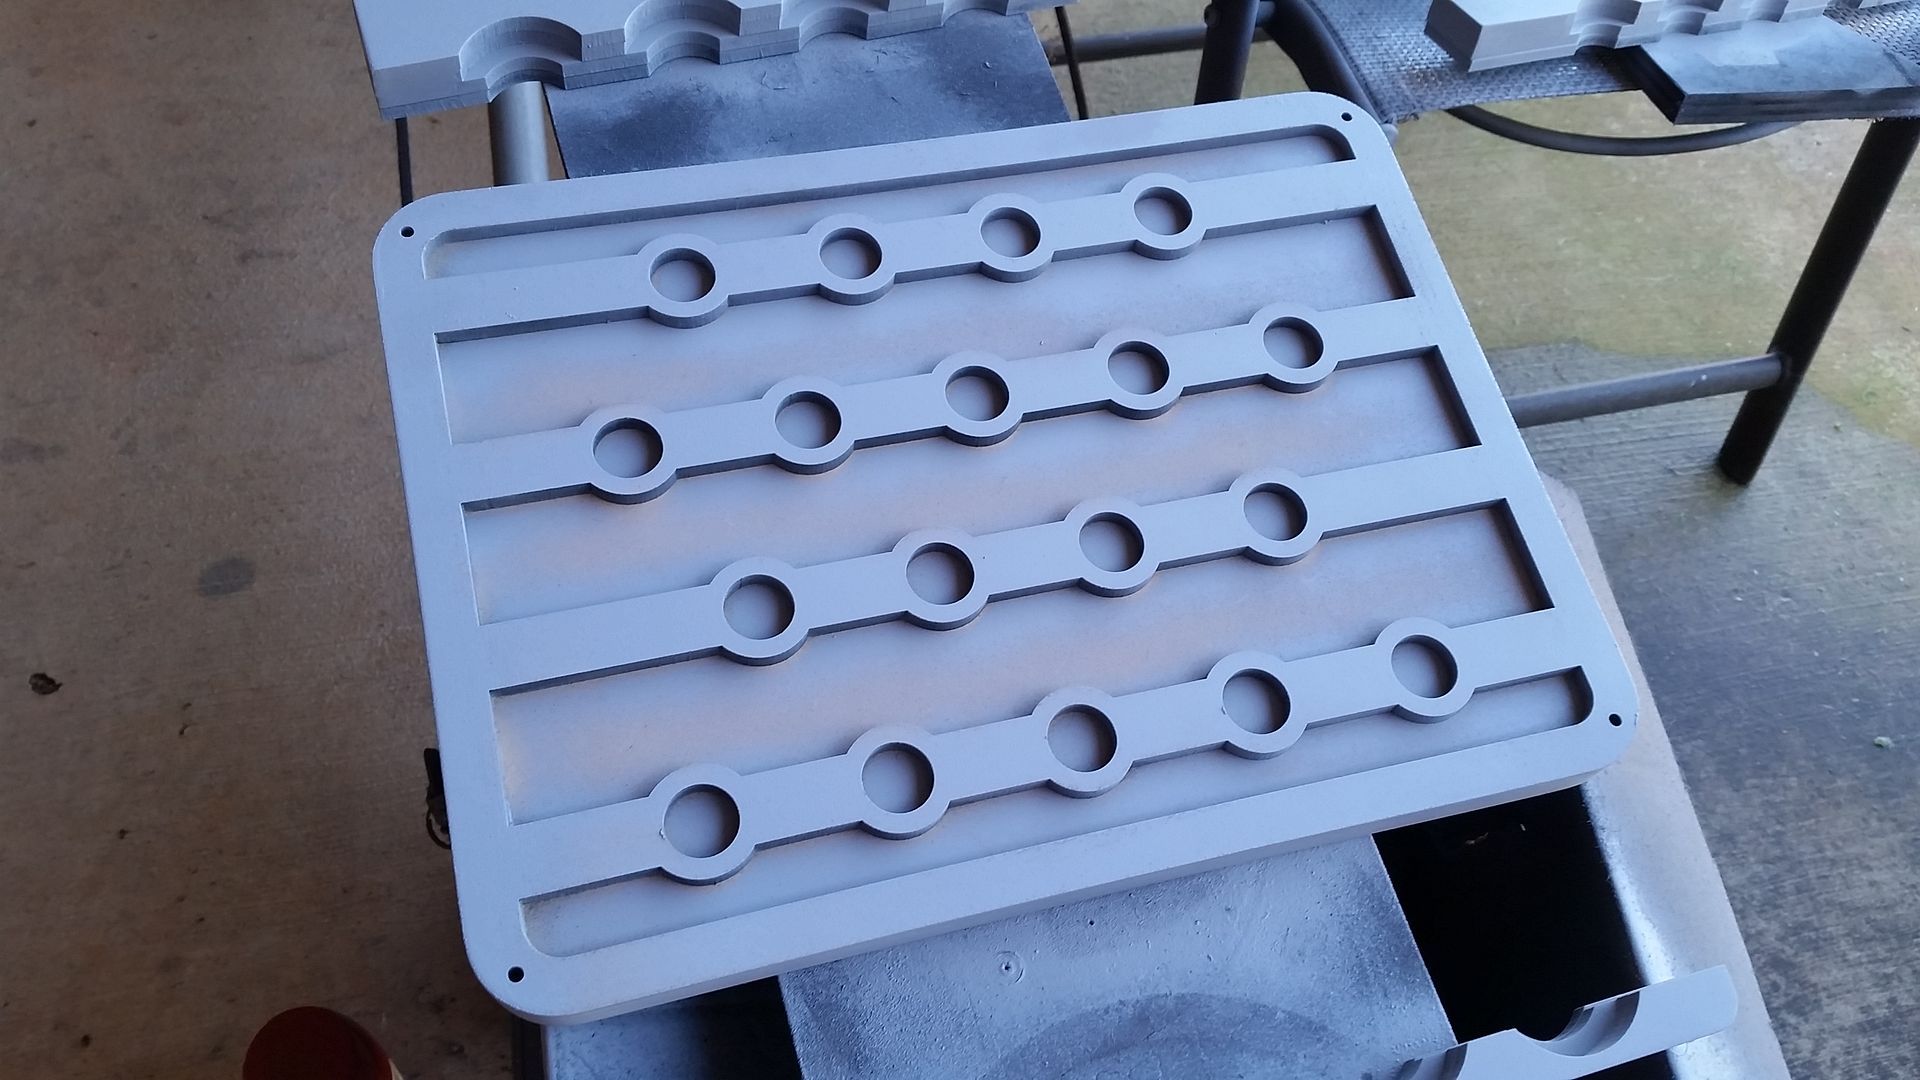
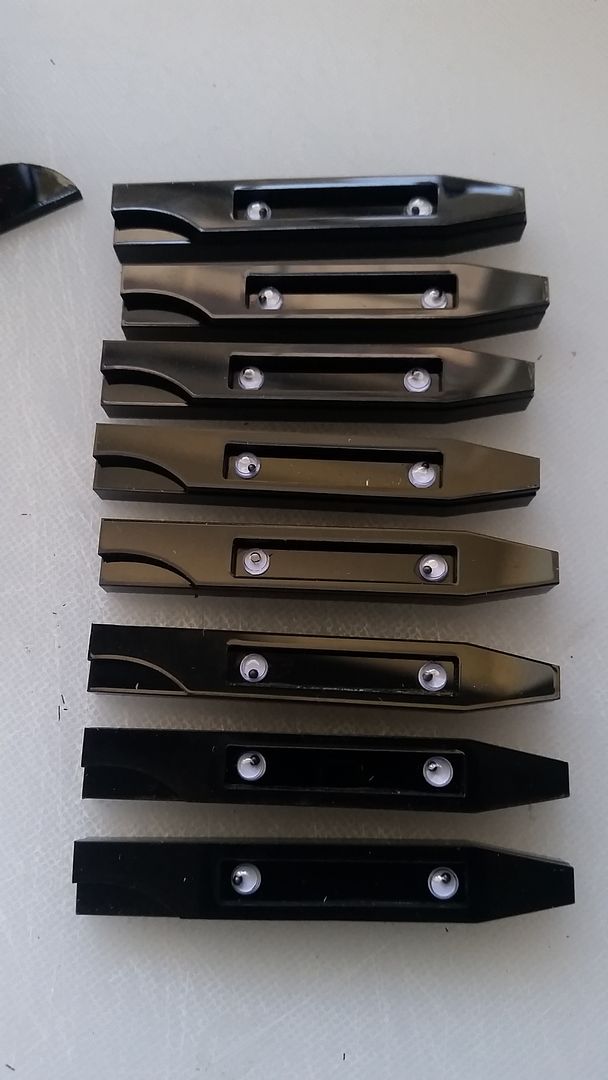
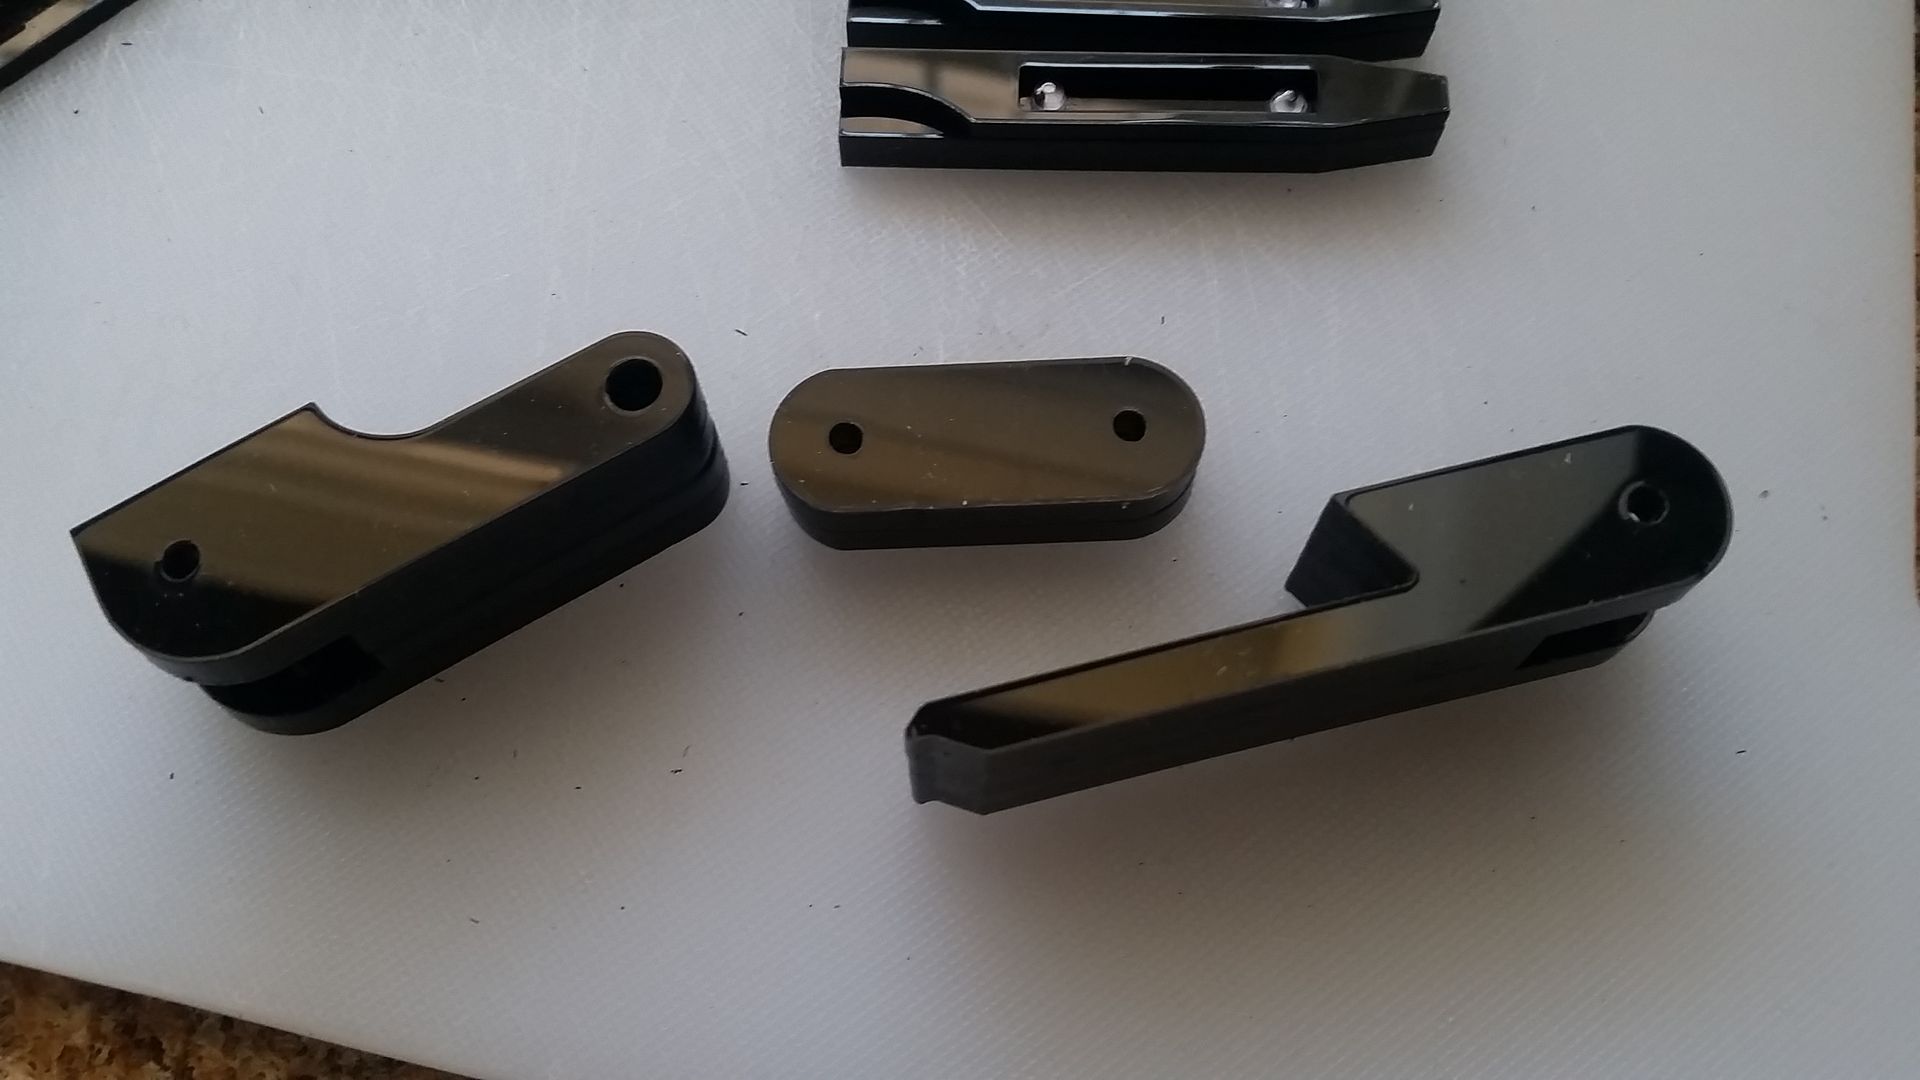
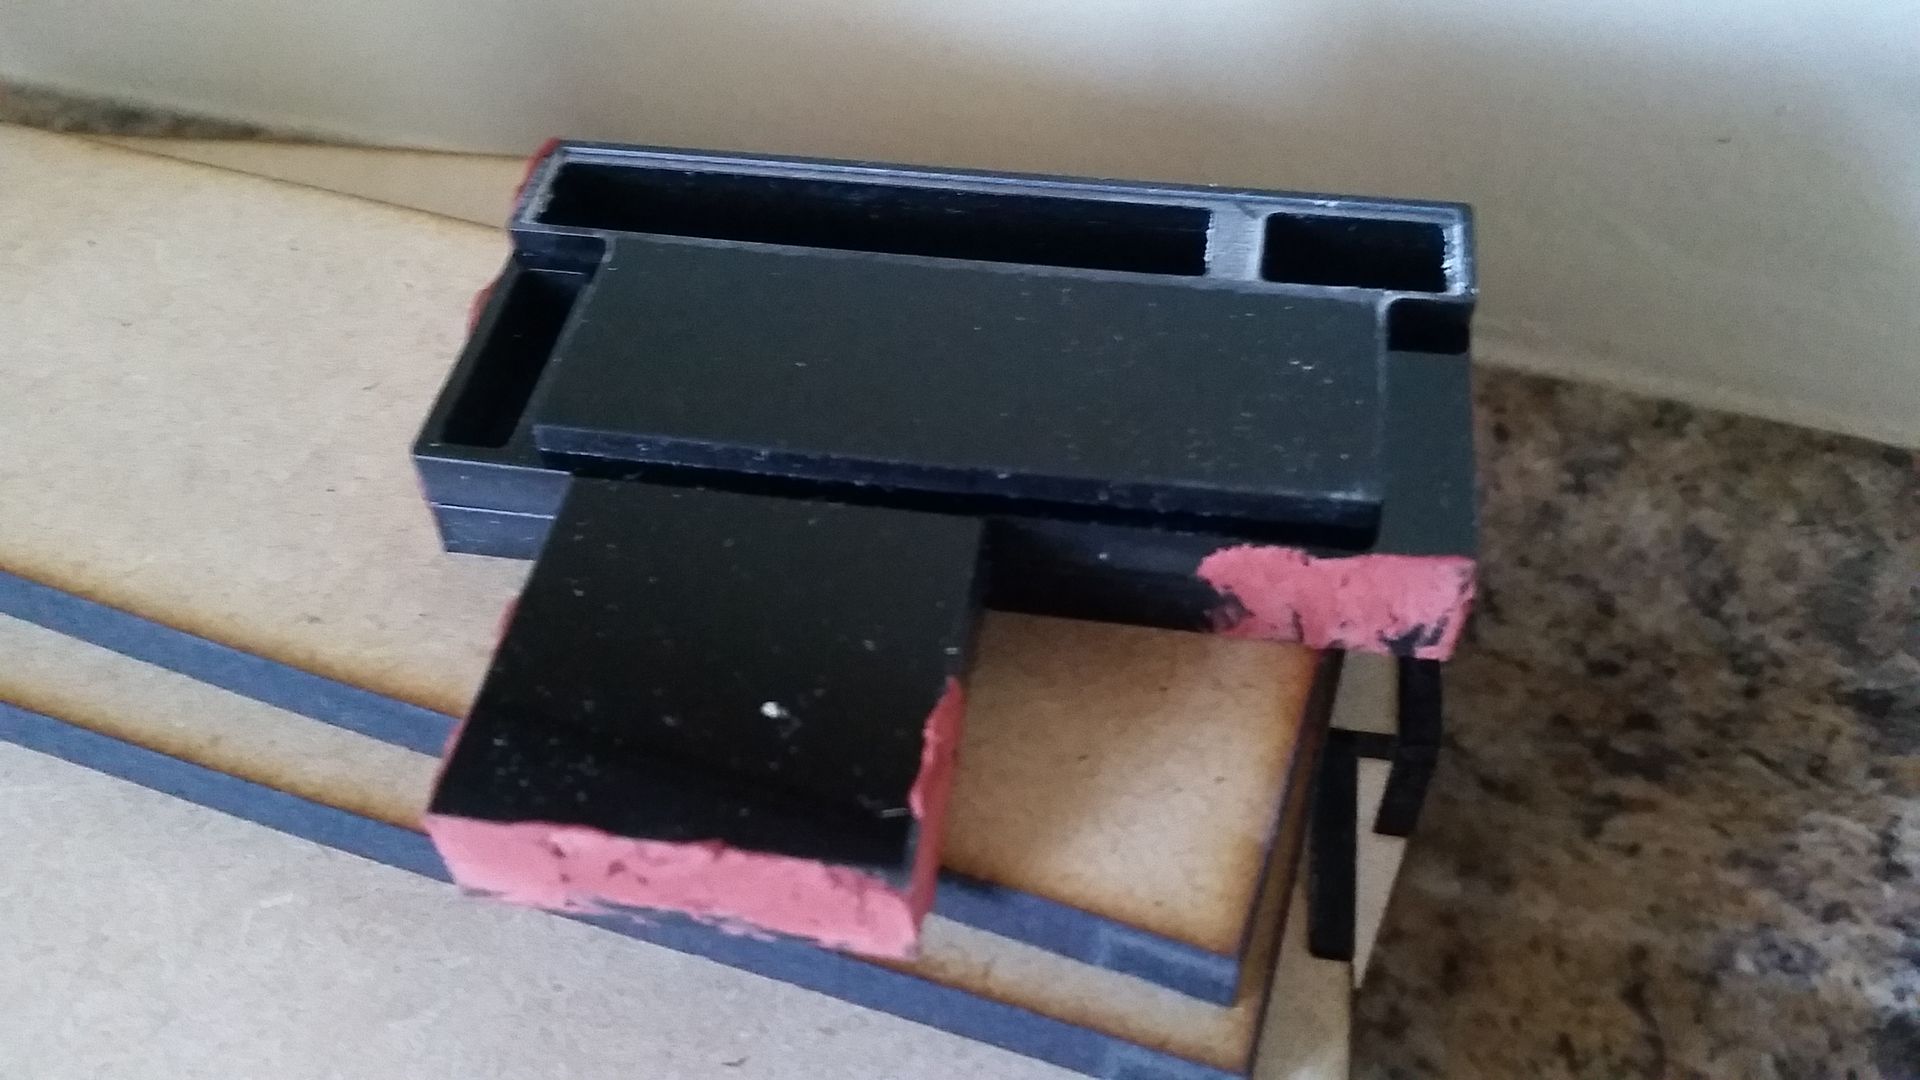
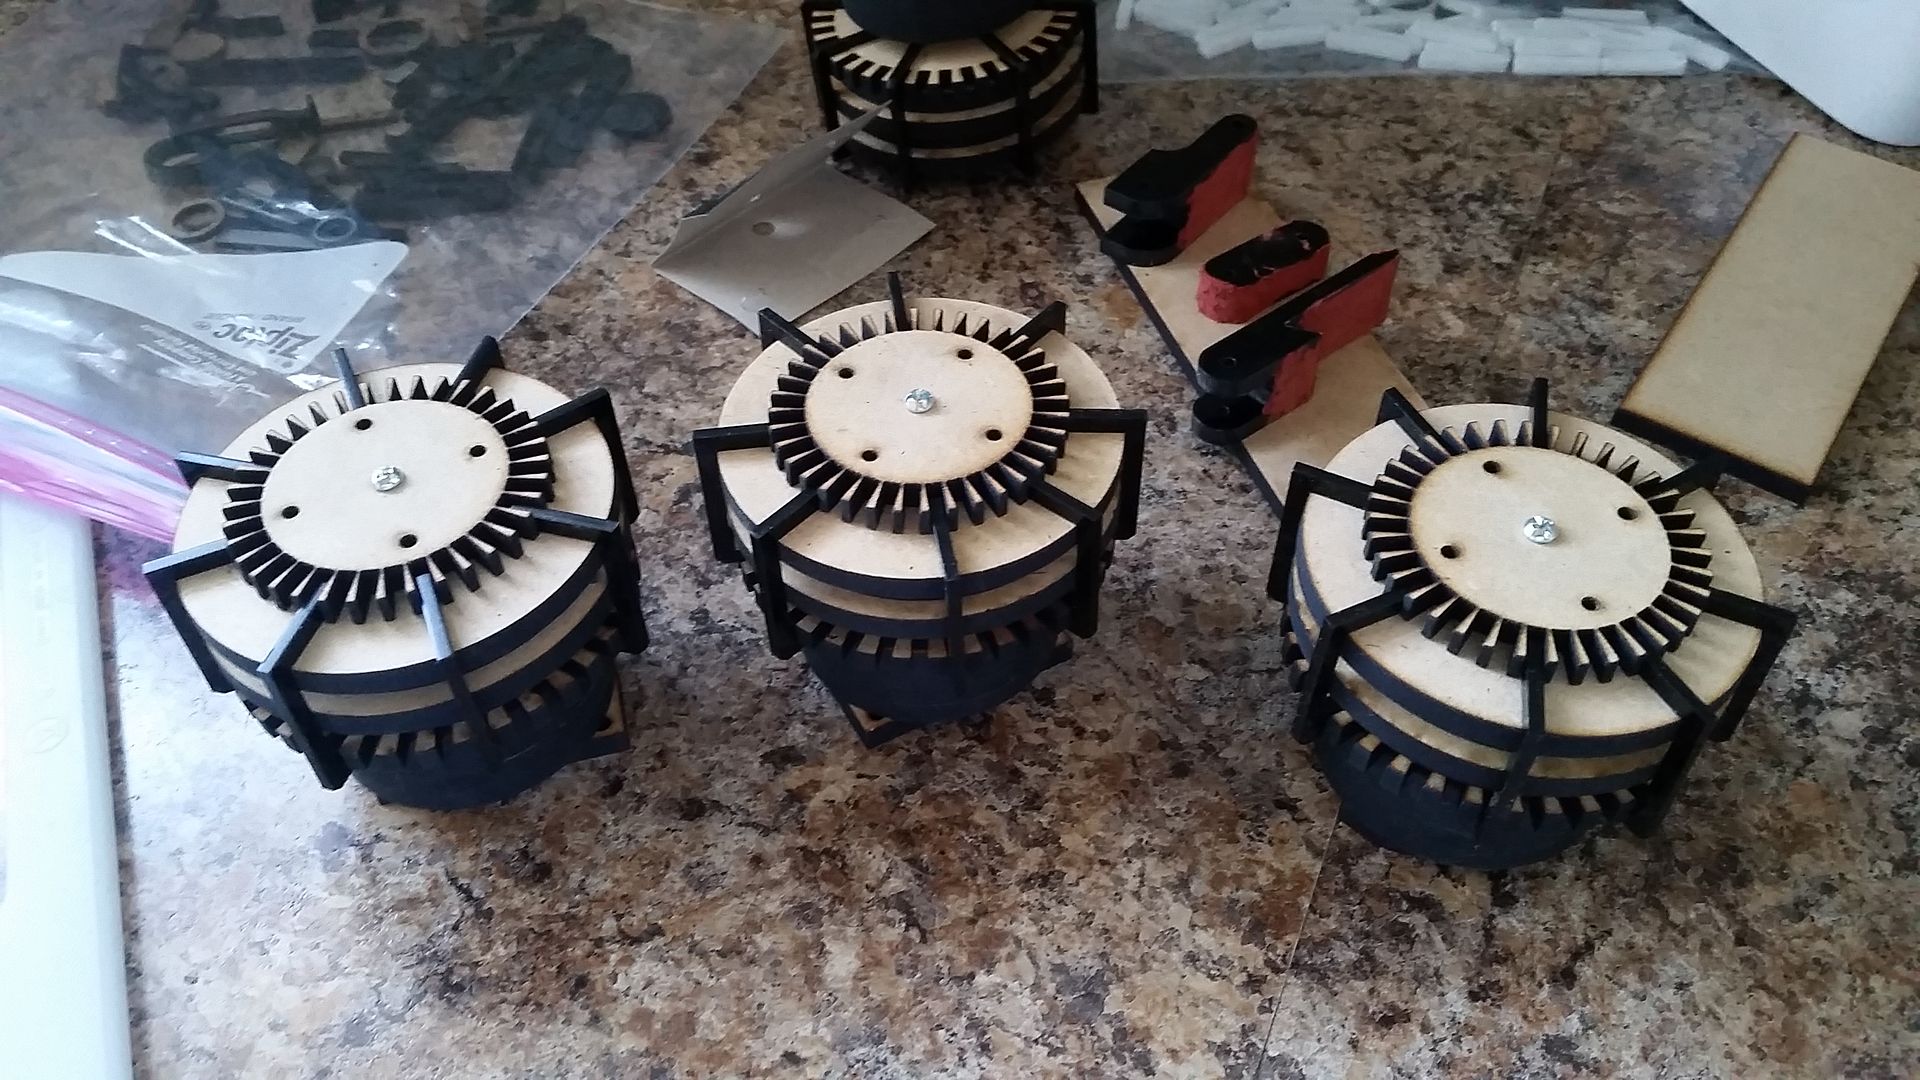
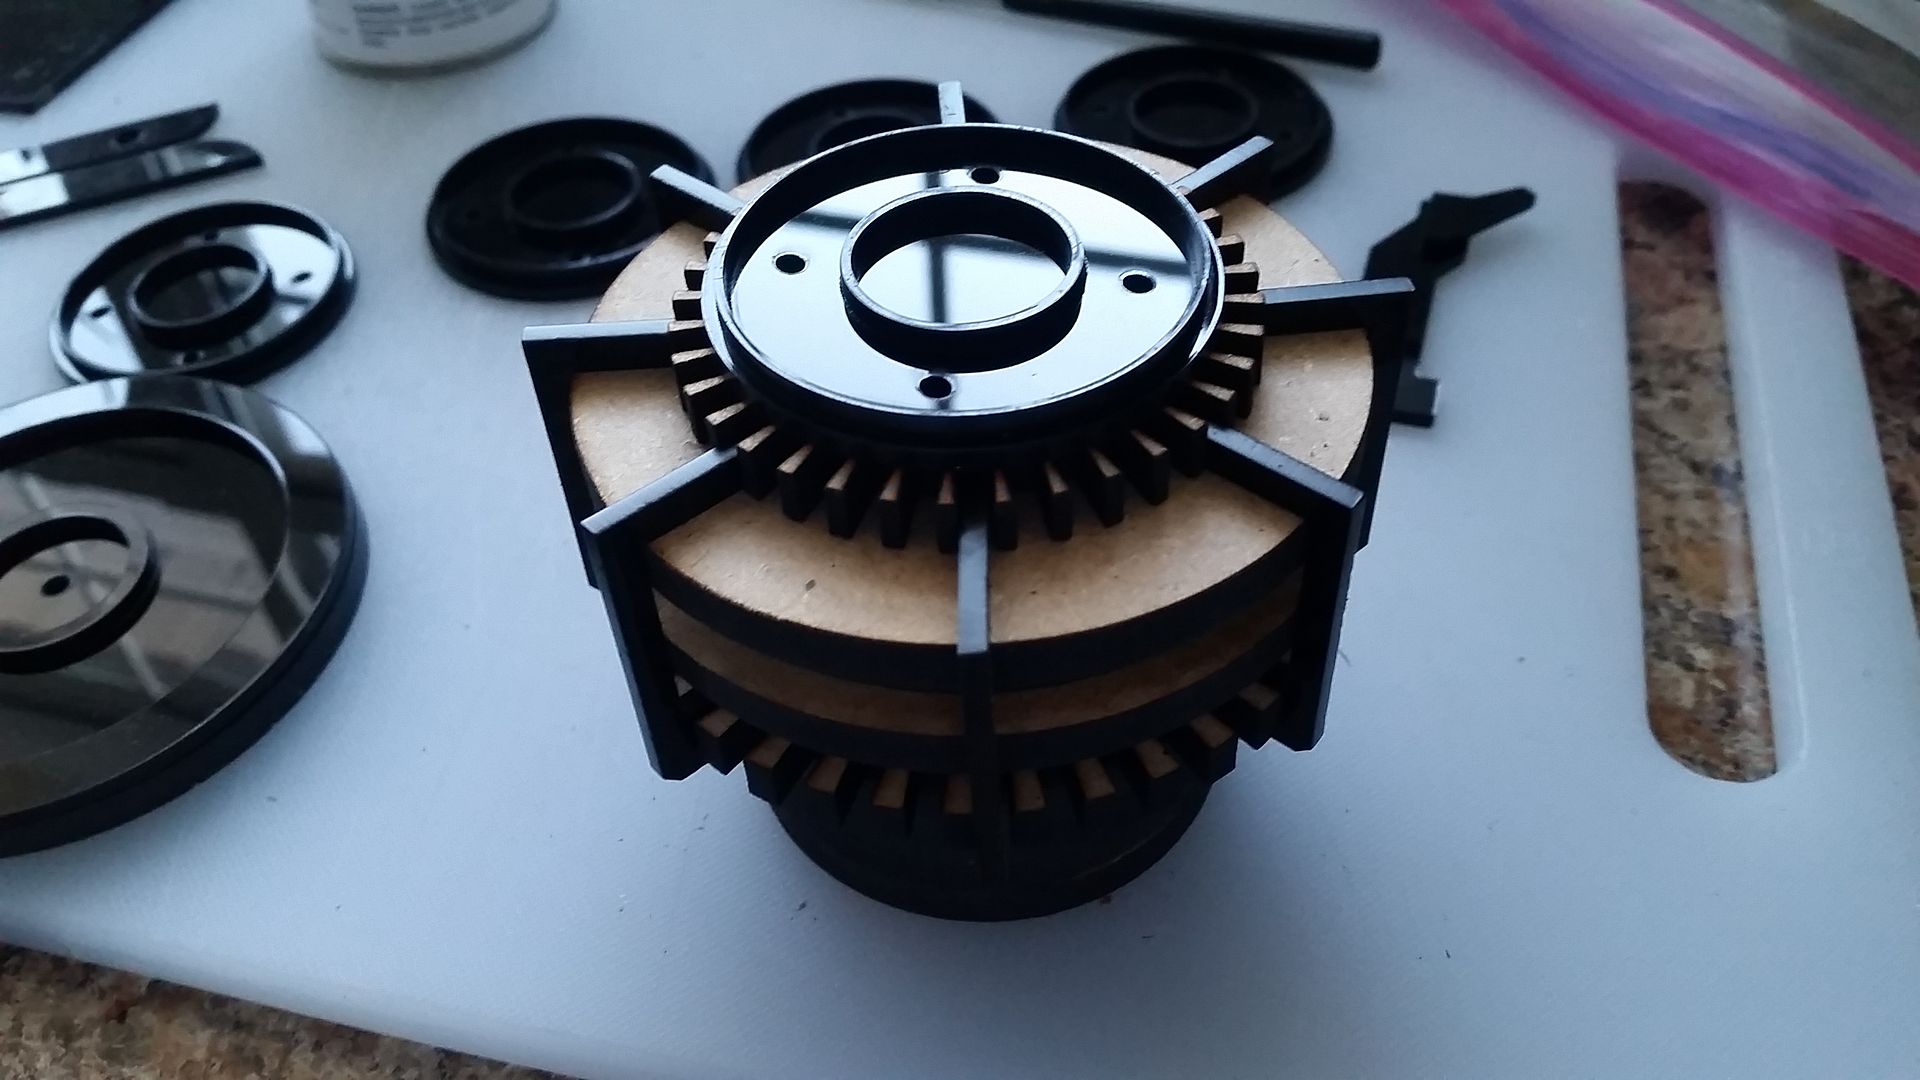
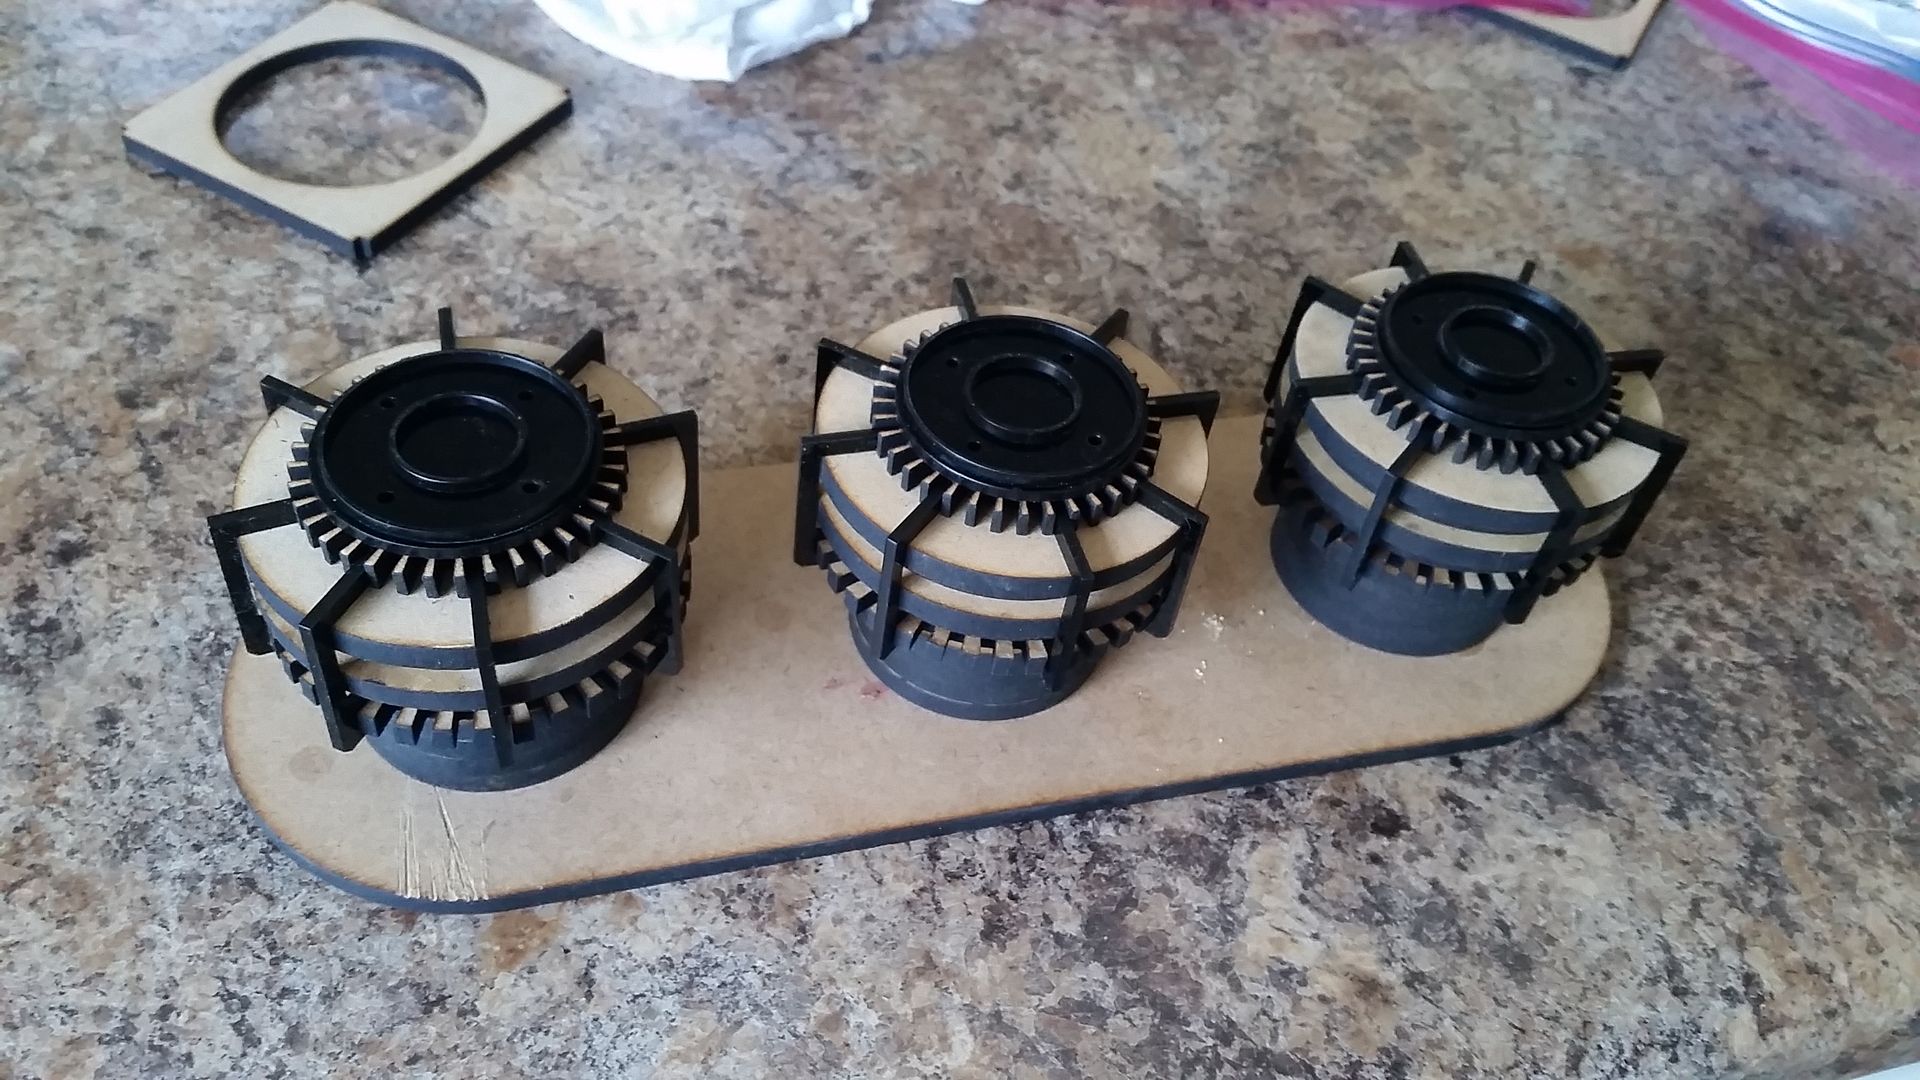
A new "cassette" style greeblie being fabricated!
Cockpit entrance mock up
Work resumed on these lower cockpit entrance greeblies
The previous versions were too high so I cut them down a bit and made things a bit easier to fit together
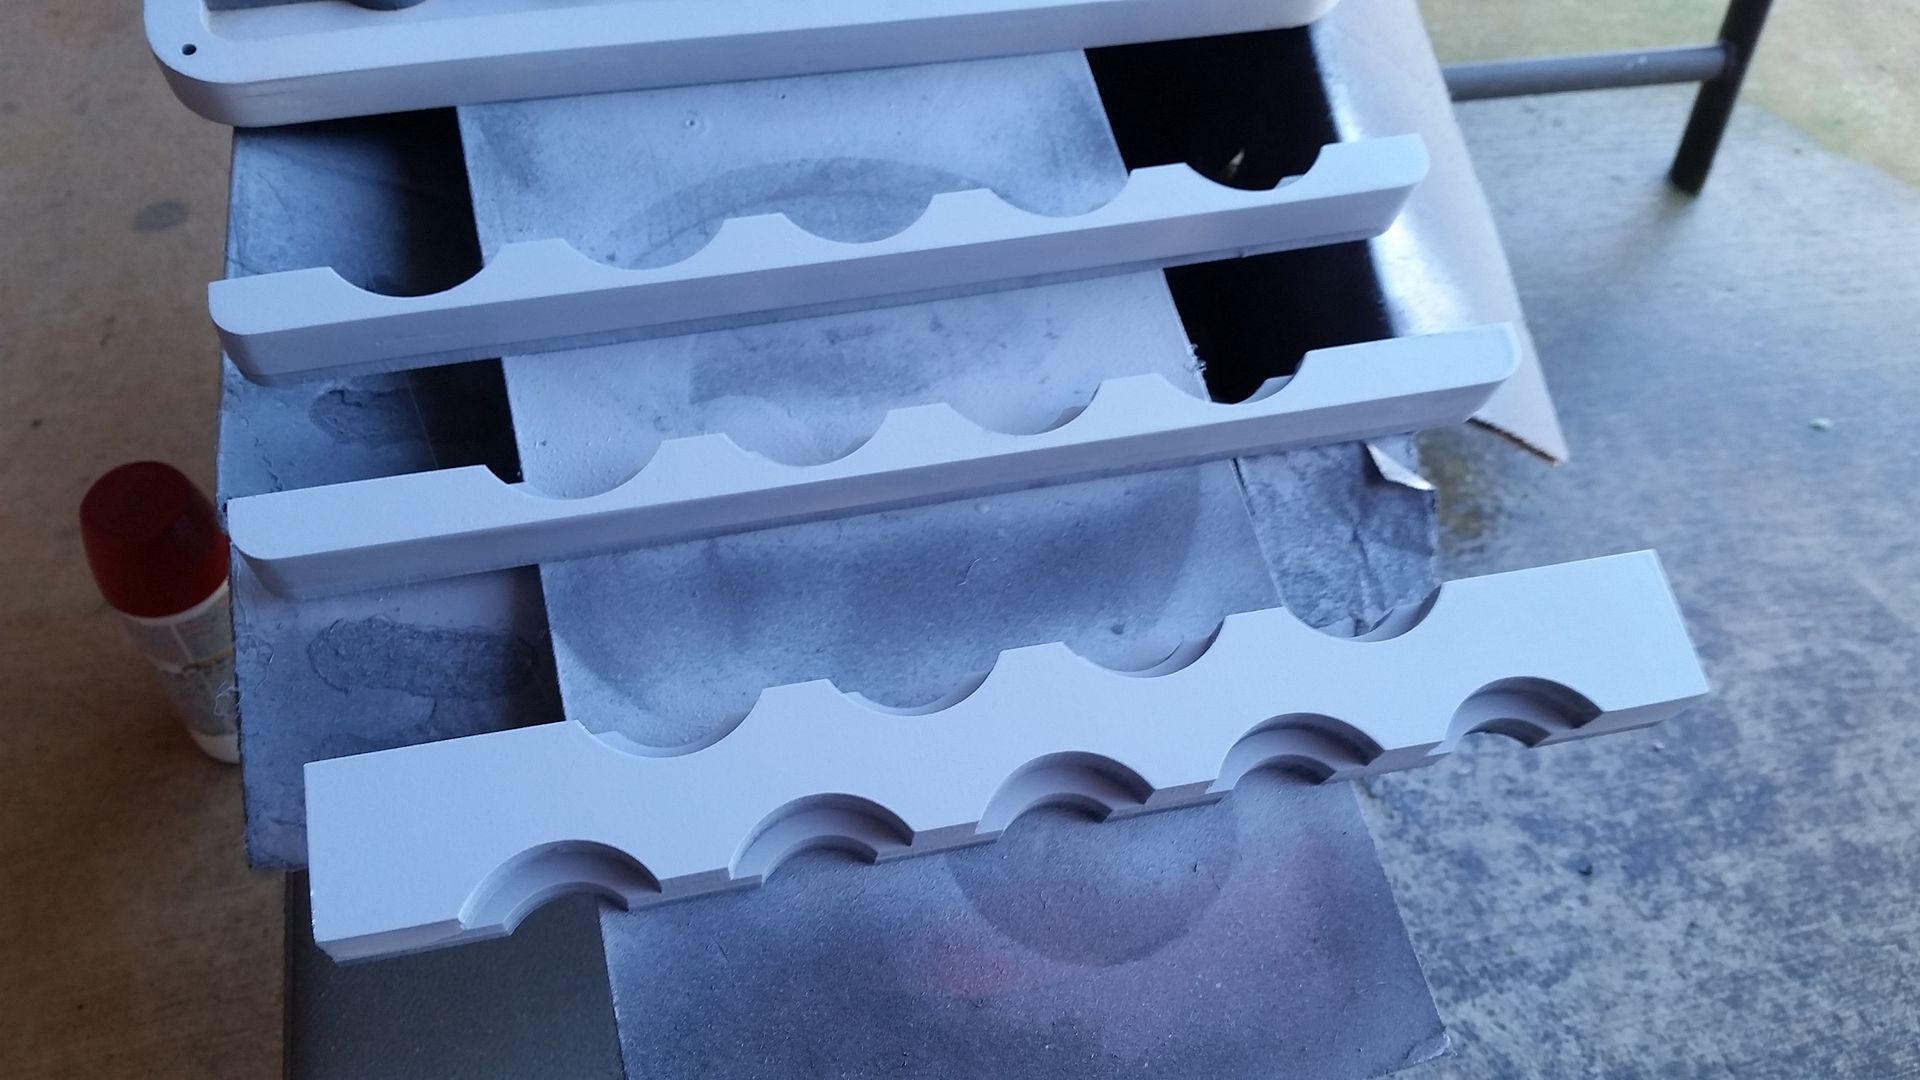
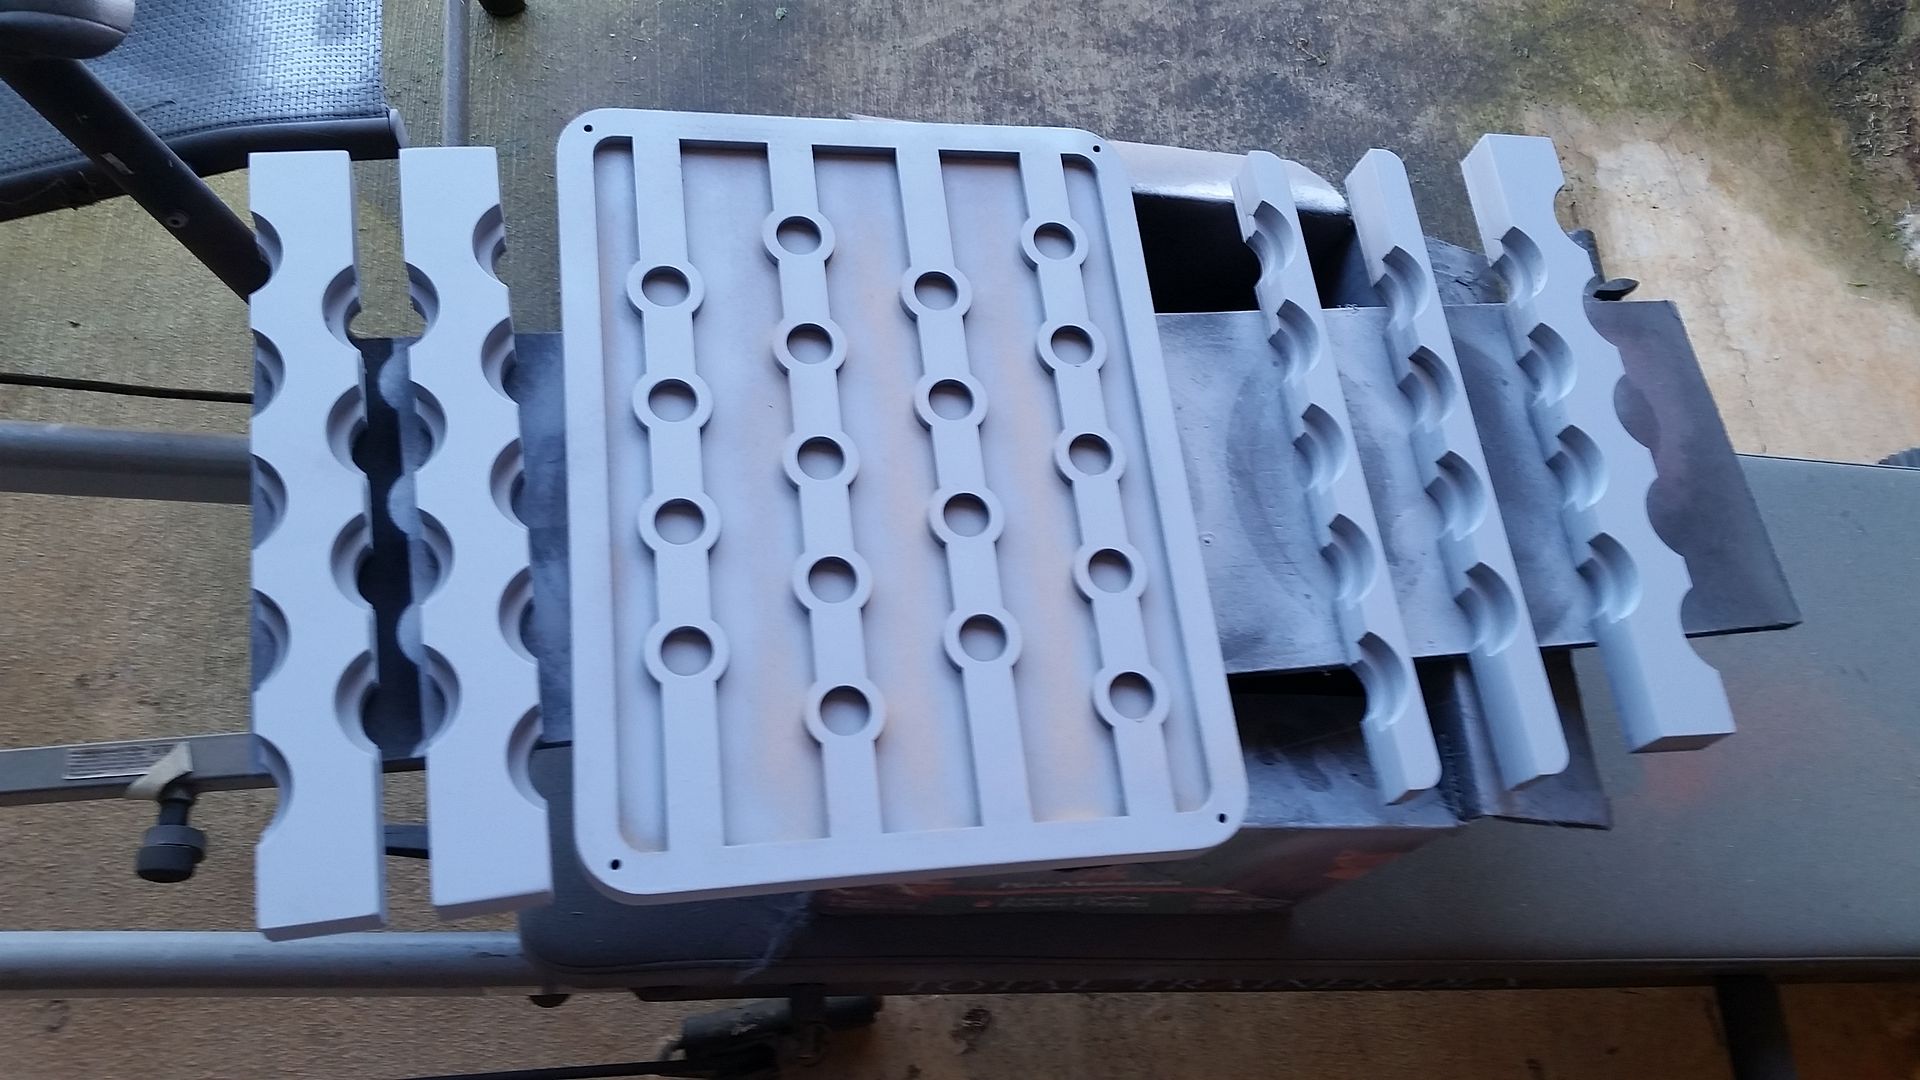
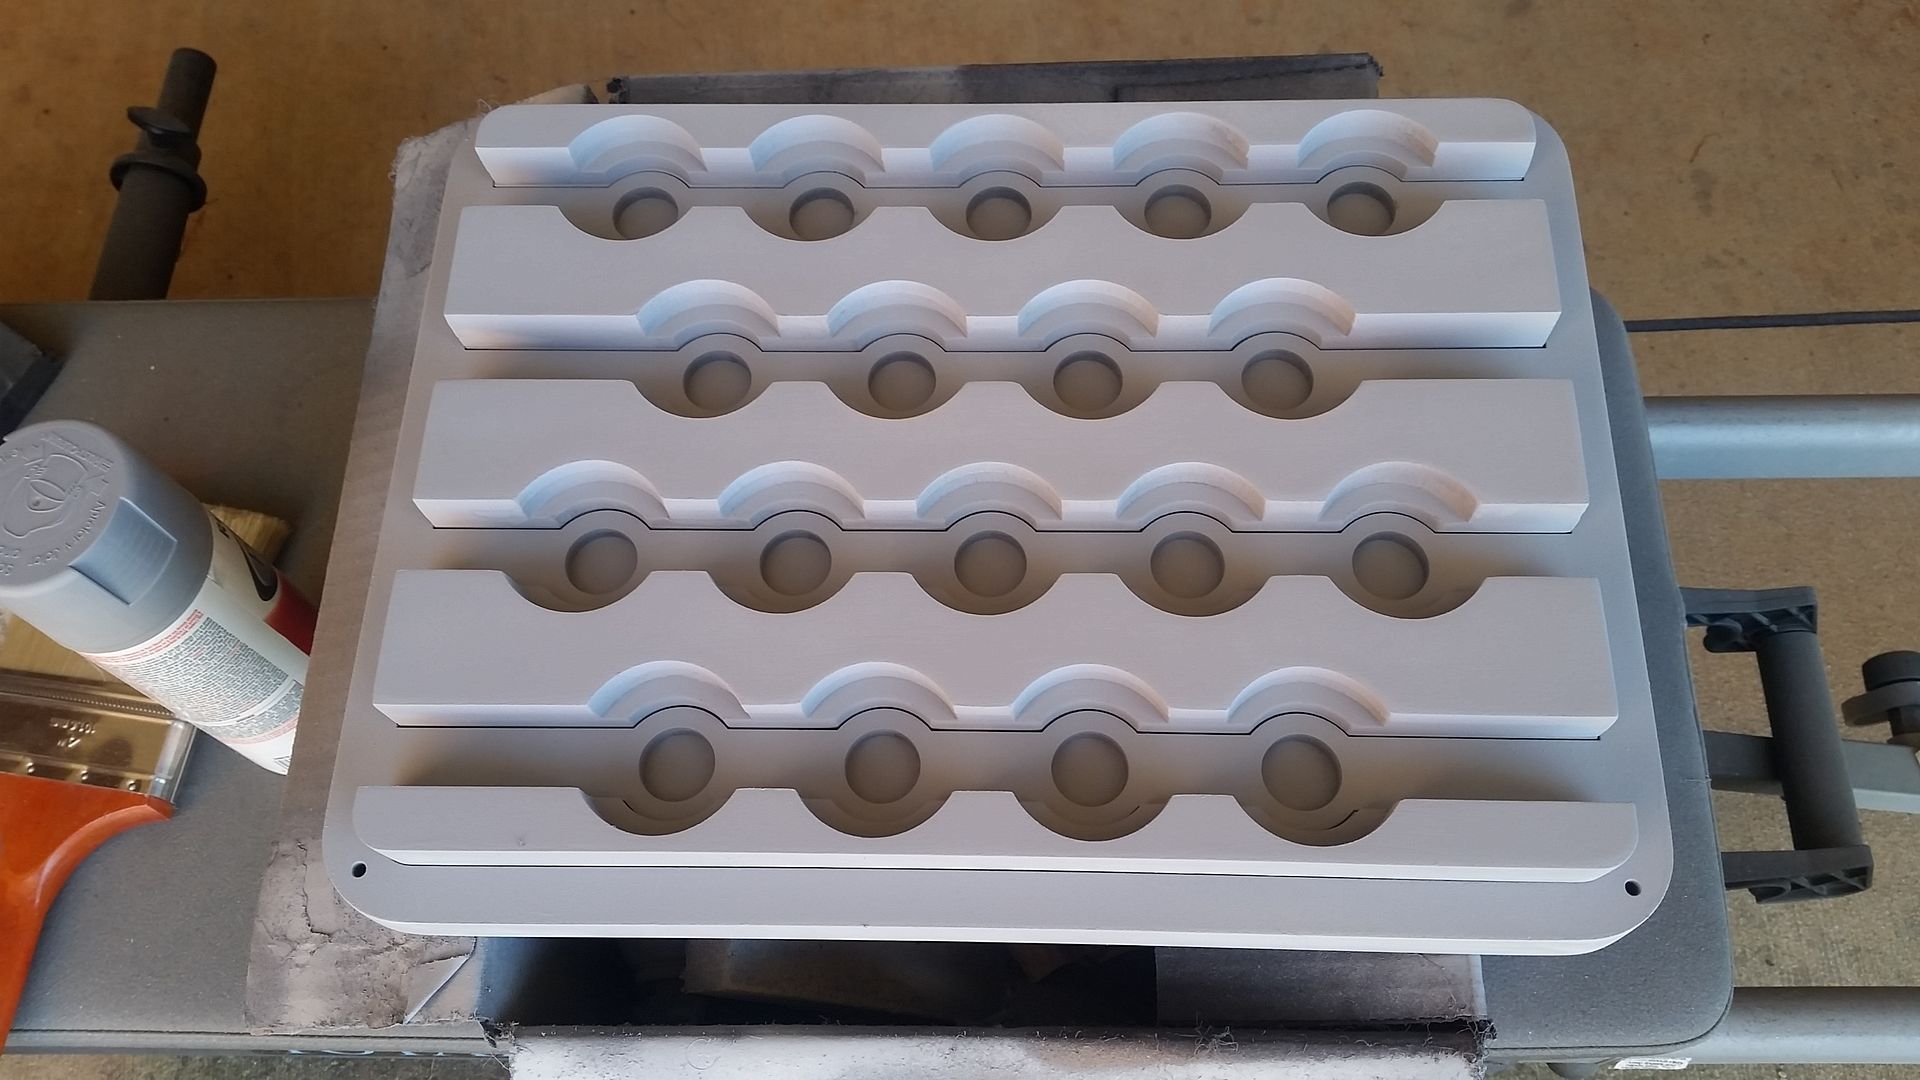
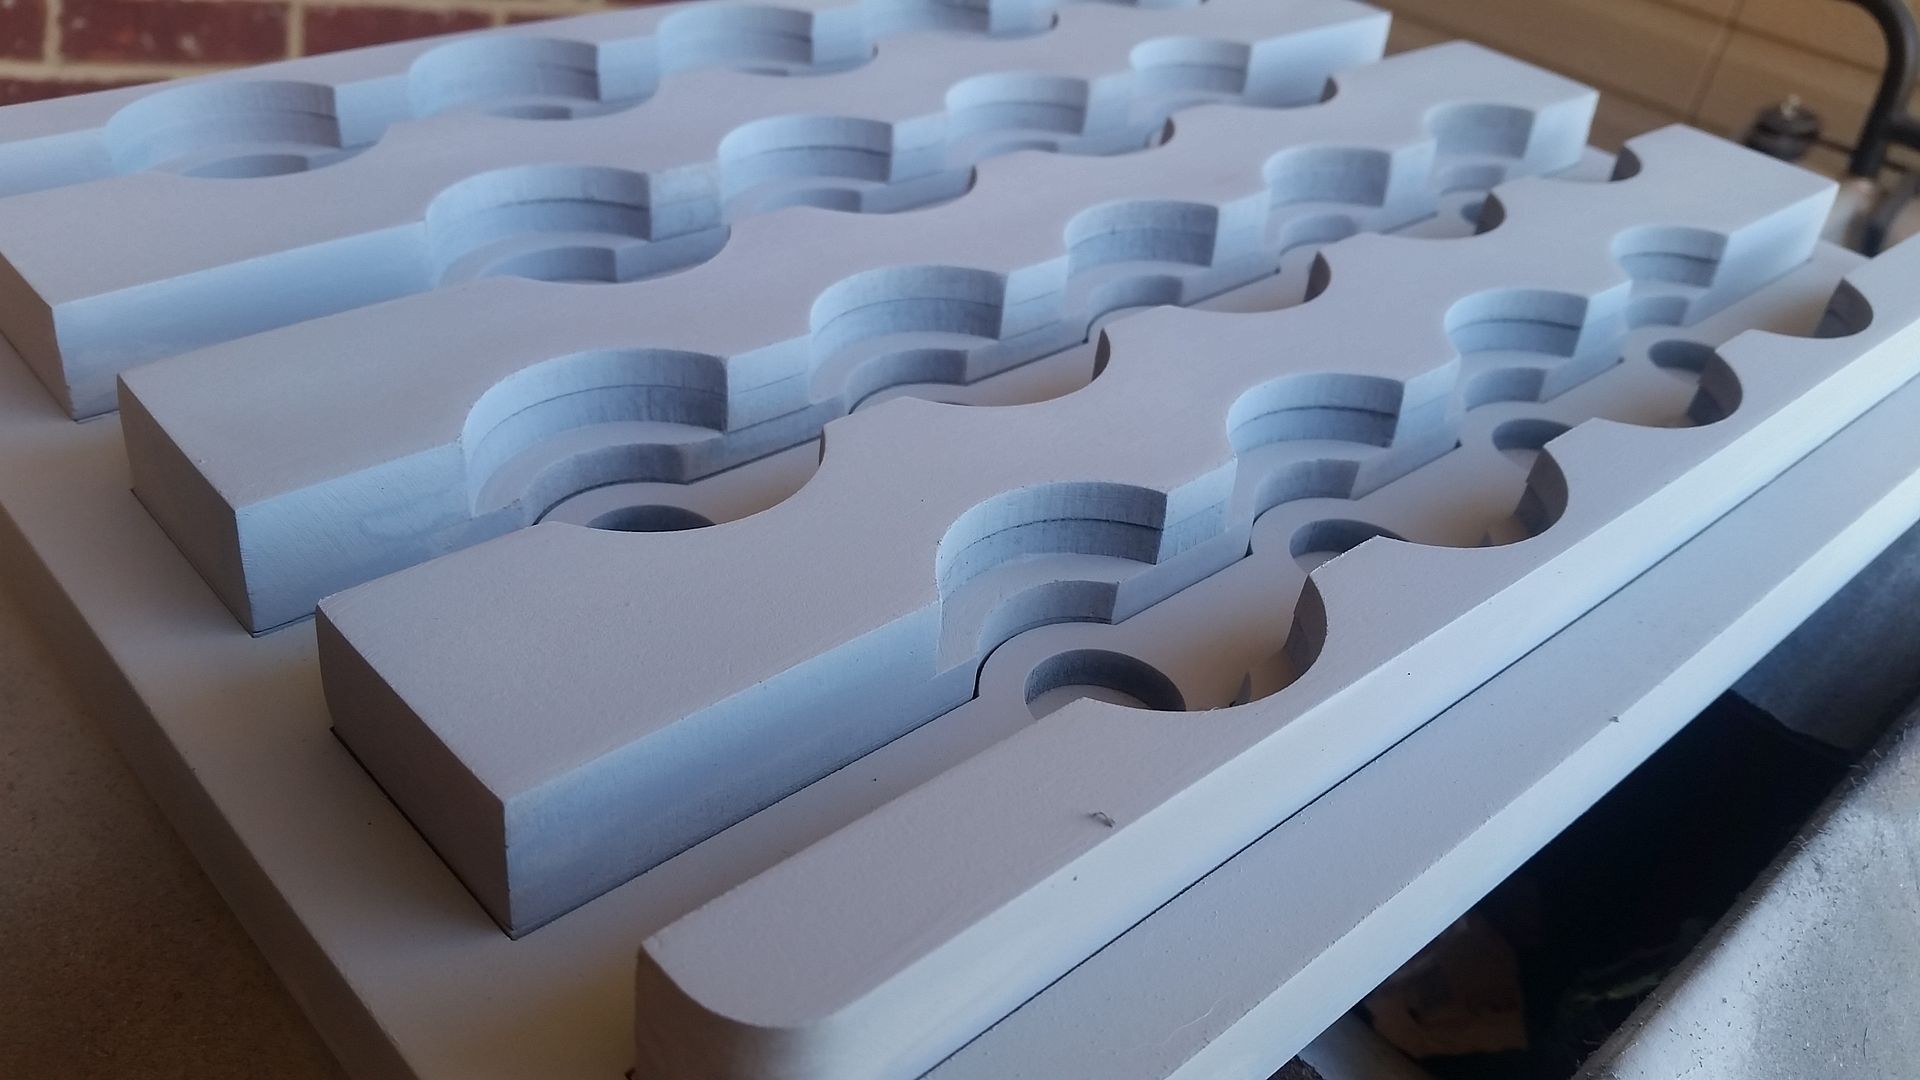
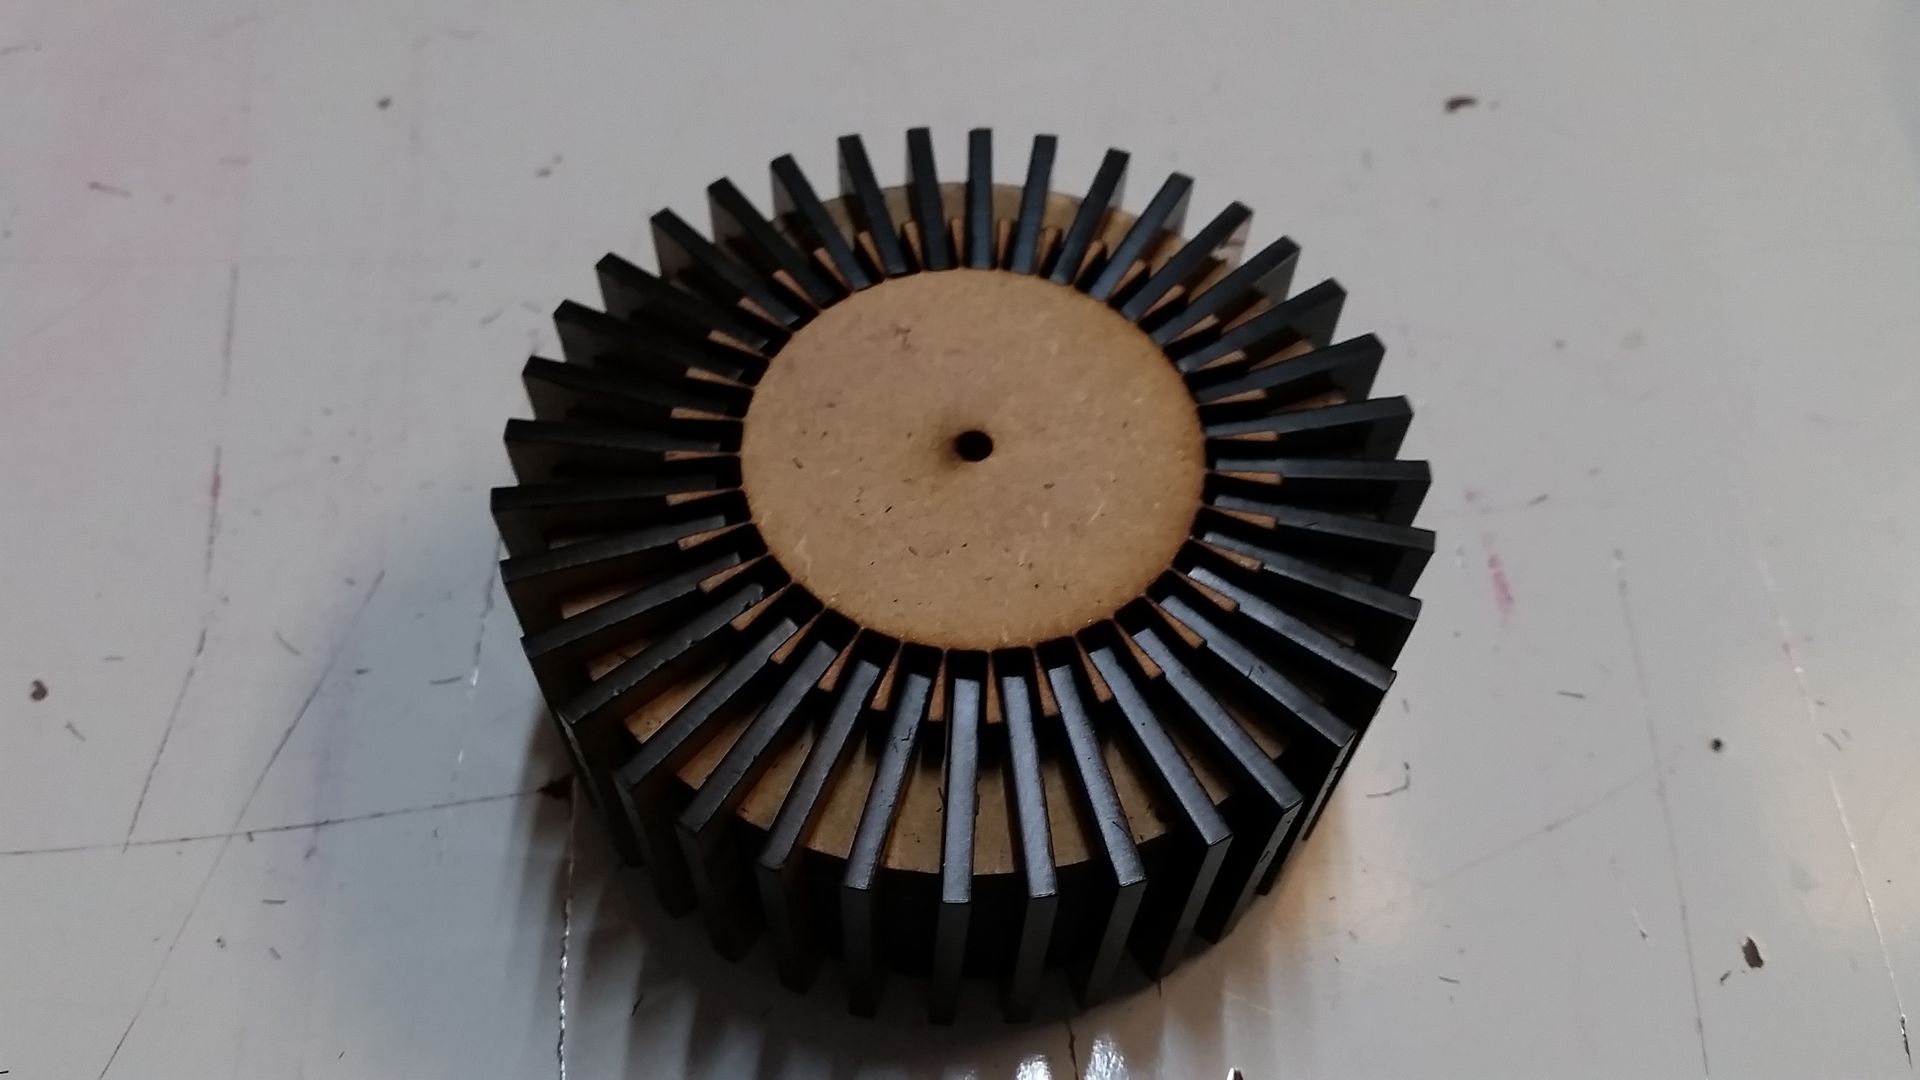
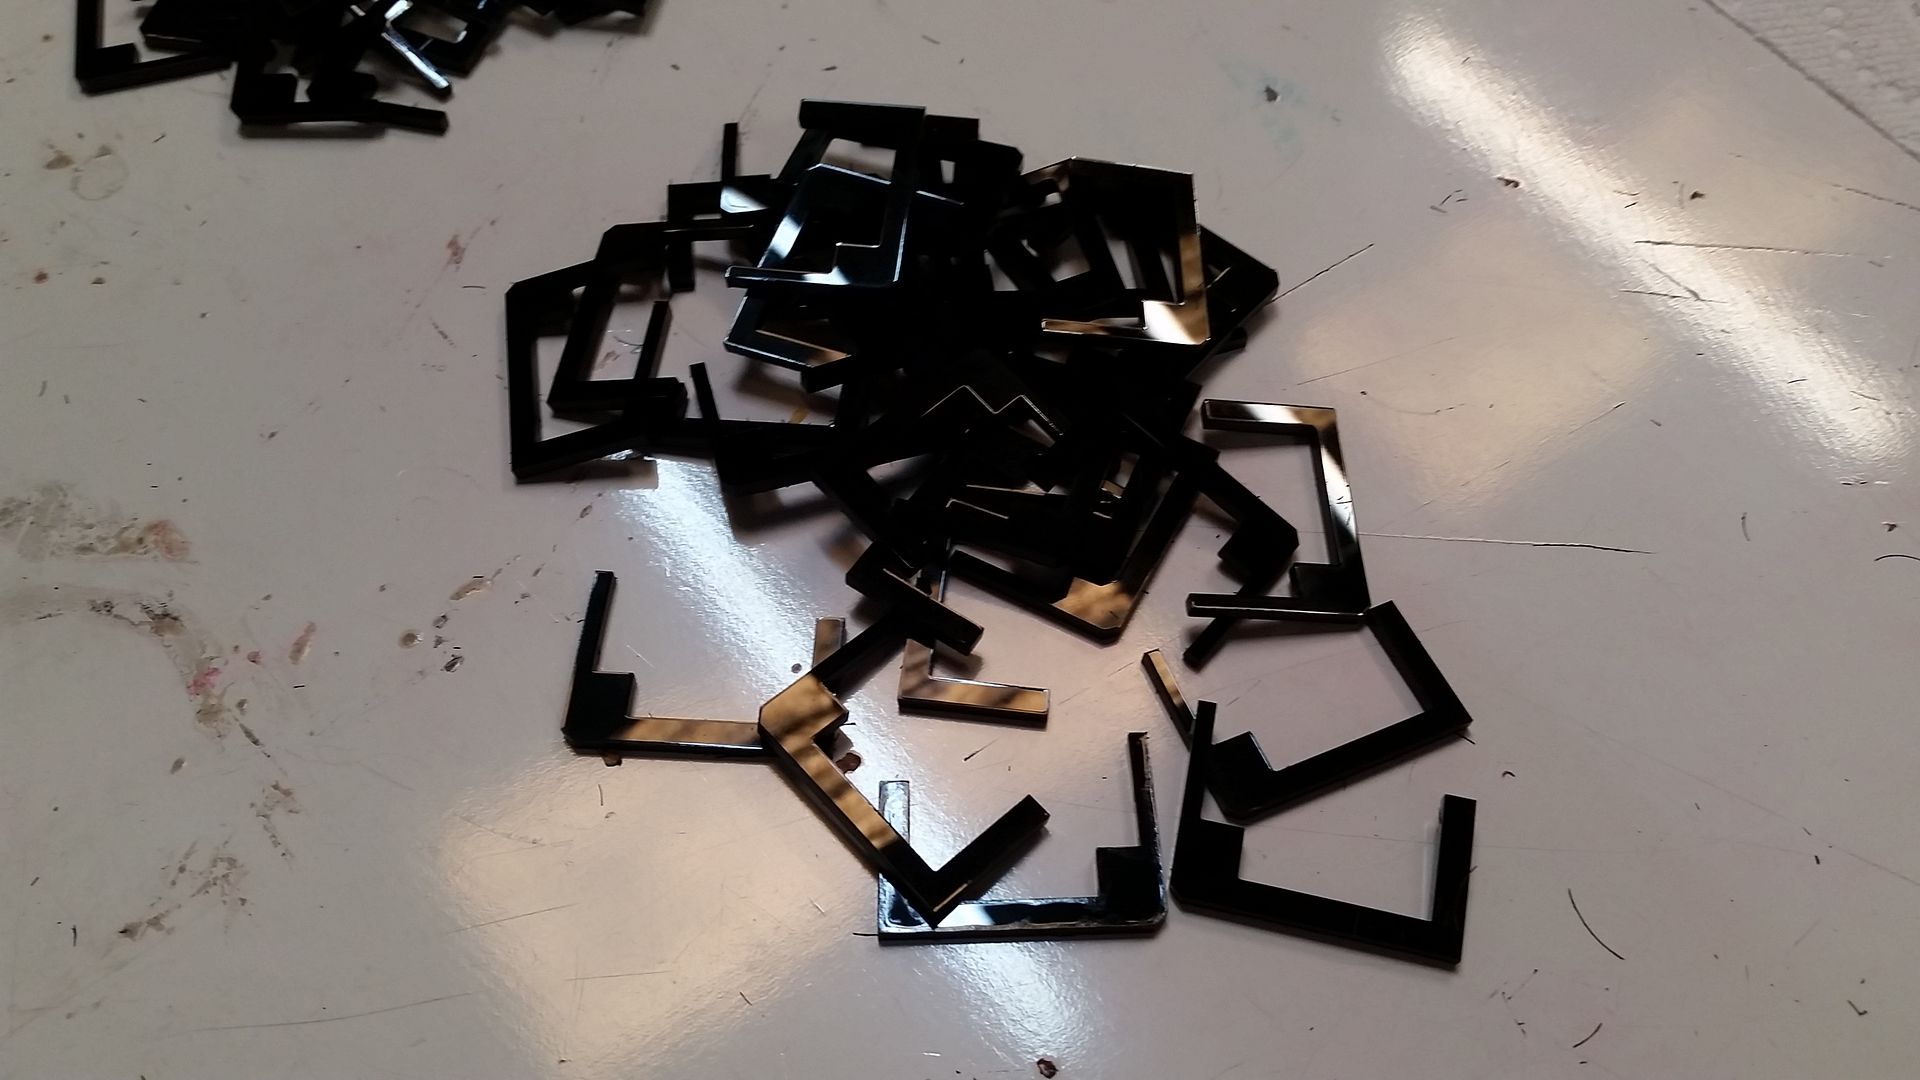
Over 175 of these fins had to be laser cut...
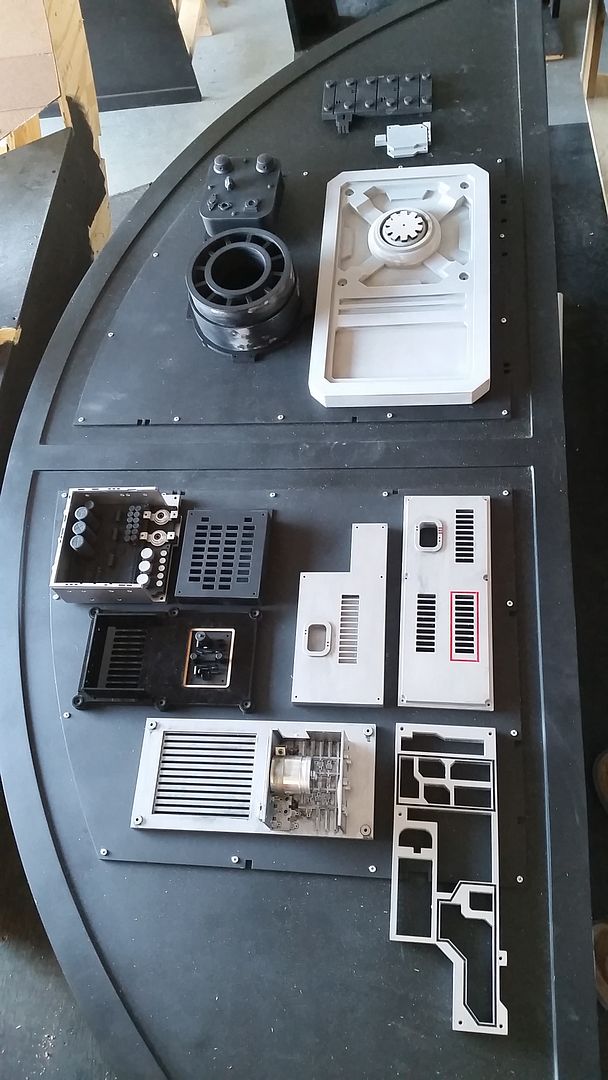
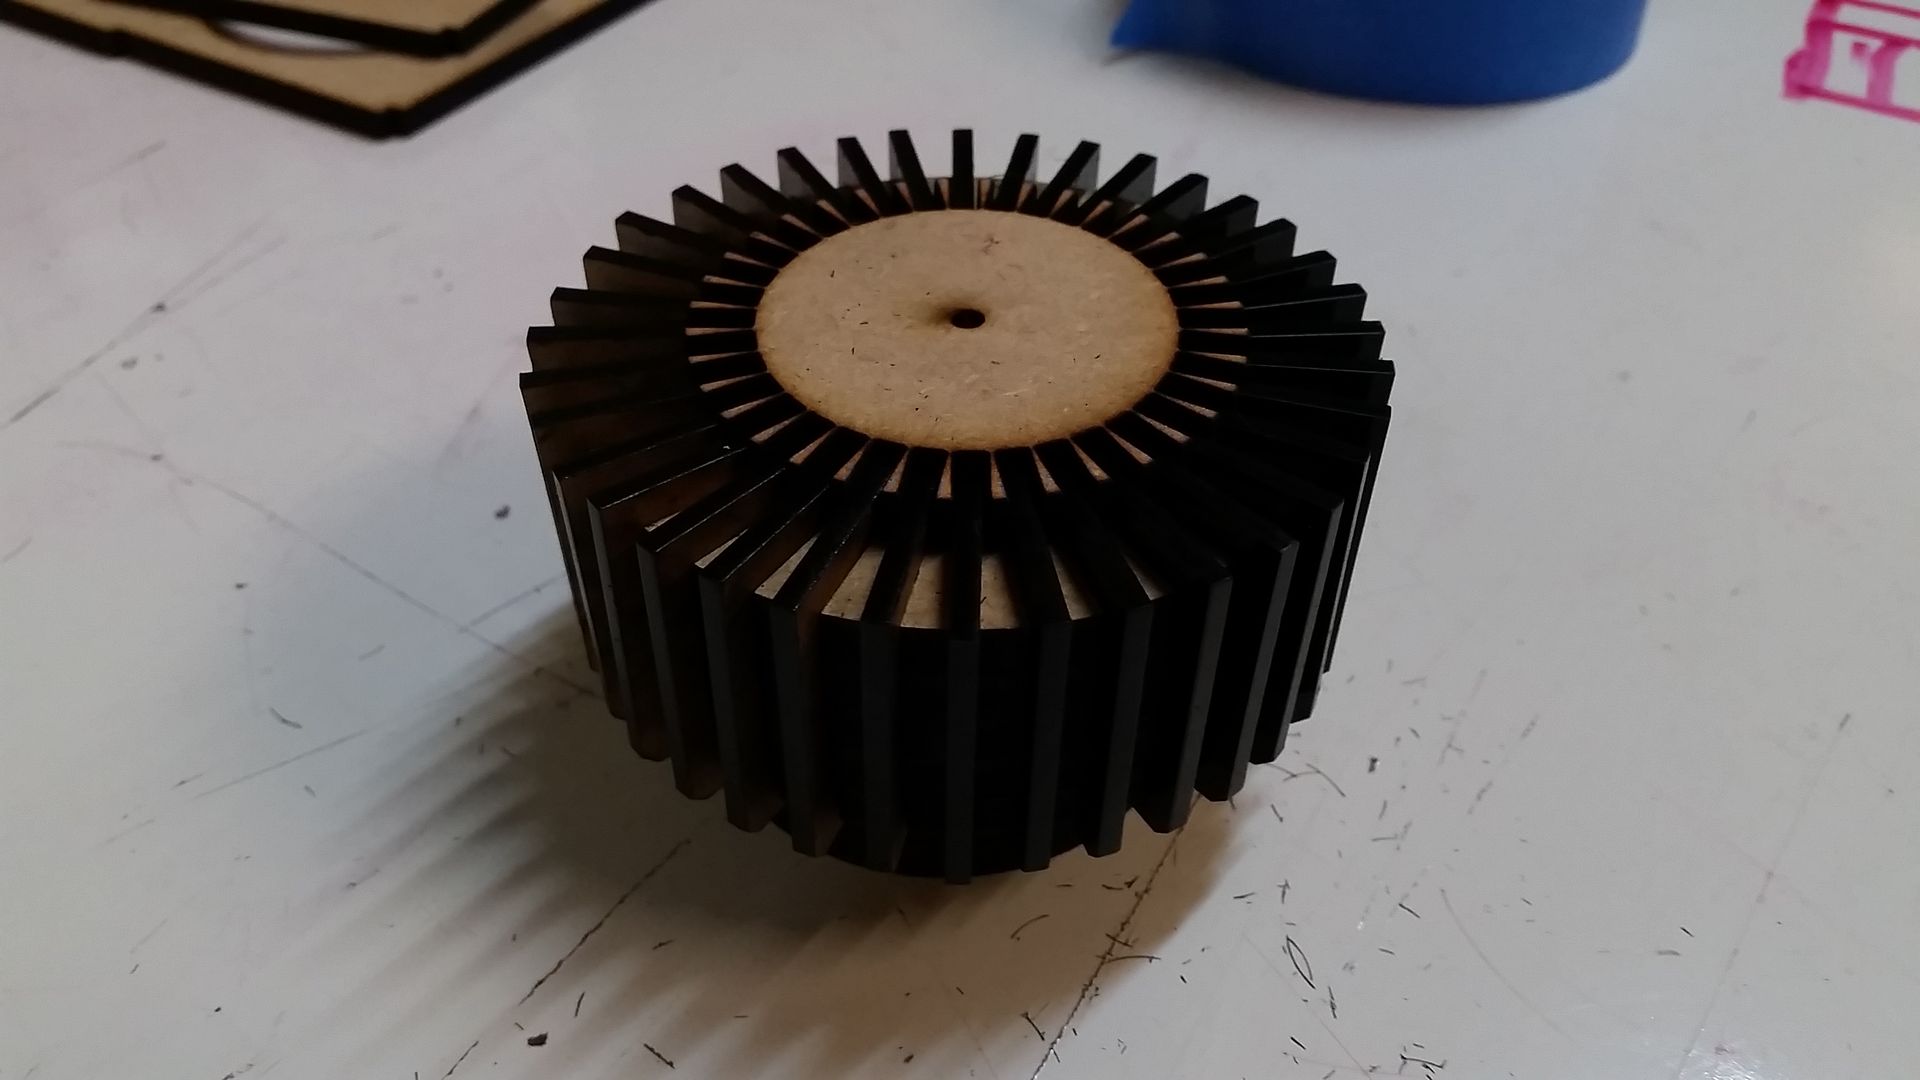
Now to make sense out of all this chaos
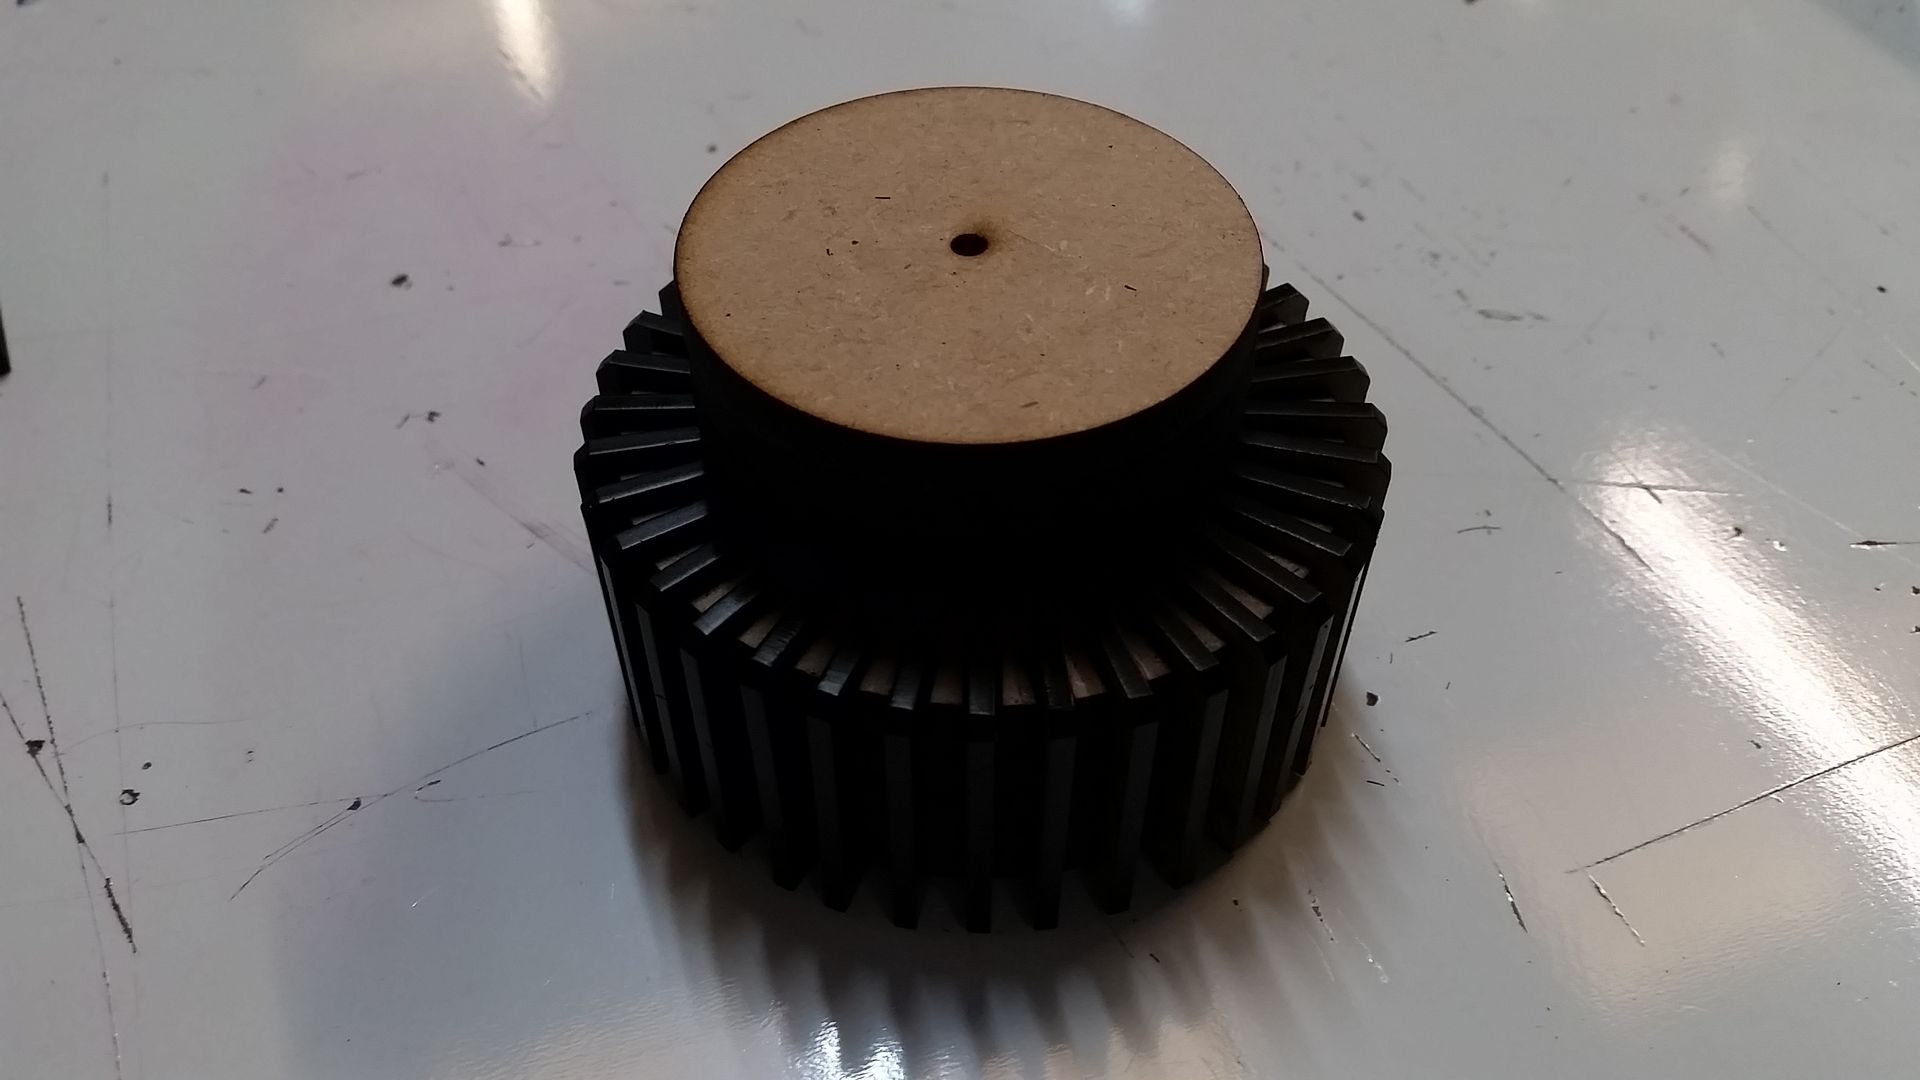
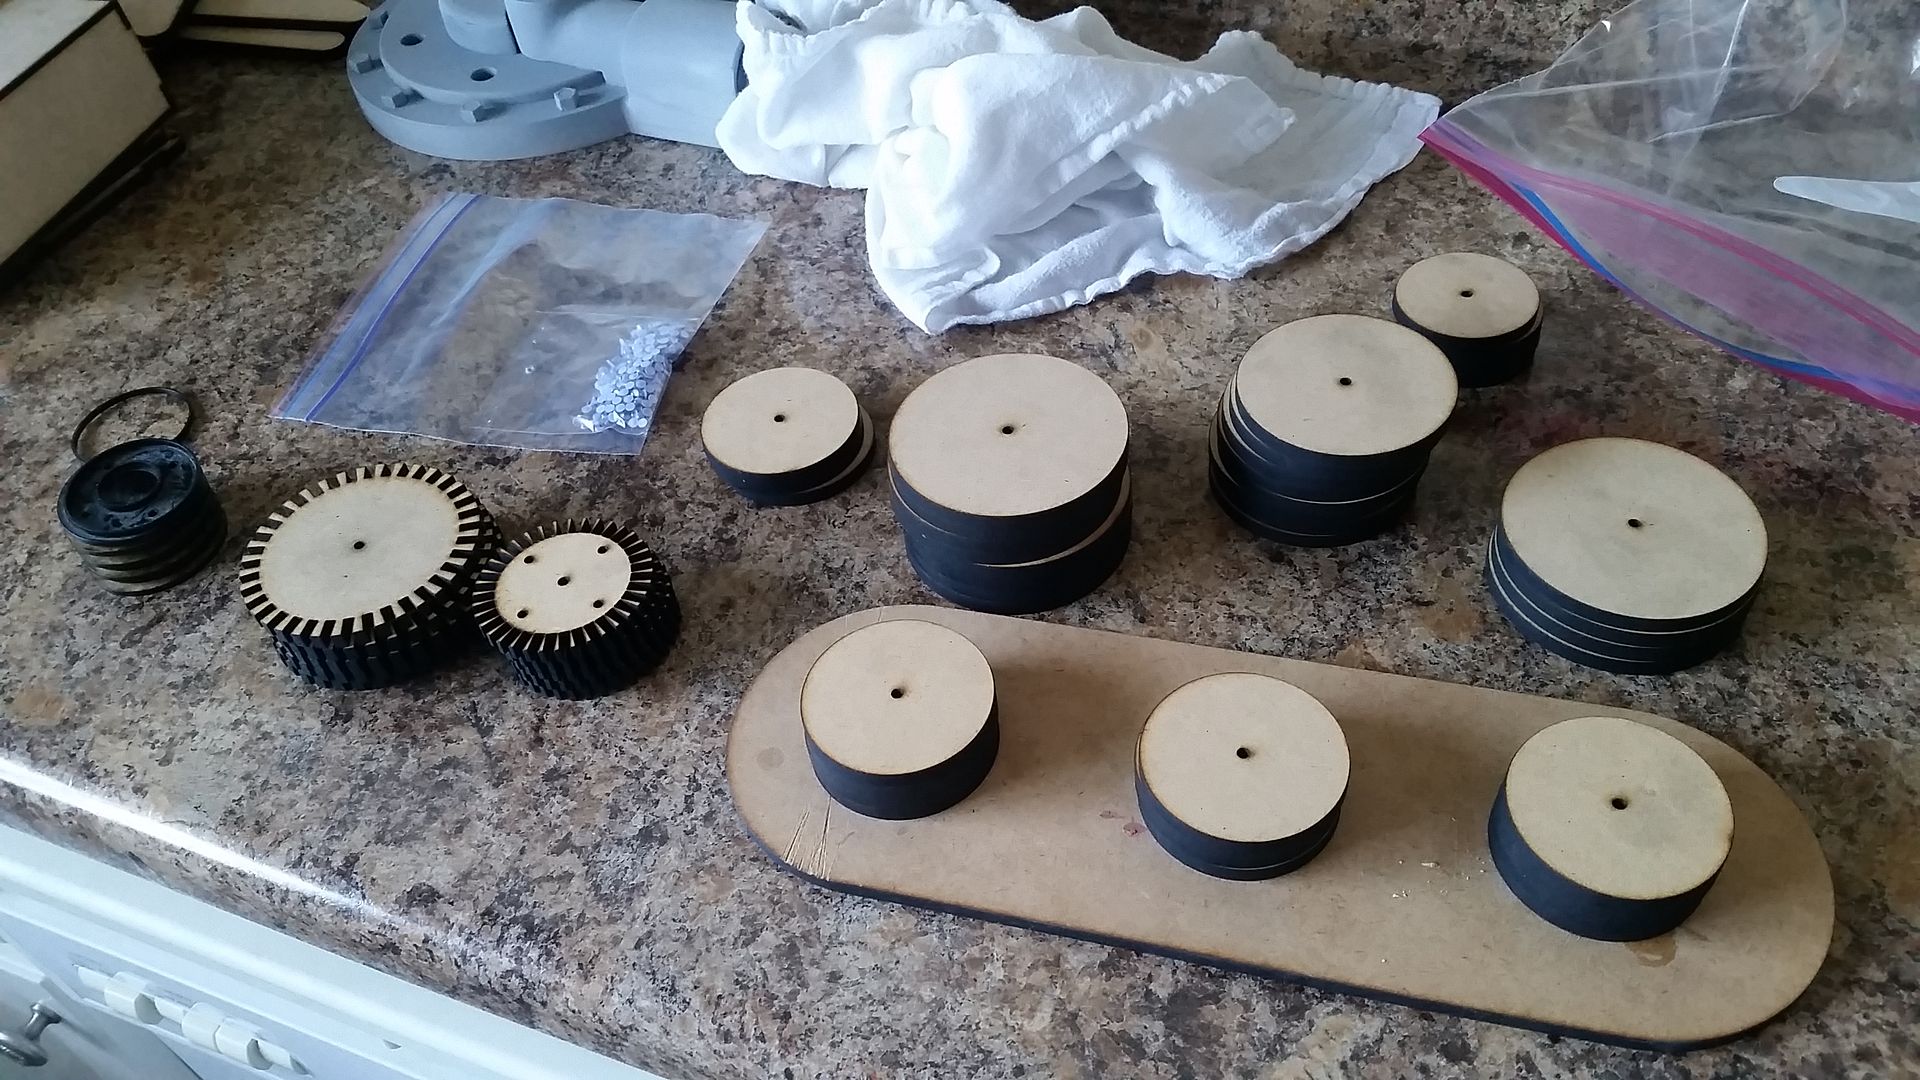
Tops
Finished up waiting for primer
Spacers
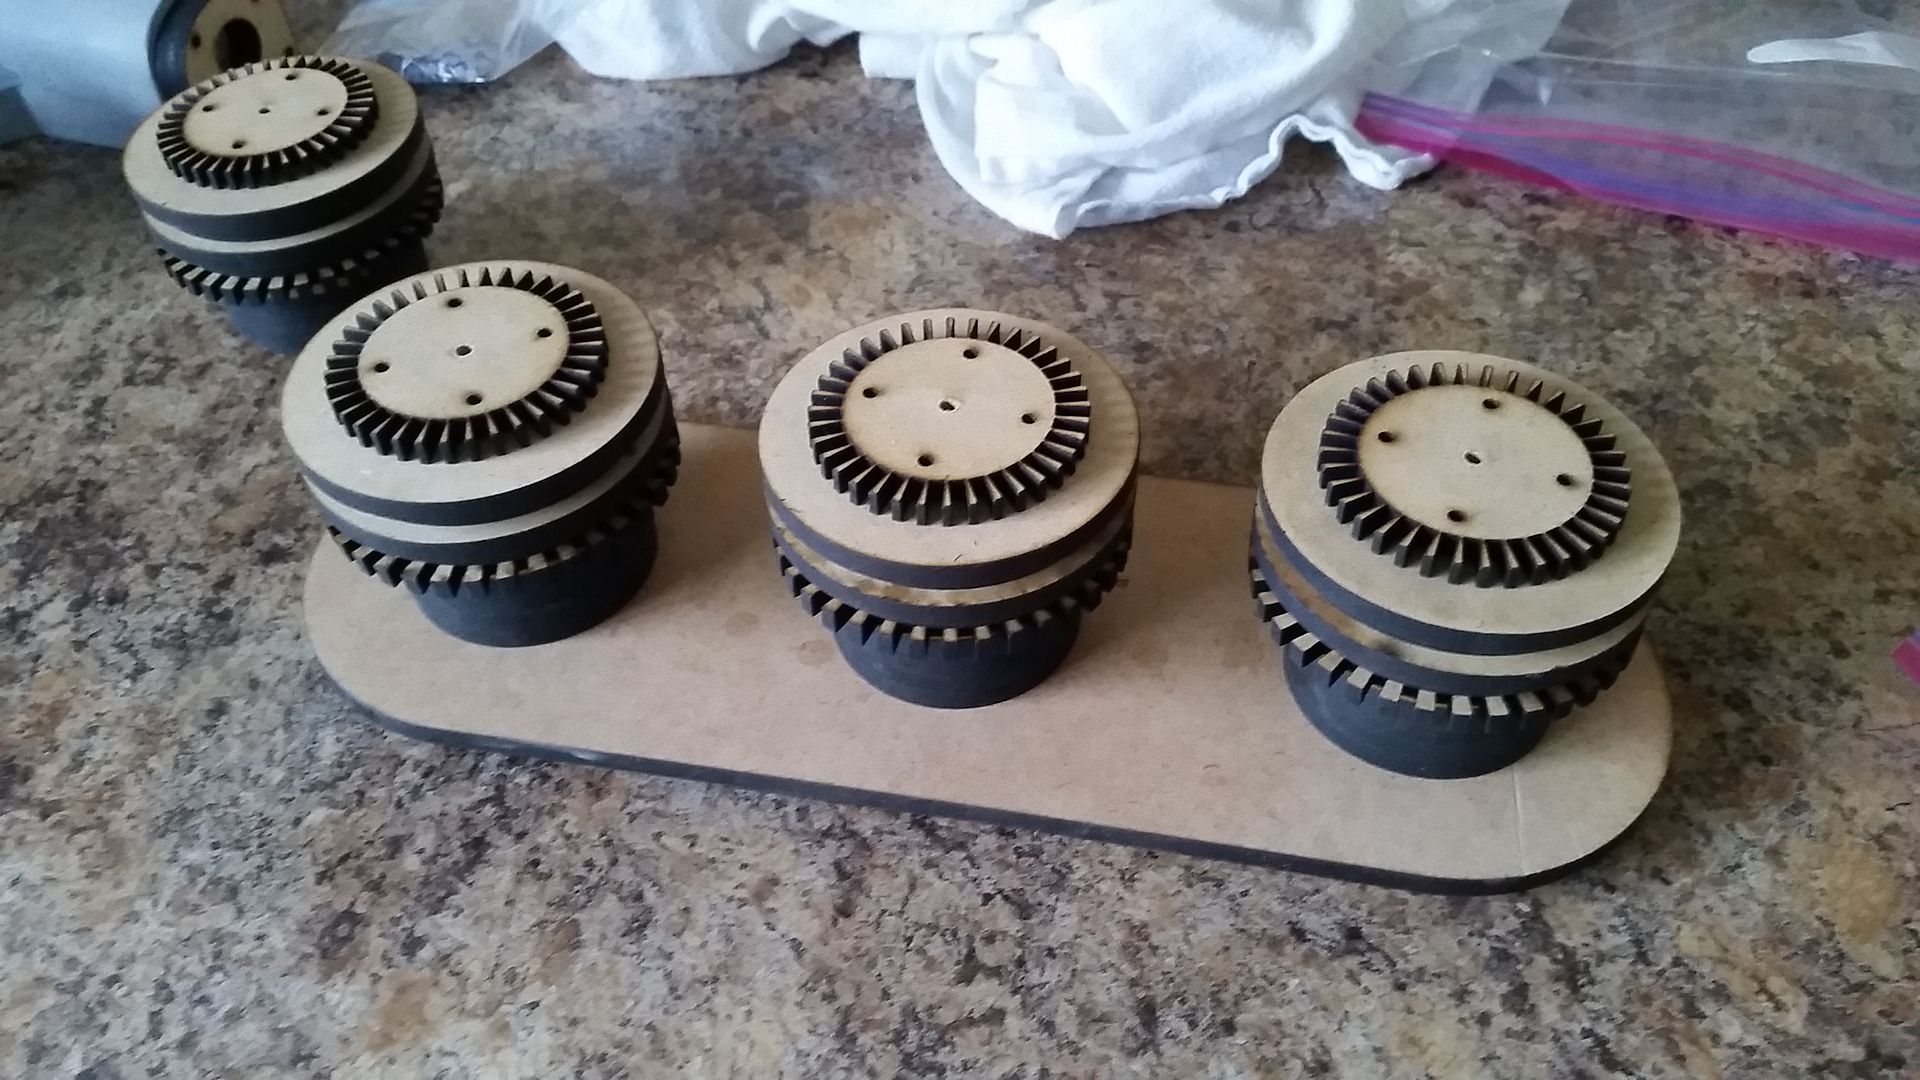
Adhering everything together using the fins as guides
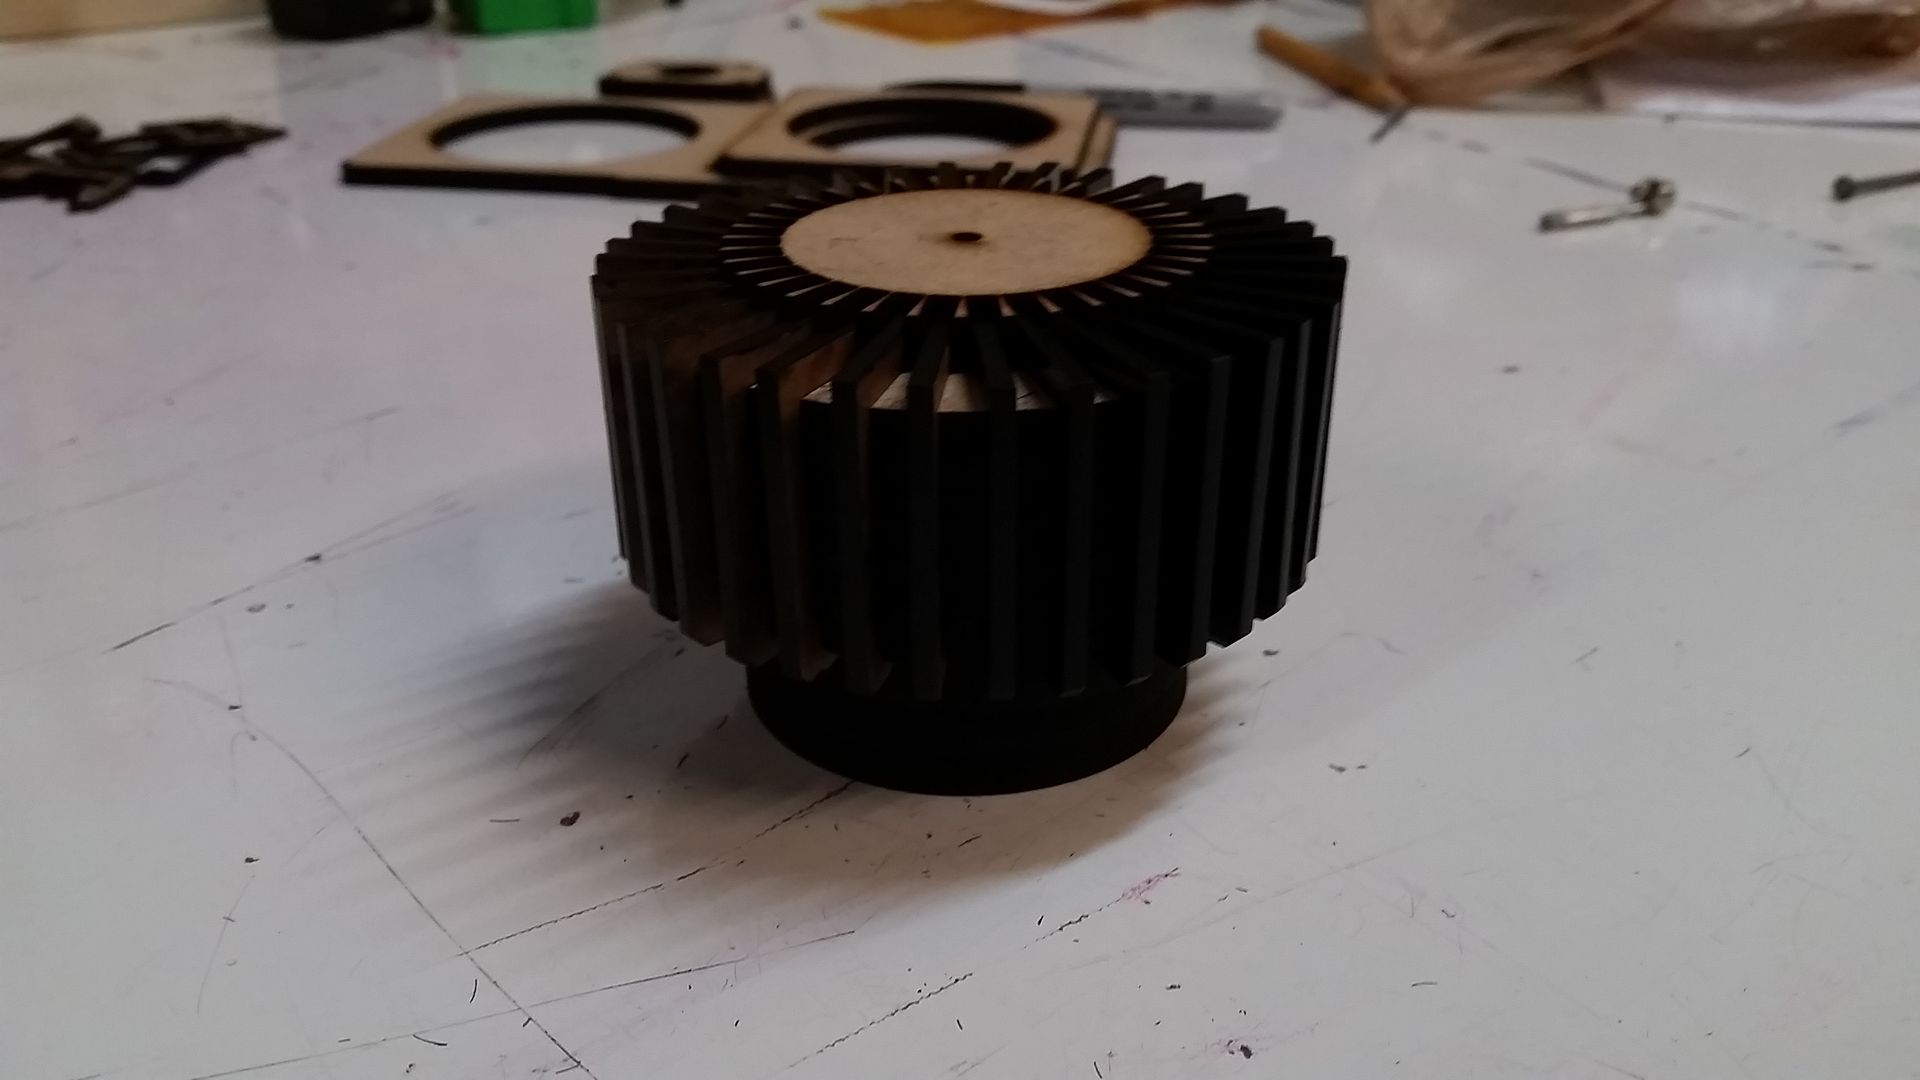
Dry fitting
In place
Naturally, all the fins are NOT in place but this should give you an idea how it will look
Whew... Time at the laser cutter really took away from the actual build. Gotta play catch up!
More to Follow!