You are using an out of date browser. It may not display this or other websites correctly.
You should upgrade or use an alternative browser.
You should upgrade or use an alternative browser.
1:1 Millennium Falcon Cockpit Replica - Group Build
- Thread starter SteveStarkiller
- Start date
Hi Gang,
Time for the end of the Holiday Weekend Update! I'll try not to get too chatty... Enjoy!
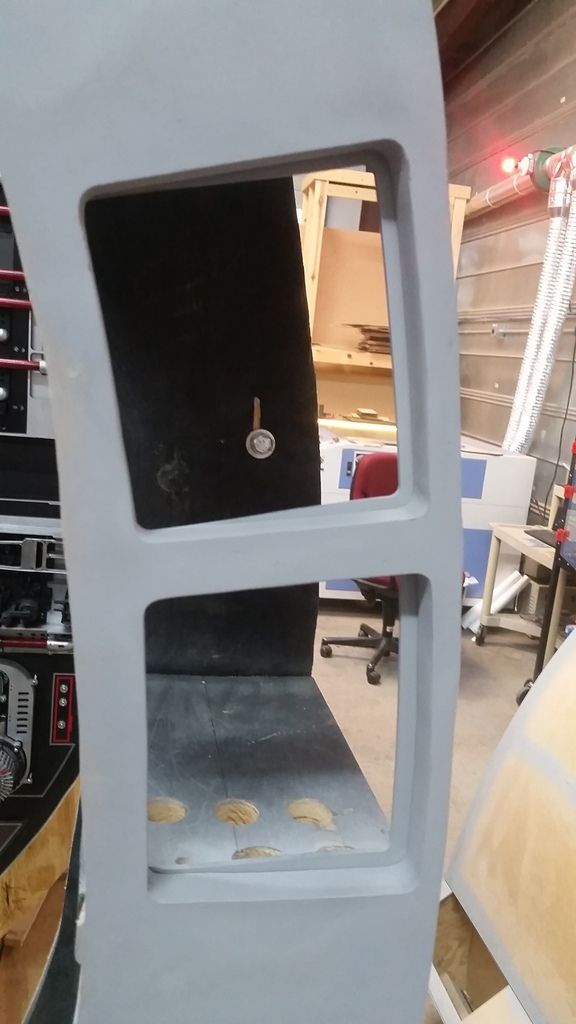
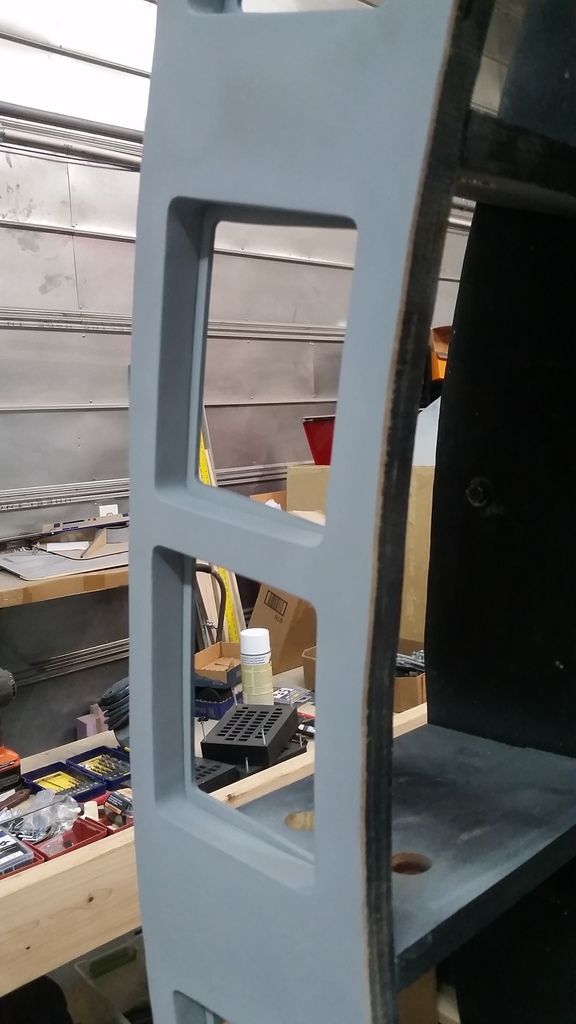
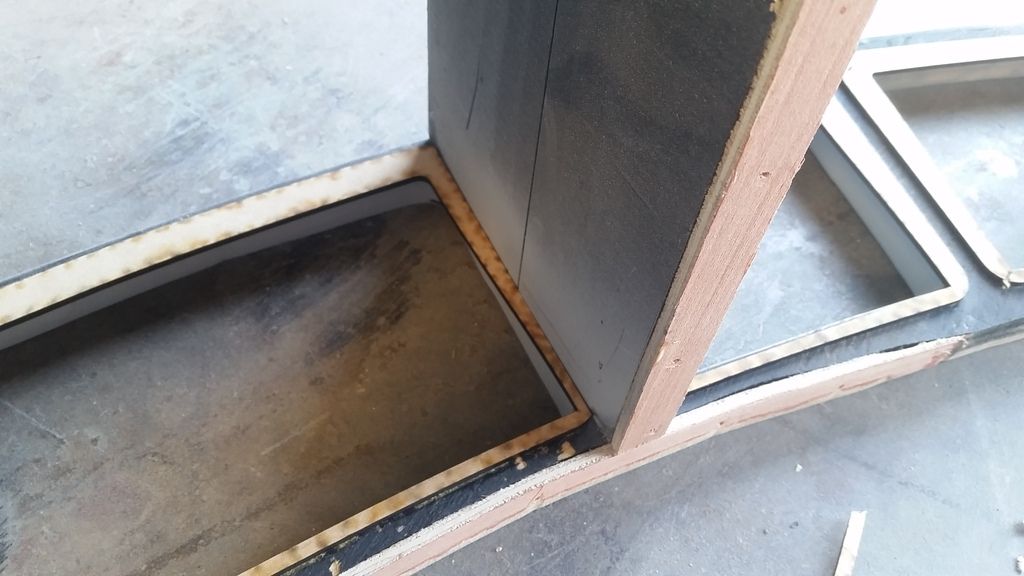
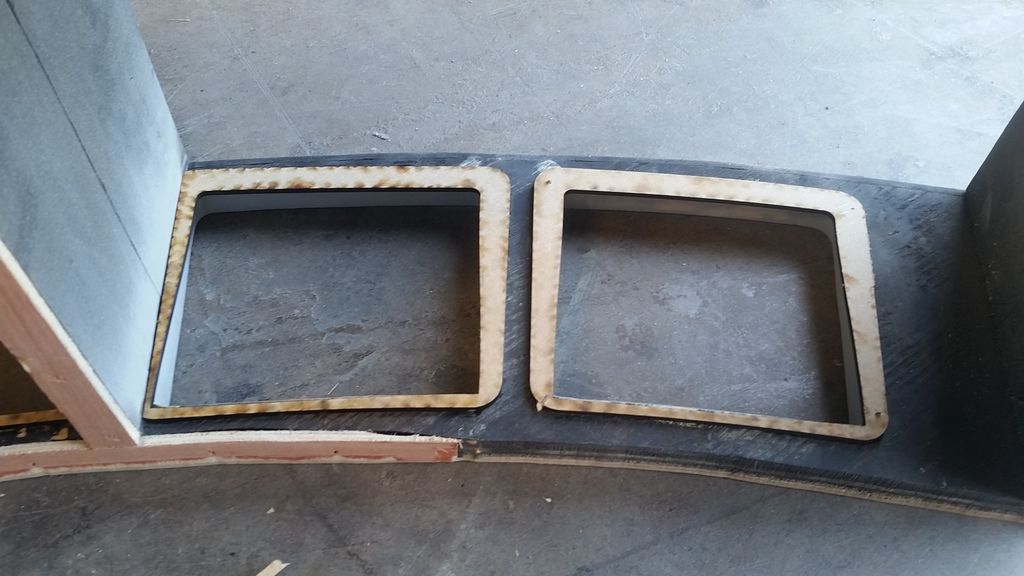
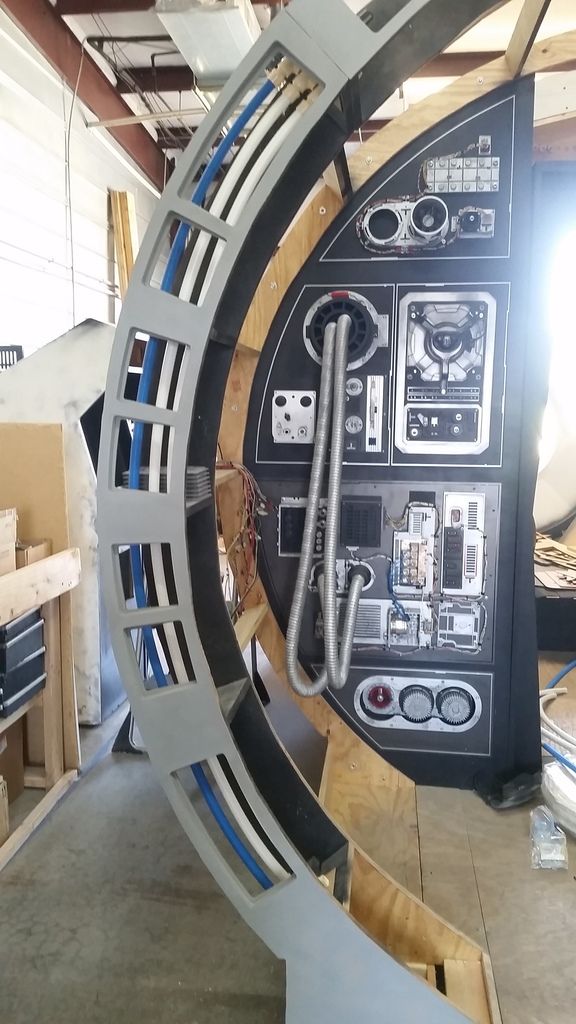
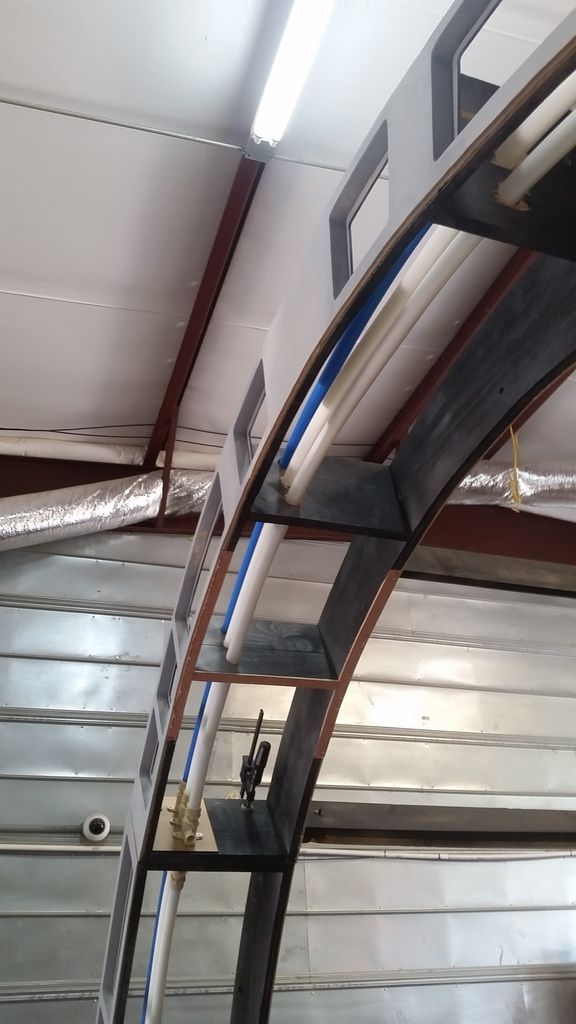
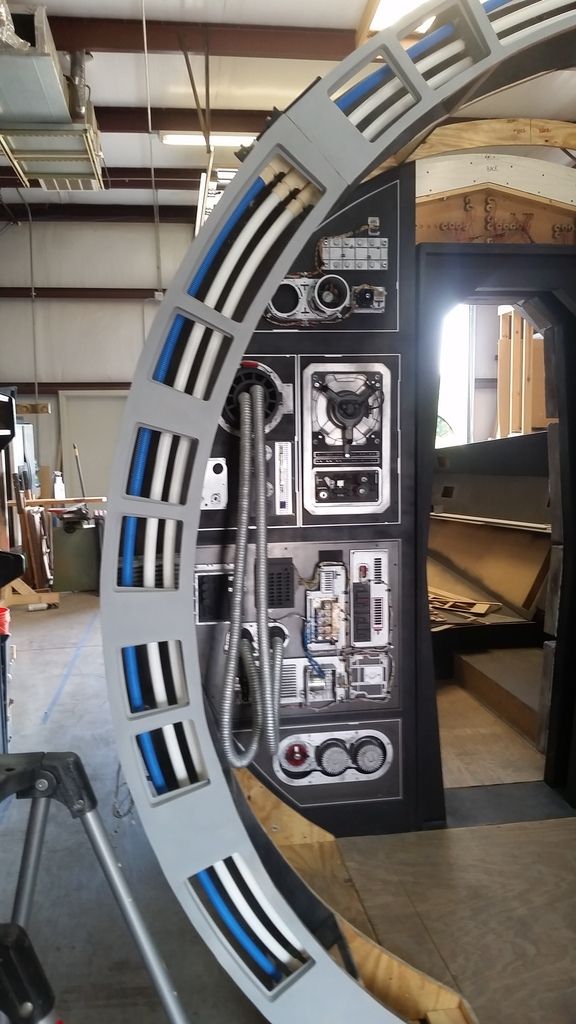
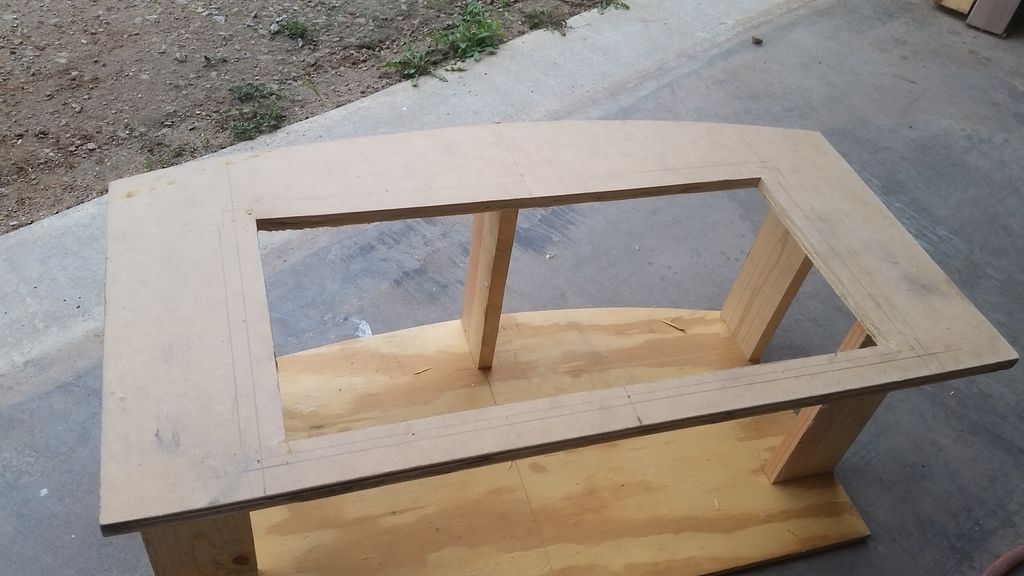
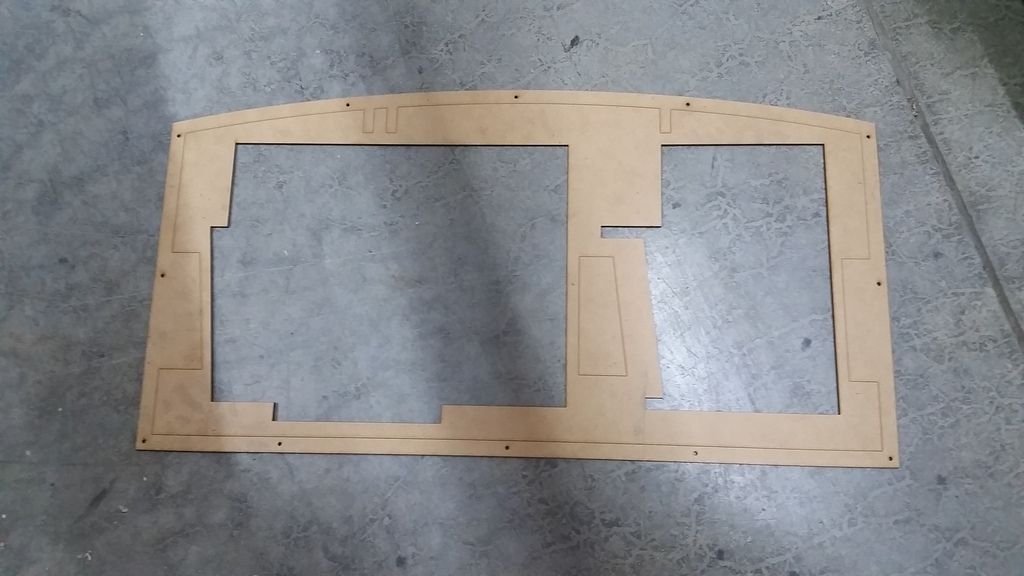
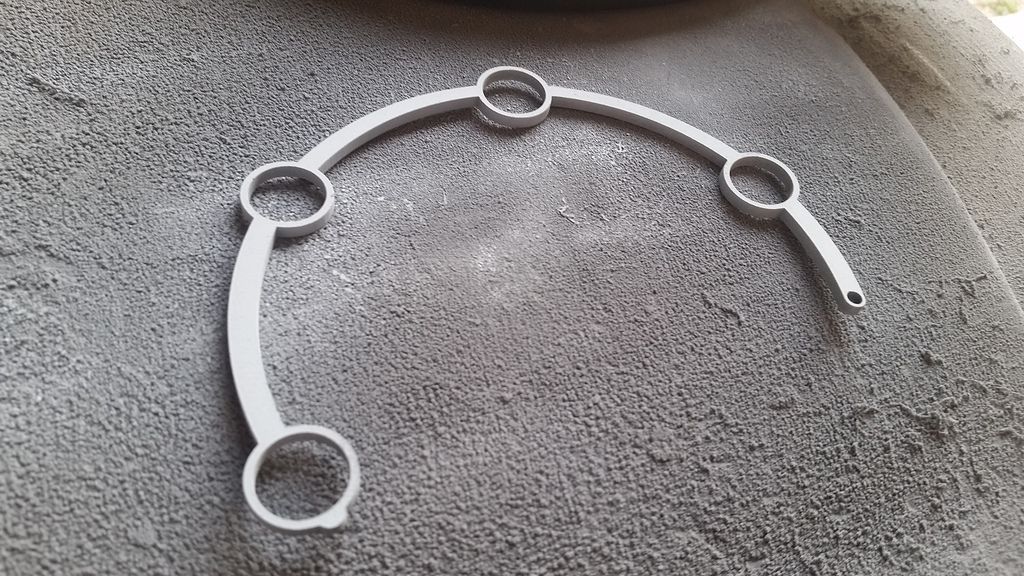
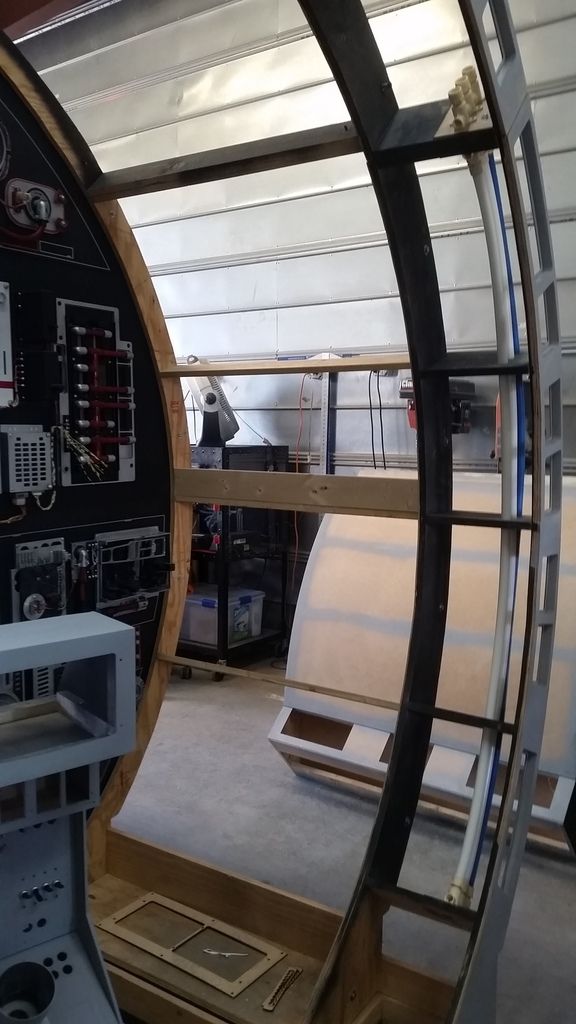
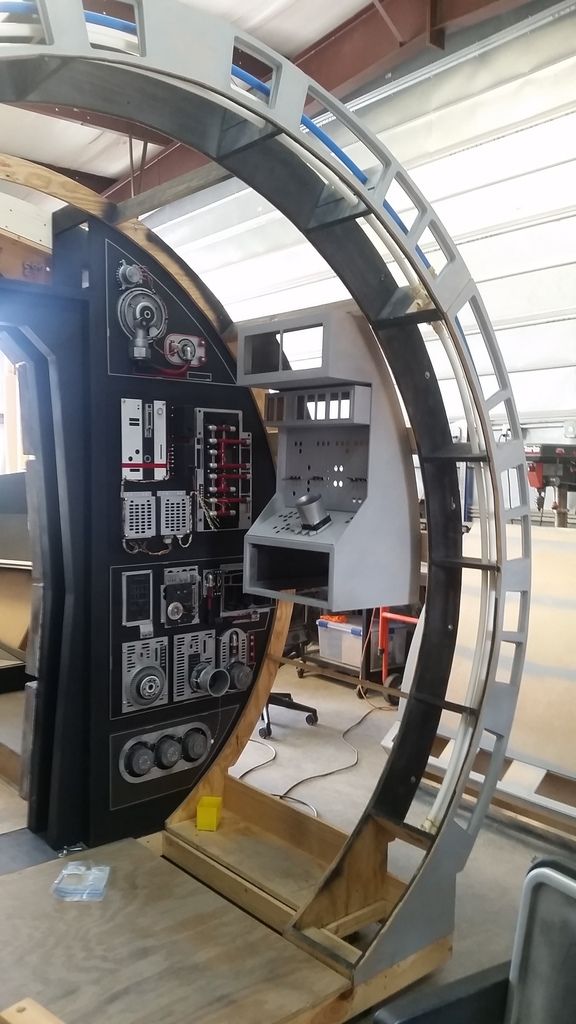
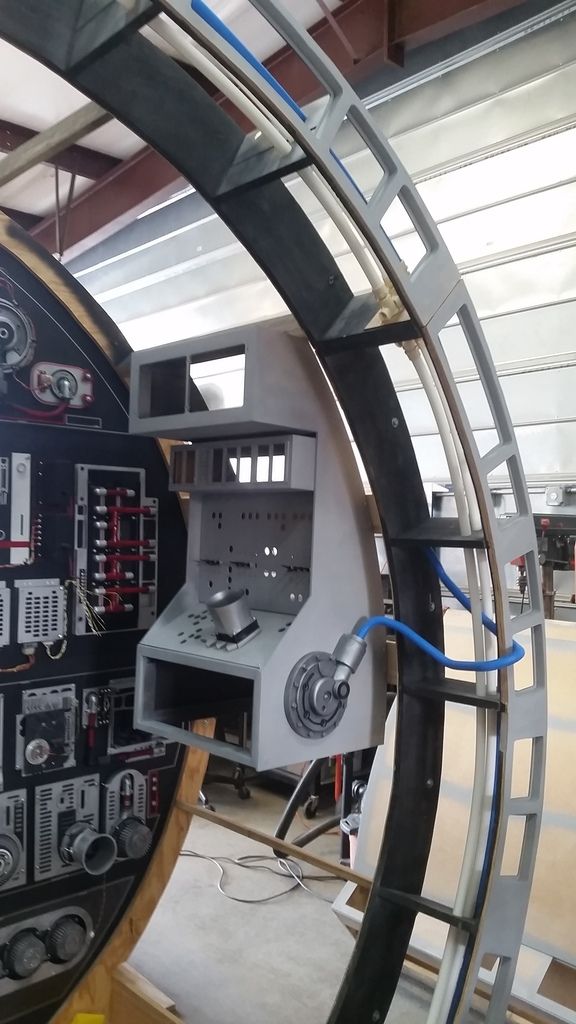
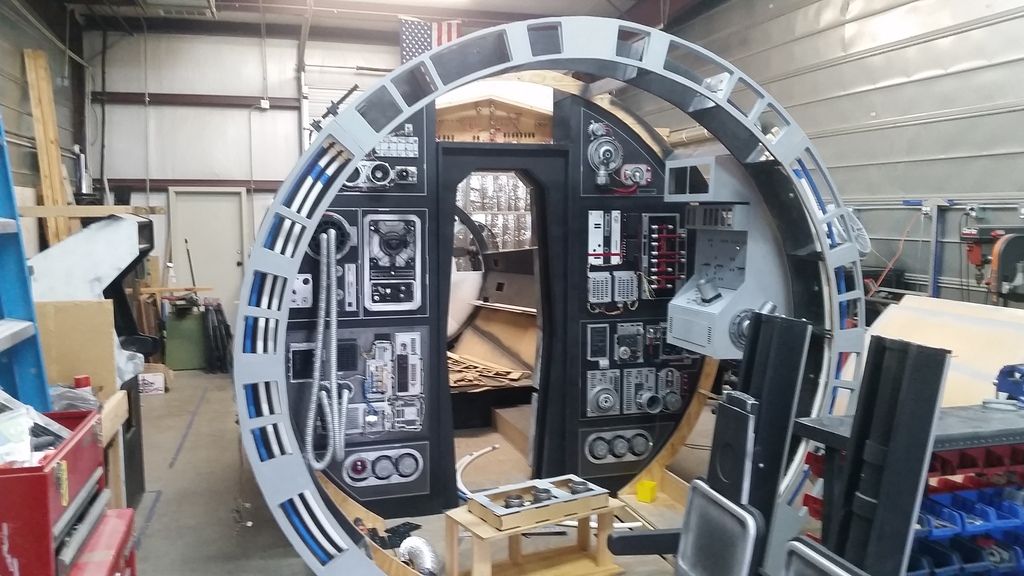
I was finally able finish up most of the corridor ring with just a few additions left. I added a few minor details to give it some depth
This will be so much easier when we make Cockpit Ver 2 and everything is done on the CNC
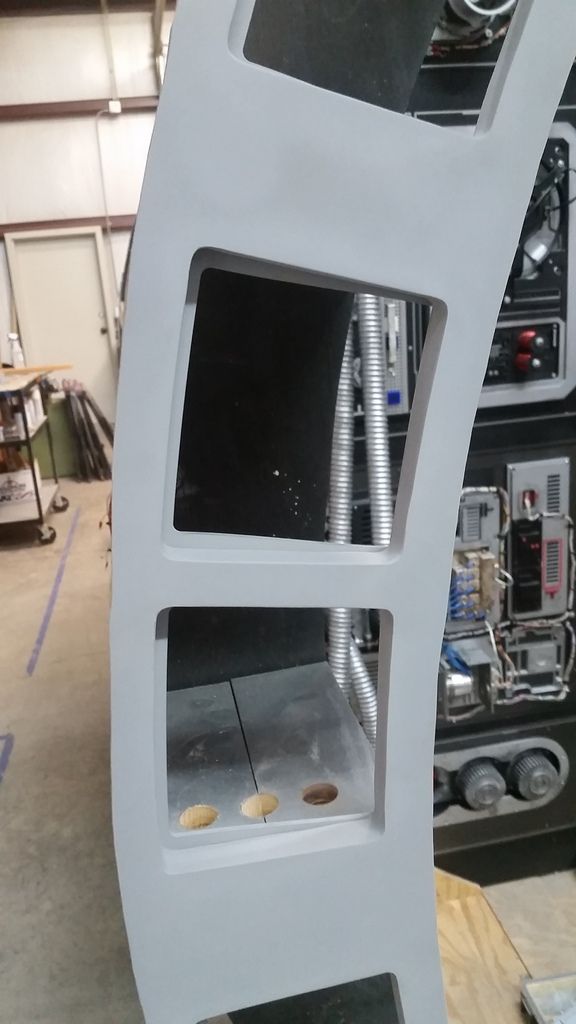
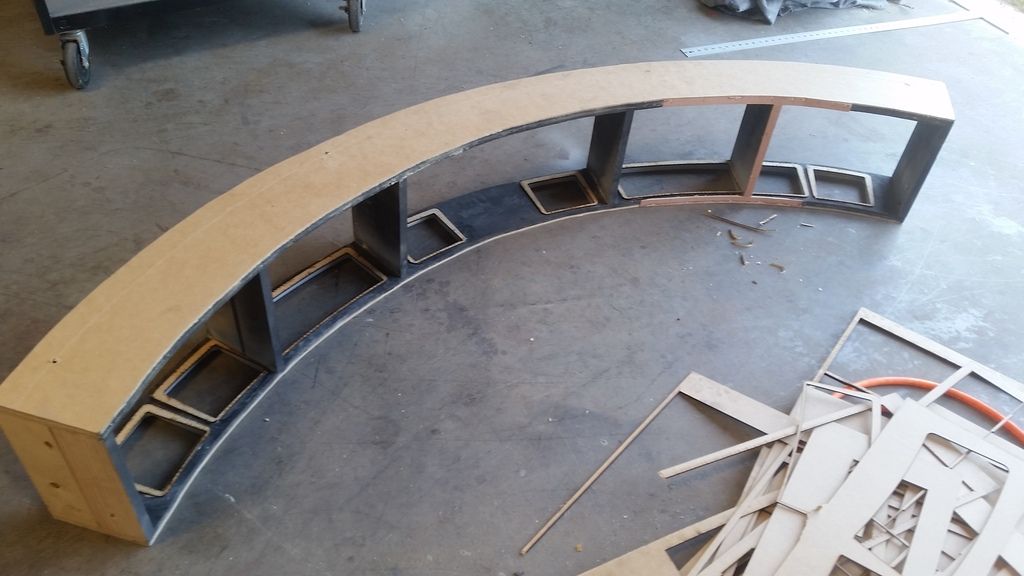
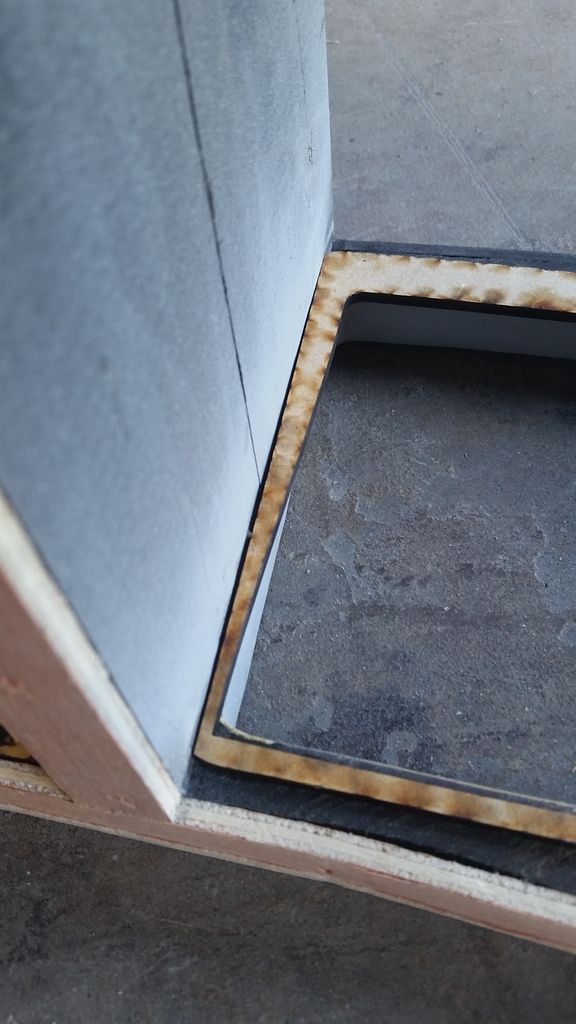
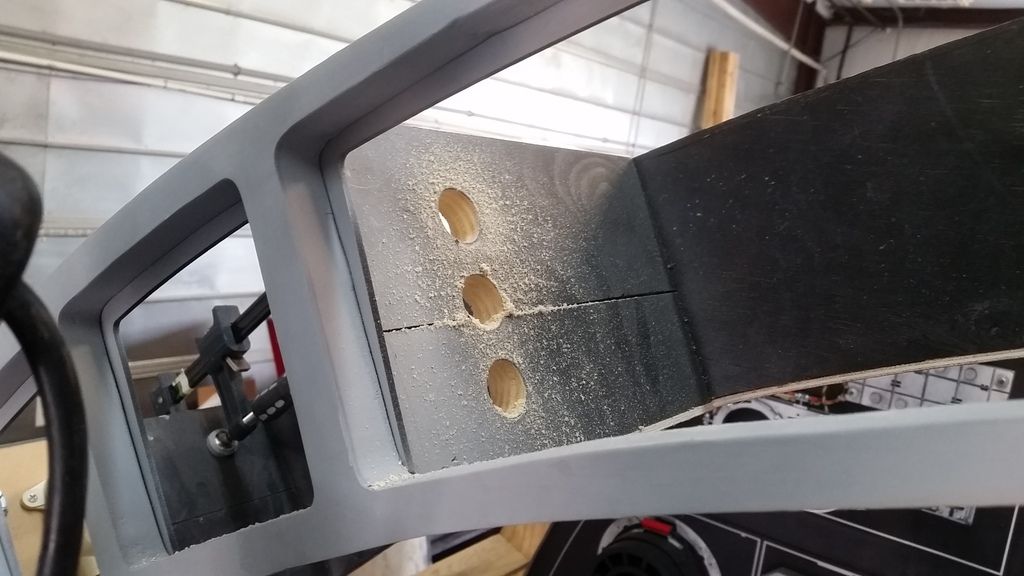
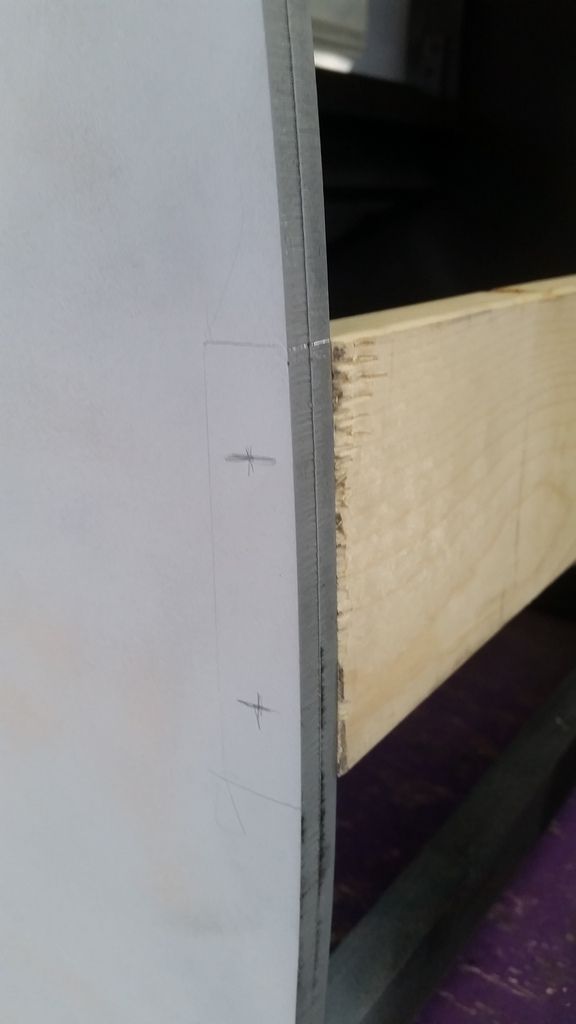
Some of the edges had to be mod'd to fit - this wont happen next time around
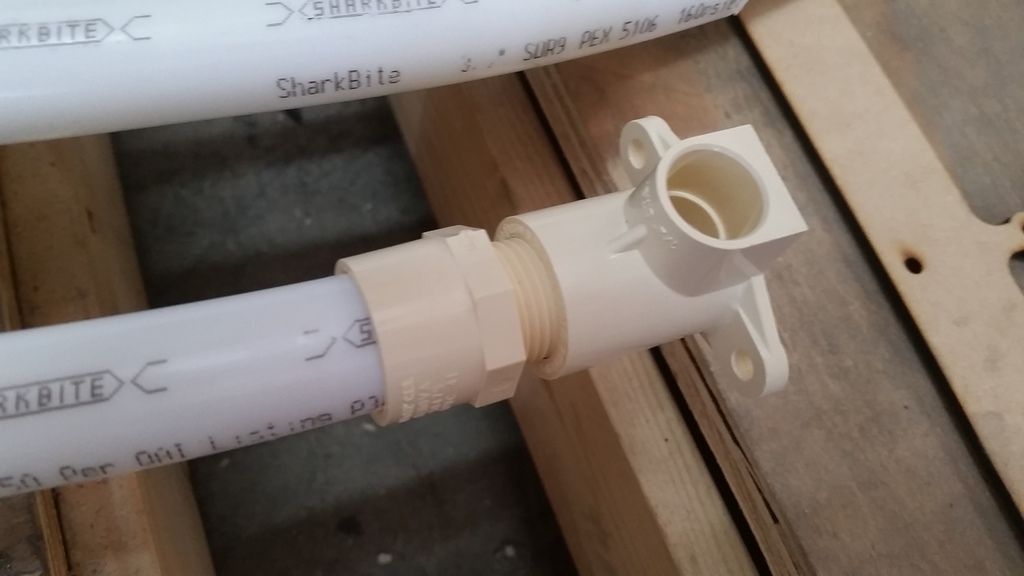
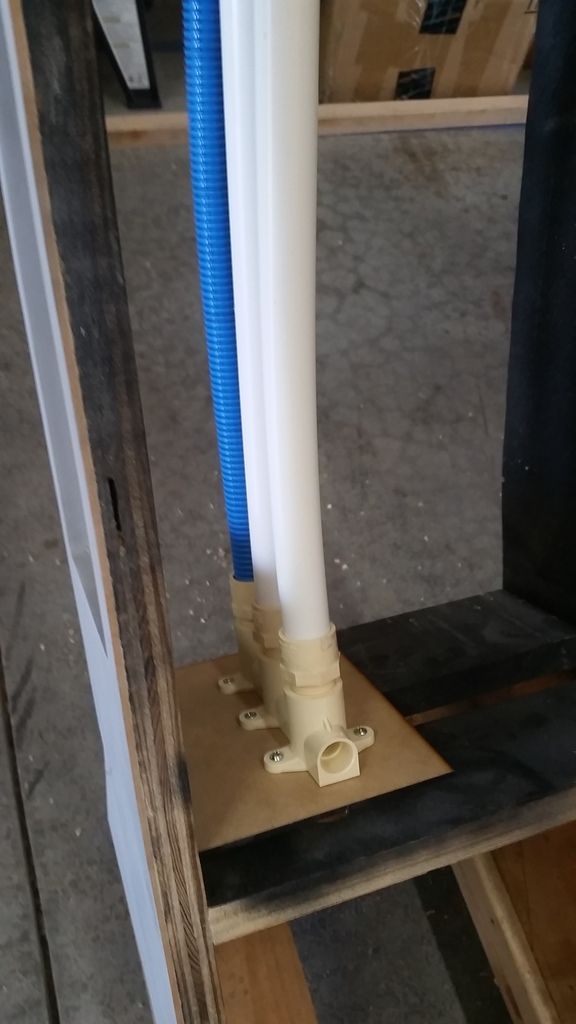
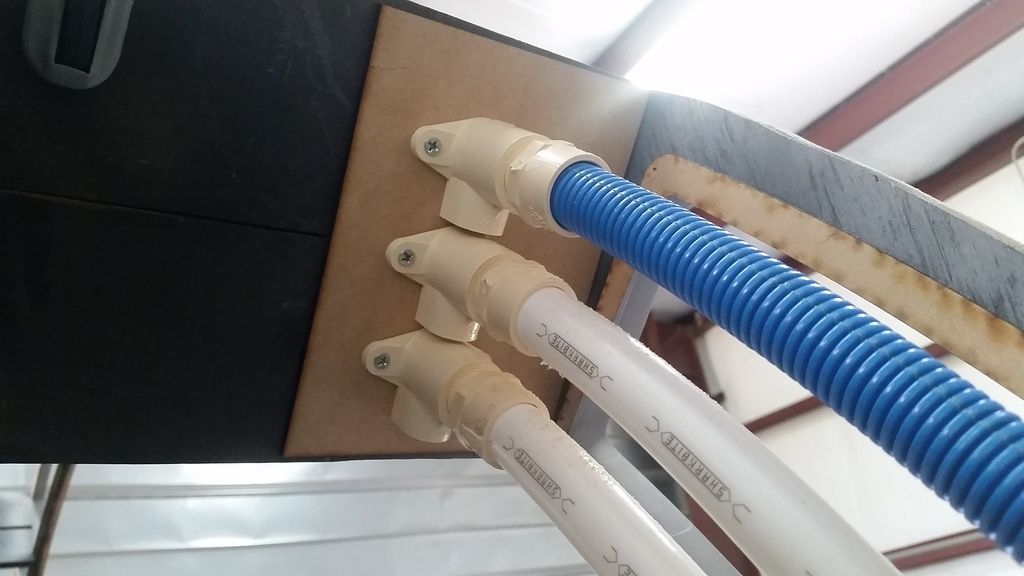
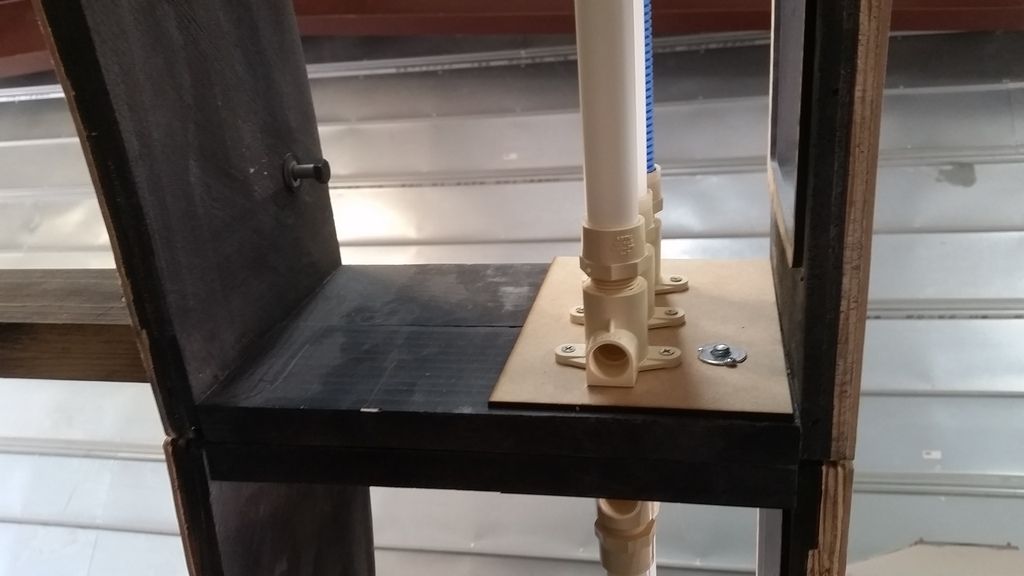
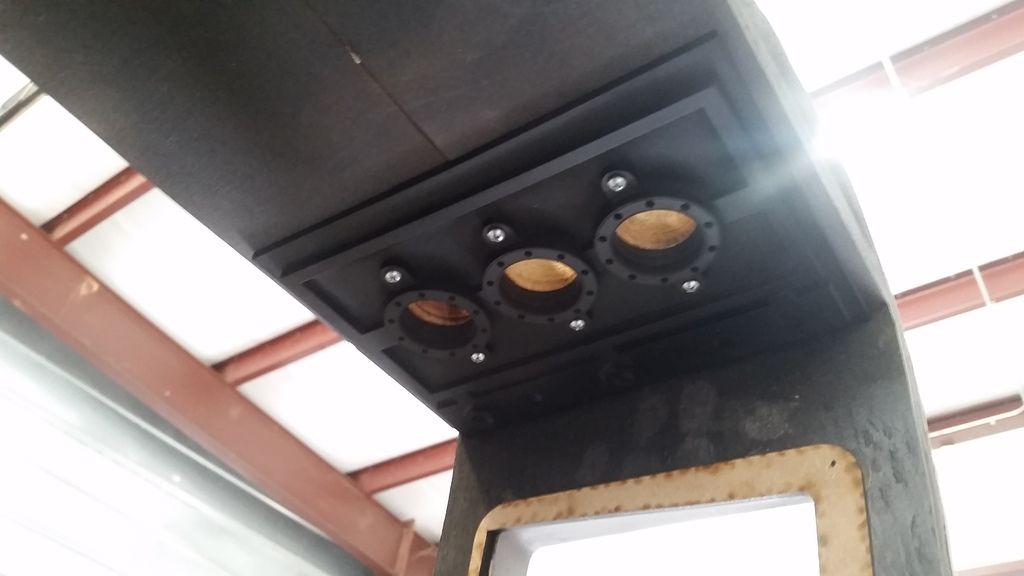
I found a perfect connector for all the the corridor tubes and hoses

Picked up a new hose as well!
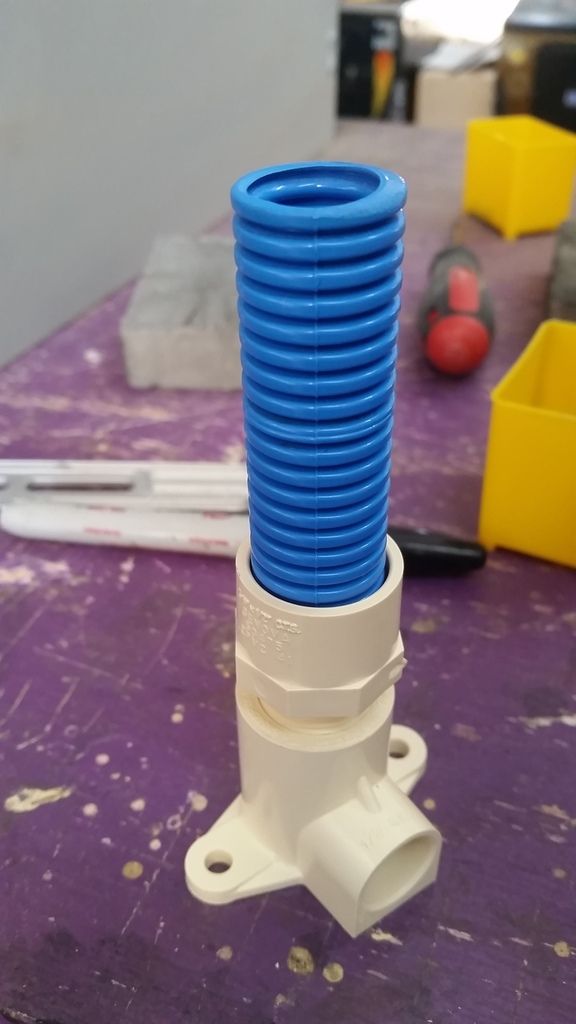
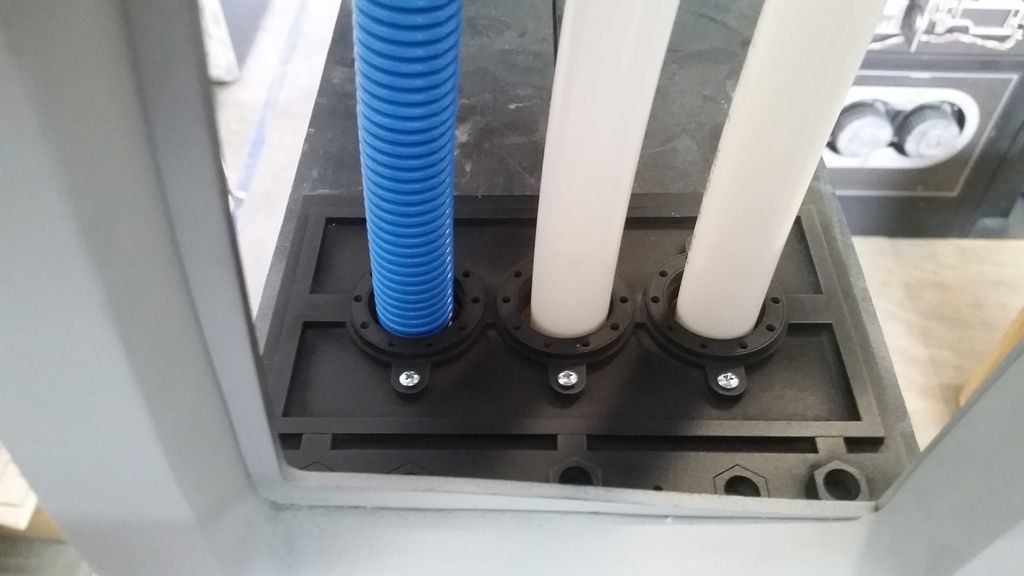
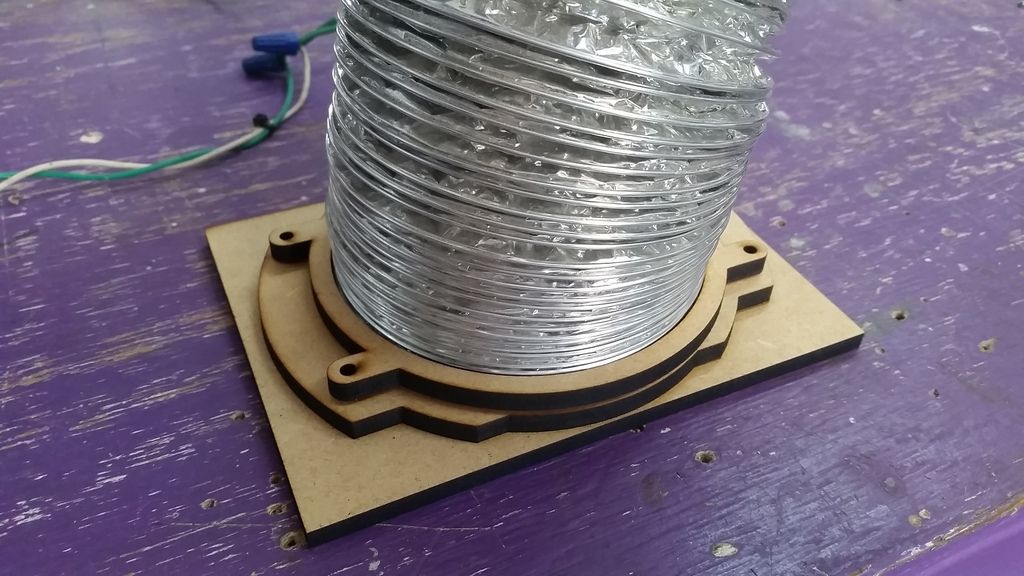
Perfect Fit!
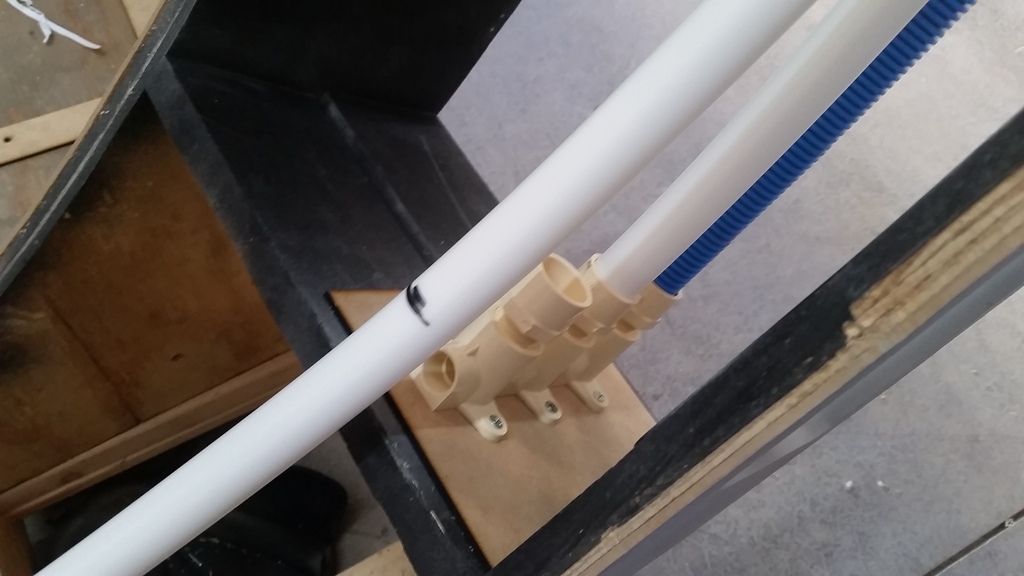
Let's get everything mounted
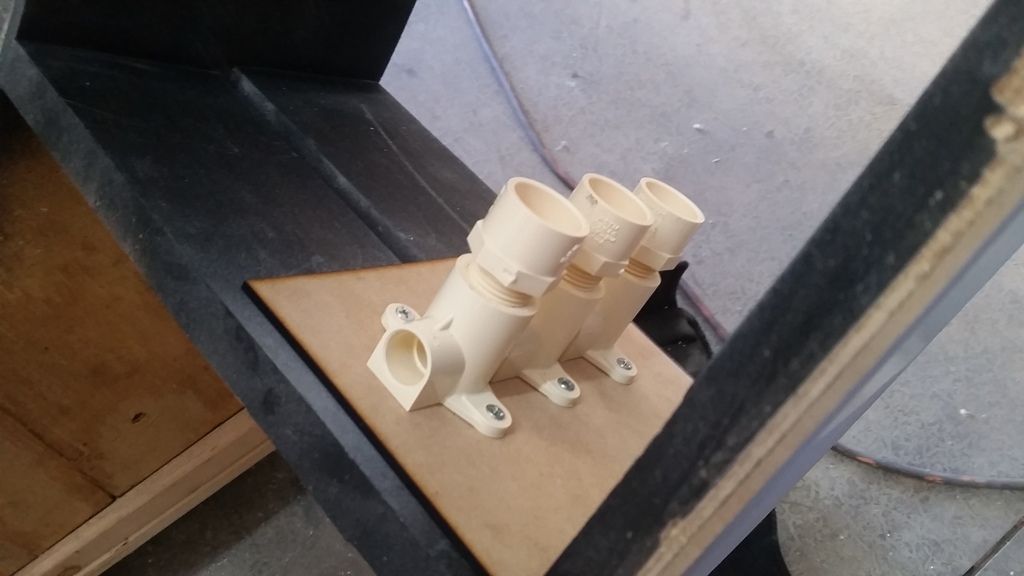
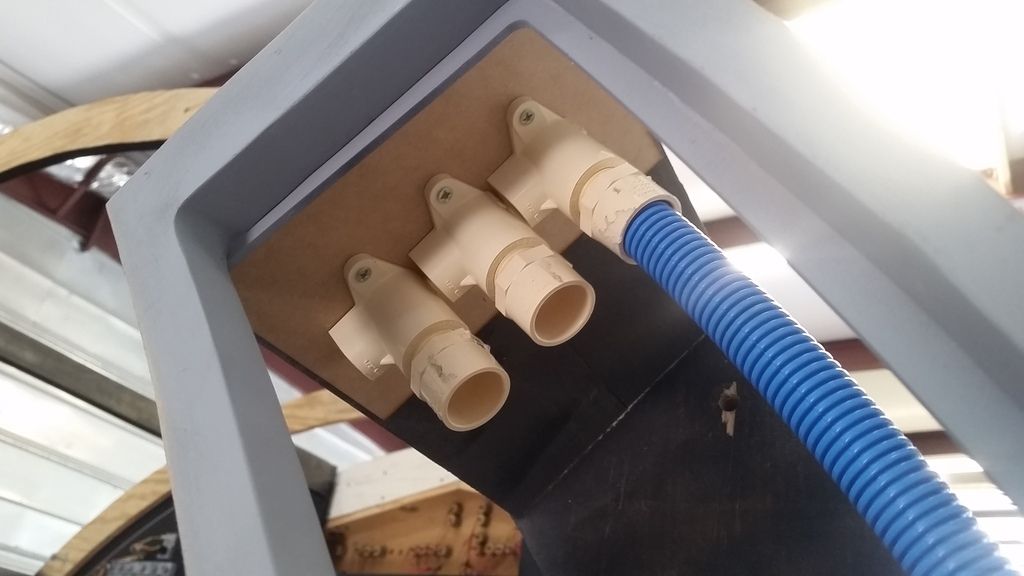
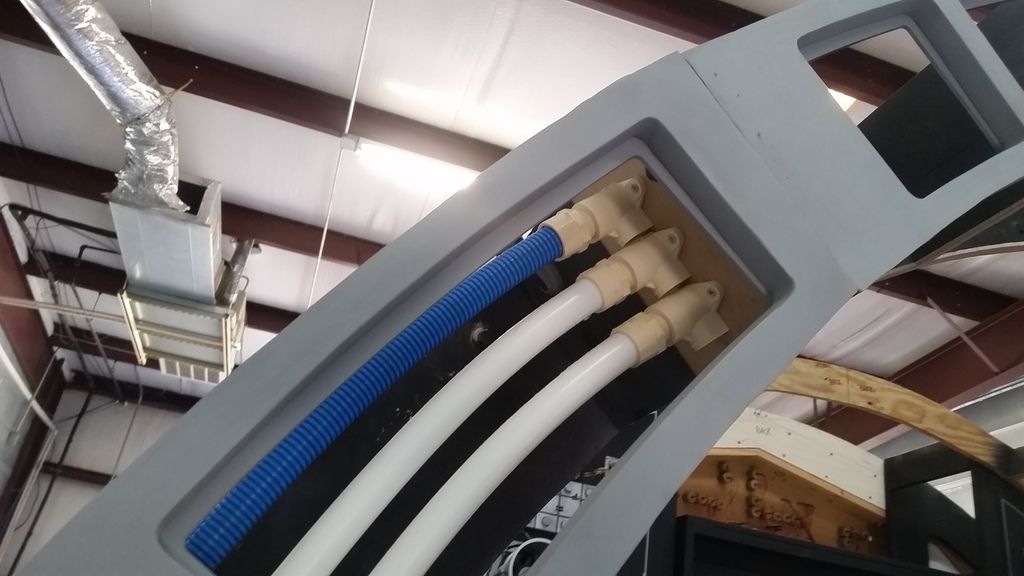
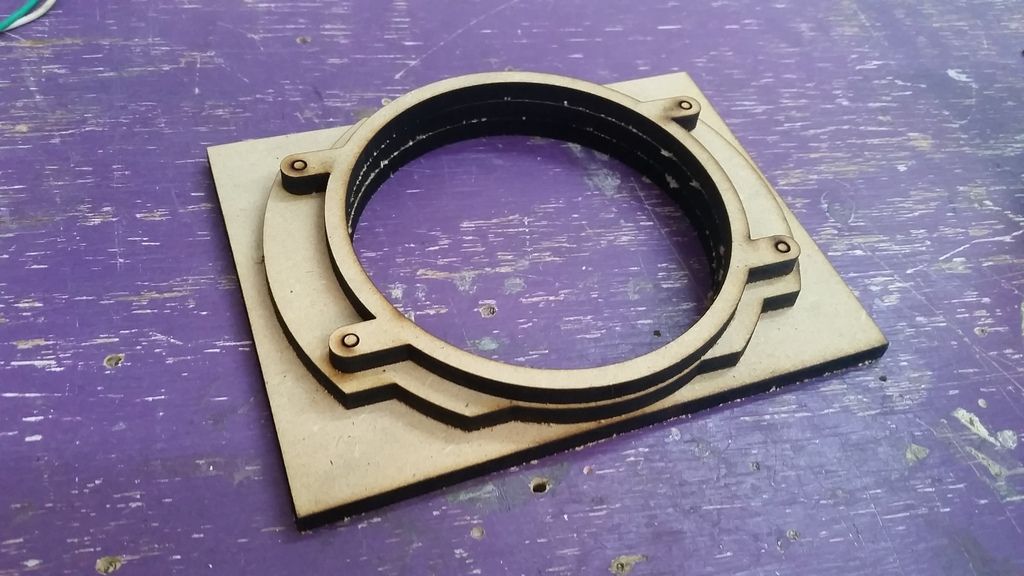
These connections mount to each end of each section of the ring. The pipes fit snug and wont fall out during transport!

Cutting to fit
Panel looks a bit dull... I'll add a few details later
I then drilled all the holes in the upper section
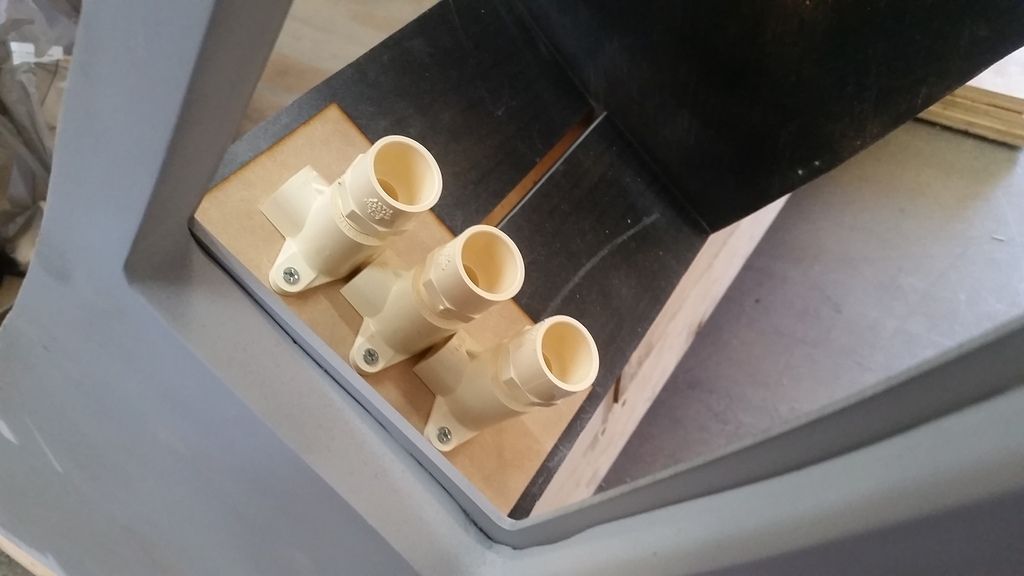
Connectors added
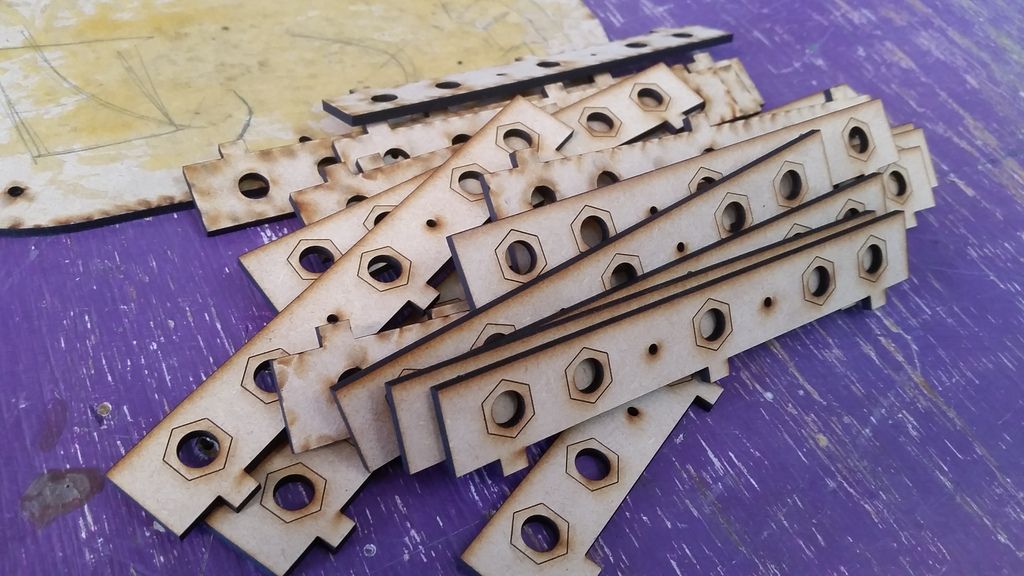
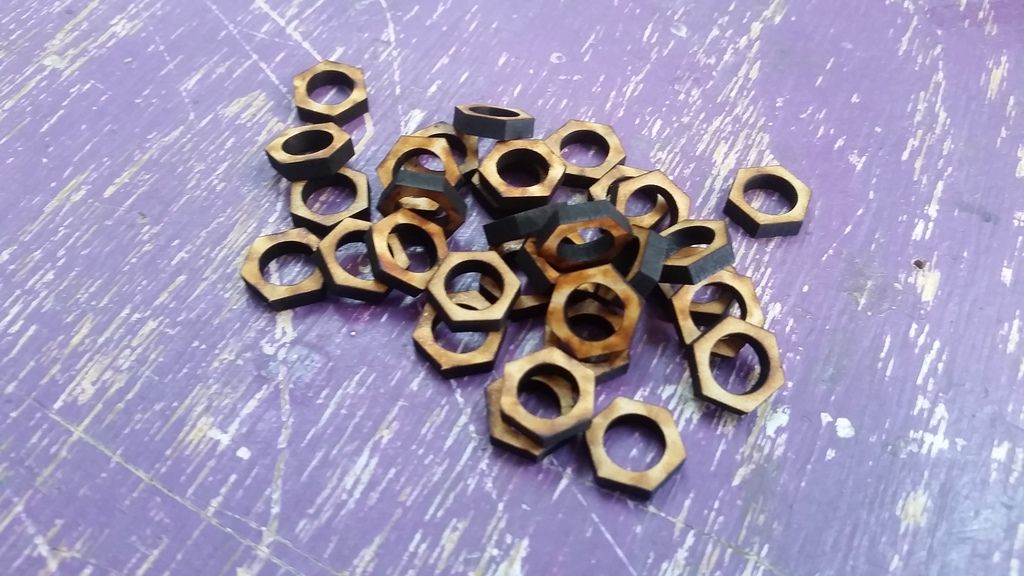
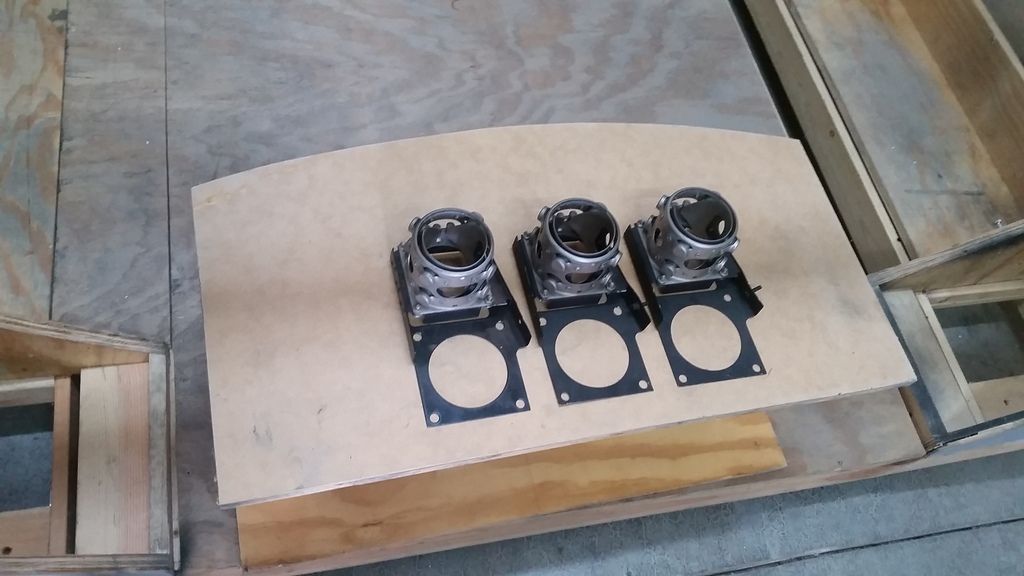
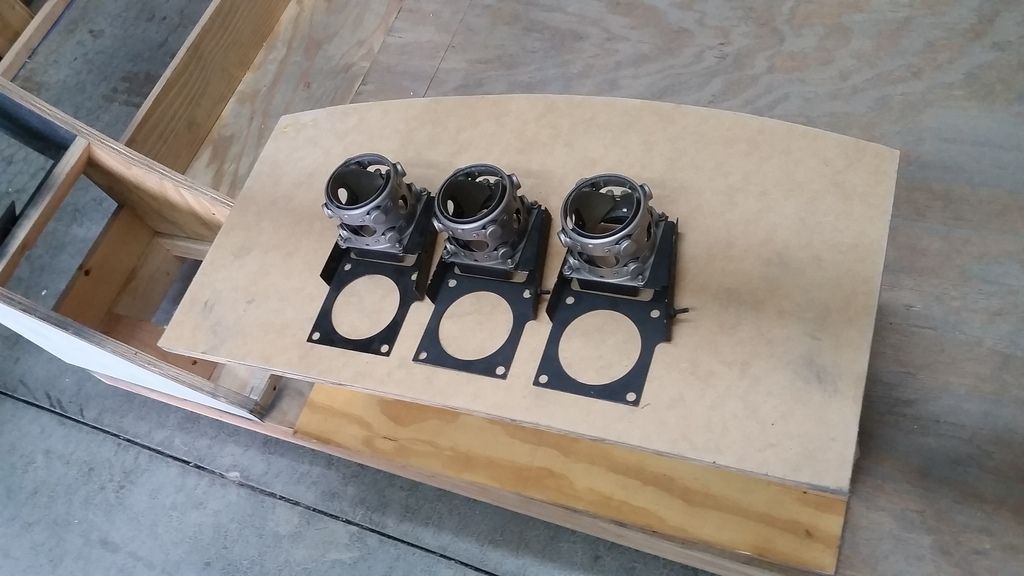
Time to address all these guys!
I need LOTS more
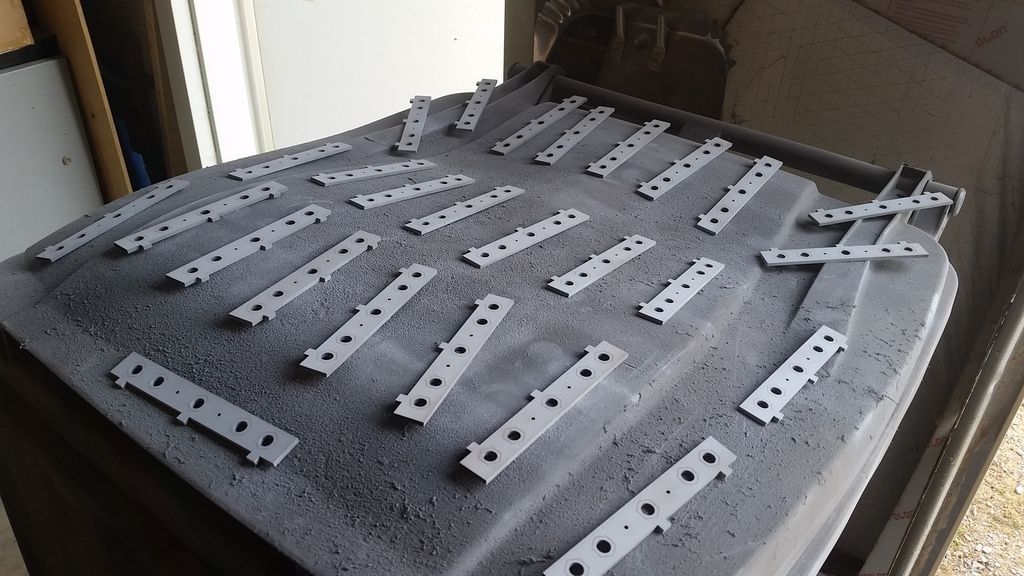
Another additional detail
Primed
And another layer of detail... why am I doing this myself?")
Each panel will be random
A few extras
Paint!

Lets get these guys in place!
UGH...
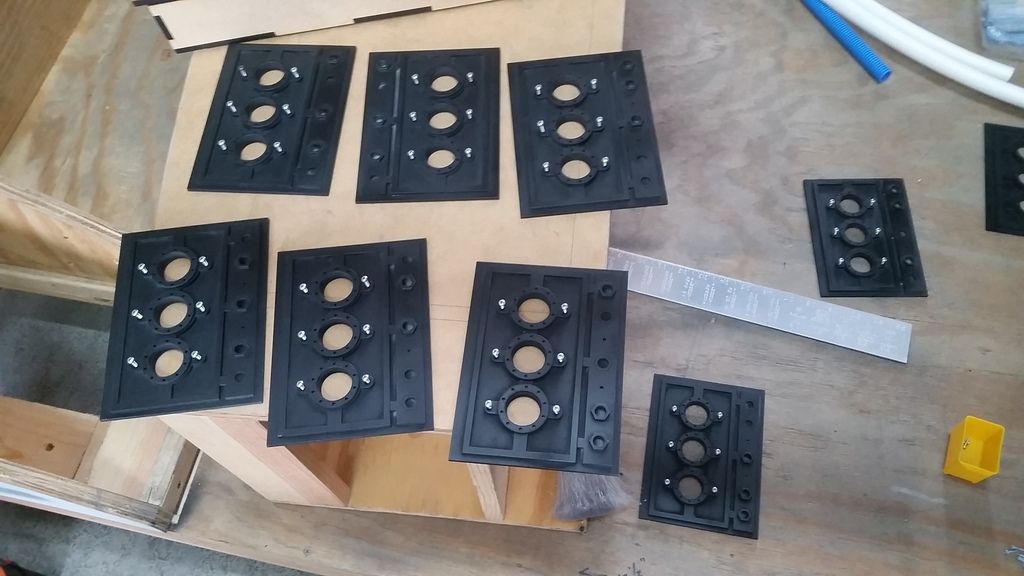
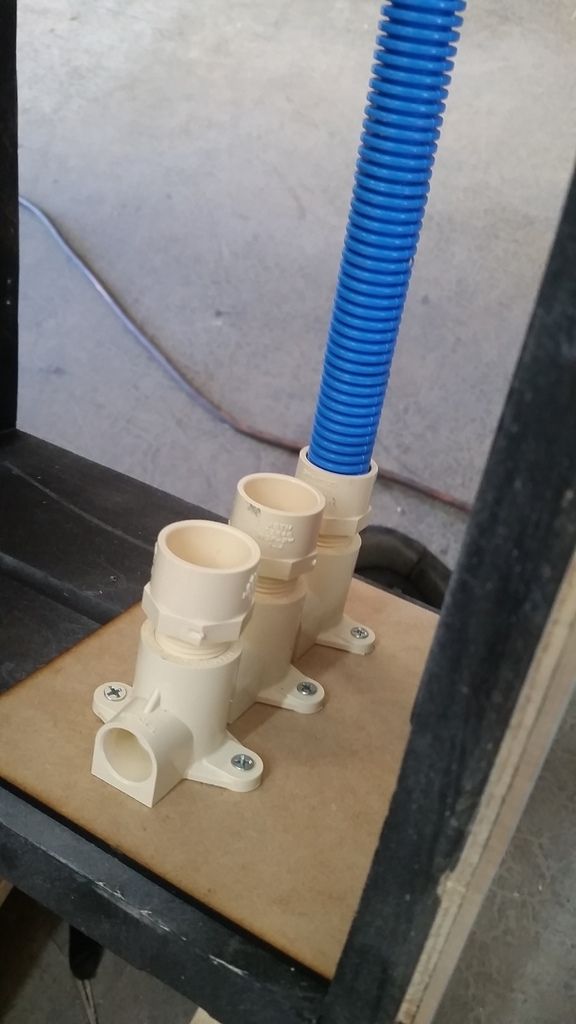
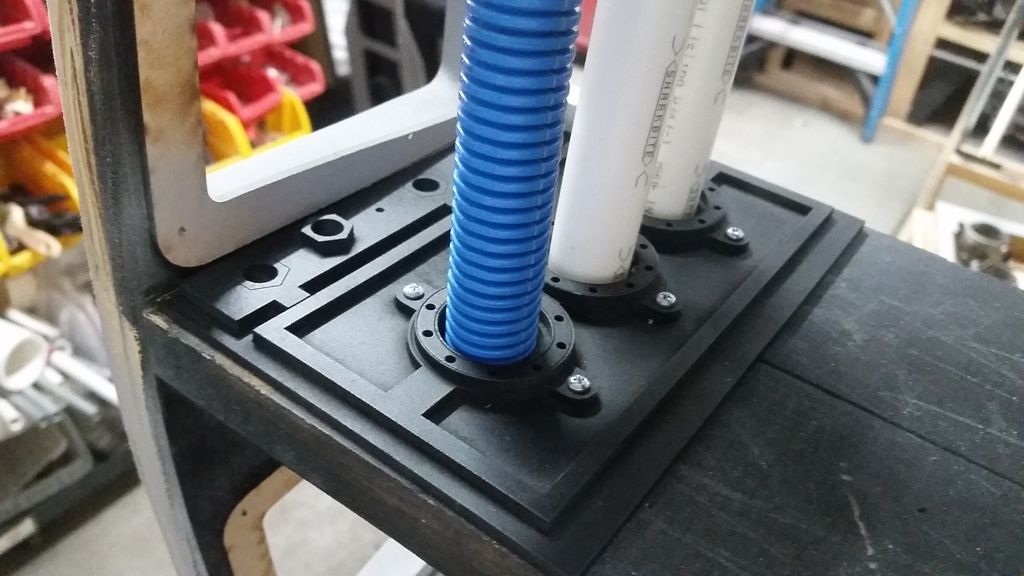
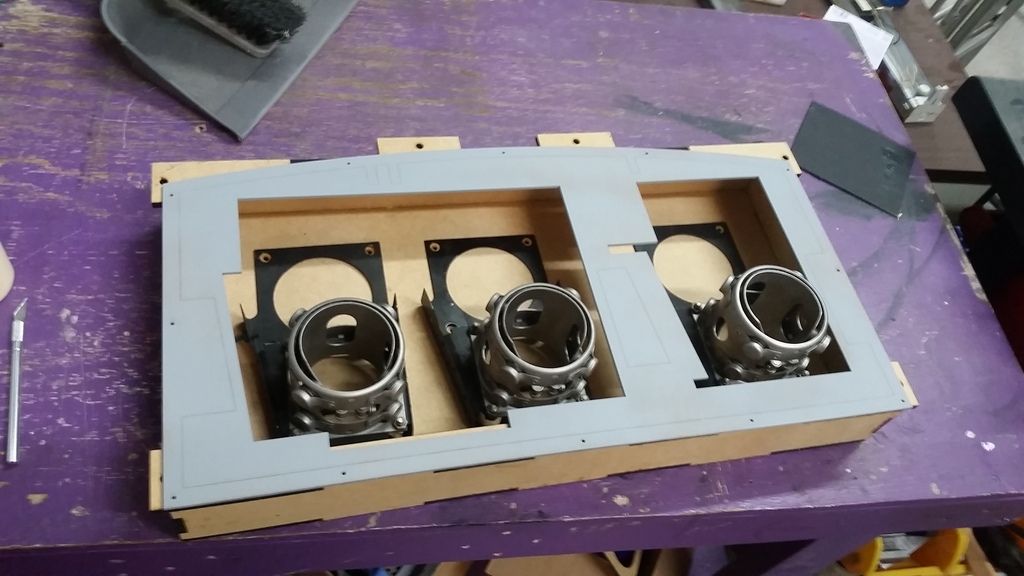
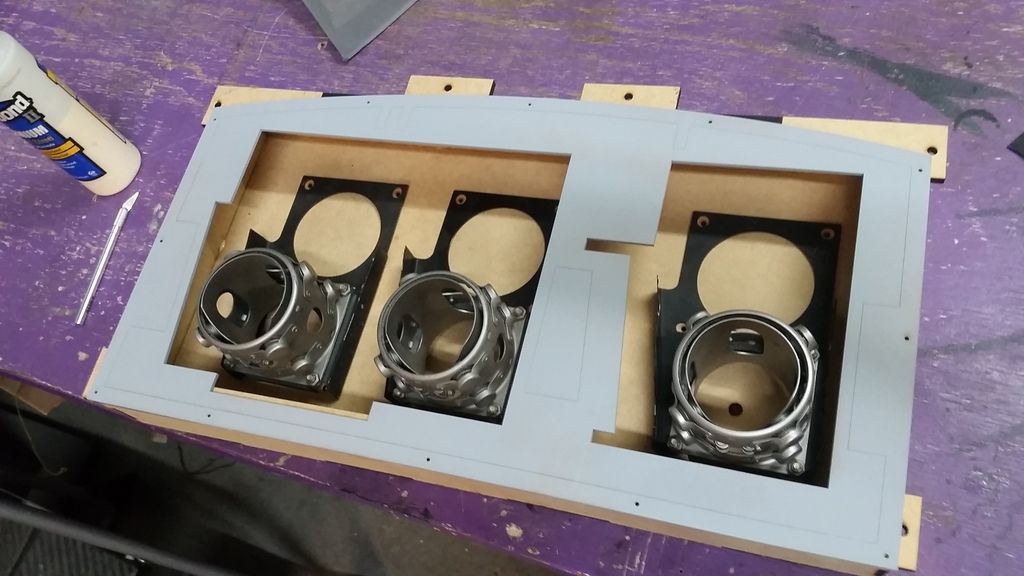
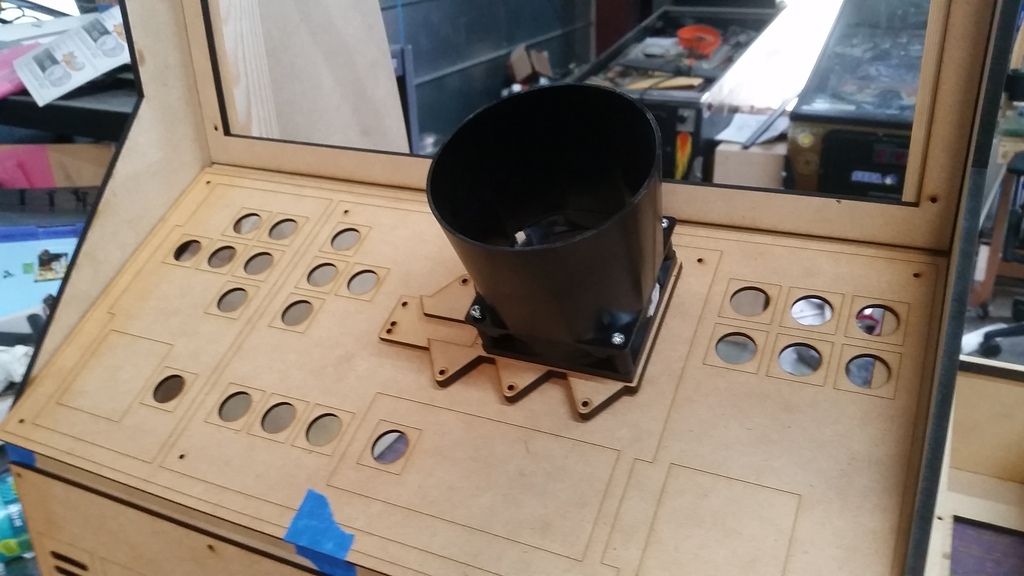
I then designed this

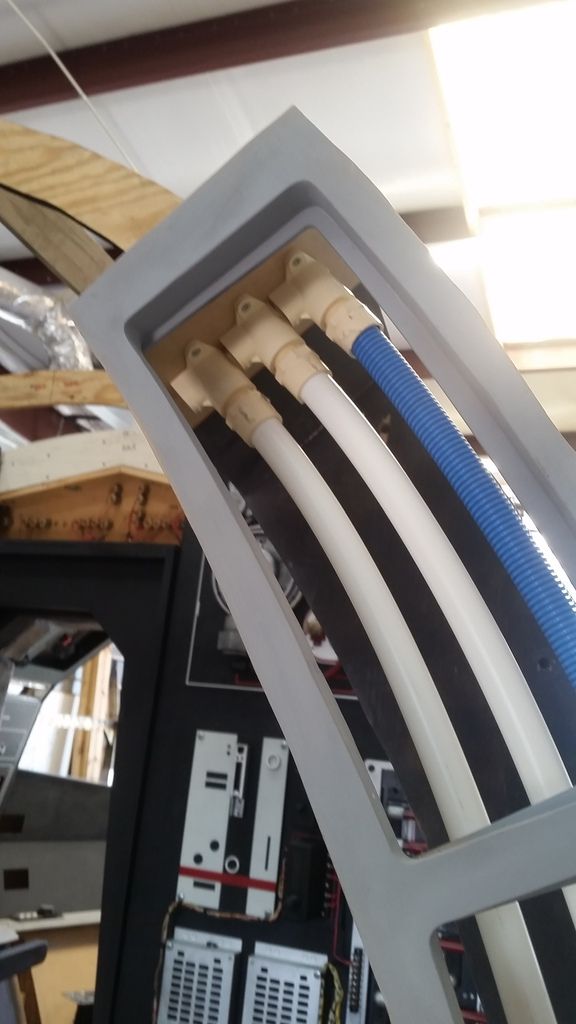
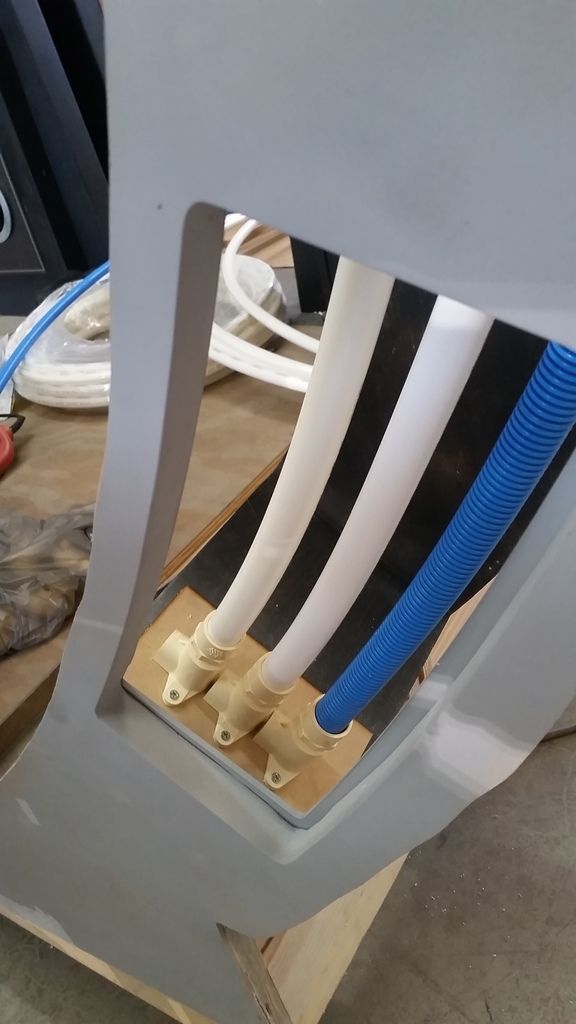
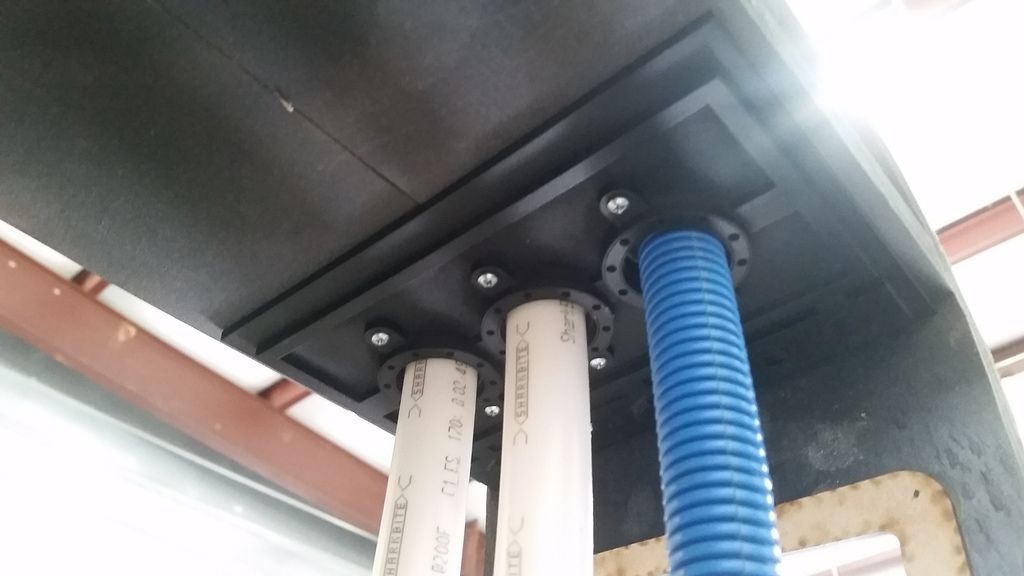
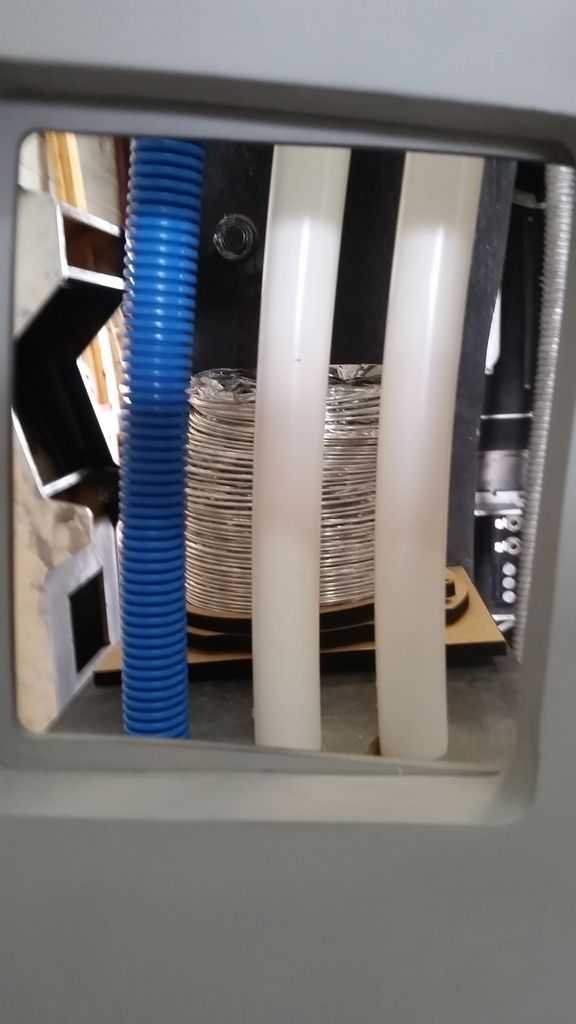
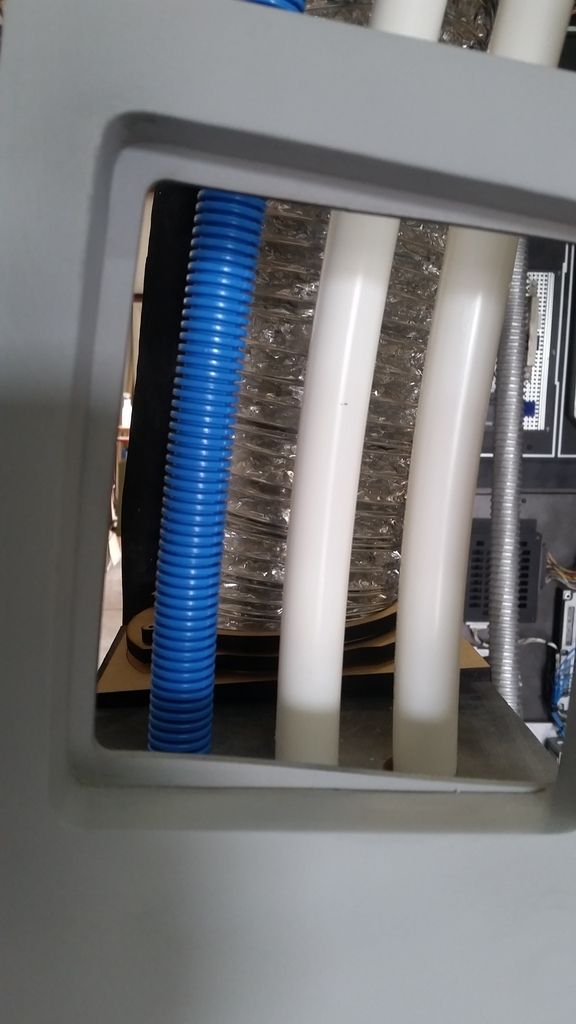
The idea is to add a flexible vent pipe behind the 3 tubes similar to the original tubes seen in the OT and TFA
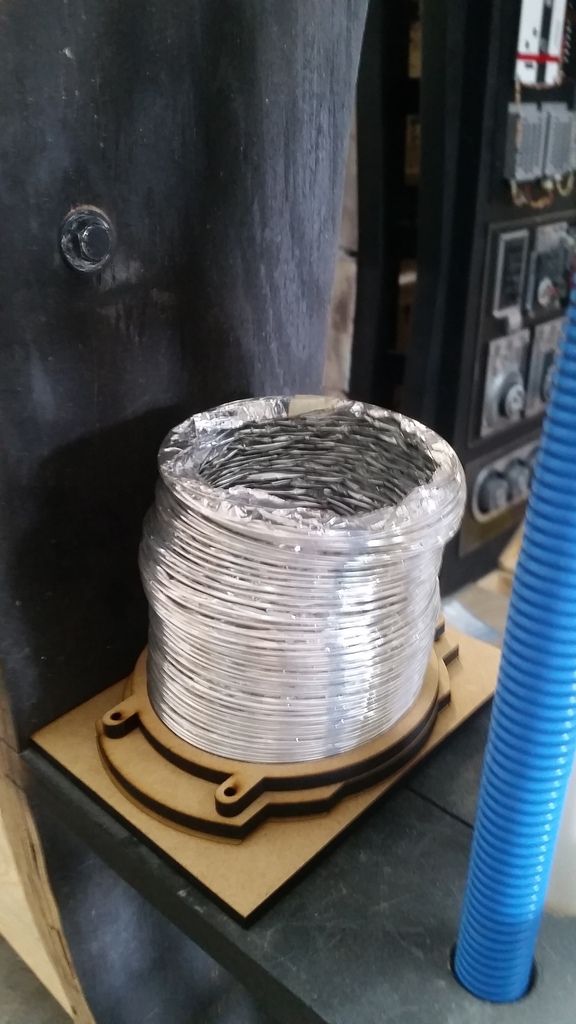
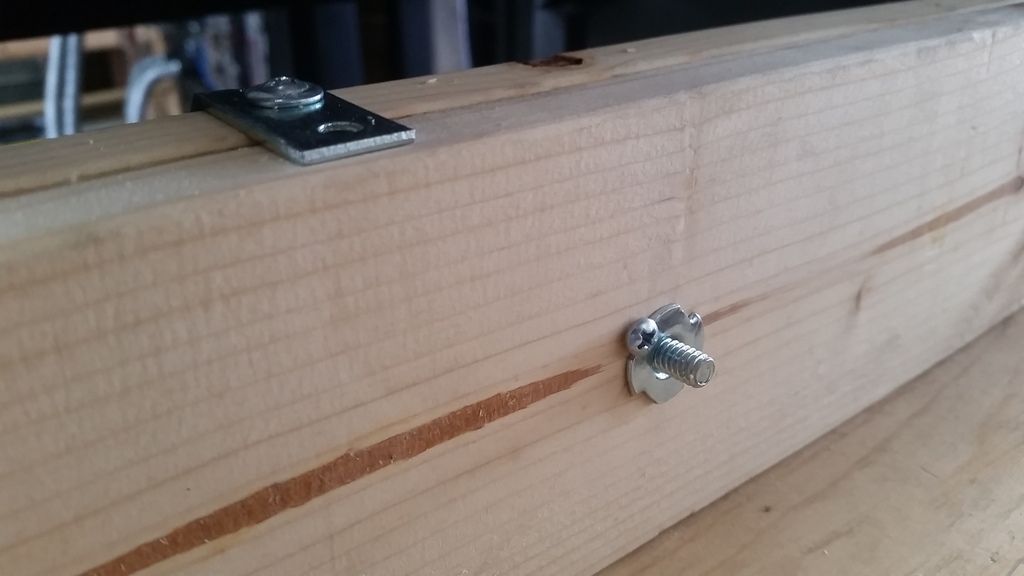
Unfortunately the pipe is 4" wide and I can't cut holes into the wood or I'll hit the screws like I did before. So... I would have to section each of them off. No real difference just shorter pipe sections.
Yes? No? Should I add it? At the very least... it can always walk down stairs, alone or in pairs and make a slinkity sound
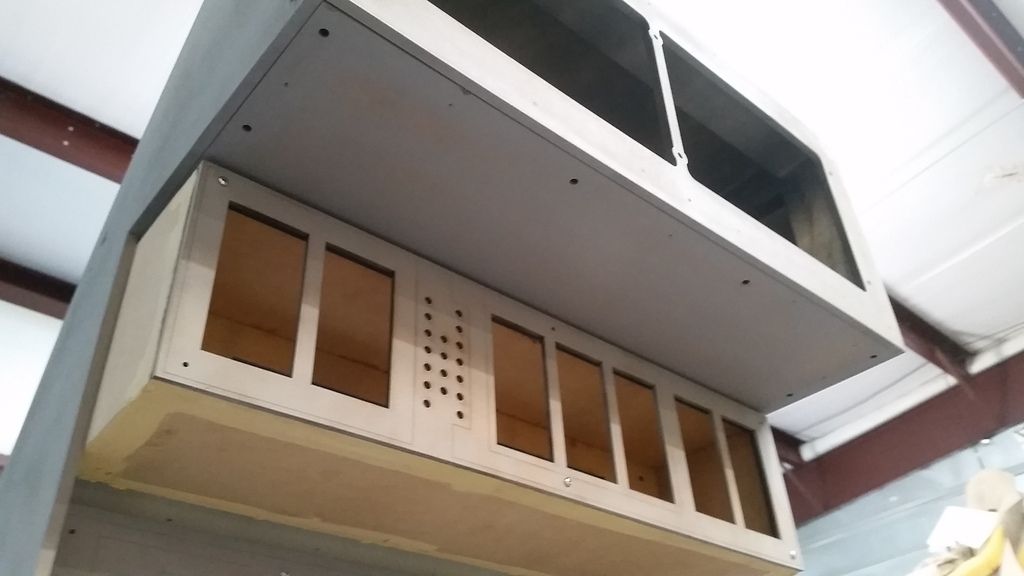
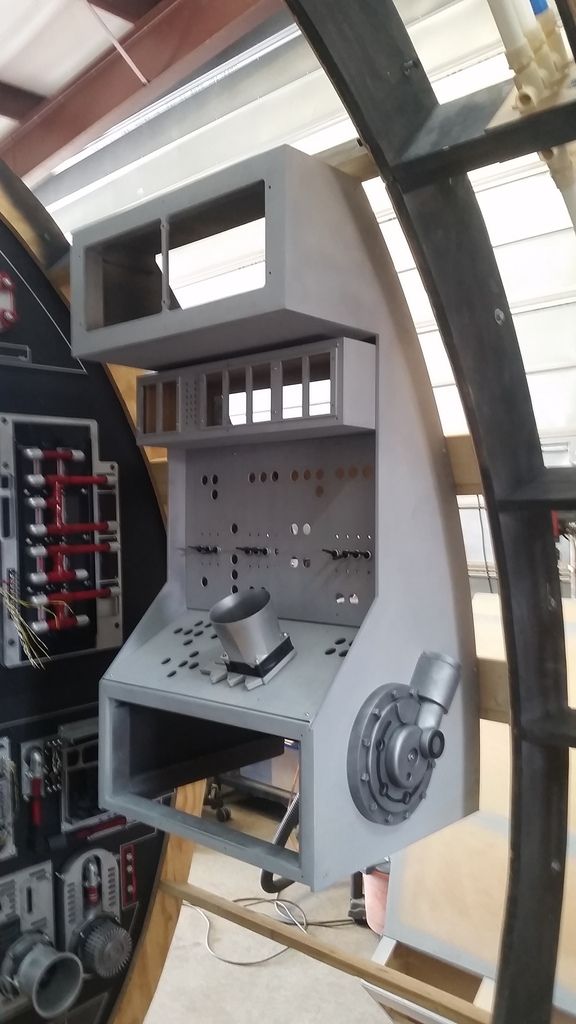
I then addressed the capstone panel - finally!
I LOVE these greeblies
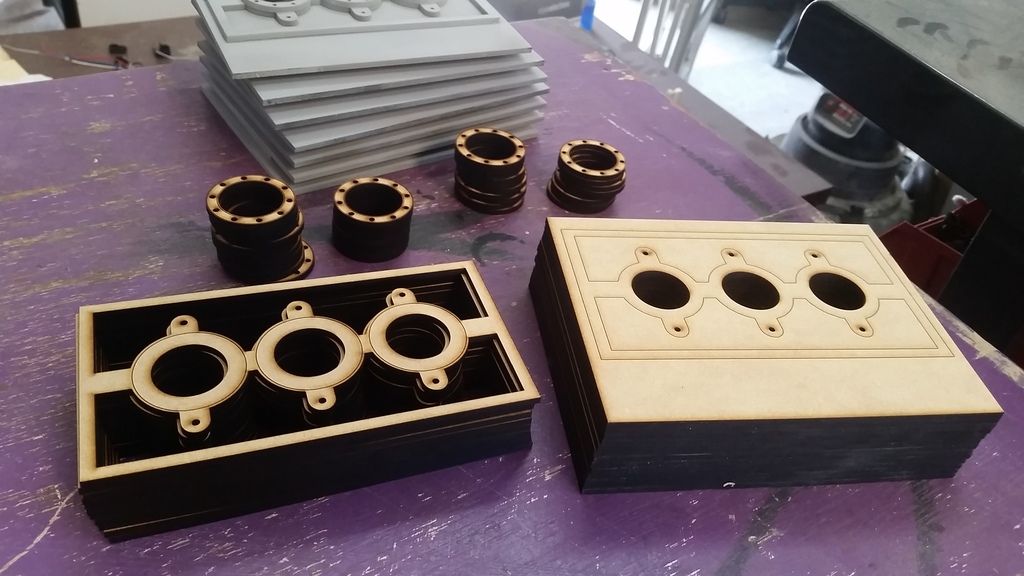
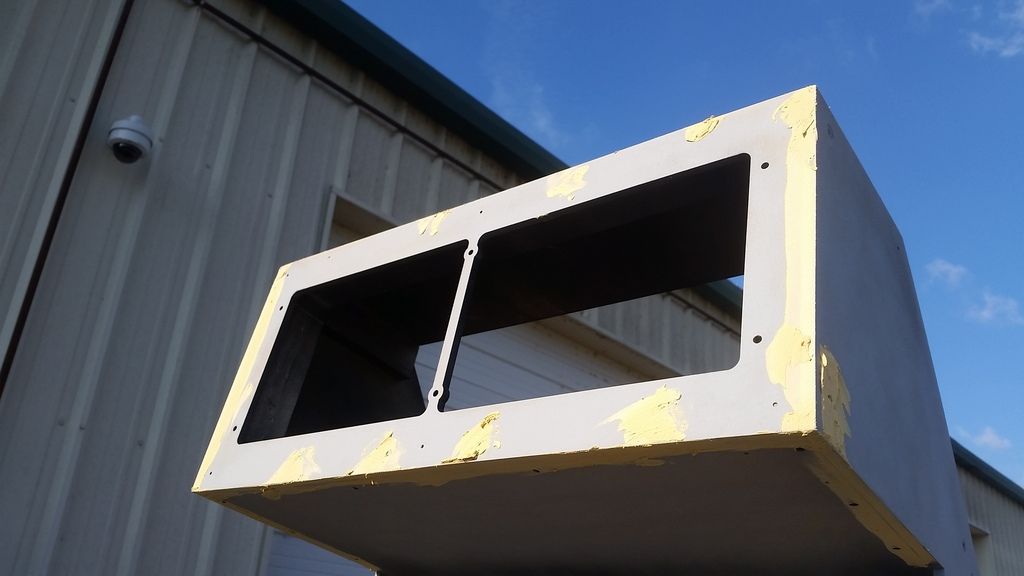
Created a tab box

Cut template
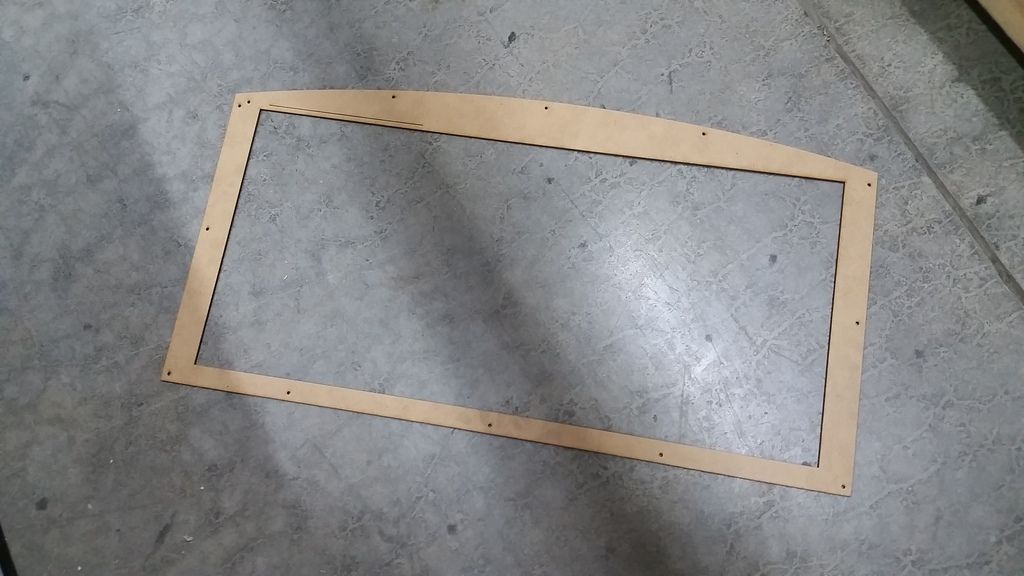
Cut the hole
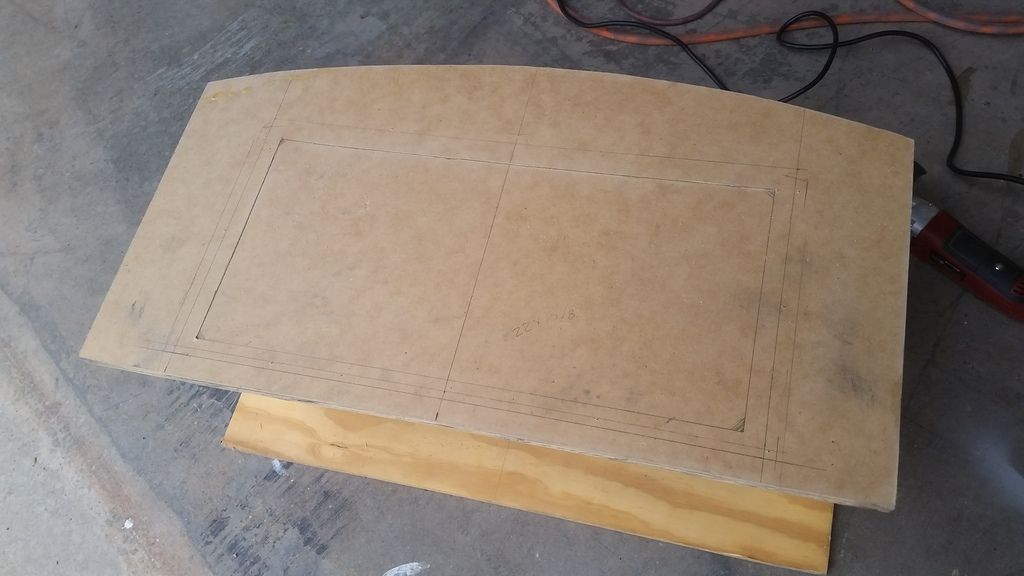
Trim piece
I really want to do right by these greeblies
Basic layout
Thinking about adding 2 or 3 of the panel lights
The greeblies need to be raised a bit. I made the box too deep.
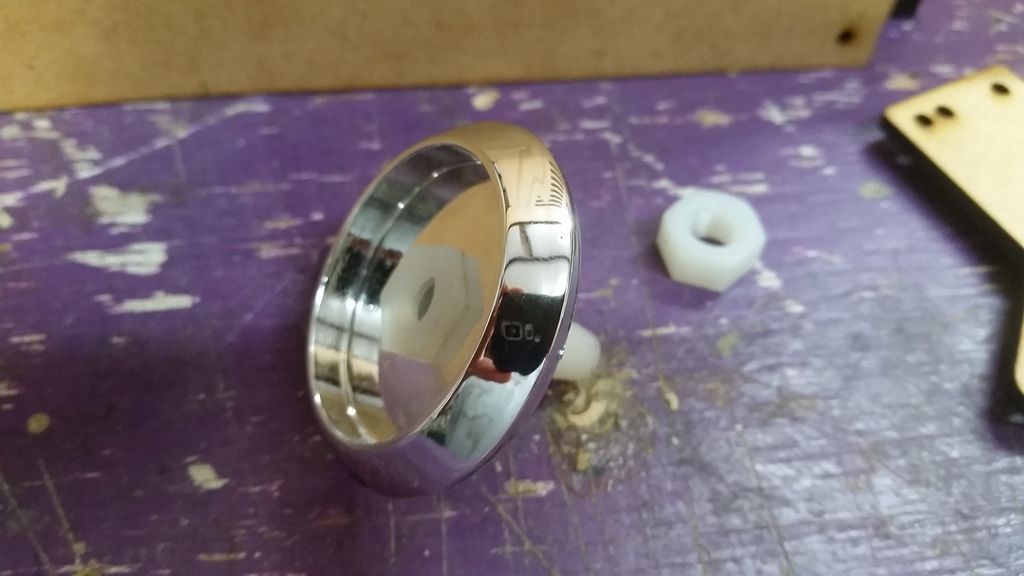
I then found an old greeblie and decided to add some little details

Light mist of the silver
I updated this guy for one reason! But... back to him in a minute...
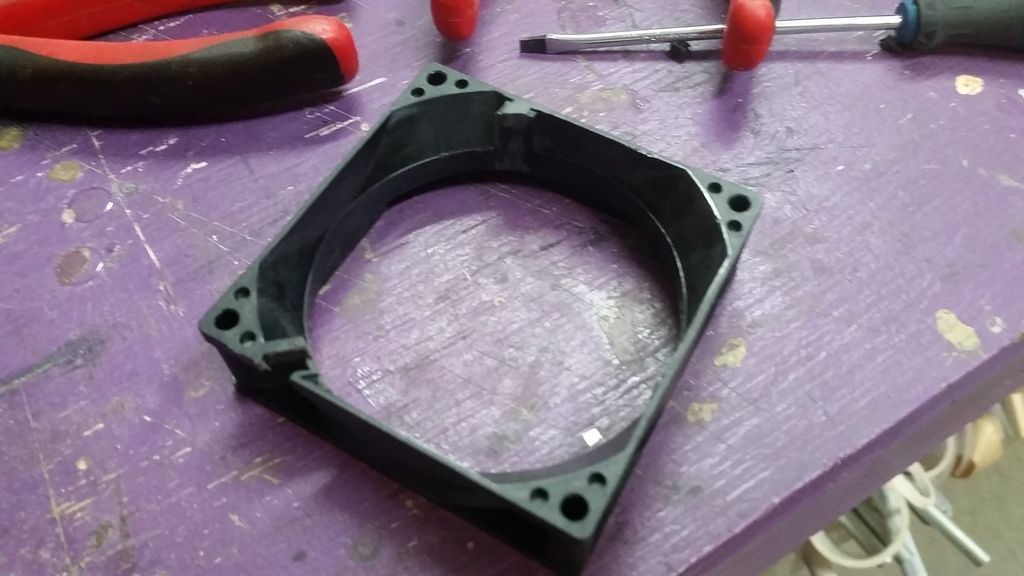
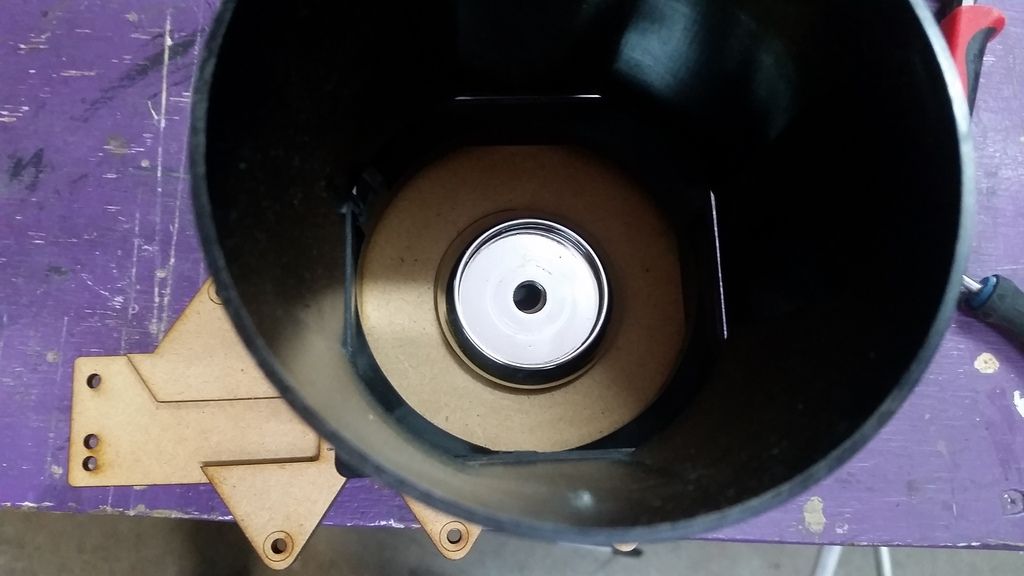
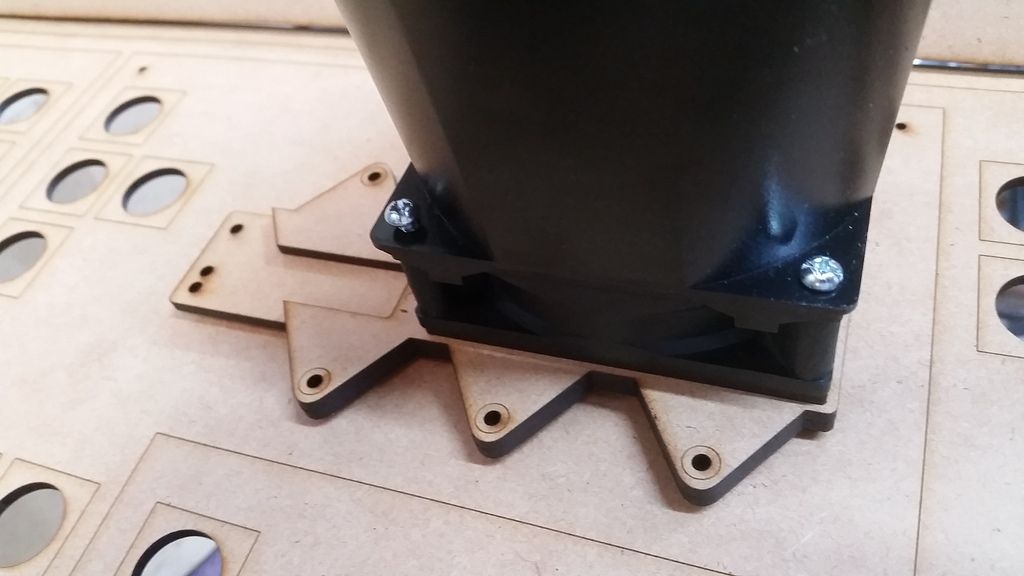
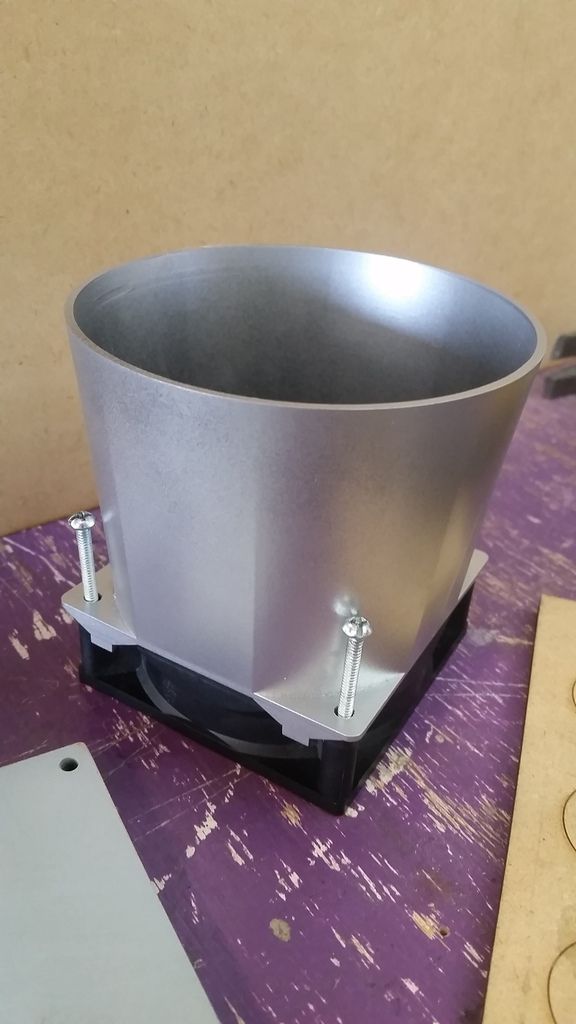
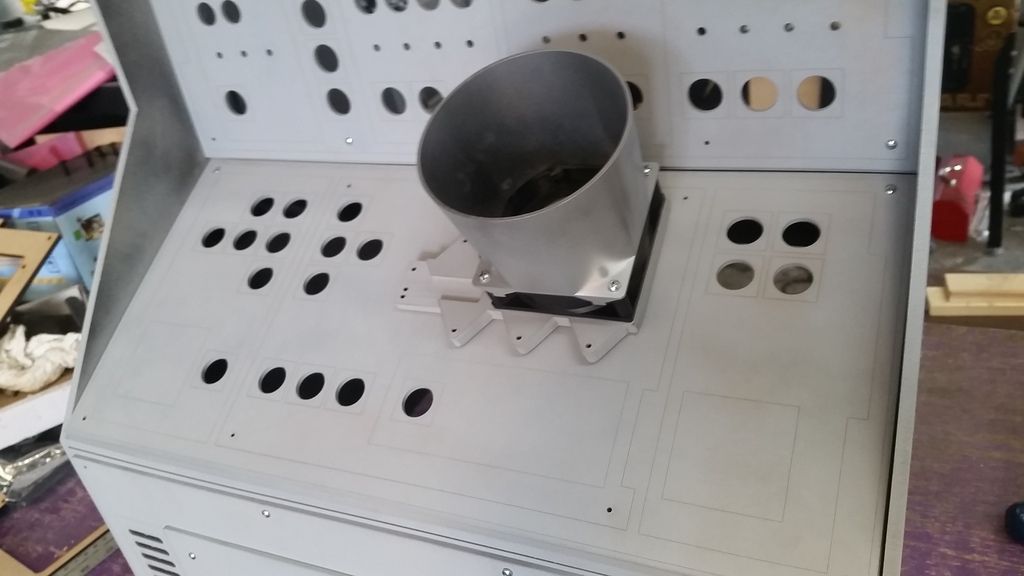
Another CPU fan showed up in the mail
Time to cut the actual fan away
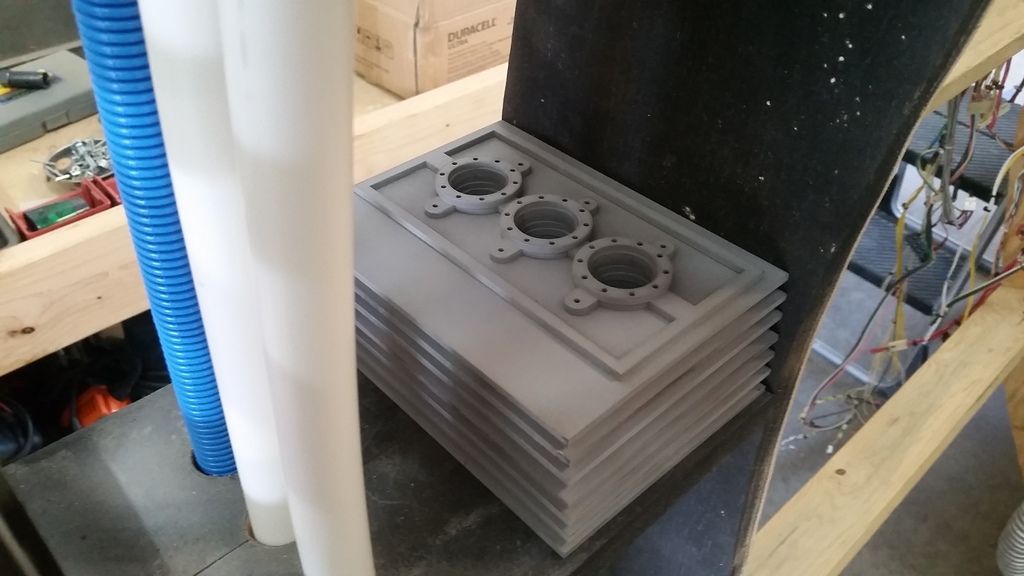
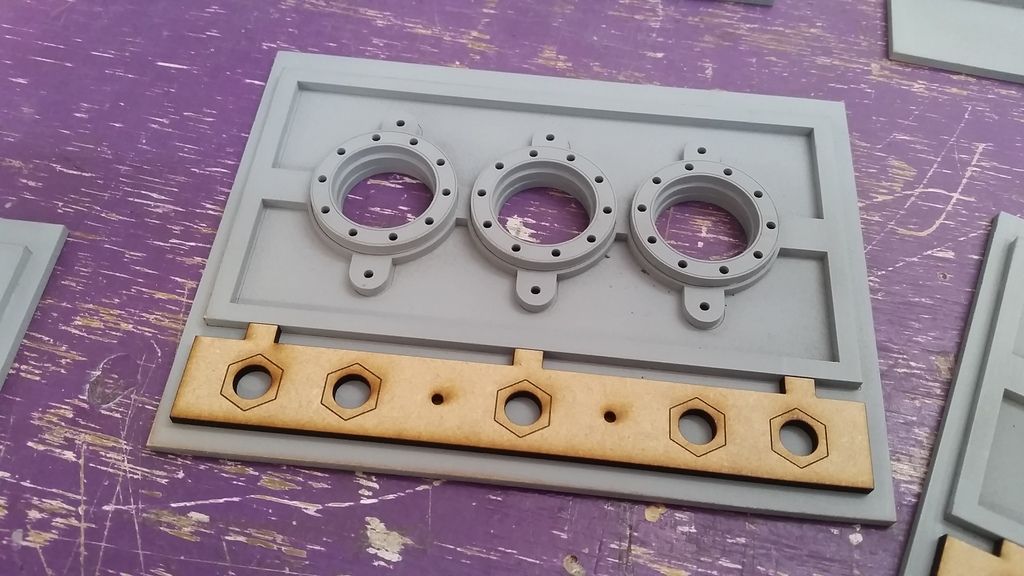
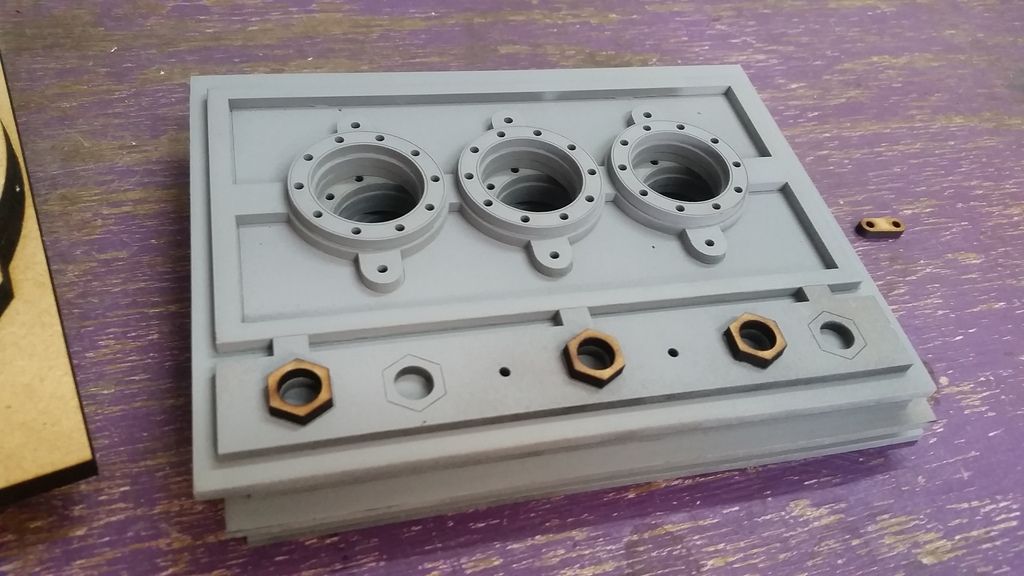
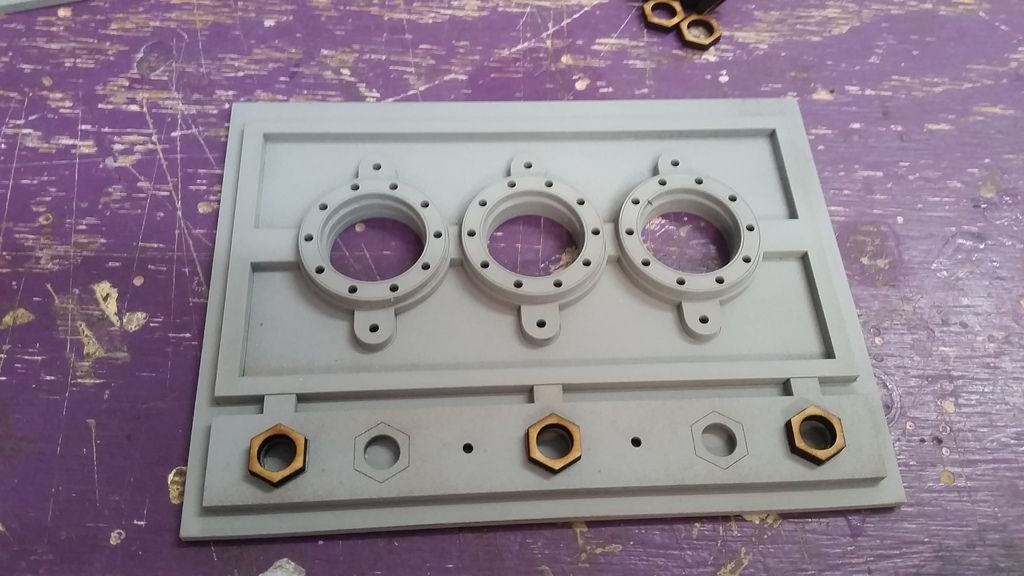
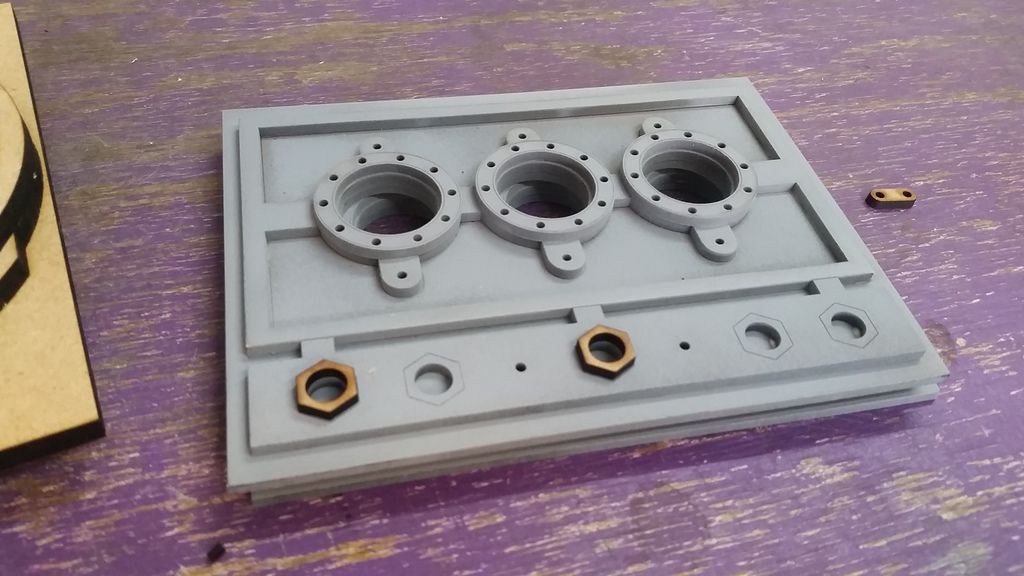
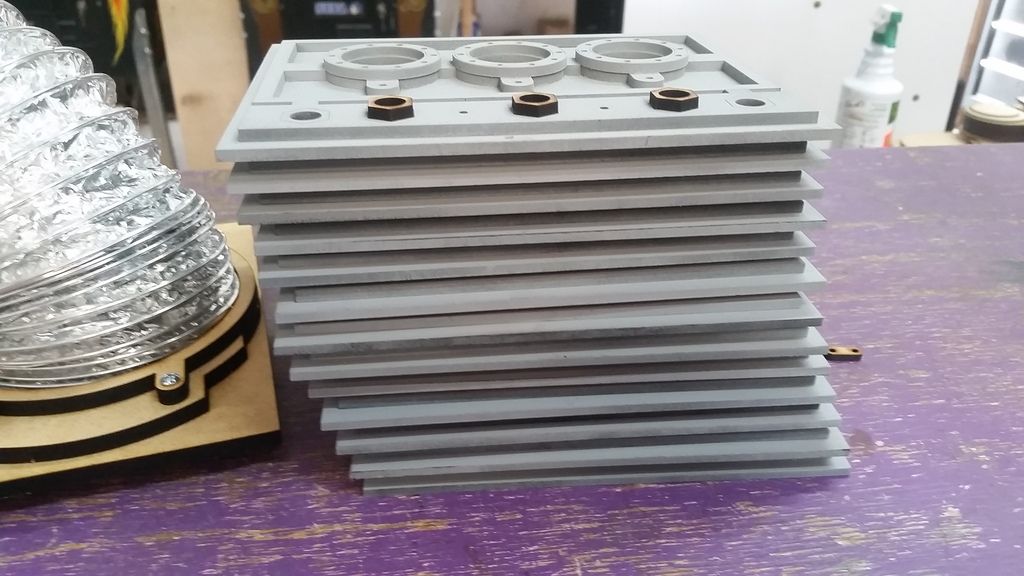
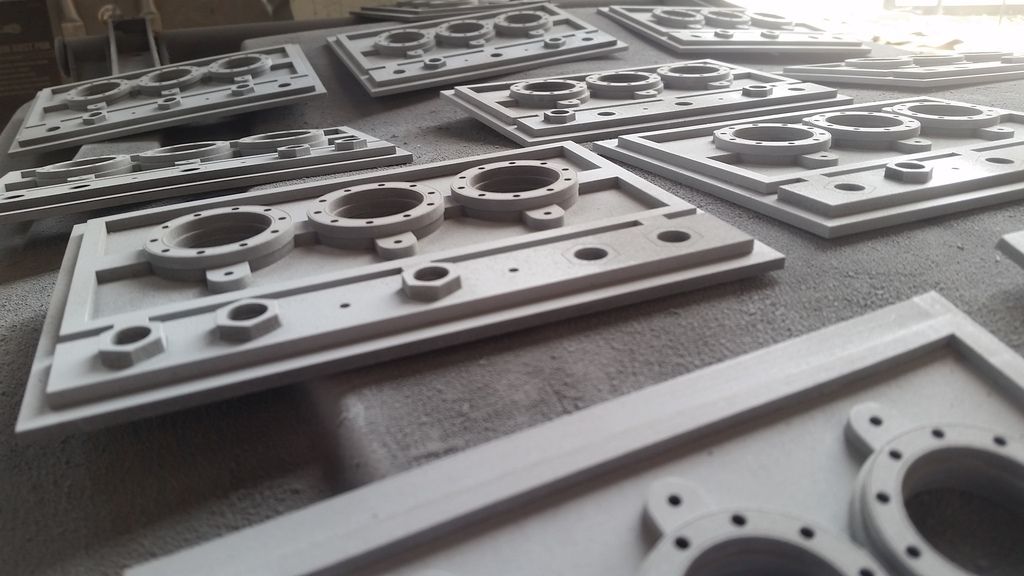
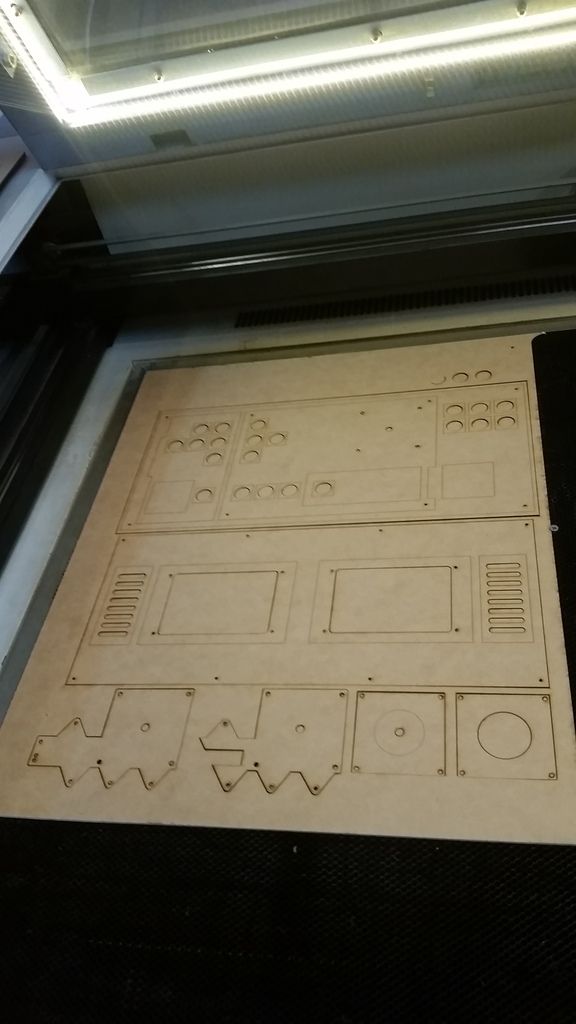
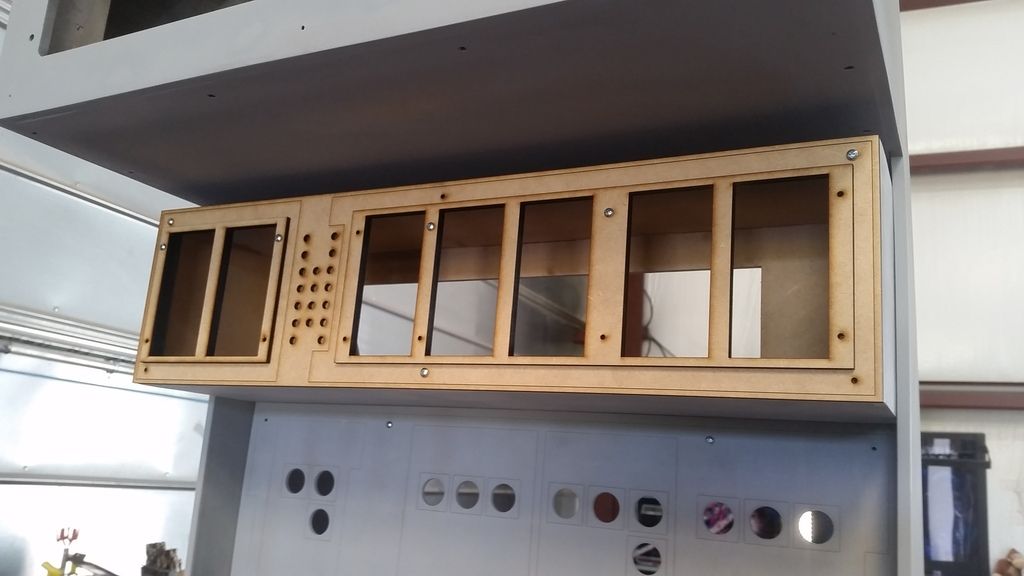
I then designed some new panels
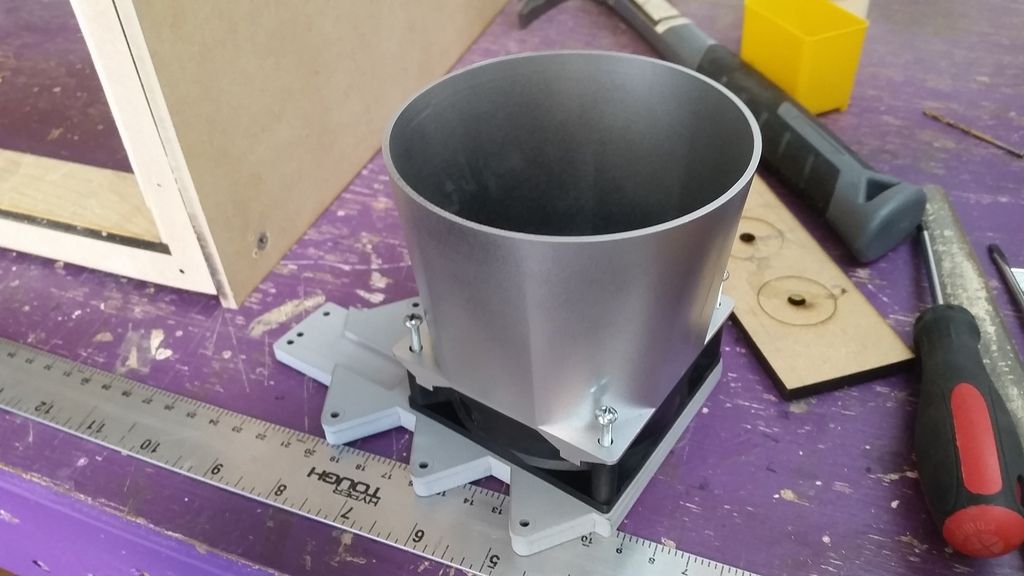
And a new greeblie base for...
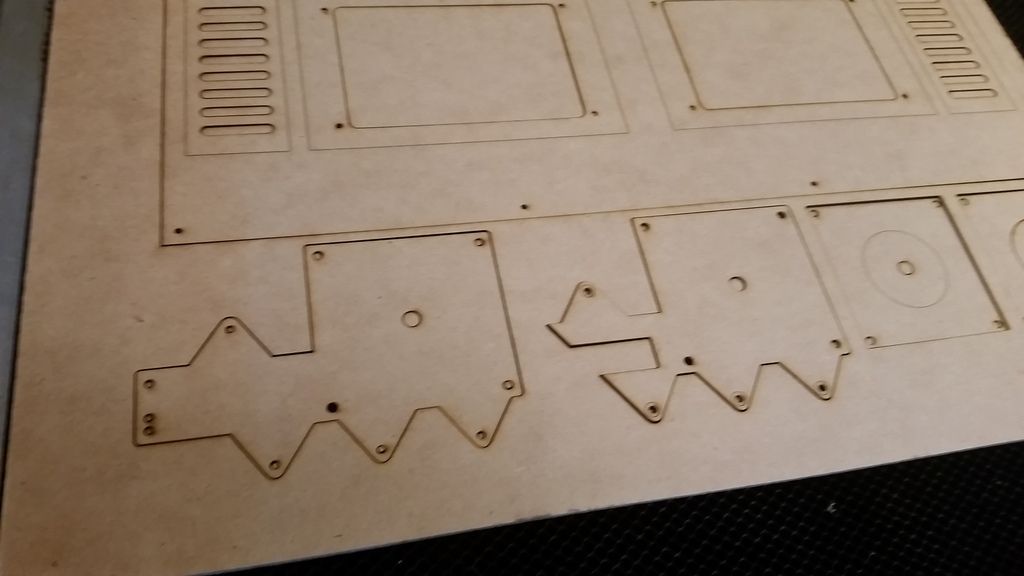

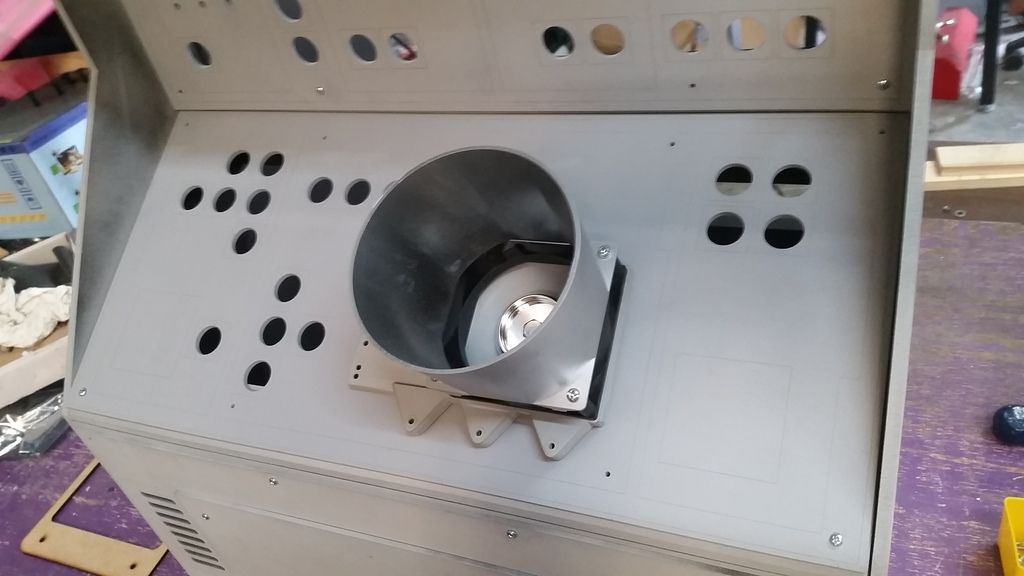
... the new fan
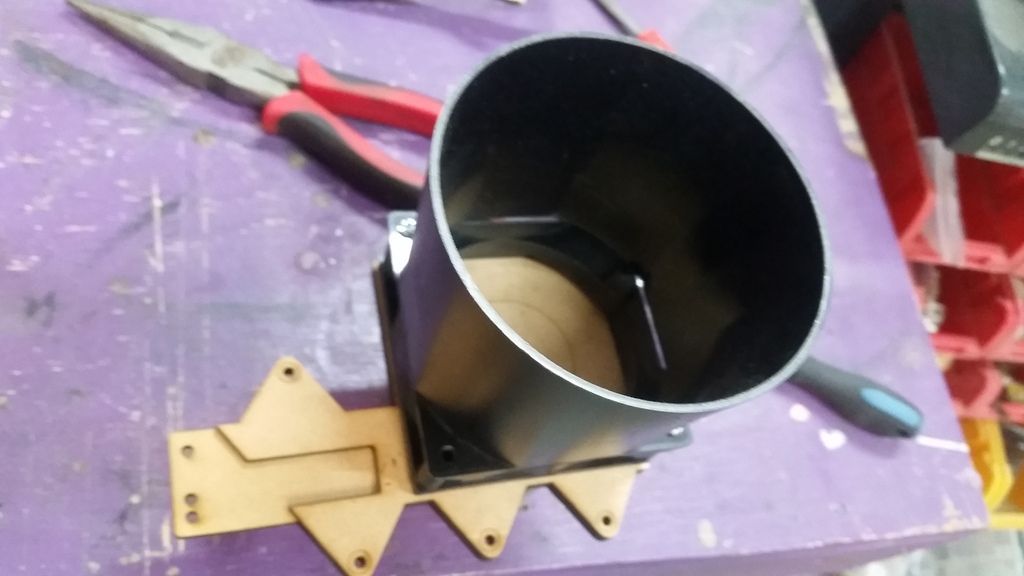
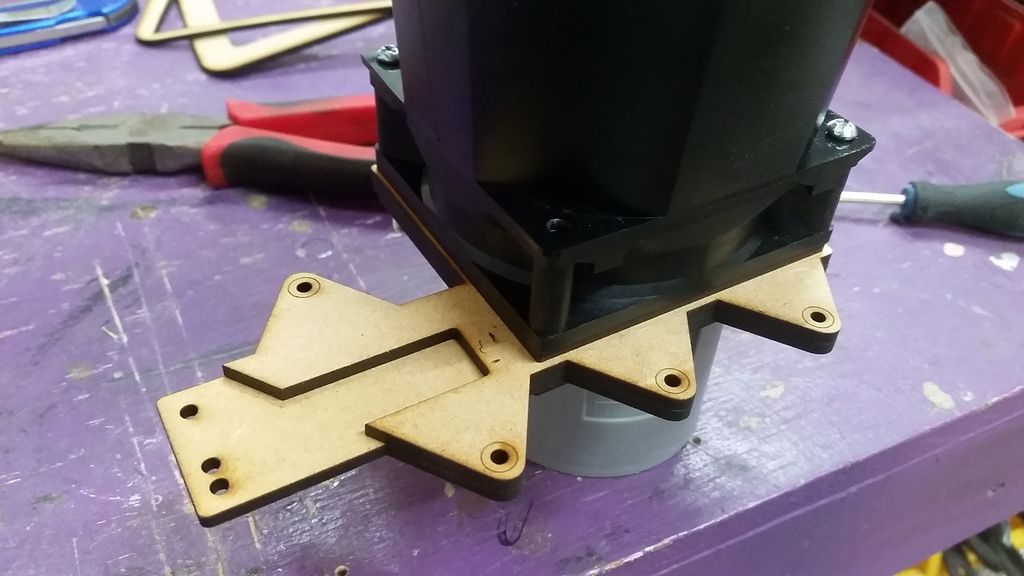
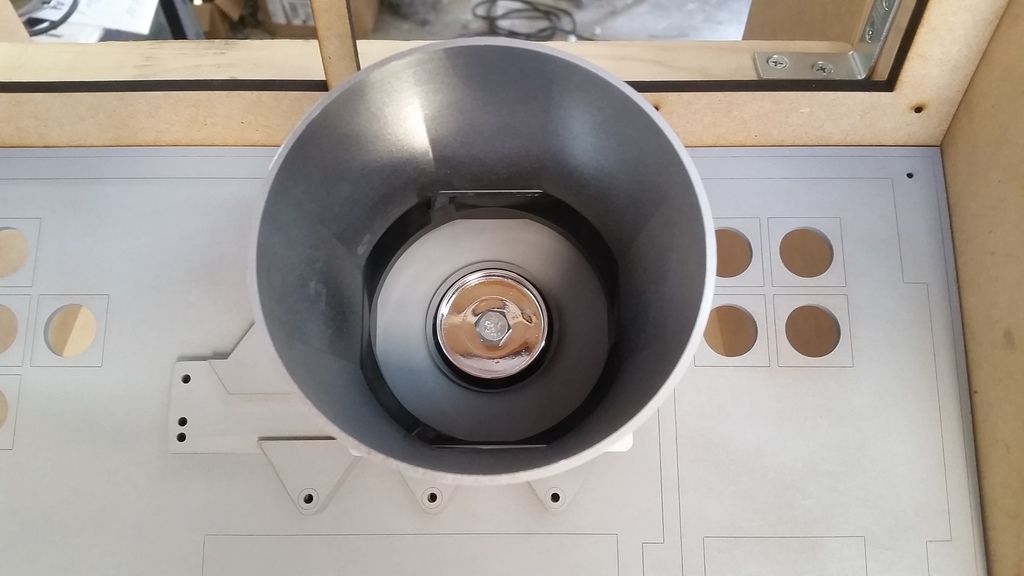
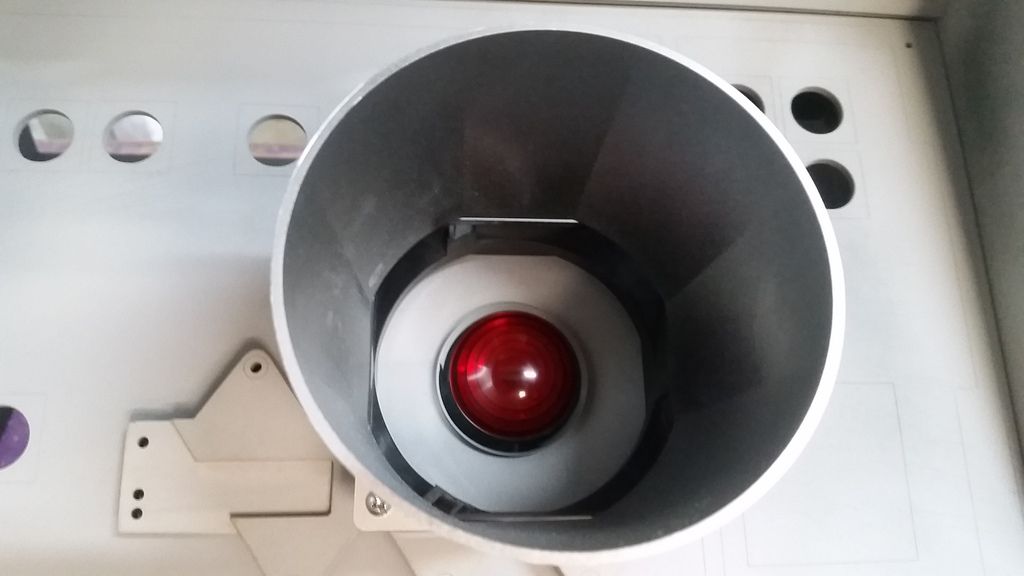
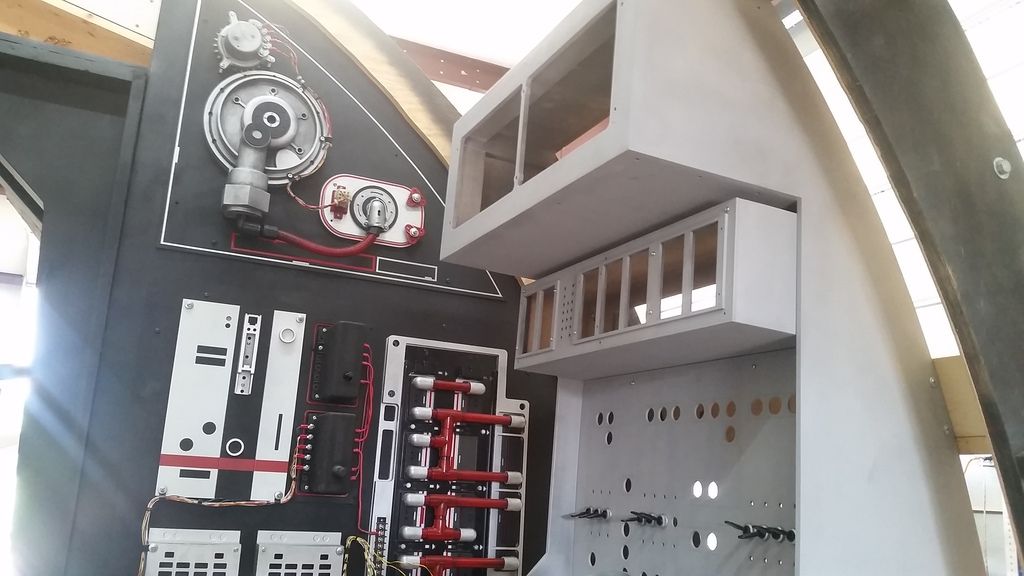
Grab a panel light
Add it to the interior of the fan / cone
That greeblie mounts to this new panel
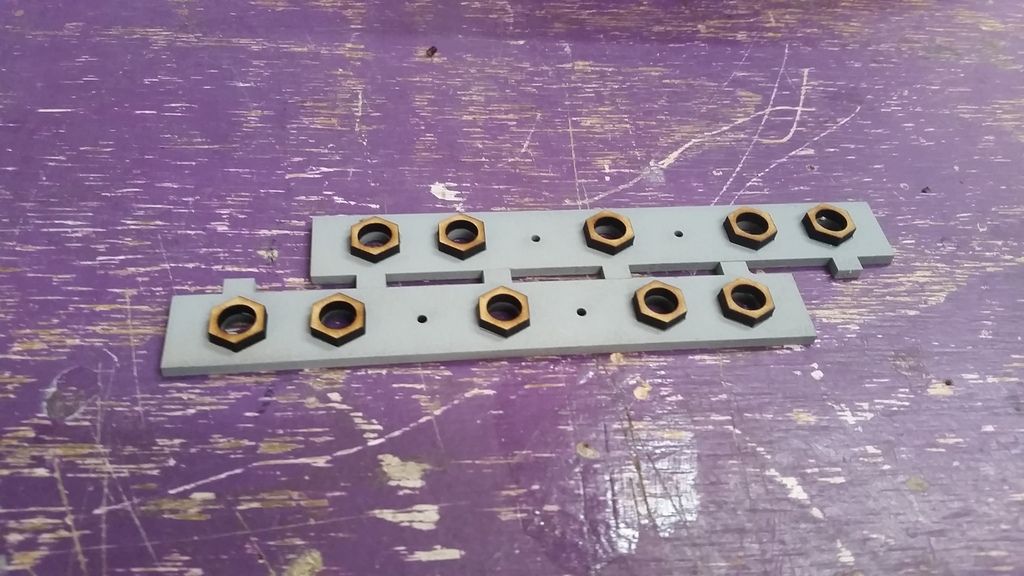
I then added some nuts to the bottom of the base to raise it away from the panel
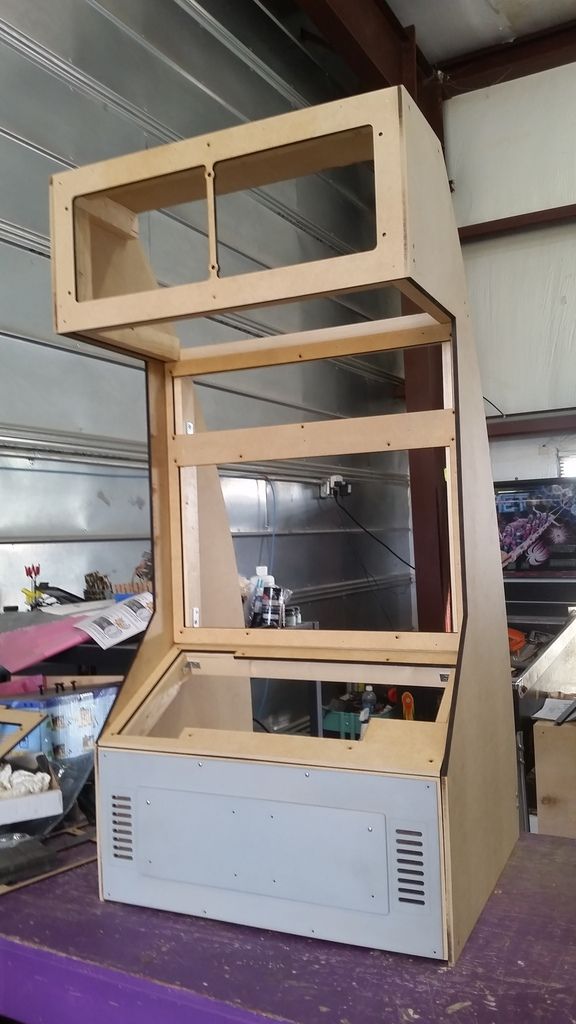
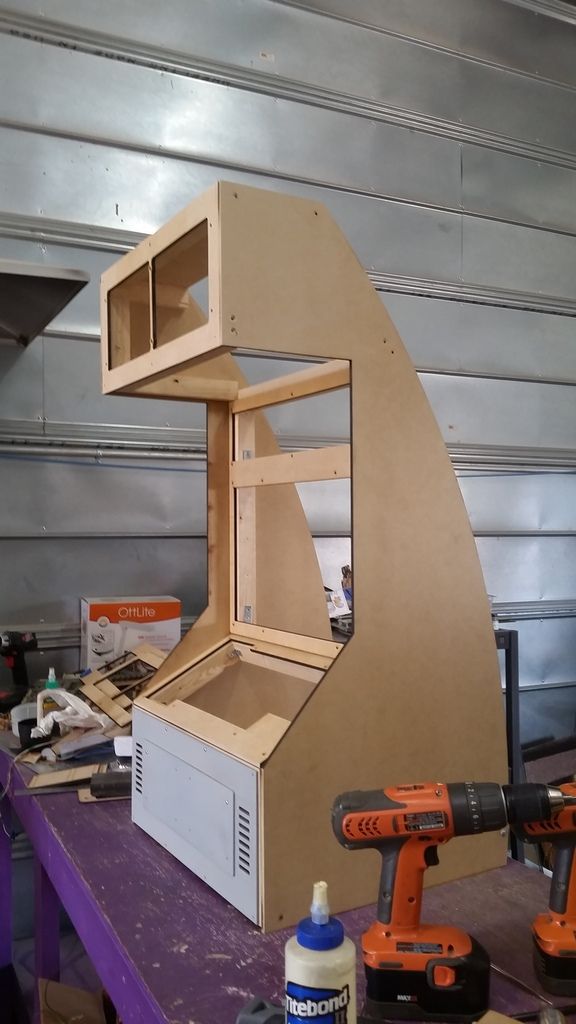
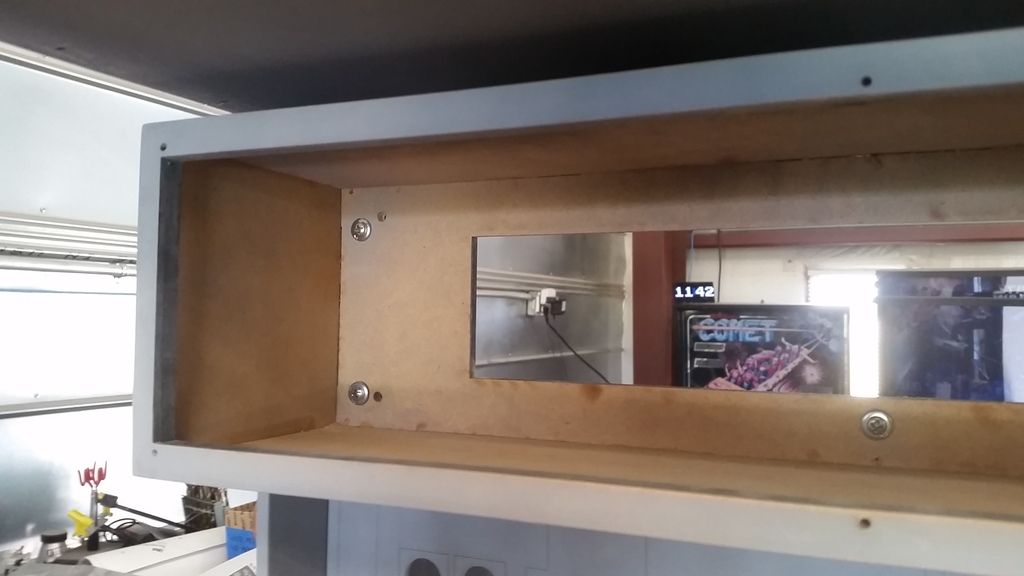
I added more support pieces
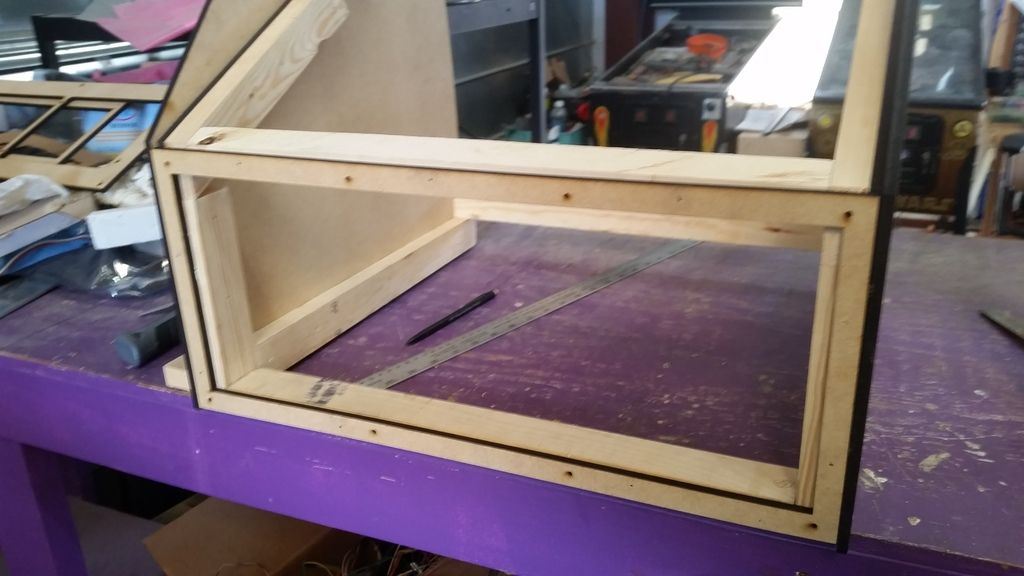
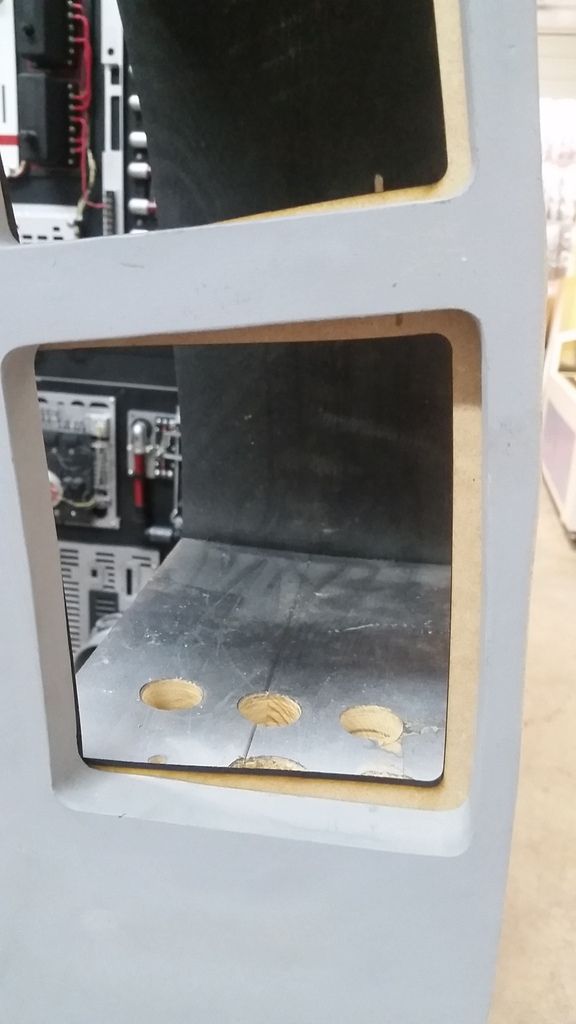
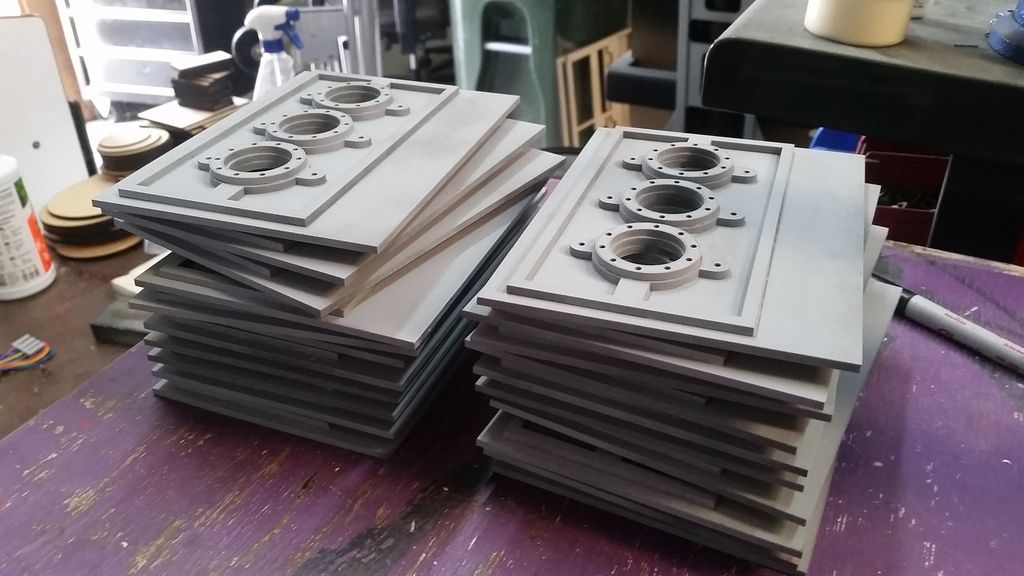
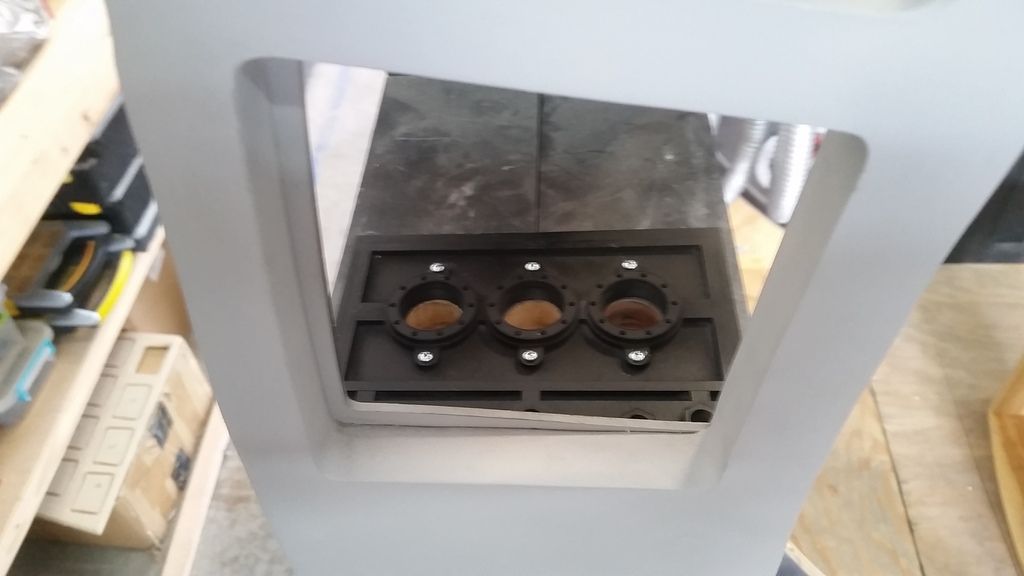
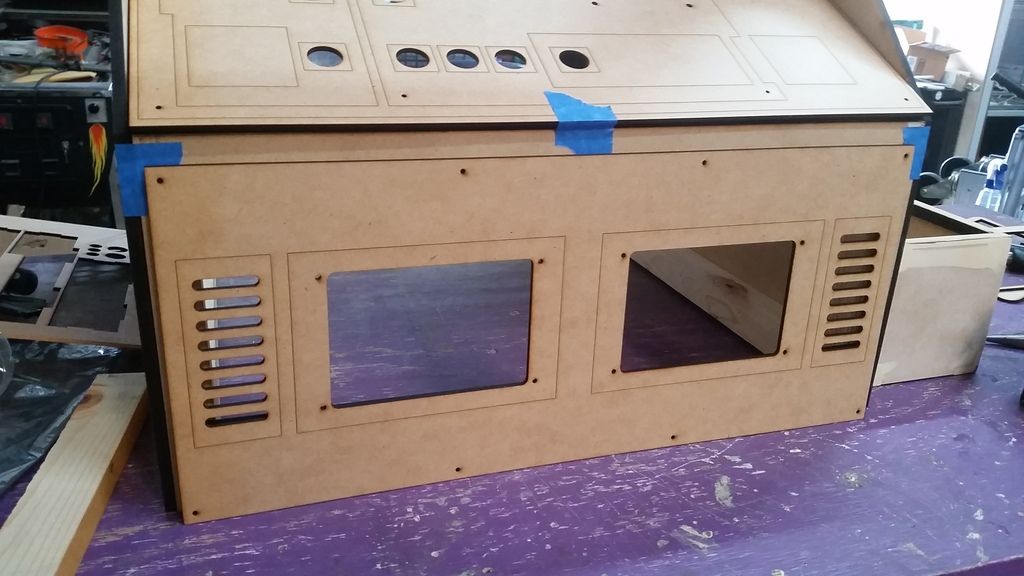
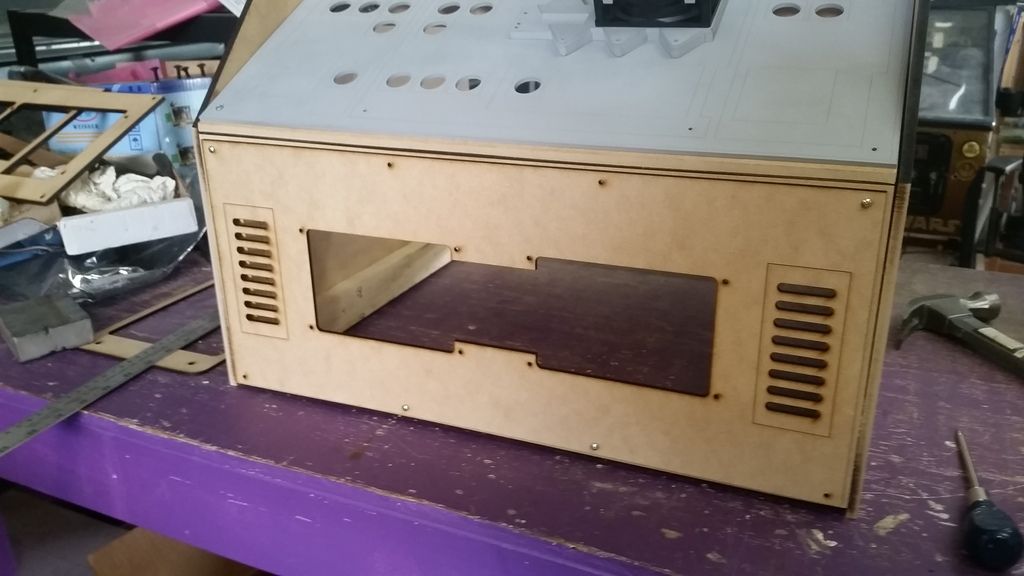
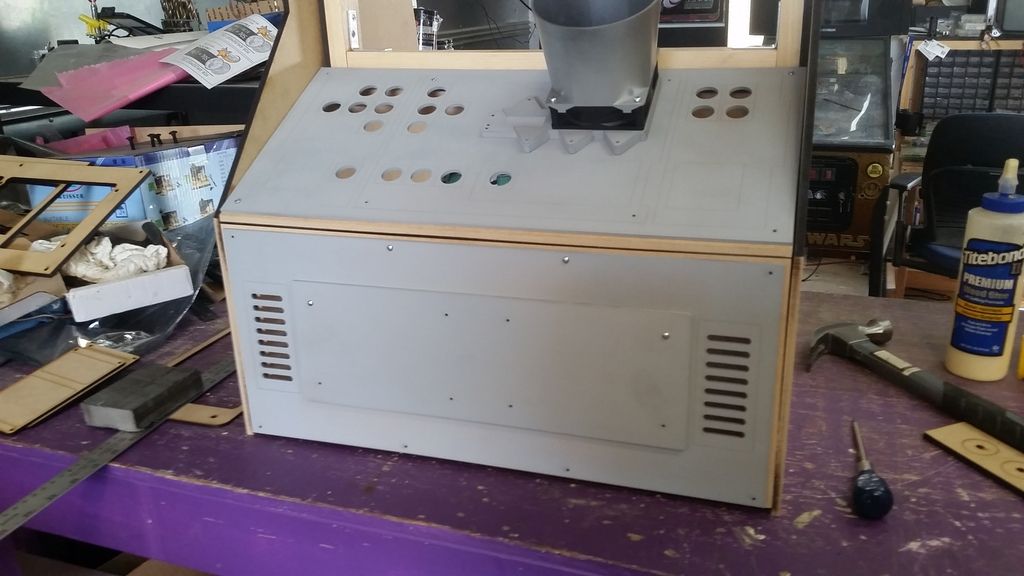
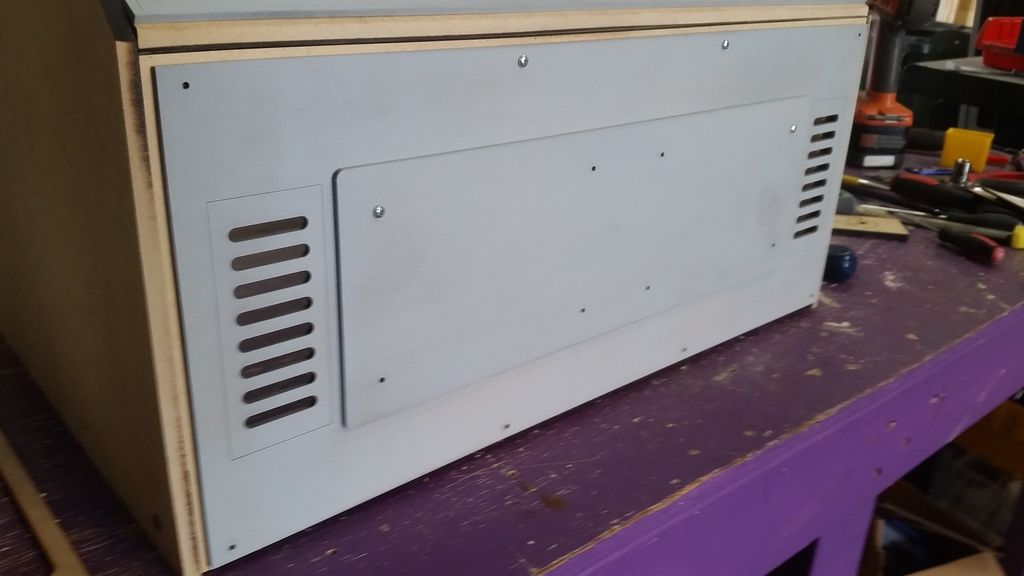
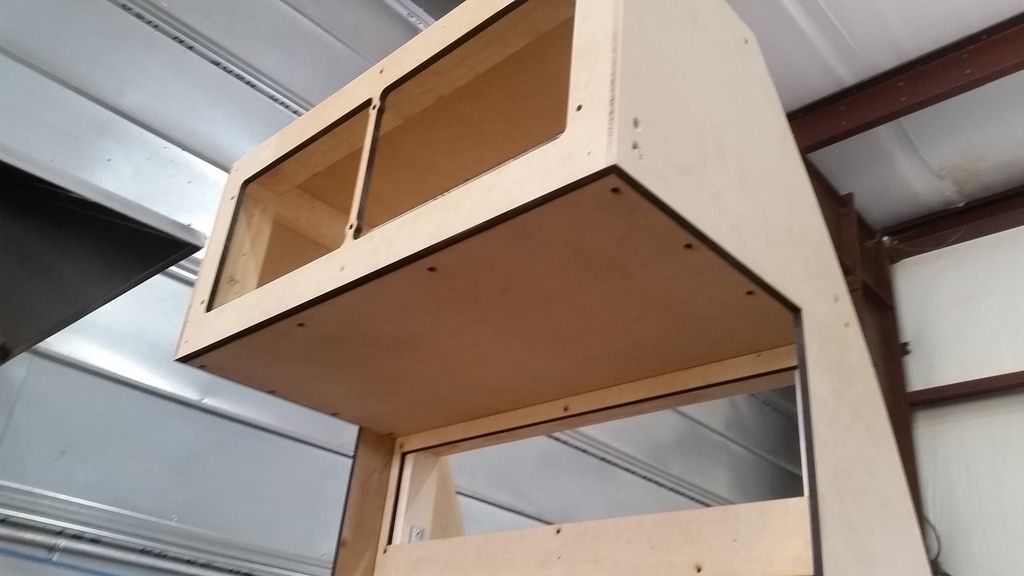
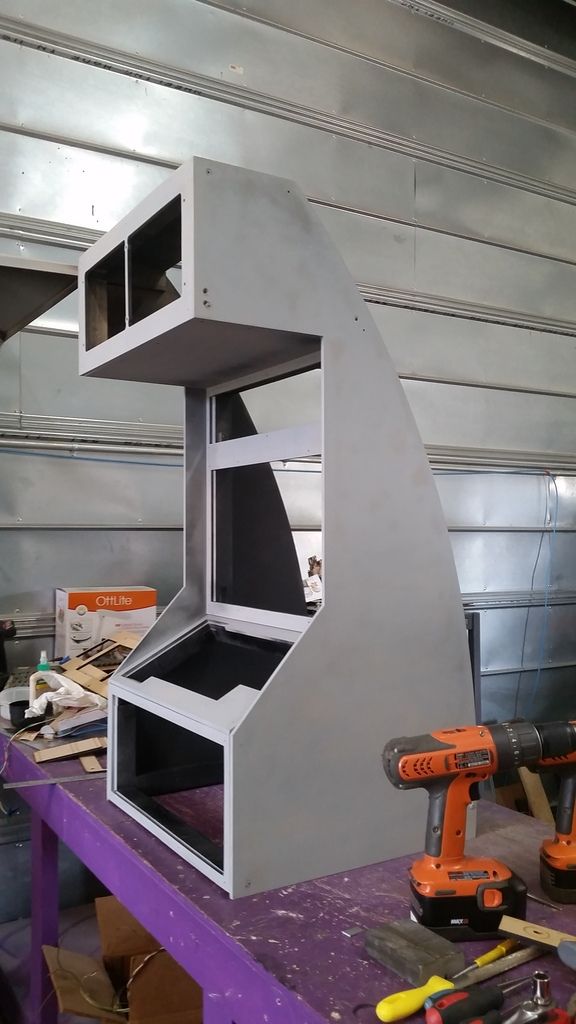
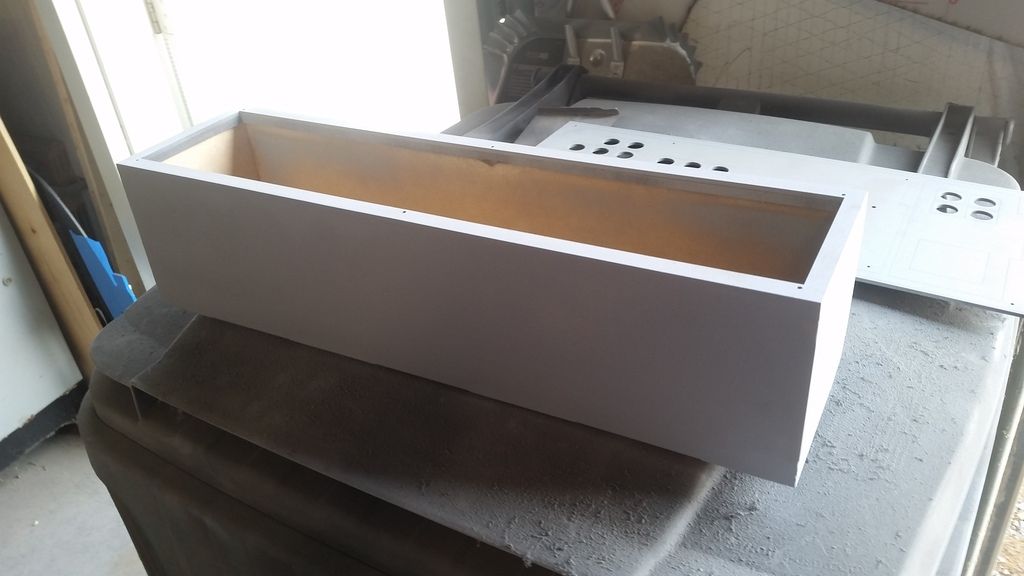
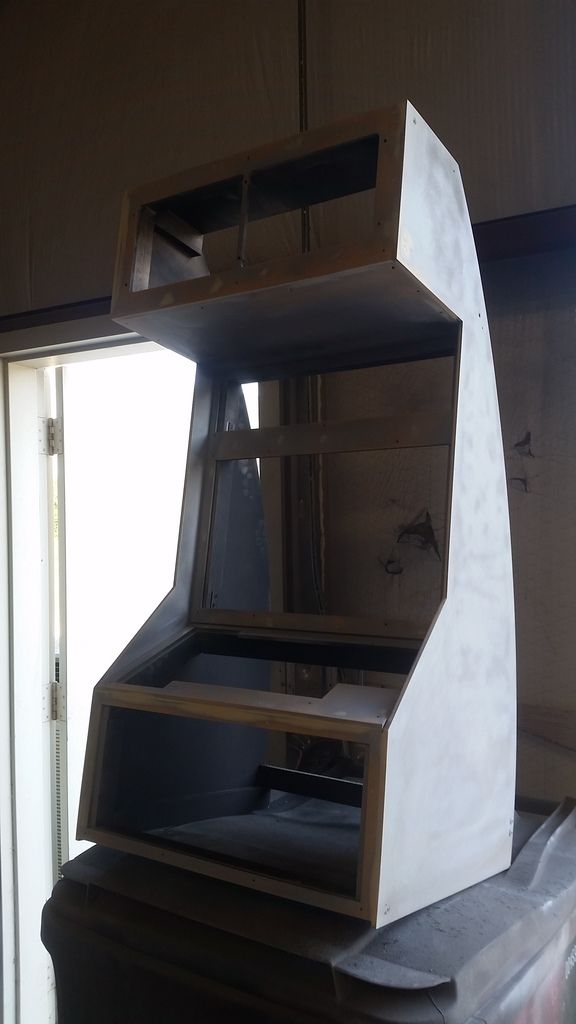
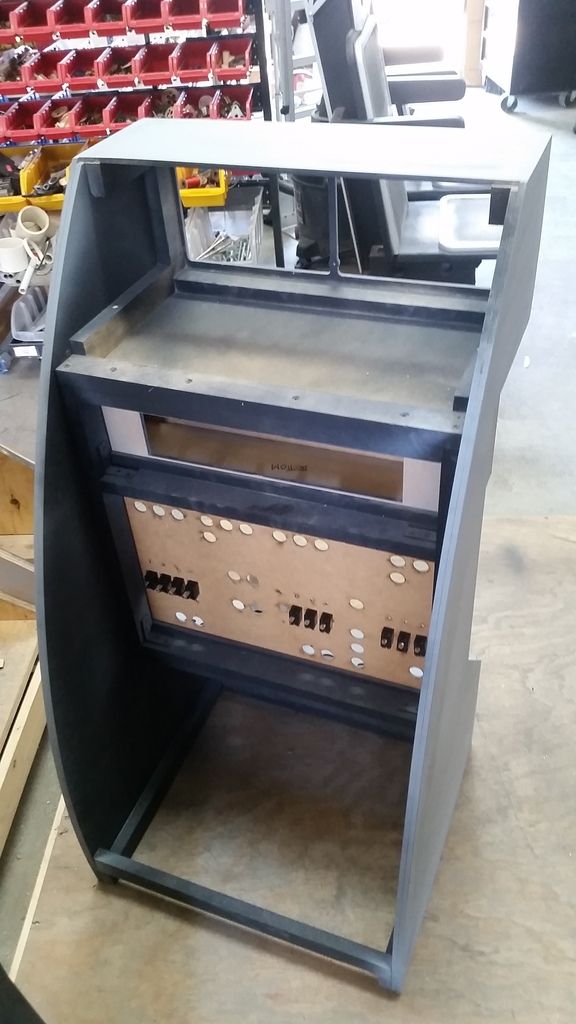
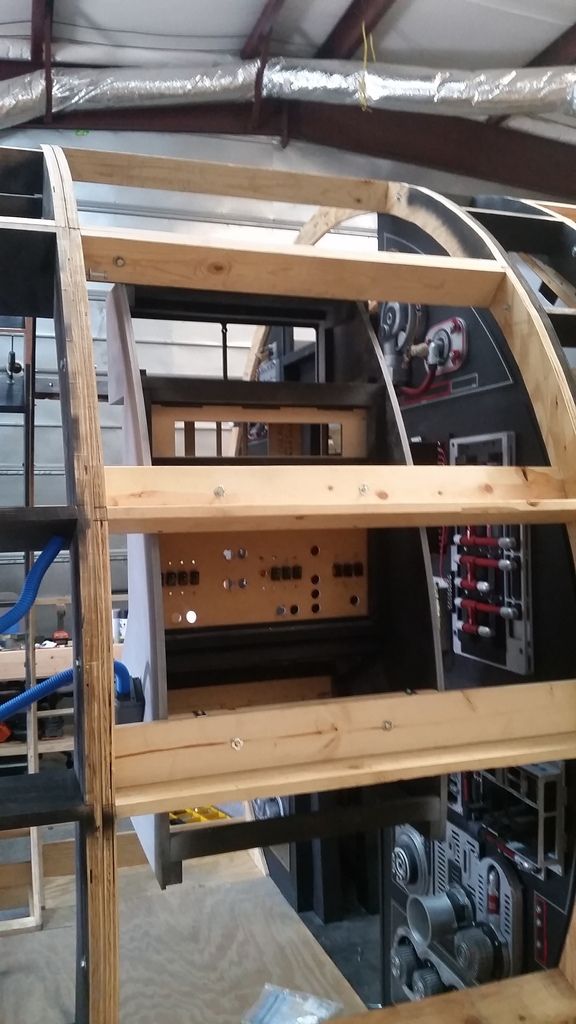
Boxing everything in
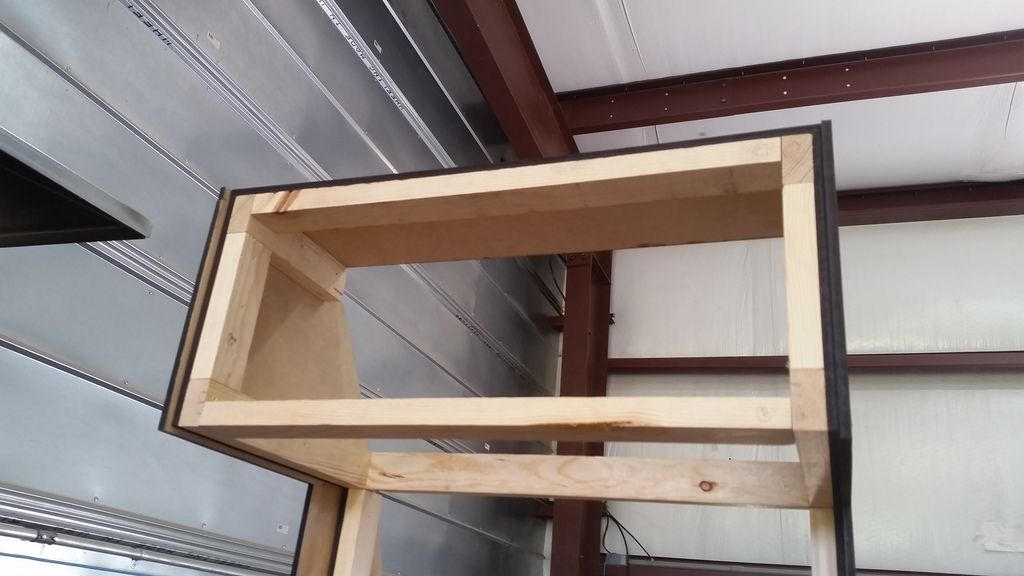
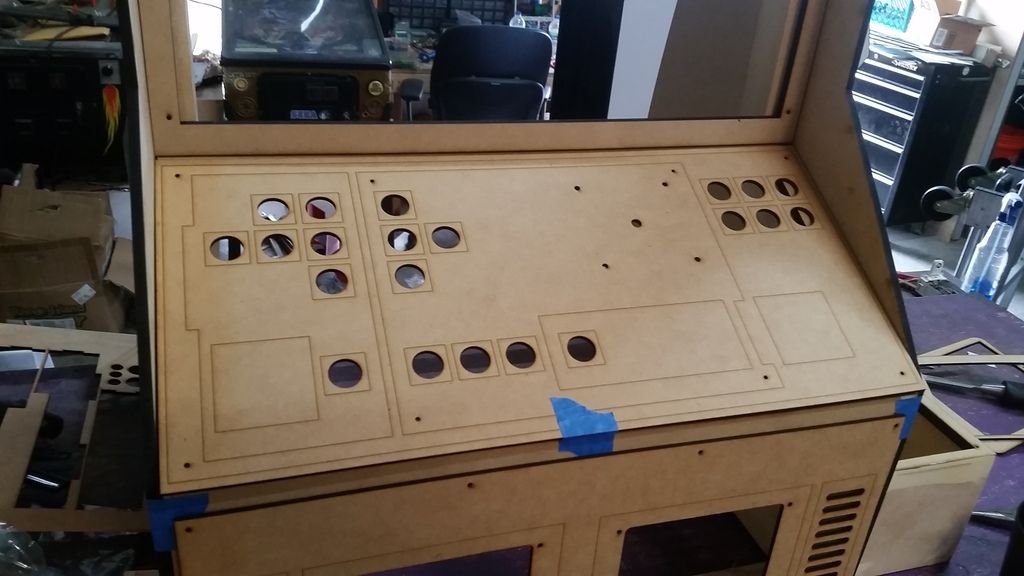
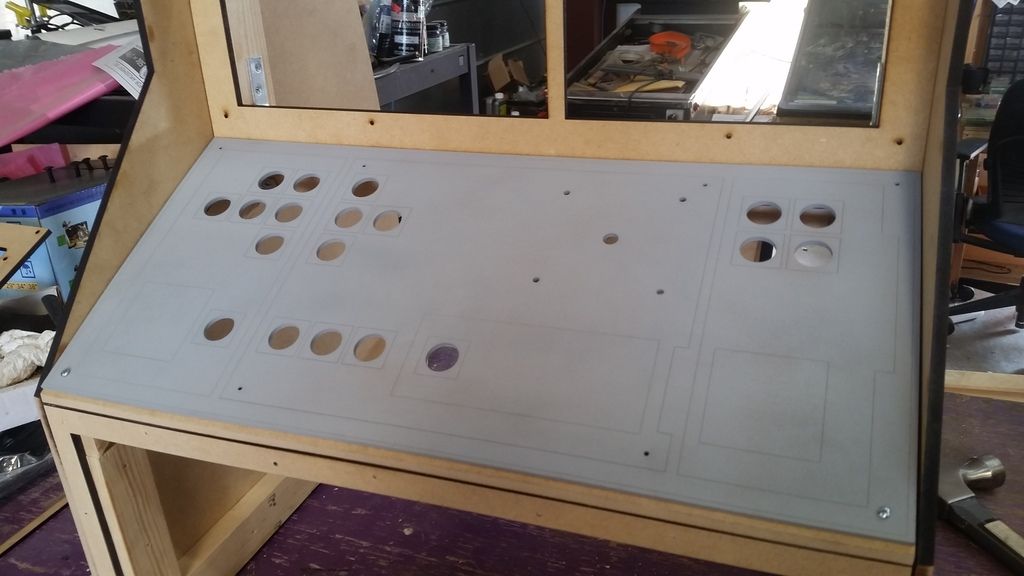
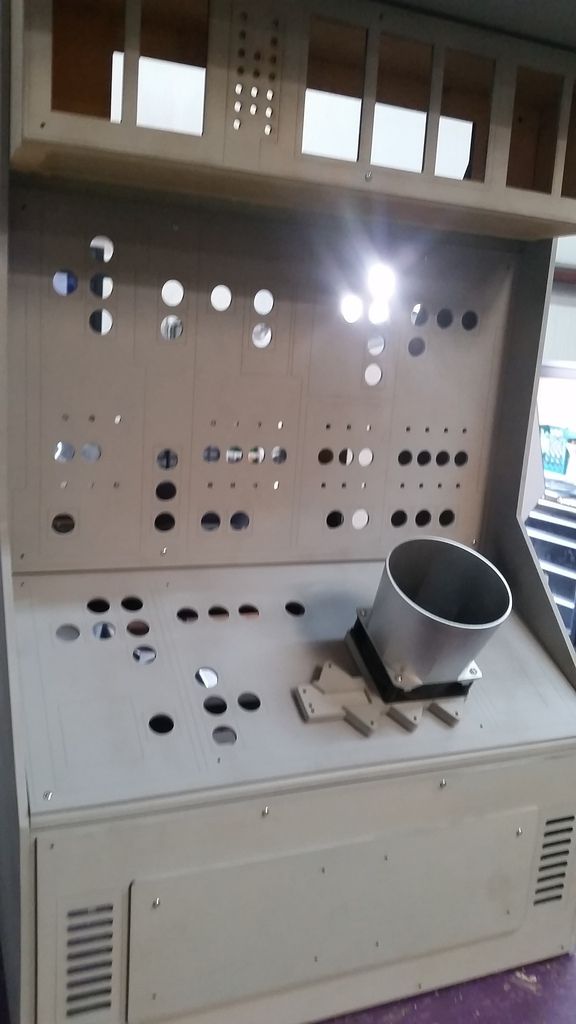
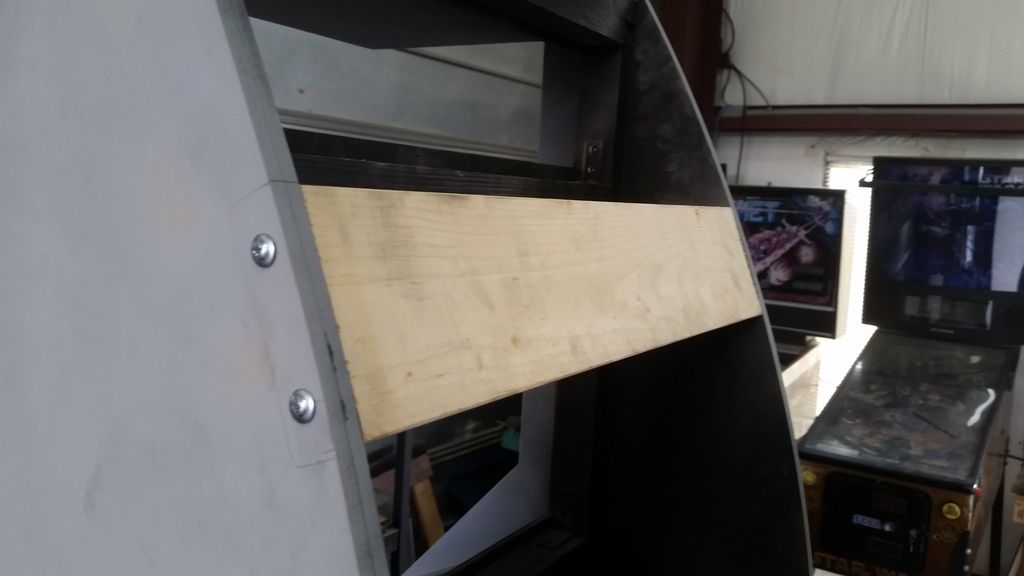
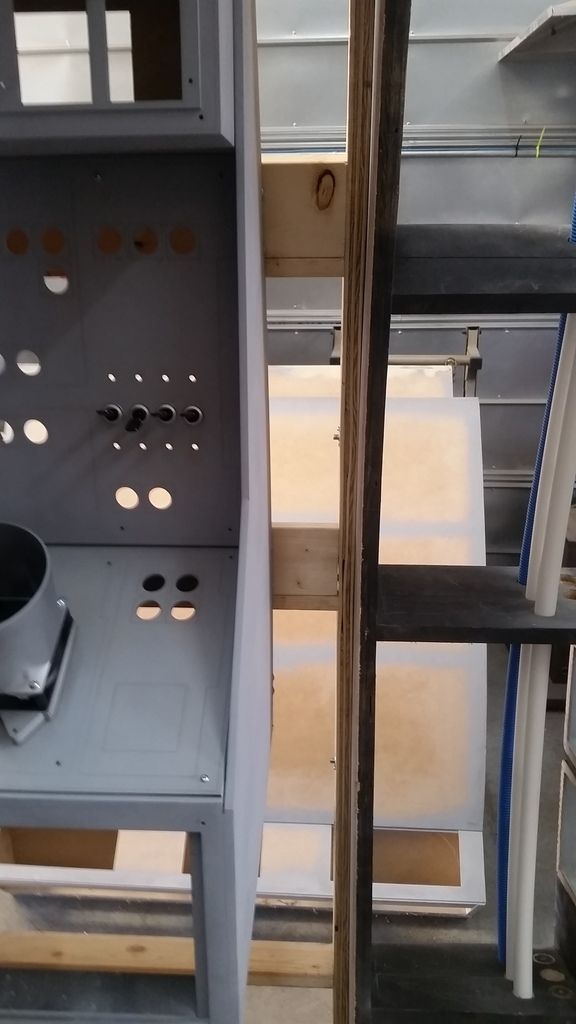
Permanently adhered the 1/4" MDF sub panels
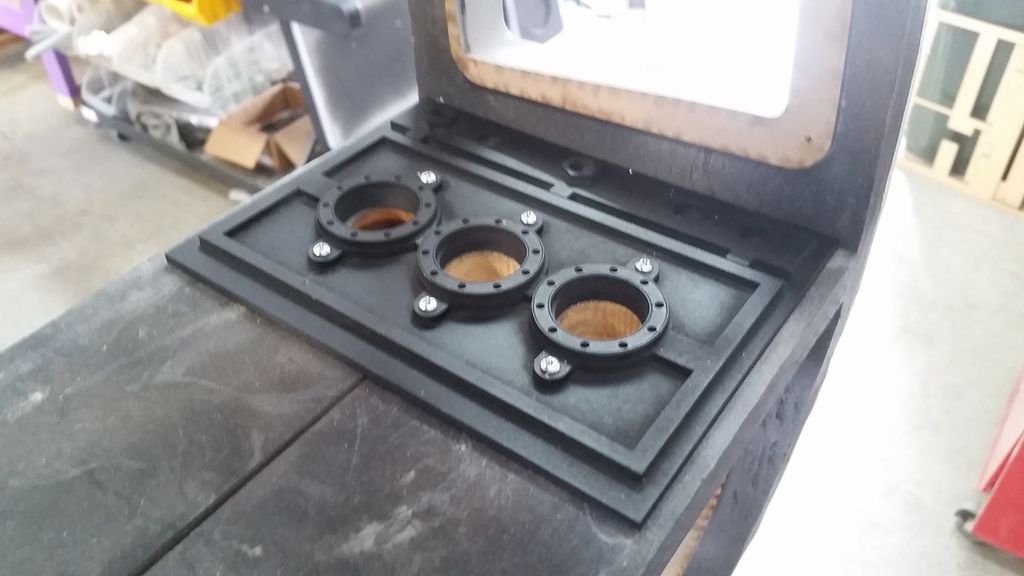
Making sure everything still fits
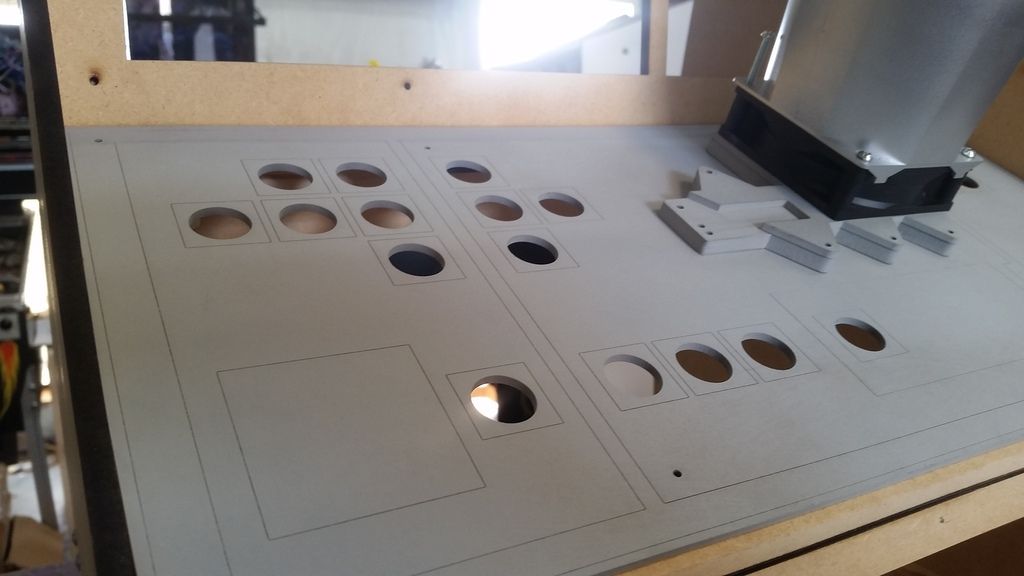
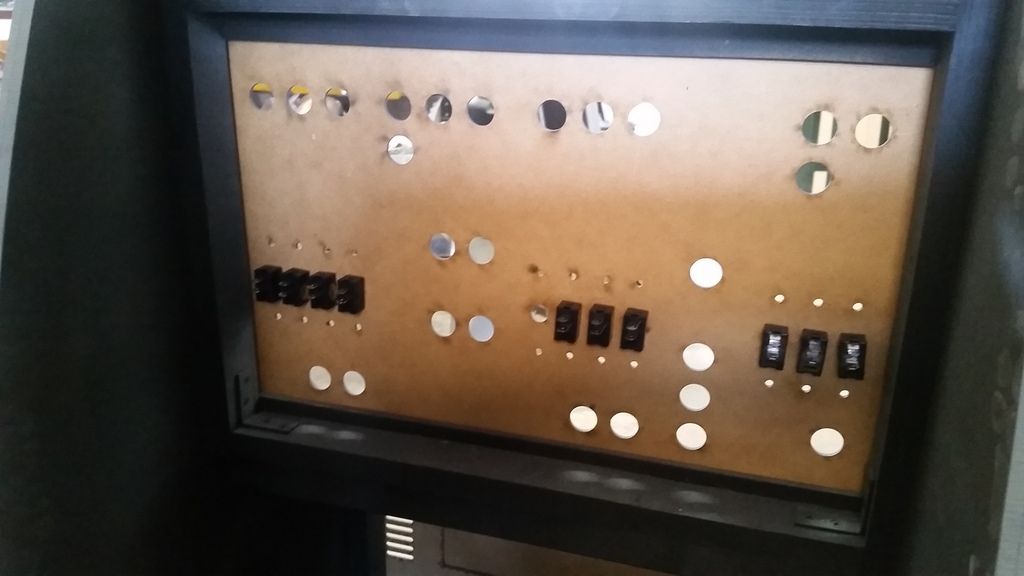
All the instrument panels will be removable with simple screws for quick easy access to all the wiring
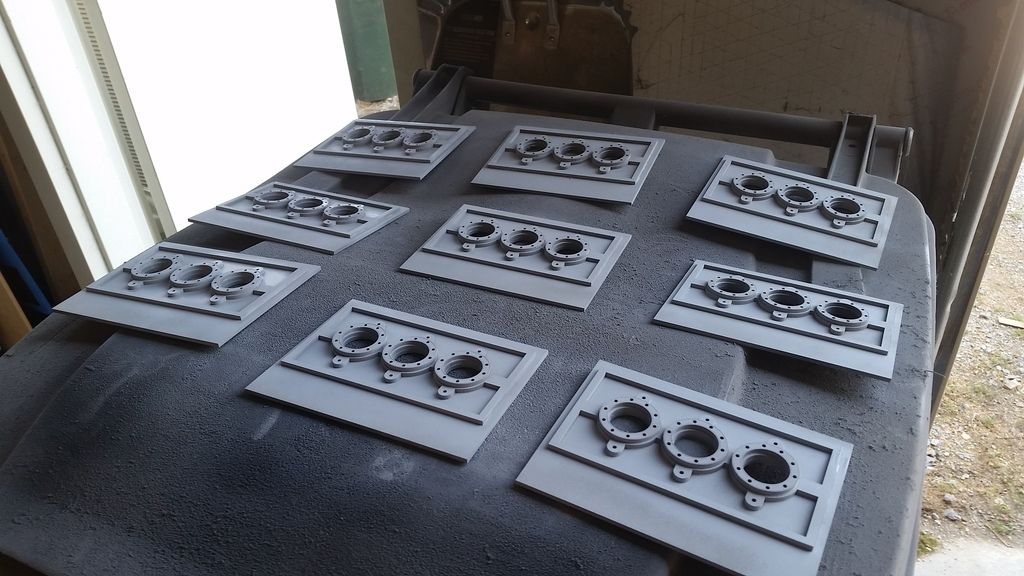
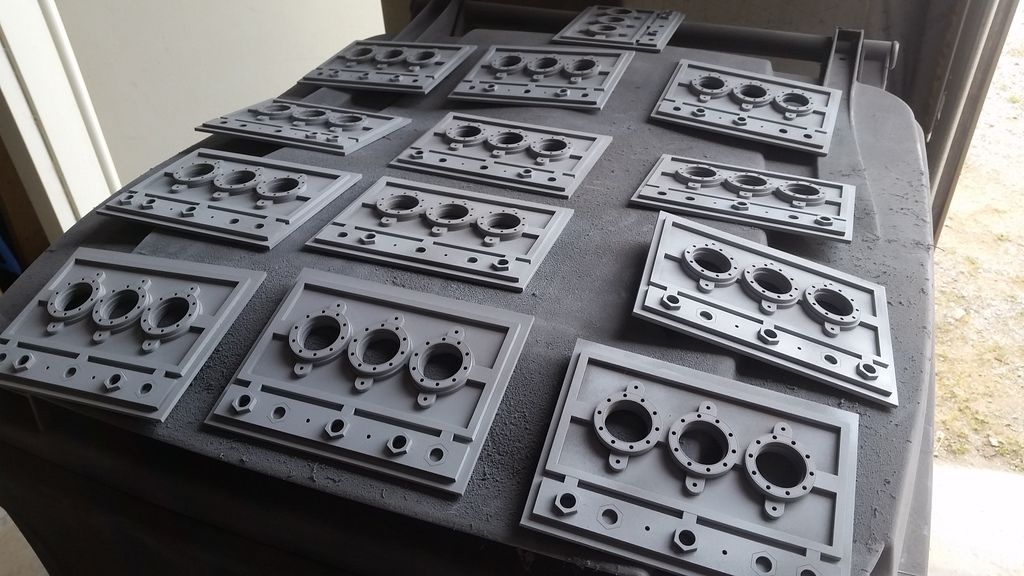
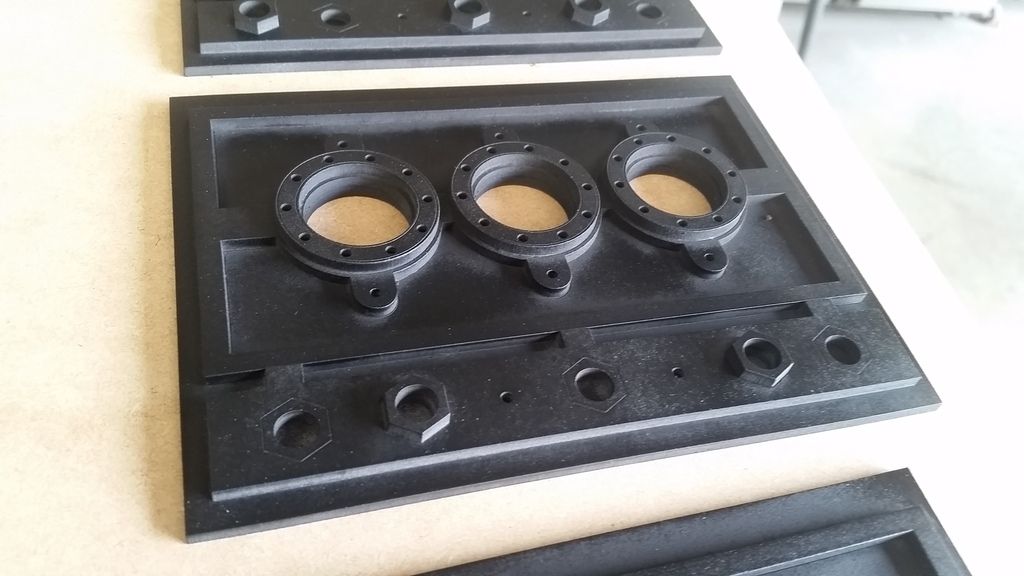
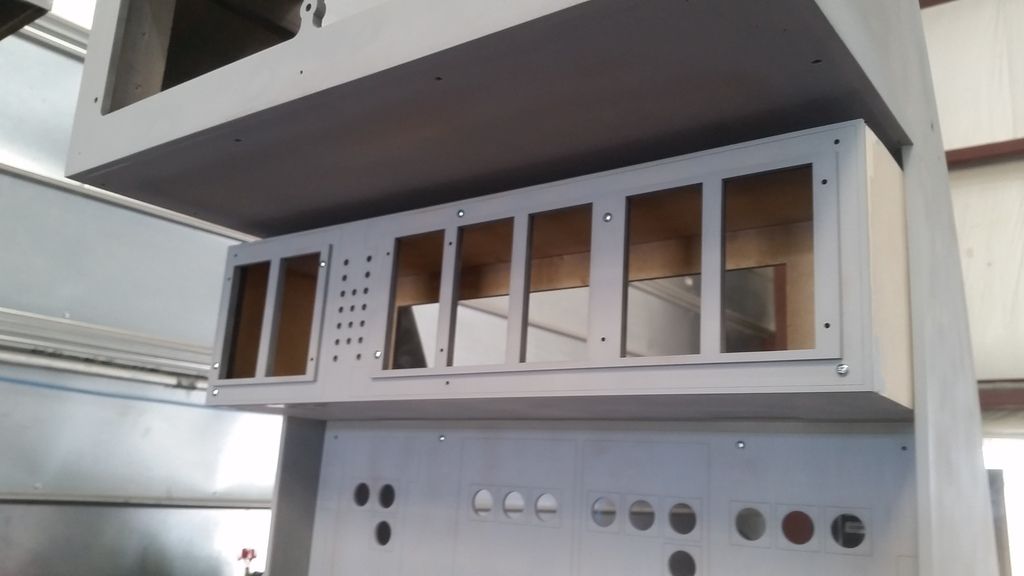
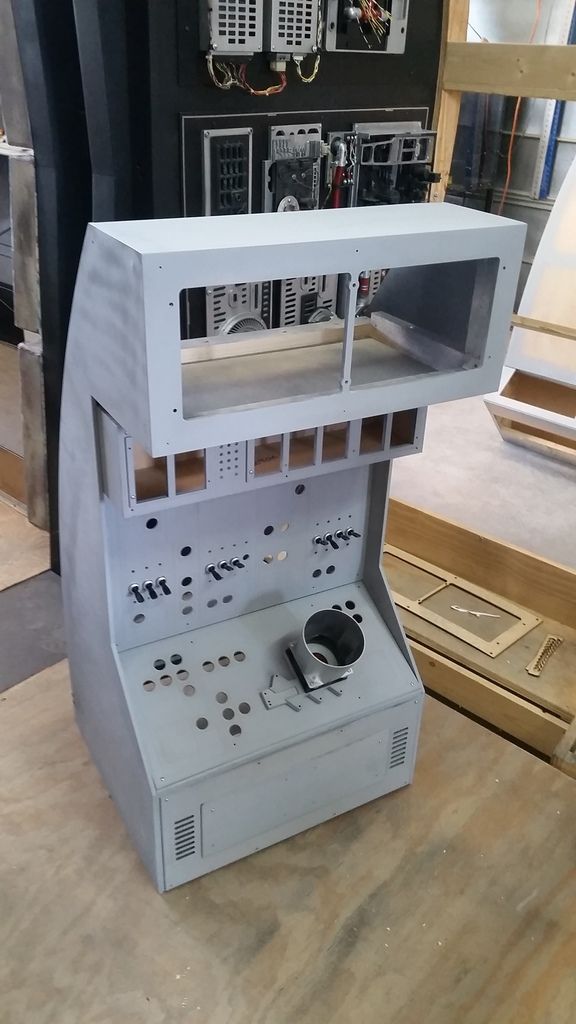
Primer!
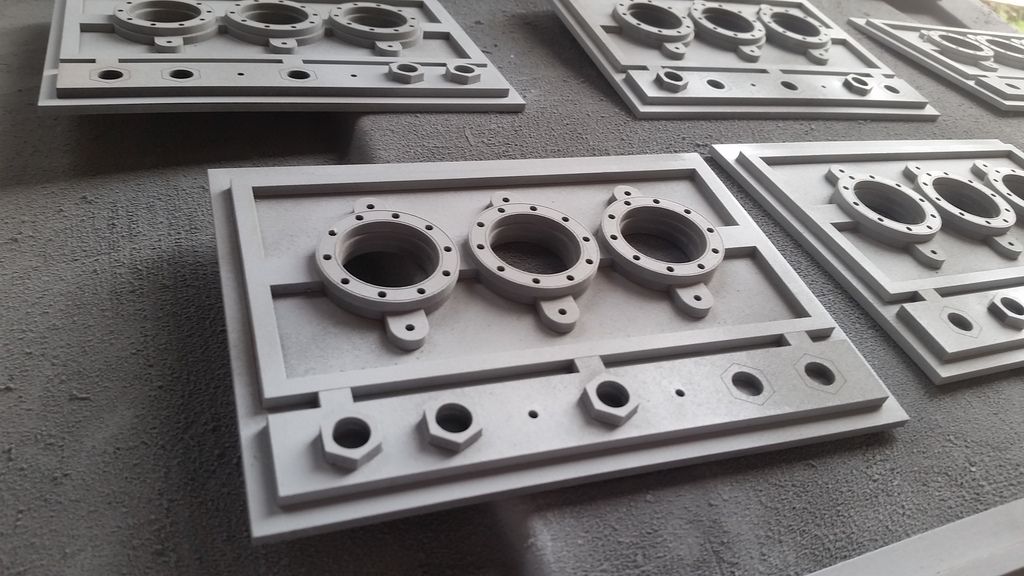
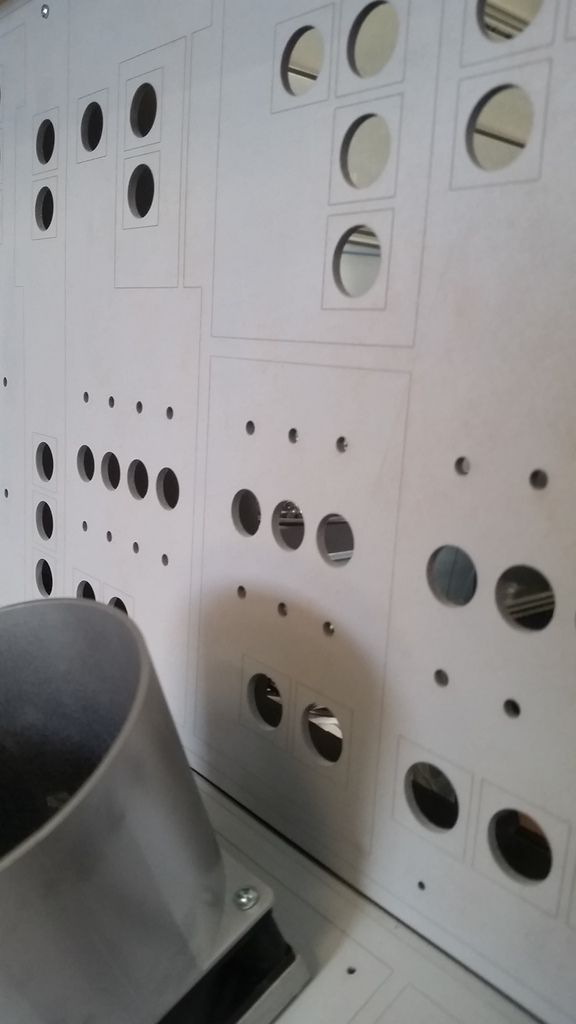
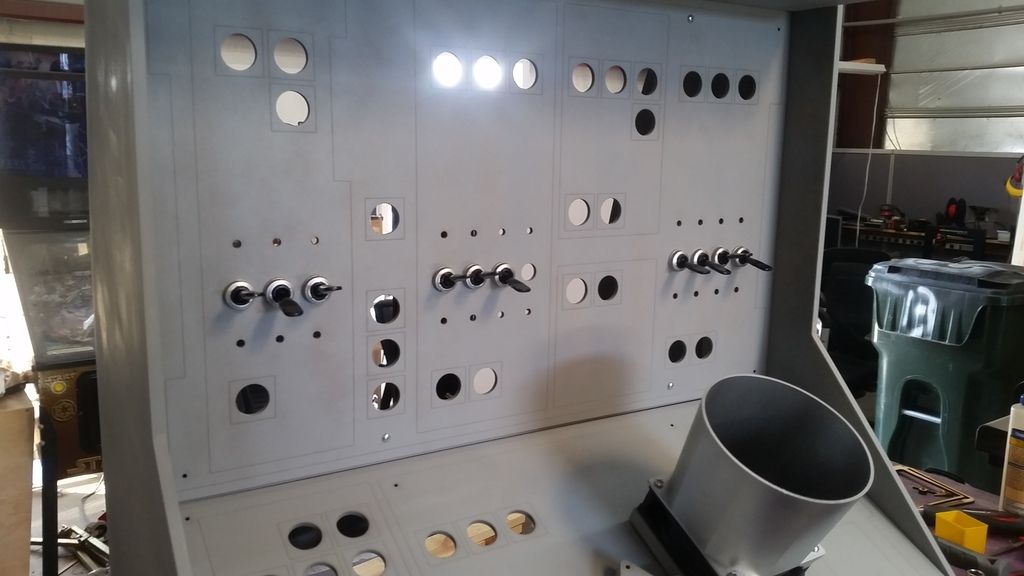
Silver. Still need to add the black pin striping and other misc details
I'm thinking a blue panel light will look best!
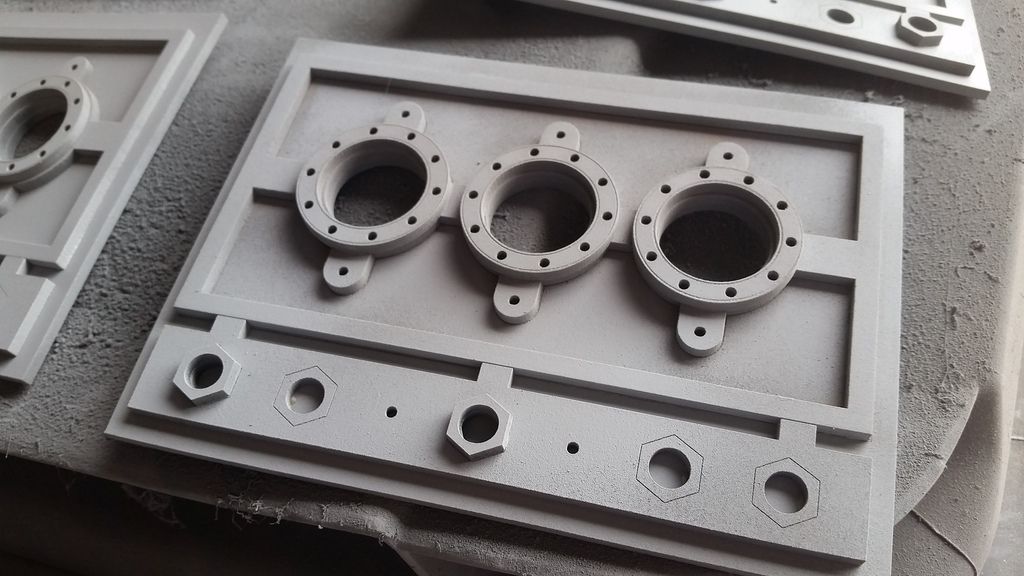
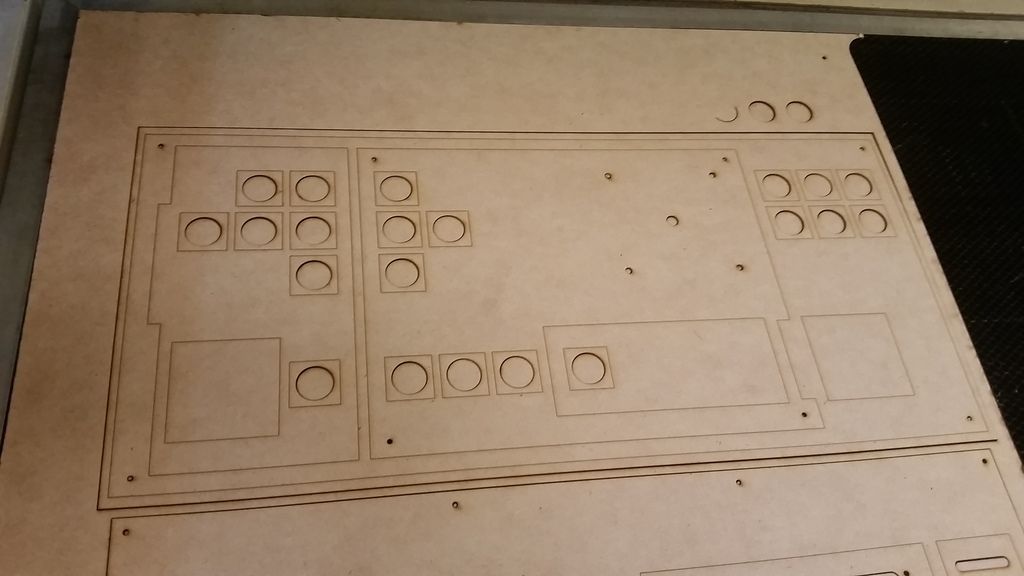
Notice the thin laser cut lines - these are all place markers for either pin striping or the 1" acrylic tiles. No more guessing!
More design work
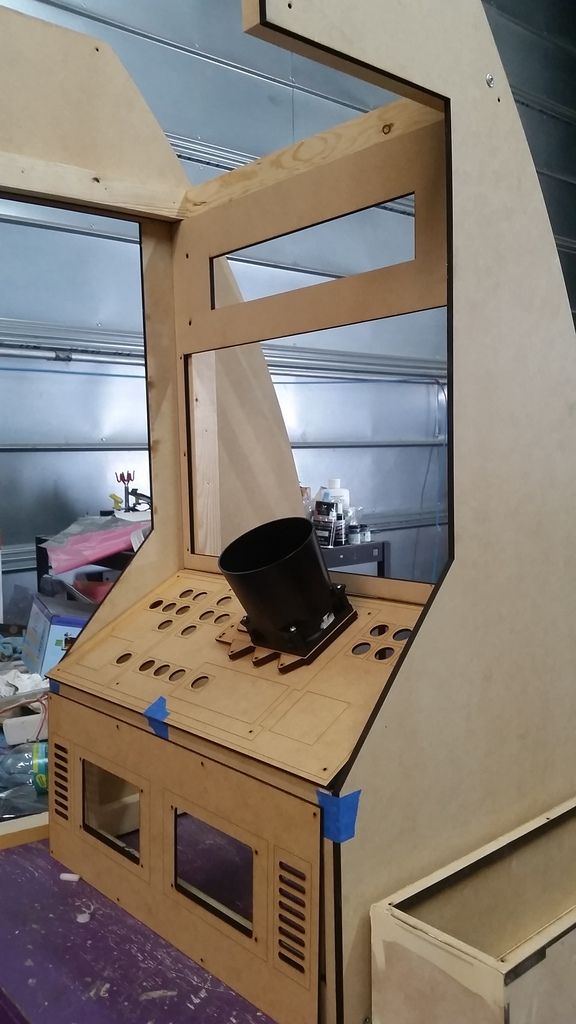
I think I like the simplicity of this panel
Almost ready for primer and filler!
Primer!
Painted the interior side black

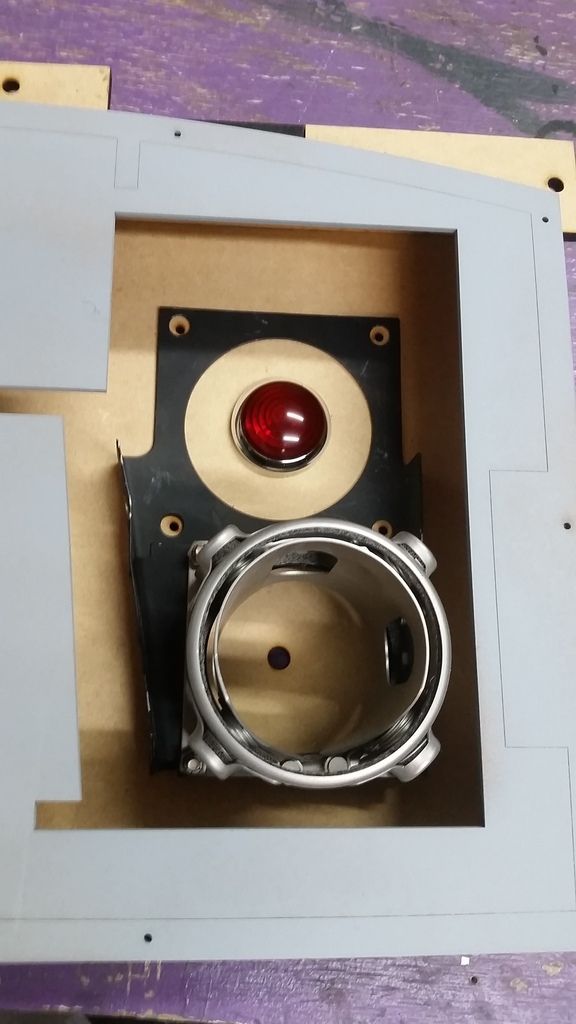
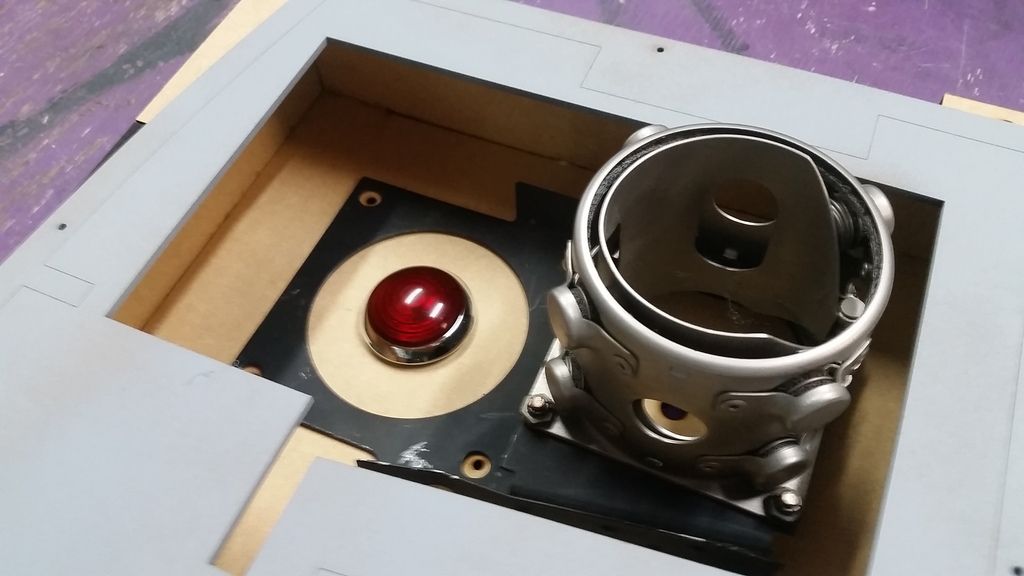
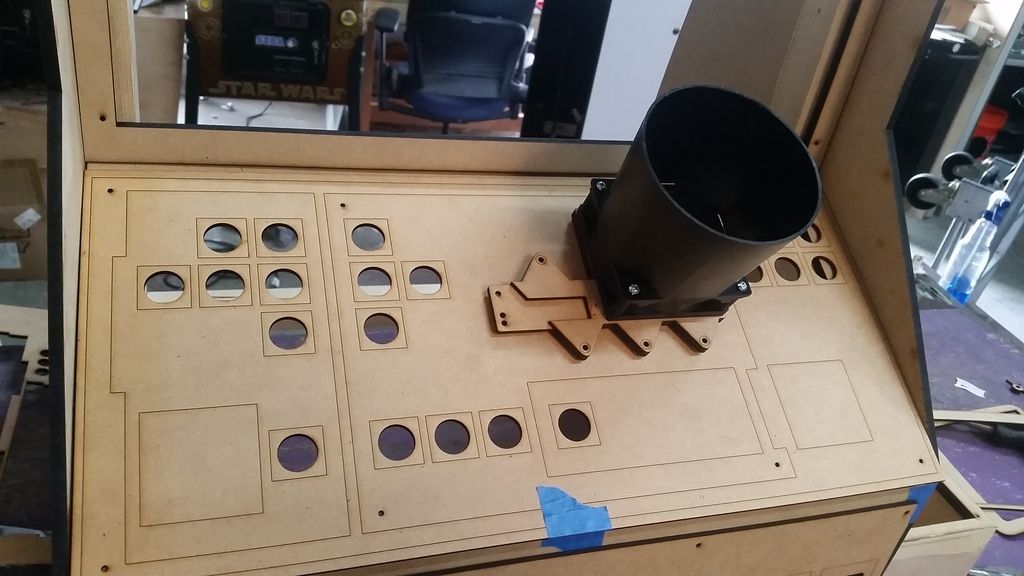
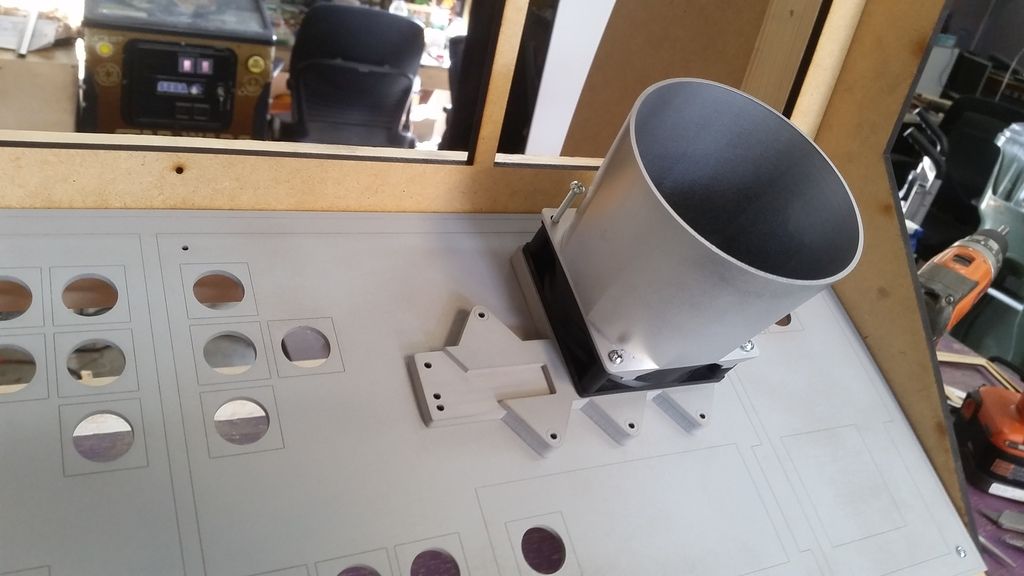
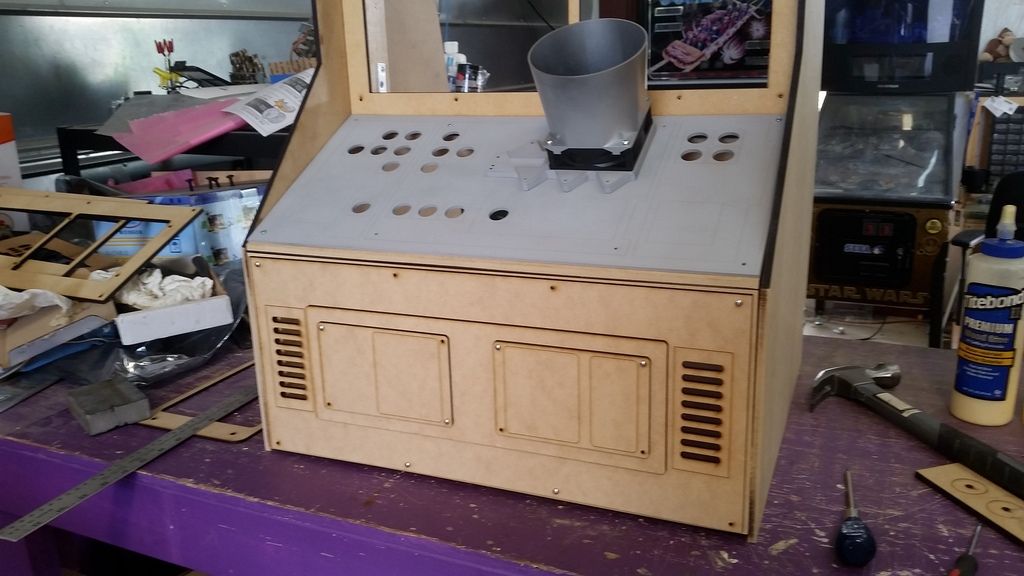
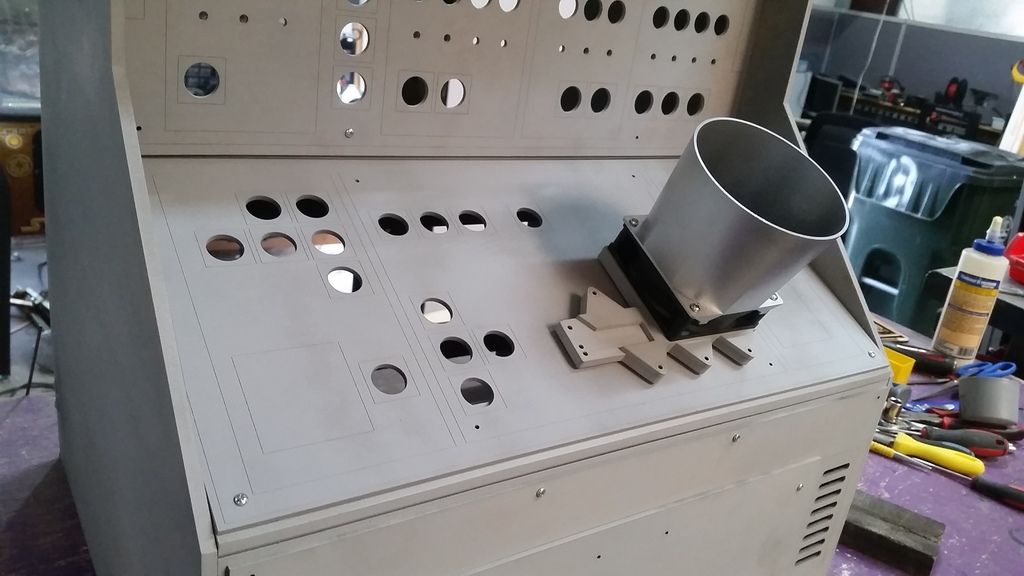
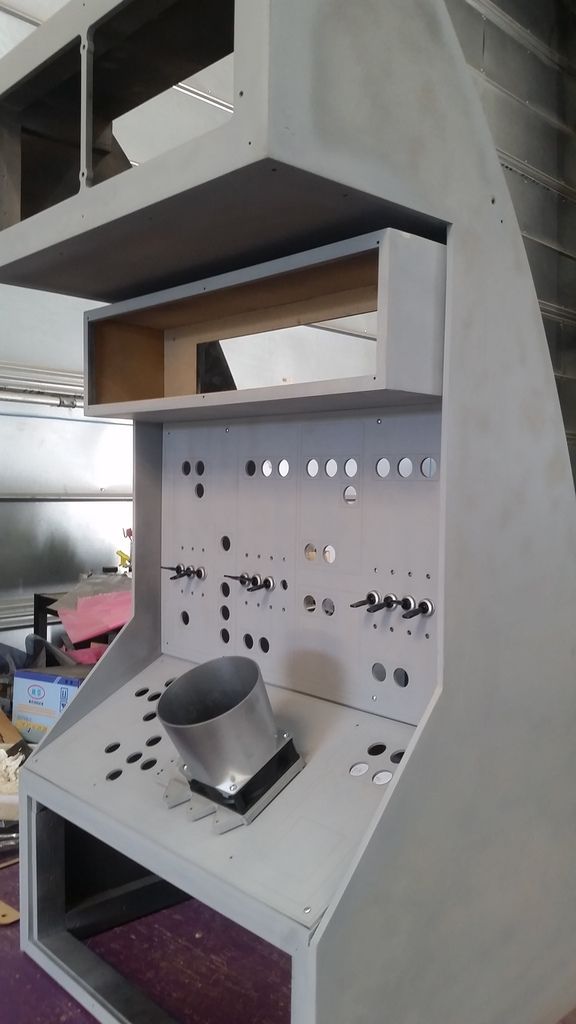
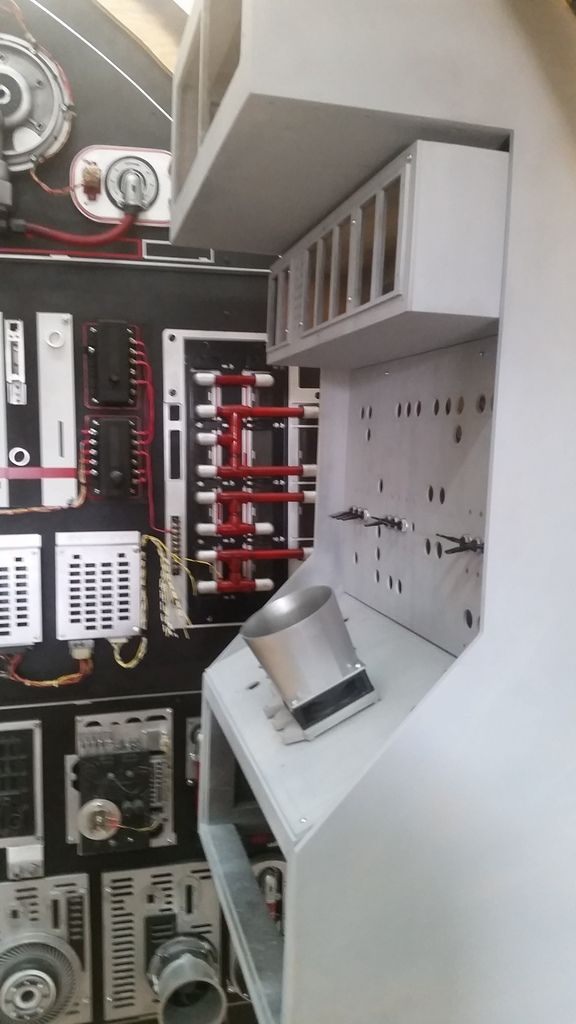
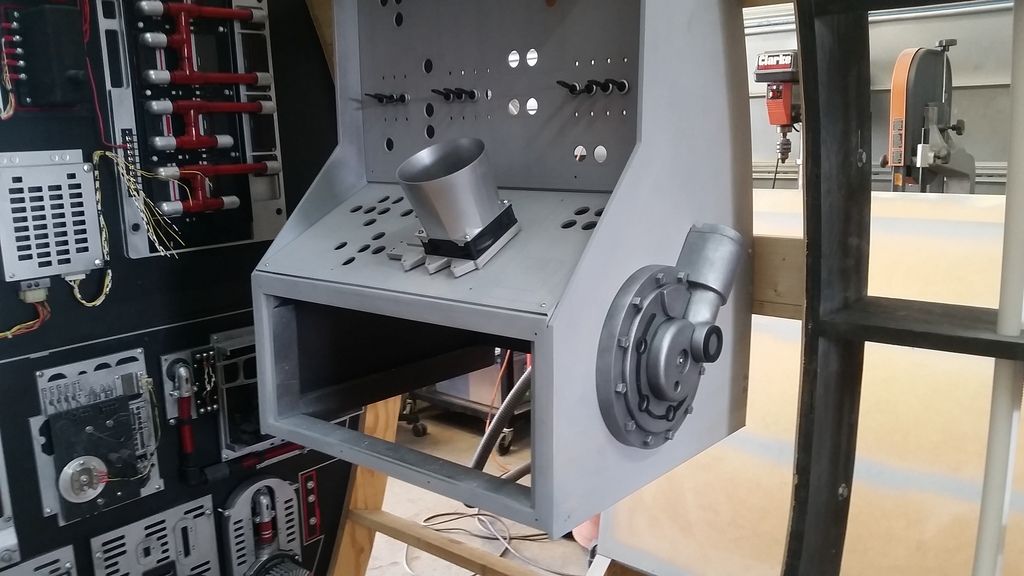
UGH... suddenly realized the cone was in the way of the center panel buttons
I'll drop the cone to the lower part of the panel
MUCH better
But what the heck is this thing for?
More detail / redesign work
Gotta be blue!
More sanding and primer for this detail
And filler!
Lots of filler
Look! Sanding and primer
Hey now! We have some switches!
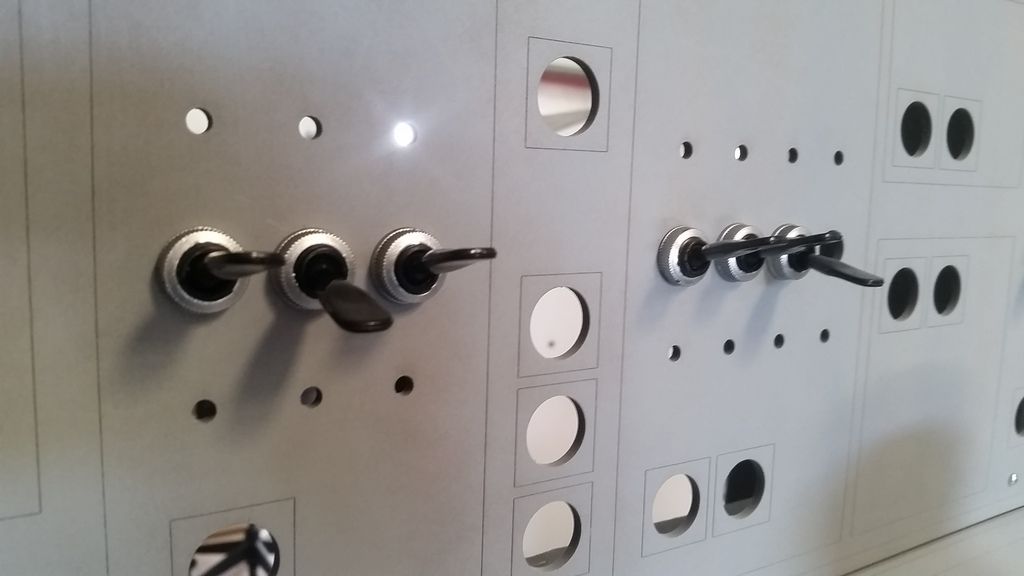
Mounting points
Primer
What is this for?
Backside

I can see all the wiring now!
OK... Seriously... what the heck is this thing and where does it go?
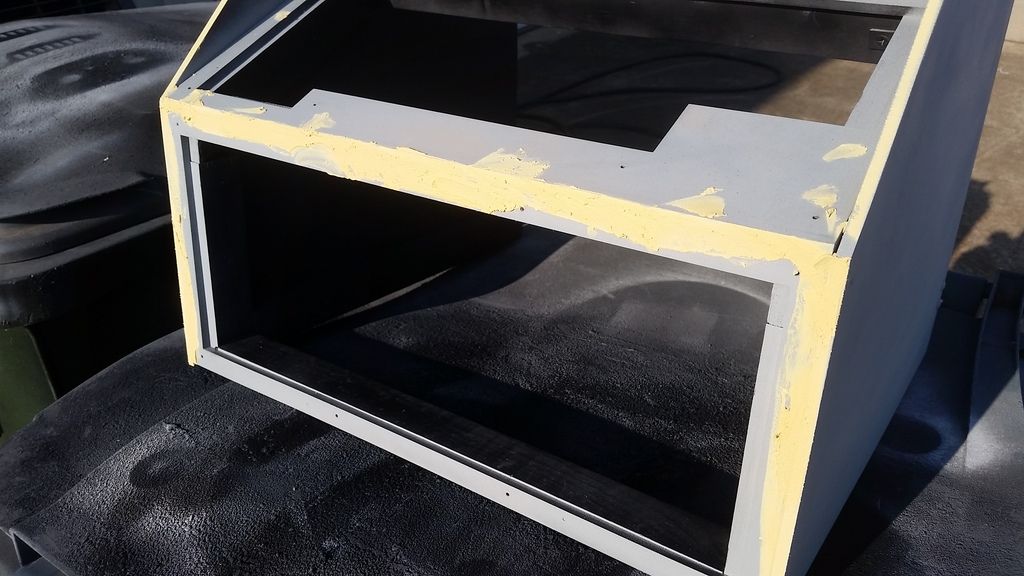
See that huge blank space?
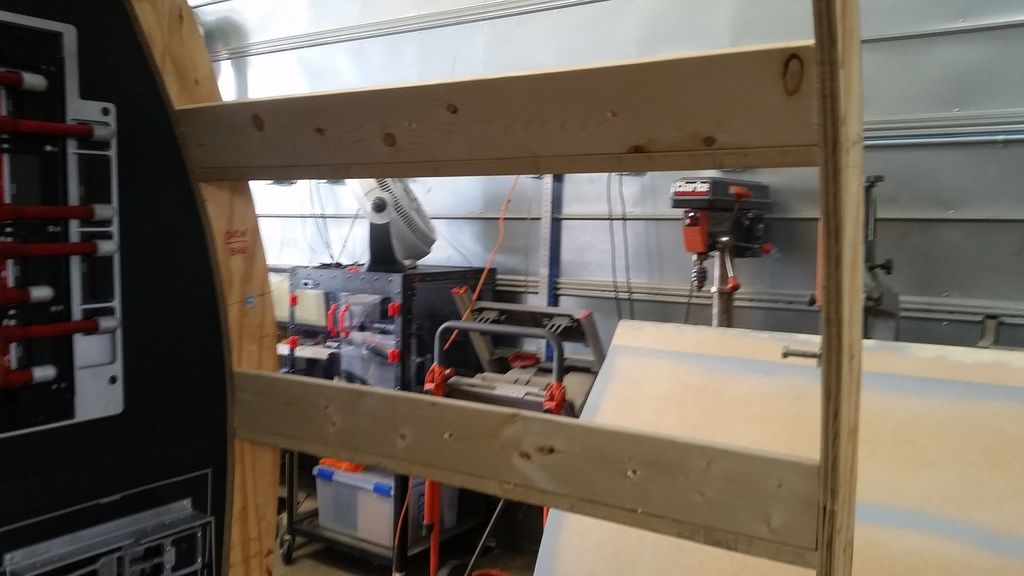
Adding supports to the backside
More supports
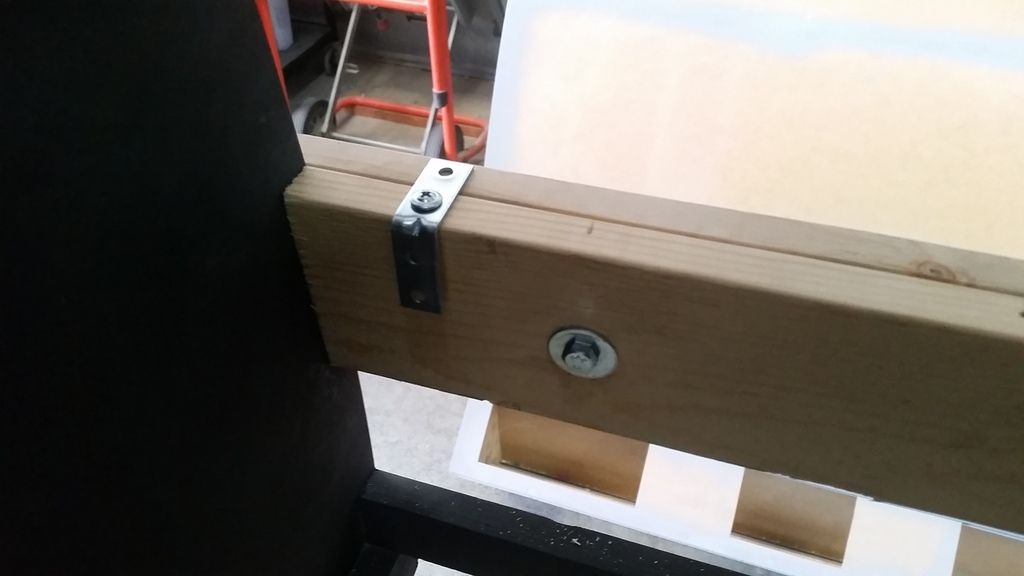
Drill some holes and add "T" nuts
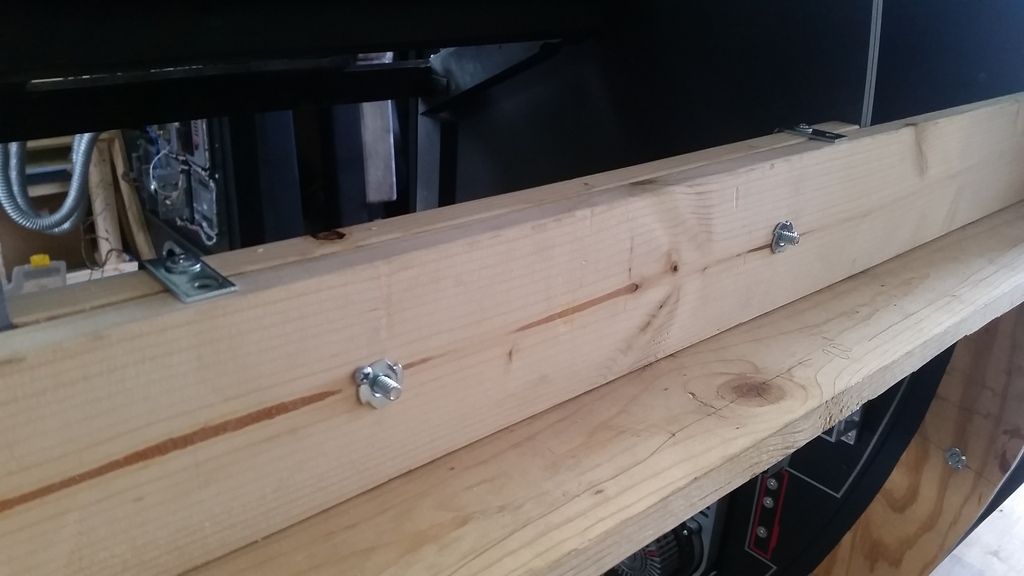
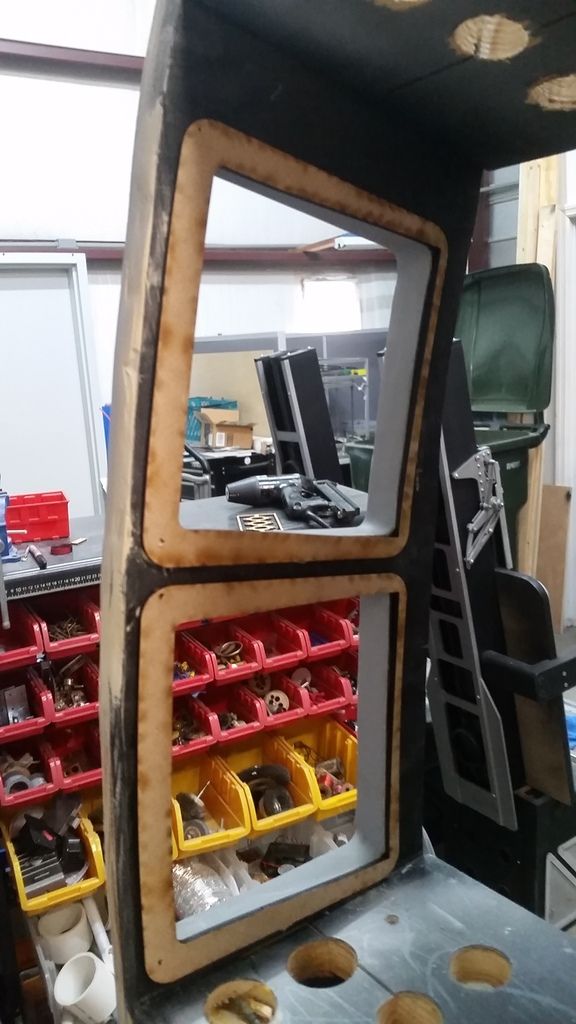
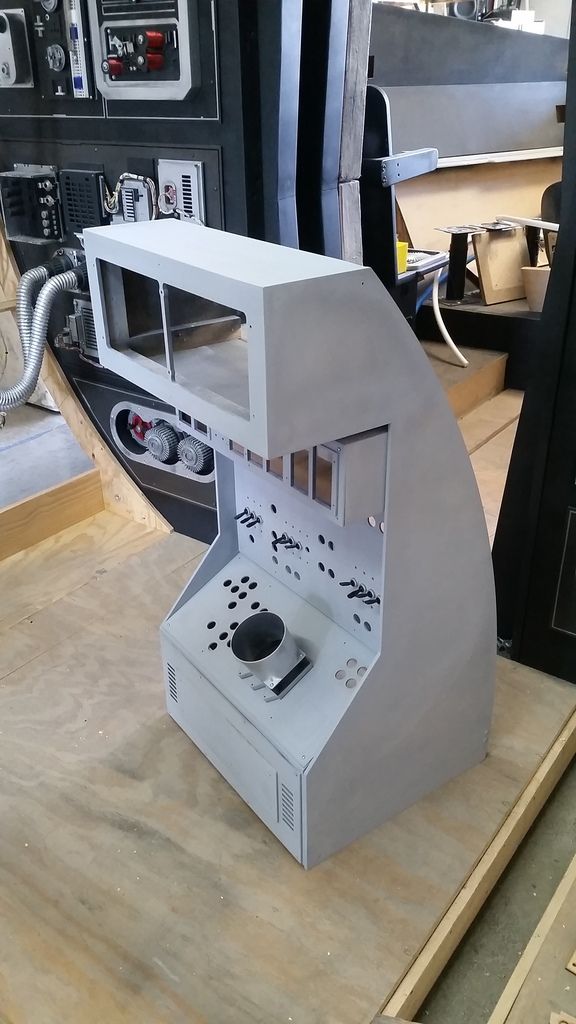
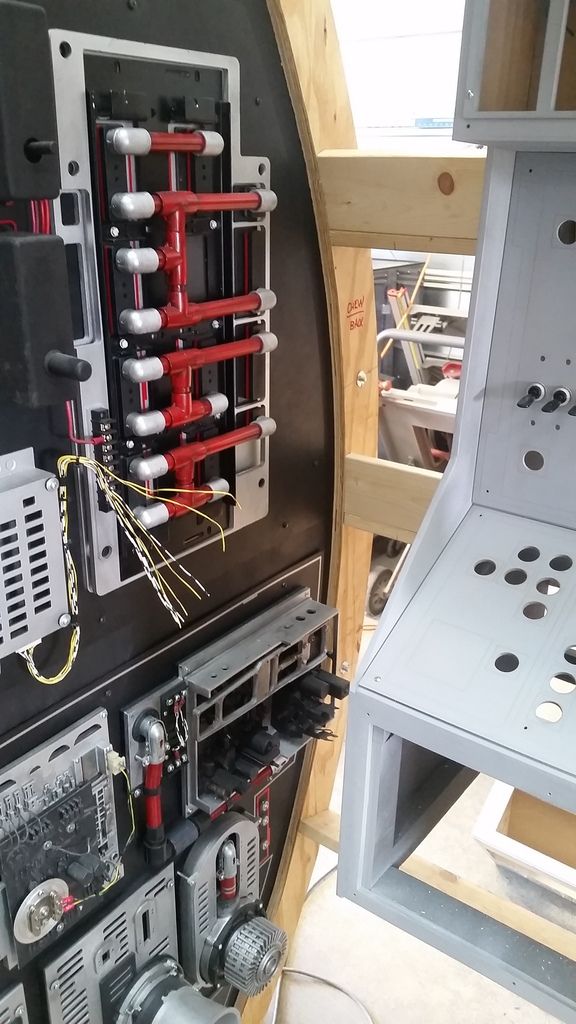
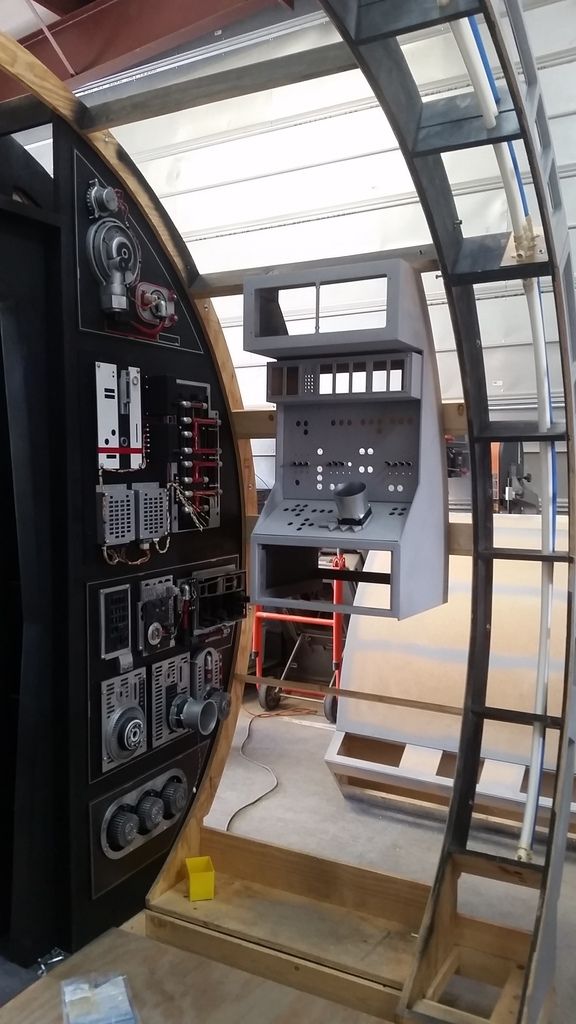
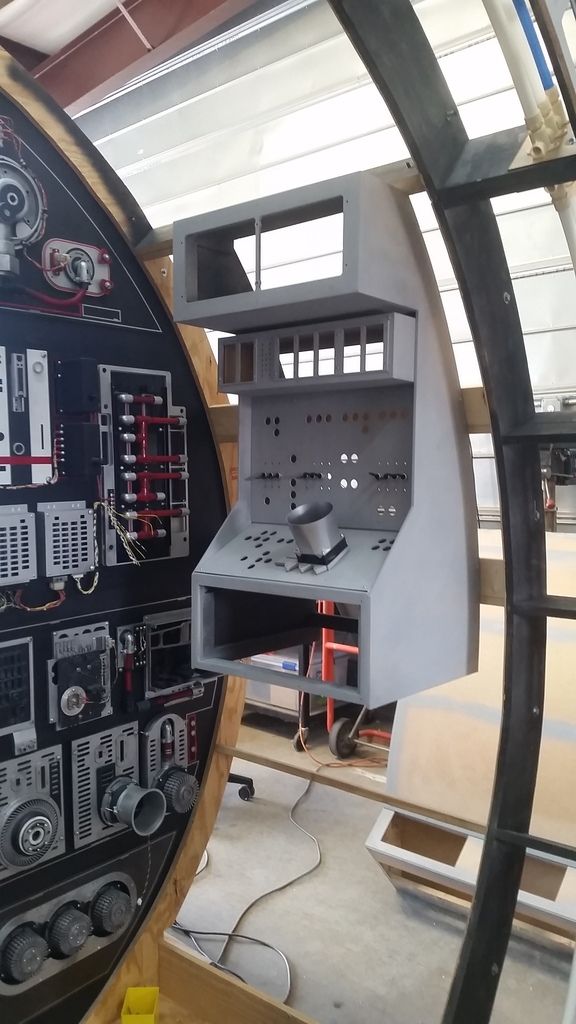
FINALLY! Hanging and in place!
Slightly uneven... I need to rehang
Some of you seem a bit worried. Believe it or not... this IS actually cannon! Although never seen on film, there is a behind the scenes image from ANH (I'll post later) with Mark H and Harrison F standing in the cockpit corridor with this very panel mounted to the corridor wall. Its a VERY blurry image but I decided to take artistic liberties, build the panel and most of all have fun with it!
I'm going to design / add a bottom section to the panel as well - not as wide but it will have some interesting details
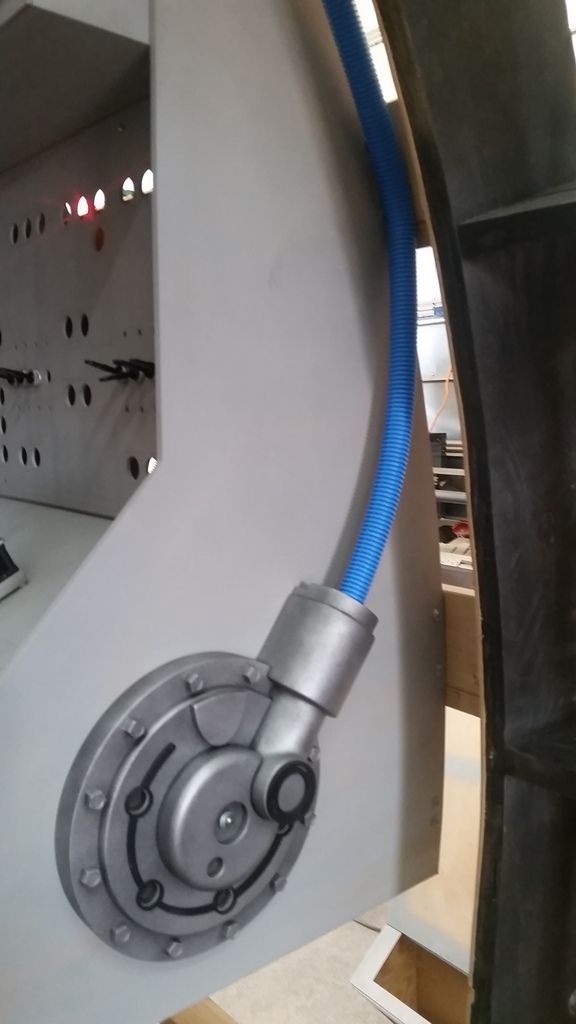
Now... back to this guy!
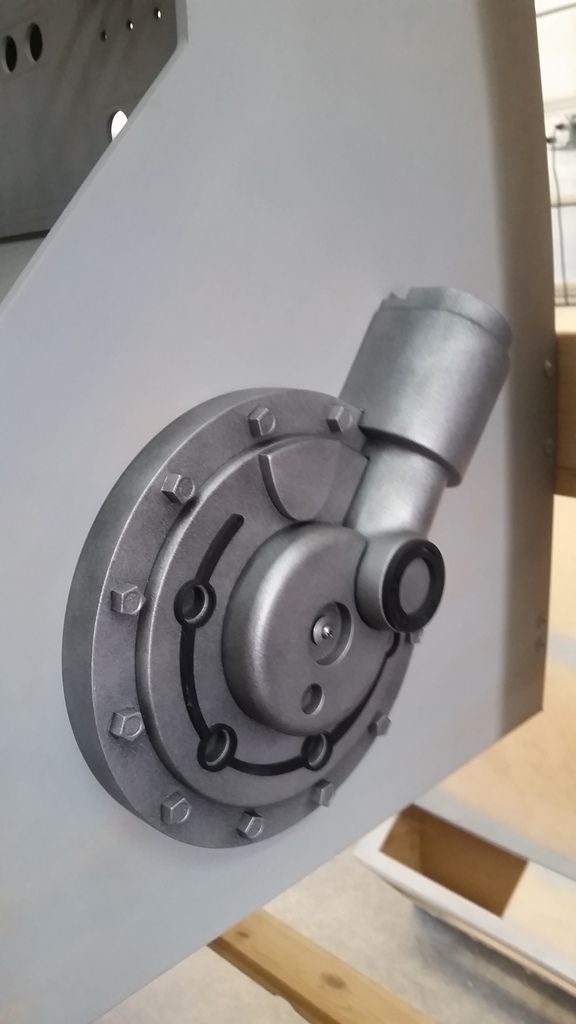
Believe it or not, the original nav computer from ANH (and now the TFA version) had a few of these attached to the side just where OWK was sitting... so why not replicate the detail
Love it!
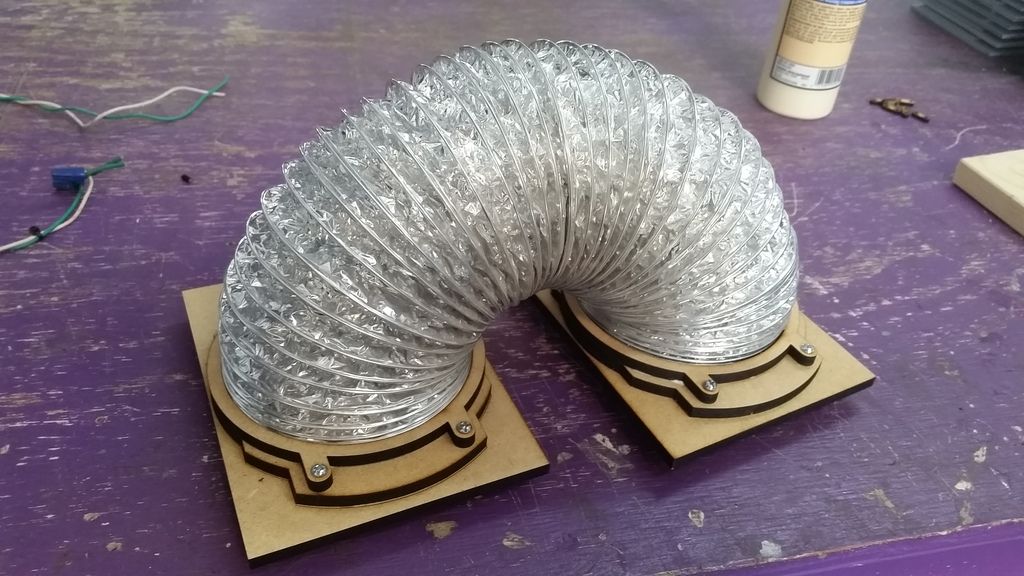
Take a pipe... bend it into a total random shape and...
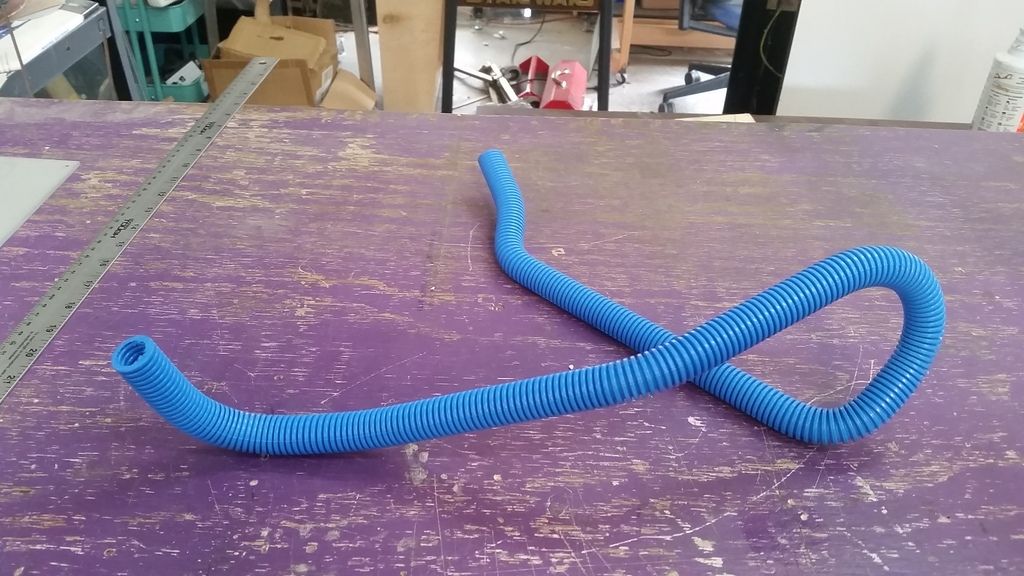
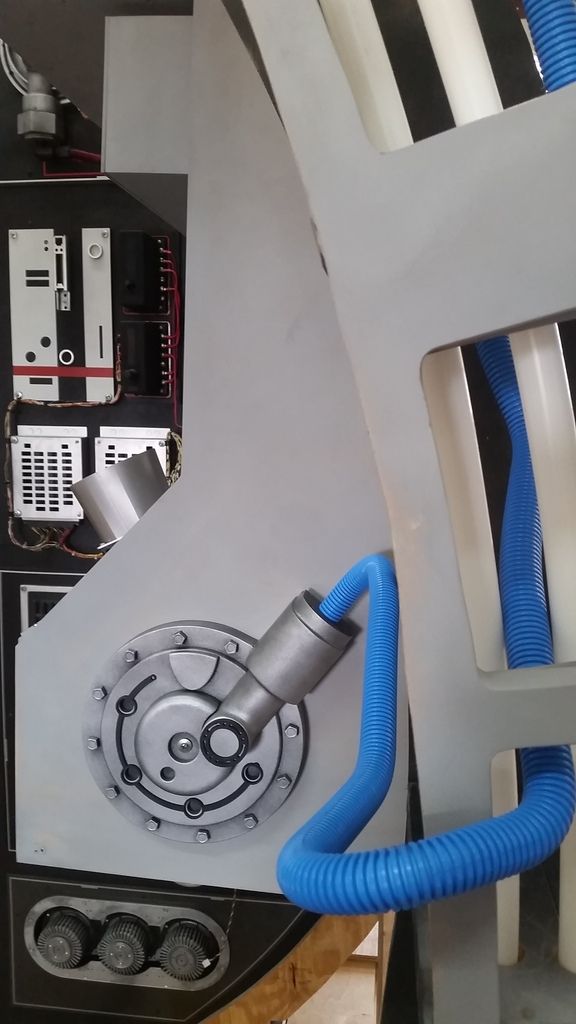
From the back
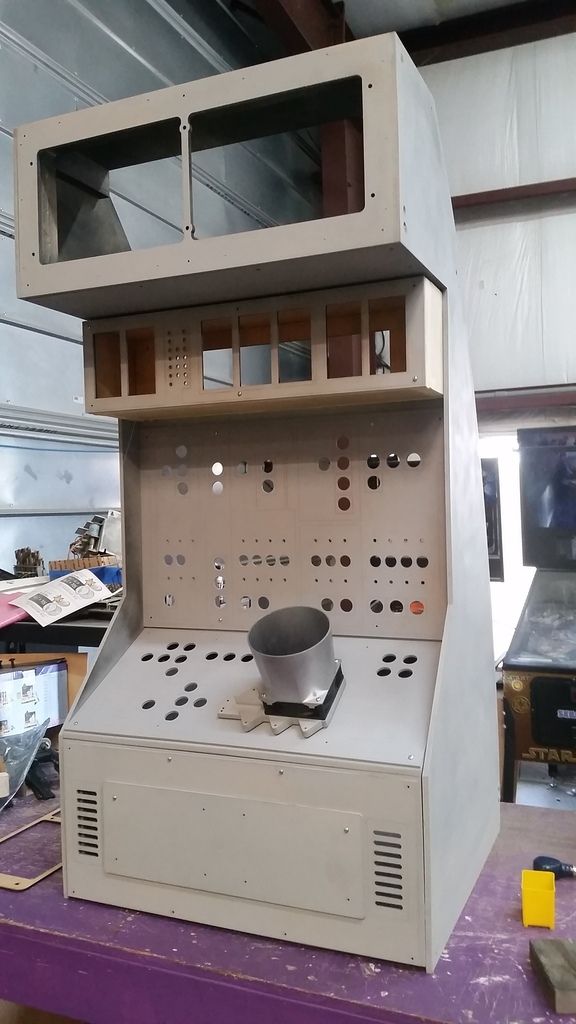
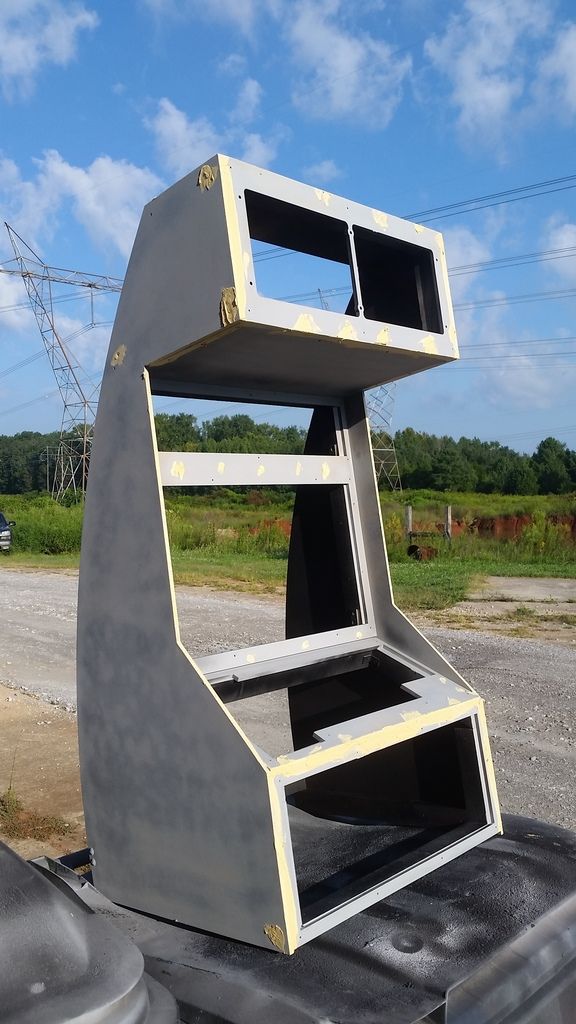
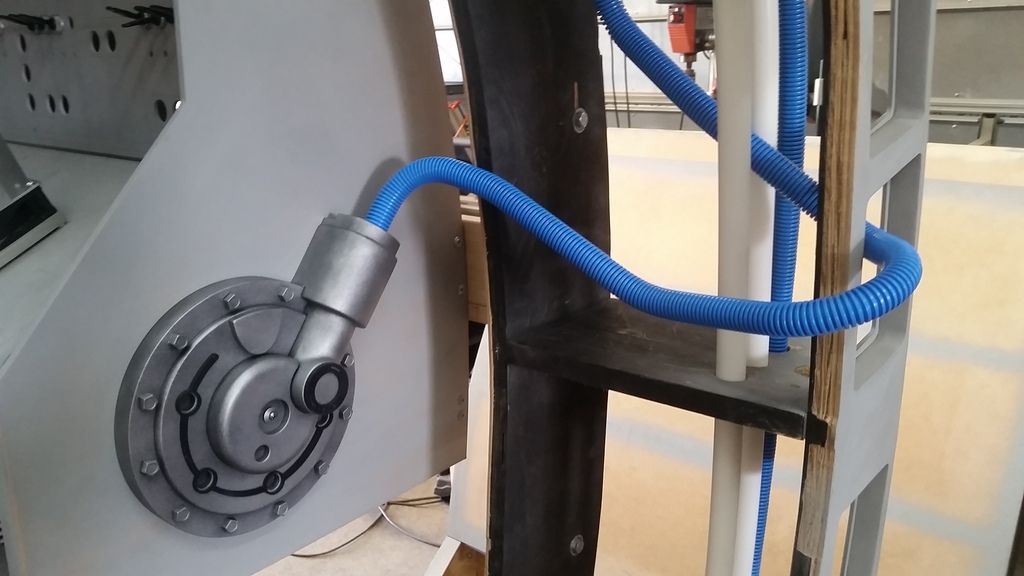
And this is where we are...
More to Follow... I think... I'm exhausted!
Stay Tuned!
Time for the end of the Holiday Weekend Update! I'll try not to get too chatty... Enjoy!
I was finally able finish up most of the corridor ring with just a few additions left. I added a few minor details to give it some depth
This will be so much easier when we make Cockpit Ver 2 and everything is done on the CNC
Some of the edges had to be mod'd to fit - this wont happen next time around
I found a perfect connector for all the the corridor tubes and hoses
Picked up a new hose as well!
Perfect Fit!
Let's get everything mounted
These connections mount to each end of each section of the ring. The pipes fit snug and wont fall out during transport!
Cutting to fit
Panel looks a bit dull... I'll add a few details later
I then drilled all the holes in the upper section
Connectors added
Time to address all these guys!
I need LOTS more
Another additional detail
Primed
And another layer of detail... why am I doing this myself?
Each panel will be random
A few extras
Paint!
Lets get these guys in place!
UGH...
I then designed this
The idea is to add a flexible vent pipe behind the 3 tubes similar to the original tubes seen in the OT and TFA
Unfortunately the pipe is 4" wide and I can't cut holes into the wood or I'll hit the screws like I did before. So... I would have to section each of them off. No real difference just shorter pipe sections.
Yes? No? Should I add it? At the very least... it can always walk down stairs, alone or in pairs and make a slinkity sound
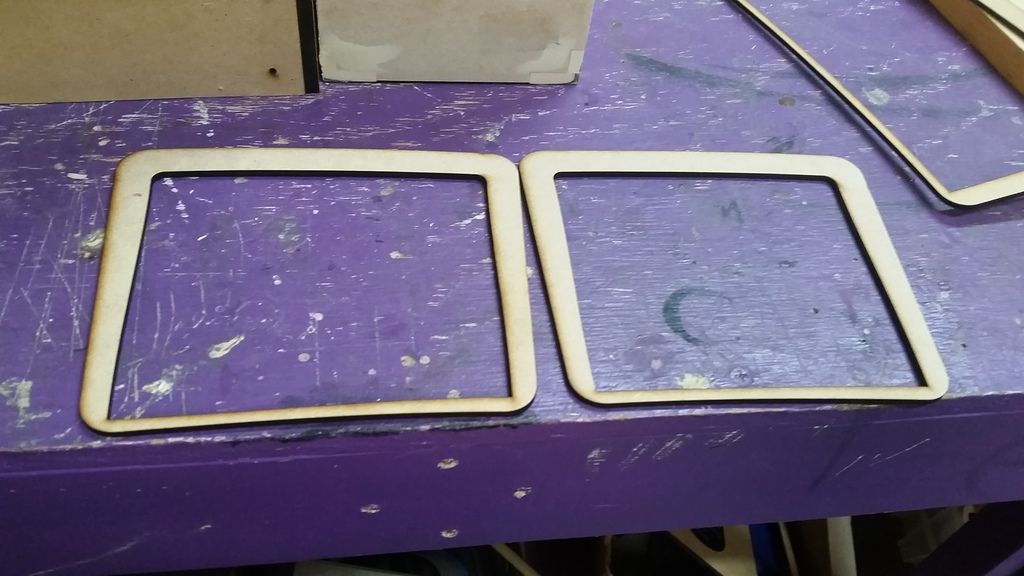
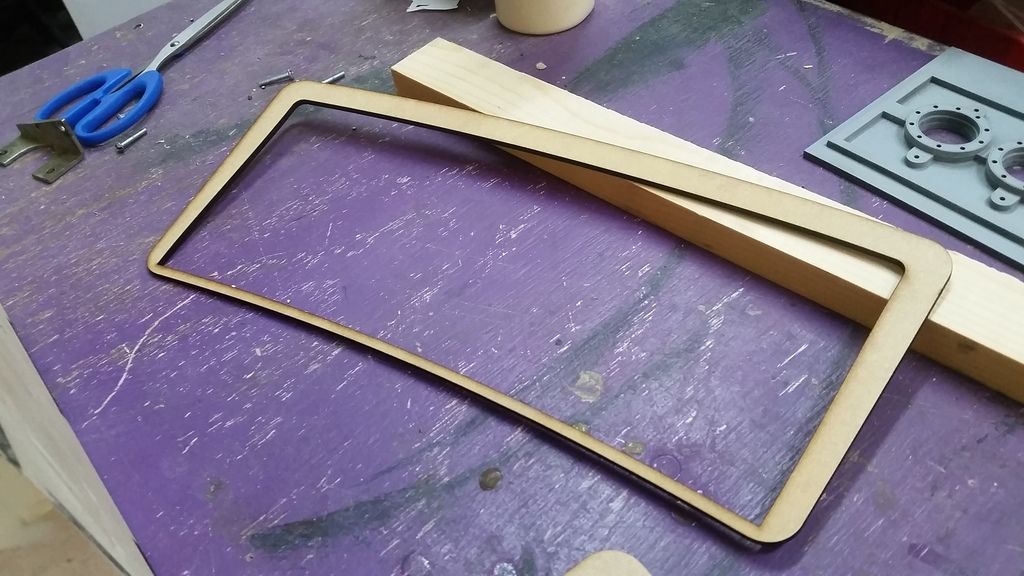
I then addressed the capstone panel - finally!
I LOVE these greeblies
Created a tab box
Cut template
Cut the hole
Trim piece
I really want to do right by these greeblies
Basic layout
Thinking about adding 2 or 3 of the panel lights
The greeblies need to be raised a bit. I made the box too deep.
I then found an old greeblie and decided to add some little details
Light mist of the silver
I updated this guy for one reason! But... back to him in a minute...
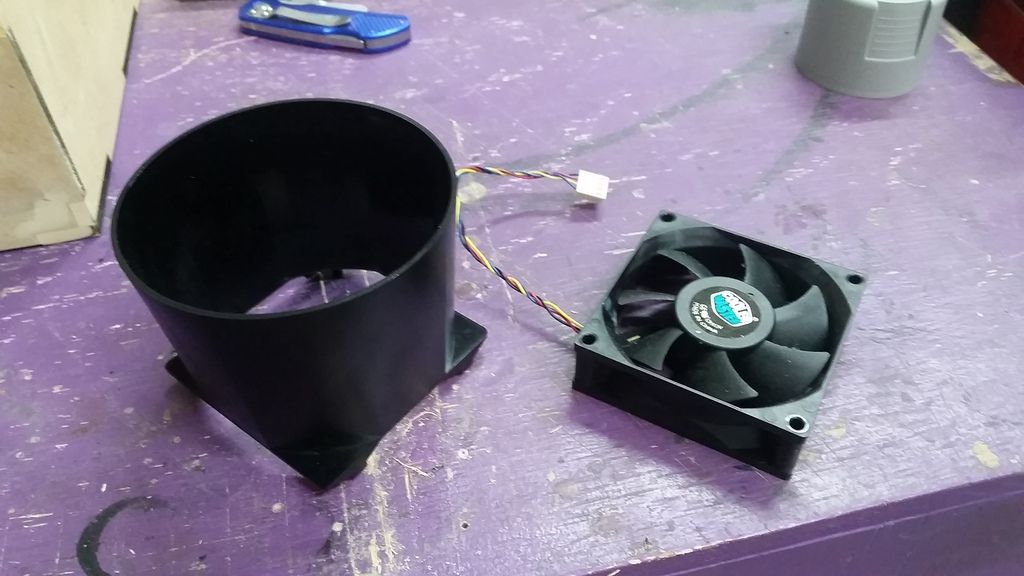
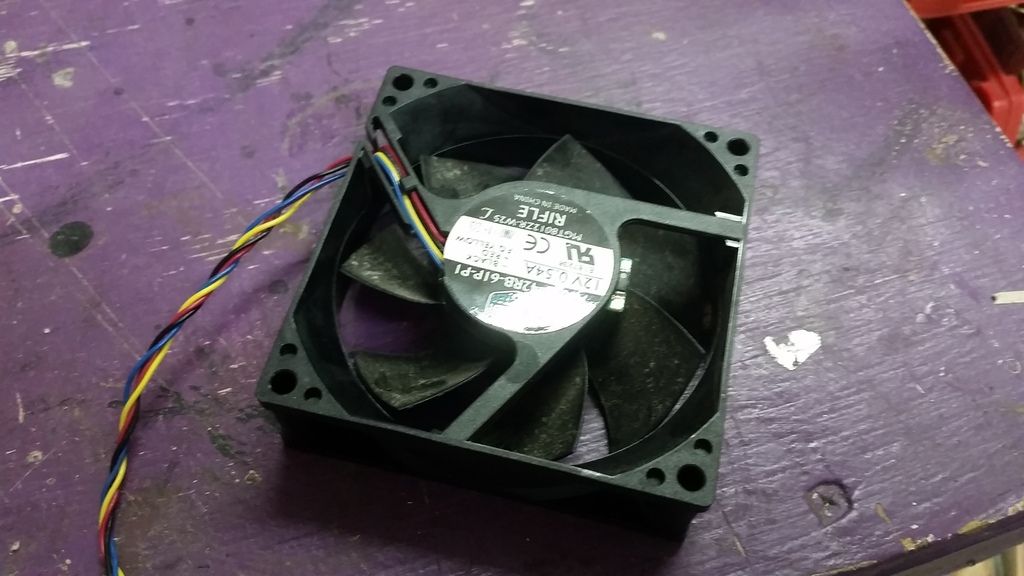
Another CPU fan showed up in the mail
Time to cut the actual fan away
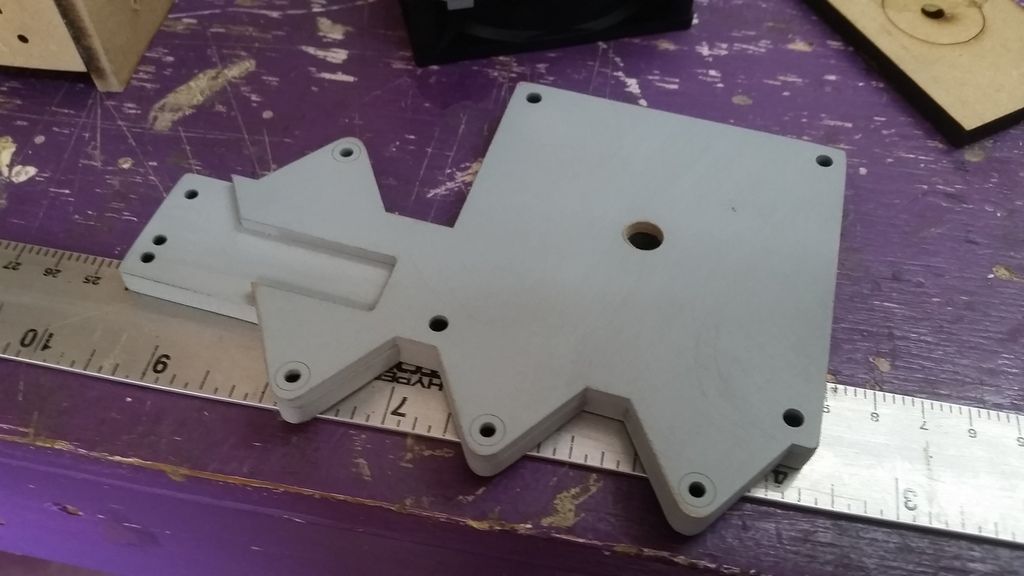
I then designed some new panels
And a new greeblie base for...
... the new fan
Grab a panel light
Add it to the interior of the fan / cone
That greeblie mounts to this new panel
I then added some nuts to the bottom of the base to raise it away from the panel
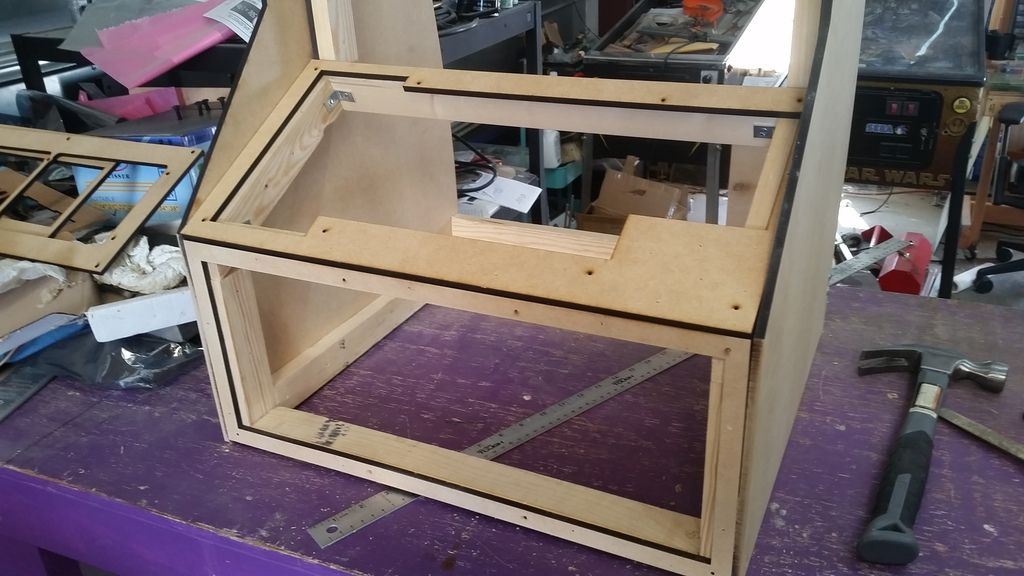
I added more support pieces
Boxing everything in
Permanently adhered the 1/4" MDF sub panels
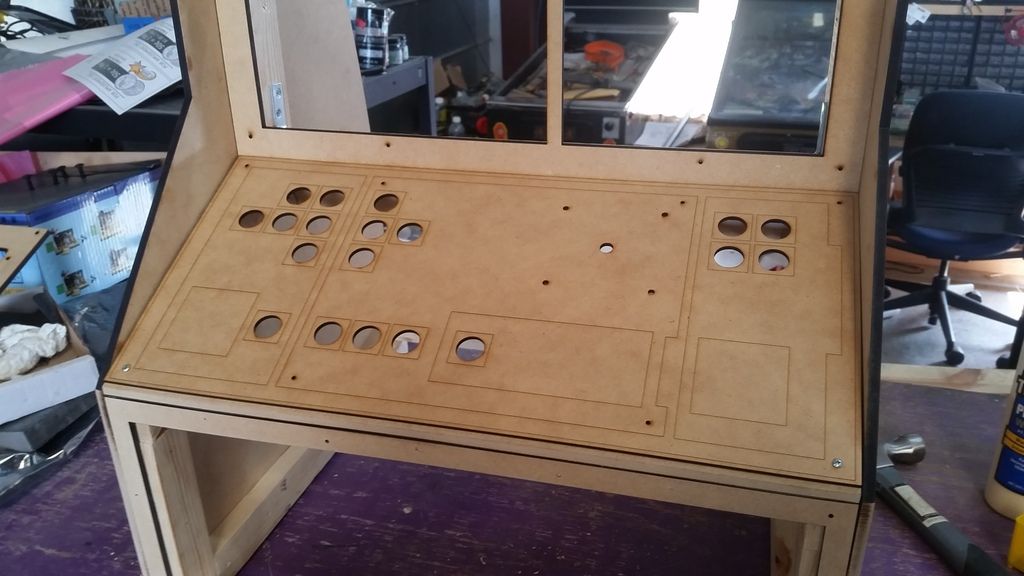
Making sure everything still fits
All the instrument panels will be removable with simple screws for quick easy access to all the wiring
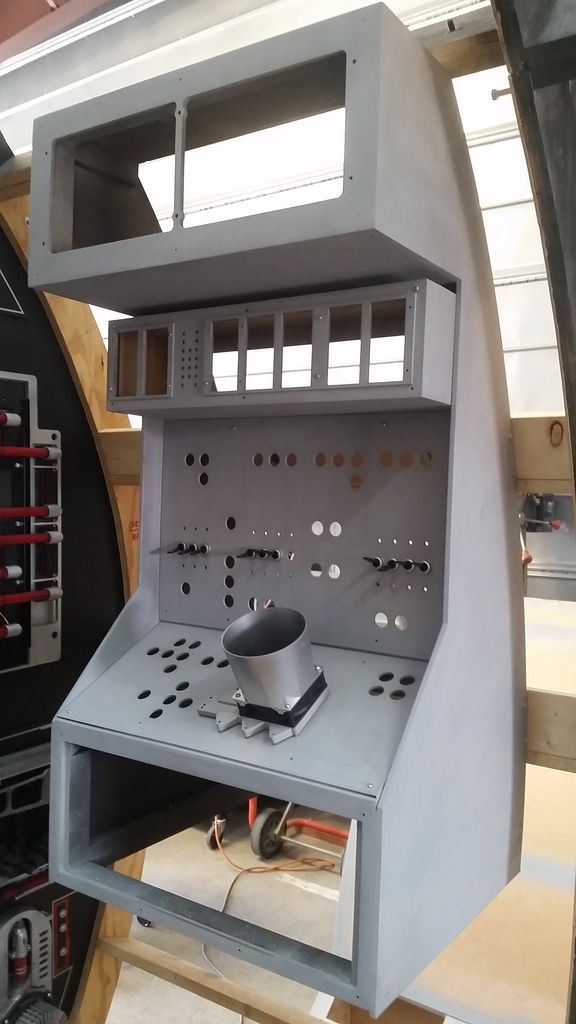
Primer!
Silver. Still need to add the black pin striping and other misc details
I'm thinking a blue panel light will look best!
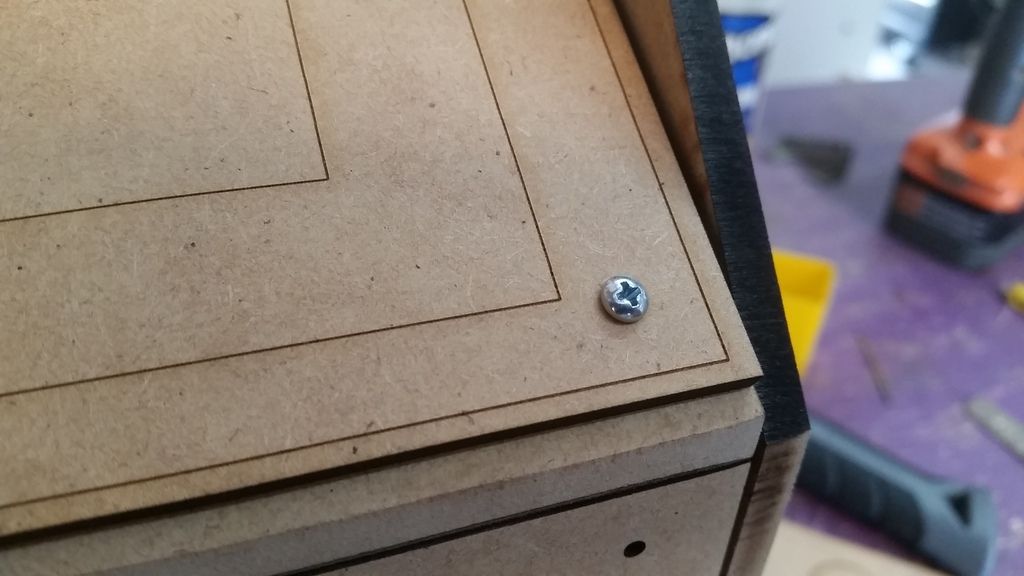
Notice the thin laser cut lines - these are all place markers for either pin striping or the 1" acrylic tiles. No more guessing!
More design work
I think I like the simplicity of this panel
Almost ready for primer and filler!
Primer!
Painted the interior side black
UGH... suddenly realized the cone was in the way of the center panel buttons
I'll drop the cone to the lower part of the panel
MUCH better
But what the heck is this thing for?
More detail / redesign work
Gotta be blue!
More sanding and primer for this detail
And filler!
Lots of filler
Look! Sanding and primer
Hey now! We have some switches!
Mounting points
Primer
What is this for?
Backside
I can see all the wiring now!
OK... Seriously... what the heck is this thing and where does it go?
See that huge blank space?
Adding supports to the backside
More supports
Drill some holes and add "T" nuts
FINALLY! Hanging and in place!
Slightly uneven... I need to rehang
Some of you seem a bit worried. Believe it or not... this IS actually cannon! Although never seen on film, there is a behind the scenes image from ANH (I'll post later) with Mark H and Harrison F standing in the cockpit corridor with this very panel mounted to the corridor wall. Its a VERY blurry image but I decided to take artistic liberties, build the panel and most of all have fun with it!
I'm going to design / add a bottom section to the panel as well - not as wide but it will have some interesting details
Now... back to this guy!
Believe it or not, the original nav computer from ANH (and now the TFA version) had a few of these attached to the side just where OWK was sitting... so why not replicate the detail
Love it!
Take a pipe... bend it into a total random shape and...
From the back
And this is where we are...
More to Follow... I think... I'm exhausted!
Stay Tuned!
Last edited:
joberg
Legendary Member
Love the console, don't know if the blue piping should be bent that way and inside the corridor ring, seems to me that the bottom of the console would be more "complete" with some kind of MotherFK hoses going down toward the innards of the corridor My two cents Sofa...you're doing such a great work!!
My two cents Sofa...you're doing such a great work!!Katuna
Member
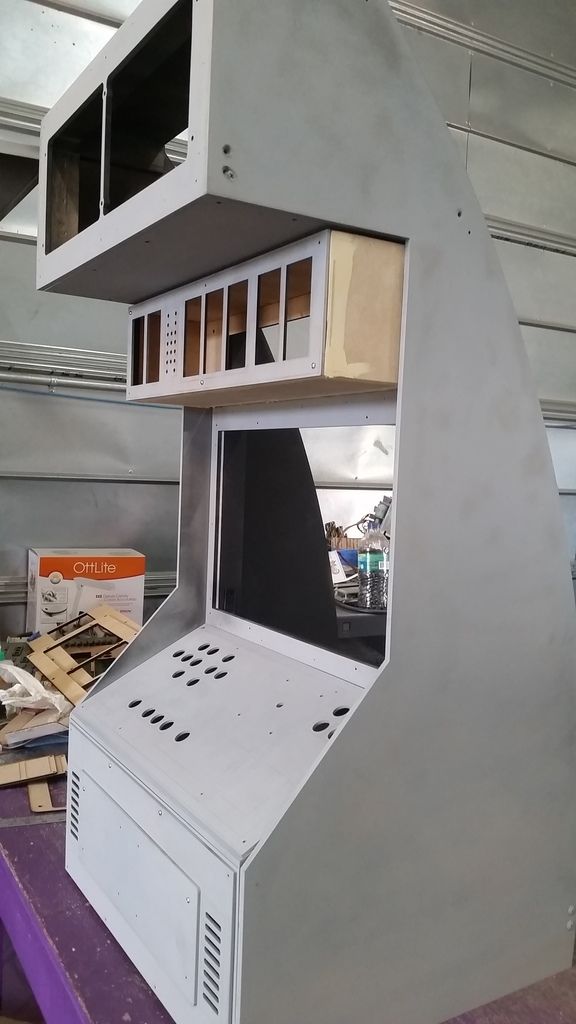
Jeez, how much would you get done if you had a whole week off? New details look great. I like the new console even though it does look a bit bulky. I know it would destroy months of work but I think if it were to tie into the cockpit bulkhead instead of having that gap, it would have much more Fung Shui (or however the hell you spell that). It has an "added on" look to it. I dig the layout of it though. The panel fits the original cockpit design very well.
I think if you place a colored plexi screen inside the fan cone with a pulsing light behind it, it would mimic the Nav display pretty convincingly.
I could never get my Slinky to go down stairs worth a damn. Maybe that's because we lived in a one story house.
I think if you place a colored plexi screen inside the fan cone with a pulsing light behind it, it would mimic the Nav display pretty convincingly.
I could never get my Slinky to go down stairs worth a damn. Maybe that's because we lived in a one story house.
BigBigDave
Active Member
Yeah, but what games can you play on it?
Lt Washburn
Sr Member
I think it looks great. Look forward to seeing that reference image. In fact, it would be cool to see some of the other relevant reference images you're using for the corridor.
avagoyamug
Active Member
This is madness!
I love it!
I love it!
That's the same image I have...
Great update as usual, was worth the wait. To be honnest, I'm not a big fan of this new console thingy. I know it's supposed to be there, but it looks a bit too bulky and out of place. But hey who am I to criticize, just some random dude on the internet
Hey OC,
Thanks! It was DEF a long weekend. Friday was a total bust as the drawing app (Inkscape) we use caused a LOT of issues. I too am a bit concerned about the bulkiness on the new console. I think once it's painted, greeblied and illuminated it might pull everything together. I still have a ways to go but to be honest, it's a nice change of pace. You'd be amazed how quickly you can burn out from doing the same thing(s) over and over!
Not to worry... I'm just some random fool taking on a near impossible project!
Love the console, don't know if the blue piping should be bent that way and inside the corridor ring, seems to me that the bottom of the console would be more "complete" with some kind of MotherFK hoses going down toward the innards of the corridor
Hey J,
Thank you, Sir! Much appreciated
My bending the blue hose was more out of fun. I'm going to paint the hose silver or red and see how it looks bending / finding its way into the corridor ring - just for looksies. LOL
My idea for the lower portion of the new console is to mimic an area near the main door of the MF. There a few greeblies and hoses that that are visually interesting. Plus I'll add a few of my own designs / ideas.
Jeez, how much would you get done if you had a whole week off? New details look great. I like the new console even though it does look a bit bulky. I know it would destroy months of work but I think if it were to tie into the cockpit bulkhead instead of having that gap, it would have much more Fung Shui (or however the hell you spell that). It has an "added on" look to it. I dig the layout of it though. The panel fits the original cockpit design very well.
I think if you place a colored plexi screen inside the fan cone with a pulsing light behind it, it would mimic the Nav display pretty convincingly.
I could never get my Slinky to go down stairs worth a damn. Maybe that's because we lived in a one story house.
Hey K,
If it hadn't been for Friday's disaster with Inkscape and my having to recreate 5 different "working" files I may have gotten a bit farther along. It was a DEF ":facepalm " moment.
Thank you for the kind words. I struggled with the width of the console for a while. I didn't want it to be too thin, but i didn't want it to be so wide that it interfered with the cockpit entrance wall greeblies. I hoping that when everything is finished and in place, there will be a even balance to all the madness - fingers crossed!
The fan cone is very reminiscent of the Nav Computer cones and the cones found in the detention center cell panels. The cell block panels had a panel light in the middle. I've always loved the simplicity of the design and really wanted to carry that same detail somewhere in the cockpit.
LOL! Ah the good ol slinky! It amazing the fun we had before video games!
Yeah, but what games can you play on it?
Hey BBD,
If you're referring to the new panel mounted to the corridor wall I've actually created a secondary main vertical panel (the one with the switches) with a monitor/flat screen option. I've been tossing the idea around to include a video game with simple controllers tucked behind the lower vertical panel.
That should be fun!
- - - Updated - - -
I think it looks great. Look forward to seeing that reference image. In fact, it would be cool to see some of the other relevant reference images you're using for the corridor.
Hey Lt W,
Thanks so much! I'll DEF post the image this evening along with a few others I've been using for ref!
- - - Updated - - -
This is madness!
I love it!
Hi A,
LOL! I couldn't have said it better myself!
Rymo
Sr Member
Hi Gang,
Some of the edges had to be mod'd to fit - this wont happen next time around
I couldn't resist.

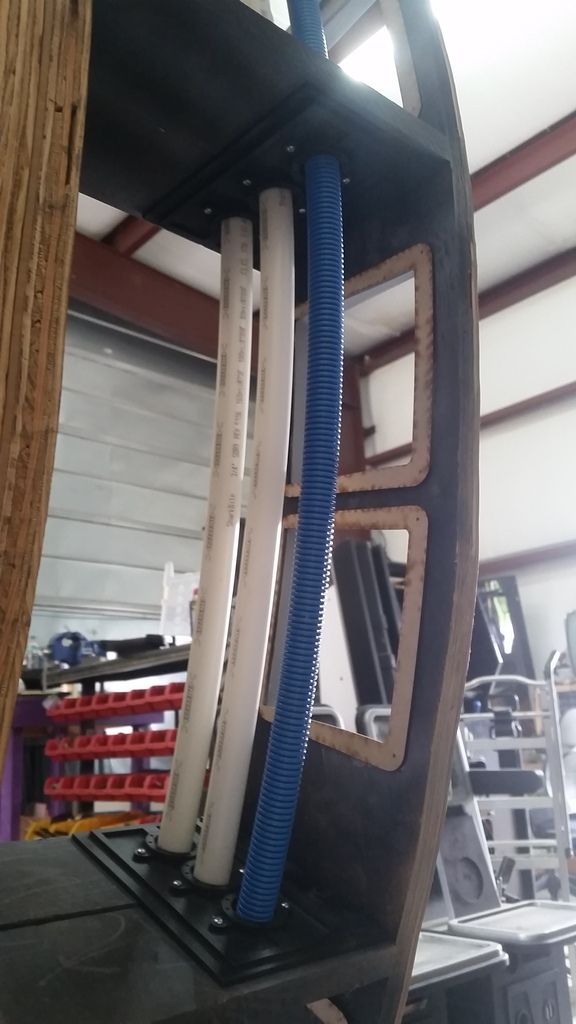
Seriously, though, it's looking great. I love the look of the PVC tubing inside the corridor walls. That's a cool touch.
I couldn't resist.
View attachment 757168
Seriously, though, it's looking great. I love the look of the PVC tubing inside the corridor walls. That's a cool touch.
LOL! And we'll spare no expense!
Thanks so much! Still a ways to go...


Hi Gang,
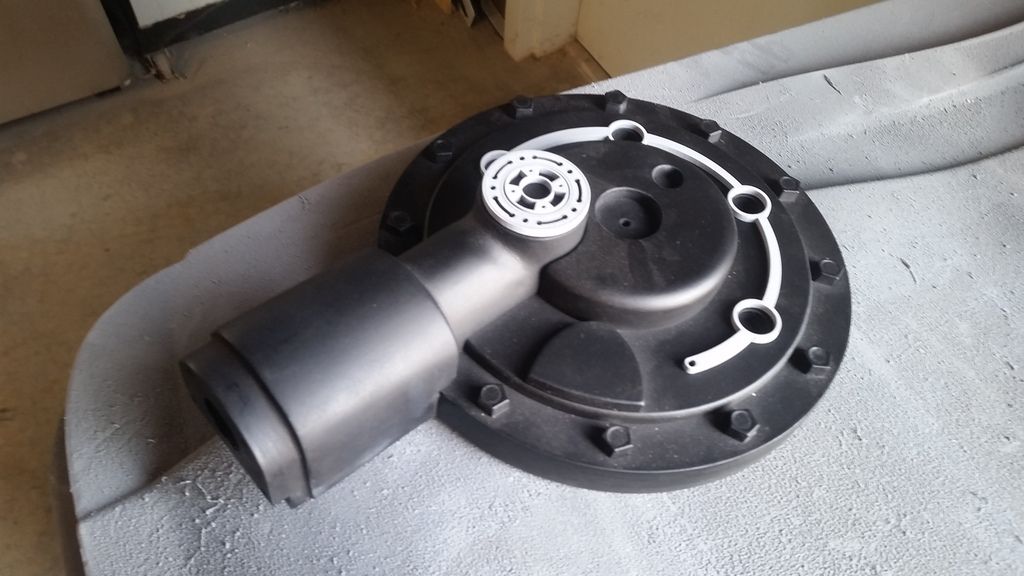
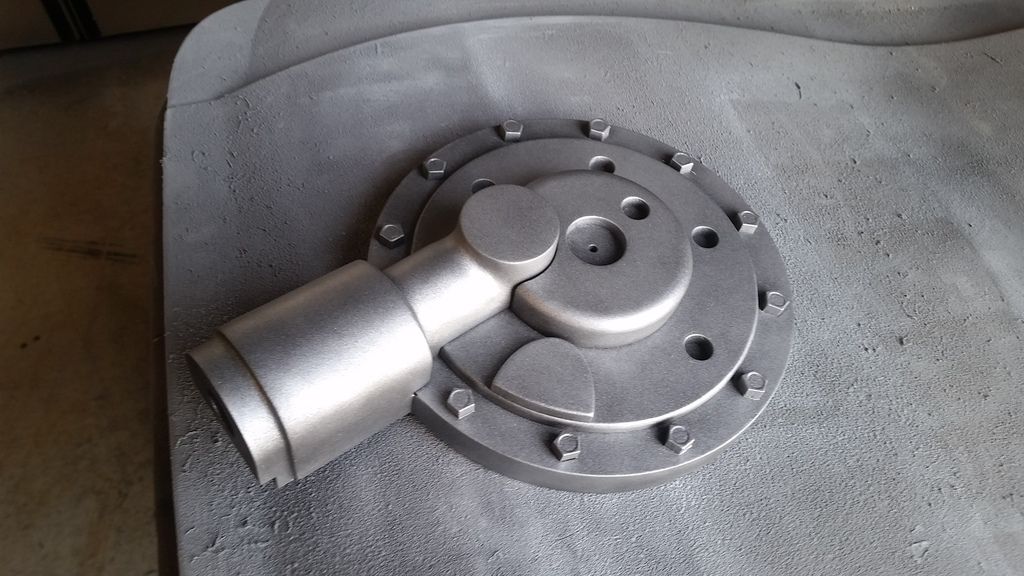
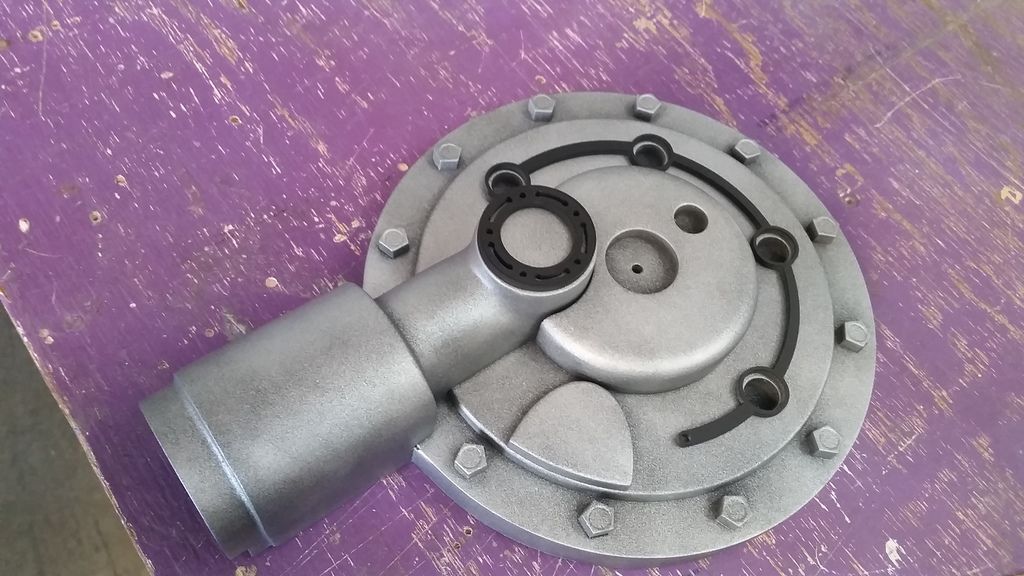
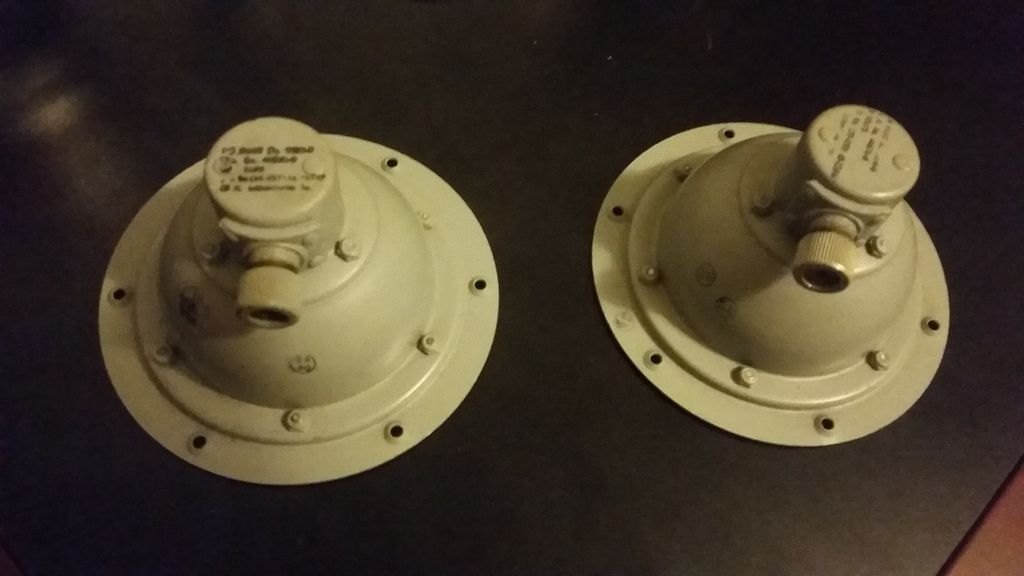
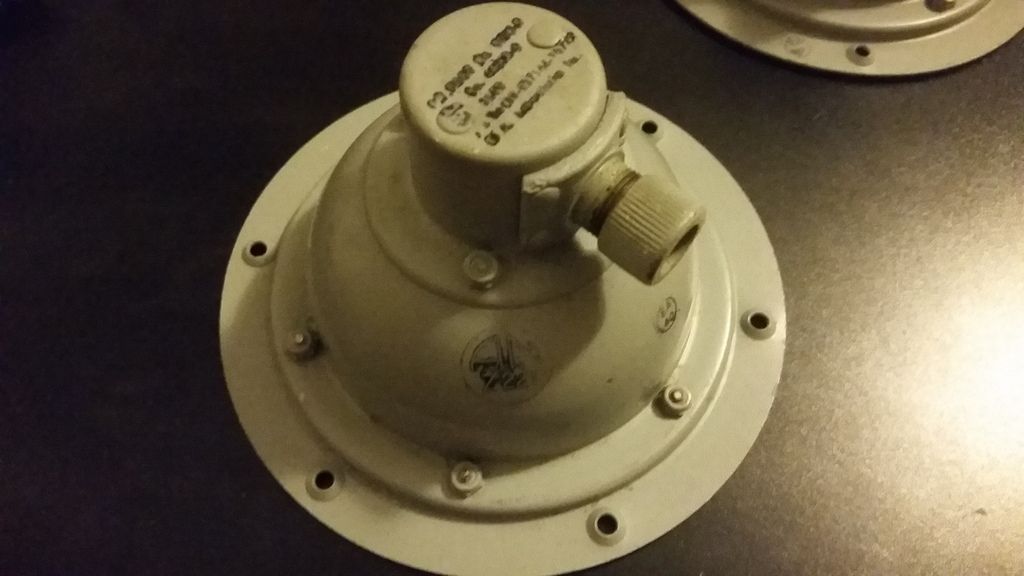
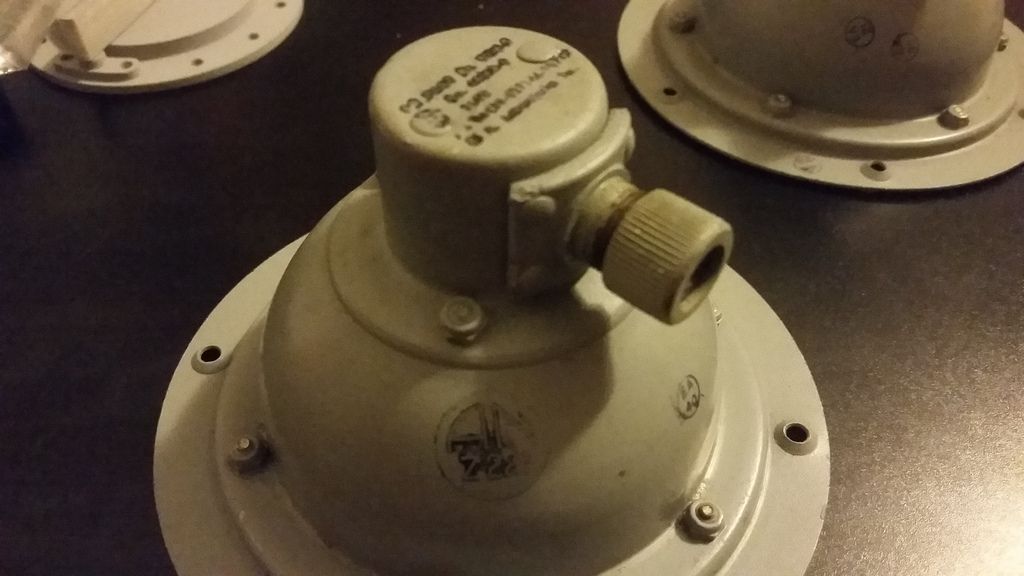
Just a quick morning update! Some new greeblies arrived... They are called Grimes Downward Recognition Lights.
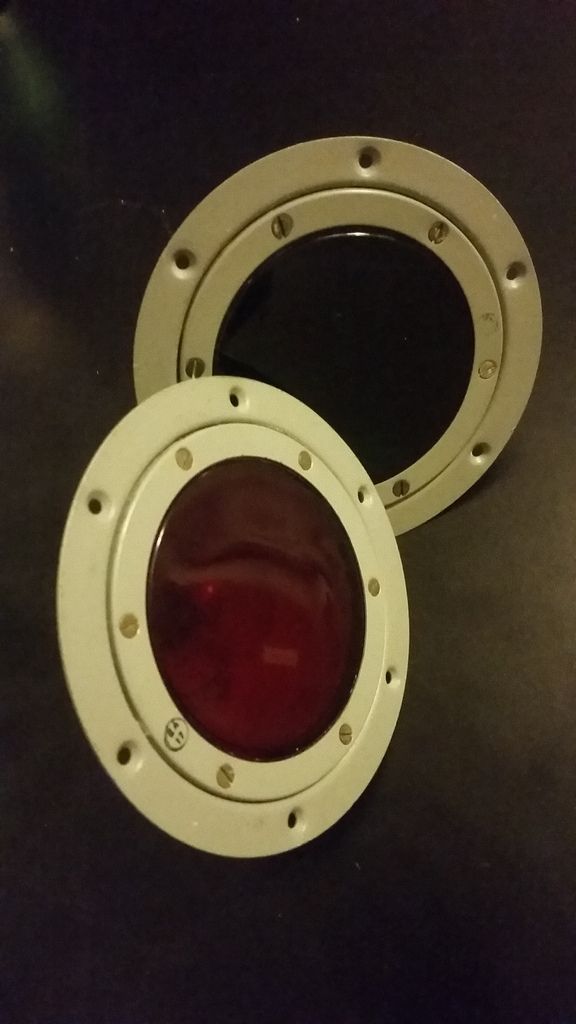
I loved the look of the back of the housing
Also, here is the image of MH and HF standing in the cockpit corridor. Note the aux panel mounted to the corridor wall just to the left of HF. You can see the very familiar 1" blue and white tiles. Also, notice there are NO greeblies on the cockpit entrance wall?
I did all that work for nothing?

More to Follow!
Just a quick morning update! Some new greeblies arrived... They are called Grimes Downward Recognition Lights.
I loved the look of the back of the housing
Also, here is the image of MH and HF standing in the cockpit corridor. Note the aux panel mounted to the corridor wall just to the left of HF. You can see the very familiar 1" blue and white tiles. Also, notice there are NO greeblies on the cockpit entrance wall?
I did all that work for nothing?
More to Follow!
Funny, I never noticed how much this greeblie
View attachment 757218
looked like a mirrored image of a Ford 8ba flathead timing cover
View attachment 757219
Hey K,
We went ROUND and ROUND trying to identify (as with everything and anything SW related) that particular greeblie. Fellow RPFer, Wavey, found out it was a "Submerged Fuel Booster Pump". Its funny how all these different things have the same basic look and feel.
Similar threads
- Replies
- 2
- Views
- 873
- Replies
- 6
- Views
- 639
- Replies
- 8
- Views
- 563
- Replies
- 9
- Views
- 1,033
- Replies
- 4
- Views
- 2,342