Hi Gang,
Time for the "End of the Weekend Update"! Sorry for the delay... Let's get to it!
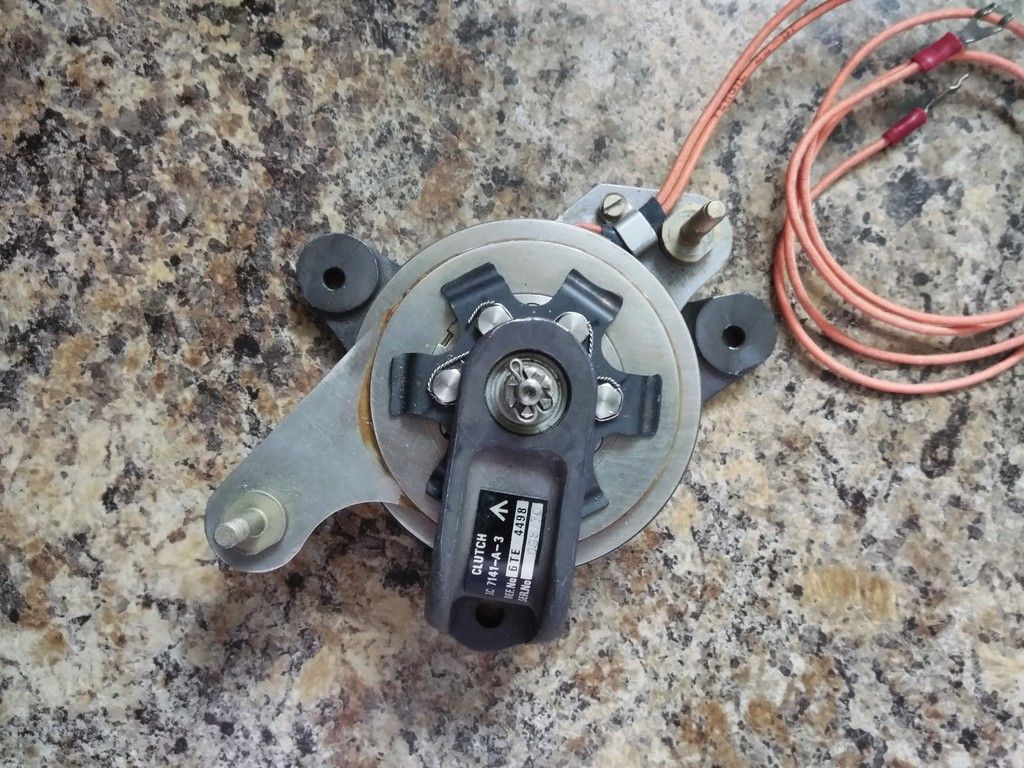
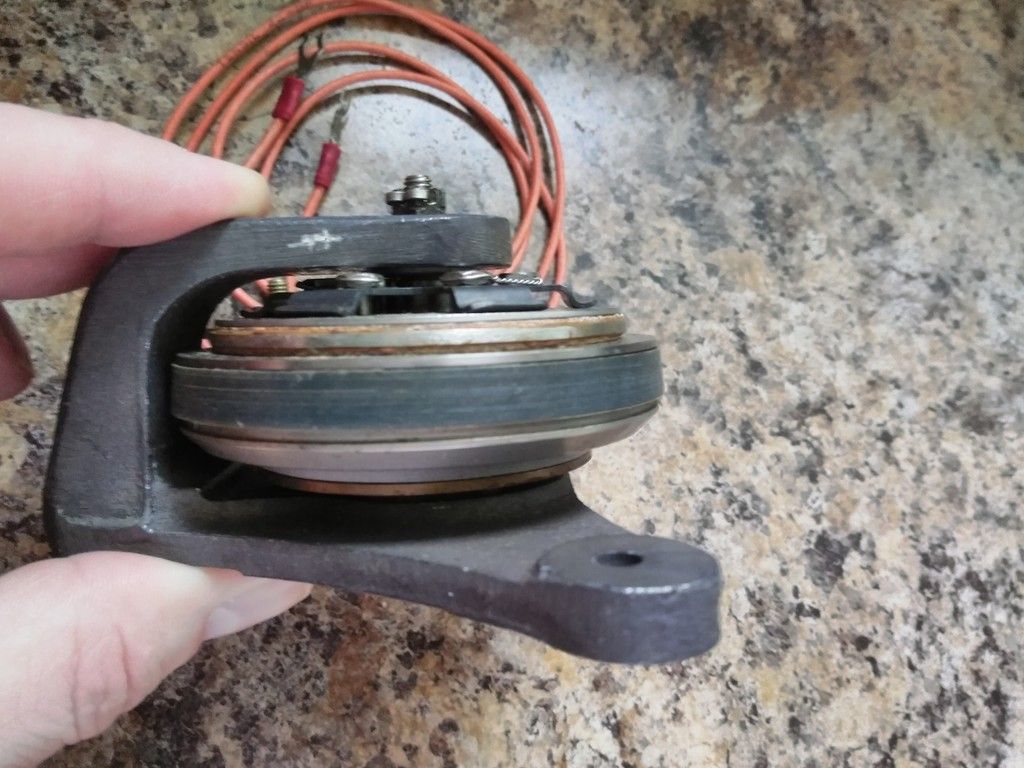
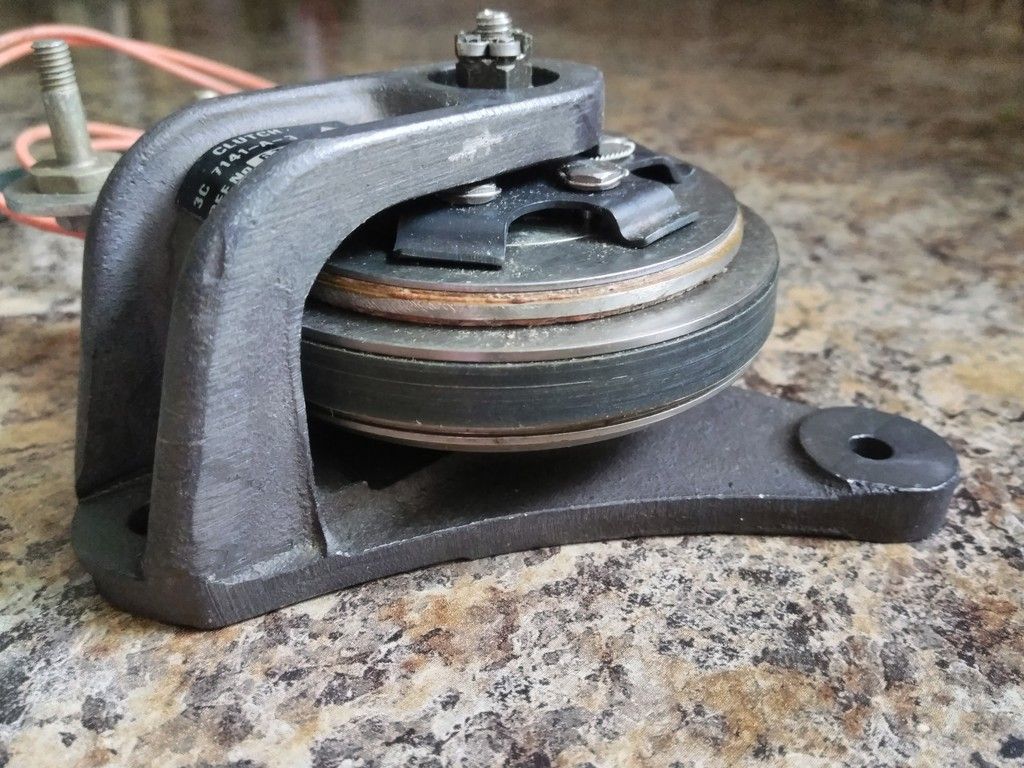
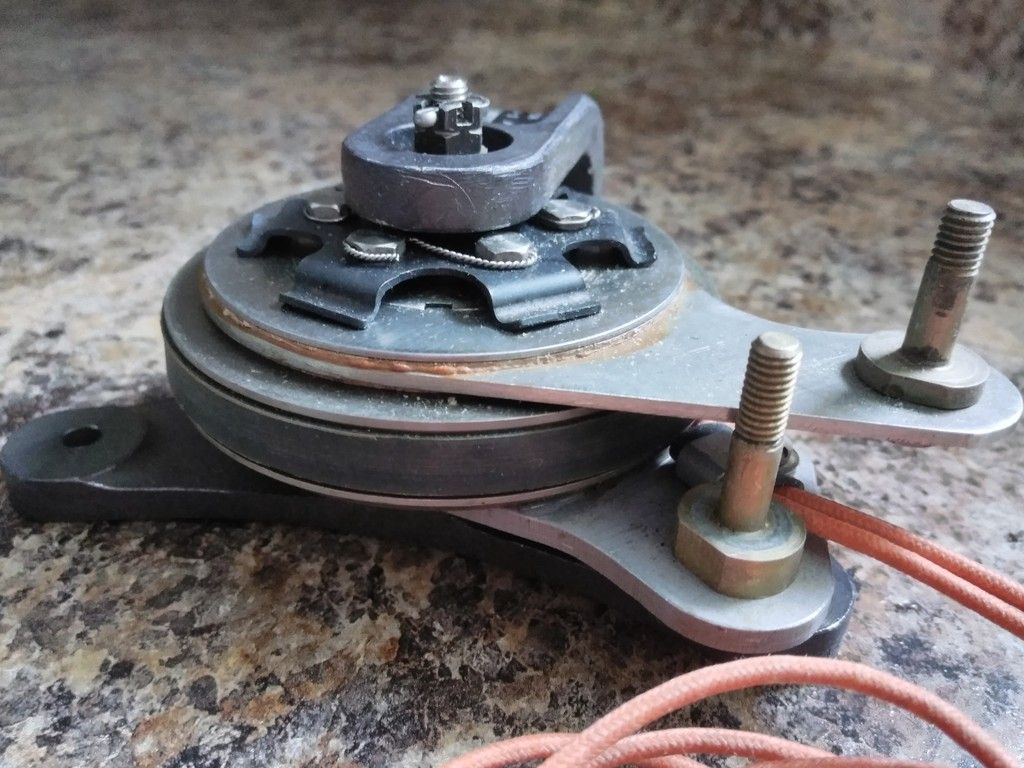
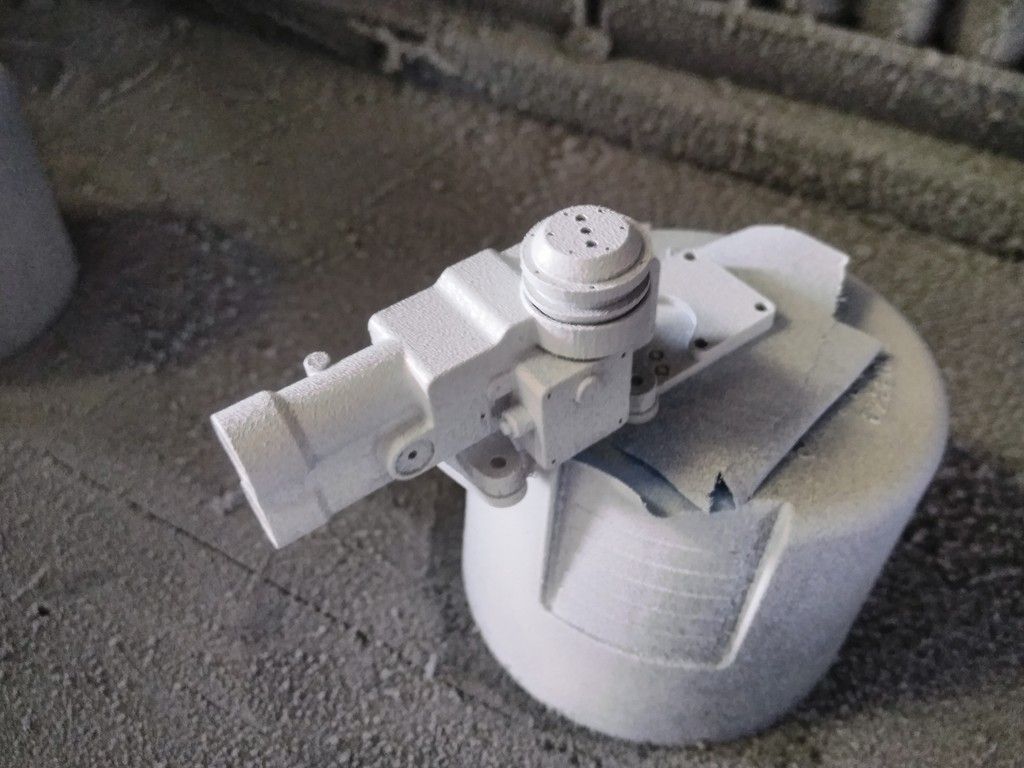
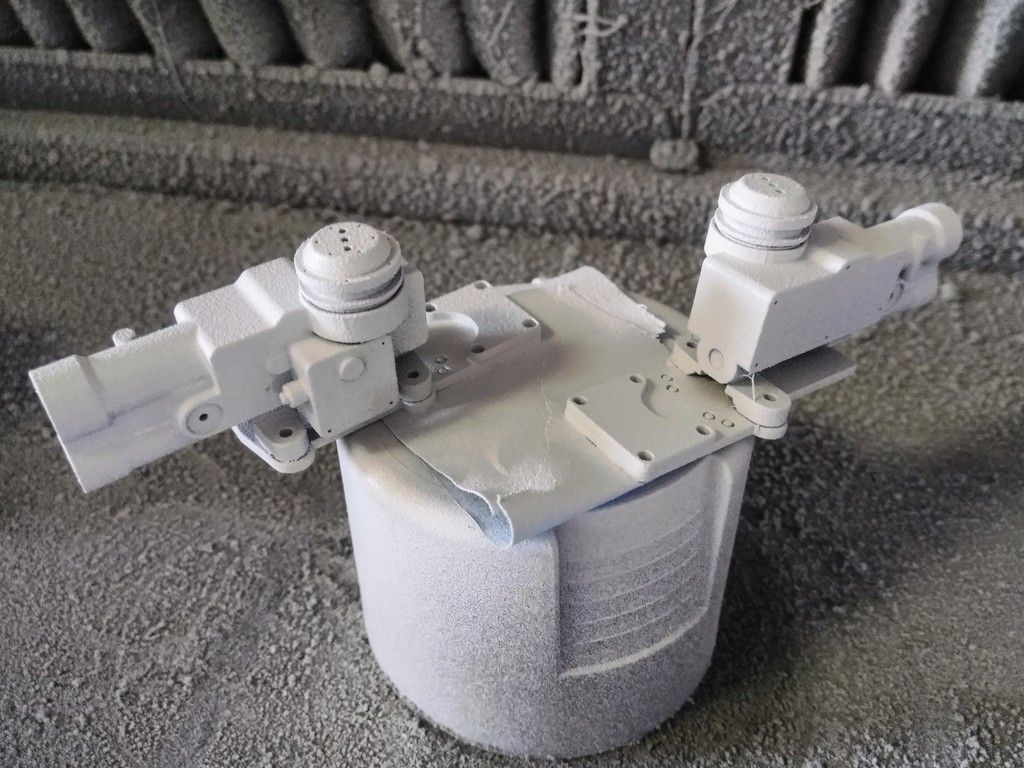
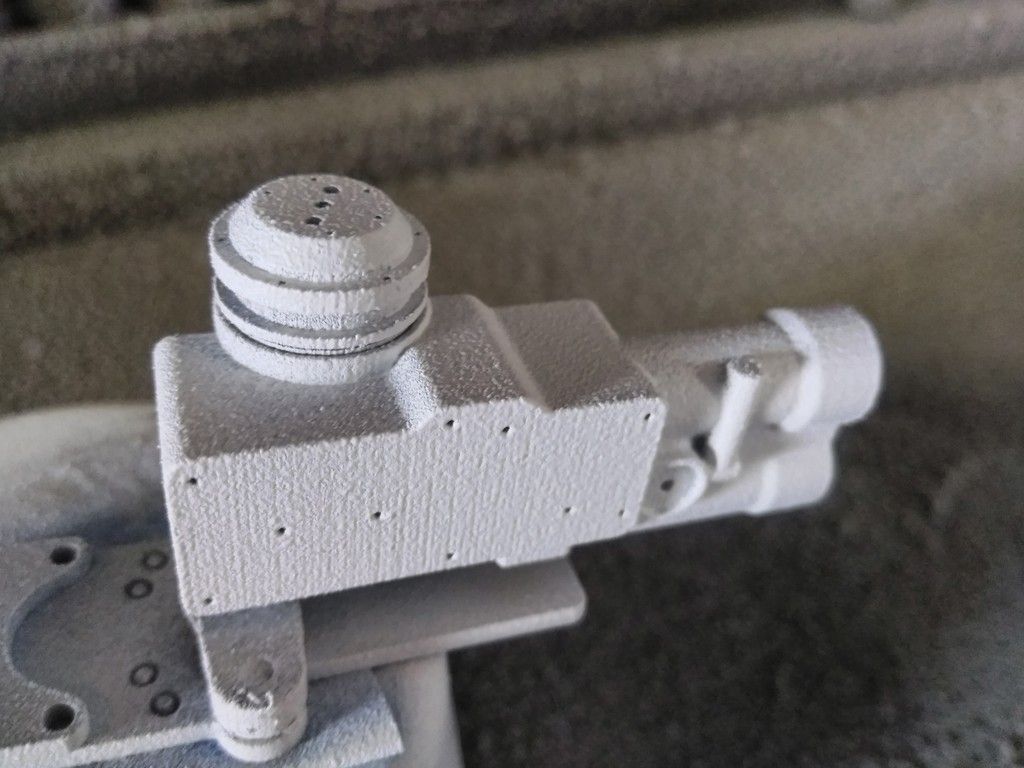
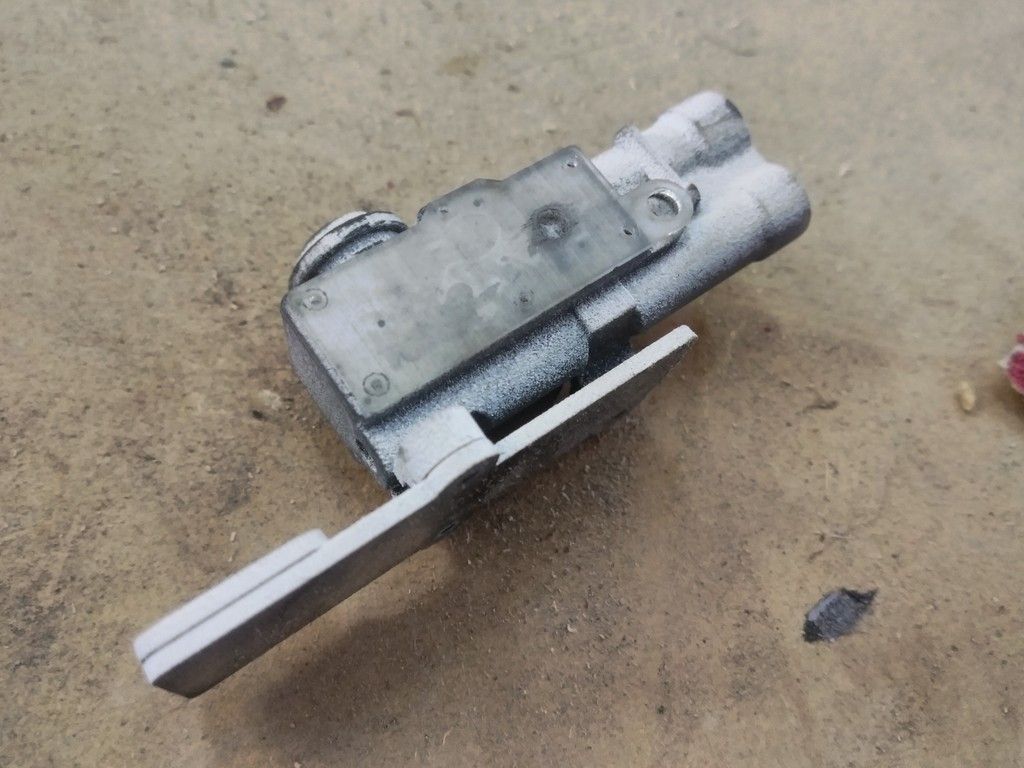
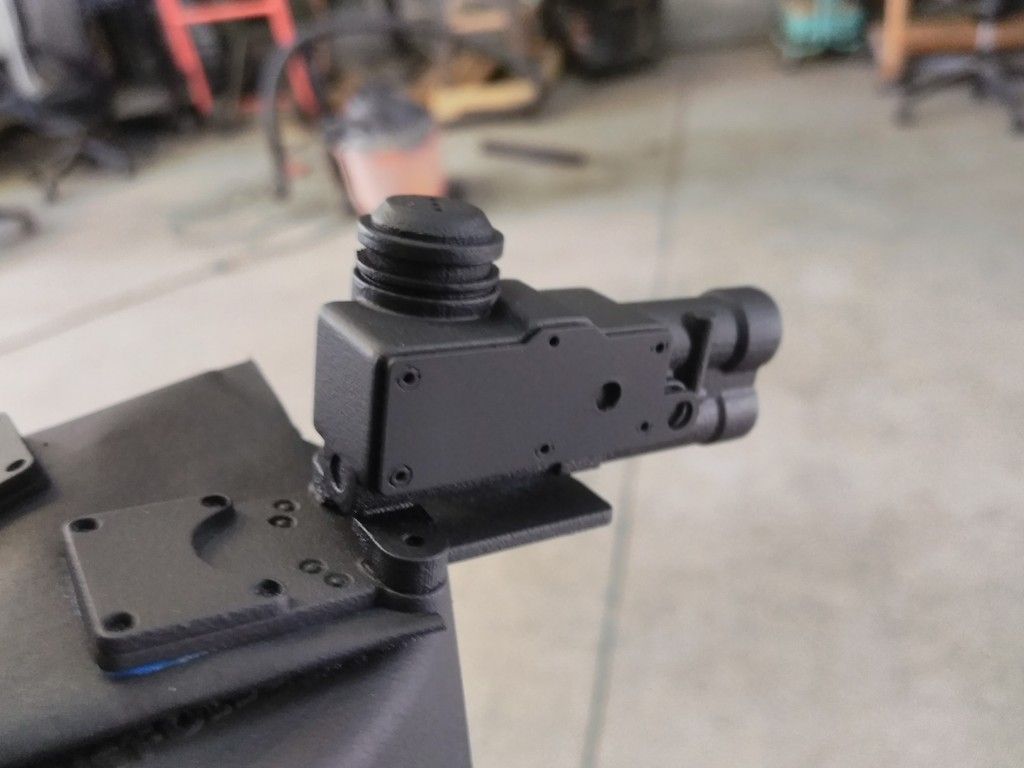
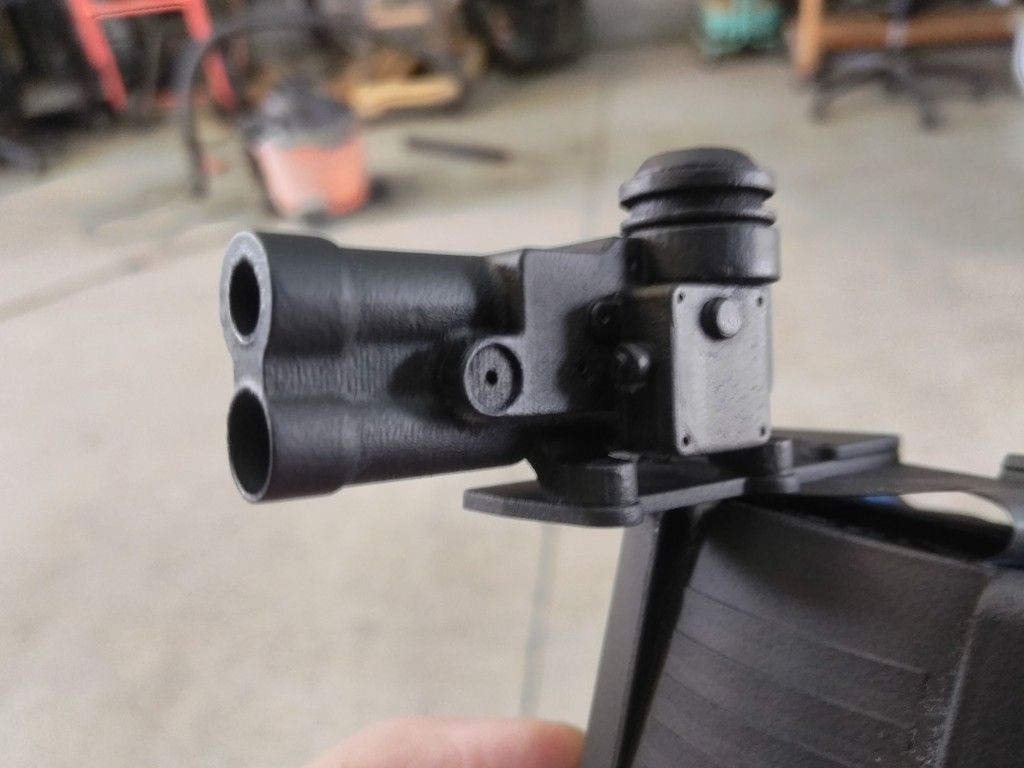
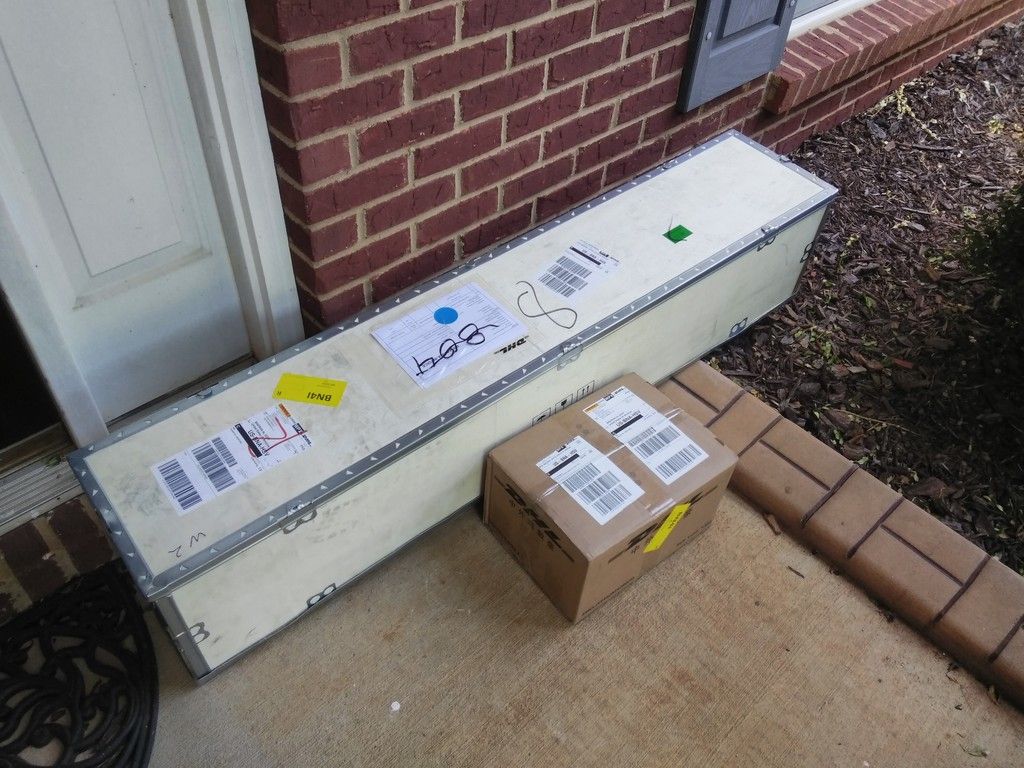
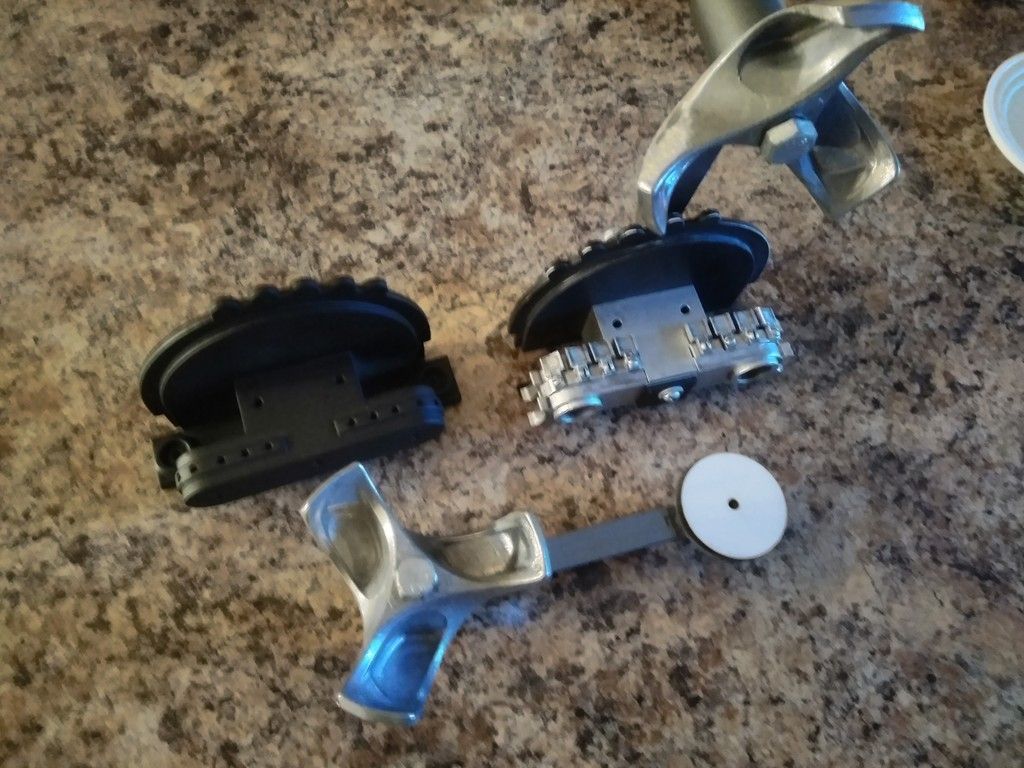
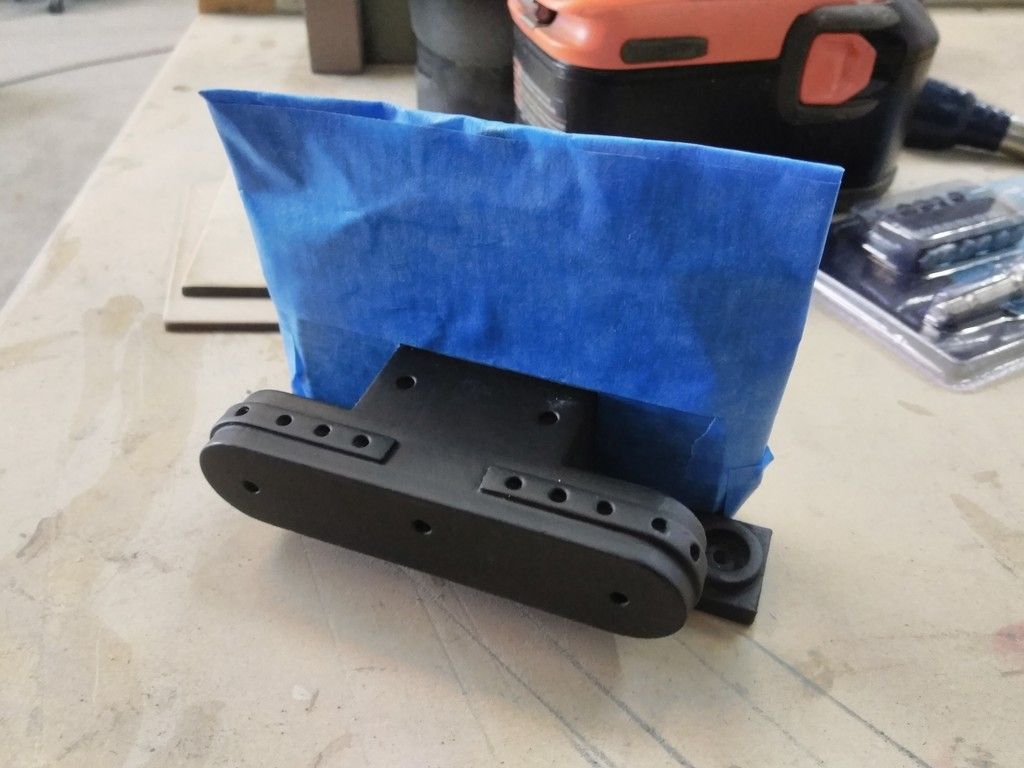
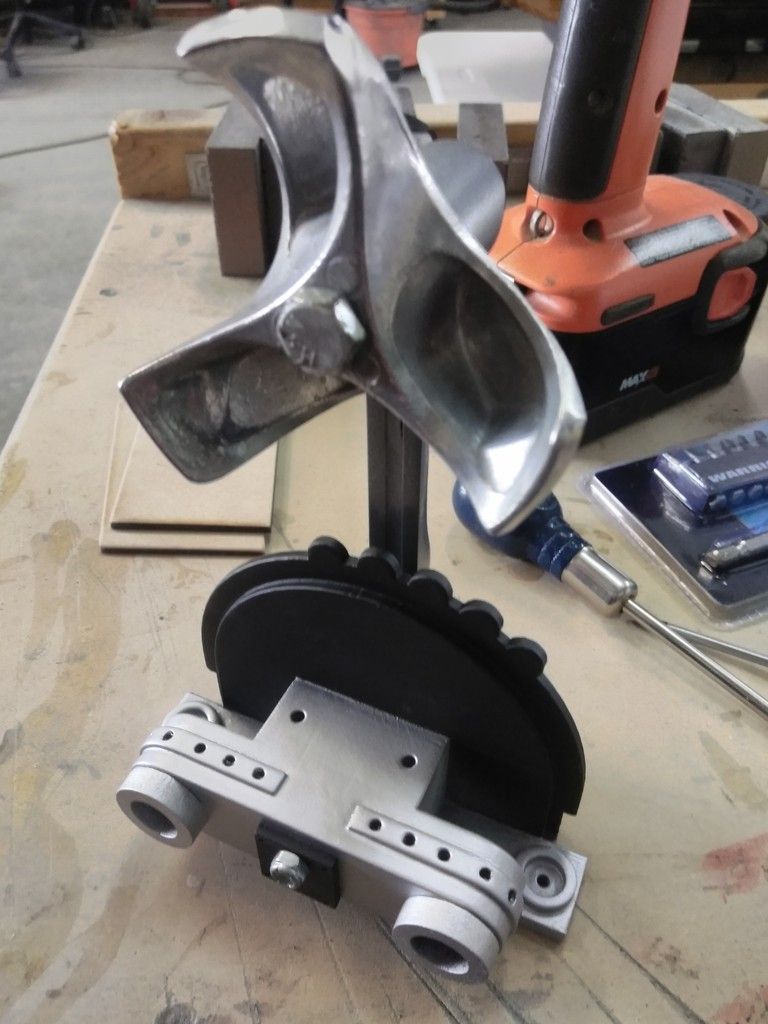
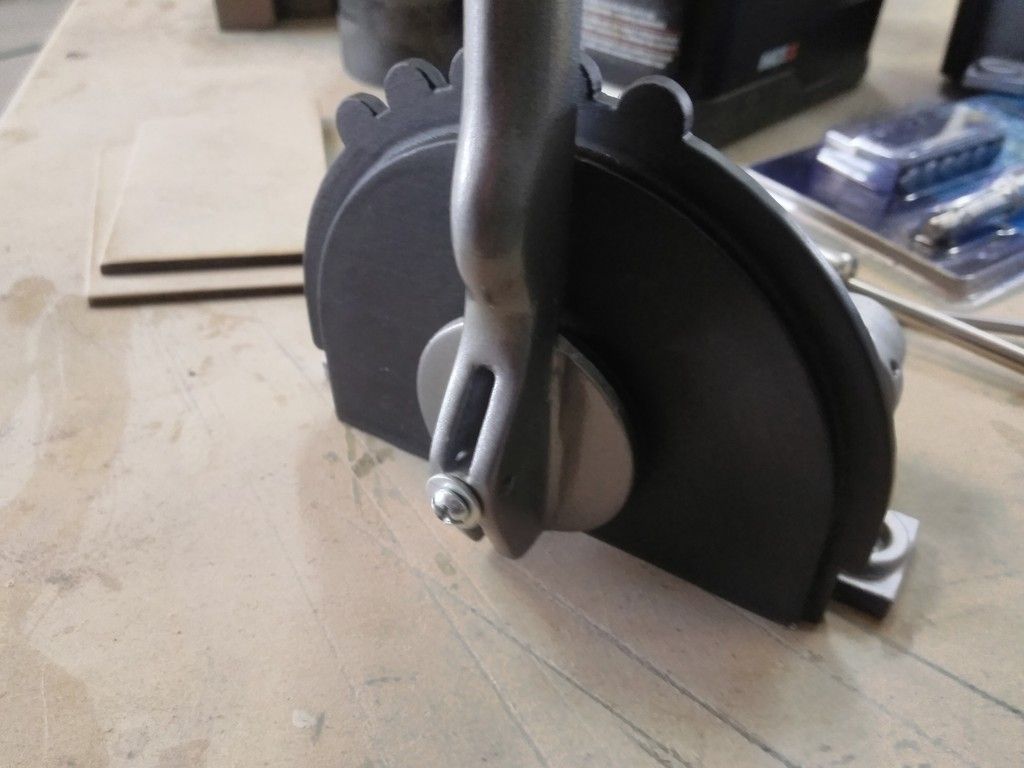
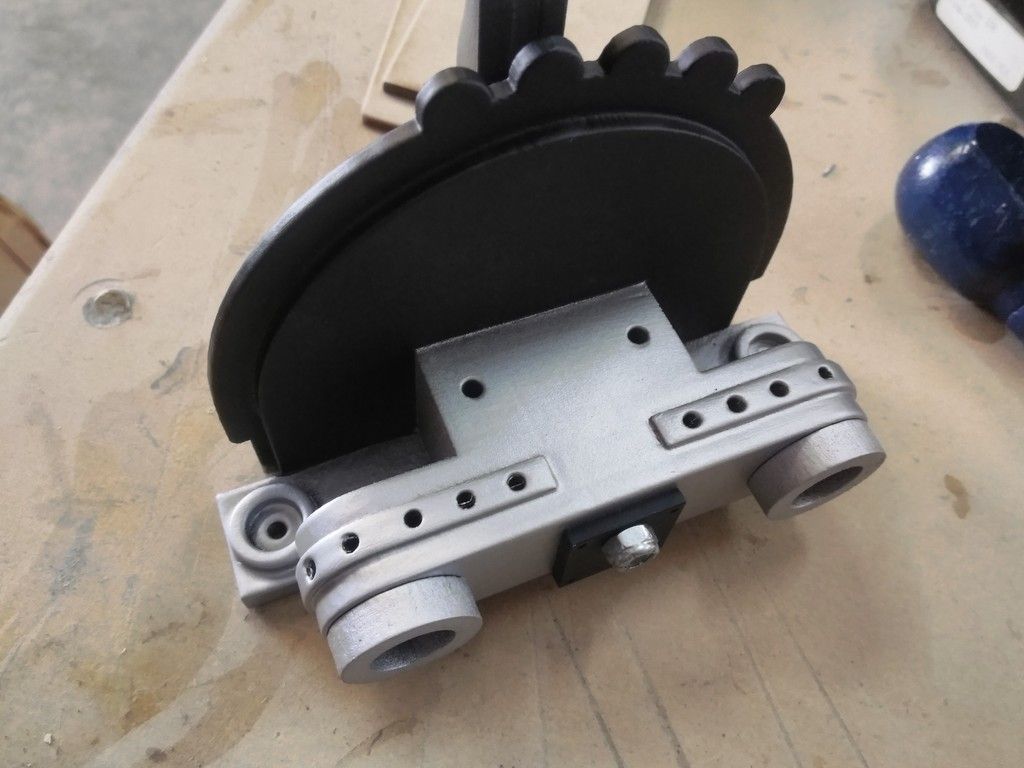
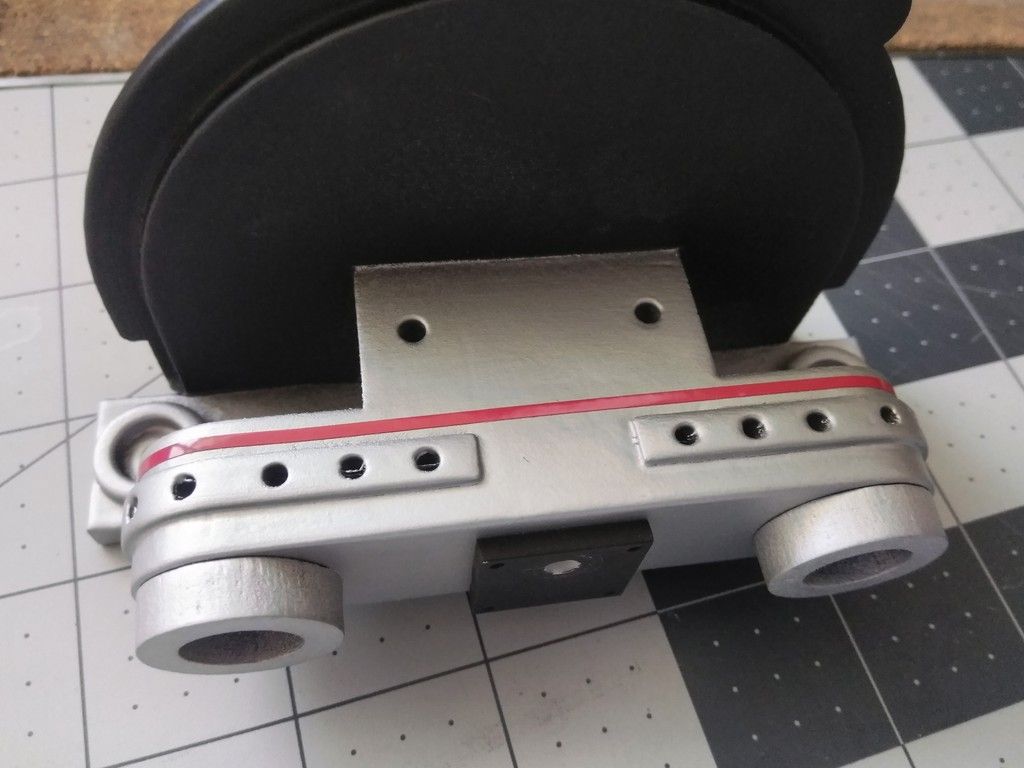
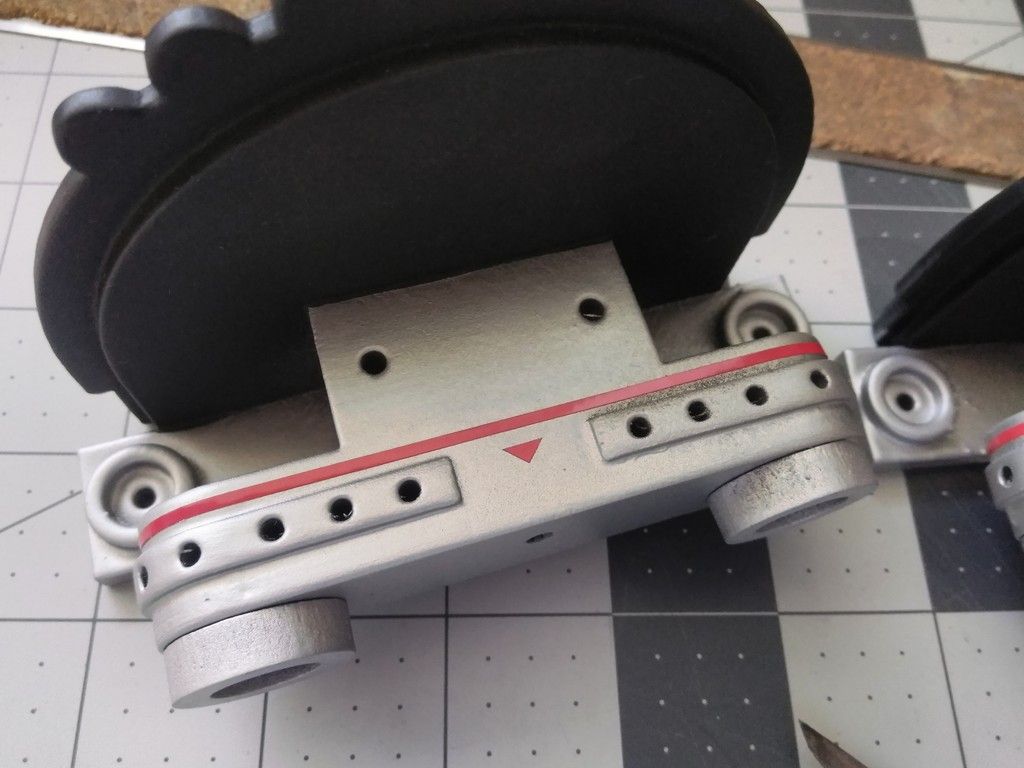
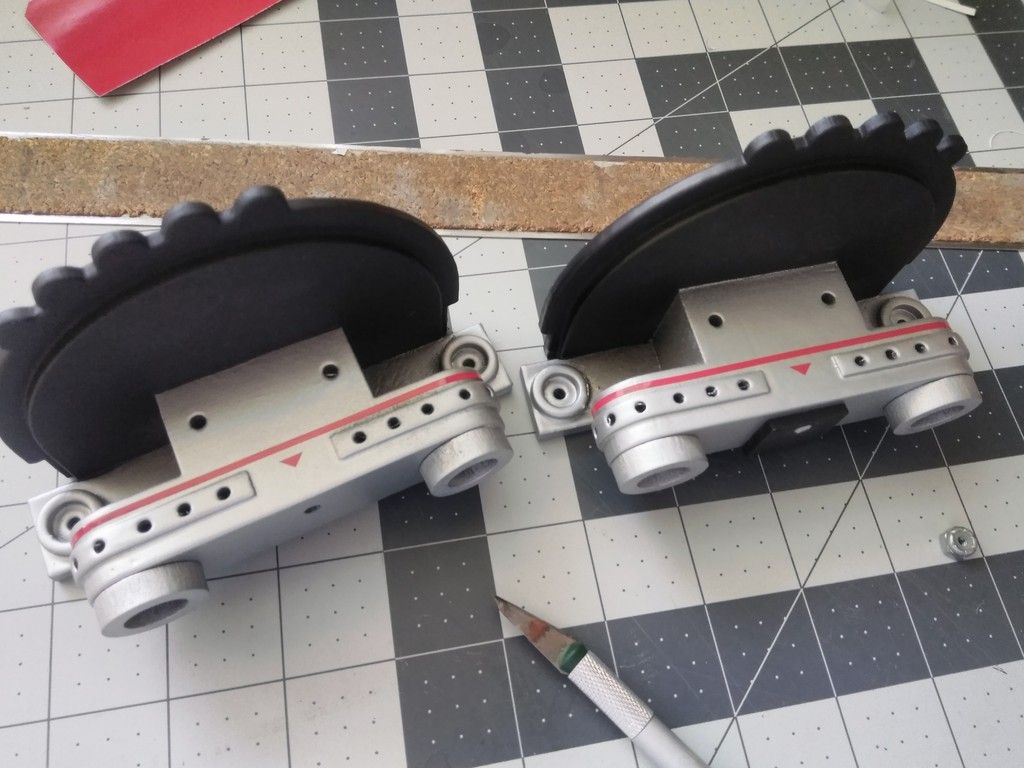
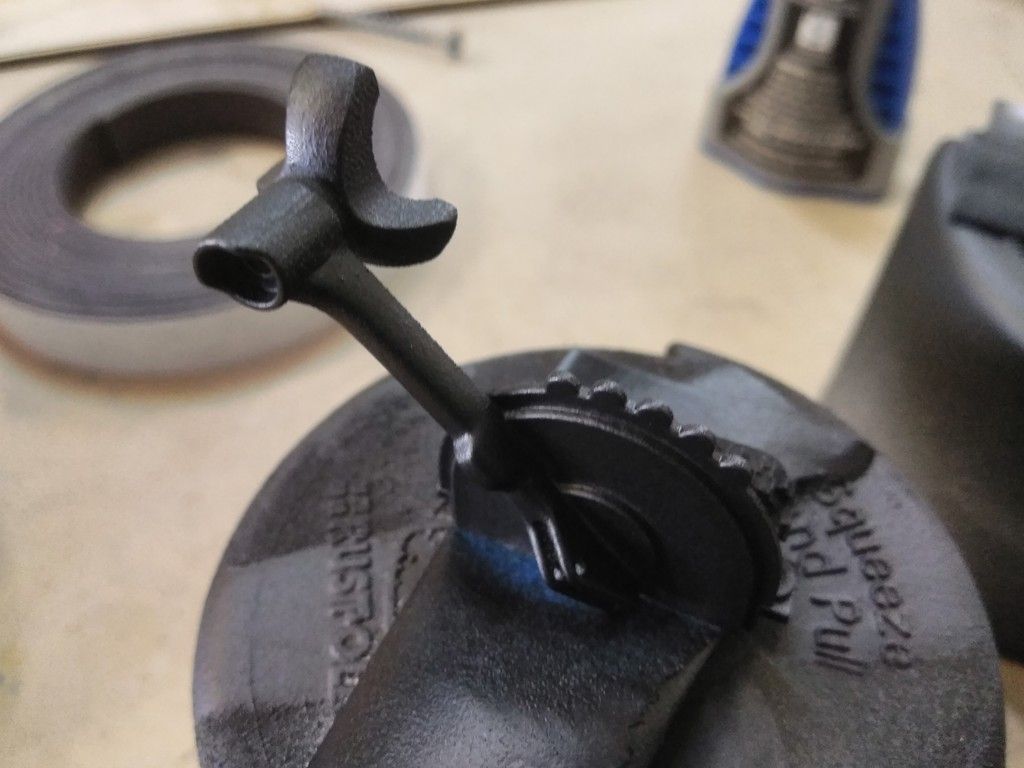
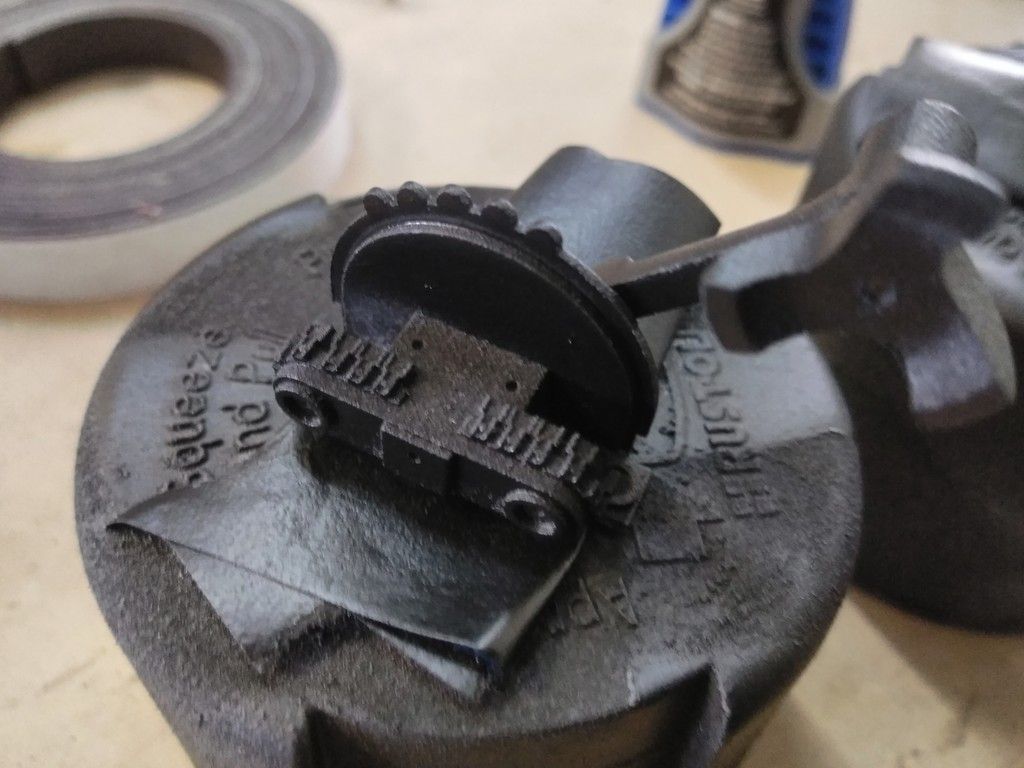
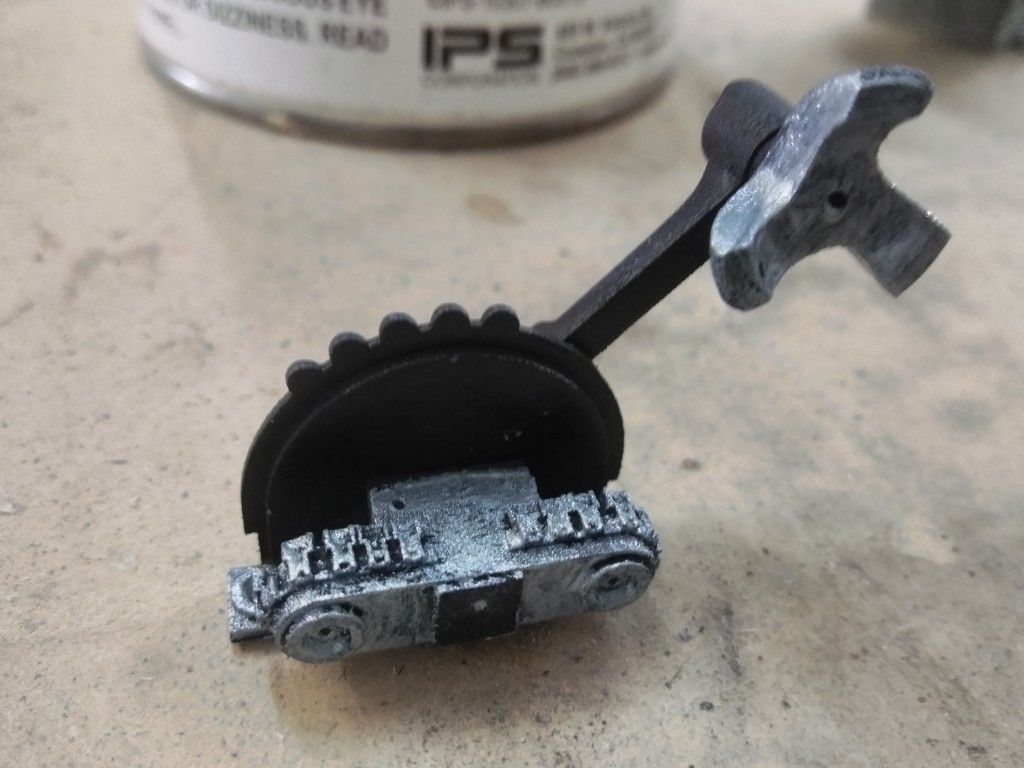
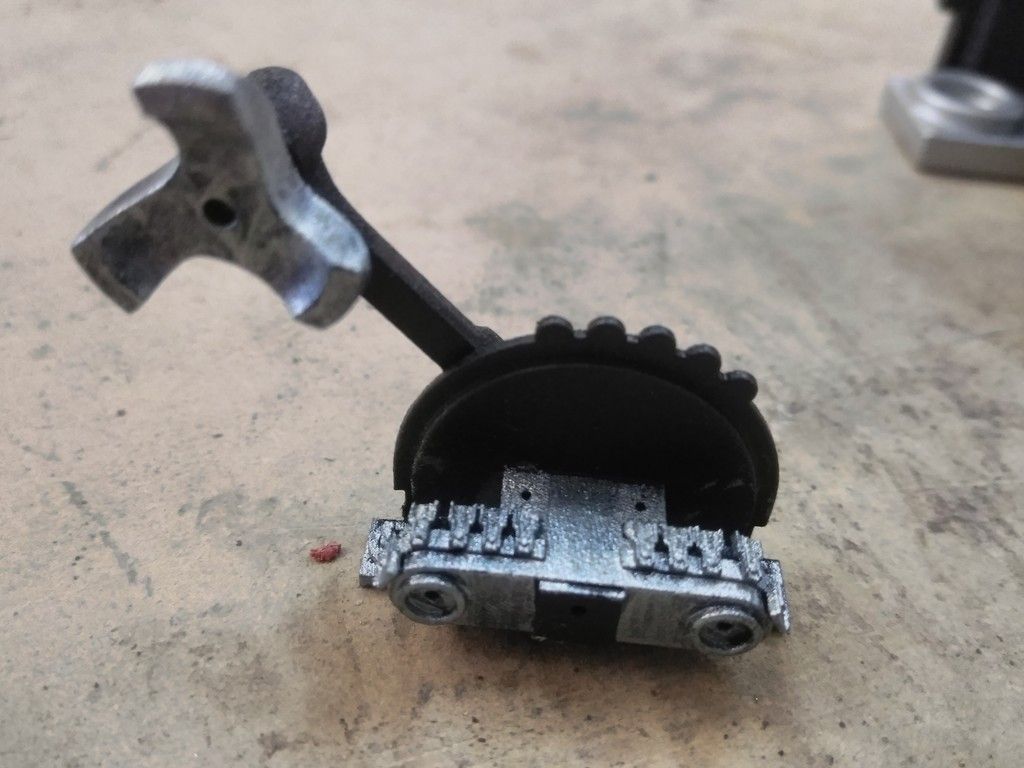
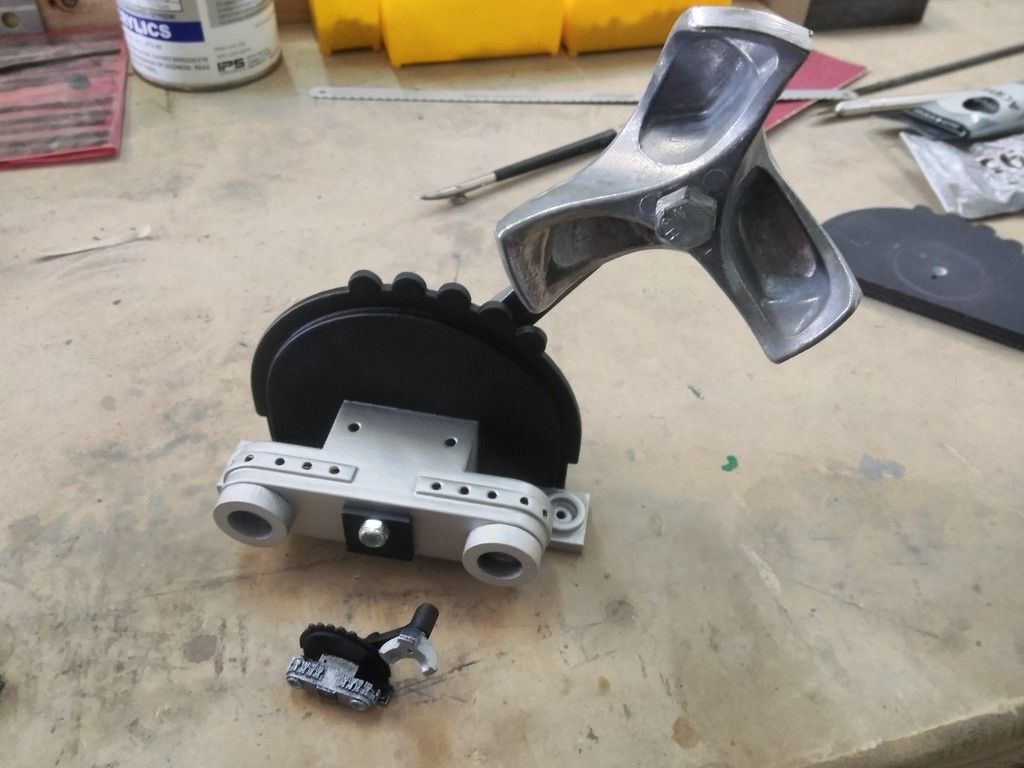
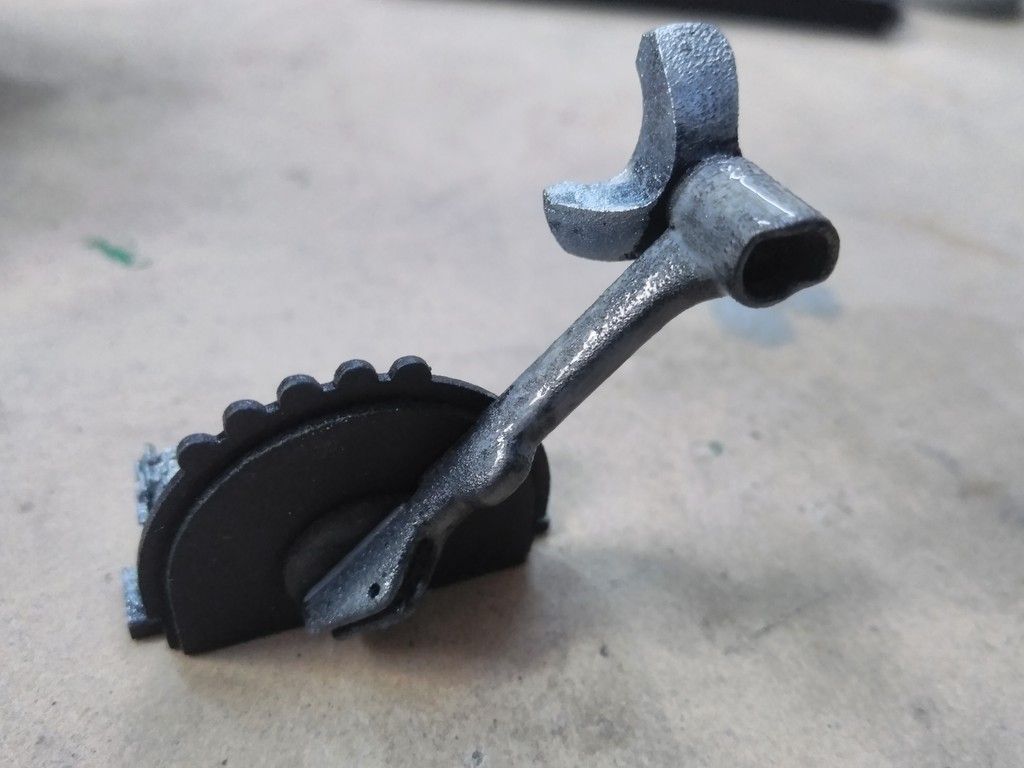
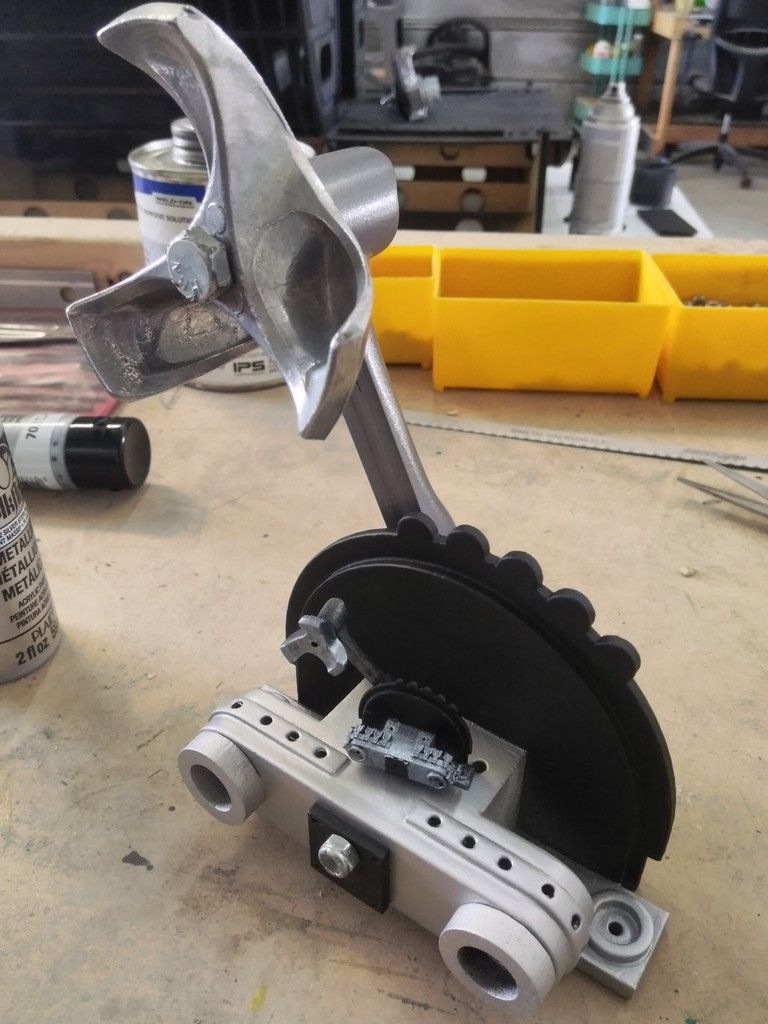
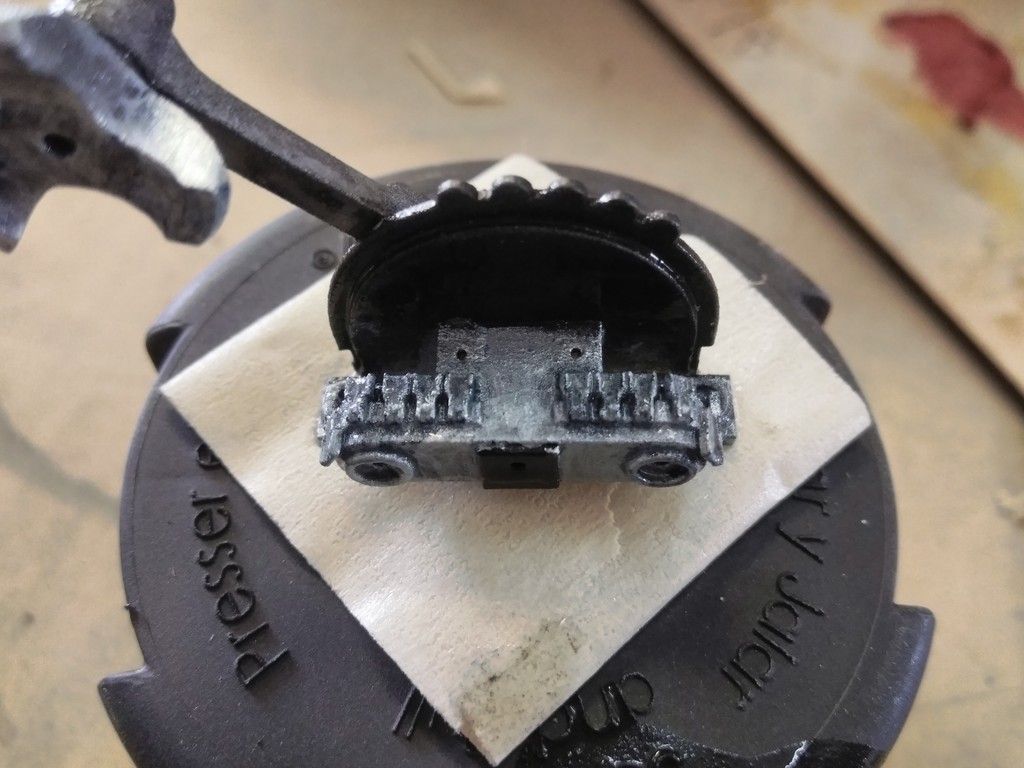
First and MOST important... Fellow RPFer, Wavey, identified, found and delivered THIS real world greeblie - the auto pilot clutch! For those of you who don't know, this greeblie is mounted on the back wall just behind Chewie's Nav Chair! THANKS, WAVEY!!!!
This is one of my FAVORITE greeblies!
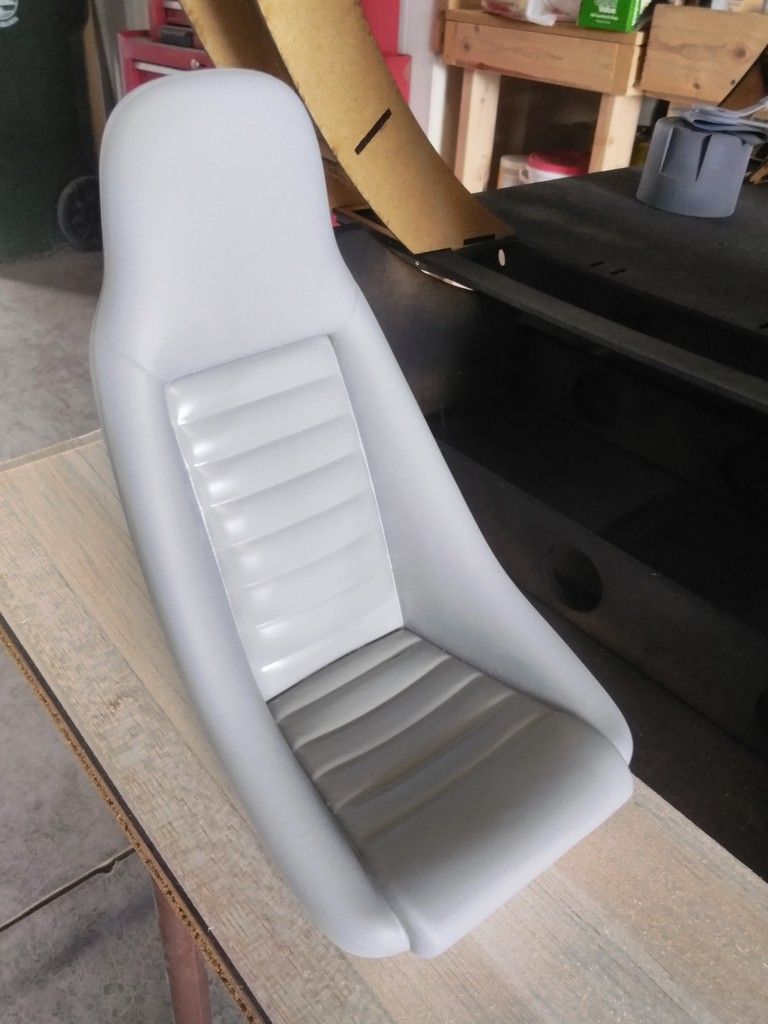
Sanding, filling and priming the captain's chair continues
This might be coat 10 or 12
These 3D printed Nav Chair TRMs (Thank you, Iz) had to be re-primed with a special primer. The resin in the 3D prints had not fully cured and paint was NOT taking... UGH
Lost some of the finer details but it had to be sealed - I'll lightly sand after the primer dries
Shapeways does some pretty amazing stuff!
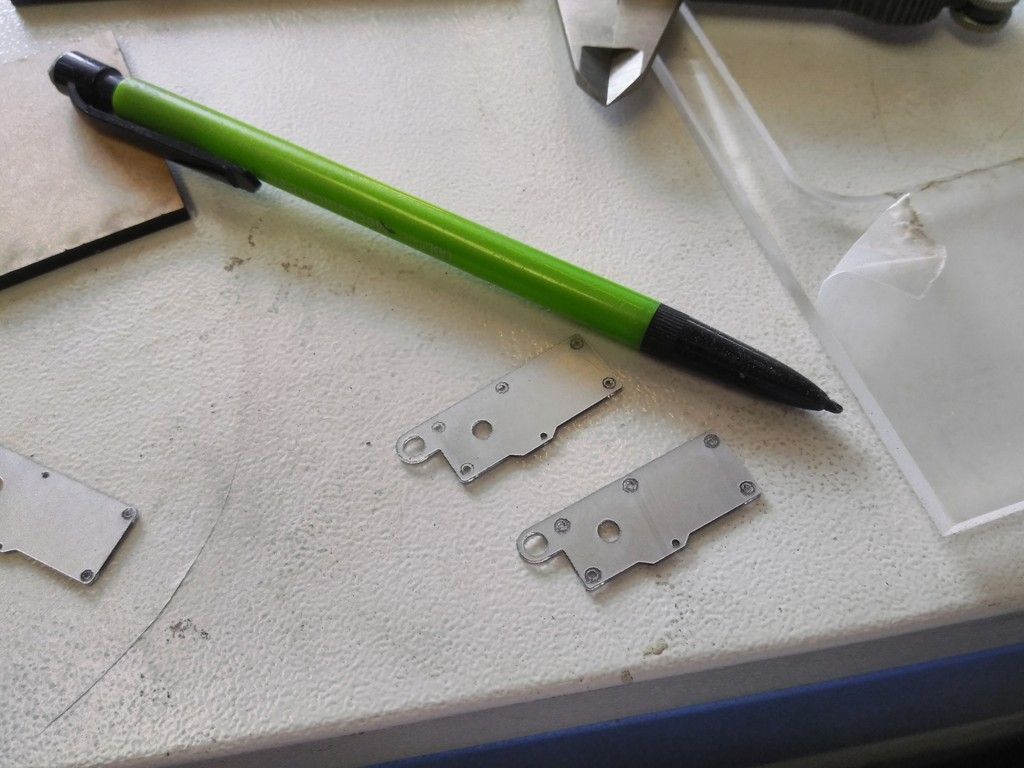
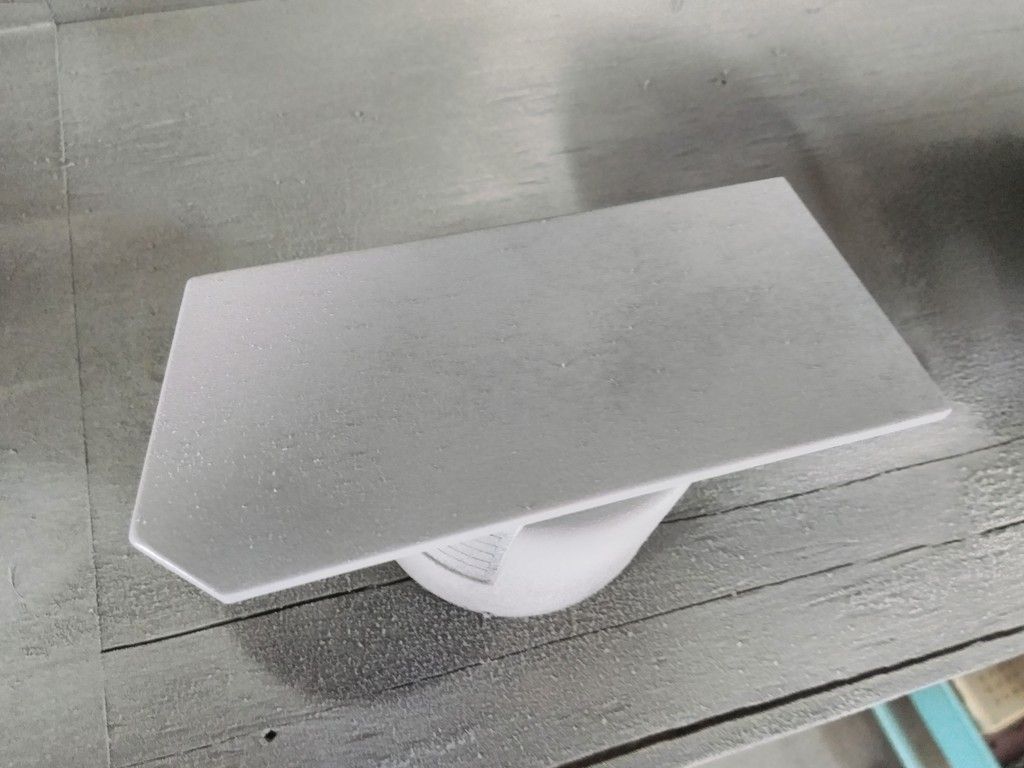
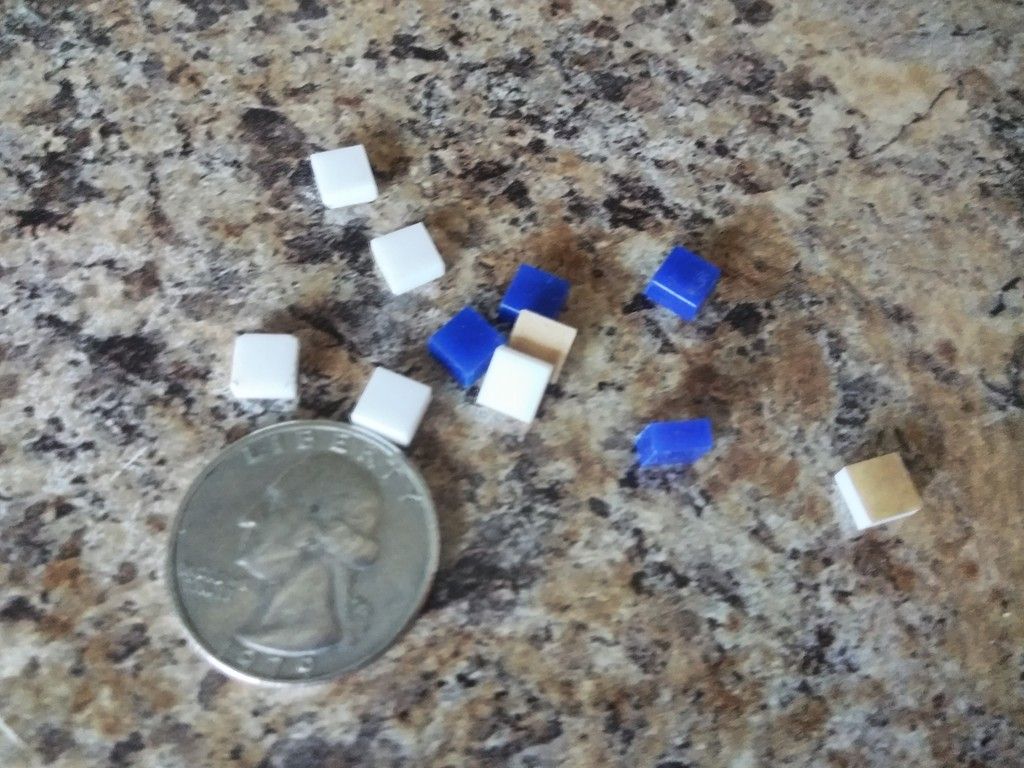
I was able to laser cut these tiny 1/32" plexi TRM plates just before the laser cutter finally gave out - I ordered a new 10,000 hour tube. Should be here soon
Pencil for scale (didn't have a qtr)
After a very light sanding of the primer / sealer I adhered the plates
Multiple thin and quick passes with the flat black
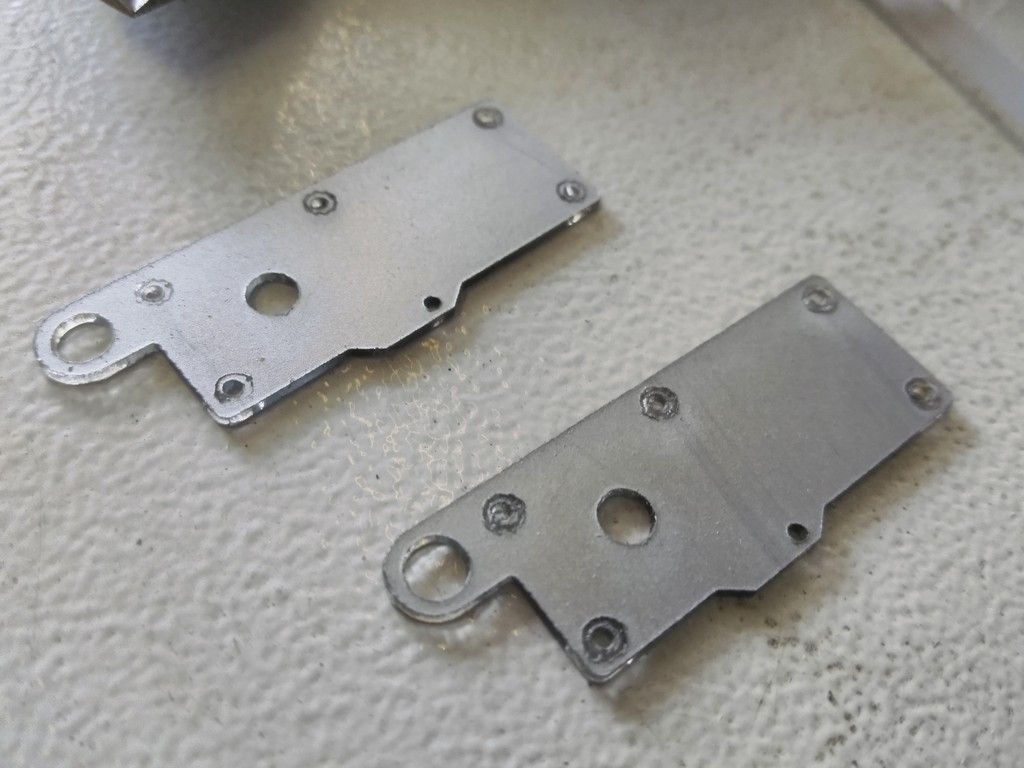
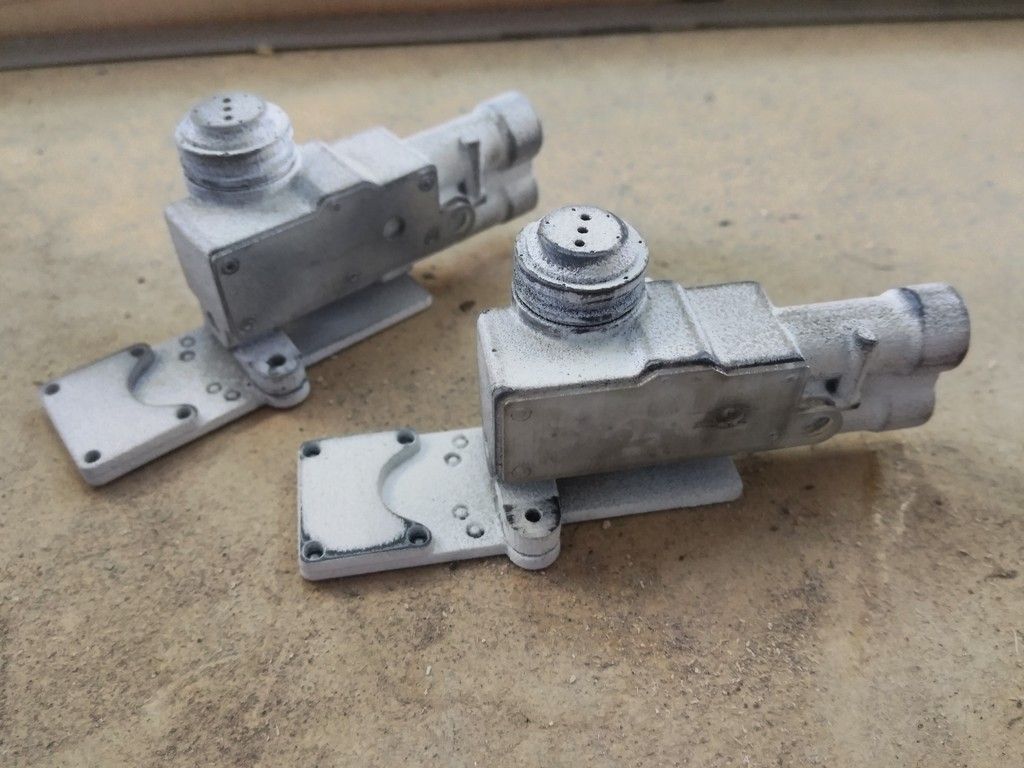
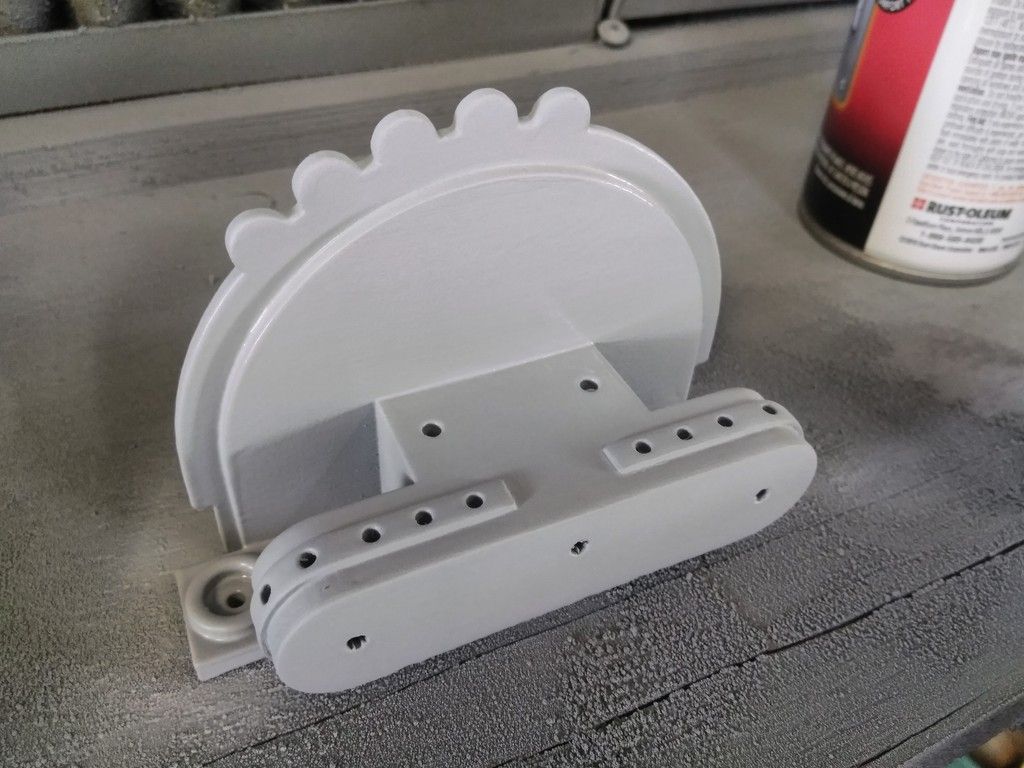
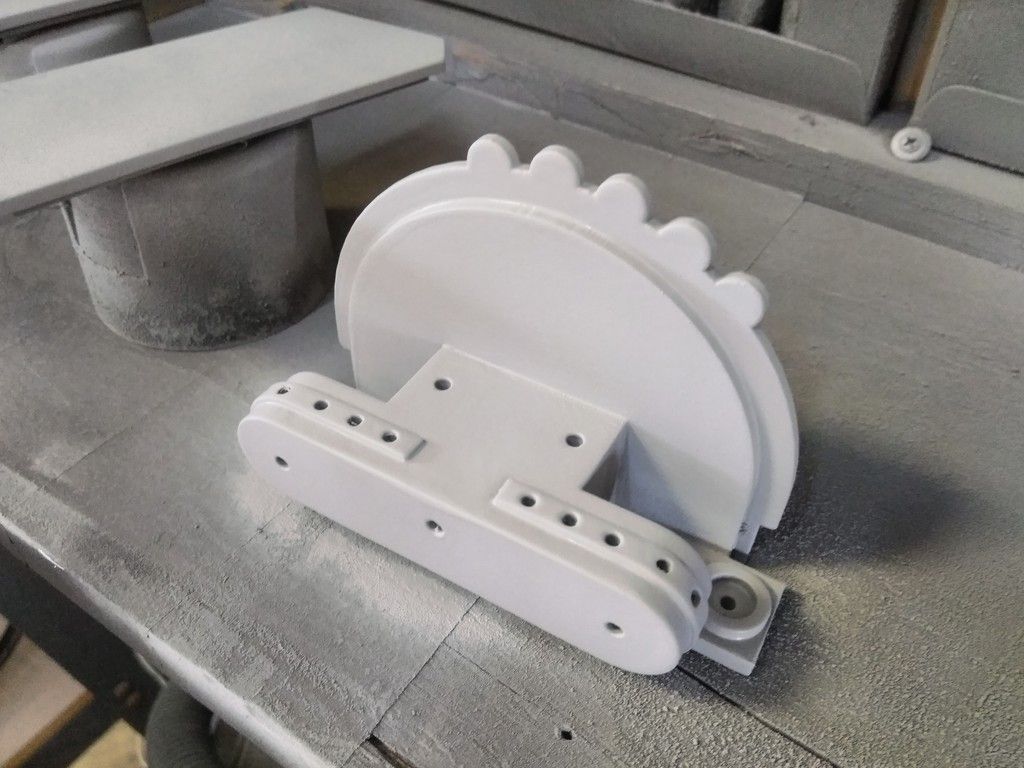
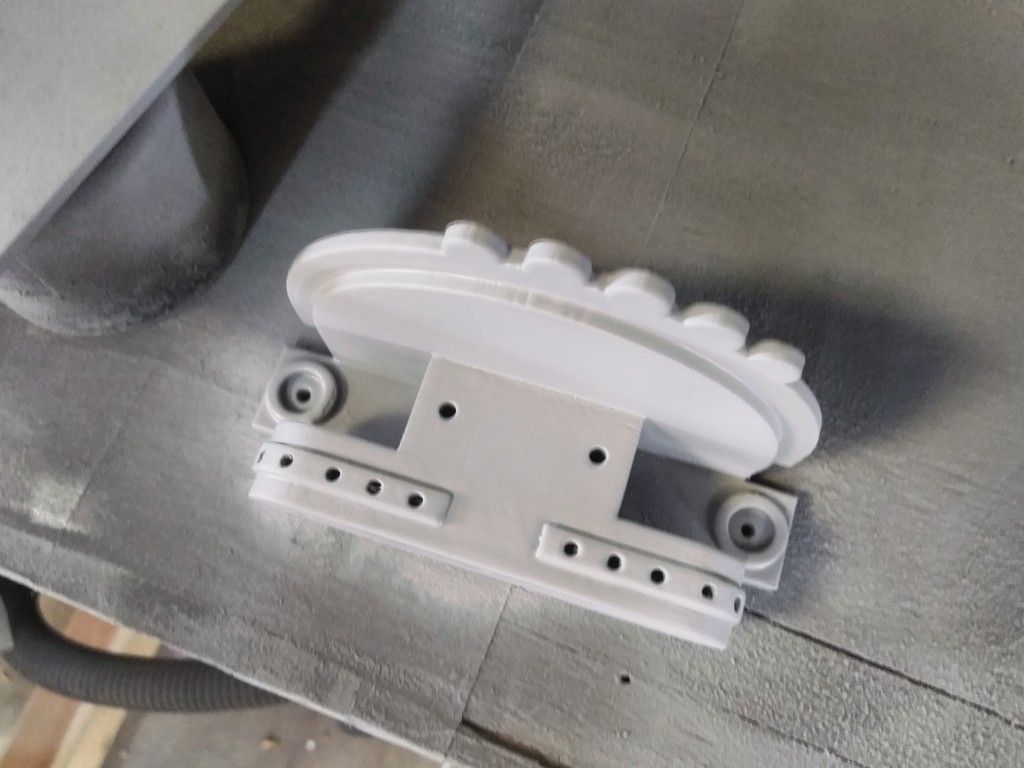
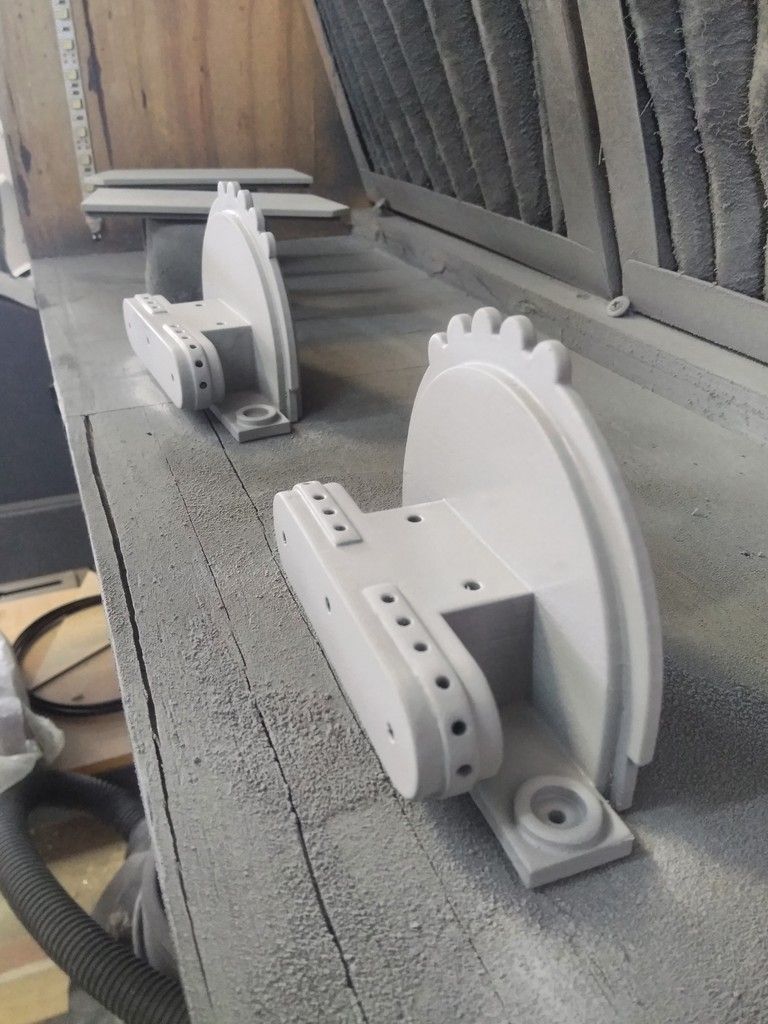
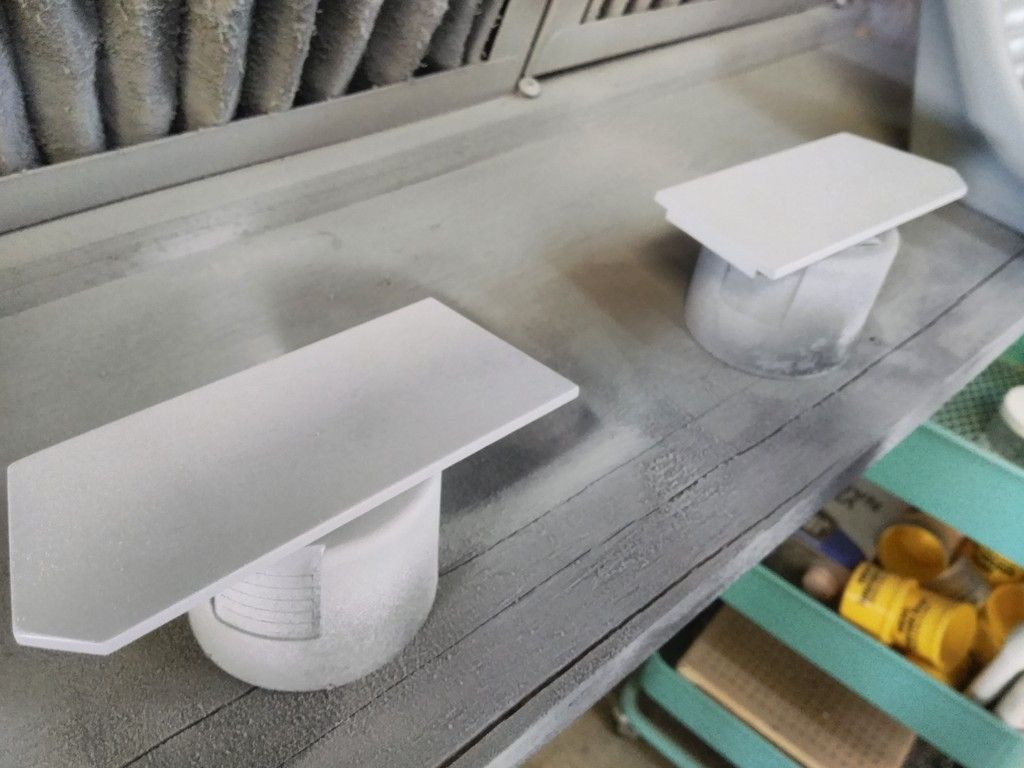
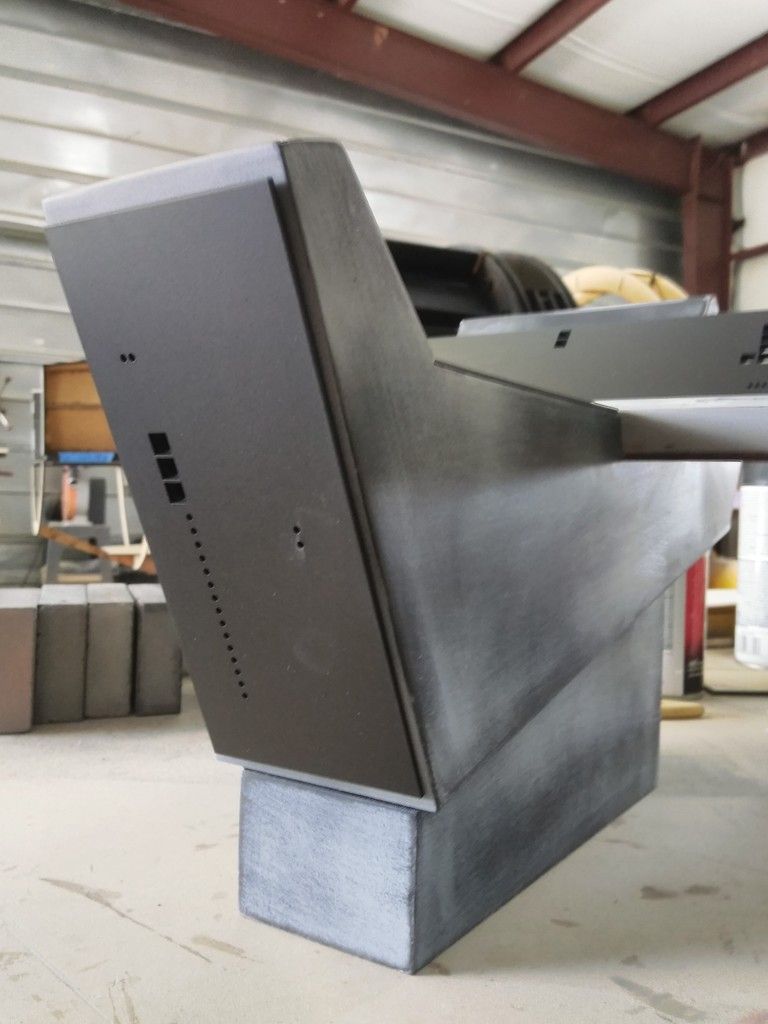
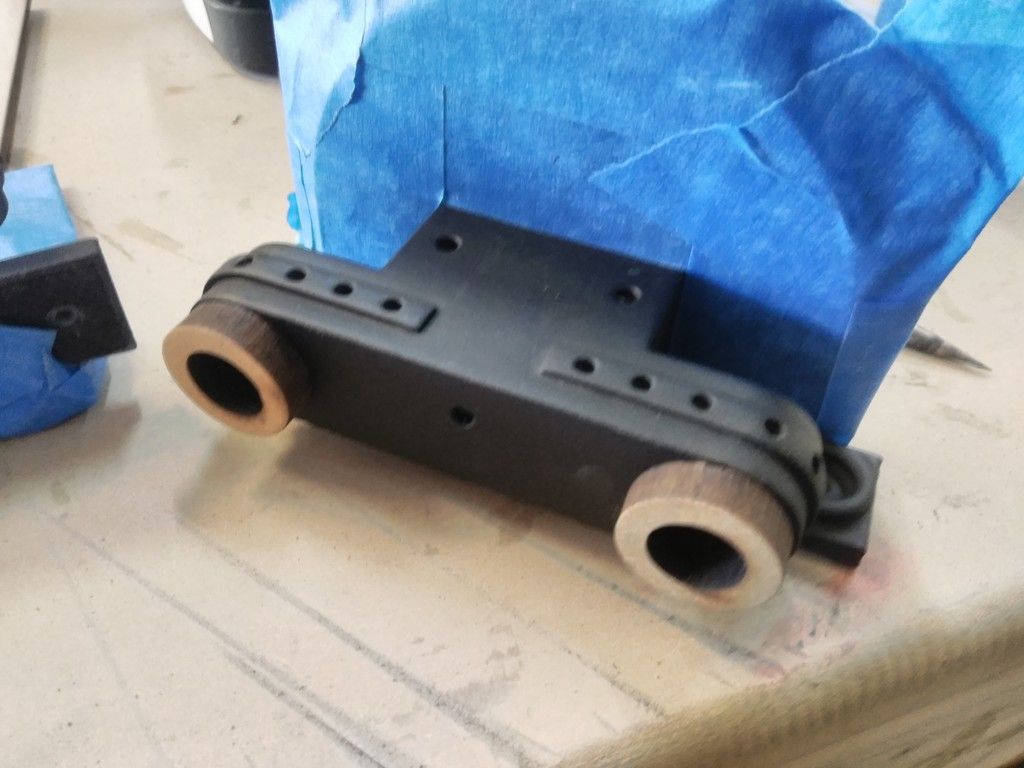
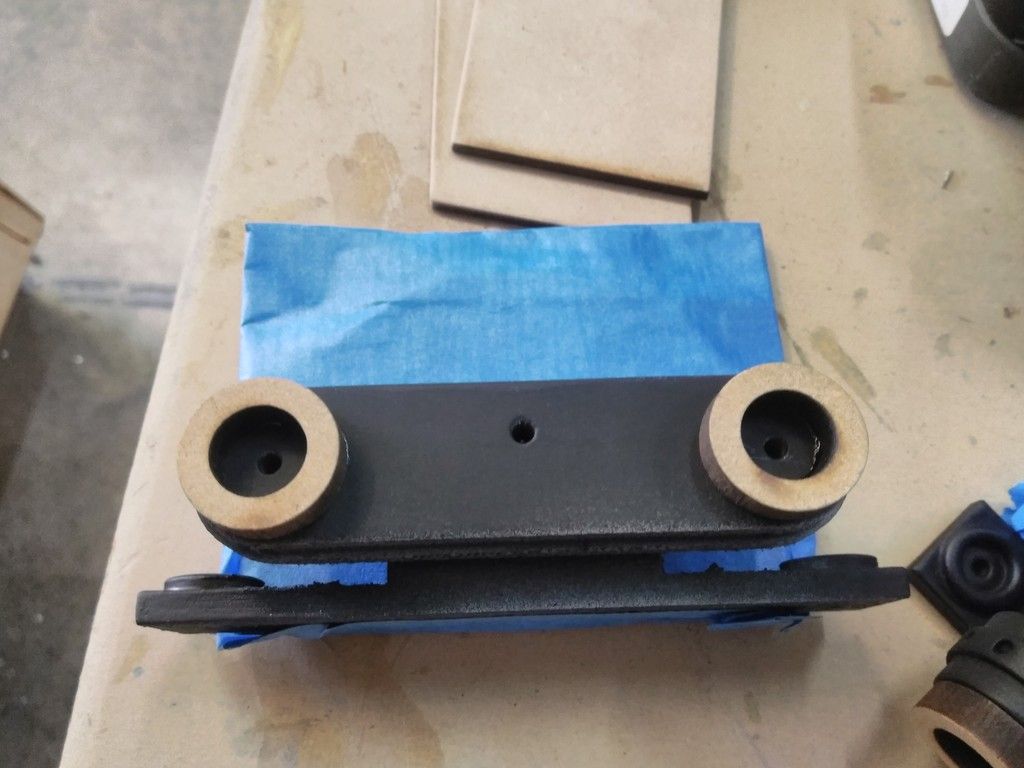
I primed these full scale center console greeblies
Can't wait to get them finished up and mounted back into place!
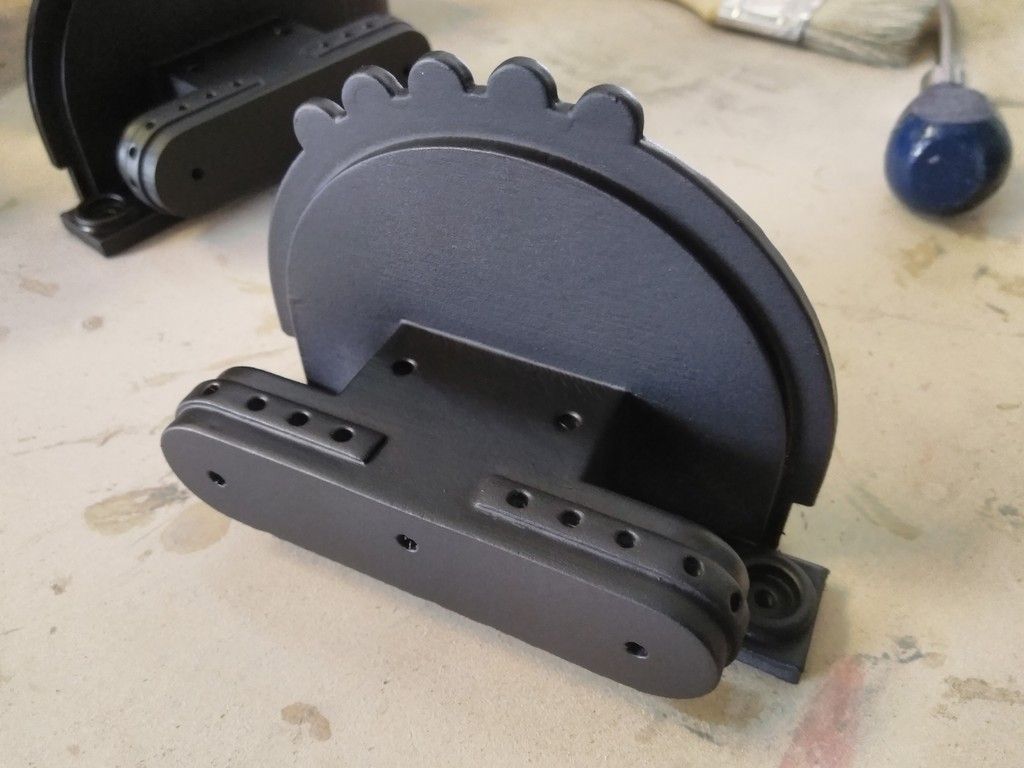
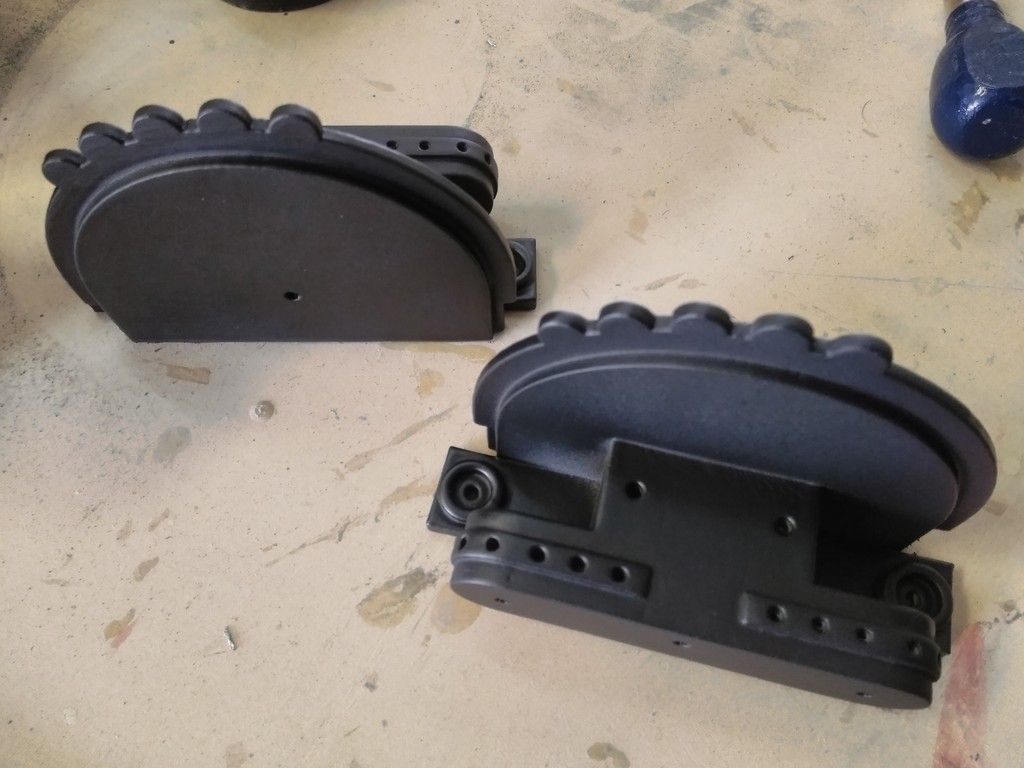
I'm going to paint the same way as the originals but I'm DEF going to add a bit of fun...
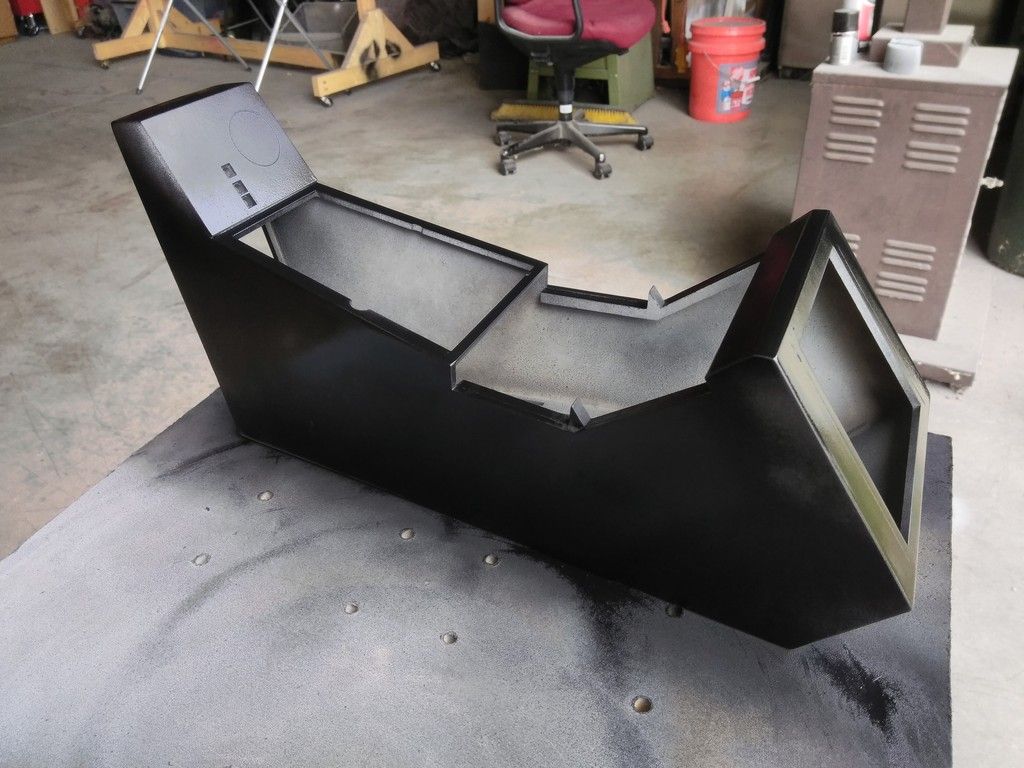
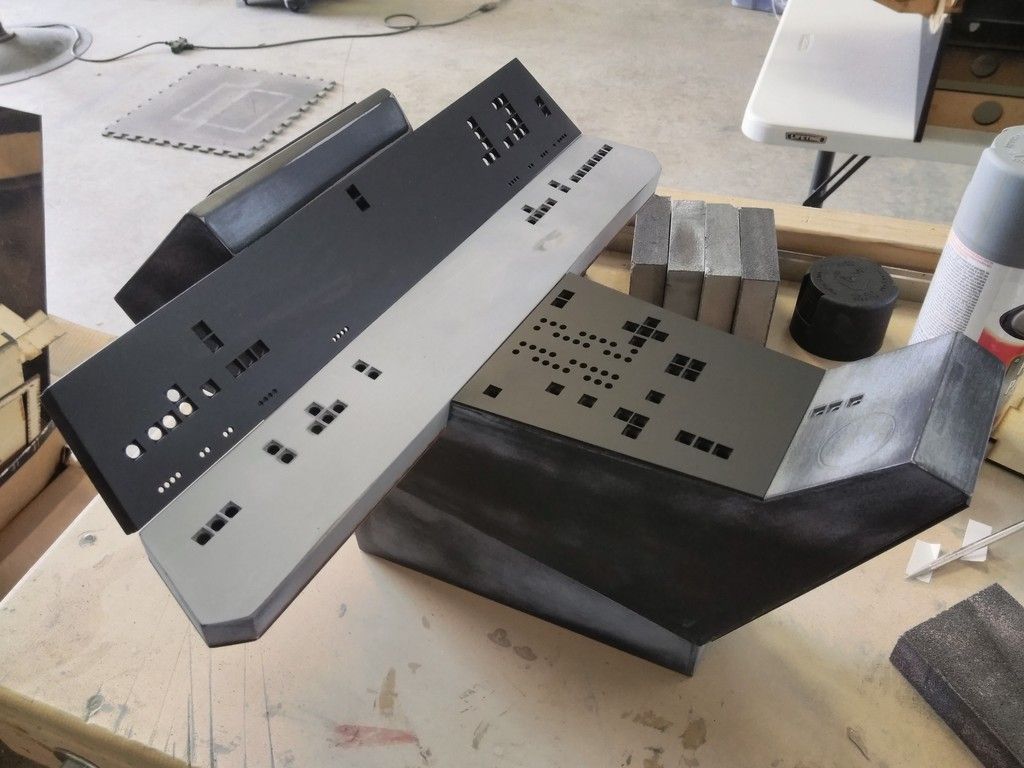
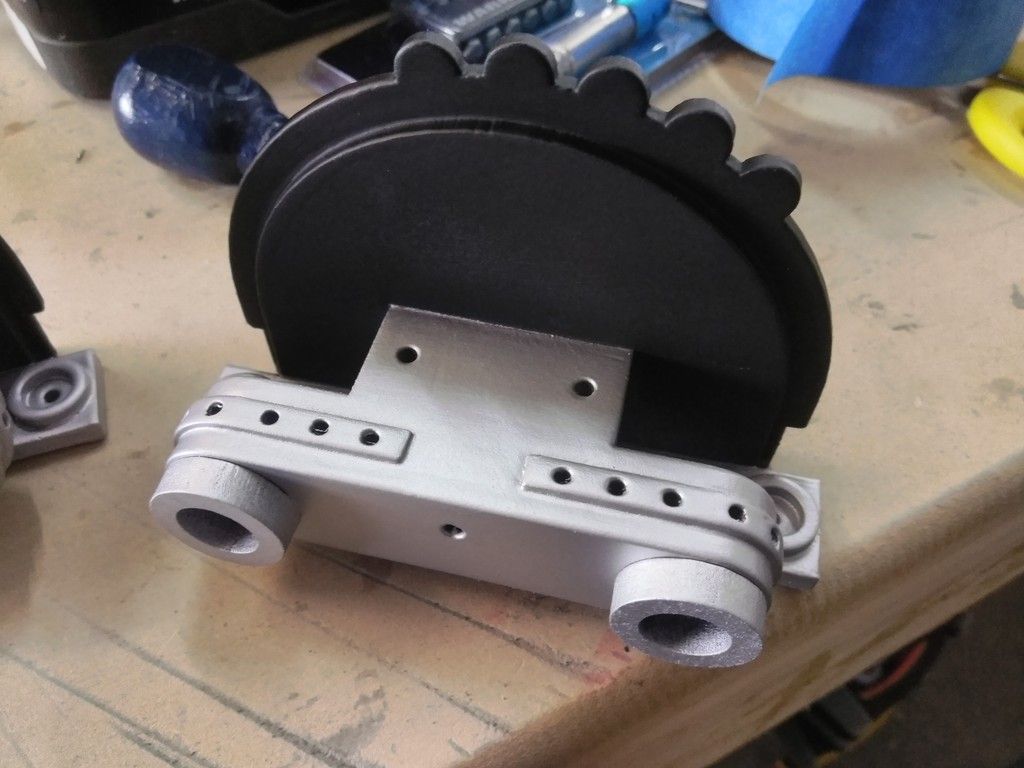
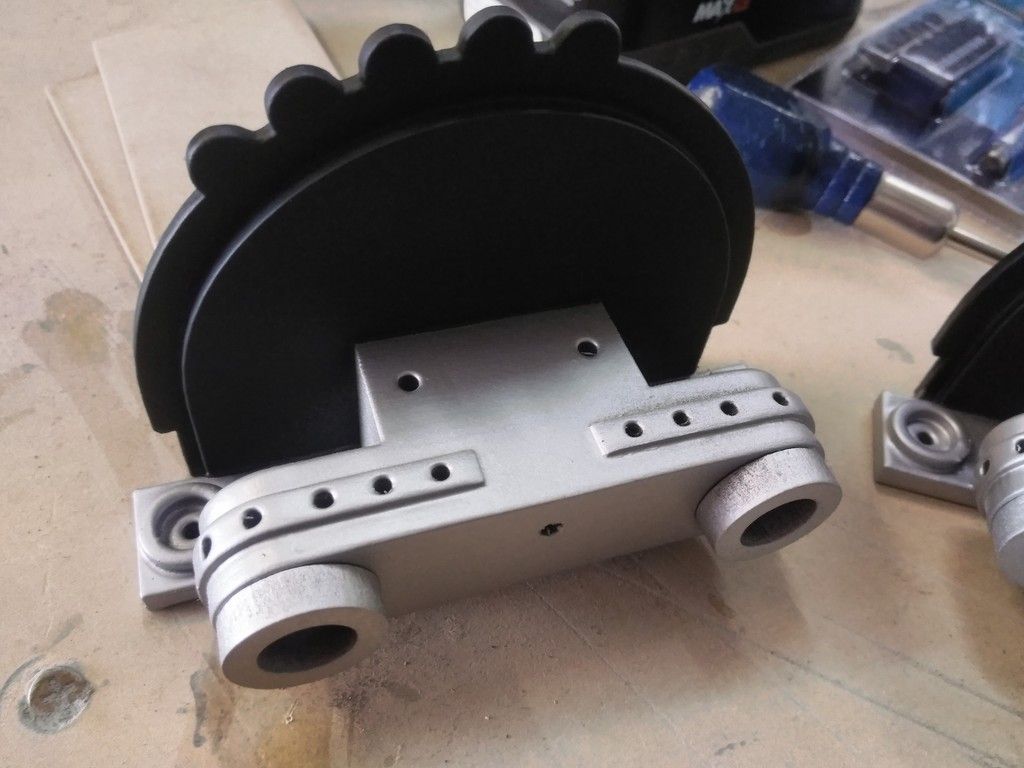
Black
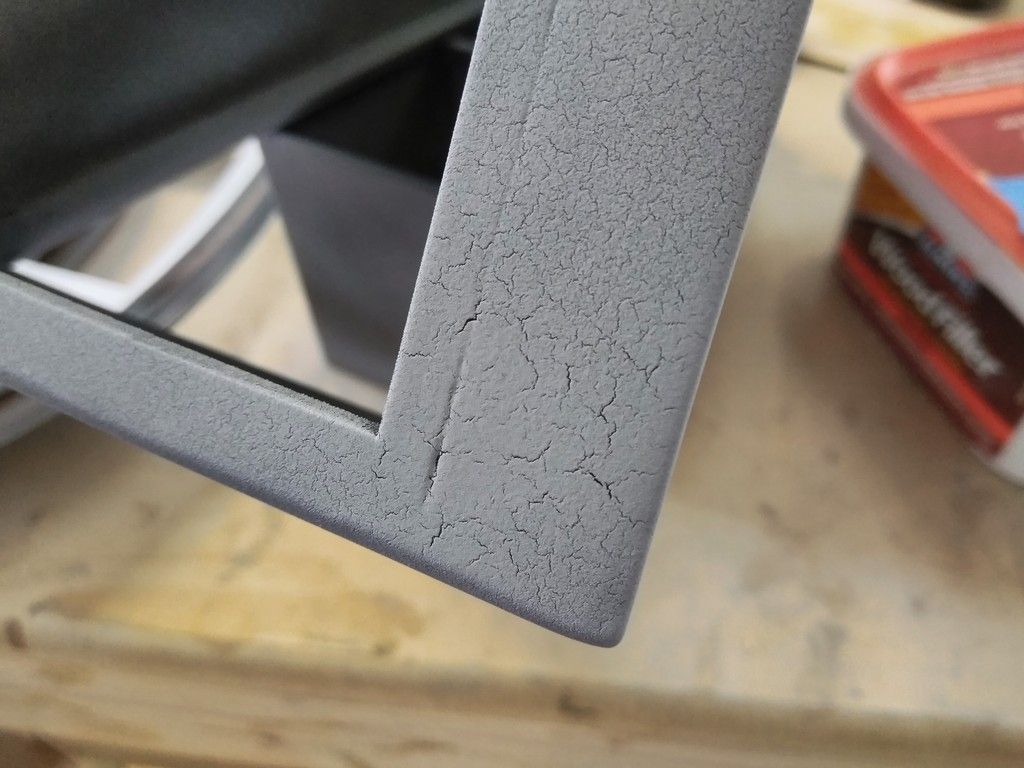
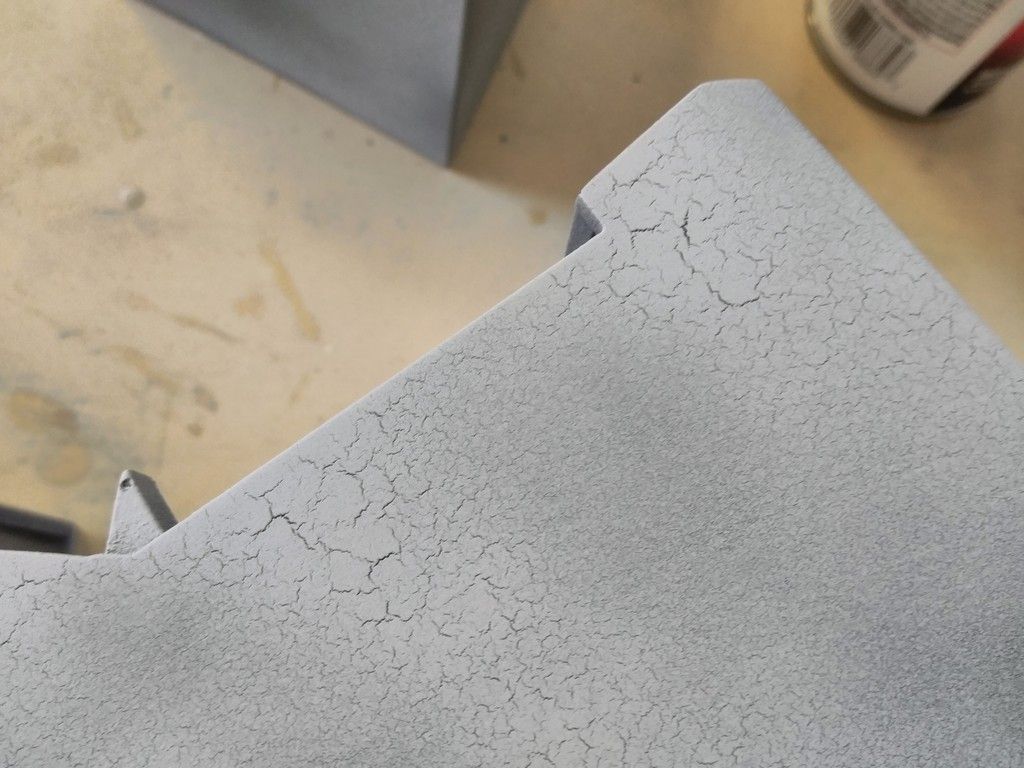
I then painted the 1/4 scale console black - the humidity was WAY up and drying time took forever
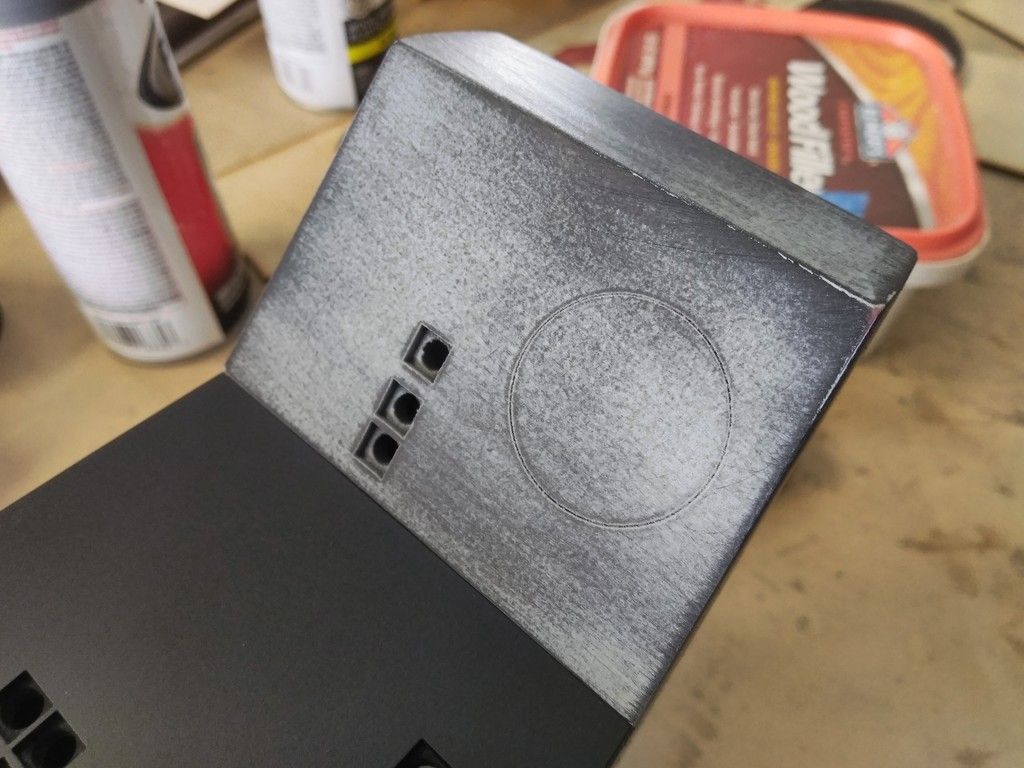
After what I "thought" was enough drying time, I found a few flaws in the console so I sanded the questionable areas and then covered with primer... Did I mention the humidity was WAY UP!?
UGH
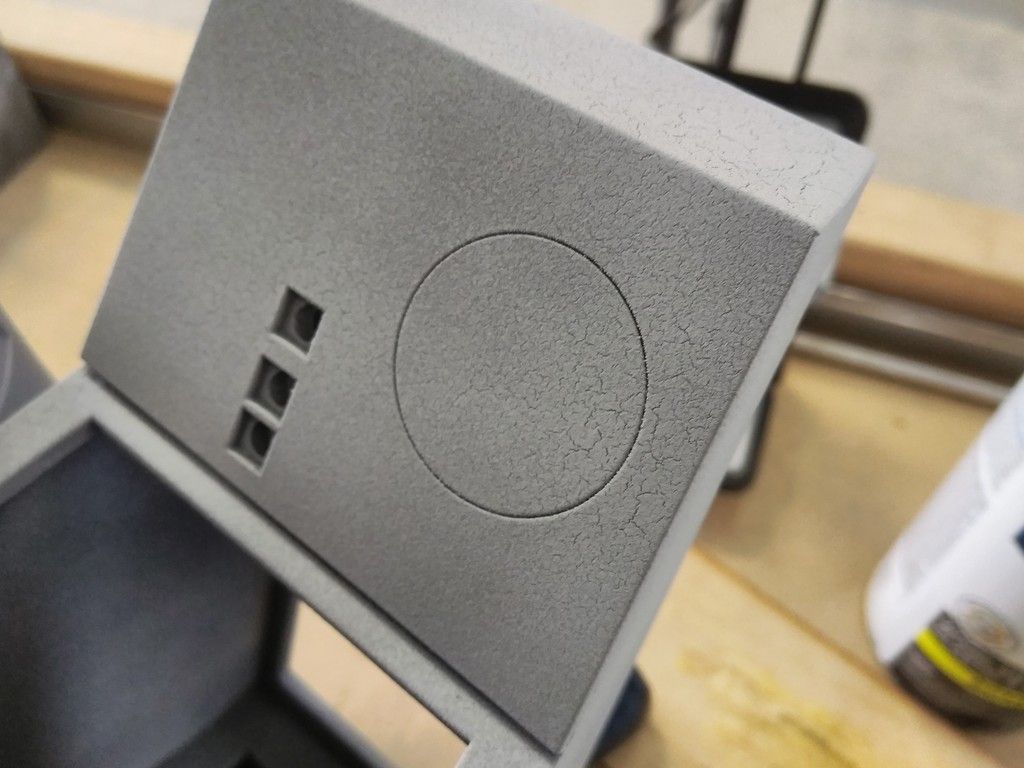
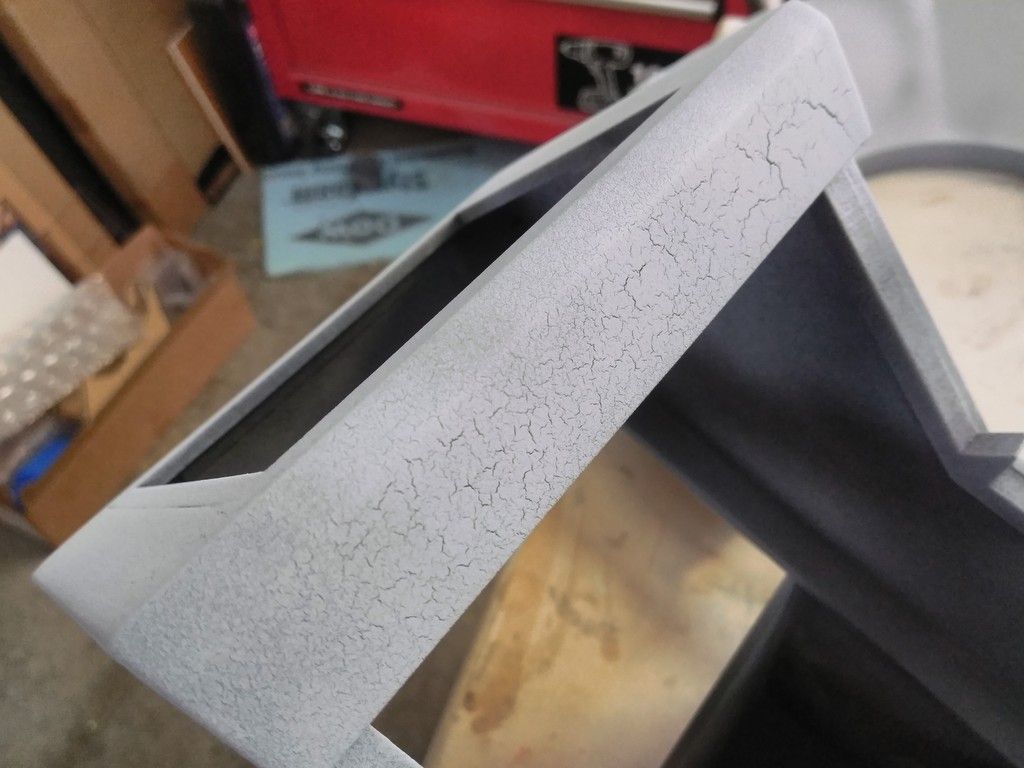
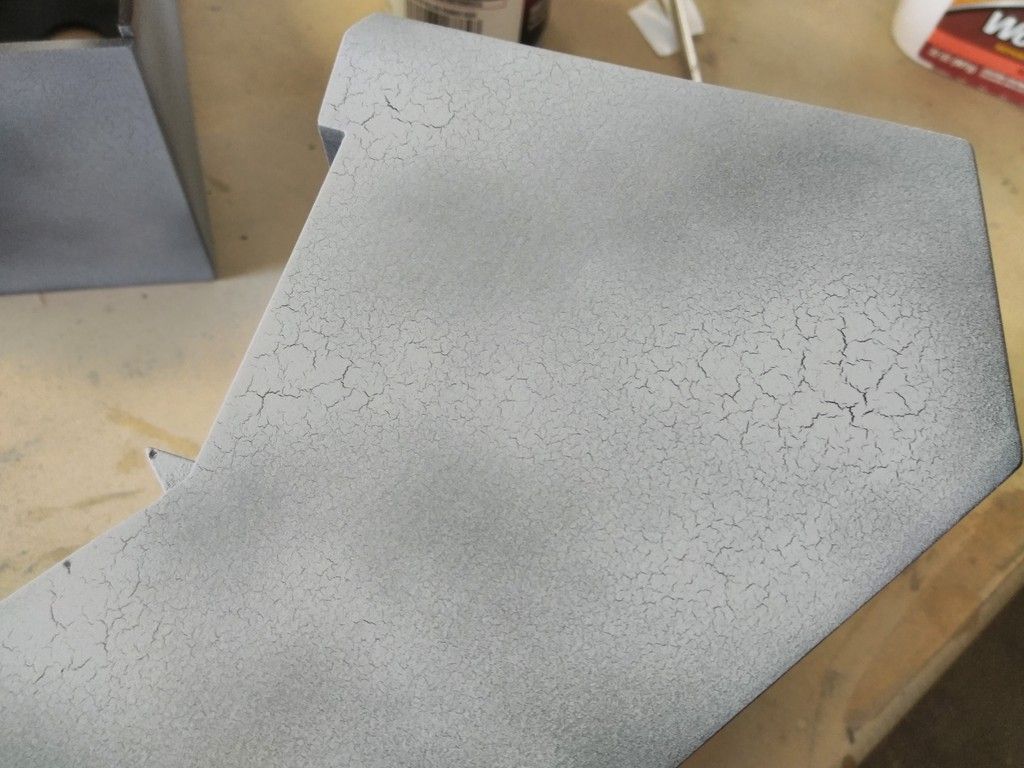
Every single surface cracked...
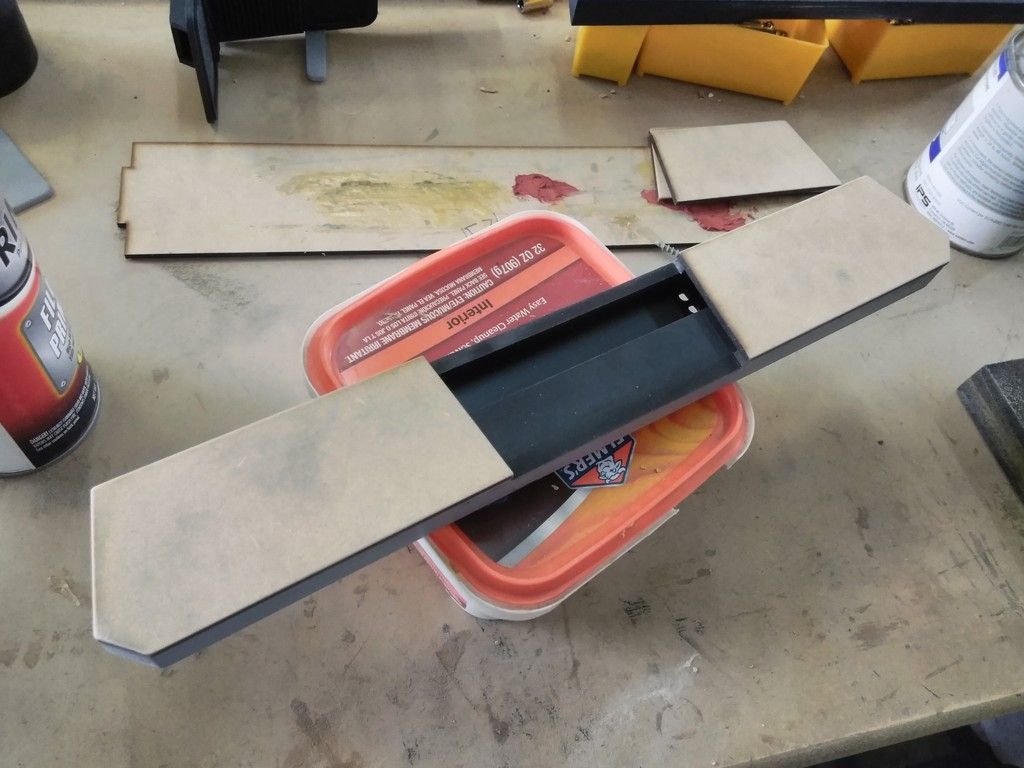
While I let the disaster primer dry I spent a few minutes on the instrument panels
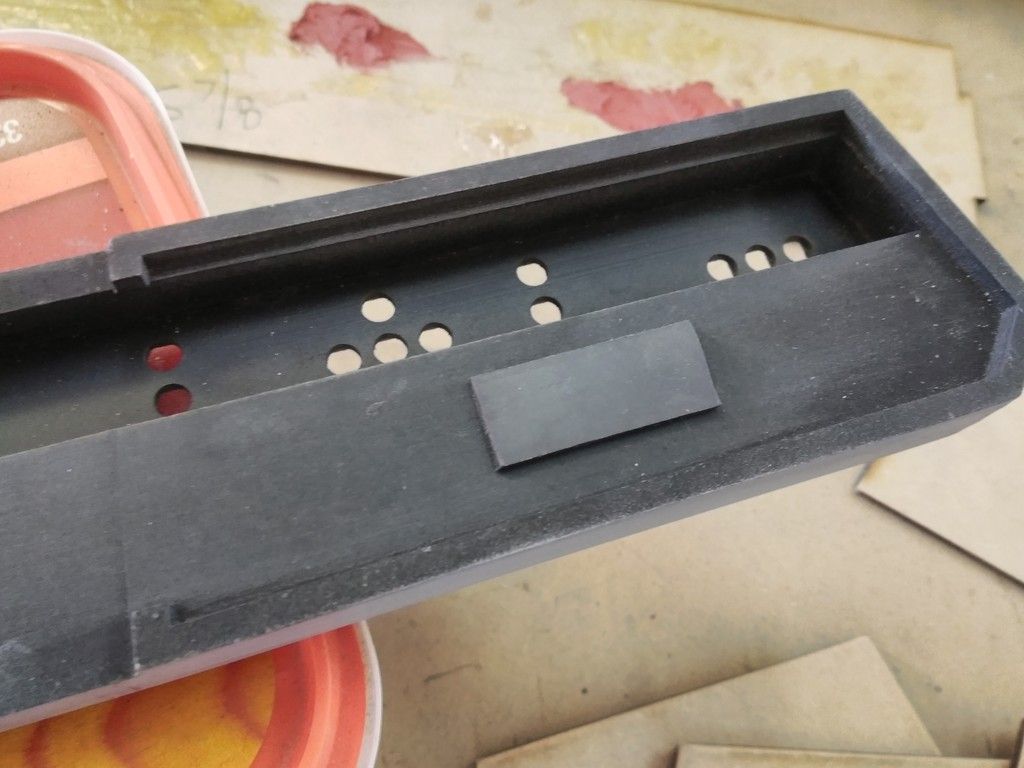
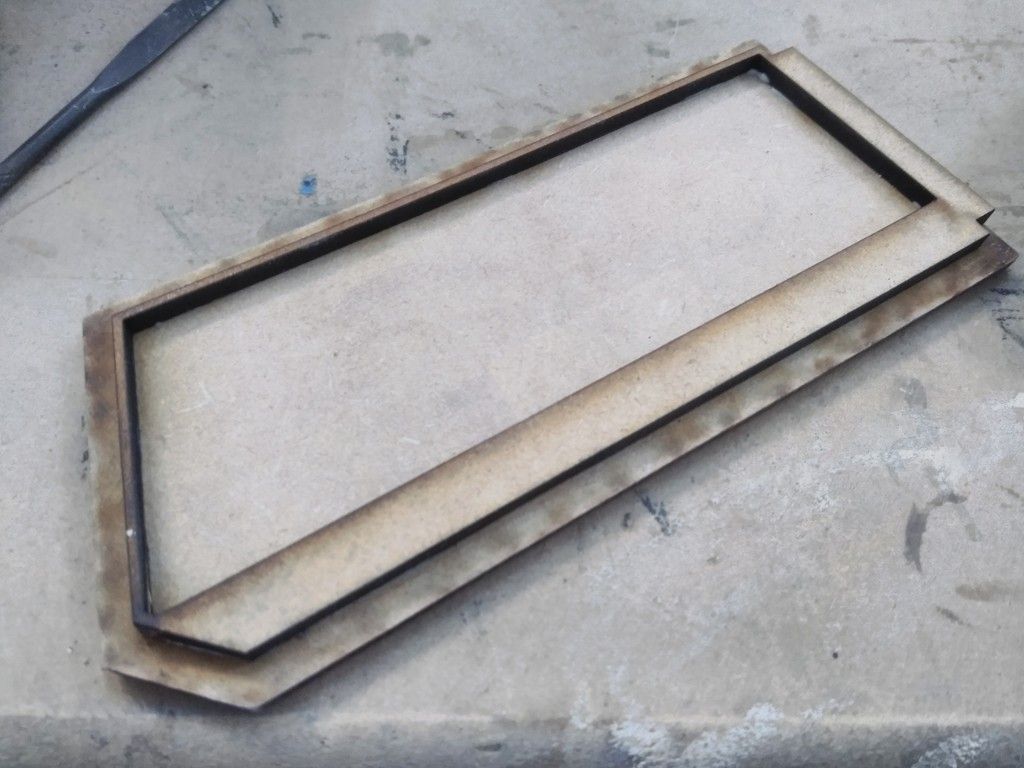
I had to find a way to keep these back panels in place
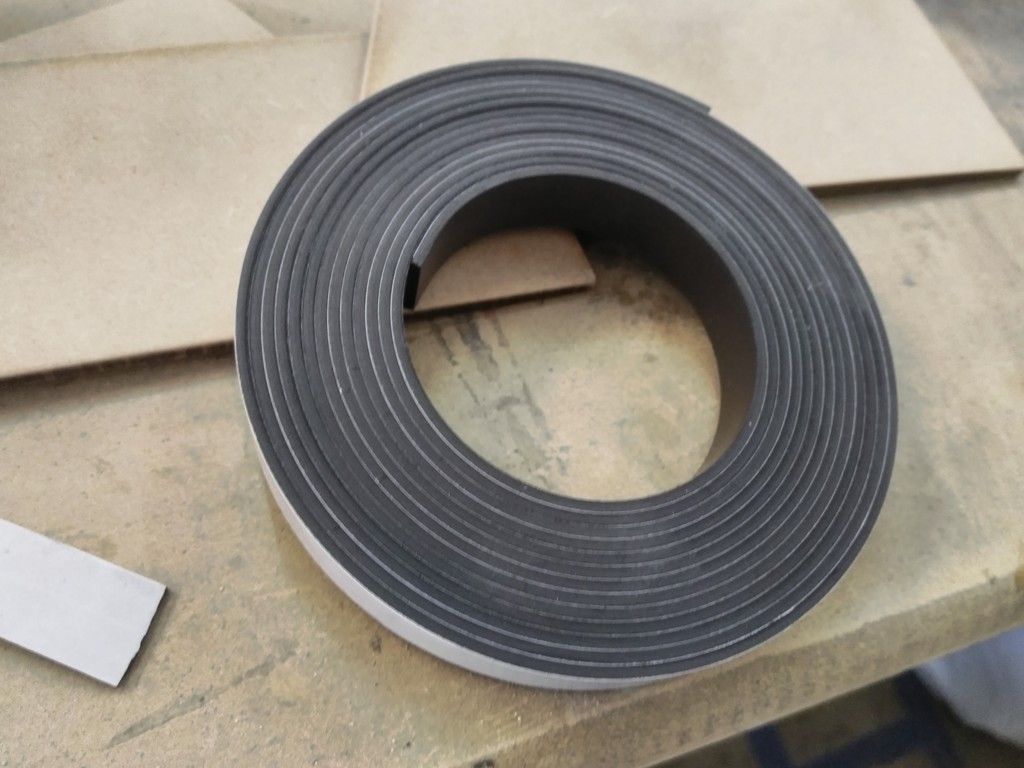
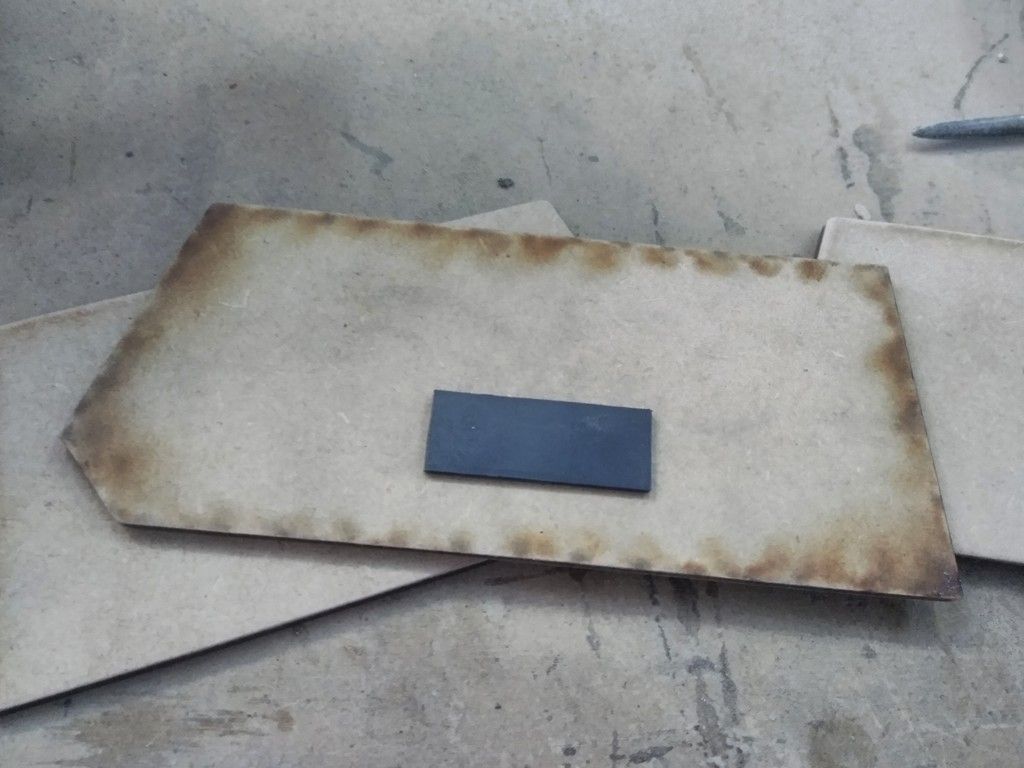
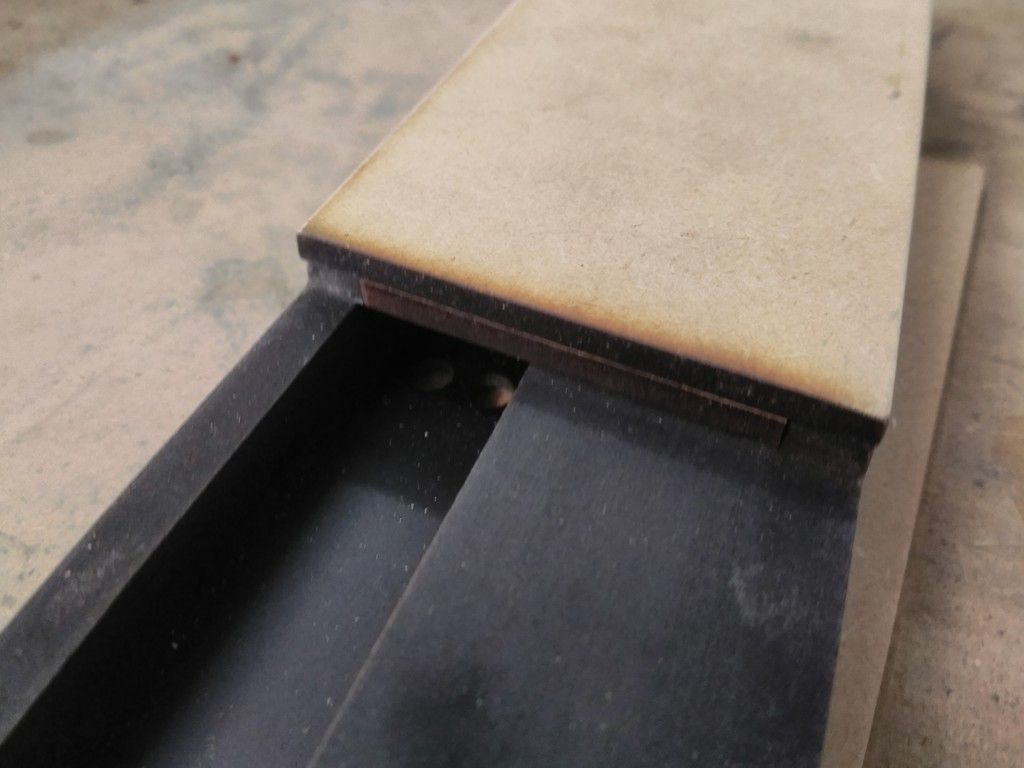
Picked up this magnetic strip
Cut a small practice piece
Adhered the sister magnet to the cover
PERFECT! The magnets are thin enough for both layers to fit just underneath the panel cover
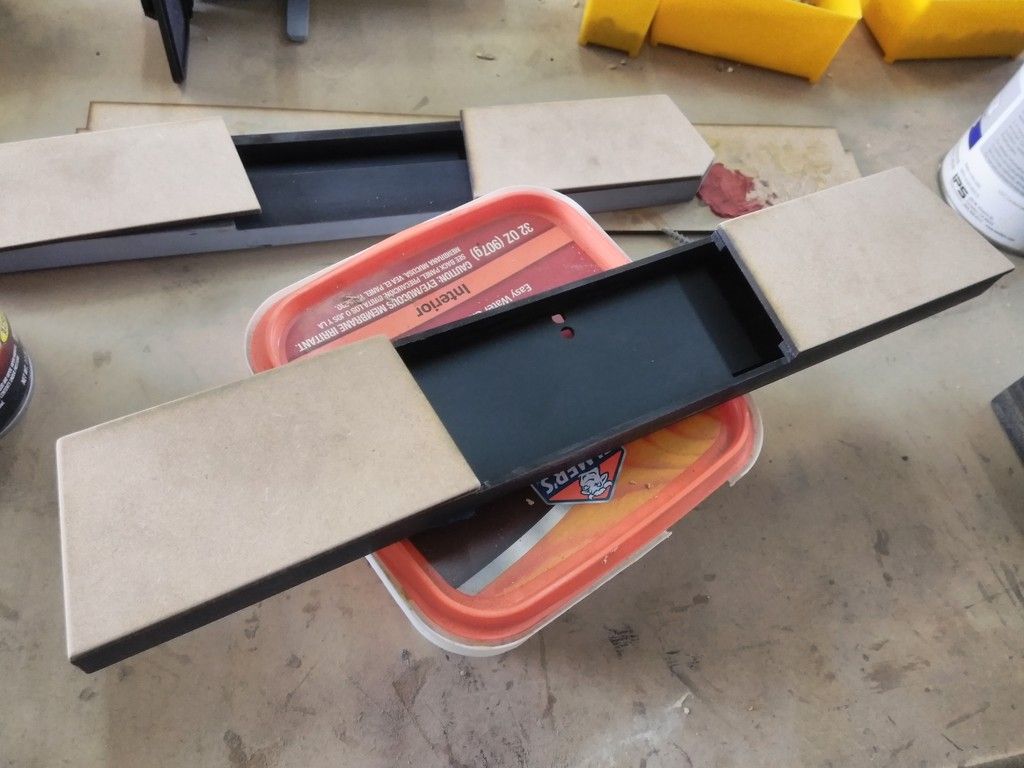
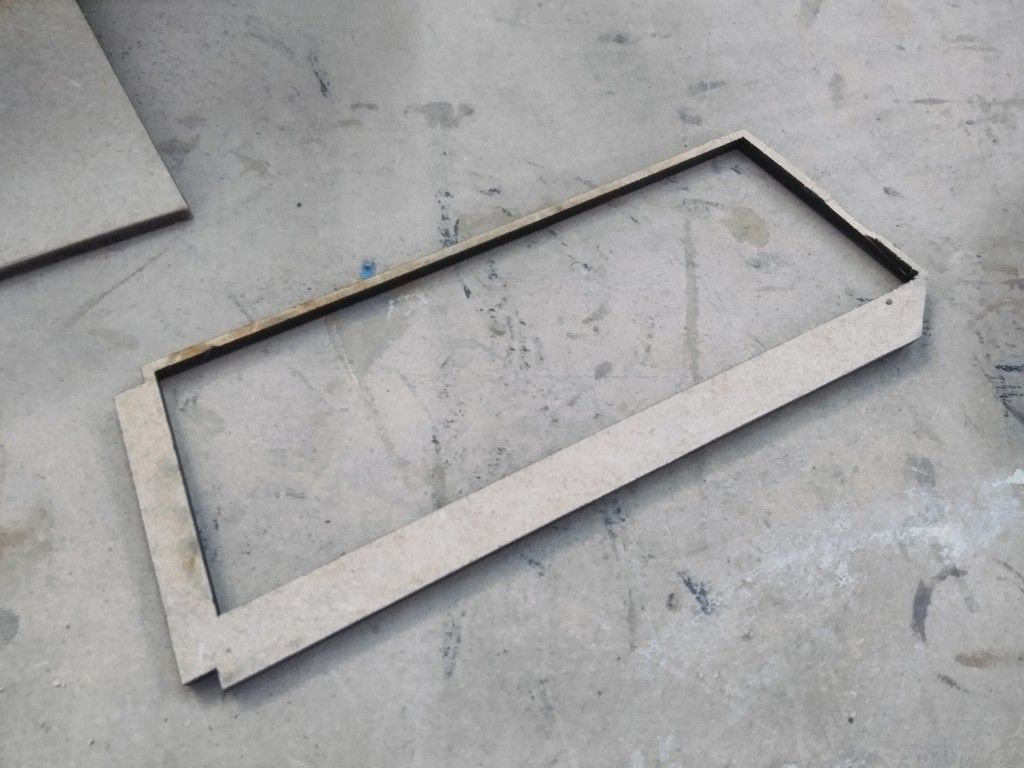
Before the laser cutter finally quit on me, I did manage to cut these guide pieces
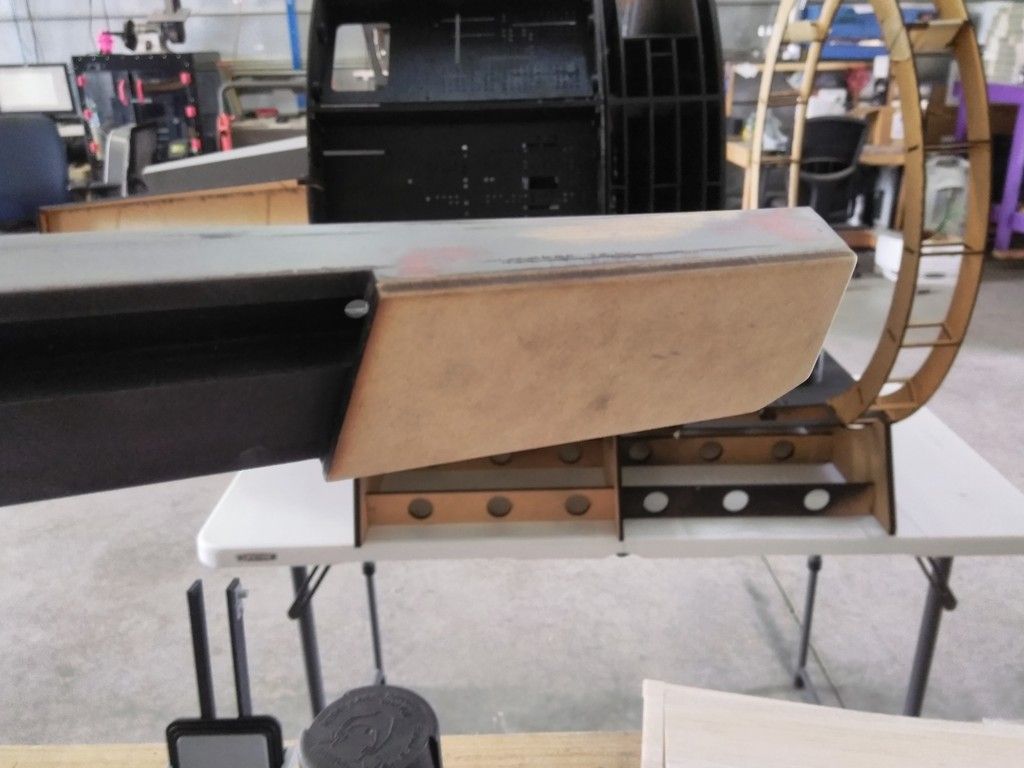
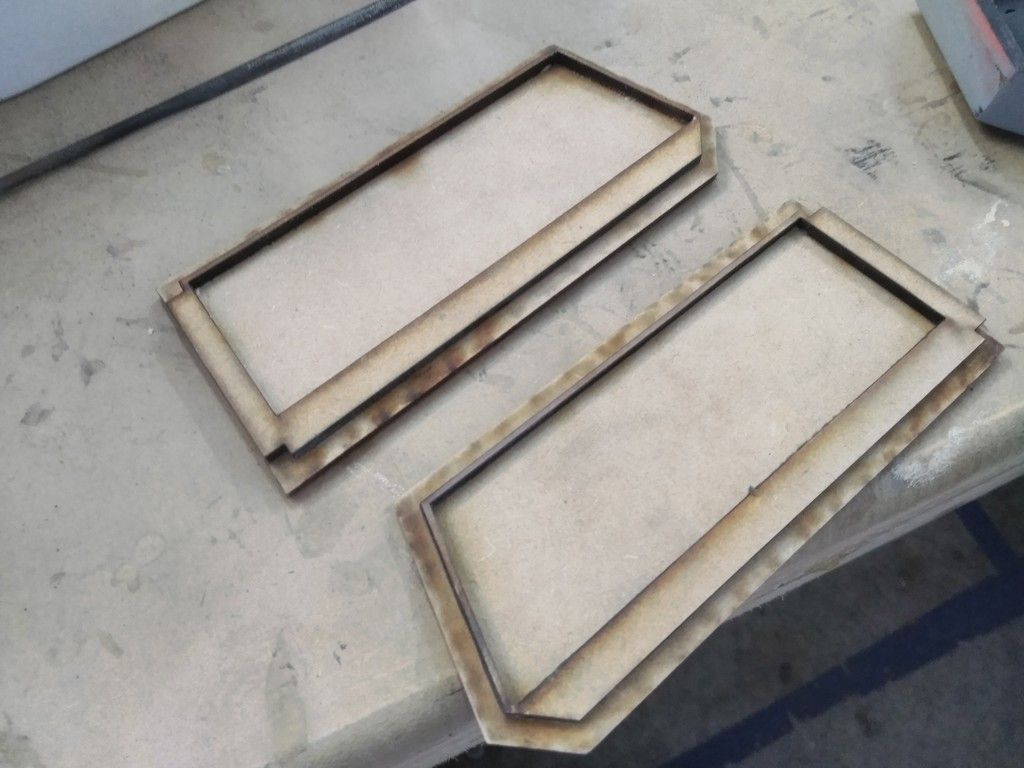
The idea is these sit inside the instrument panel snug around the interior edges
But they are adhered to the back cover plate giving me a perfect guide for them to nest and not move around when in place
They fit right into place
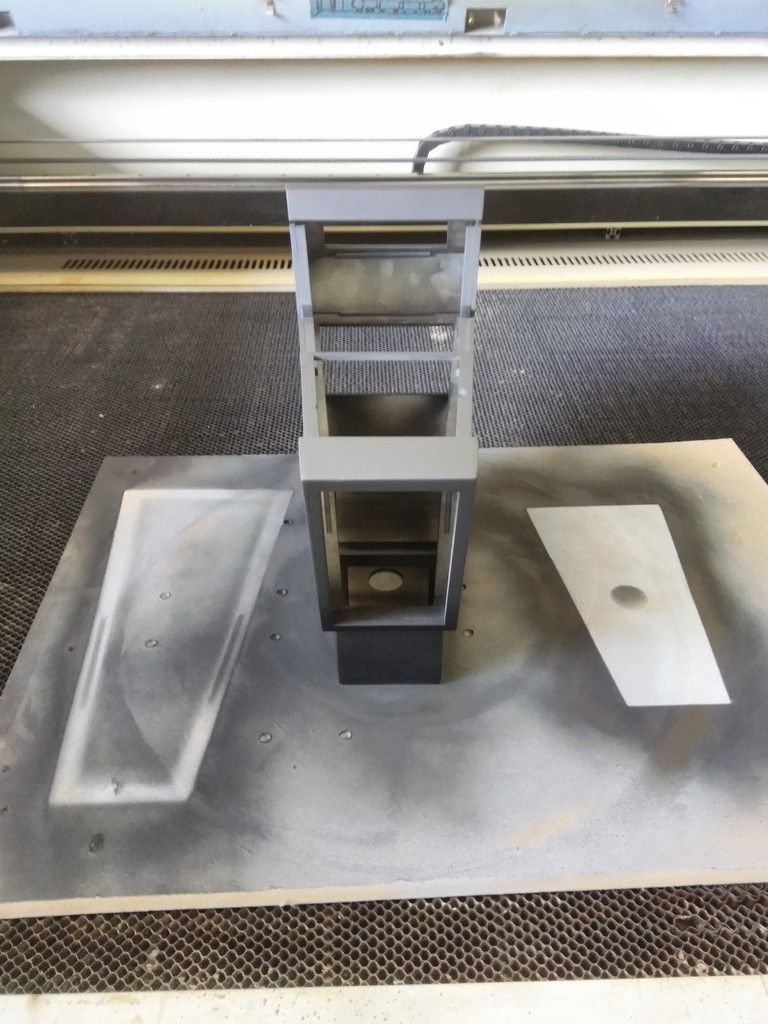
Adding some primer
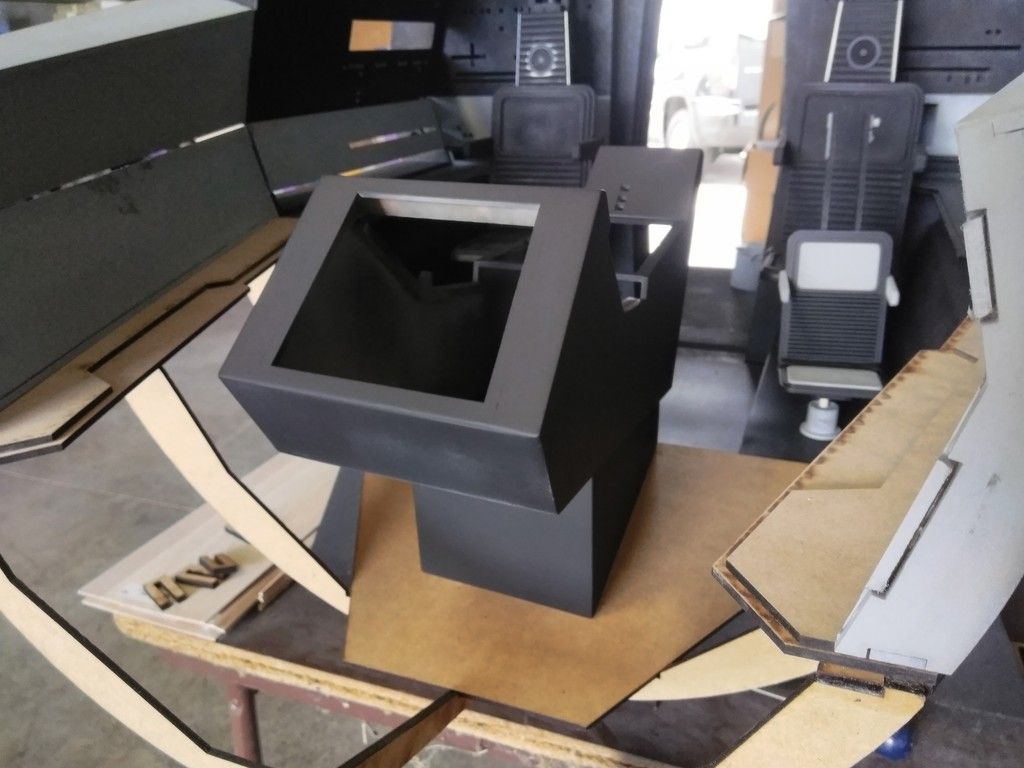
The primer dried and I sanded the console smooth - that was a LOT of fun!
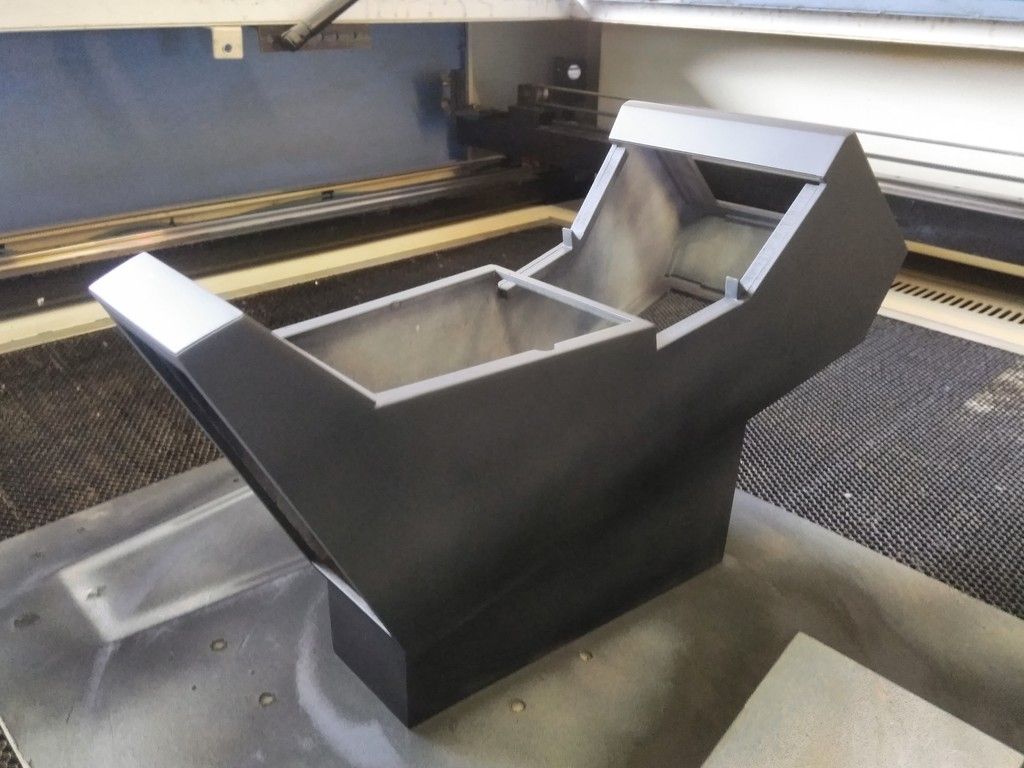
Cover plates work perfectly! Still need to work the upper instrument panel
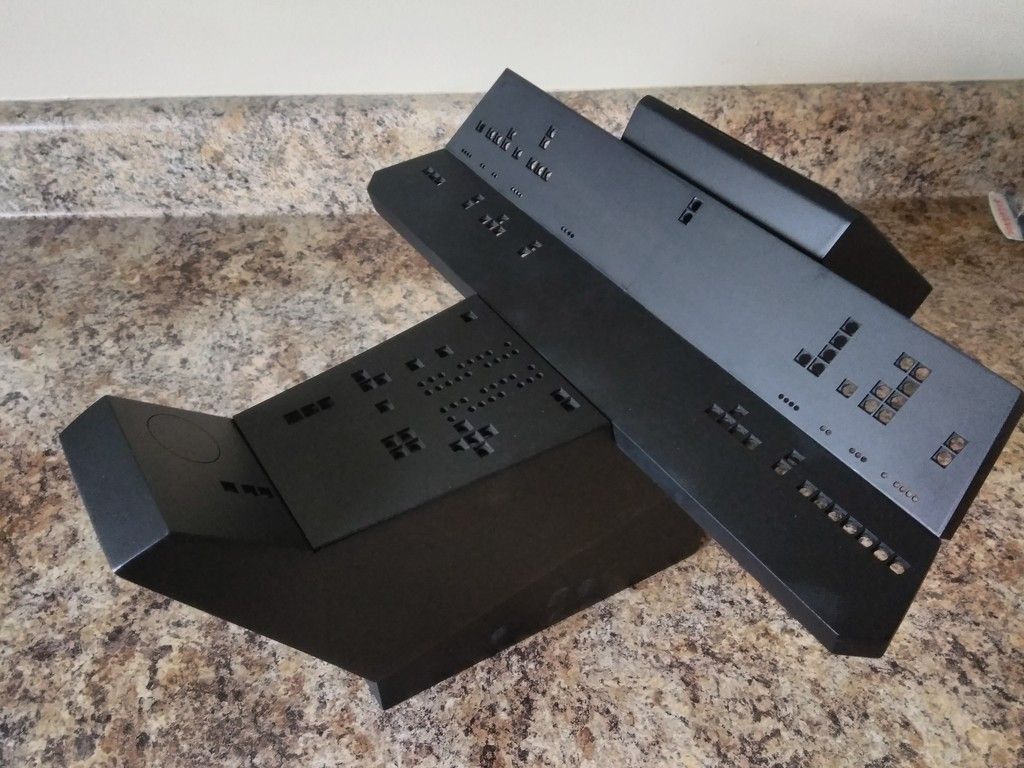
I then repainted everything flat black and brought back to the house
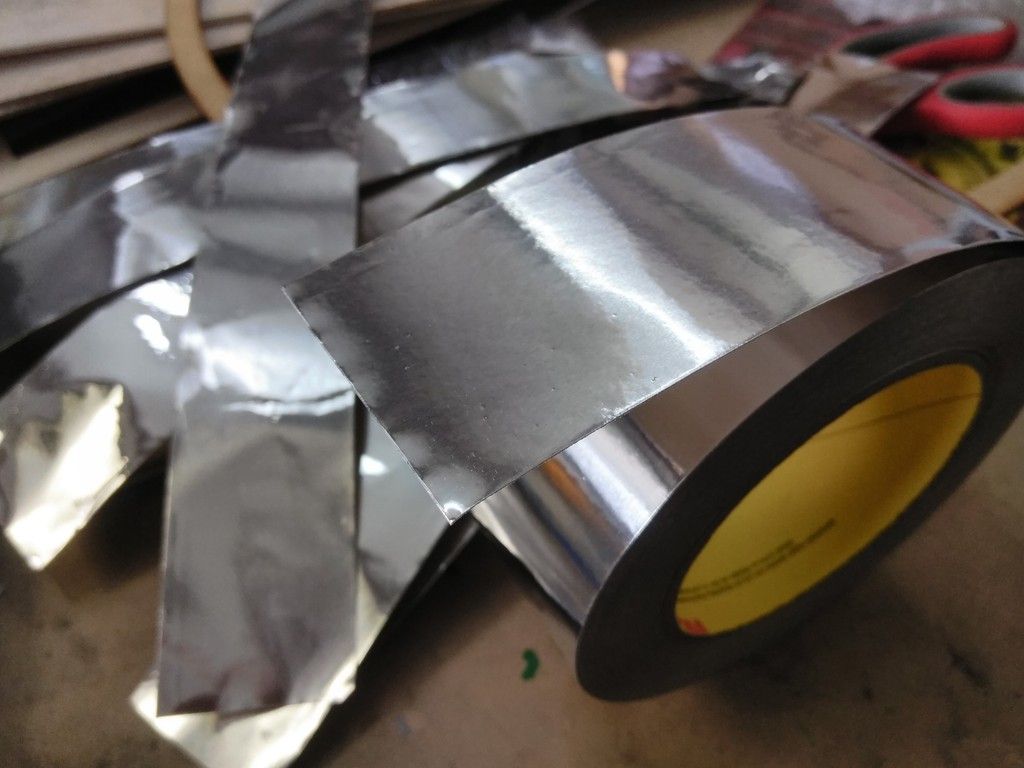
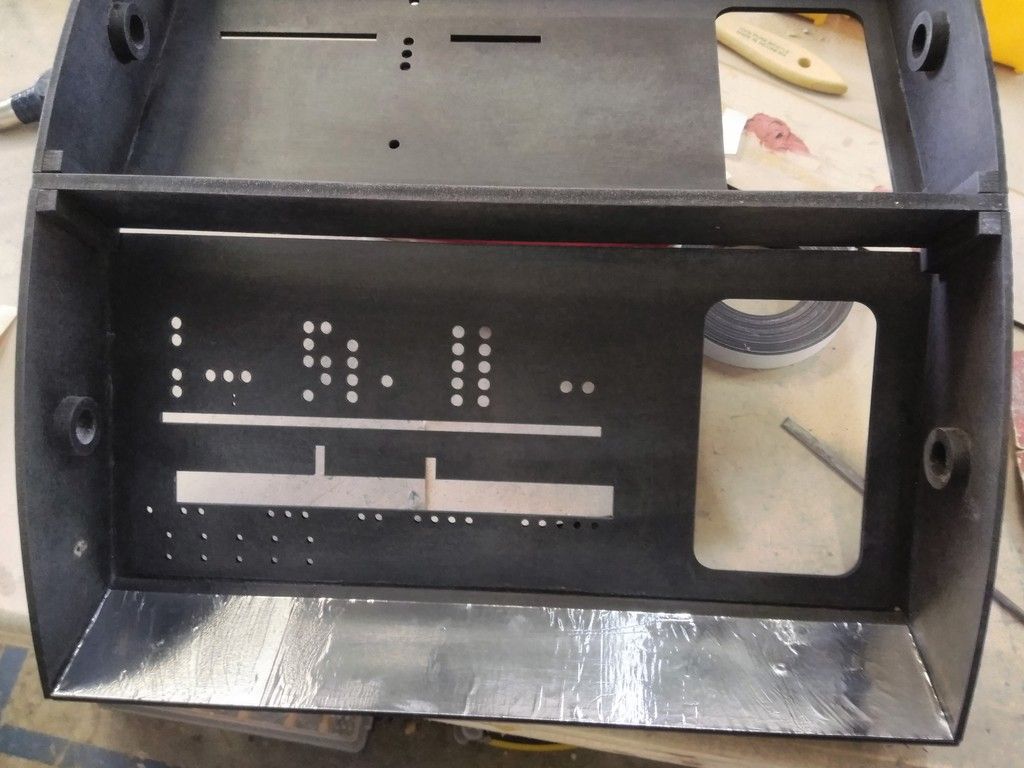
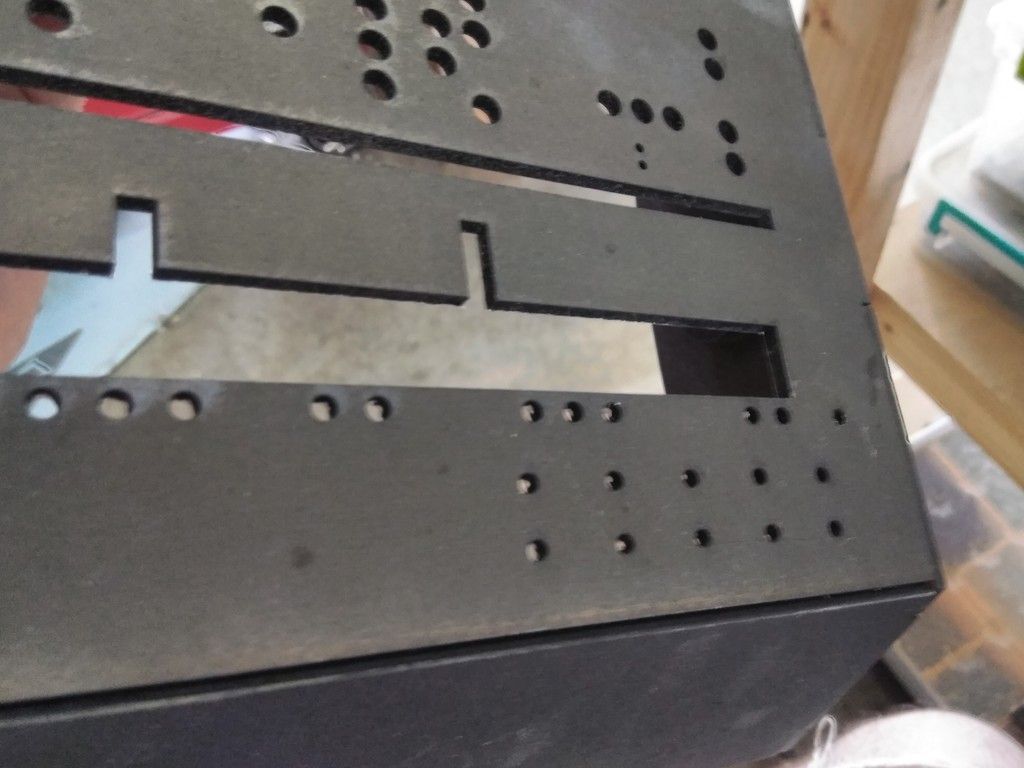
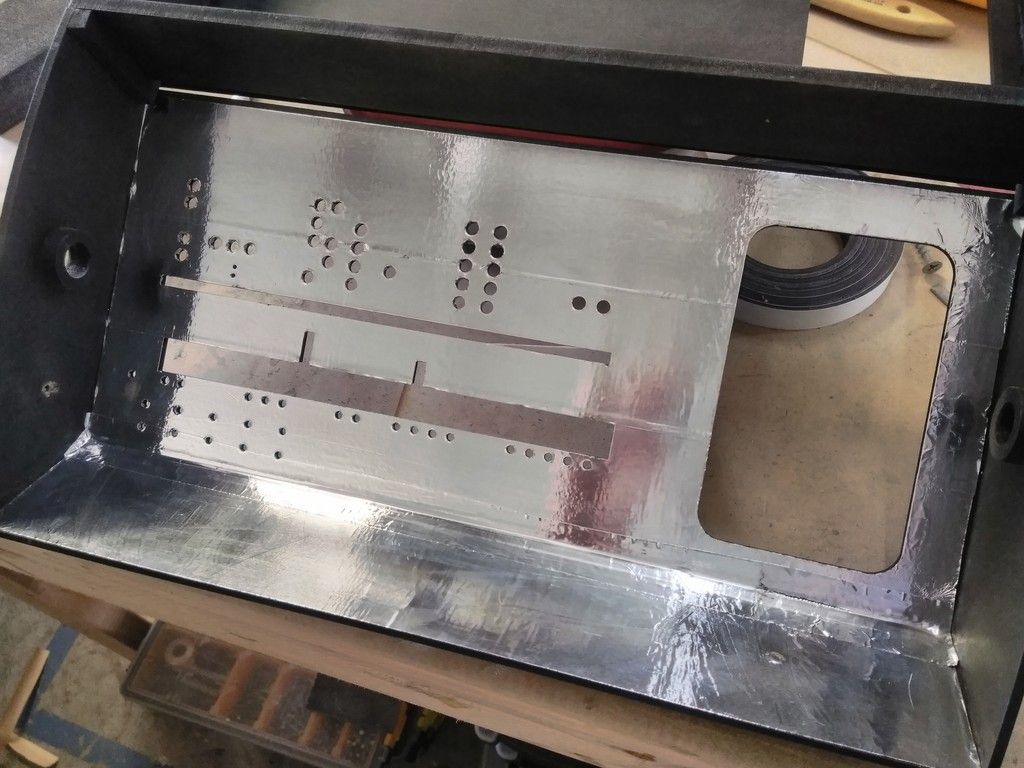
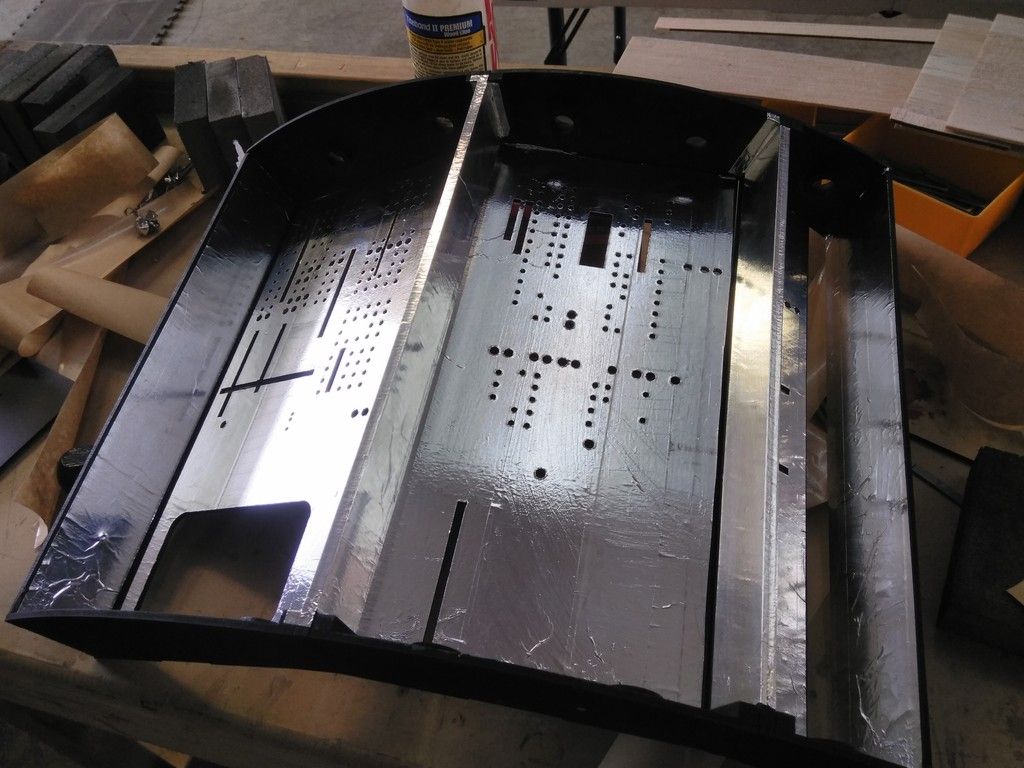
I bought some aluminum HVAC tape and applied to the back side of the main body panels - this will help illuminate the panels and spread the LED light around
Aluminum on one side and super sticky tape on the other
Its a long process - the tape wants to stick to itself
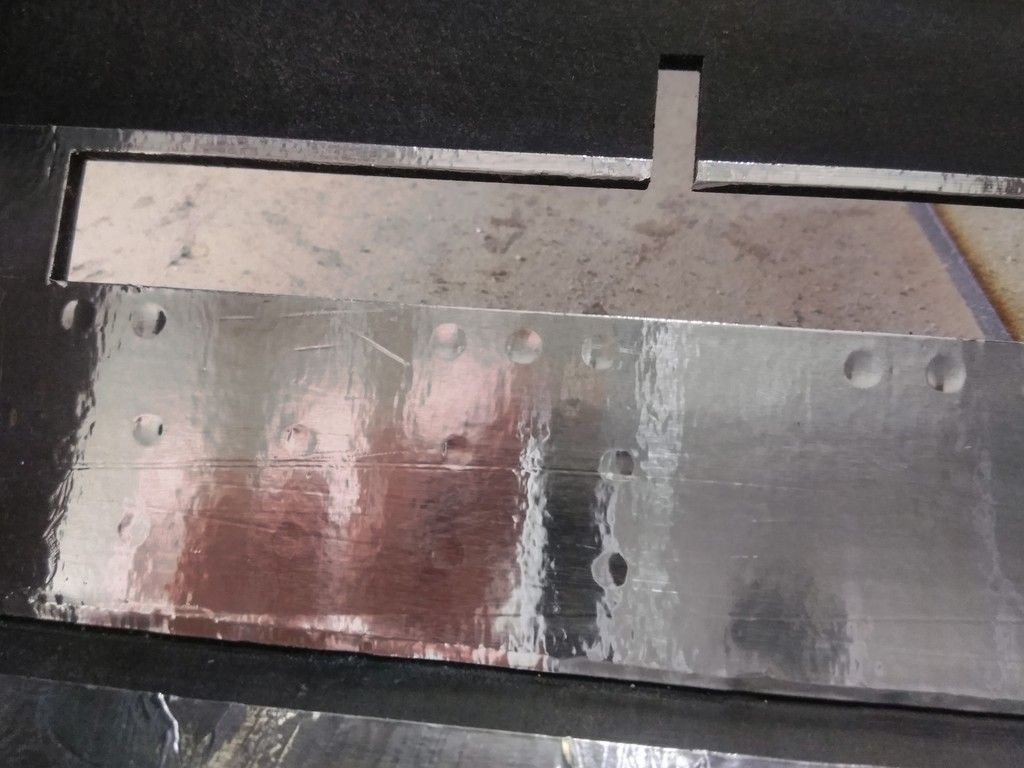
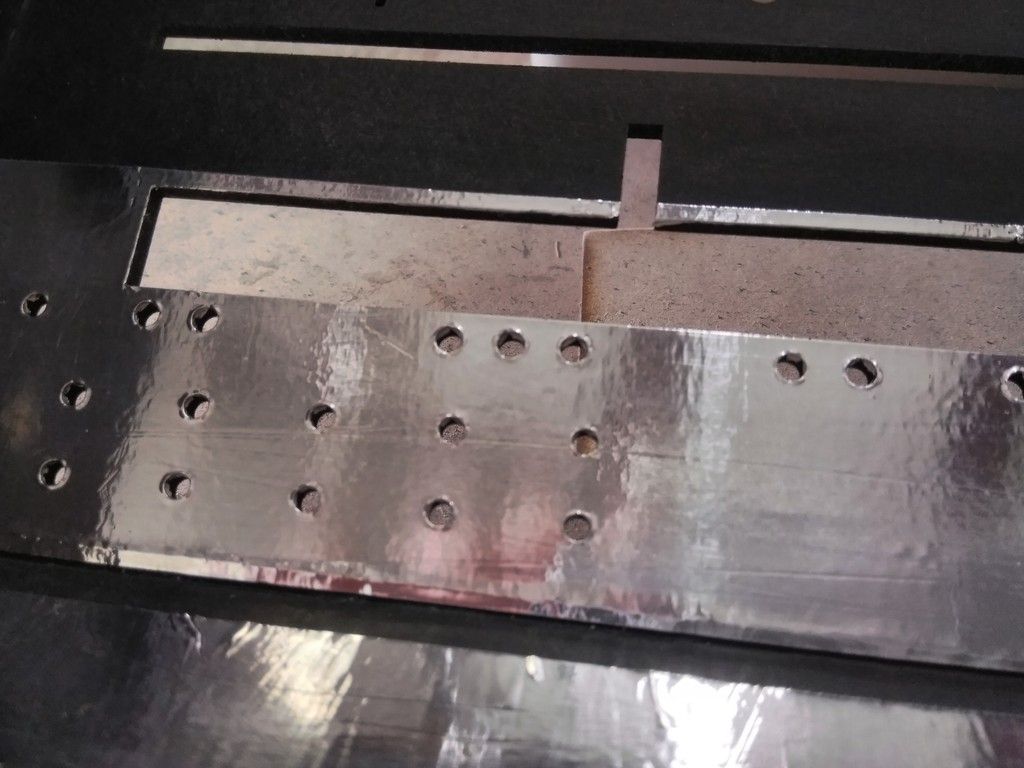
Press the tape into place, smooth any bumps and locate any and all holes to punch
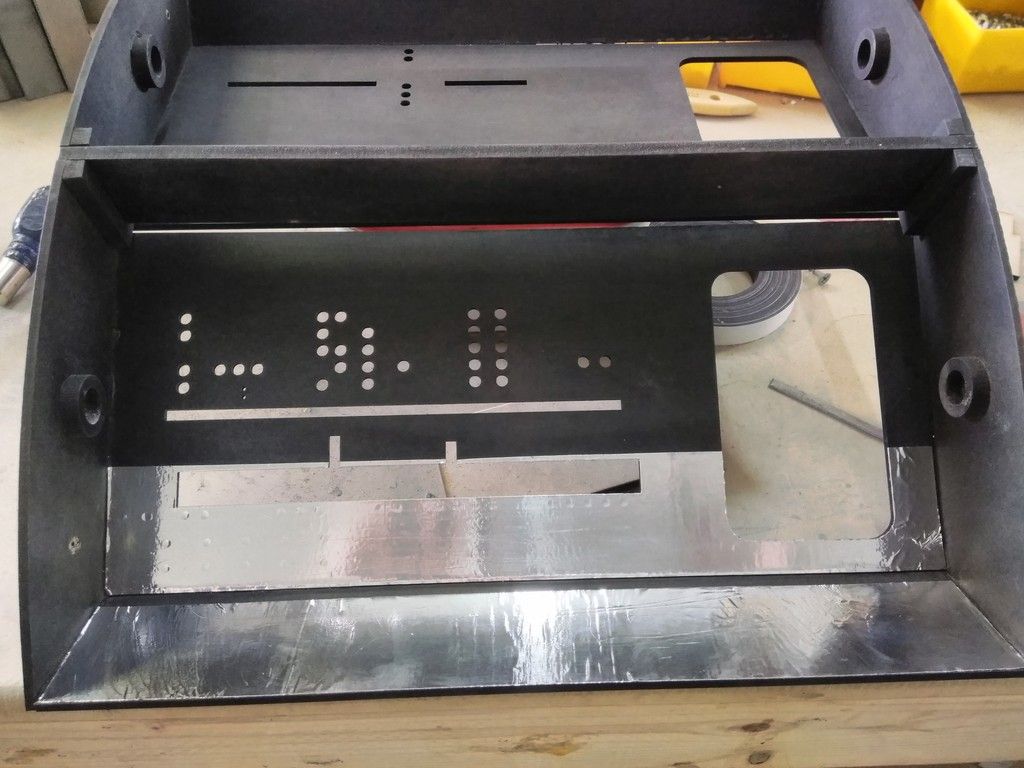
Front side - nothing sticking through
Carry on...
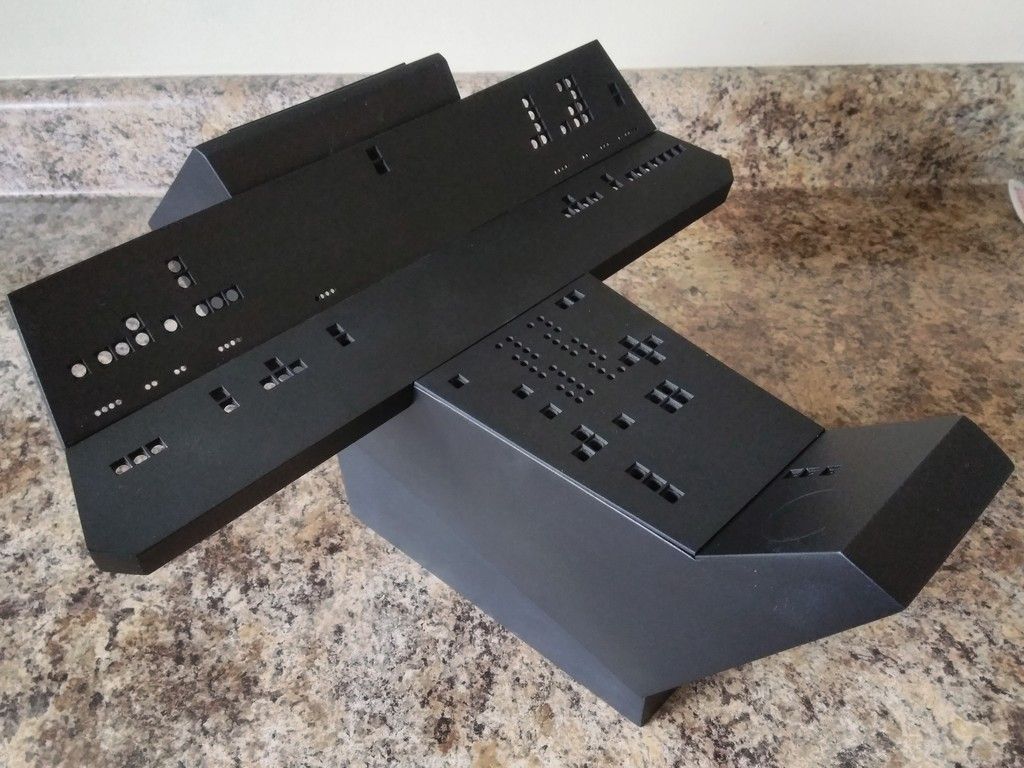
Top panel done
Shiny
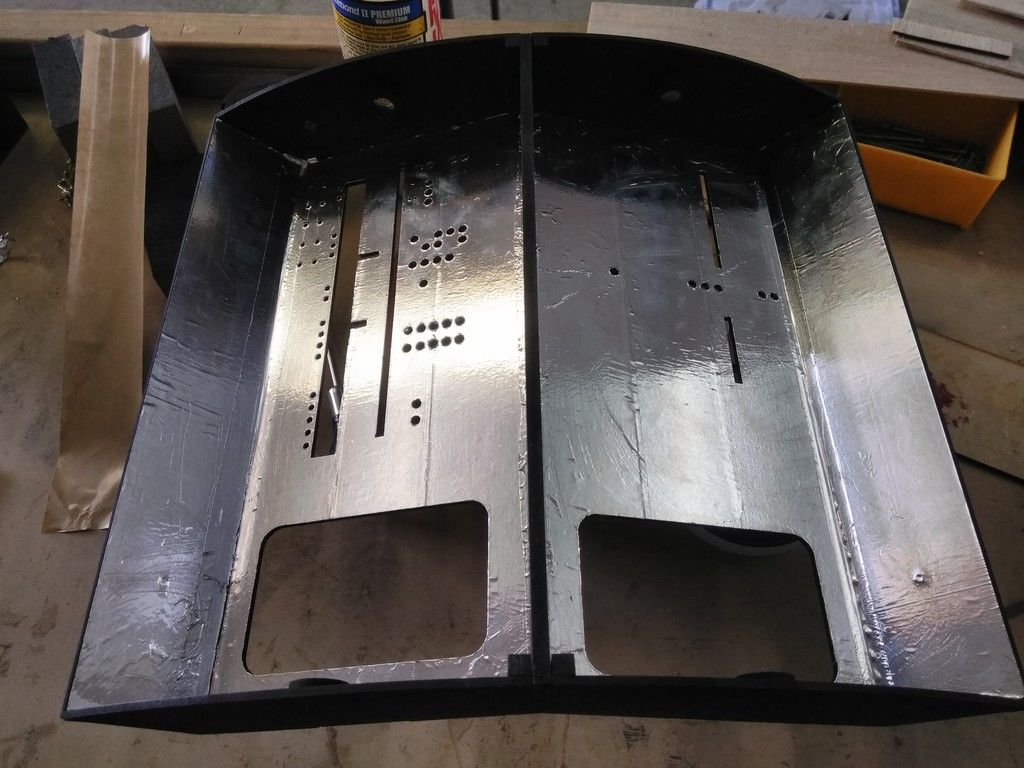
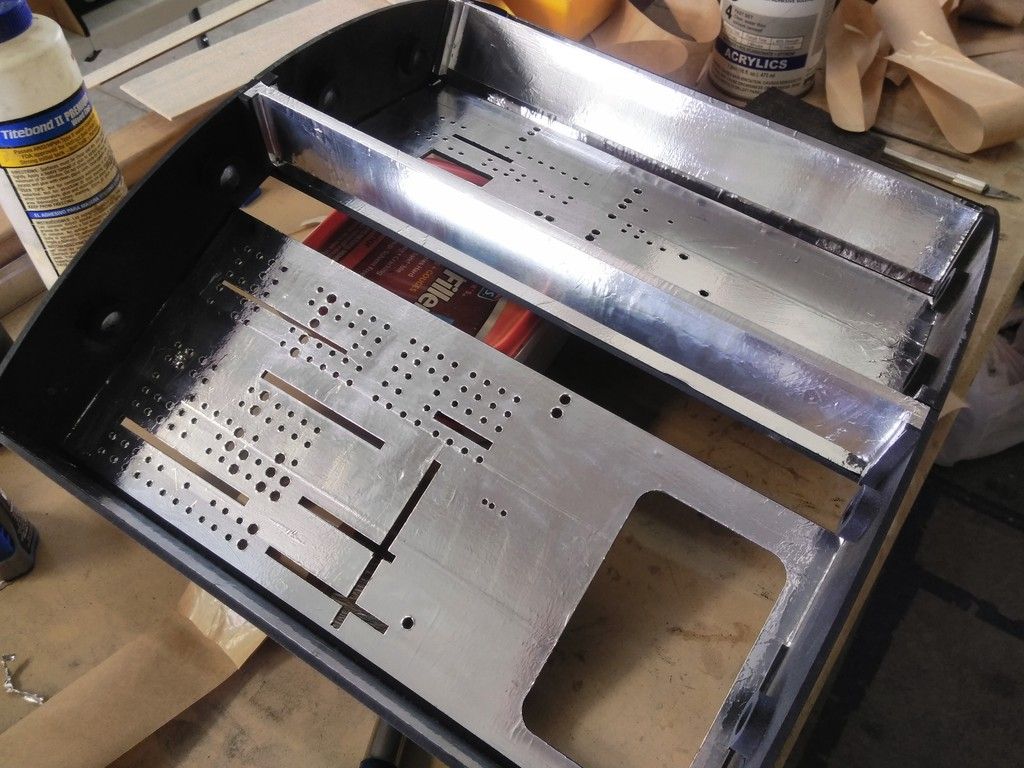
Han's side done - I'll finish Chewie's side this weekend
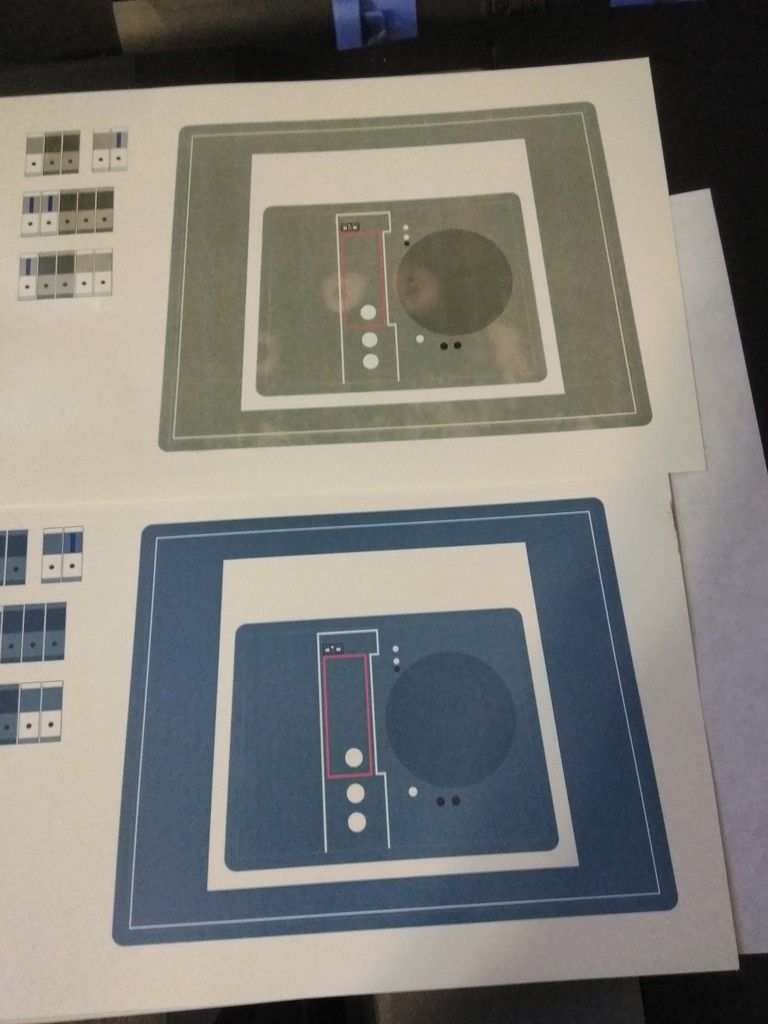
Now for the FUN PART! I finally figured out, with some relative success, how to print and create my own inkjet water slide decals! Practice print
Second print - slightly darker...
HMMM... Somewhere in between is the correct color
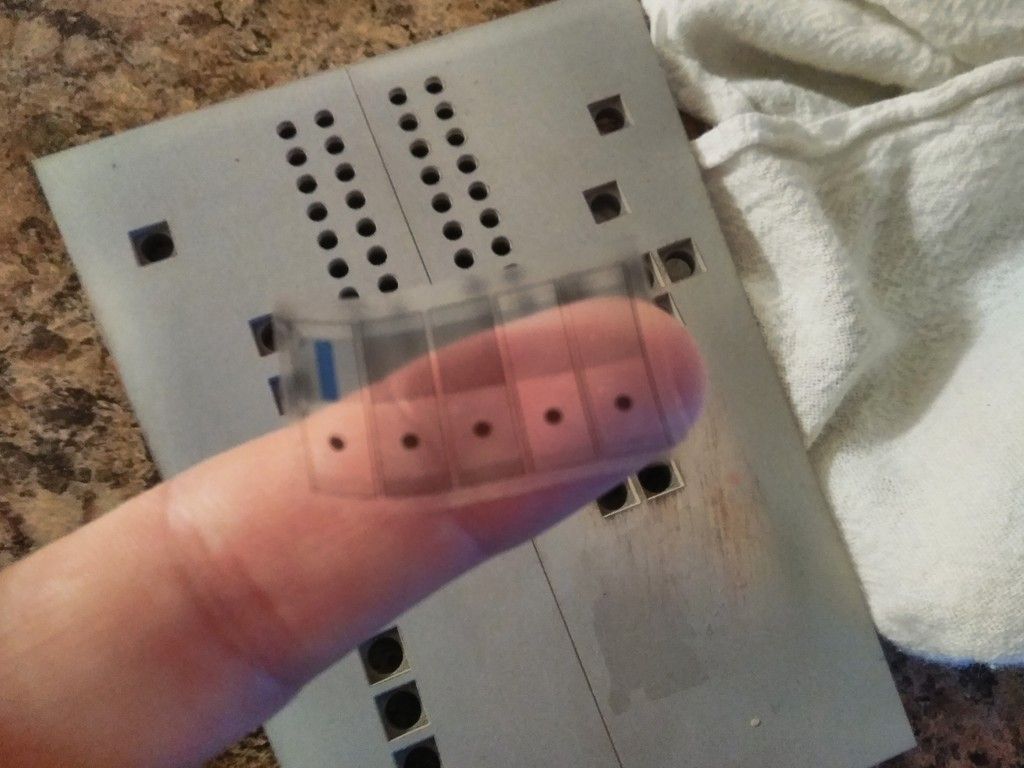
Before finding the matching color let's see if these decals actually work. I included some of the switches to the practice print
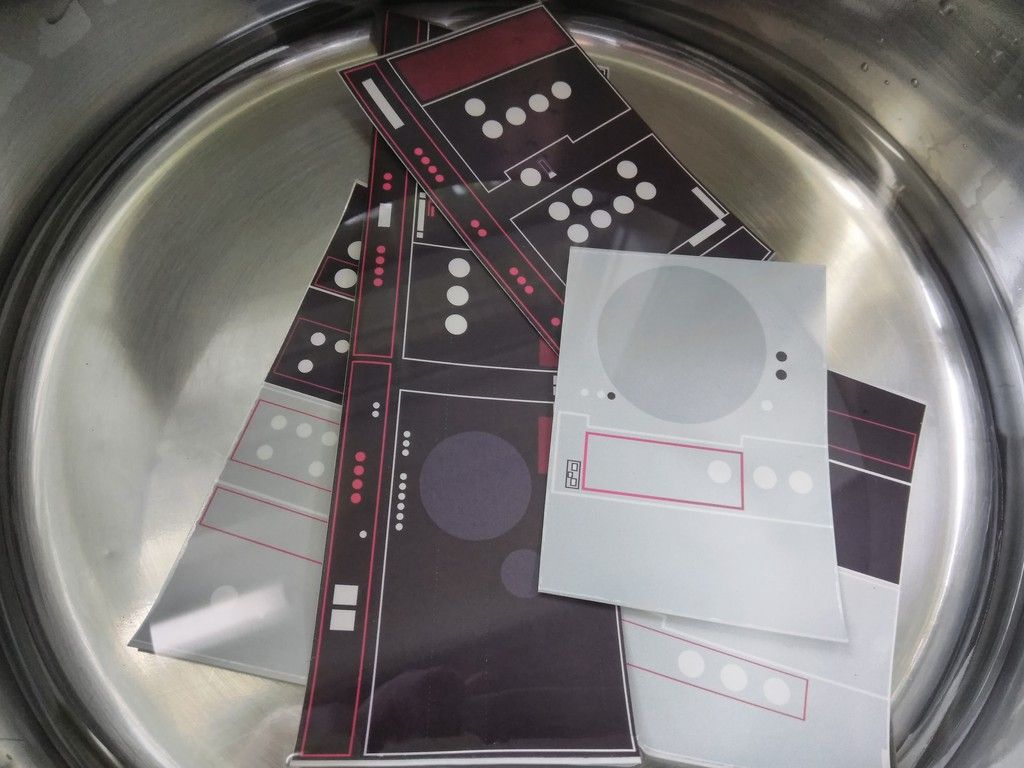
Set the decal in water
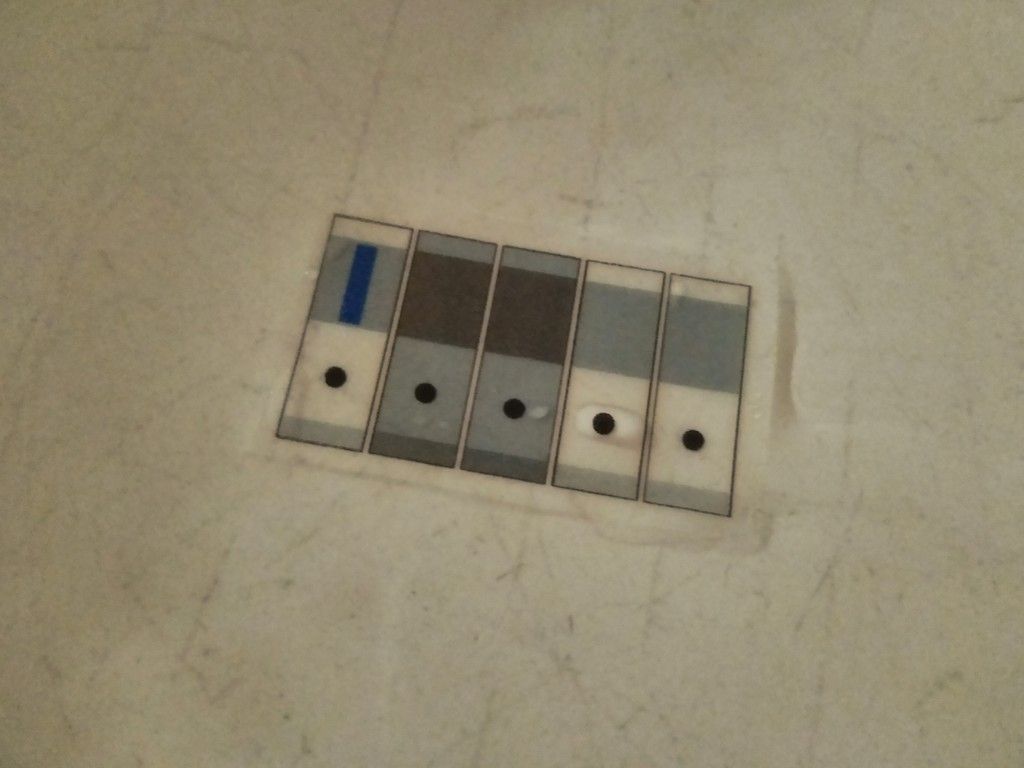
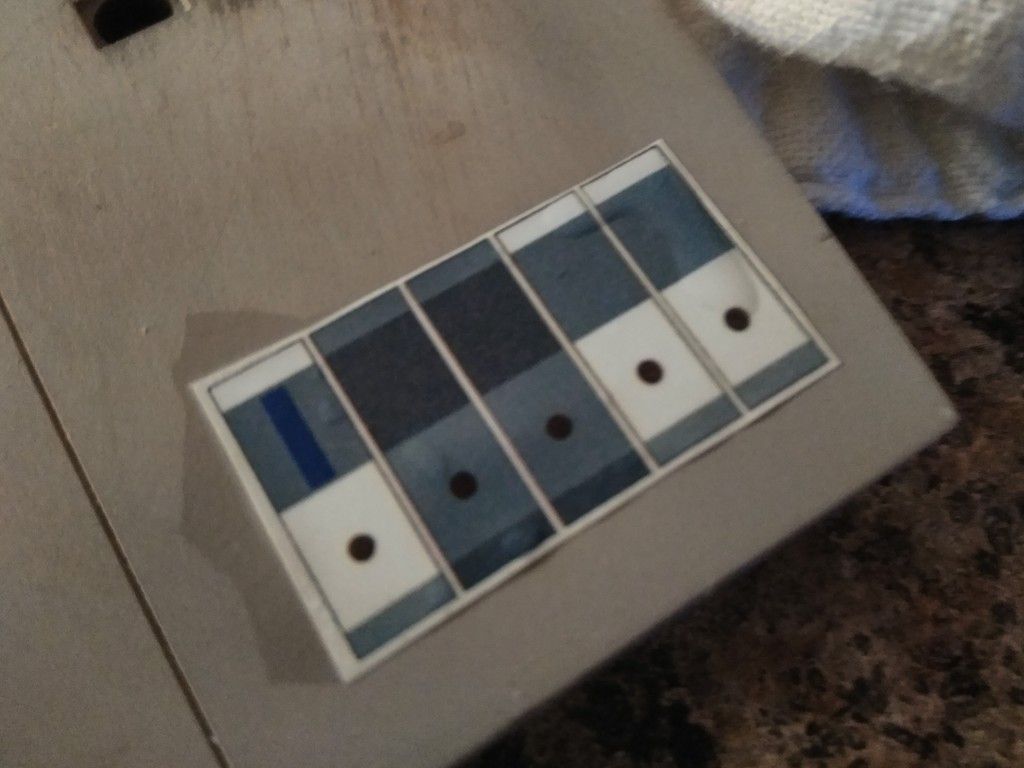
SUCCESS!!! I printed the first few test pieces on clear paper
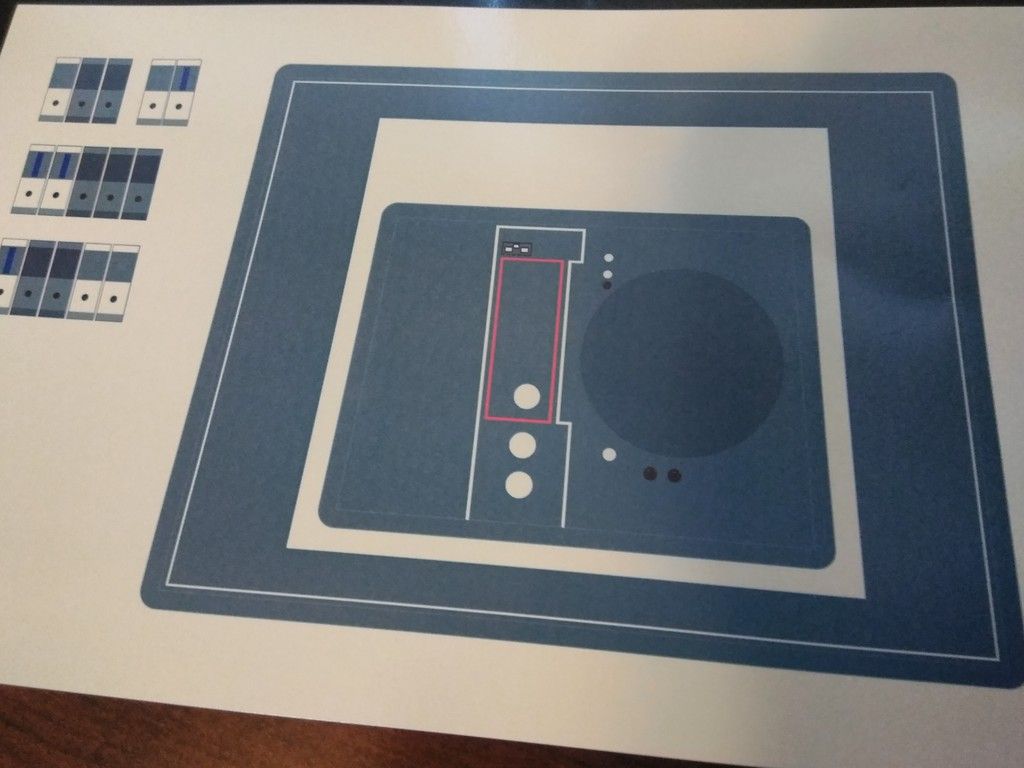
Let's try the white paper - SUCCESS!!!
The process is fairly simple. You can buy both white and clear background decal paper. Print your image using a Inkjet printer and then simply spray 3-5 coats of satin, gloss or flat clear onto the image and wait 24 hours to dry, cut out the decal and place in water for 2-4 min or until the paper backing slides away from the decal. Like I said... VERY simple.
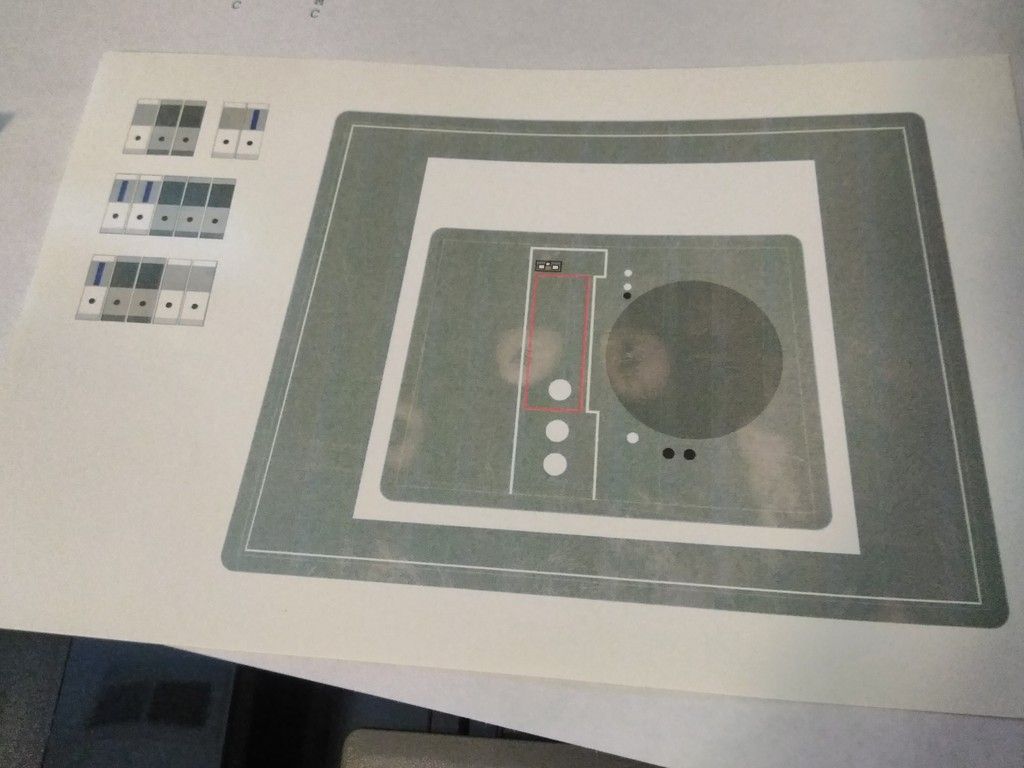
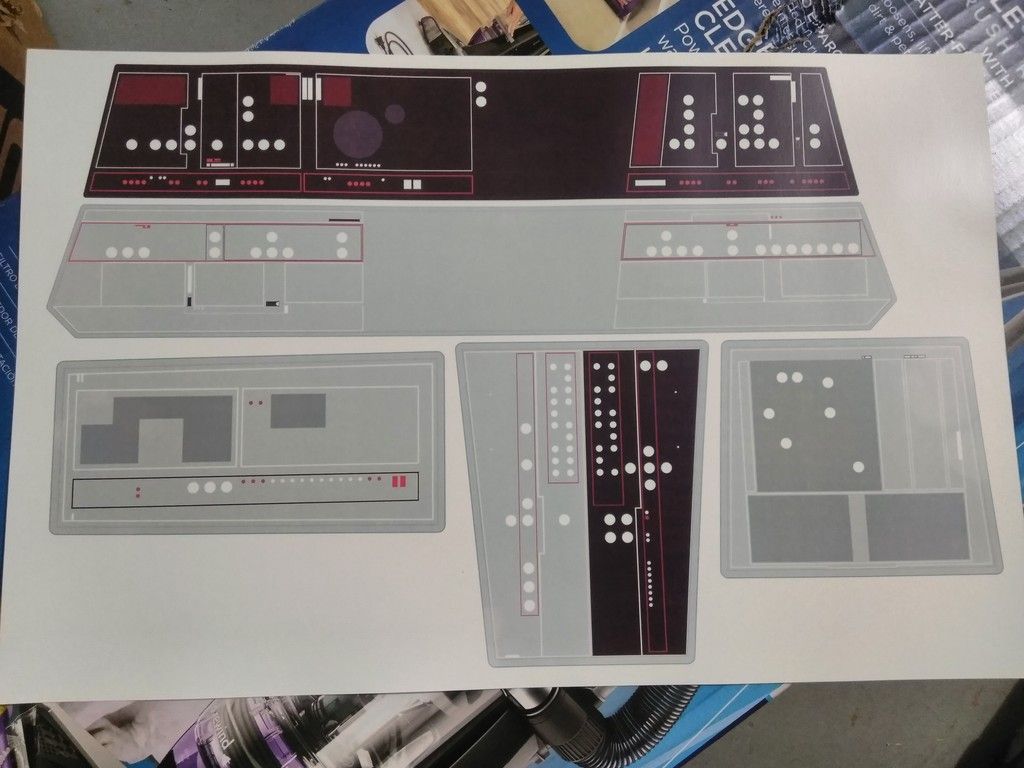
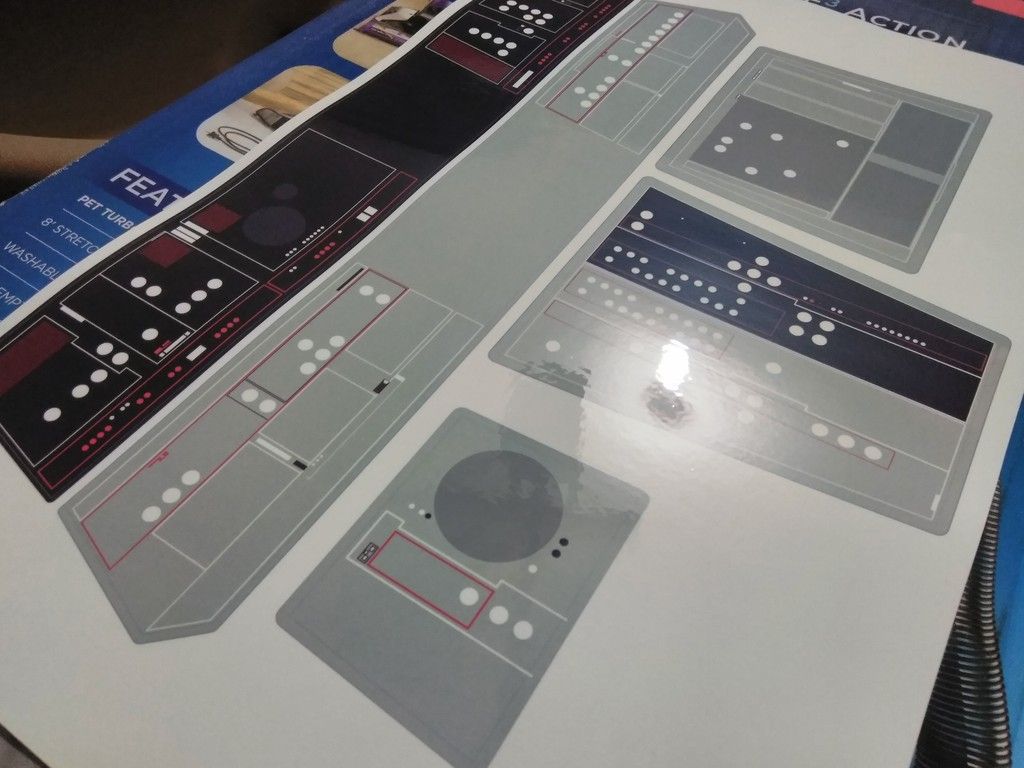
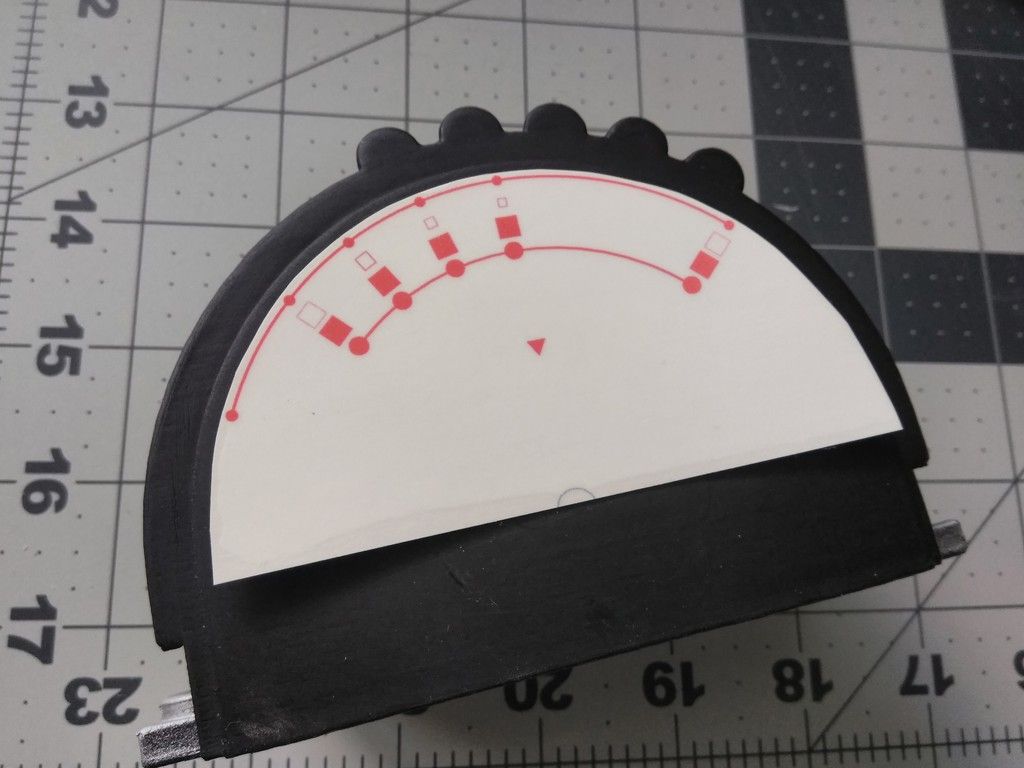
Here we go!!! Our first actual print on 11x17 white decal paper
After sealing the inkjet print with 3 coats of satin clear
I cut the decals
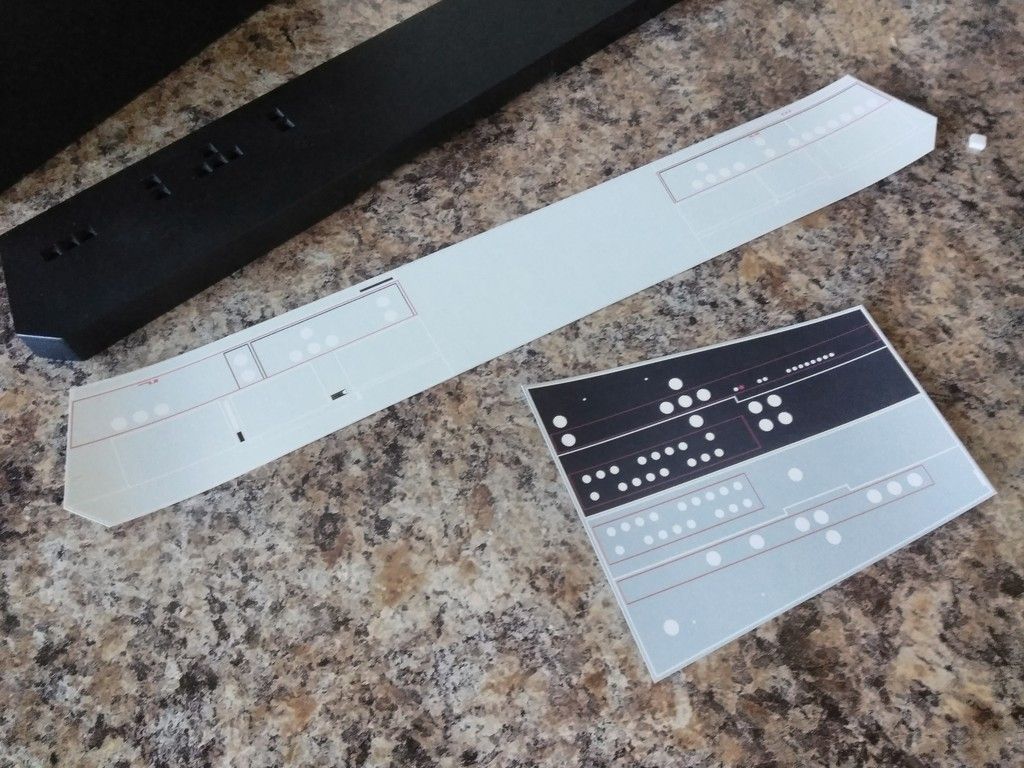
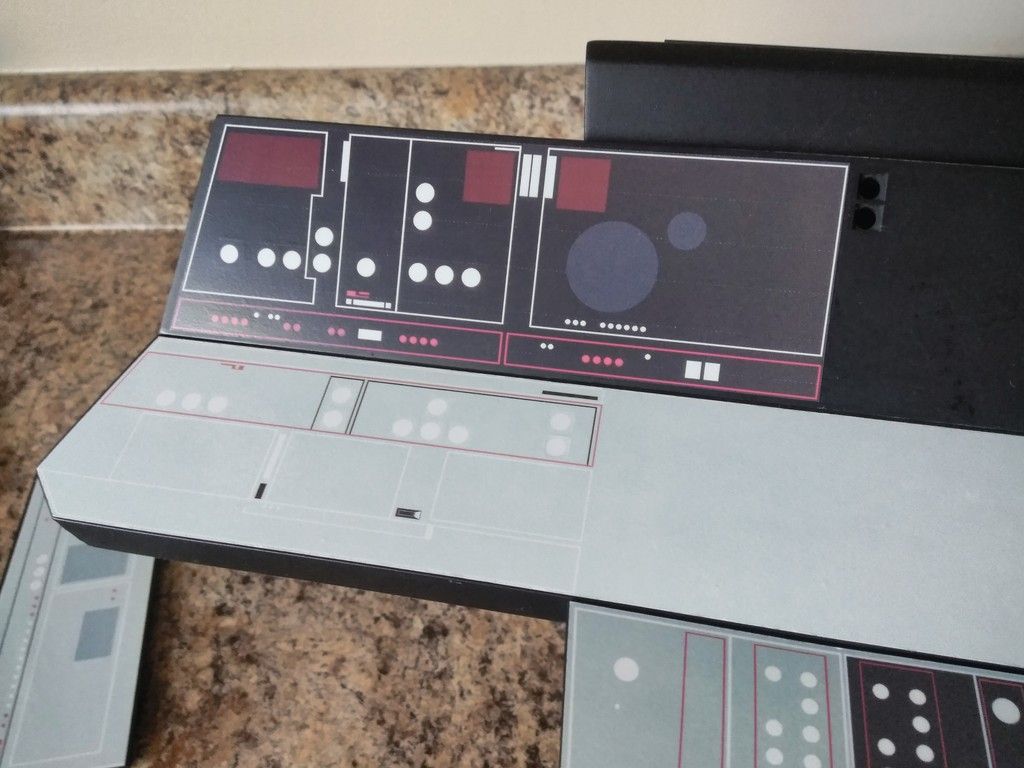
The first 3 panels and console armrest waiting for some color
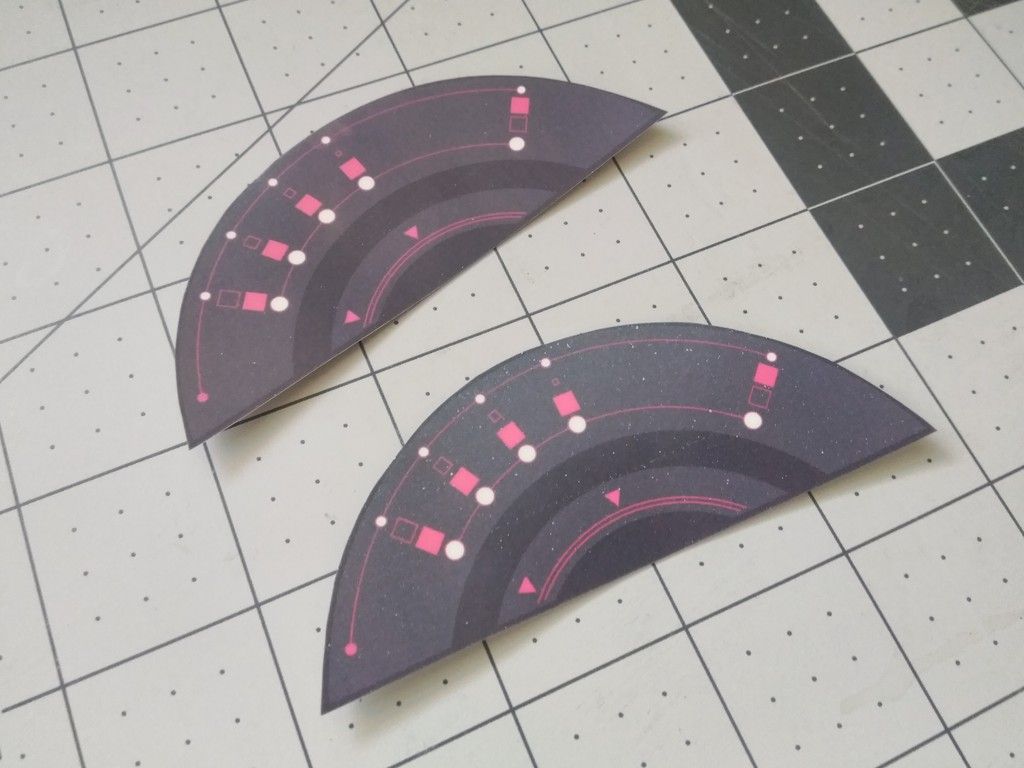
I have to admit I had a few misprints and misaligned decals (deleted 15+ photos of the disaster). The pin stripes were just TOO close to the edges. What I quickly realized is that sanding all the panels and adding filler, etc removes/alters just enough of the original edges to make the decal edges slightly too large or too small.
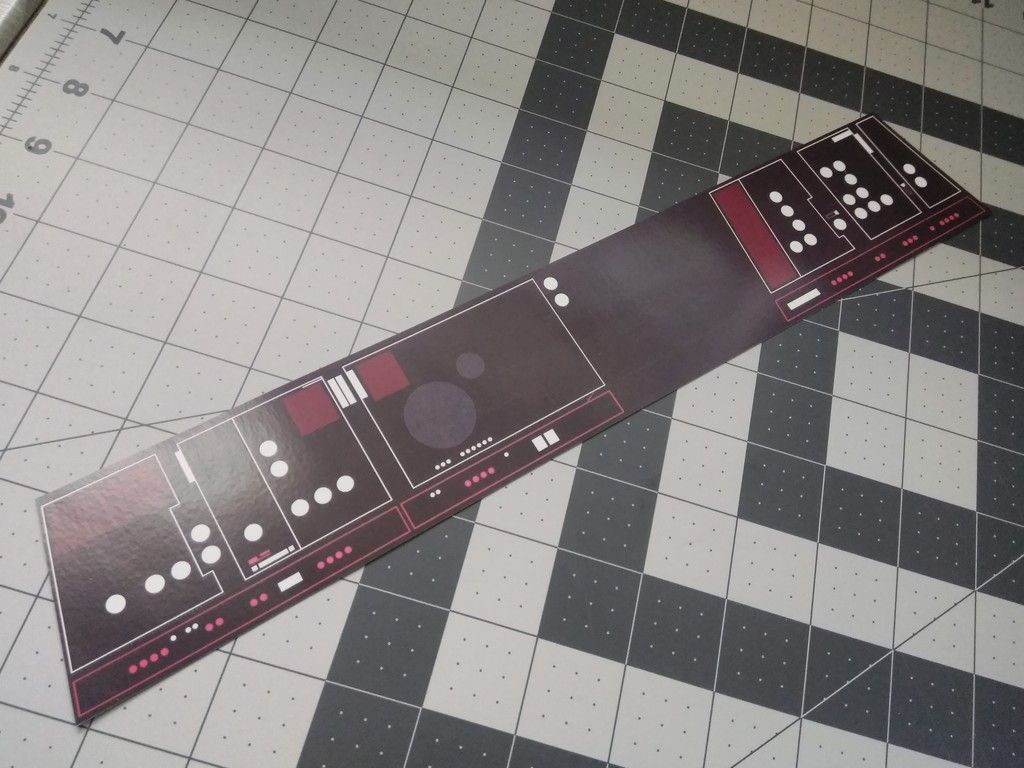
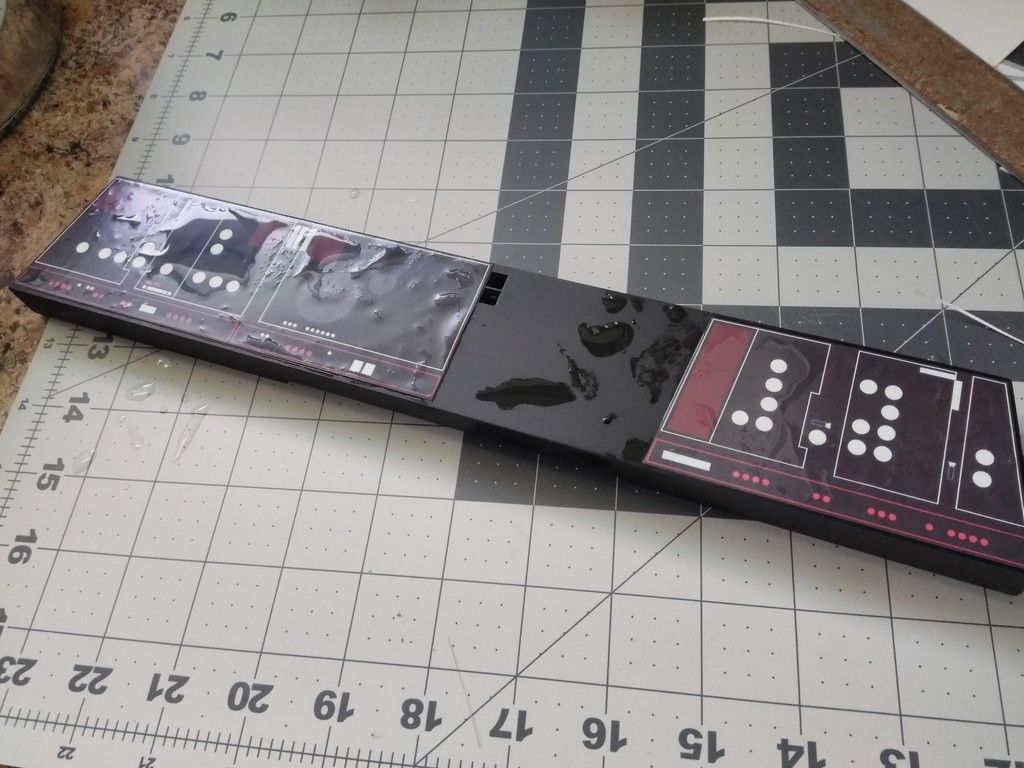
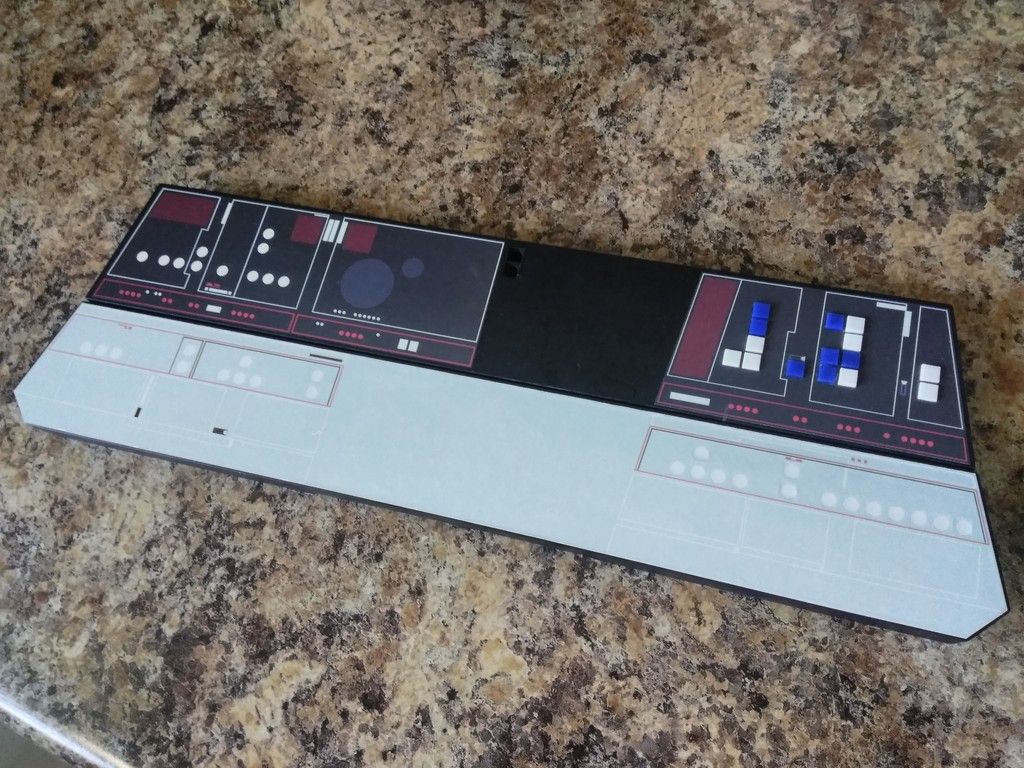
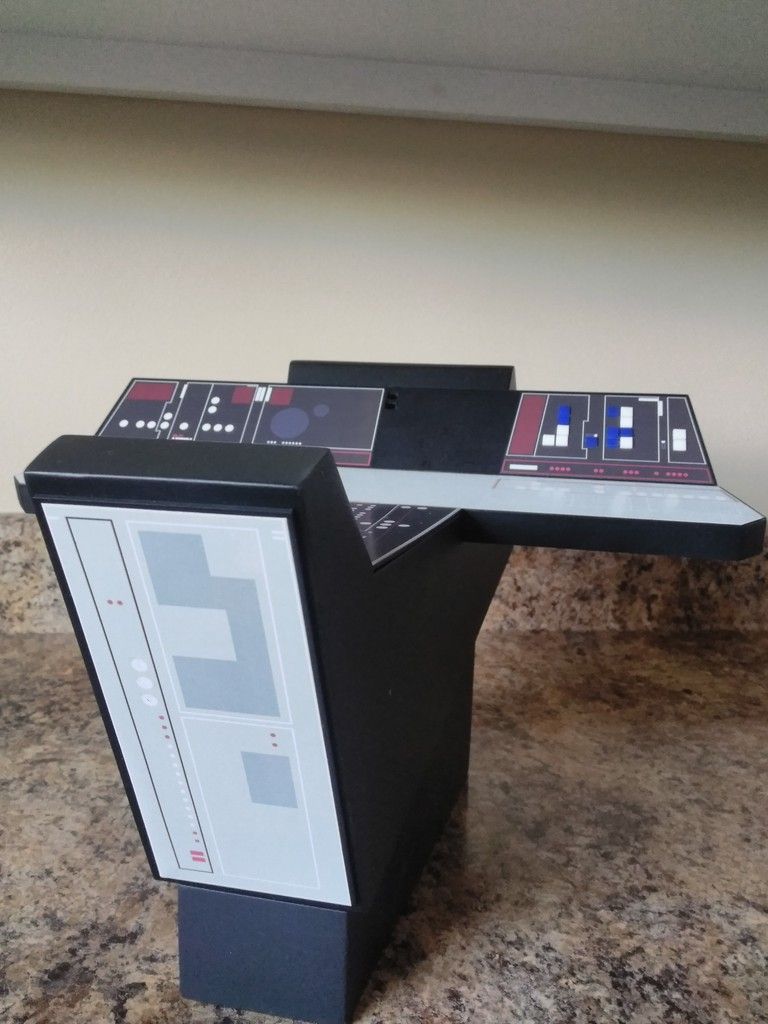
BUT... The 3rd time was the charm! I scaled / realigned the outer pinstripe edges, reprinted, sealed, cut the decals to shape and placed in water for 2-3 min
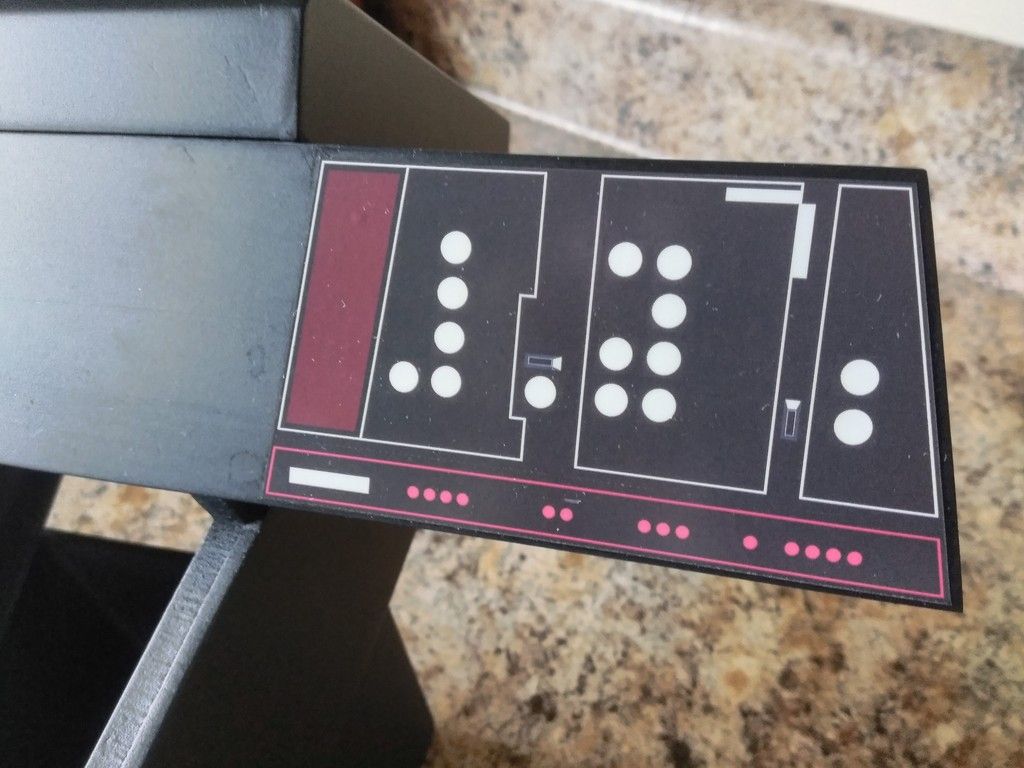
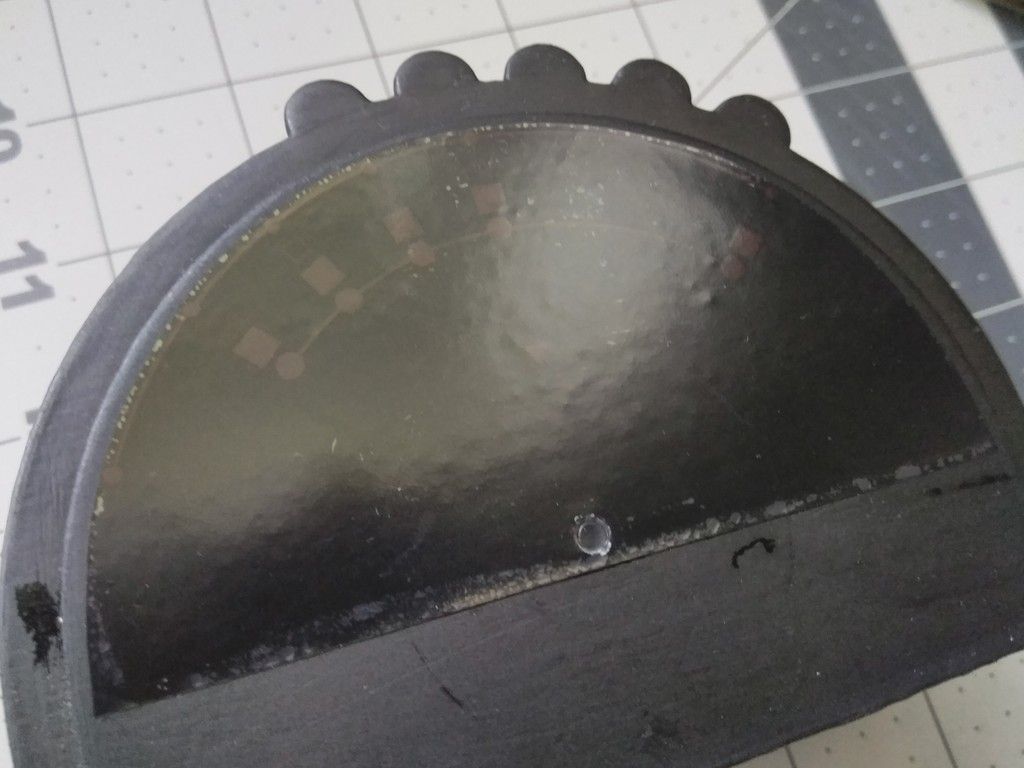
This is where I'm a little disappointed... The black ink is NOT as deep as I would like it to be and I'm not sure how to calibrate the printer to print what's on screen
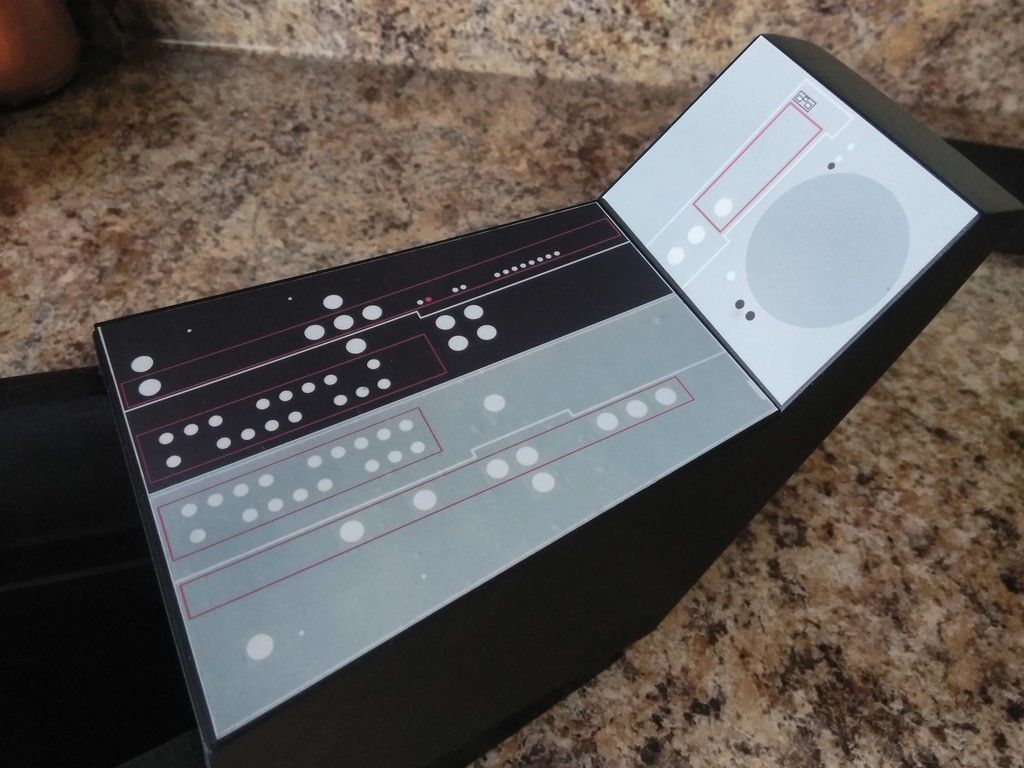
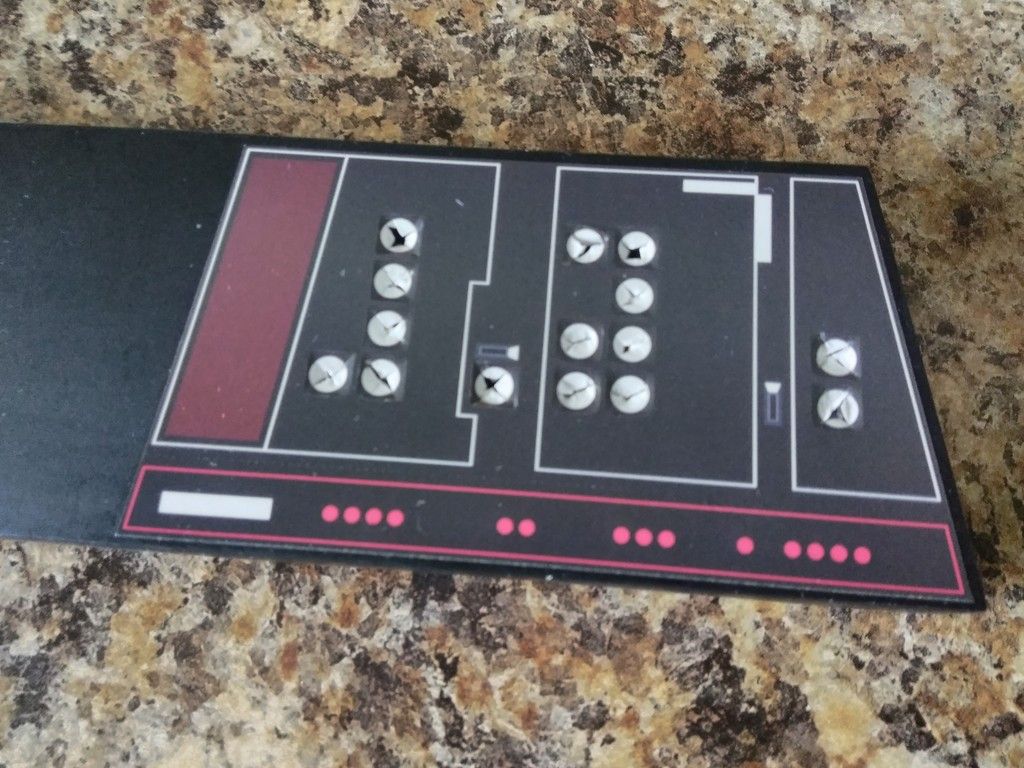
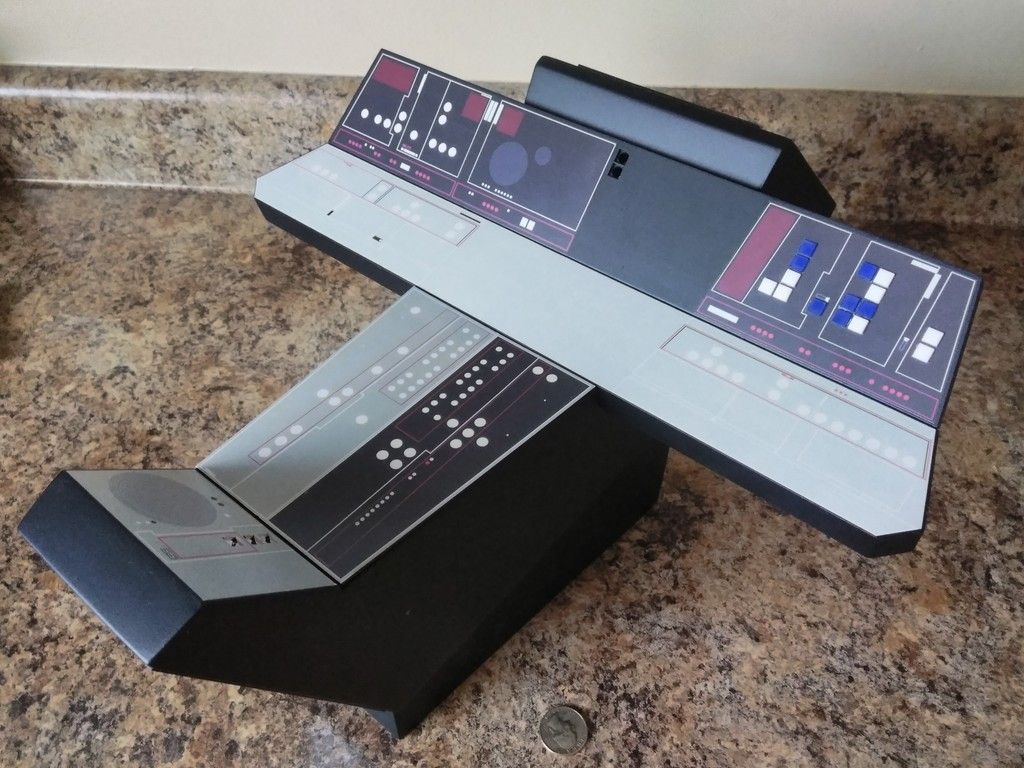
Armrest decals in place - these look really good. The two competing colors help make the black more vibrant
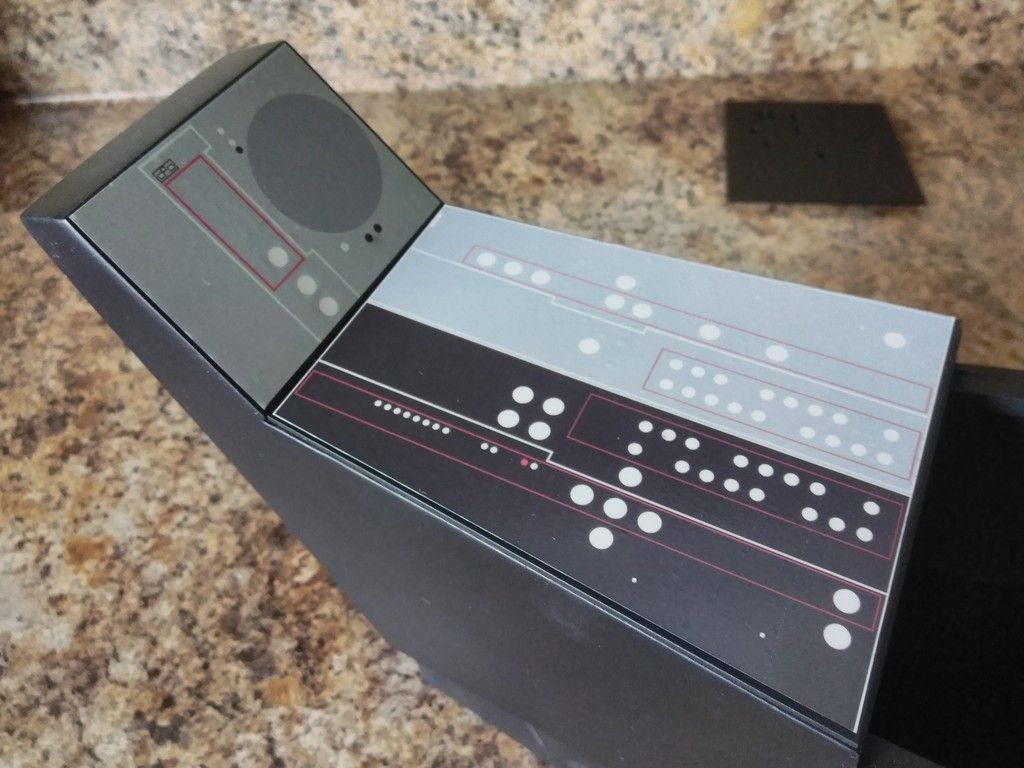
Sadly, the armrest had to be reprinted
This decal was printed 4 times! I wasted a LOT of paper. As you can see the black is not as deep as it should be against the regular black paint
It still looks really good and the holes align perfectly!
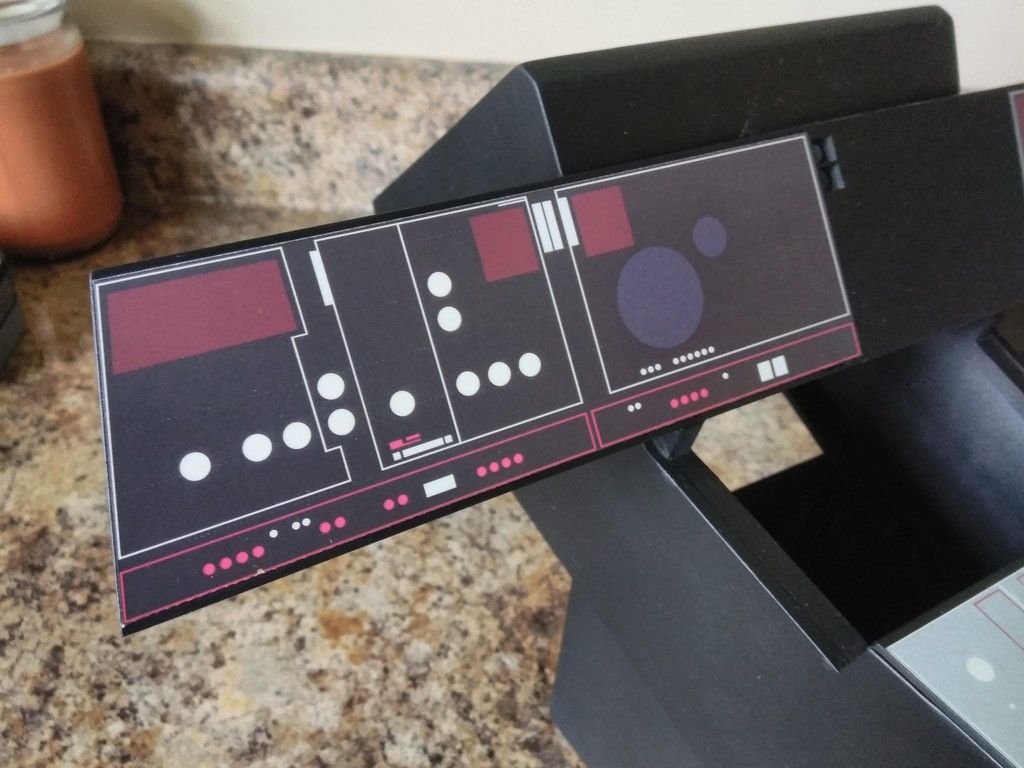
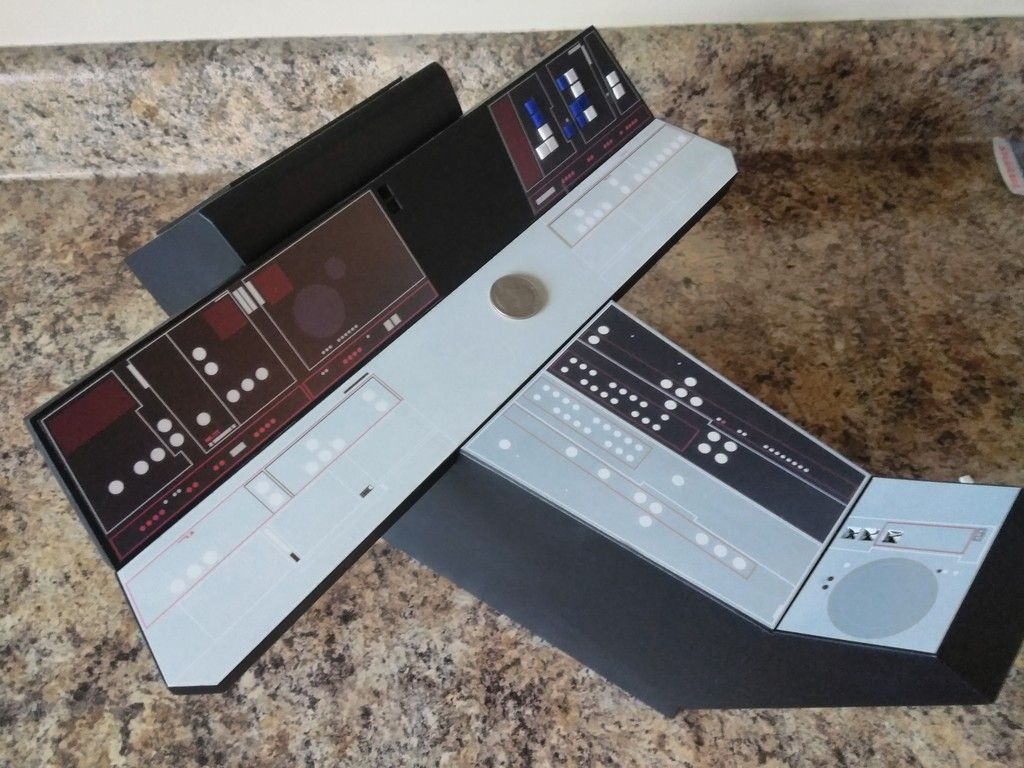
Once everything is in place I will go over all the panels with a final coat of satin clear to seal the decals to the panels
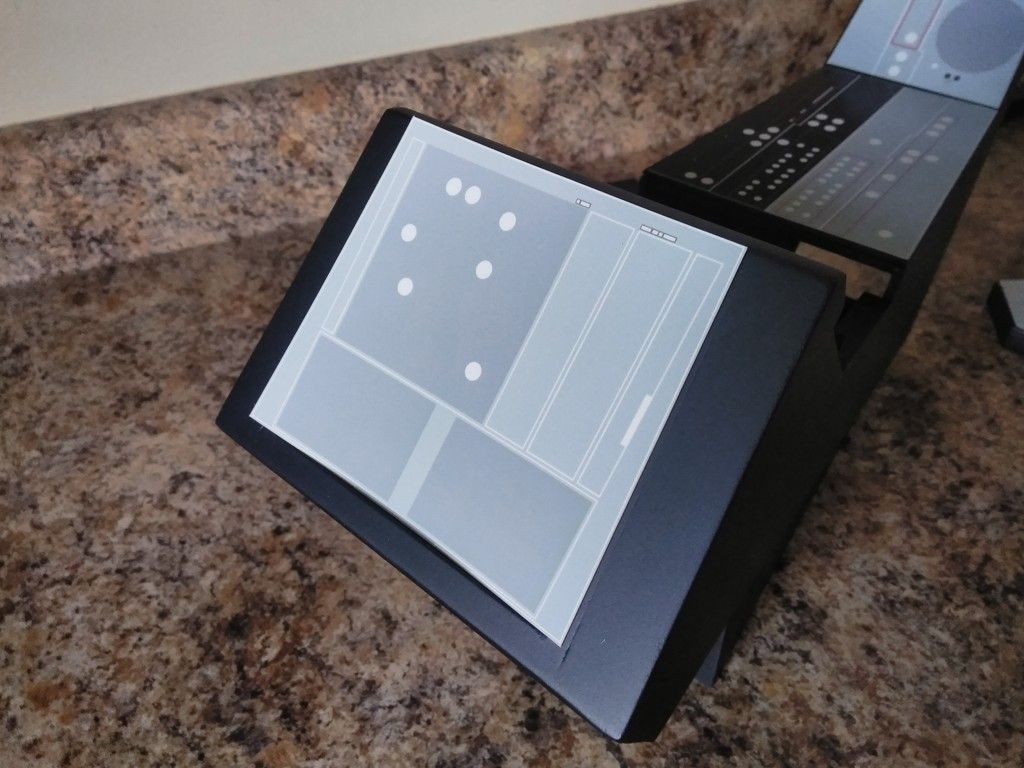
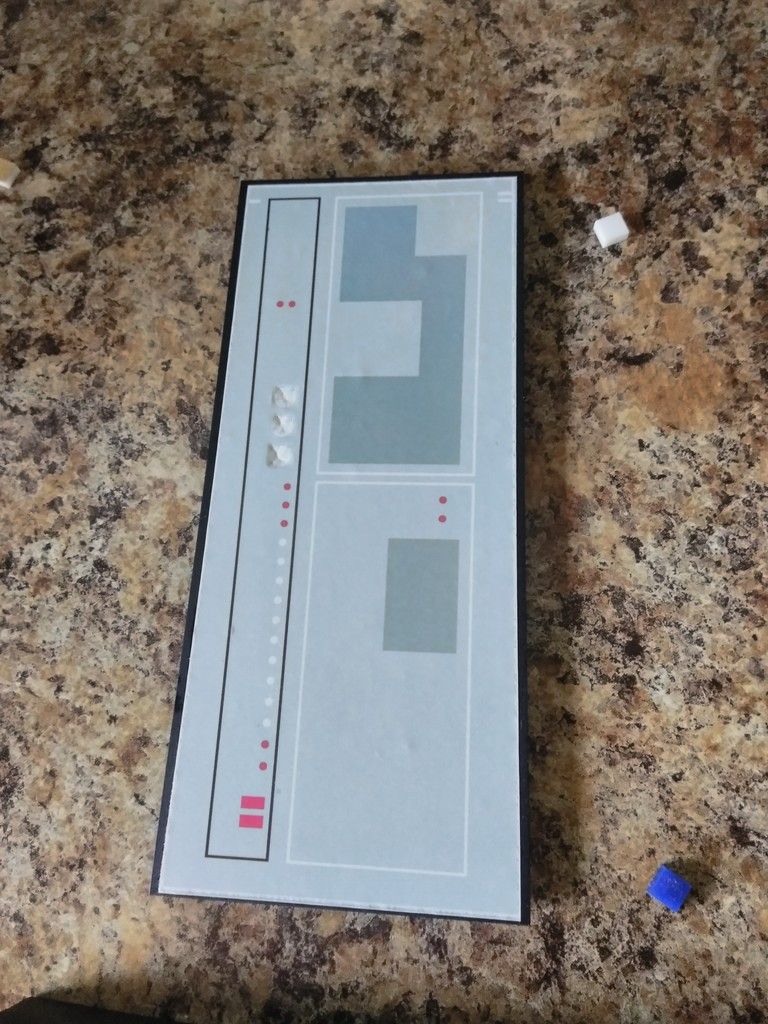
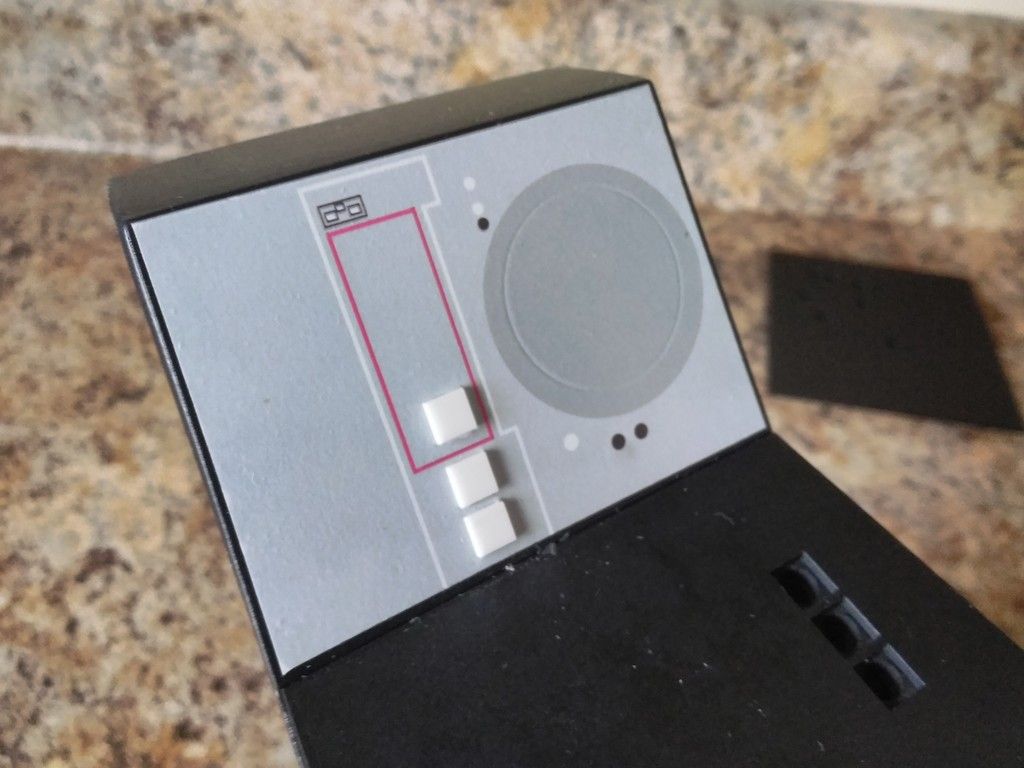
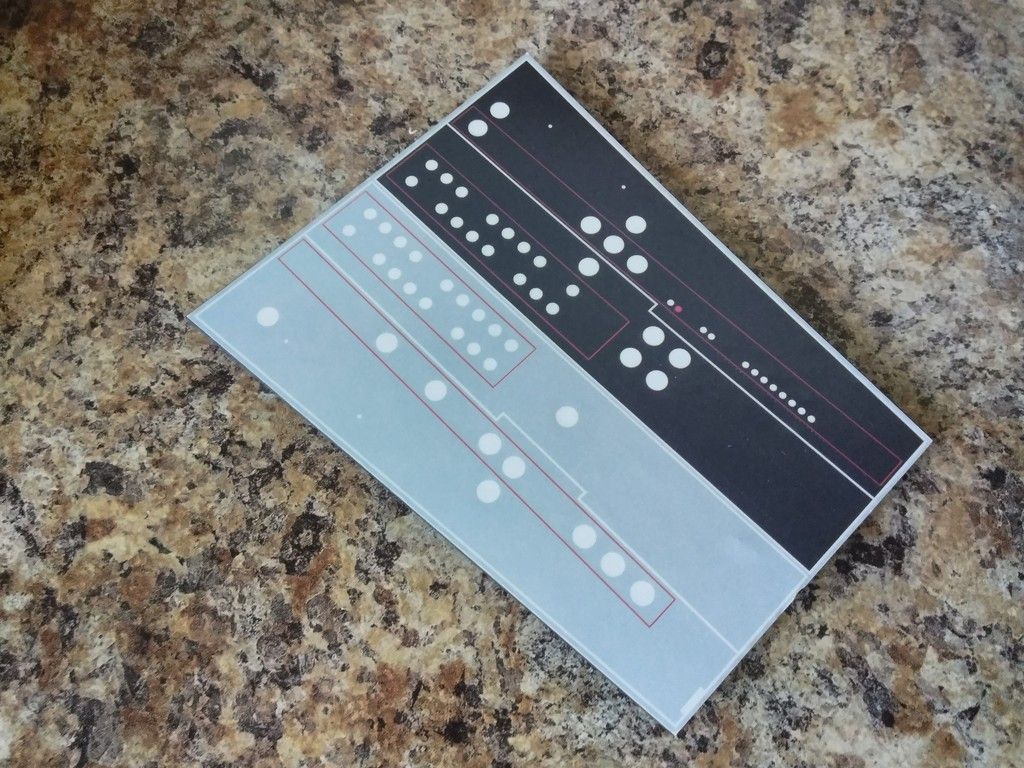
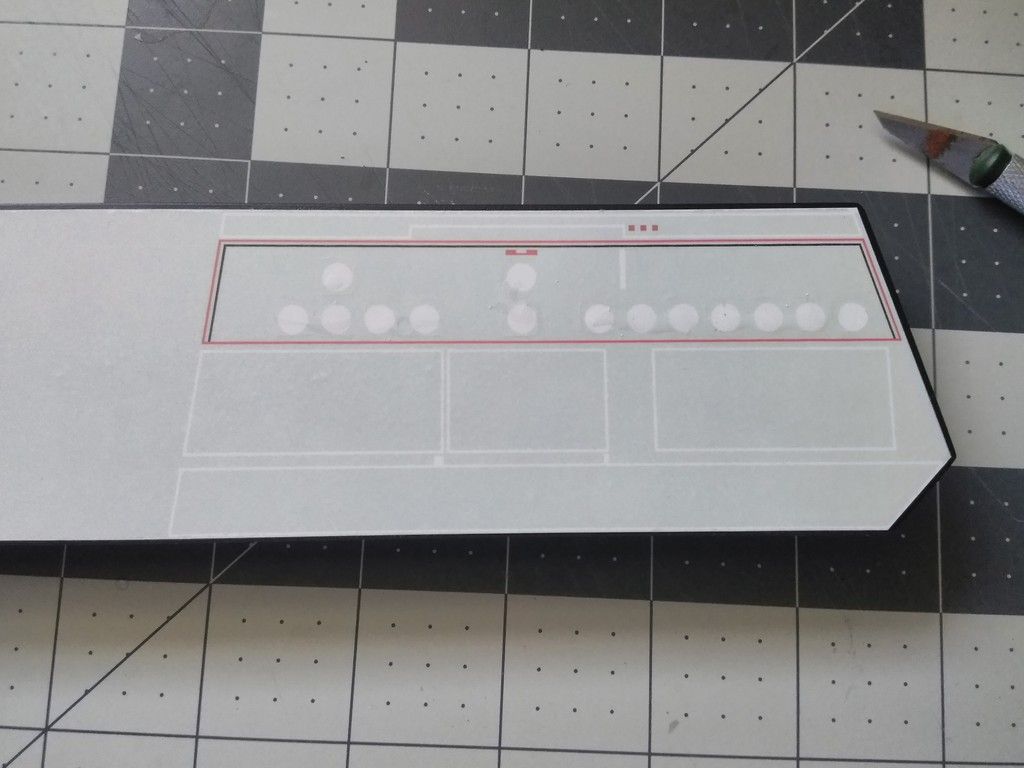
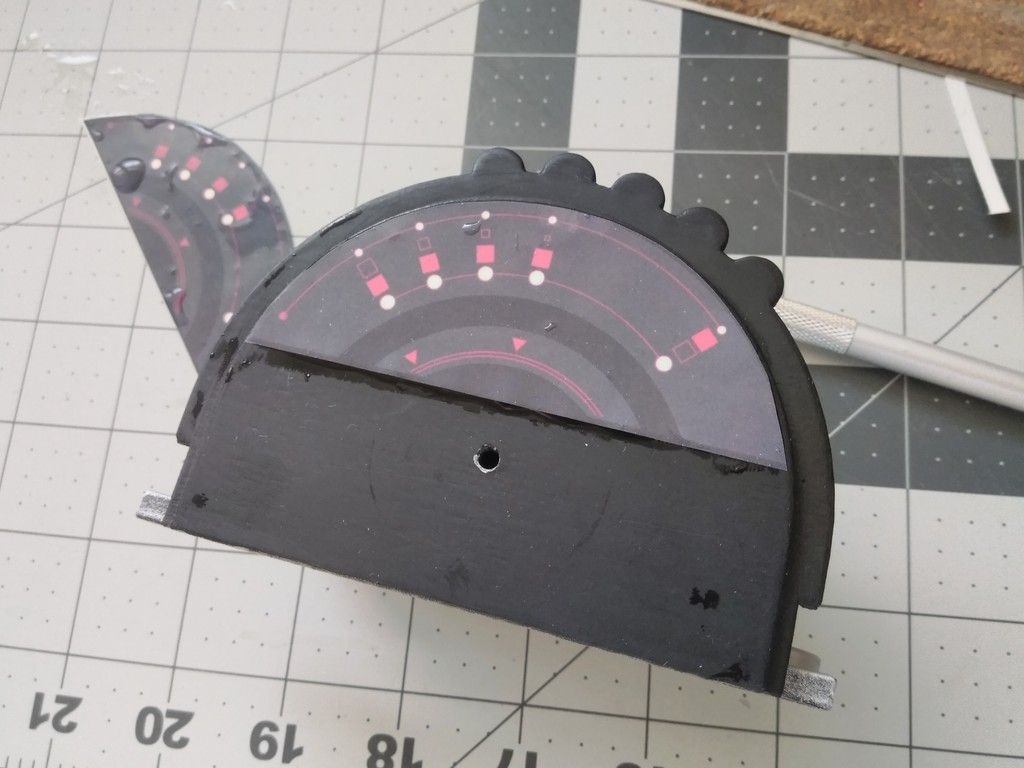
The lower instrument panel decal is NOT in place yet - a new decal is getting its final coat of satin clear
I have to recut a new MDF/acrylic nose panel for the decal to fit
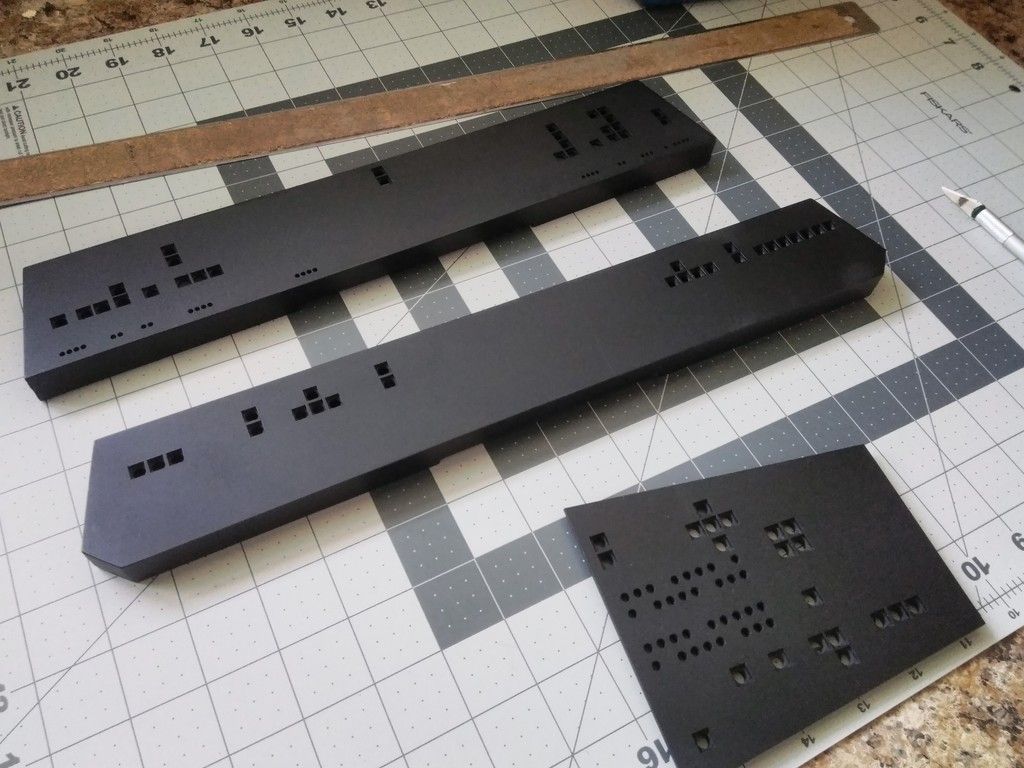
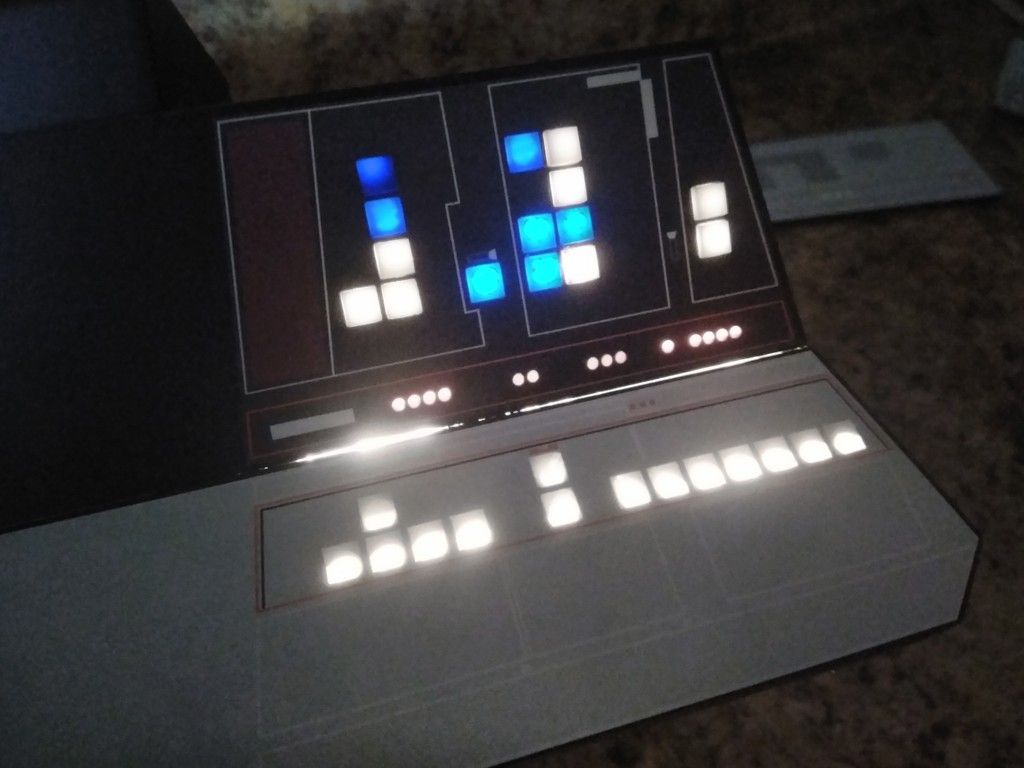
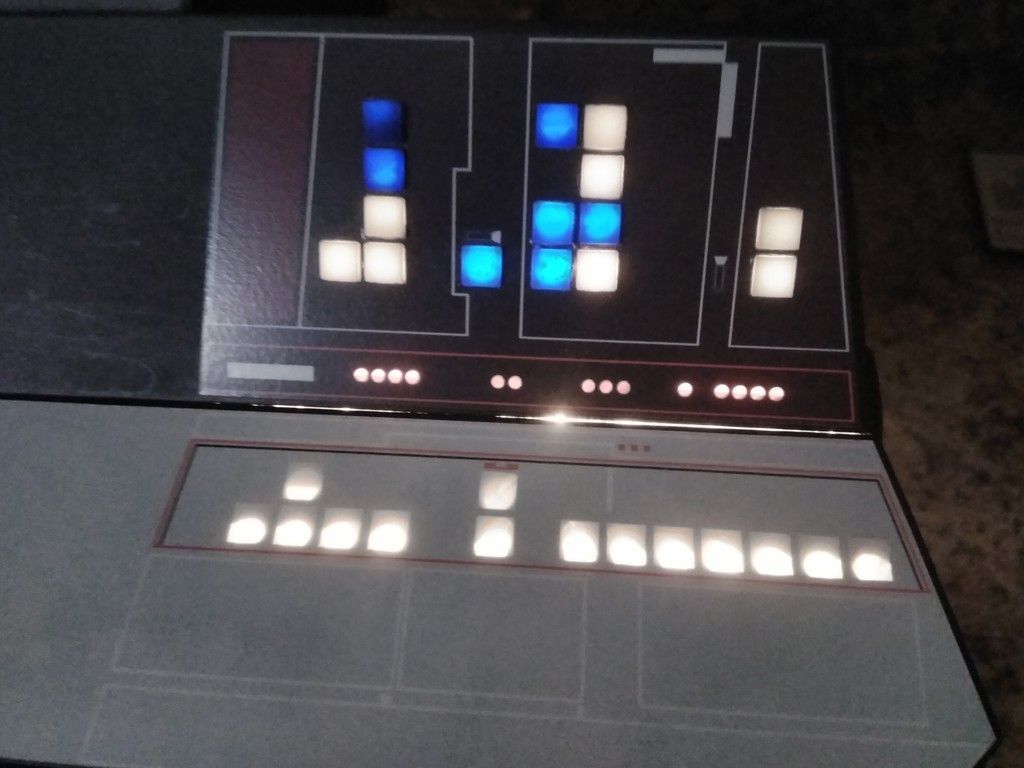
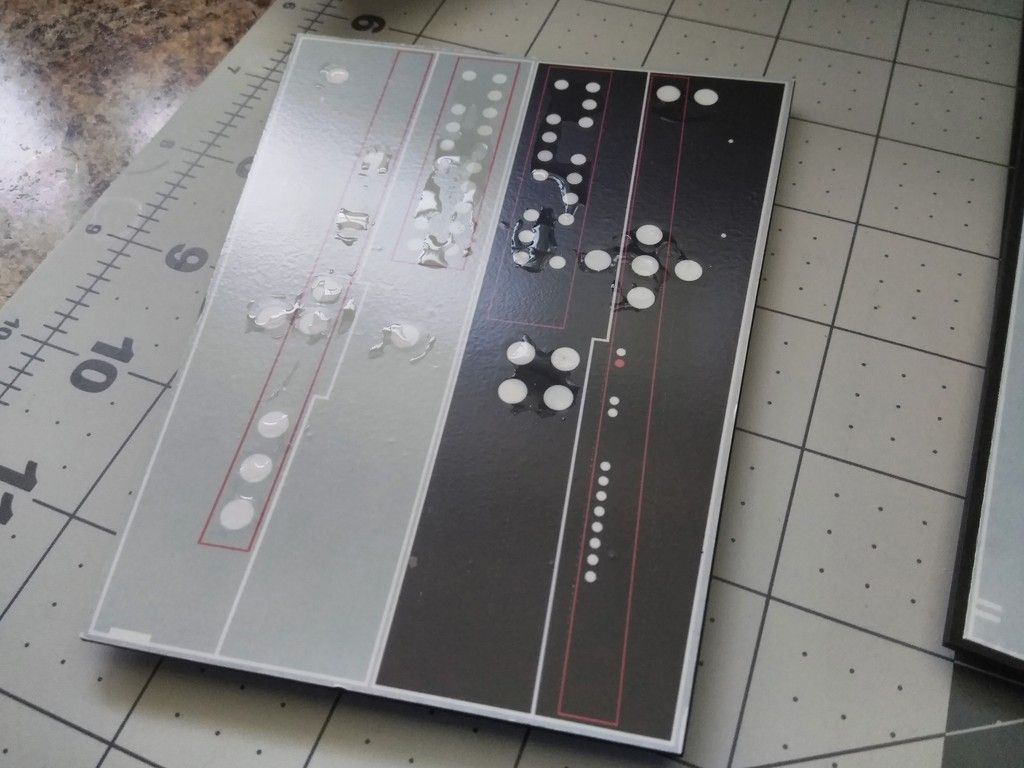
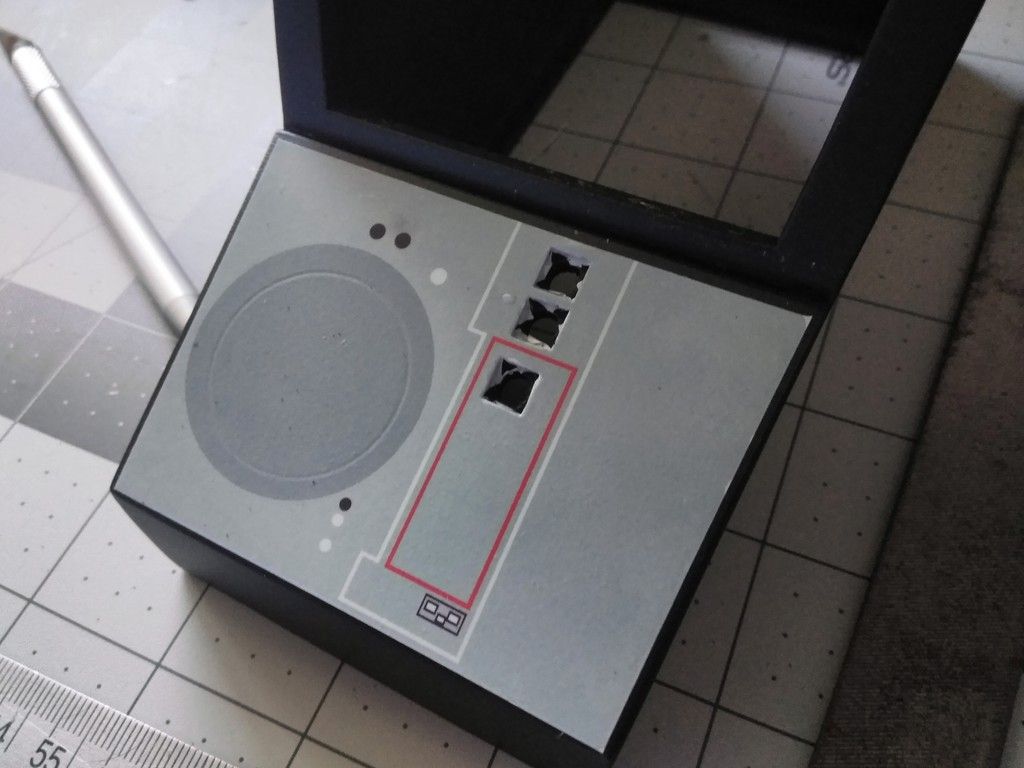
Back panel - you can see the holes punched for the tiles
This process was LOTS of fun. I had to carefully cut small "Xs" into the openings for the tiles to fit
NICE!
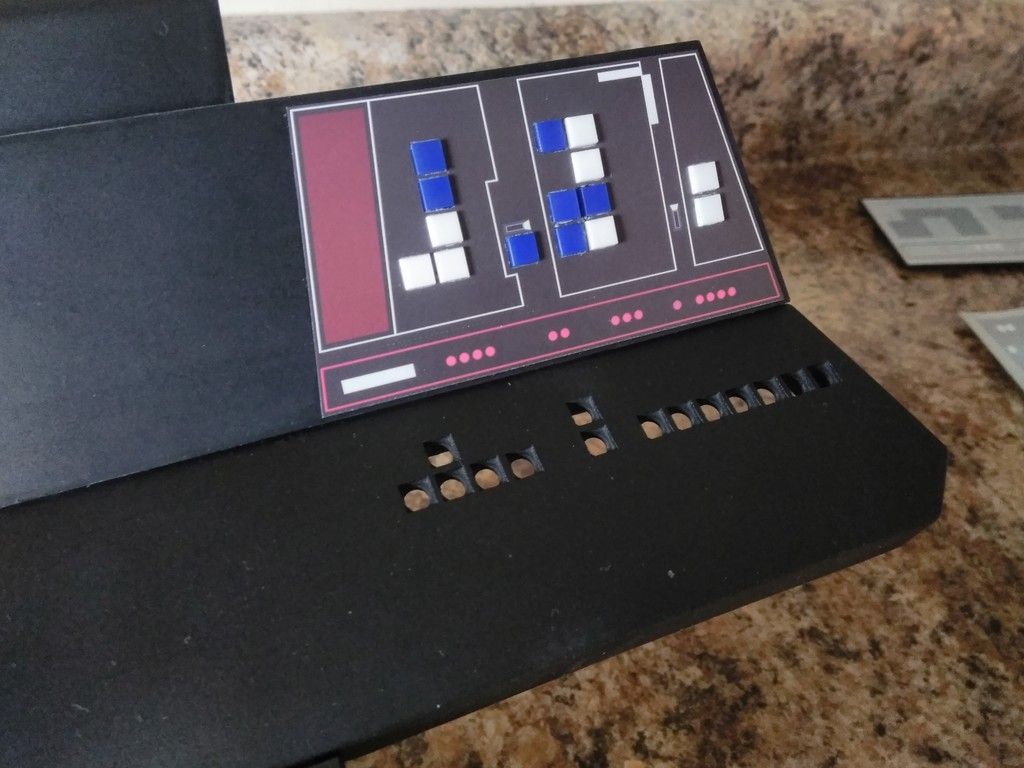
UGH... Slight error
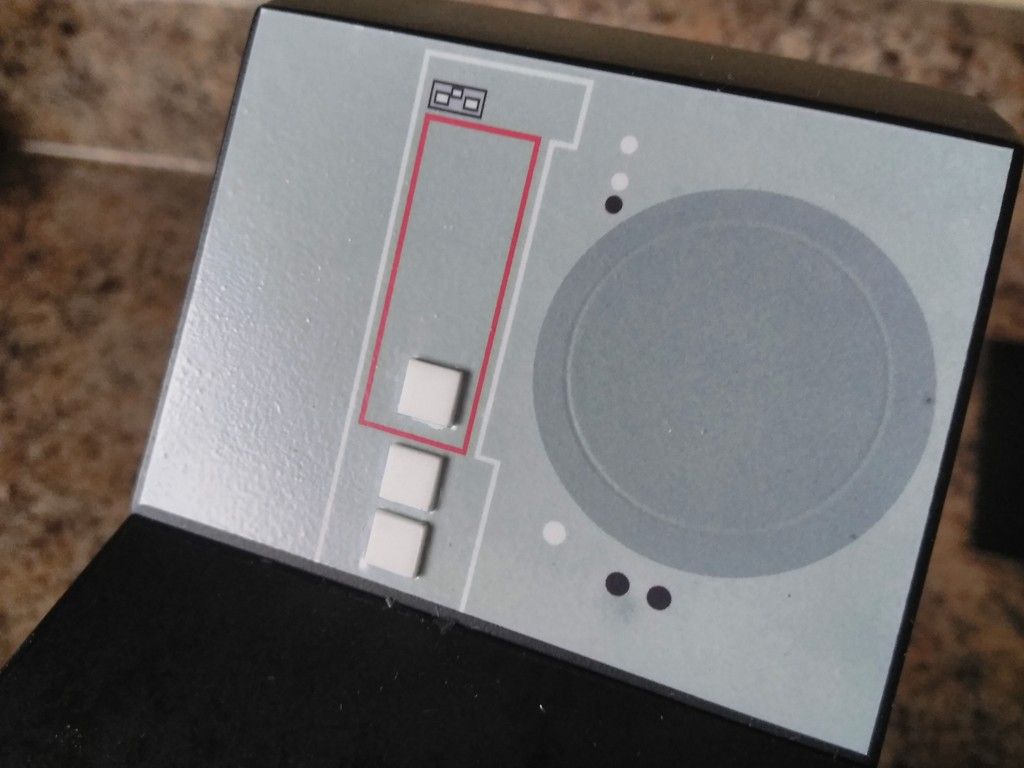
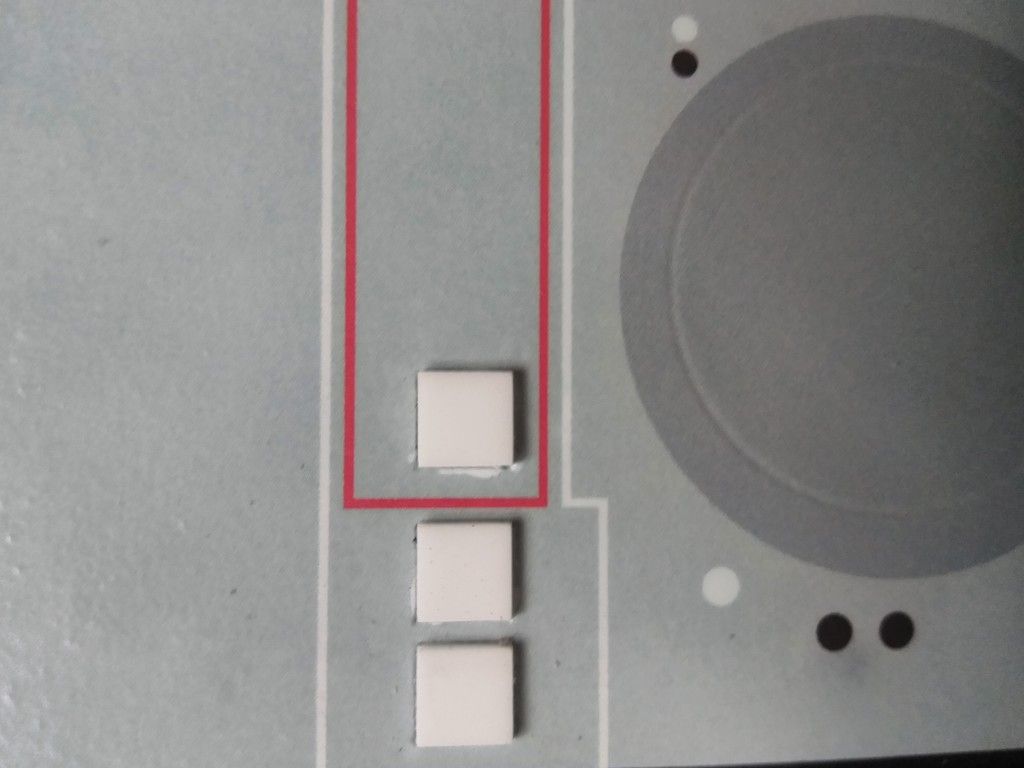
I then temp placed all the tiles into position - you can see where the paper was stressed
It does look cool!
")
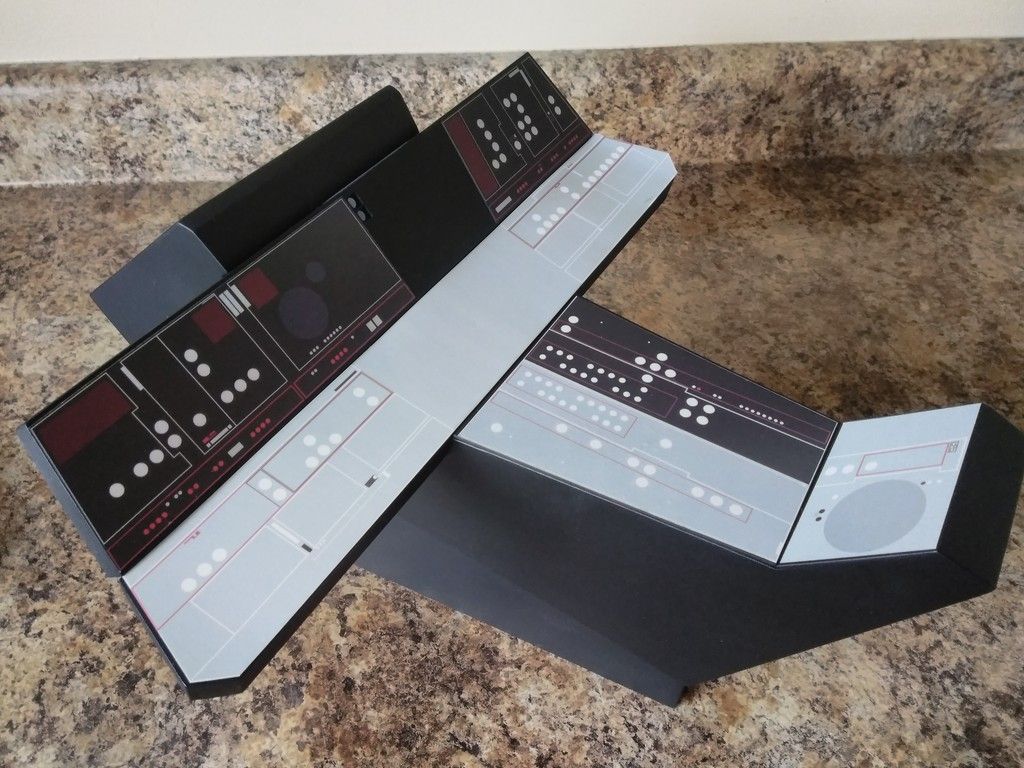
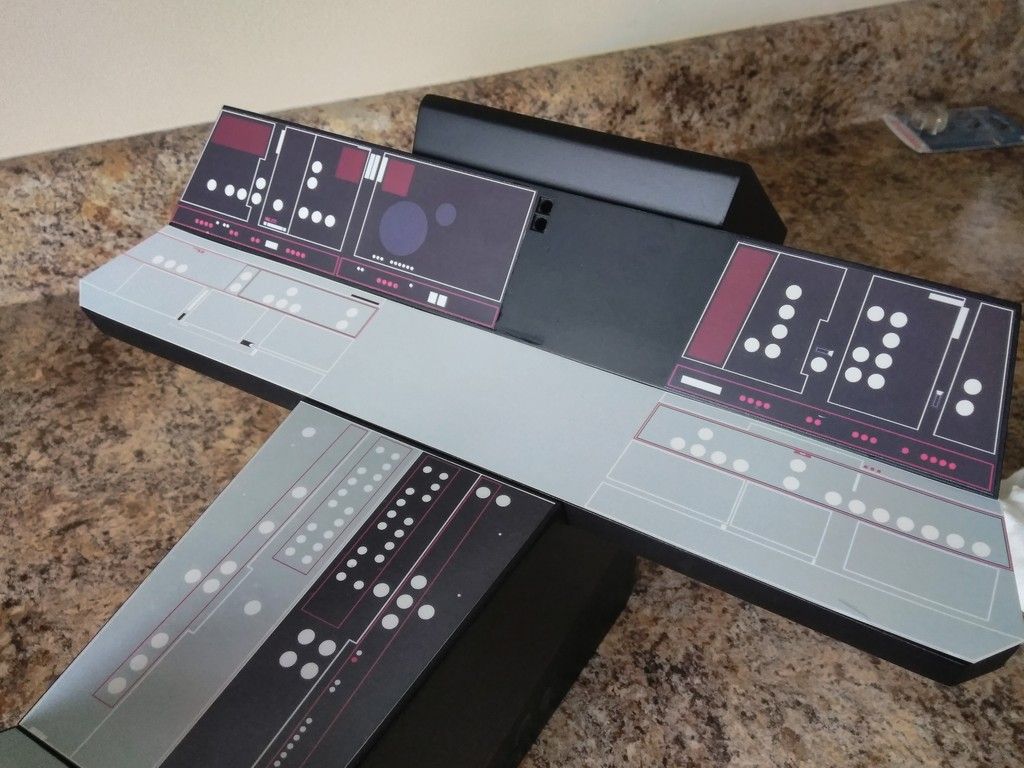
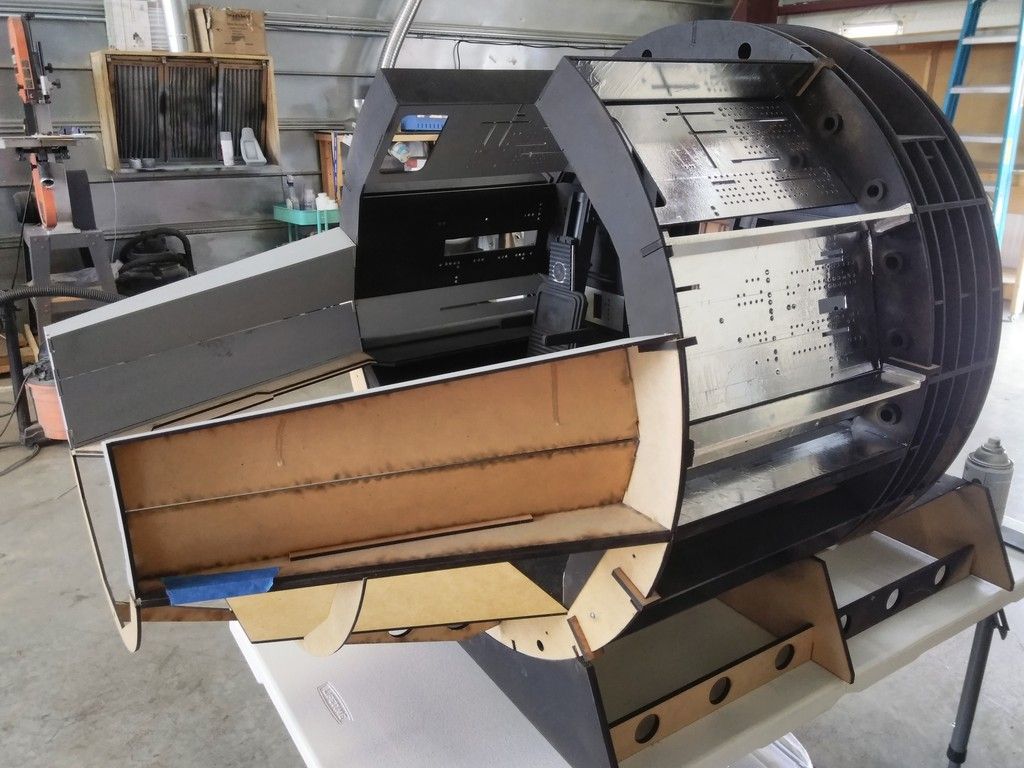
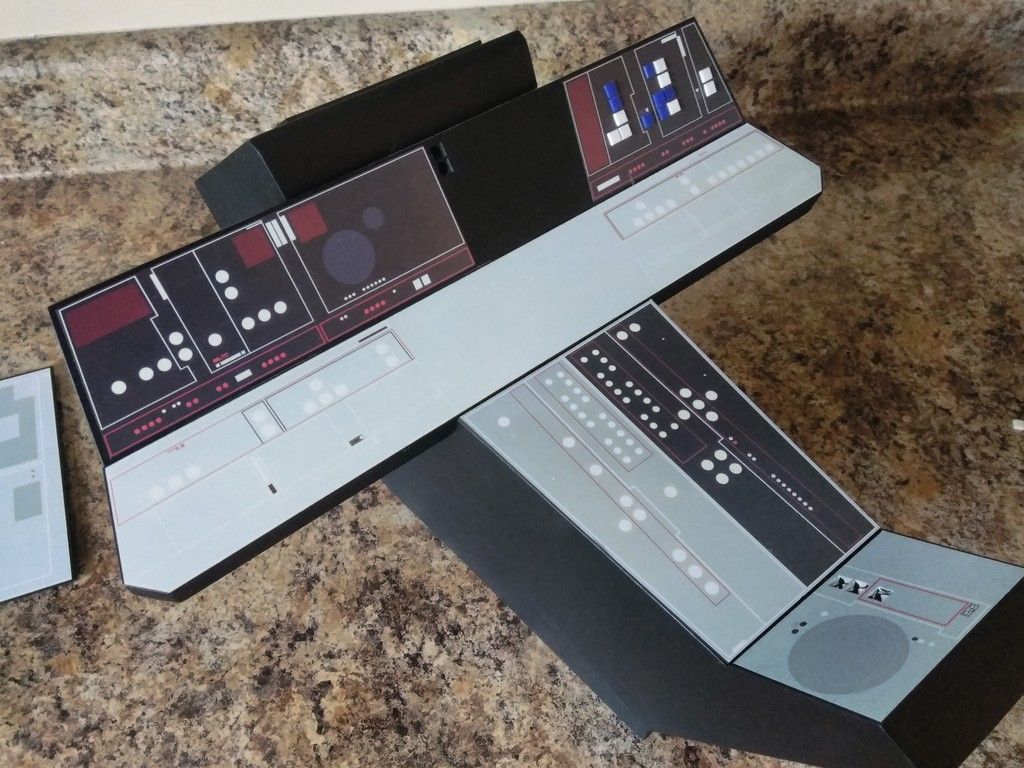
And this is where we are!
The next few weekends are my prepping for the upcoming Galactic Swag Con in Dallas, TX on Sept 8! Lots to do!!!! Hope to see some of you there!
Stay Tuned!