You are using an out of date browser. It may not display this or other websites correctly.
You should upgrade or use an alternative browser.
You should upgrade or use an alternative browser.
X-Wing Cast from Original Parts
- Thread starter DaveG
- Start date
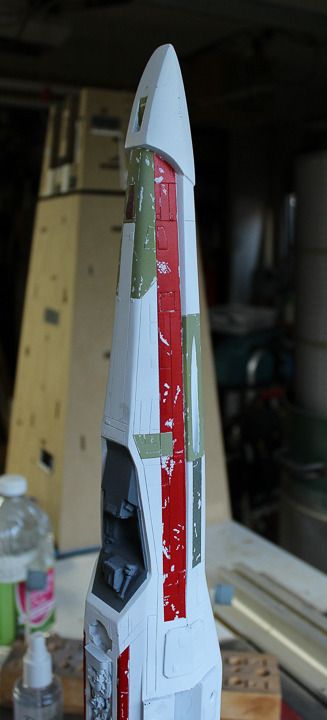
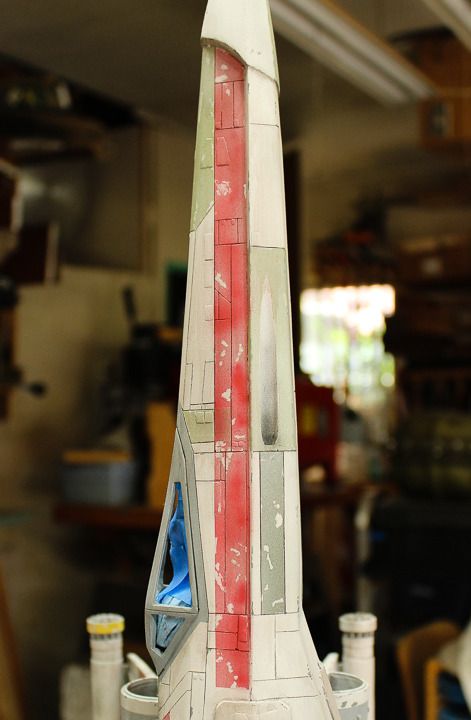
I think I've figured out what the problem was. When I did the sample test of the hairspray paint chipping the red paint had only been dry for a couple of hours. Tonight when I tried to soften the paint on the model it had been curing for more than two days. The paint must continue to harden after the water evaporates and it is dry to the touch. As it turns out the paint color I sprayed yesterday, the olive green on the fuselage, can still be softened and chipped off. I tried to soften and chip some more on the original sample but now that the paint has been curing for more than three days it is impossible to chip.
So if you're going to try this technique for paint chipping make sure that you do it within a day of spraying the top coat. the sooner after it dries the better.
So if you're going to try this technique for paint chipping make sure that you do it within a day of spraying the top coat. the sooner after it dries the better.
Last edited:
") next update will be the one with the right used look on that bird.
next update will be the one with the right used look on that bird.Went through and hand painted the paint chips. It was pretty easy and fast. I'm pretty happy with the results.
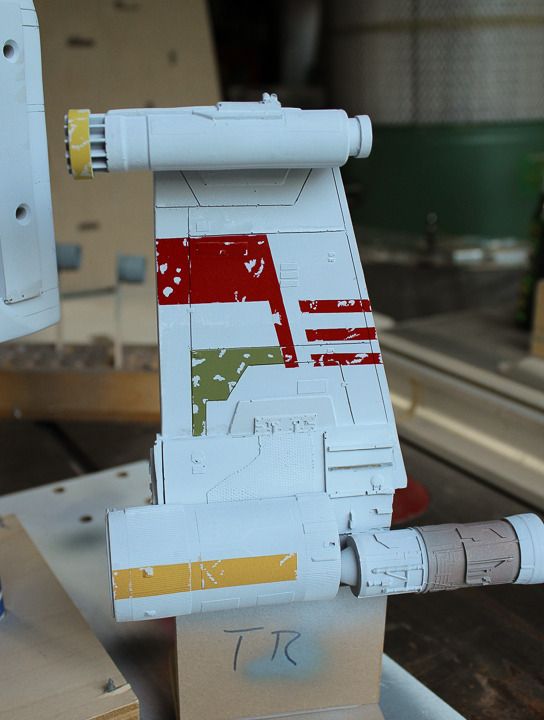
the next step was to overspray all the colored panels with the base grey to fade them out a bit. then the beginnings of the weathering overspray. I used a dark dark charcoal grey. Still a lot left to do but It's heading in the right direction.


the next step was to overspray all the colored panels with the base grey to fade them out a bit. then the beginnings of the weathering overspray. I used a dark dark charcoal grey. Still a lot left to do but It's heading in the right direction.


Bring on the gunk!
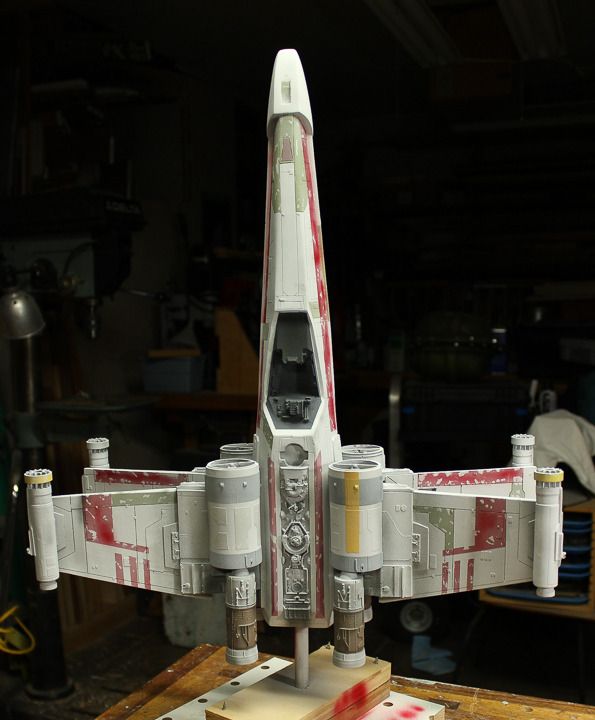
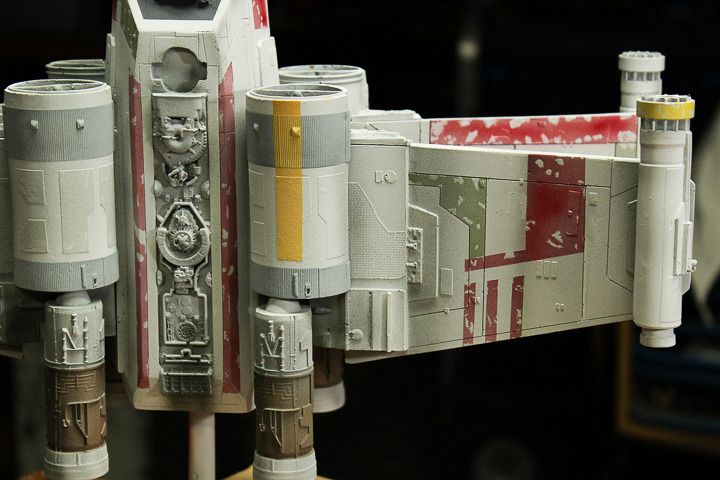
The next step was to apply an overall dark wash to bring out the panel lines and recessed details. First I airbrushed the entire model with a couple coats of Vallejo satin waterbased polyurethane varnish to seal the surface and reduce the wash's "staining" effect. Then I used what I like to refer to as "God's Own Wash", Testor's Rubber enamel thinned down with a lot of turpentine. This brown black color is perfect for weathering. I worked on medium sized areas, first brushing the surface down with clean paint thinner (this helps prevent streaking and dark patches) then a liberal application of the wash, wiping it off almost immediately with a clean cotton rag. Once the first layer of wash had dried I went back and spot washed, or "pin" washed selected areas to darken them down even more.
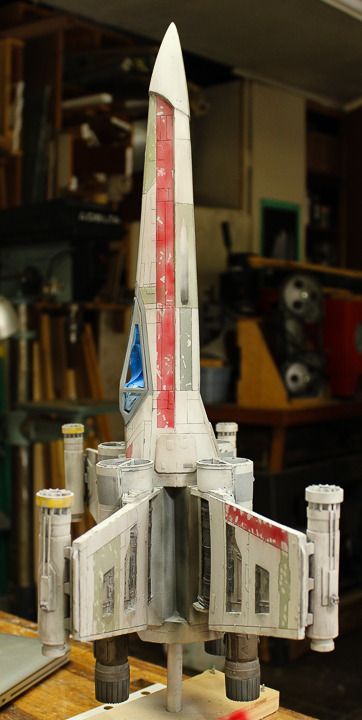
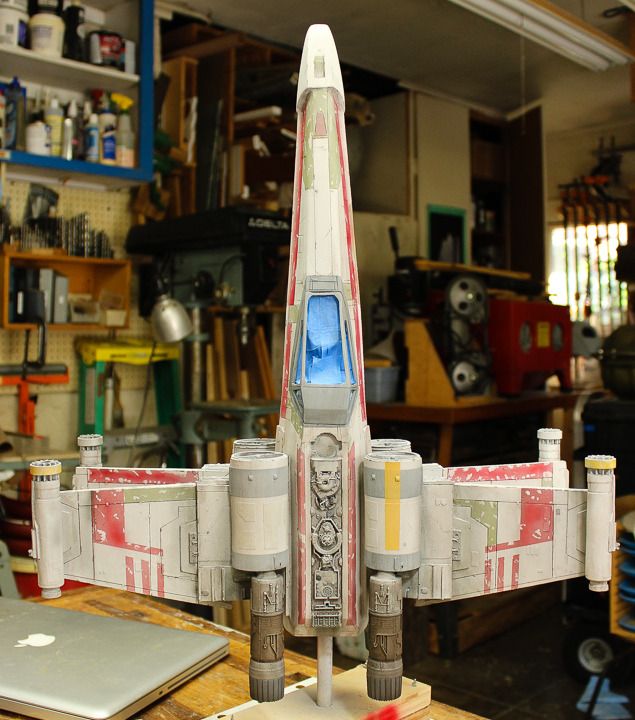
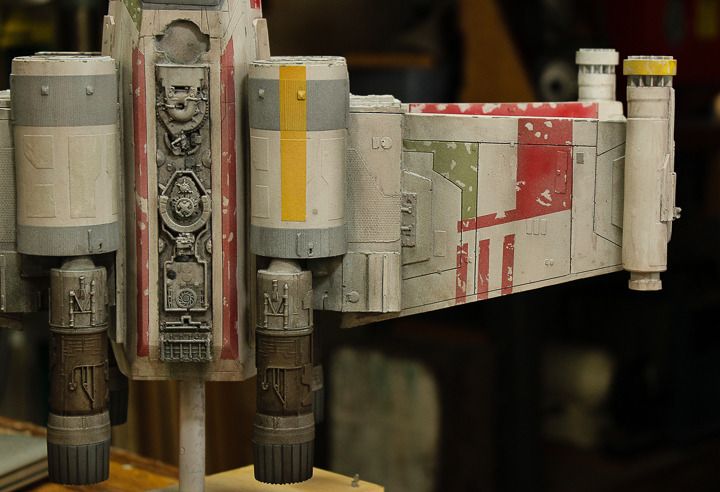
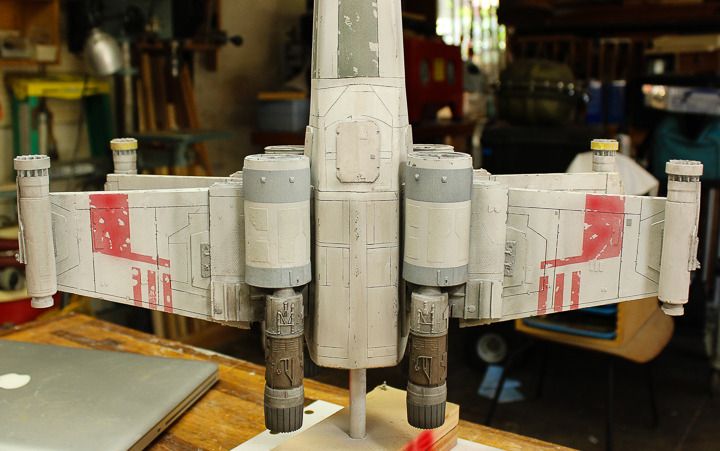
The effect of the wash is more pronounced to the eye than to the camera but I'll probably go back and add additional wash to some areas. There's still a lot more overspraying to come, streaks and dry brushing,.
The next step was to apply an overall dark wash to bring out the panel lines and recessed details. First I airbrushed the entire model with a couple coats of Vallejo satin waterbased polyurethane varnish to seal the surface and reduce the wash's "staining" effect. Then I used what I like to refer to as "God's Own Wash", Testor's Rubber enamel thinned down with a lot of turpentine. This brown black color is perfect for weathering. I worked on medium sized areas, first brushing the surface down with clean paint thinner (this helps prevent streaking and dark patches) then a liberal application of the wash, wiping it off almost immediately with a clean cotton rag. Once the first layer of wash had dried I went back and spot washed, or "pin" washed selected areas to darken them down even more.


The effect of the wash is more pronounced to the eye than to the camera but I'll probably go back and add additional wash to some areas. There's still a lot more overspraying to come, streaks and dry brushing,.
Great documentation of all the successes and failures! Very informative!
Thanks Joberg! Actually to be quite honest I find the ILM way of weathering models, at least on the first movie, to be quite crude. It looks fine on film but in person is kind of coarse. Having the majority of the paint chipping reveal the white/grey rather than a primer coat doesn't make much sense and their use of black airbrush overspray was pretty heavy handed. The model painting in Empire was considerably better.
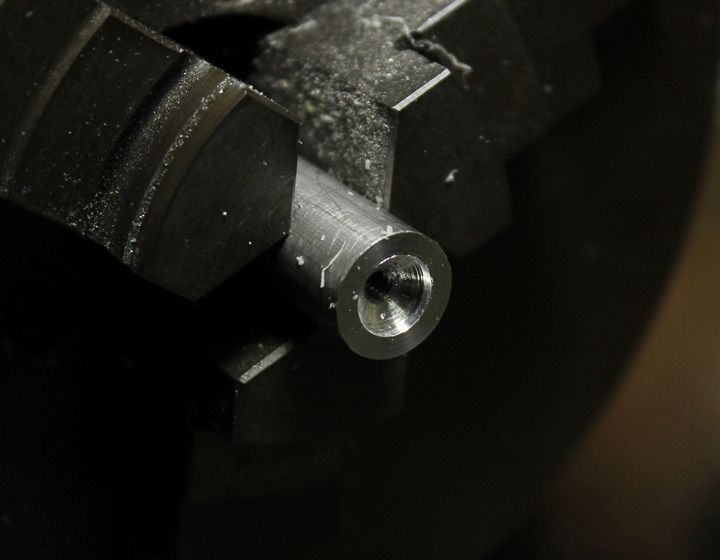
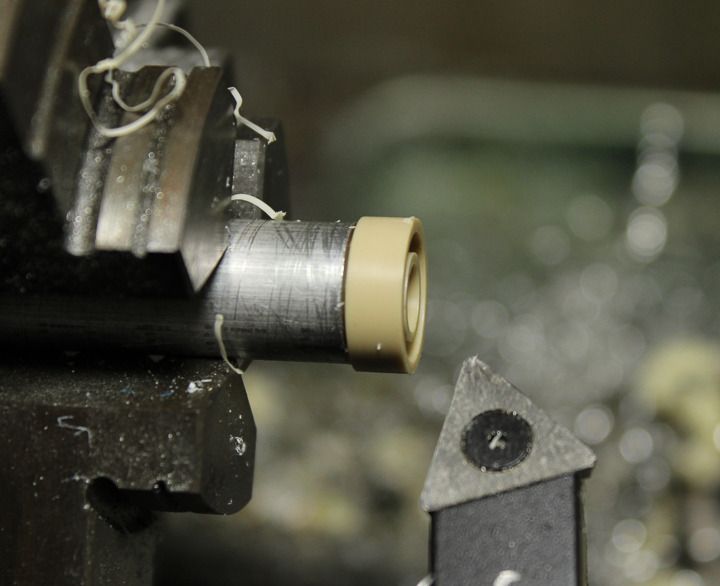
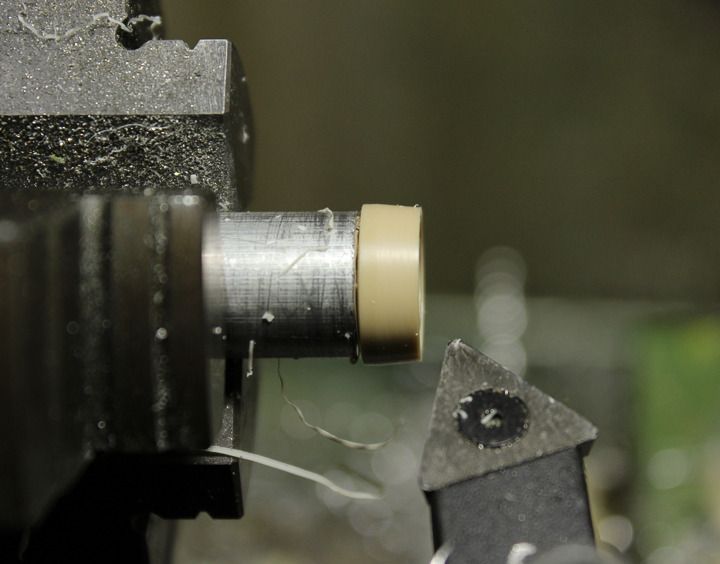
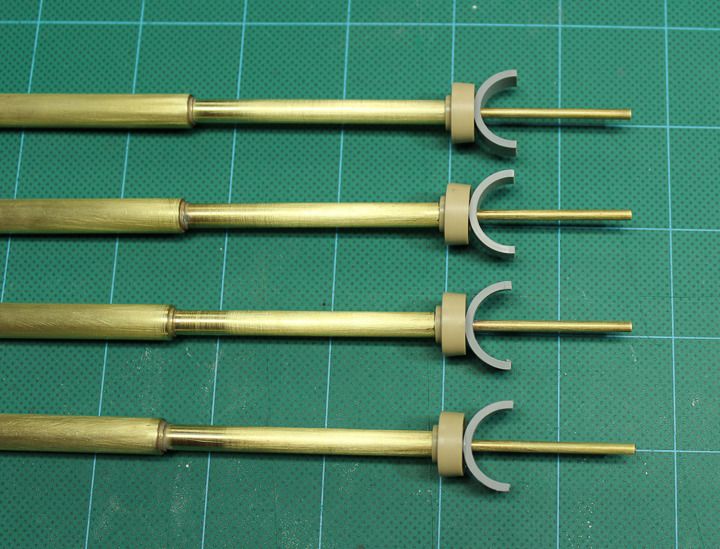
The Hummel wheels arrived today thanks to RPF member Talkierg who sent them all the way from Malaysia! Thanks again!
To angle the outer surface I first made a little jig on the lath to hold each wheel on center while the cutter shaved down the outside at the correct angle.
Then glued in place on the brass laser barrels. I couldn't be happier. Now on to paint...
To angle the outer surface I first made a little jig on the lath to hold each wheel on center while the cutter shaved down the outside at the correct angle.


Then glued in place on the brass laser barrels. I couldn't be happier. Now on to paint...

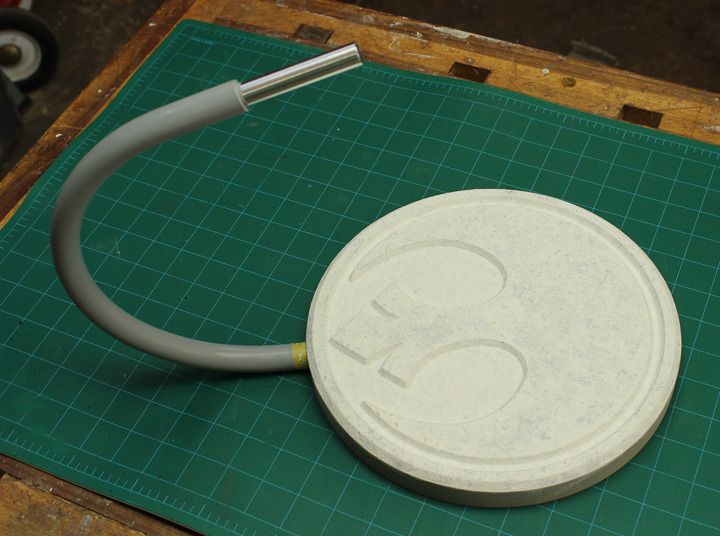
A fine model deserves a fine display base...
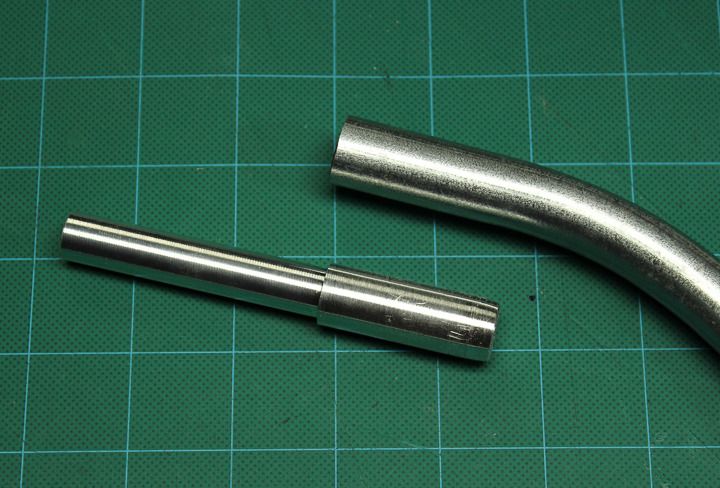
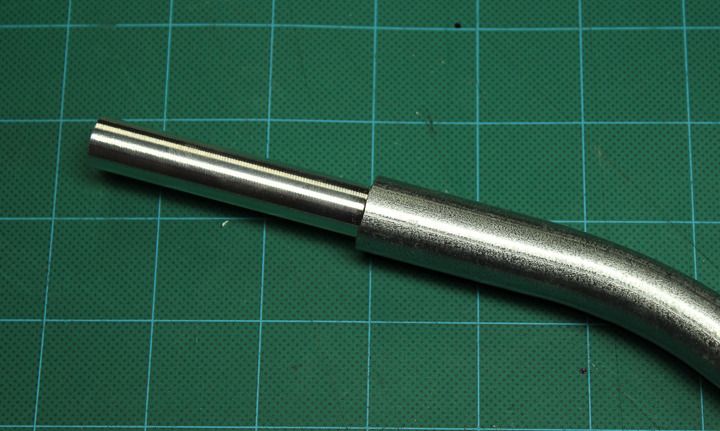
To support the X-Wing I bent a piece of electrical conduit with a conduit bender.
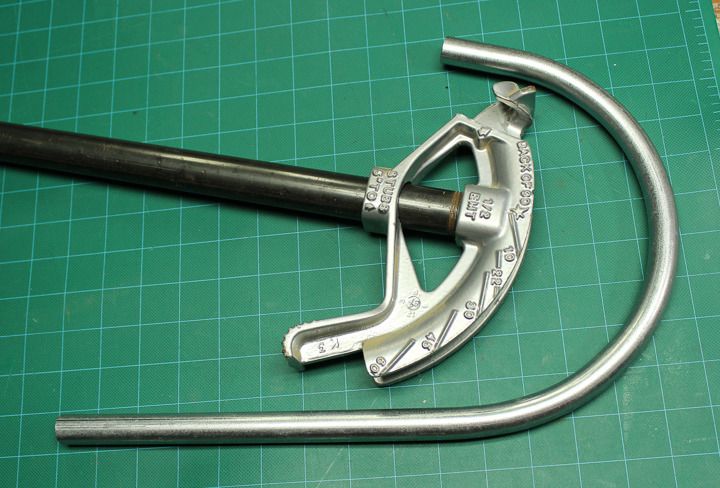
An adapter pin was turned out of aluminum and then epoxied into the end of the conduit. The 1/2" diameter pin inserts into a hole in the back of the fuselage.
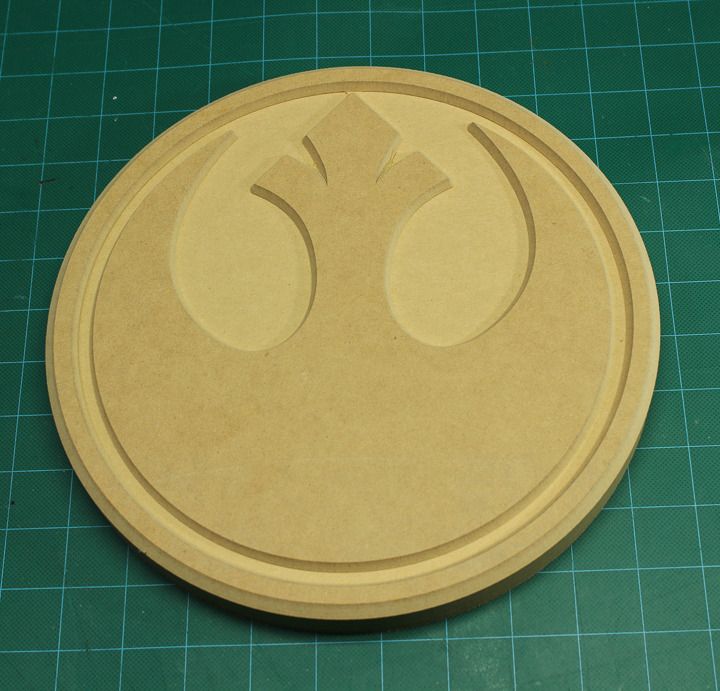
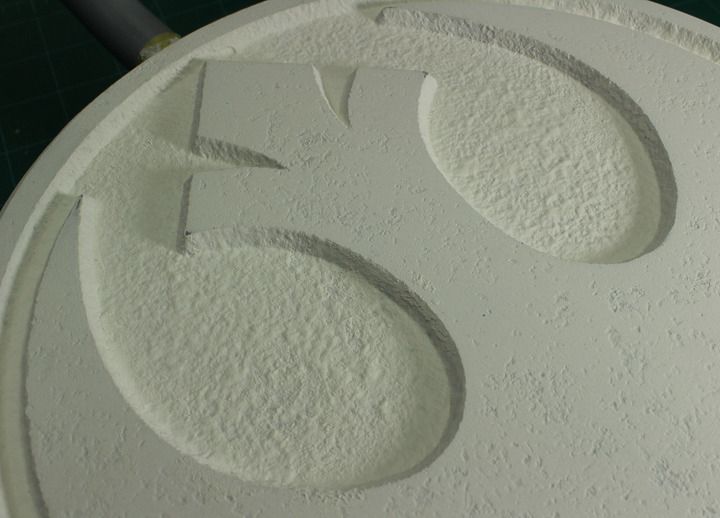
For the base I milled the Rebel logo out of 1" think MDF using the CNC router.
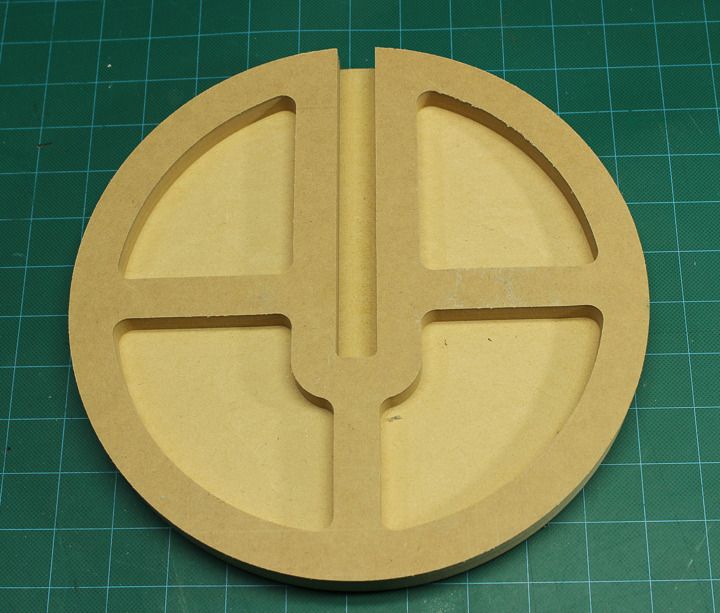
The underside of the MDF disc had a slot milled for the conduit and pockets for the addition of steel plates for weight.
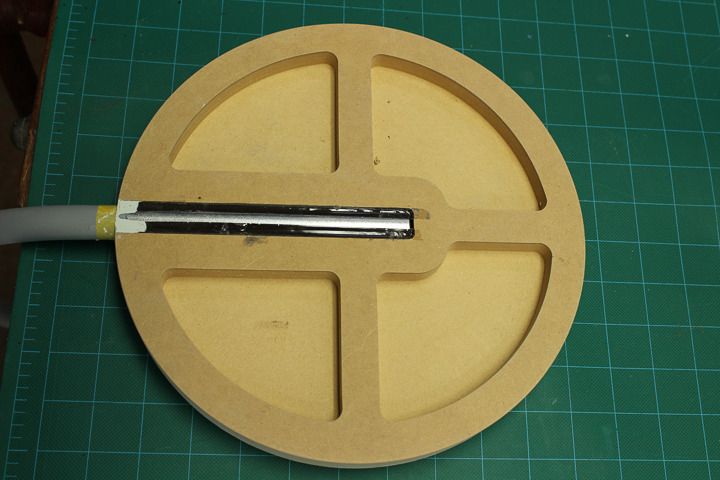
The conduit was epoxied into the slot in the bottom of the base. It turned out The weight of the MDF was enough to make a secure base and the extra weights weren't needed. So I filled the weight pockets with pieces of MDF to make the base more solid.
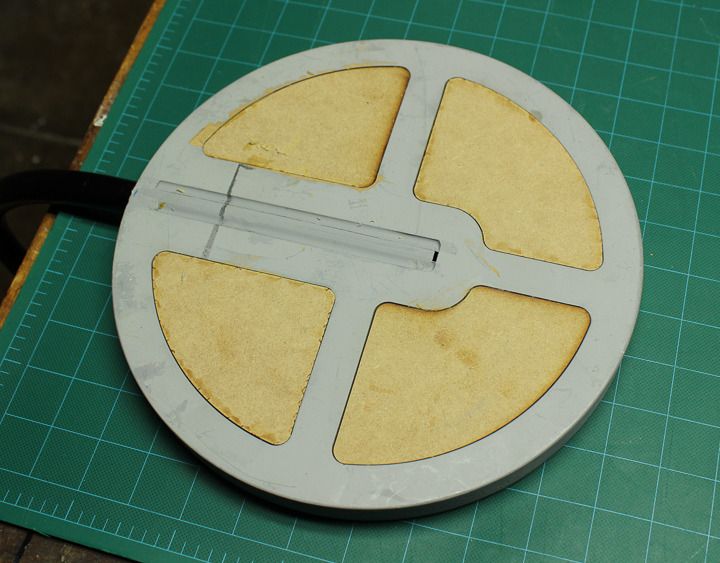
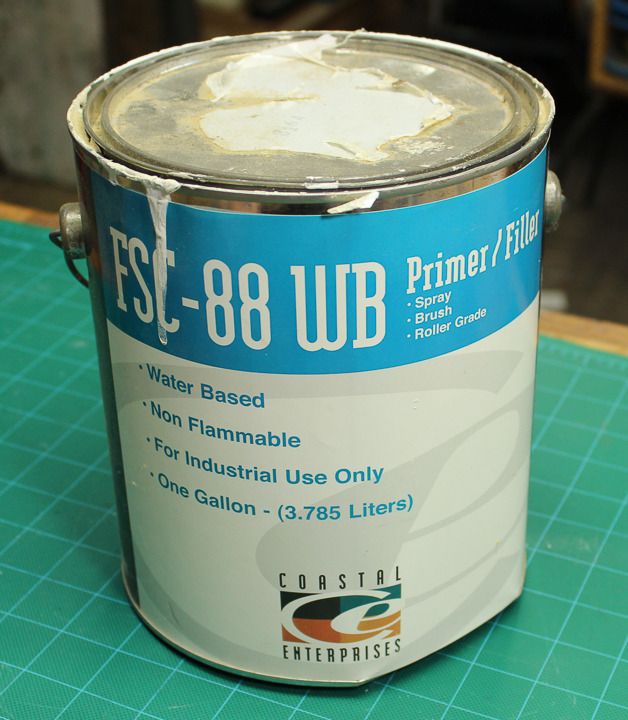
I primed the metal conduit with a couple coats of lacquer primer, wet sanding between coats. I used a water based Primer Filler from Coastal Enterprises to seal and texture the MDF. I love this primer! It has the consistency of Gesso but you can build up texture really easily by stippling with a brush. And unlike Gesso, it sands beautifully. So I could block sand the top surface down a bit to get a smoother finish than in the milled recesses.
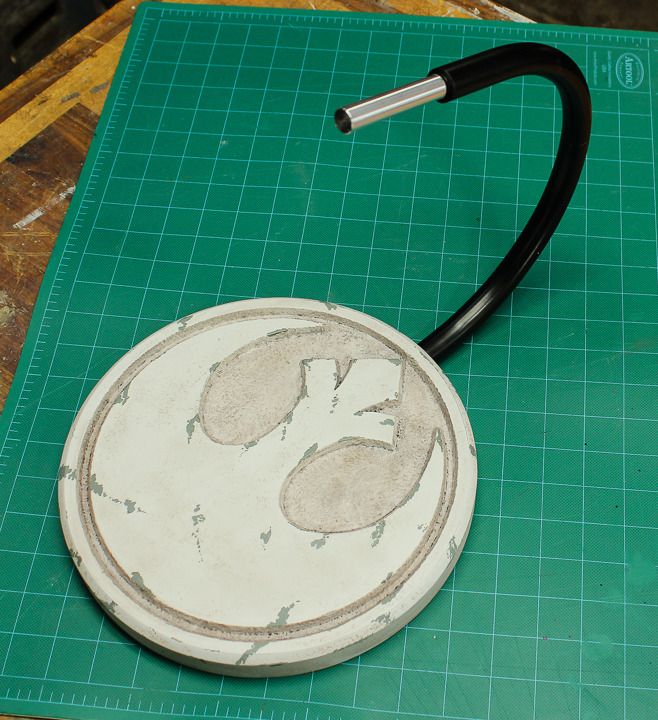
And the finished painted and weathered display base.
To support the X-Wing I bent a piece of electrical conduit with a conduit bender.

An adapter pin was turned out of aluminum and then epoxied into the end of the conduit. The 1/2" diameter pin inserts into a hole in the back of the fuselage.


For the base I milled the Rebel logo out of 1" think MDF using the CNC router.

The underside of the MDF disc had a slot milled for the conduit and pockets for the addition of steel plates for weight.

The conduit was epoxied into the slot in the bottom of the base. It turned out The weight of the MDF was enough to make a secure base and the extra weights weren't needed. So I filled the weight pockets with pieces of MDF to make the base more solid.


I primed the metal conduit with a couple coats of lacquer primer, wet sanding between coats. I used a water based Primer Filler from Coastal Enterprises to seal and texture the MDF. I love this primer! It has the consistency of Gesso but you can build up texture really easily by stippling with a brush. And unlike Gesso, it sands beautifully. So I could block sand the top surface down a bit to get a smoother finish than in the milled recesses.


And the finished painted and weathered display base.

We'll... after owning these castings for close to 25 years and five years of working on it off and on... stick a fork in this puppy it's DONE! (Okay, I still need a pilot but except for that...)
I must say, considering the relatively poor state of the castings, she has built up into a pretty fine looking model. Certainly one of the Holy Grails for my collection. Many thanks go out to everyone that provided feedback, information, photos, and encouragement, not to mention a couple of parts!
Hopefully in a few weeks I can get setup to take some pics under studio lighting but in the meantime...
Last edited:
Beautiful. Just beautiful.
Similar threads
- Replies
- 5
- Views
- 972
- Replies
- 13
- Views
- 2,161