I suppose I needed a new challenge. A while back I started tinkering with a maquette sculpt for a Grey Knight helmet.
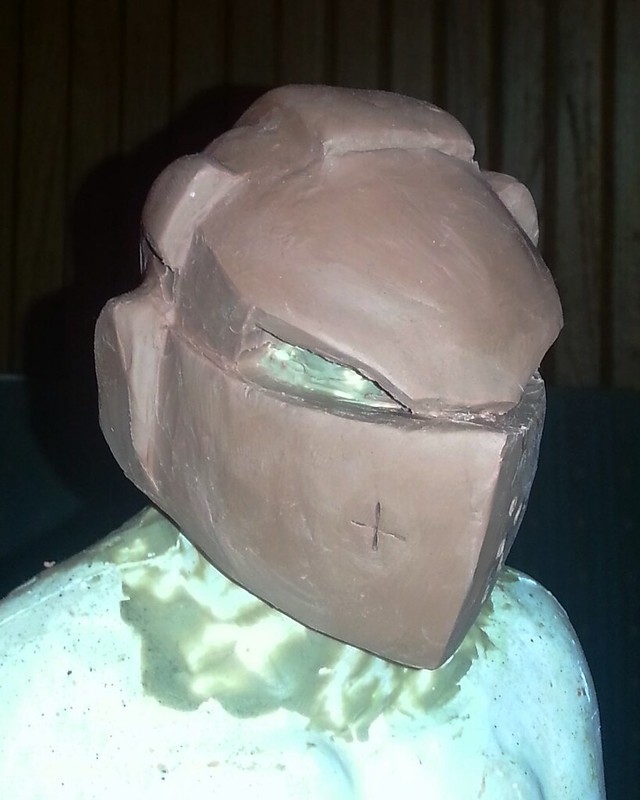
These are pretty early pics, but unfortunately I didn't snap any pics of the finished maquette:
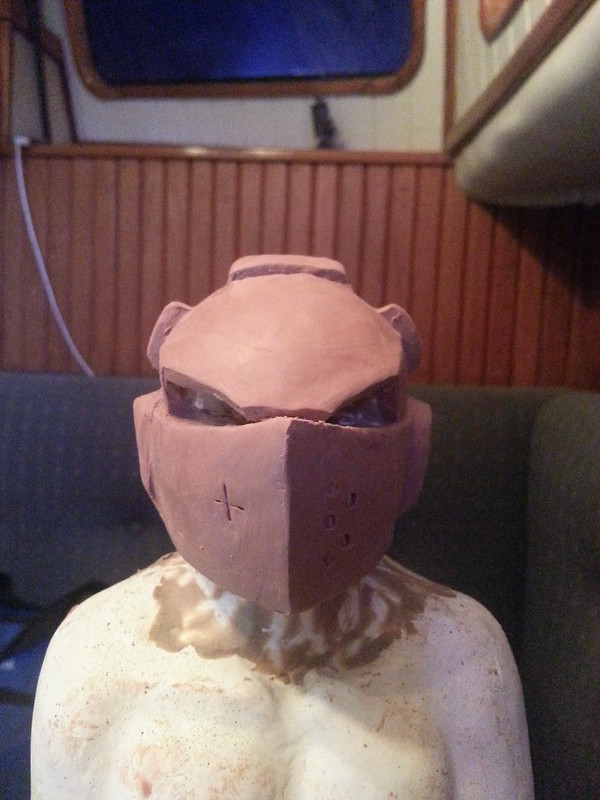
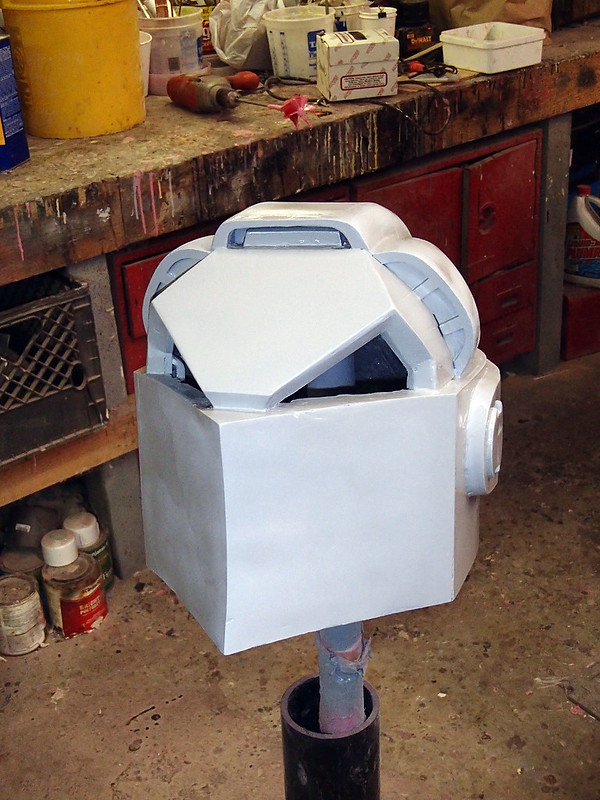
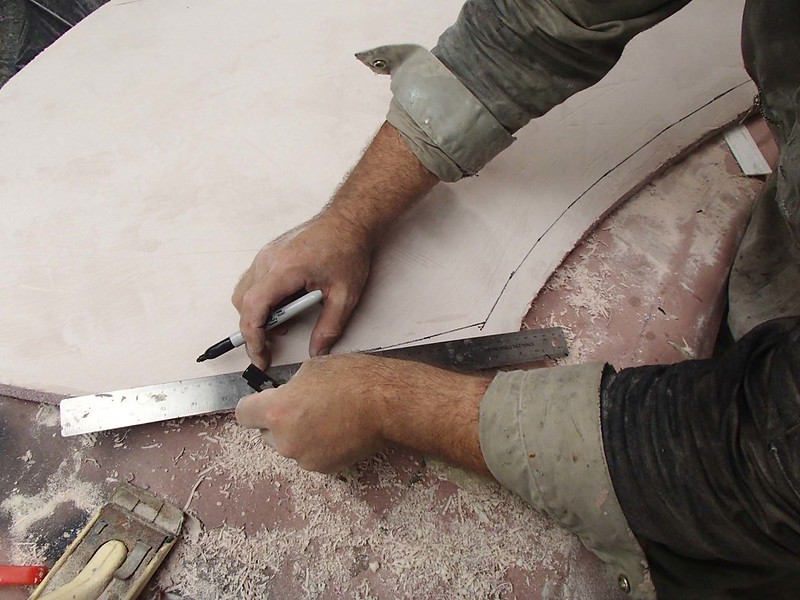
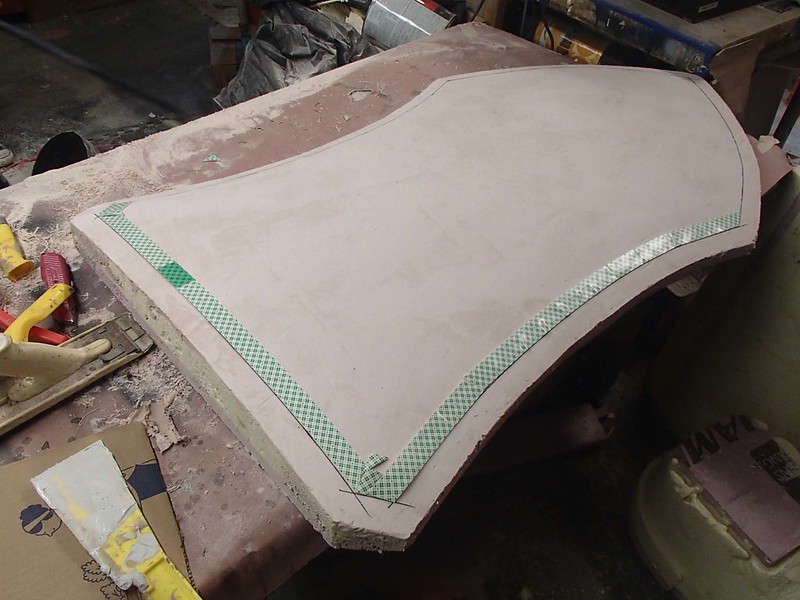
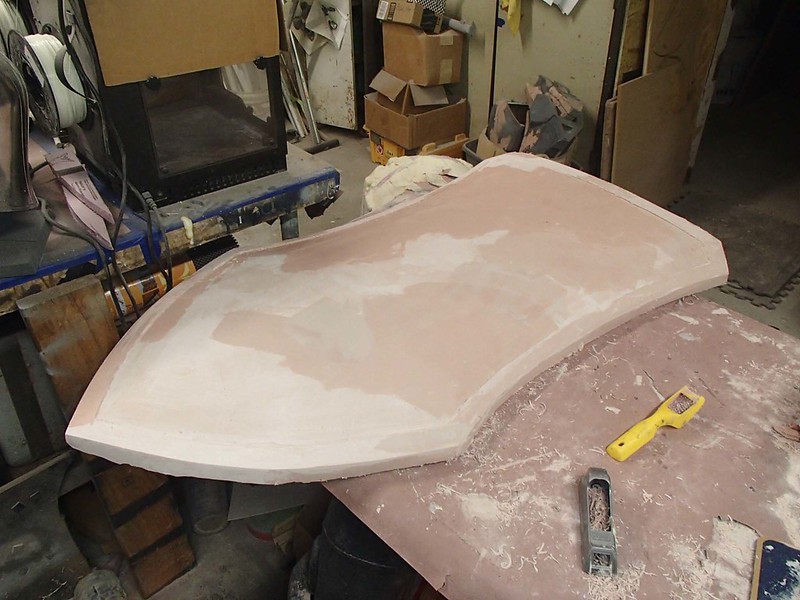
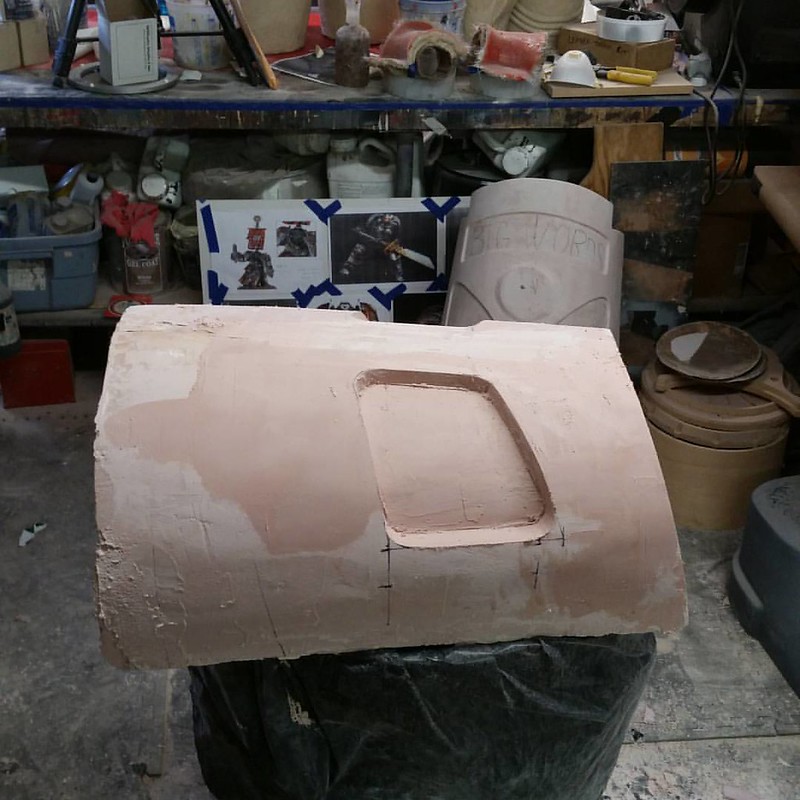
After a bit of tweaking, I decided it'd be better as the terminator style helmet and got to work on a full-sized version. I started by taking a reject casting from my Mk8 Space Marine helmet mold and hacking it apart. Then I added some 1/8" sintra to make it a bit taller and build the trademark plow shape at the front:

The forehead was cobbled together from a few more scraps of sintra:
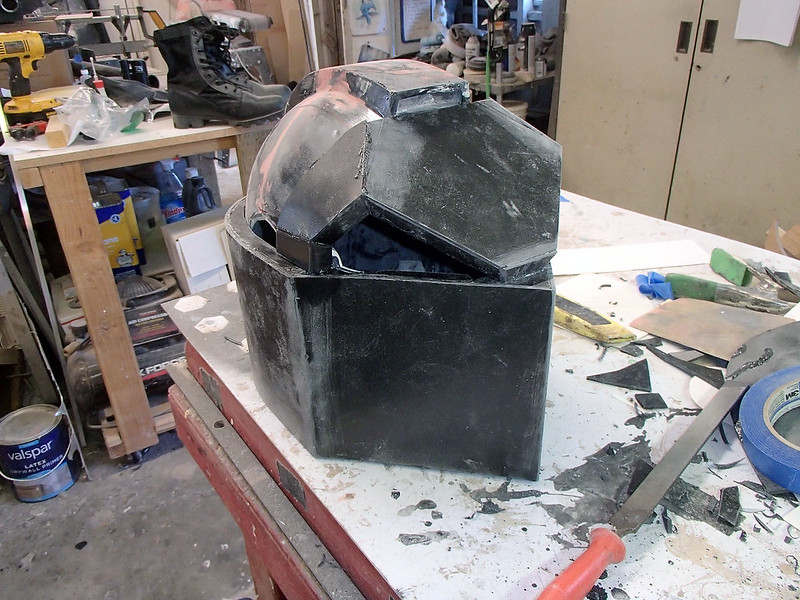
Then I made the ends of the vents out of more sintra and took the ear caps from the original cast and re-attached them to the new helmet in a different orientation:
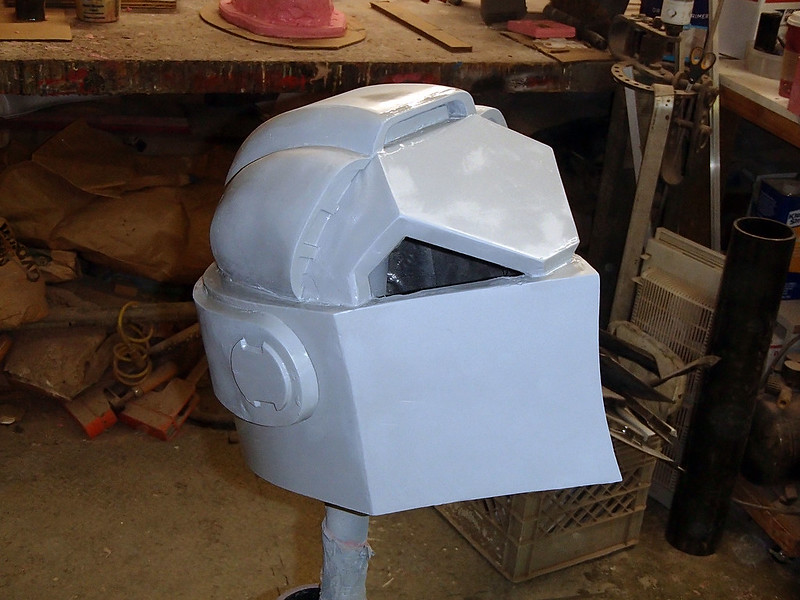
So here's how the prototype looked after the first day of tinkering:
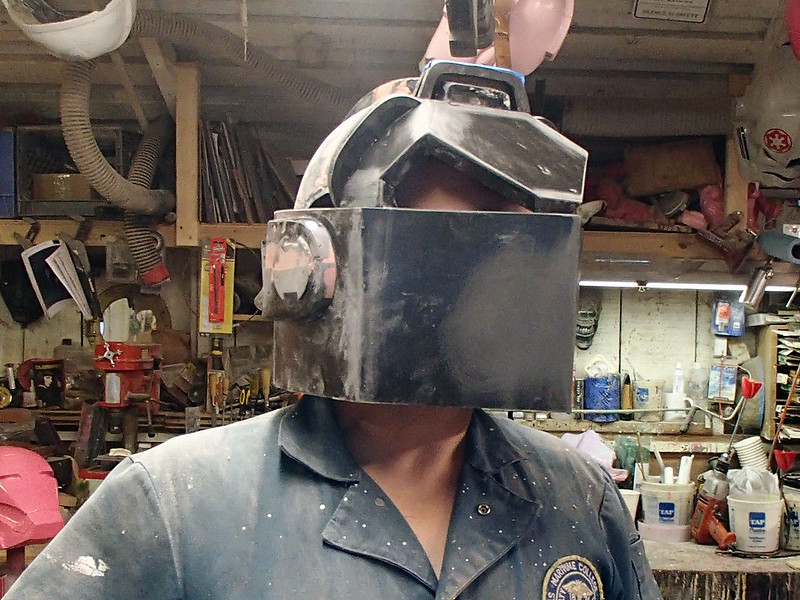
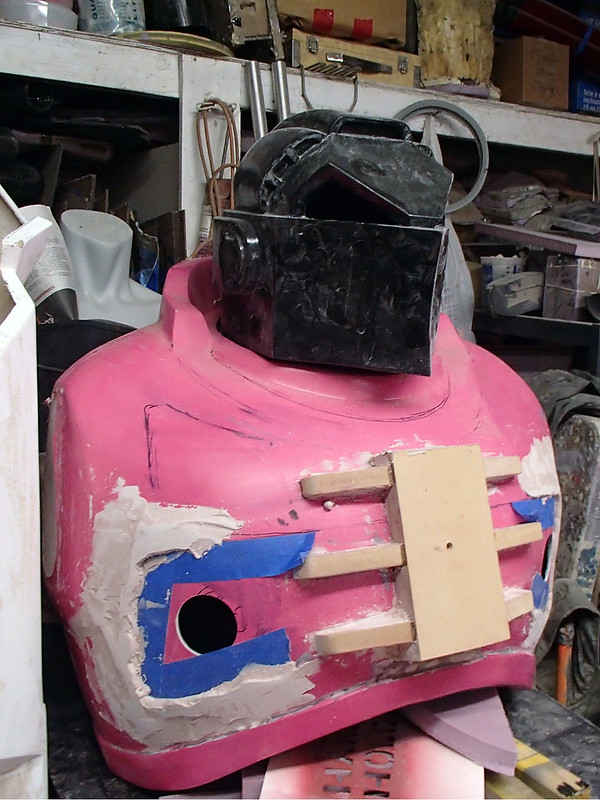
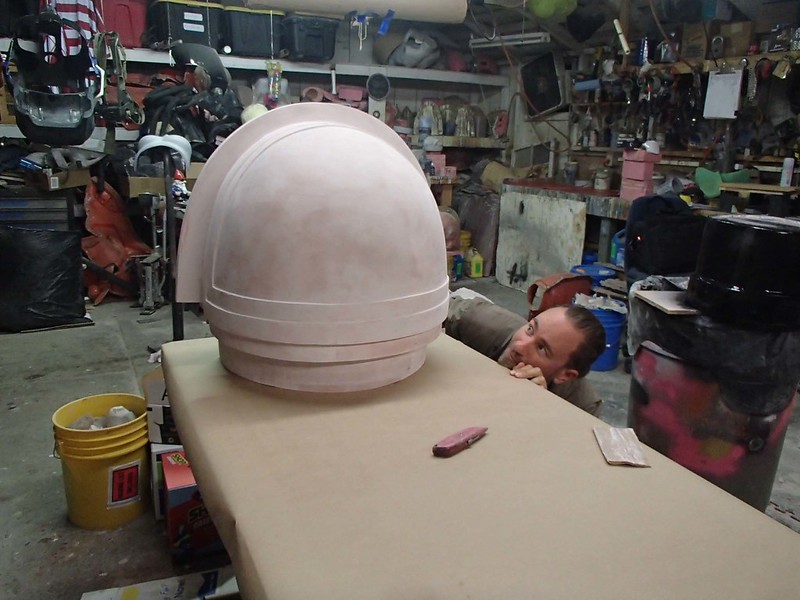
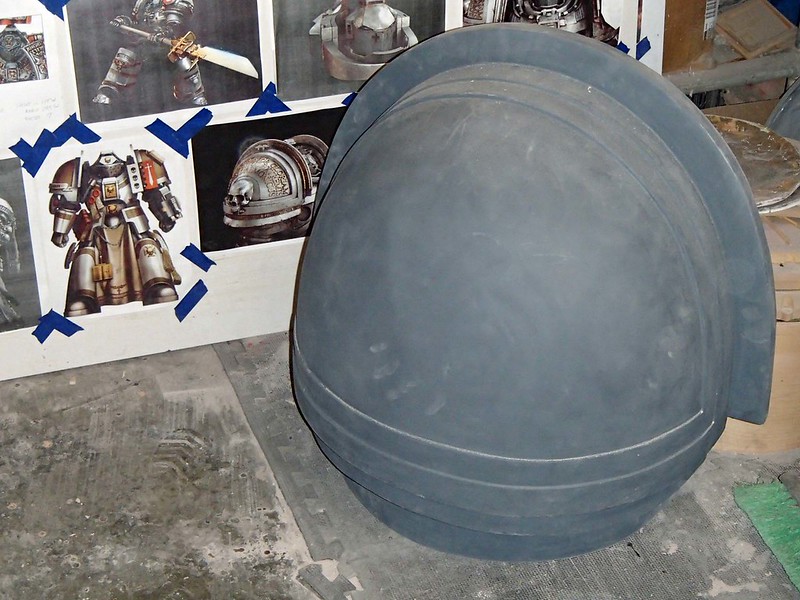
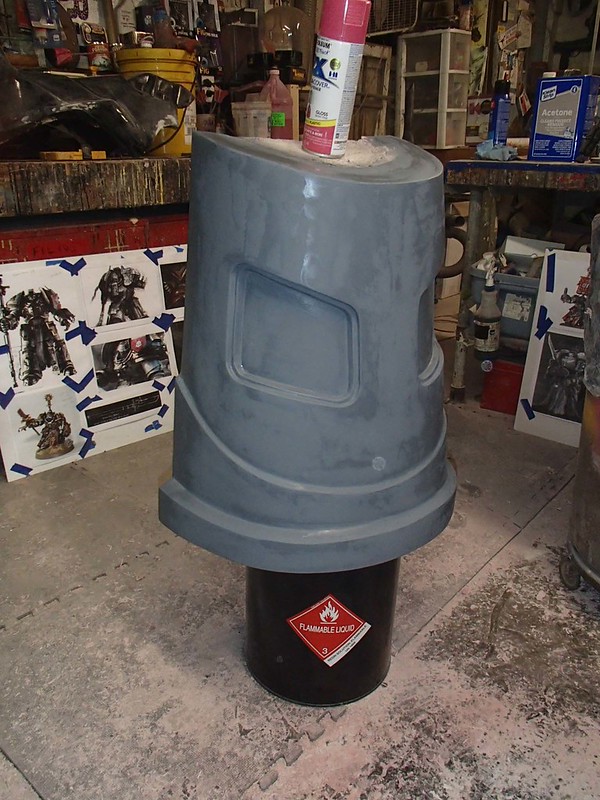
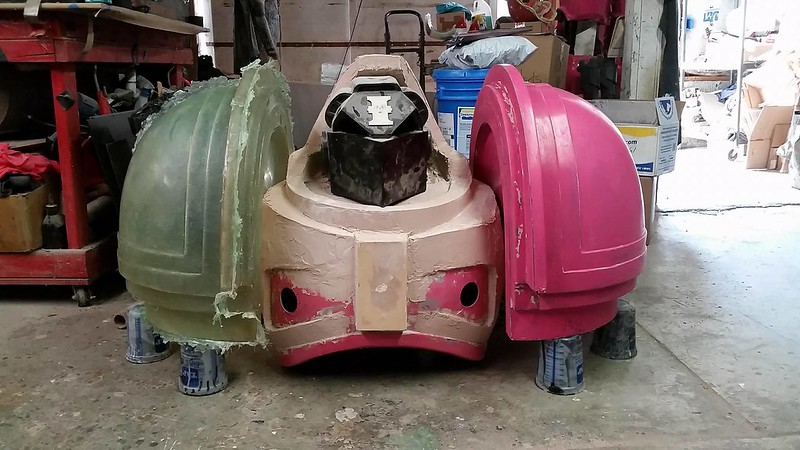
To get a better idea of how it would look whenever I get around to making the armor to go with it, I set the whole thing into a large plywood tube I had sitting around from my ED-209 project:
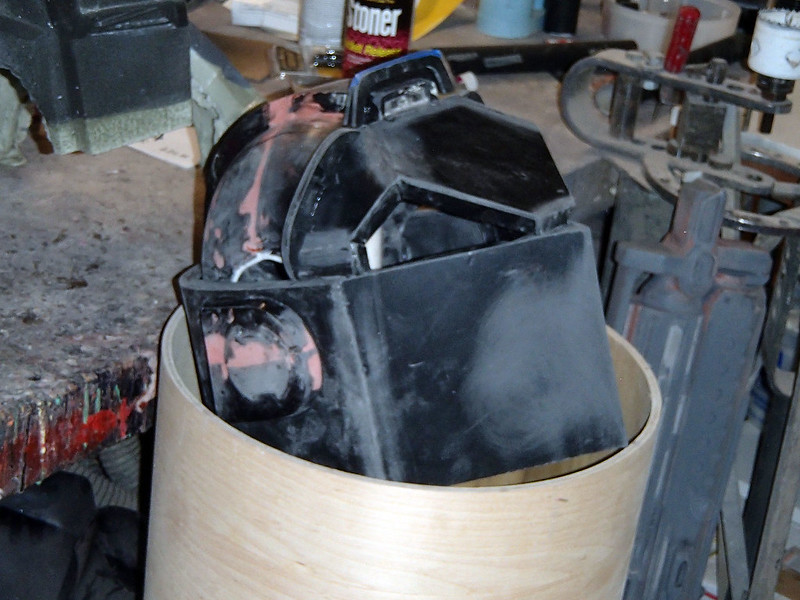
Thus ended the first day of tinkering on this project.
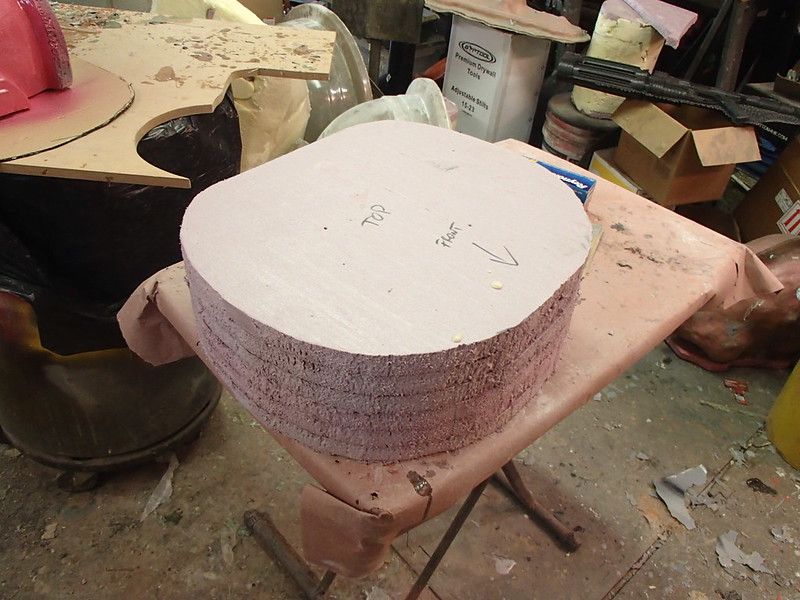
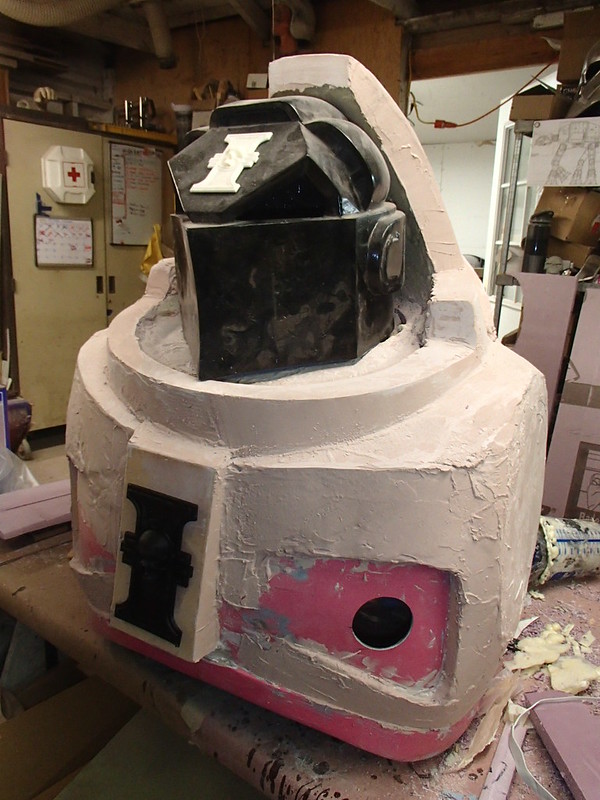
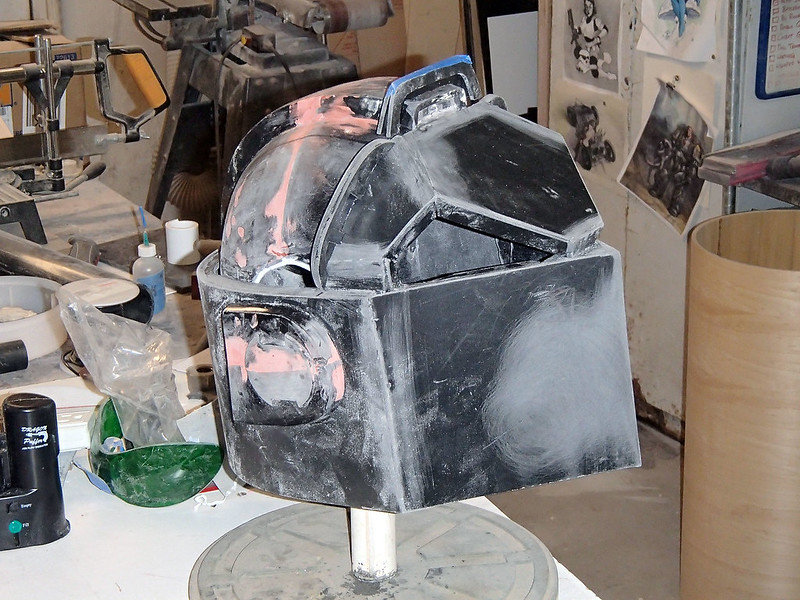
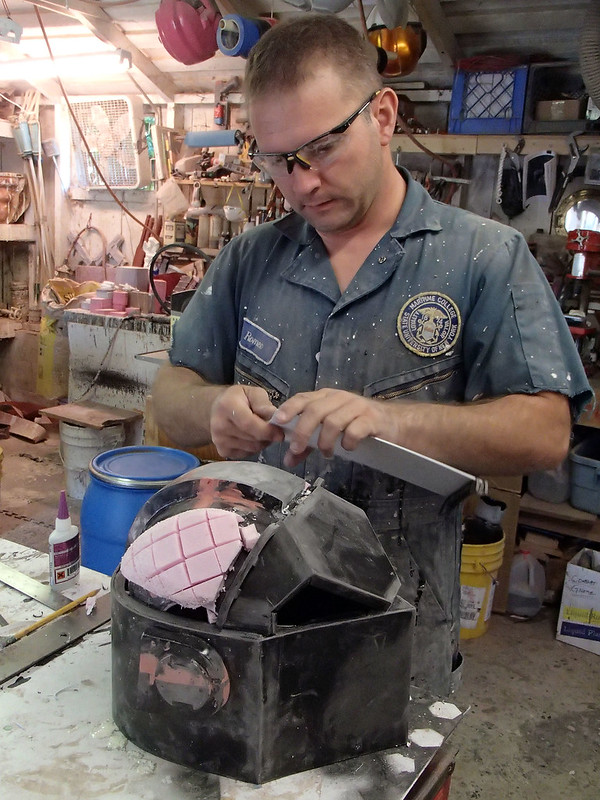
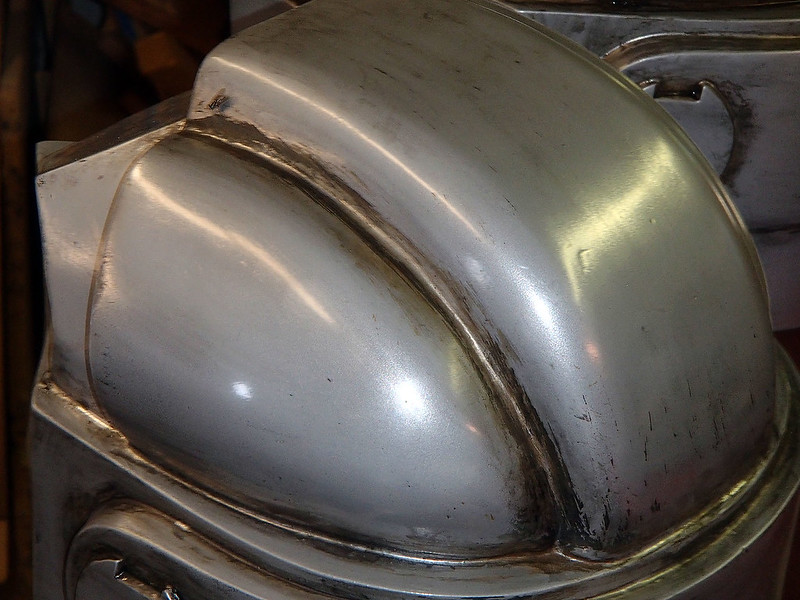
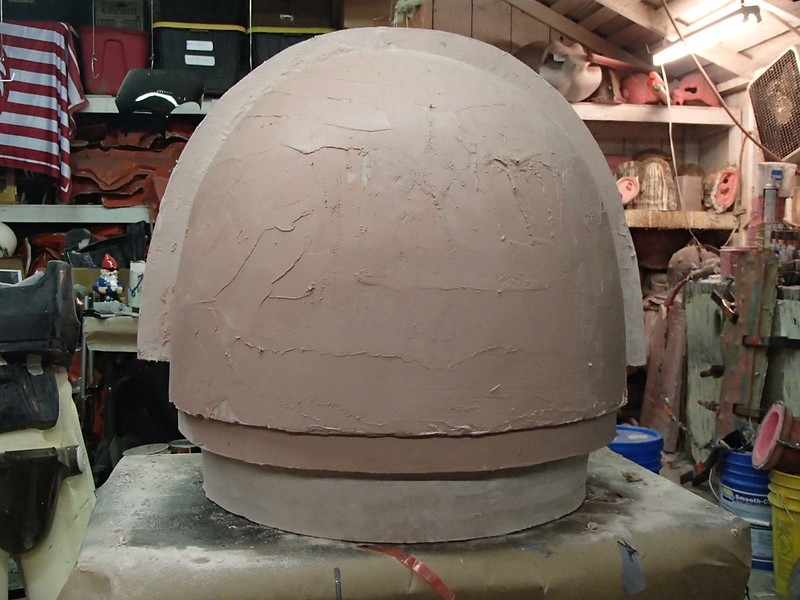
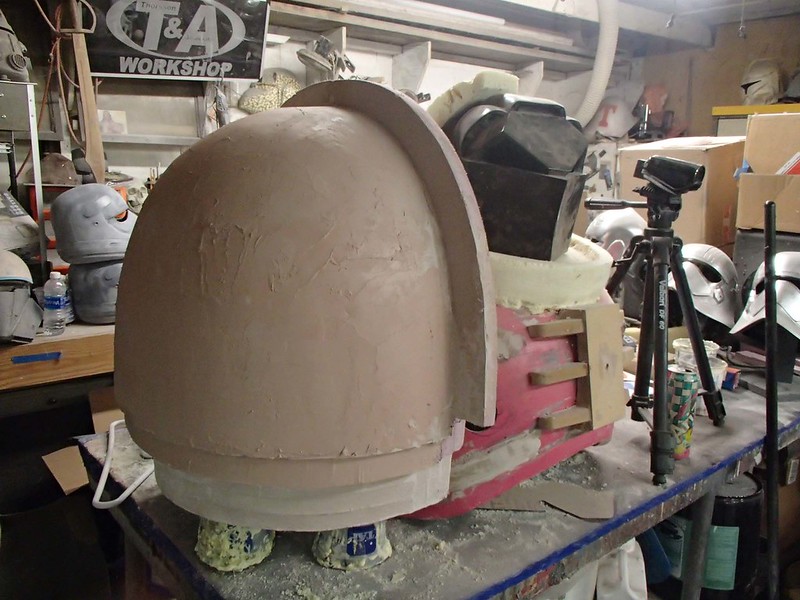
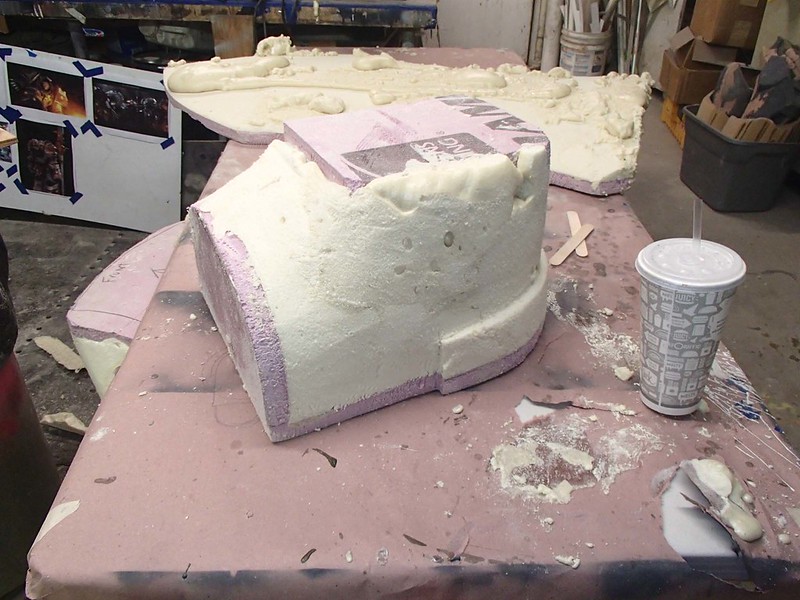
The next day I started by building up the vent ducts on the top of the helmet. In order to keep from having to make 1-inch thick blocks of Bondo or whatnot, I started by adding filler blocks made of insulation foam:
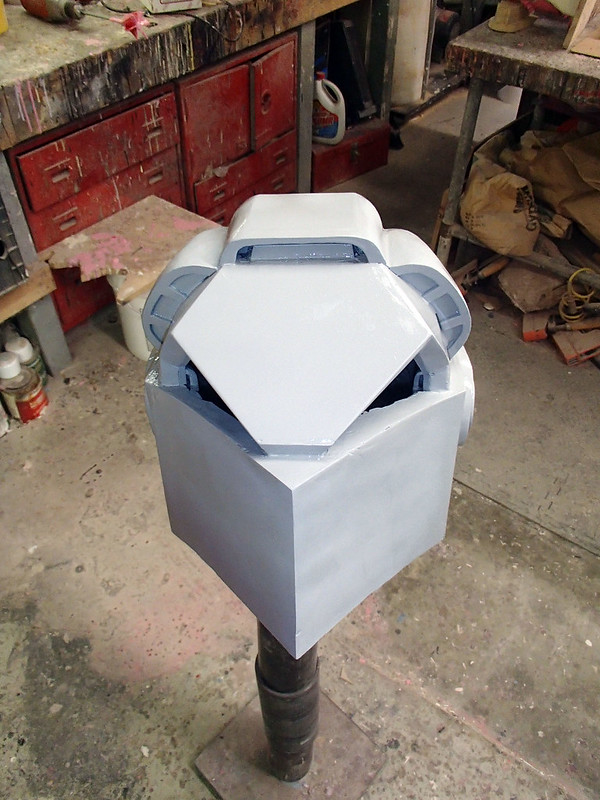
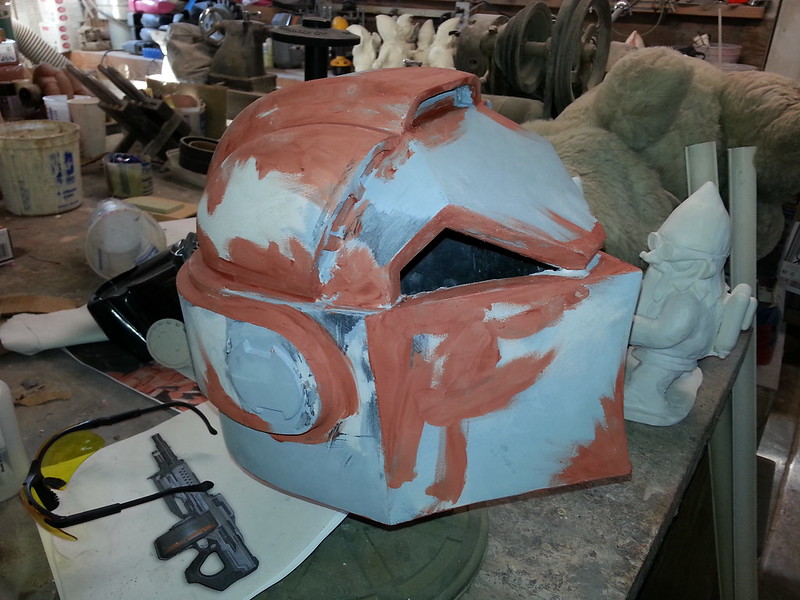
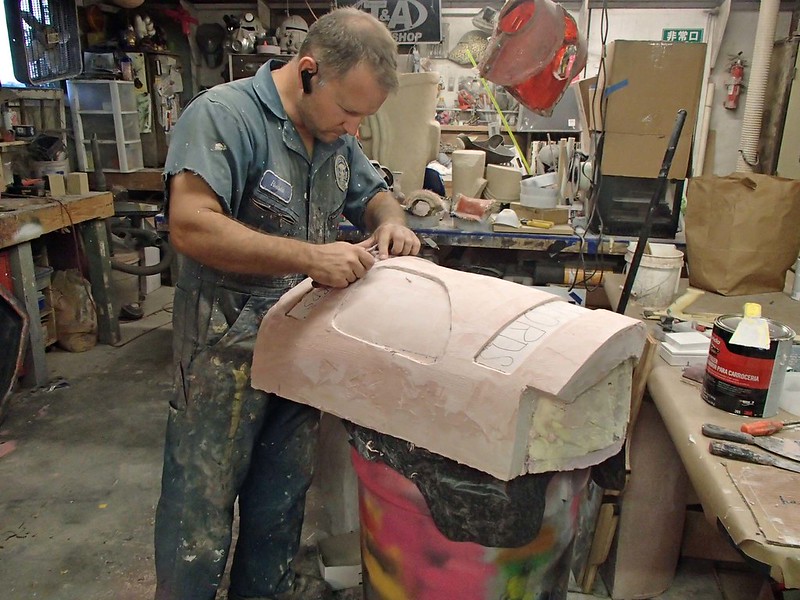
I layered on a bit of Bondo to make a sandable surface over the vents and, because I really wasn't happy with the shape of the plow-face, I added more Bondo to the chin and nose area:

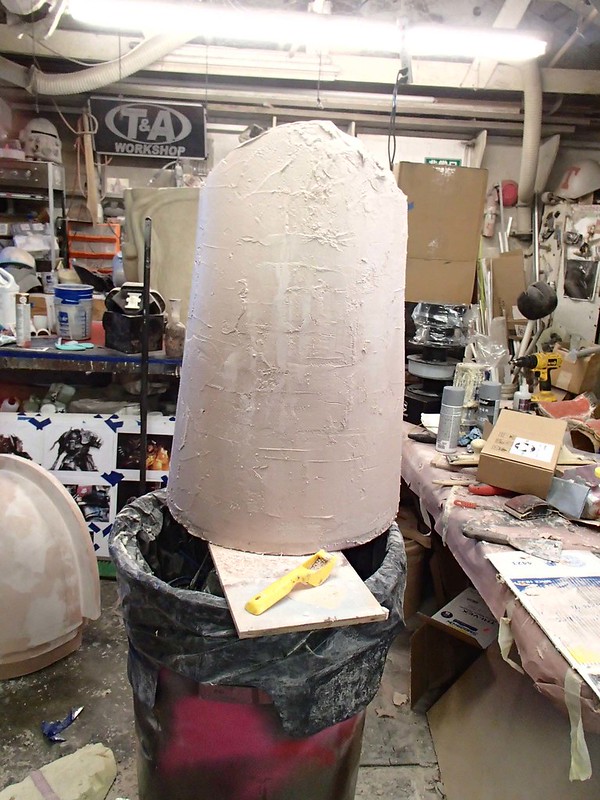
Here it is with a coat of primer:
A few days later I went back and did some more filler and sanding work to smooth out some of the smaller flaws:
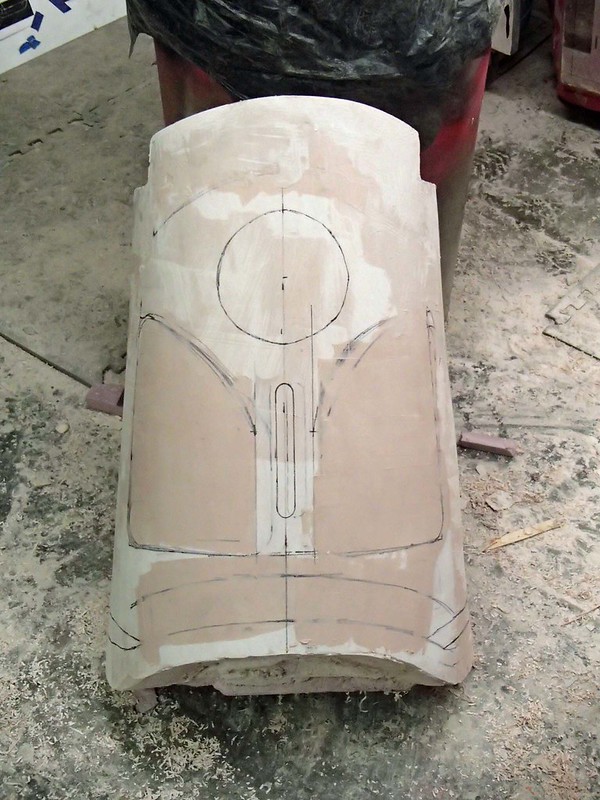
Then I closed up the eye holes with some scraps of styrene:
Followed by a bit more filling and sanding:

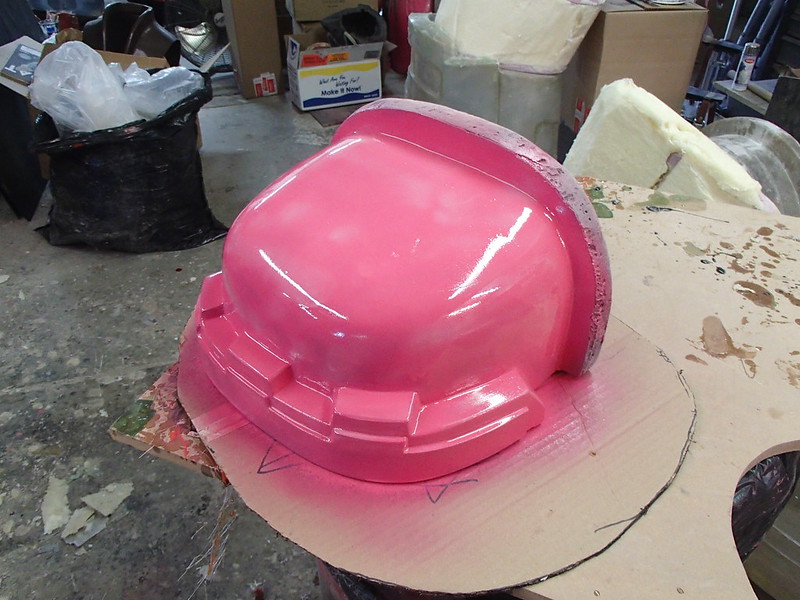
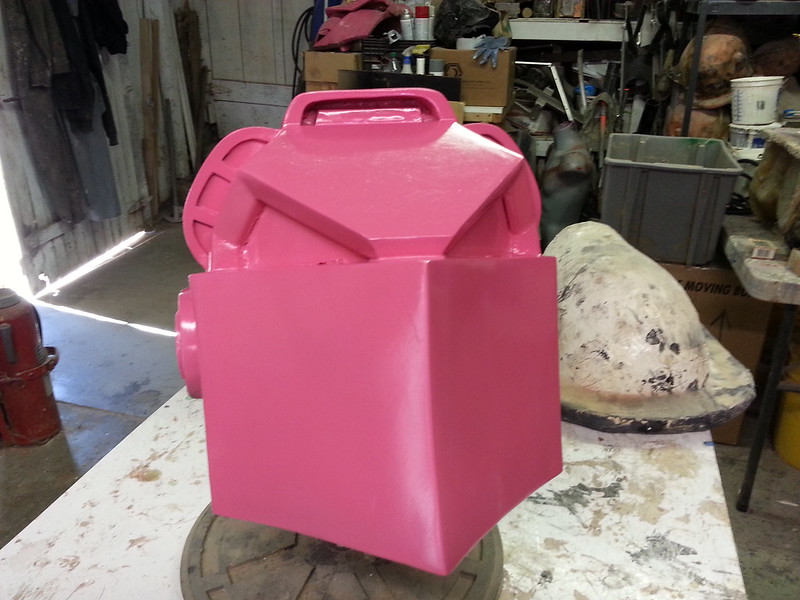
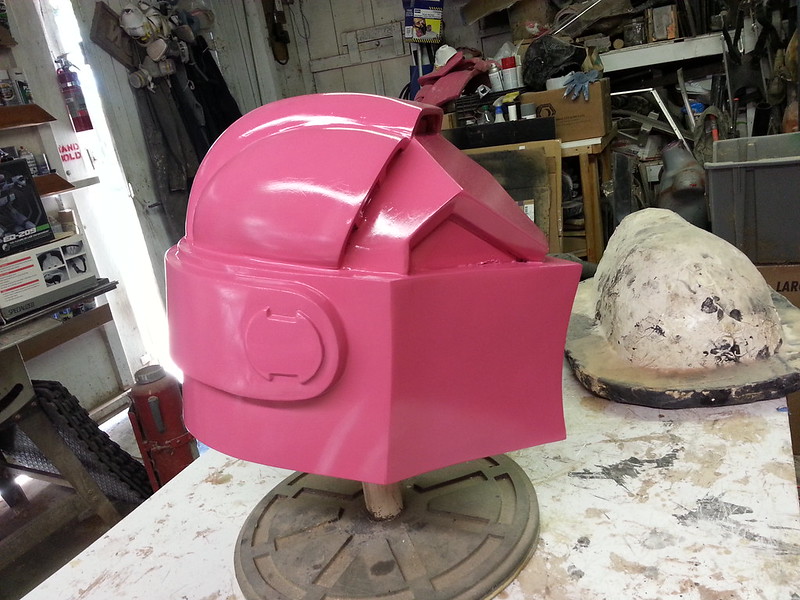
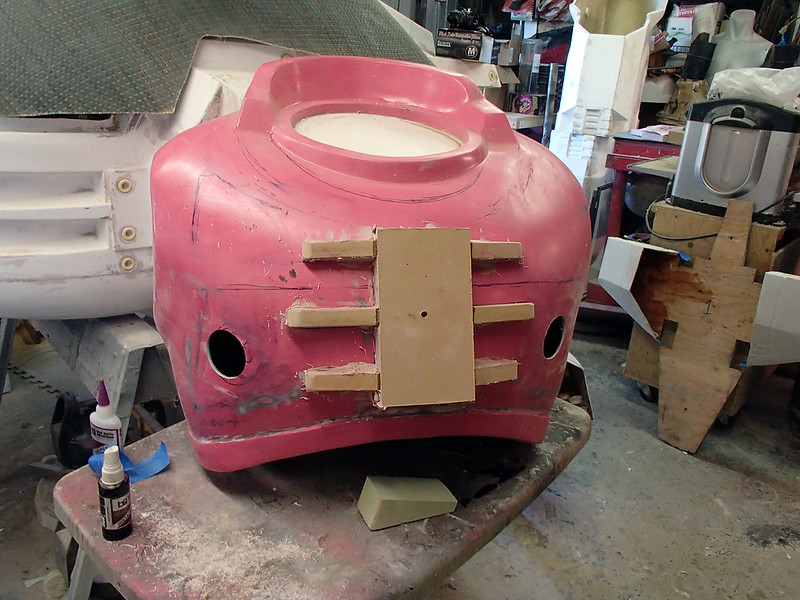
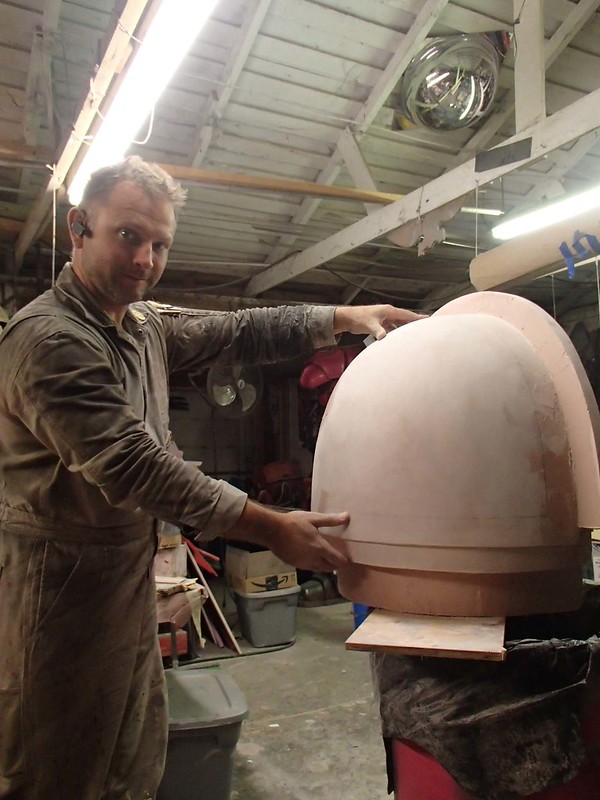
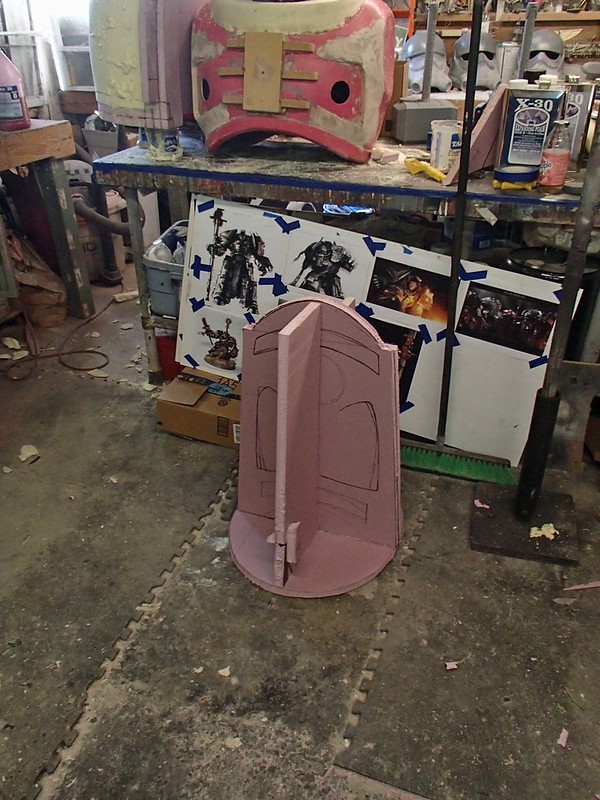
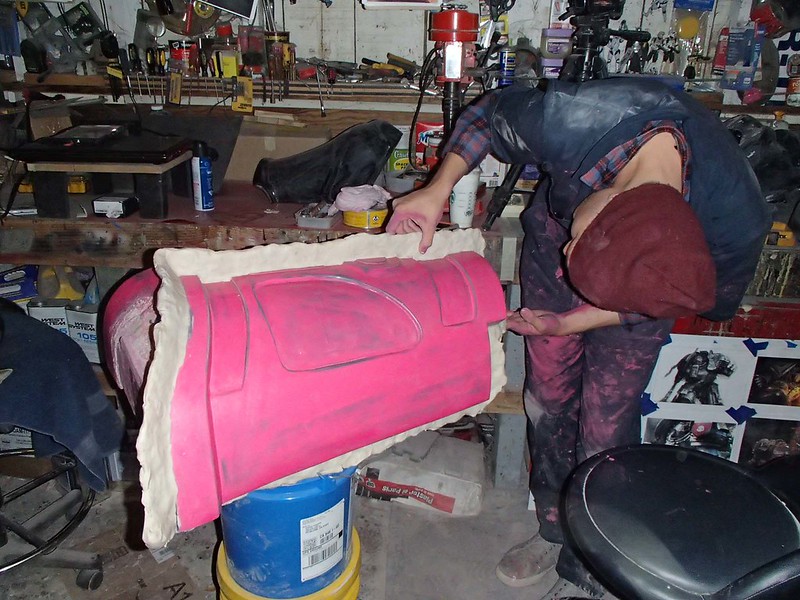
And a coat of my standard lightish-red gloss prototype color:
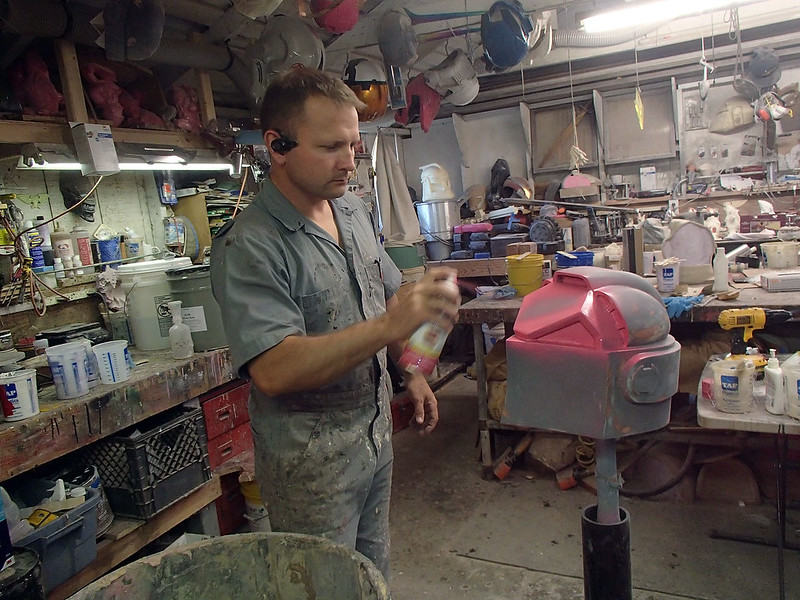
Here's the prototype in all it's shiny pink glory:
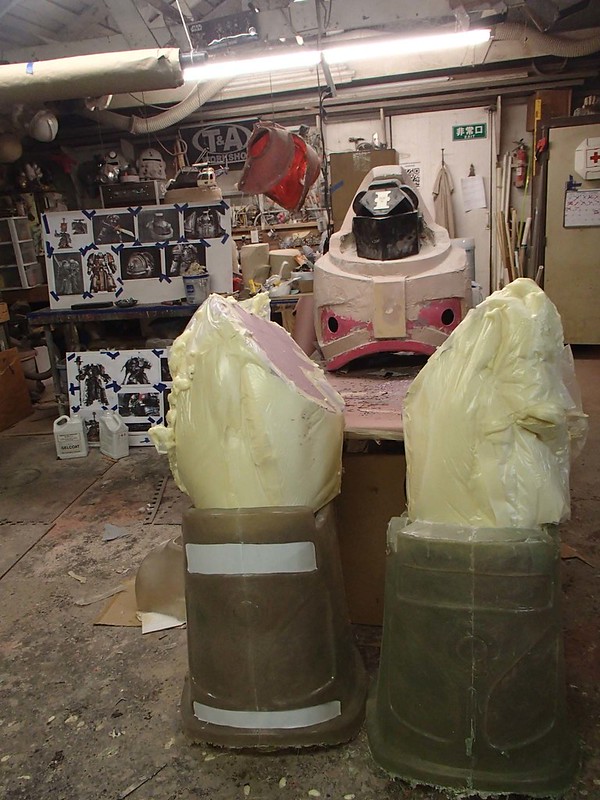
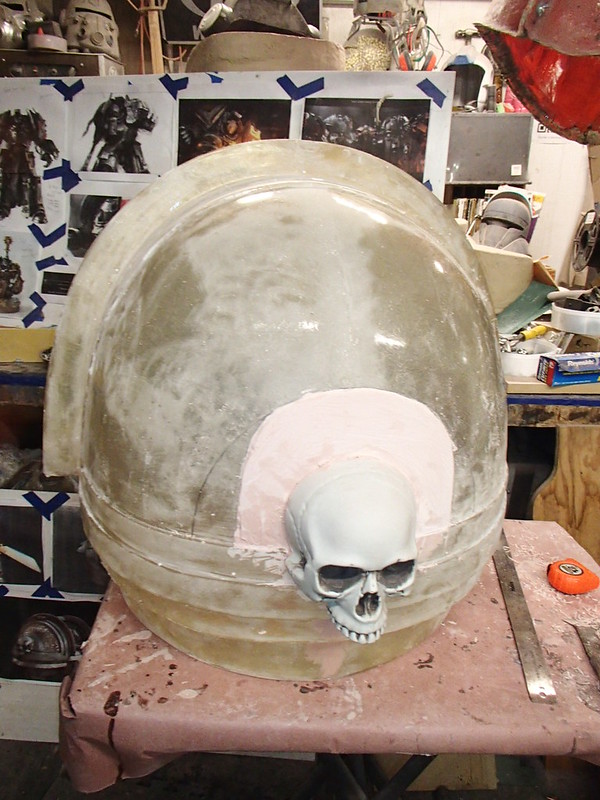
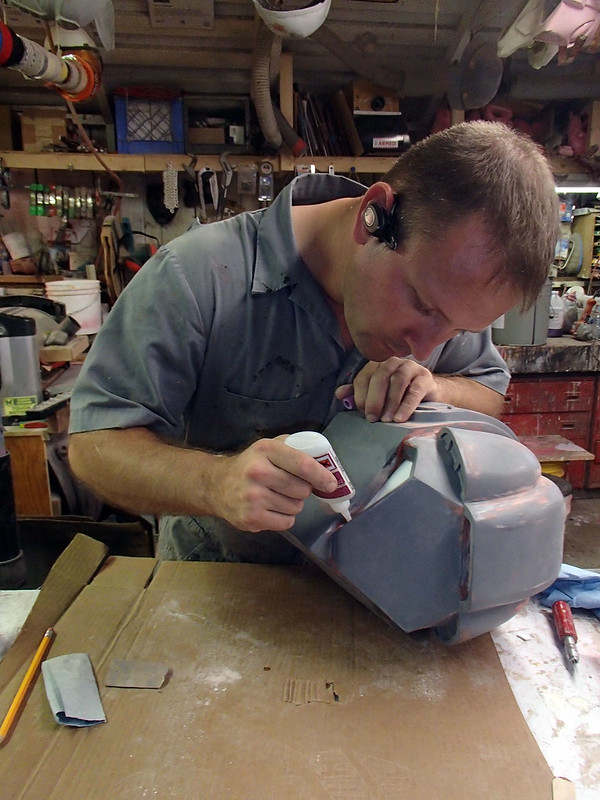
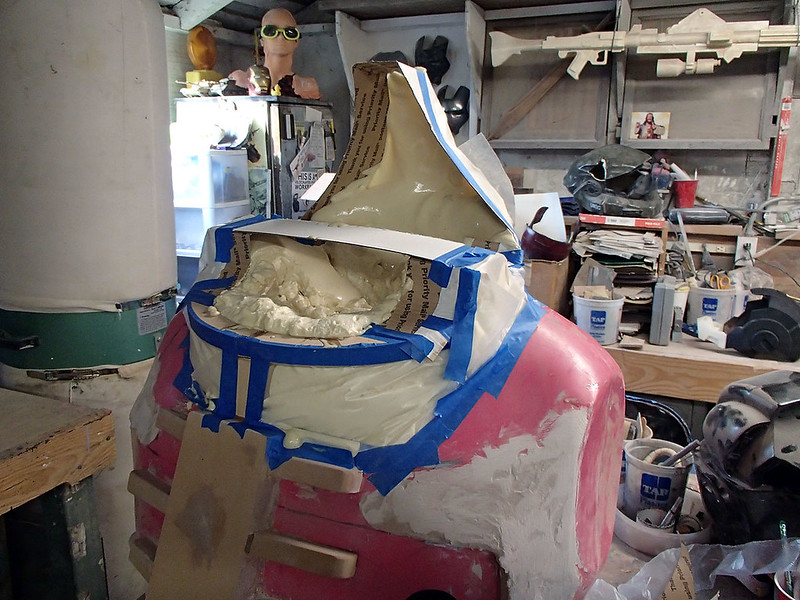
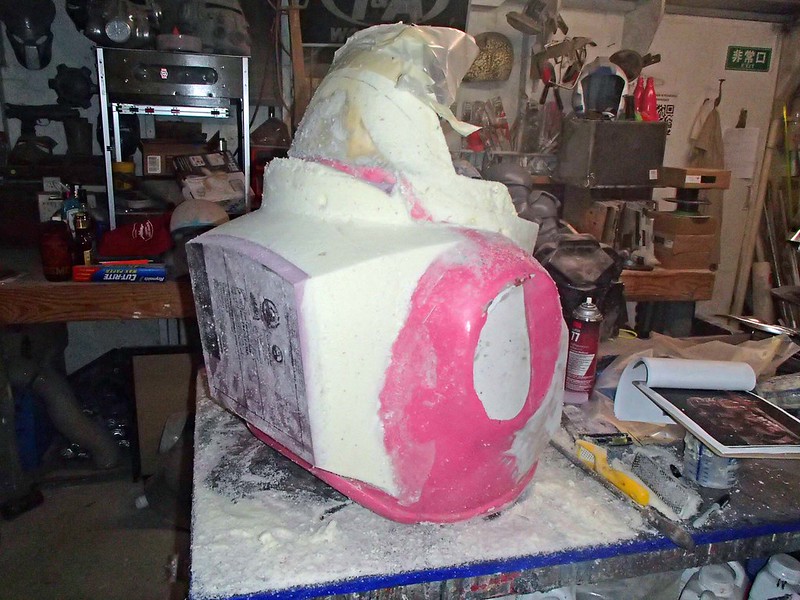
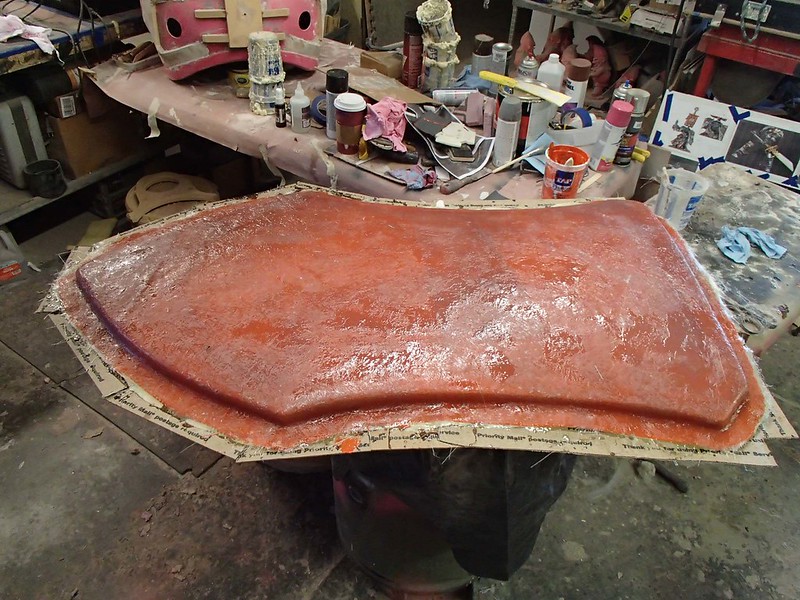
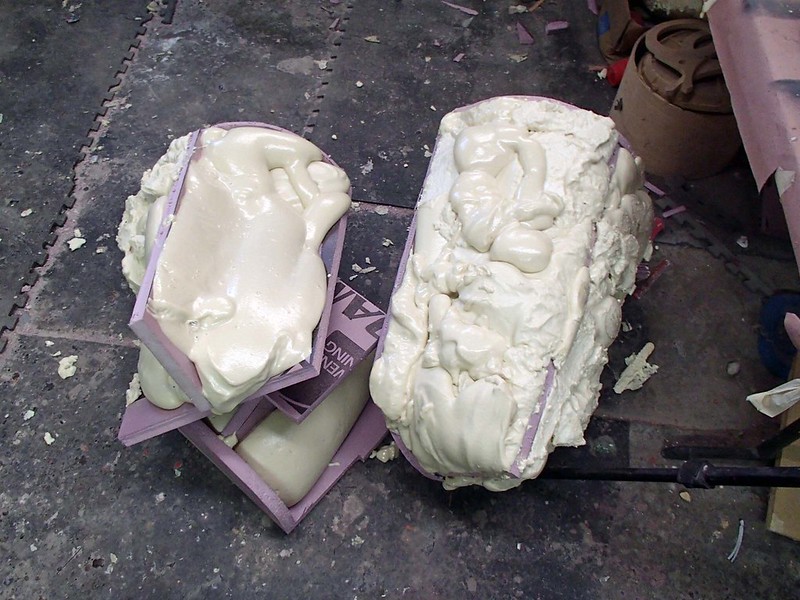
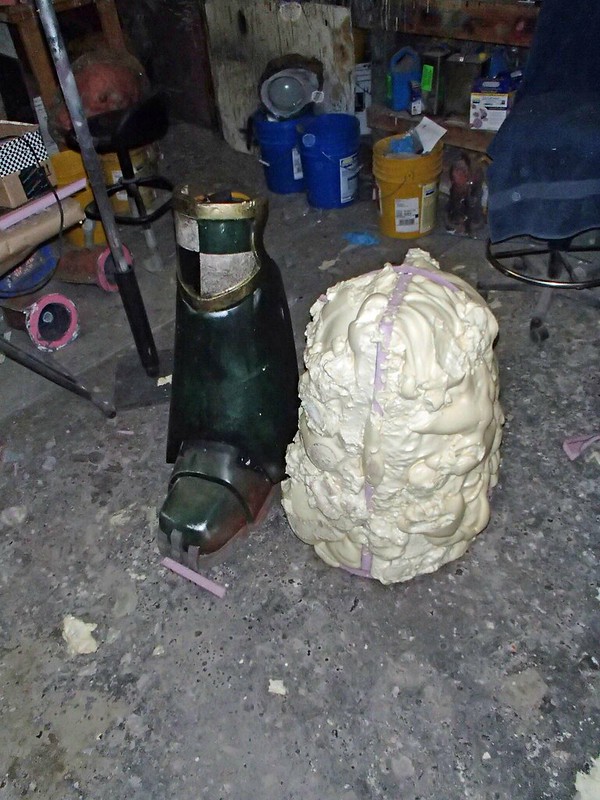
Since the prototype was cobbled together from whatever garbage I had sitting around, I couldn't really expect it to hold up to much abuse or even look good on display for very long. In order to make a more durable version, it was time to make up a mold. I started by mounting the prototype to a piece of cardboard and packing some thickened silicone into all of the undercuts:
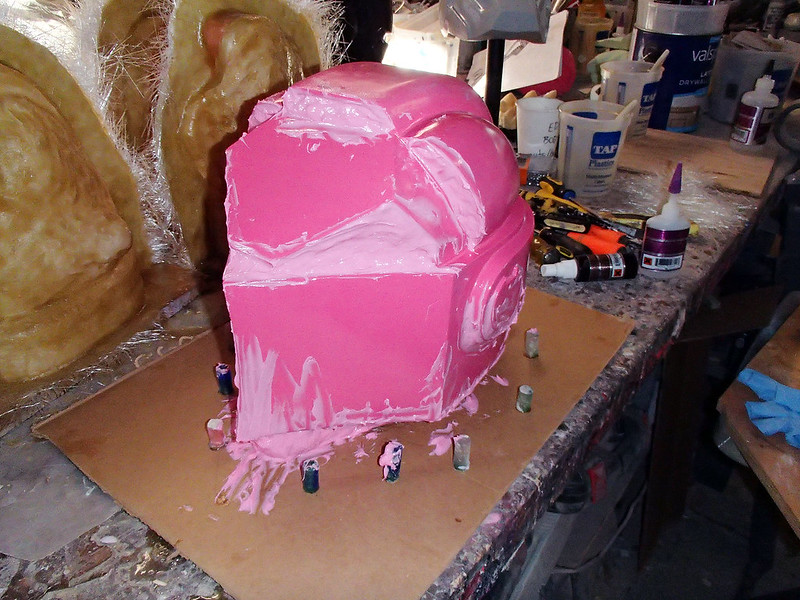
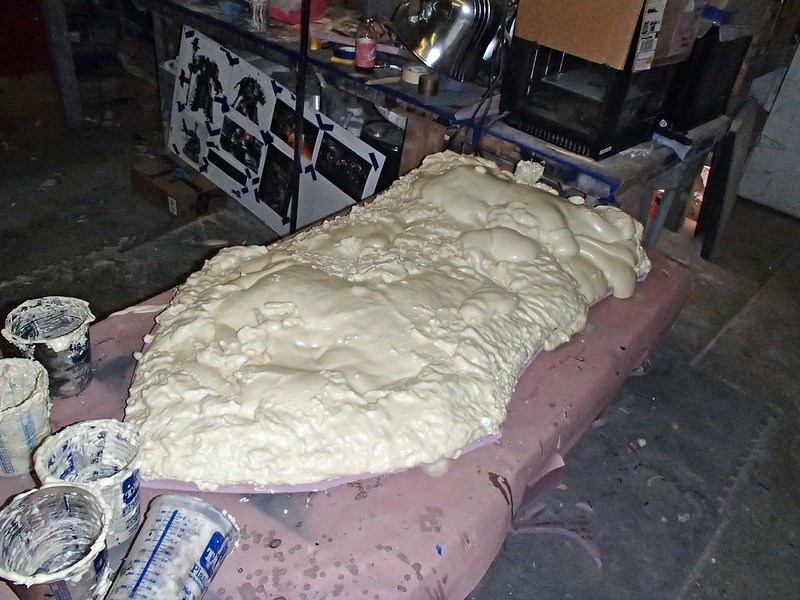
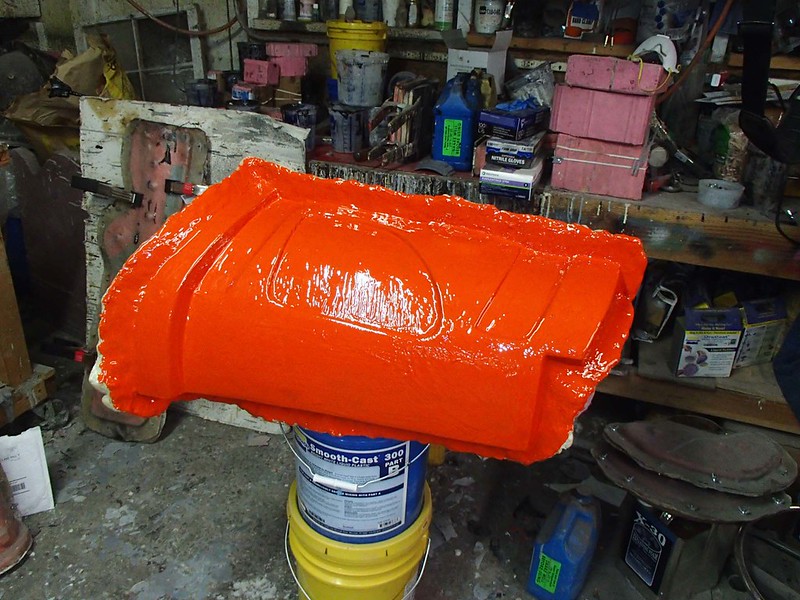
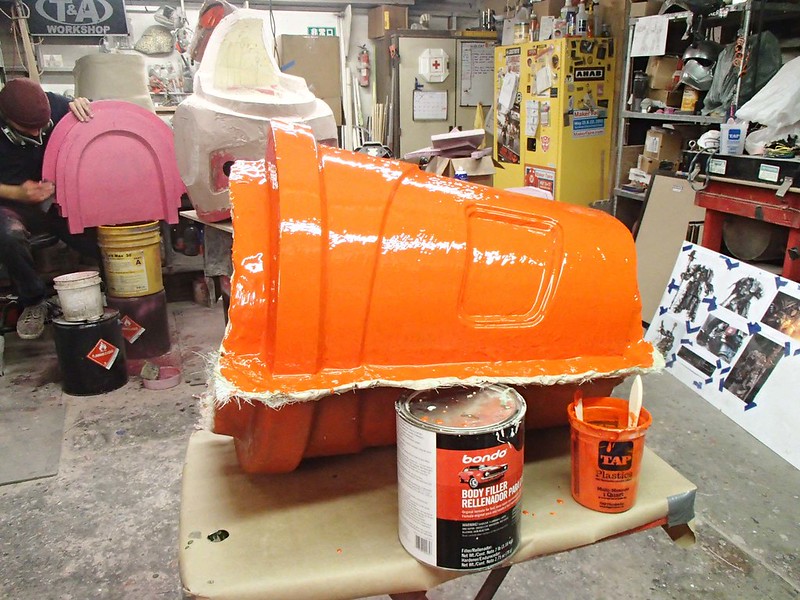
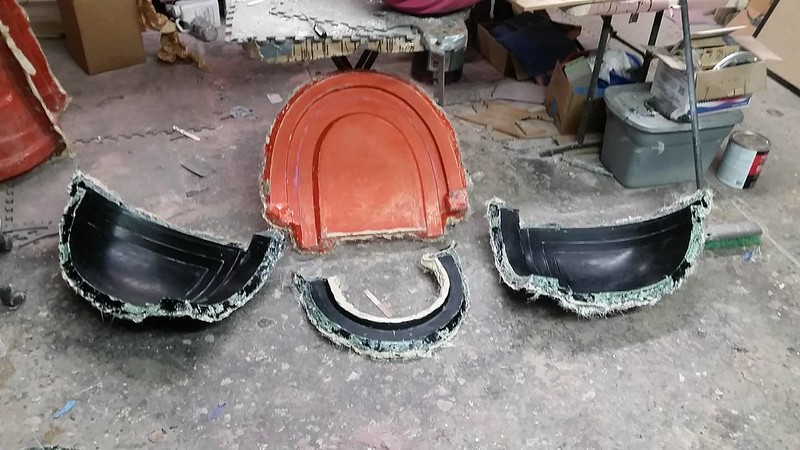
Then I built up silicone over the rest of the helmet:
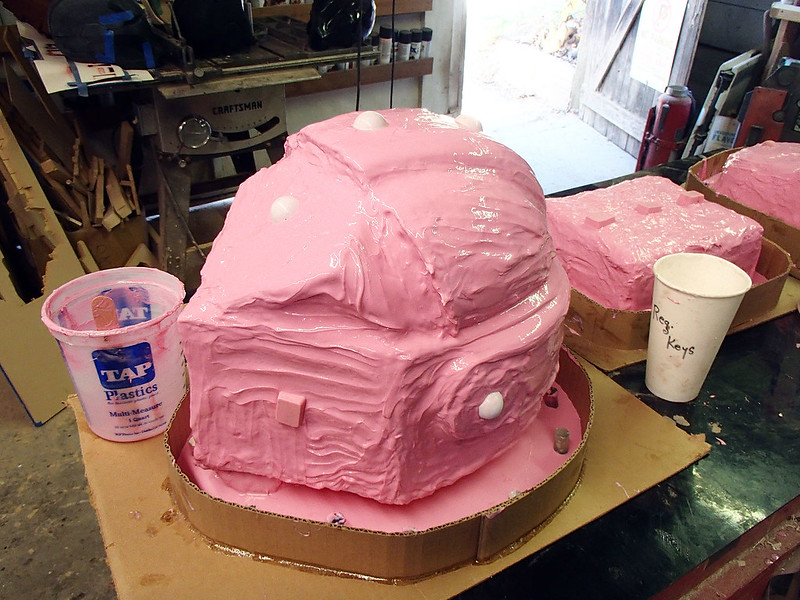
Note the cardboard wall around the base of the helmet that forms a drip tray to keep silicone from drooling all over the table and onto the floor.
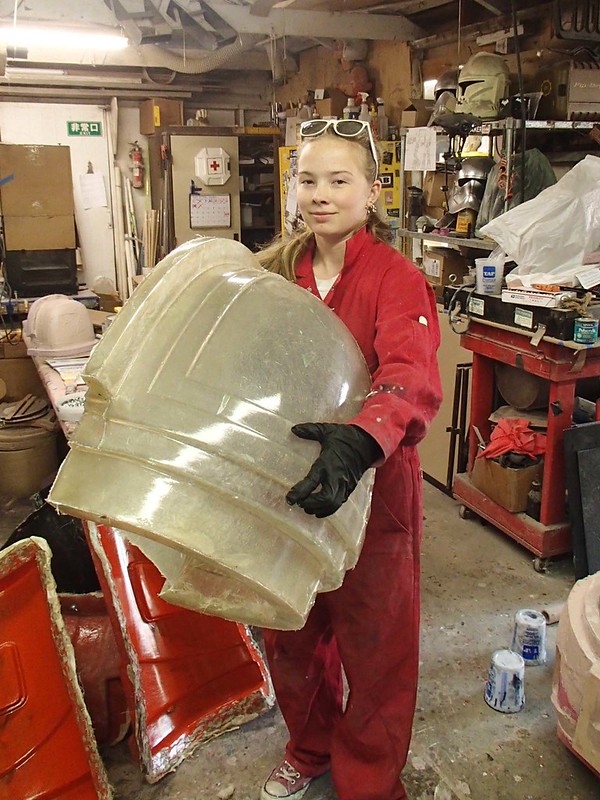
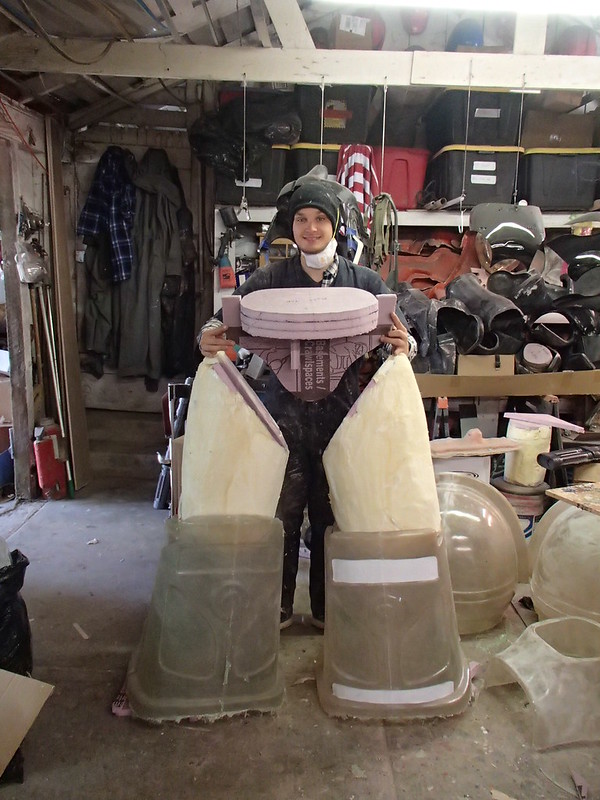
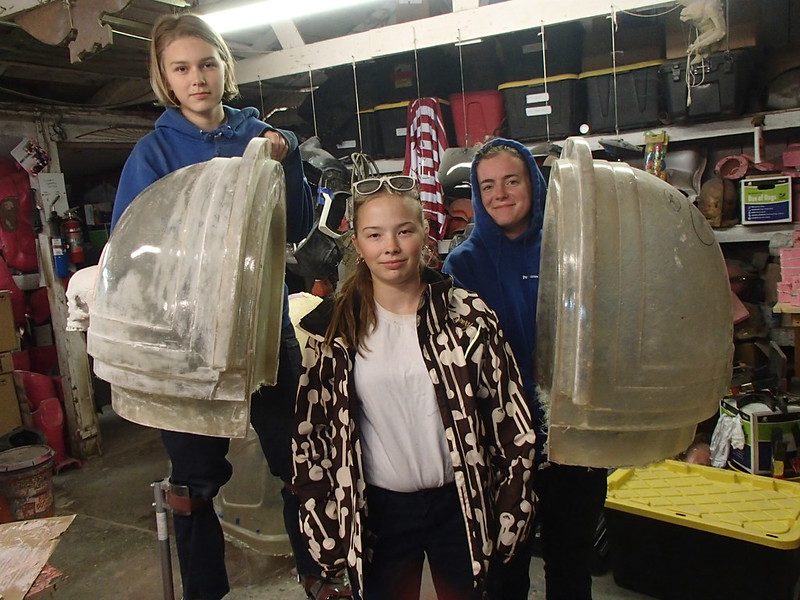
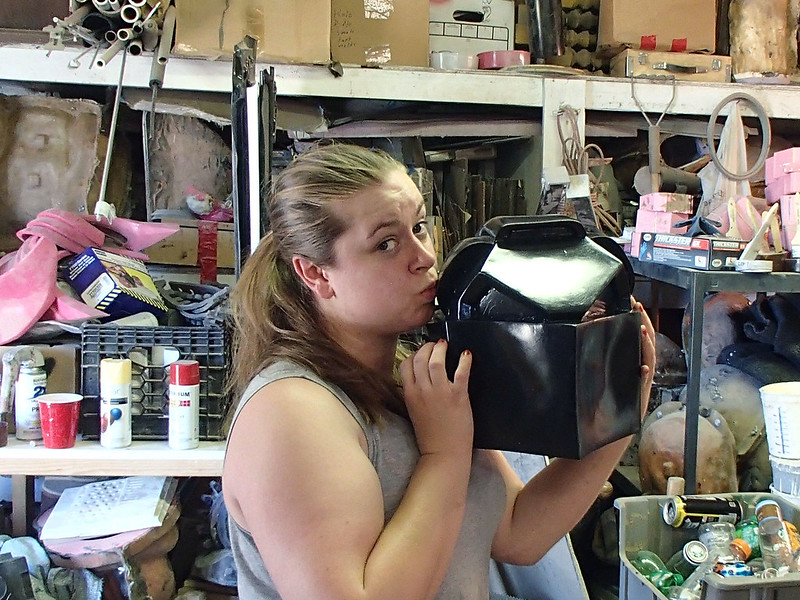
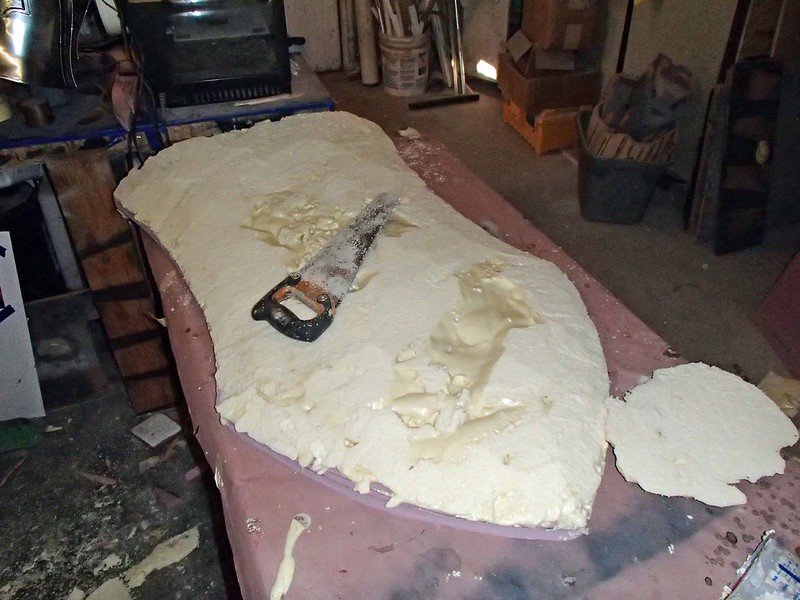
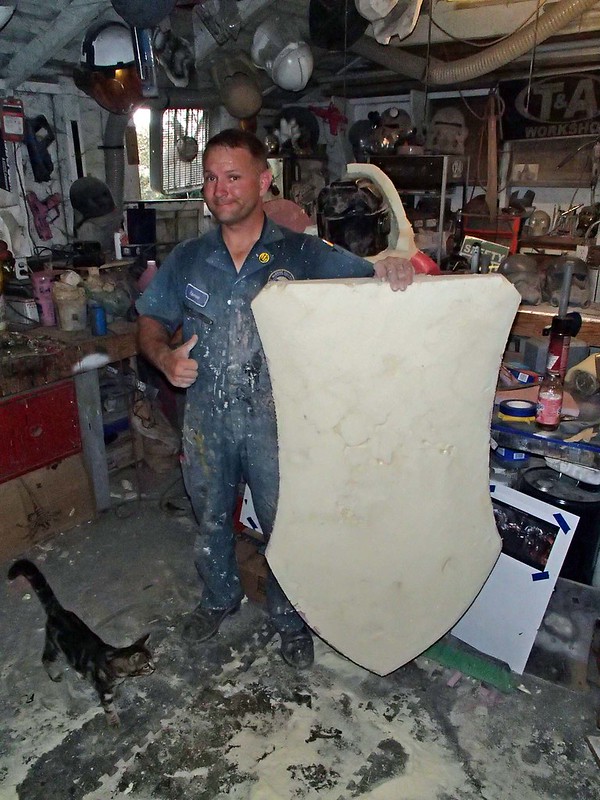
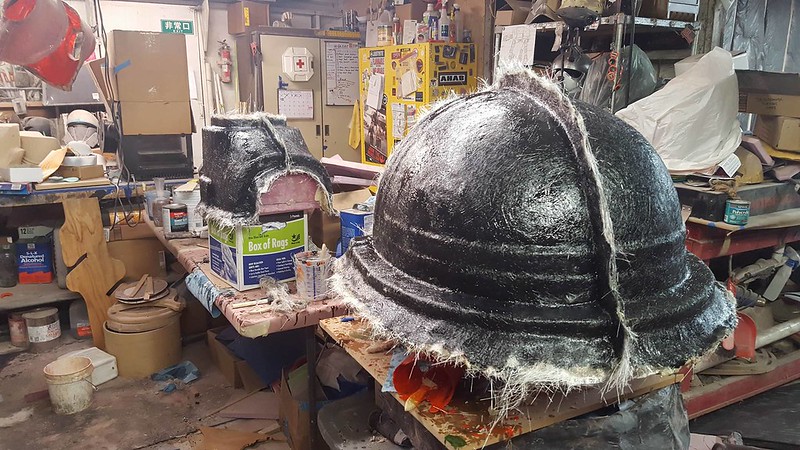
I didn't get any pics of the actual rotocasting process, but it's pretty straighforward. For those of you who aren't familiar with the process, you simply pour enough resin into the mold to coat the inside, then roll the mold around to make sure the whole thing is evenly coated. When the resin cures, you're left with a hollow shell. If you want extra strength, you can repeat this process until the cured resin forms an adequately thick shell. Here's my assistant Kate with the first cast copy of the helmet:
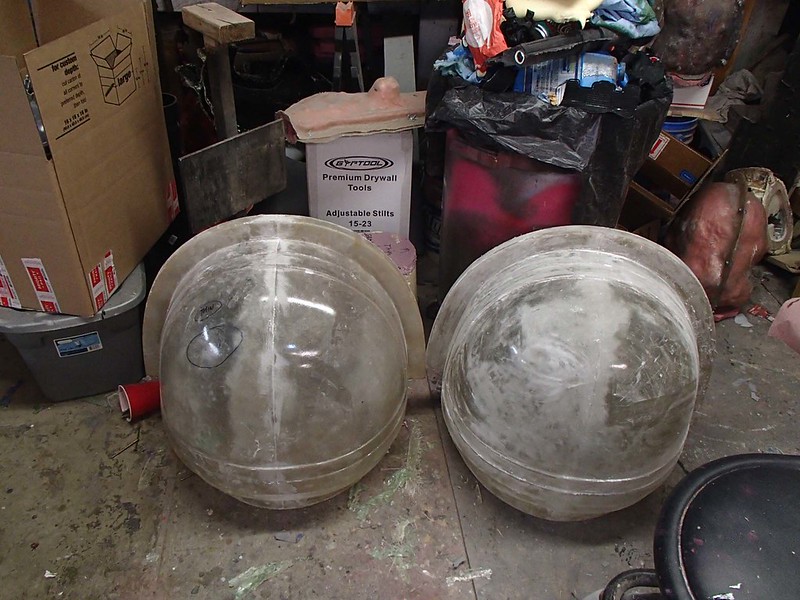
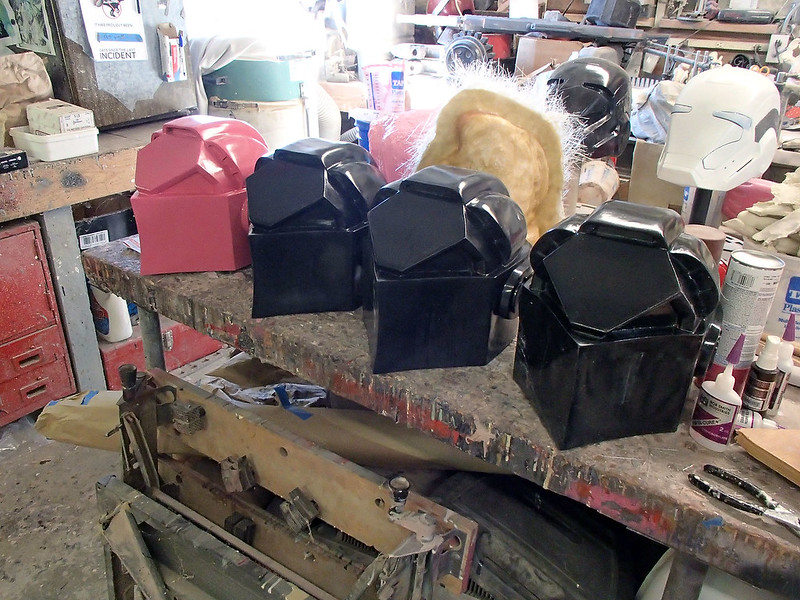
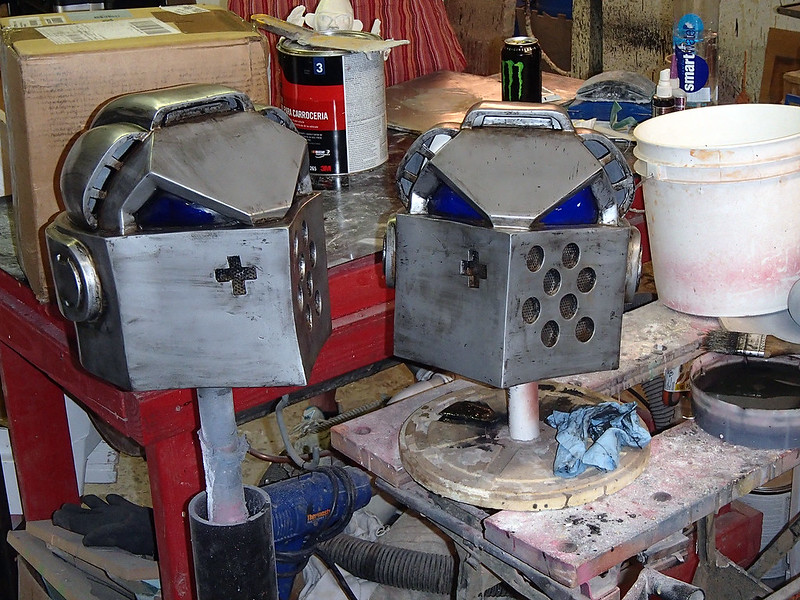
As usual, I made more than one:
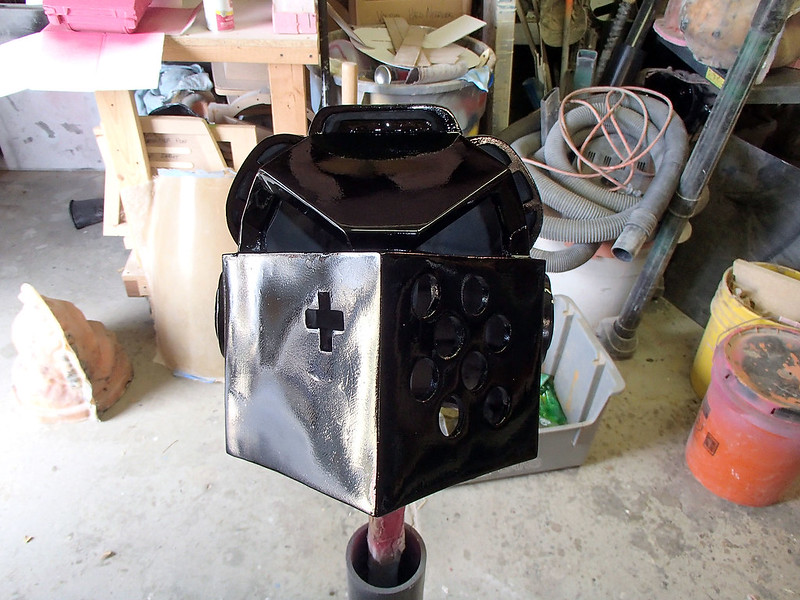
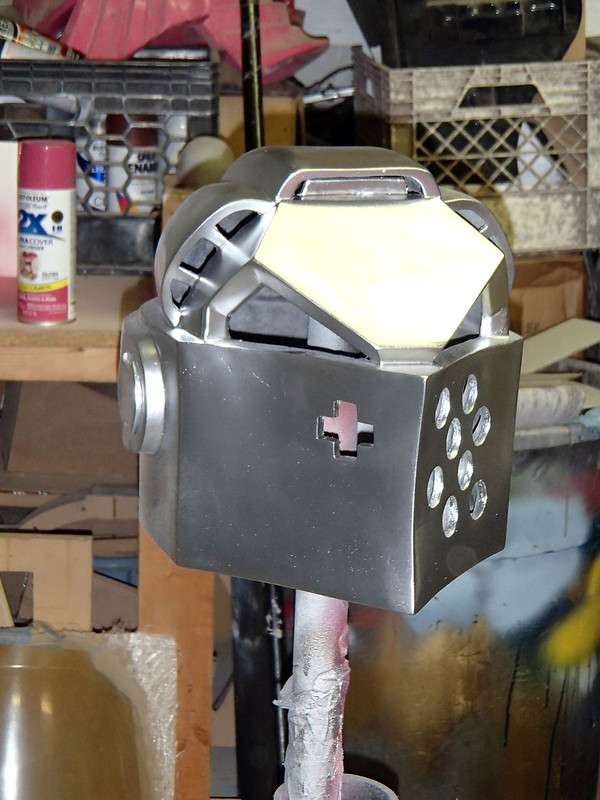
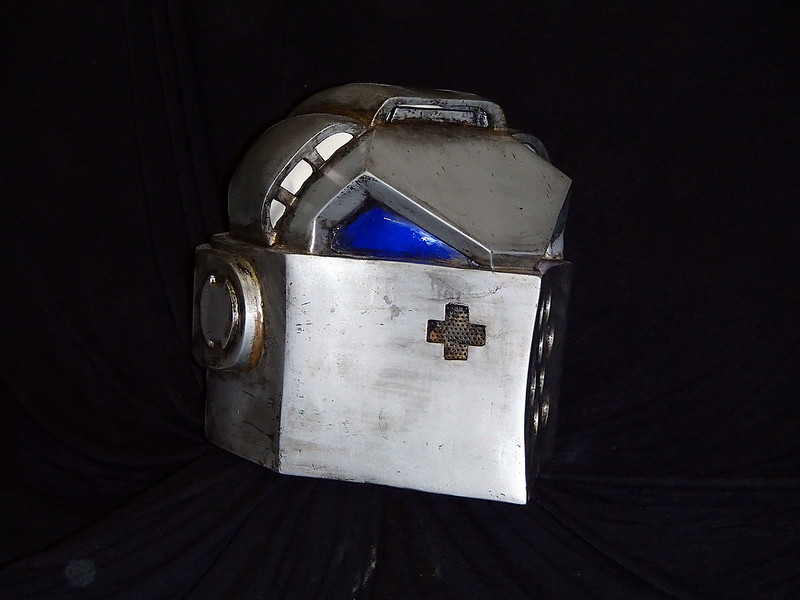
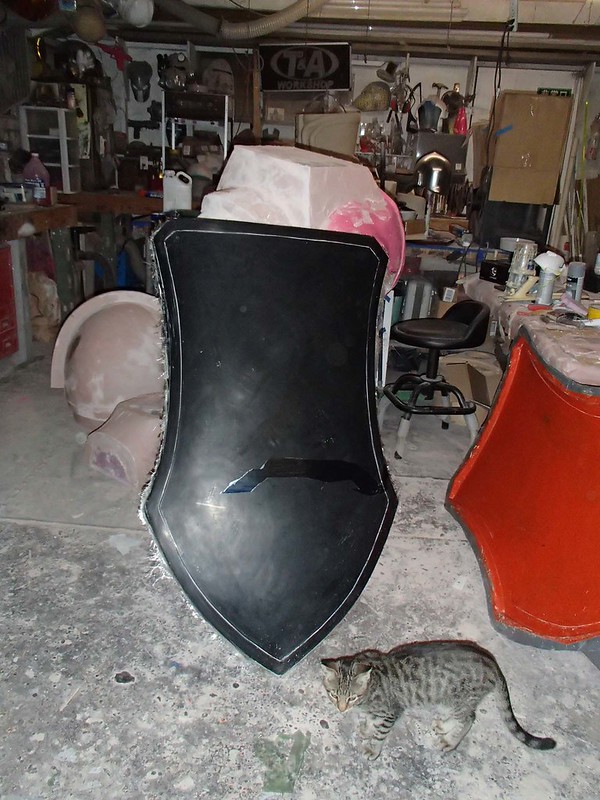
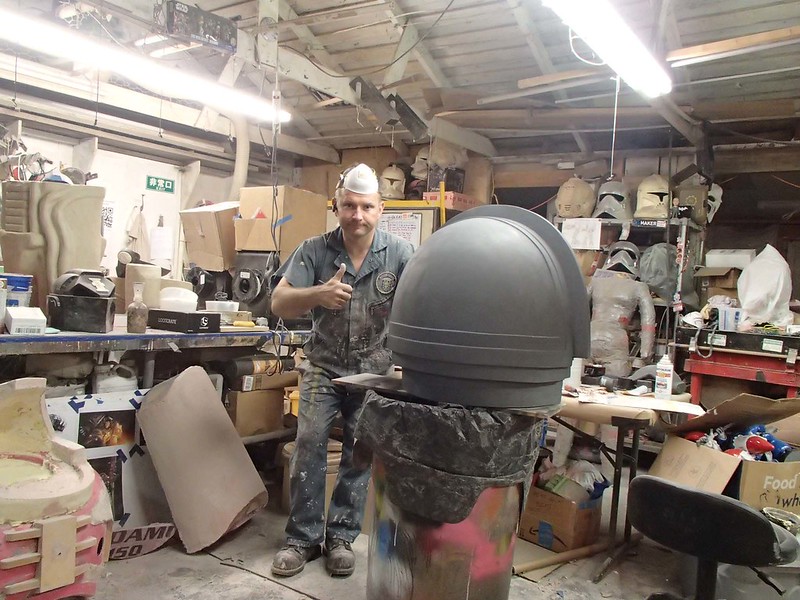
I used a Dremel tool to cut out the eyes and clean up the neck hole. I also cut the trademark cross into the left side of the nose and a Forstner bit to drill an array of 1" holes into the left cheek. Then the whole thing was primed and sprayed with a gloss black basecoat:
Once the black had set up, the thing was a coat of Duplicolor Chrome paint:
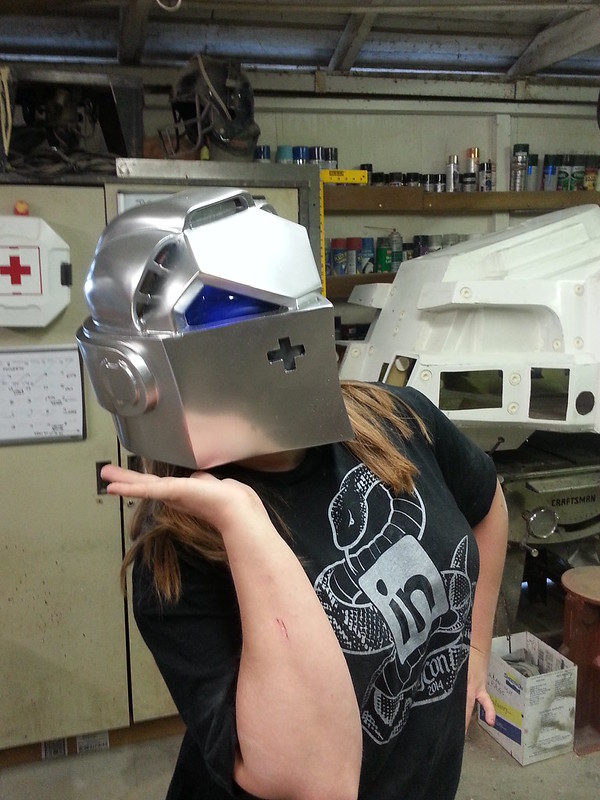
Then I cut out a couple of pieces of blue-tinted 1/8" acrylic, heated them up until they were flexible and pushed them into the eye holes with a soft cloth to get an appropriately convex shape for the eye lenses. Once they cooled, I glued them in place and had Kate try on the helmet:
I tried it on too, of course:
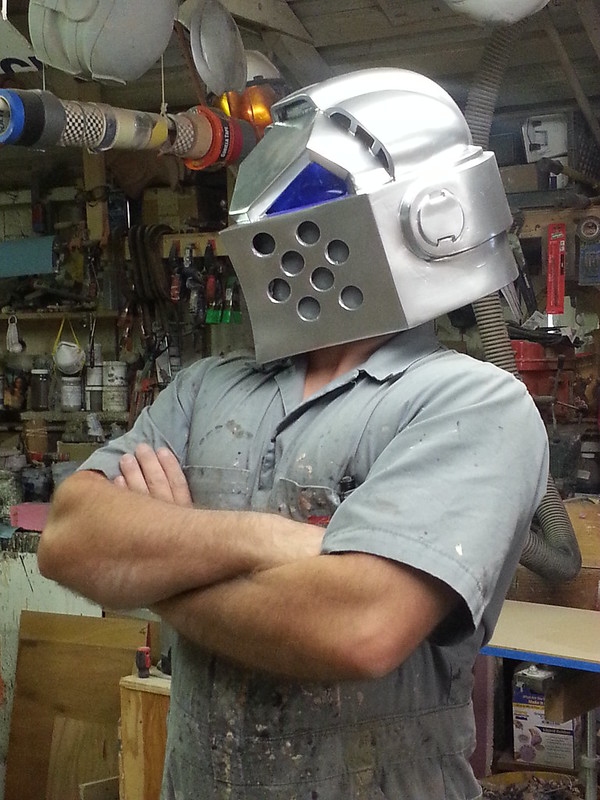
And I saw that it was good:
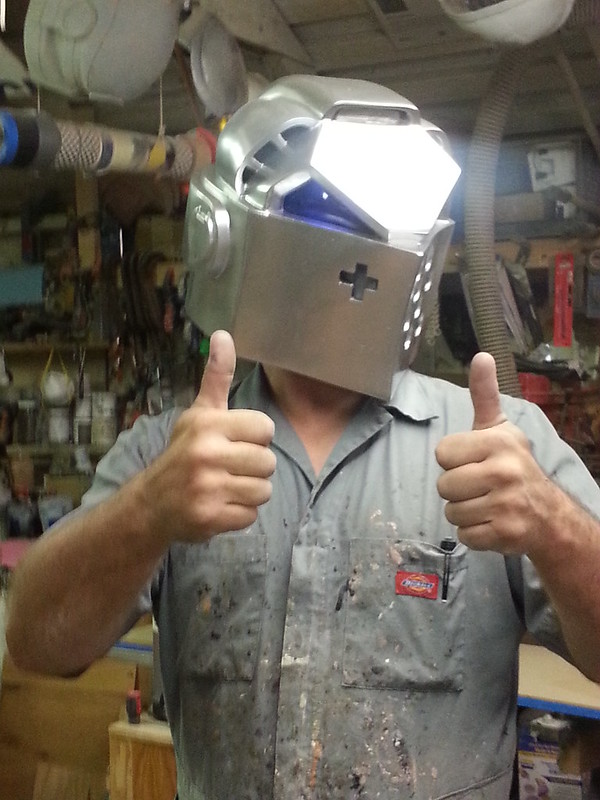
Along the way I installed a couple of LEDs inside the forehead to illuminate the eyes:
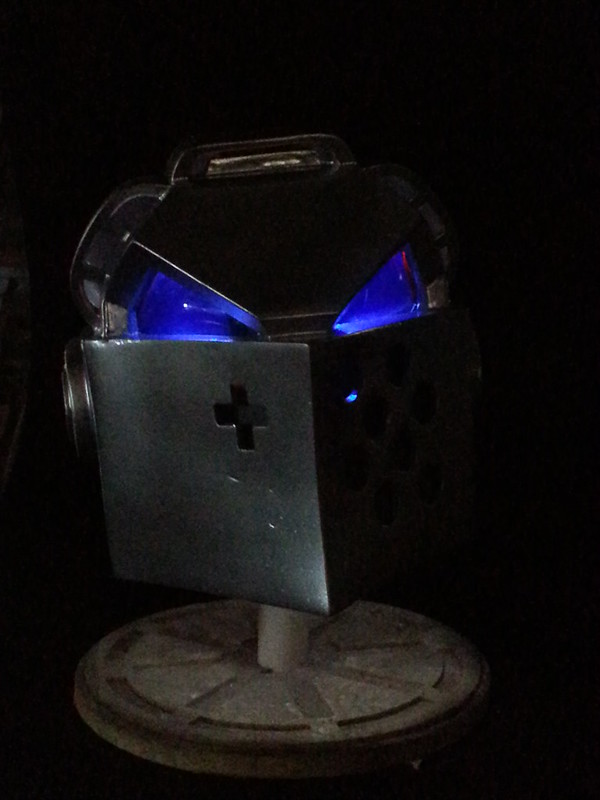
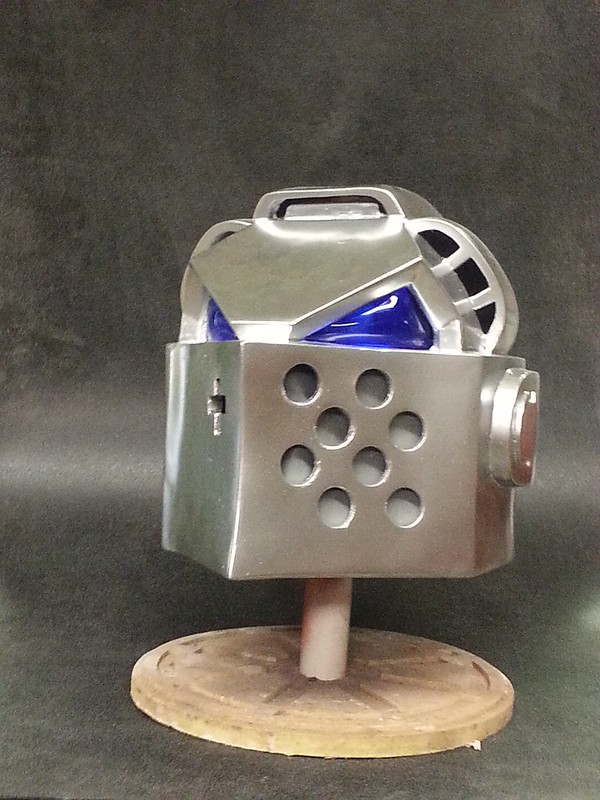
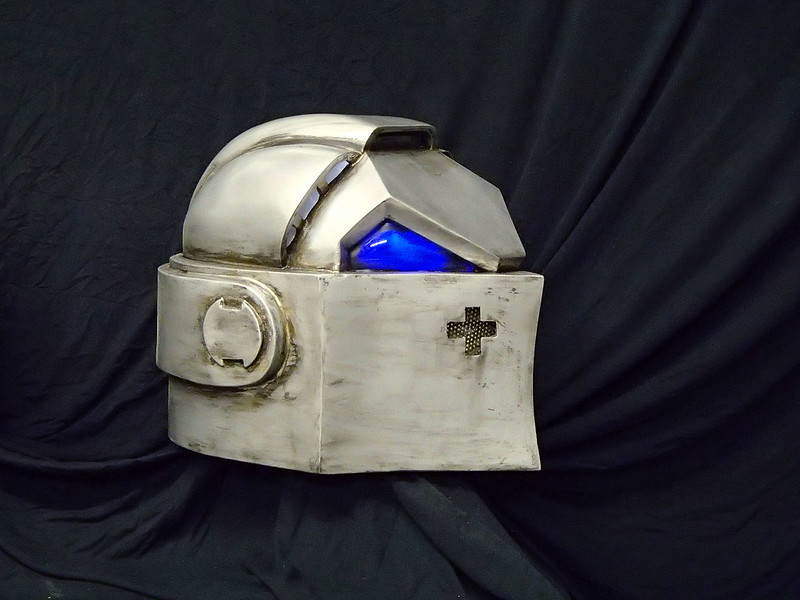
Here's a shot of the helmet in its base silver color and better lighting:
Too shiny and clean, I know, so I installed some perforated metal sheeting in the cheek holes and started adding washes of black and brown acrylic paint. Here's a closeup of the resulting weathering:
Please excuse the housefly photobomb.
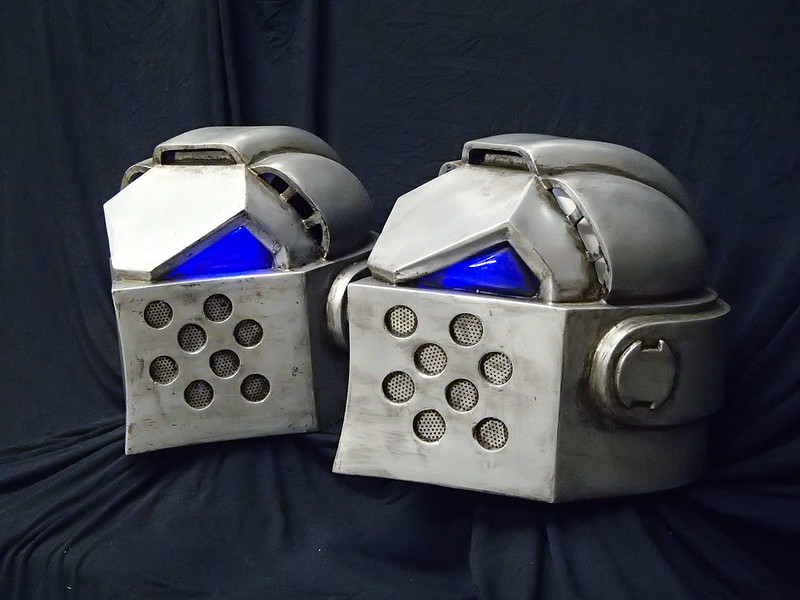
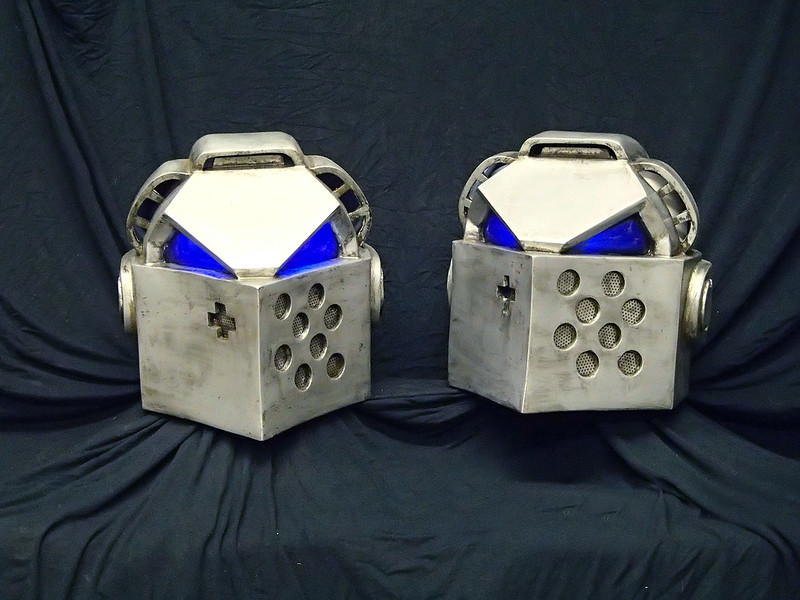
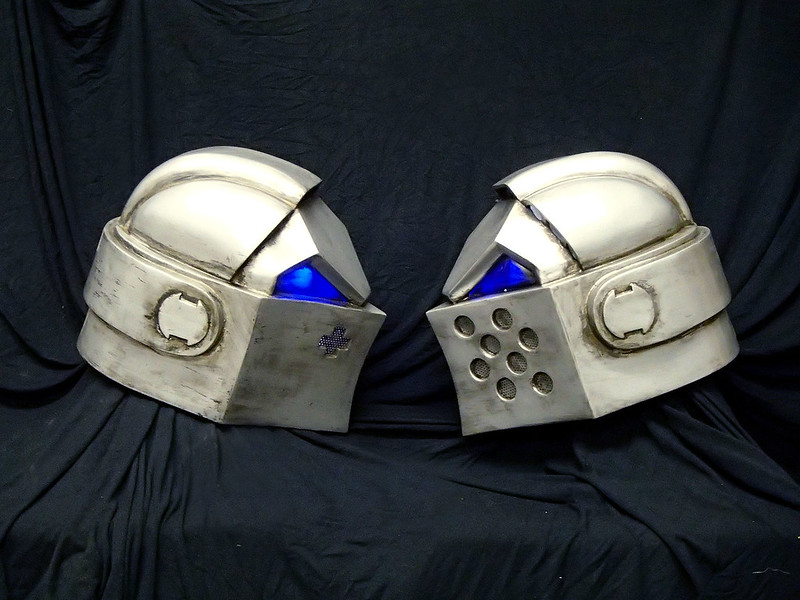
And a shot of two finished helmets:
More to come, stay tuned...
These are pretty early pics, but unfortunately I didn't snap any pics of the finished maquette:
After a bit of tweaking, I decided it'd be better as the terminator style helmet and got to work on a full-sized version. I started by taking a reject casting from my Mk8 Space Marine helmet mold and hacking it apart. Then I added some 1/8" sintra to make it a bit taller and build the trademark plow shape at the front:
The forehead was cobbled together from a few more scraps of sintra:
Then I made the ends of the vents out of more sintra and took the ear caps from the original cast and re-attached them to the new helmet in a different orientation:
So here's how the prototype looked after the first day of tinkering:
To get a better idea of how it would look whenever I get around to making the armor to go with it, I set the whole thing into a large plywood tube I had sitting around from my ED-209 project:
Thus ended the first day of tinkering on this project.
The next day I started by building up the vent ducts on the top of the helmet. In order to keep from having to make 1-inch thick blocks of Bondo or whatnot, I started by adding filler blocks made of insulation foam:
I layered on a bit of Bondo to make a sandable surface over the vents and, because I really wasn't happy with the shape of the plow-face, I added more Bondo to the chin and nose area:
Here it is with a coat of primer:
A few days later I went back and did some more filler and sanding work to smooth out some of the smaller flaws:
Then I closed up the eye holes with some scraps of styrene:
Followed by a bit more filling and sanding:
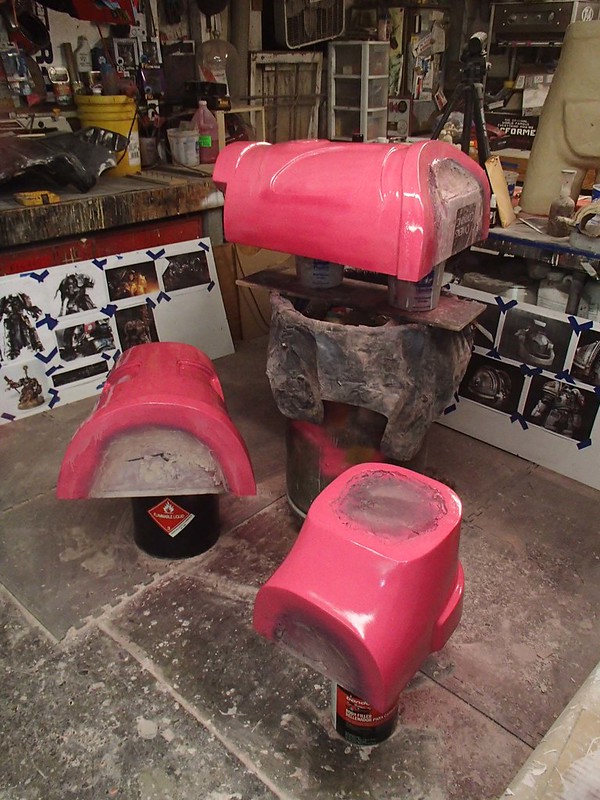
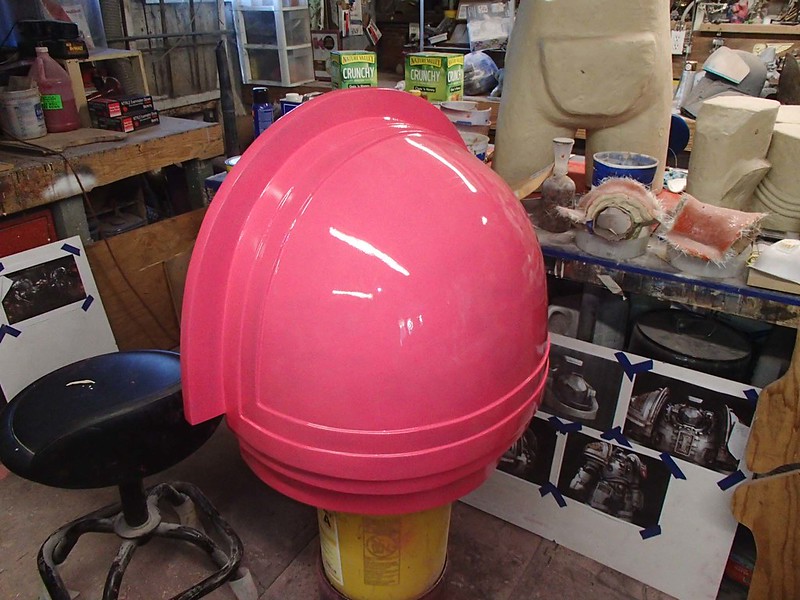
And a coat of my standard lightish-red gloss prototype color:
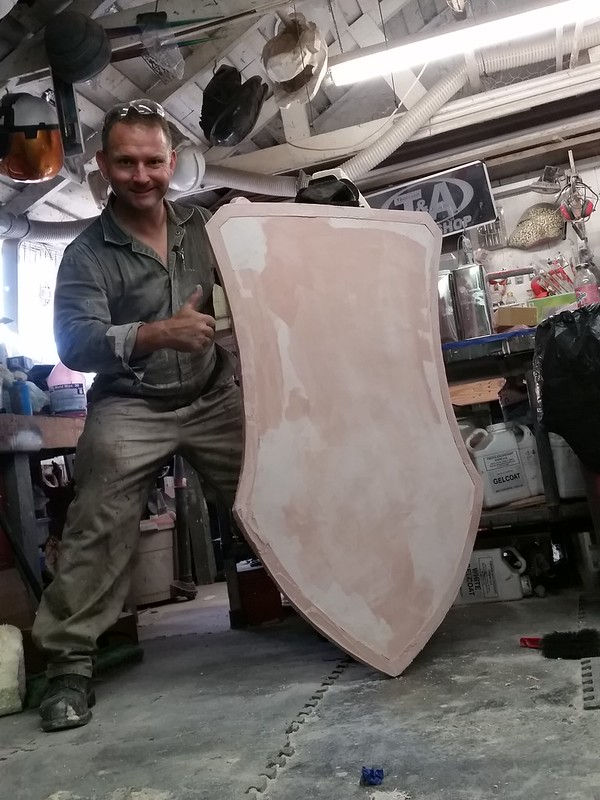
Here's the prototype in all it's shiny pink glory:
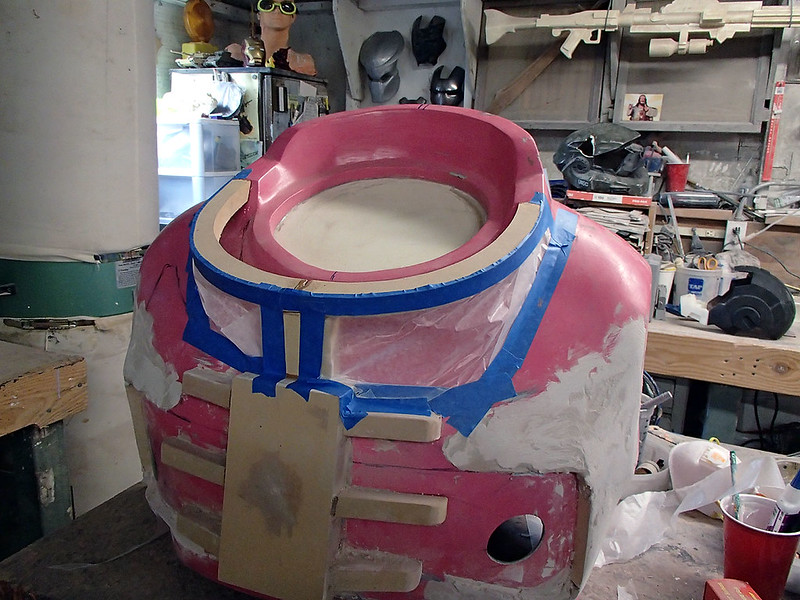
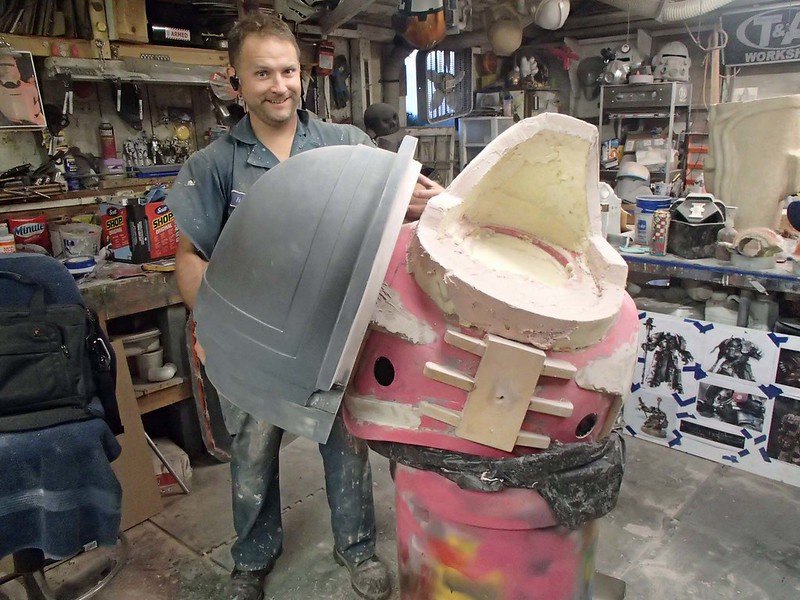
Since the prototype was cobbled together from whatever garbage I had sitting around, I couldn't really expect it to hold up to much abuse or even look good on display for very long. In order to make a more durable version, it was time to make up a mold. I started by mounting the prototype to a piece of cardboard and packing some thickened silicone into all of the undercuts:
Then I built up silicone over the rest of the helmet:
Note the cardboard wall around the base of the helmet that forms a drip tray to keep silicone from drooling all over the table and onto the floor.
I didn't get any pics of the actual rotocasting process, but it's pretty straighforward. For those of you who aren't familiar with the process, you simply pour enough resin into the mold to coat the inside, then roll the mold around to make sure the whole thing is evenly coated. When the resin cures, you're left with a hollow shell. If you want extra strength, you can repeat this process until the cured resin forms an adequately thick shell. Here's my assistant Kate with the first cast copy of the helmet:
As usual, I made more than one:
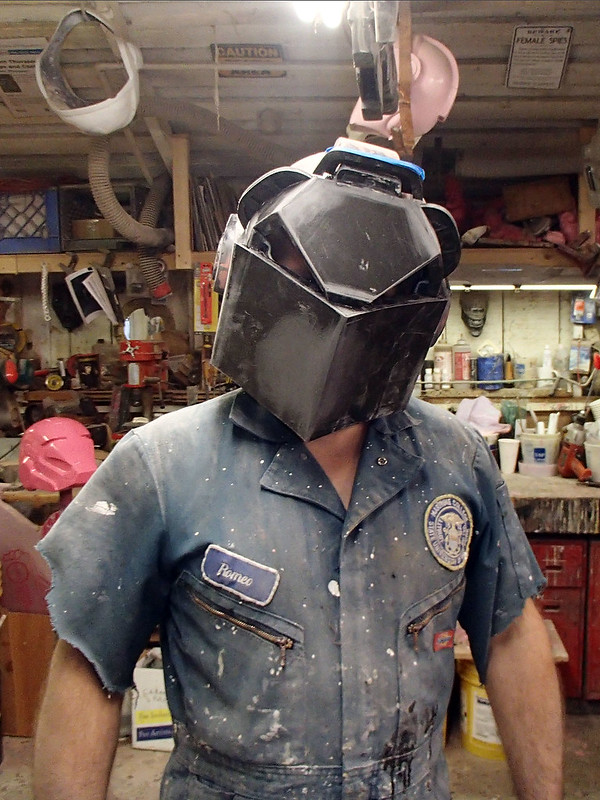
I used a Dremel tool to cut out the eyes and clean up the neck hole. I also cut the trademark cross into the left side of the nose and a Forstner bit to drill an array of 1" holes into the left cheek. Then the whole thing was primed and sprayed with a gloss black basecoat:
Once the black had set up, the thing was a coat of Duplicolor Chrome paint:
Then I cut out a couple of pieces of blue-tinted 1/8" acrylic, heated them up until they were flexible and pushed them into the eye holes with a soft cloth to get an appropriately convex shape for the eye lenses. Once they cooled, I glued them in place and had Kate try on the helmet:
I tried it on too, of course:
And I saw that it was good:
Along the way I installed a couple of LEDs inside the forehead to illuminate the eyes:
Here's a shot of the helmet in its base silver color and better lighting:
Too shiny and clean, I know, so I installed some perforated metal sheeting in the cheek holes and started adding washes of black and brown acrylic paint. Here's a closeup of the resulting weathering:
Please excuse the housefly photobomb.
And a shot of two finished helmets:
More to come, stay tuned...
Last edited:


 ... Progress is awesome....