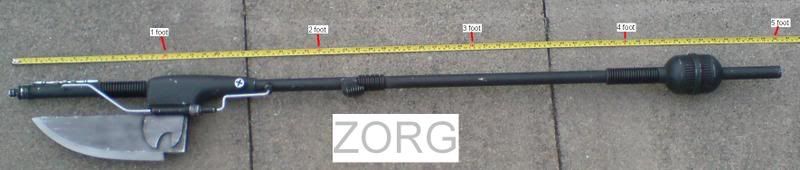
Re: Vibro axe again.
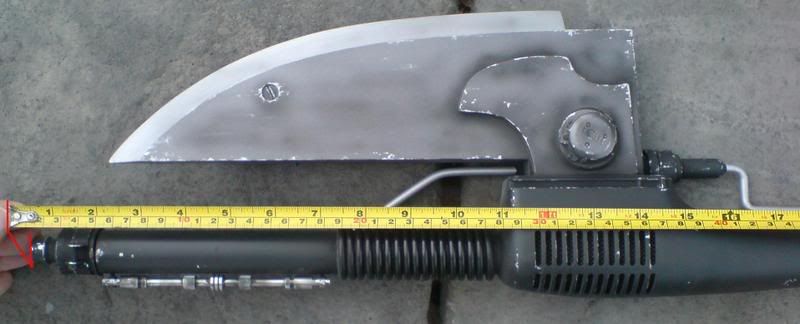
the main part of mine was undercoated in black satin rattlecan then the tamiya nato black for the top coat. it really shouldnt be finished in standard black. the blade was done with a generic gunmetal rattecan paint.
the airbrushed shading was done with tamiya matt black.
-z
edit* oh yeah i got my yamaha part from moncal


")