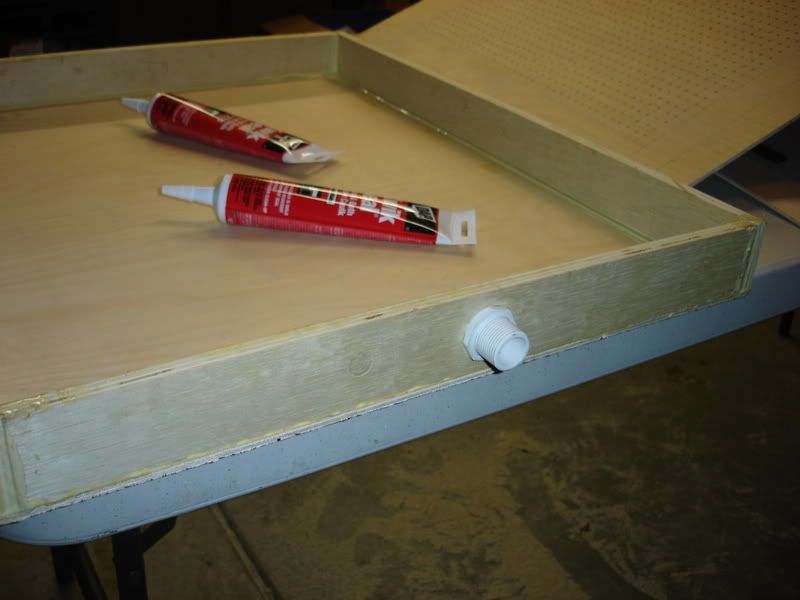
Vacuum Forming Box

Simple enough to build with amazing results!(y)thumbsup

I have been wanting a small vac-form box. I just might have to get started on it.

Very good job and thanks for the pics!!:)
Kenny
 
Must... not... leave... work... early... to build one for myslef!

That is a great Vac form box! I am totally gonna' make one. Mucho thanks for sharing. You are a real champ.
 
Thanks so much, guys!!!!


Is there a reason you made the box so deep?

Yeah, that kinda happened by mistake. The frame fits perfectly inside the box but the weather stripping is what has it sitting so high still. I didn't think my house vac would pull enough because of it. If it hadn't worked, I was going to try and find a thinner material to replace the thick weather stripping. Luckily everything worked ok. I will, however, think about this on my next machine.

Joe
 
Last edited:
Got my .020" styrene, and all other materials assembled.

One question, the frame that holds the plastic, does it rest over the entire top of the box, over the tops of the weather stripping, or inside the weather stripping?

I have a pdf here that shows what I mean. It's the only thing on there. it's called 'document'.
http://drop.io/sullasrpf
 
I would also be interested in seeing more details about how the lid sandwiches the styrene. I am imagining that the border has to clasp the edges of the styrene, but didn't get a good peak as to how you have achieved it.


Thanks,
-DM
 
As I understand it, the wood frame upper and lower pieces sandwich the plastic in place. The screws that thru-bolt the handles from the back side keep it all tight together.

Of course, please… correct me if I am wrong as I want to build one that works! :D
 
Last edited by a moderator:
Good tutorial! One of these days, I need to make a little cigar box-sized one to make lenses for my helmet kits. :)

-Sarge
 
Thanks again, guys! I'm glad my website is helping out in some way!!!


As I understand it, the wood frame upper and lower pieces sandwich the plastic in place. The screws that thru-bolt the handles from the back side keep it all tight together.

Of course, please… correct me if I am wrong as I want to build one that works! :D

Yeah, pretty much the two frames sandwich the plastic, however, the screws from the handles do not go through the plastic. I cut the plastic to be bigger than the frame window so that the frame obviously has something to hang onto but ultimately, it's just being held by the tightening of the screws and the wood. I, too, thought that the plastic needed staples or screws to hold it in place but it held fine with just with the pressure of the screws.

That being said, I still want to install some more screws along the long side of the frame. Maybe with some butterfly nuts. The frame did open up a little in those areas. It held fine but I'd like to add reassurance anyway.

I can't wait to use this, I'm finishing up my Armored Crab model so my Pogo Droid will have to wait just a little bit longer.

Oh, and Sulla, the frame fits perfectly inside the opening of the box...snug fit actually. But the stripping reaches the top of the box so I can't really insert the frame because of that. If I could go back, I would leave the top of the box flat and find some thinner stripping, but again, it worked fine. LMK how your machine works! Peace!
 
Last edited by a moderator:
Awesome, thanks. I'll be slapping mine together here soon. I'll keeep your modifications in mind and post about it when I get it going.
 
Oh, and Sulla, the frame fits perfectly inside the opening of the box...snug fit actually. But the stripping reaches the top of the box so I can't really insert the frame because of that. If I could go back, I would leave the top of the box flat and find some thinner stripping, but again, it worked fine. LMK how your machine works! Peace!

Like this: run a smaller weather striping seal around the flat surface of the ‘holey top’ and resting the frame directly over it?


vacuformstriping.png
 
Last edited by a moderator:
Yeah, a smaller (as in height) weather stripping over the flat top would probably be what I'd do on my next box.

Joe
 
It would have been better to have the perforated platen nailed and glued on top of the side walls rather than rebated. Then you could have glued the weather stripping around the edge and it wouldn't matter how thick the stripping was.

You could keep the frames together with bolts, washers and wing nuts or I have seen window catches used. A good idea is to glue coarse sand paper inside the wooden frames to help grip the plastic while it is heating up. Failure to do so could result in the plastic coming loose from the frames as it is heated because plastic stretches and warps during heating. You need a good grip on the plastic all the way around the holding frames.

Another tip would be to make a small jig to help align the frames over the platen. You can do this by simply fixing a short length of timber to two sides of the box (one top, one side) so that you just push the frames against these and push down exactly where you want it each time, every time:)

Hope that helps!

-Paul.
 
Sheesh, that's great!!! It seems the I have been doing too much work... I began making a vacform table two years ago, and did it to fit my oven. It has not been completed, and I neet to do very small pulls anyway, so this shoebox idea is just too great. I only regret that I did not see this BEFORE deciding to make a Real Ghostbusters Ghost trap into an electric extension cord.... It would have been splendid to make a vacform Ghosttrap... Well, when I get my trap greeblies, and finish my three traps, I guess there's room for one more...
 
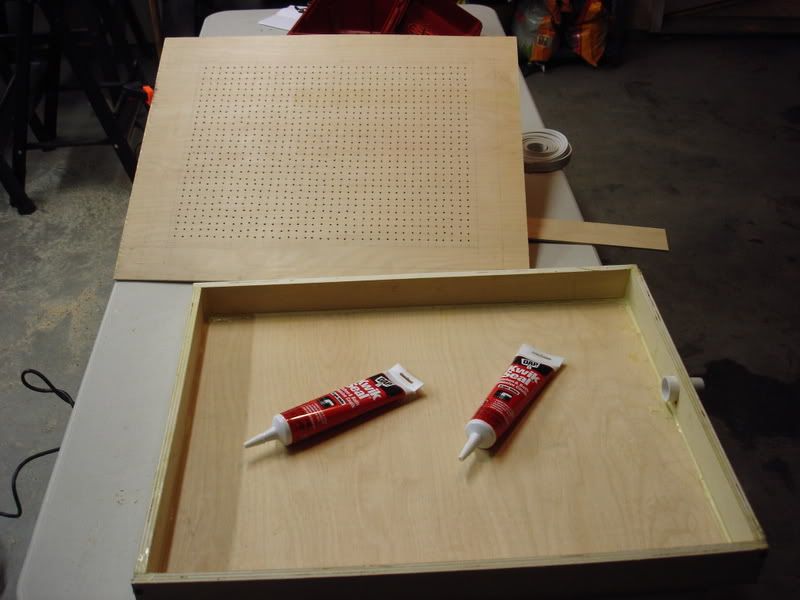
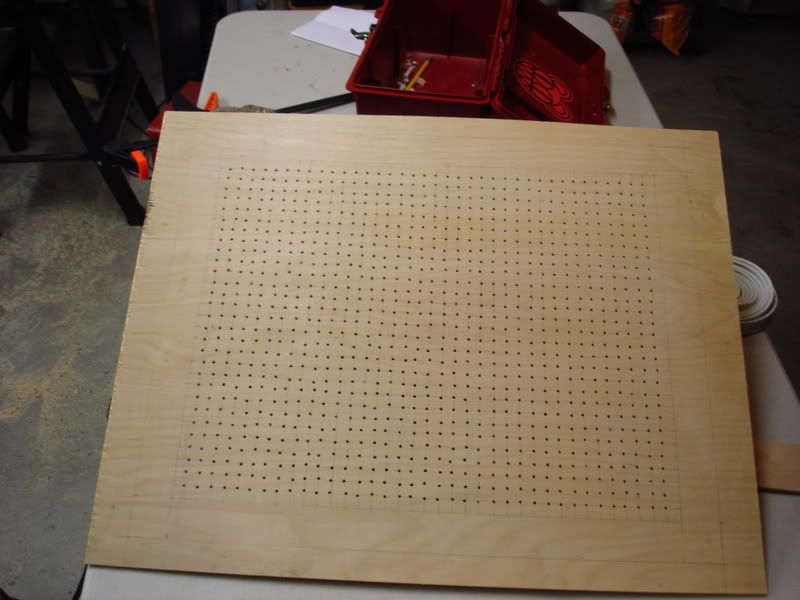
Finally got some work done on my vacform box. Got the box assembled and the top ready. I need the wood glue to dry before I caulk it. I also need to glue and caulk the PVC coupling in place.

I also still need to make the frame.

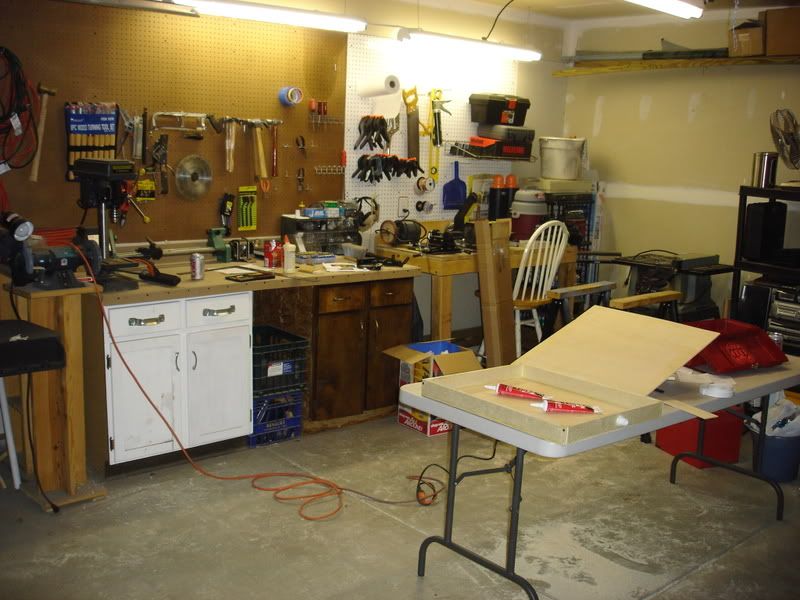
Here's some pix. And some people have complained that my shop looks too neet and tidy. :) Here's a shot of it after a night of drilling over 570 holes.

DSC05028.jpg

DSC05029.jpg

DSC05030.jpg

DSC05031.jpg
 
One tip for making these is to plan multi-use from one box if you can. I needed a 6" X 6" box for a small project a couple years ago. I decided to build a 12" X 12" main box and a 6" X 6" upper attachment for the smaller forming projects. The upper plate screws down right on top of the 12 X 12 box. I ended up using this all the time and was happy with the option and less waist on small pulls.

3148898632_1093b794e5_o.jpg


3148067441_5e7c535c71_o.jpg


3148067533_d22c7f2958_o.jpg


3148067593_aee32f4b8f_o.jpg
 
Back
Top