GINO
Sr Member
I've been working on a Vac form machine that I could keep in my basement/shop.
This machine was built to accommodate the following plastic sheet sizes:
36" x 24"
30" x 24"
24" x 16"
14" x 14"
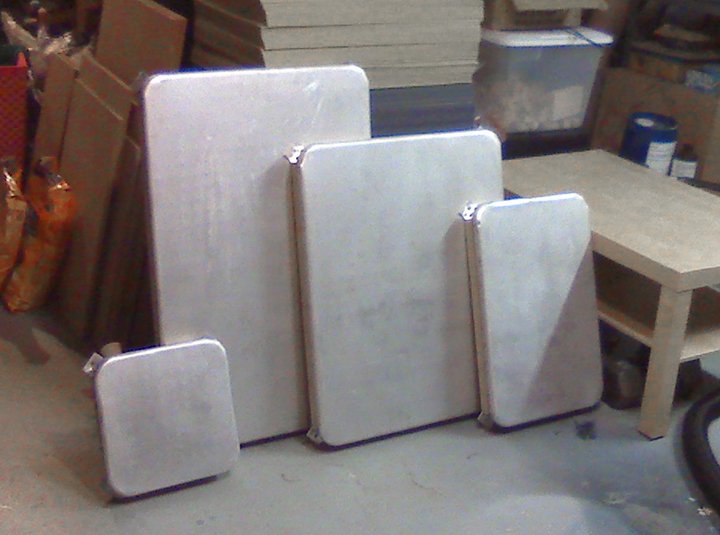
This is a shot of the 4 different interchangeable platen sizes:

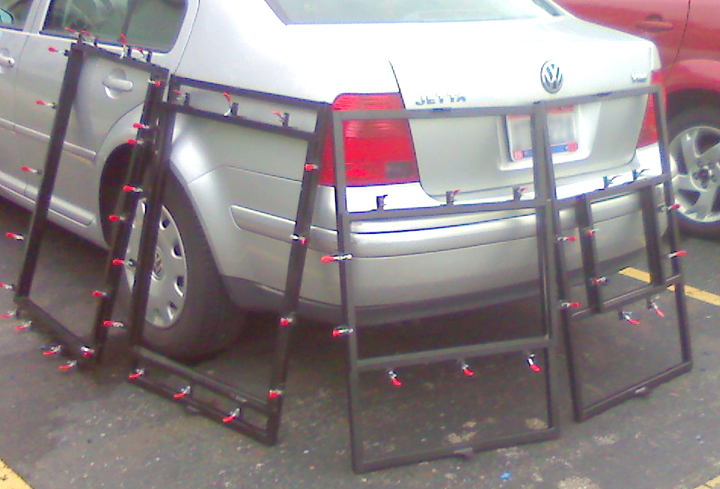
This is a shot of the 4 different interchangeable frame sizes:

It was built at my friend's shop and then transported to my house.
I had a chance to test it out on a couple pieces while it was at my friend's shop. Worked beautifully.
Then we had to transport it to my house and get it down into my basement which was not very easy.
There are a couple of issues that need to be resolved before I can use it here.
1. I need to have an electrician come and correct the outlet that he installed originally (because he installed the wrong kind). I know nothing about electronics so I didn't know at first. I also need him to attach a matching plug to the machine.
2. The vacuum pump emits a TON of smoke from it's exhaust port. Much more than either of us ever anticipated. So it looks like I'm going to have to run a hose from that exhaust port to the outside of the house (next to the dryer duct).
Once these two tasks are completed, I'll be able to form in my basement!
I'm thinking about offering a vac forming service for the RPF so that anyone who has the need but not the access to forming equipment can get something (or a run of parts) formed on the cheap. With the sizes ranging from 14" x 14" (smallest) to 36" x 24" (largest), I should be able to accommodate small to big needs.
.
This machine was built to accommodate the following plastic sheet sizes:
36" x 24"
30" x 24"
24" x 16"
14" x 14"
This is a shot of the 4 different interchangeable platen sizes:

This is a shot of the 4 different interchangeable frame sizes:

It was built at my friend's shop and then transported to my house.
I had a chance to test it out on a couple pieces while it was at my friend's shop. Worked beautifully.
Then we had to transport it to my house and get it down into my basement which was not very easy.
There are a couple of issues that need to be resolved before I can use it here.
1. I need to have an electrician come and correct the outlet that he installed originally (because he installed the wrong kind). I know nothing about electronics so I didn't know at first. I also need him to attach a matching plug to the machine.
2. The vacuum pump emits a TON of smoke from it's exhaust port. Much more than either of us ever anticipated. So it looks like I'm going to have to run a hose from that exhaust port to the outside of the house (next to the dryer duct).
Once these two tasks are completed, I'll be able to form in my basement!
I'm thinking about offering a vac forming service for the RPF so that anyone who has the need but not the access to forming equipment can get something (or a run of parts) formed on the cheap. With the sizes ranging from 14" x 14" (smallest) to 36" x 24" (largest), I should be able to accommodate small to big needs.
.
