colonelmasako
Active Member
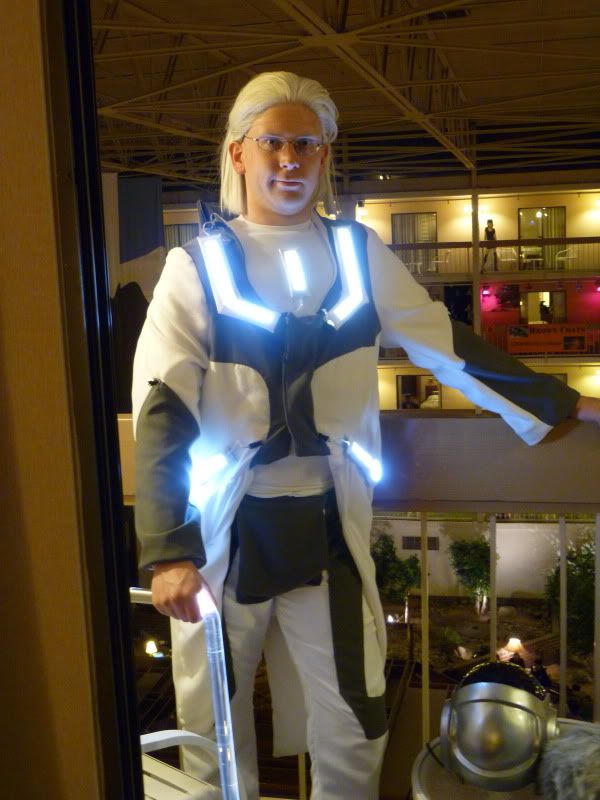
My first foray into working with Luxeon Star LEDs was when I had to repair my saberforge lightsaber last year. With that experience under my belt, I decided to try to use their smaller LEDs to modify a cane prop I plan to use for my Tron Legacy Castor costume.
Special thanks to kevinericon for doing the hard work and making the cane in the first place. I first purchased the acrylic rod from him, and it came with a built in light source. I had nothing against the quality of the rod itself, but I found the light source was not powerful enough for my tastes.
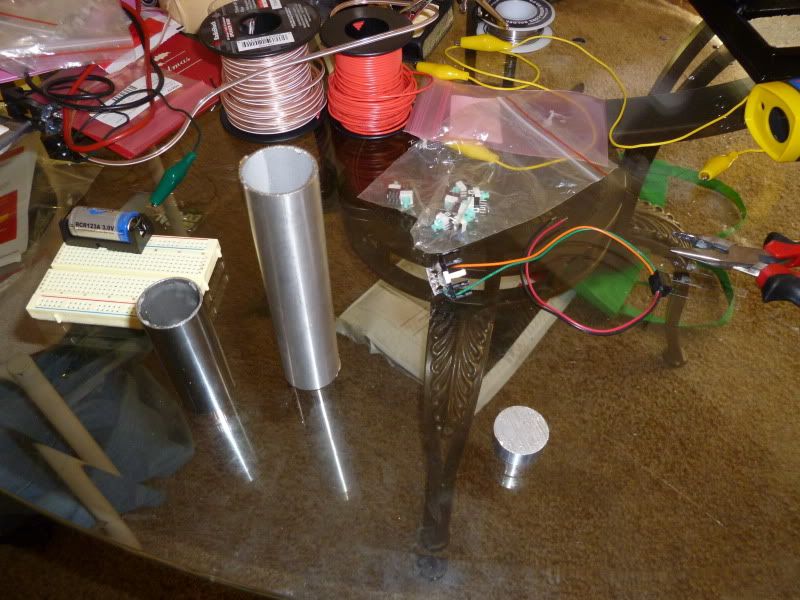
The first step was to gather the parts. All of these parts have to be very small, because the stainless steel tube that came with the cane is 1" outer dimension (same as the rod itself) and the thickness of the tube is 0.03". What I plan to do is to get another rod that is long enough to fit the whole assembly, but I won't buy that until I know how big it has to be.
Parts needed:
1. 1x 10mm Luxeon Star LED, square, mounted on a PCB, 111 lumens at 350mA ANSI White (5028K), 10mm Square LED - 200 lm
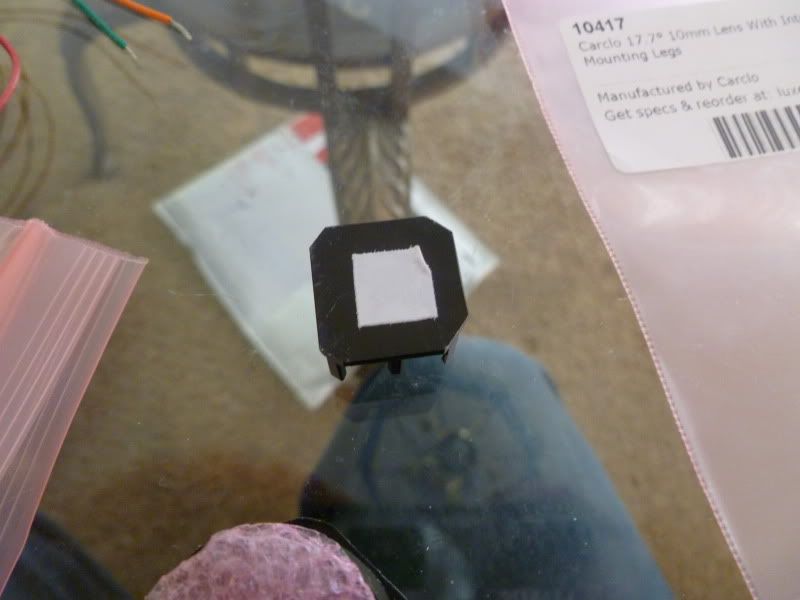
2. 1x Carclo 10mm 17.7 degree square optic for narrow beam Carclo 17.7° 10mm Optic With Integrated Legs
3. 1x 10mm thermal tape for mounting the LED to the heatsink Pre-Cut, Thermal Tape for 10mm Square Bases (10)
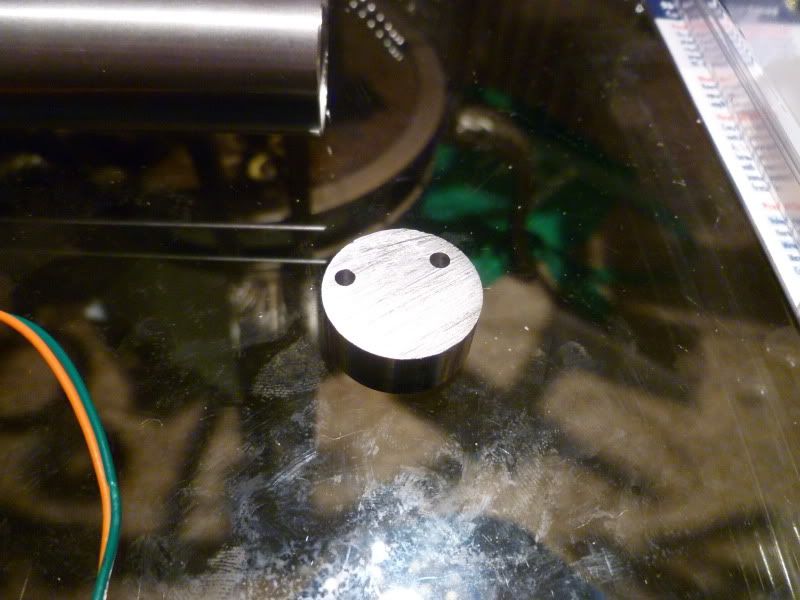
4. 1x 19mm square by 10mm high heat sink, ideal for low airflow environments 19mm Square x 10mm High Alpha Heat Sink - 21.0 °C/W
5. 1x 350mA Micropuck driver for driving the LED from a 3V input source 350mA, Non-Dimmable, MicroPuck Driver - With Leads
6. 1x RCR123A 3V 900mAh Lithium Ion, kit from All battery including charger All-Battery.com: Tenergy 4 Pack RCR123A 3.0V 900mAh Rechargeable Li-Ion Batteries + Charger
7. 1x CR123A battery holder Battery Holder: CR123A Battery Holder for PCB mount - RoHS Compliant
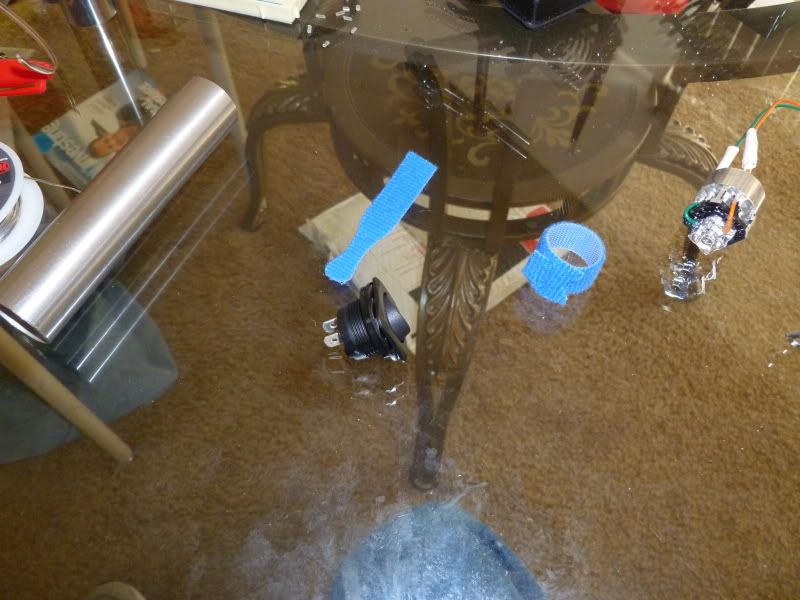
8. 1x locking captop pushbutton Cyan Keytop Self Lock Tact Push Button Switch
9. ? inches of stainless steel tube, 0.035" wall, 1" outer dimension Order Stainless 304 Tube in Small Quantities at OnlineMetals.com
All parts needed for day 1 work

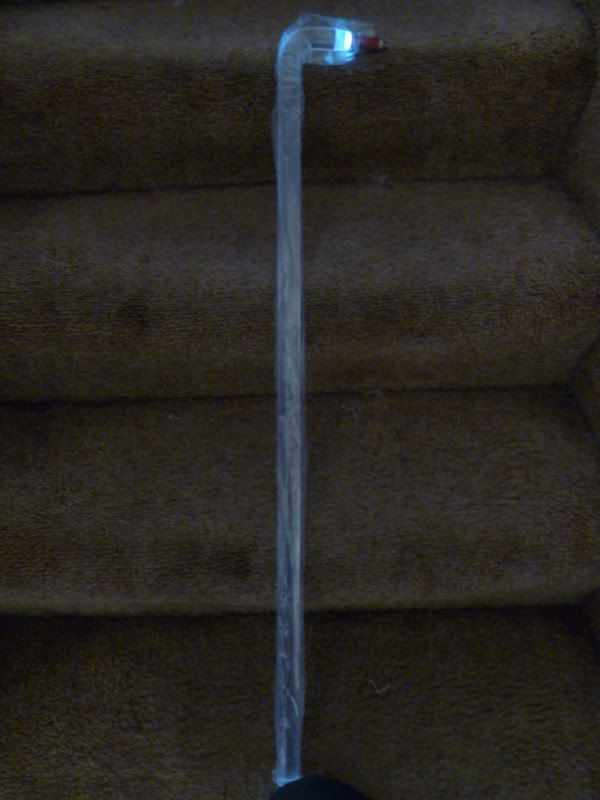
The original light fitting for the cane, for comparison:
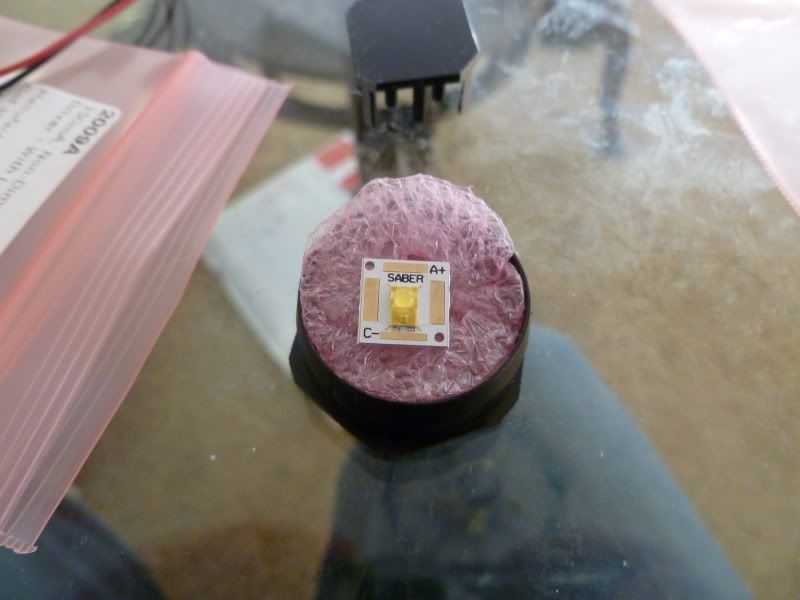
The LED itself out of the package, tiny 10mm x 10mm thing
Mounting the thermal tape to the heatsink. I had to cut down the corners of this 19mm square thing to fit inside the tube. I didn't do a good job putting the tape down, but meh.
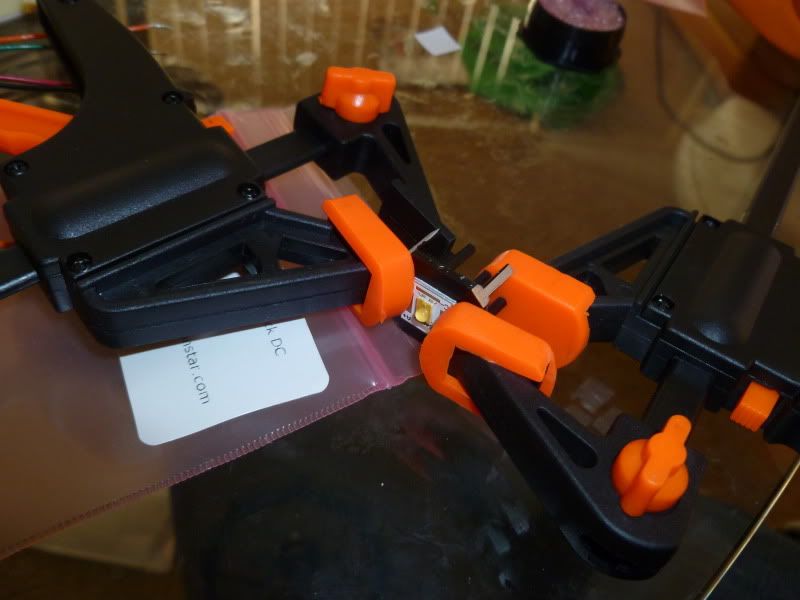
Used rubberized clamps to mount the LED to the heatsink, instructions say to push hard on it for 30 seconds for a good thermal bond.
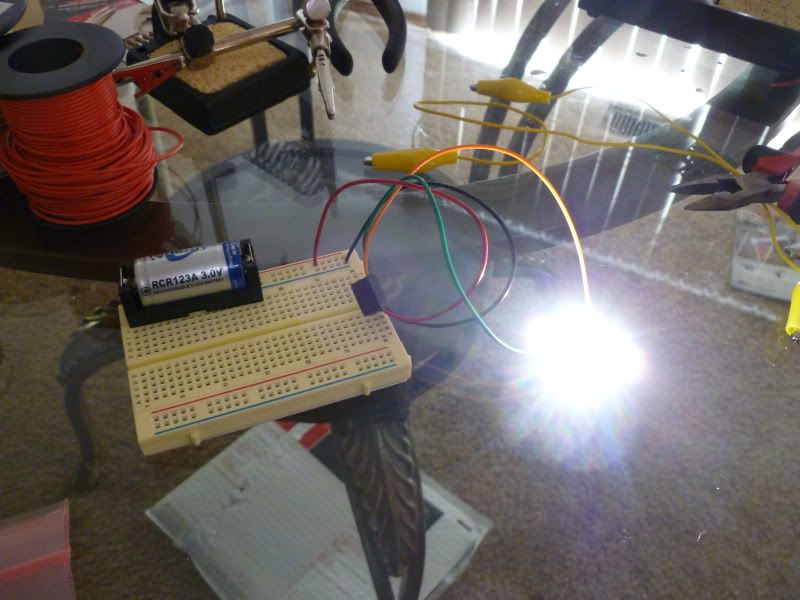
First test power on without a lens, 111 lumens is pretty blindingly bright.
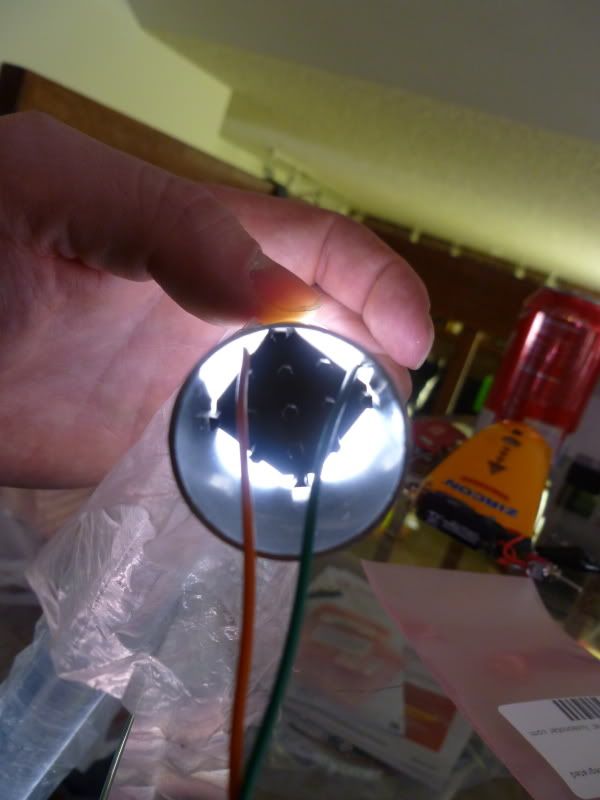
Mounting the 10mm optic on top of the heatsink. It fits really nicely on top, used hot glue to attach and solder for the LED pads.

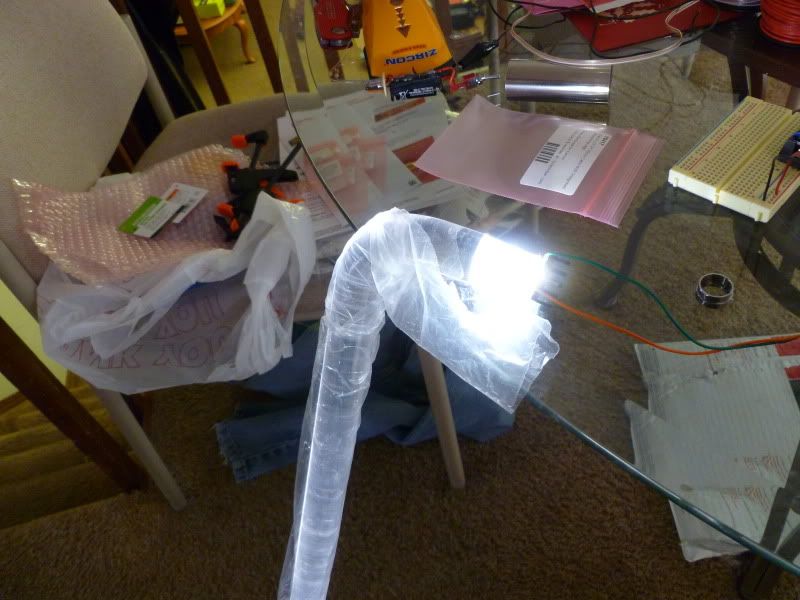
Put the LED and lens at the end of the cane for a test, very nice difference.
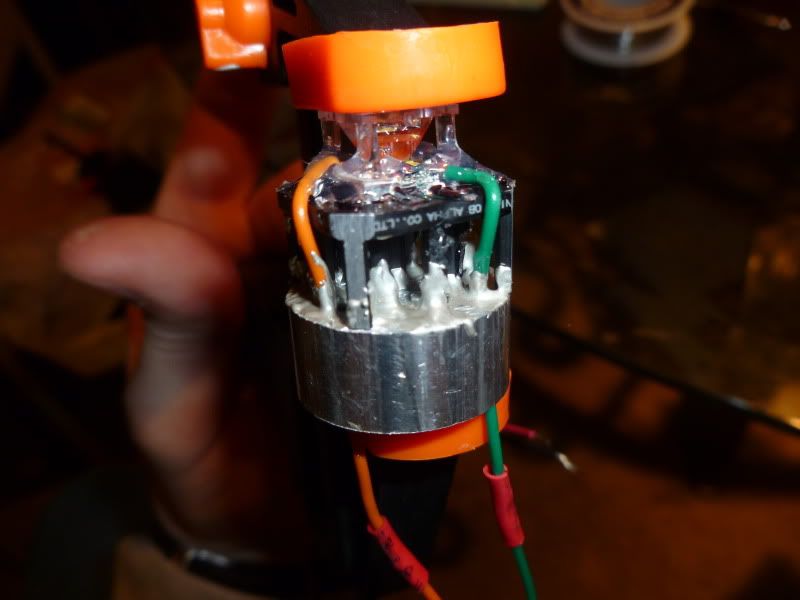
Then put the LED/heatsink in the steel tube for a test fit.
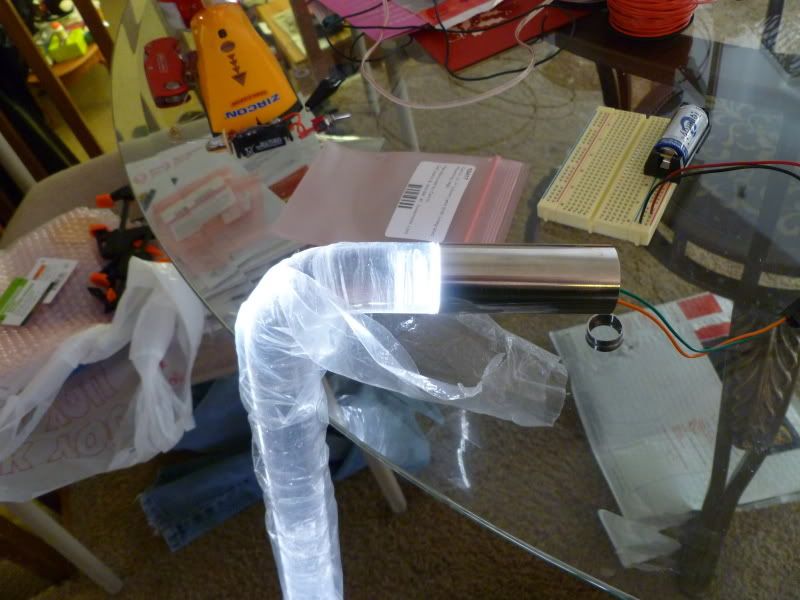
A very tight fit, but it works
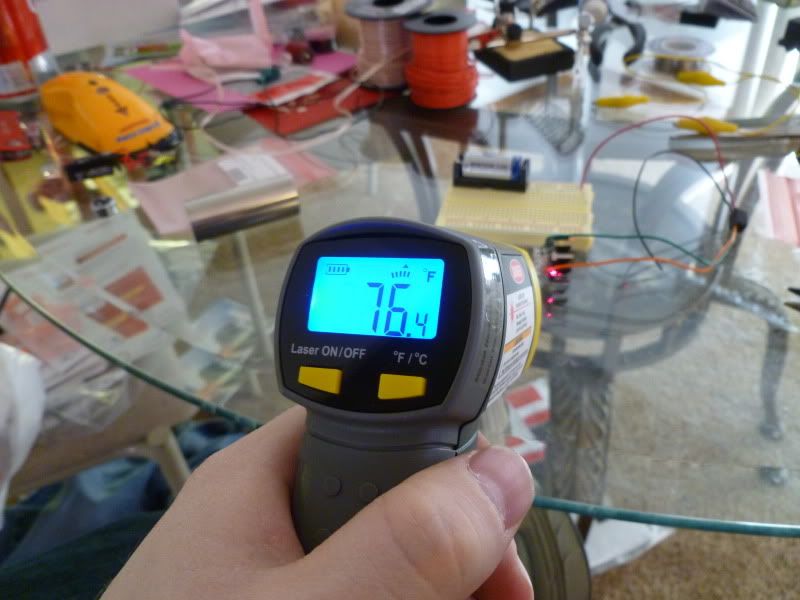
Used my IR temperature toy from Harbor Freight to measure how hot the heatsink/LED got. This was the room temperature at the time.
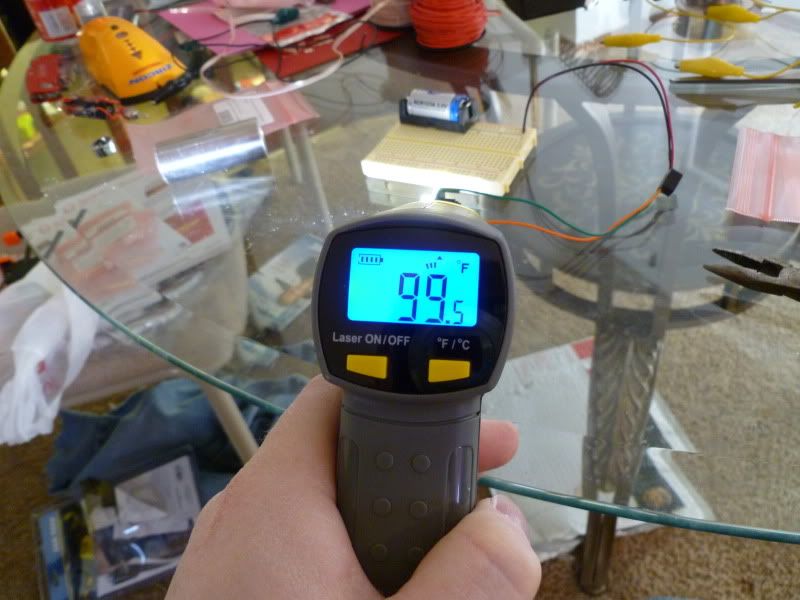
After running the LED for a full minute, got quite a bit warmer.
Then put it into the tube and ran it, but luckily the tube didn't get much warmer. Measuring the temperature inside the tube, it hit 107F at the back and 144F at the front.

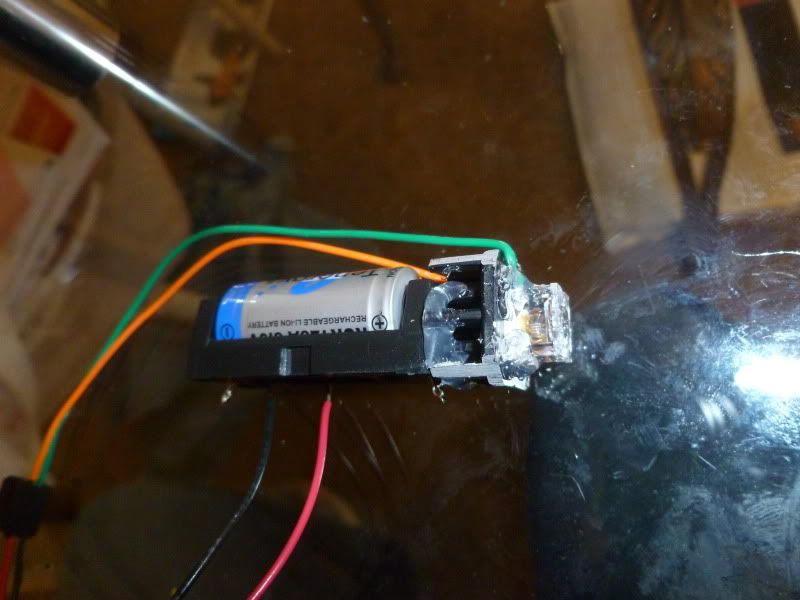
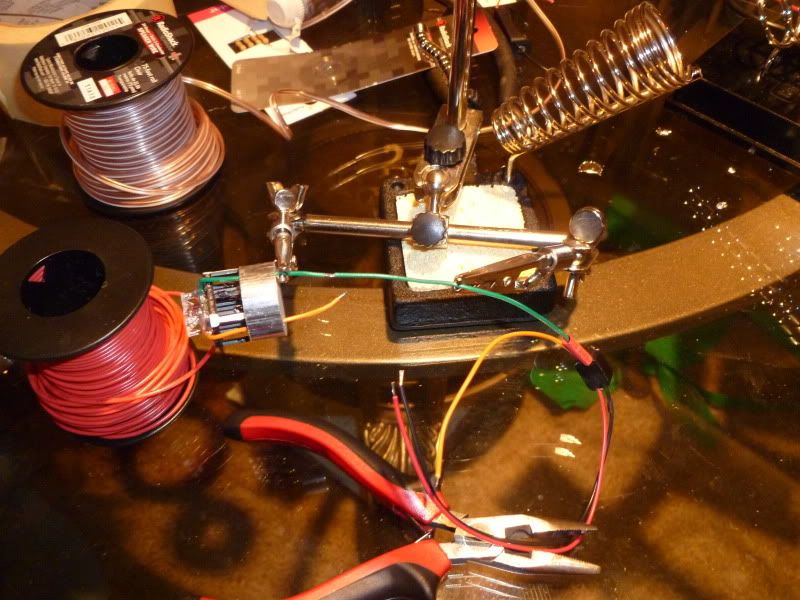
Last step of the day was to attach the LED/heatsink to the battery holder. Plugged in the battery to test fit it fitting inside the tube, which it does.
More progress when I get the rest of the parts in.
Special thanks to kevinericon for doing the hard work and making the cane in the first place. I first purchased the acrylic rod from him, and it came with a built in light source. I had nothing against the quality of the rod itself, but I found the light source was not powerful enough for my tastes.
The first step was to gather the parts. All of these parts have to be very small, because the stainless steel tube that came with the cane is 1" outer dimension (same as the rod itself) and the thickness of the tube is 0.03". What I plan to do is to get another rod that is long enough to fit the whole assembly, but I won't buy that until I know how big it has to be.
Parts needed:
1. 1x 10mm Luxeon Star LED, square, mounted on a PCB, 111 lumens at 350mA ANSI White (5028K), 10mm Square LED - 200 lm
2. 1x Carclo 10mm 17.7 degree square optic for narrow beam Carclo 17.7° 10mm Optic With Integrated Legs
3. 1x 10mm thermal tape for mounting the LED to the heatsink Pre-Cut, Thermal Tape for 10mm Square Bases (10)
4. 1x 19mm square by 10mm high heat sink, ideal for low airflow environments 19mm Square x 10mm High Alpha Heat Sink - 21.0 °C/W
5. 1x 350mA Micropuck driver for driving the LED from a 3V input source 350mA, Non-Dimmable, MicroPuck Driver - With Leads
6. 1x RCR123A 3V 900mAh Lithium Ion, kit from All battery including charger All-Battery.com: Tenergy 4 Pack RCR123A 3.0V 900mAh Rechargeable Li-Ion Batteries + Charger
7. 1x CR123A battery holder Battery Holder: CR123A Battery Holder for PCB mount - RoHS Compliant
8. 1x locking captop pushbutton Cyan Keytop Self Lock Tact Push Button Switch
9. ? inches of stainless steel tube, 0.035" wall, 1" outer dimension Order Stainless 304 Tube in Small Quantities at OnlineMetals.com
All parts needed for day 1 work
The original light fitting for the cane, for comparison:
The LED itself out of the package, tiny 10mm x 10mm thing
Mounting the thermal tape to the heatsink. I had to cut down the corners of this 19mm square thing to fit inside the tube. I didn't do a good job putting the tape down, but meh.
Used rubberized clamps to mount the LED to the heatsink, instructions say to push hard on it for 30 seconds for a good thermal bond.
First test power on without a lens, 111 lumens is pretty blindingly bright.
Mounting the 10mm optic on top of the heatsink. It fits really nicely on top, used hot glue to attach and solder for the LED pads.
Put the LED and lens at the end of the cane for a test, very nice difference.
Then put the LED/heatsink in the steel tube for a test fit.
A very tight fit, but it works
Used my IR temperature toy from Harbor Freight to measure how hot the heatsink/LED got. This was the room temperature at the time.
After running the LED for a full minute, got quite a bit warmer.
Then put it into the tube and ran it, but luckily the tube didn't get much warmer. Measuring the temperature inside the tube, it hit 107F at the back and 144F at the front.
Last step of the day was to attach the LED/heatsink to the battery holder. Plugged in the battery to test fit it fitting inside the tube, which it does.
More progress when I get the rest of the parts in.
Last edited:
") Don't want my kid catching on fire
Don't want my kid catching on fire