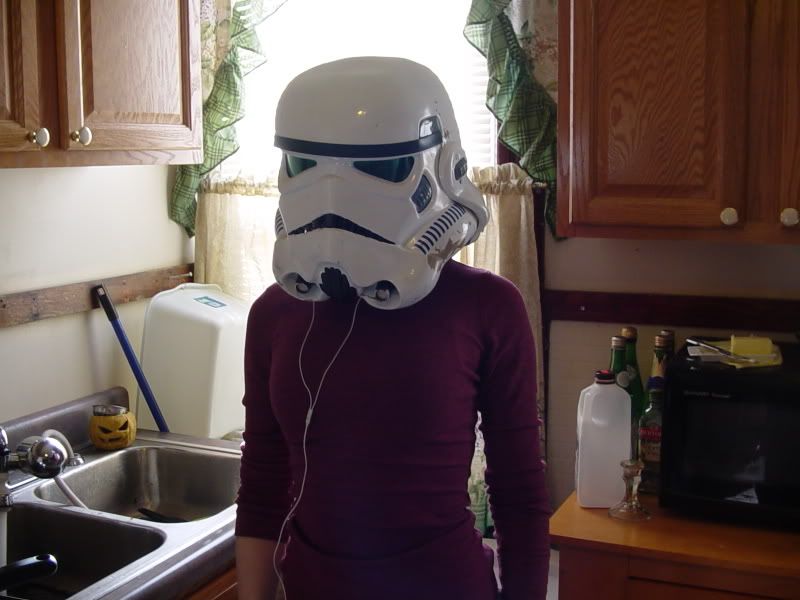
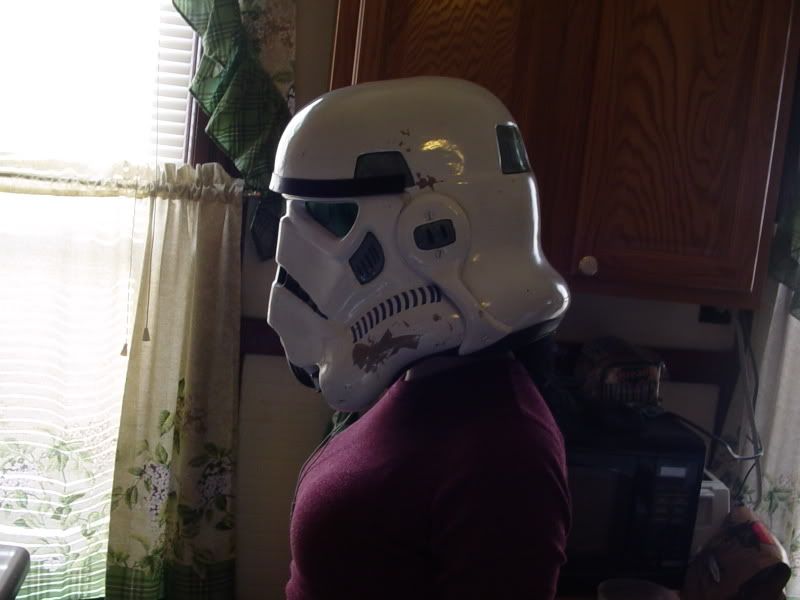
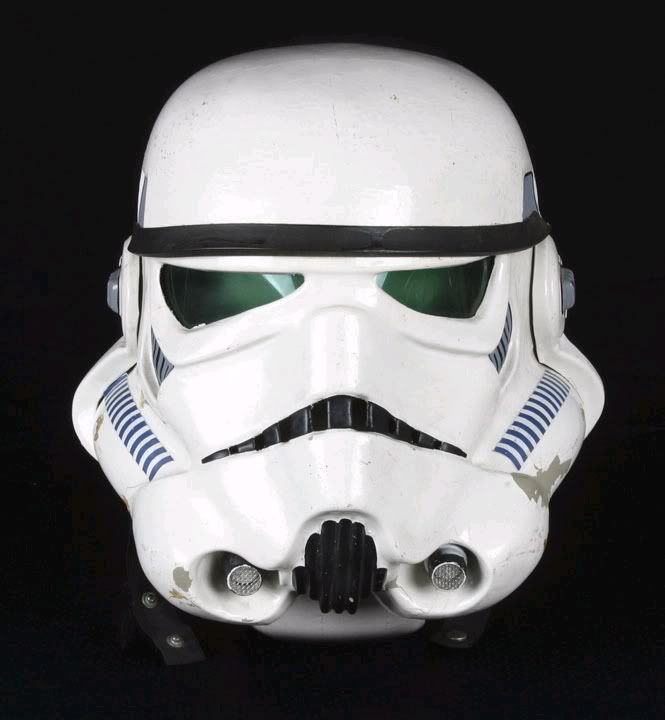
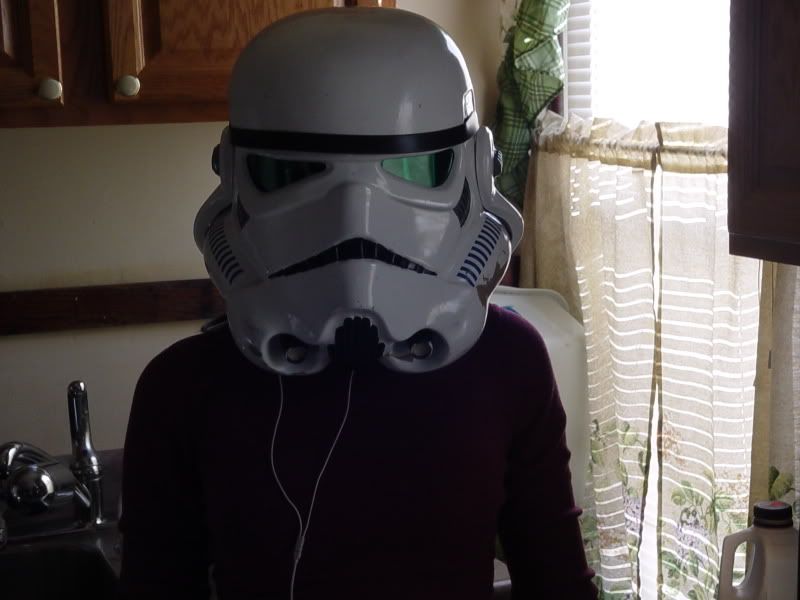
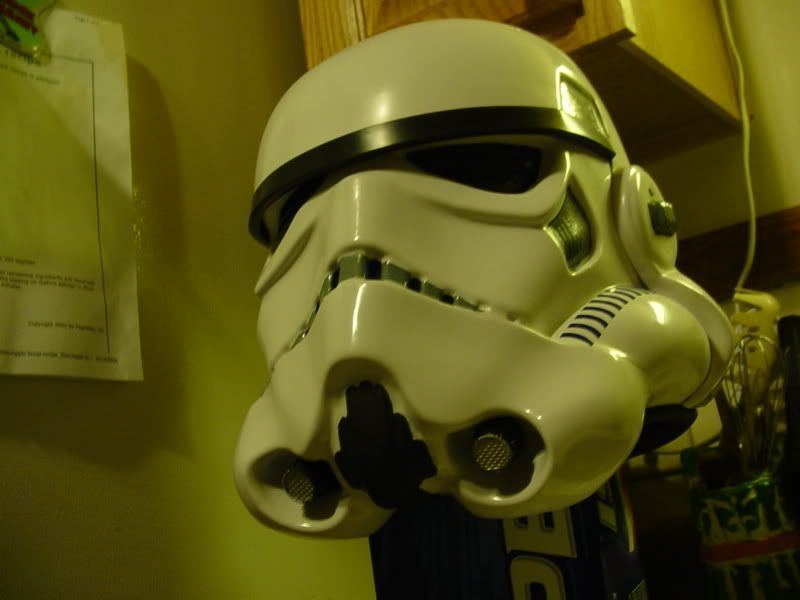
TK bucket assembly...

OldKen

Master Member
(changed title since its about more than paint)


well basically this is now just a WIP thread so...


heres what i have...


for ep4 ANH

humbrol #5 grey.

humbrol #15 blue.for tube stripes

humbrol #21 black. for chin and mouth outline

rustoleum gloss white for the outer of a stunt??? thats what ive seen correct me if im wrong...


any help/critiuques are more than welcome... B)
 
I question those anh colors. IMHO, the gray is too blue and the blue is too dark (at least for the buttons). I haven't looked into it much, but I seem to remember TD's stripes being a lighter color blue. But again, I could be imagining the whole thing. :)
 
<div class='quotetop'>QUOTE(clutch @ Feb 1 2007, 07:28 PM) [snapback]1409855[/snapback]</div>
I question those anh colors. IMHO, the gray is too blue and the blue is too dark (at least for the buttons). I haven't looked into it much, but I seem to remember TD's stripes being a lighter color blue. But again, I could be imagining the whole thing. :)
[/b]


LOL.

well then lets put this thread to use and figure if theres somethin better.

whats on your bucket(s) clutch?

oh, and how the hell do you paint the tubestripes? stencil?

the black fine lines are always wobbly but the blue is always uniform and while here and there they are very squared at the end...

im sure keith paul gino etc will chime in. :D
 
I think the #5 Ad Grey is pretty good myself. That is the grey I use as well as #15 Midnight Blue and #21 Black. I have used #14 French Blue for the stripes and looks much closer to the sandtrooper helmets. I read somewhere (from Jez I think) that they used the 'little pots' of paint for detailing the helmets. I can only think of Humbrol, Revell and Airfix paints and I don't think Airfix paints are available today and Revell don't do many colours in gloss.

Ken, I'll give you a few tips on painting the details mate :) .

1. I always paint the black outlines first on the traps and tears, working outwards making sure to get a nice clean line on the outer edge. Don't worry about the inside it will cover with the grey. Oh and the mouth doesn't have a black line around it :p

2. Paint in the chin area black and work outwards again until you are happy with the shape of the vocoder. There are many variations in the films so don't try to be too exact.

3. Fill in the teeth seperately with grey and no black out line ;) I try and fill the whole tooth and make them look bigger but they should look like seperate teeth and not one big 'mouth'.

4. Fill in the traps with the grey and try to keep the black line nice and even. When that's dried you can paint the black stripes. Again don't try too hard as they can be touched up with grey after it has dried.

5. Same things above apply to the ear caps.

6. Now the tube stripes. I place two strips of masking tape on each tube roughly 15mm apart and mark the stripes on the tape. The stripes are 3mm each and the spaces 4mm (on mine). I use a two pence piece and draw an pencil line around the coin all the up until all the stripes are done. You can have as many as 16 stripes or as little as 11 ( at least that is what I have counted from the found screen used helmets). Fill in the lines with either #15 blue or #14 blue and remover the tape when dry.

I would suggest buying decent paint brushes, a thin one for detailing and a thicker one for filling in. Also wait until each coat is dry before moving onto the next colour ir it could spell disaster.

-Paul :)
 
word. yeah figured the tube stripes had to be somethin like that, kind of a freehand stencil (which yeah is a contradiction in terms) but i get the idea.

yeah, ive never fancied the mouth outline, i just wrote that because thats what ive seen in other threads, and lots of people do it that way, but i never felt thats what i saw on screen, of course most of us didnt think we saw green eyes on the TKs either...

i grew up as an artist, mostly pen and pencil, but ive always felt i could tackle this as i also did paint alot growing up, and while no picasso am pretty good and steady with lines etc.

ive been debating getting some stickers from our own gundam-zepplin who has had em for a great deal in the junkyard, and is holdin a set for me (guess i need to make my mind up NOW.)


dangit paul your reinforcing that little voice tellin me to go for it and do it the way it was done. :angry :lol

if anyone has any progress pics dont be afraid to post em. :love

and hows that hero commin paul? cause thats next for me. :D
 
<div class='quotetop'>QUOTE(Blastech @ Feb 2 2007, 04:05 PM) [snapback]1410436[/snapback]</div>
Spray the helmet first with Krylon gloss white. Thats what I did..The suit in my avatar.
[/b]


sweet aany more pics of it?

so whats the consensus?

krylon or rustoleum gloss???
 
I hate both. Hahah. Sorry, been having trouble with paint reacting badly. I wonder if on the tube stripes, you could use the decals first and then mask in between them with masking tape. Peel the decals off, paint, remove mask.
 
<div class='quotetop'>QUOTE(clutch @ Feb 2 2007, 04:20 PM) [snapback]1410450[/snapback]</div>
I hate both. Hahah. Sorry, been having trouble with paint reacting badly. I wonder if on the tube stripes, you could use the decals first and then mask in between them with masking tape. Peel the decals off, paint, remove mask.
[/b]


i swear to you i was just thinkin that.

hmm..

or have you ever seen people do freehand pinstripe on cars?

the pinstripe sticky tape or whatever you wanna call it is really flexible without losing thickness, so you can pull with one hand and guide and shape with the other... dont know if your followin me, but what im sayin is you could use what paul said about the 2 pence piece as your guide and sorta curve the tape around the outer edge and move up and so on... dont know if you get what im sayin but i think it could work.
 
<div class='quotetop'>QUOTE(oldken @ Feb 2 2007, 01:02 PM) [snapback]1410321[/snapback]</div>
if anyone has any progress pics dont be afraid to post em. :love
[/b]

I have a few progress pictures of the ESB bucket i have been working on ....unless i deleted them :unsure
But anyway If you feel like hand painting go for it remember if you mess up.. you can always paint over in white :angel
 
Good thread OLDKEN. I wish there were more specific threads like this. I know how you feel about there being very useful bits of TK info scattered over multiple threads. Sometimes it's hard to keep track. Anyway, this will be useful for me sometime this year. :)
 
oh and dont be shy on any pointers on assembly... : :D

like how much can be left on the face under the under the ears and cap back... :confused

how do you judge how much to trim off the ears to make em remotely fit (i know that almost all the screen used had gaps of varrying degrees, but i want to have as little gap as possible... is it just trial and error?

and how far does the face go back into the capback, any way to line up "correctly" again i know that the assembly all varried as well giving different looks...

so yeah, any pics of ANY type would be appreciated.

should i start a new thread on just assembly or change the title of this one?

whatcha think?

and thanks everybody. :)
 
<div class='quotetop'>QUOTE(clutch @ Feb 4 2007, 04:35 AM) [snapback]1411497[/snapback]</div>
Is that a picture of me on your computer screen? You shouldn't have. :)
[/b]


LOL, yeah i was testin the camera earlier, lookin at the RPF etc. is that you? i was wonderin after i posted it, cause i took it earlier, and couldnt remember who it was... any way, what the hell are you doin up? :lol

ok, actually im starting the clutch/mcartney fanclub, and that is the first page... you happy? you ruined the suprise. :lol


now lets see some assembly pics someone.

i know how it goes together... but test fitting the pieces, it doesnt seem like it wants me to put it together.

like at the bottom where the trim will go, just doesnt seem to want to sit properly... do you have to use a little force and jsut screw it in place? :confused not going to try it, unless somebody with more experience says yeah.

it sux, got the allday superbowl party tommorow, itll be monday before i start it... :unsure
 
don't think it's me. looks too good. :)

btw, I know gundamzeppelin has done some great helmet building. GZ ya there?
 
hey id like to see it as well...

also some HD screencaps of some ANH stunt buckets up close would be more than welcome here. :love

thanks for everyones help esp. Richie, Paul, and Keith. B) all 3 have went out of their way to help me. B)

and GZ thanks for understanding about the sticker situation.

and clutch, you dont get ANYTHING cause im so jealous of all your awesome suits. :p :lol

(cant wait to see that AT-AT driver in person.) B)
 
well heres some shots not the greatest :unsure still a WIP
I went from this
DSC05528.jpg

to this
DSC05550.jpg


To what is is now.... still tweeking i also lost a lot of pictures along the way

ESB_troopers-1.jpg

DSC05954.jpg

DSC05953.jpg

DSC05952.jpg

DSC05951.jpg

DSC05948.jpg

DSC06026.jpg

esb1-1.jpg

DSC05949.jpg


also troopermaster was a huge help to me like he always is :thumbsup

Heres some shots of my Hero helmet moded from a AP stunt Now that i look at it it needs some re-working as well :confused
DSC06032.jpg

DSC06033.jpg

DSC06034.jpg

DSC06036.jpg

DSC05323.jpg

I say if you going to paint. The way i go about it is after you finish paining in the grey on the checks& back cap do the black lines with a fine brush dont worry about mistakes, after you finish take the fine brush and even out your mistakes with grey.
 
lookin good GZ, looks like you have a helmet model as well. ;)

anyone have any tips on the cutting etc... anything other than a dremel?

ive started on it, but to get to the finished point, should i cut the eyes till they are close to where i want then sand to the edge for finishing, meaning usin sanpaper to take down the last 1/8-1/4 inch?

i cant find the thread where the guy used a dremel and a stone cyllander lookin bit, and shaved off the teeth holes from the inside... if anyone remembers the thread, ive been lookin for days through all the ones i could find...

good ol search feature... :rolleyes

also, if anyone has pics of how they lined up the bottom of the faceplate to the bottom of the cap... that would be great, i dont get how it goes from GZ's first pic to the second...

just seems likt the cheek tubes are way more rounded, and when put under the cap the sides of the cap stick out like an inch... or more...


i realize i need to trim back the underside of the face and cheeks... but how much, since the face on the screen used's kinda have the tucked under look...

cut off all the rough area? more?
 
Back
Top