A while back my girlfriend bough us a pair of four-day passes to Star Wars Celebration: Anaheim. She sent me the confirmation code along with a note telling me that I've got a little over a year to make costumes for us to wear. My math makes that eight costumes (no sense wearing the same thing more than one day while we're there), so it's time to get cracking.
More recently, I decided to buy a copy of Star Wars: the Force Unleashed (I'm always behind the curve when it comes to gaming) and found my first outfit:

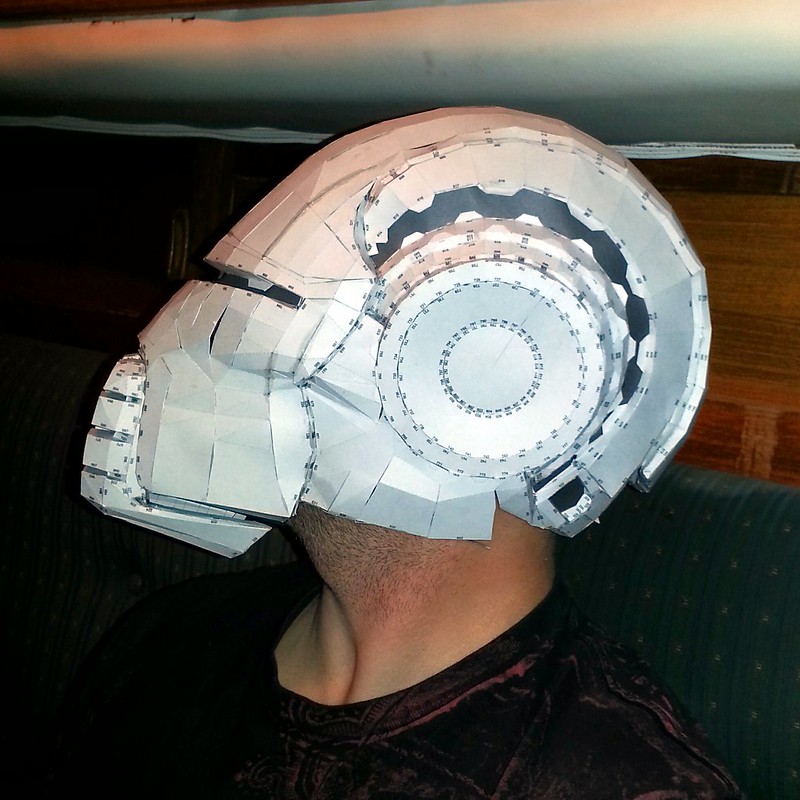
After a bit of poking around here on the forum, I found a decent pep model and got to work. Here's the helmet after a long night's work:

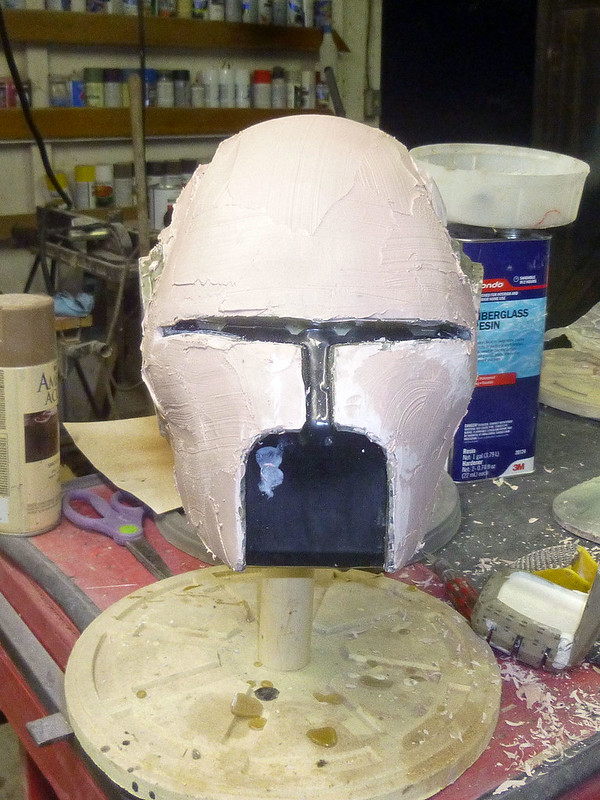
And with the chin installed:
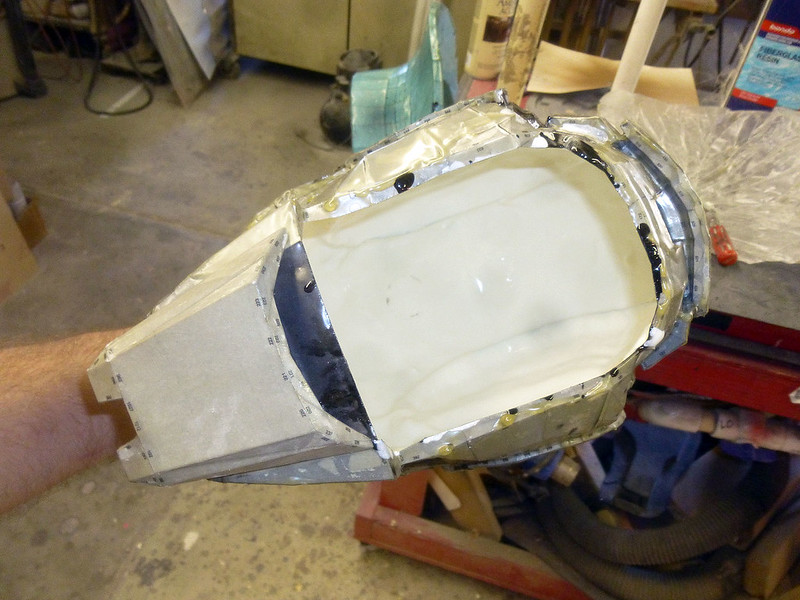
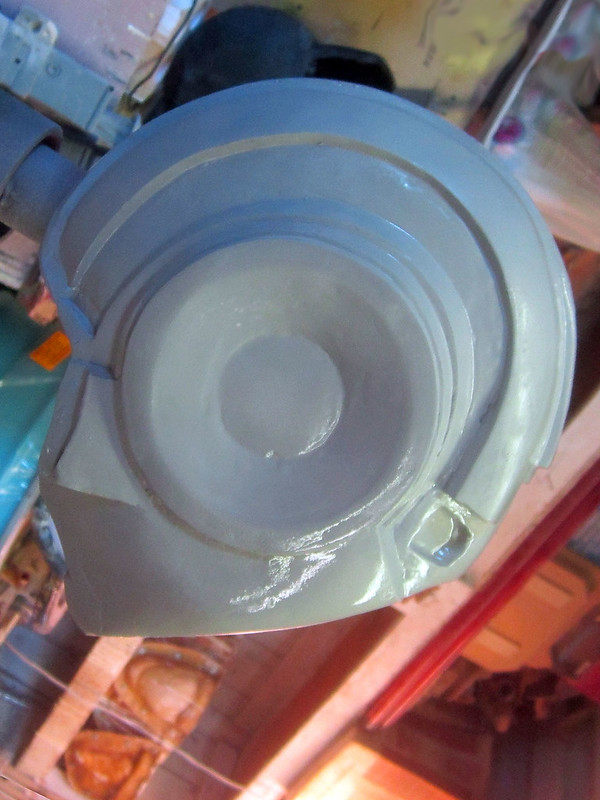
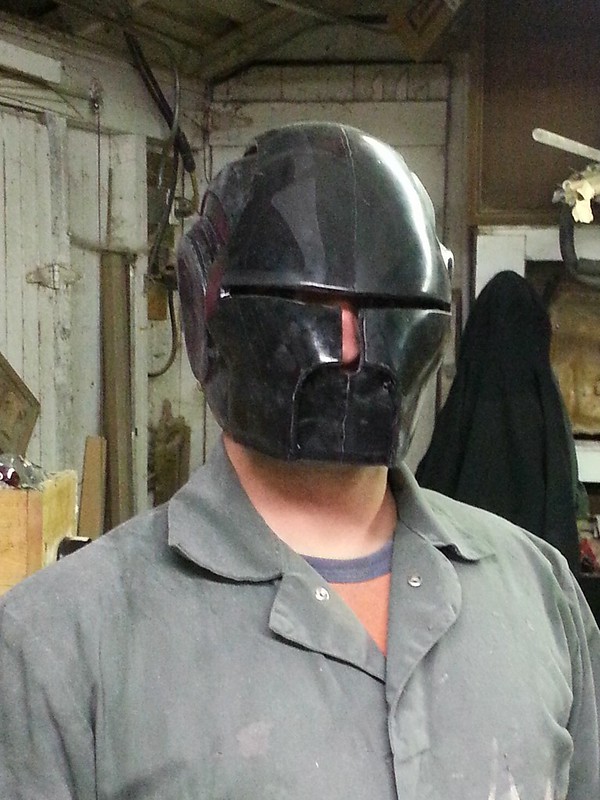
Since the whole thing is such a tight fit, I'm making the helmet in three separate pieces so I can assemble it around my head (it'll never fit my head through the neck hole.
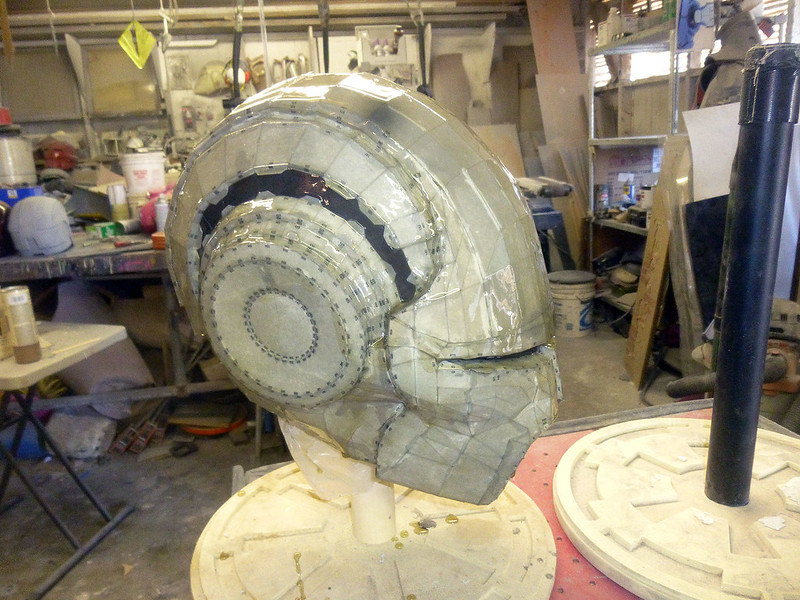
Here's the pep model coated with fiberglass resin:
And the neck guard:

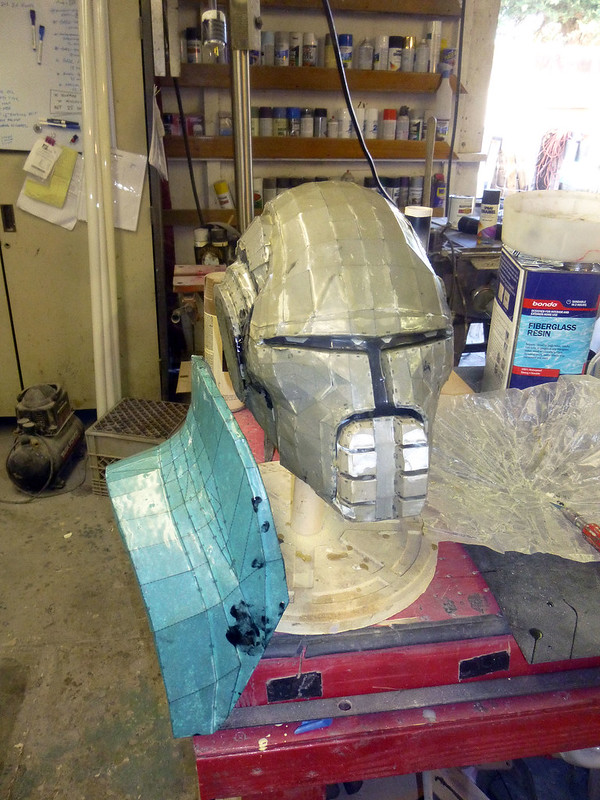
So by the end of the first week I'd gotten about this far:
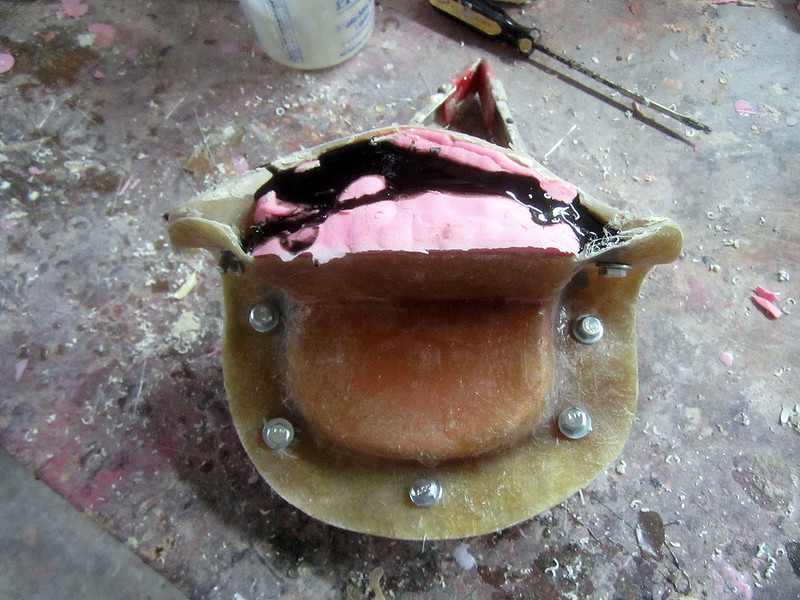
In order to smooth out the pieces, I built up a few layers of casting resin inside to keep everything straight:
Then started the bondo work:
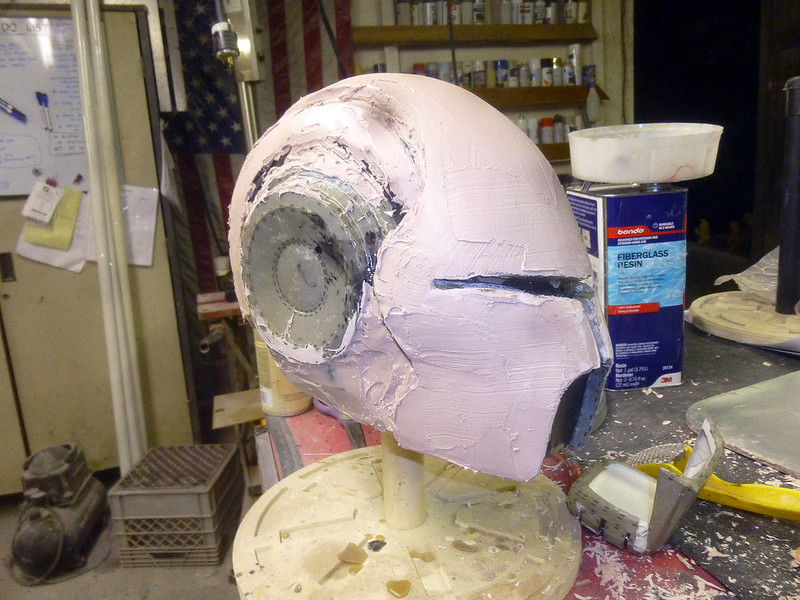

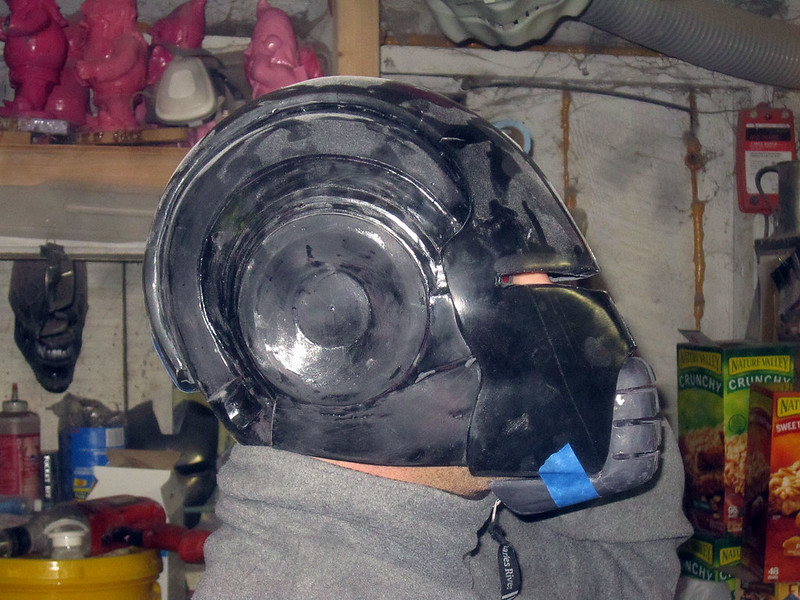
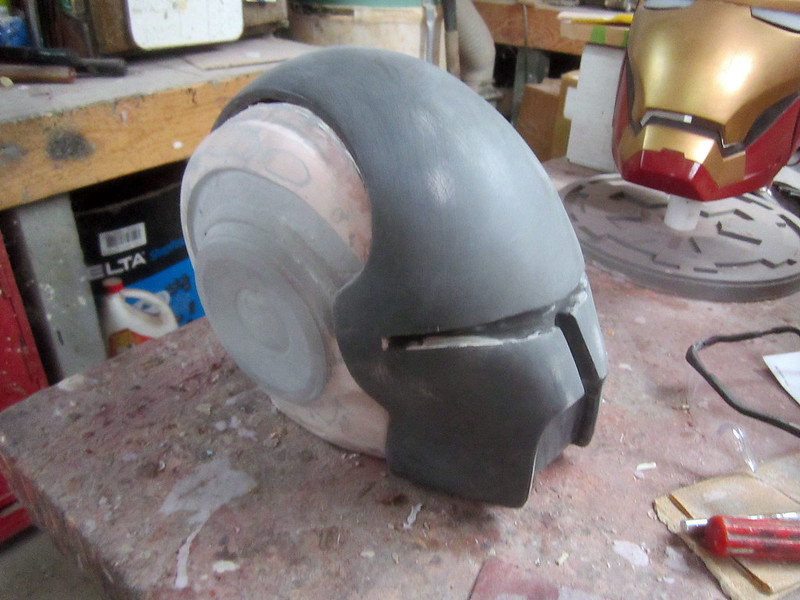
After several rounds of fill, sand, and repeat, it was time for the first coat of primer:
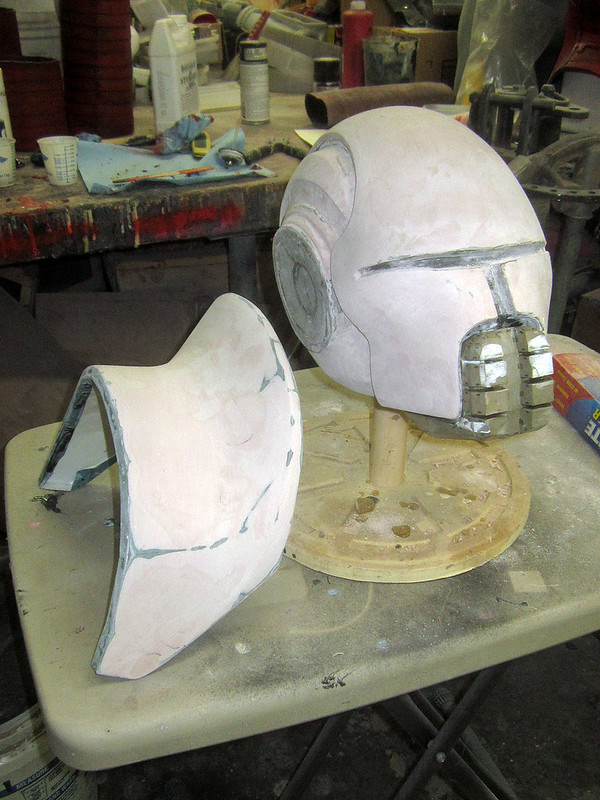
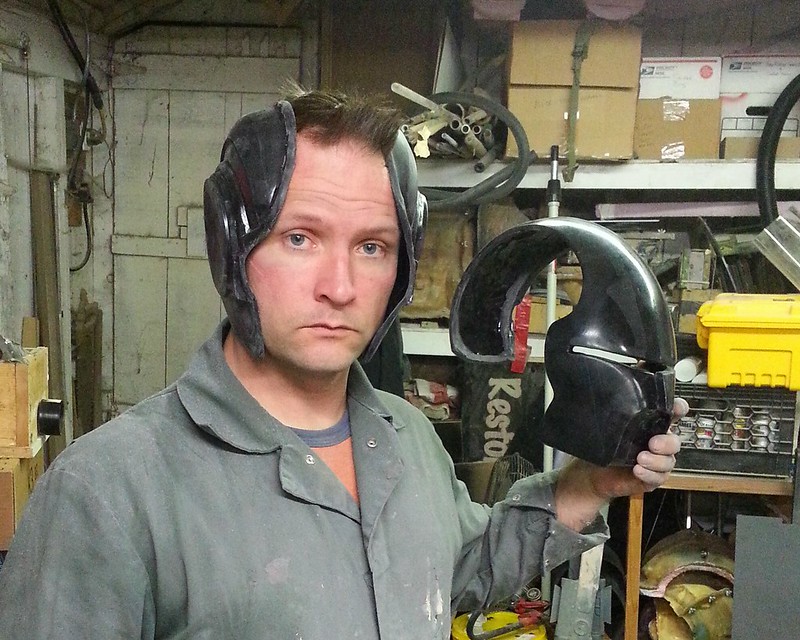
And more filling, sanding, and repeat before I decided to cut it apart and make it wearable again:

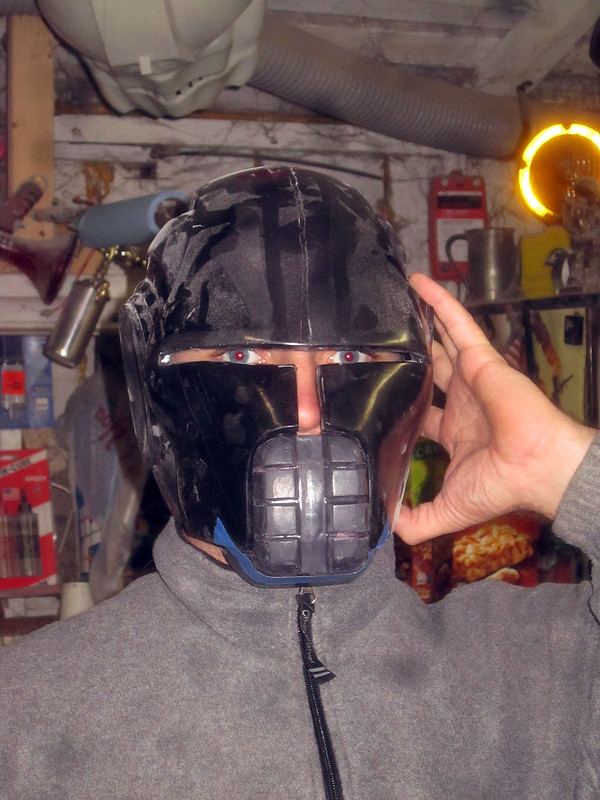
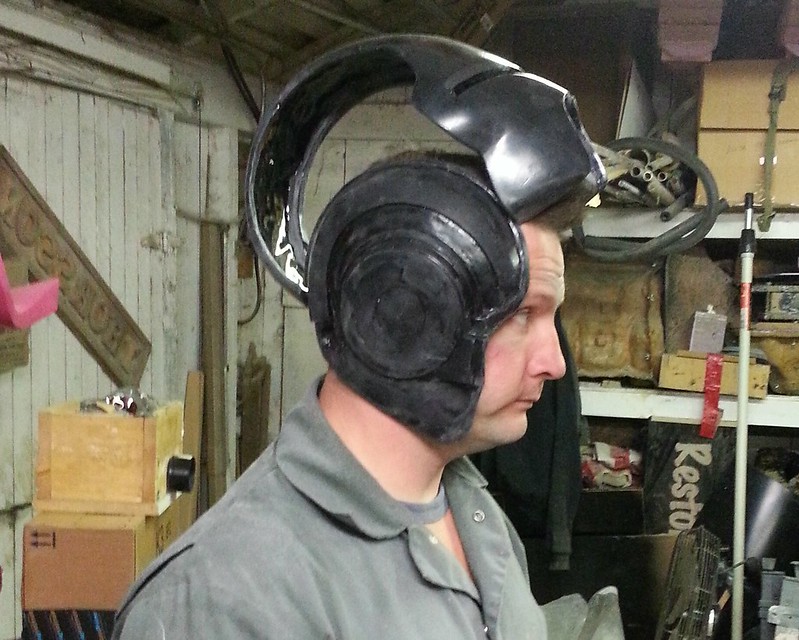
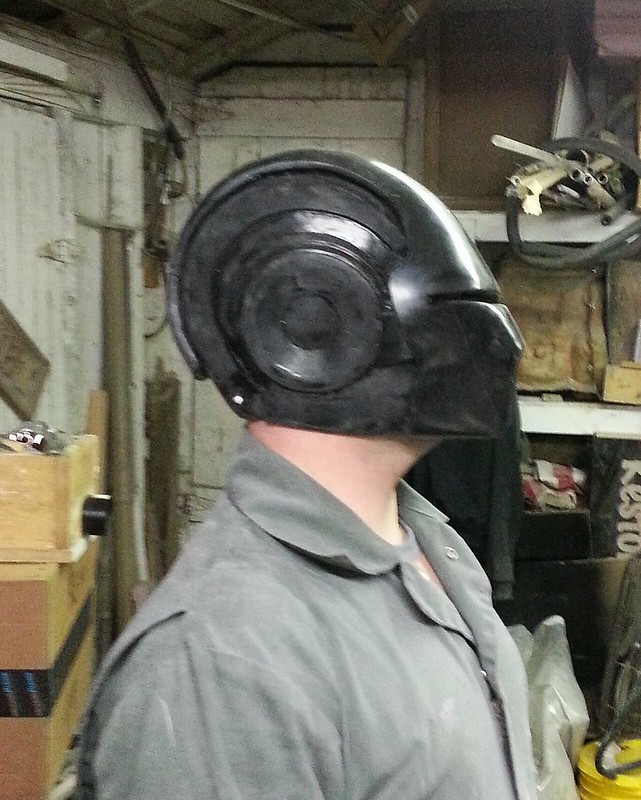
It's still going to be a very tight fit:
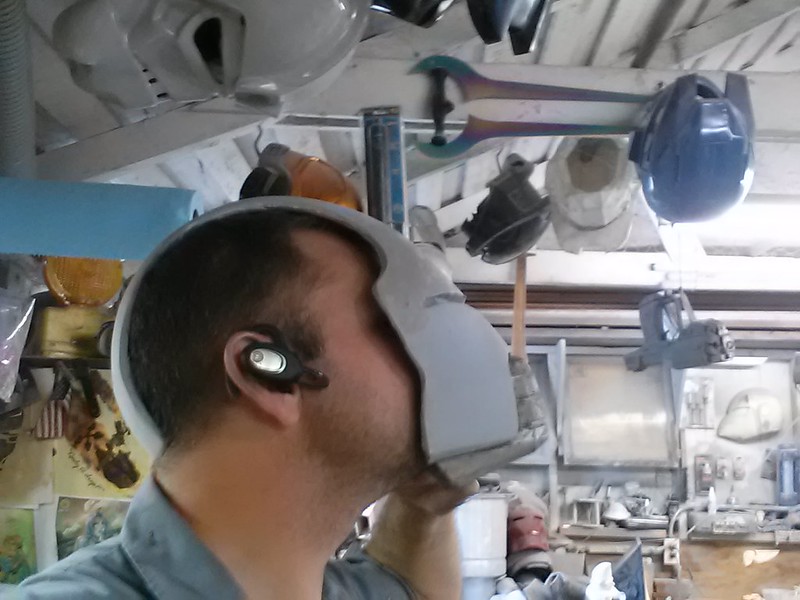
But the pieces fit together and stay in place without any magnets or velcro or the like:
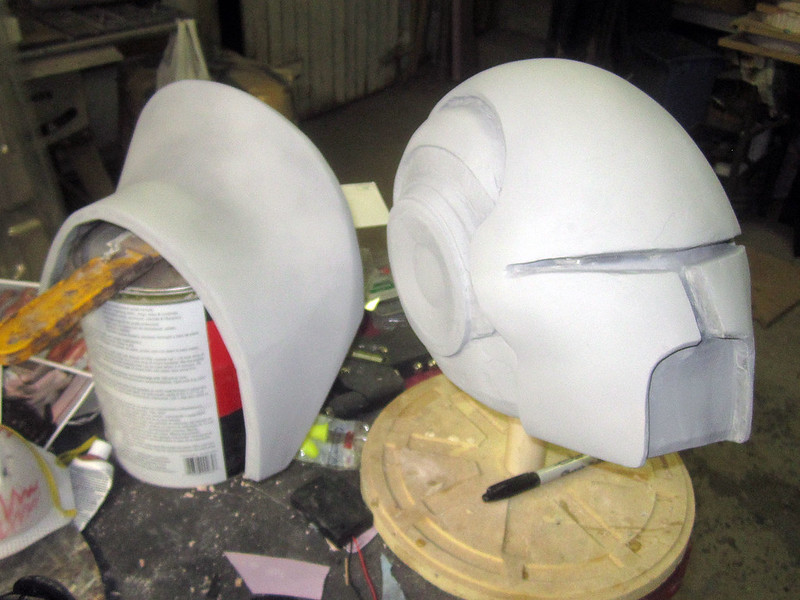
Here's a few more of the parts after loads of smoothing:

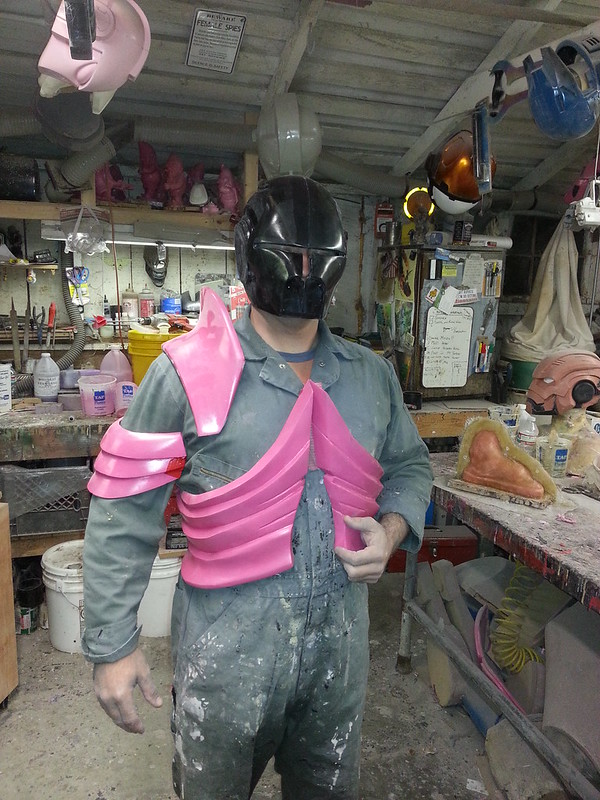
Somewhere along the way I'd gotten started on the ribcage armor:
Left Torso Armor in Primer by thorssoli, on Flickr

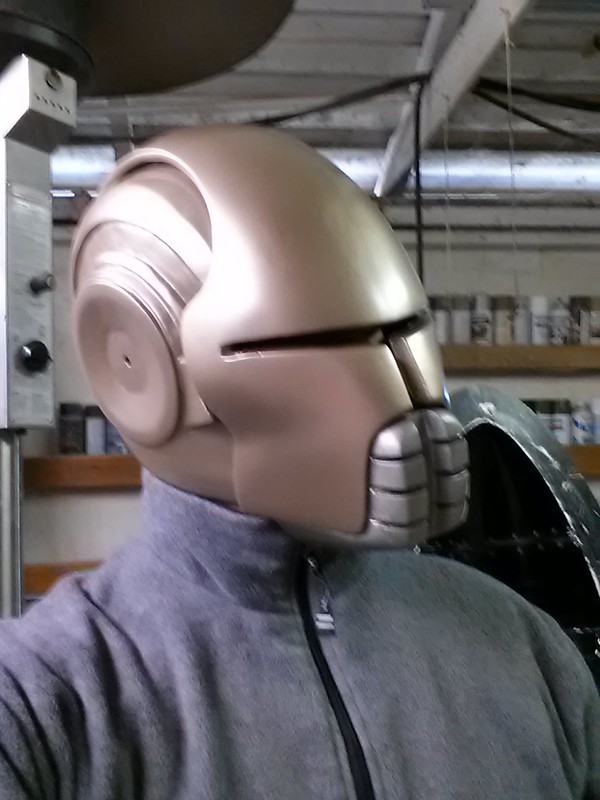
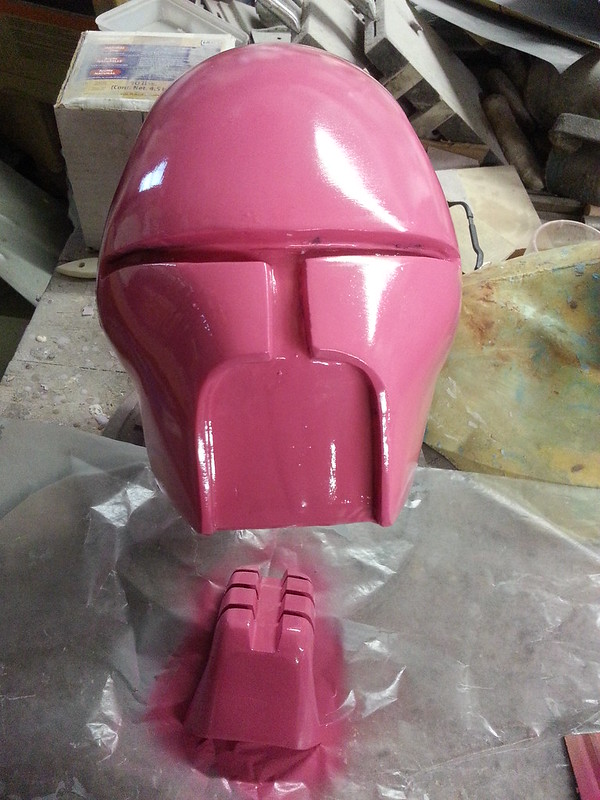
About that same time, I had the first two pieces of the helmet ready for a light red gloss coat (standard for all of my prototypes):
The rest of the helmet was taking a bit longer:
I went ahead and started the mold for the outer piece anyway:
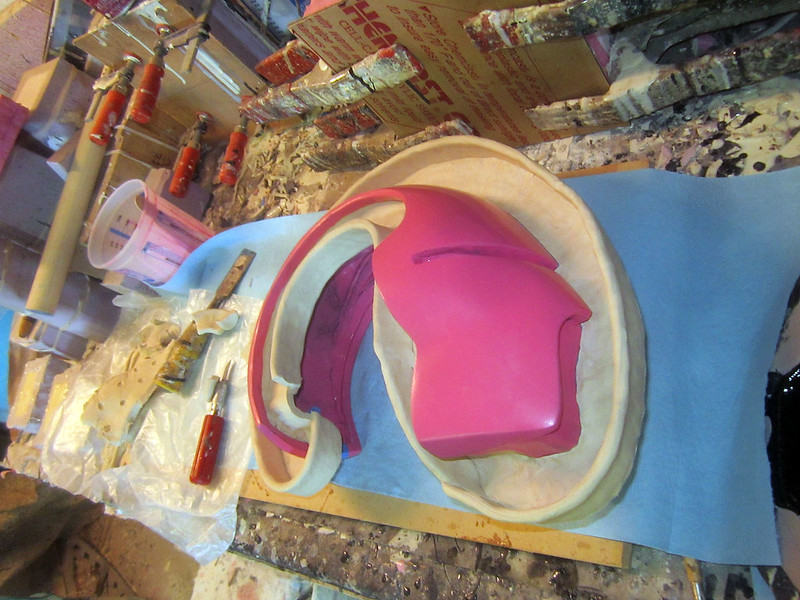
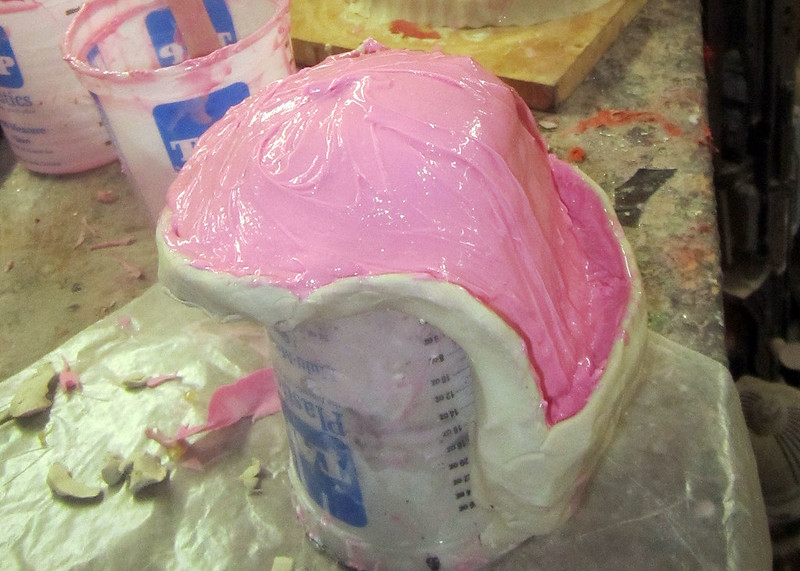
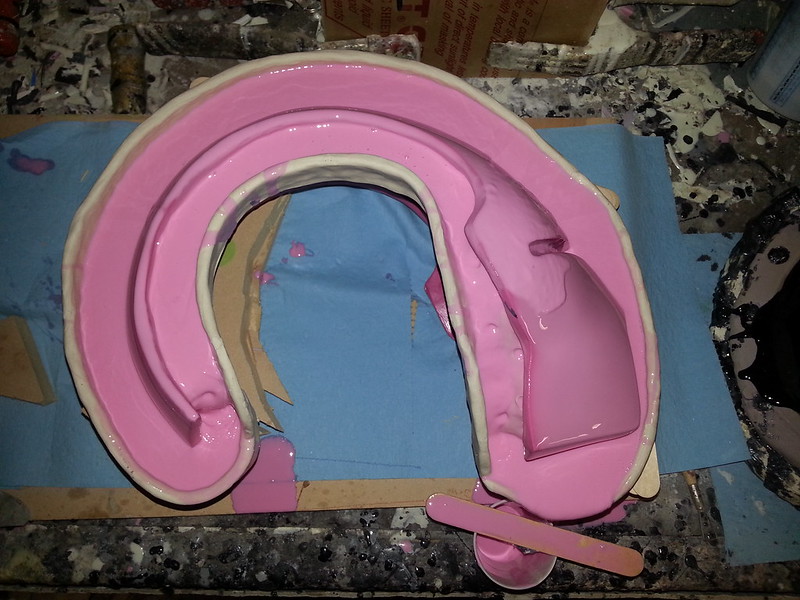
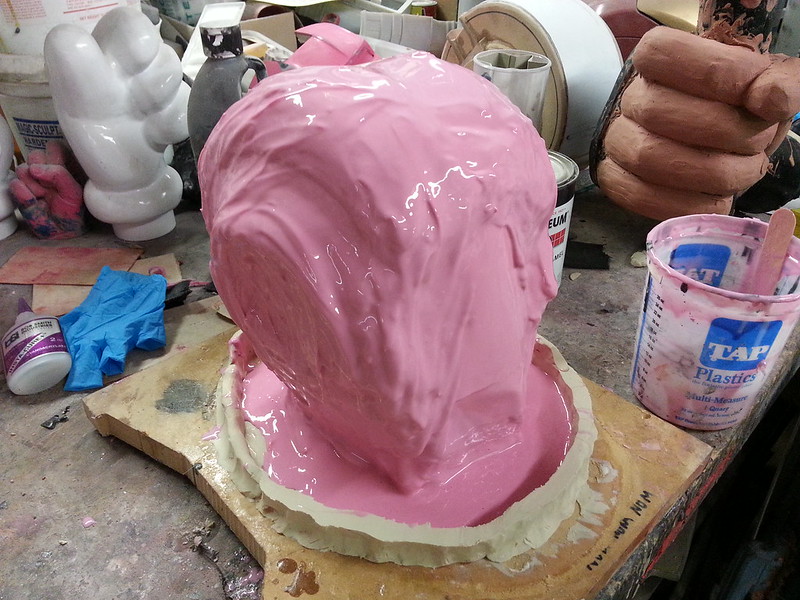
Here it is with the silicone rubber print coat:
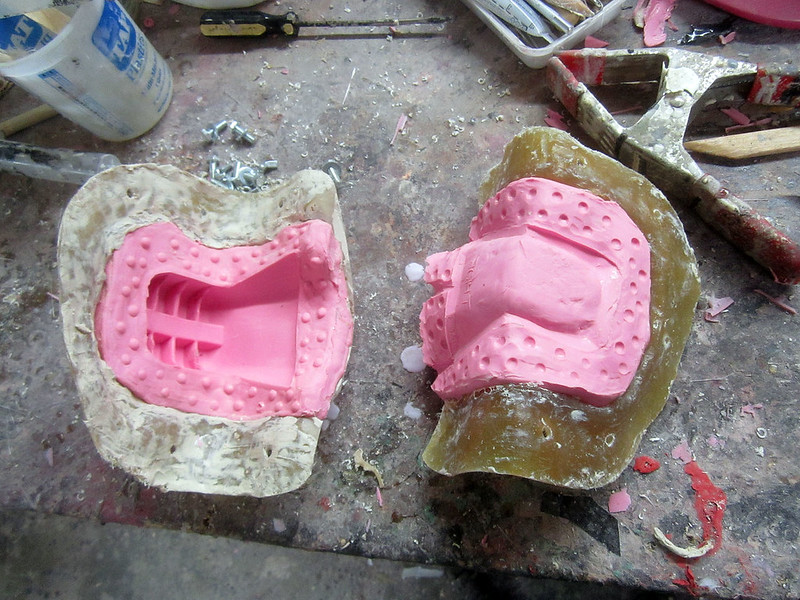
After building up additional layers of silicone, I built a fiberglass mothermold over it:
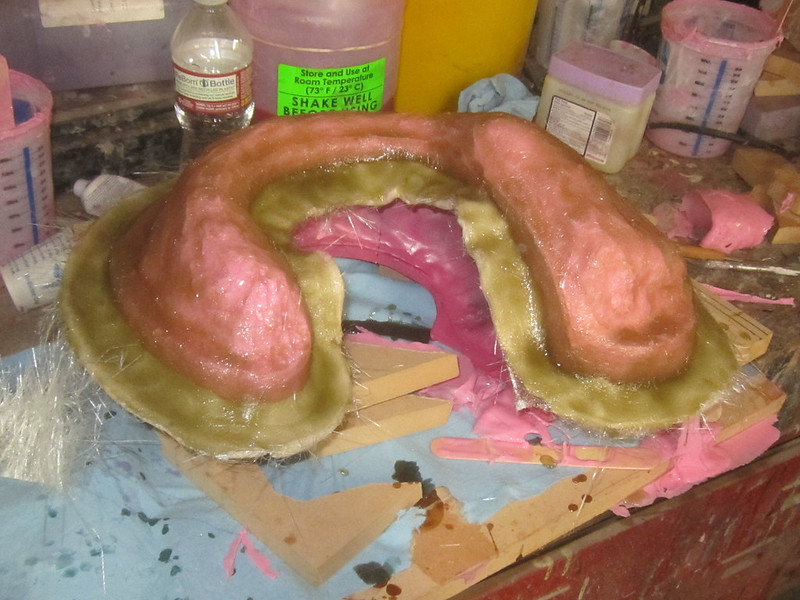
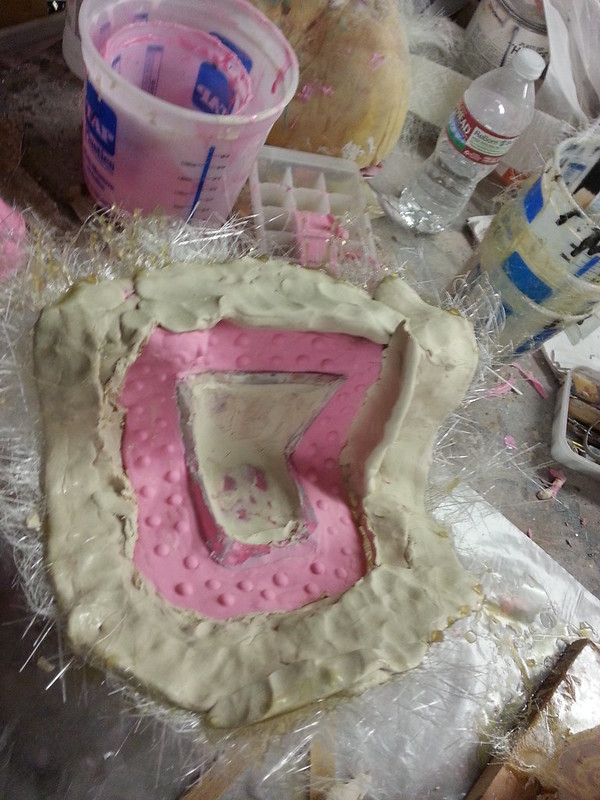
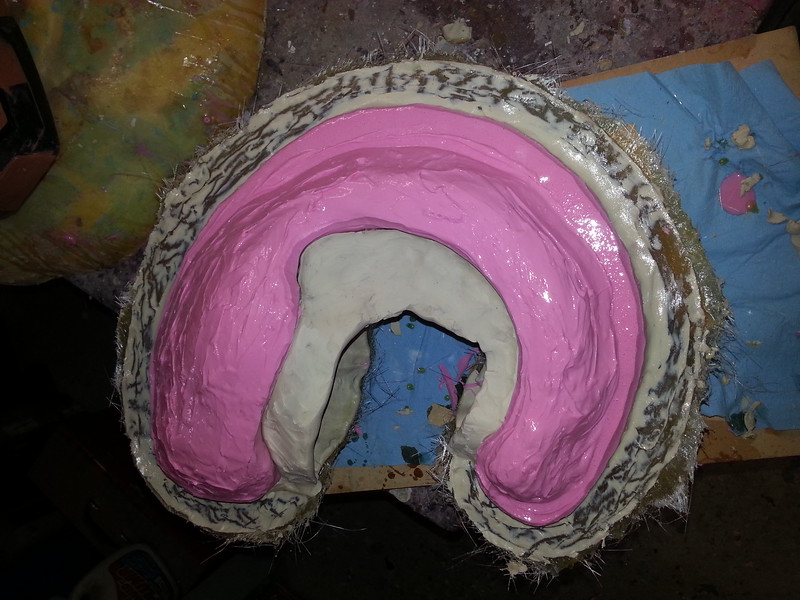
Then flipped it over, removed the clay, and built up the other half of the mold. Here it is before I started laying up the mothermold:
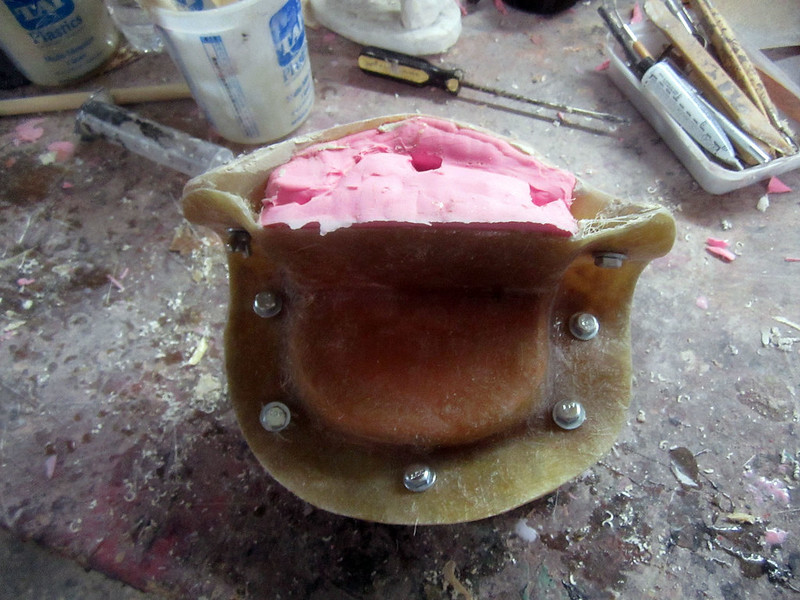
Meanwhile, I started the mold for the back/sides of the helmet:
And smoothed out the rib armor:


There's still a bunch more moldmaking to do, but now that my latest shipment of silicone has arrived, this should come together pretty quickly.
Stay tuned...
More recently, I decided to buy a copy of Star Wars: the Force Unleashed (I'm always behind the curve when it comes to gaming) and found my first outfit:
After a bit of poking around here on the forum, I found a decent pep model and got to work. Here's the helmet after a long night's work:
And with the chin installed:
Since the whole thing is such a tight fit, I'm making the helmet in three separate pieces so I can assemble it around my head (it'll never fit my head through the neck hole.
Here's the pep model coated with fiberglass resin:
And the neck guard:
So by the end of the first week I'd gotten about this far:
In order to smooth out the pieces, I built up a few layers of casting resin inside to keep everything straight:
Then started the bondo work:
After several rounds of fill, sand, and repeat, it was time for the first coat of primer:
And more filling, sanding, and repeat before I decided to cut it apart and make it wearable again:
It's still going to be a very tight fit:
But the pieces fit together and stay in place without any magnets or velcro or the like:
Here's a few more of the parts after loads of smoothing:
Somewhere along the way I'd gotten started on the ribcage armor:
Left Torso Armor in Primer by thorssoli, on Flickr
About that same time, I had the first two pieces of the helmet ready for a light red gloss coat (standard for all of my prototypes):
The rest of the helmet was taking a bit longer:
I went ahead and started the mold for the outer piece anyway:
Here it is with the silicone rubber print coat:
After building up additional layers of silicone, I built a fiberglass mothermold over it:
Then flipped it over, removed the clay, and built up the other half of the mold. Here it is before I started laying up the mothermold:
Meanwhile, I started the mold for the back/sides of the helmet:
And smoothed out the rib armor:
There's still a bunch more moldmaking to do, but now that my latest shipment of silicone has arrived, this should come together pretty quickly.
Stay tuned...


")