Scott2022
New Member
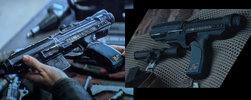
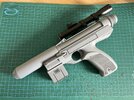
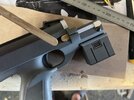
Thanks thd9791
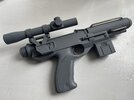
Your research on the scope mount is great.
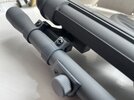
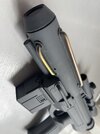
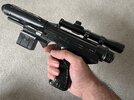
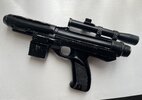
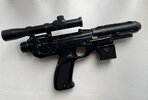
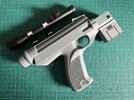
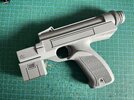
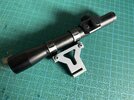
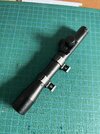
My scope mount is just a cut out slot to fit the bracket, which is currently friction fit. I think I may glue it in as I like the clean look rather than the pins or hex bolts that are on the 'hero' prop.
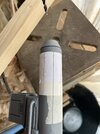
I've printed all my parts at a 100% infill so they should be nice and strong to handle the weight of the actual scope - when it arrives.
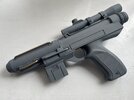
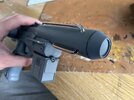
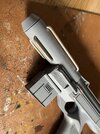
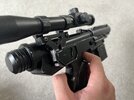
Your research on the scope mount is great.
My scope mount is just a cut out slot to fit the bracket, which is currently friction fit. I think I may glue it in as I like the clean look rather than the pins or hex bolts that are on the 'hero' prop.
I've printed all my parts at a 100% infill so they should be nice and strong to handle the weight of the actual scope - when it arrives.
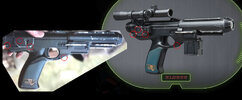
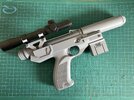

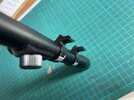
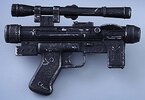

") scope rings look excellent, it’s hard not to go too far isn’t it?
scope rings look excellent, it’s hard not to go too far isn’t it?