MonsieurTox
Master Member
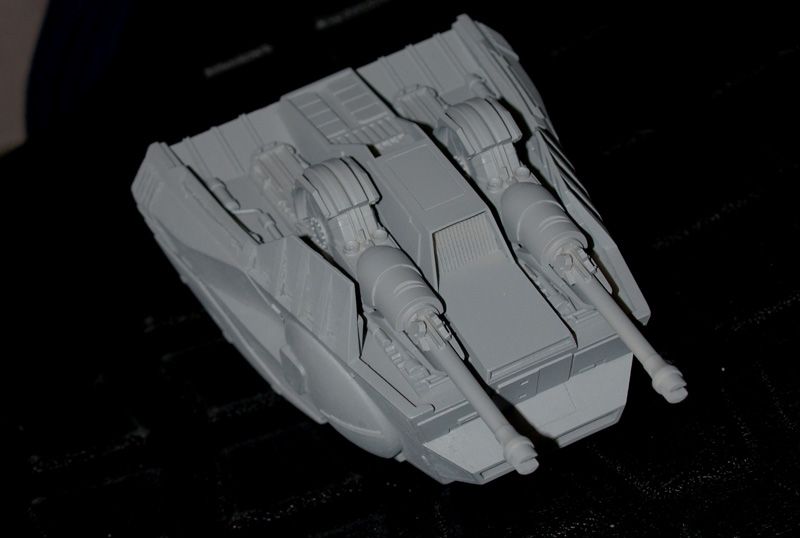
Chin guns, yeah !
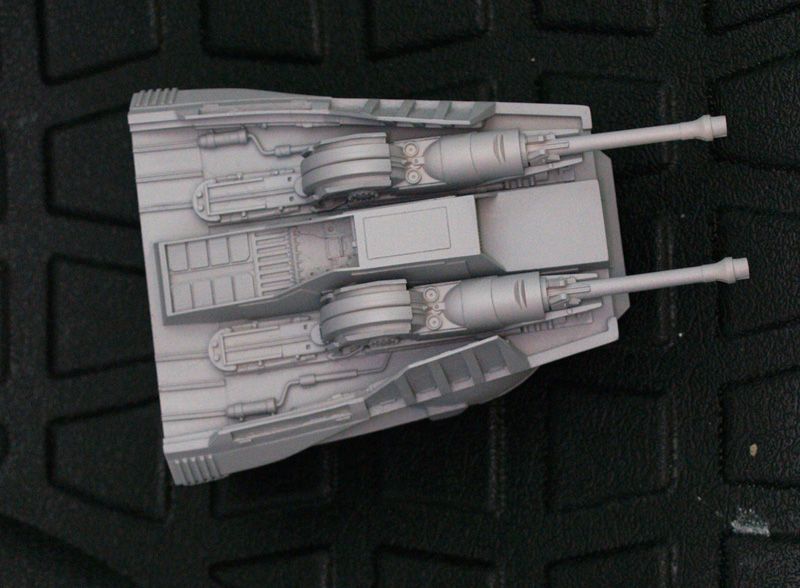
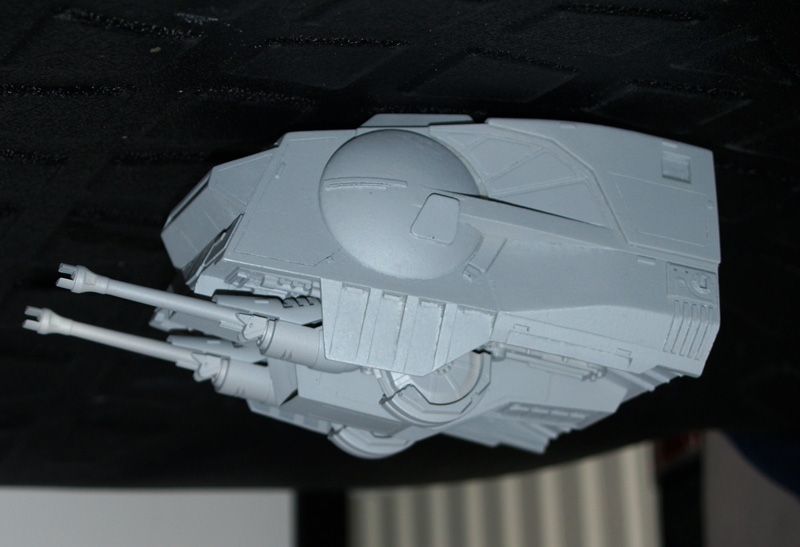
Once again I've added texture to the head (may rework or sand some of it because Im not happy of some areas). The castings dont have this texture.


Once again I've added texture to the head (may rework or sand some of it because Im not happy of some areas). The castings dont have this texture.
")


