indiefilmgeek
Sr Member
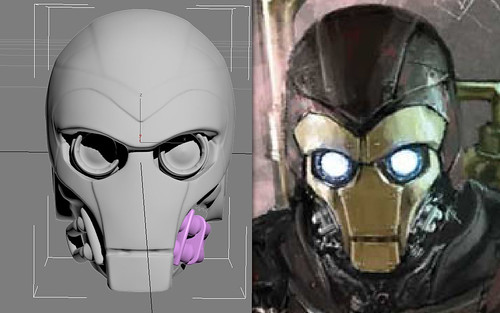
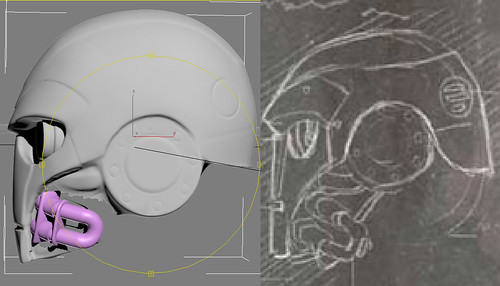
Re: Steampunk Ironman Helmet WIP - Carving Detail Lines Video
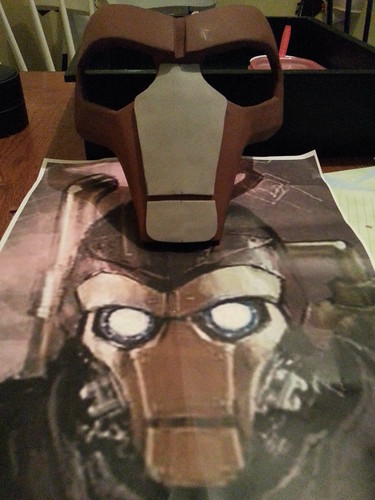
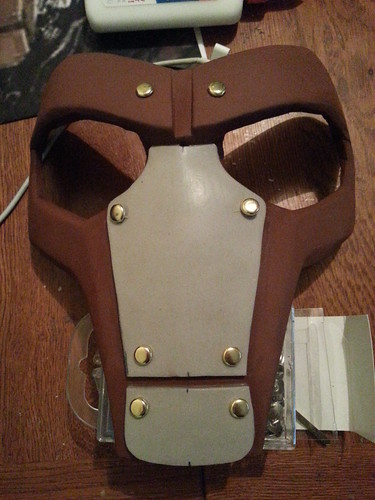
Ok, I started in on the nose armor. These are the two pieces that are attached to the faceplate.
Here is a serious close-up where you can see the plates AND the rivets...

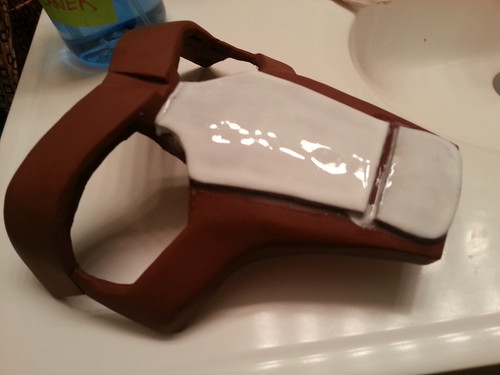
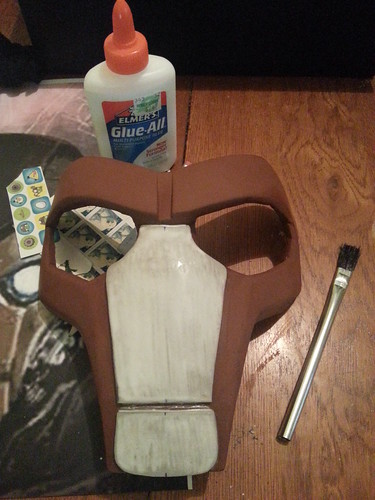
Here is the 3mm EVA foam that I've cut and glued onto the faceplate.
Unlike my failed attempt to do this before, THIS time my plan is follow XRobot's process of hardening the foam with PVA (white glue) and two-part plastic resin.
I started with two coats of PVA glue (just generic white glue) - applied with craft brushes.
Next step will be to paint on at least 2-3 coats of Smooth-Cast 300 resin.
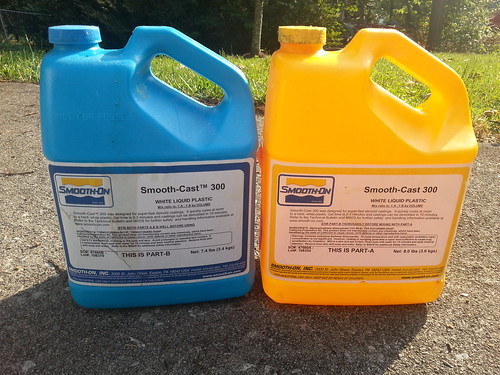
(You'll have to PM Digitizit for more info on where he got his supply online - I'm borrowing his supply for this)
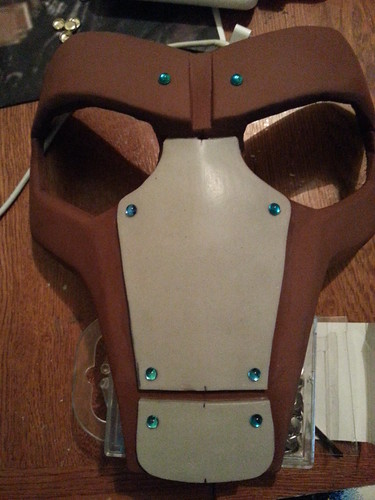
BUT, before I get too much further I REALLY need some opinions on faux-rivets...
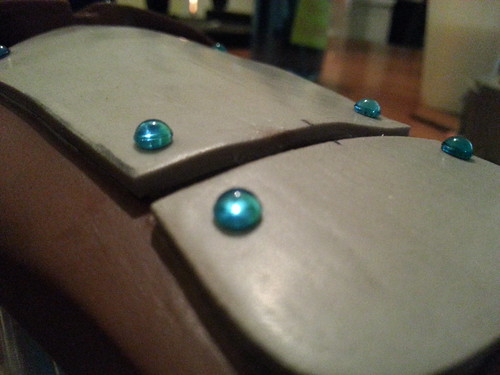
I picked up some tiny rounded 'gems' from the craft store as my first option.
They are small, maybe that's good & maybe that's bad... However, they are very high-domed for their size - which I'm not crazy about. Here's some pics of what they look like on the faceplate...
So, I also got a package of brass fasteners. I cut off the back prongs and set them on the faceplate for comparison. I like the shape of these, but the diameter seems too larger. Here's what they look like...
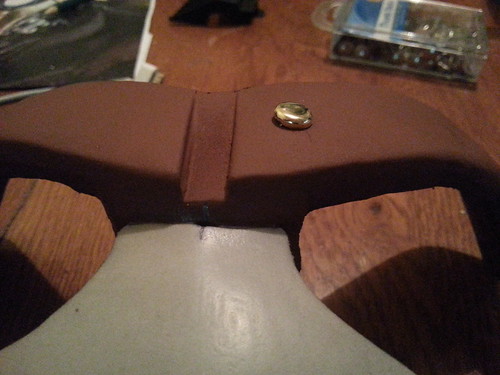
I know it might be hard to tell (since all the parts are not the SAME COLOR), but I need some feedback...
What do you think? :confused
Is there something ELSE out there that might work better as faux-rivets?
All feedback is welcome!") :thumbsup
:thumbsup
Ok, I started in on the nose armor. These are the two pieces that are attached to the faceplate.
Here is a serious close-up where you can see the plates AND the rivets...
Here is the 3mm EVA foam that I've cut and glued onto the faceplate.
Unlike my failed attempt to do this before, THIS time my plan is follow XRobot's process of hardening the foam with PVA (white glue) and two-part plastic resin.
I started with two coats of PVA glue (just generic white glue) - applied with craft brushes.
Next step will be to paint on at least 2-3 coats of Smooth-Cast 300 resin.
(You'll have to PM Digitizit for more info on where he got his supply online - I'm borrowing his supply for this)
BUT, before I get too much further I REALLY need some opinions on faux-rivets...
I picked up some tiny rounded 'gems' from the craft store as my first option.
They are small, maybe that's good & maybe that's bad... However, they are very high-domed for their size - which I'm not crazy about. Here's some pics of what they look like on the faceplate...
So, I also got a package of brass fasteners. I cut off the back prongs and set them on the faceplate for comparison. I like the shape of these, but the diameter seems too larger. Here's what they look like...
I know it might be hard to tell (since all the parts are not the SAME COLOR), but I need some feedback...
What do you think? :confused
Is there something ELSE out there that might work better as faux-rivets?
All feedback is welcome!
:thumbsup