SteveNeill
Sr Member
I have the RC BR and the Anigrand SD to build for two different clients. I figured I'd do a first for me. Build both models at the same time.
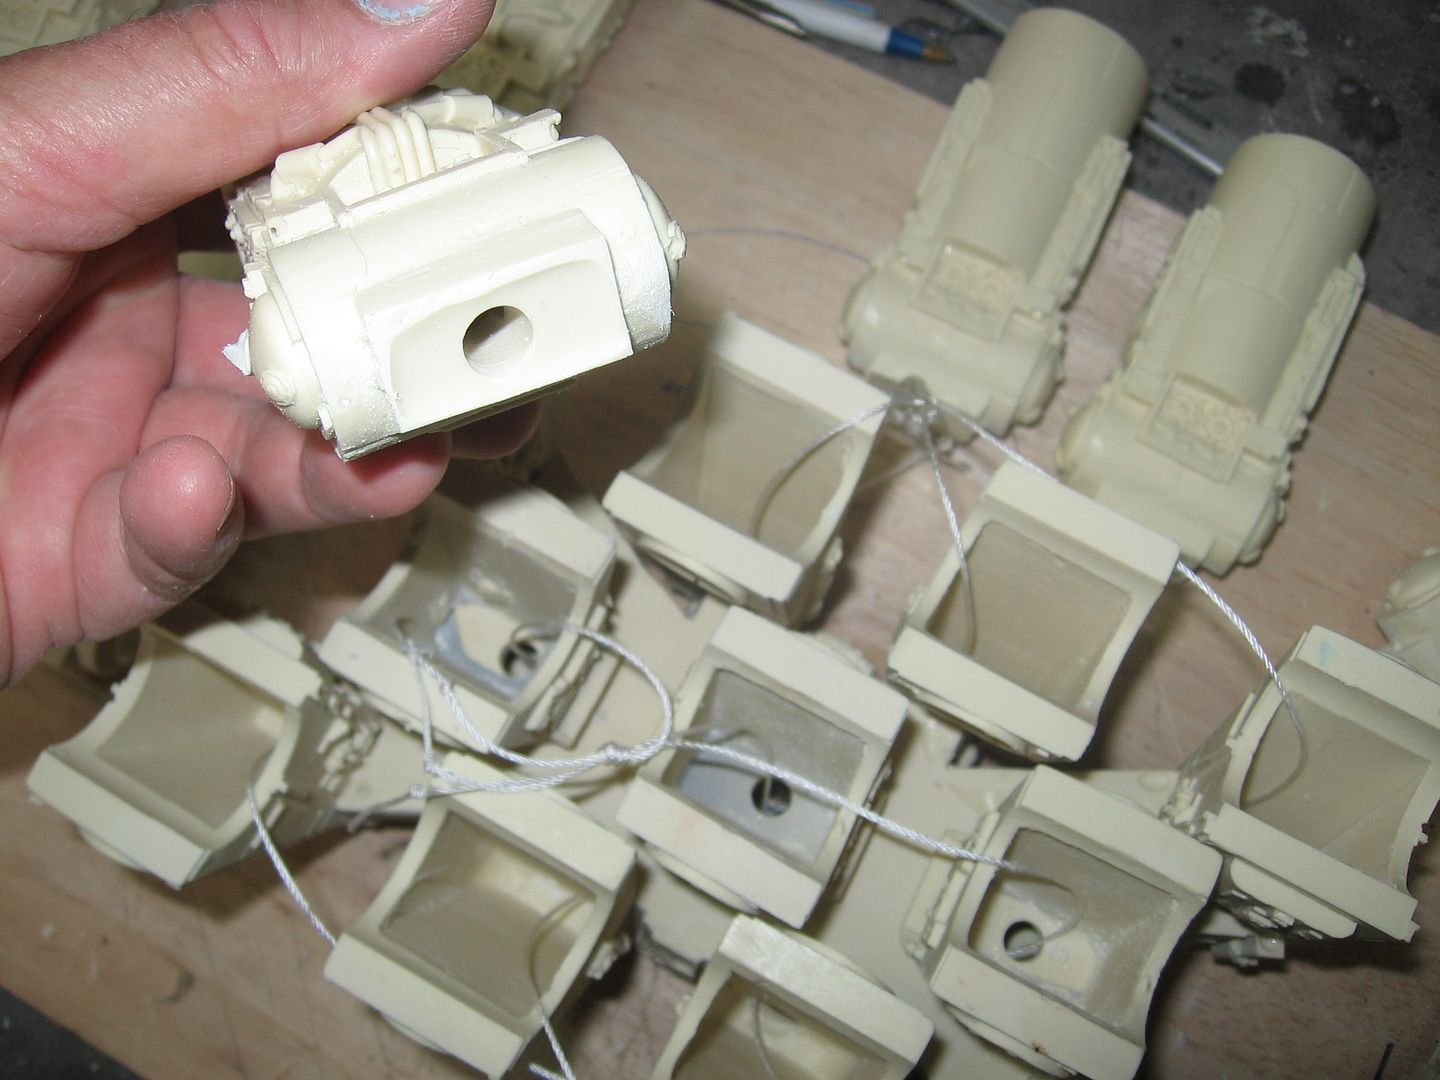
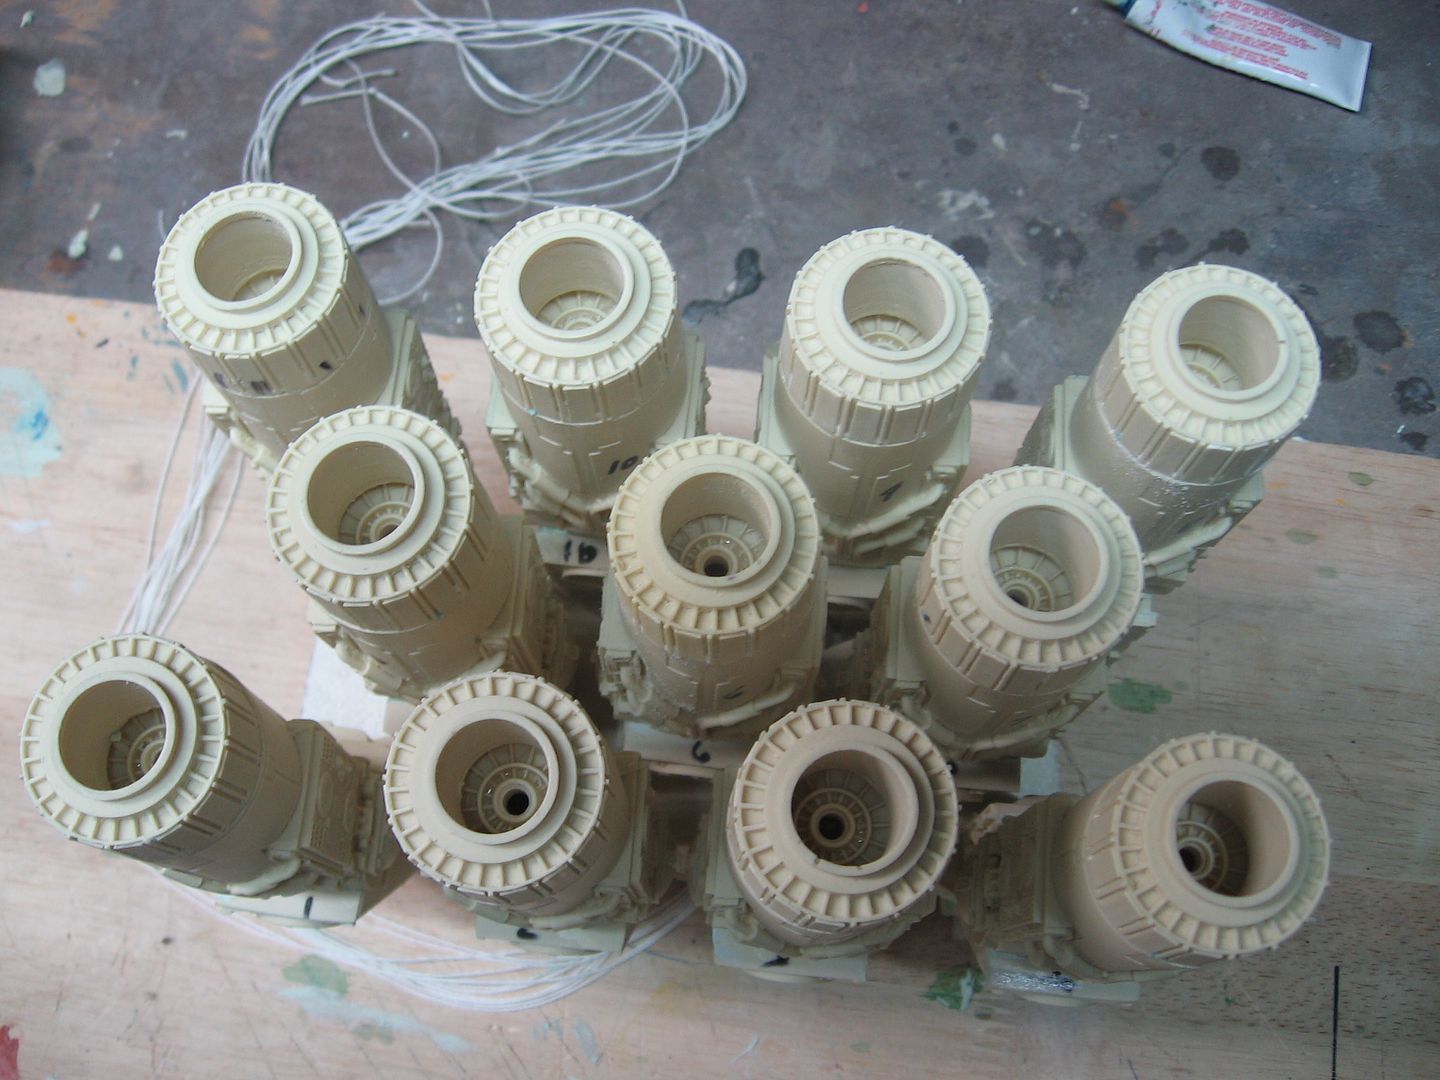
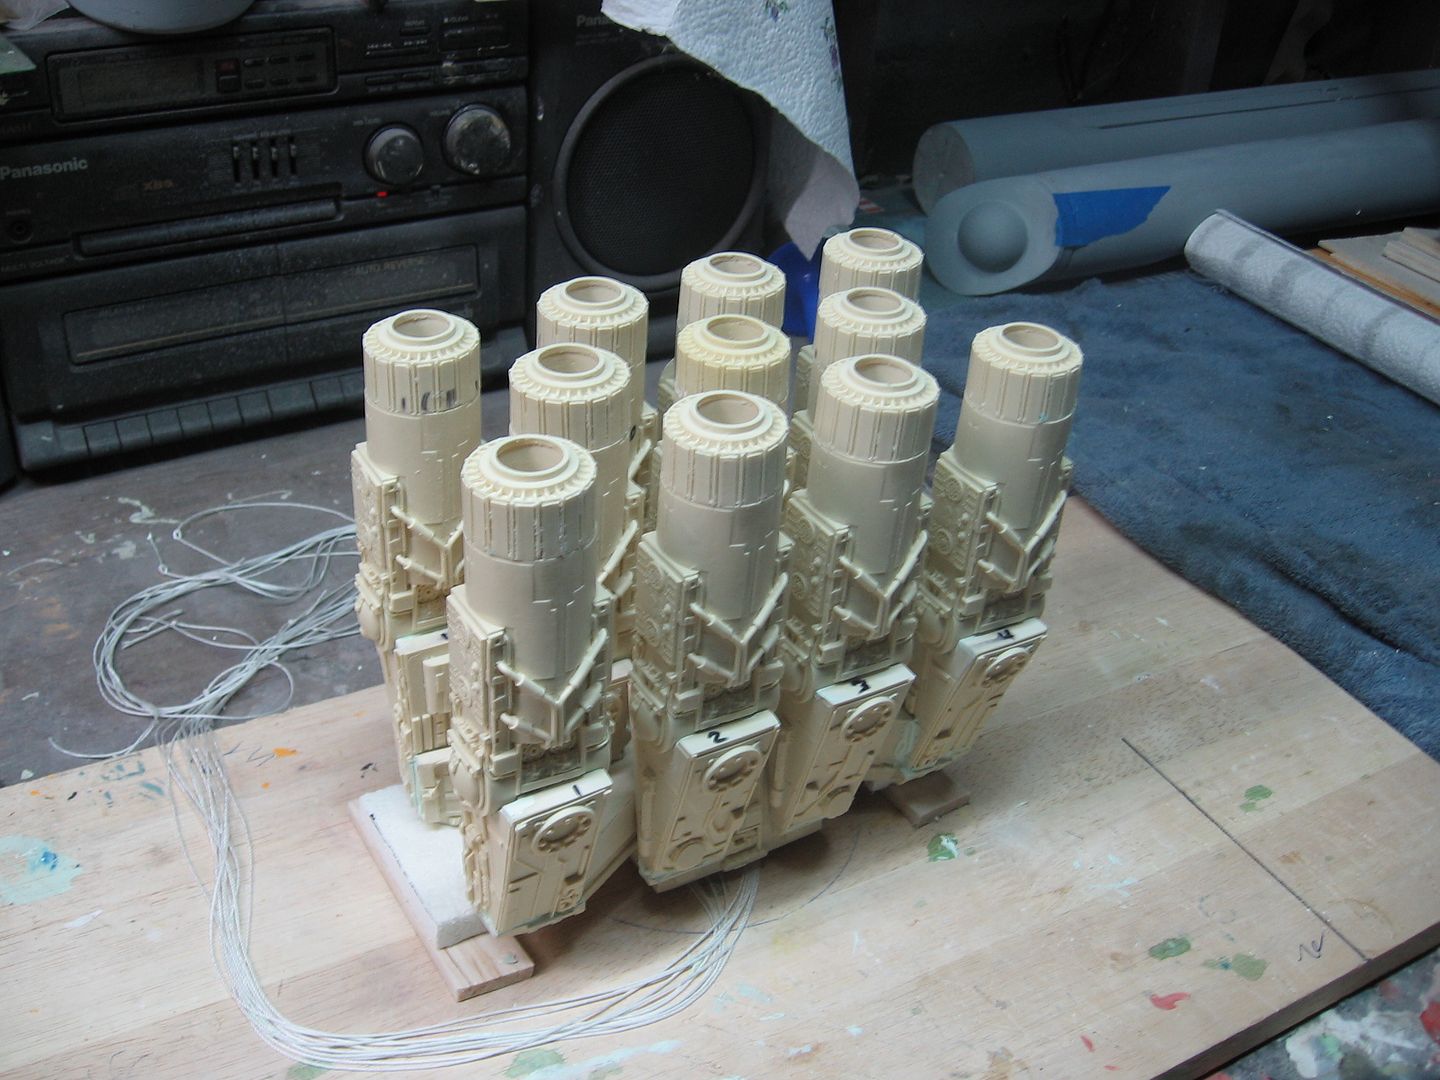
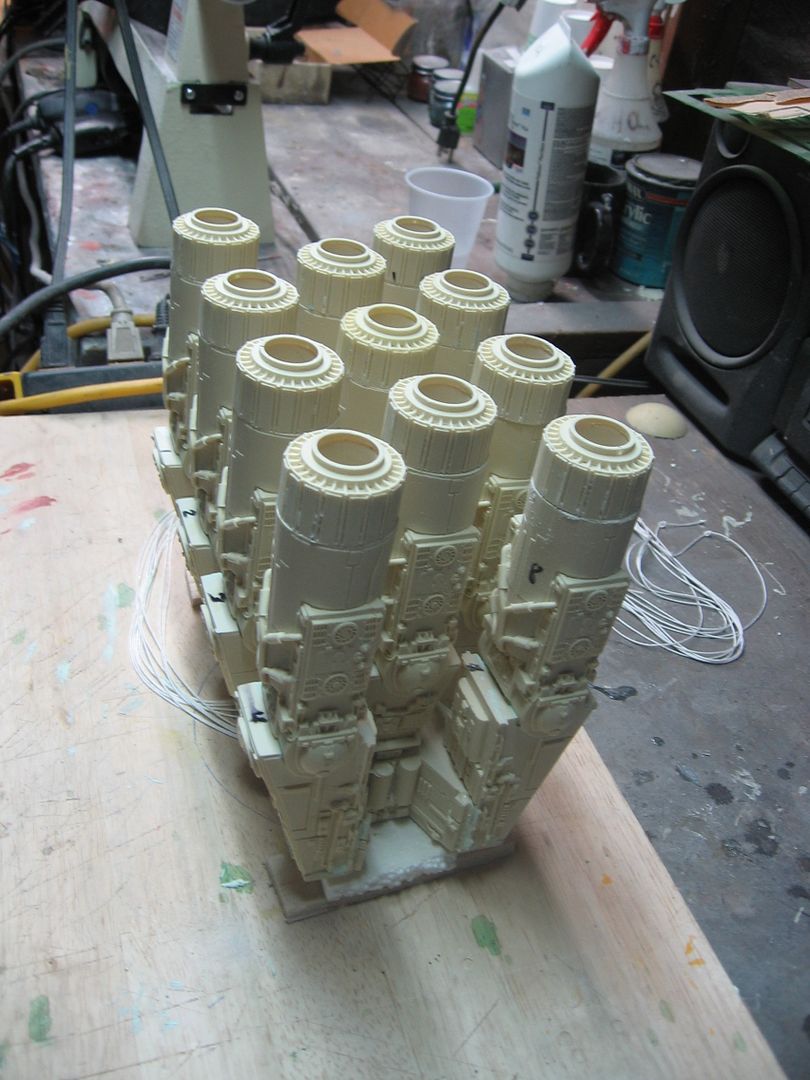
And so far, so good. Got those warped pesky hull parts together on the SD. Second I got the engine section of the BR started. Holes are all drilled to fit the wiring. They are actually square and true to one another. I’ve been over the instructions and pictures from Randy many times. The DS is a joke when it comes to the instructions but I can wing it.
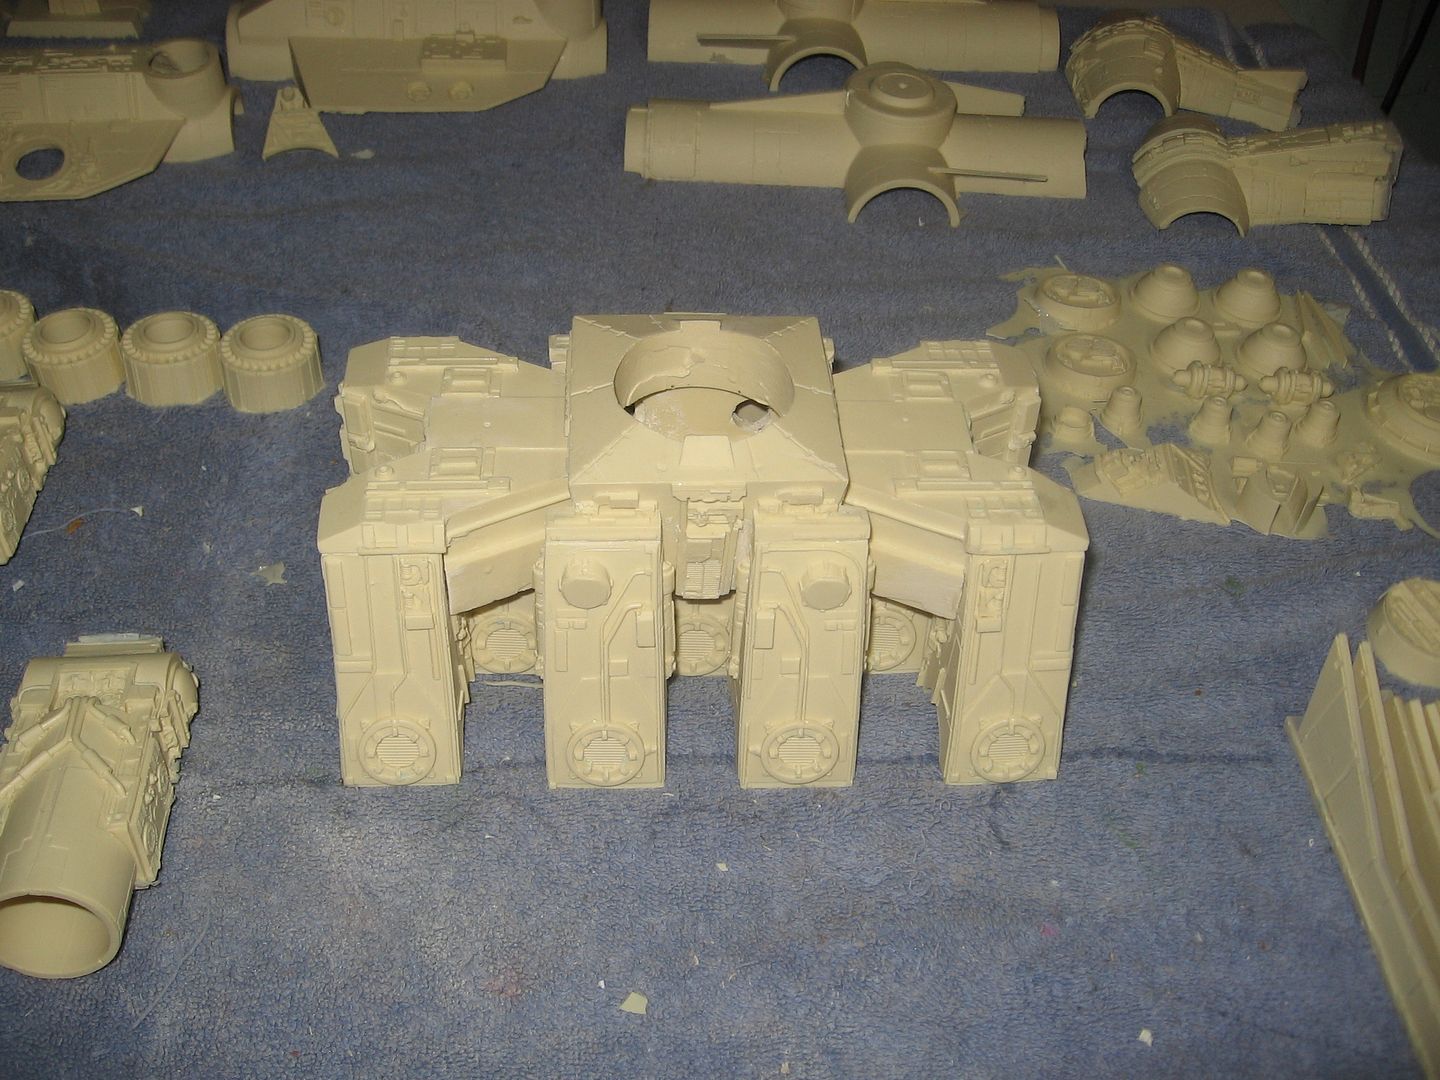
The SD is clamped together over the engine bulkhead for truing the shape and to get a look.
More tomorrow,
Steve
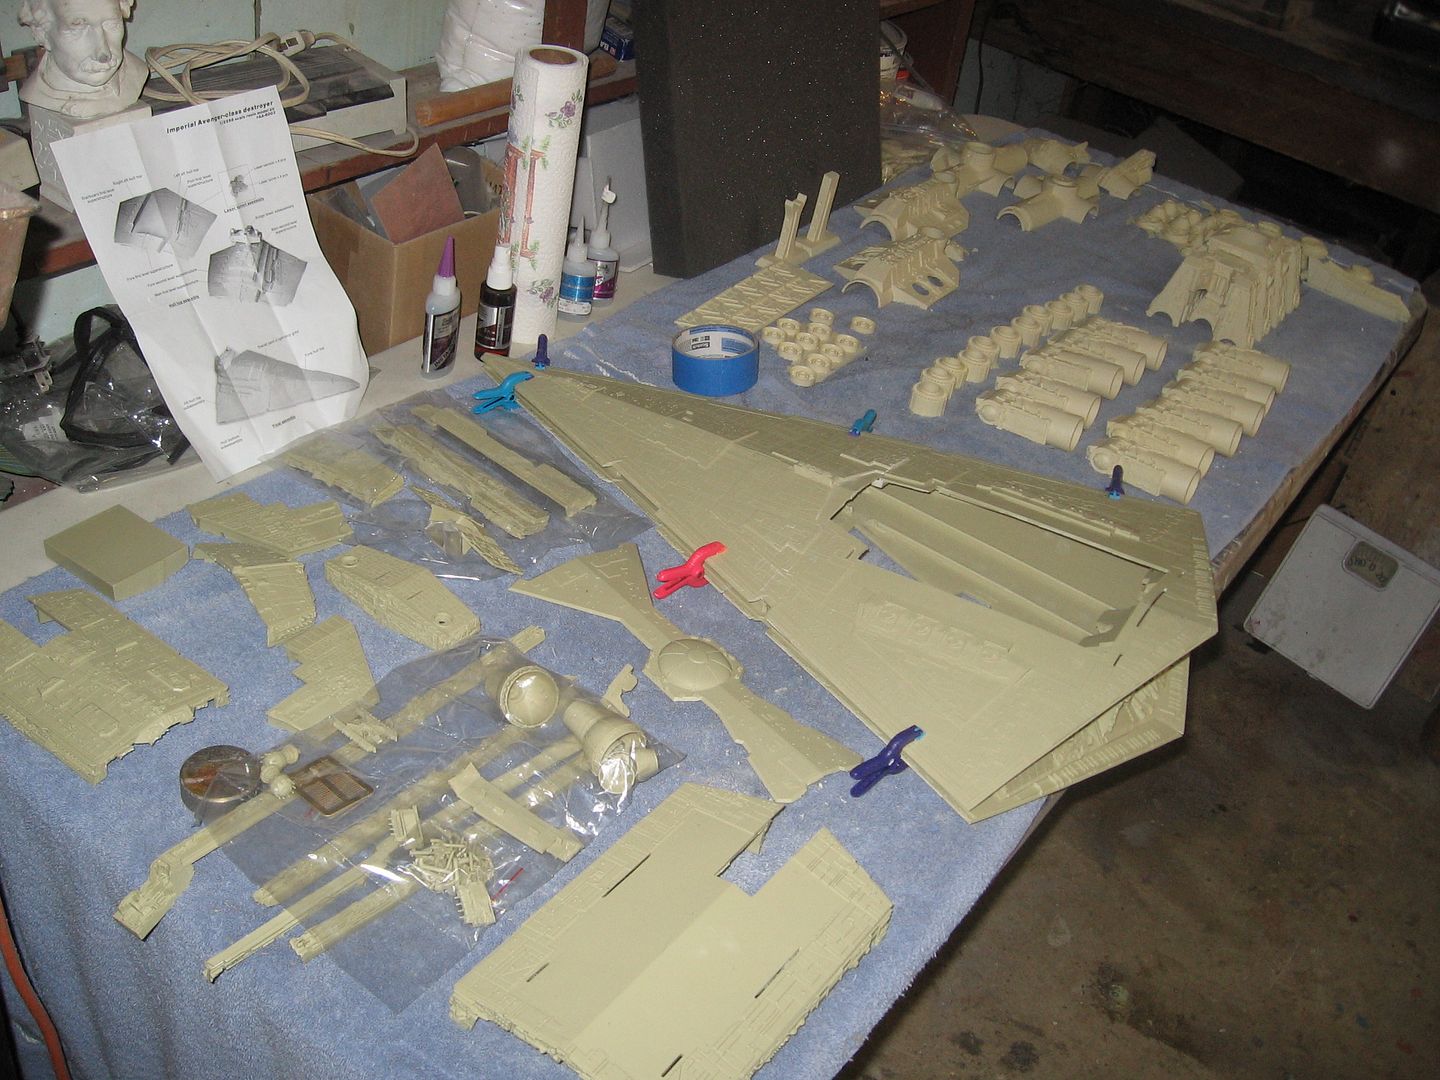
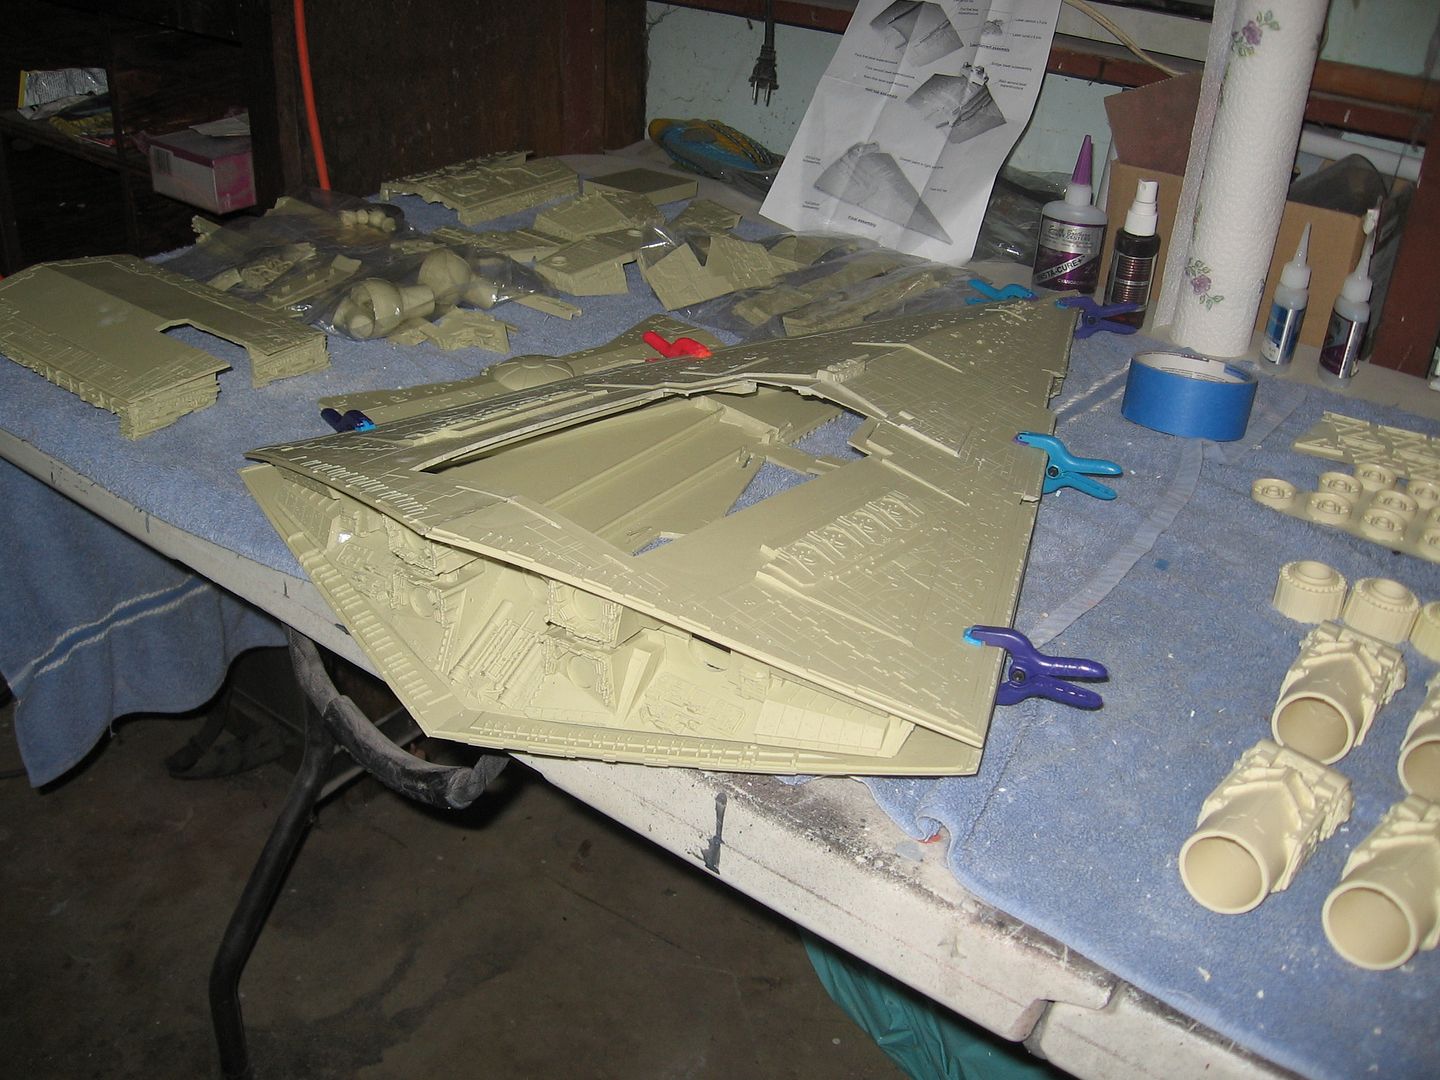
And so far, so good. Got those warped pesky hull parts together on the SD. Second I got the engine section of the BR started. Holes are all drilled to fit the wiring. They are actually square and true to one another. I’ve been over the instructions and pictures from Randy many times. The DS is a joke when it comes to the instructions but I can wing it.
The SD is clamped together over the engine bulkhead for truing the shape and to get a look.
More tomorrow,
Steve