Star Destroyer and Blockade Runner Customer builds

Status
Not open for further replies.
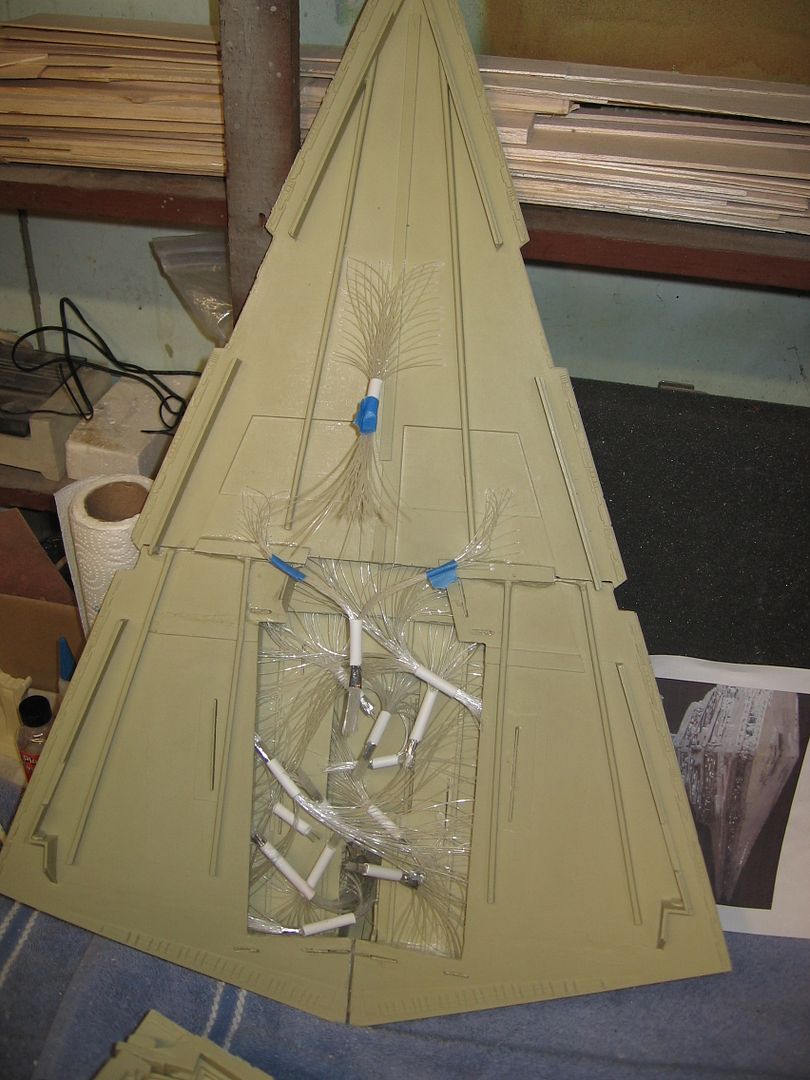
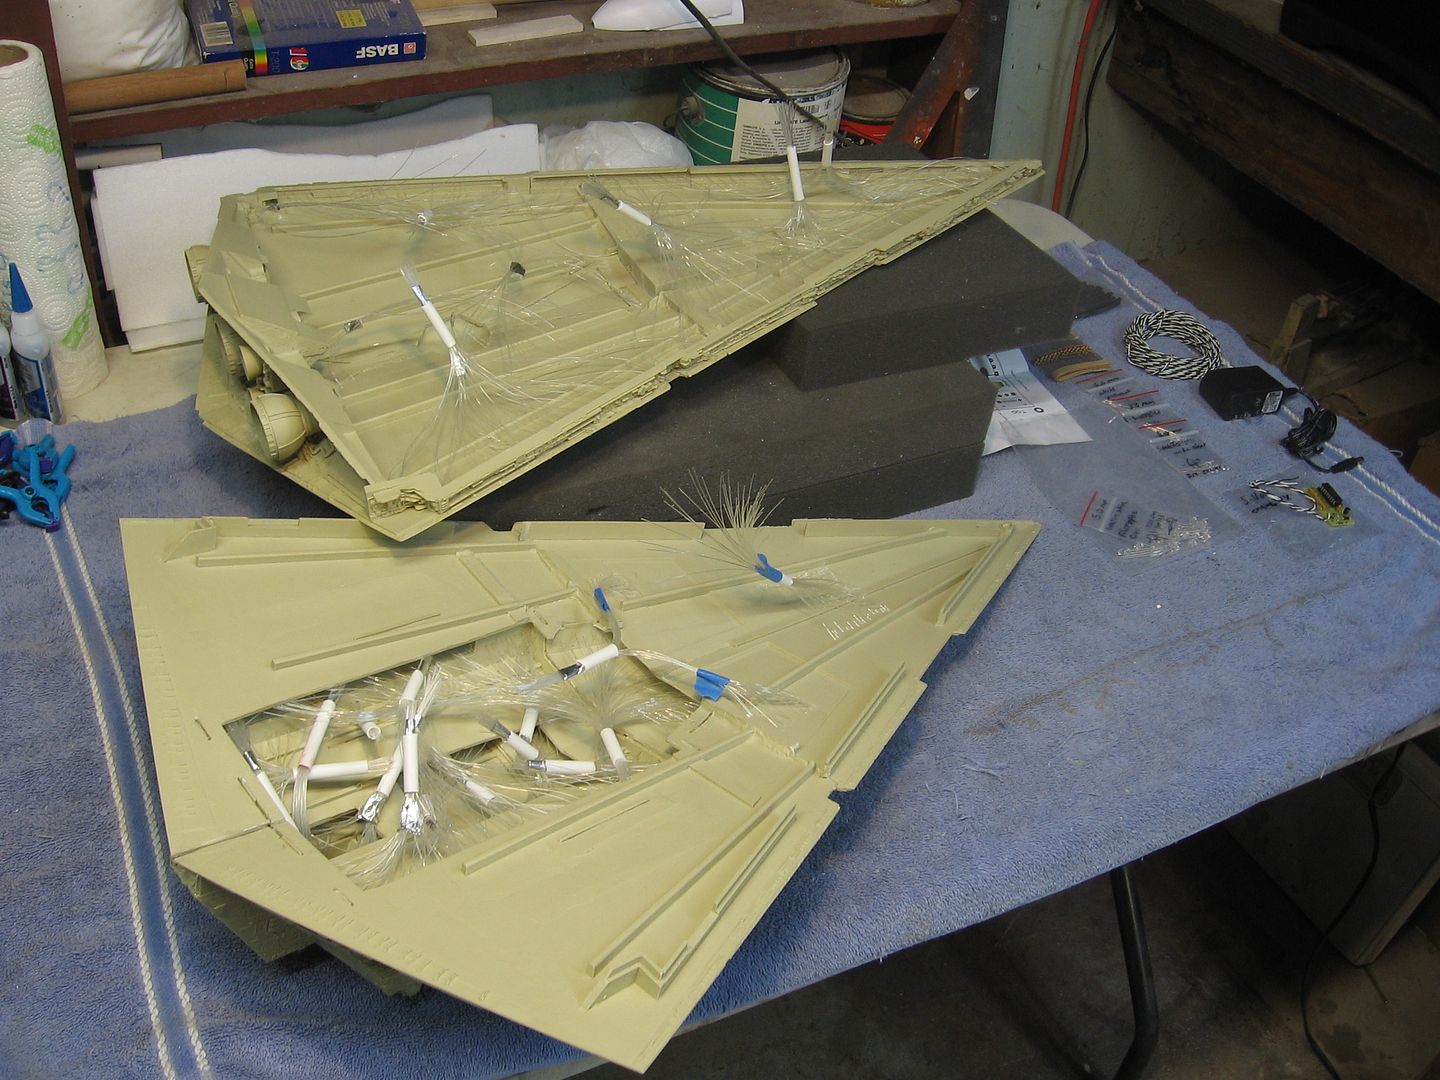
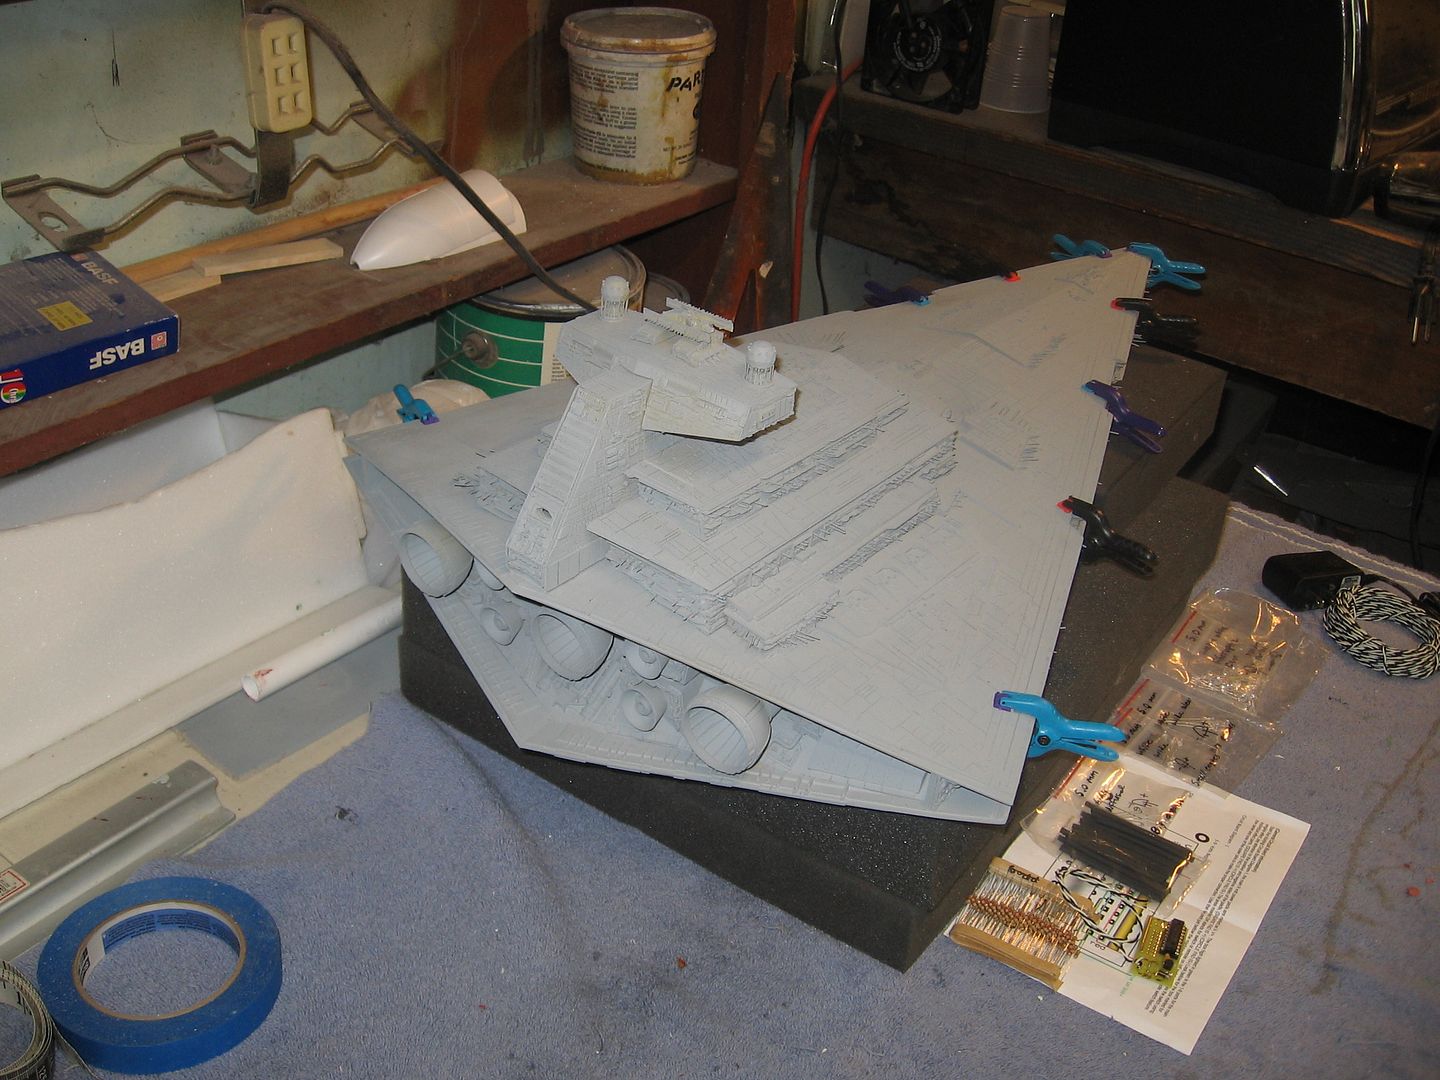
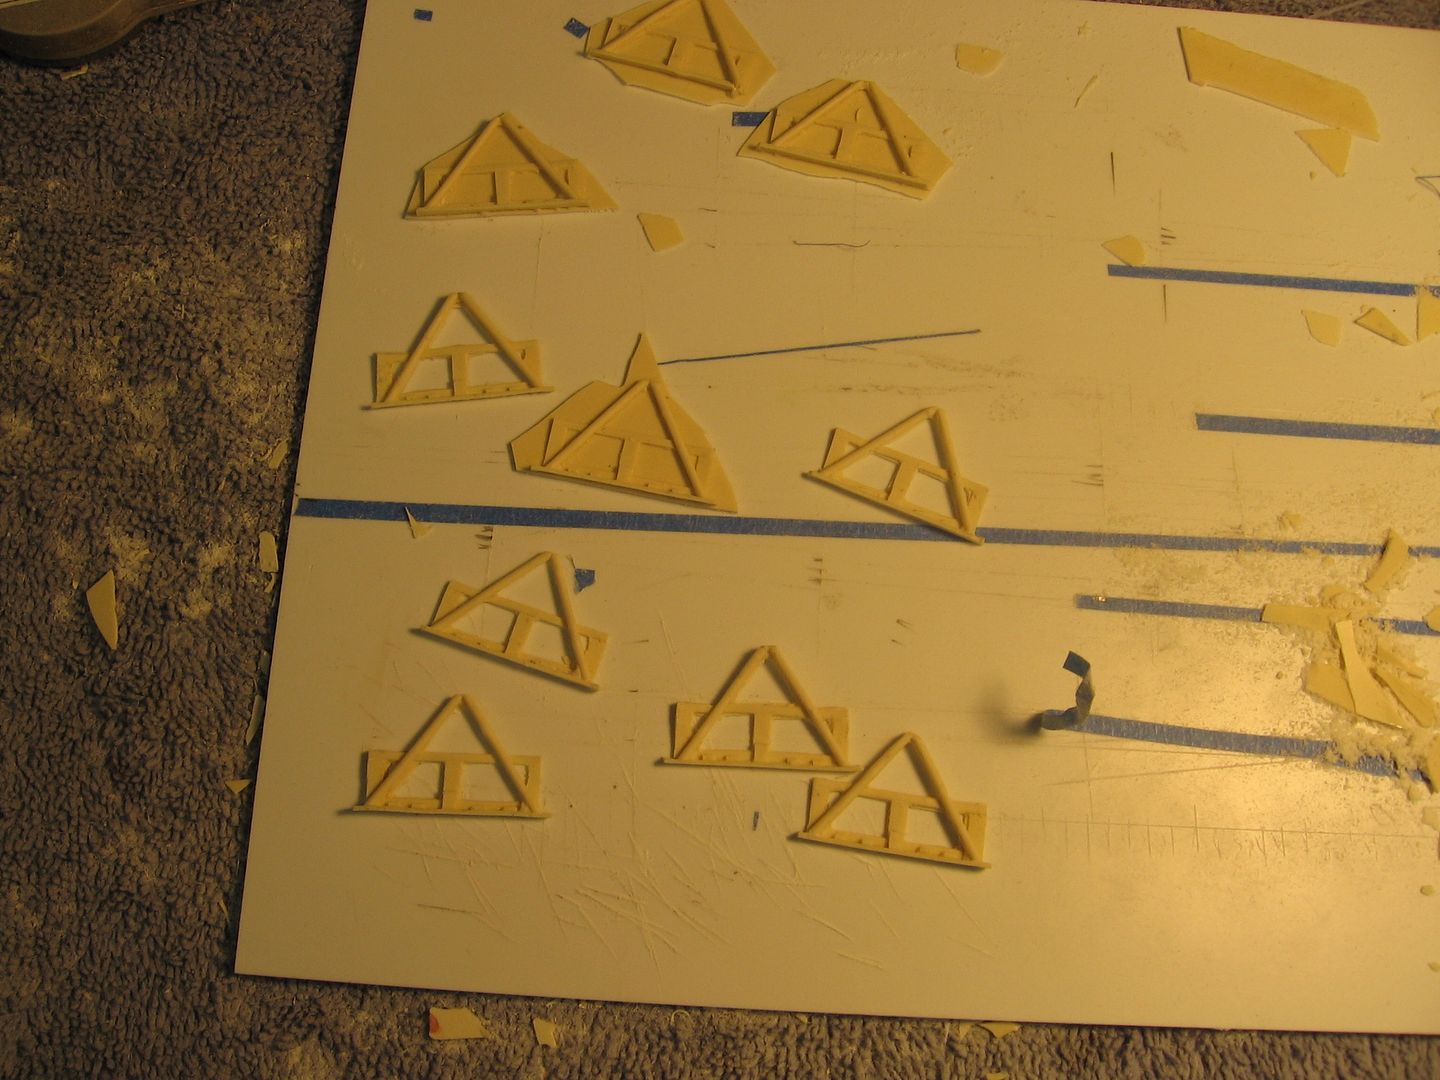
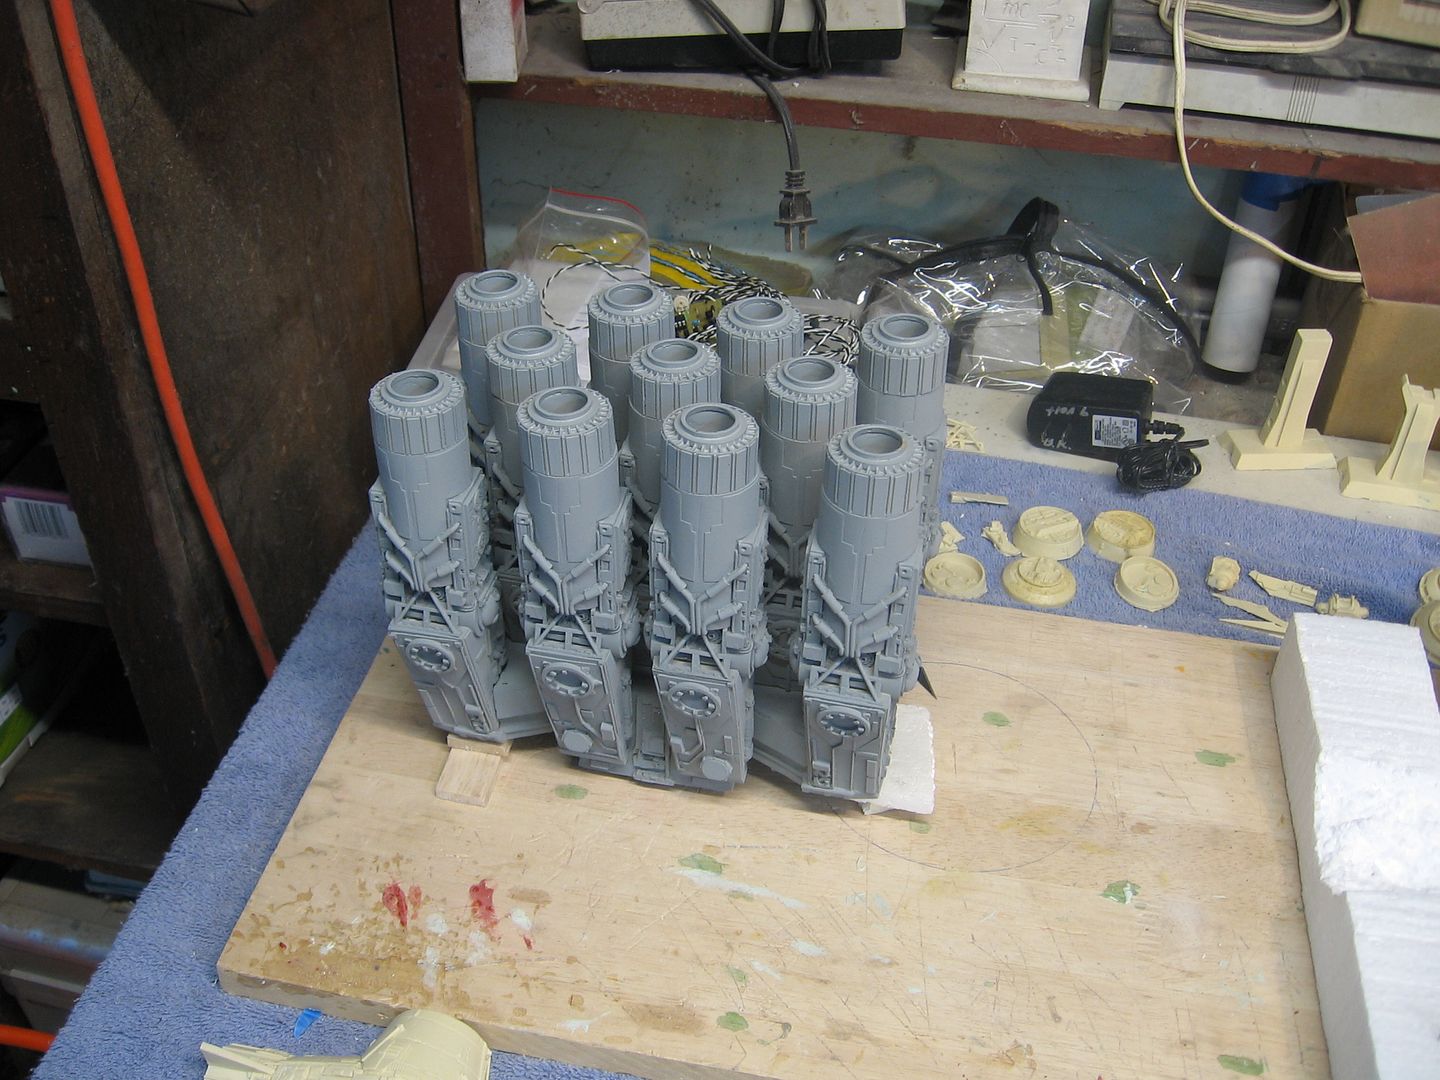
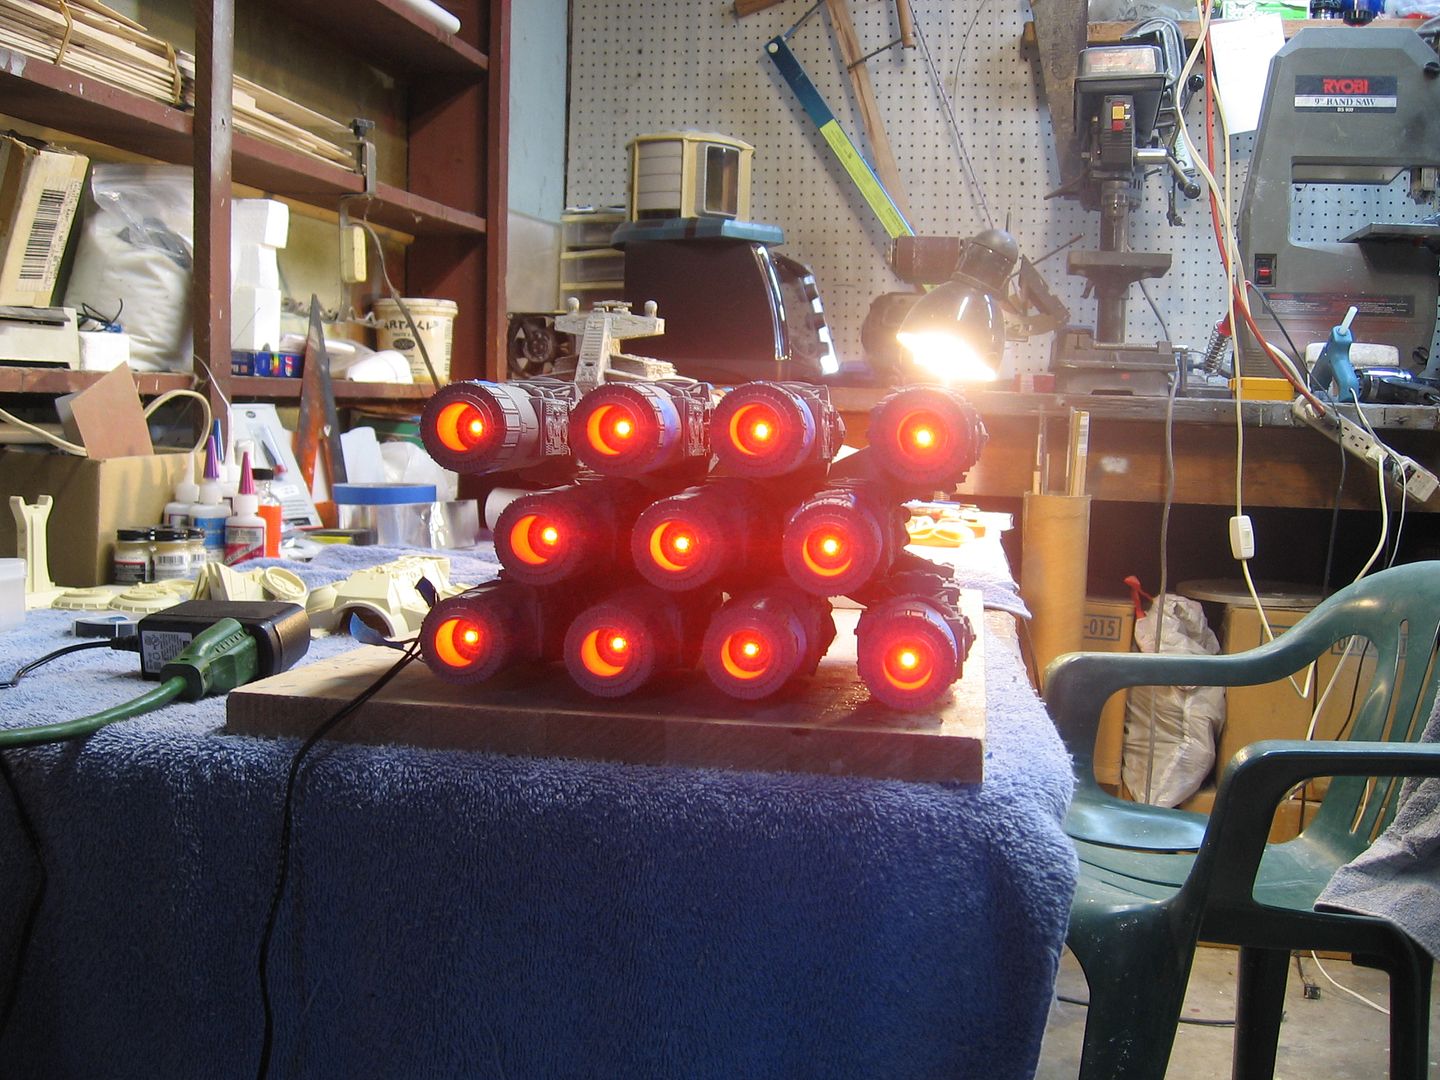
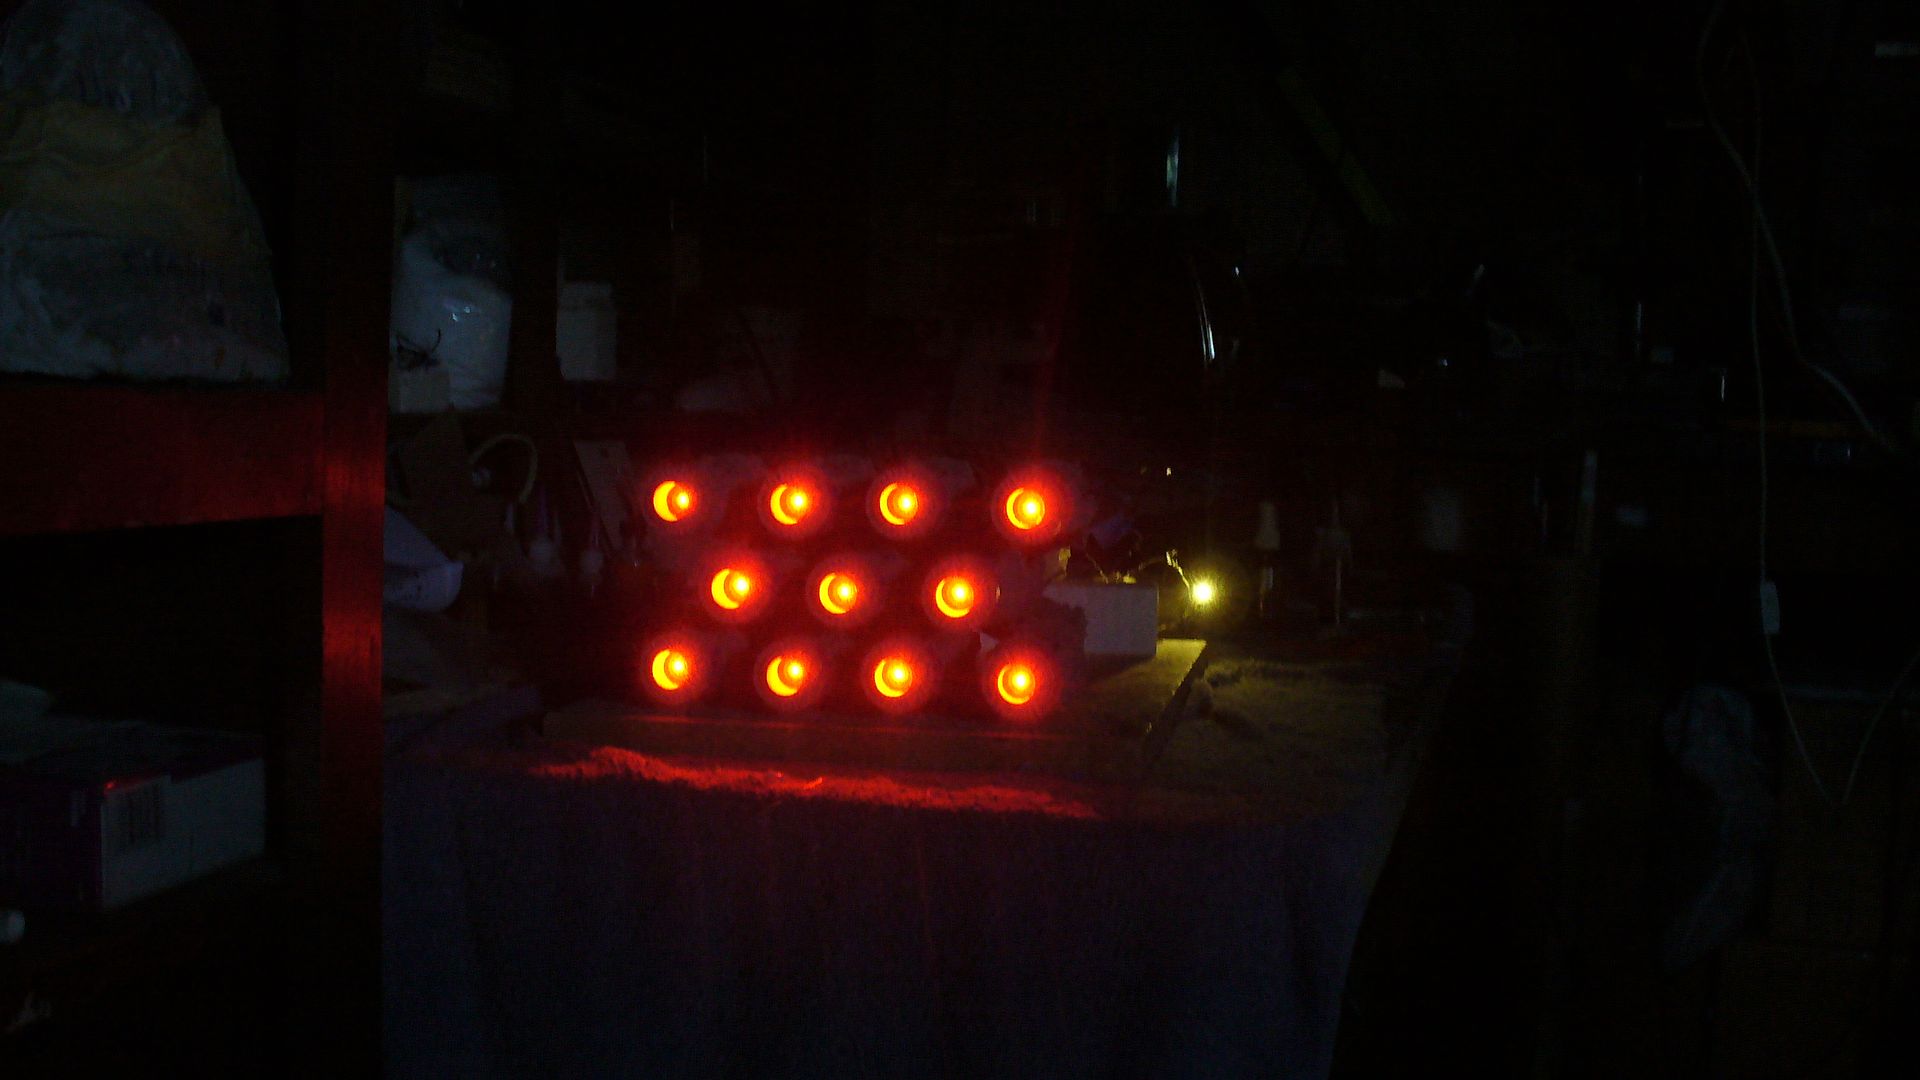
Yes, otherwise it would take even more LEDs to light than most people have used. You would have to do a lot of careful "aiming" of the LEDs to hit all the windows. I'm up to 23 LEDs on my build and I'm only doing about 1,100 windows.


What he said. ;)
 
OK. Got all the lights done on the top. Now to move on to the trenches on the sides and the few on the bottom half. This is taking forever. I went through a 200 ft roll of FO today. Another last week and even more tomorrow.

All my lighting came in today so as soon as I finish the lights on the SD I can primer her and go back to the BR.

All the lights are a warm white but I plan to tip some of them off with tint or clear colored acrylics like I did on the NX-01.

Steve

IMG_6800.jpg
 
OK it's got all it's lights now. Took four 8-9 hour days. Now, Lets start building again!

Blockade Runner too.

Steve

IMG_6804.jpg
 
Got the Star Destroyer all gapped filled and pointed up. Coat of primer on she's ready to paint white.

Blockade Runner center section parts are all on and for now I made the top removable to install the lighting board for the engines and bridge. This board makes the engines pulse.

I should have many of the parts on the BR tomorrow. And the engine lighting threading in so I can start gluing these sections together.
More tomorrow kids,

Steve

IMG_6813.jpg


IMG_6808.jpg


IMG_6810.jpg
 
Last edited:
Man Steve, you’re building these so fast. Every time I check in on your progress, you’ve gotten so much already done. Beautiful job!
 
Randy thanks. The kits go together well. It much like building studio models in the old days. They are good subjects too.

Steve
 
Randy said I'd curse his name in the instructions. I'm came close when I was doing this:

IMG_6831.jpg


But really it wasn't that bad. A bit of flat sanding and a Exacto blade and I had 22 of them done only come to find I only needed 11! Arrgggg!!!

IMG_6832.jpg


Got them glued in place although it would have helped to follow his directions a bit closer. That's right I said directions. LOL! But I got them on just fine.

IMG_6839.jpg


Now the engine section has a nice coat of primer. Next install the engine lights and move forward.

Steve
 
Directions? You mean those pages with the drawings of the parts? I always wondered what those were for :lol

RTFM :thumbsup
 
Great work! Steve
Do you consider install spotlights at the trench of the SD? They can enhance depth of realism when being put together with FO.
Can't wait to see both your SD and BR finished and stand together.
 
I might do that.

Today I got a lot of the BR built and the lighting installed and tested. It came out great.

Tomorrow I can add all the rest of the parts a seal this model up. Hopefully get it primered too.

Although not shown in the pictures she has a pole mount connector at the CG.

Here is some pictures and video.

More tomorrow.

Steve


IMG_6879.jpg


IMG_6880.jpg


IMG_6882.jpg


IMG_6885.jpg


P1050945.jpg


P1050947.jpg


P1050950.jpg


YouTube - Blockade Runner Light test
 
Engines look fantastic Steve!

Are you using the same pole system as on the NX-01?
 
Thanks guys. Dave I make my own now. But I left out the actual pole itself because I know you'll want to have your own base made for it.

Steve
 
Status
Not open for further replies.
Back
Top