As mentioned on the
Escape Pod Mk 2 thread I have been doing the painting and weathering on this kitbash shuttle project and it is now complete.
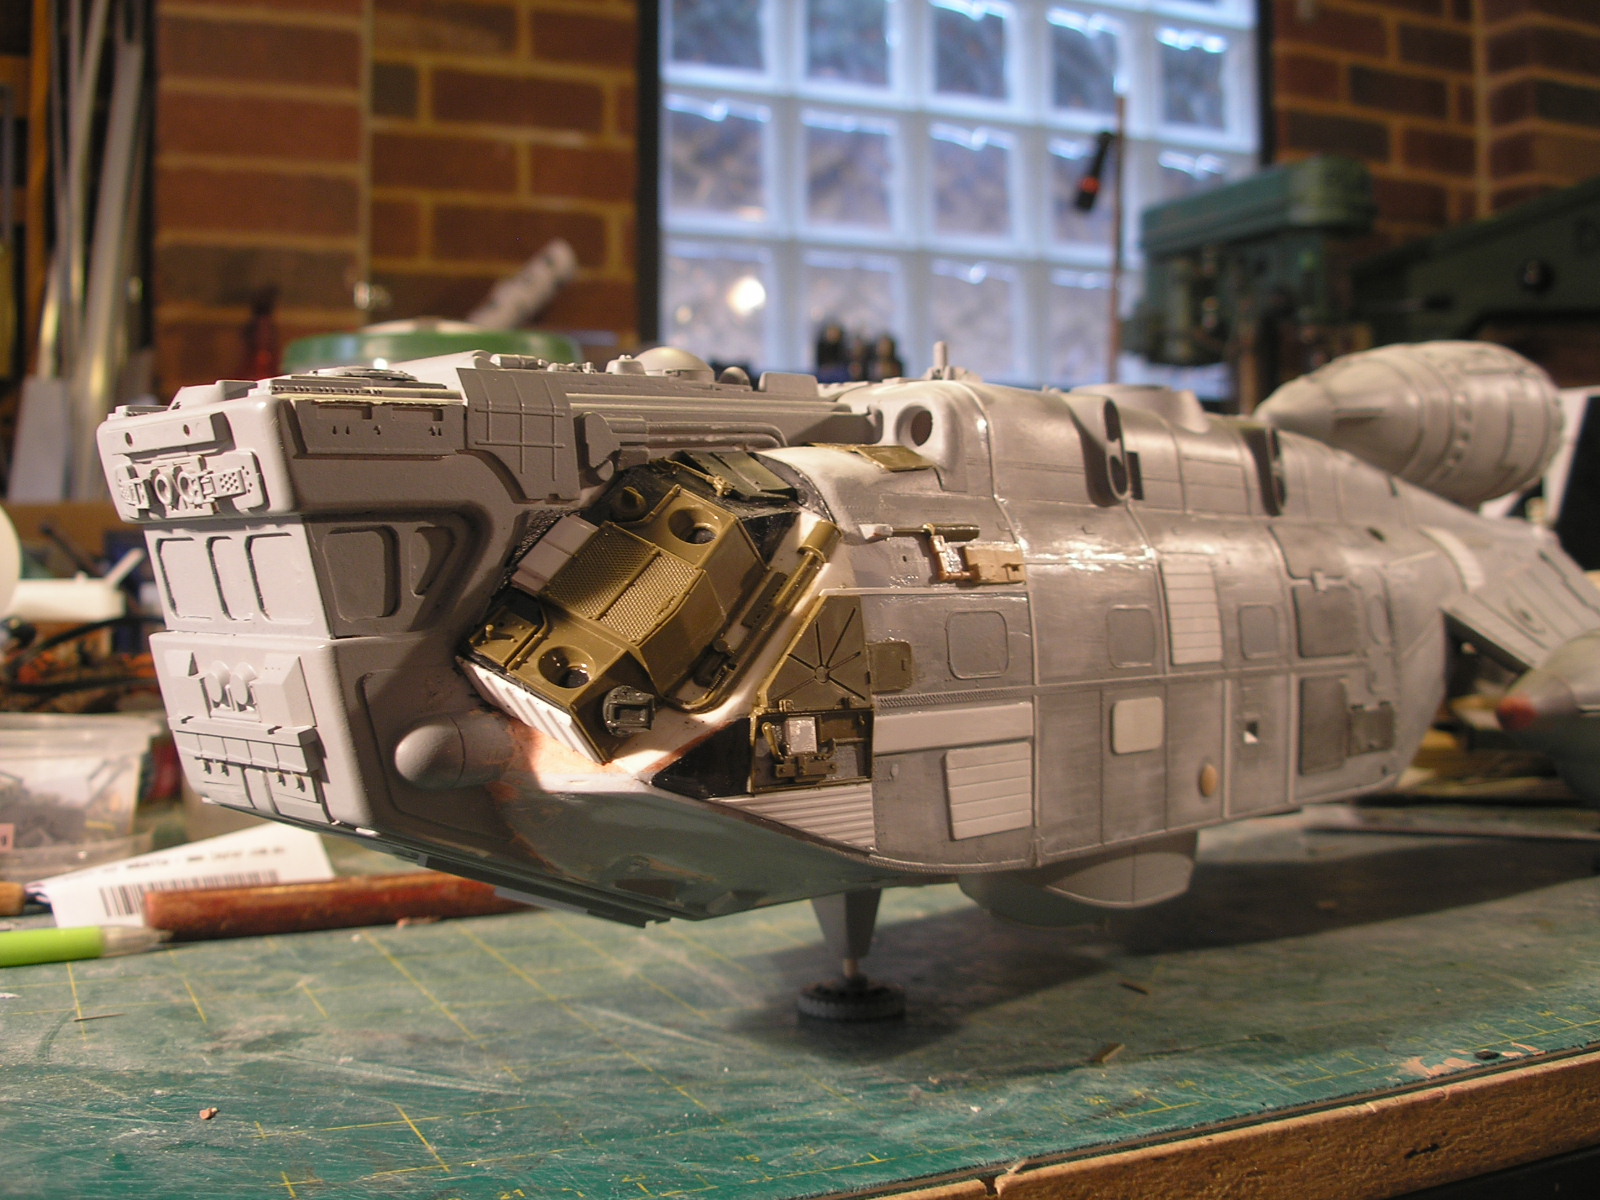
I finished the detailing in part 4 but had not done the second primer pass.
After the final primer coat went on I took a photograph and played around in photoshop with some overlays of colour to figure out a paint scheme.
I wanted to try for a 1970's sci fi book cover type of vibe with saturated colours.
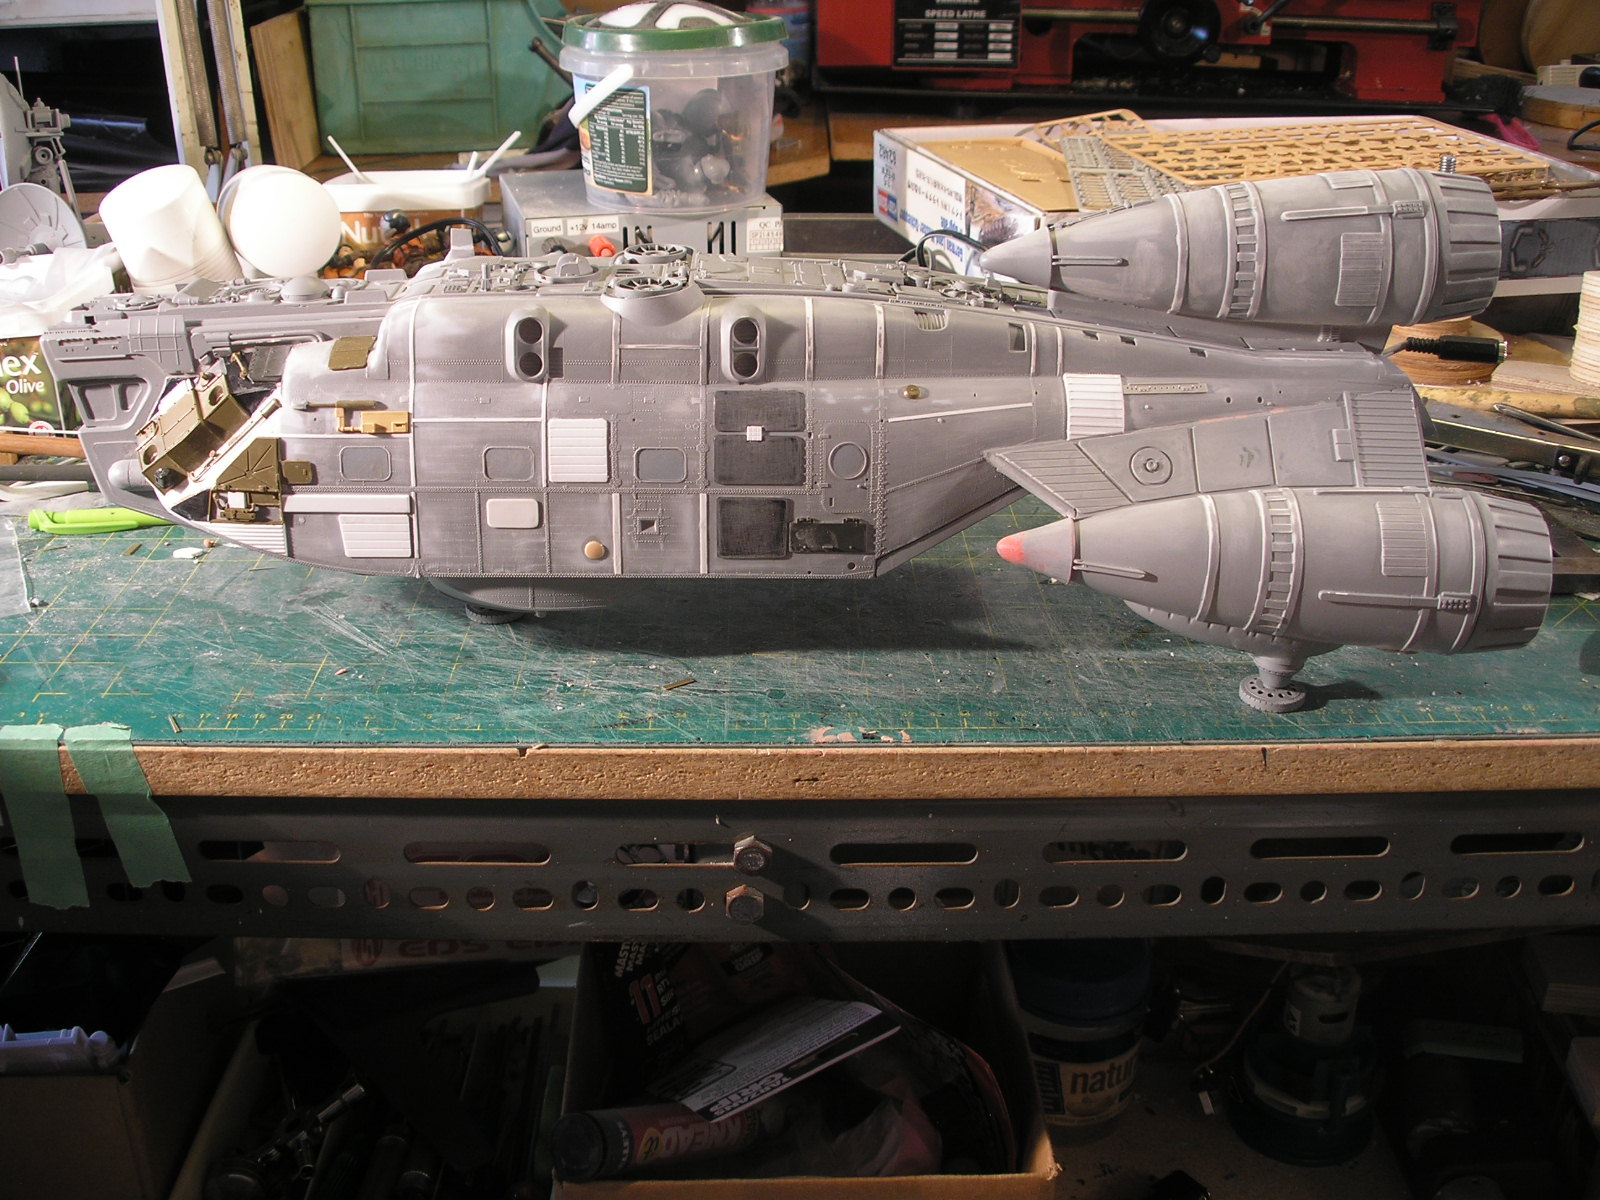
Here's the final primer pass shot outside in sunlight...
... and here's my final concept out of Photoshop.
As you can see, the photoshop mock up is pretty rough, but its only for me to do some quick experimentation before
committing to paint and masking.
I usually use car paint out of a spray can cause they dry fast but this time I decided to use the trusty old Humbrol
enamels and just got a red, blue and white and used 'em thinned straight from the tin in my old badger airbrush.
After all the fiddly masking and airbrushing was over I let it dry for a week before attacking it with my usual weathering
technique, described many times before.
Before removing the window masks I sprayed the model with some Crystal Kote clear matt spray.


After a house clean I came across an old stash of Letraset dry transfer letters and numbers in the Microgramma font
that I have had for quite a while.
Can you still get this stuff? I'd like some more but chances are its been long retired now that absolutely everything is done on computer,
even modeling...sigh.


The rear power and mounting rod access hatch was also a recent addition.
The hatch just fits by a protrusion that friction fits into the center mounting rod hole, the dc connector is next to it
and the third hole is just there for the hell of it.
The led downlights secured into the nozzles with three small spots of super glue which in the unlikely event they
have to be replaced, can be cracked out.
The nozzle/light assemblies are plugged into the ceramic bi pin connectors and then just press into the engine pods
with a nice secure fit.


The other access hatch is underneath and it has an inline dc connector that can be pulled out.
The central round shape in the hatch is removable to allow a support rod and the power connector to pass through
leaving the main door in place.


This project has been started and finished within the same year, a real achievement for me being so easily distracted
by the next idea. It is always nice to finally bring a project to completion.