SE ROTJ boba fett 98% finished

welshwarrior123

Well-Known Member
Hey guys,
first post here, I dont know if there is an intro thread but i'll do it here aswell. My names lewis, im a 17 year old currently studying Art and graphic design with the hope of one day becoming an effects artist, one day :lol Im in the uk and as the title of the thread sais, im working on a Boba fett with the hope of getting it 501st approved, not the easiest first costume but im enjoying it.
Now some of you on the dented helmet may know me and have seen what ive done already, so I thought I would post it up on here aswell. Also putting it in a more organised layout.

So here we go. Ive been working on this now for about 7-8 months and im pretty well stuck into it, im not goin to post everything all at once as it will fill about 7 pages.

So the first thing I started with was the gauntlets. Typical first noob mistake, I wanted to buy cheap. second noob mistake, I bought off of ebay :thumbsdown
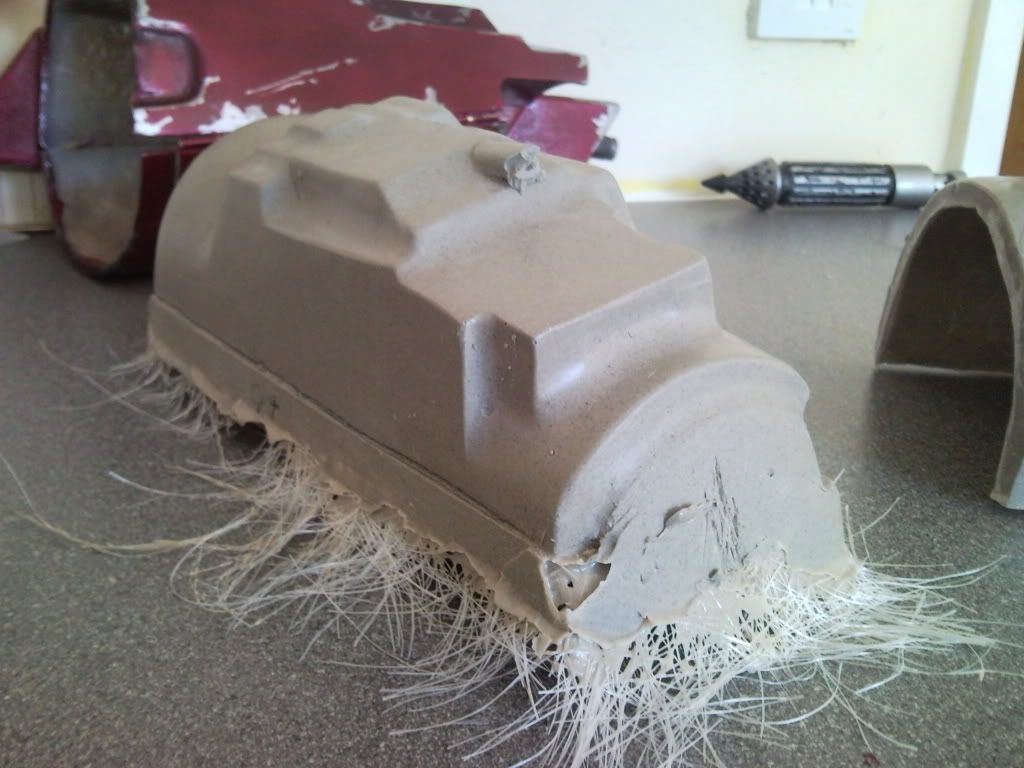
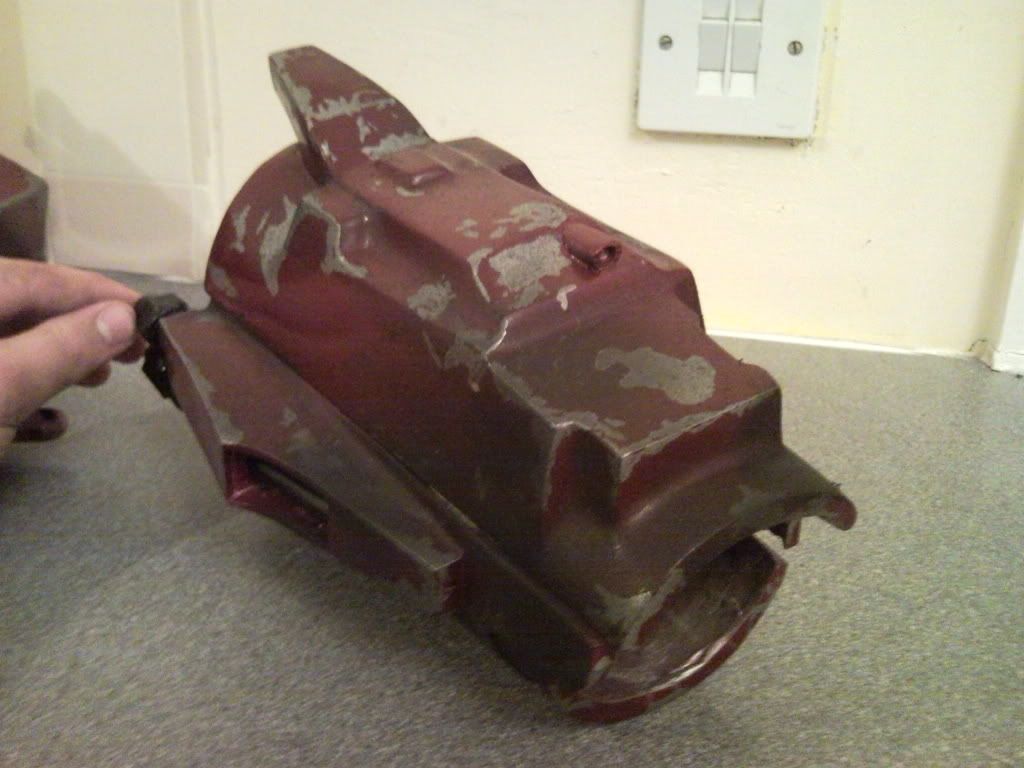
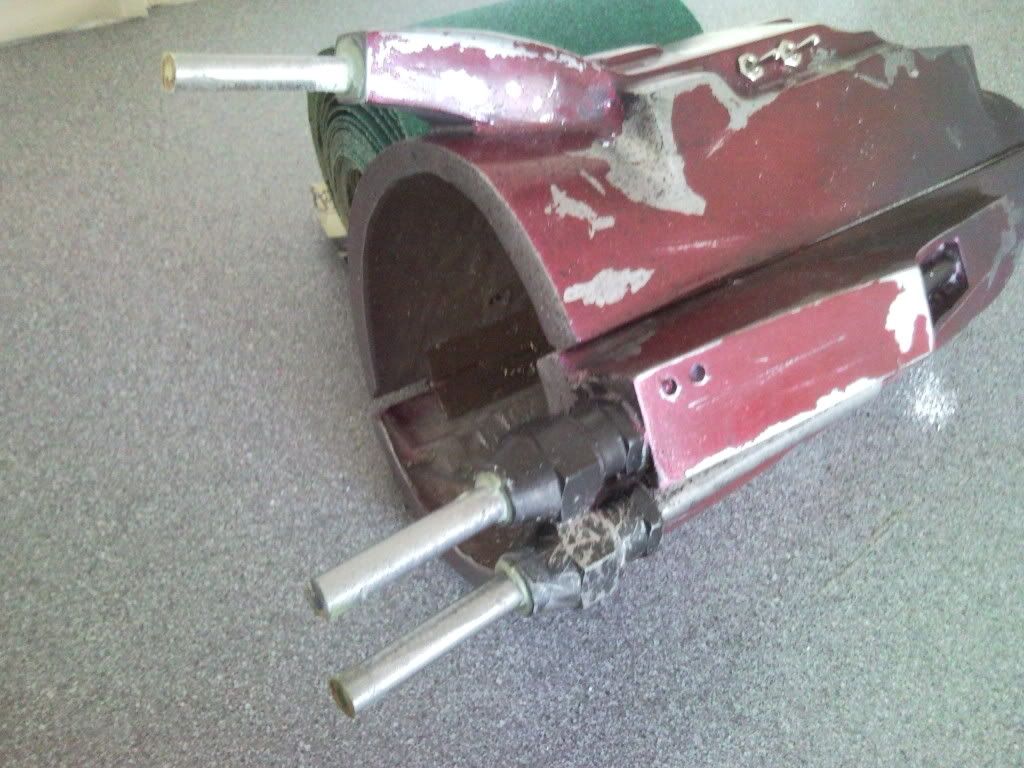
So these are the gauntlets, fiberglass, with a poorly done gellcoat followed by almost unusable resin accessories.
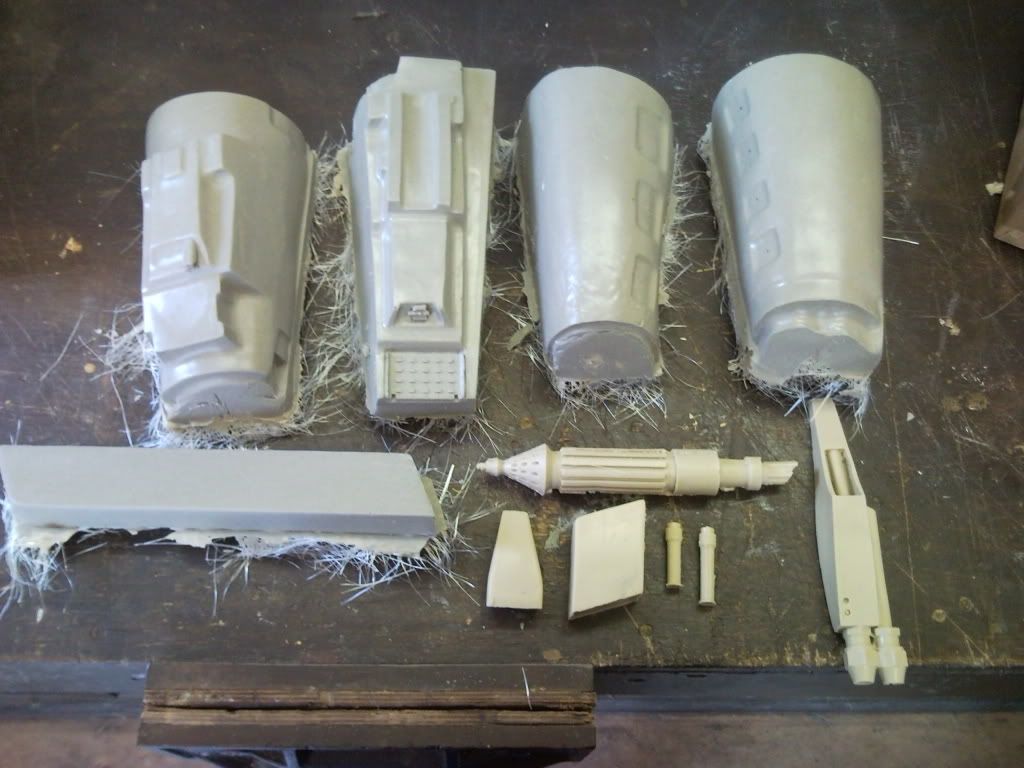
SNC00200.jpg


SNC00215-1.jpg


mmmmm lovely :sick

No worries tho, I knew i could fix them. So I asked for some help from my local garrison, the UKG, and one of the members there hooked me up with some lovely usable items. I also went out and bought myself a new calc pad along with the dental connector.
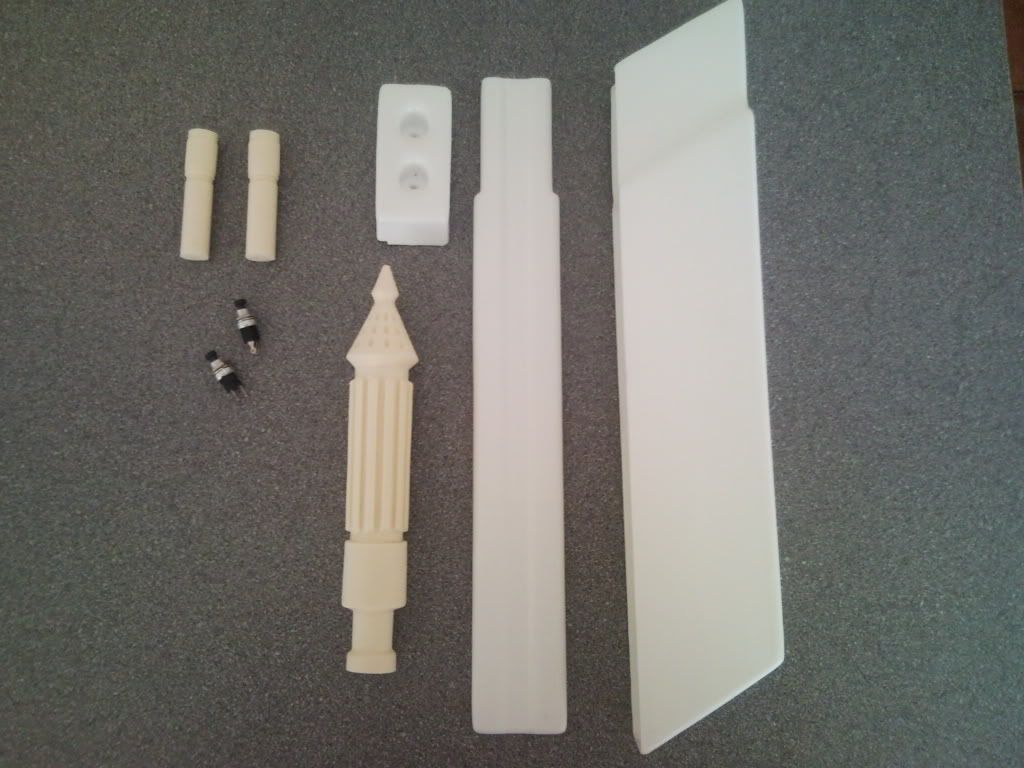
SNC00357.jpg


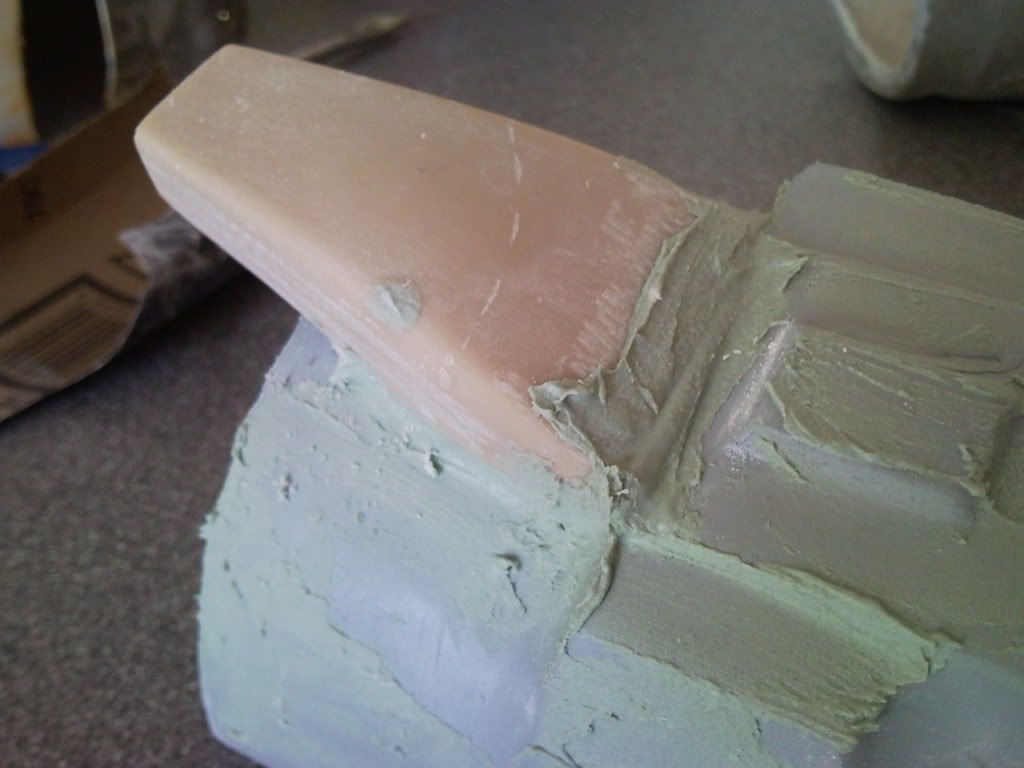
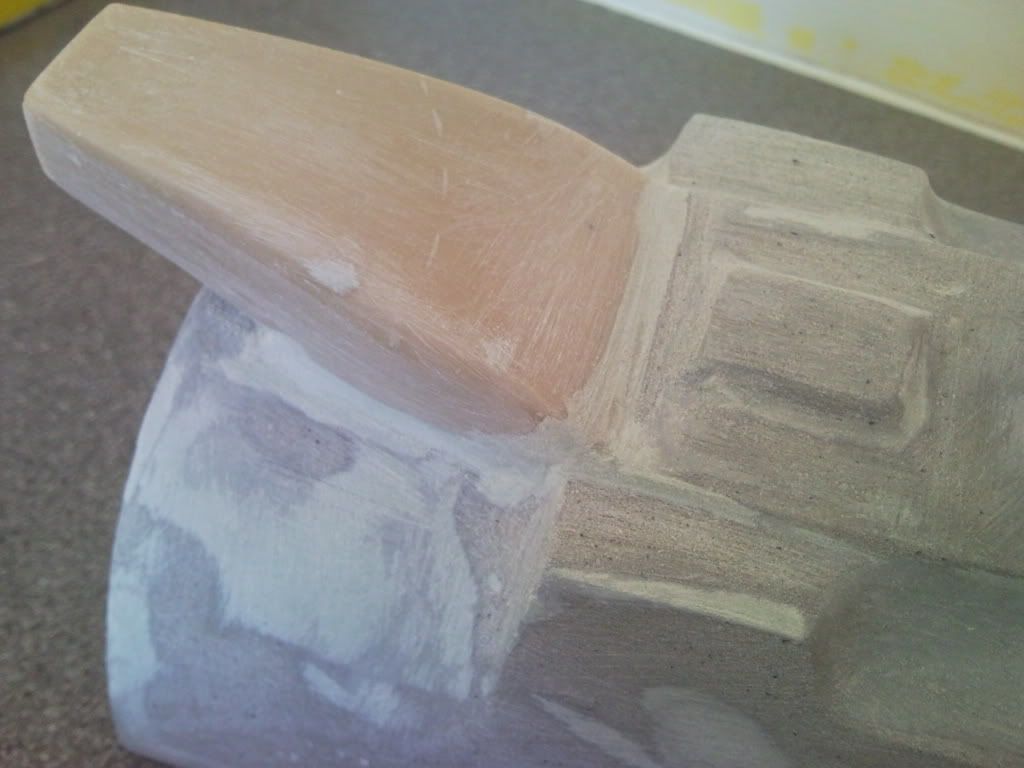
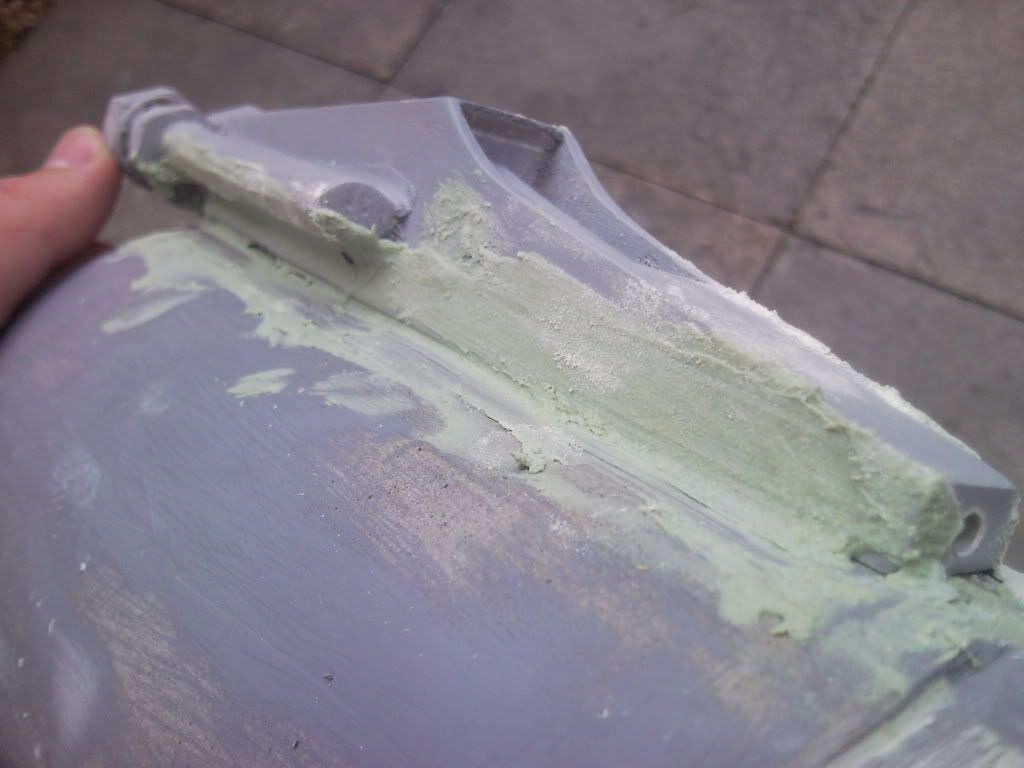
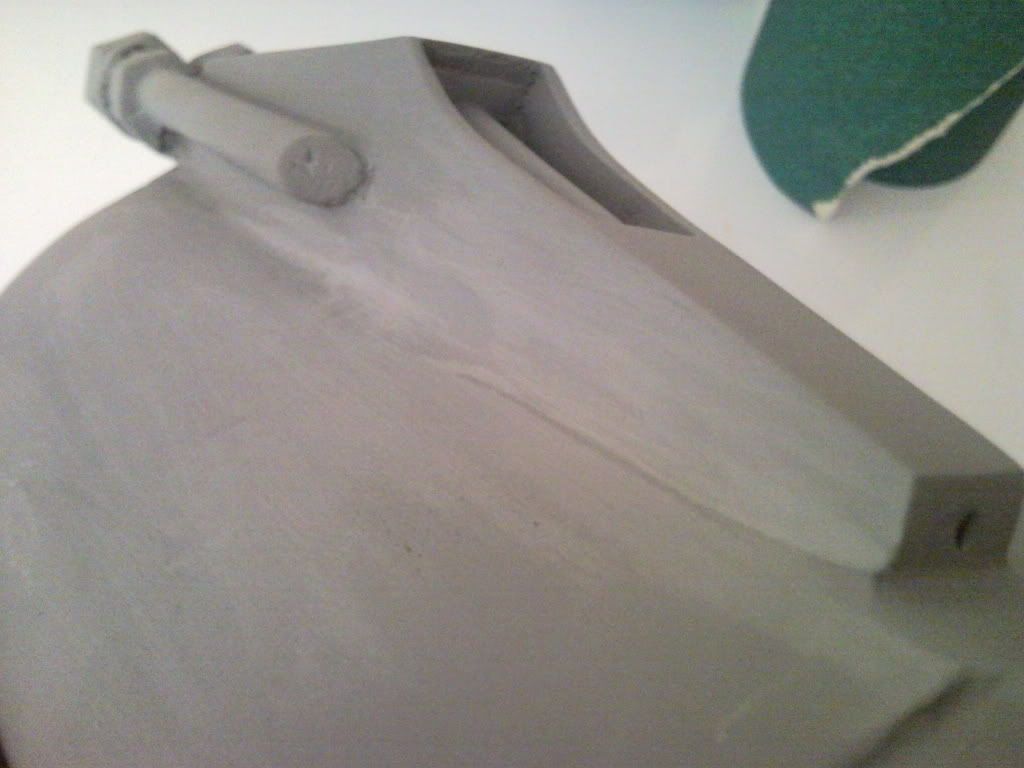
So i'll skip a few tedious steps. After all the triming, body filler work, dremeling, sanding, wet sanding etc etc.... I got it to a fairly recognizable looking piece and to a paintable state. Along with adding the hinges on the inside ( Wow that can make a man curse :wacko)
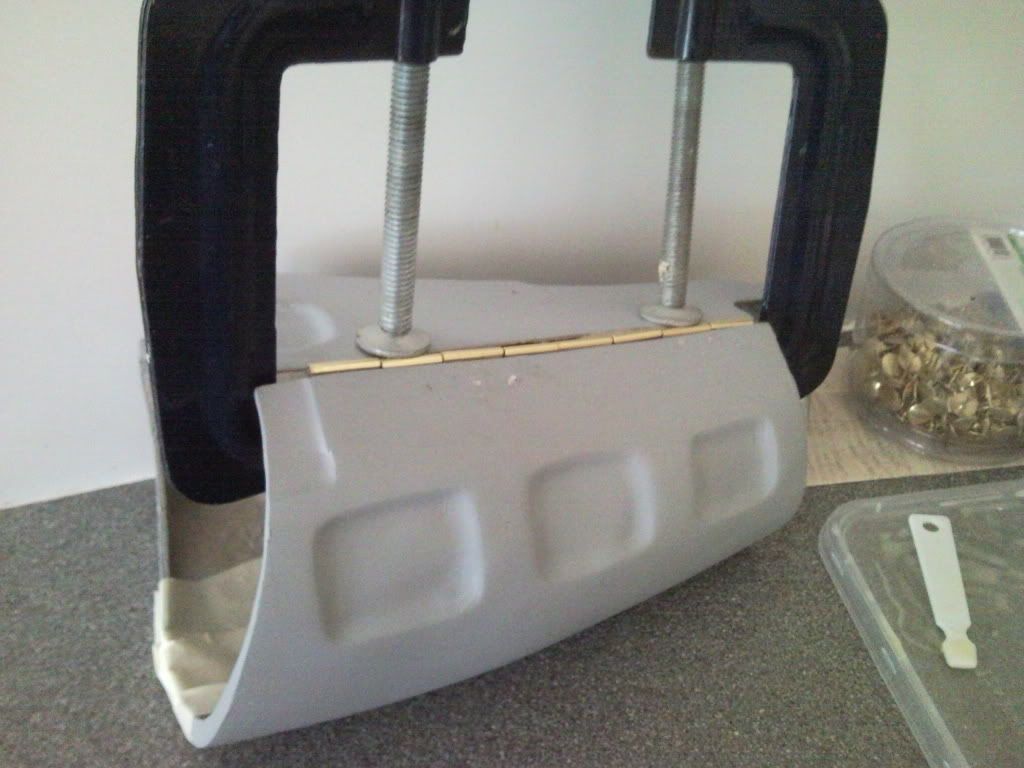
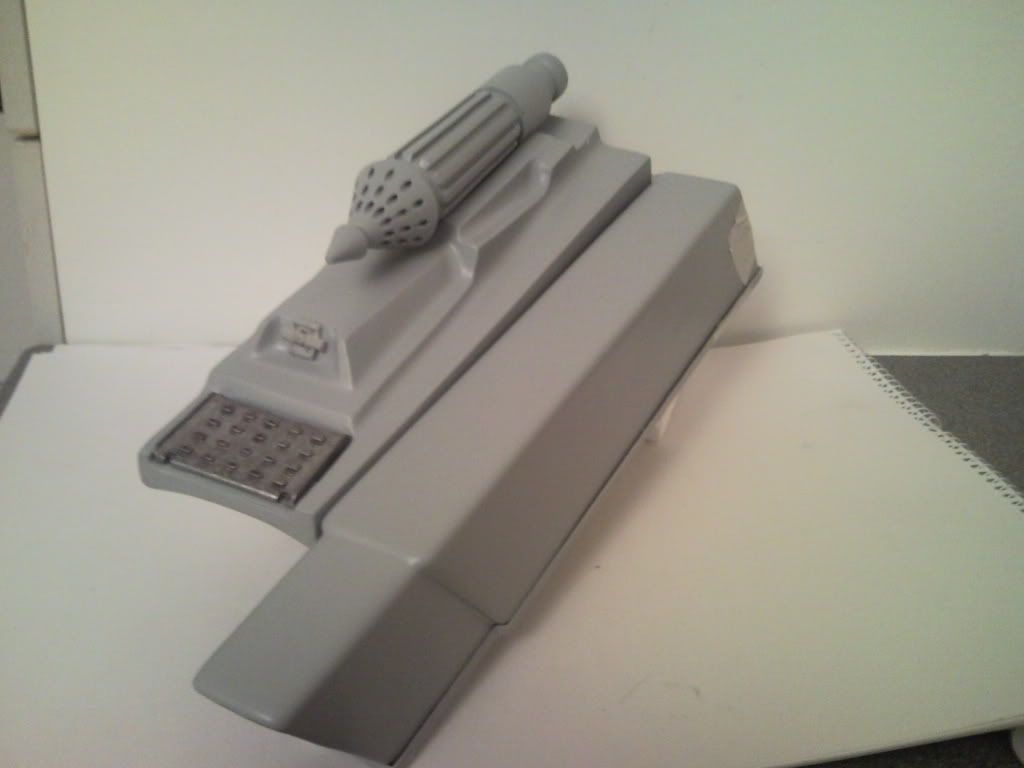
SNC00472.jpg


SNC00412.jpg


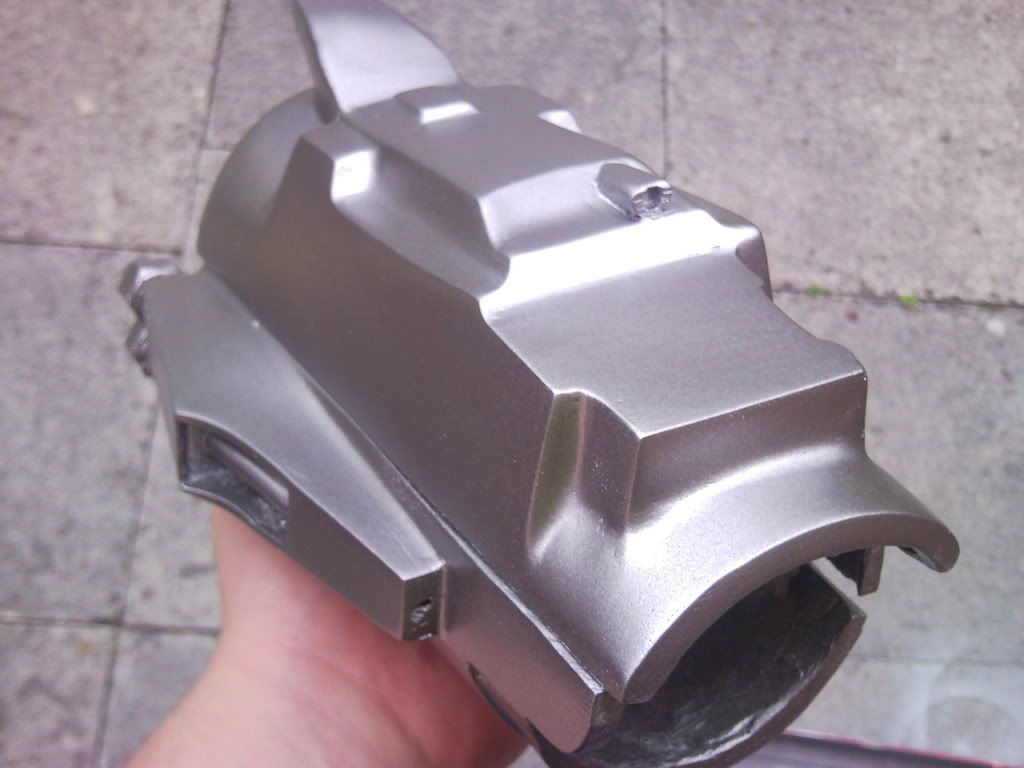
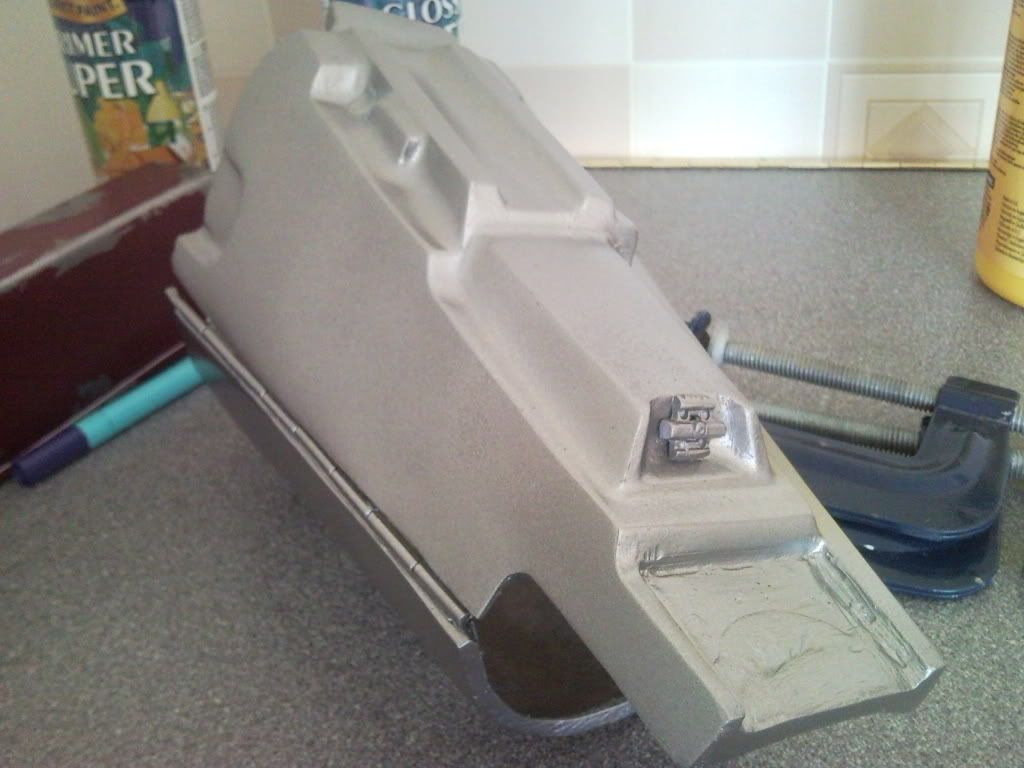
So then the fun begins, painting. I had already primered it along with goin through various gritt sand papers. I first layered down the silver, I found this a very troublesome thing to do as the paint I was using kept cracking, but I got it in the end.
SNC00483.jpg


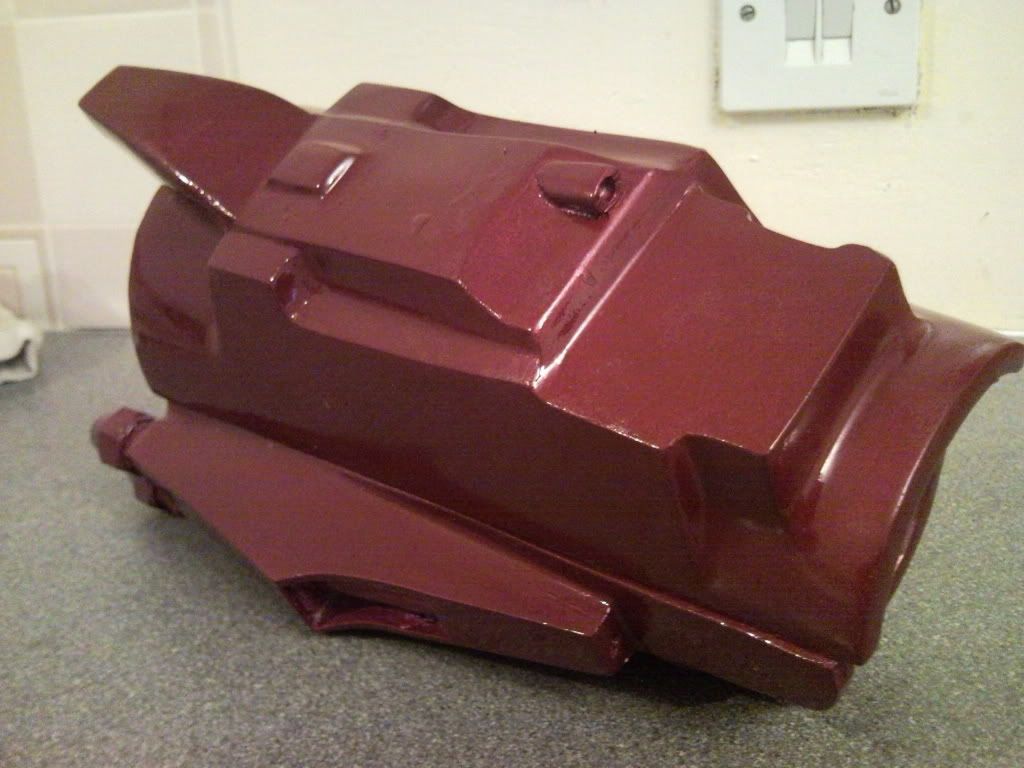
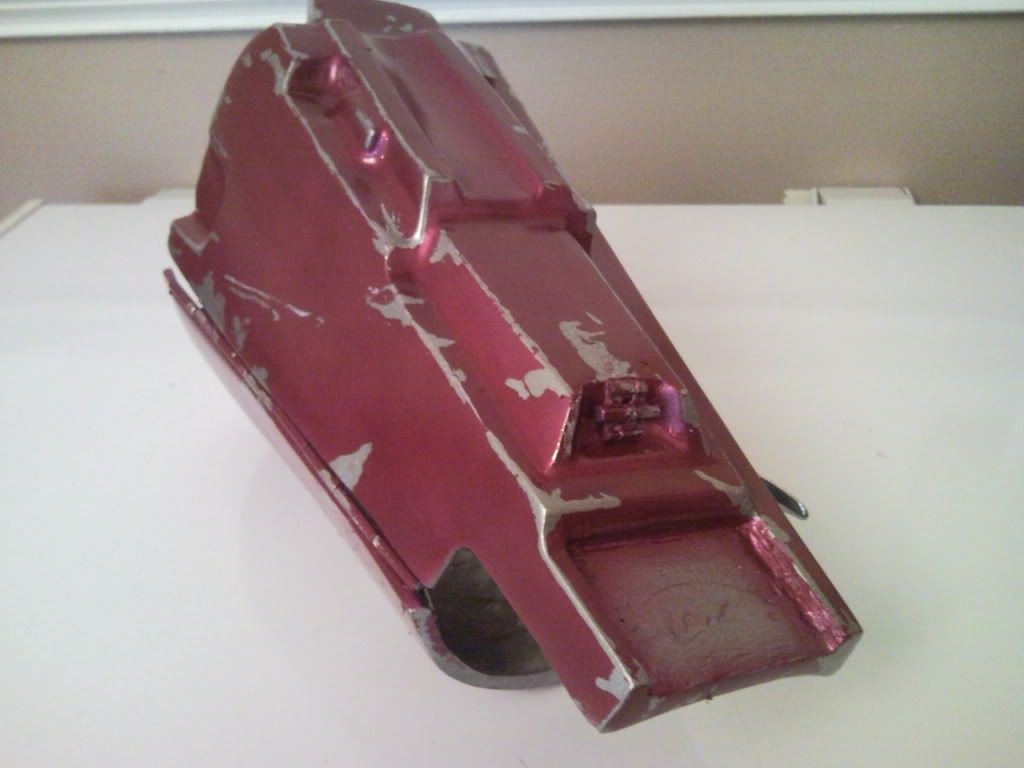
Then looking closely at referance imagery, I masked off the details and scratches using masking fluid, then hit it with the red/maroon colour. Once dried I then used an eraser to remover the masking fluid.
SNC00484.jpg


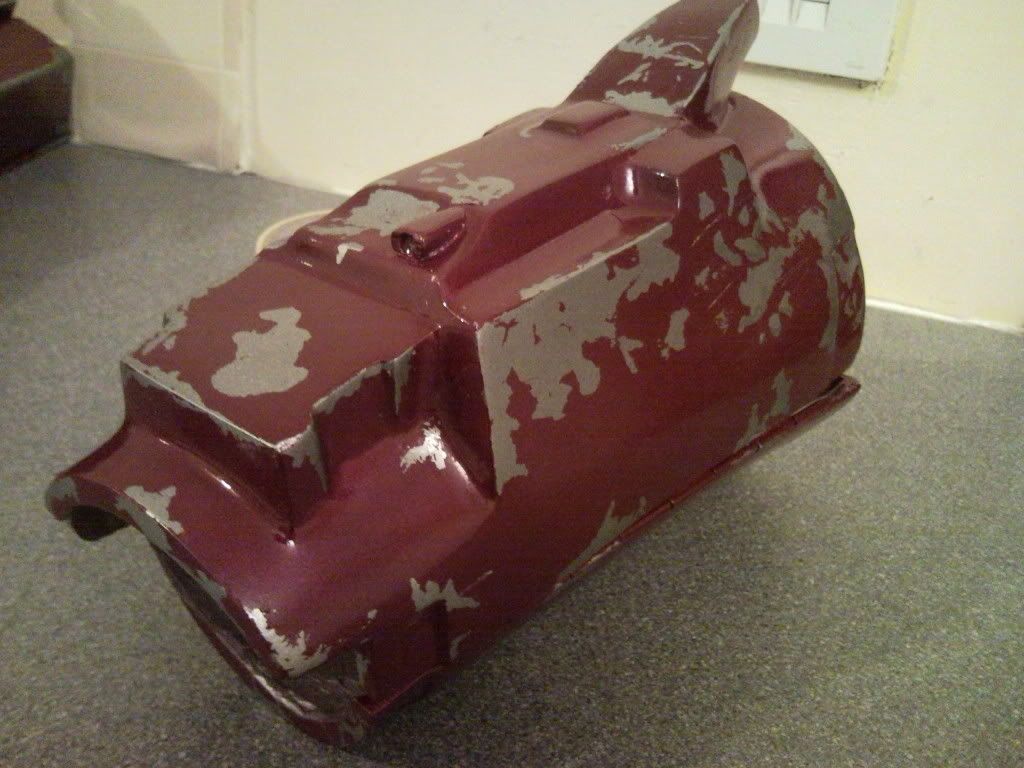
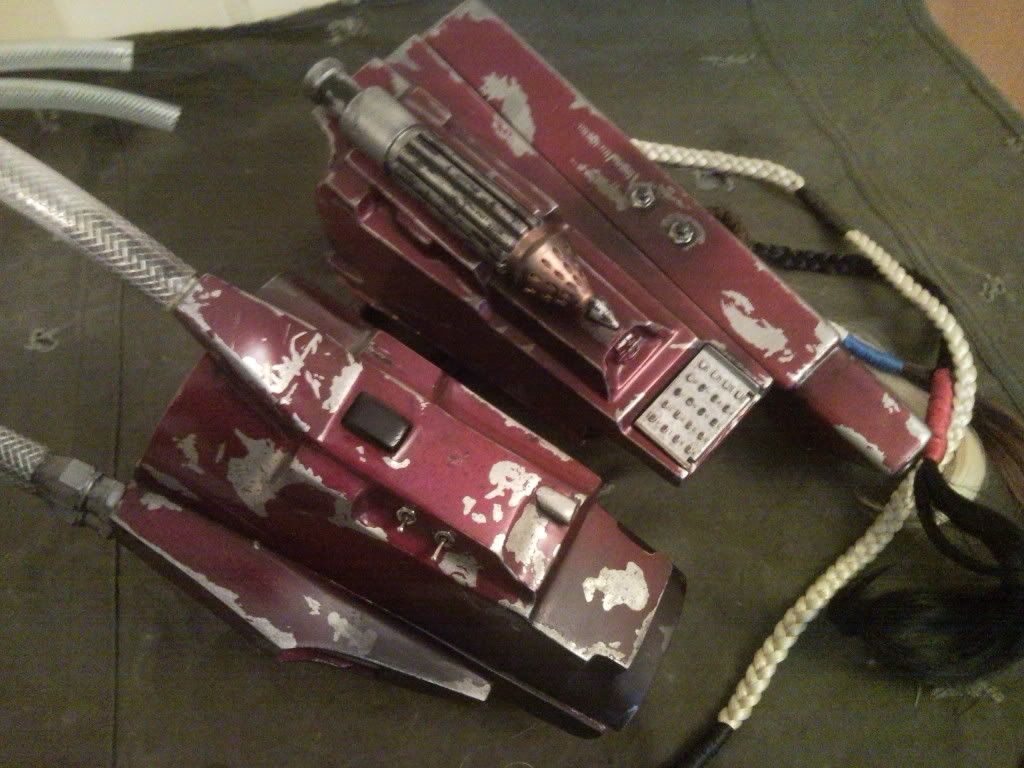
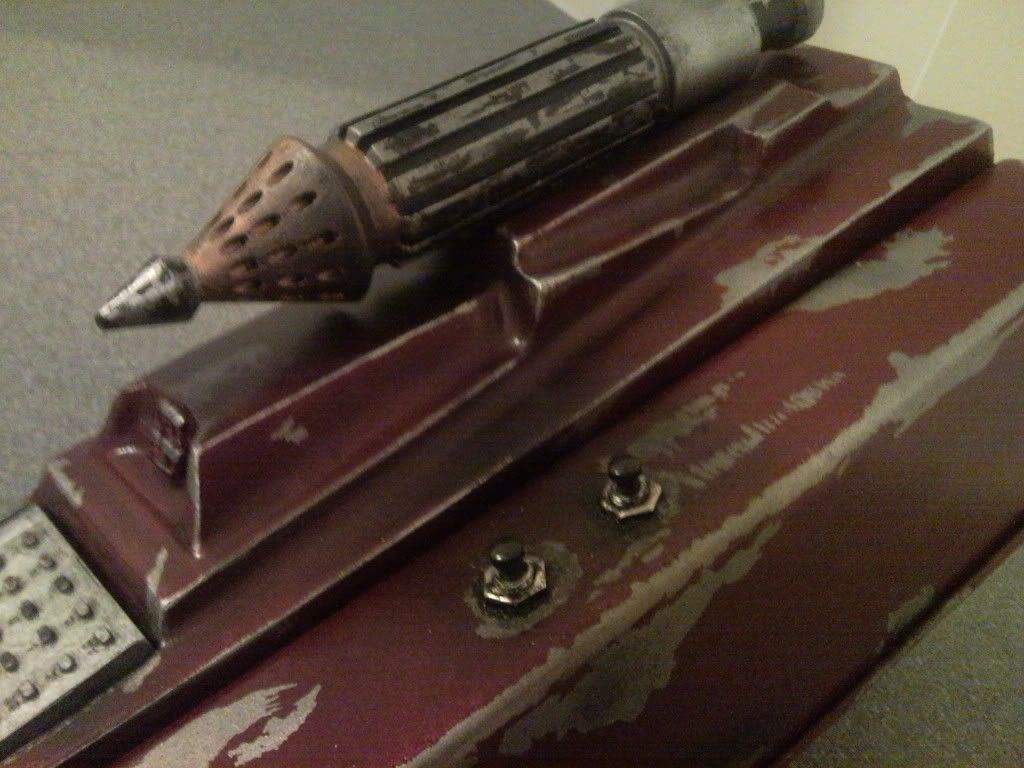
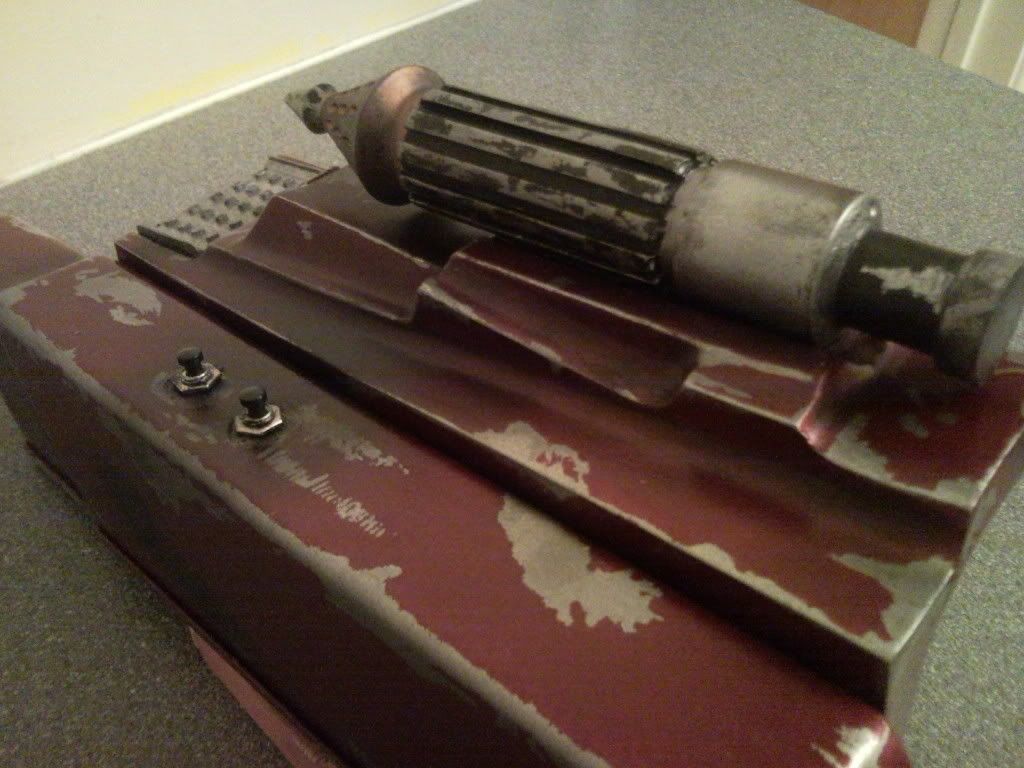
Then with the flame unit, rocket and other details pieces painted, I then assembled the piece, followed by a couple of coats of black accrylic, with was then wiped off. I then finished the piece off by airbrushing the scortch and dirt marks to finish the first part of my fett costume.
SNC00666.jpg


SNC00673.jpg


SNC00665.jpg


So theres my first post, I hope you like it :rolleyes and I also hope I havant done anything wrong aswell. I have alot more progress to show but Im goin to pace myself and organise it so its easier to read and follow. So I hope you like my first attempt, and comments and crit would be nice, and I will upload some more progress tommorow.
Cheers,
Welsh
 
Last edited:
Re: SE ROTJ boba fett
Awesome work bud! Can't believe you actually made those gauntlets look great. Can't wait to see more progress in this thread.
 
Re: SE ROTJ boba fett

Cheers Rebabaluba, it just shows you get what you pay for.

So I thought I may aswell through up the other gauntle build, now this one isnt entirely finished, it still needs a locking mechanism along with some gauntlet darts that I should be ordering this week.

So the gauntlet was much the same as the first, if you look closely you can kinda make it out through all the flashing :unsure

SNC00544.jpg


So I manage to trim the piece down to the size that suits my arm, only to find that the piece was warped. I wont show any pictures of this as all it really envoled was an evening with a hairdryer and coaxing it to the correct shape. So I began attatching the different sections of the gauntlet using filler as an adhesive. The detail parts were so warped that I need to use alot of filler to fill the gaps.

SNC00641-1.jpg


SNC00644-1.jpg


SNC00683.jpg


SNC00689.jpg


So once attatched along with the hinges, I could then begin the paint stage. Same as the other gauntlet, silver, damage masked off, red/maroon, airbrushed weathering :)

SNC00694.jpg


SNC00695.jpg


SNC00698.jpg


SNC00702.jpg


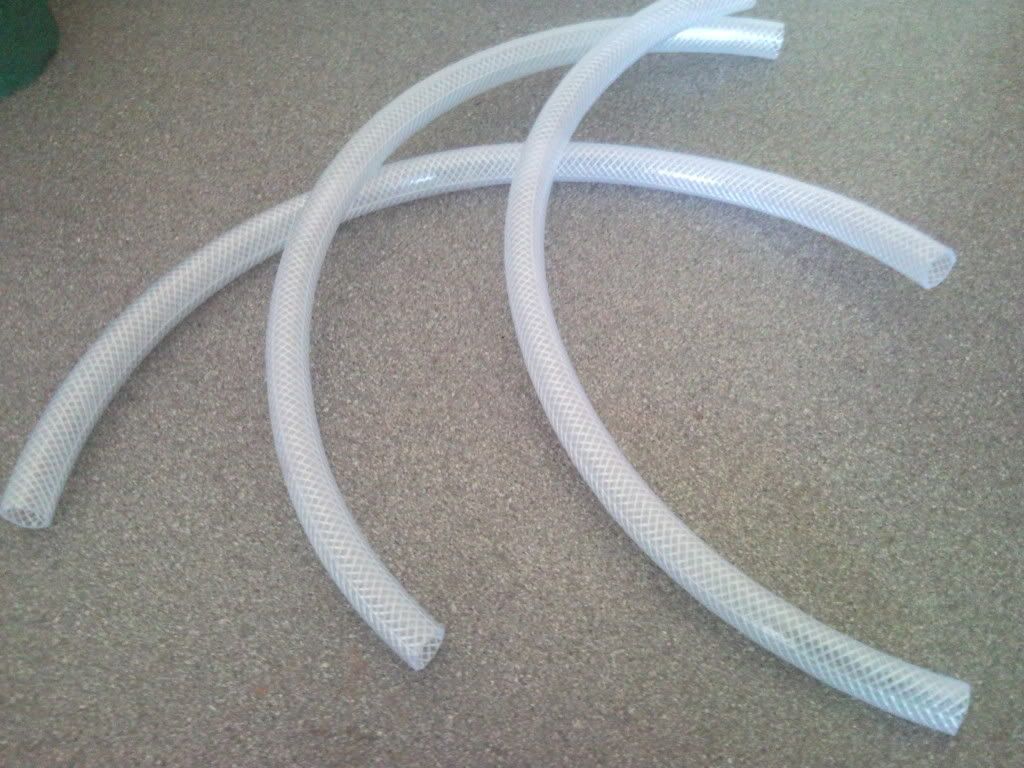
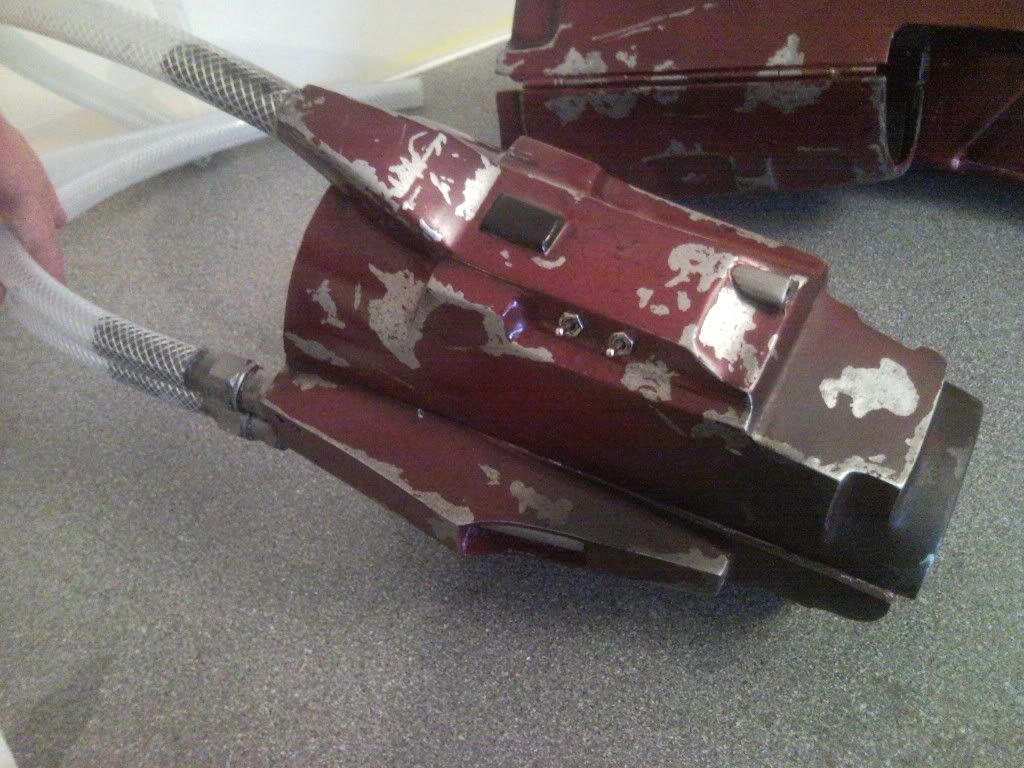
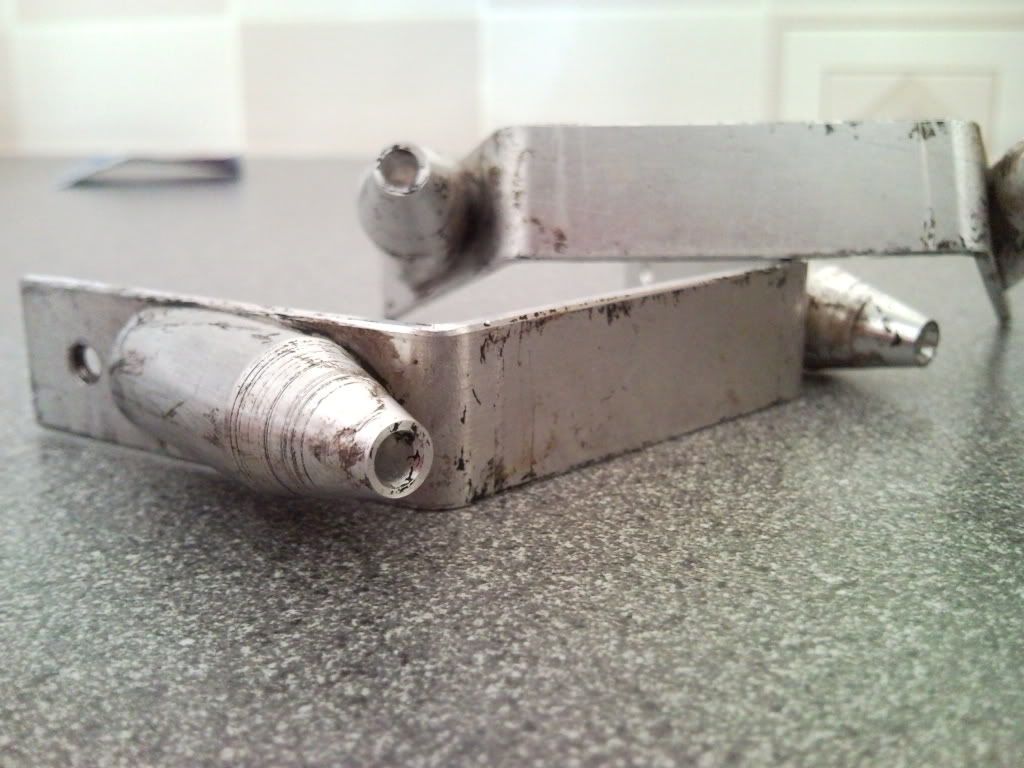
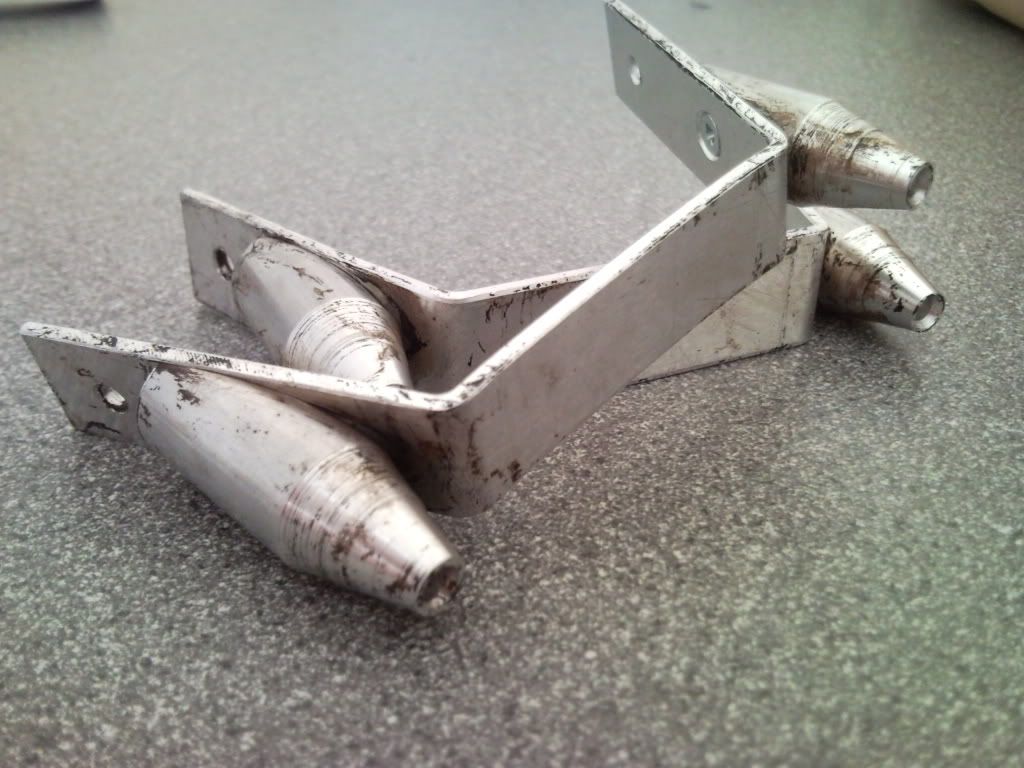
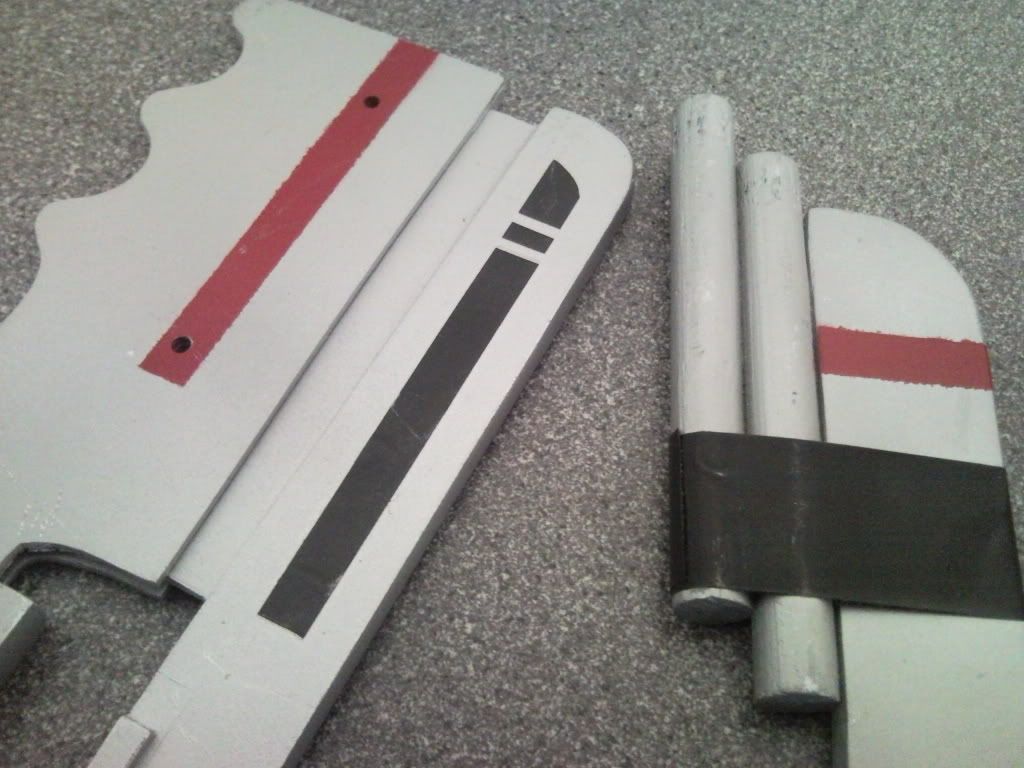
Then I made myself some dowles, and fixed them to the gauntlet. These would then be used to attatch the 3 hoses that go from under the sleve to the gauntlet.

SNC00725.jpg


SNC00724.jpg


SNC00728.jpg


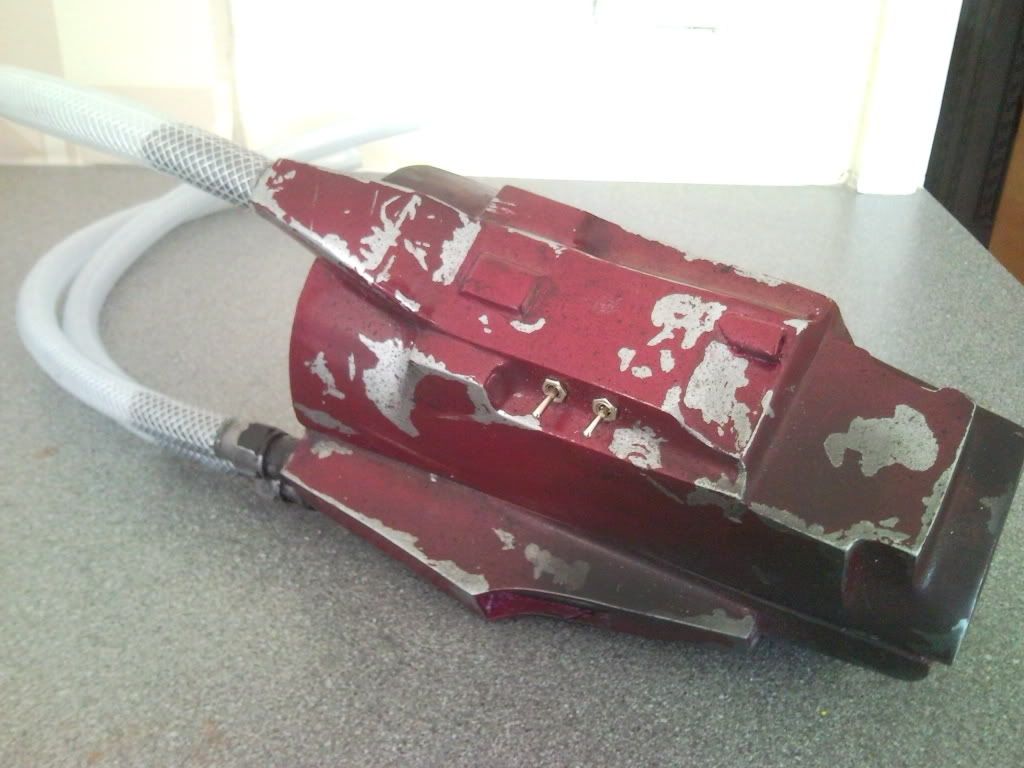
After they were fixed, I then drilled to holes in the gauntlet to attatch the 2 switchs found on the side. The top detail section was then painted black to give me a near complete gauntlet.

SNC00732.jpg


SNC00740.jpg


Thats it for now, i'll get some progress posted up tommorow. Thanks for looking, comments welcome,
Welsh
 
Re: SE ROTJ boba fett

Who did you get those from on eBay so I can steer clear of them ?

Looking great so far, I'm in the begining stages of a ROTJ fett.
 
Re: SE ROTJ boba fett

Hey Welsh, Looking GREAT so far :thumbsup !! You did an excellent job at putting those gaunts together from what you initially had to work with. If at all possible, go ahead and add a small red LED light on the right gaunt. It's not that hard to do, and it make your gaunt not only look more screen accurate, but cooler as well! Keep up the great work! Let us know if you have any questions along the way, and keep us posted...
 
Re: SE ROTJ boba fett

Cheers for the compliments guys.

James: I really dont know the name of the maker sorry but there from a UK seller, i think he does ESB aswell. The gauntlets to be fair, although bad were pretty good for the price that I paid for them, £40 (if im not allowed to post prices i'll gladly take it down) so in all I have imo a decent set of fiberglass gauntlets for about £60. But if you need any fett items TDH is the place to go, stick to the known makers on there and you wont go wrong, the work envolved on the gaunts was not worth it, 3 months I think it took to get them paintable :unsure

Firespray: Thanks buddy, yeh I know about the light, infact you cant get 501st cleared without it, so ive been told. Im actually pretty far into my fett, mainly waiting for things to get in, plus im ordering most of the things I need this week, leaving just gloves, jetpack, vest and and girth belt to complete him:cool

Cheers,
Welsh
 
Re: SE ROTJ boba fett

Cheers mate, The stuff I use is Windsor and newton art masking fluid. Kinda a bugger as it dries clear so you dont really know where it is lol. Tip though, use a rubber brush to apply it unless you want to ruin you brush, although the other day I found that white spirit removes it, but a rubber brush is better:lol
Hope that helps,
Welsh
 
Re: SE ROTJ boba fett

looking forward more pics!!! damn great!!!! I wish I can have such wonderful painting skills
 
Re: SE ROTJ boba fett

Cheers tk2988, means alot.
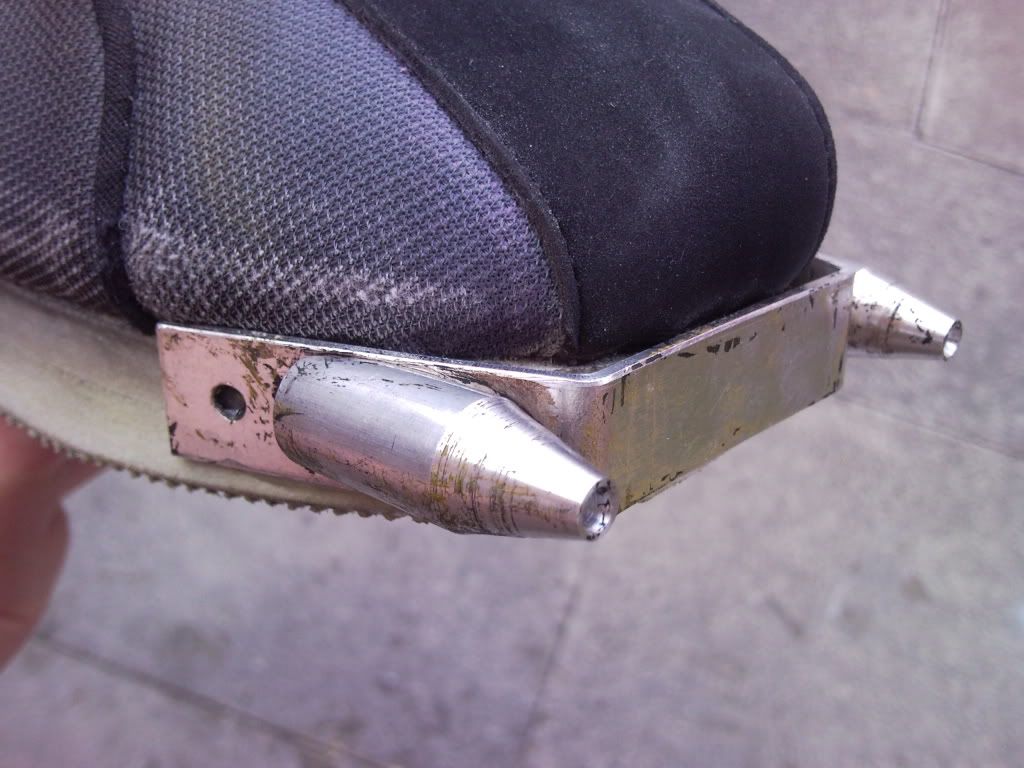
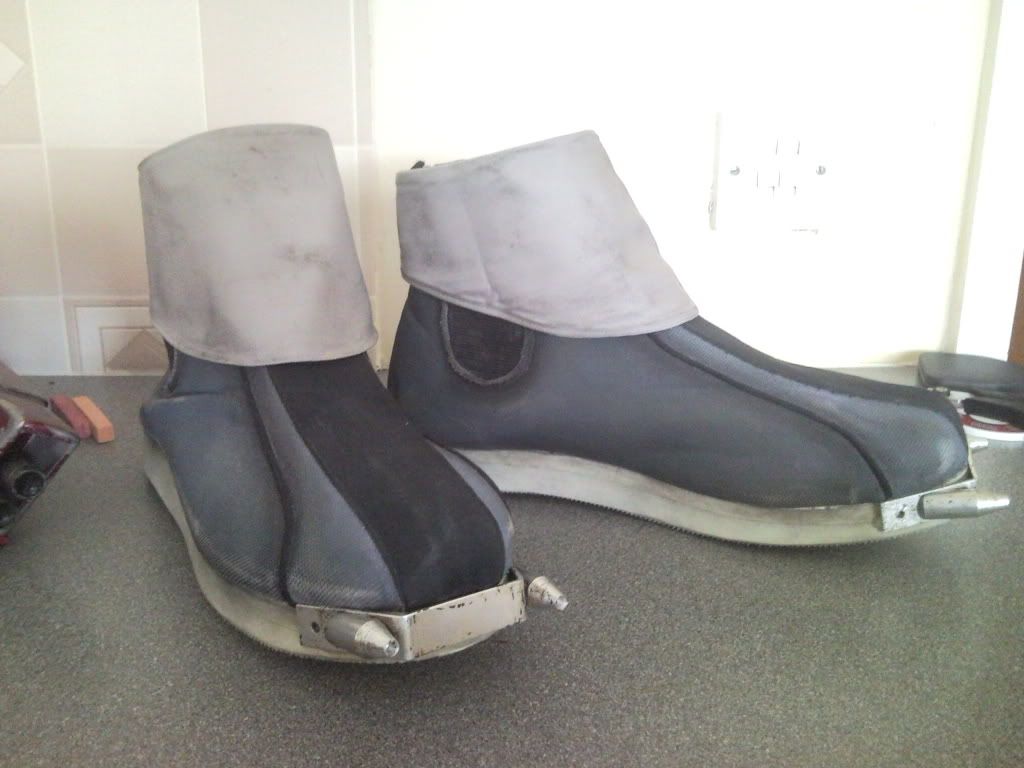
So the next part of the Fett that I decided to work on was the boots, luckly I was offered a pair off of a friend and gladly took them off his hand. So the boots arrived, I was also lucky in that my friend included some amazing Russrep toe spikes.
The toe spikes were the first things I worked on. As they came, brilliant craftmenship and an excellent looking item.

SNC00562.jpg


I then used a mixture of black an brown accrylic, I heavily applied it to the spikes, then simply dabed it off with a paper towel. Instant weathering.

SNC00566.jpg


SNC00563.jpg


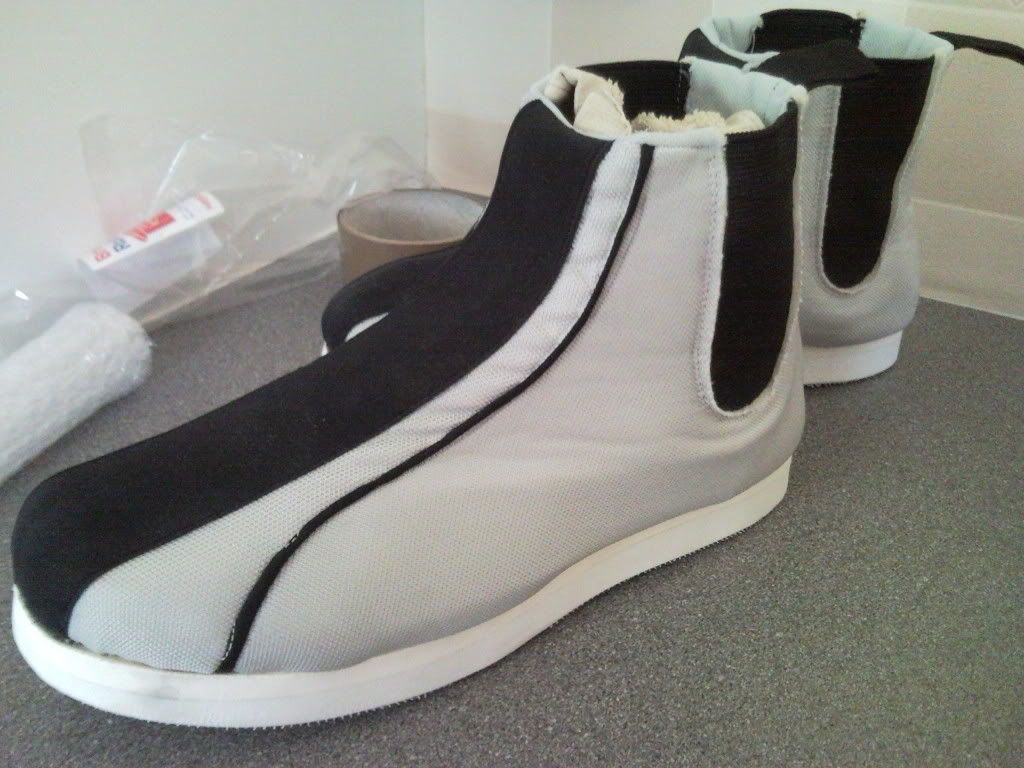
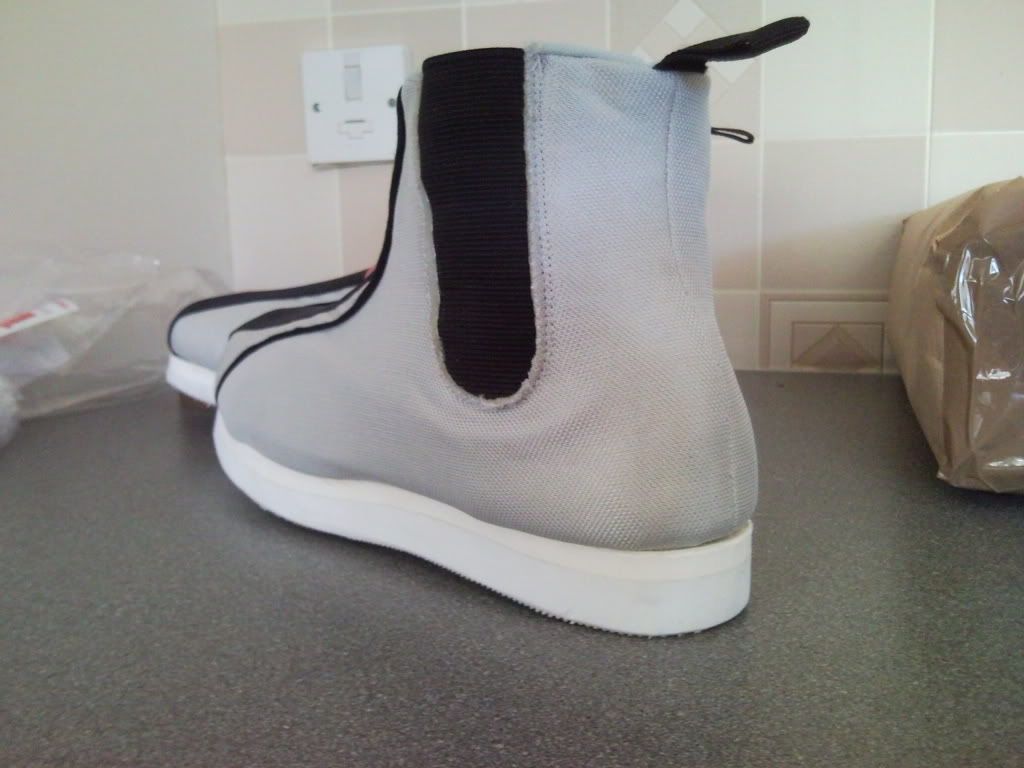
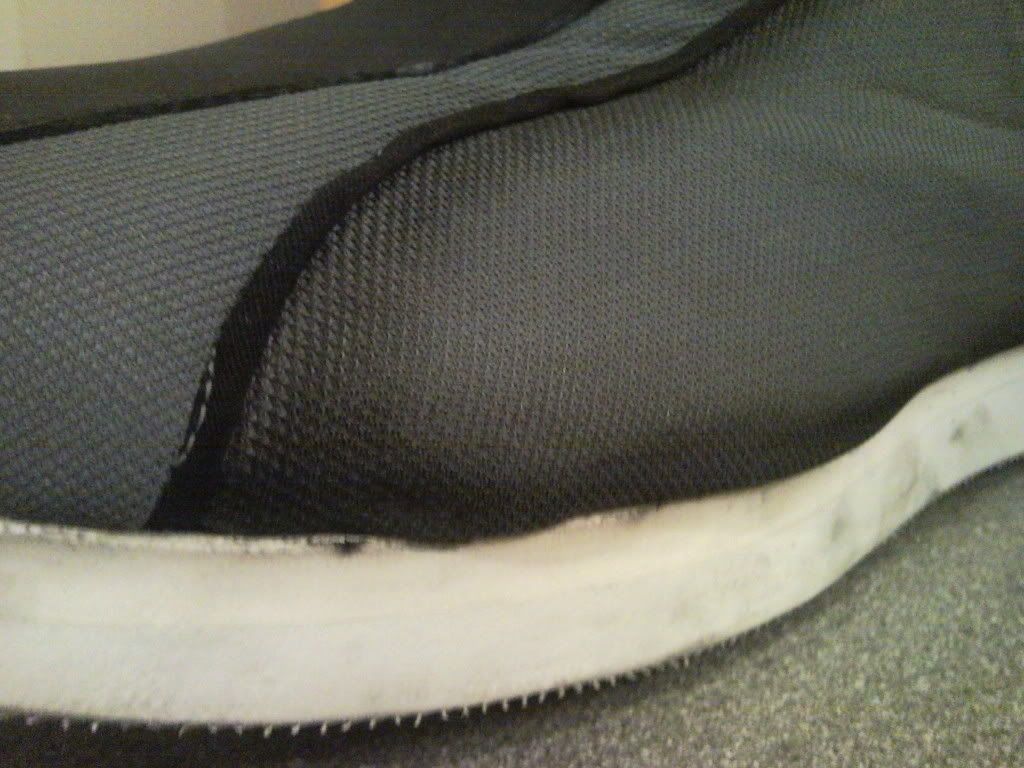
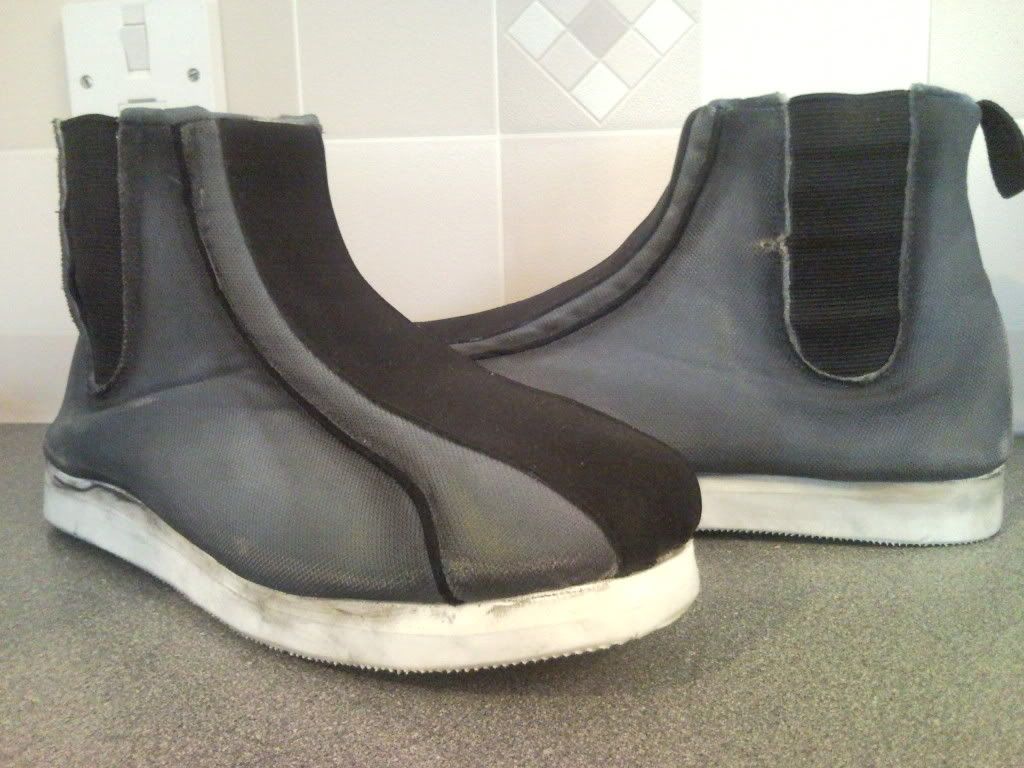
Next up was the boots, when they arrived it was only then I saw how much work would be envolved to get them to the same style as boba. So the boots, ulta clean and ultra white lol

SNC00557.jpg


SNC00559.jpg


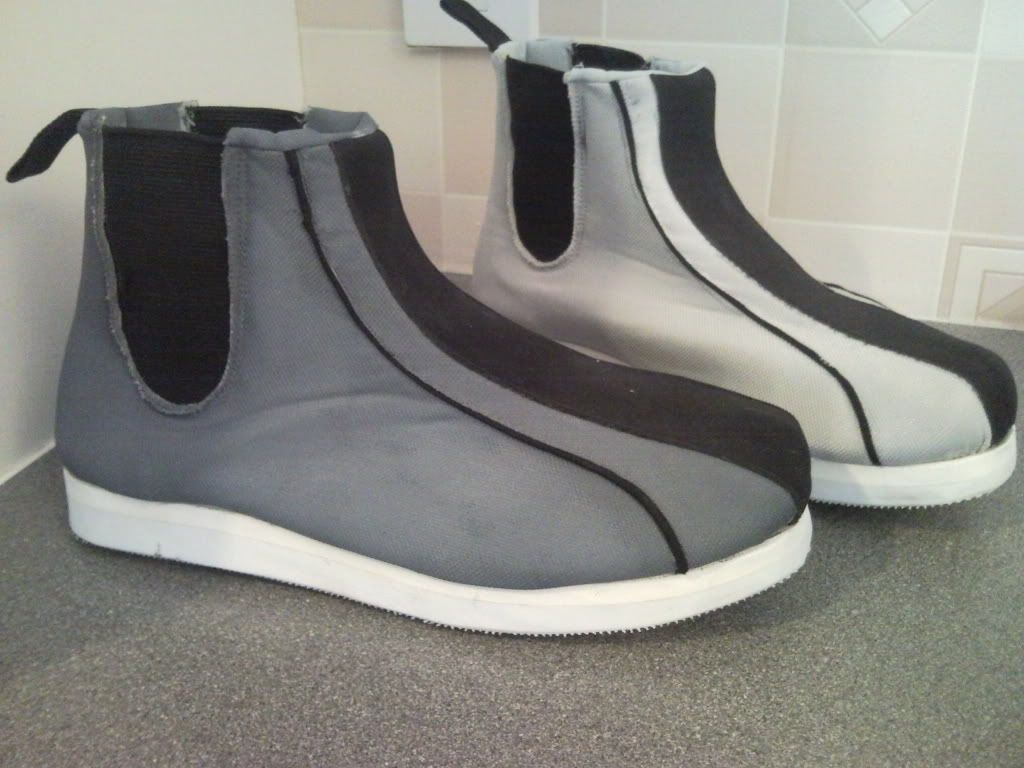
So now came the nervous part, I really didnt have money to buy another set if I ruined this so this was kind of daunting. Using a similar method to spideyfetts tutorial, I mixed myself the custom colour seen on the boot using a mix of blue, black and white. This mixture was thinned out then simply painted on the boot.

SNC00567.jpg


Then using various materials such as pastels, chalk, watercolours, airbrushing, I added the weathering.

SNC00578.jpg


SNC00569.jpg


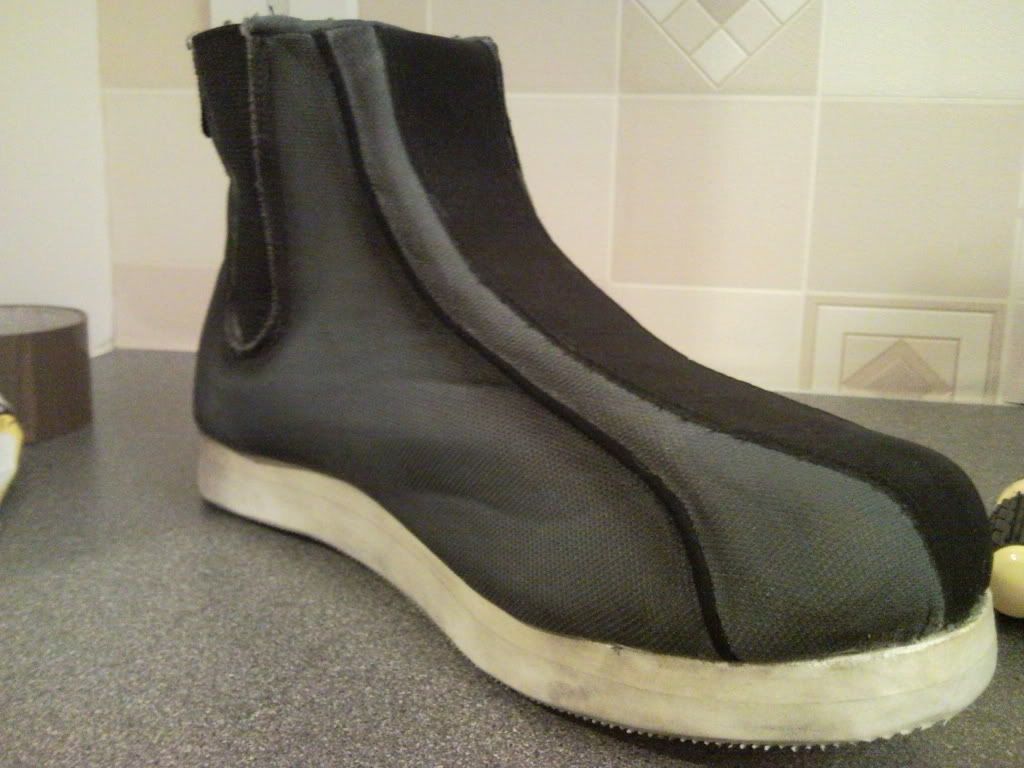
Then the boots were given some more weathering using browns and as seen in referance images, purple. Sand paper was then used to scuff the boots and apply the correct damage.

SNC00590.jpg


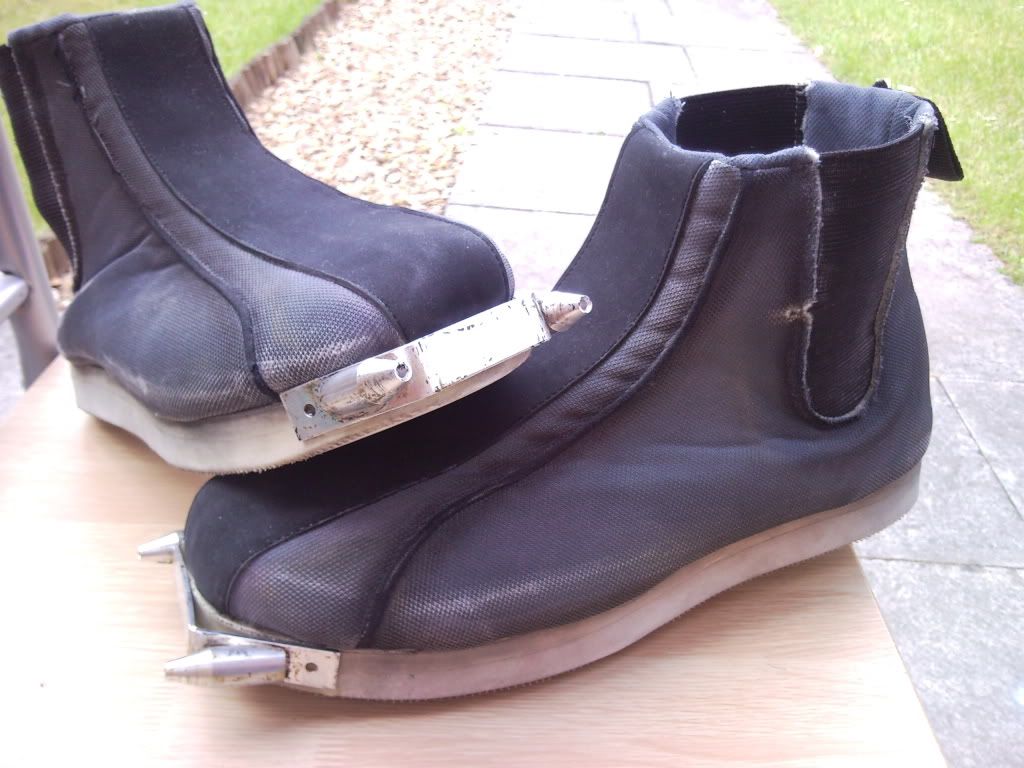
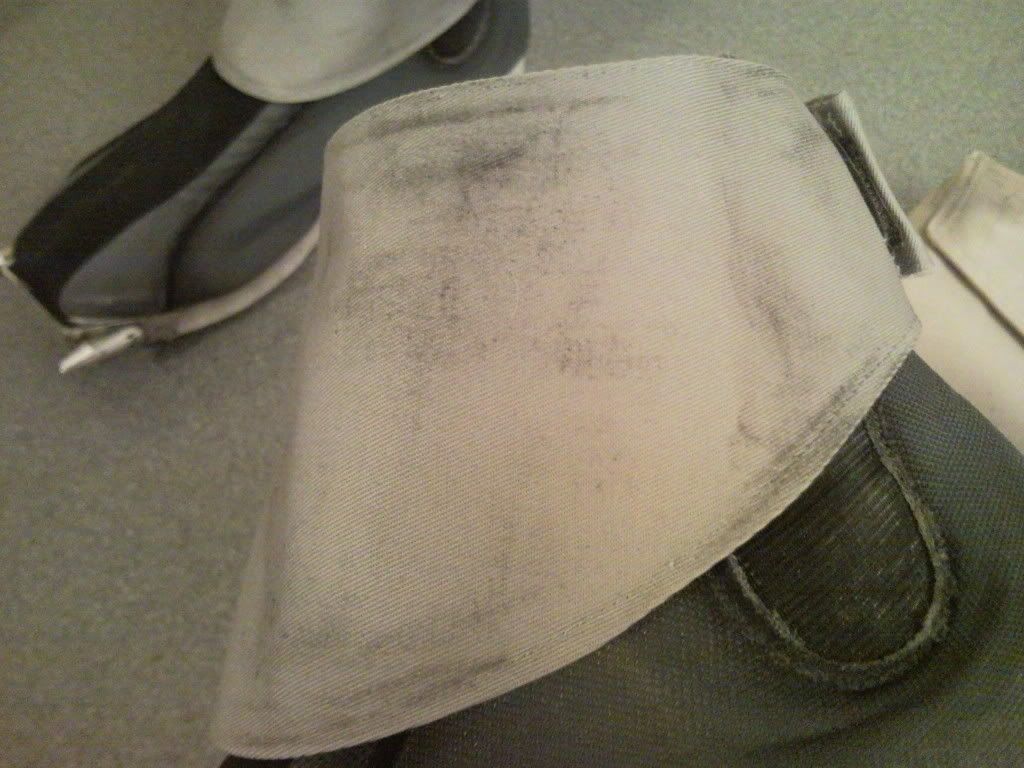
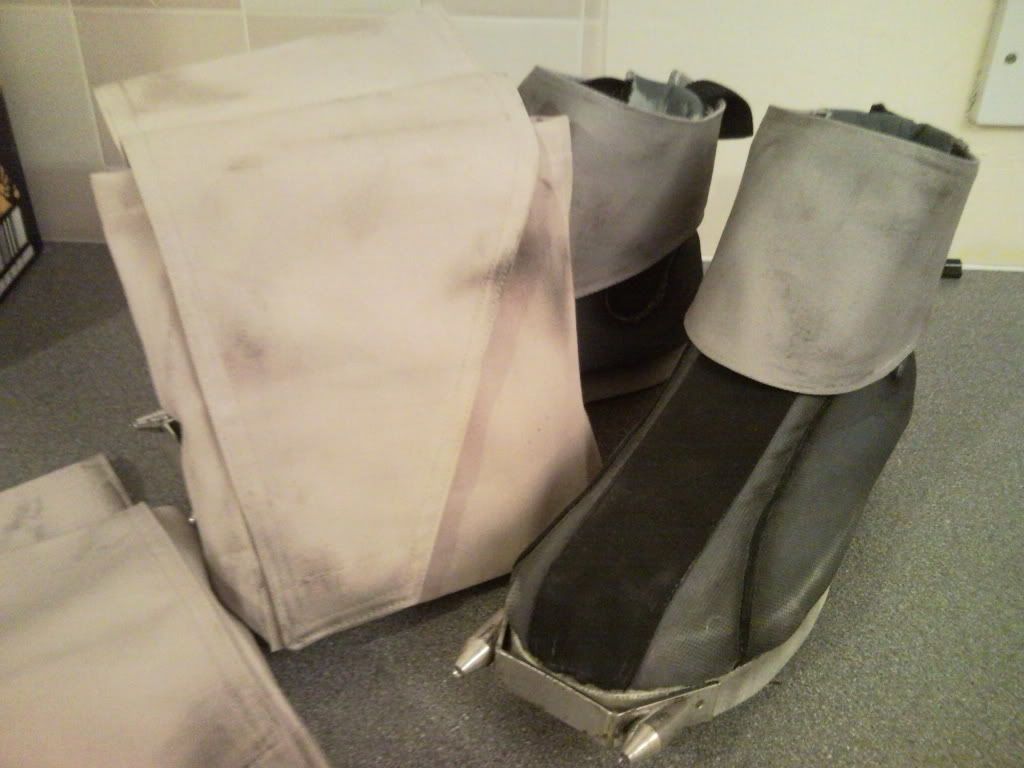
Then the spikes were attatched using a two part expo glue, followed by some velcro to attatch the spats that were weathered using pastels and chalk. And finally I have the finished boots, the only thing it needs now is the crosshead screws in the toe spikes :)

SNC00712.jpg


SNC00713.jpg


SNC00786.jpg


So I was happy with the way that they turned out, other than the screws I also want to get some insoles for them as they seem that they mite get uncomfortable wearing them for +5 hours. I'll probably post another update a little later on with some of the soft parts along with the weathering of them.
Thanks for looking guys,
Welsh
 
Re: SE ROTJ boba fett

Thanks jackpot.
Well as I said, im posting up the soft parts that I have along with the weathering that I did on them.
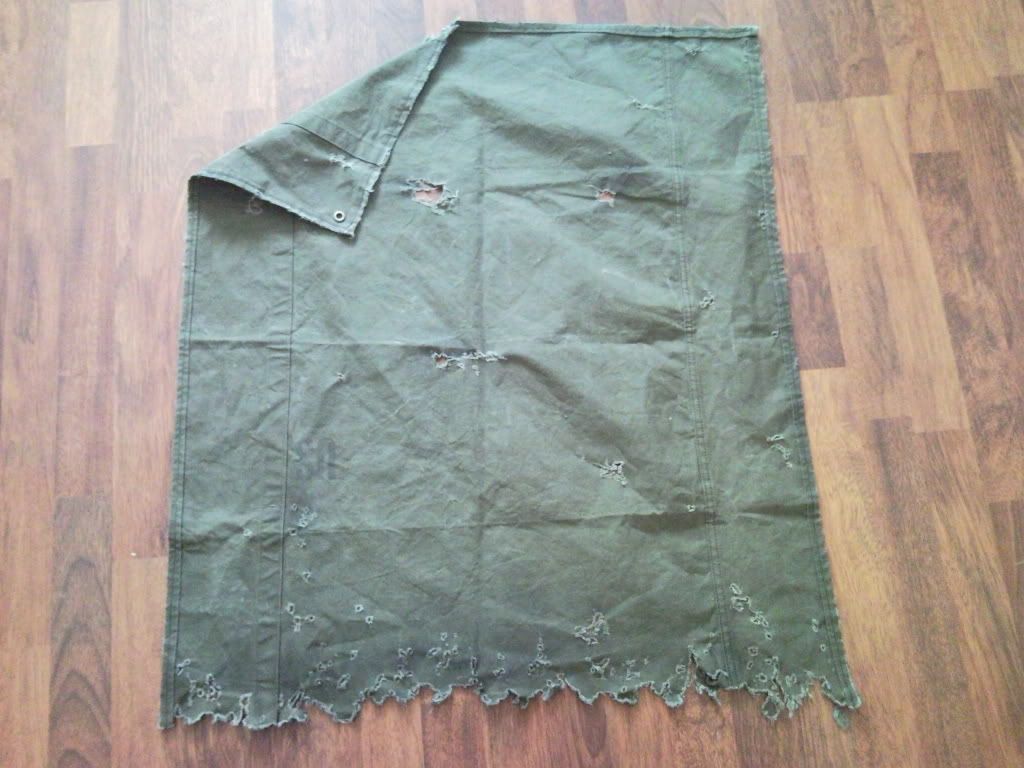
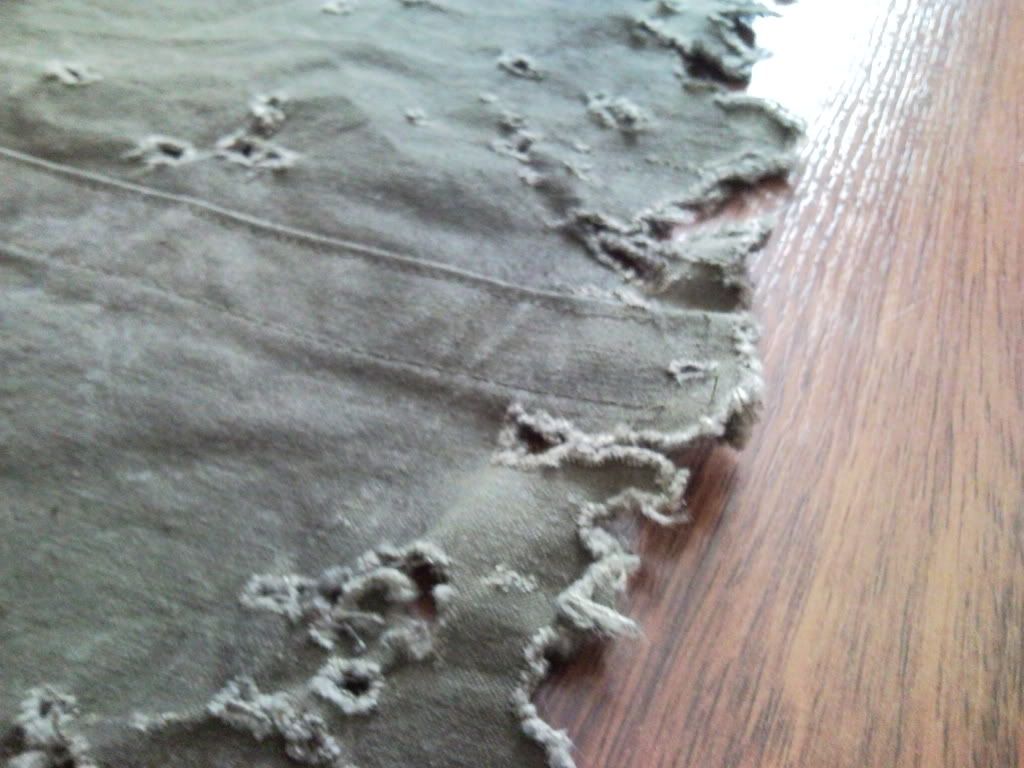
First off is a woodman ROTJ cape. This came already cut and torn along with a little bit of weathering, Im thinking of adding some more to the bottom of the cape, what do you guys think :confused

SNC00633.jpg


SNC00634.jpg


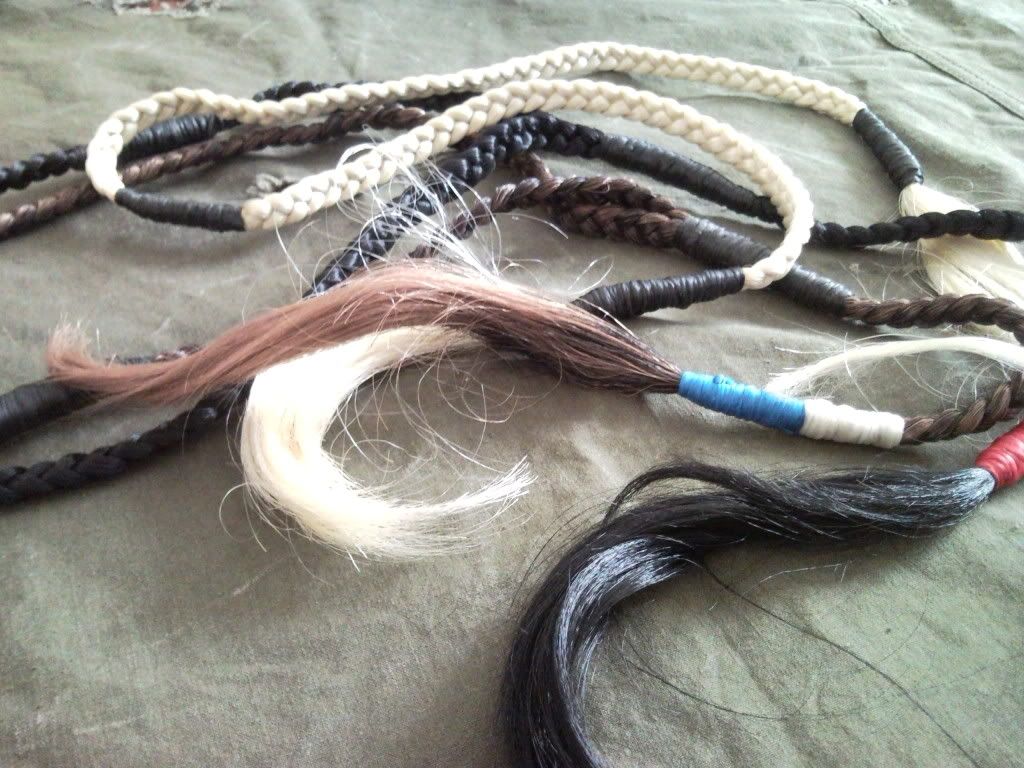
Also from woodman were the wookie scalps, braids. Both of these items were bought off of bobafett uk, so I dont know if these are the horse hair or synthetic version. Still look good in my opinion.

SNC00635.jpg


SNC00636.jpg


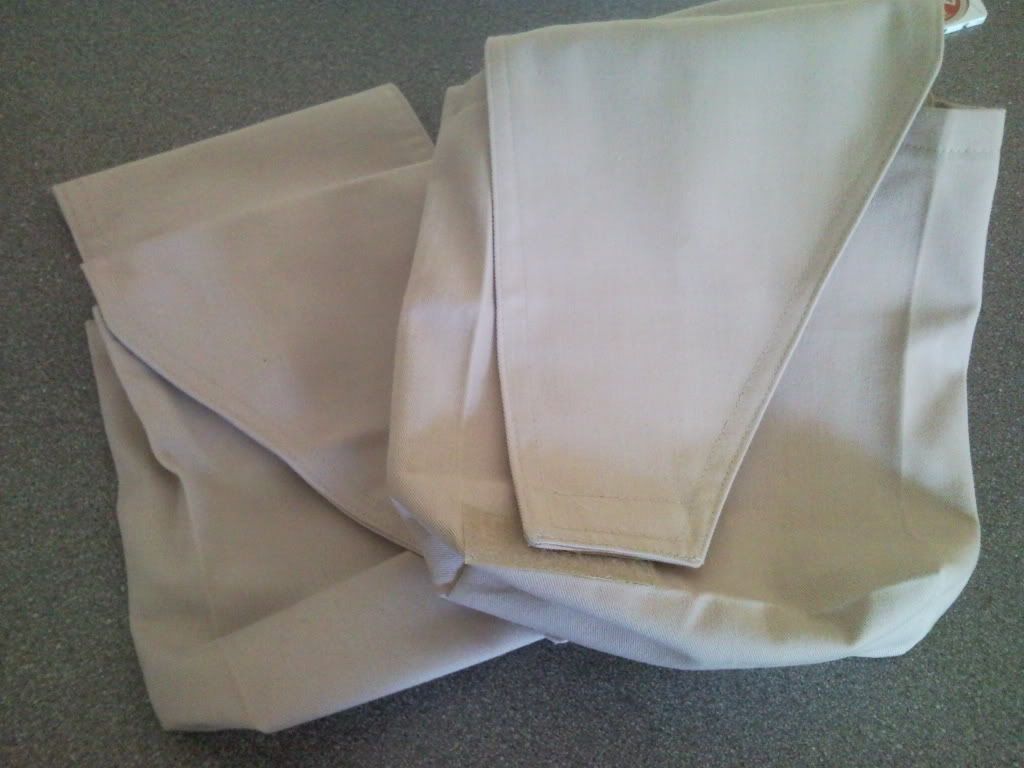
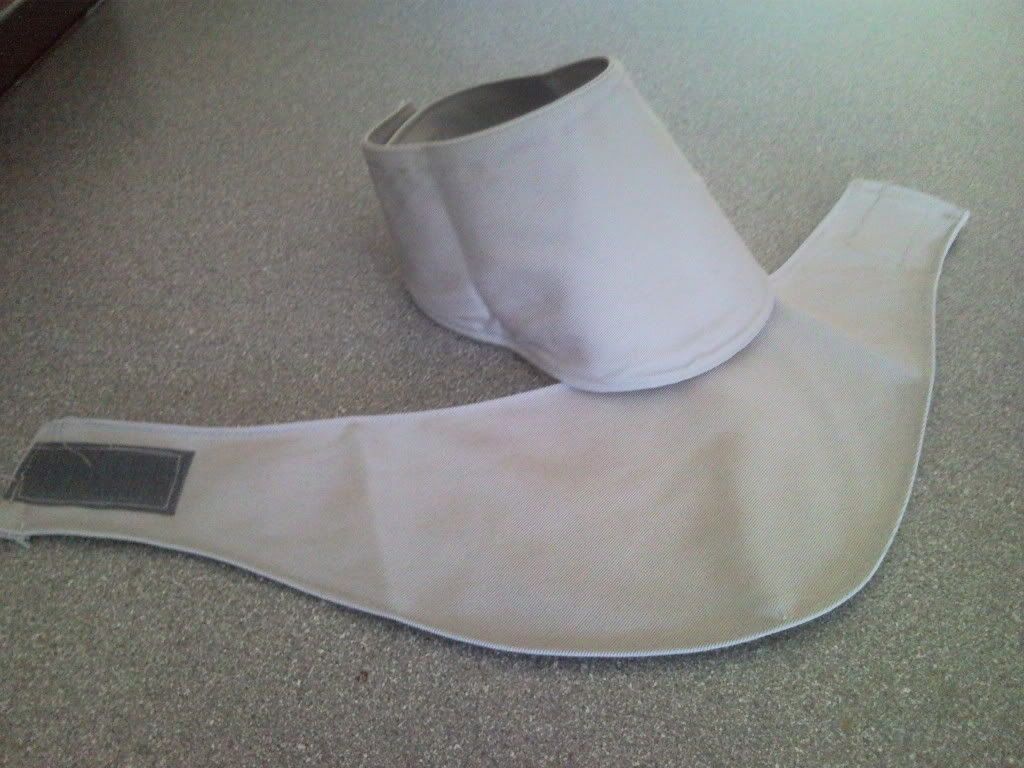
I also purchased the utility pouches along with the boot spats off of ebay as I knew some members on TDH use some of his soft parts.

So the pouches as they arrived.

SNC00777.jpg


SNC00776.jpg


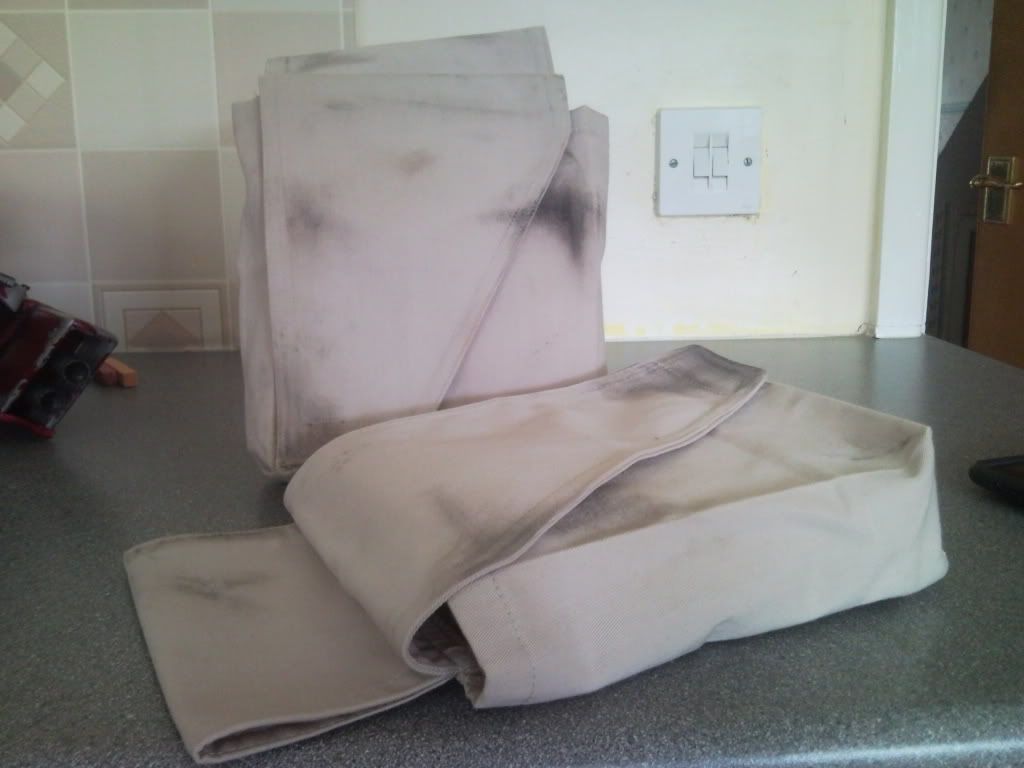
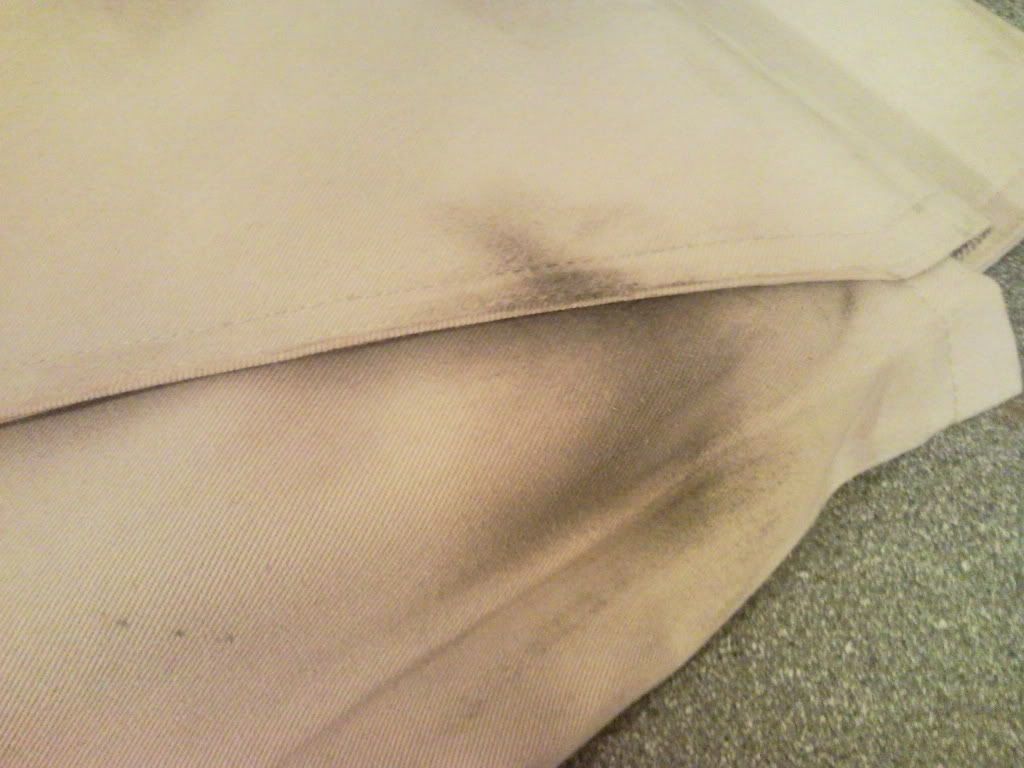
These were then weathered using charcoal and pastels, wiped down with a wet cloth. The pouches are not finished as of yet as I am waiting for my flightsuit to arrive so that I can weather them at the same time to give a more uniform look.

SNC00788.jpg


SNC00791.jpg


SNC00793.jpg


SNC00794.jpg


Im currently waiting now for my SE style belt to arrive, while my flight is being manufactured this month so I should receive that soon aswell. Again any comment or critiques would be really appreciated,
Thanks,
Welsh
 
Re: SE ROTJ boba fett

i bought the same Gauntlets a year ago, they are so crappy I didnt even start, WAY too much work, but youve done an excellent job with them. Inspiring, but too much work.
 
Re: SE ROTJ boba fett

Vaderdarth; Well thank you sir, means alot

Chucky: Yeh I was kinda down heartened when they arrived, but alot of filler can go along way :lol

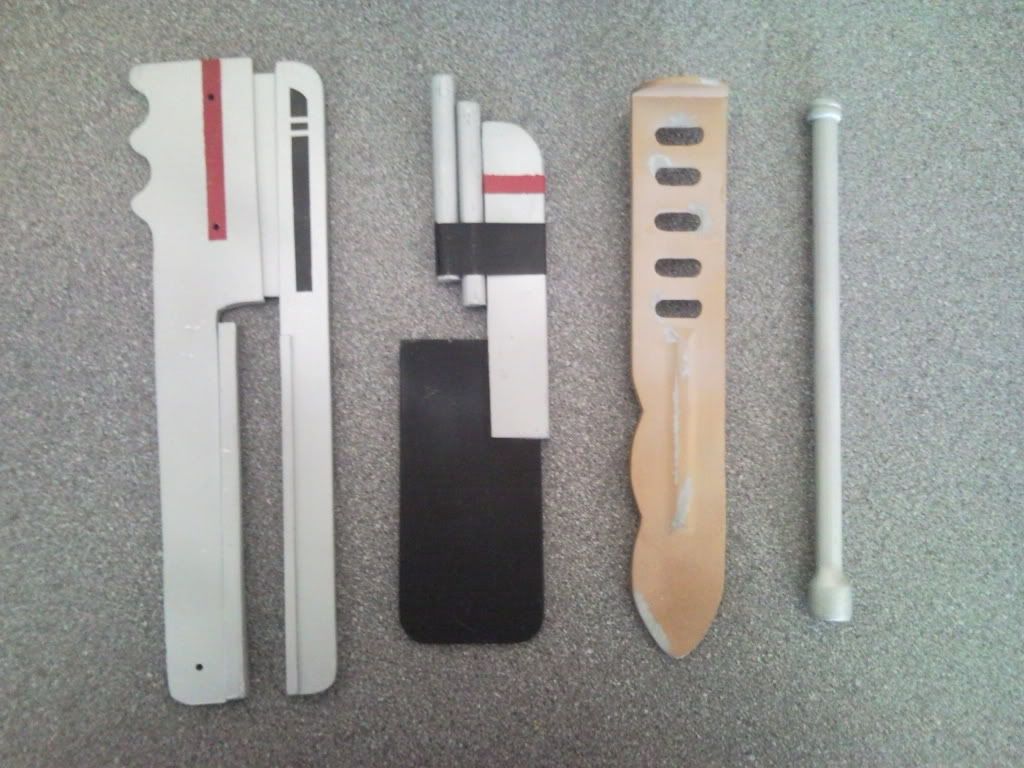
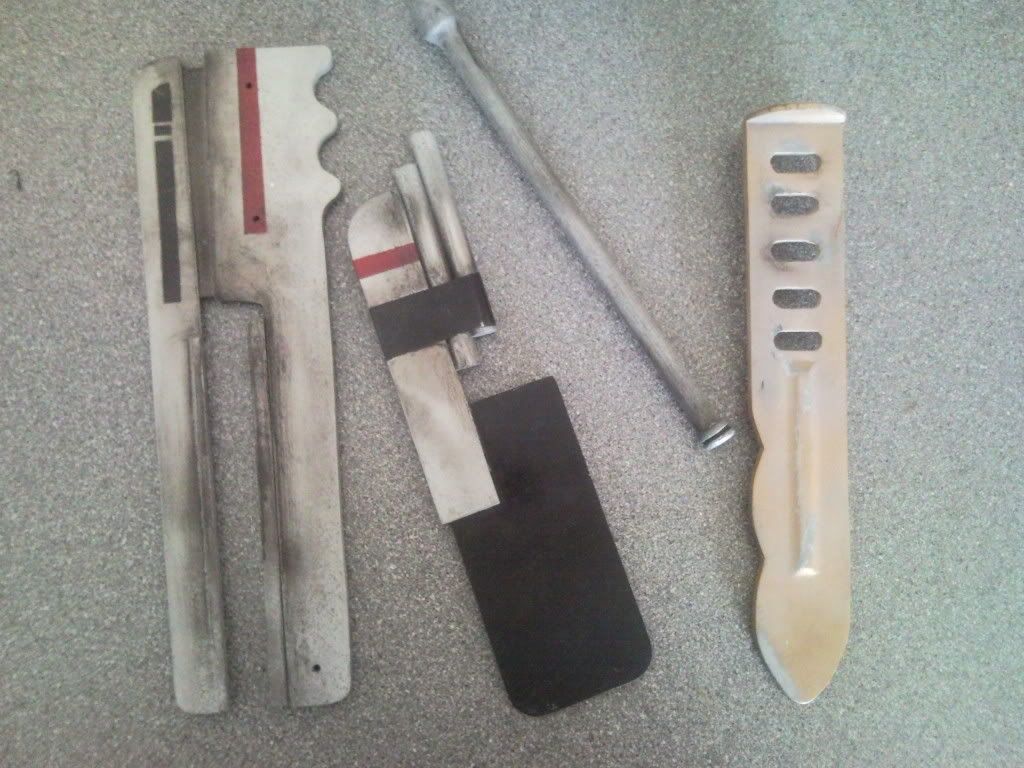
So ive pretty much posted everything, so I'll post these last few things up to get me up to where I am now. So shin tools, these were bought off of a dented helmet member, not the best but certainly useable.

SNC00443.jpg


SNC00444.jpg


And after a little bit of weathering with some black paint, I know how some very used and dirty shin tools.

SNC00881.jpg


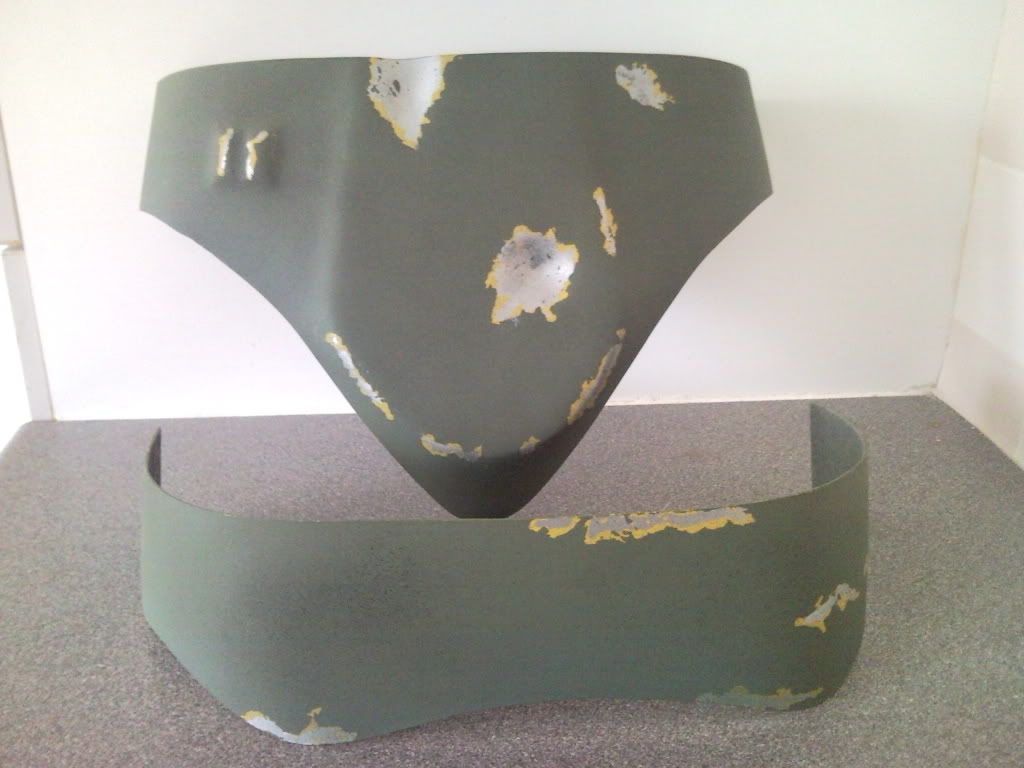
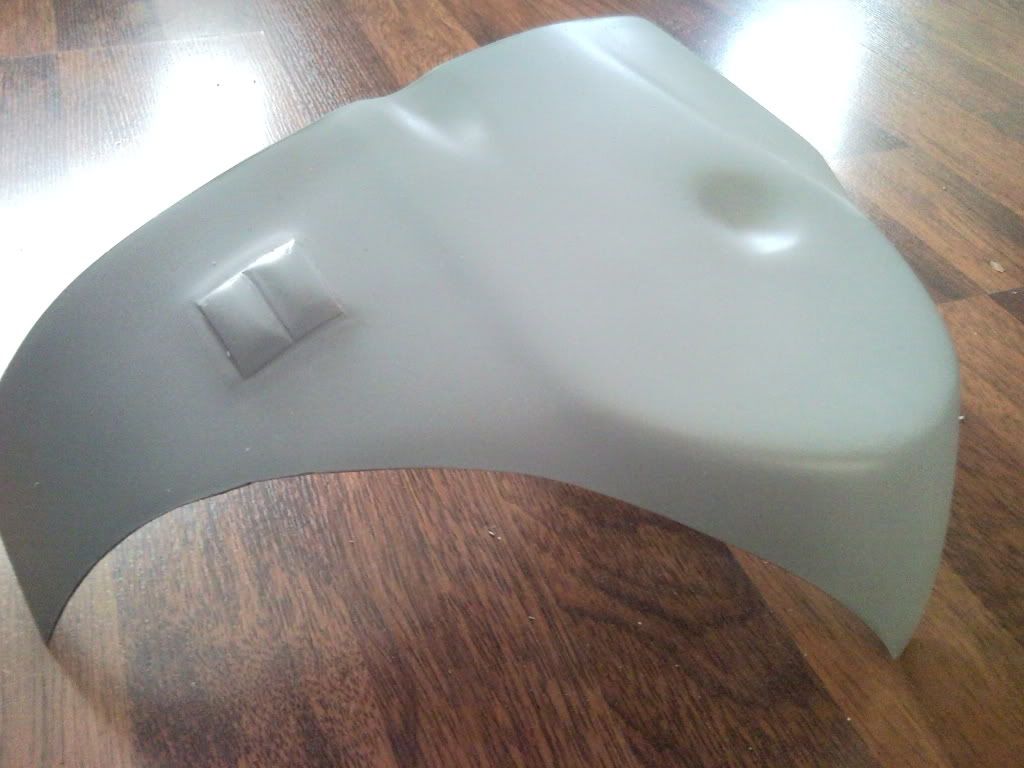
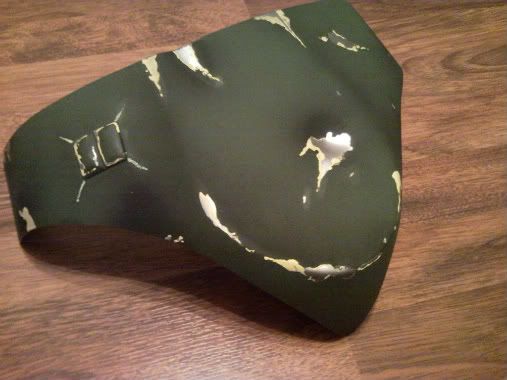
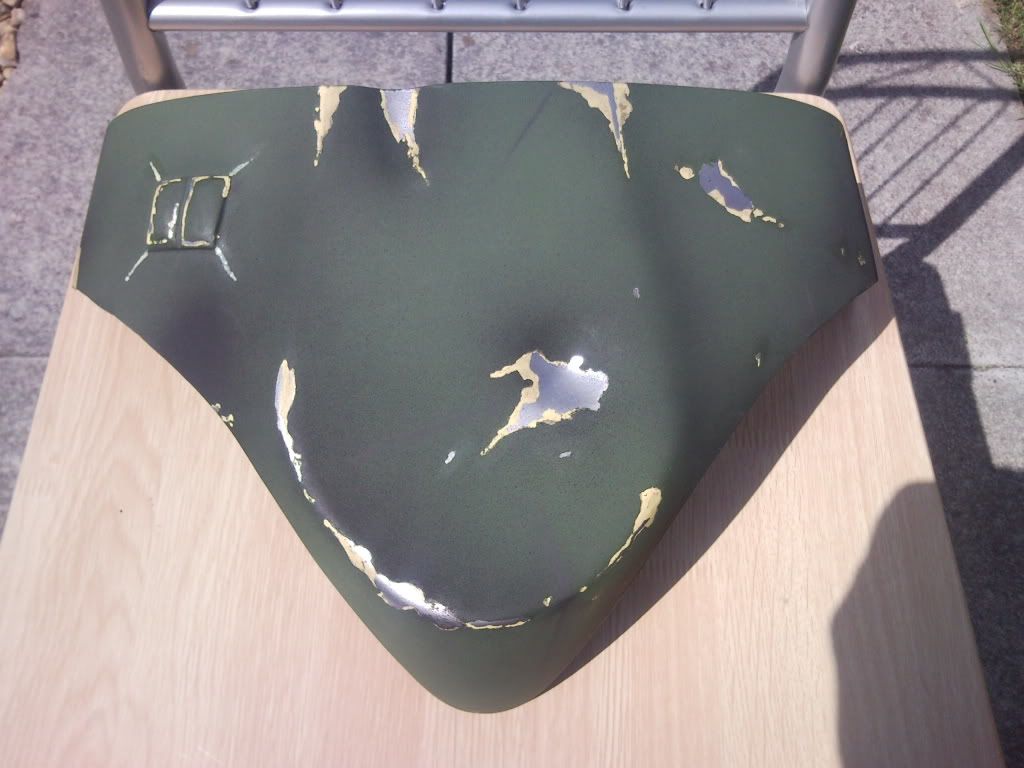
Now I also got my first piece of armour off of the same person I bought the shin tools, these were the cod and kidney armour. Both are fiberglass and came with a decent paint job, although it wasnt accurate enough for me. So I stripped the piece down and hit it with a coat of primer.

SNC00442.jpg


SNC00643.jpg
#

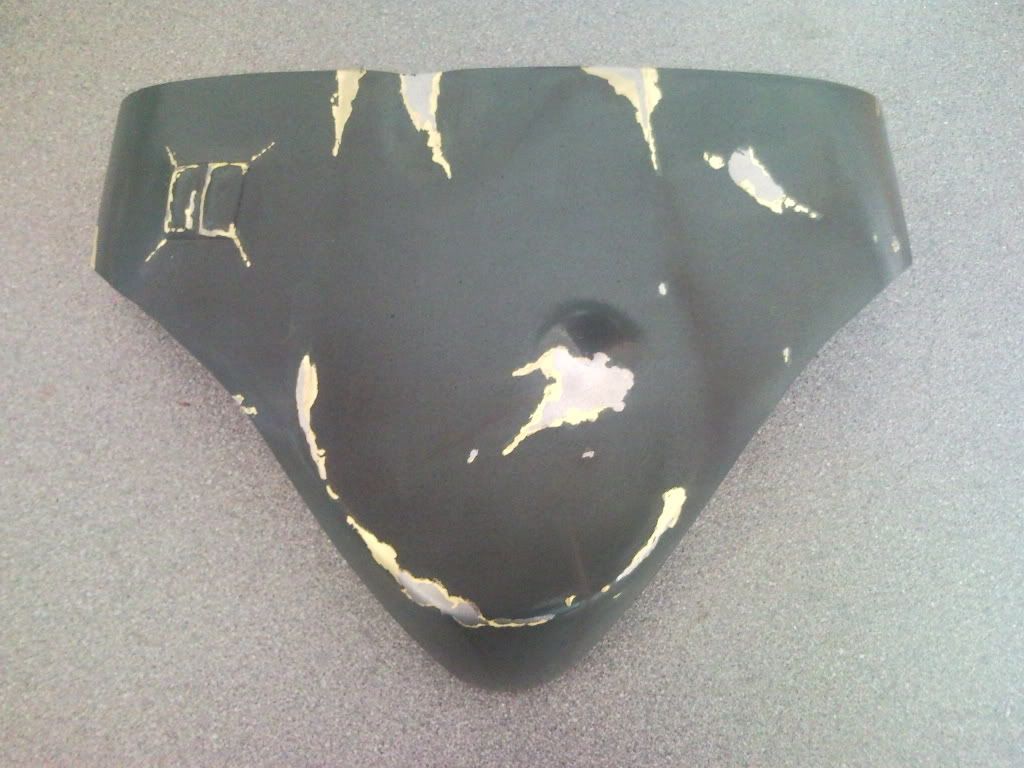
I decided to go down the rattle can route, using the stormtrooperguys tutorial as a base, taking liberties in that only some colours are available in the uk. I used layered paintjob much the same as the gauntlets, although I was happy with the results, I felt that the green was far to dark.

SNC00851.jpg


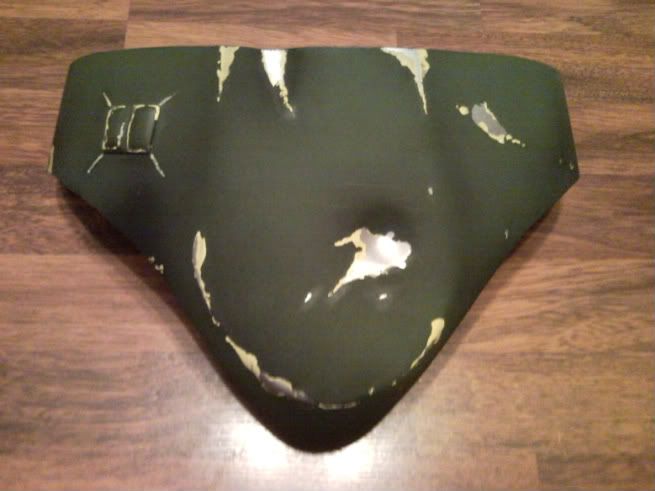
As I wasnt happy with the green, I then decided to have ago at airbrushing the piece with the colours that most of the guys on TDH use, I airbrush some black onto certain parts to create different tones and weathering.

SNC00862.jpg


SNC00860.jpg


And an outside shot which shows the colours better.

SNC00877.jpg


And that is were I am at with my fett currently, I waiting for the belt and flight suit now to arrive, and will be ordering the helmet and rest of the armour this week. Im so eager now to get this finished as I think I have the painting bug. Im currently working now on a set of shoulders, fiberglassing and painting them is next on my list of to do things. So hopefully updates of them soon. Thanks for looking guys,
Welsh
 
Re: SE ROTJ boba fett

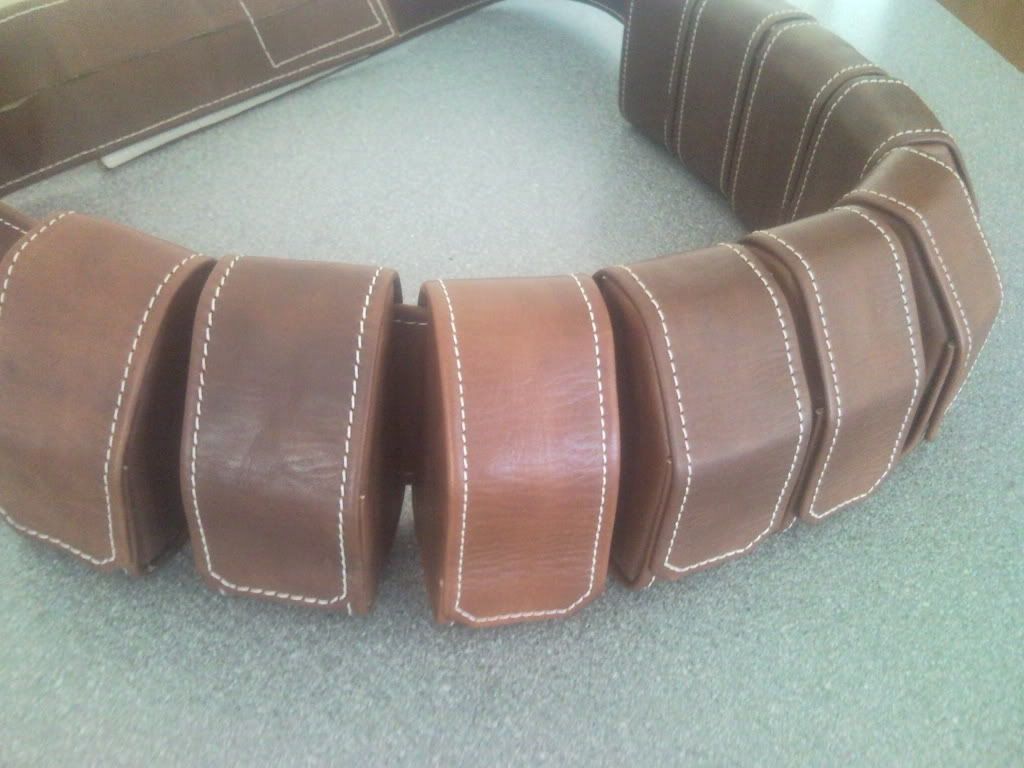
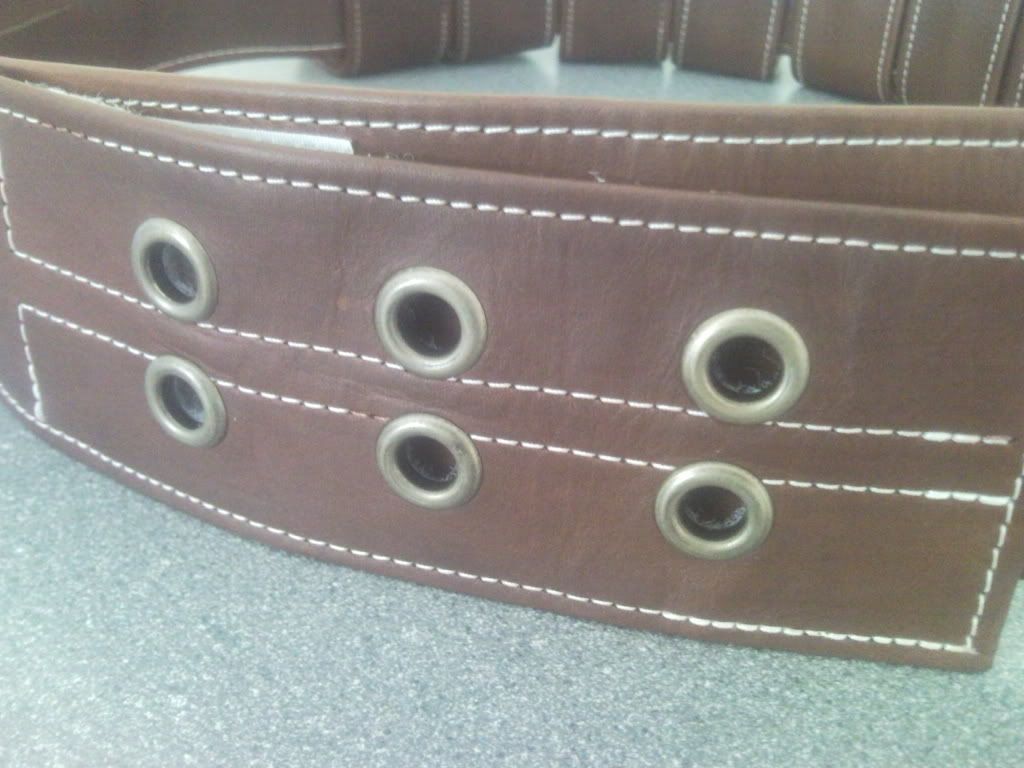
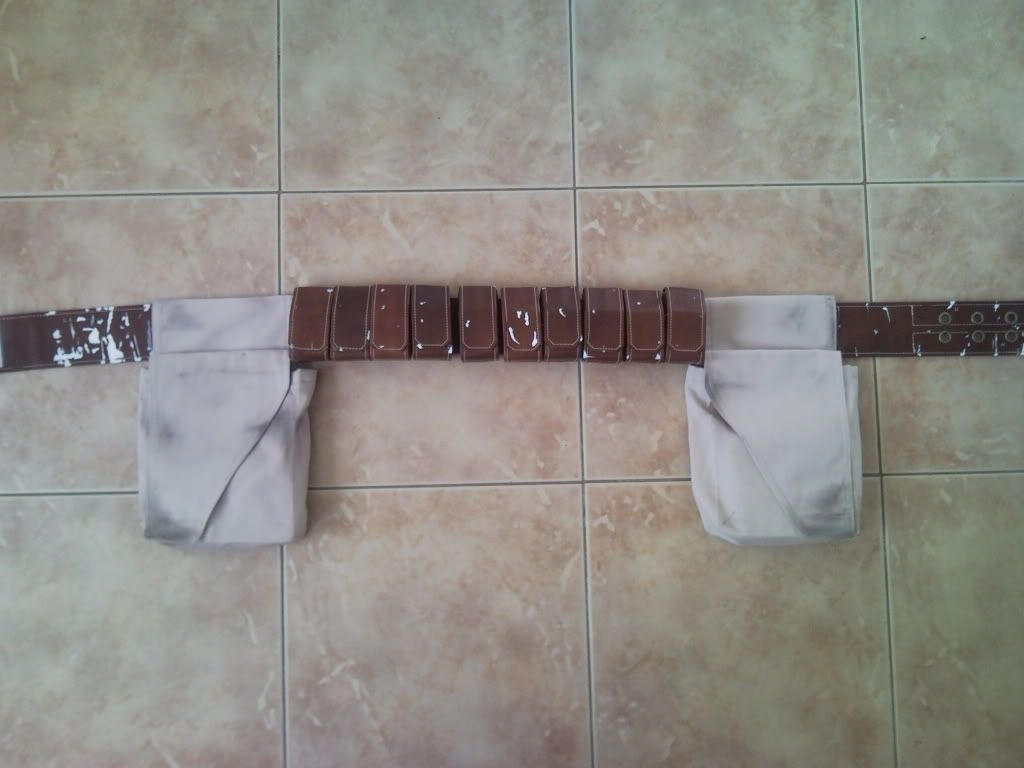
Well i kept saying to myslef my belt would be here next week, and then next week. But I woke up this morning to find a letter from the royal mail saying I wasnt at home grrrr :evil: So a very quick drive to the local depot, and I came back with this work of art,

SNC00883.jpg


SNC00884.jpg


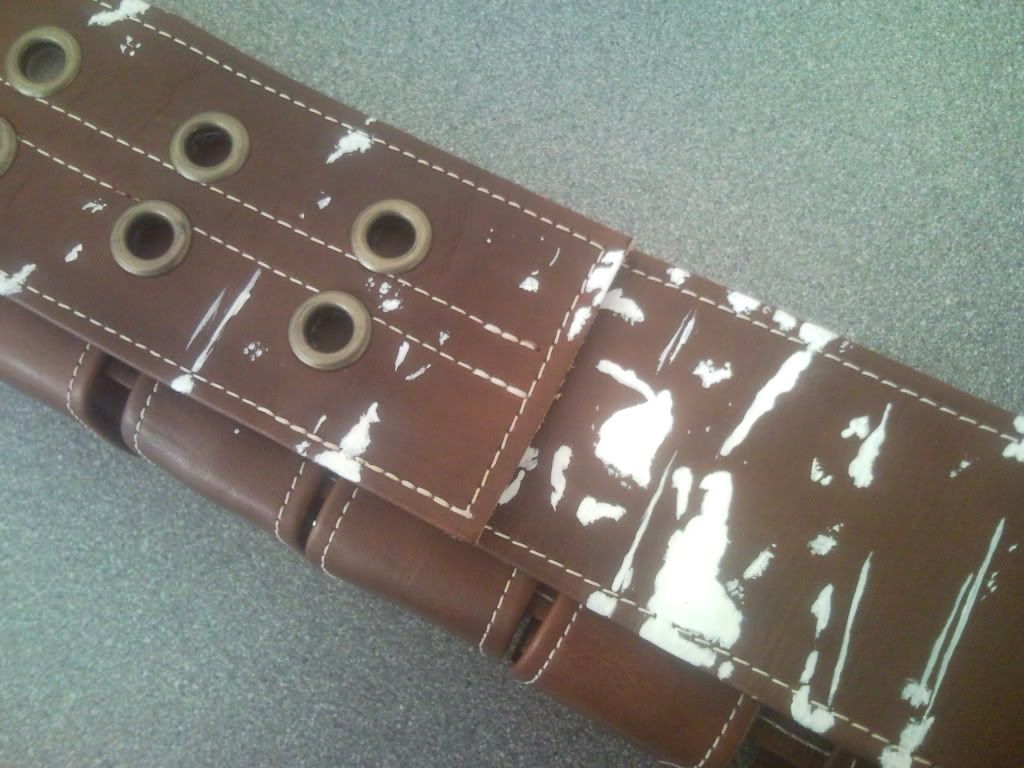
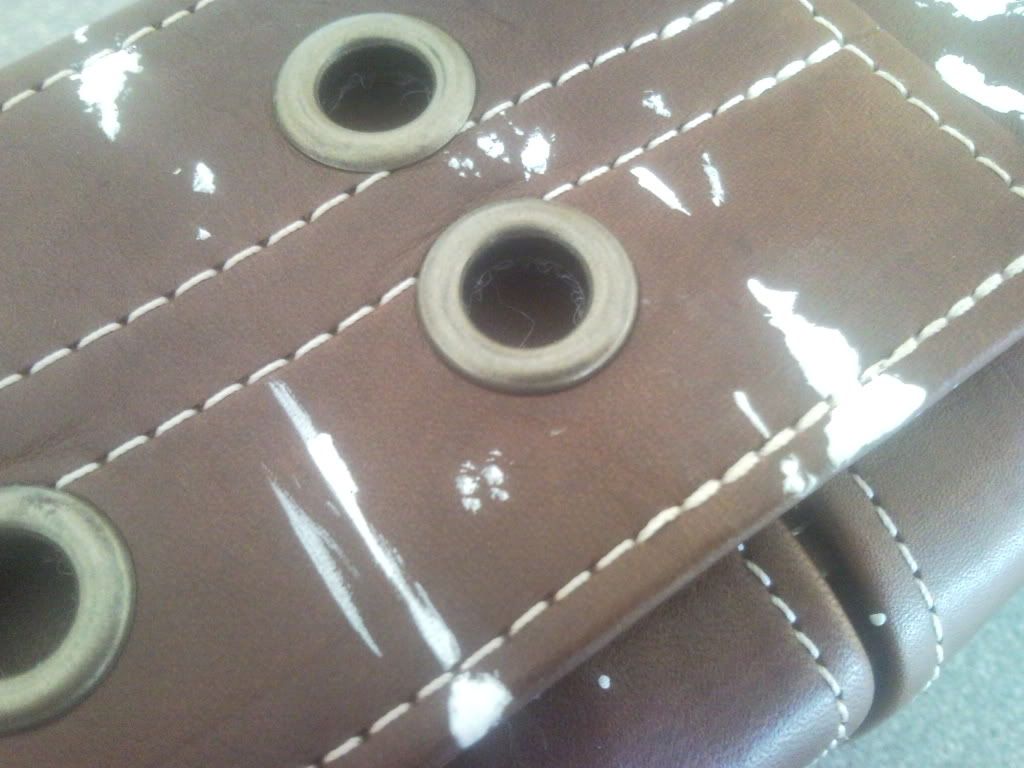
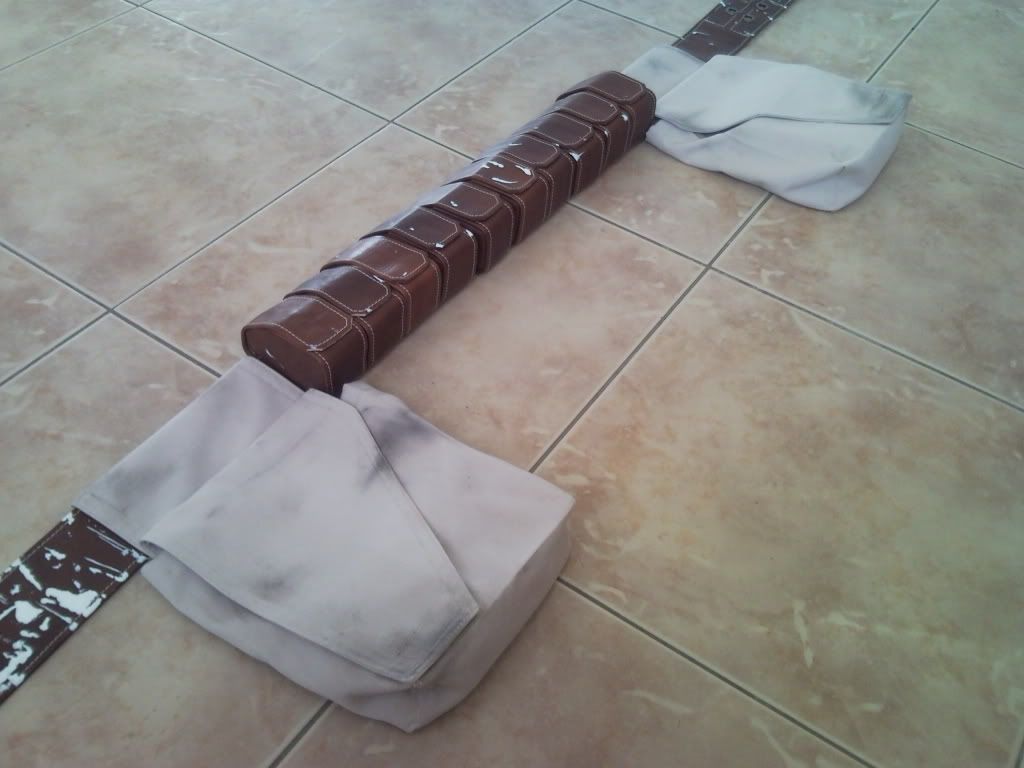
The belt is absolutley stunning, and its real leather so smells great lol. If anyone needs a boba belt, taco is the man to go to, thank you so much brother So then came the hardest part, ruining this belt with weathering. So I decided to paint the damage and wear on. It not perfect and I took some artistic licence in certain places were I couldnt find any referance of. Some of the white needs another coat as some brown is showing through, but i'll touch that up tommorow.

SNC00886.jpg


SNC00887.jpg


SNC00888.jpg


SNC00889.jpg


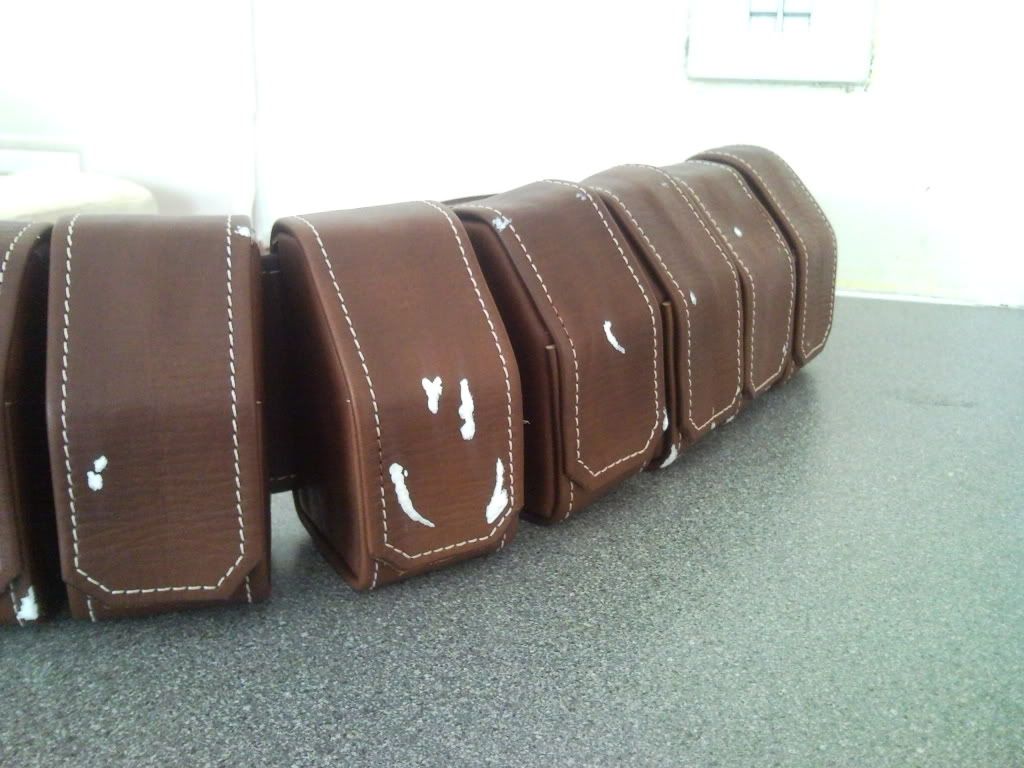
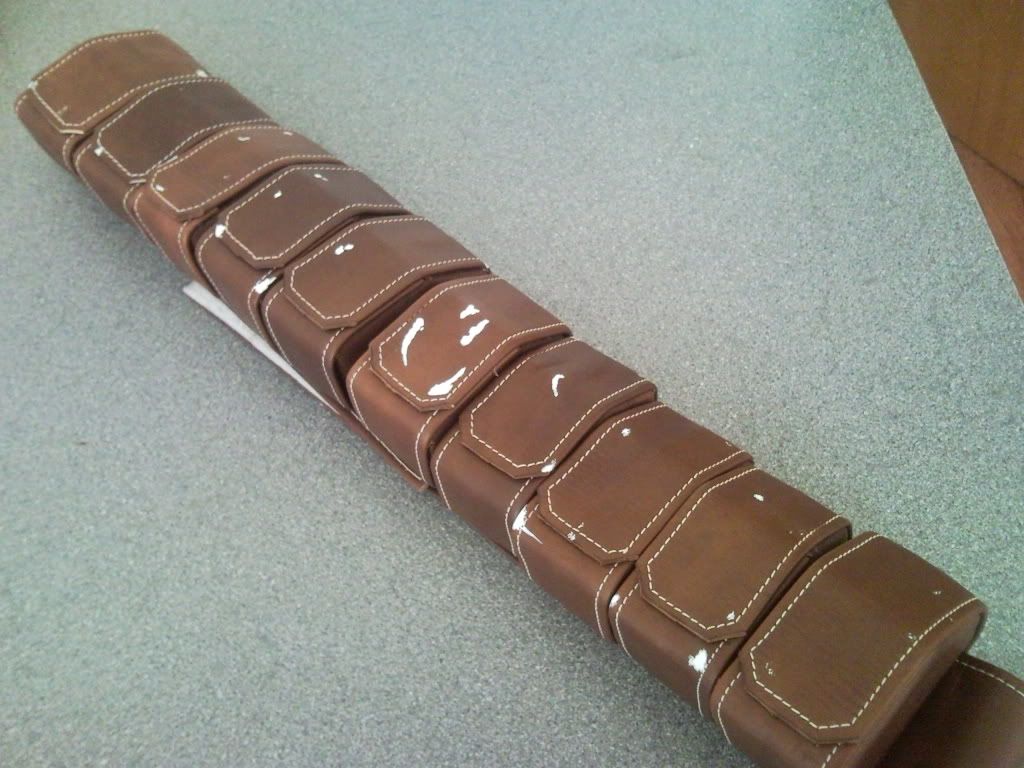
And finally I got out the pouches and threaded them on. The pouches are still not finished as im gonna hit them with an airbrush to get them a little more dirty.

SNC00890.jpg


SNC00891.jpg


Overall im really happy with how it turned out, up close you can see its painted on, and I mean if your about 3 inches away But from about a foot it looks really good. Ive also had confirmation that my flight suit is being built this month, and im also ordering my helmet along with all the armour next week. So I think im about half way through, and hopefully I can get it finished by the end of the year.
Lewis
 
Re: SE ROTJ boba fett

Hey guys, totally forgot that I had a thread on here about my Fett. Im mainley on the TDH where I update, Ive got alot more done on my fett that I thought some of you guys would like to see.

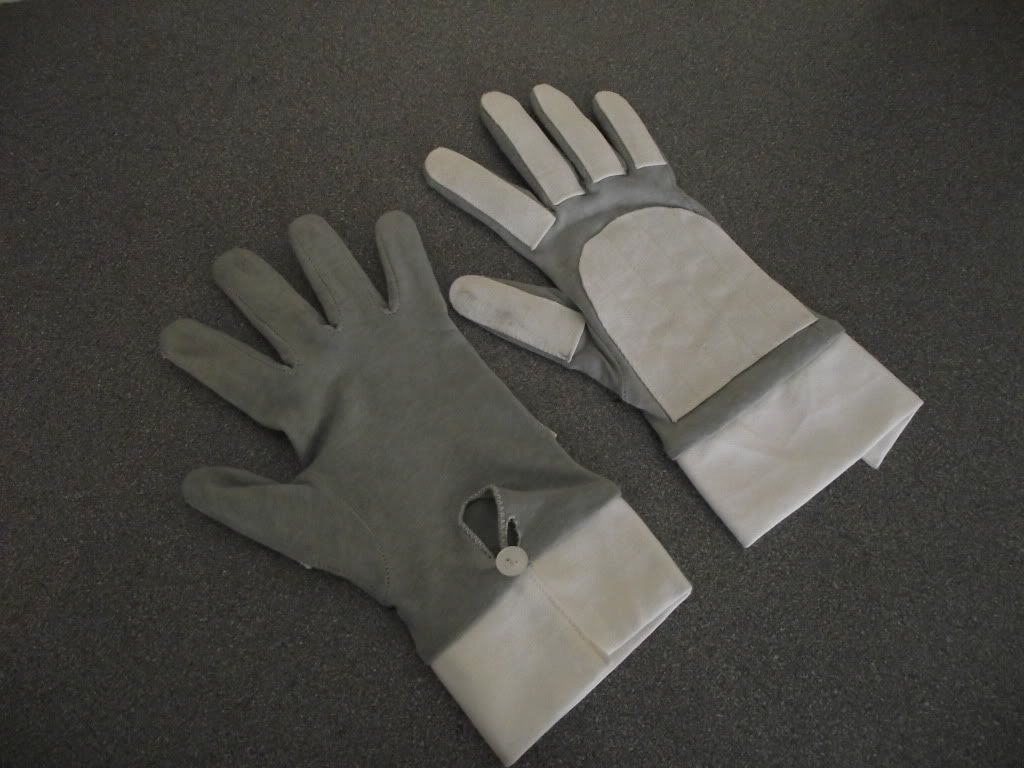
Firstly I purchased a set off high quality boba gloves, perfect fit and really nice build quality to them.

DSCF0088-1.jpg


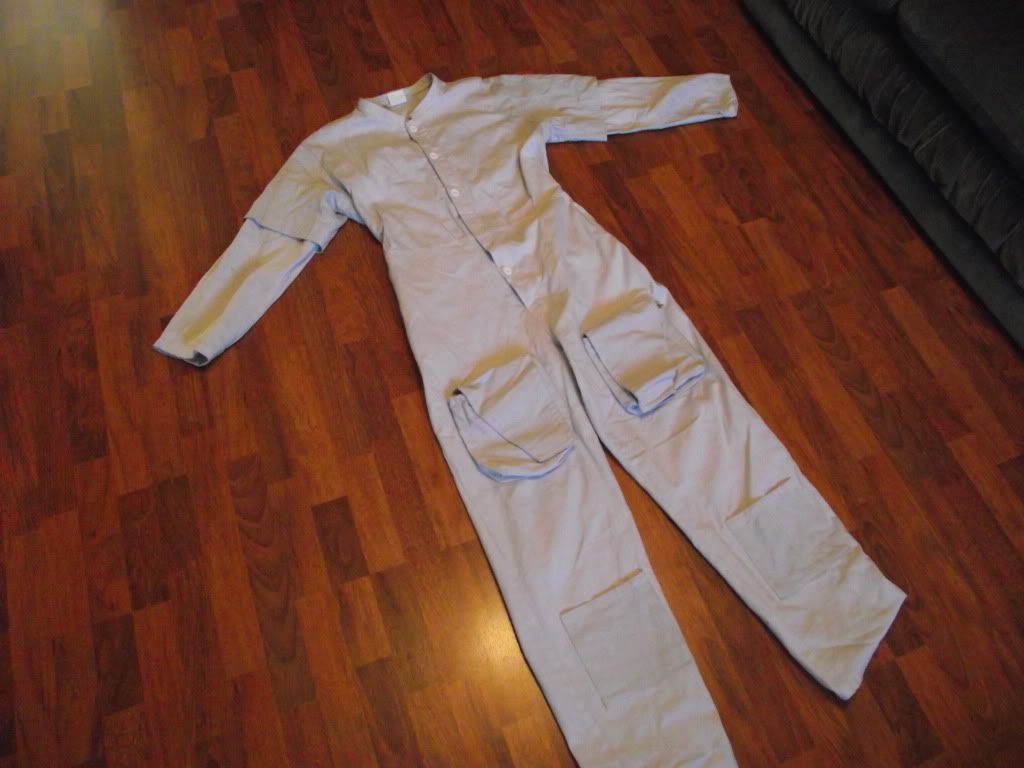
Also from the same maker I purchased a tailored Flight suit, much like the gloves this is an amazing piece. Really well made and accurate, makes me kinda nervous to start the weathering process on it :confused

DSCF0315.jpg


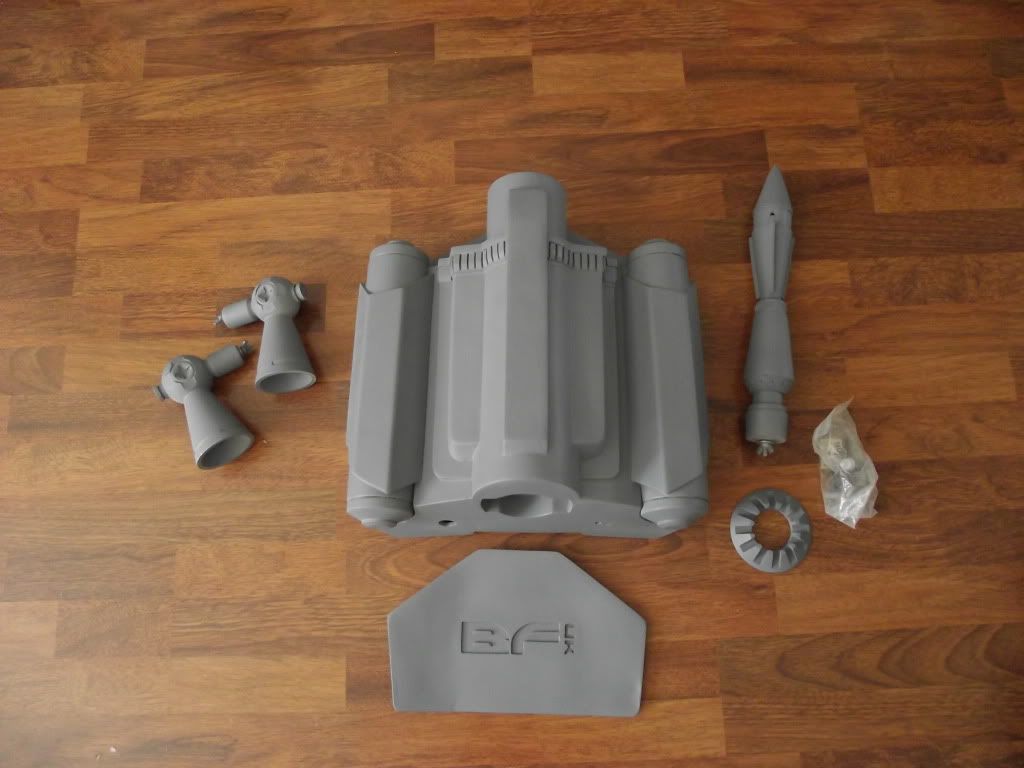
I also purchased a JP kit from a great guy in the UK, it is this that has been keeping my busy with the build. The pack is a fiberglass with gelcoat finish, really detailed and beautifully proportioned. Out of the box and all layed out.

DSCF0225.jpg


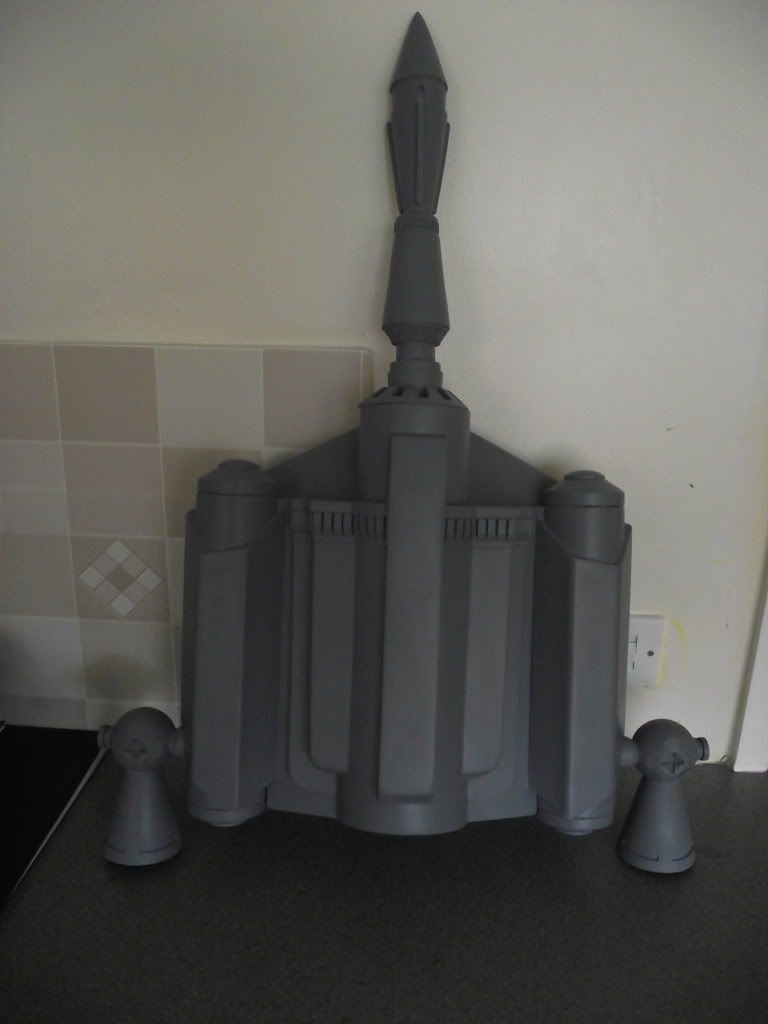
With it being such a great kit, all that is required to assemble it is a few small screws and nuts. After five minutes of tightening it all up, I have this:

DSCF0227.jpg


Now started the mammoth task of painting the thing. Still a complete novice with an airbrush, I went out and bought the paints, tape and other bits ready to get started.
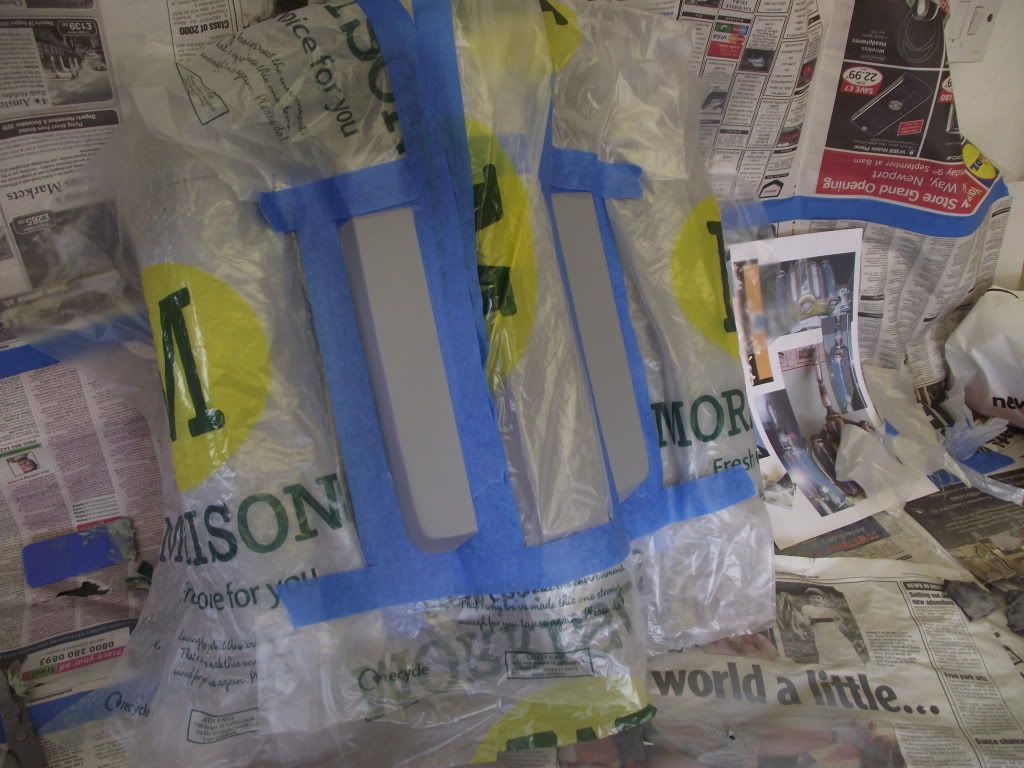
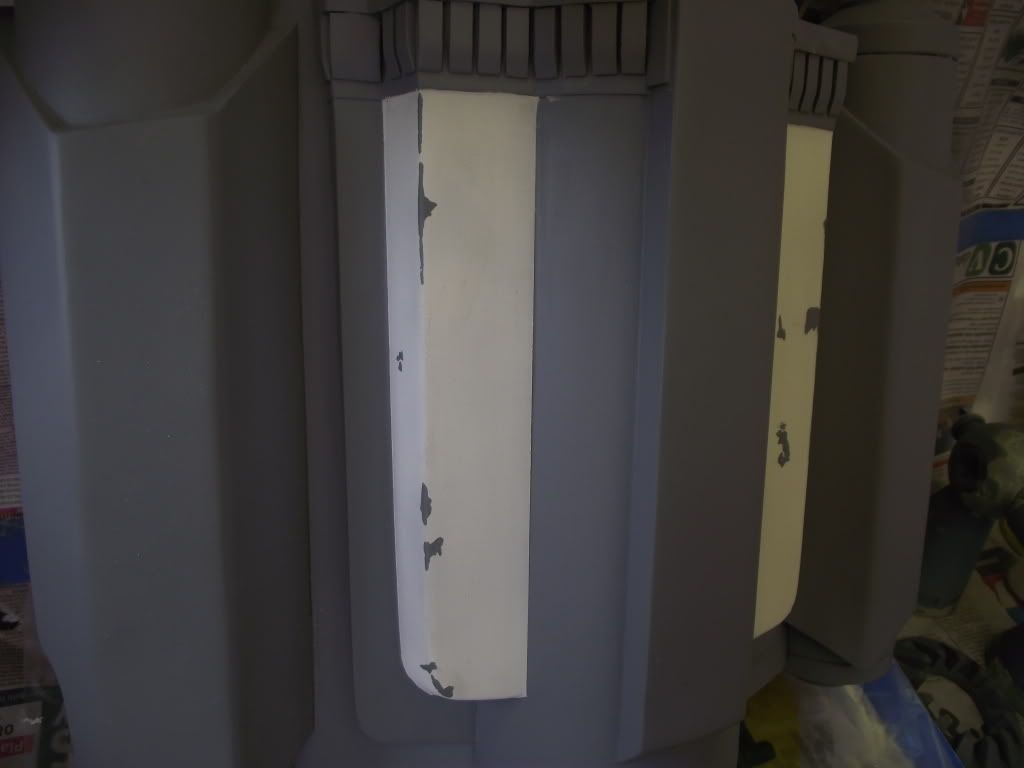
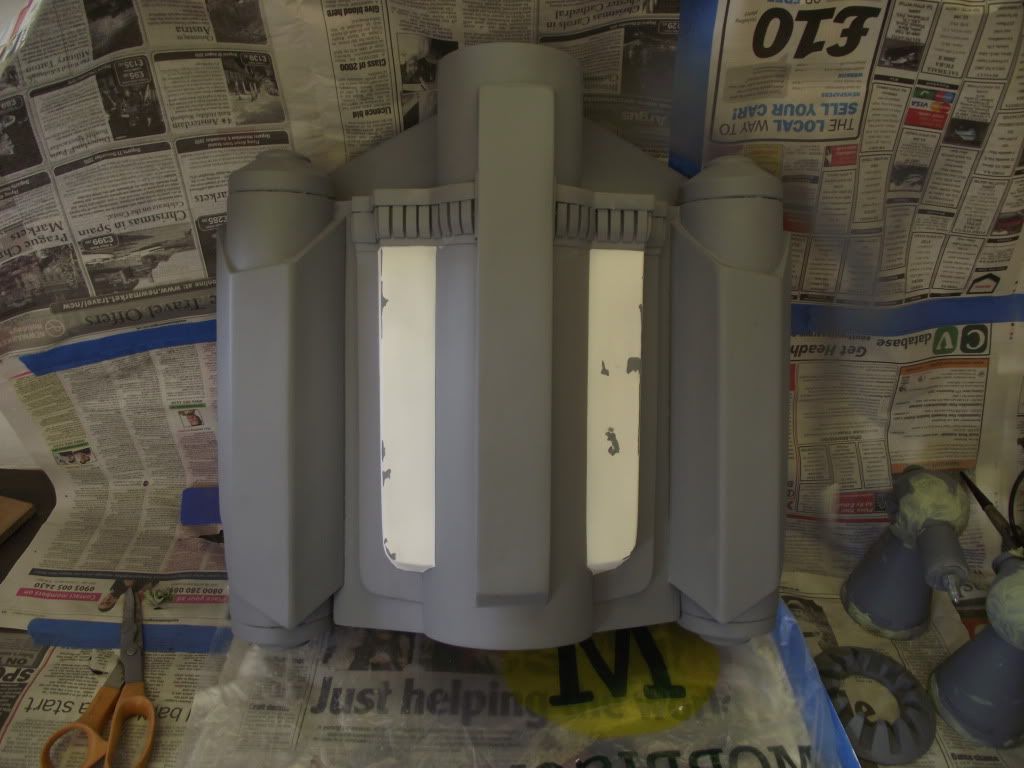
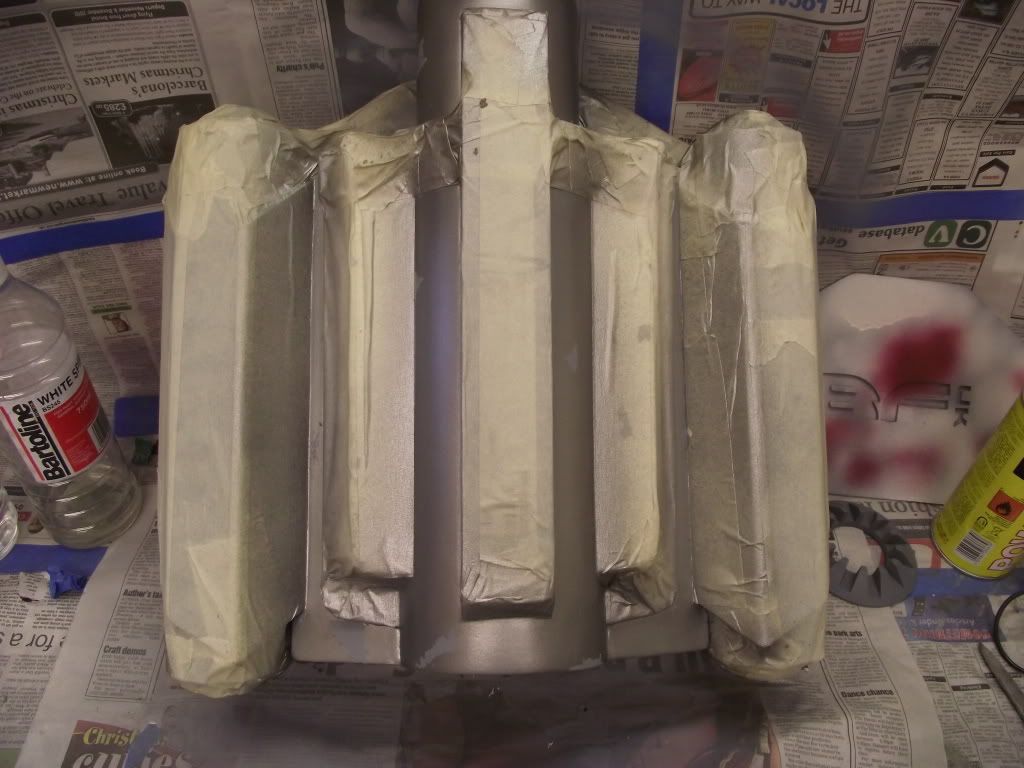
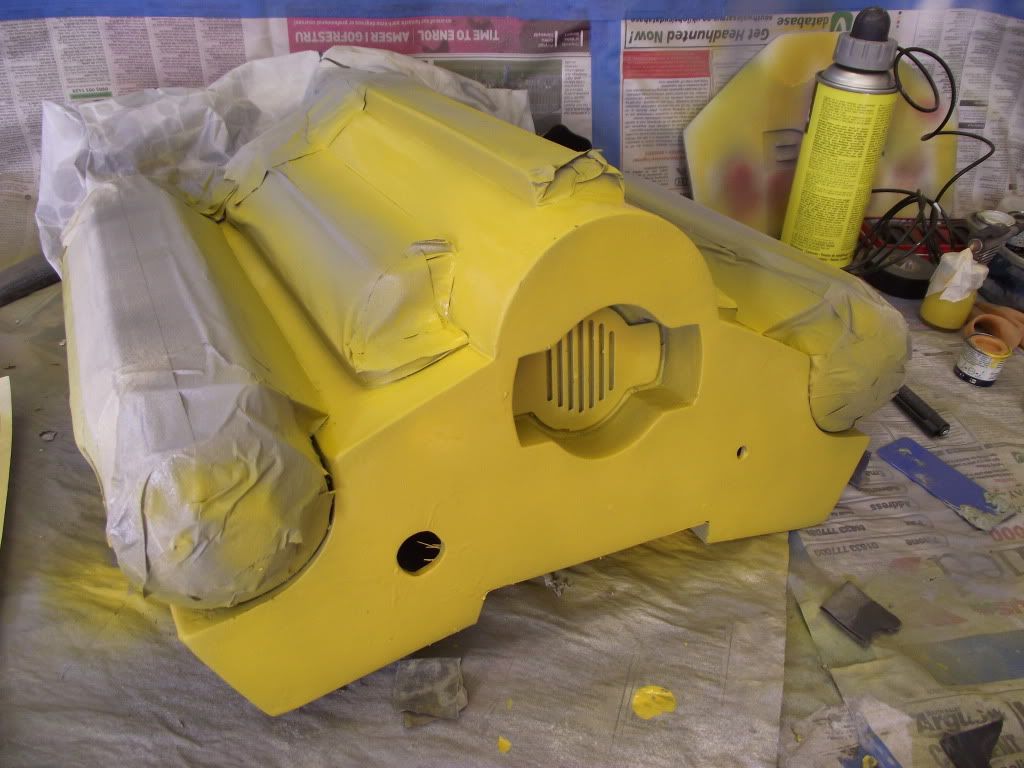
After sanding the pack down through the various grits of sandpapers, I then hit it with some filler primer, and tape off the sections I wanted painted. Also using masking fluid for damage and scratches found from referance pictures.

DSCF0240.jpg


DSCF0247.jpg


With the tape and masking fluid removed, im left with some crisp lines aswell as the grey damage showing through.

DSCF0262.jpg


DSCF0261.jpg


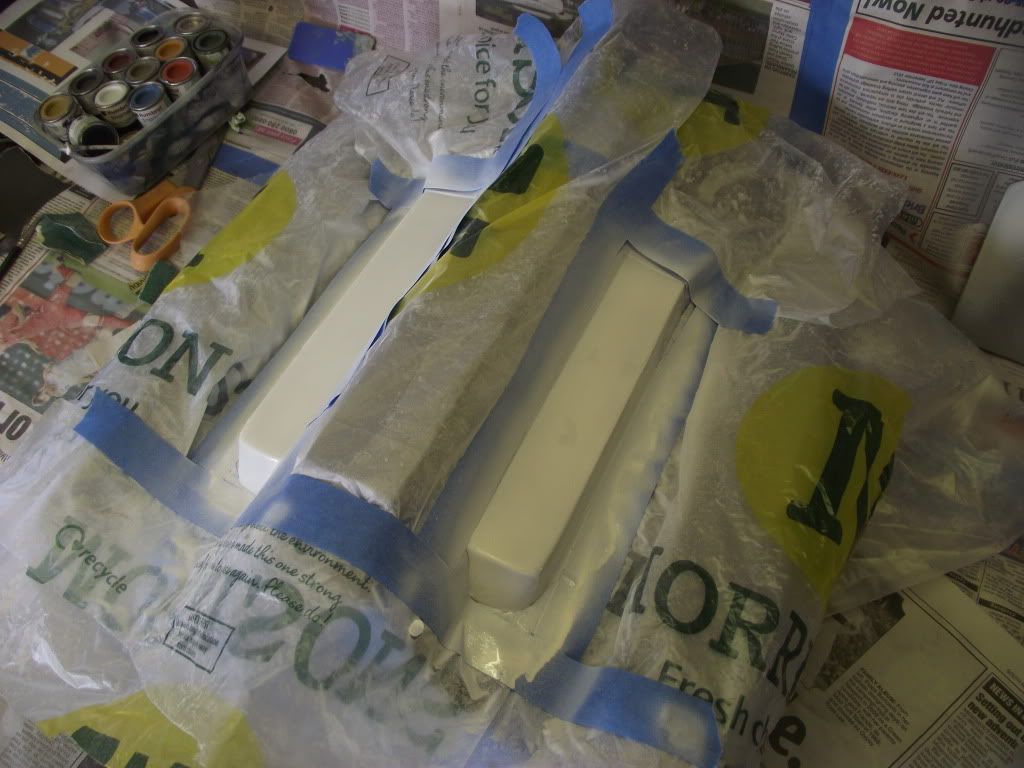
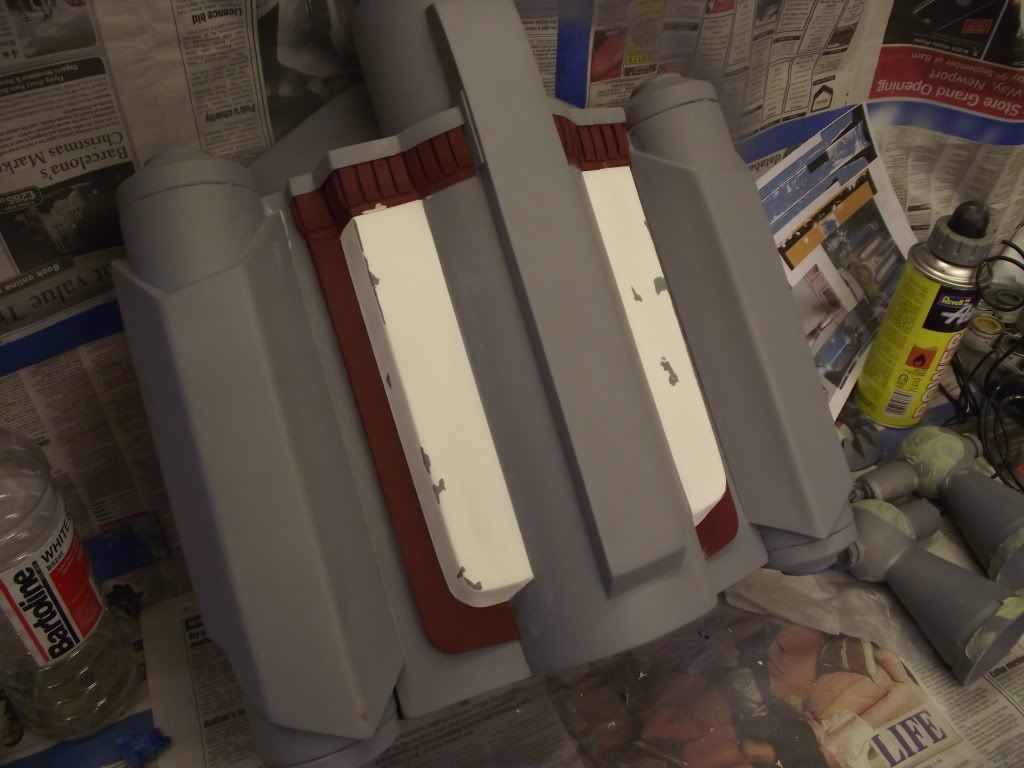
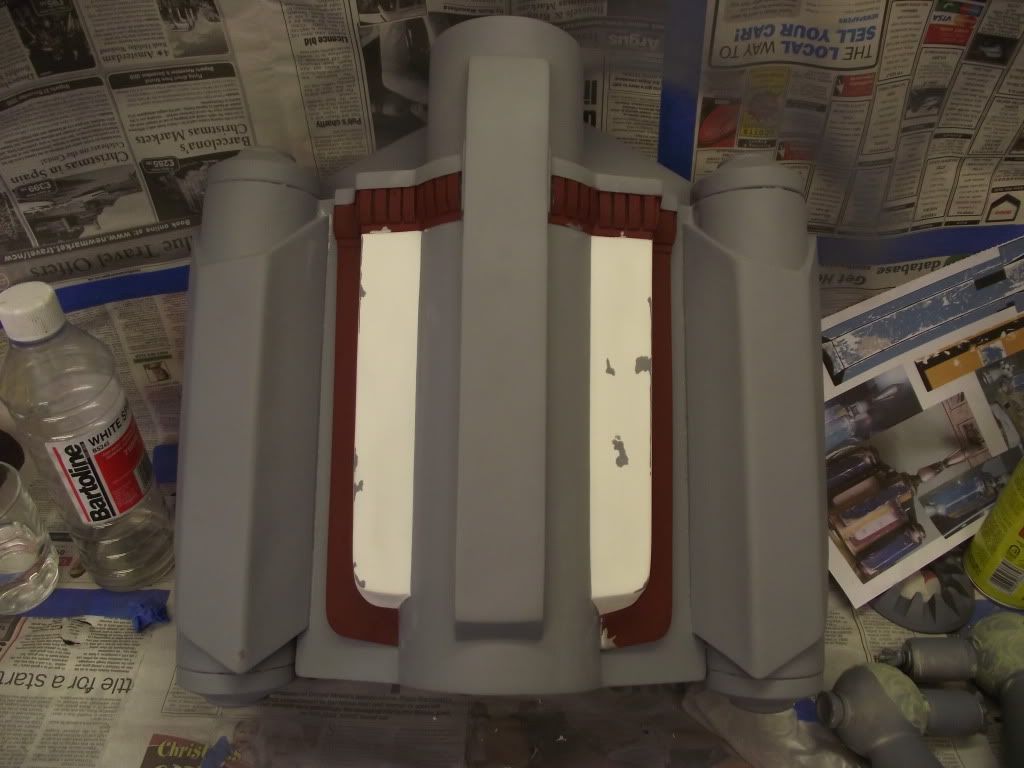
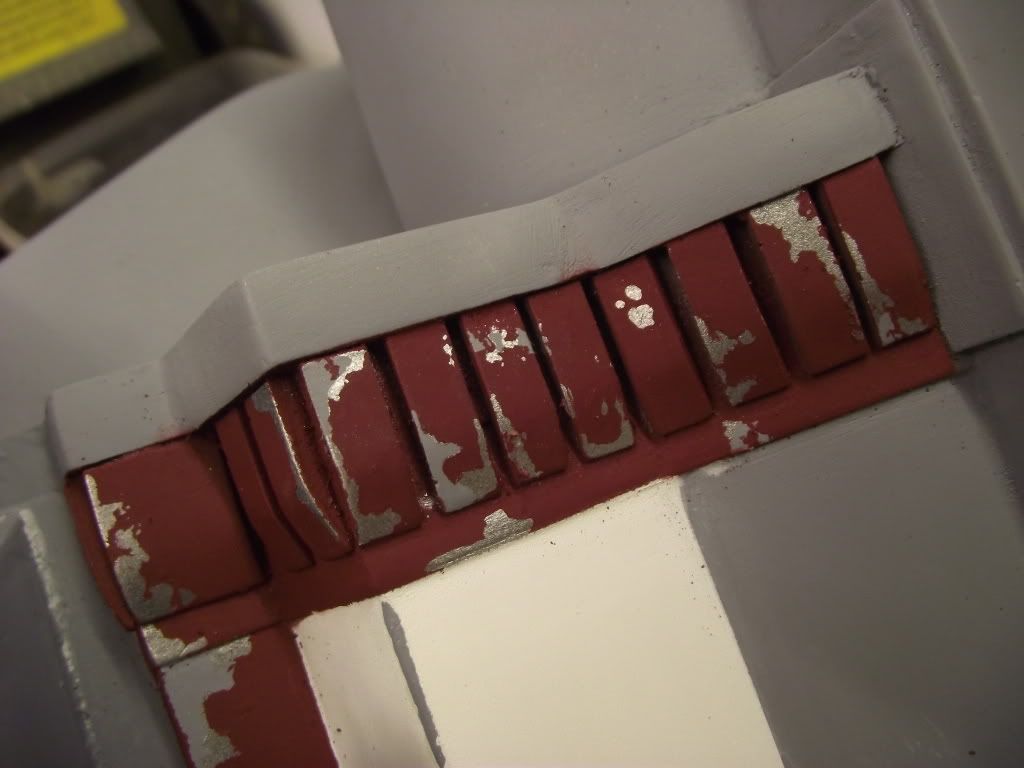
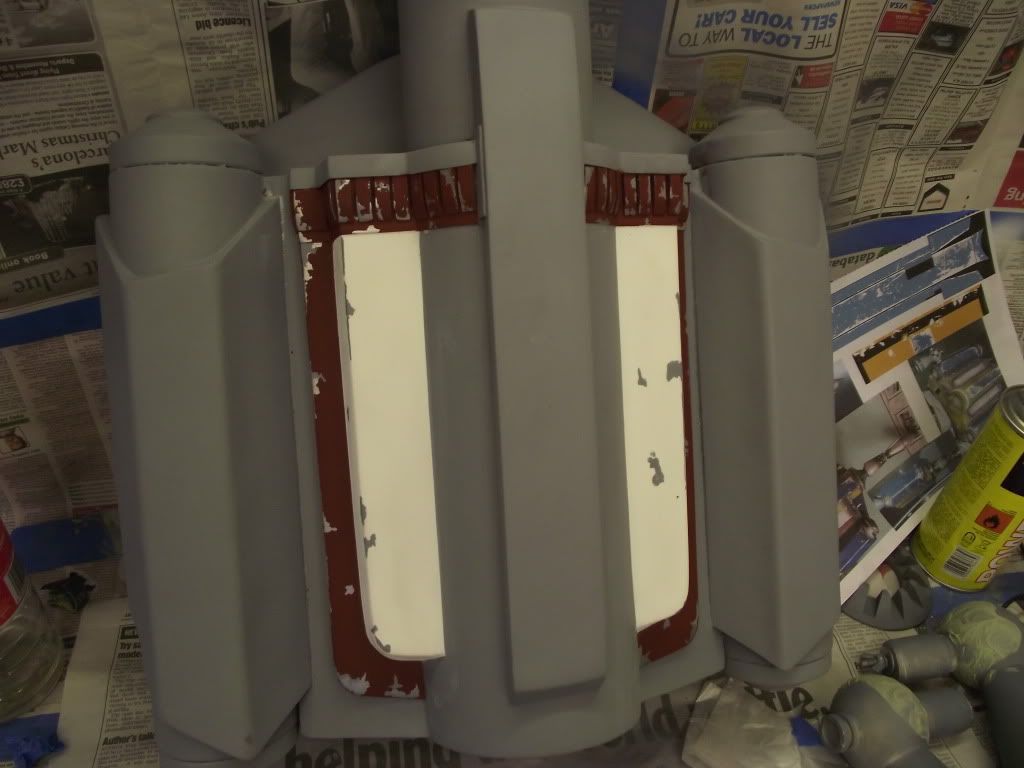
I then went onto the red section. For this I used 3 layers of paint, the most I have used so this was daunting itself for me. I first taped the pack up again, and then masked off the grey damage, and sprayed it with silver. I then masked the silver damage off, then hit it with the red.

DSCF0280.jpg


DSCF0281.jpg


Then with a rubber brush, I remove the masking fluid to reveal the grey and silver damage underneath. (Please ignore the bumps and bits on the first picture, its masking fluid that I forgot to wipe away in my rush to take the picture :$?

DSCF0284.jpg


DSCF0282.jpg


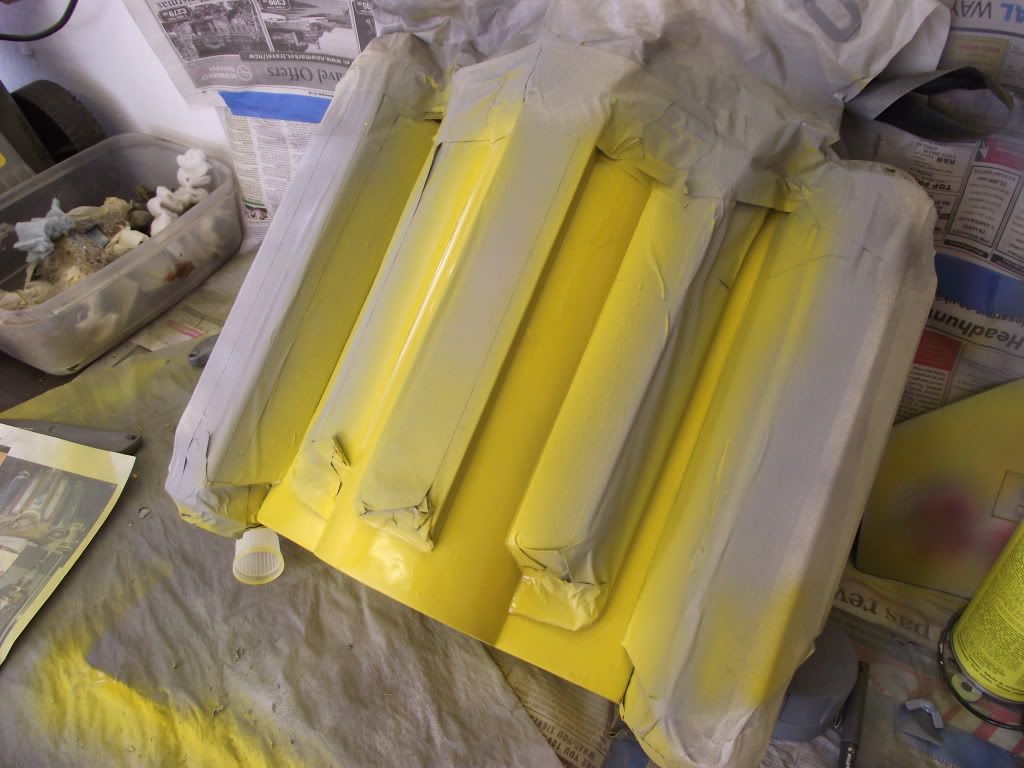
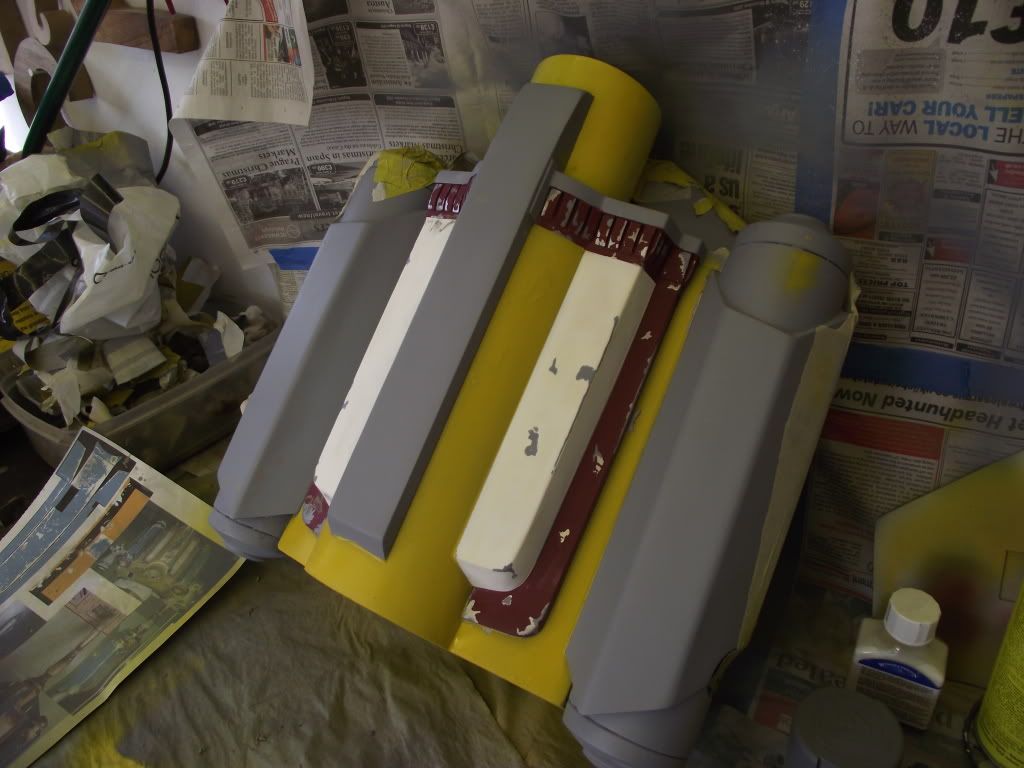
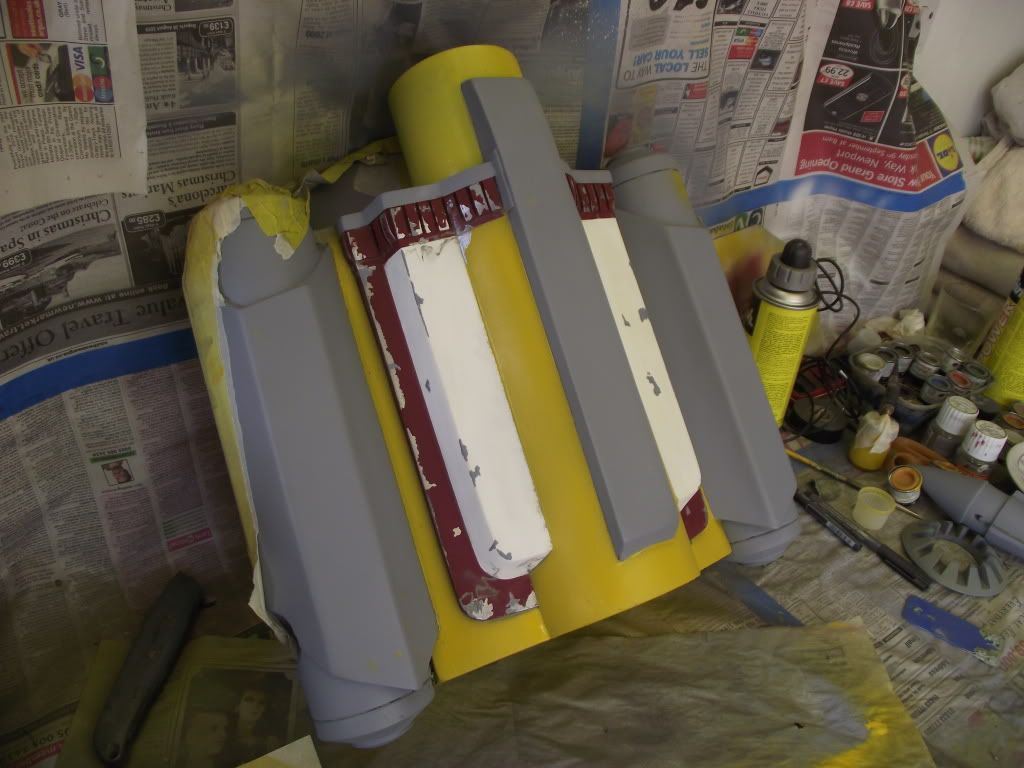
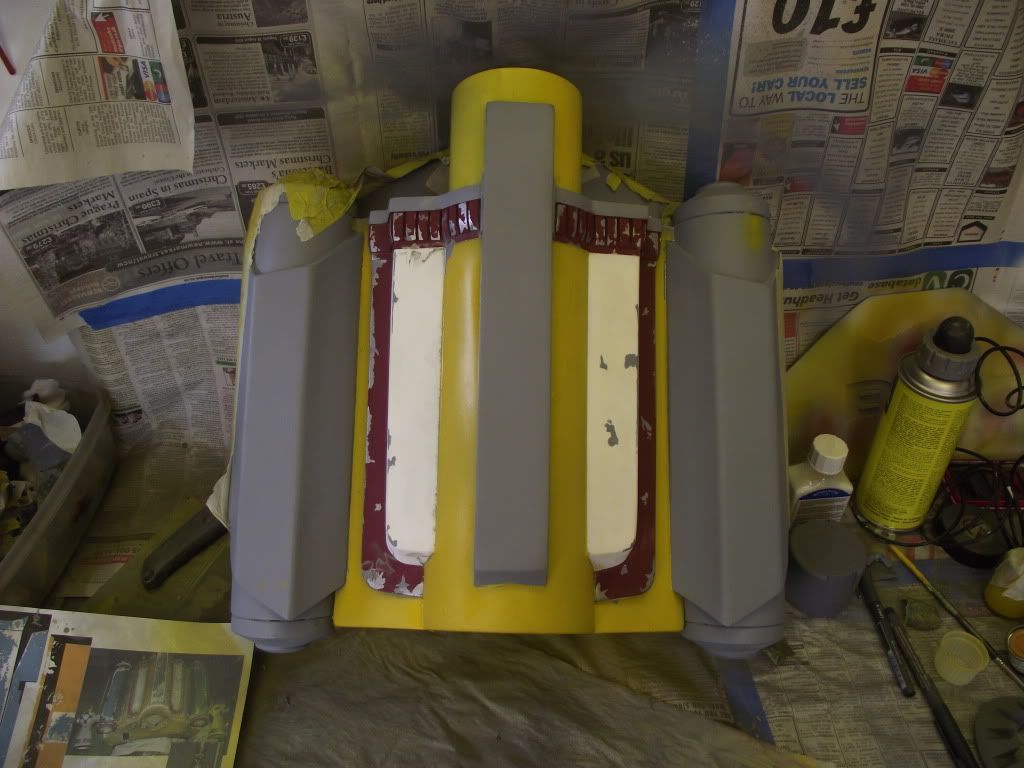
And finally the stage at where I am at, I'll miss out a few pictures as I had so many problems with this layer I felt like given up, but taking my time I managed to get the yellow layer down. This, the same as the red minus the grey layer. Ignore the top yellow tube section, it was from a previous paint attempt where the yellow turned out to bright, fixing that this weekend. I also havant removed the masking fluid as the paint was still wet wen the pictures were taken, and the black streaks on the white is water that leaked in when wetsanding, came off with a gentle rub :)

DSCF0290.jpg


DSCF0307.jpg


DSCF0305.jpg


DSCF0310.jpg


DSCF0311.jpg


DSCF0308.jpg


Pretty much all ive got done, ive also got the harness and US divers buckle to go with the JP. At the moment I think its turning out okay, not looking forward to the blue, hopefully its not as hard as the yellow :unsure
Any comments or crit is really appreciated.
Thanks,
Lewis
 
Back
Top