Wouldchop
Active Member
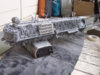
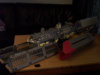
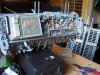
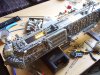
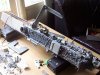
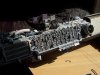
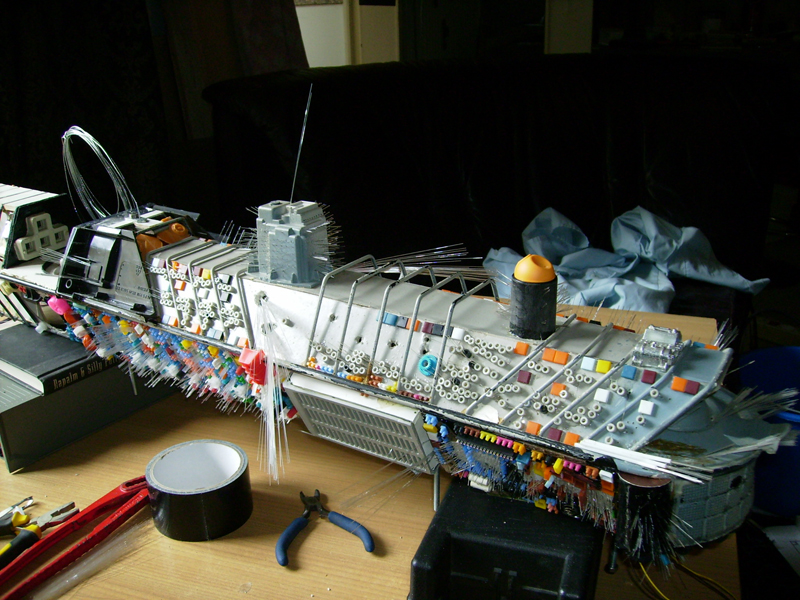
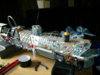
Scrap-built spaceship, the frontend
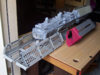
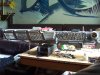
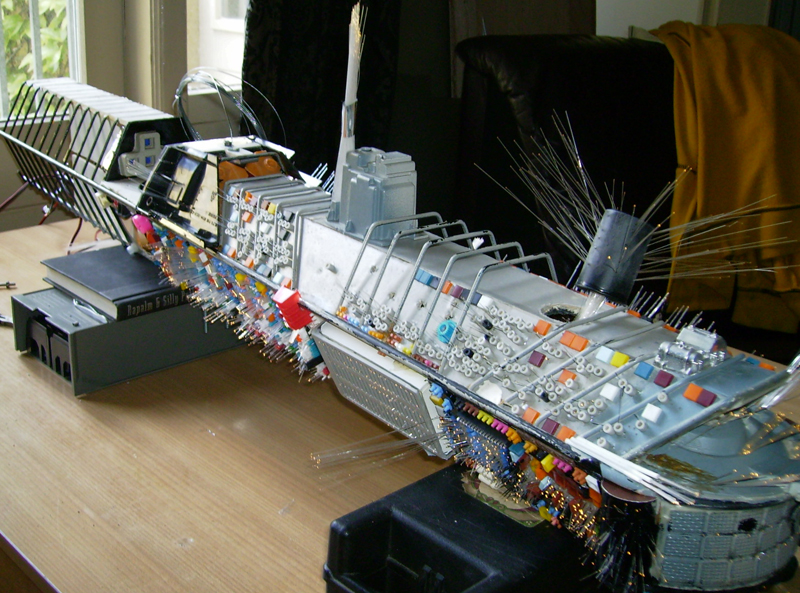
The frontend still has some fibres dangling about. Time to finally fit them through the scrap with holes and make like lit "towers".
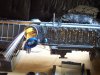
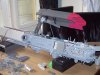
tower 1,

tower2
and tower 3,4,5& 6. (Or hairfoamcaps 3,4,5& 6)
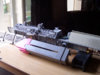
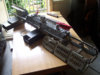
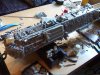
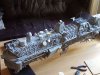
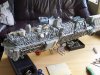
Almost finished with the coloured bits and preparing for primer. Looking kindof like a fisherprice spaceship at the moment..

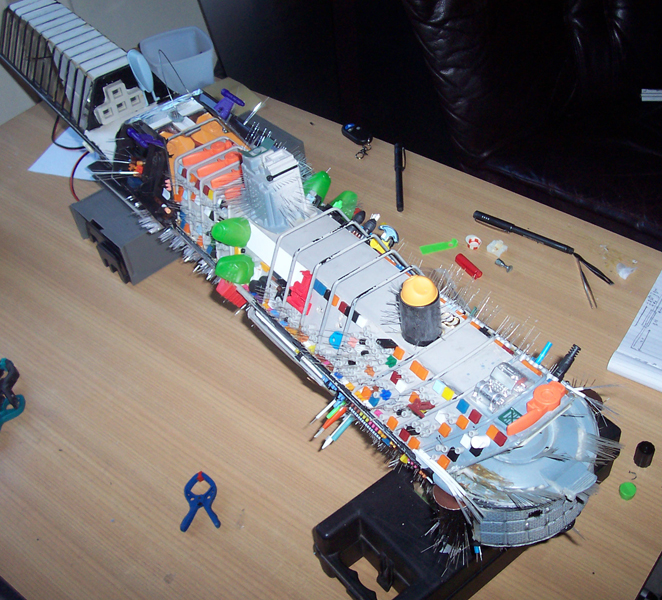
The frontend still has some fibres dangling about. Time to finally fit them through the scrap with holes and make like lit "towers".
tower 1,
tower2
and tower 3,4,5& 6. (Or hairfoamcaps 3,4,5& 6)
Almost finished with the coloured bits and preparing for primer. Looking kindof like a fisherprice spaceship at the moment..
Attachments

Last edited:
")