You are using an out of date browser. It may not display this or other websites correctly.
You should upgrade or use an alternative browser.
You should upgrade or use an alternative browser.
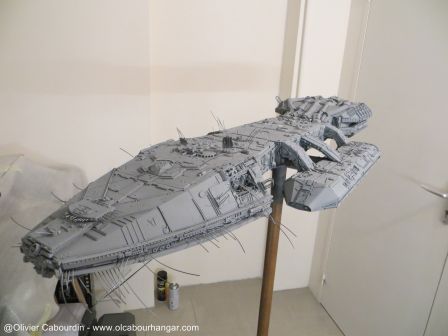
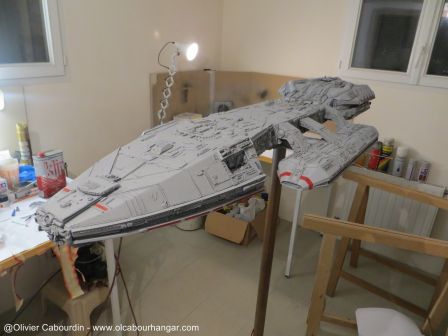
Salzo Battlestar Galactica half studio scale - 1 meter long
- Thread starter cabour
- Start date
DarthVador
Active Member
Man the TOS BSG is coming along nicely cabour..
Clarence
Clarence
cabour
Sr Member
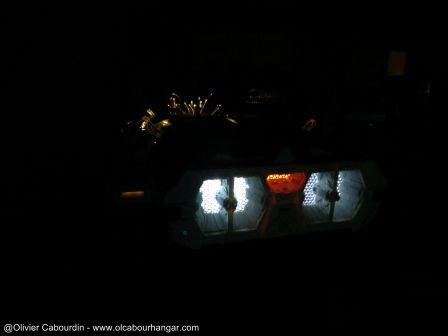
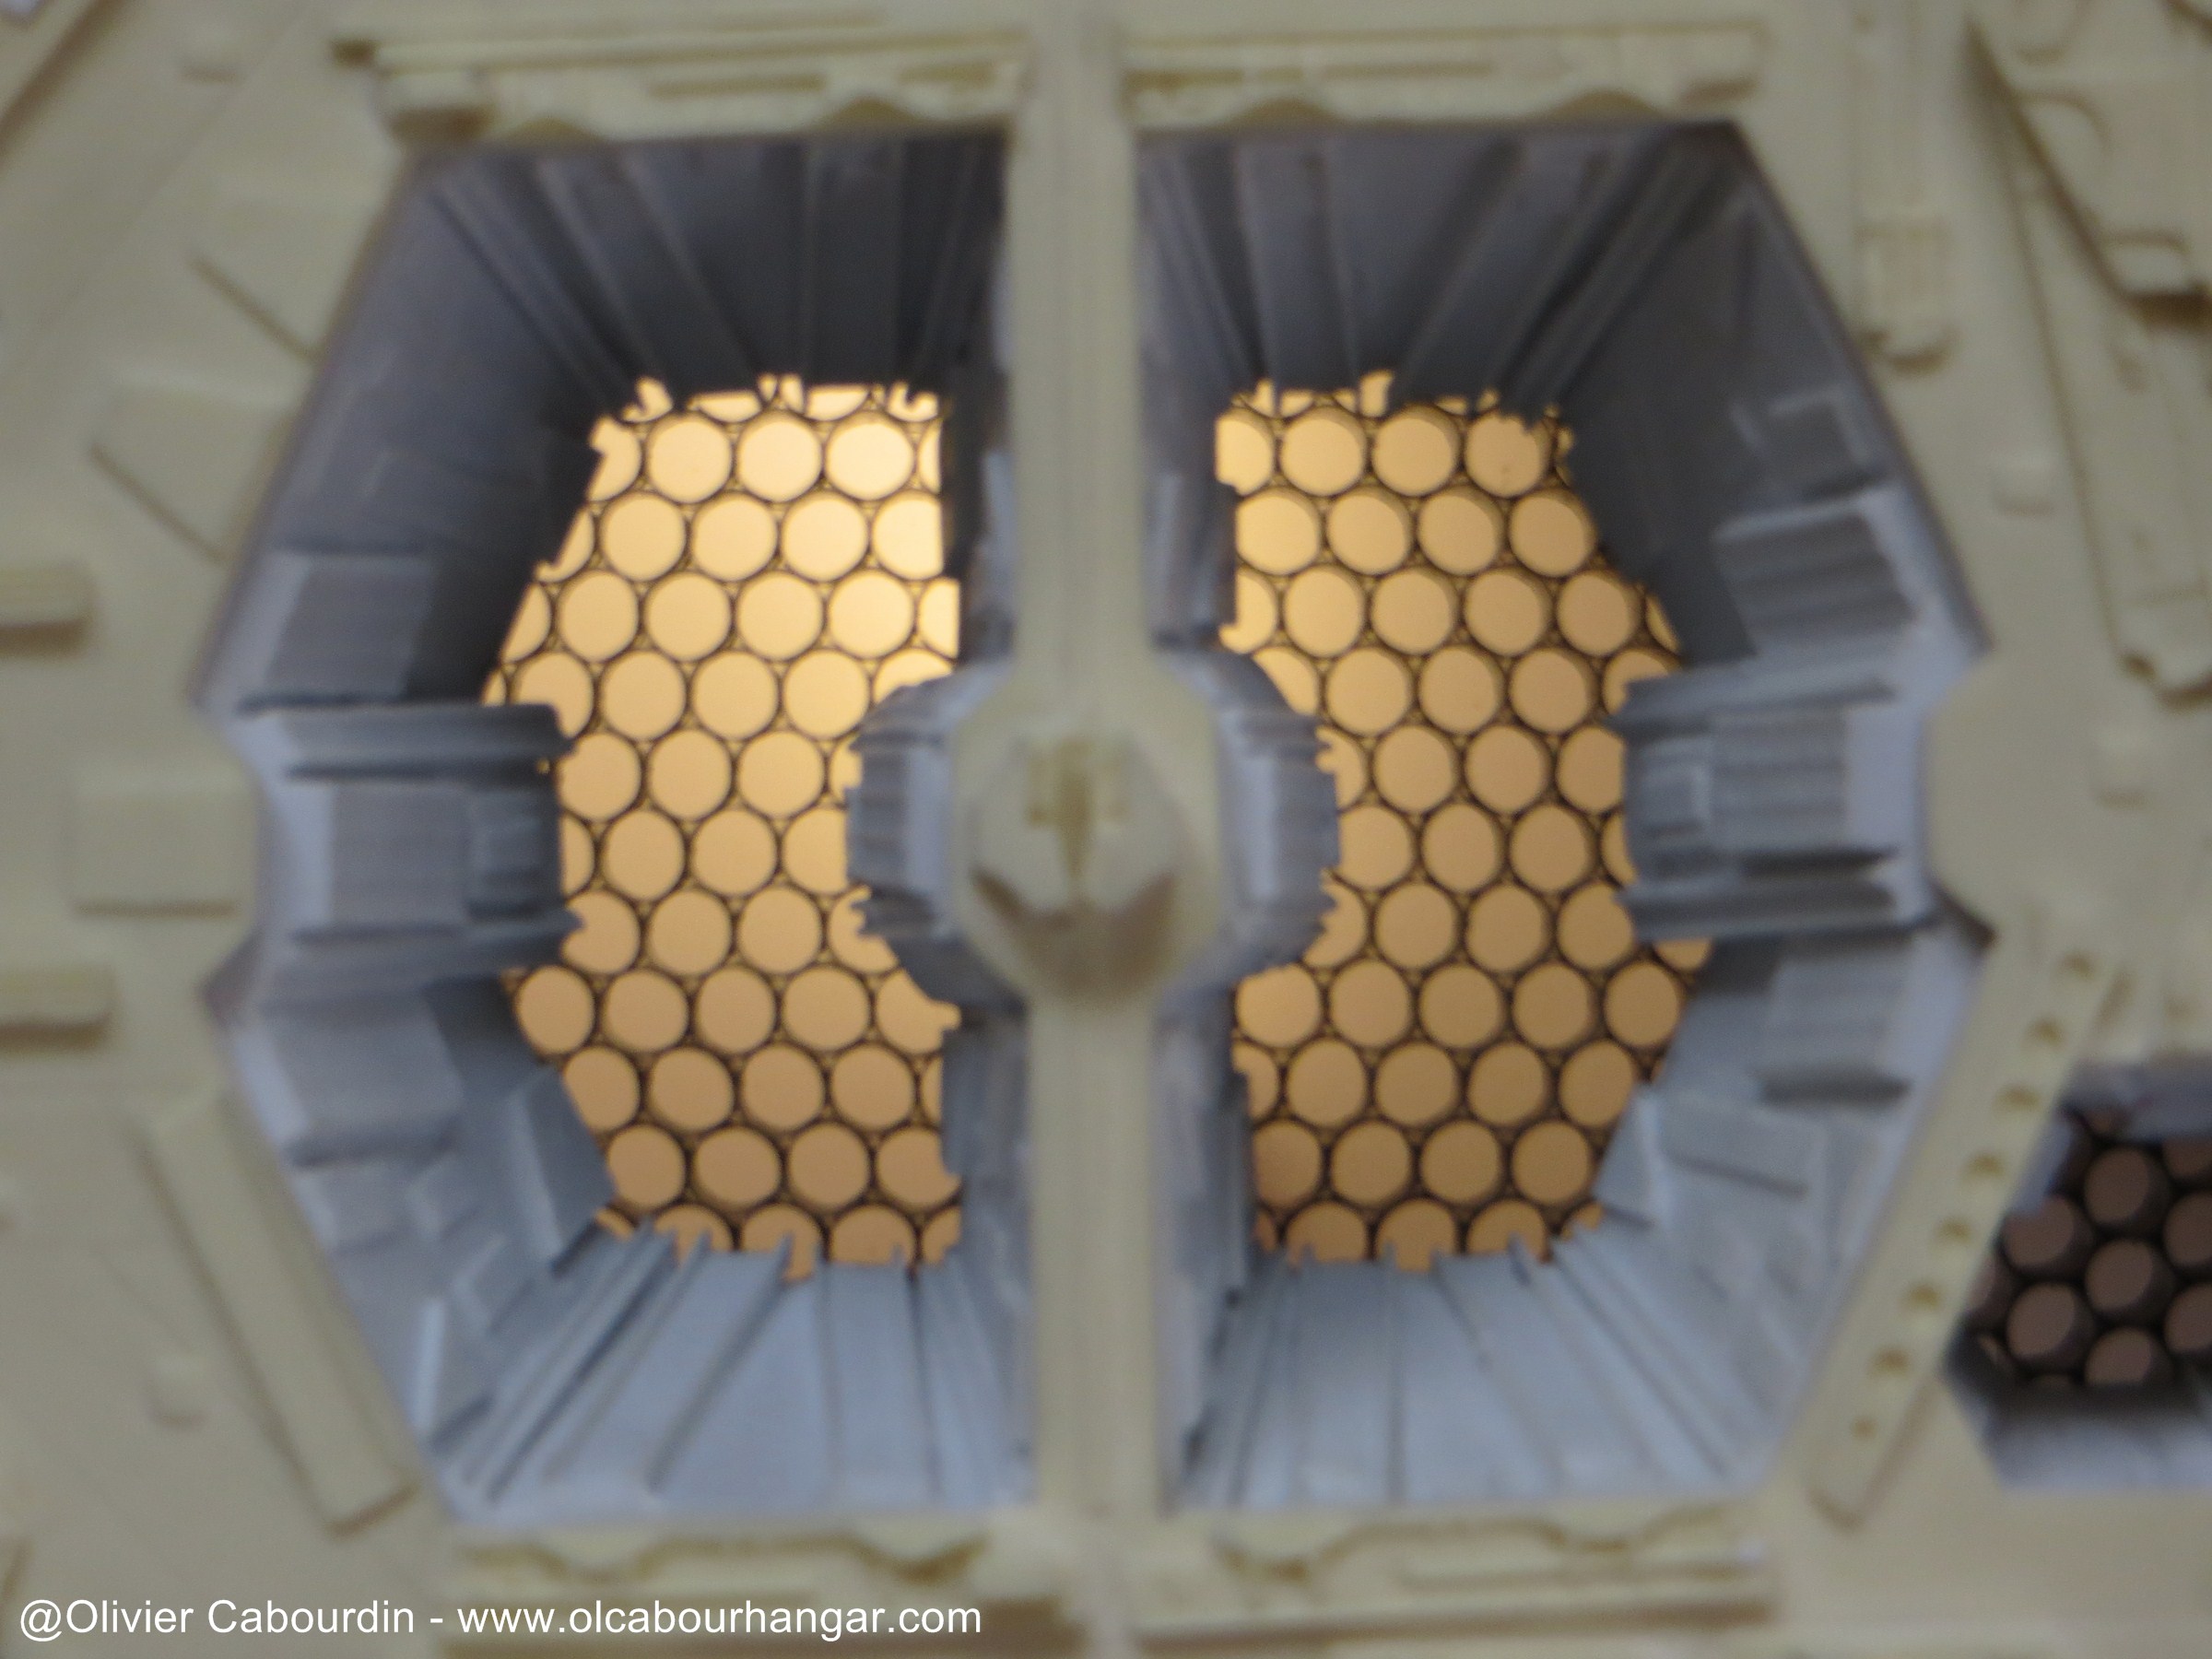
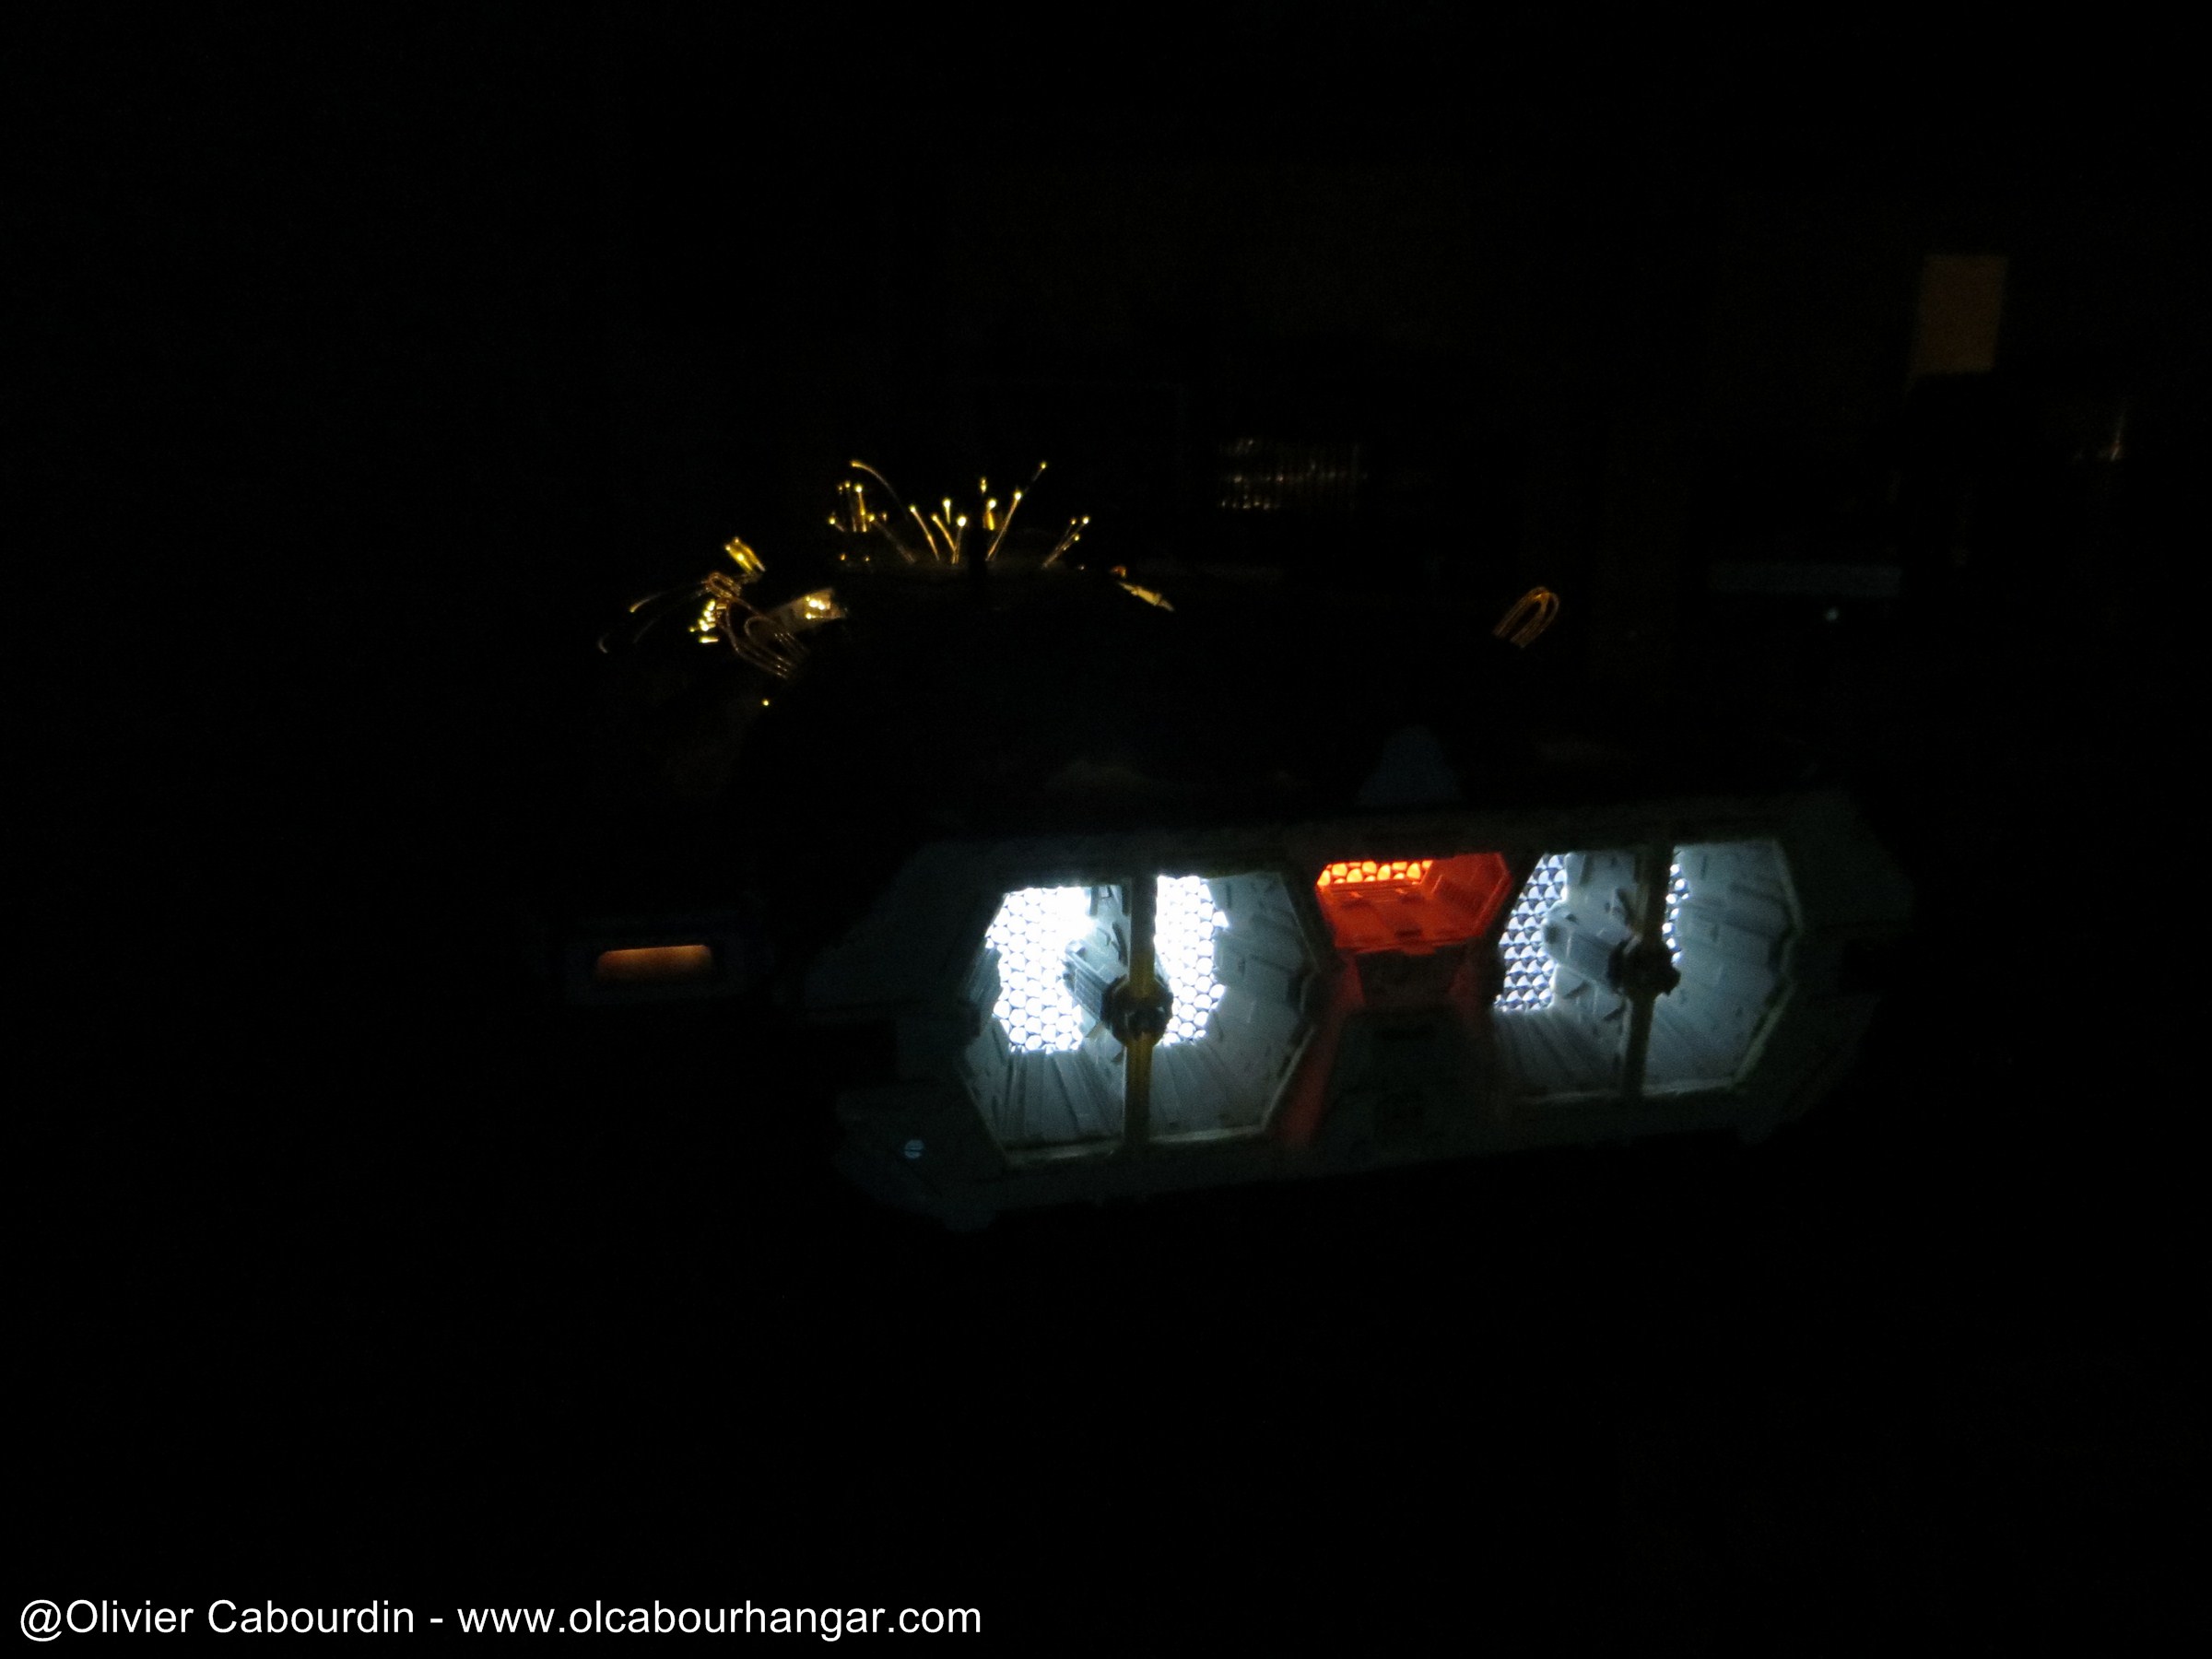
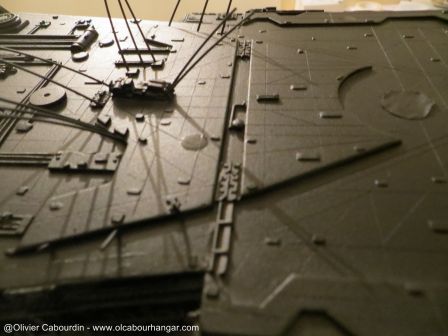
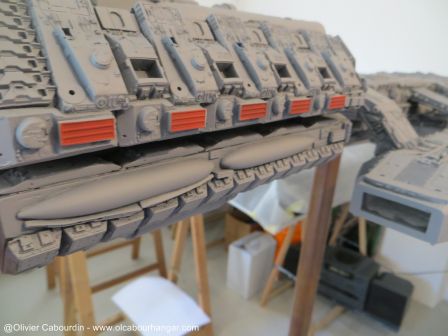
If put in the center of engine, the LED can be clearly seen, and it's not very nice.
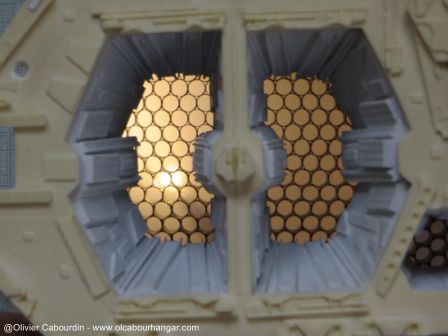
Between two engines, it is much less viewable and lighting is more uniform as being indirect

same with the small central reactor.
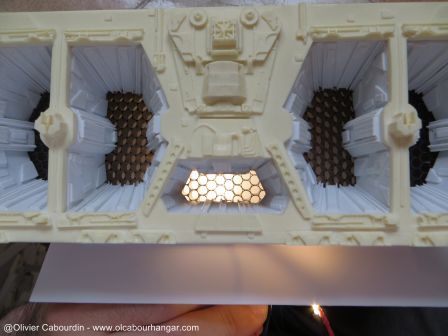
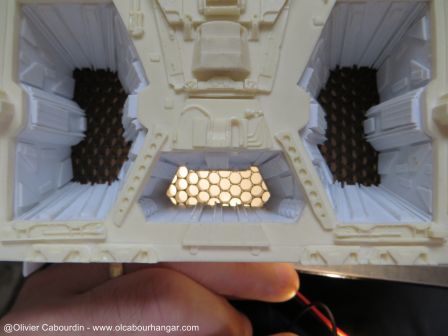
Red center engine is a warm white LED behind a red transparent sheet (like on the real way).
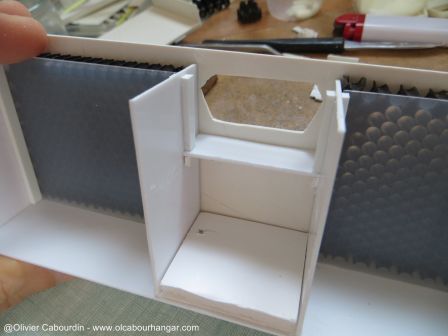
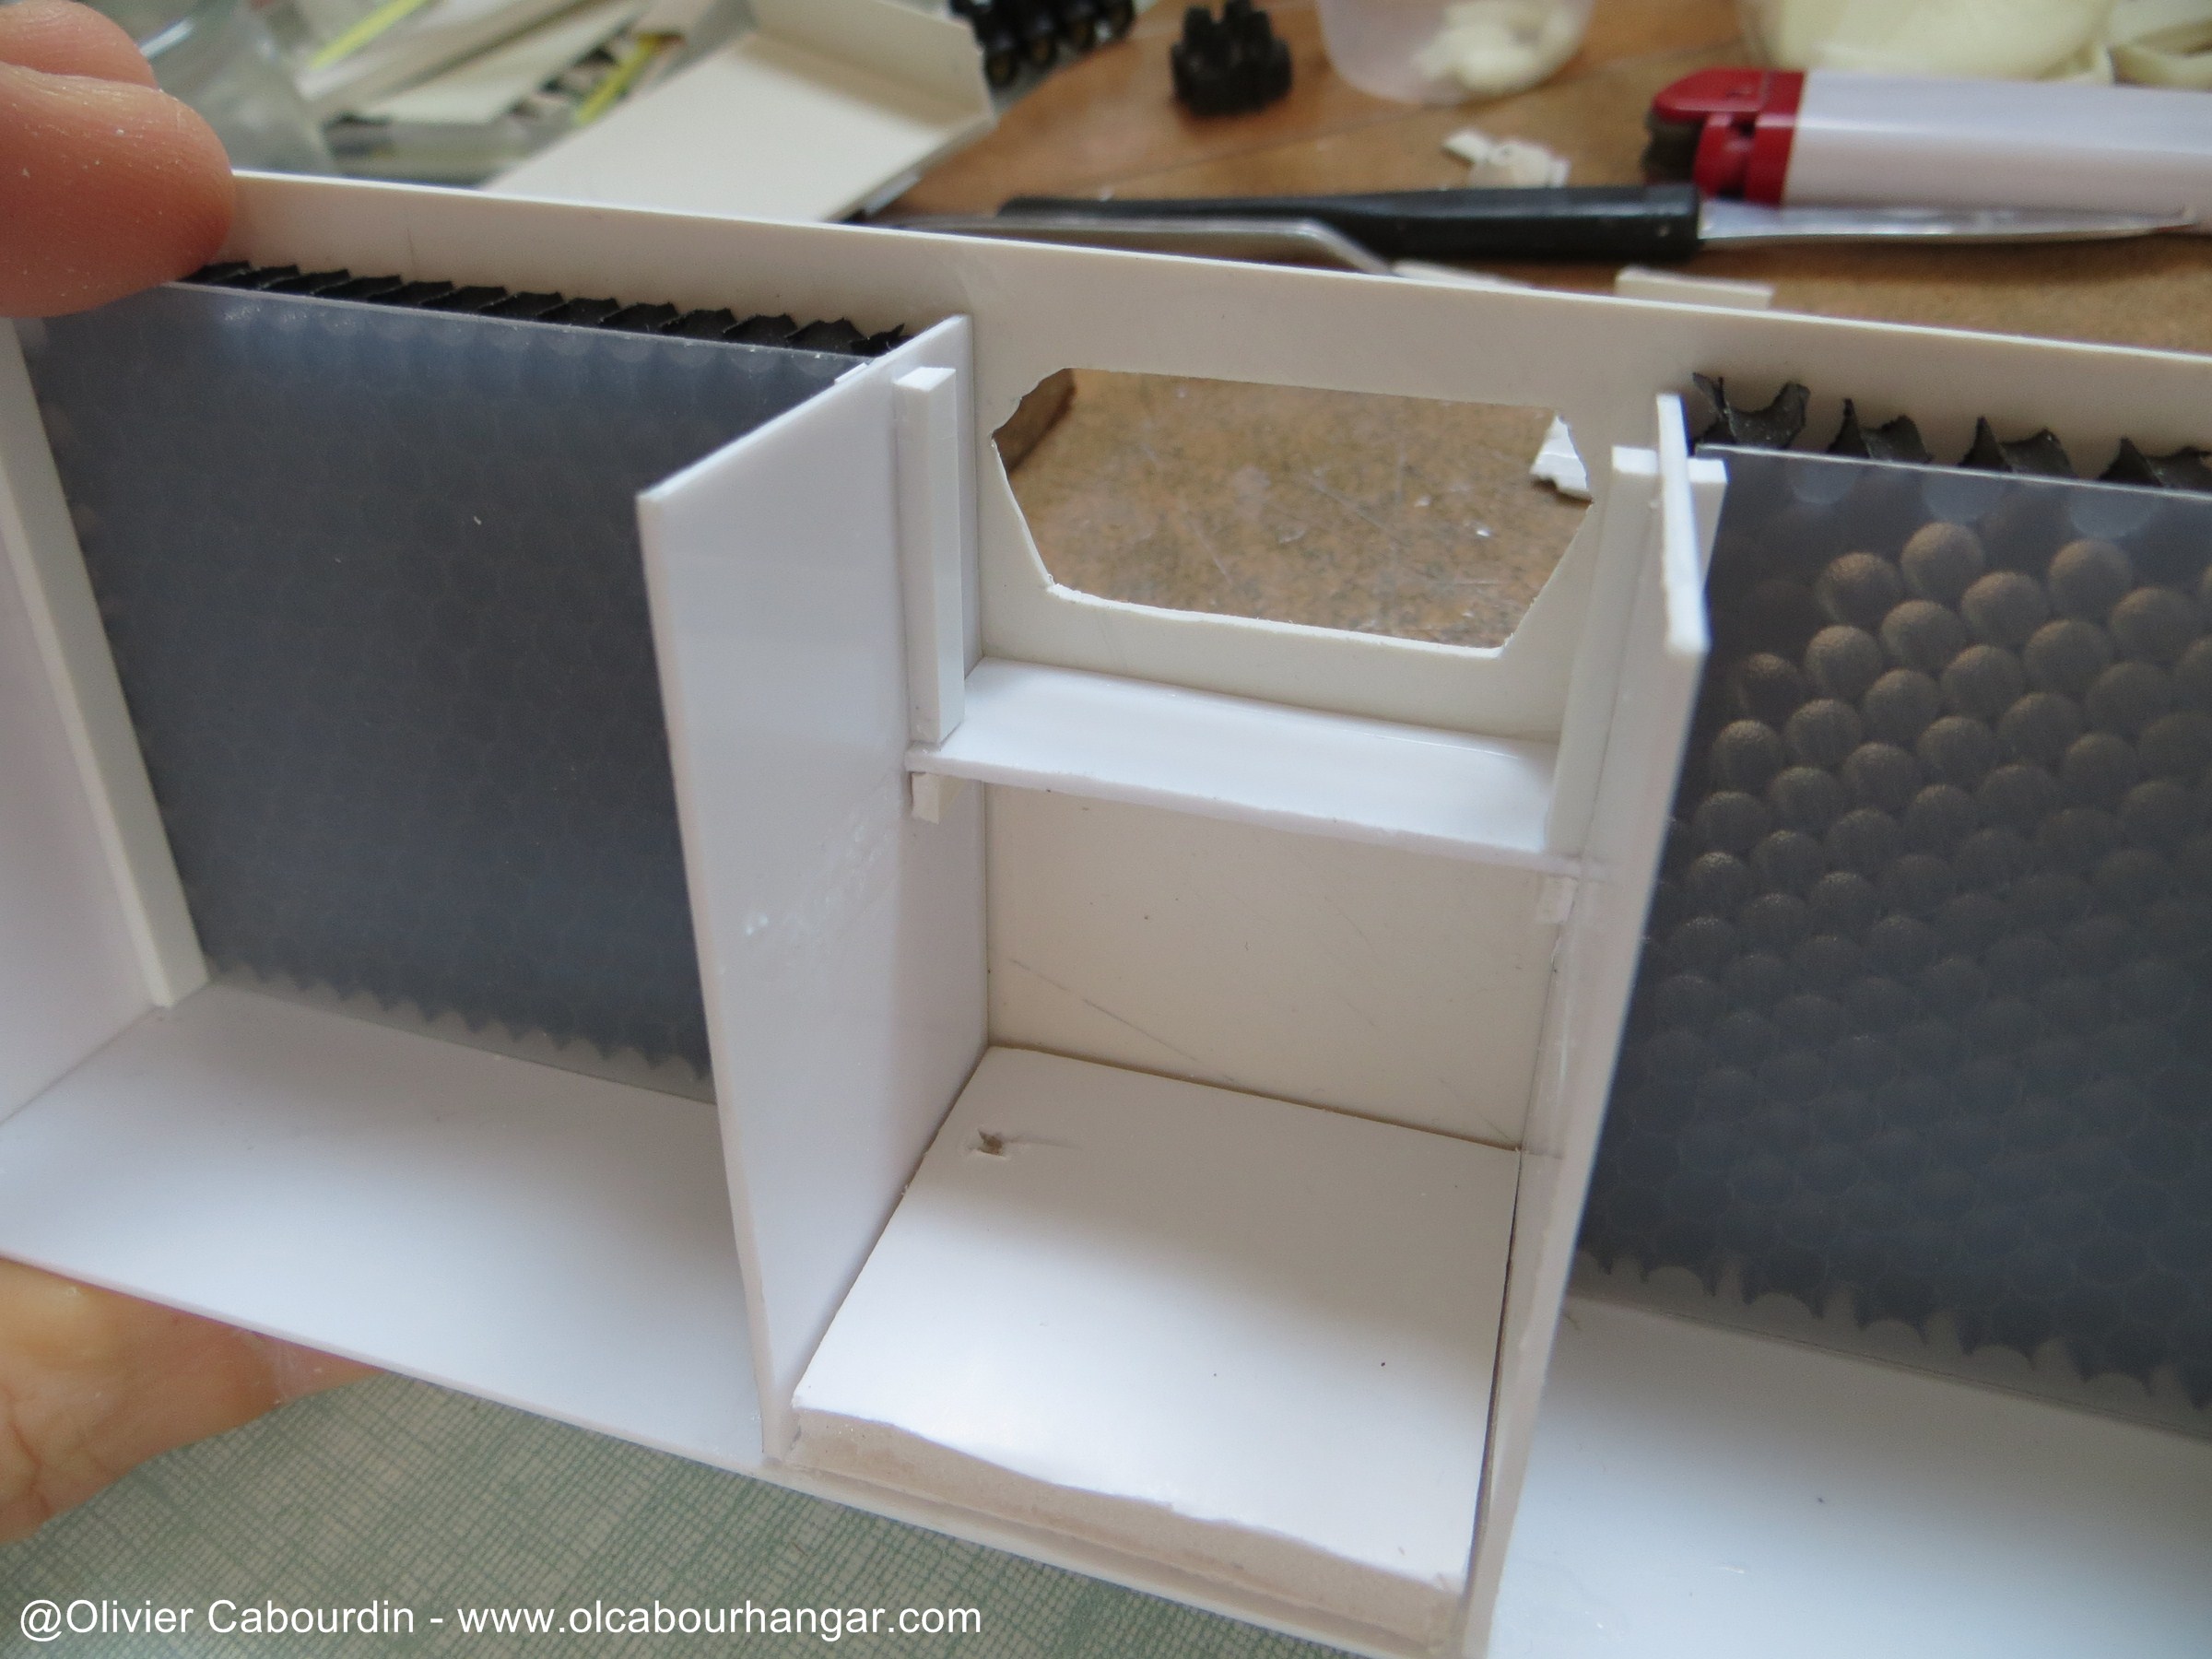
In this case I have to change the box to position the LED below (and more uniform indirect lighting), and out of sight. So I had to remove the "floor" I originally installed.
Rather than a red LED, I use a warm white led. A red or clear transparent sheet painted clear red will adjust the right shade.
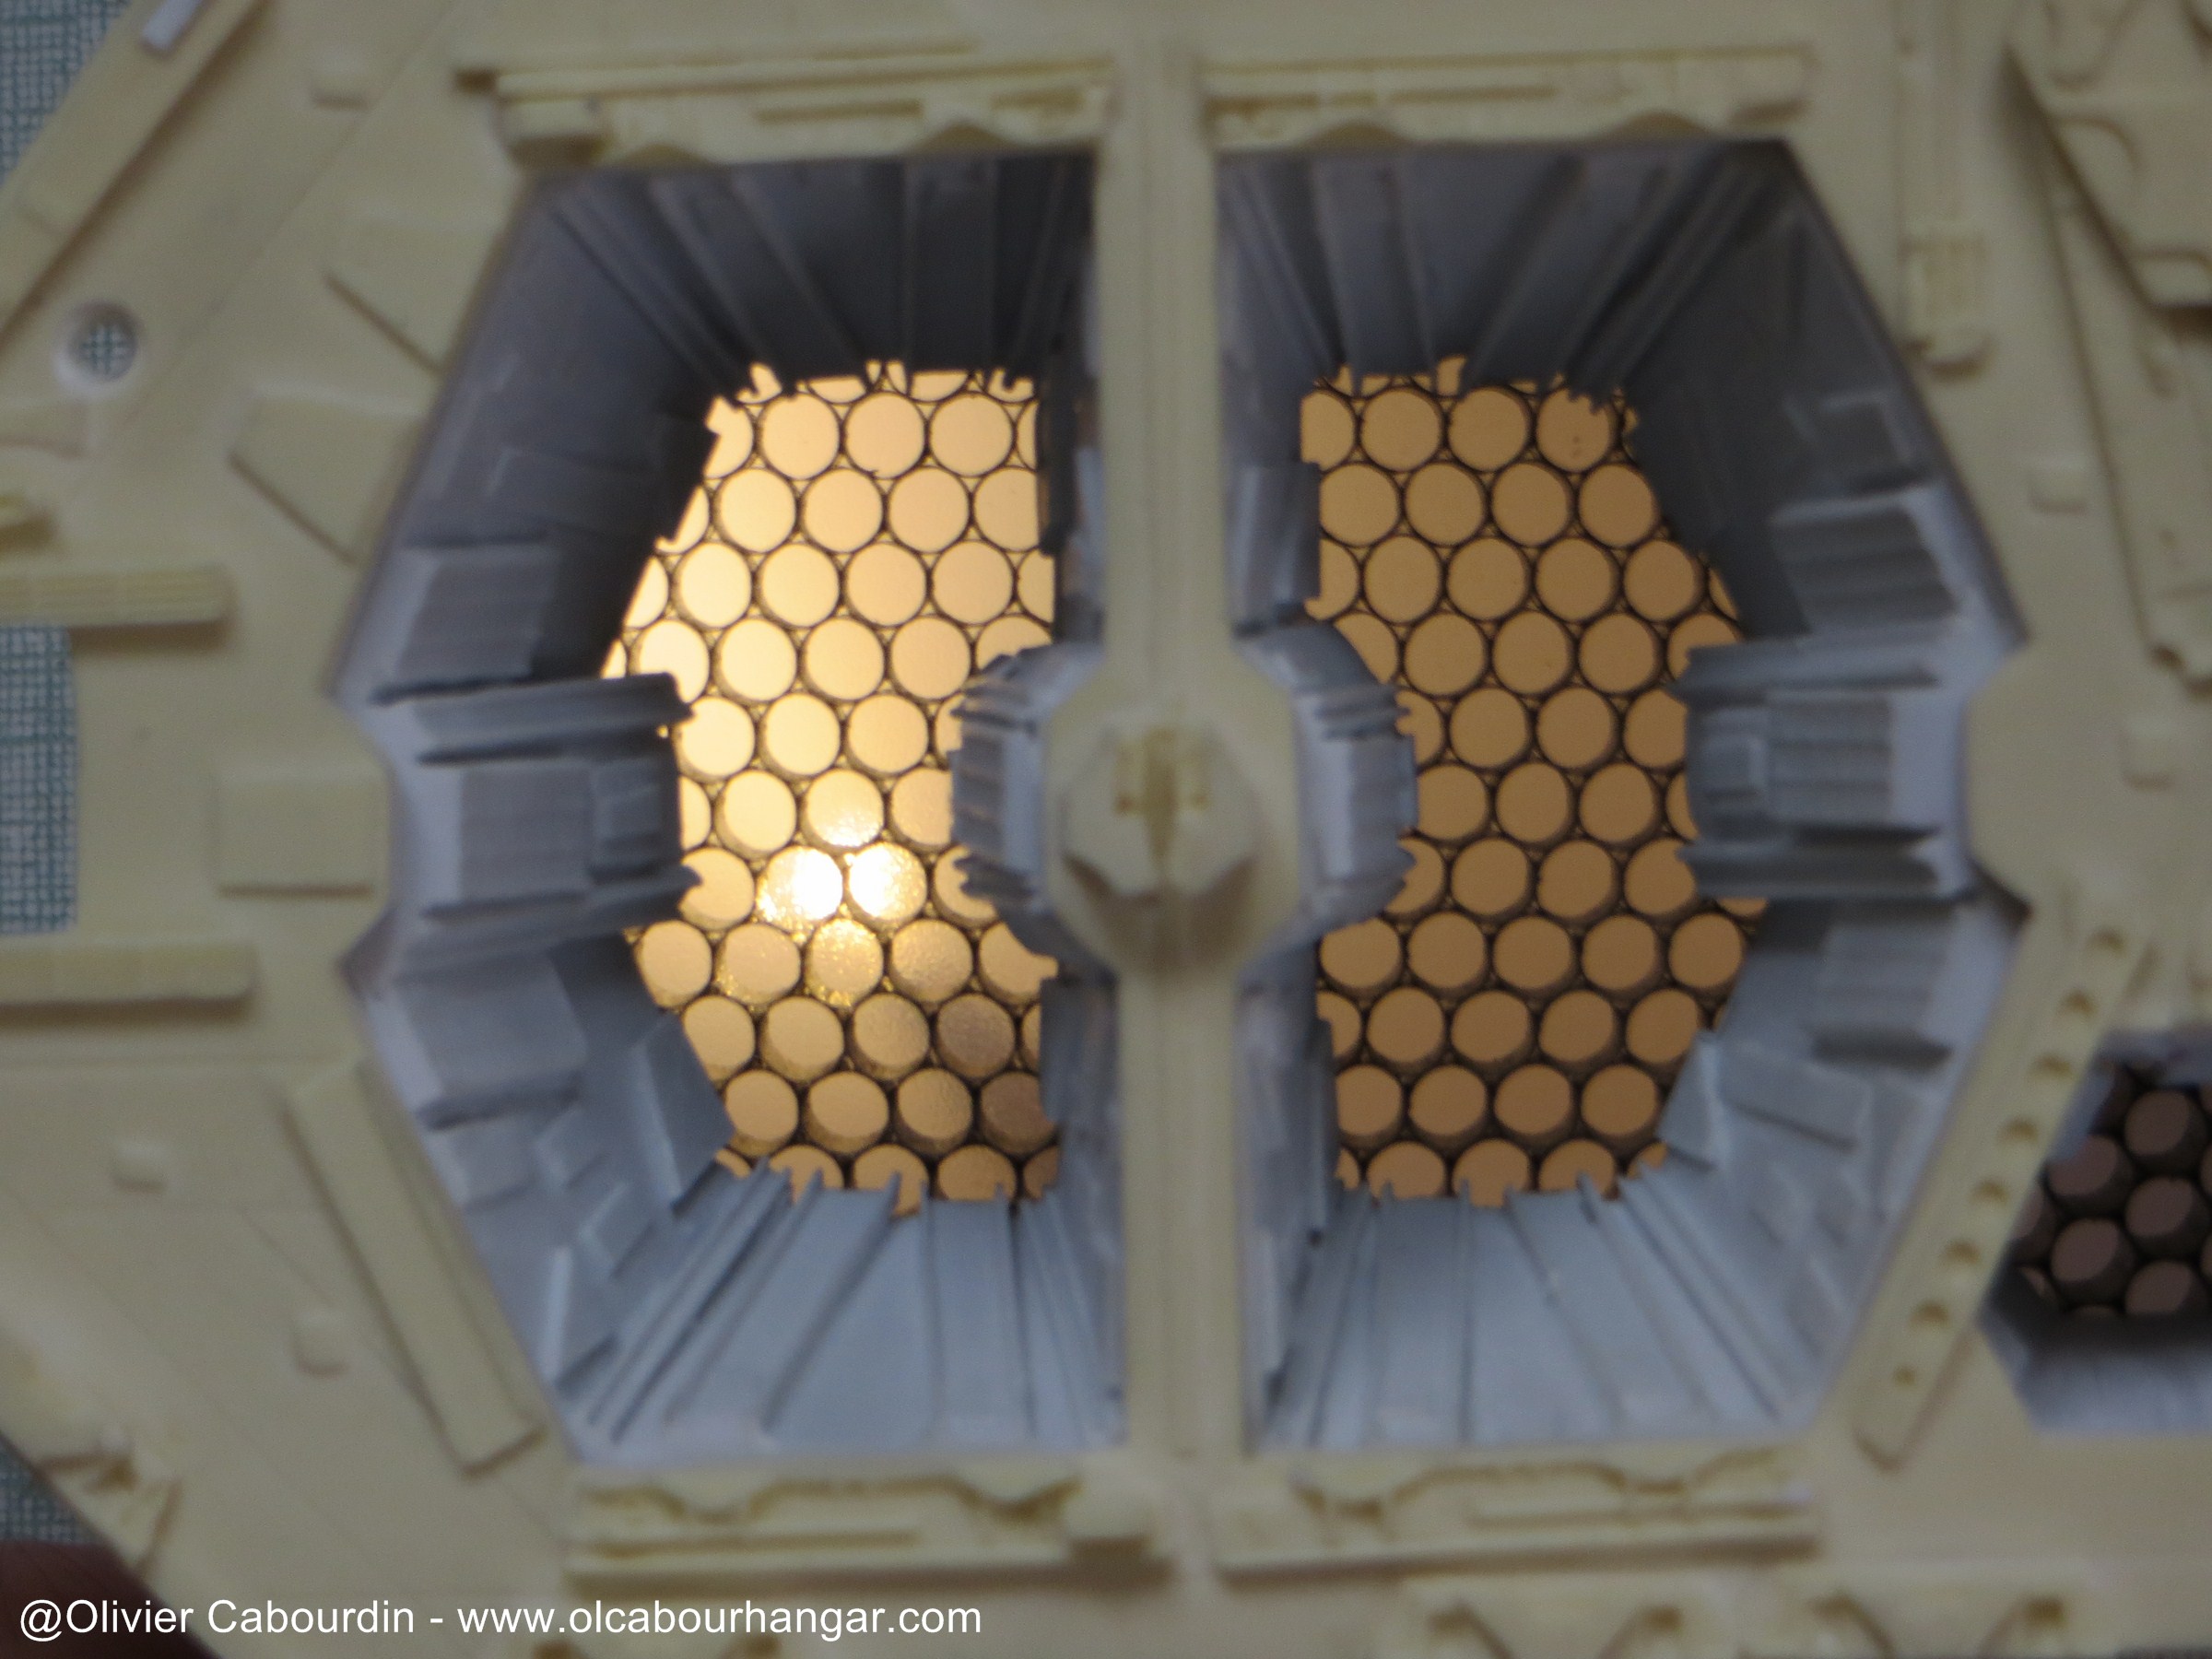
For the main reactors, I take cold white LED, which tend toward blue. If it is not blue enough, so I'll add a blue transparent sheet behind the honeycomb.
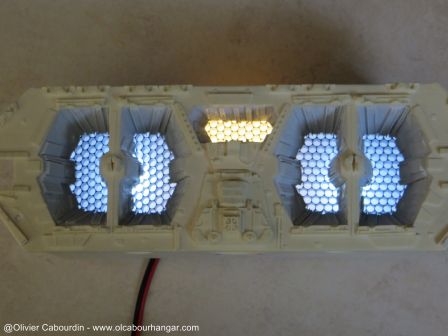
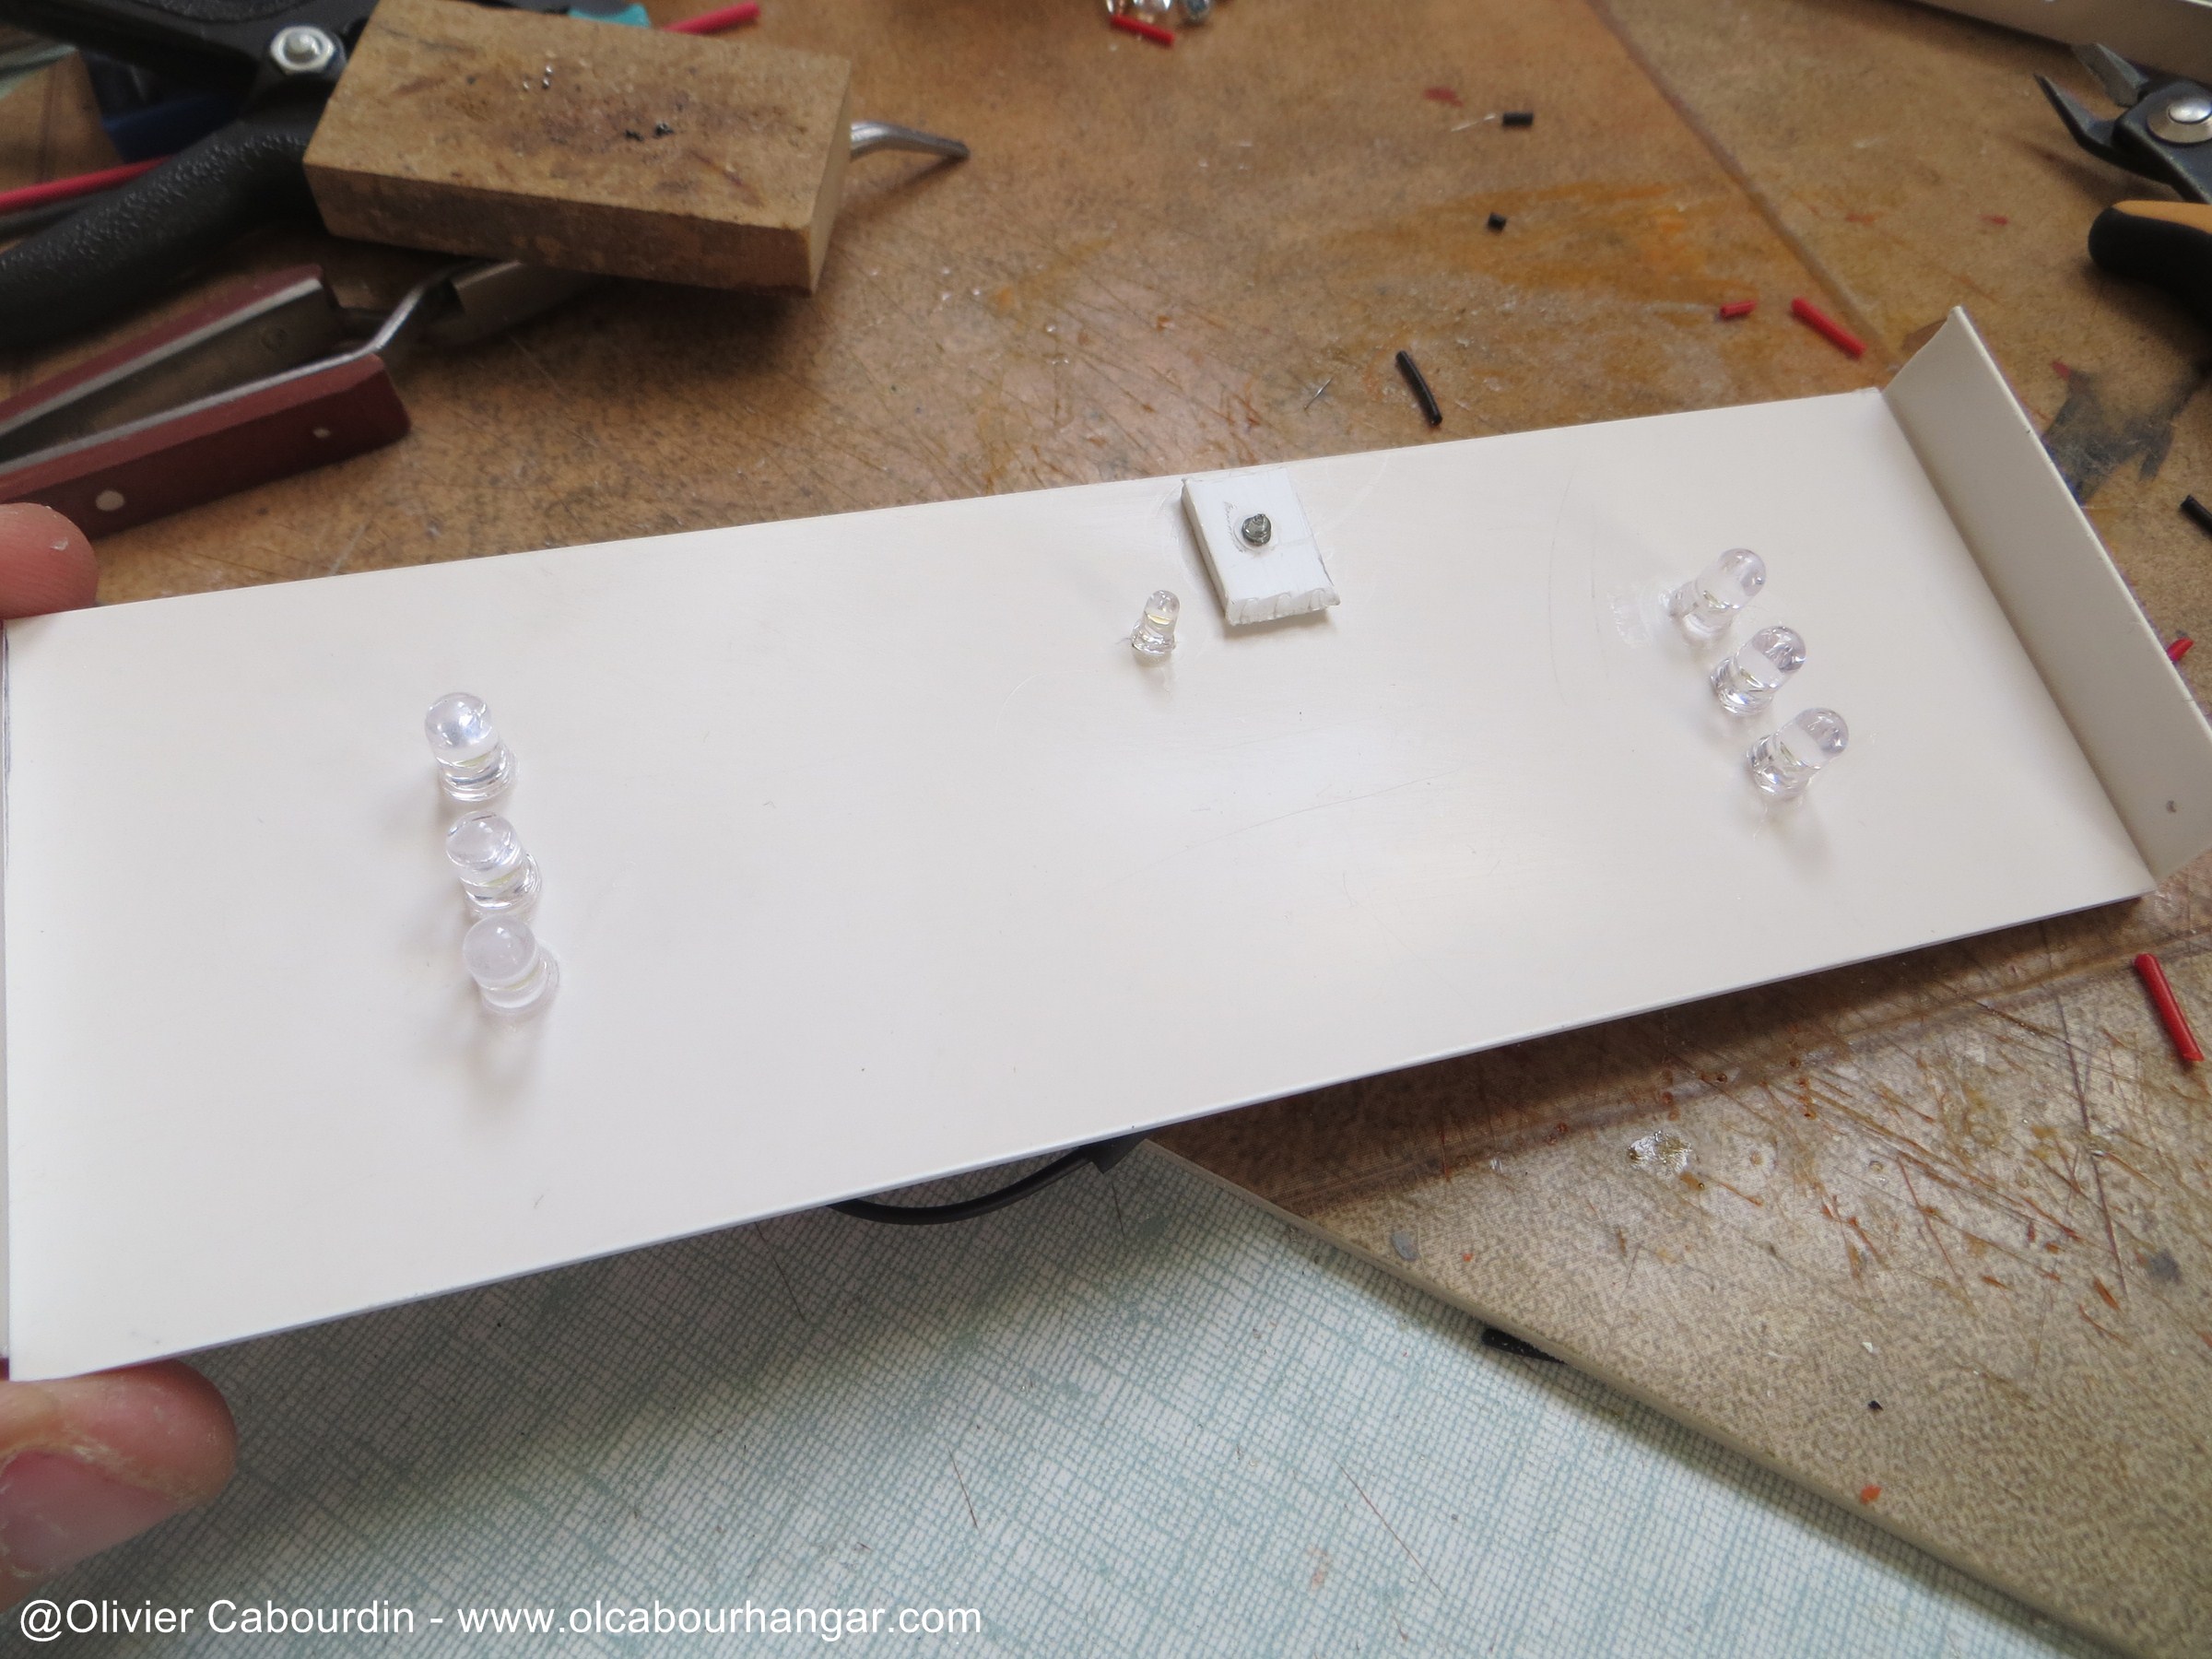
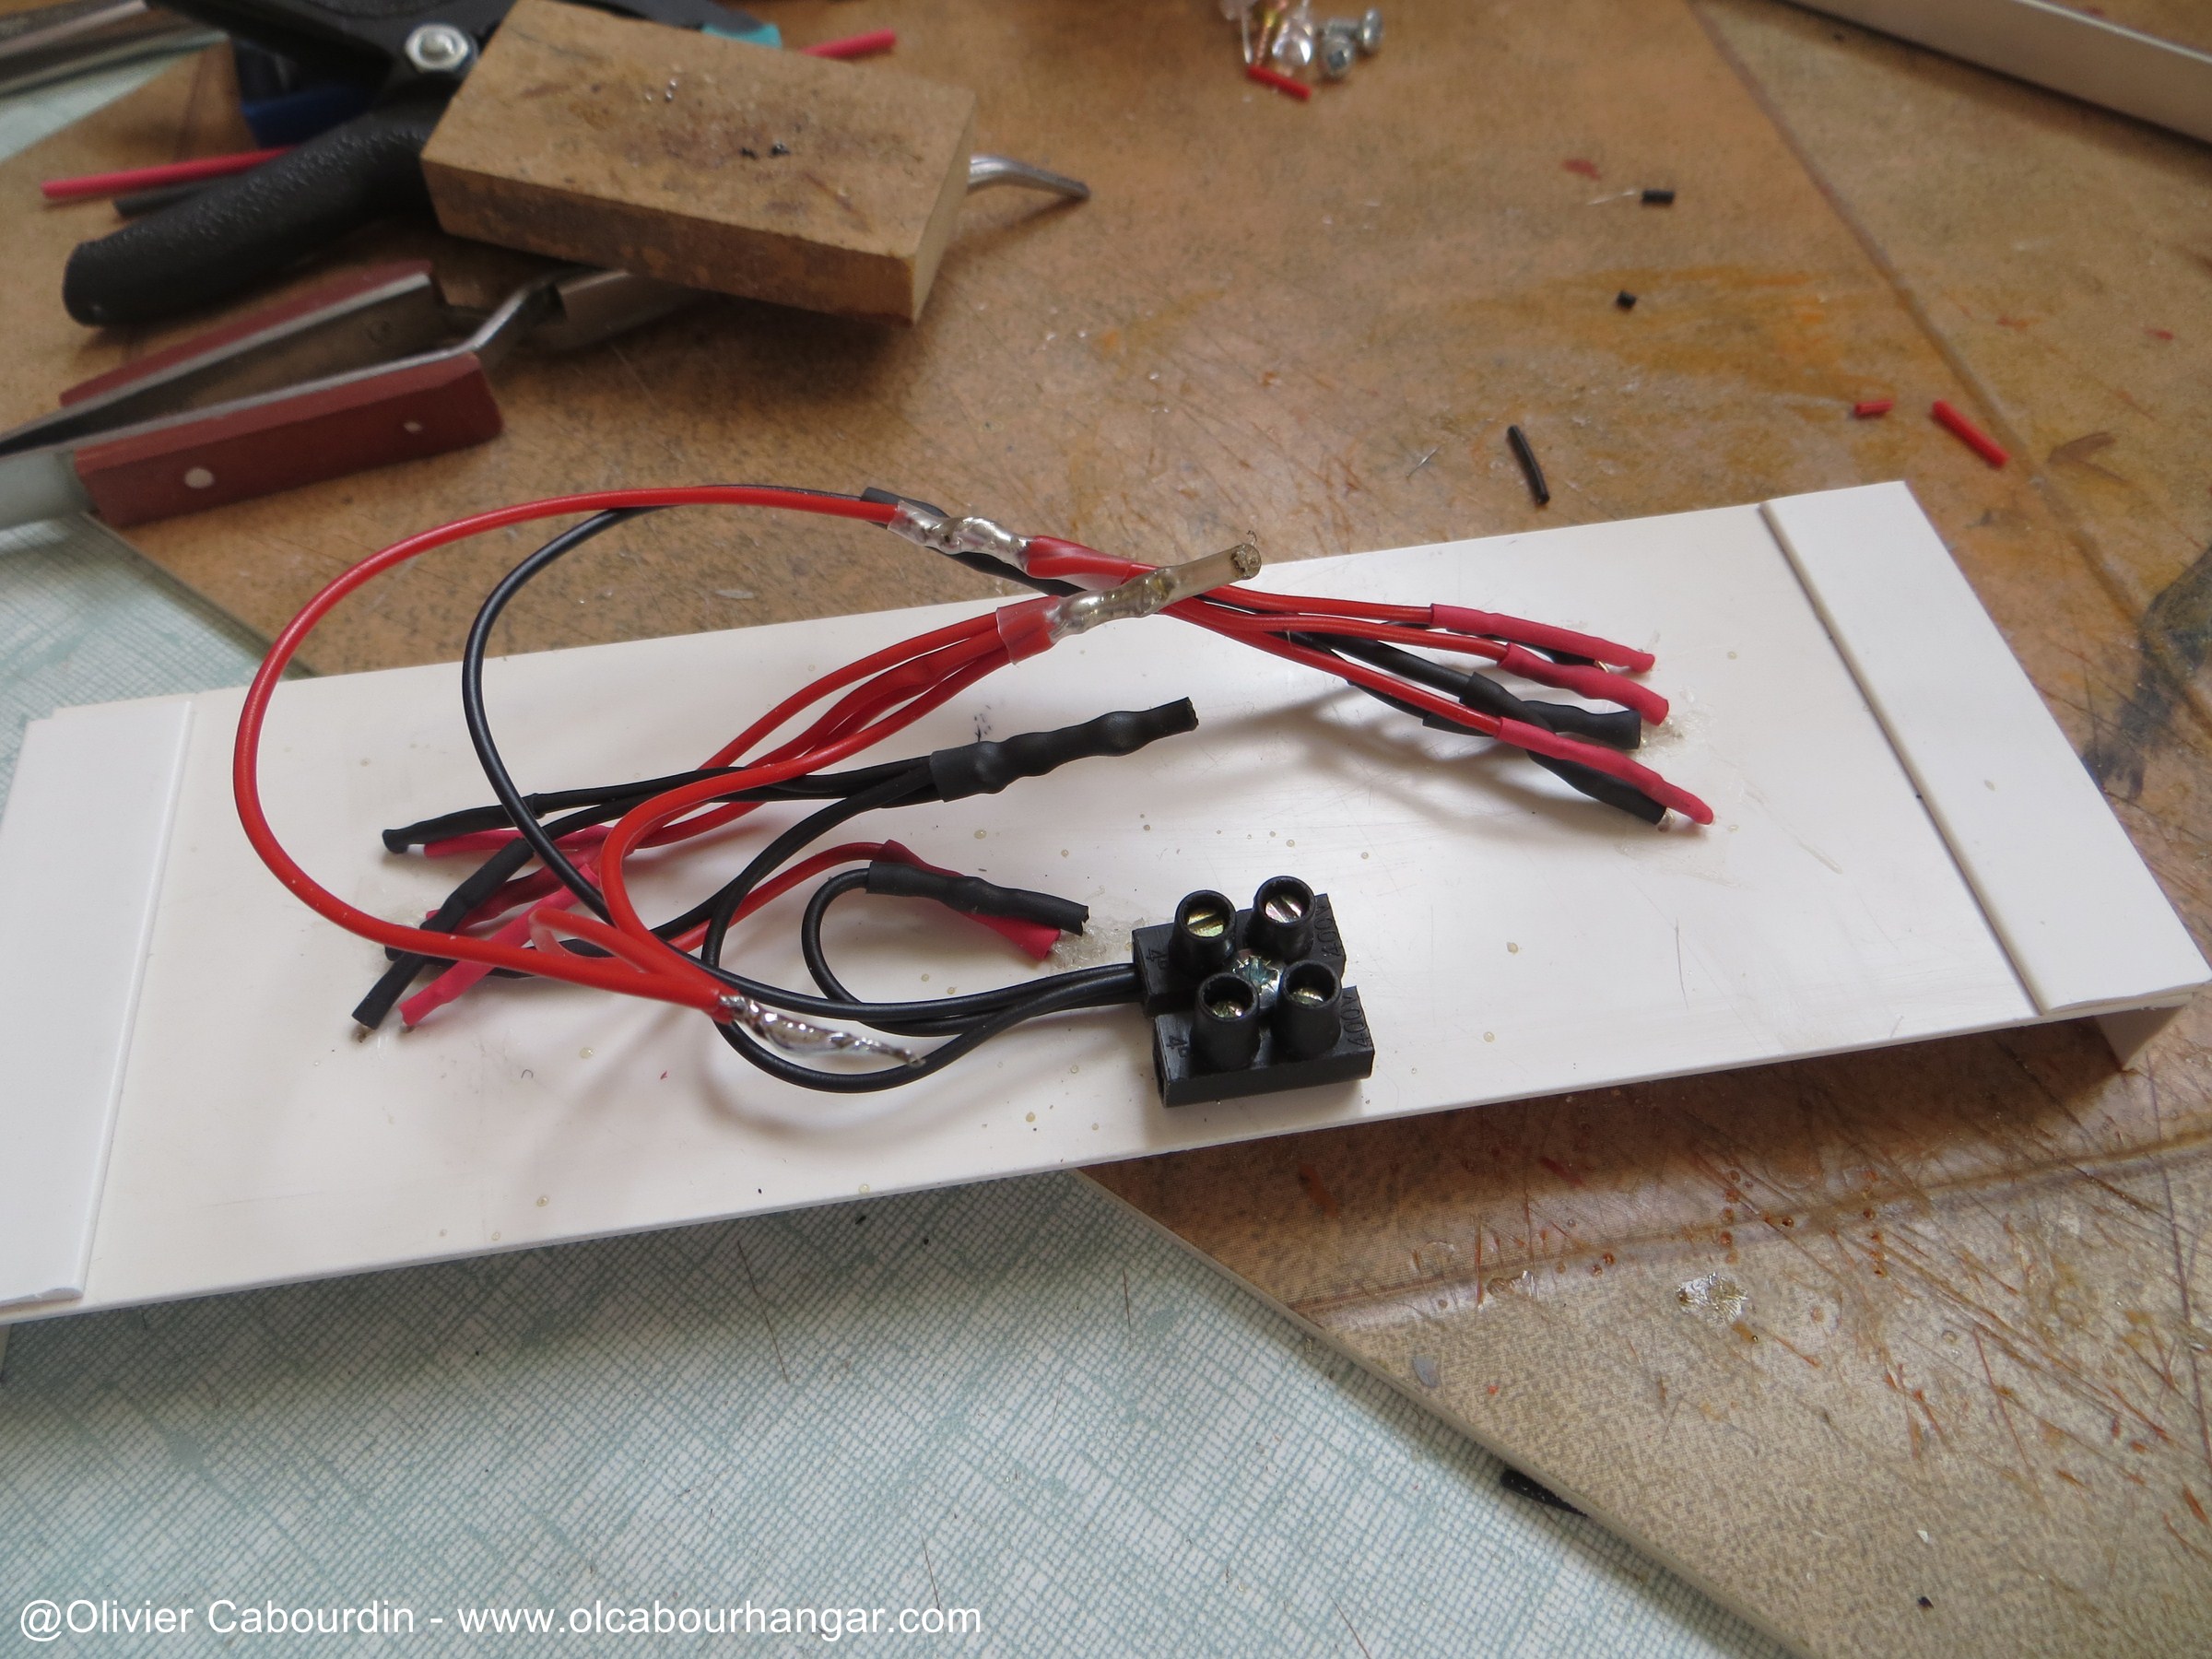
I found that it does not yet enlightened enough because the honeycomb grid limits the light diffusion. So I igh LEDs along the backbone, again to avoid direct lighting.
The box will remain removable, so I could still add even more later if necessary.


Between two engines, it is much less viewable and lighting is more uniform as being indirect
same with the small central reactor.


Red center engine is a warm white LED behind a red transparent sheet (like on the real way).
In this case I have to change the box to position the LED below (and more uniform indirect lighting), and out of sight. So I had to remove the "floor" I originally installed.
Rather than a red LED, I use a warm white led. A red or clear transparent sheet painted clear red will adjust the right shade.
For the main reactors, I take cold white LED, which tend toward blue. If it is not blue enough, so I'll add a blue transparent sheet behind the honeycomb.


I found that it does not yet enlightened enough because the honeycomb grid limits the light diffusion. So I igh LEDs along the backbone, again to avoid direct lighting.
The box will remain removable, so I could still add even more later if necessary.
Another quick question. do you have any suggestions for drilling a tiny hole in models? i have the standar nail assist kit and the hole it makes is relatively small but im looking for a drill bit/device that can make smaller holes for the smaller fiberoptics. anyone have any idea or post a link where i can purchase one?
thanks,
thanks,
cabour
Sr Member
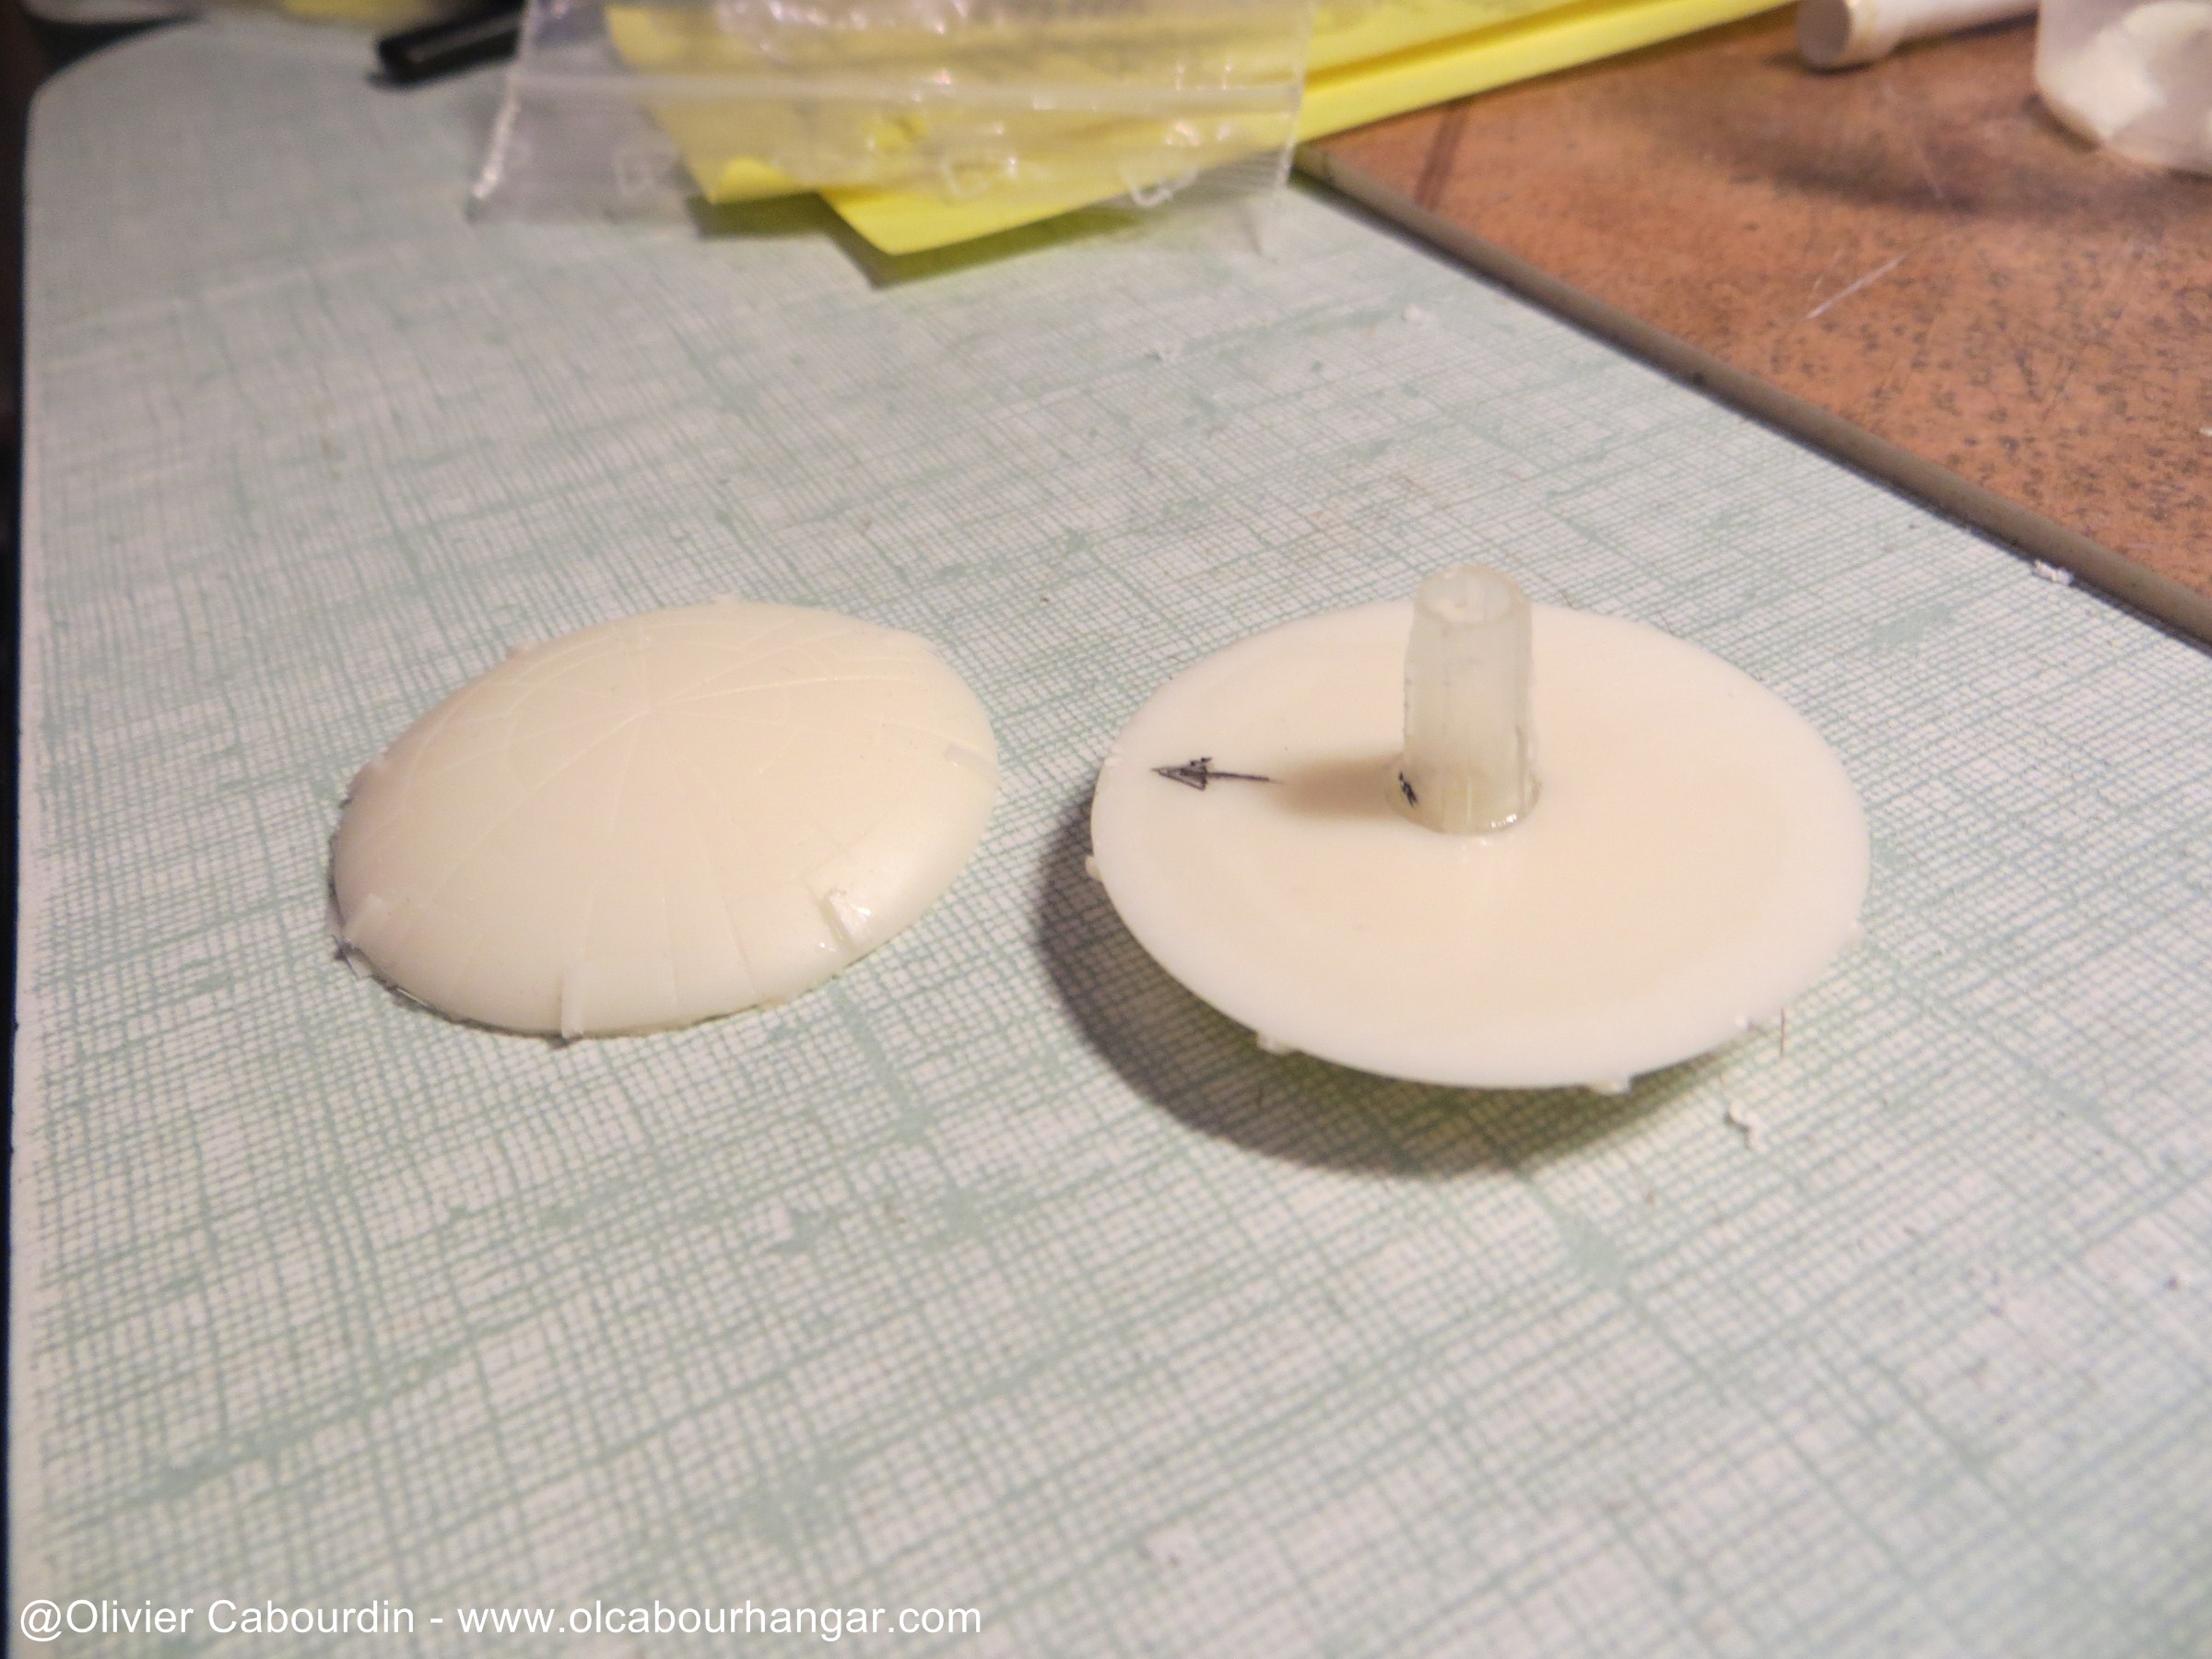
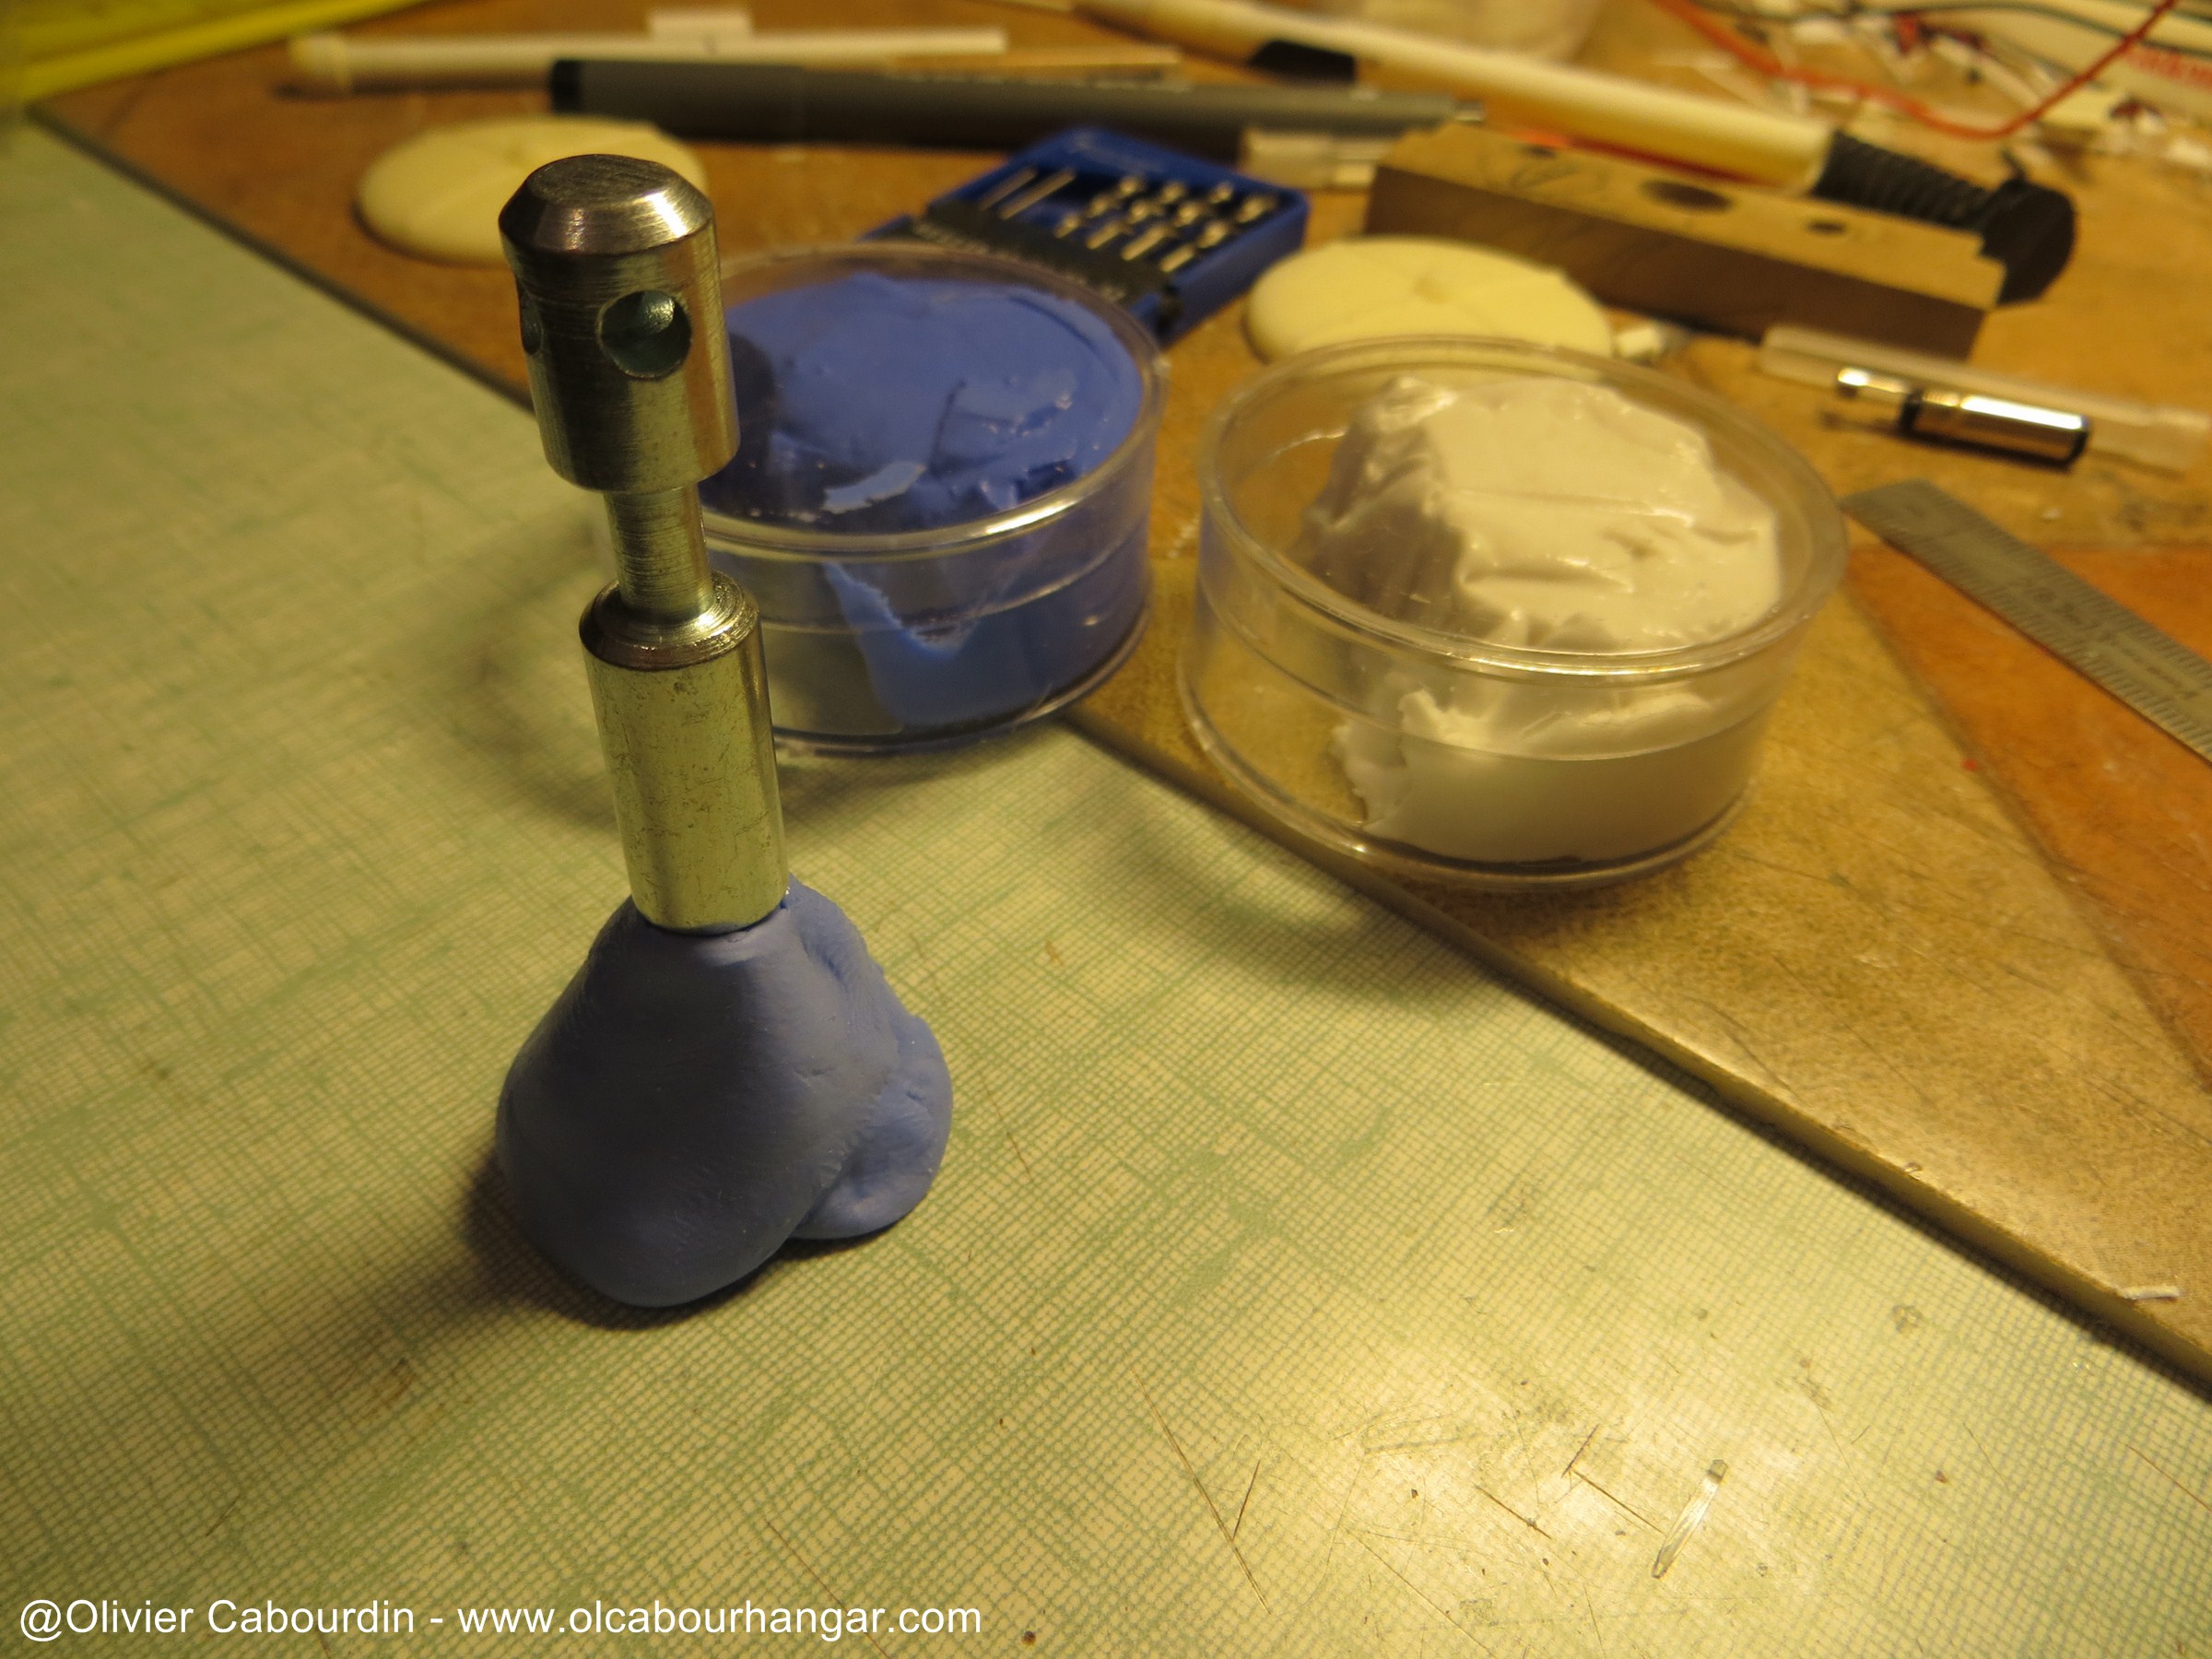
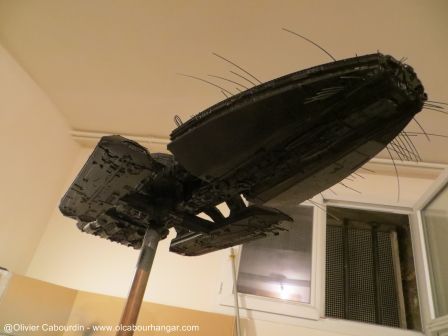
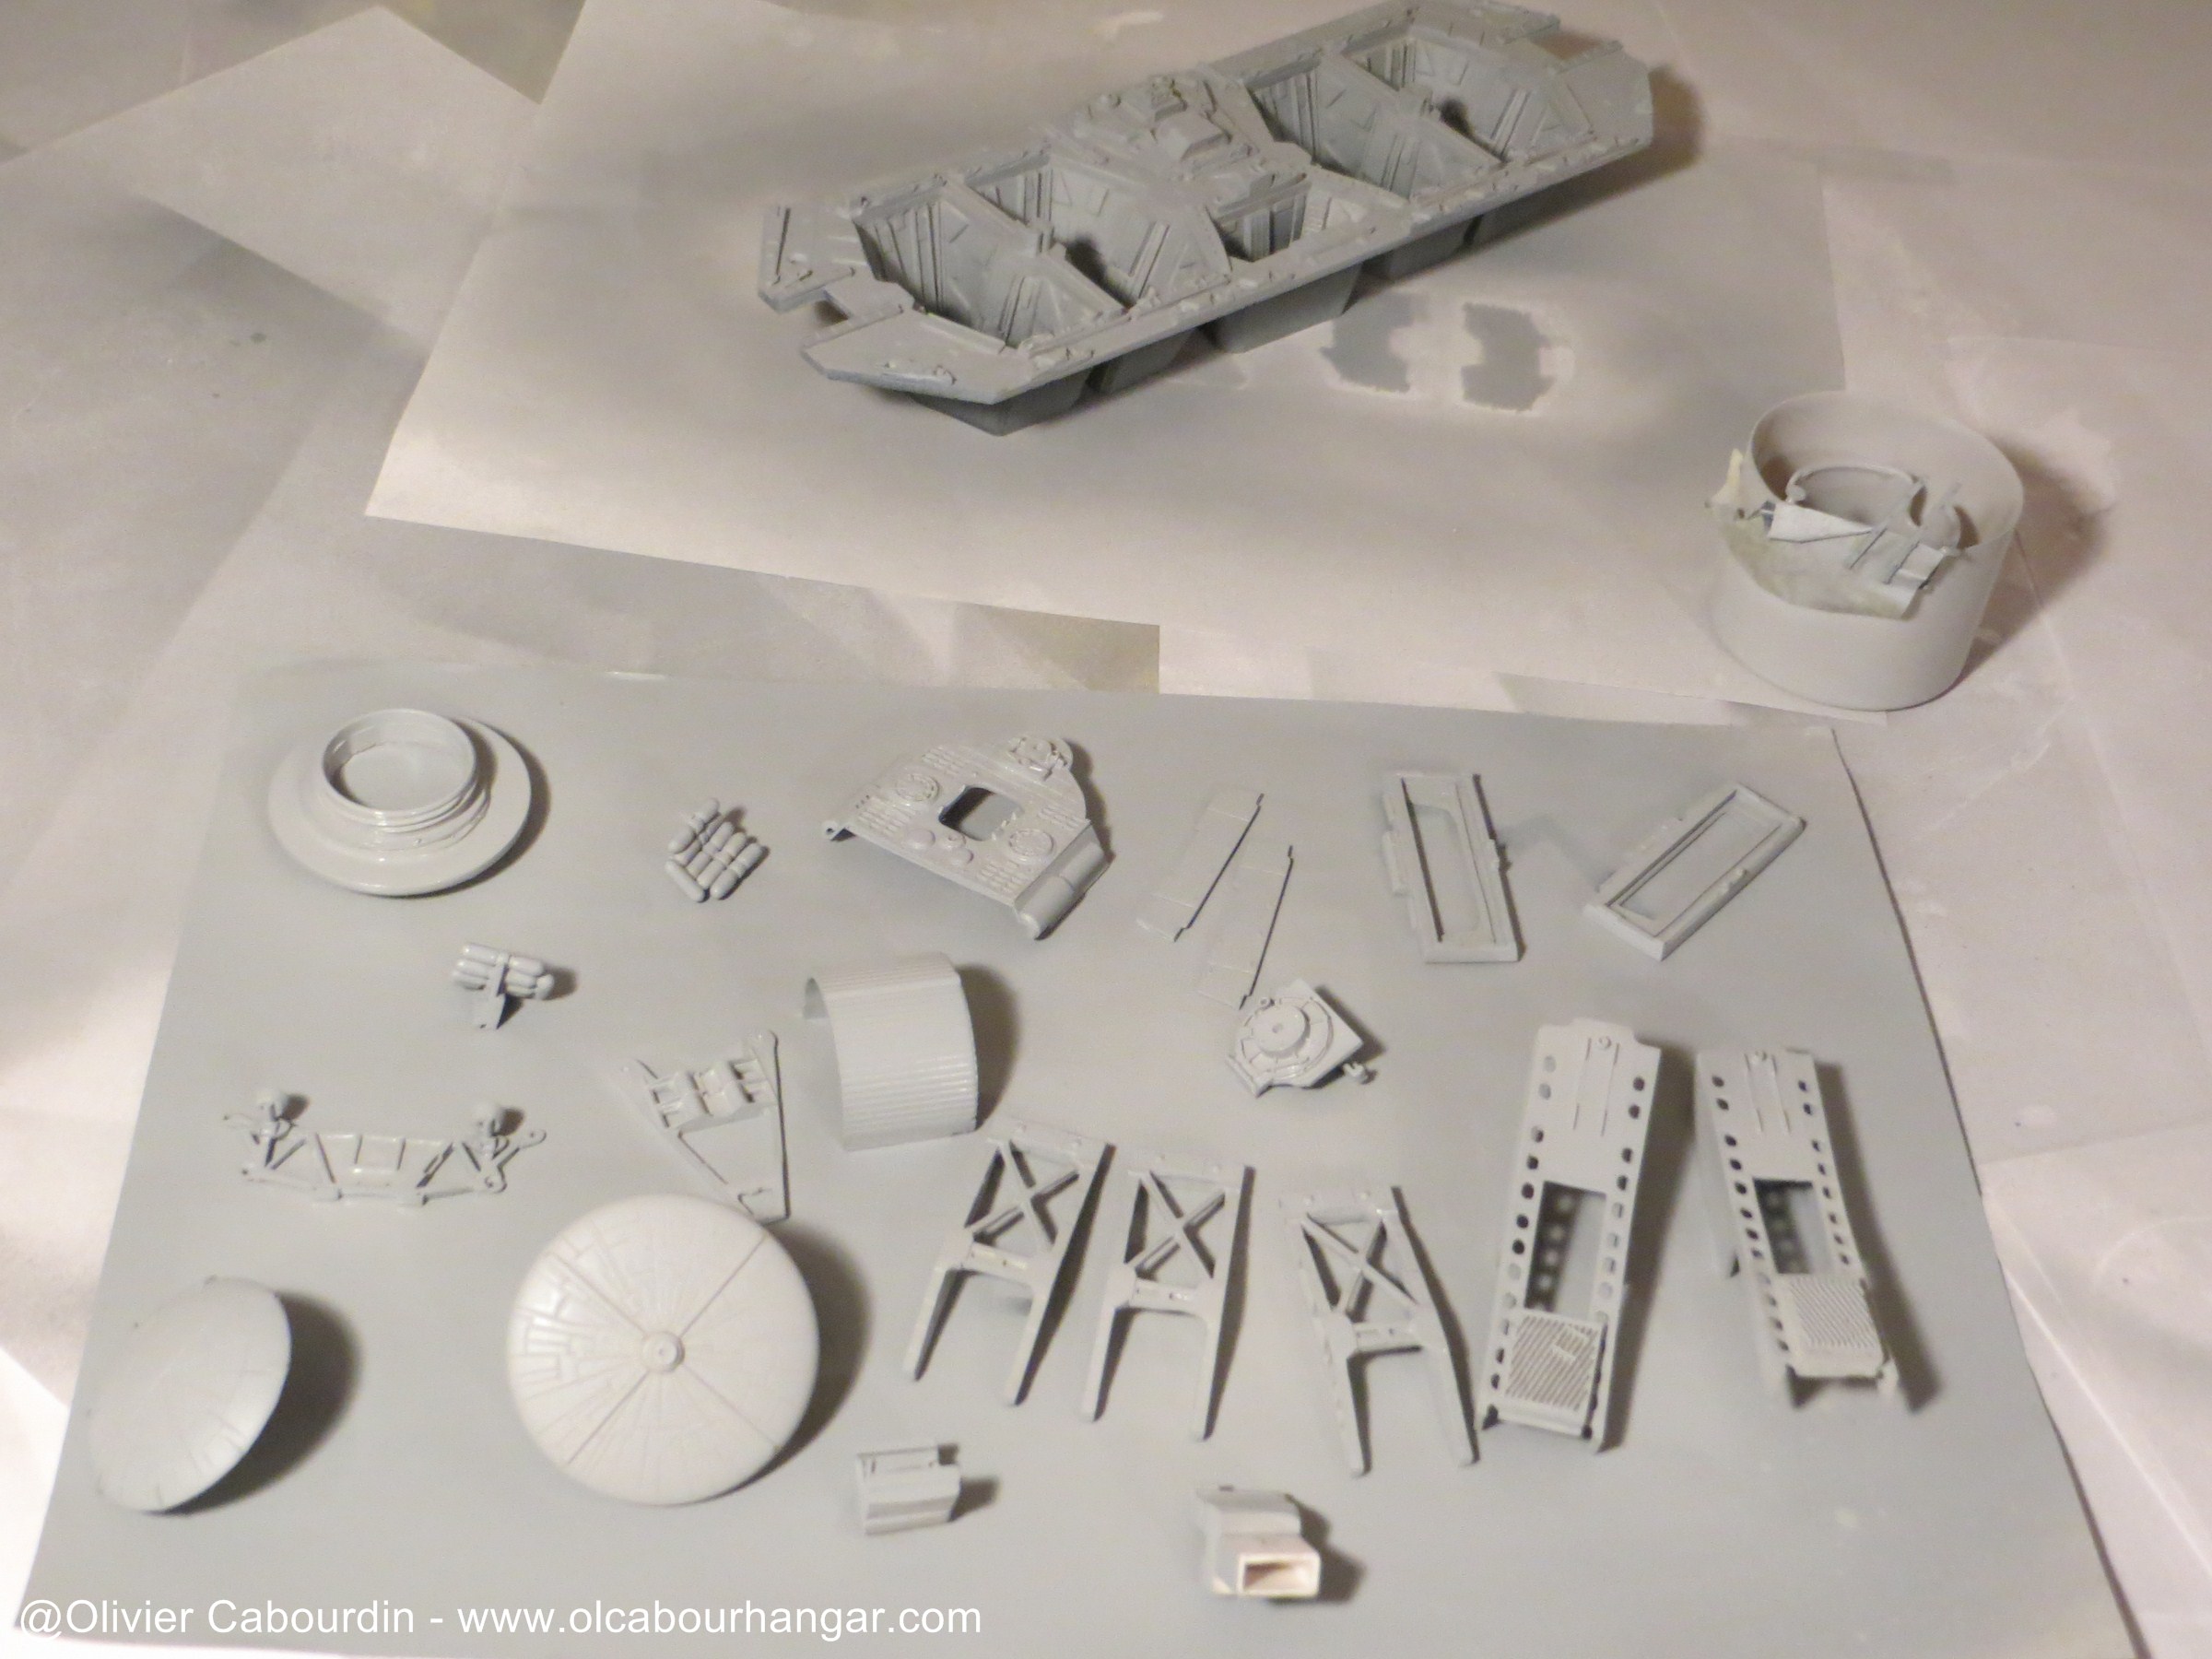
I finish the domes to keep them removable (behind will be hide the electric supply and the support openings).
Here, a flexible tube is used
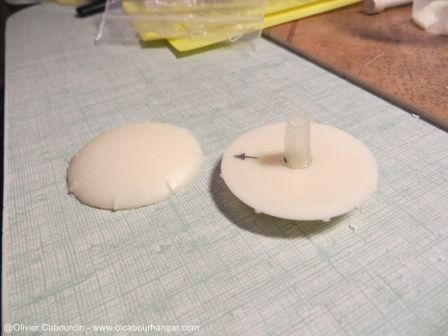
There, I take an mold of the thread that I casted in resin. A screw is inserted to secure bonding.

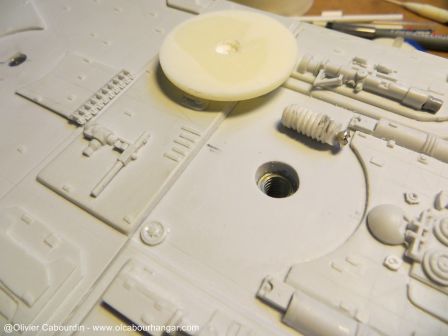
Below, I use a hooded bathrobe for optical lens that fits perfectly on the tube (table leg, you remember ?). This dome will be rarely used because the Galactica will be 99.9% of the time stand from there.
Here, a flexible tube is used
There, I take an mold of the thread that I casted in resin. A screw is inserted to secure bonding.

Below, I use a hooded bathrobe for optical lens that fits perfectly on the tube (table leg, you remember ?). This dome will be rarely used because the Galactica will be 99.9% of the time stand from there.
DarthVador
Active Member
Very nice cabour,
I really like everything you have done on your BSG..
Clarence
I really like everything you have done on your BSG..
Clarence
cabour
Sr Member
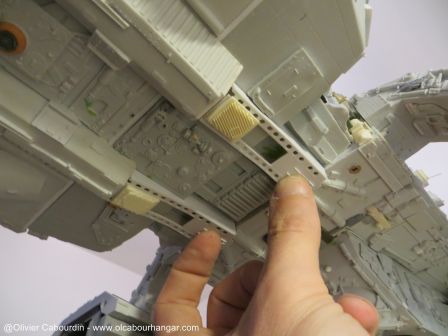
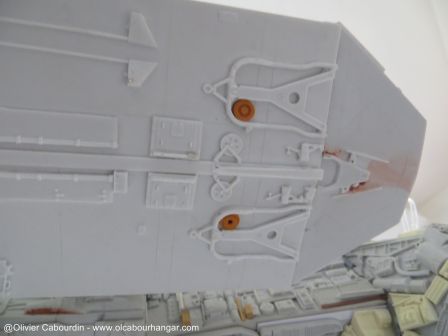
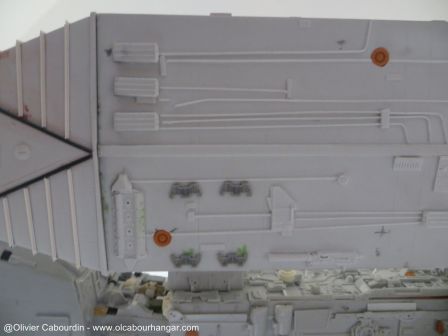
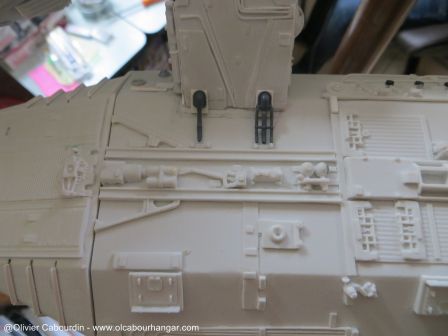
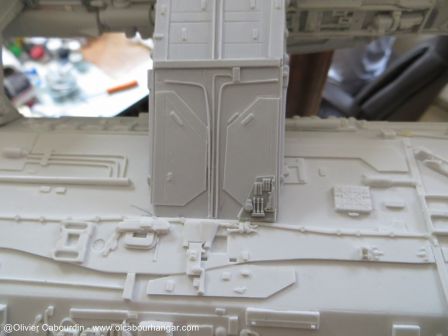
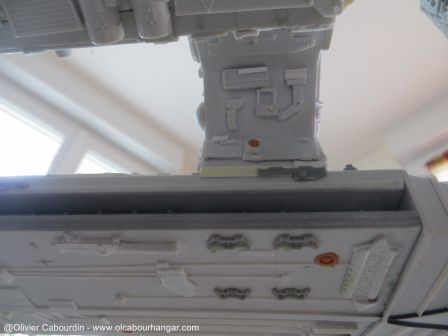
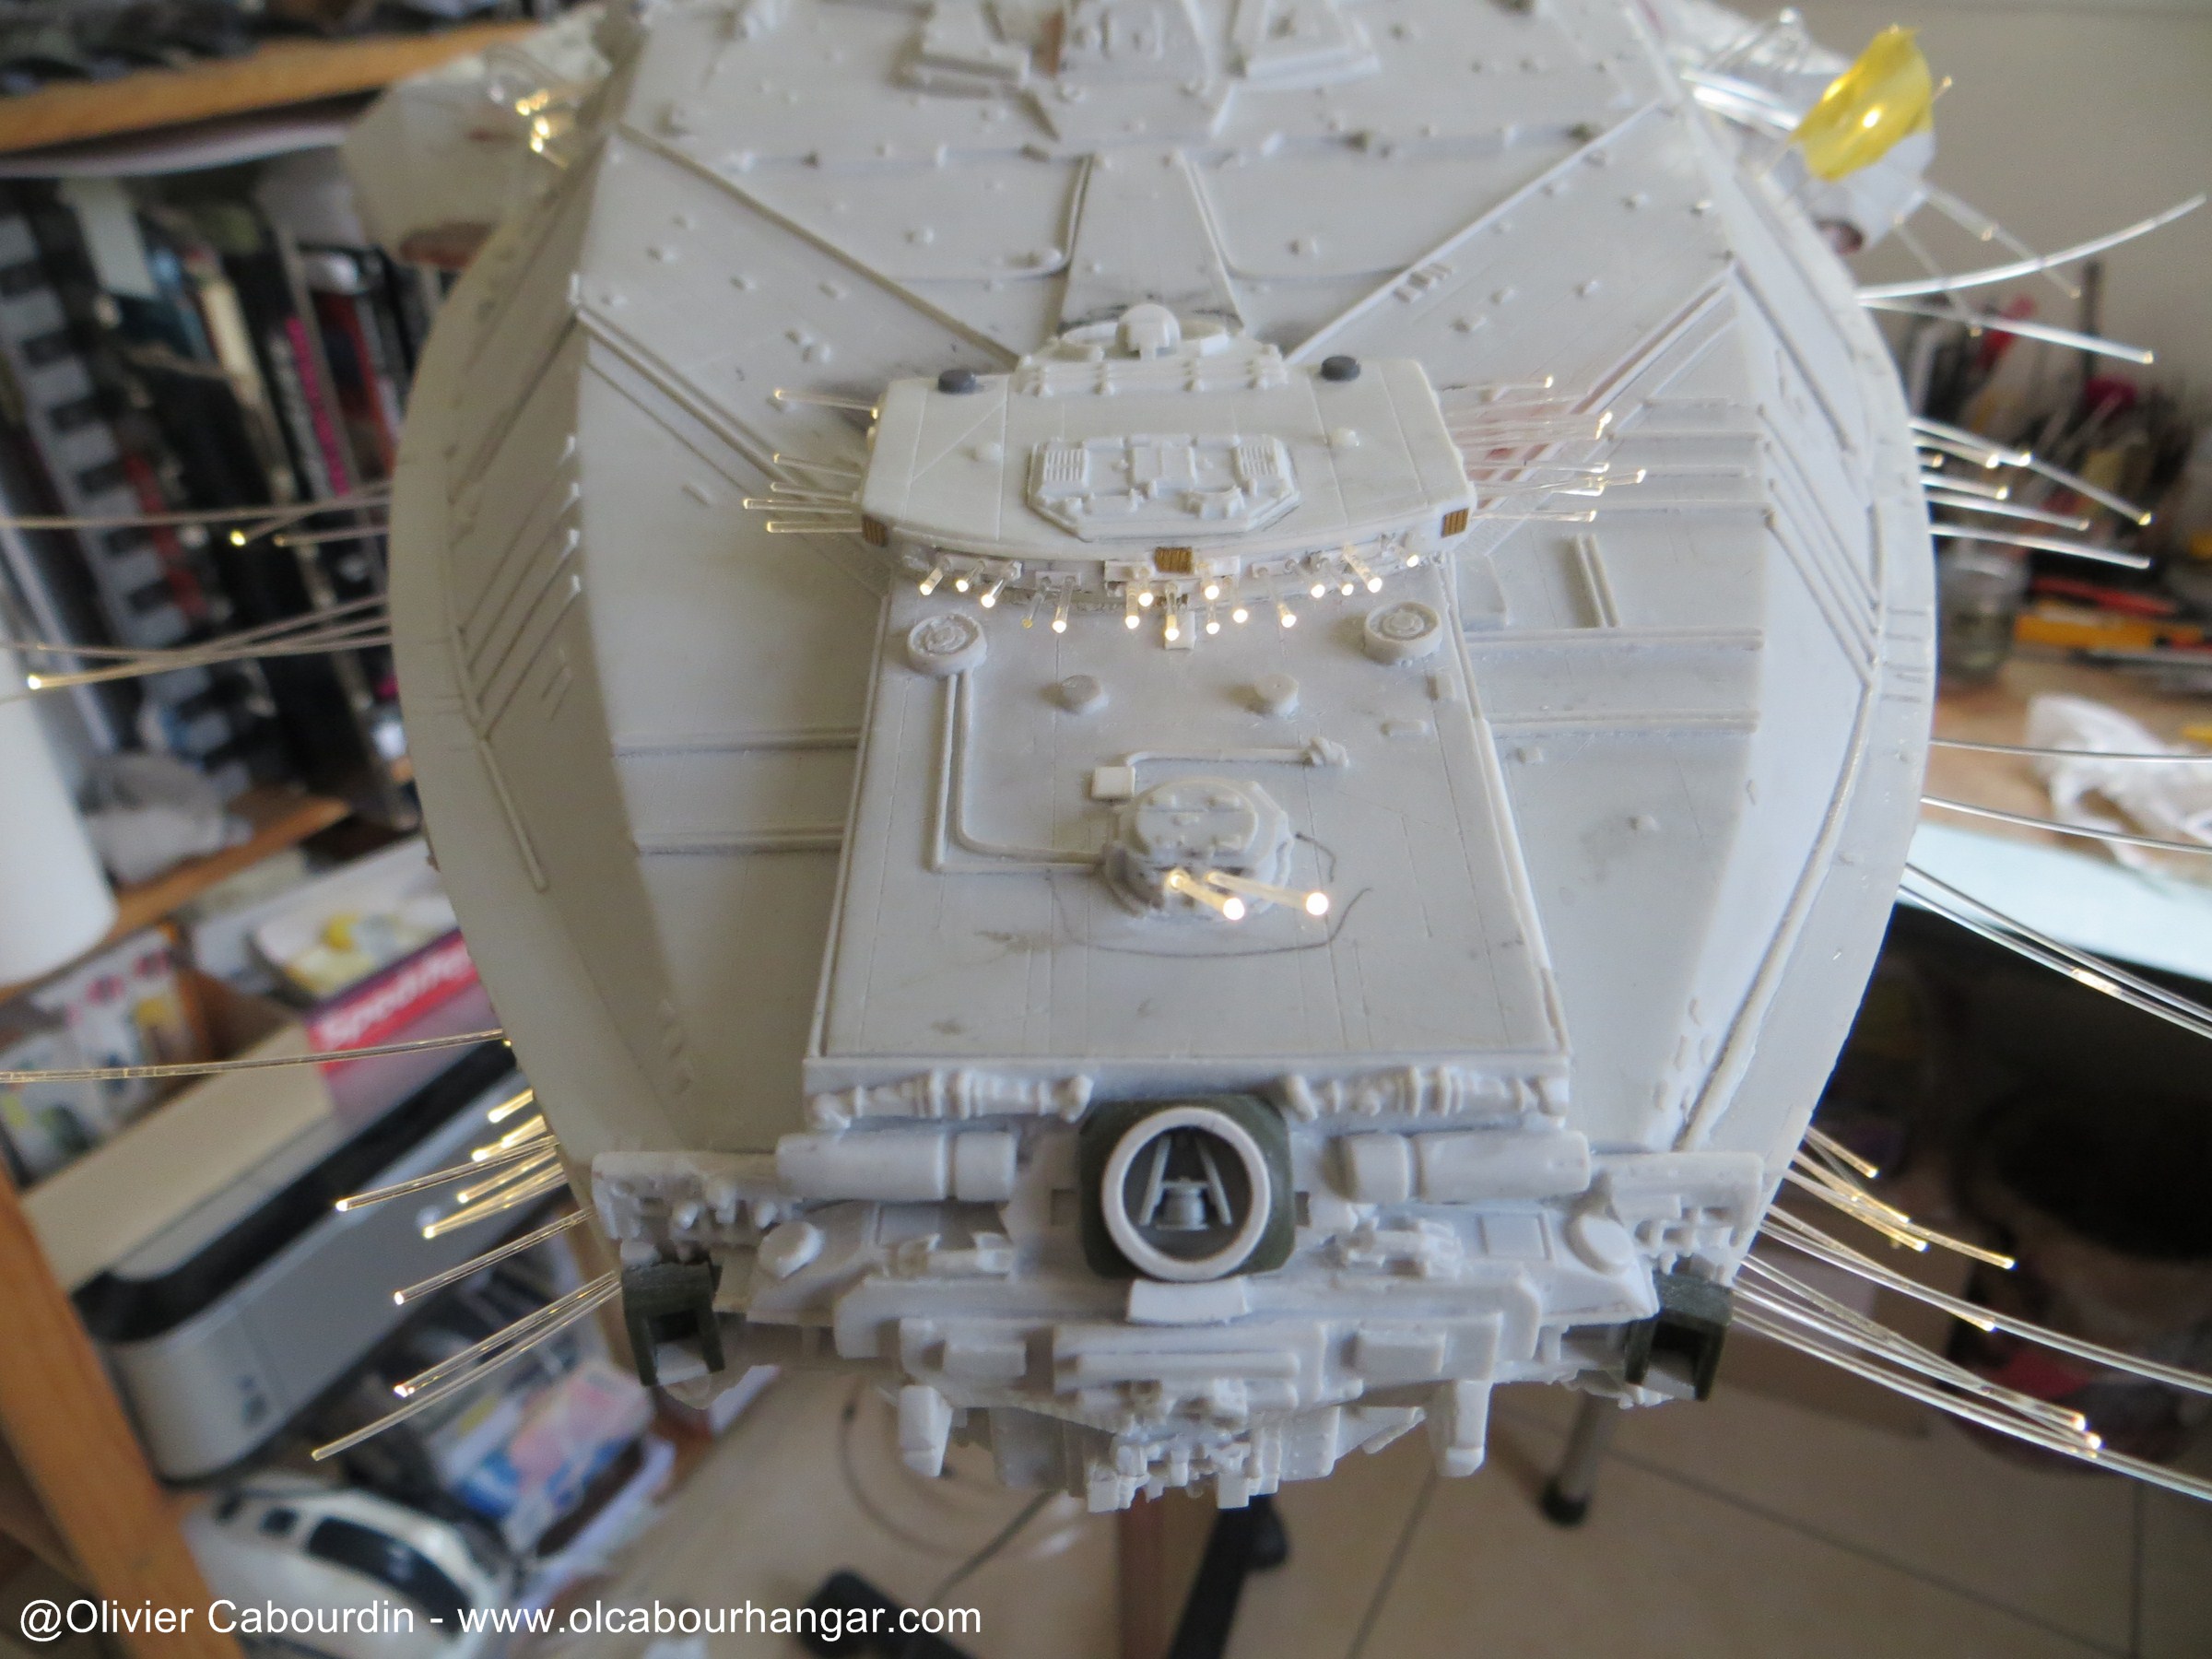
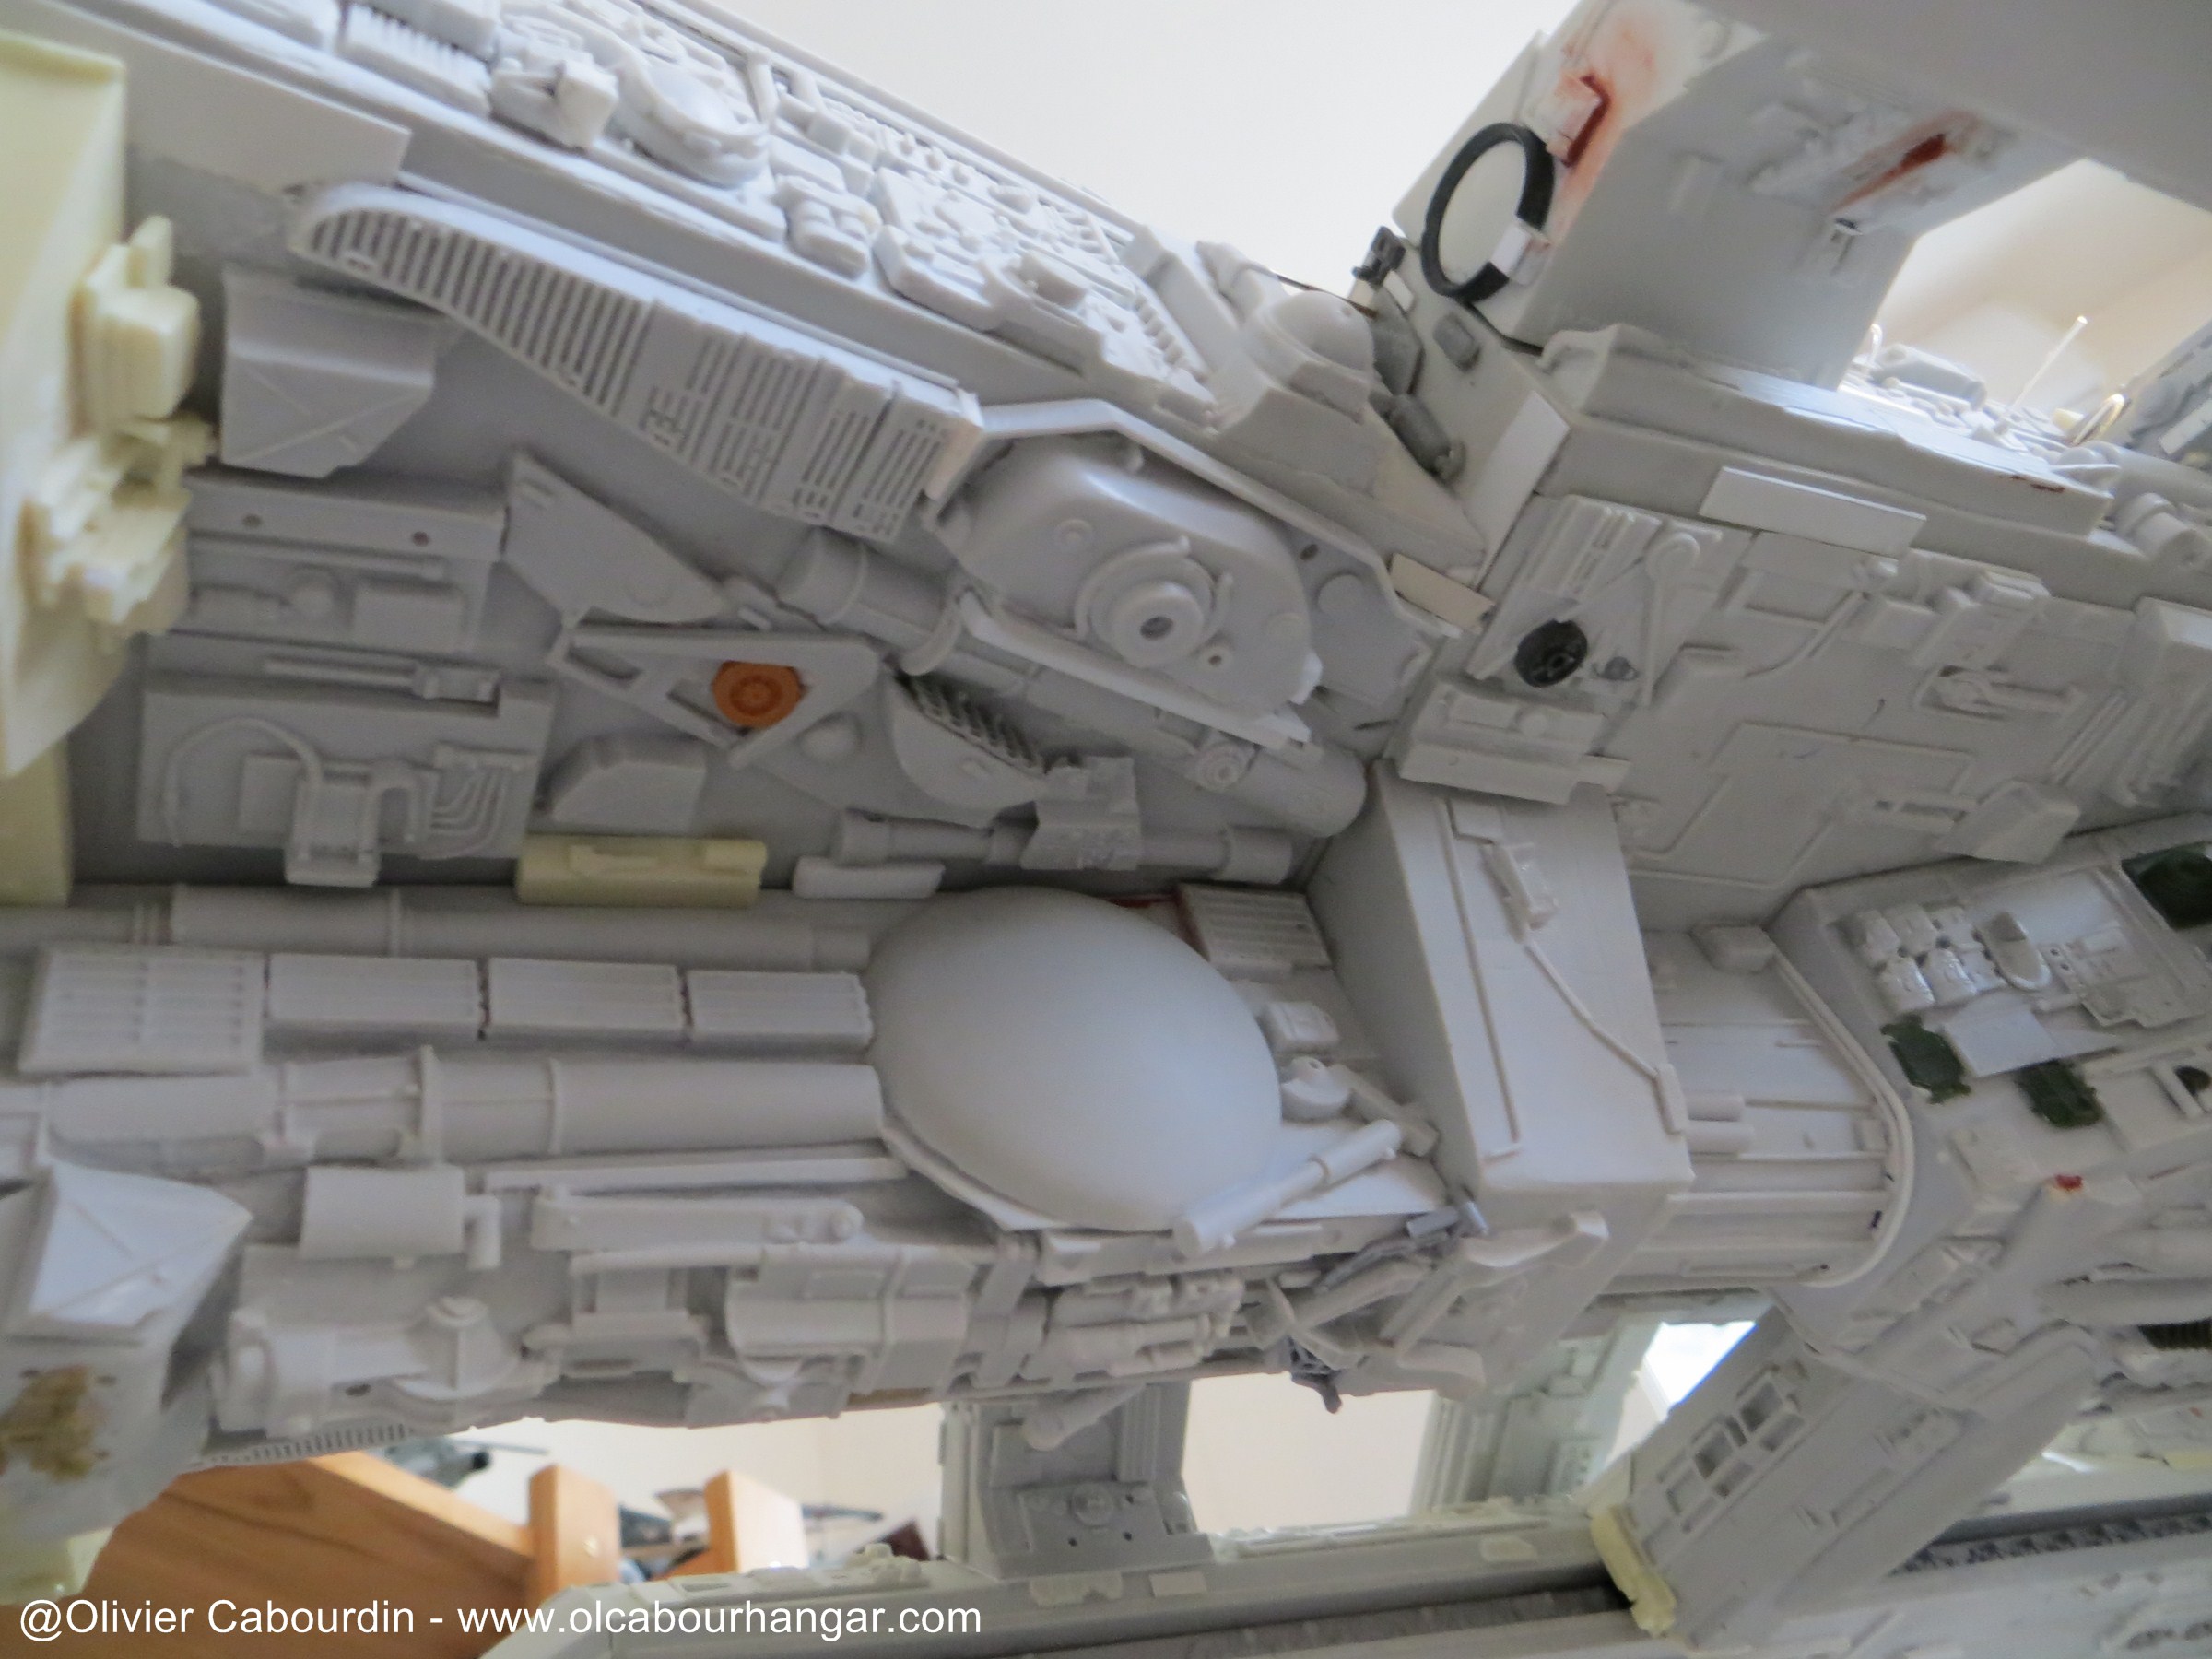
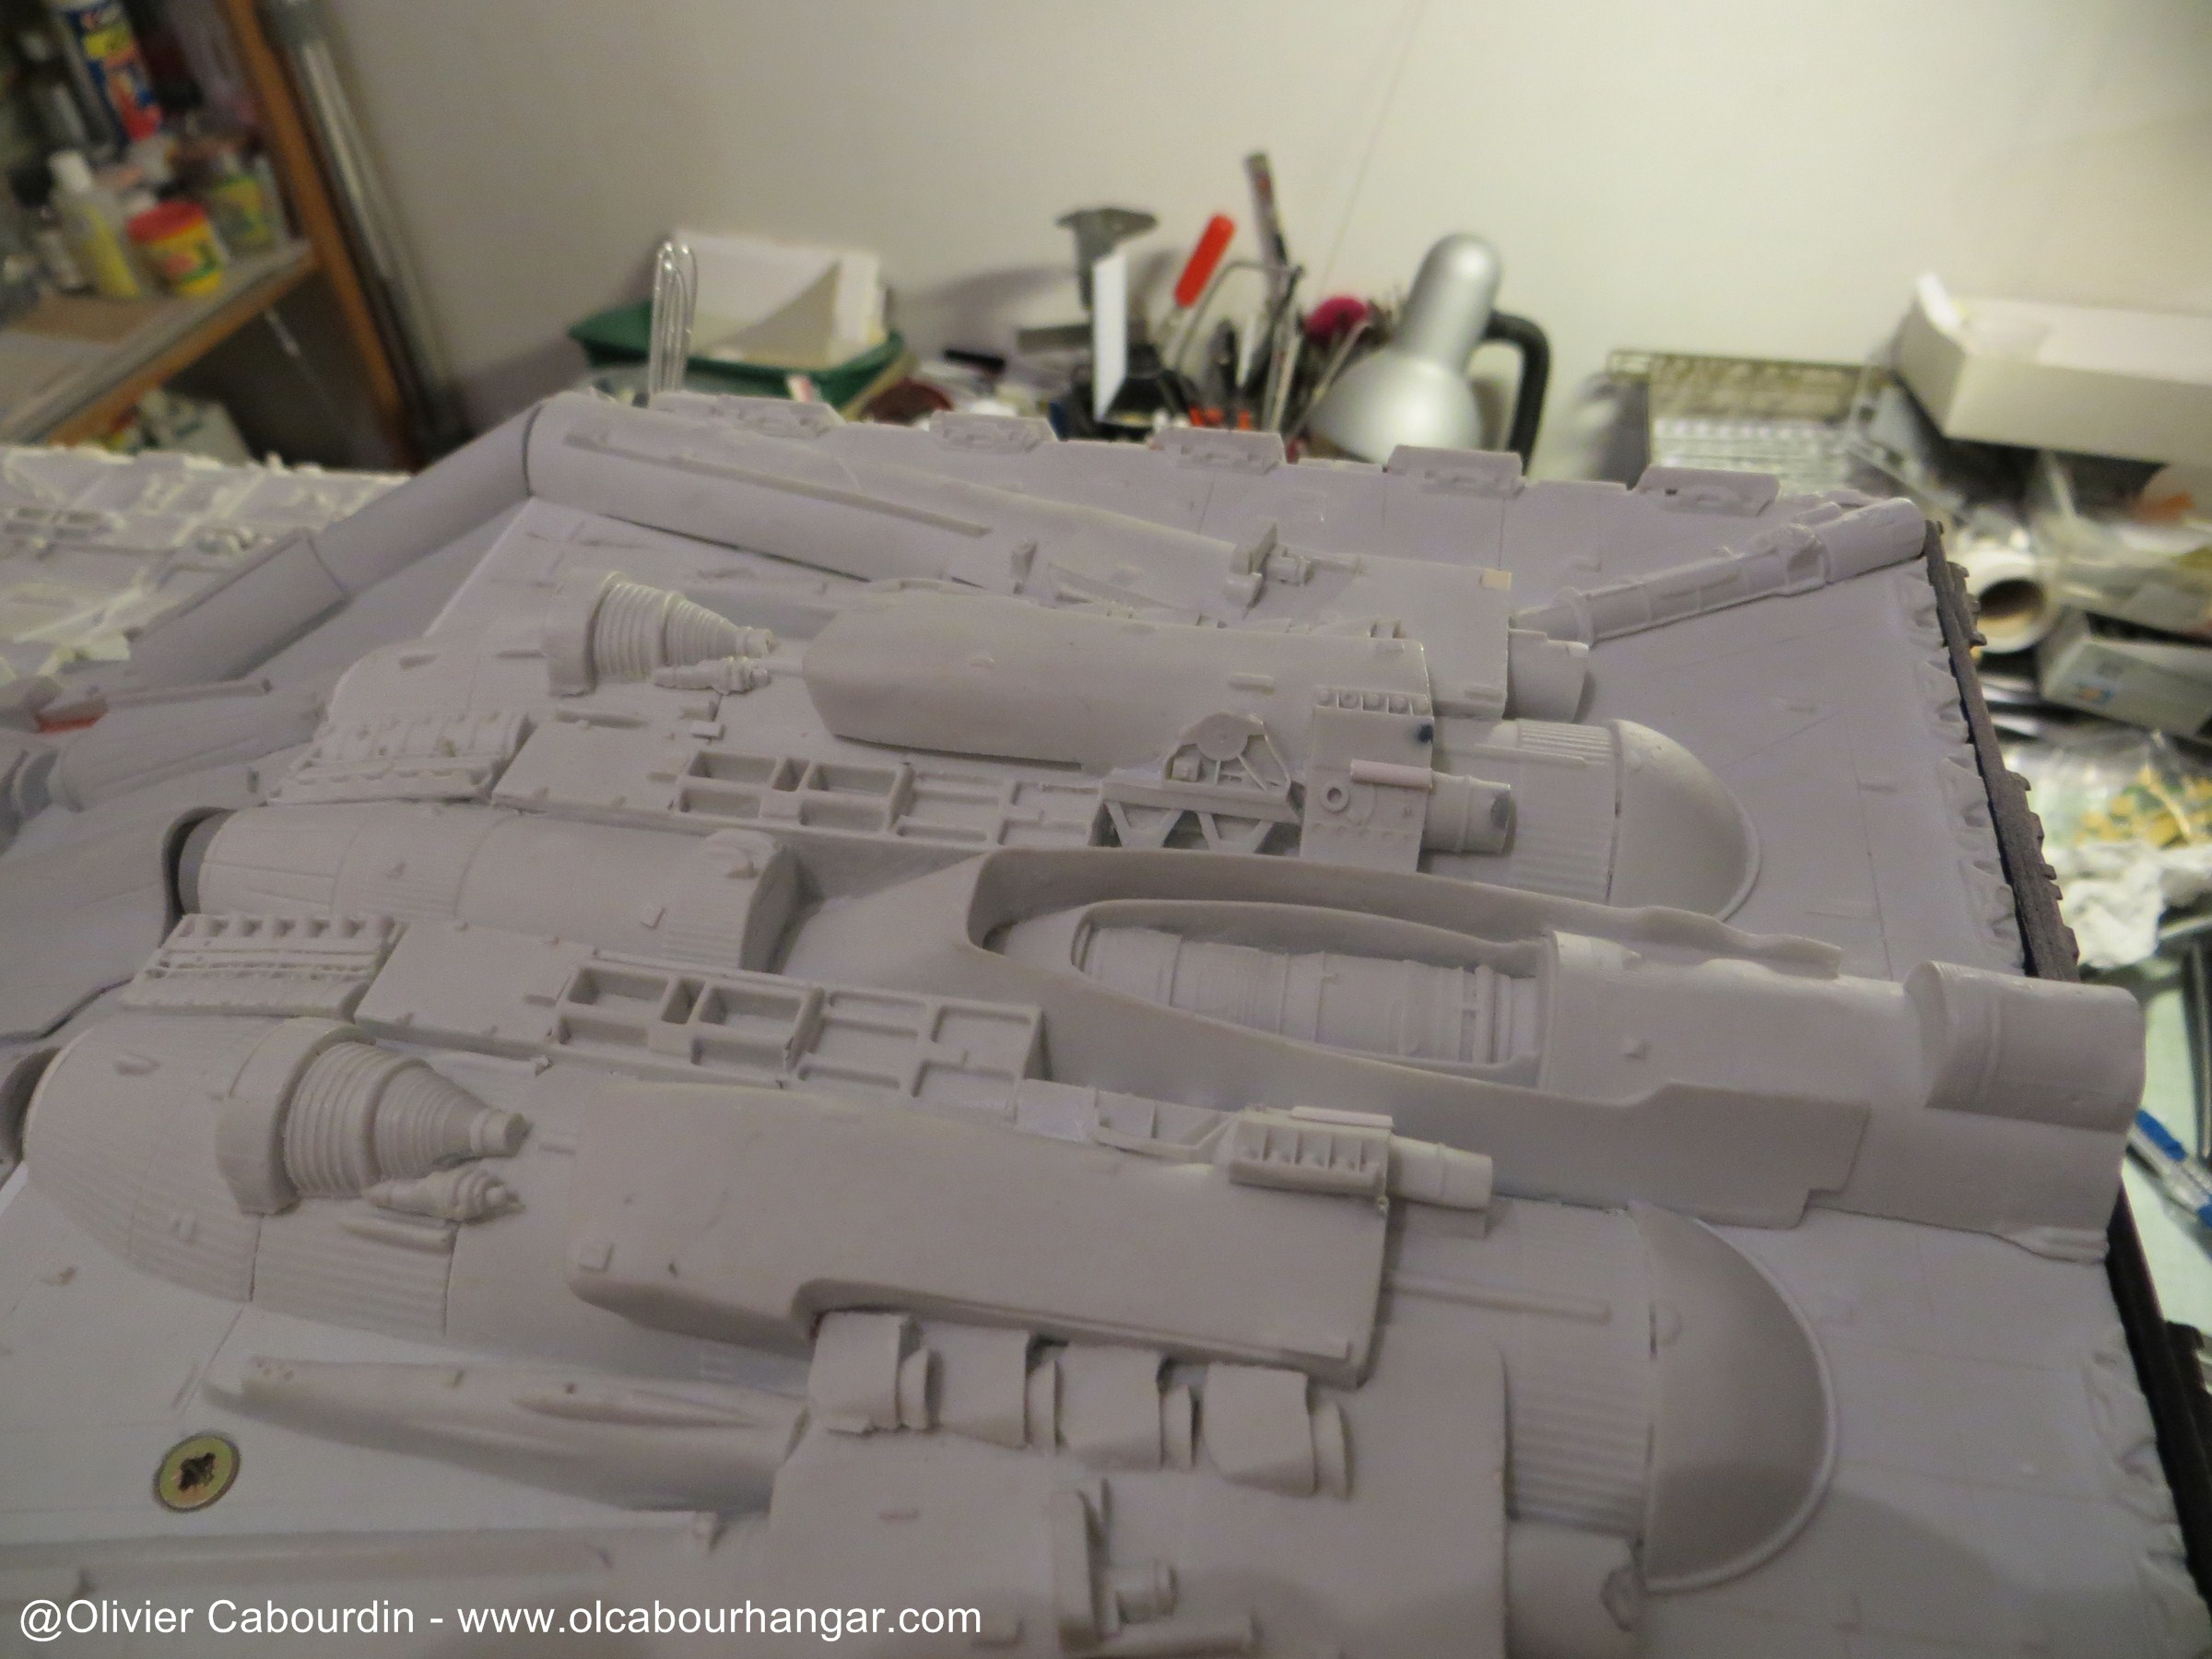
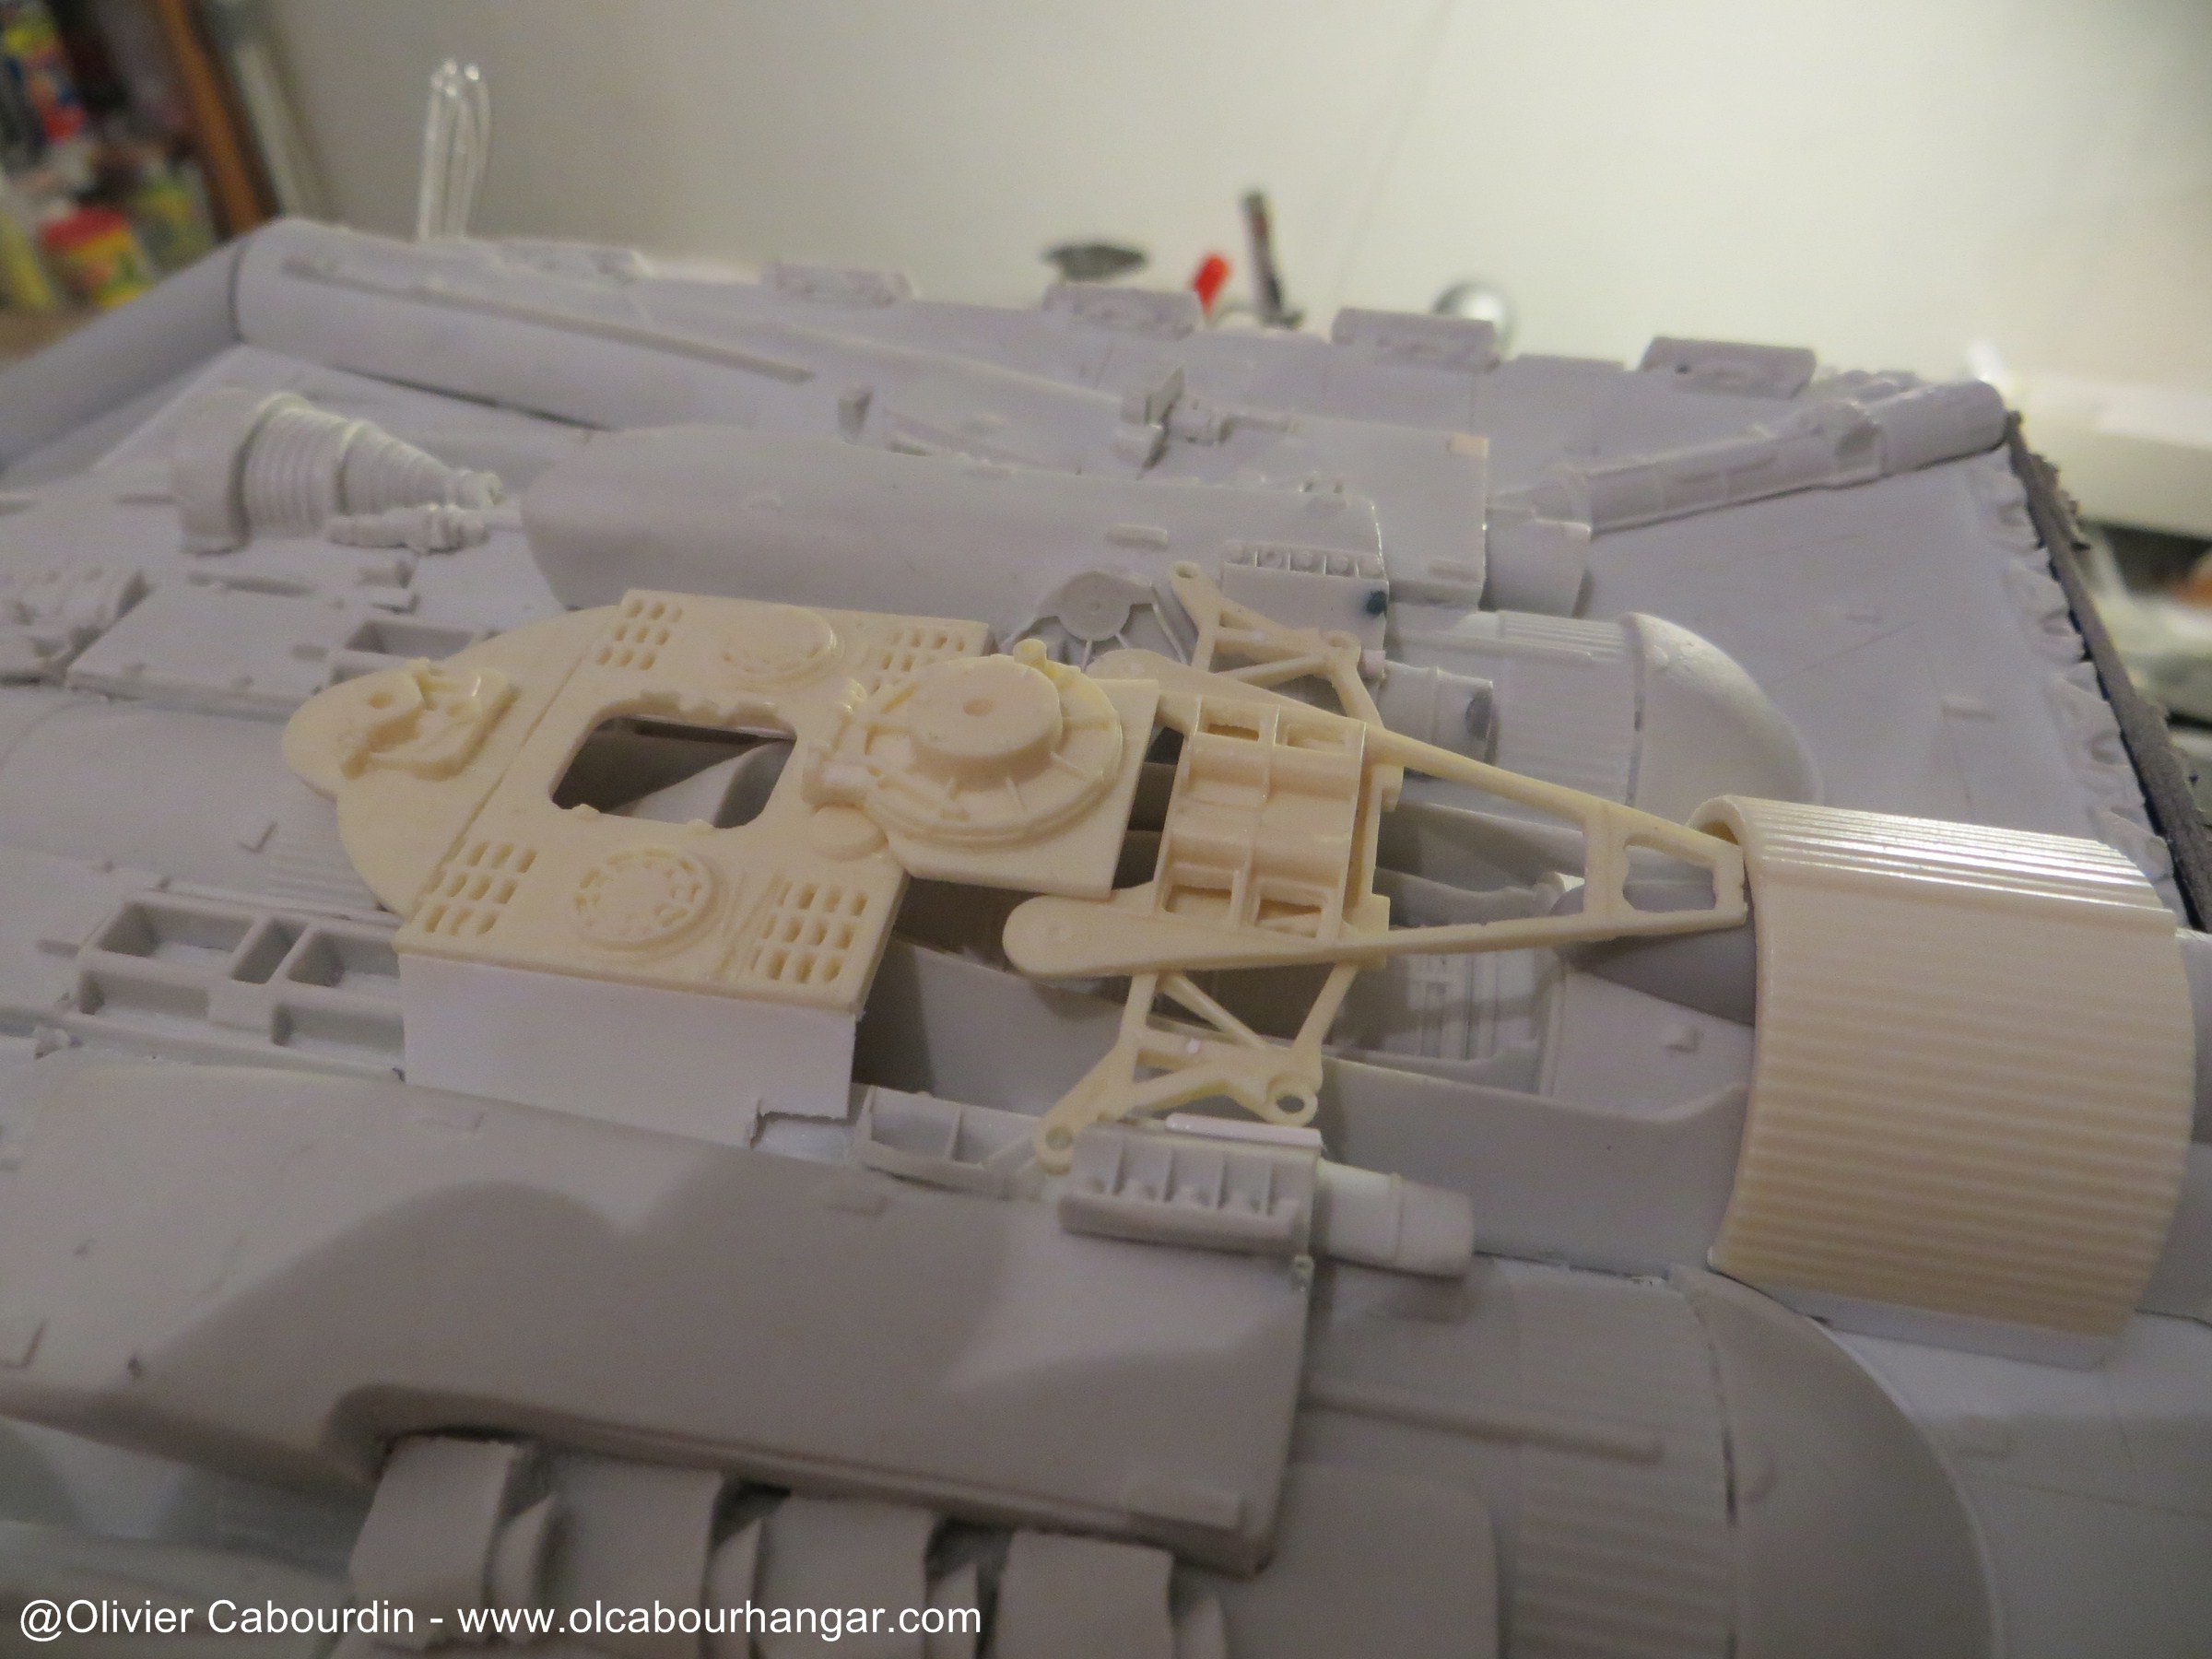
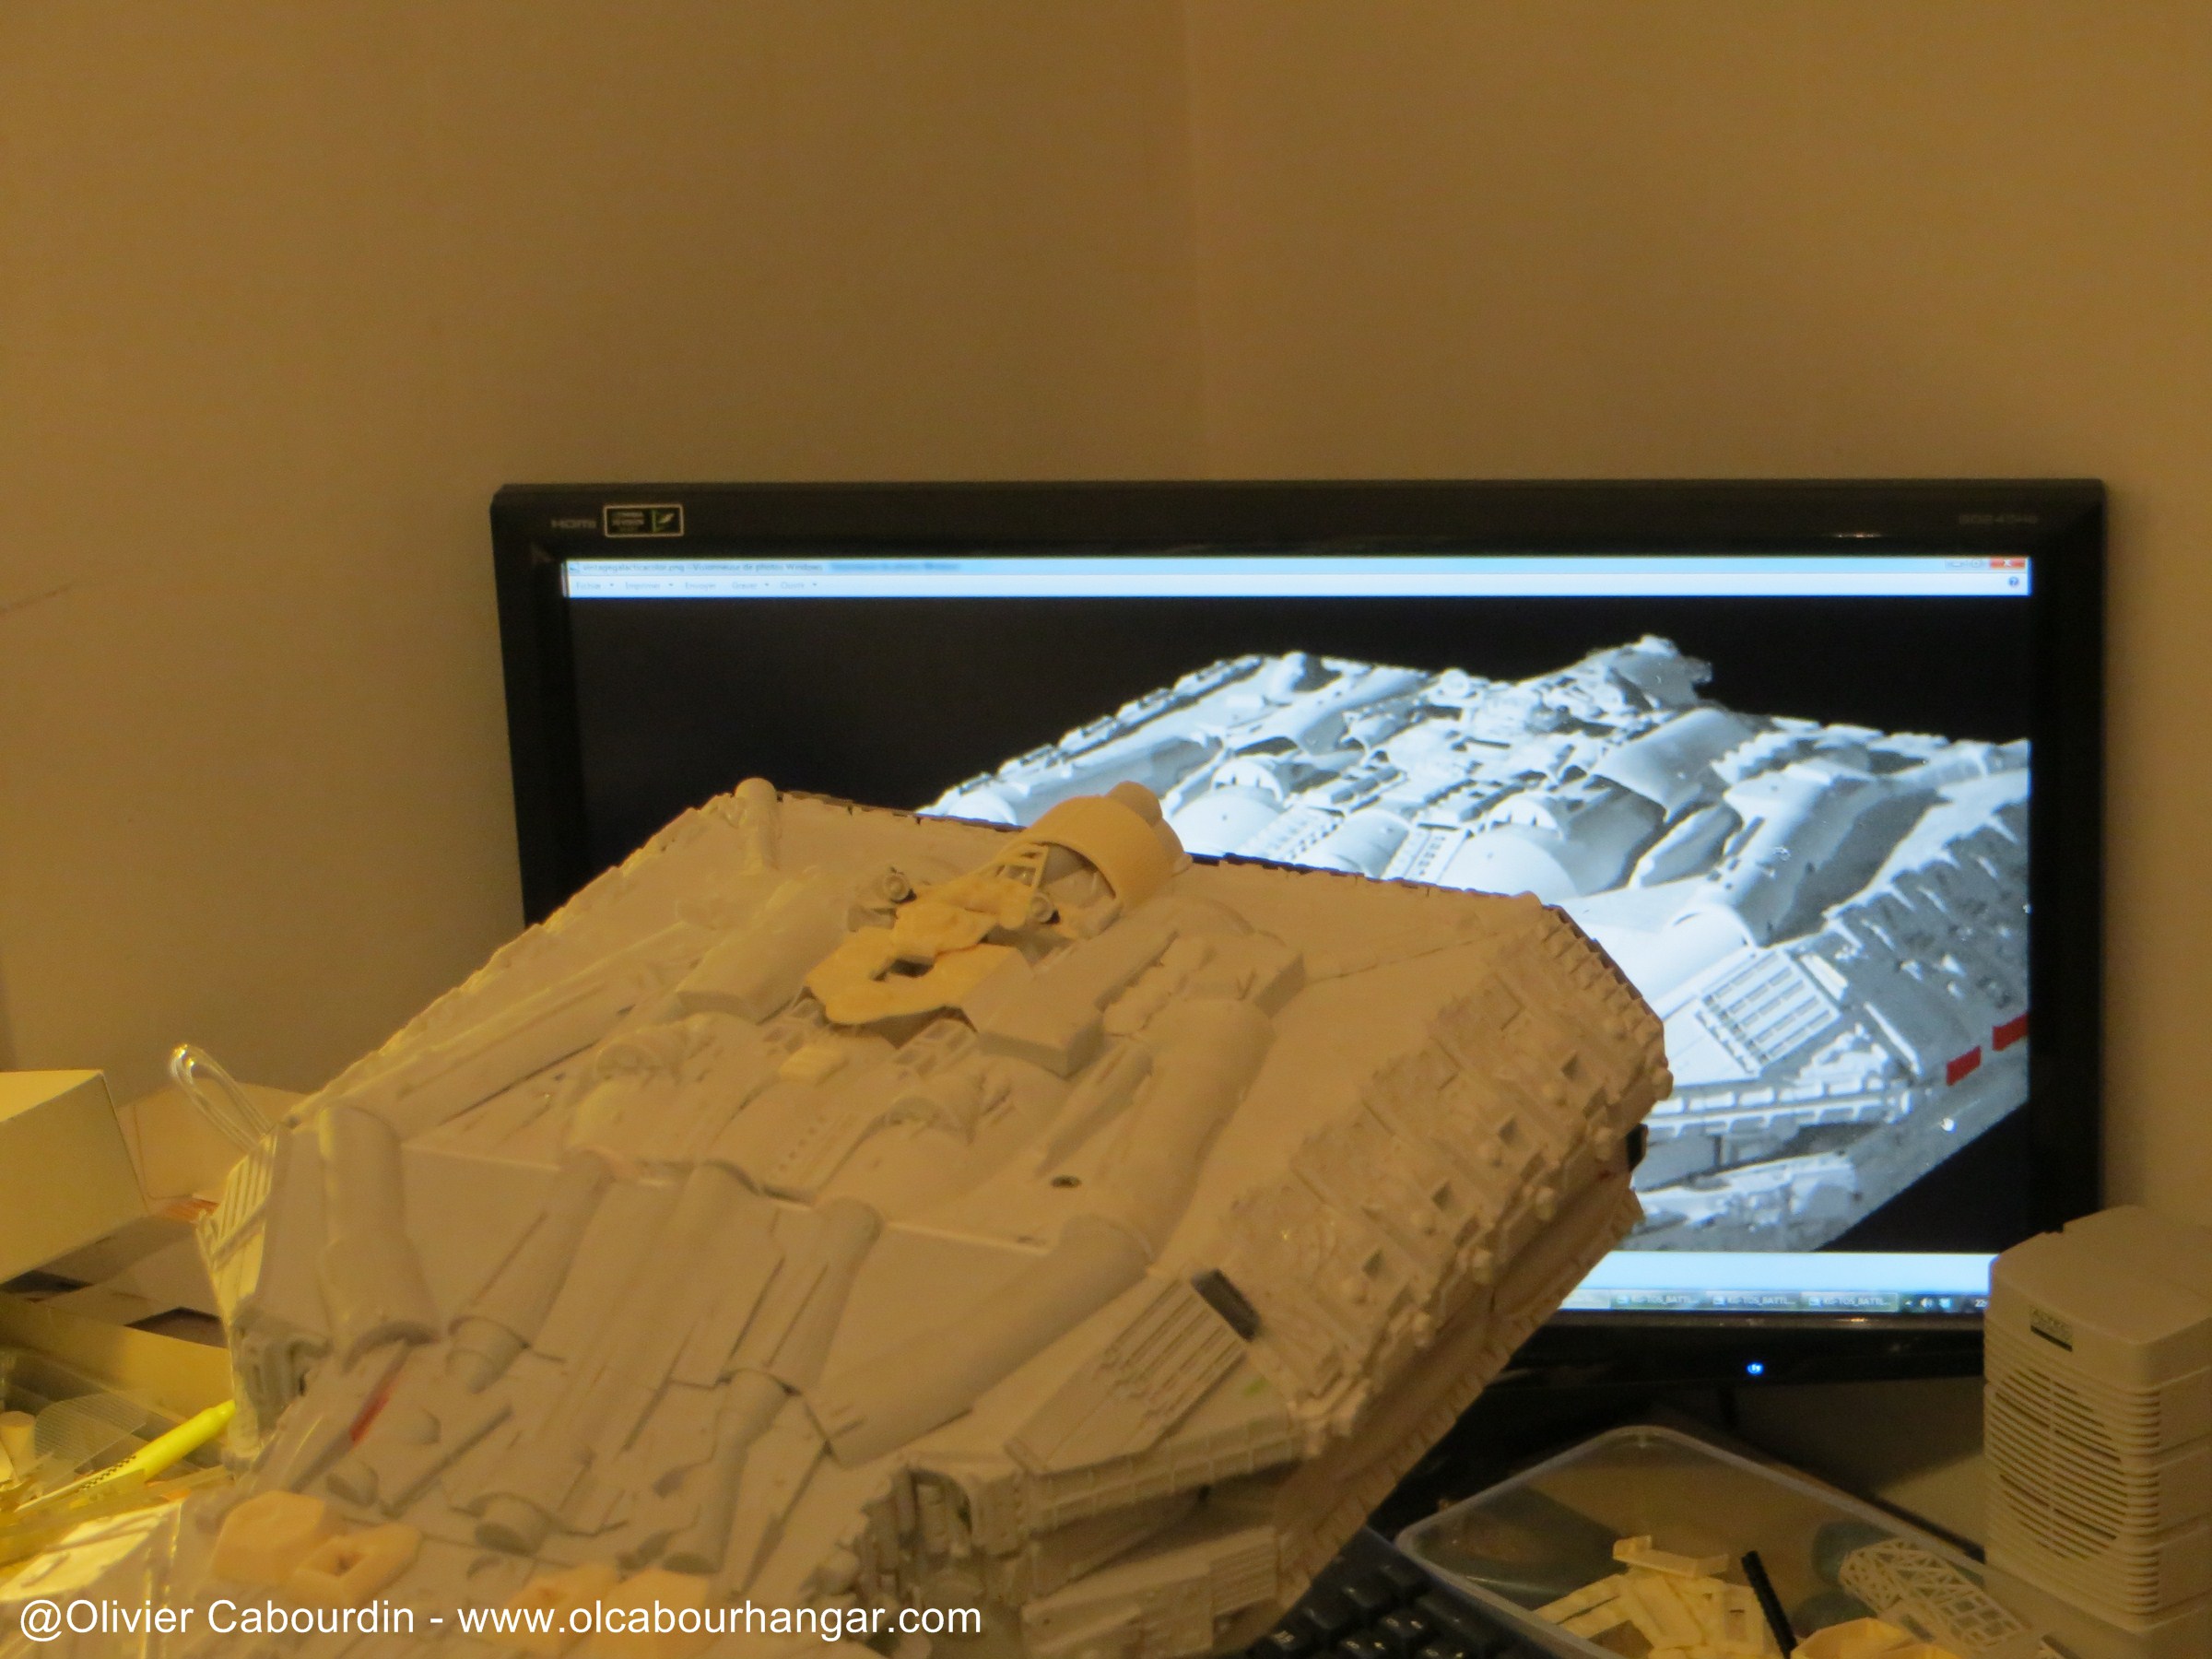
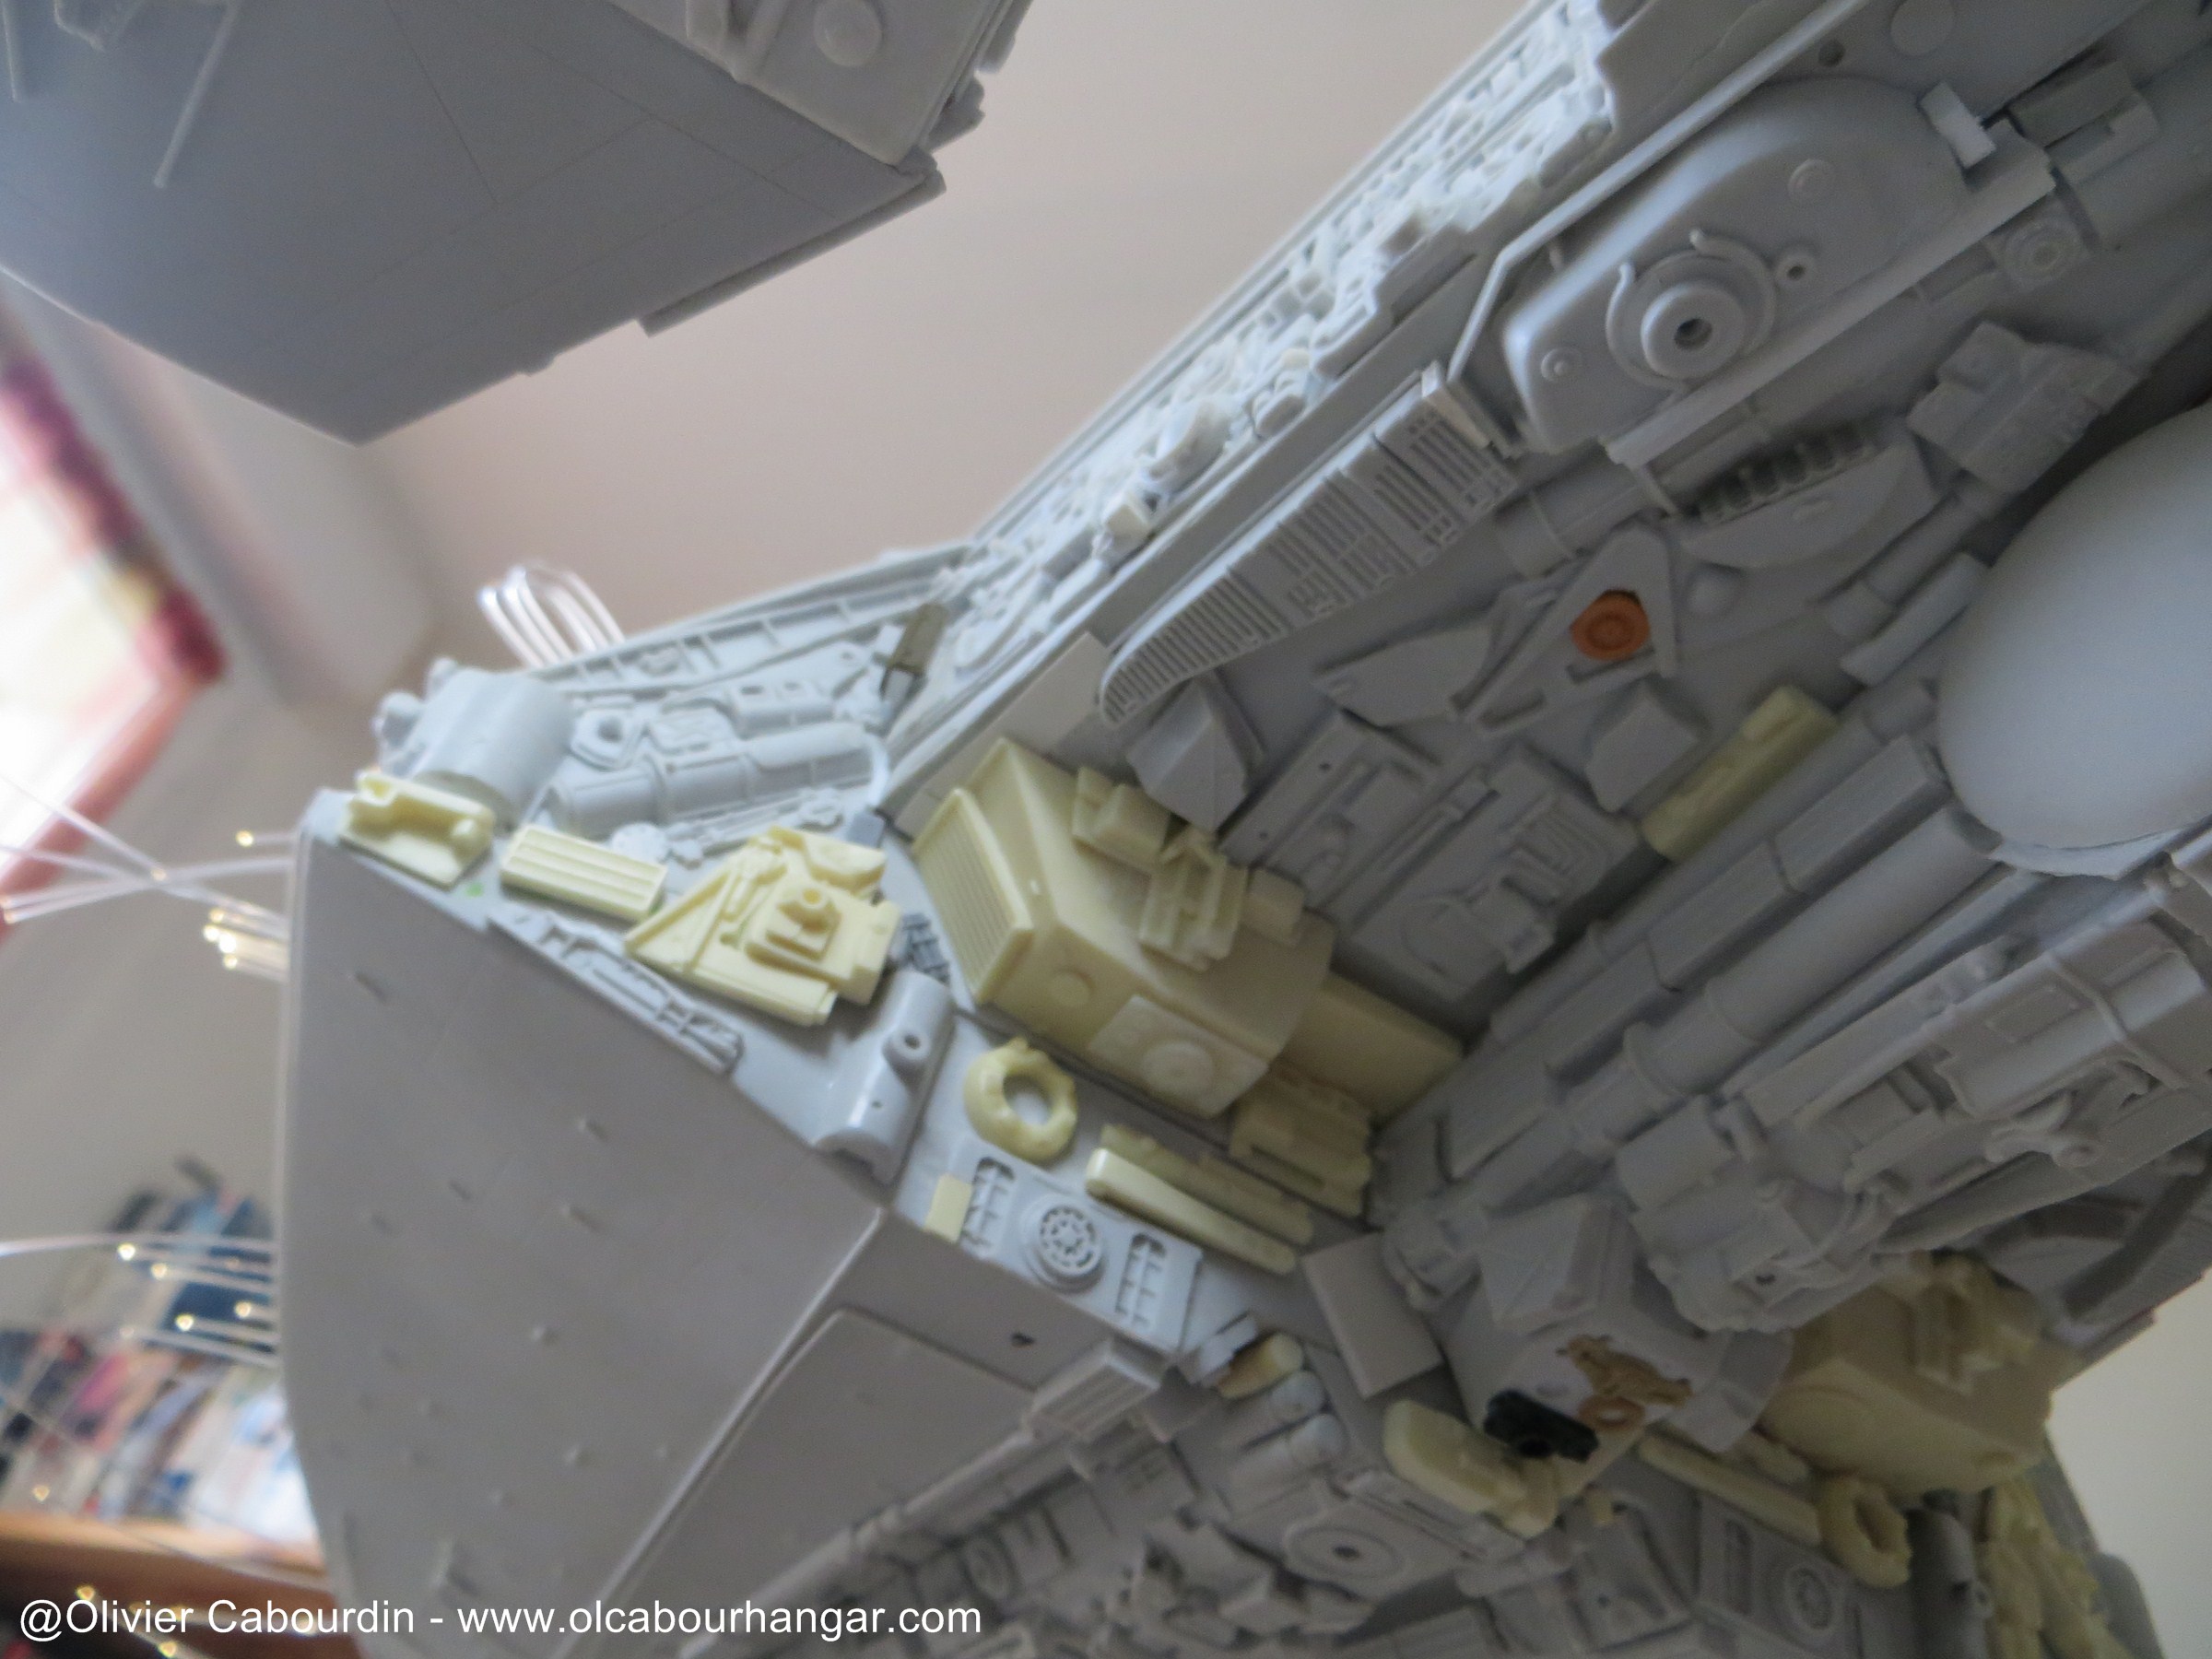
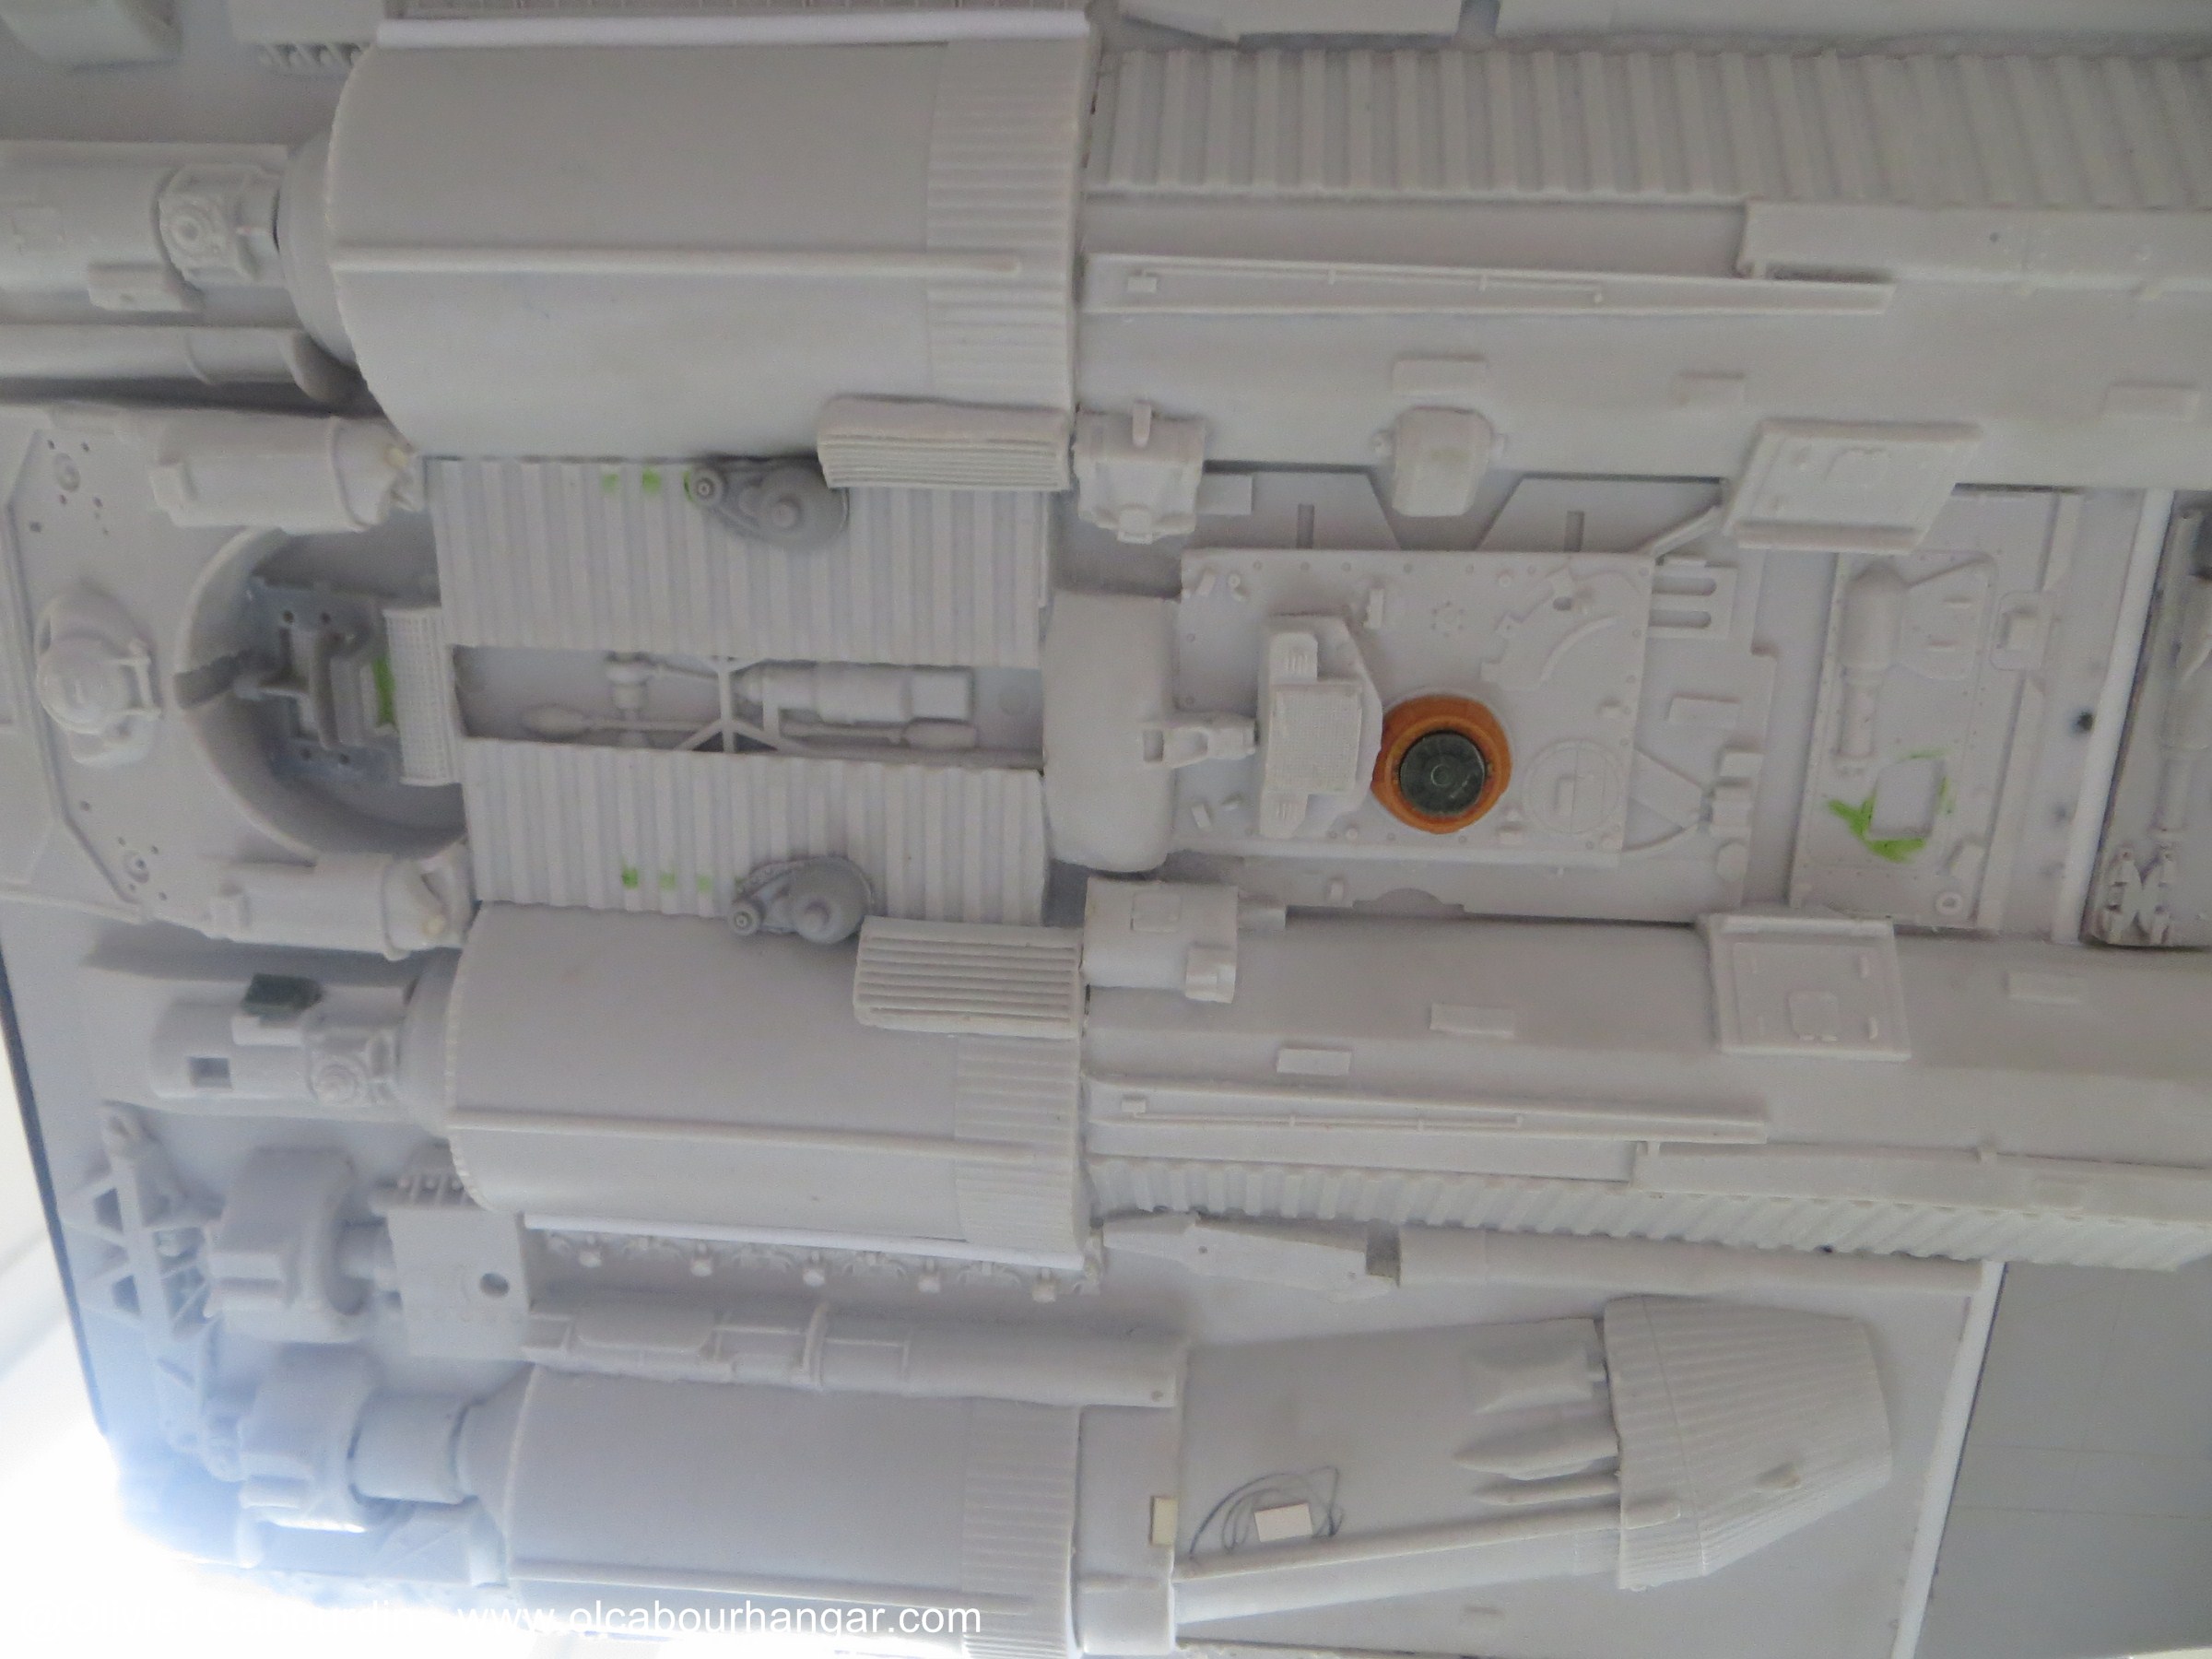
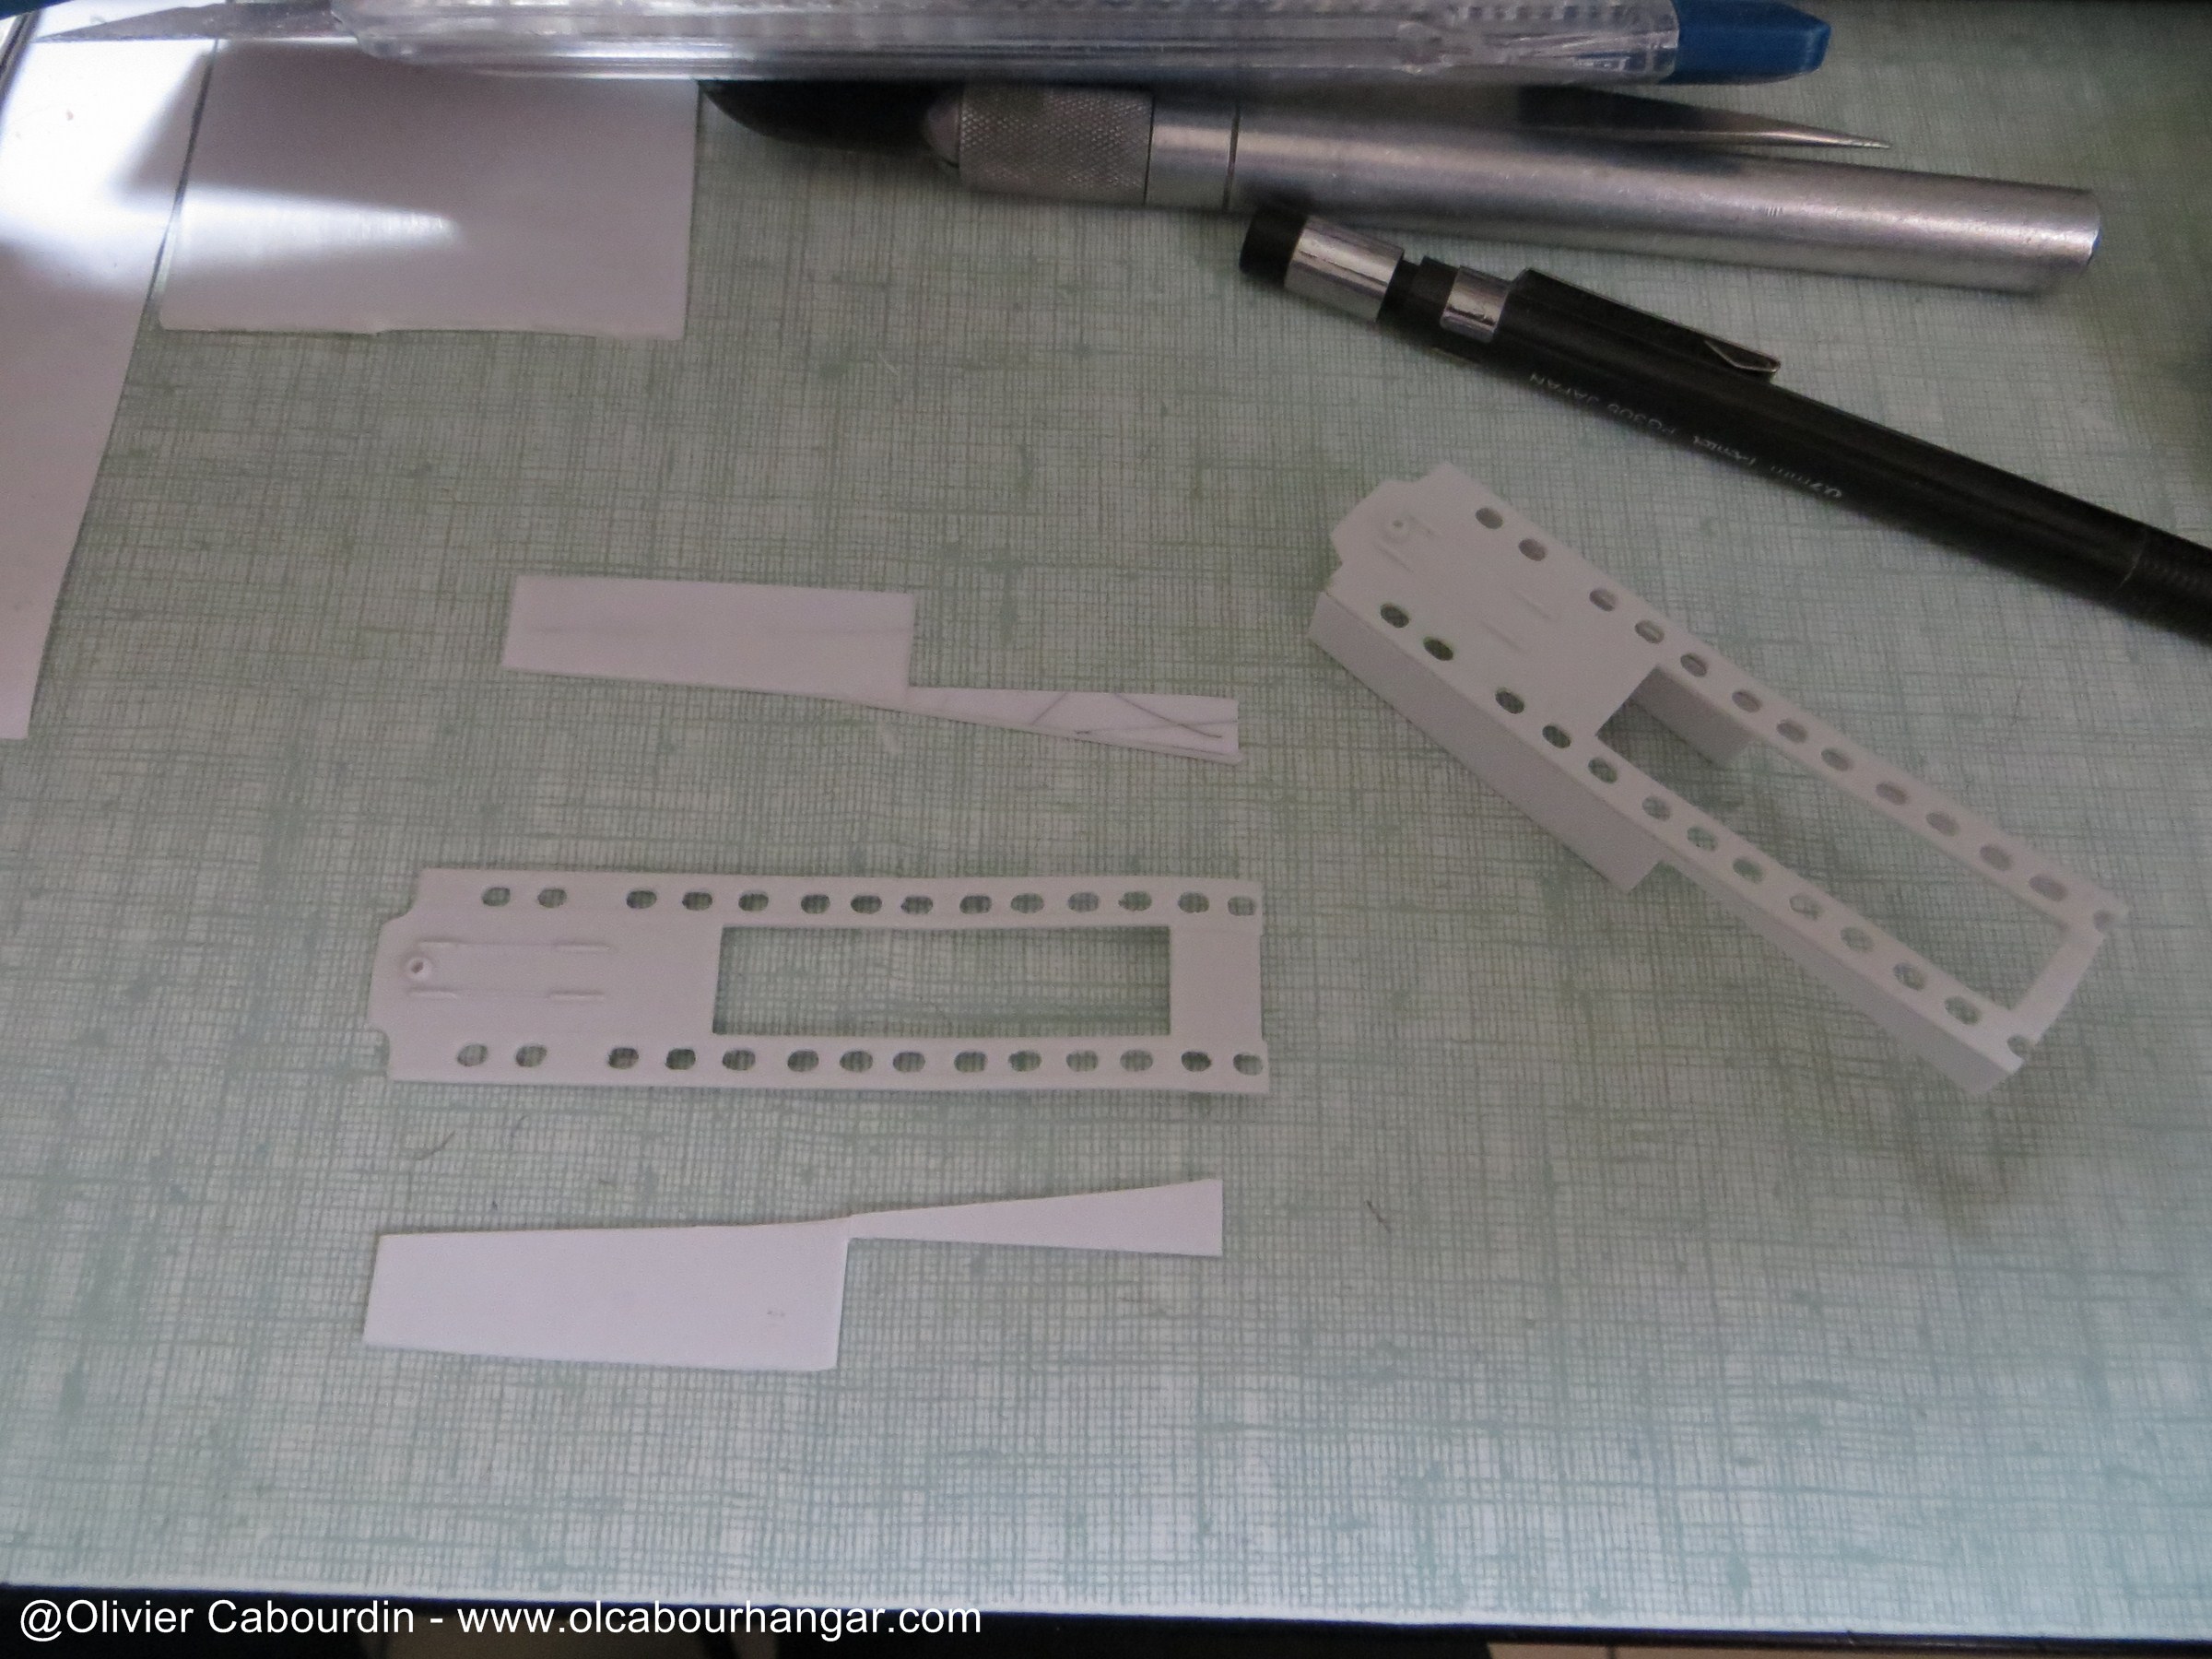
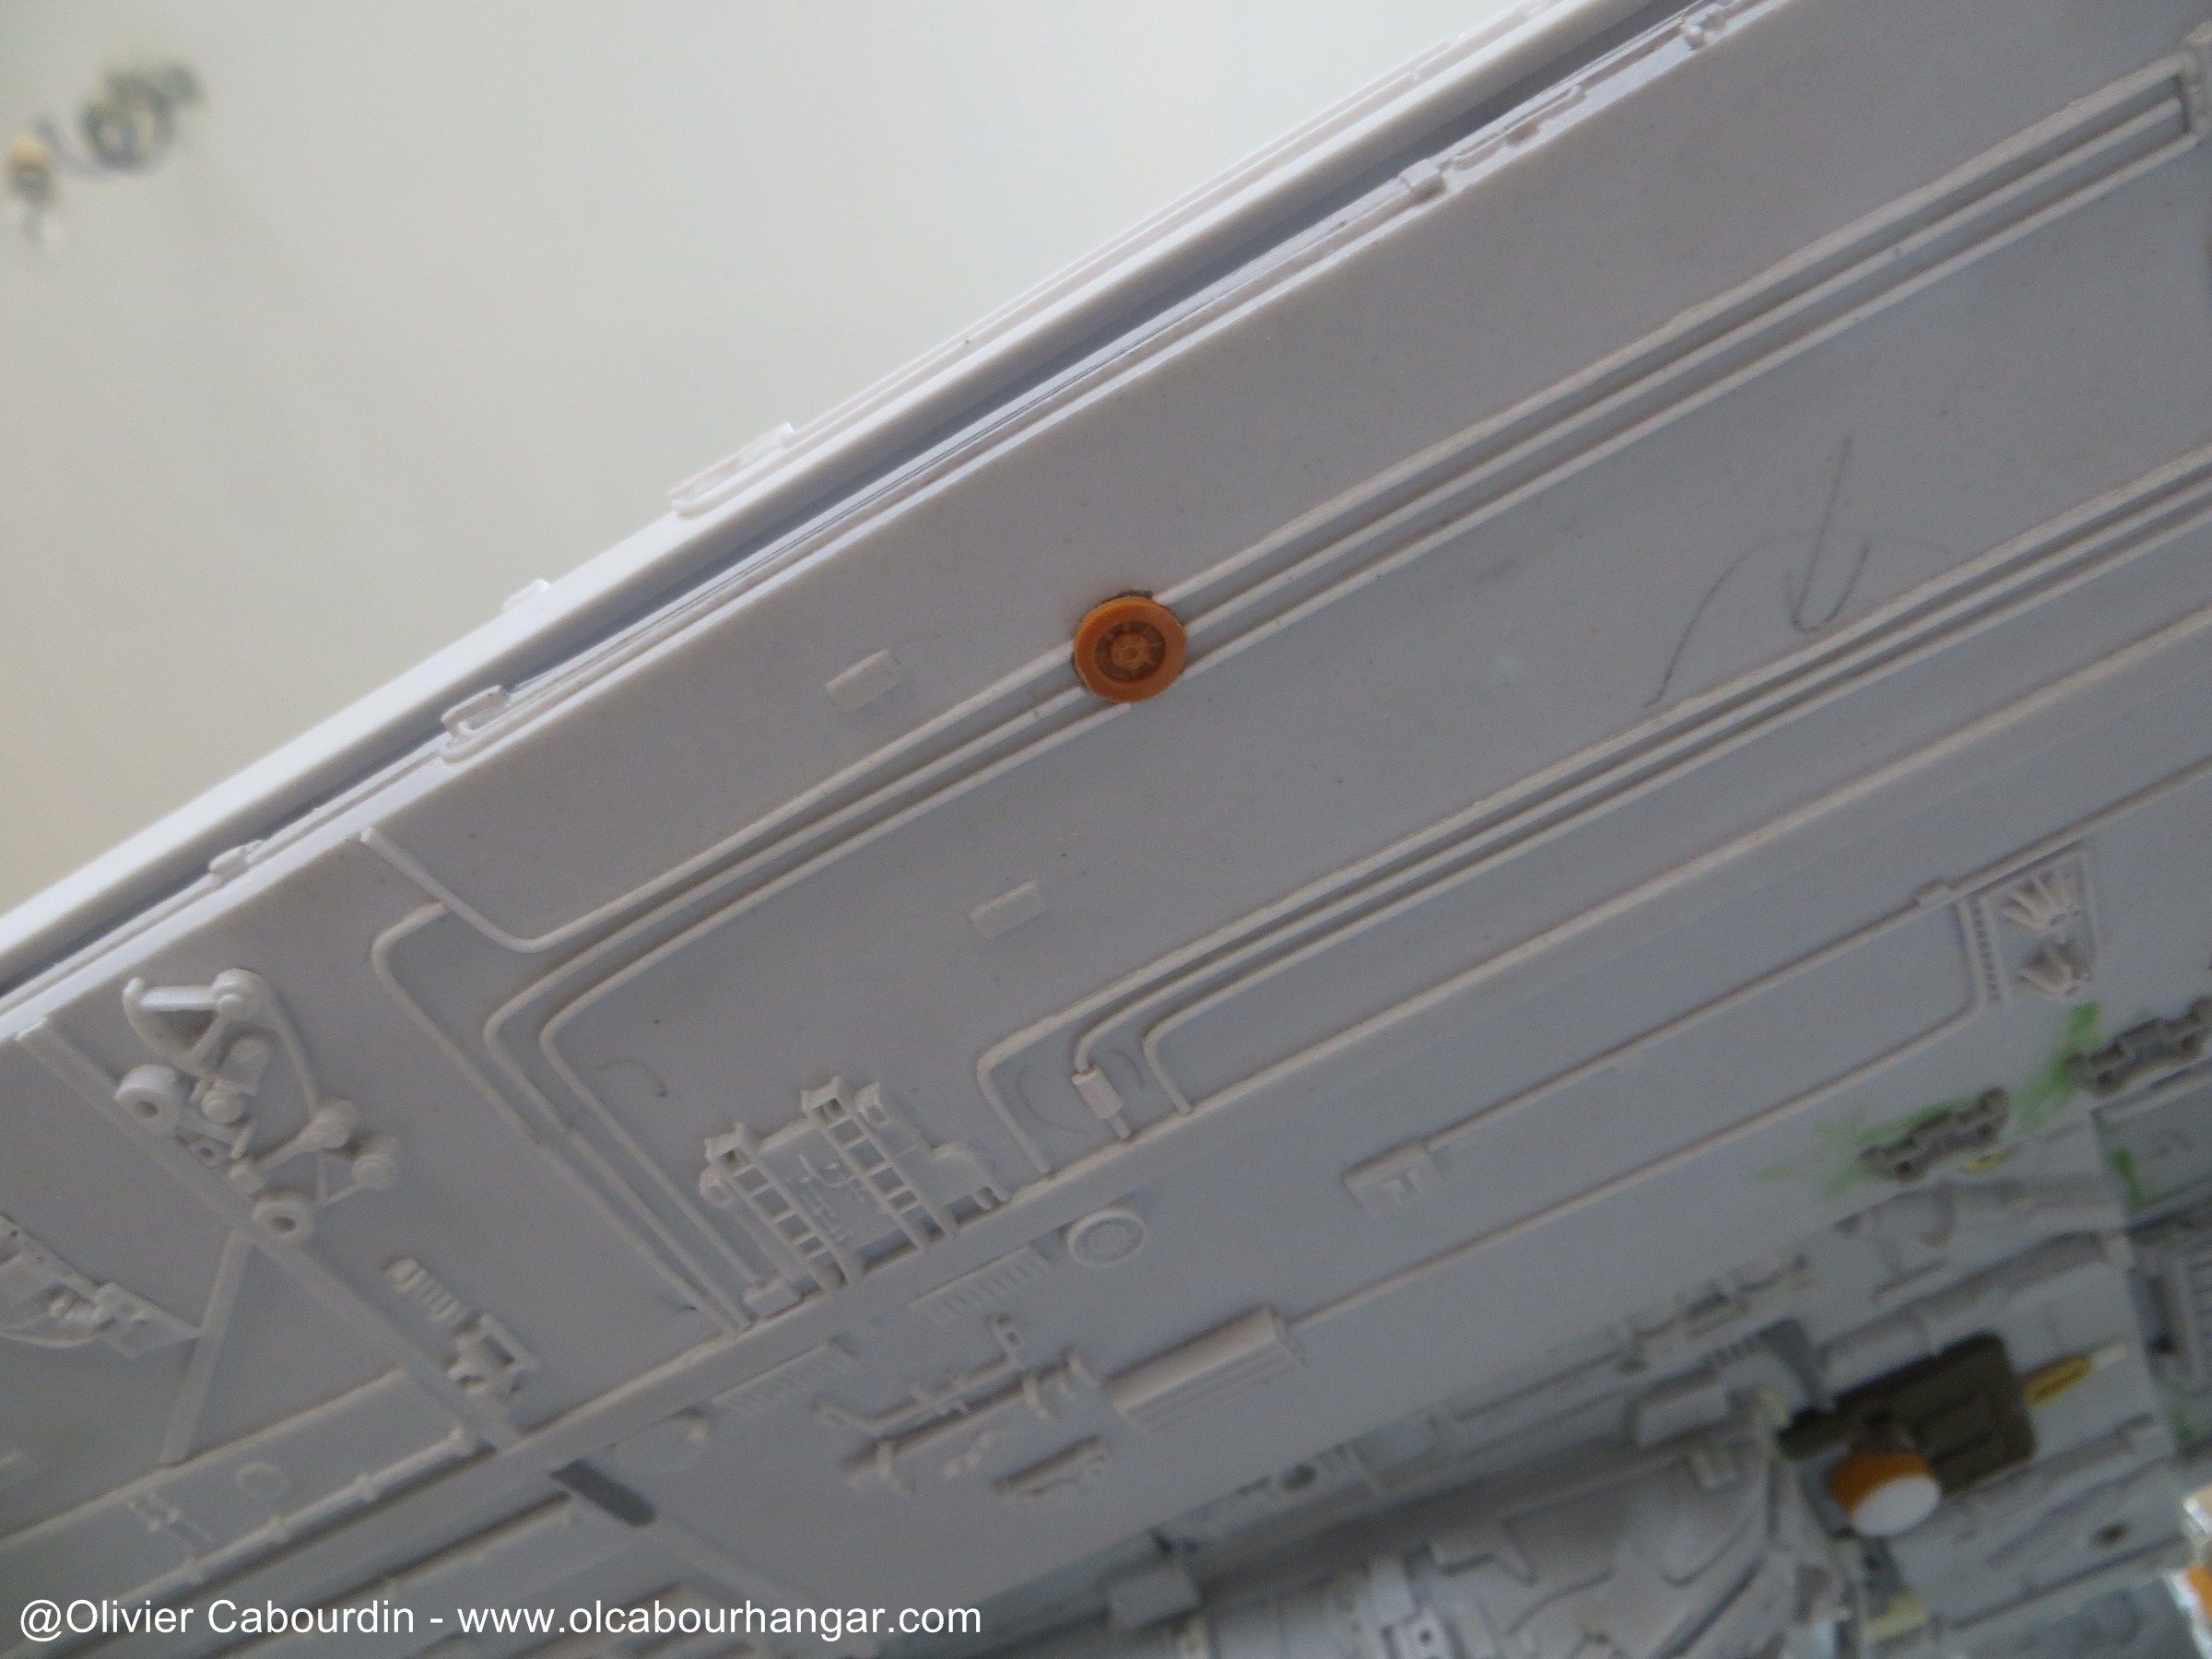
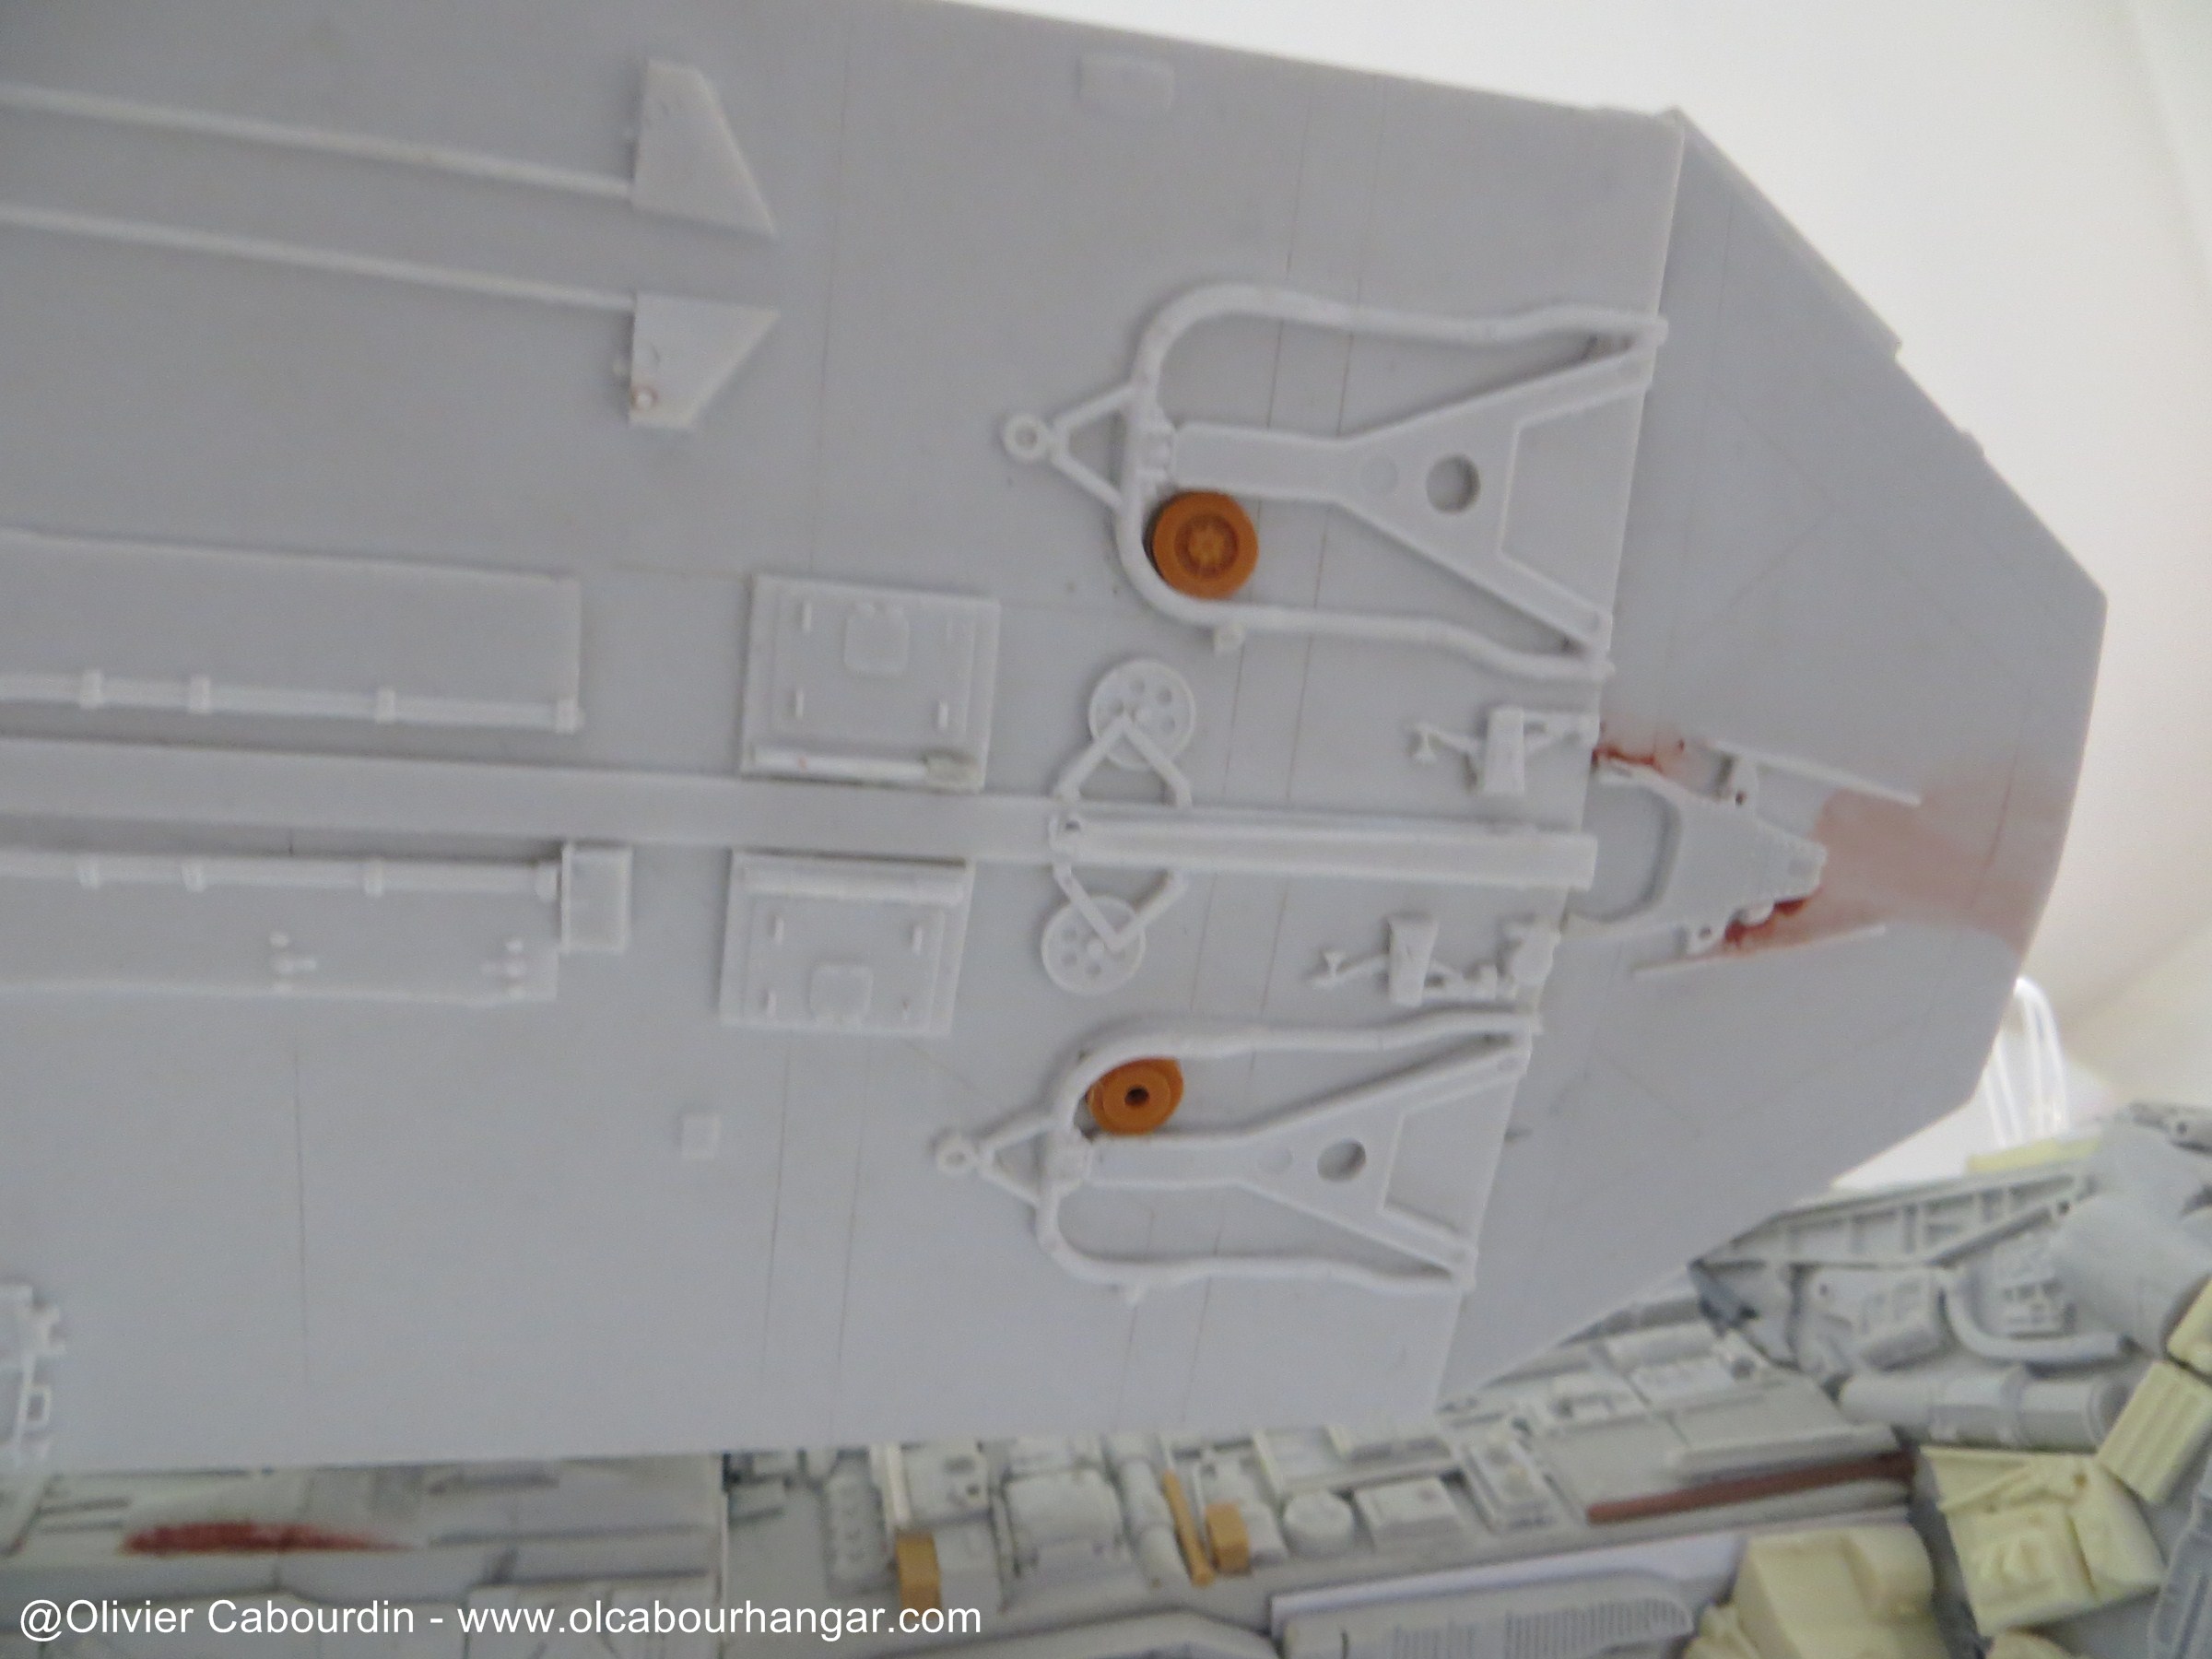
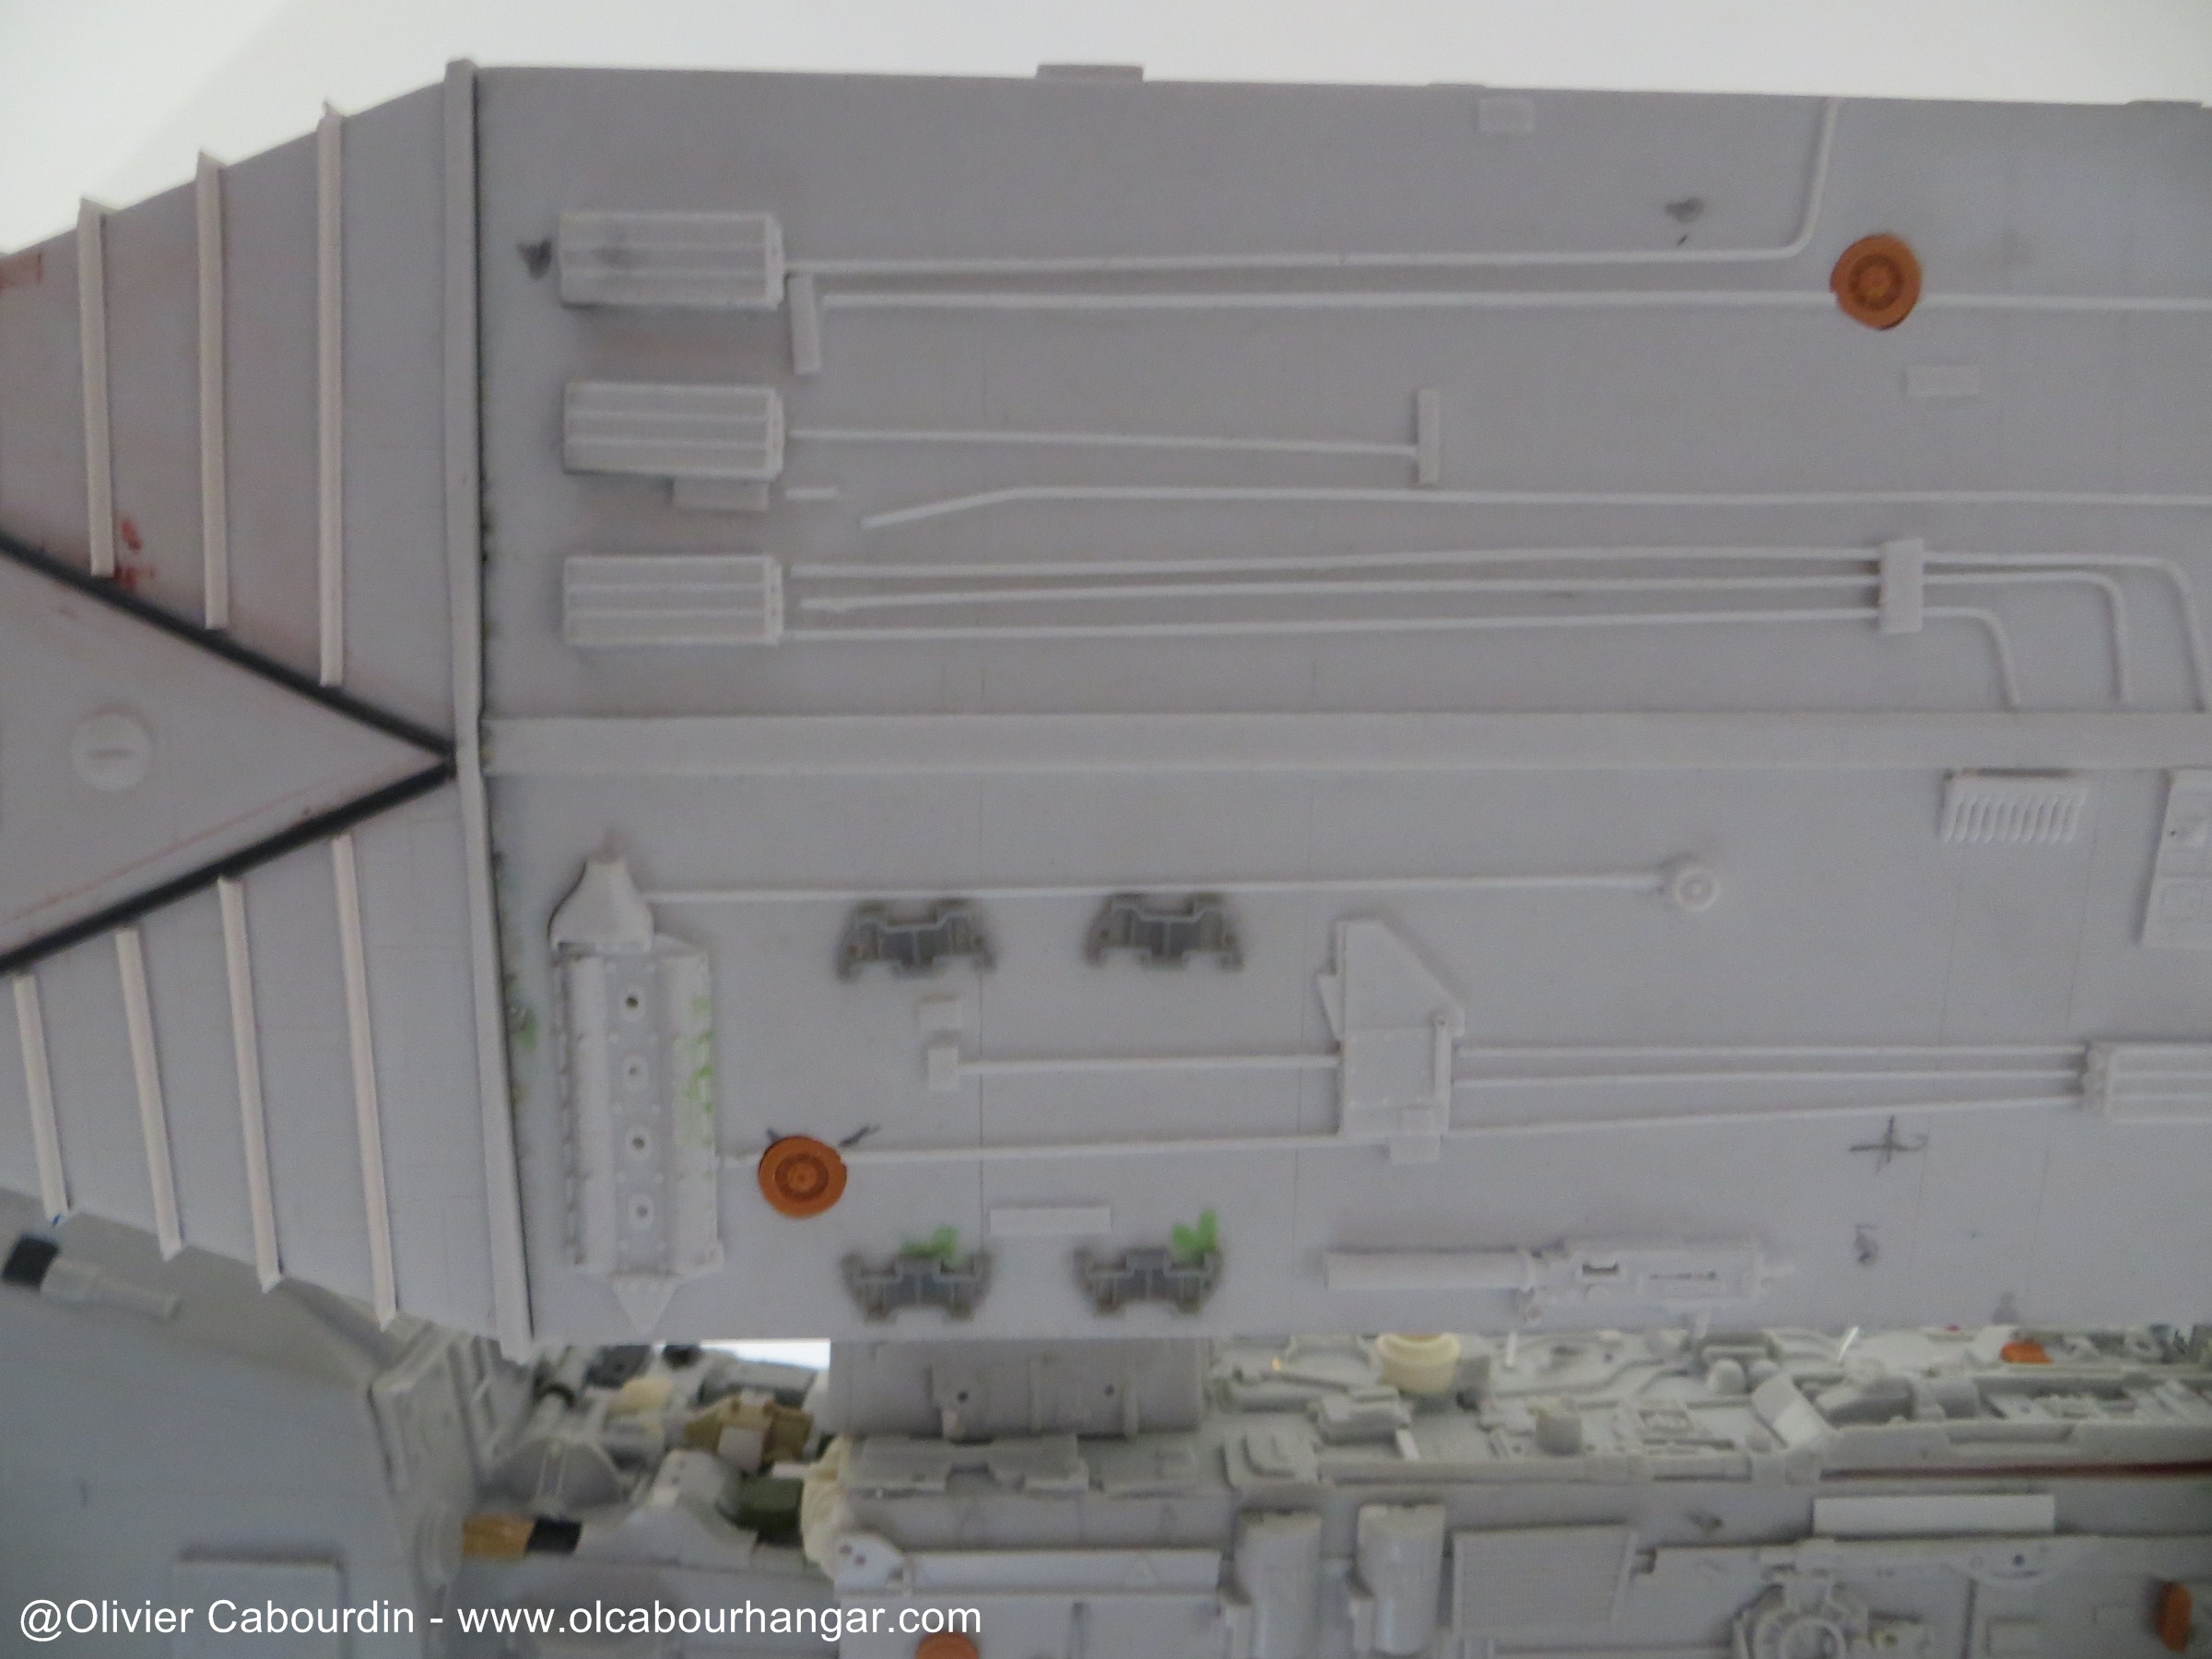
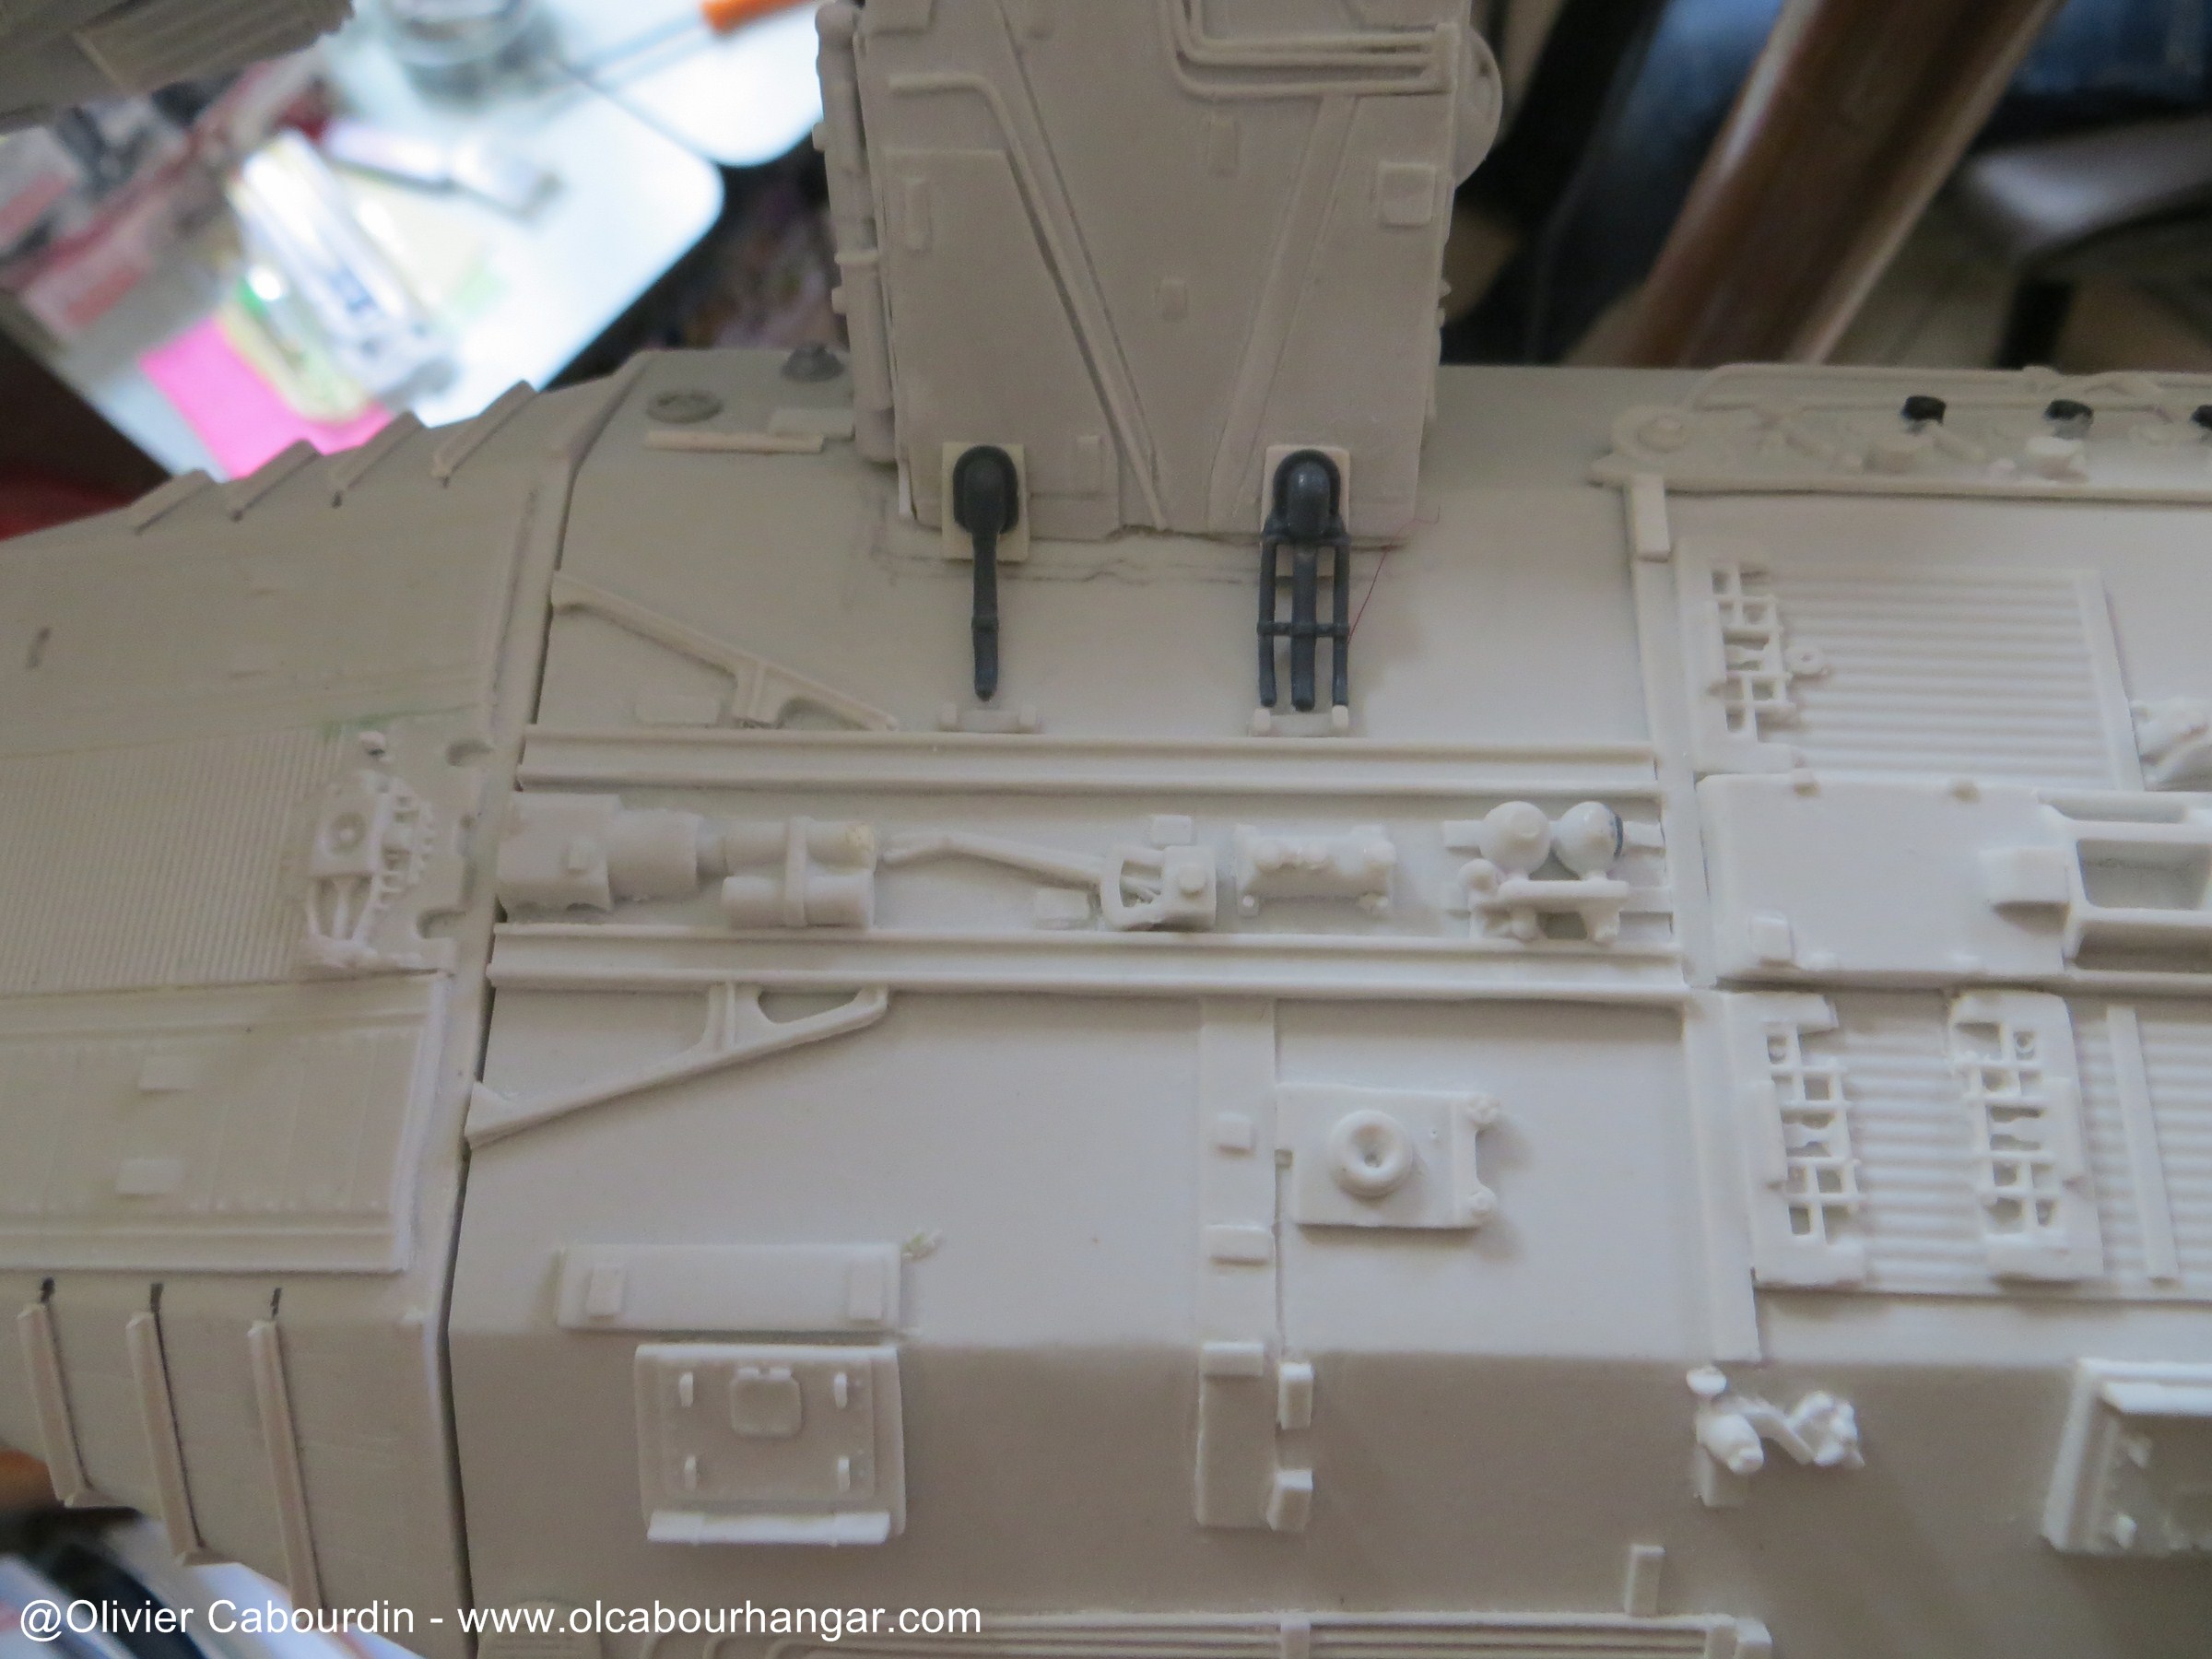
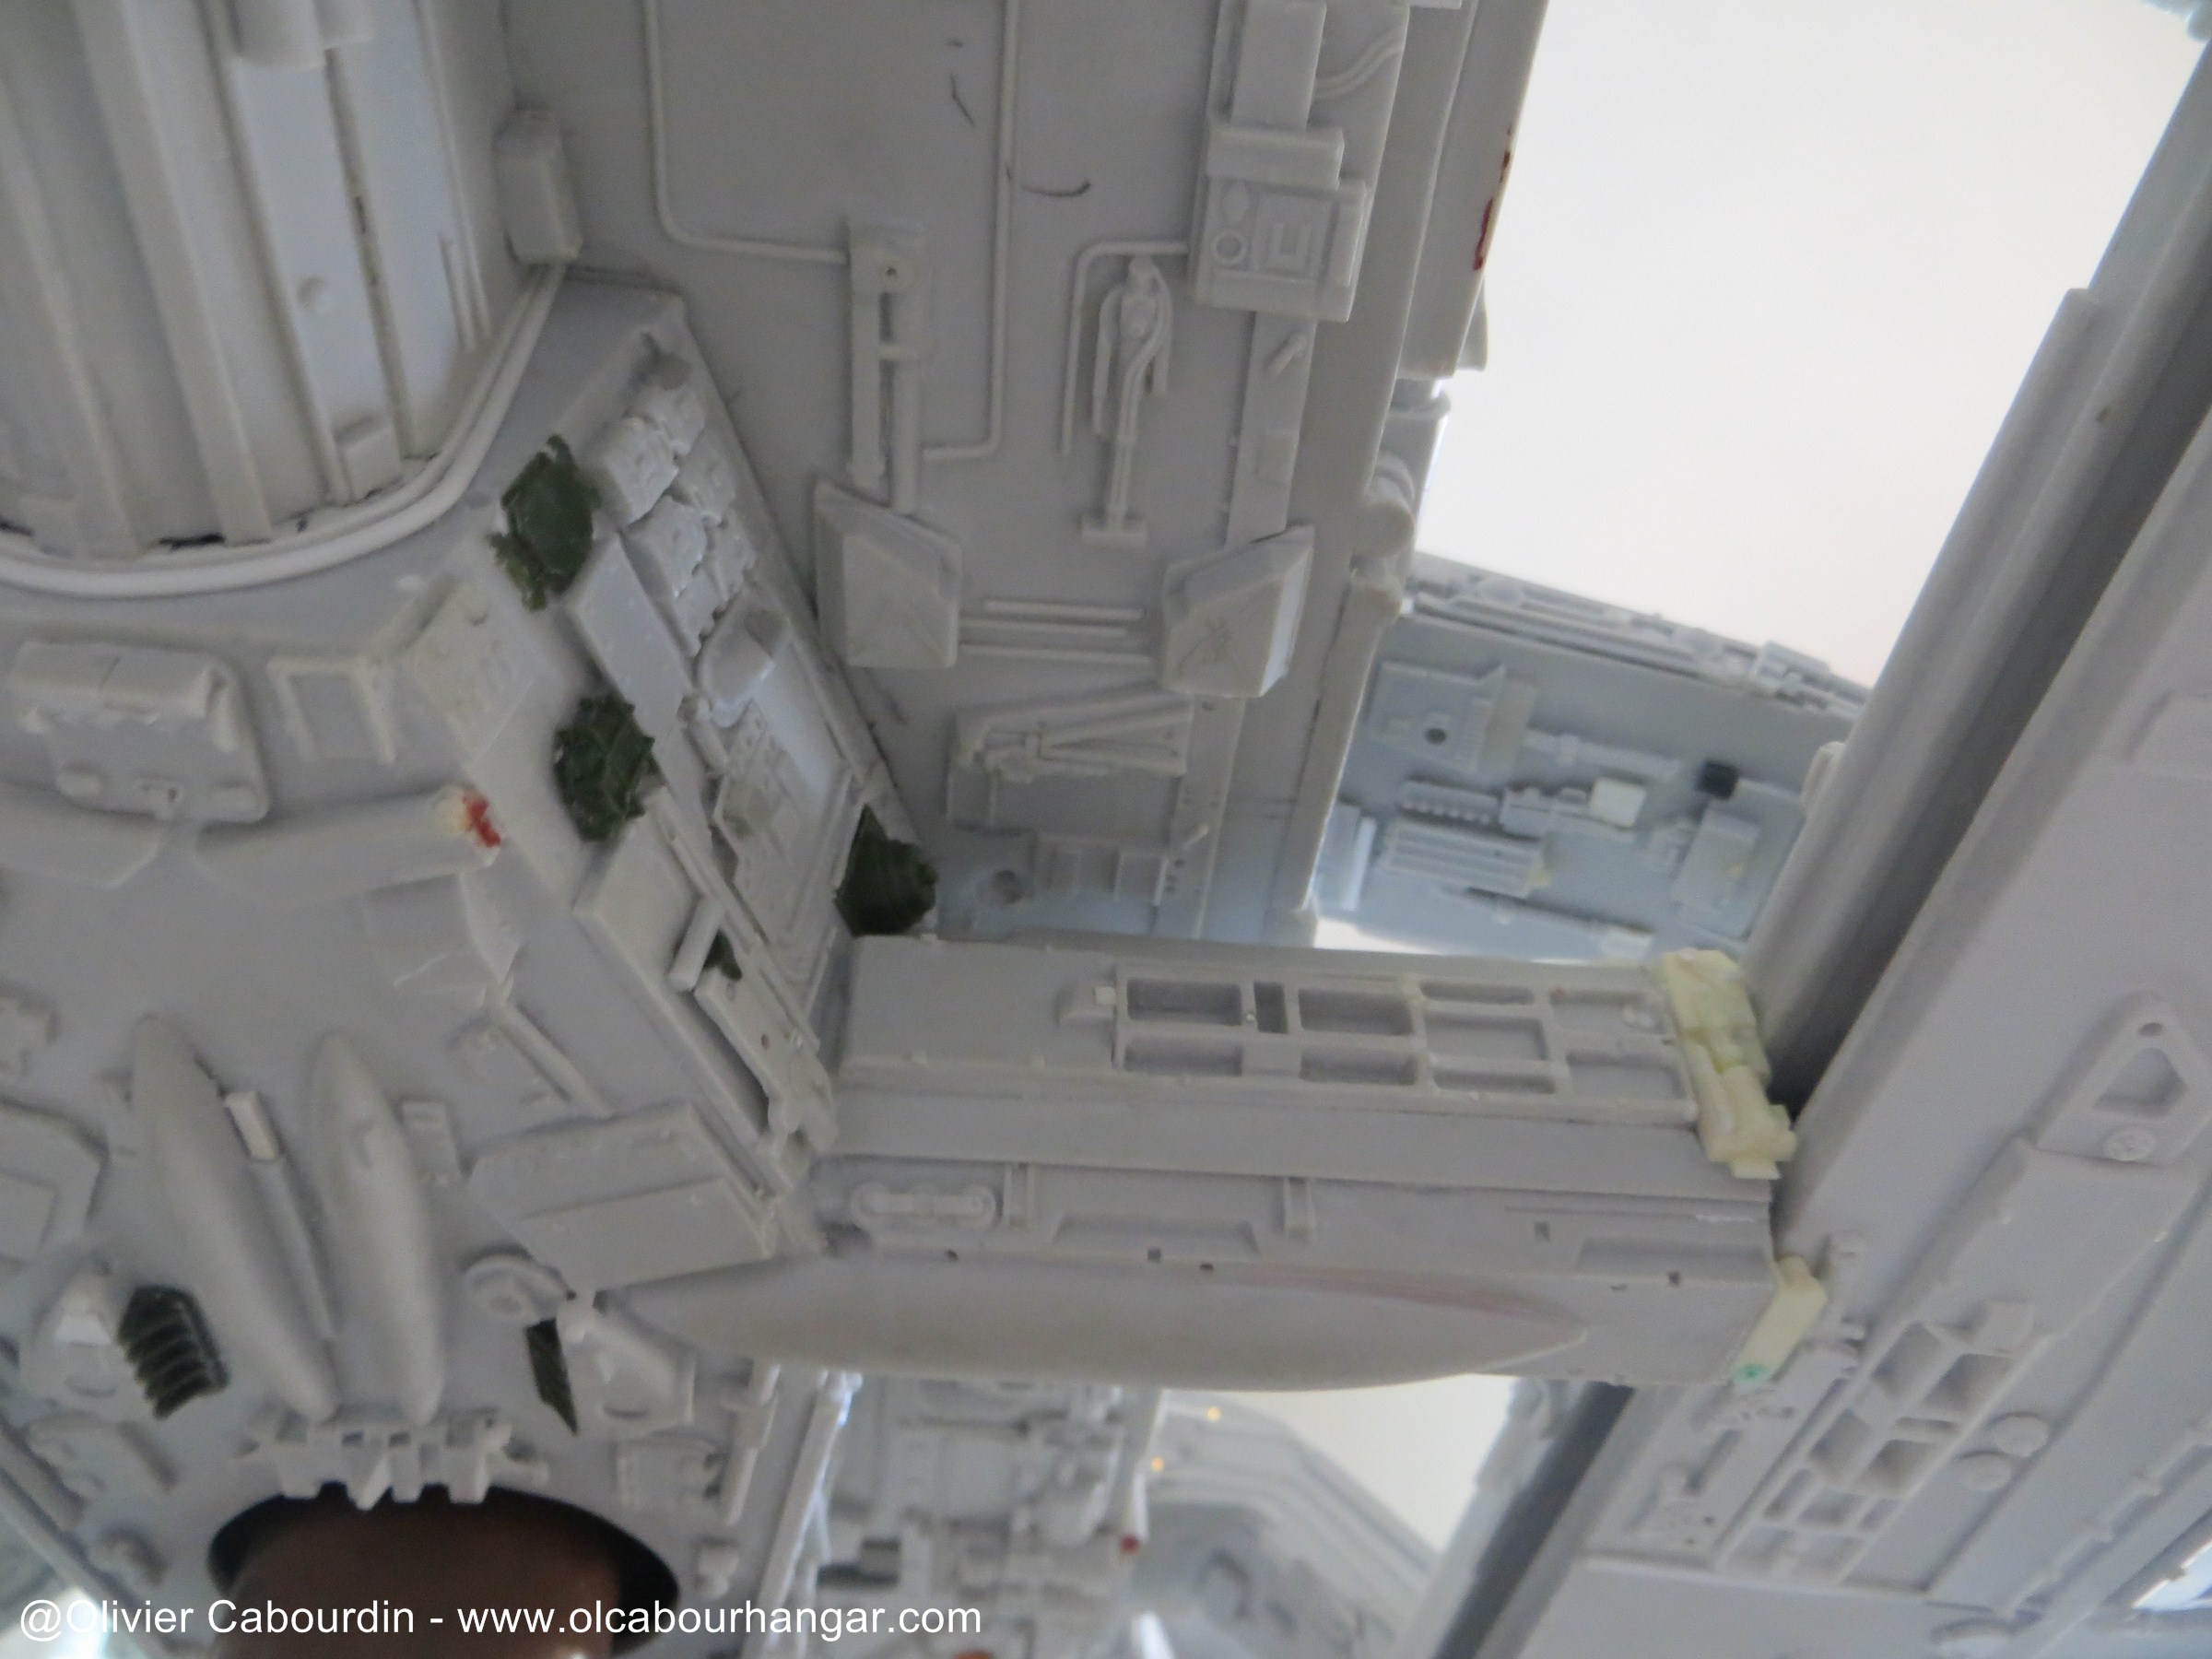
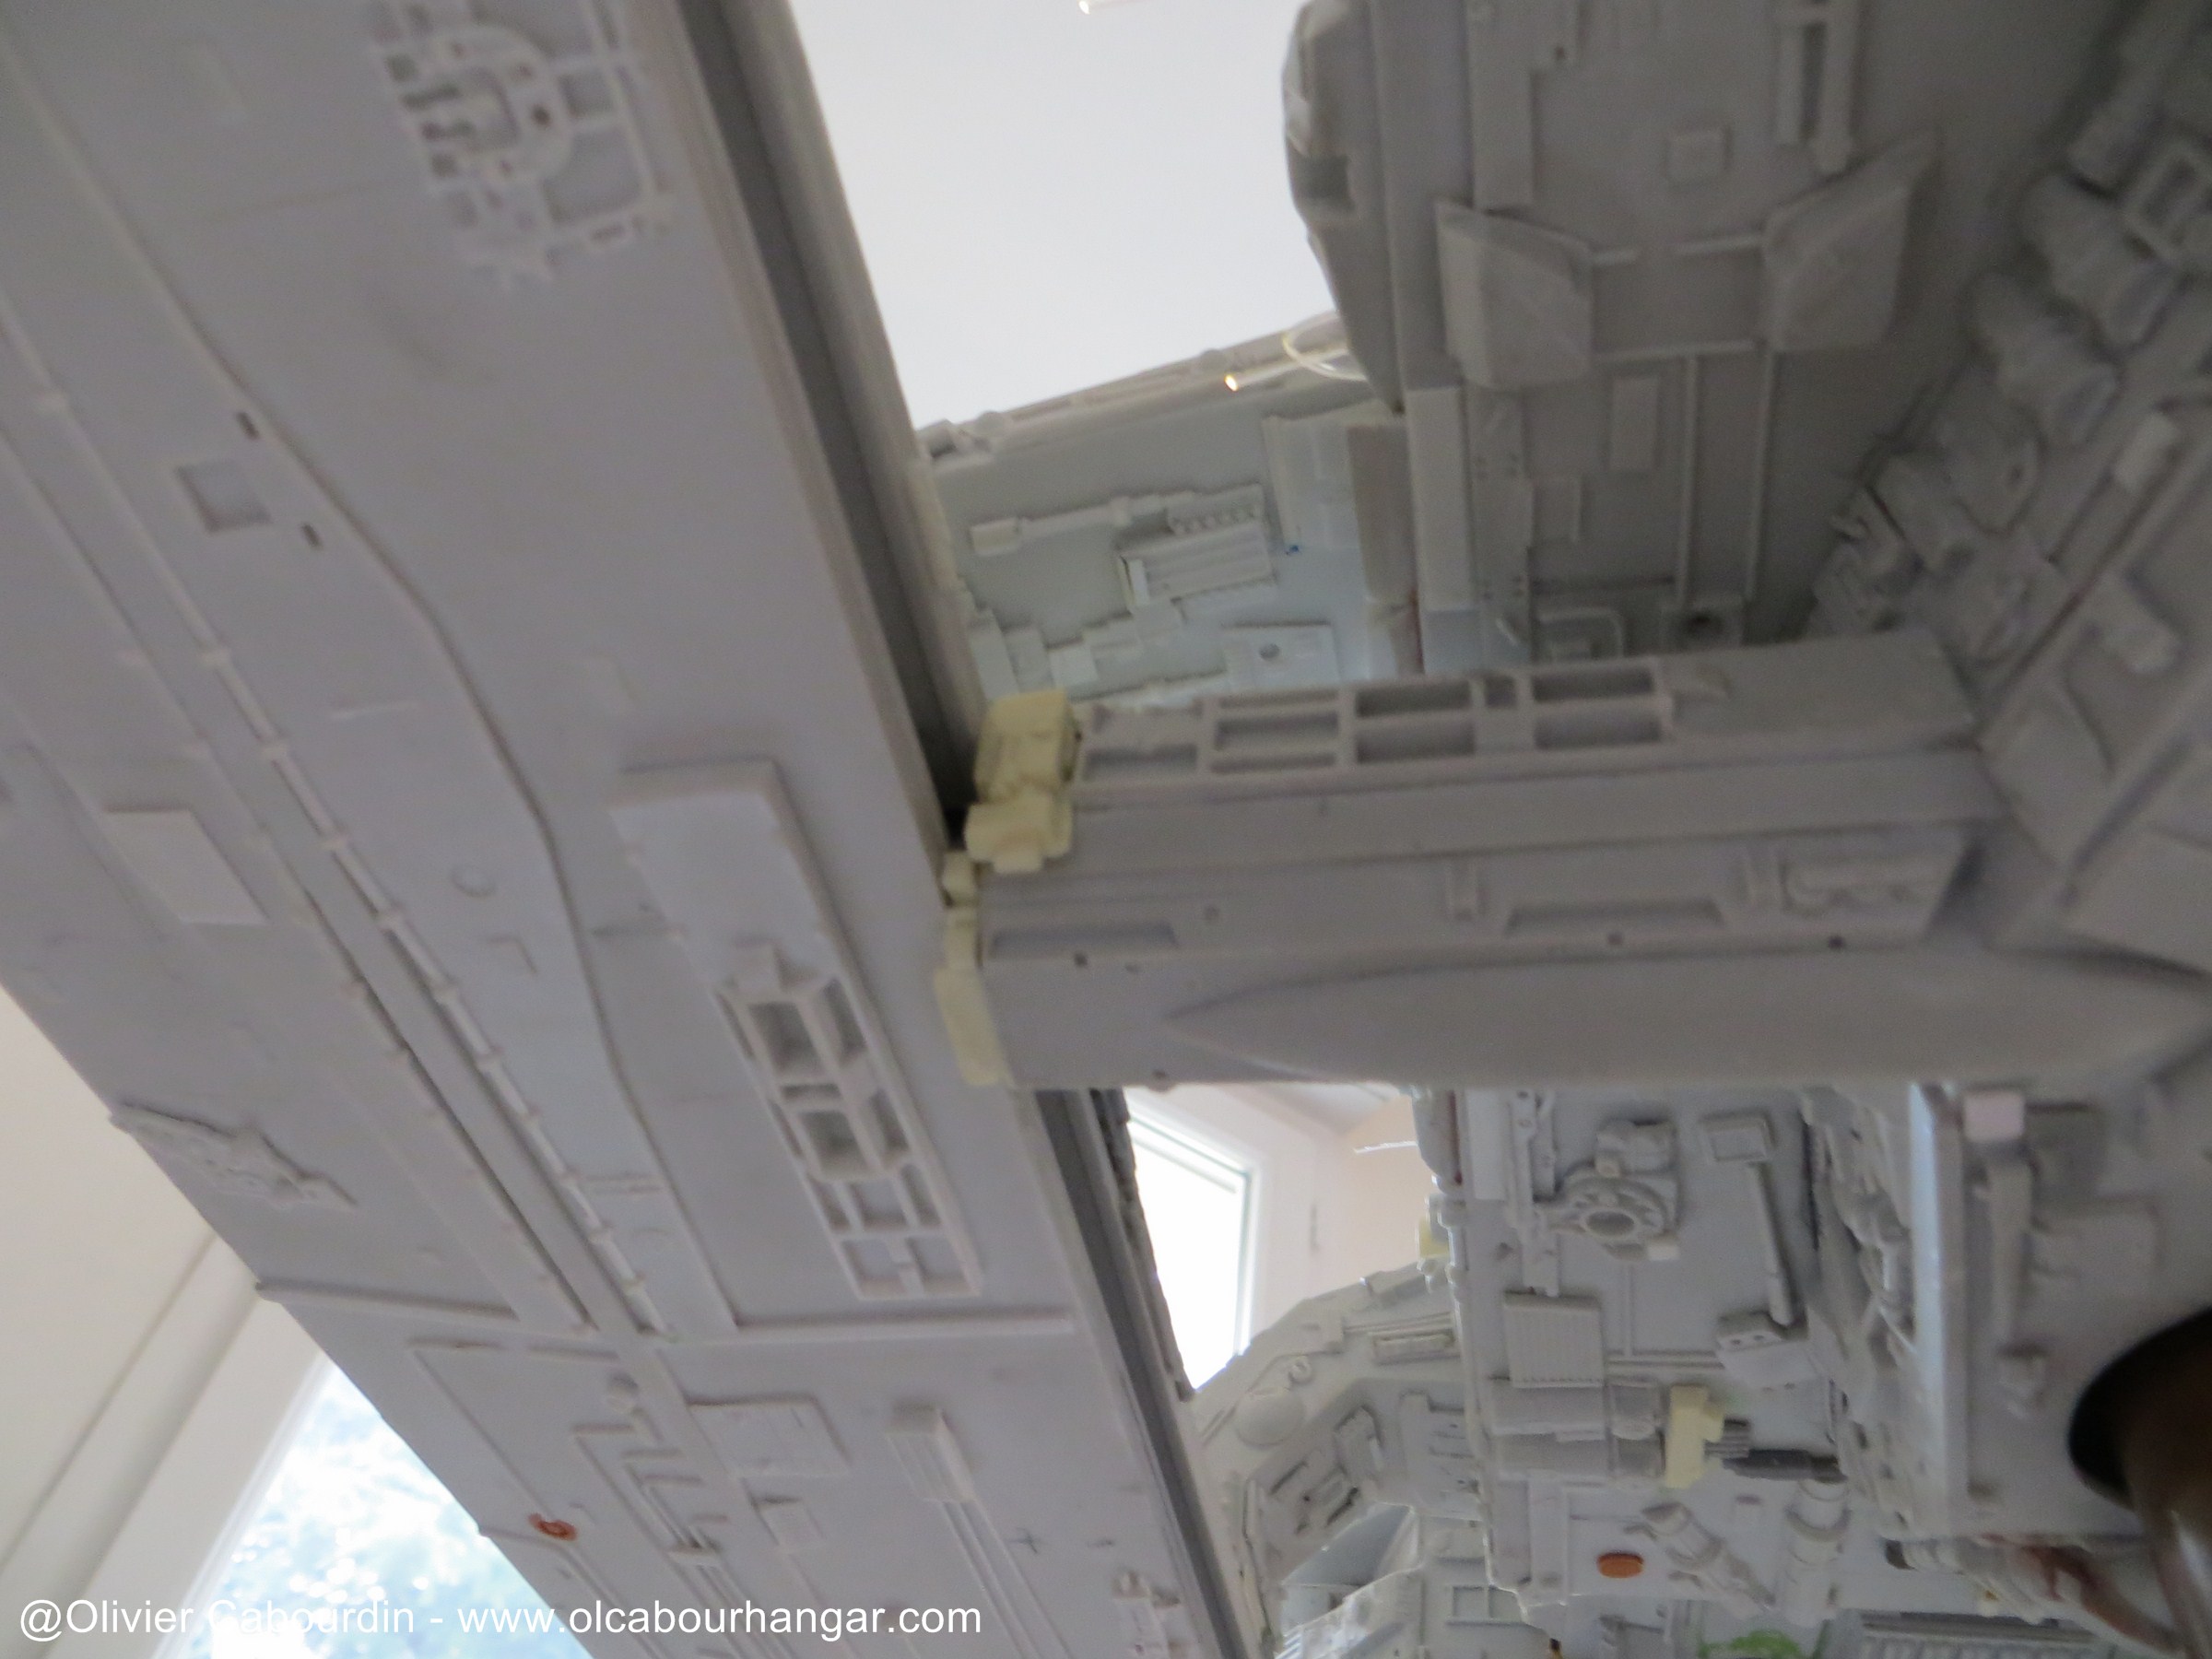
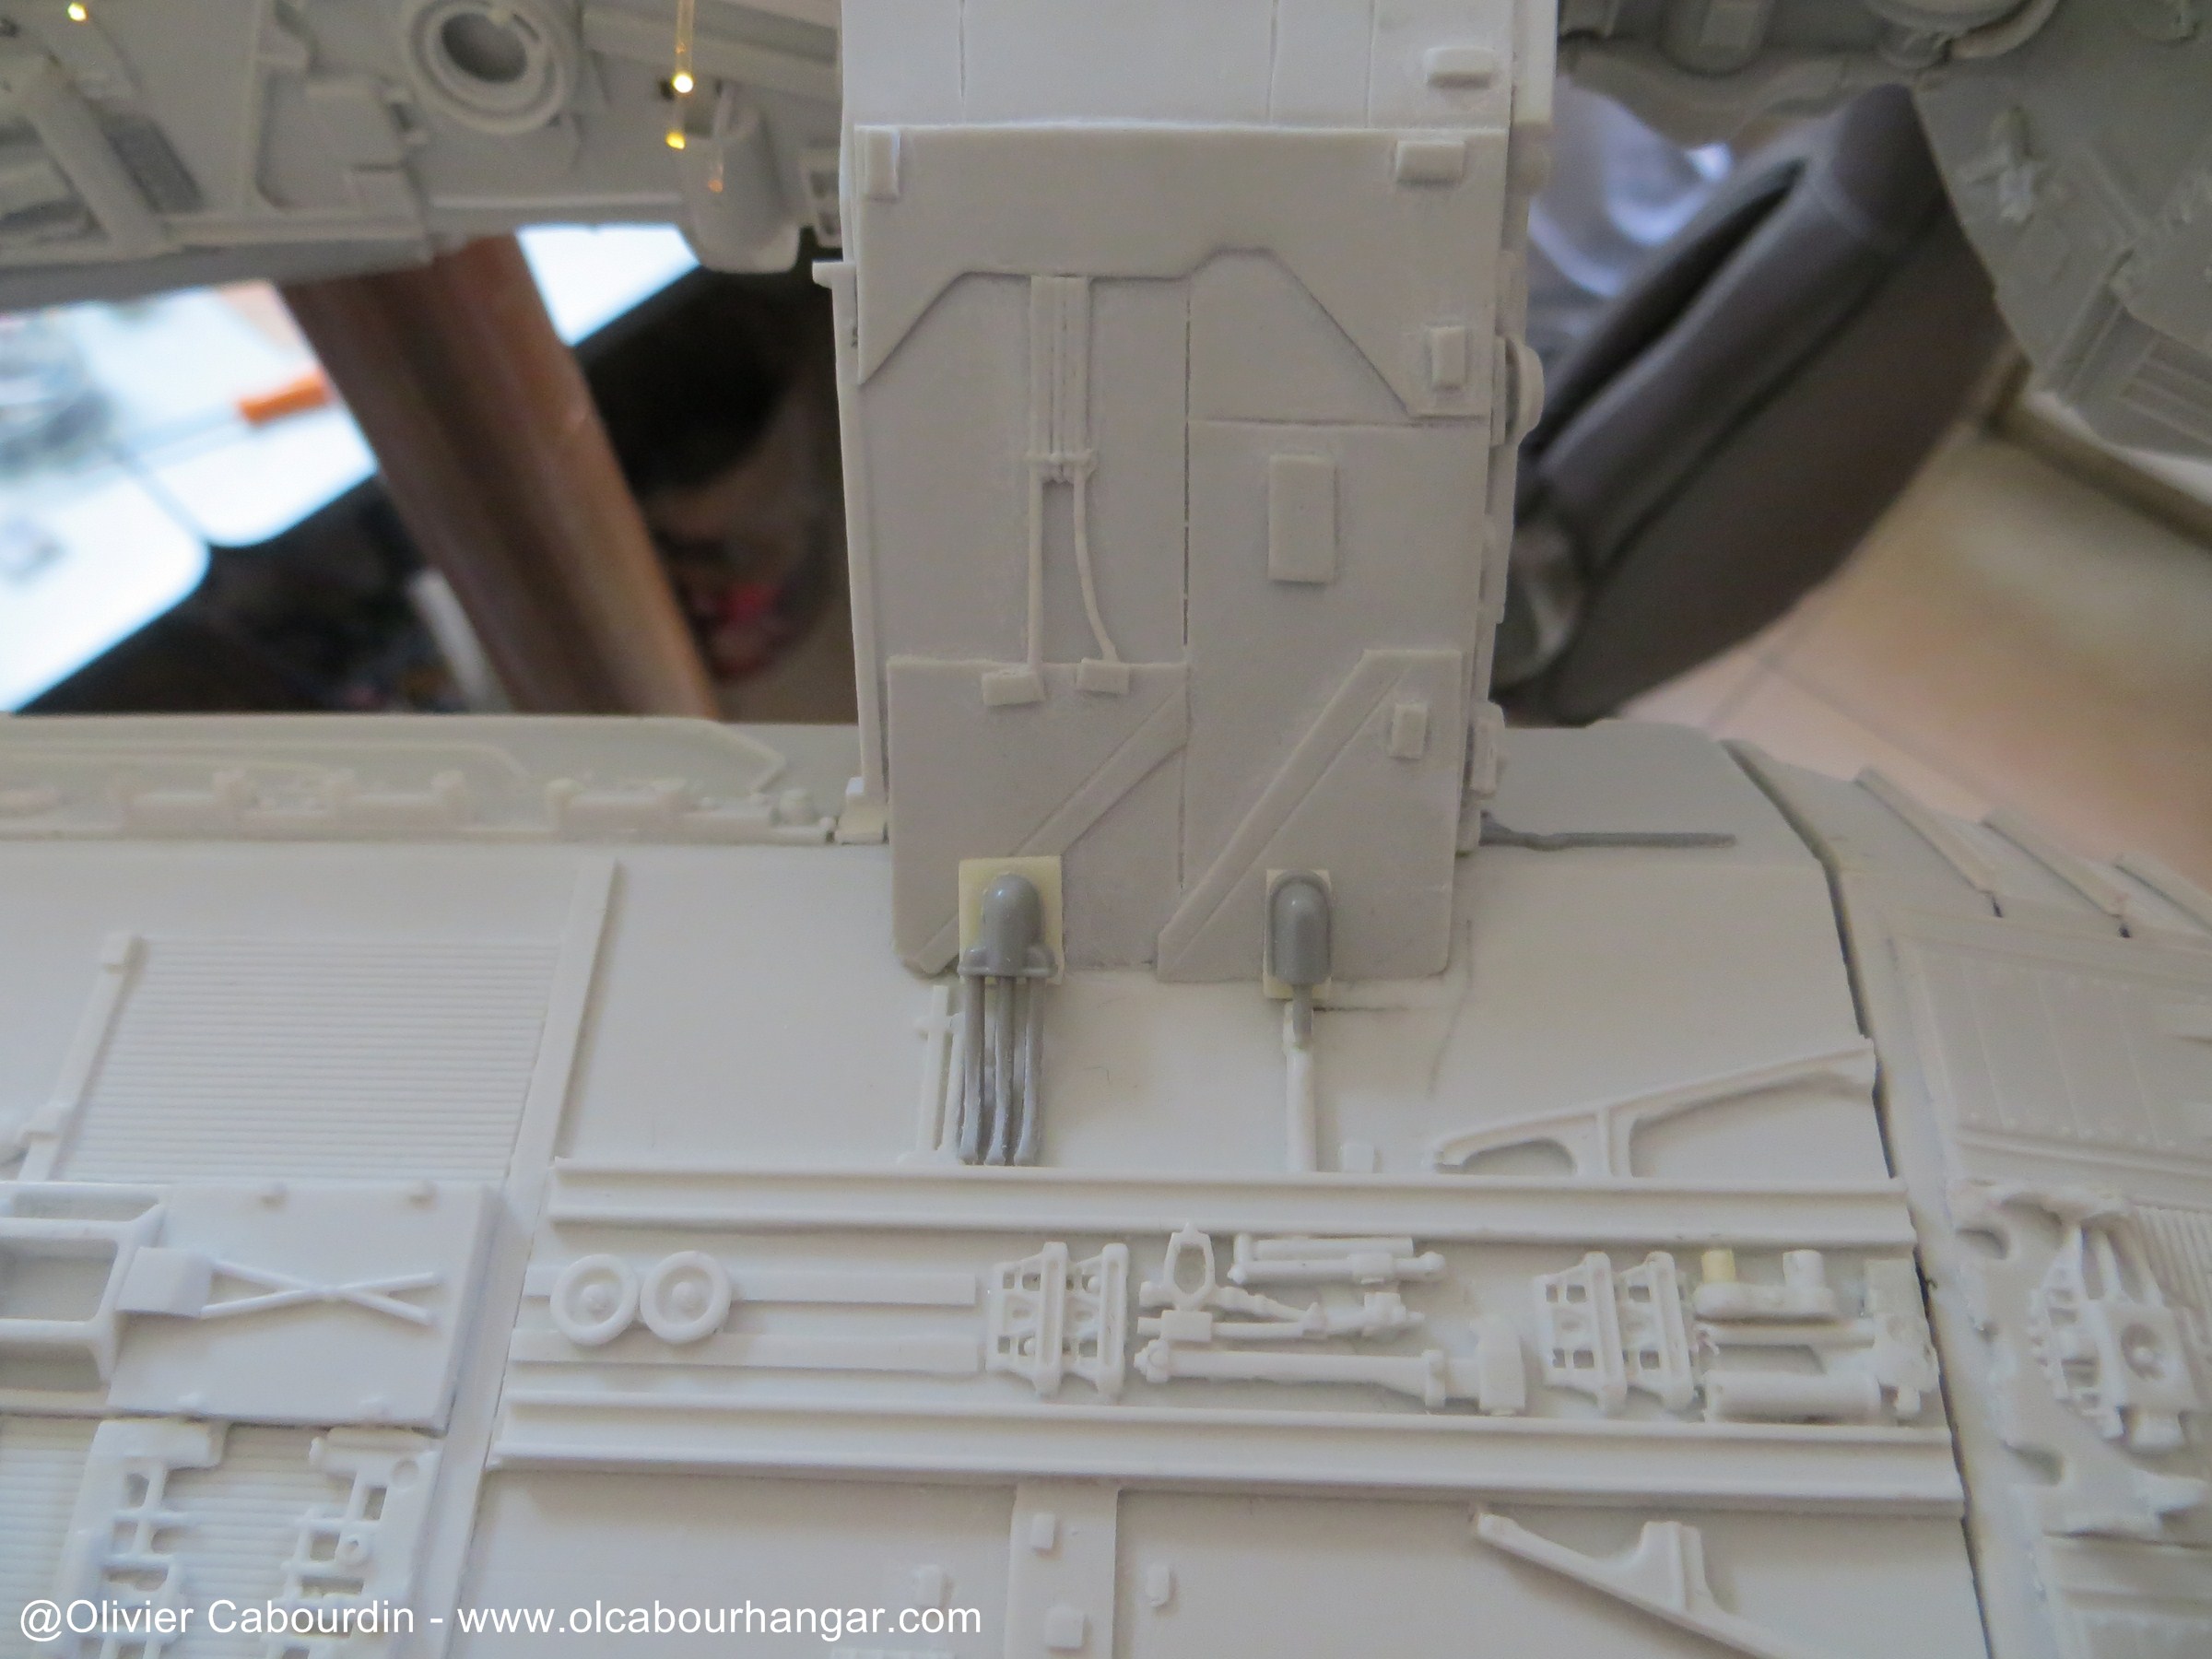
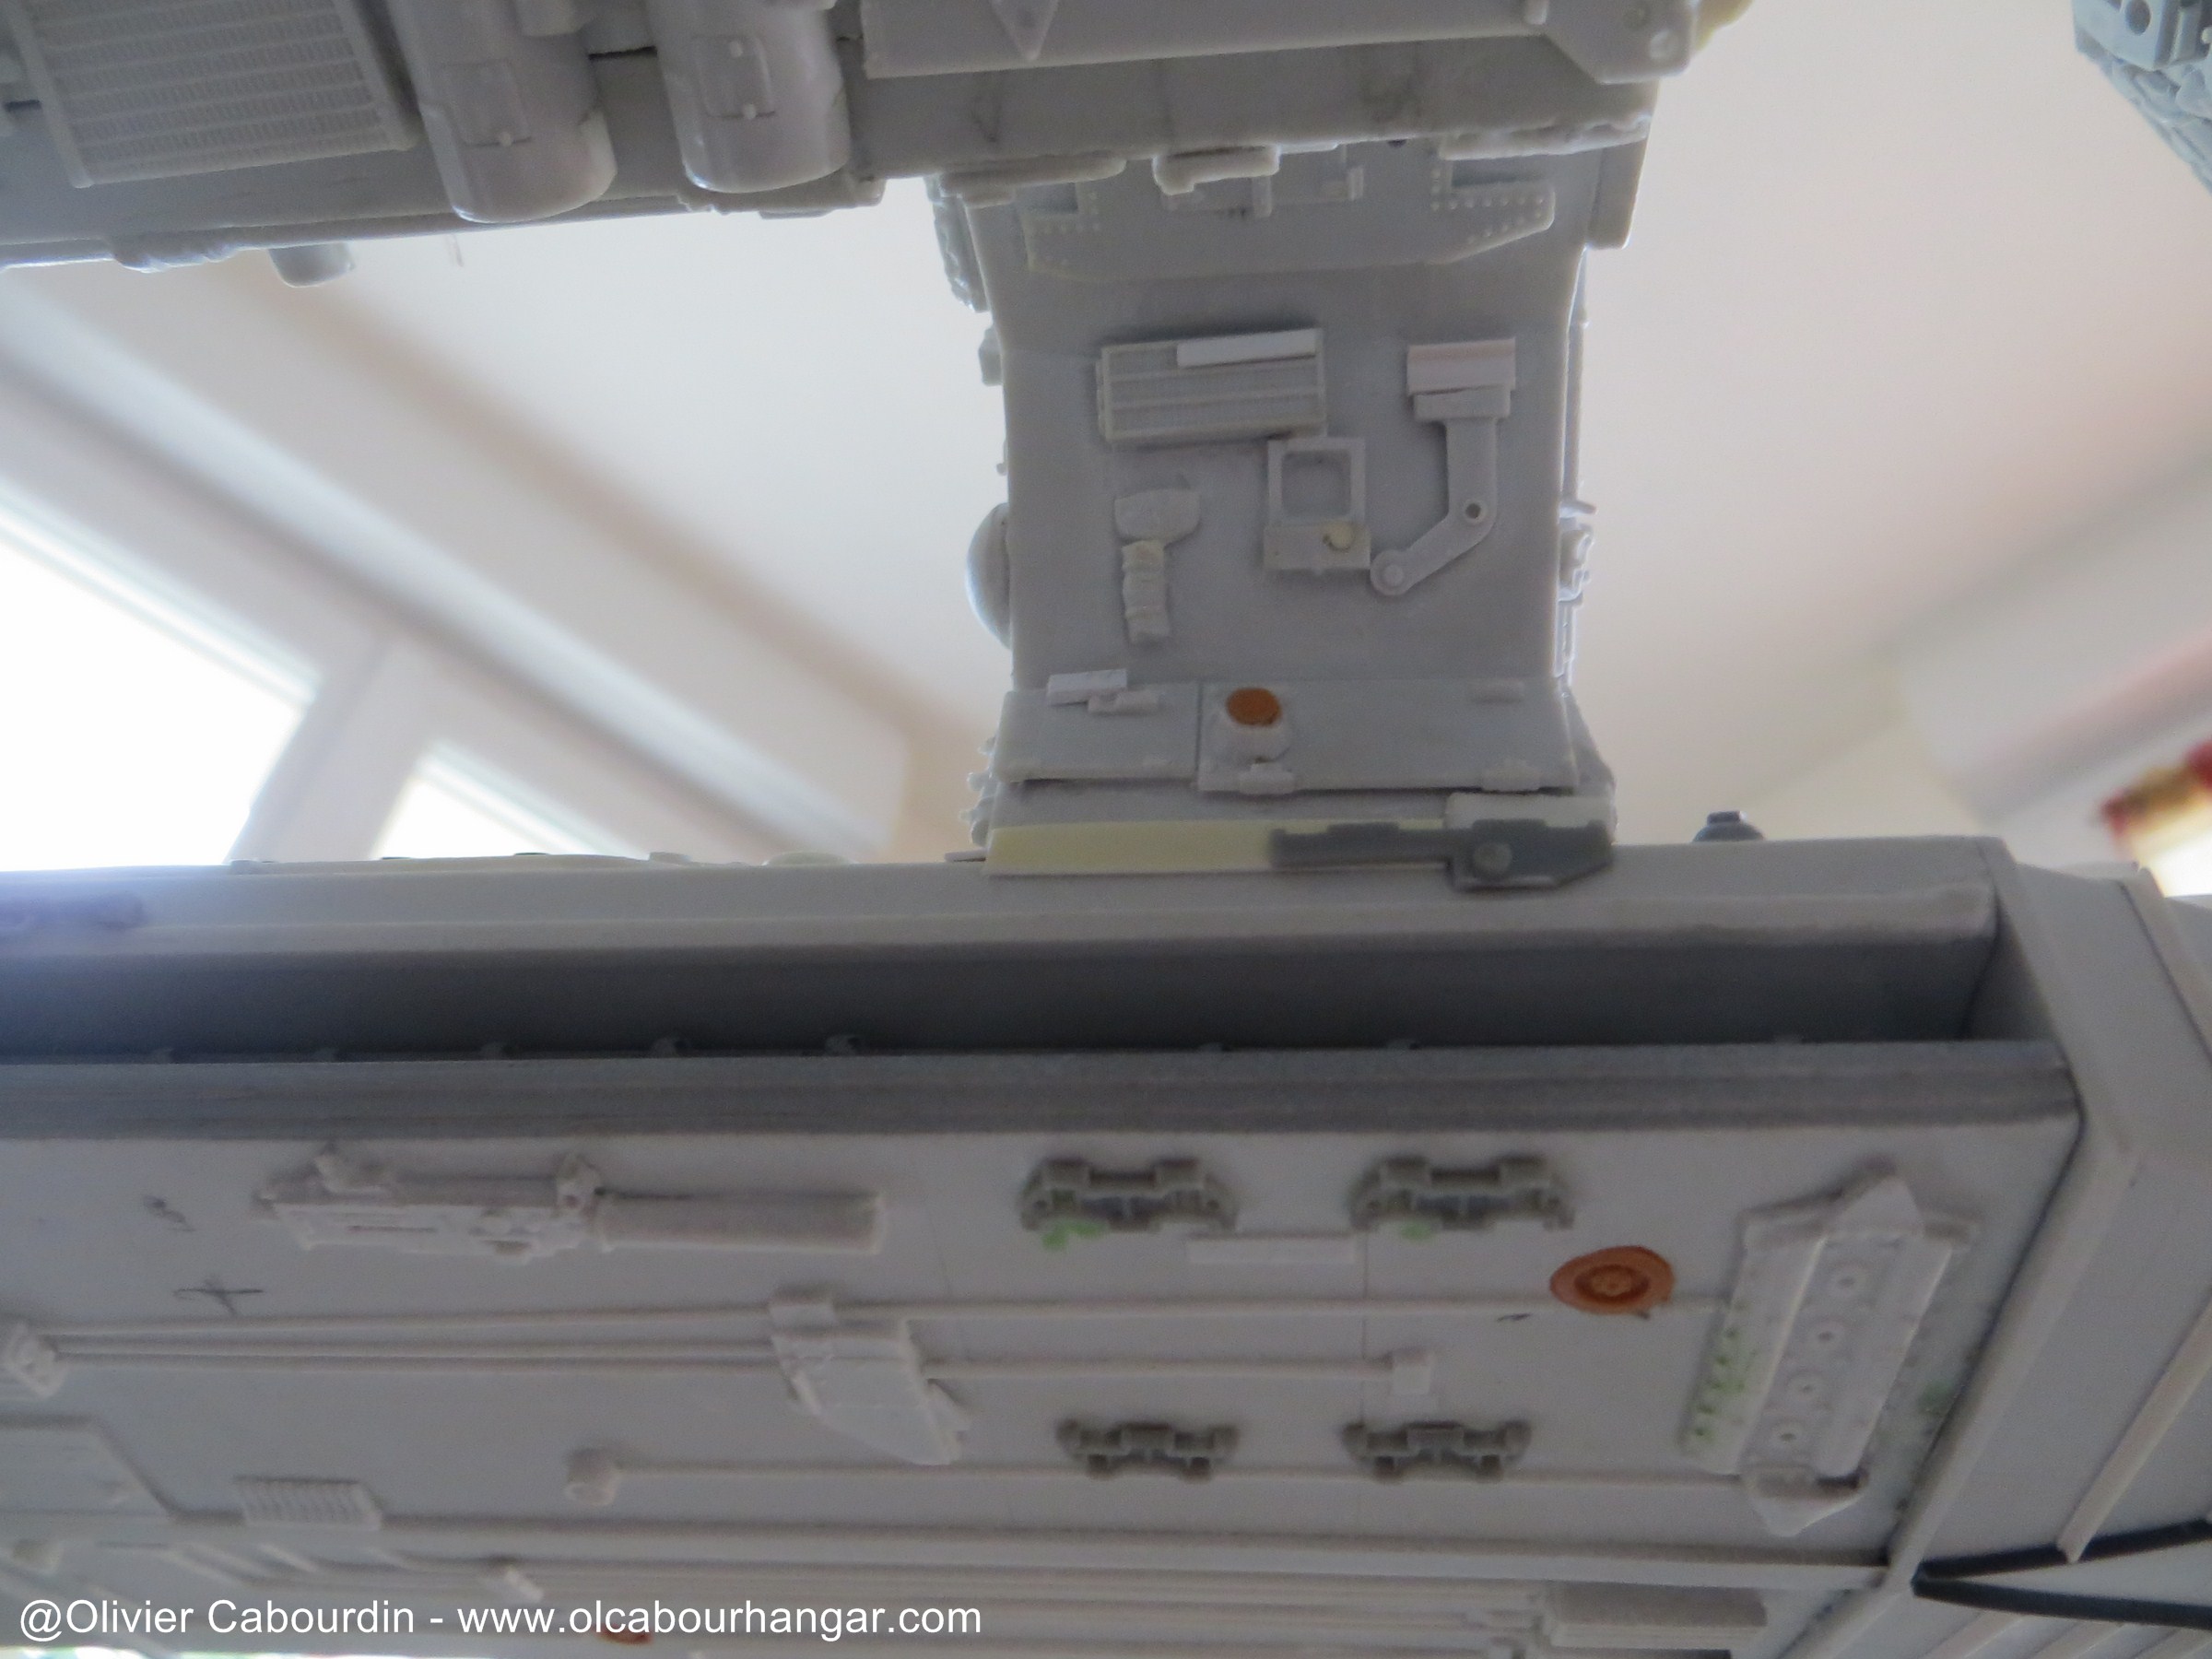
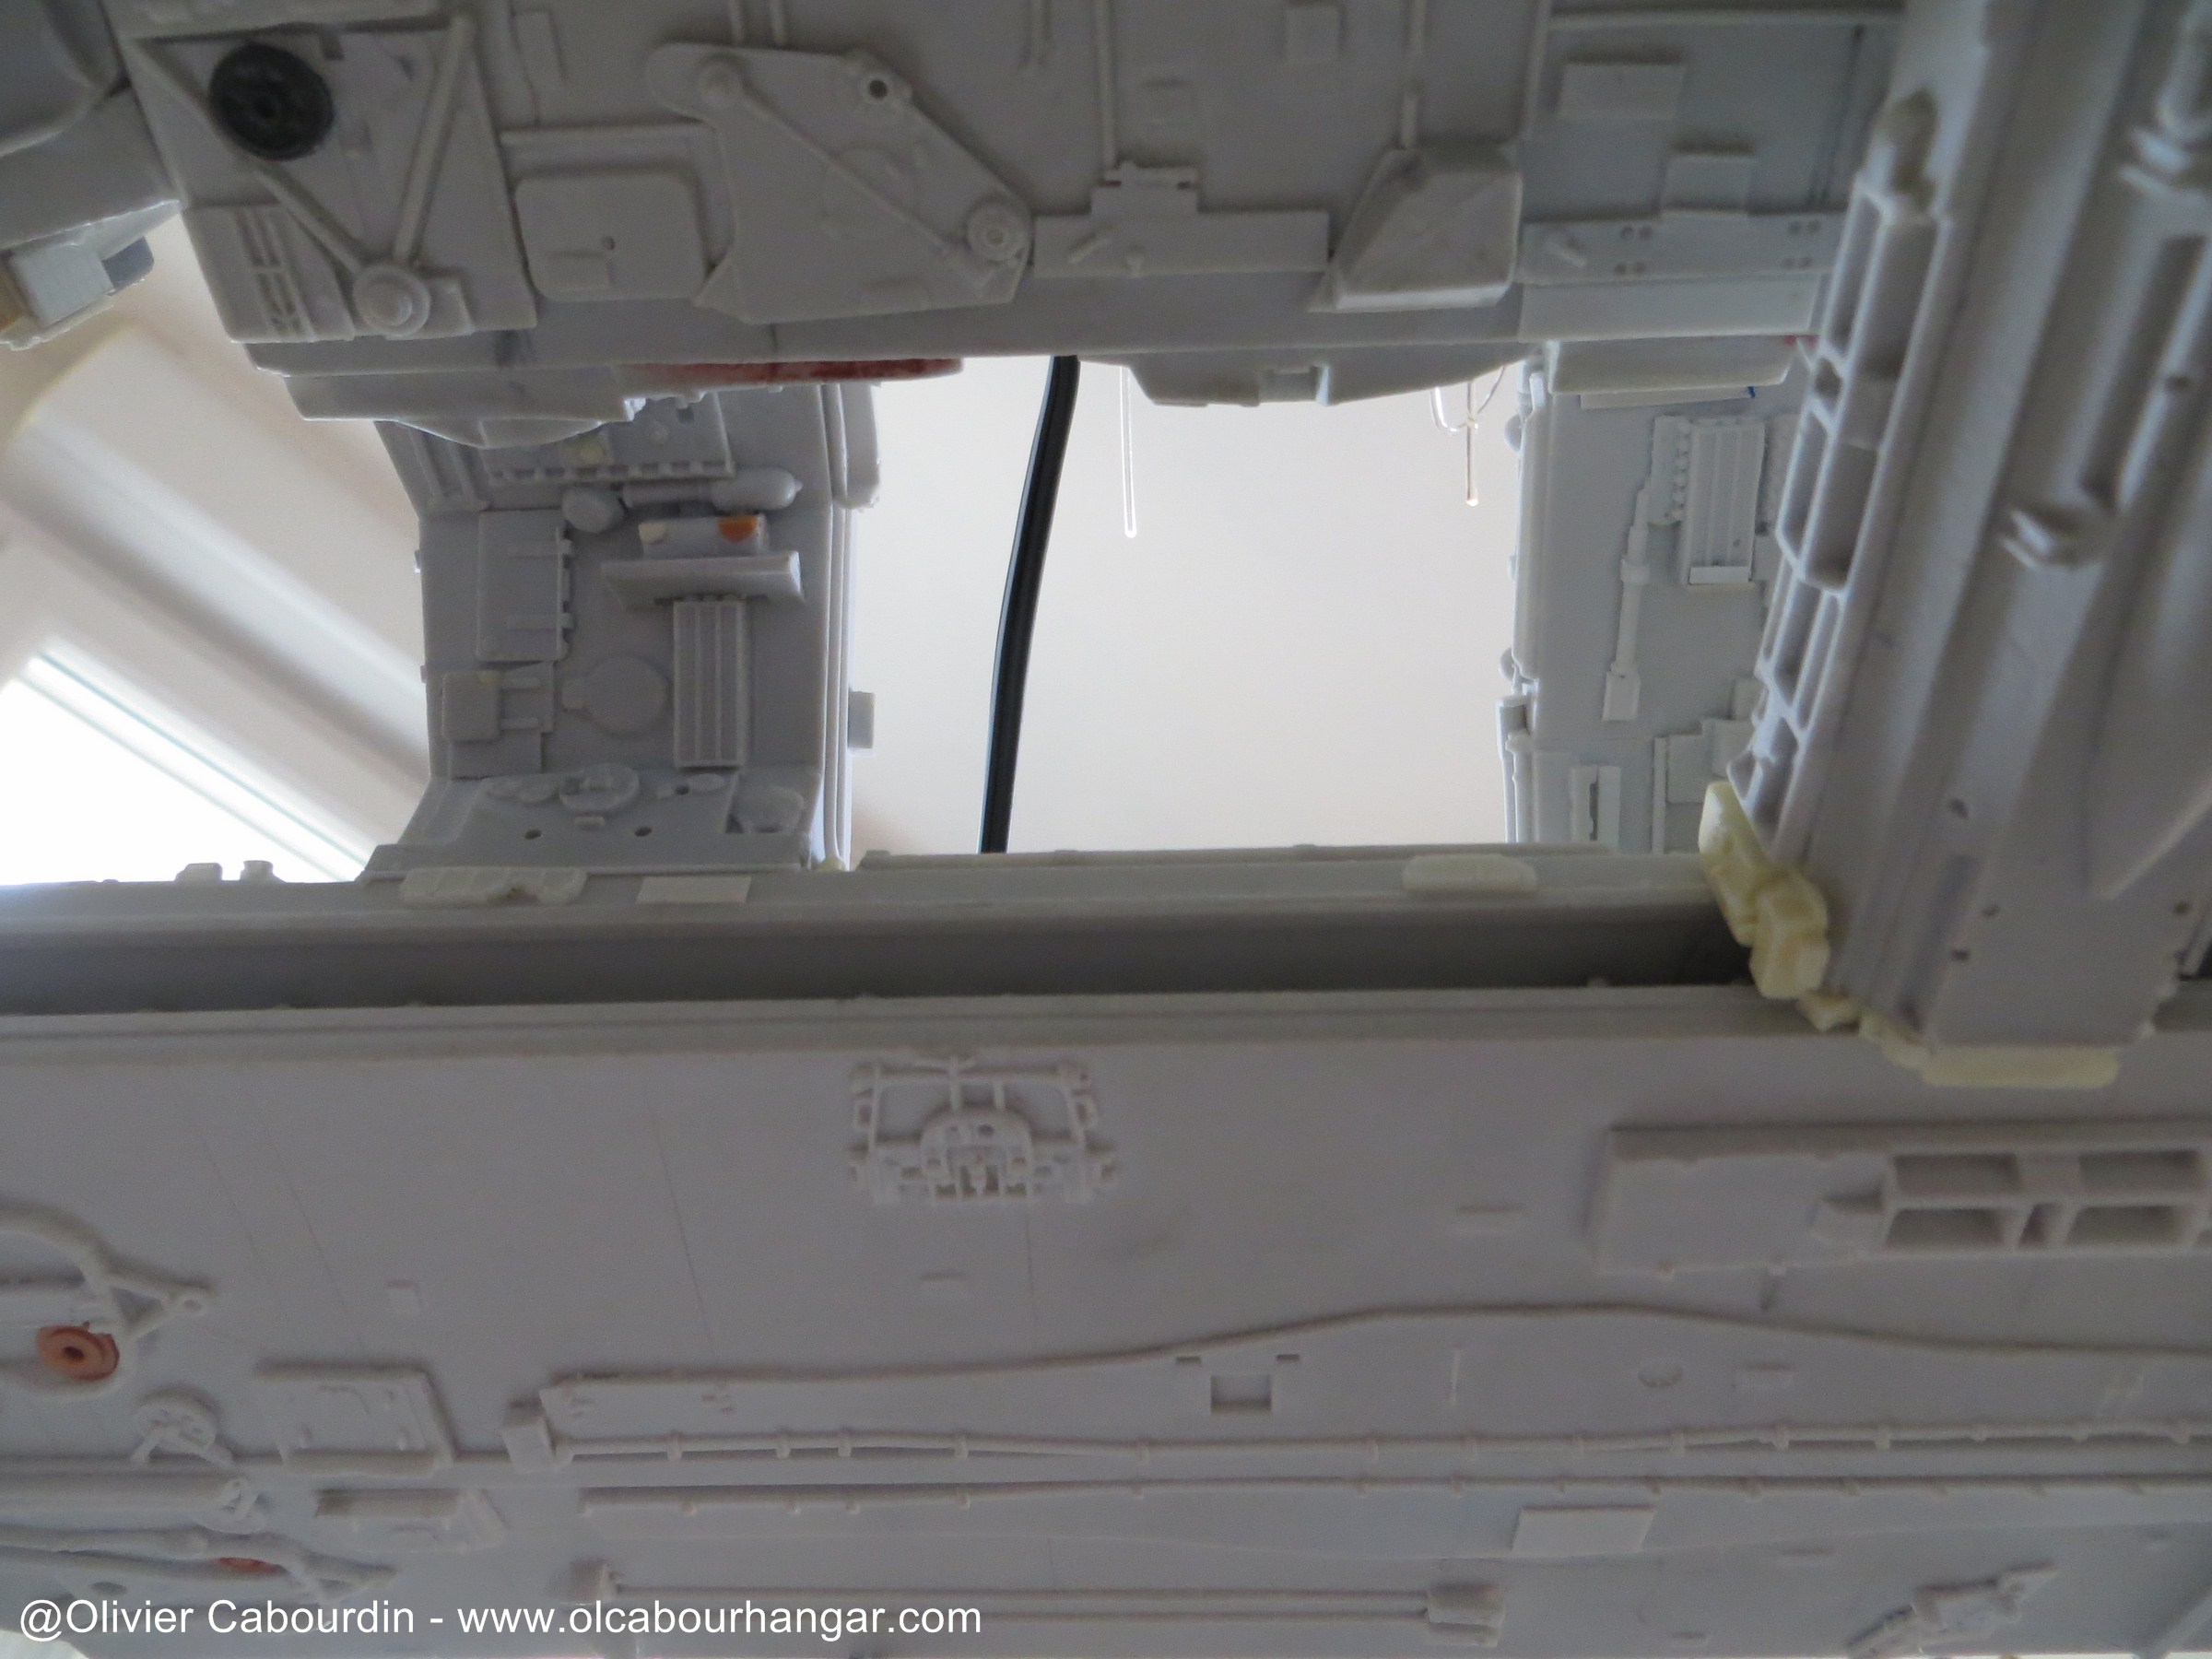
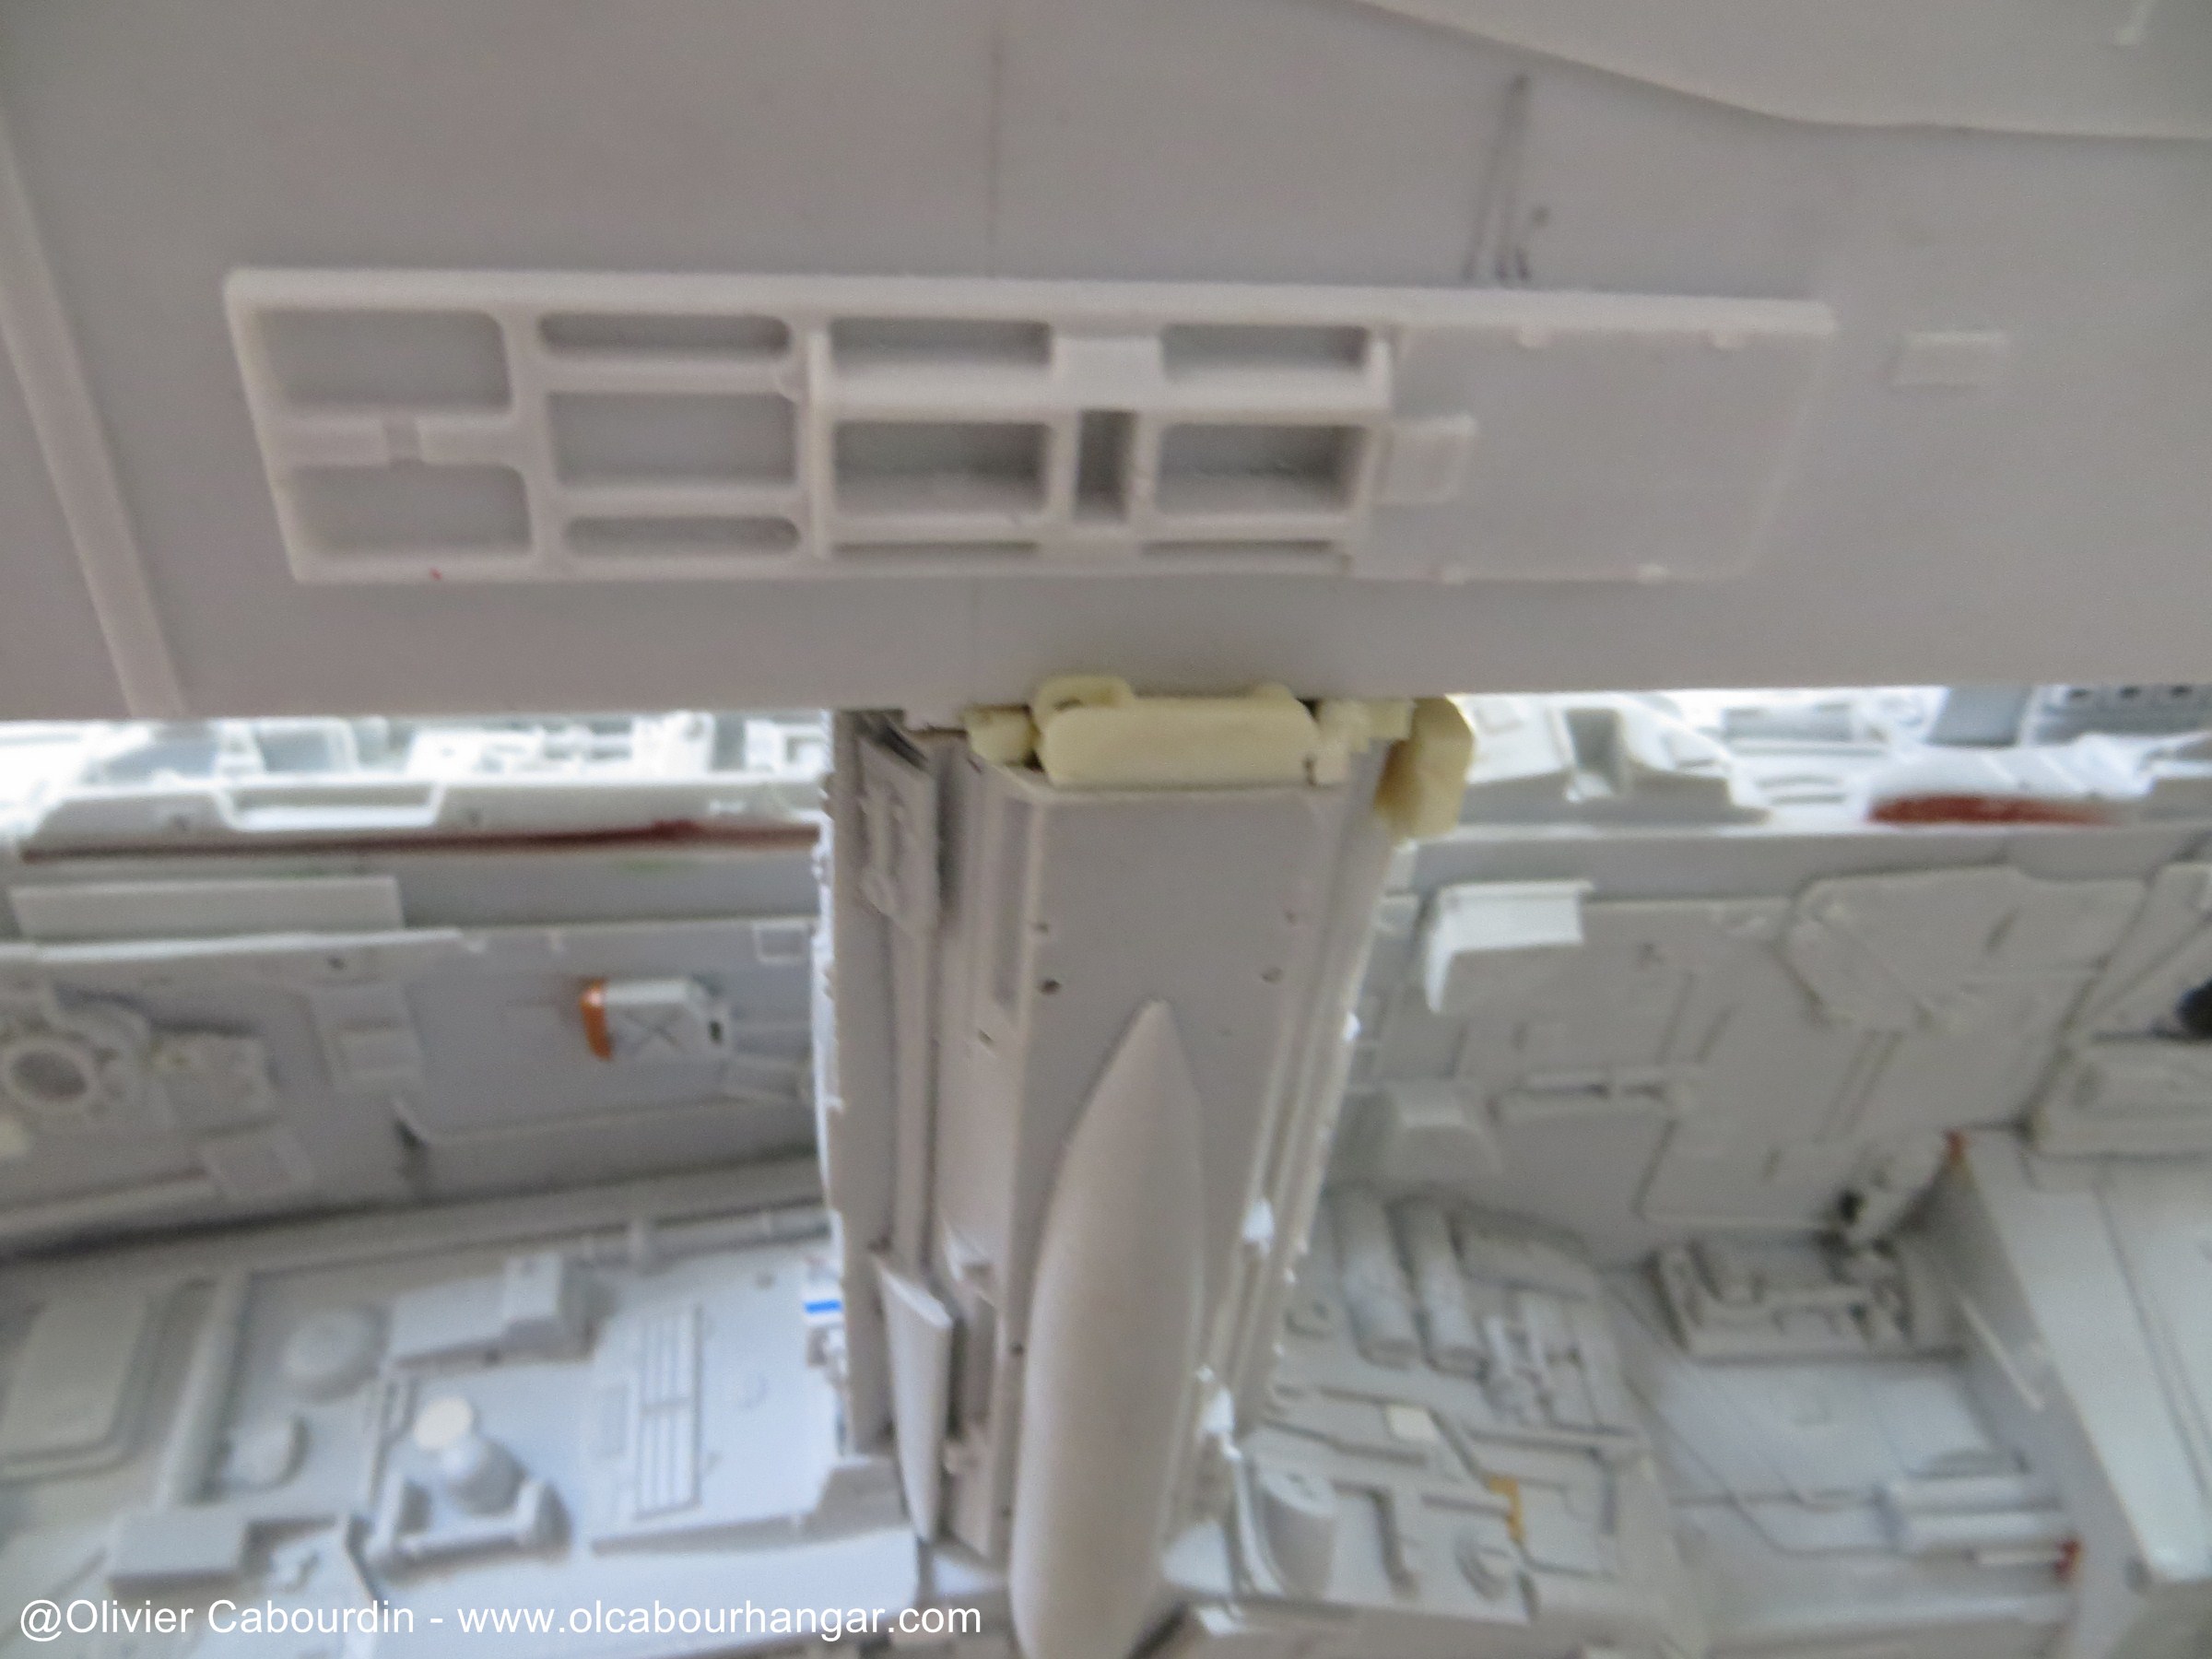
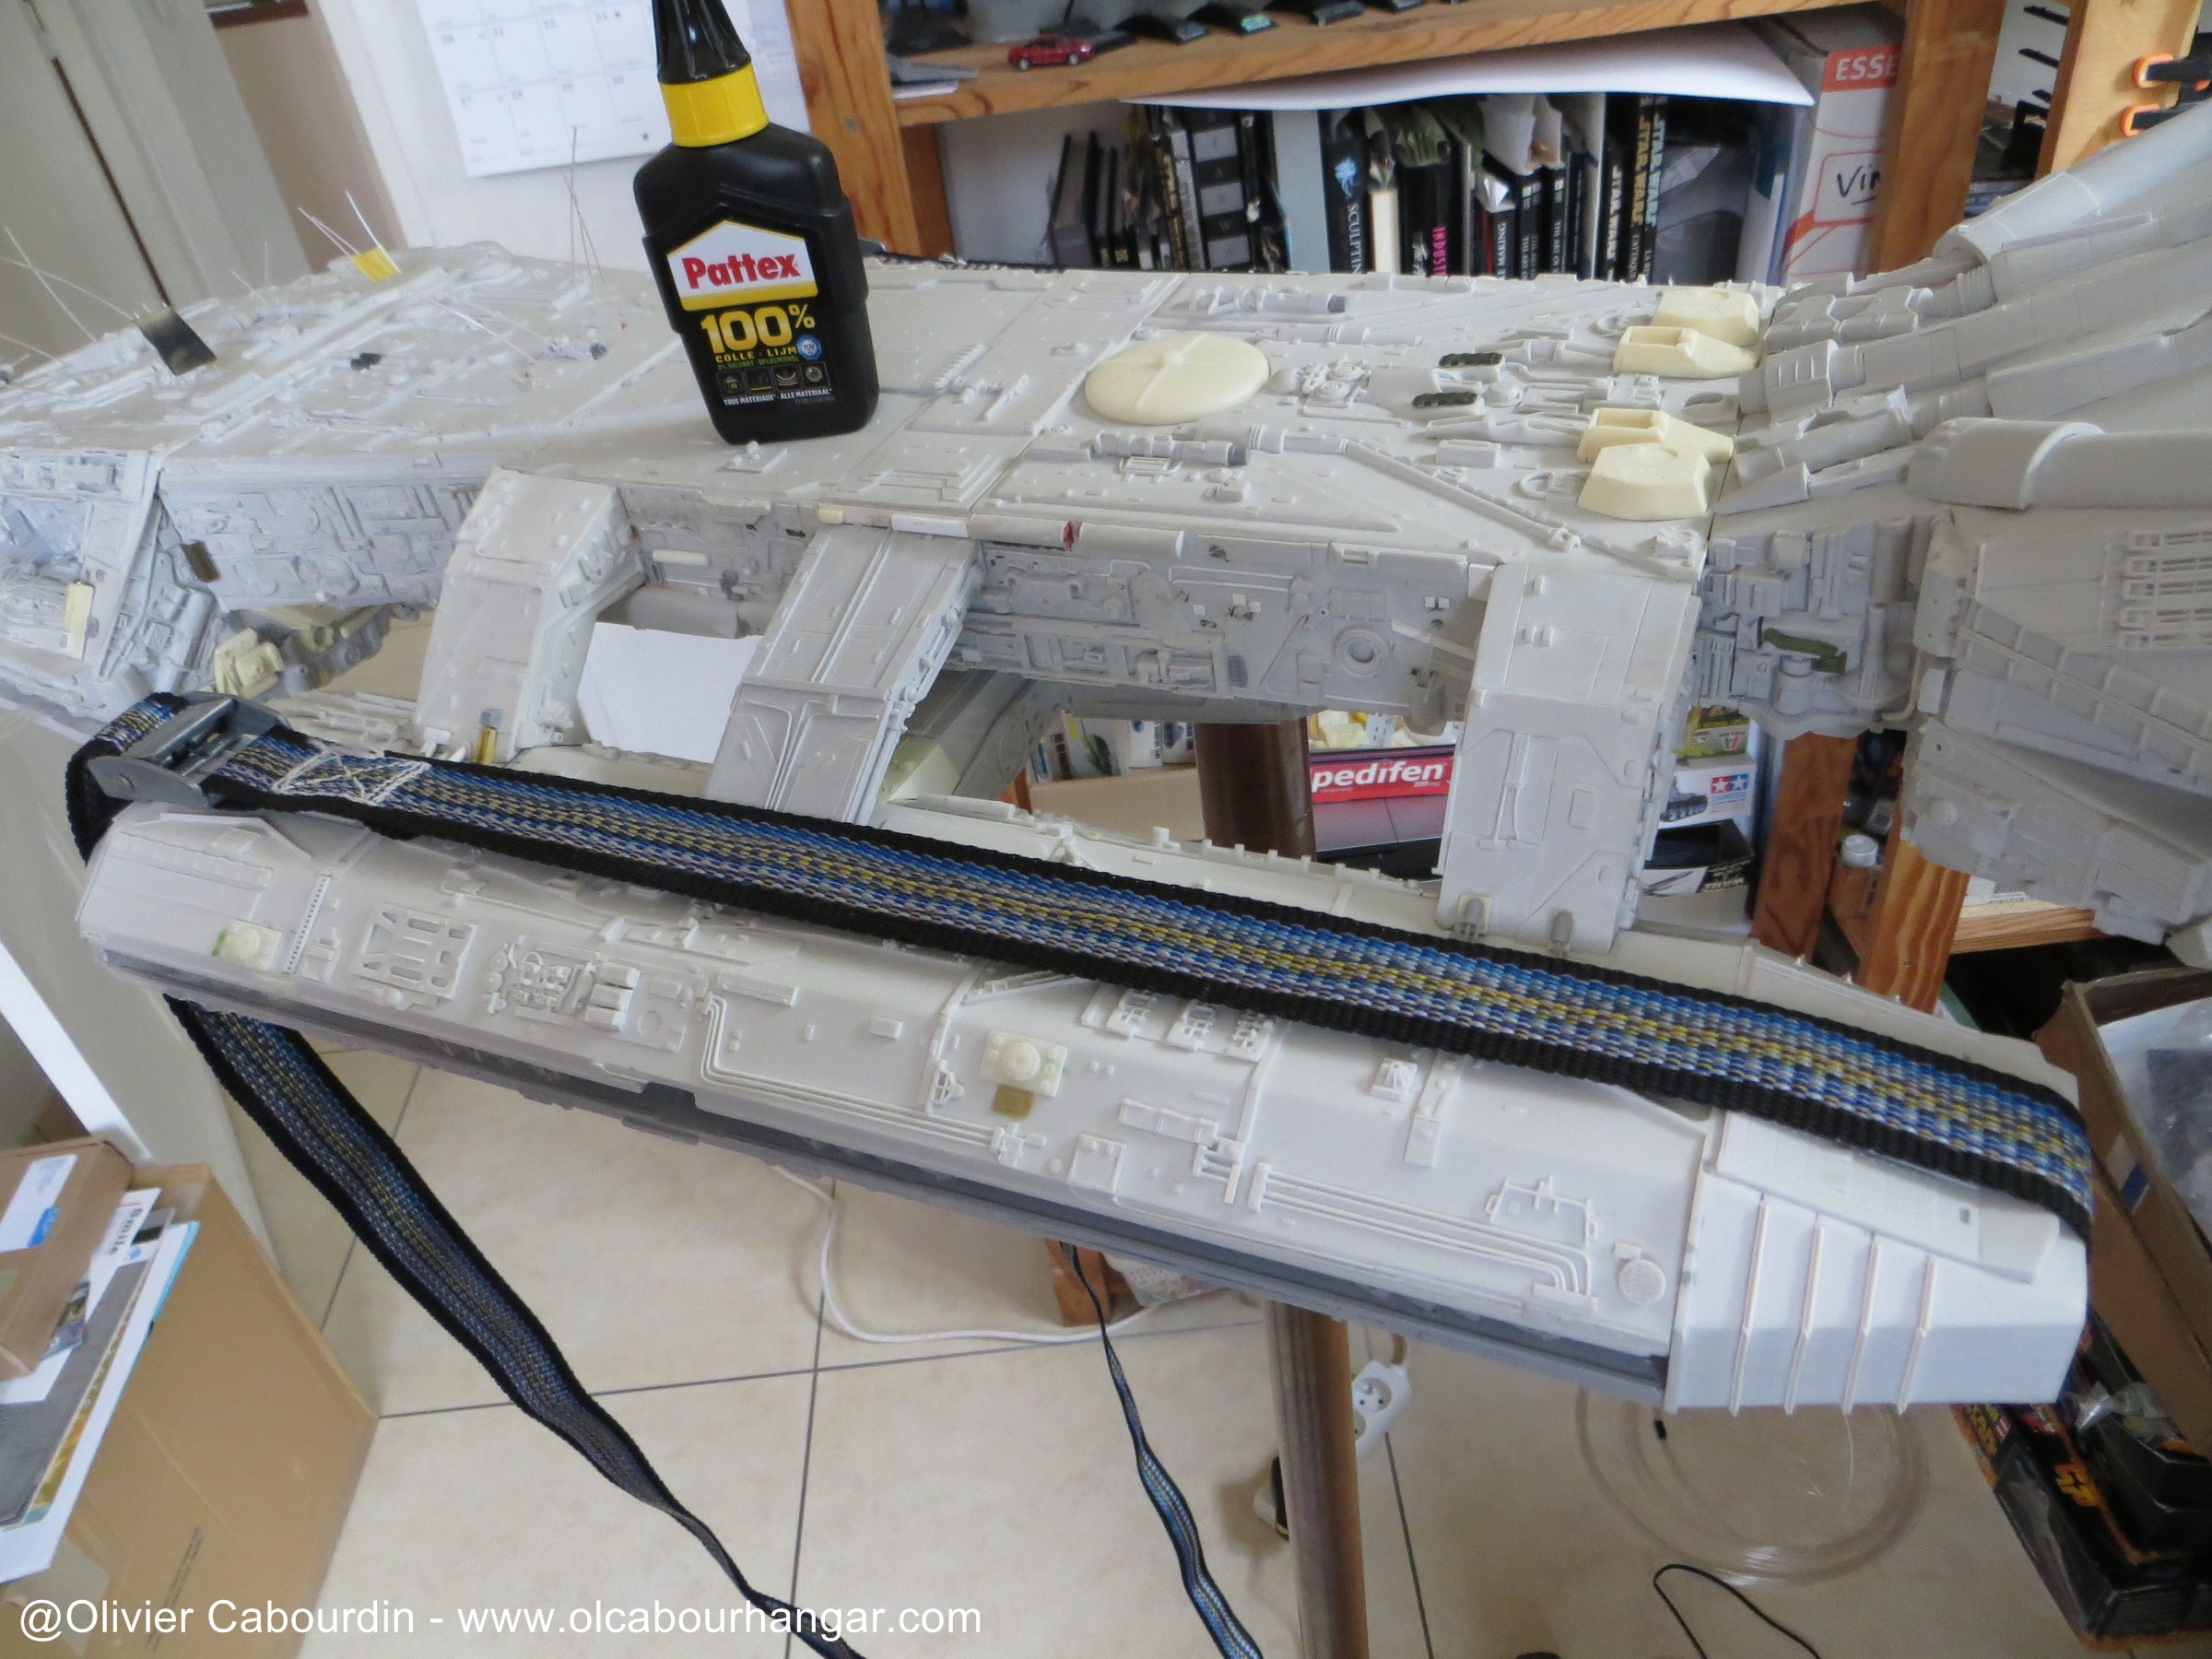
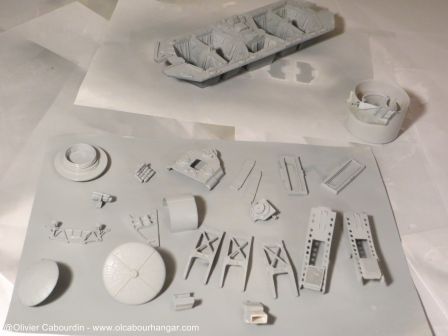
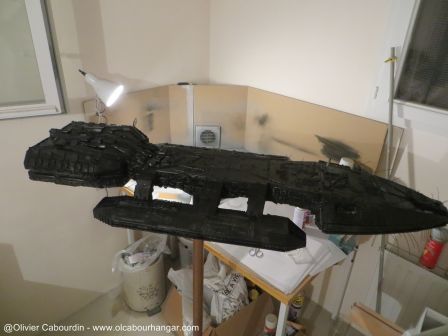
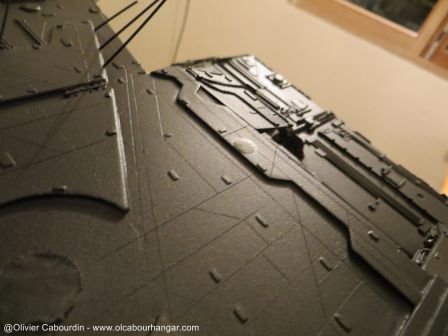
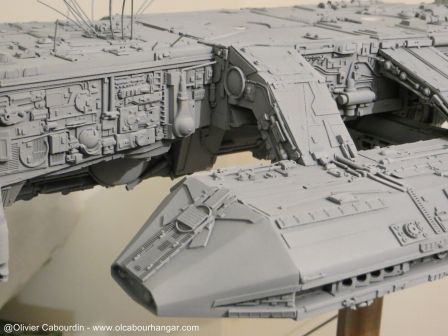
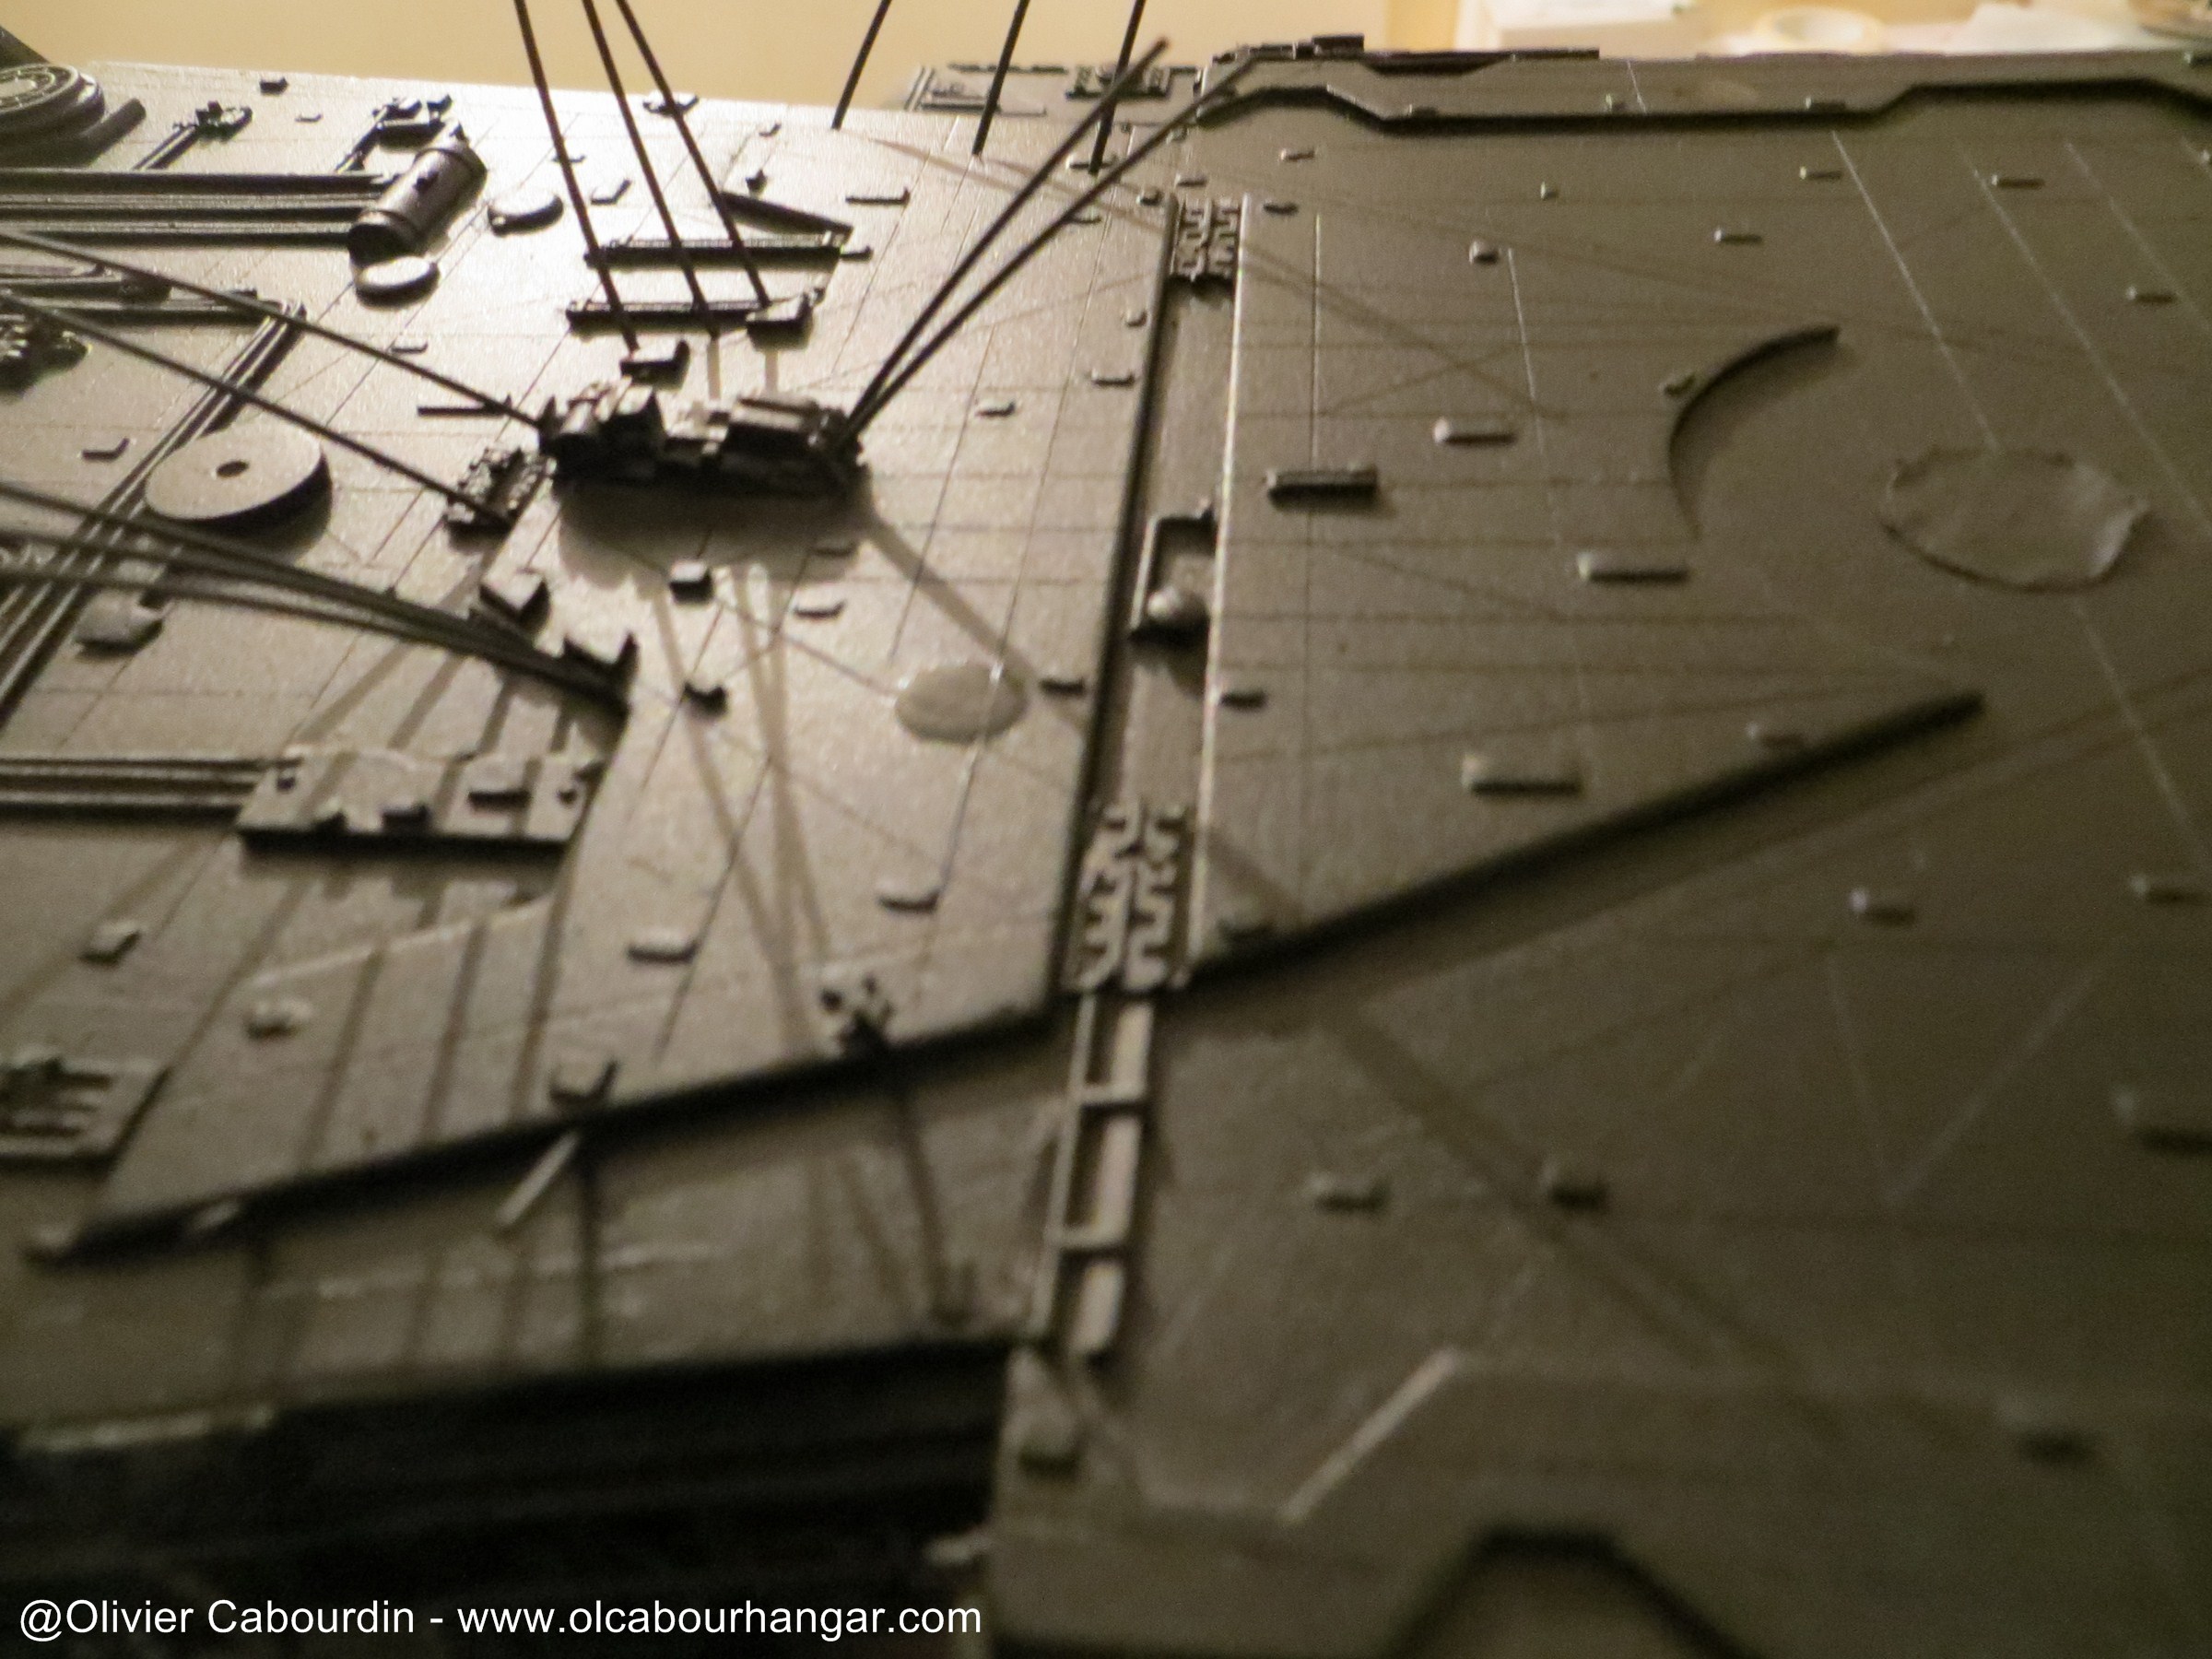
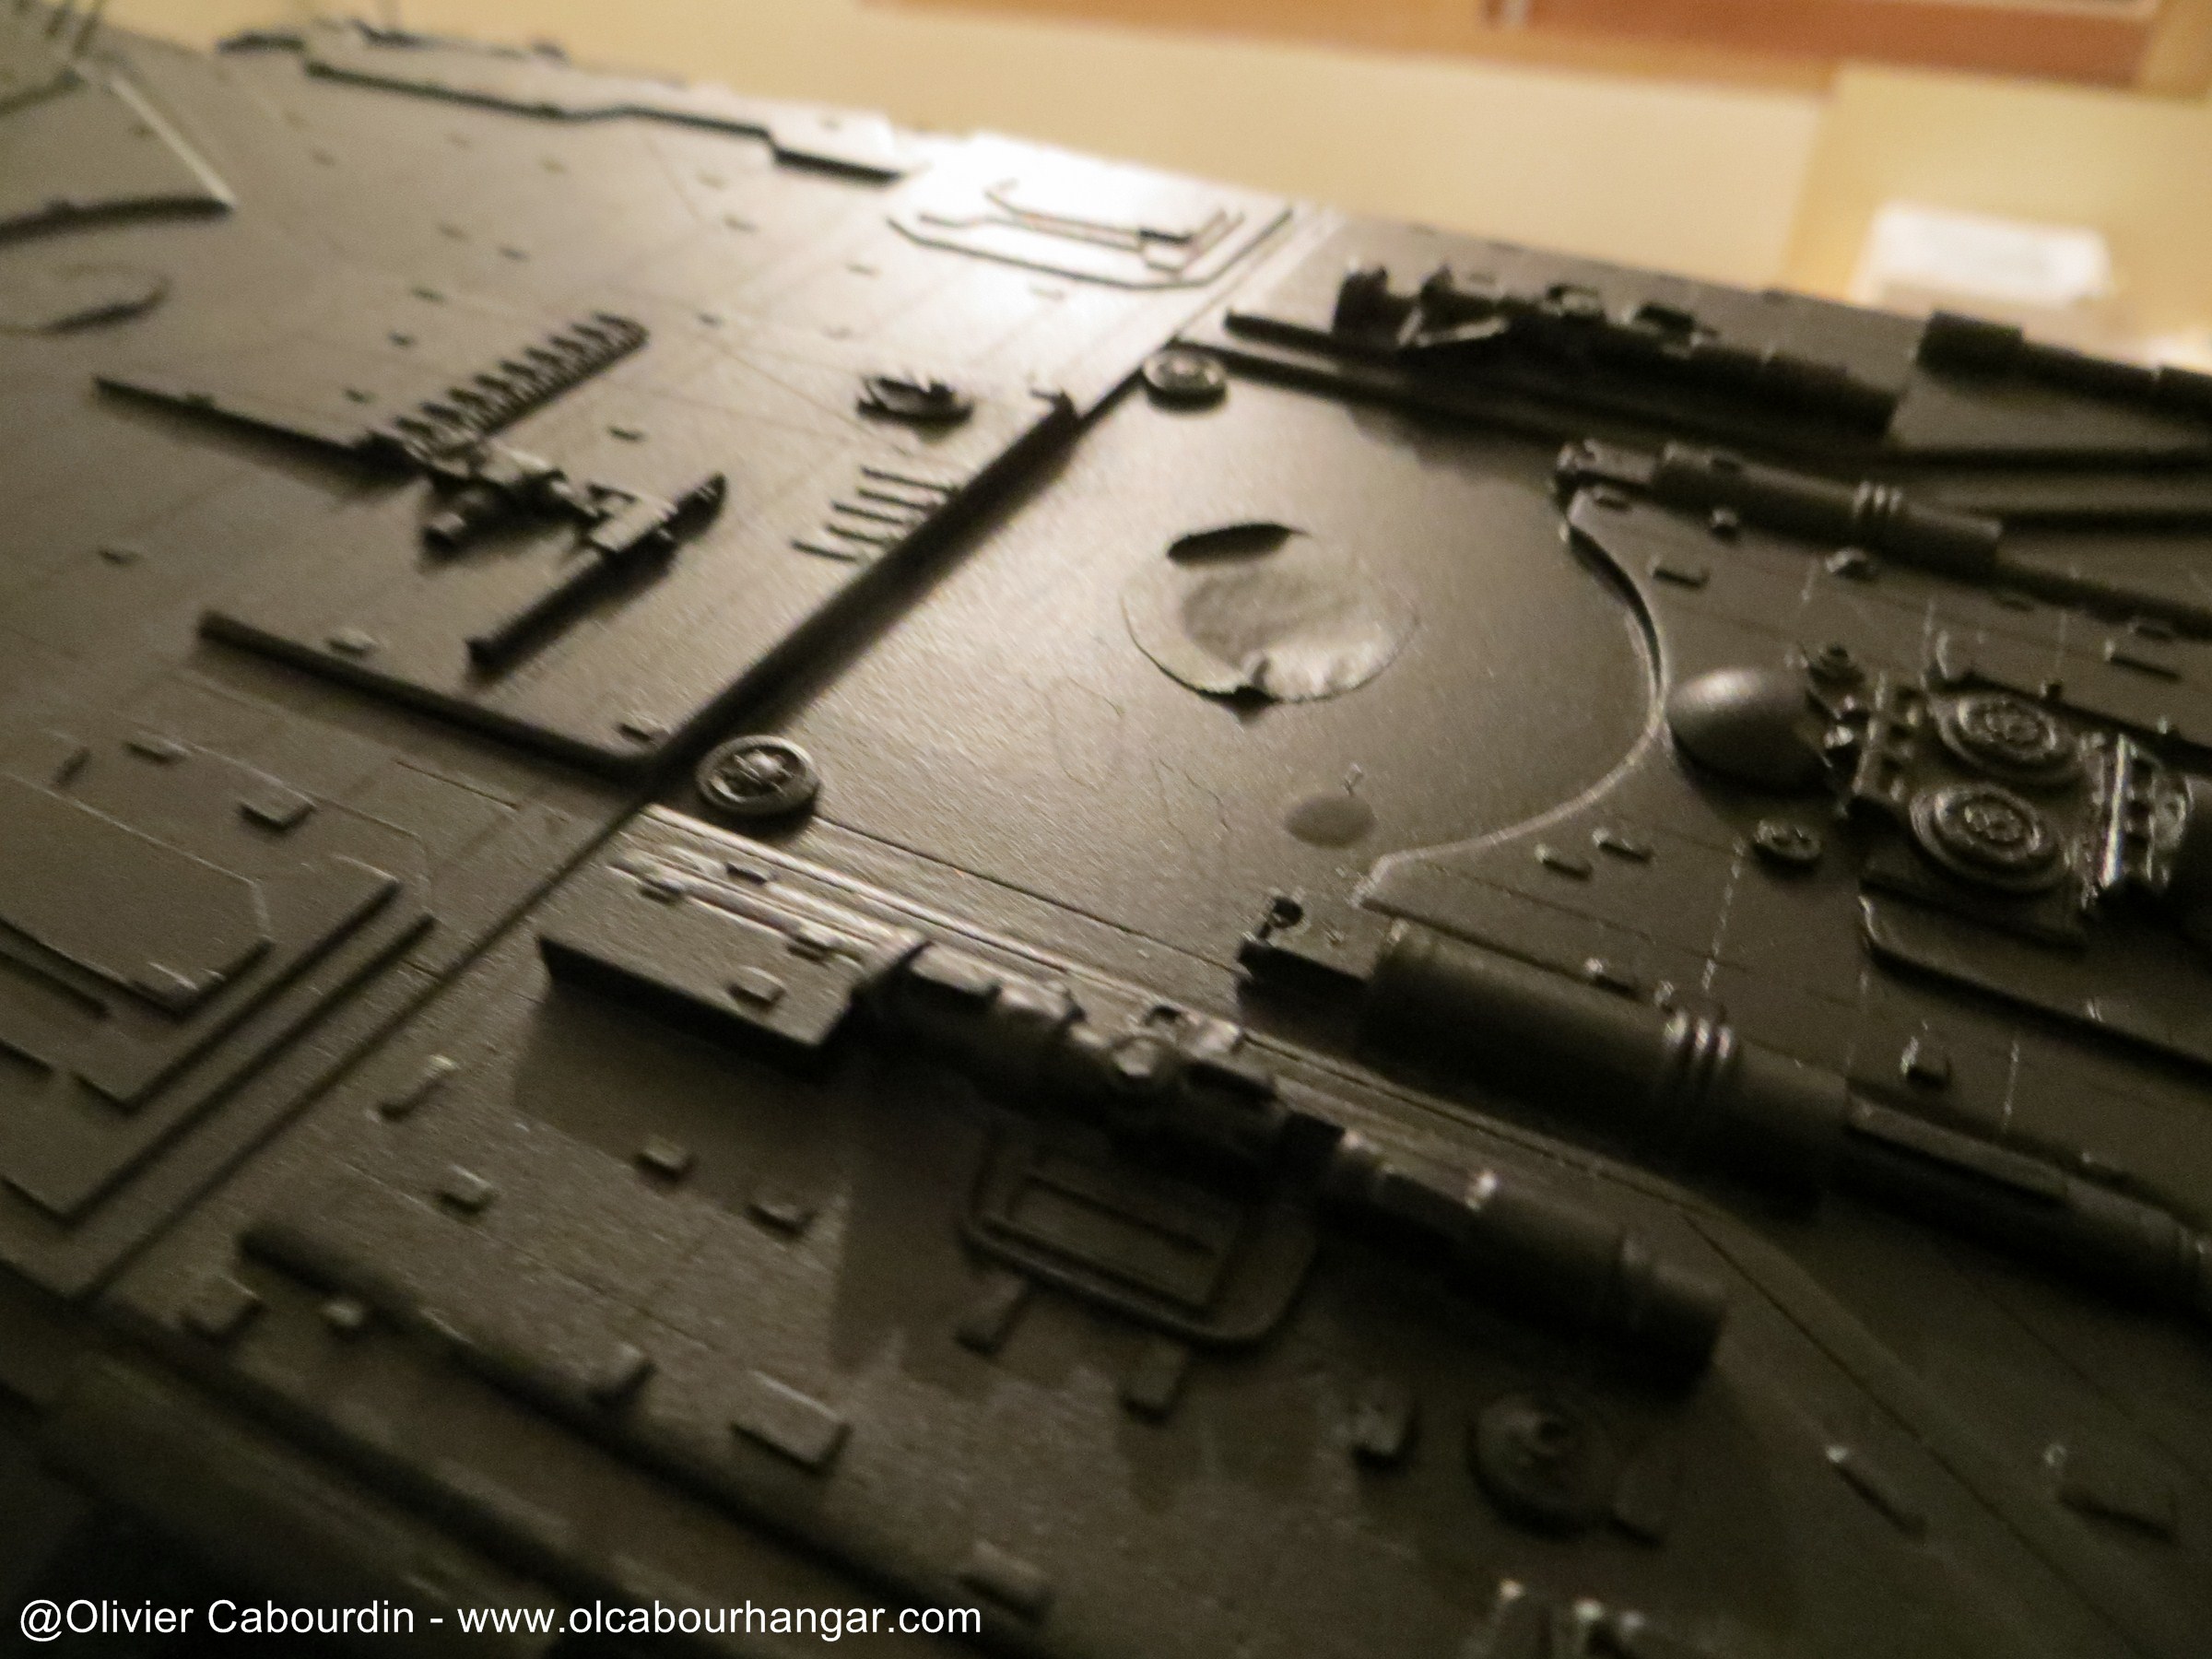
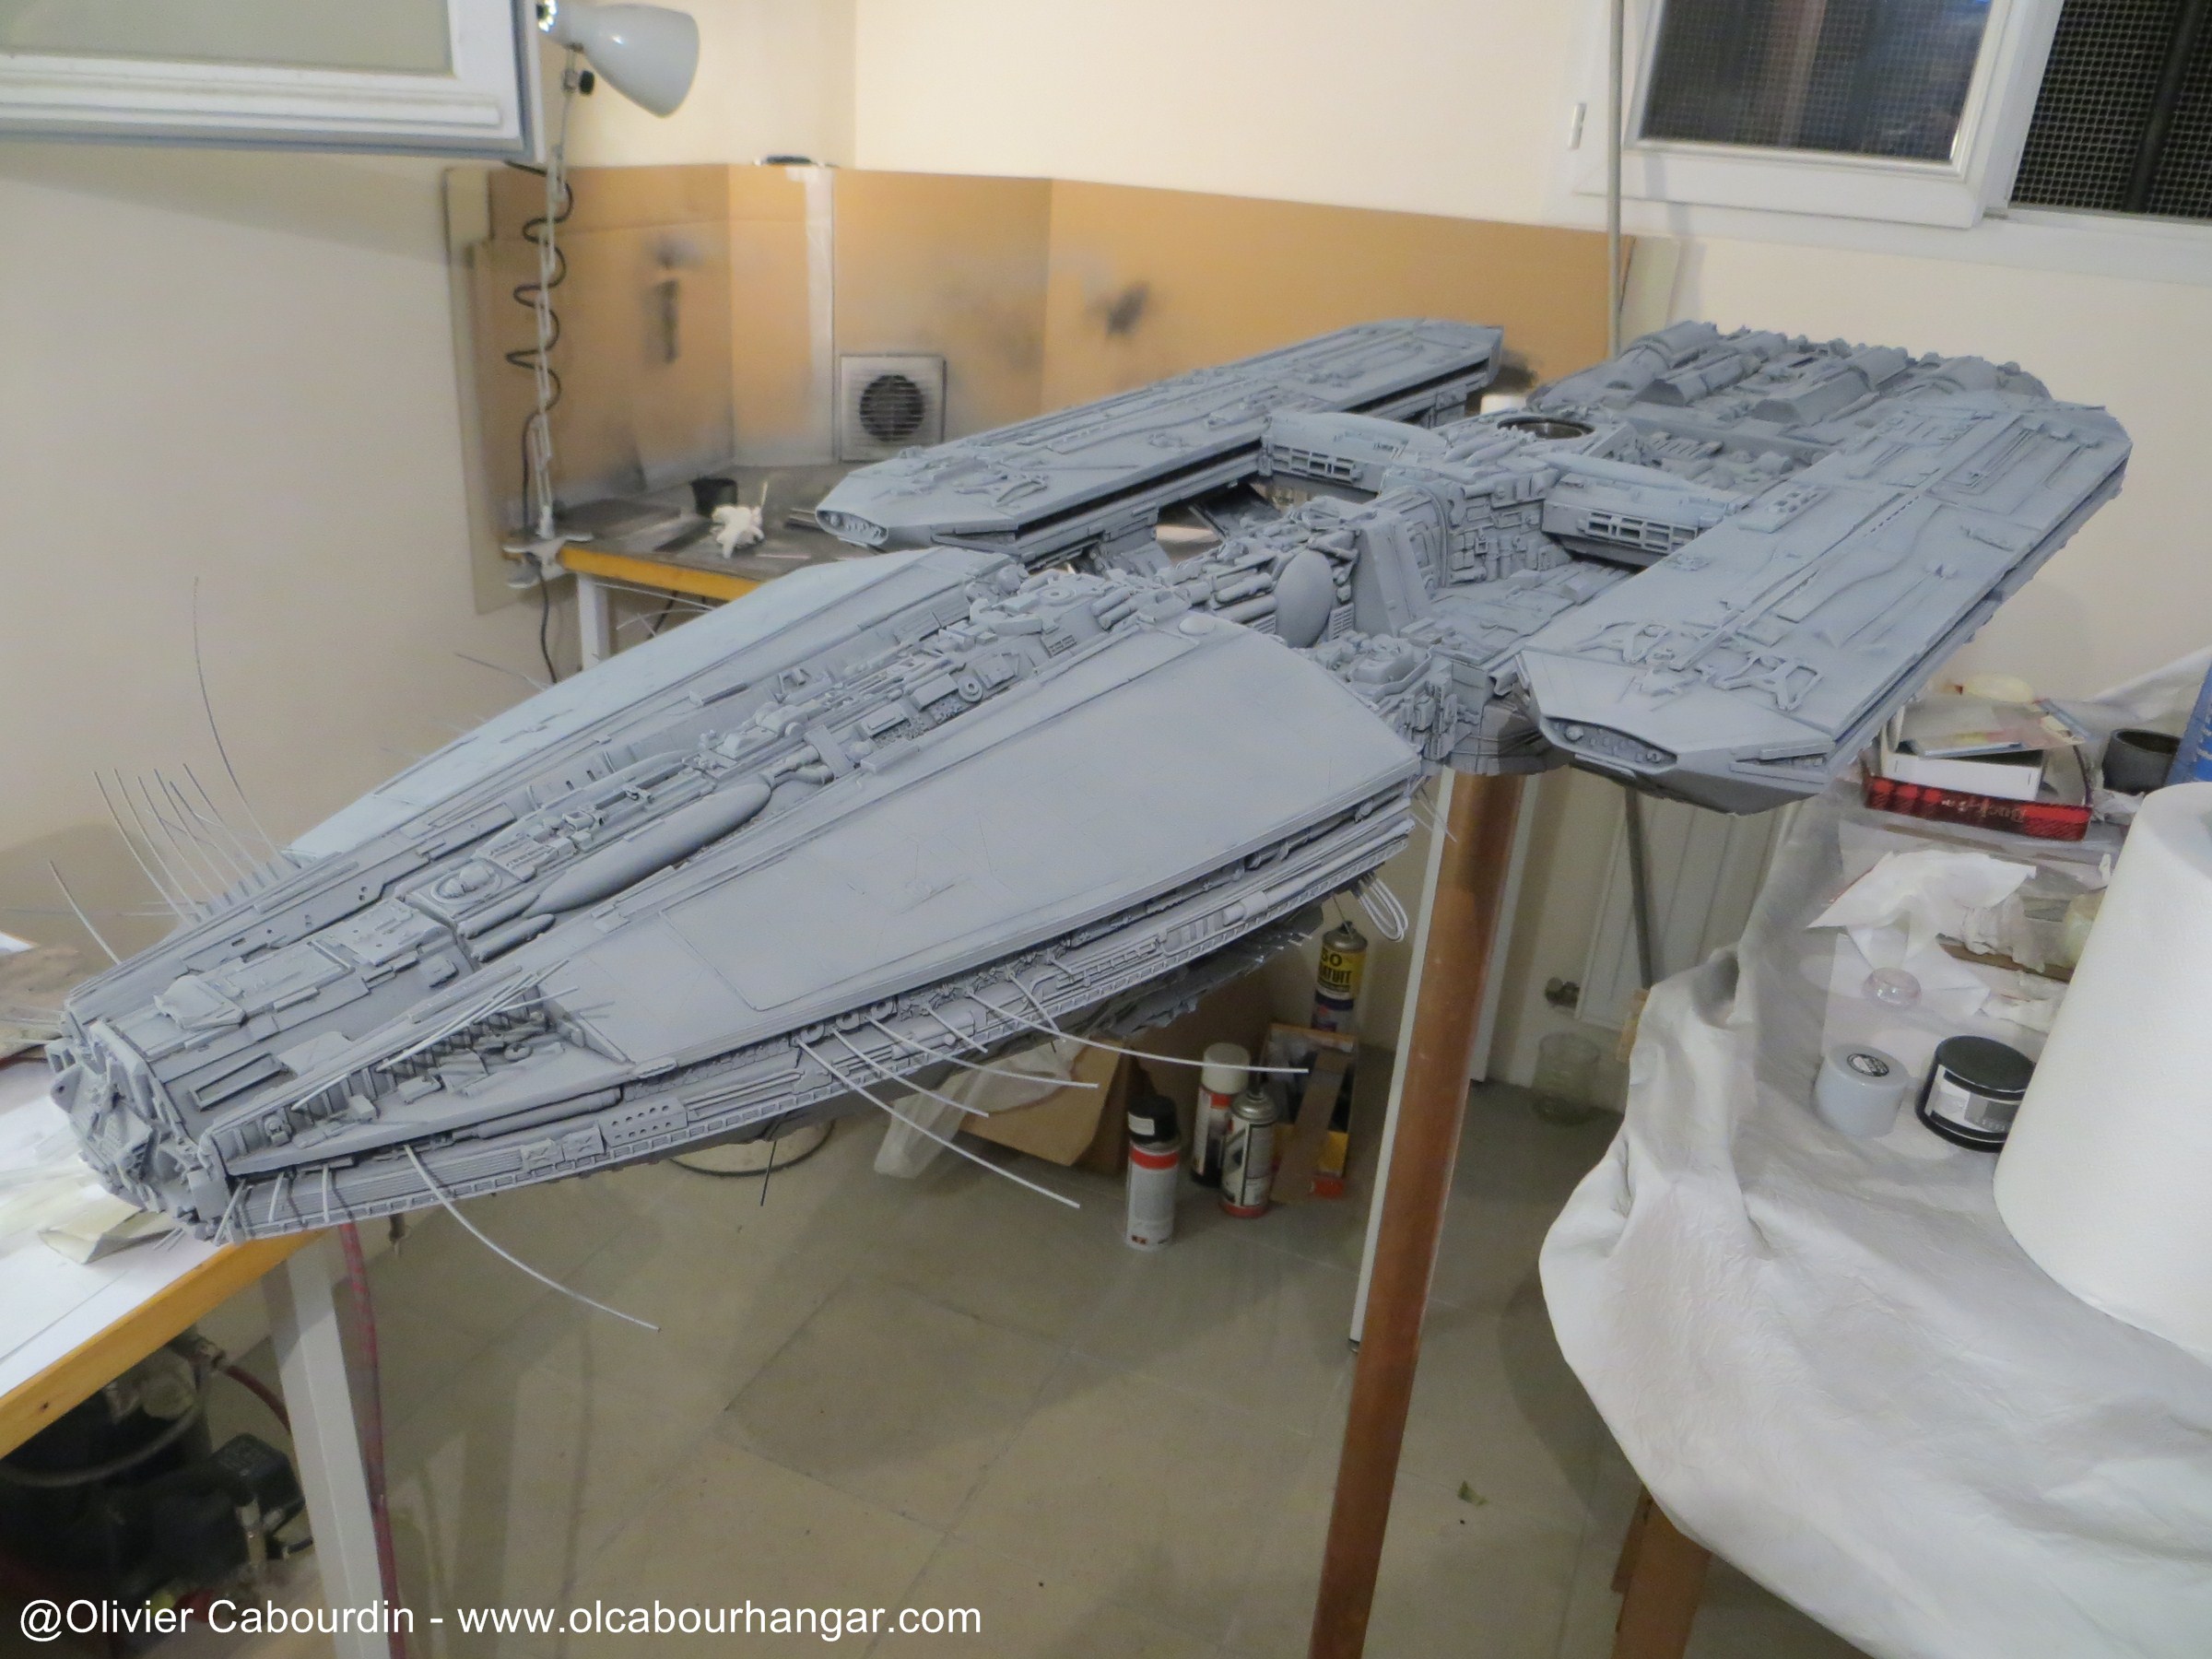
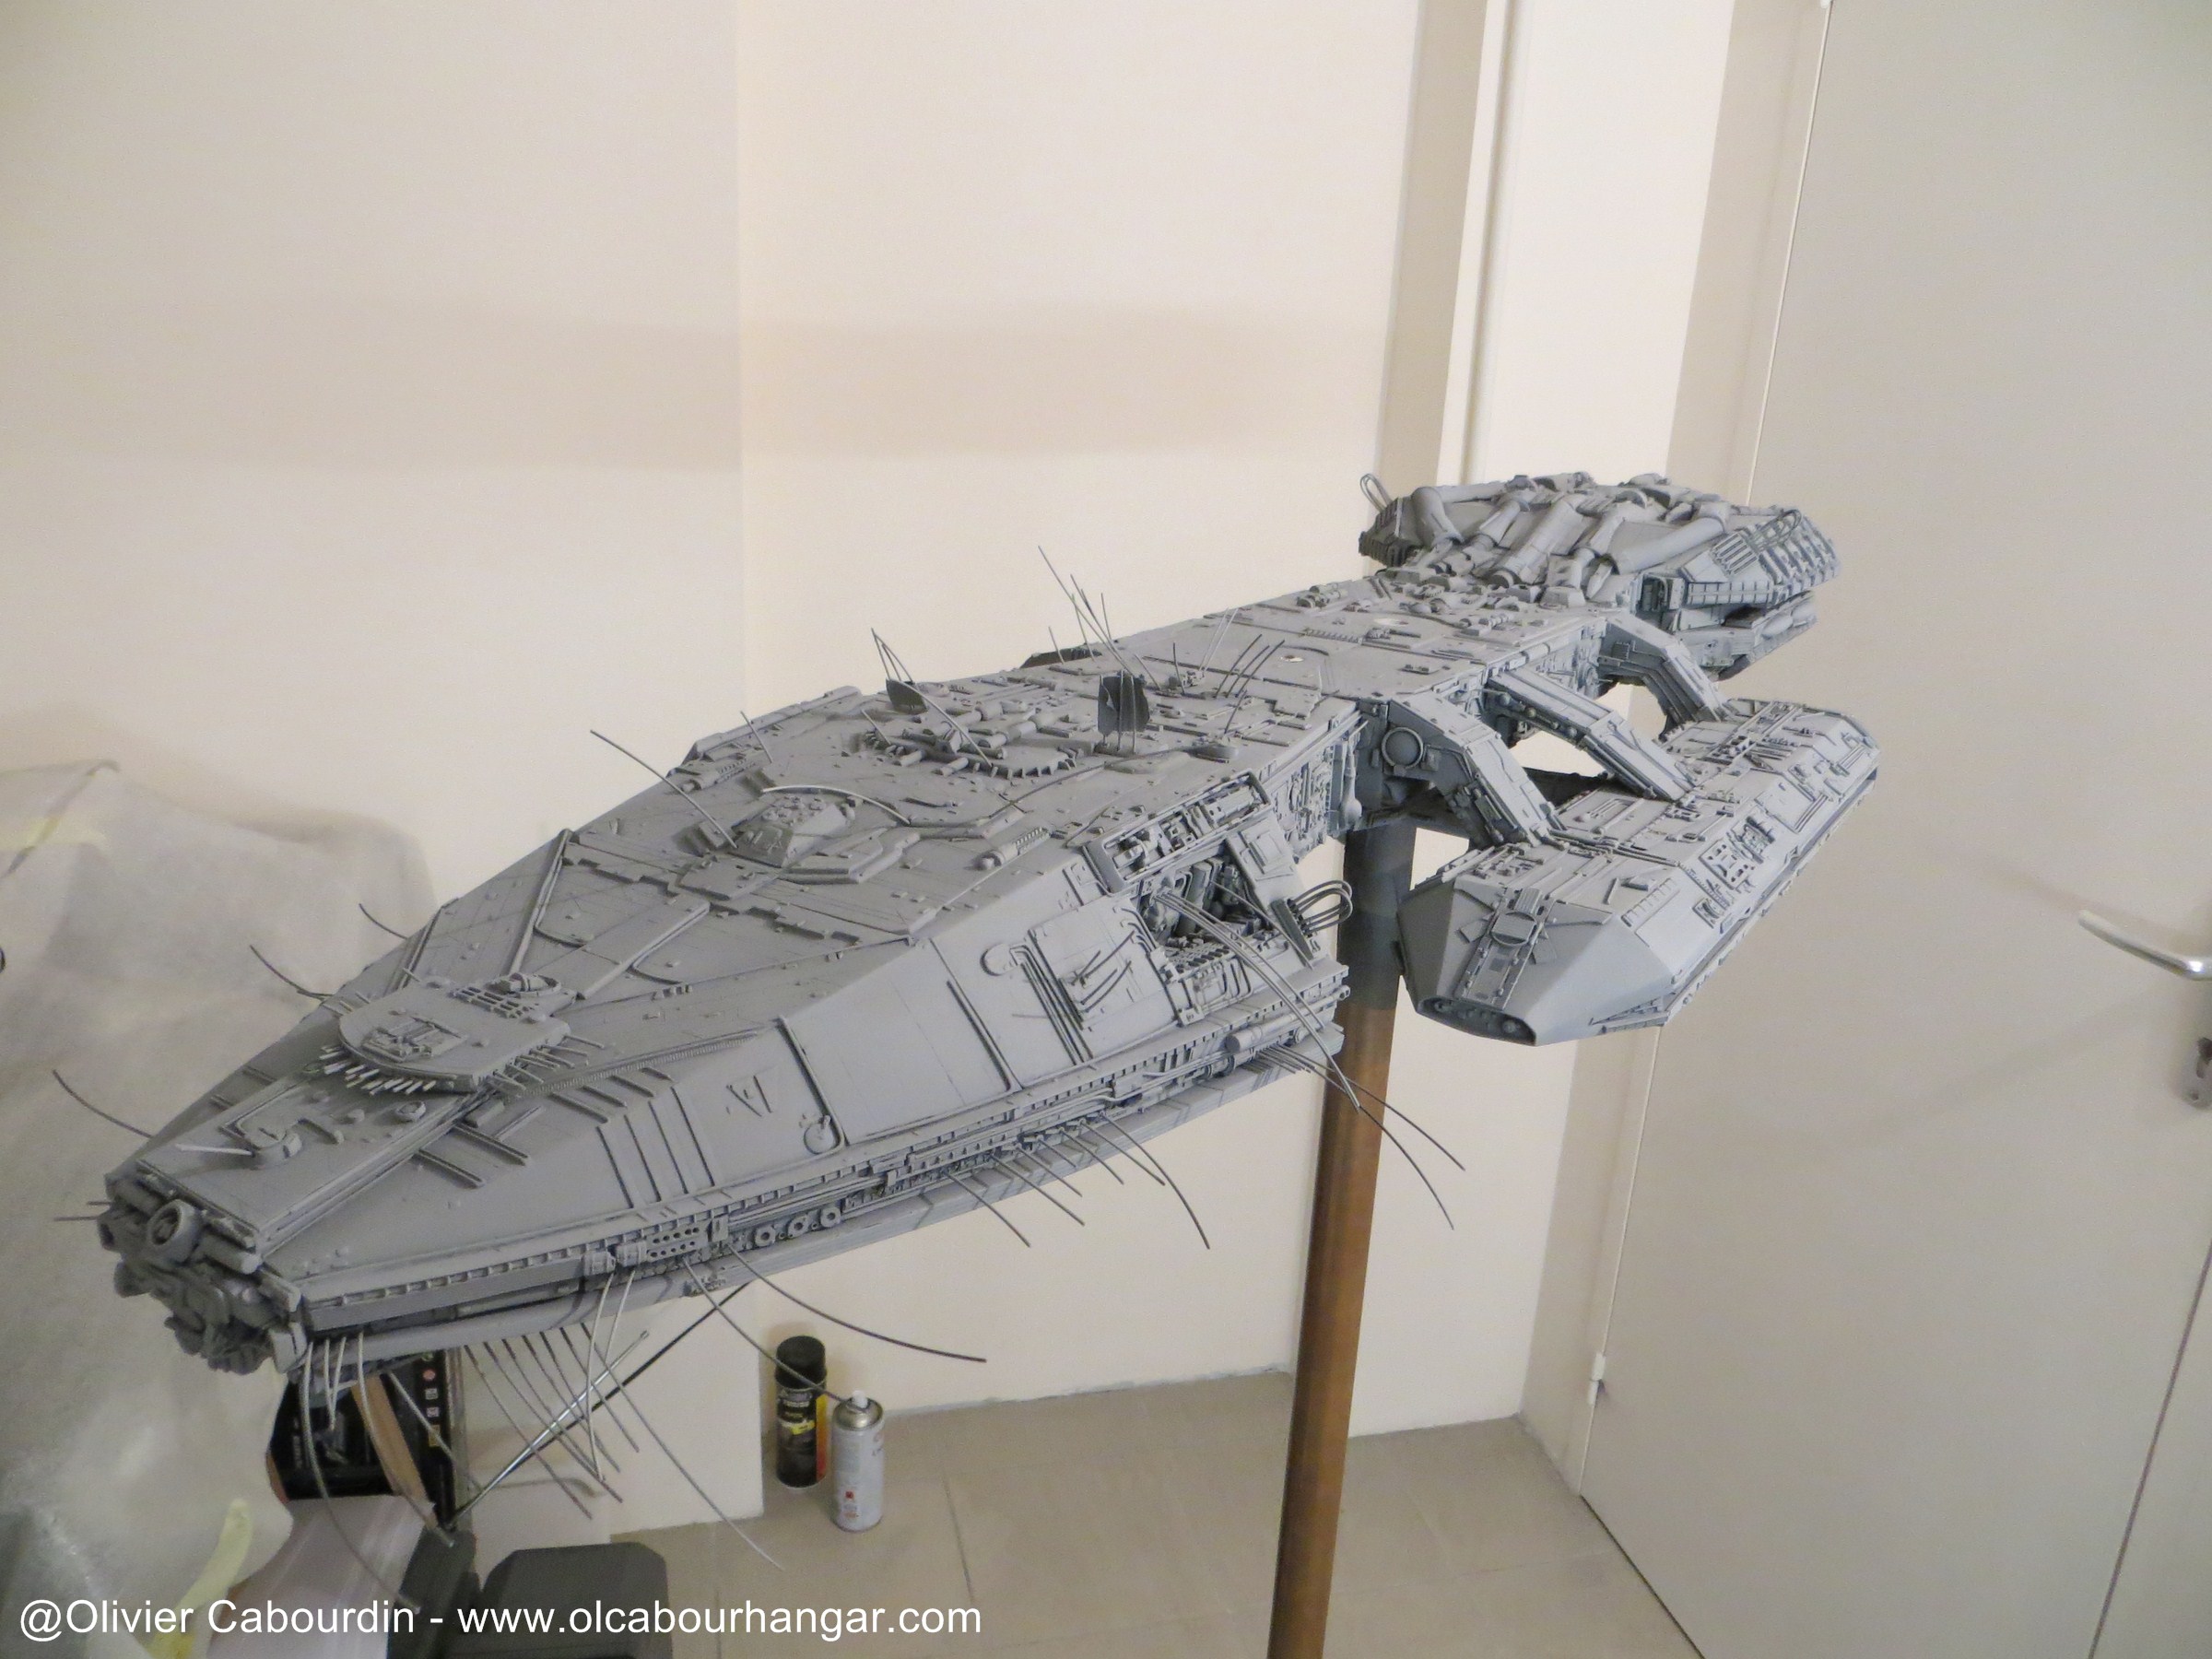
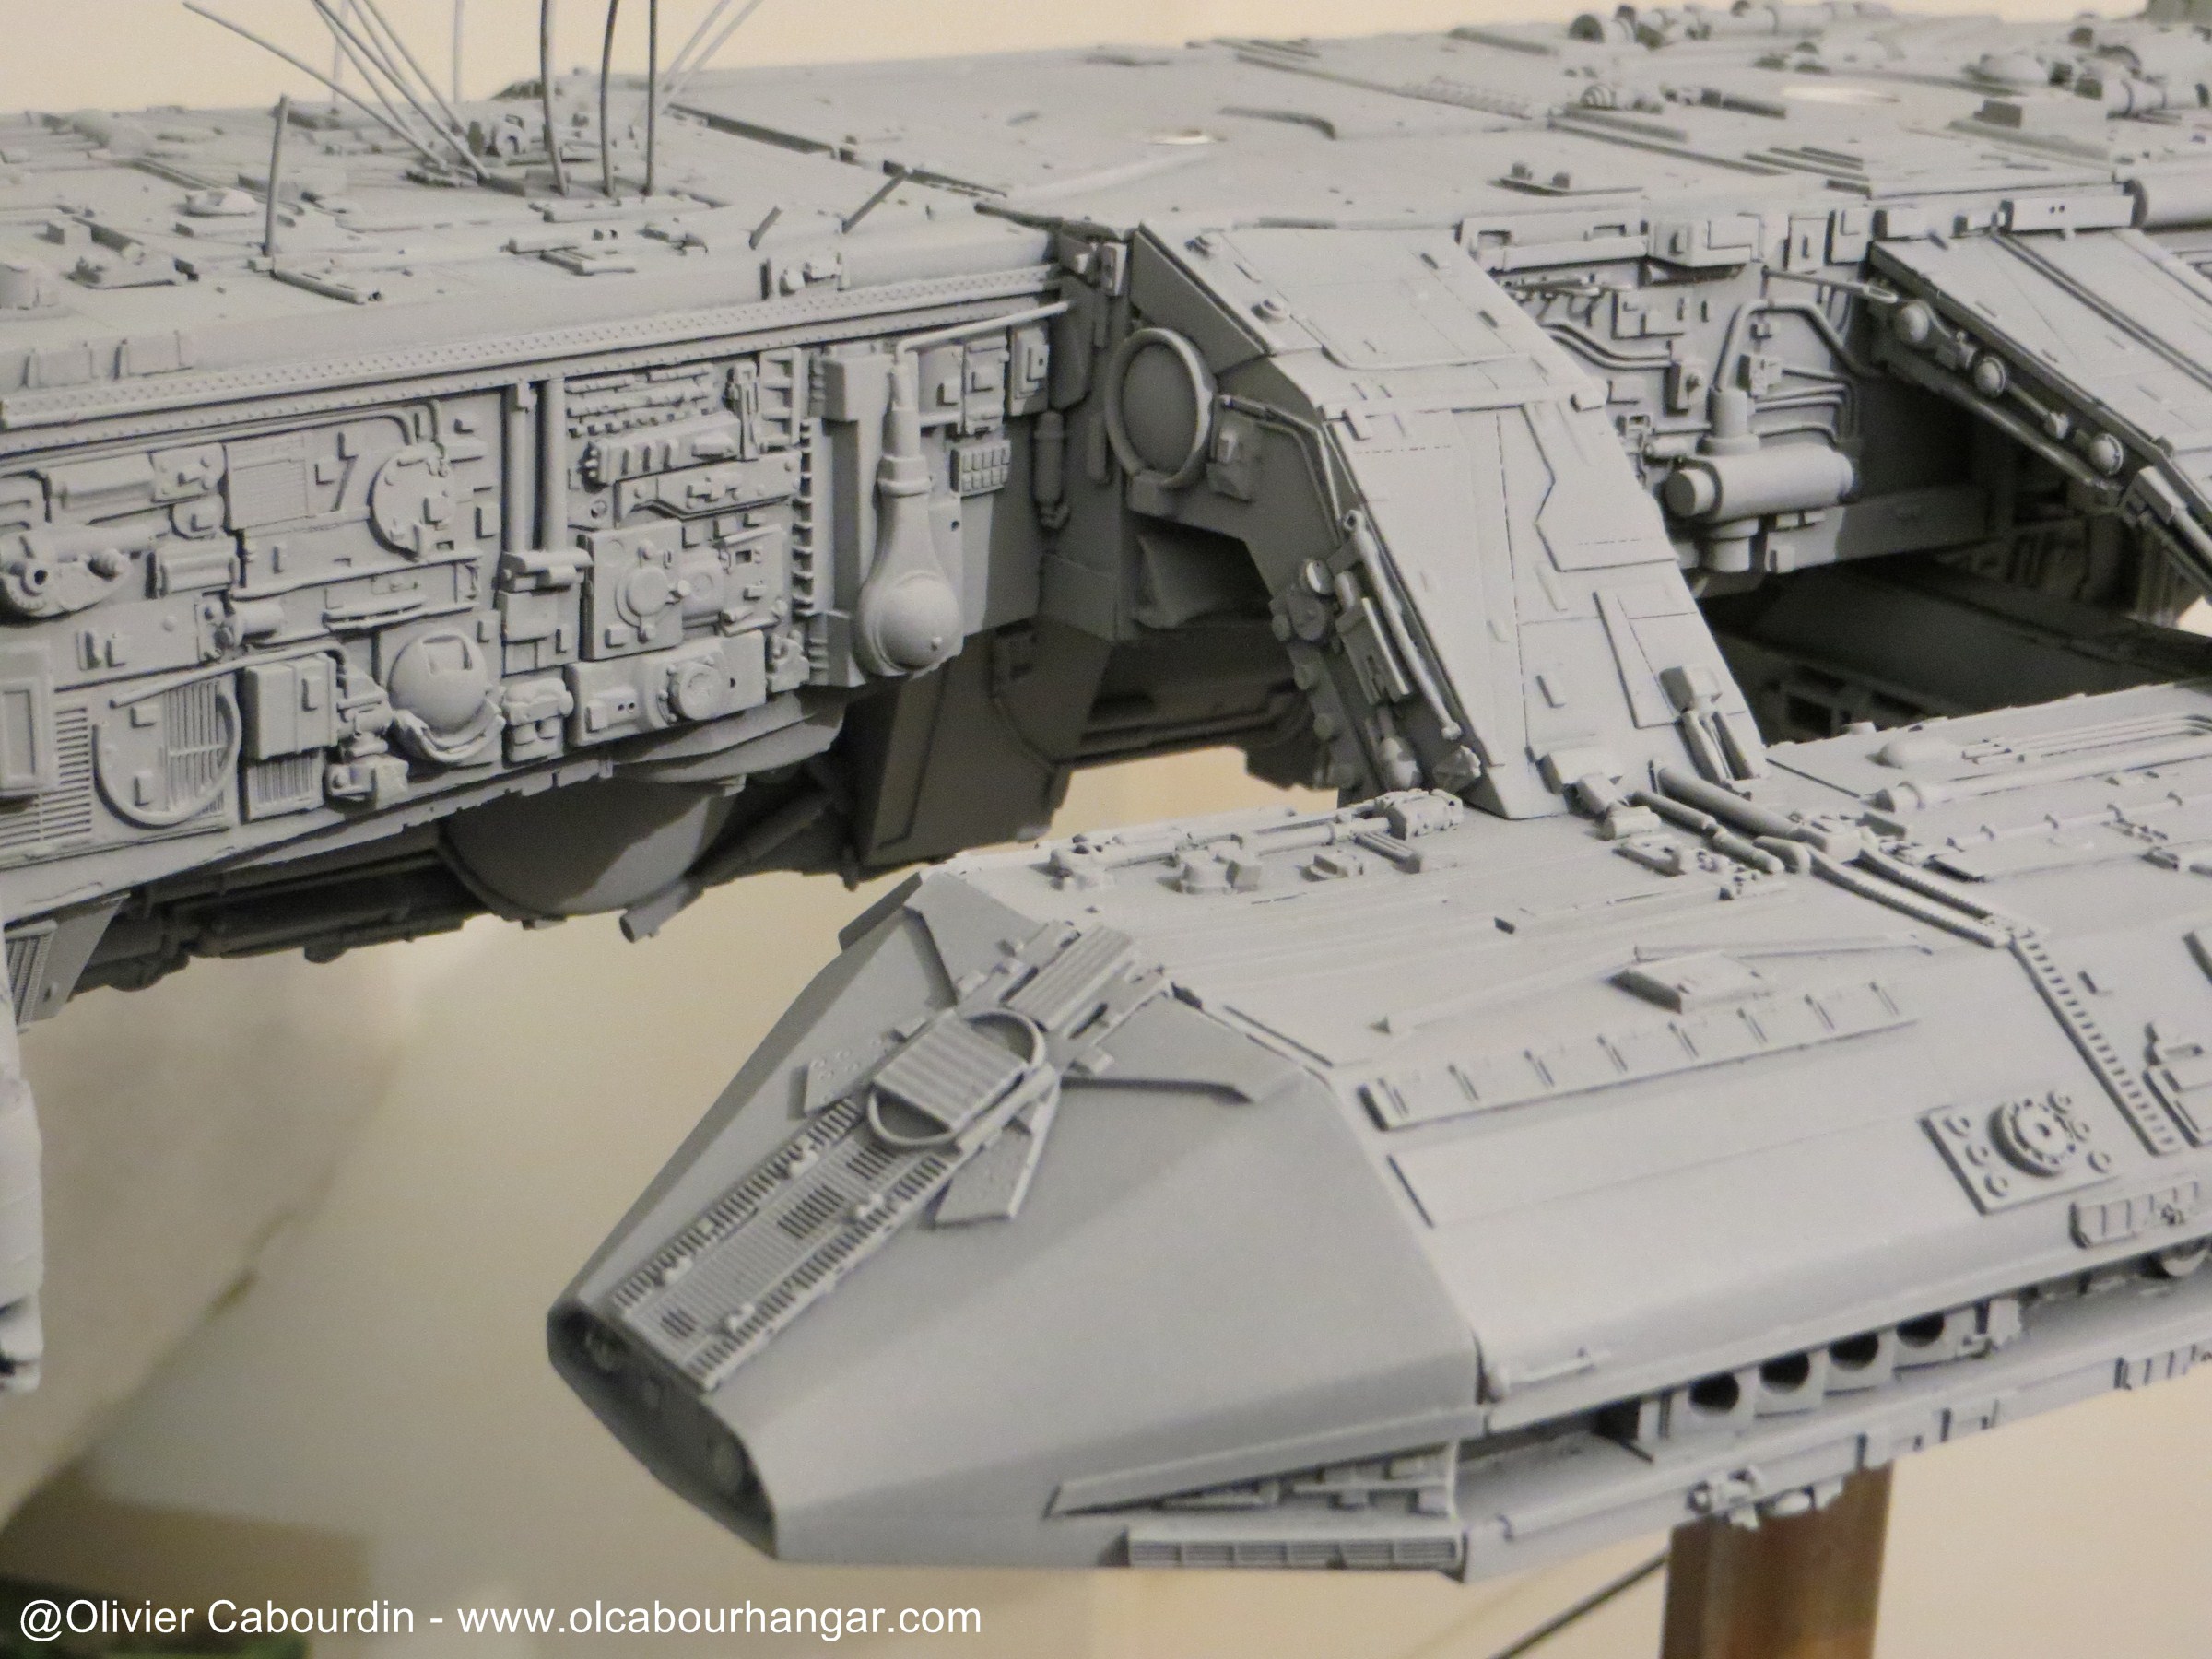
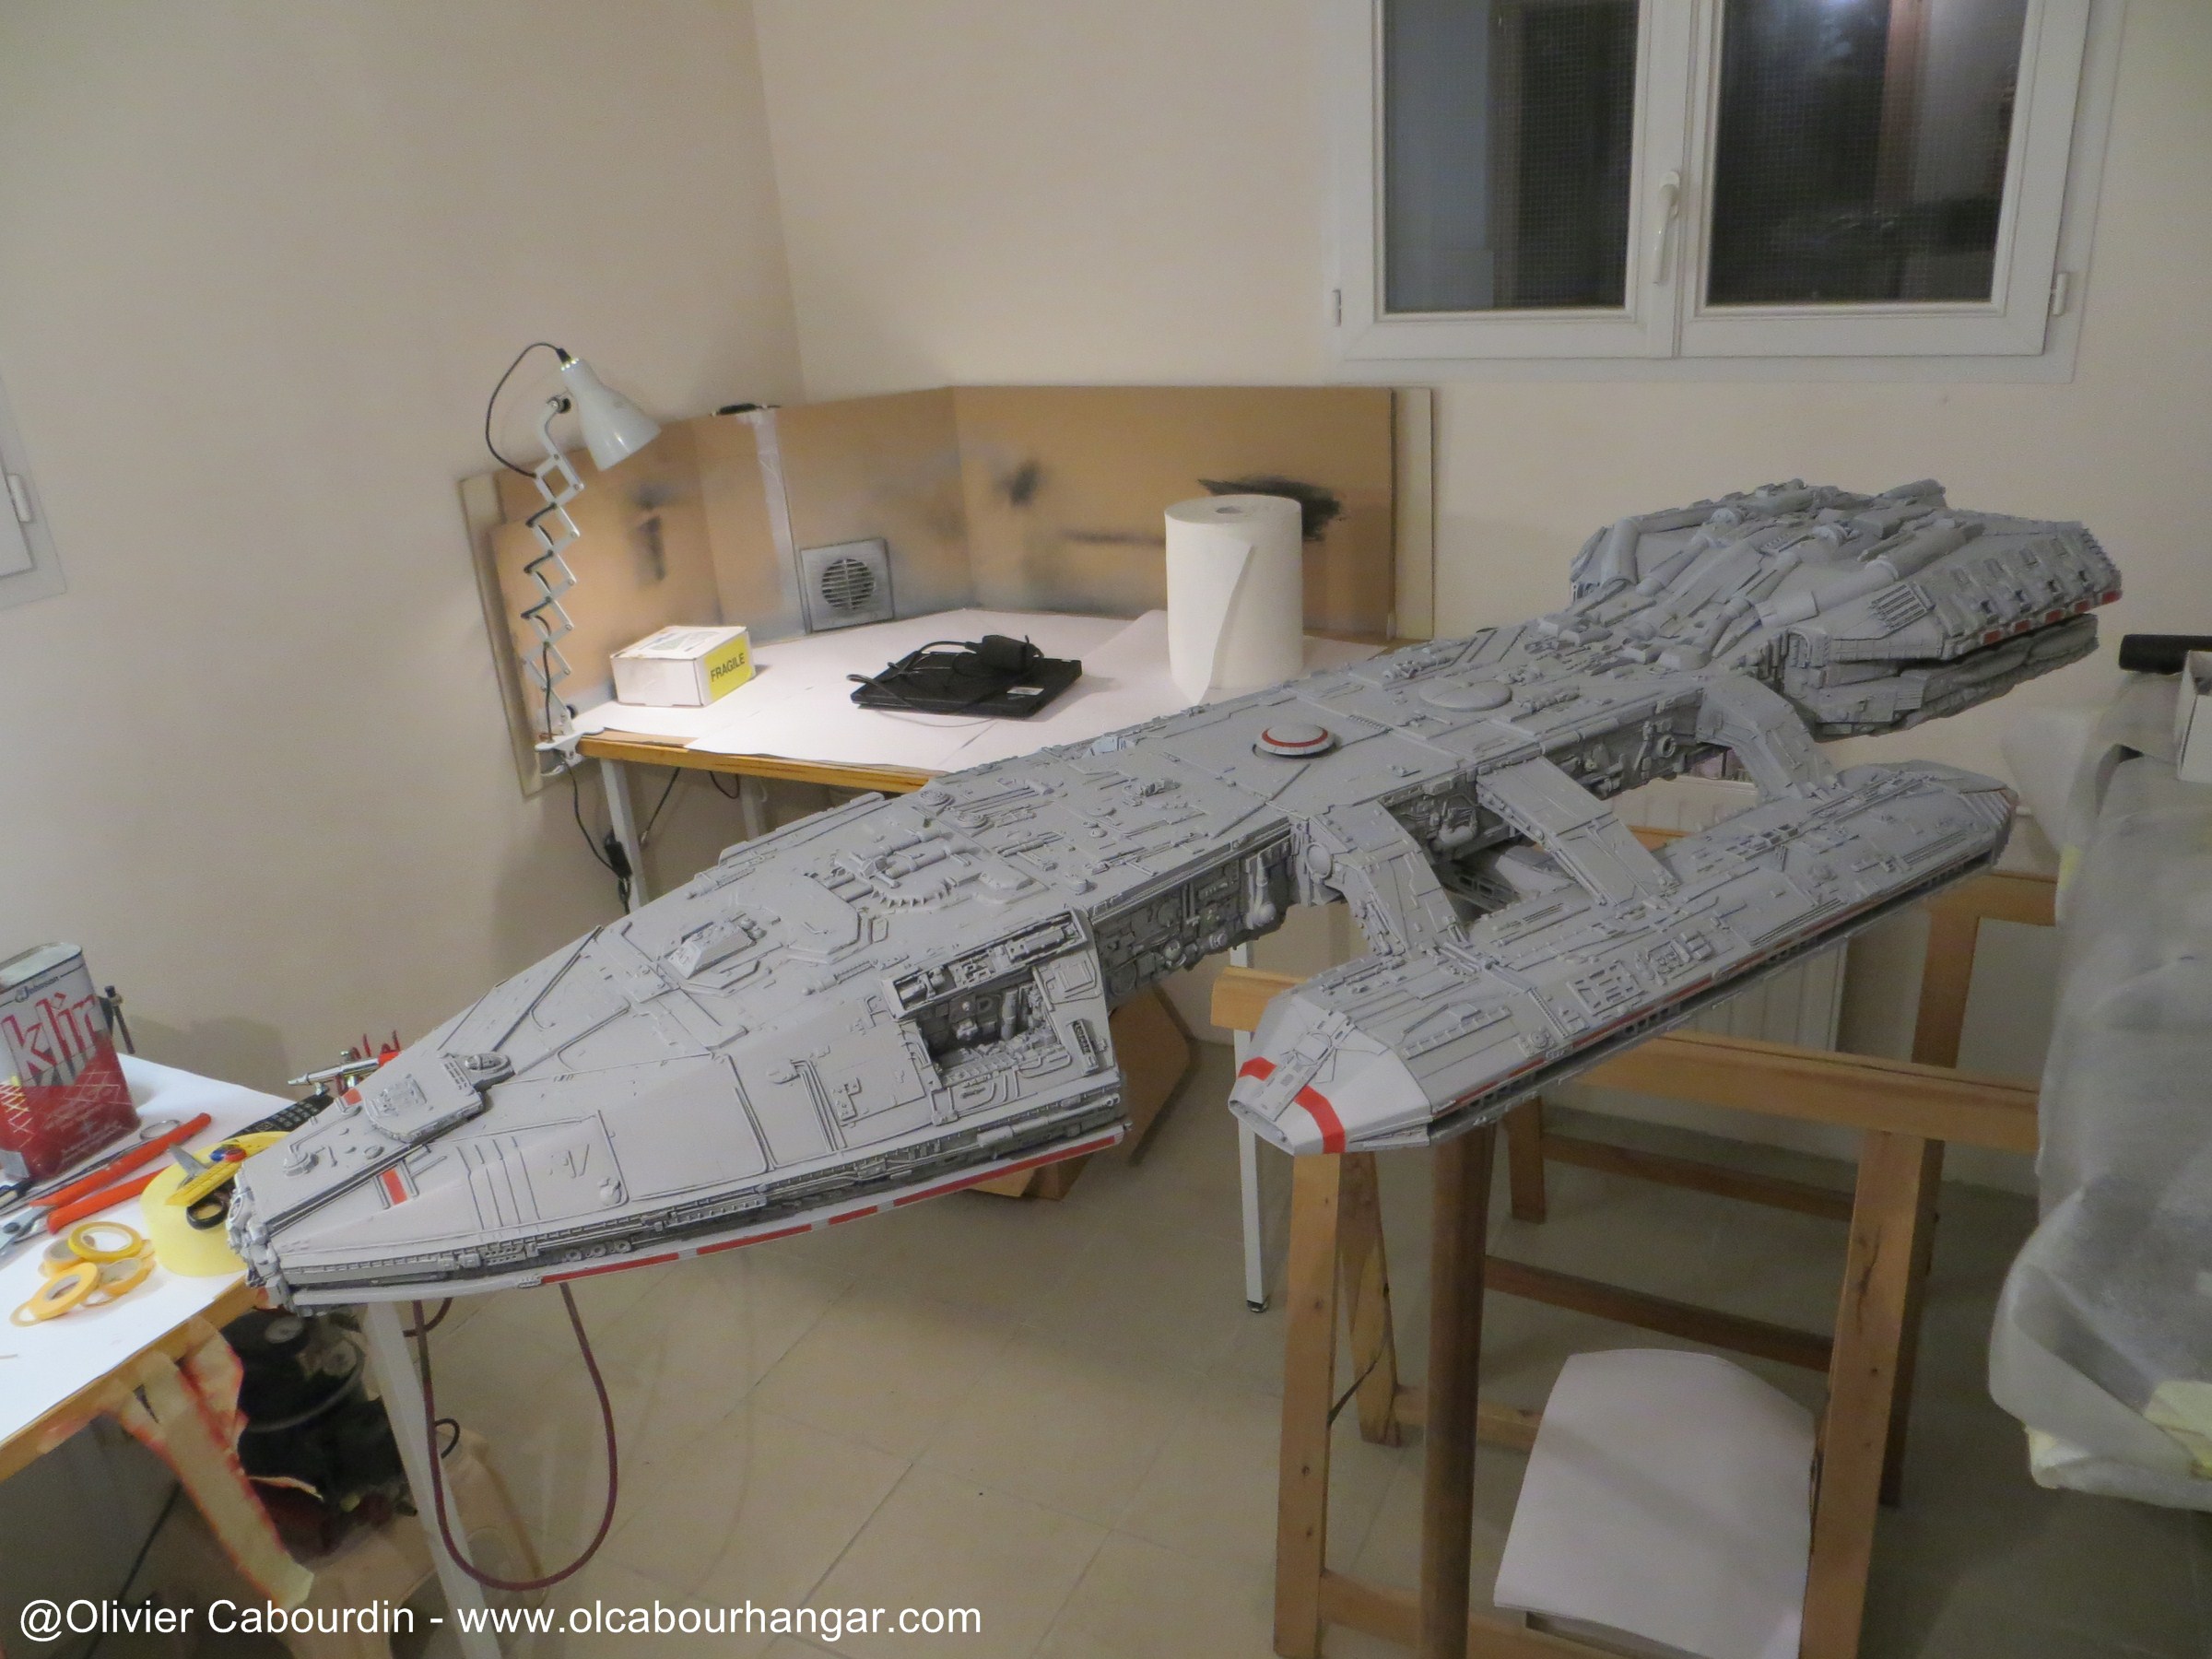
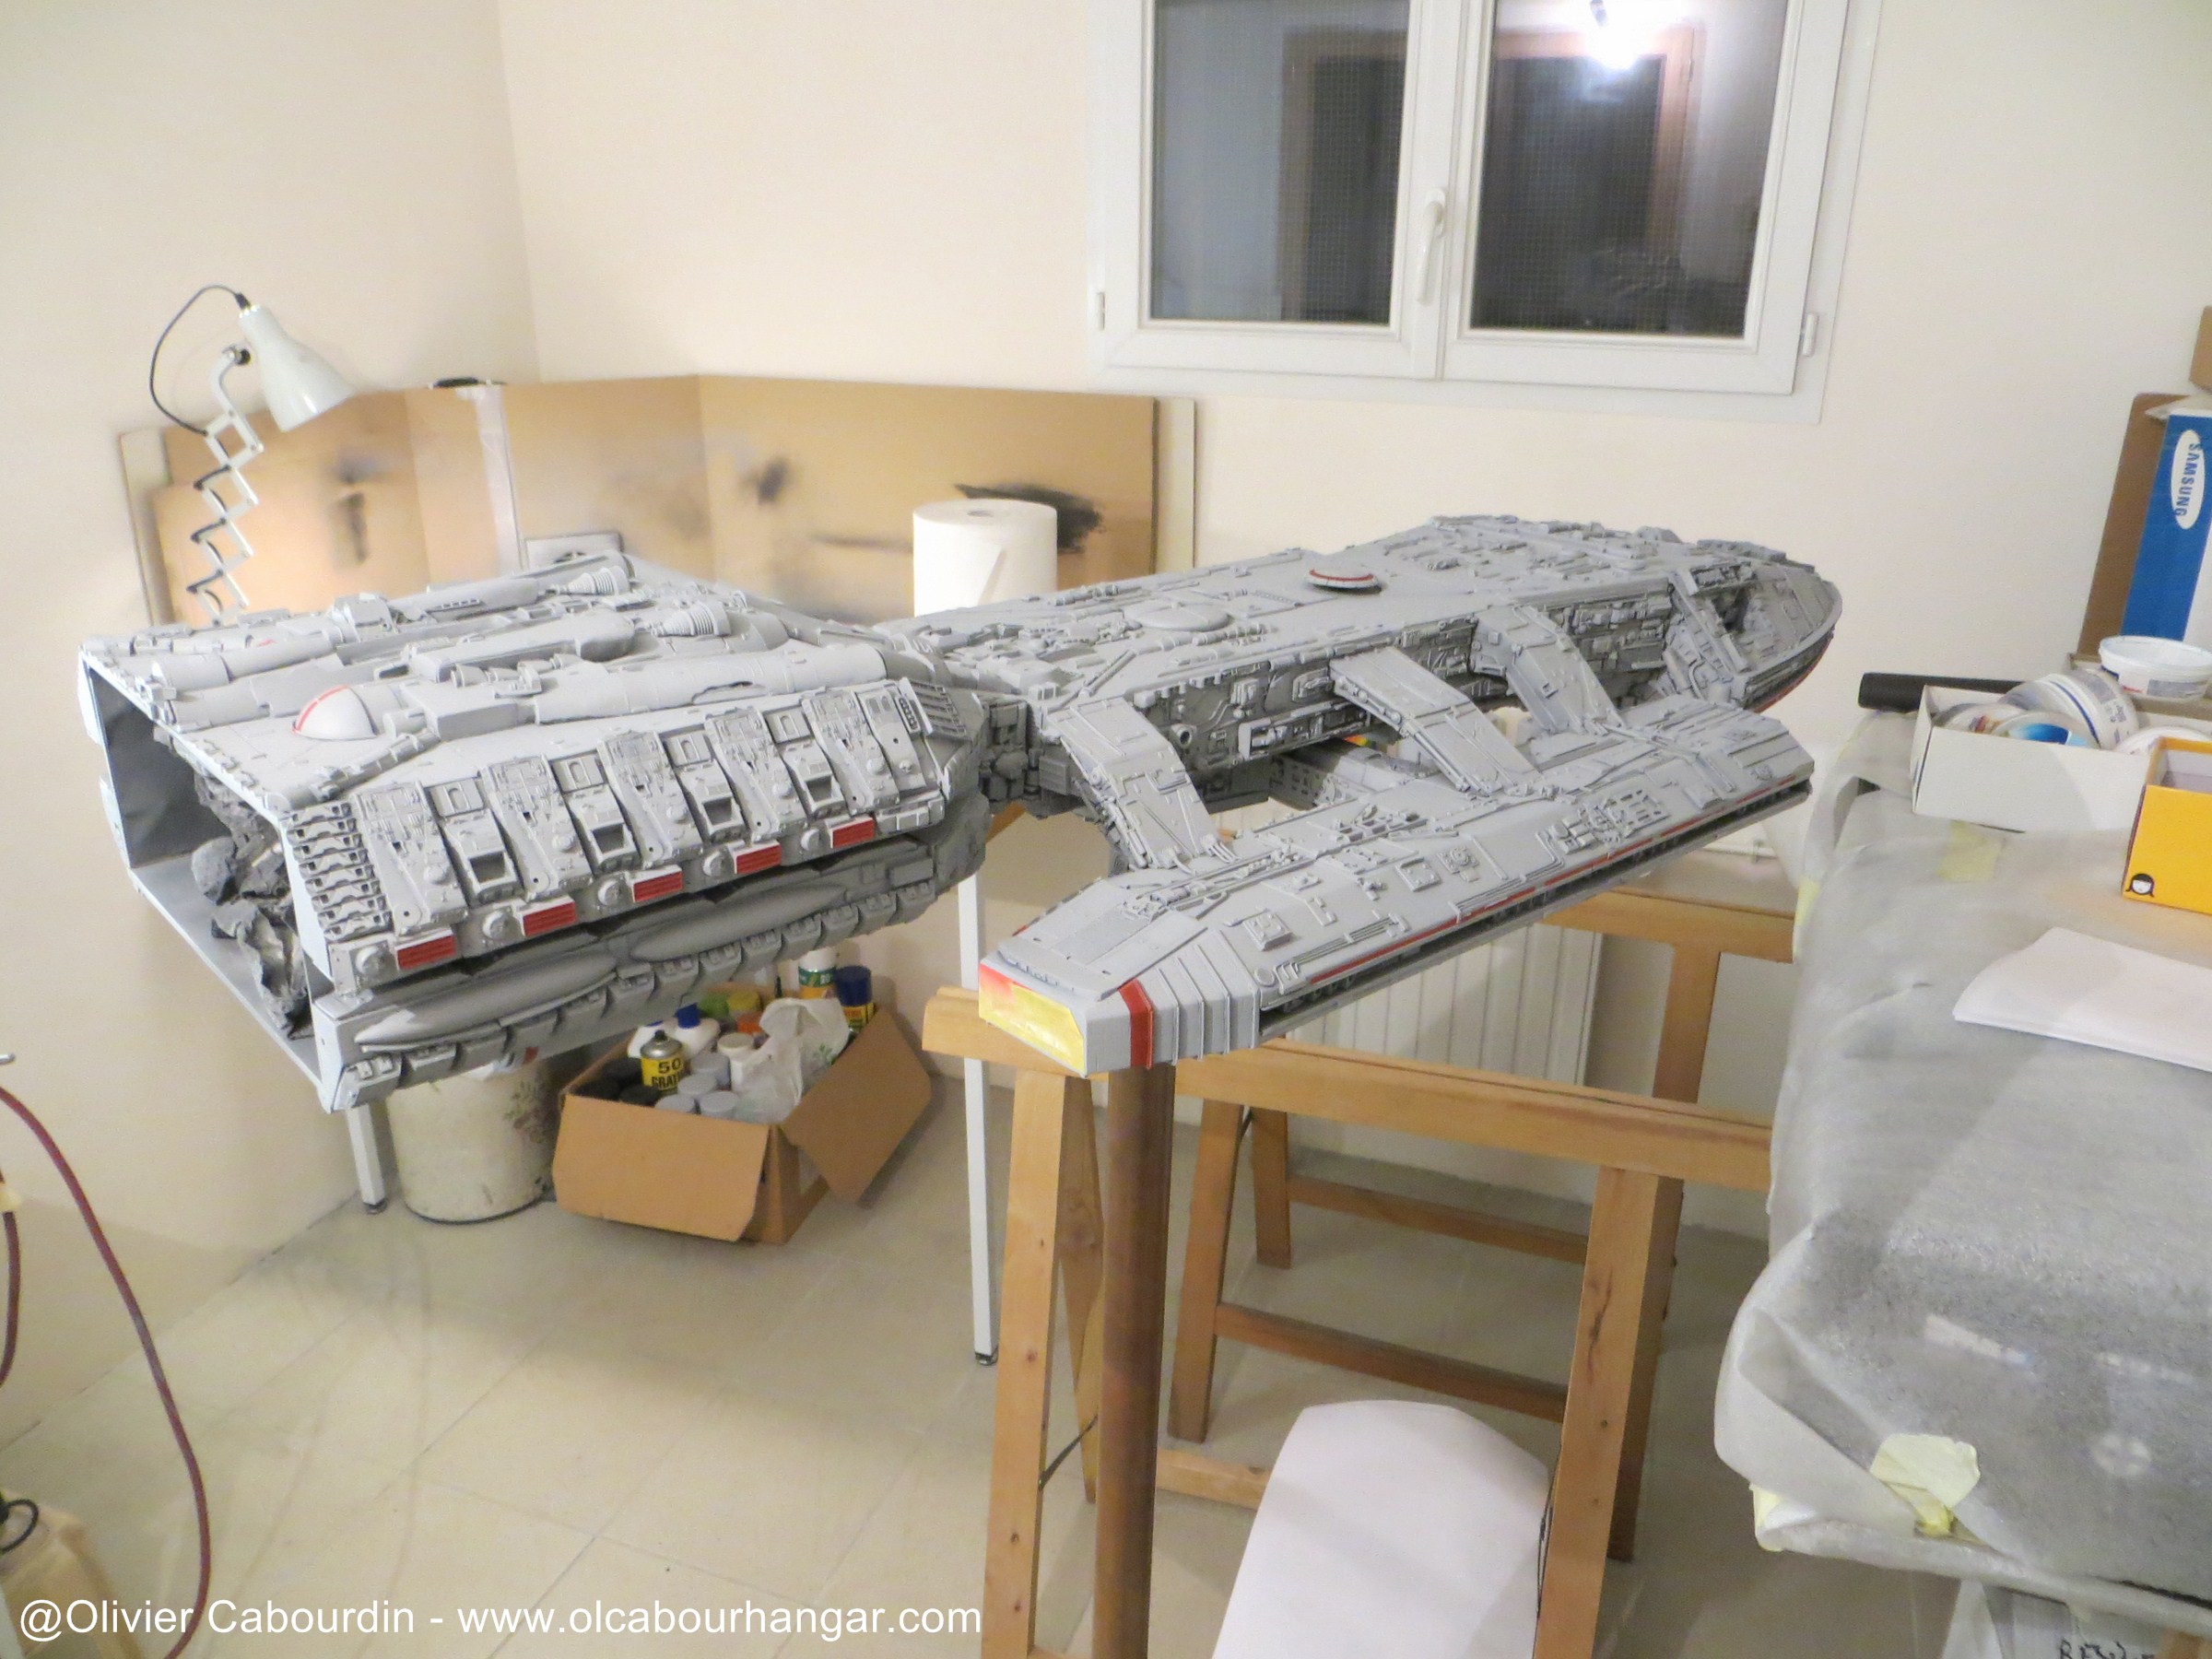
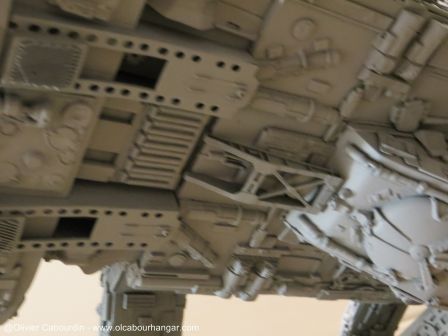
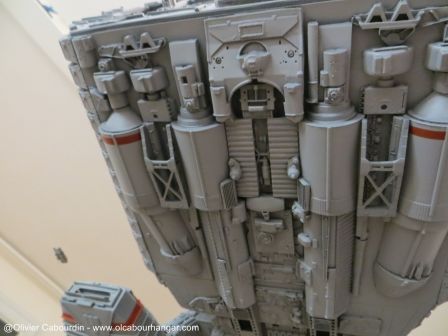
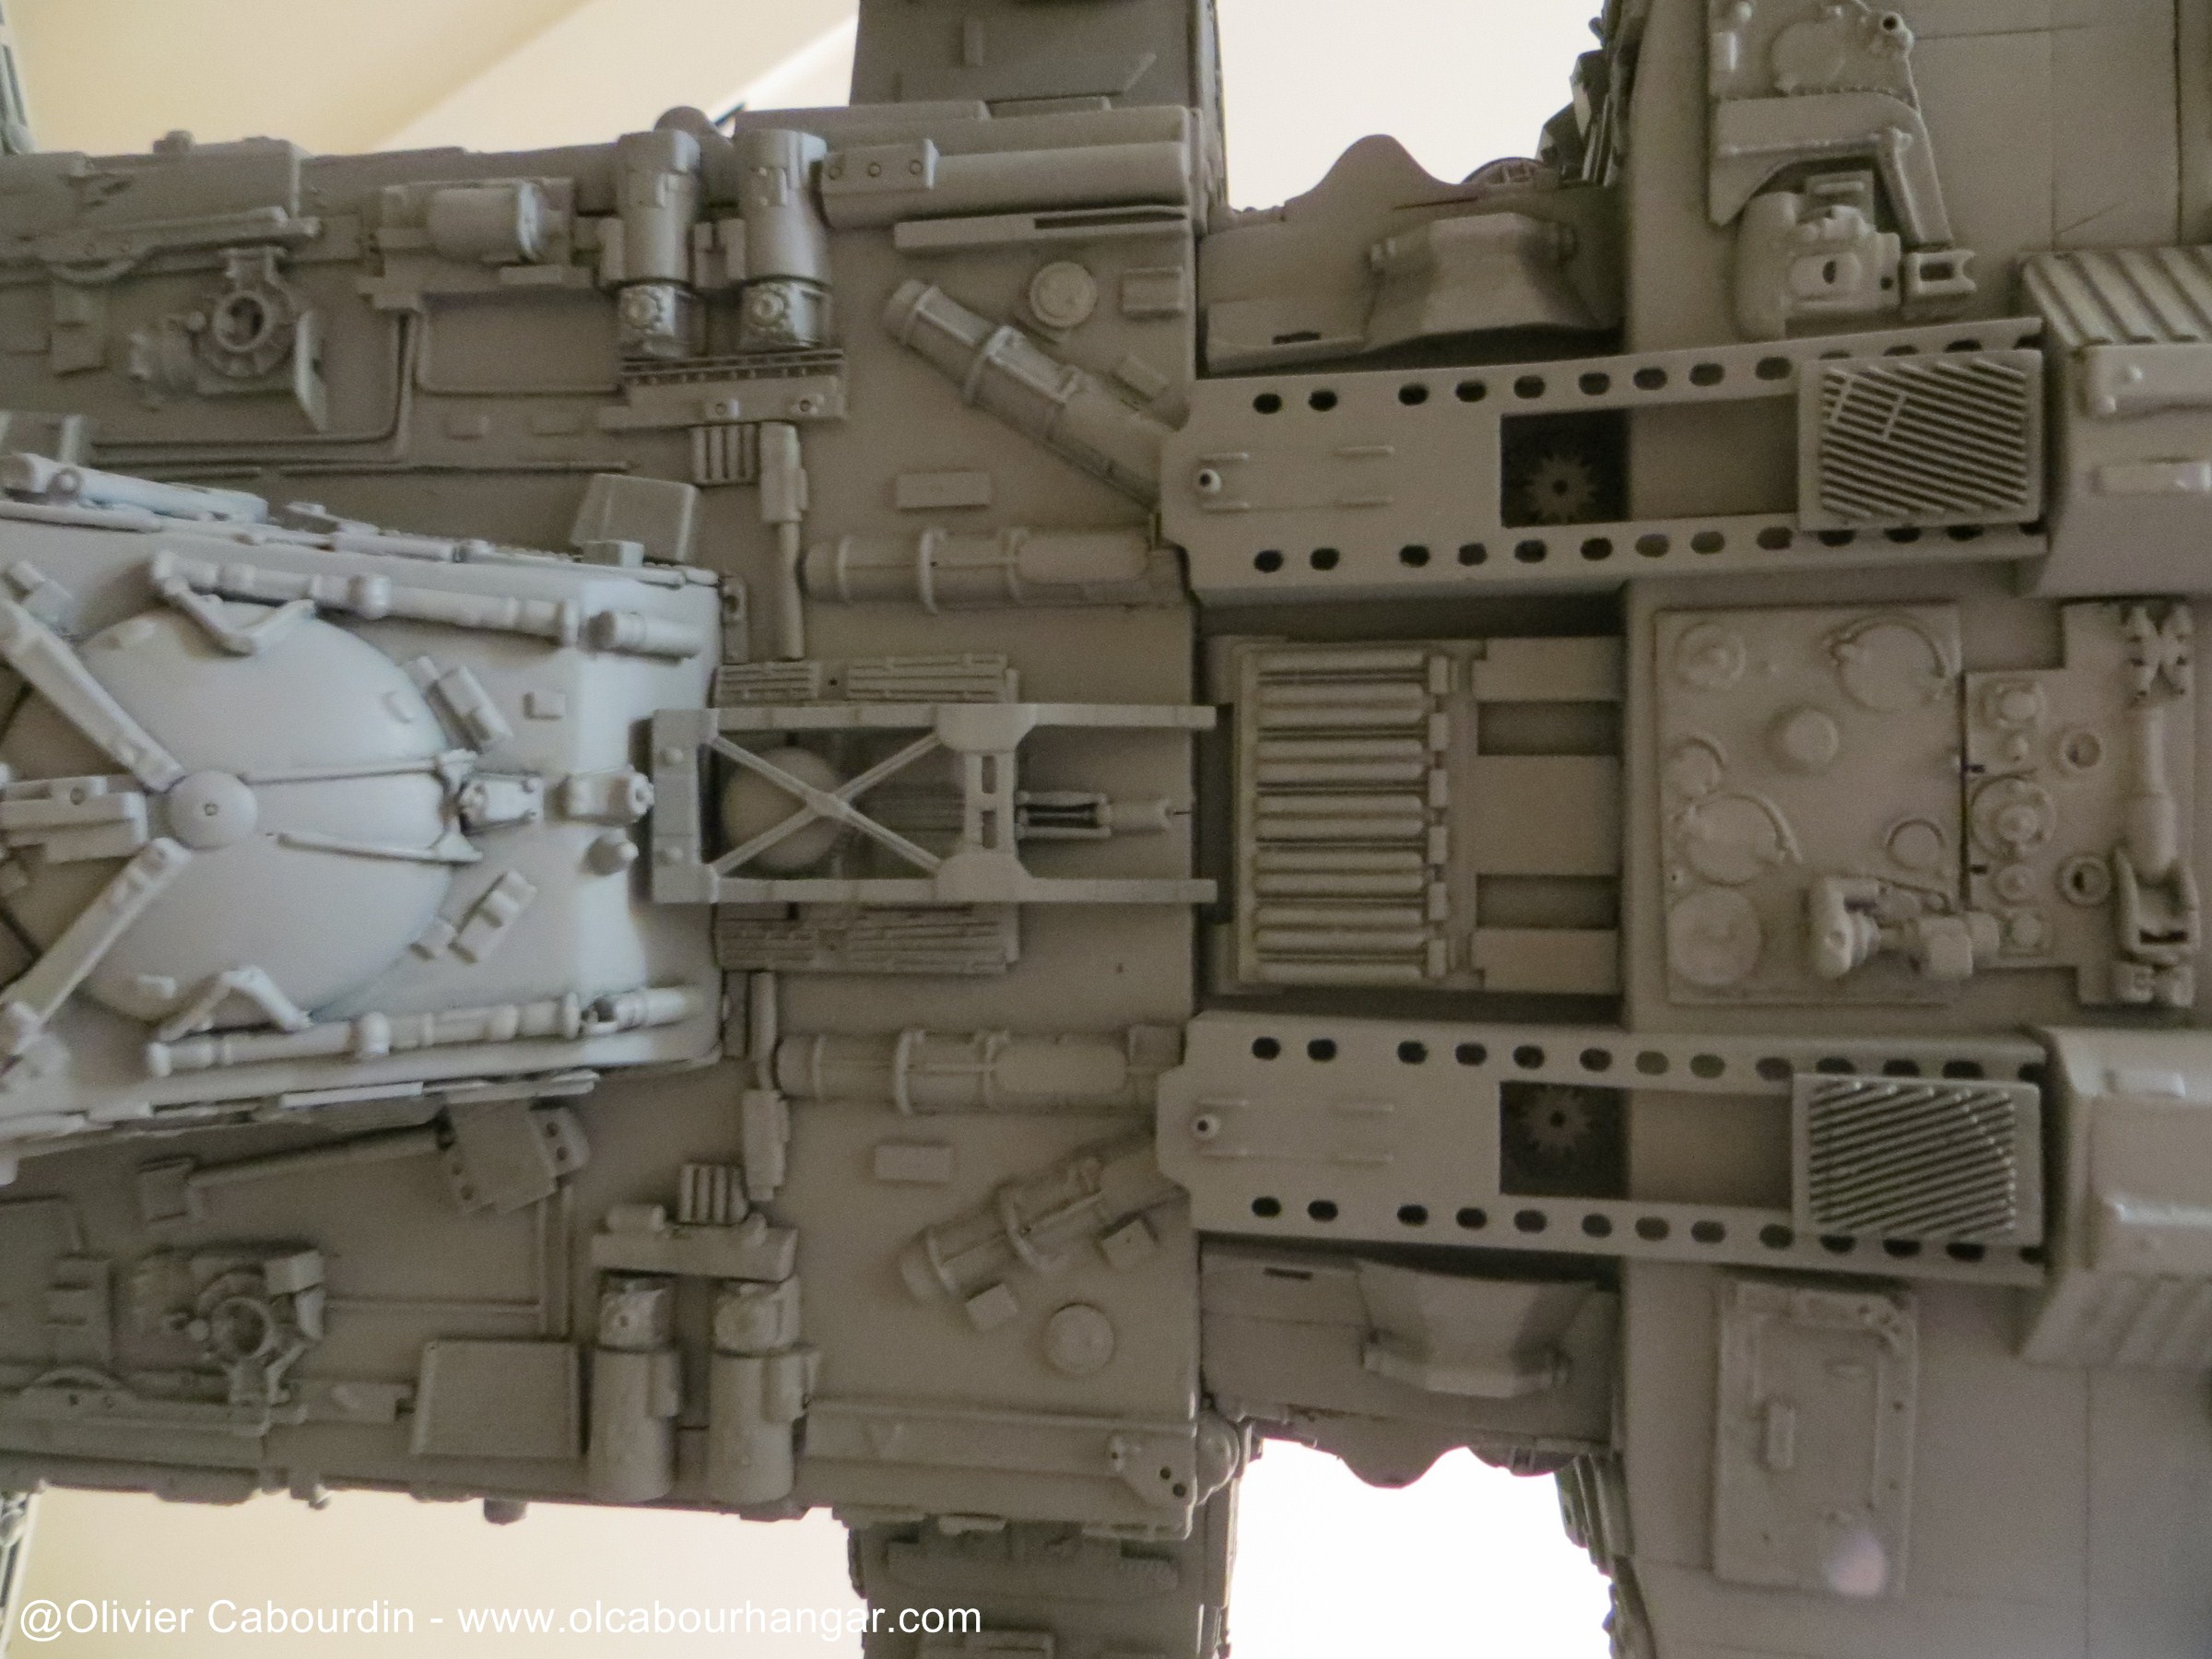
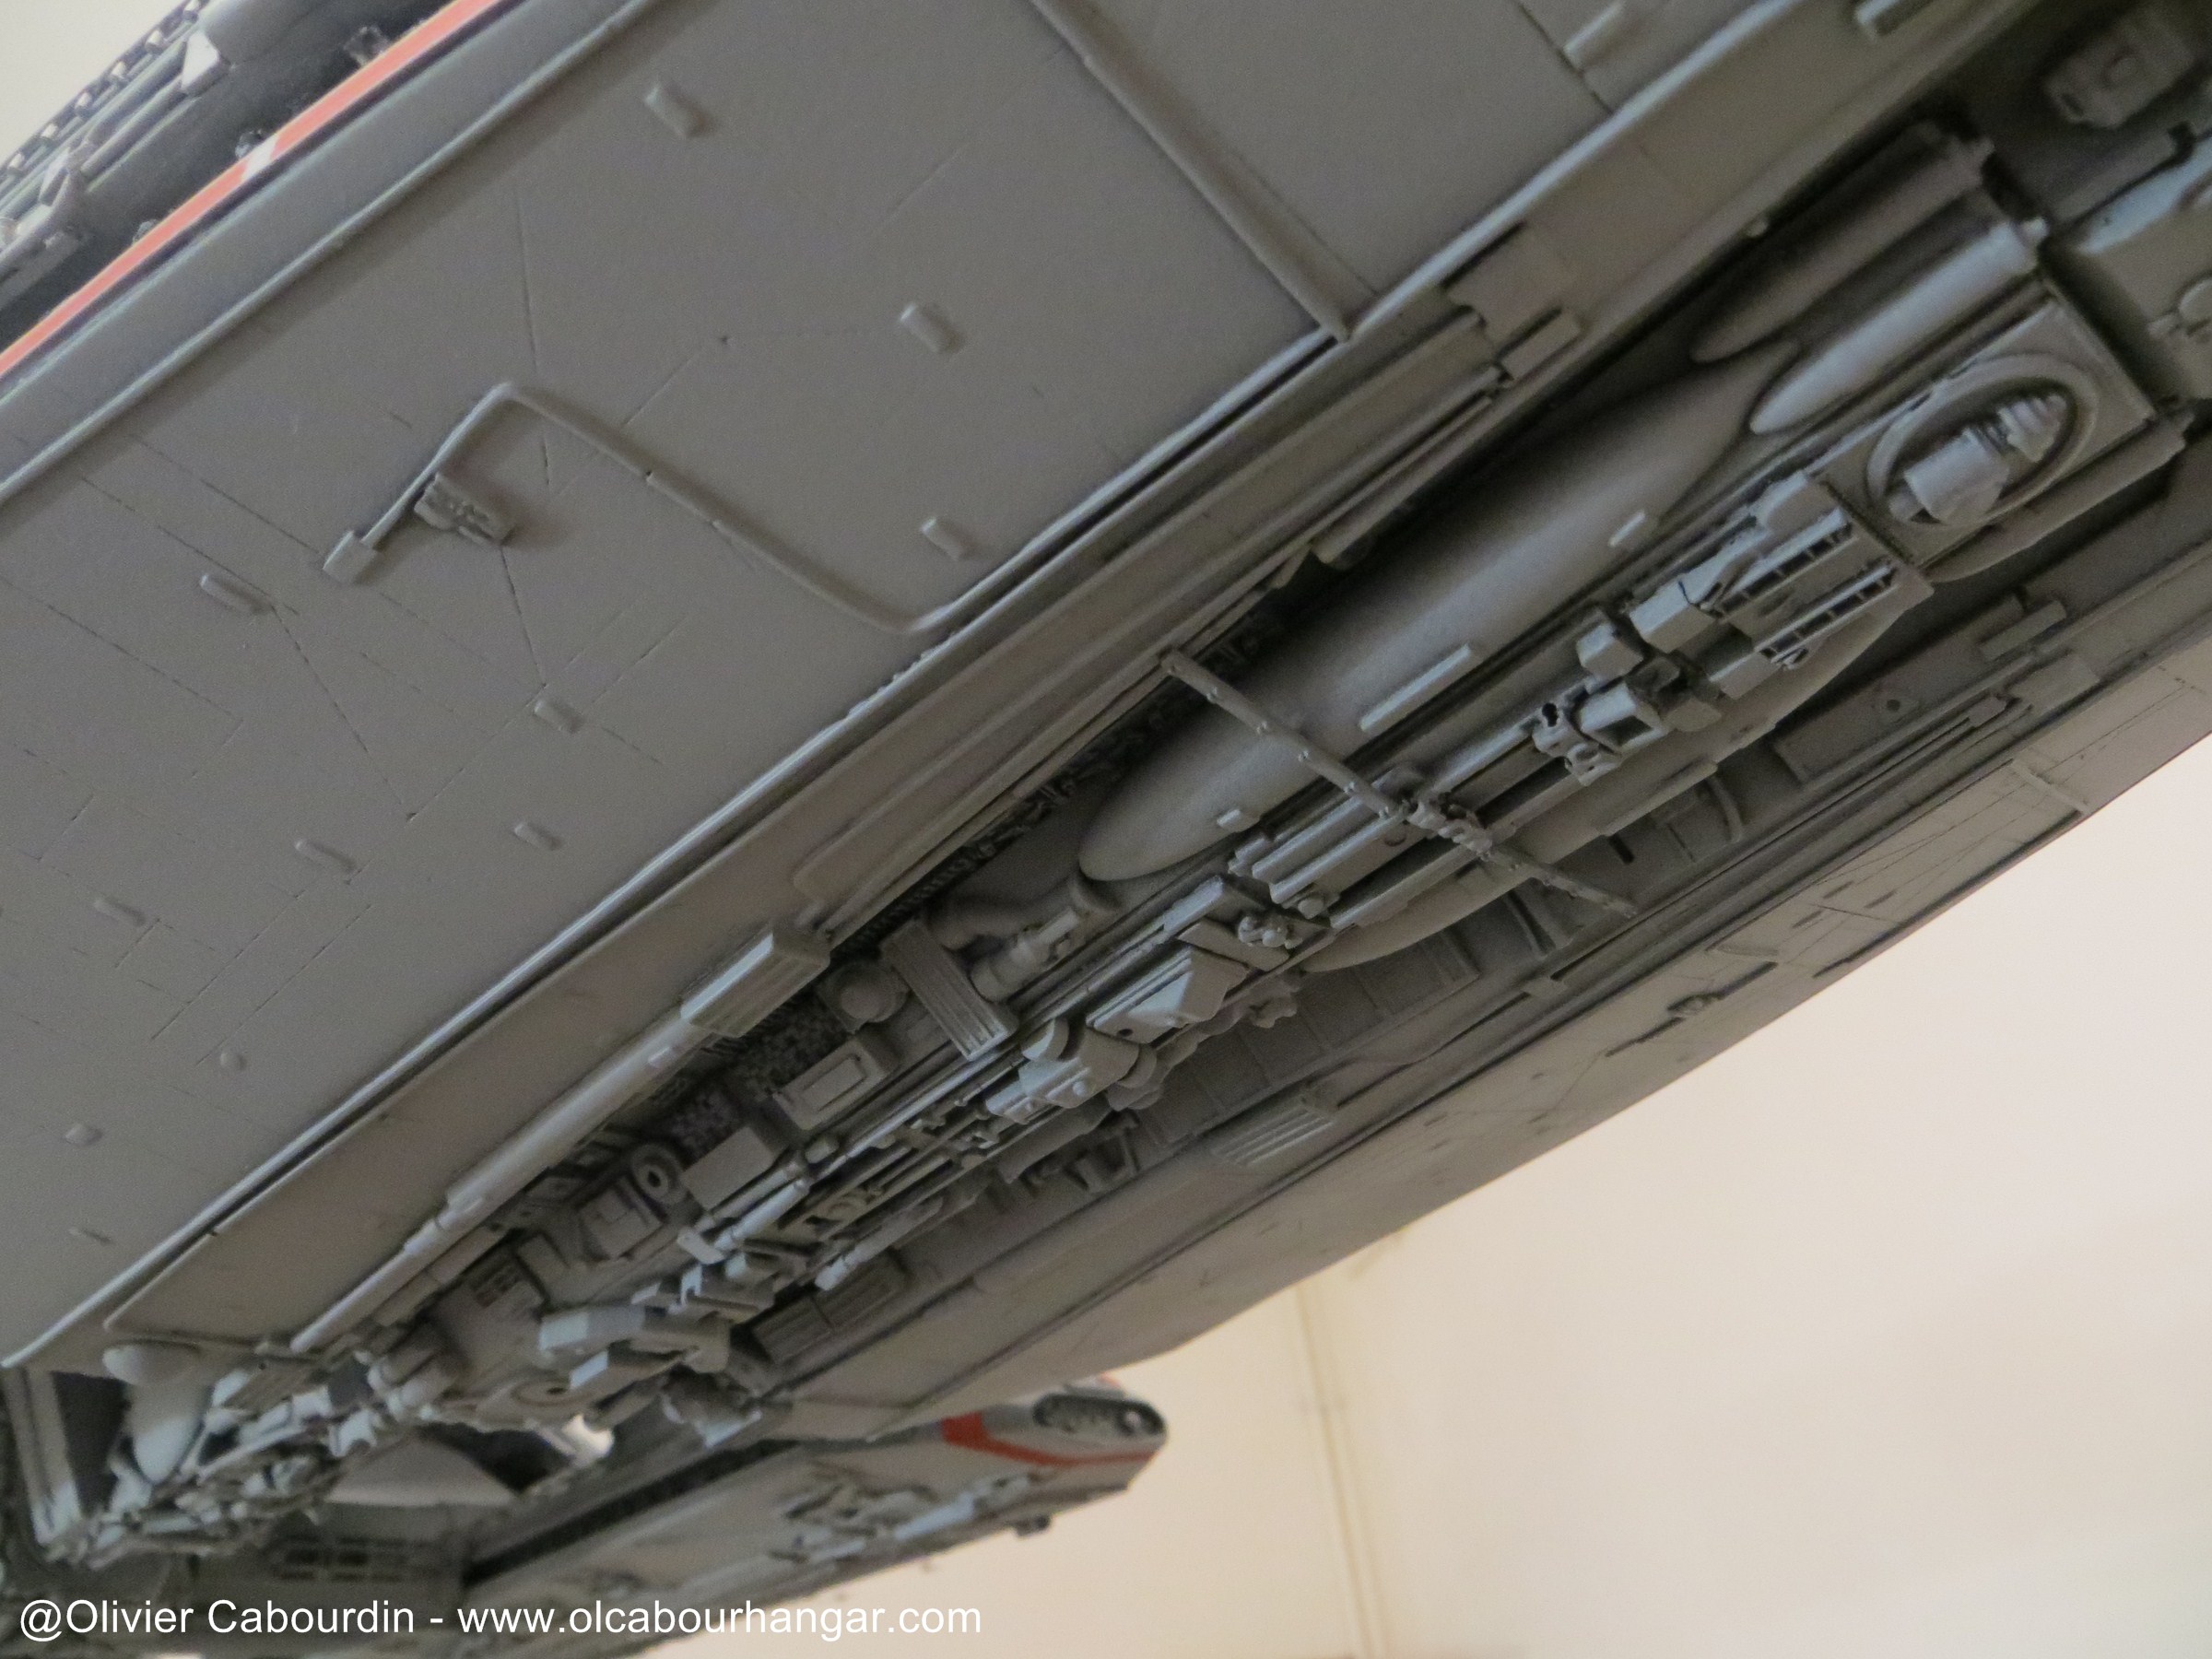
I added details in trying to follow the original model. The parts come from the kit itself, but mainly many kits 1/72, 1/48 and 1/35 tanks, naval ships, or various parts of the spares box.
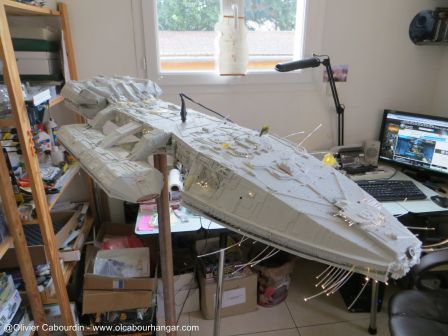


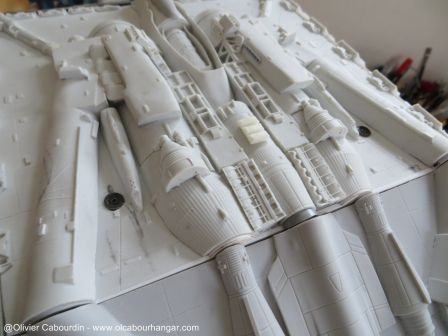

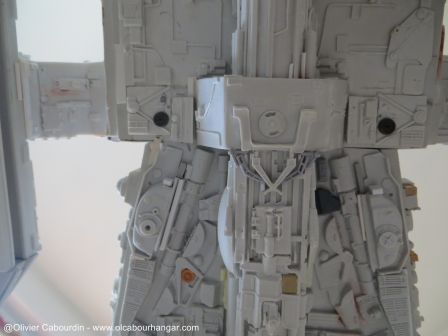


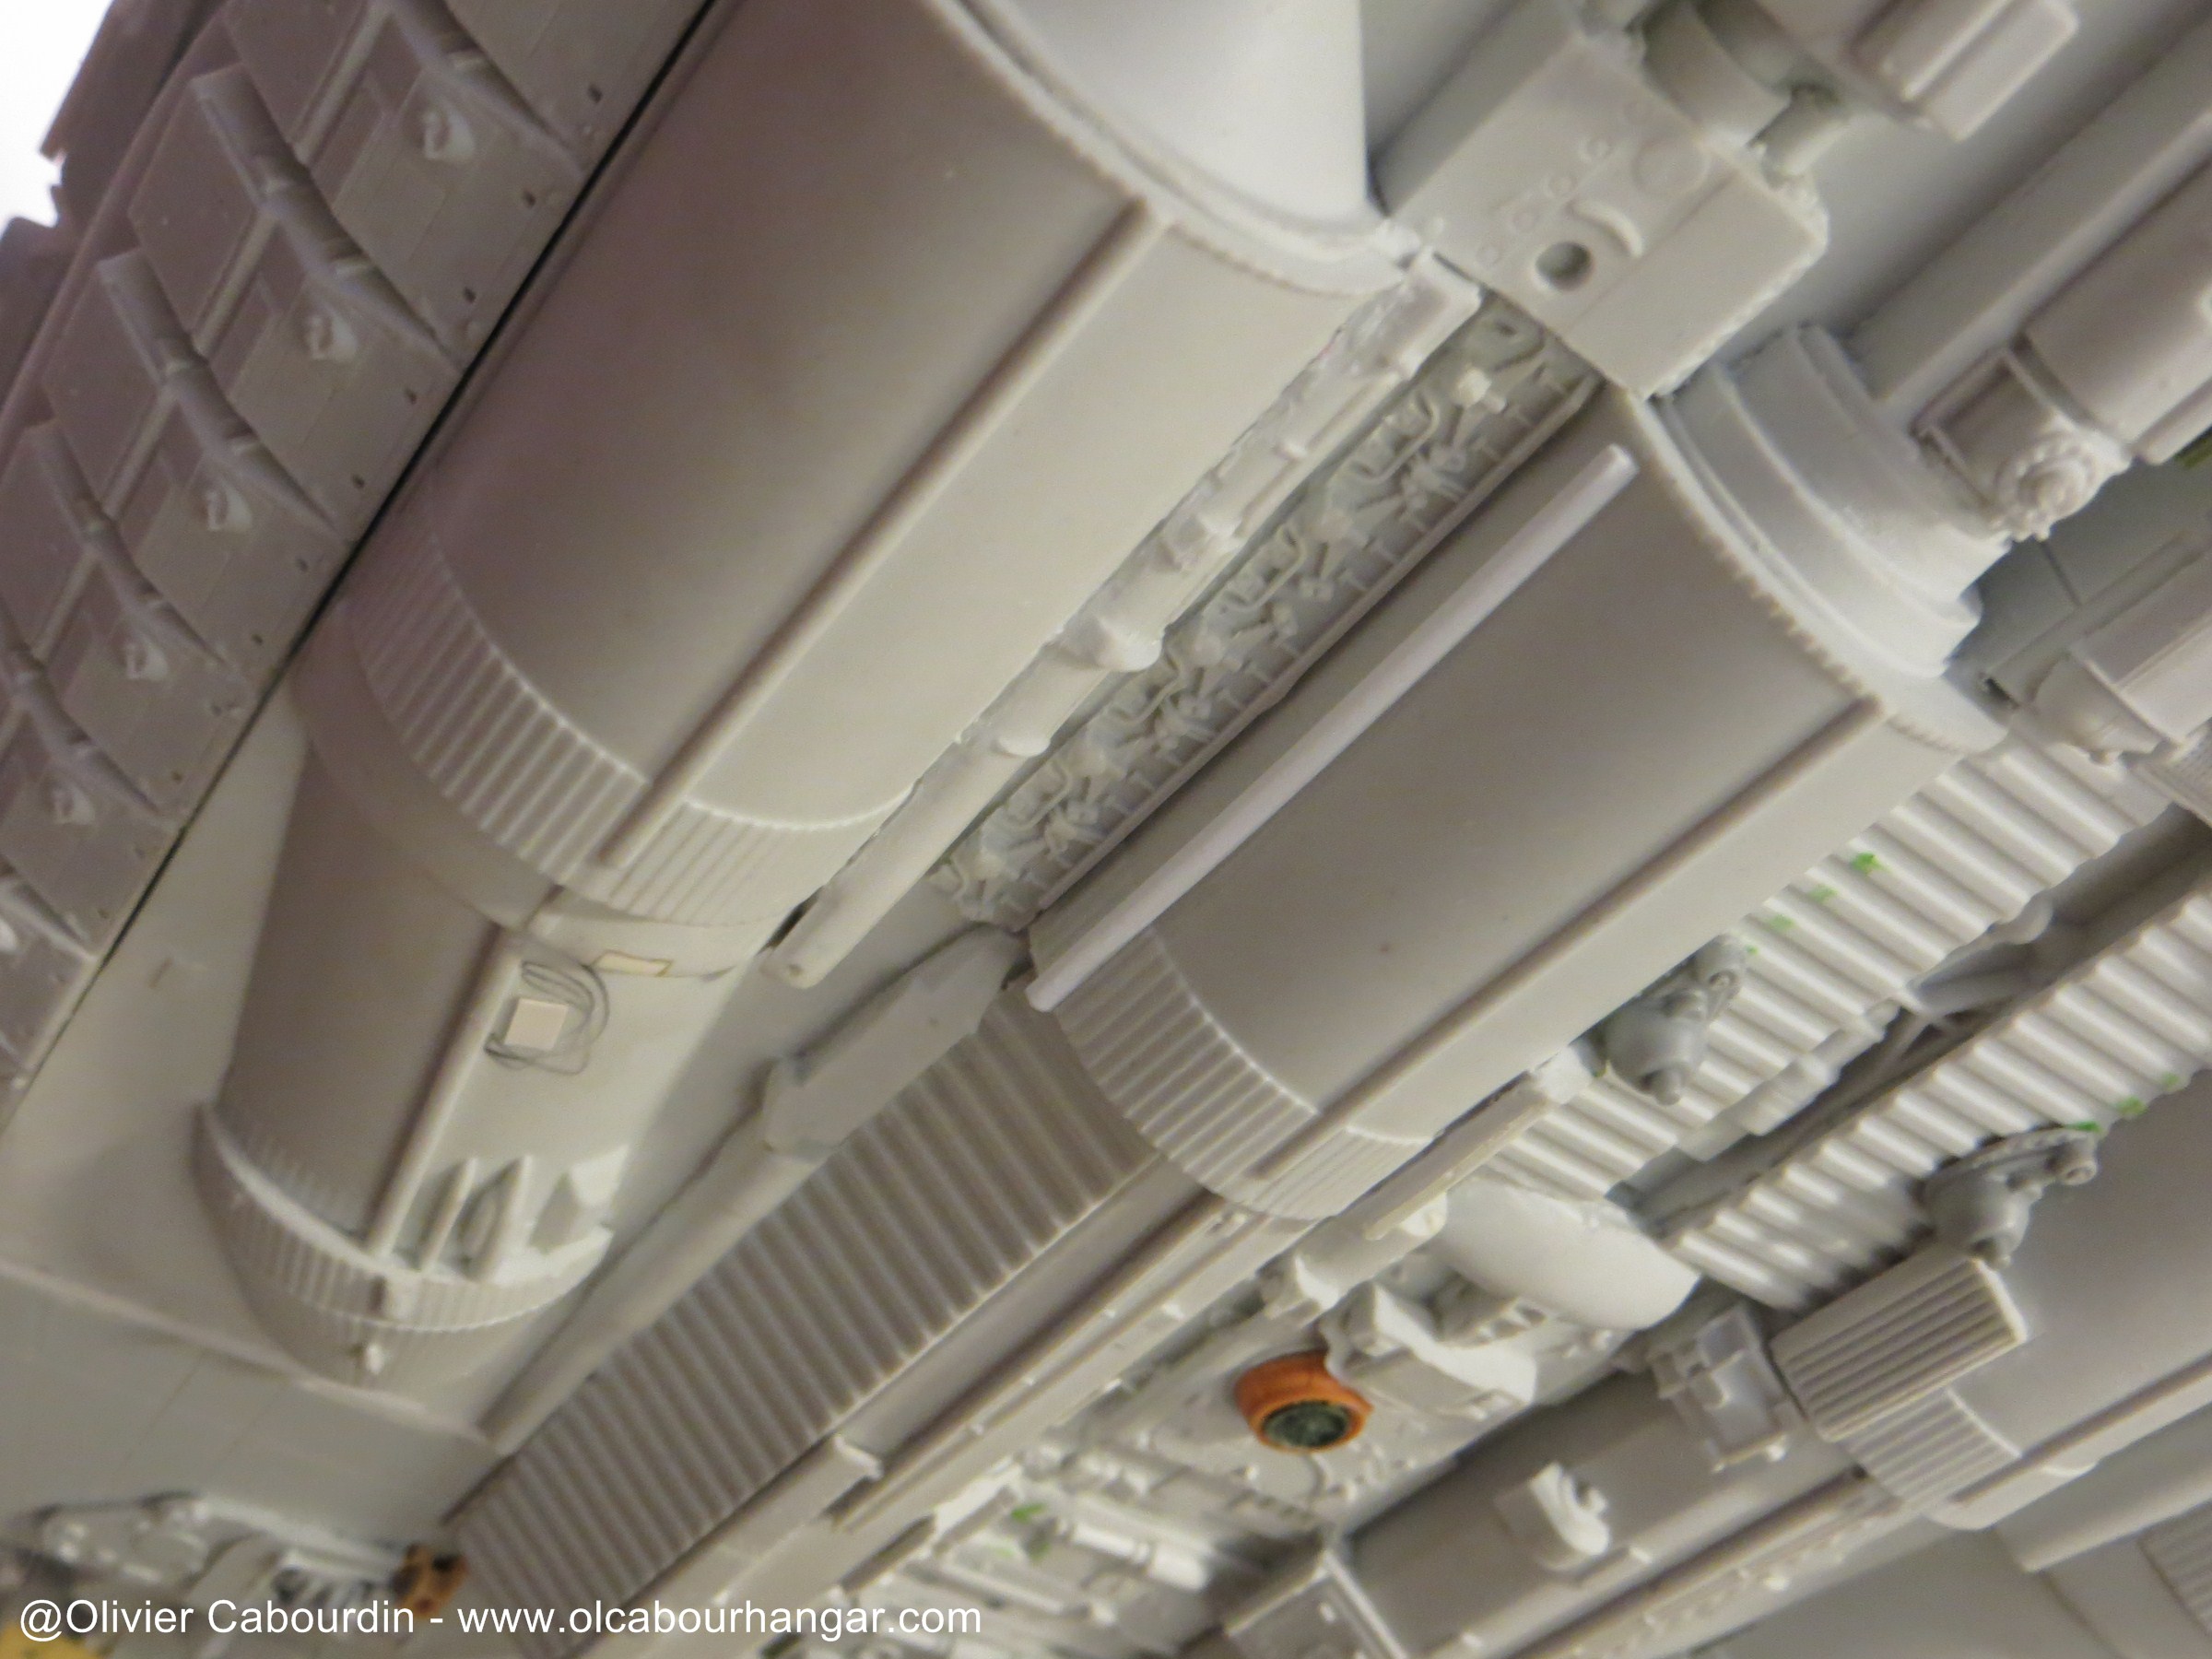
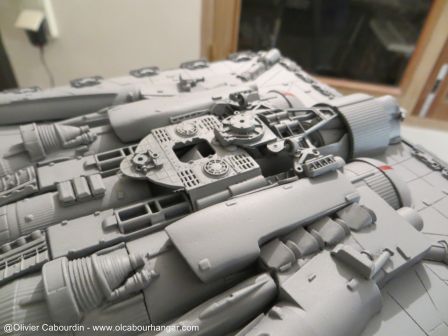
- On top of the engine module, it was not easy to find and set all the parts.
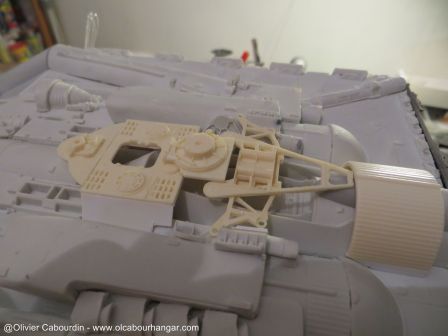
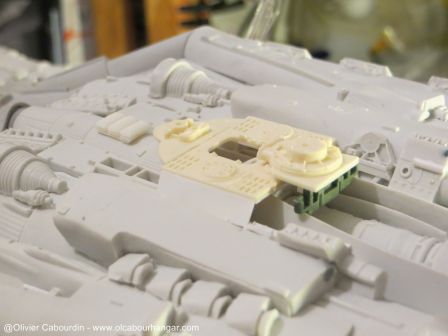

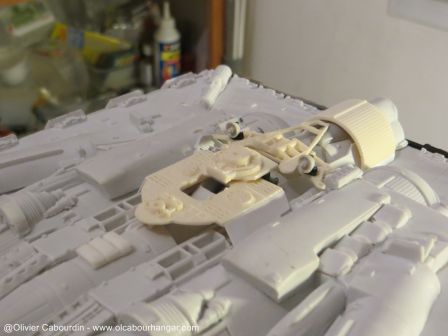
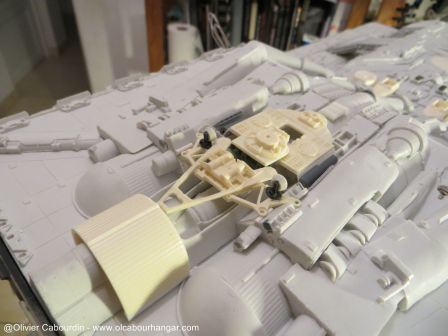
- Same thing behind the head

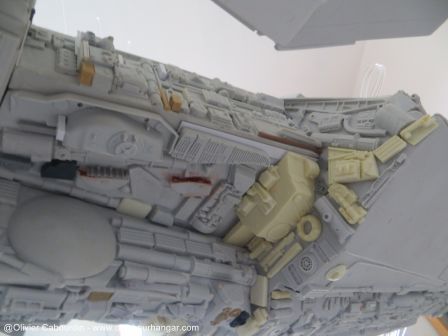
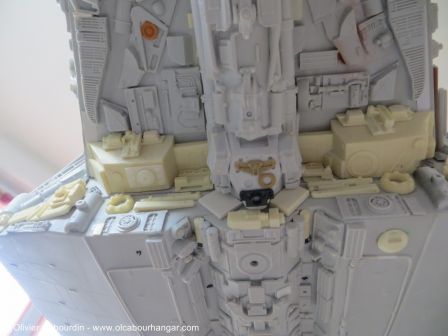

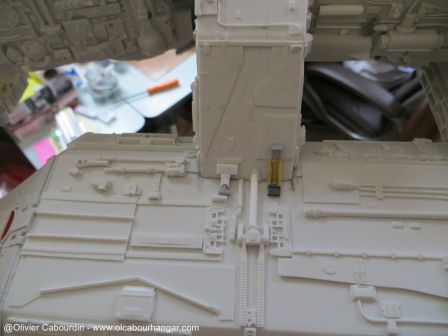
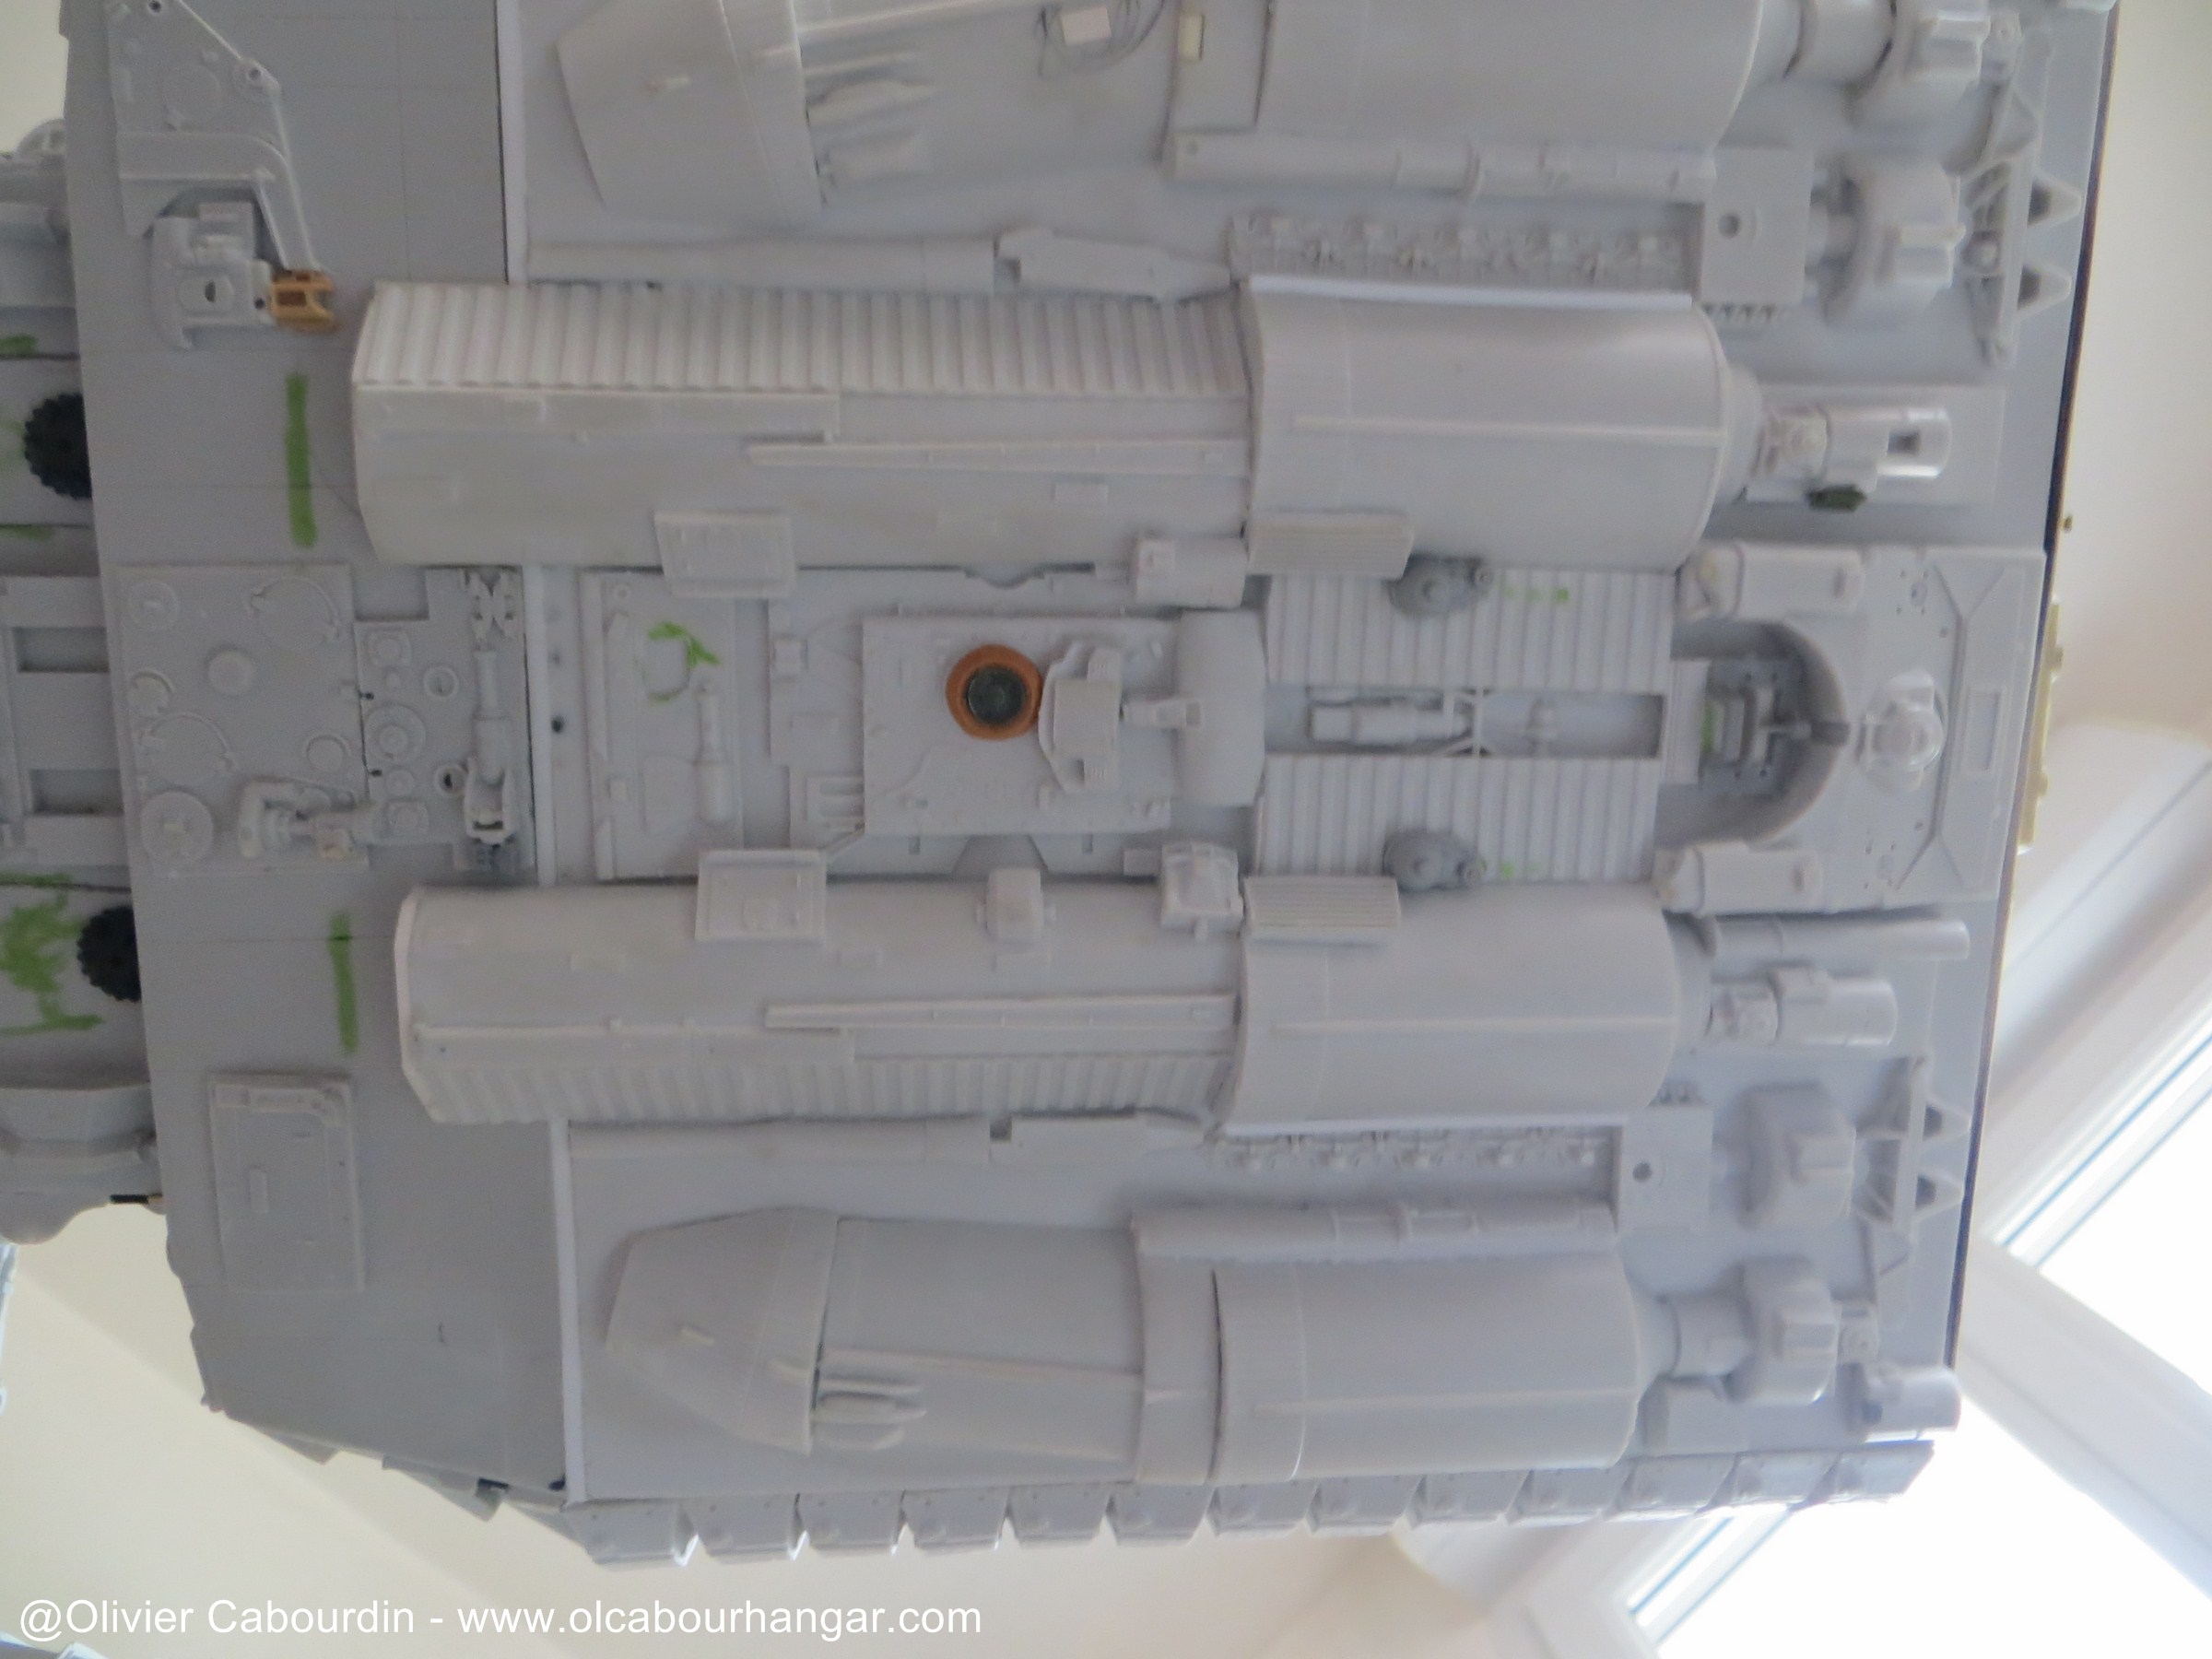
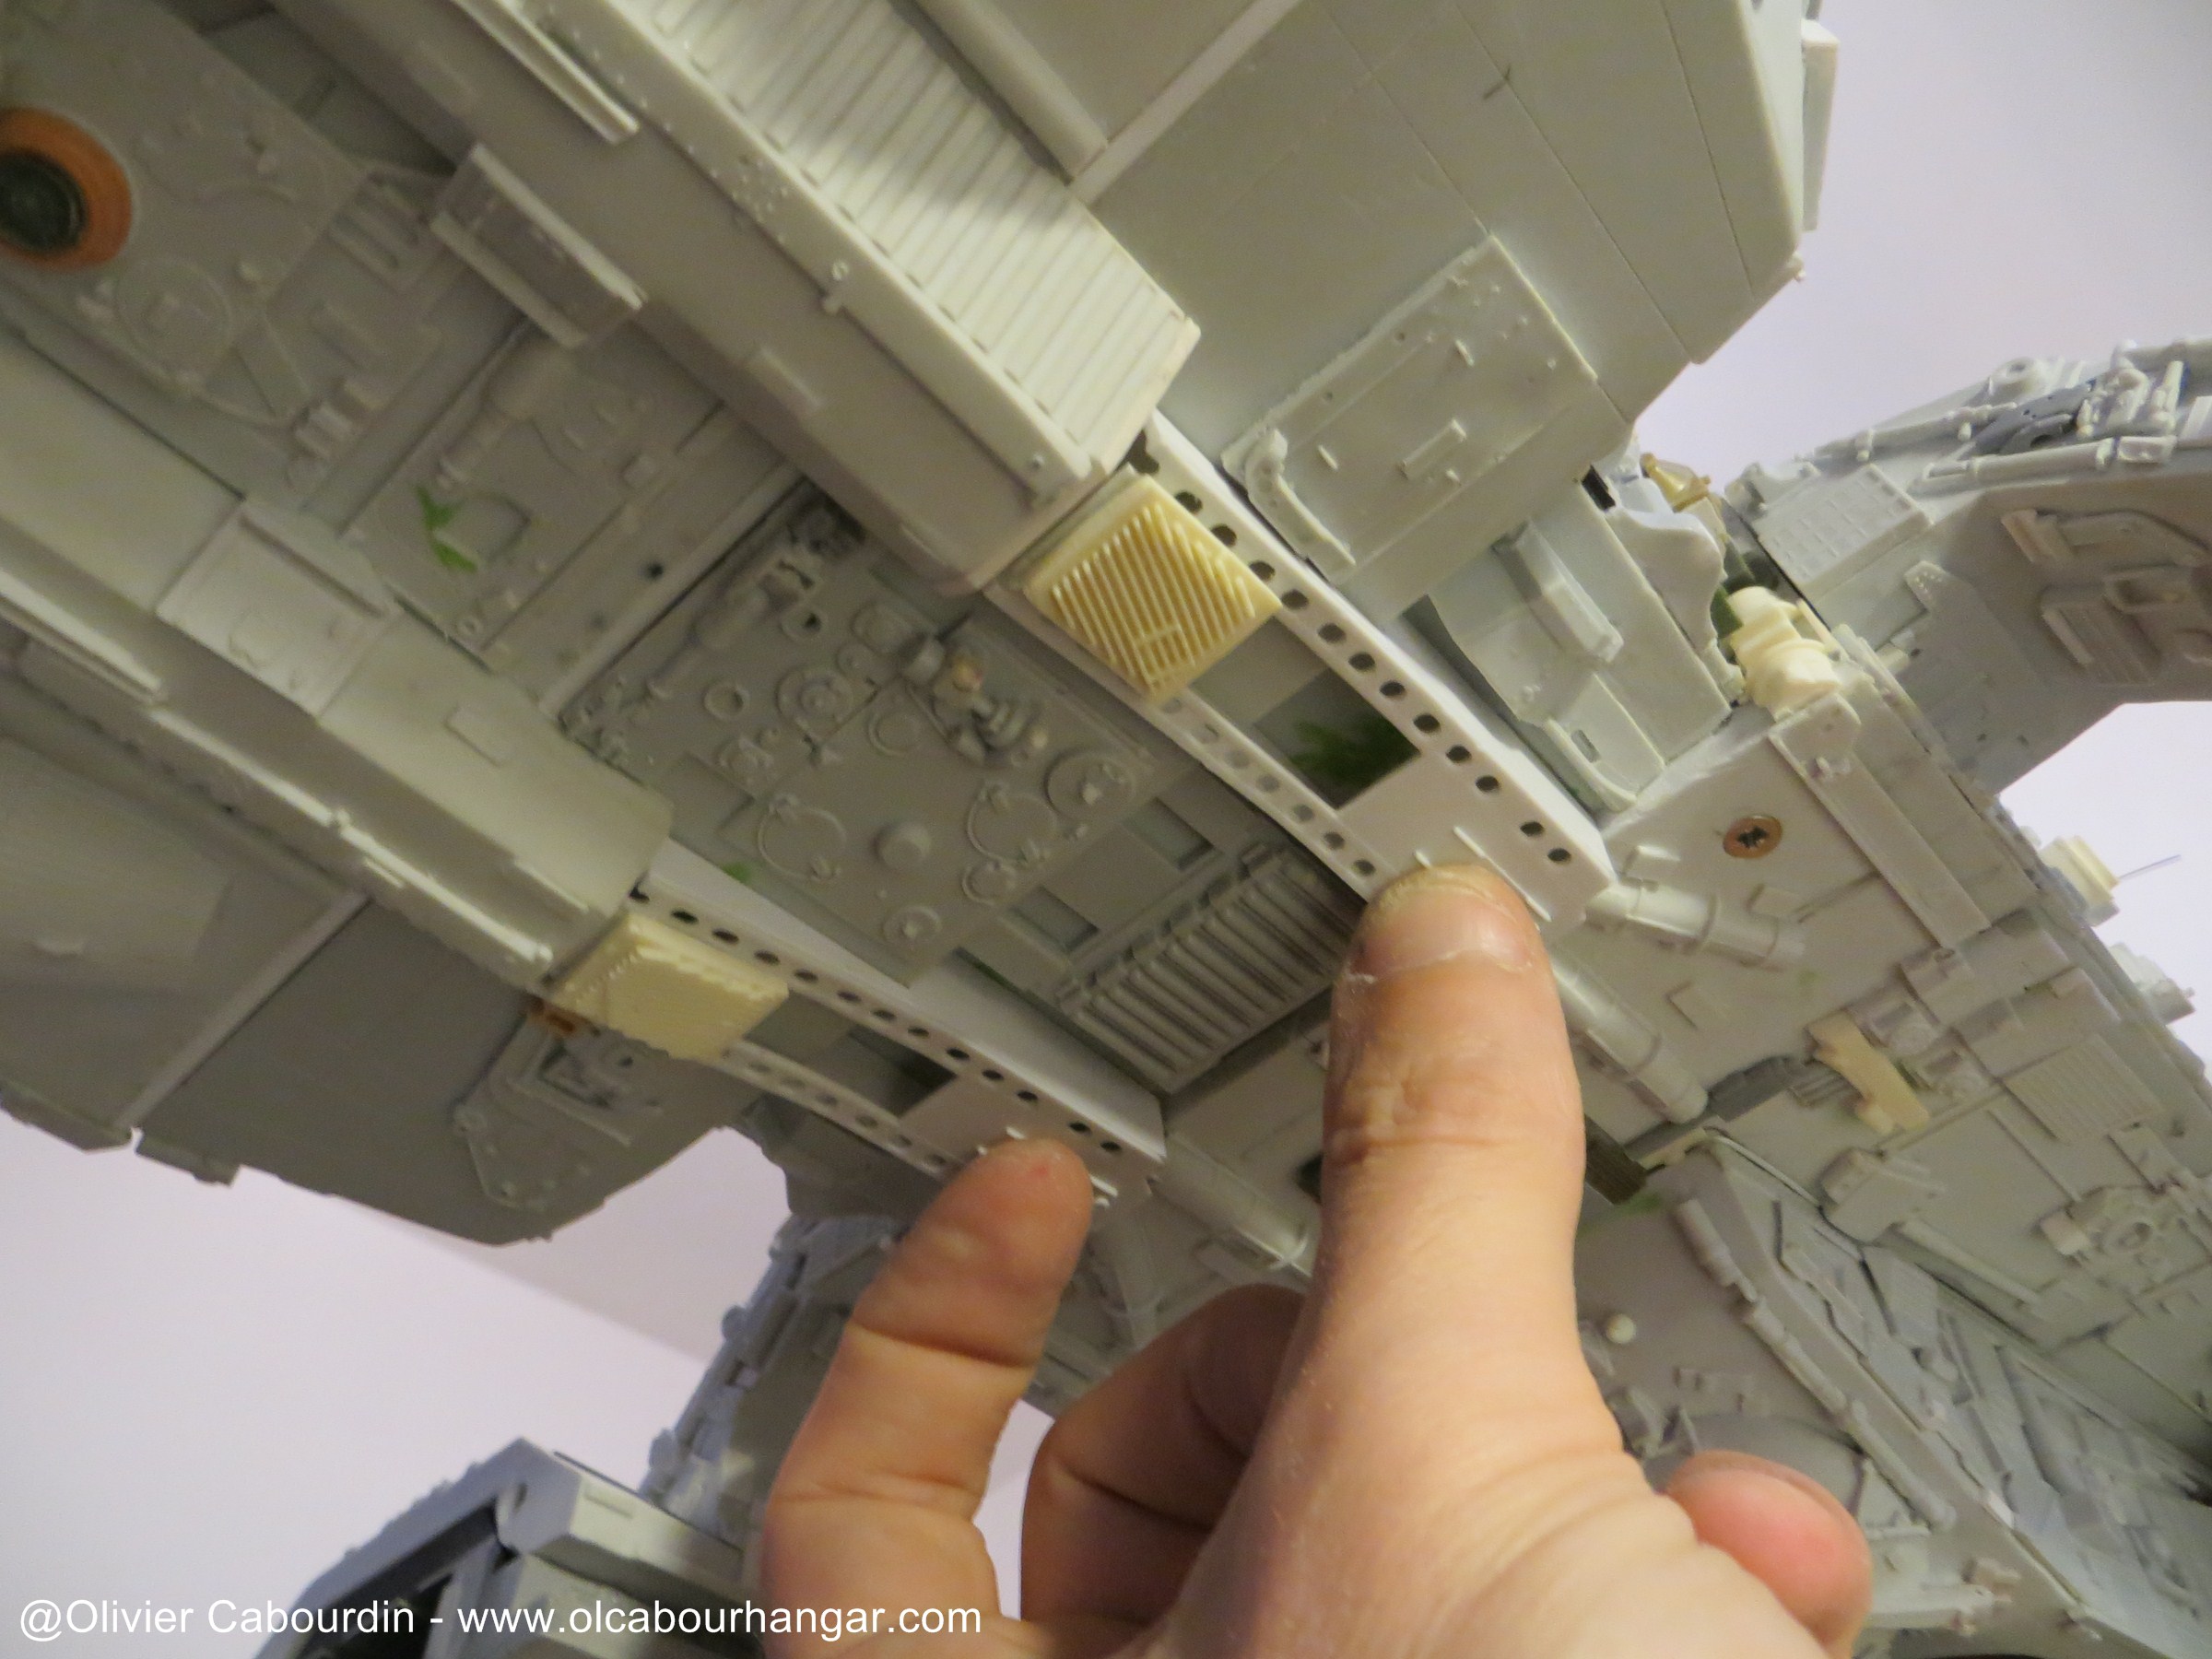
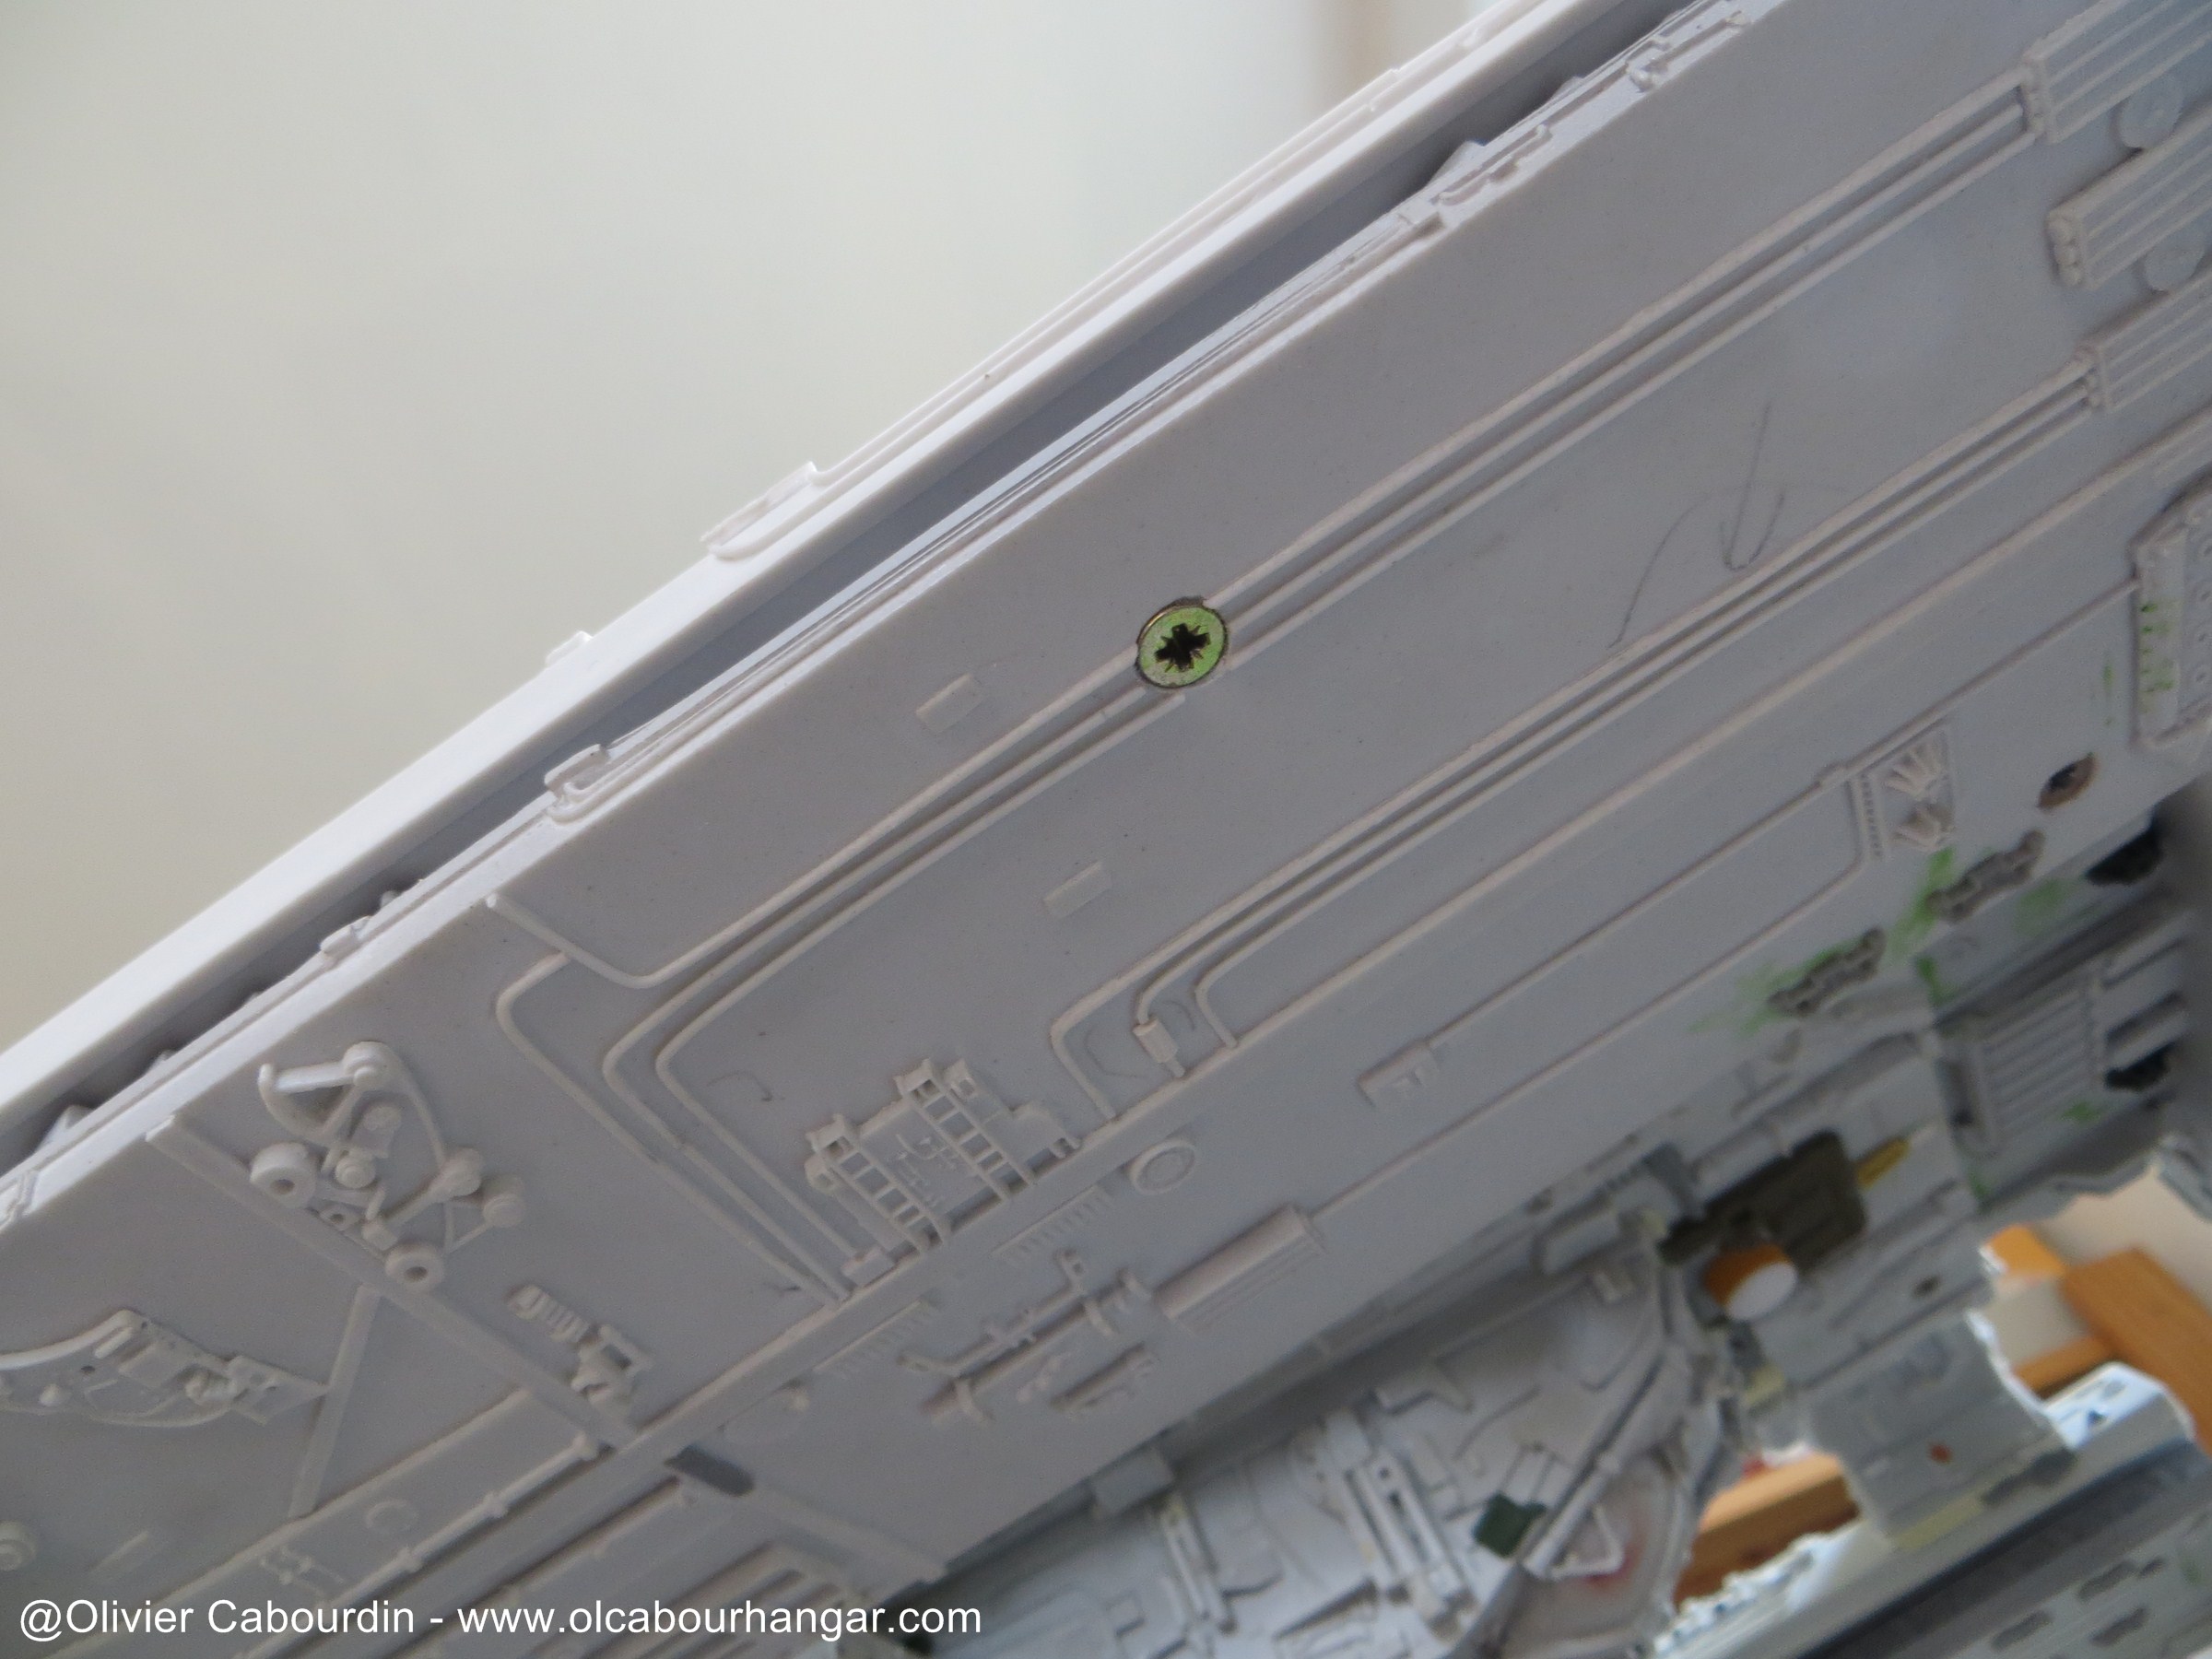
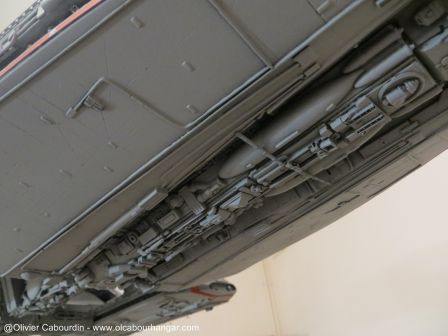
- the underside of the central engine modules also requires a lot of work to complete and adjust the parts supplied
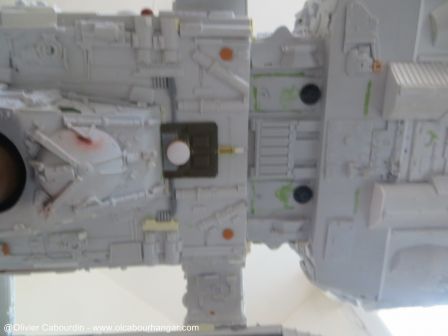


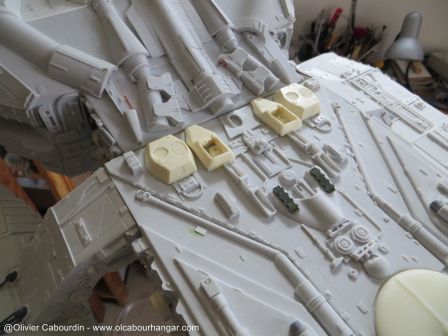
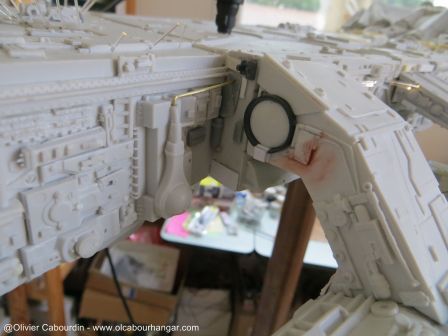
- Here it was necessary to add walls to the Leopold parts
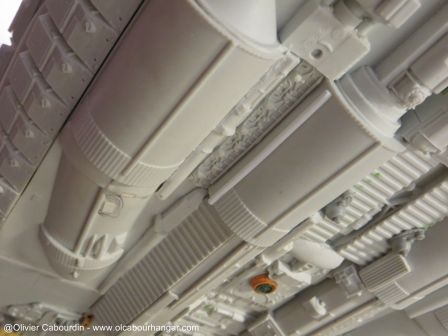

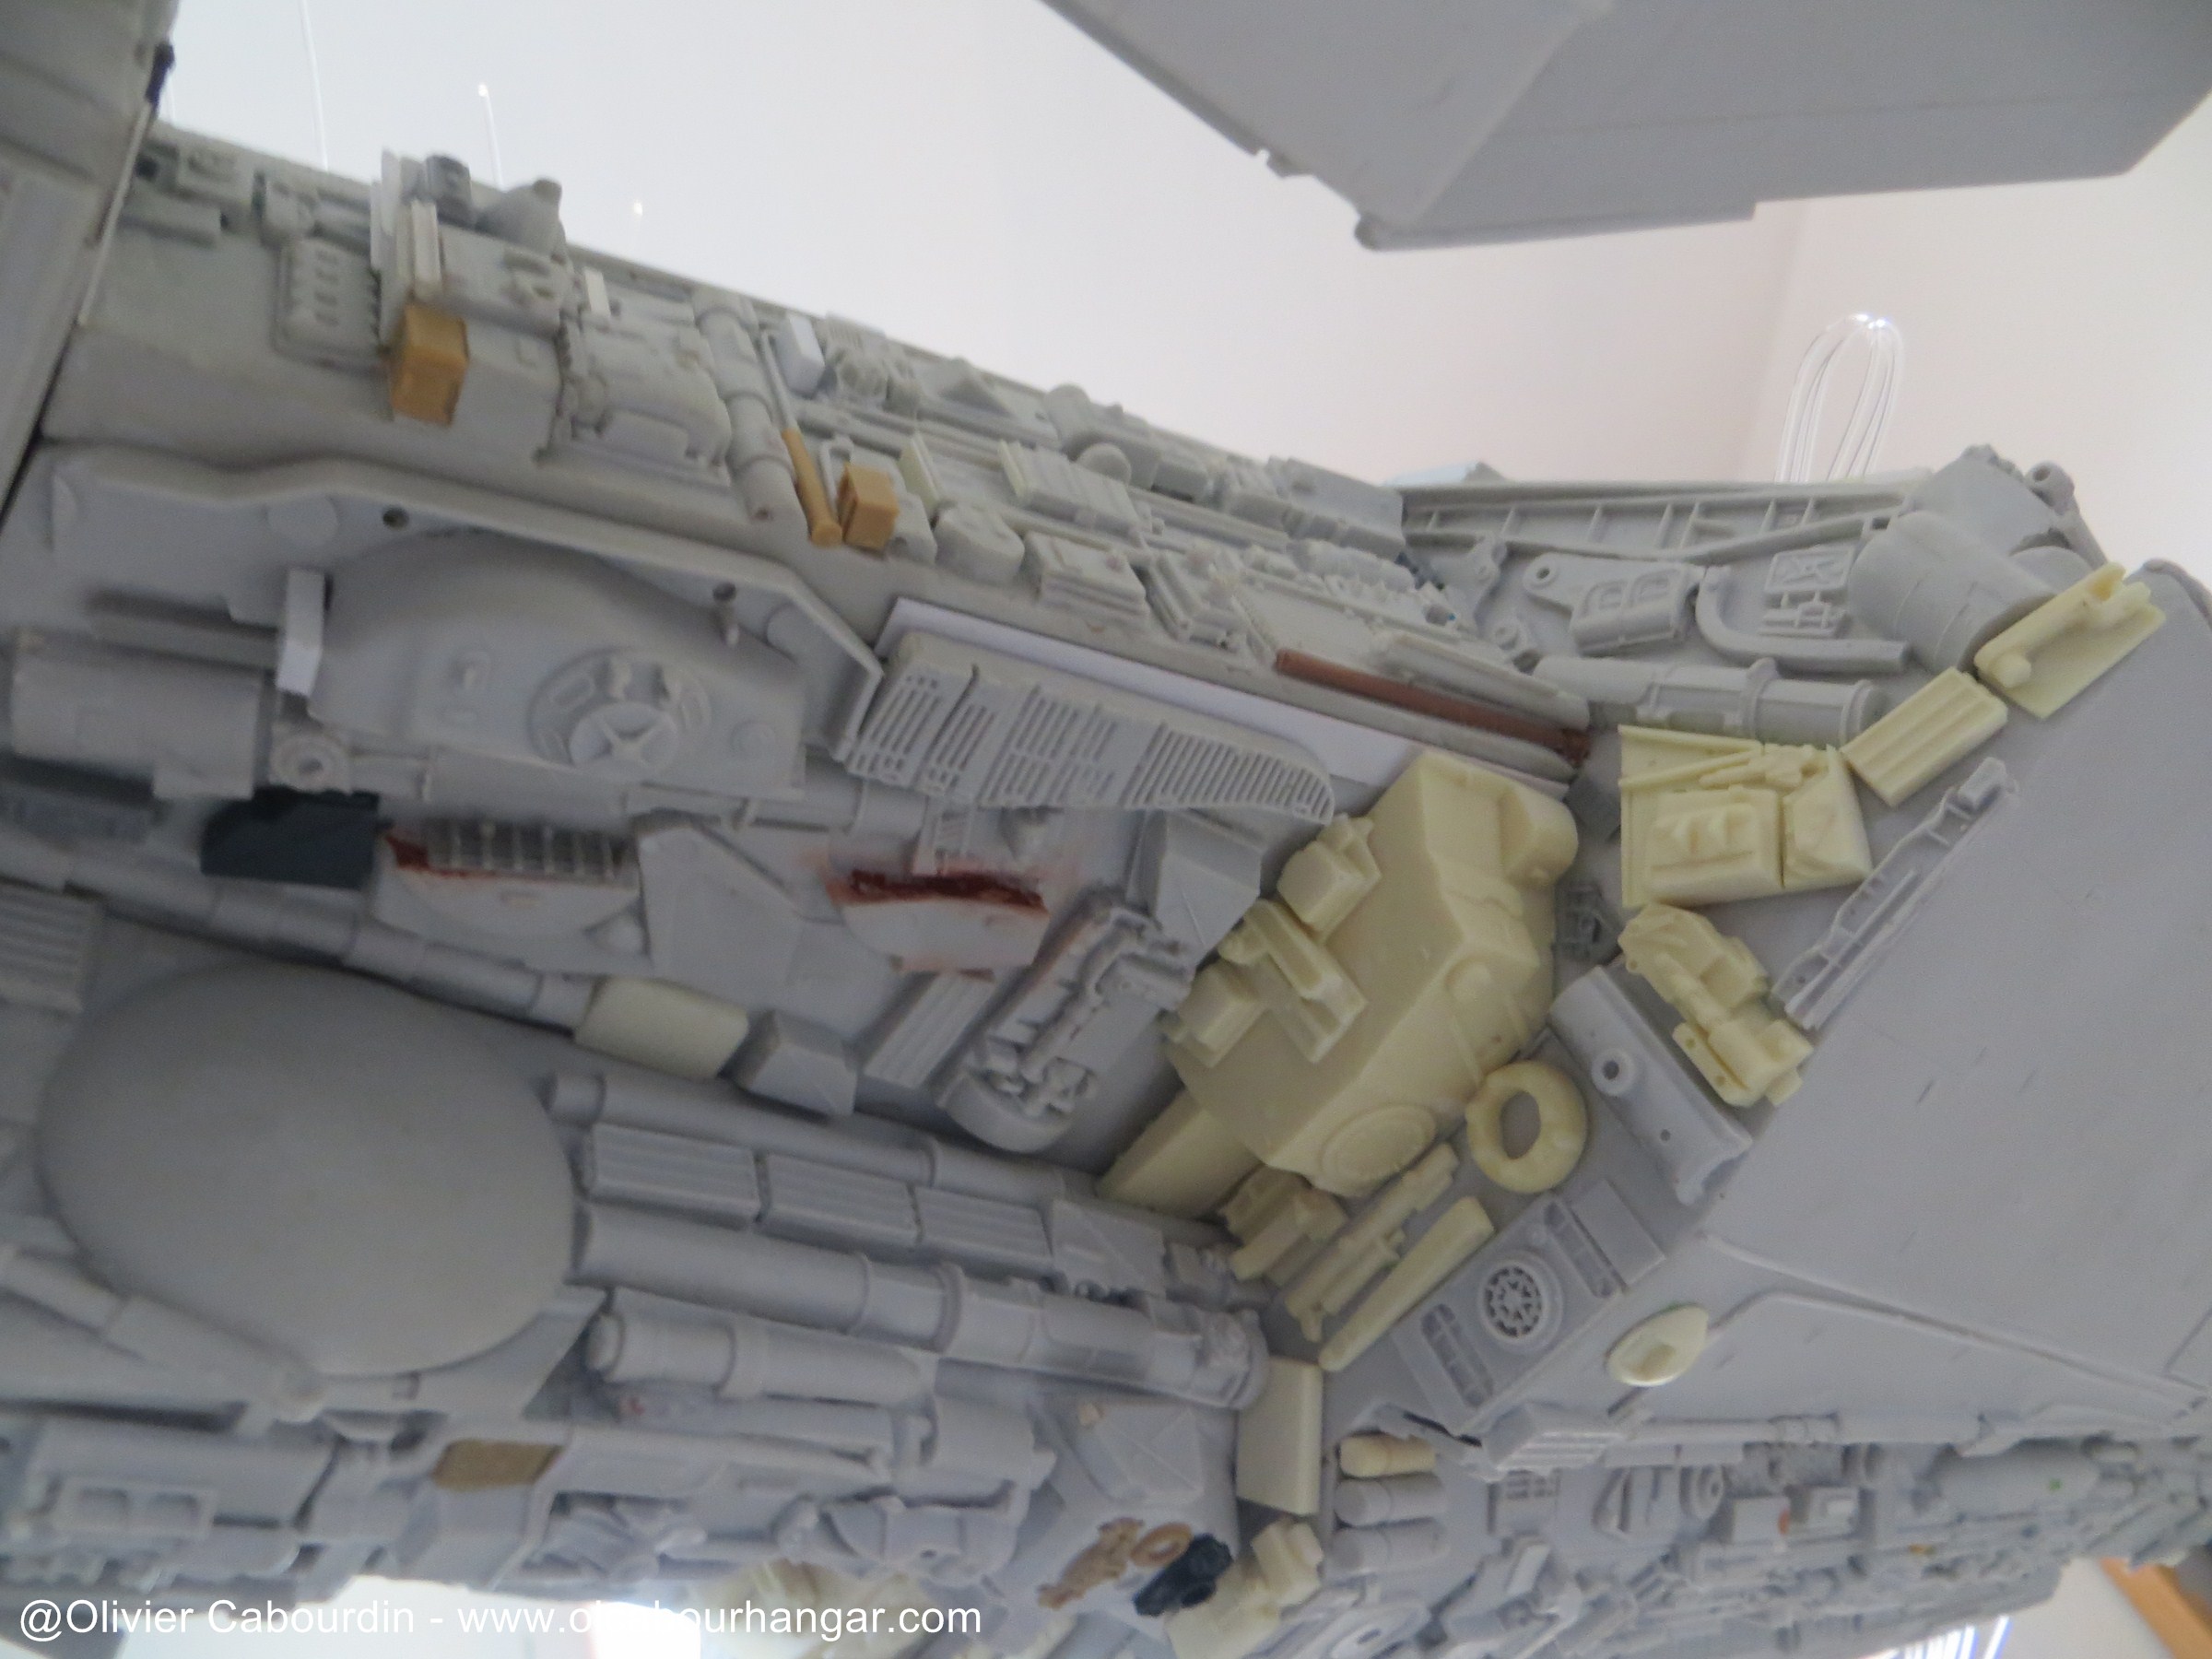
- the screws are hidden behind tank wheels.

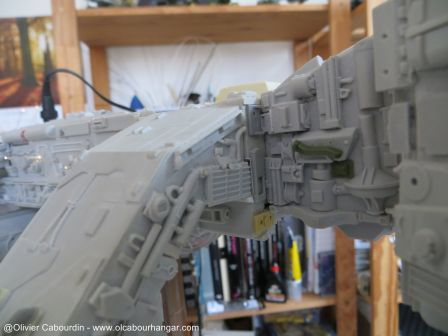
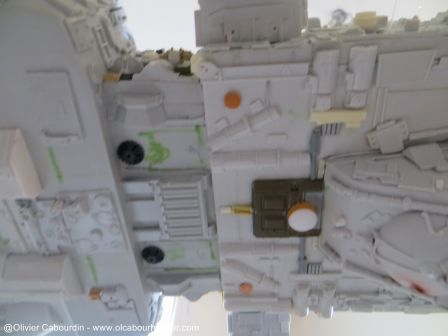
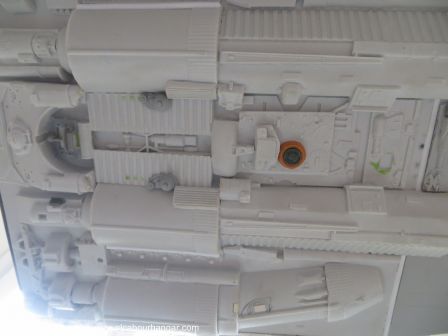
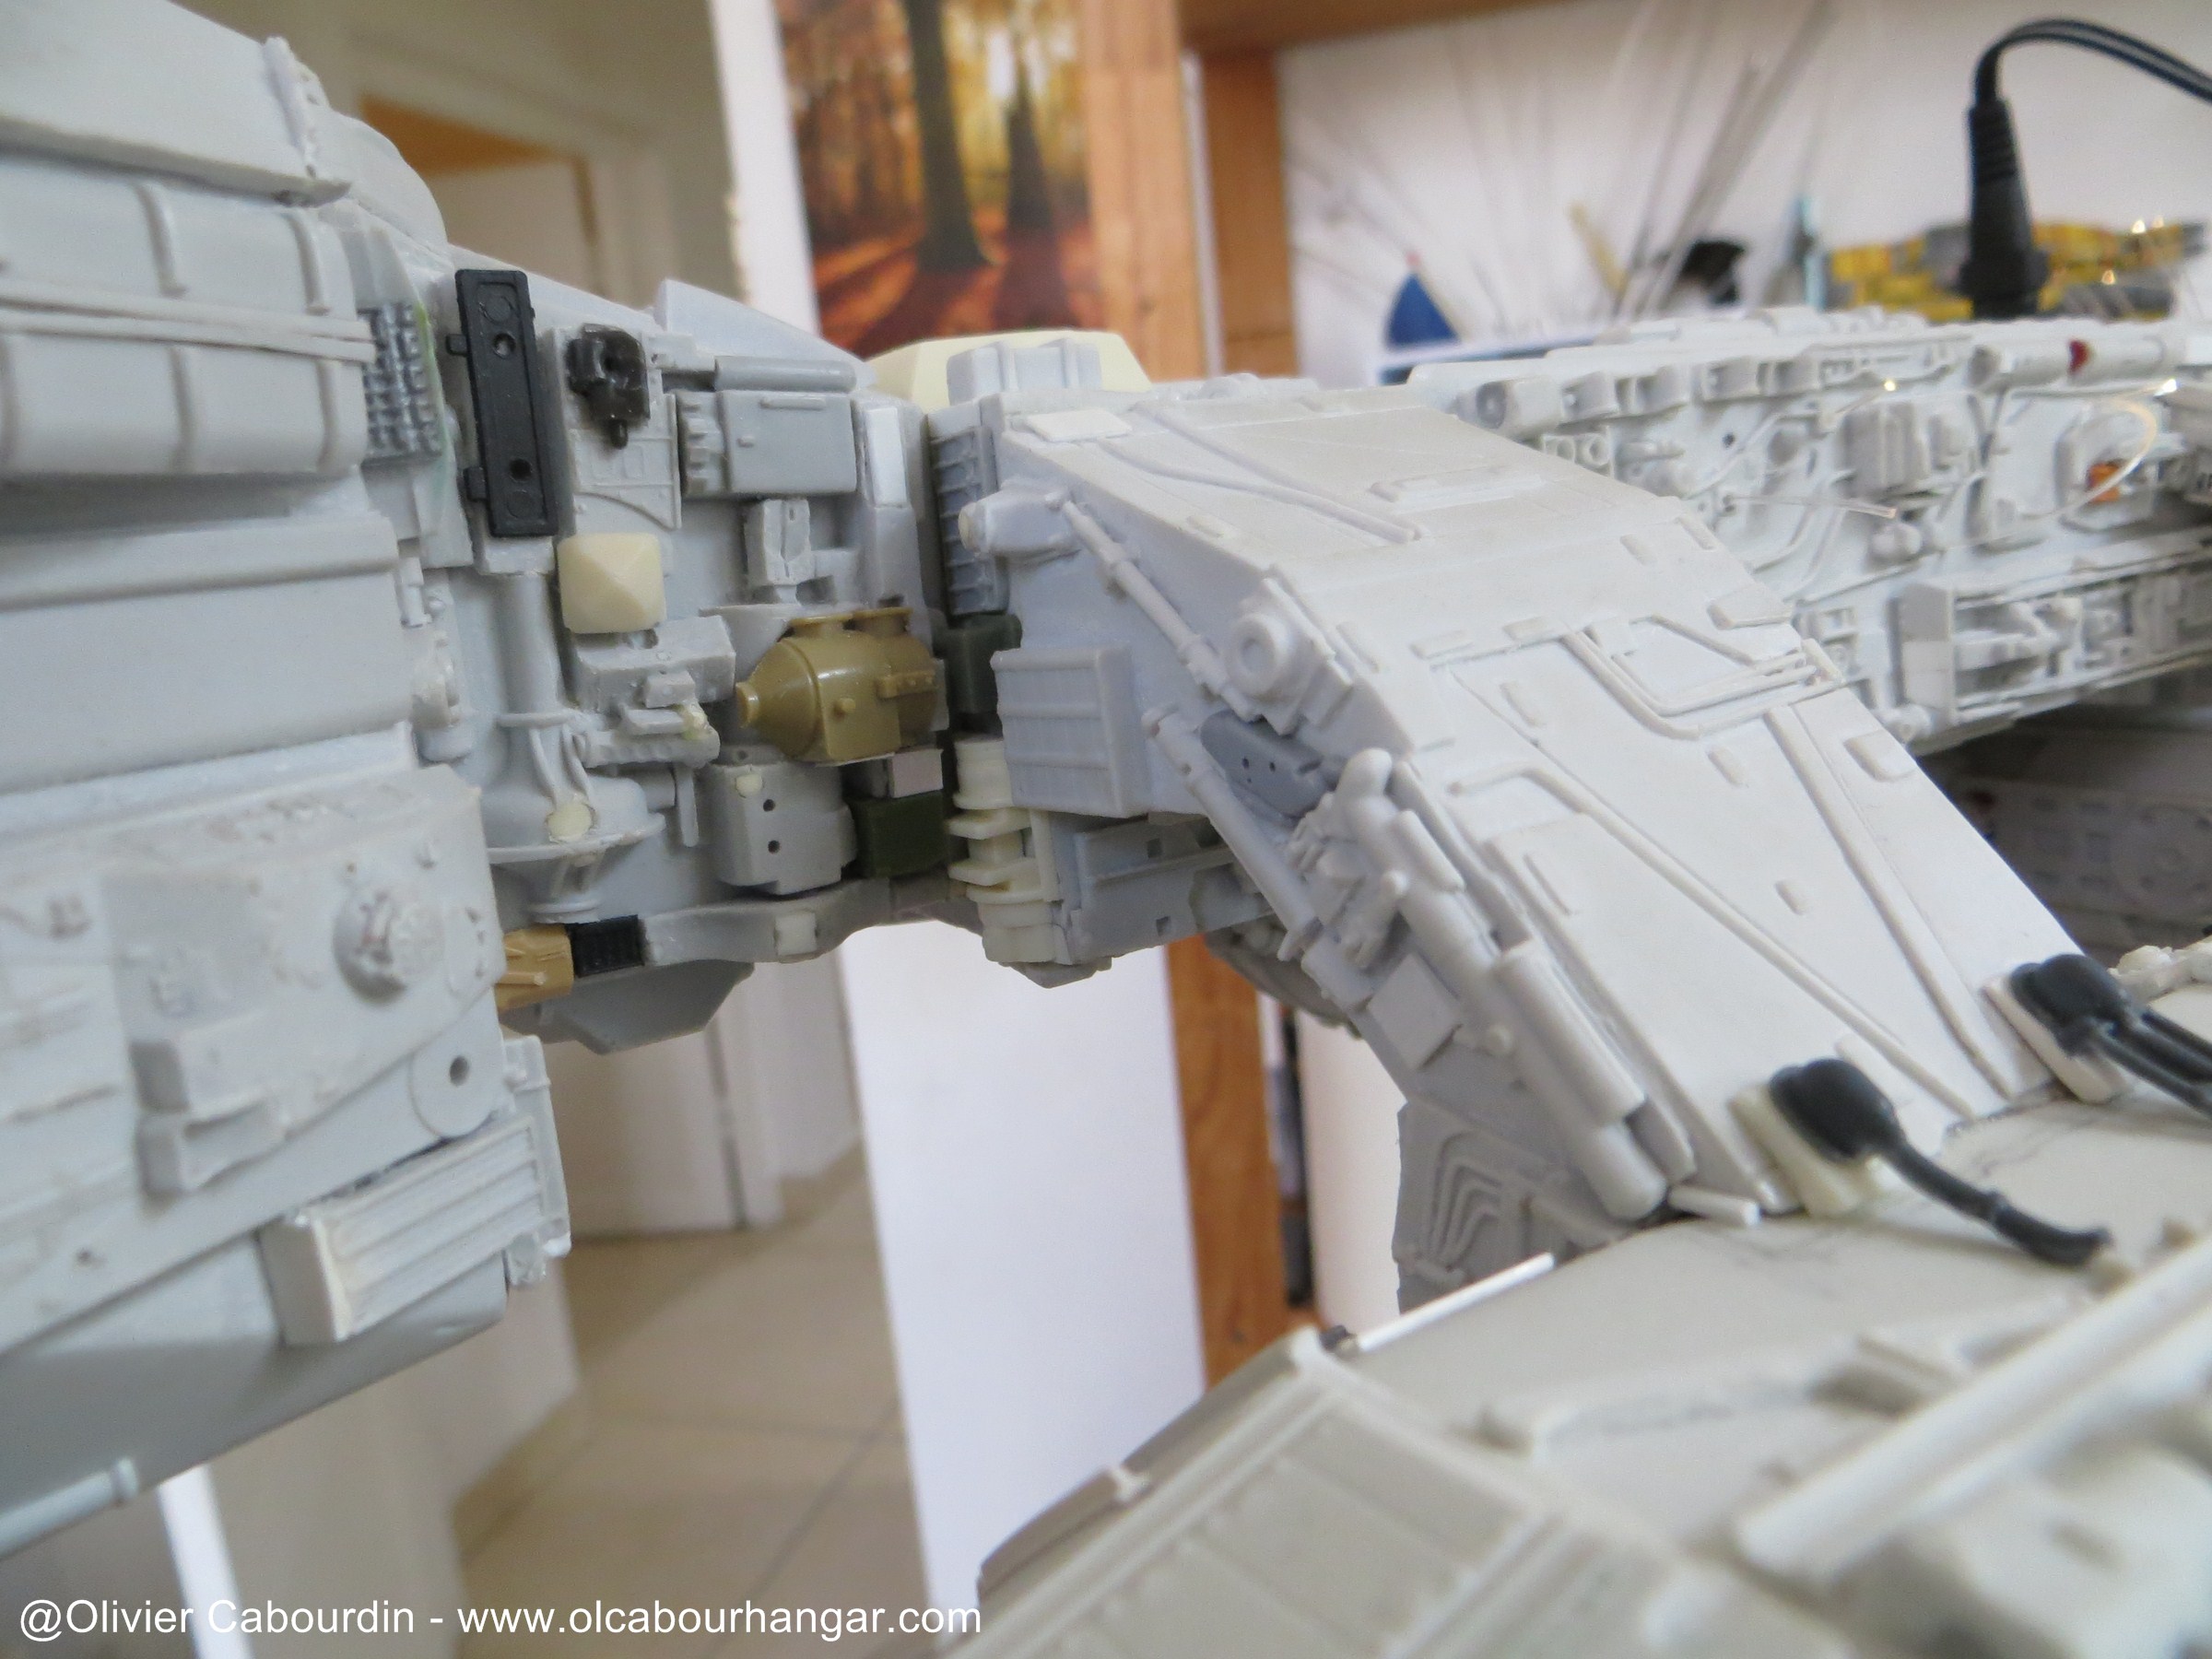
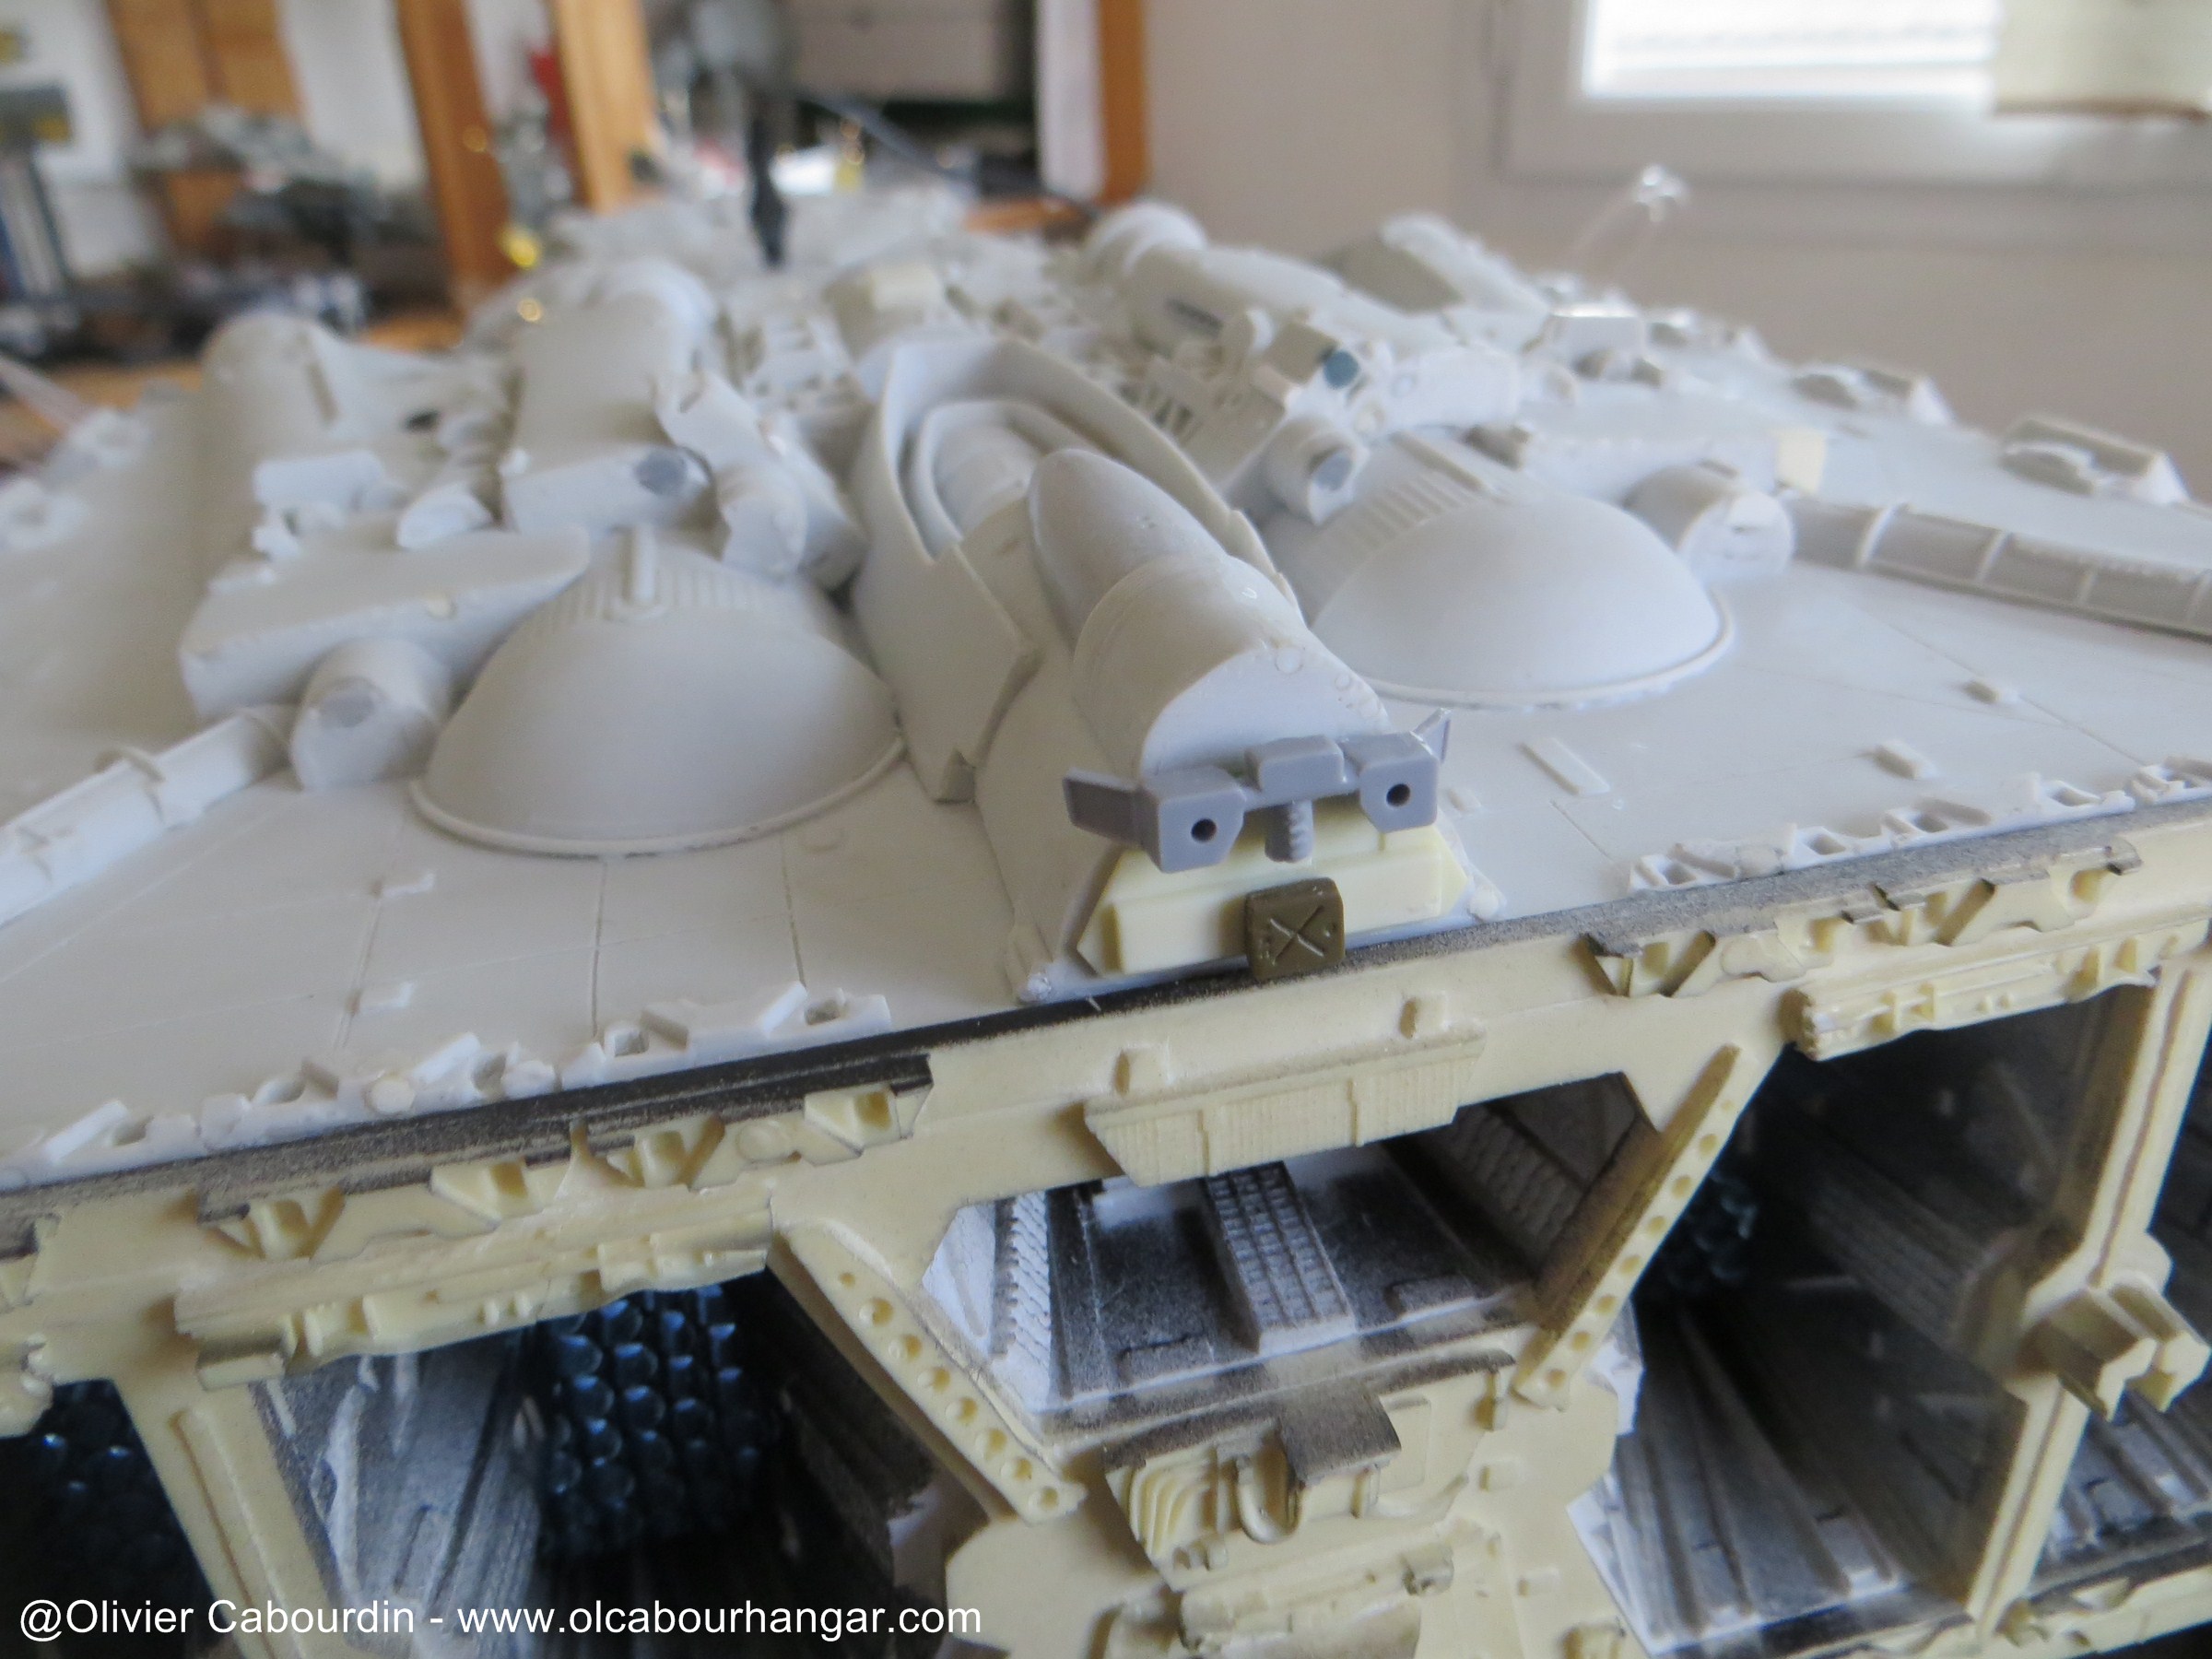
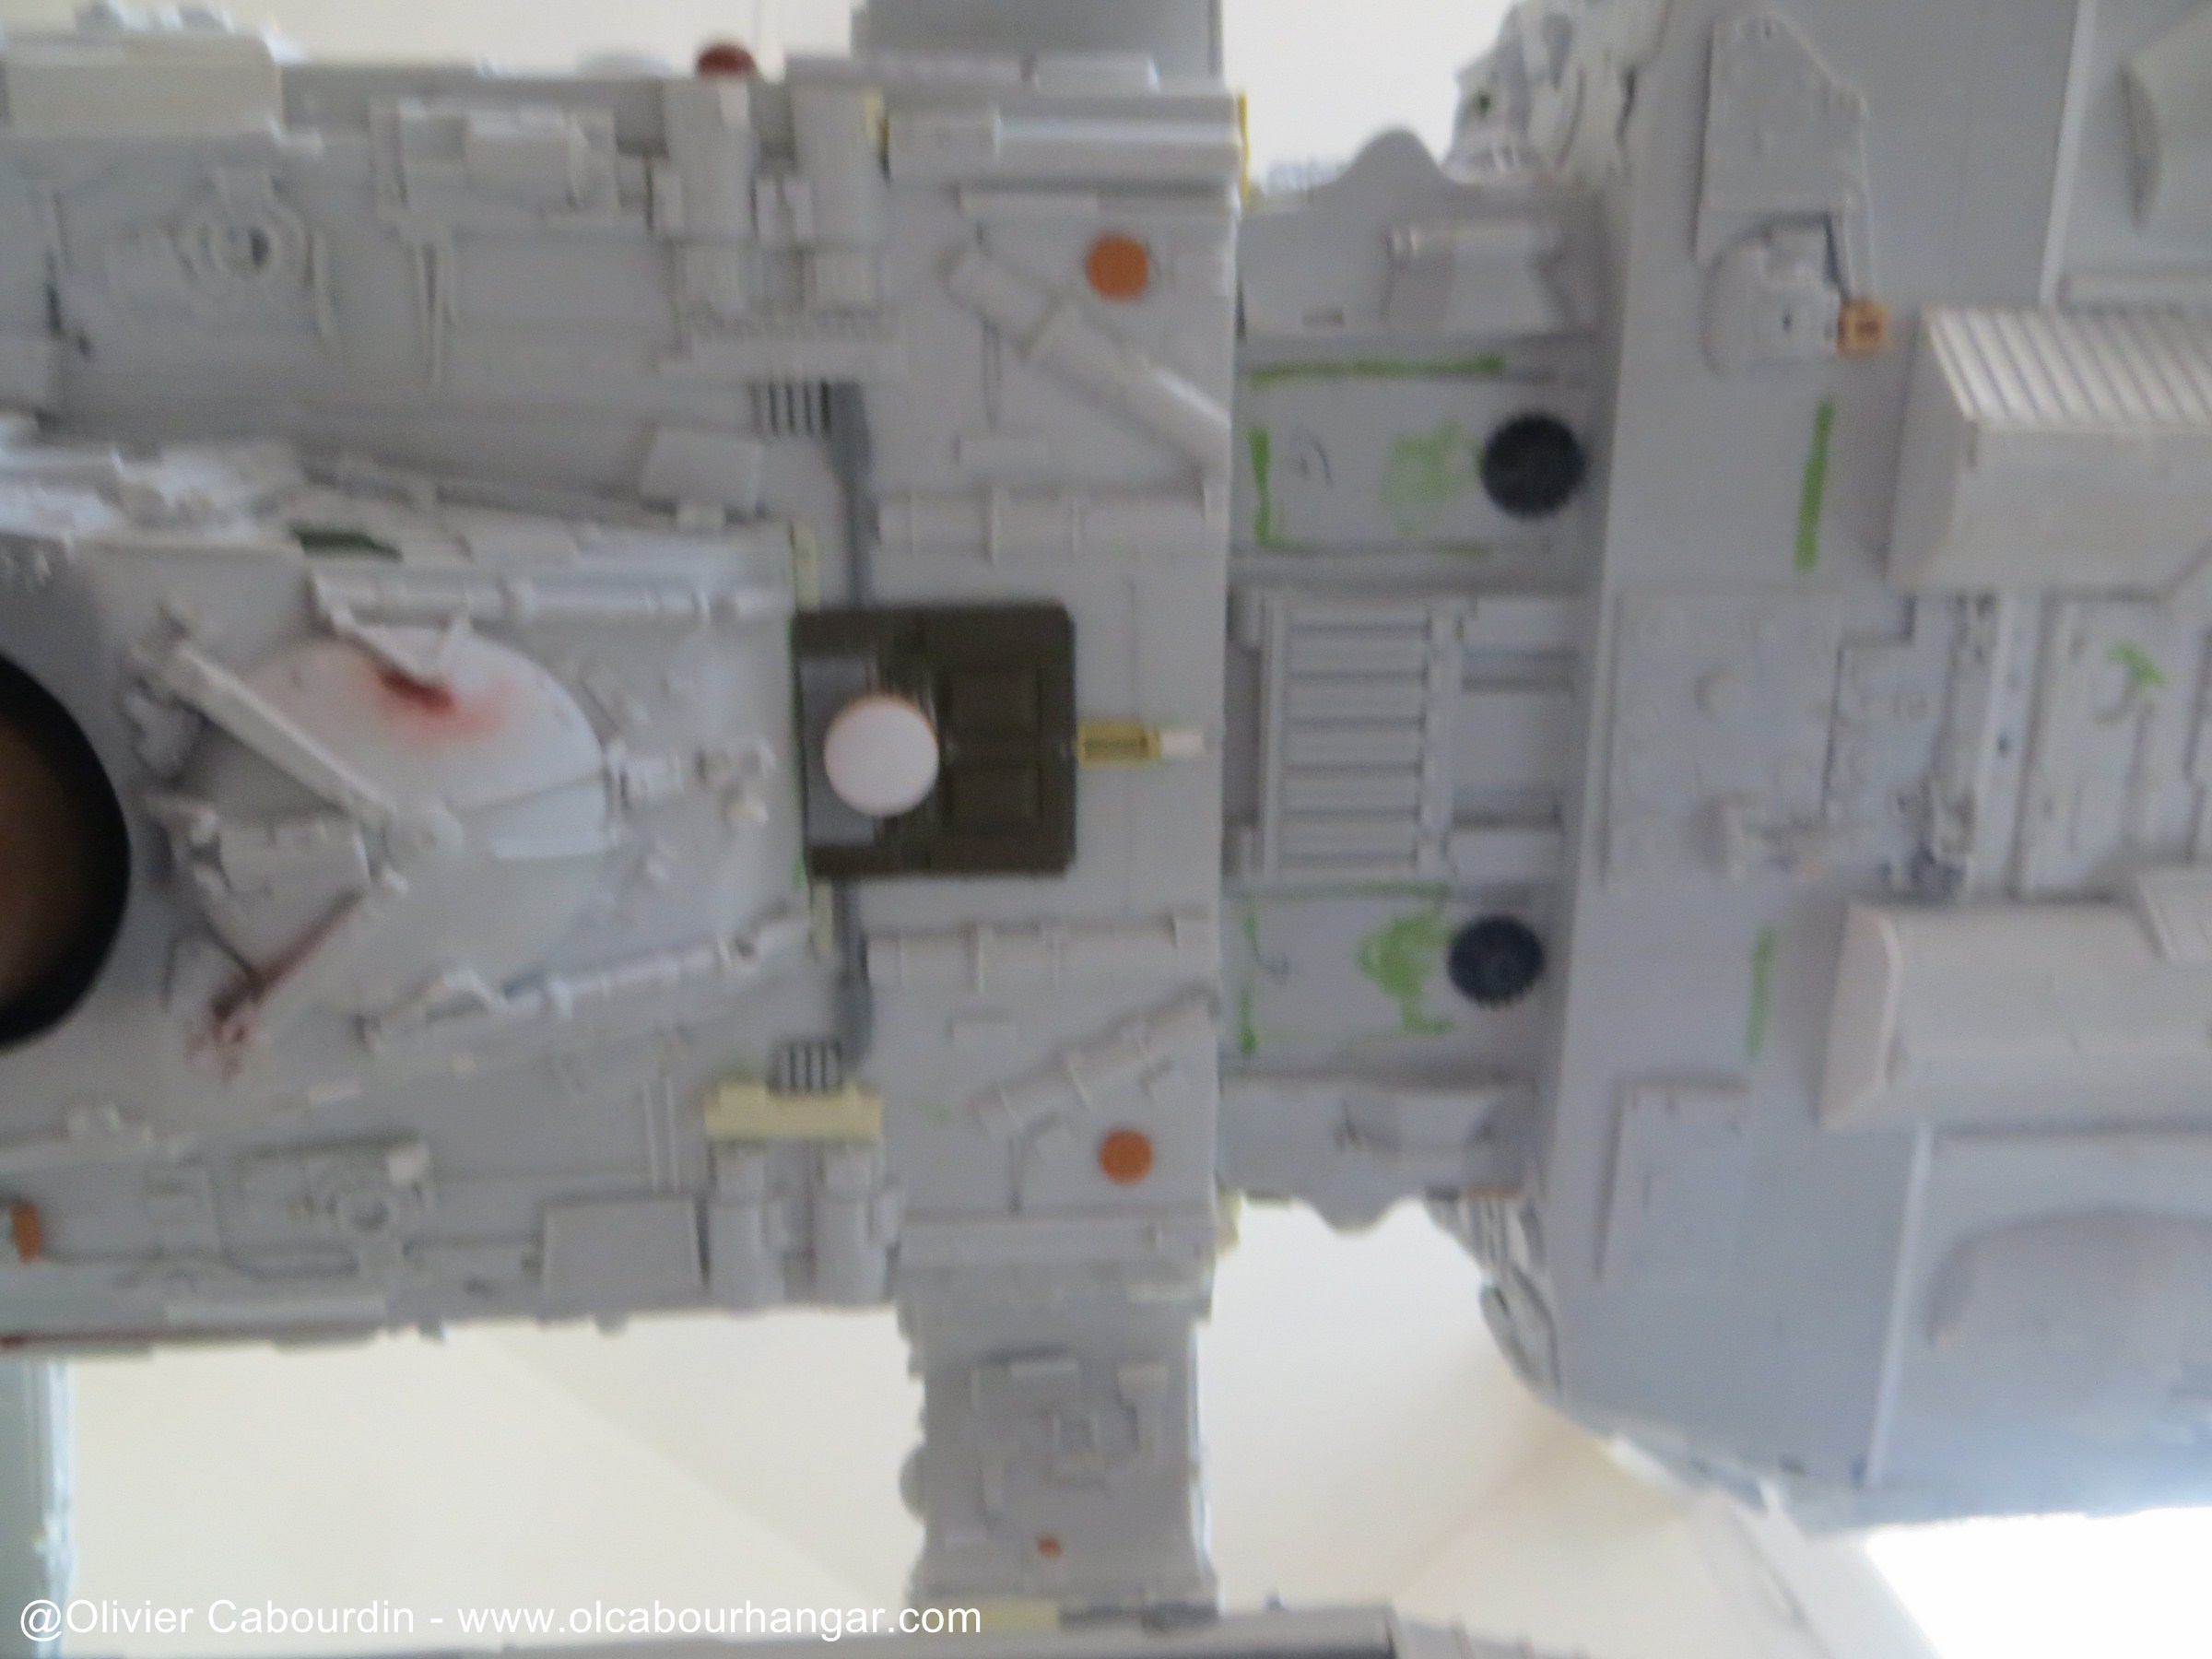
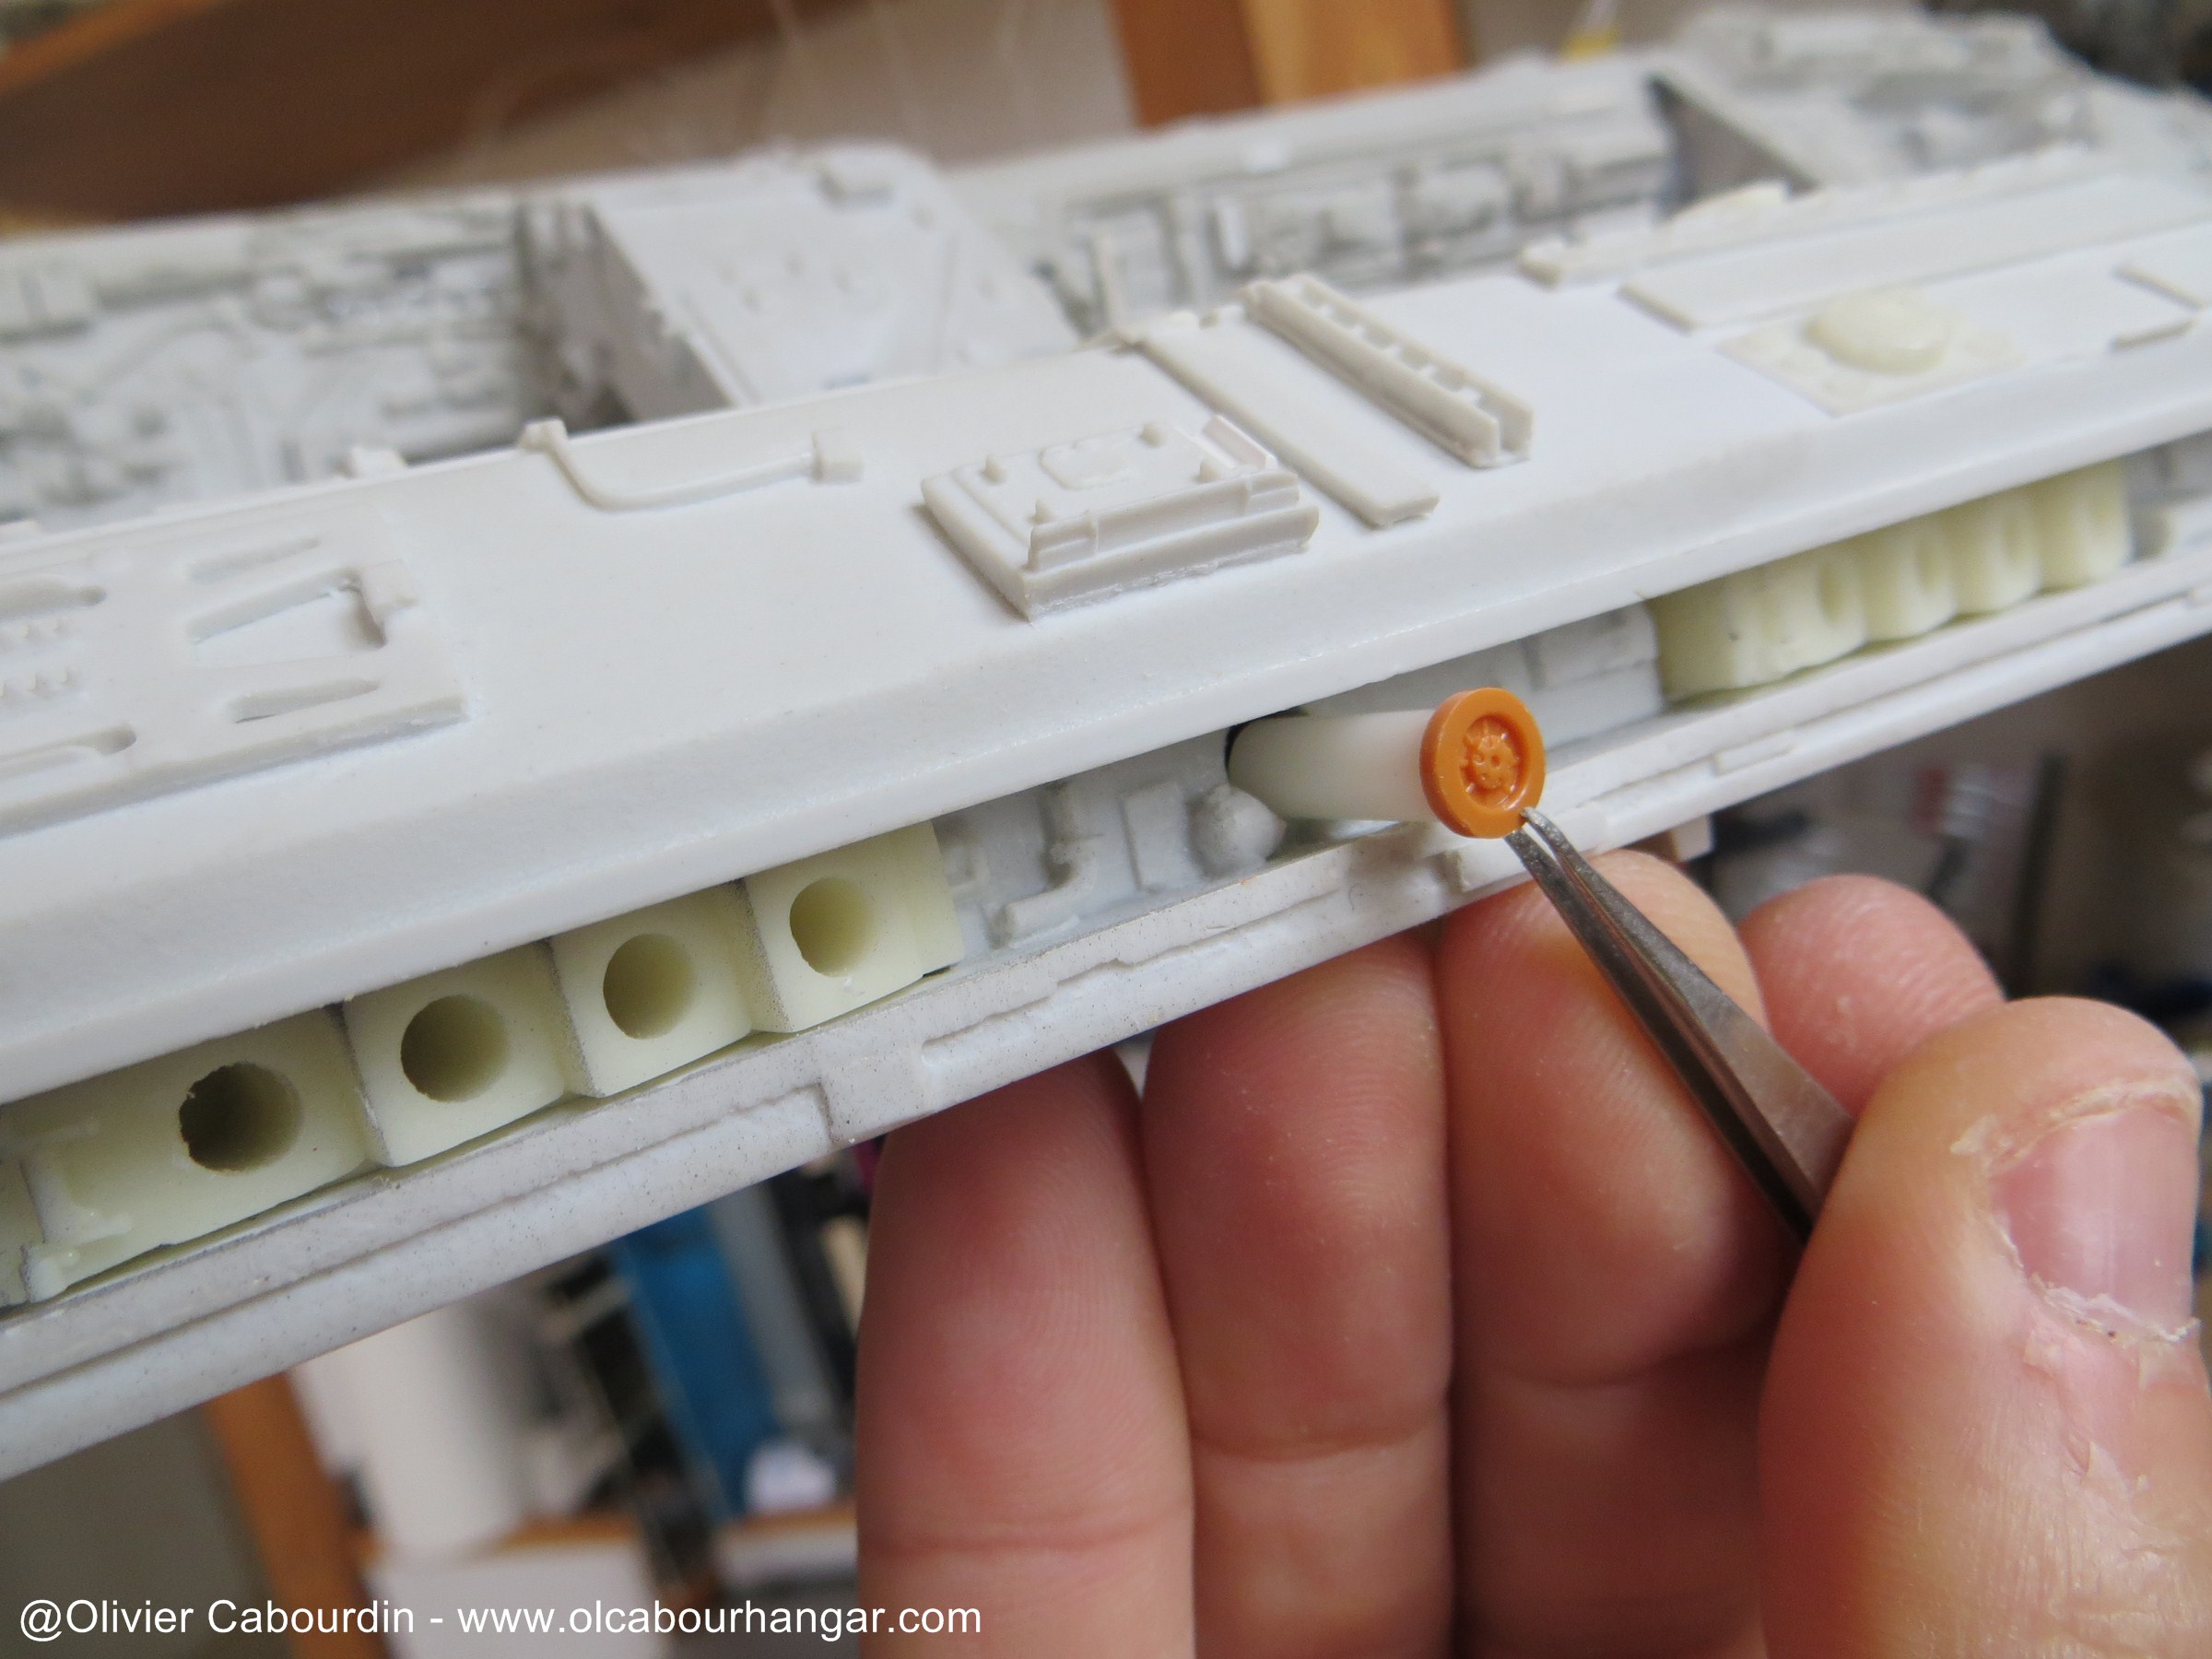
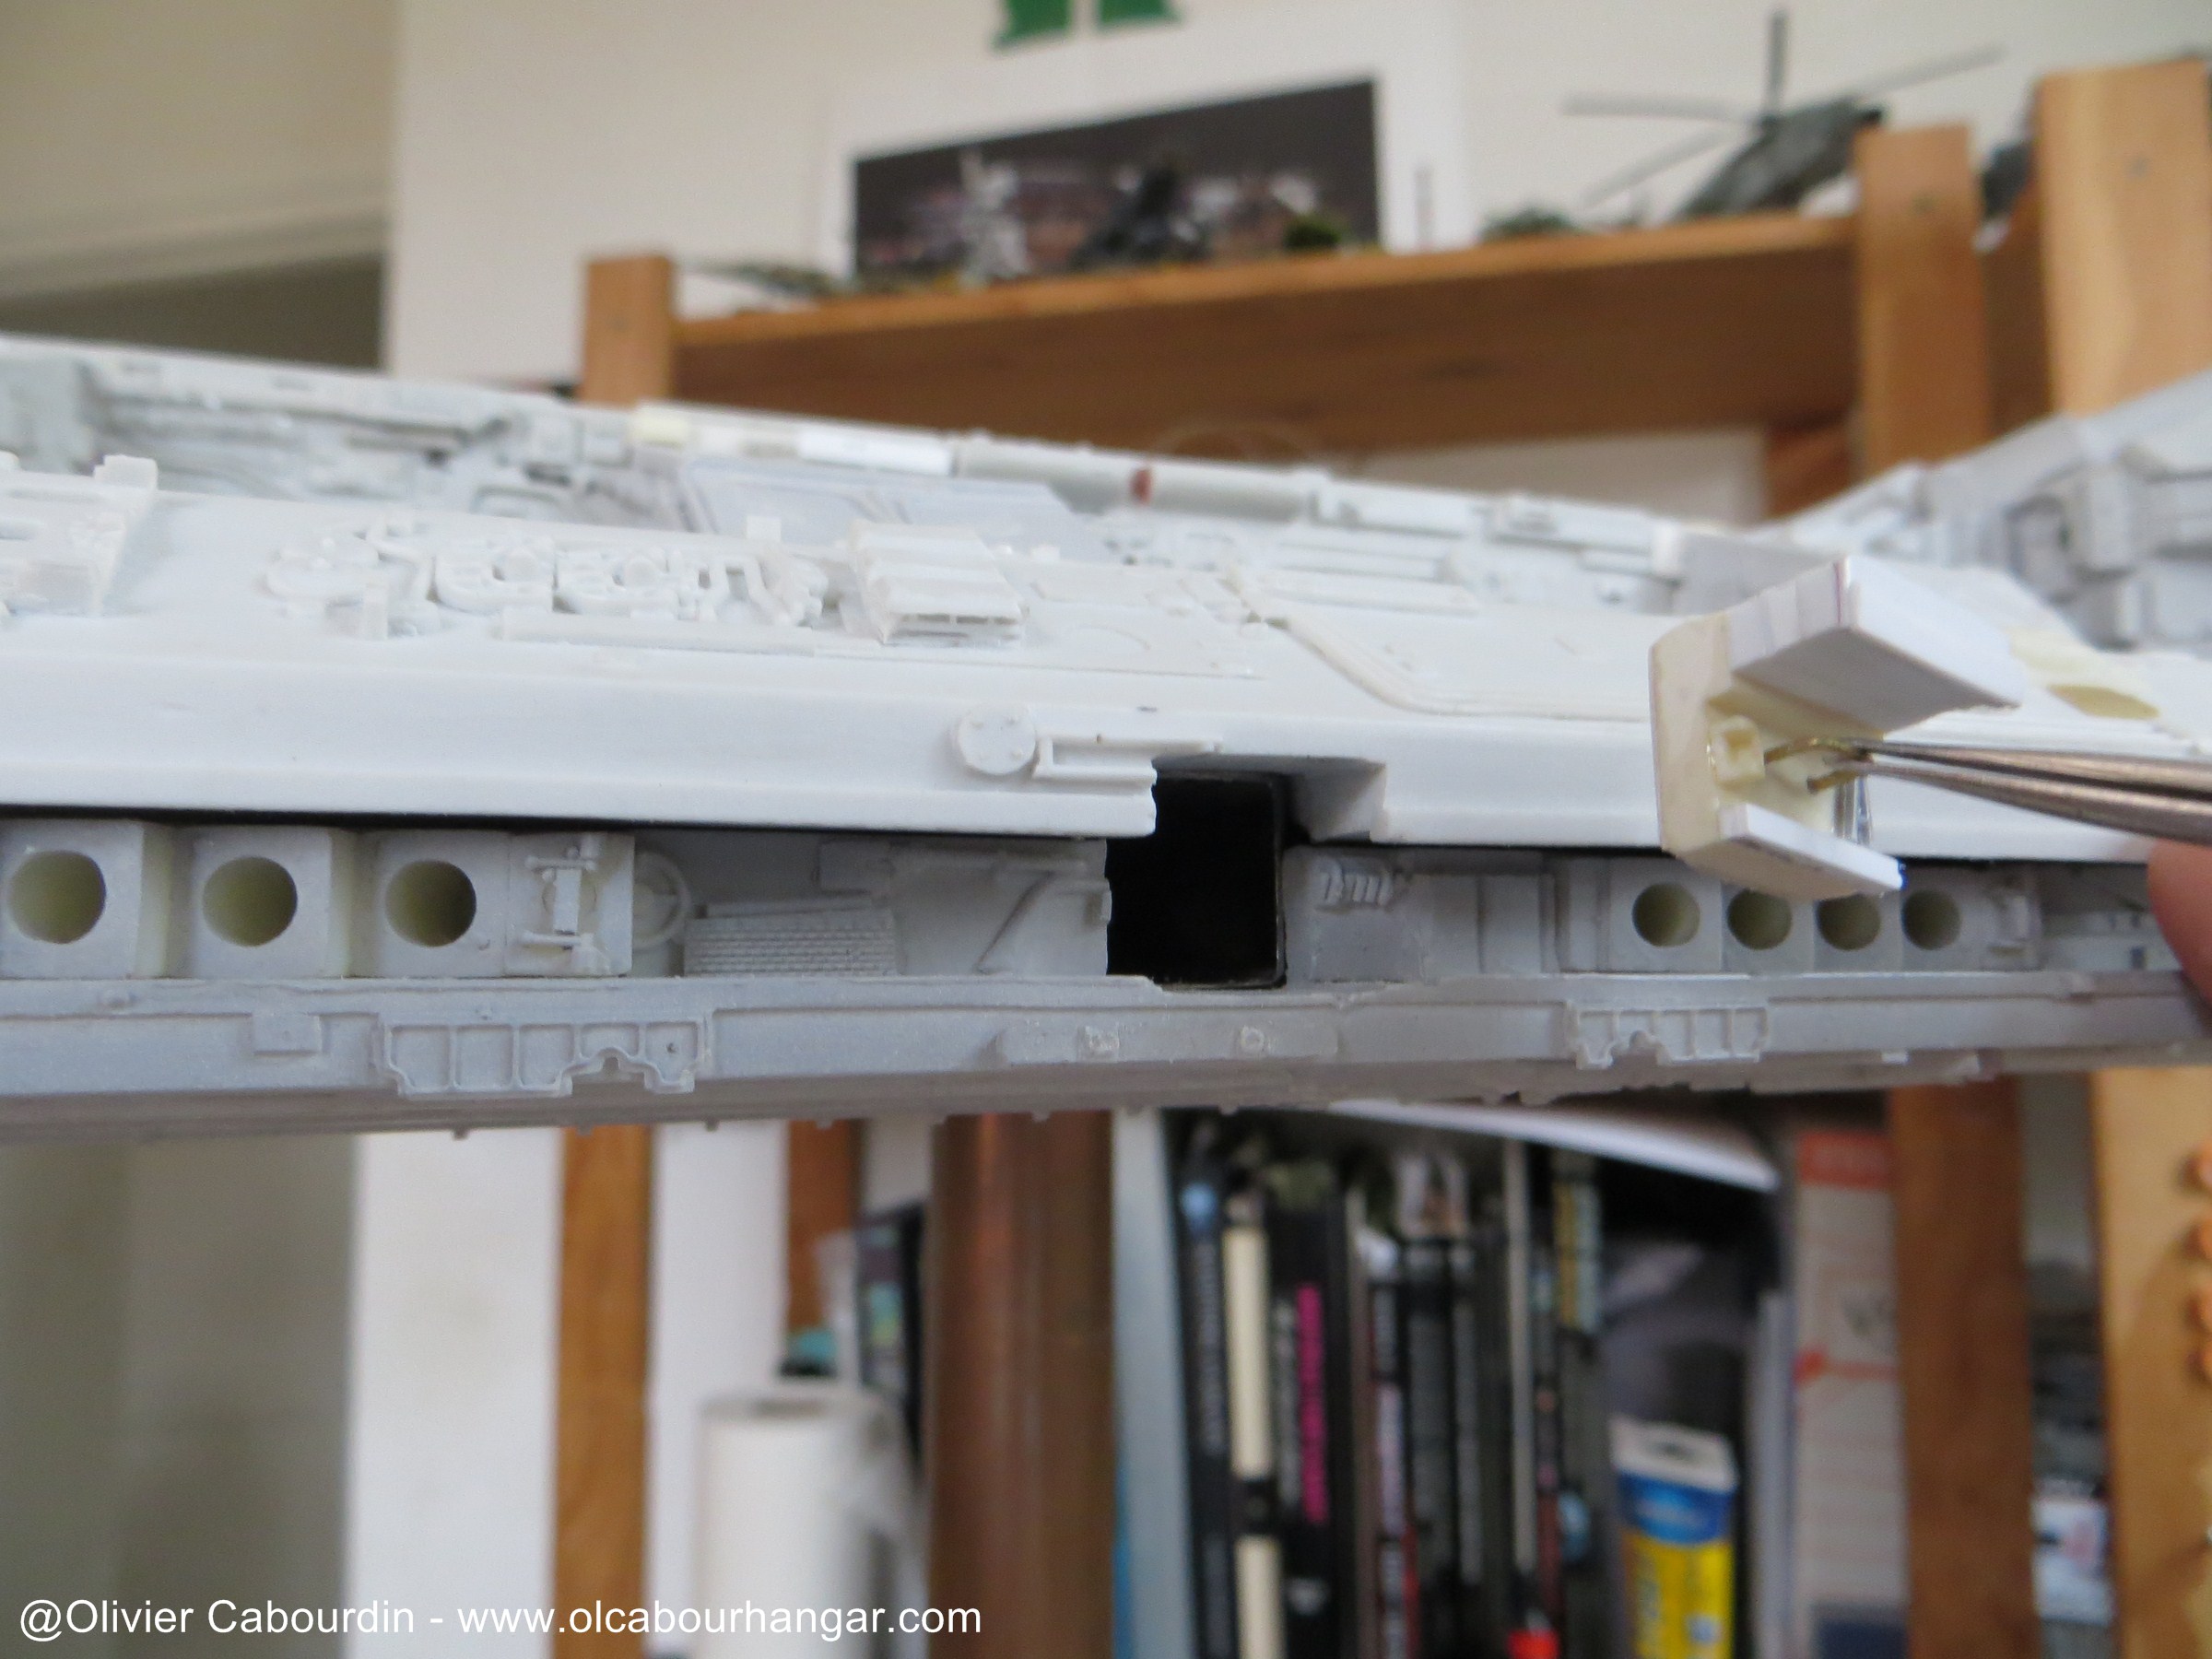
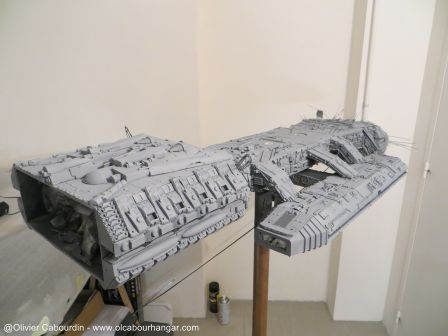
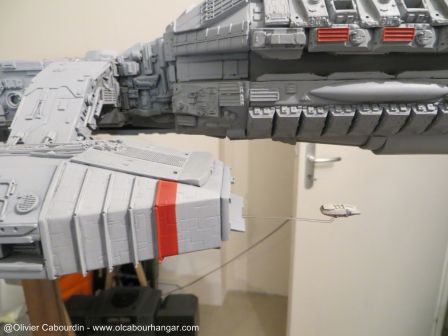
- Junctions of the arms with the hangars
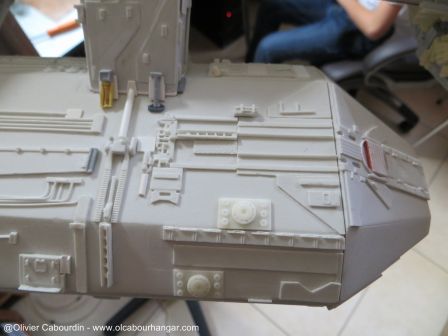
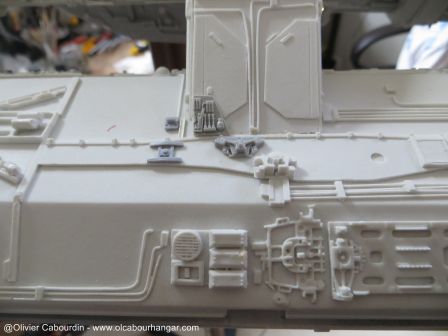
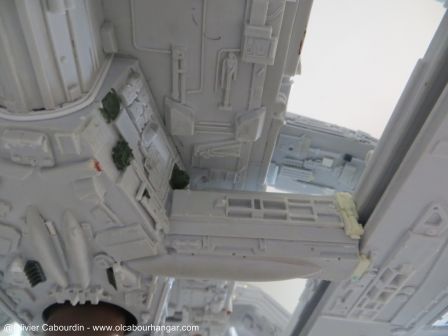
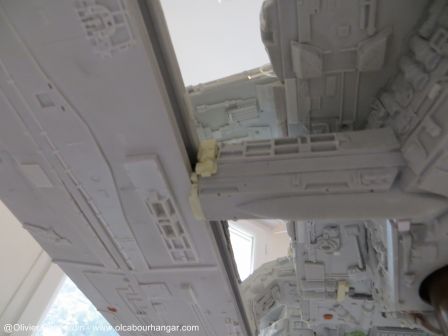

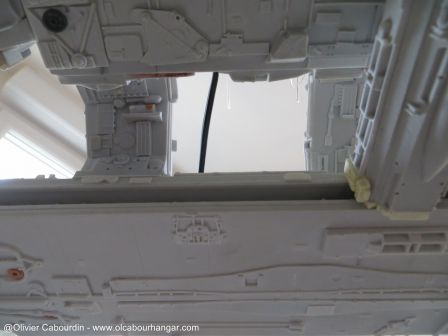


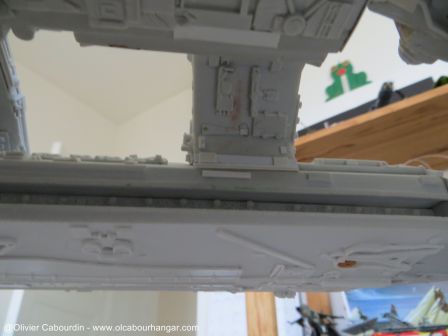
- details creation to hide the hangar lateral openings of the electical sockets and stands.
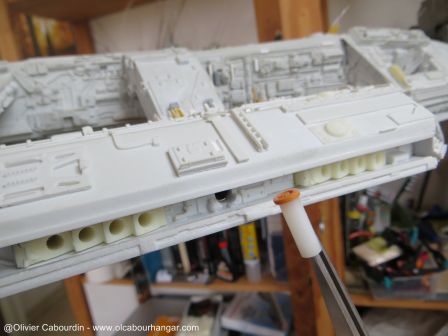


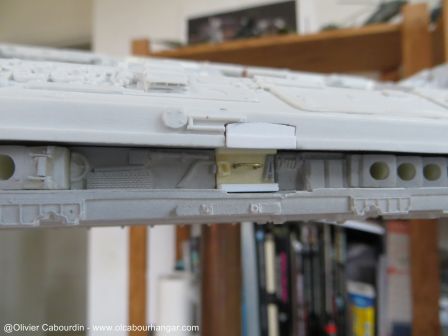
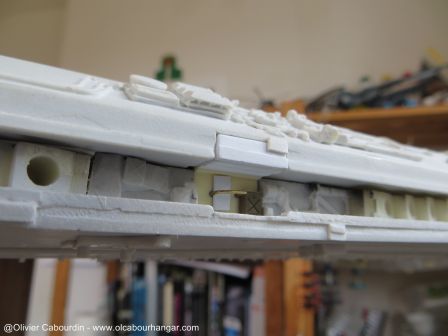
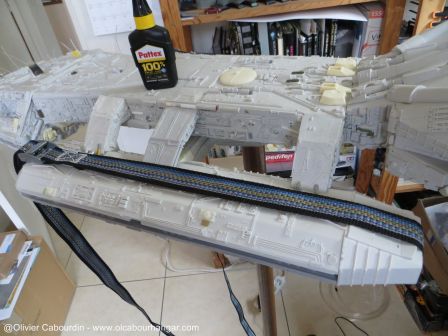
- the end part of the hangars are finally glued and held together with straps during curing.


- On top of the engine module, it was not easy to find and set all the parts.


- Same thing behind the head


- the underside of the central engine modules also requires a lot of work to complete and adjust the parts supplied

- Here it was necessary to add walls to the Leopold parts

- the screws are hidden behind tank wheels.
- Junctions of the arms with the hangars


- details creation to hide the hangar lateral openings of the electical sockets and stands.


- the end part of the hangars are finally glued and held together with straps during curing.
moonlightdrive2
Well-Known Member
Wow !!! Keep going !
DarthVador
Active Member
I really hope mine will come out like as good as yours Oliver,your BSG is going to be awesome once she is completed,you will need to do a YouTube video of her with a animated Sci Fi background of her..
Clarence
Clarence
cabour
Sr Member
Thanks a lot guys ")
--------------------
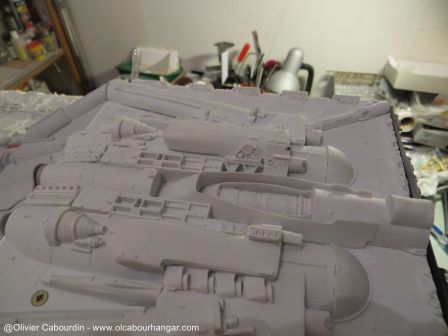
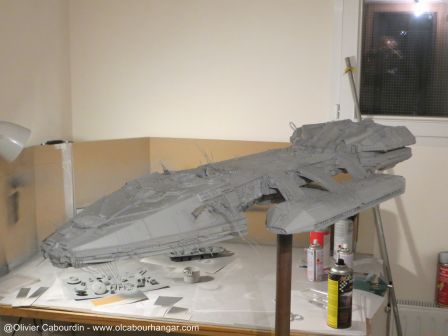
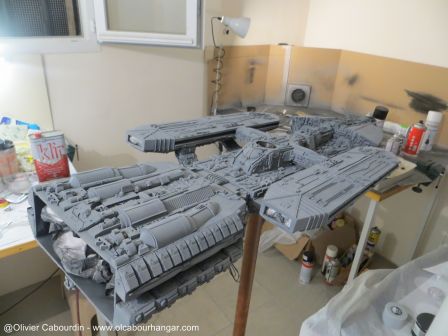
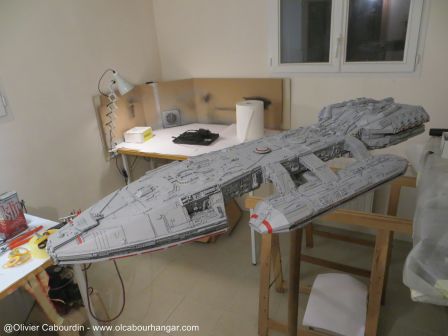
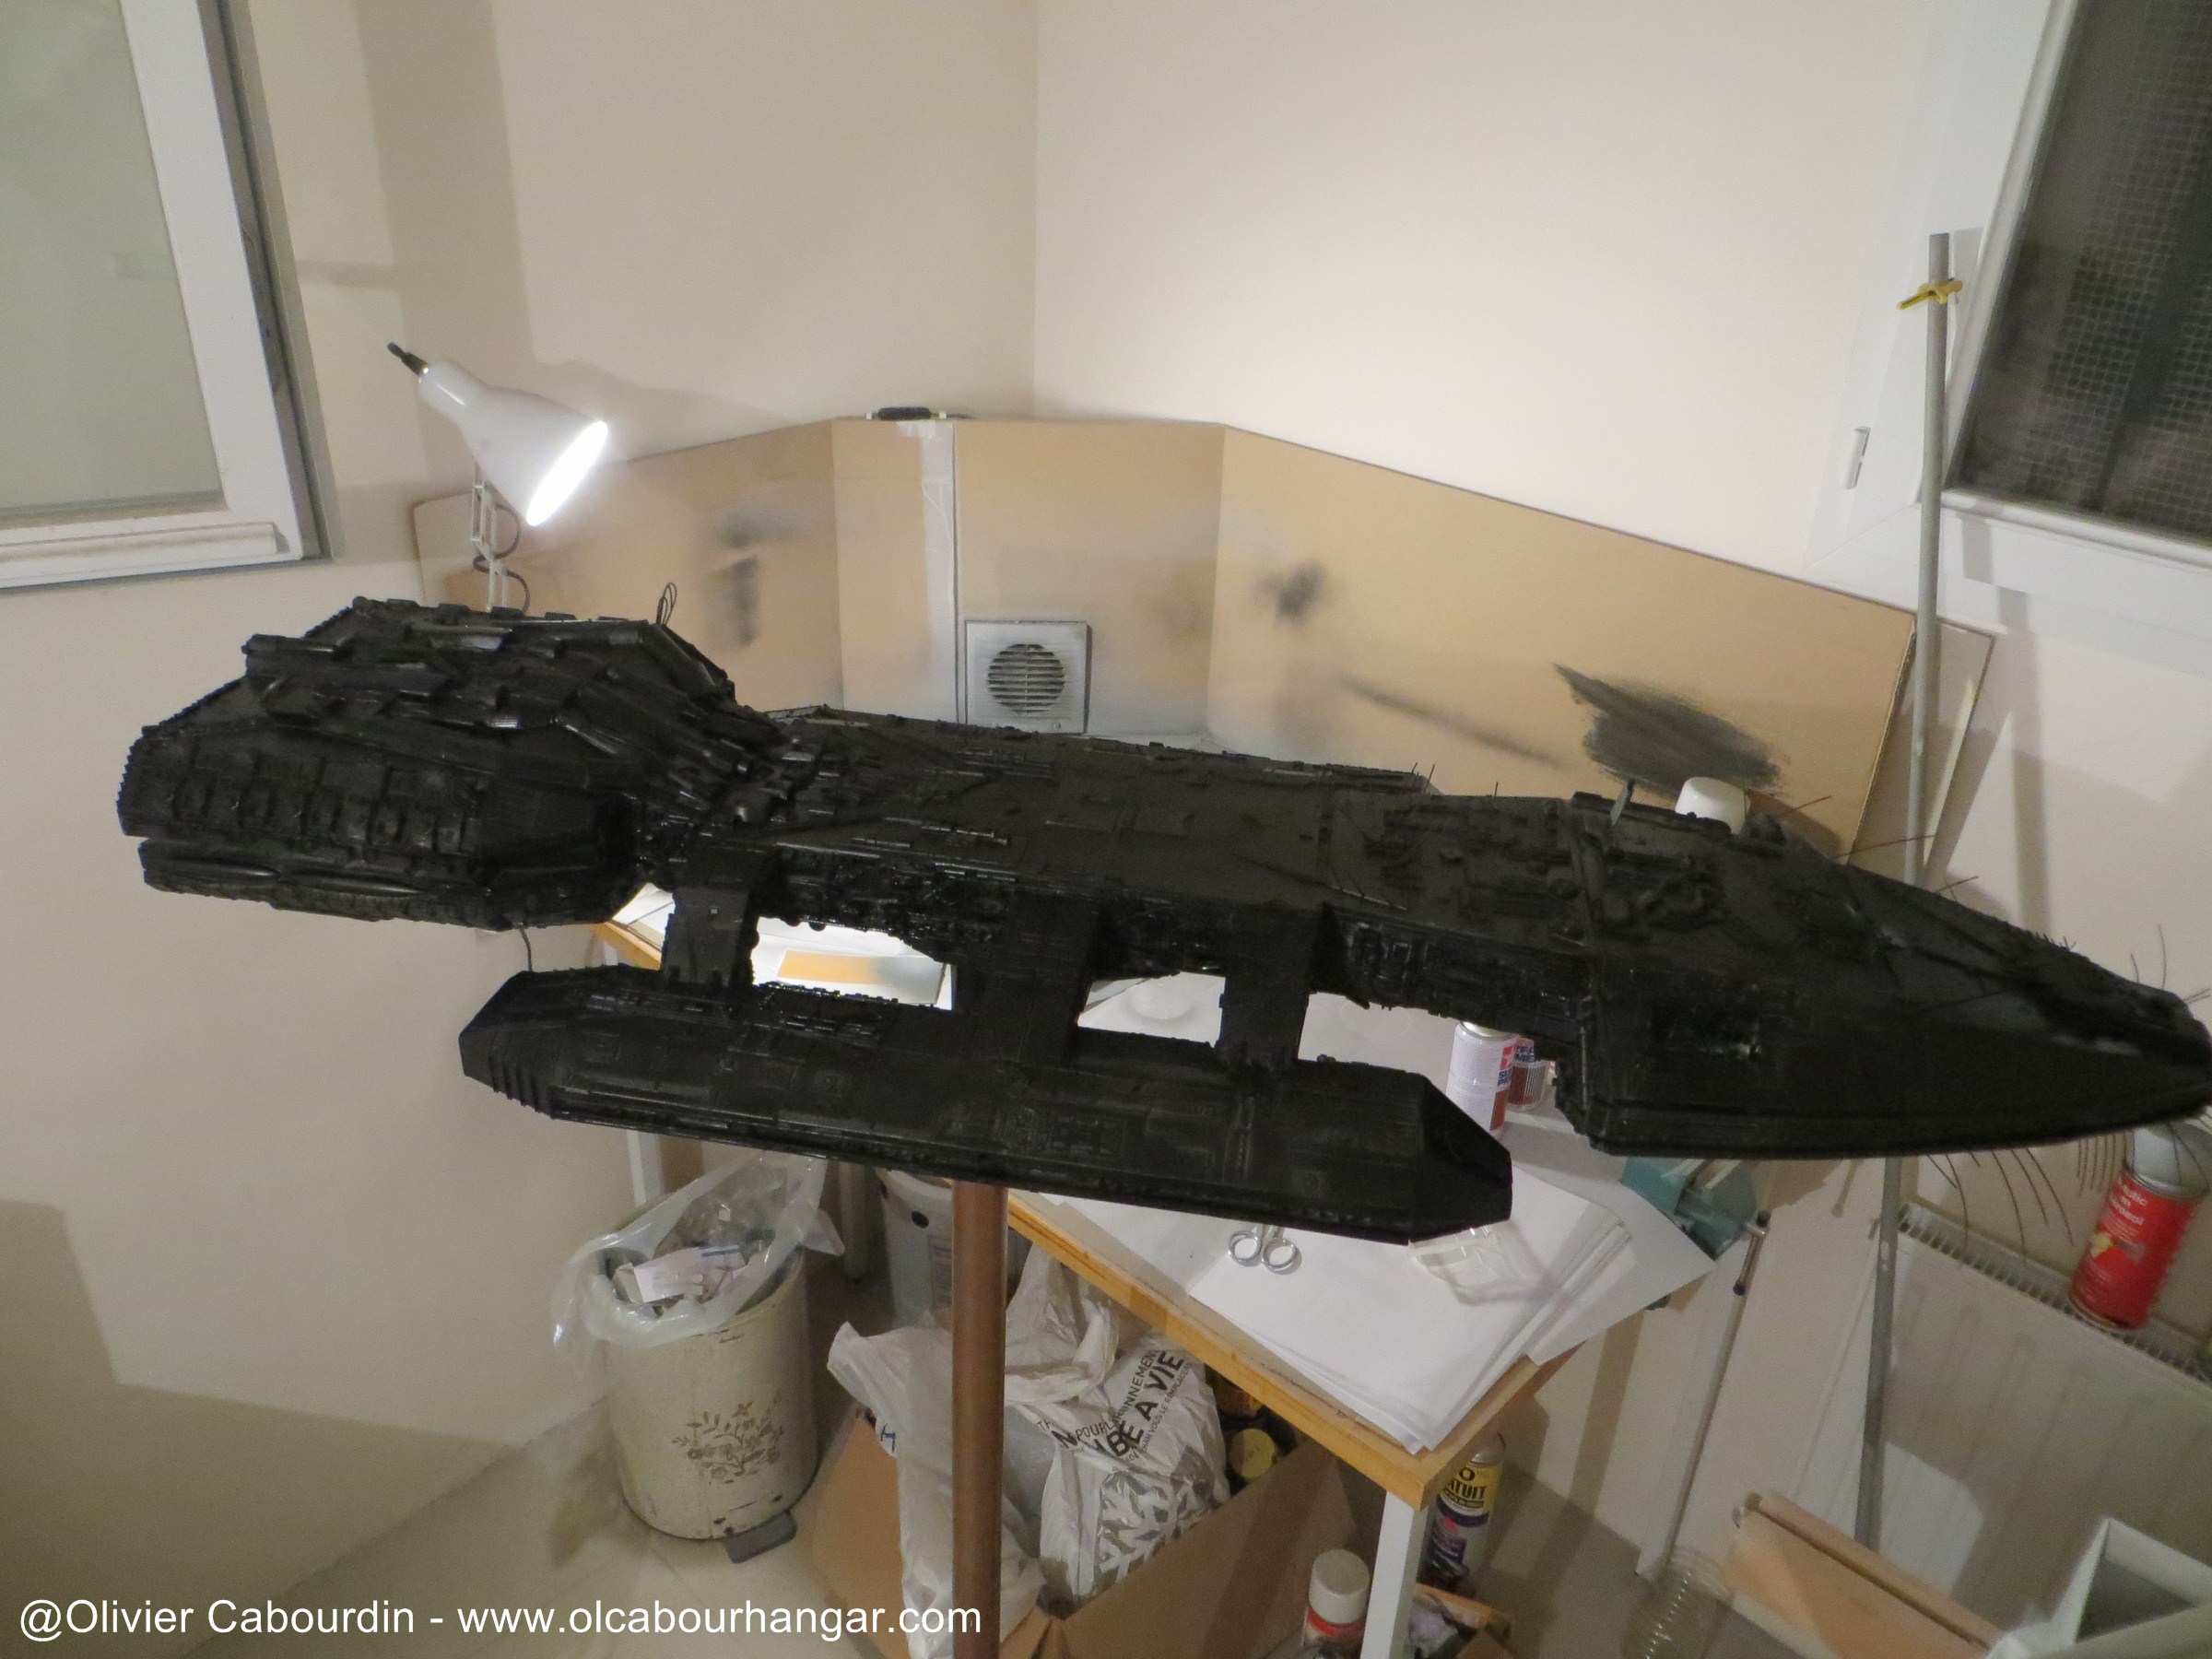
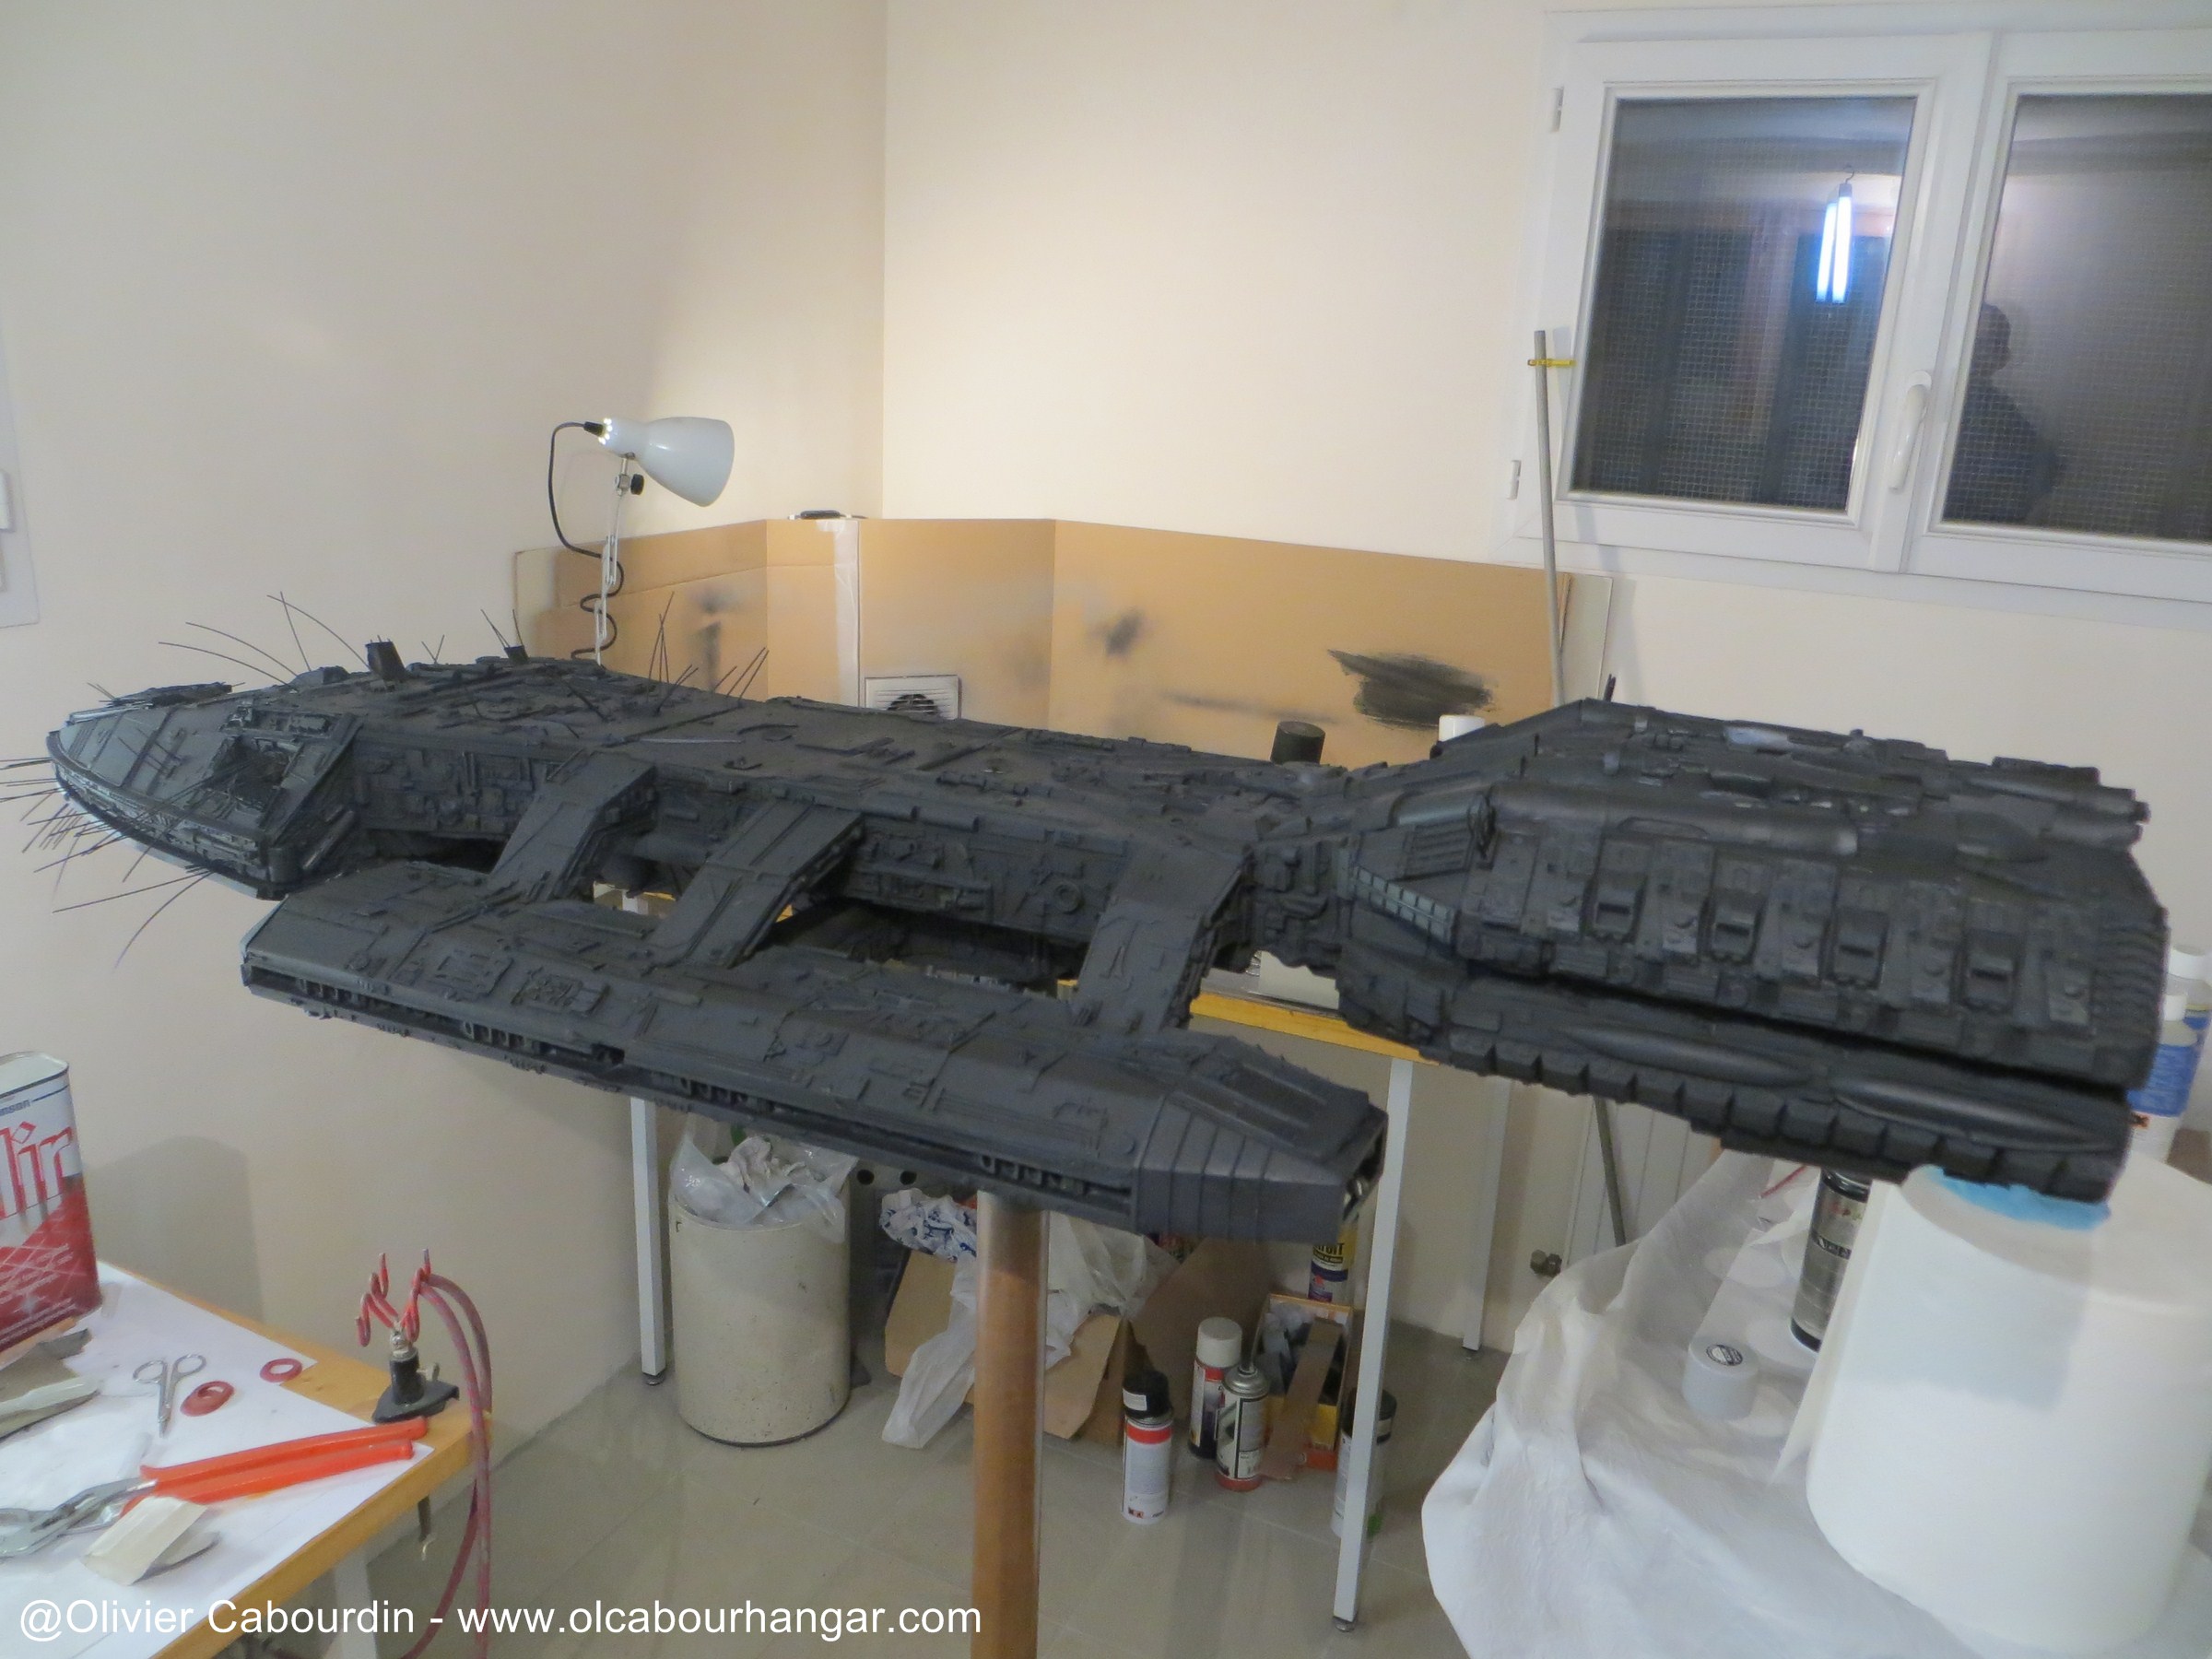
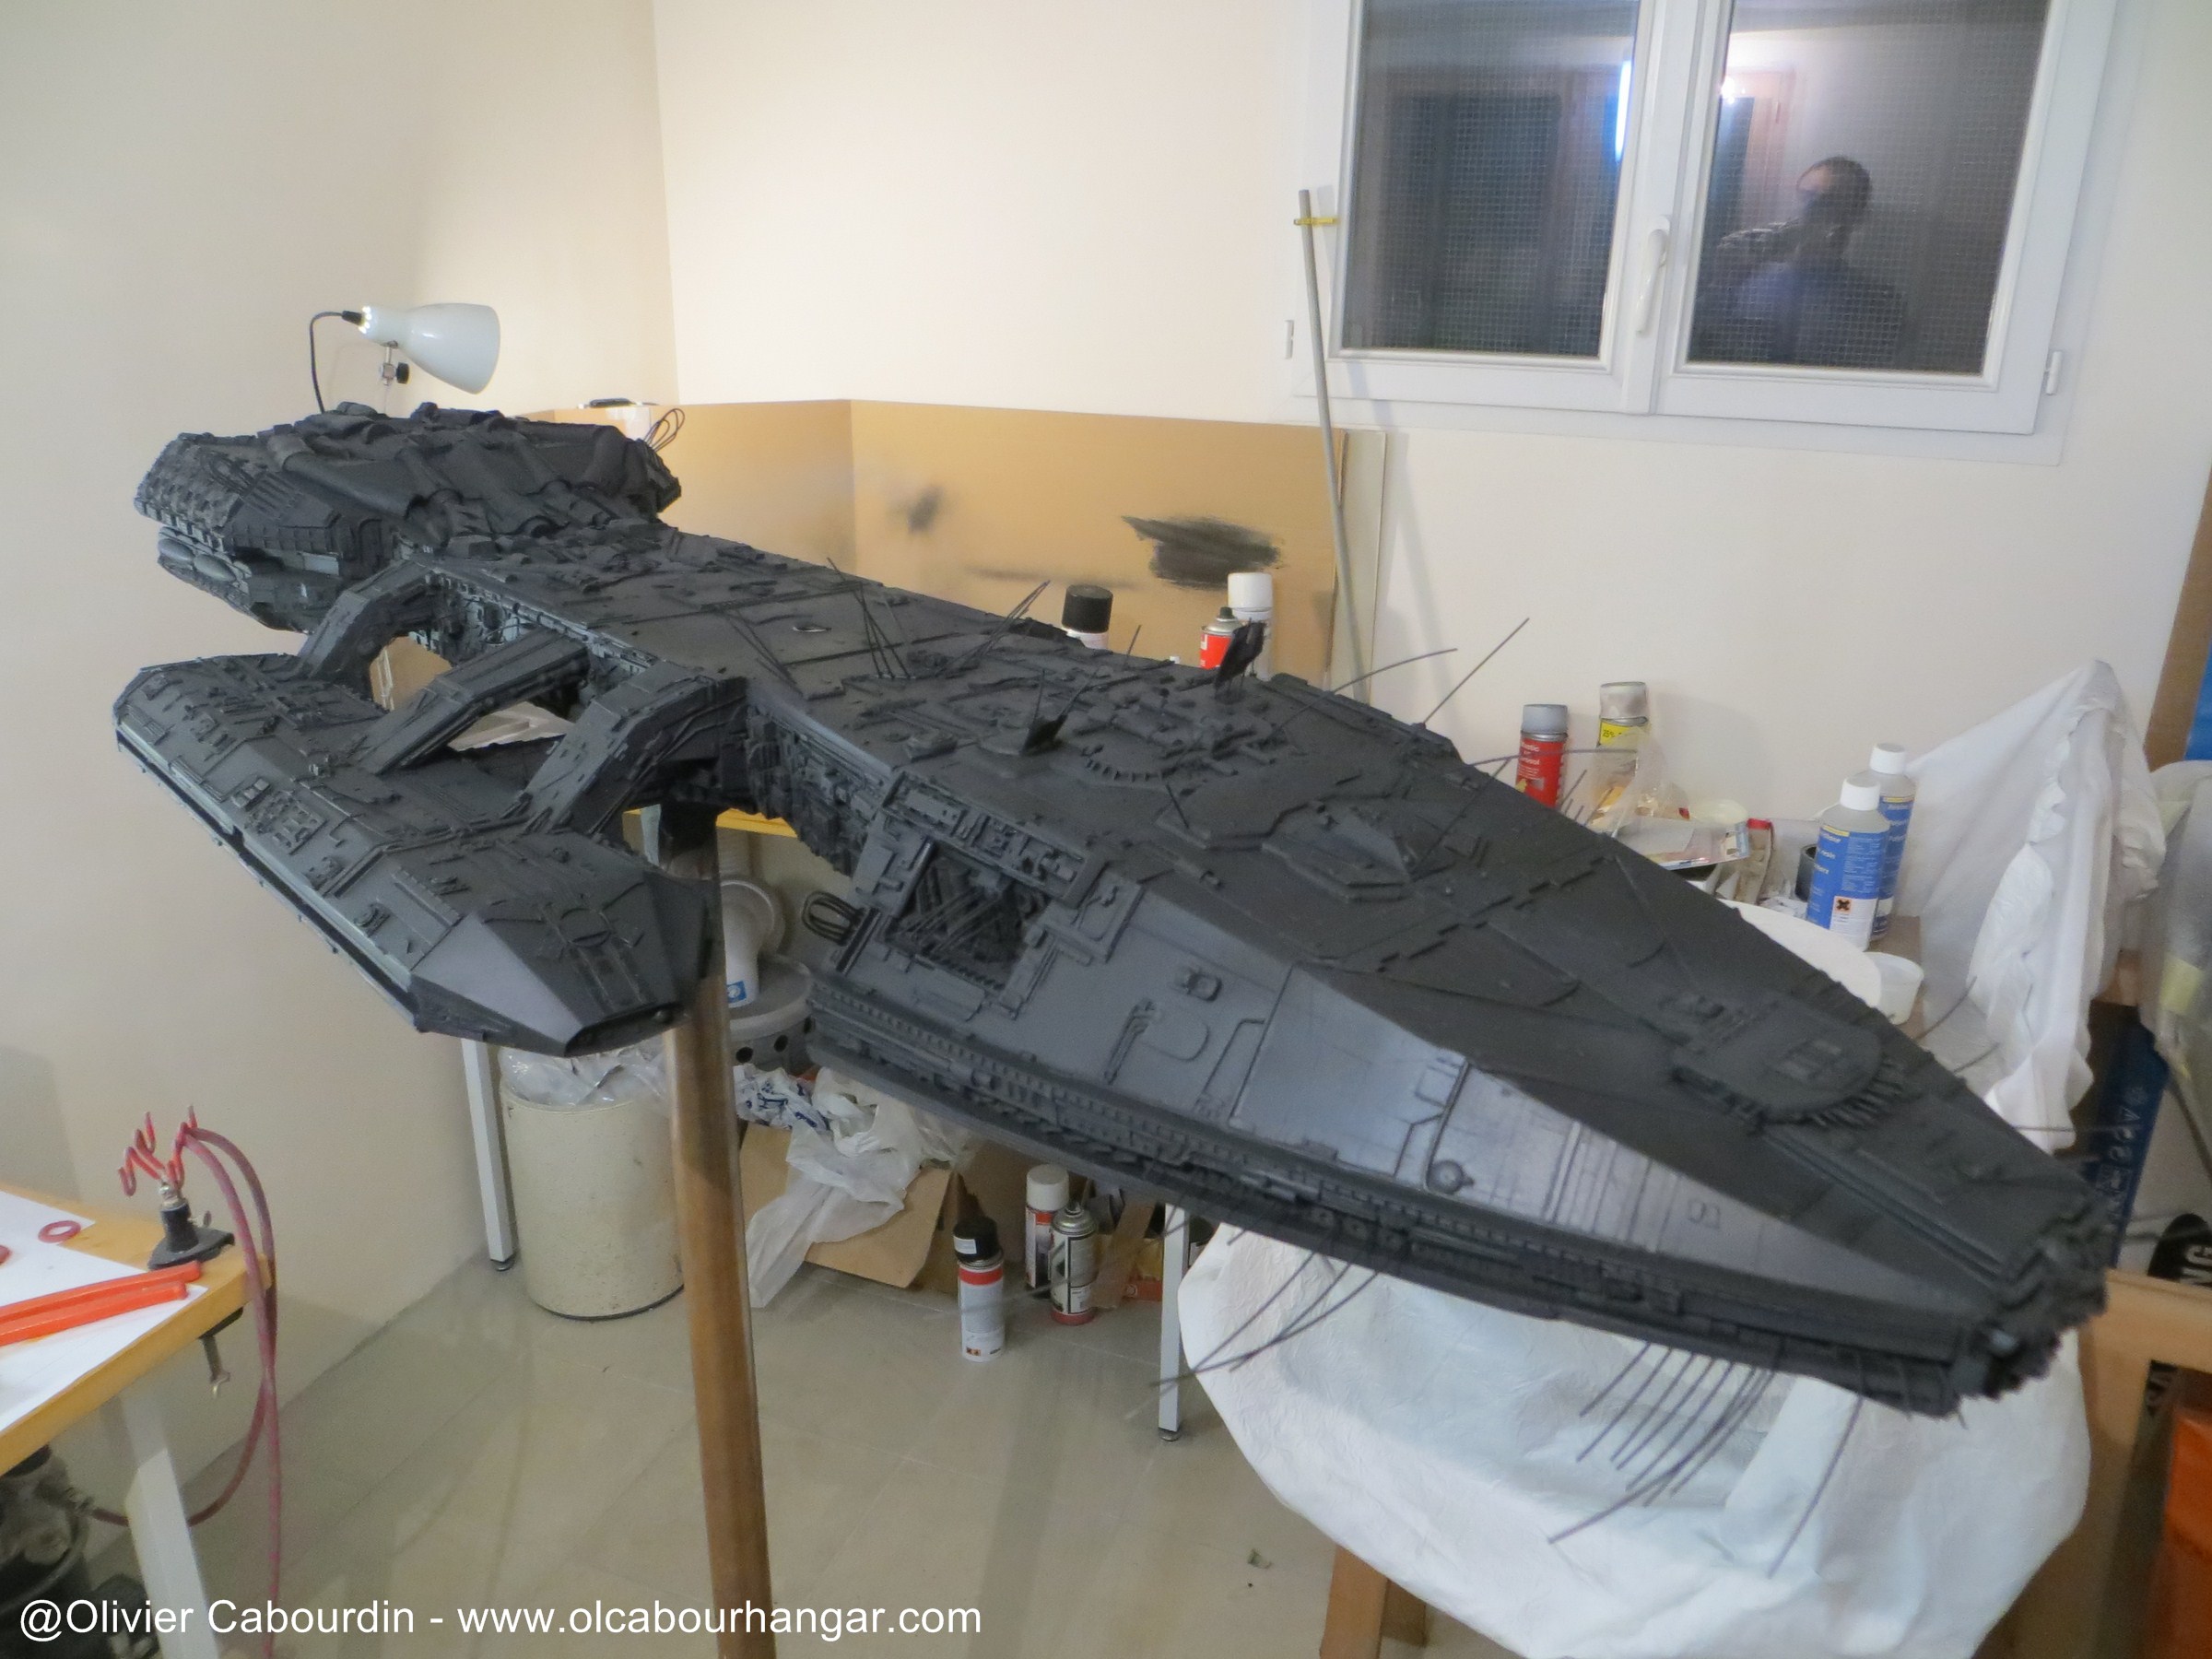
First a fair coat of primer (Tamyia spray can)
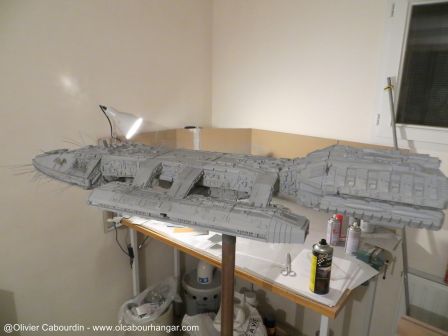
Then matt black spray (car paint spray can)
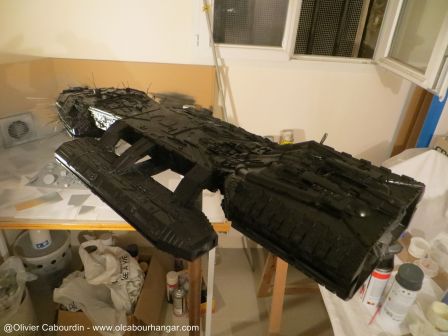
I had to correct a few drops (with sanding sponge)


The spray can not go everywhere, I finish corners with airbrush

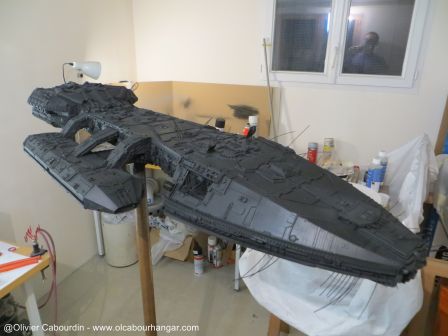
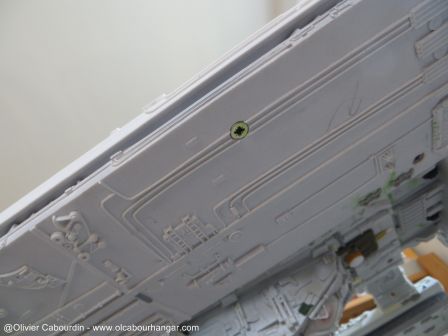
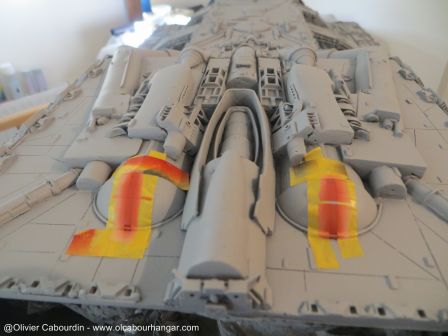
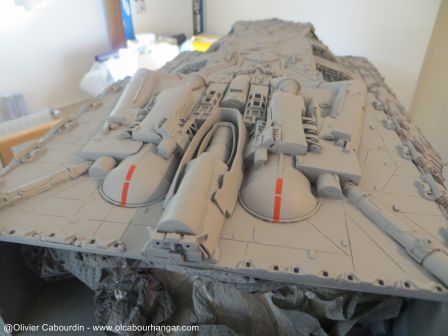
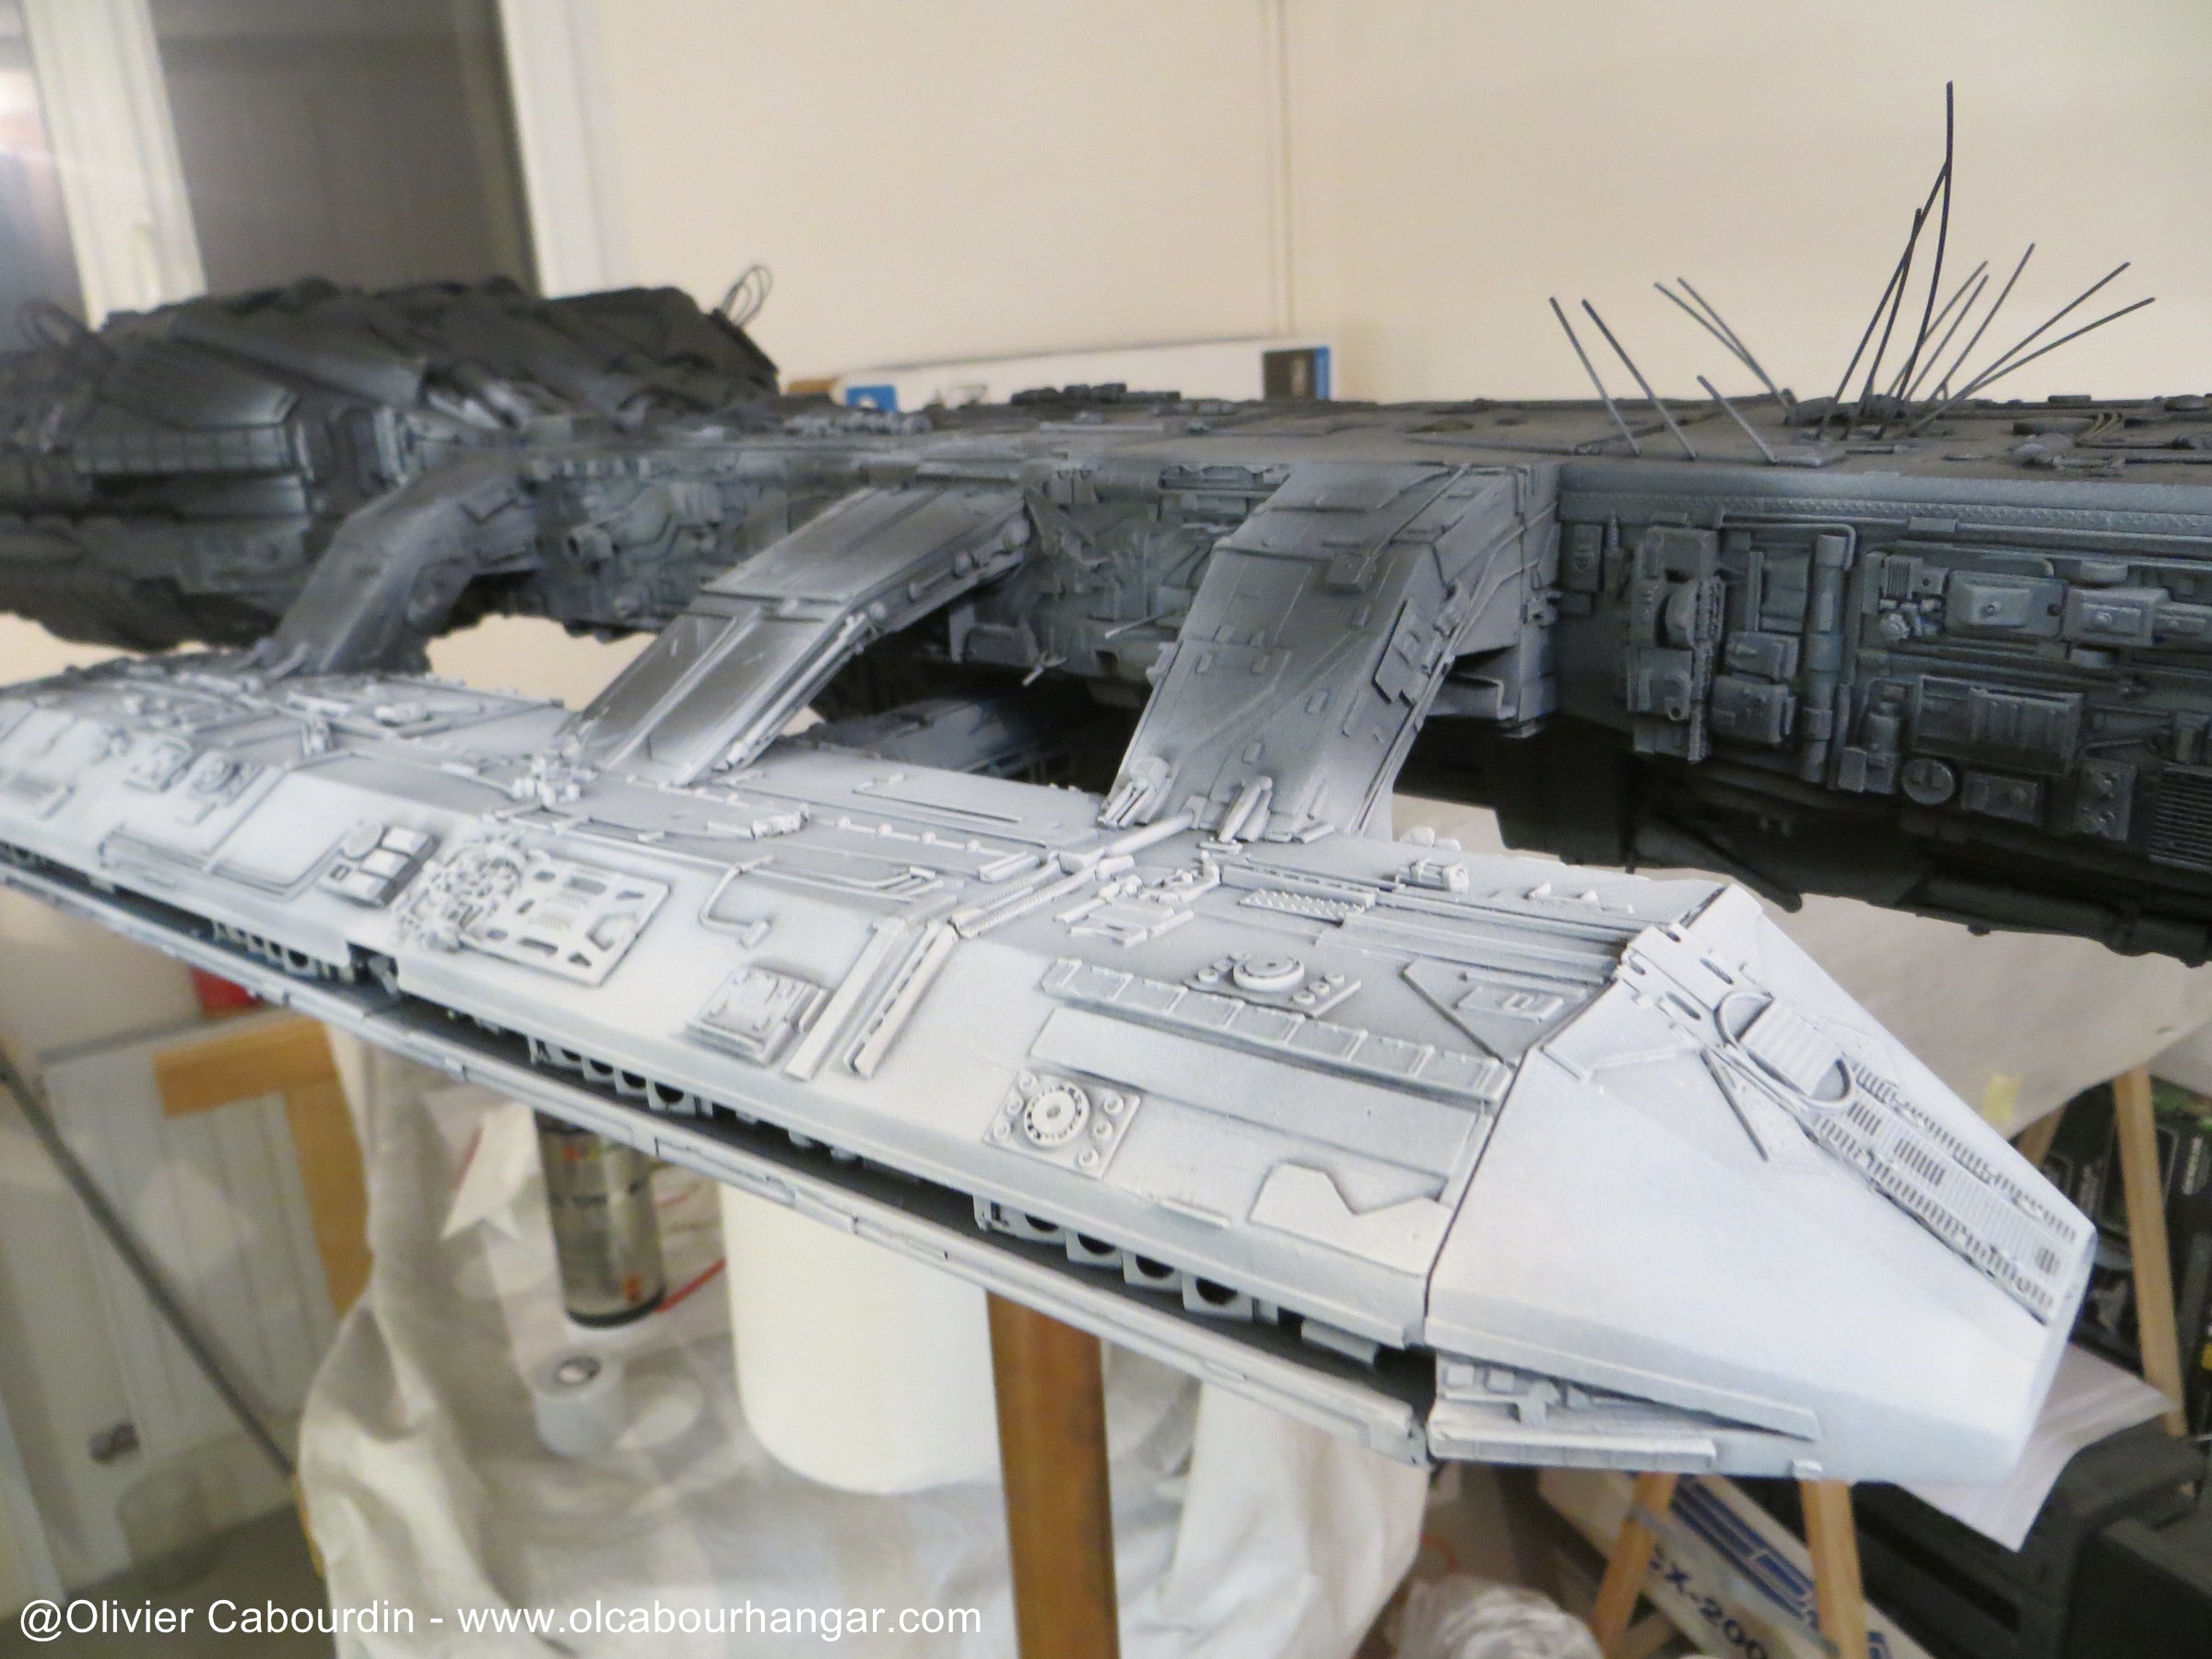
A right gray was difficult to find and to apply as I am not used to paint models of this size.
First test with sky Grey XF-19 aero: rthe esult too white and not enough uniform
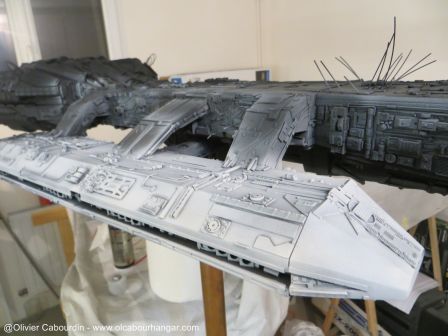
So after a new coat of black, I changed color (I do not remember which one). Although it looked nice on the pictures, it was this time too dark.

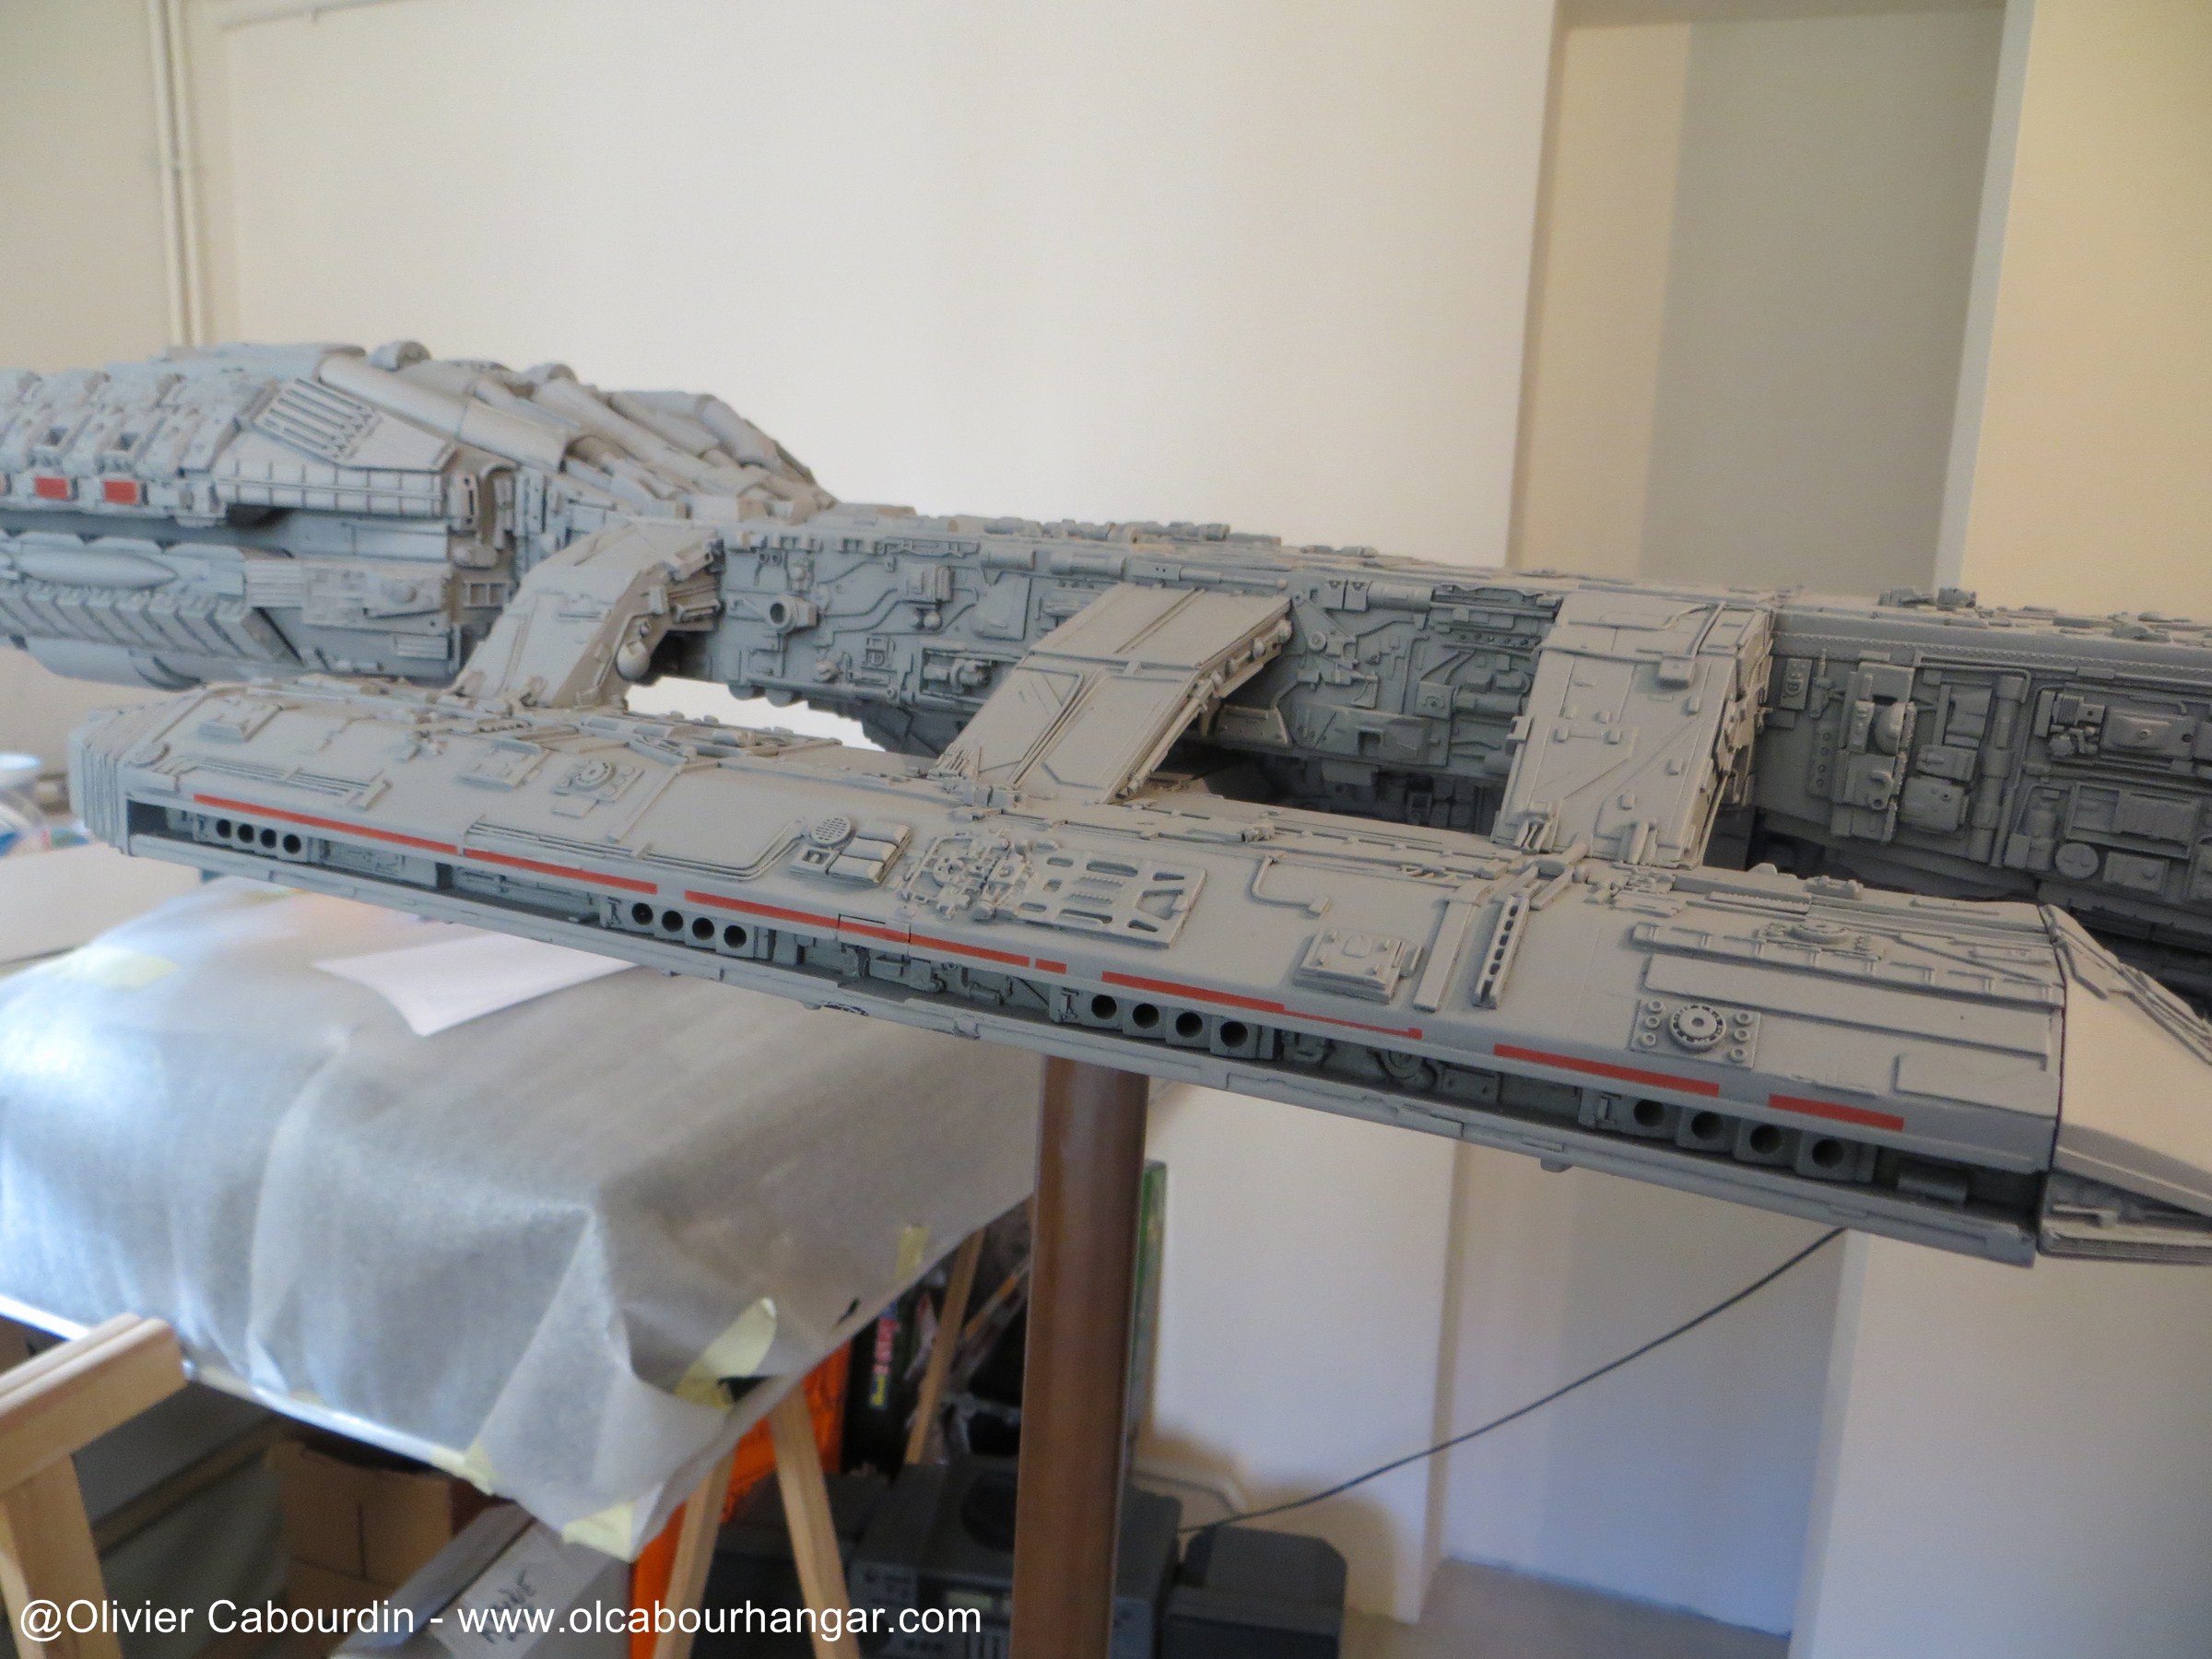
So I change technique, I get back to the tamiya gray primer, and I kept it as base coloer as I liked.
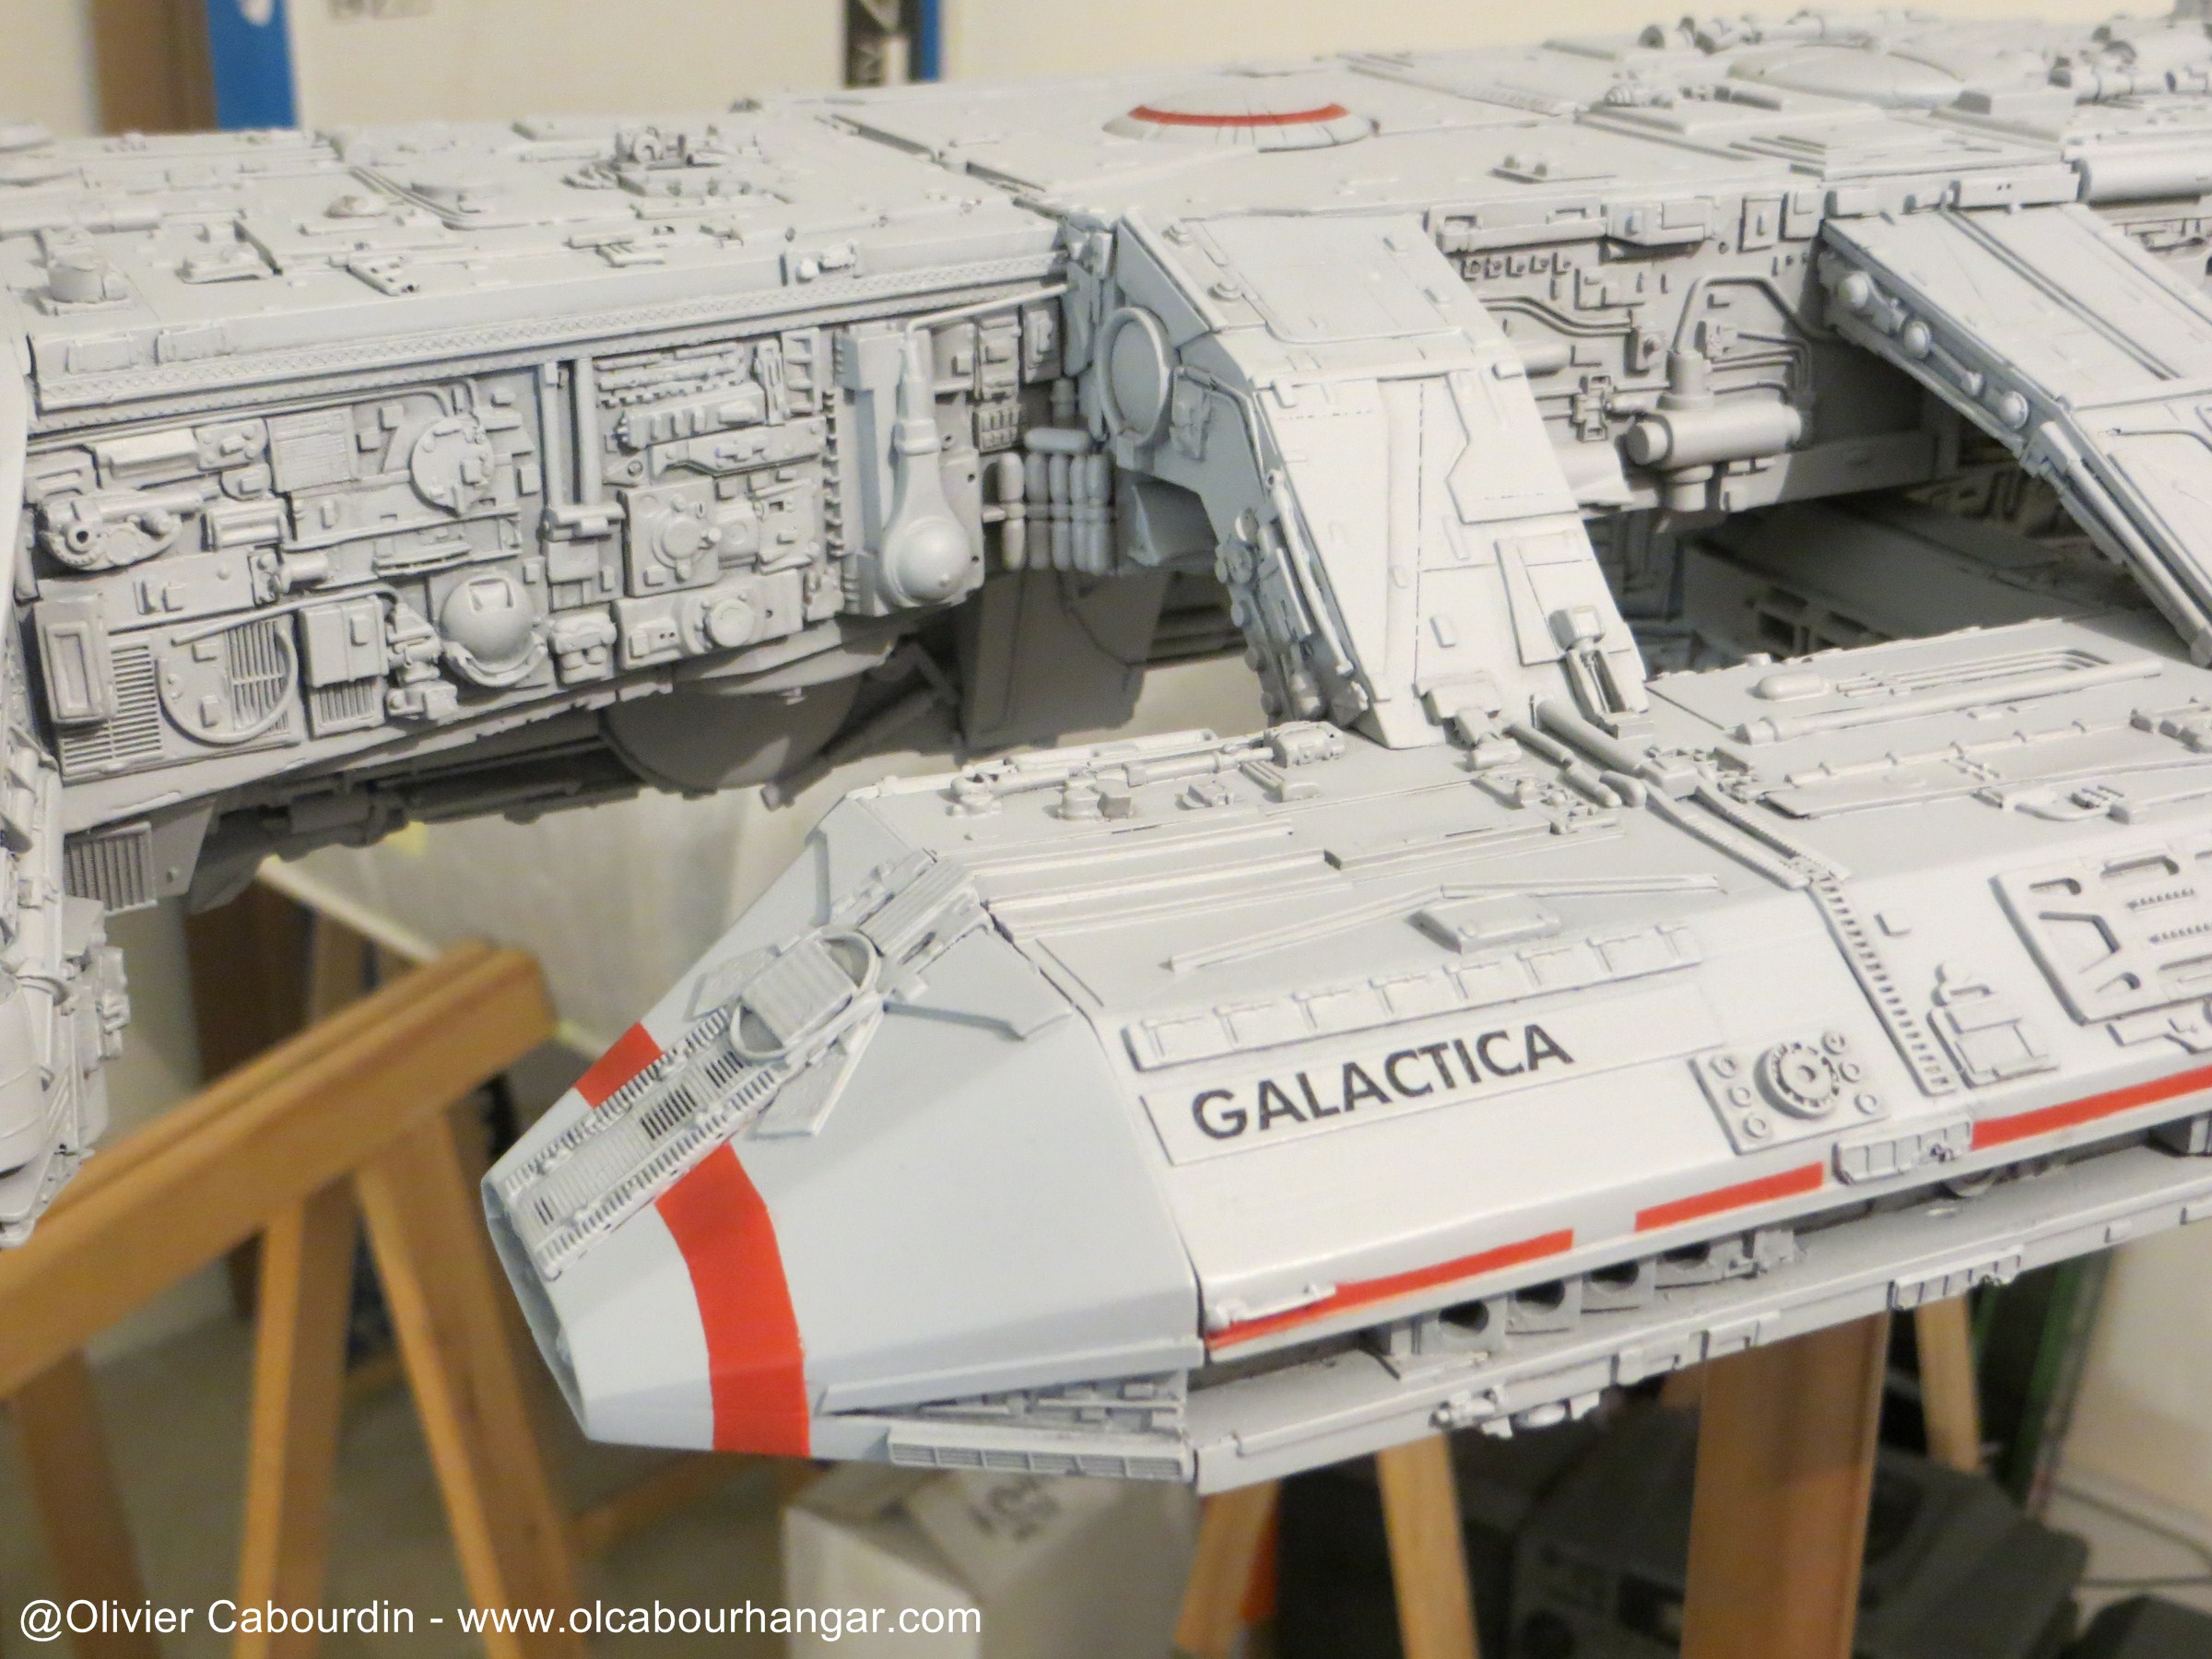
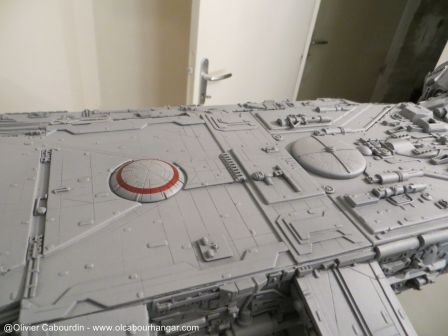
For the red stripes, I first applied white, then a standard red and finally dark red (it is not an X-Wing )
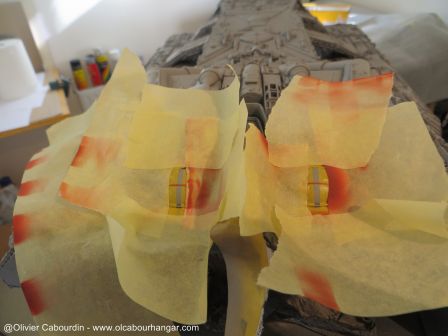
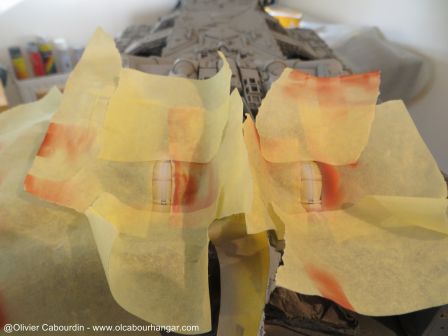
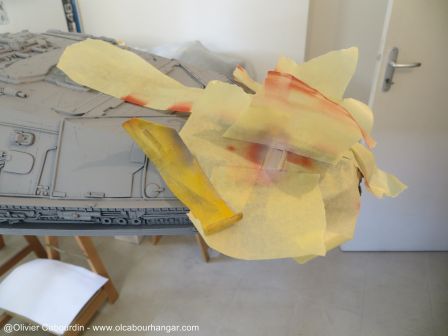
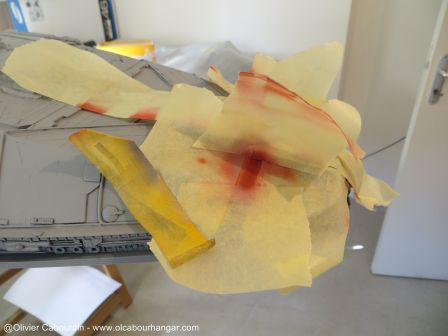
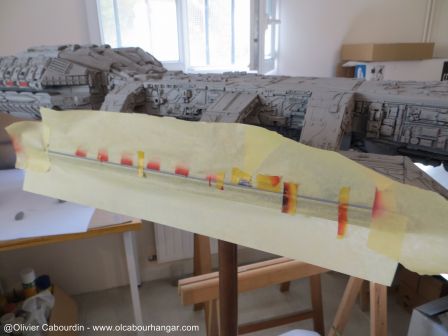


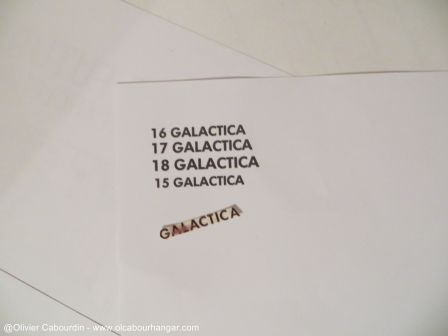
The supplied decals brake down during application. So I made new ones by testing different font sizes.

--------------------
First a fair coat of primer (Tamyia spray can)


Then matt black spray (car paint spray can)


I had to correct a few drops (with sanding sponge)


The spray can not go everywhere, I finish corners with airbrush
A right gray was difficult to find and to apply as I am not used to paint models of this size.
First test with sky Grey XF-19 aero: rthe esult too white and not enough uniform
So after a new coat of black, I changed color (I do not remember which one). Although it looked nice on the pictures, it was this time too dark.

So I change technique, I get back to the tamiya gray primer, and I kept it as base coloer as I liked.

For the red stripes, I first applied white, then a standard red and finally dark red (it is not an X-Wing
)


The supplied decals brake down during application. So I made new ones by testing different font sizes.

cabour
Sr Member
That's a very nice compliment, Jim. Thank you very much
------------------
The painting was flat as is, but as there was a dead line with a convention coming quickly, I had to finish and go to the final assembly. I will return to painting later.
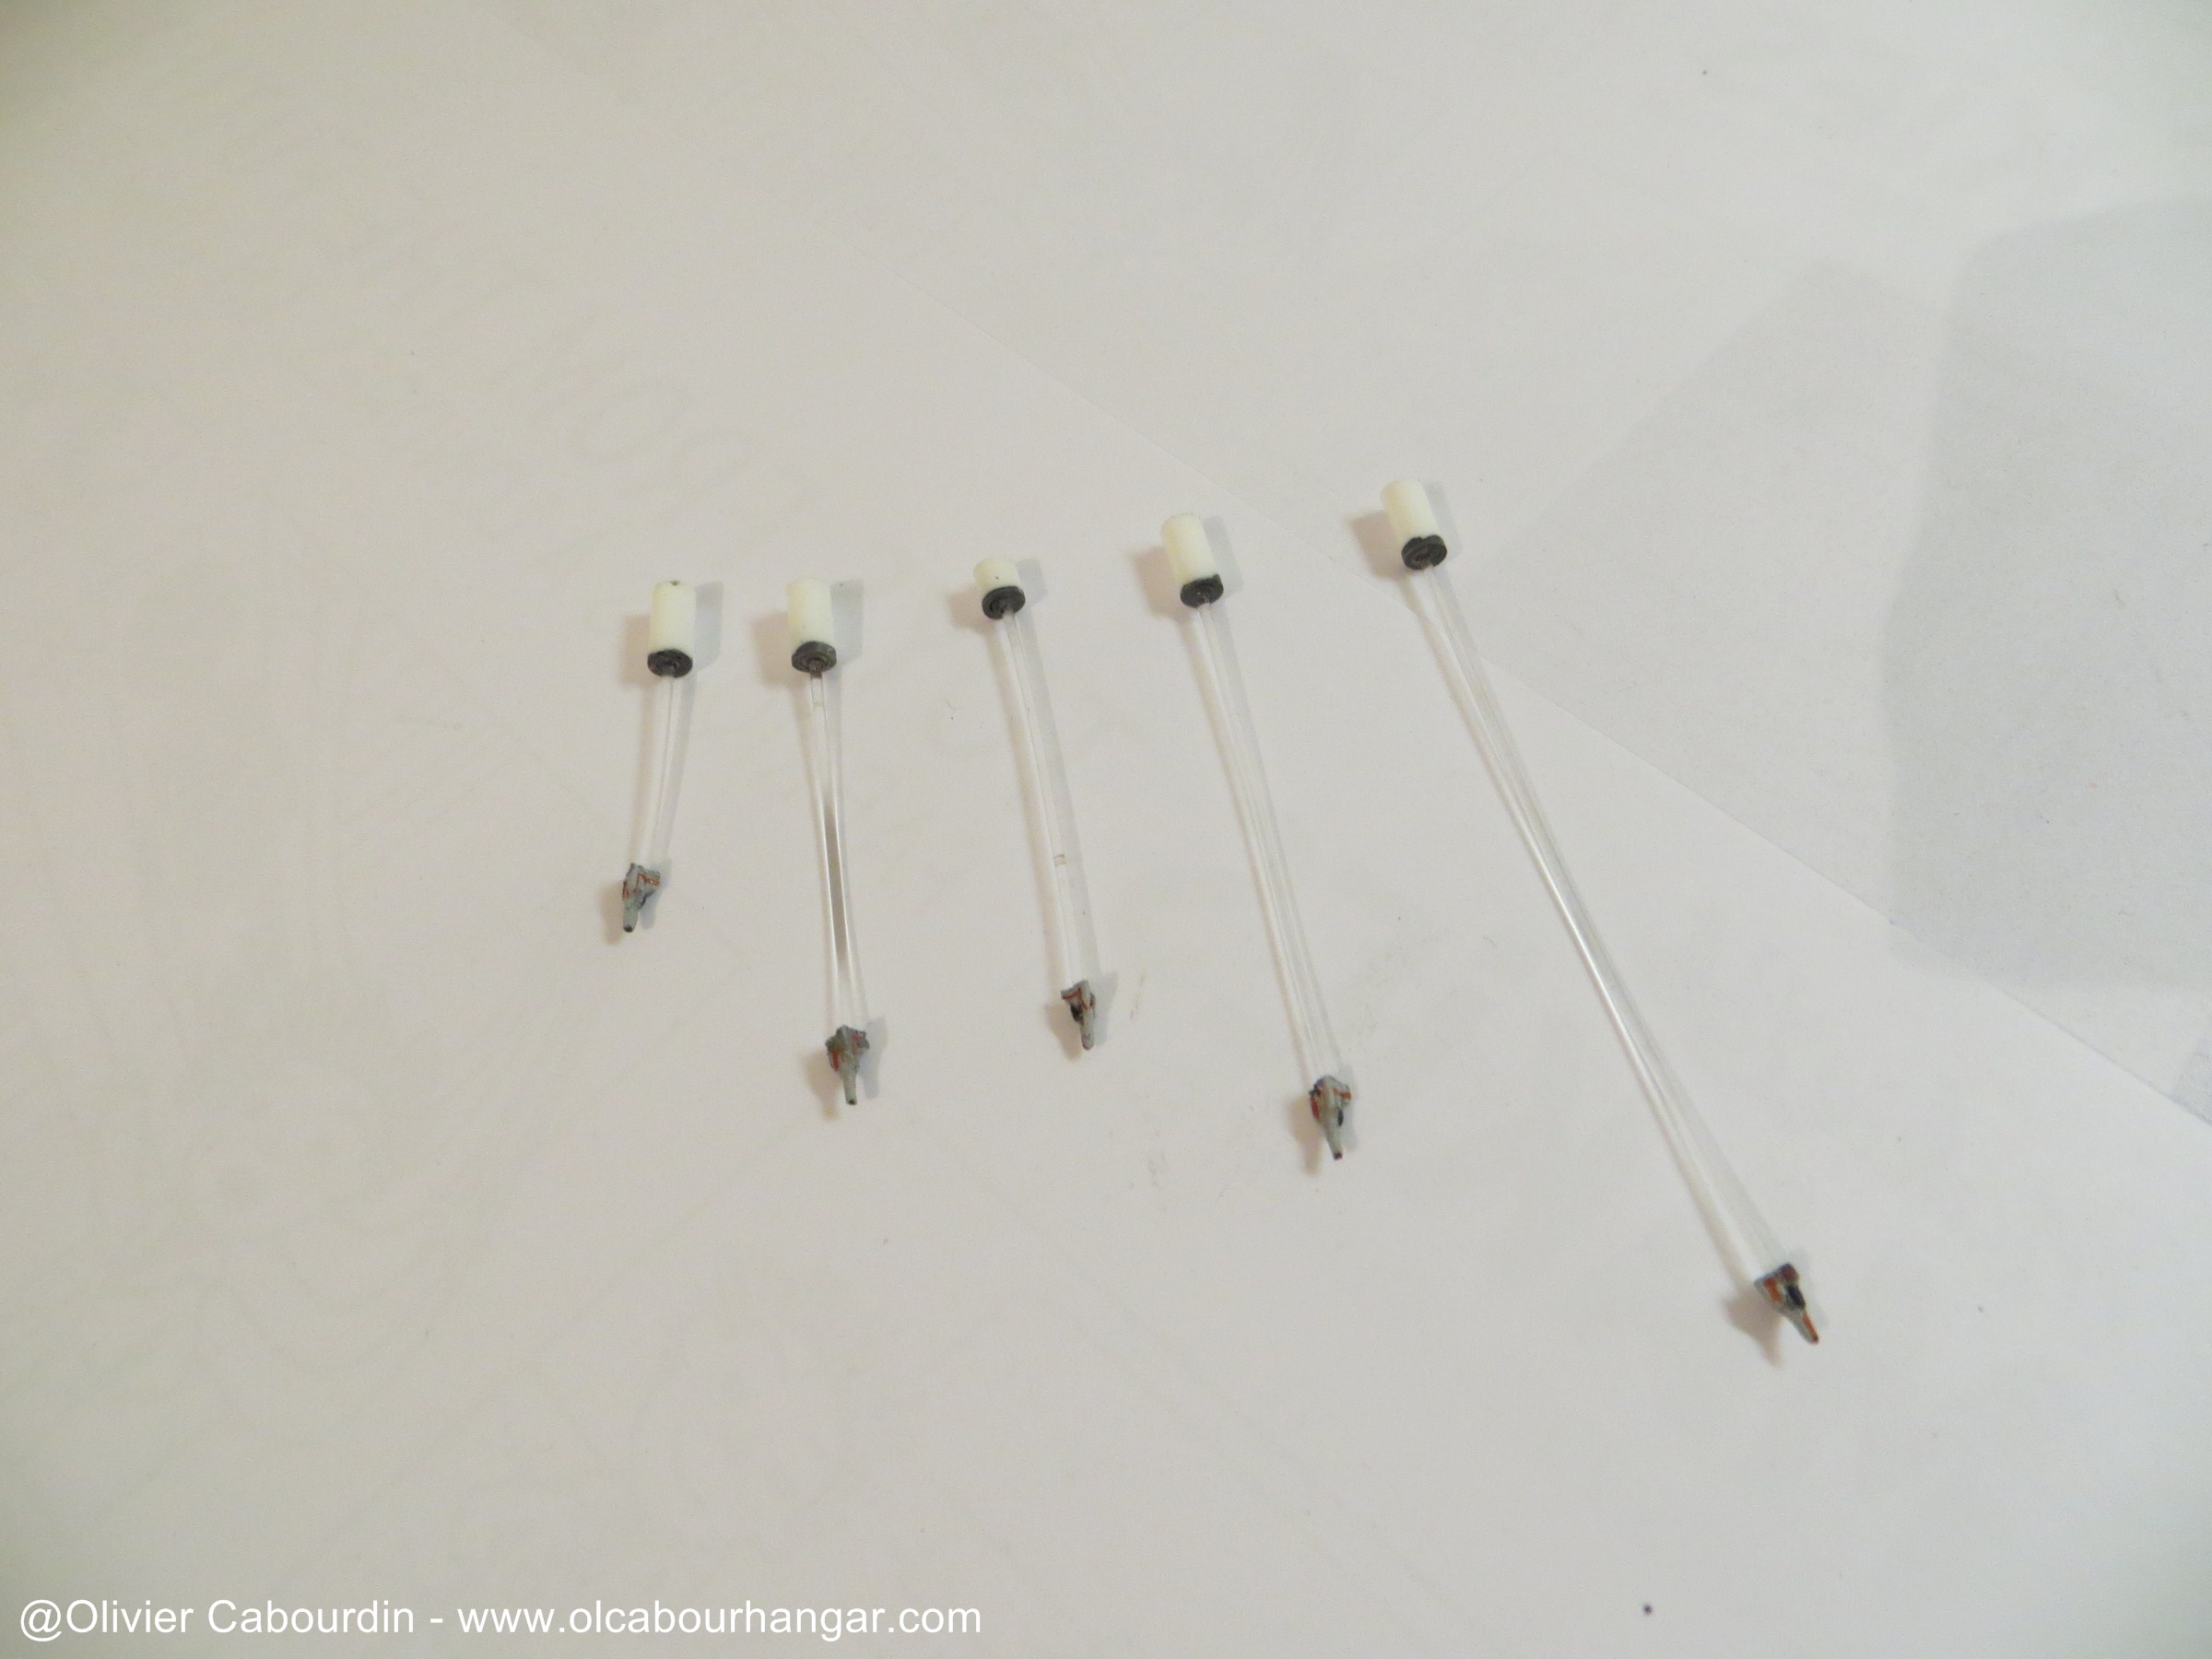
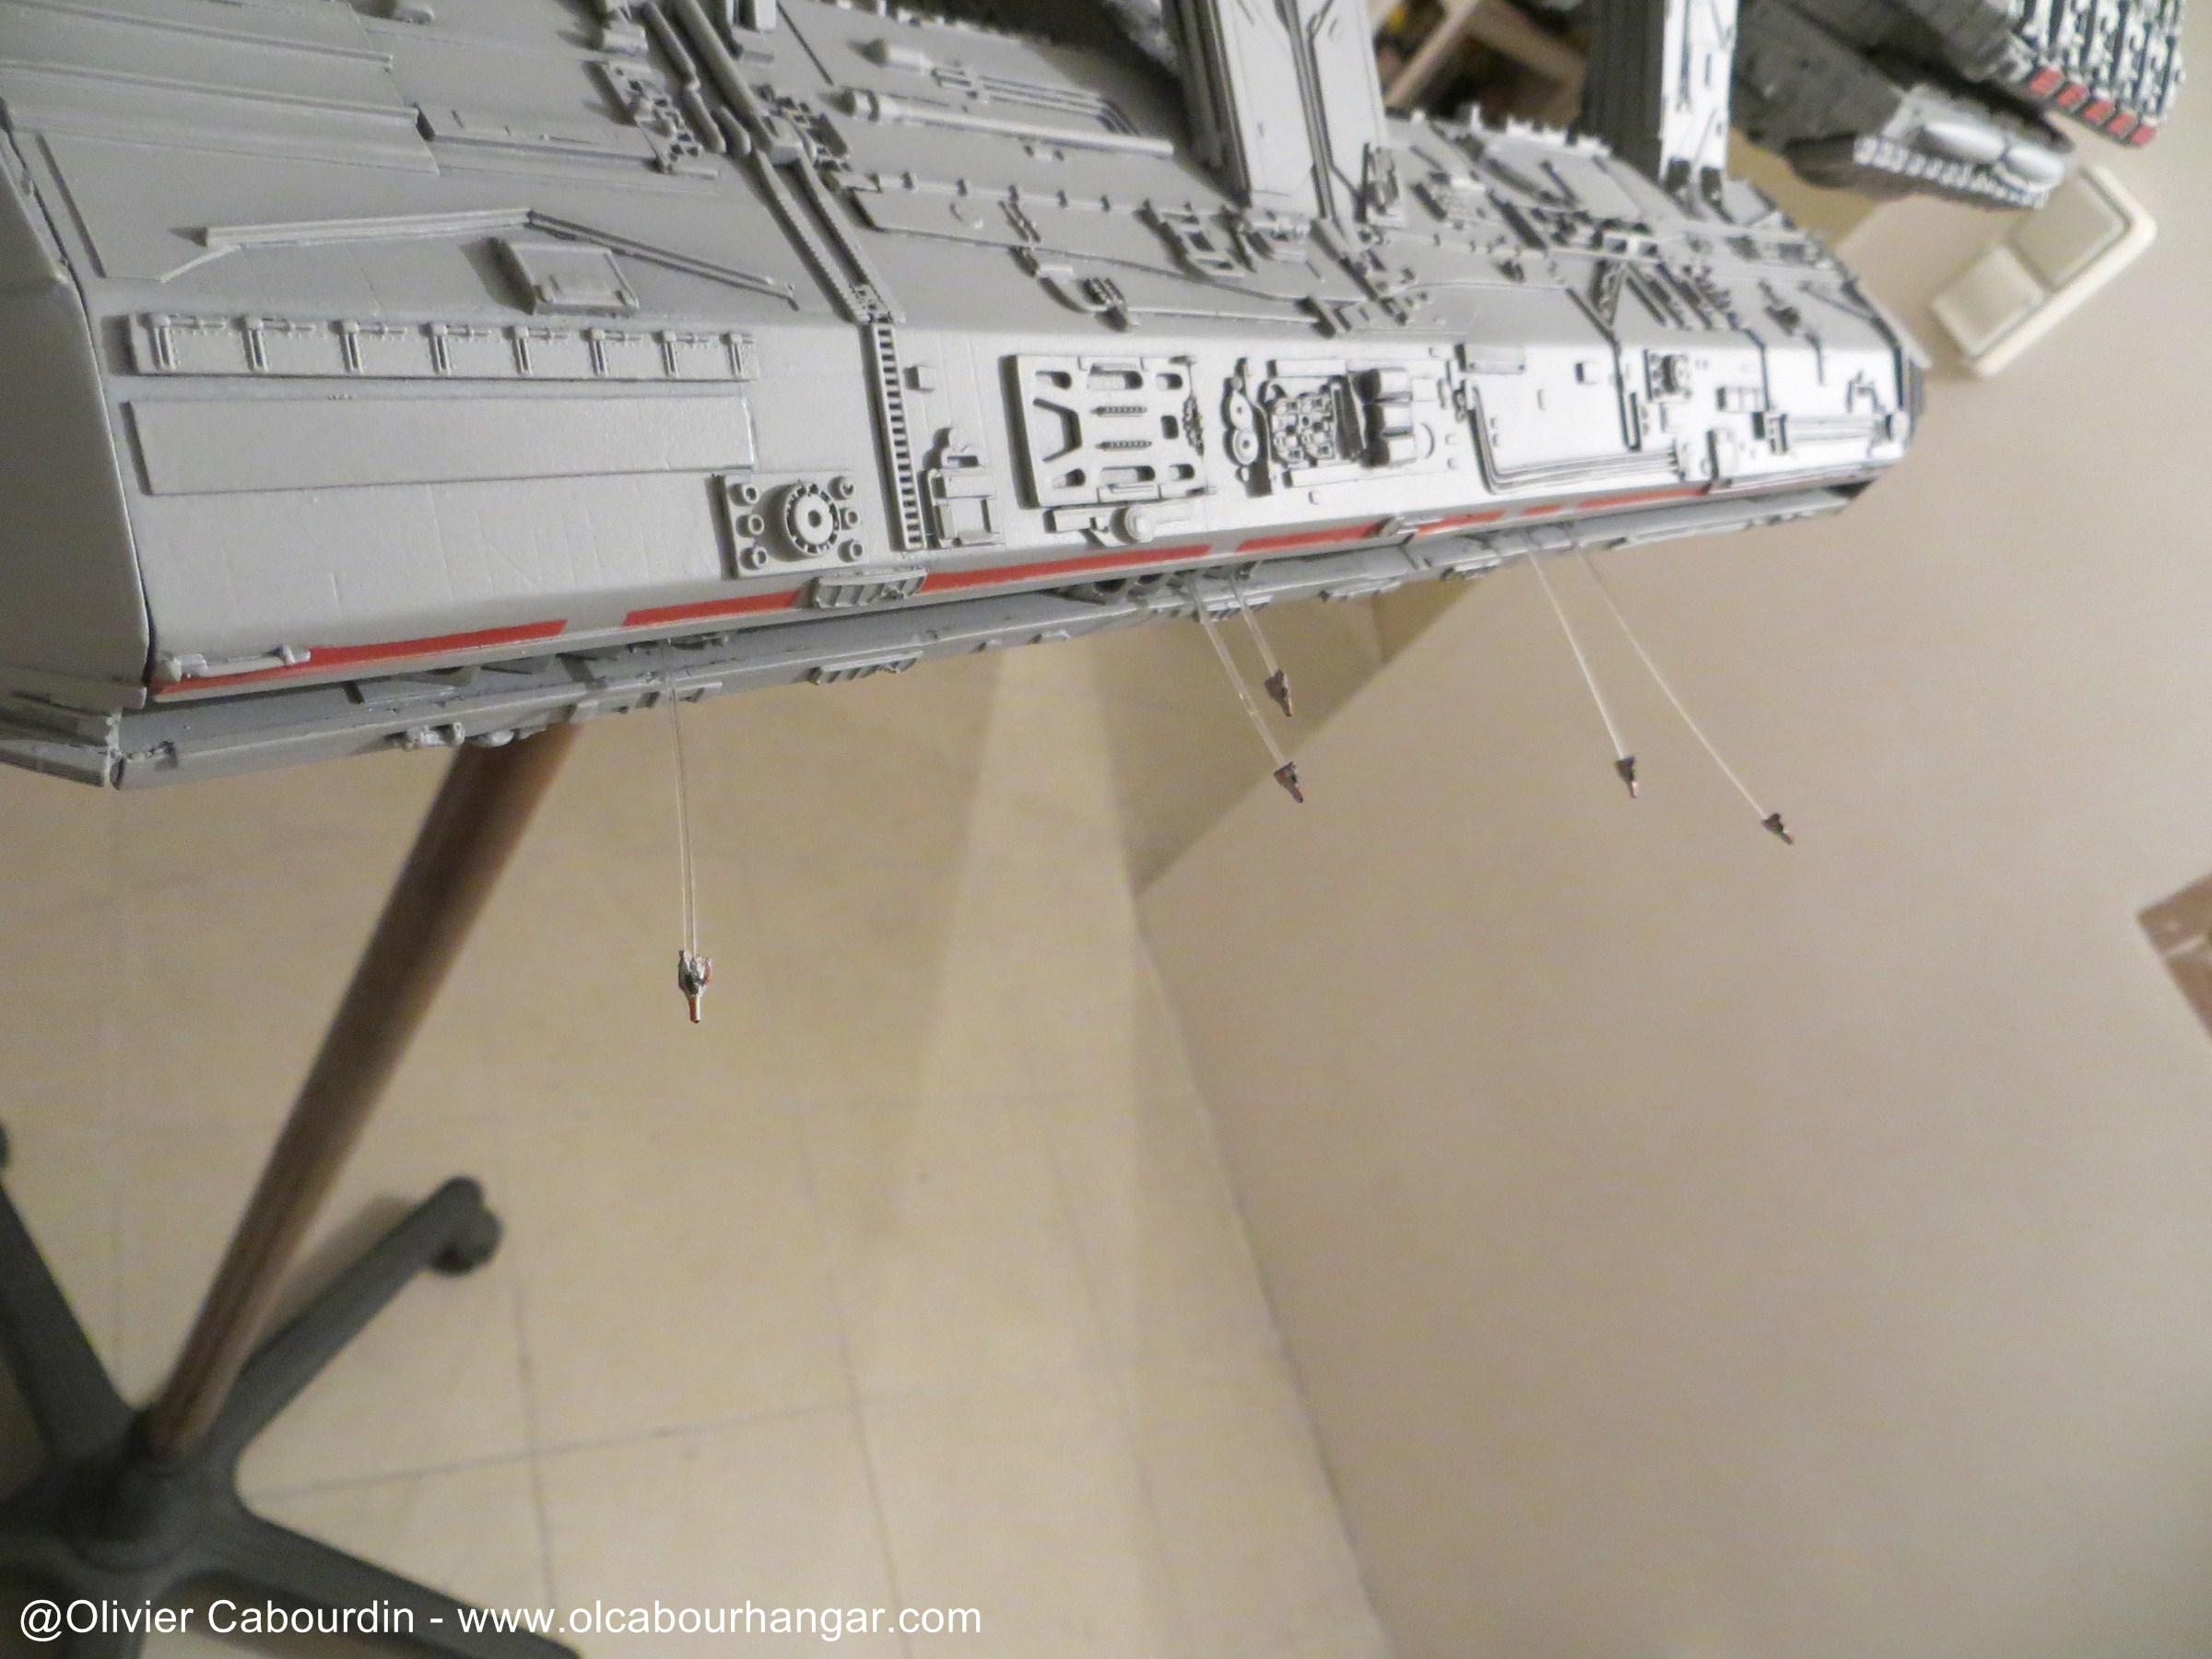
The Viper are mounted on optic fibers and rods plugging in launch tubes.
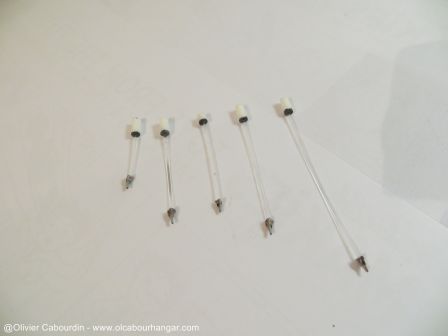

The optic fibers are cut and the last parts are glued.
Here is the result.


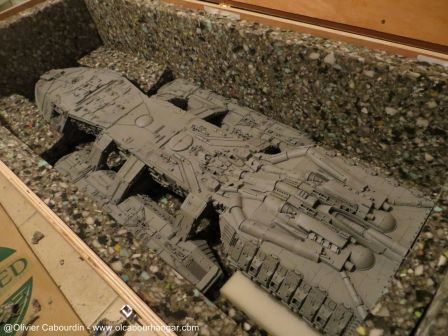
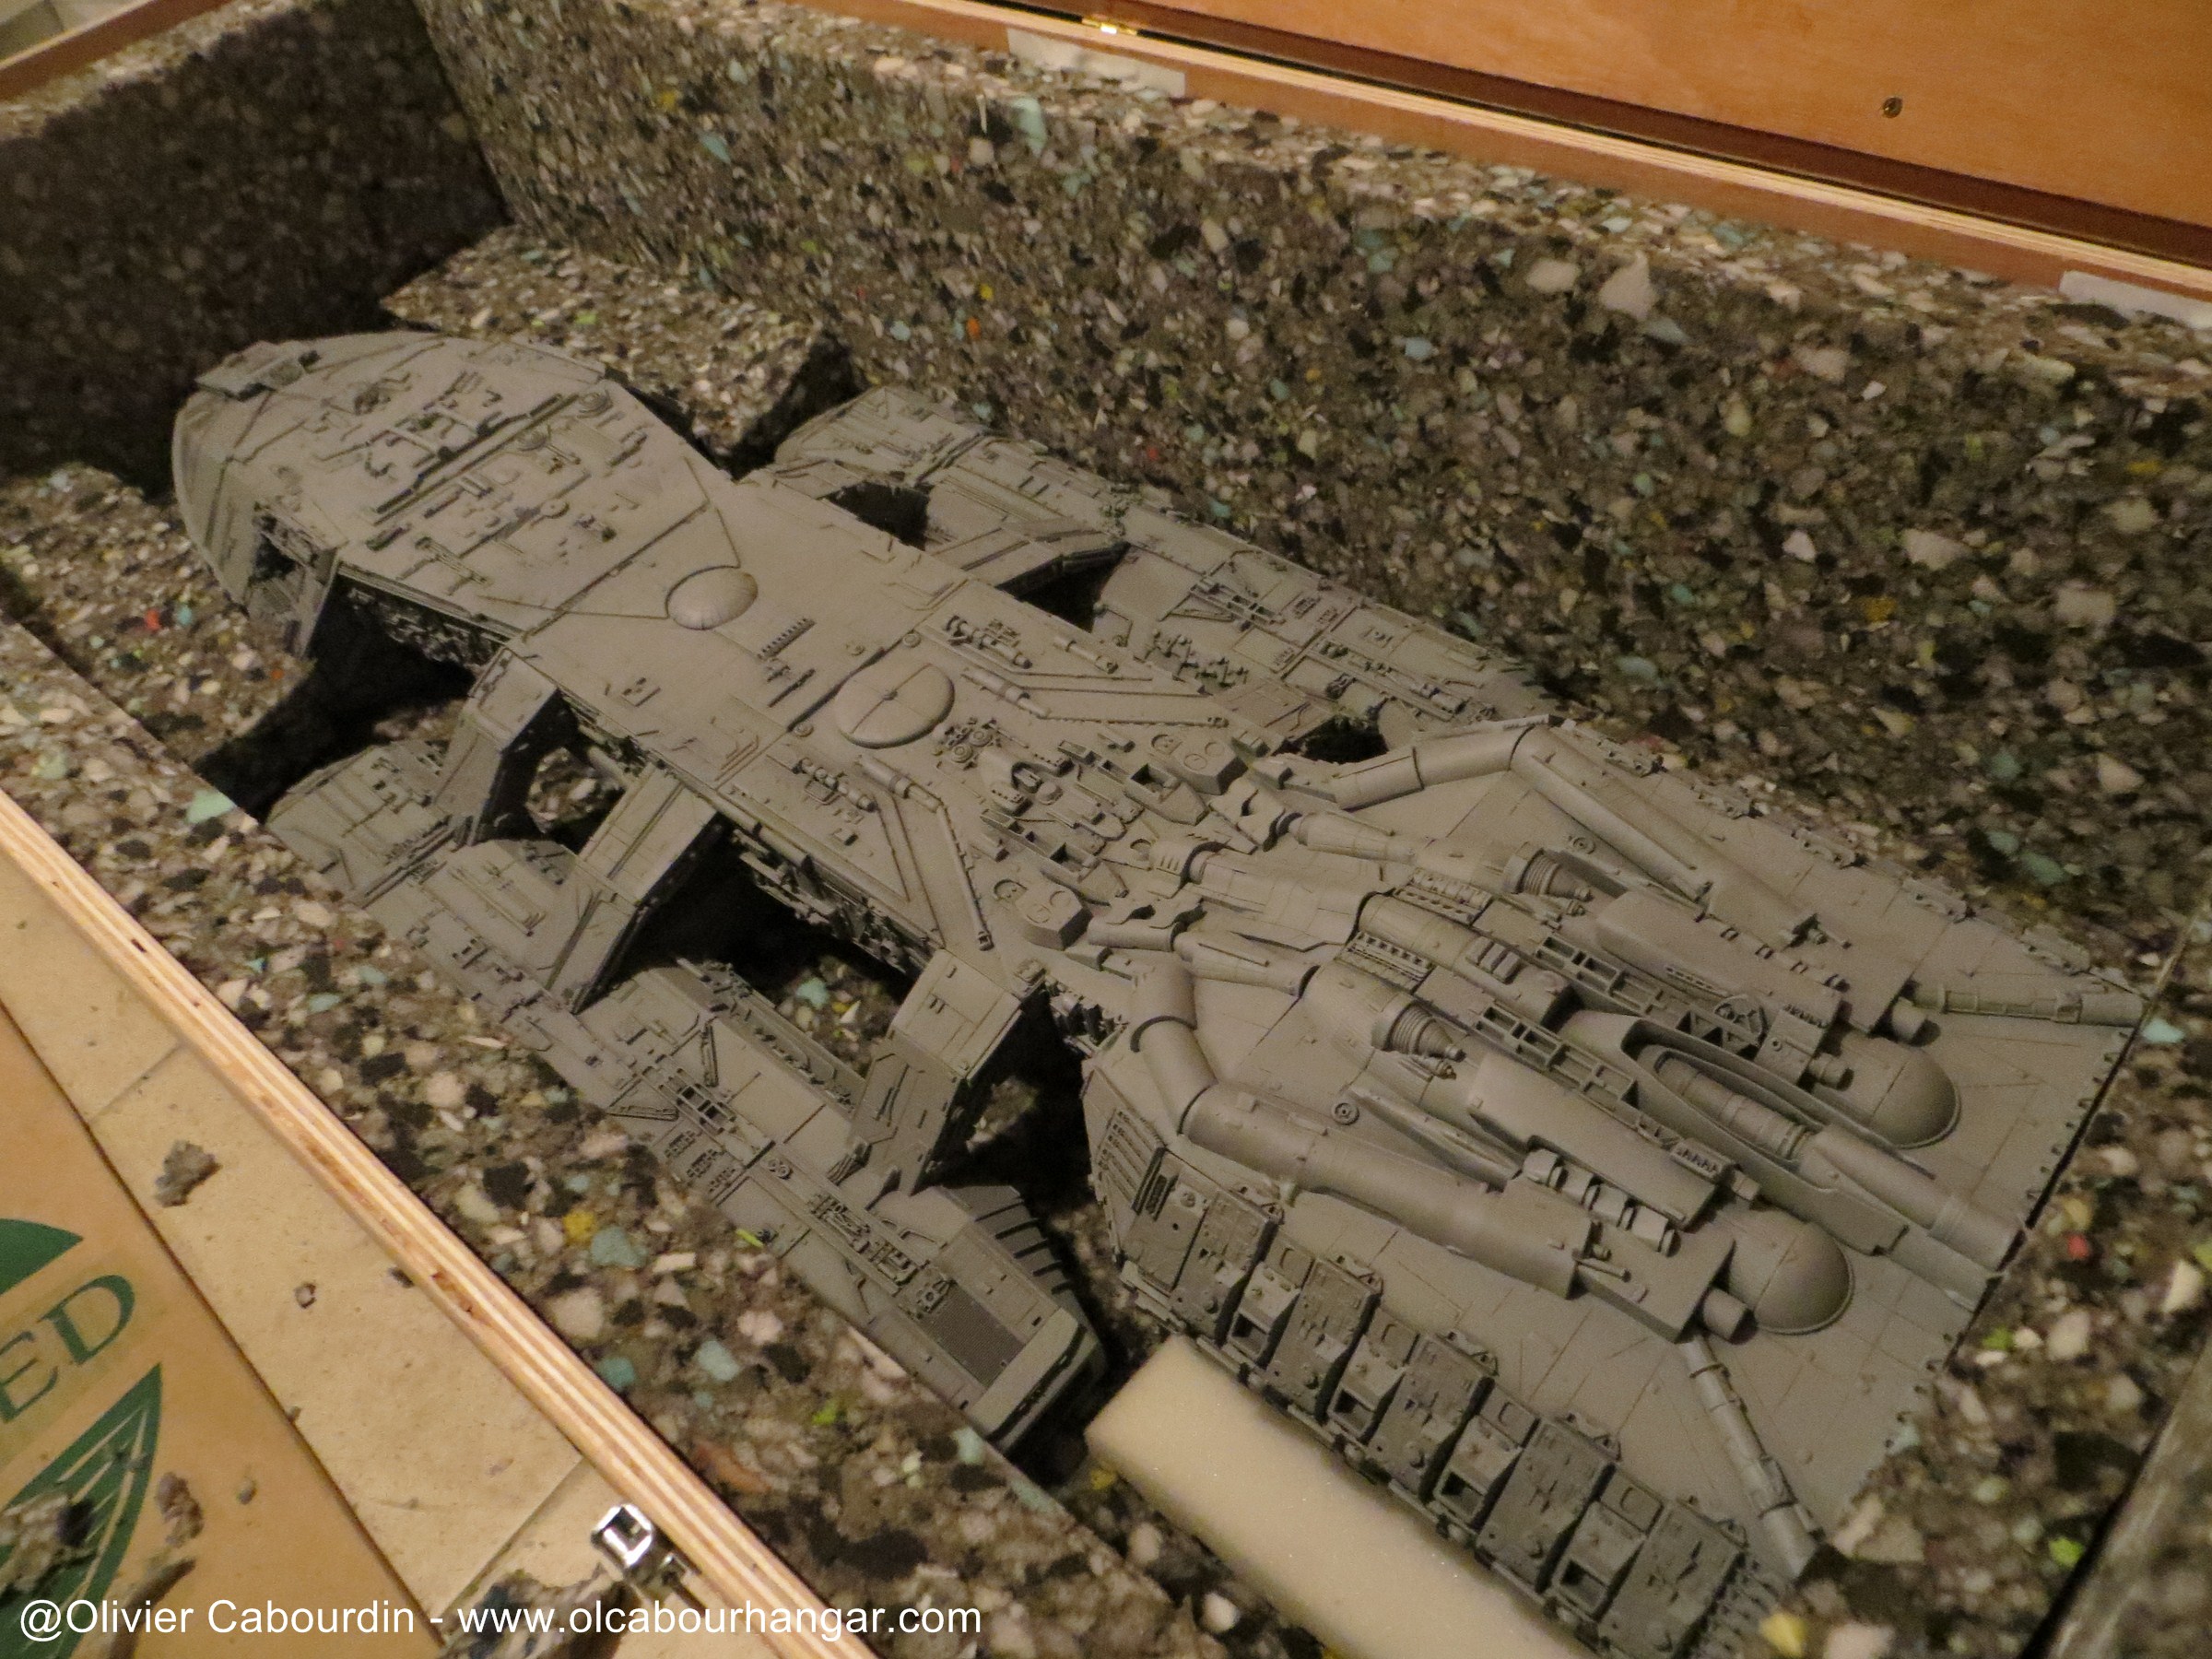
I made a custom carrying case

------------------
The painting was flat as is, but as there was a dead line with a convention coming quickly, I had to finish and go to the final assembly. I will return to painting later.
The Viper are mounted on optic fibers and rods plugging in launch tubes.
The optic fibers are cut and the last parts are glued.
Here is the result.


I made a custom carrying case

Similar threads
- Replies
- 6
- Views
- 860