Salzo Battlestar Galactica half studio scale - 1 meter long

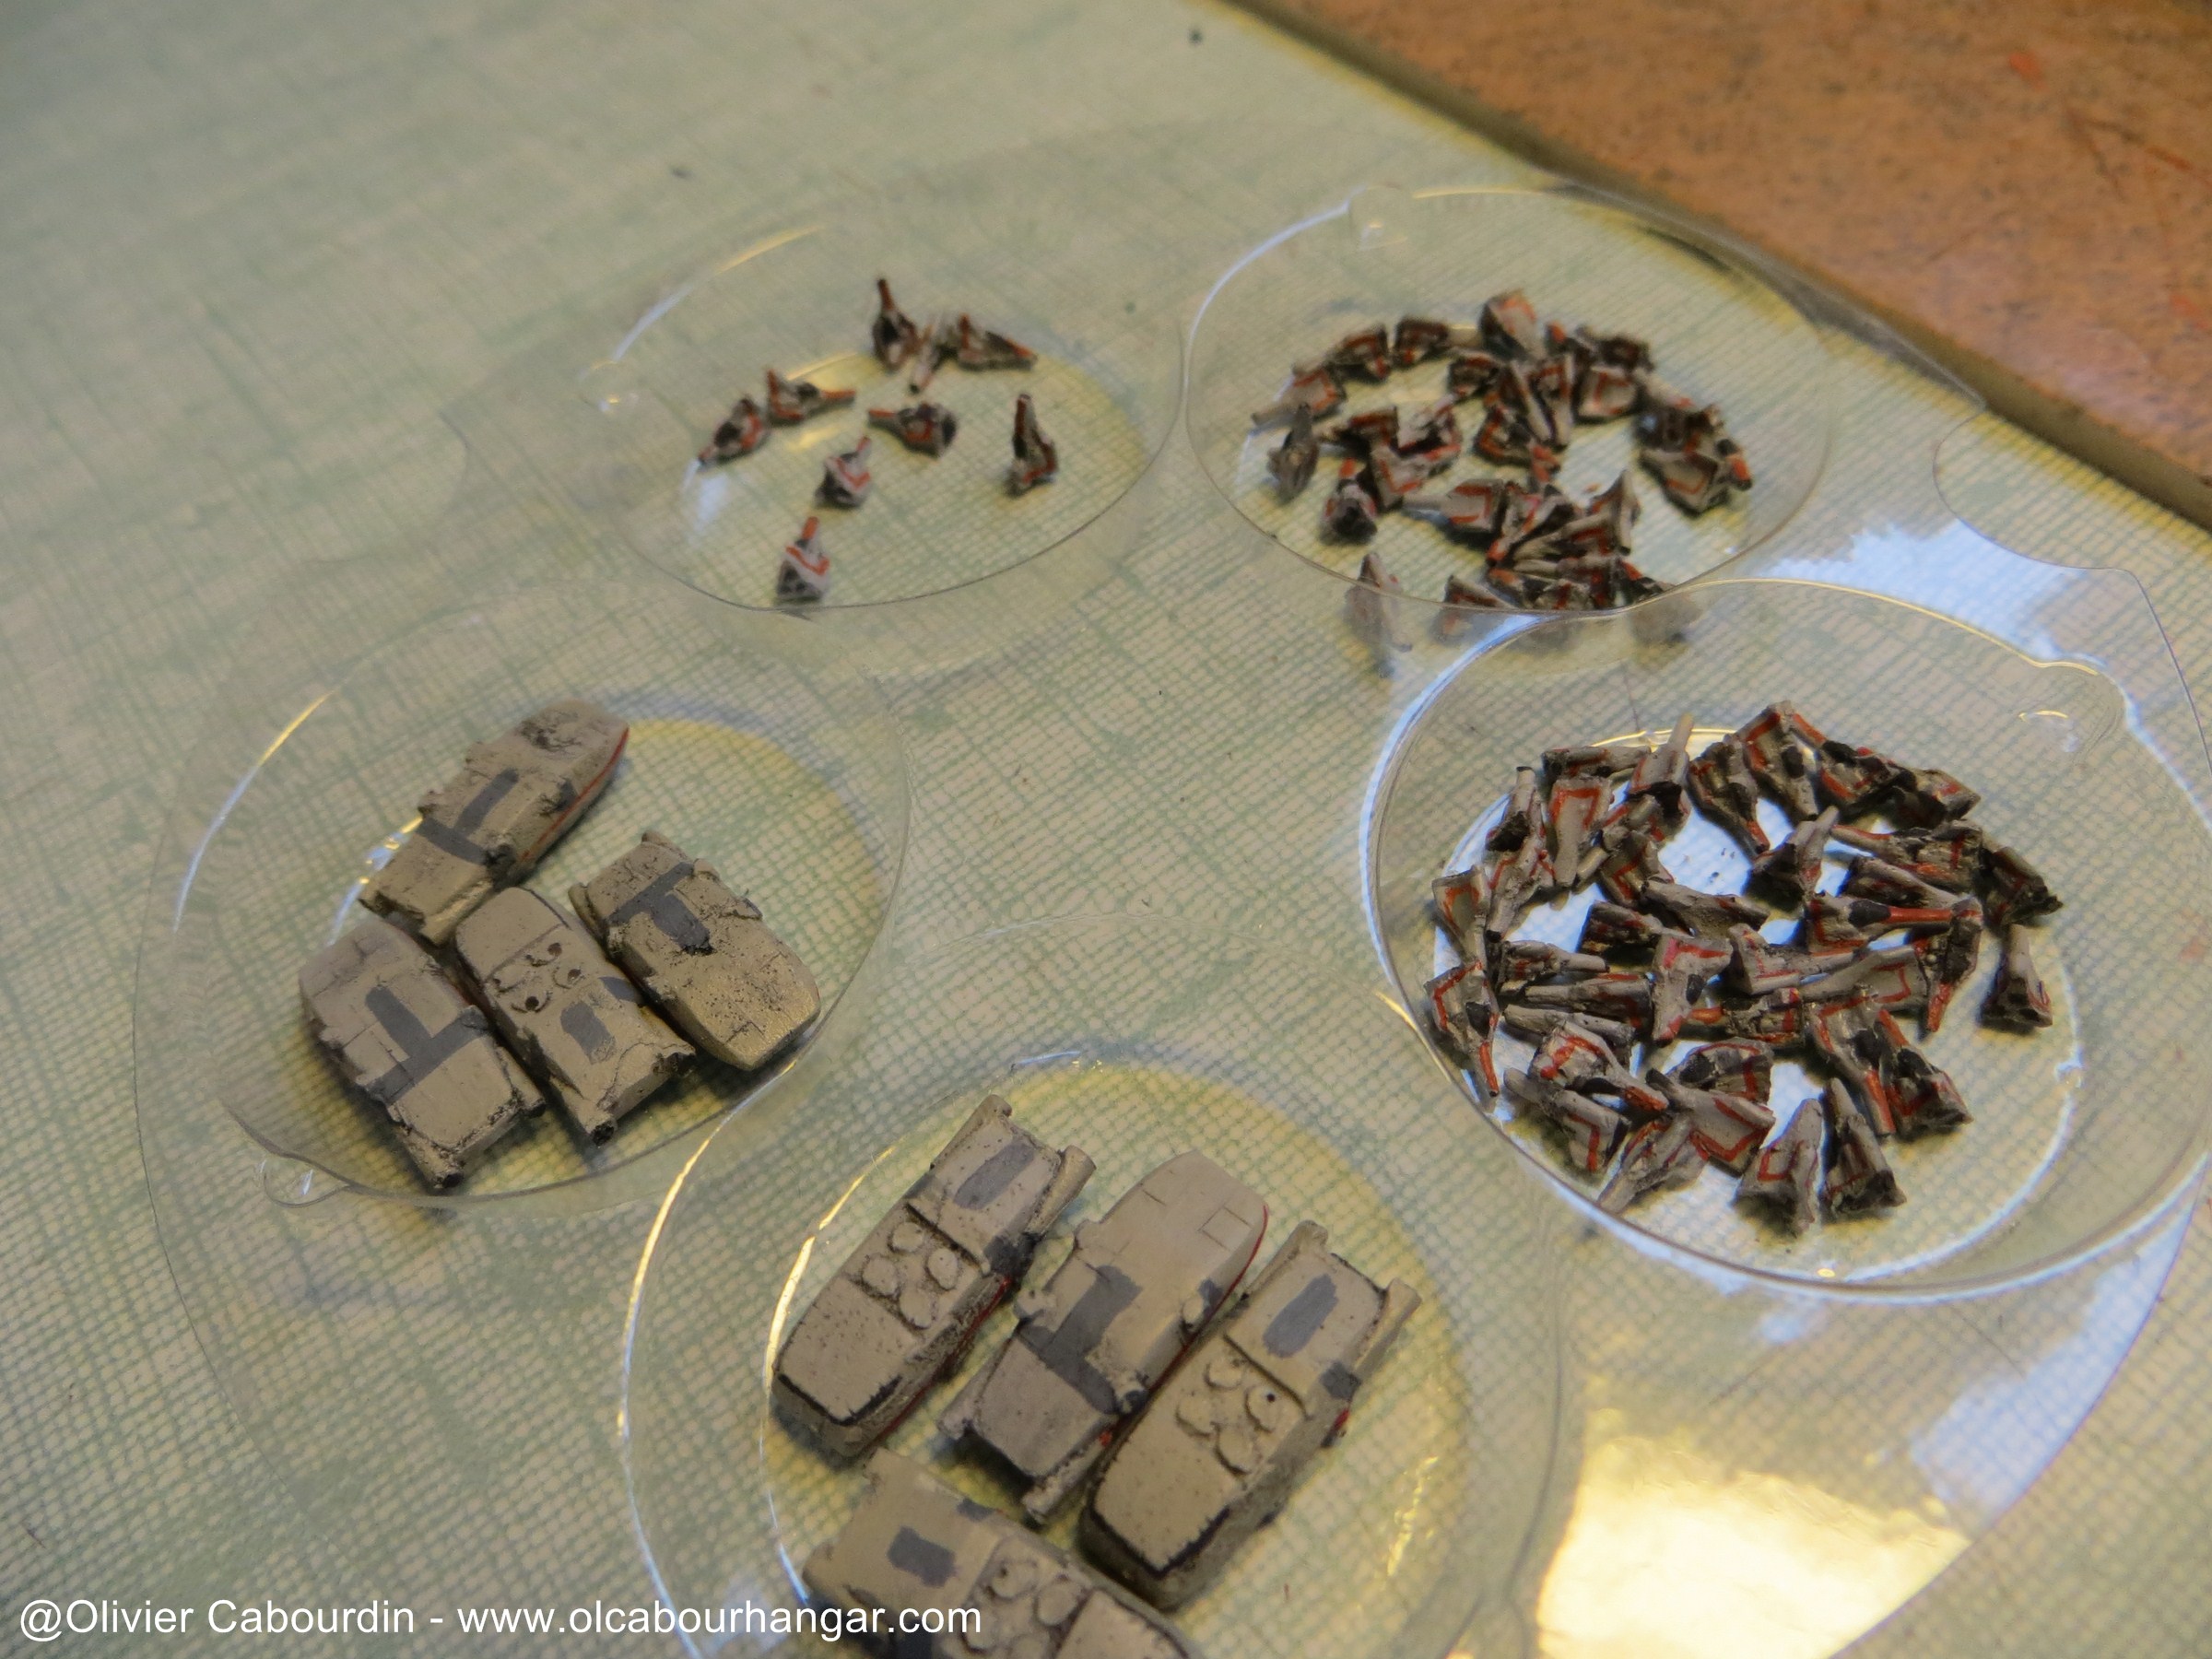
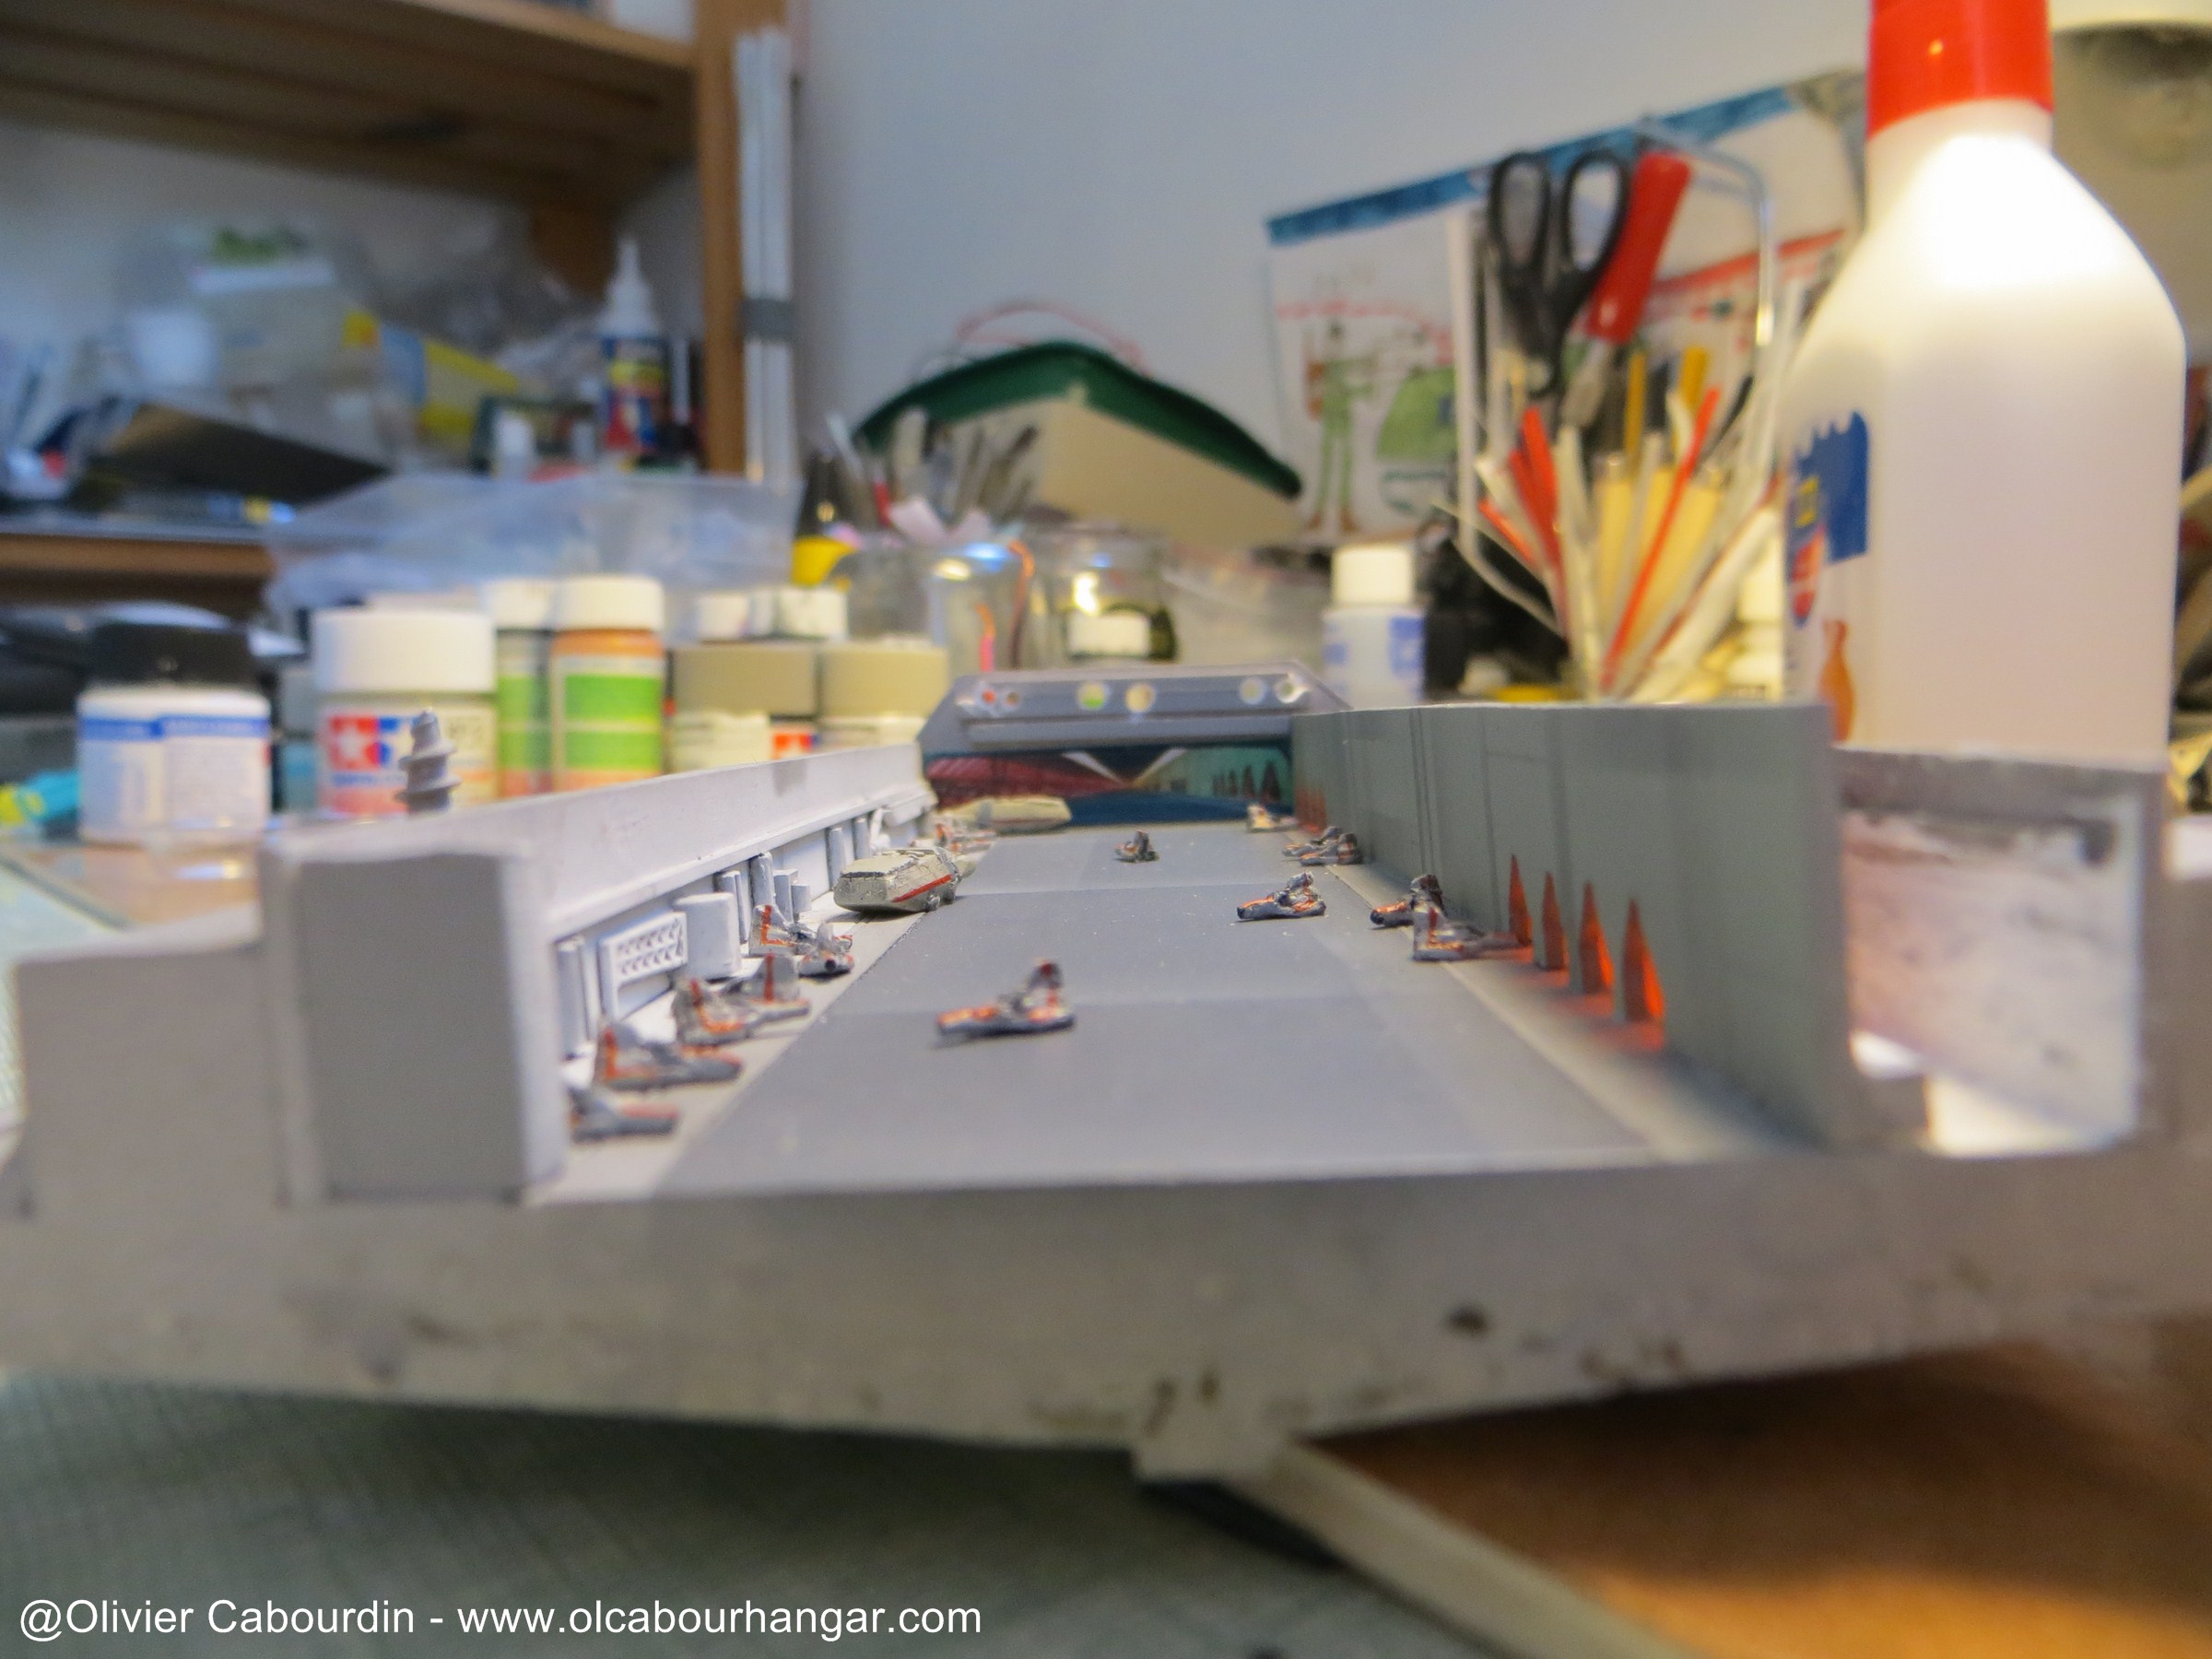
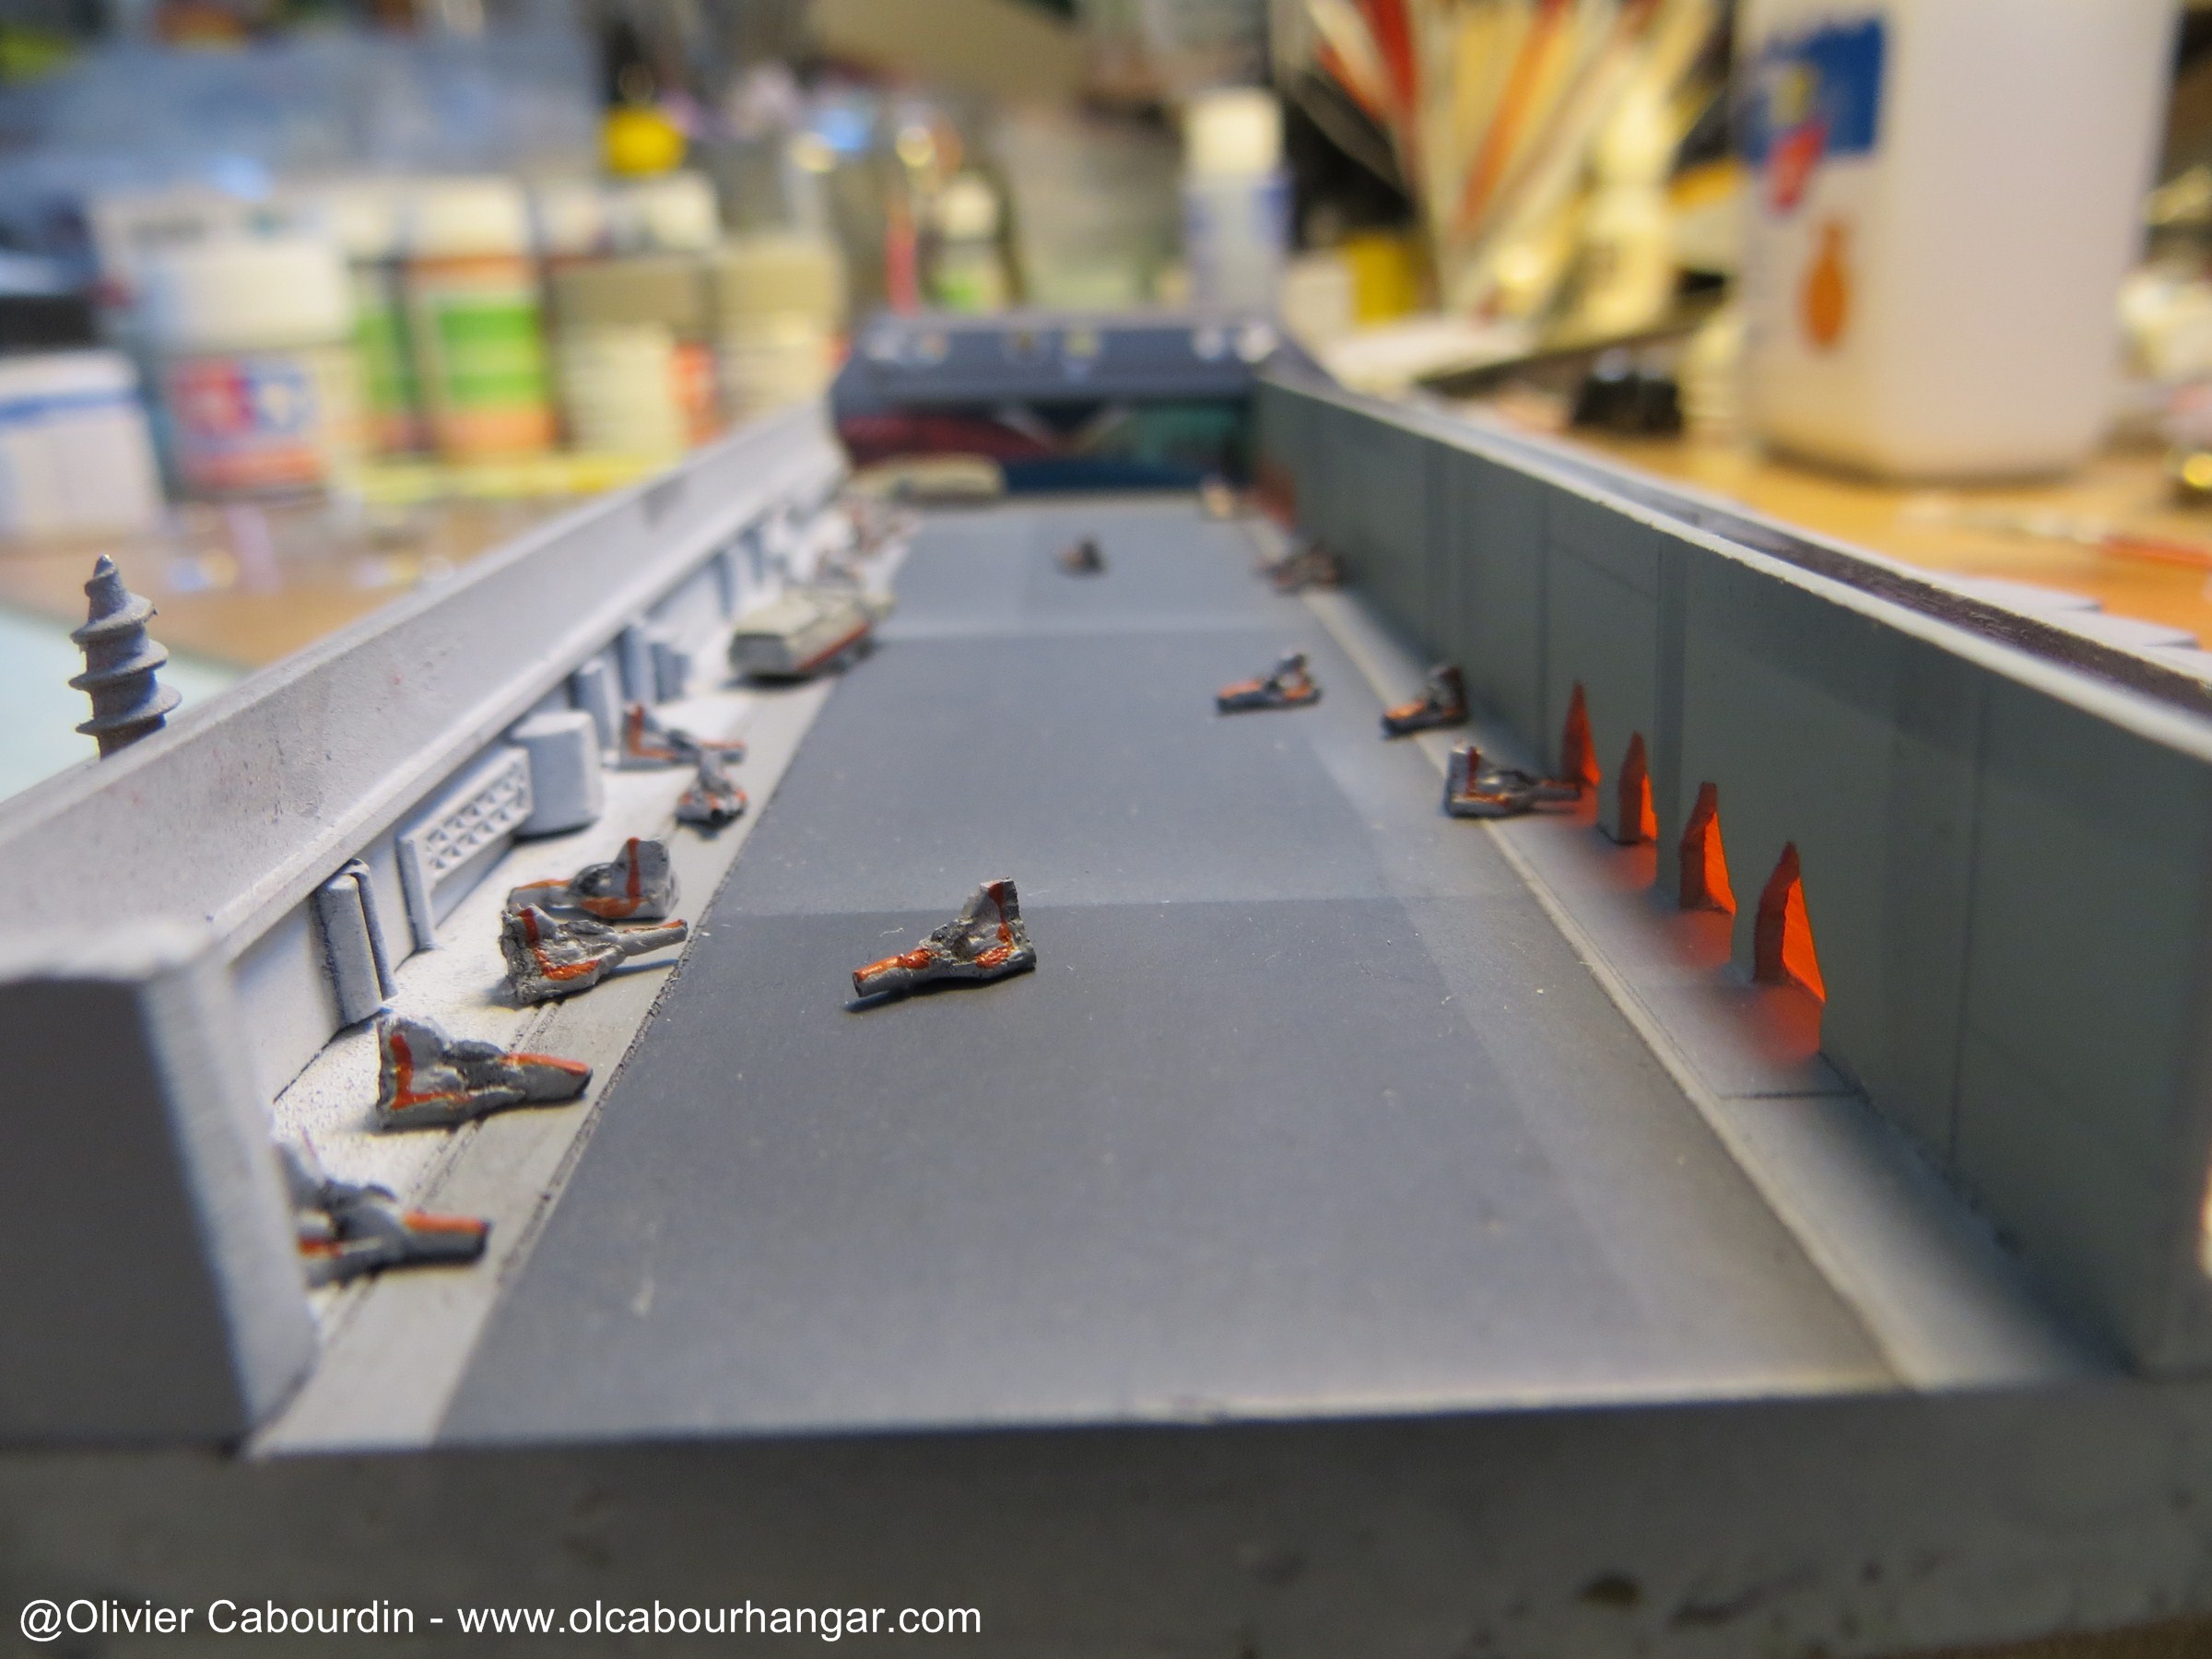
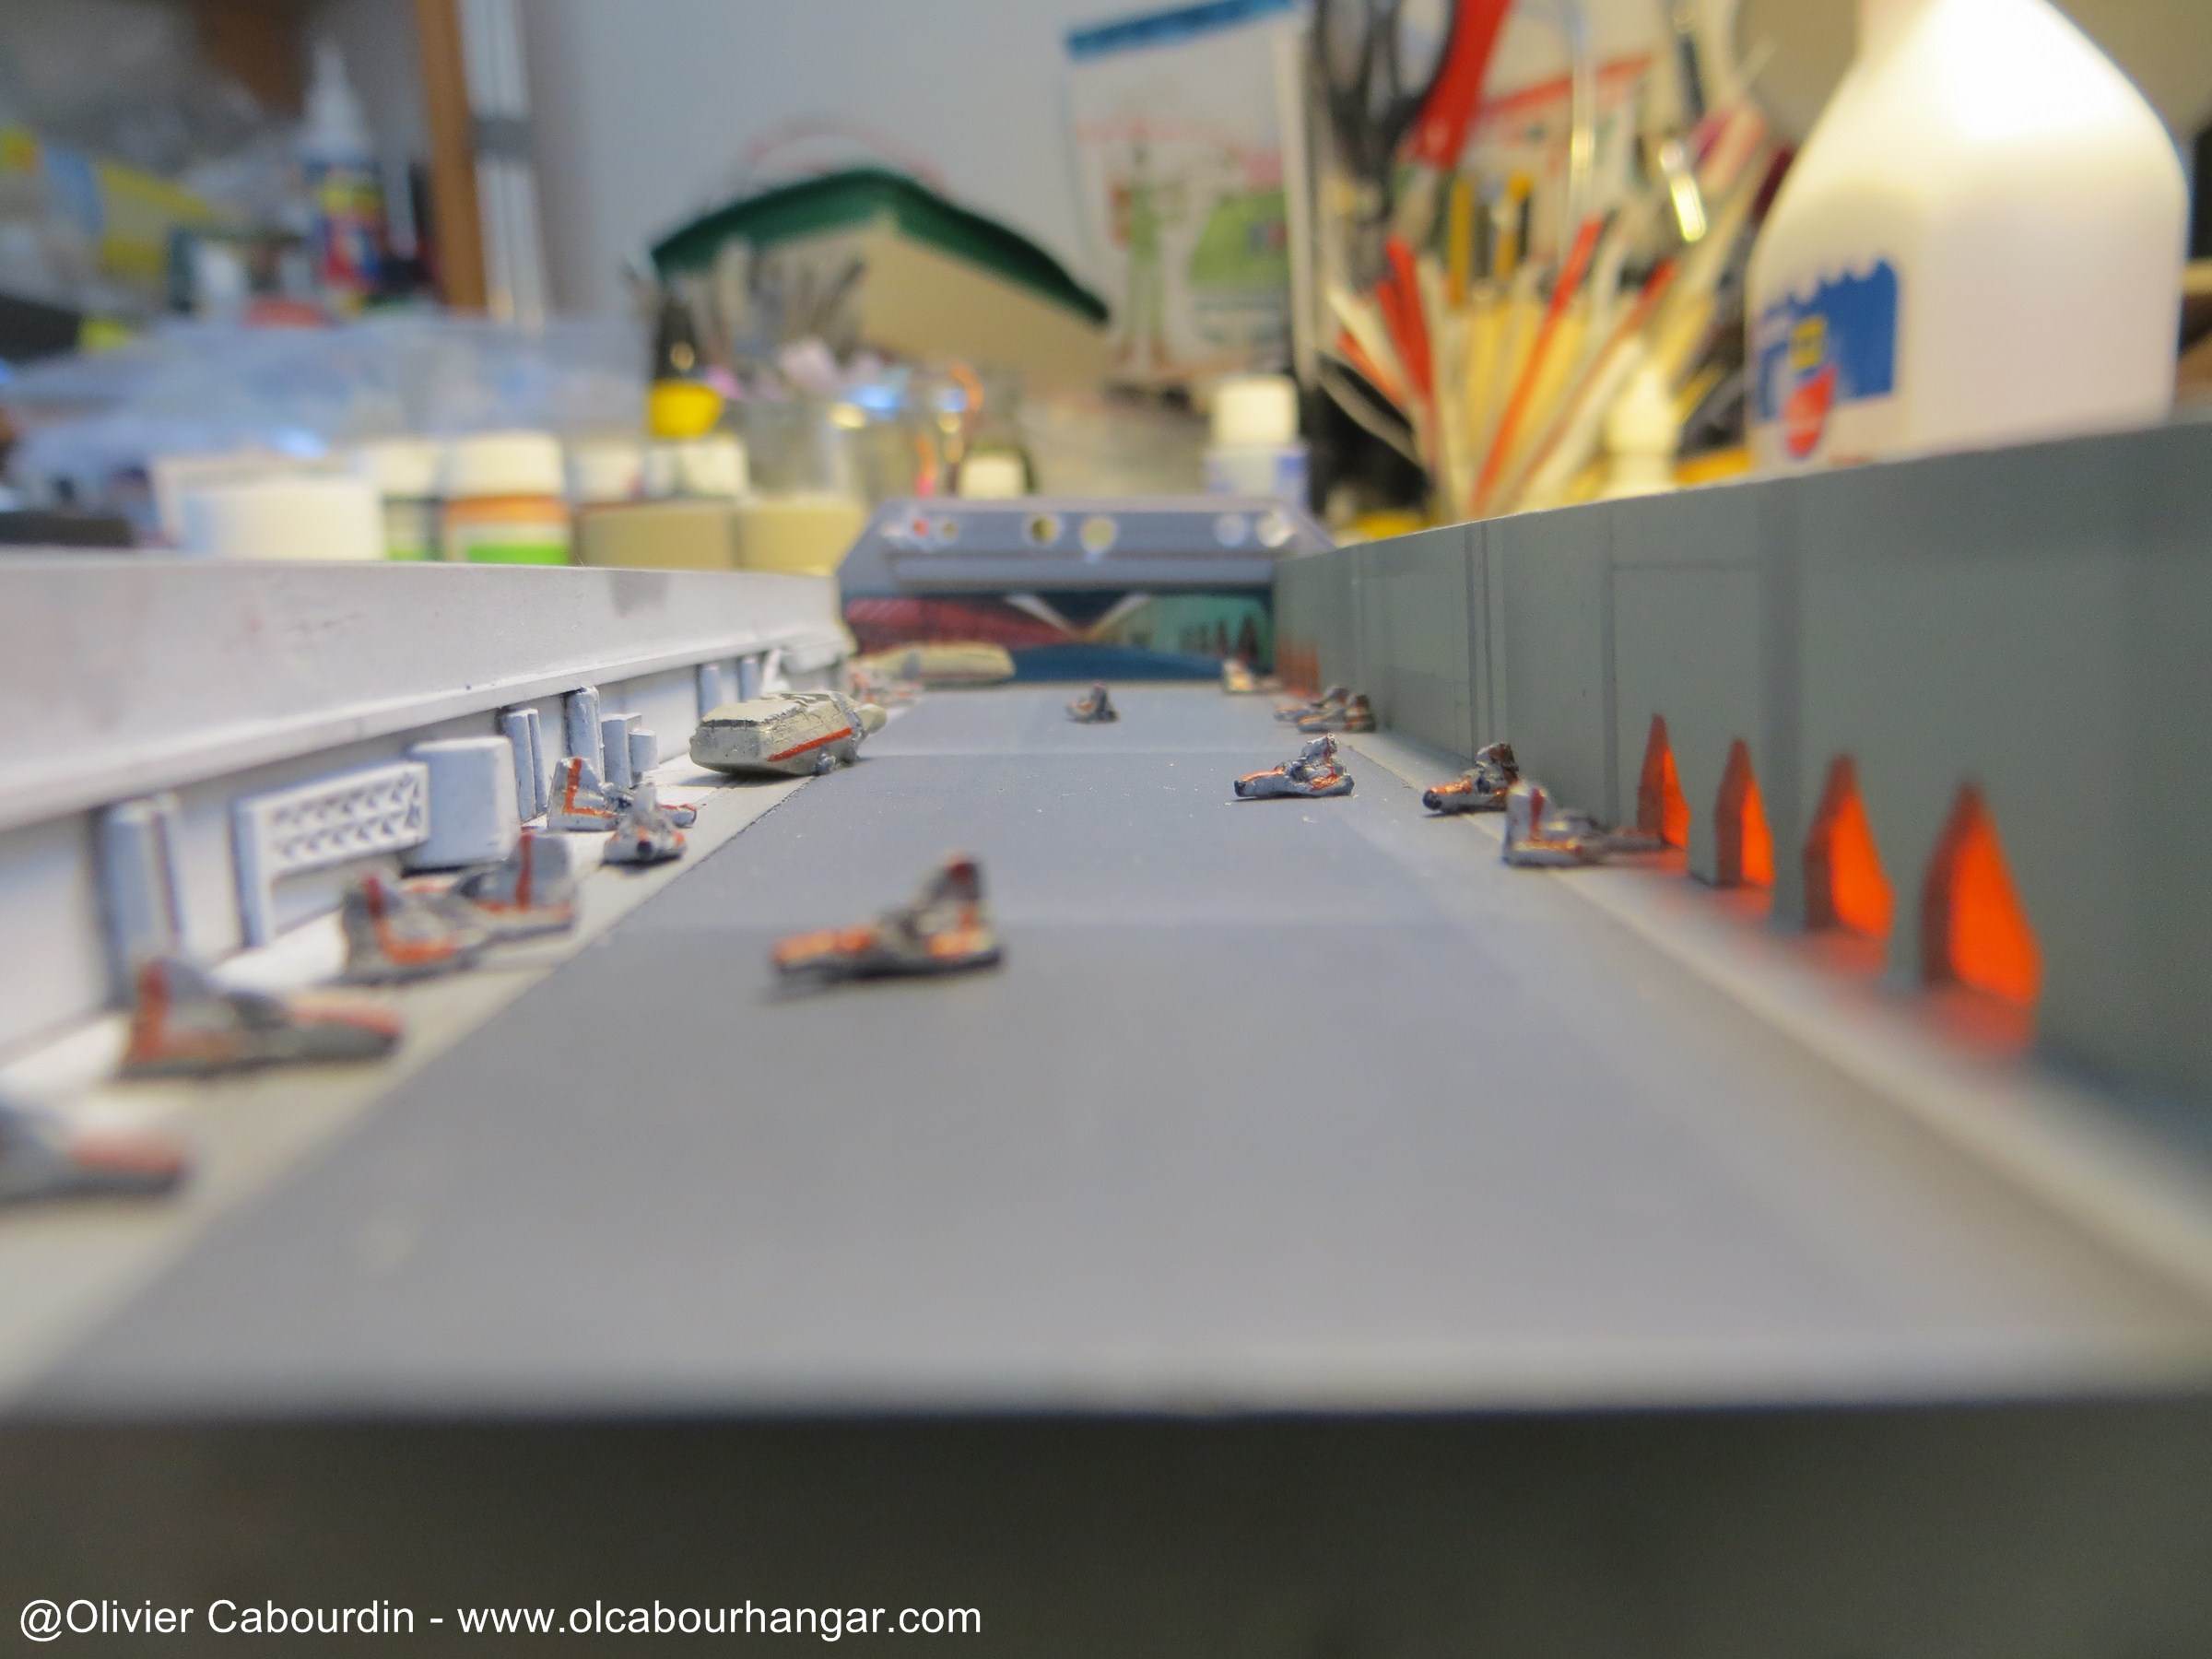
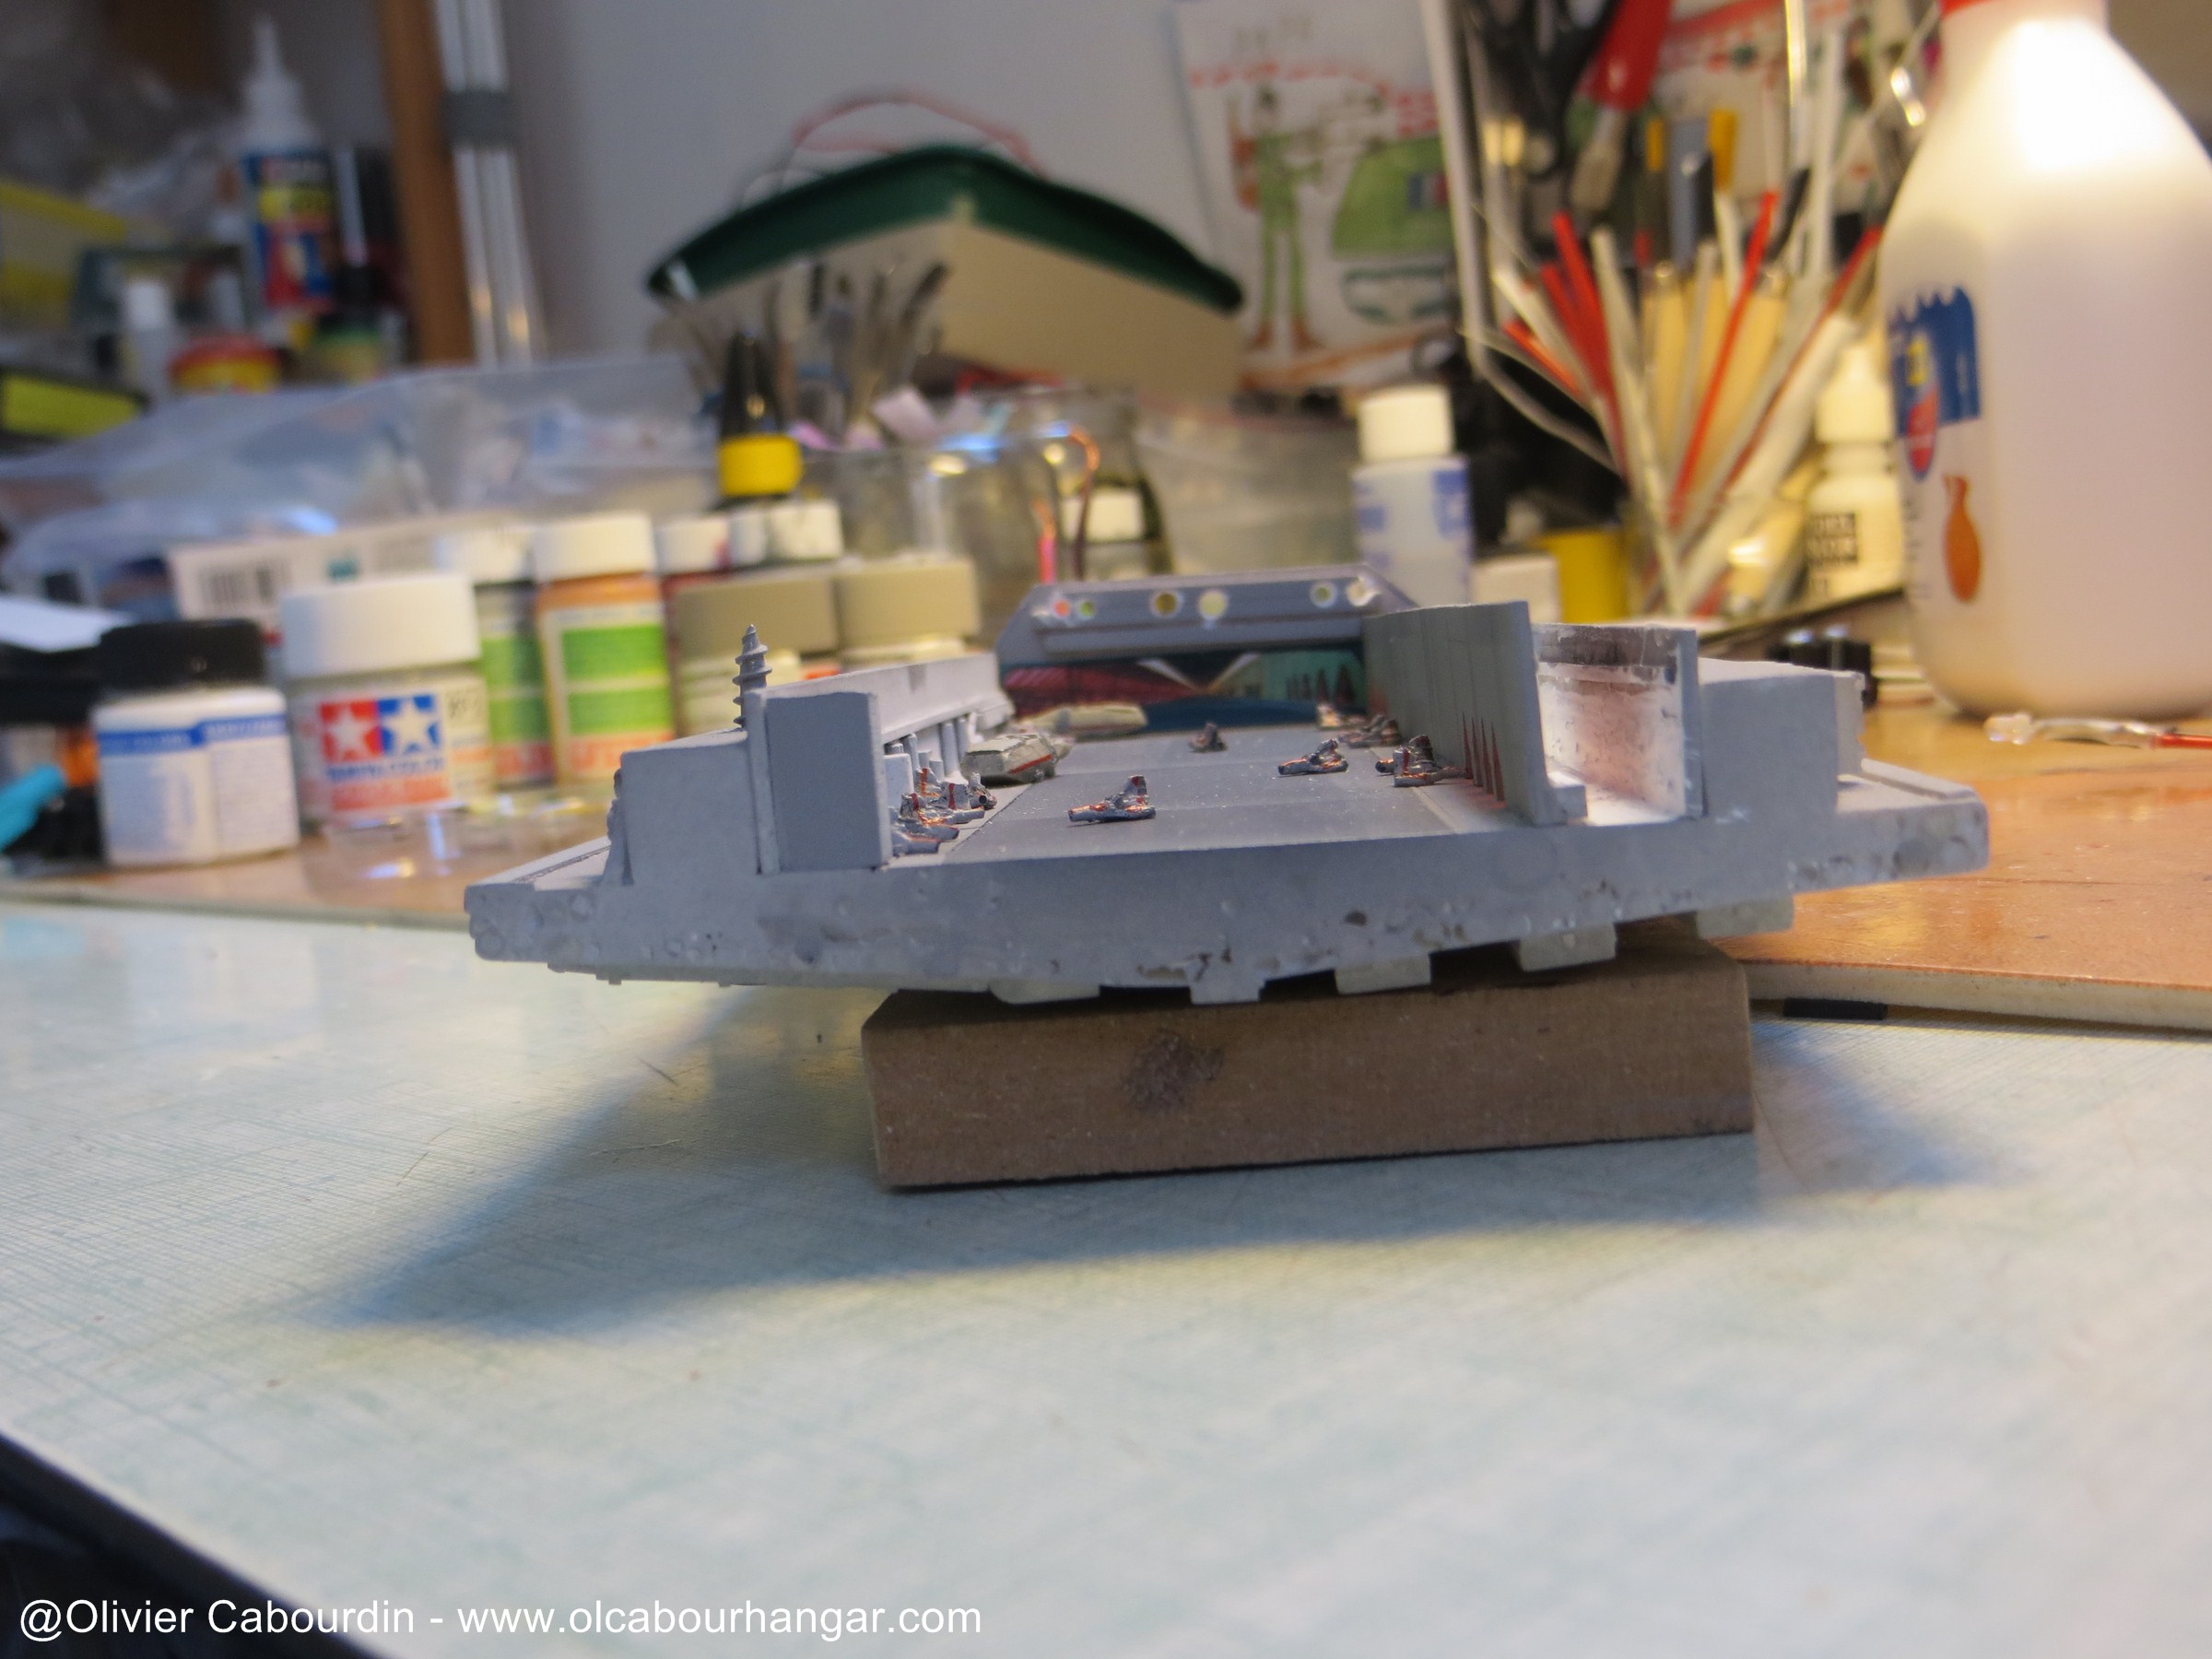
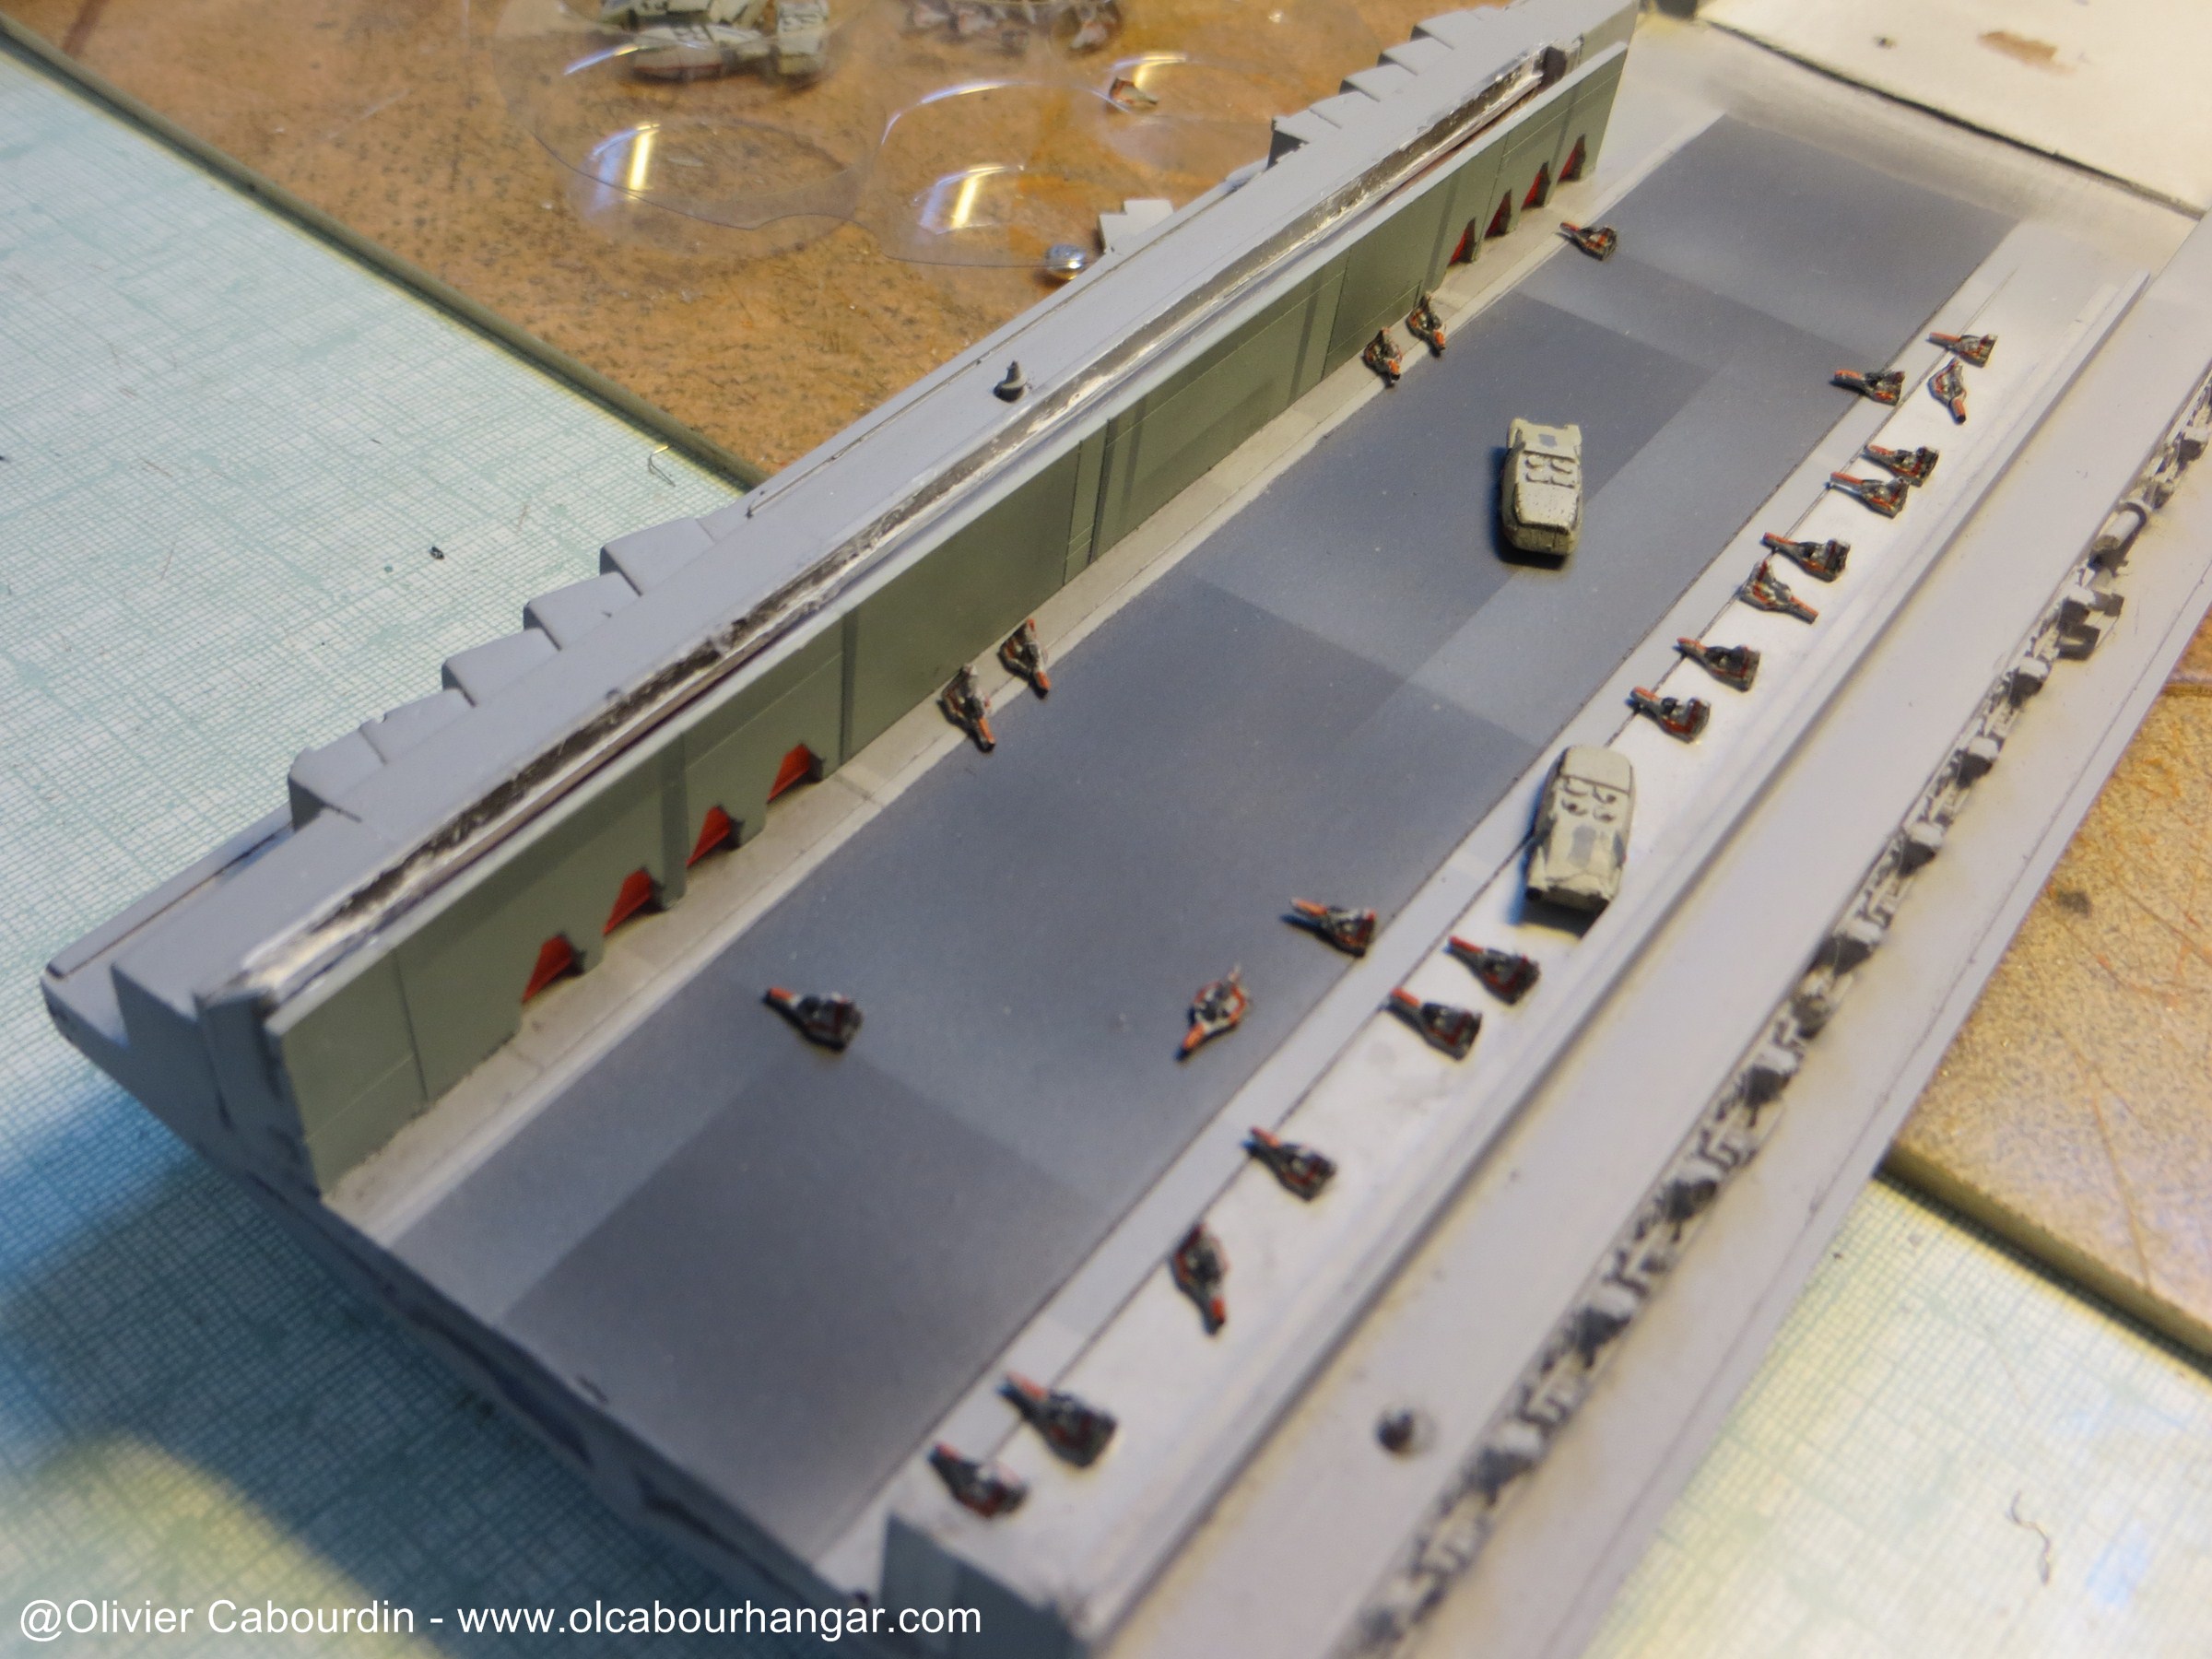
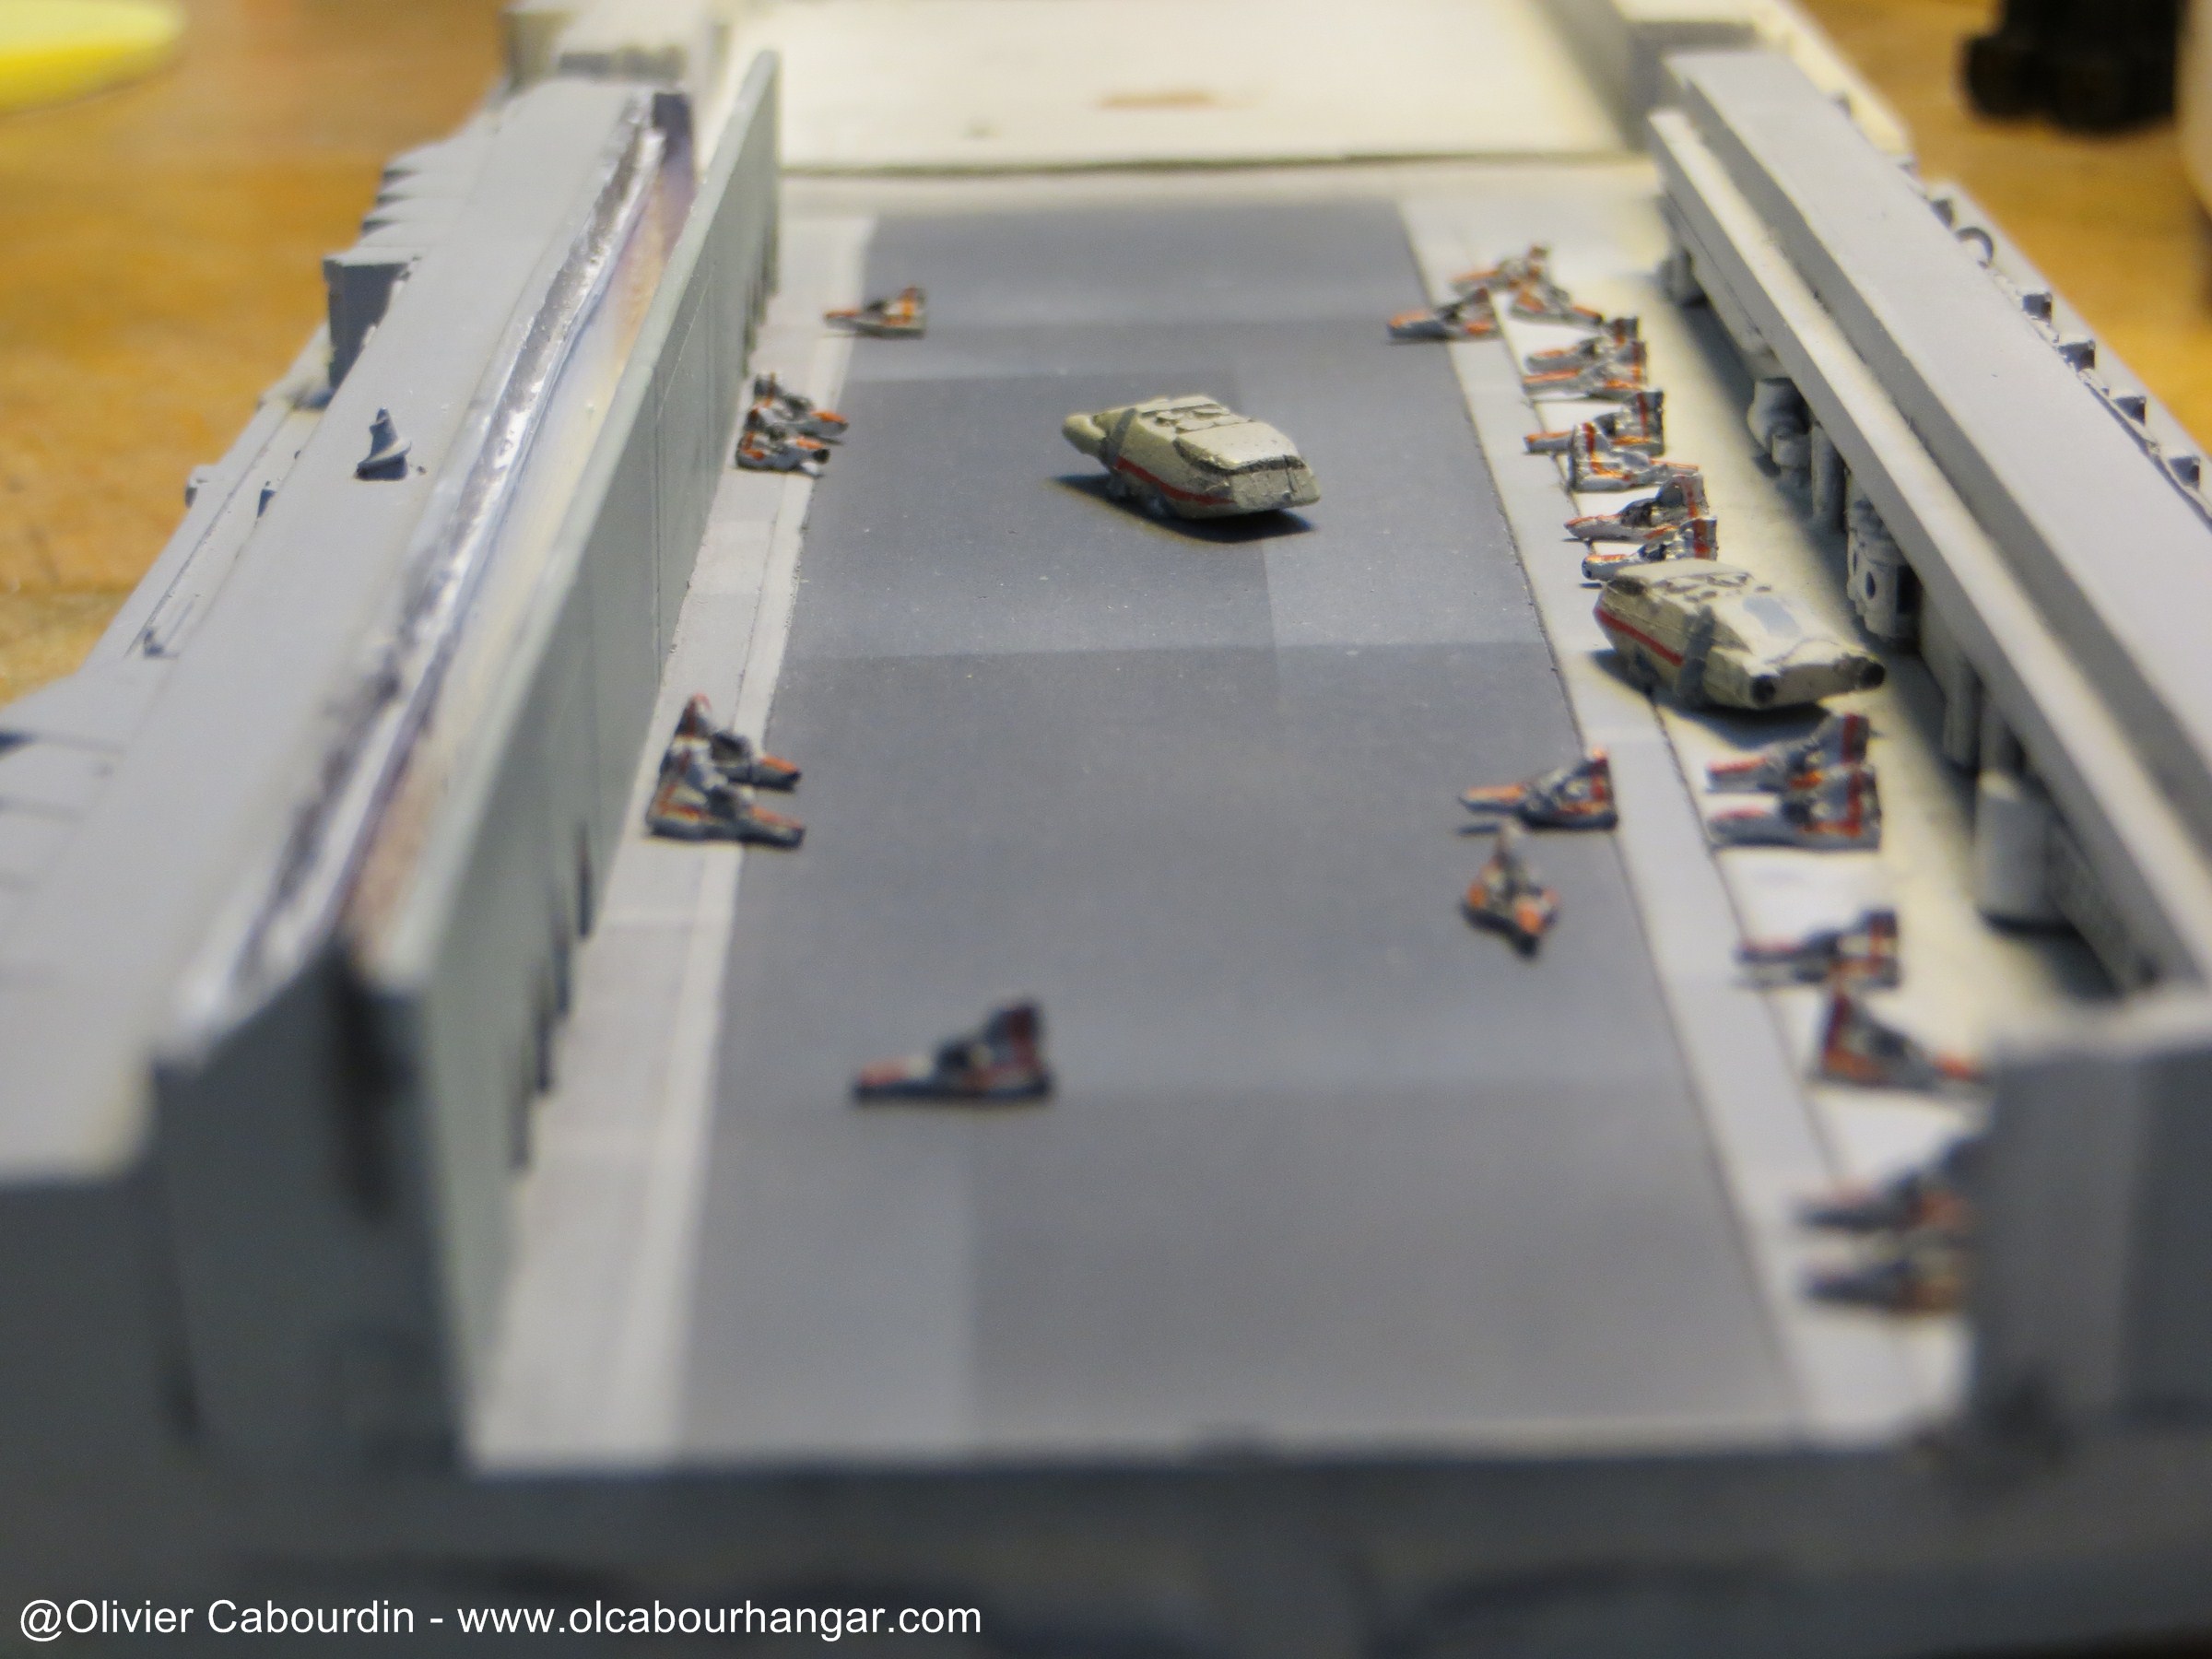
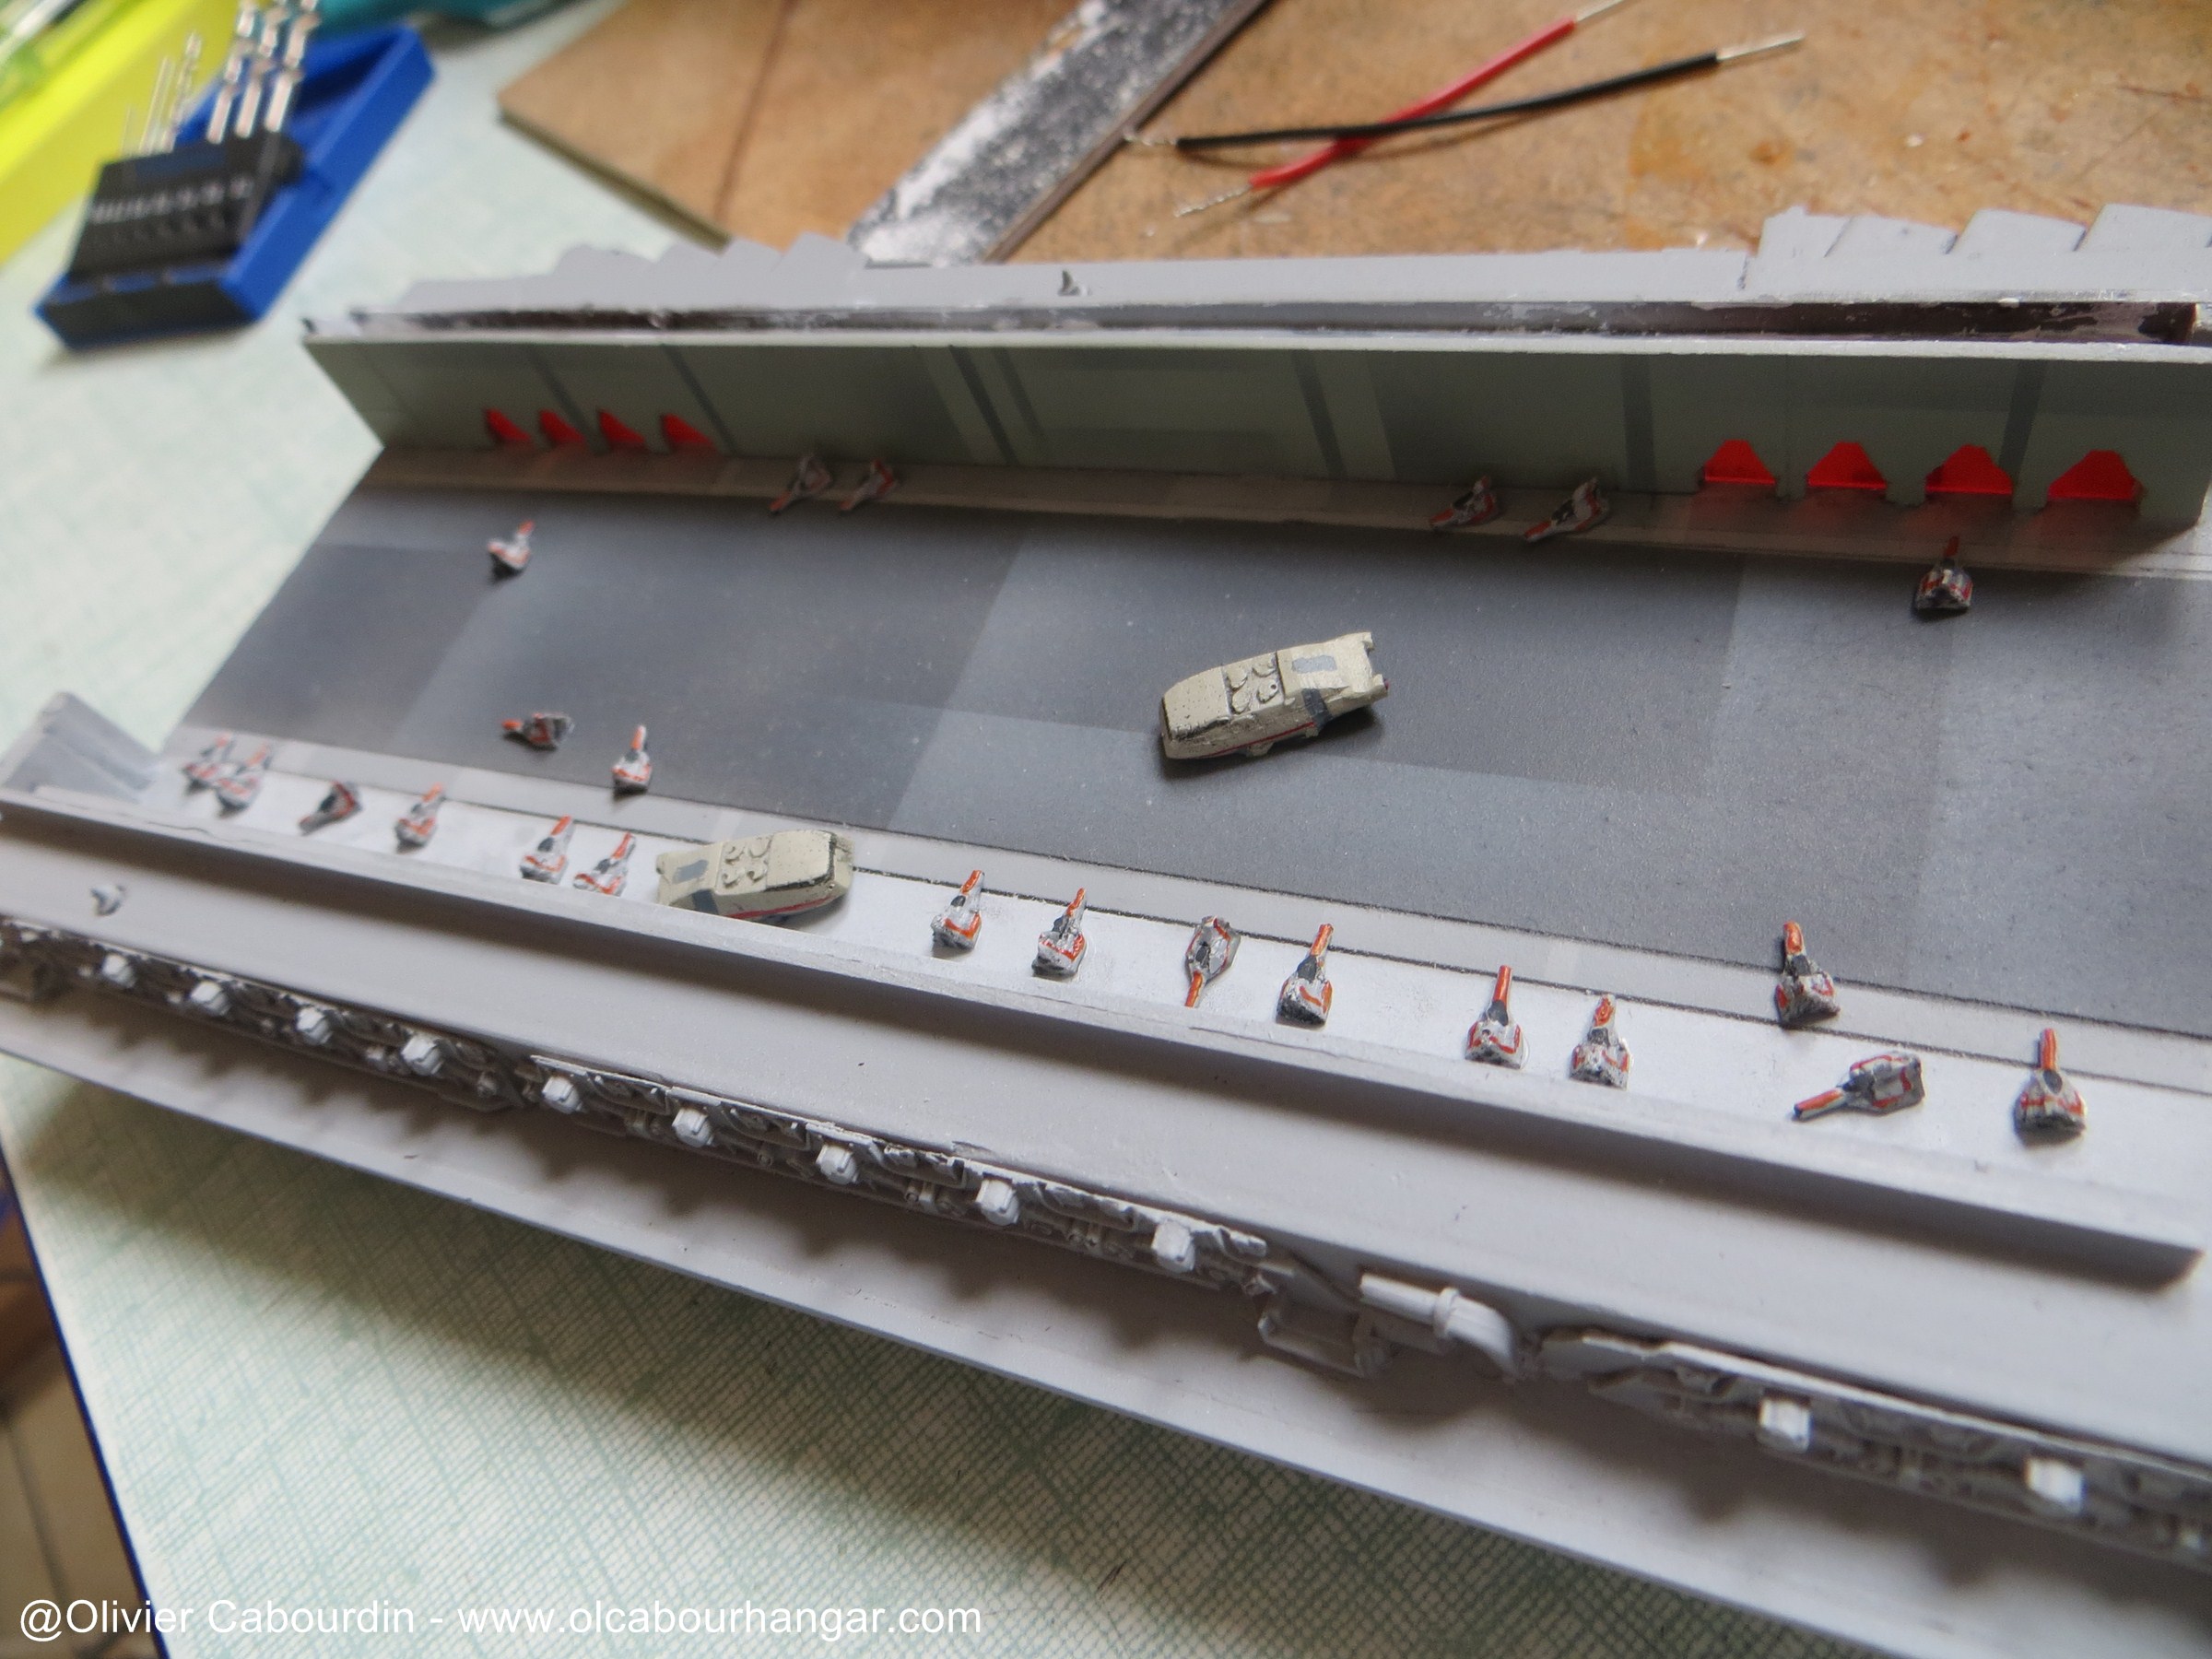
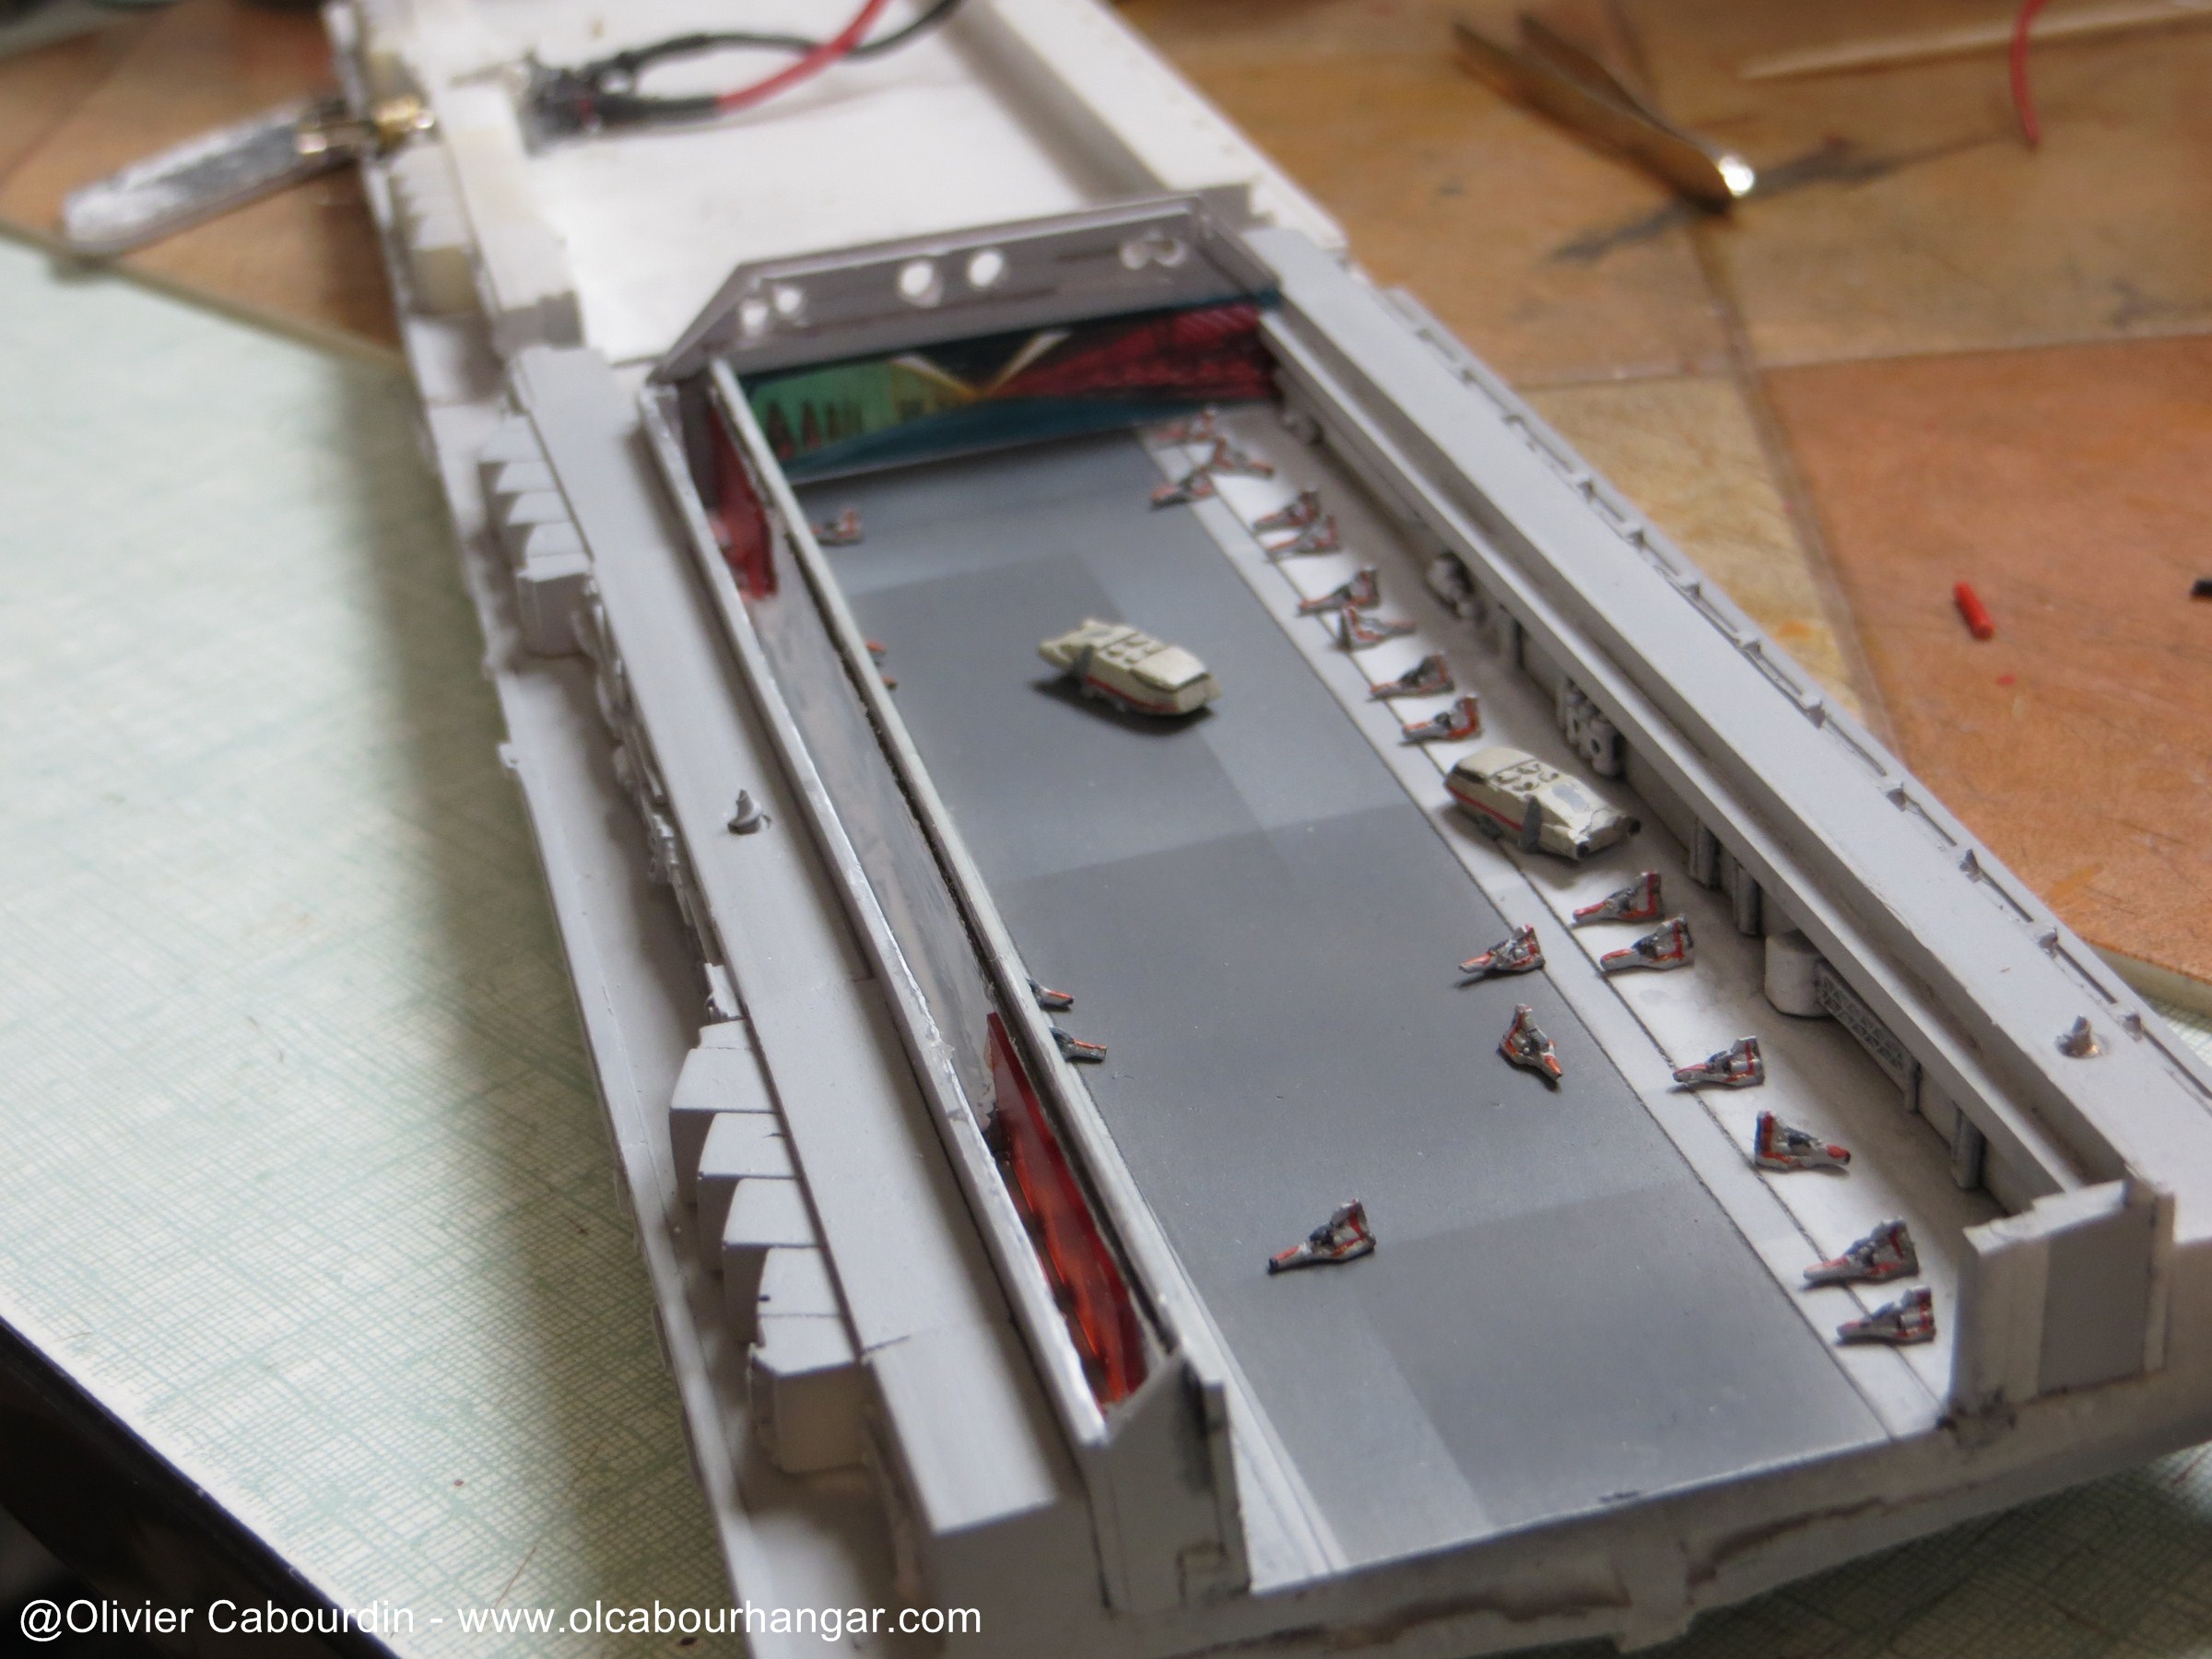
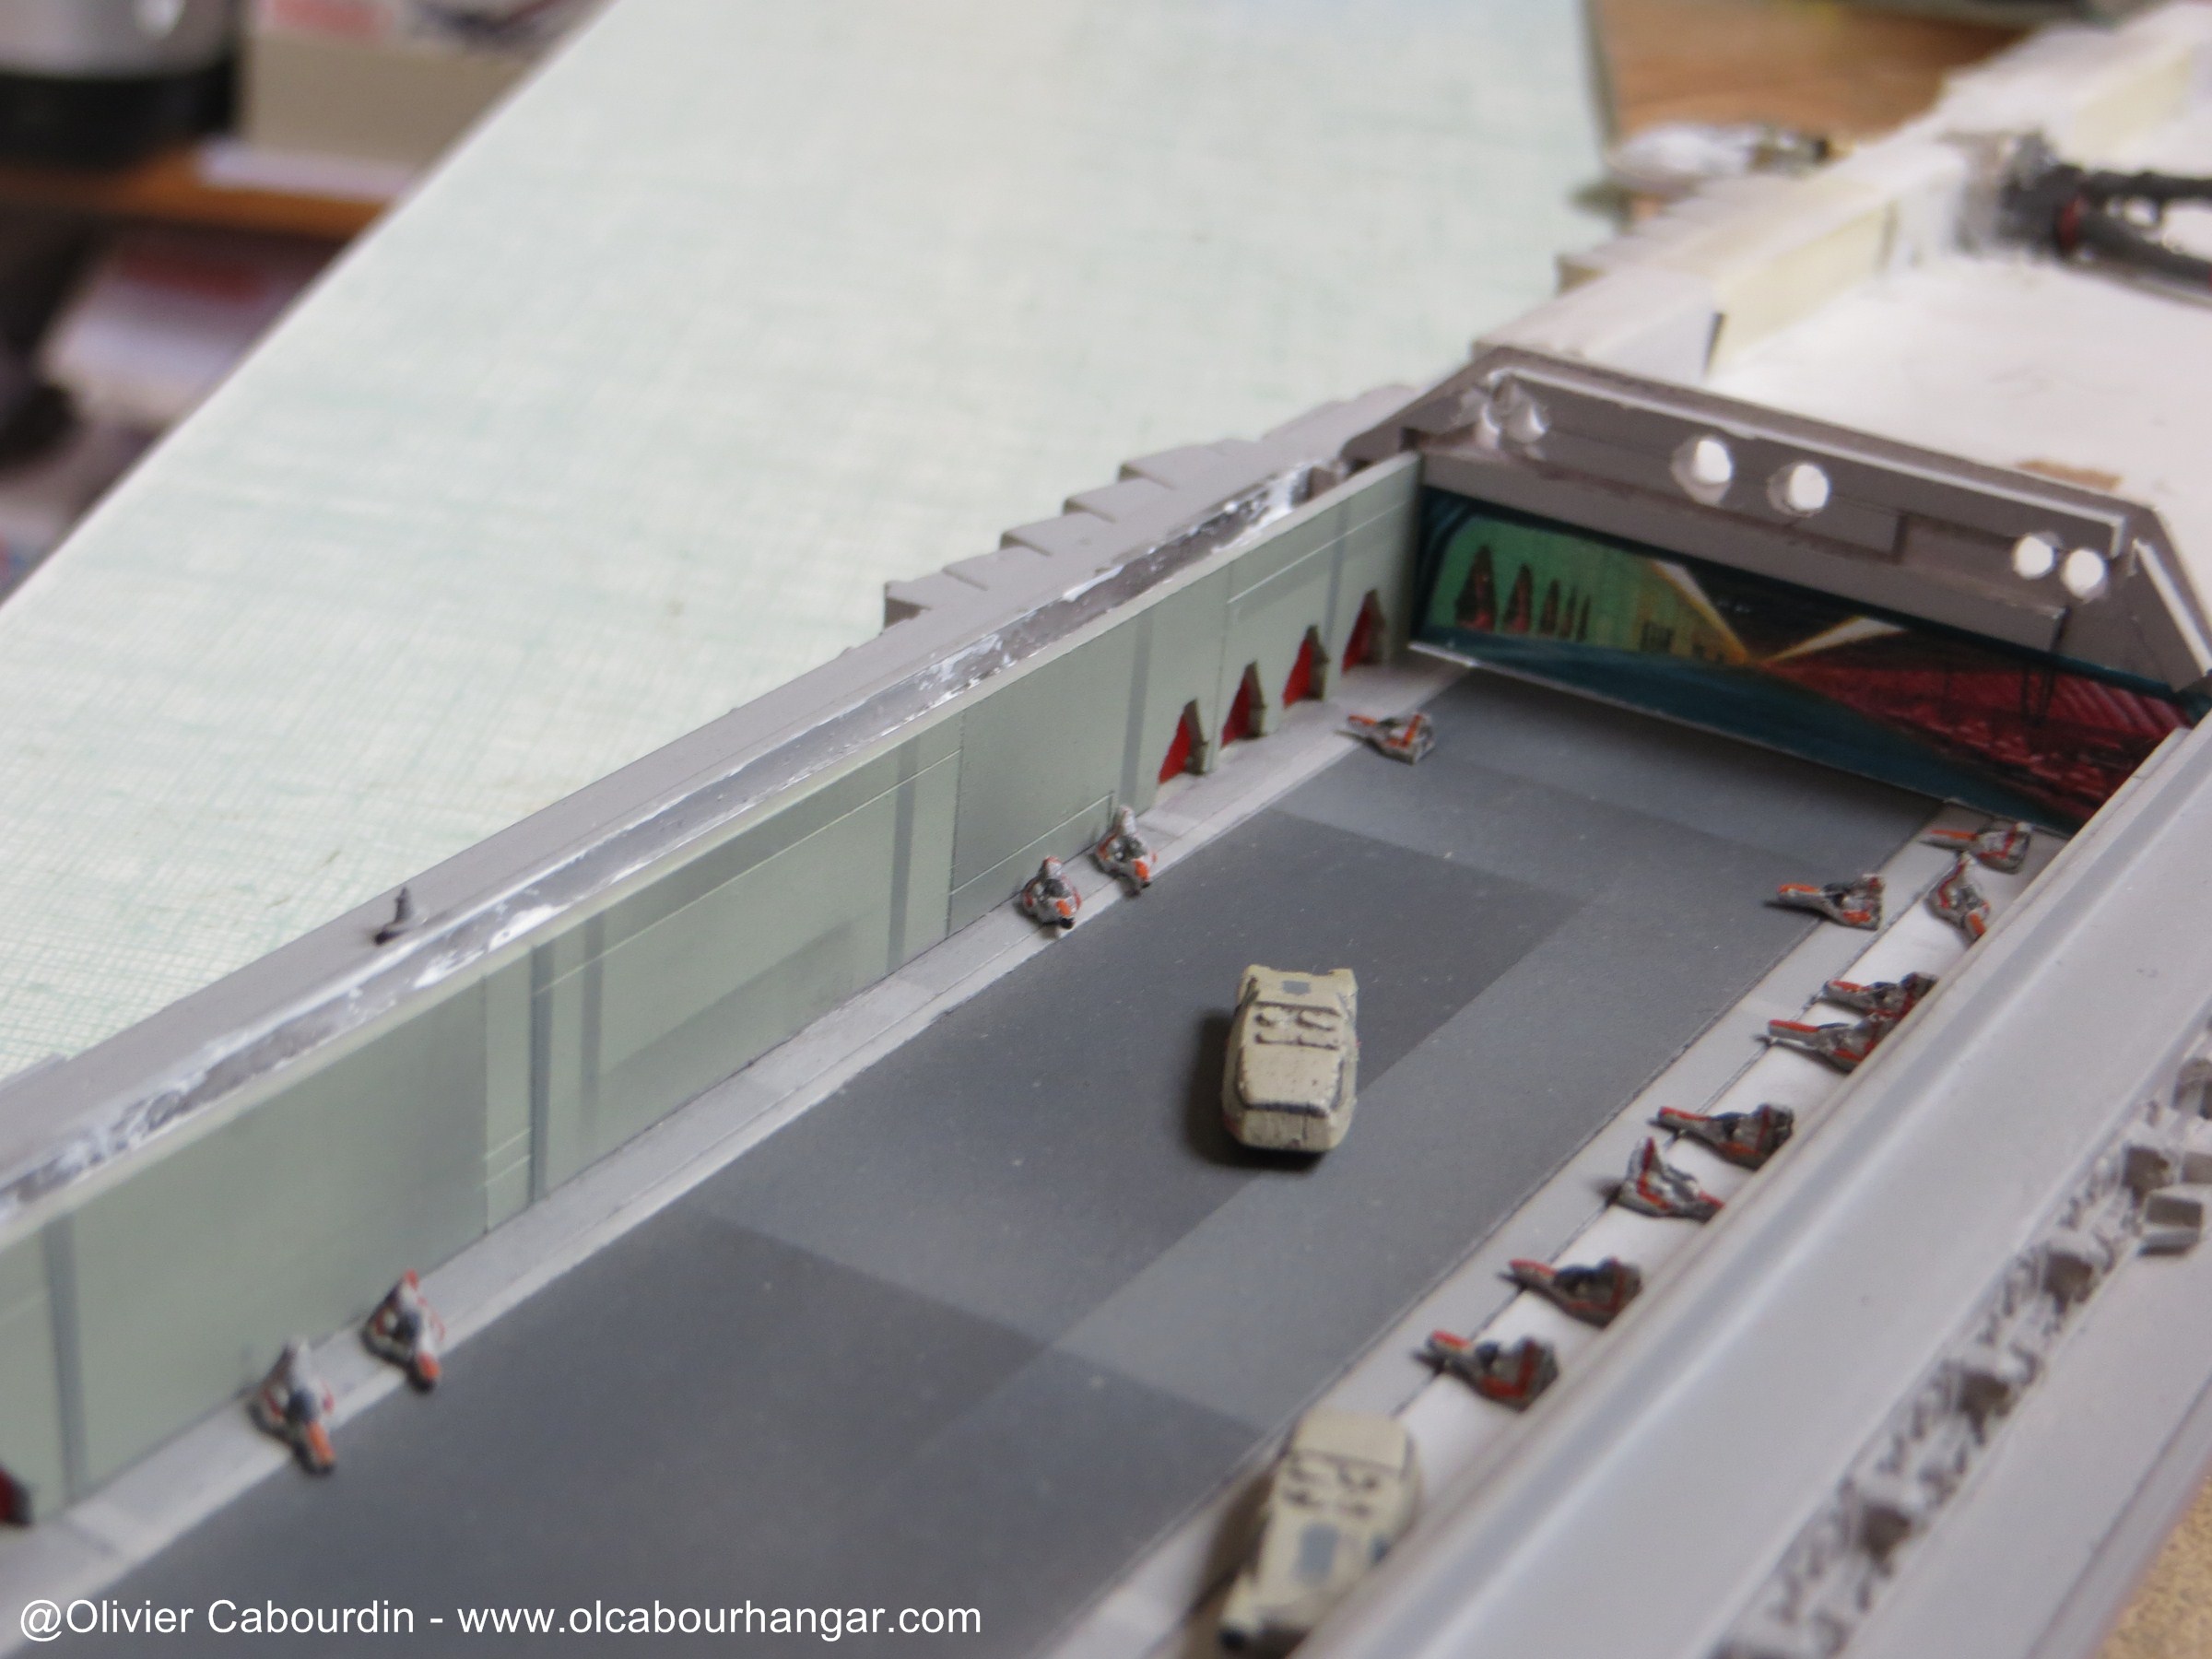
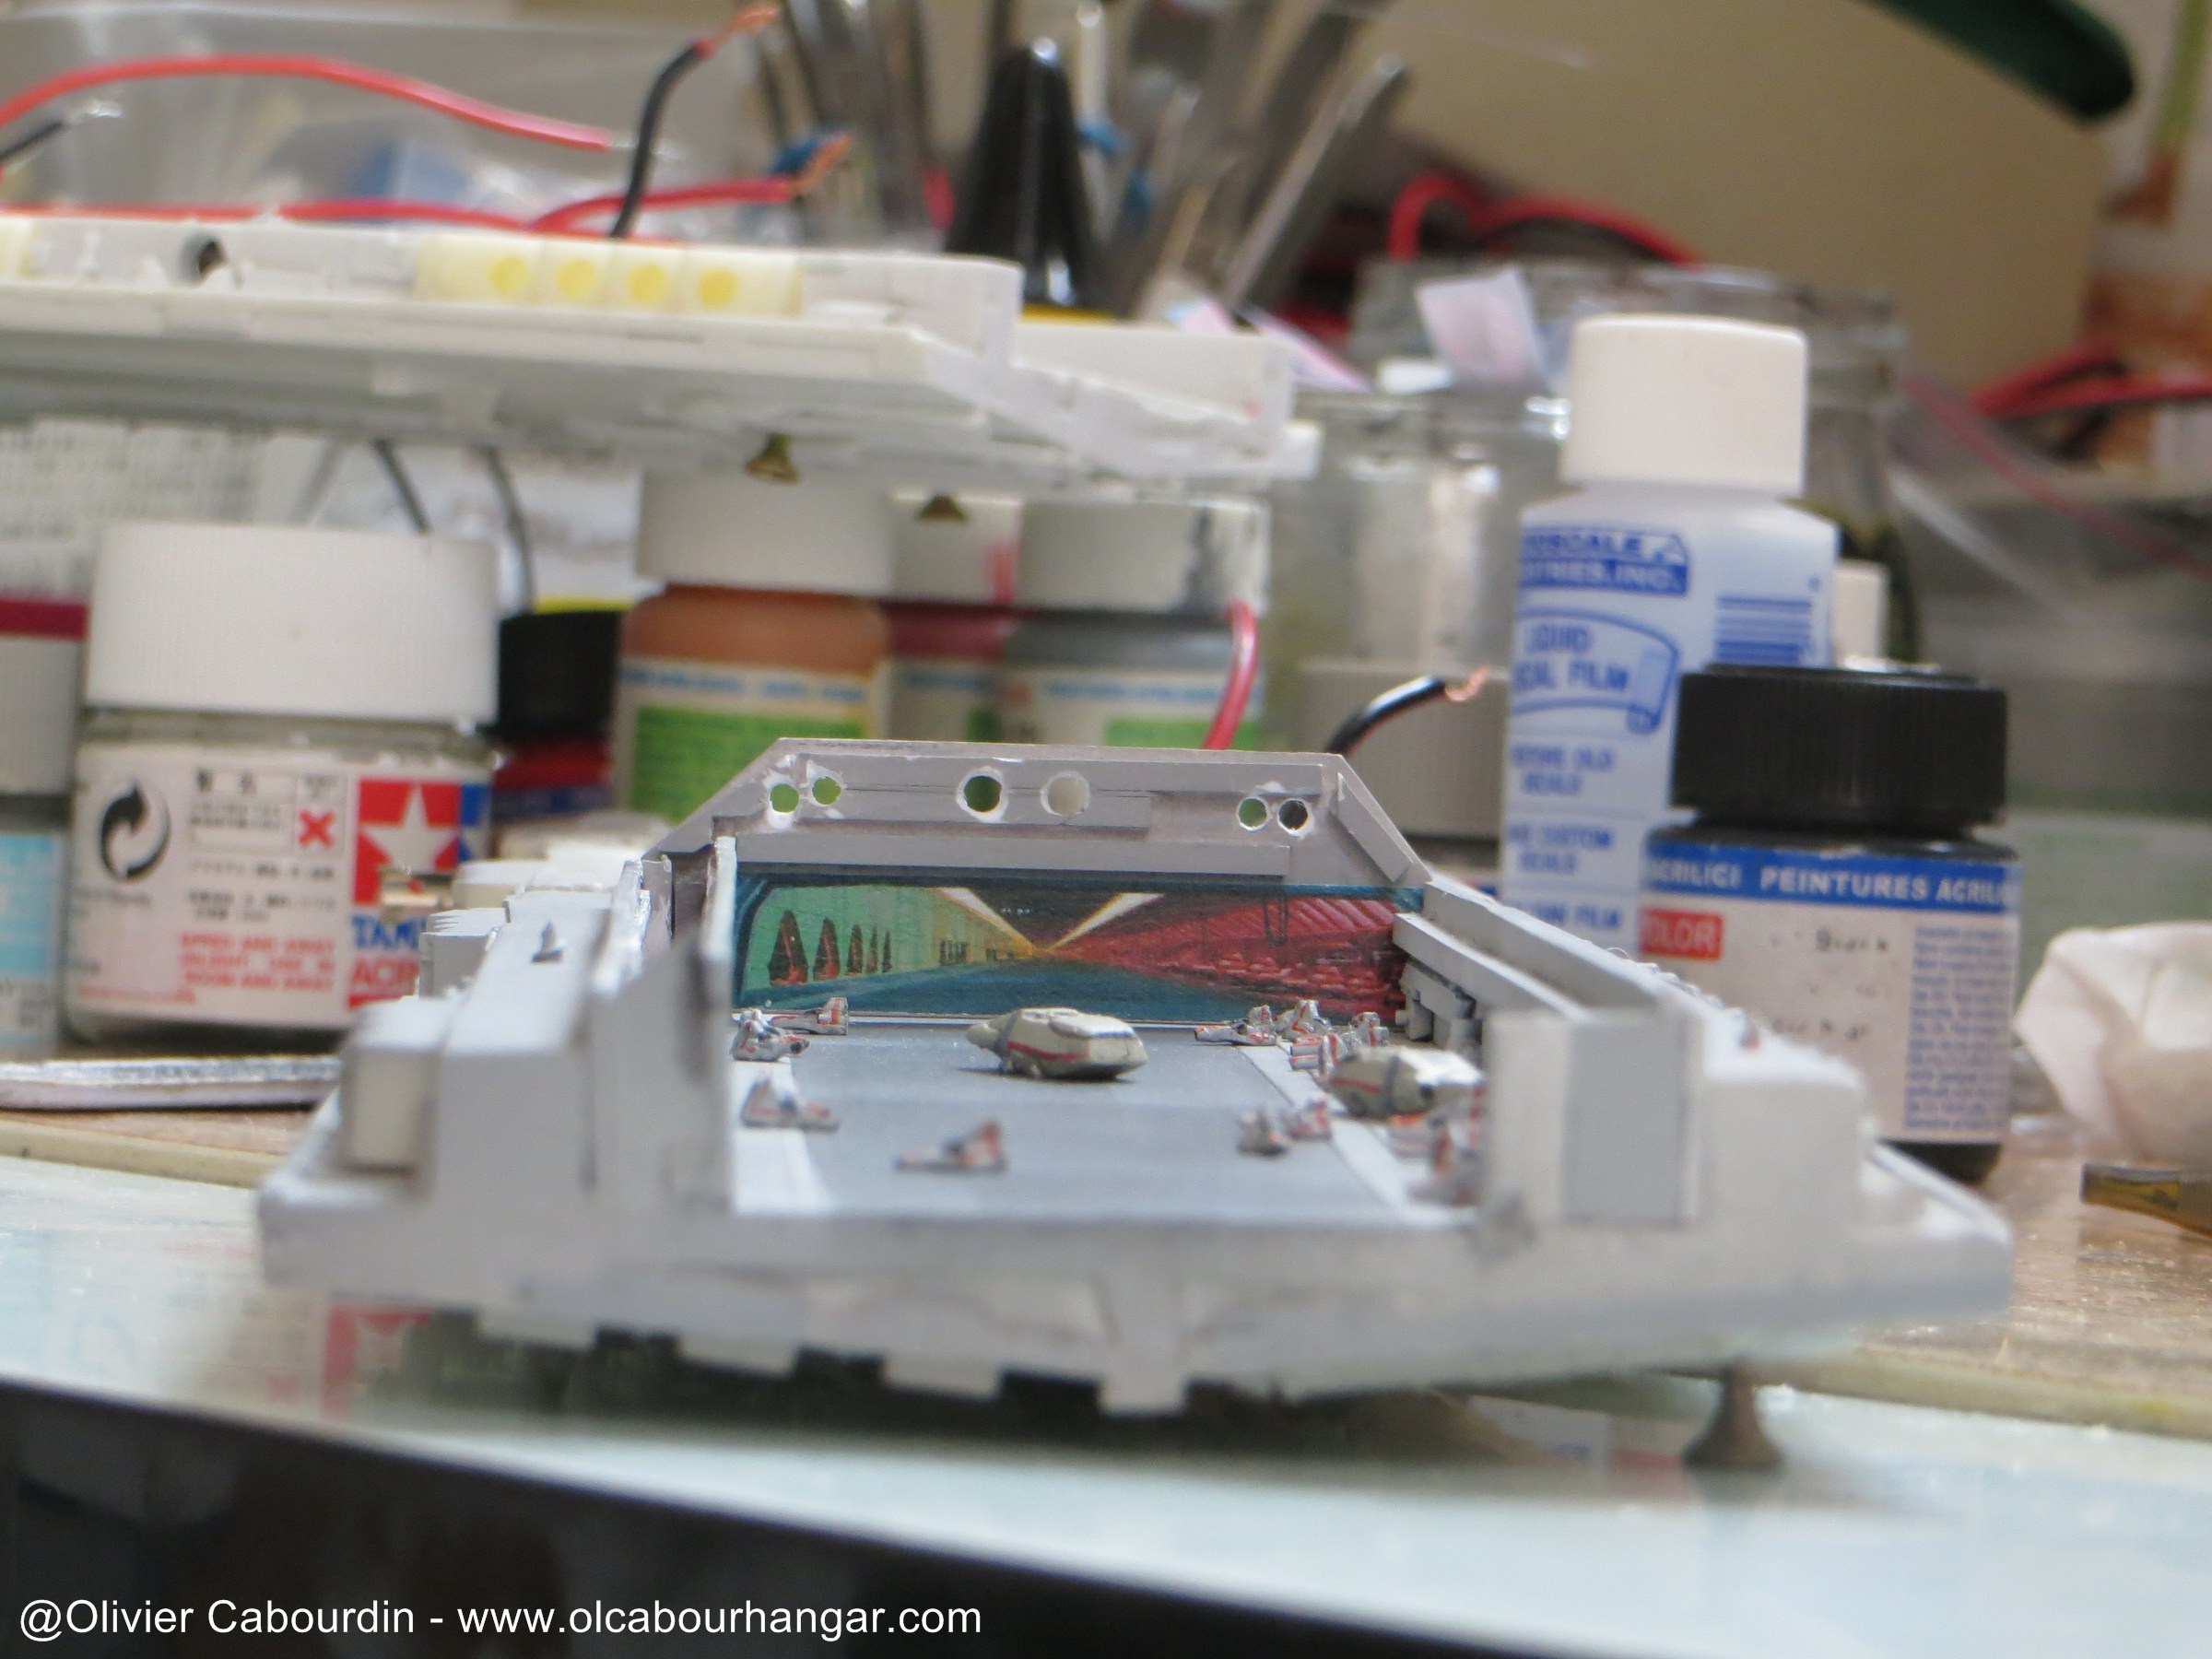
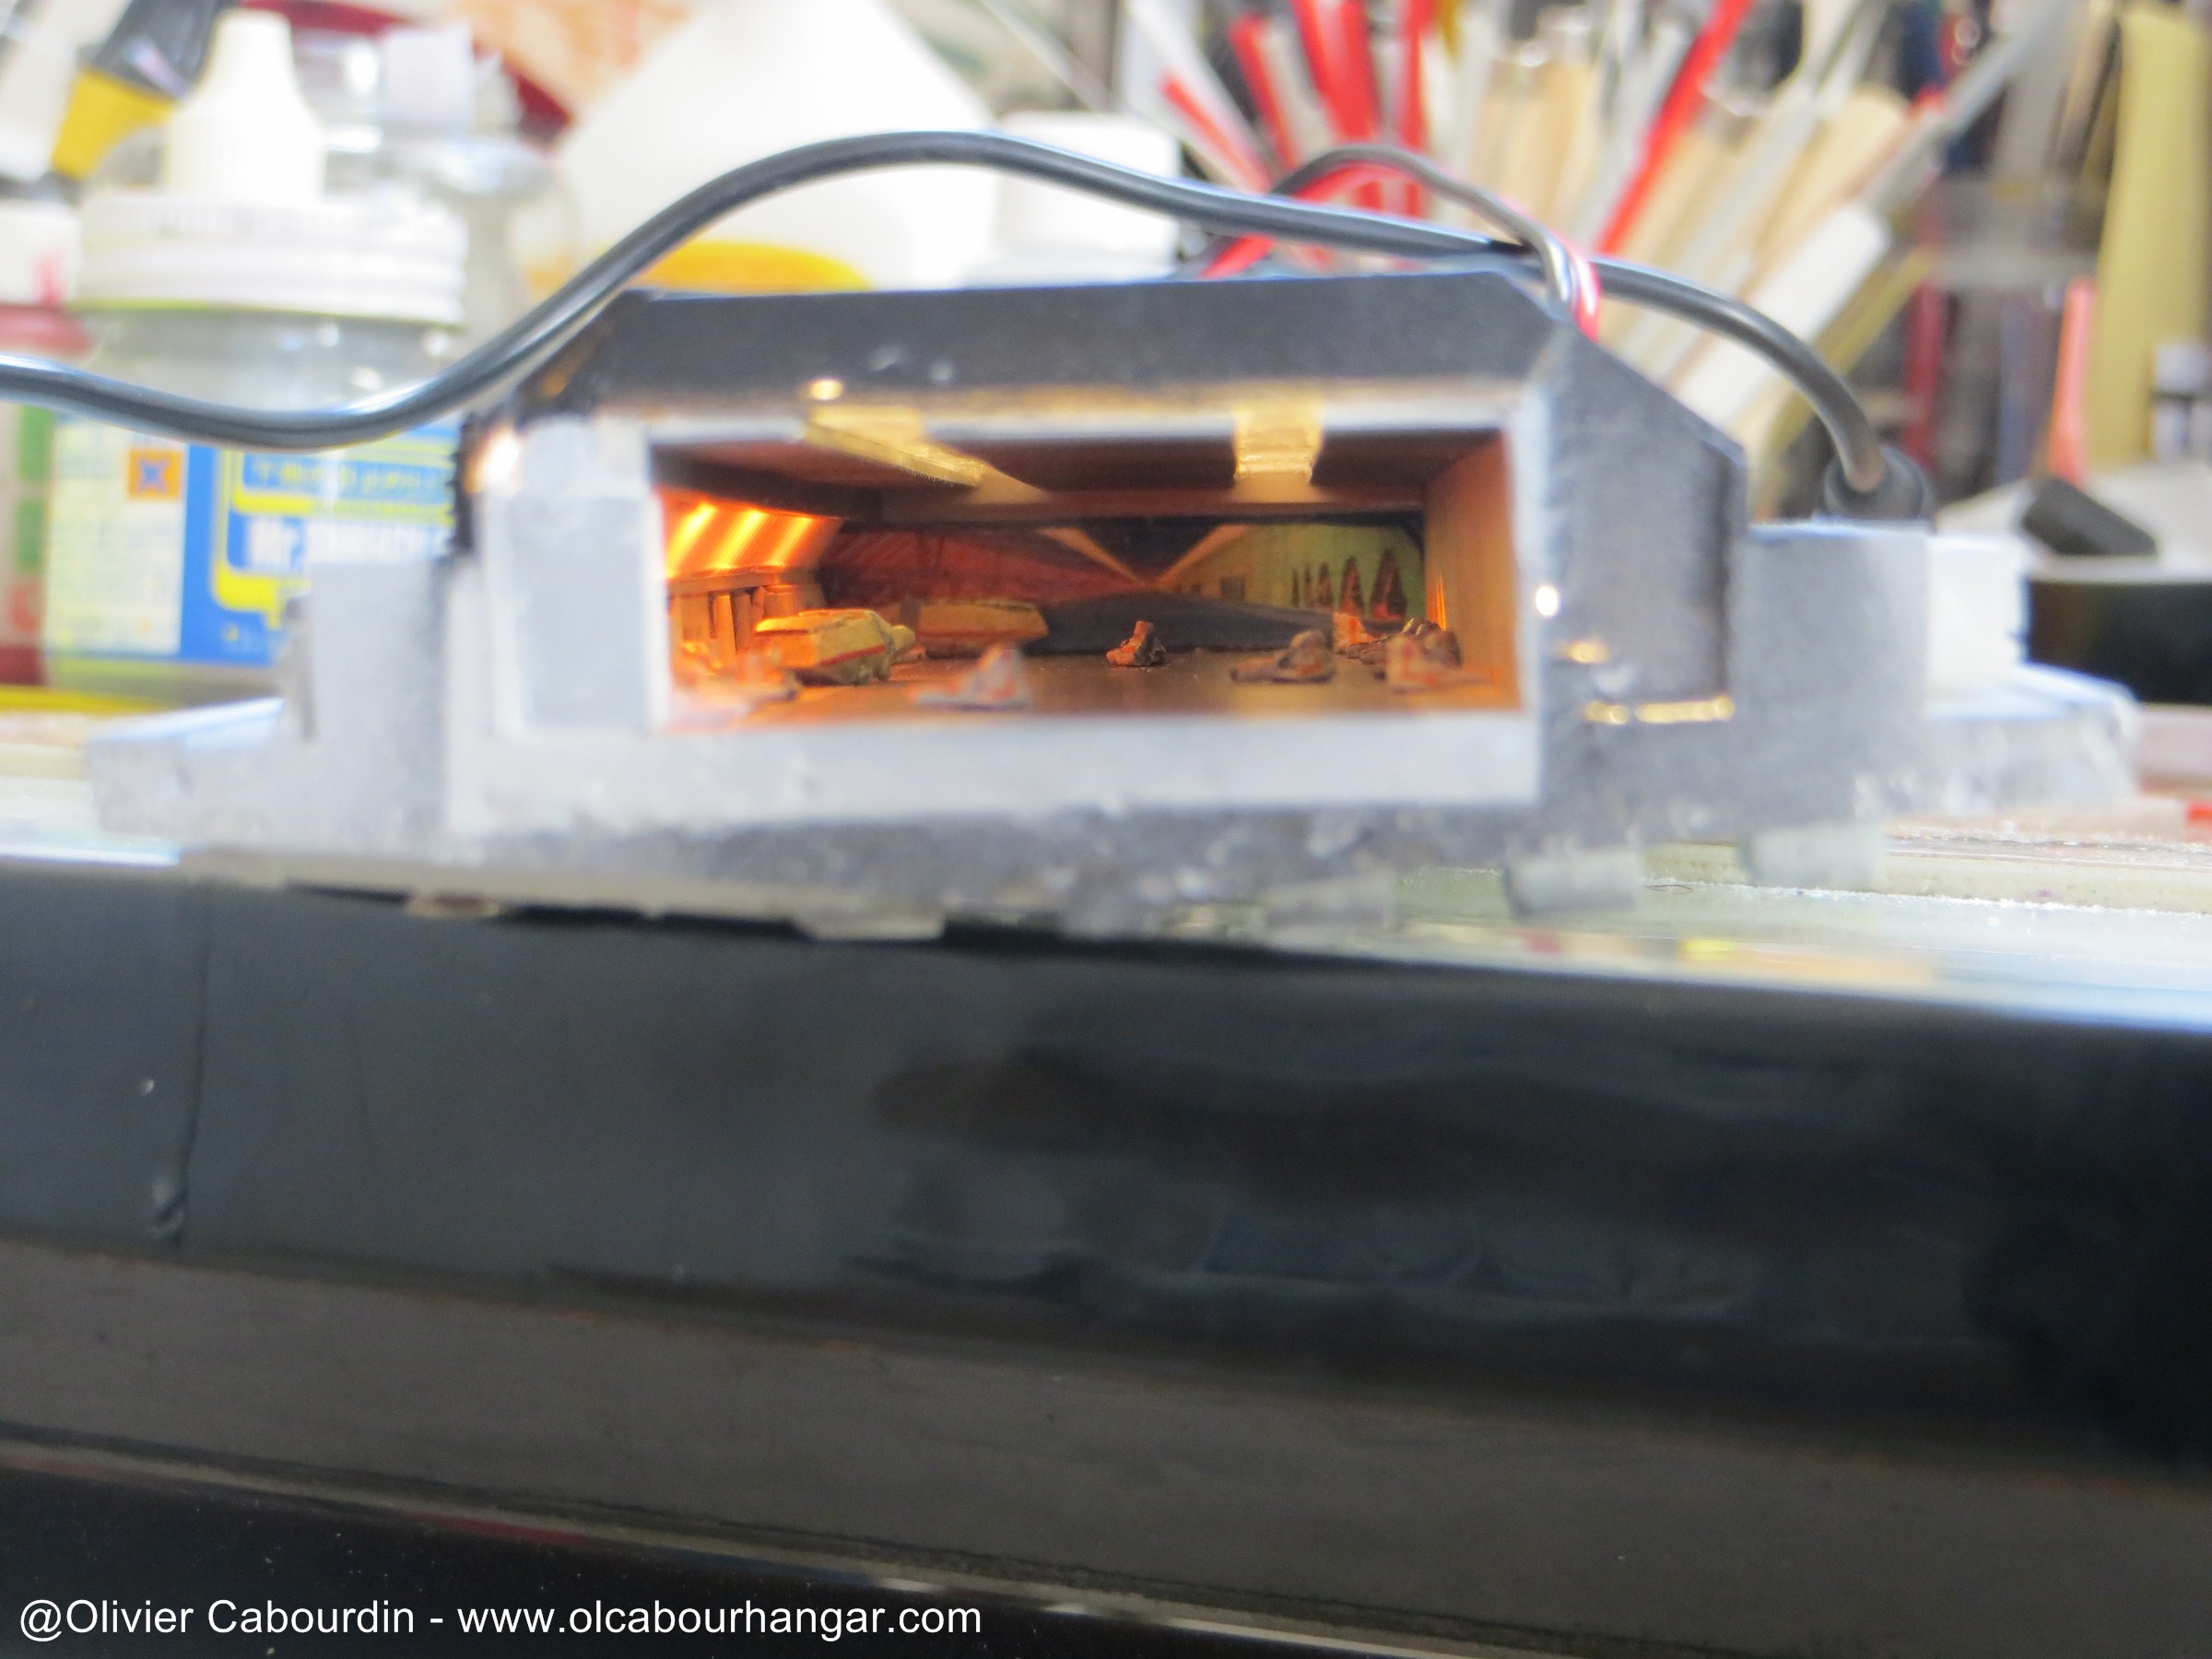
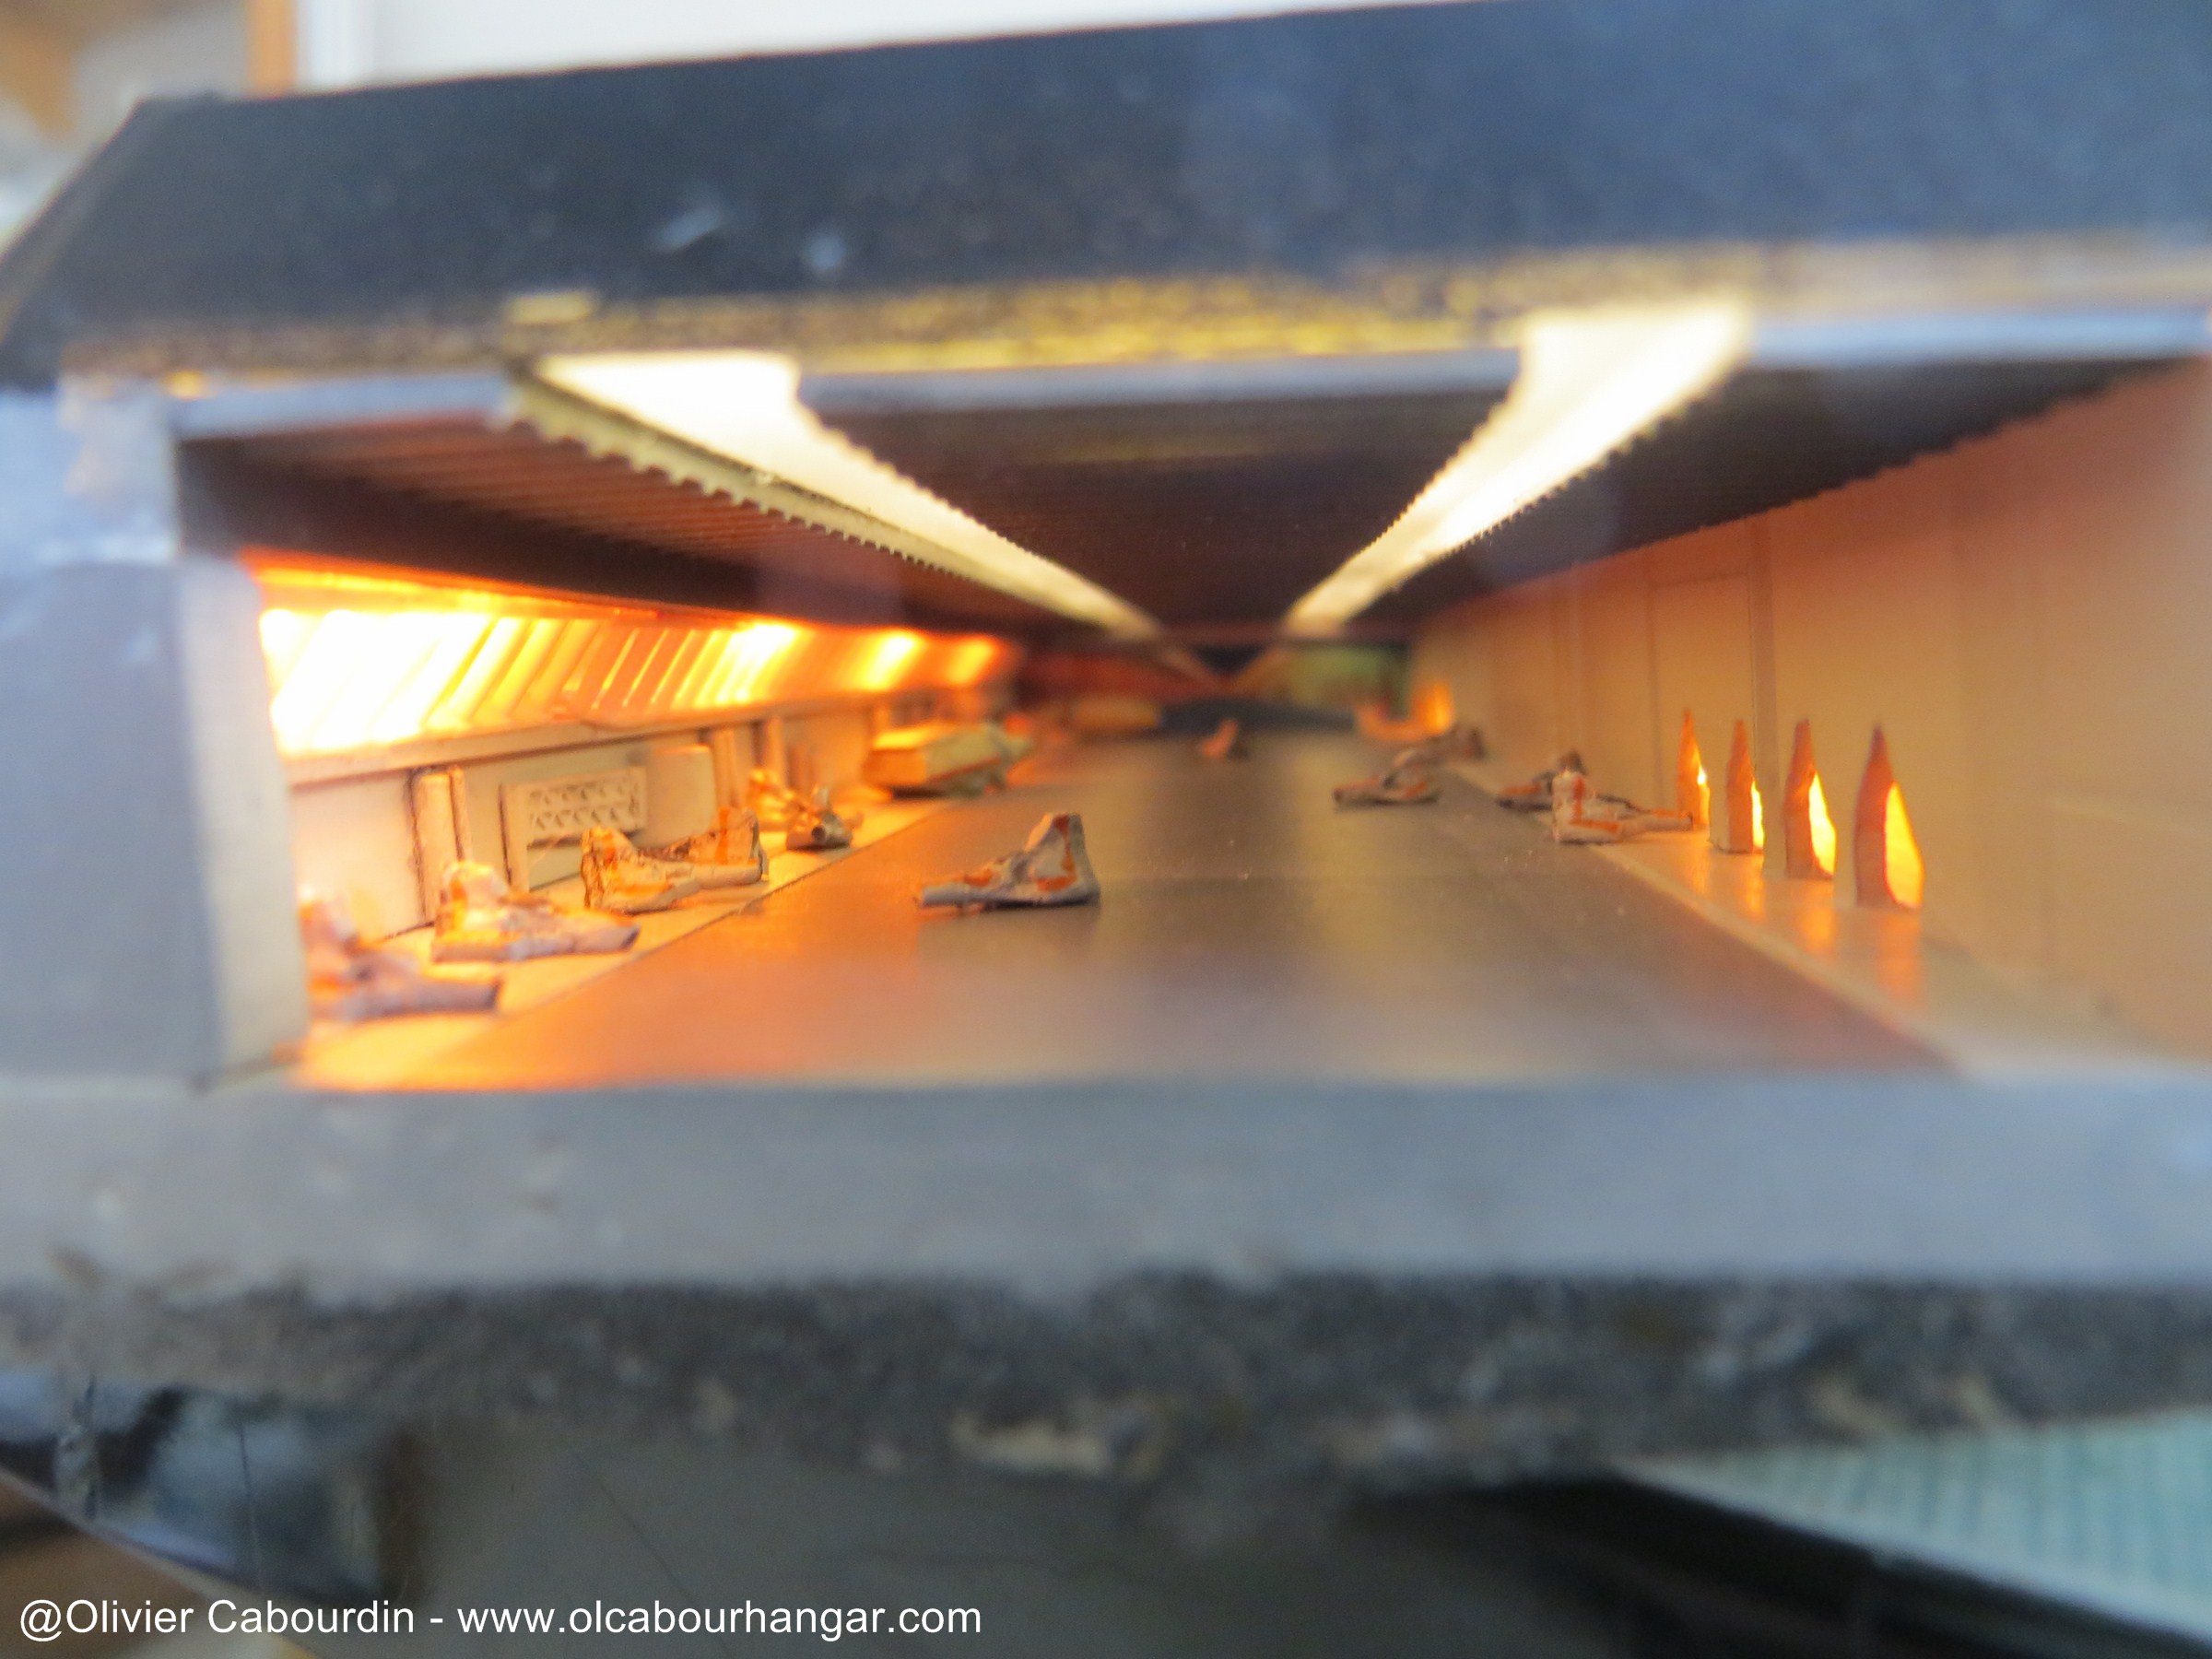
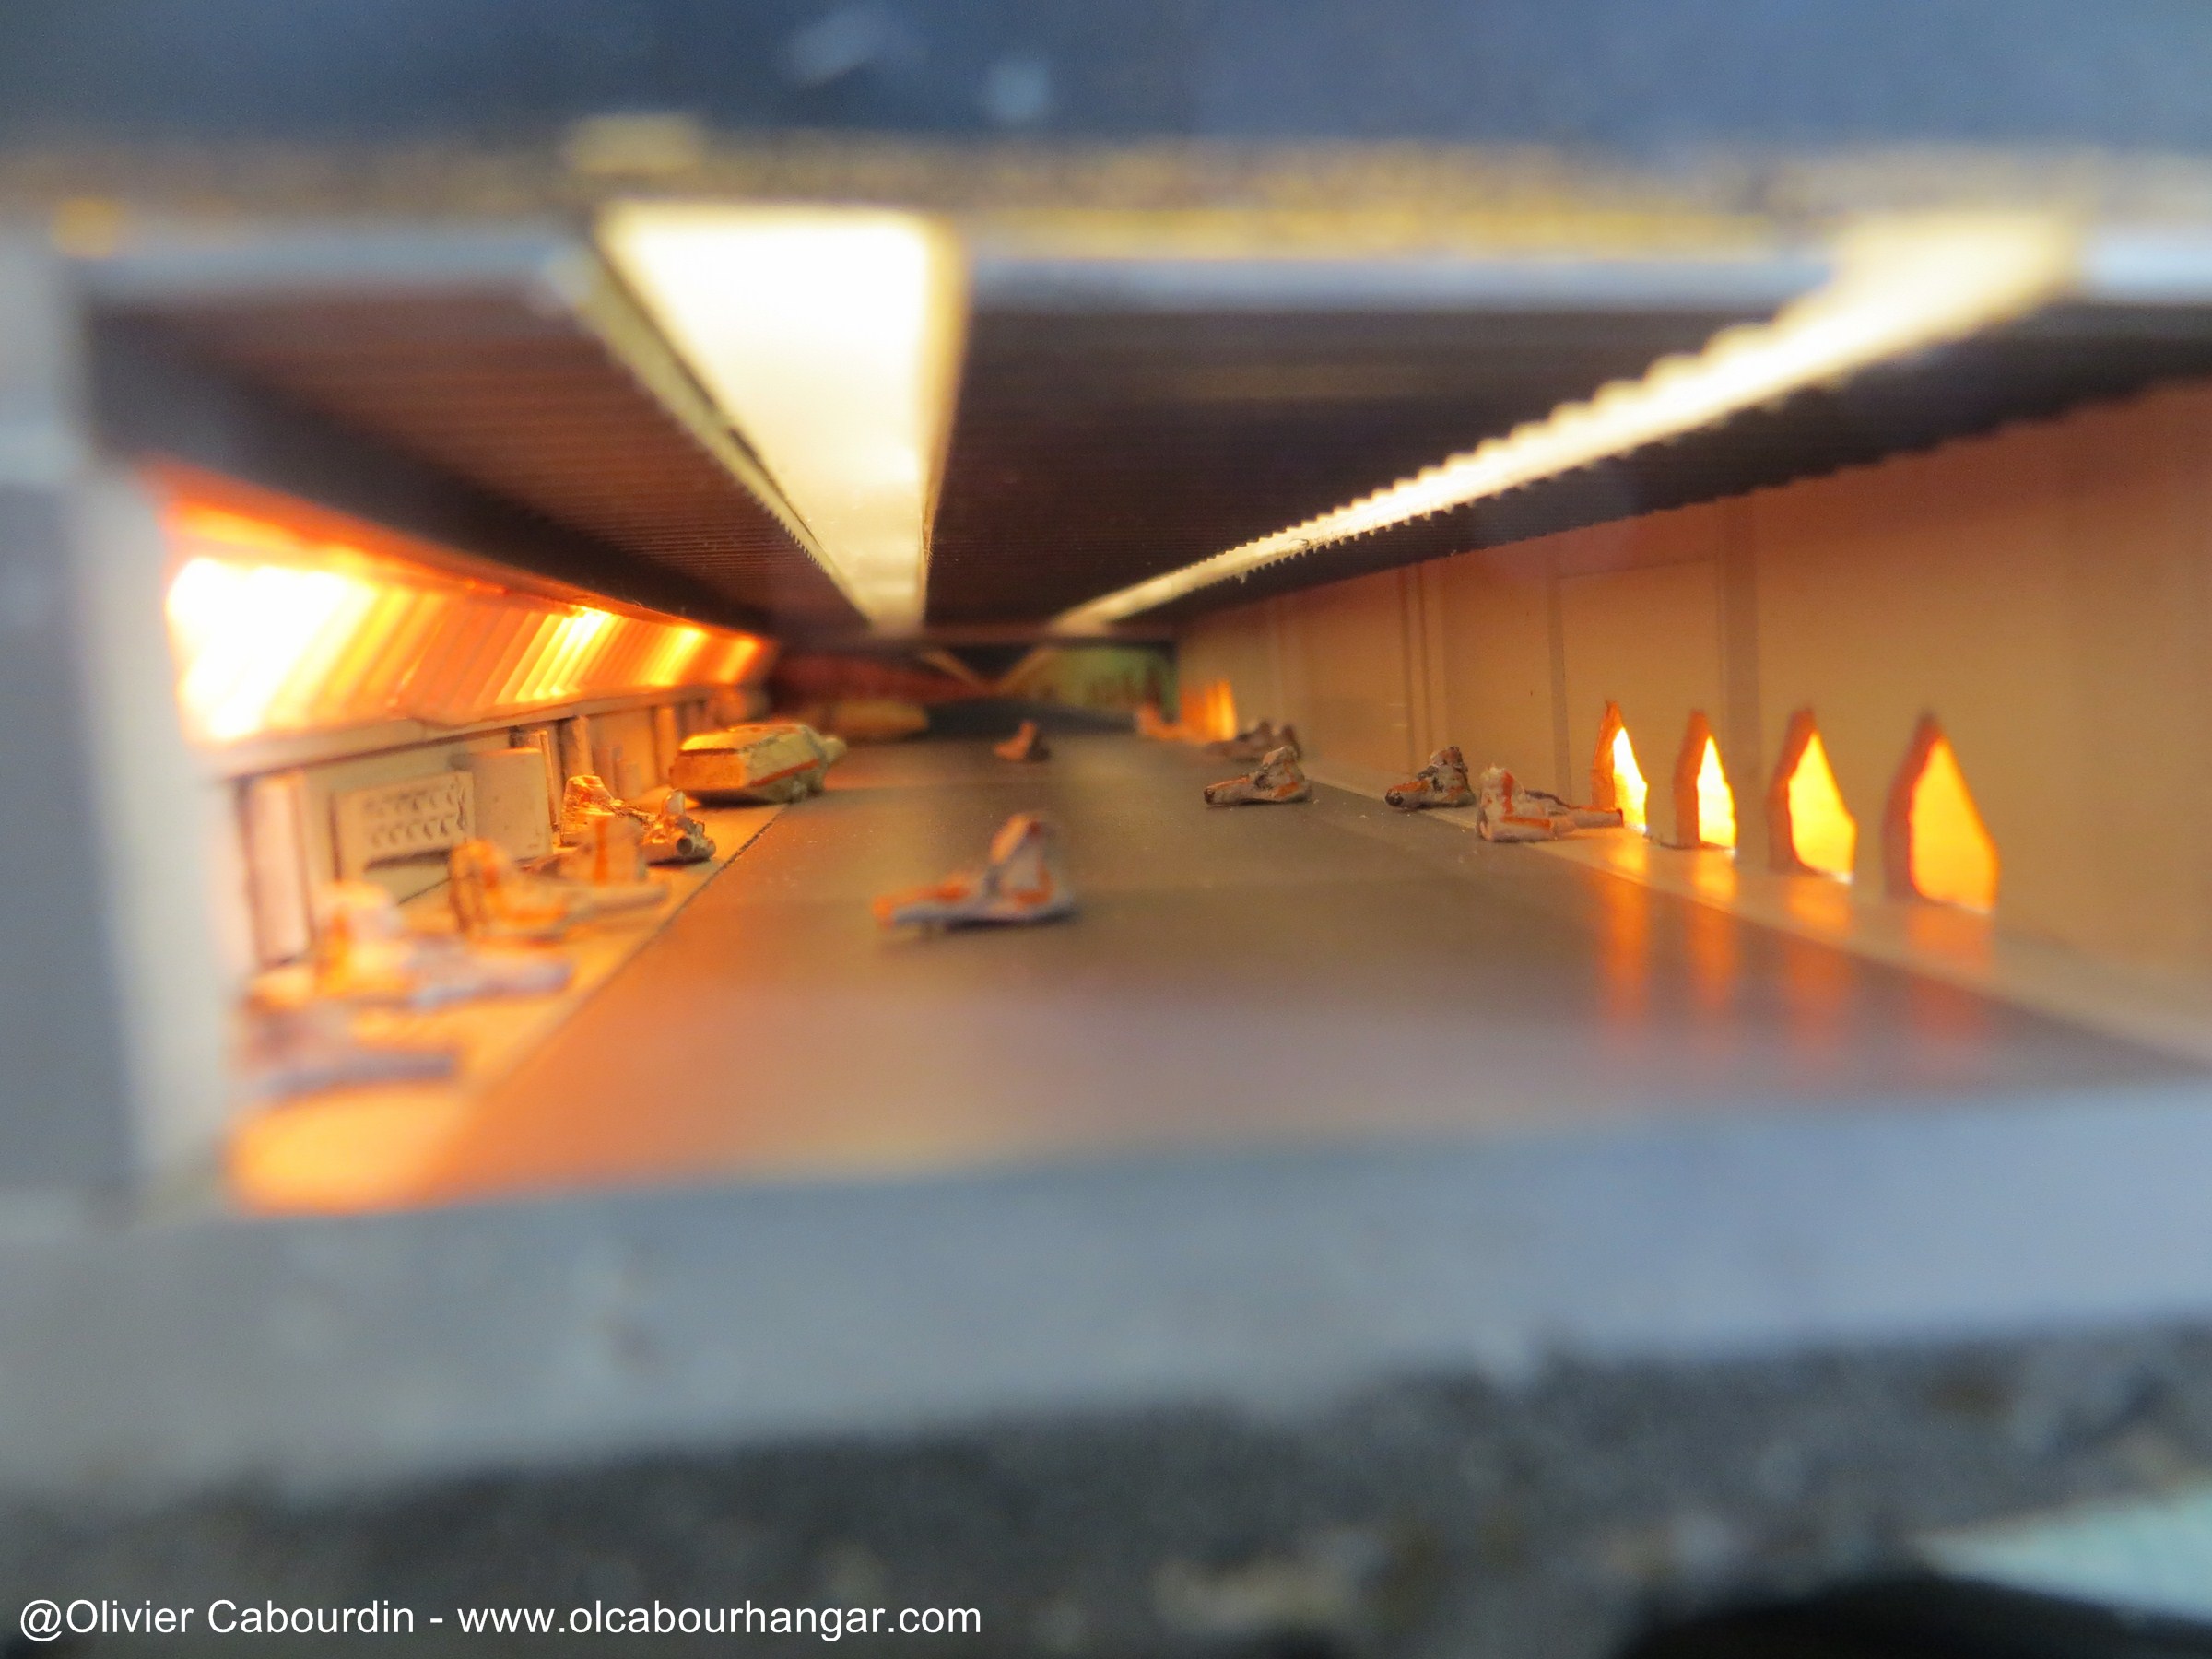
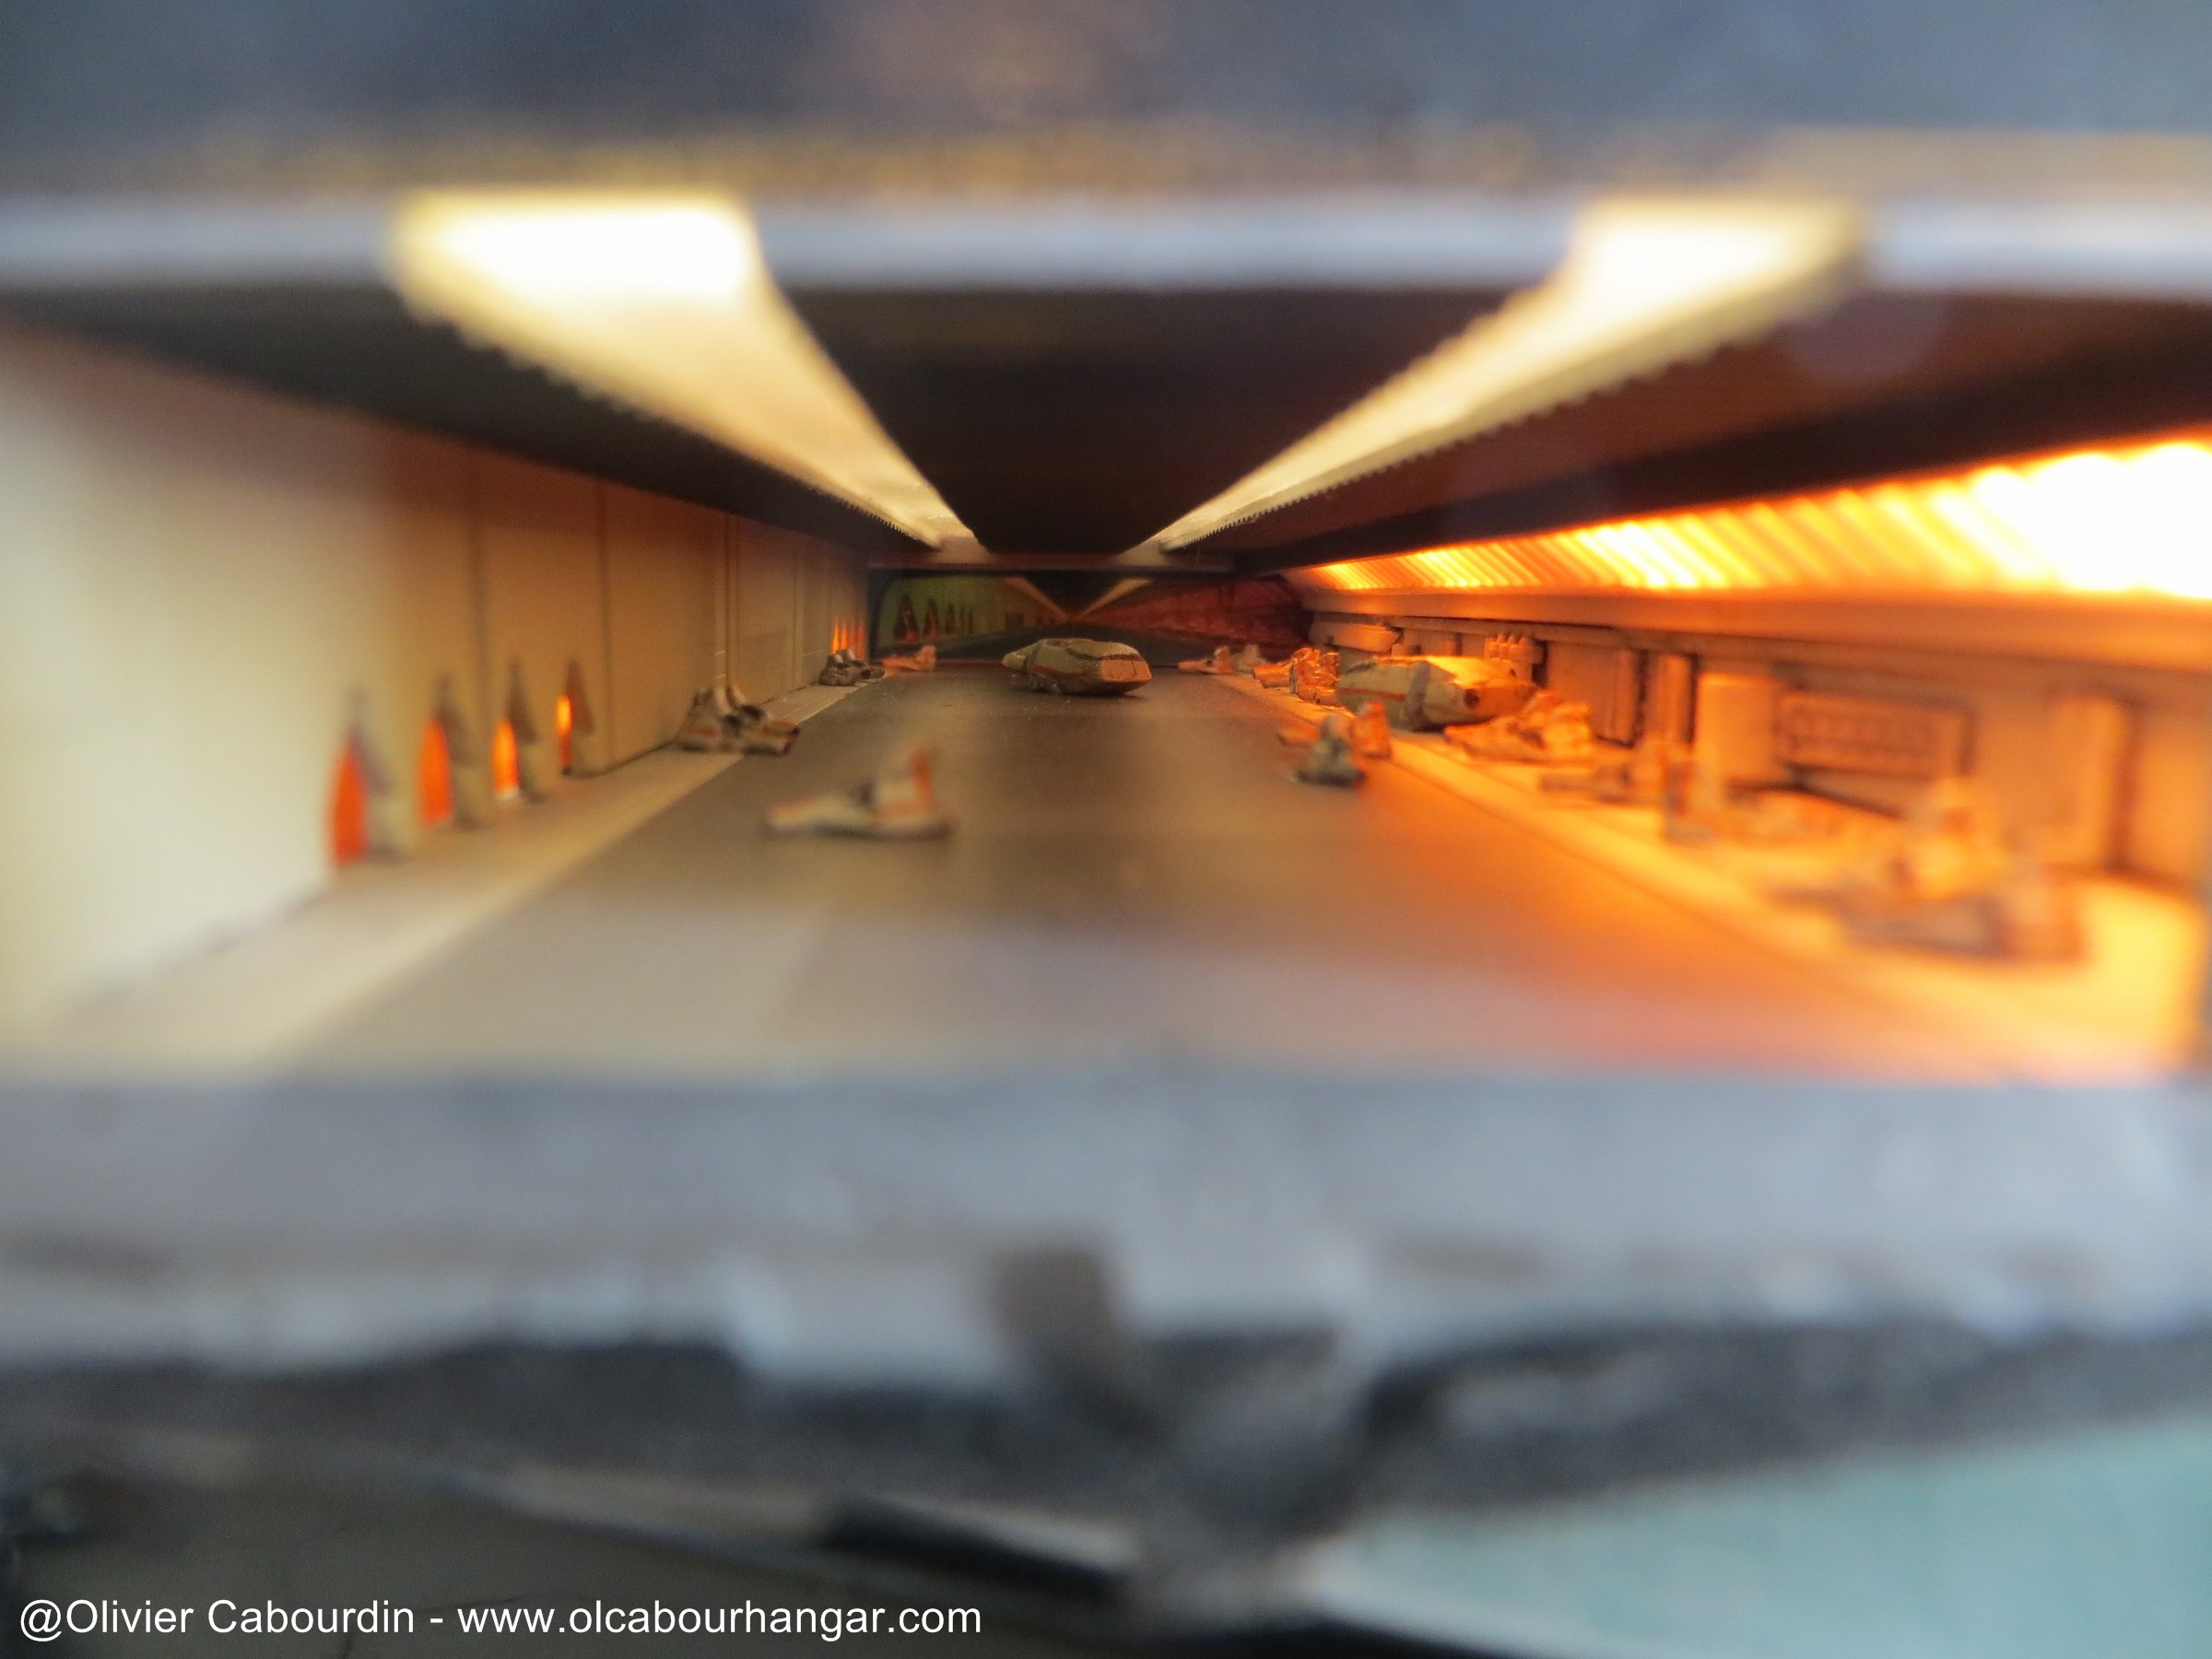
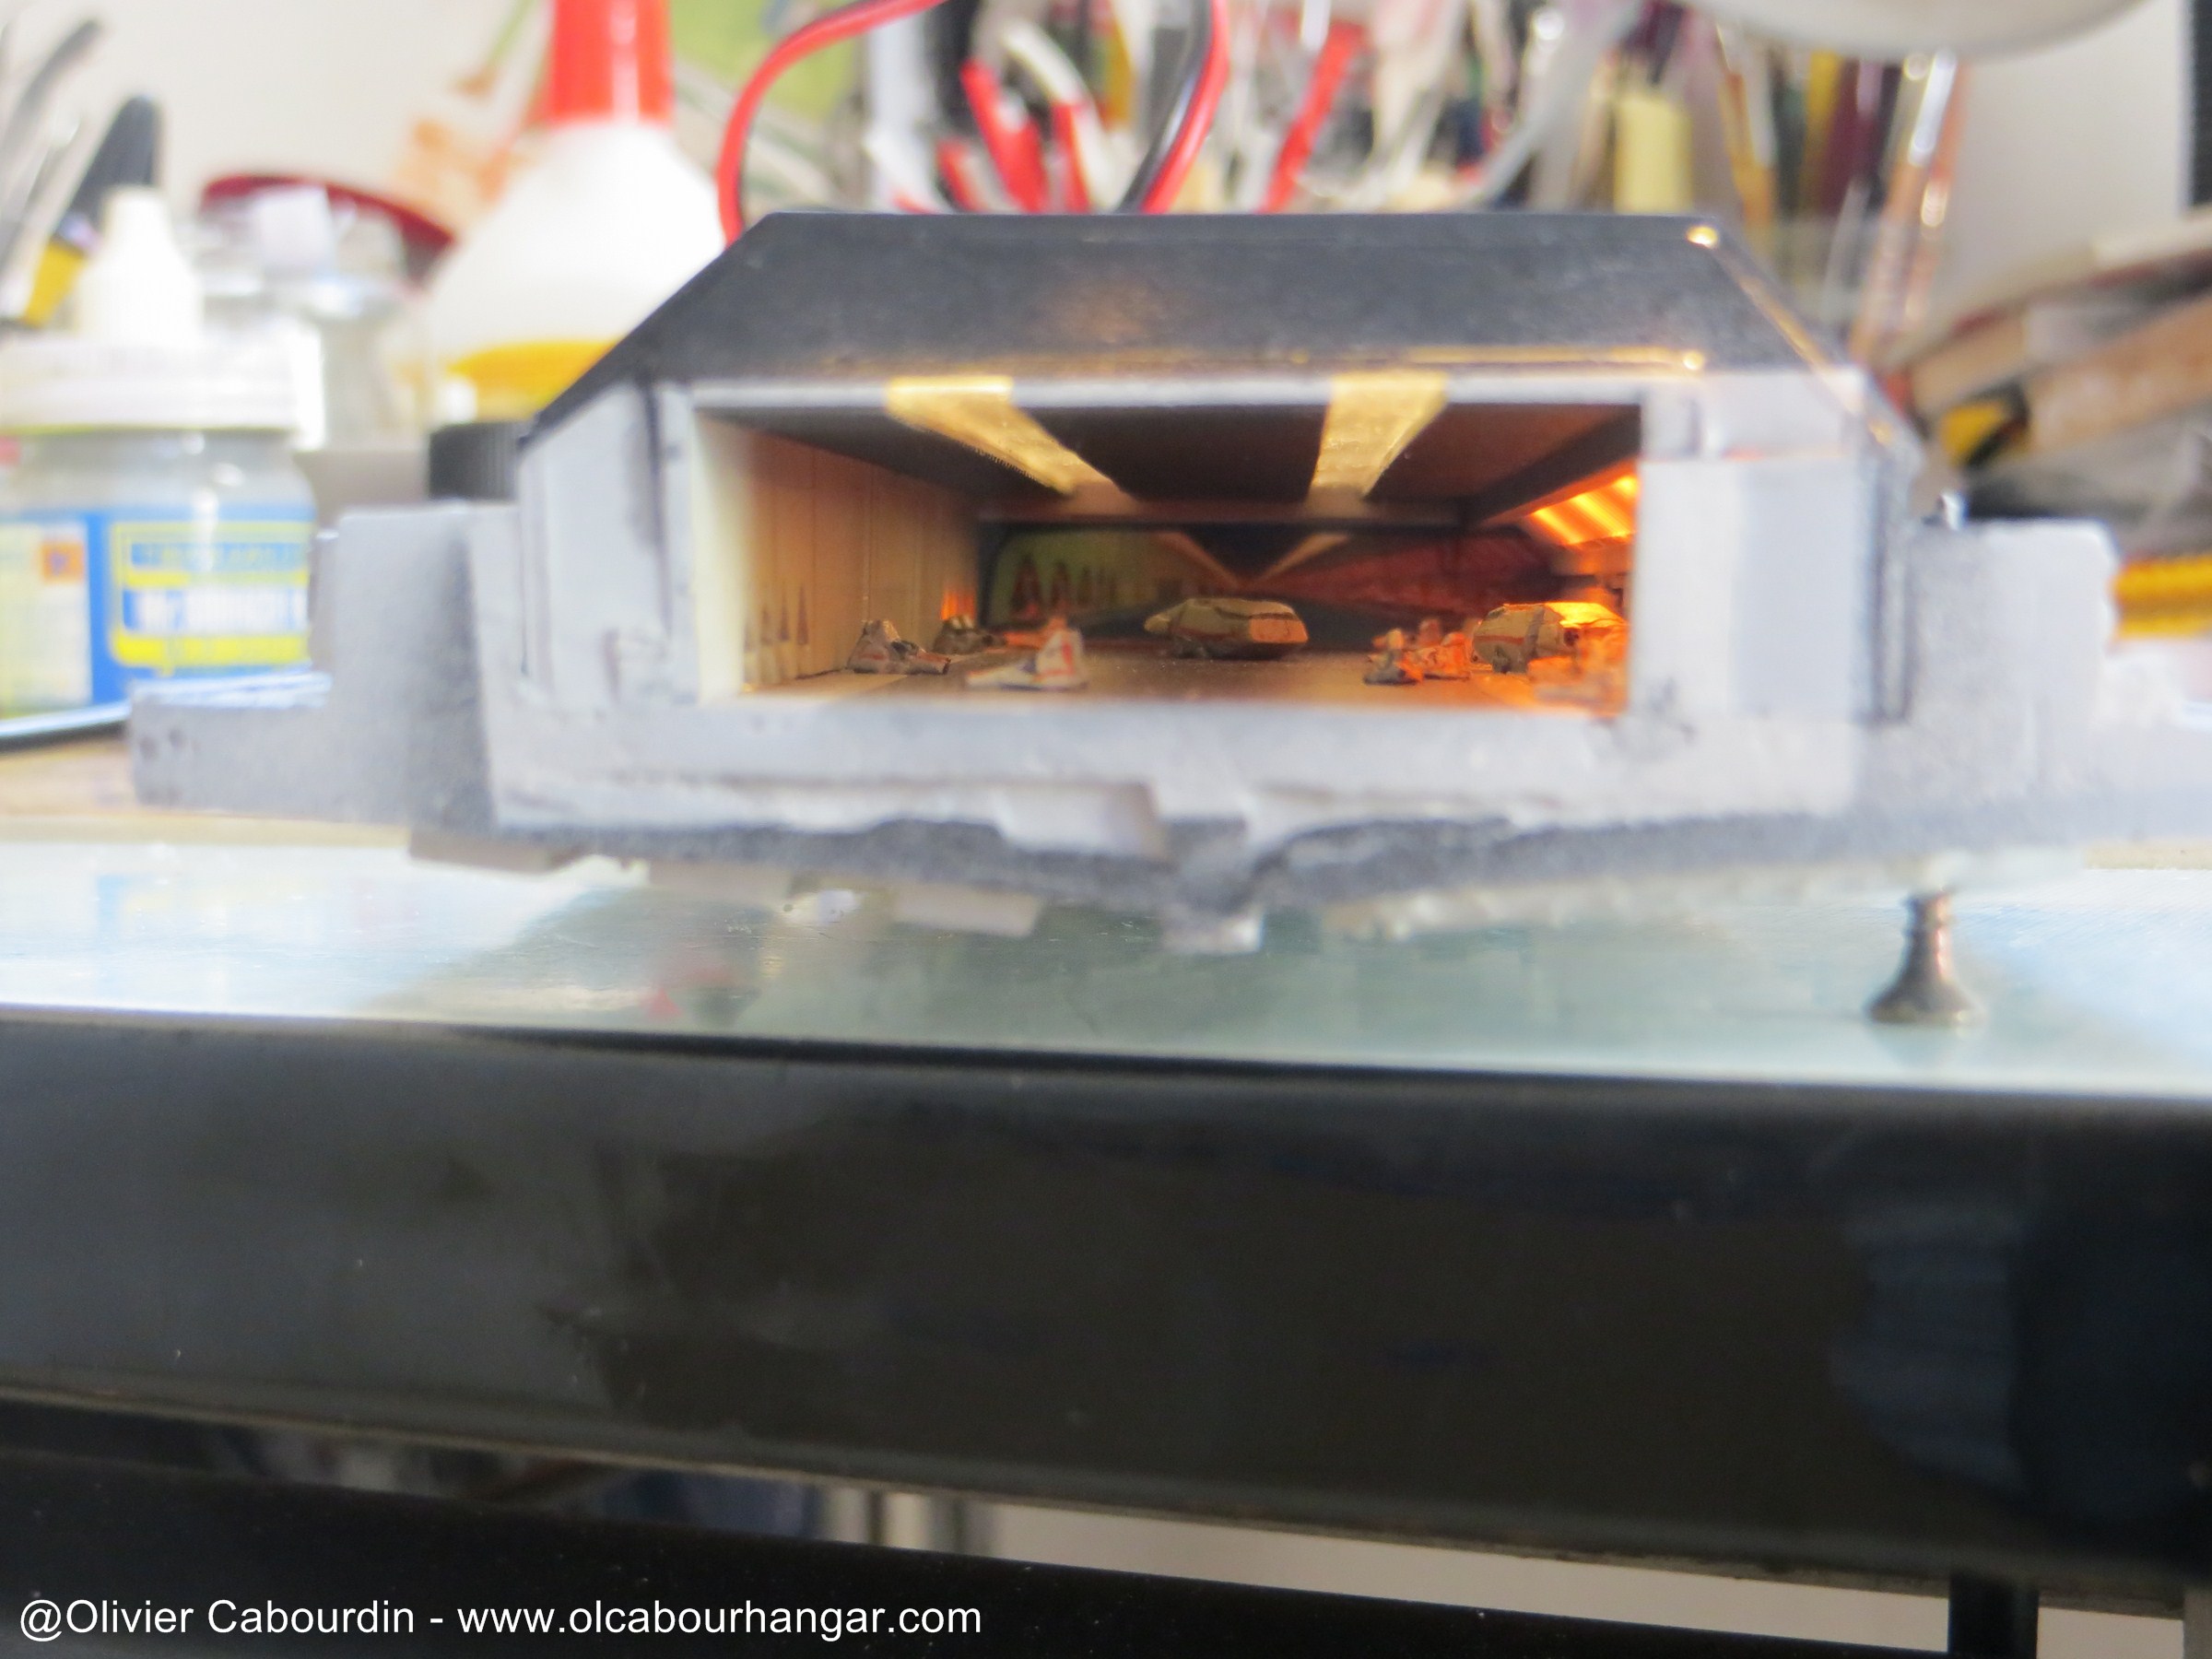
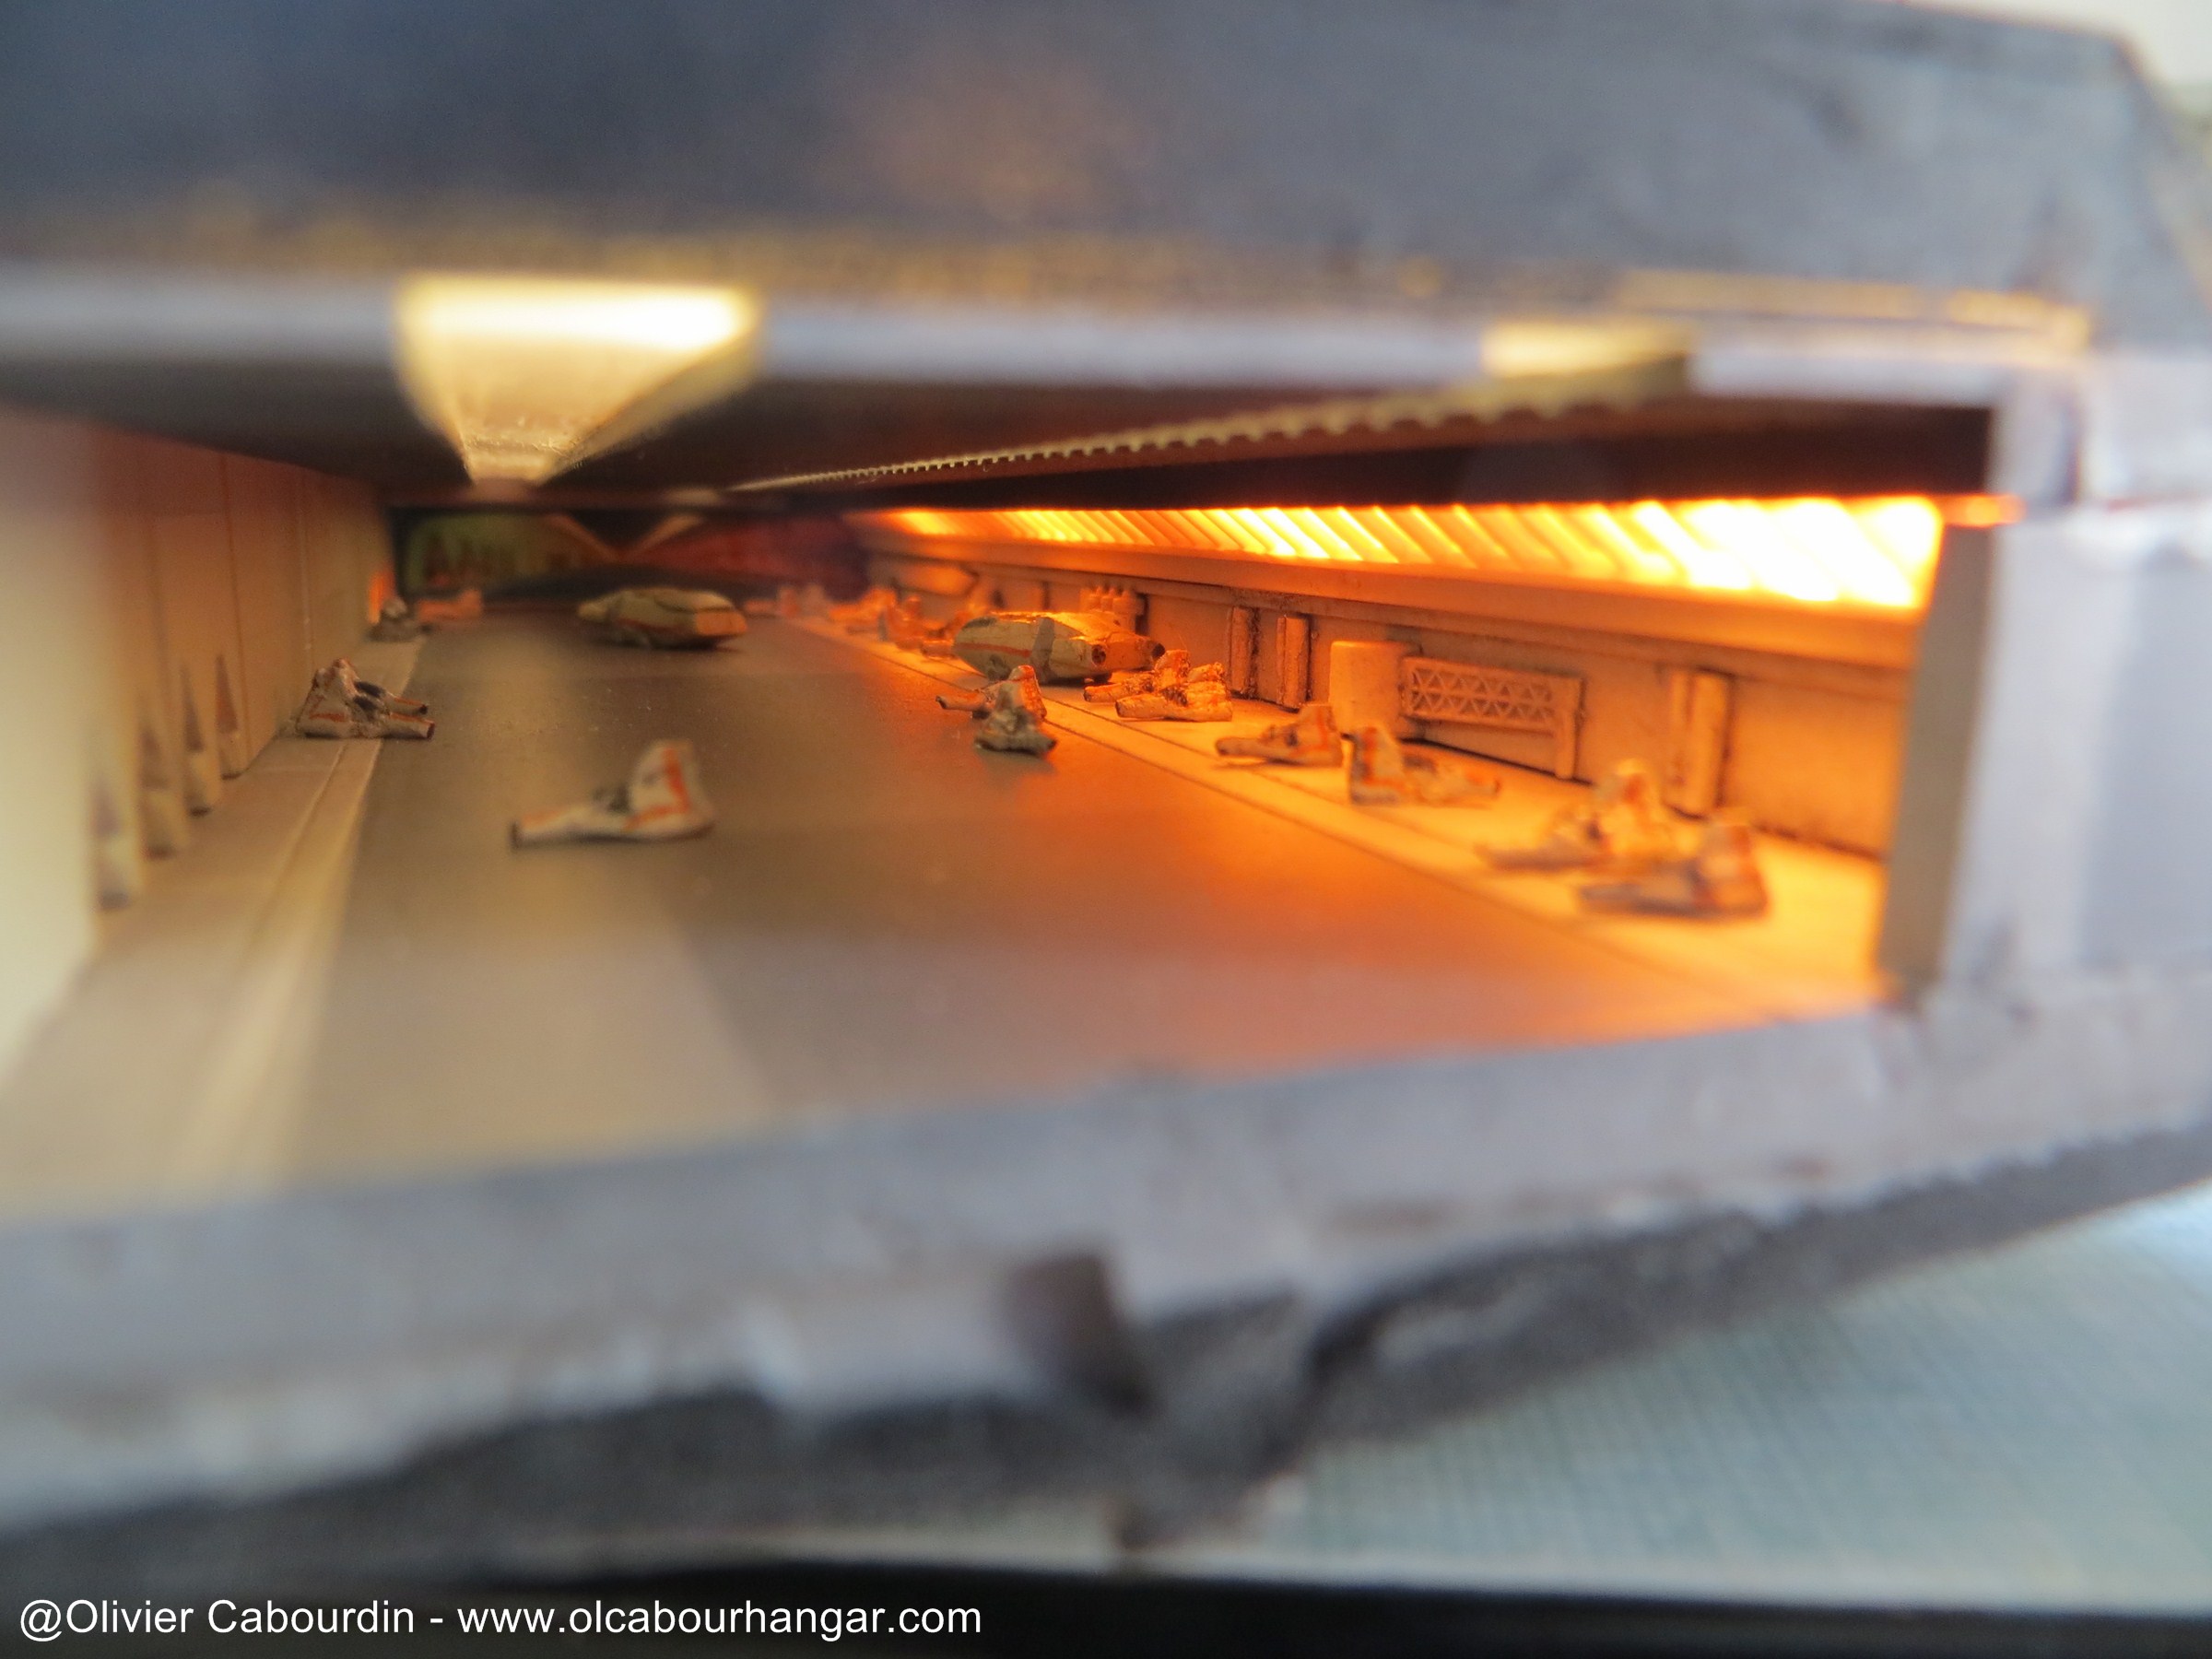
To populate the sheds, I need mini vipers and a few colonial shuttles.

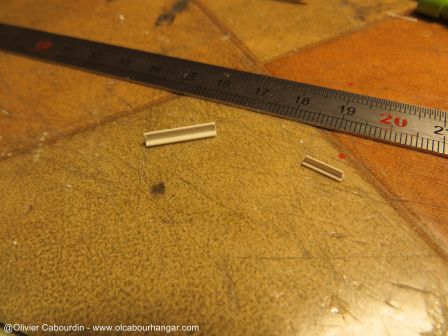
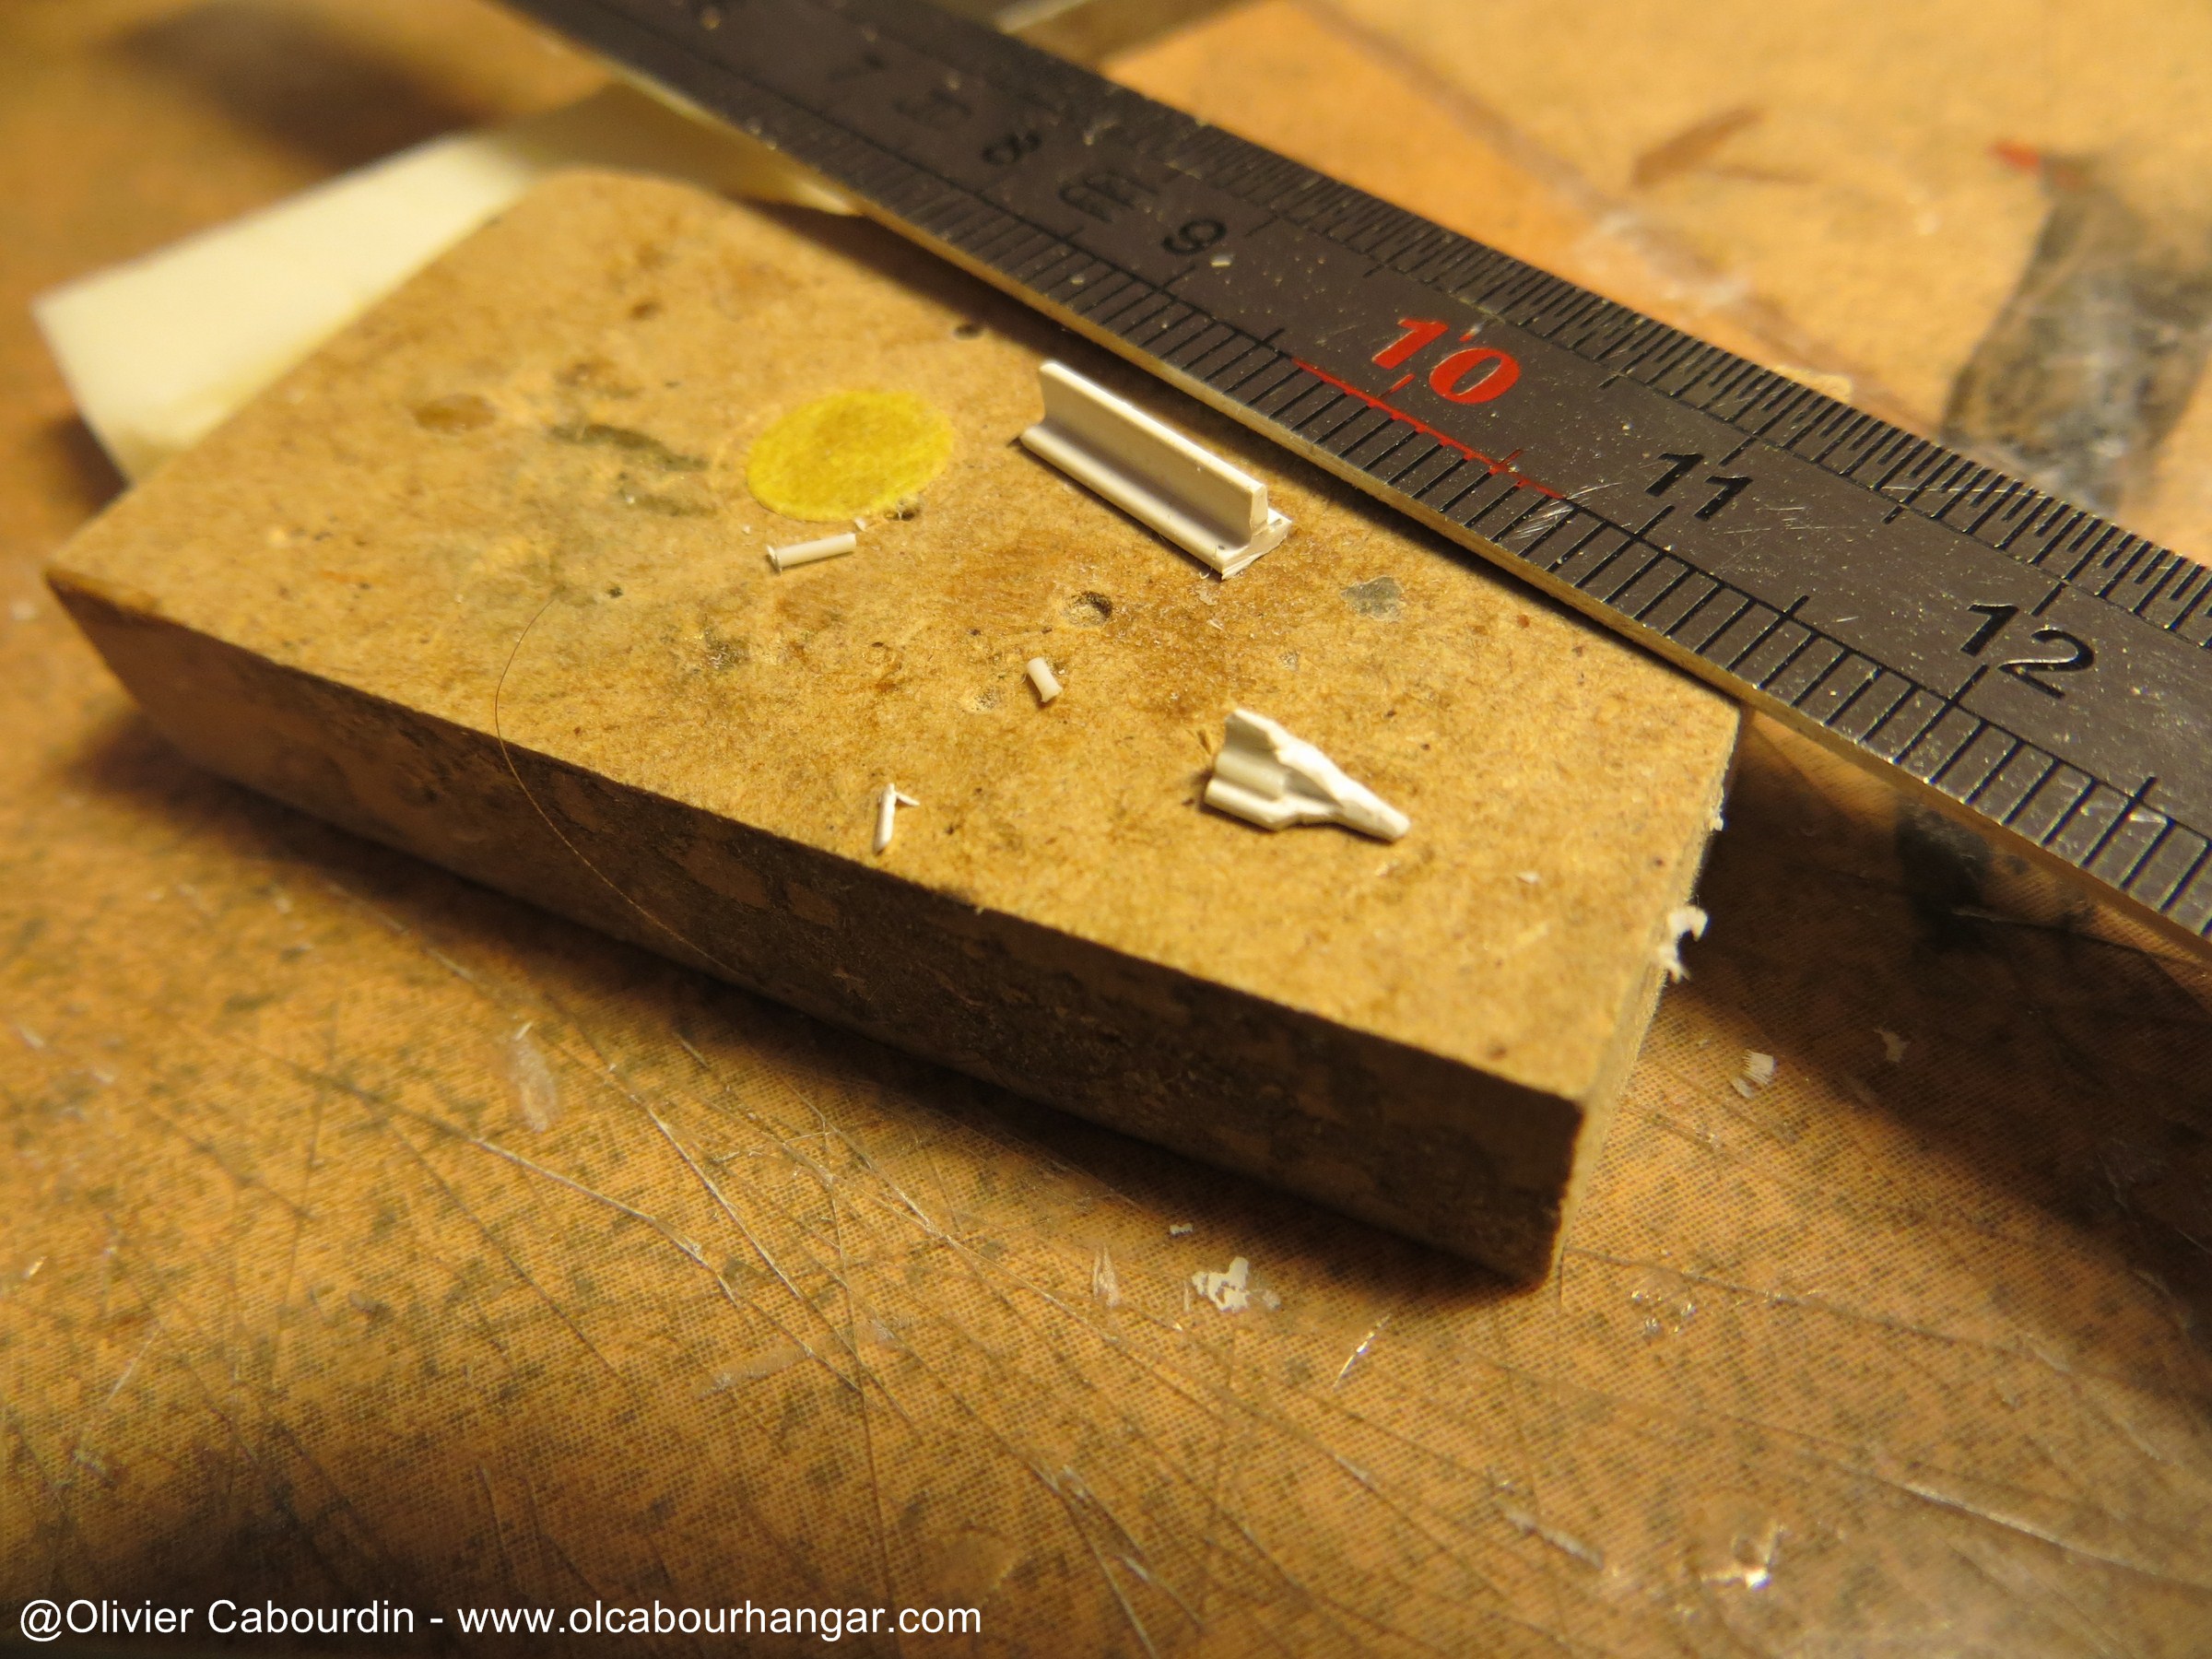
The Viper in this scale is 4.5 mm long.
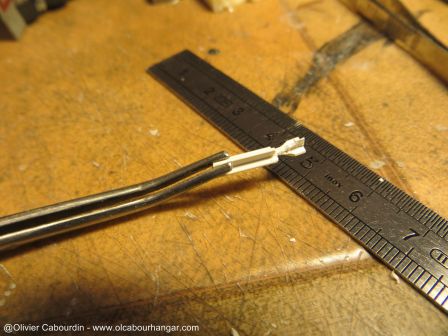
I'm going with T-channel as a base. I tested 2 and I go on the widest.
After few cuts, and add of two small rods, it looks like a viper.


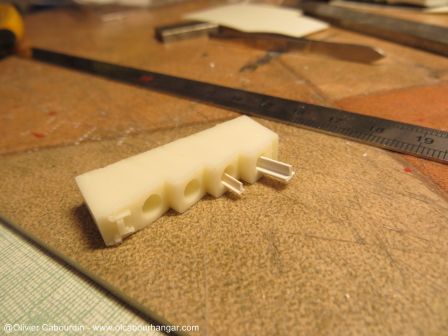
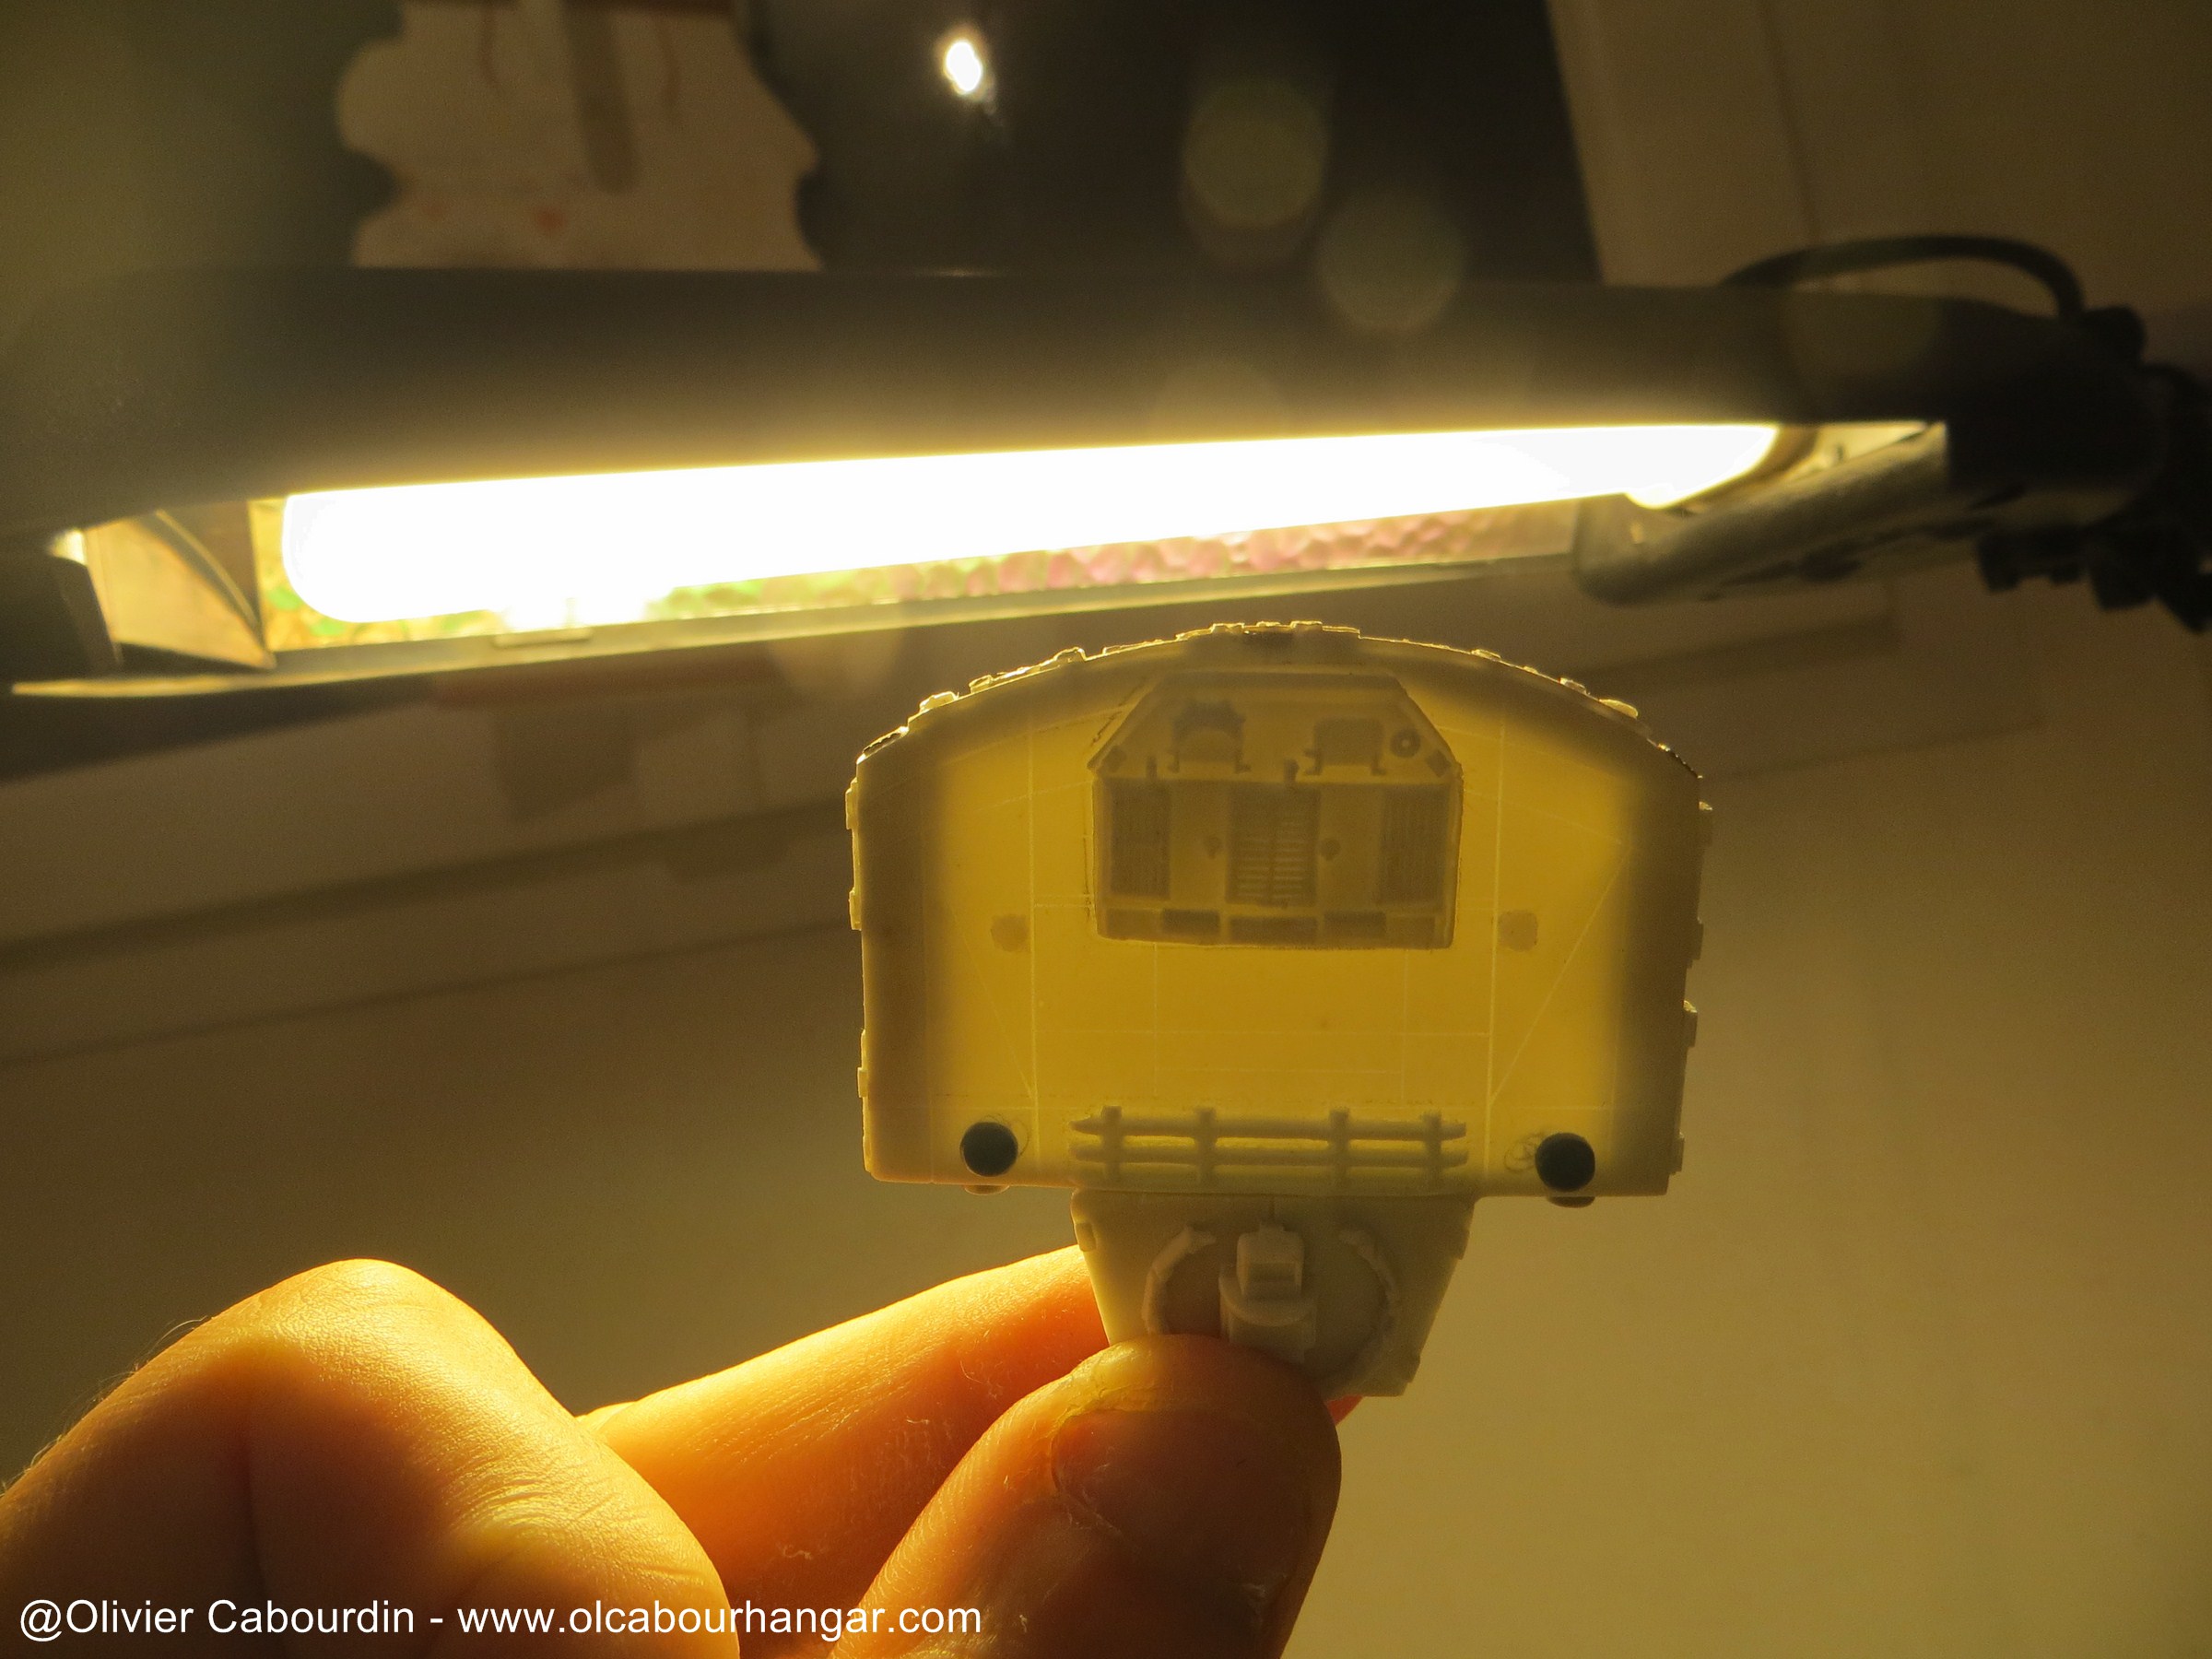
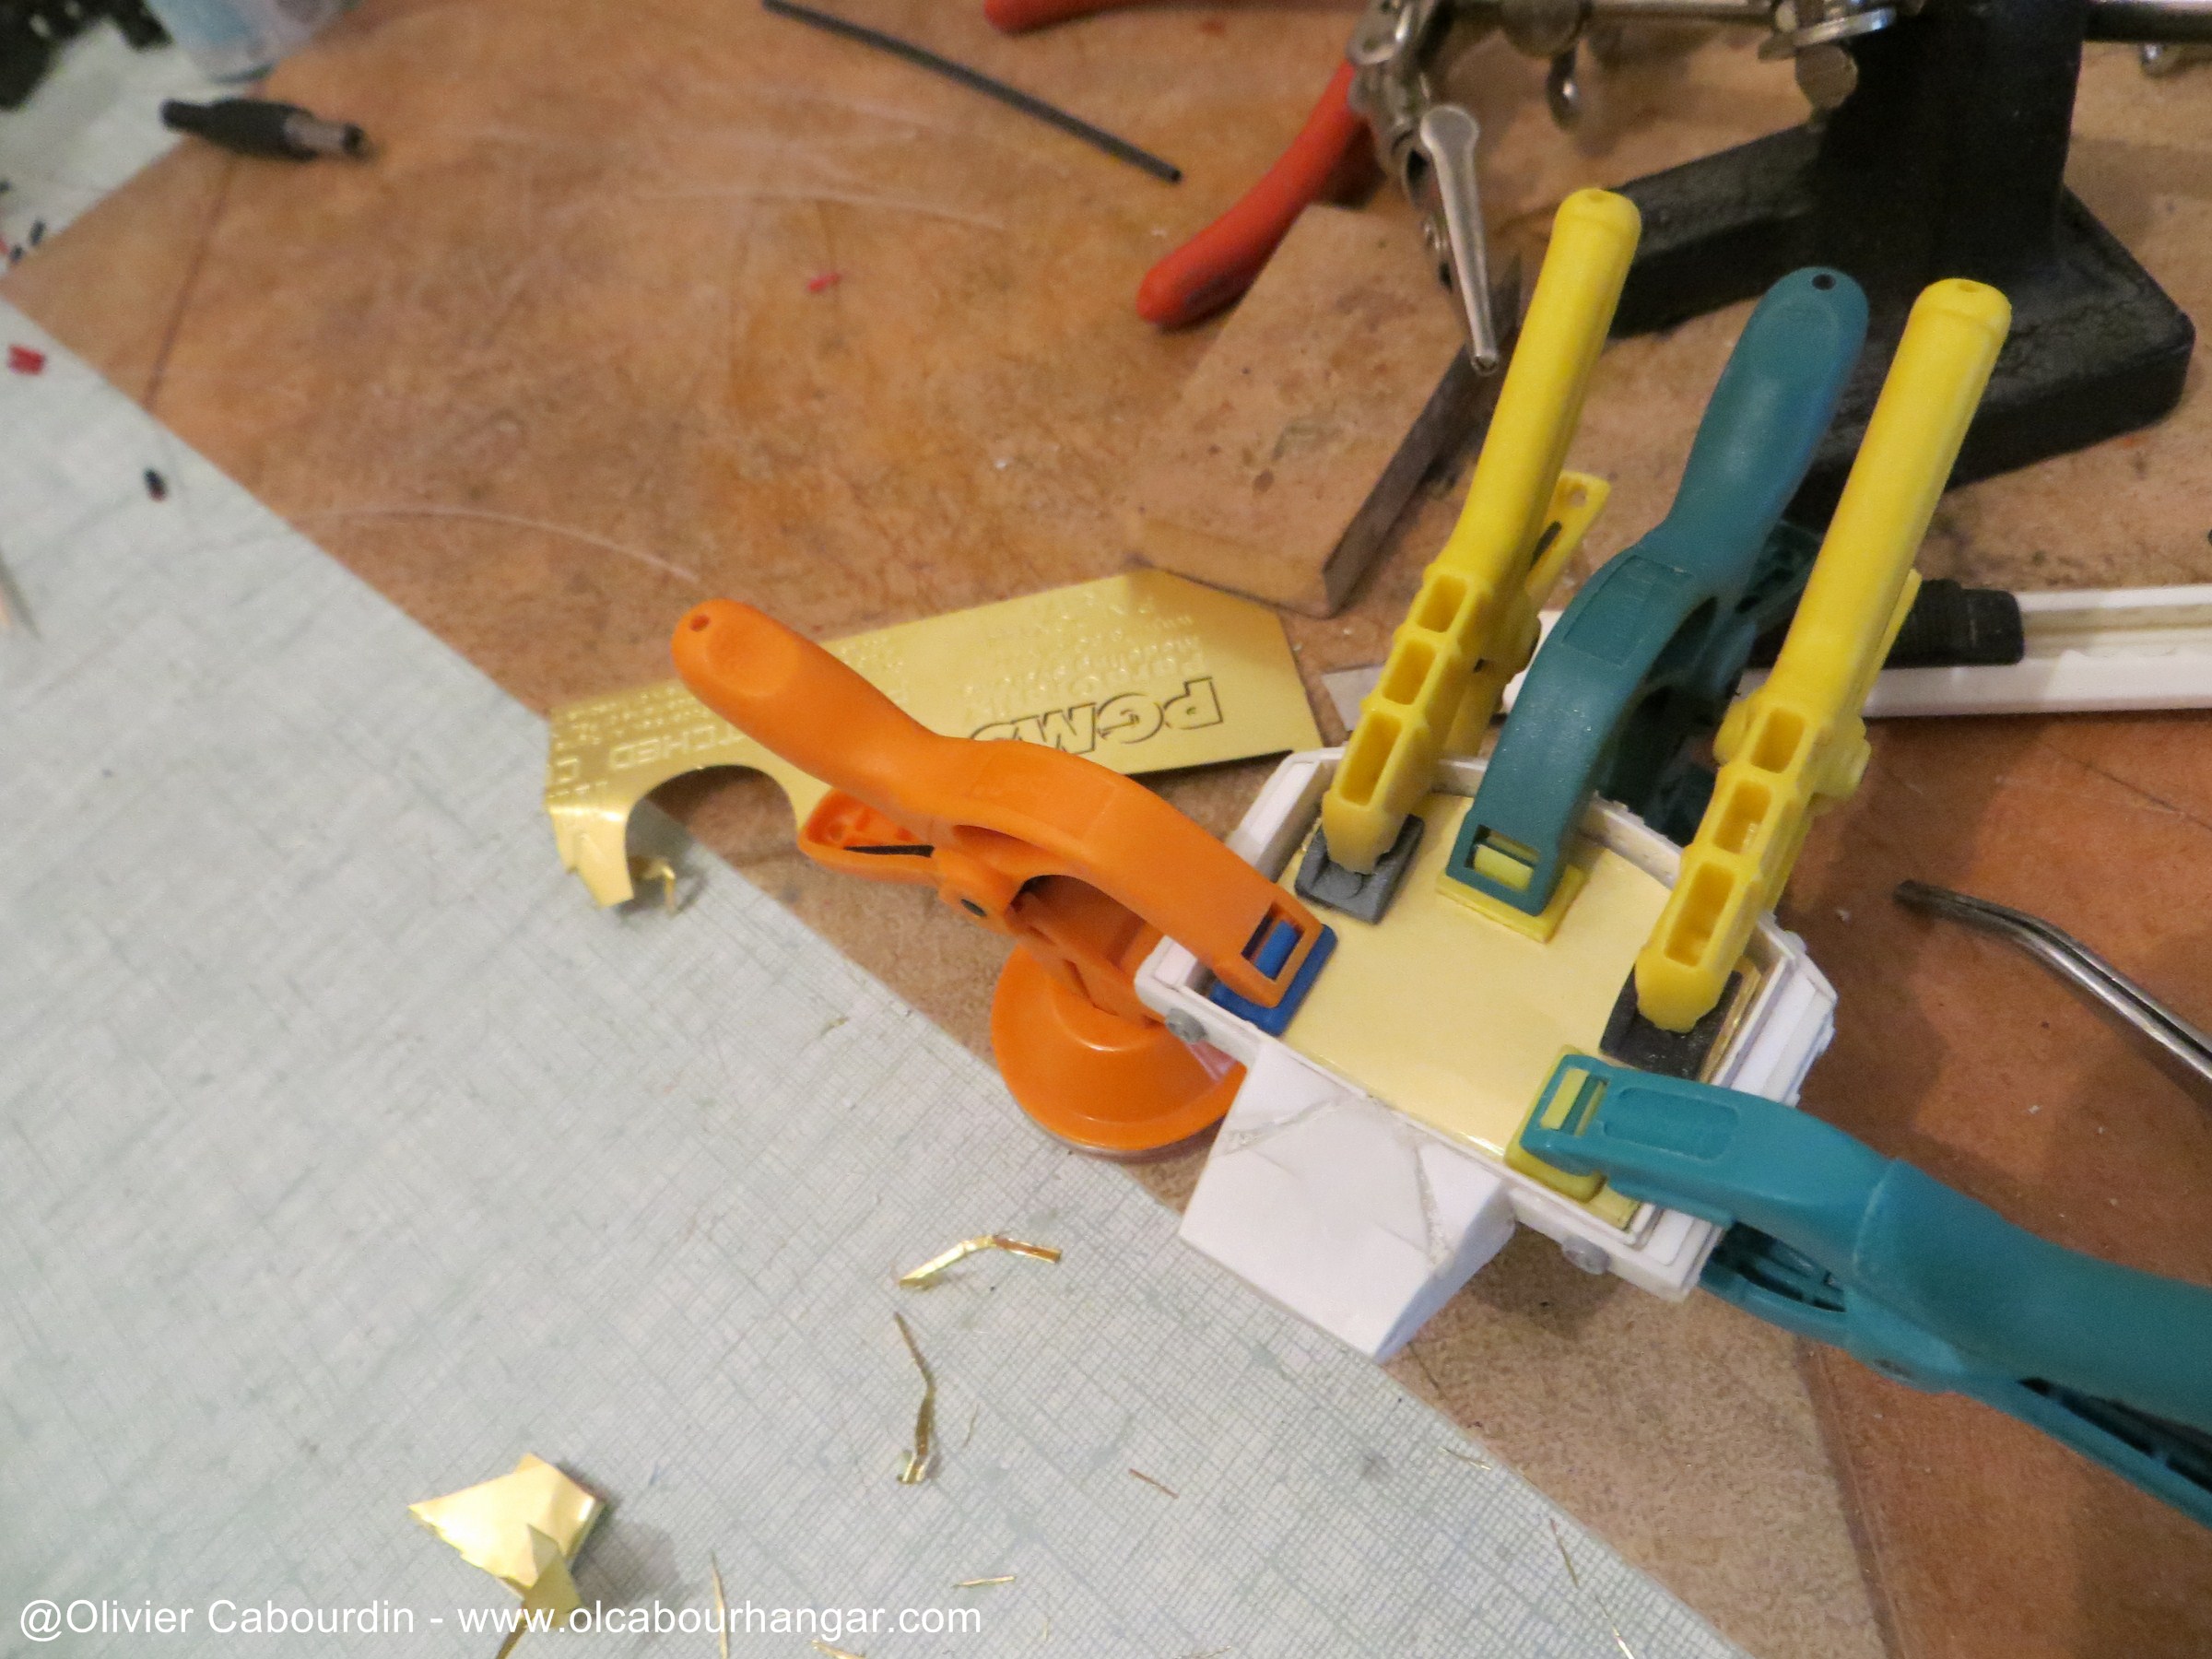
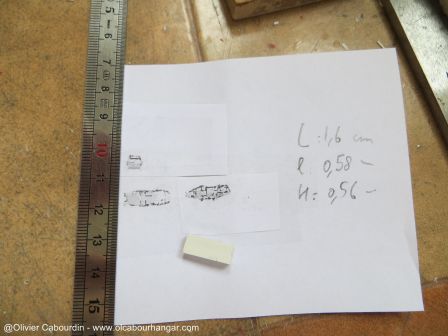
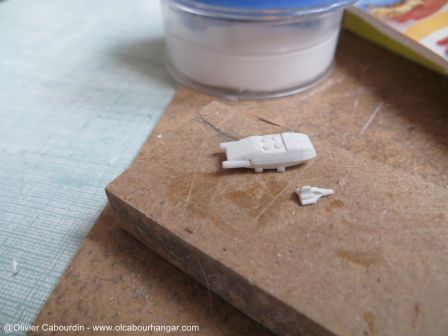
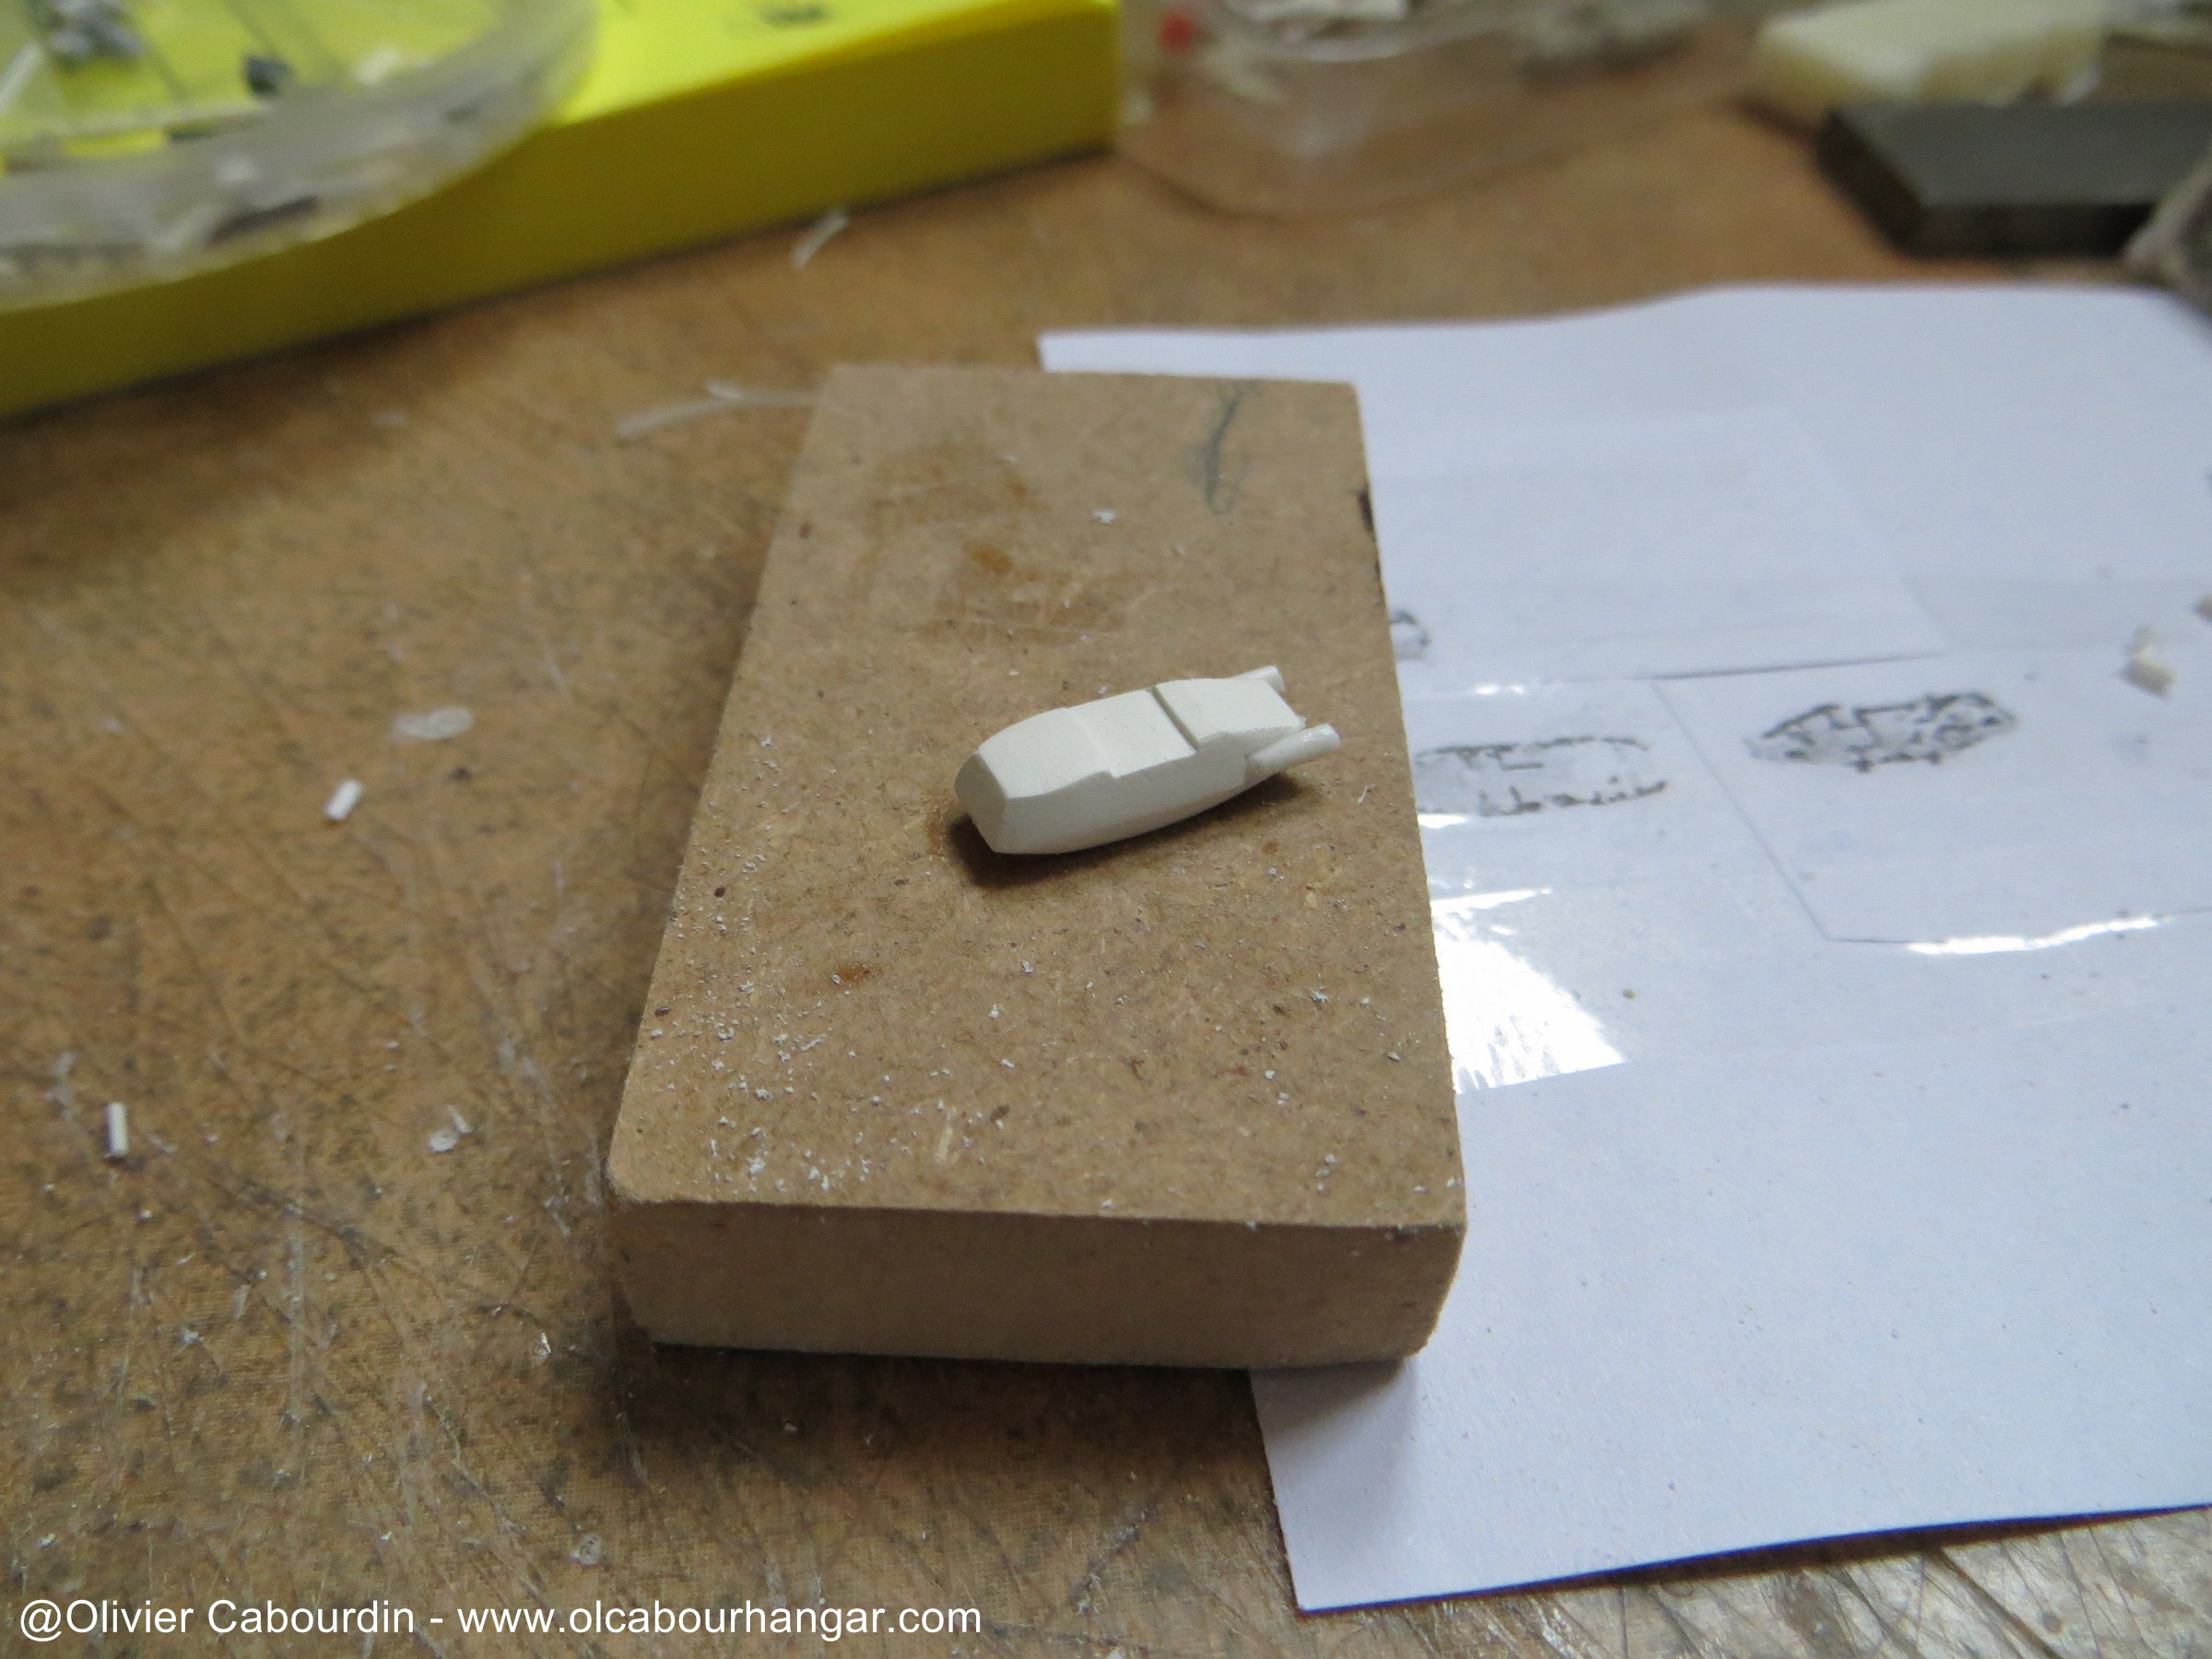
For the master of the shuttle, I used a section of a PVC strip.
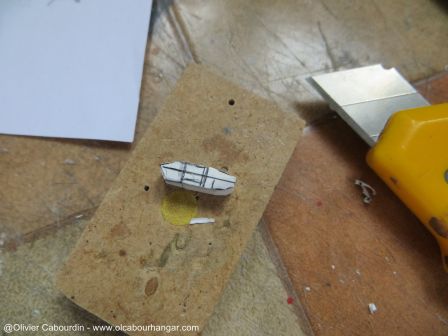
I mark the corners following a blueprint, and cut.
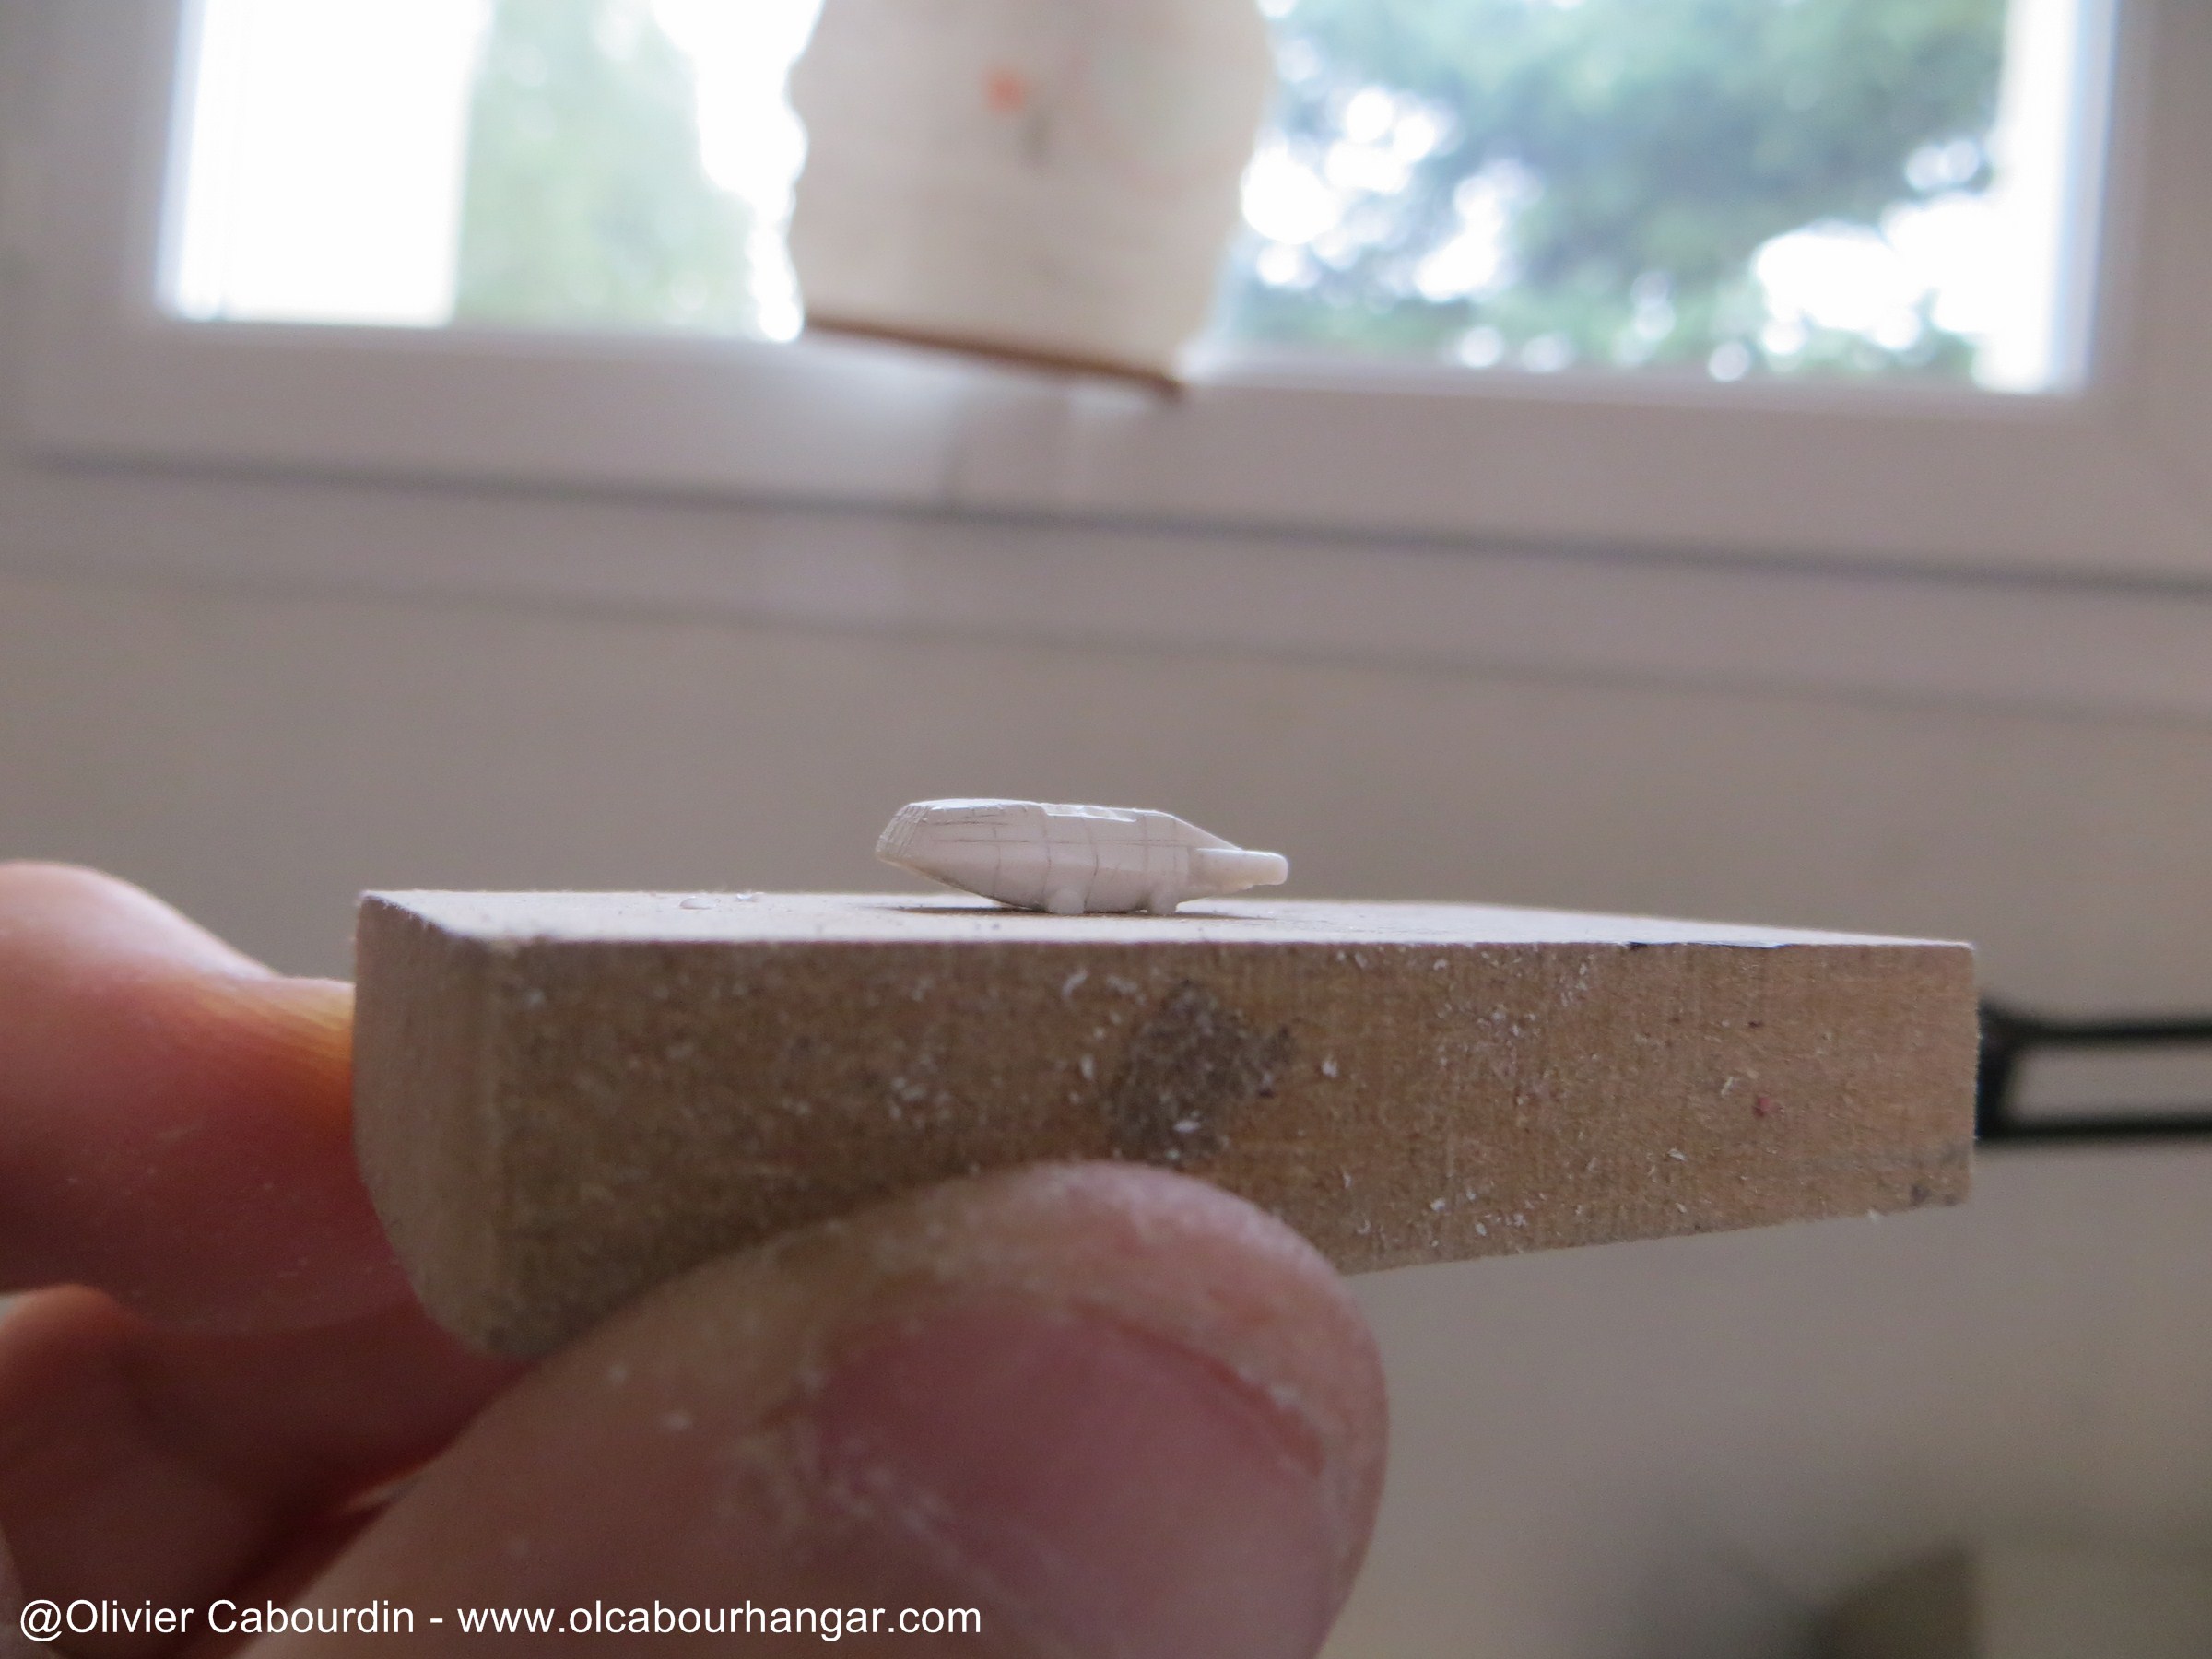
I added the pads and graved the cockpit windows.


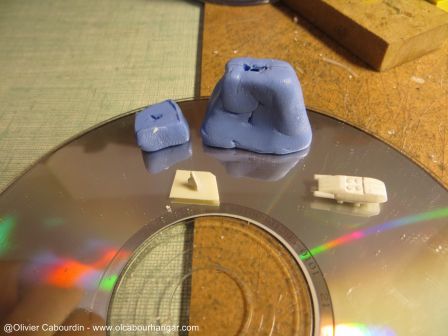
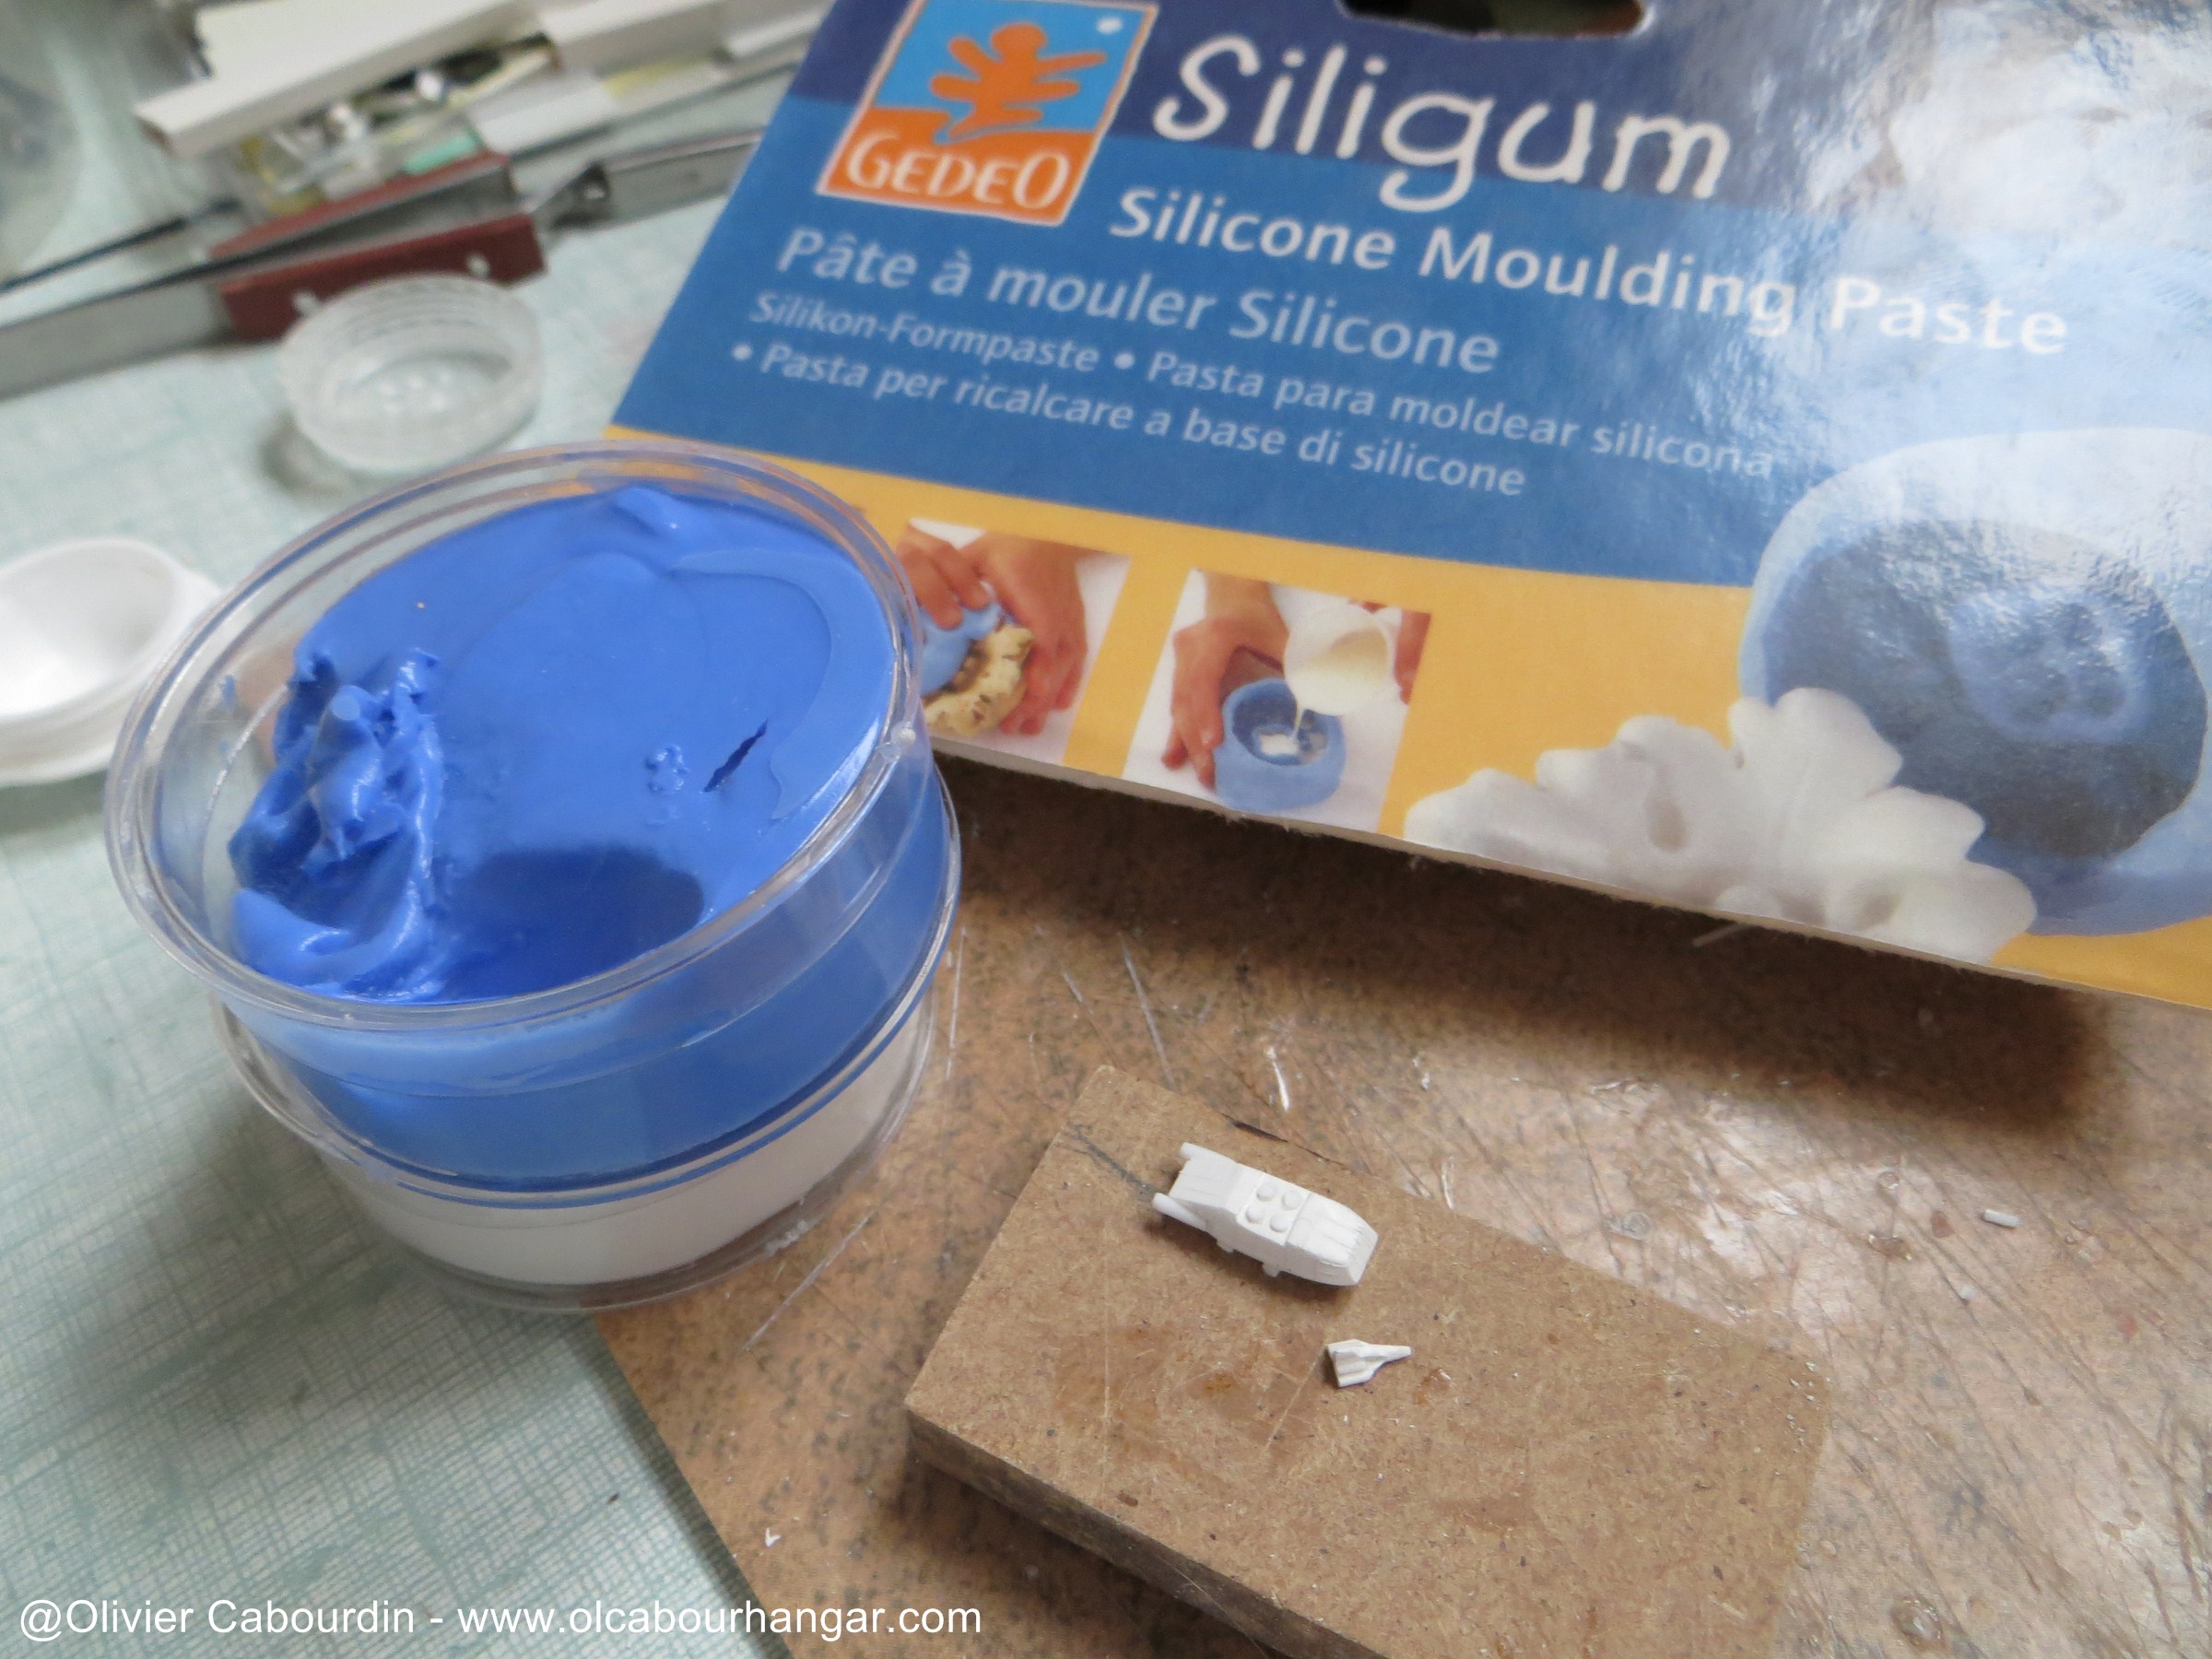
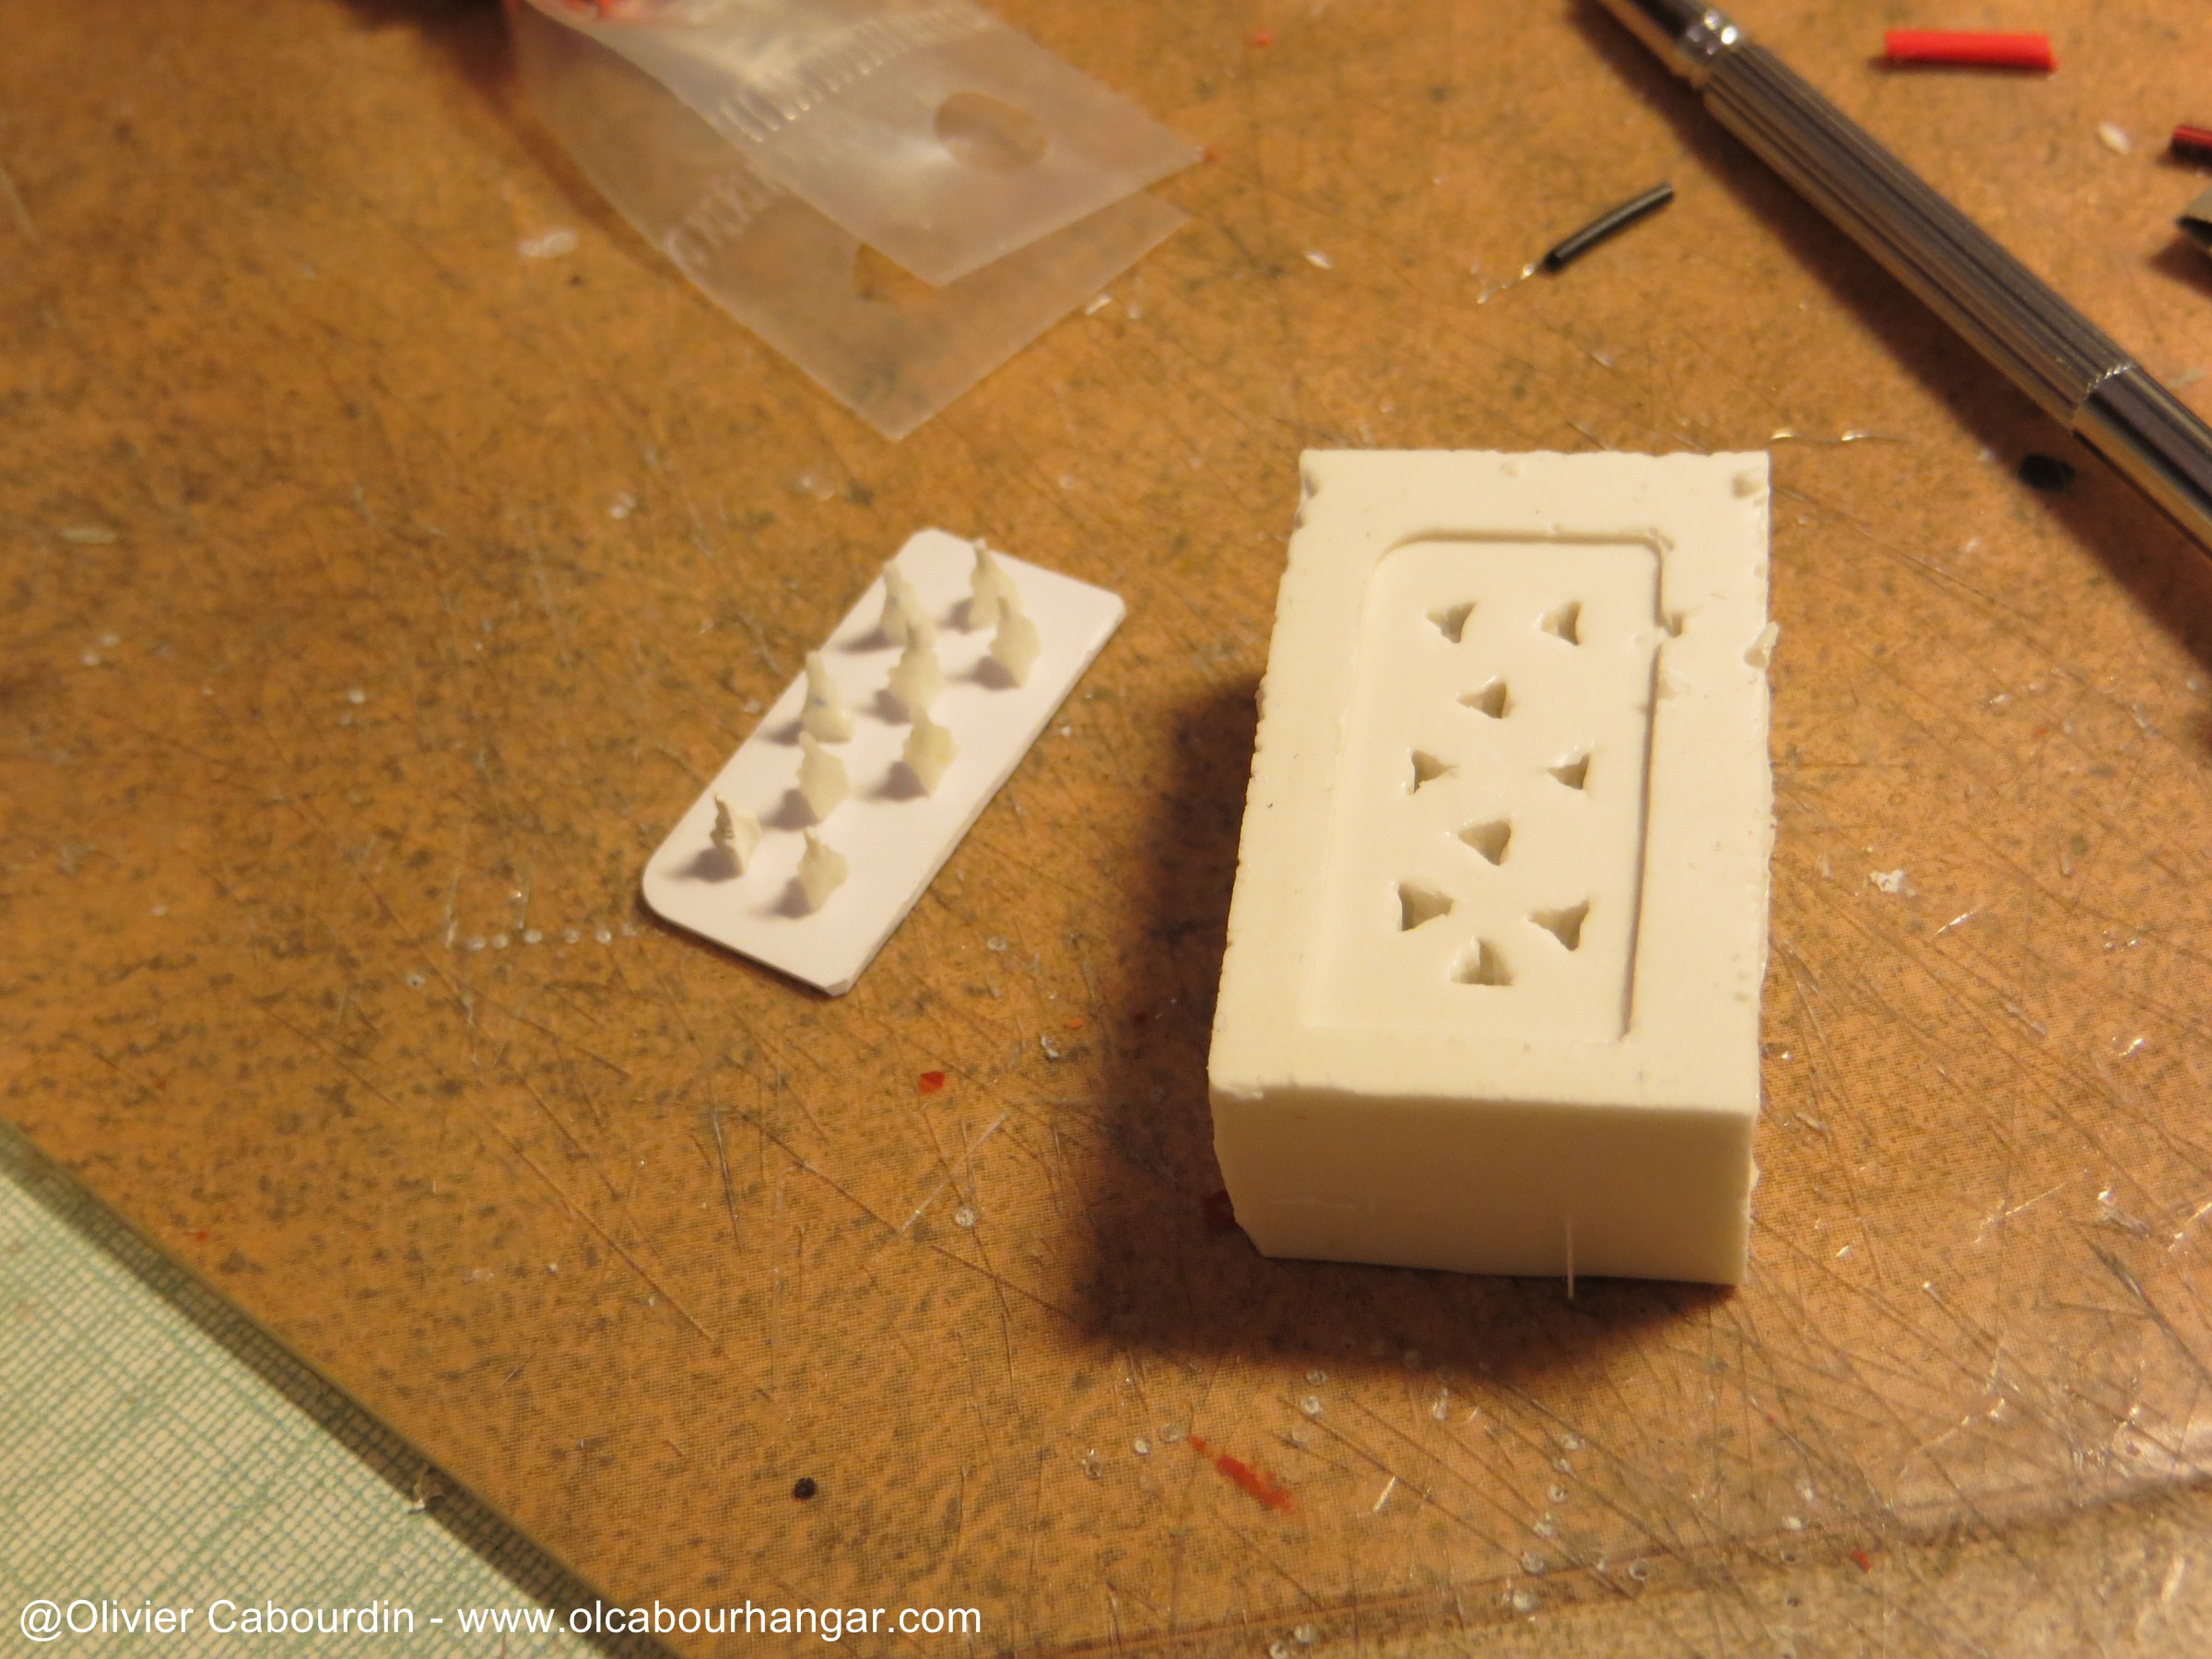
I realize a first mold with Siligum.
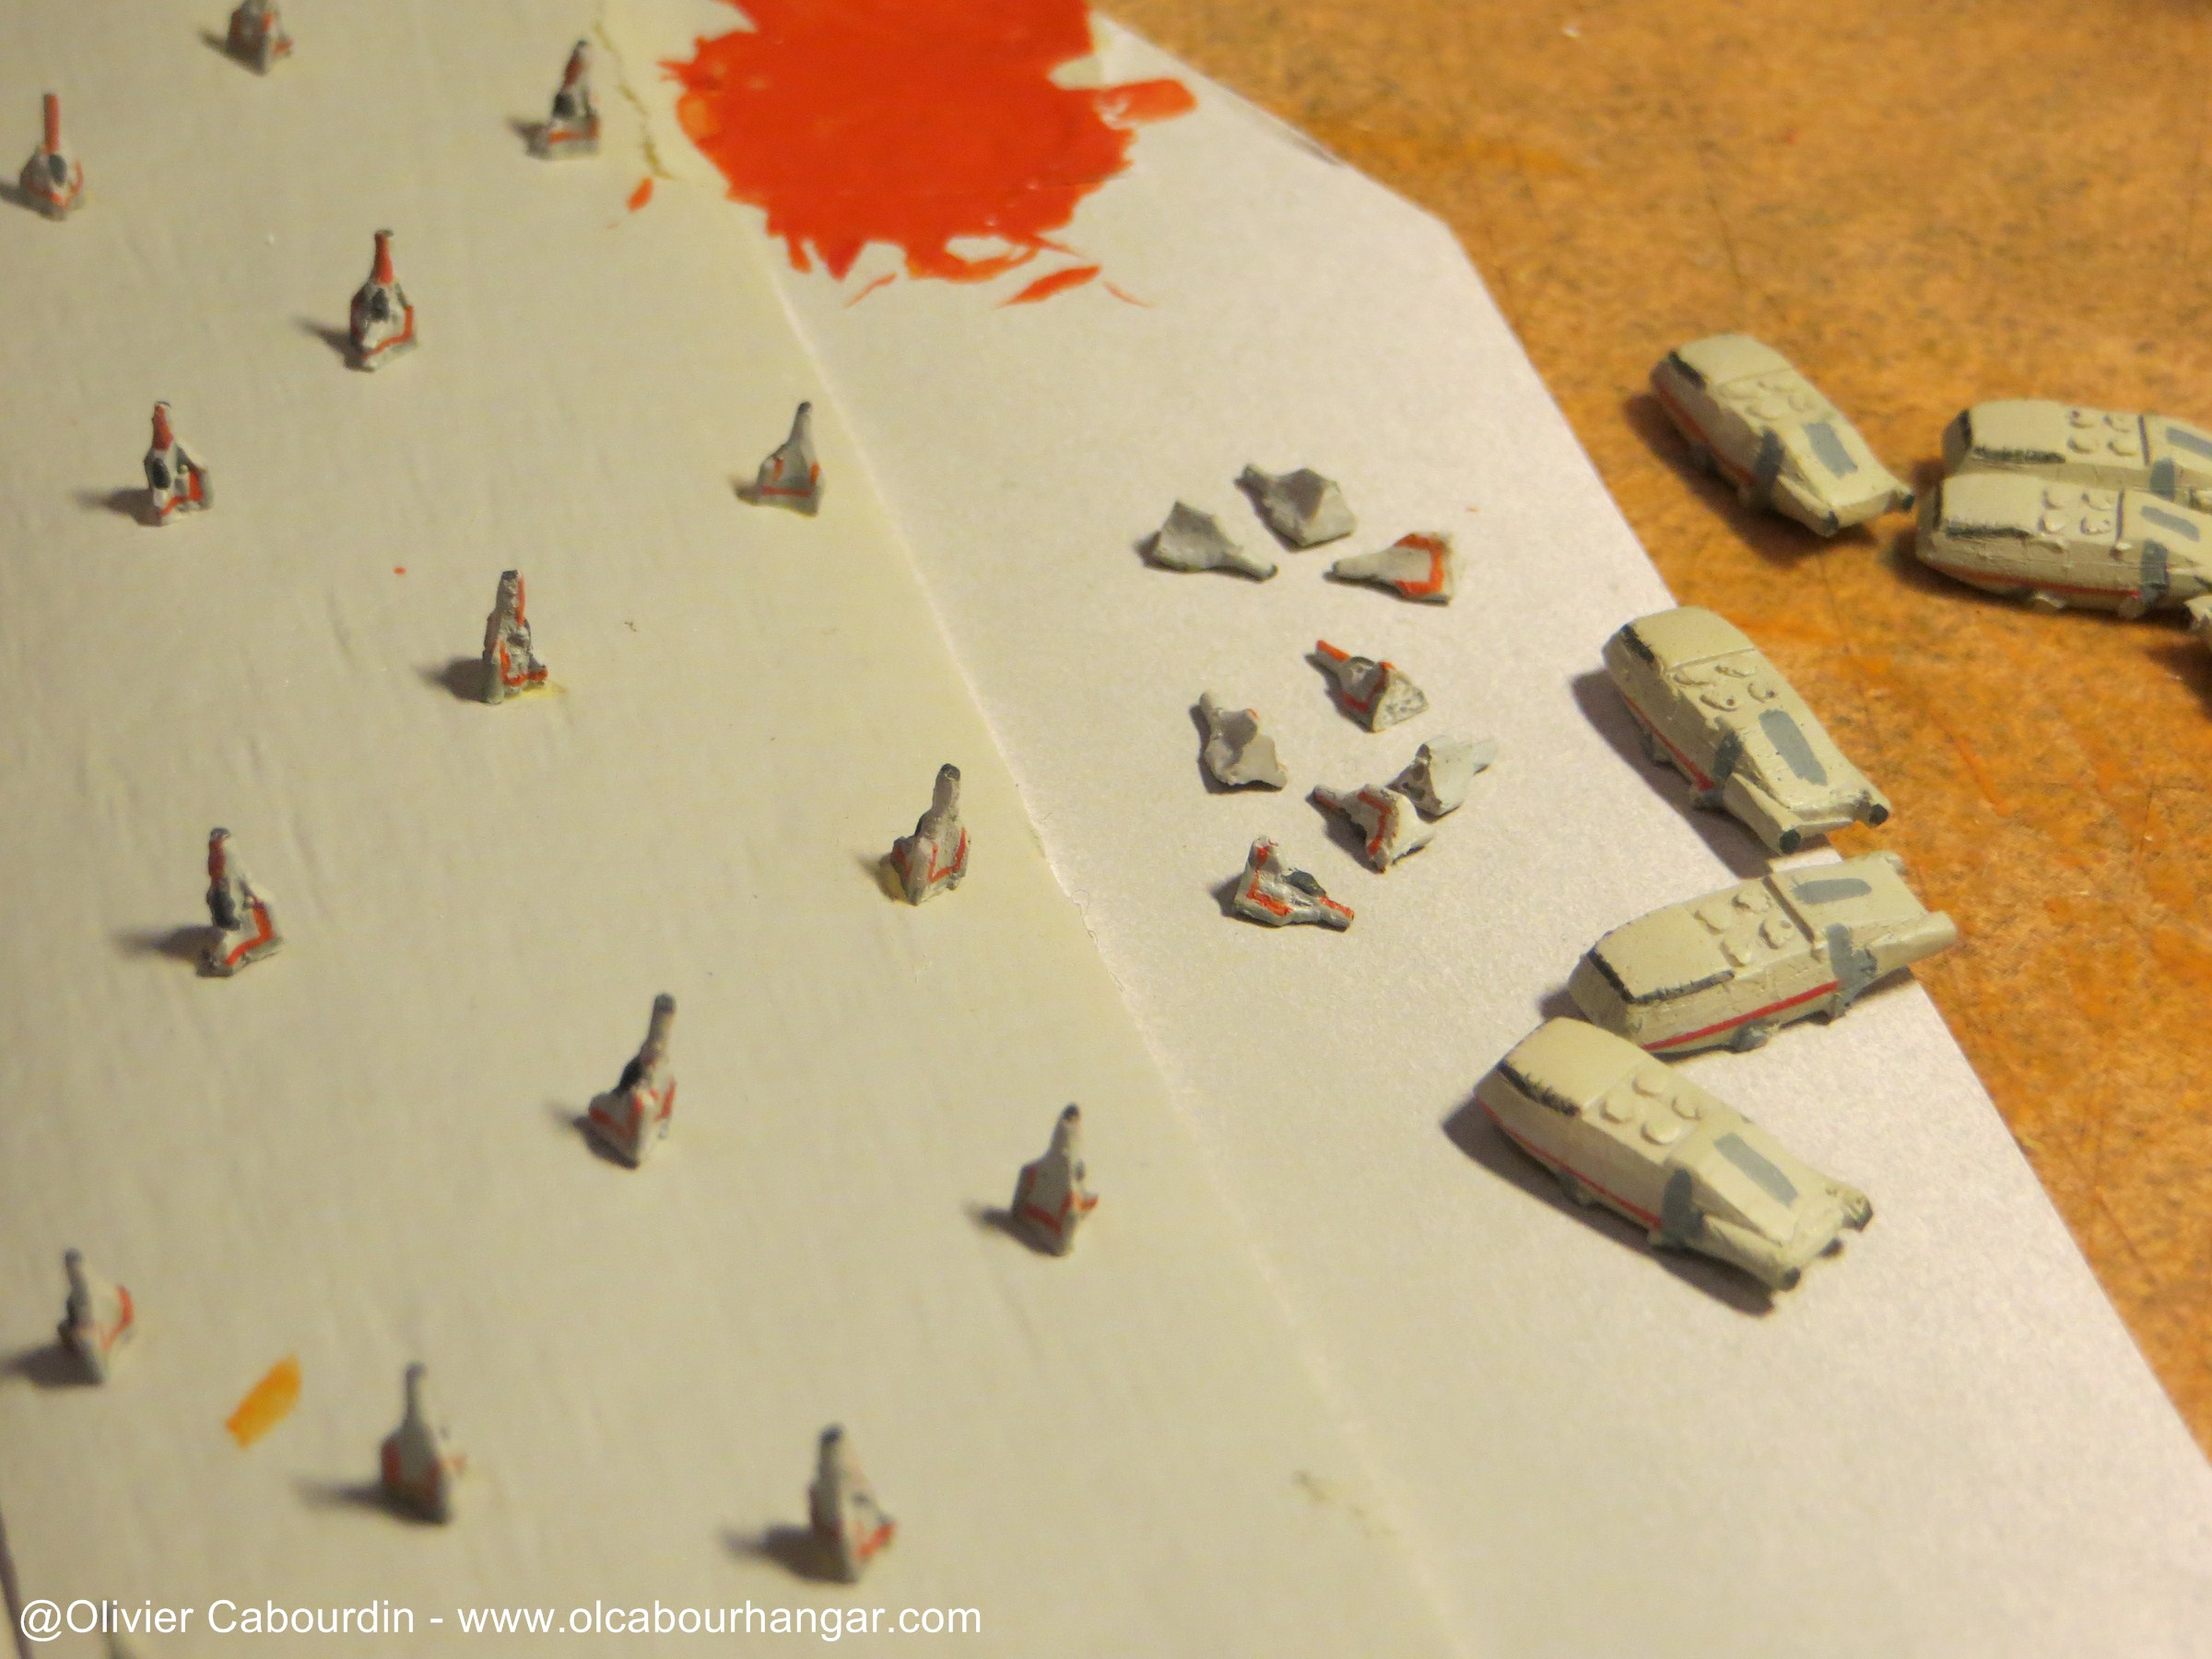
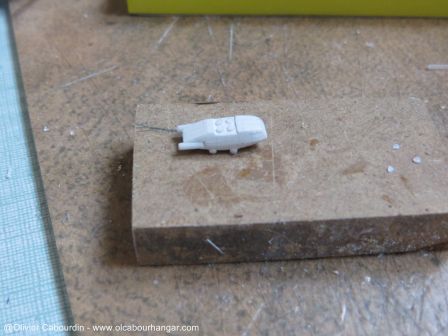
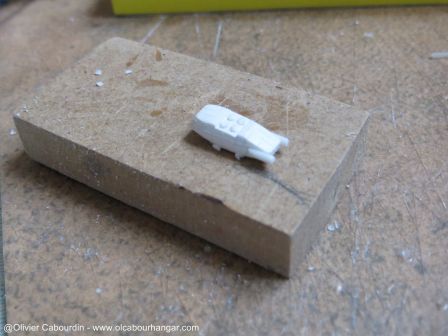
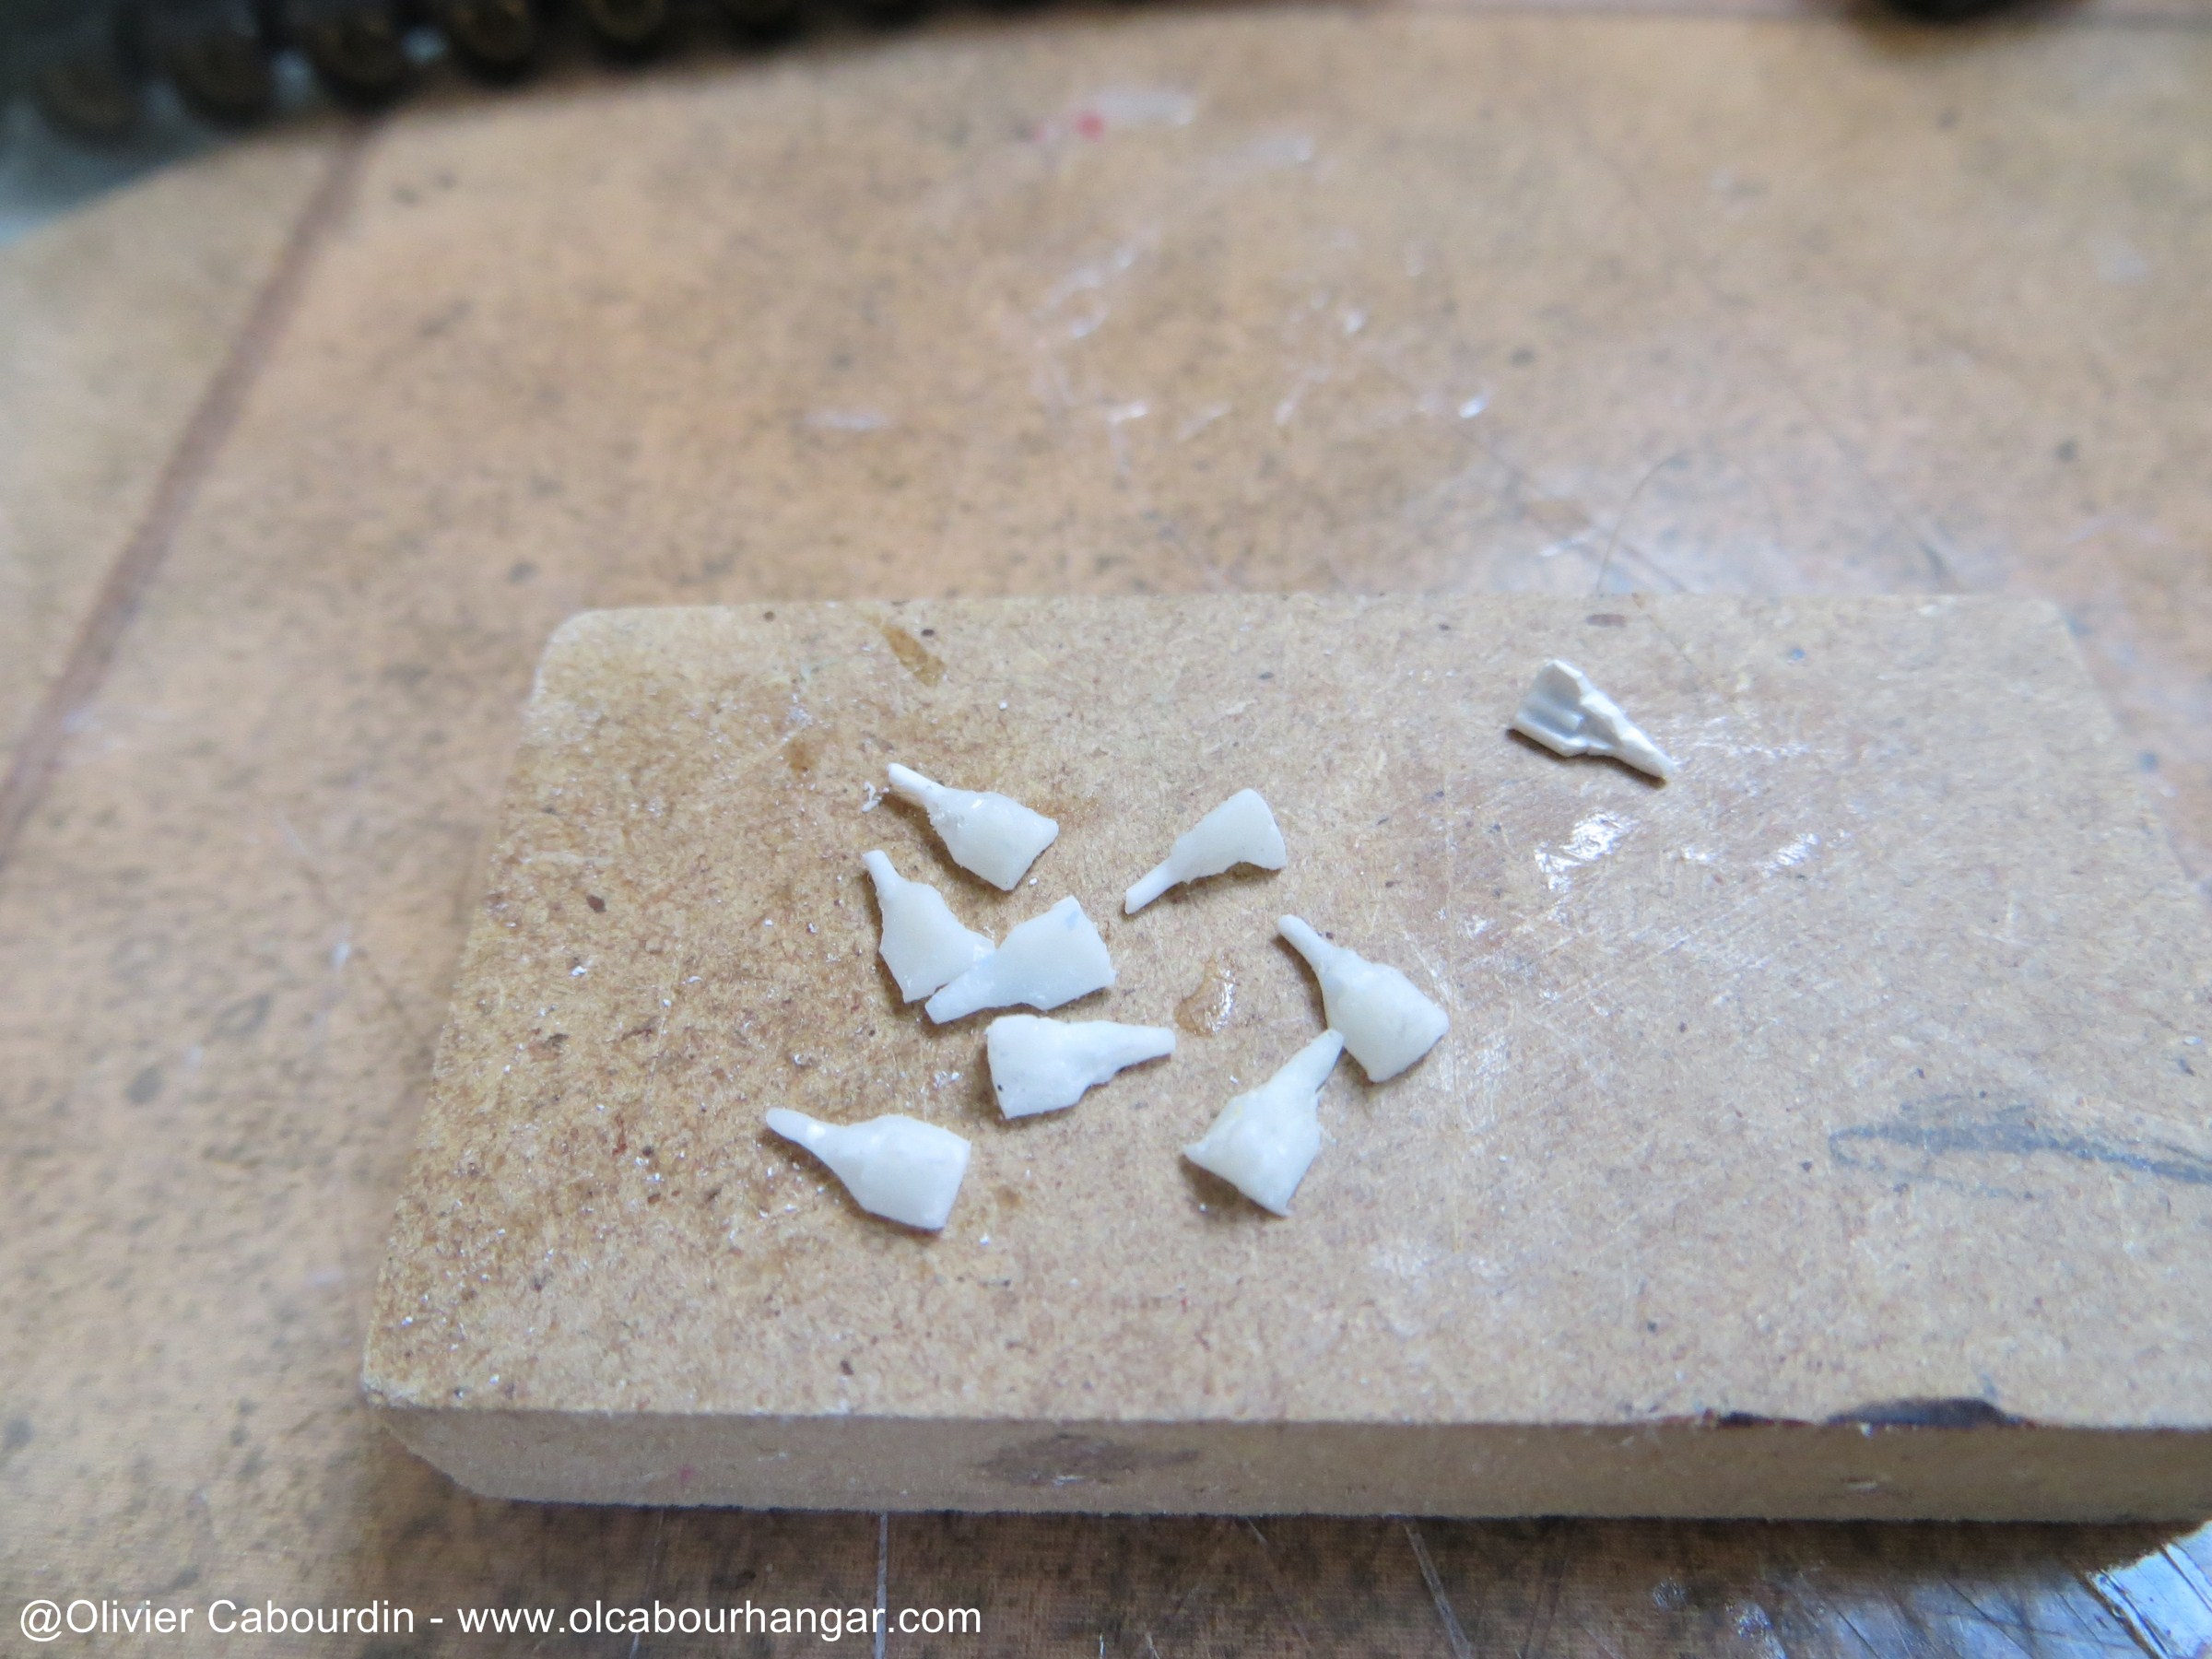
And I get my first casts.


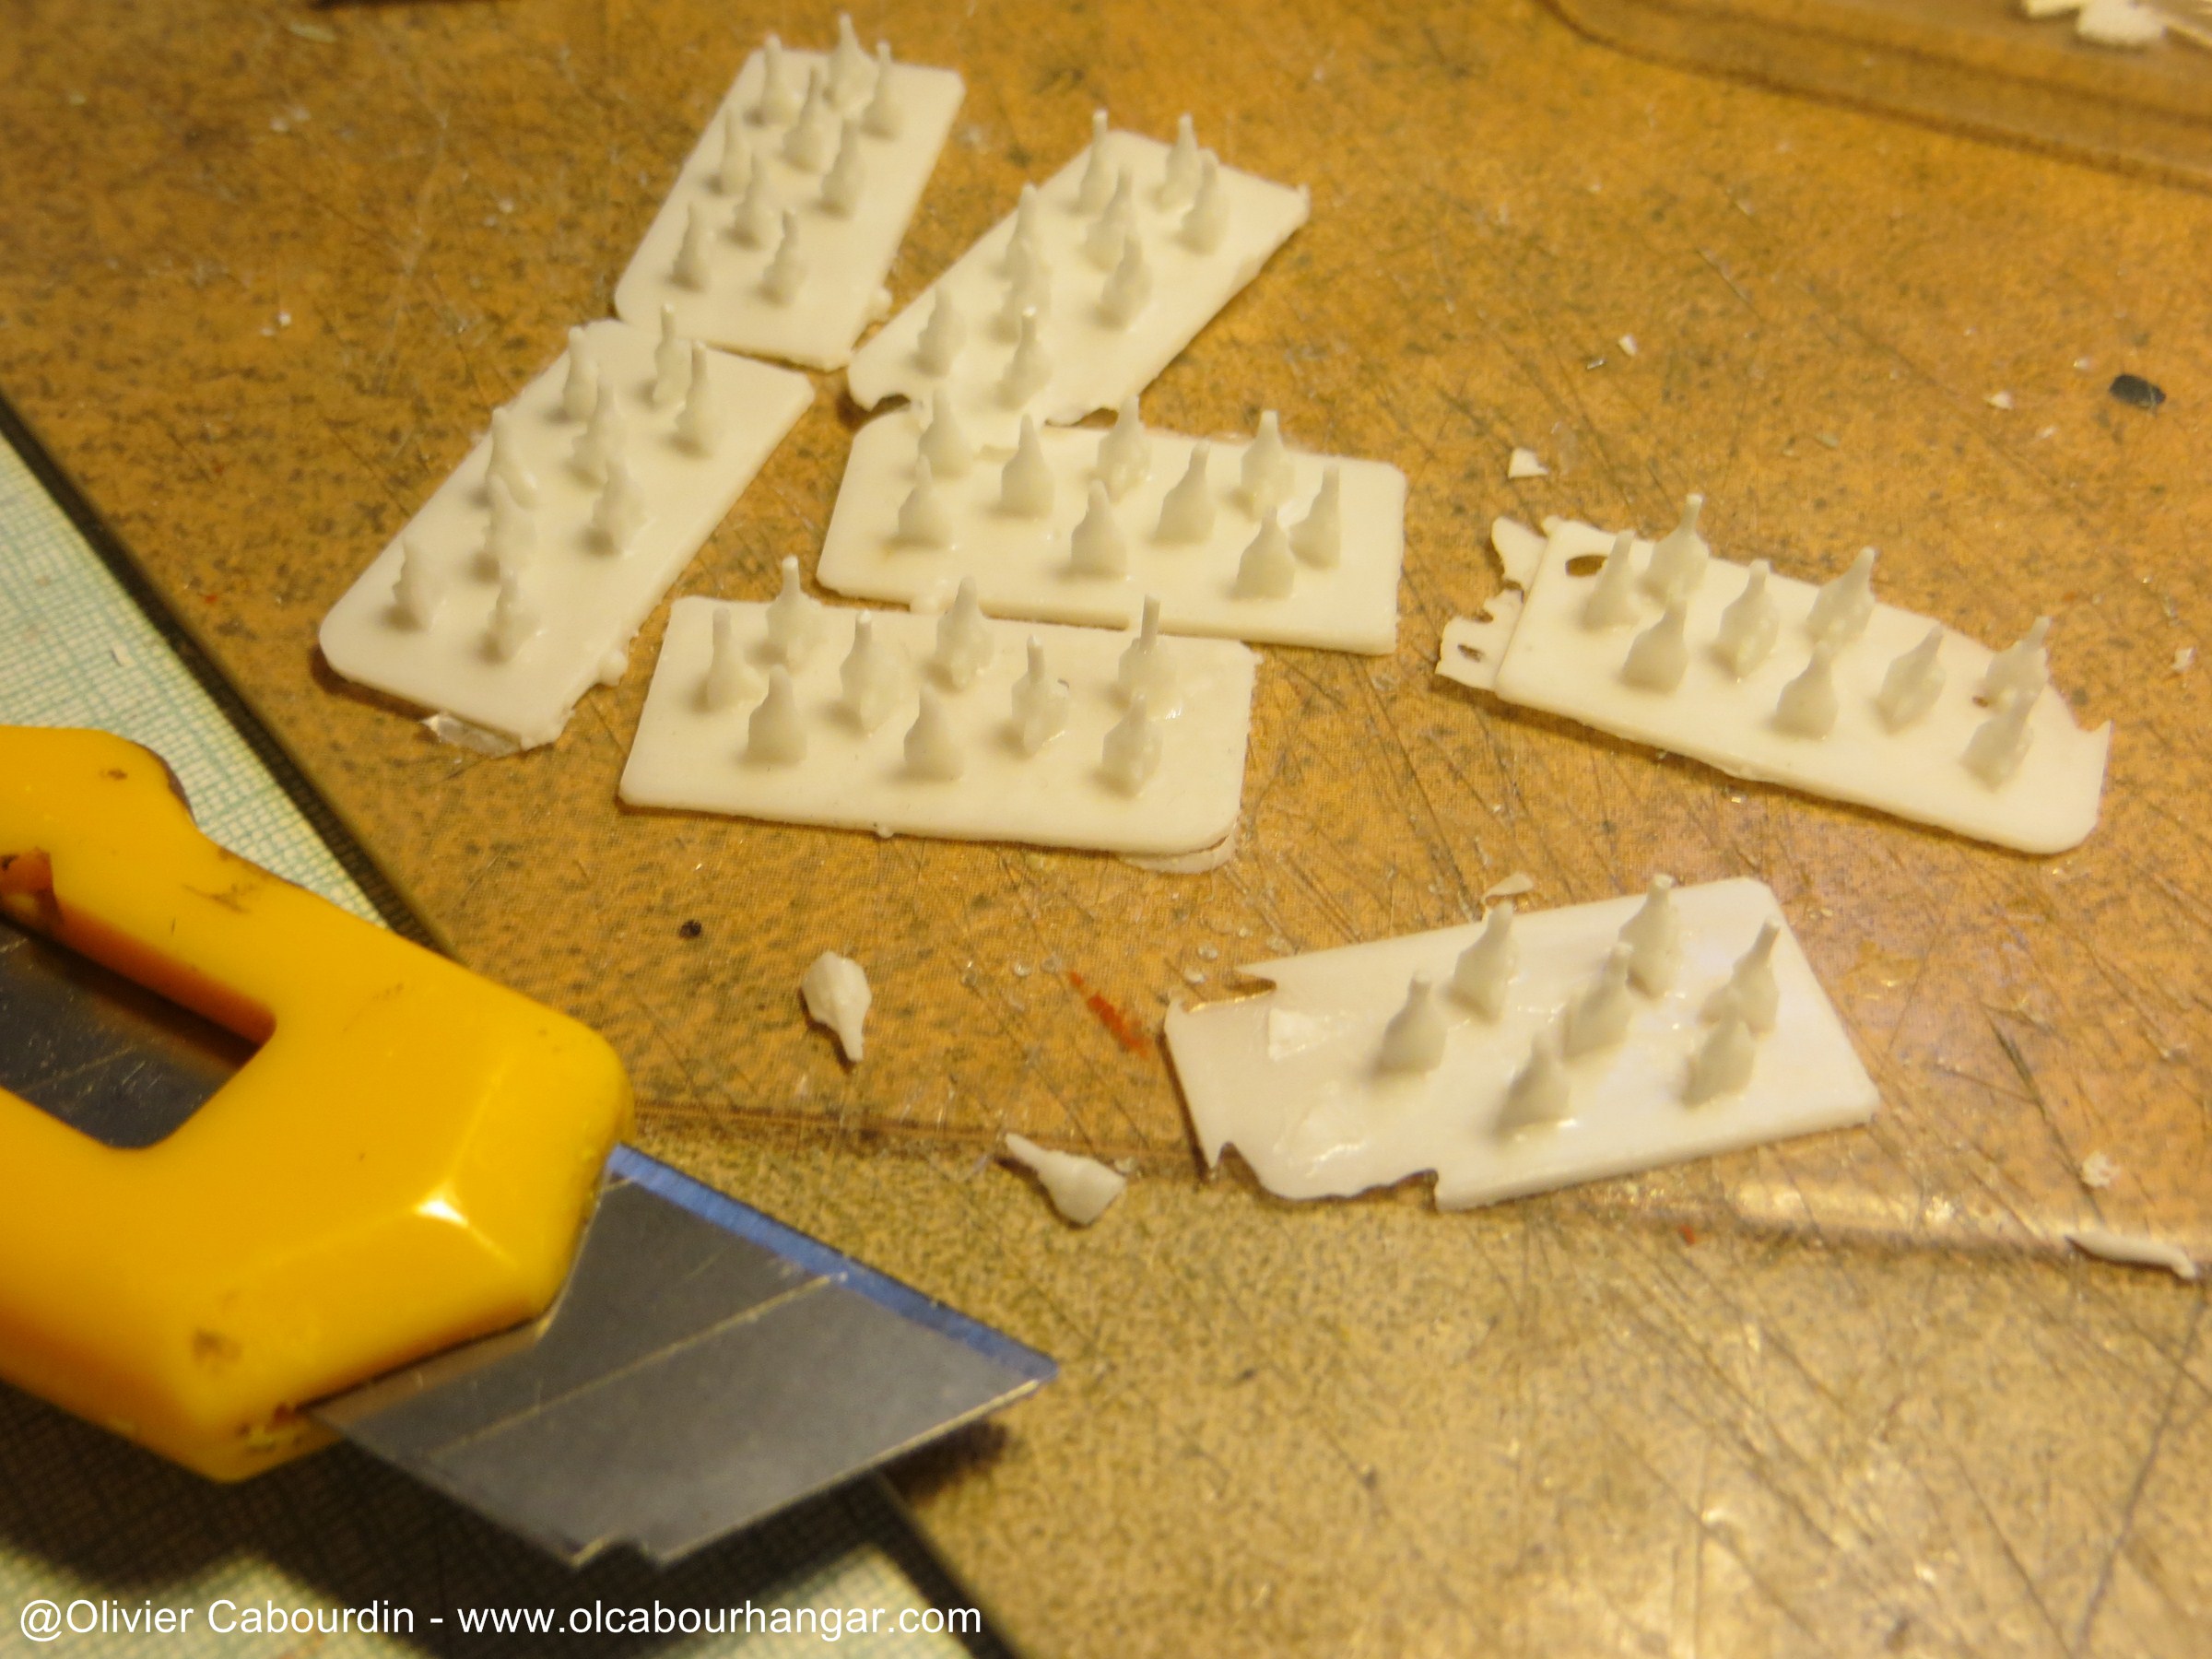
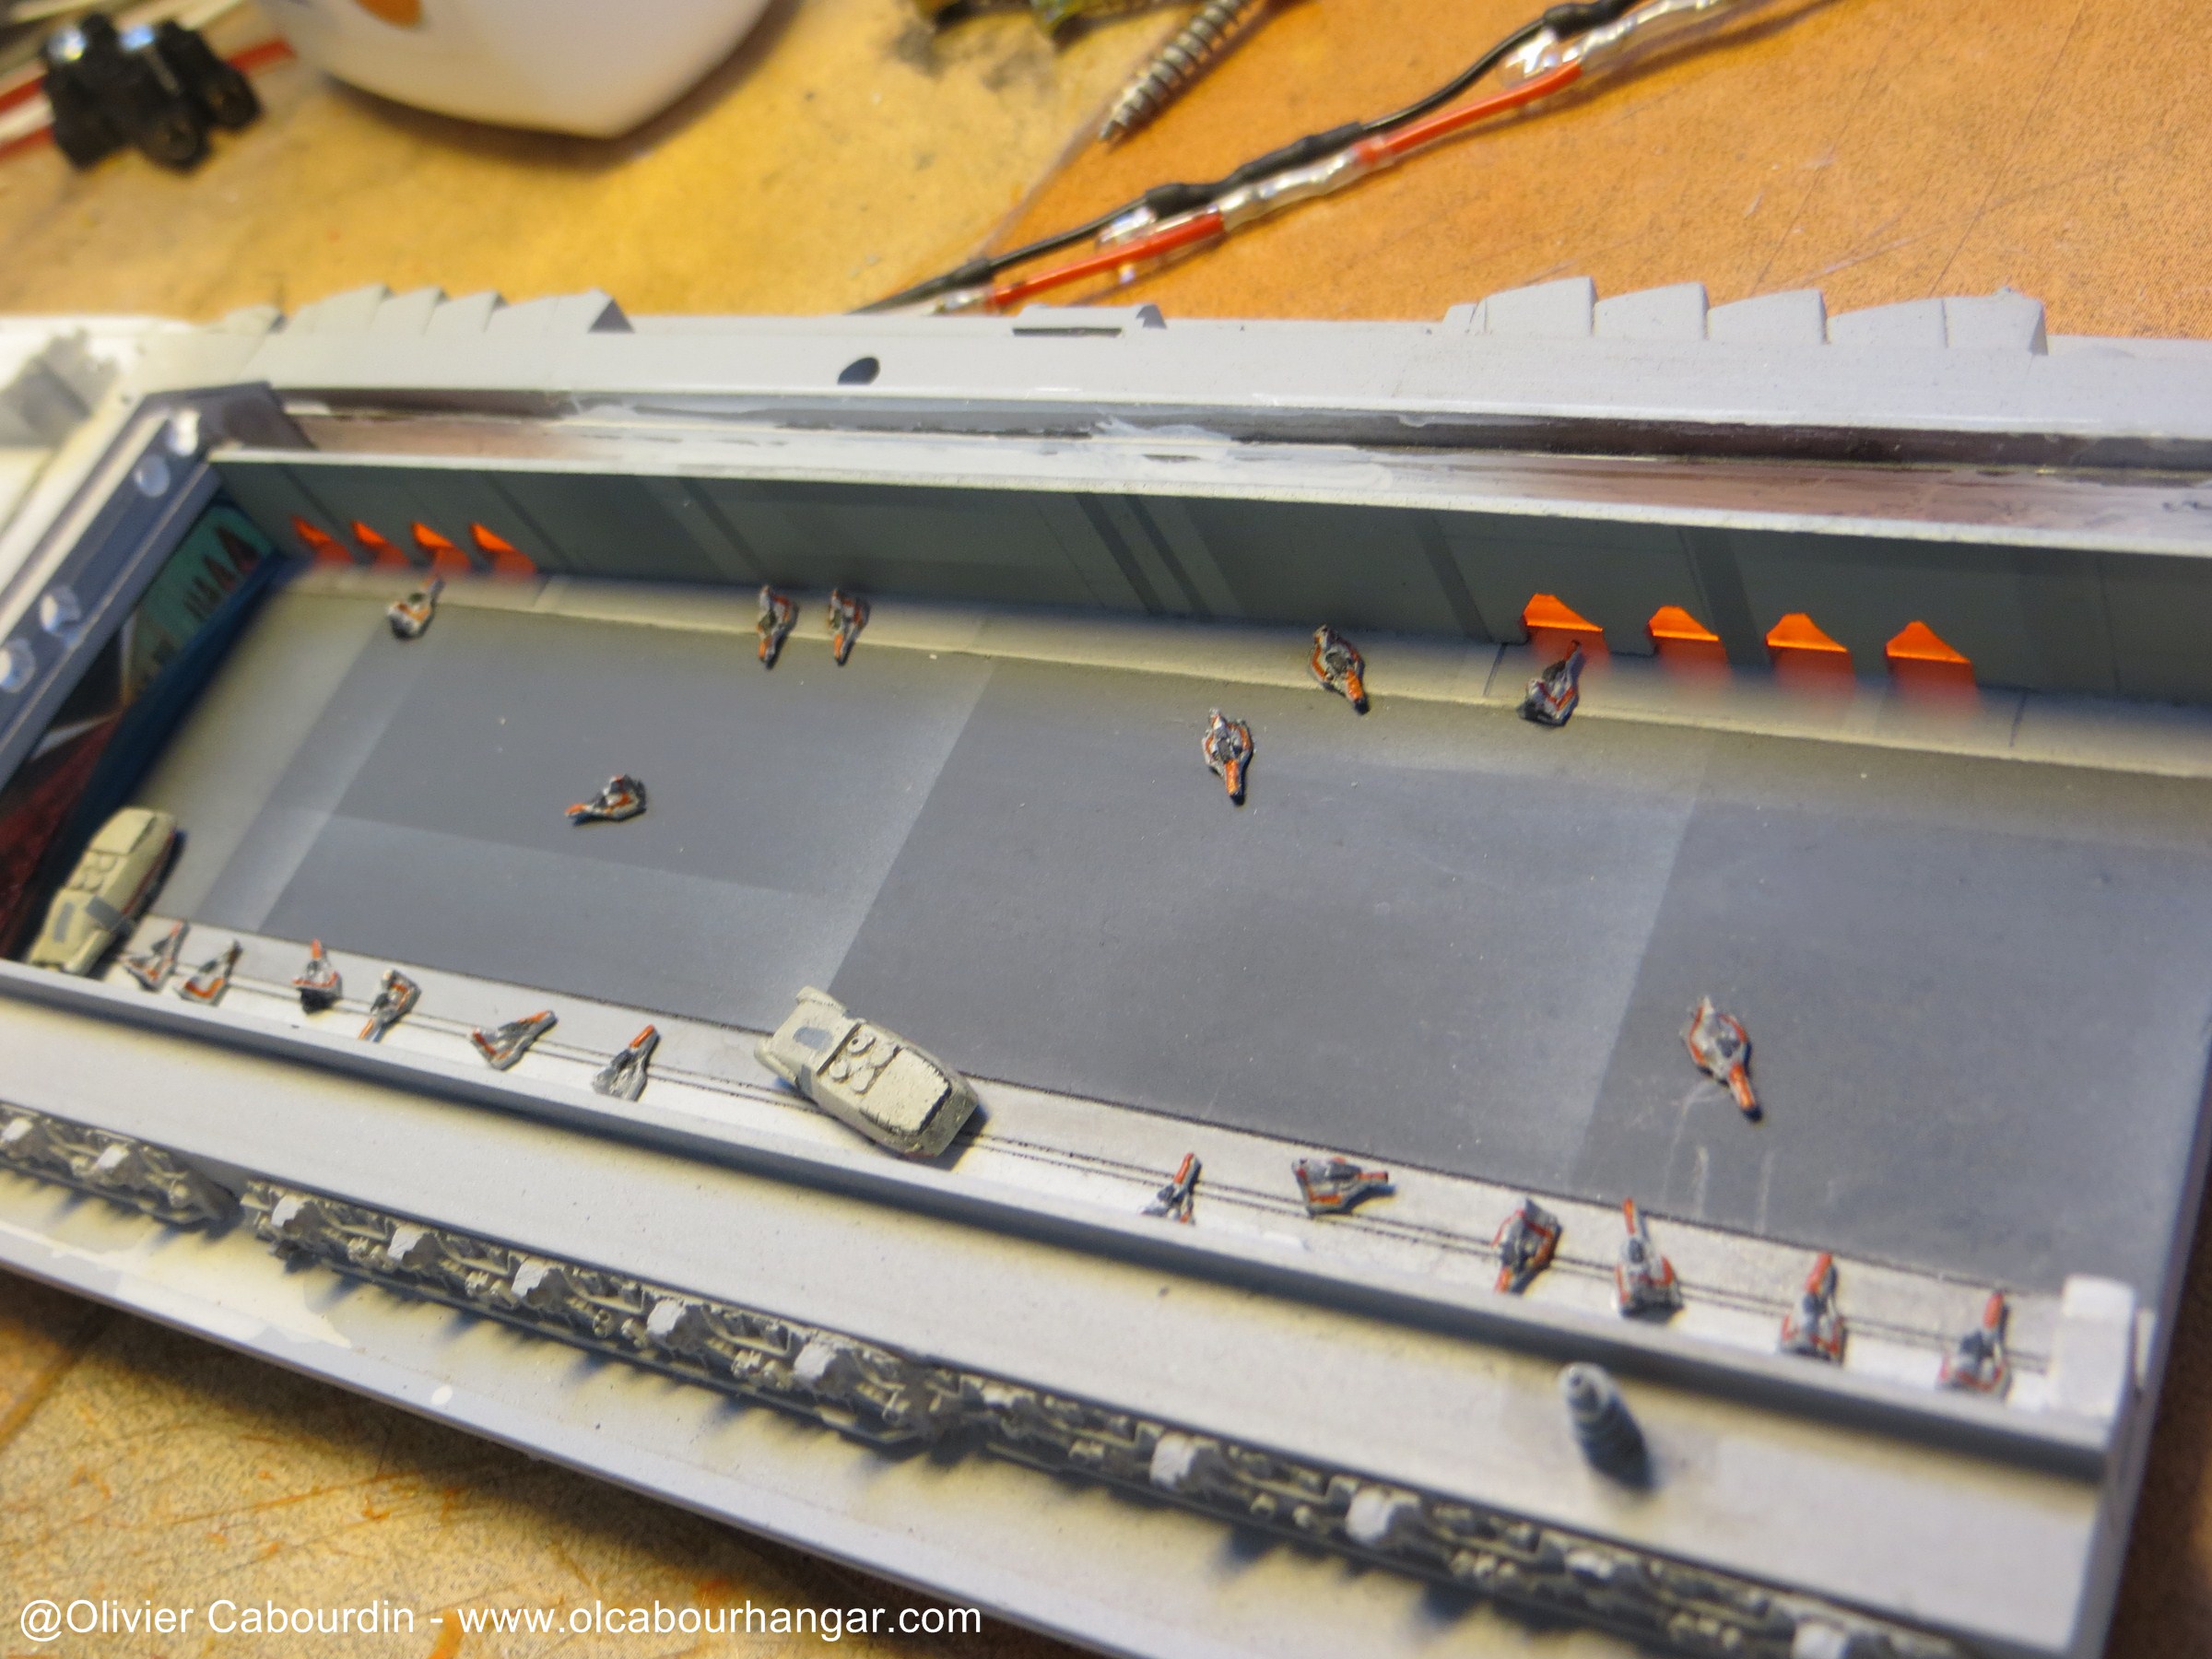
After a dozen runs, the Viper mold is dead, but that does not matter because now I can get into a second mold with a whole squadron, which was the goal :)
I use standard rtv, which will hold better than Siligum.
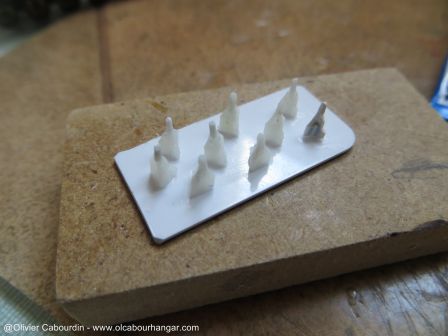


Vipers clusters !

 
Painting of dozens of viper and shuttles : The orange stripes, cockpits and engines are hand-made.


I'm a Viper maniac ! :D
(and no, I don't need a therapy!)


To paint the hangar, I played with different shades of gray: standards, greenish, beige...
The workshops are covered with white to better diffuse the ceiling red lights.


A light black wash is done mainly to highlight the workshops greeblies.


Added clear red plate behind the doors of the launch tubes of viper


As my hangars can not go the full length because of the side supports (metal bar), I extend it with a decal.
For this, I slightly modified the scans of the original design (removing the large Vipers, and color adjustment)


Placing the Viper and shuttles (with white glue)
- Right hangar


- Left hangar


Finishing the lighting of the sheds. Only warm white LED will be used. Red environments are done with transparent plastic sheets covered with Tamiya Clear Red.
There are 11 led by hangar.


Upper ceiling


which is painted mat black


I'm pretty happy with the result :)
- Right hangar


- Left hangar


Honestly, I've been following your build and am really jealous. You are doing almost exactly what I have planned to do. The exception is that I have no casting ability and to make individual Vipers and shuttles would take a lifetime.

I'm now 6 weeks post shoulder reconstruction surgery and I saw my surgeon today. Splint is off and I'll soon be able to seriously start attacking this project. I hope mine turns out half as nice as yours.

Ken
 
Oliver,

I just got delivery of my 0.5mm drill bits and quickly broke 2 of them. They aren't long enough to penetrate some areas of the model anyways. What size fiber optic are you using?

Ken
 
Honestly, I've been following your build and am really jealous. You are doing almost exactly what I have planned to do. The exception is that I have no casting ability and to make individual Vipers and shuttles would take a lifetime.

I'm now 6 weeks post shoulder reconstruction surgery and I saw my surgeon today. Splint is off and I'll soon be able to seriously start attacking this project. I hope mine turns out half as nice as yours.

Ken

Good luck for your recovery. Hope you can get back on the modeling soon.

Oliver,

I just got delivery of my 0.5mm drill bits and quickly broke 2 of them. They aren't long enough to penetrate some areas of the model anyways. What size fiber optic are you using?

Ken

I used 0.75mm FO, and the bit (I did not broke any !) was sometimes just enough long, and was obliged to widen the hole with 0.80 to facilitate the FO to slide through
 
Oliver, Man I can't imagine the greatness you have put into just the landing bays all I can say is Super Workmanship For Sure hands down take a bow you have done super and you are just getting started cant wait to see more I love all your smalls man good stuff. Thanks Jim
 
Oliver, On you ladders you used in the landing bays is that HO scale just wondering this is something I'm going to attempt cause these are by far the best landing bays I have seen and I love scratching so here I go and seeing how you did your leds helped so warm white led is what I need to use rite I have everything to do this scratch only thing is to buy some smooth on resin an silicone mode rubber I have to order the ladder plastruct so let me know what scale you used, and the warm white led lights Ill have to order also. This is going to be fun! Great Work !!!! Thanks Jim
 
Thanks a lot Jim :)

Oliver, On you ladders you used in the landing bays is that HO scale just wondering this is something I'm going to attempt cause these are by far the best landing bays I have seen and I love scratching so here I go and seeing how you did your leds helped so warm white led is what I need to use rite I have everything to do this scratch only thing is to buy some smooth on resin an silicone mode rubber I have to order the ladder plastruct so let me know what scale you used, and the warm white led lights Ill have to order also. This is going to be fun! Great Work !!!! Thanks Jim

The ladders are the Plastruct one in HO scale (curiously noted 1:100 scale !) - Réf 90672 (2 ladders per set).
You will need at least 2 sets if you'll make only half hangar length like I did.

For the warm led, I used 3mm ones that I had on hand.
Maybe you can try different and easier solutions (square one, flat on ribbon...)
 
I really like the way your BSG,it is coming together very nicely.With out going back to the begining of your post where you using Fiber Optics? I am having a hell of time finding the correct drill bit I need for the .50mm and .75mm out my way do you happened to know what the size drill bit would be in standard size verses metric?

Clarence
 
Thanks Clarence.

Sorry, I cannot help you much to find an inch based drill bit, as I lived in a country where everything is in the metric system.

But with a search "drill bit .75" on amazon, I found these drill sets :
http://www.amazon.com/20pc-MICRO-DR...&qid=1415055345&sr=8-2&keywords=drill+bit+.75
http://www.amazon.com/Stalwart-75-T...qid=1415055345&sr=8-10&keywords=drill+bit+.75

For .75mm FO, use a bit between .75mm and.80mm

Thank You for your help will check out the link you posted.

Clarence
 
Fantastic build. Lots of attention to detail. Those vipers are just SO tiny.

- - - Updated - - -

I really like the way your BSG,it is coming together very nicely.With out going back to the begining of your post where you using Fiber Optics? I am having a hell of time finding the correct drill bit I need for the .50mm and .75mm out my way do you happened to know what the size drill bit would be in standard size verses metric?

Clarence

You can find them easily enough on ebay. I have set that goes from 0.1mm to 1.0mm in 0.1mm steps but you can find other sizes too.
 
Thanks Oliver, This is what Ill order, along with the 3mm soft white leds. Thanks alot and super great modeling. Thanks Jim
 
You are clearly VERY talented and your attention to detail is remarkable!
One suggestion however, If you put an LED behind your illustration at the back of the hangar deck, the amount of light will match the 3d version in the foreground much better. I realize that because it is further away it would be technically slightly darker (what's in the illustrationI mean) but I honestly think it would look perfect with a little light added to balance the two.

keep up the GREAT work!
:)Spockboy
 
I once started on this great landing bay build will try this perspective view of lighting the back ground pic to see how it looks, sounds like a great ideal well see. Thanks Jim
 
Ok I have got my perspectives of the landing bays fliped to where they are on the right views when looking at them, I made many copys of the landing bays then attached them to a clear film card stock and put a light to it they do look cool with light but I'm thinking with this put altogether it may not look deep and have a far off perspective as Oliver's does I am thinking they might look close and that view would be lost with lighting them from behind but to say this I didn't have this in a built landing bay yet still have to see once I'm at this stage of my build still might look good still a great Ideal still have to see. this was only a test. Thanks Jim
 
You are clearly VERY talented and your attention to detail is remarkable!
One suggestion however, If you put an LED behind your illustration at the back of the hangar deck, the amount of light will match the 3d version in the foreground much better. I realize that because it is further away it would be technically slightly darker (what's in the illustrationI mean) but I honestly think it would look perfect with a little light added to balance the two.

keep up the GREAT work!
:)Spockboy

Thanks spockboy.
Good idea the back lighting
Too bad late for me, it's too late : the Galactica is now finished. It take me some time to write and translate the last steps.
 
Once the hangars done, I went on the installation of the electrical circuit, which is done along with the main assembly (gluing of the frame and parts of previously prepared large).

- Connectors above the center of the second dome (the first hiding the support)
It is sandwiched between the resin and the reinforcement medium plate.


- In the central part, once the structure is in place, the remaining space is small and it is difficult to insert many wires, LEDs and fiber optics.
I use warm white (as are all the windows on the real Galactica). The fiber is 0.75mm.


- Yellow boxes

In the four small boxes, fiber is set with white glue.

The yellow LED are connected to fiber (1mm this time) in a white pipe, and secured with white.


- hangars circuit.

The electrical circuit is connected by a wire going through the forearm (via a tunnel that I did previously during the dry assembling)

- For the head, there is enough space to install everything relatively quietly. Yet it was not easy.
Due to the work on the gap and light leaks, many fibers broke. Some will be replaced up to 3 times! :(


In fact, the Galactica is a cat ... the proof: he has a mustache


So to block the ligth leaks on the head, I use black paint (of course), the black tape around the LED pipes and strips of black cloth (with 2 glued in sausage).


- For the bridge, I was planning to run the fibers into the head, but the strength of the fibers (as a bundle) did not allow them to go through the small opening provided without force feedback on the part, that I was afraid to break !


So they are finally inserted in the side a tube where a LED is inserted.


To avoid the light leaks through, I glued a photoeched plate


The fibers are set with white glue.
A mixture of plaster and black paint is tsmeared o block other light leaks.


And it works.


The LED is stuck in a cap (superglue cap here)


To facilitate the work, I made the stand to support Galactica upside down.


This thread is more than 5 years old.

Your message may be considered spam for the following reasons:

  1. This thread hasn't been active in some time. A new post in this thread might not contribute constructively to this discussion after so long.
If you wish to reply despite these issues, check the box below before replying.
Be aware that malicious compliance may result in more severe penalties.
Back
Top