Salzo Battlestar Galactica half studio scale - 1 meter long

cabour

Sr Member
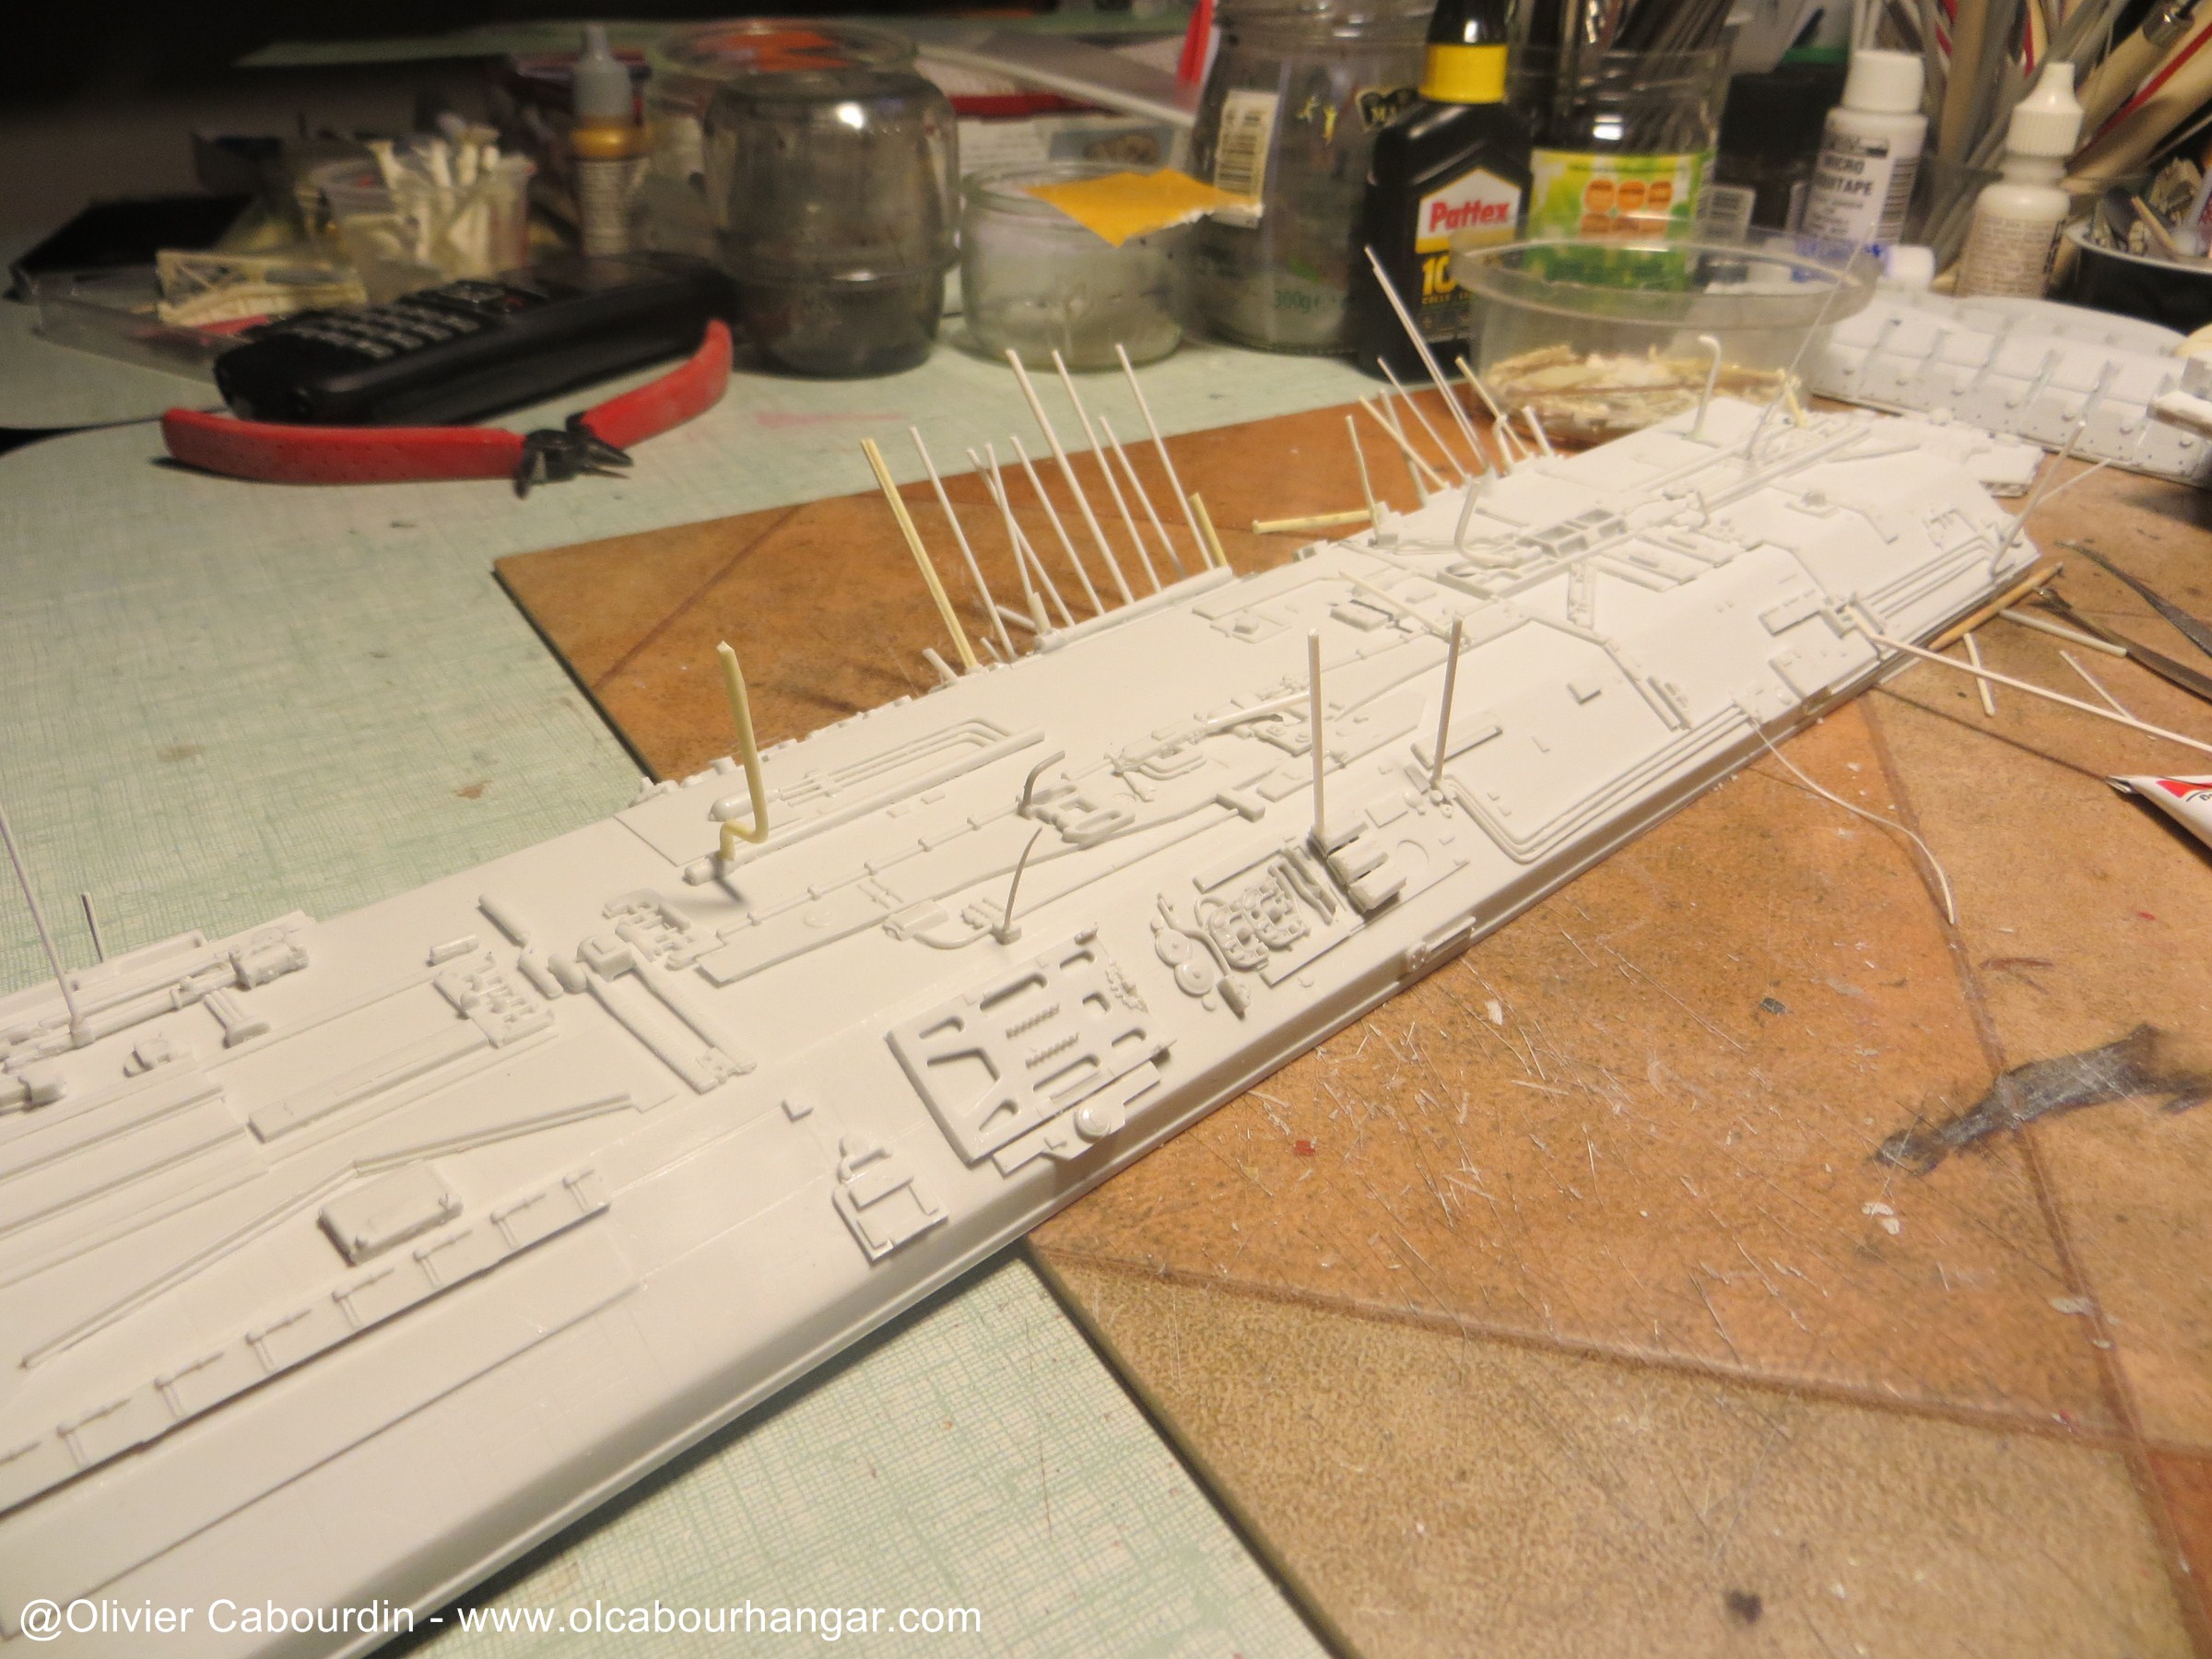
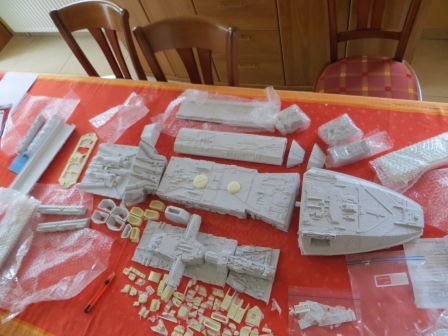
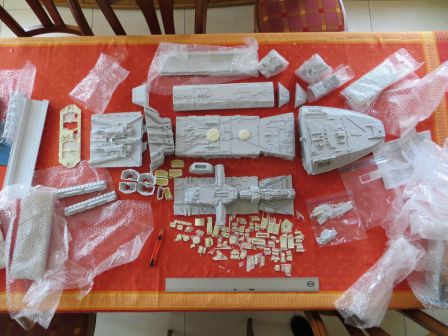
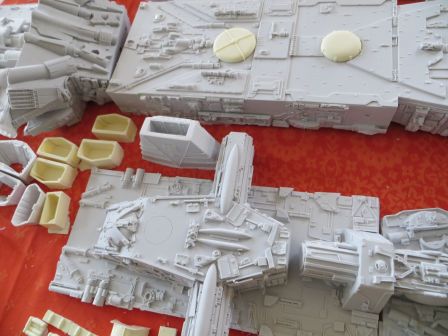
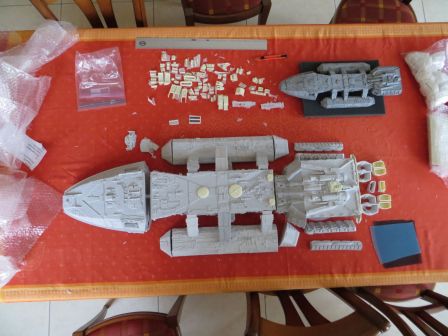
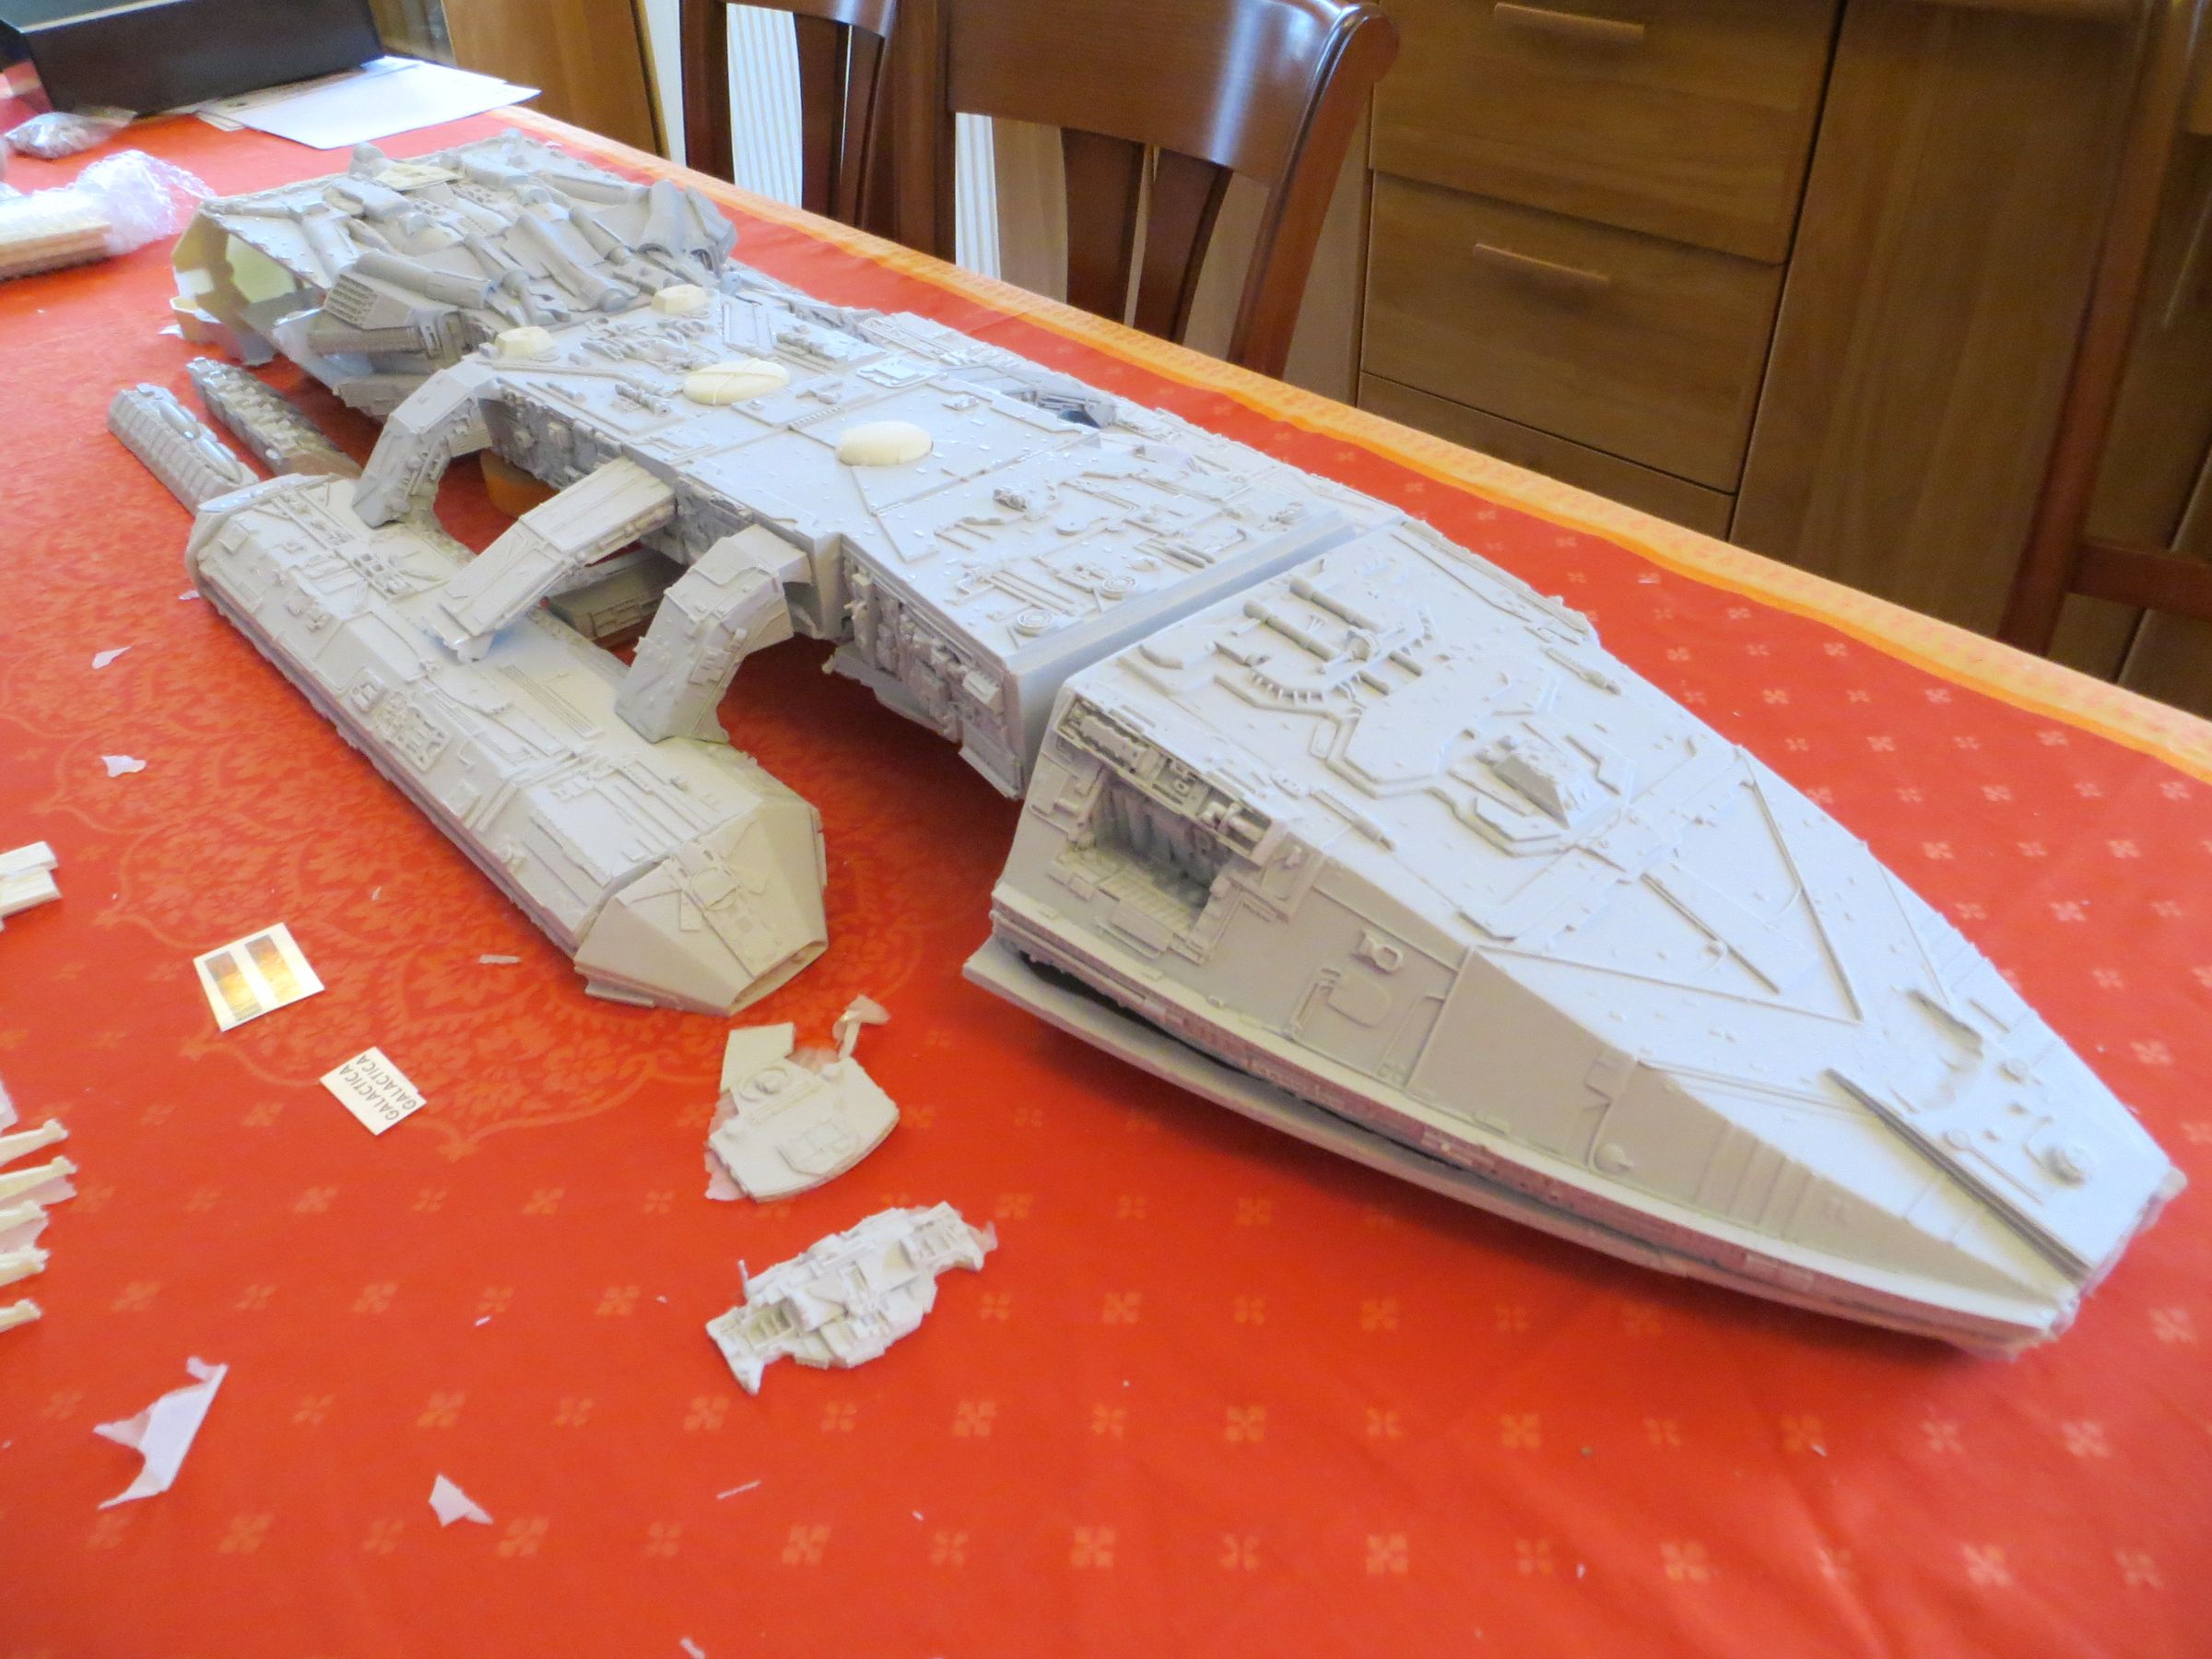
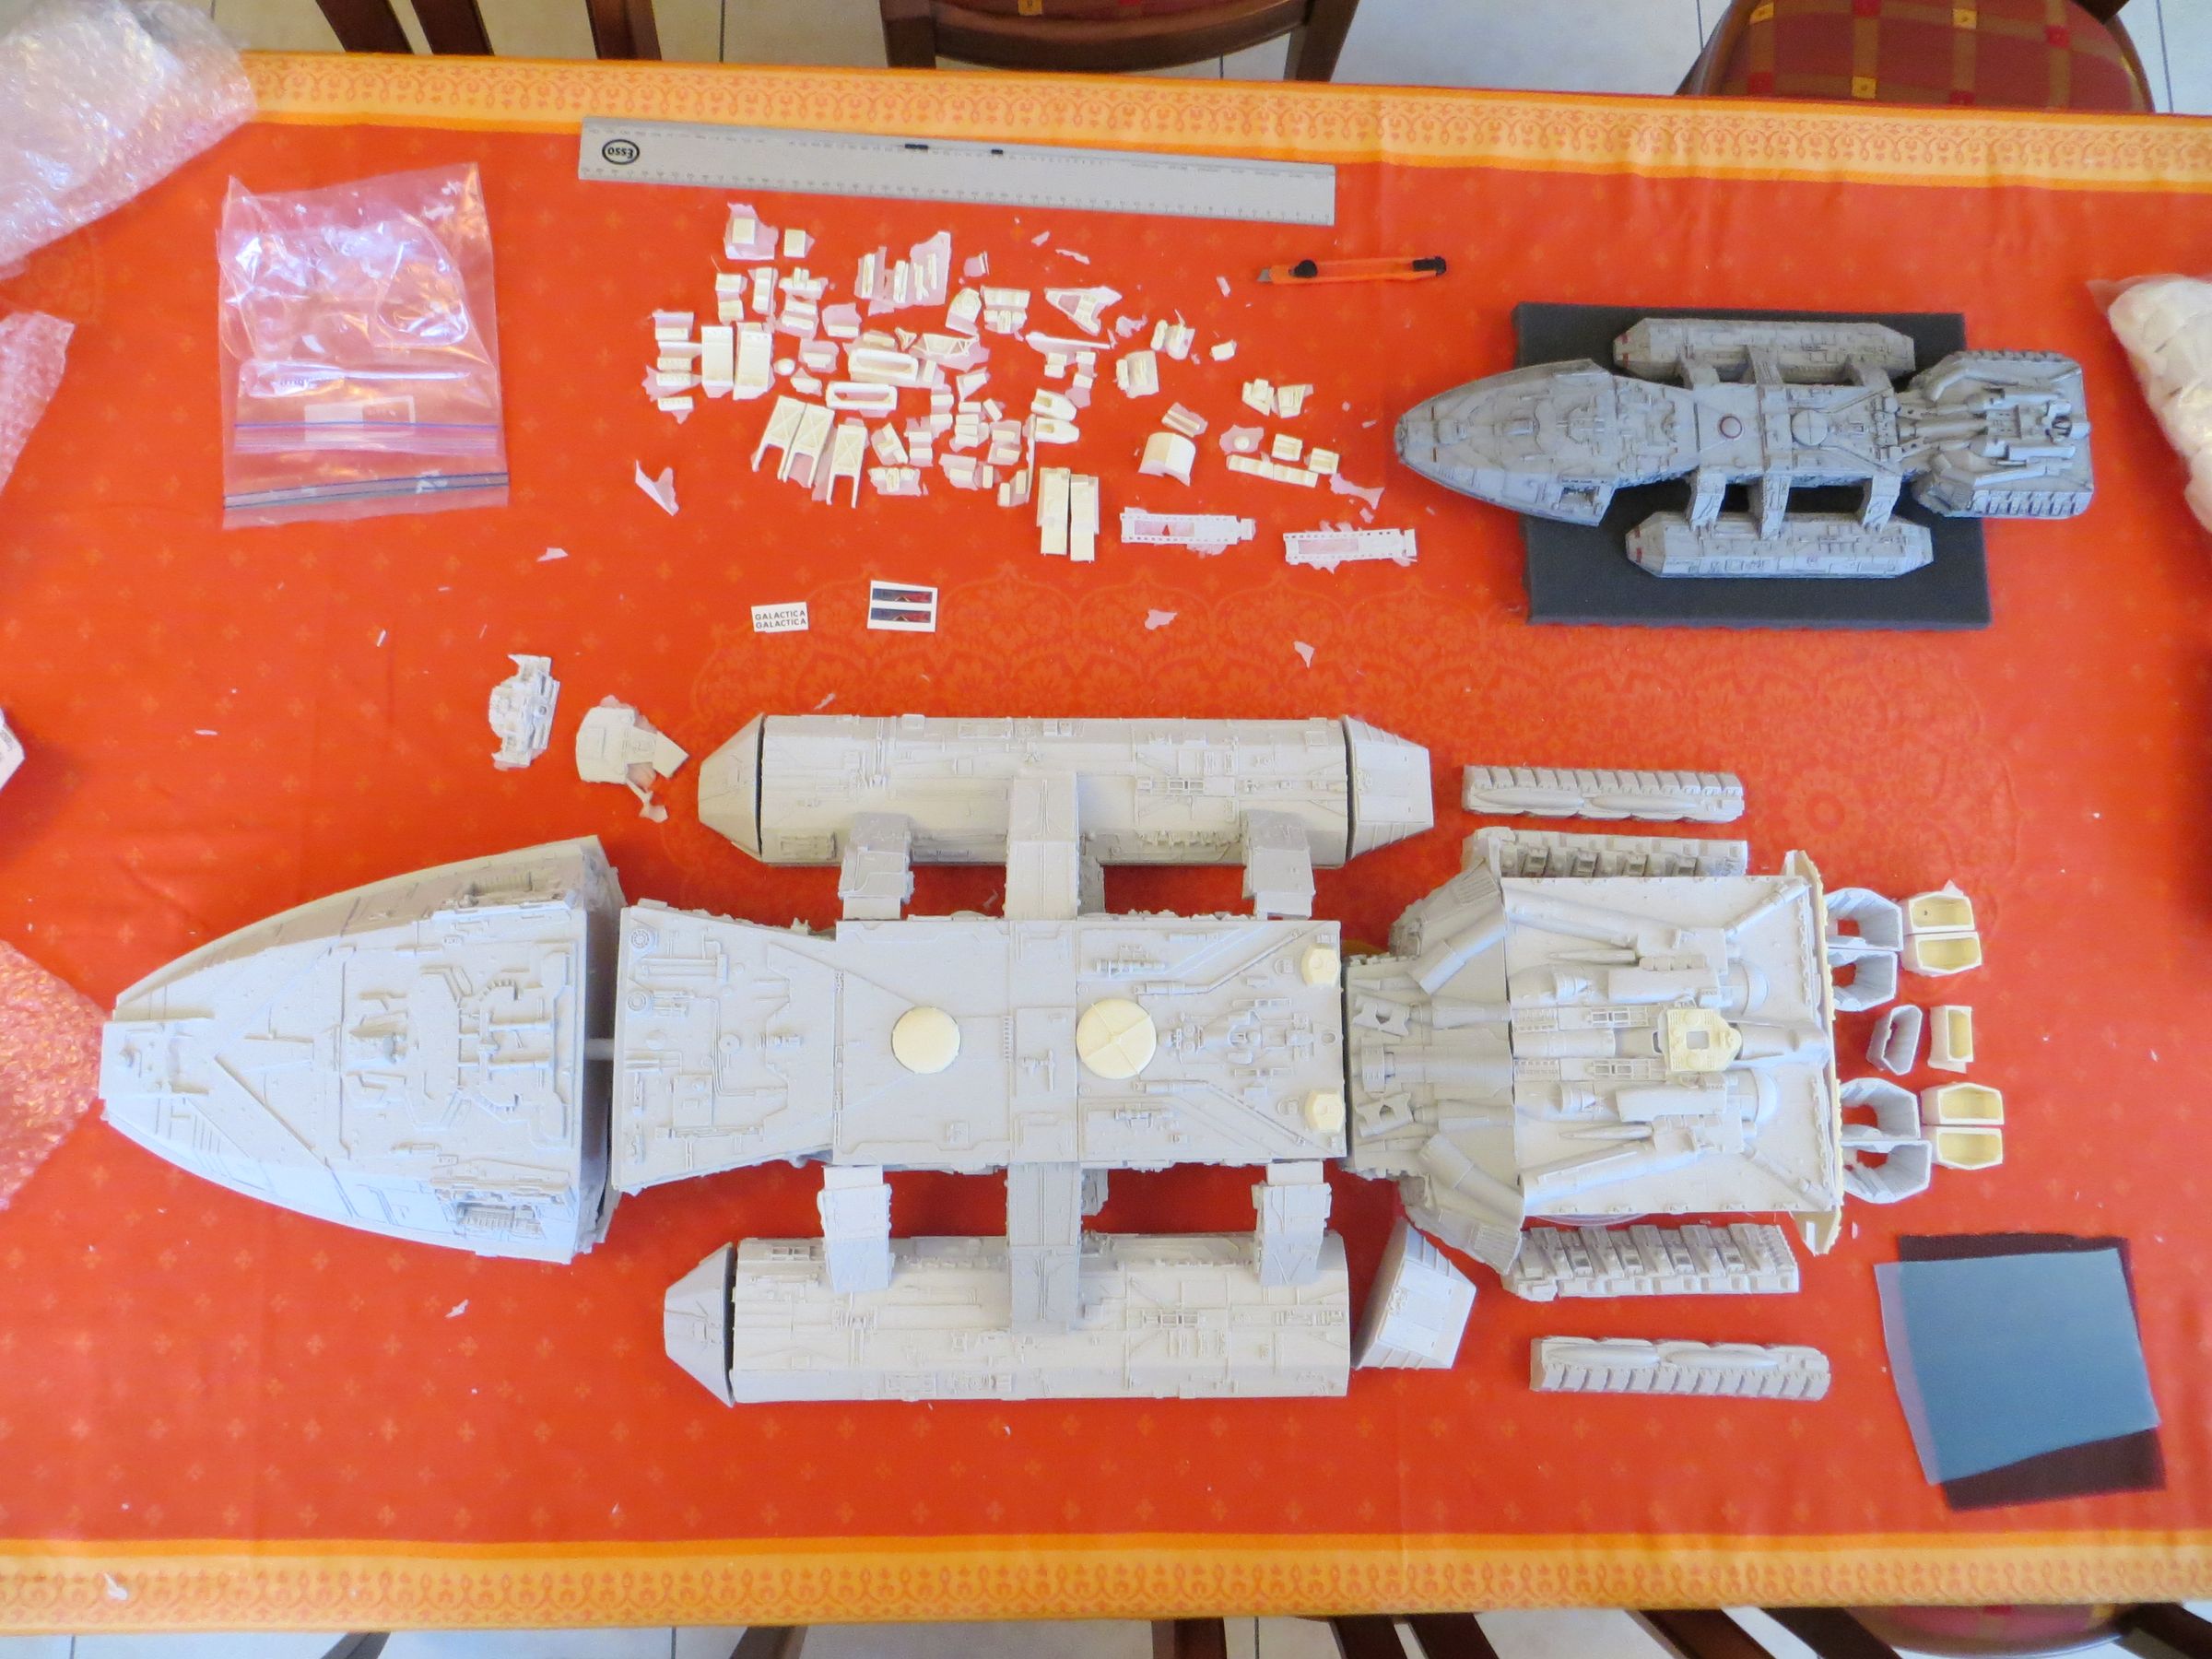
After the models building race on Galactica for an exhibit stand in convention in march this year (9 months to get at least half the elements I exhibited , I wanted to get back on Space:1999 and especially StarWars, but finally I started a new large project this time, and that will be the focus point of this collection it is the Battlestar Galactica to half scale studio: 37.5 inches, so a meter long !

This is a resin kit from Mike Salzo available on RPF.
The proportions are faithful, and casting seems correct.


Here it is beside his little 1/4105th brother (from my rag tag fleet diorama).
The scale of the large Galactica is between 1/1900 and 1/2000th scale.


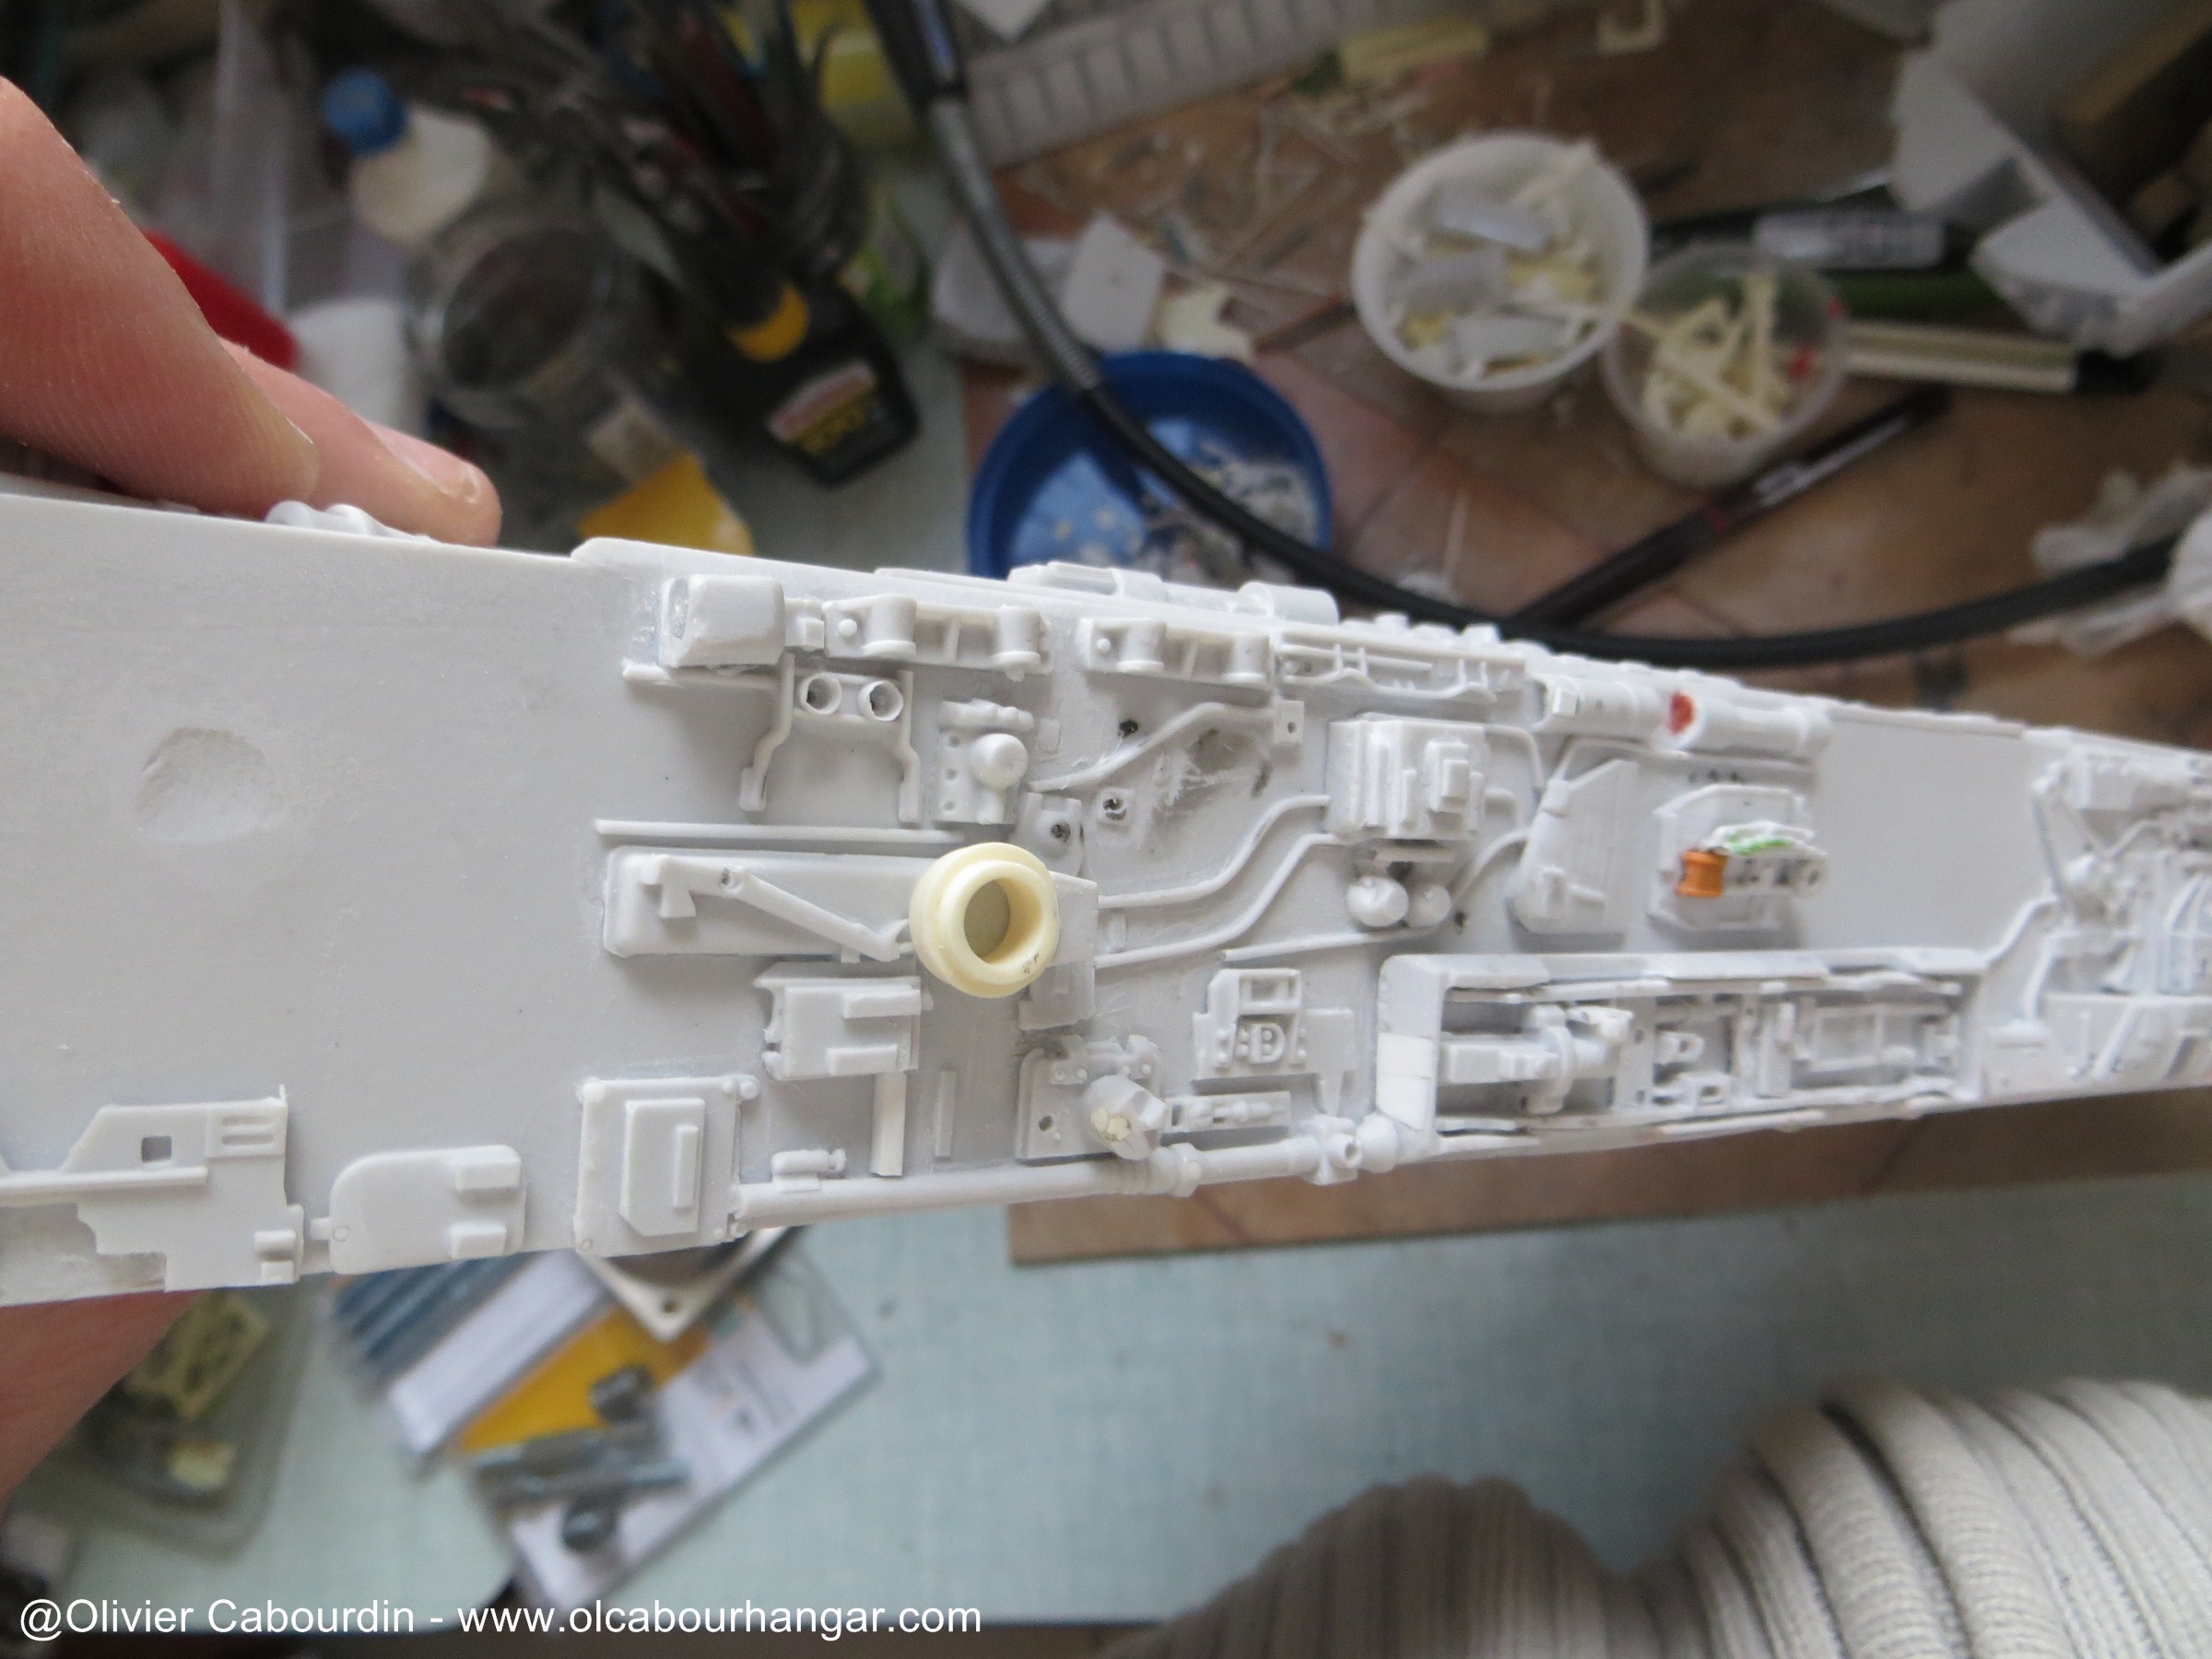
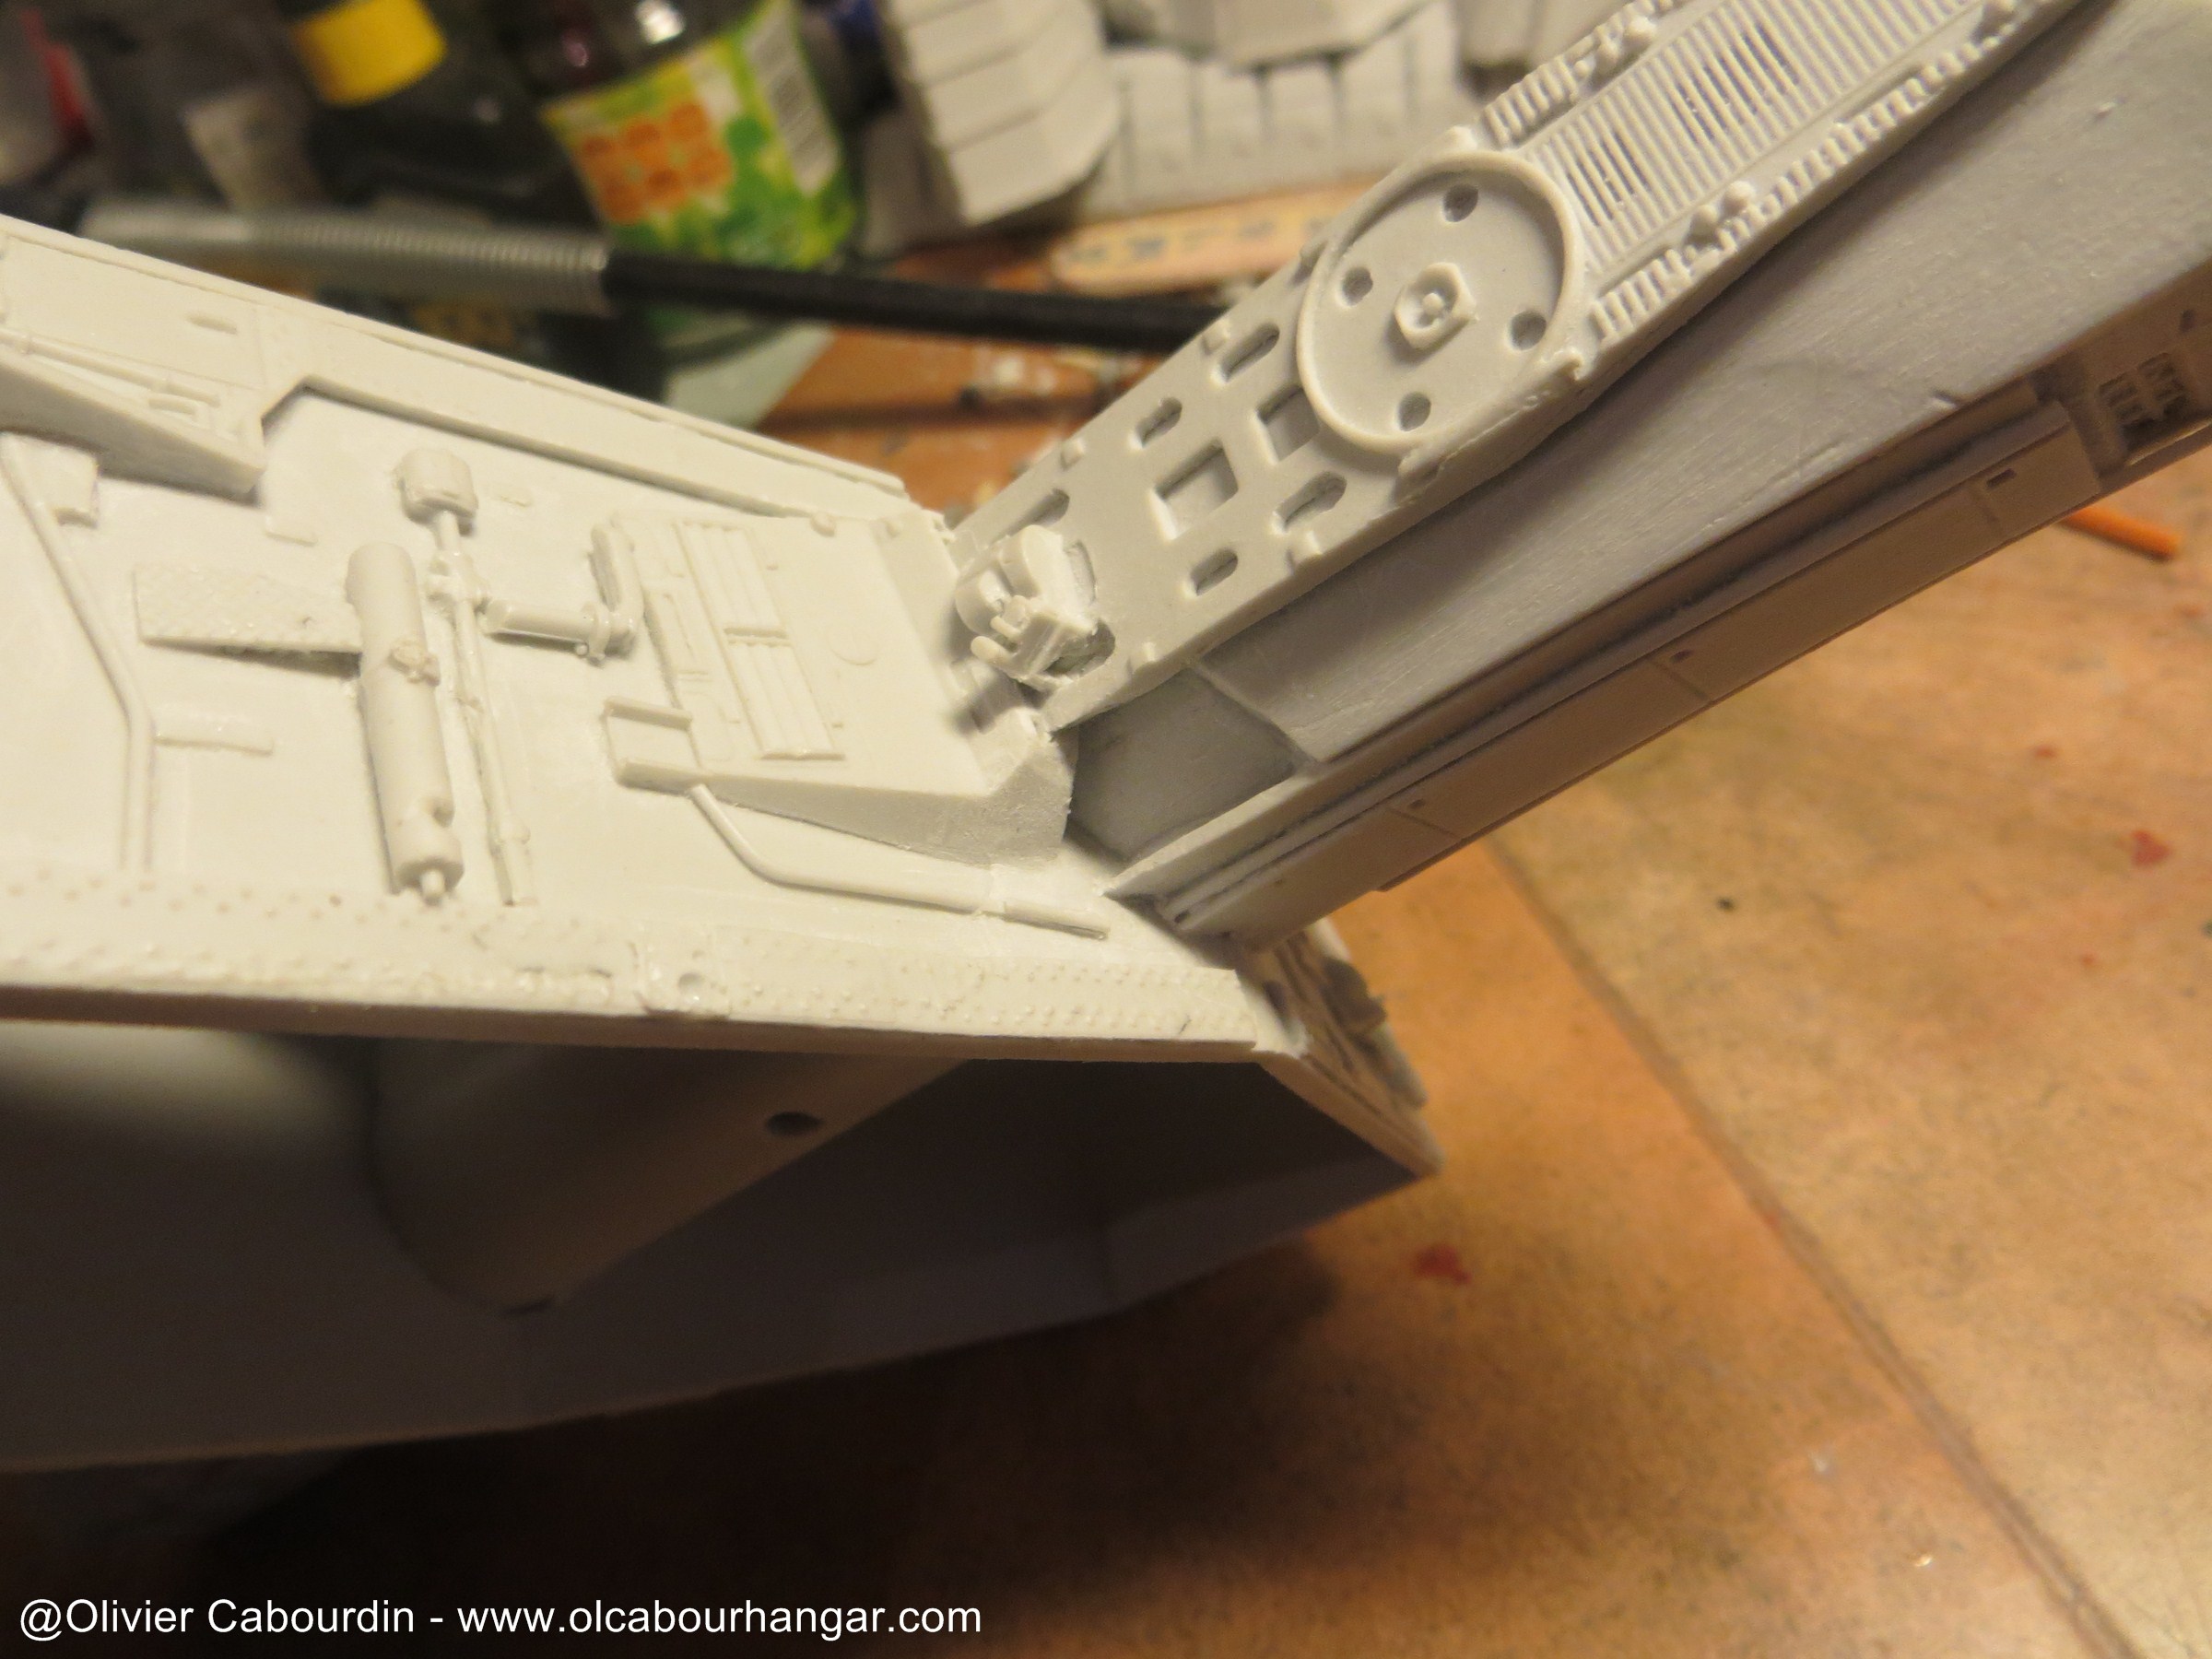
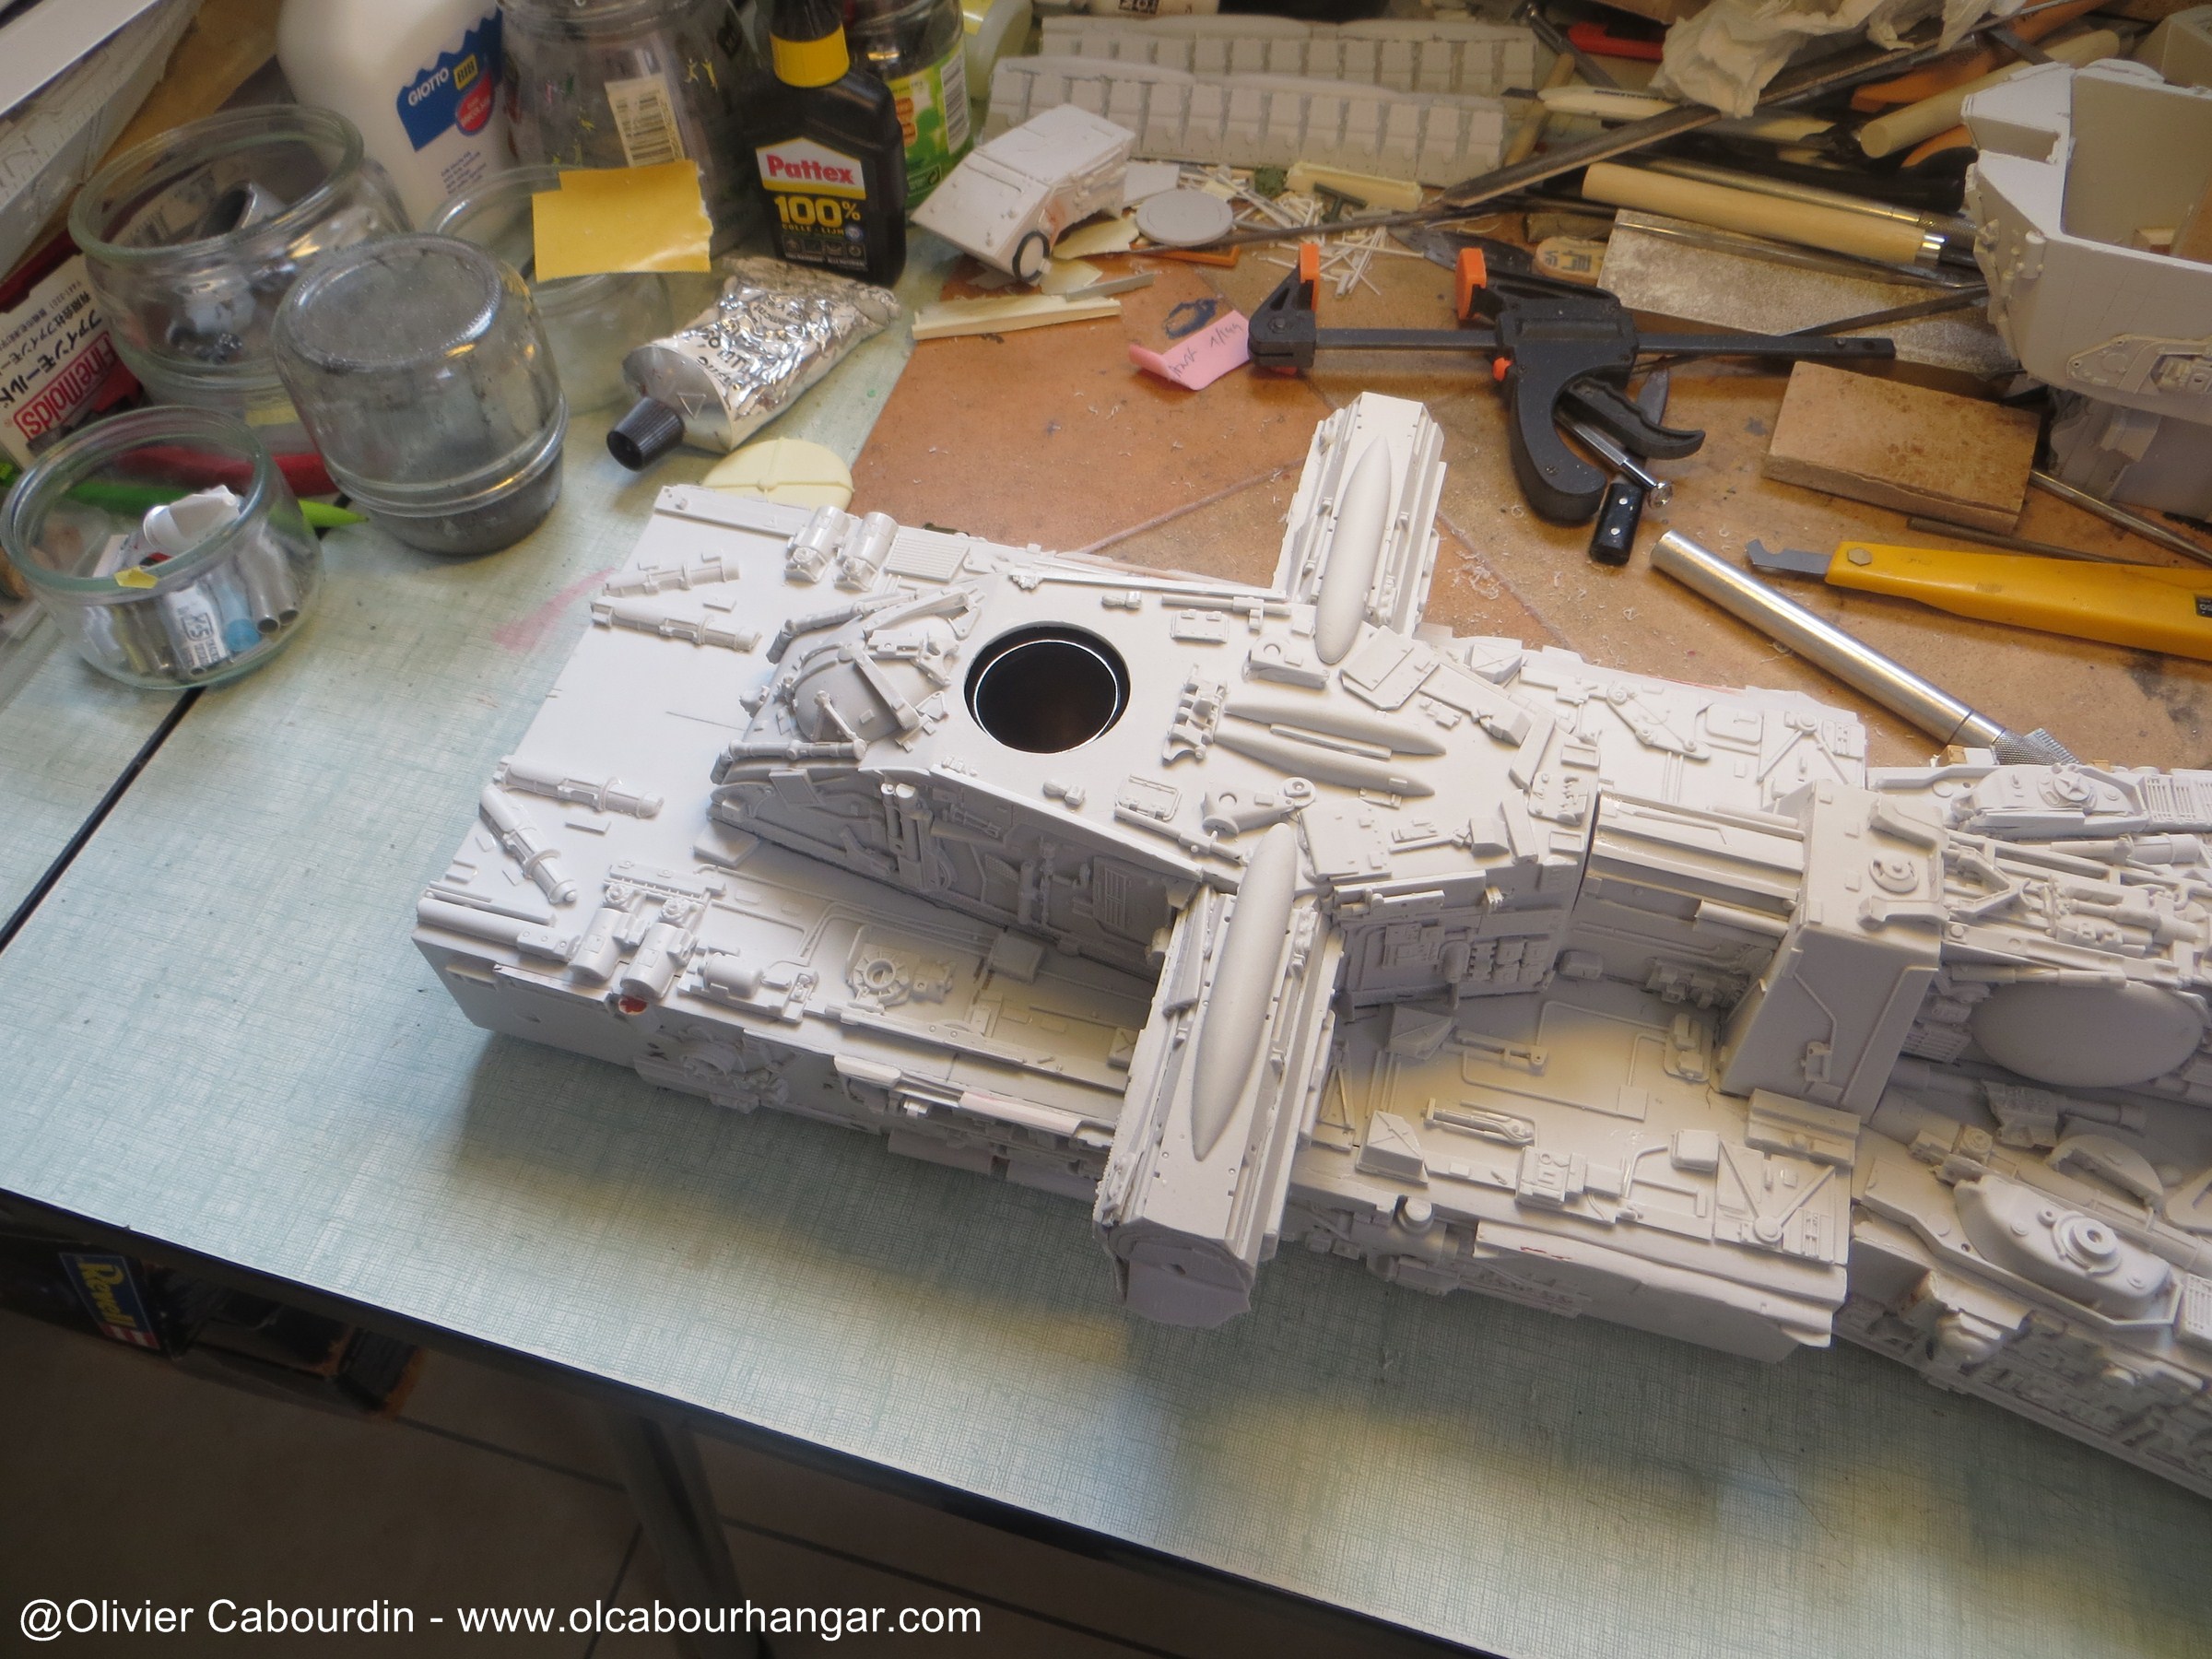
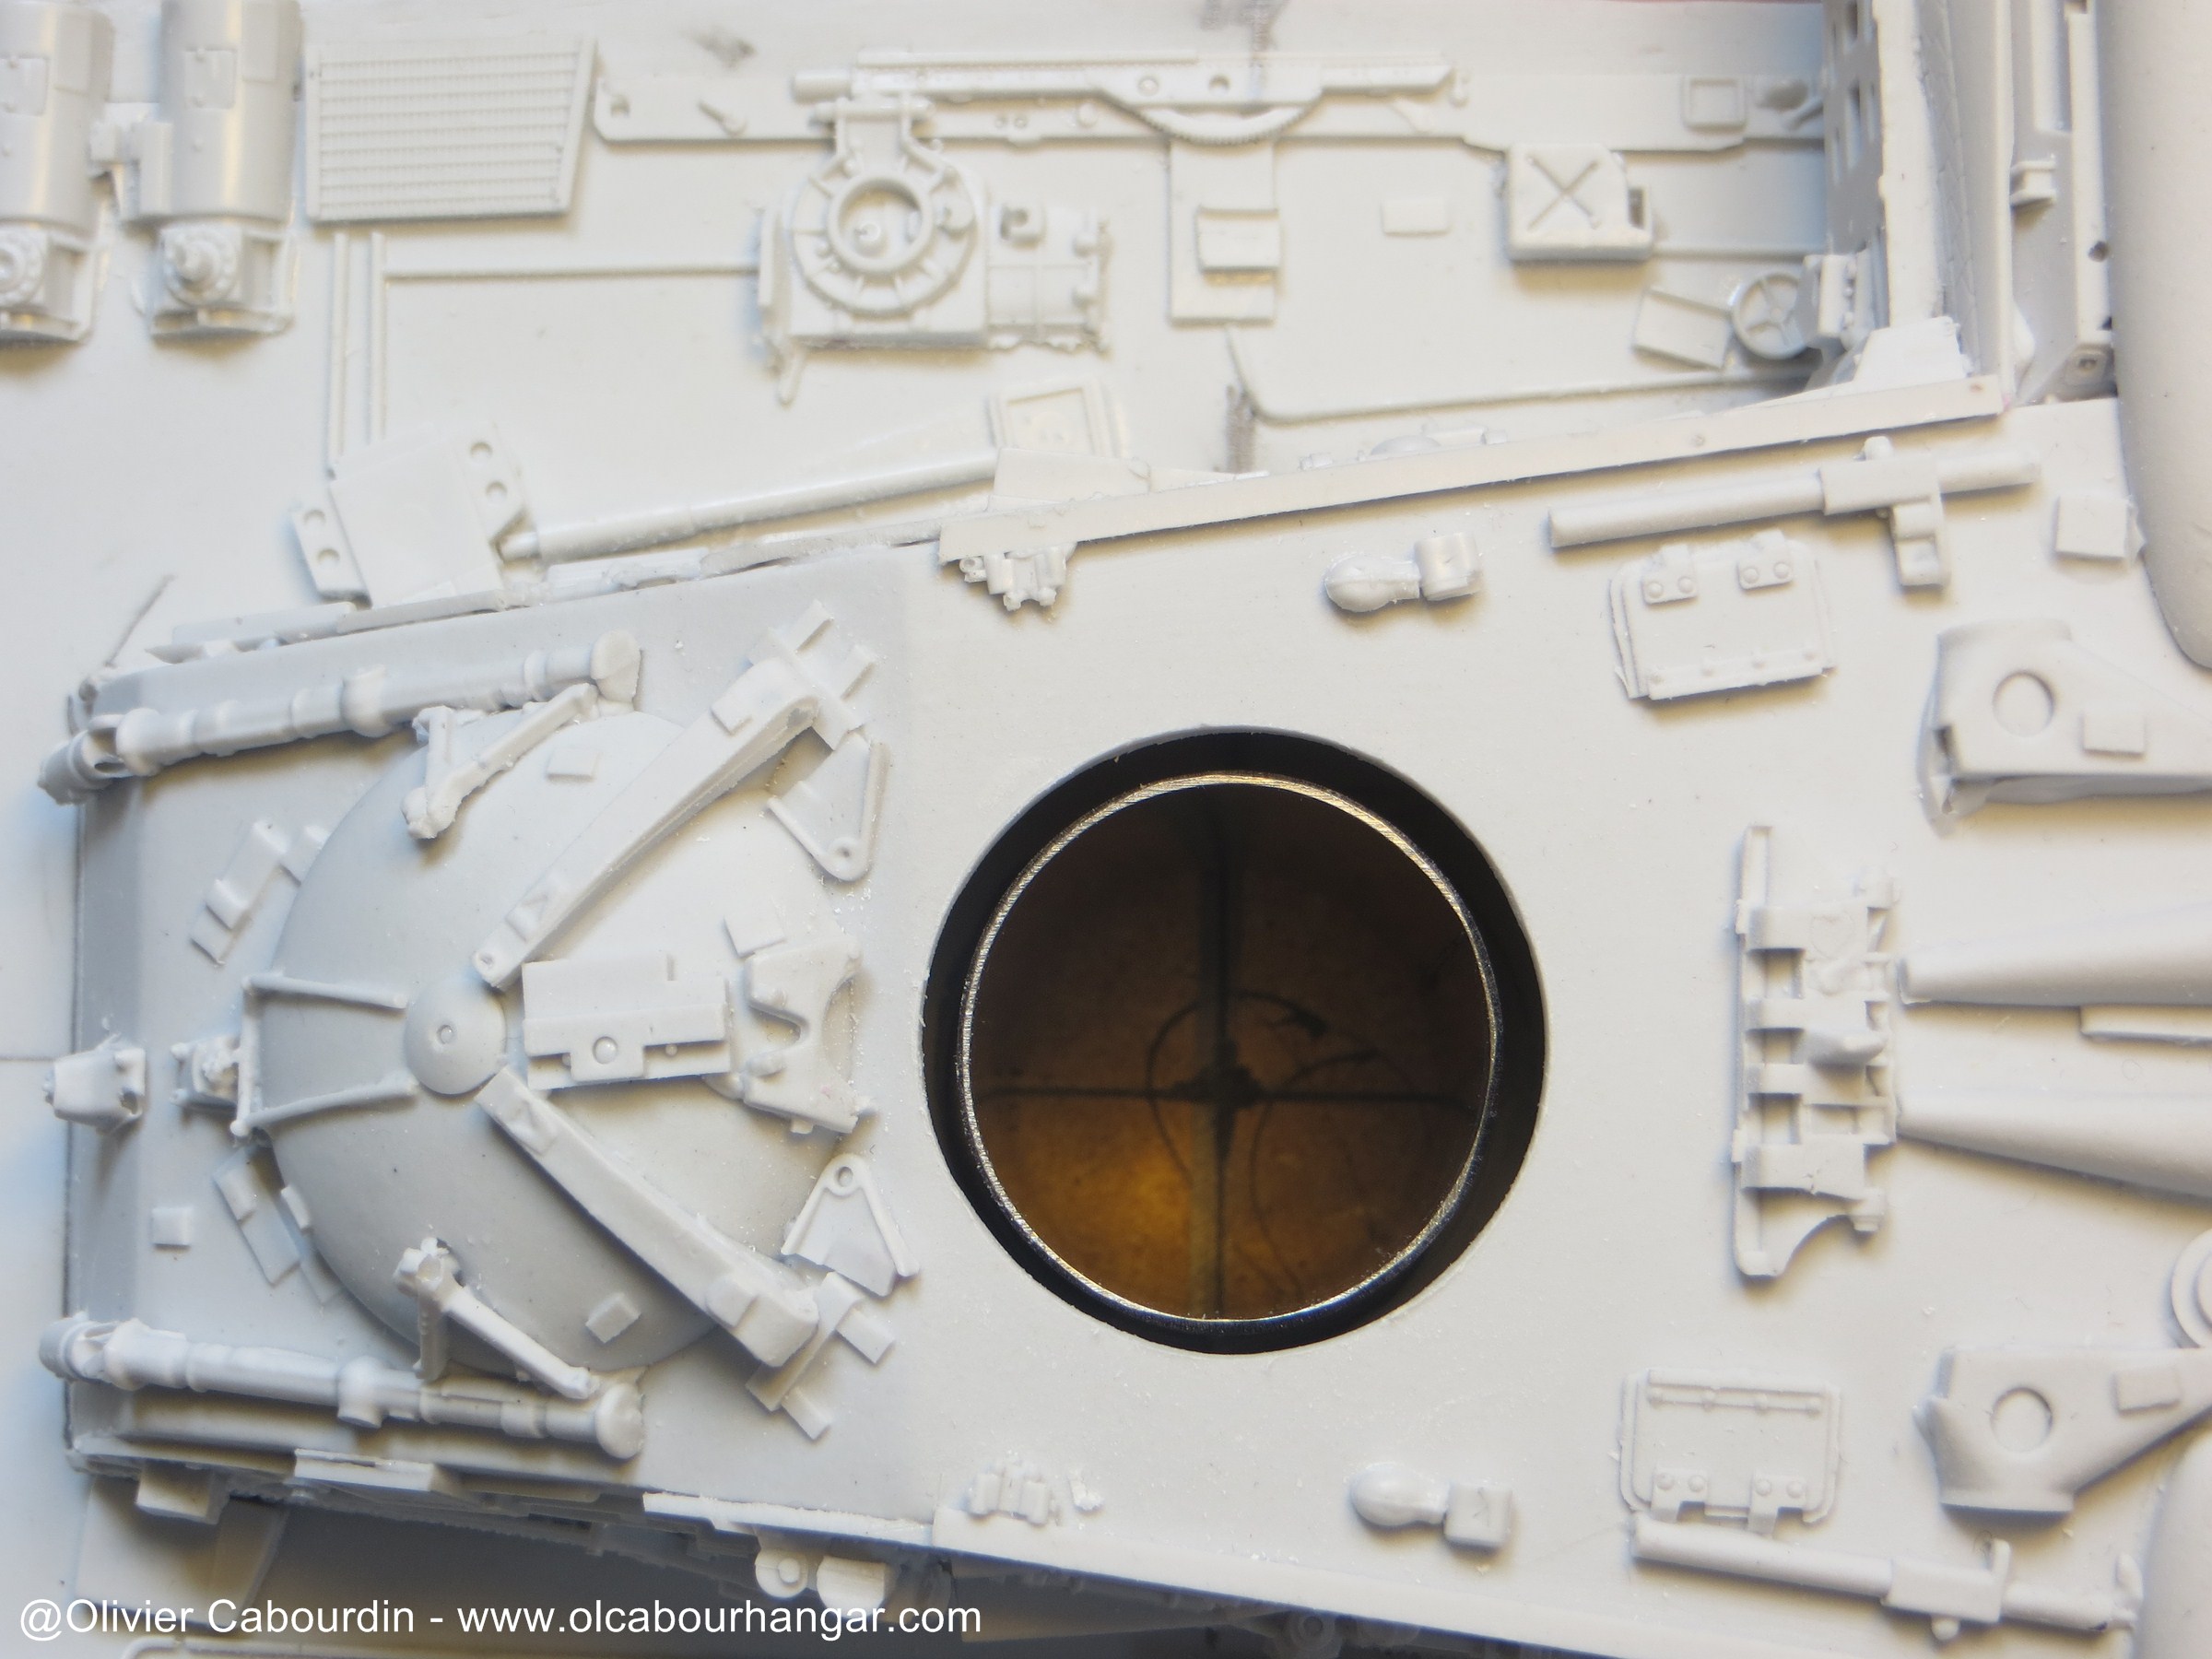
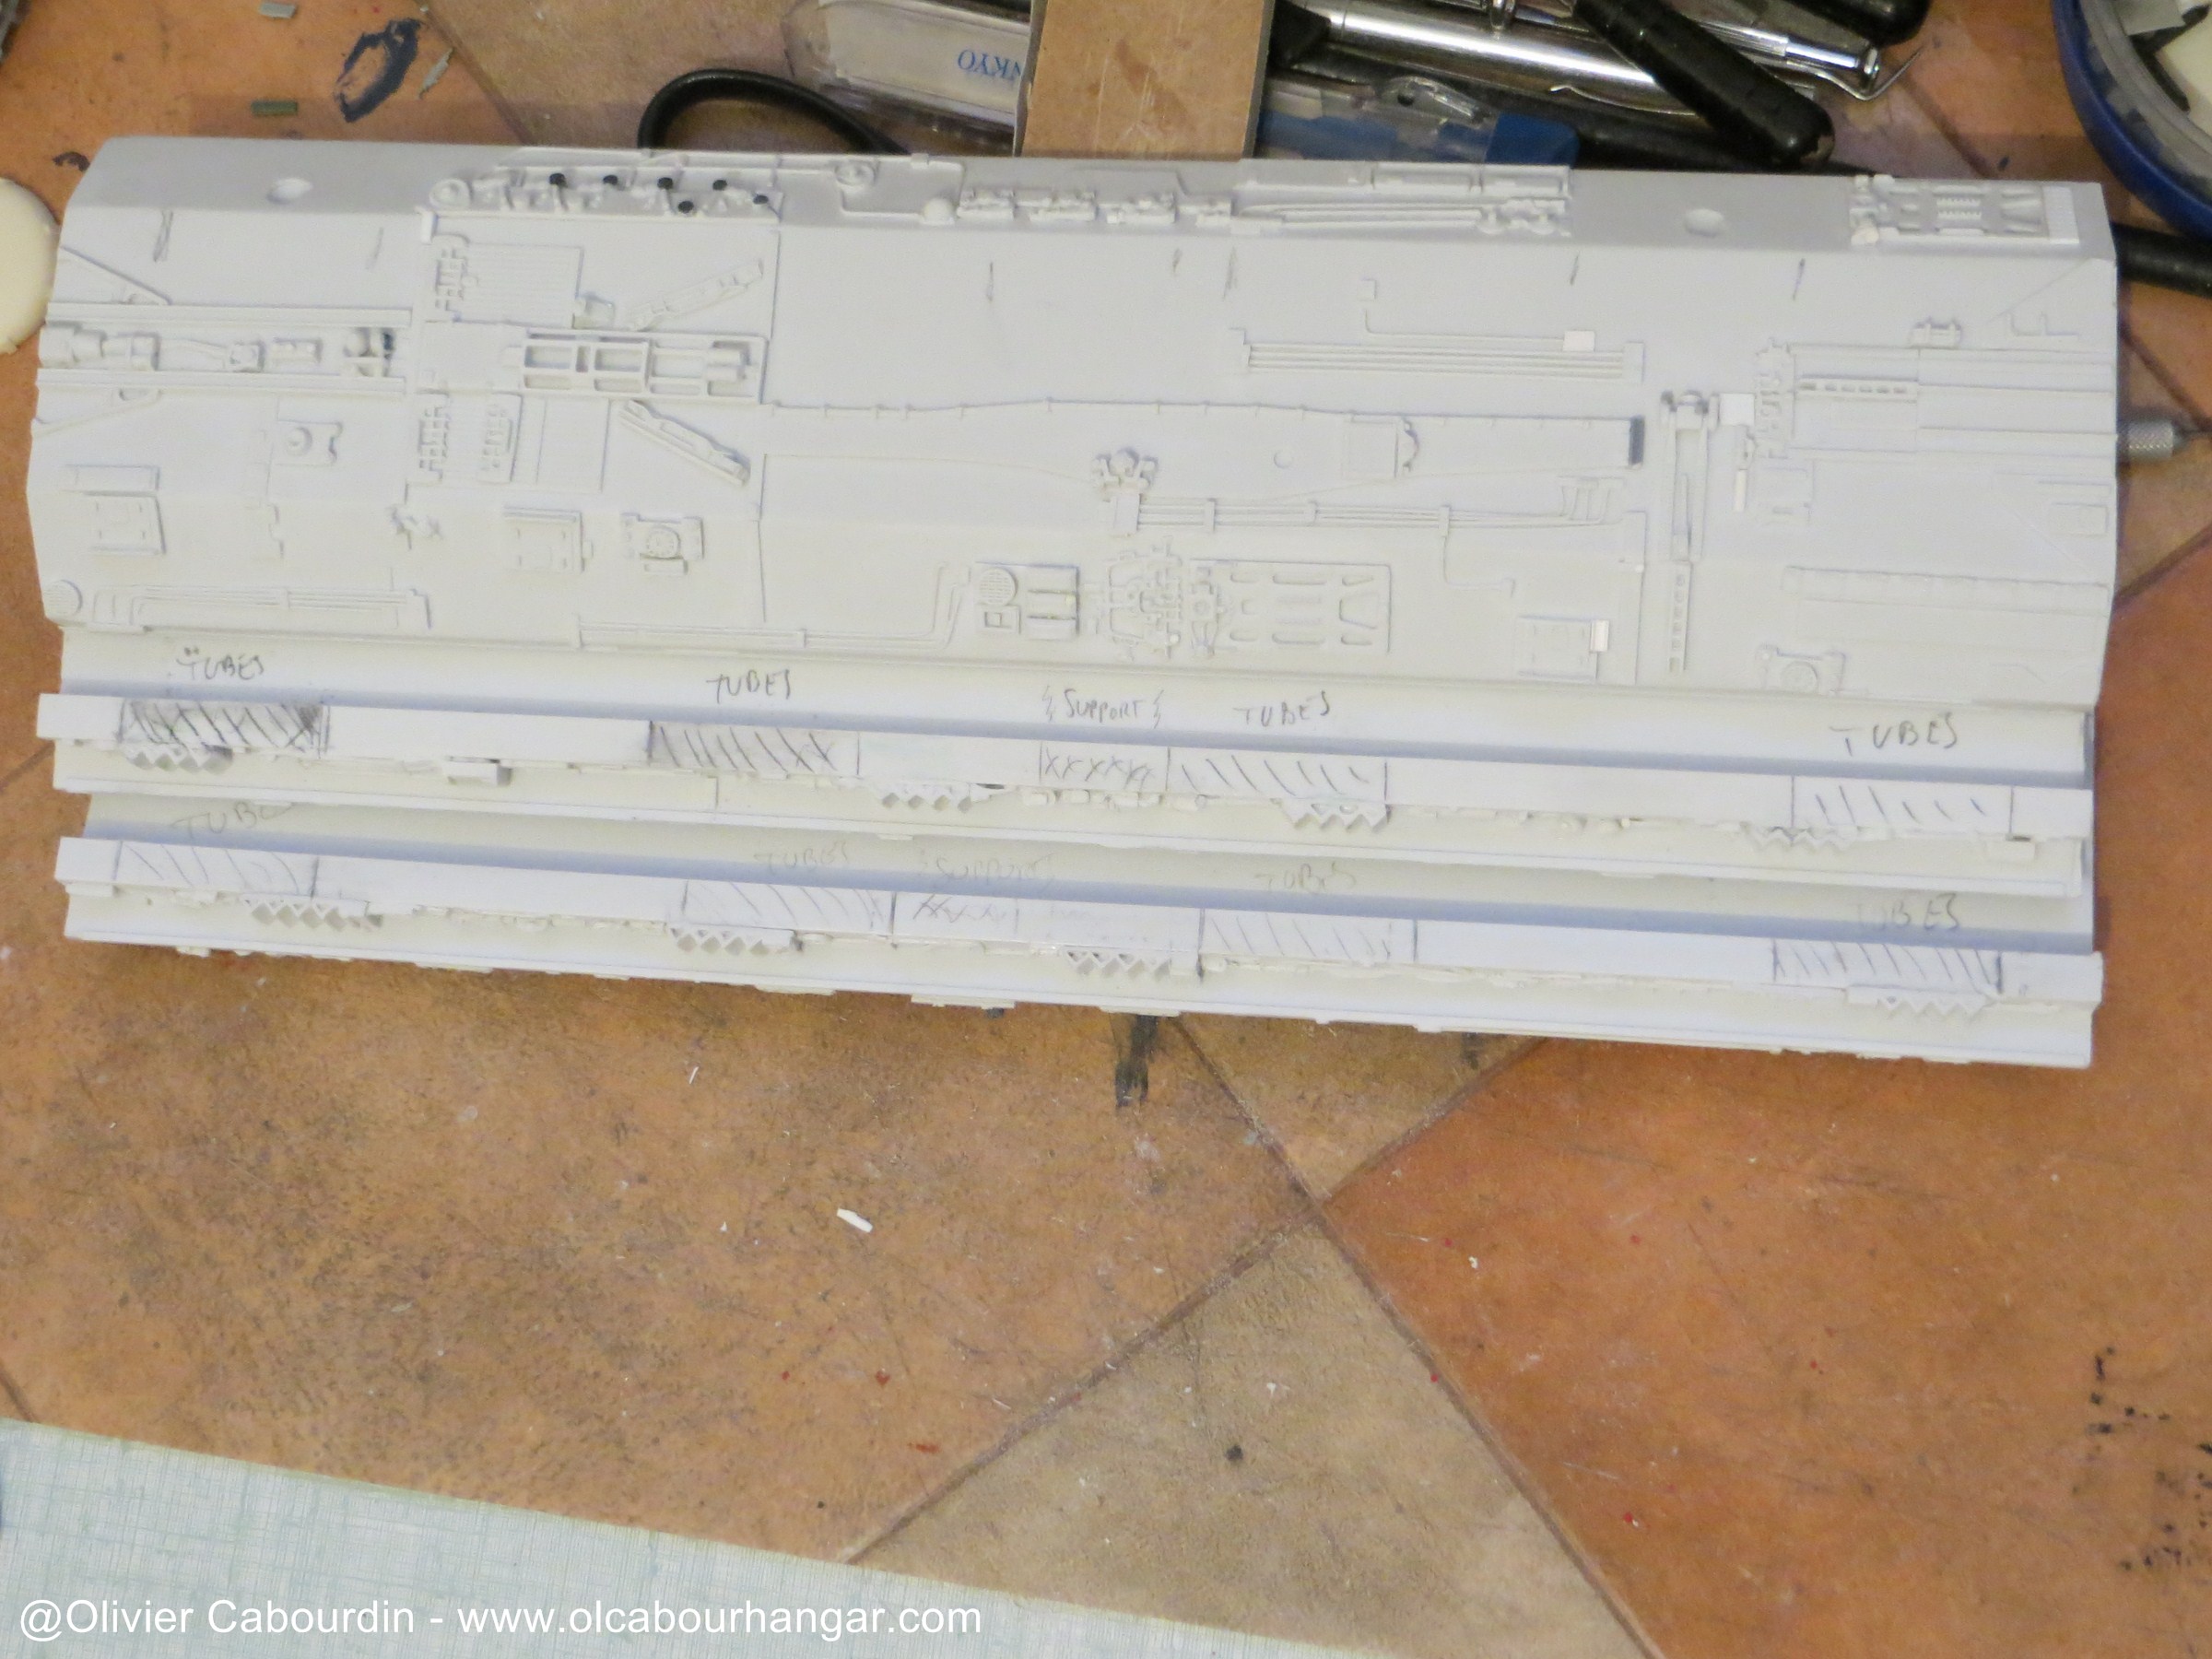
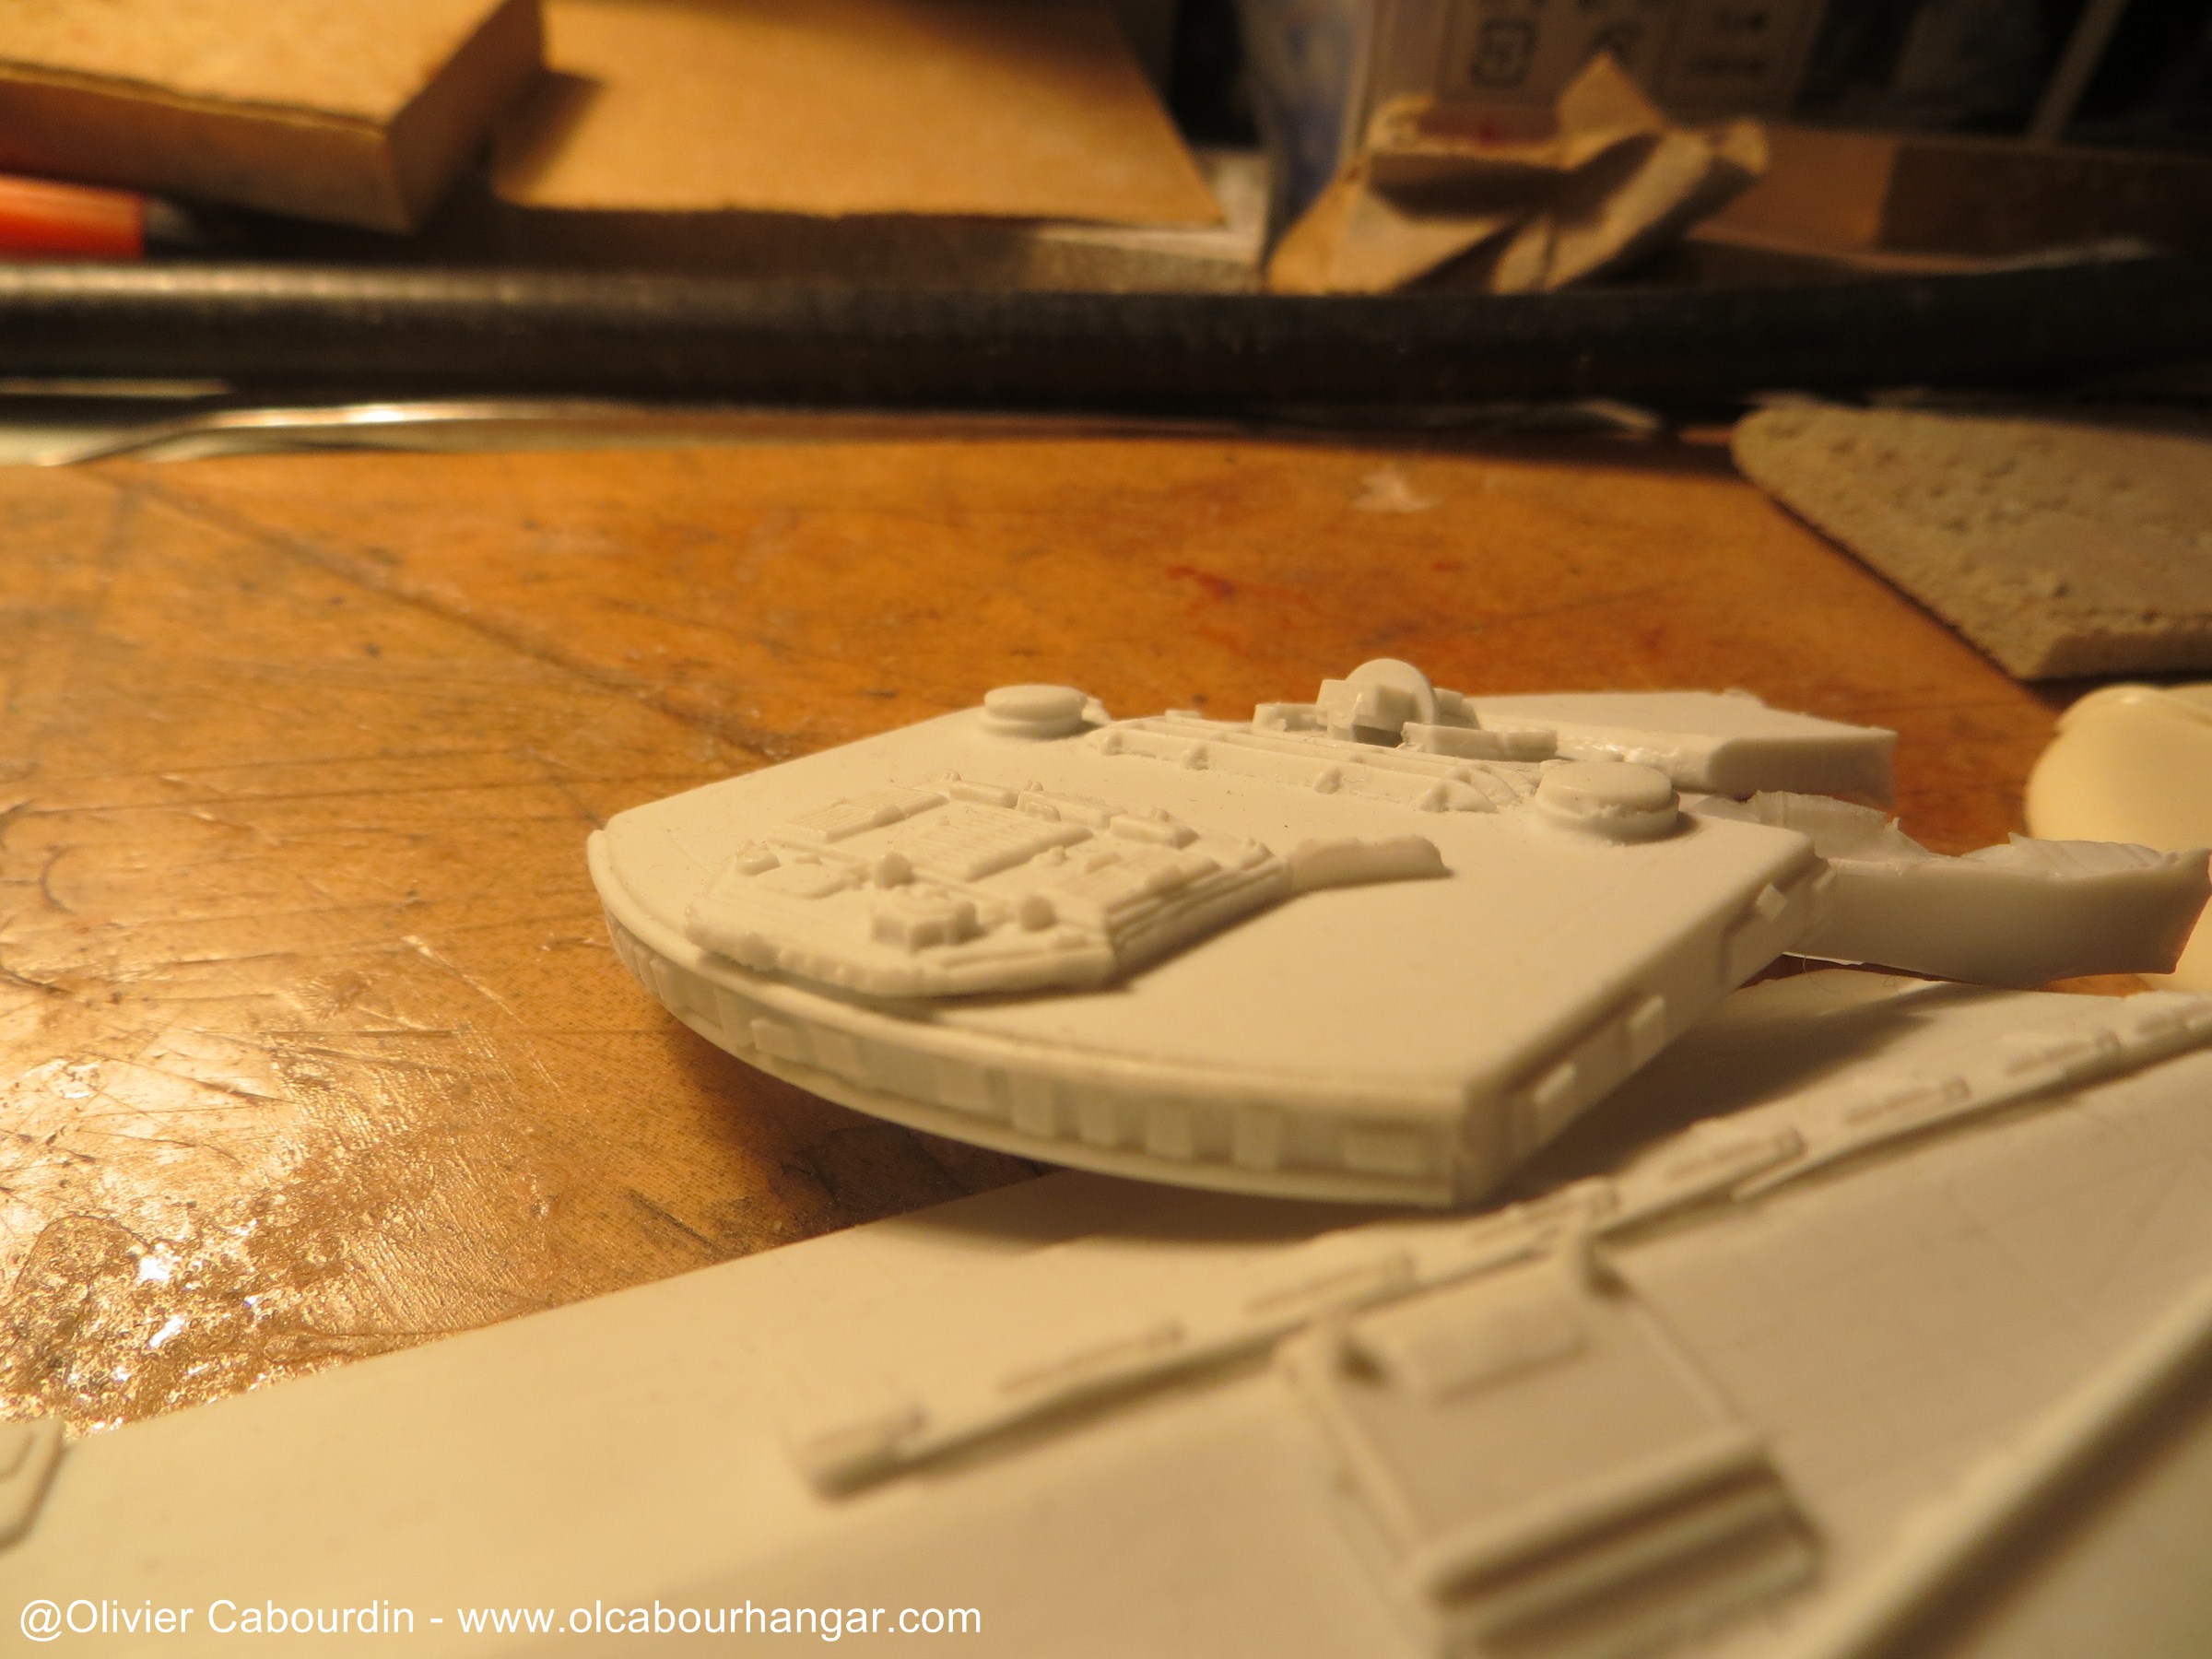
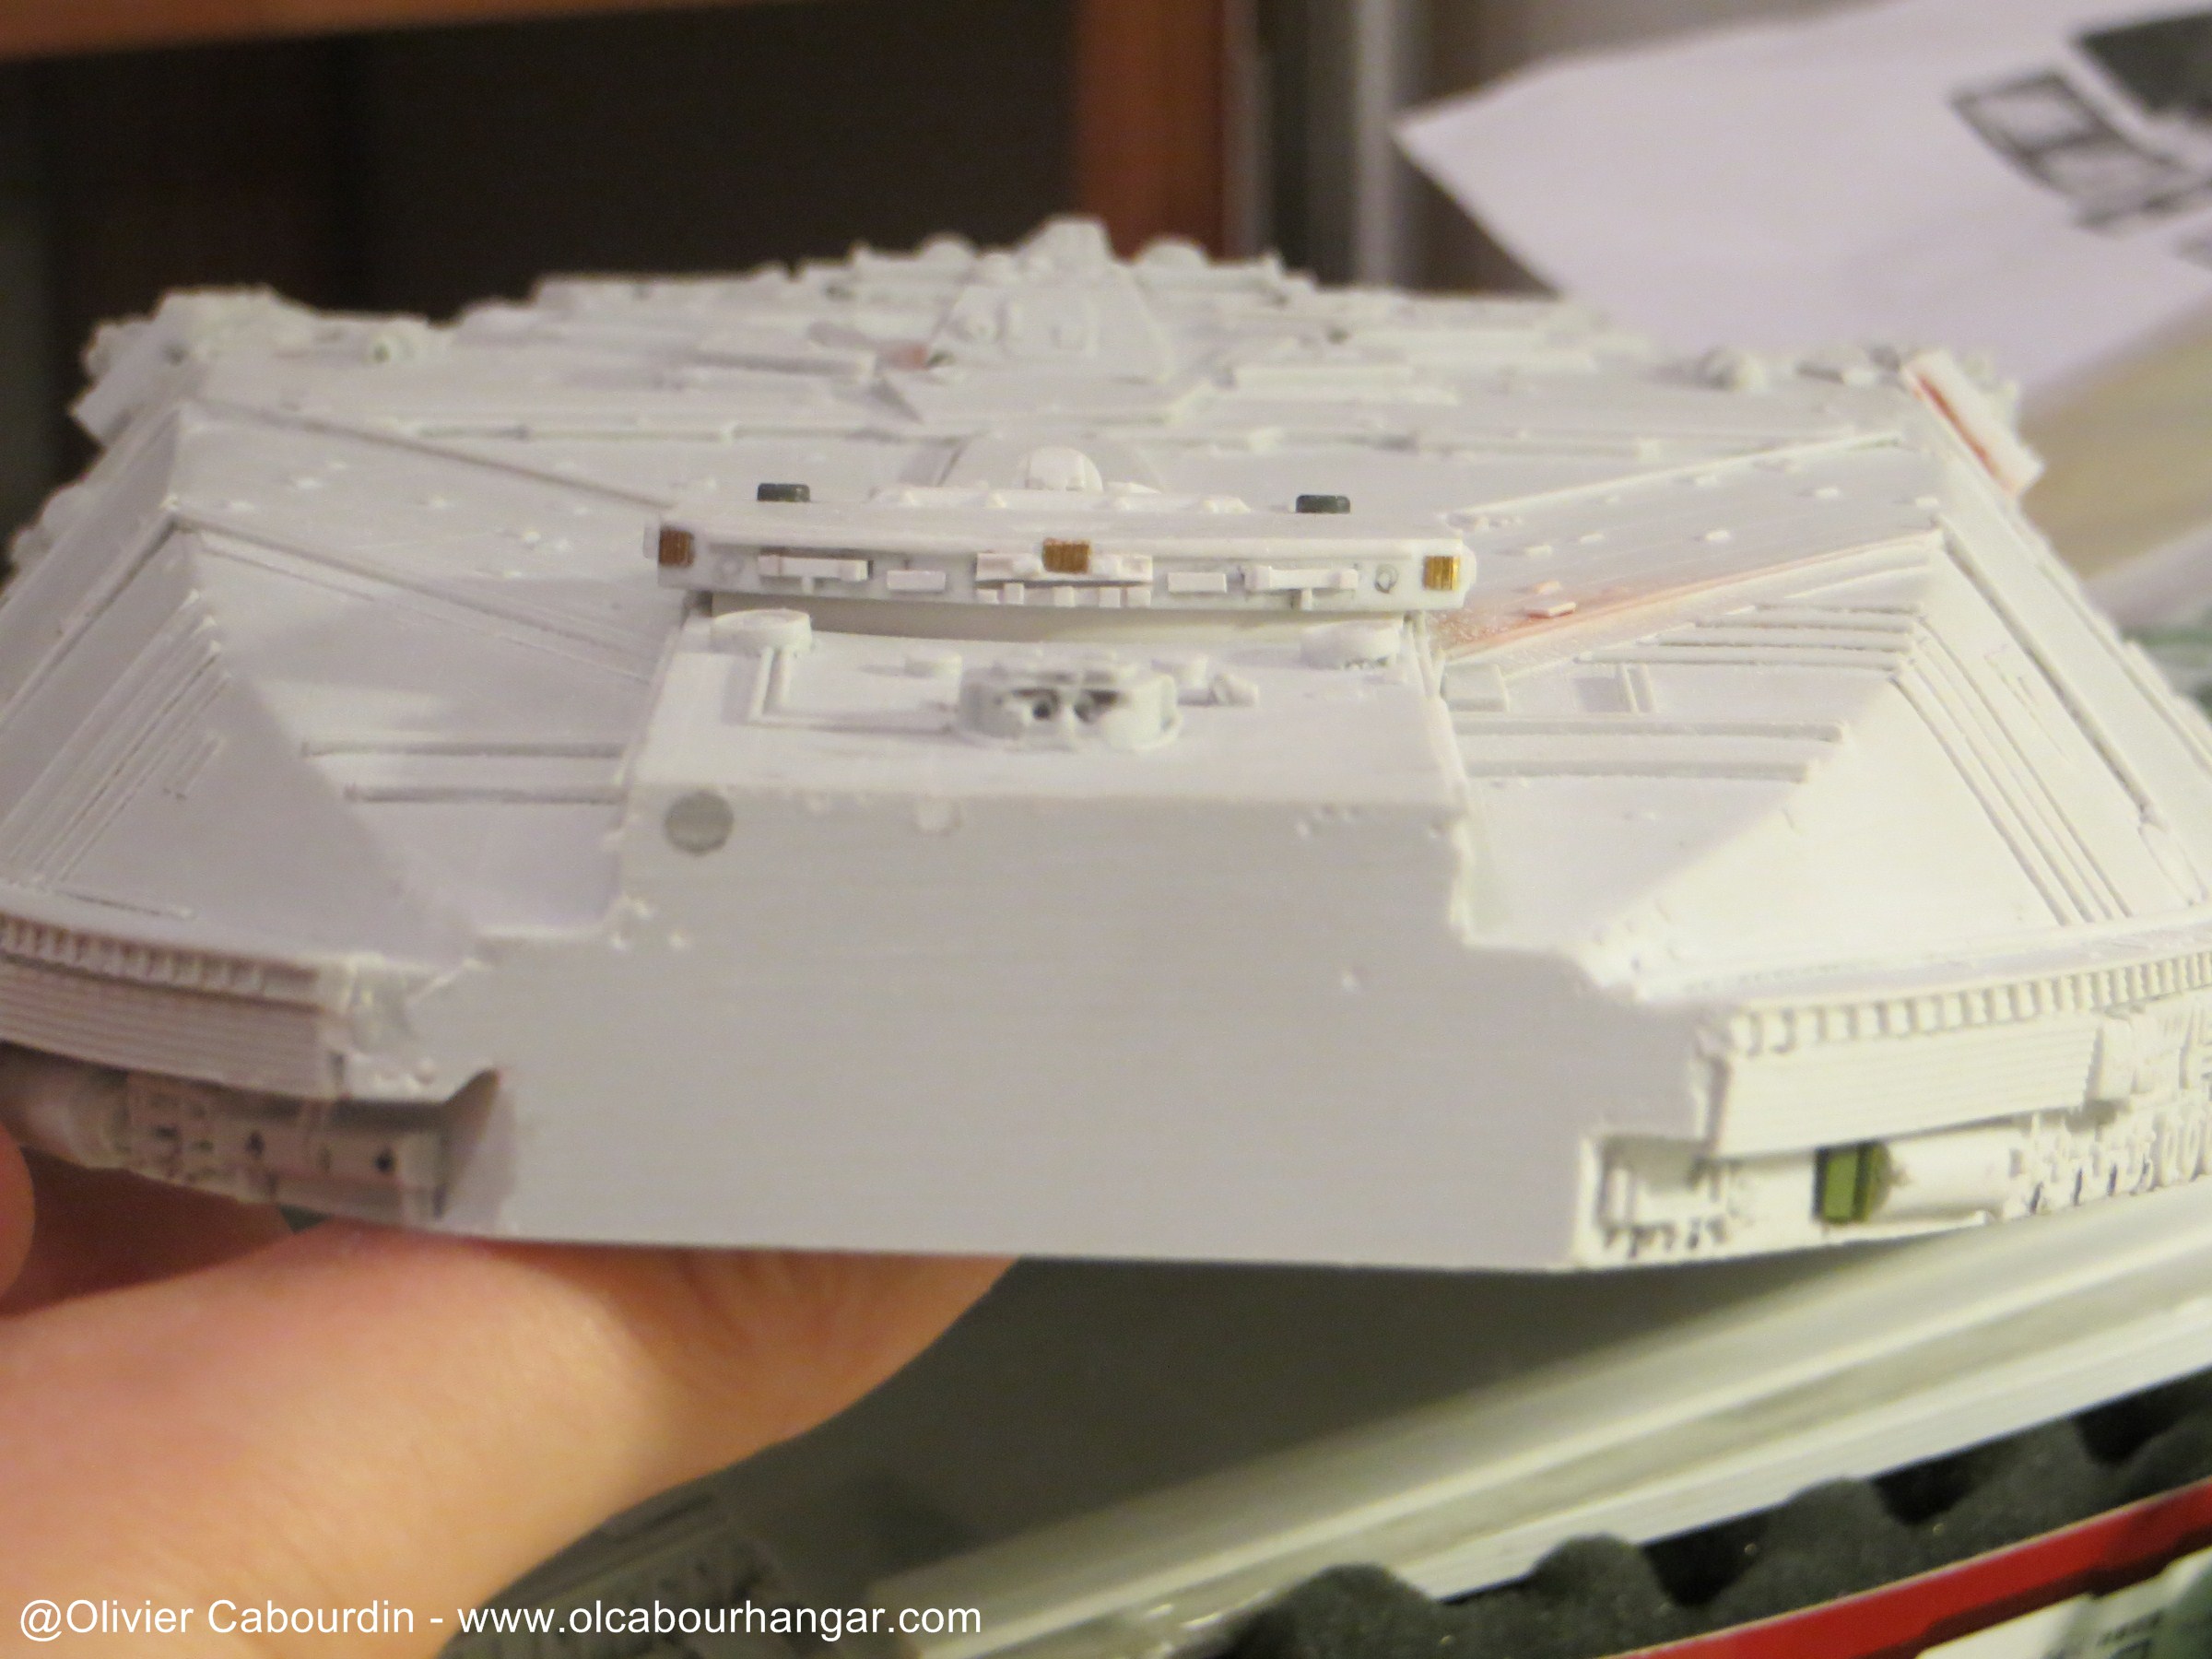
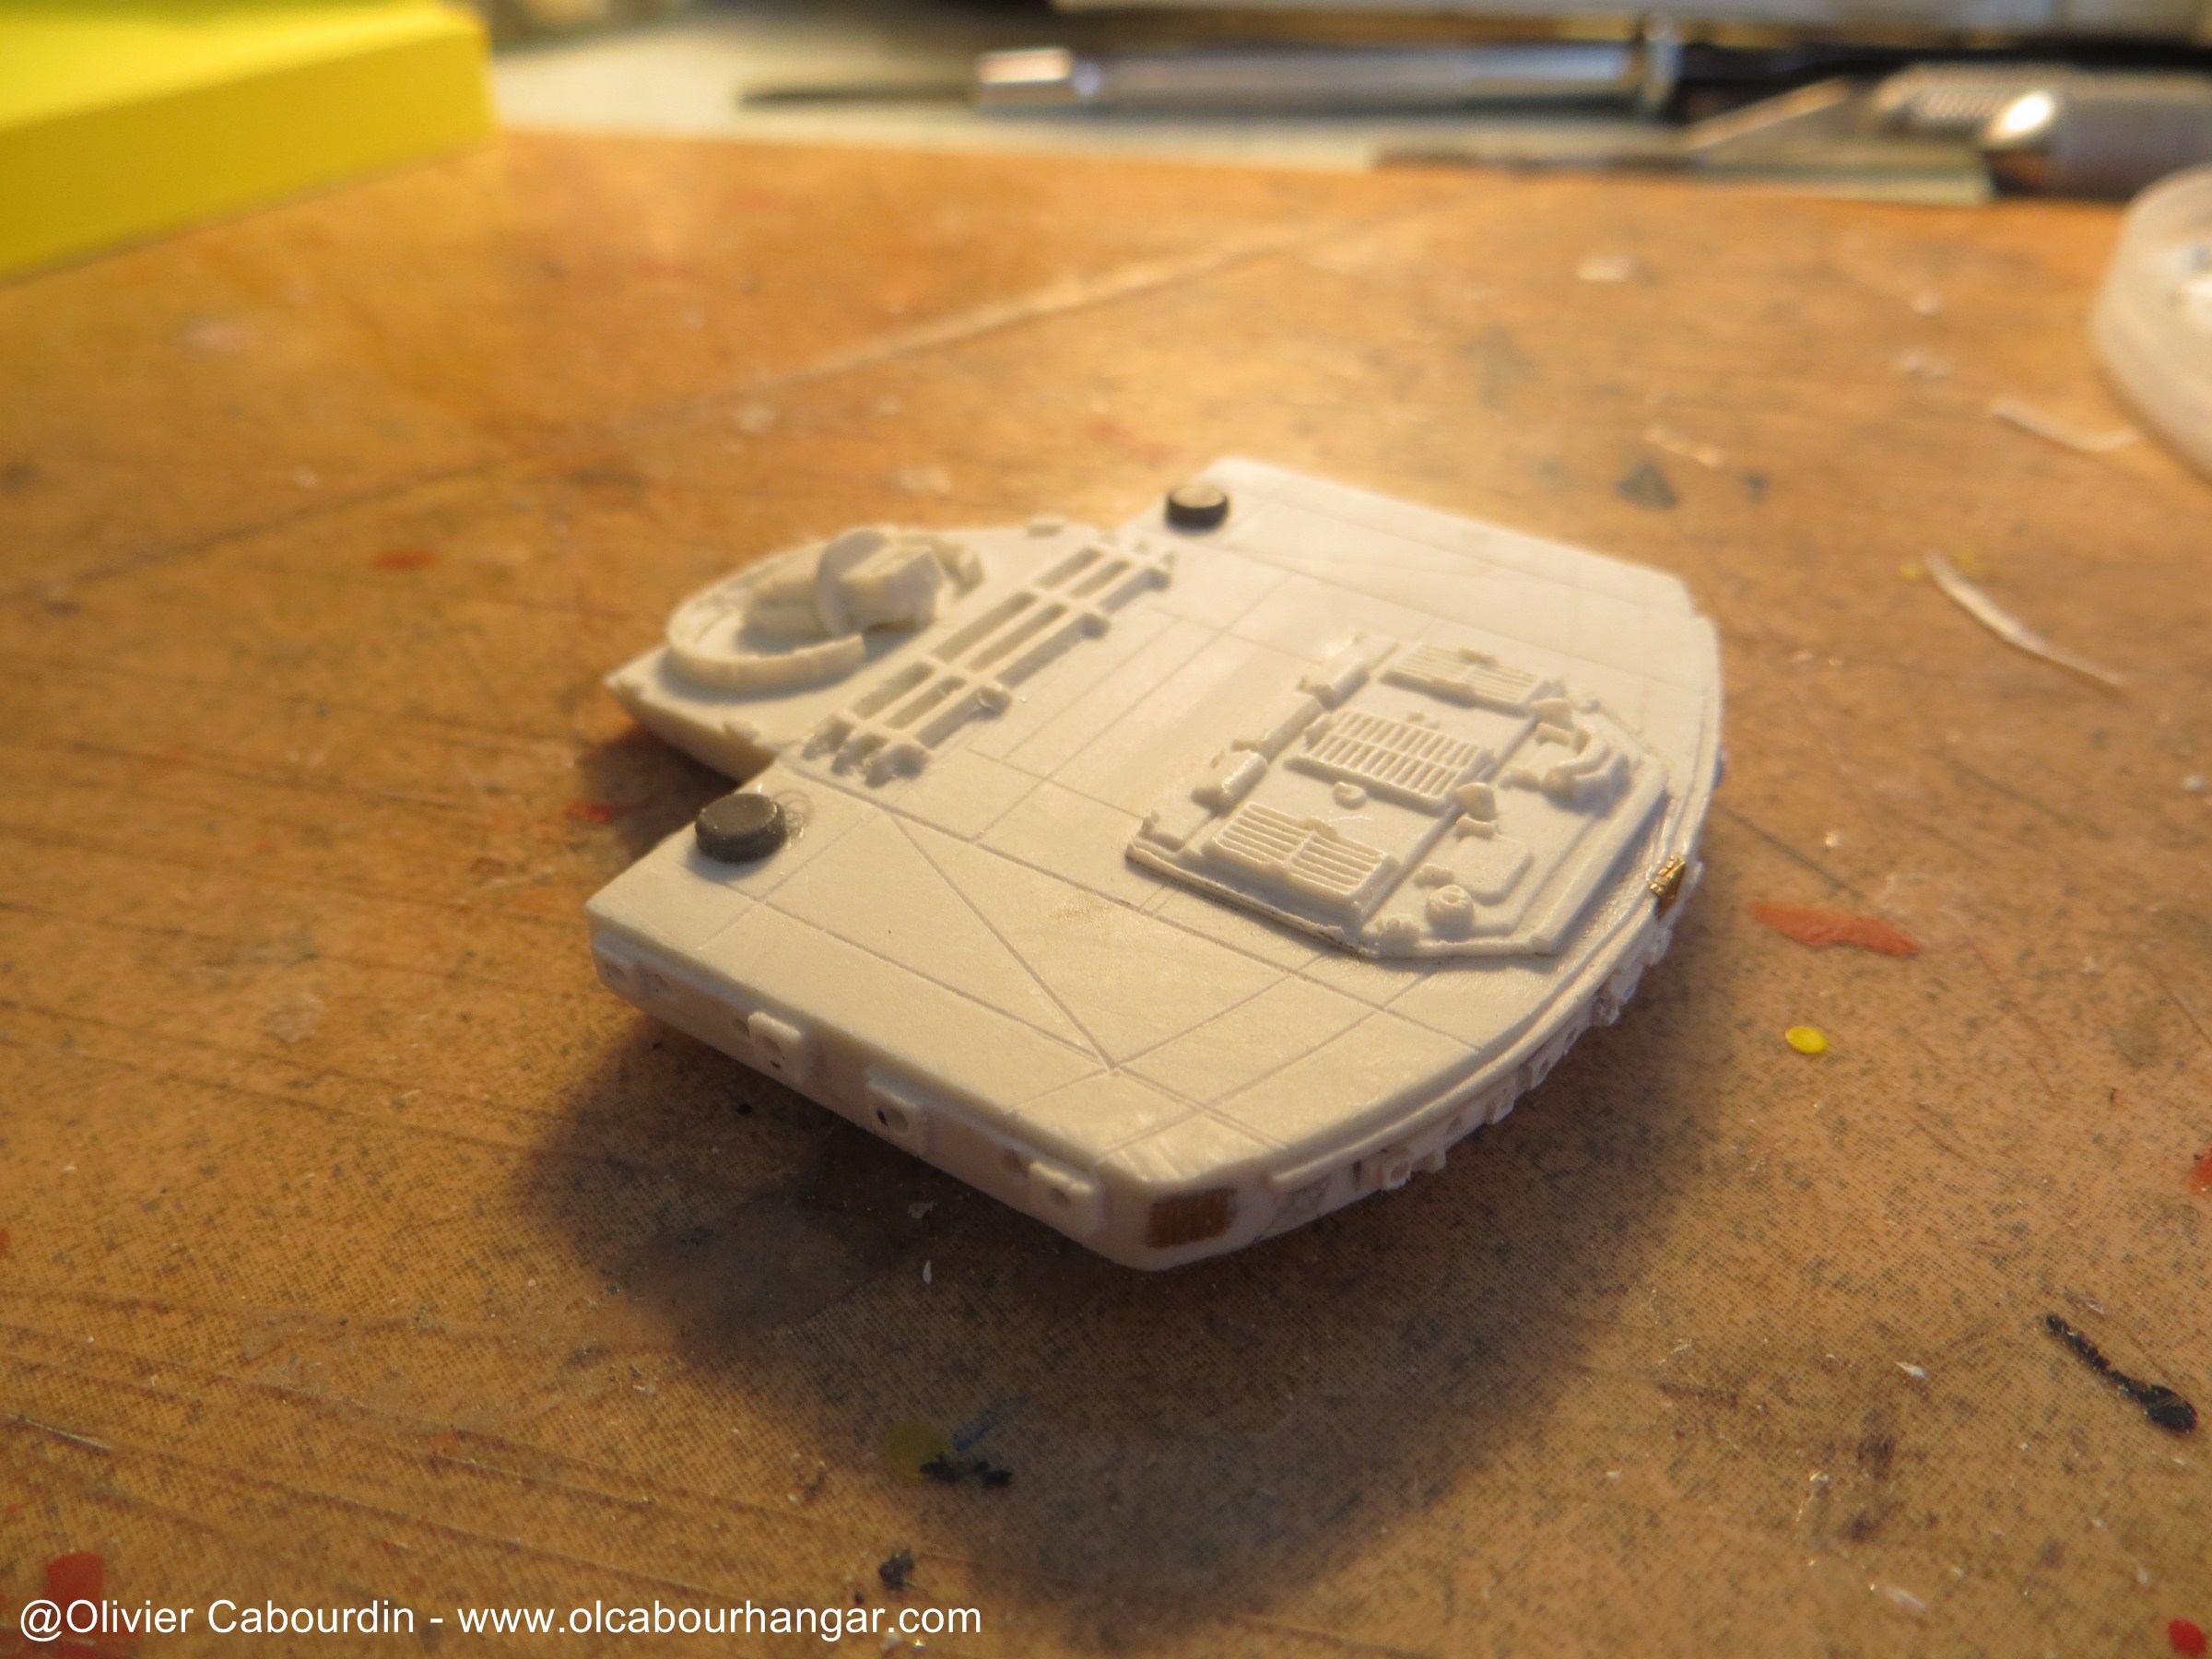
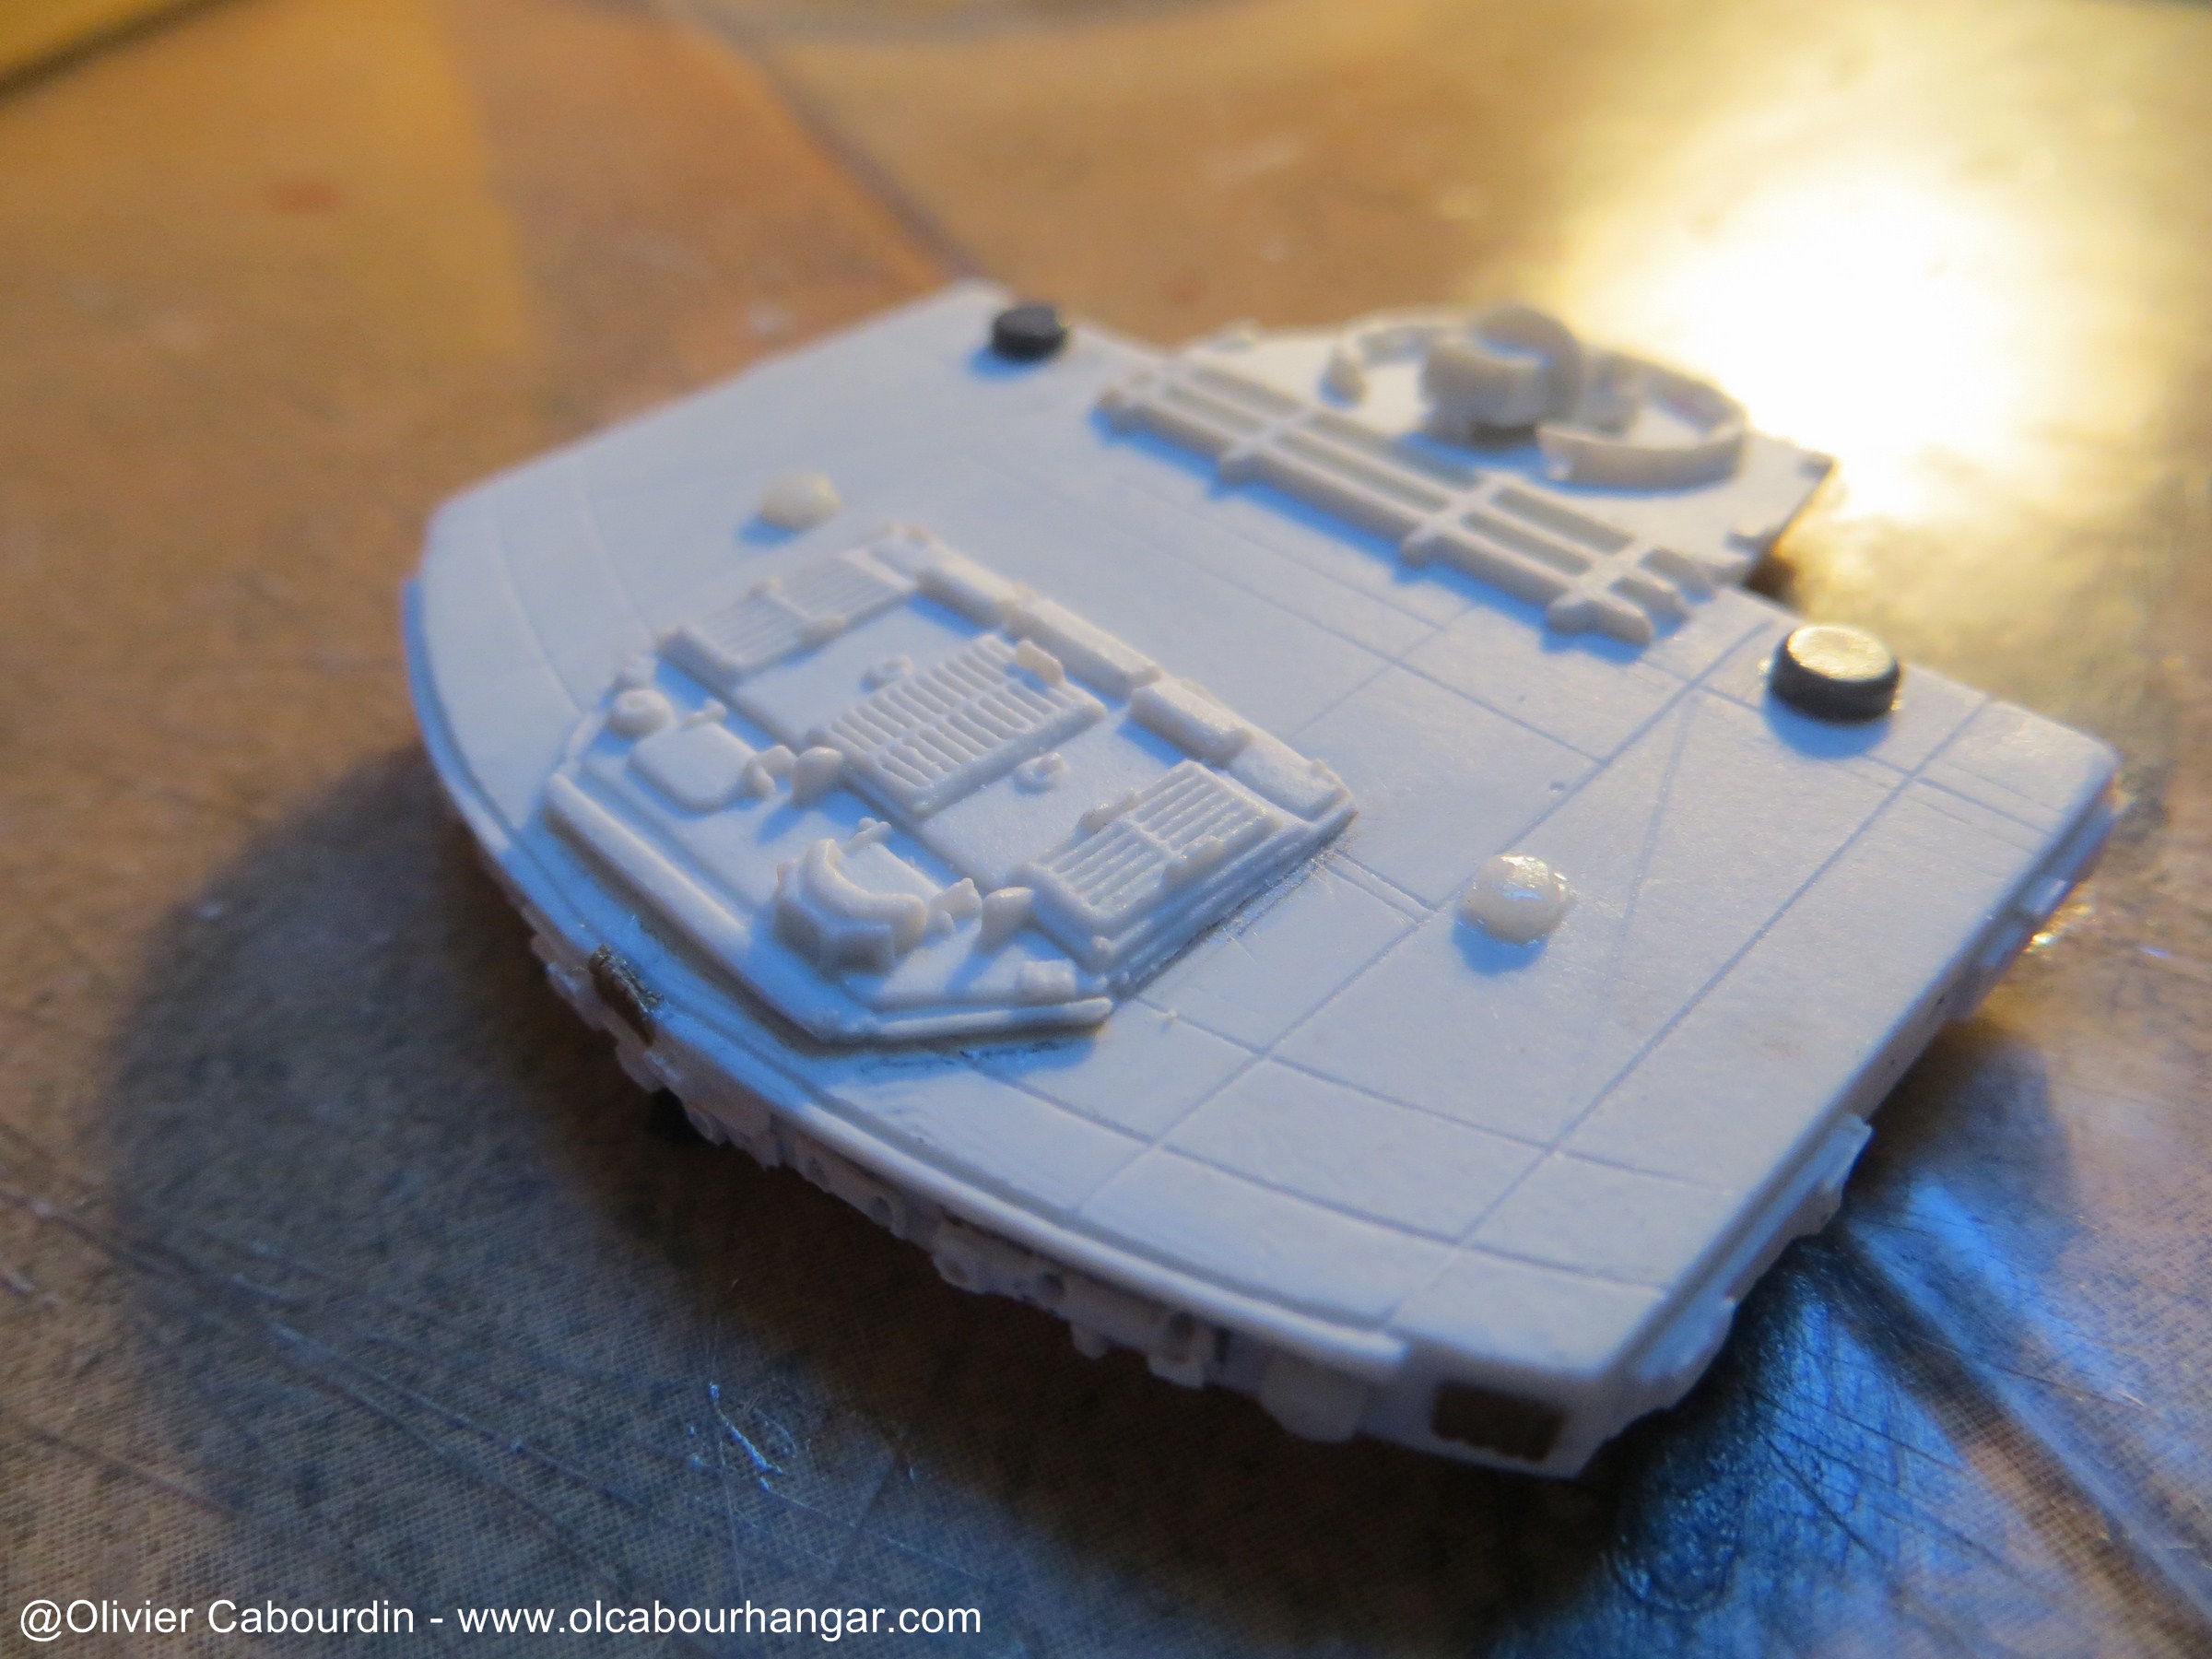
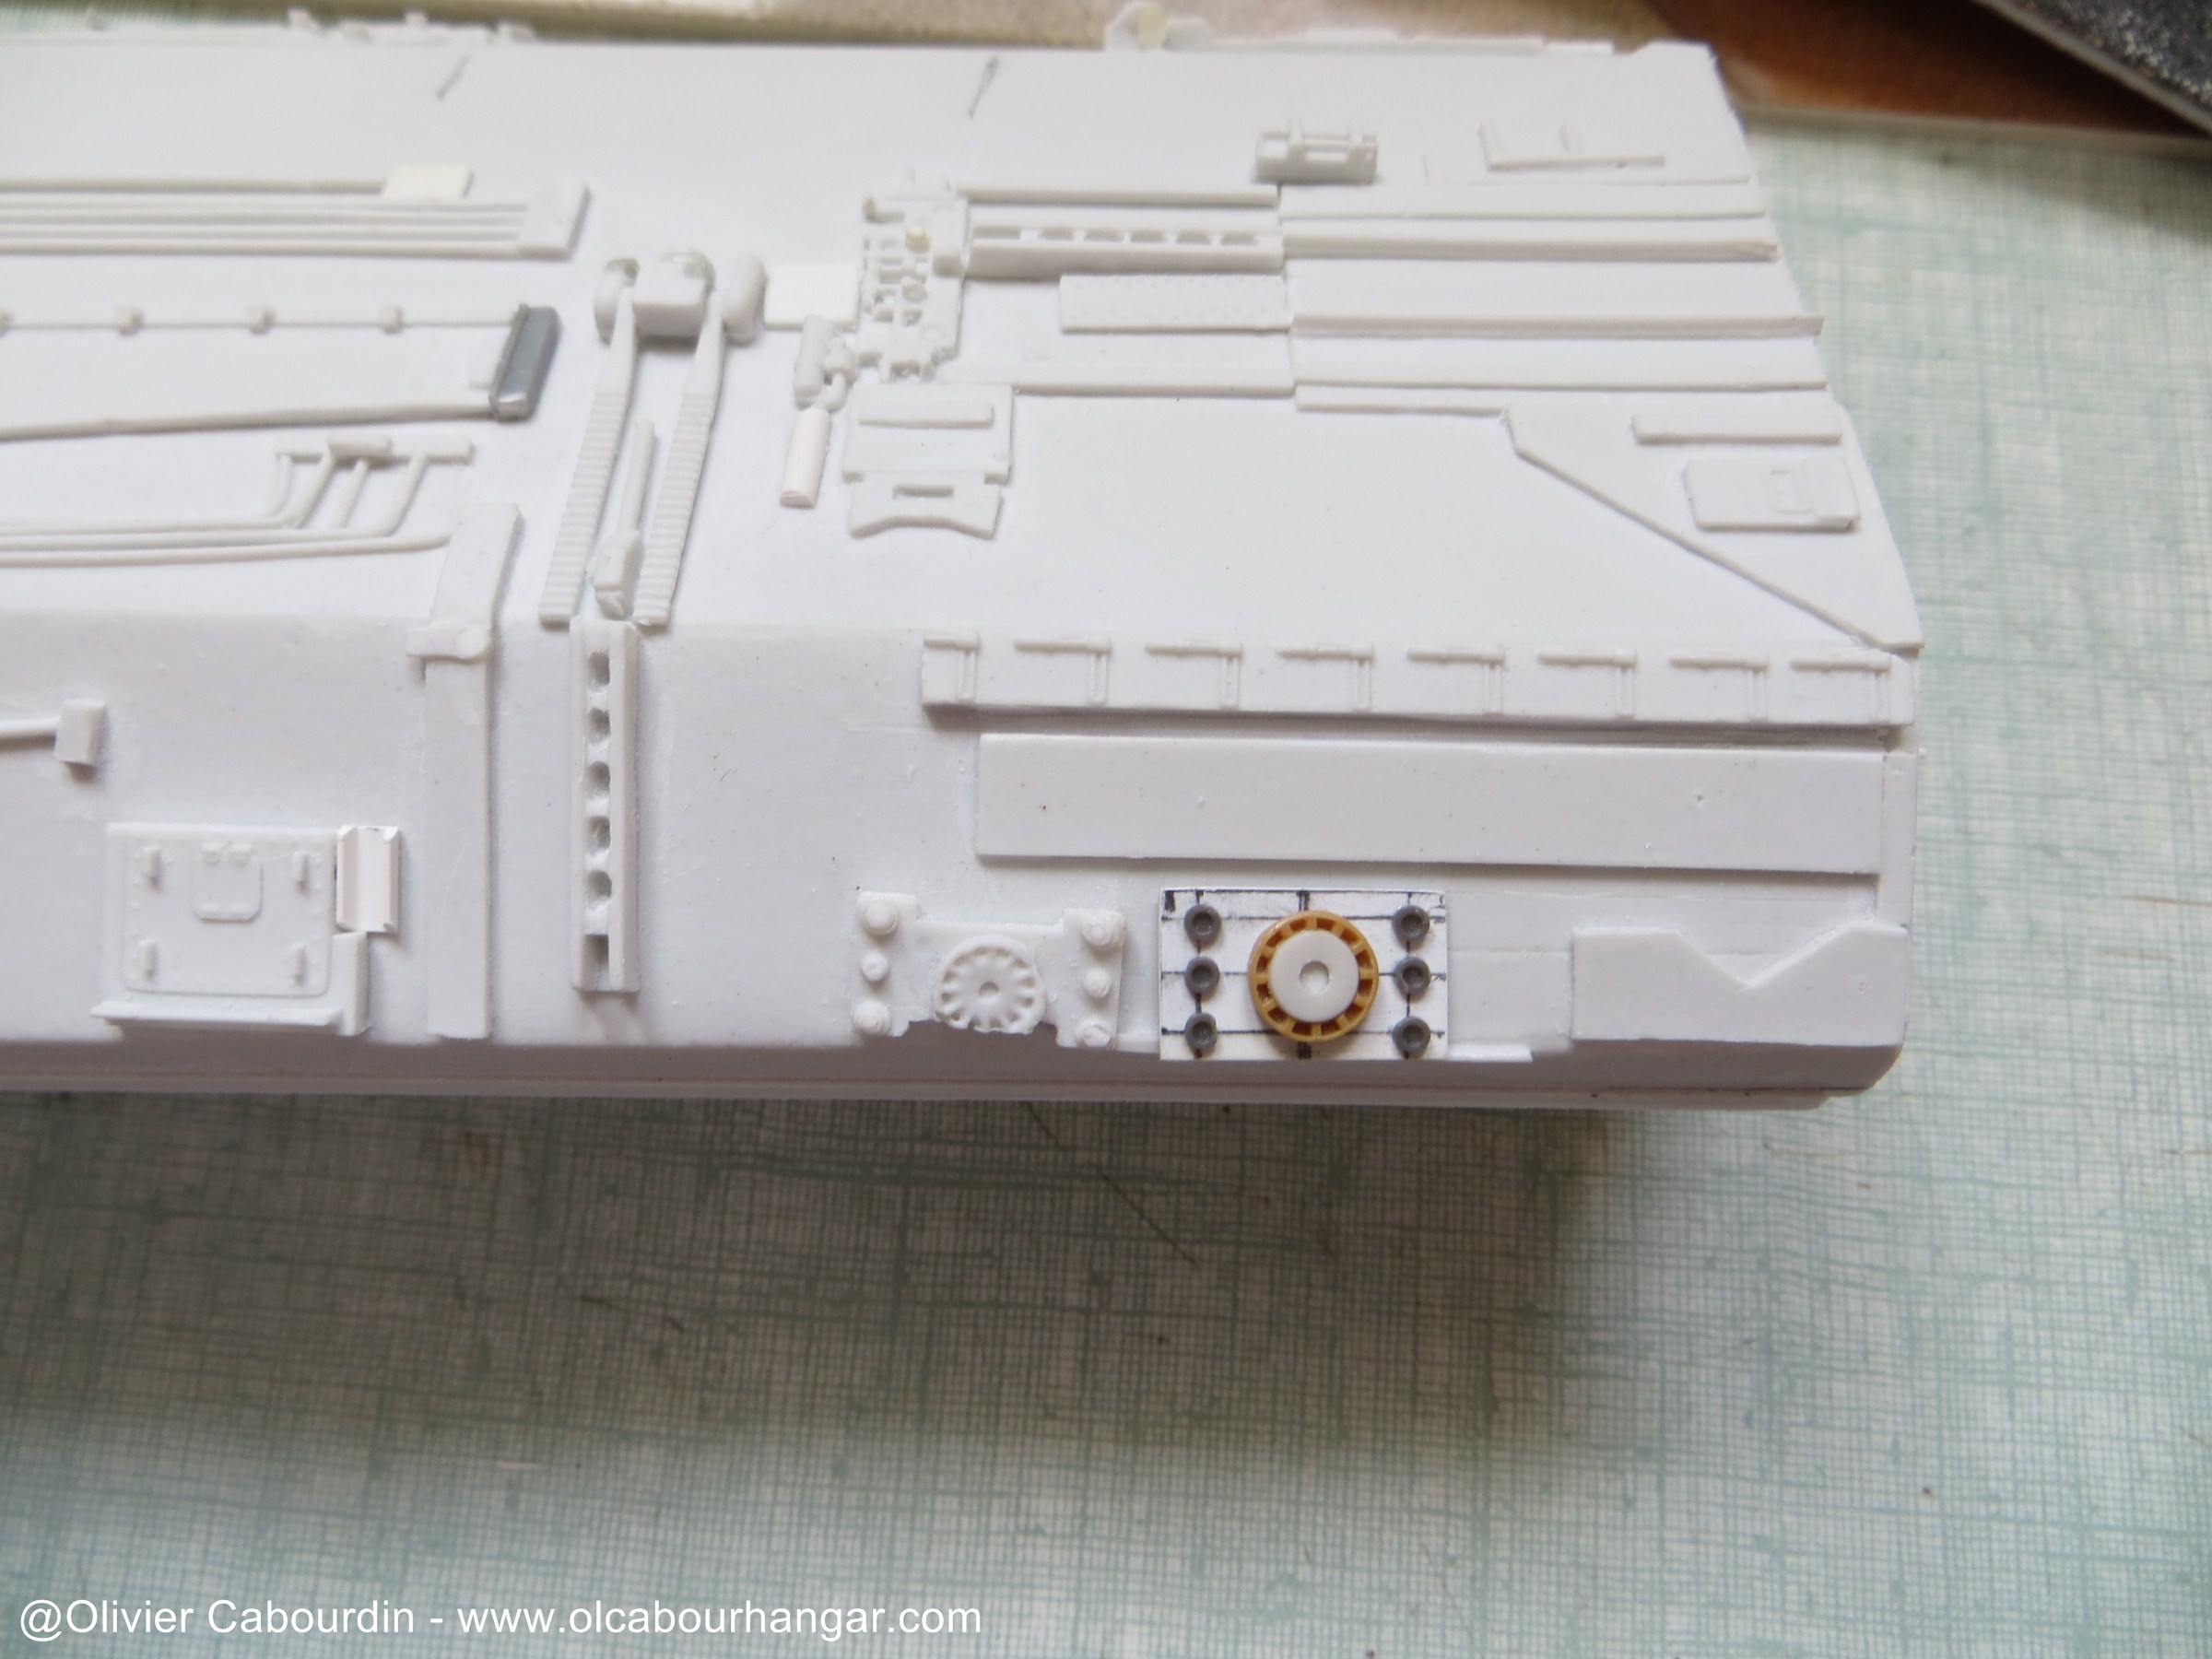
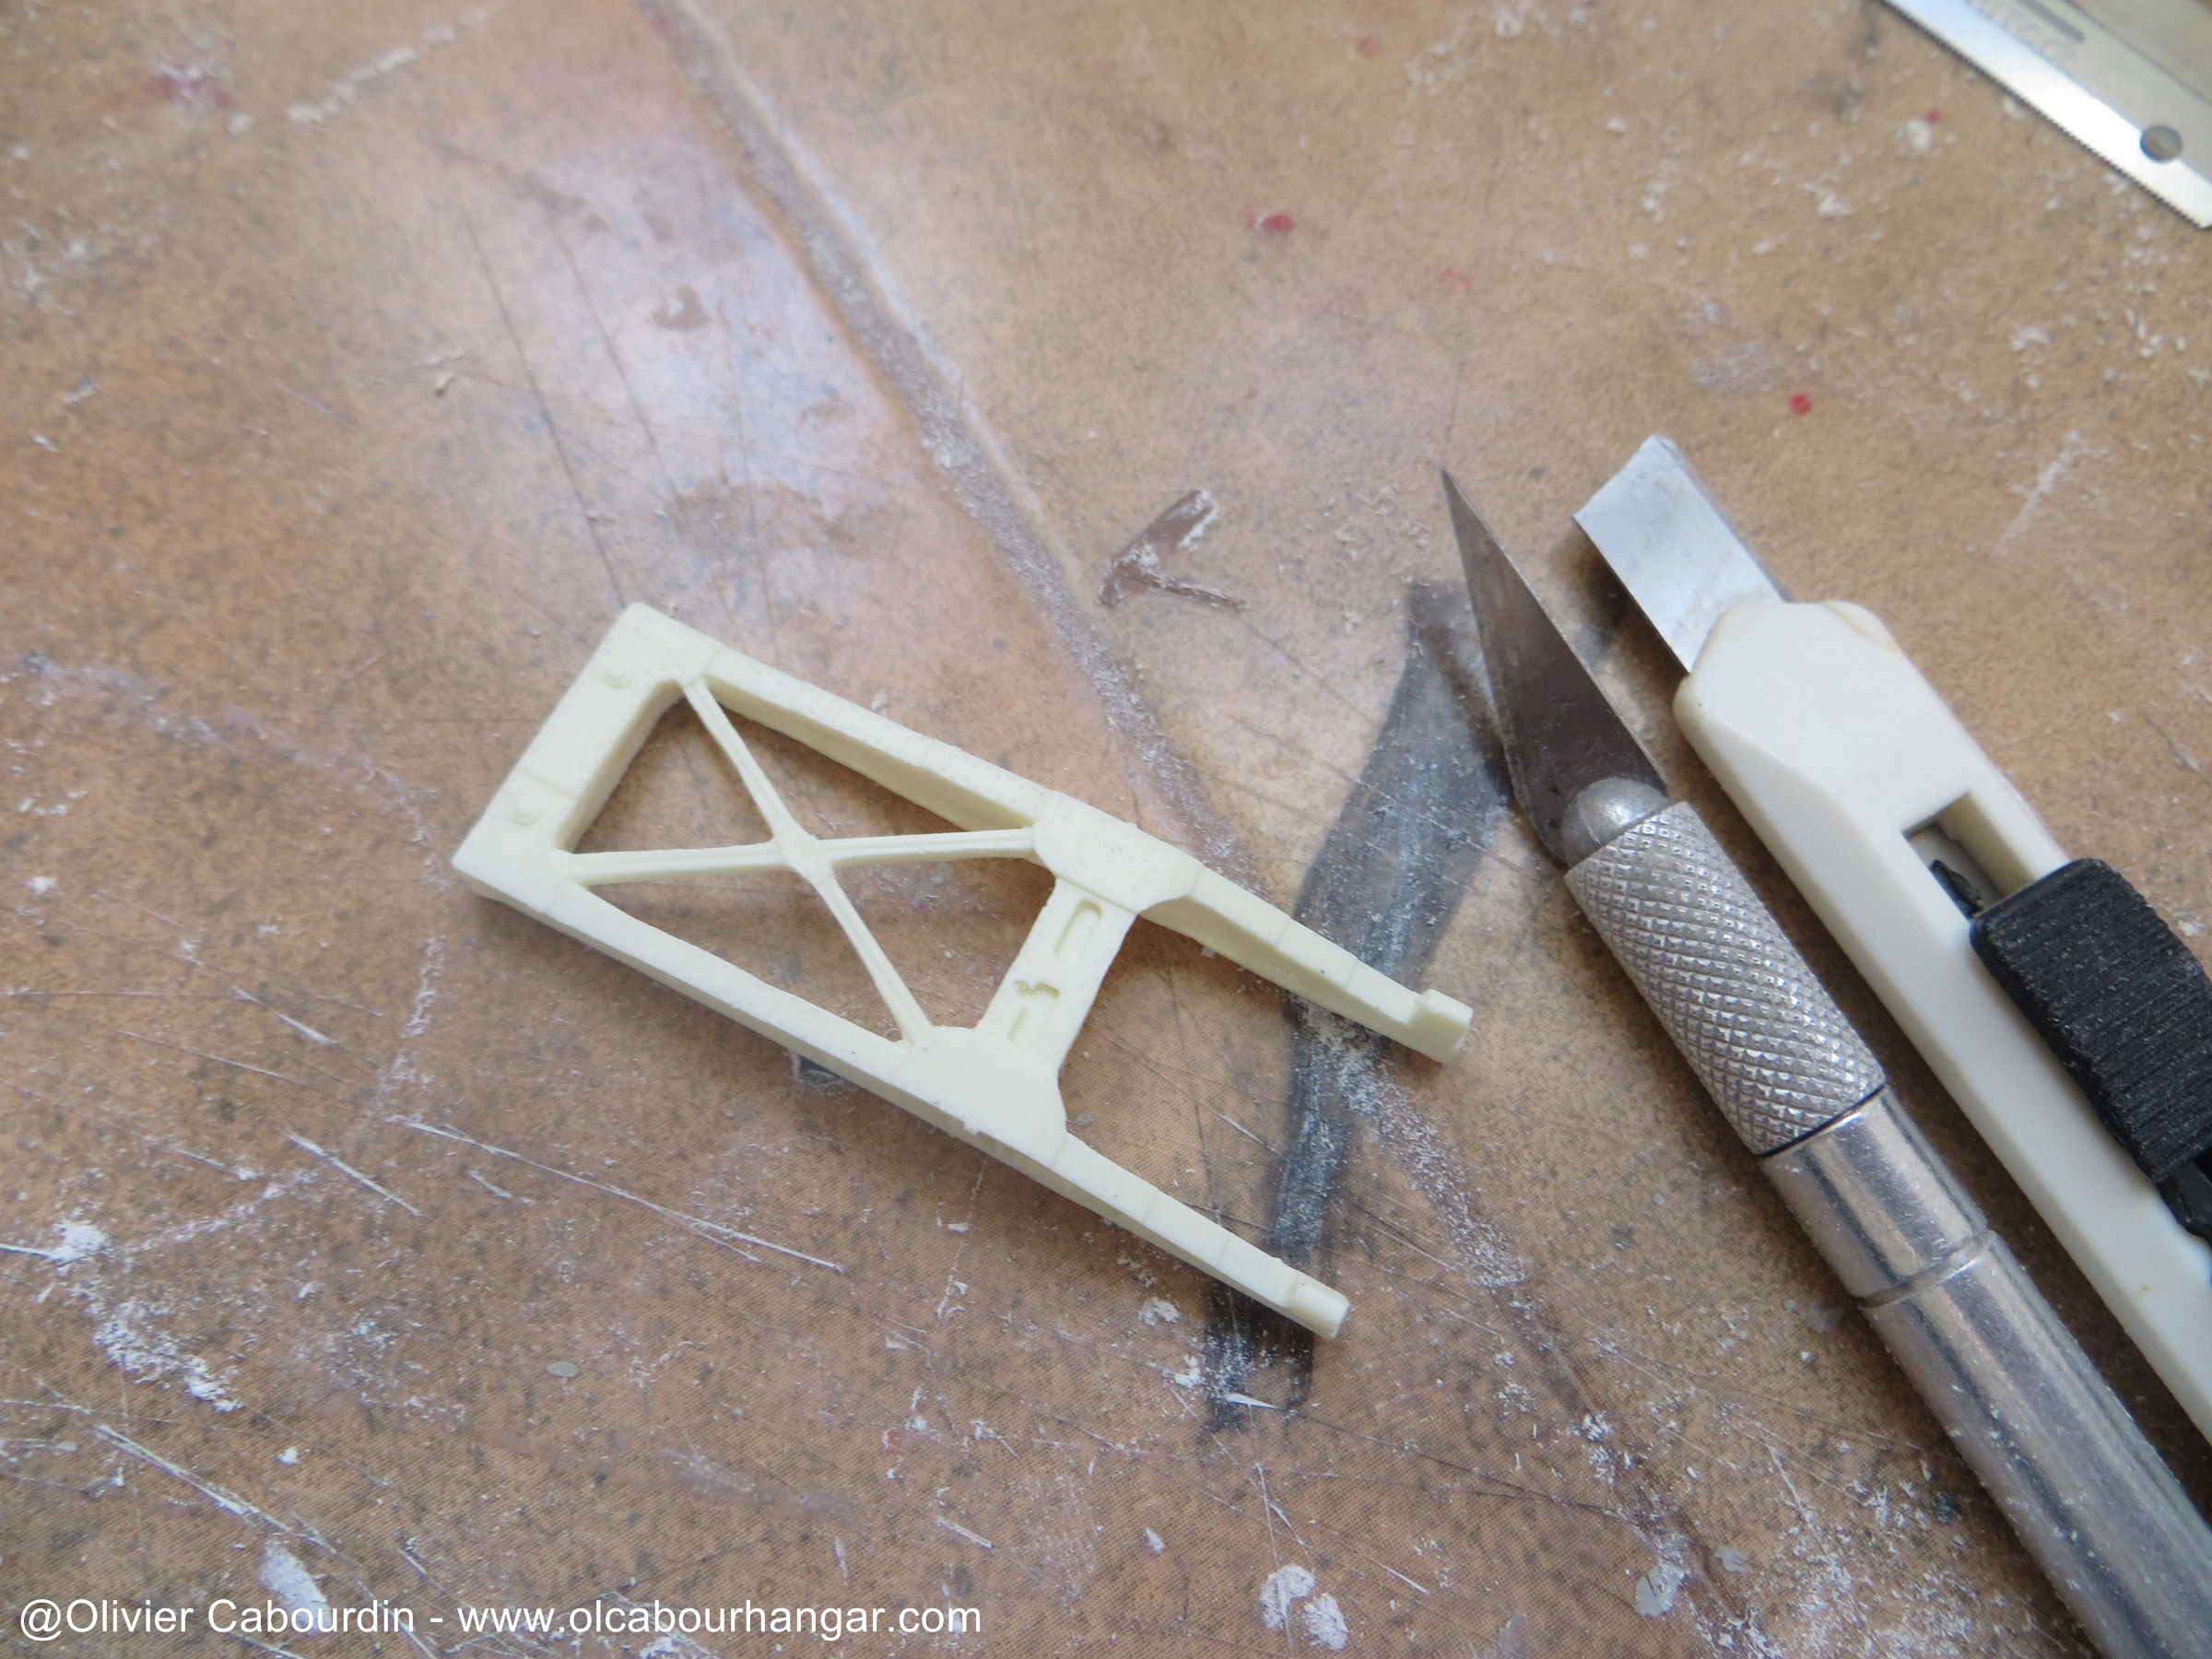
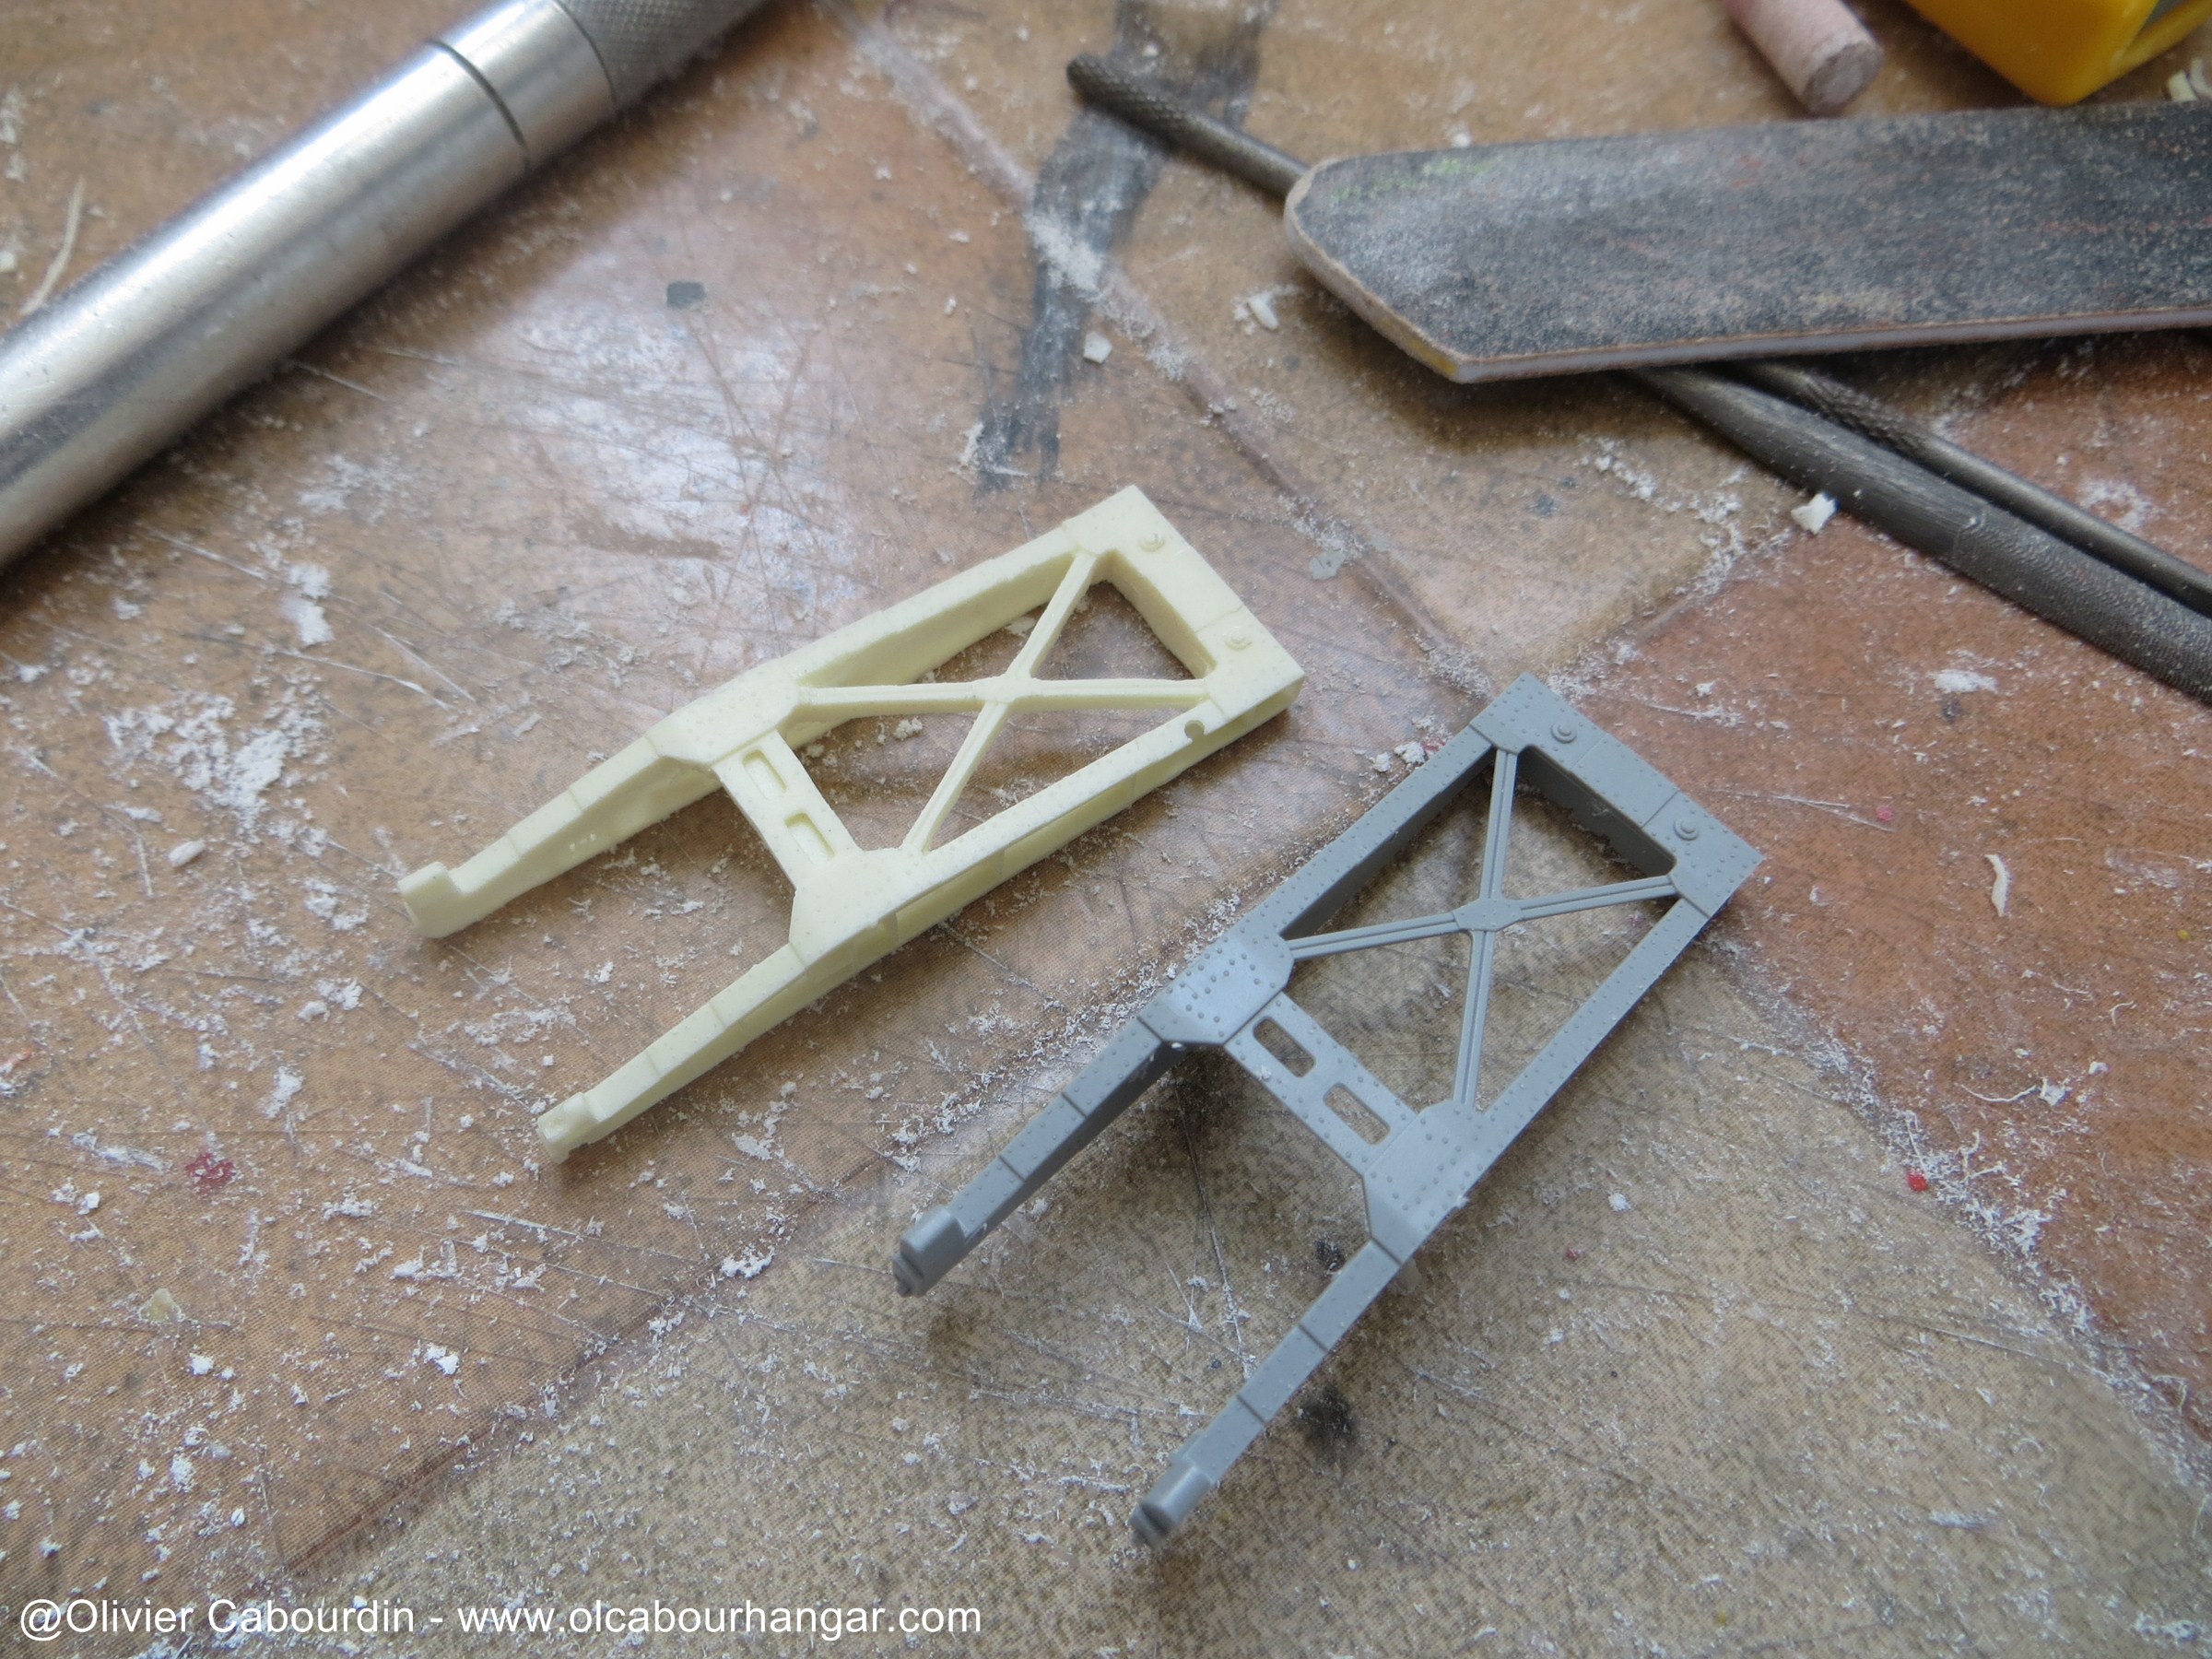
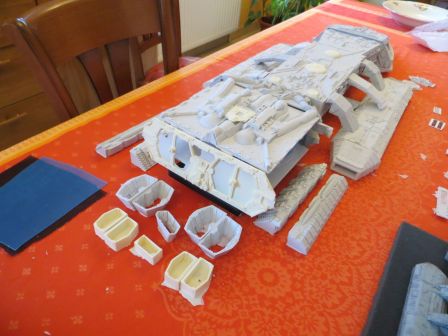
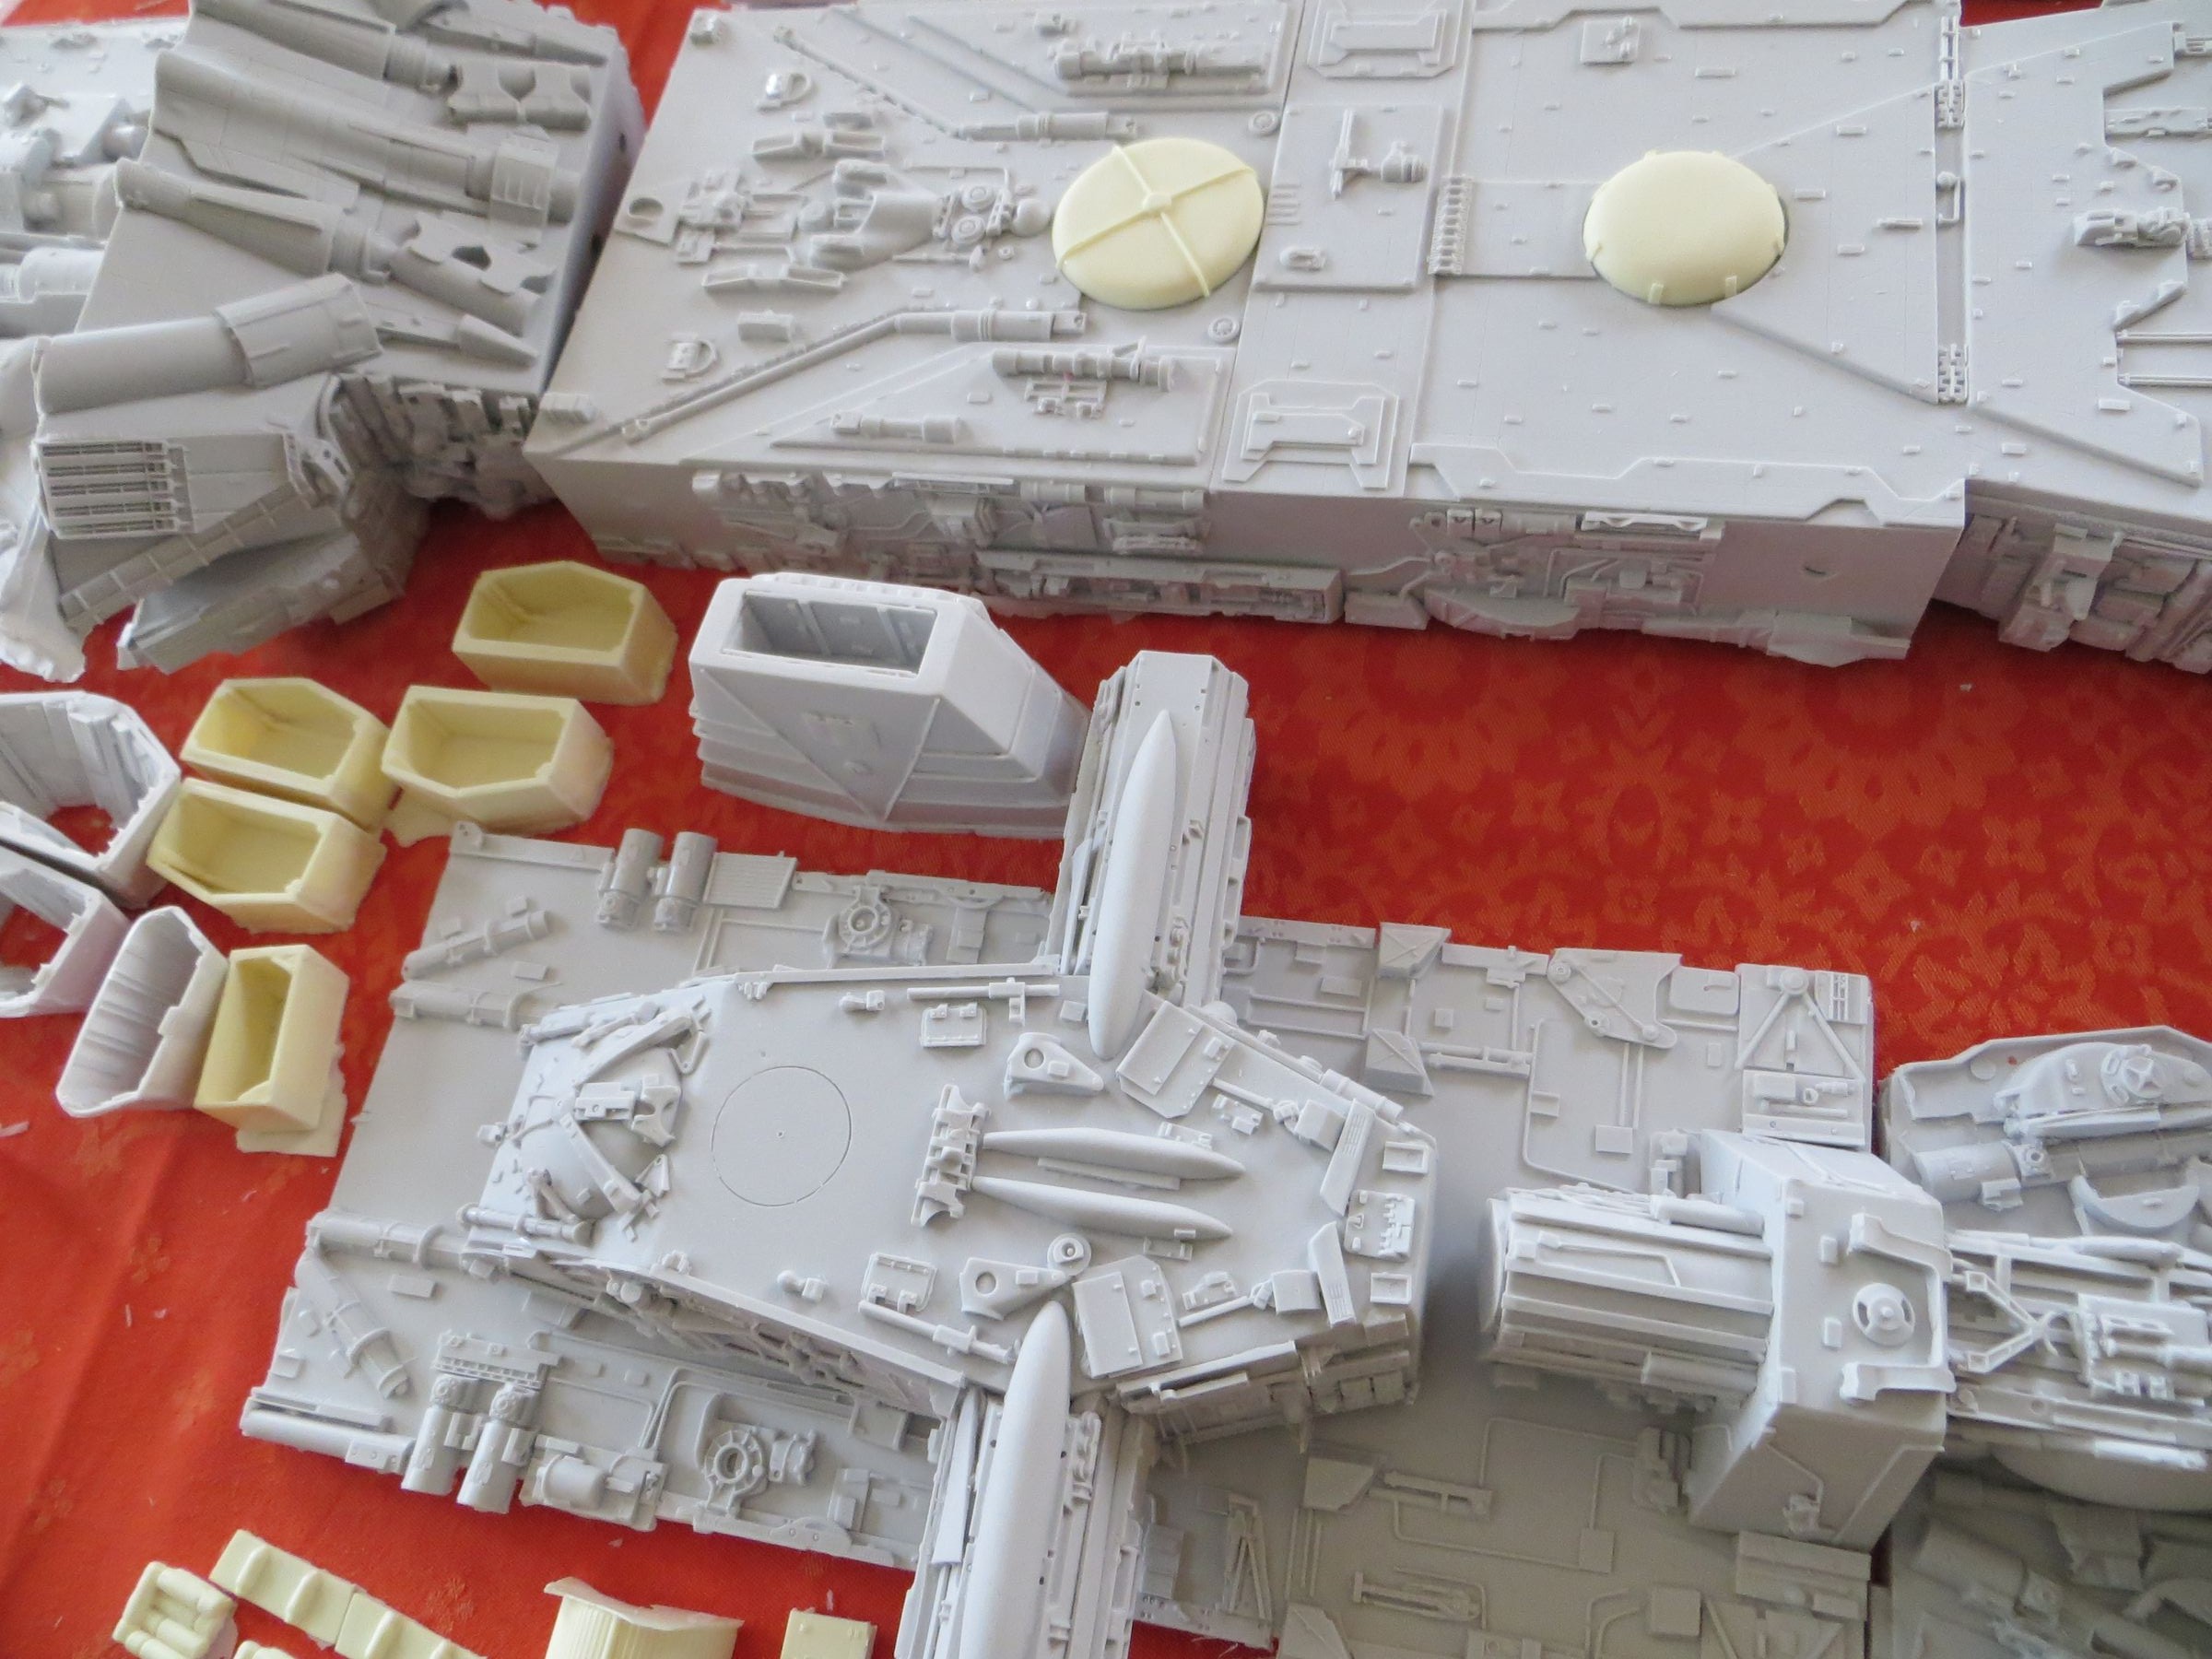
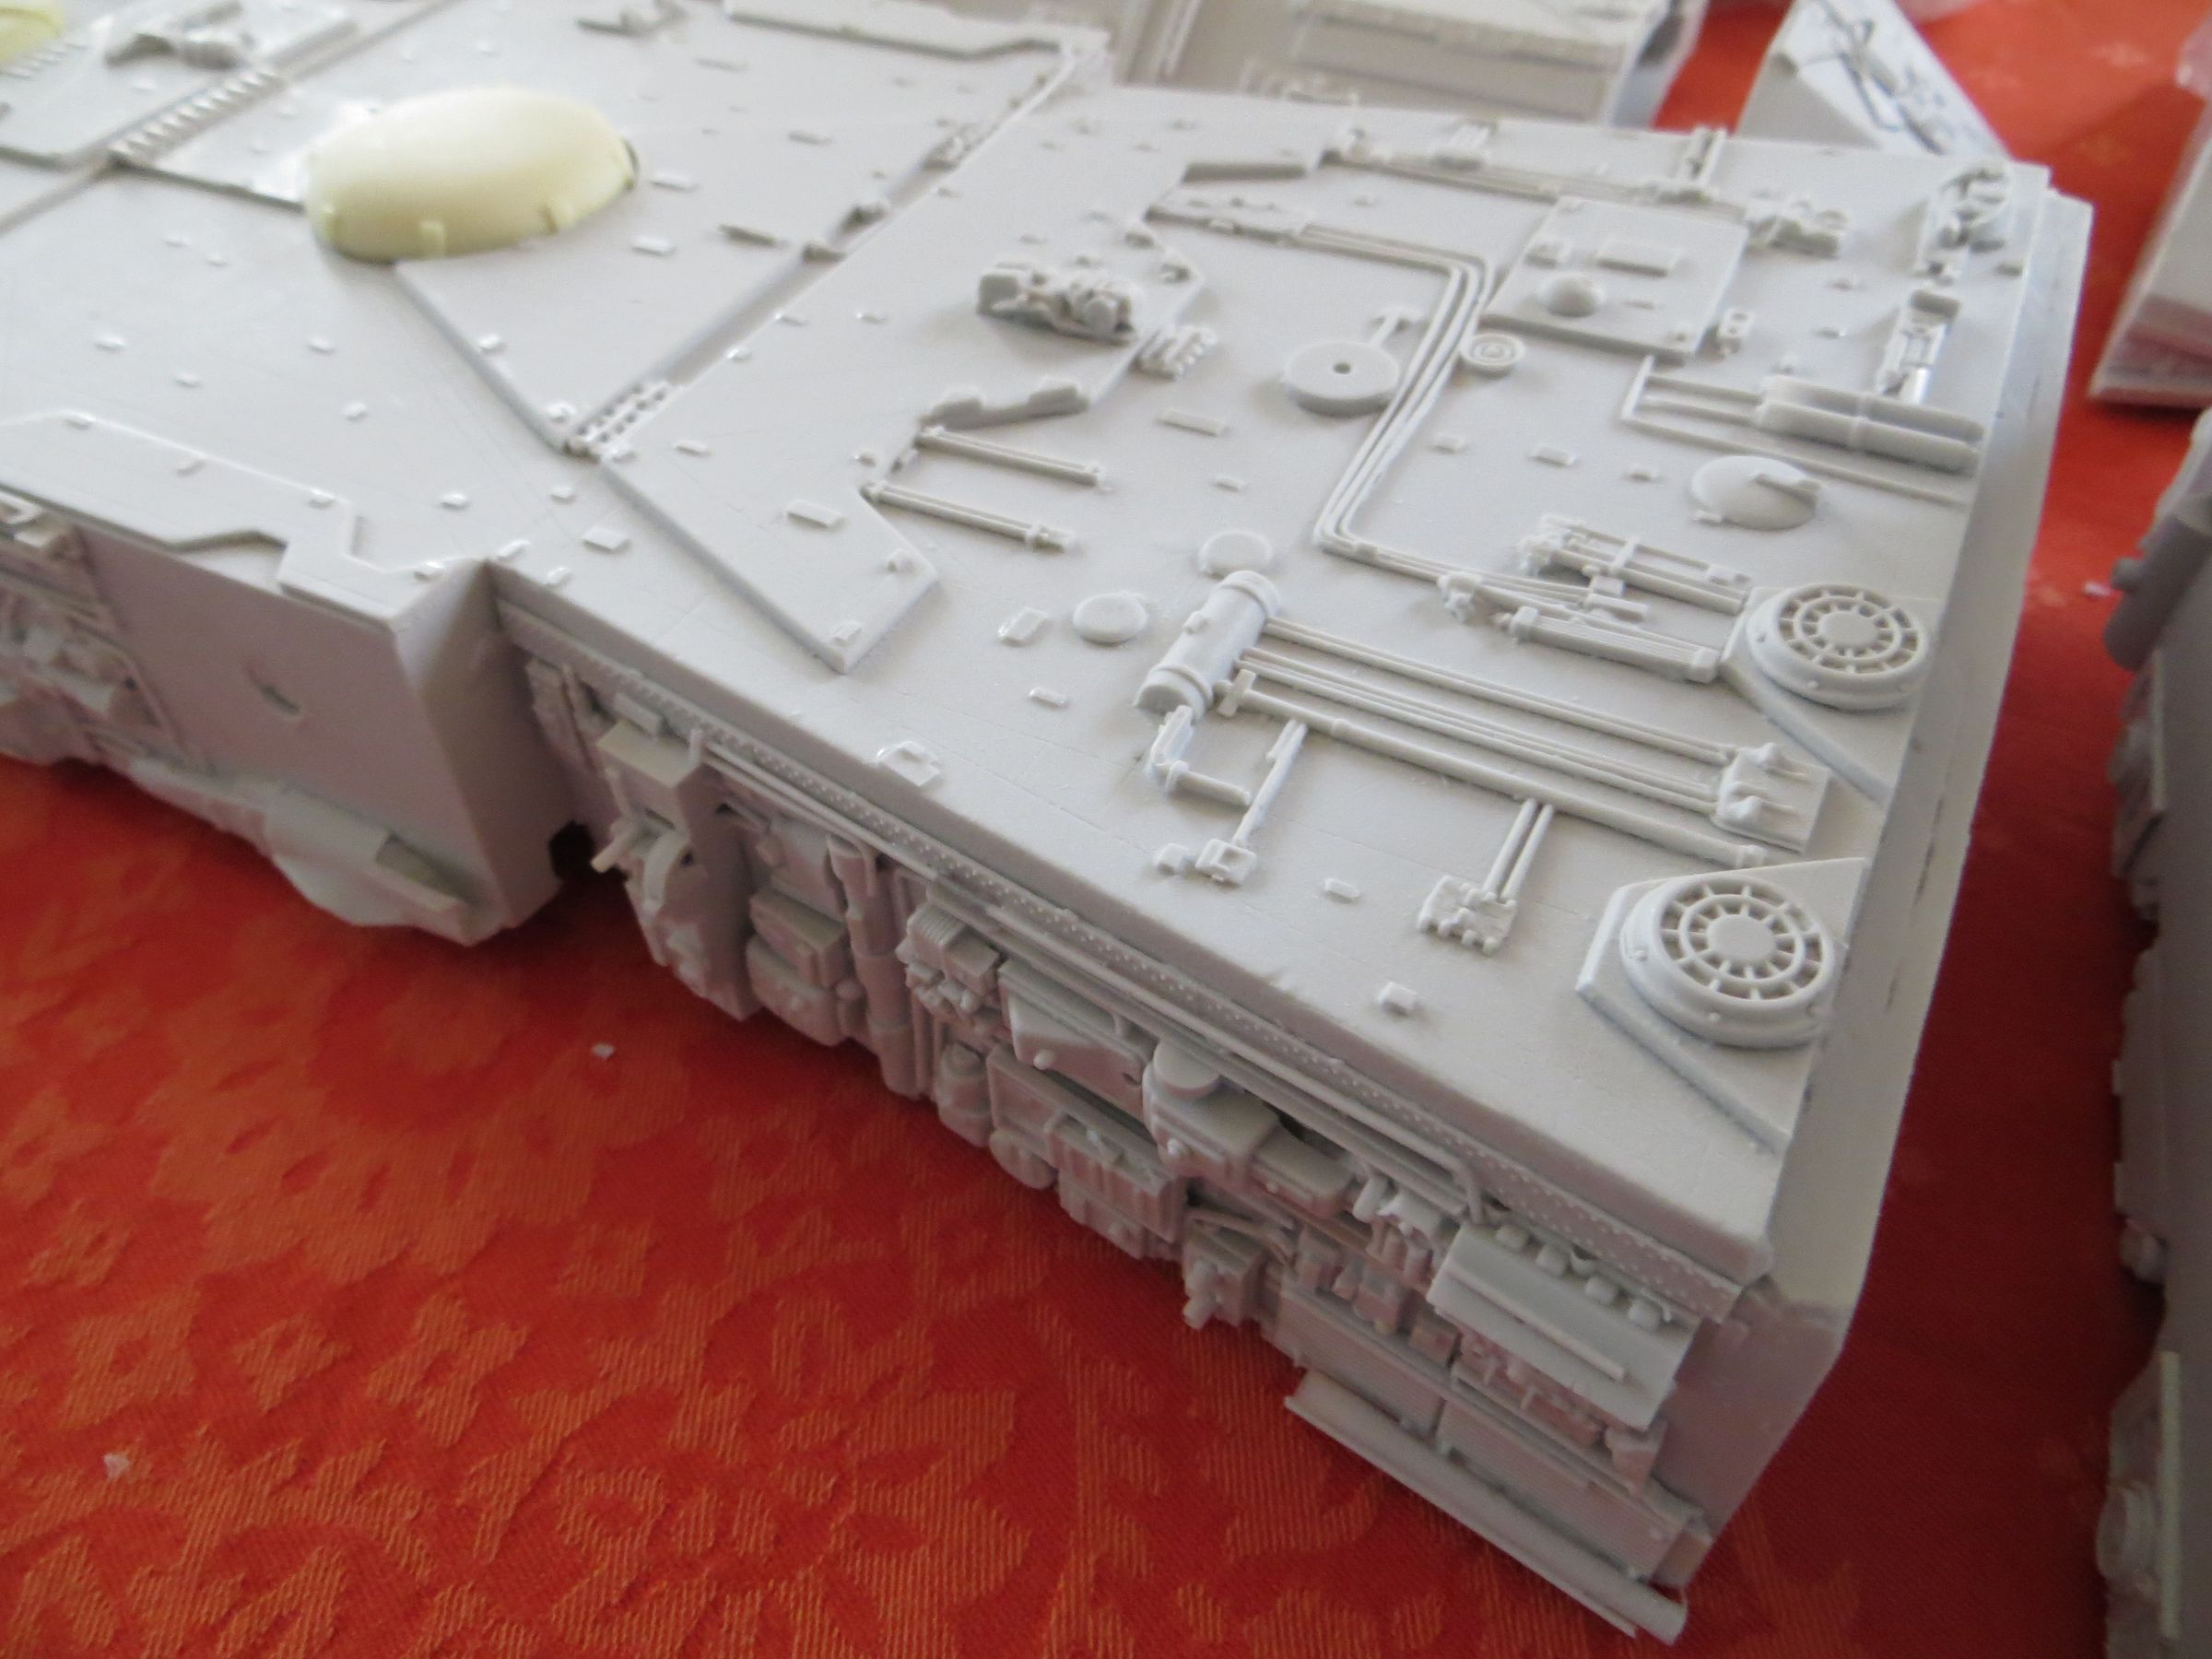
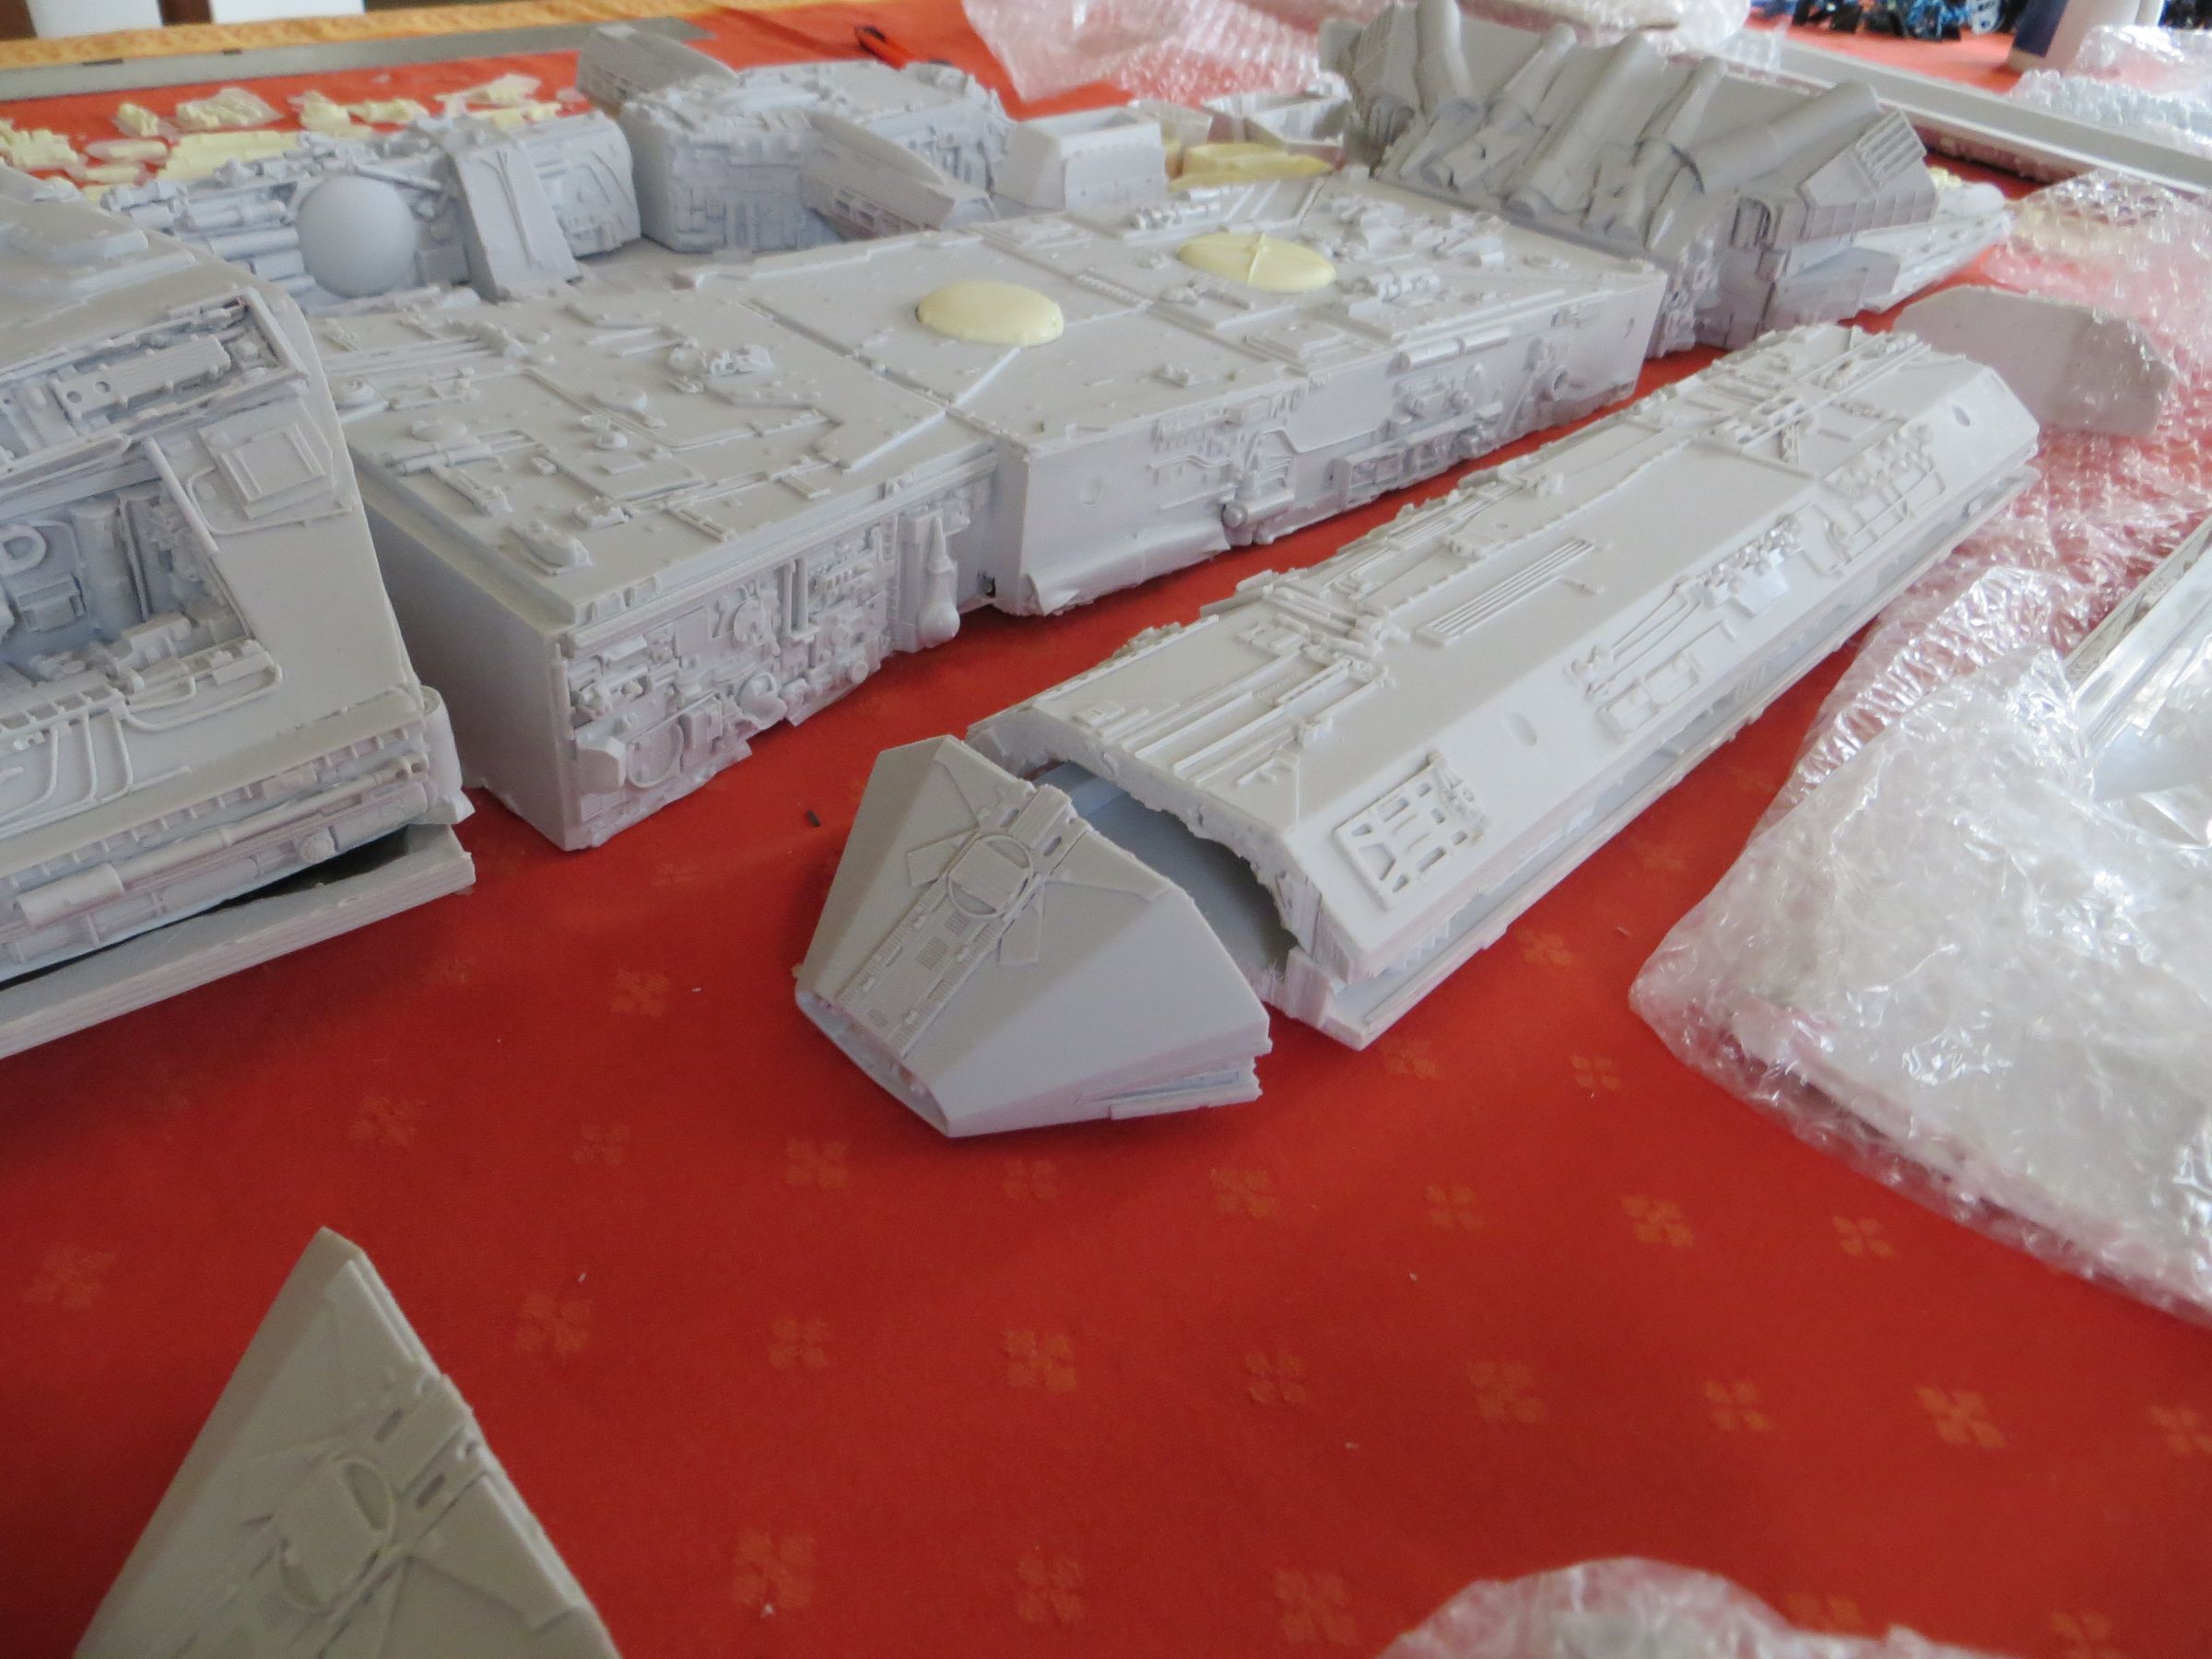
The parts of the main body are designed to be screwed together for assembly. The locations are planned and the thickness of the resin on the facing surfaces is consistent. The front modules, central and rear are hollowed (usefull to light it) .

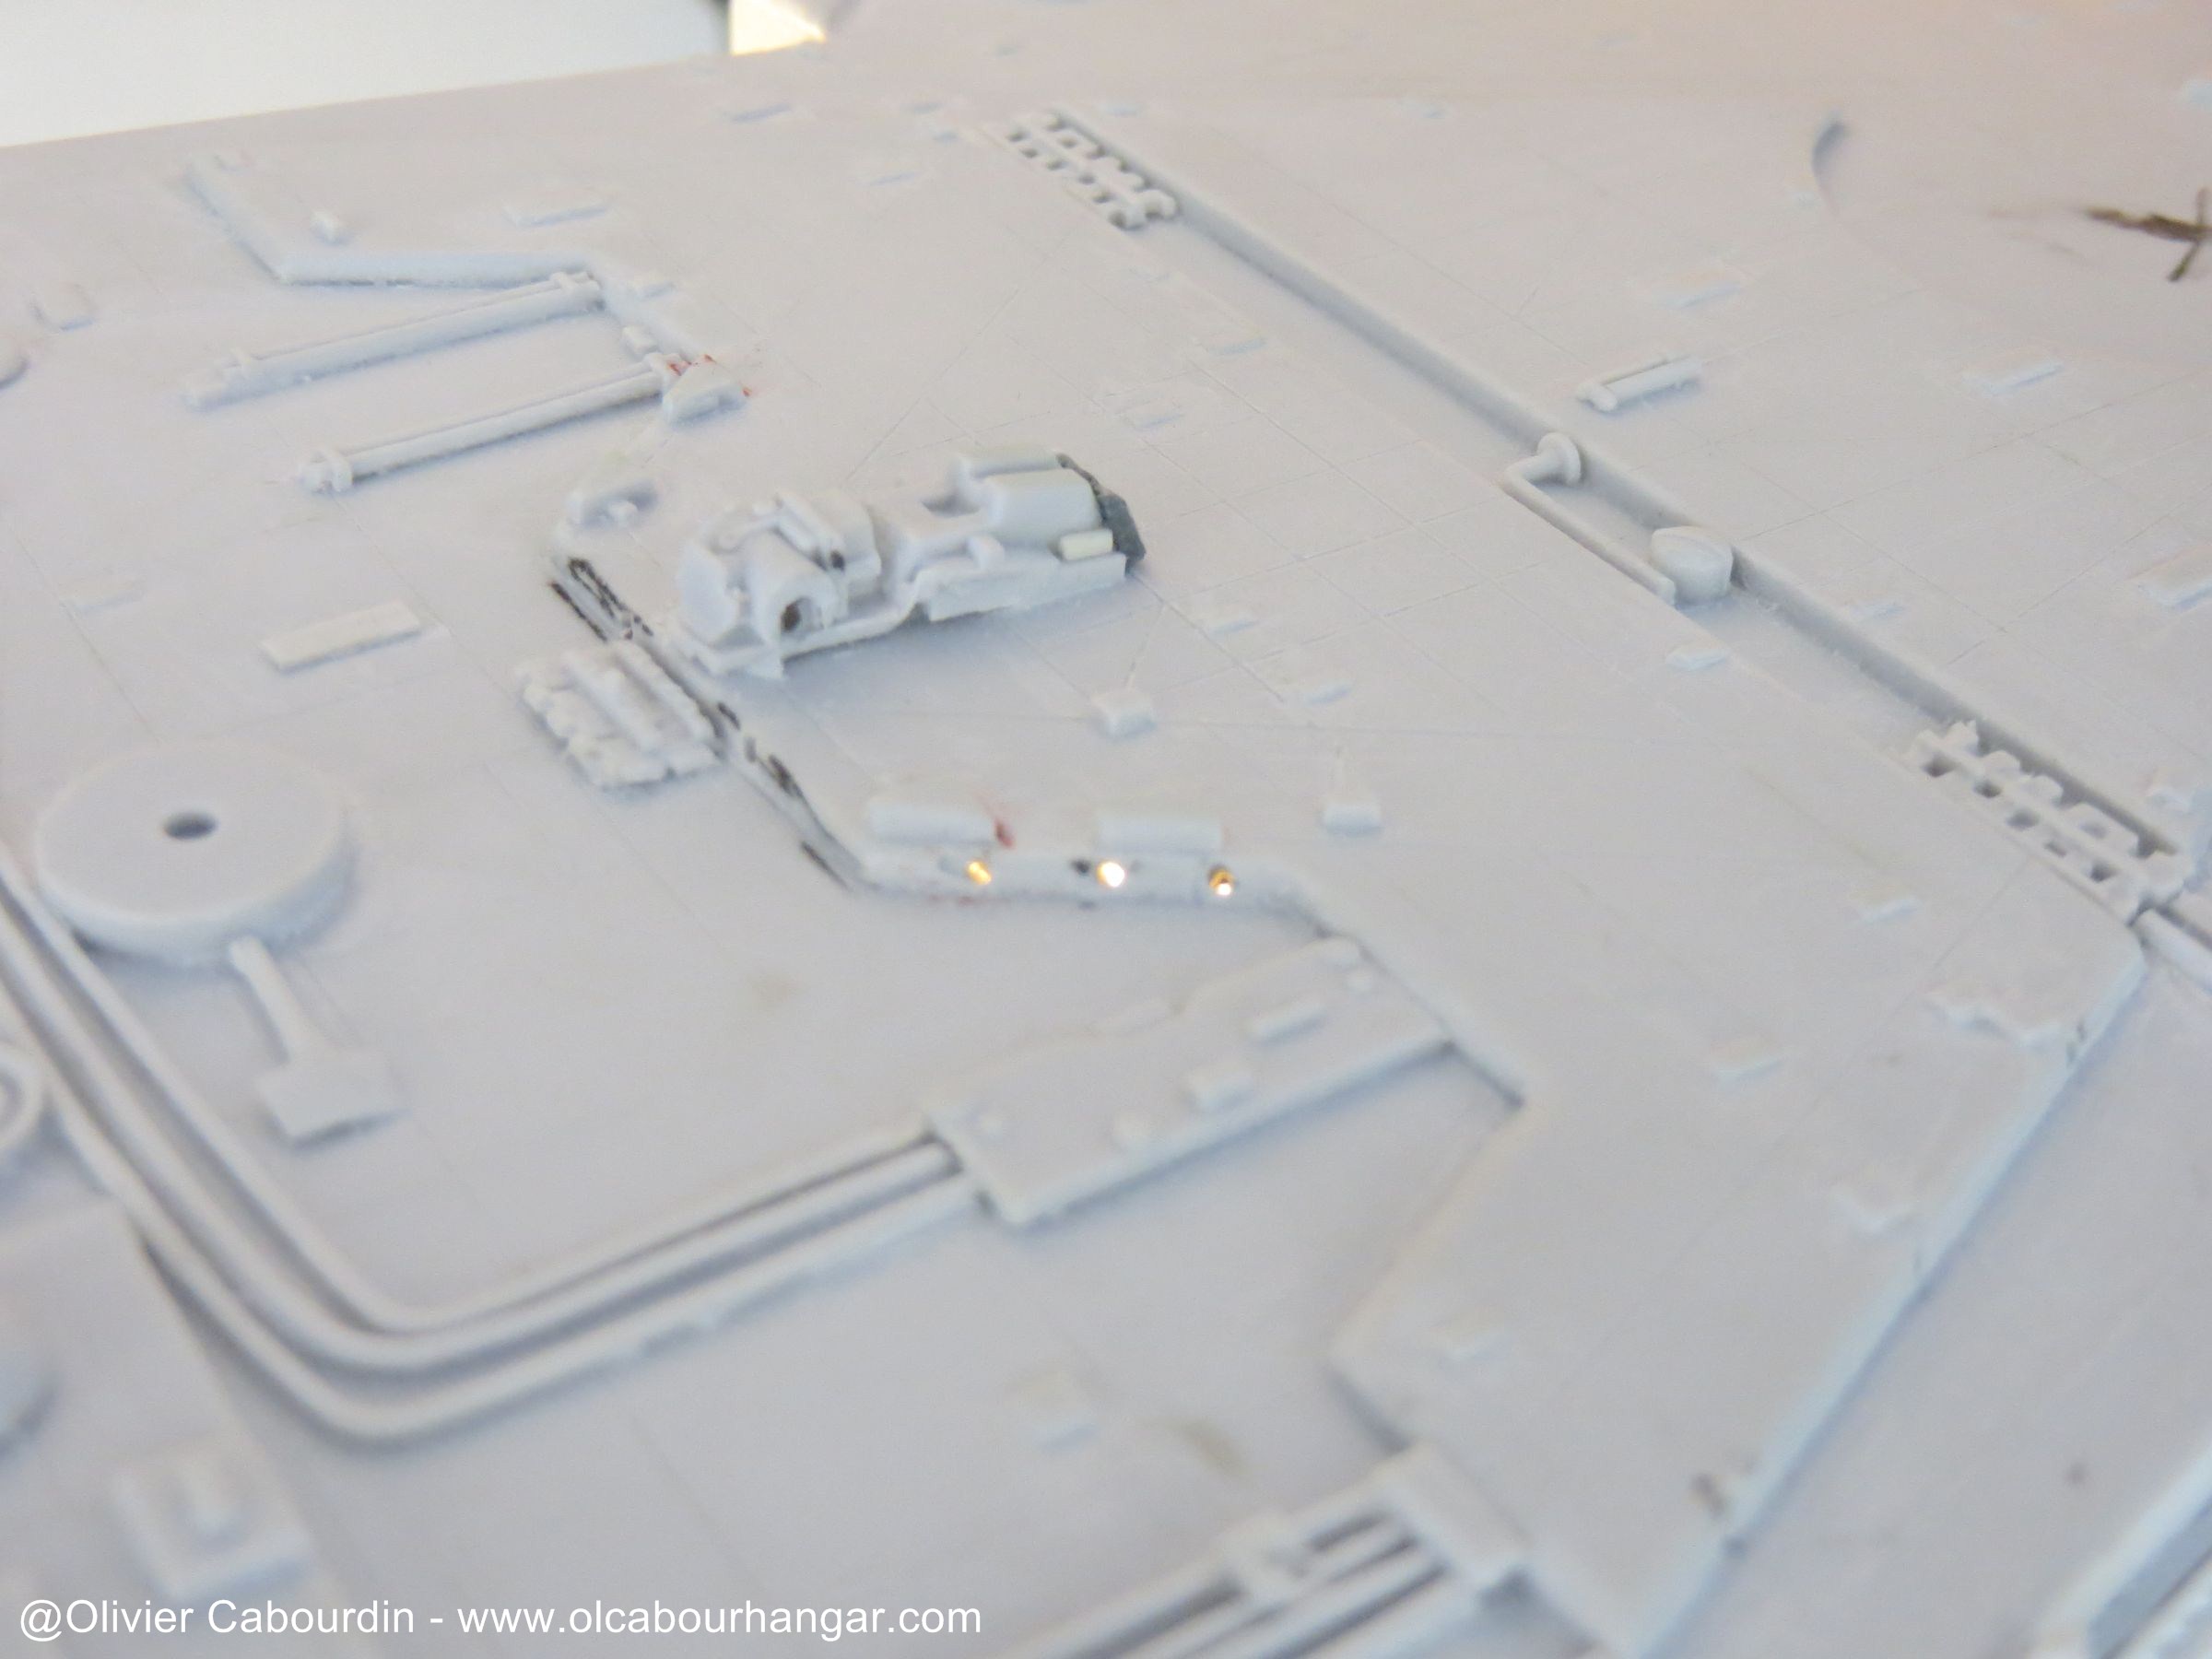
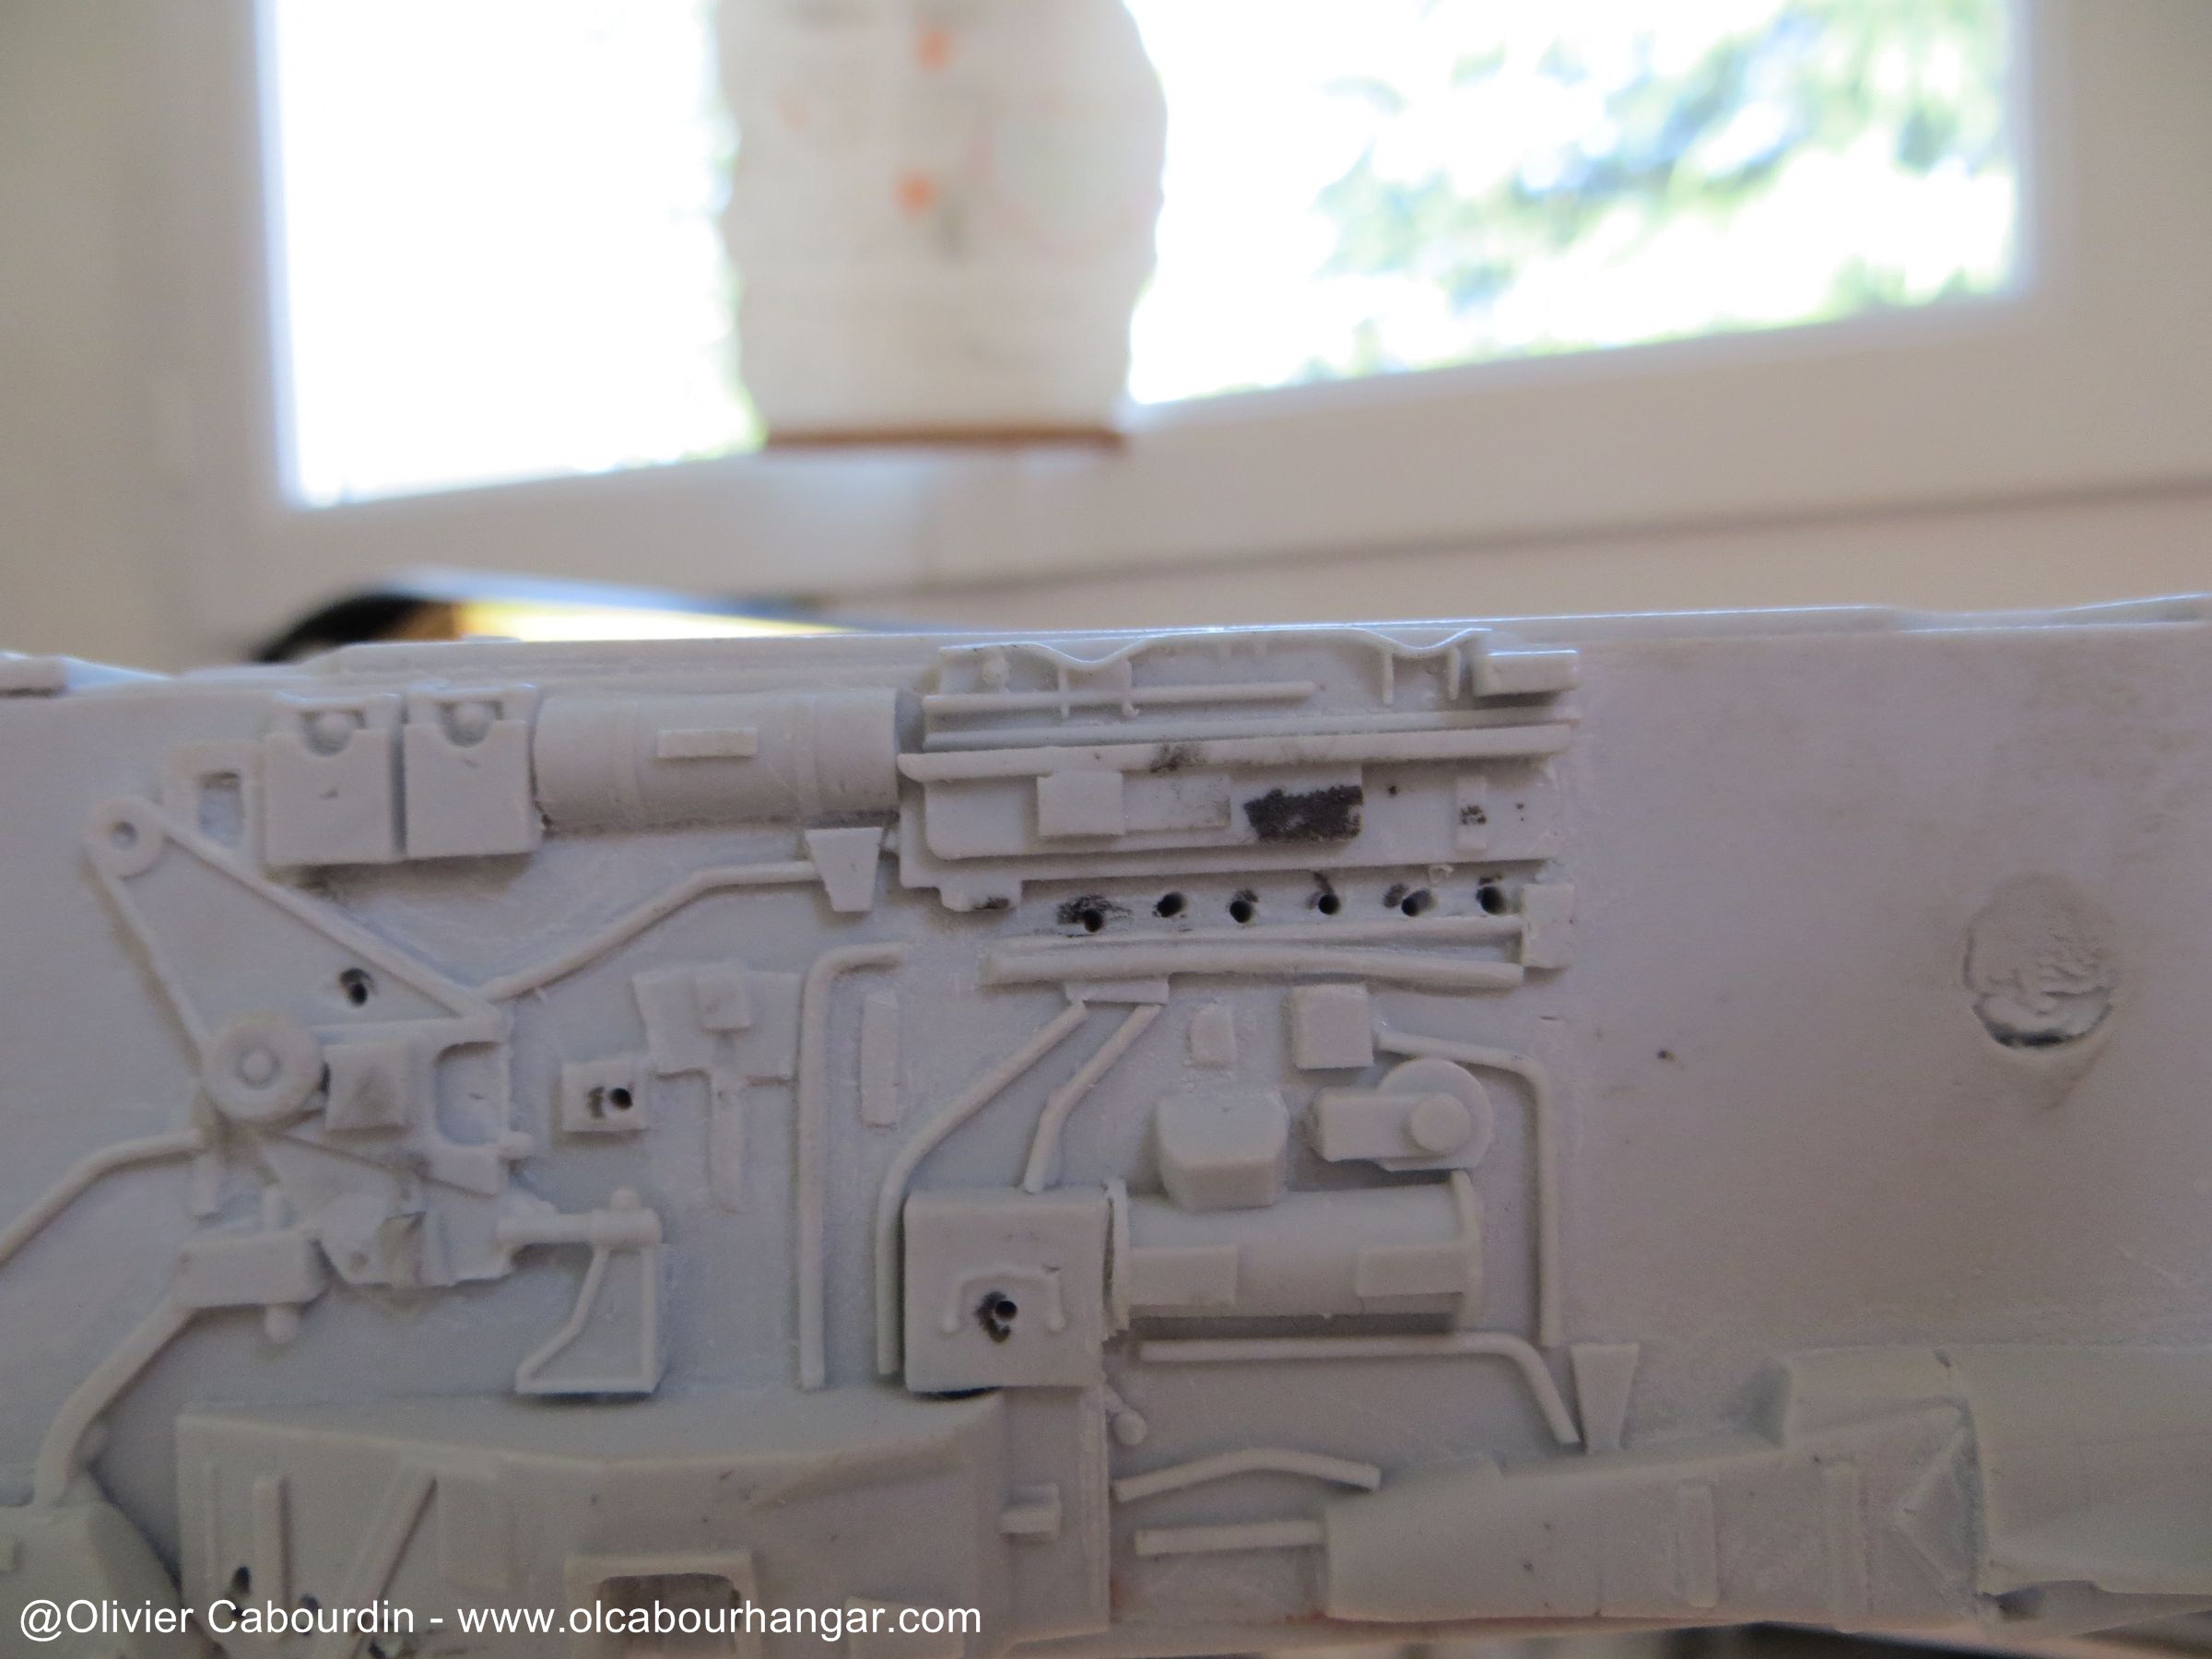
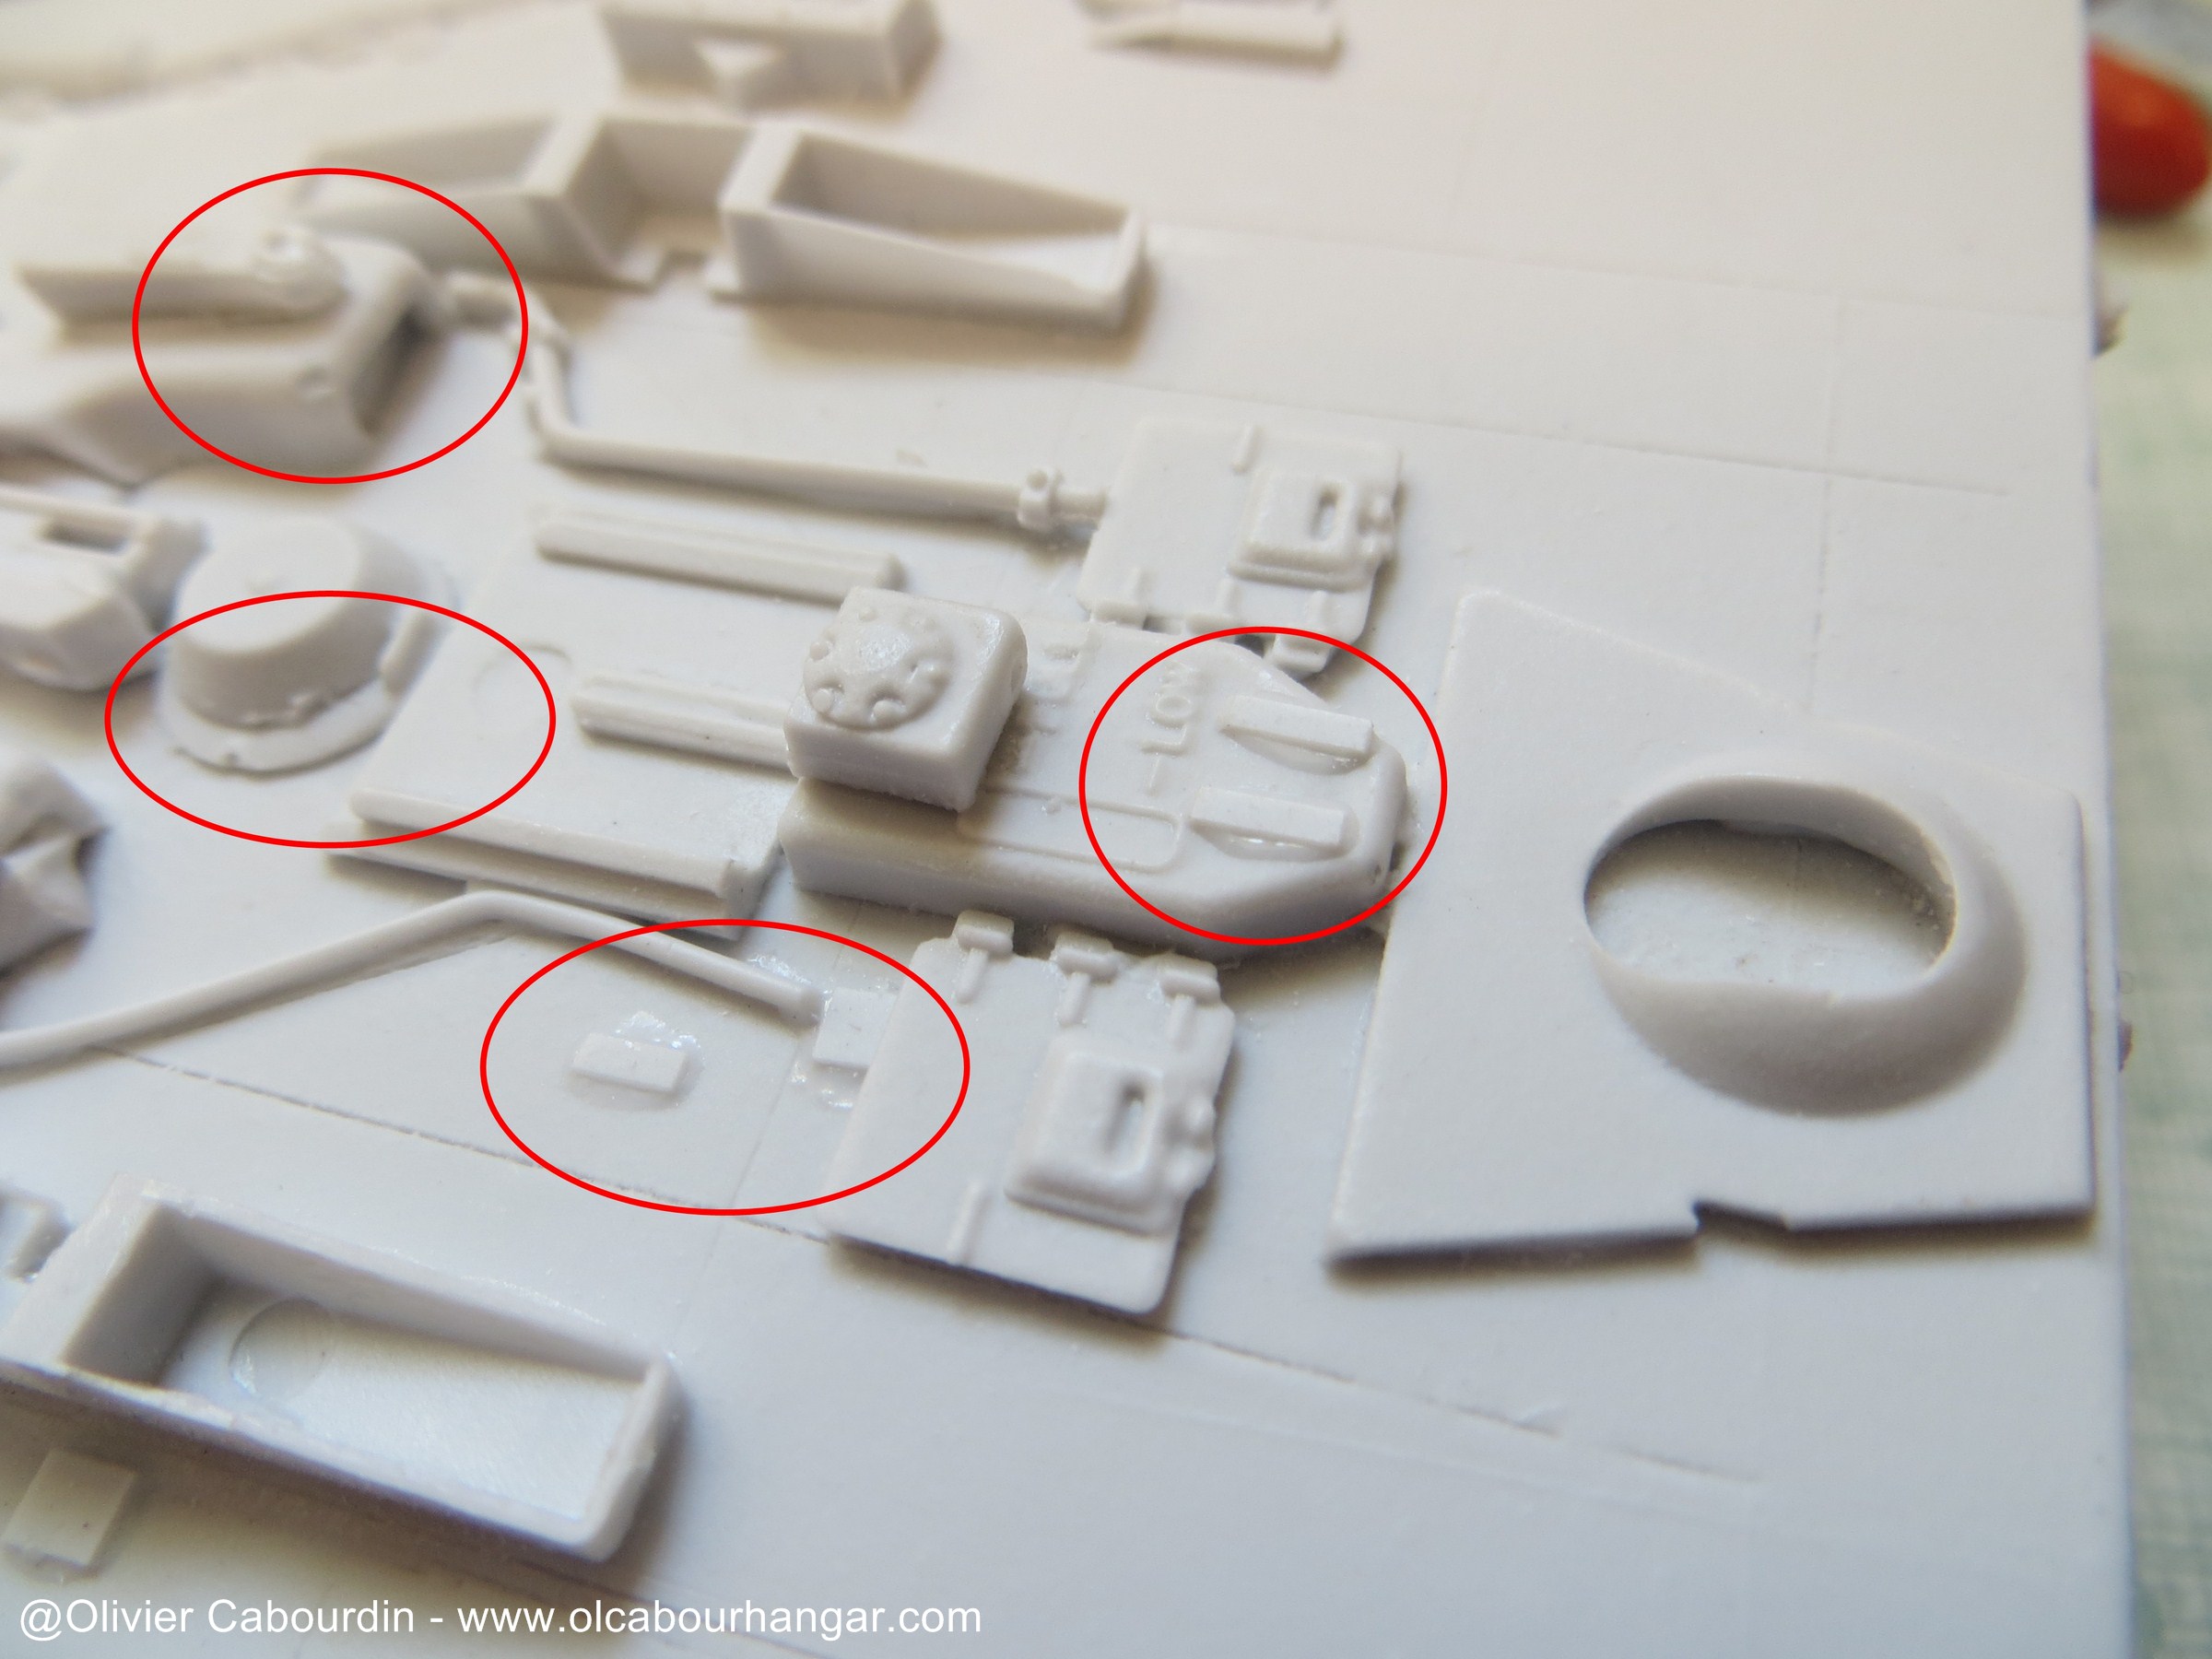
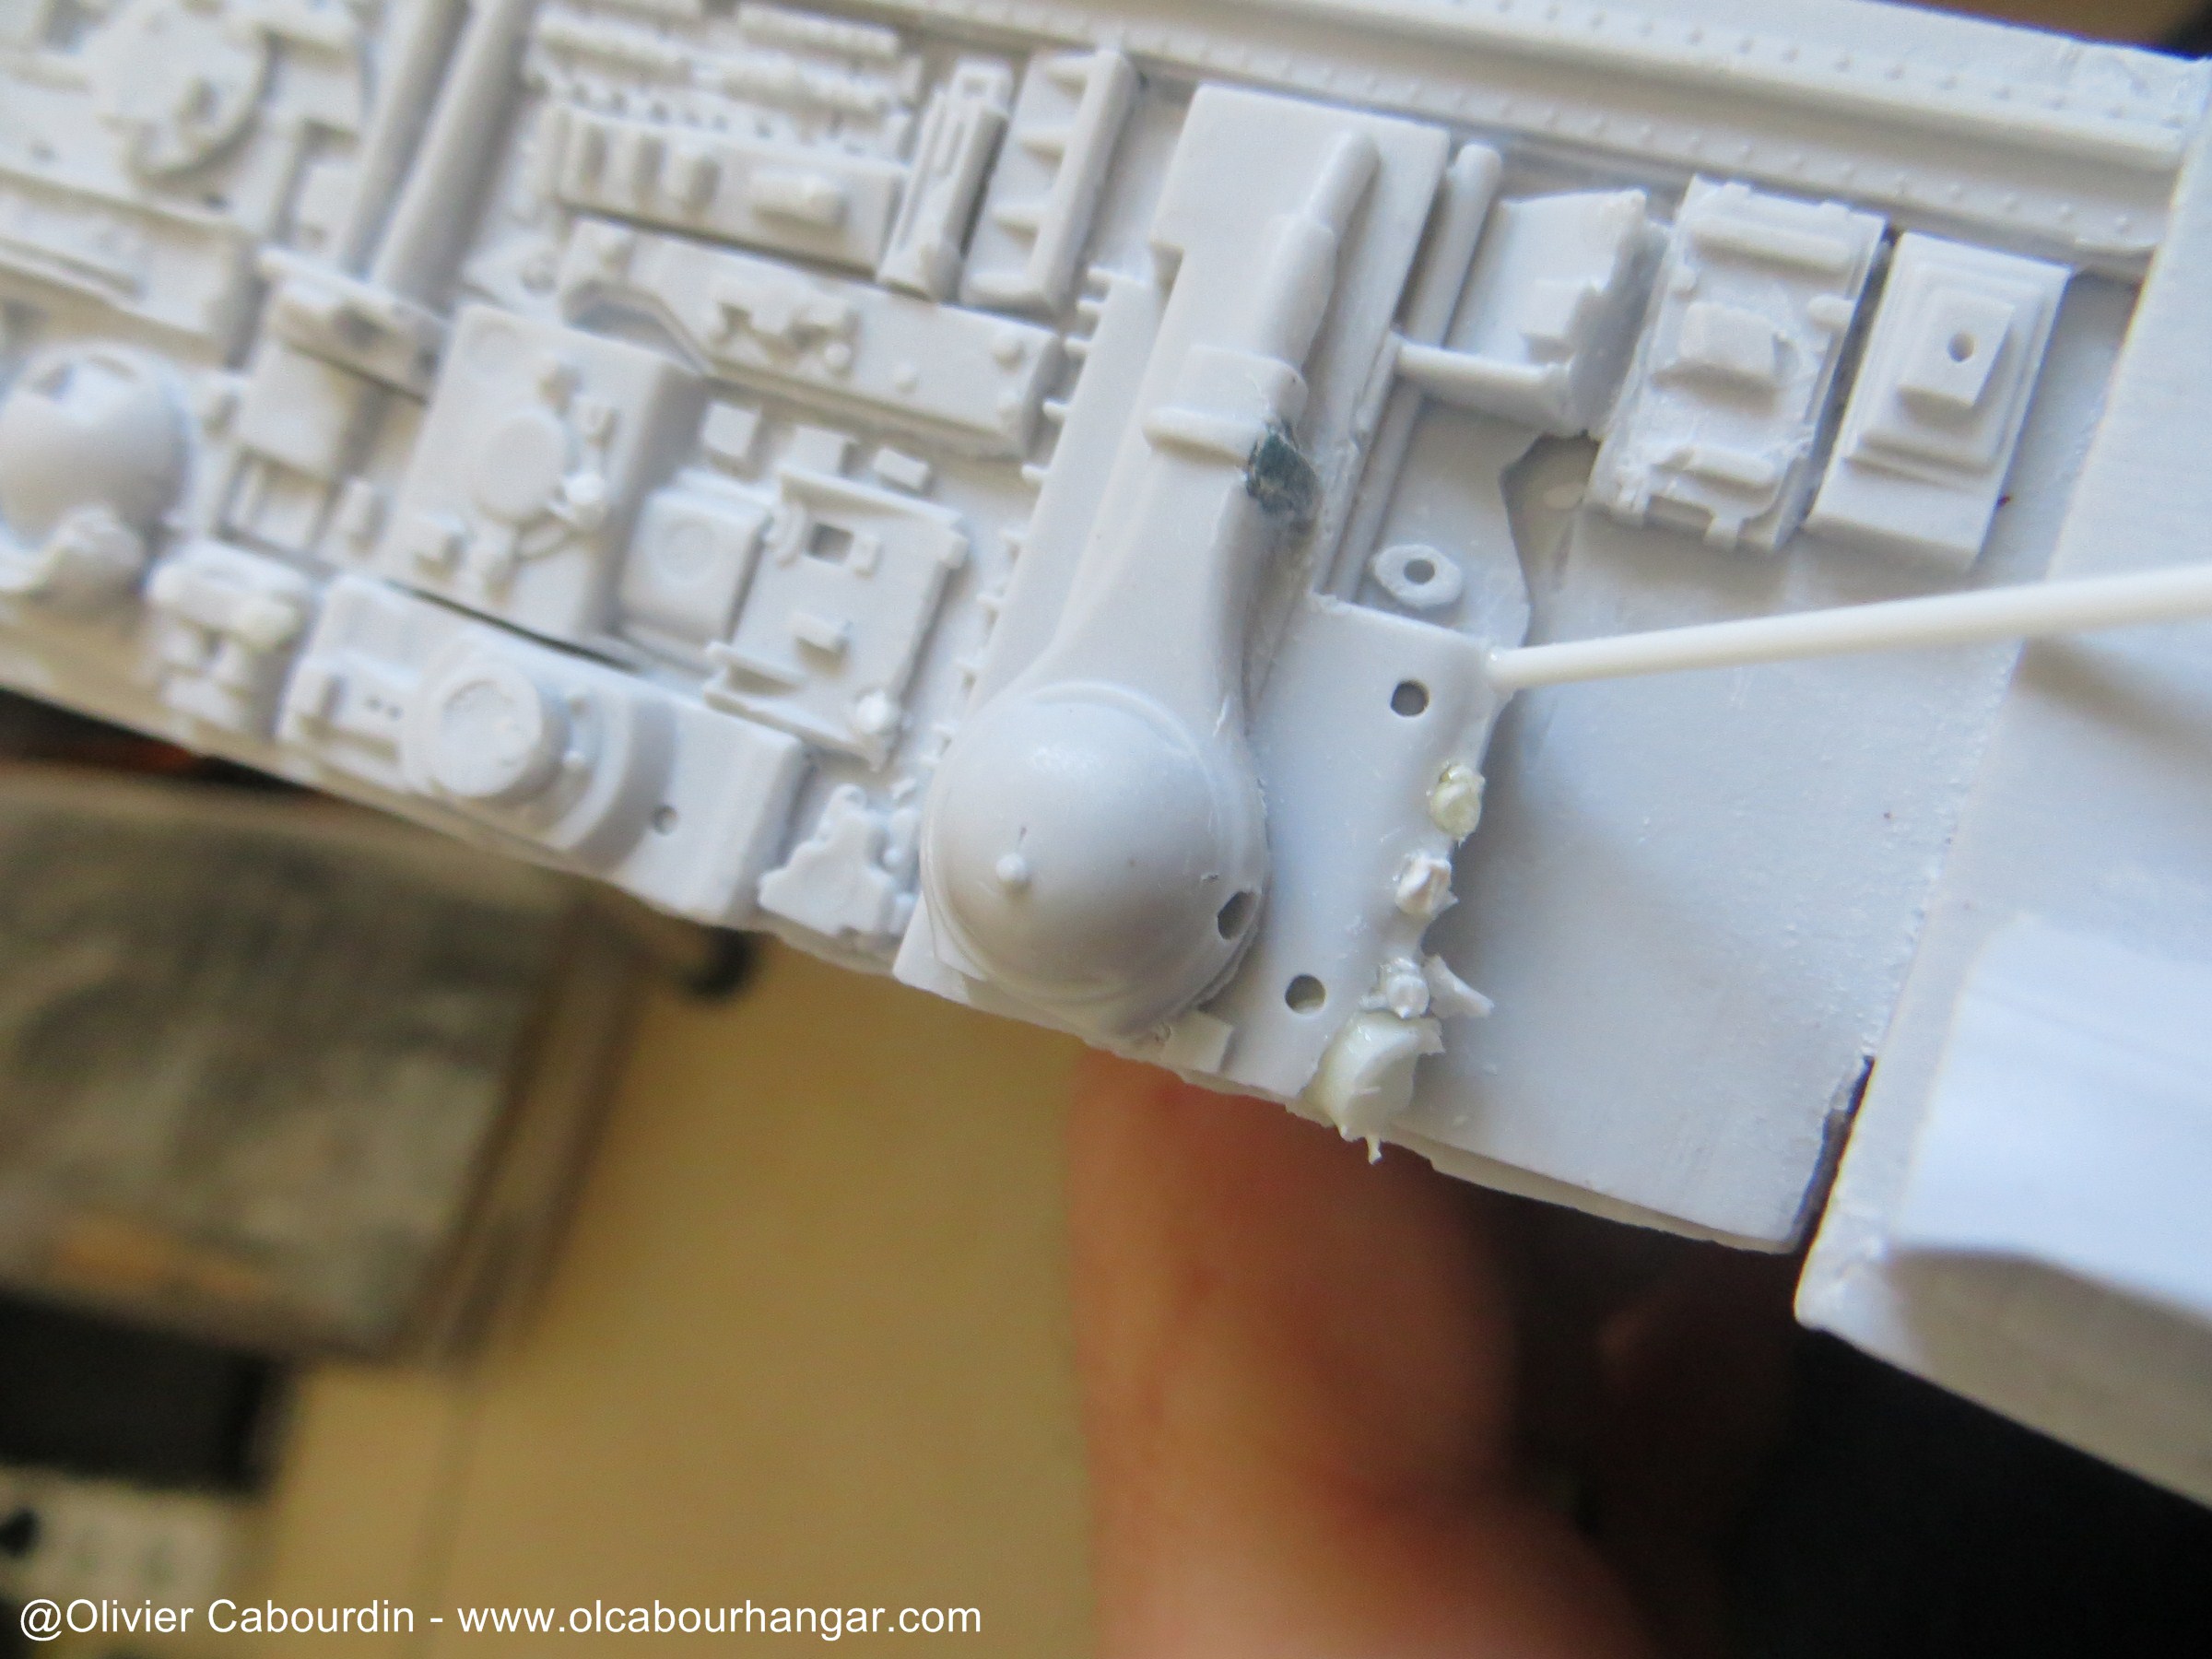
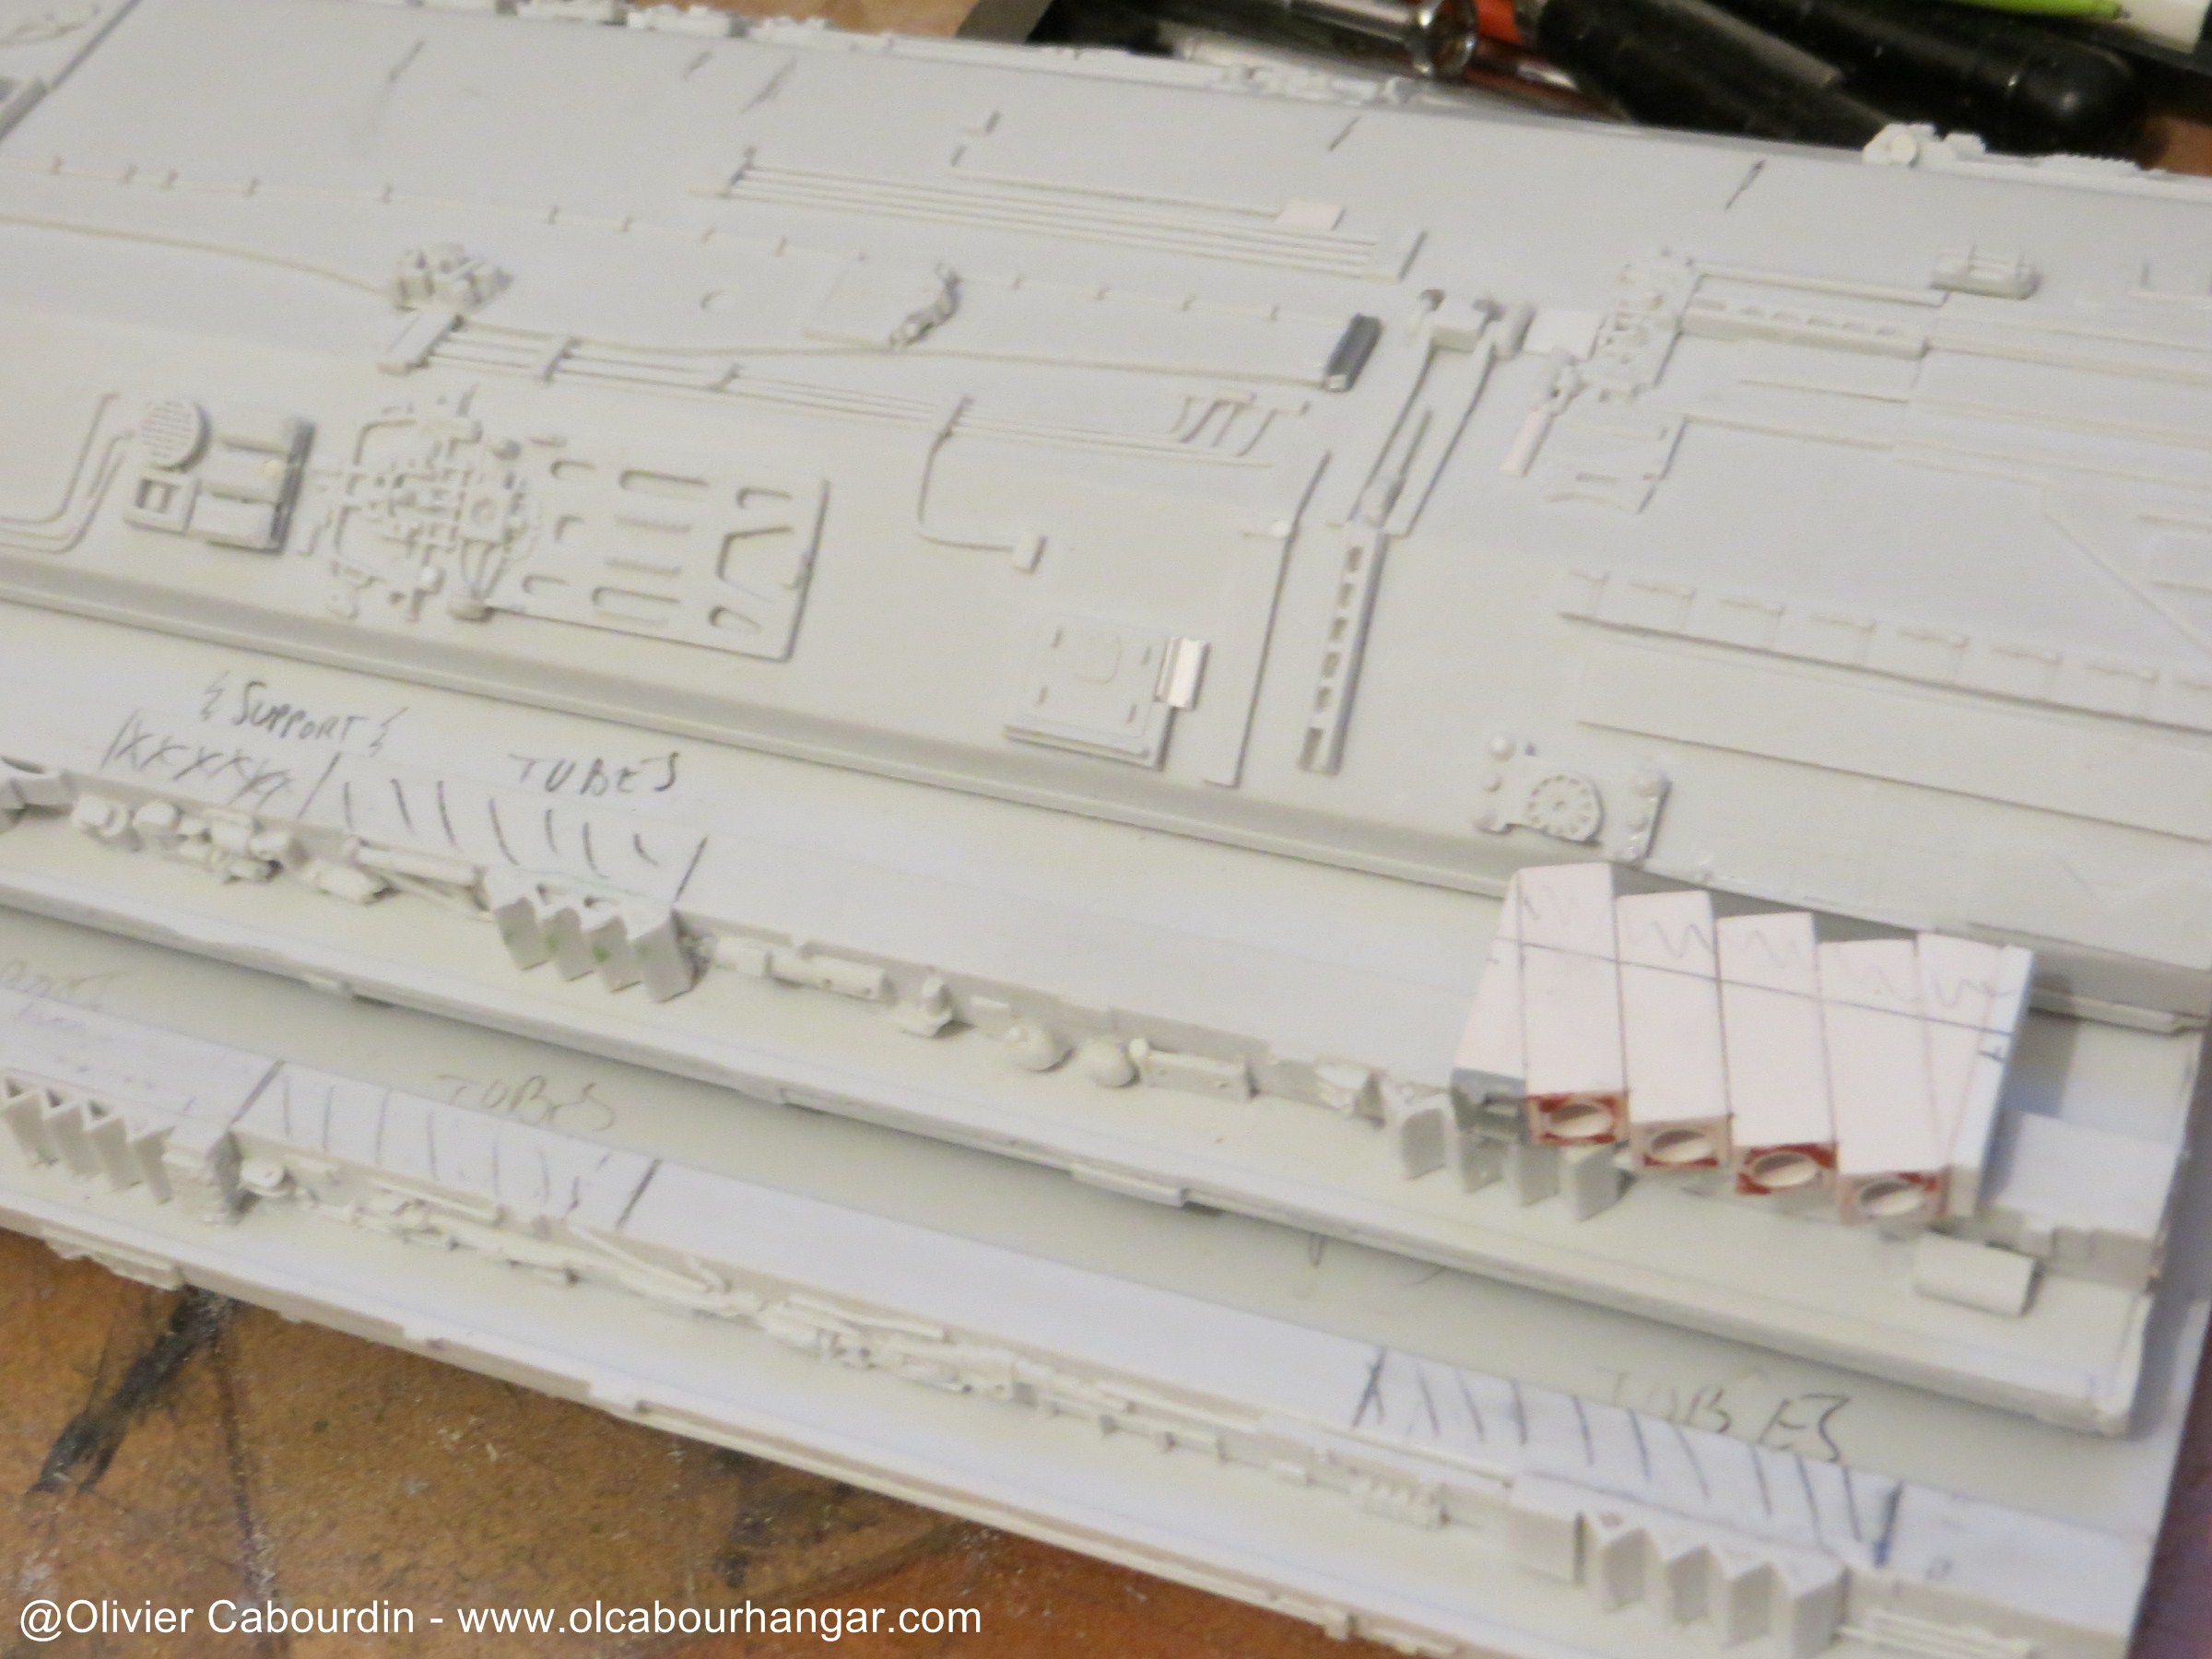
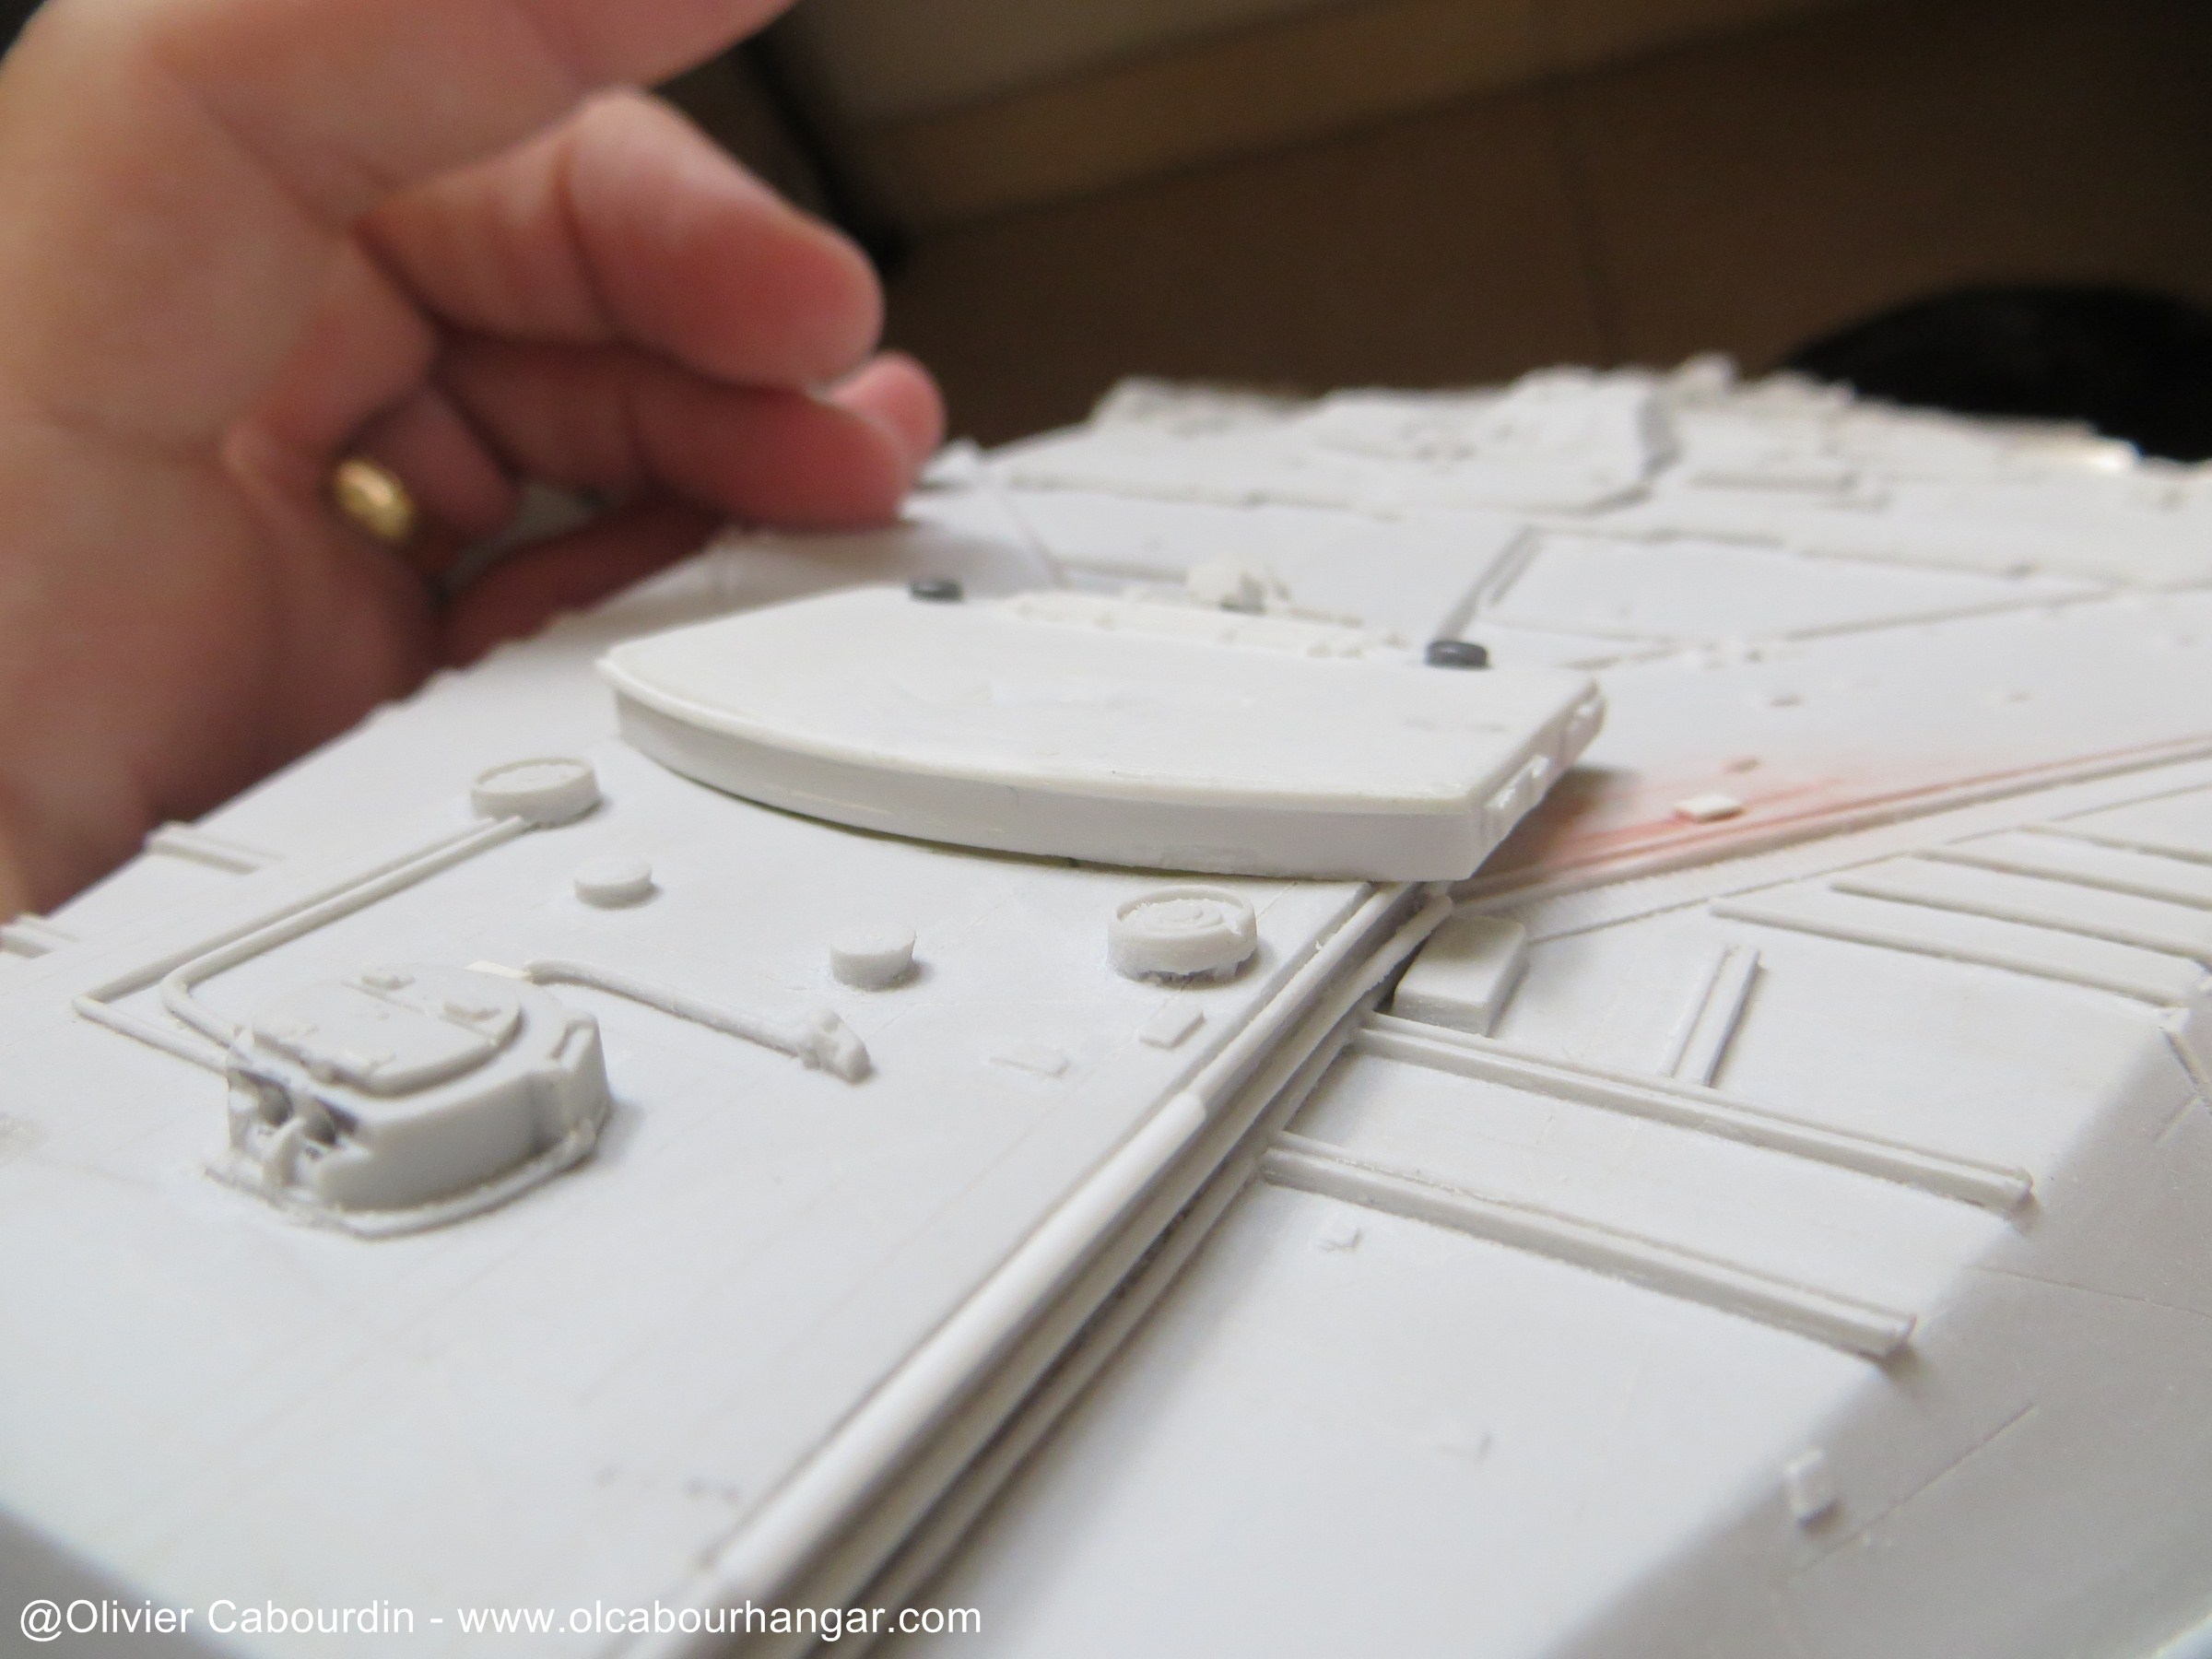
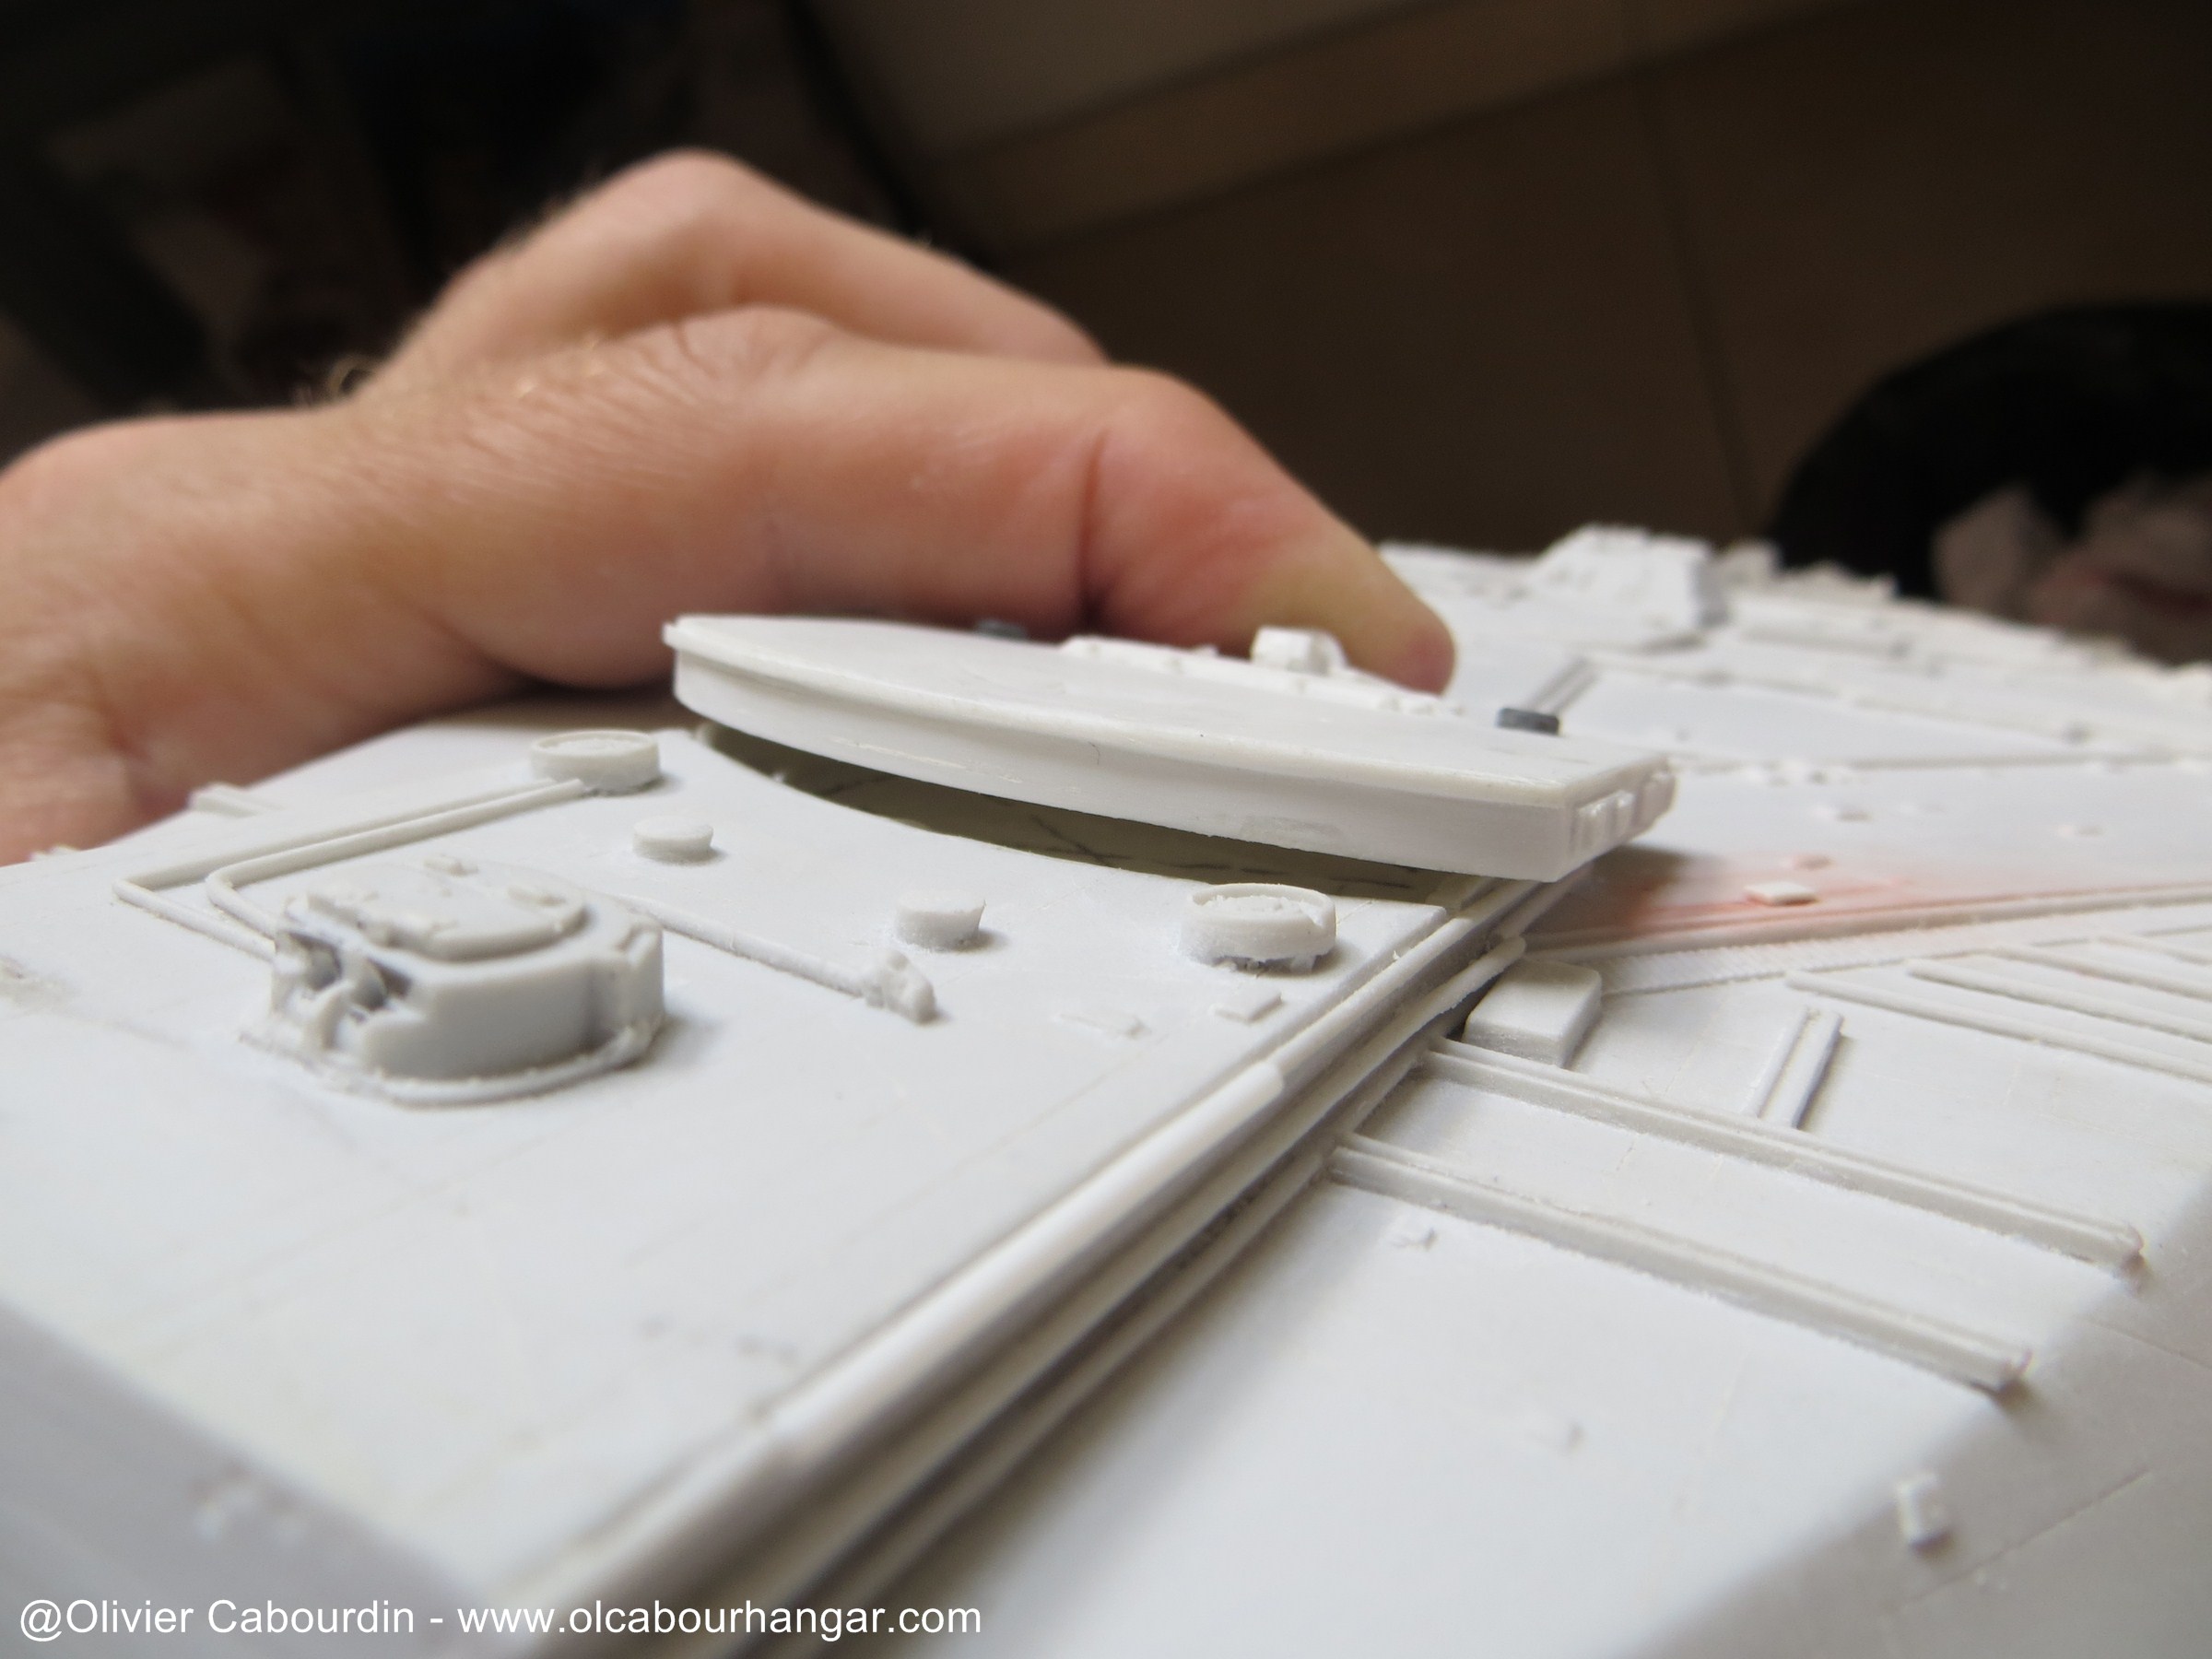
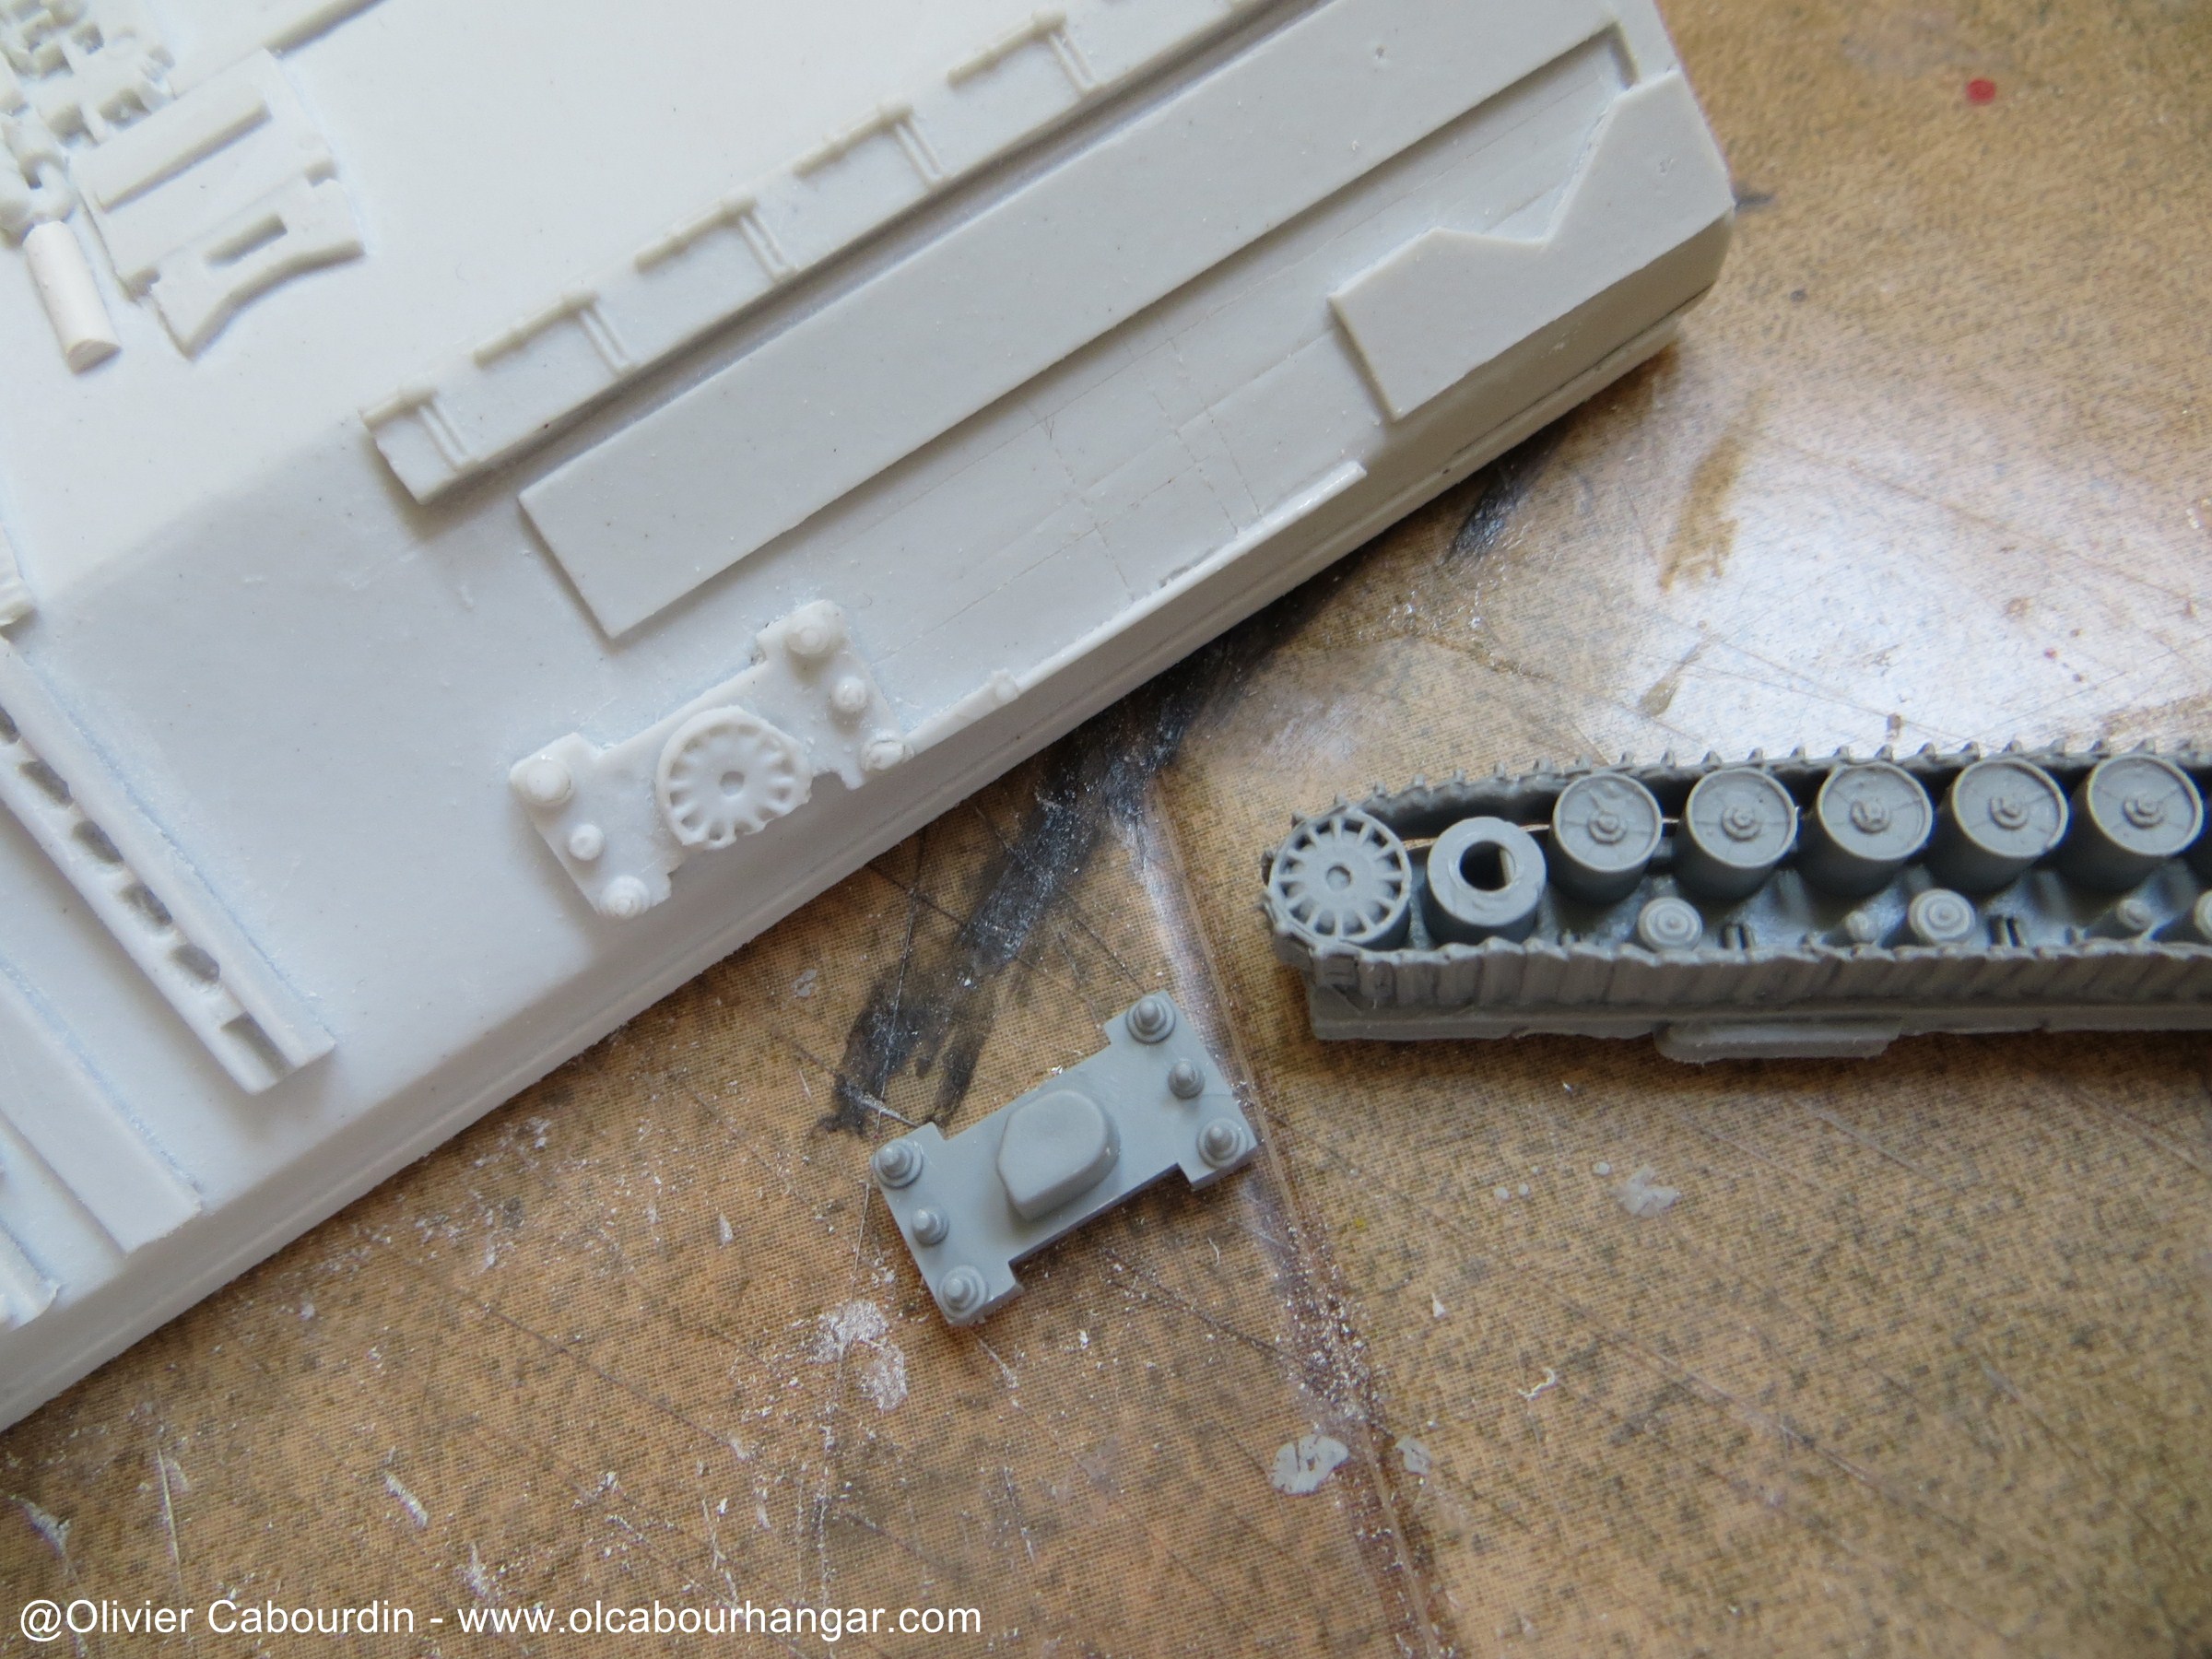
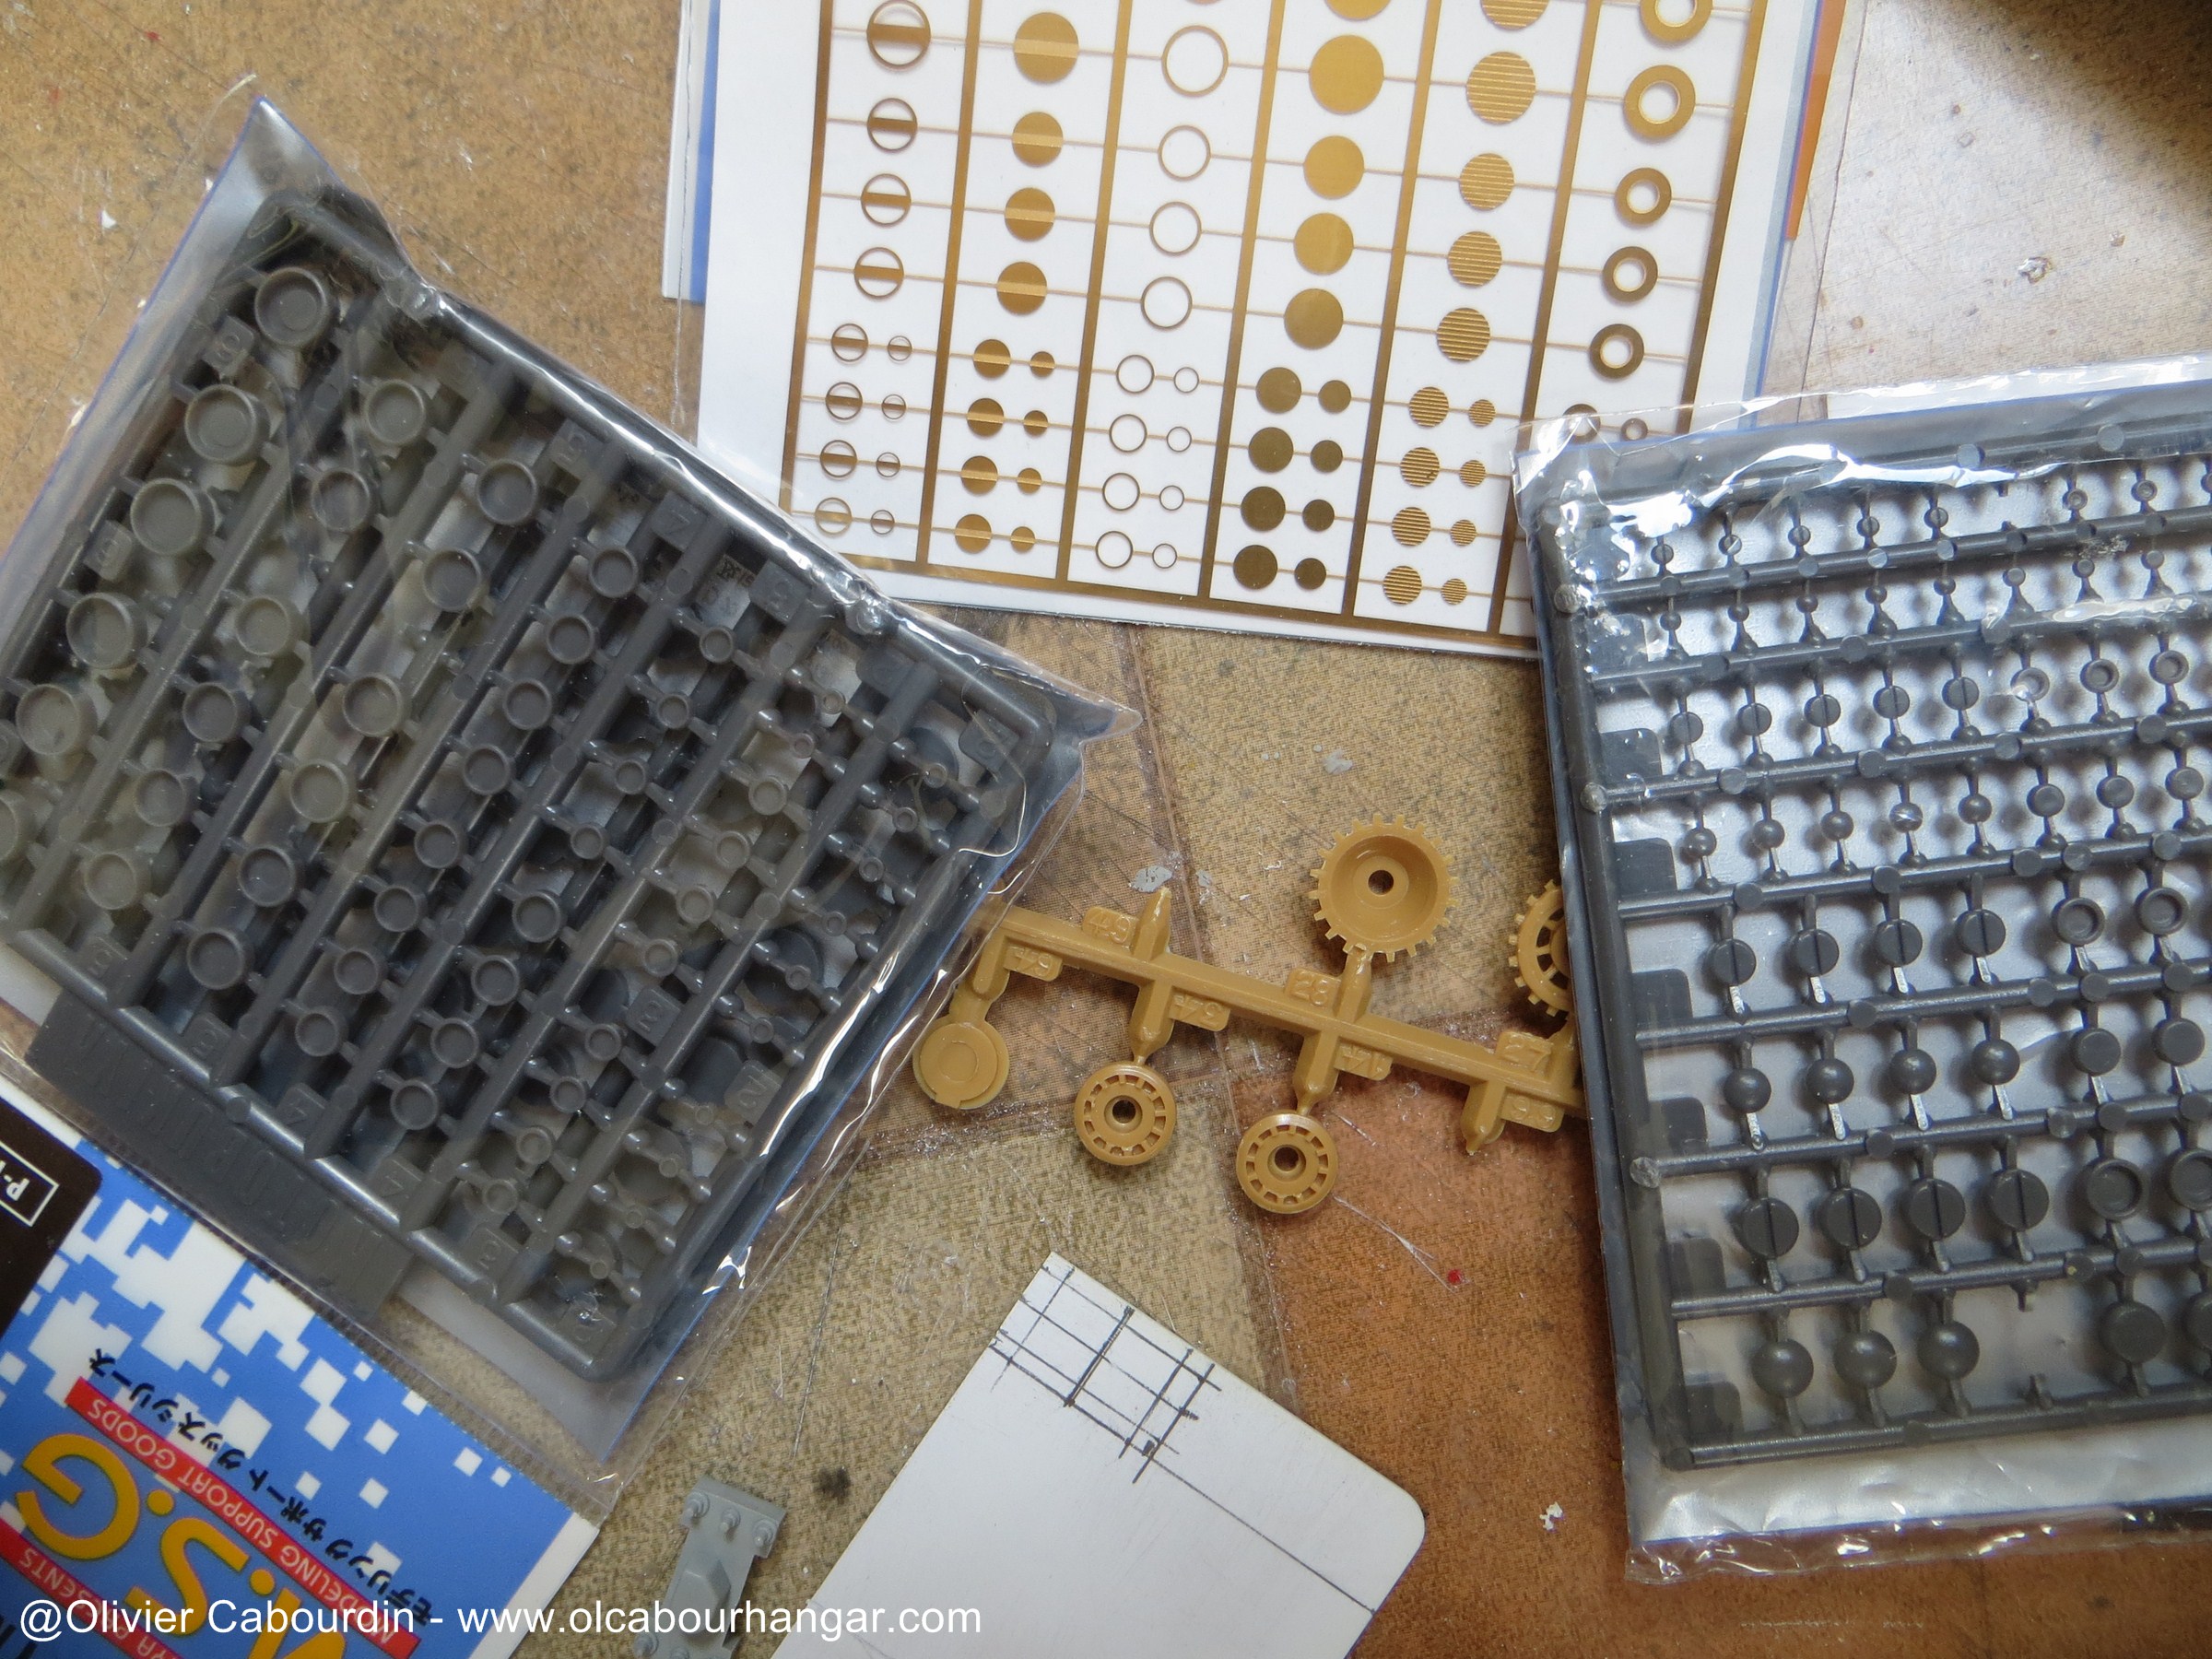
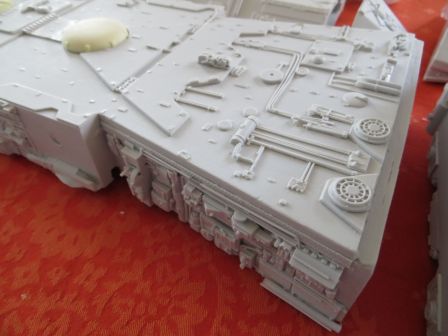
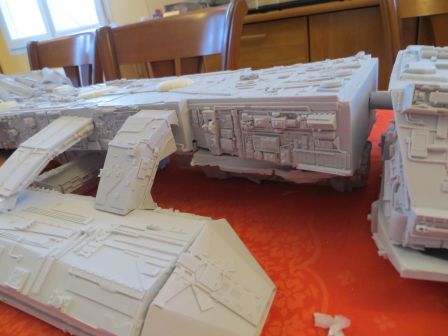
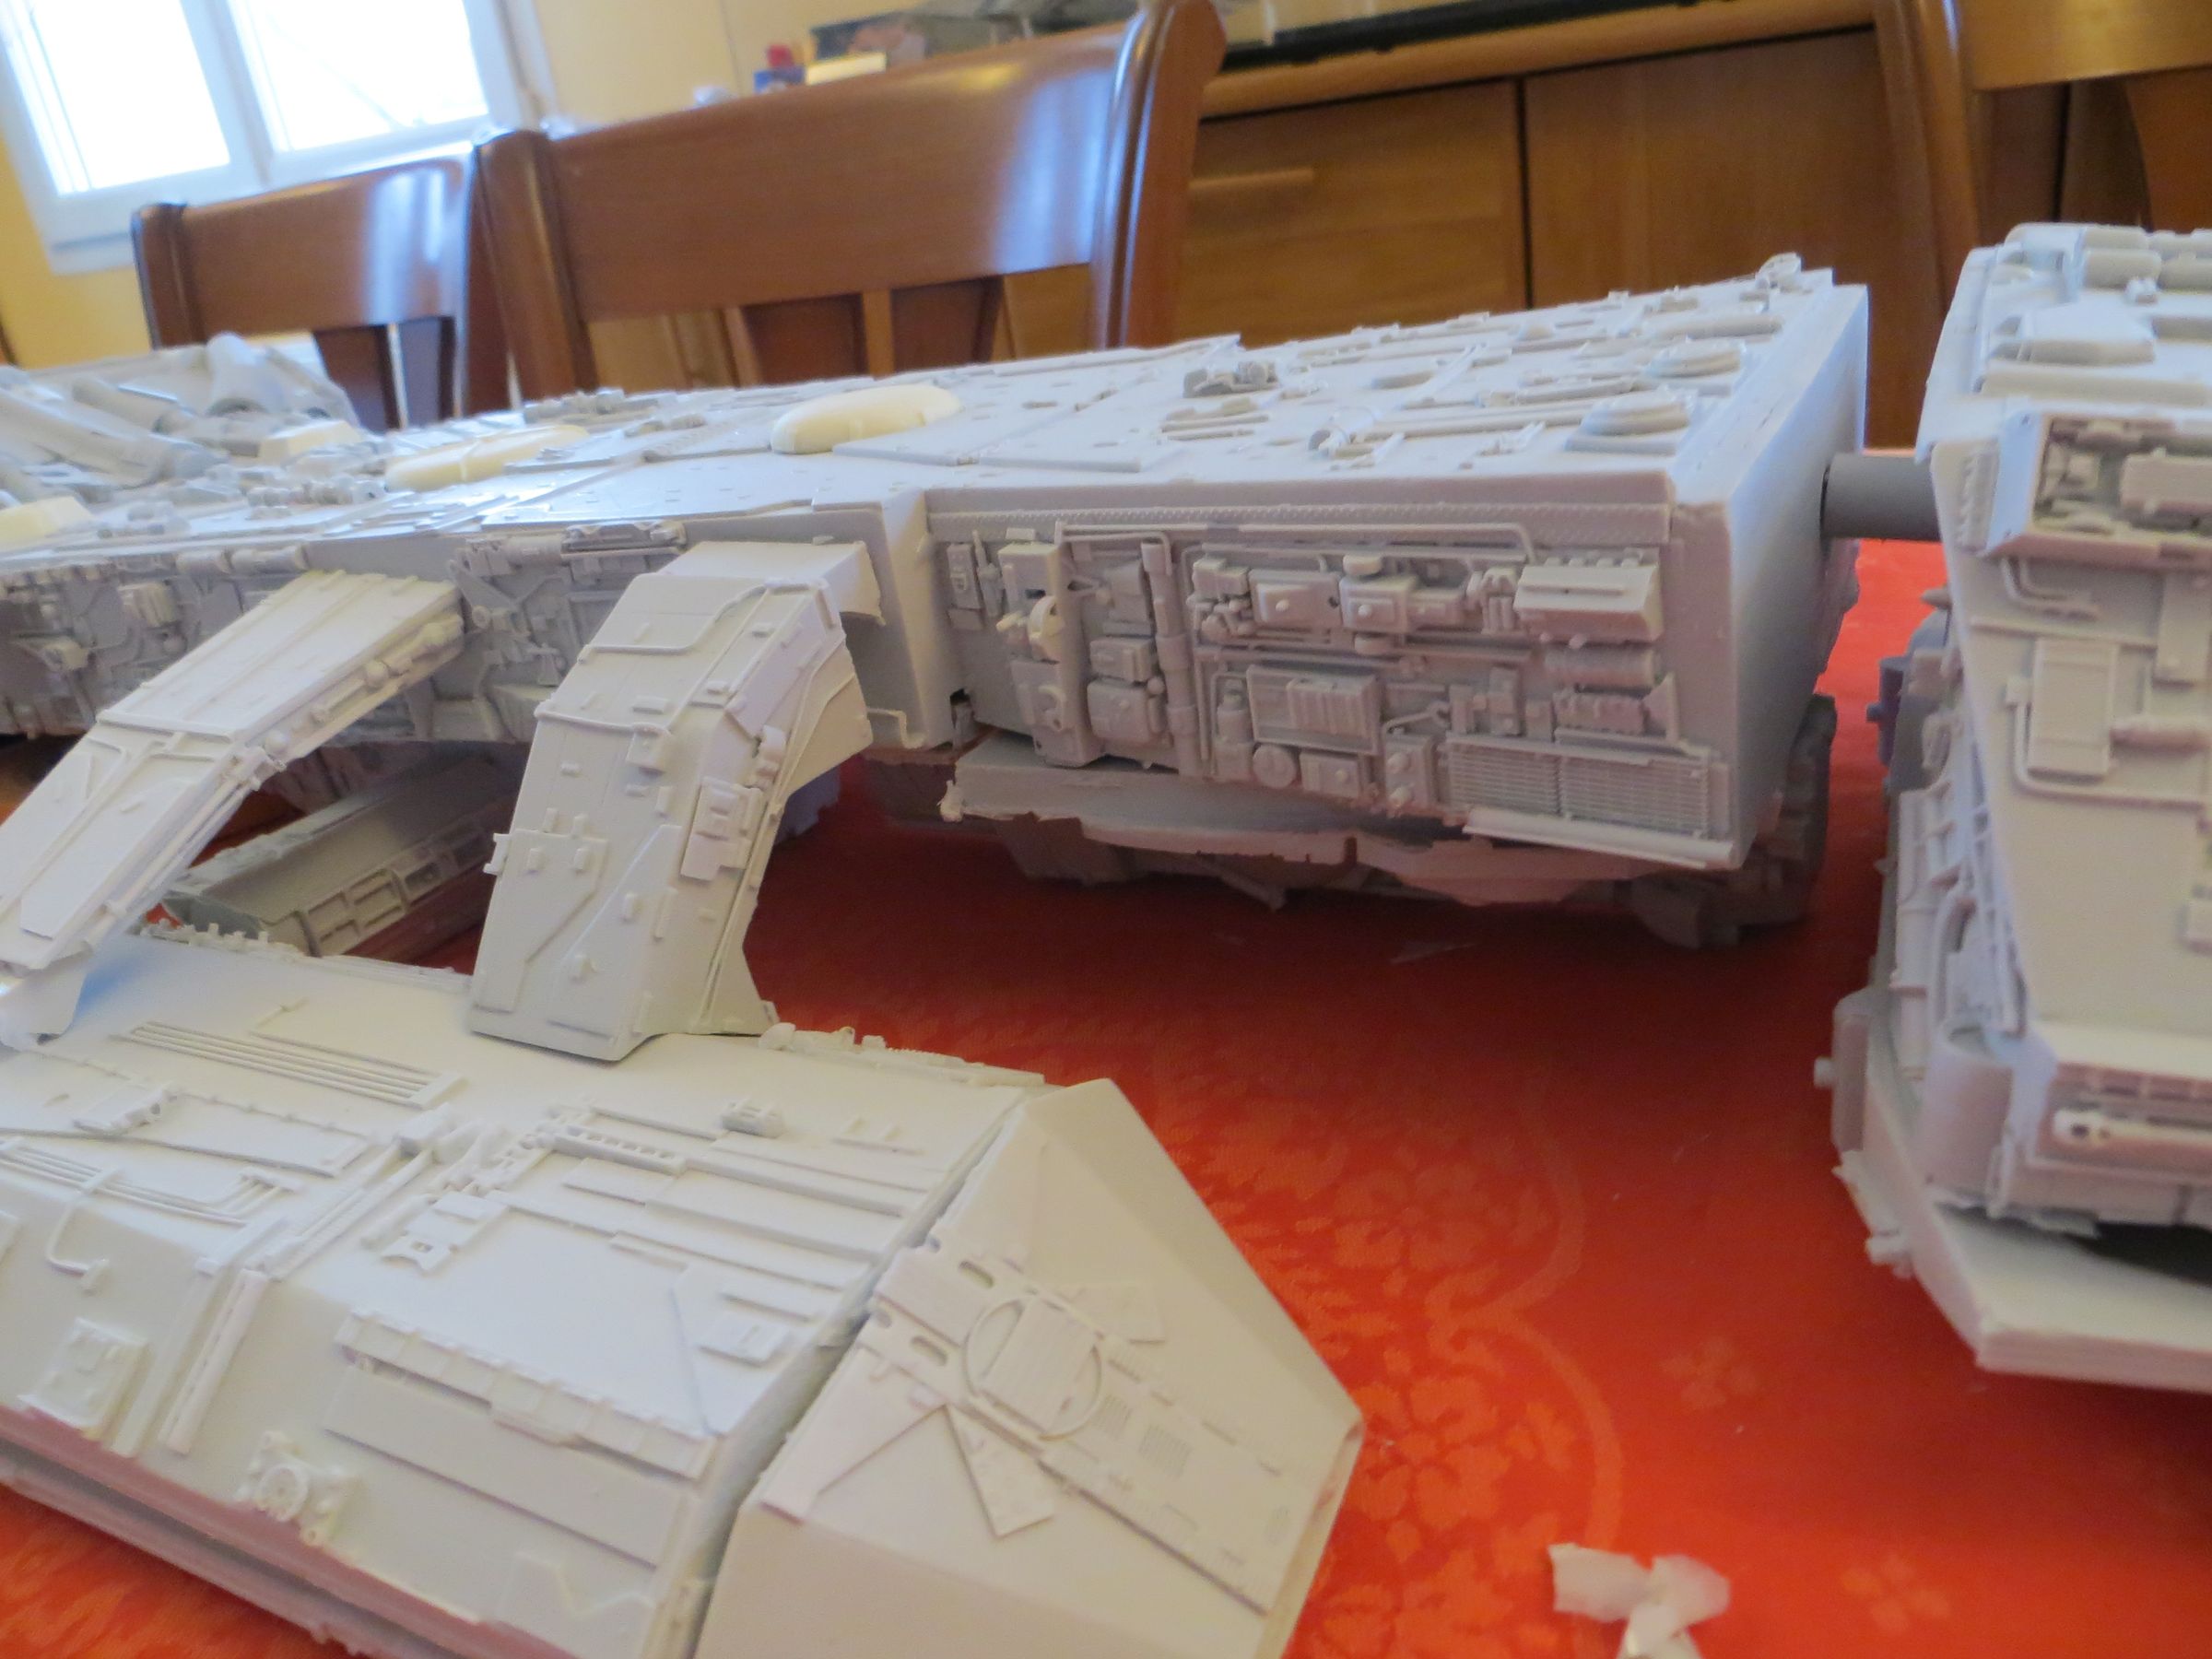
Similarly, the level of detail is very important, and it is relatively close to the studio model, while not exact. Here and there, we can find 1/144th tanks kit parts where they were 1/72th on the original studio model, for example.


I noticed some flaws :
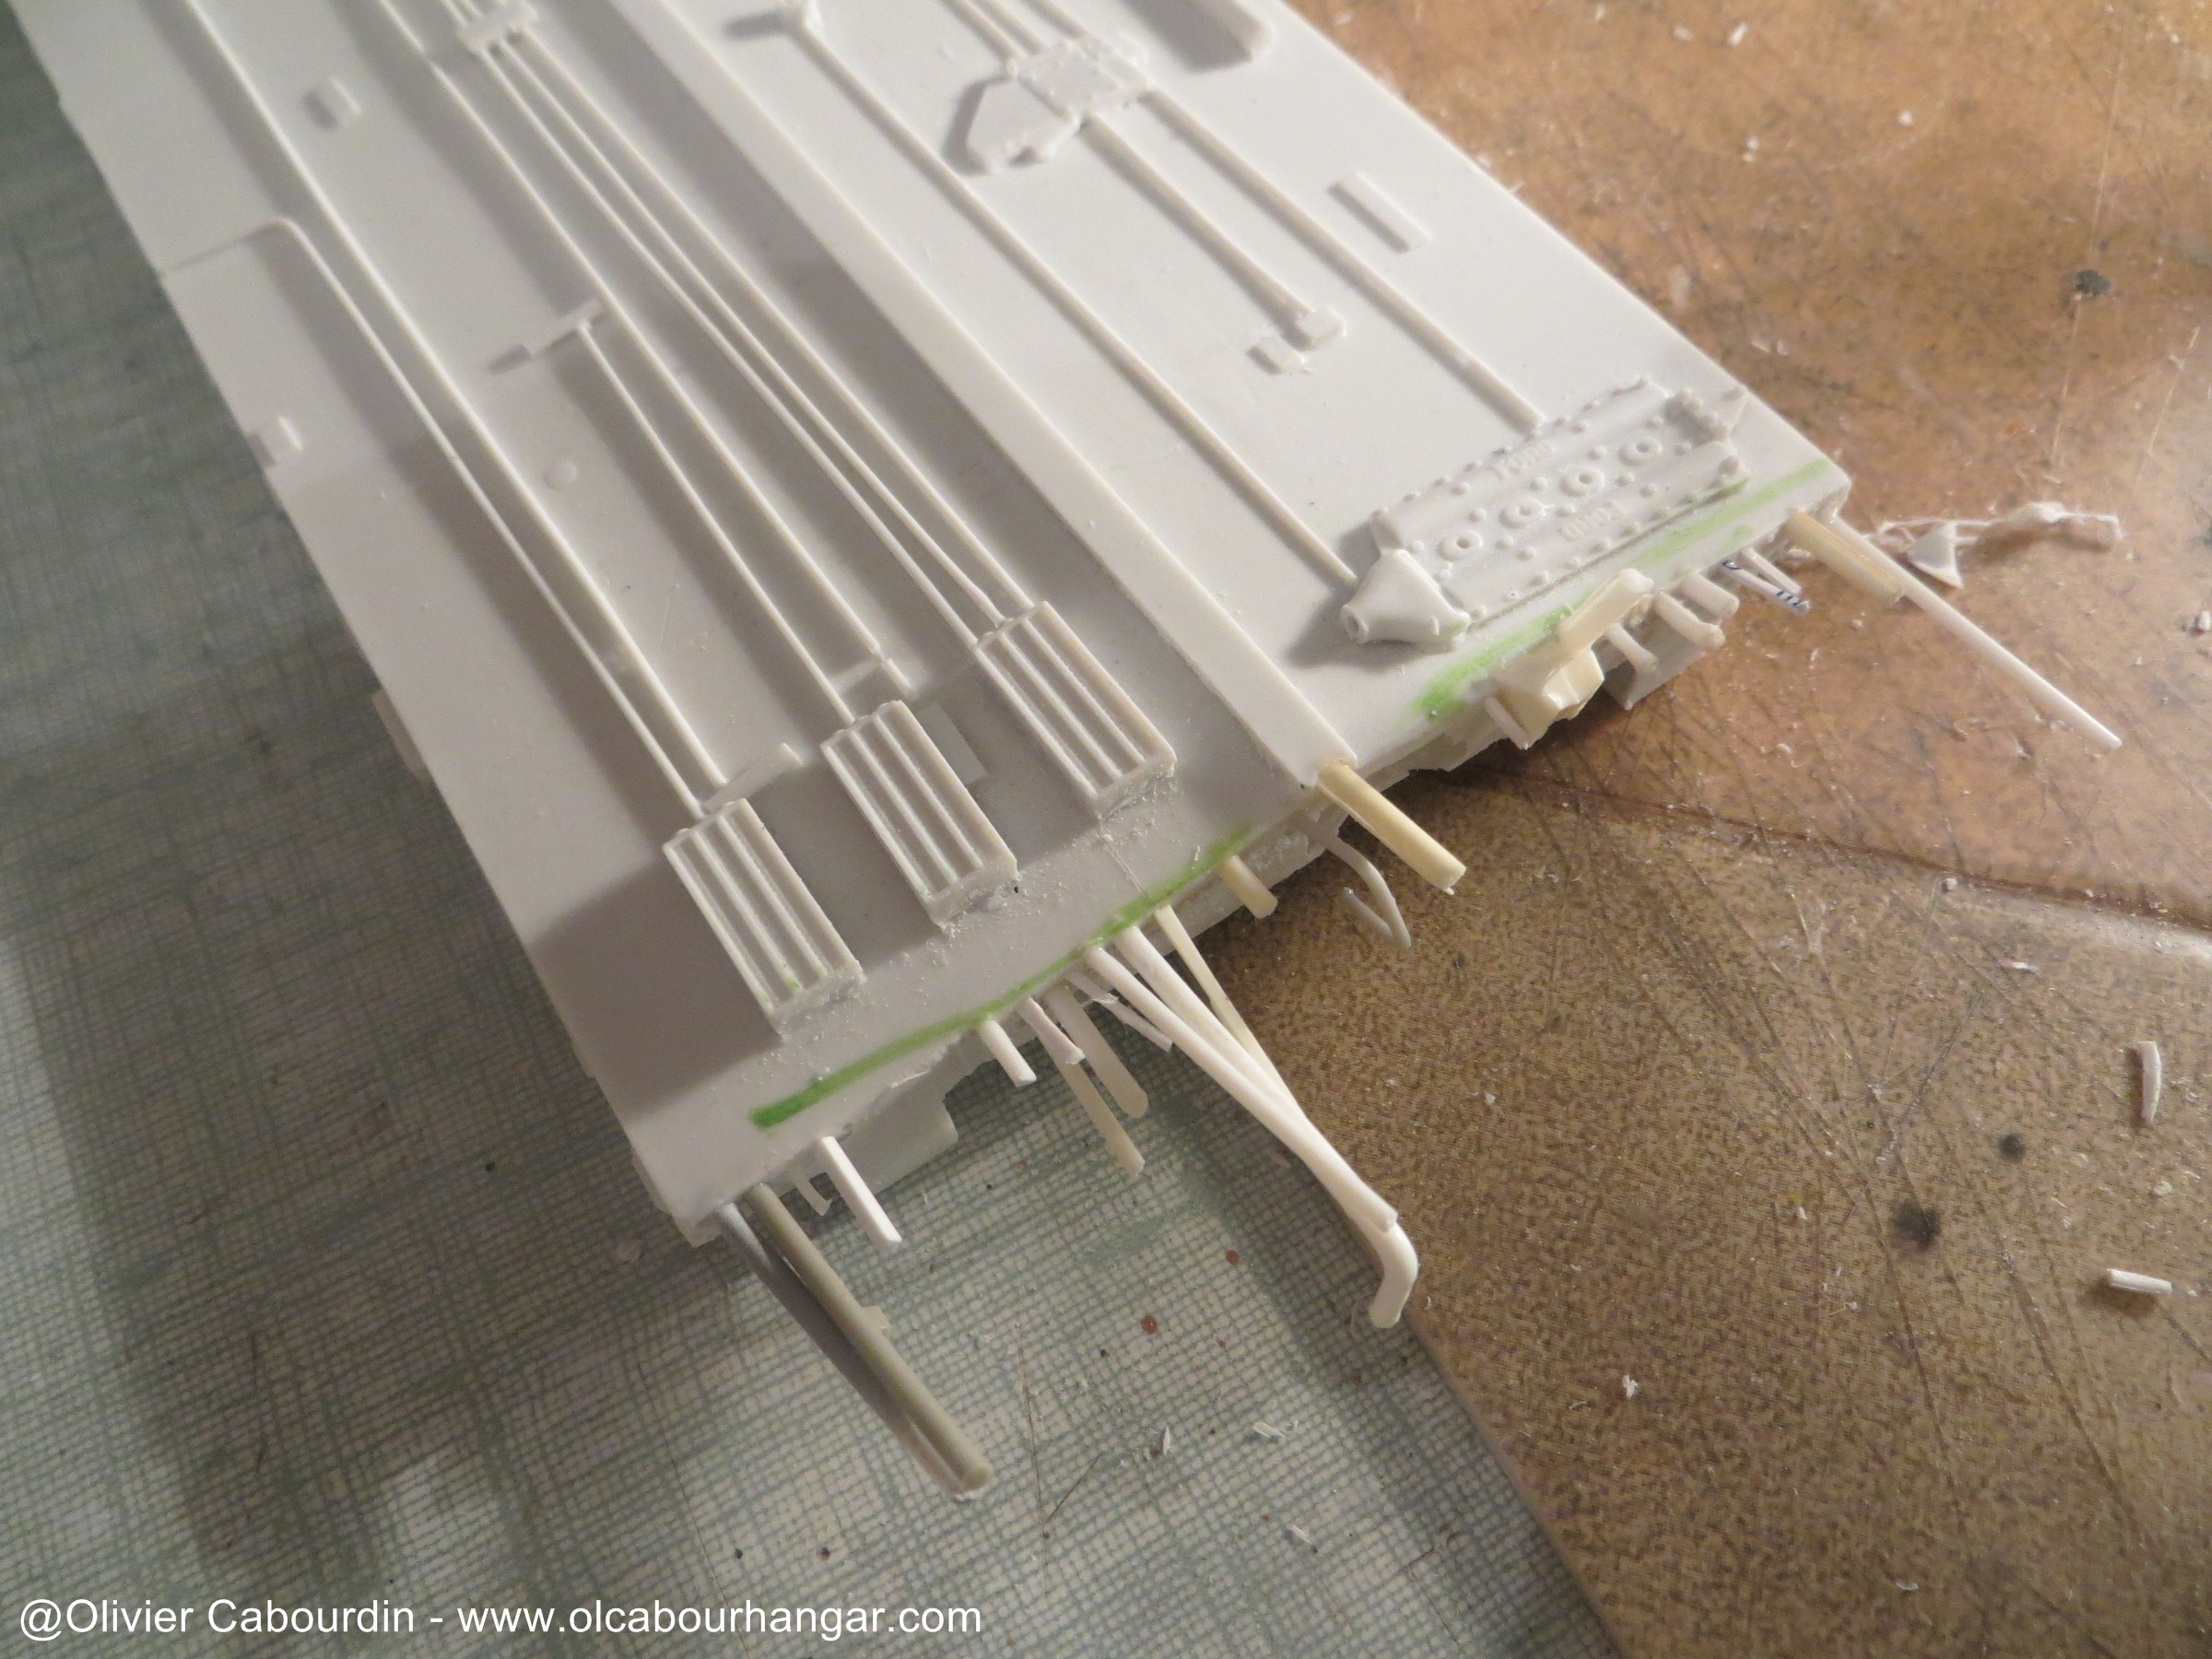
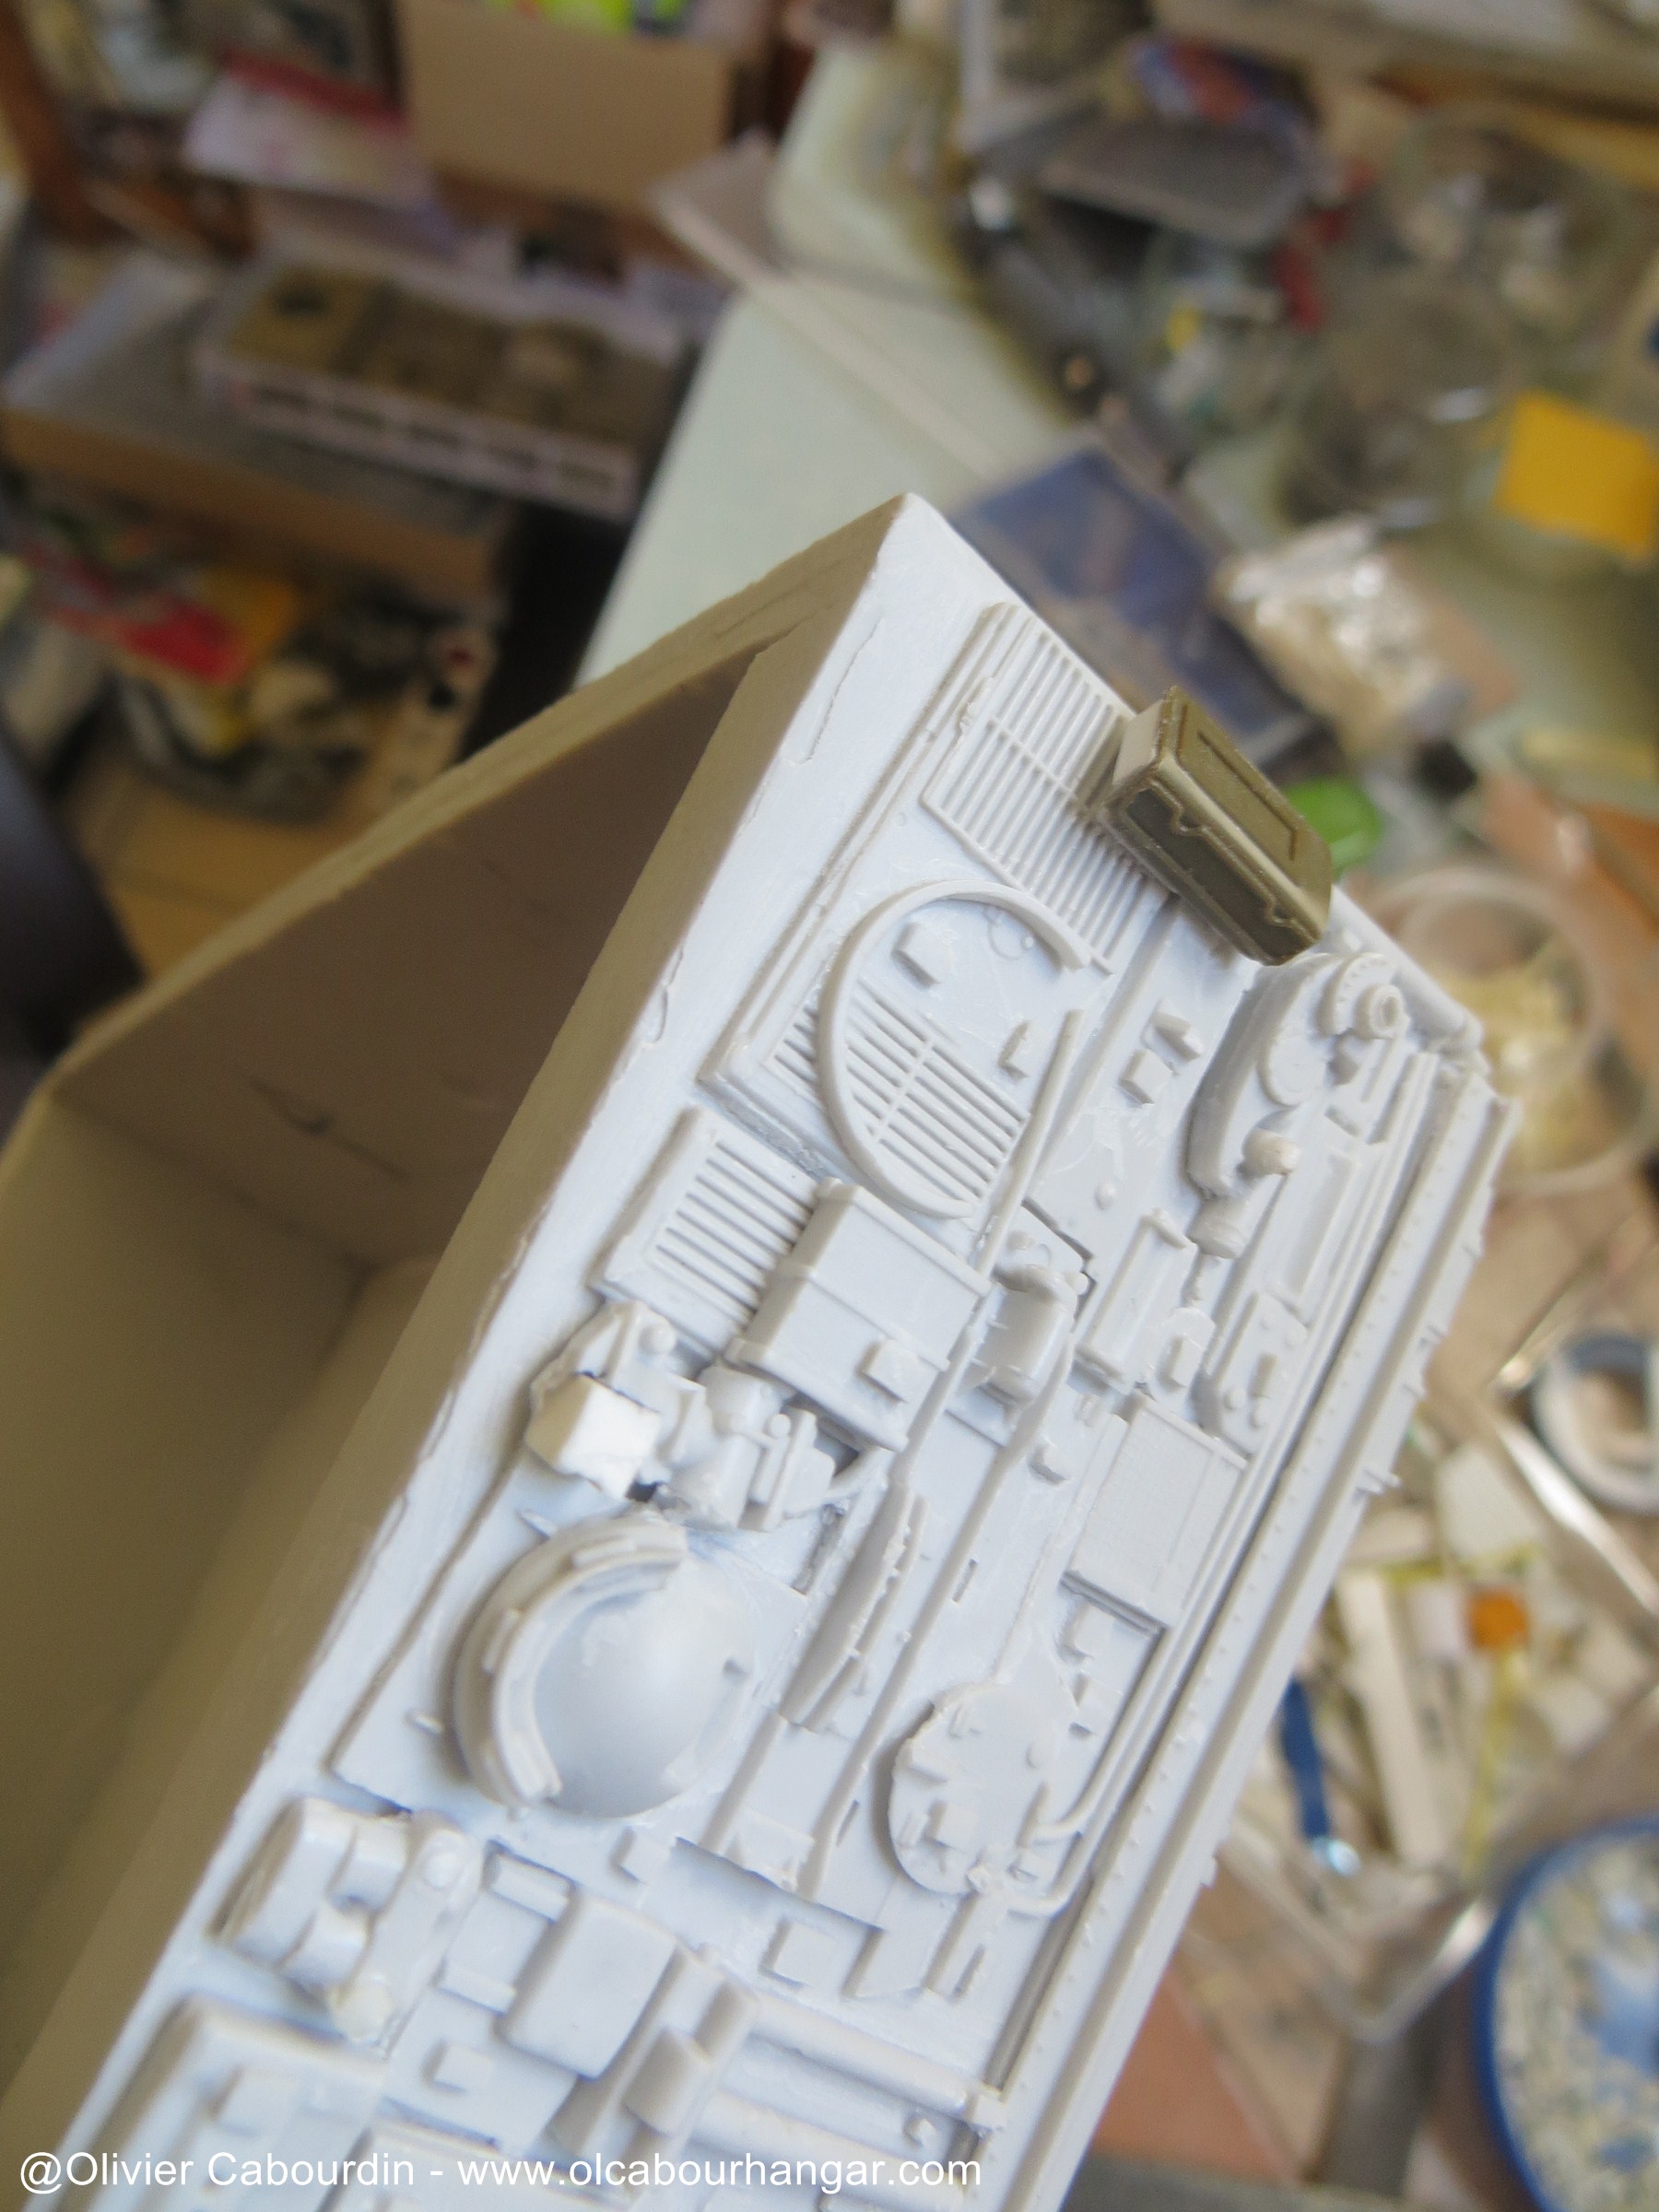
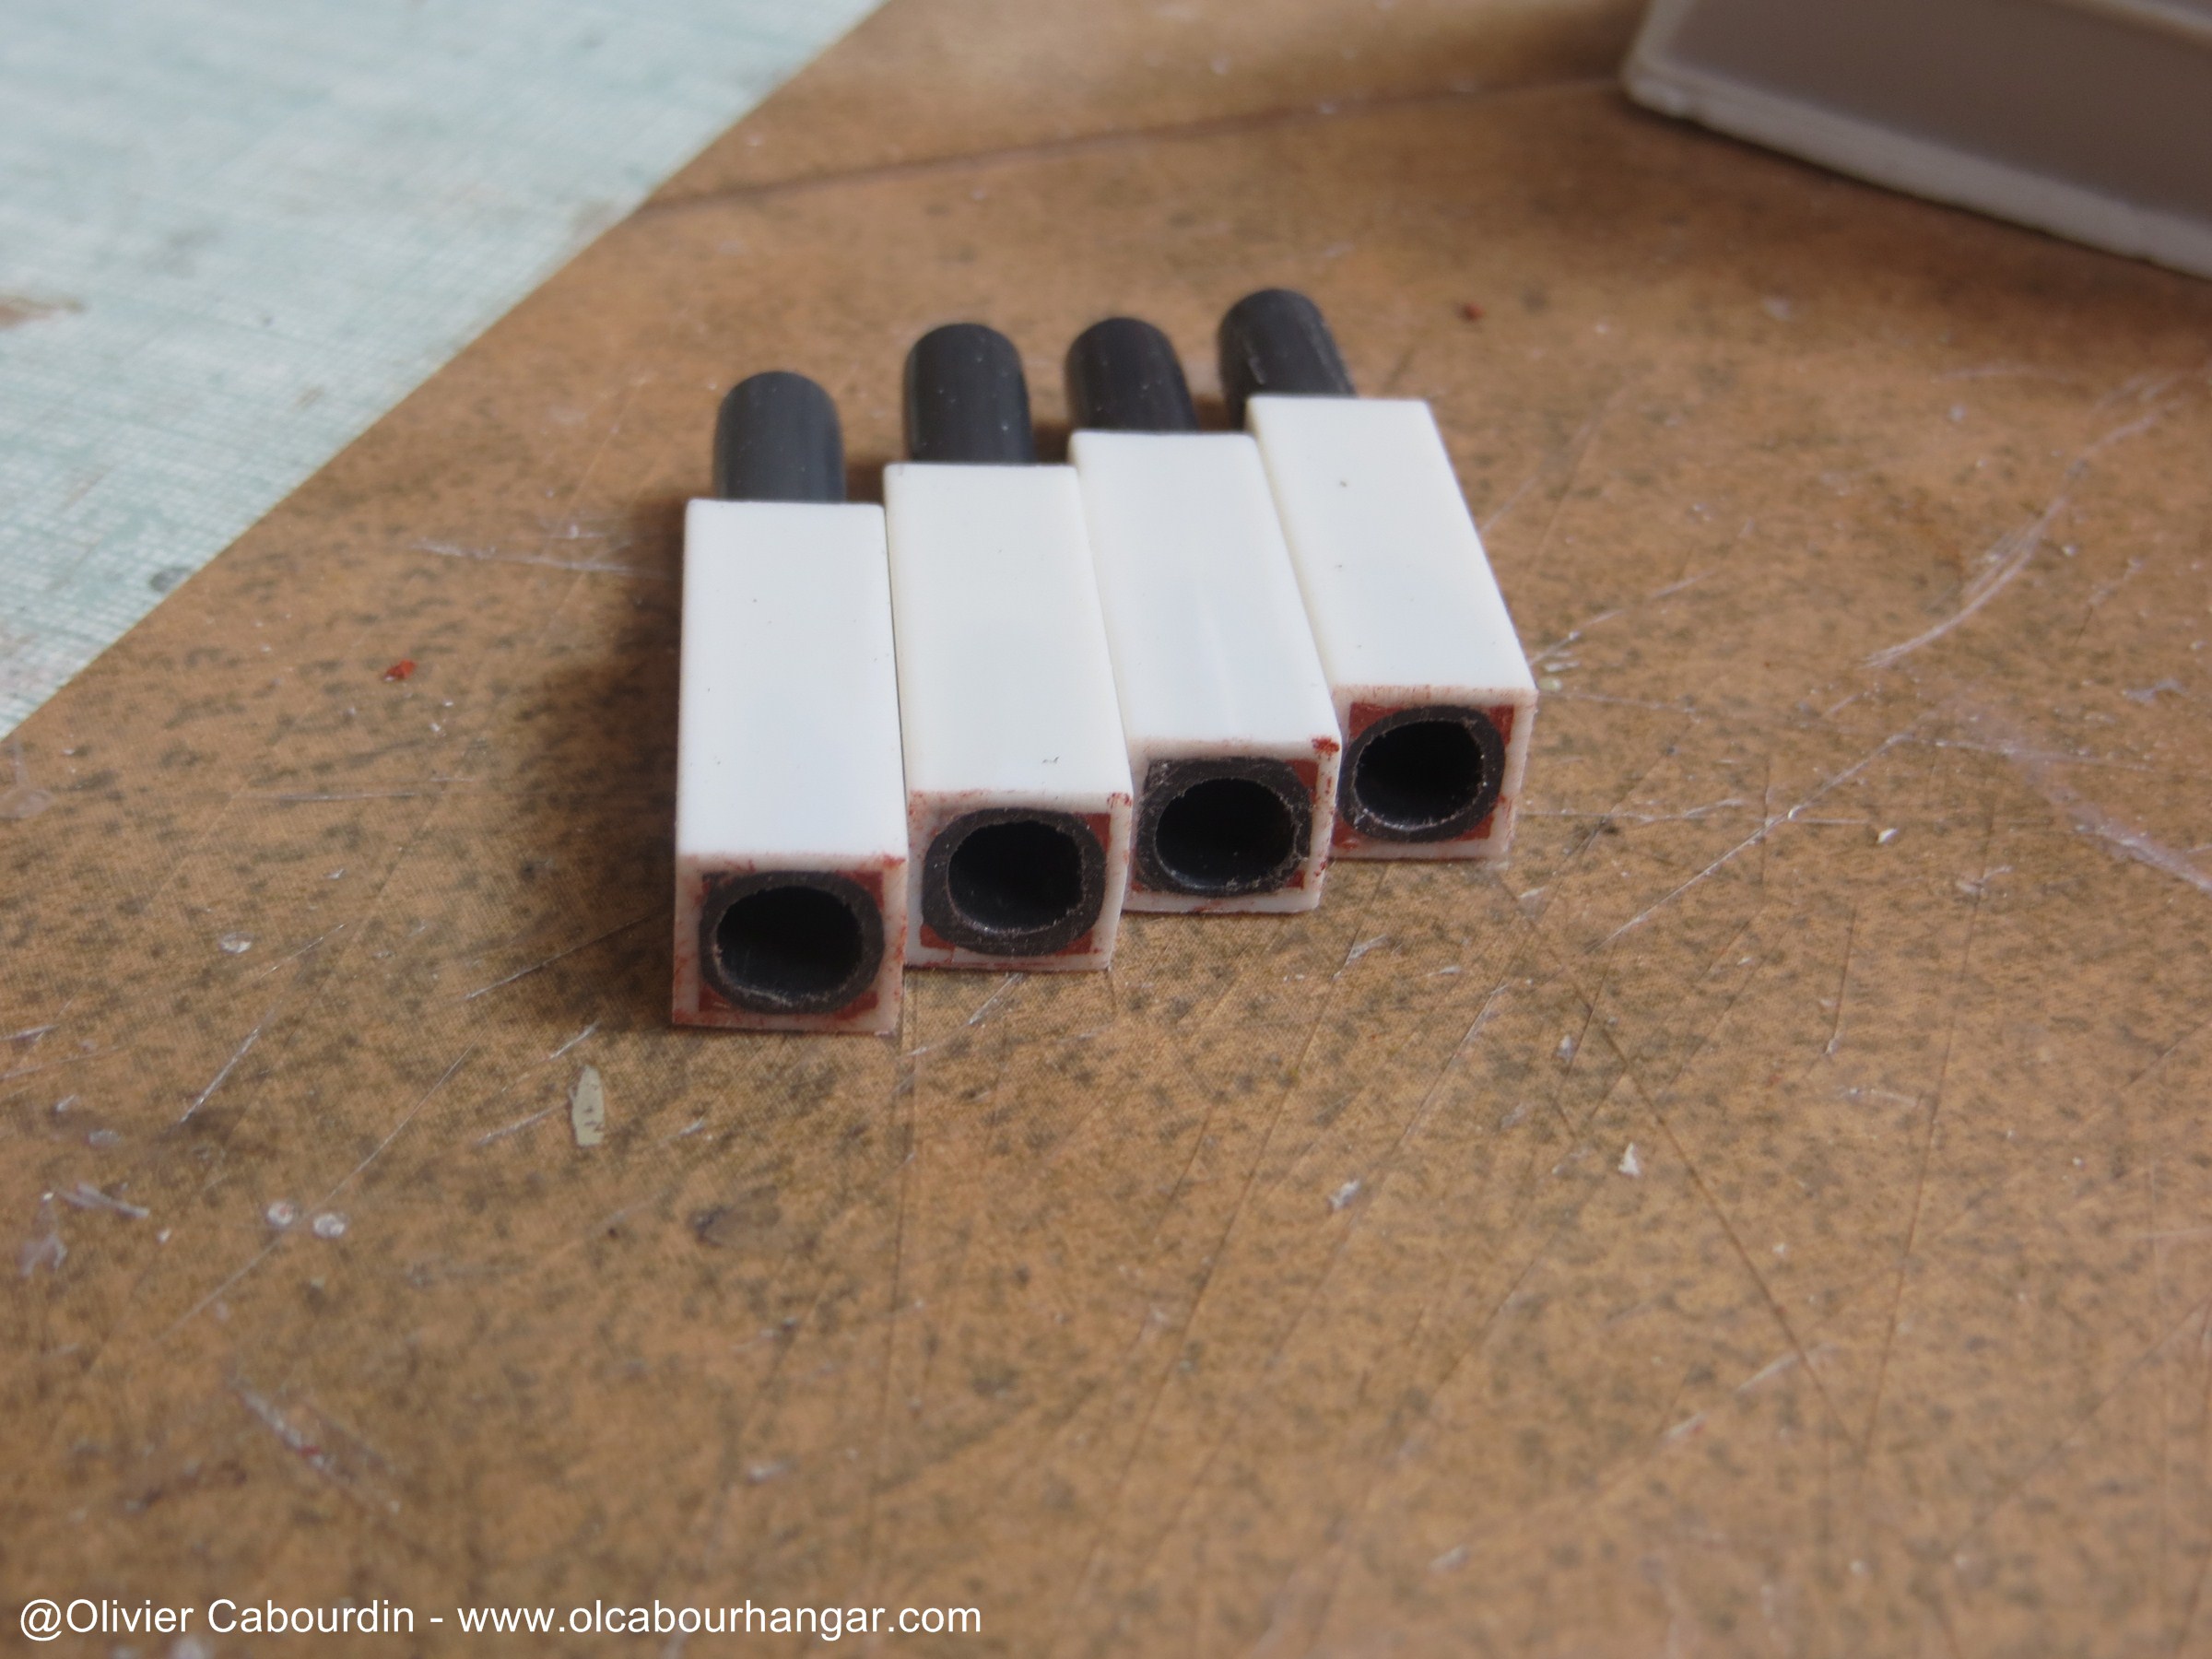
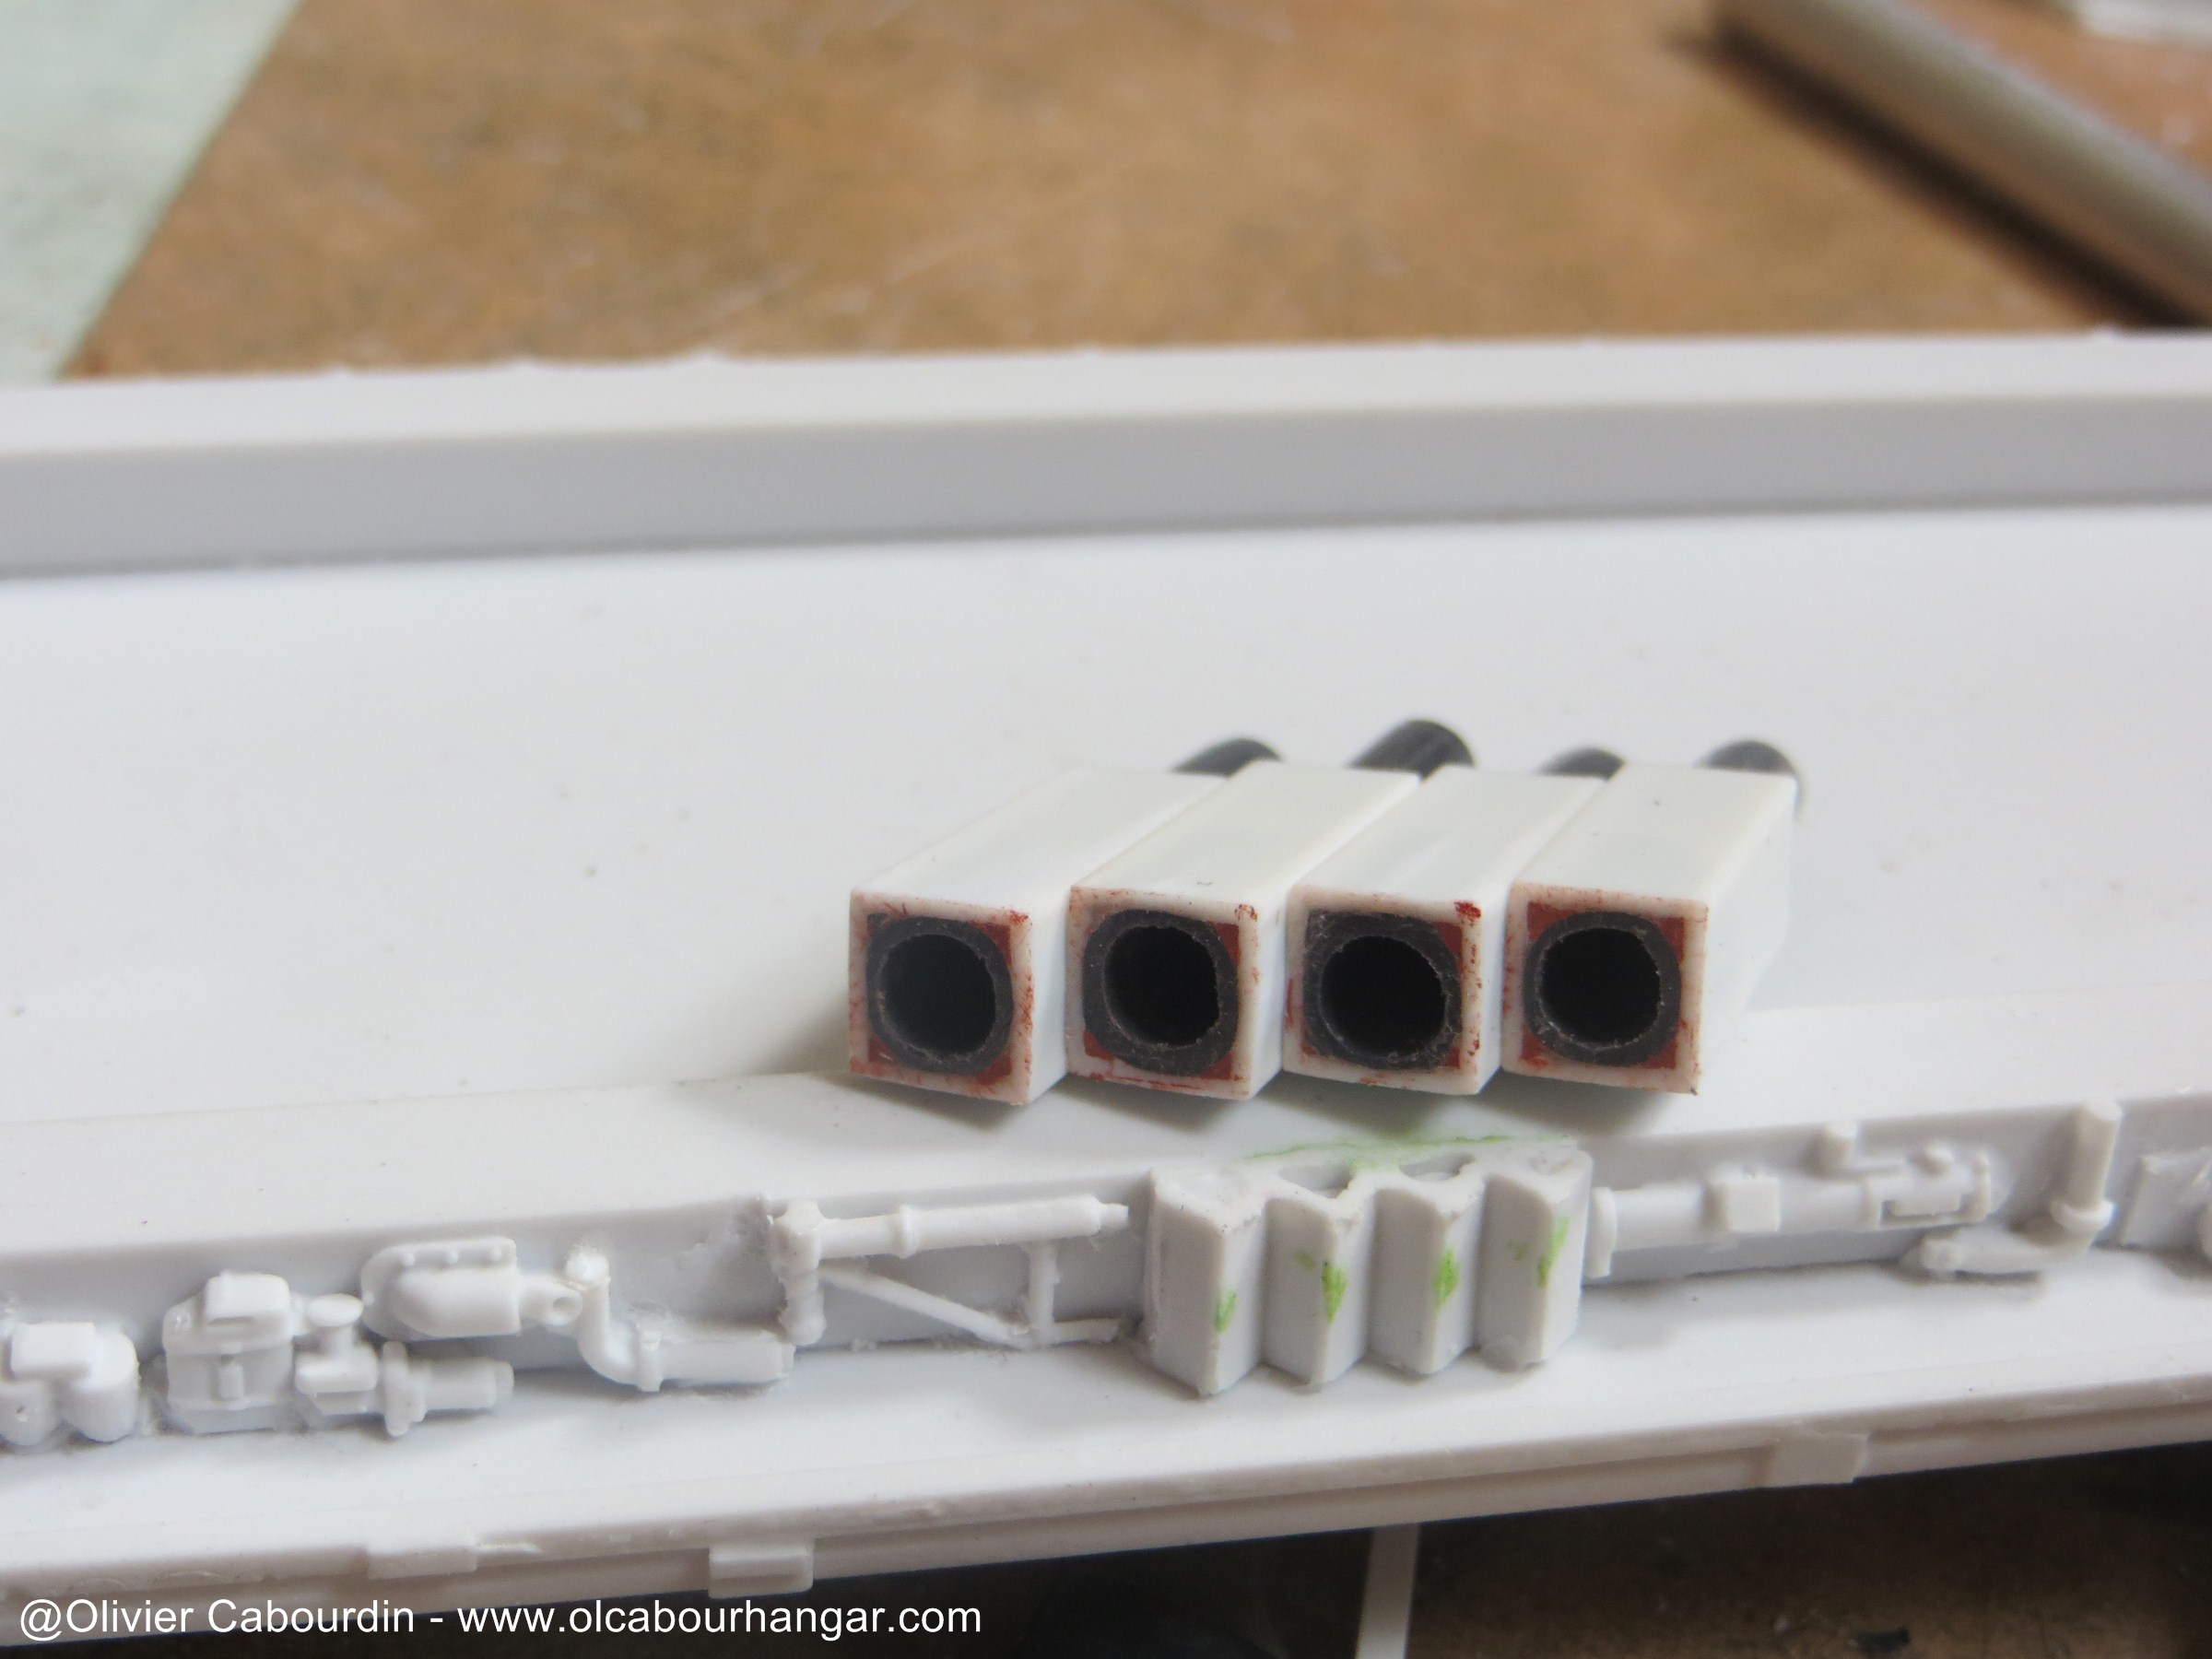
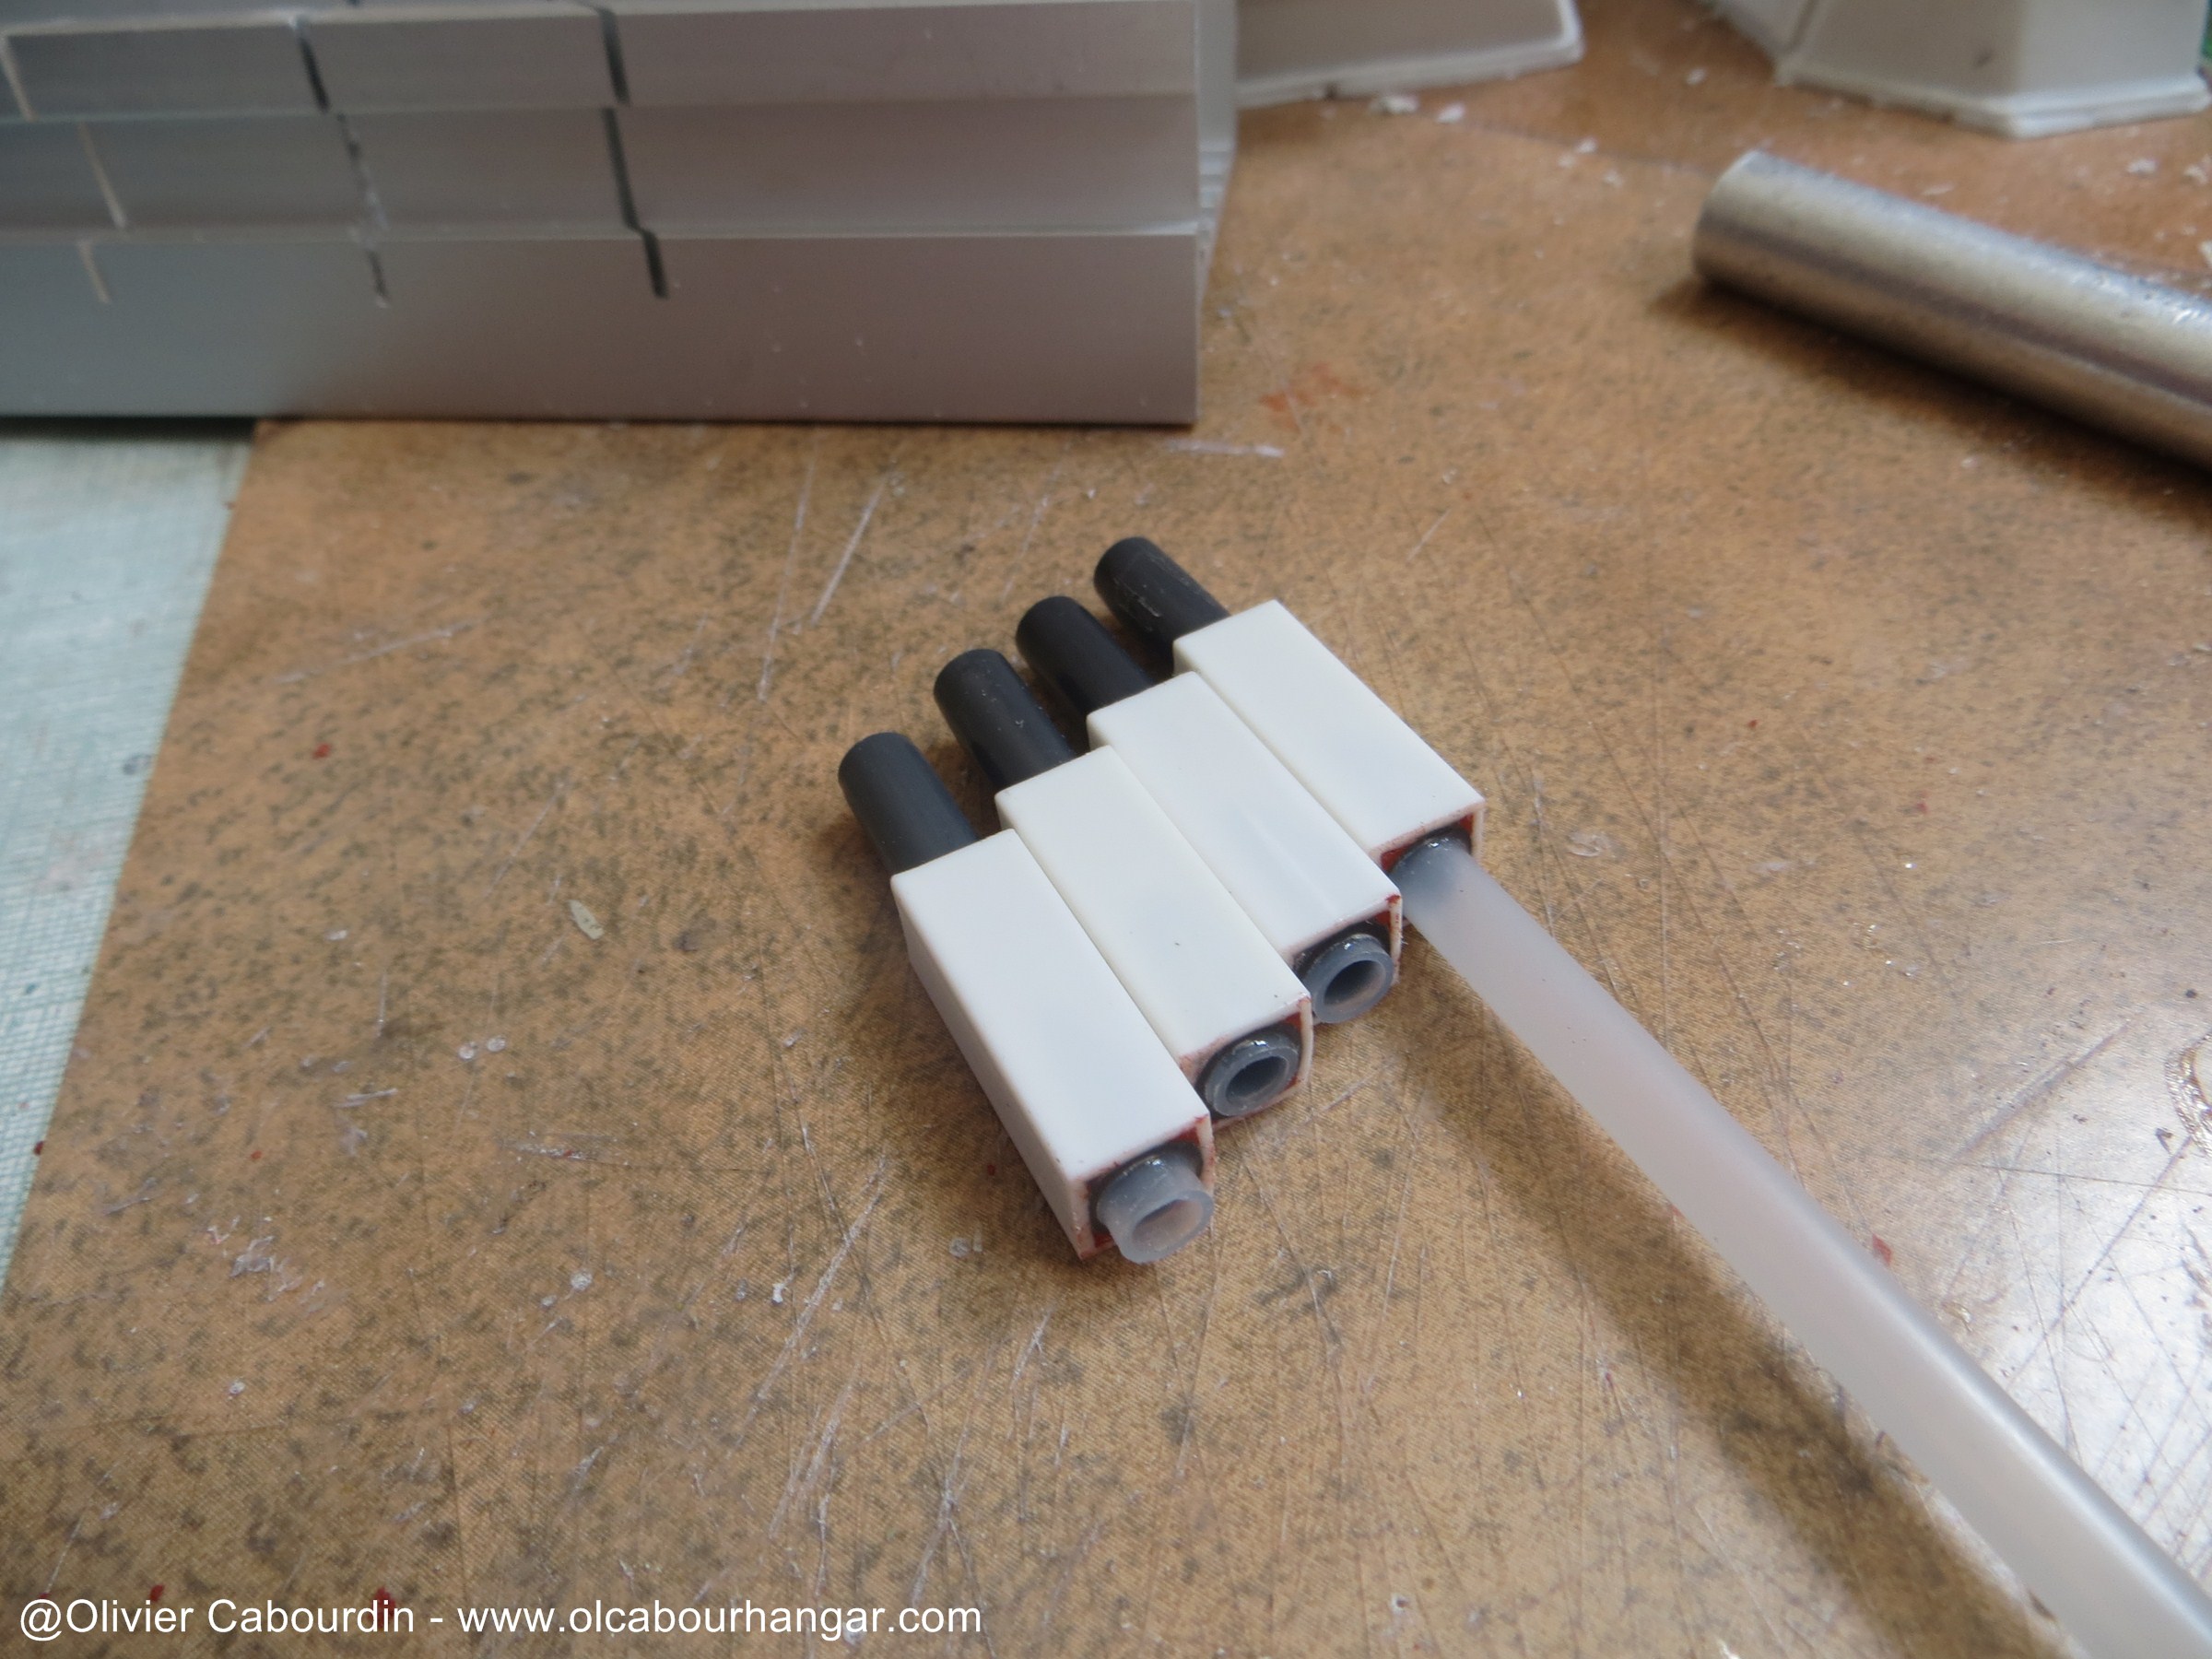
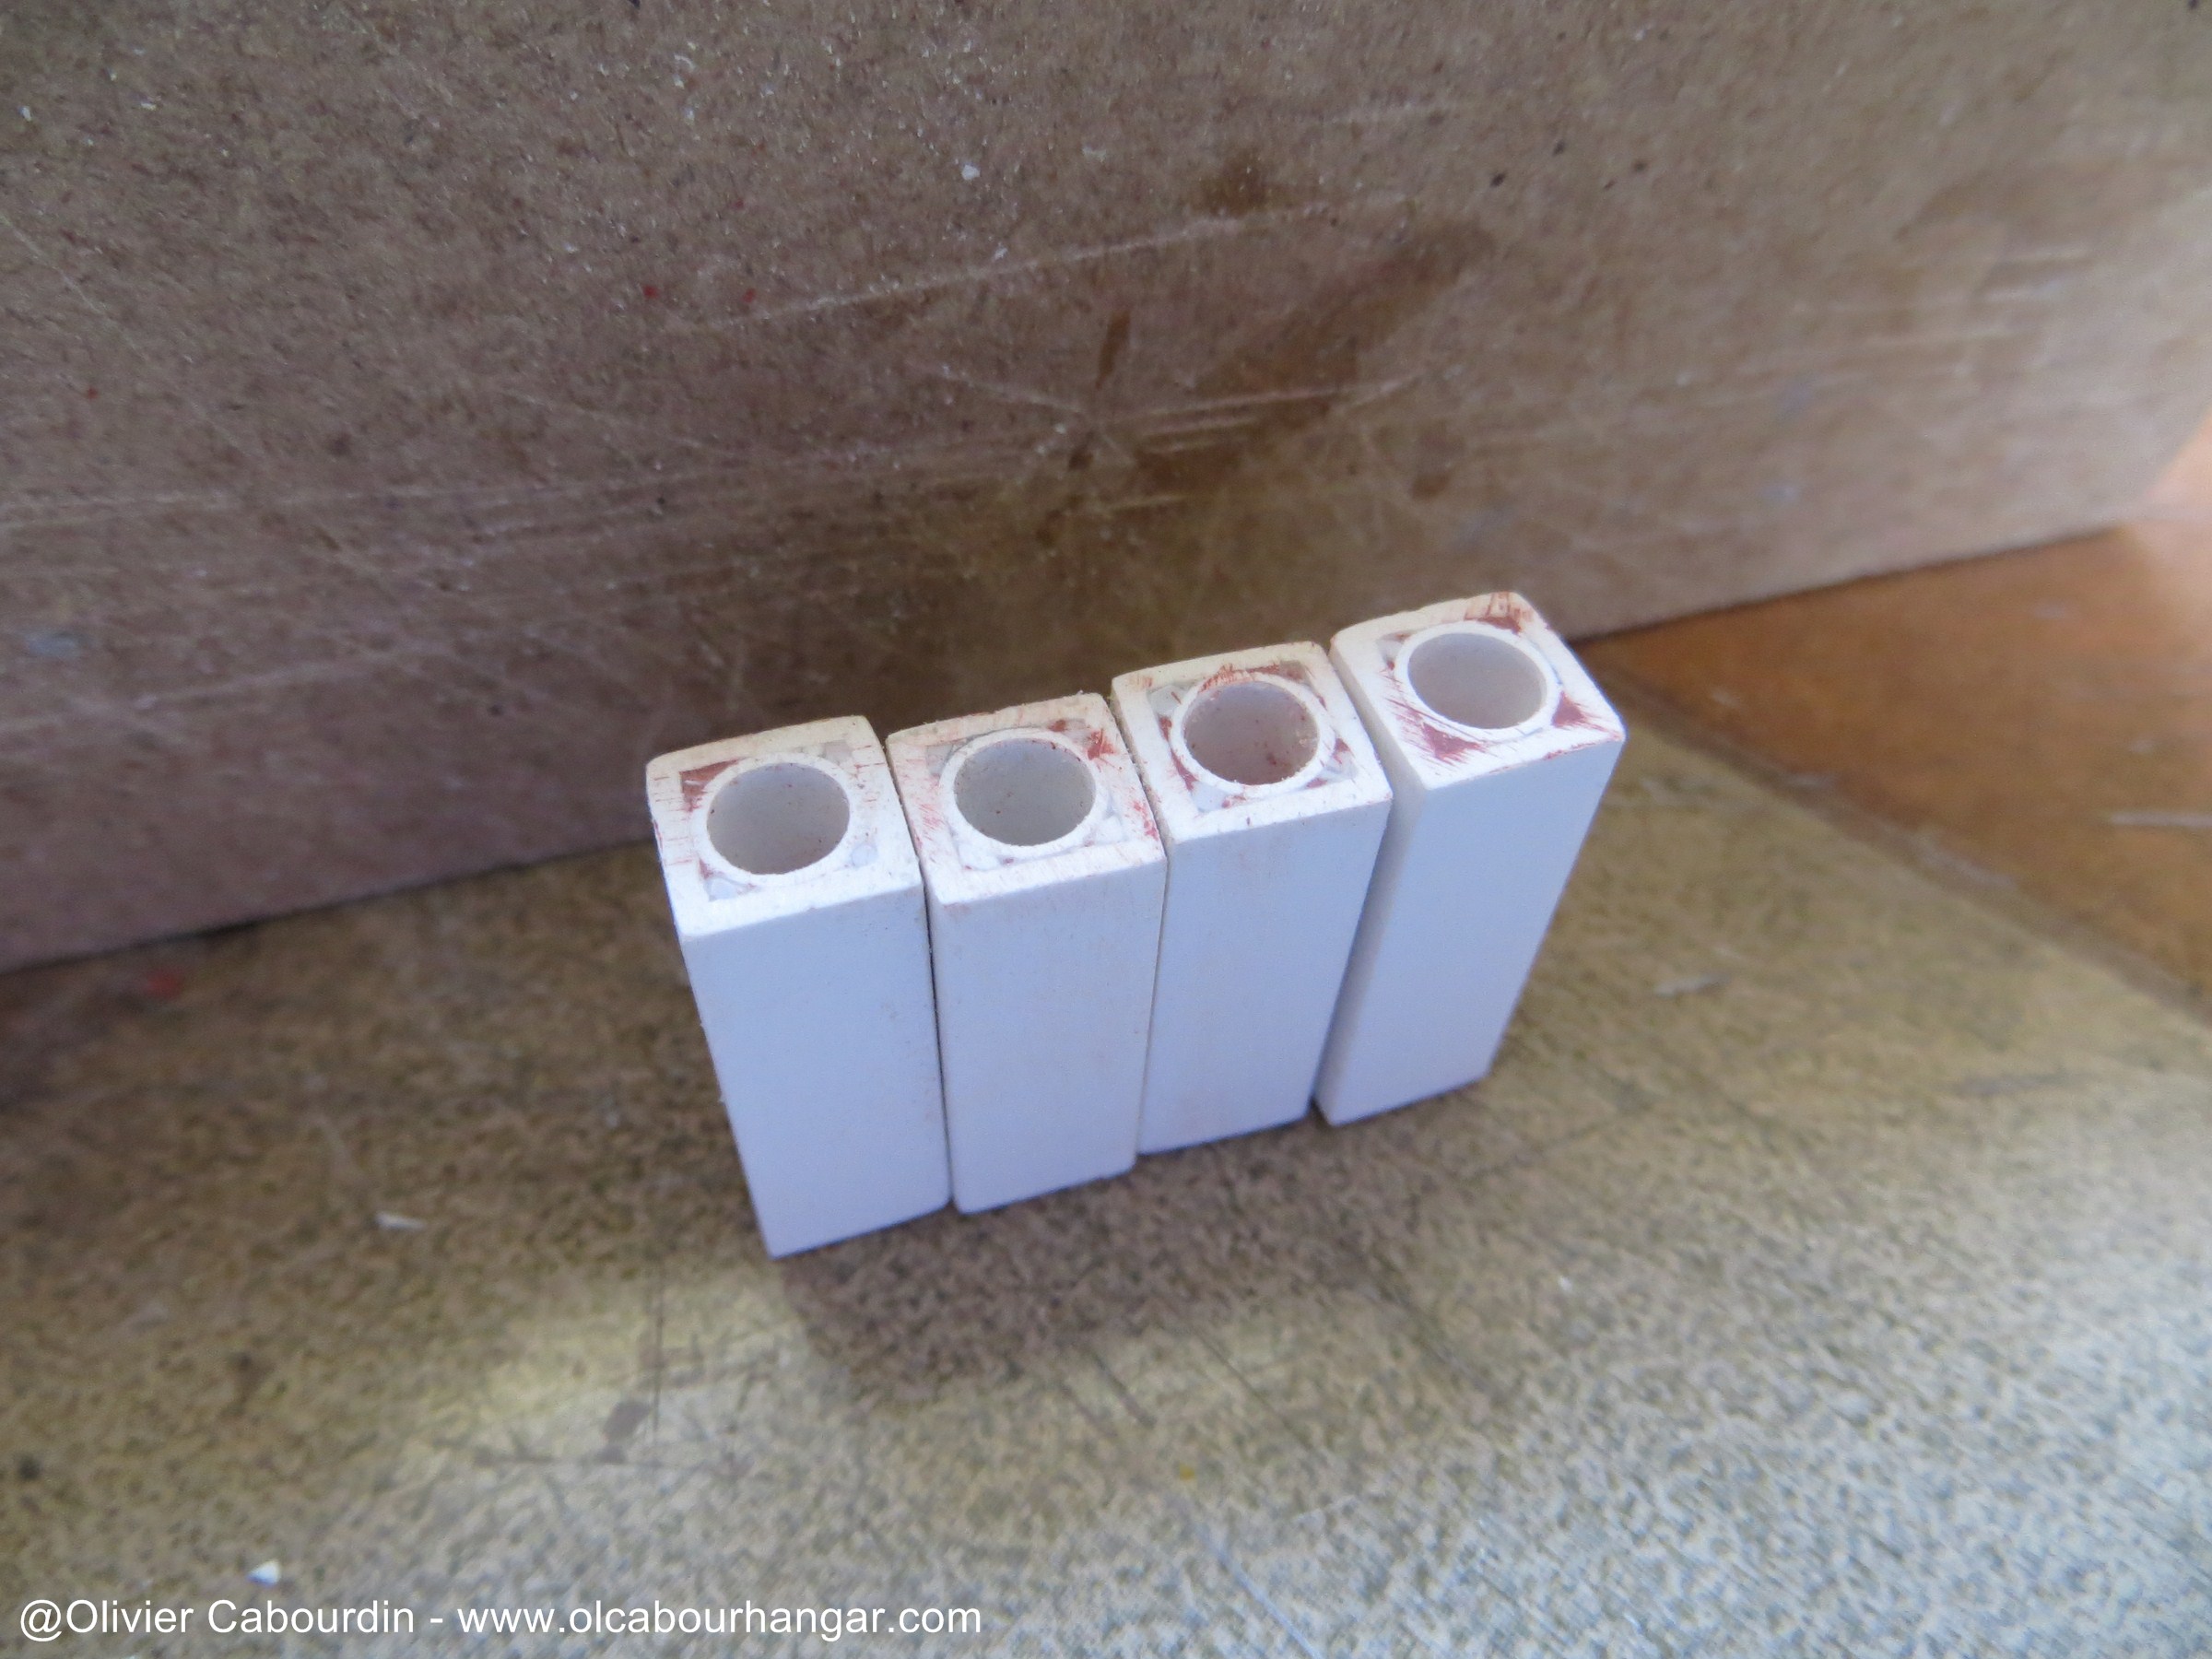
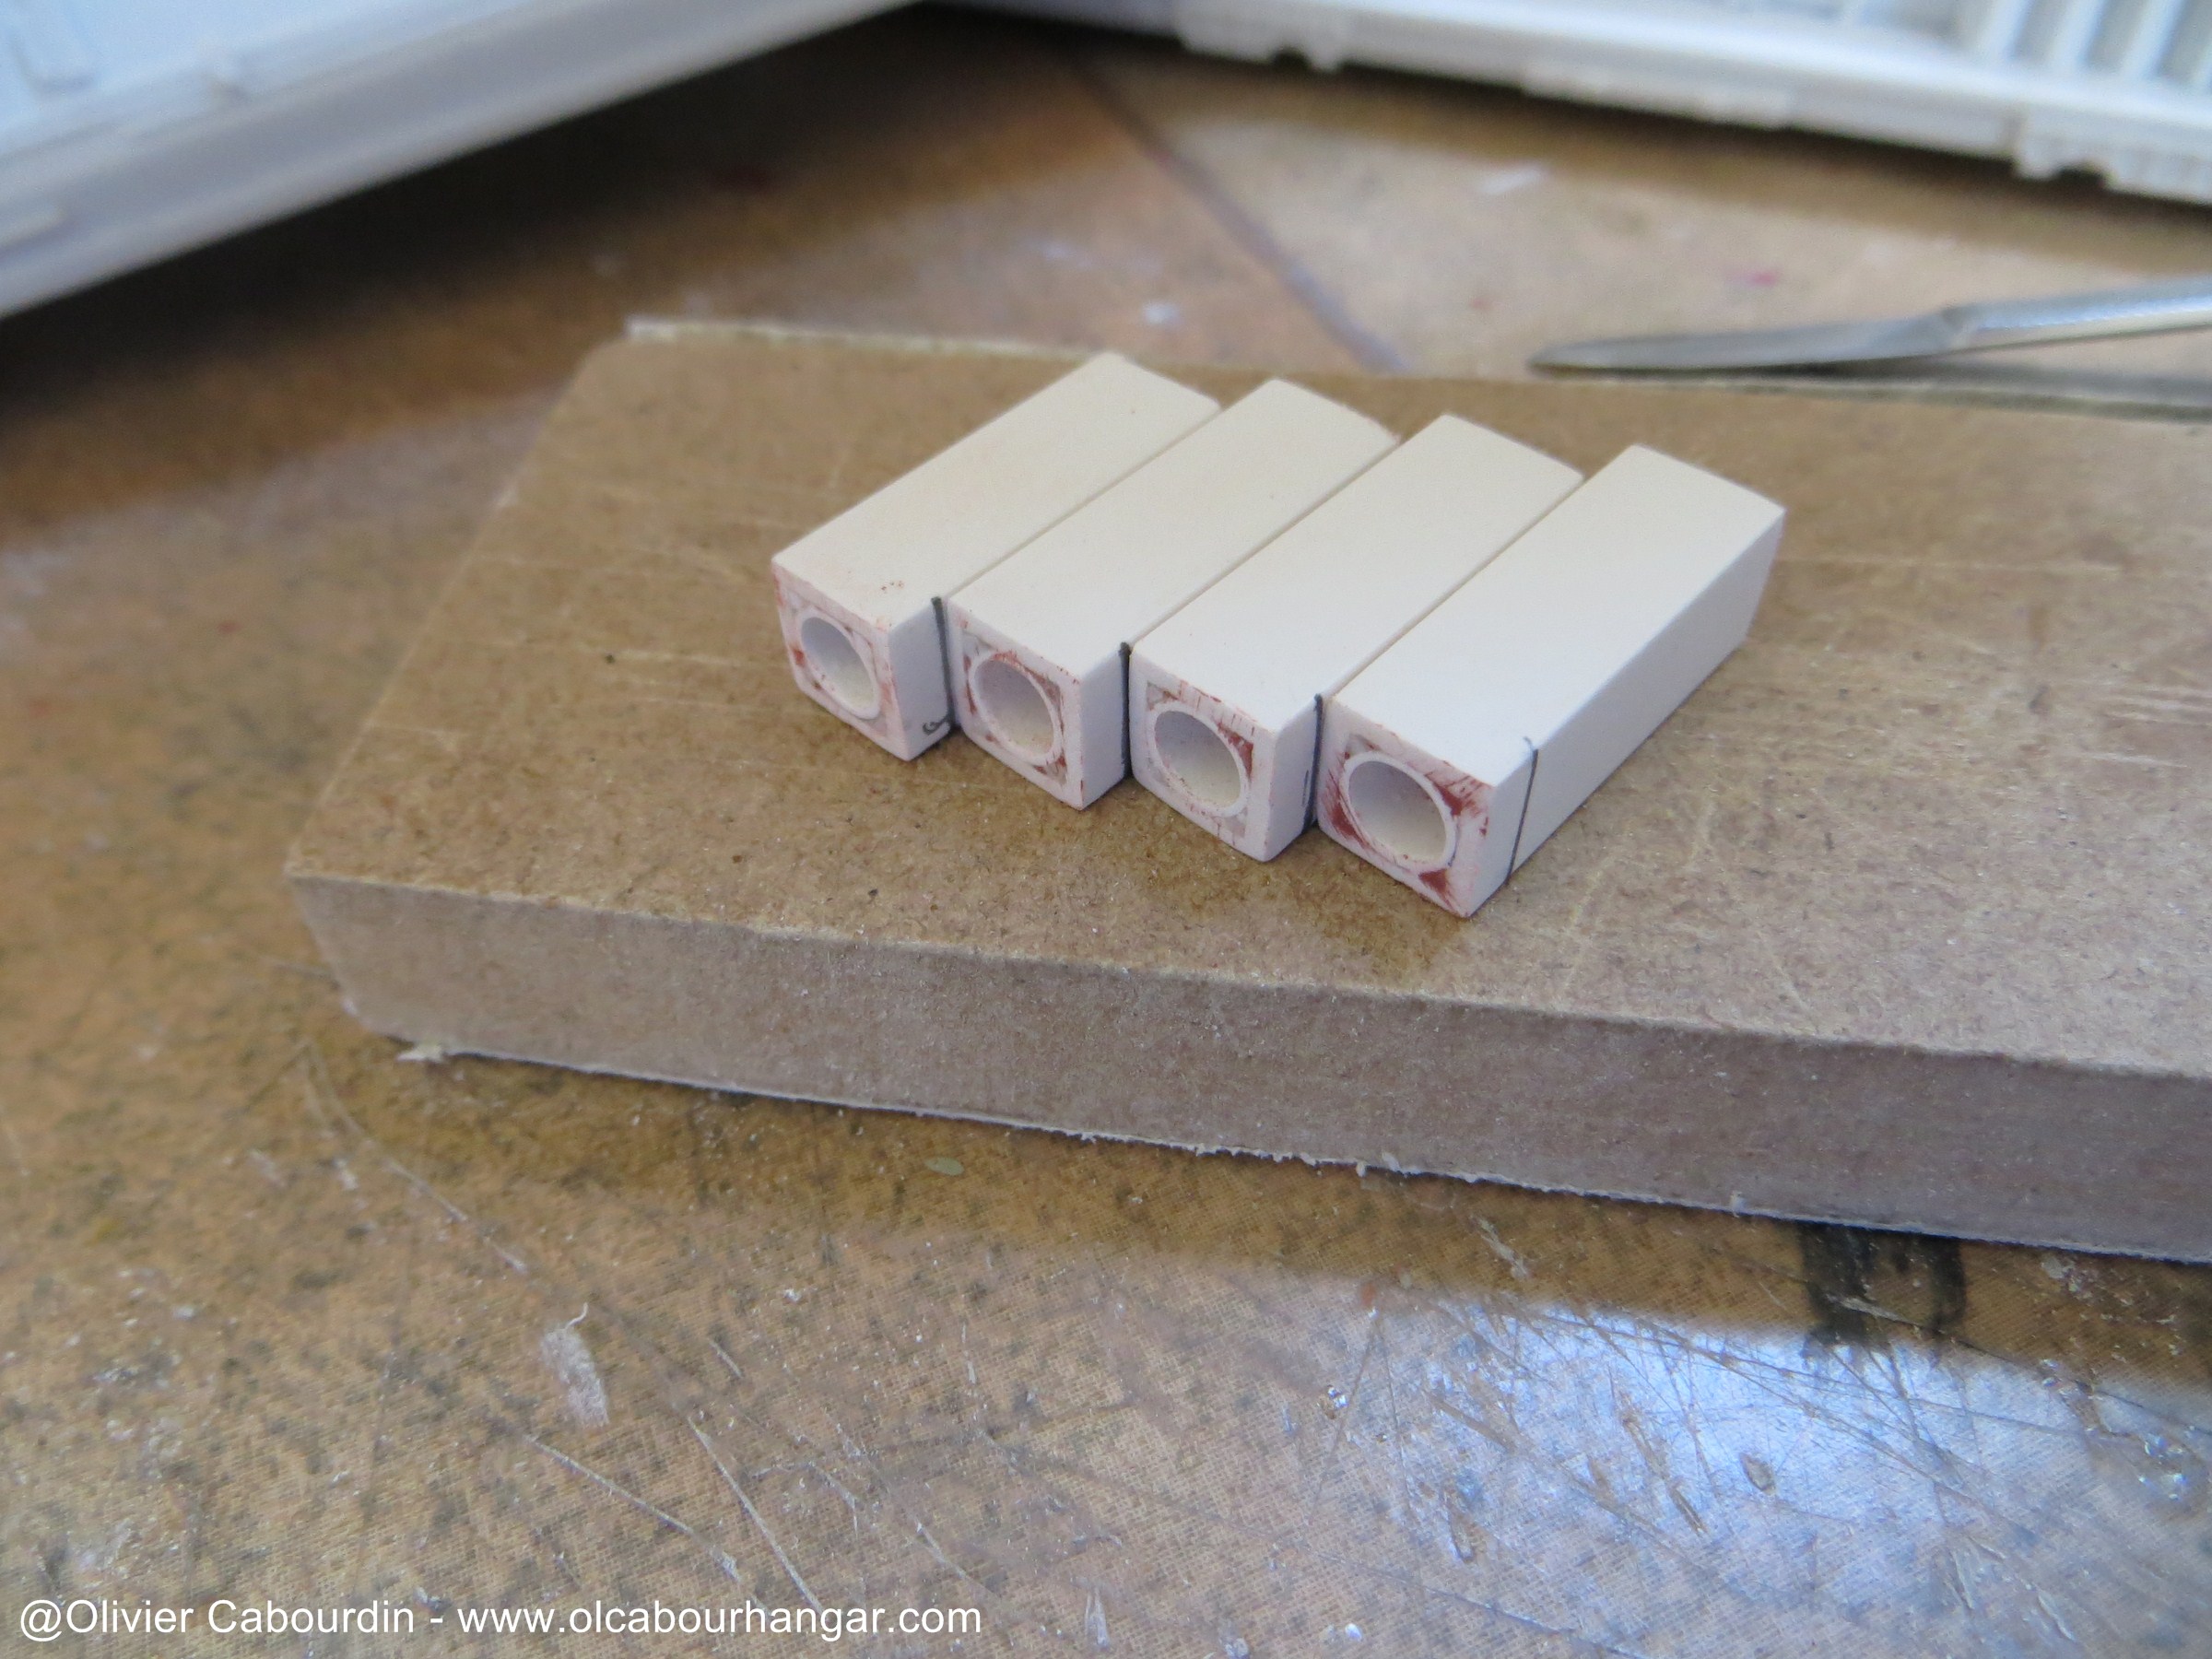
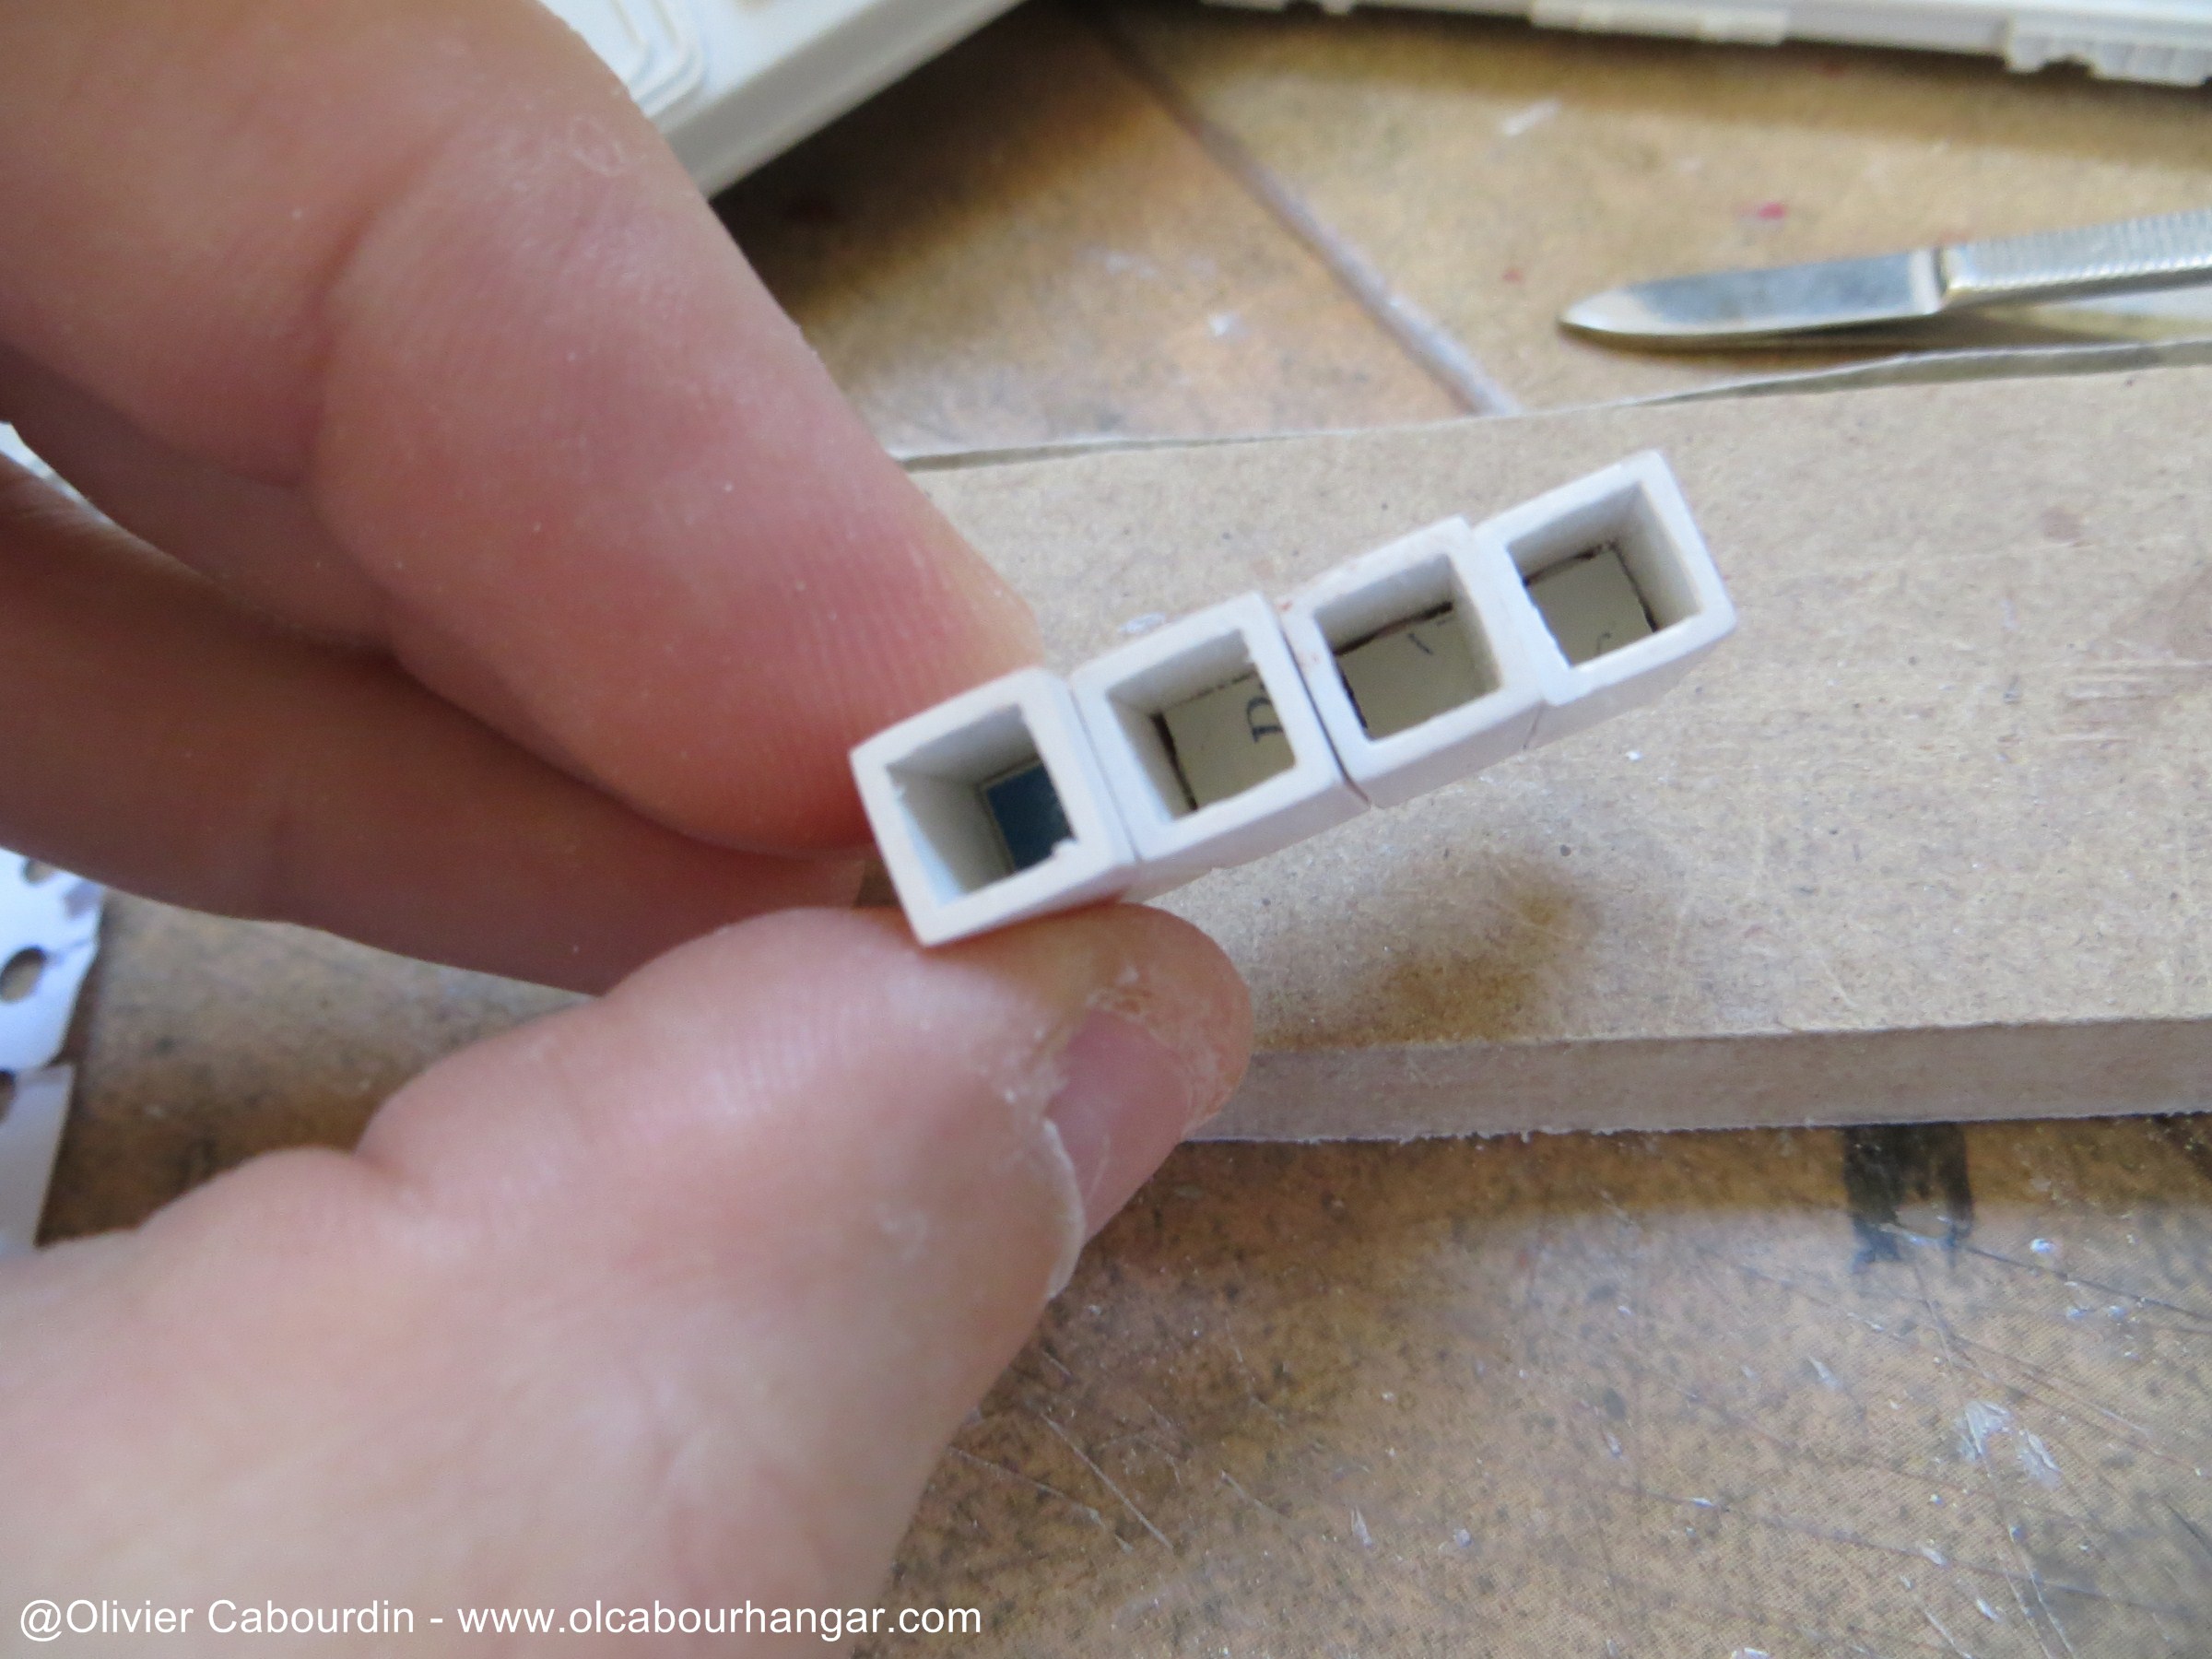
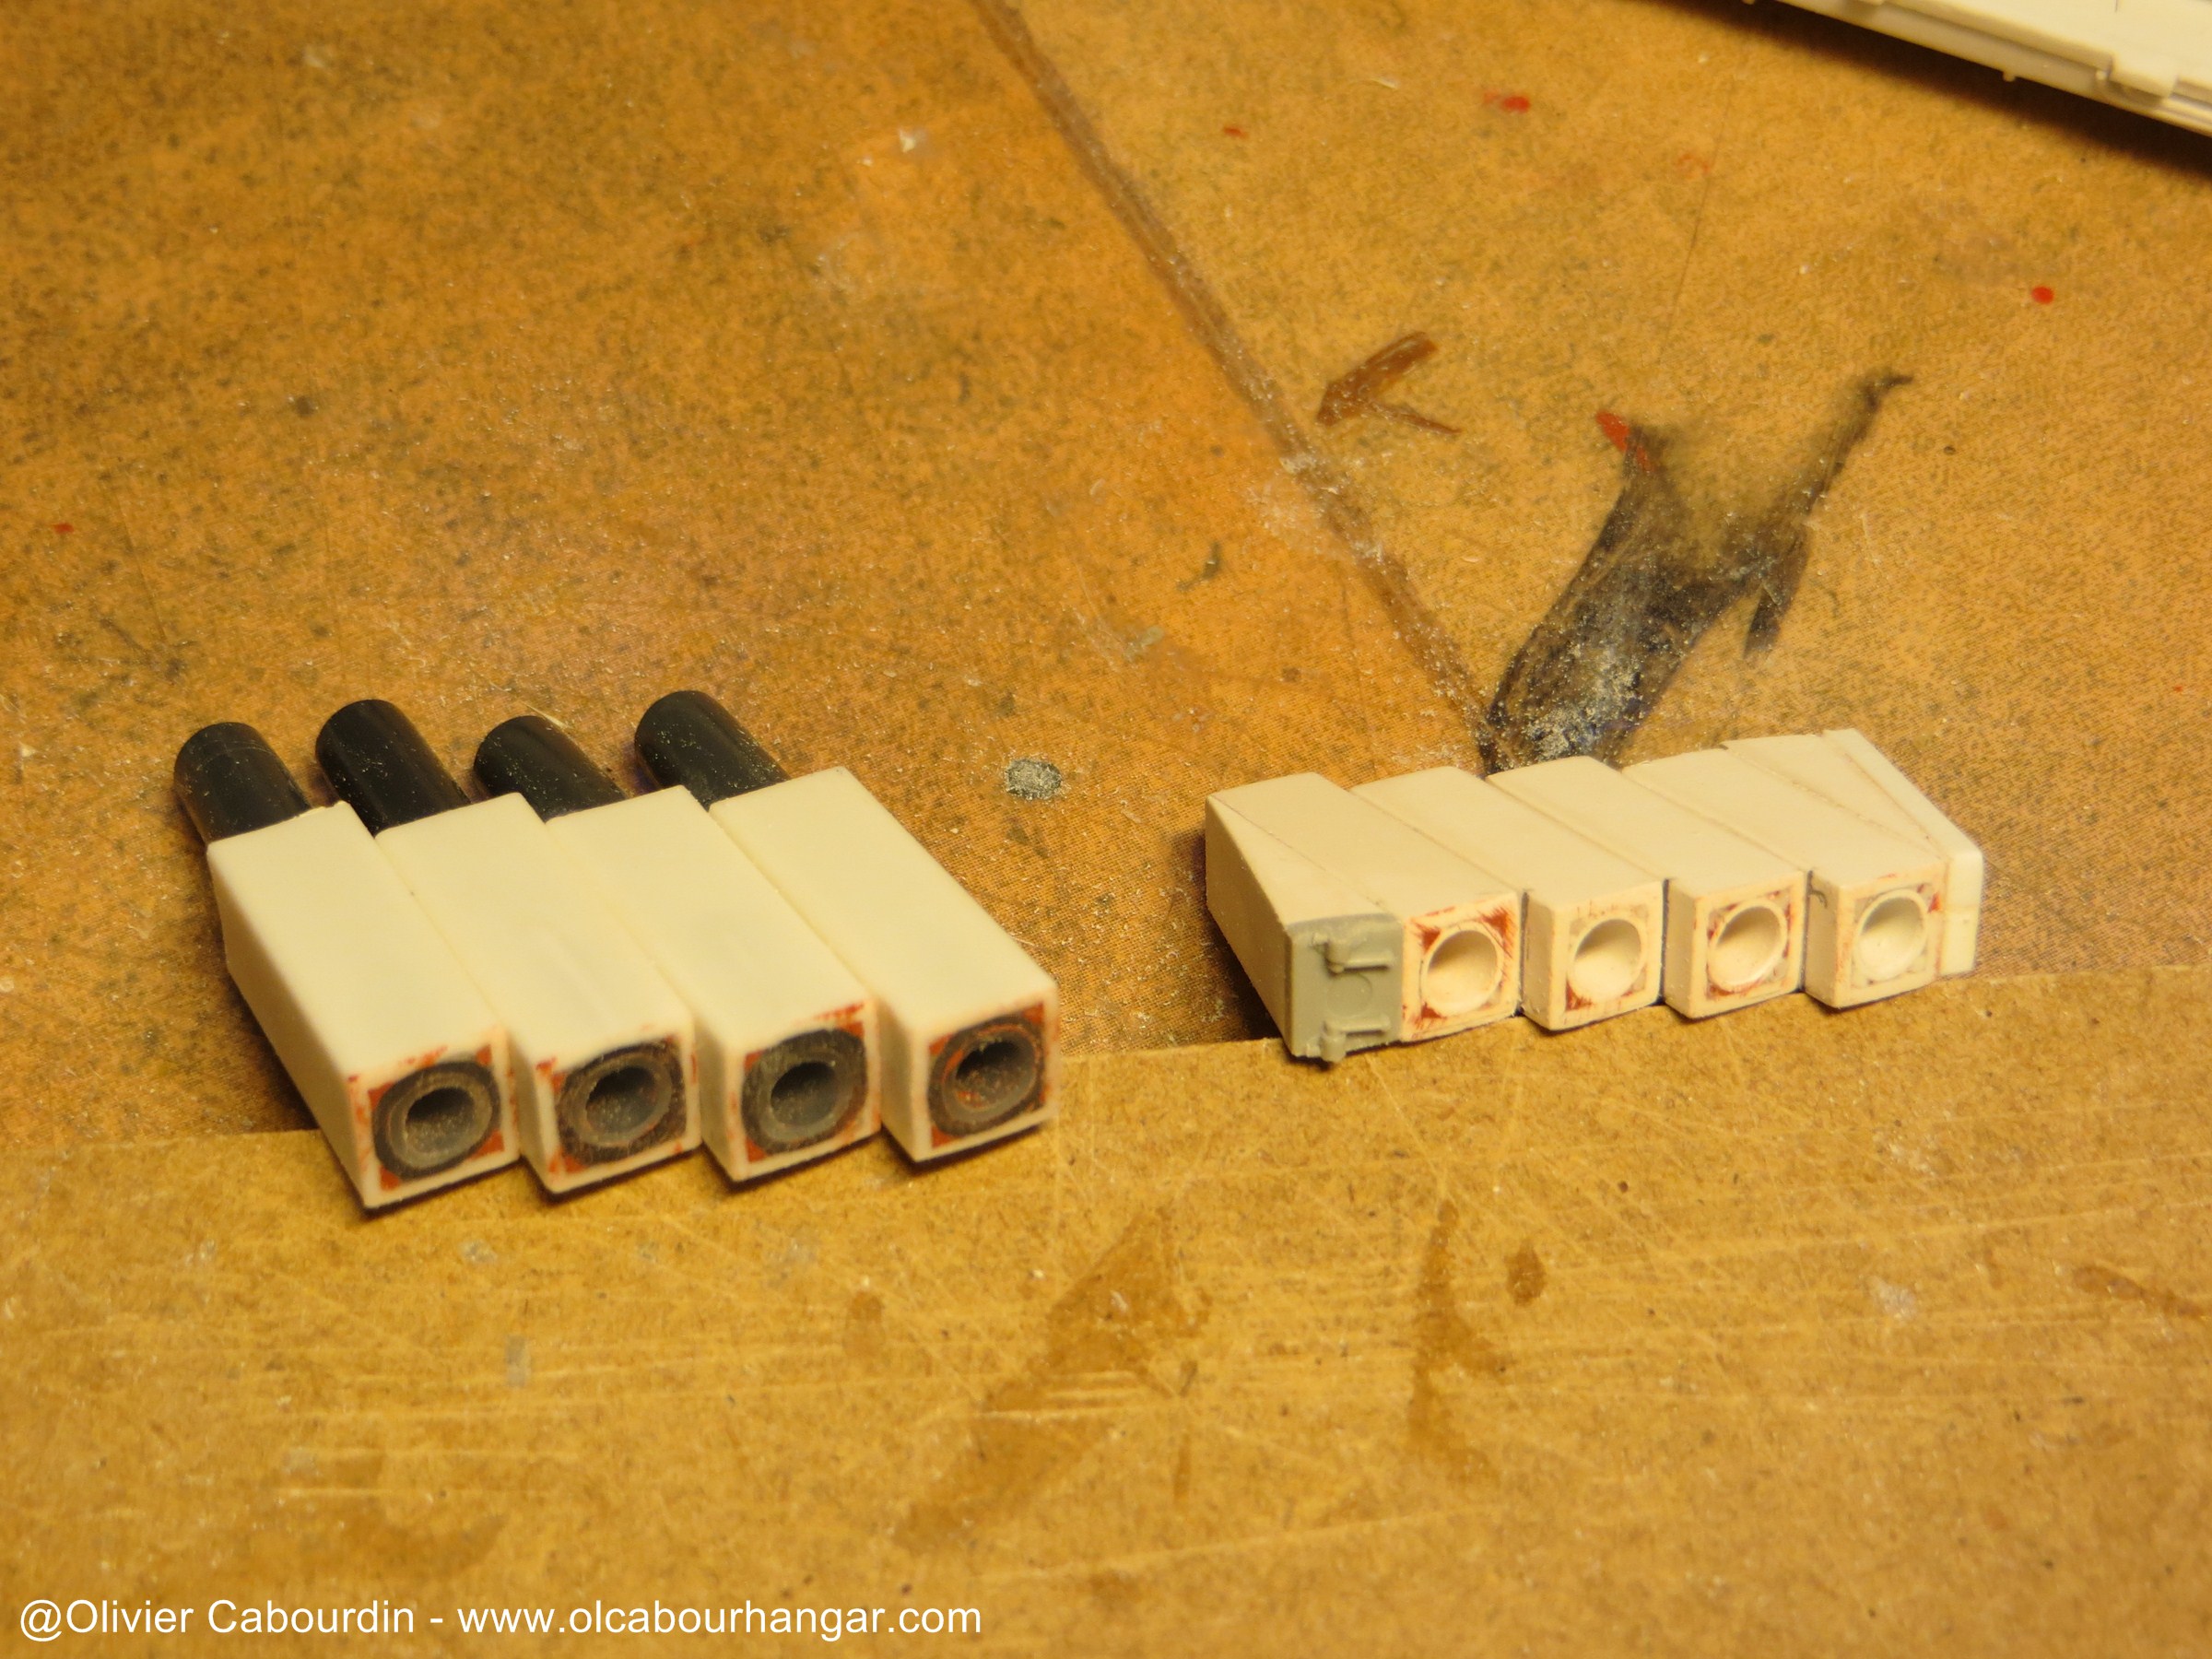
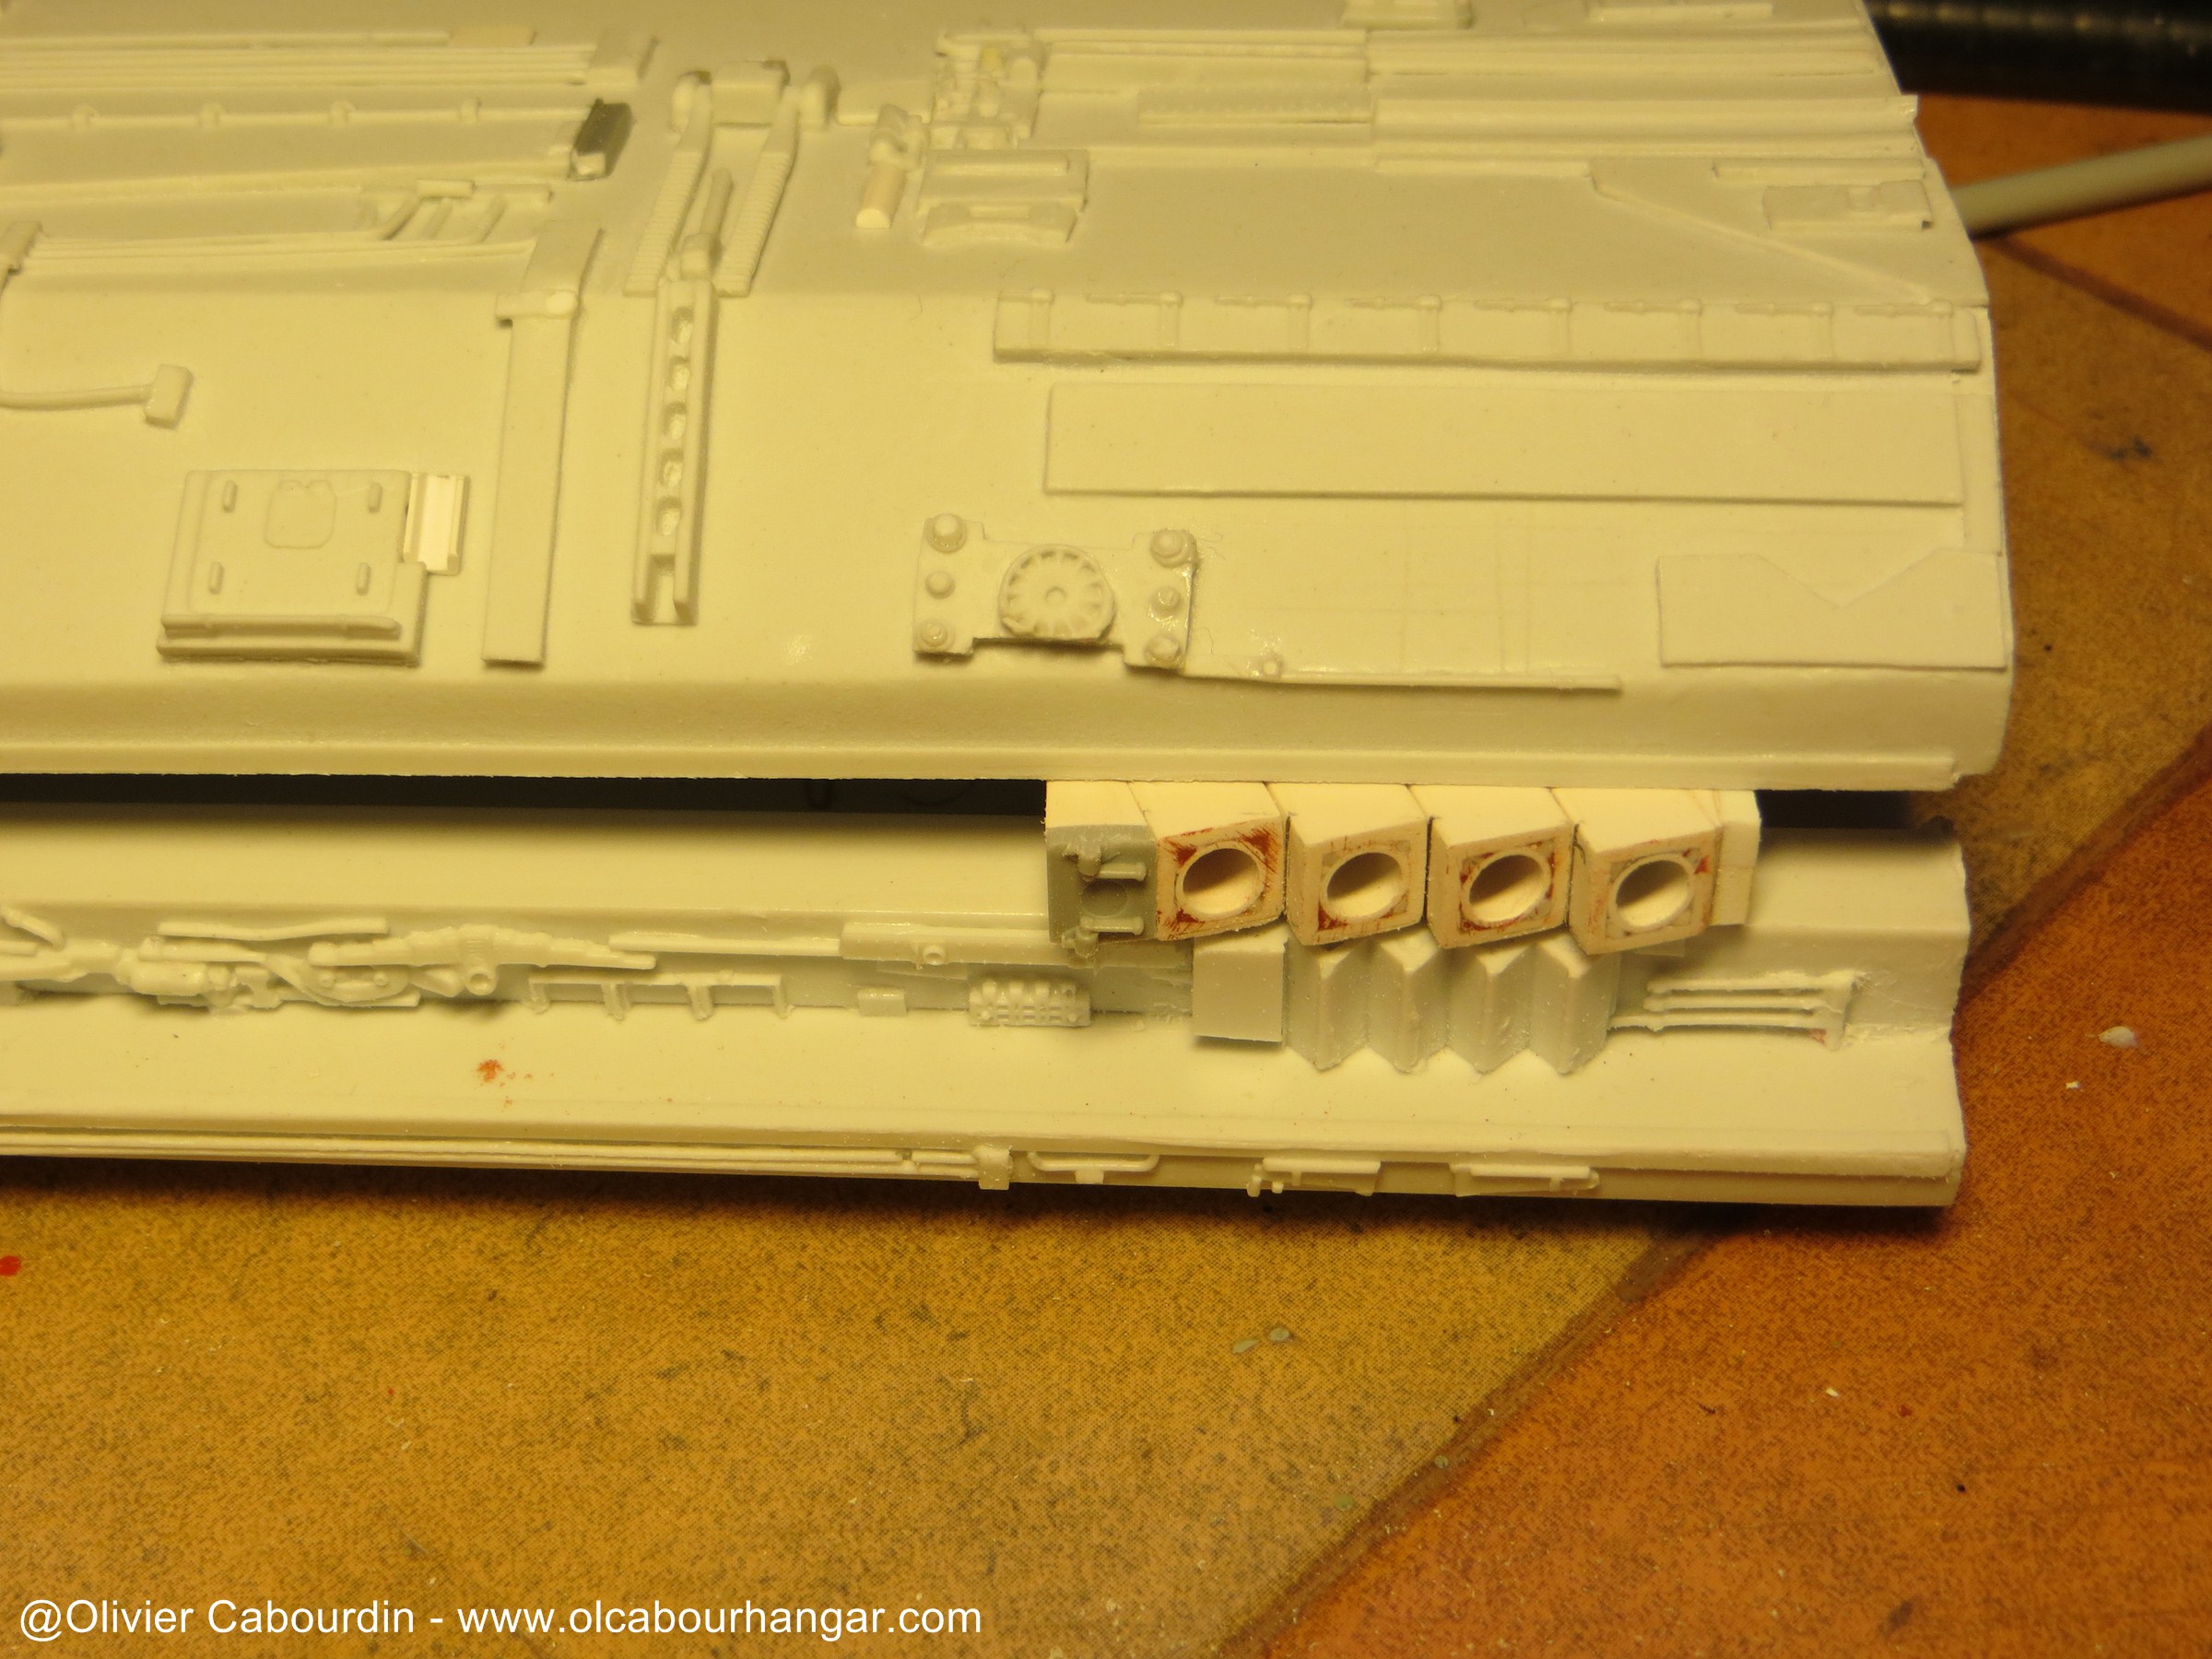
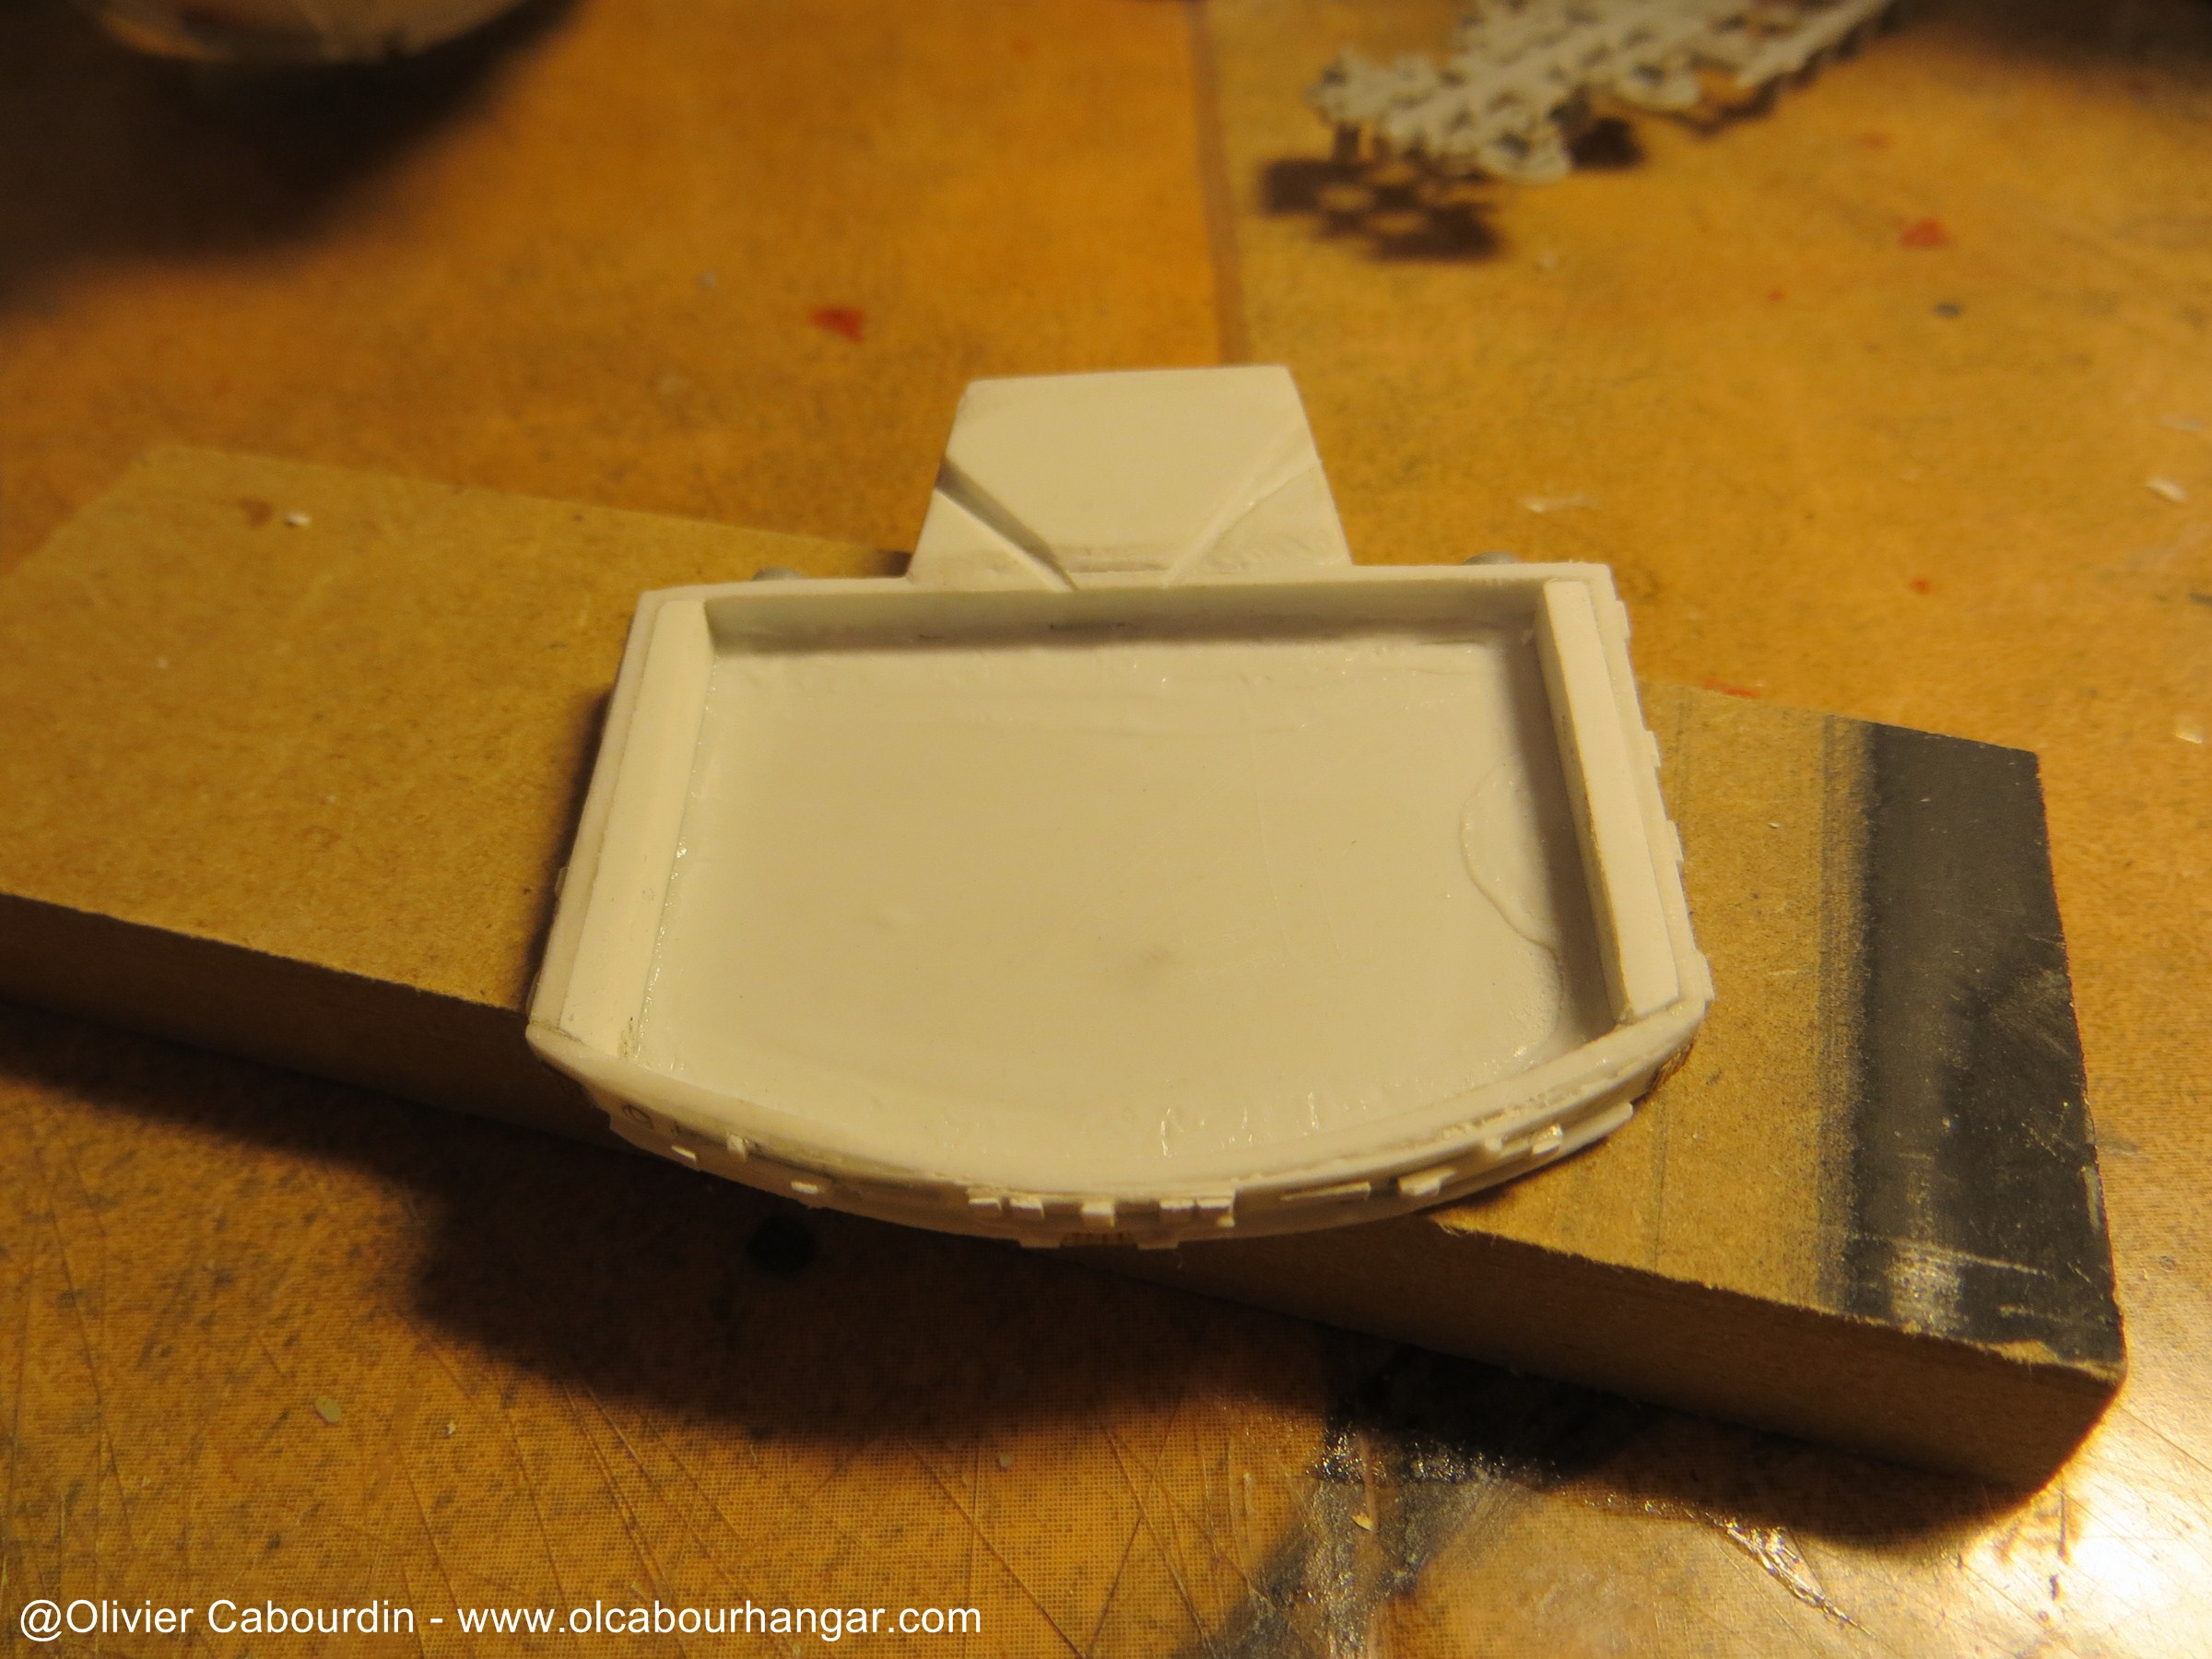
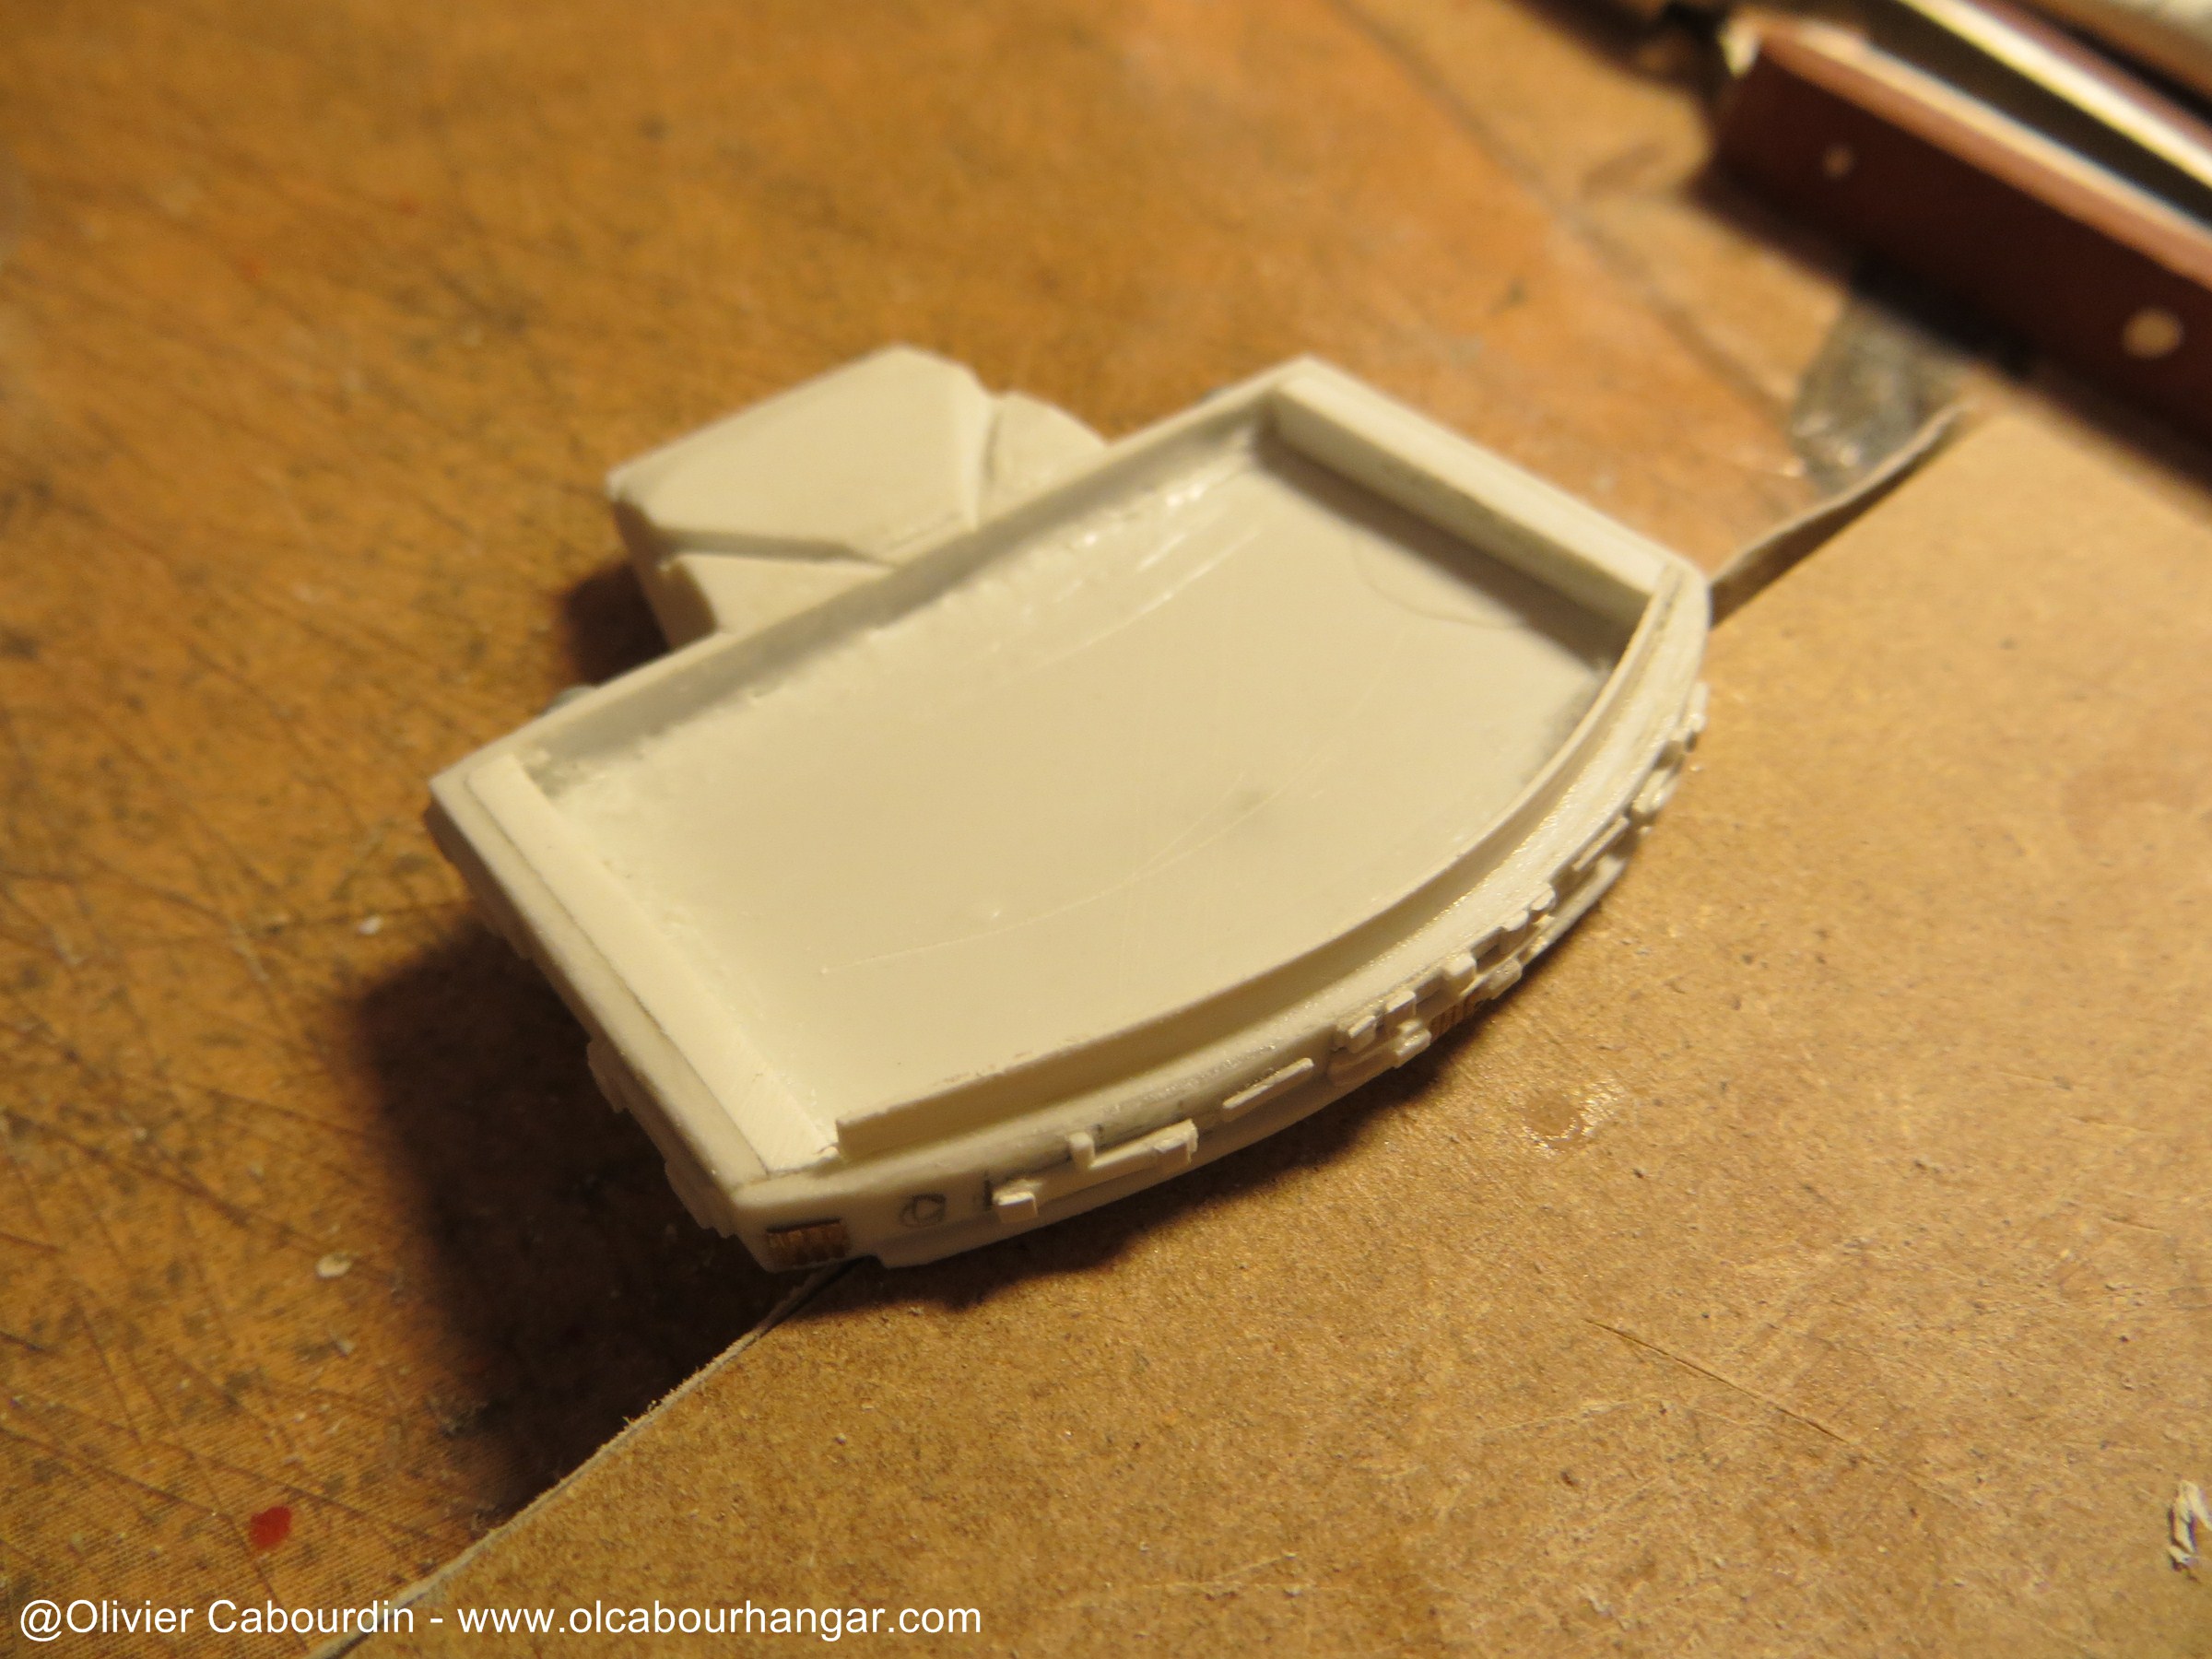
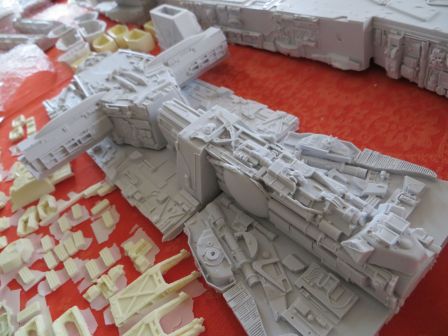
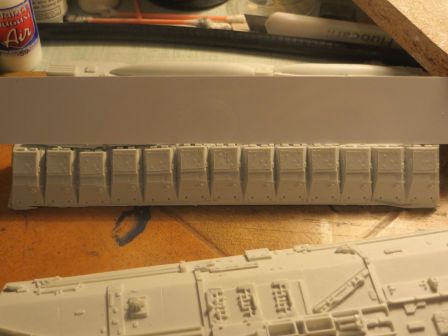
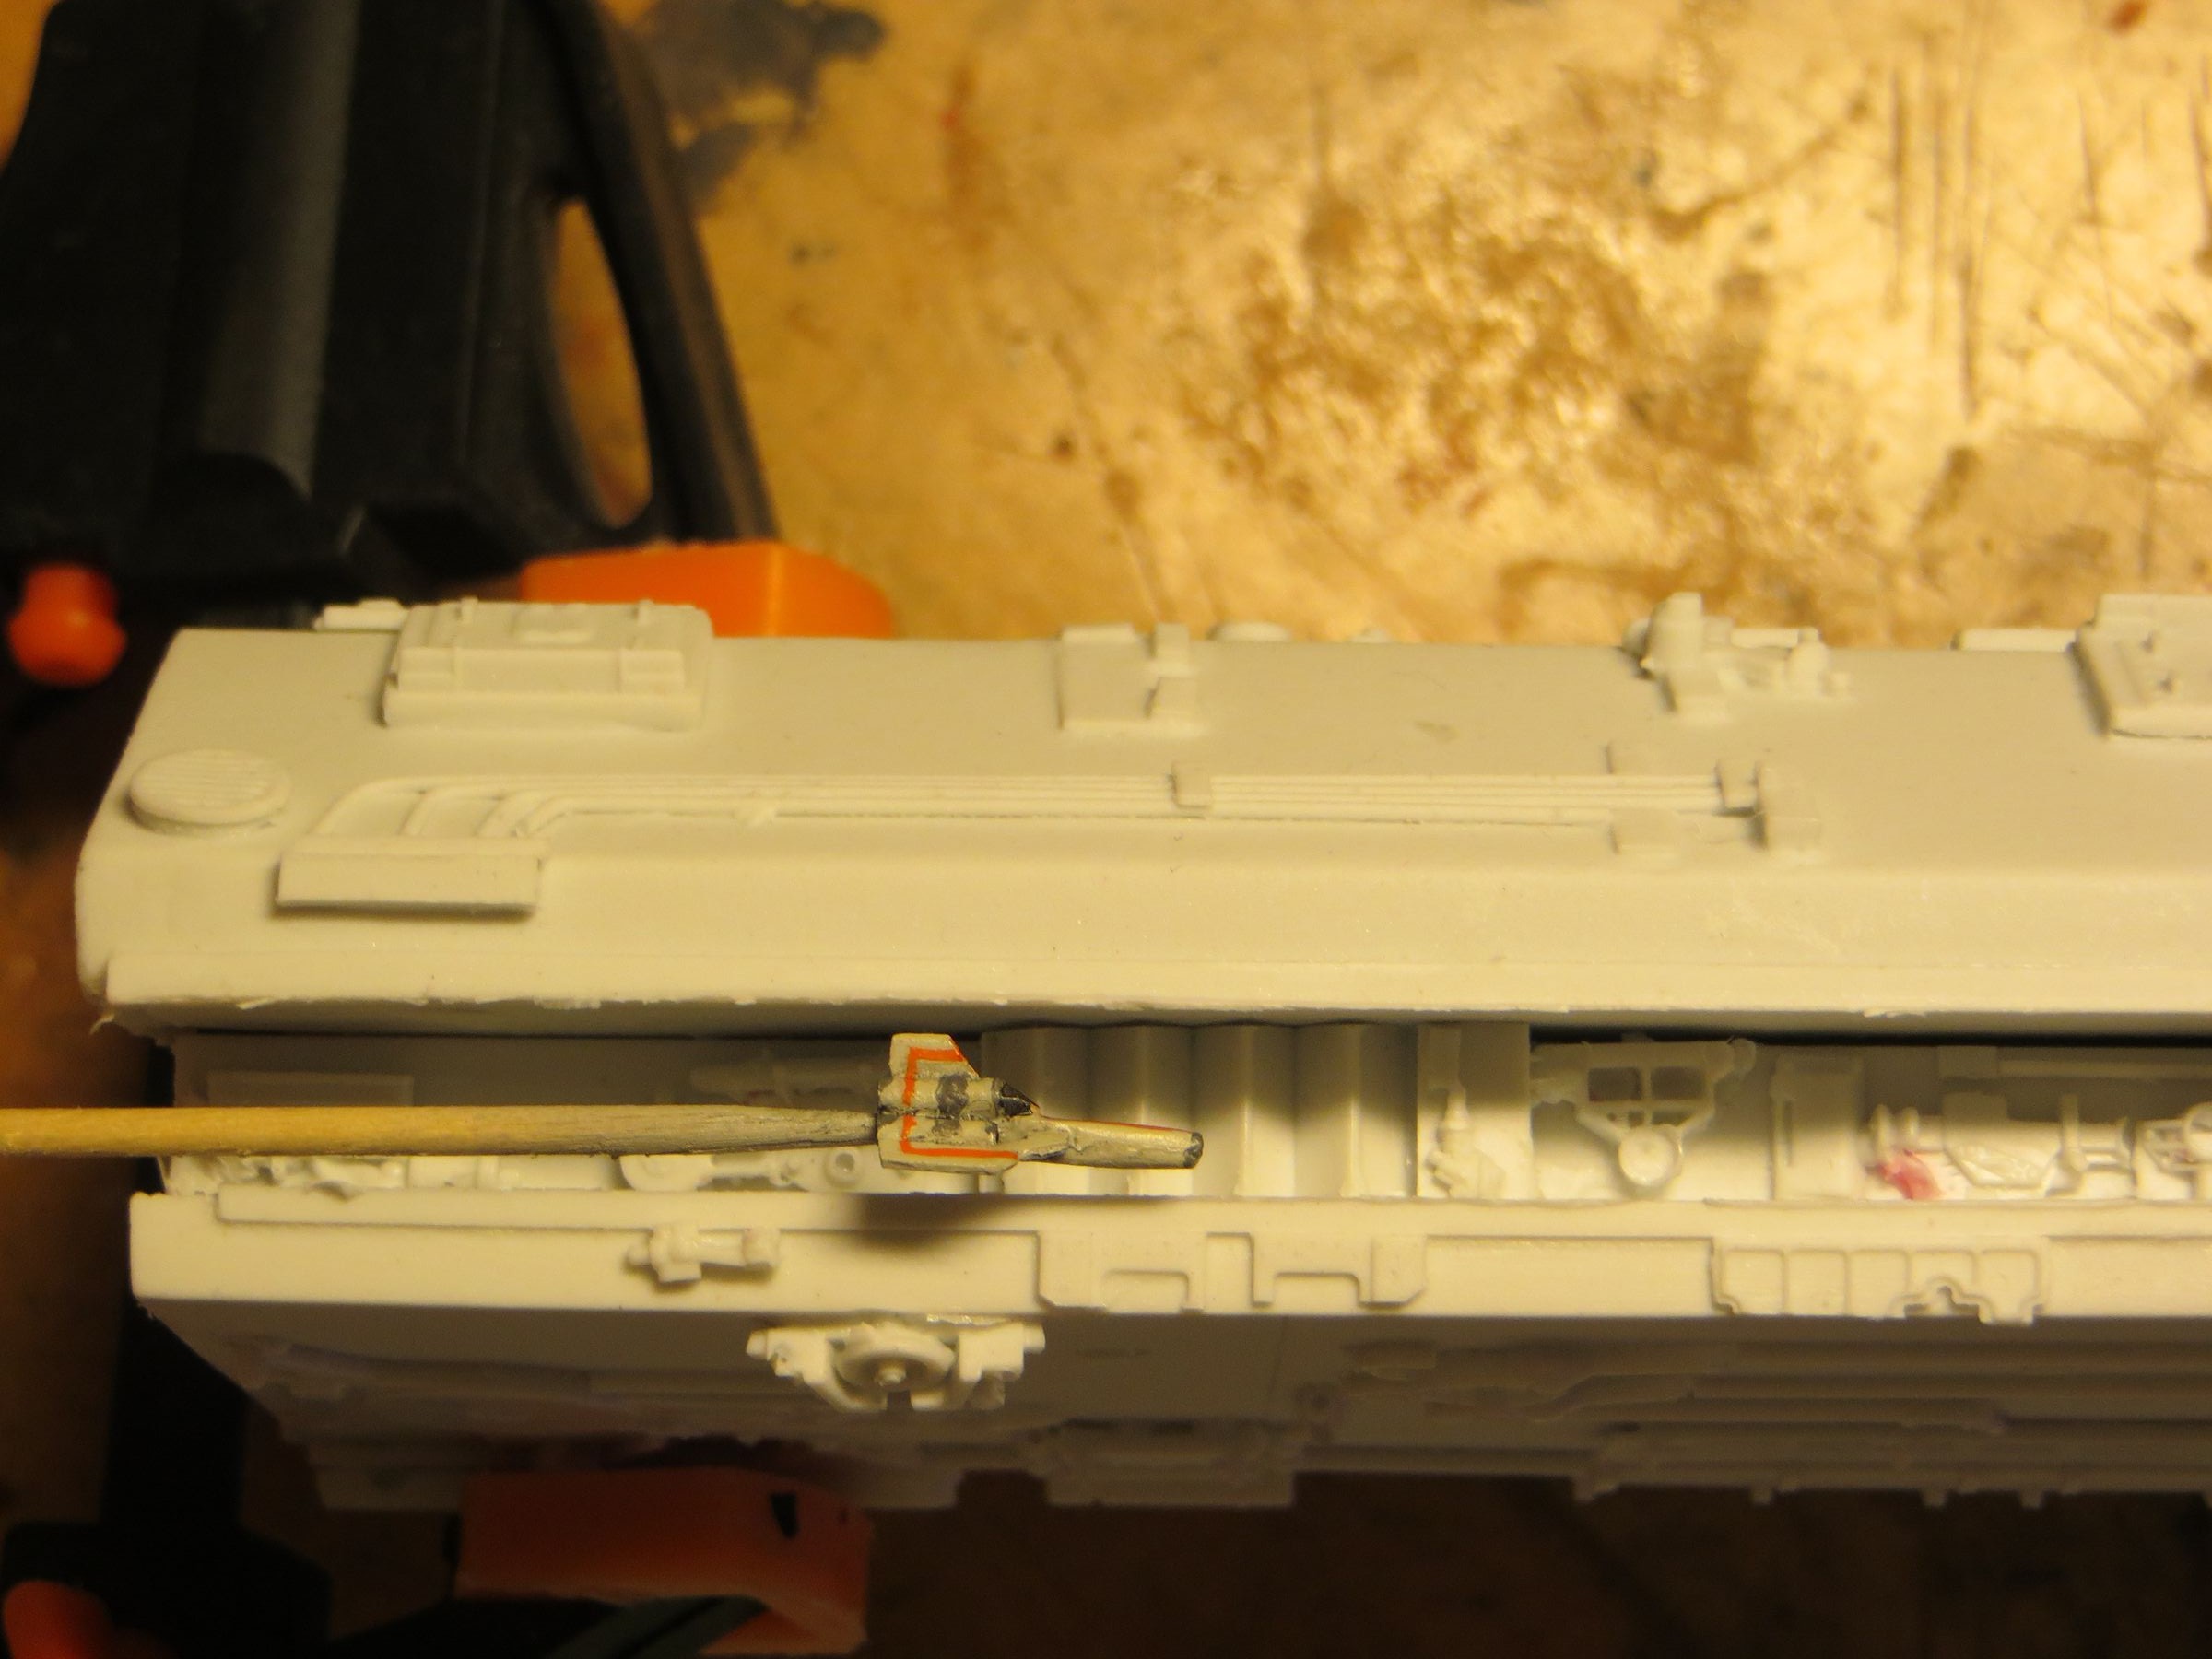
- The Viper launch tubes : The steps are not wide enough, and the cavities of the tubes themselves are missing .

here next to a mini viper 1/700 from the Cylon Ambush diorama (the ones I made for the Cylon Tanker diorama)
(Funny but too big for the scale ;) )


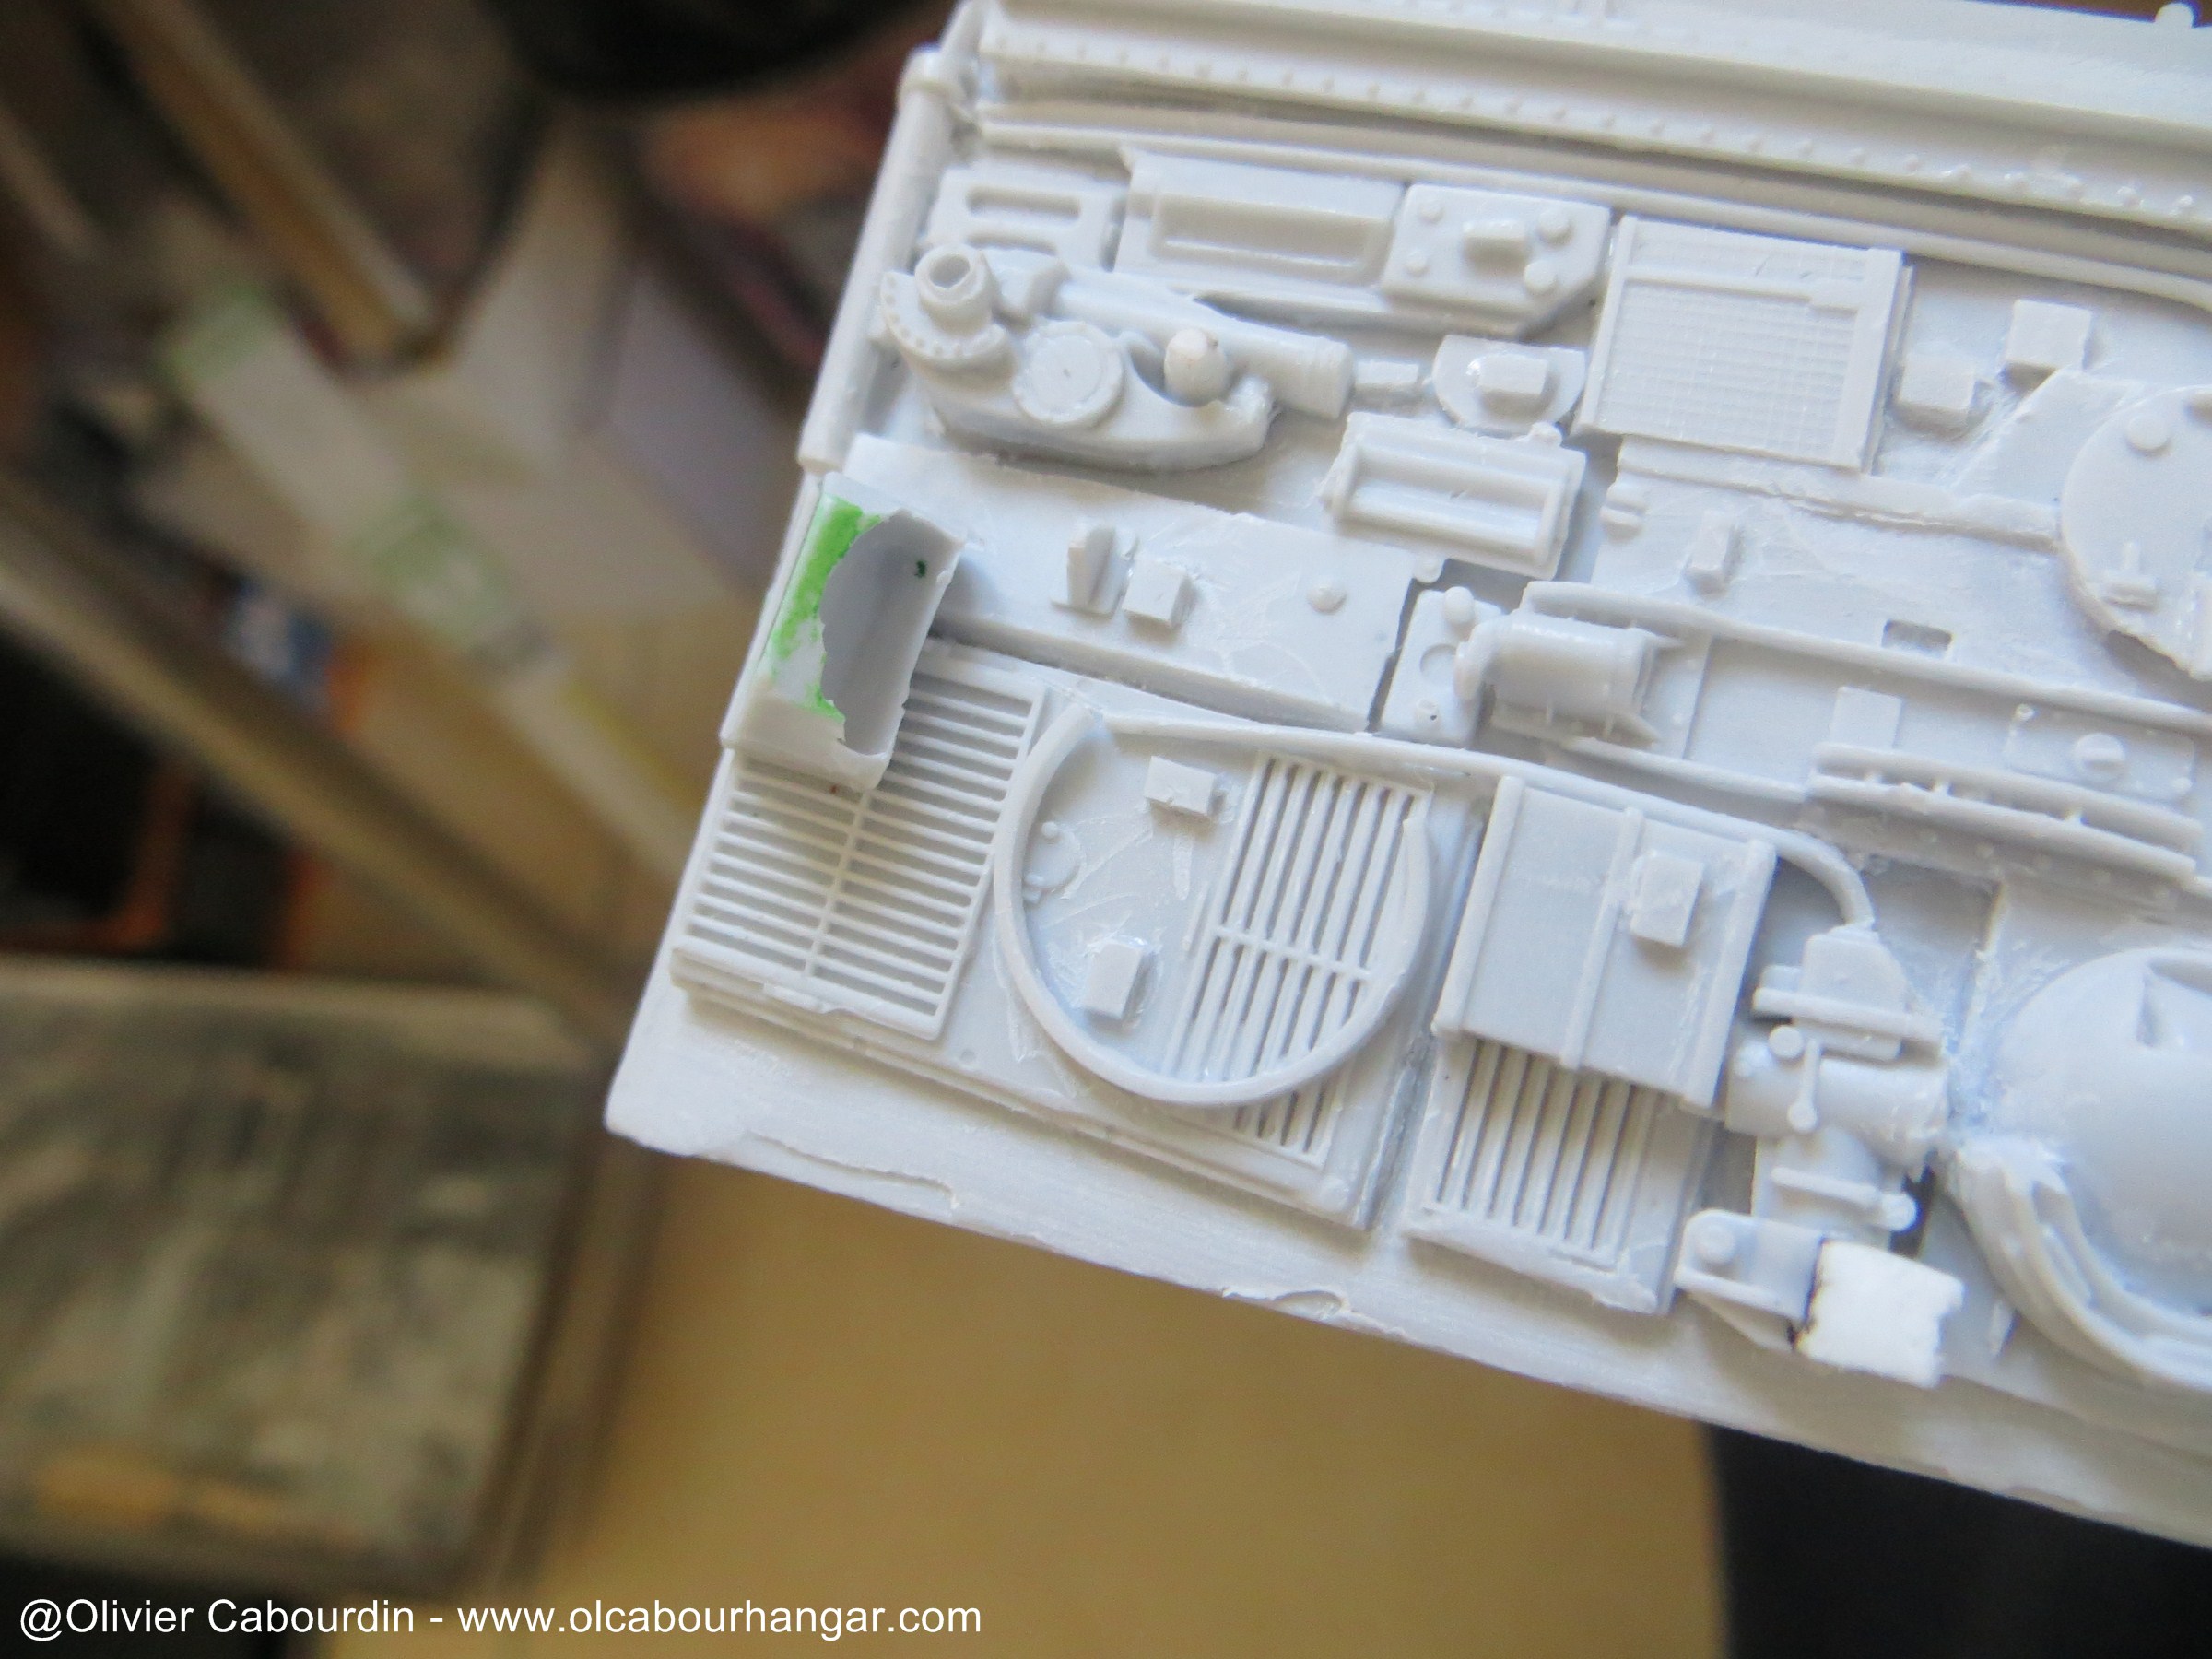
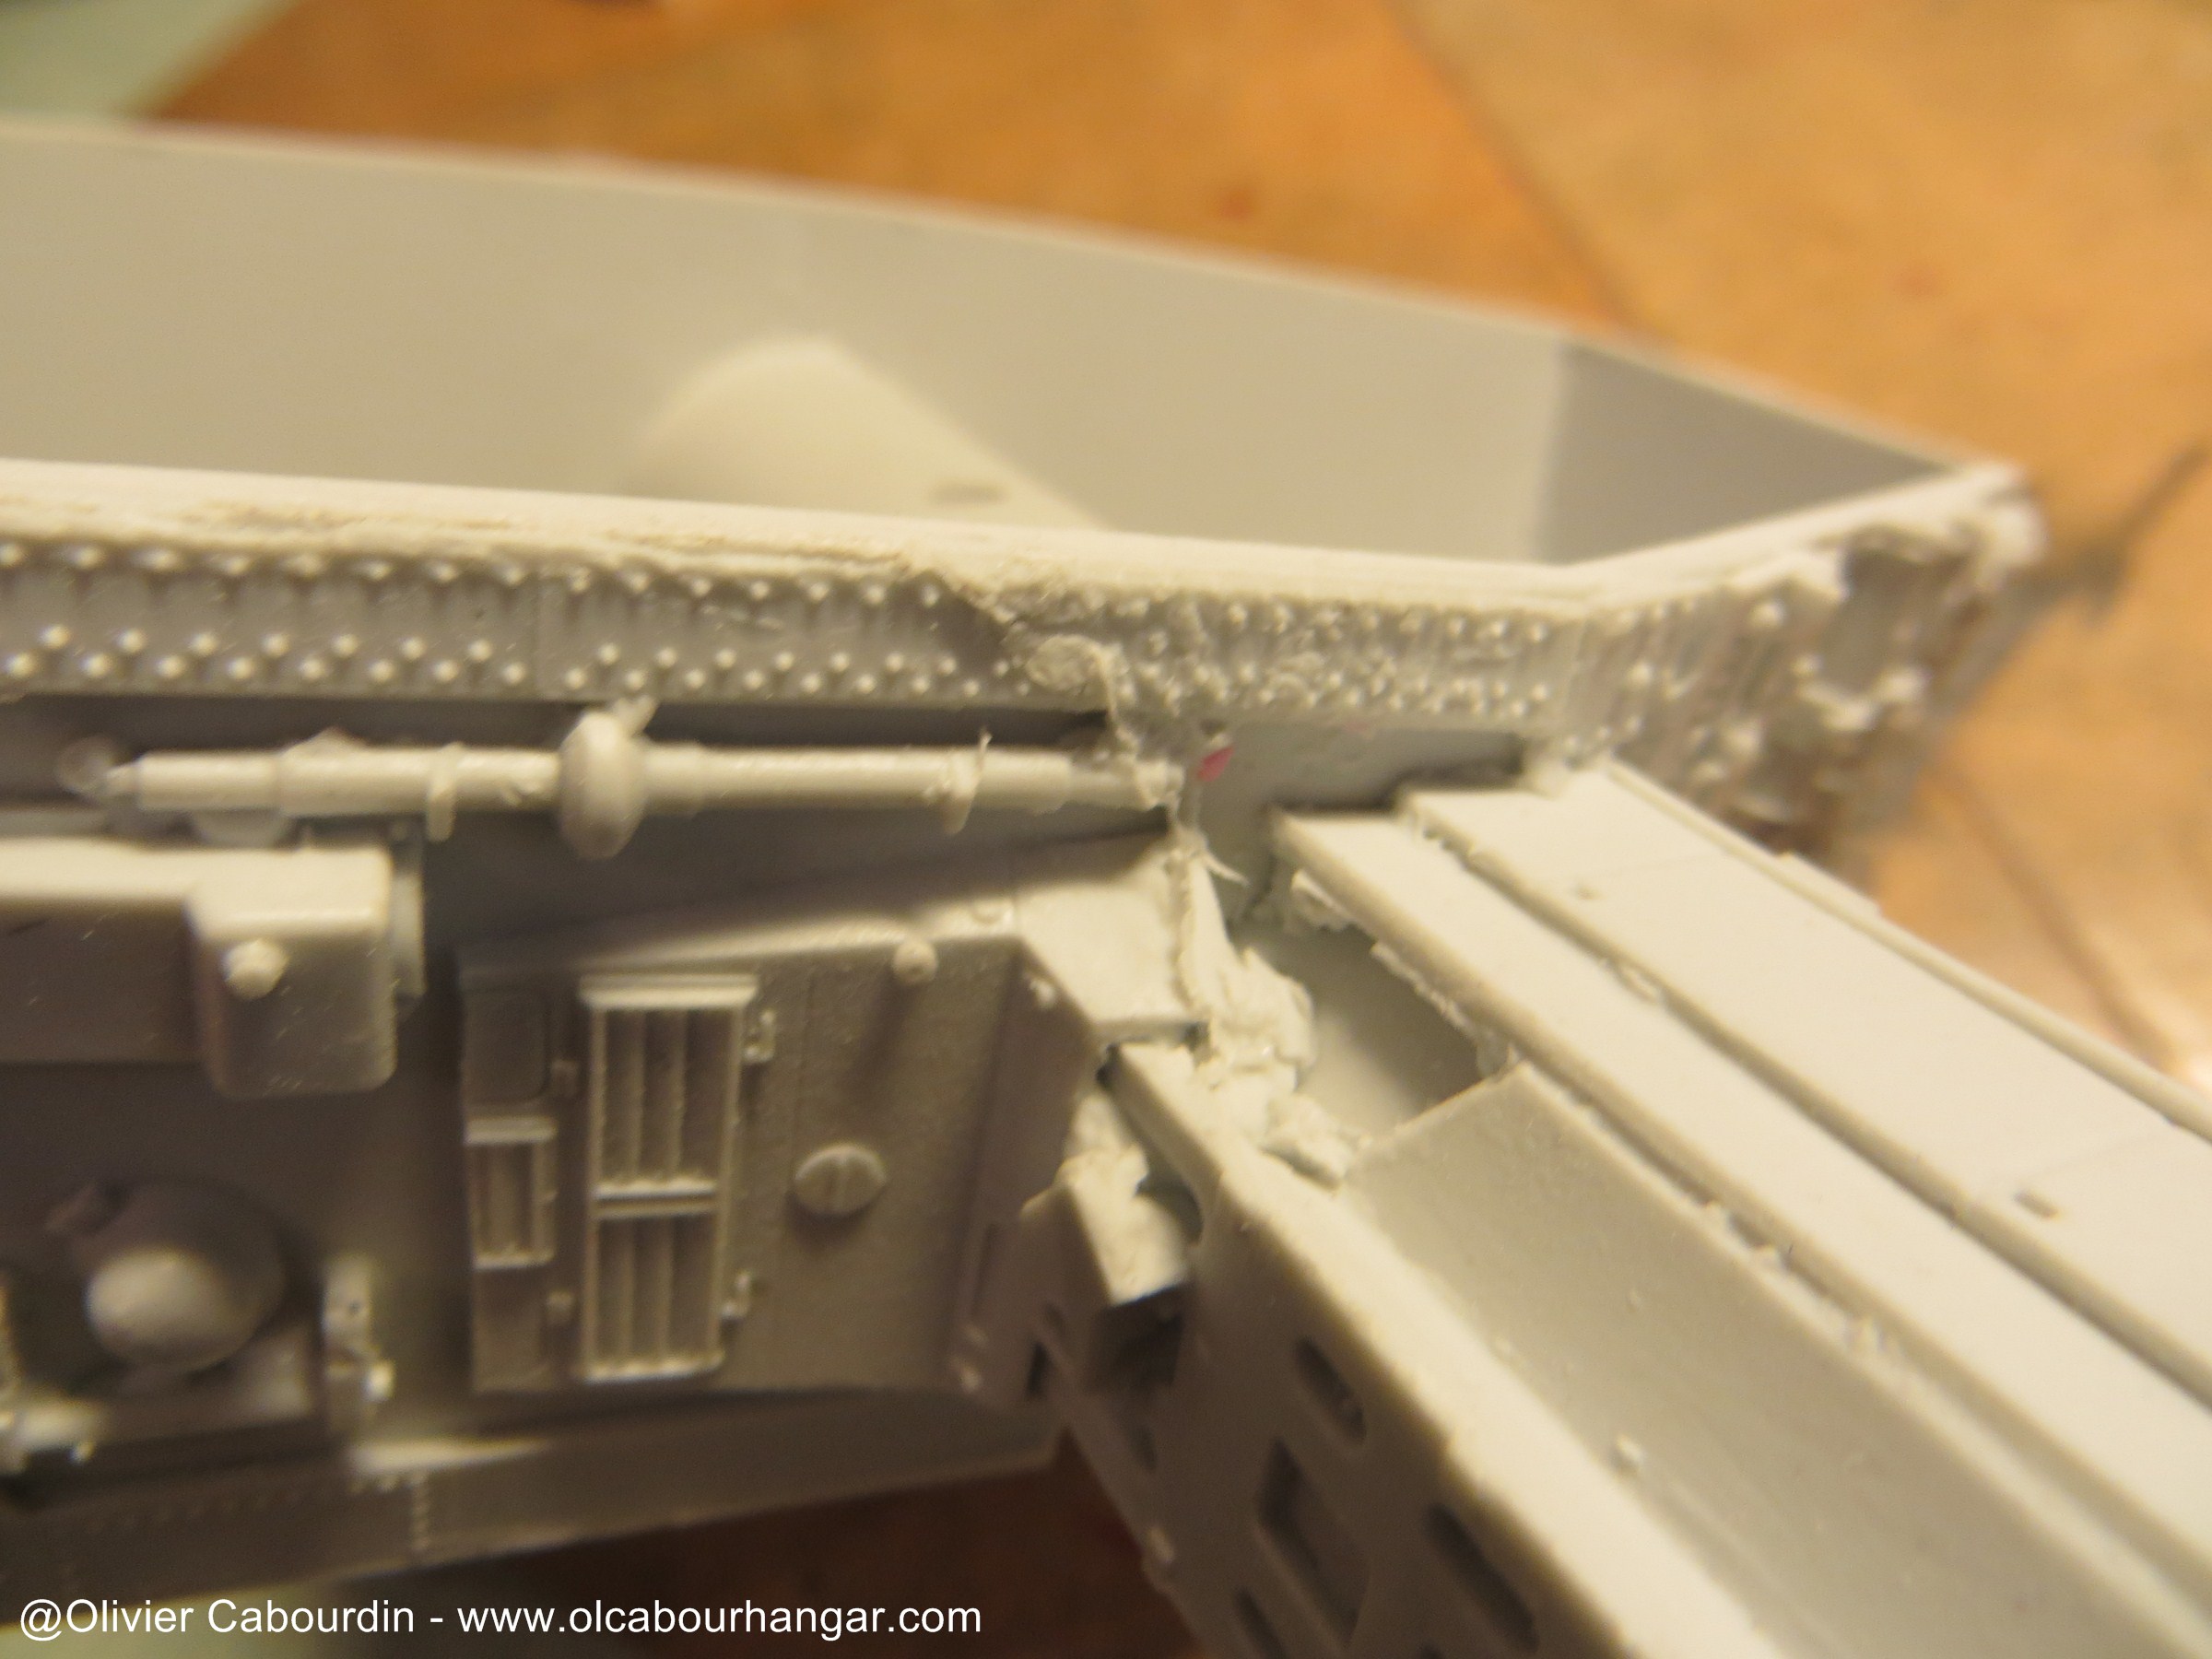
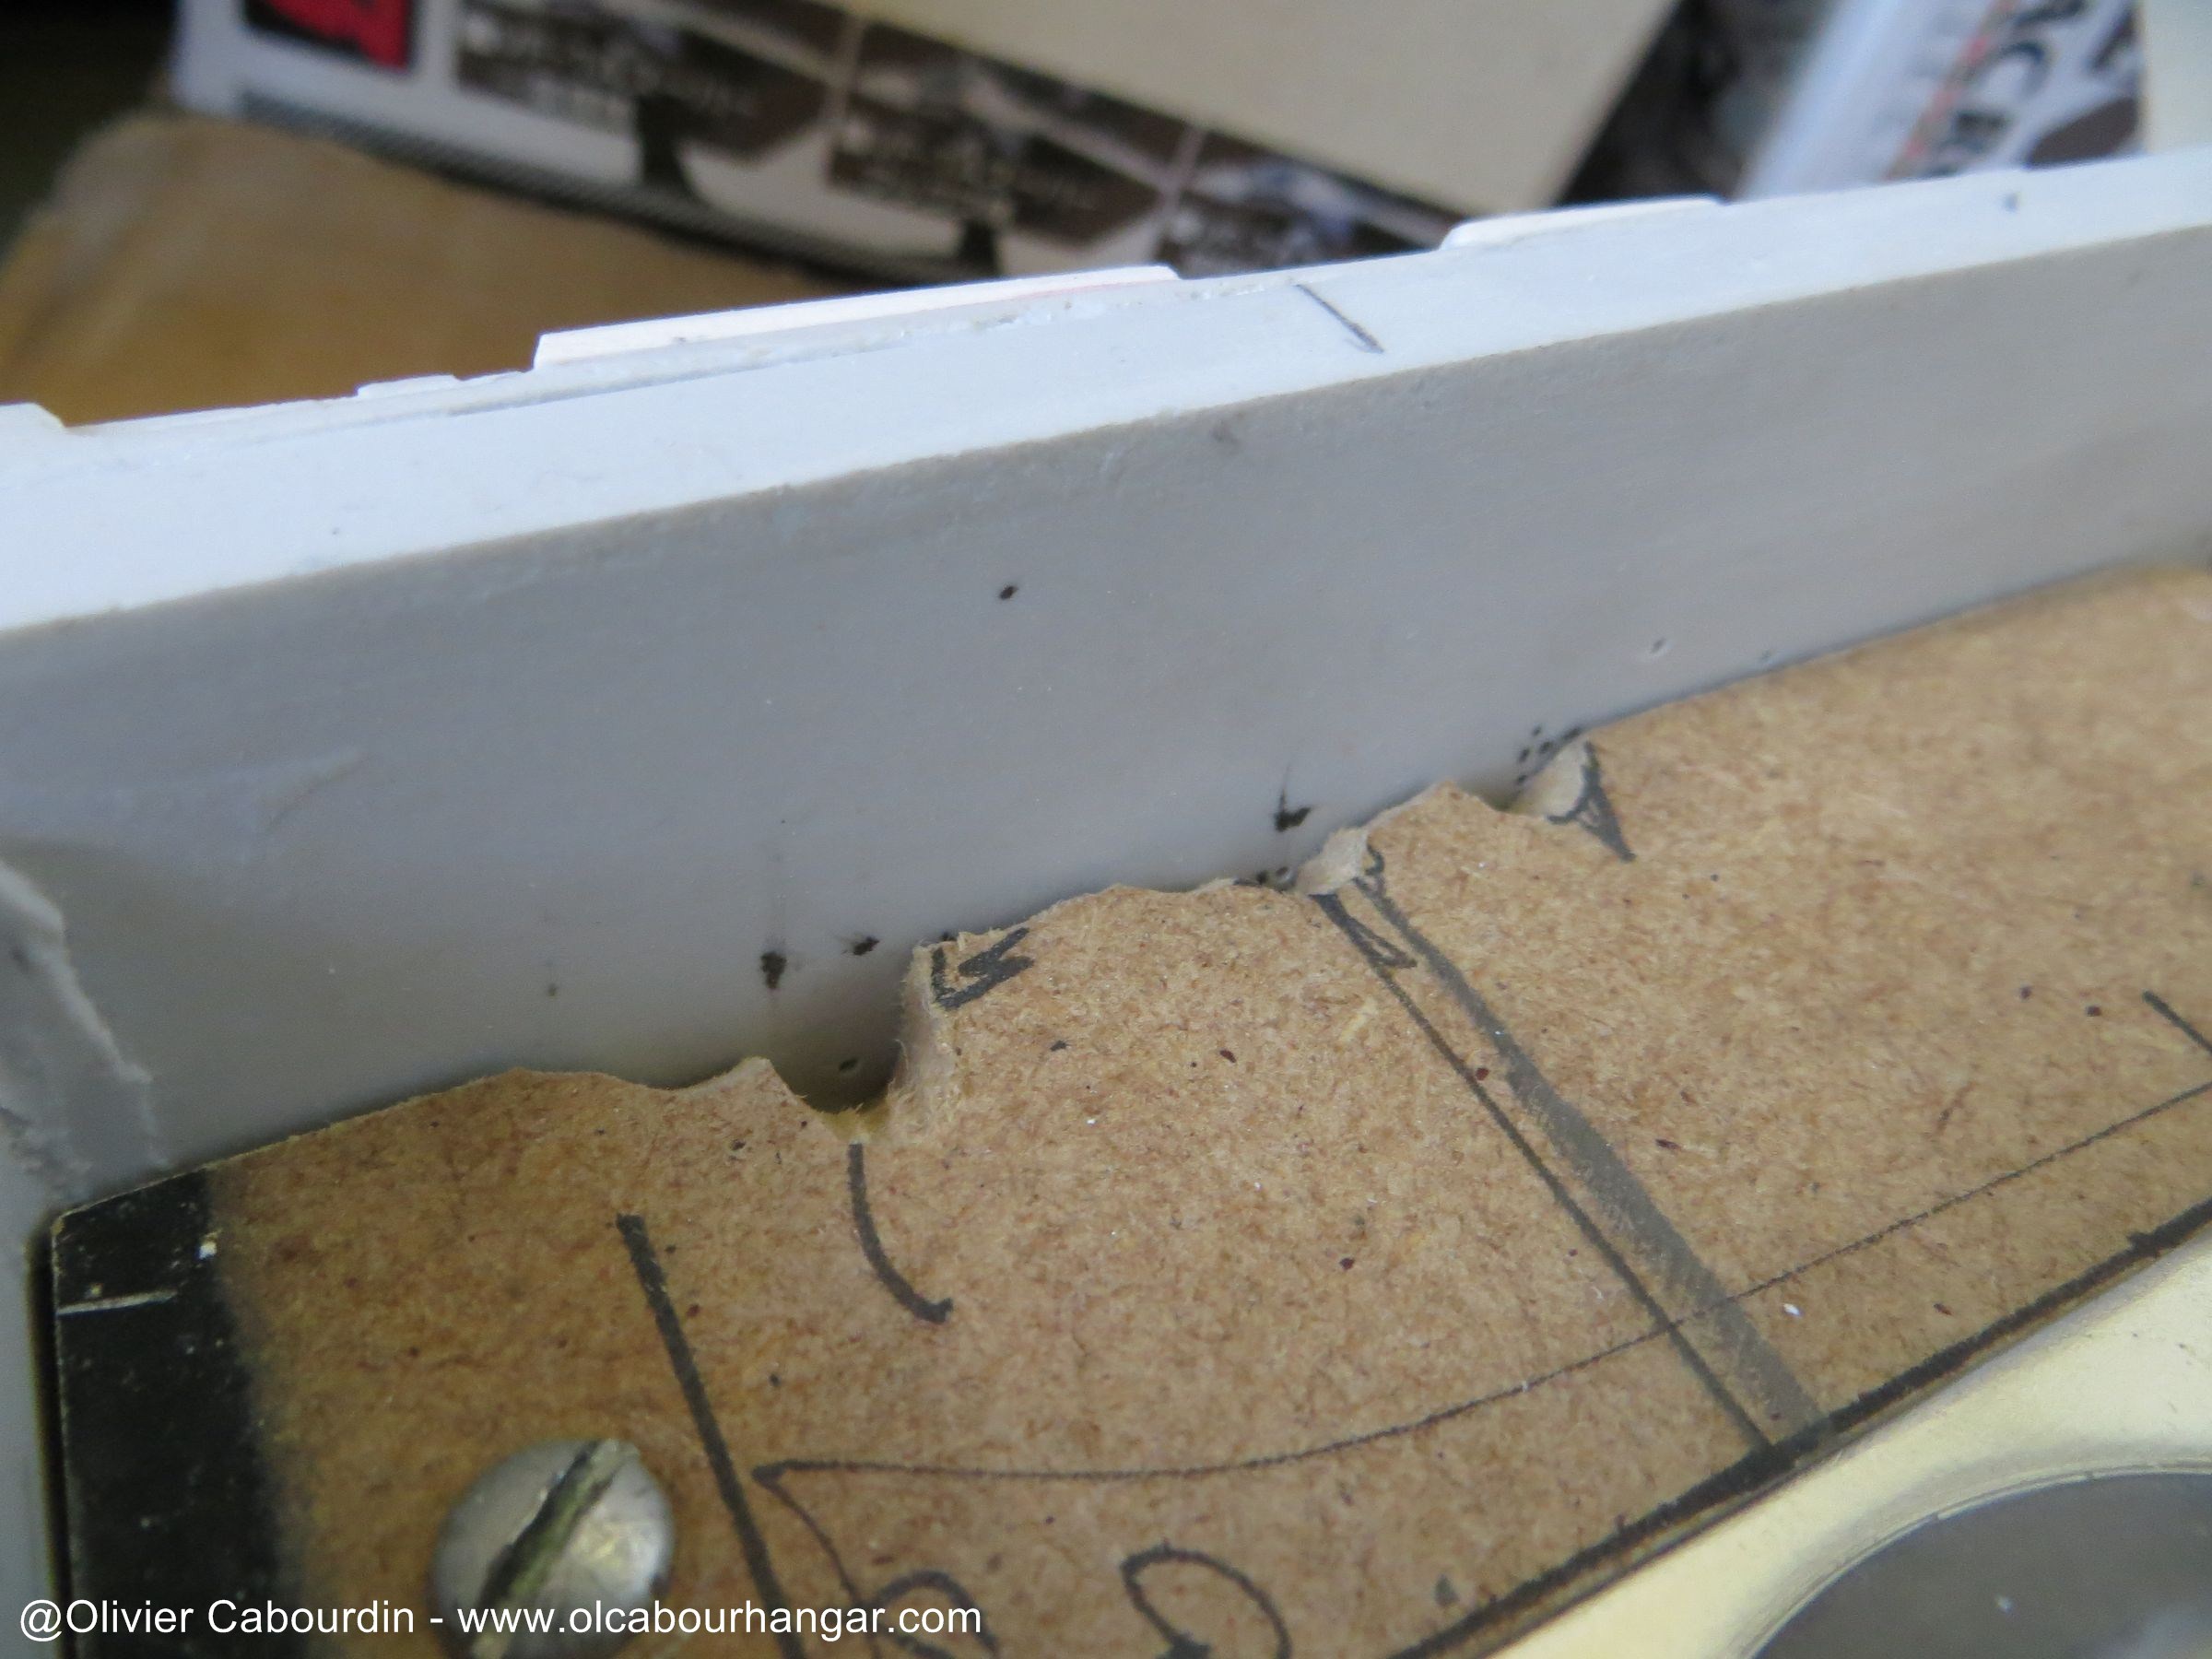
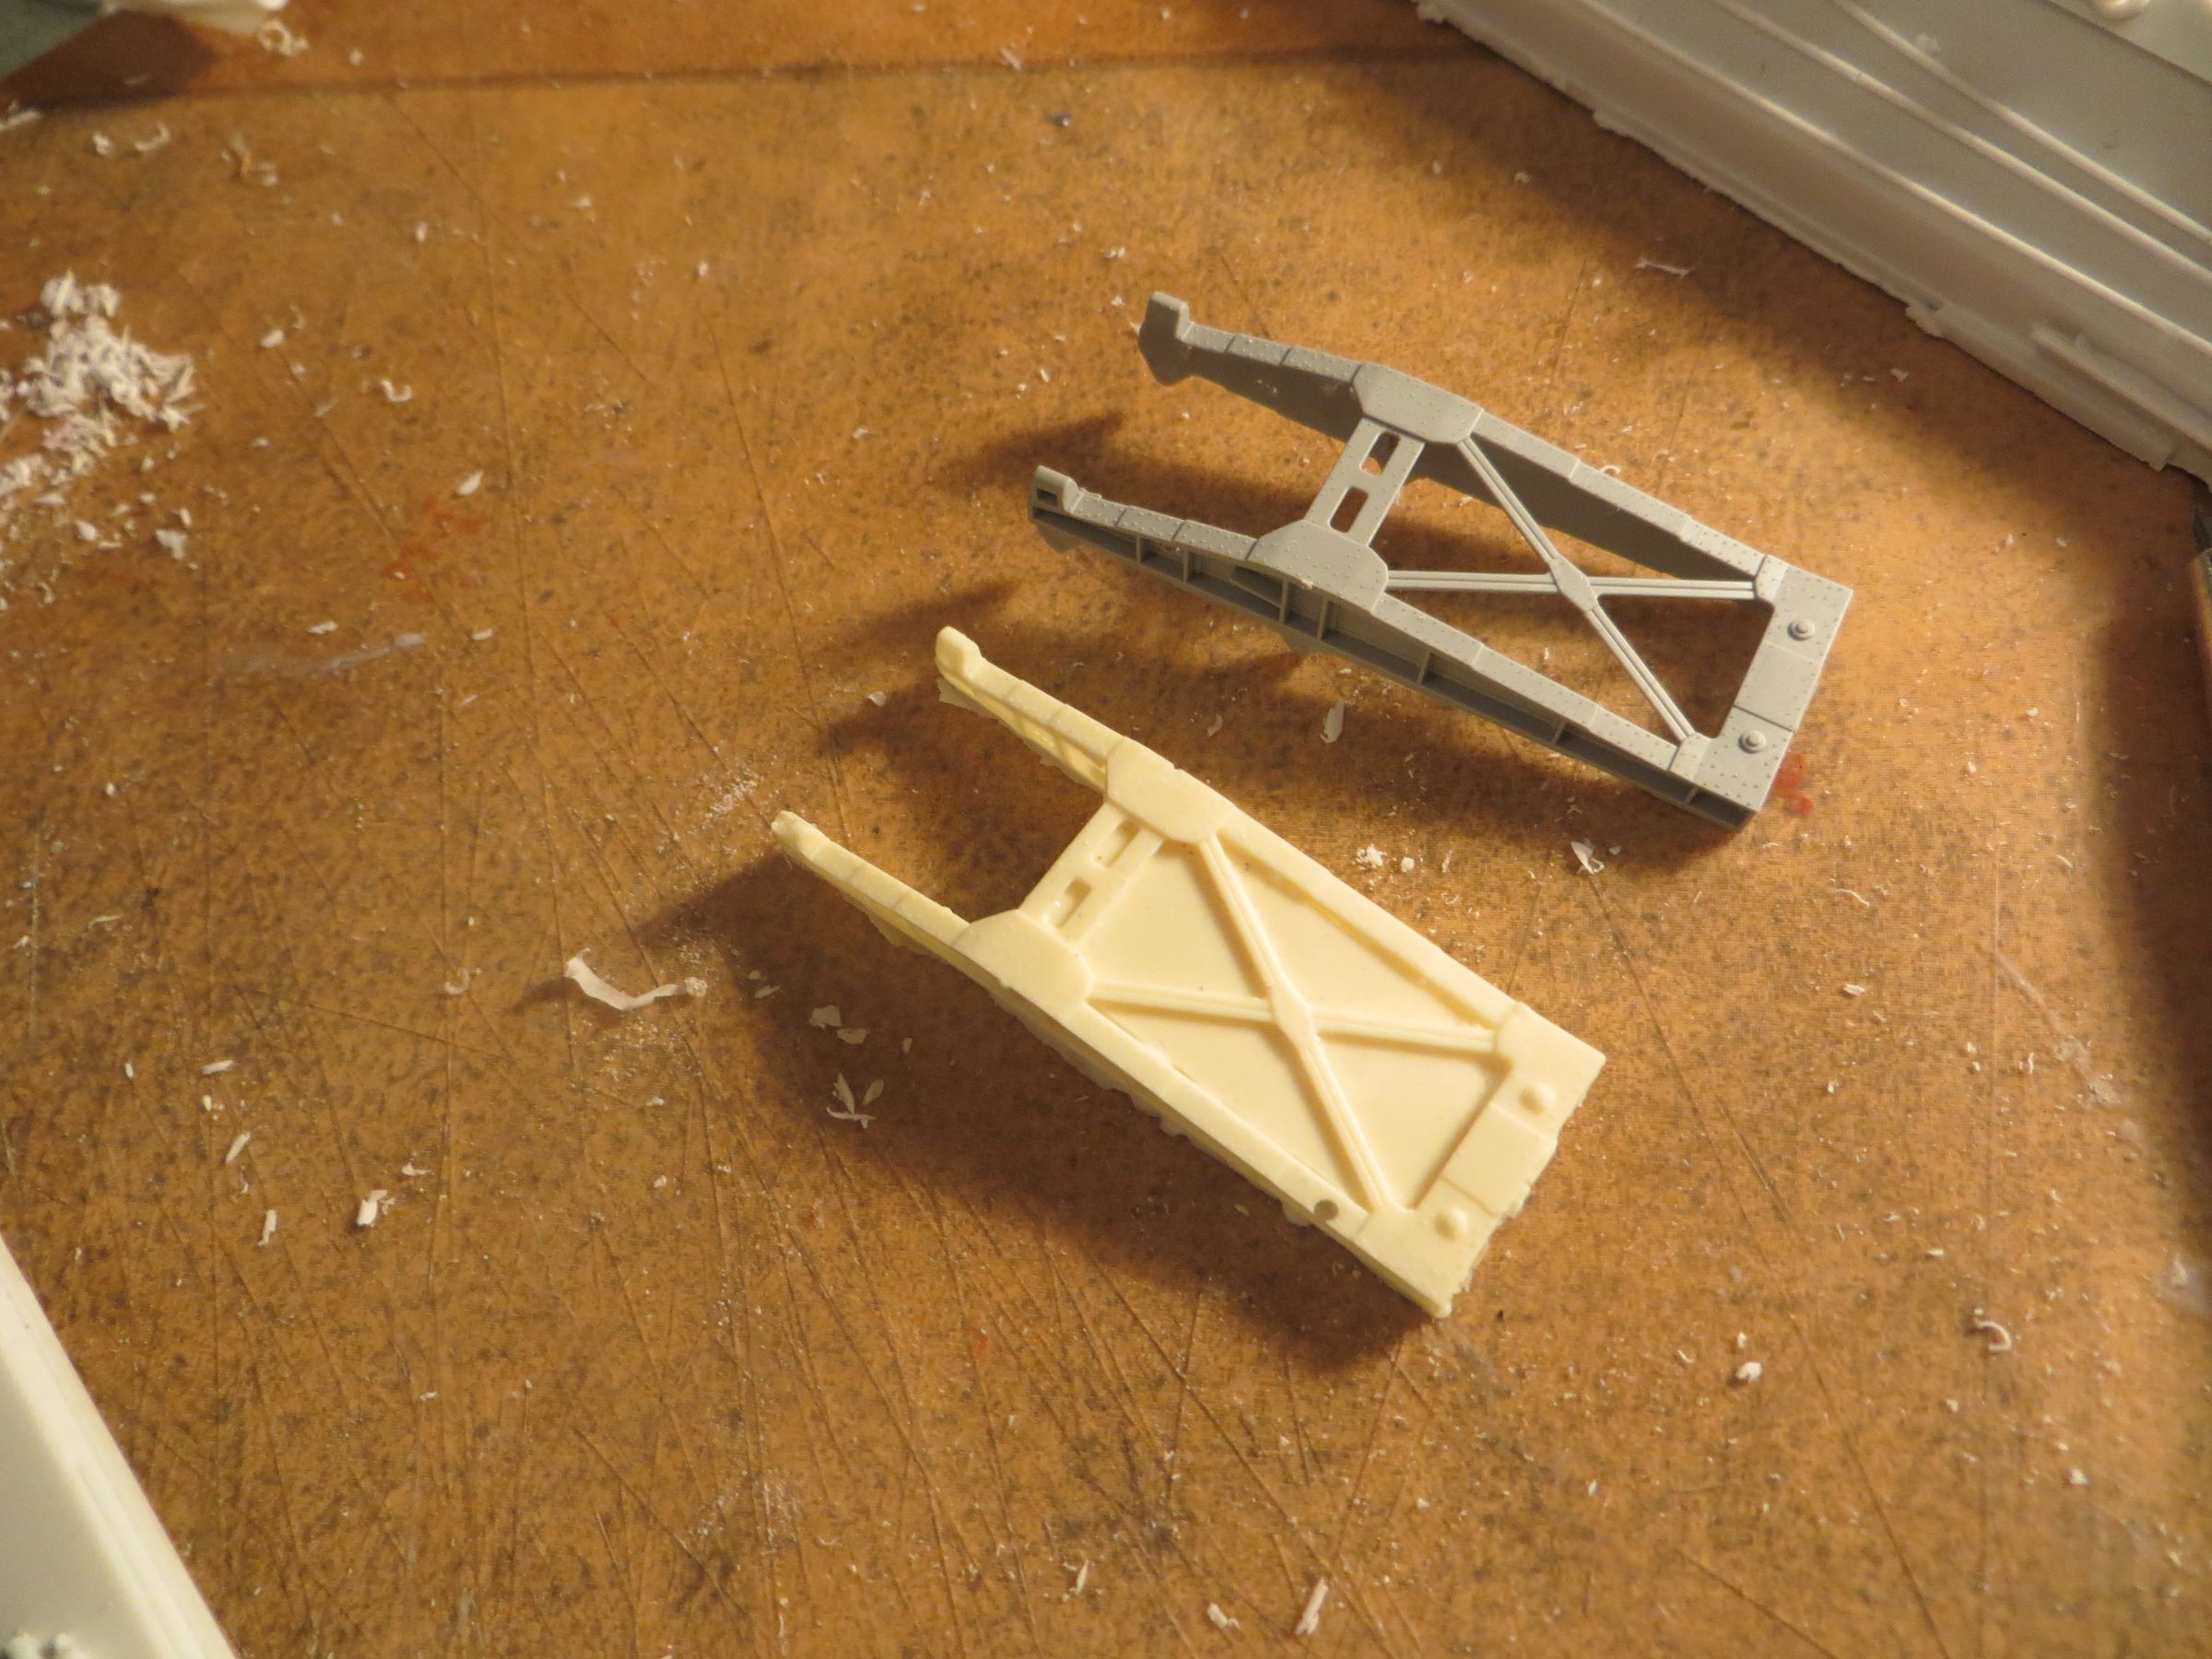
- On the back of the hangars, it's missing some raised lines (it needs 4 instead where they are 3 on the kit).


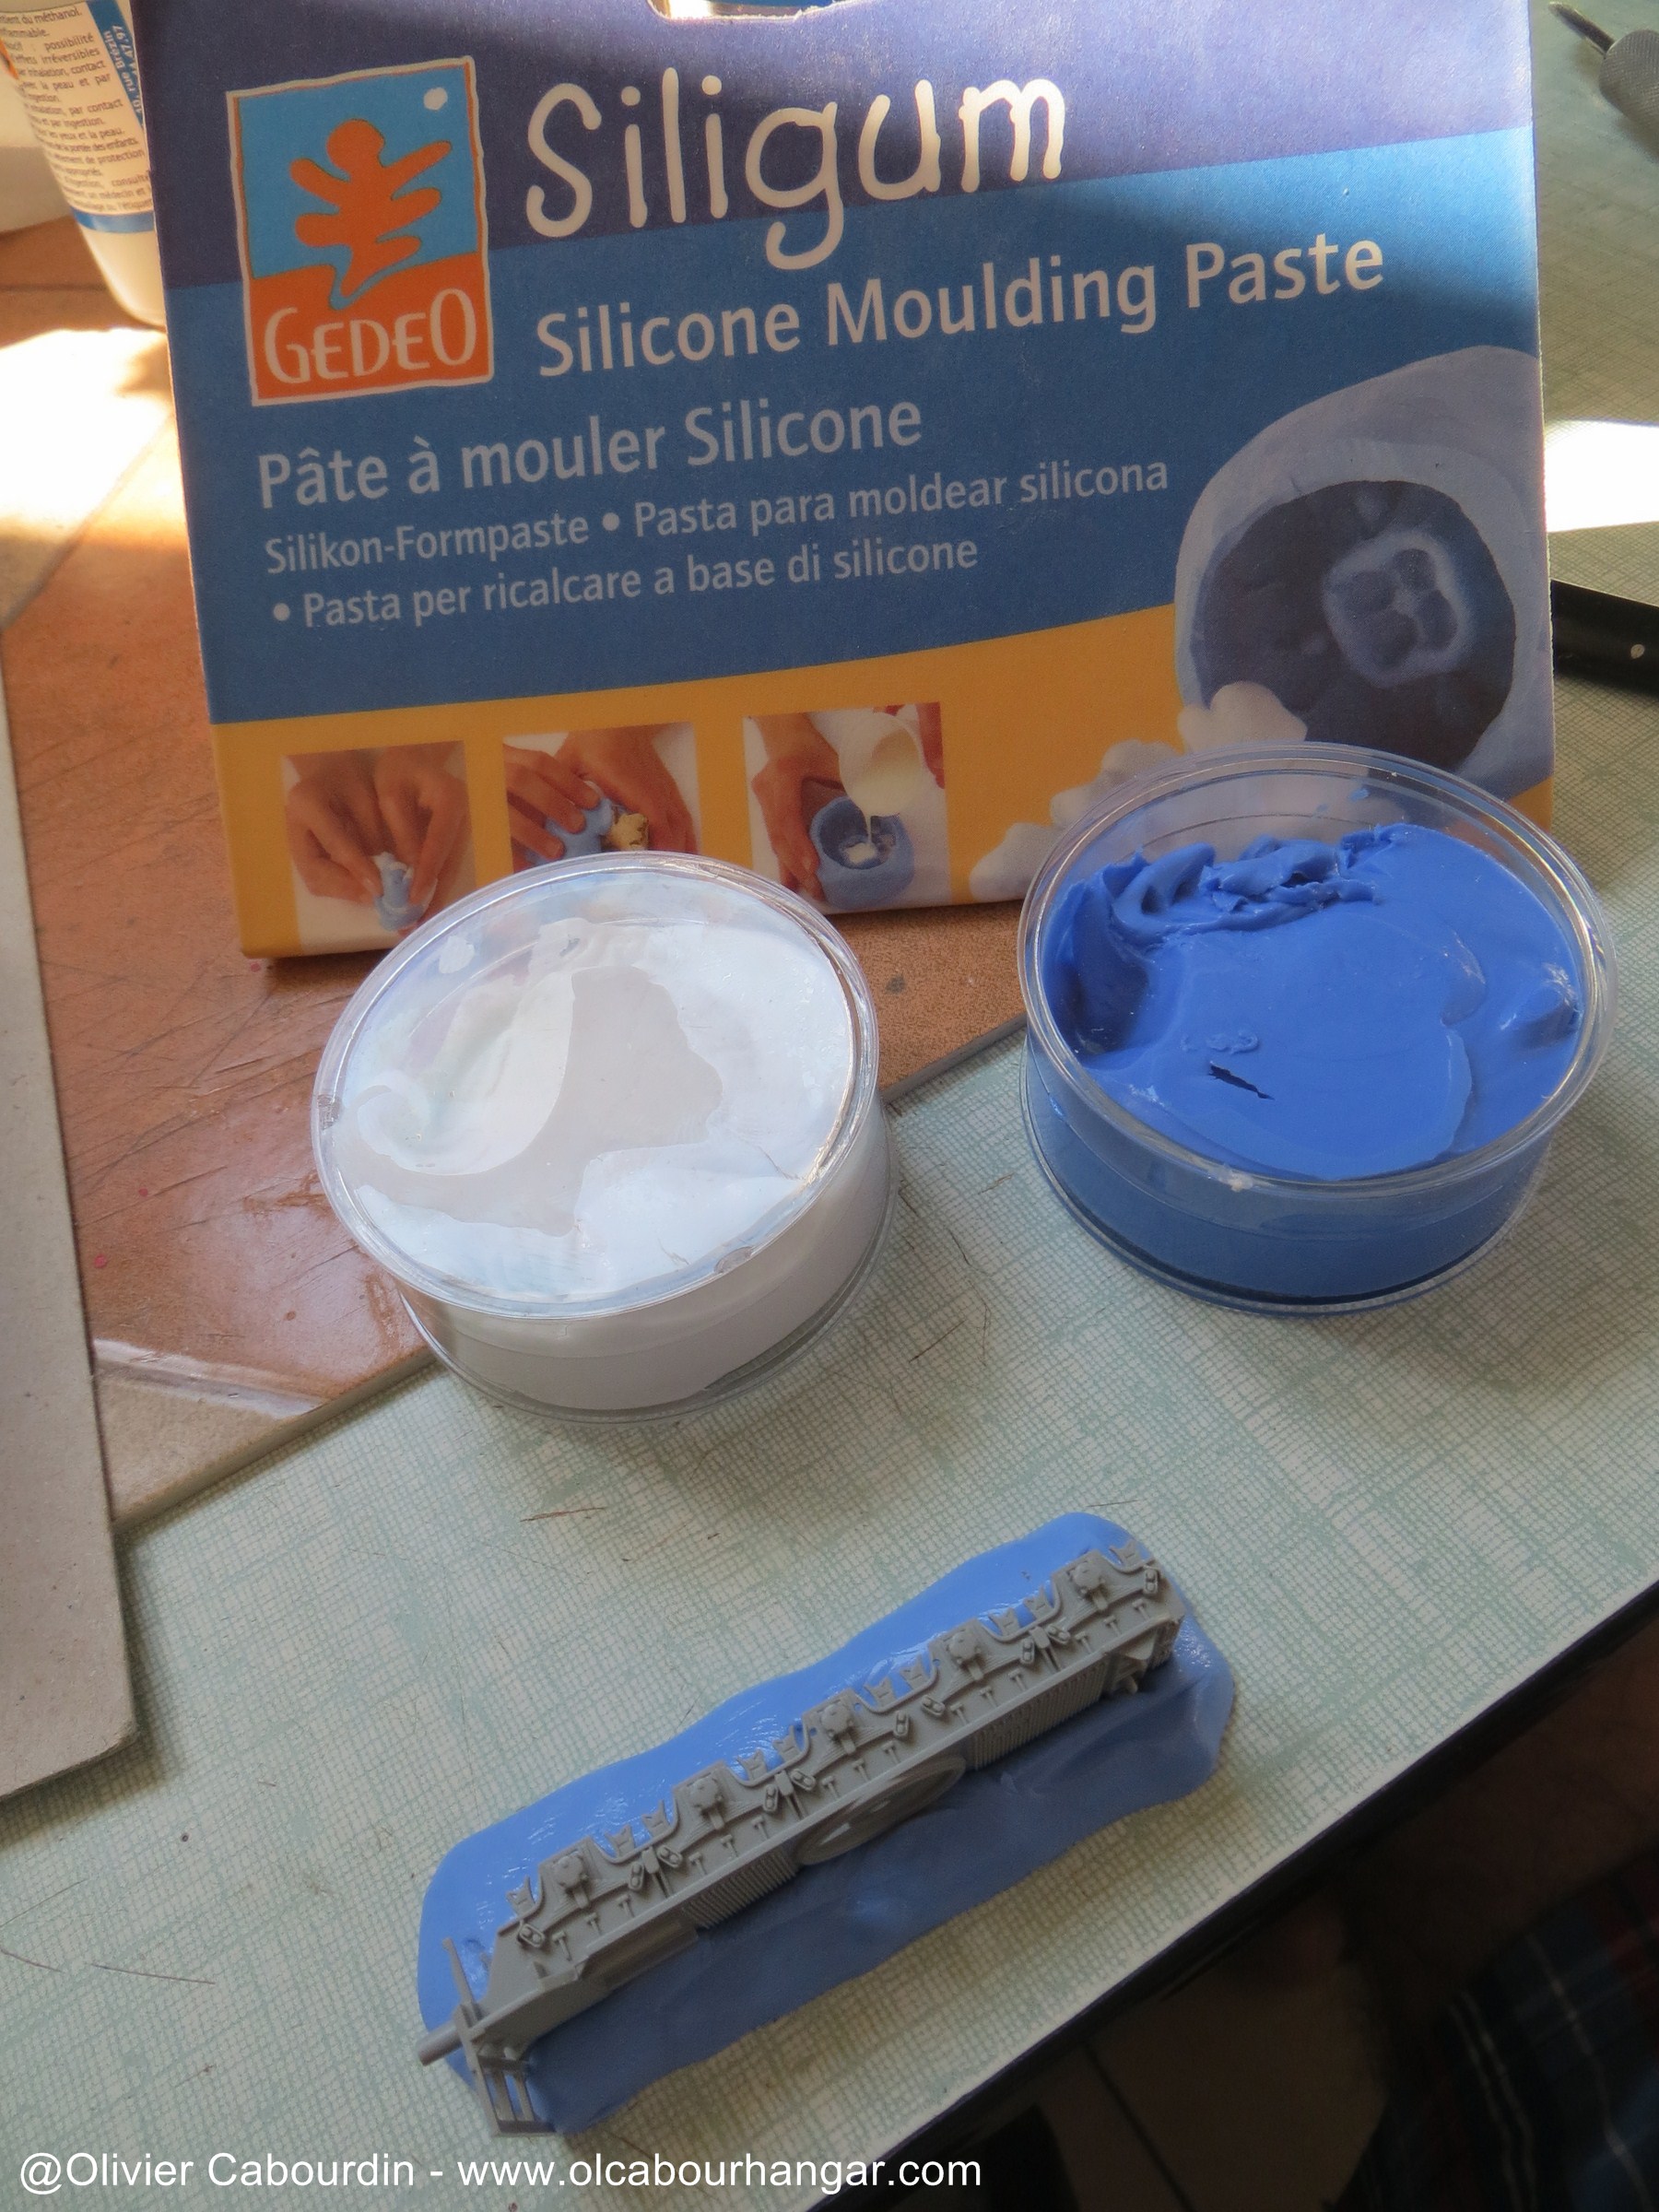
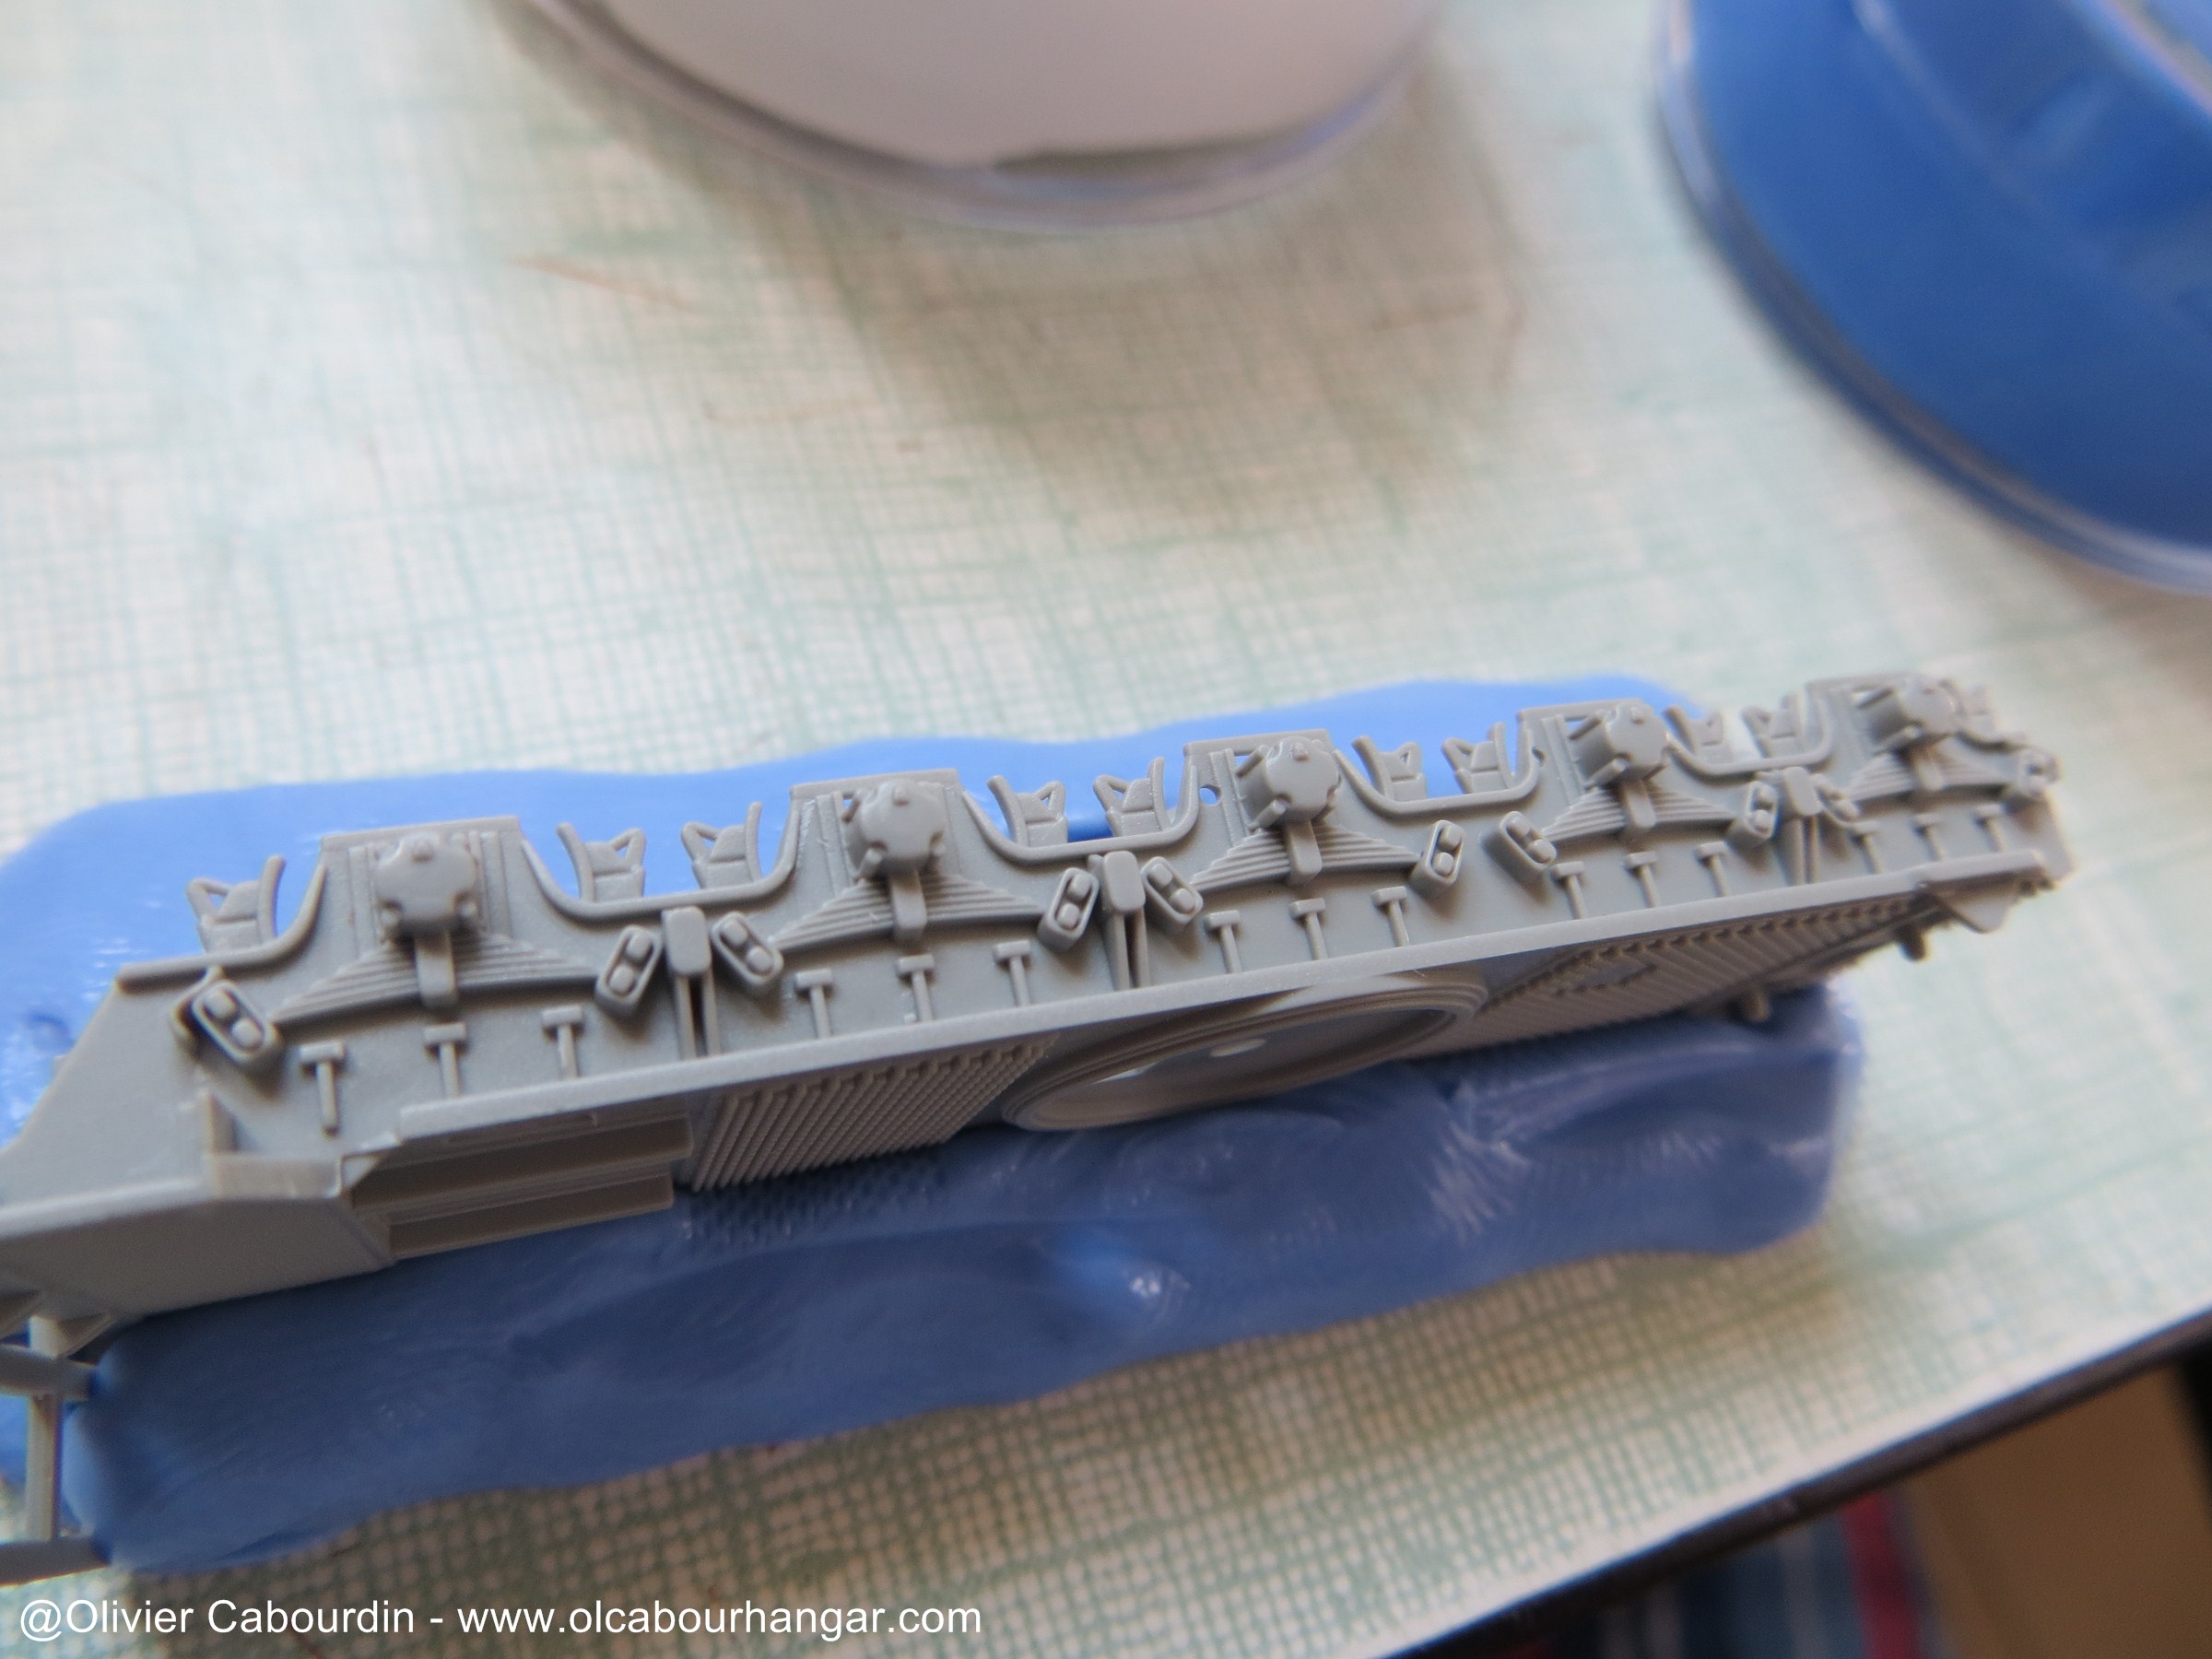
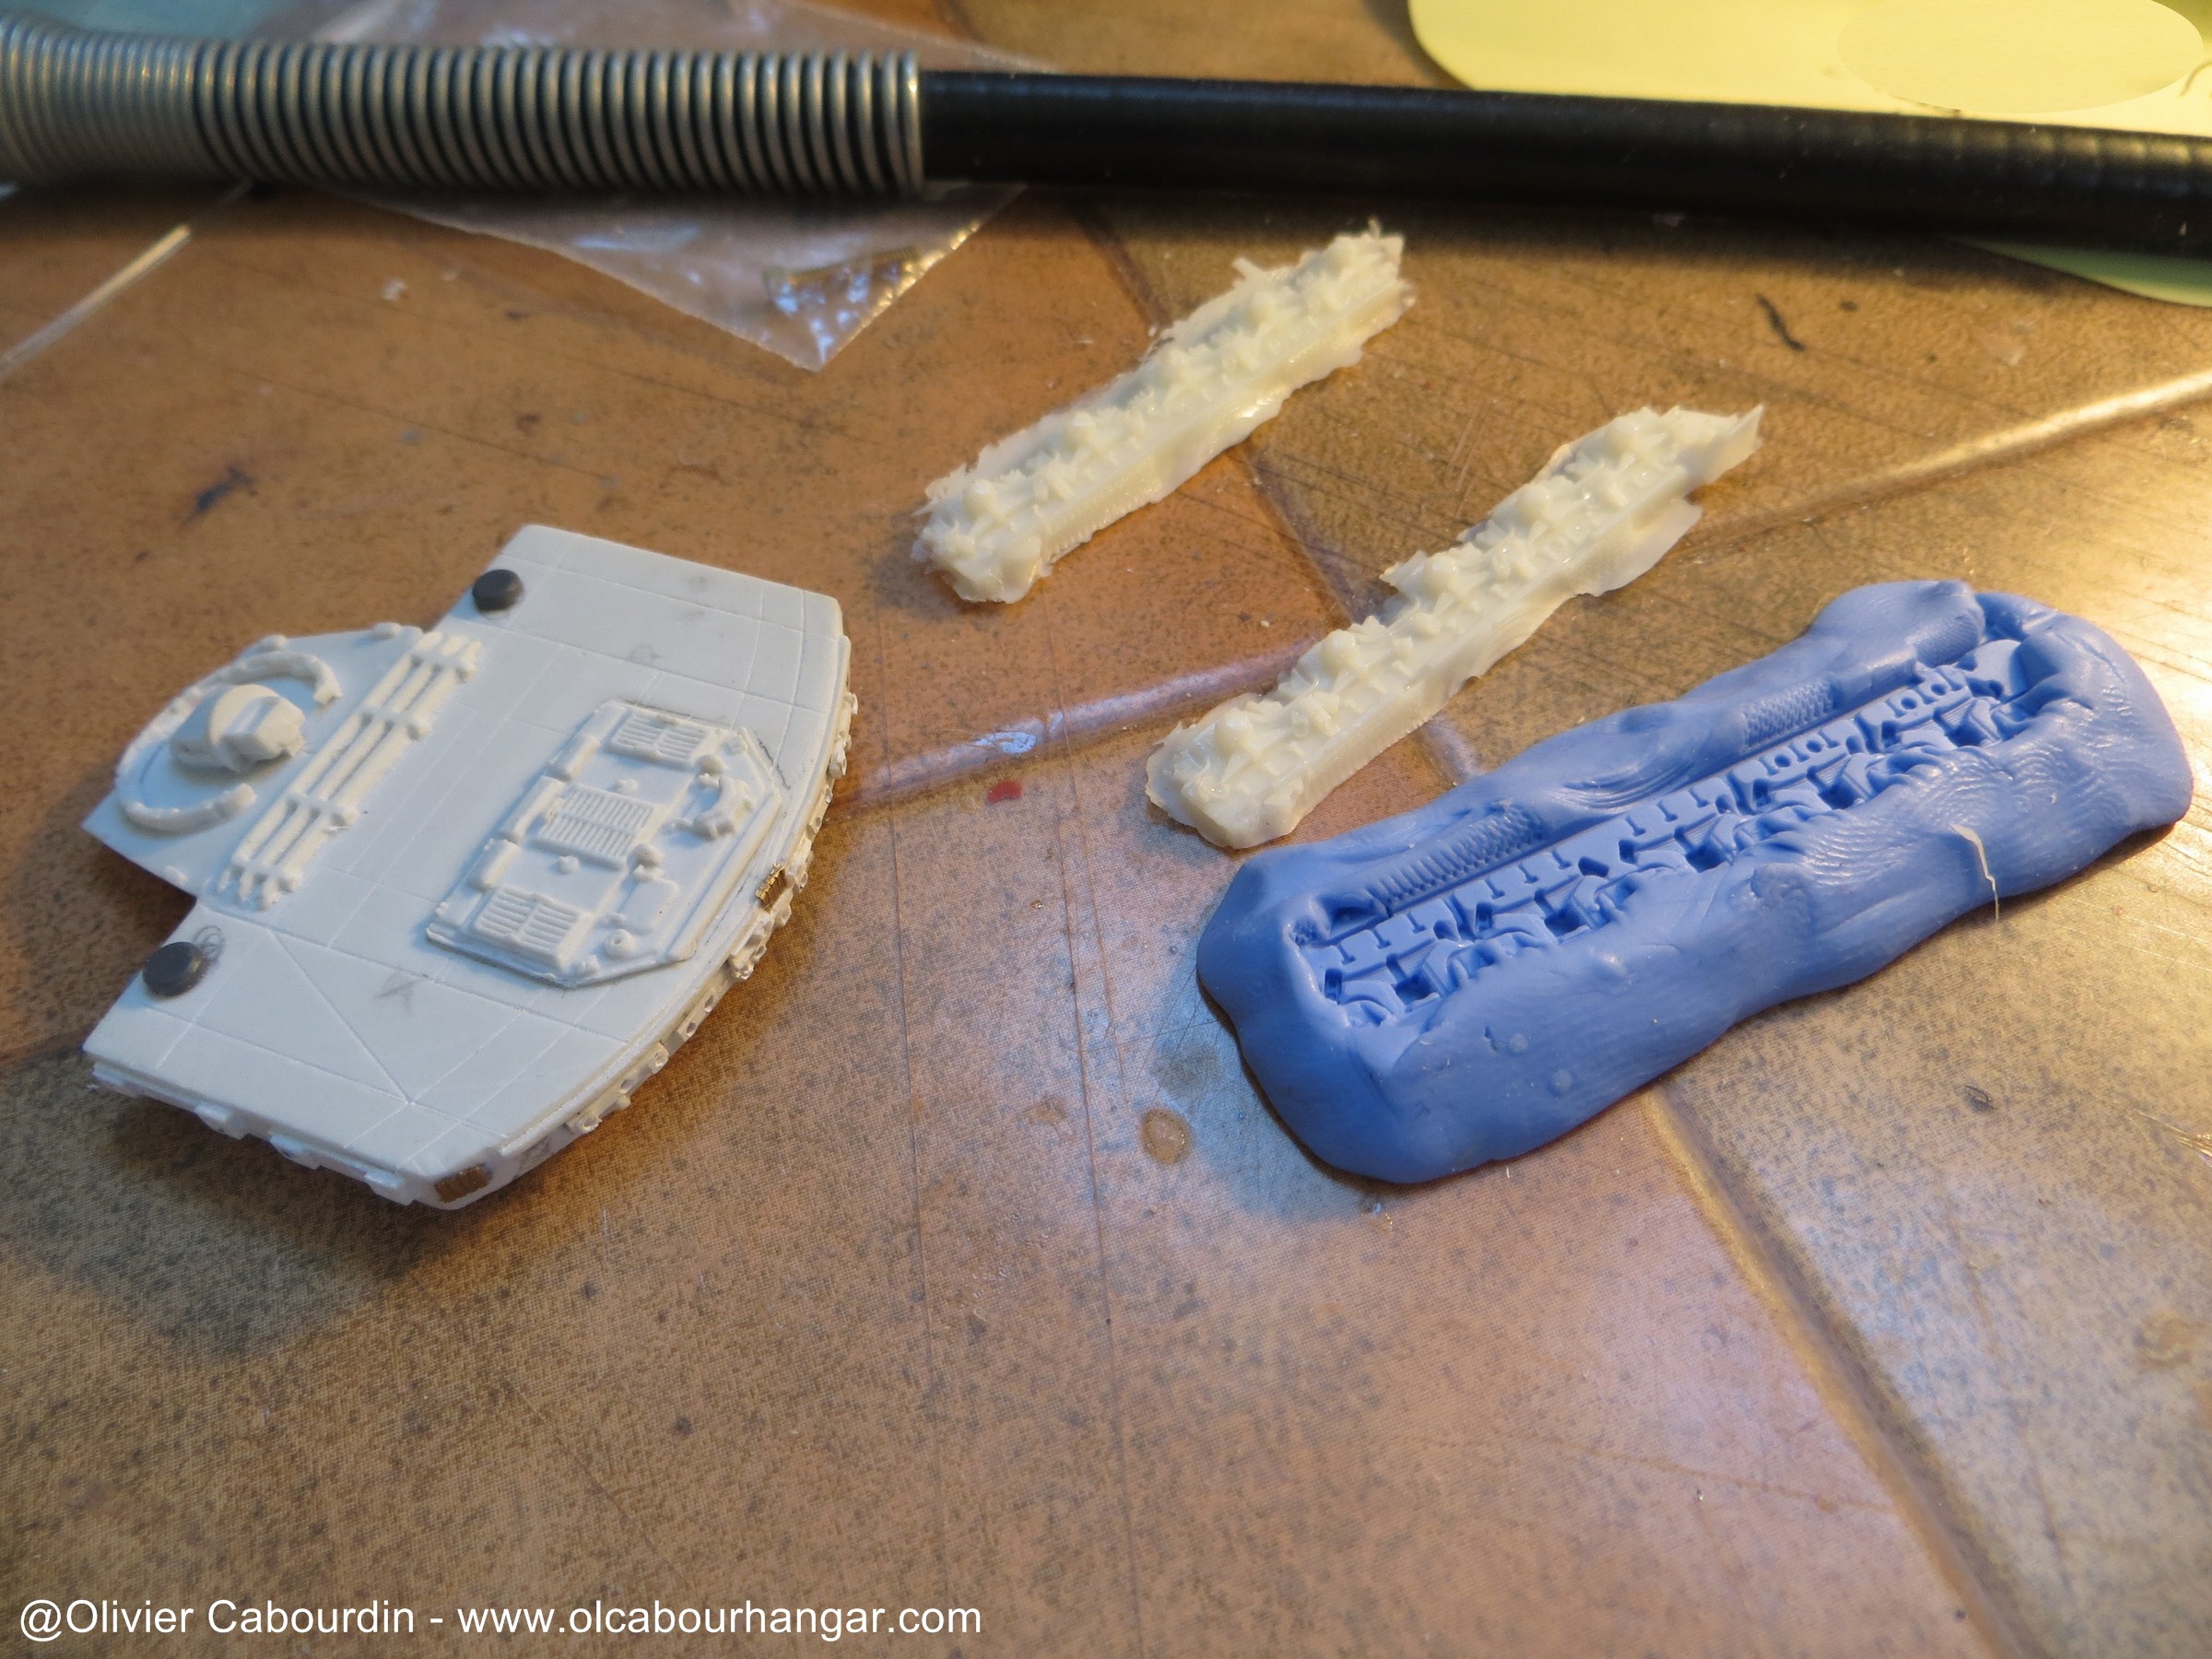
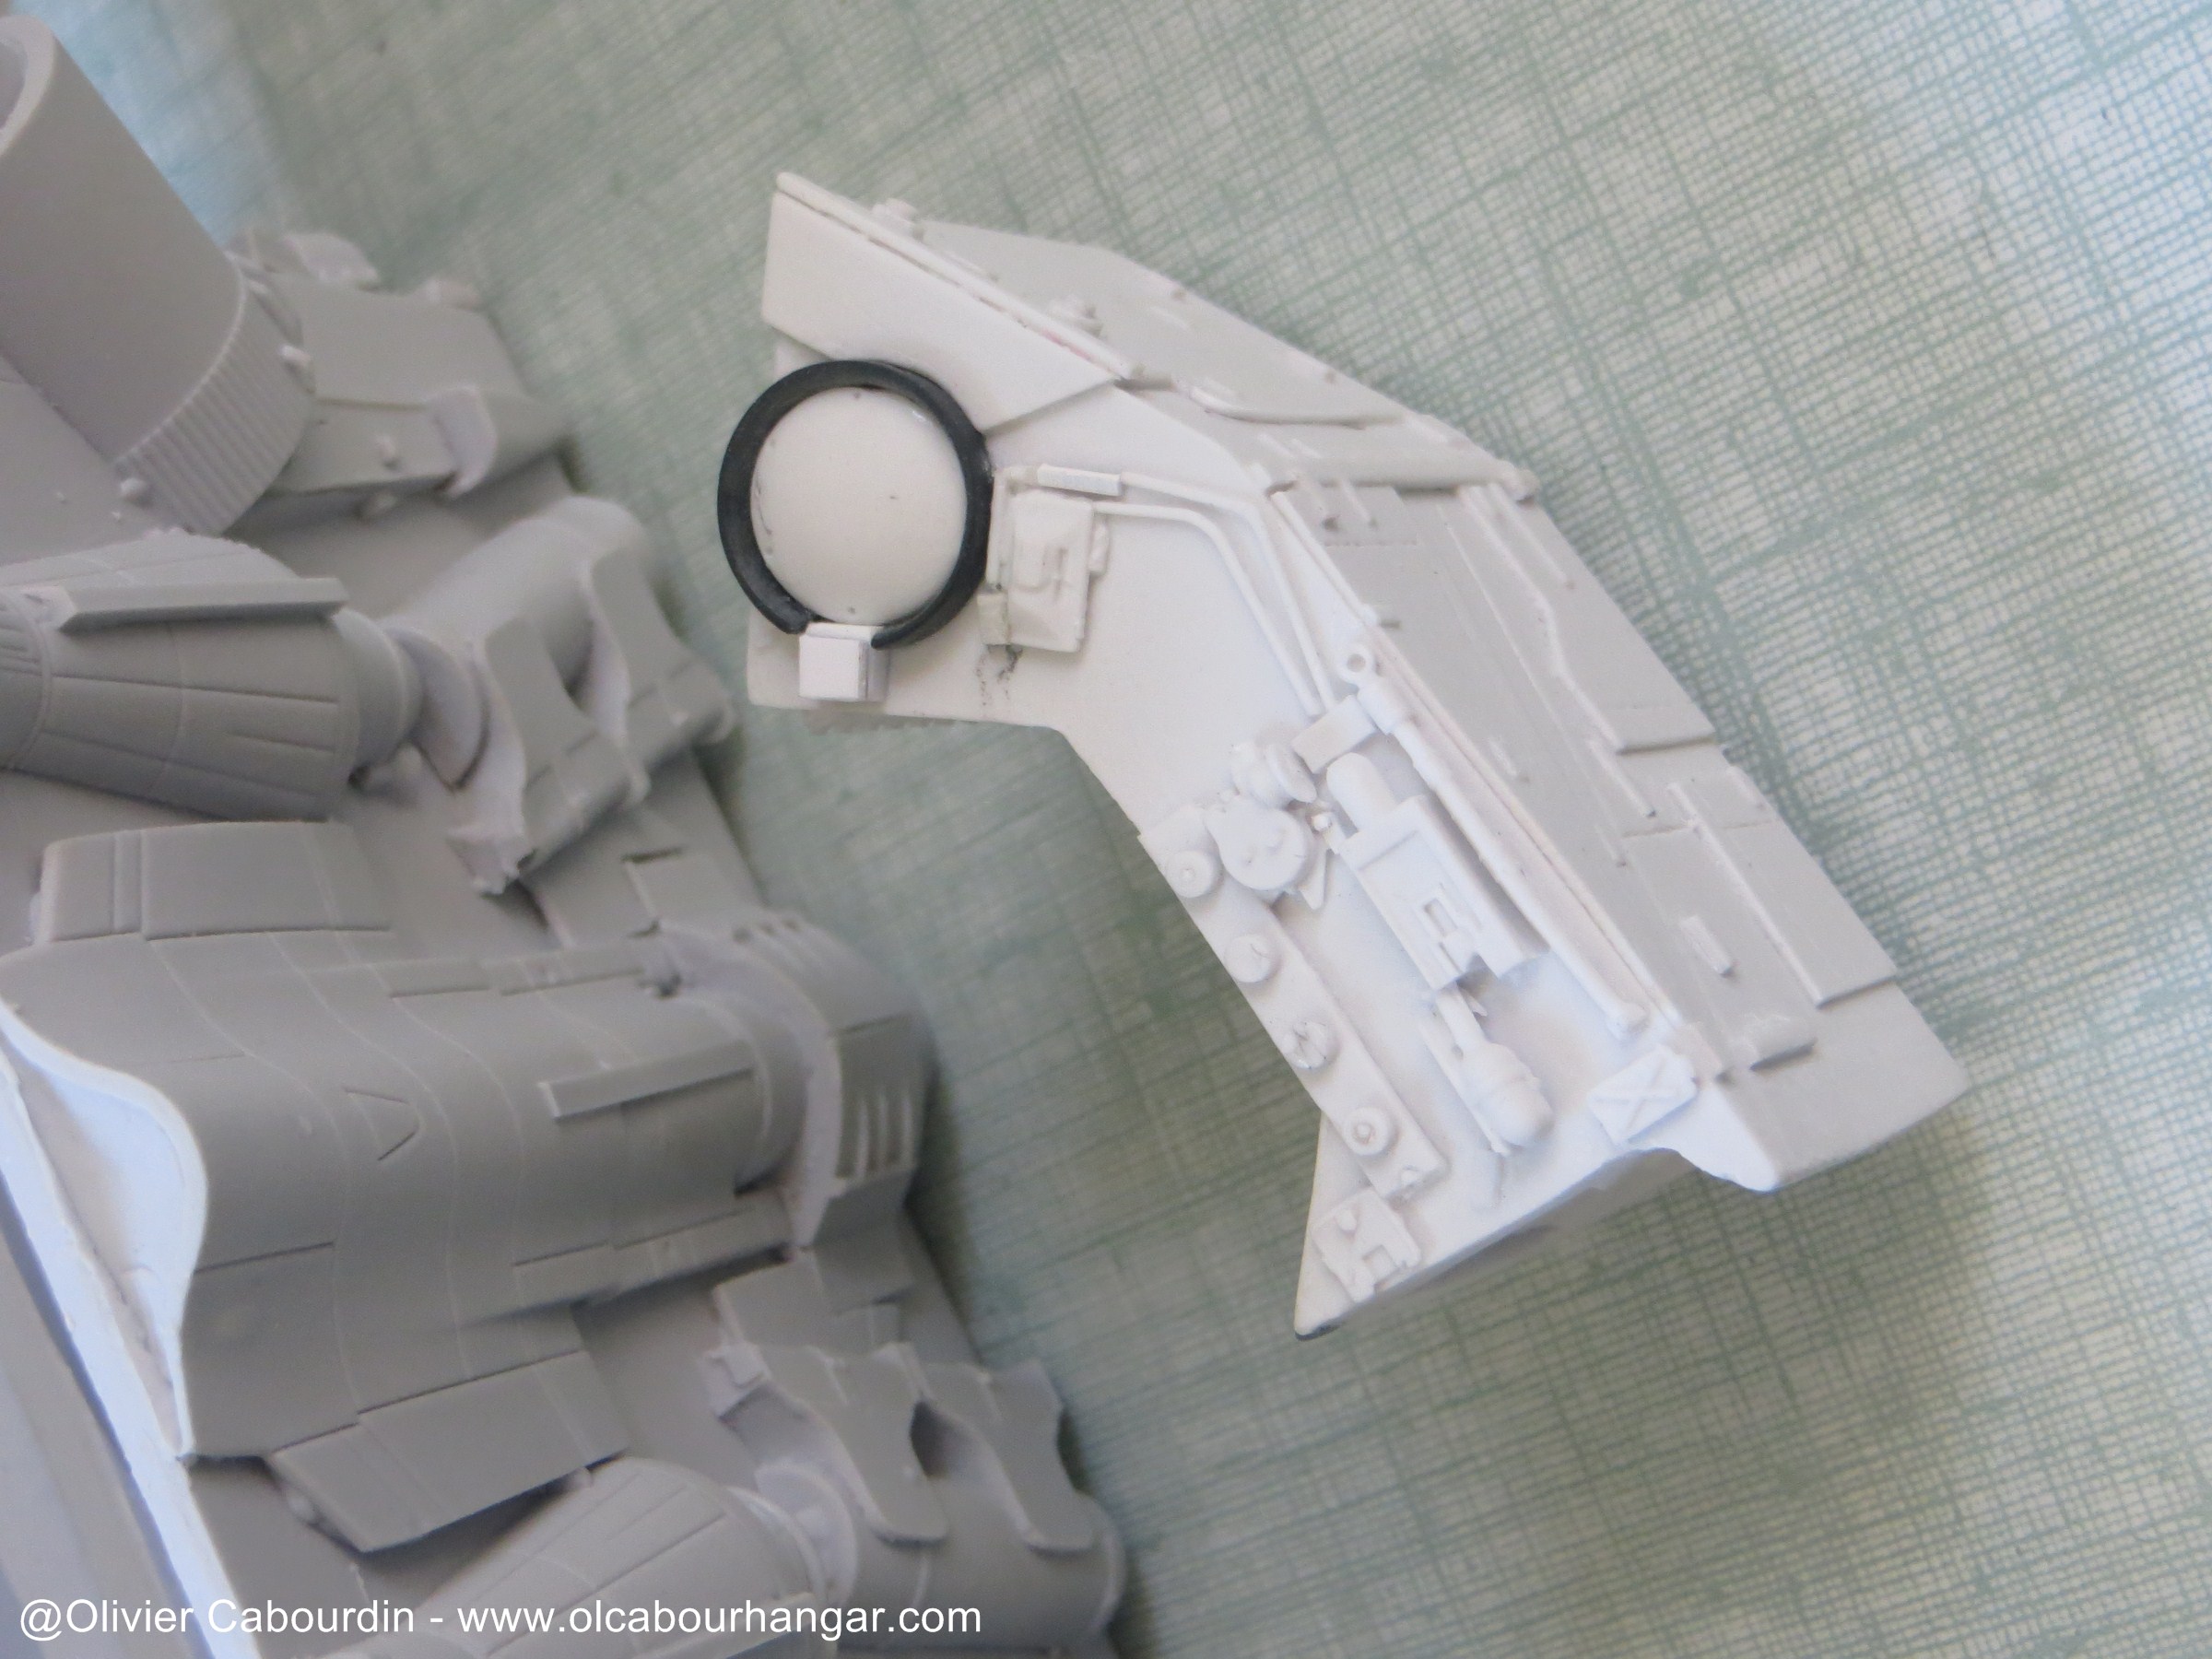
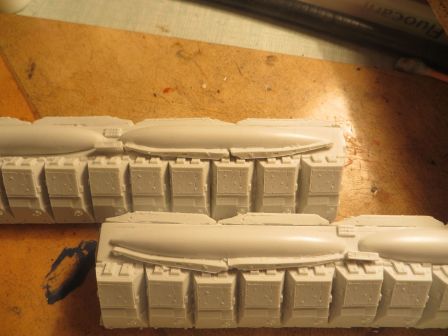
- The alignment of the panzer bodies on the engine module is not great. Too bad, because it will have to stay like that.


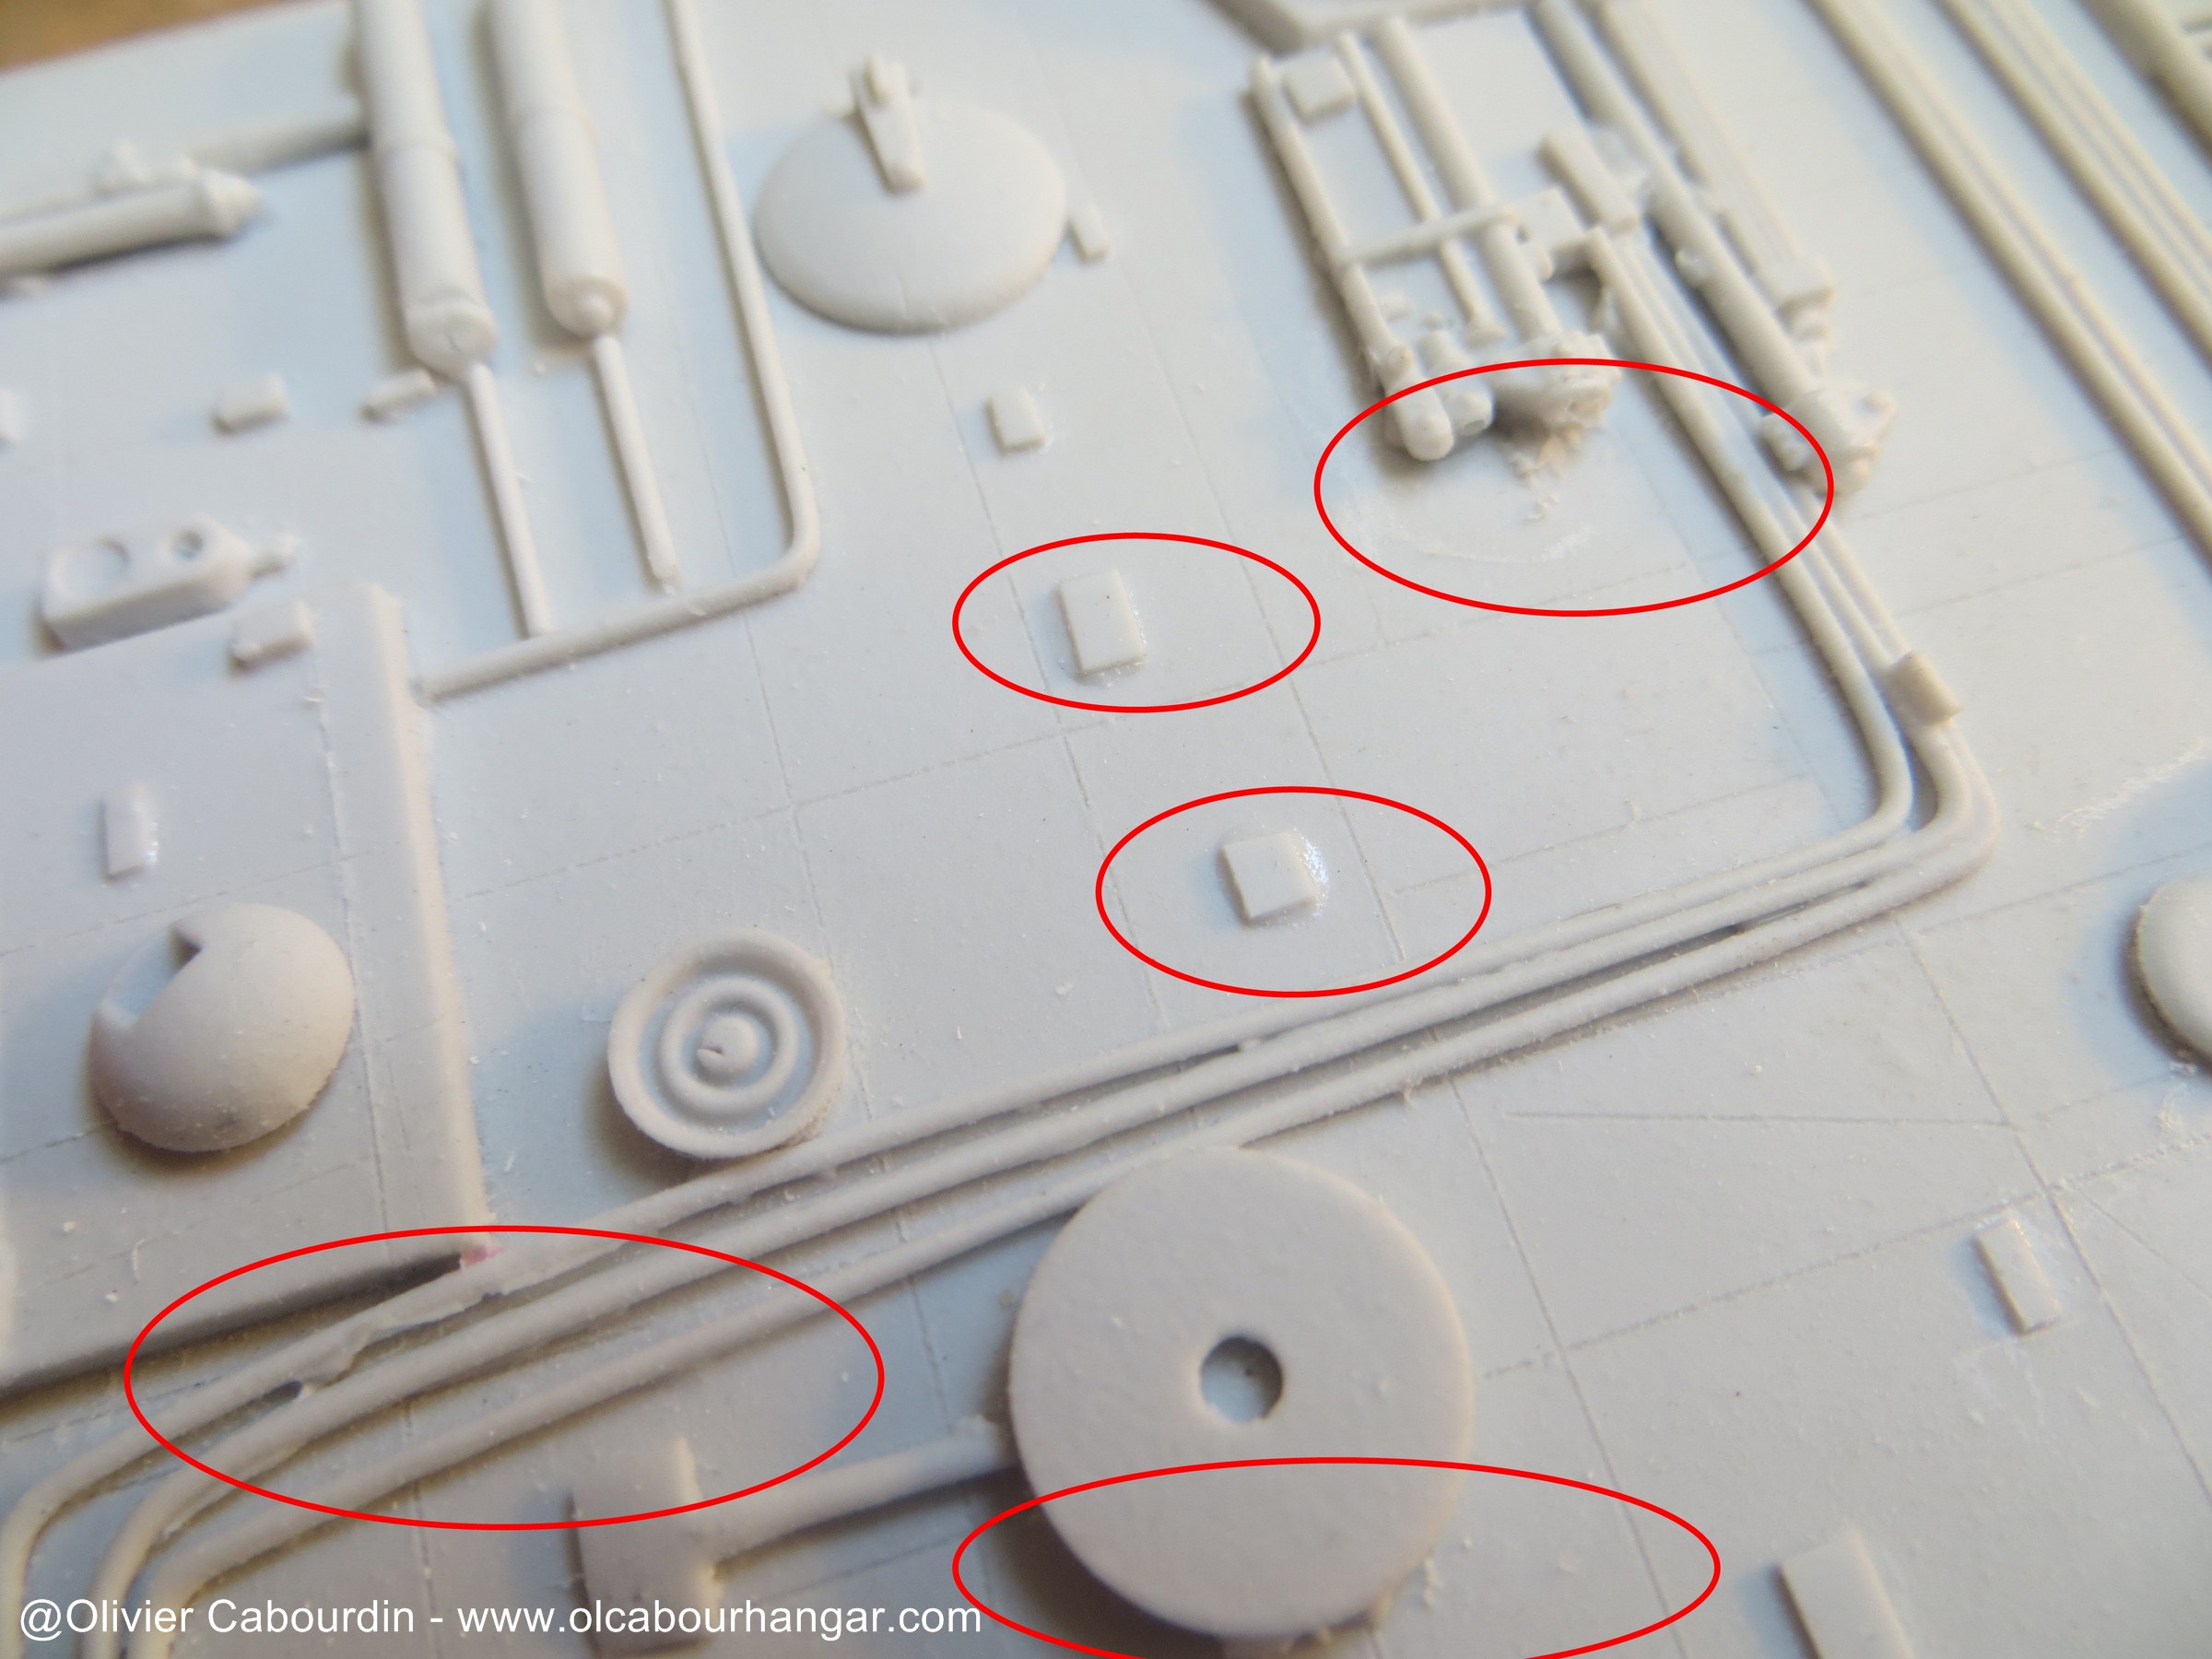
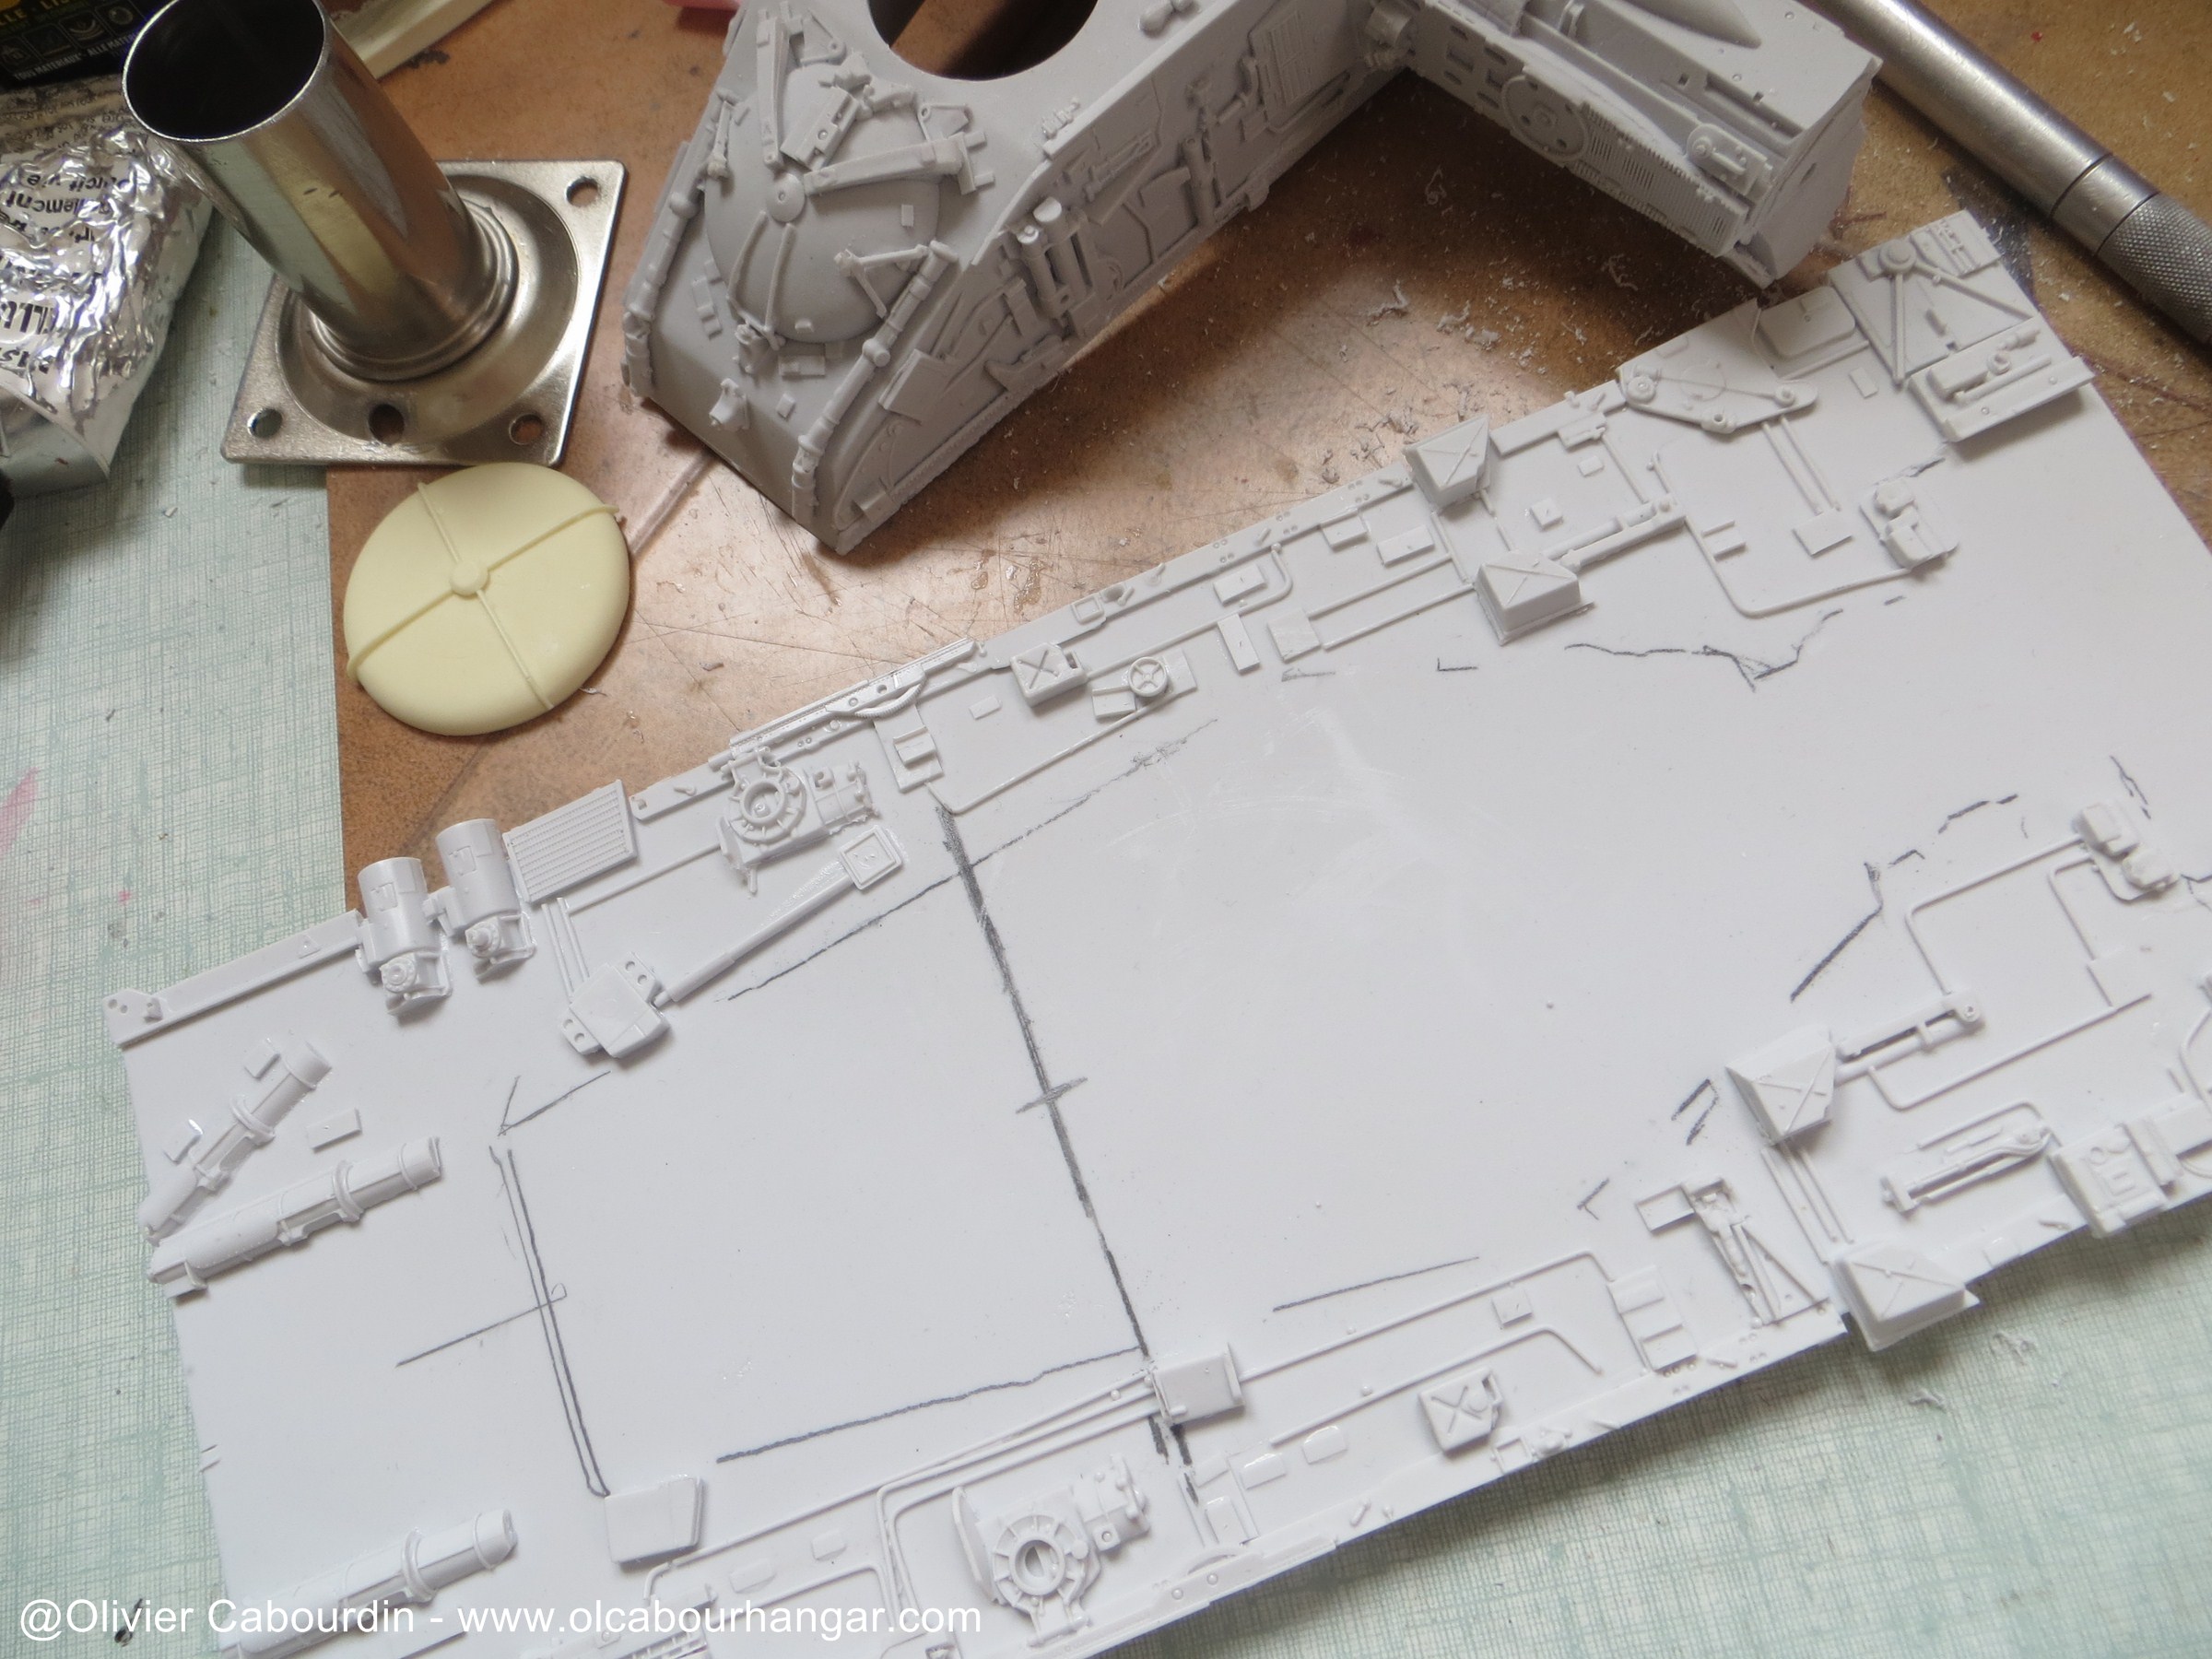
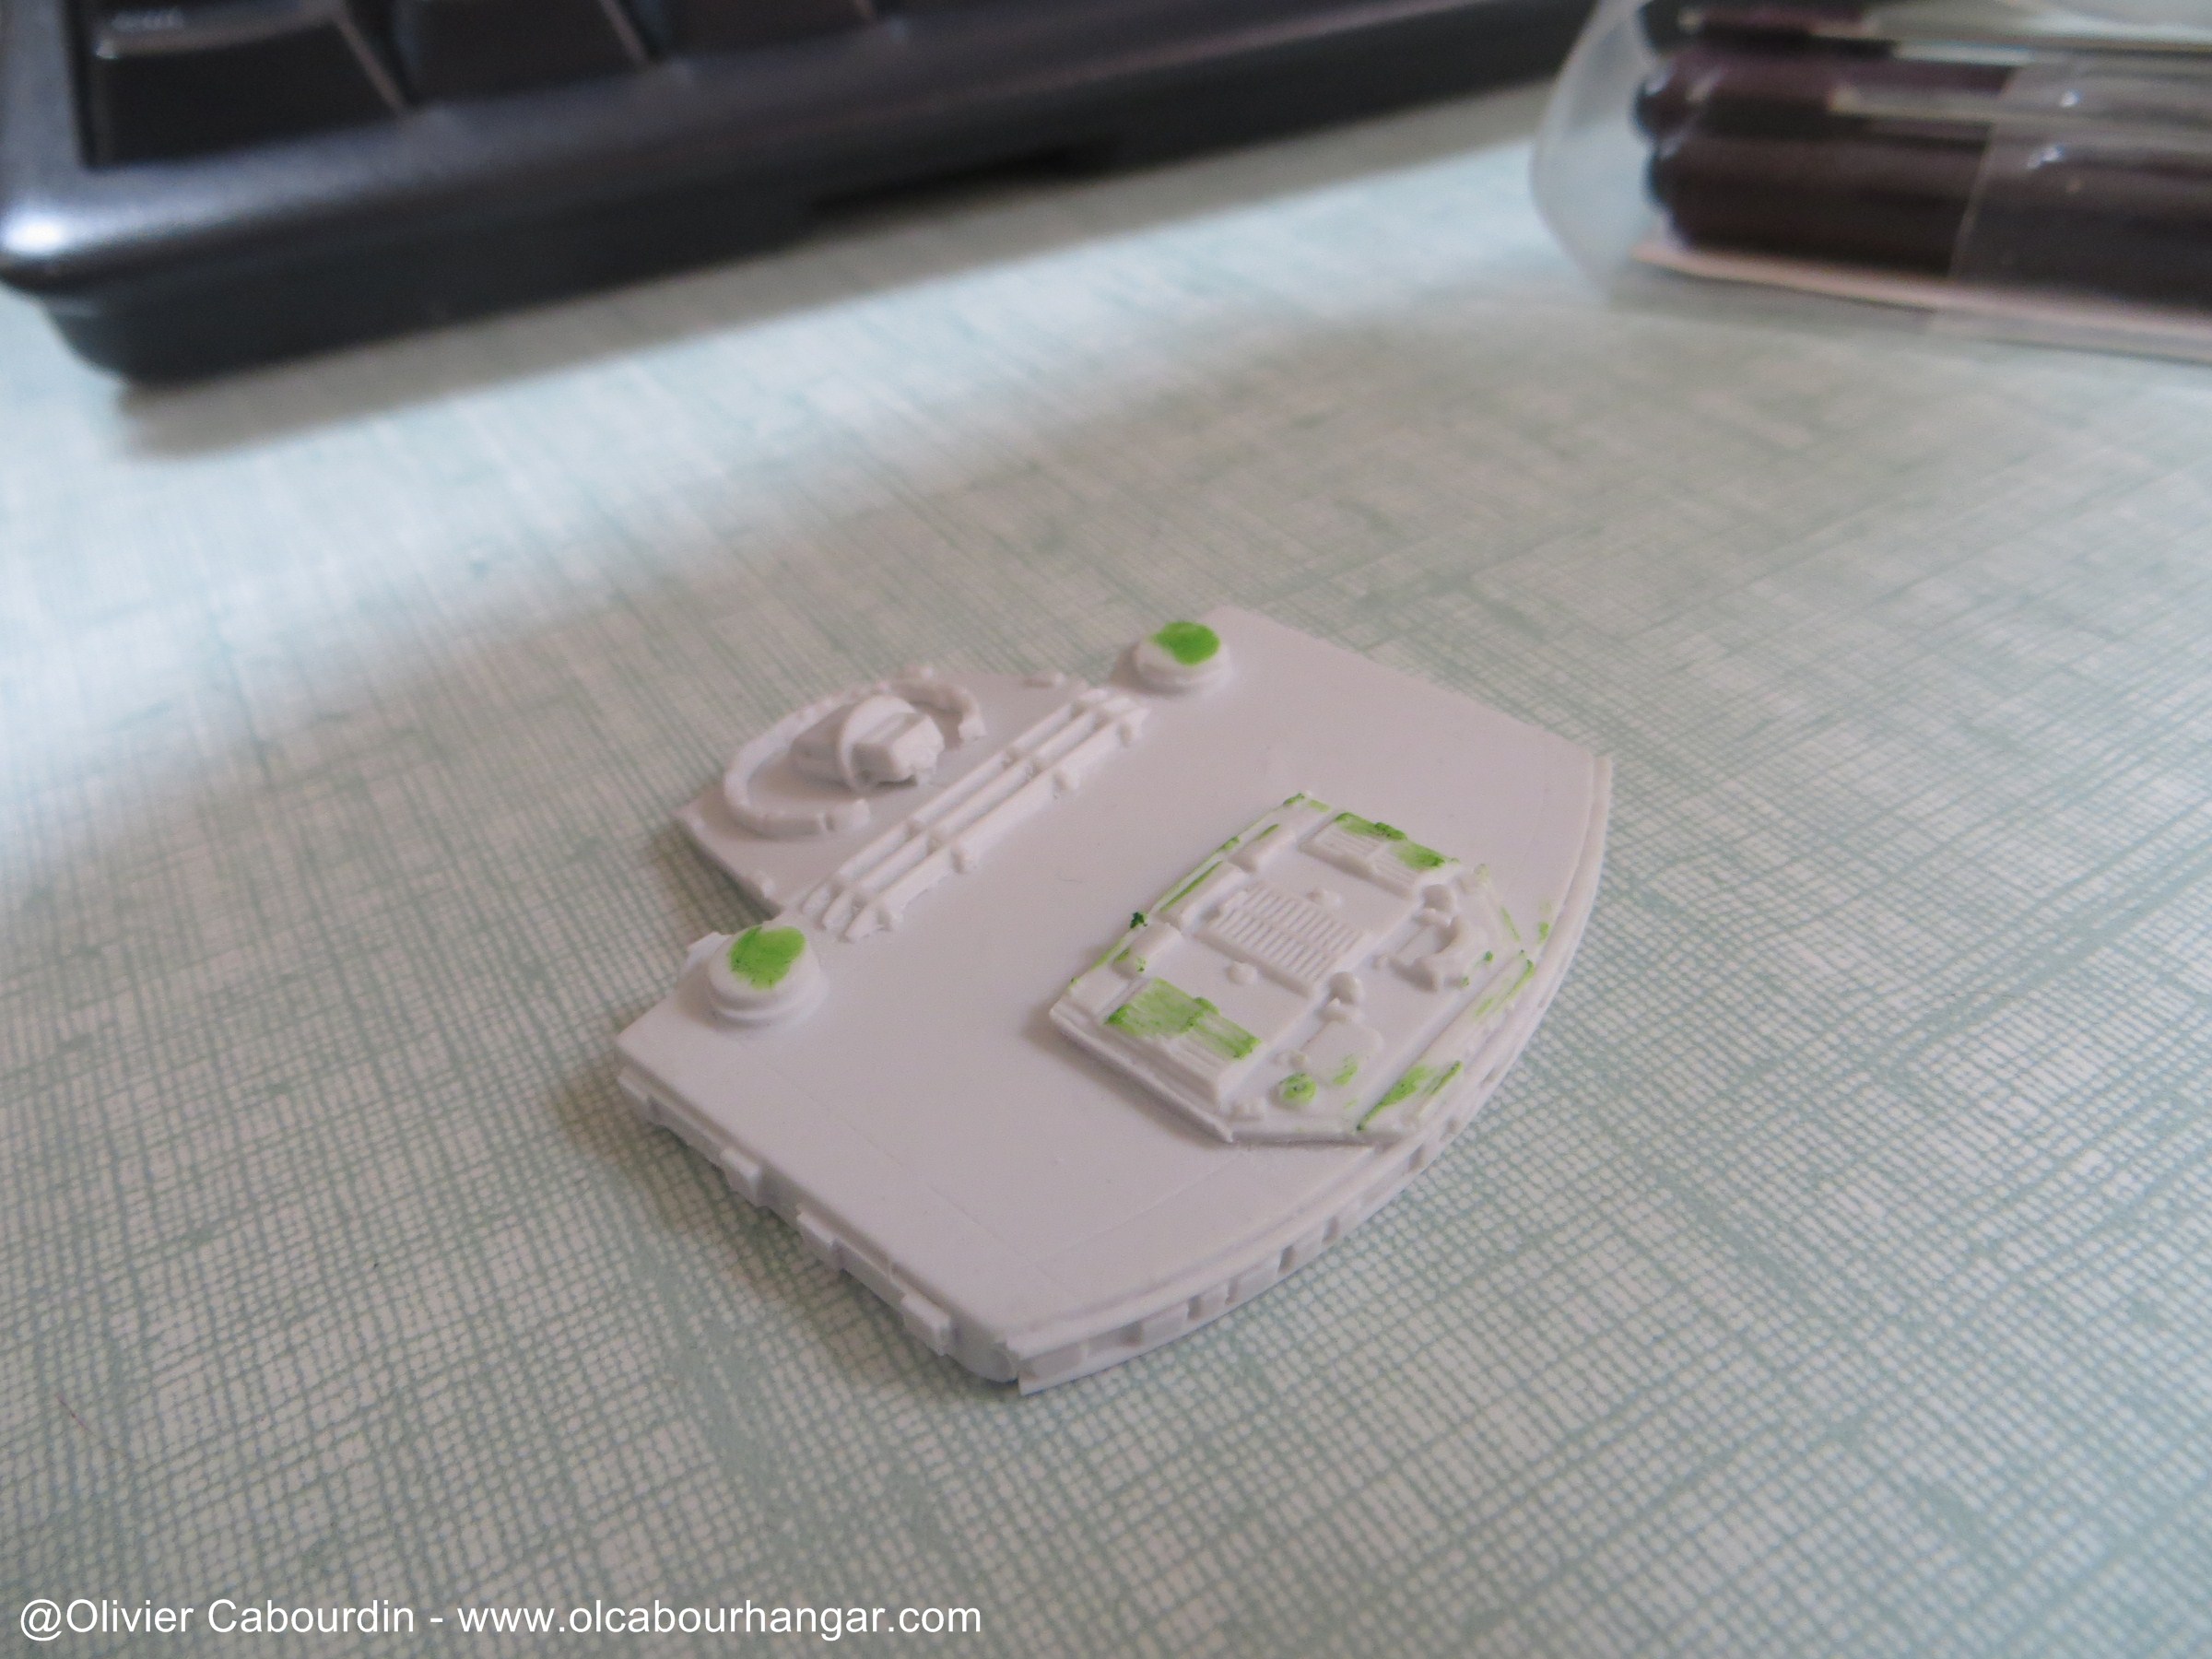
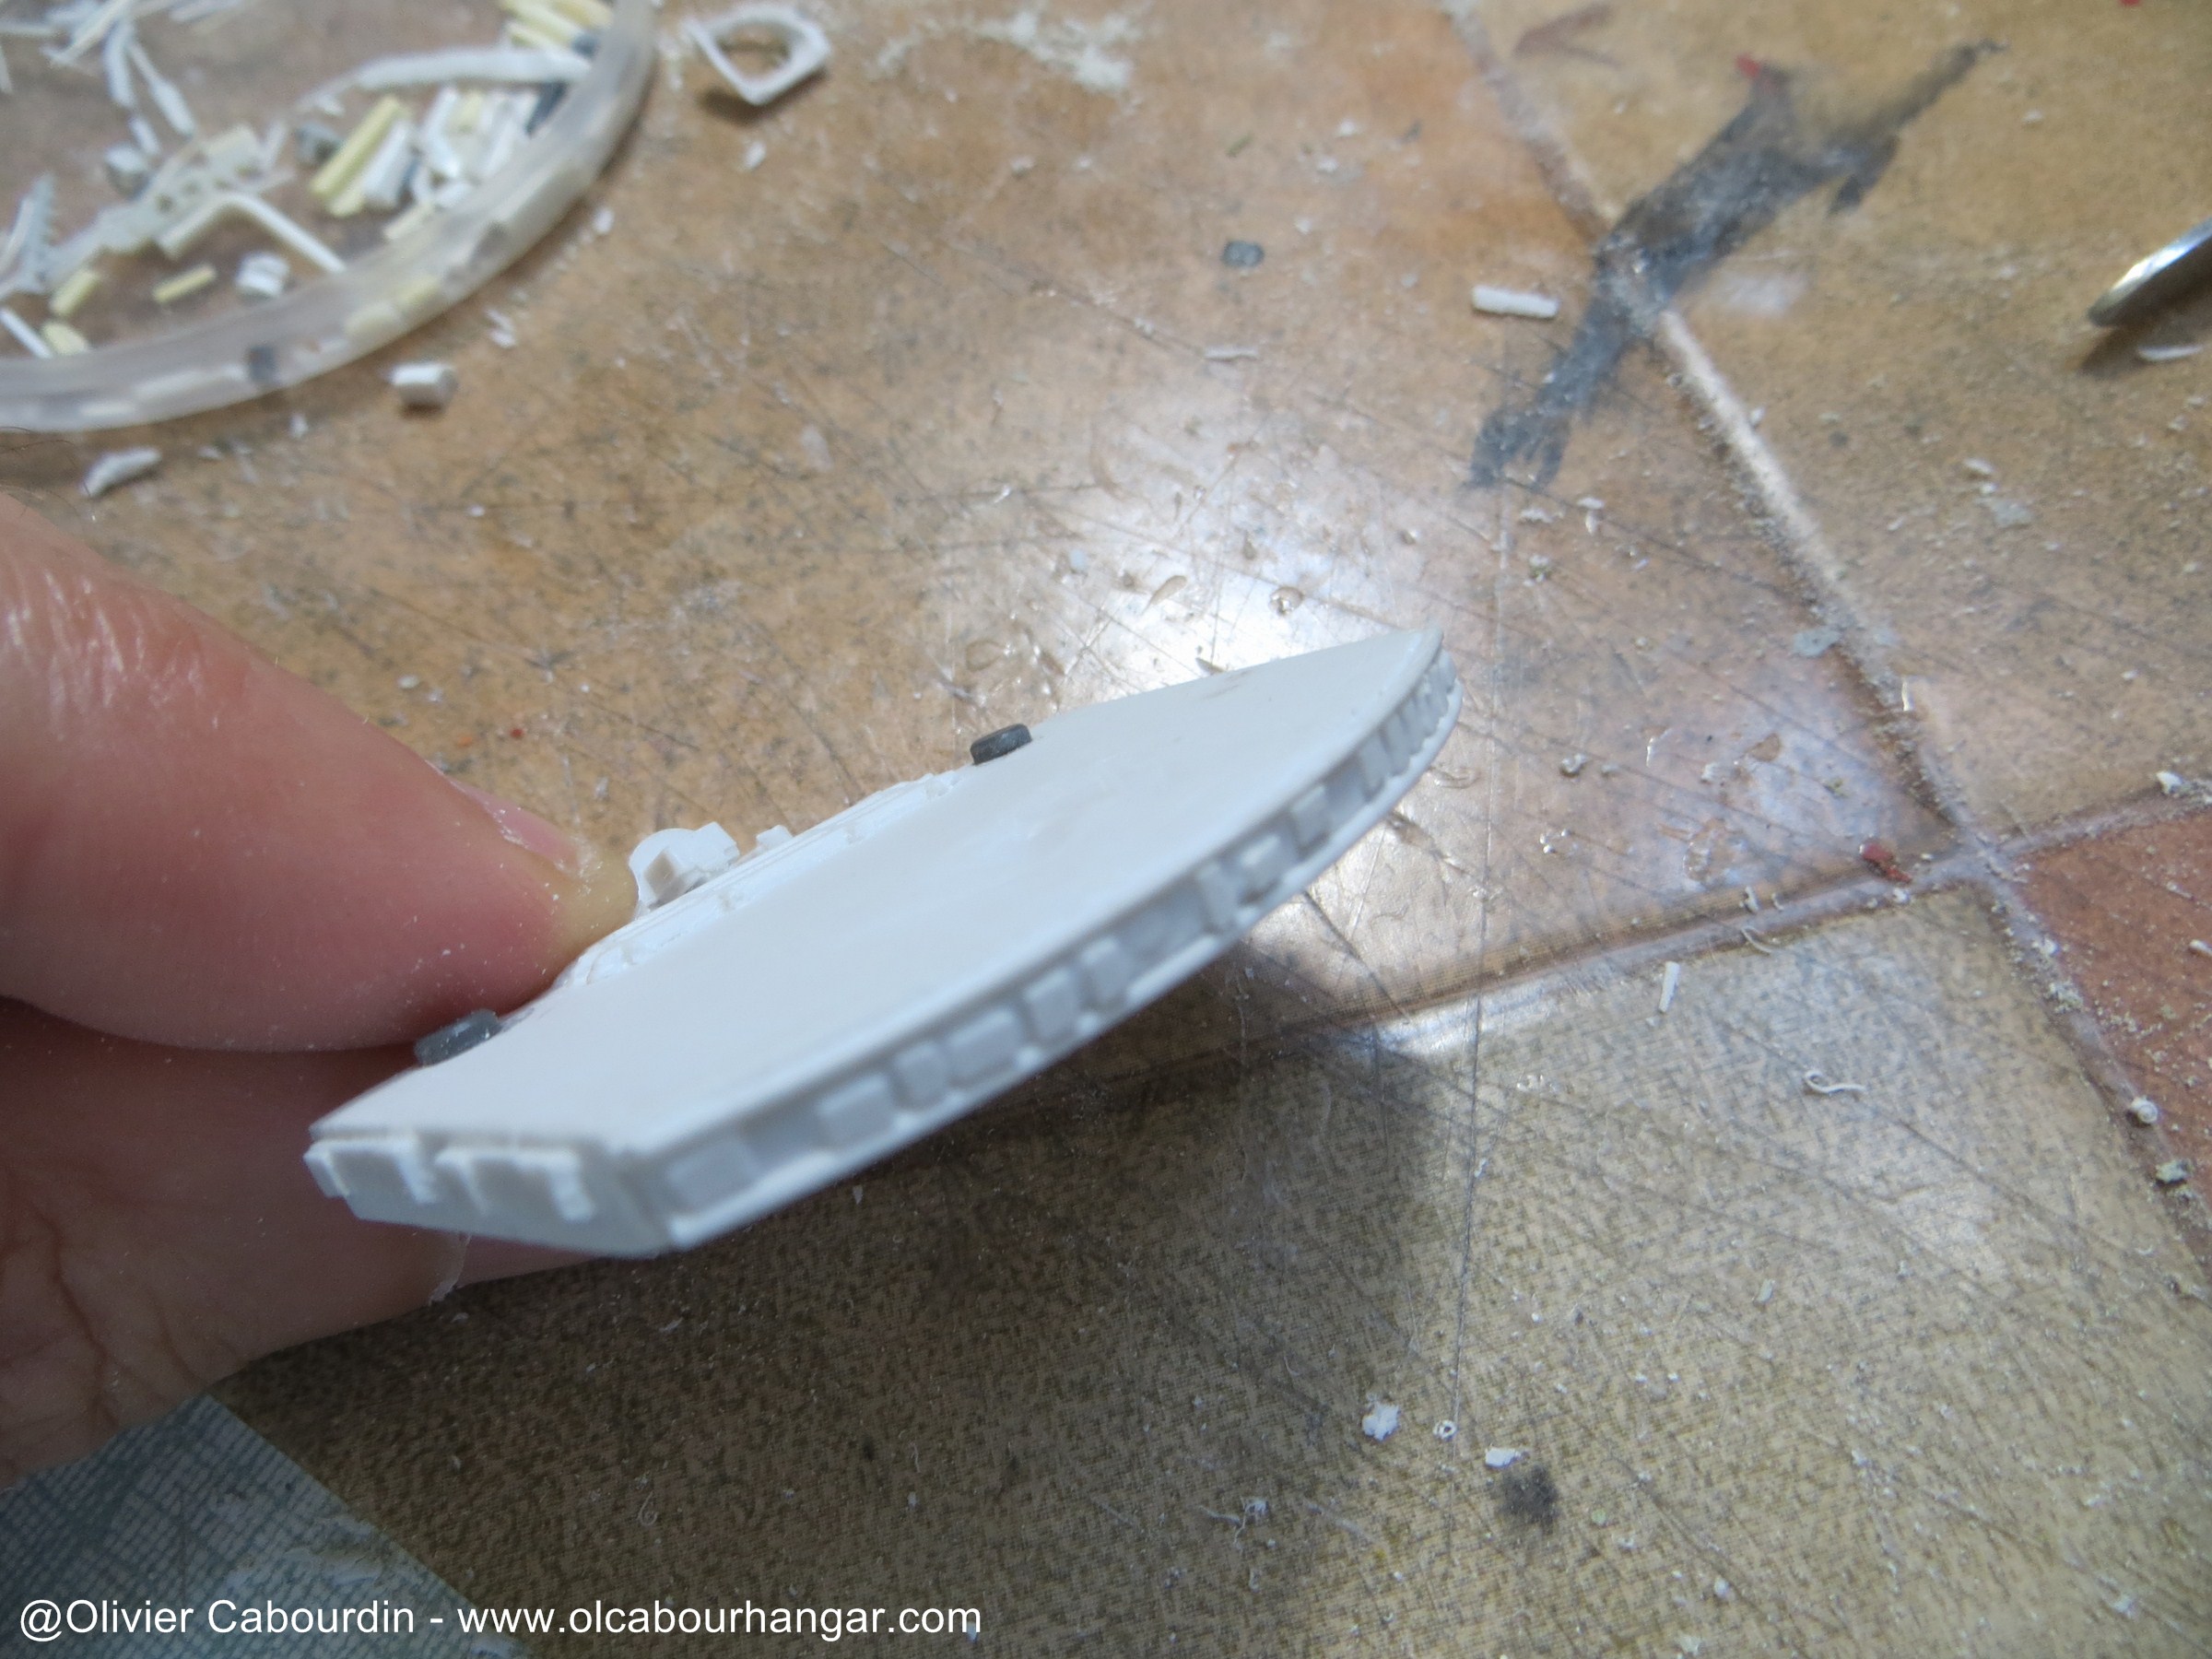
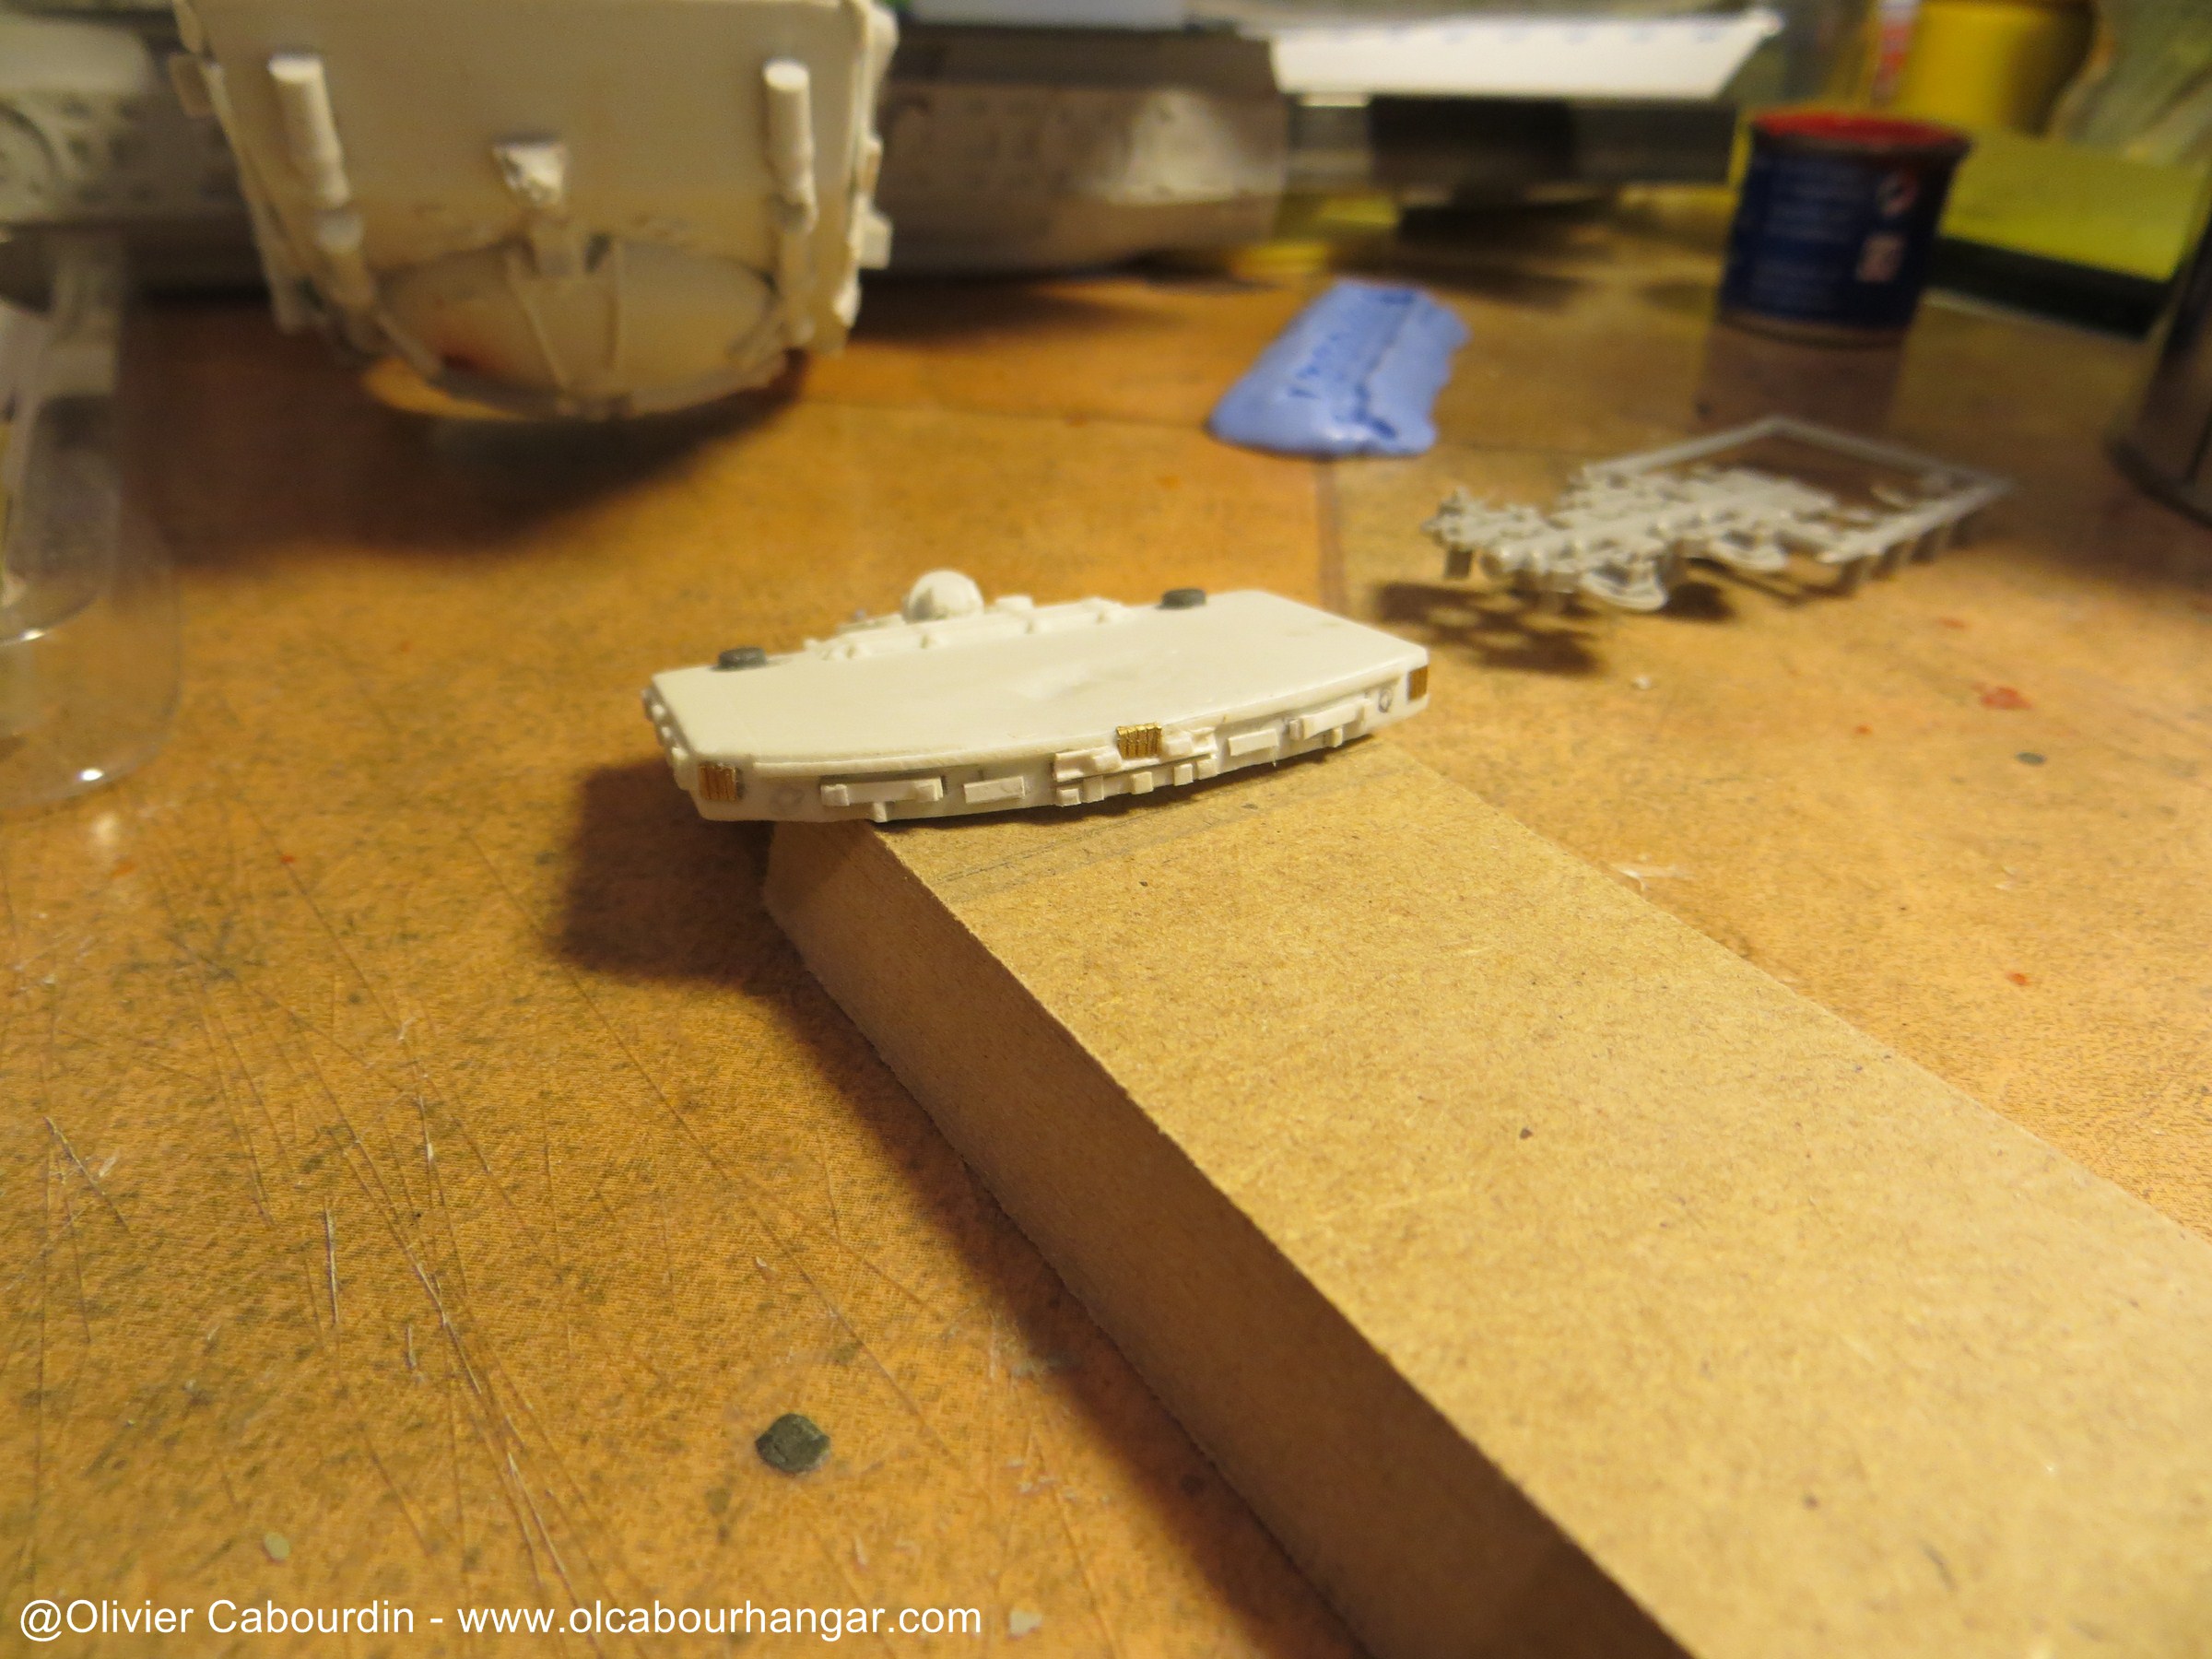
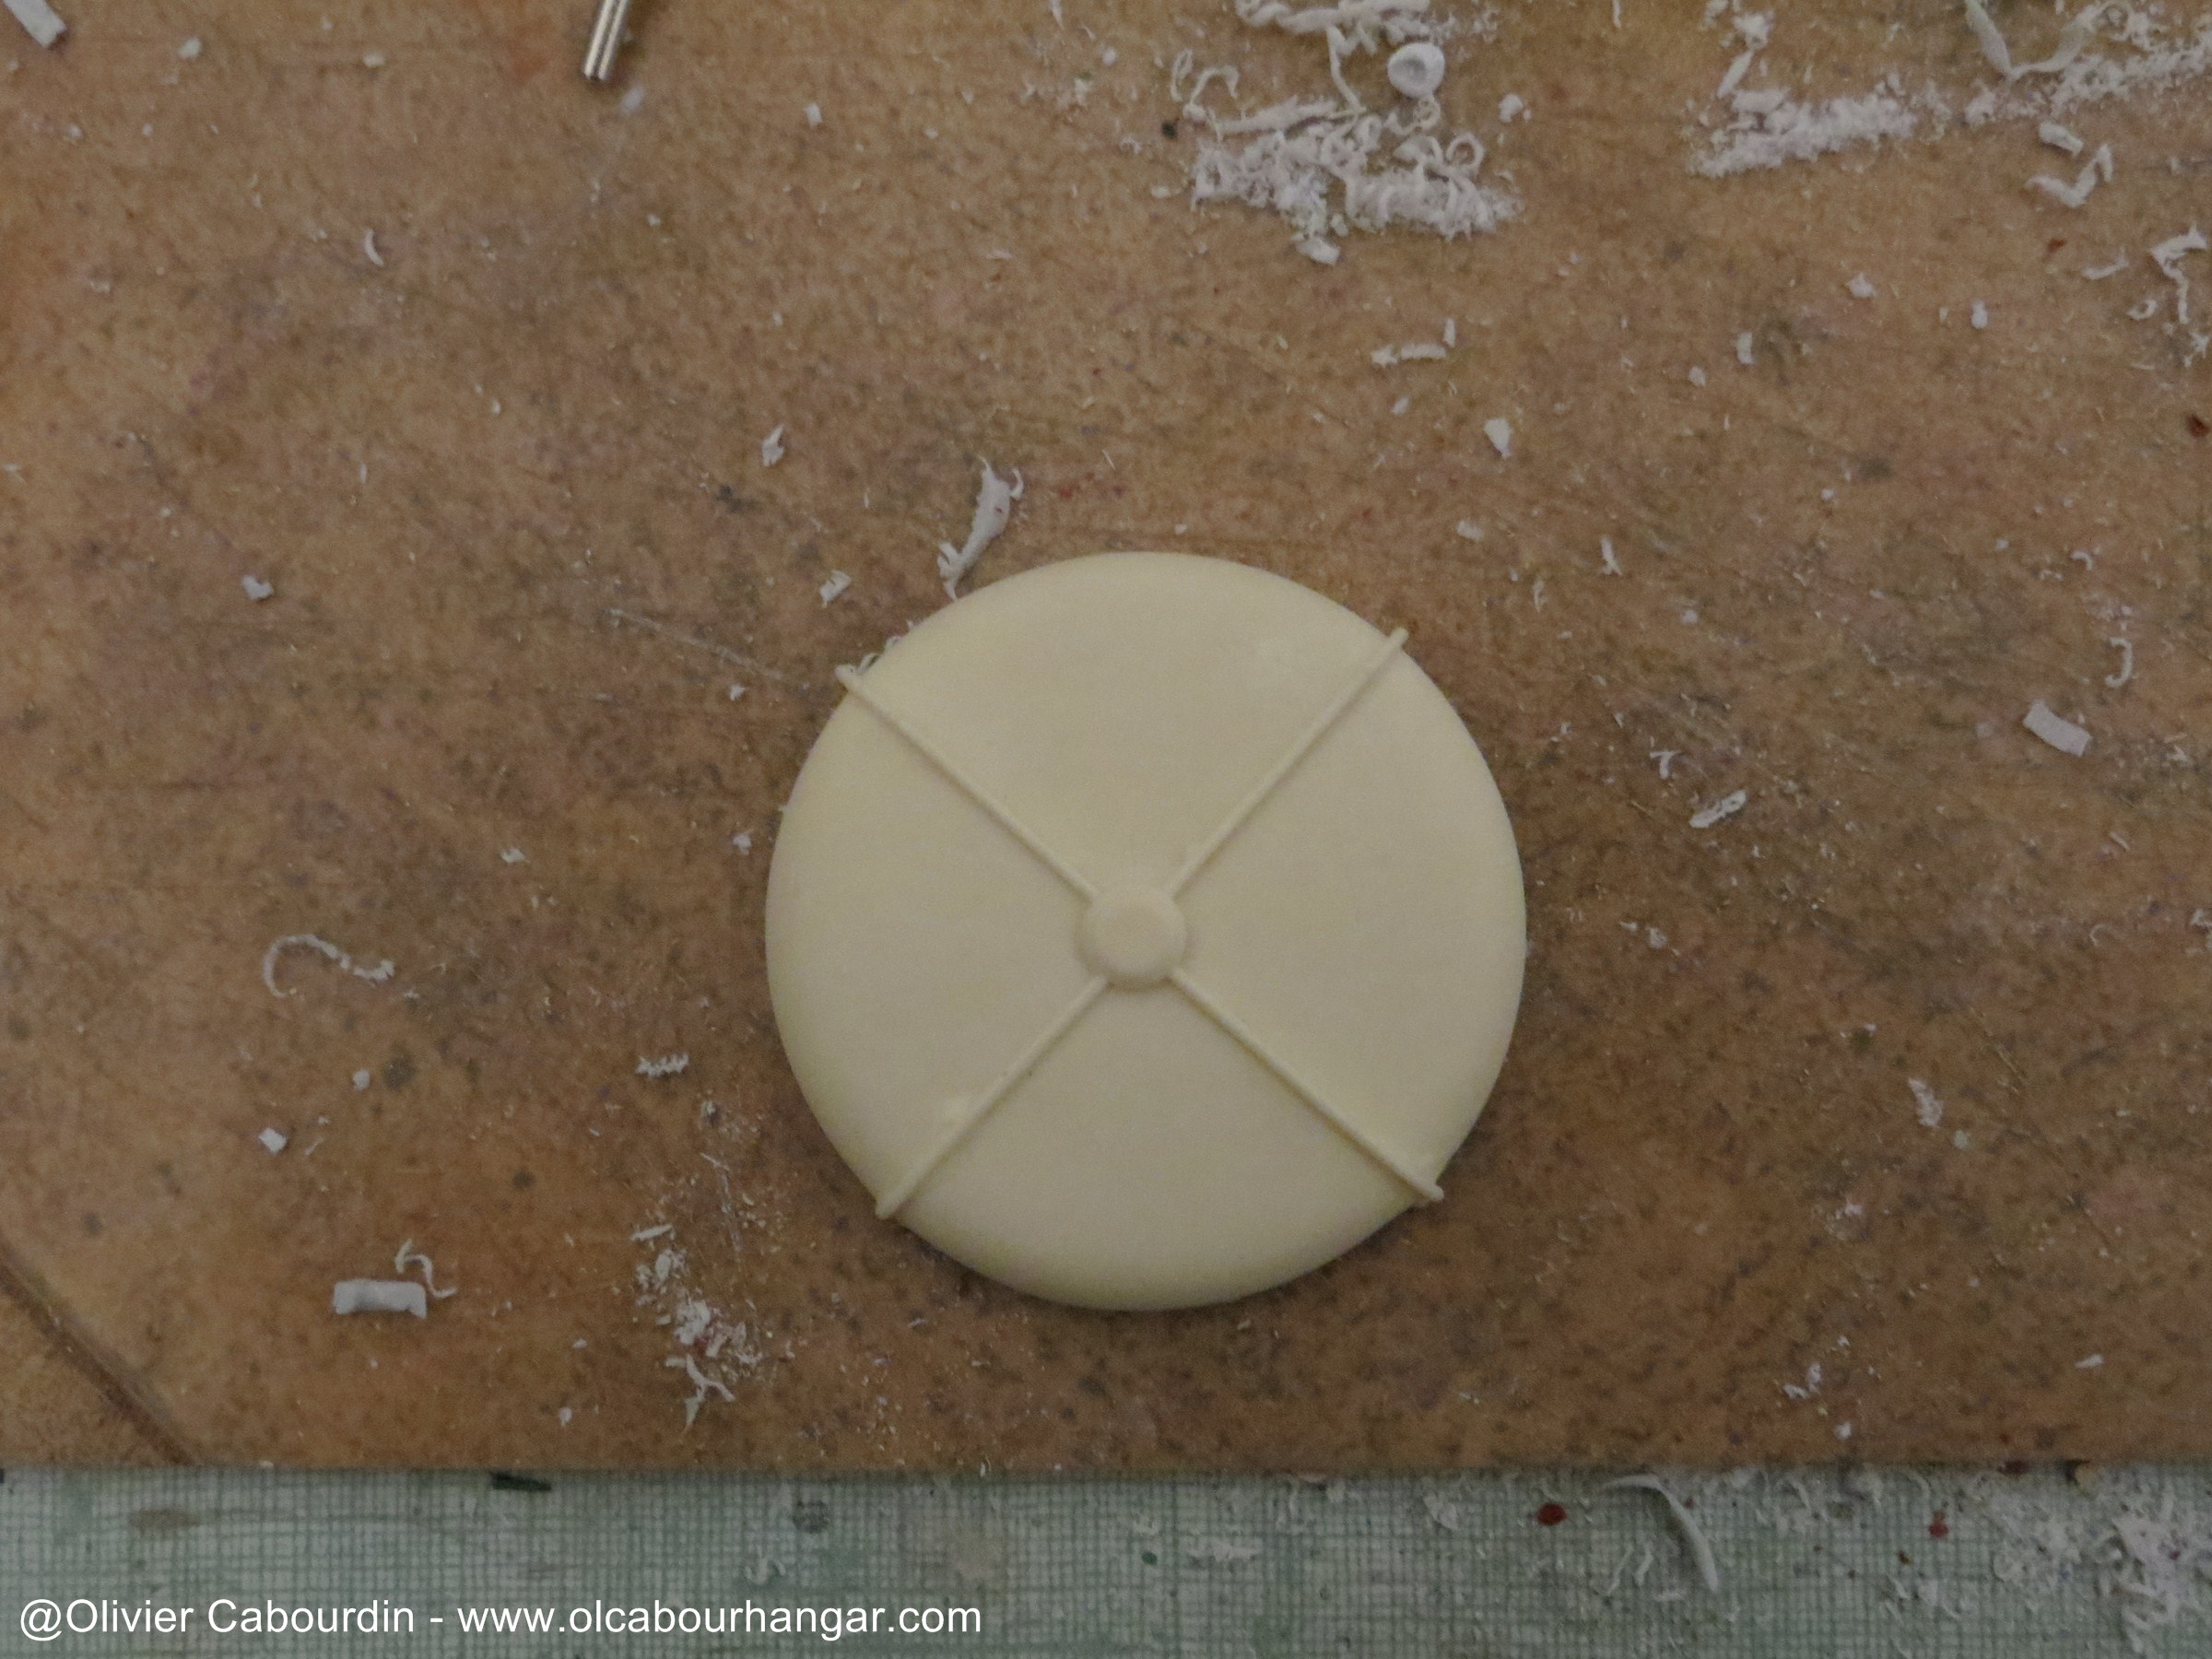
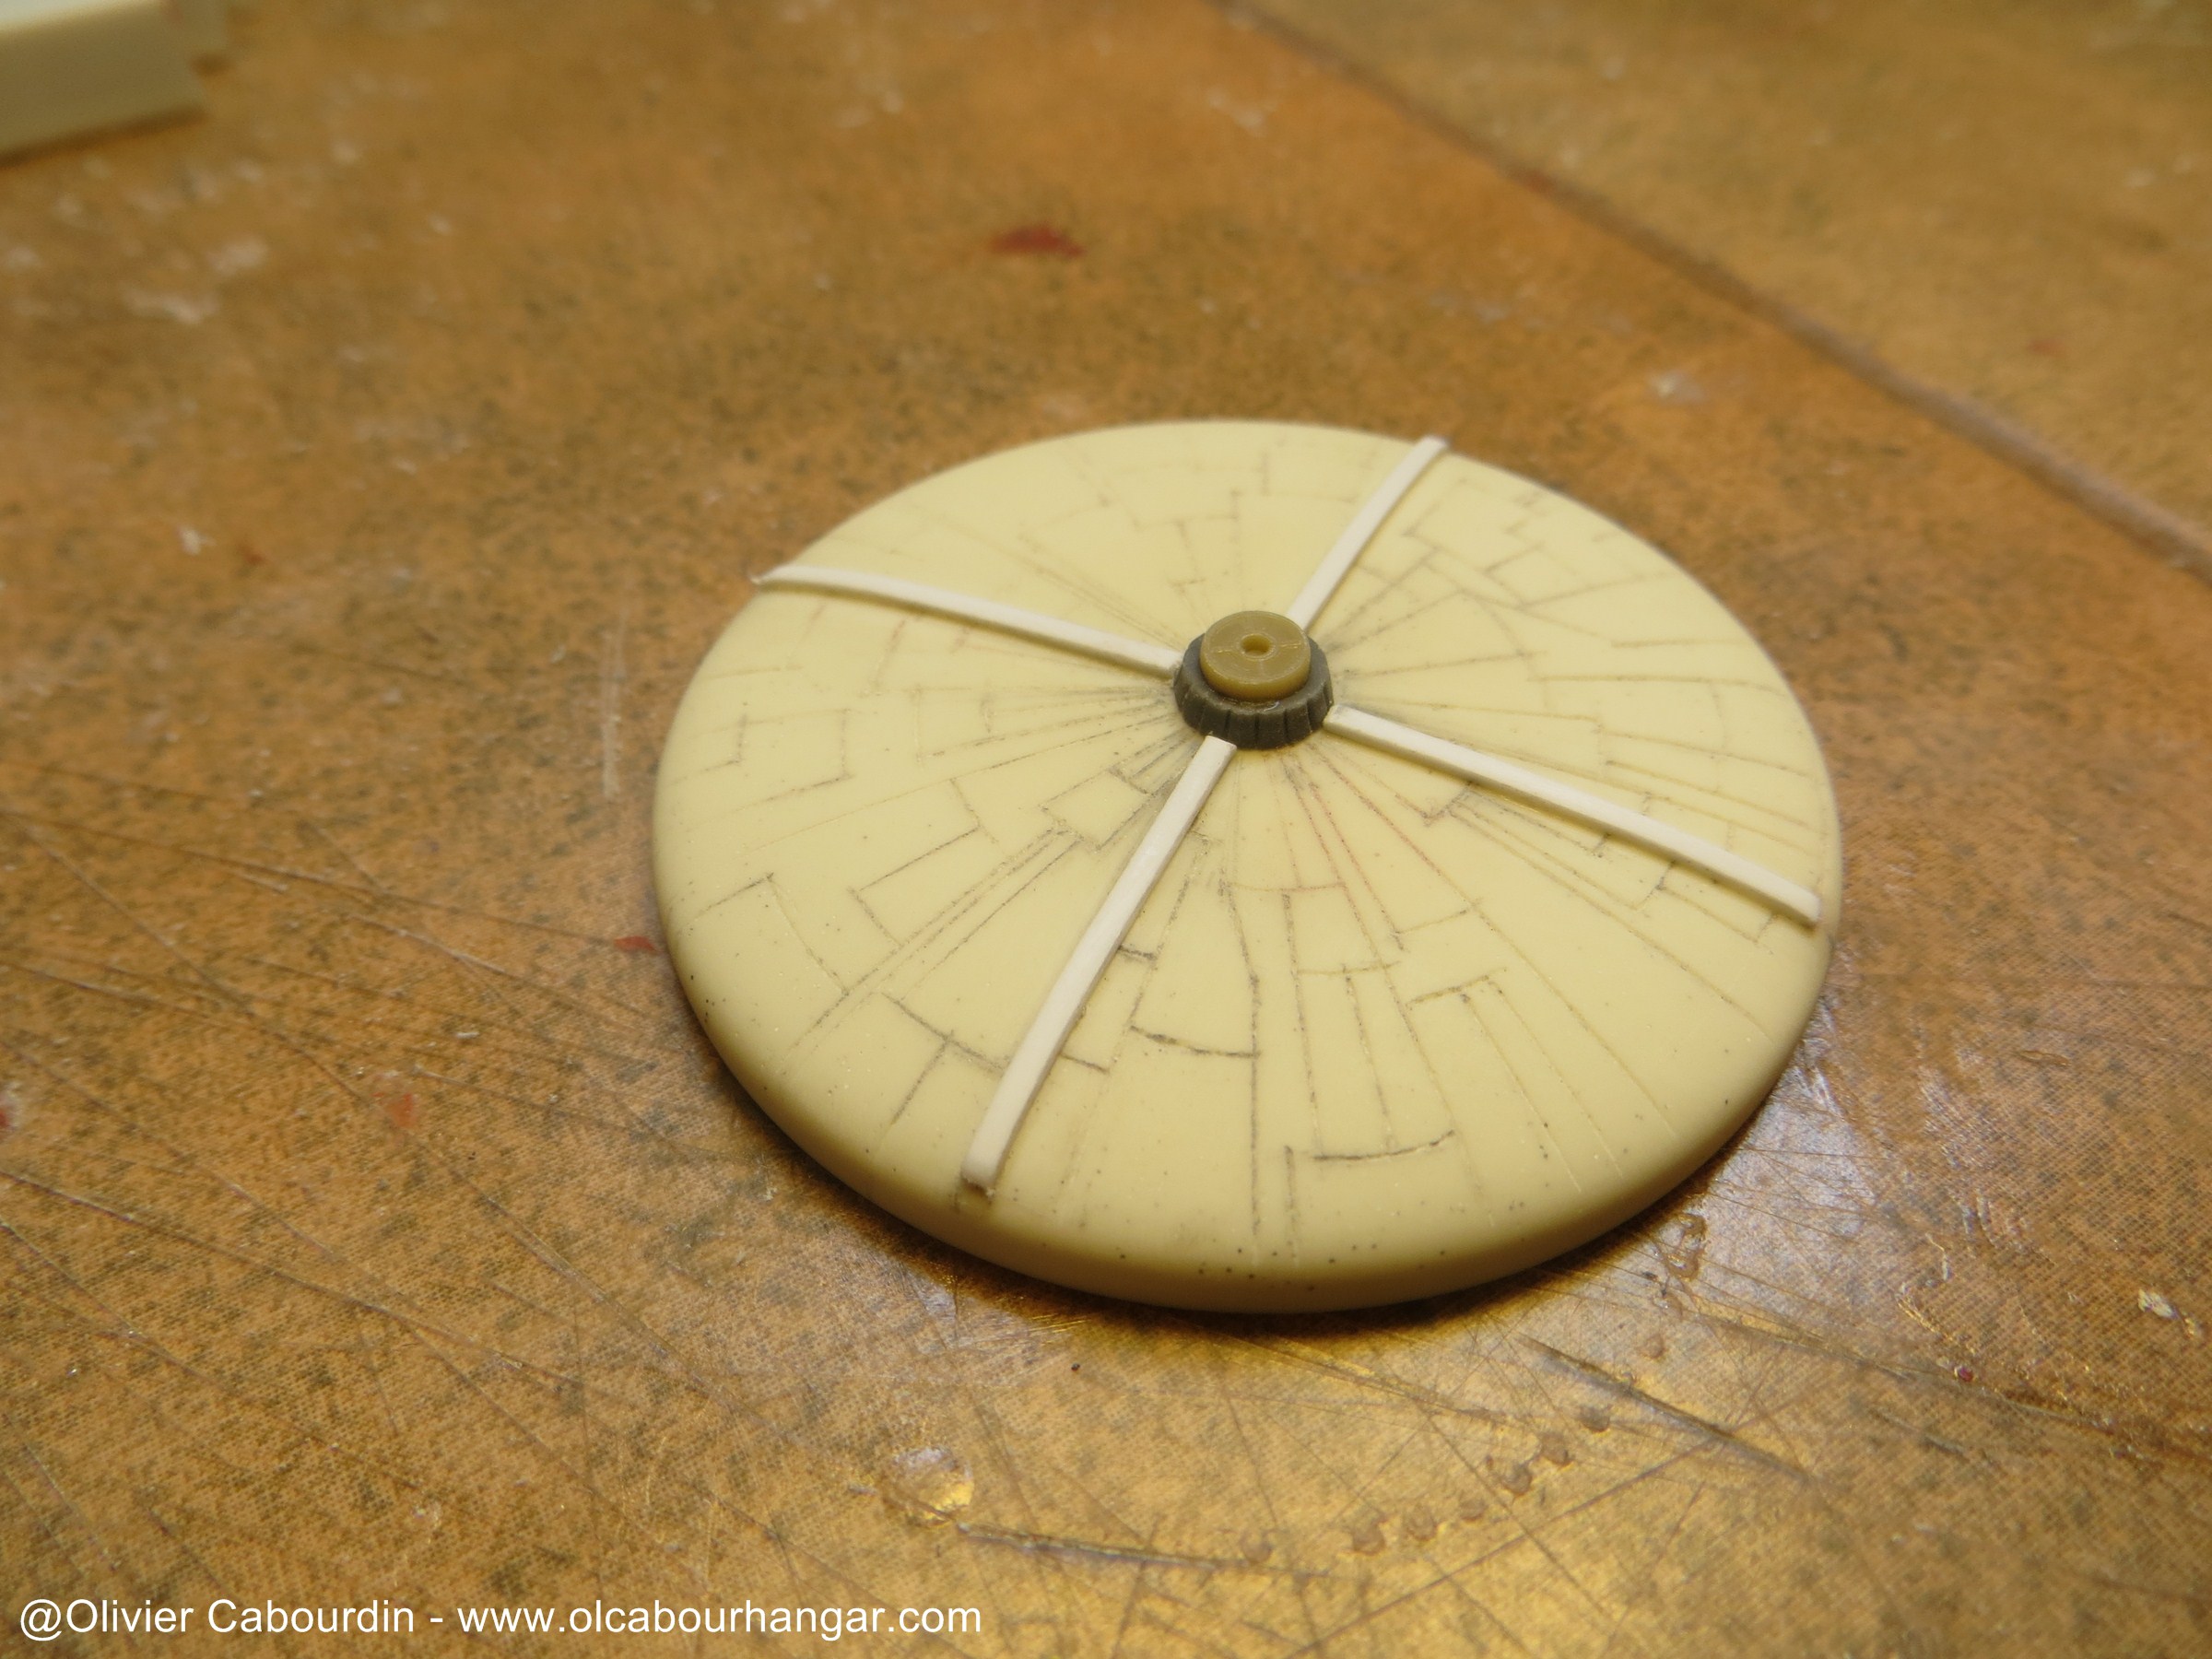
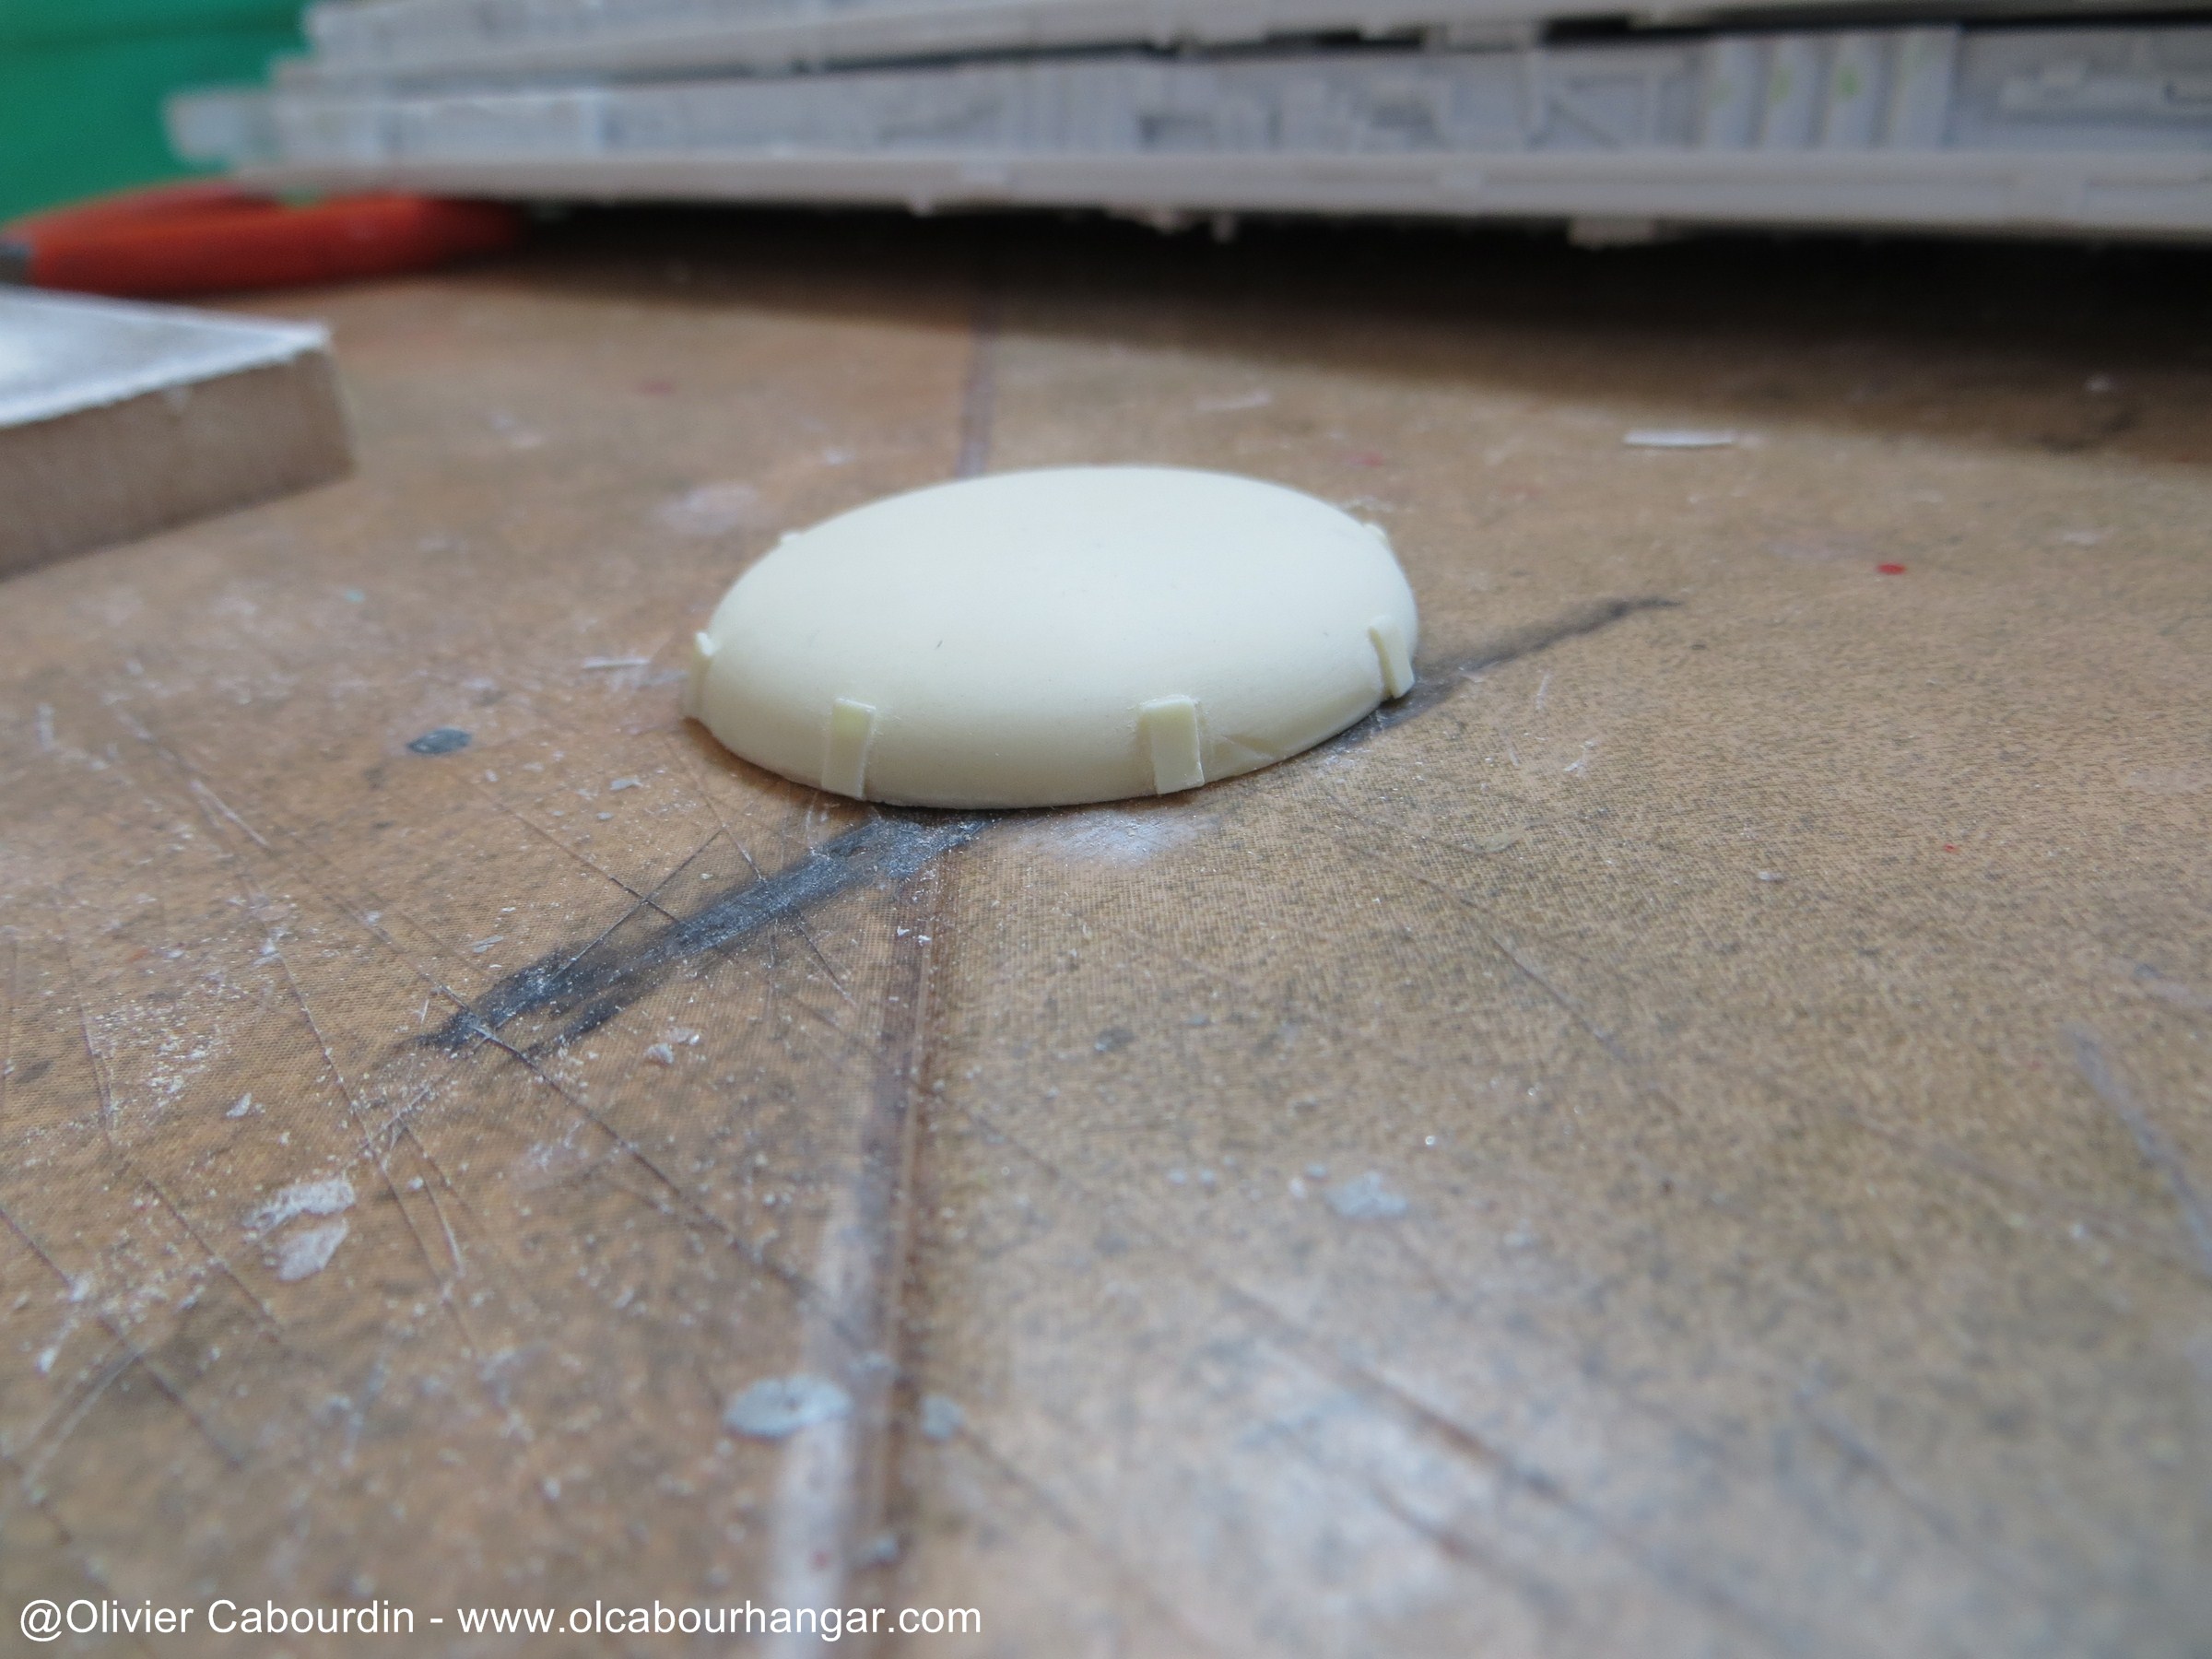
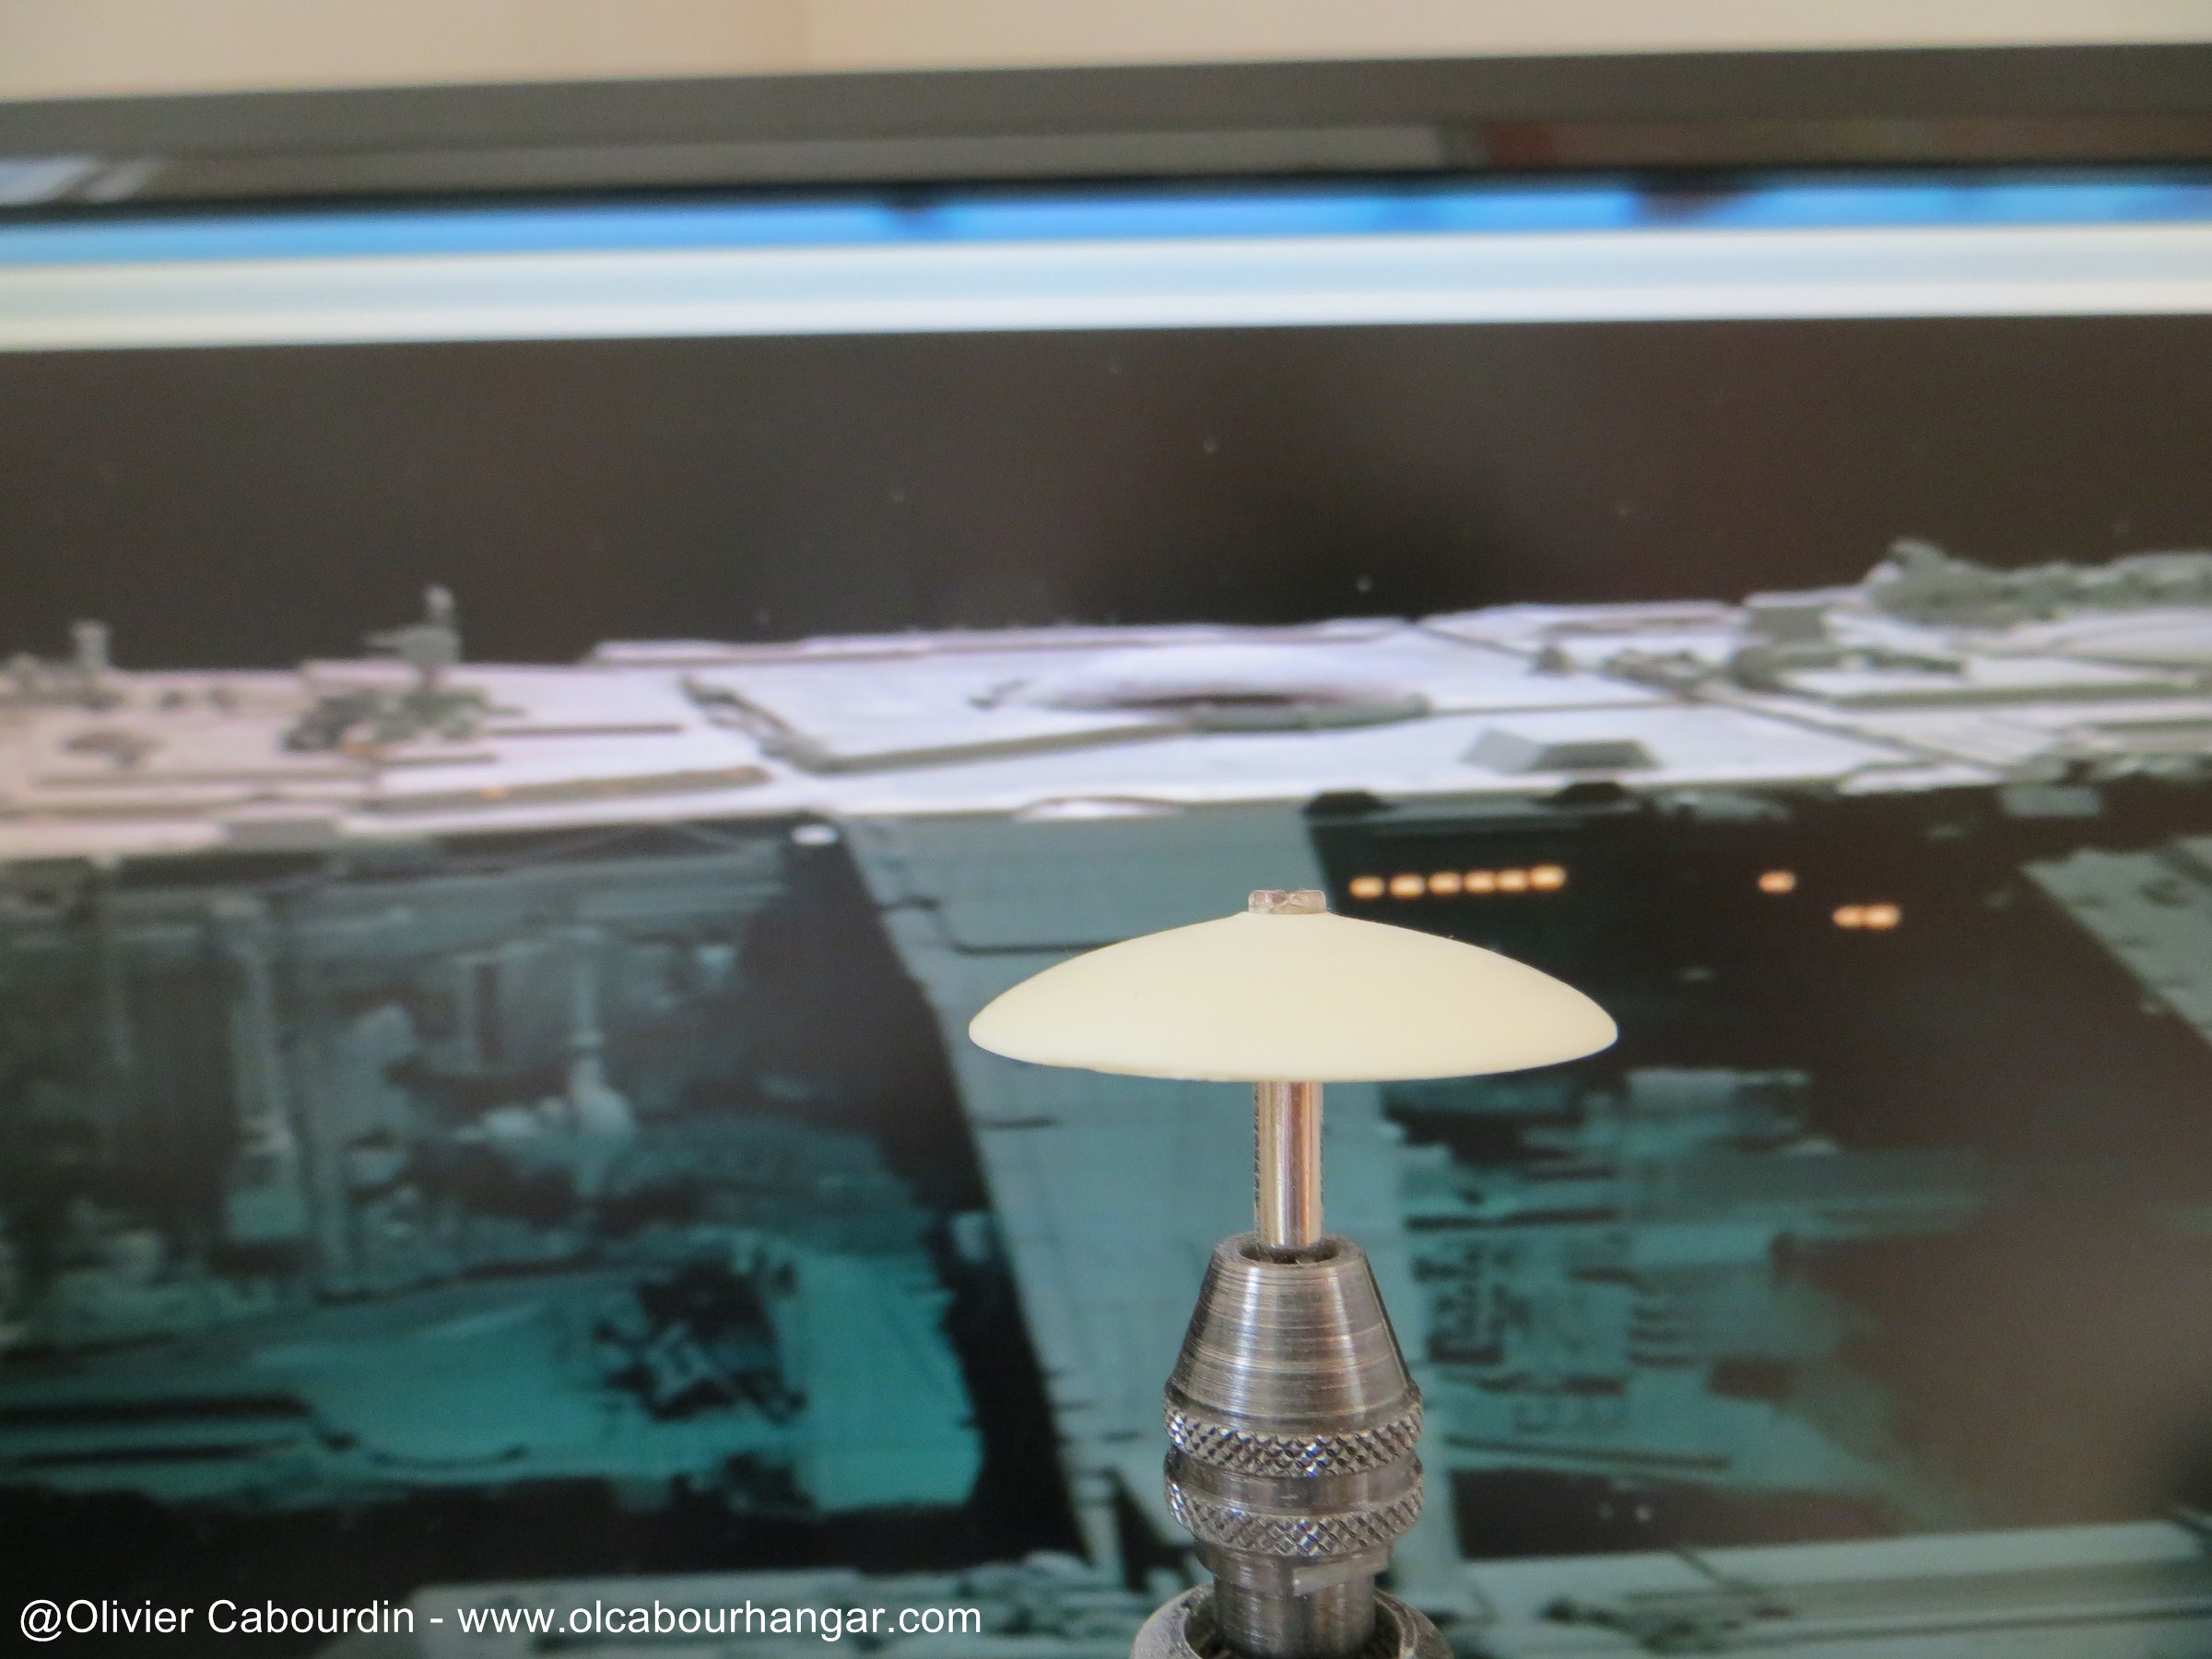
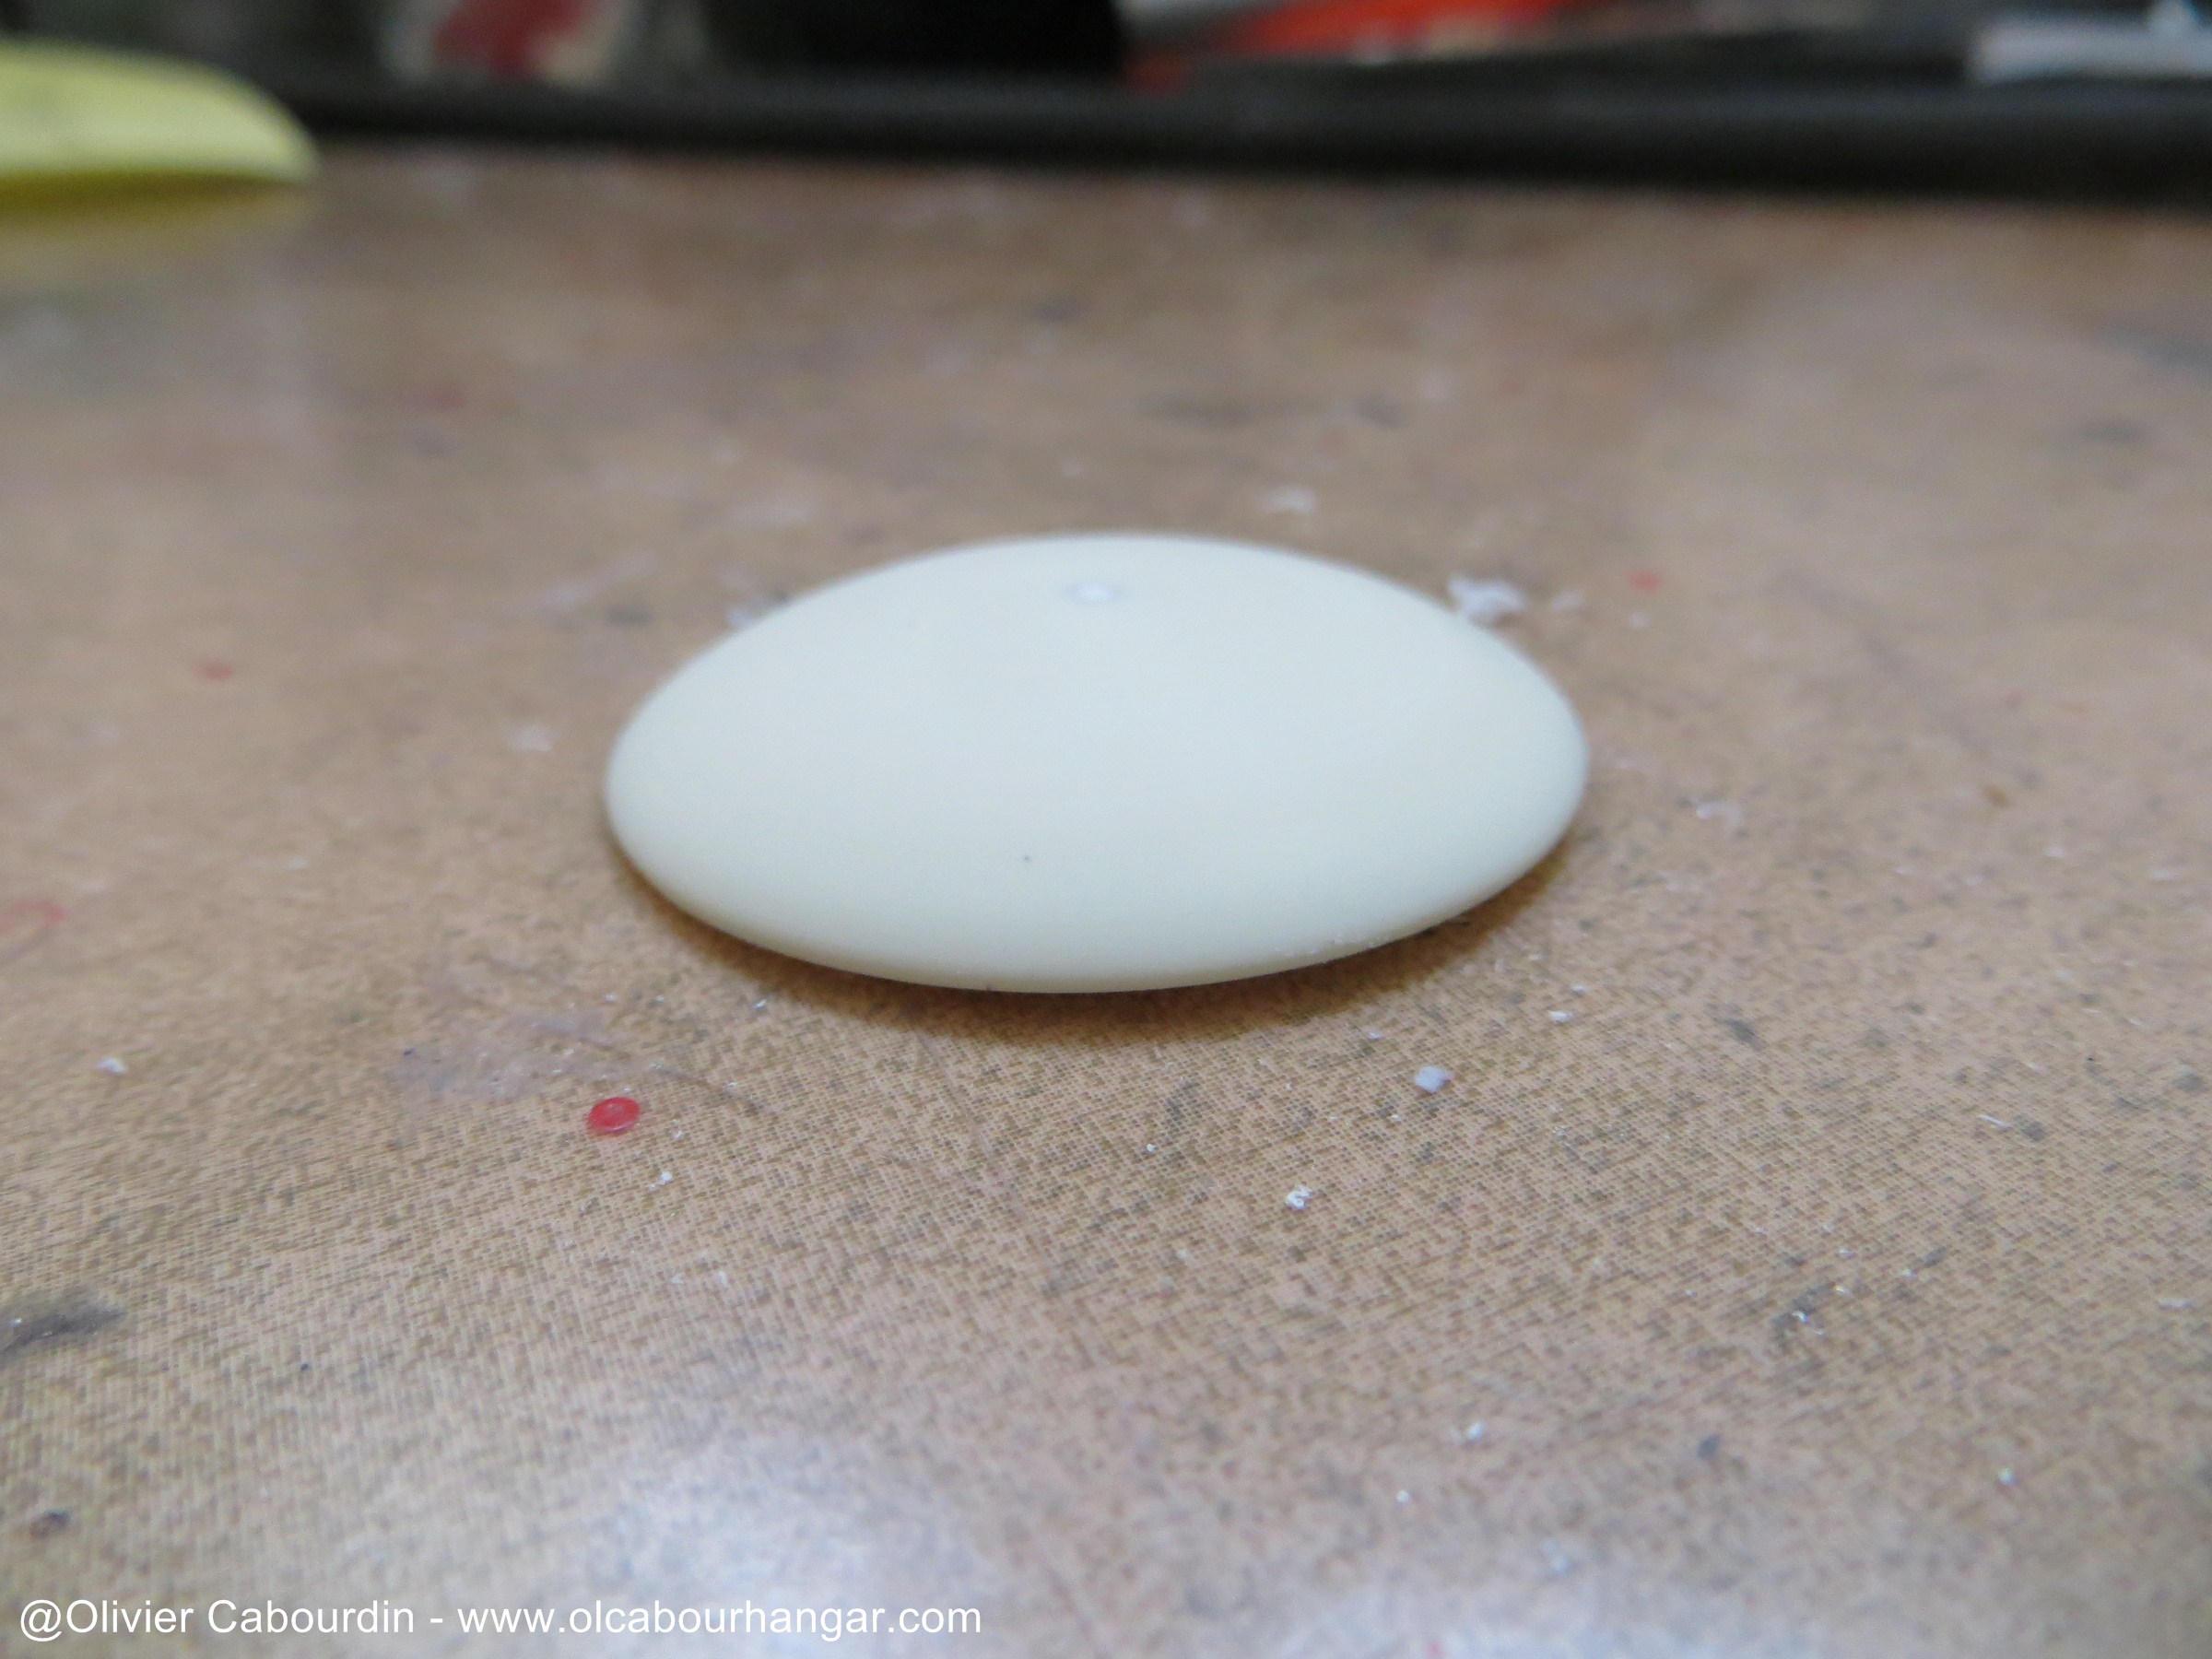
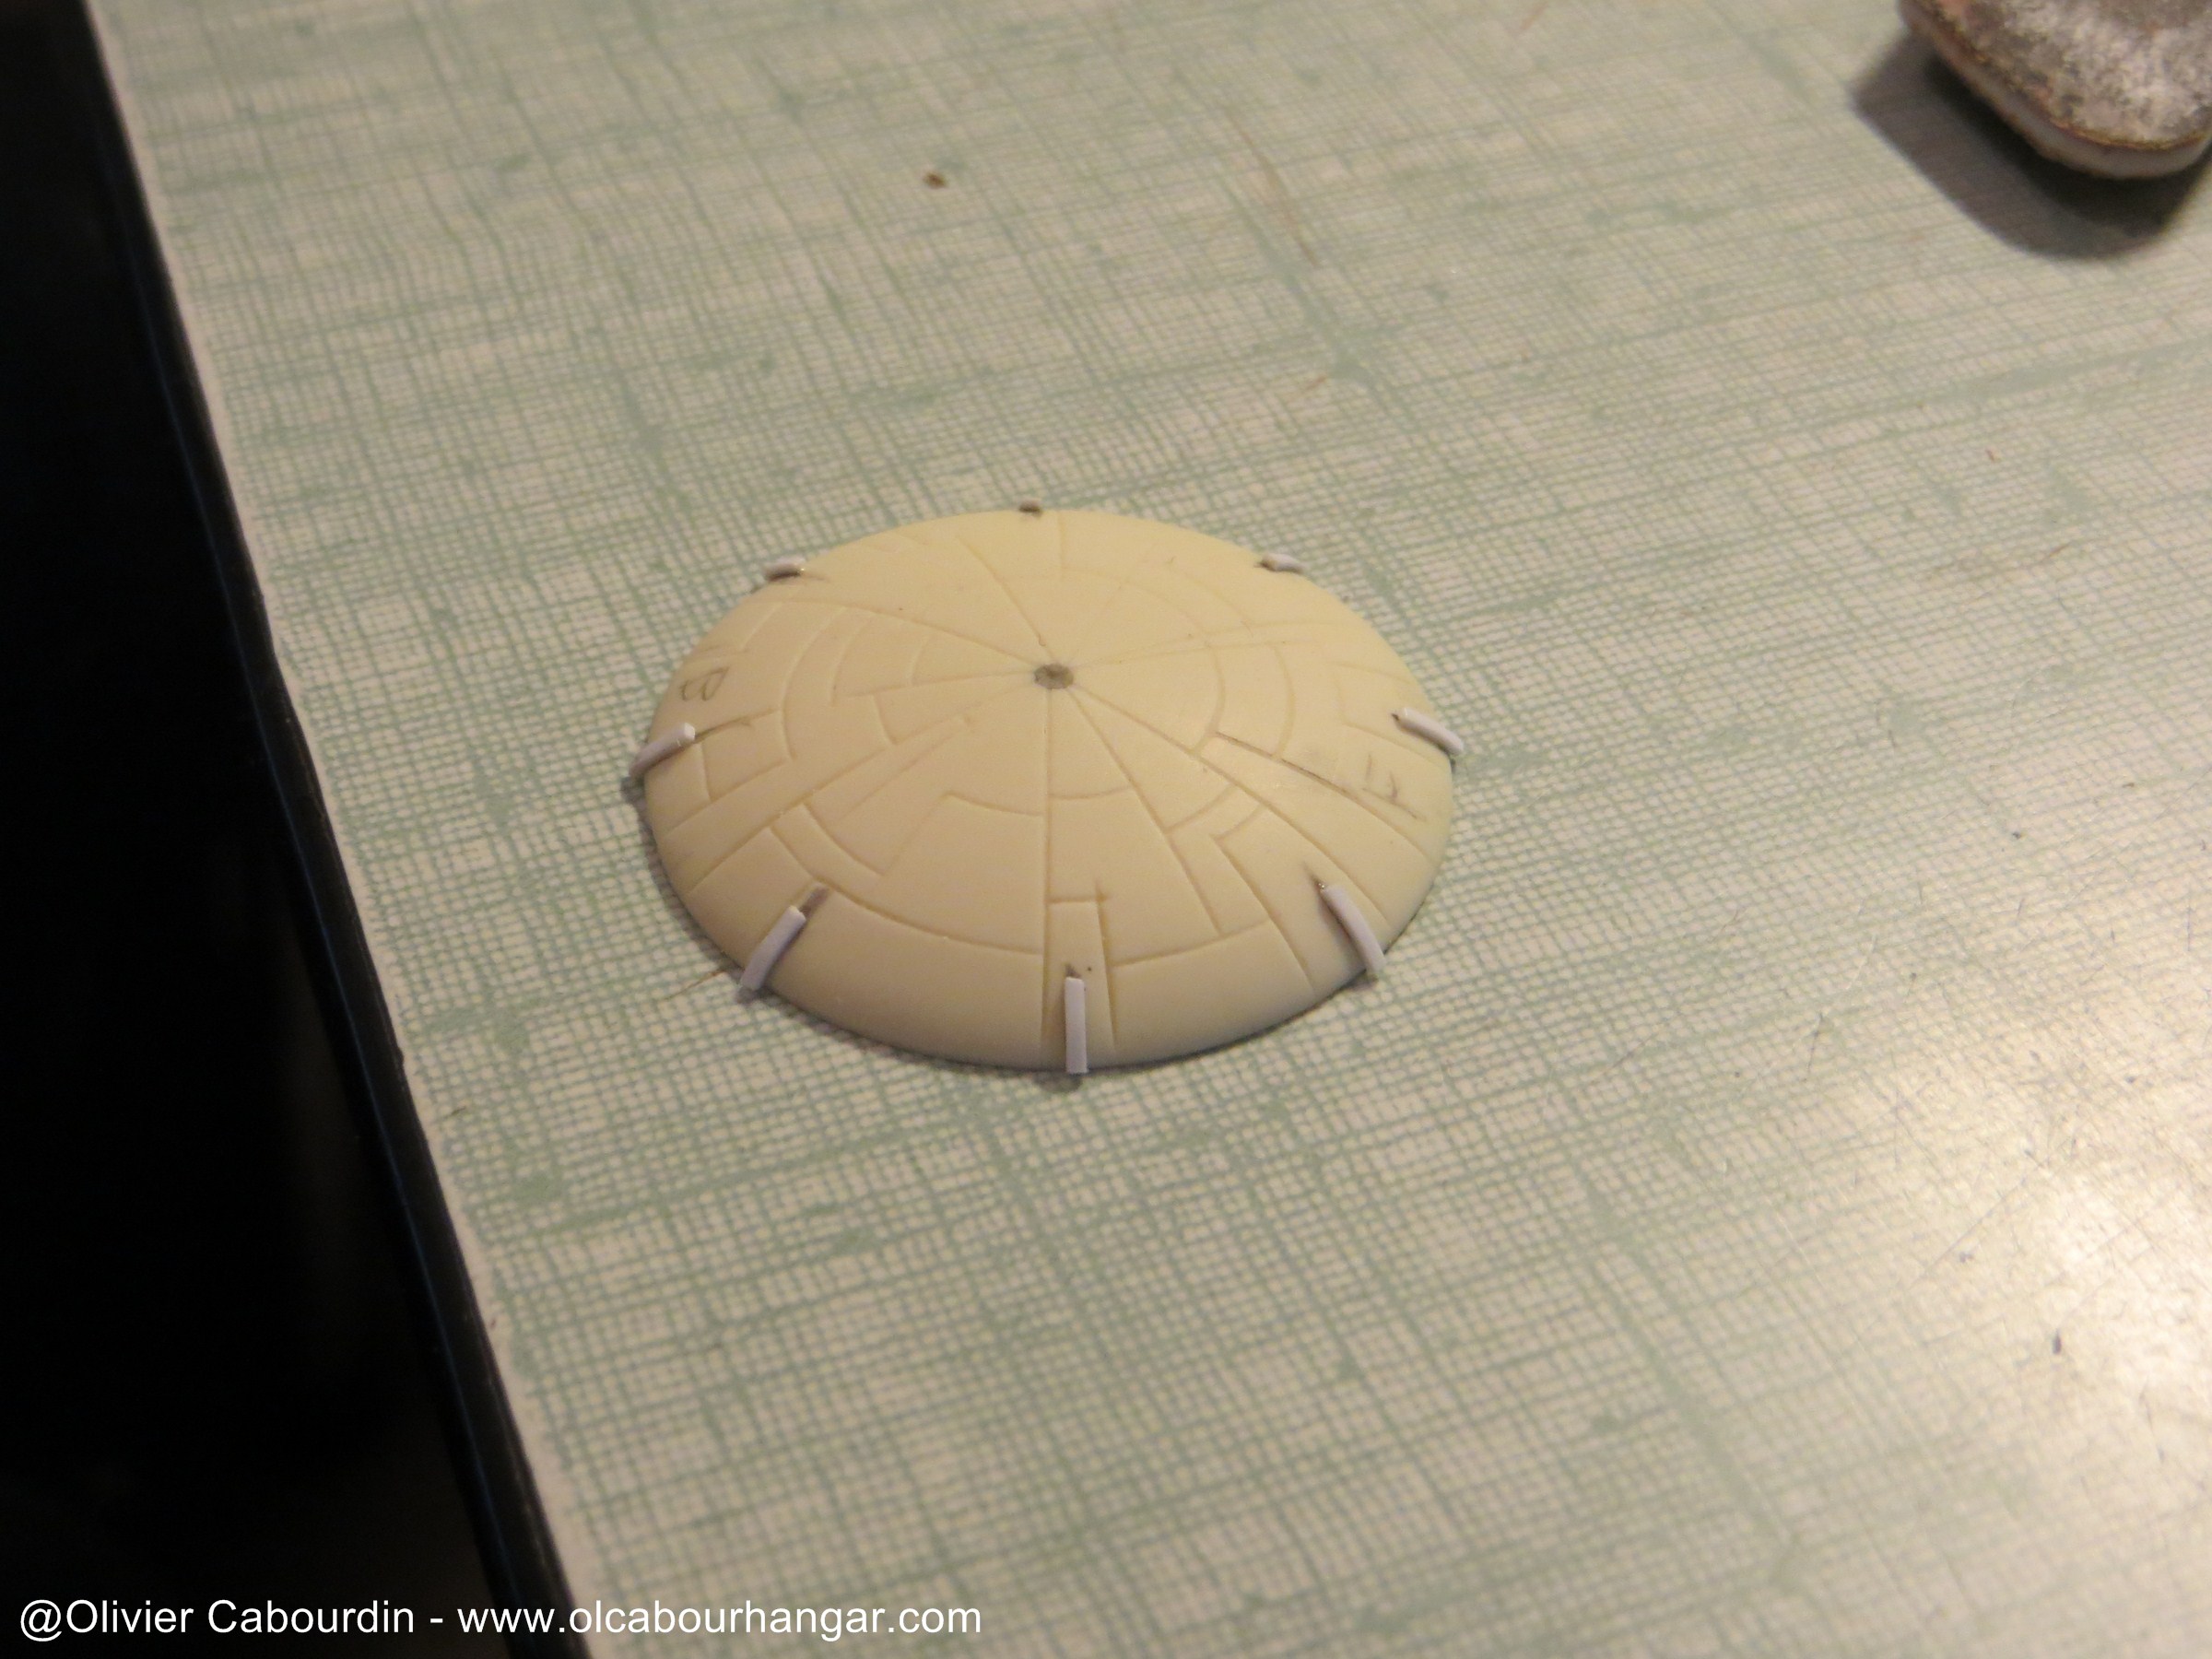
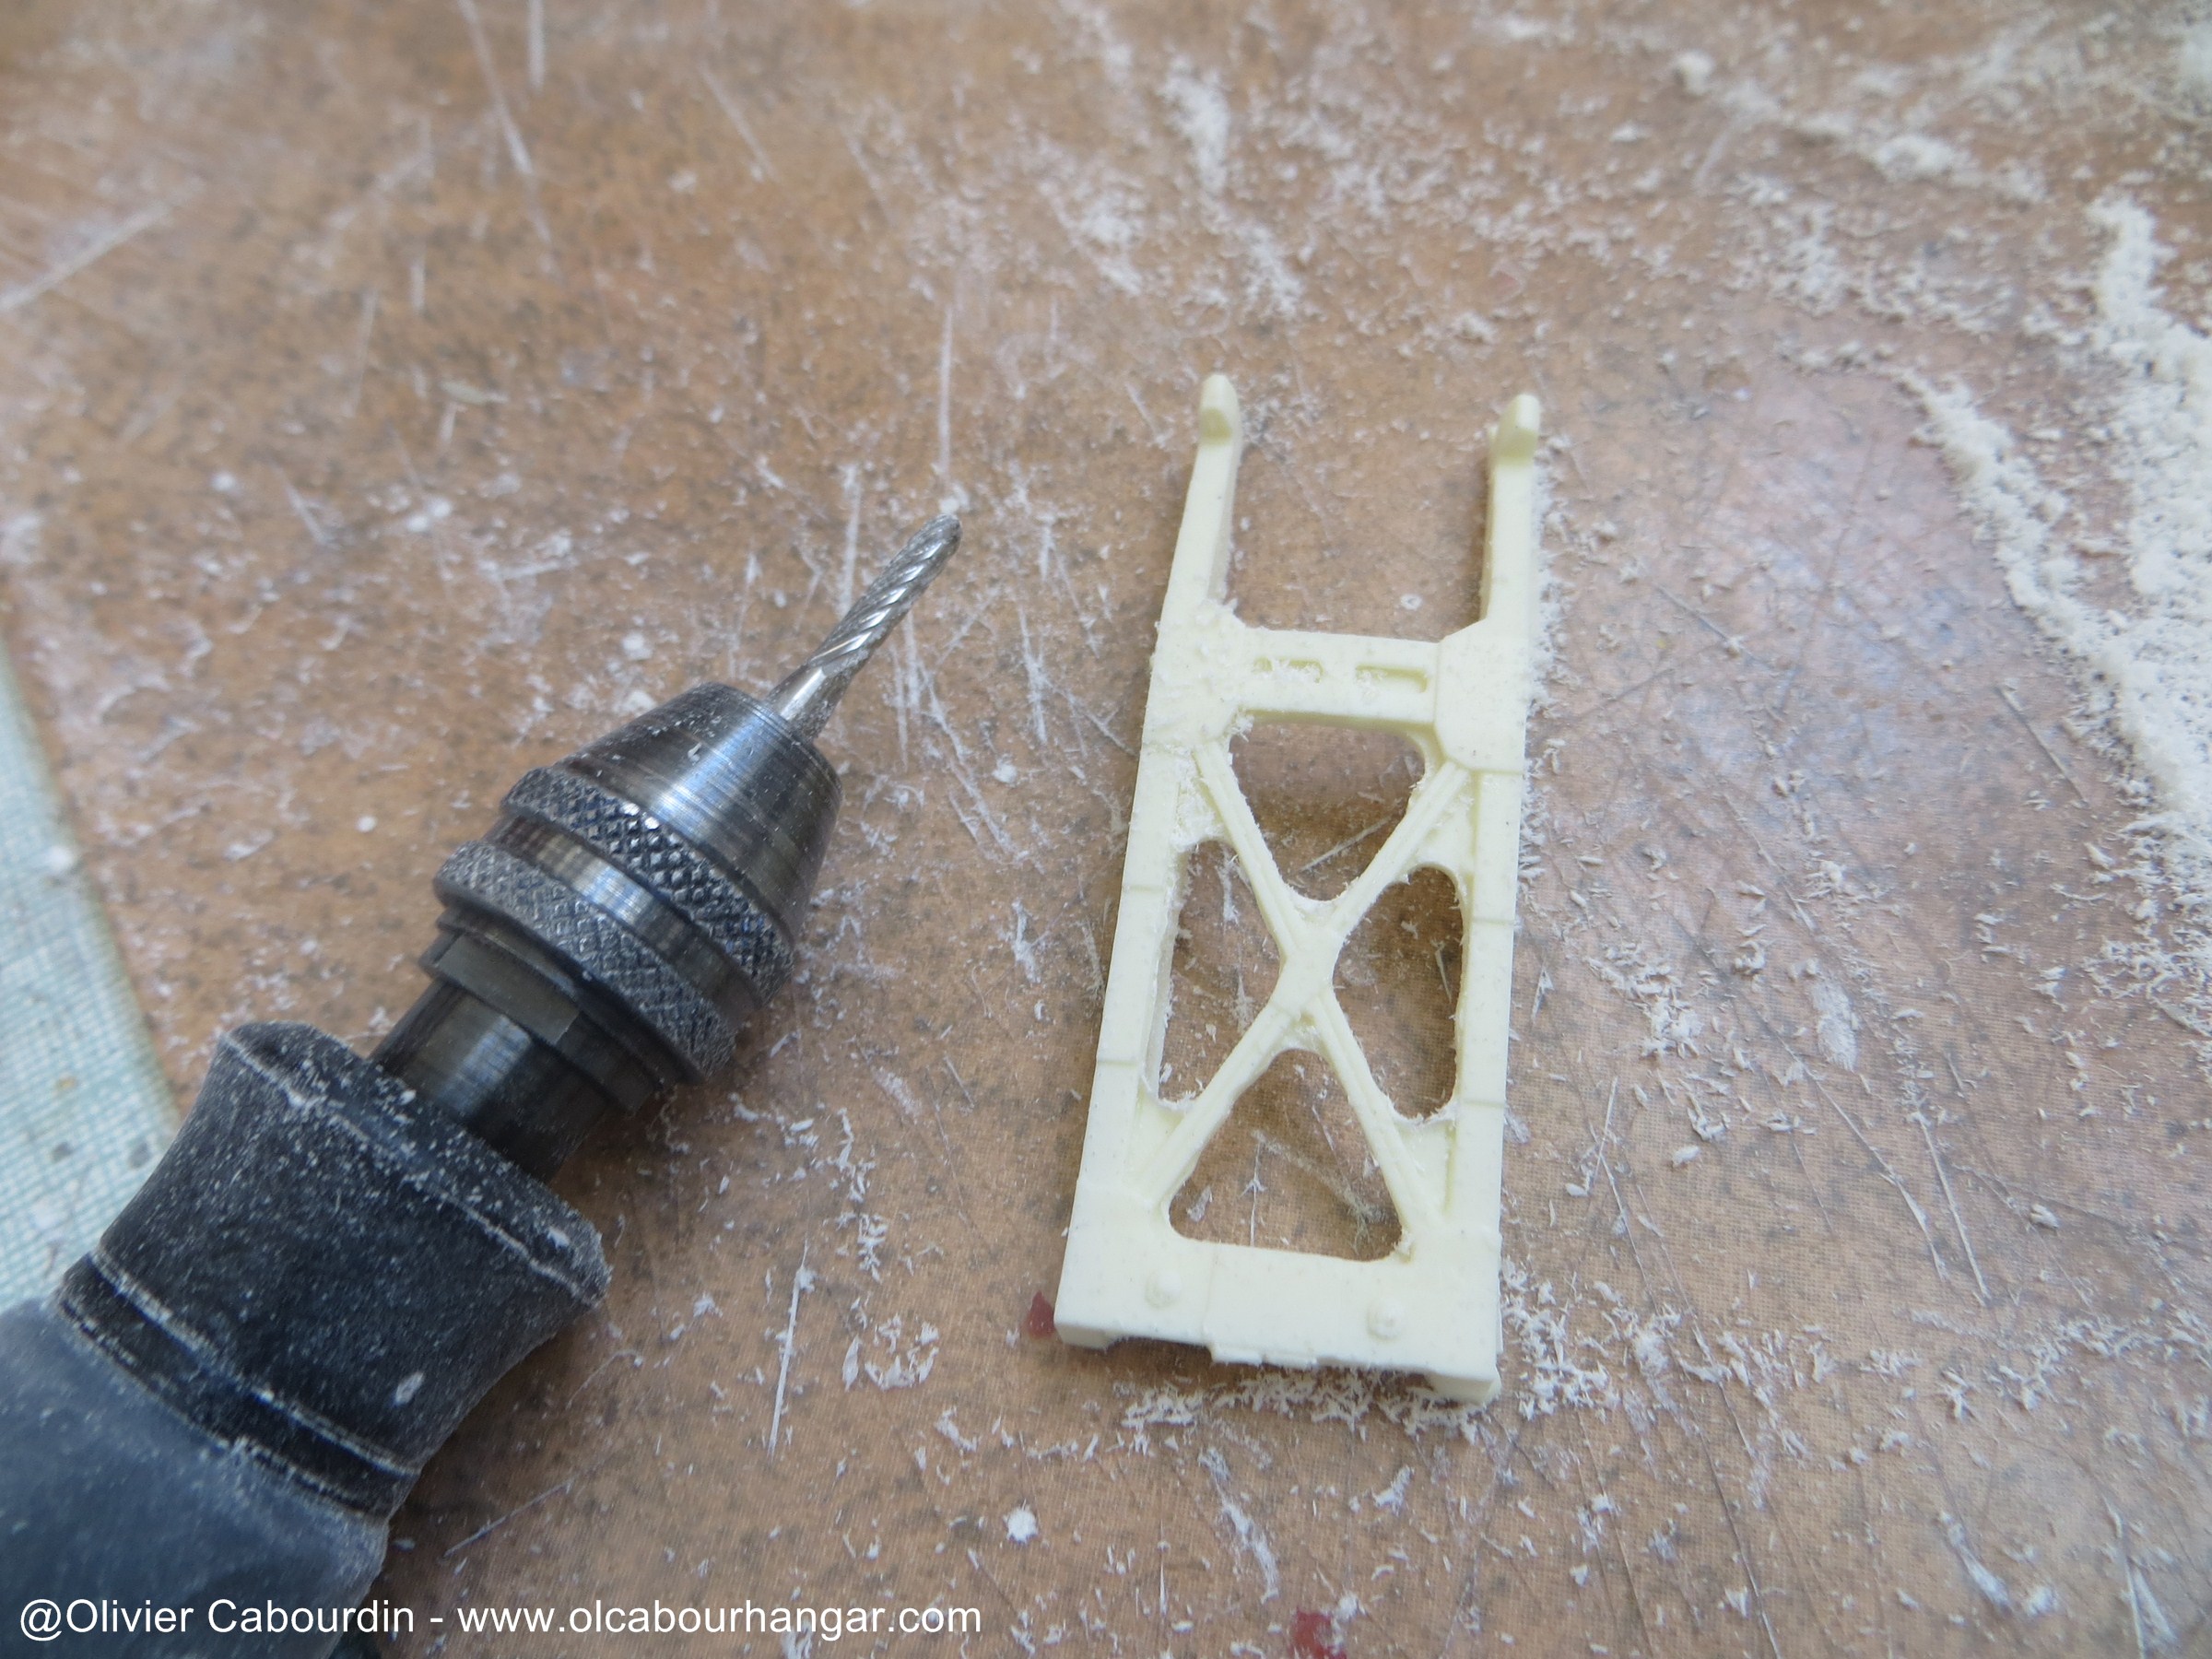
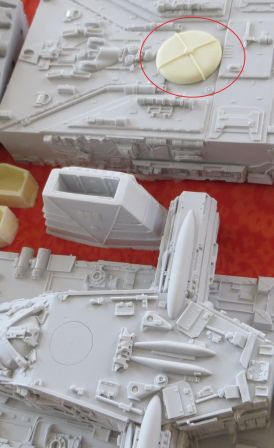
- Lines structures are lacking on some parts : domes, sheds ...
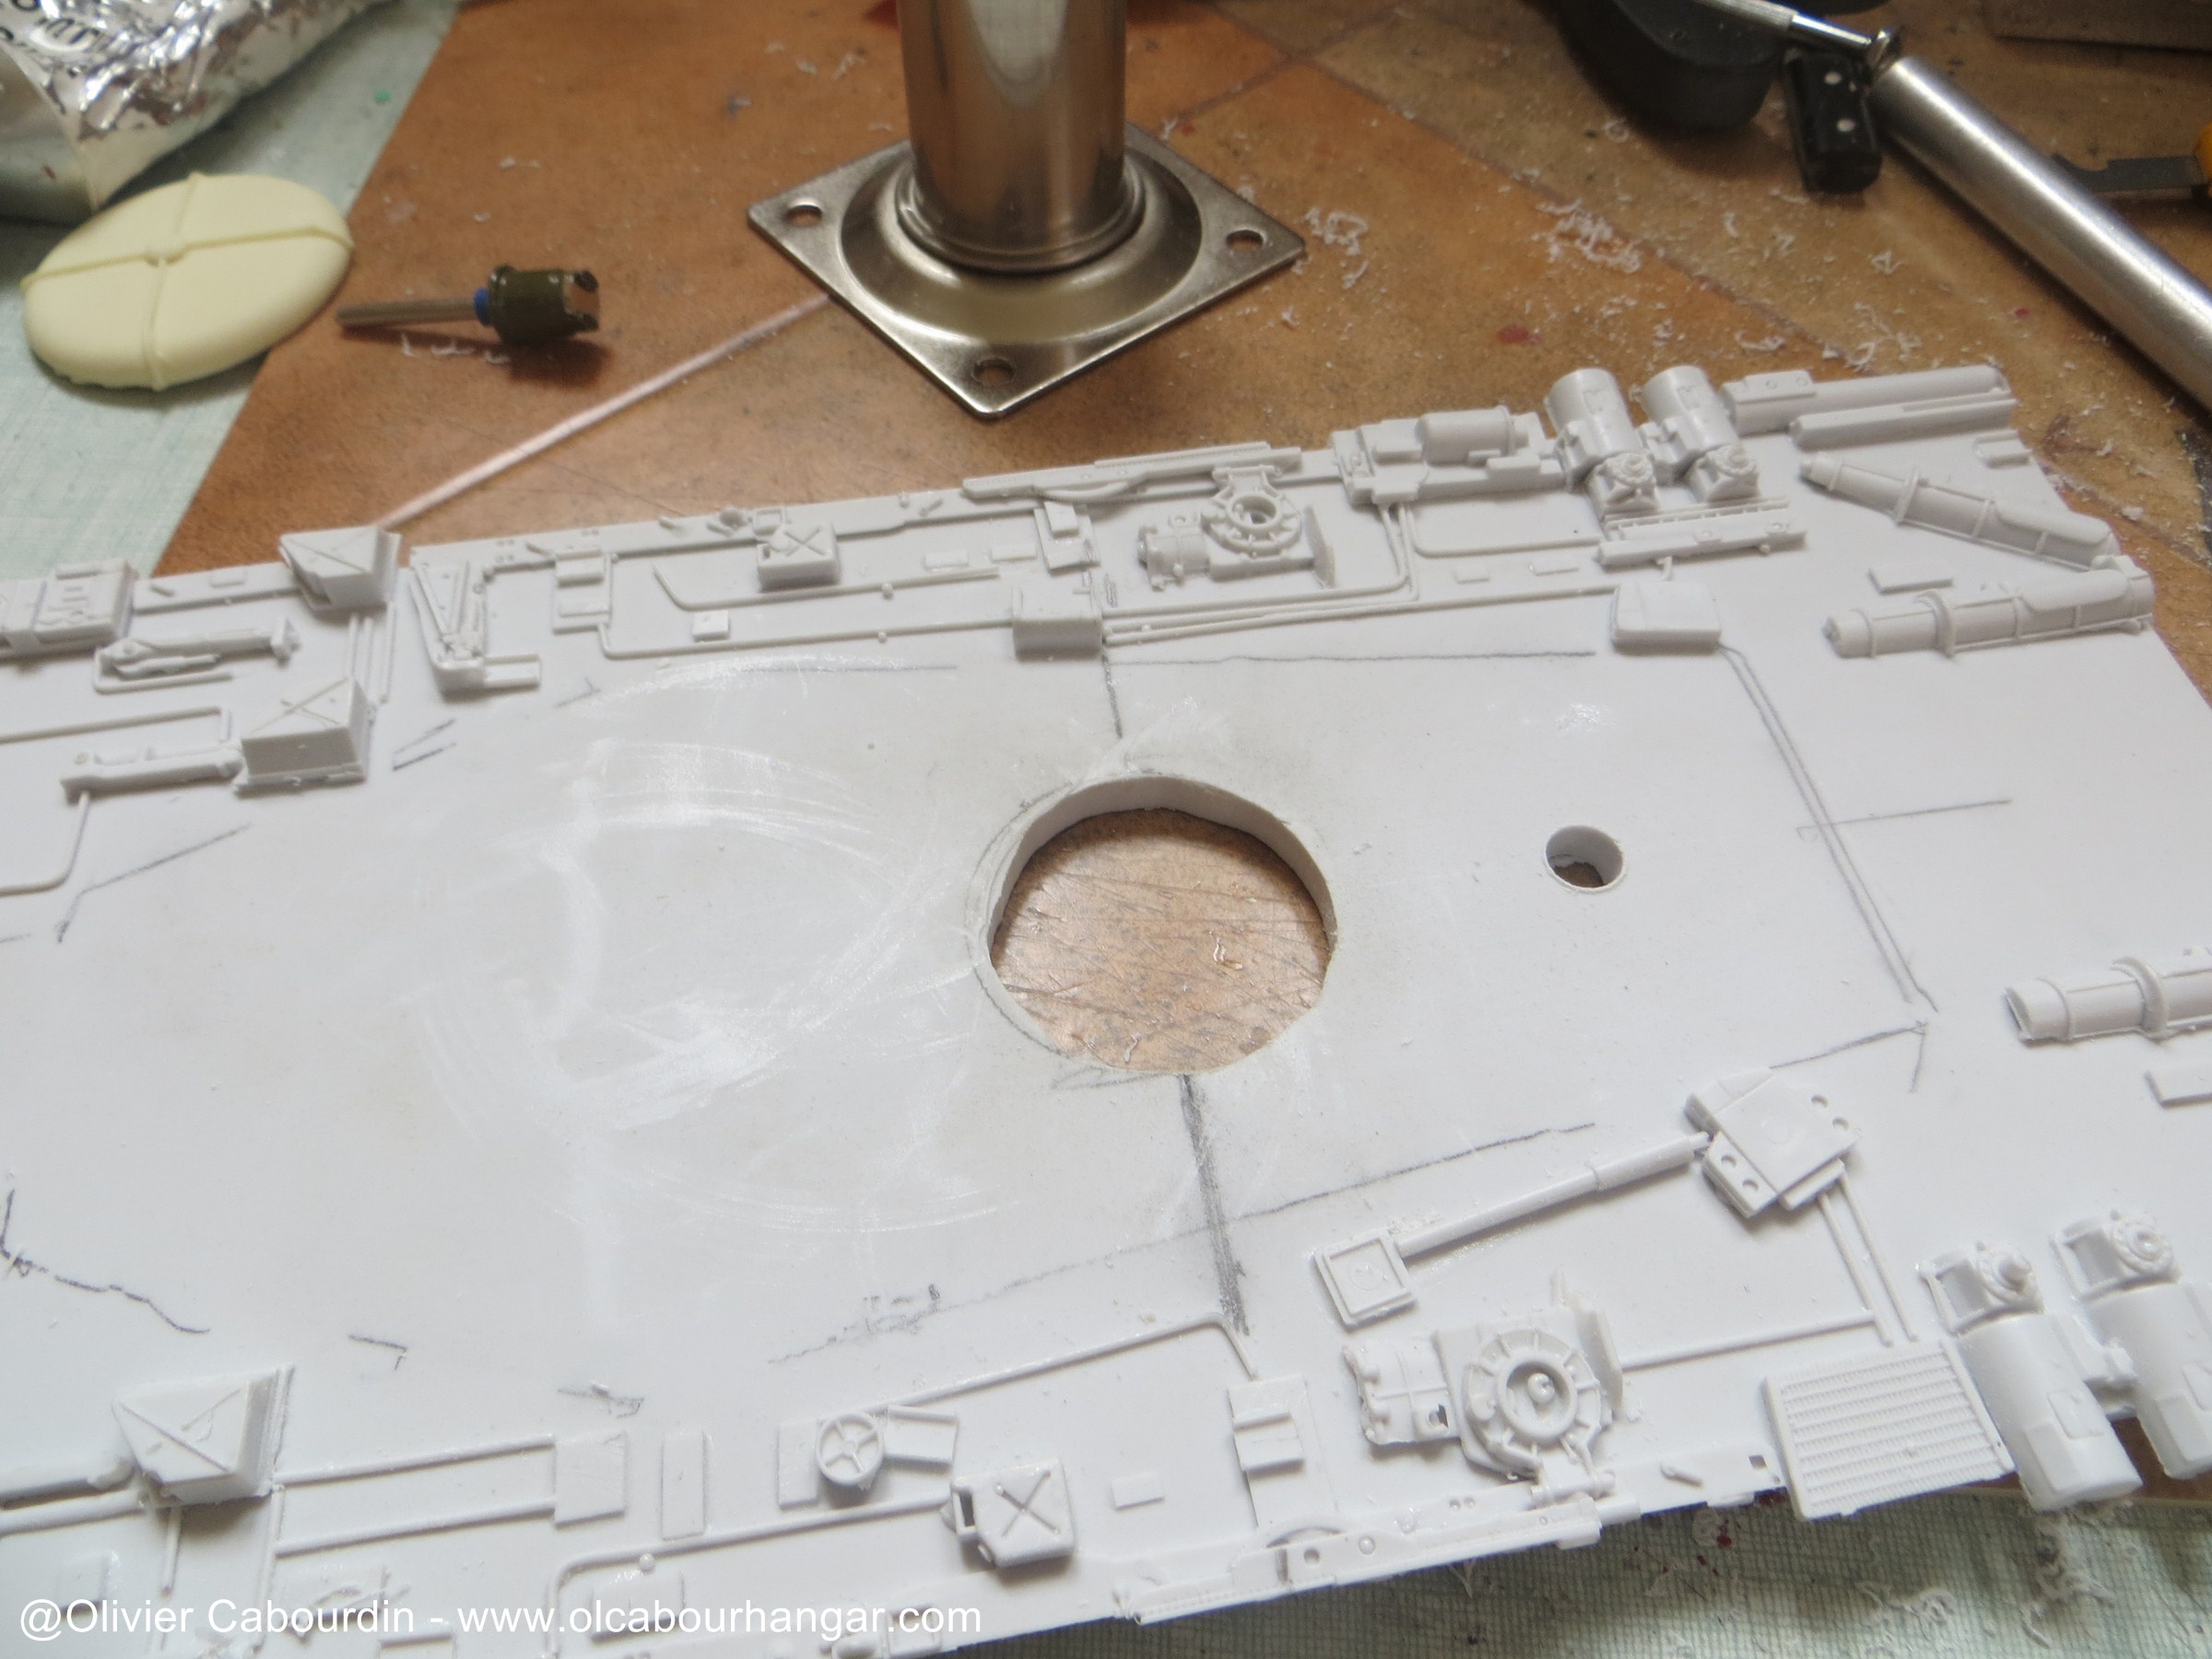
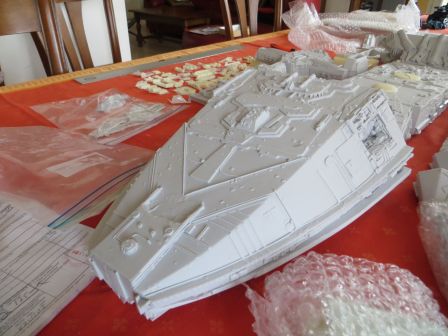
- It lacks a dome : there should be 2 (one above and one below ). The one below is lacking as the model support arm is supposed to go there. Anyway, this dome is not symetrical, and need some reworked.


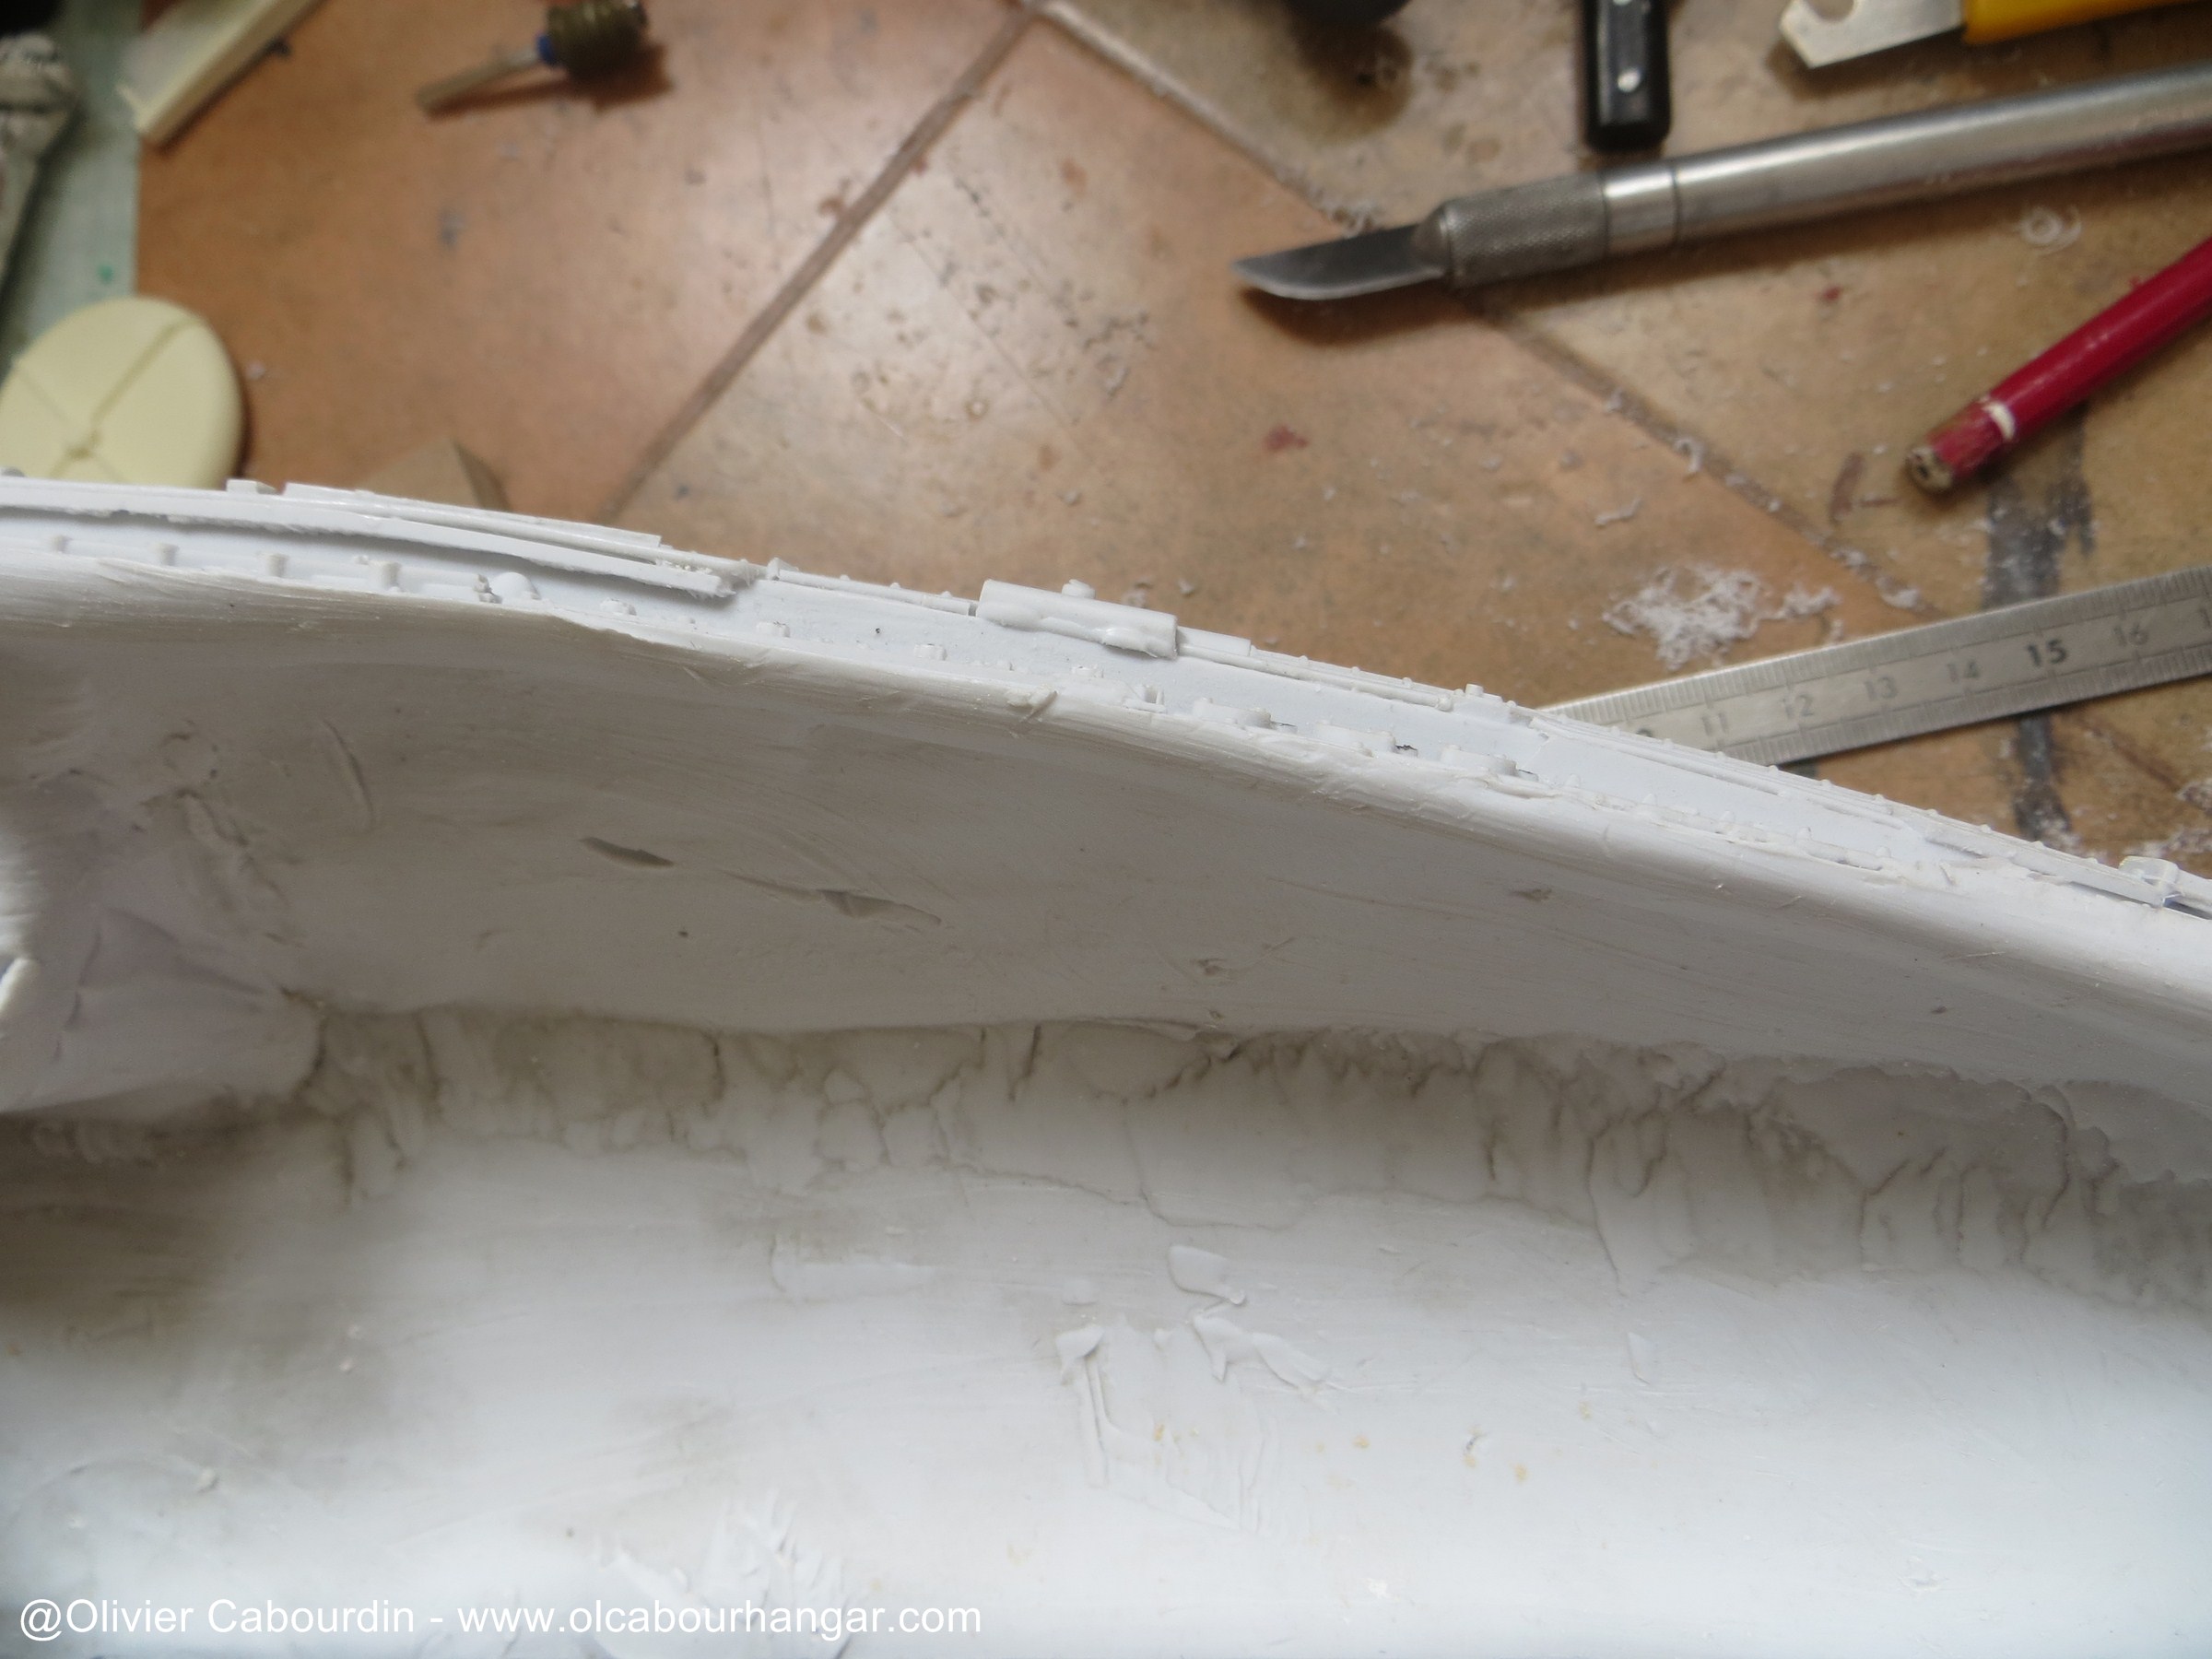
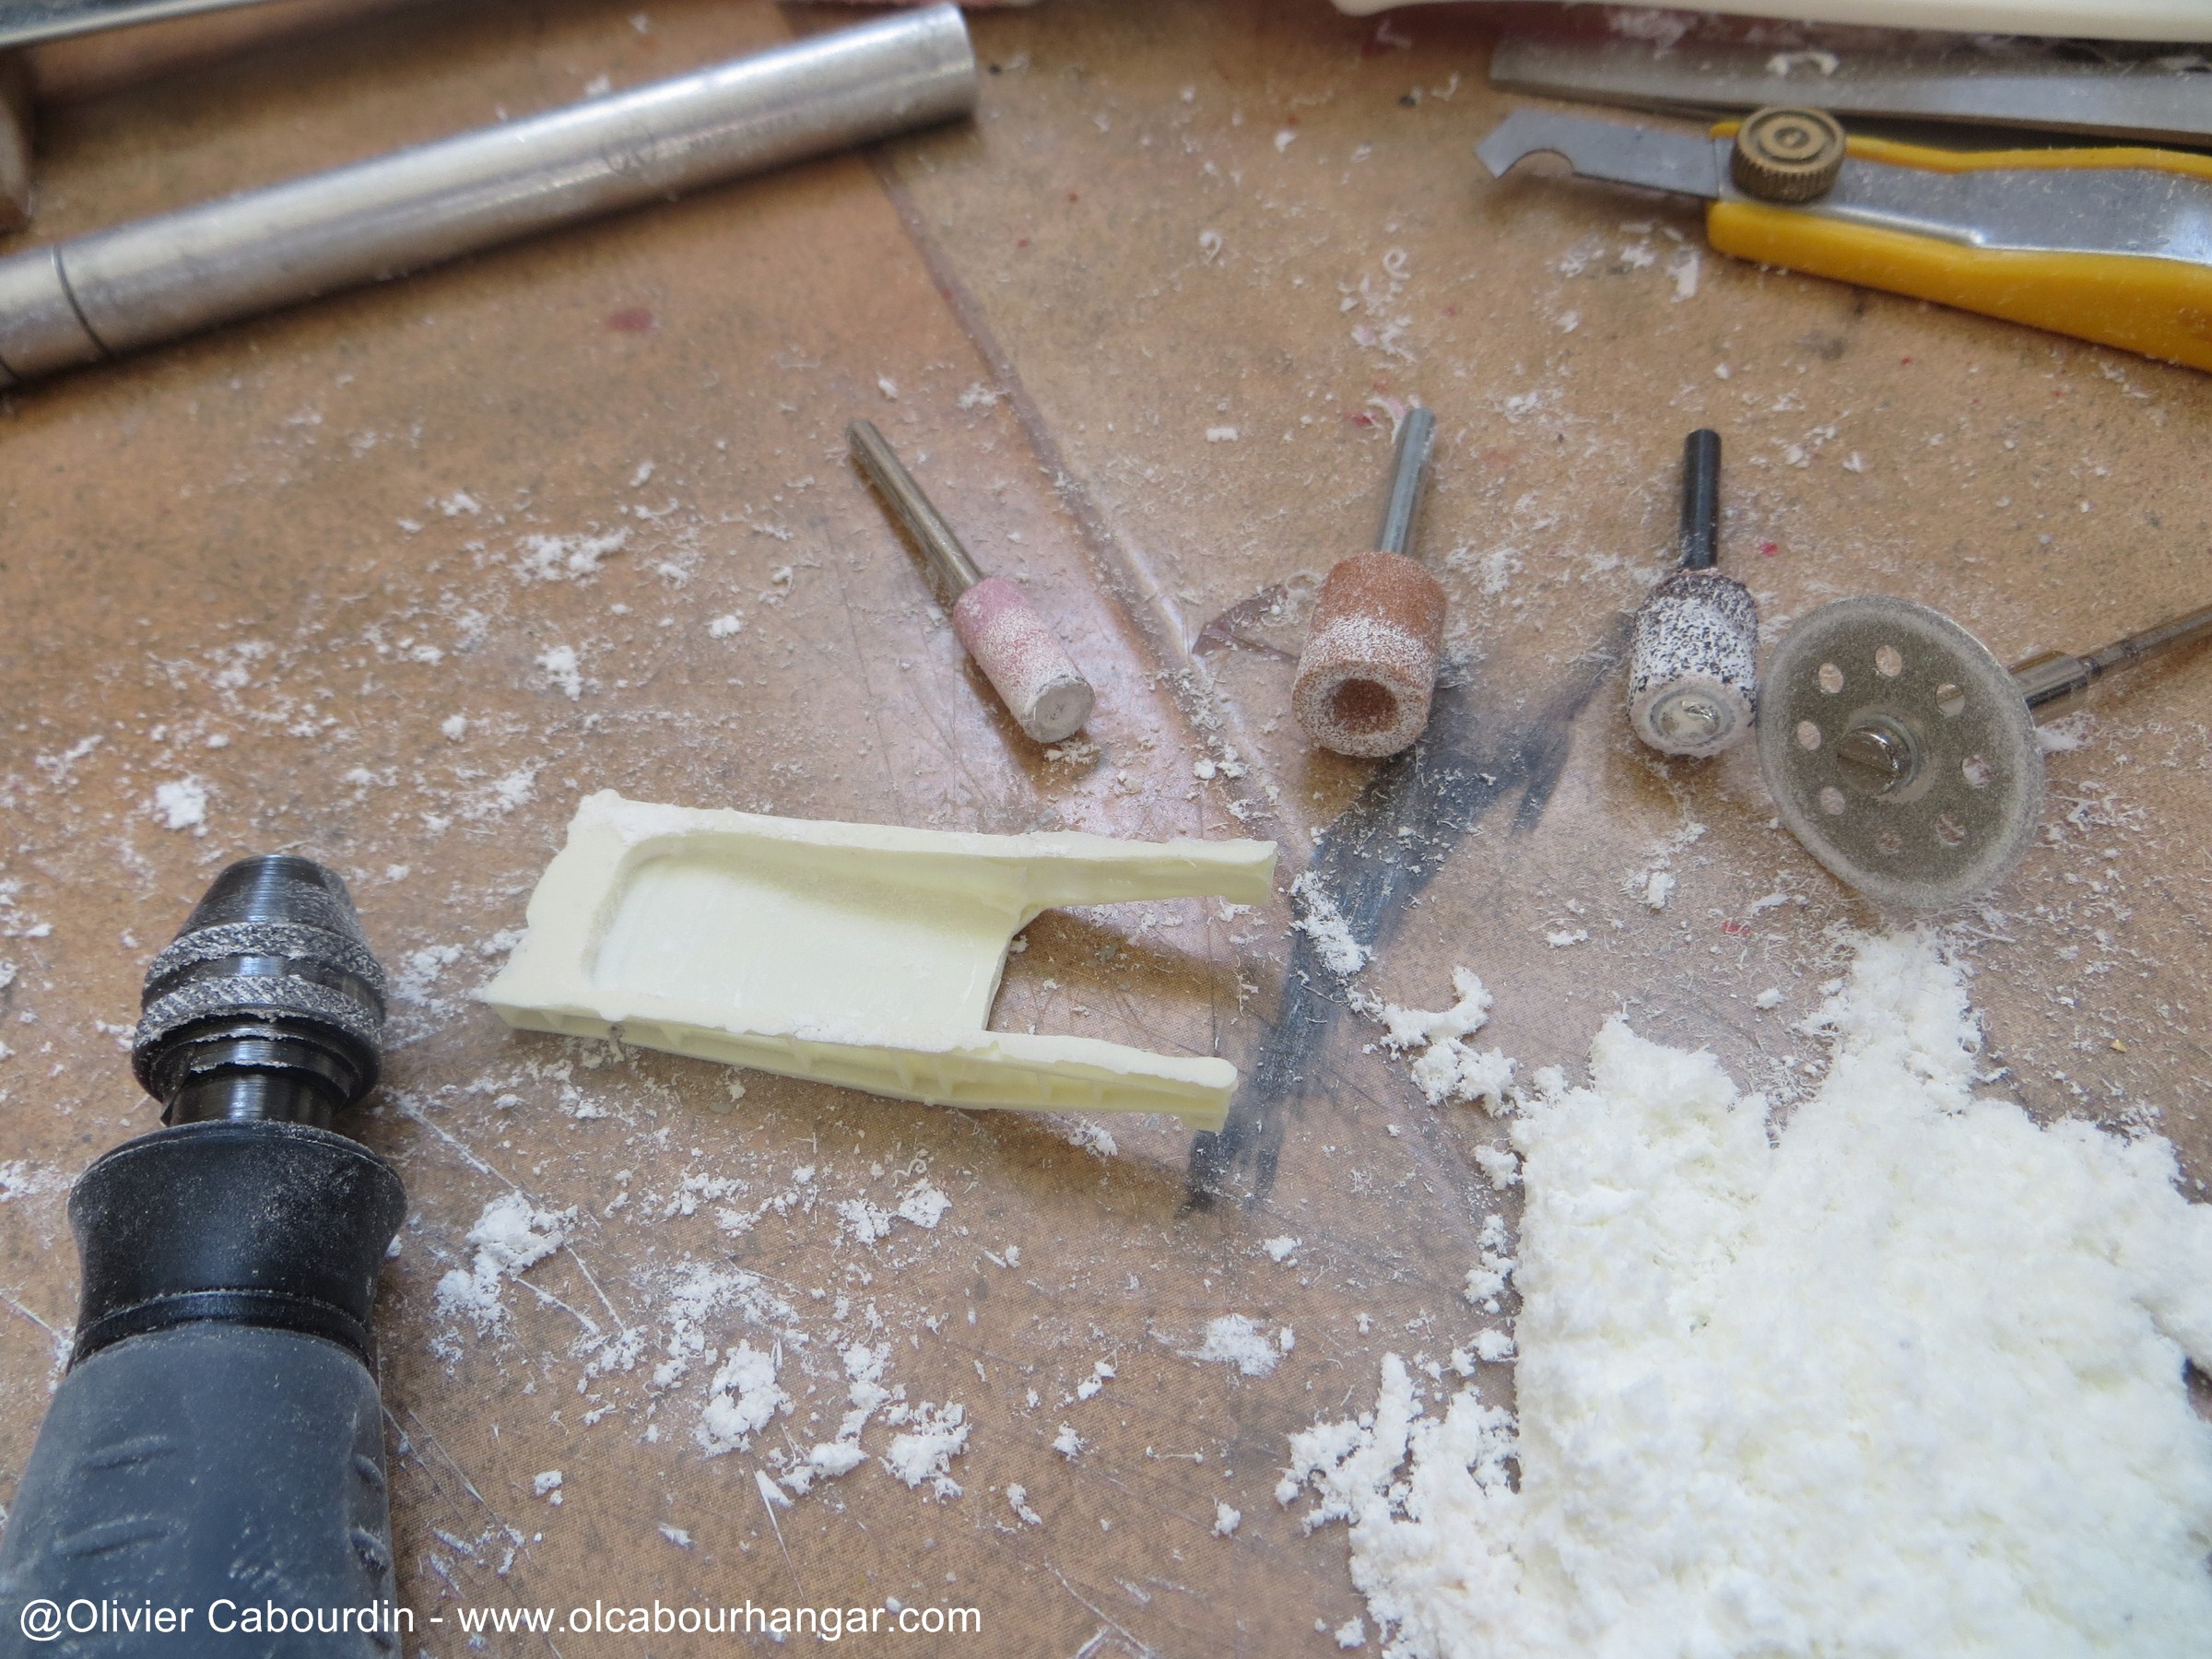
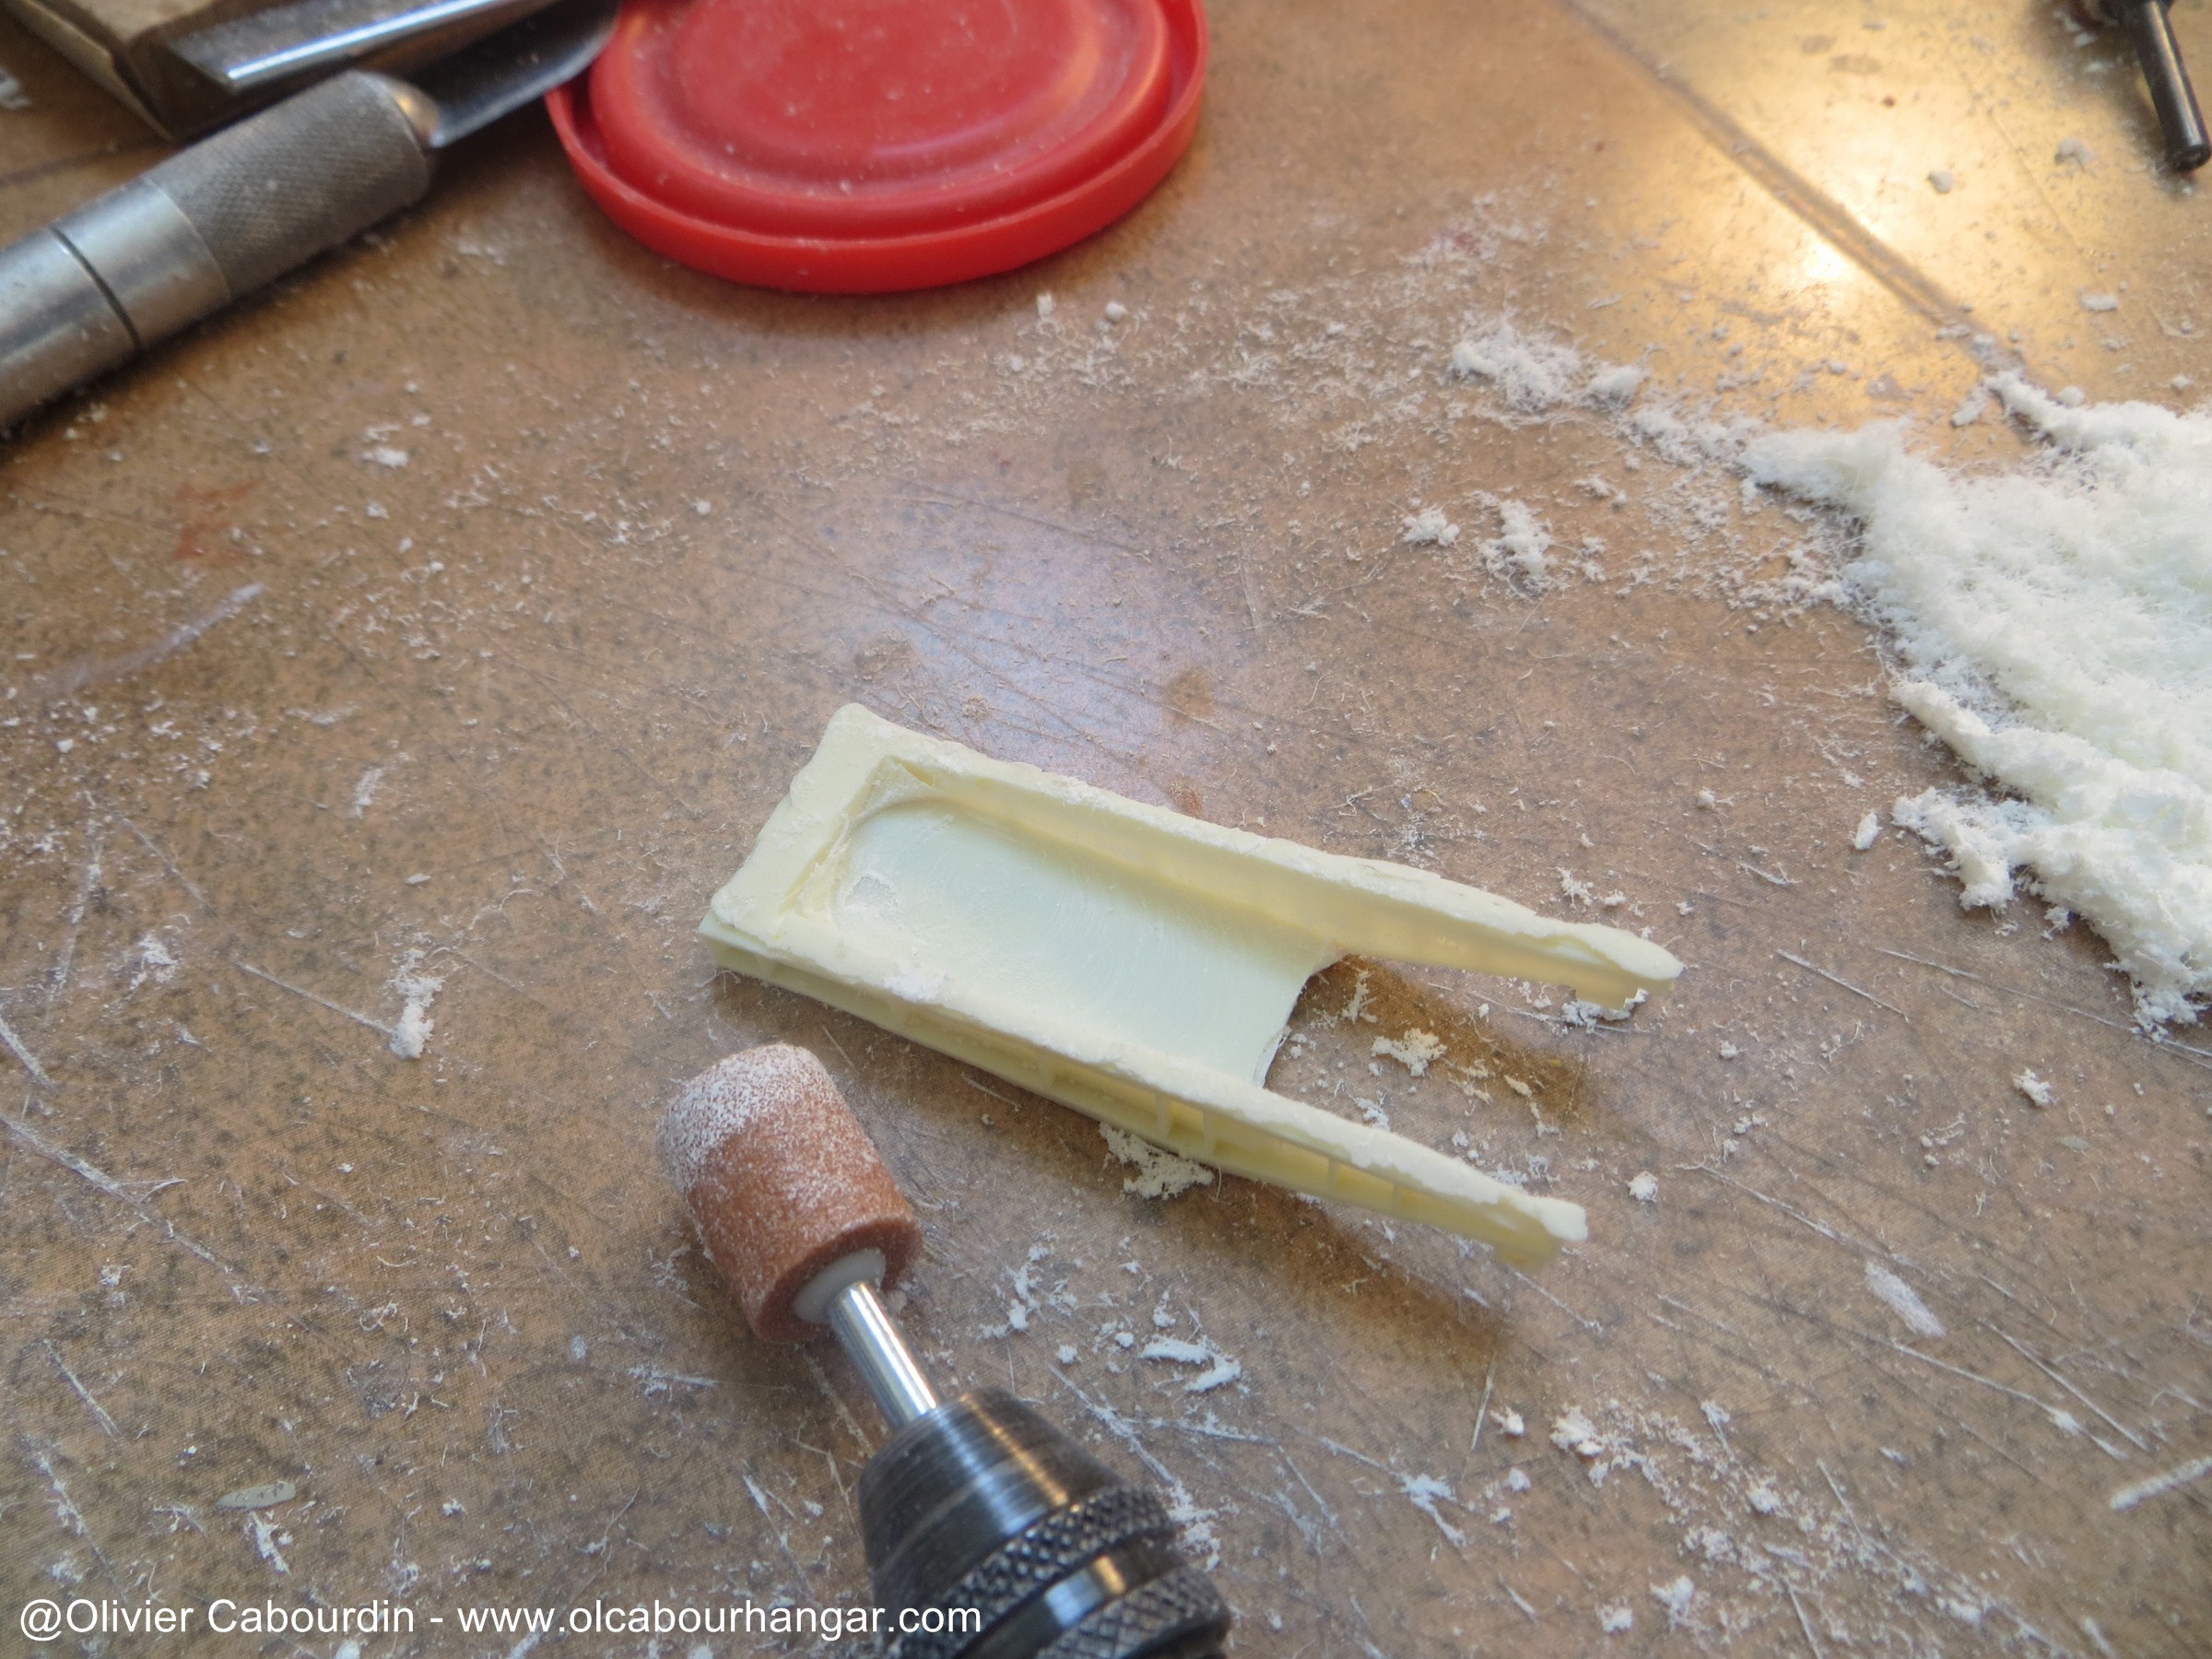
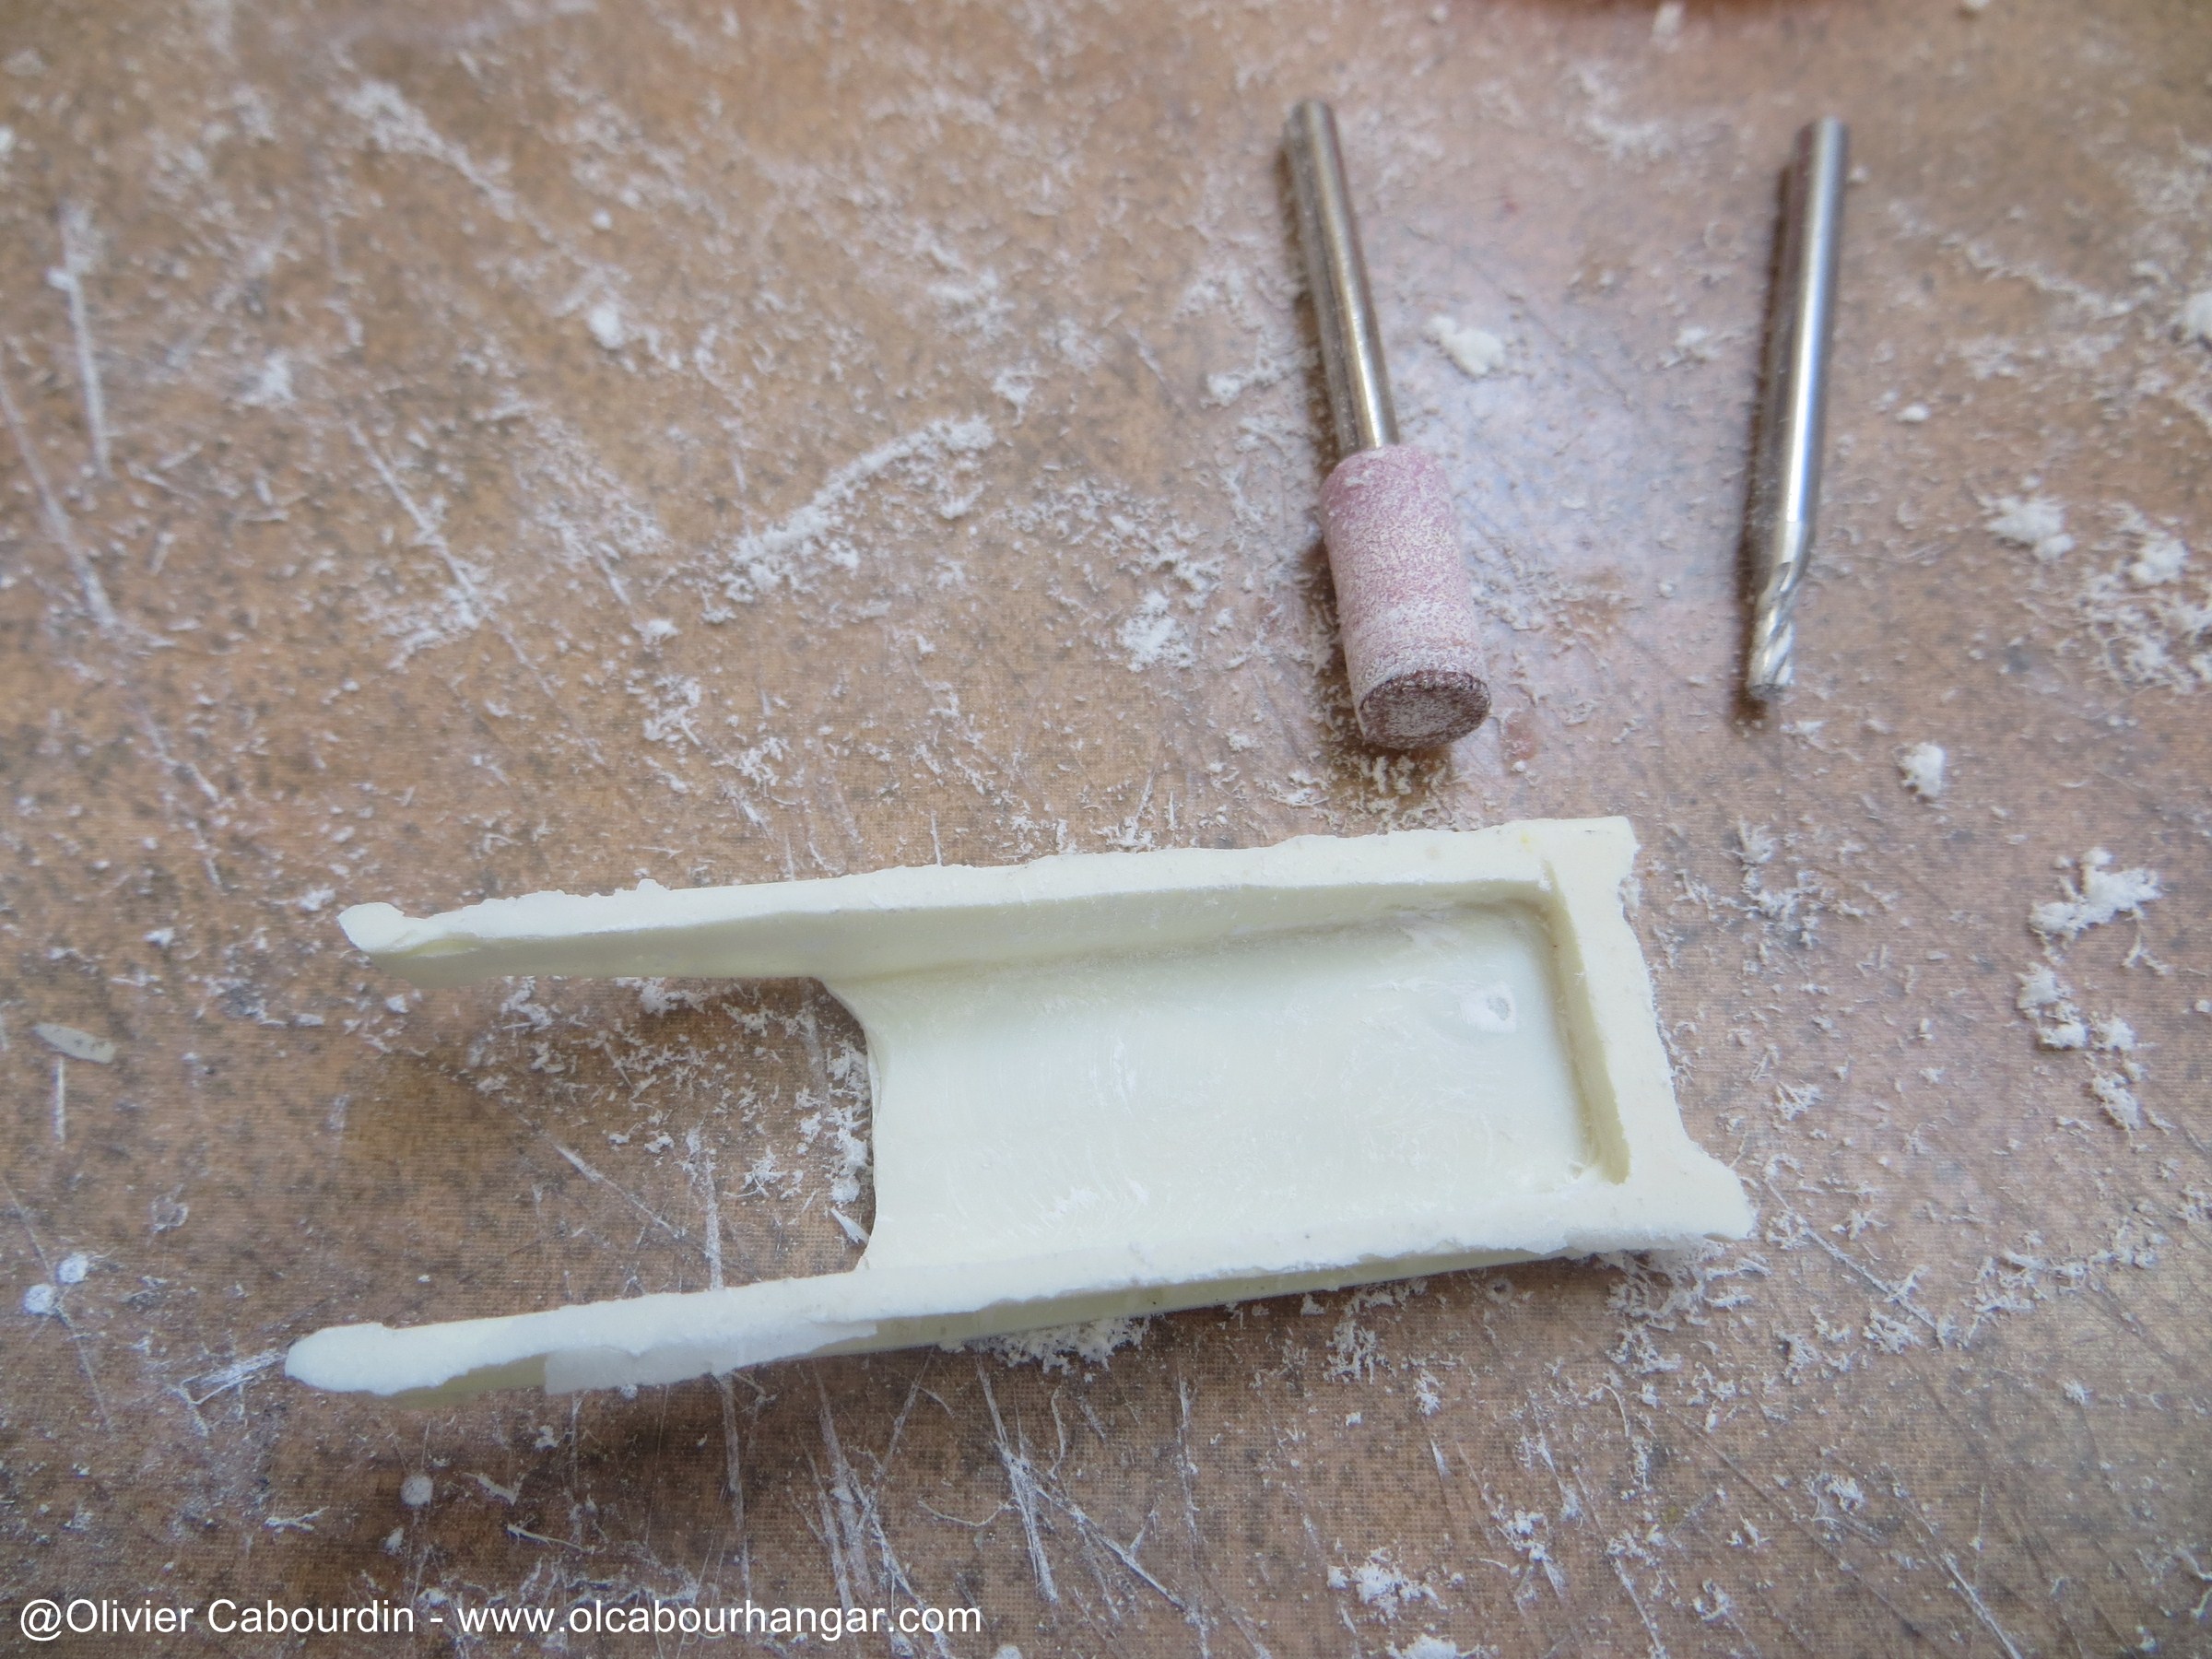
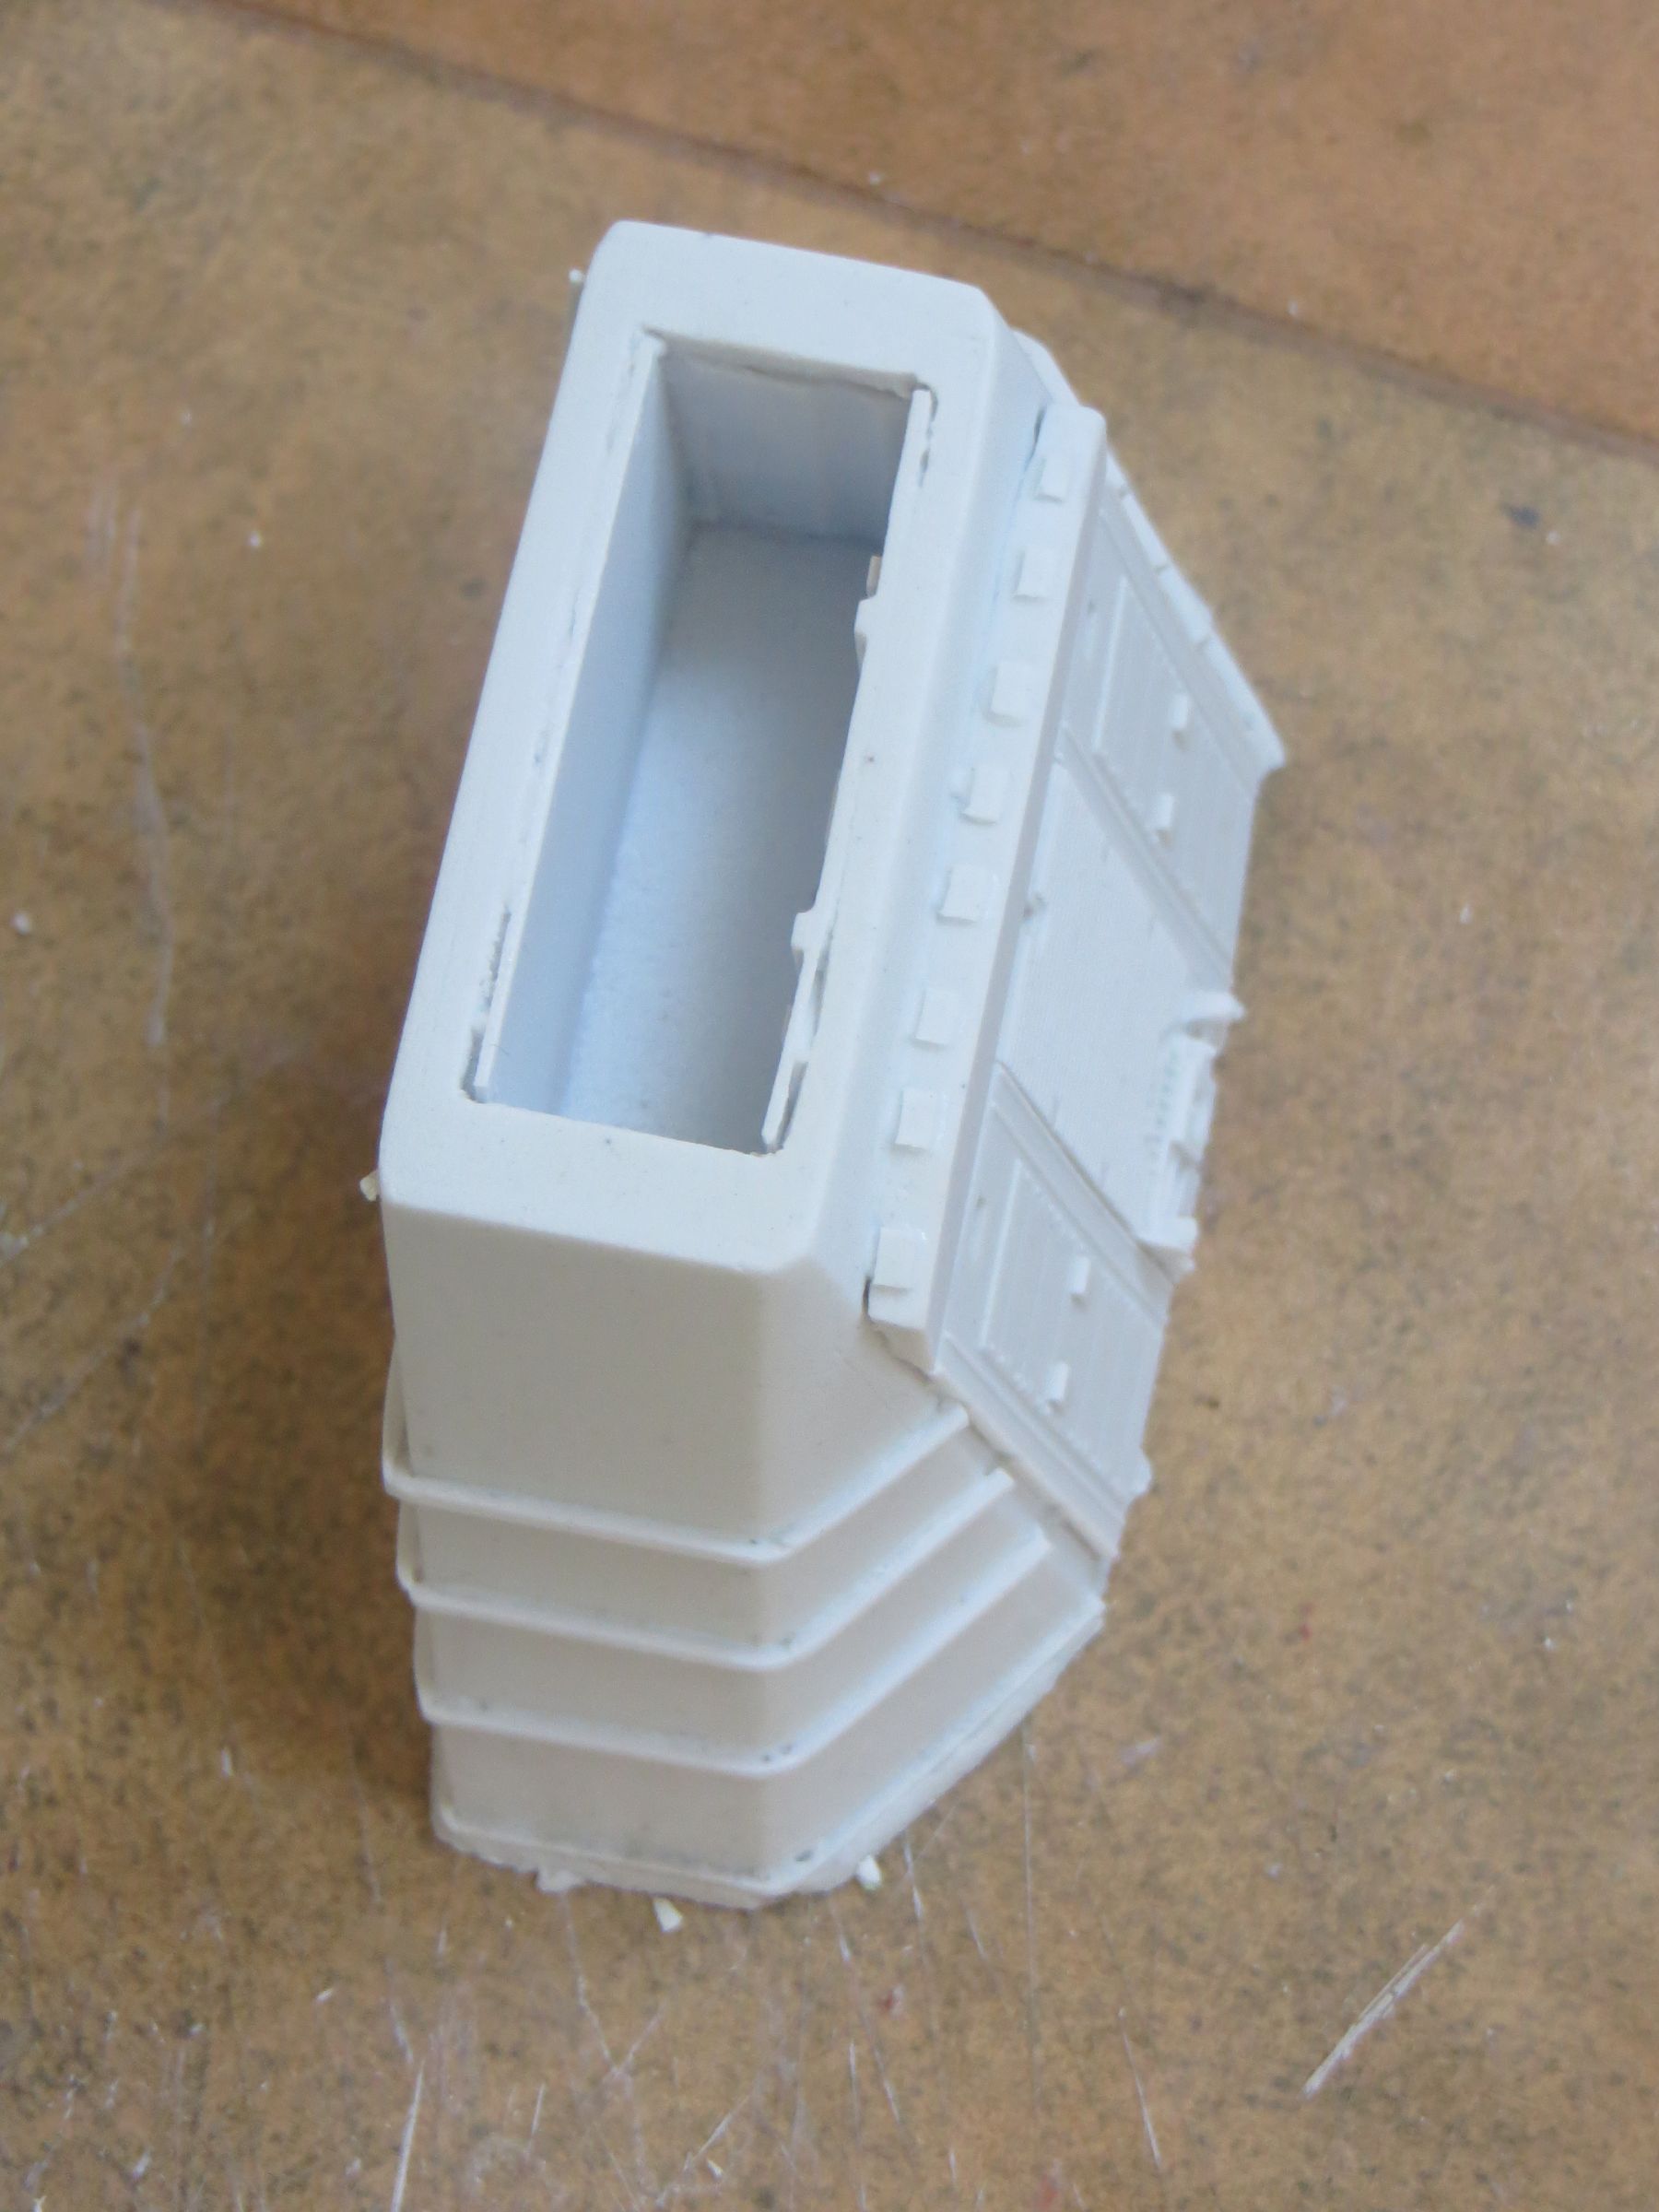
Sheds are recessed on almost their entire length. The rear part is not hollowed entirely.

Points to check before starting the assembly :
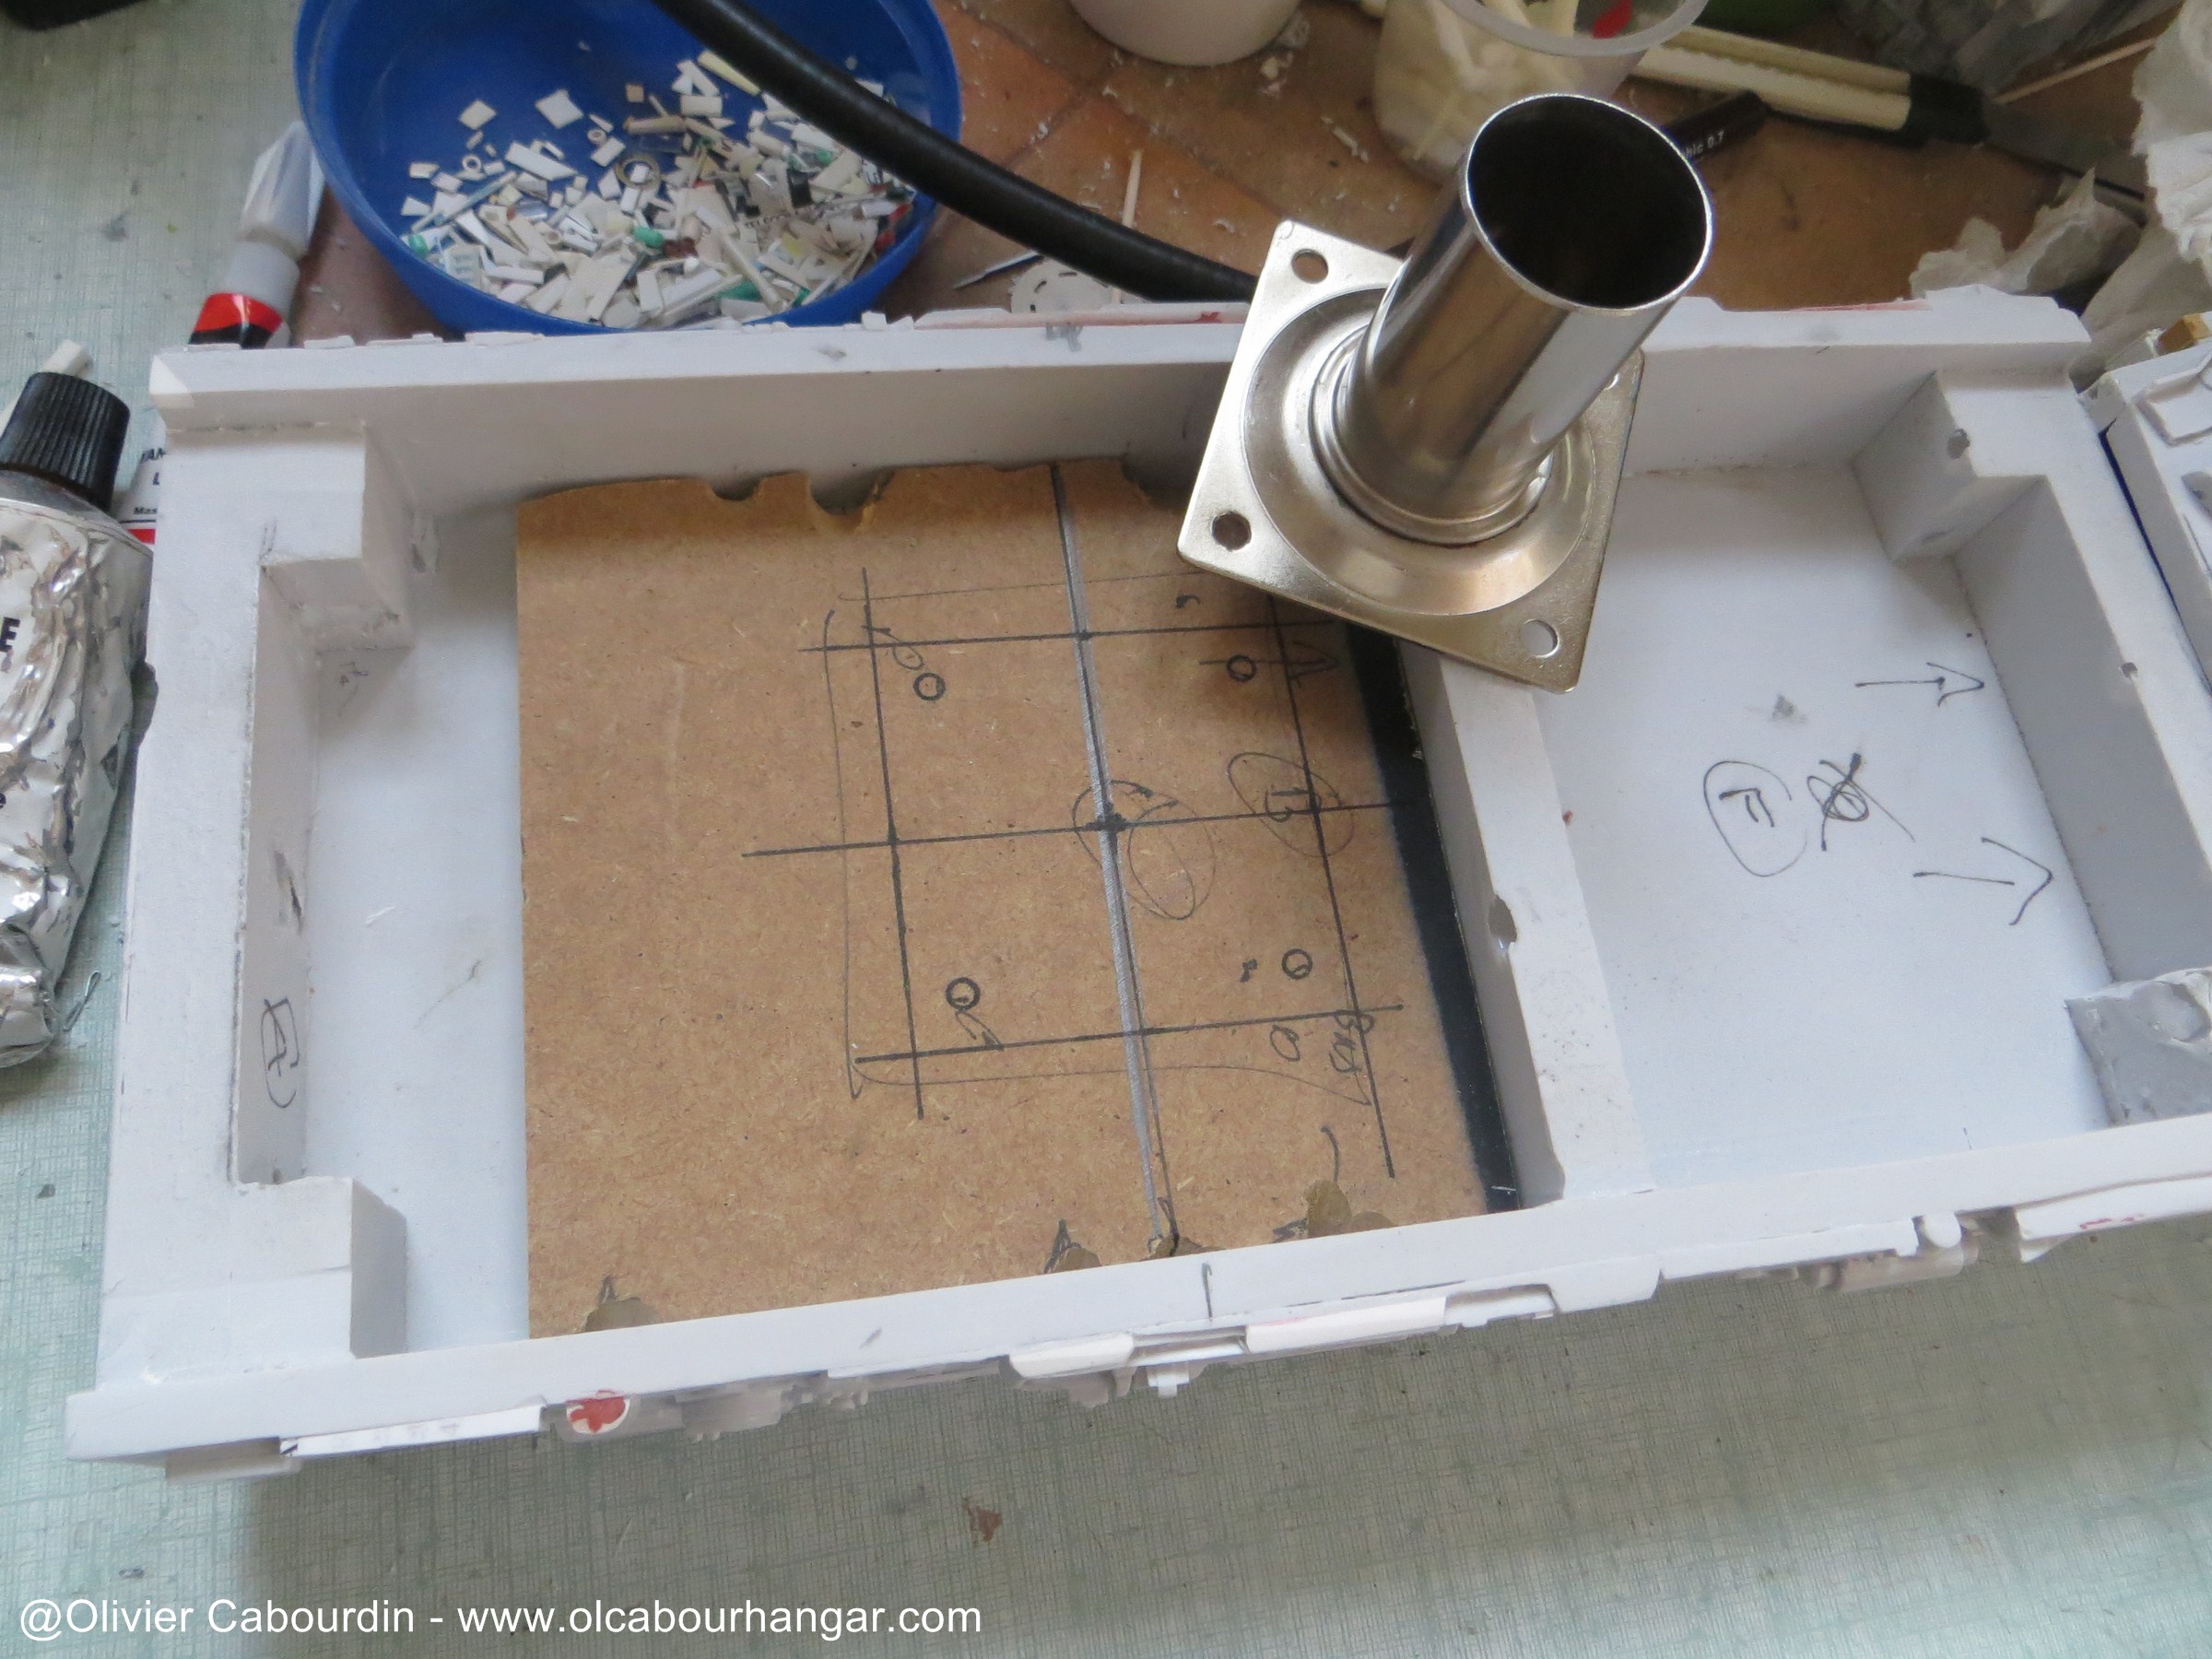
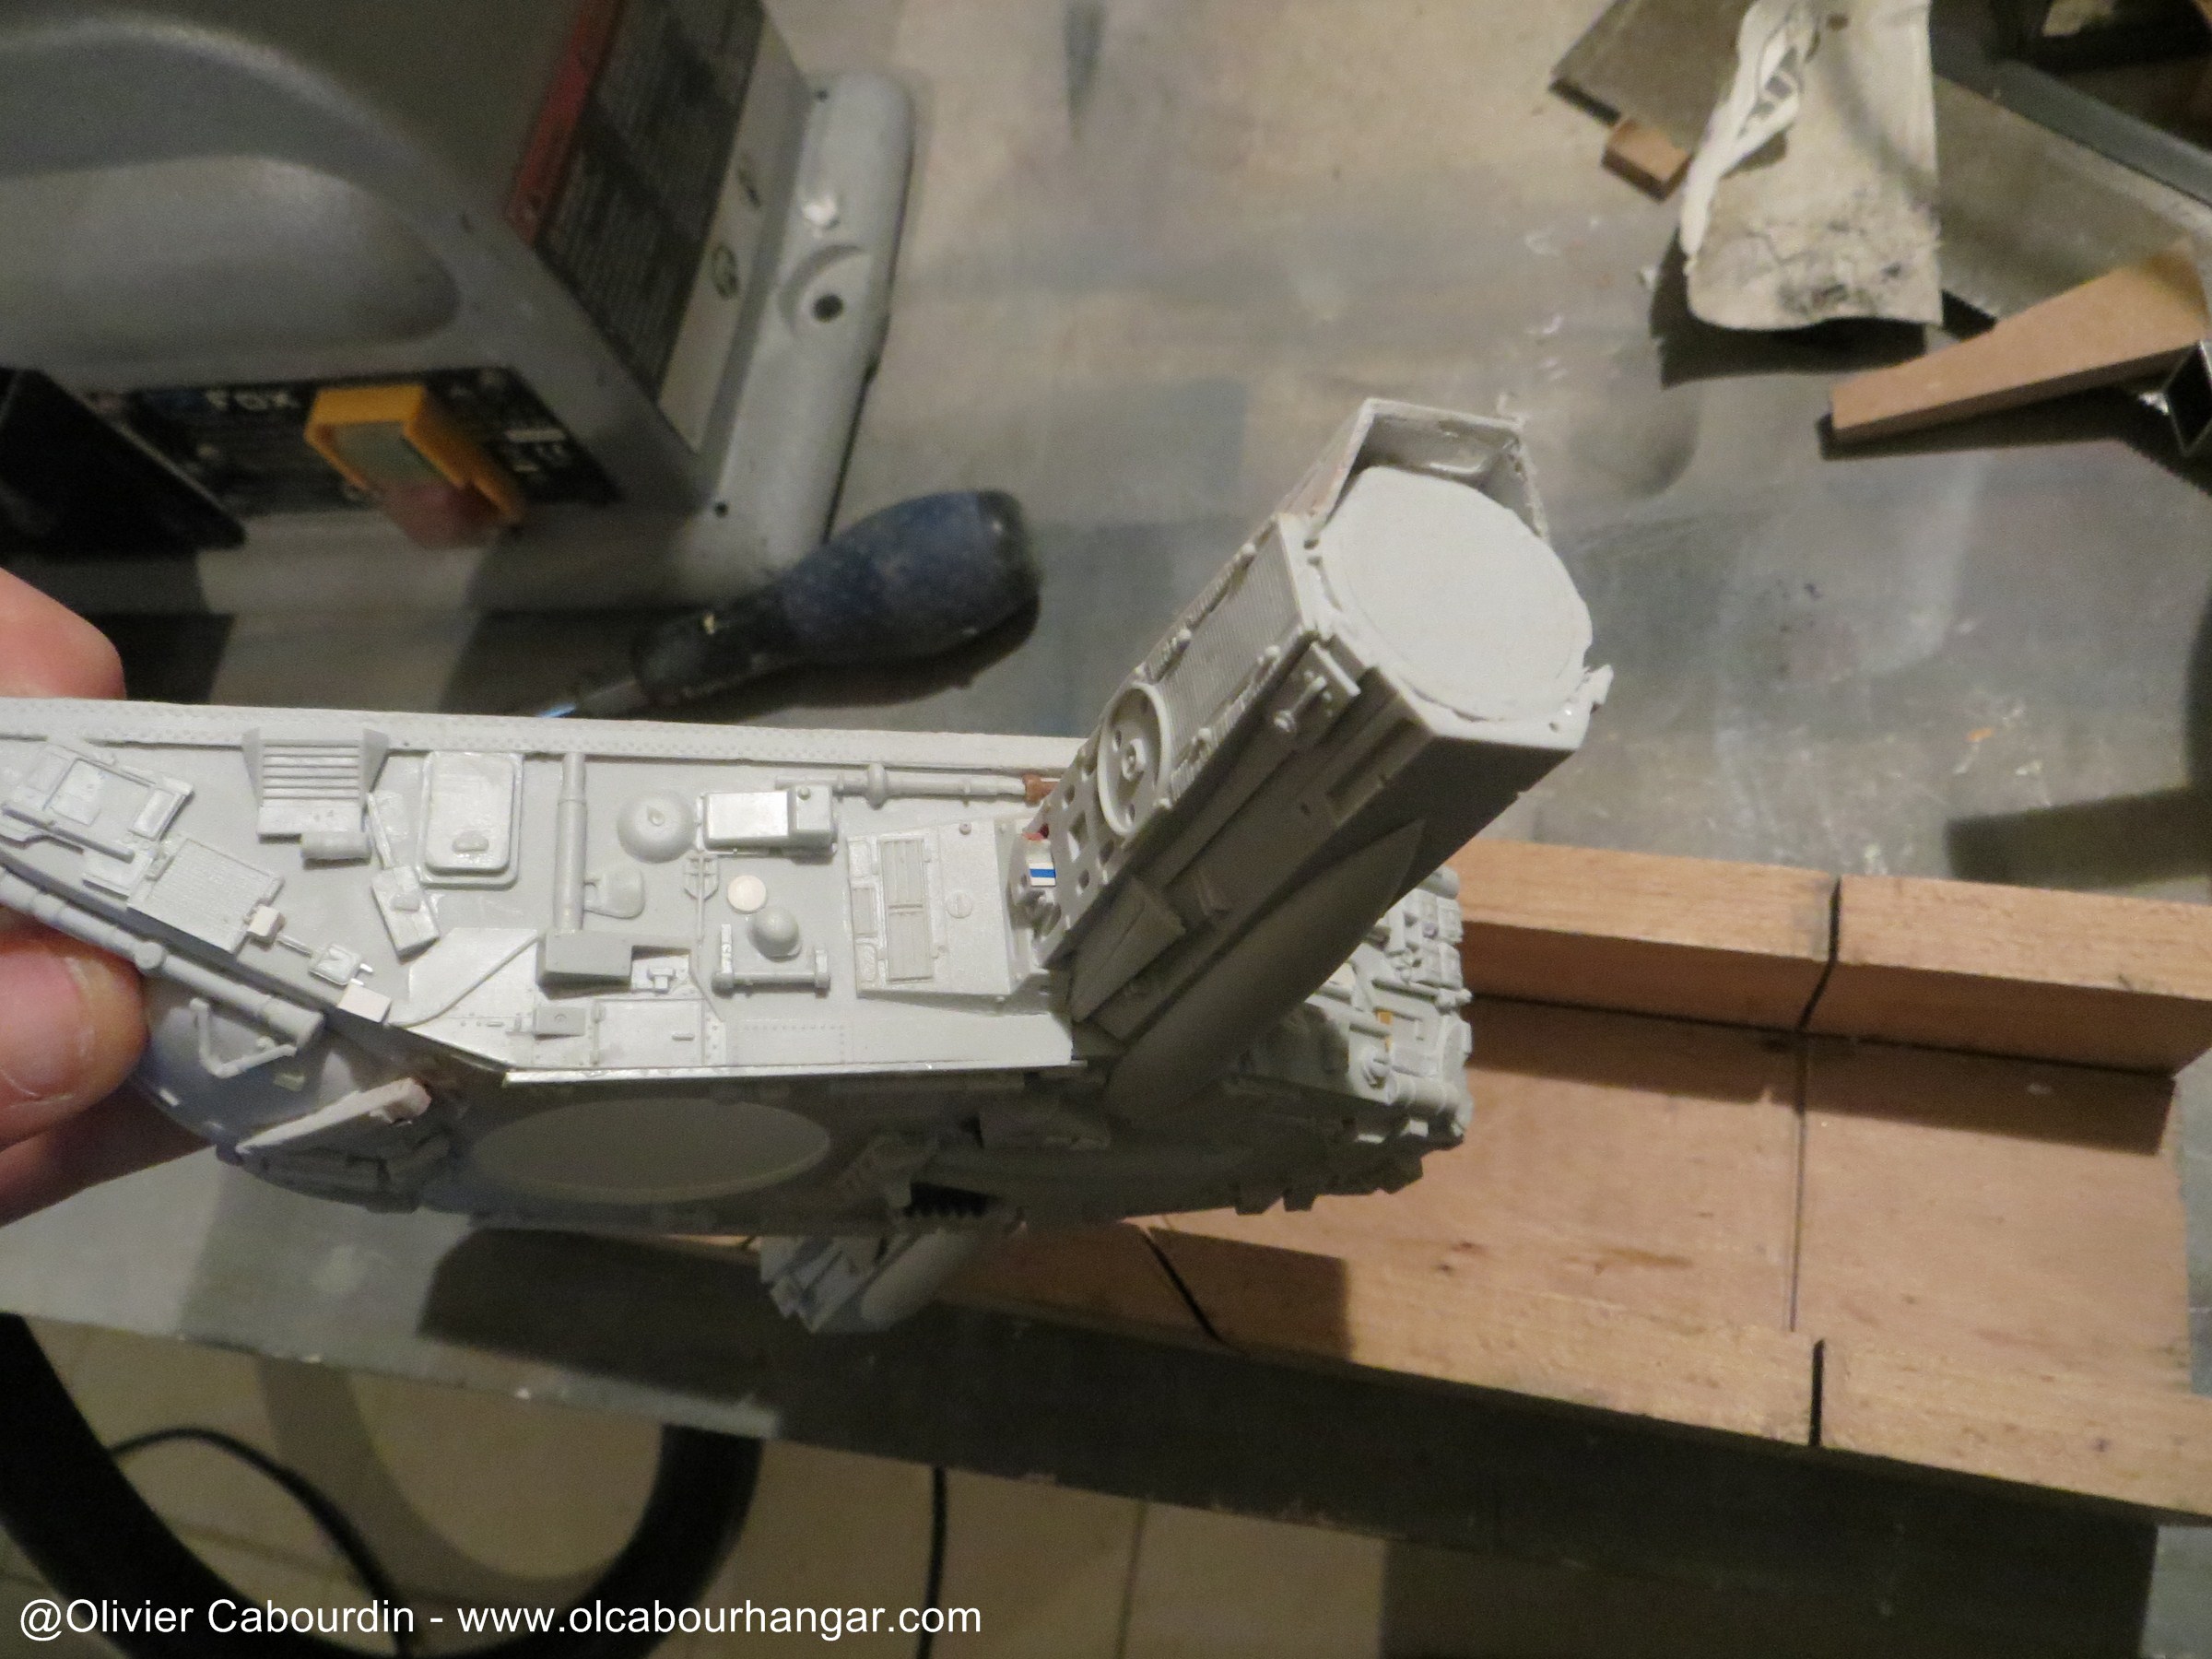
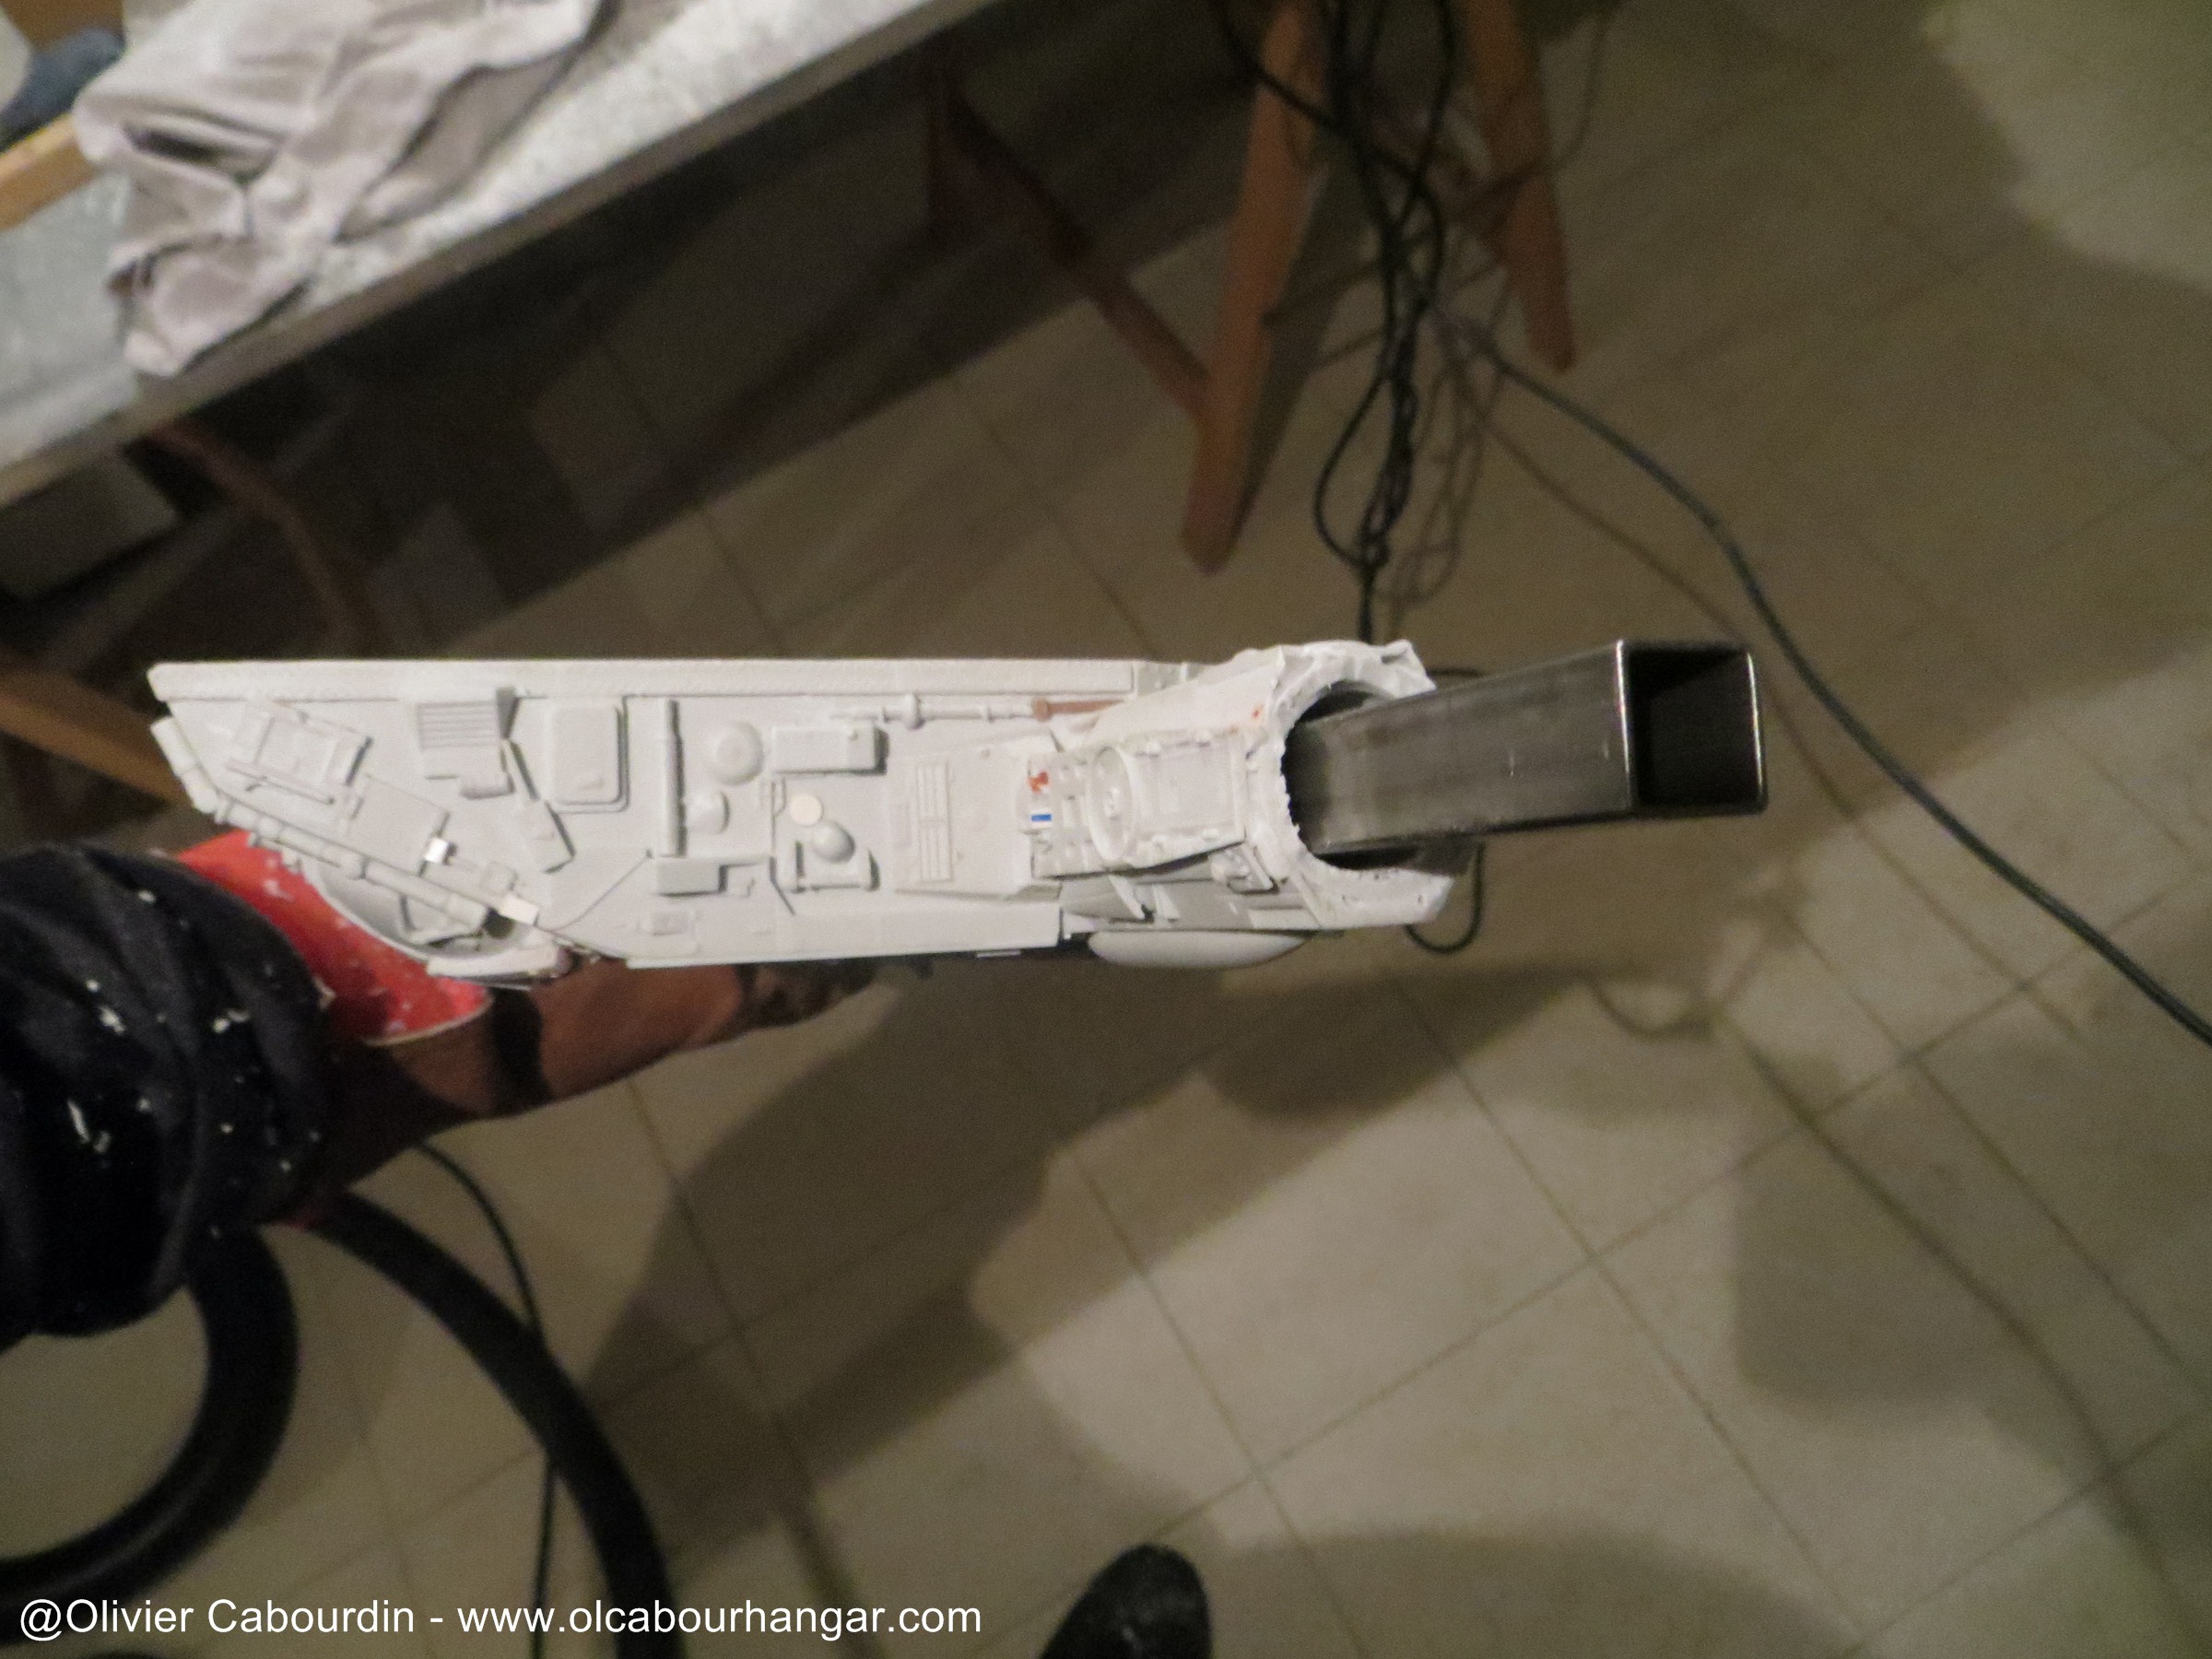
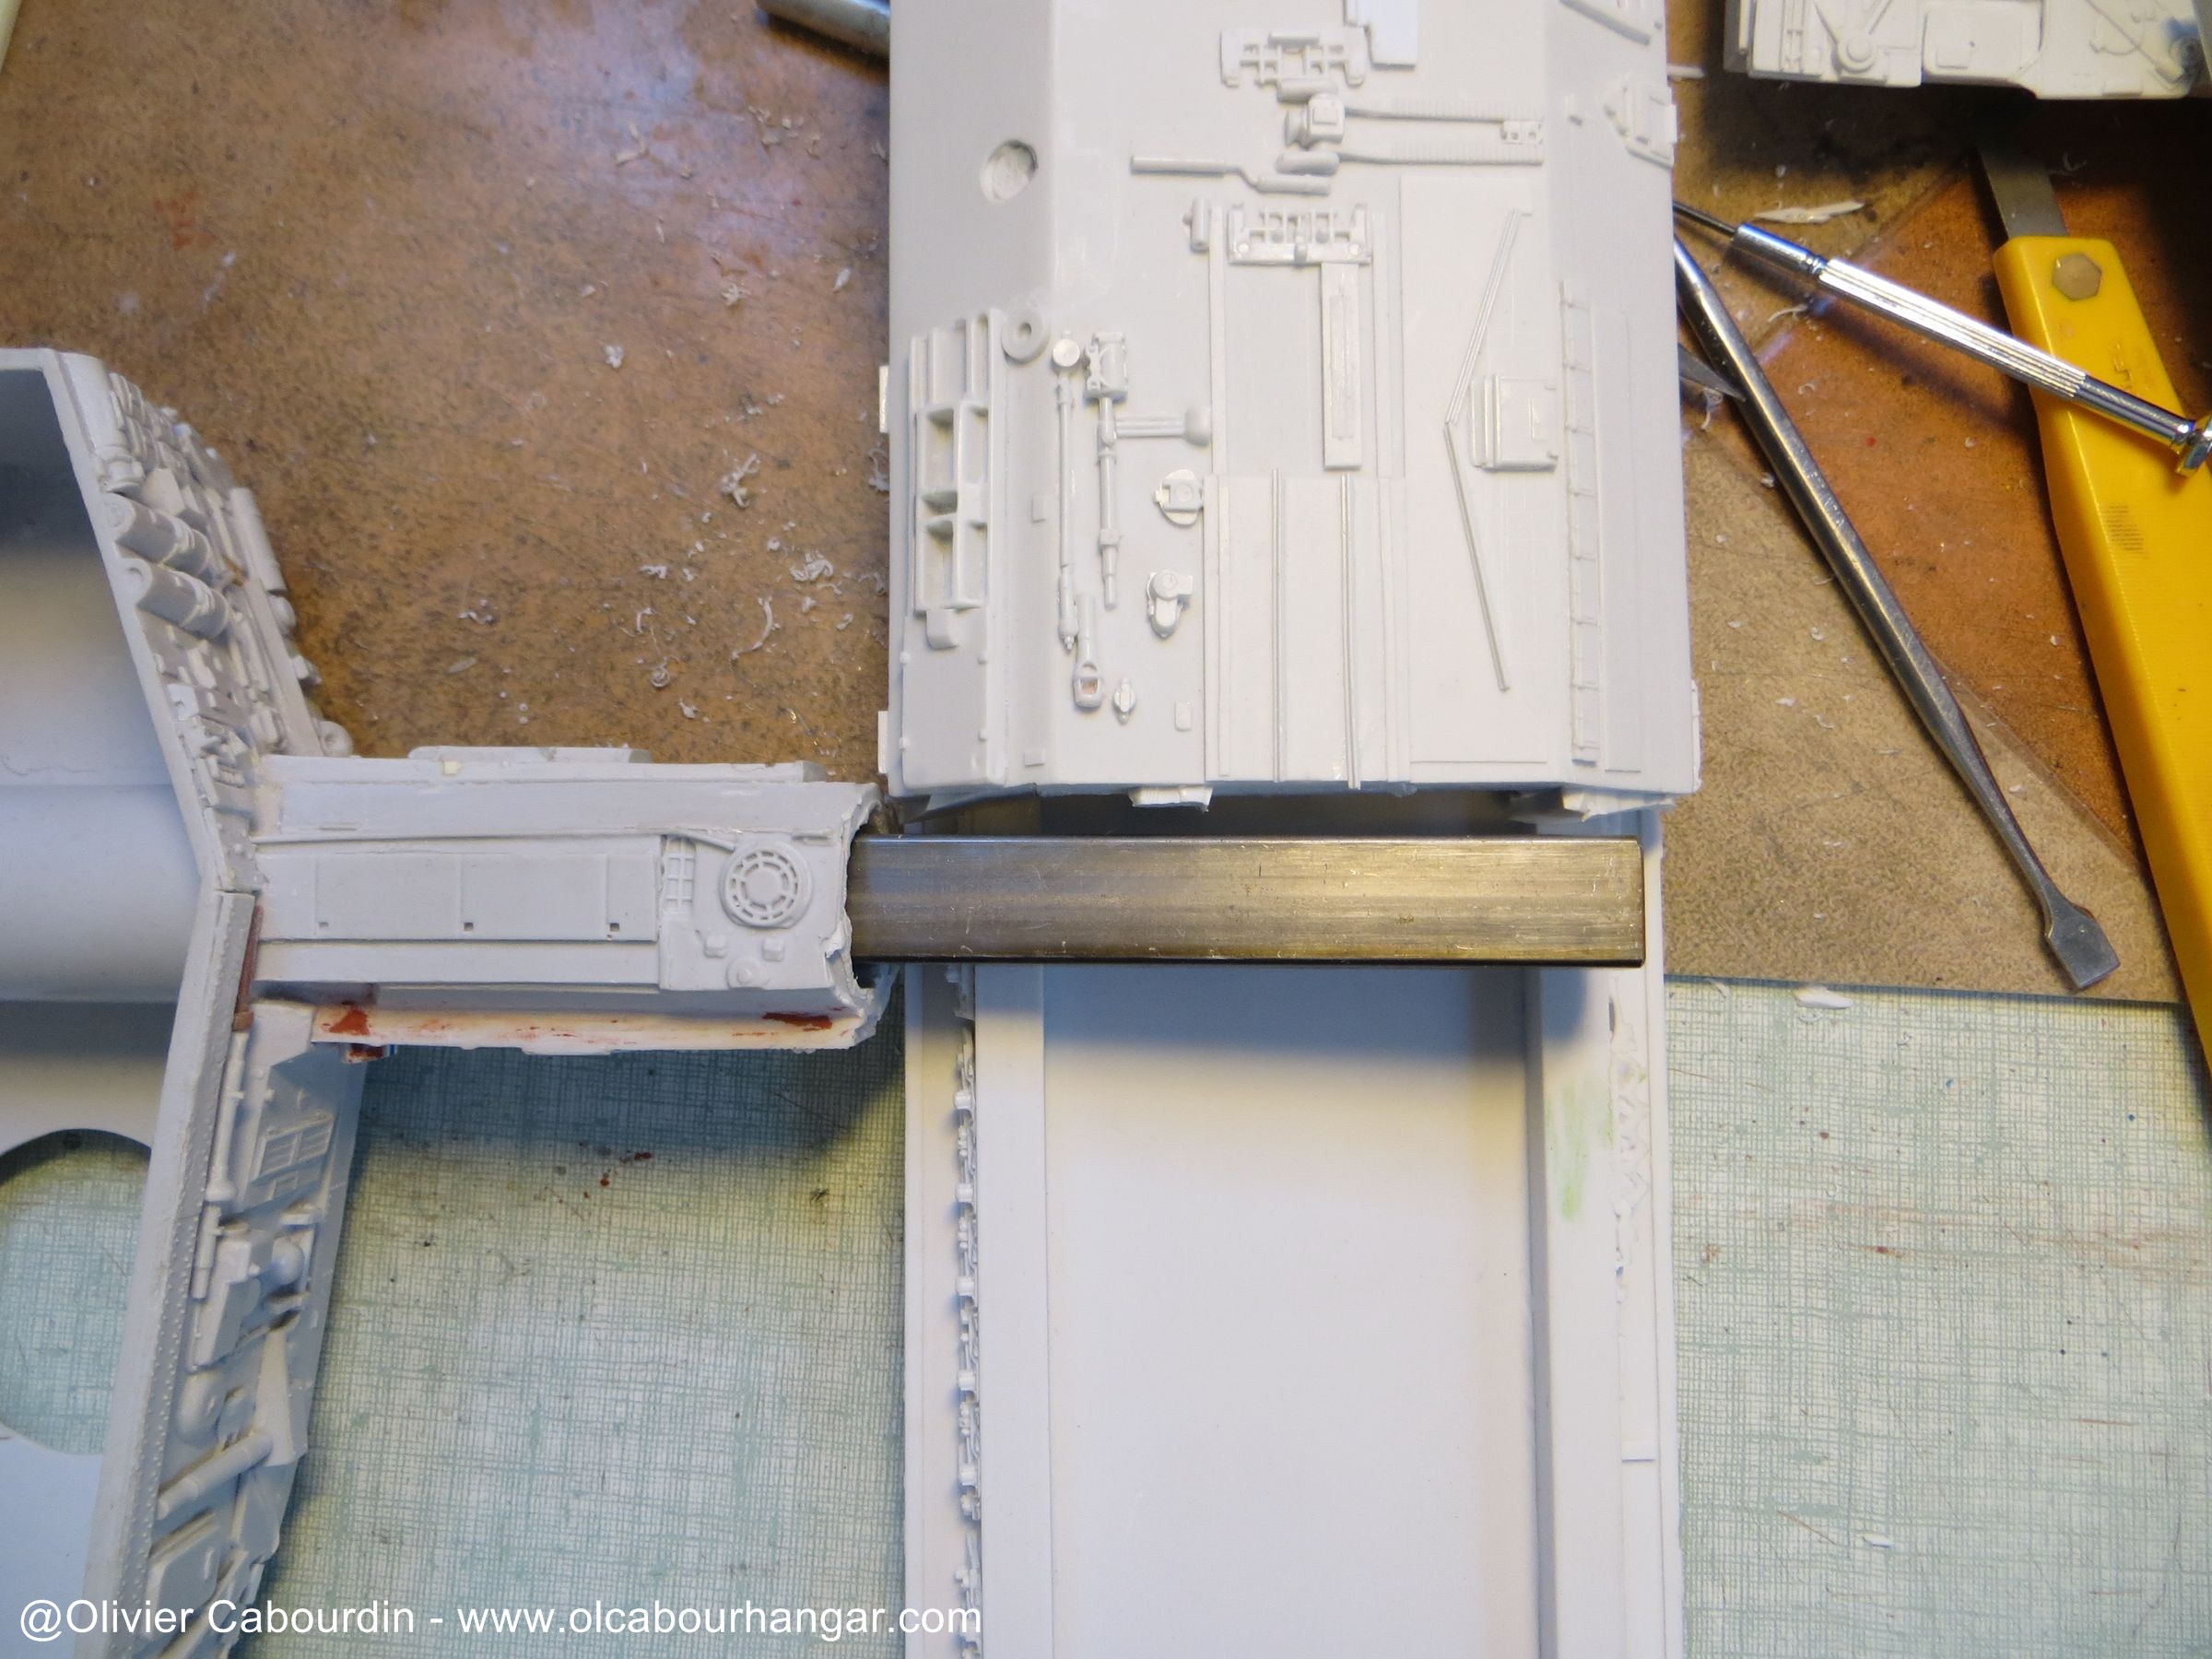
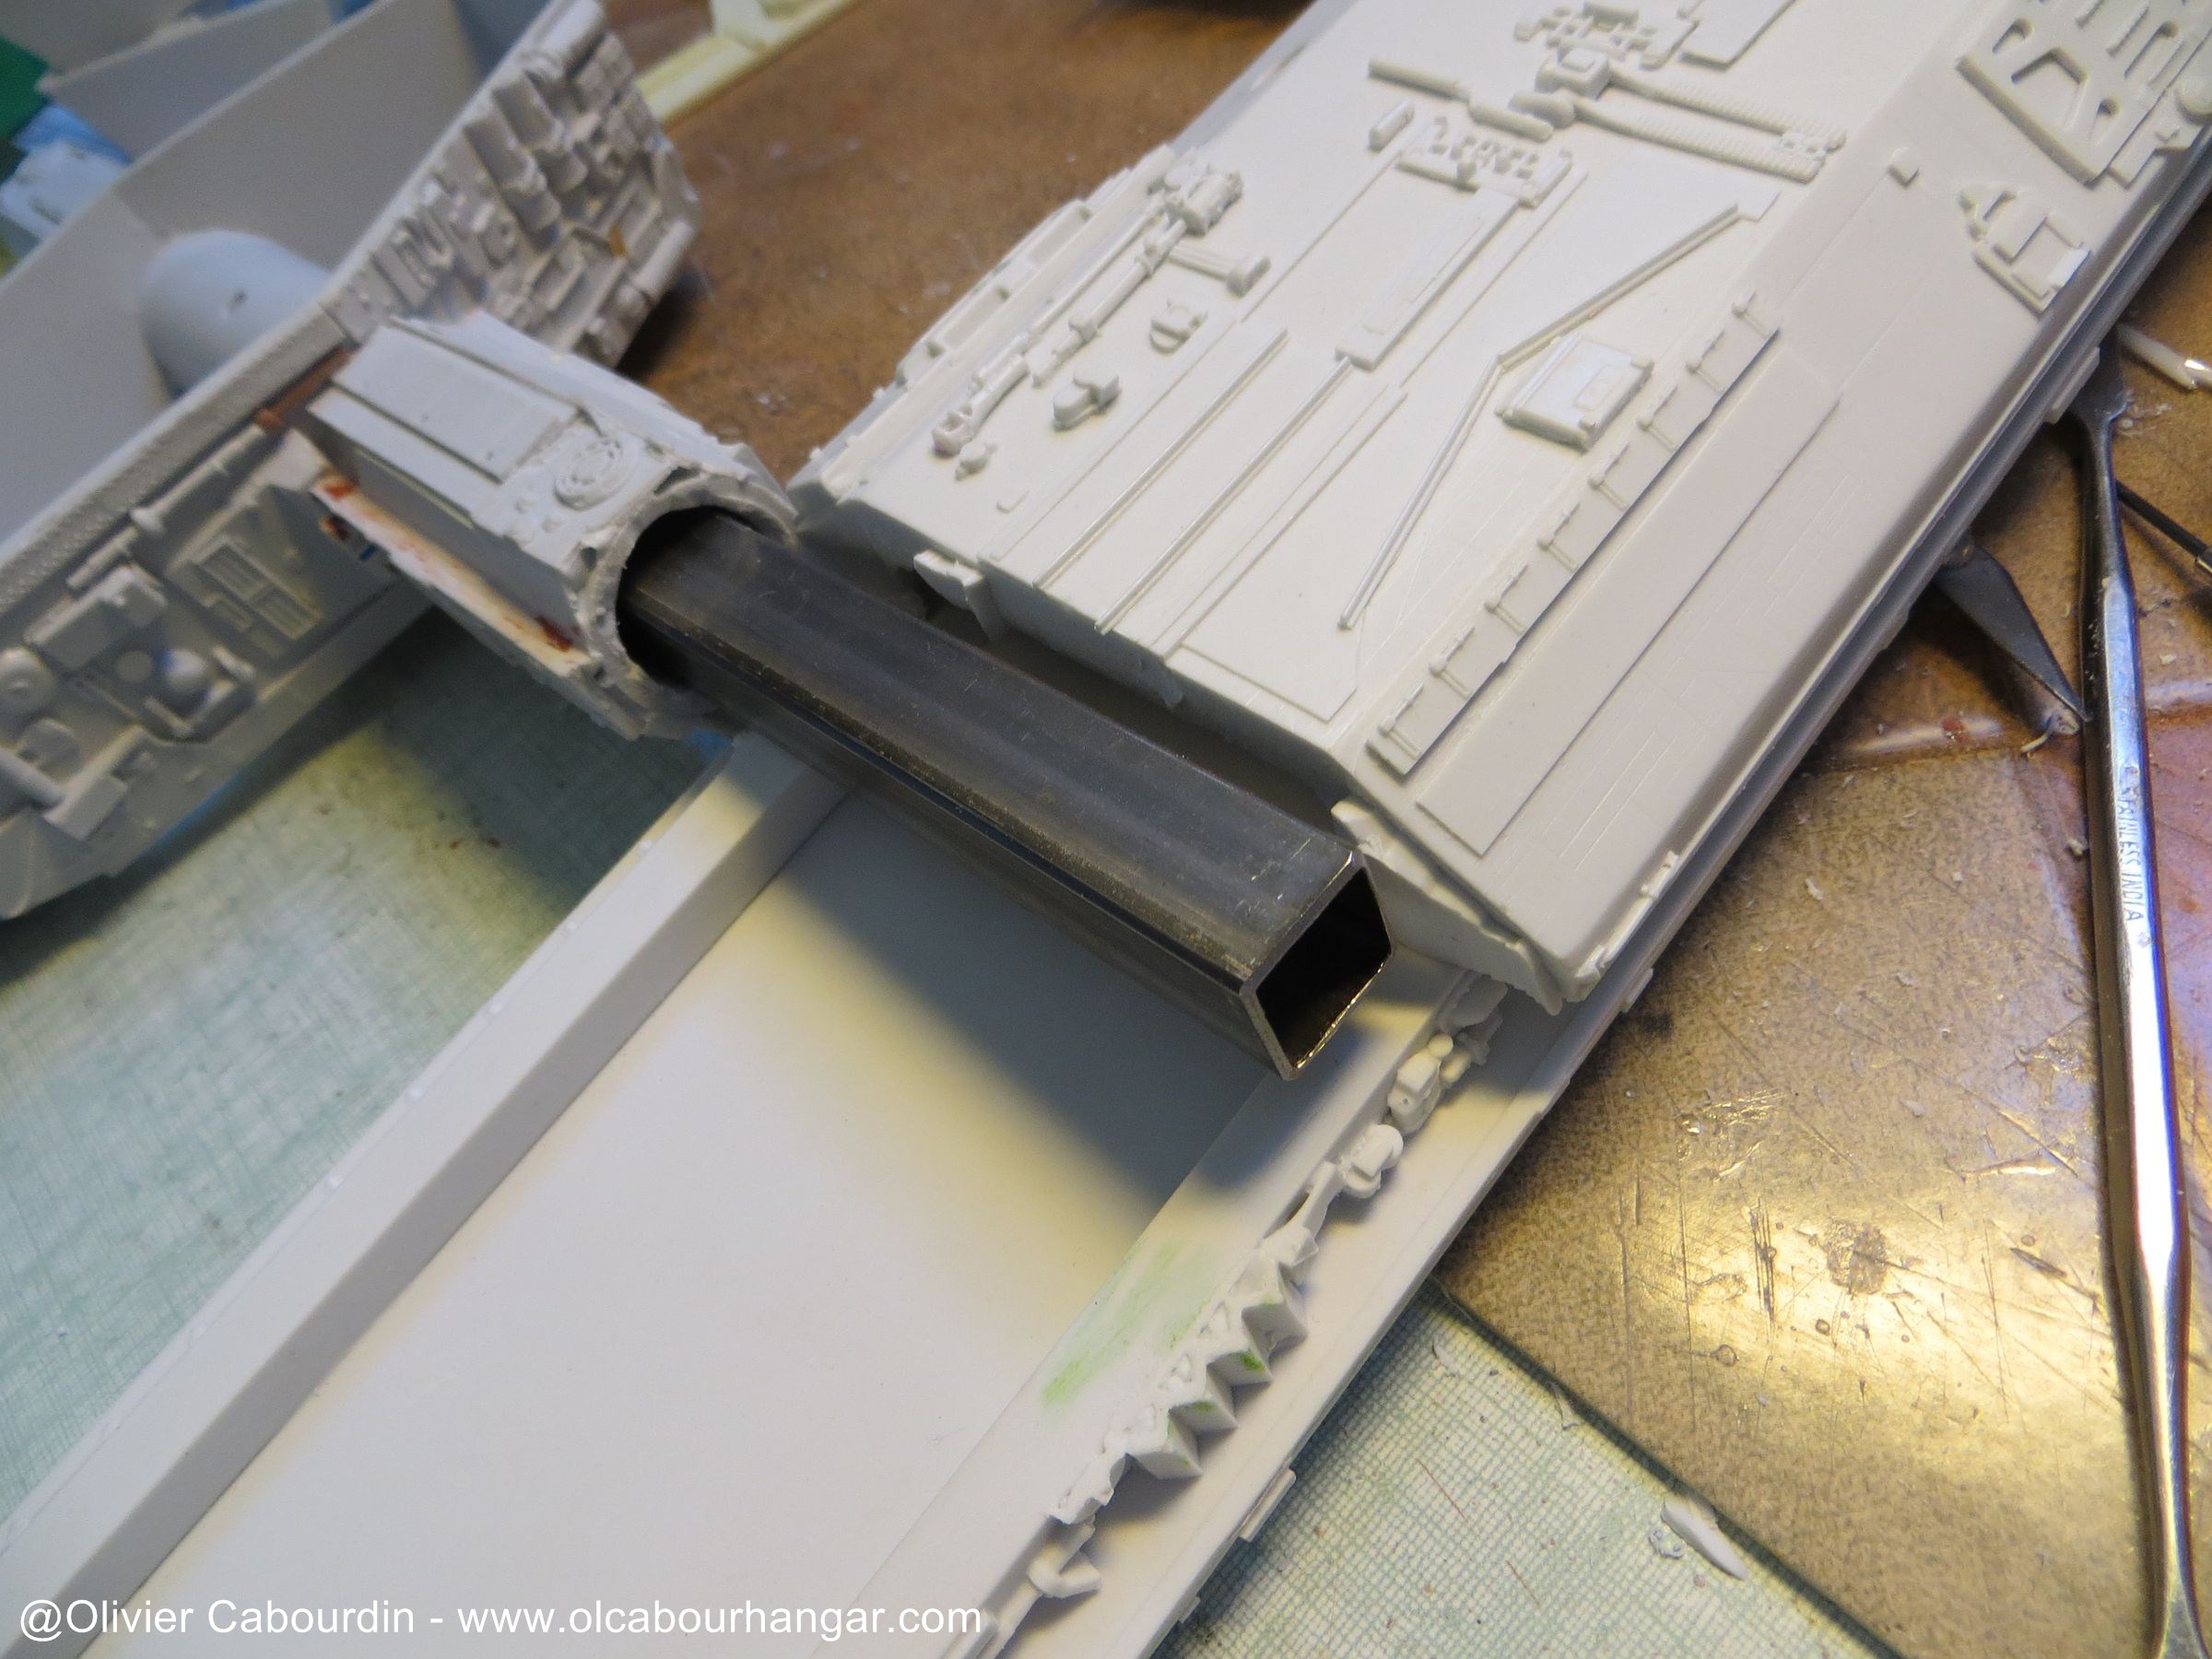
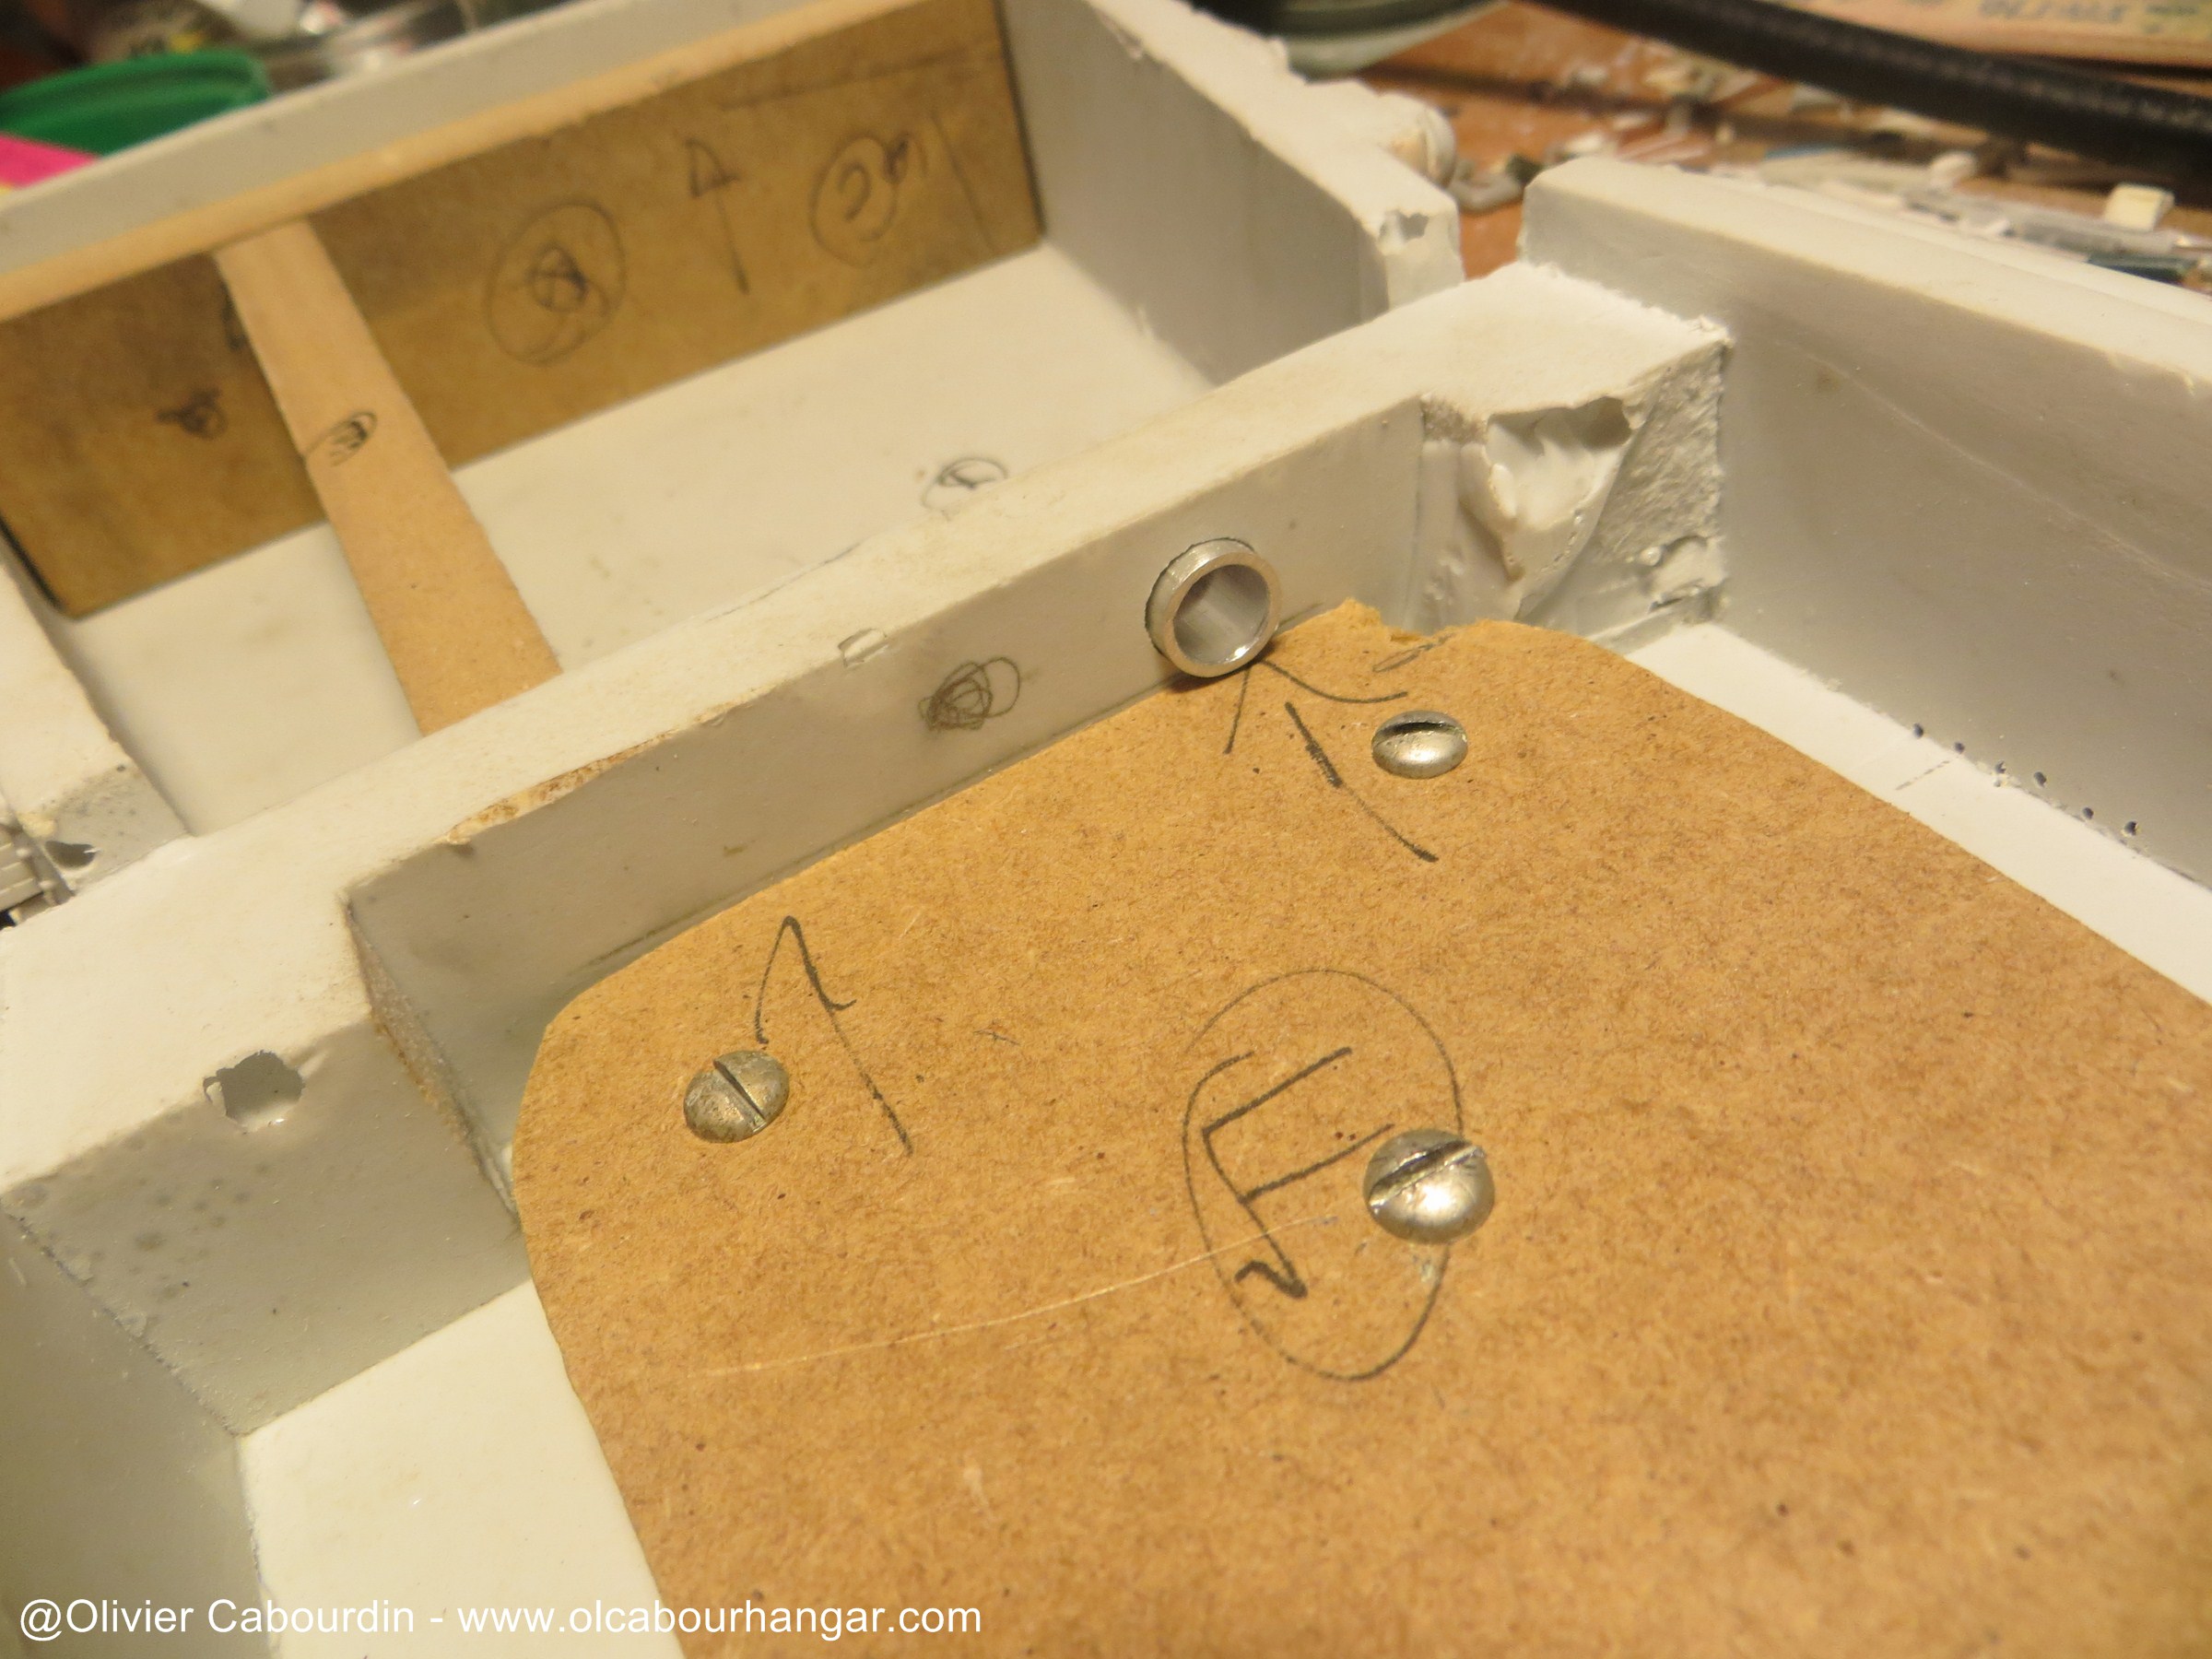
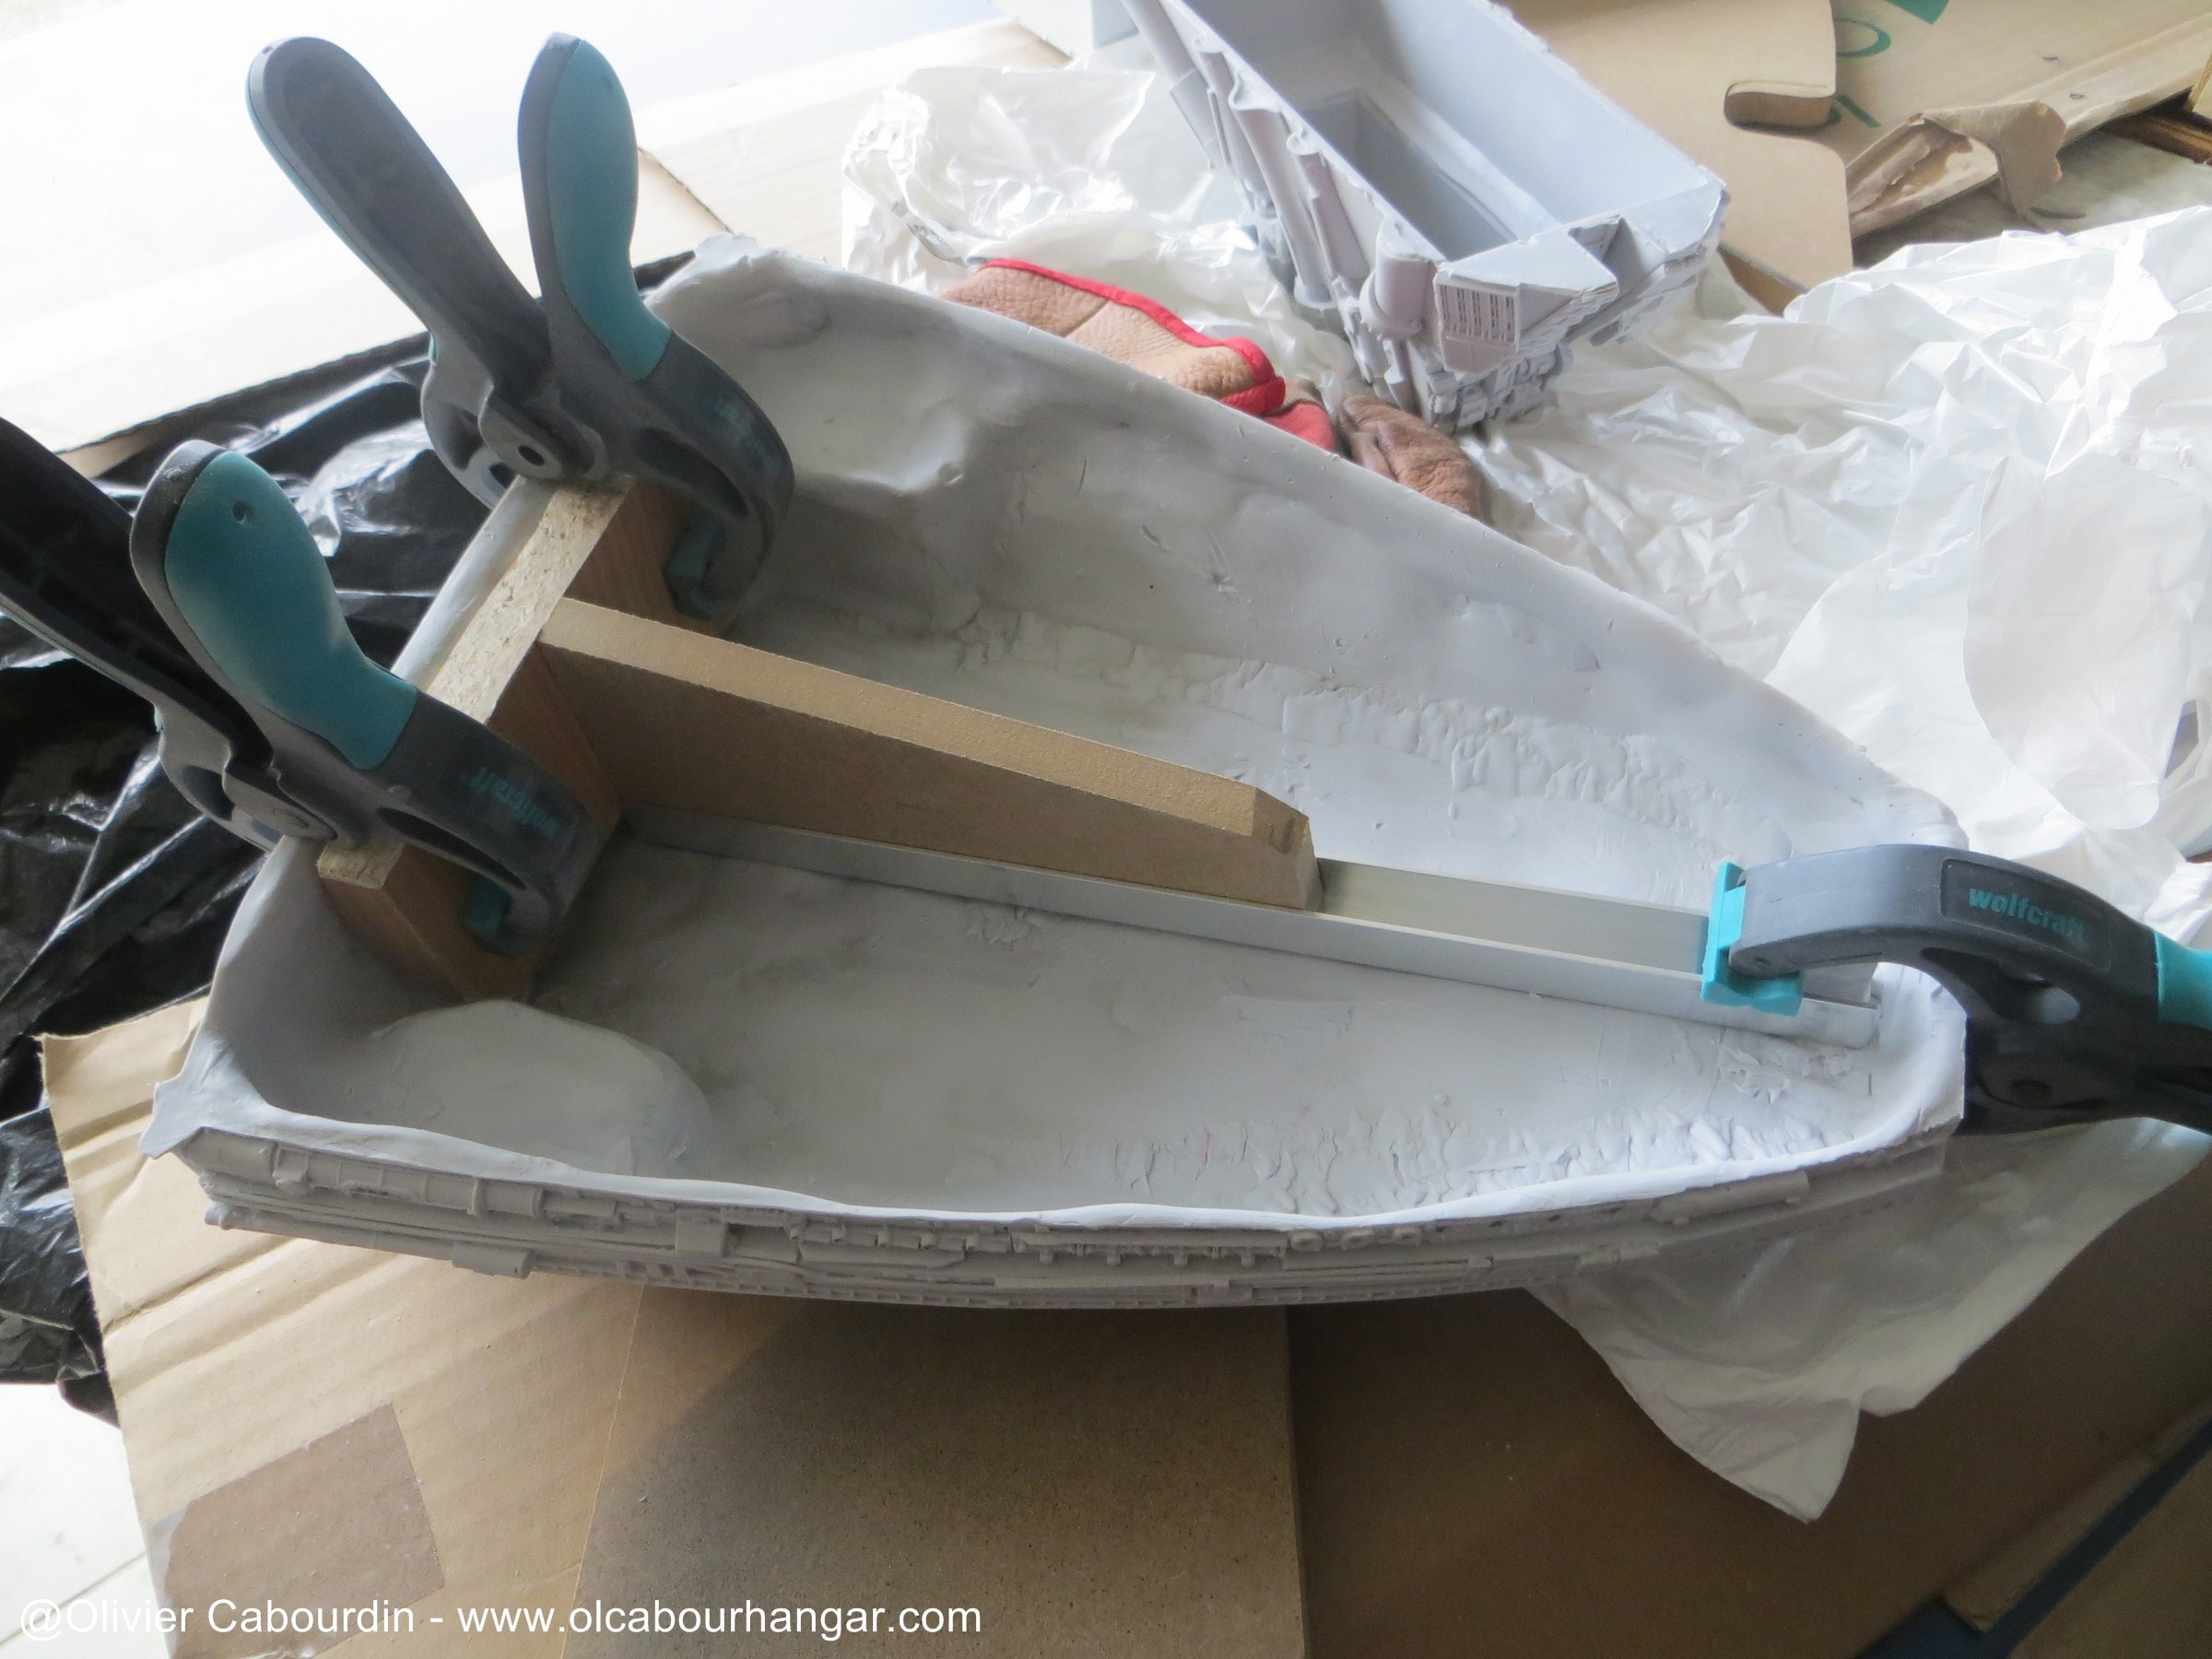
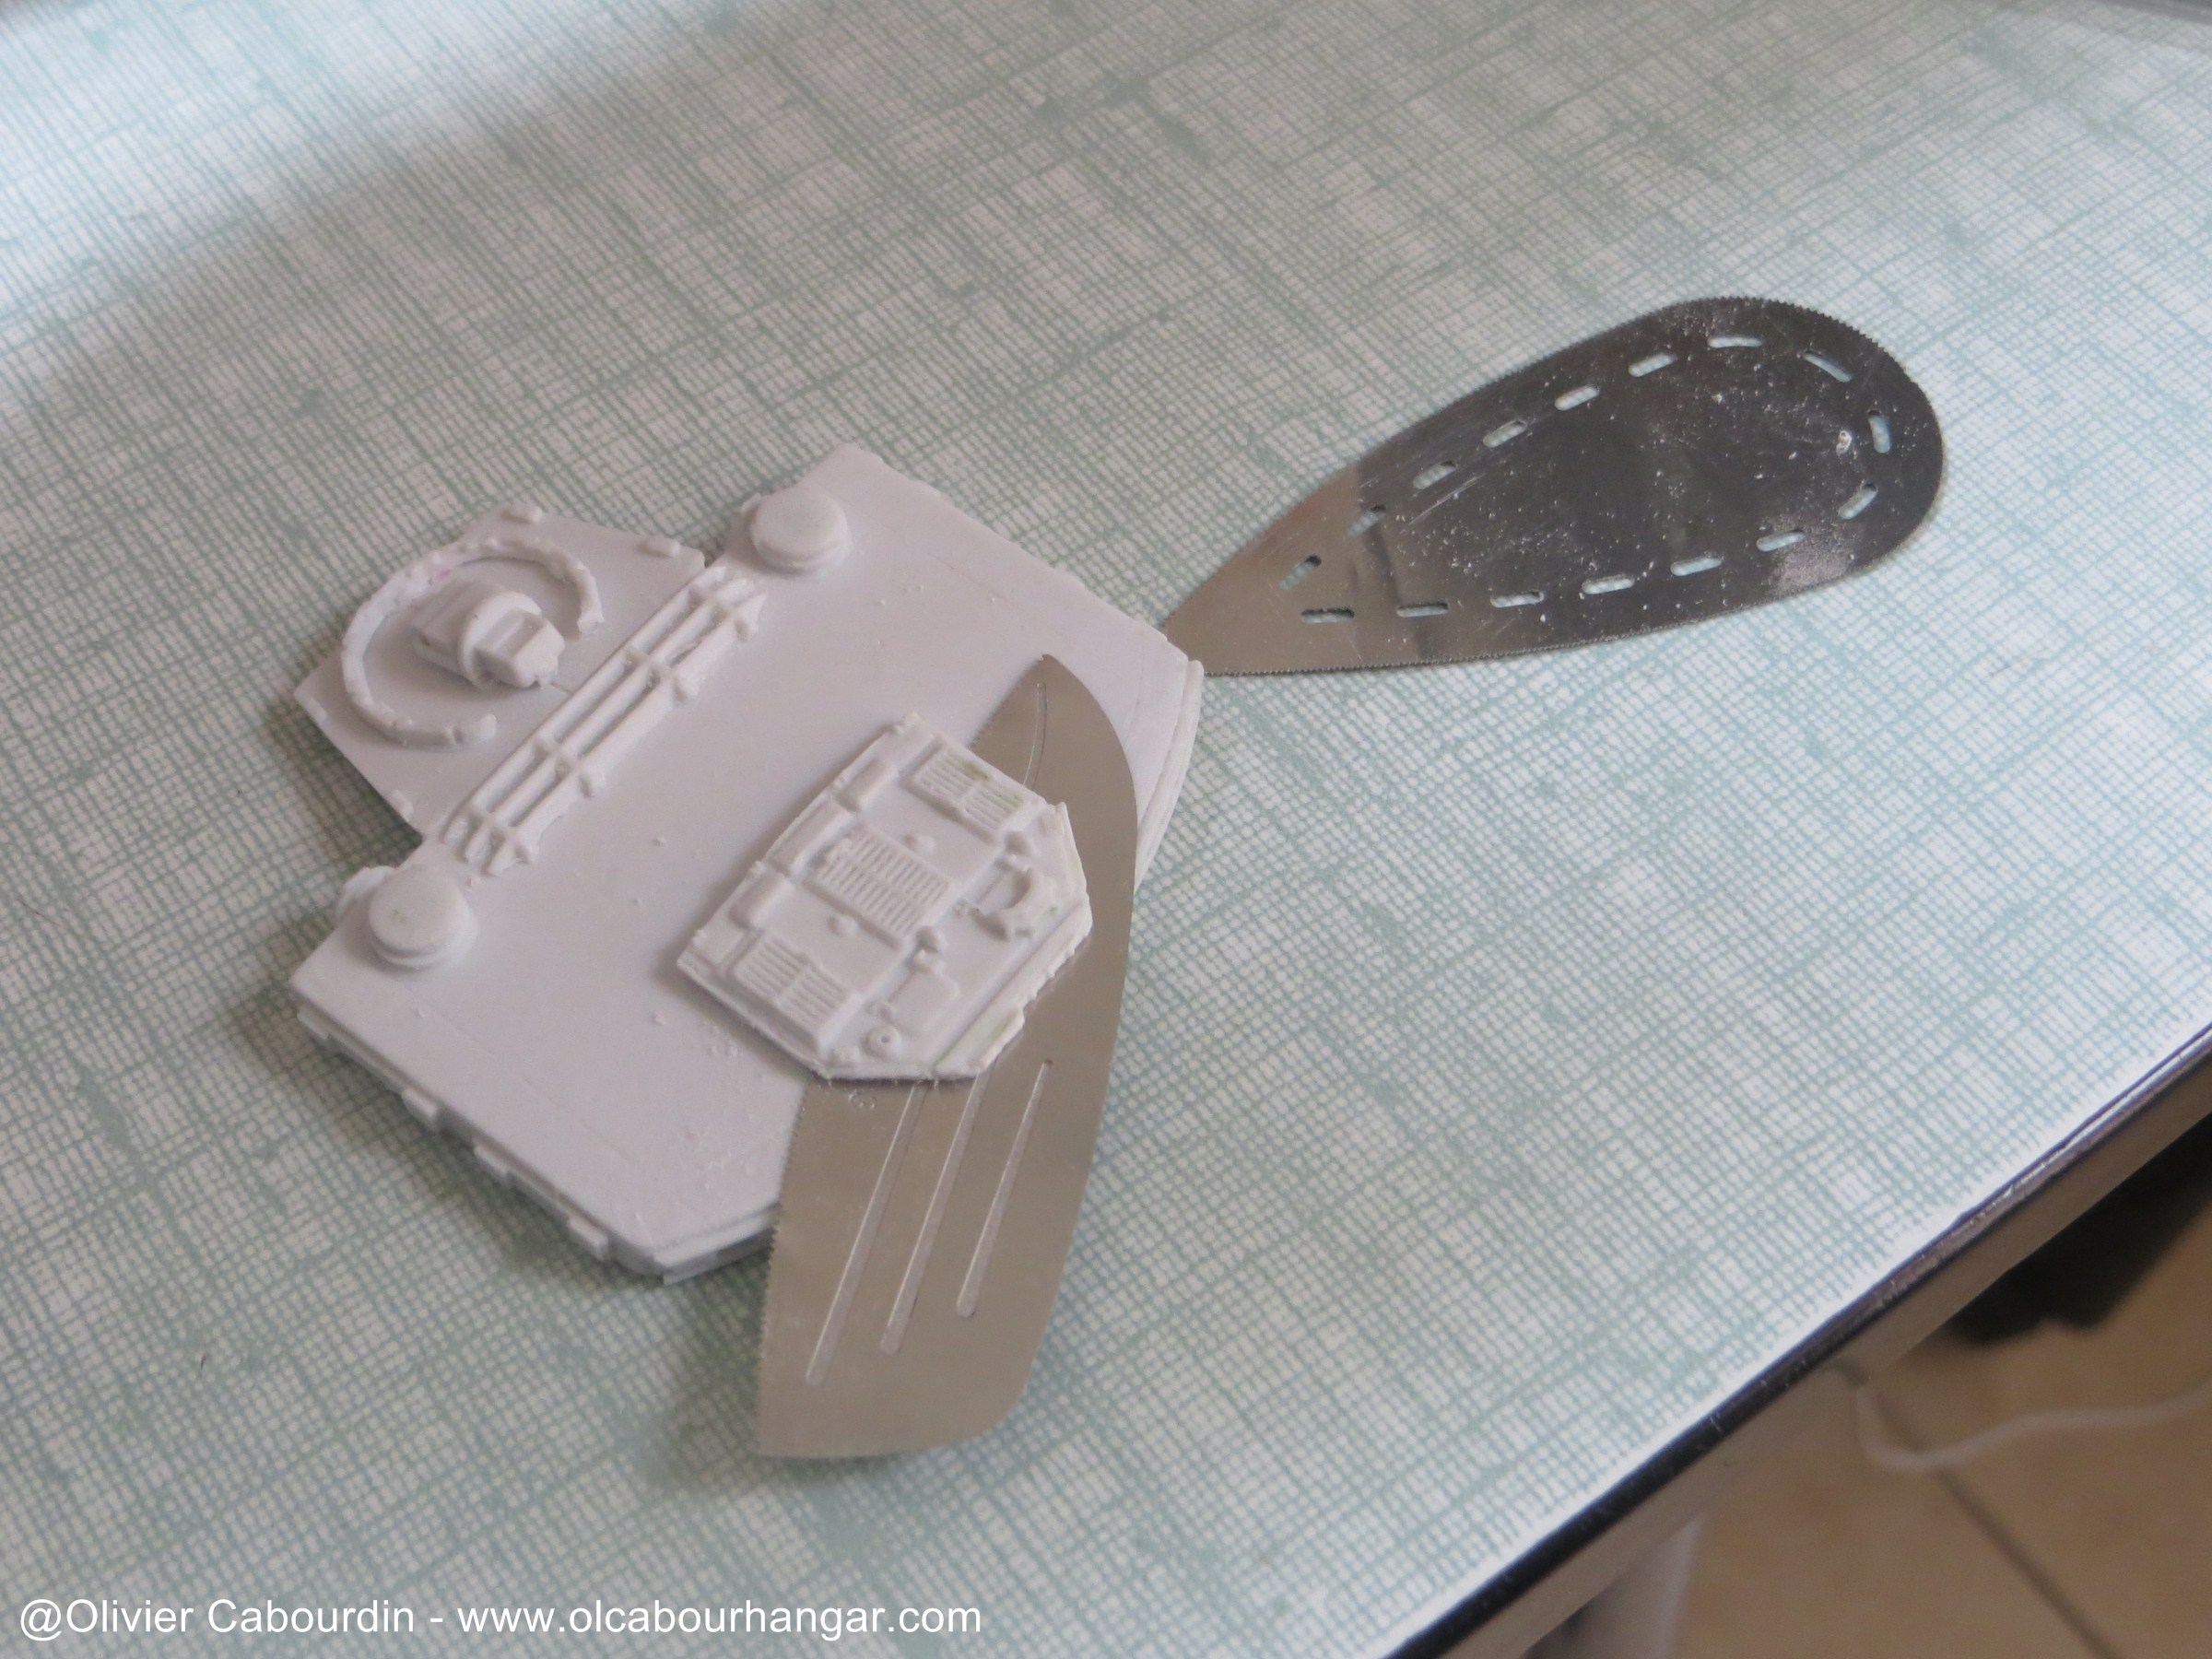
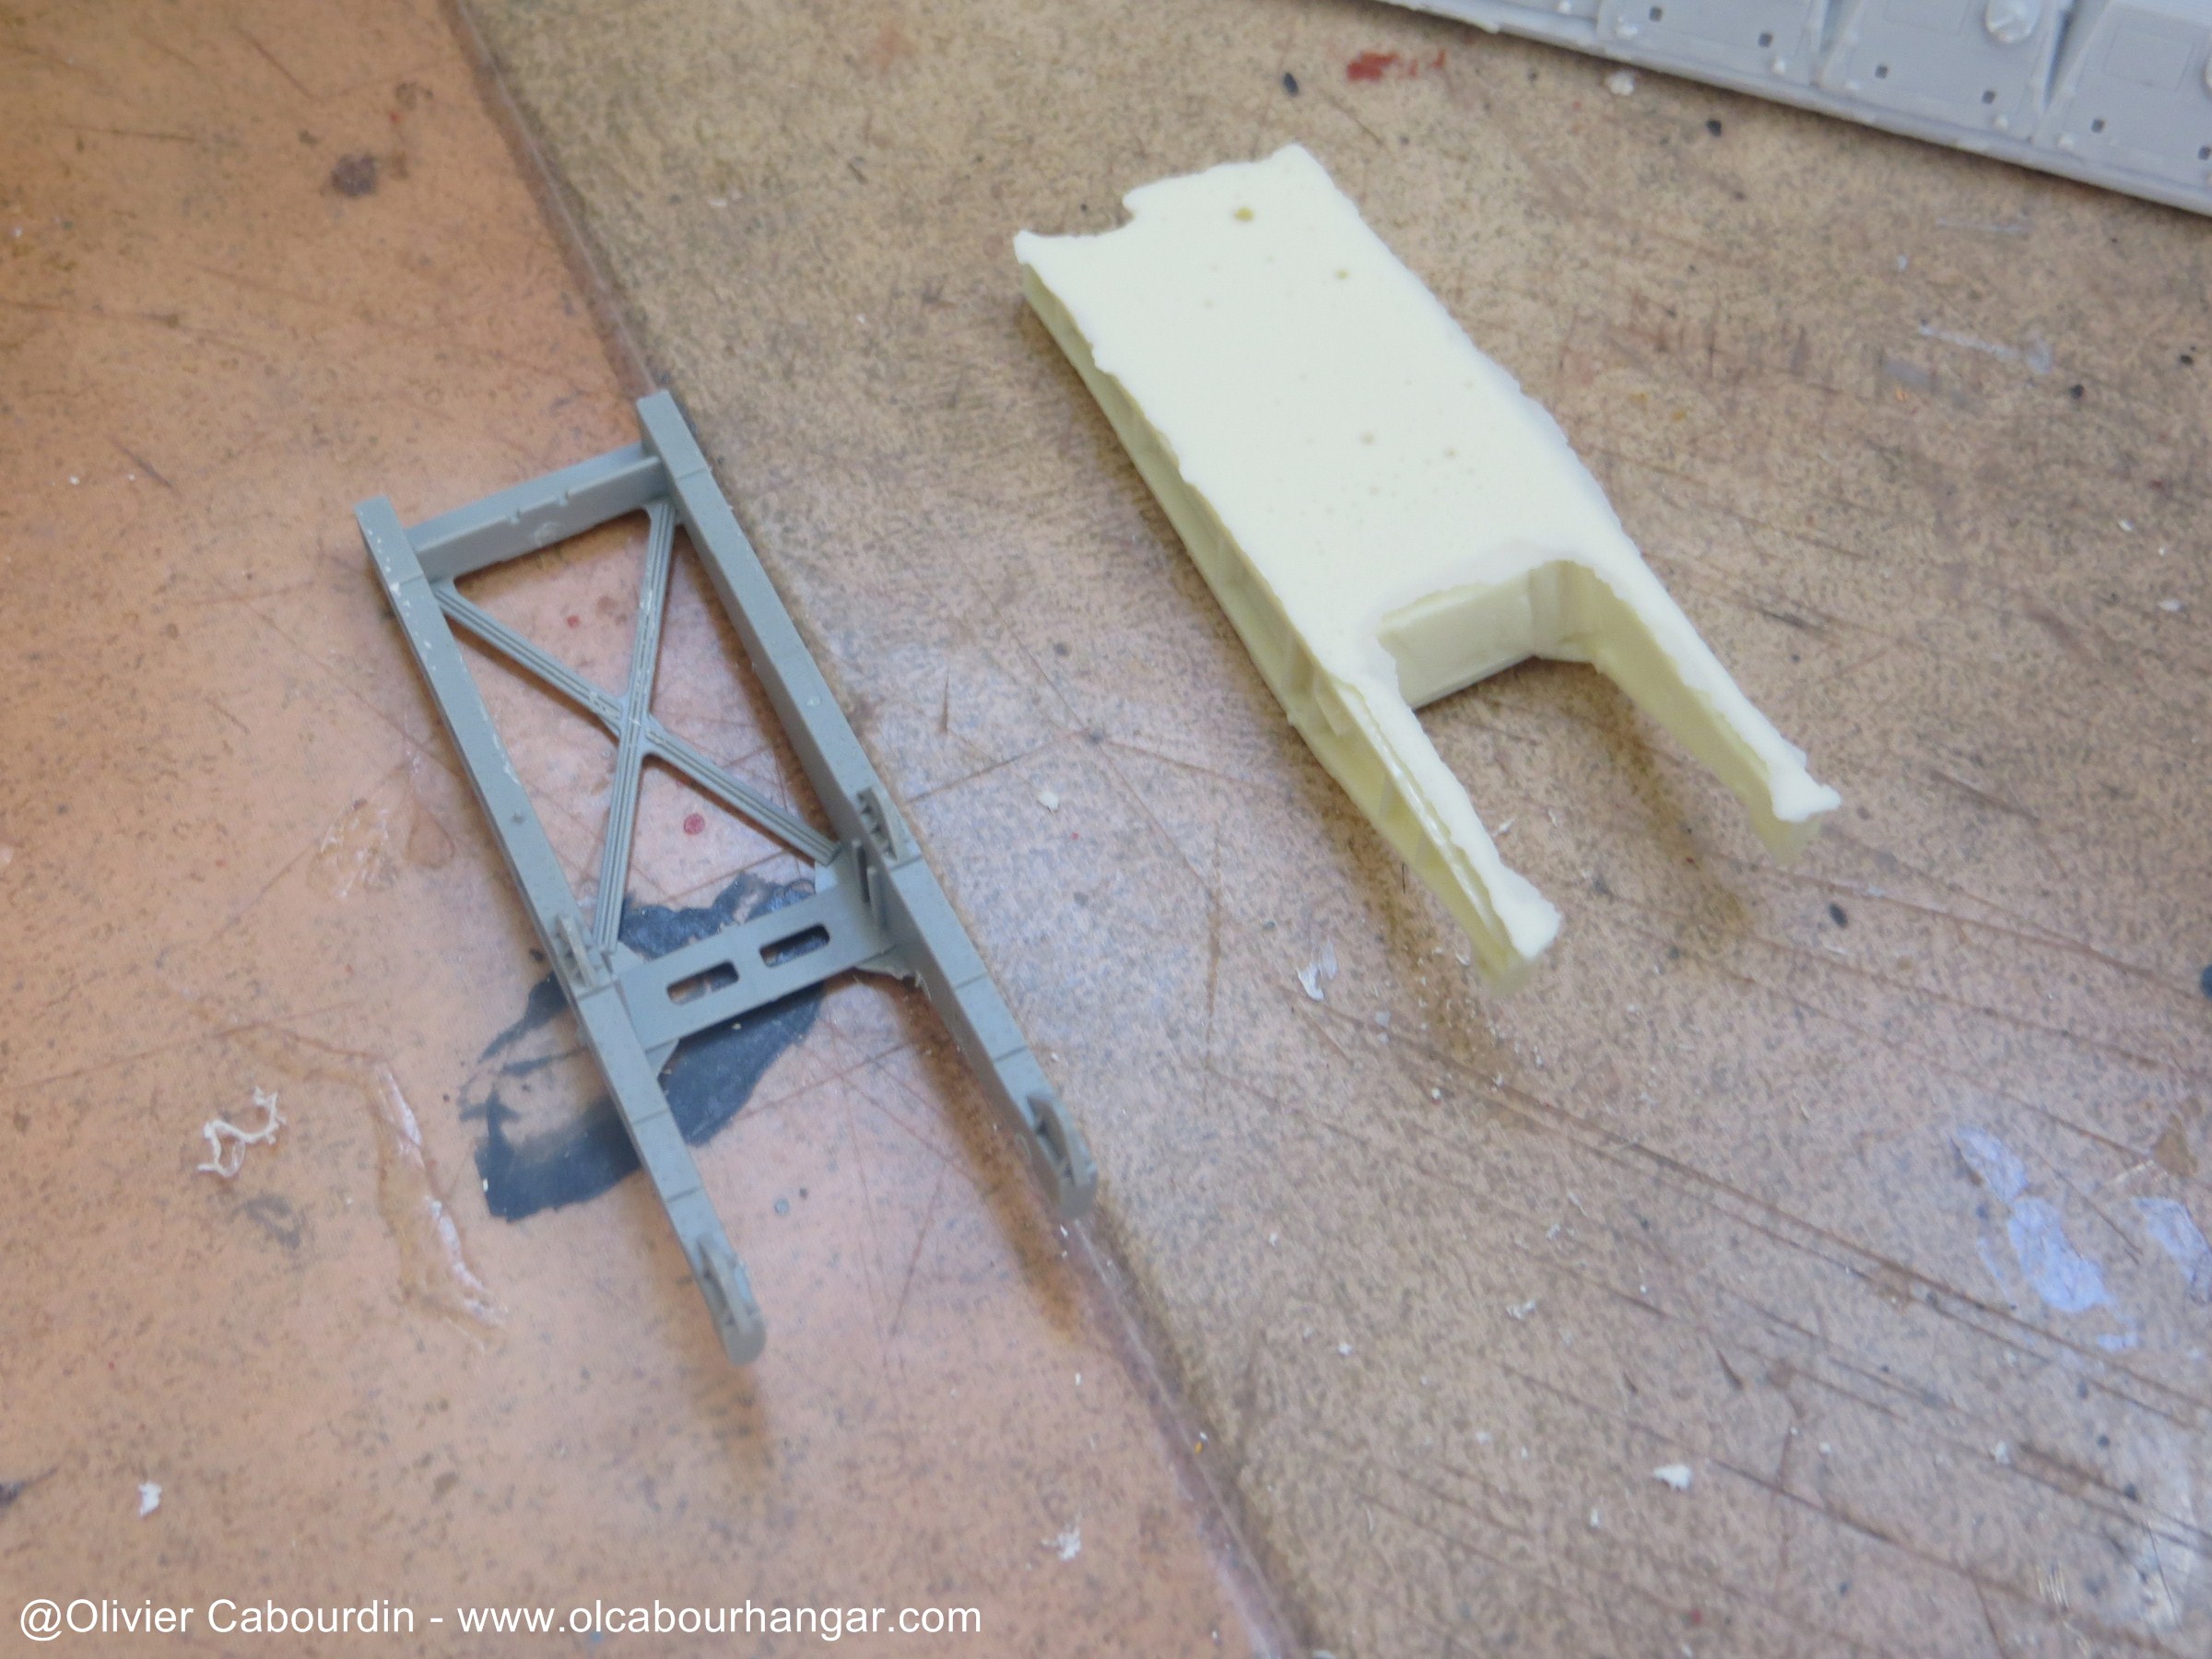
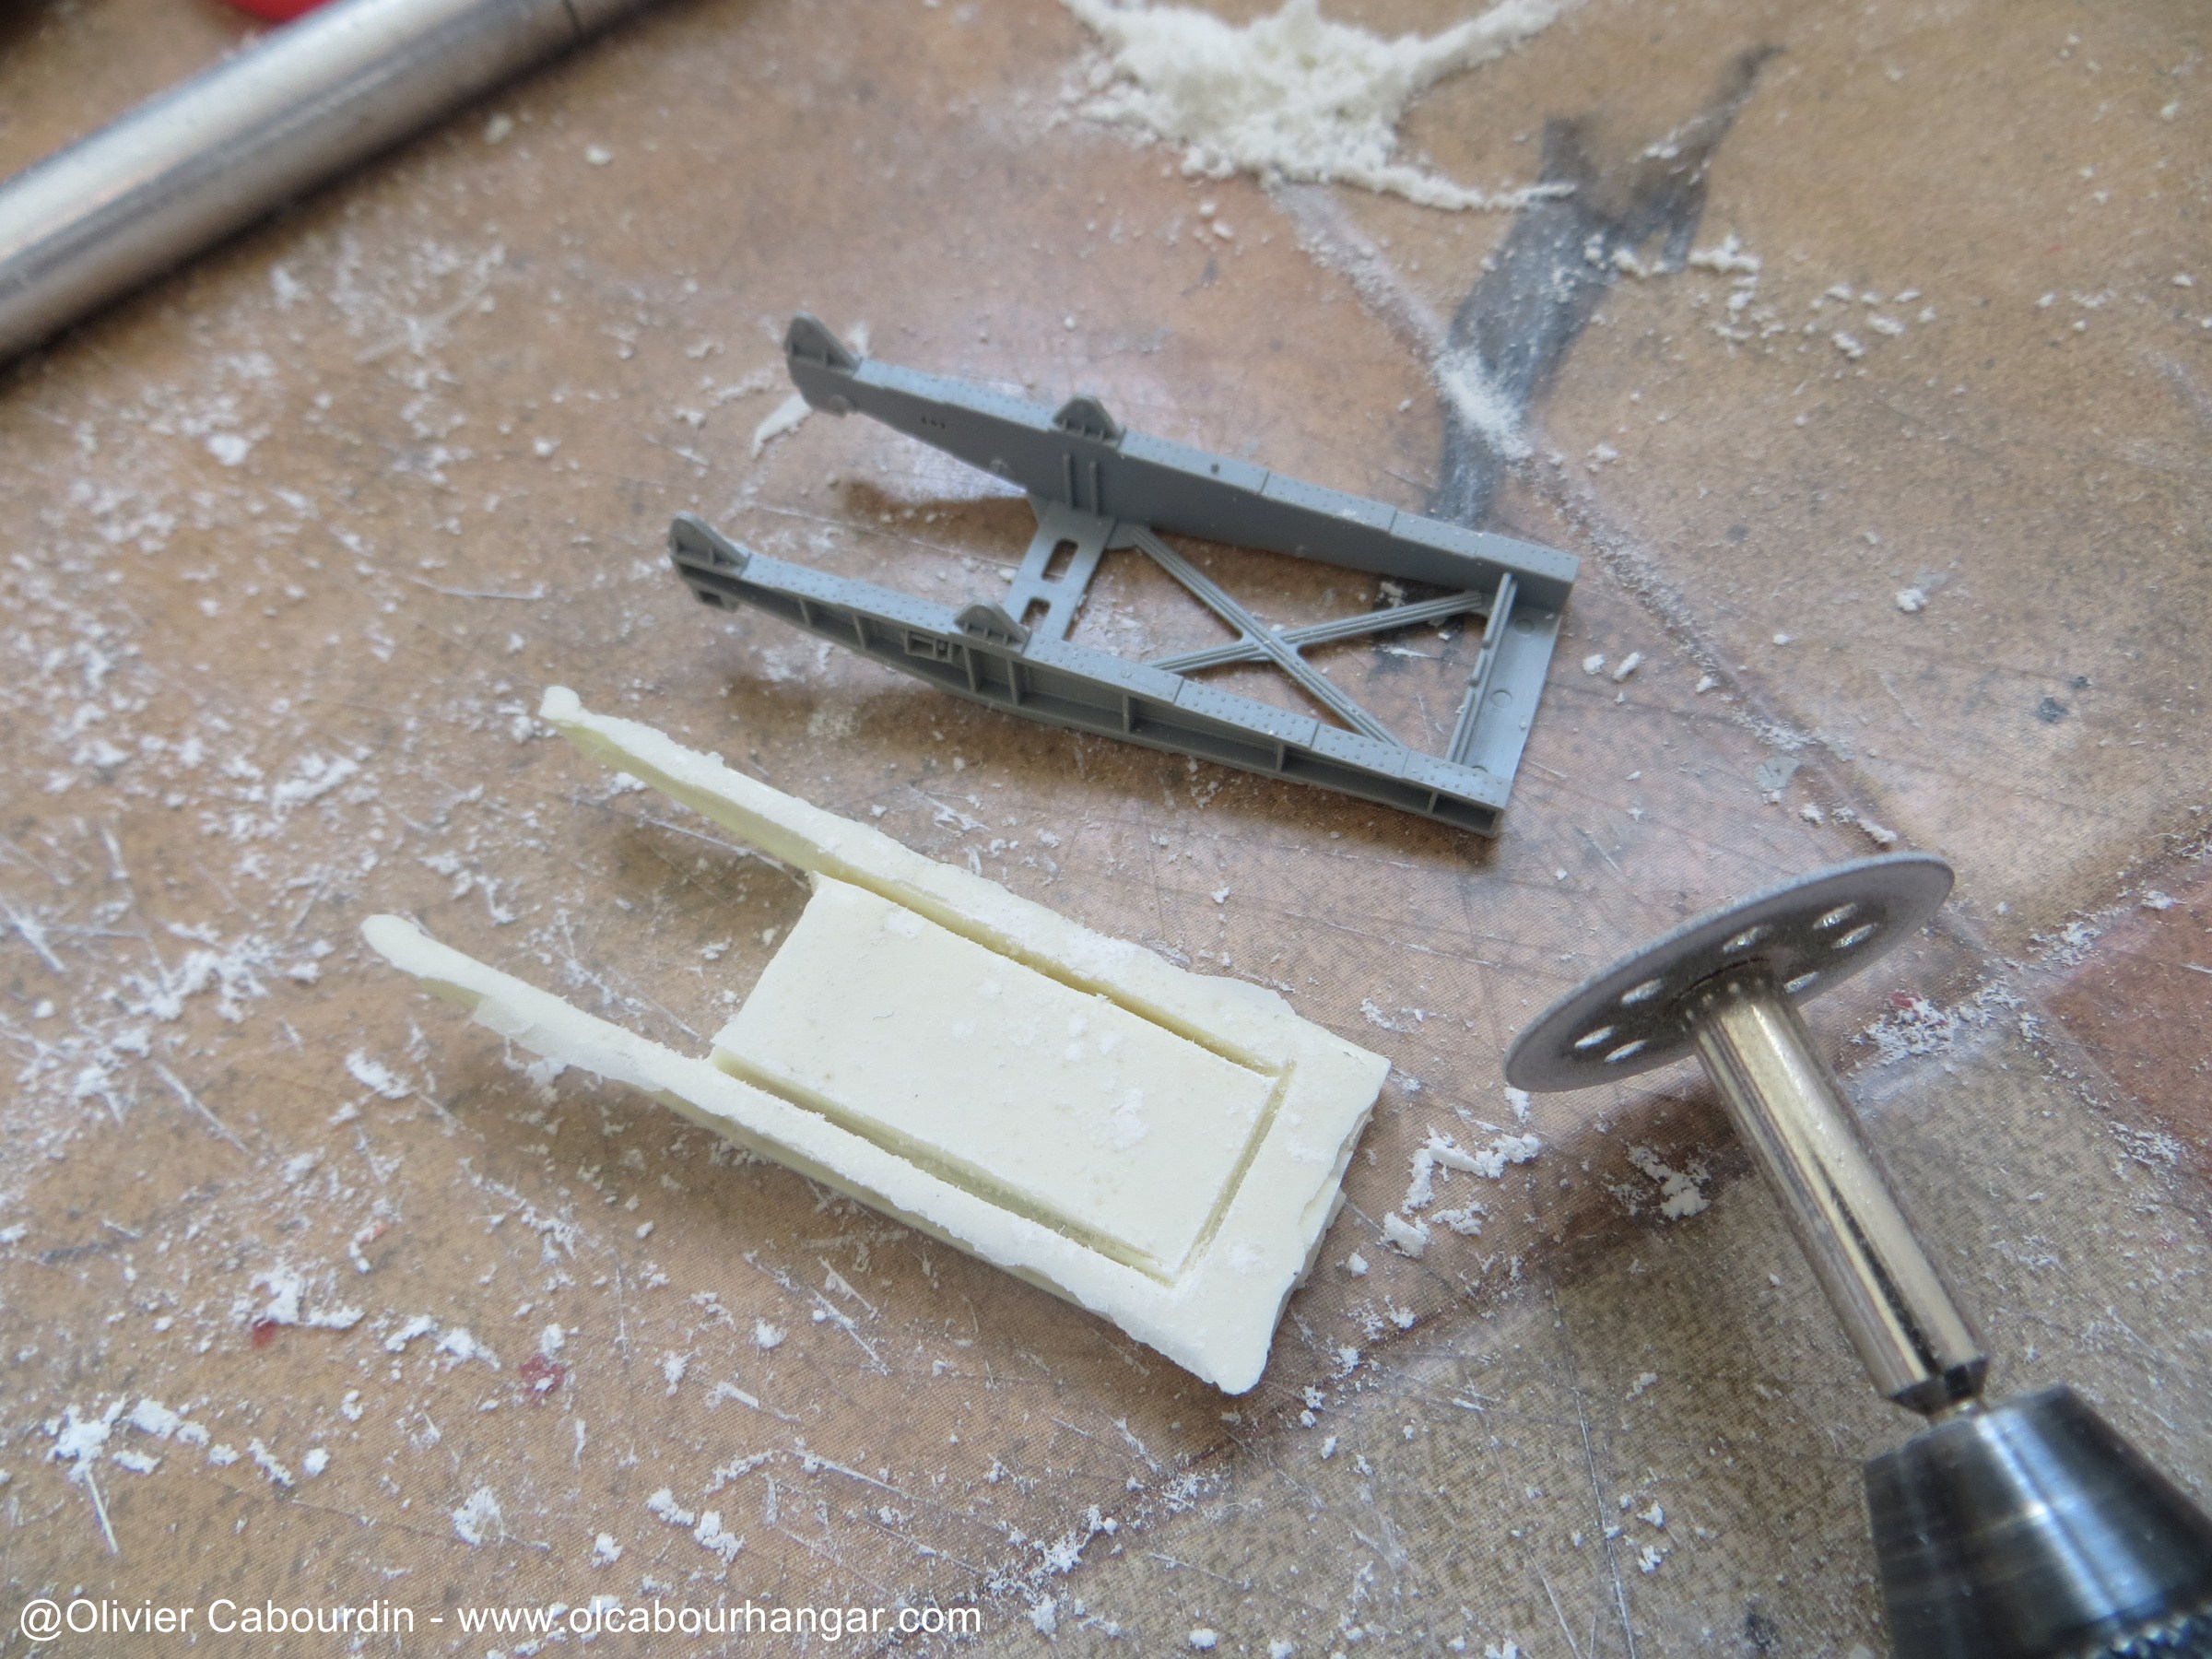
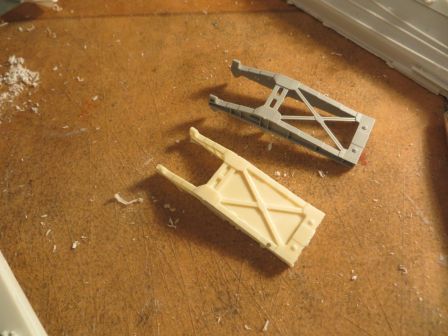
- Verify if an internal frame is needed to prevent it from sagging over time (this is a default of the resin)
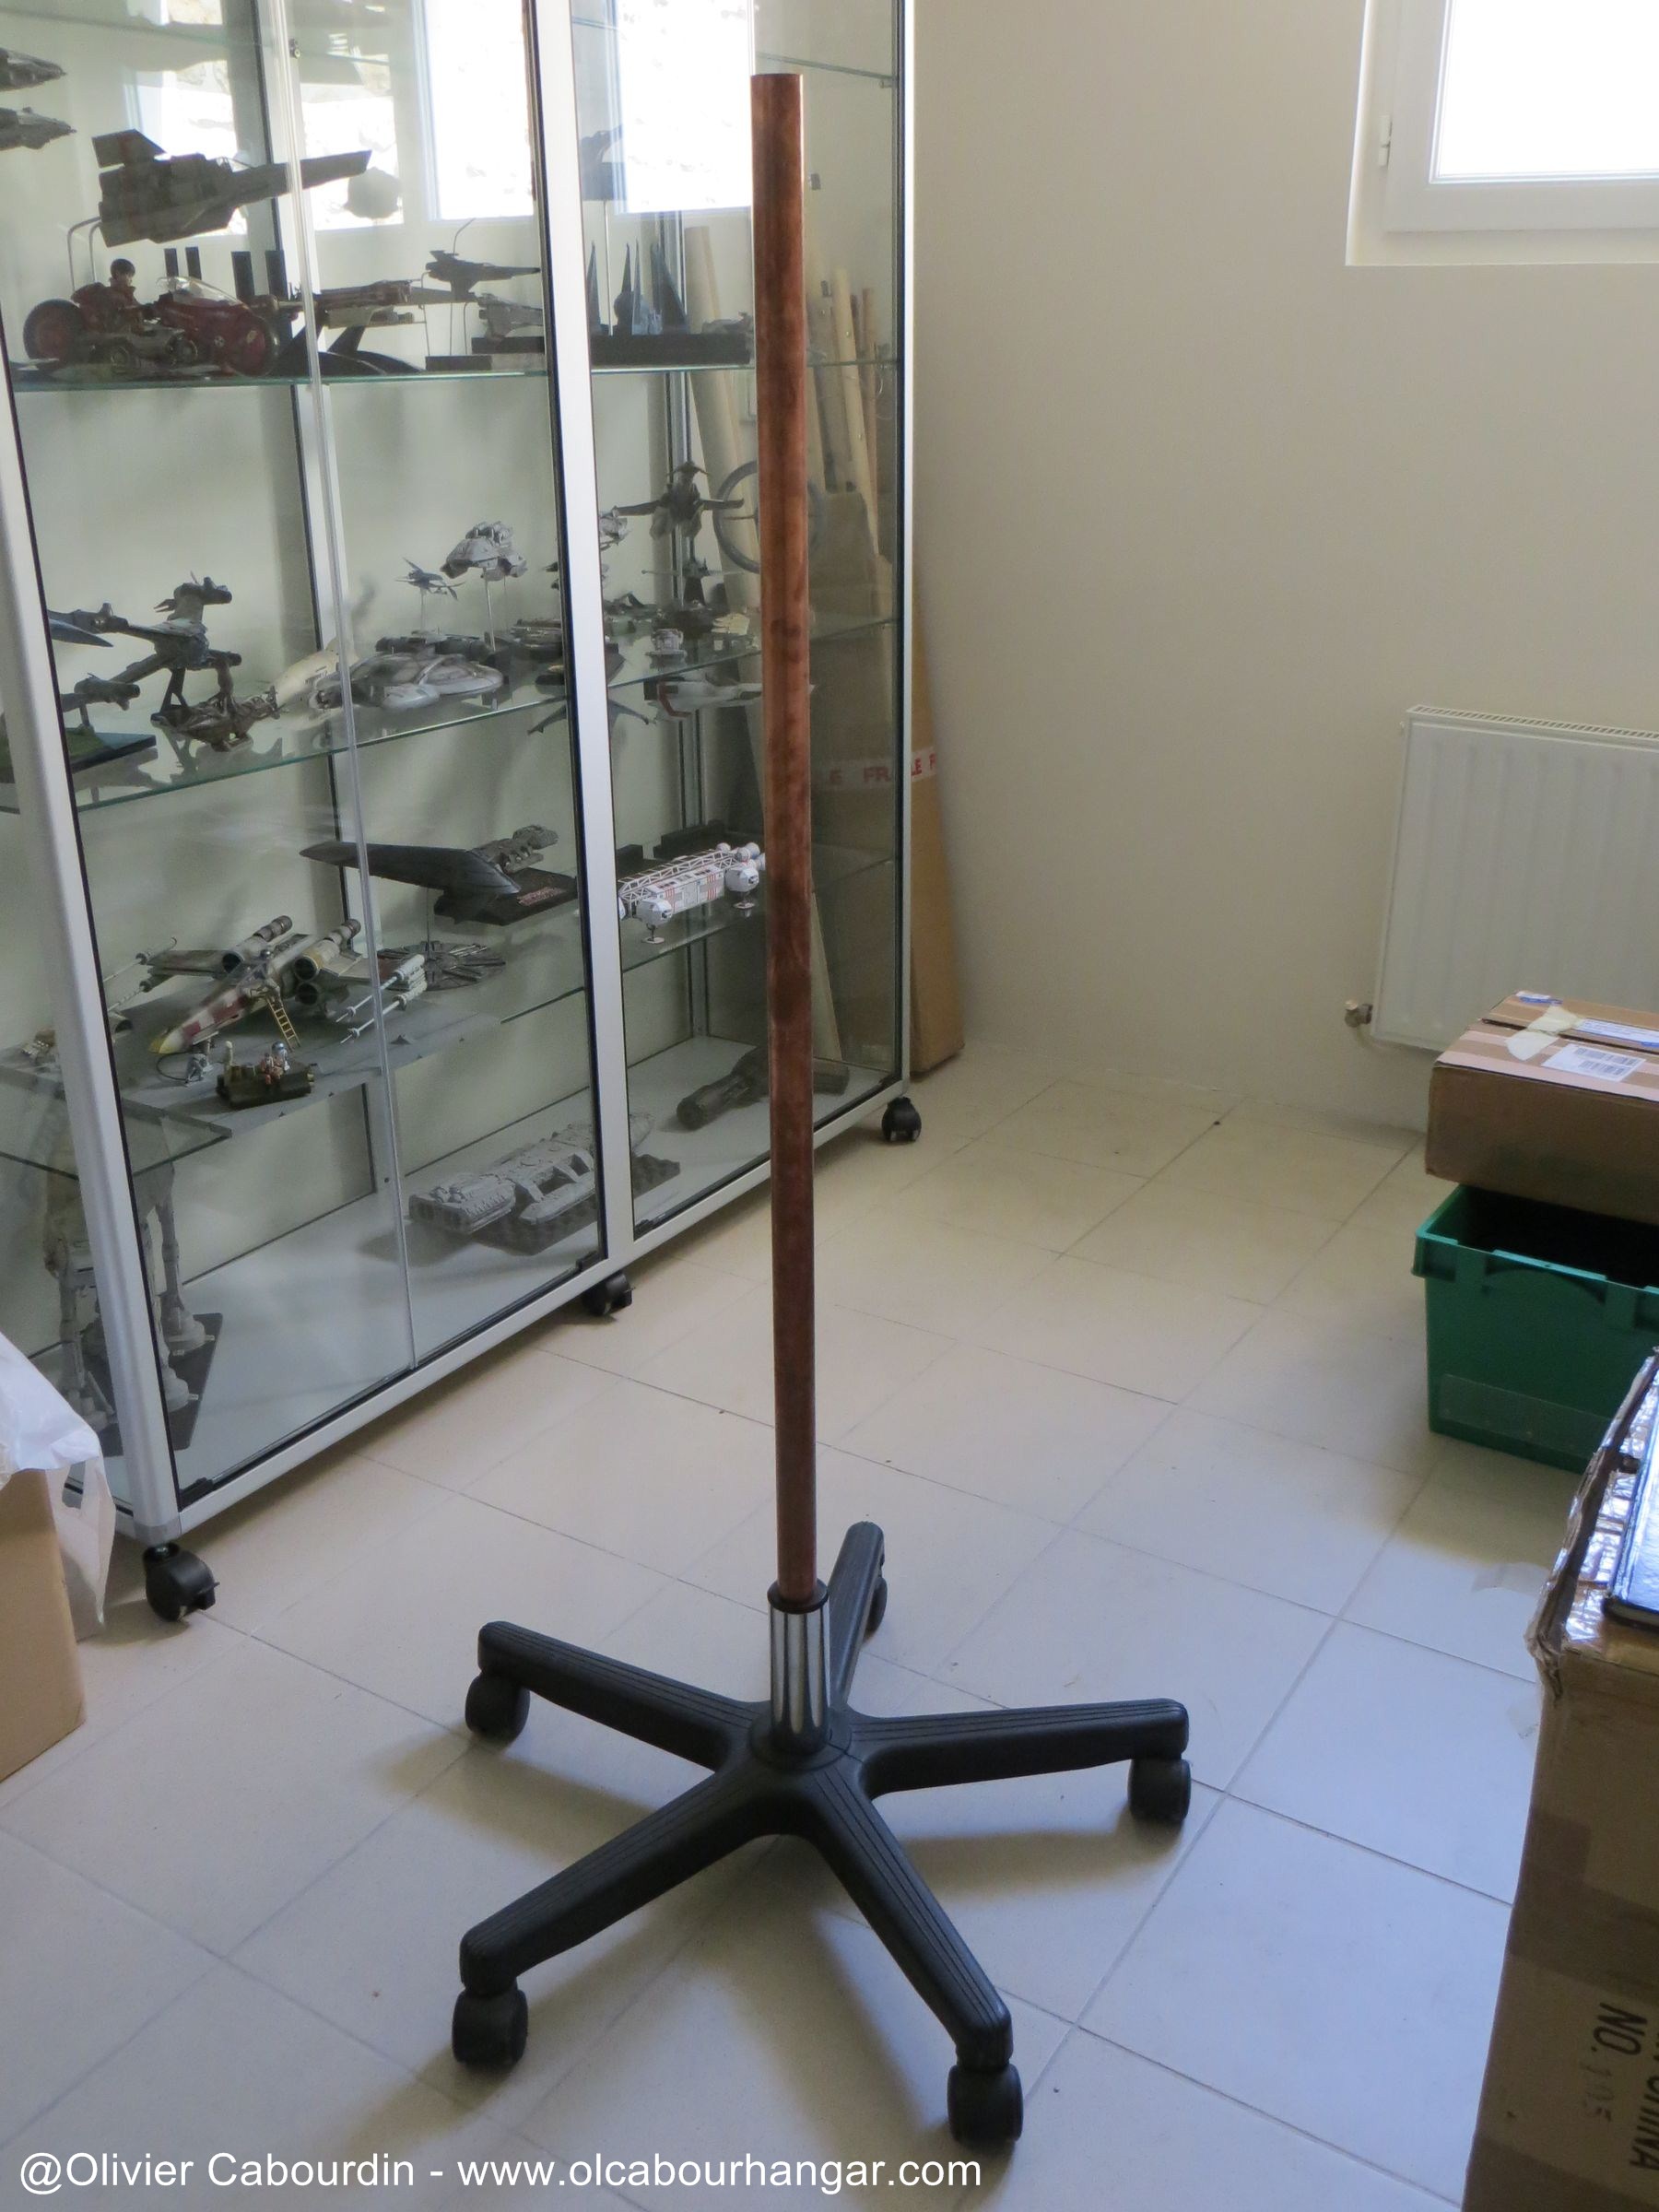
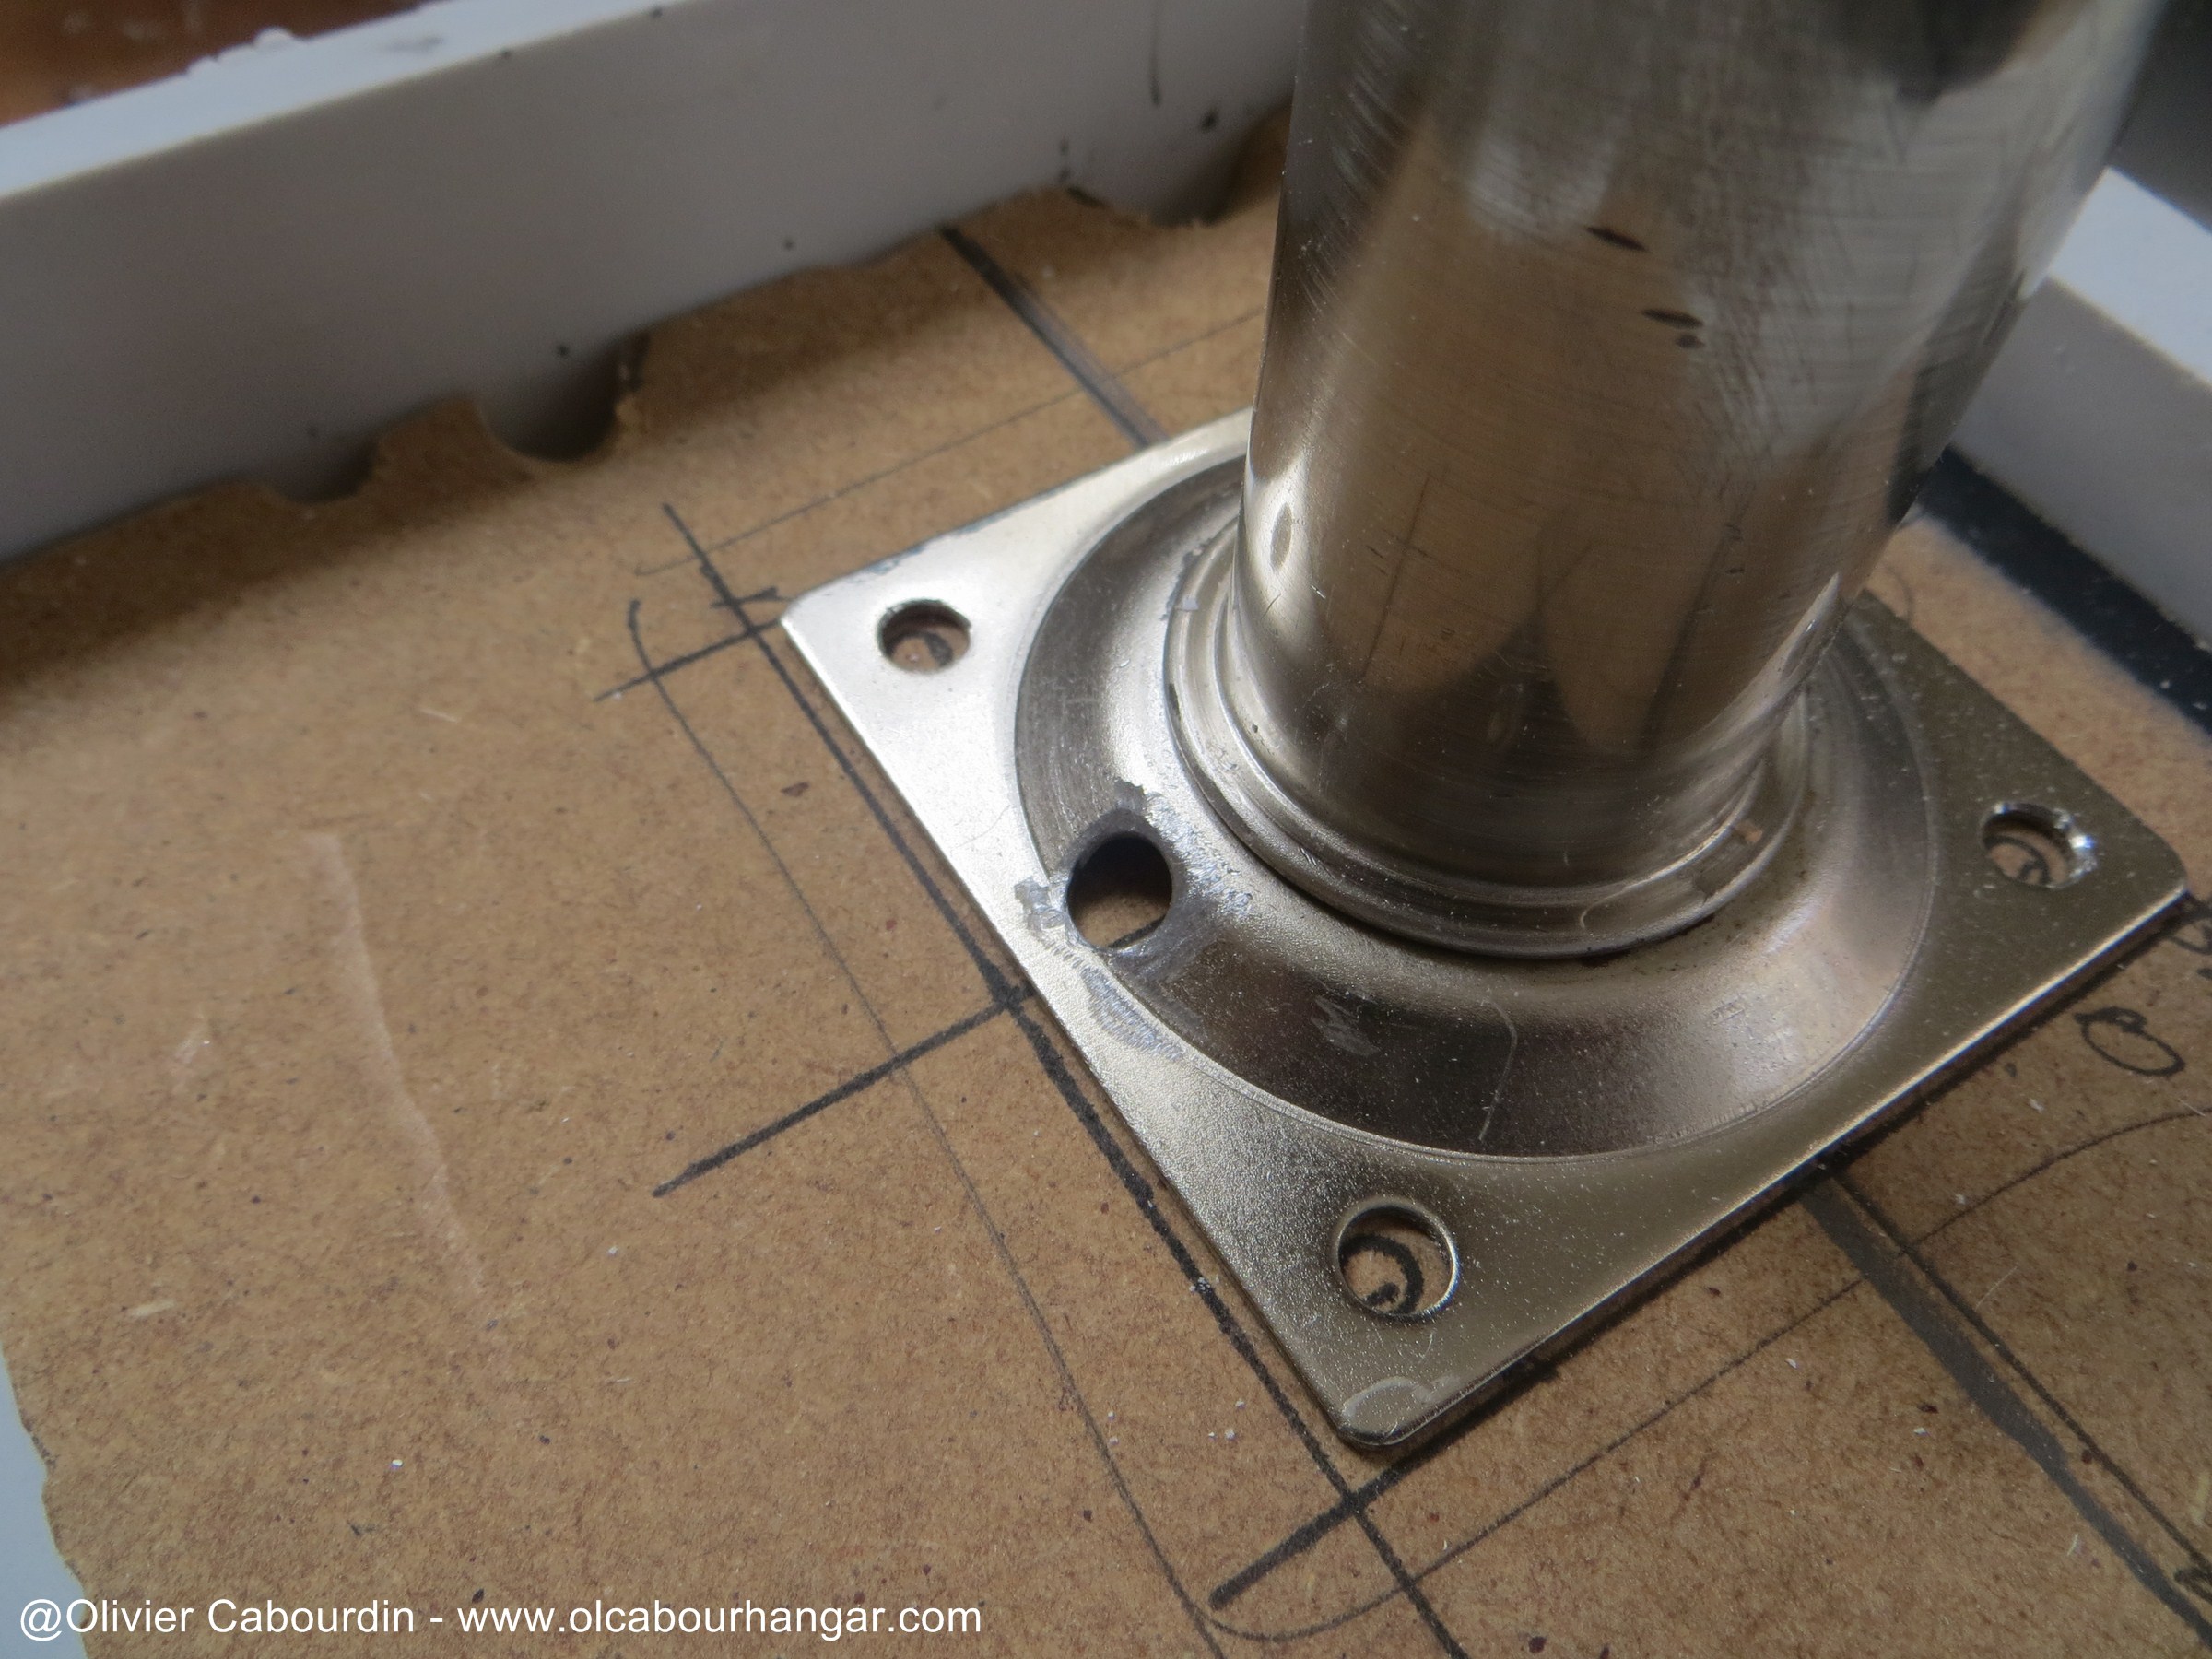
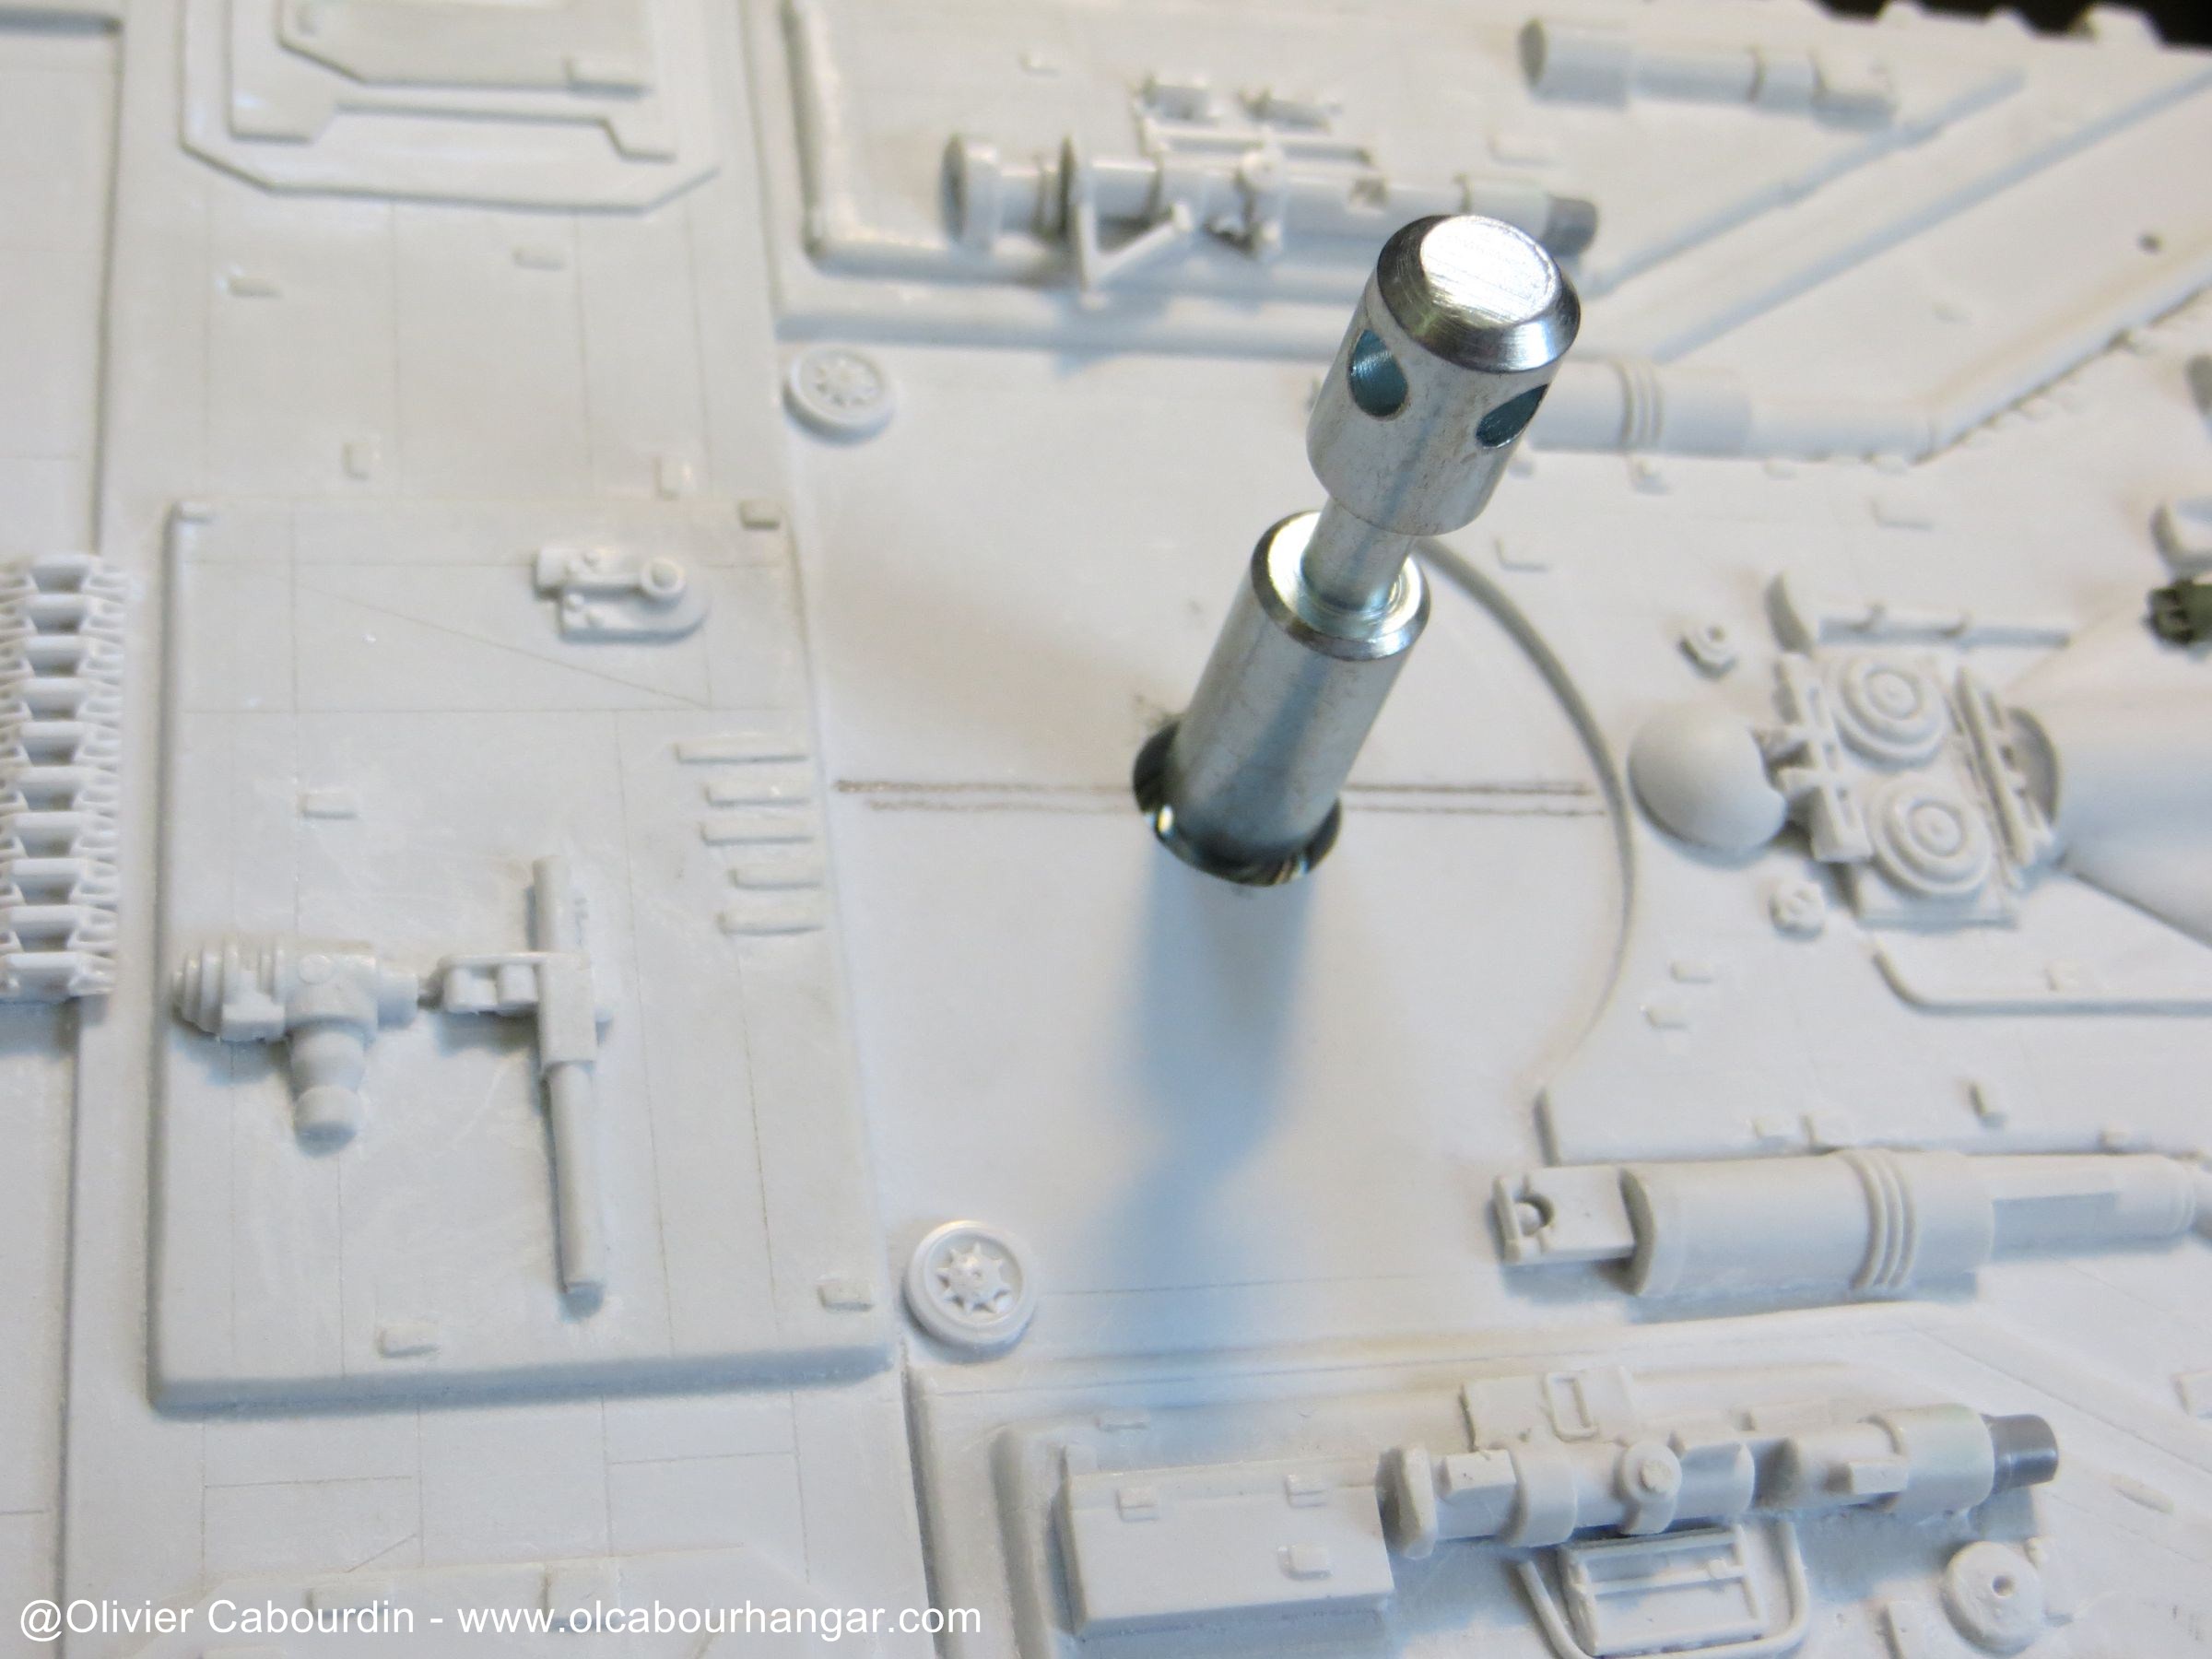
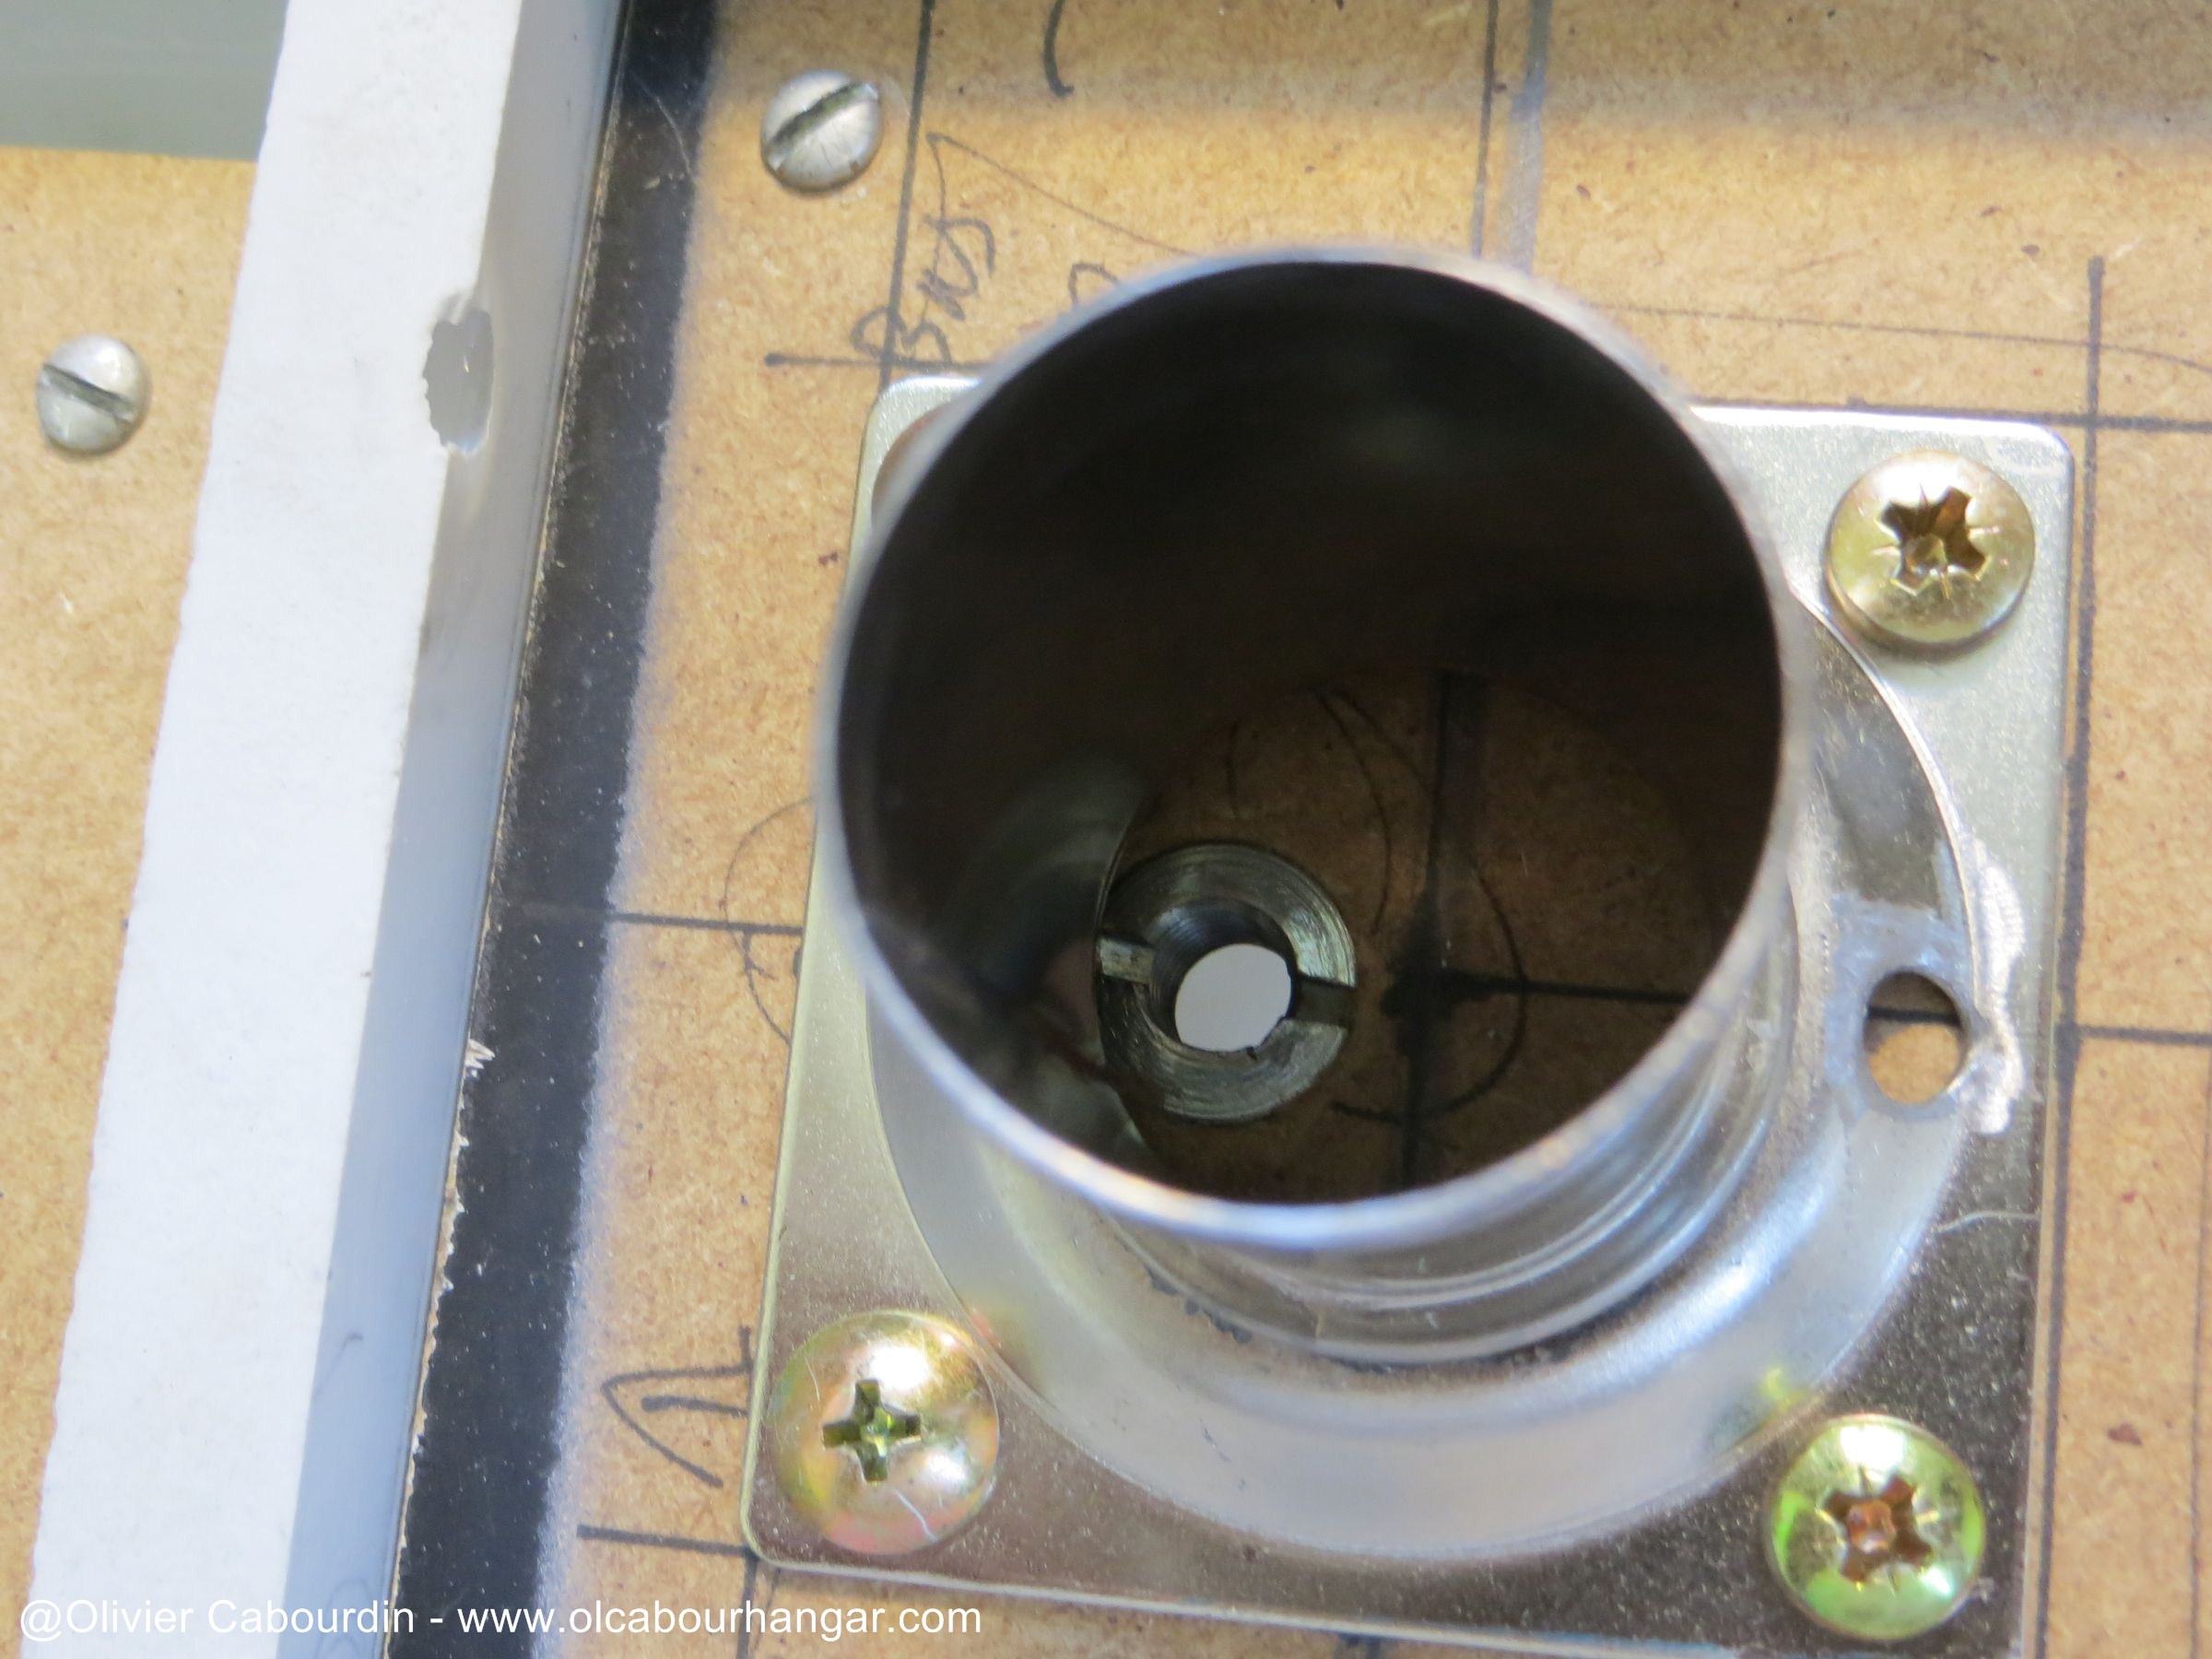
- Design the support (1, 2 or 3 points for example)

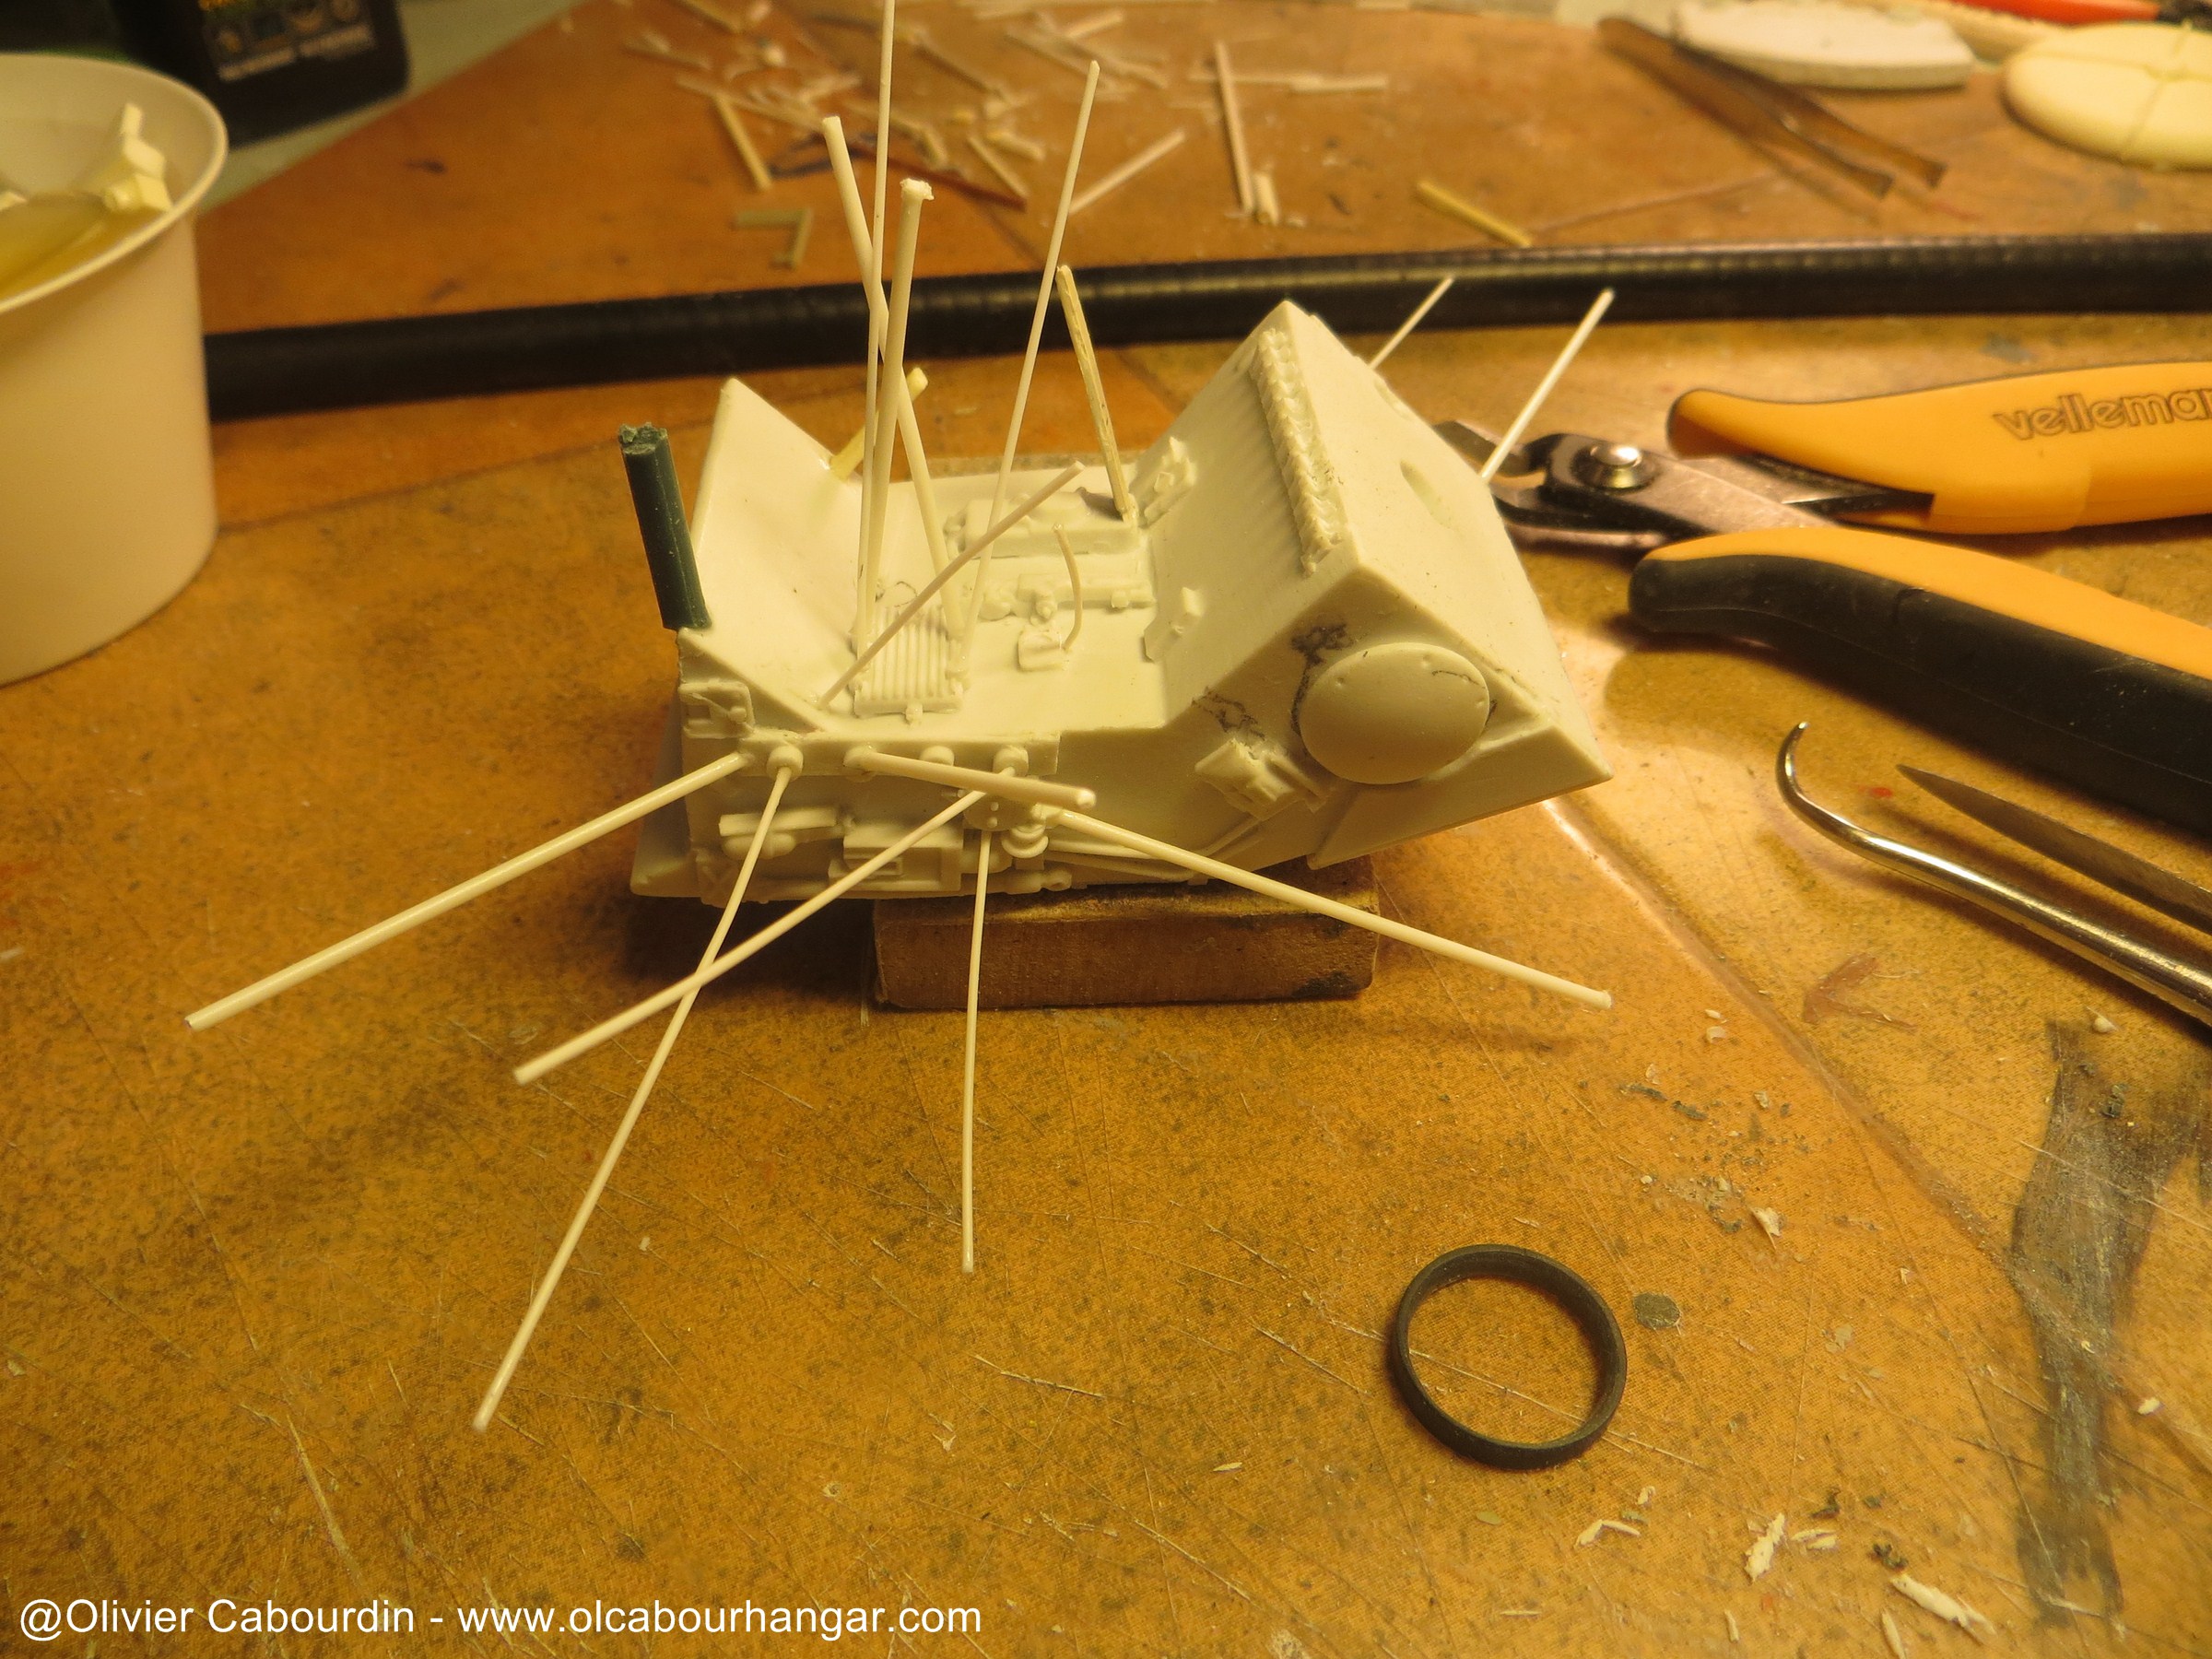
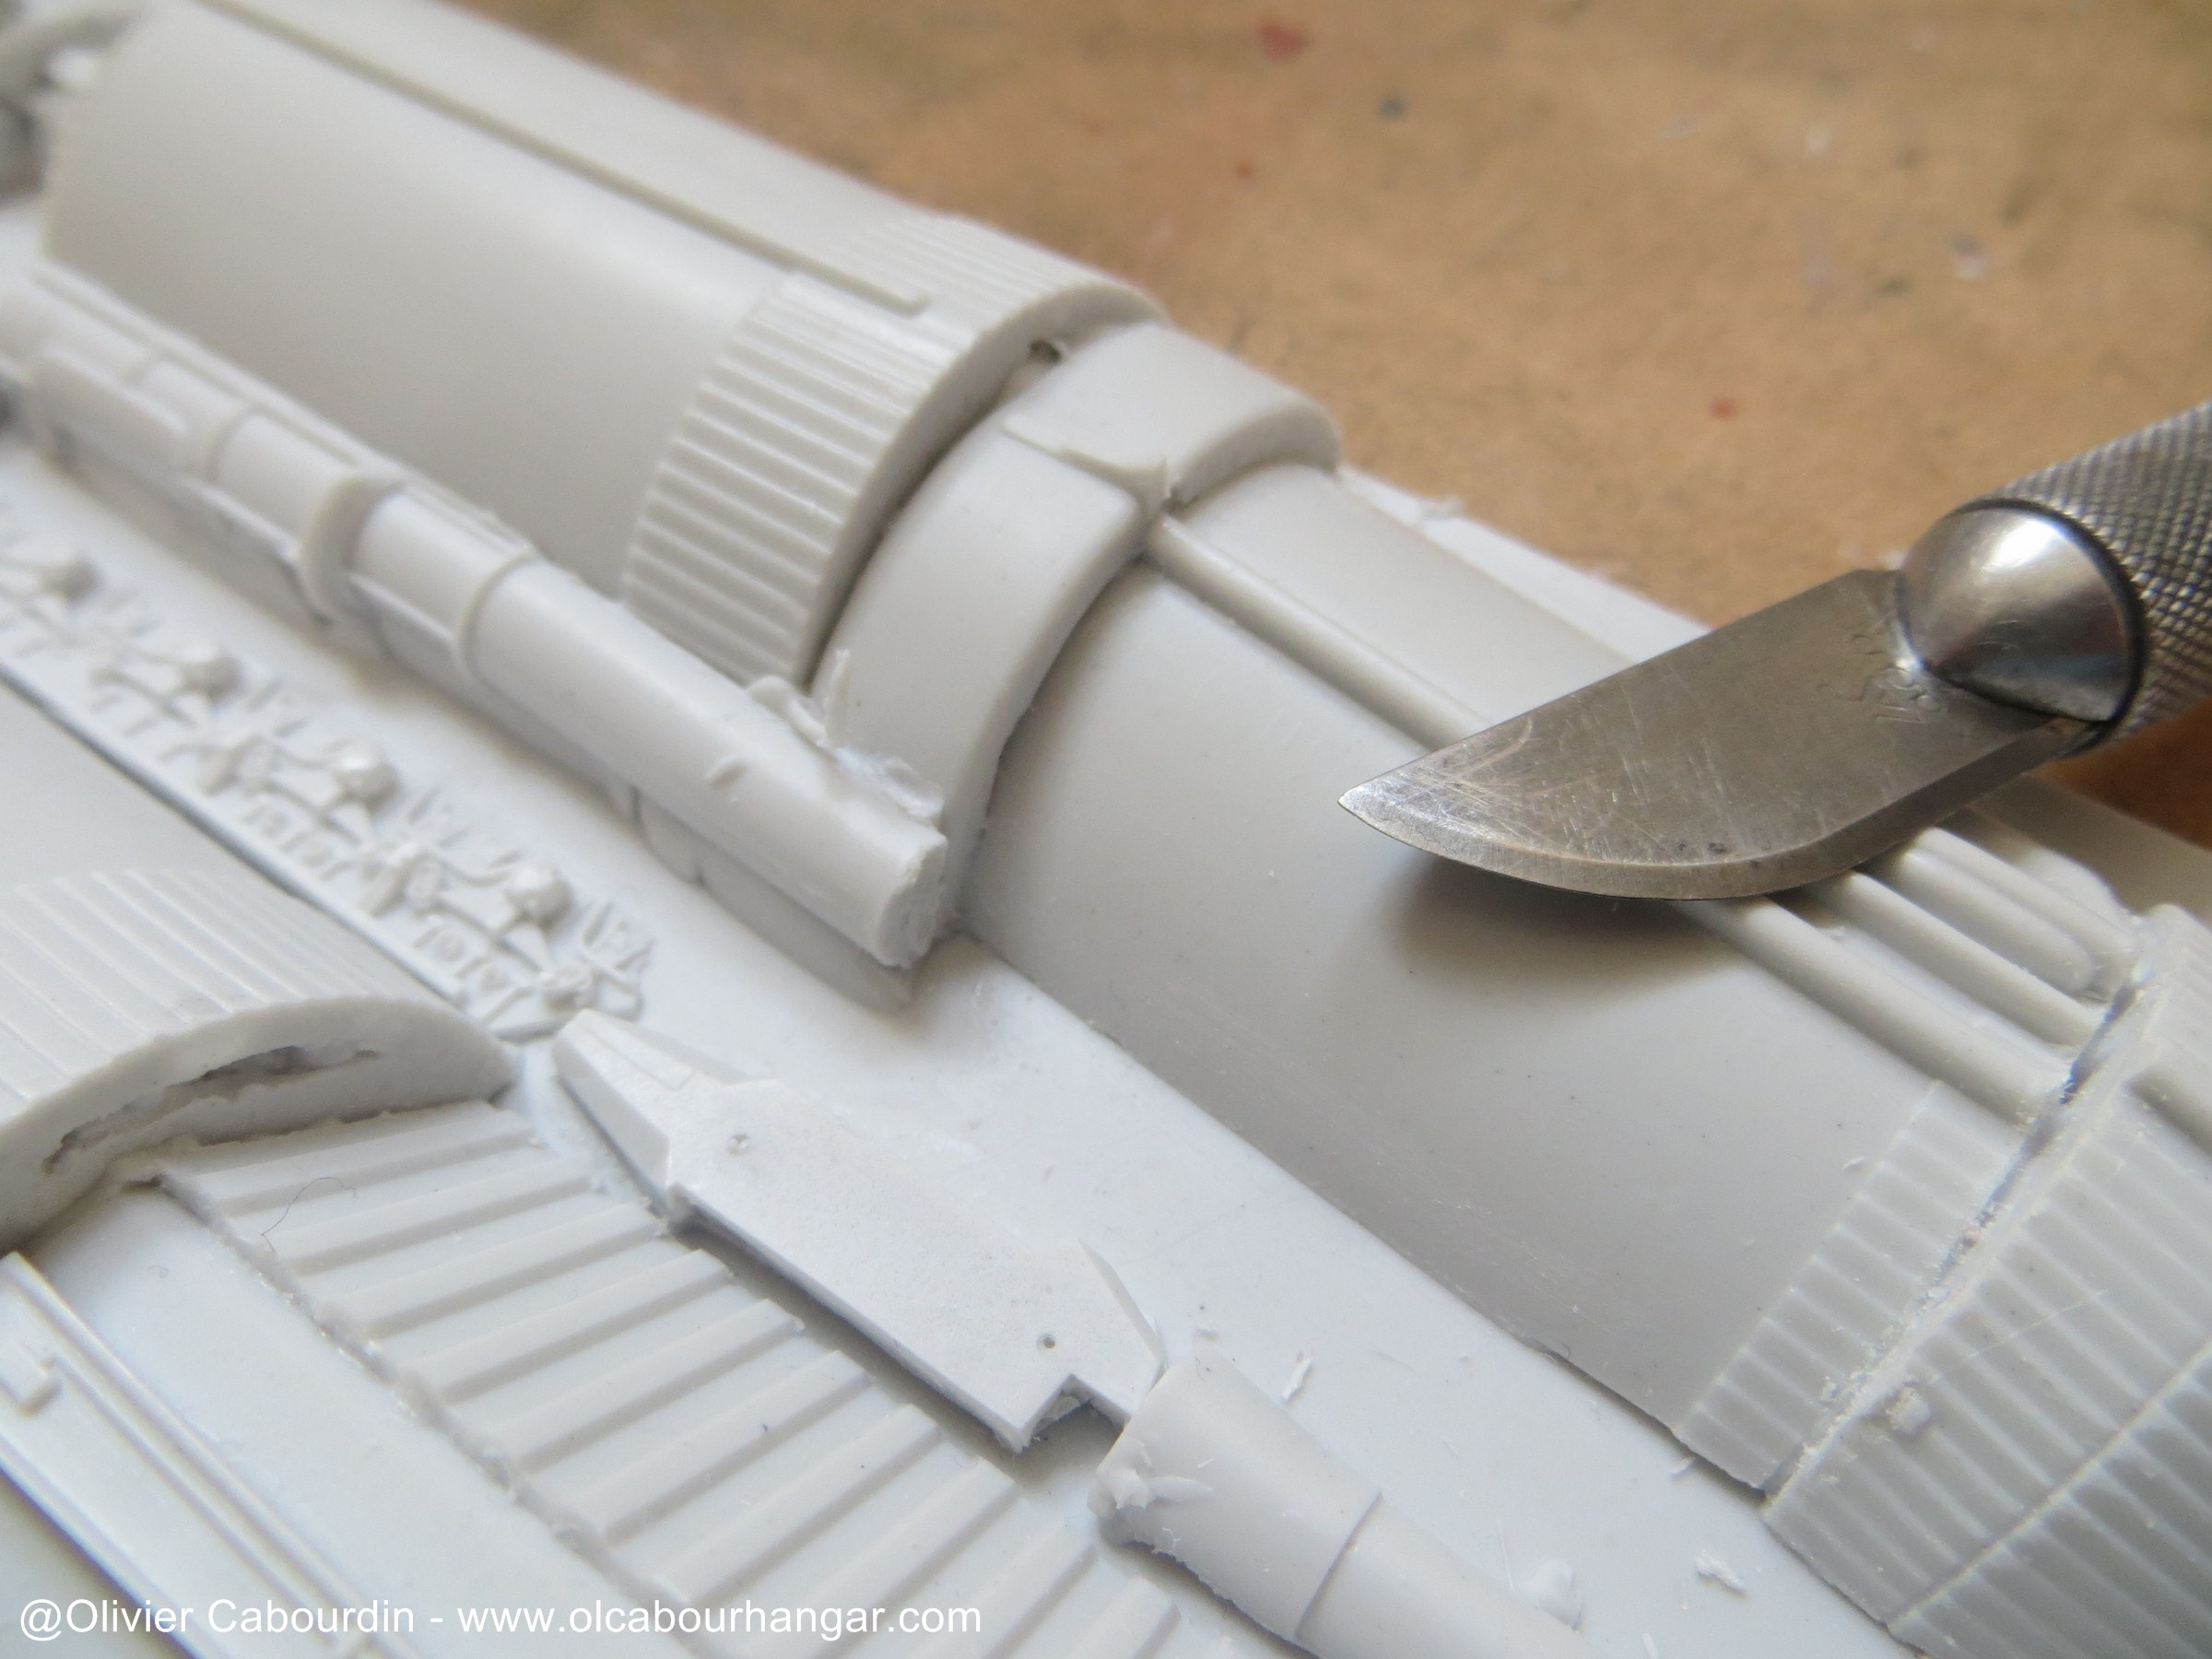
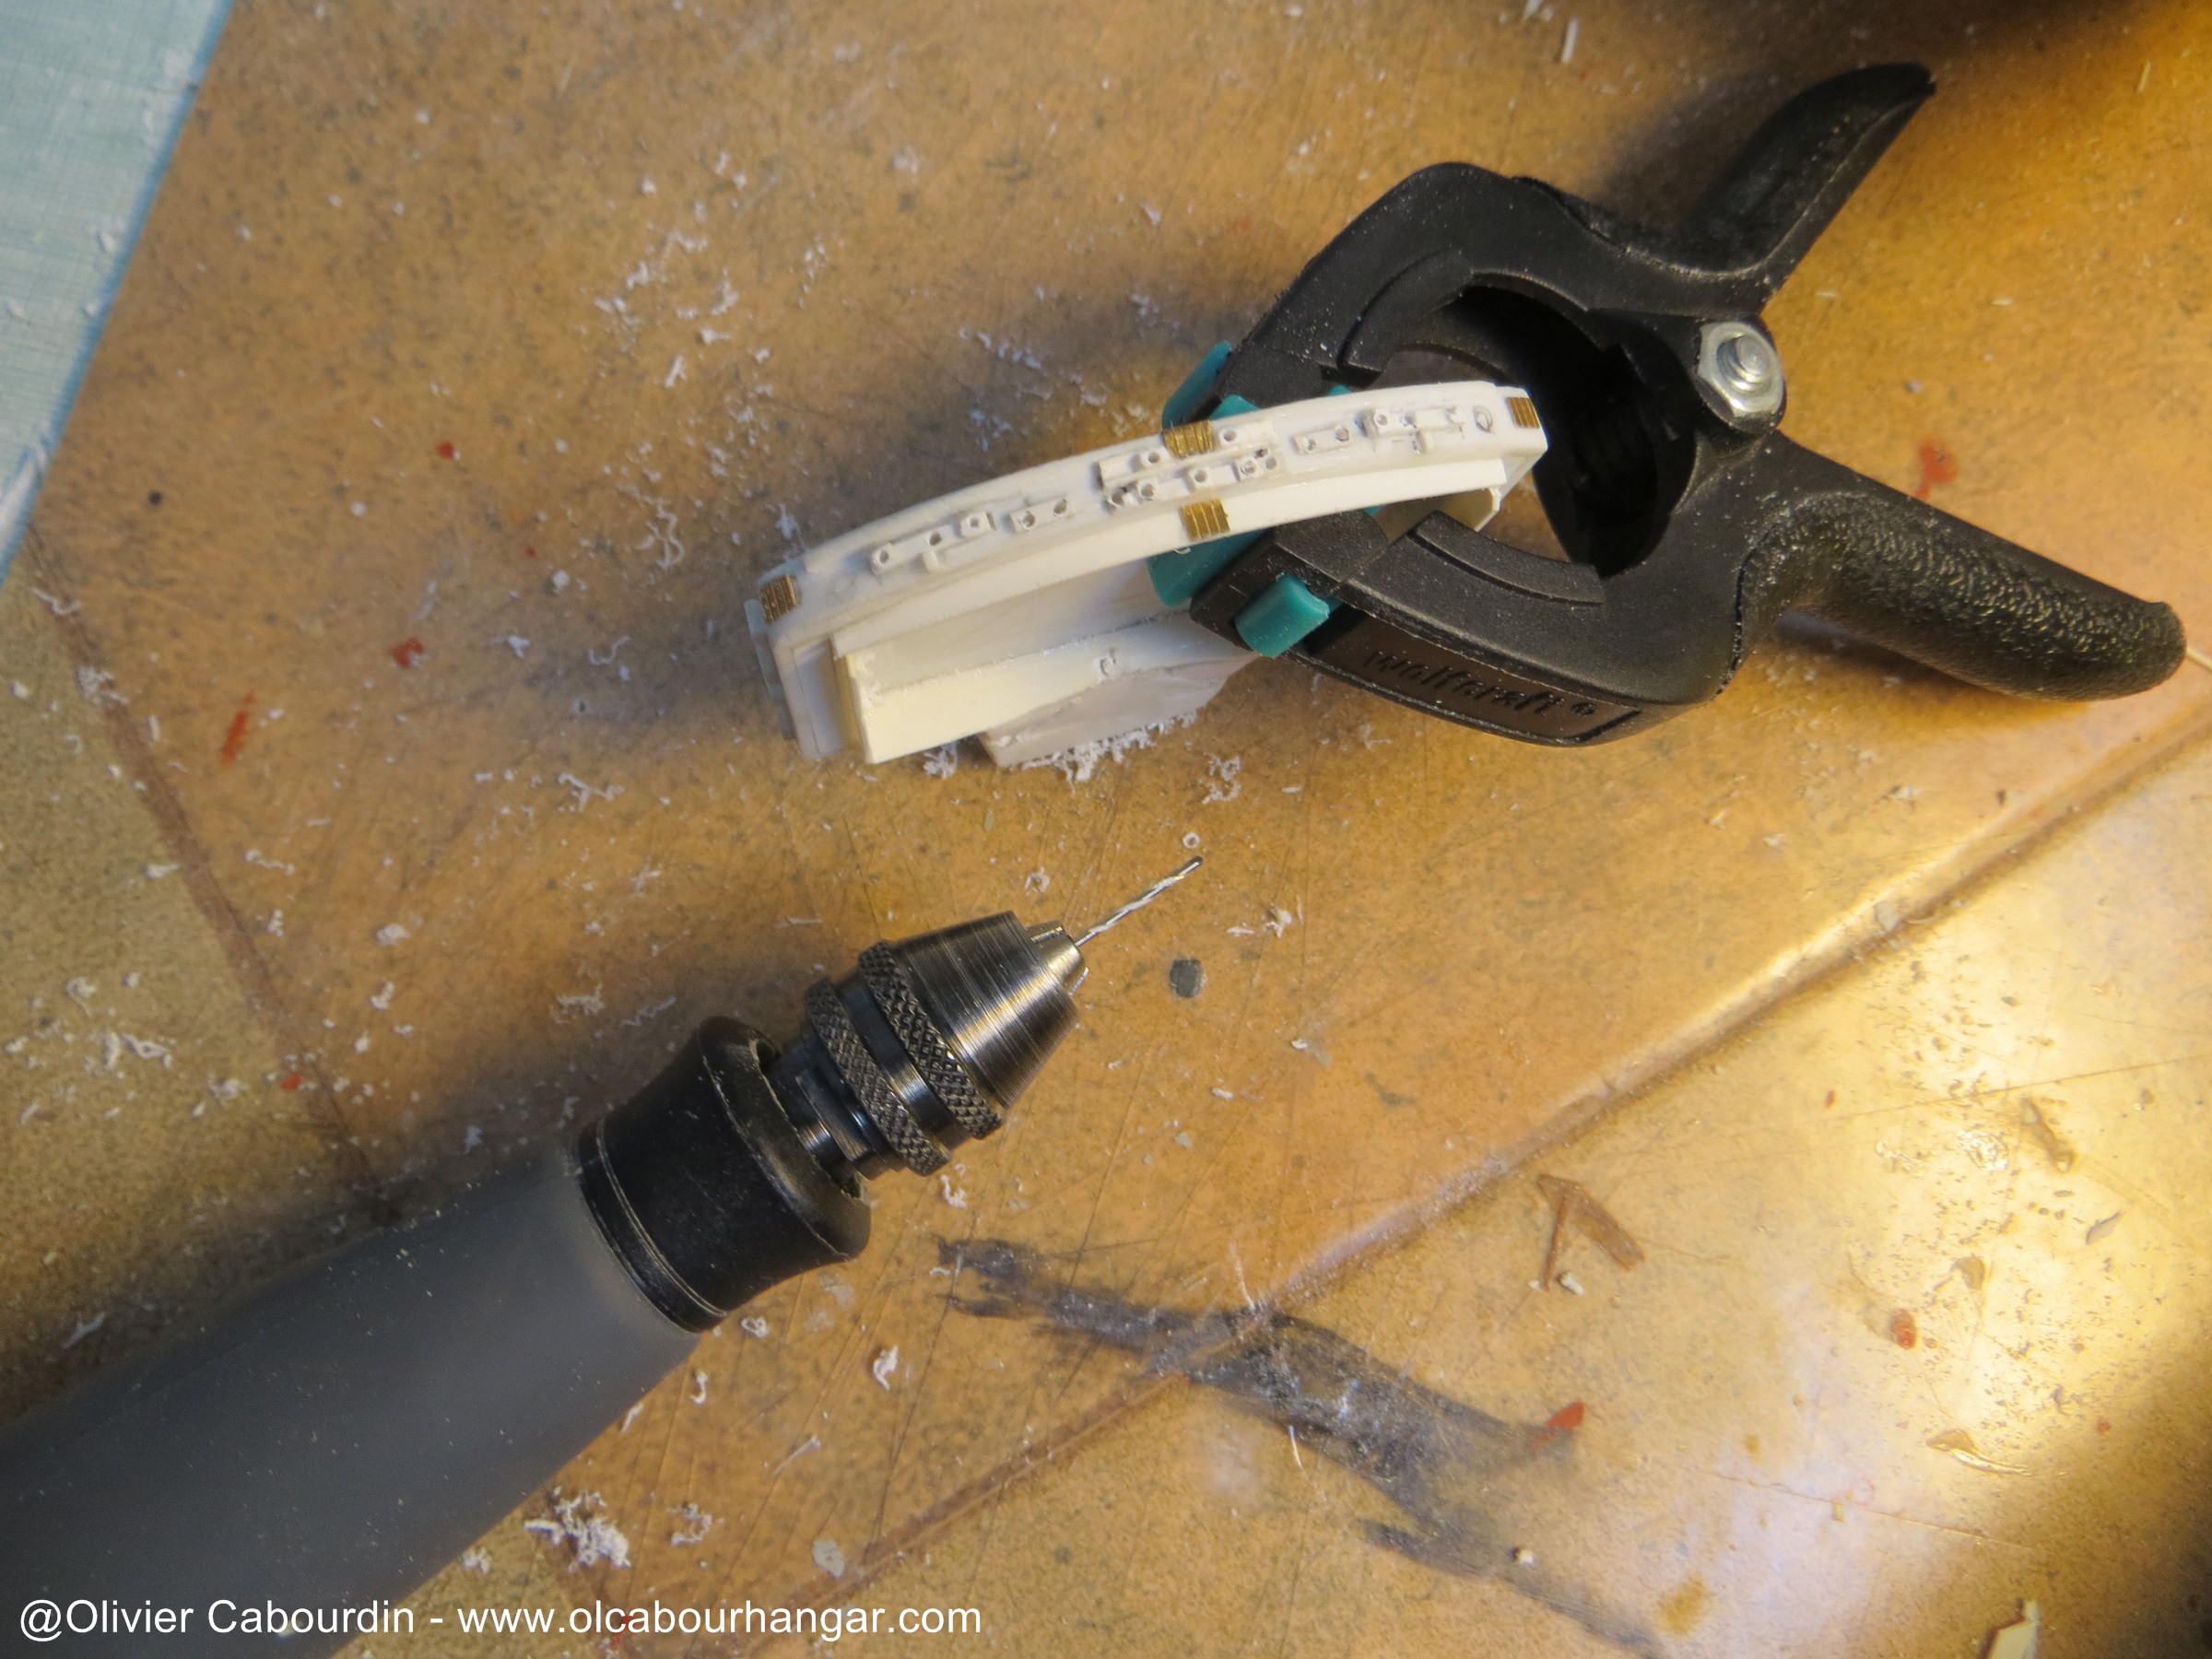
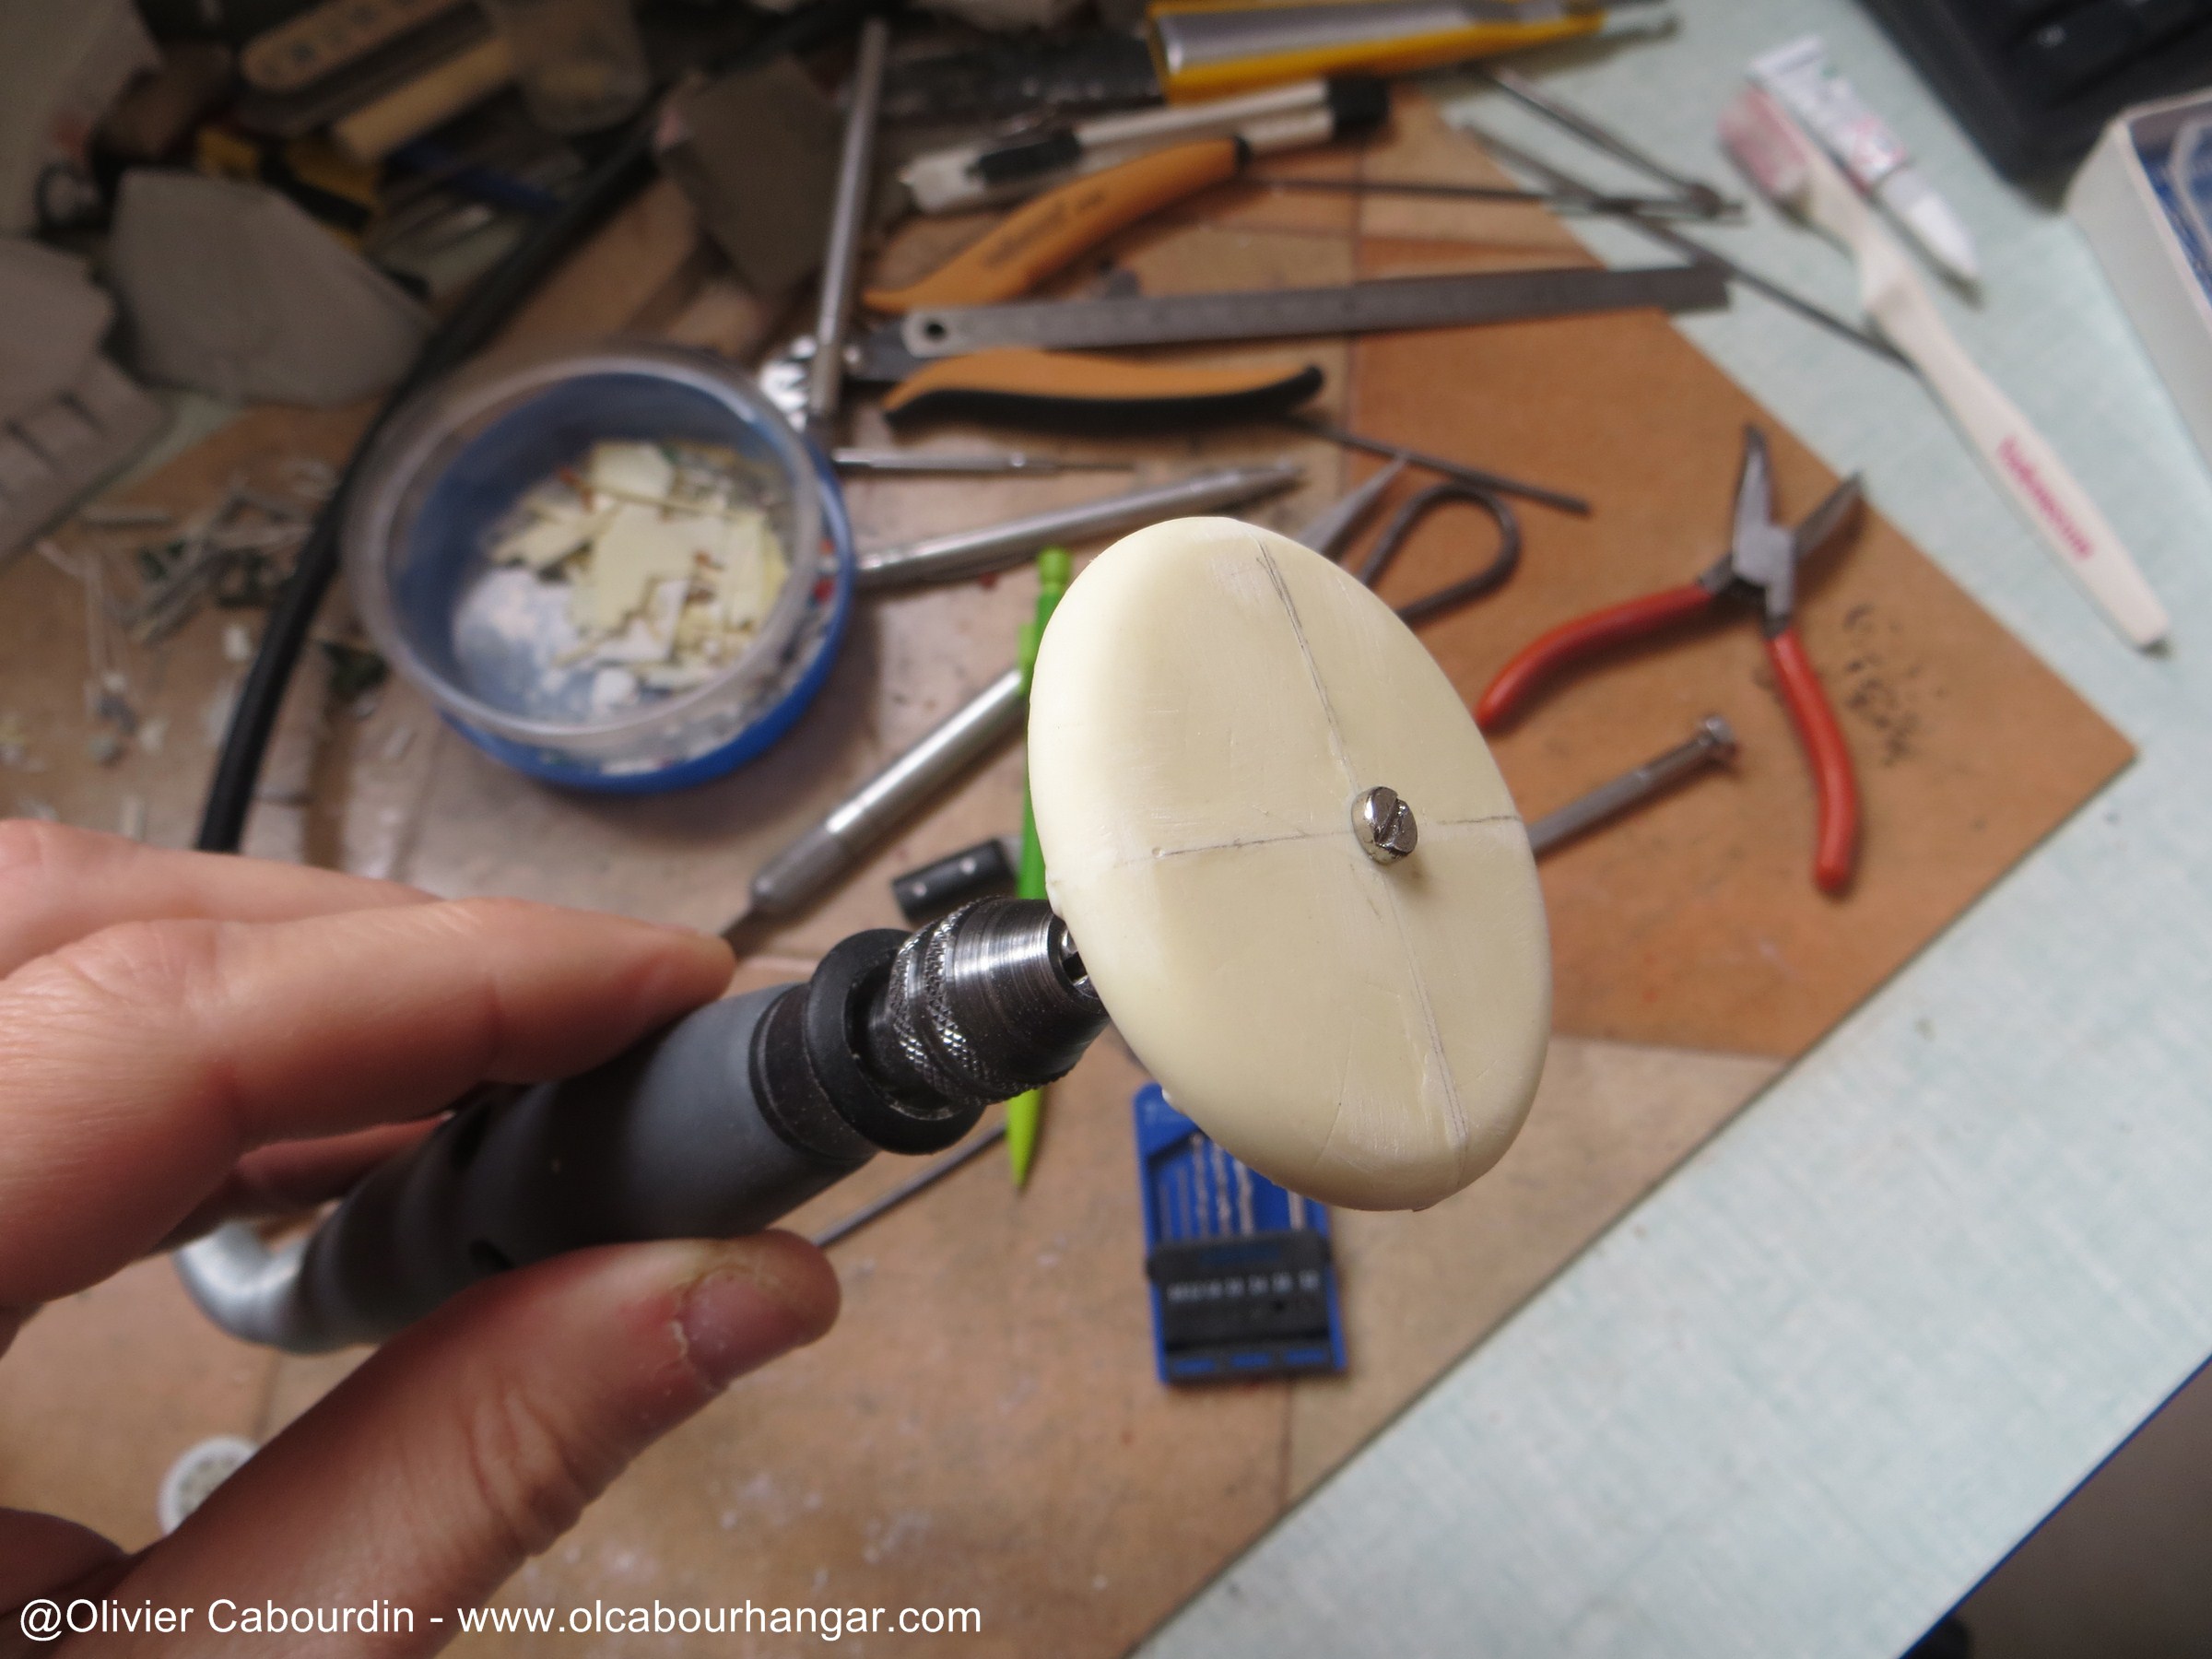
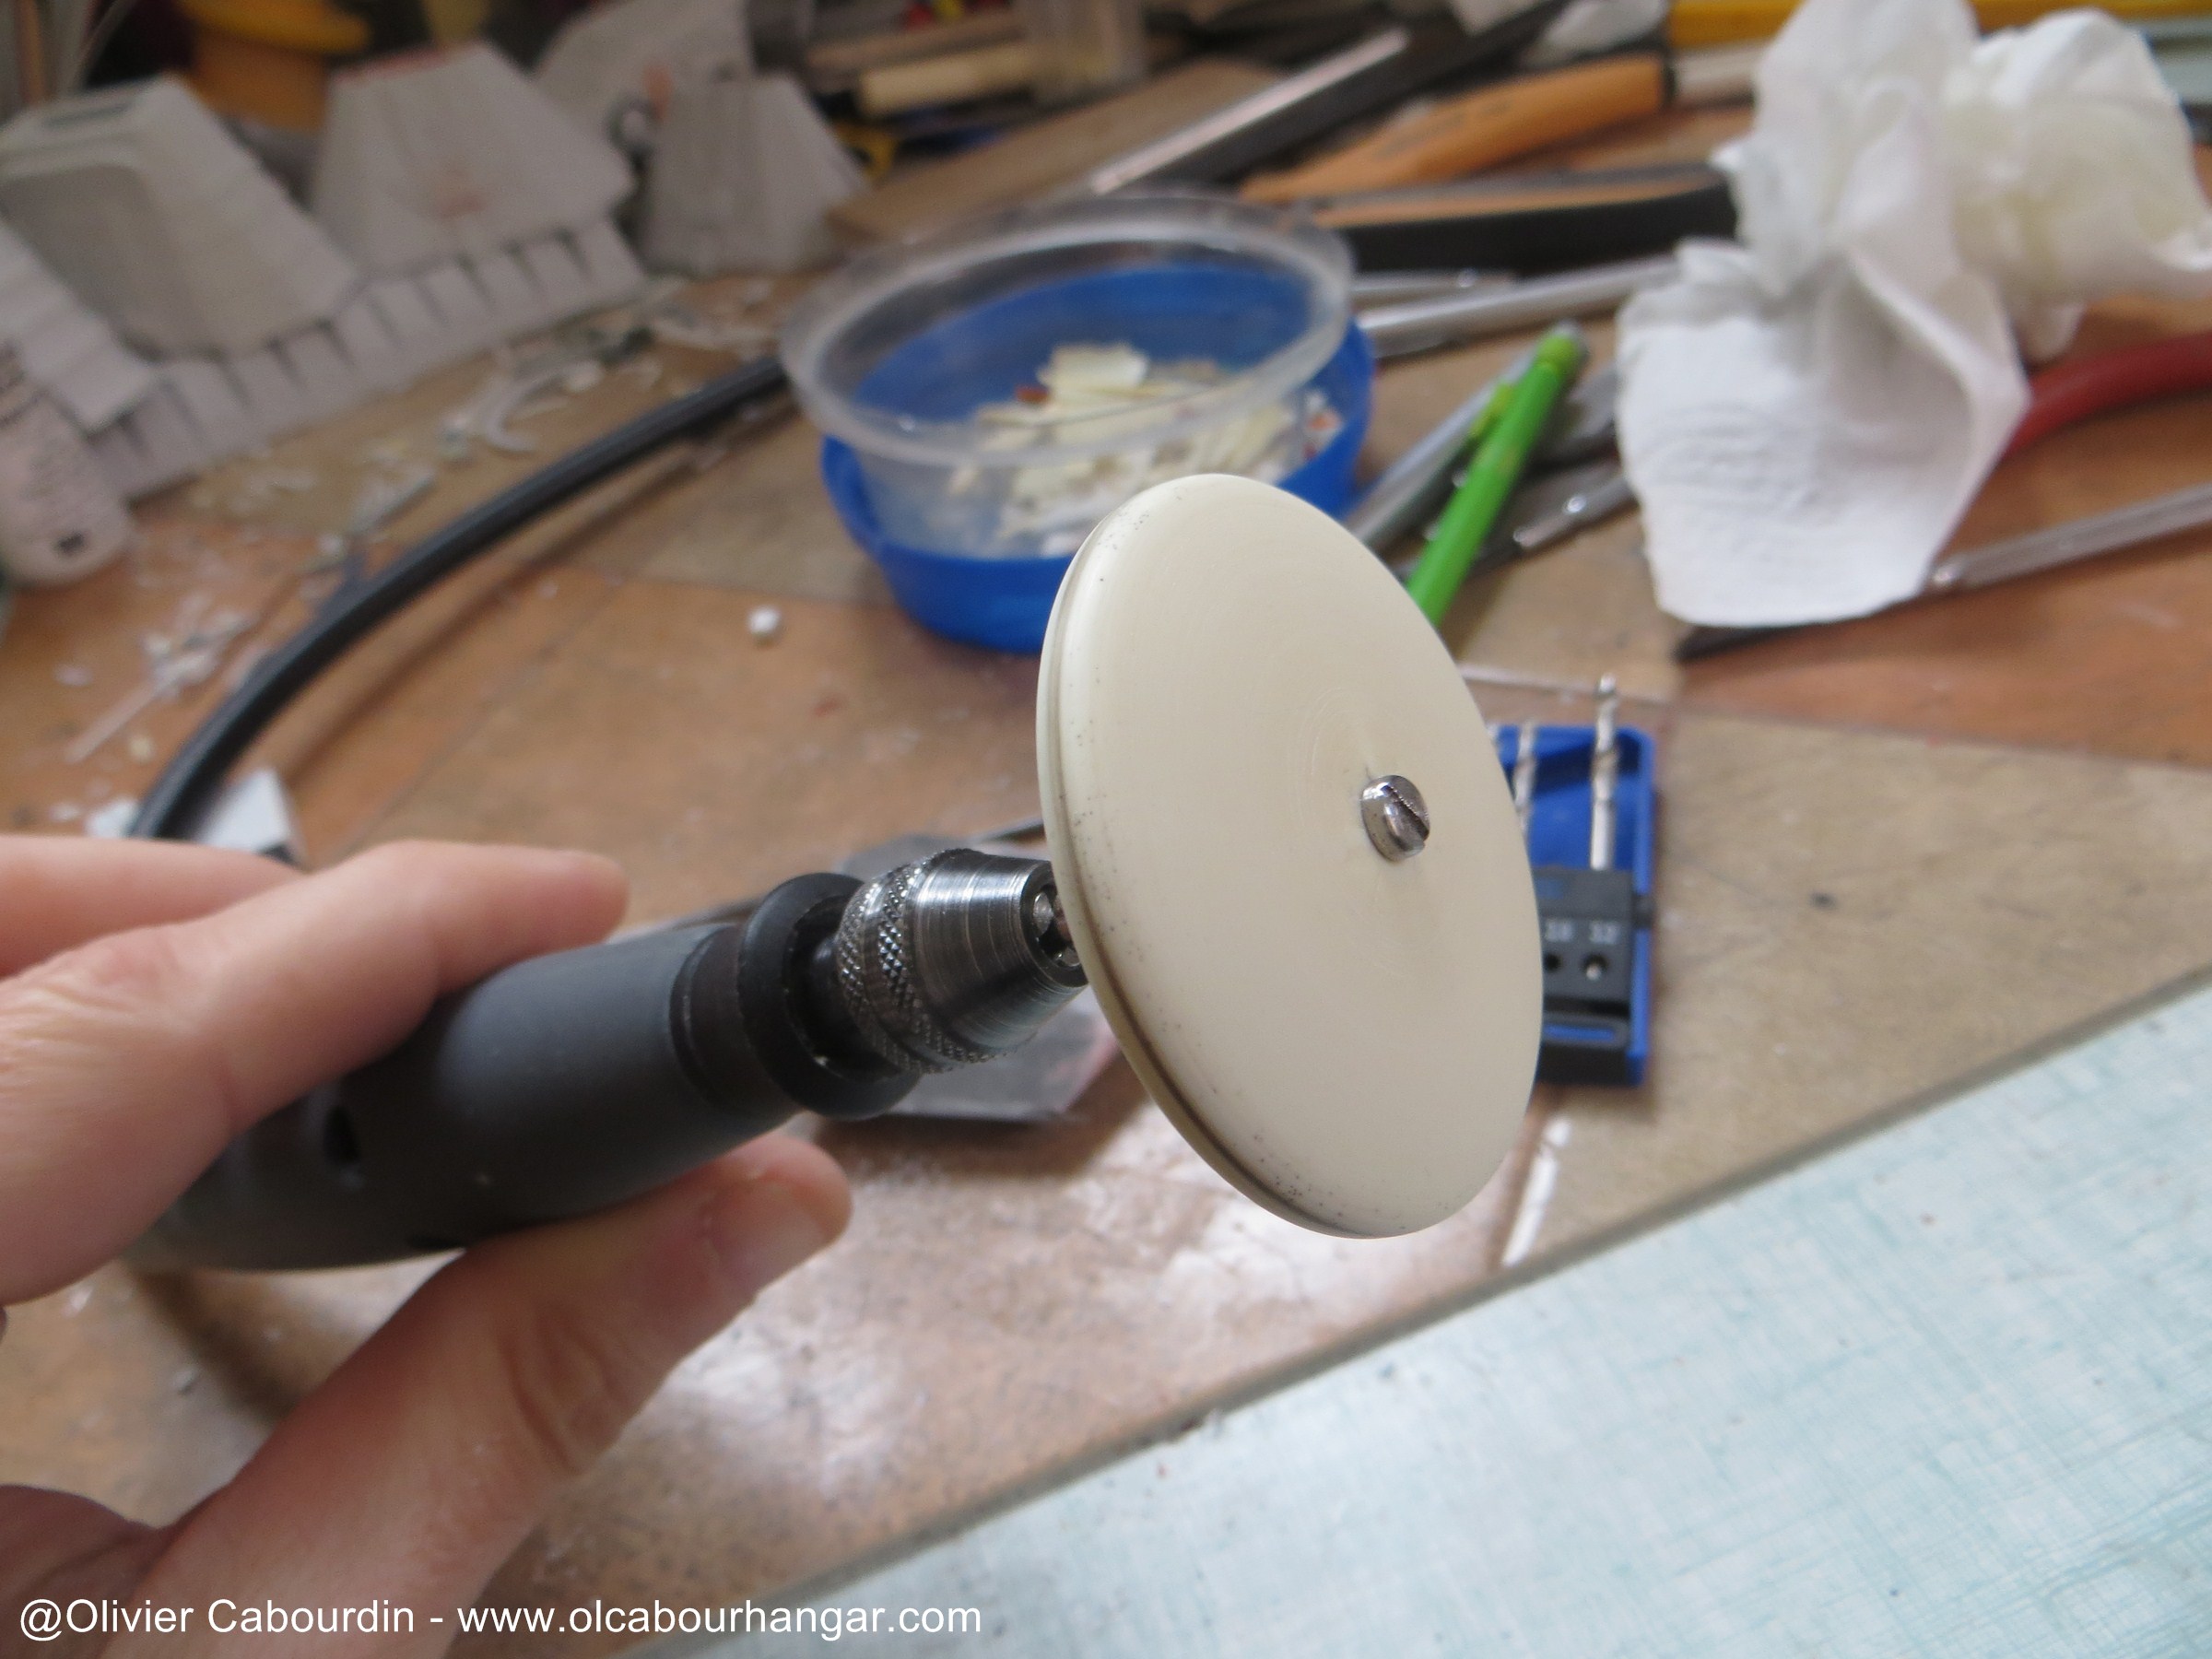
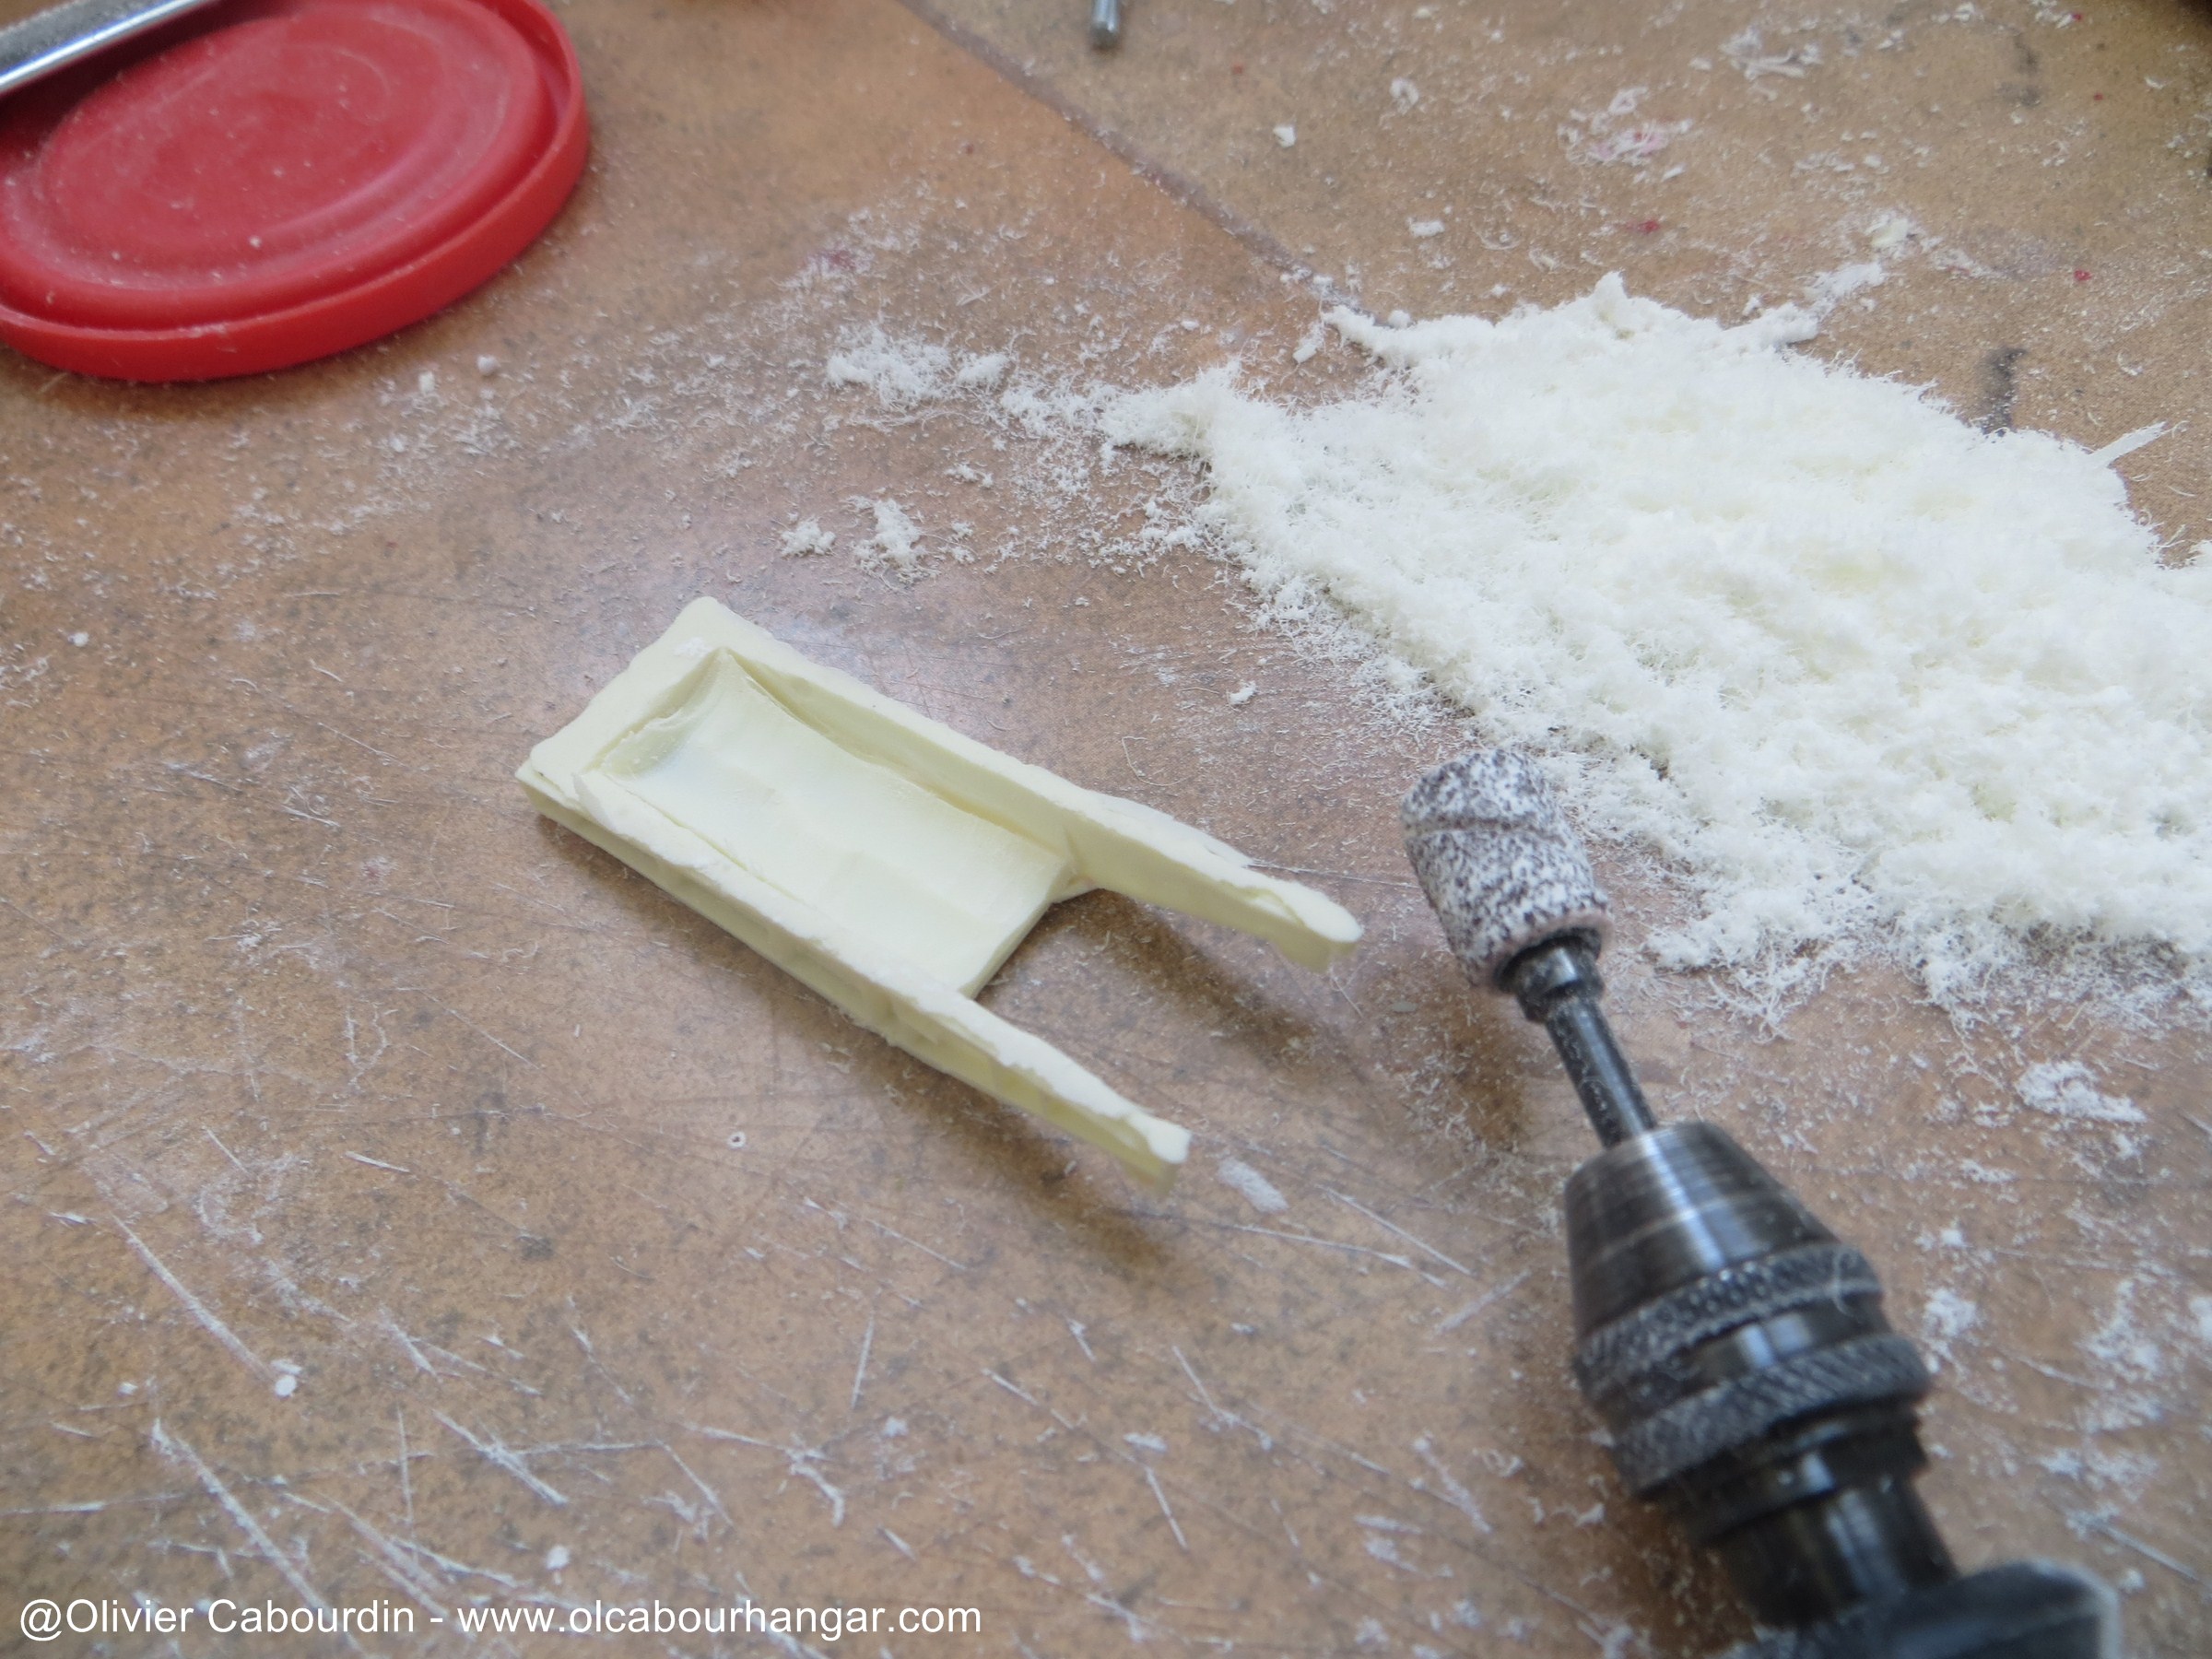
In the meantime, he went to a good cleaning step.
 
I marked all the window locations and drill then with (0.75mm diameter) for the optical fibers.


Parts preparation is laborious. Because there is finally a lot of tiny molding flaws, and bubbles hidden in the details.
Bubbles are filled with my shaggy hedgehog method ! So with the rods glued into each hole with cyano.
Sometimes I had to simply replace a detail too damaged with a tank part, or an Evergreen strip.

Long weeks were needed to reach the end of this step.


example before / after (an hour later!)


To take my mind off of this cleaning job, I get forward slowly on other works : internal bracing and support means ...
 
Last edited:
After much research, I found a simple way to install a support strut in the main body.
I'll use a 3cm diameter metal table leg, screwed on a medium plate, itself screwed to the central part of the ship.
The foot is cut to stay within the model. Via copper tubing and the other part of the table leg, it will rest on the foot of an old office armchair.


It will be the support for display on our stand, there will certainly be other less high and fixed.

The power wires will run inside the support, so a hole is made in the foot to let it go out (so it will be invisible in the model).


I will made some other support options to vary the displaying ways :
- From above, here I use an hardware kit for bedstead.


- From each side, via steel square tubes. This will require much more work: hollow all along the resin part that connects them (belly cross), drill and adjust accordingly the hangars.


I will fill the hole with resin later.


With this metal bar in the middle, the inside of hangars will be cut in half, so will be the future detailled interior (which, I hope, should not be seen in the end).


All this means that I will also have to provide three more power paths.


To strengthen the big resin parts and prevent them from bending under their own weight in the future, I prepared wood reinforcements (with 1 cm thick medium).


Notches in the medium are made to let the optical fibers run there later.


The head is the part that asks me the most concern. Here the resin is thin. On the upper part as the bottom one, the edges are very thin and in my opinion not thick enough to hold the weight of the bottom piece over the long term. So I think to screw the parts together, which will require a bit of preparation.
Meanwhile, the upper is reinforced with an aluminum U-channel and a block of medium wood.


Last edited:
Thanks Sergiotron :)


I edited my previous posts to correct many english errors (and there are certainly still remaining a lot, as english is not my first langage)


The Viper launch tubes are too tiny on the kit, and need to be redone. I followed lynx way (see its thread here) : plastic round tubes into square tubes.


So I made a second one smaller that worked better.


8 raws will be needed (4 per hangar) so they willbe molded in resin


I improved the bridge. this part is important, as it is a focal point of this ship.
The Elephant hood is too thick, so i carefully cutted it off, and sanded it to a better width.
Details are redone (small domes were too big for example)


The front side is sanded and completely redone


It does not fit horizontally on the model.


it should be like this


The height is set by adding plastic card walls


The holes for the fiber optics windows are drilled


I made a mold of a 1/144 WW2 german waggon sides


Where I get 4 small domes to complete the details of the bridge.


Optic fibers will be install later.
 
Does anyone know if that silicone molding paste is available stateside that Olcabour is using?
 
The domes on the central module did not satisfied me.
The curve are corrected by mounting them on the dremel and using files and sanding blocks.


There is a third dome (placed on top of the central module), which also requires to be corrected.


These domes will be mold later
 
One other question about your tools. Where did you get the resin saw and what is it called? Been looking all over for a place to get those on Google.

Loving your details on the construction - it is looking glorious!.
 
One other question about your tools. Where did you get the resin saw and what is it called? Been looking all over for a place to get those on Google.

Loving your details on the construction - it is looking glorious!.

Those are photo etched saw blades. Do a Google search and you will find many different brands, shapes and sizes.
 
Awesome job!

Great attention to detail on an already great kit.

Thanks edge10 :)


One other question about your tools. Where did you get the resin saw and what is it called? Been looking all over for a place to get those on Google.

Loving your details on the construction - it is looking glorious!.

Thanks Caladonis :)

As Robiwon precised, it is a photetched saw. The ones I have come from two Hasegawa sets :
http://www.hlj.com/product/hsgtp-4
http://www.hlj.com/product/HSGTP-3/Sup
 
- on the first port side arm, there is a dome upon which it lacks a kind of ring. This little detail is important to me because it is in the center of the first image that comes to mind when I think of this ship, so I added it.


- On the hangar sides, there are detail plates, originally coming from Hasegawa 1/72 Morser Karl parts. Mike used here their Dragon 1/144 counterparts, but as the breakdown is different, that did not satisfied me, so I scrath a new master.

the original parts


the parts used in the kit


the ones I will use


the tank wheel is reduced on the dremel


and here is the result


- These resin parts are also From The Morser Karl kit.
As i did not have enough ones, I ended to hollow them with the dremel and cutters.


Didn't you already try to convince me with randy's kit, Clarence ? ;)

I did studied this solution when Randy issued it, but did not take it for few reasons :
- the hangar did not follow the paintings inside the hangars of the studio model :
http://www.byyourcommand.net/cylongallery/thumbnails.php?album=183

- The Viper are far out of scale (1/700 where they should be 1/2000)

- I already have 1/700 Vipers I have done (scratched and molded) for my Cylon Tanker diorama :
http://www.therpf.com/f11/cylon-tanker-1-2-studio-scale-204108/
(at the end of the page)

So I ended scratching my own hangars and Vipers.
 
Yep, I love scratching, takes alot more effort but you can come up with some nice stuff, here's a little hint try some super sculpy its great stuff you can make anything with it, and model magic is good for light leaks you just need a small spatula to apply it. Jim
 
Didn't you already try to convince me with randy's kit, Clarence ? ;)

I did studied this solution when Randy issued it, but did not take it for few reasons :
- the hangar did not follow the paintings inside the hangars of the studio model :
http://www.byyourcommand.net/cylongallery/thumbnails.php?album=183

- The Viper are far out of scale (1/700 where they should be 1/2000)

- I already have 1/700 Vipers I have done (scratched and molded) for my Cylon Tanker diorama :
http://www.therpf.com/f11/cylon-tanker-1-2-studio-scale-204108/
(at the end of the page)

So I ended scratching my own hangars and Vipers.

Opps my bad I forgot I did..

Clarence
 
You are doing a great job when you get to your lighting and fiber optics running your wiring and all that stuff please, post some pics this will be a big help to alot of us. Thanks Jim
 
If you look up Randy Cooper on Facebook, he has an extremely well documented build on his page.
 
This thread is more than 5 years old.

Your message may be considered spam for the following reasons:

  1. This thread hasn't been active in some time. A new post in this thread might not contribute constructively to this discussion after so long.
If you wish to reply despite these issues, check the box below before replying.
Be aware that malicious compliance may result in more severe penalties.
Back
Top